DIY Mini Felt Halloween Trick or Treat Bags Tote
Updated on November 19, 2025
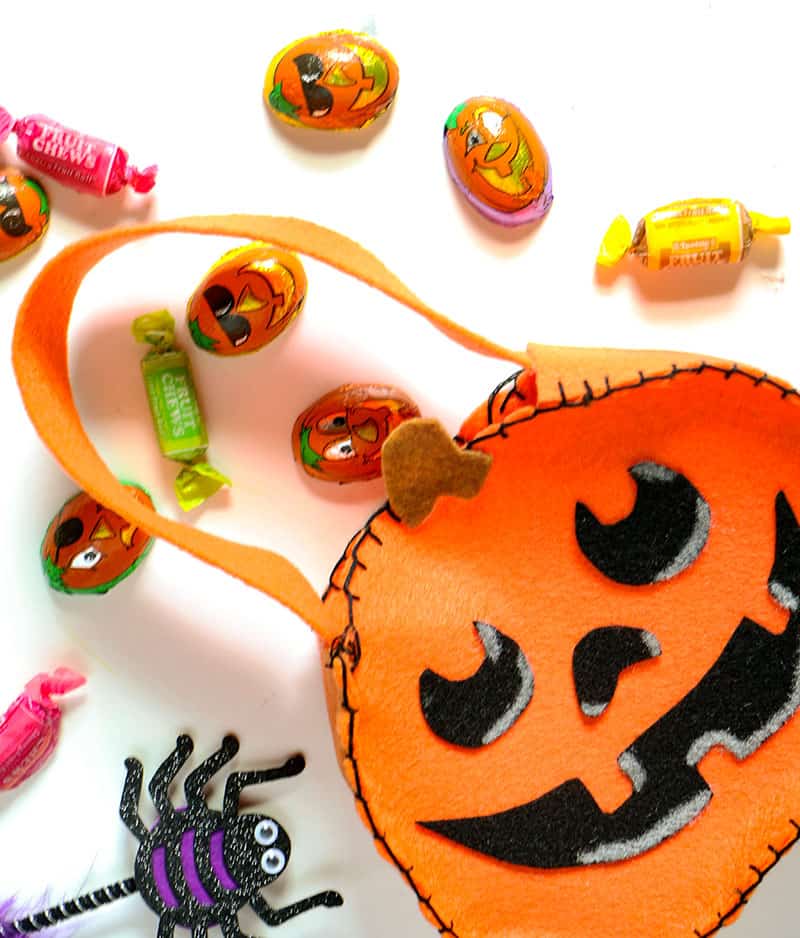
ThisDIY mini felt Halloween Trick or Treat Bagsis just what your little tot needs to store all of their coveted candy on Halloween! I am a huge fan of Fall. I love when the seasons change, especially when we go from Summer to Fall. This transition brings cooler temperatures and beautiful foliage. Fall also brings Halloween, which is one of my favorite holidays! I love crafting up projects for this spooky holiday.
With my twins walking and talking, this is their first Halloween where they can go trick-or-treating on their own and I no longer need to carry them (tear). I thought it would be fun to make them amini felt pumpkin tote to use on the big night of candy collecting. This tote was super easy to put together, especially since I used adhesive backed felt for the pumpkin face; all you do is peel and stick! To give it a bit more detail, I added a blanket stitch to the outside of the tote. The stitch really makes it pop!
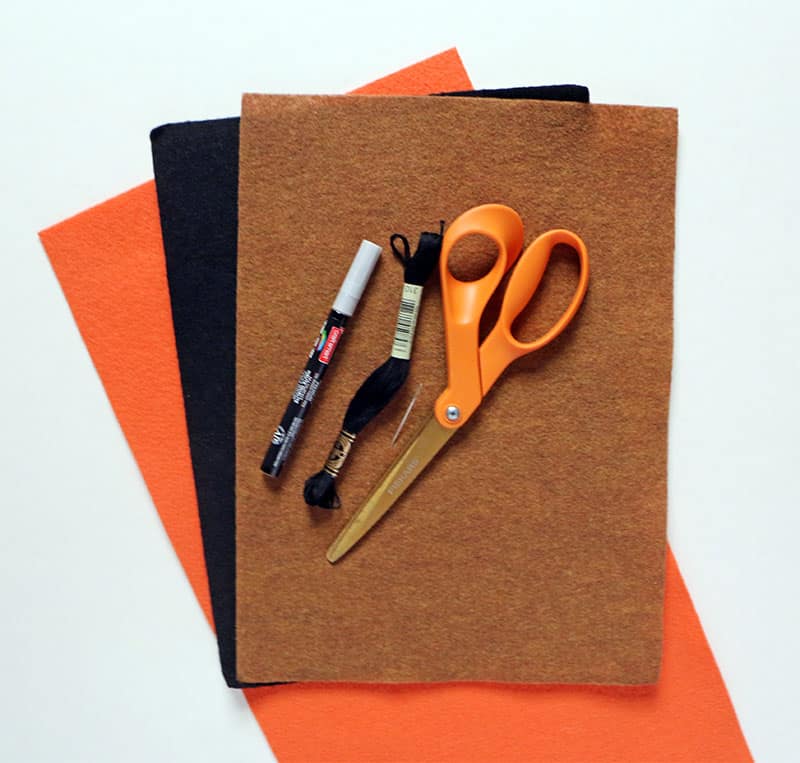
Supplies you’ll need for this Halloween Trick or Treat Bag:
- Felt (orange, black-with adhesive, and brown)
- Scissors
- Metallic Silver Fabric Paint Pen
- Black Embroidery Floss
- Embroidery Needle
Here’s how to create your own Halloween Trick or Treat Bags:
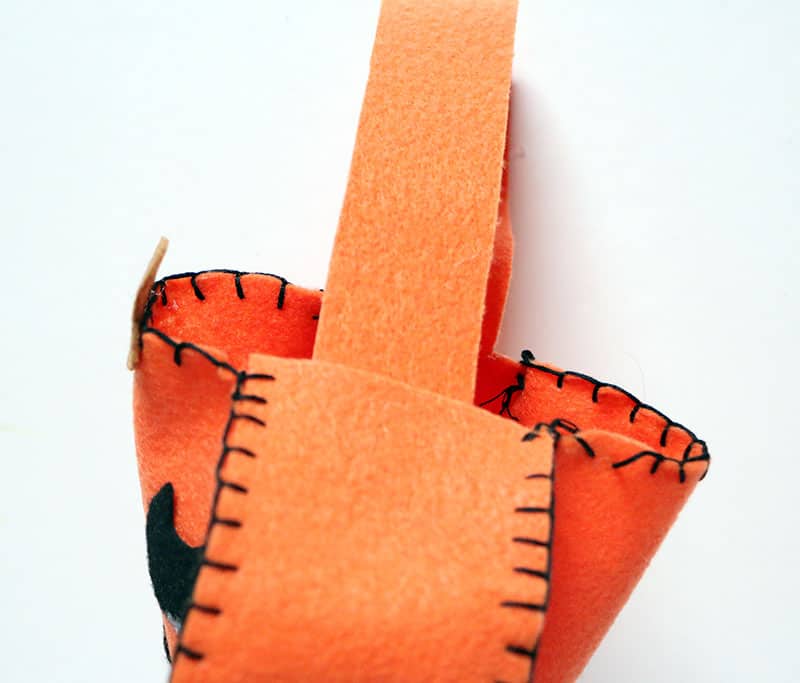
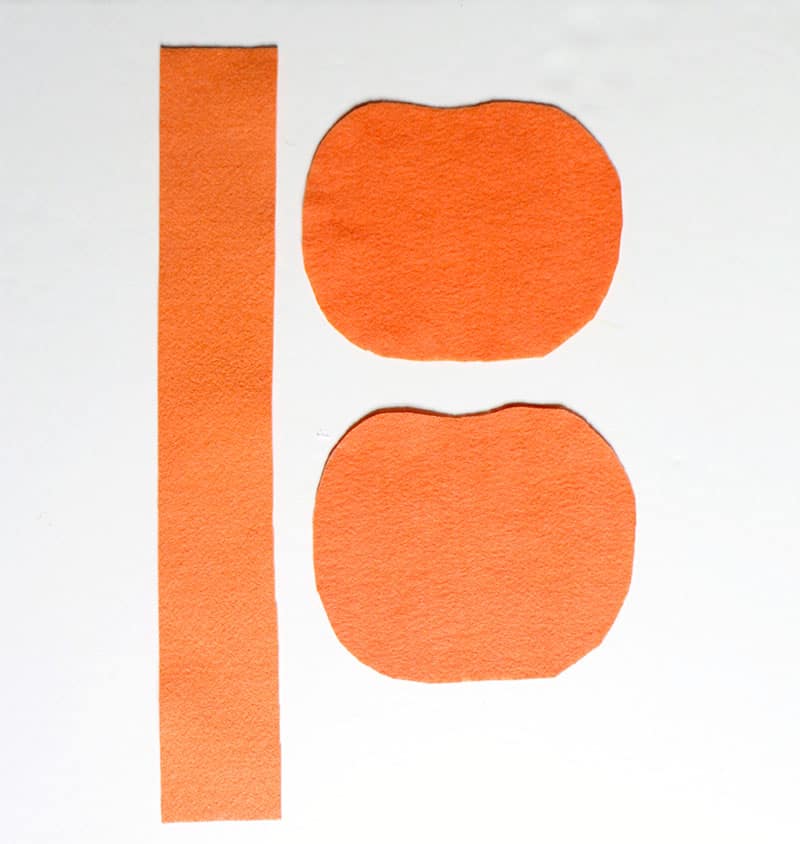
- Cut out your pumpkin shape from your felt. You are also going to cut out a strip of felt that will be sewn around the outside of the mini felt pumpkin tote. Cut the strip so it is 2 inches wide and will wrap around your pumpkin, leaving a 3 inch opening at the top.
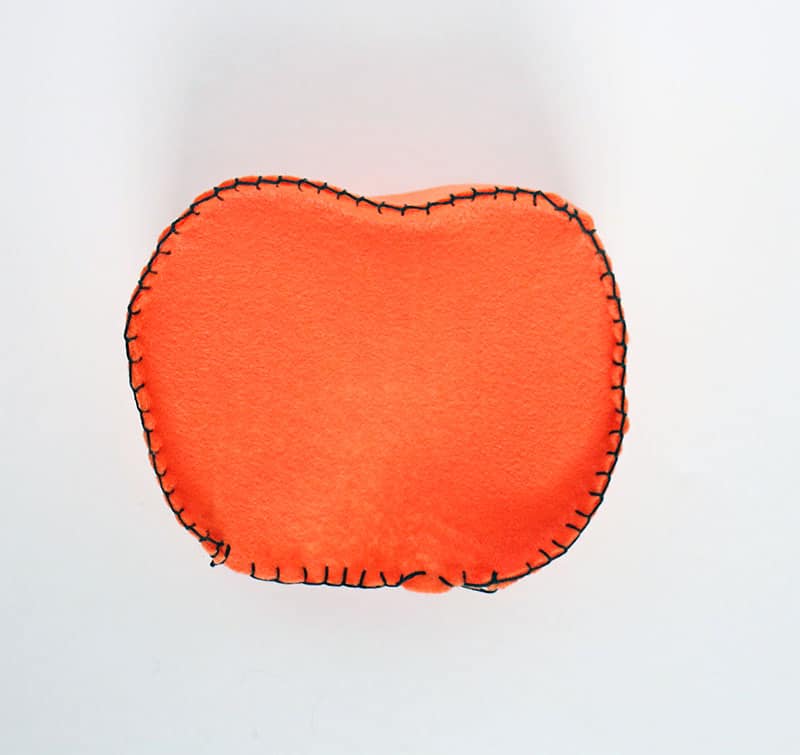
- Place the strip of fabric you cut towards the top of your mini felt pumpkin tote, cut a piece of embroidery floss, and begin stitching a blanket stitch around your pumpkin.

- Continue stitching around your pumpkin. Once you get back around to the top of your pumpkin, you’ll continue the blanket stitch on the single piece of felt so the design goes around the entire pumpkin.
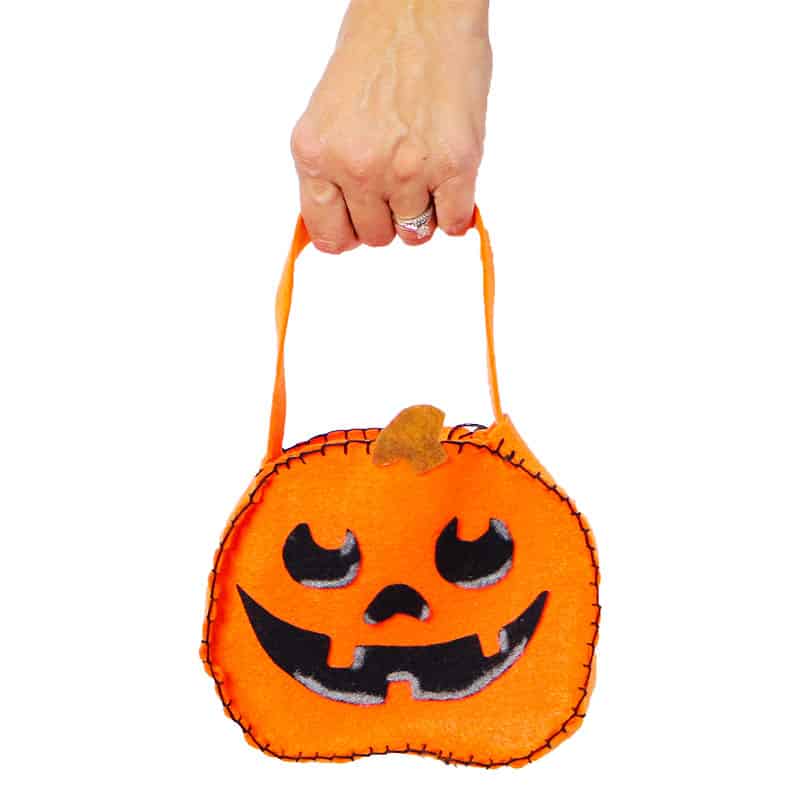
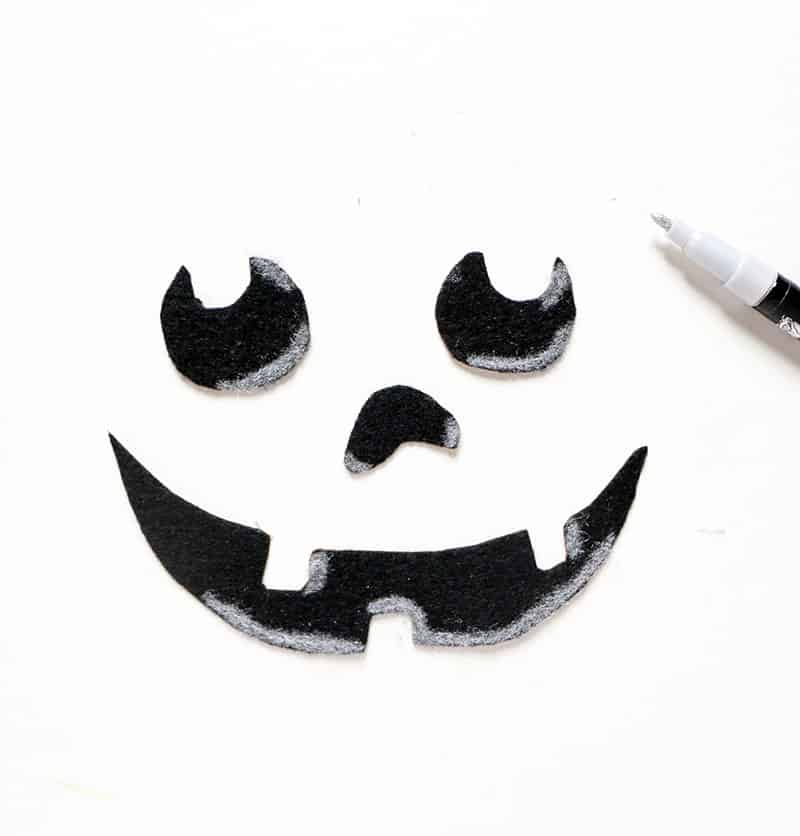
- Cut out a strip of felt that is 1.5 inches wide and 10 inches long. This will be the handle for your mini felt pumpkin tote. Cut out 2 eyes, a nose, and a mouth from your black adhesive backed felt.
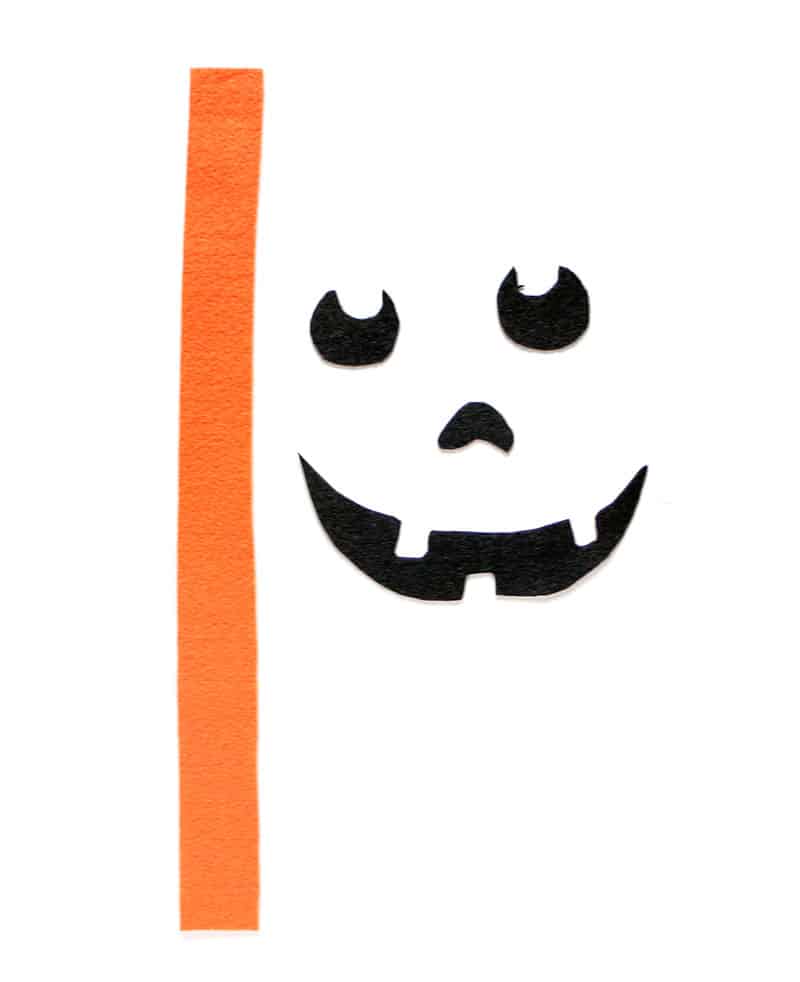
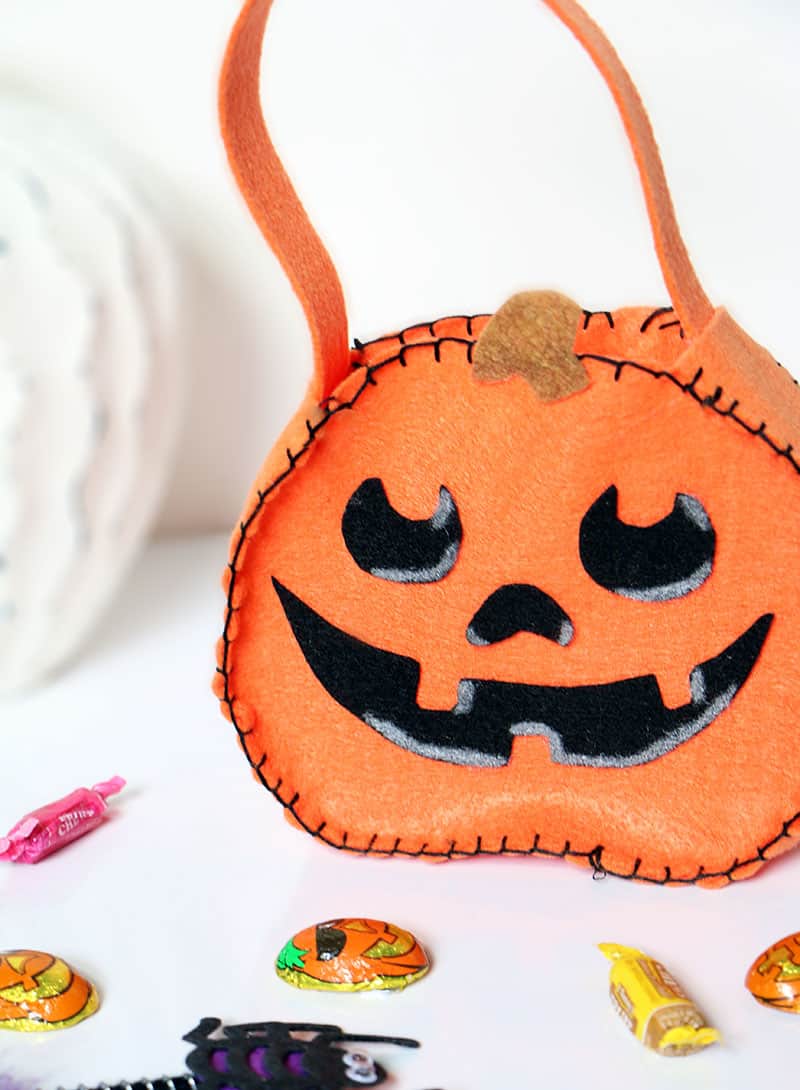
- Take your metallic paint pen and add highlights to the eyes, nose, and mouth. This extra detail will really make your pumpkin pop!
- Next, cut out a stem from your brown felt. Add hot glue to the bottom of the stem and stick to the top of your pumpkin. Peel back the liners on the pieces of felt you cut for the pumpkin’s face and stick them to your pumpkin.
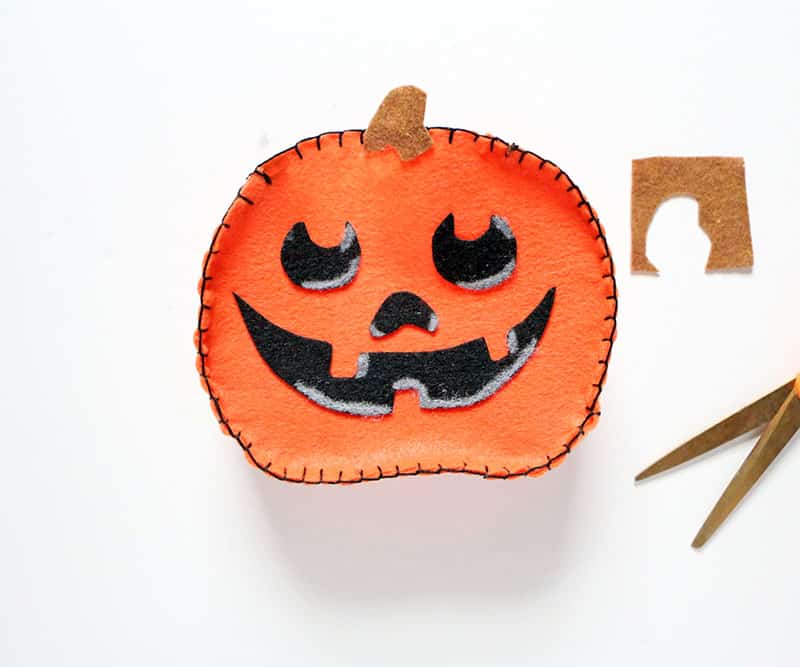
- Add glue to the bottom of your handle and glue it to the inside of your pumpkin. You’ll repeat this with the other end of your handle. That’s it. Enjoy your mini felt pumpkin tote!