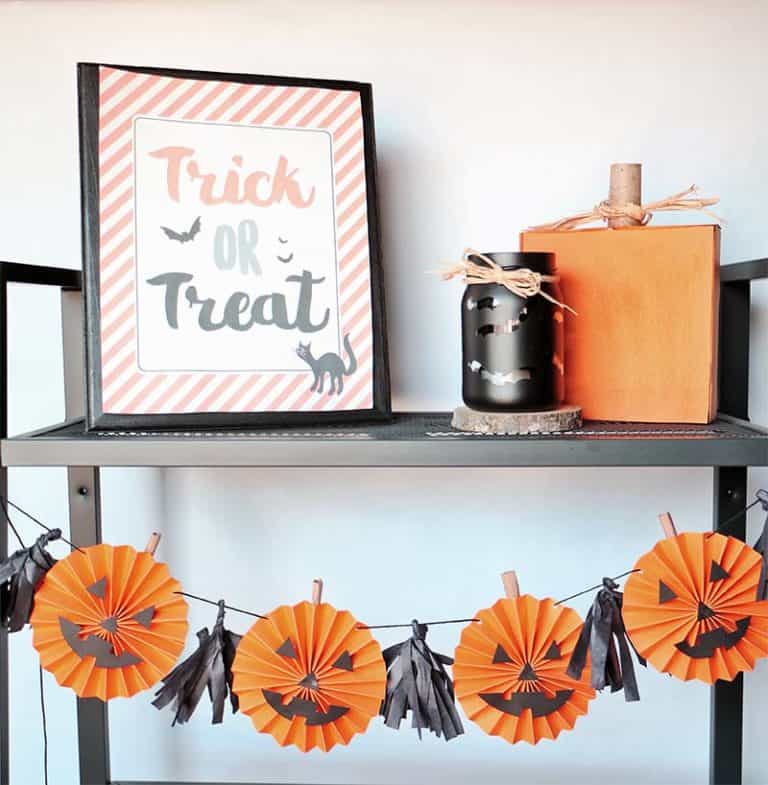
DIY Rosette Pumpkin Fall Garland
Updated on November 19, 2025
Bring your love of rosettes and pumpkins together with this DIY rosette pumpkin fall garland! Decorating for Halloween is an activity I look forward to all year long. I love everything about Halloween, especially pumpkins. These little gourds are pretty displayed untouched, however, they look even better when they are decorated with a spooky face.
Since pumpkins have a simple shape, they are easy to incorporate into projects. I decided to combine the ever-popular pinwheel with a pumpkin to create cutePinwheel Pumpkin Garland! This project is very simple to construct. Since it only requires paper, it’s also a budget friendly project to make. Let’s take a closer look at how this pinwheel pumpkin garland comes together!
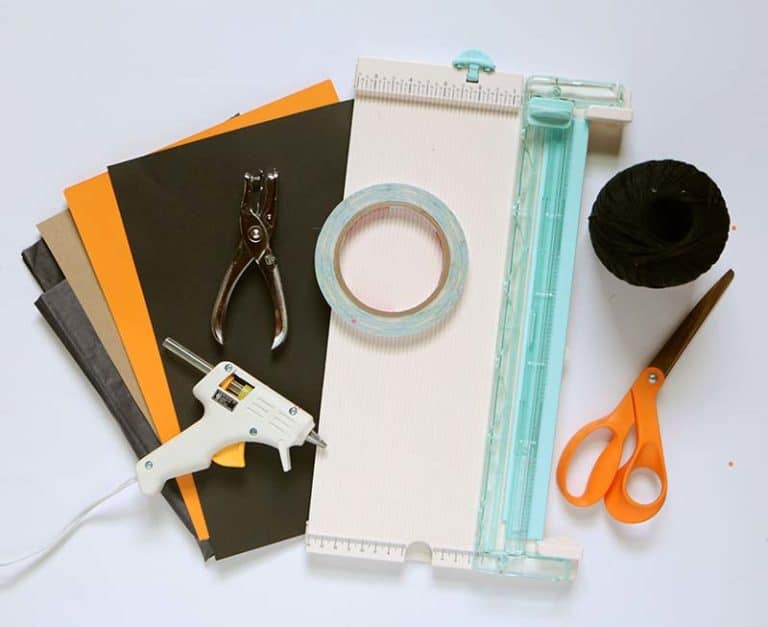
Supplies you’ll need to fall garland:
- Paper Trimmer and Score Board
- Cardstock (Black, Orange, and Brown)
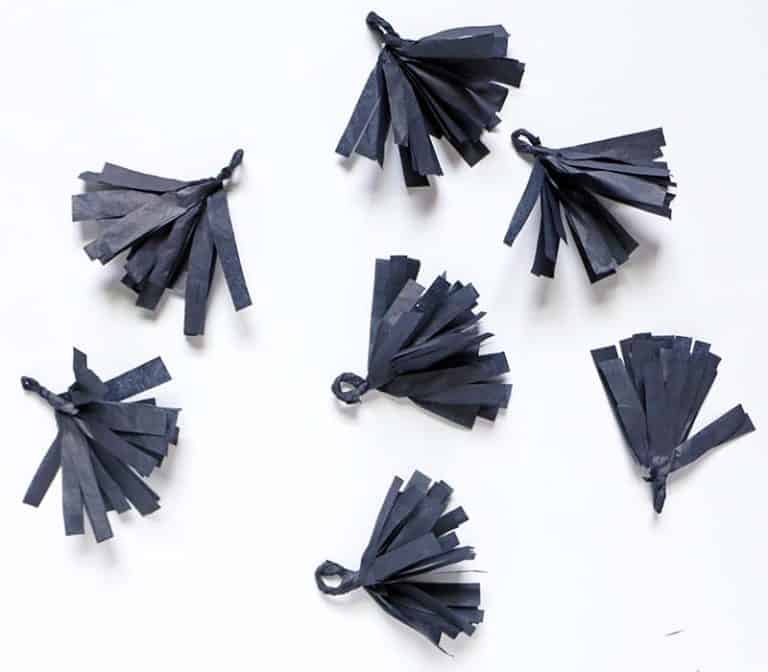
- Black Tissue Papere
- Hole Punch
- Black Twine
- Scissors
- Double Sided Tape
- Hot Glue Gun and Glue
Here’s how to create your ownDIY Rosette Pumpkin Garland:
- Cut strips of paper that are 2 inches wide and 11 inches long. You’ll need 2 strips to create one pumpkin.
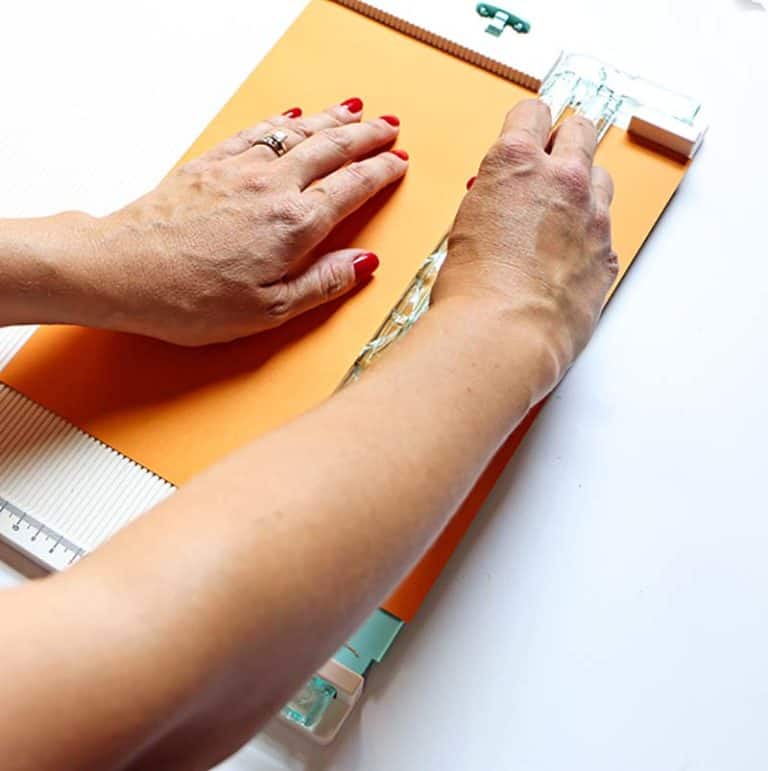
- After you cut your strips of paper, you need to score them. Align the strip of paper on your score board so the longest side is agains the board. Begin adding 1/2 inch score lines to the strip of paper.
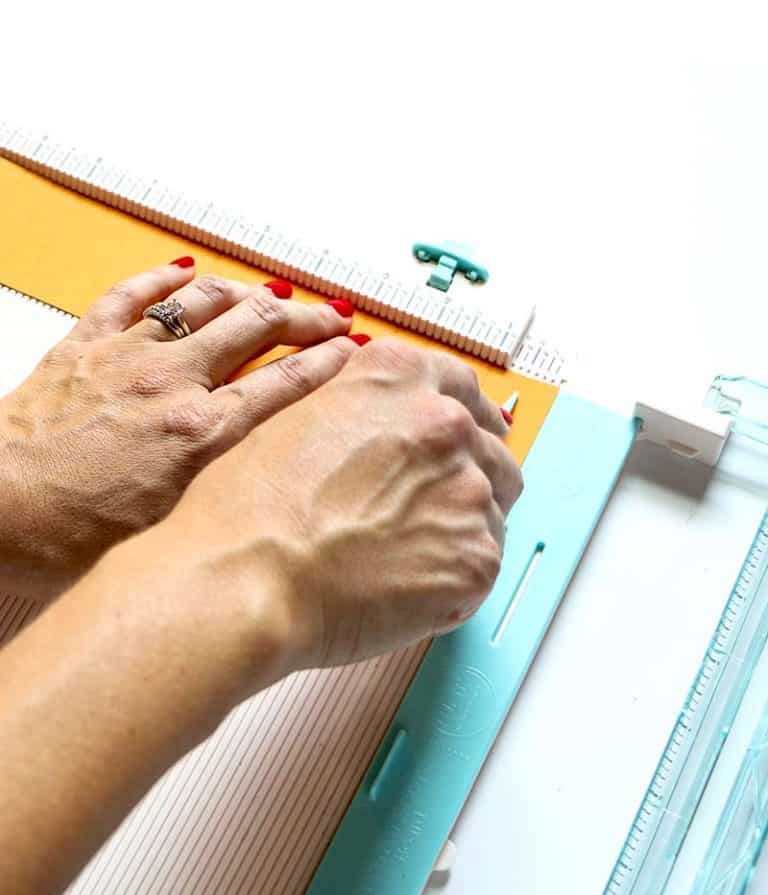
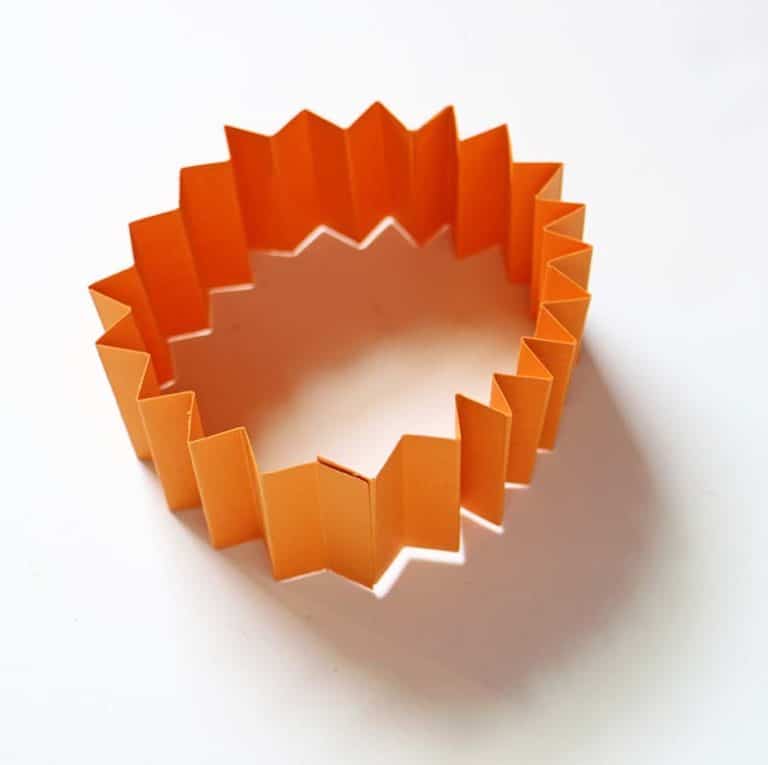
Accordion fold both strips of paper. Then, add a piece of double-sided tape to one end of each strip.
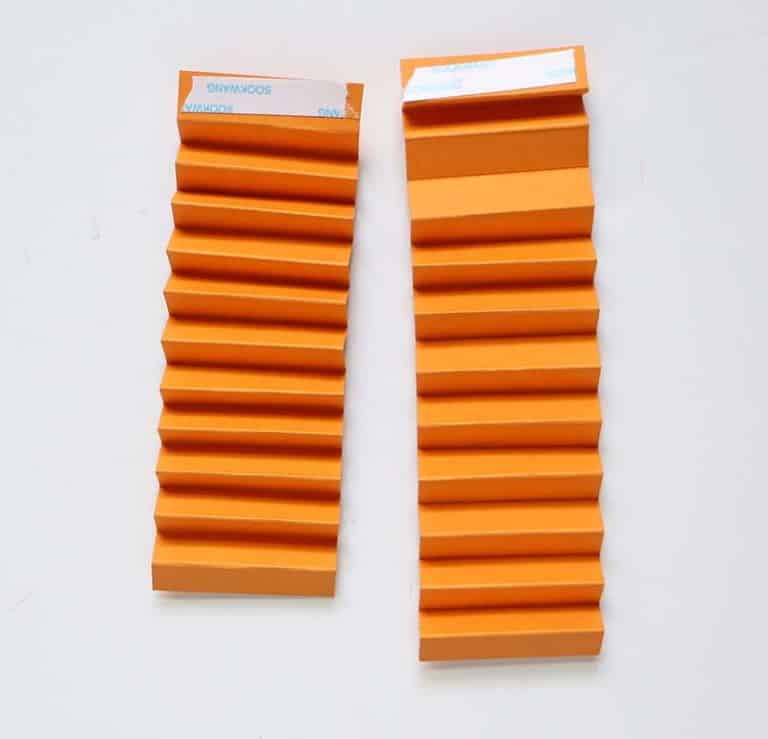
- Peel the liner off of the double-sided tape and connect your strips together forming one long strip.

- After you connect your strips, connect the ends together to form a circle.
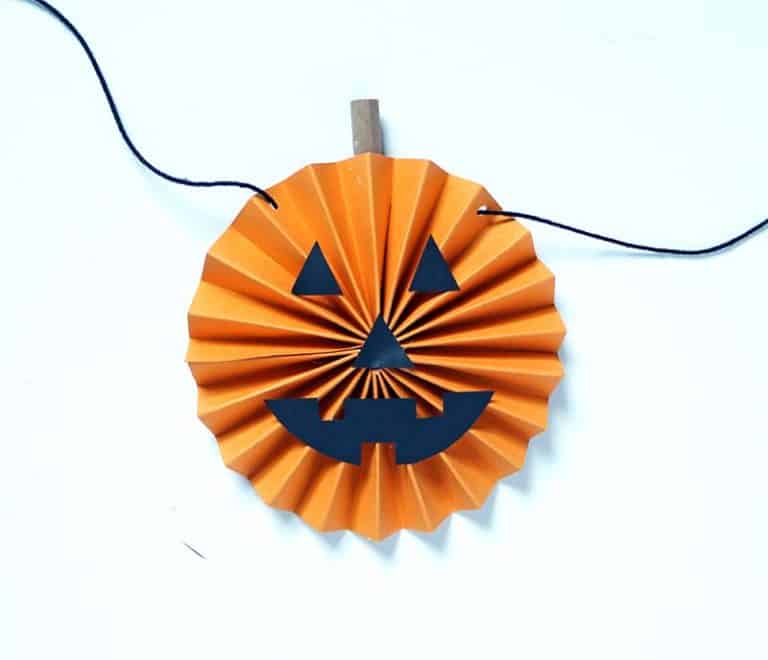
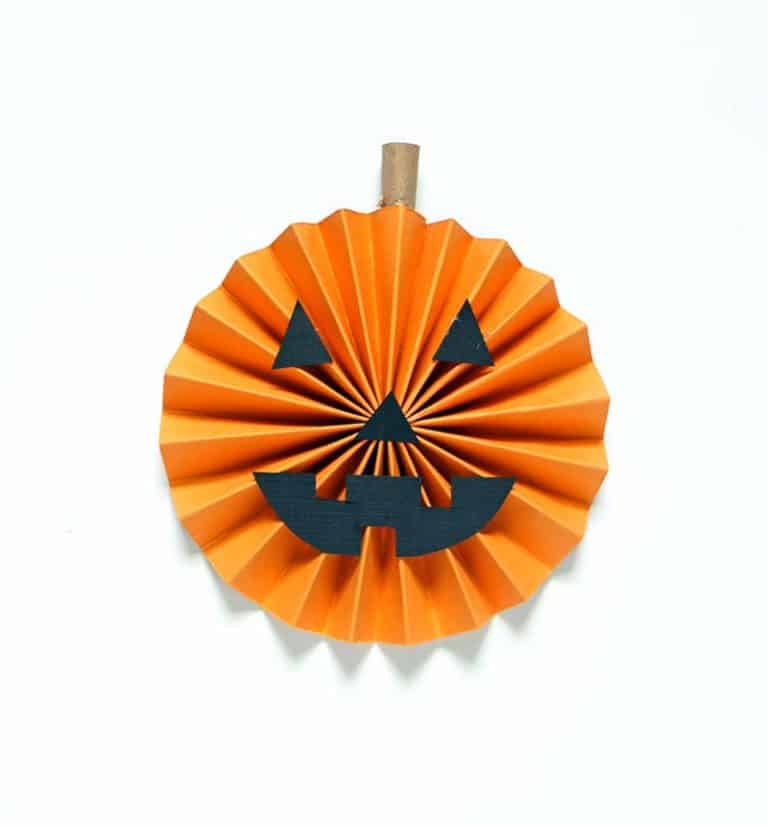
- Next, cut out your pumpkin’s face. To create a stem, cut a small strip of brown paper, roll it, and add glue to one end to keep the stem’s shape.

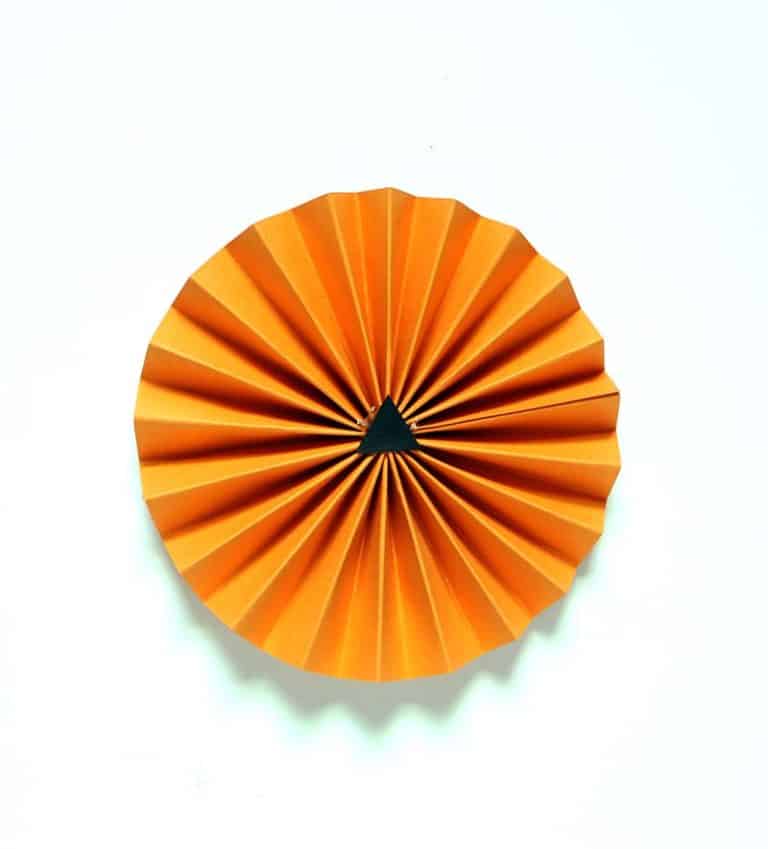
- Push down on the center of the circle you created. This will flatten it, creating the base of your rosette. Add hot glue to the center and glue on the pumpkin’s nose. This will also help secure the rosette shape.
- Then, glue on the eyes and mouth and add glued to the top to secure the stem.
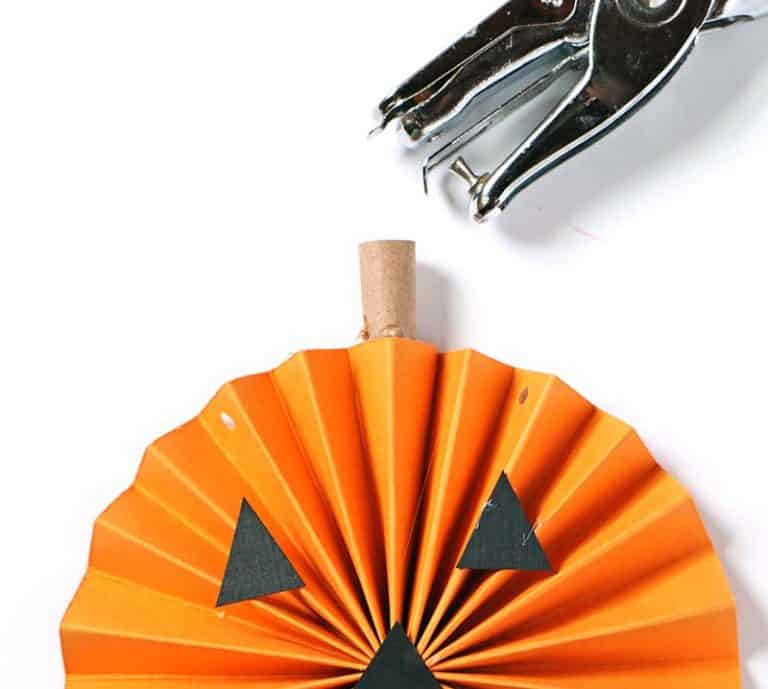
- Punch two holes in the pumpkin; one on each side of the stem.
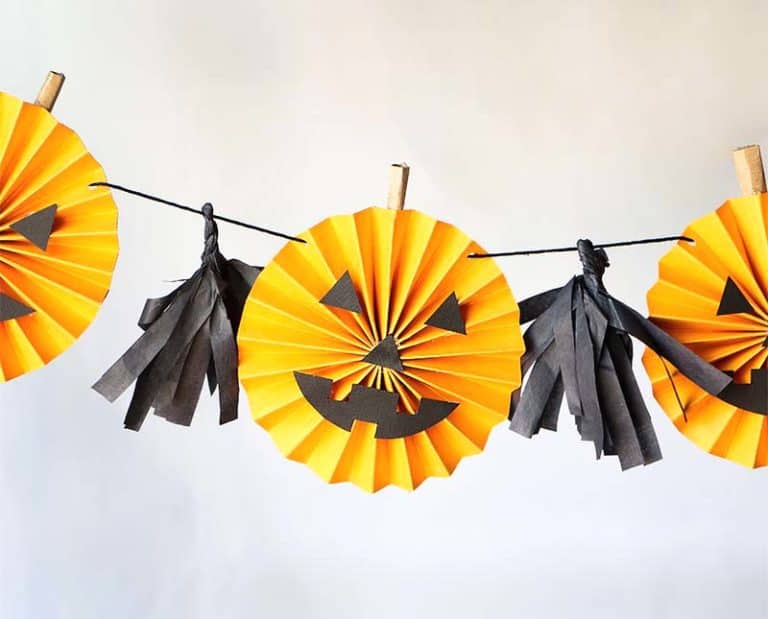
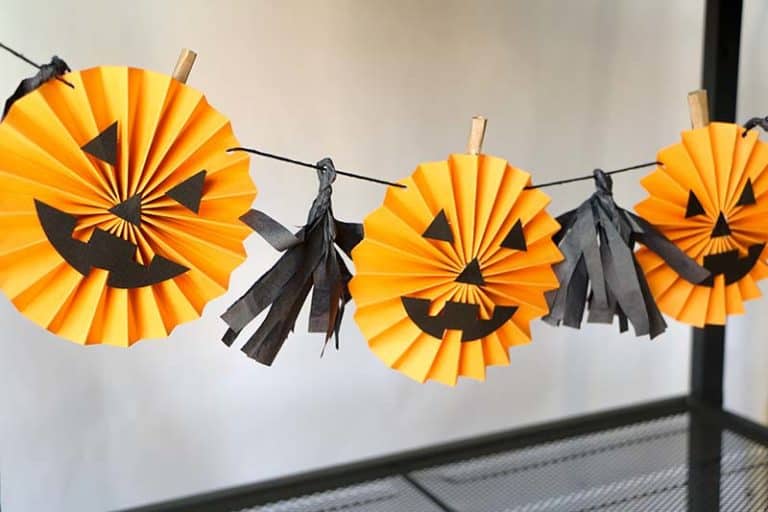
- Create mini tassels out of your tissue paper. These will go in-between each of your pumpkins.
- Finally, string on a pumpkin then a tassel. Continue alternating until you have created your garland.