How to Make DIY Christmas Wall Art in 7 Easy Steps (No Expensive Supplies!)
Updated on December 1, 2025


DIY Christmas wall art is an inexpensive home project for anyone who wishes to decorate their house for the holidays without spending a fortune. Read on to discover how to craft your own Christmas wall art on a budget by following easy instructions and using simple supplies you probably have already.

Making your own wall art is an easy and budget-friendly alternative to store-bought options, and you will be satisfied knowing that your décor is unique. It’s also a fun activity to do with family or friends, and you will add a festive and cozy atmosphere to your home.
This article describes the tools and materials, step-by-step instructions with pictures, a video guide, and tips and tricks for crafting DIY Christmas wall art.
Supplies for the DIY Christmas wall art
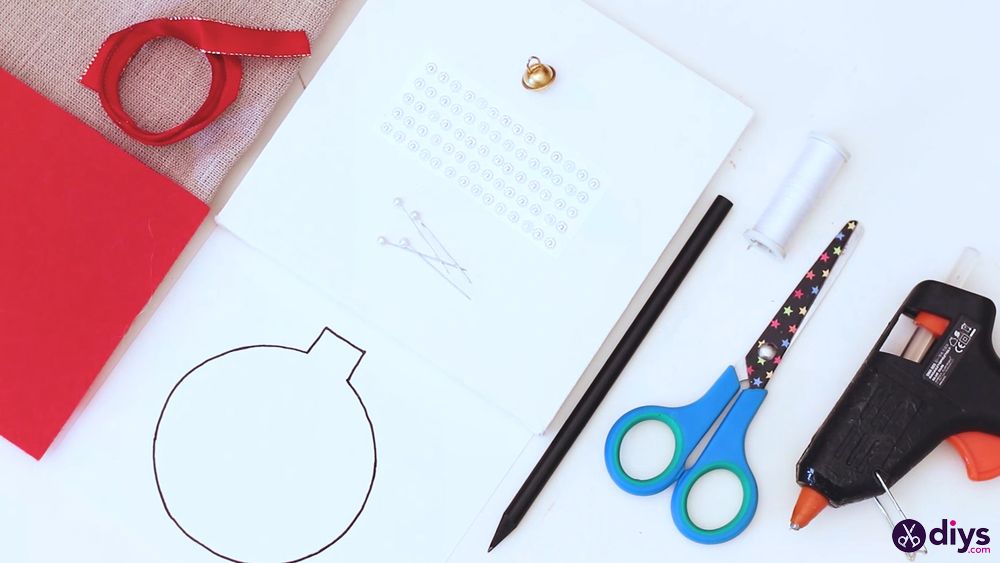
- A small canvas
- Linen or burlap
- Red felt
- A pencil
- A Sharpie marker
- Paper
- Scissors
- Pins
- Needle and thread
- Hot glue gun
- Lace ribbon
- Red silk ribbon
- Decorative beads
- Small bells
How do I craft DIY Christmas wall art?
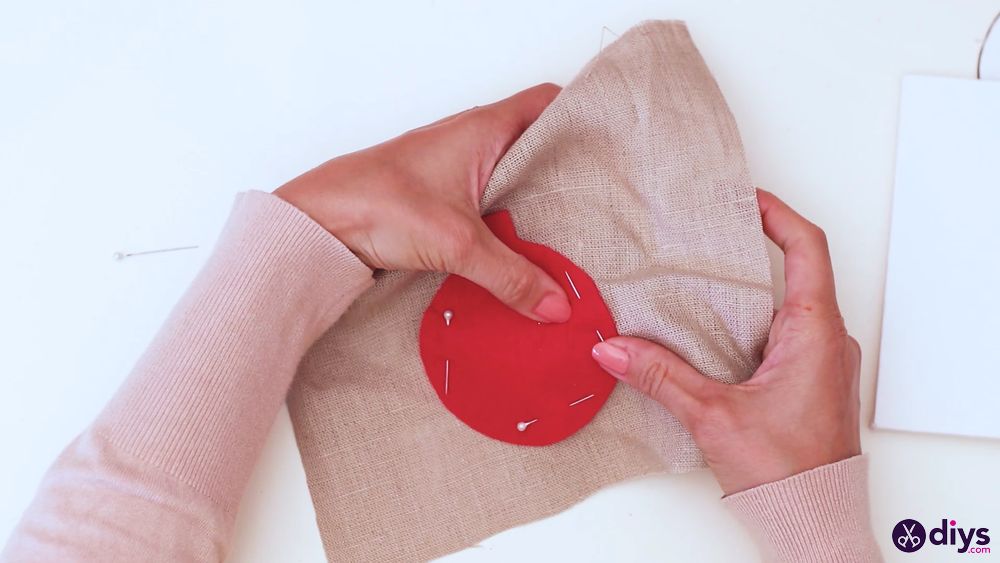
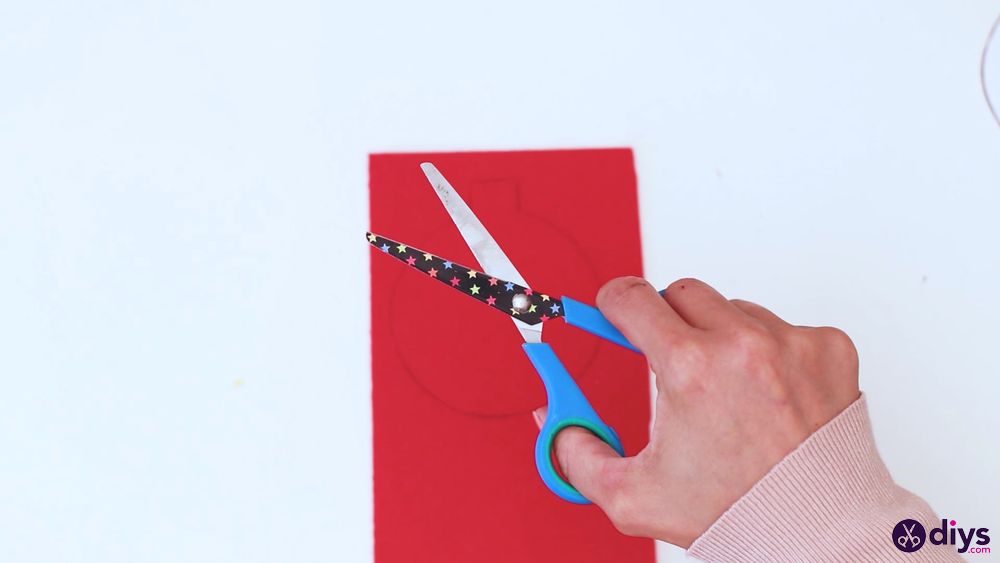
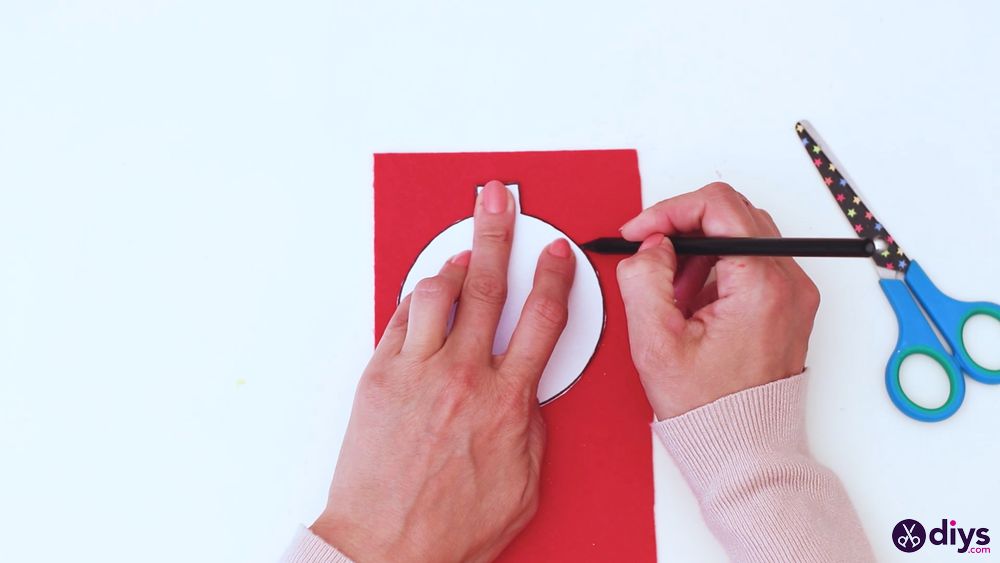
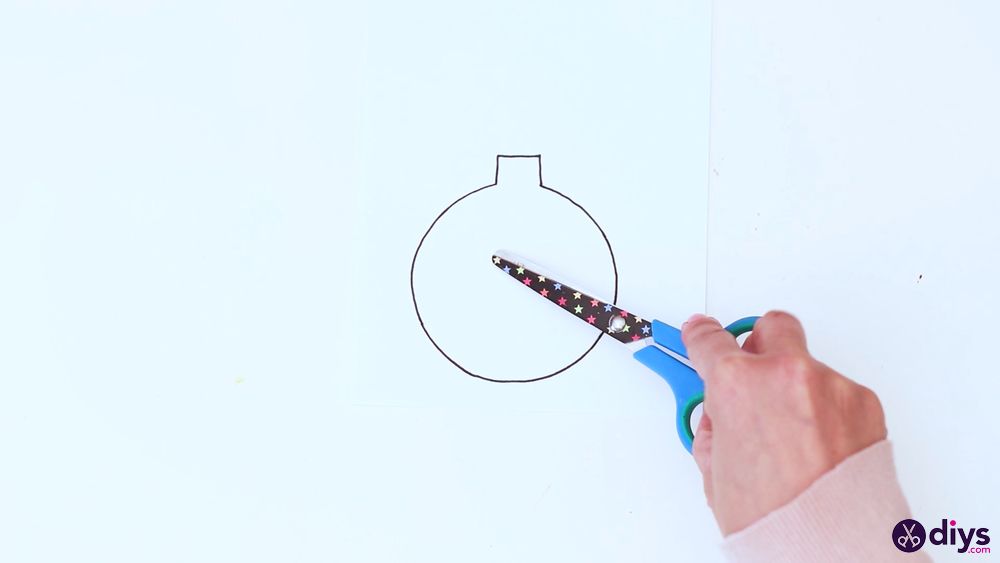
- Make a felt ornament: Create the outline of a Christmas ornament and use it as a template to cut out a felt ornament.

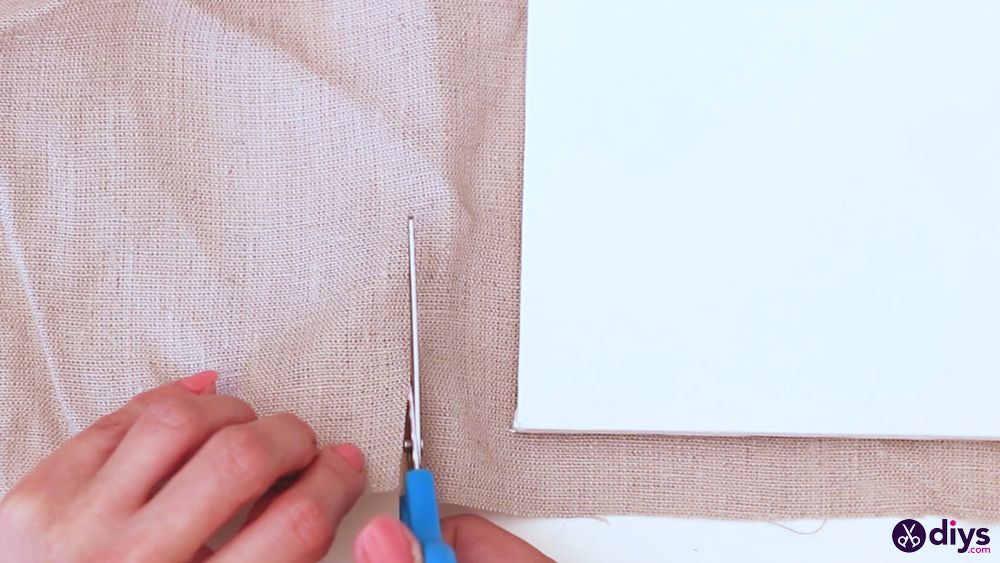
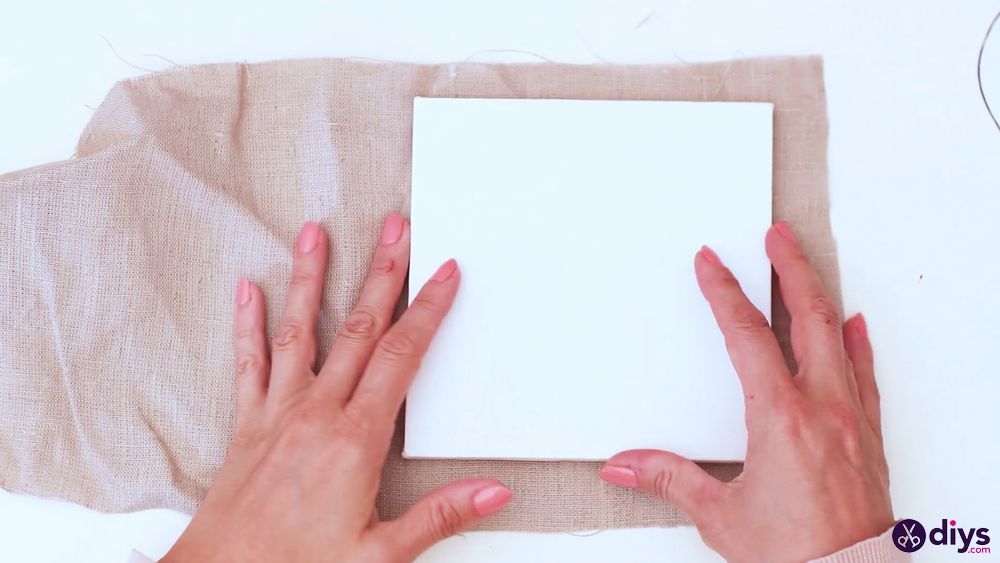
- Cut linen: Place the canvas on top of the linen and cut around it, leaving about 2 inches (5 cm) of fabric on all sides.
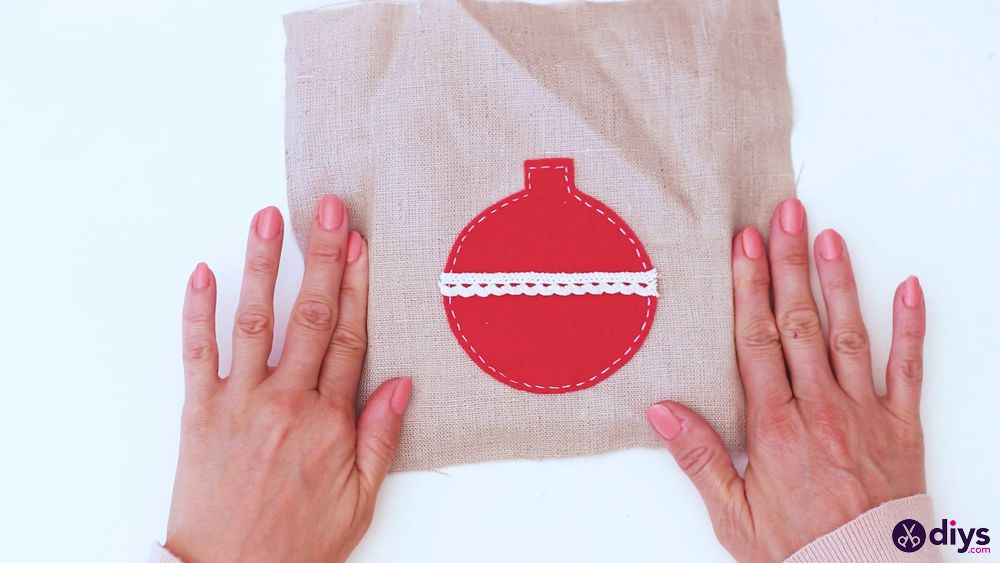
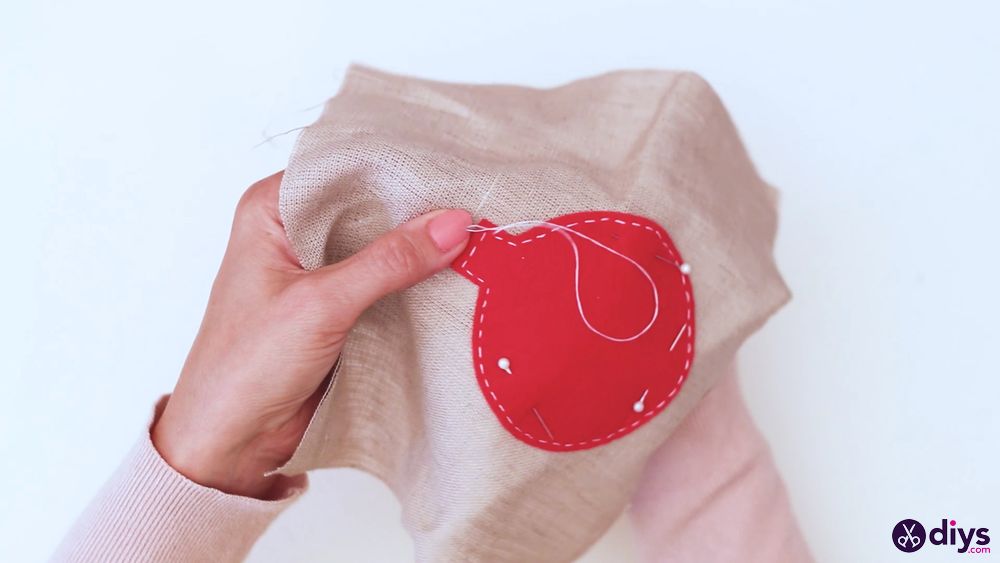
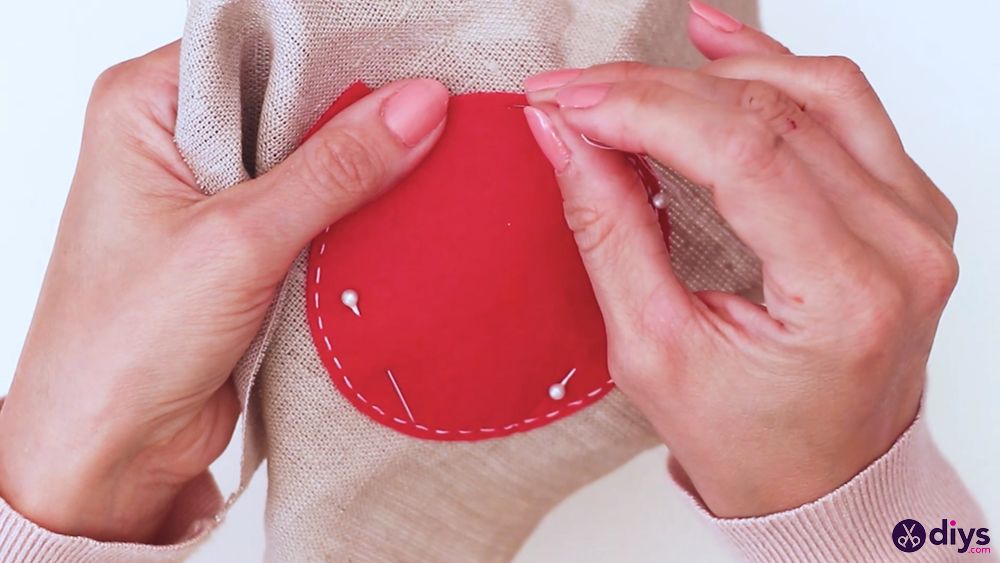
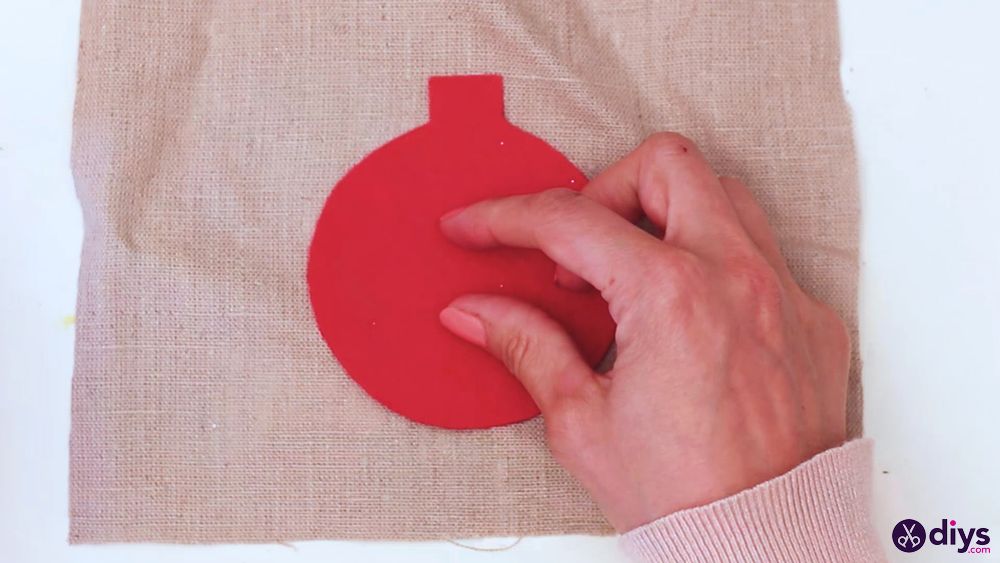
- Attach the felt ornament: Place the red felt ornament on the linen canvas, secure it with pins, and sew the felt to the linen using a running stitch or a blanket stitch.
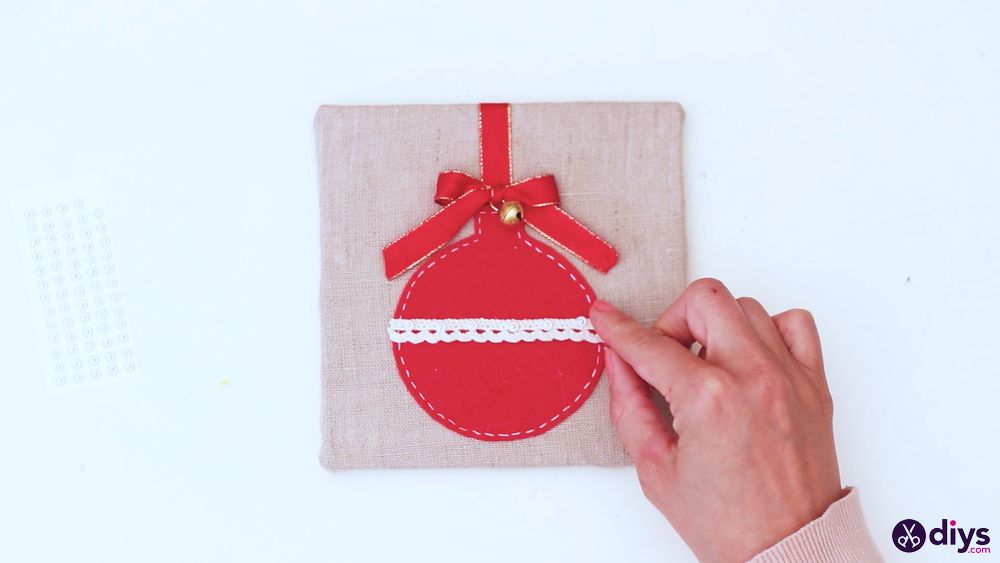
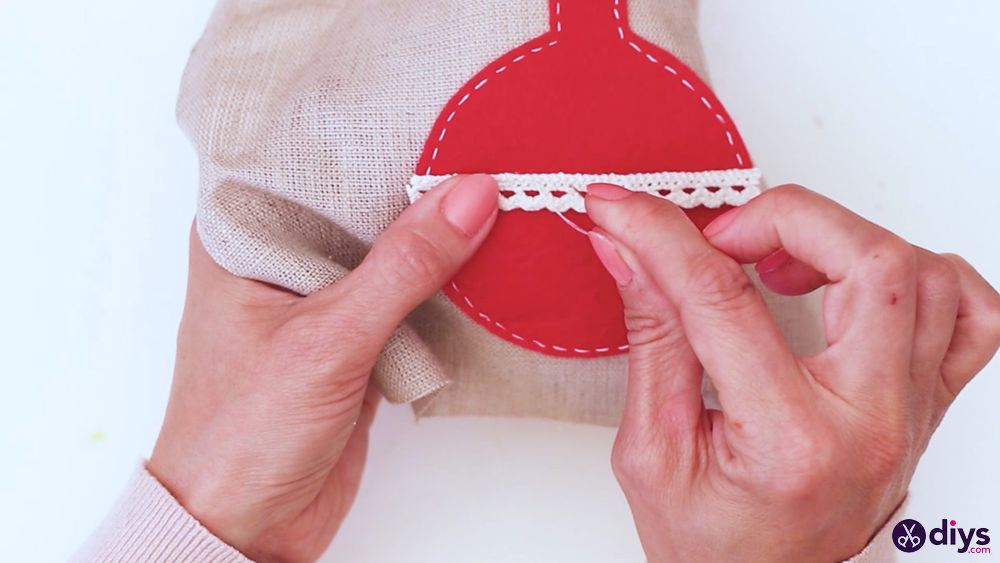
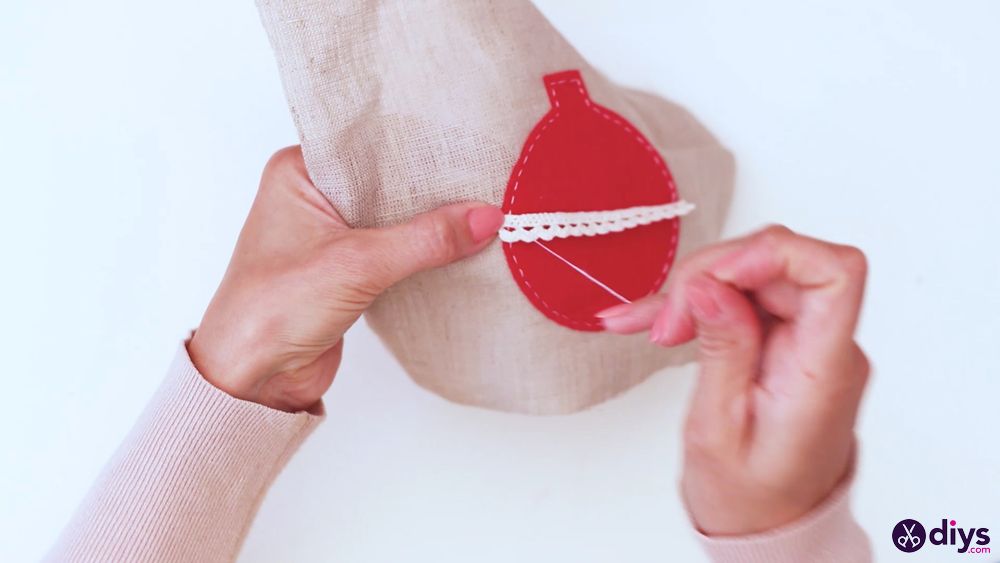
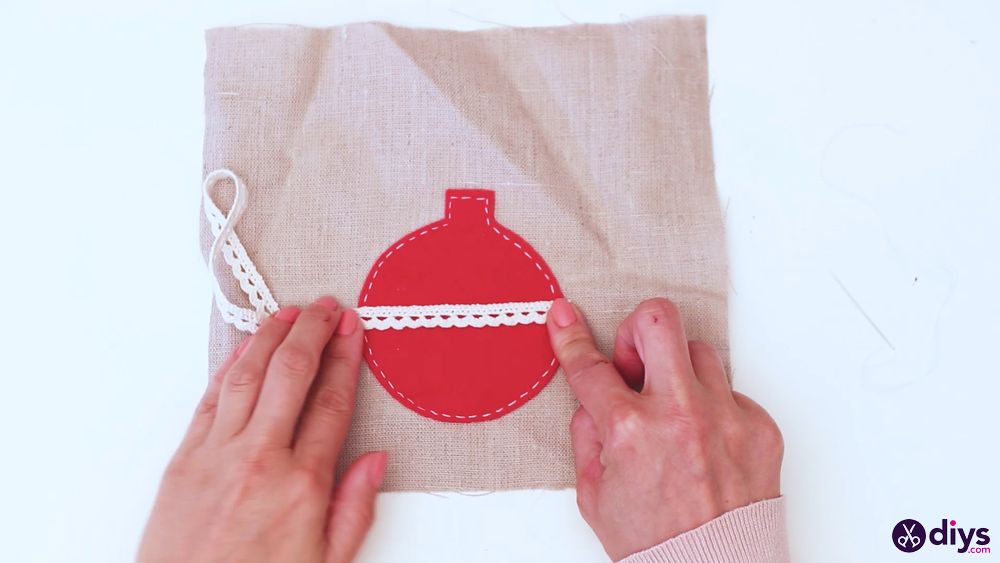
- Add lace: Cut a piece of lace ribbon as long as the diameter of the felt ornament and sew it to the middle of the ornament.
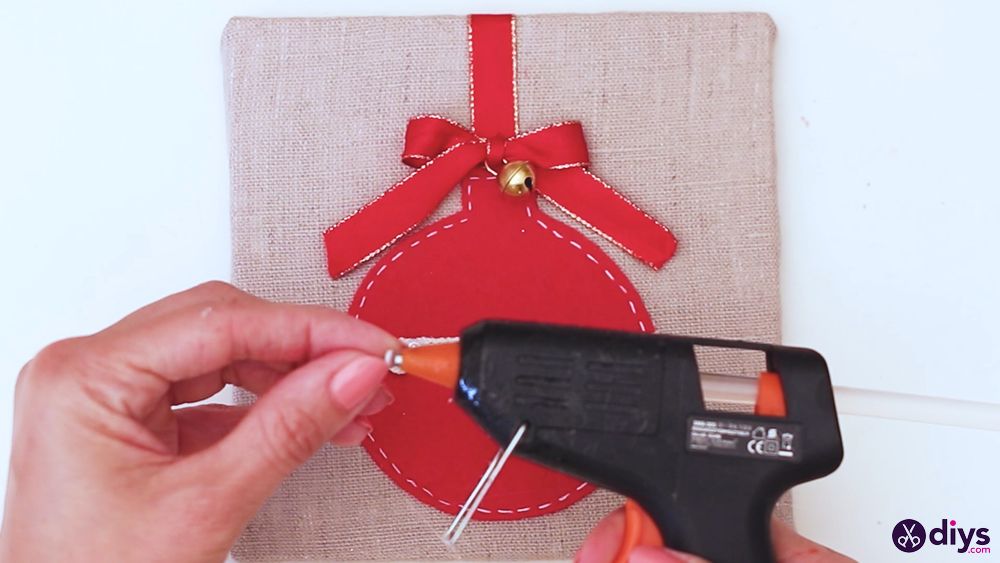
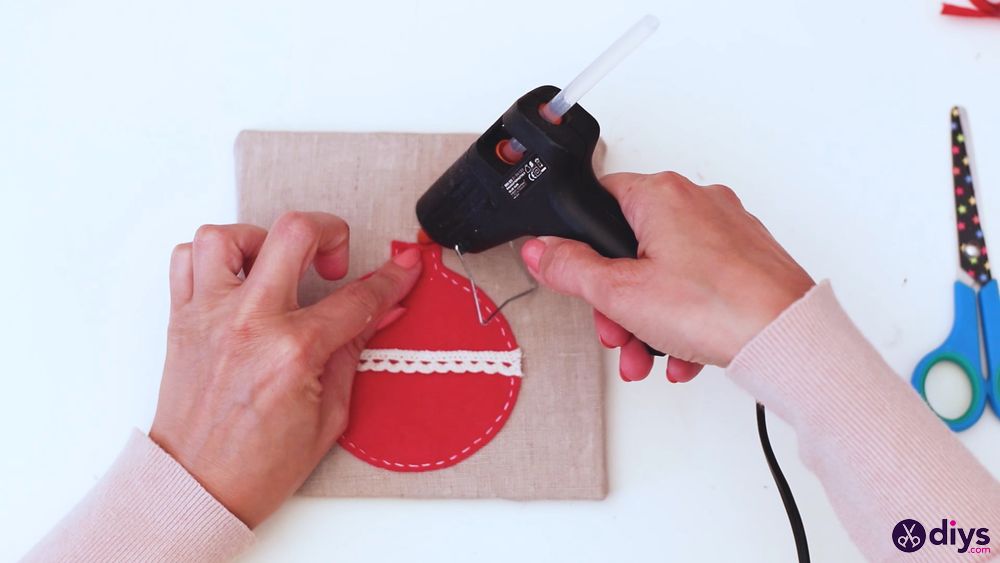
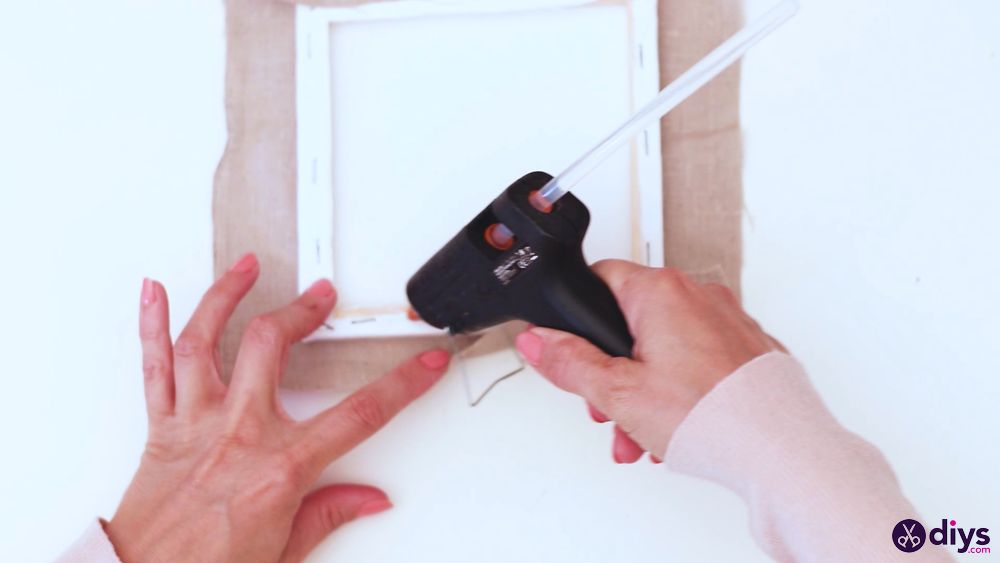
- Wrap the canvas: Add hot glue along the backside of your canvas and attach the linen. Wrap around the excess fabric to the back and secure it by gluing or sewing it.
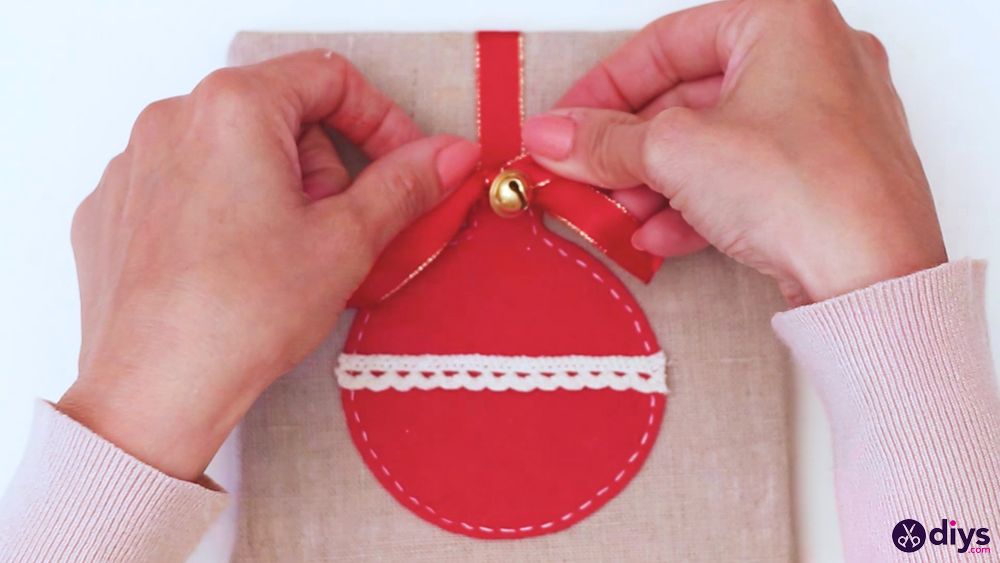
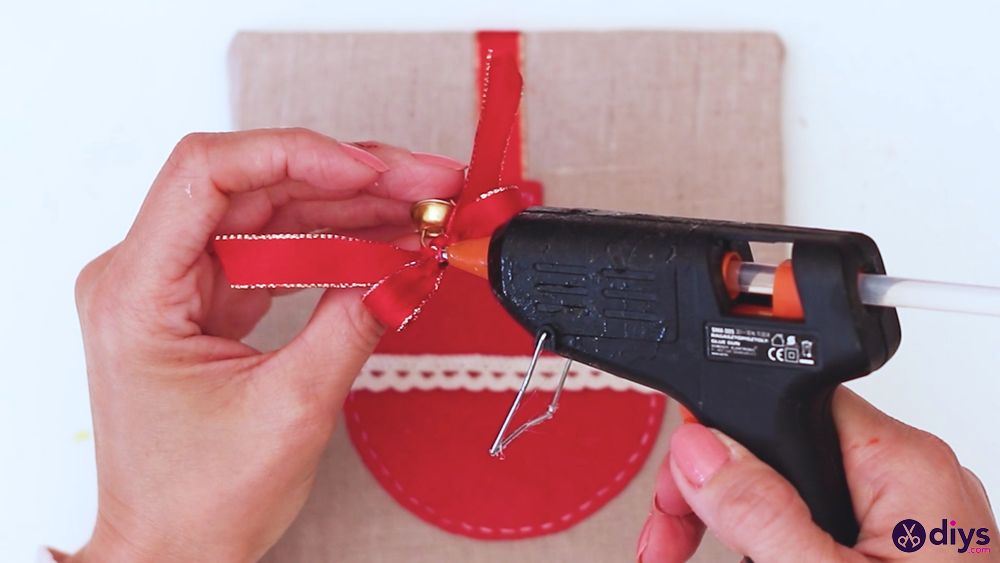
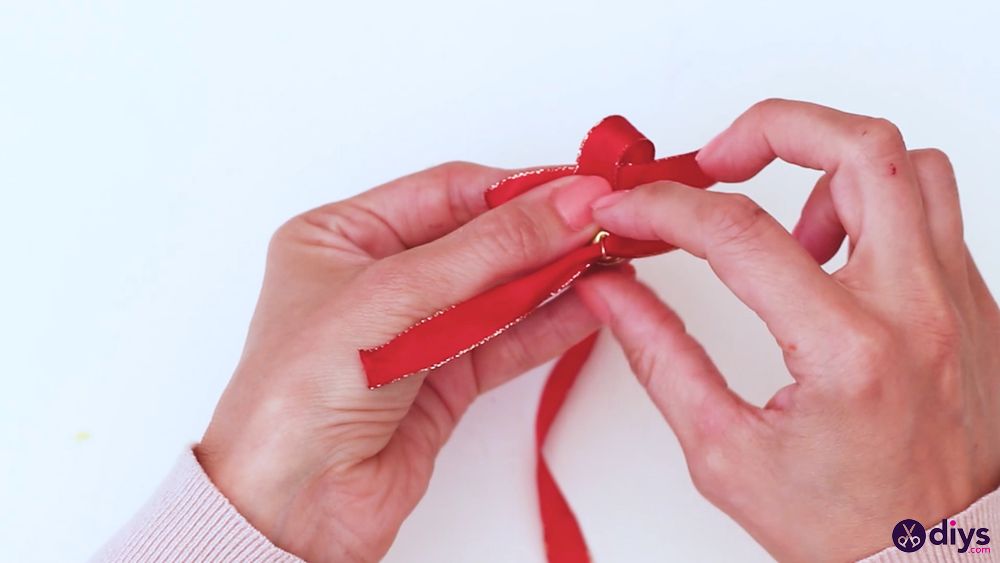
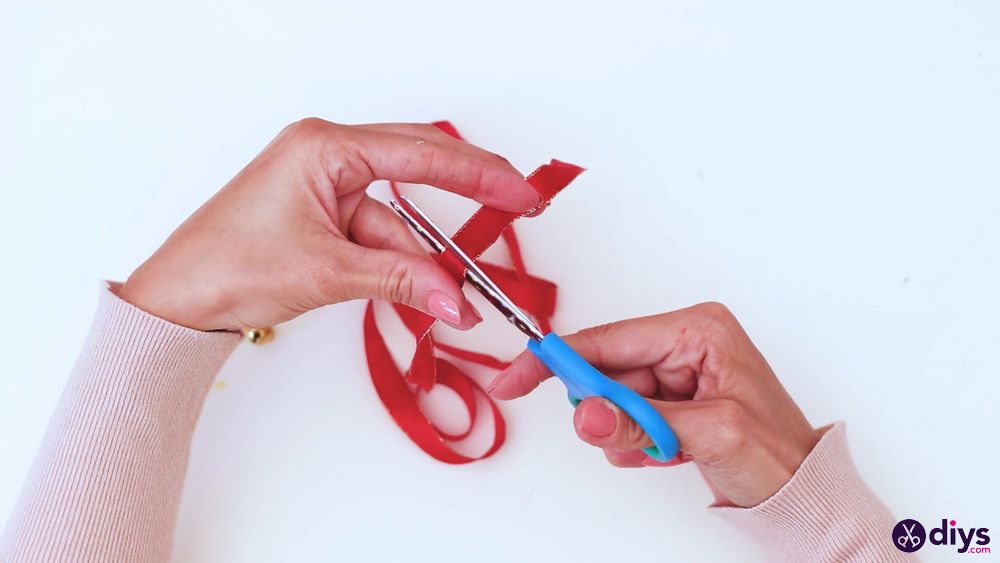
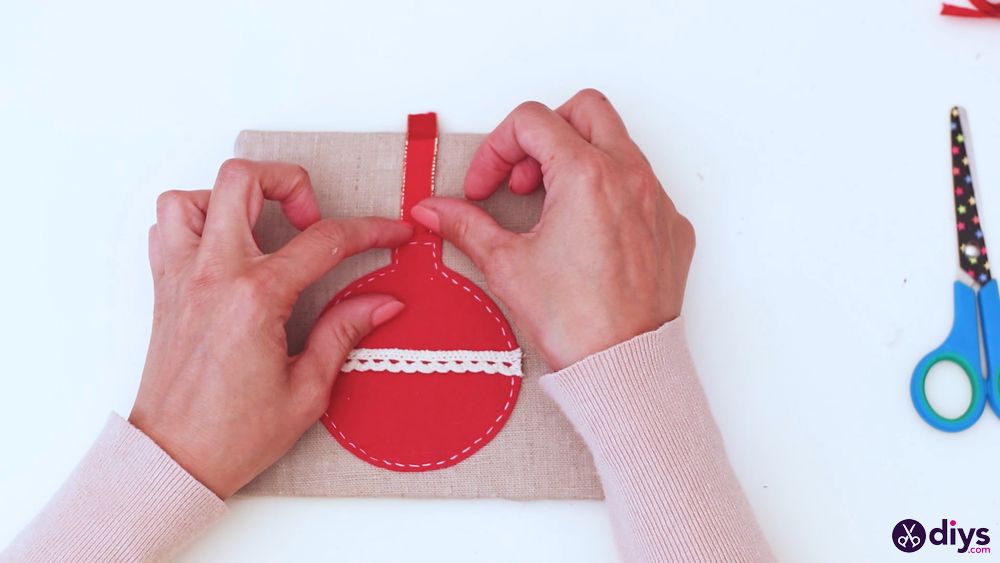
- Add a bow: Cut a piece of silk ribbon and glue it from the top-middle of the ornament to the back of the canvas. Then cut another piece of silk ribbon, make a knot around a small bell to look like a festive Christmas bow, and glue it to the bottom of the ornament hanger.
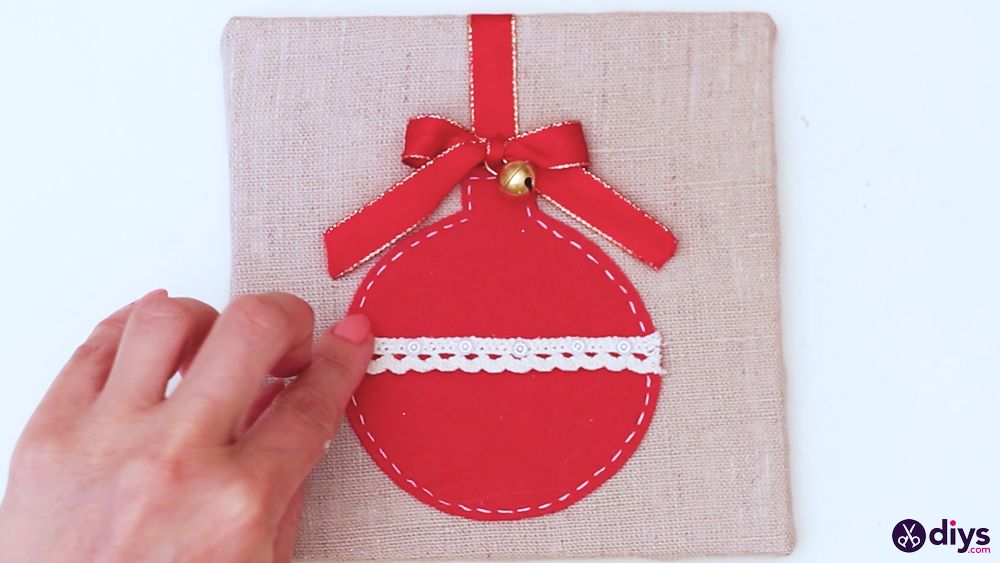
- Add the finishing touches: Use hot glue to attach the decorative beads along the length of the lace ribbon.
Video tutorial
Check out this video guide to better understand out instructions for making DIY Christmas wall art:
Tips and tricks
- Use different materials: Try other materials like shimmer fabric or satin if you feel the felt is too bland or doesn’t match your other Christmas decorations. Alternatively, add glitter to the felt to make it sparkly.
- Try different decorative shapes: Our design uses a traditional red Christmas ornament as a base for the wall art. Feel free to try other felt shapes, like a yellow star, a green Christmas tree, or a white or light blue snowflake.
- Go bigger: Scale up the DIY Christmas wall art project by using a bigger or longer canvas, making room for additional details with extra materials. For instance, use a long canvas to create three red felt ornaments at different heights.
Closing thoughts
We hope that you enjoyed this guide on how to craft your own DIY Christmas wall art. Anyone can make it, and it’s a great way to add a personal touch to your holiday decorations. Check out additional DIY felt ornaments to craft for Christmas.