DIY Rustic Twig Frame – The Perfect Gift for Someone You Love
Updated on June 23, 2021

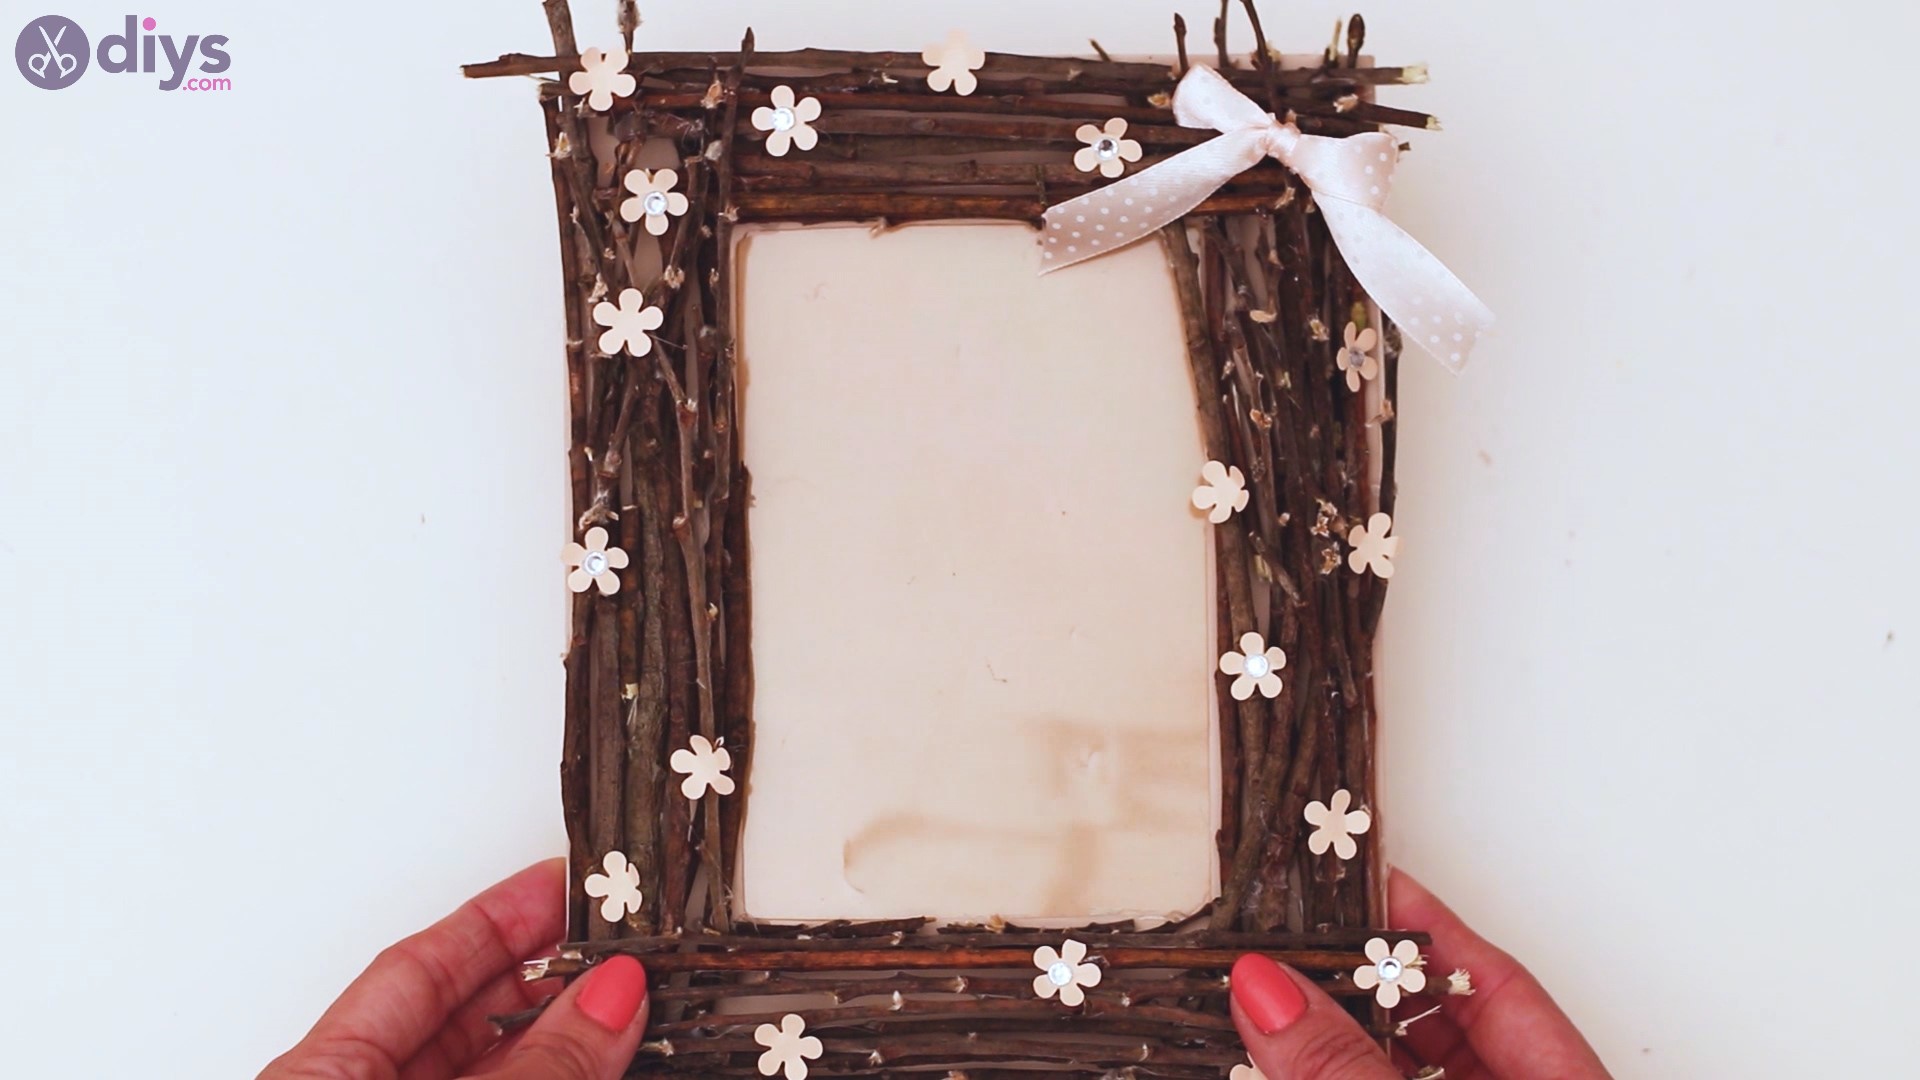
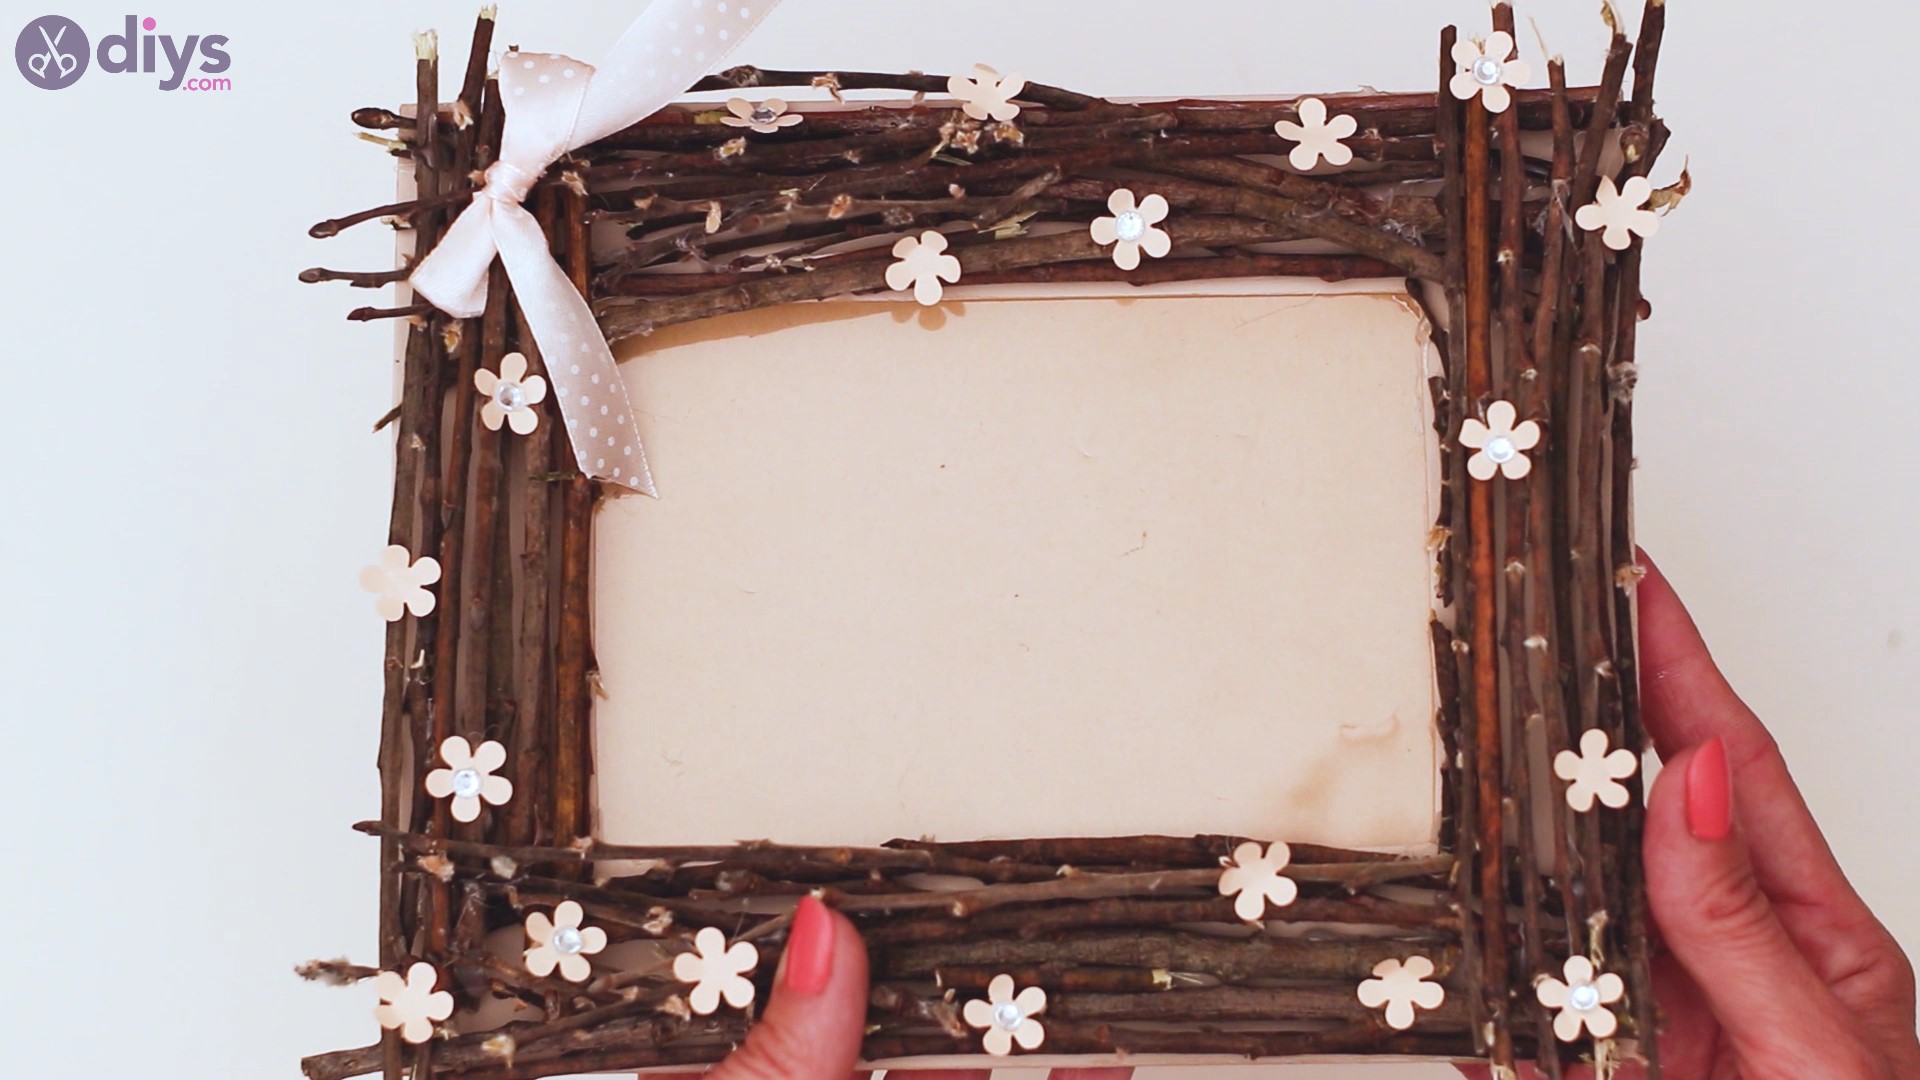
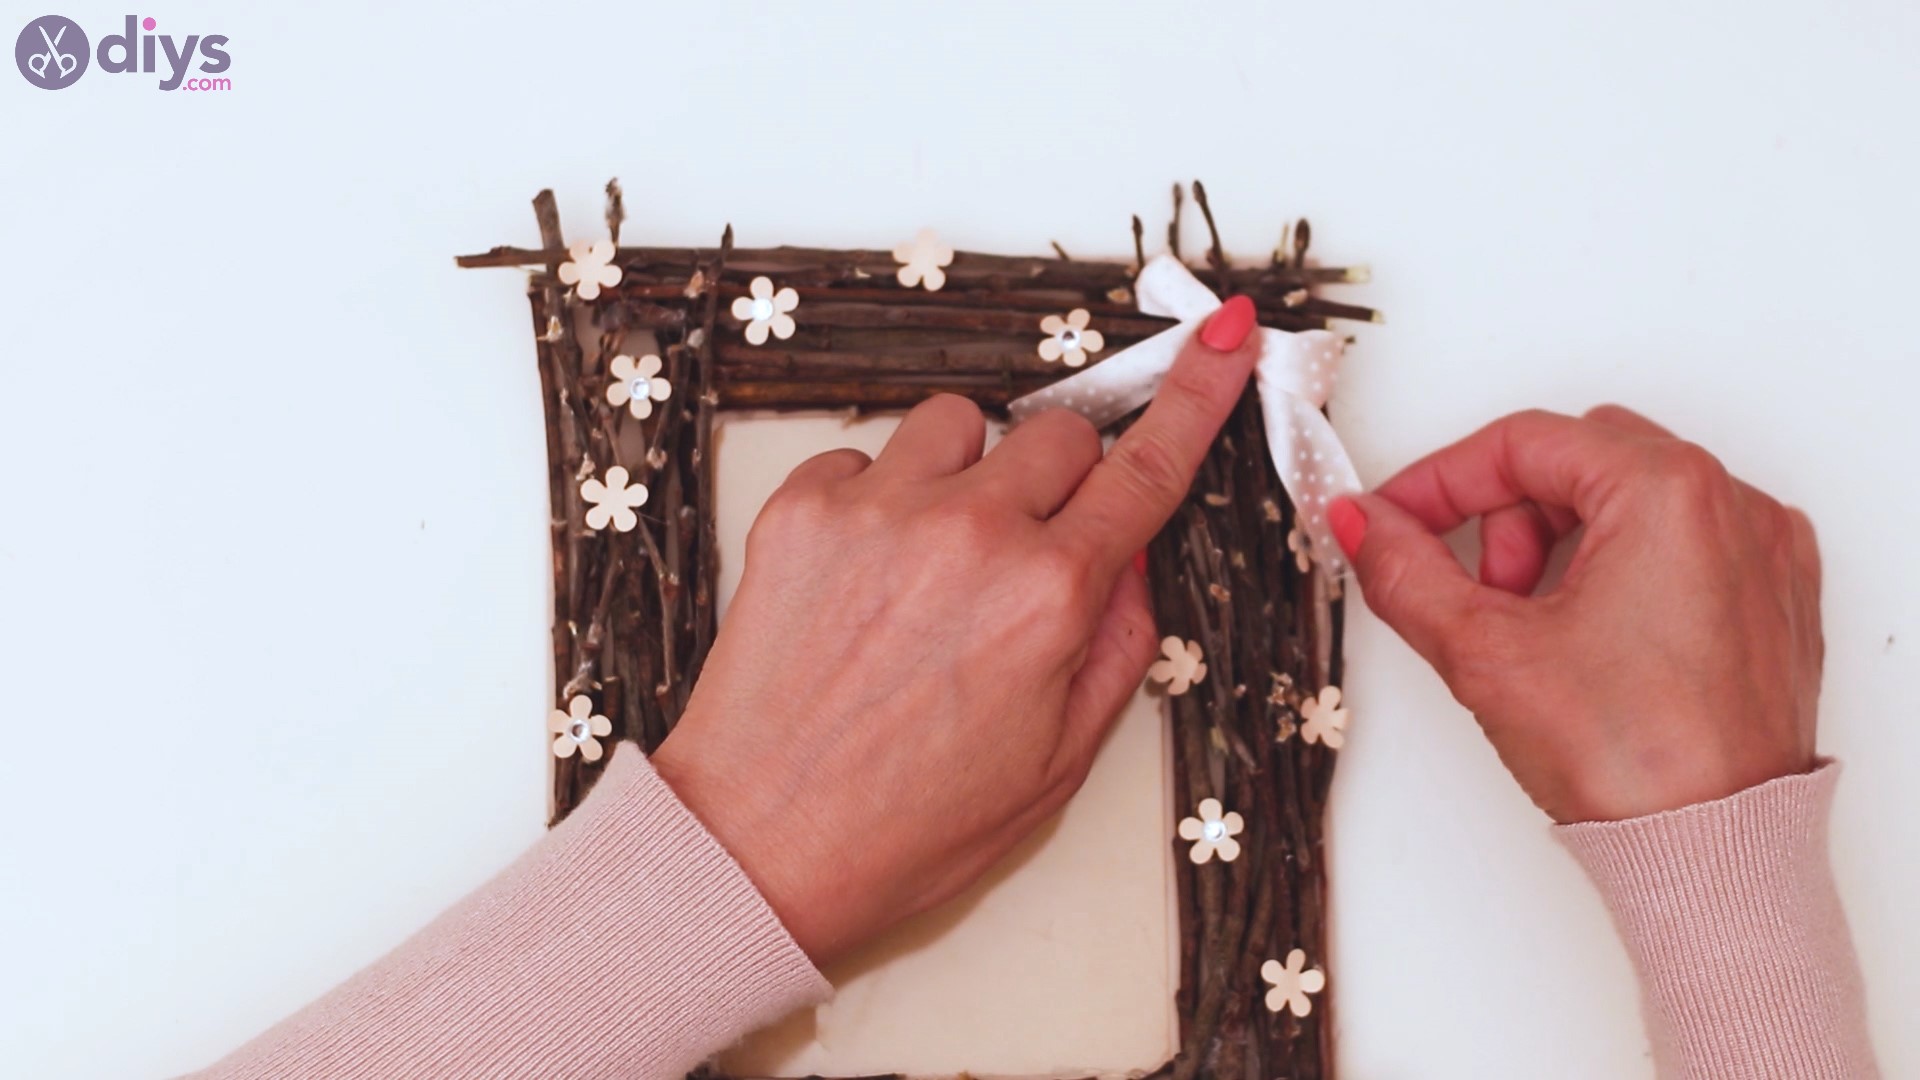


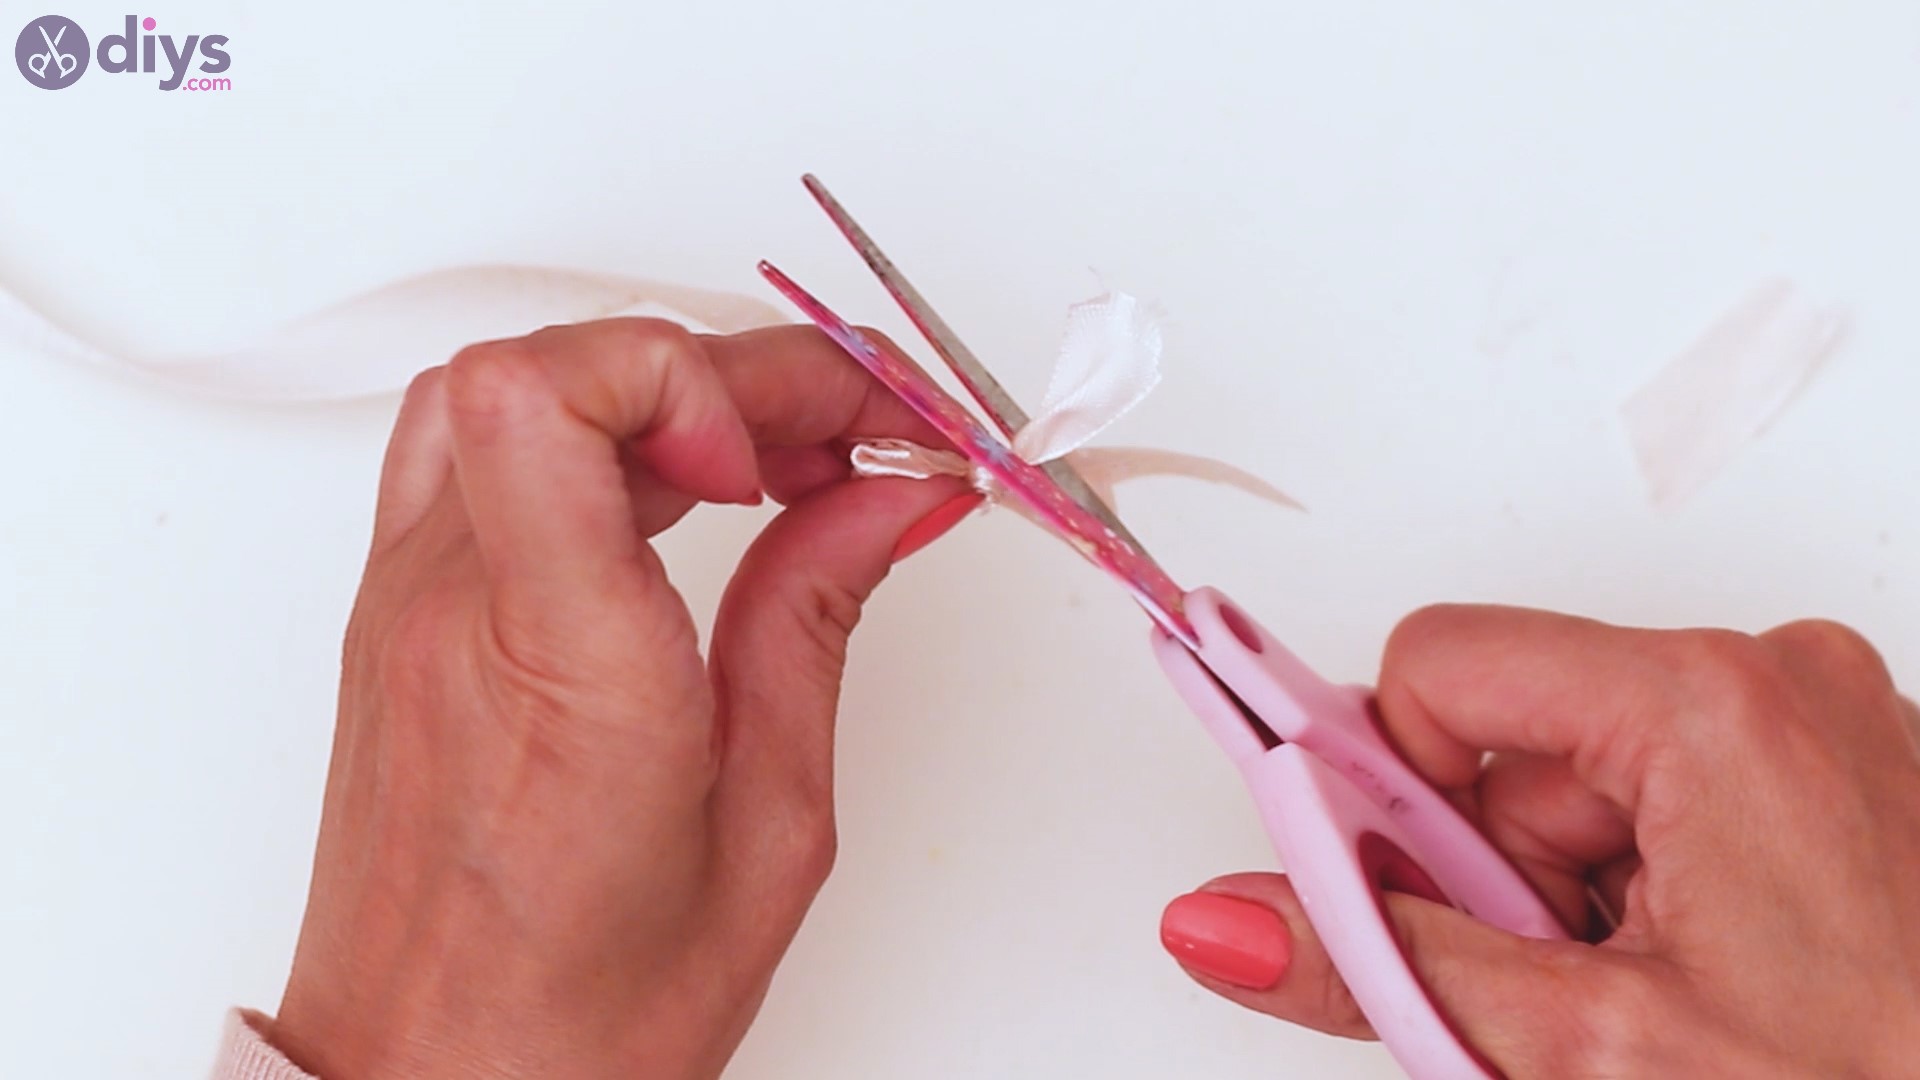

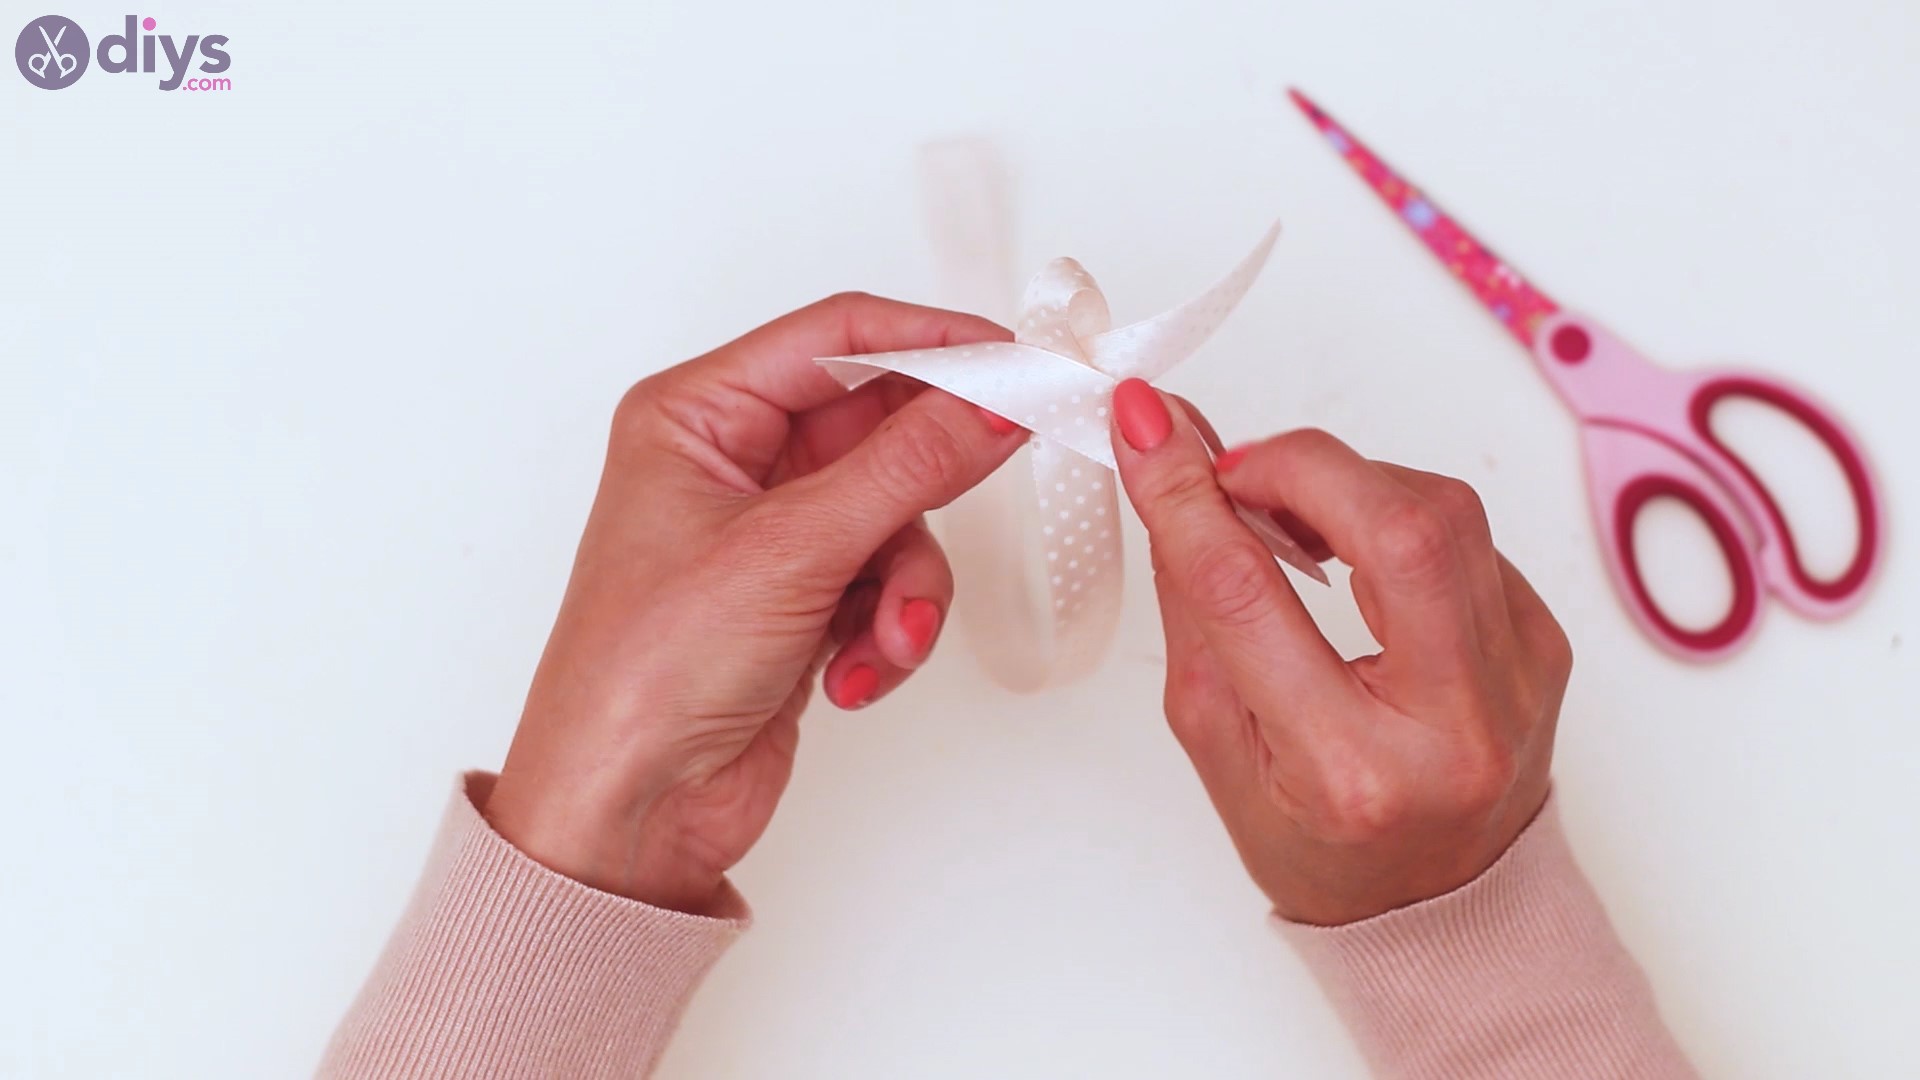

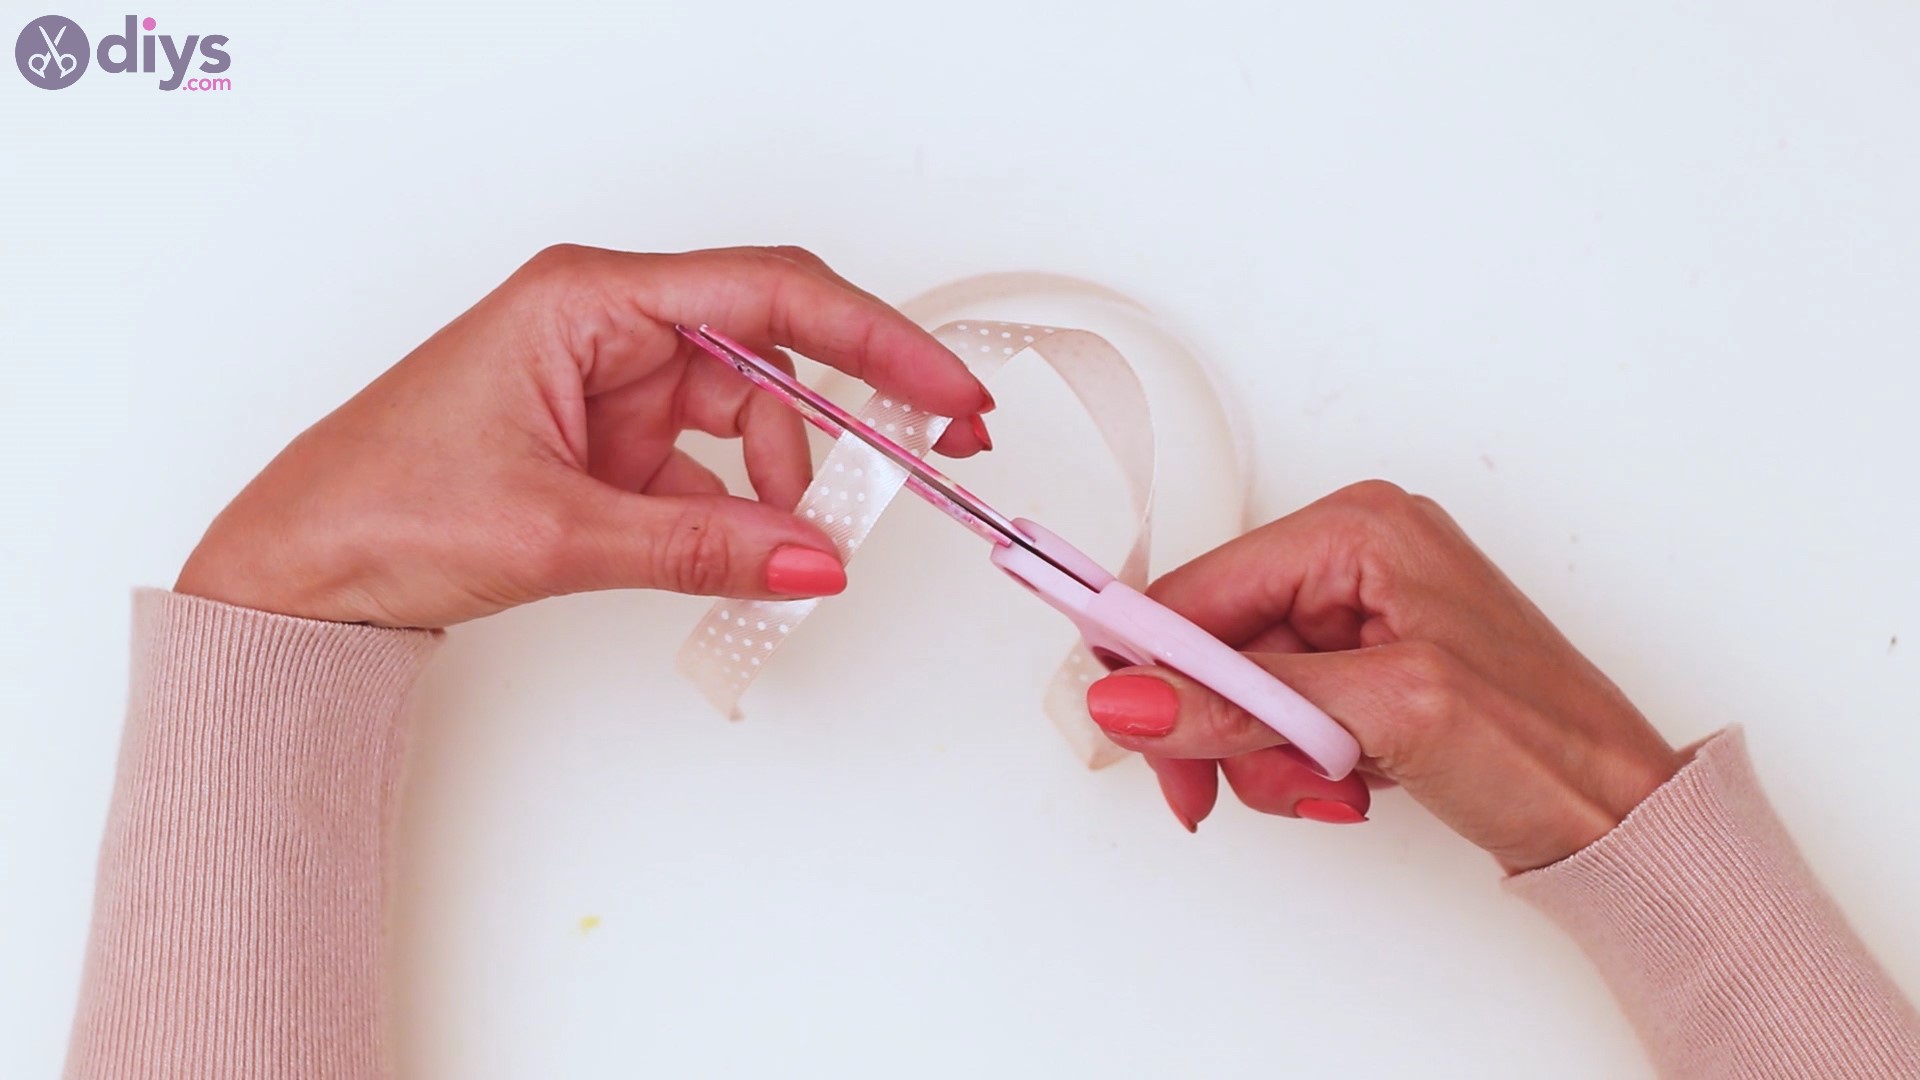
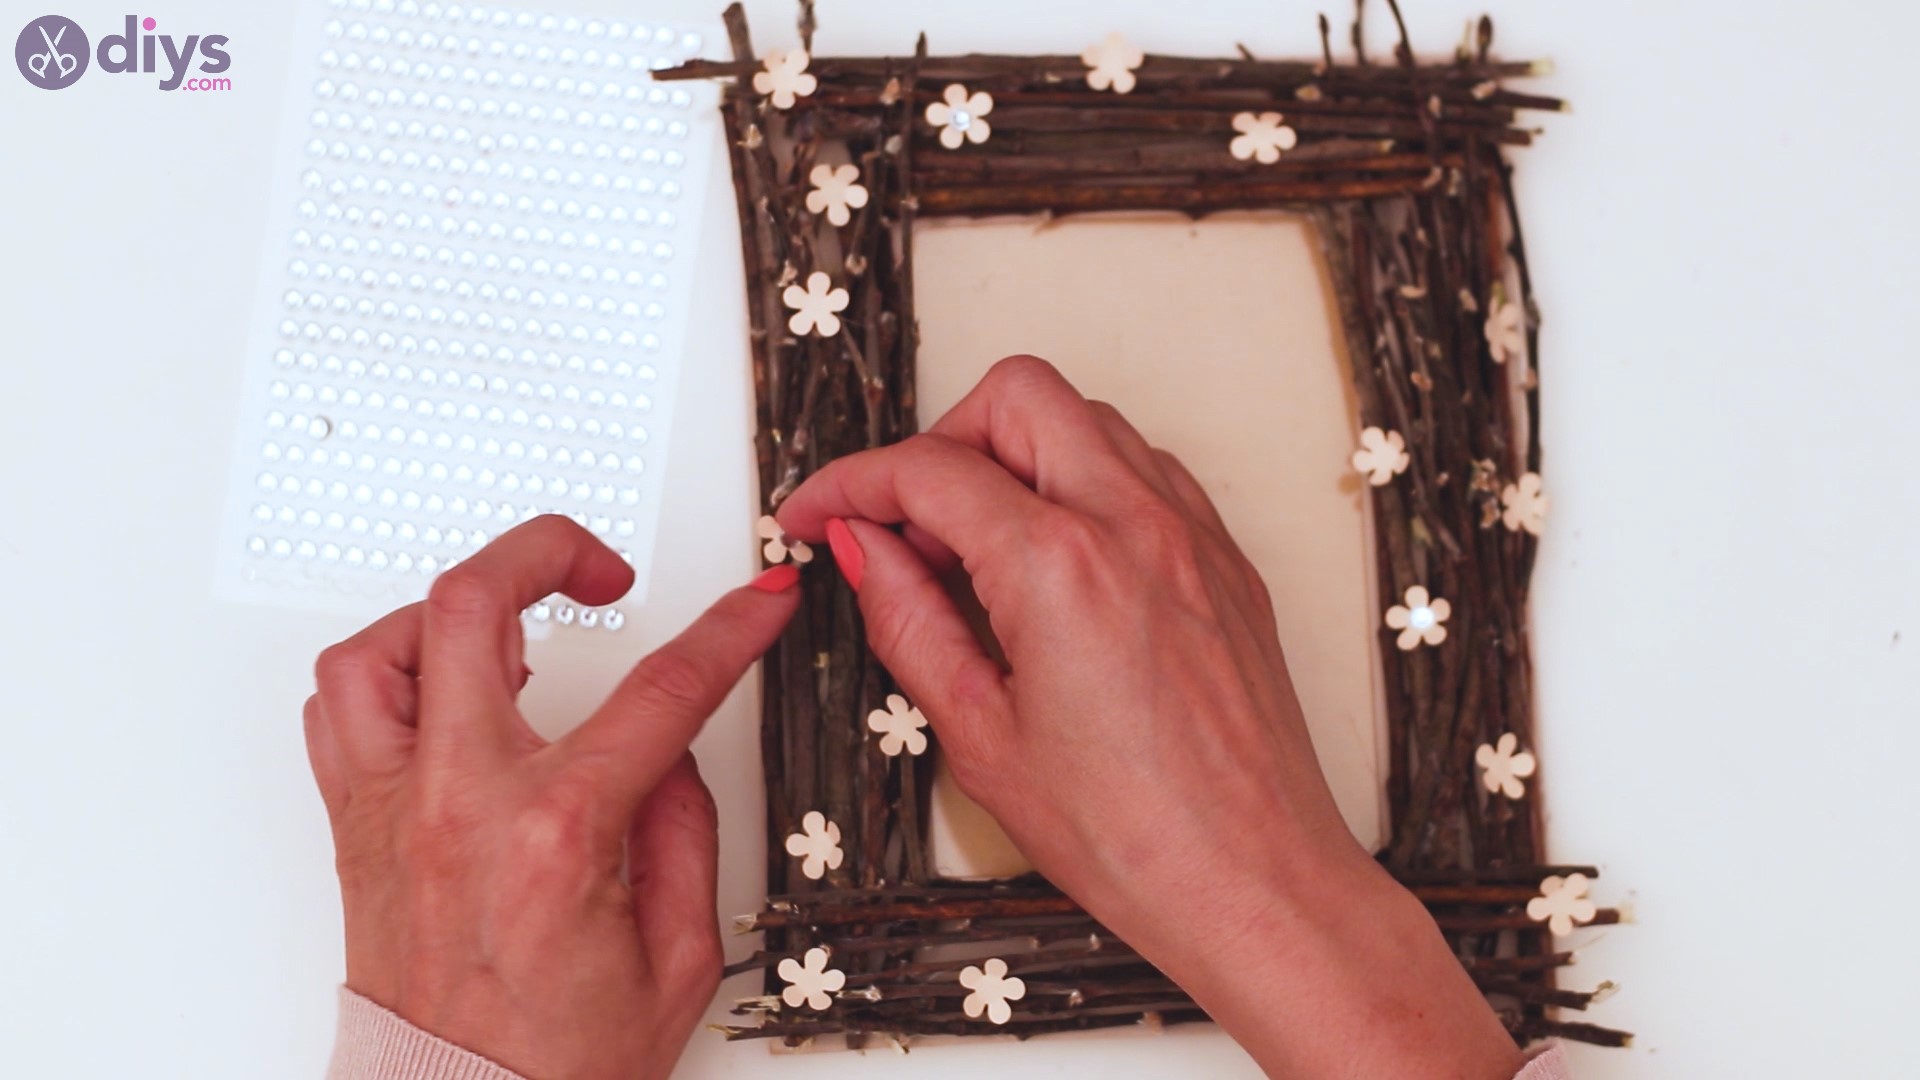
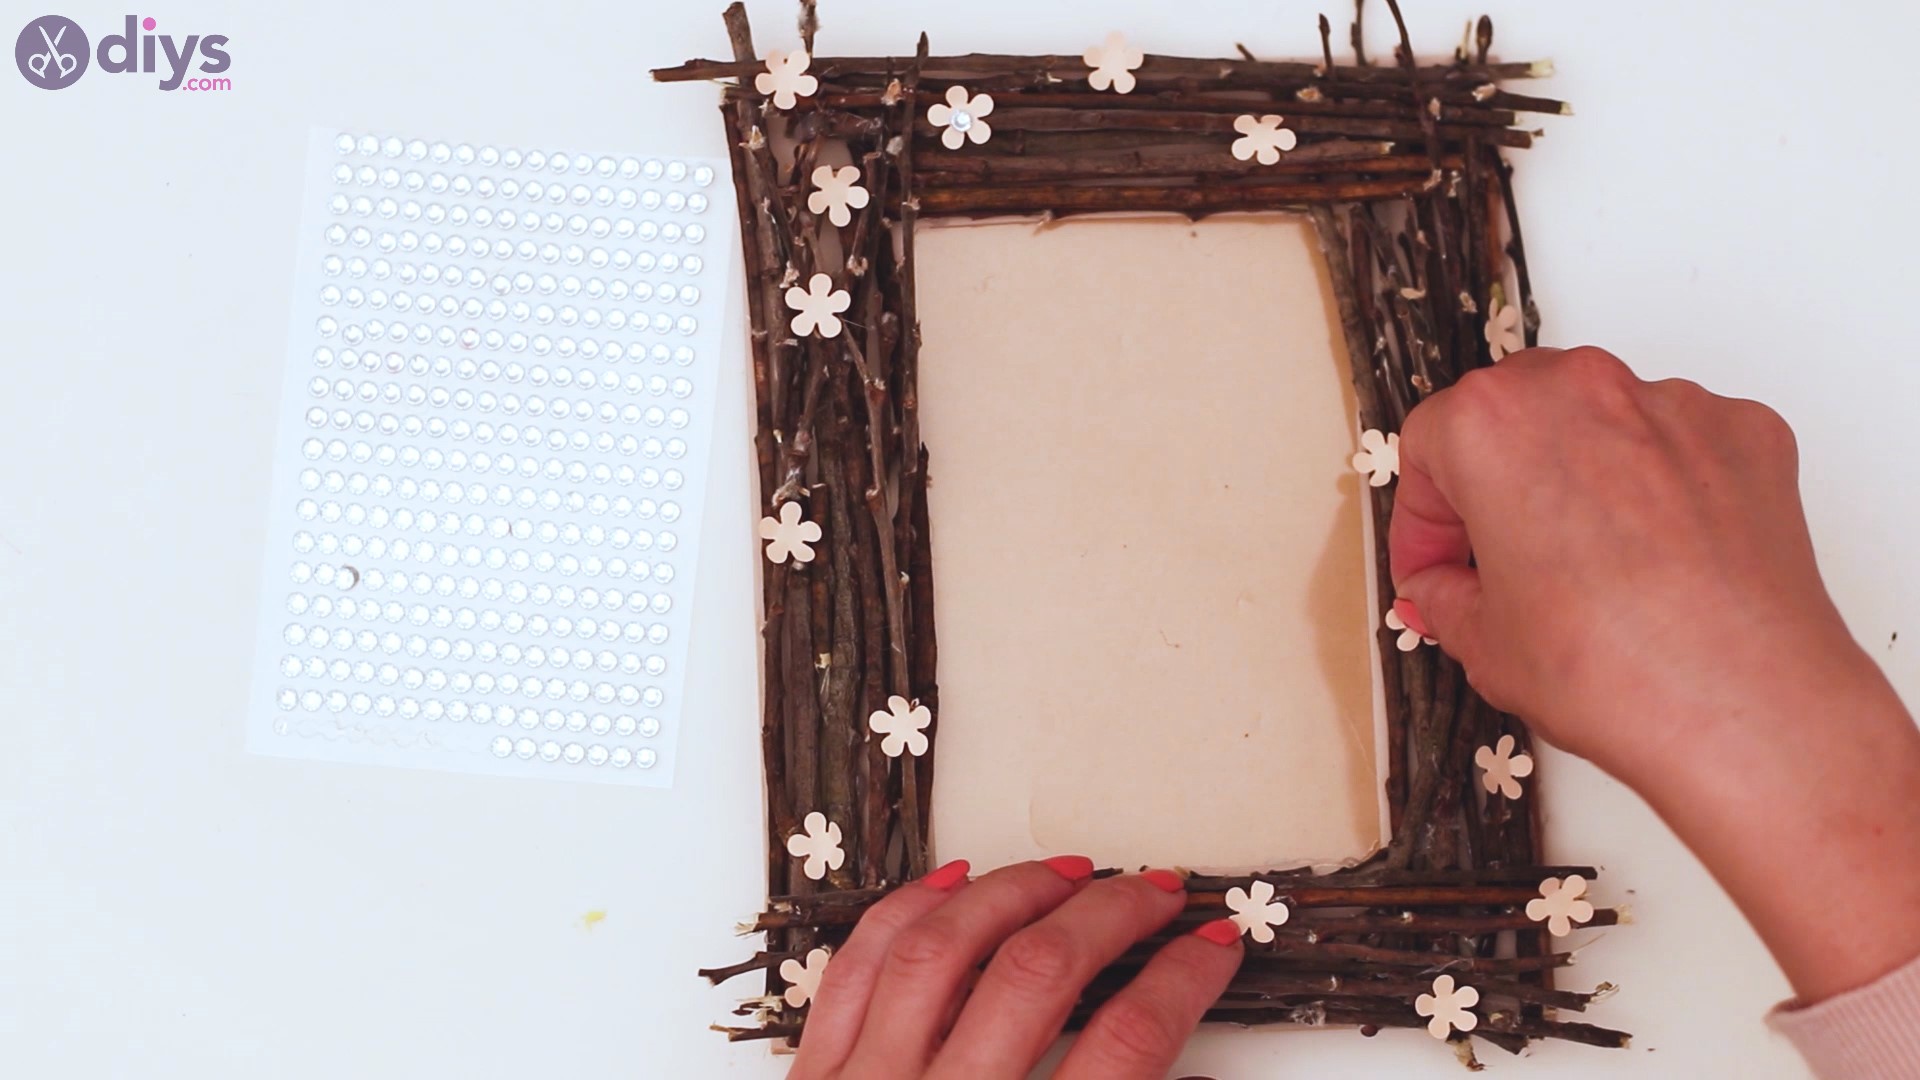
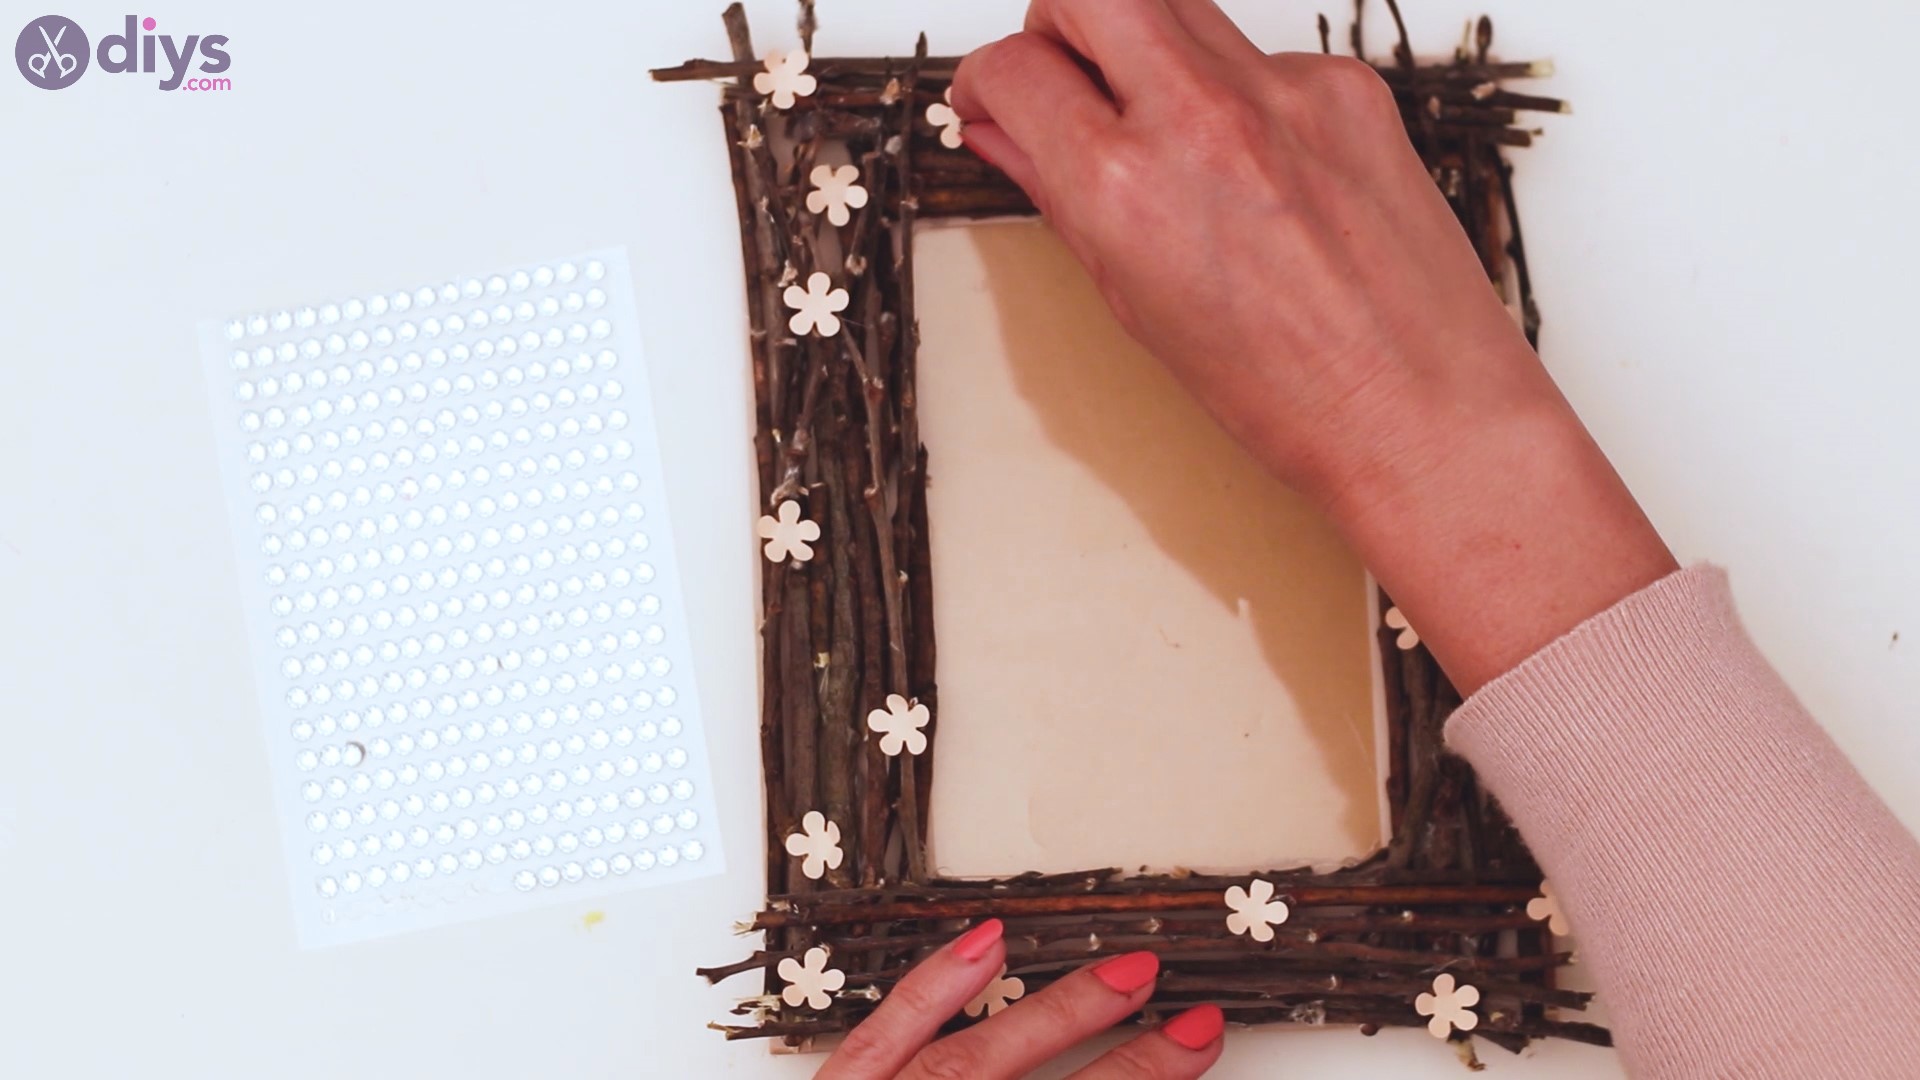

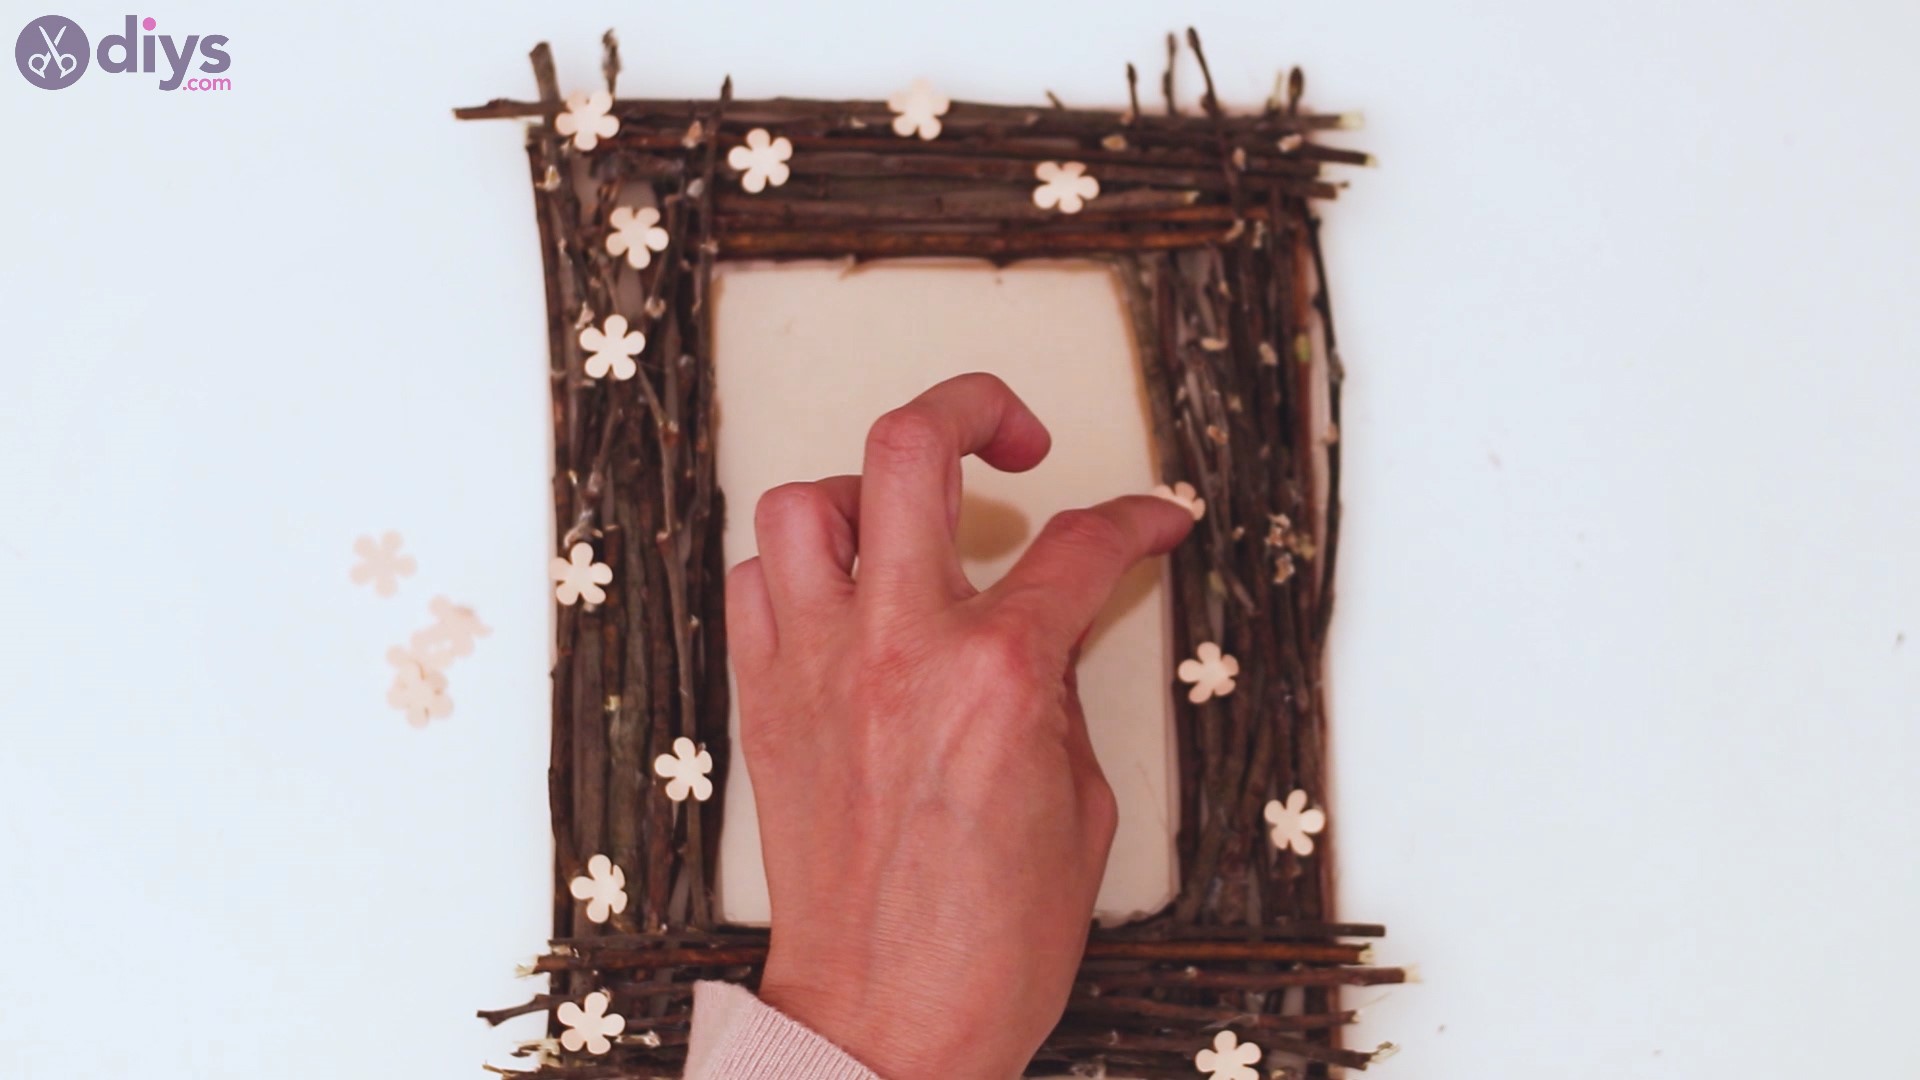

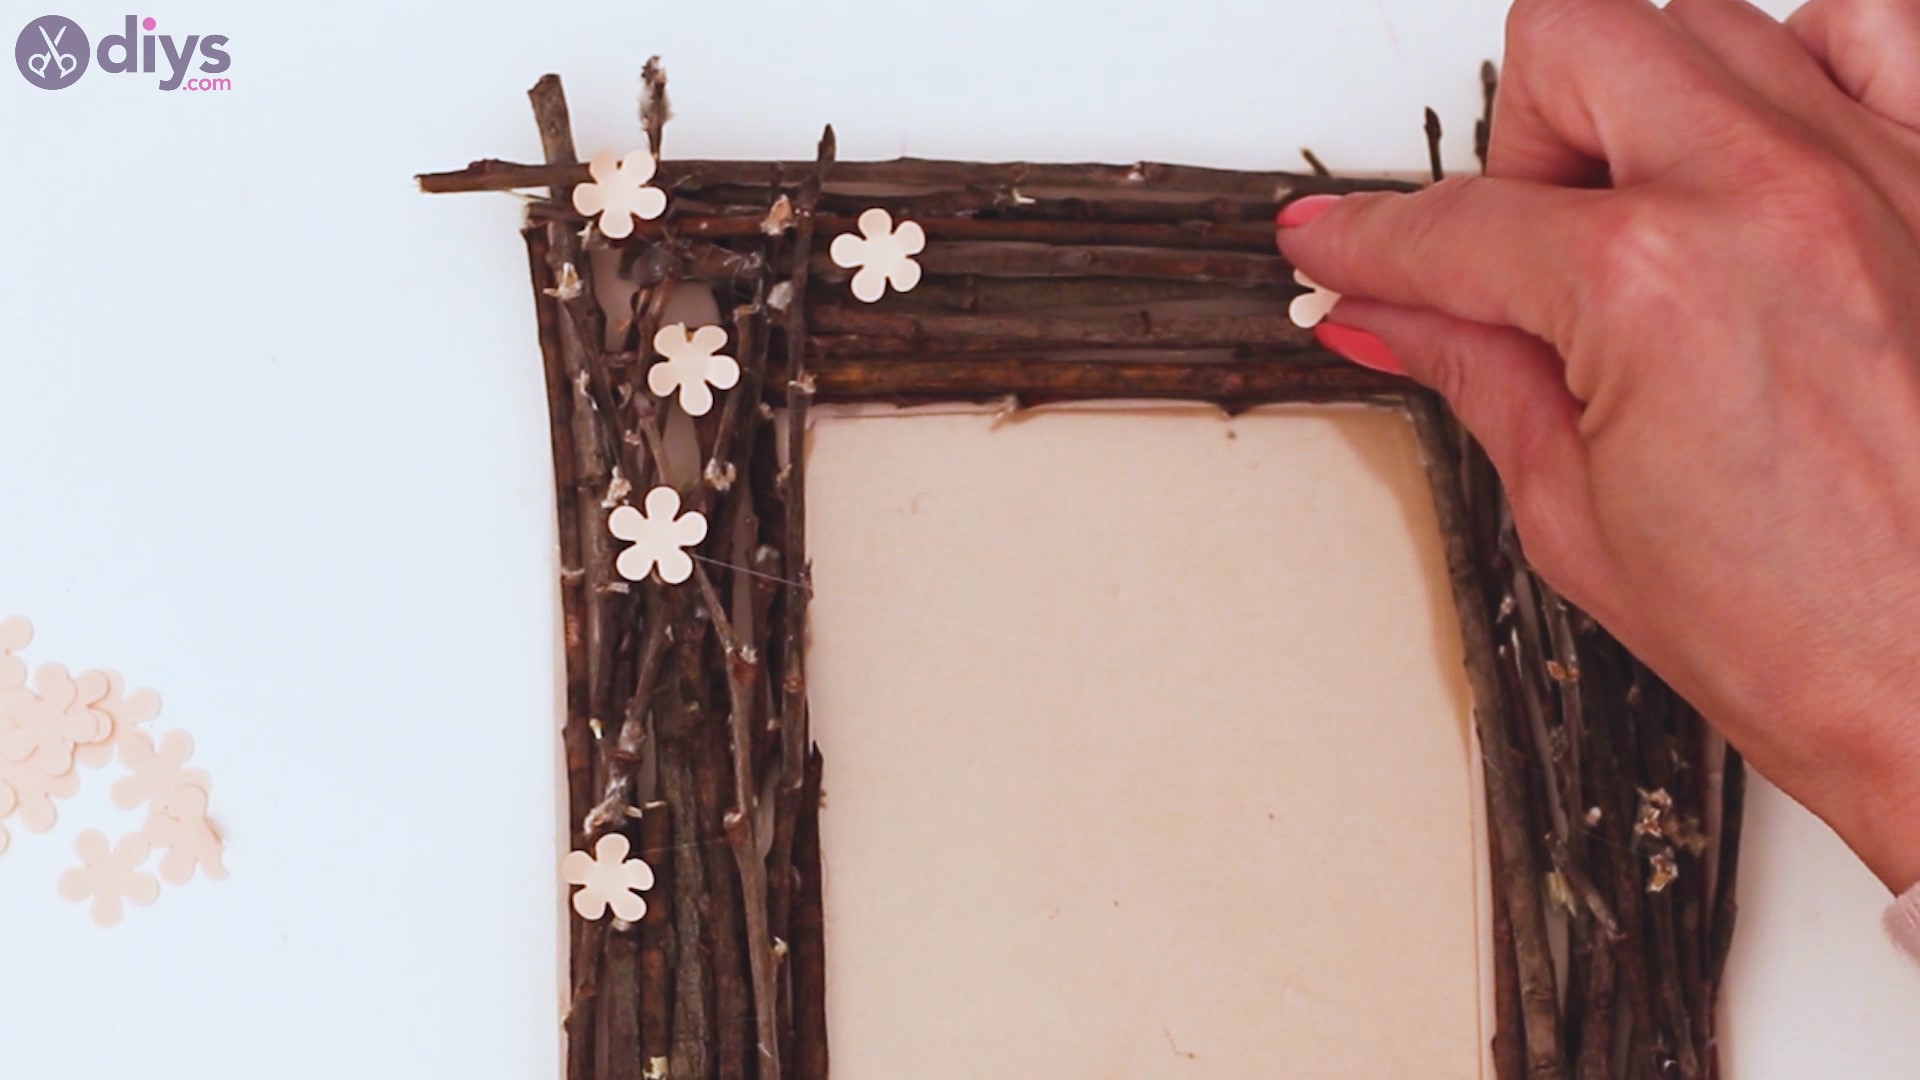

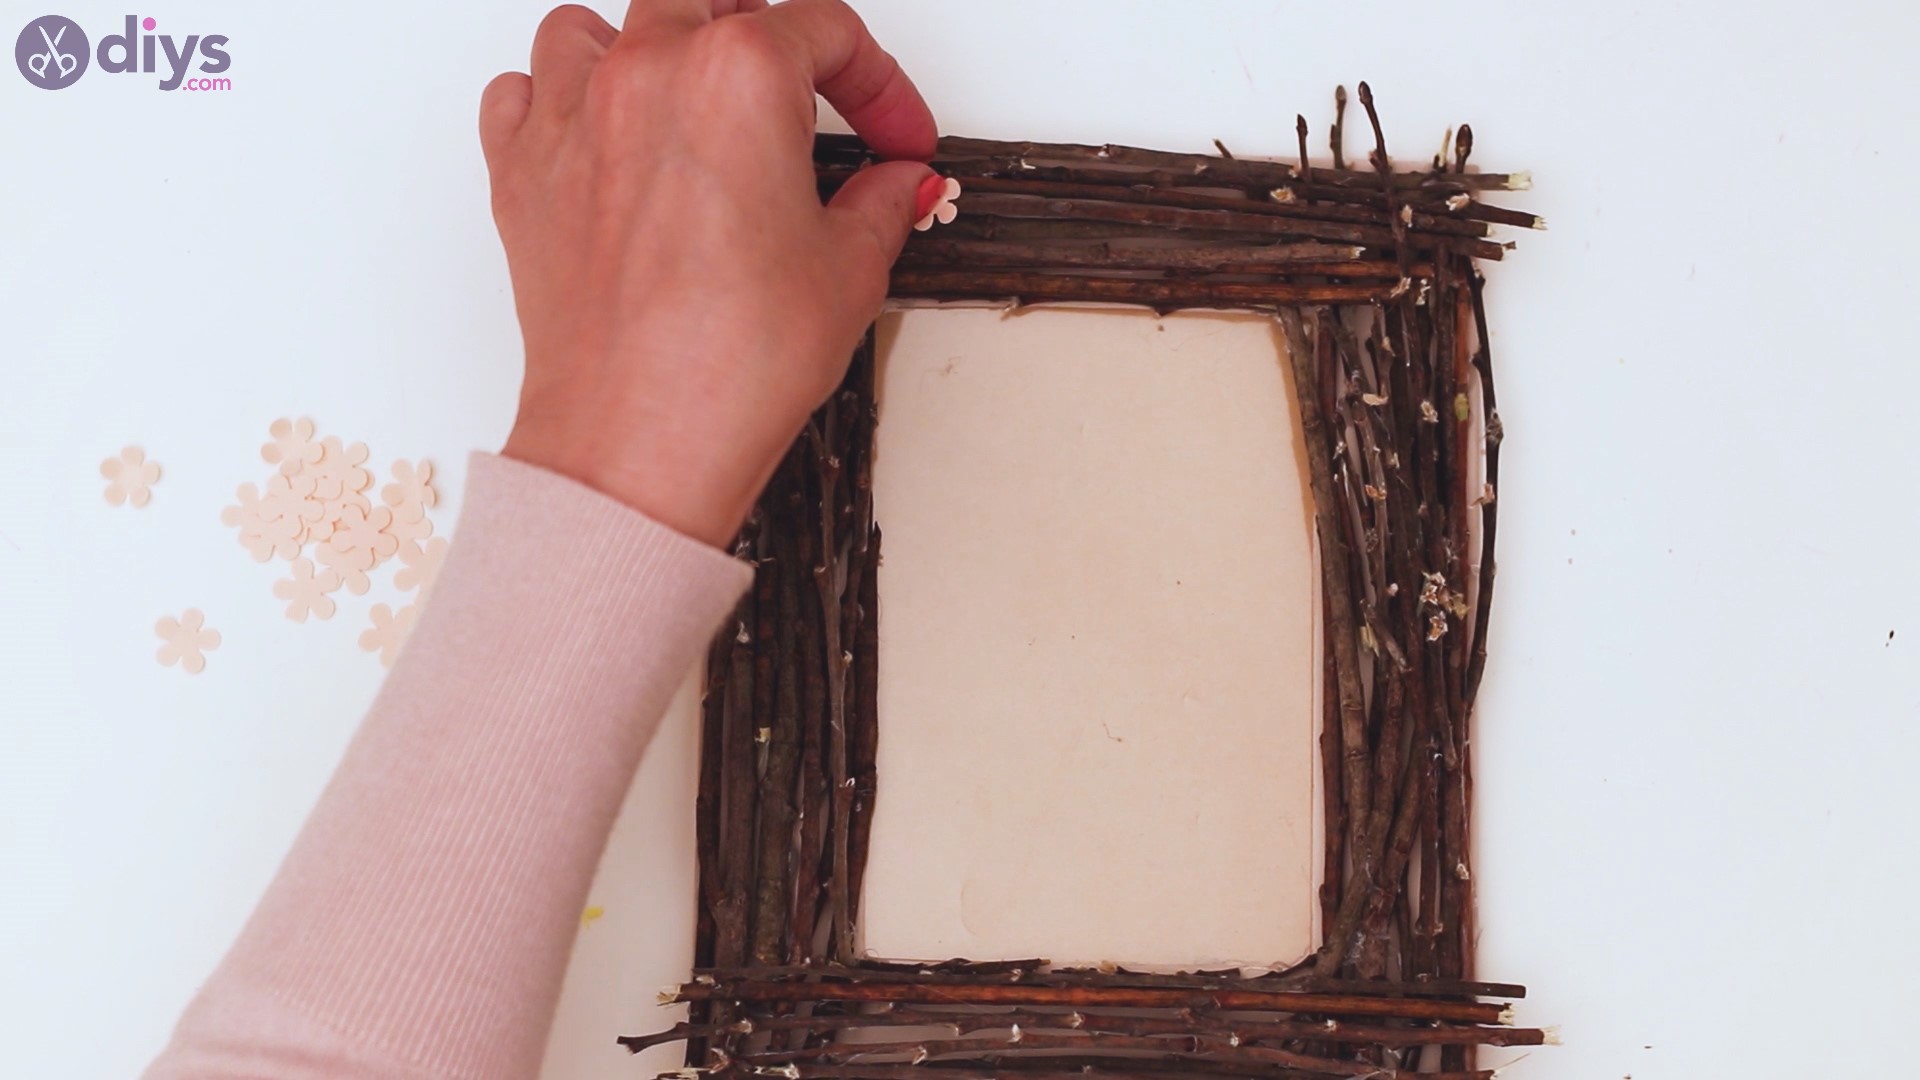


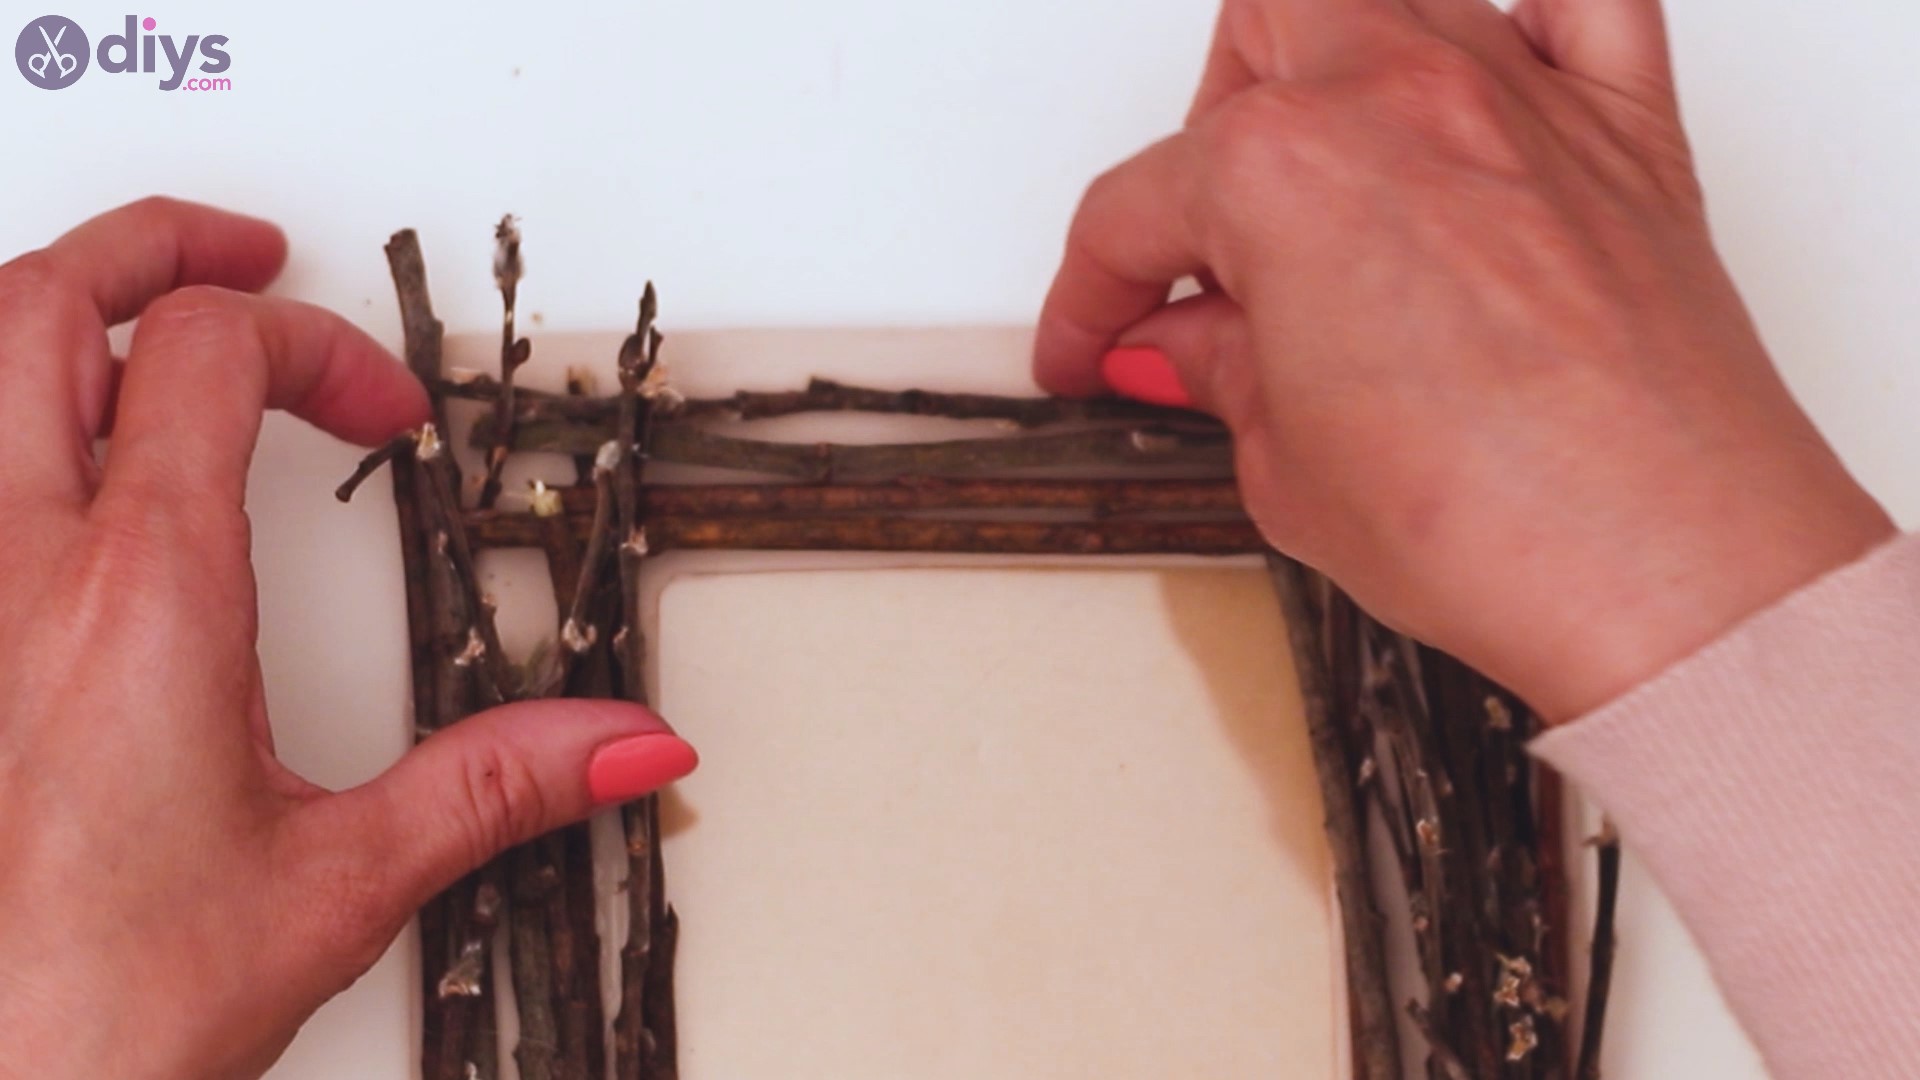
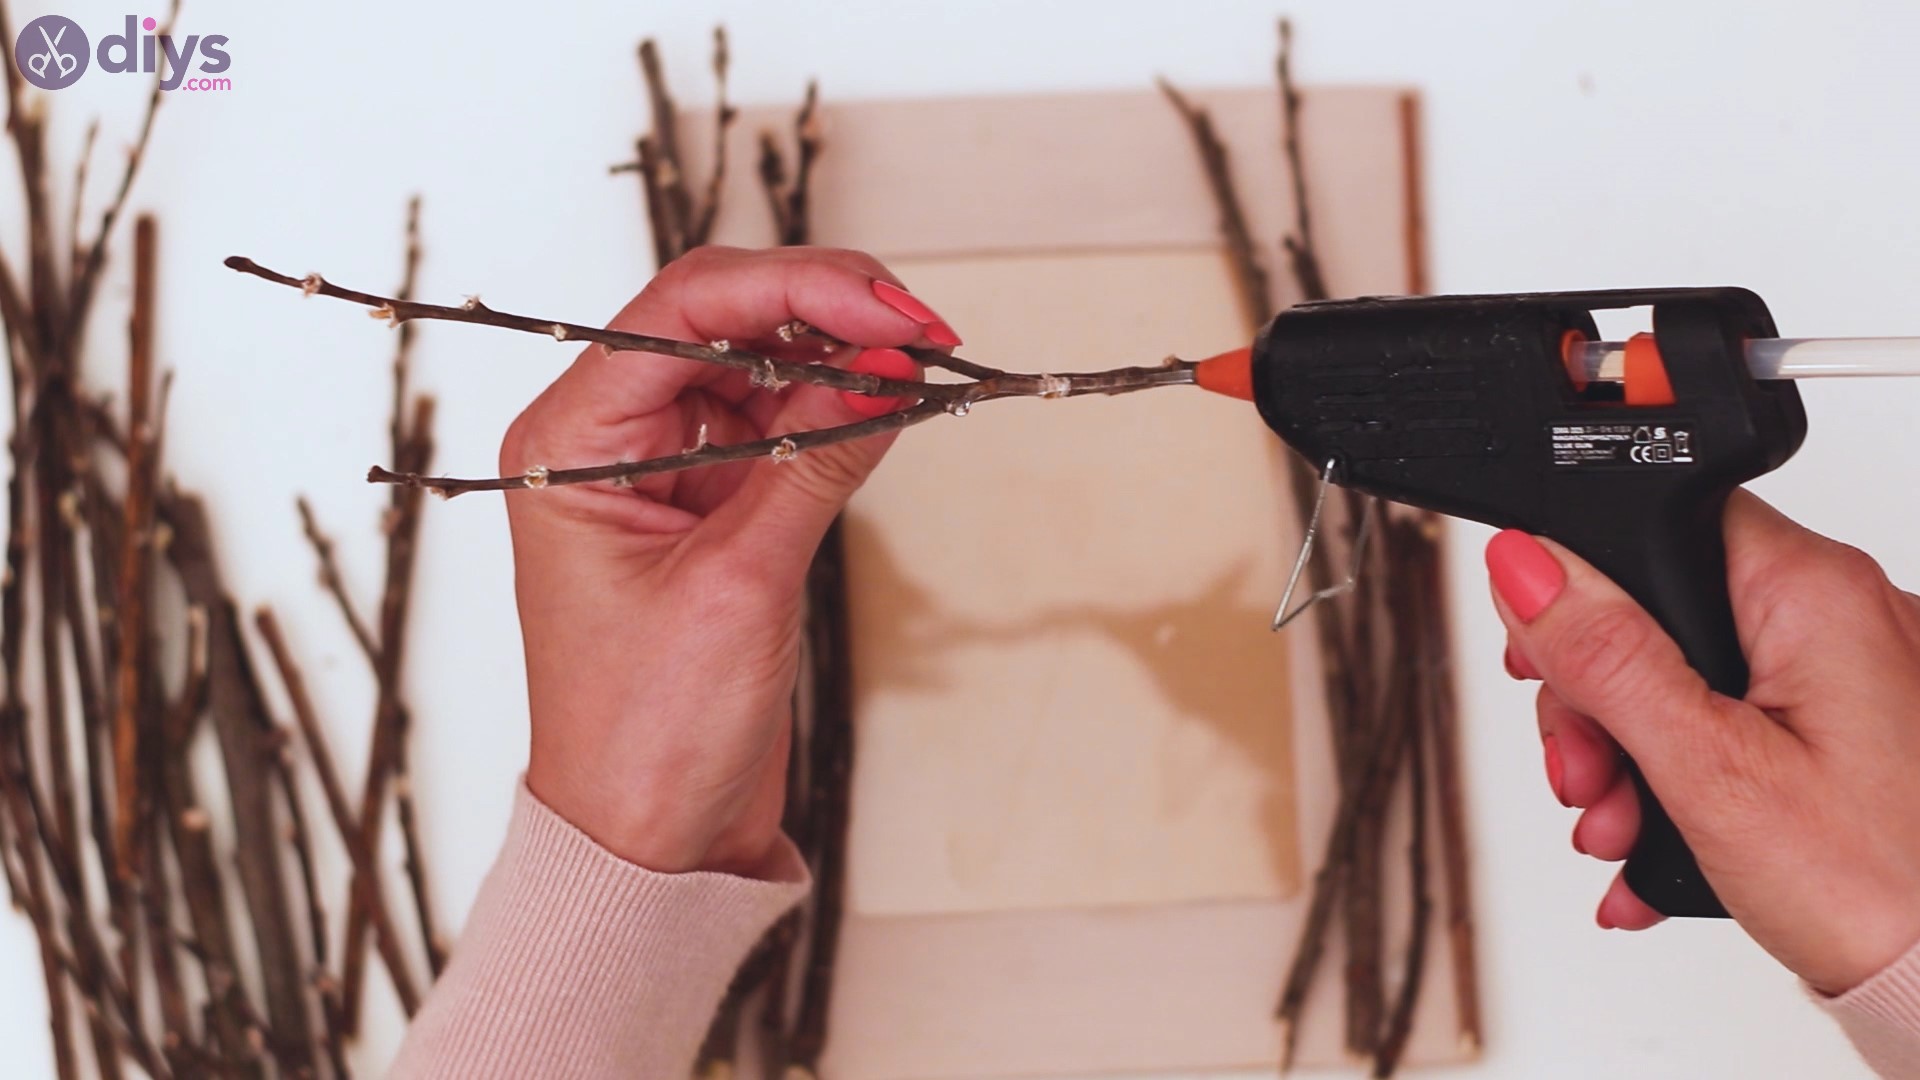
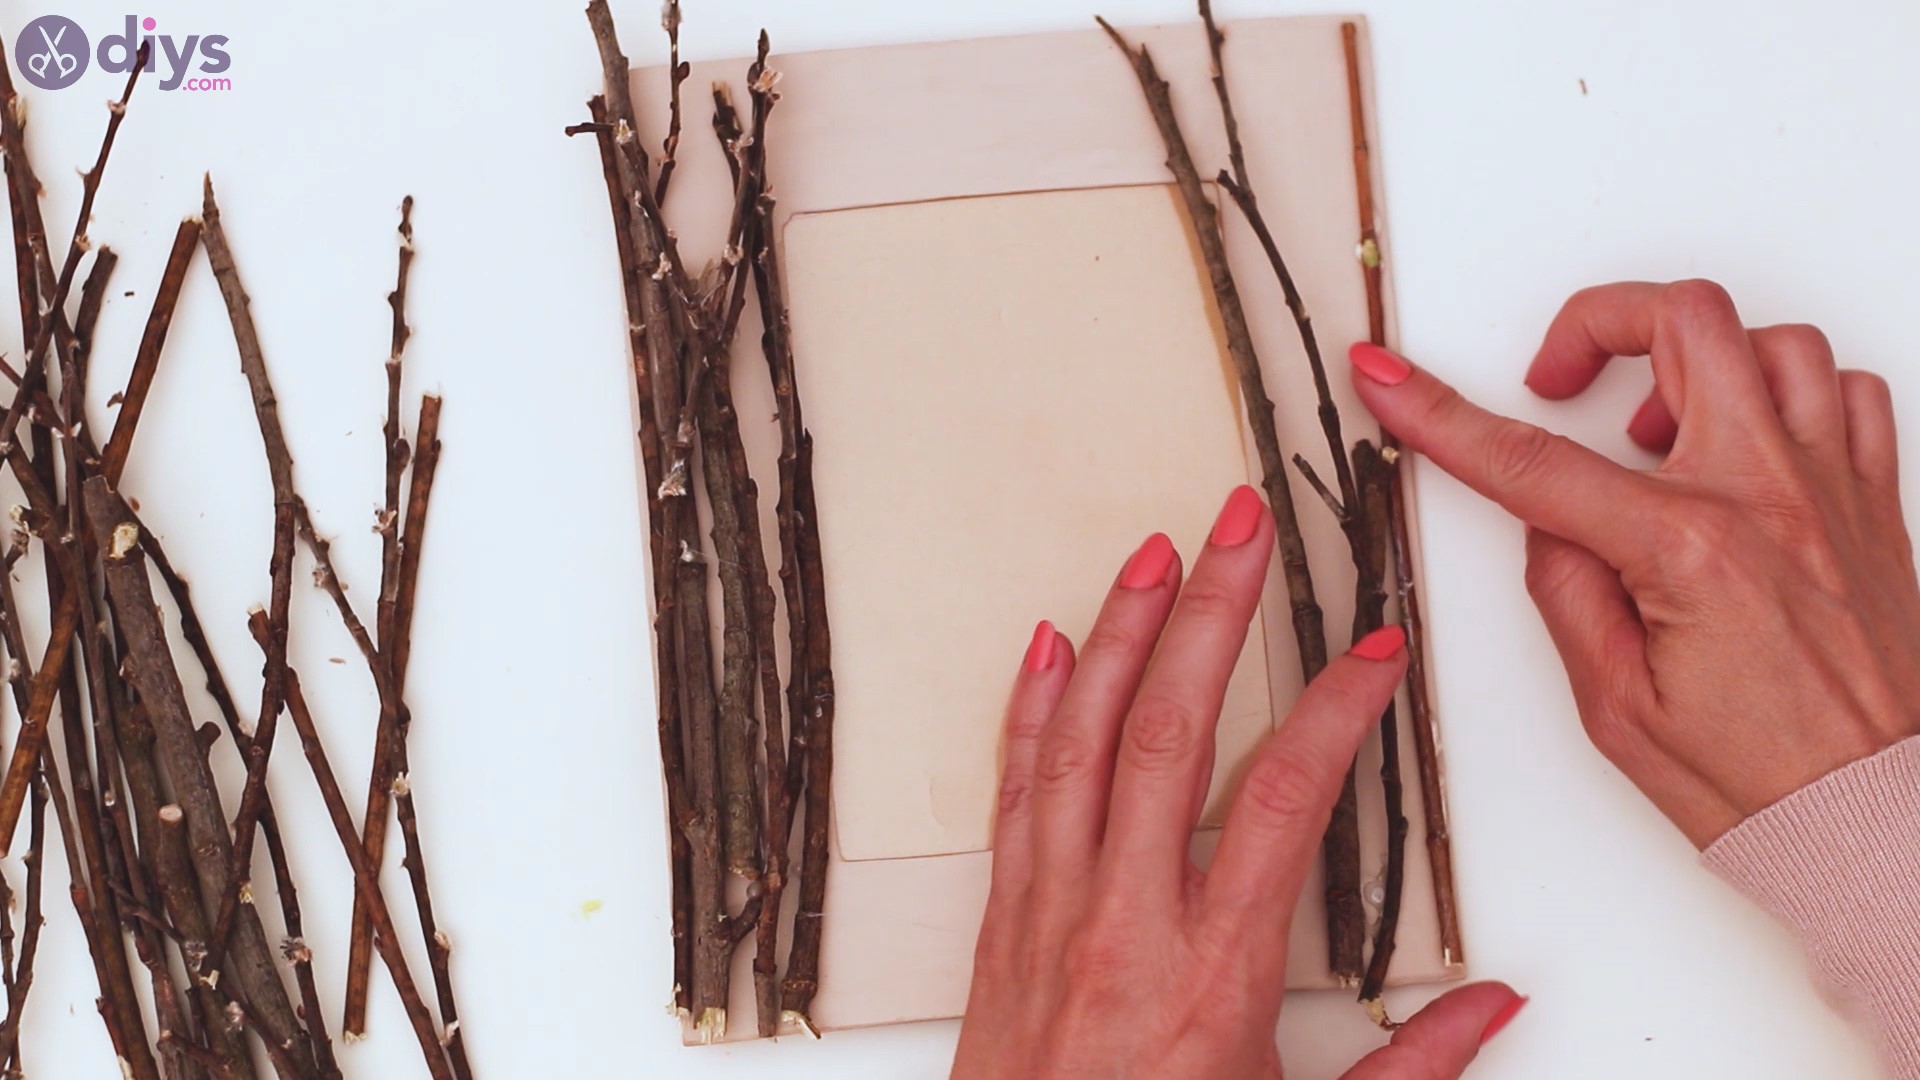
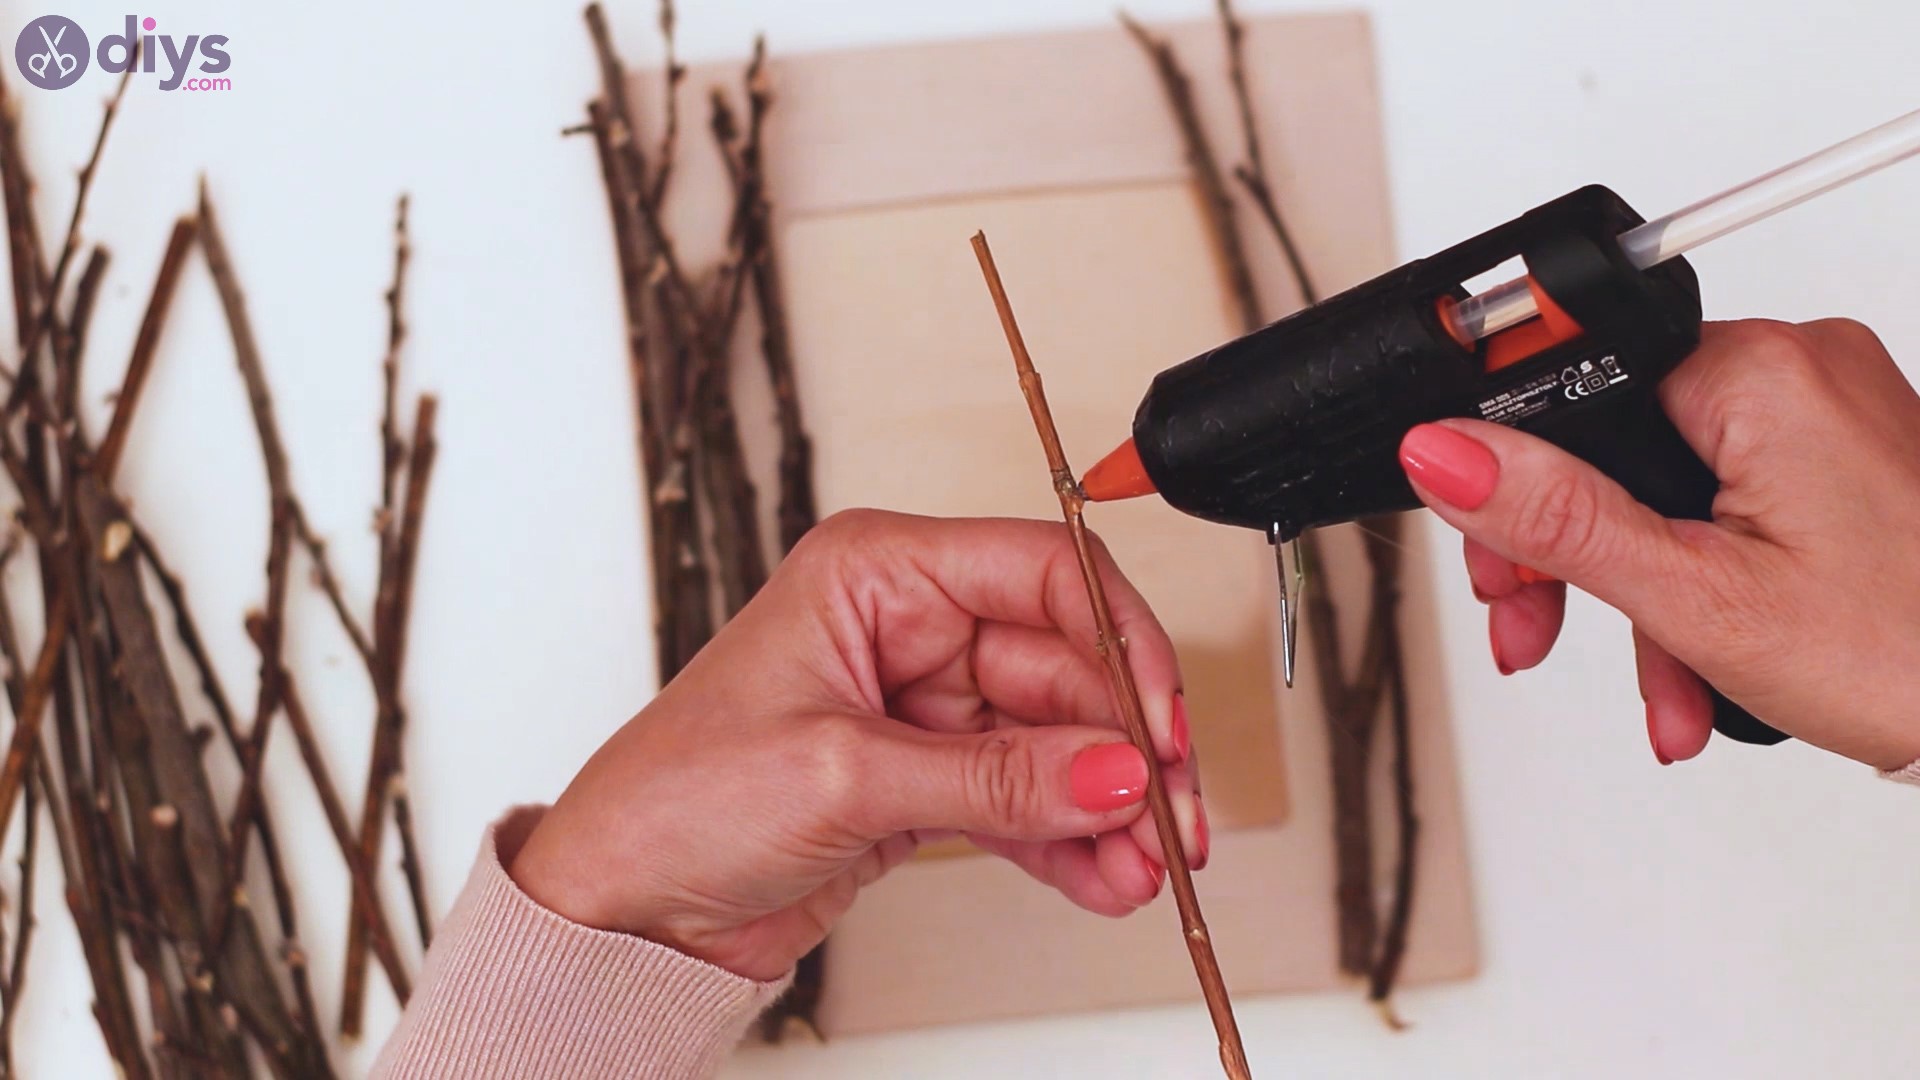
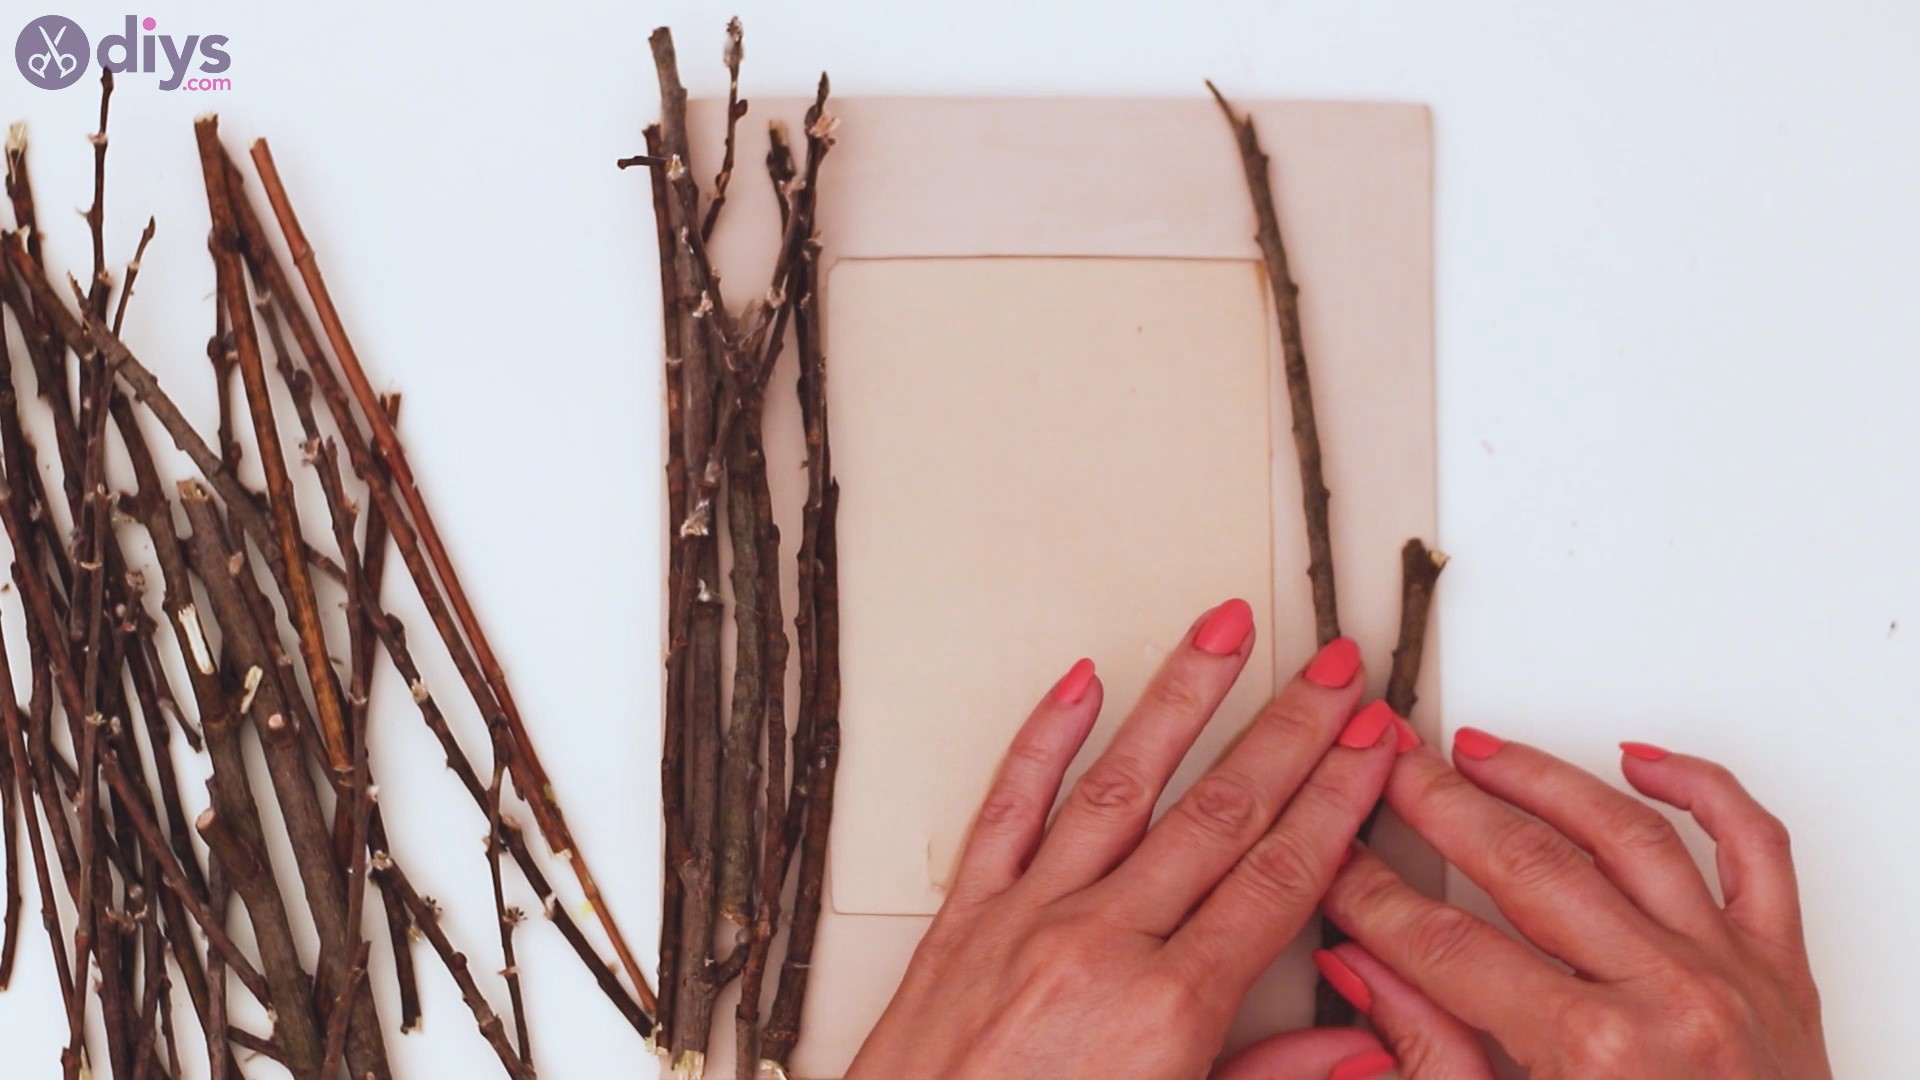
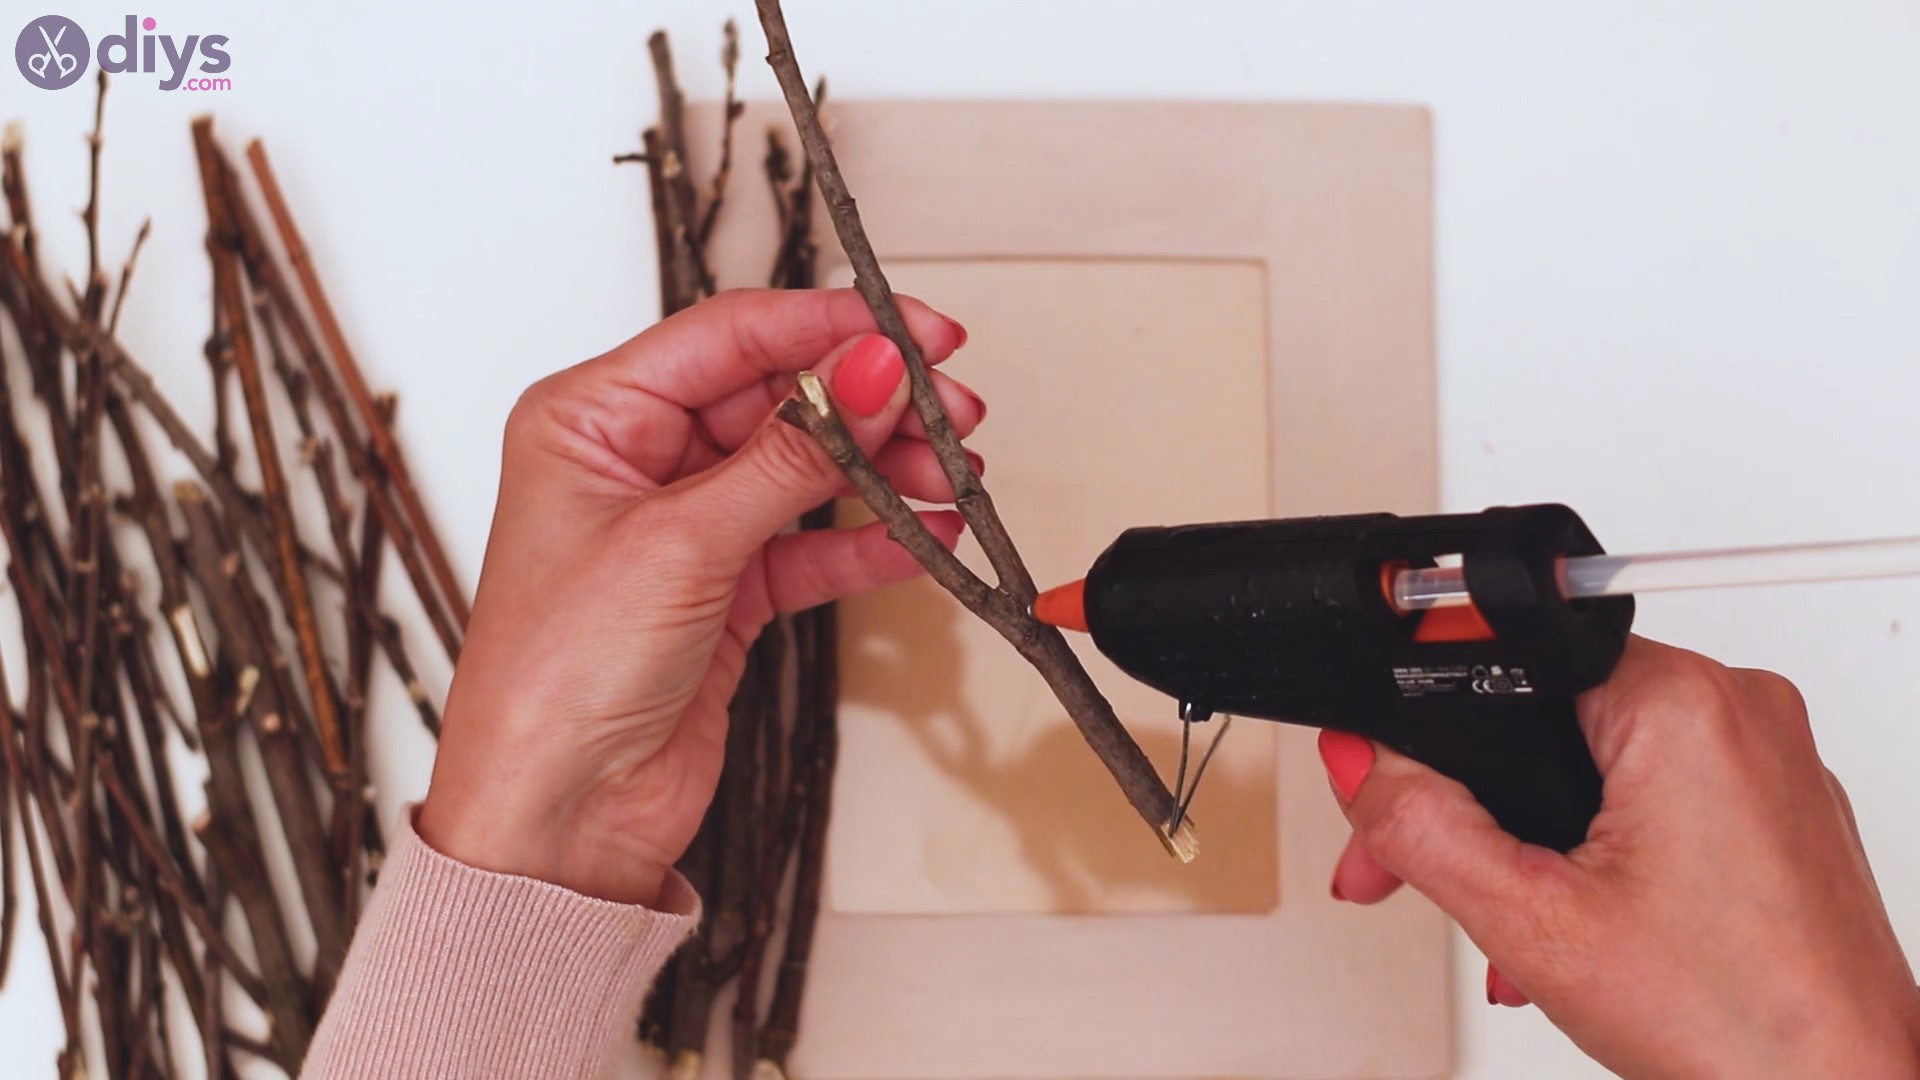
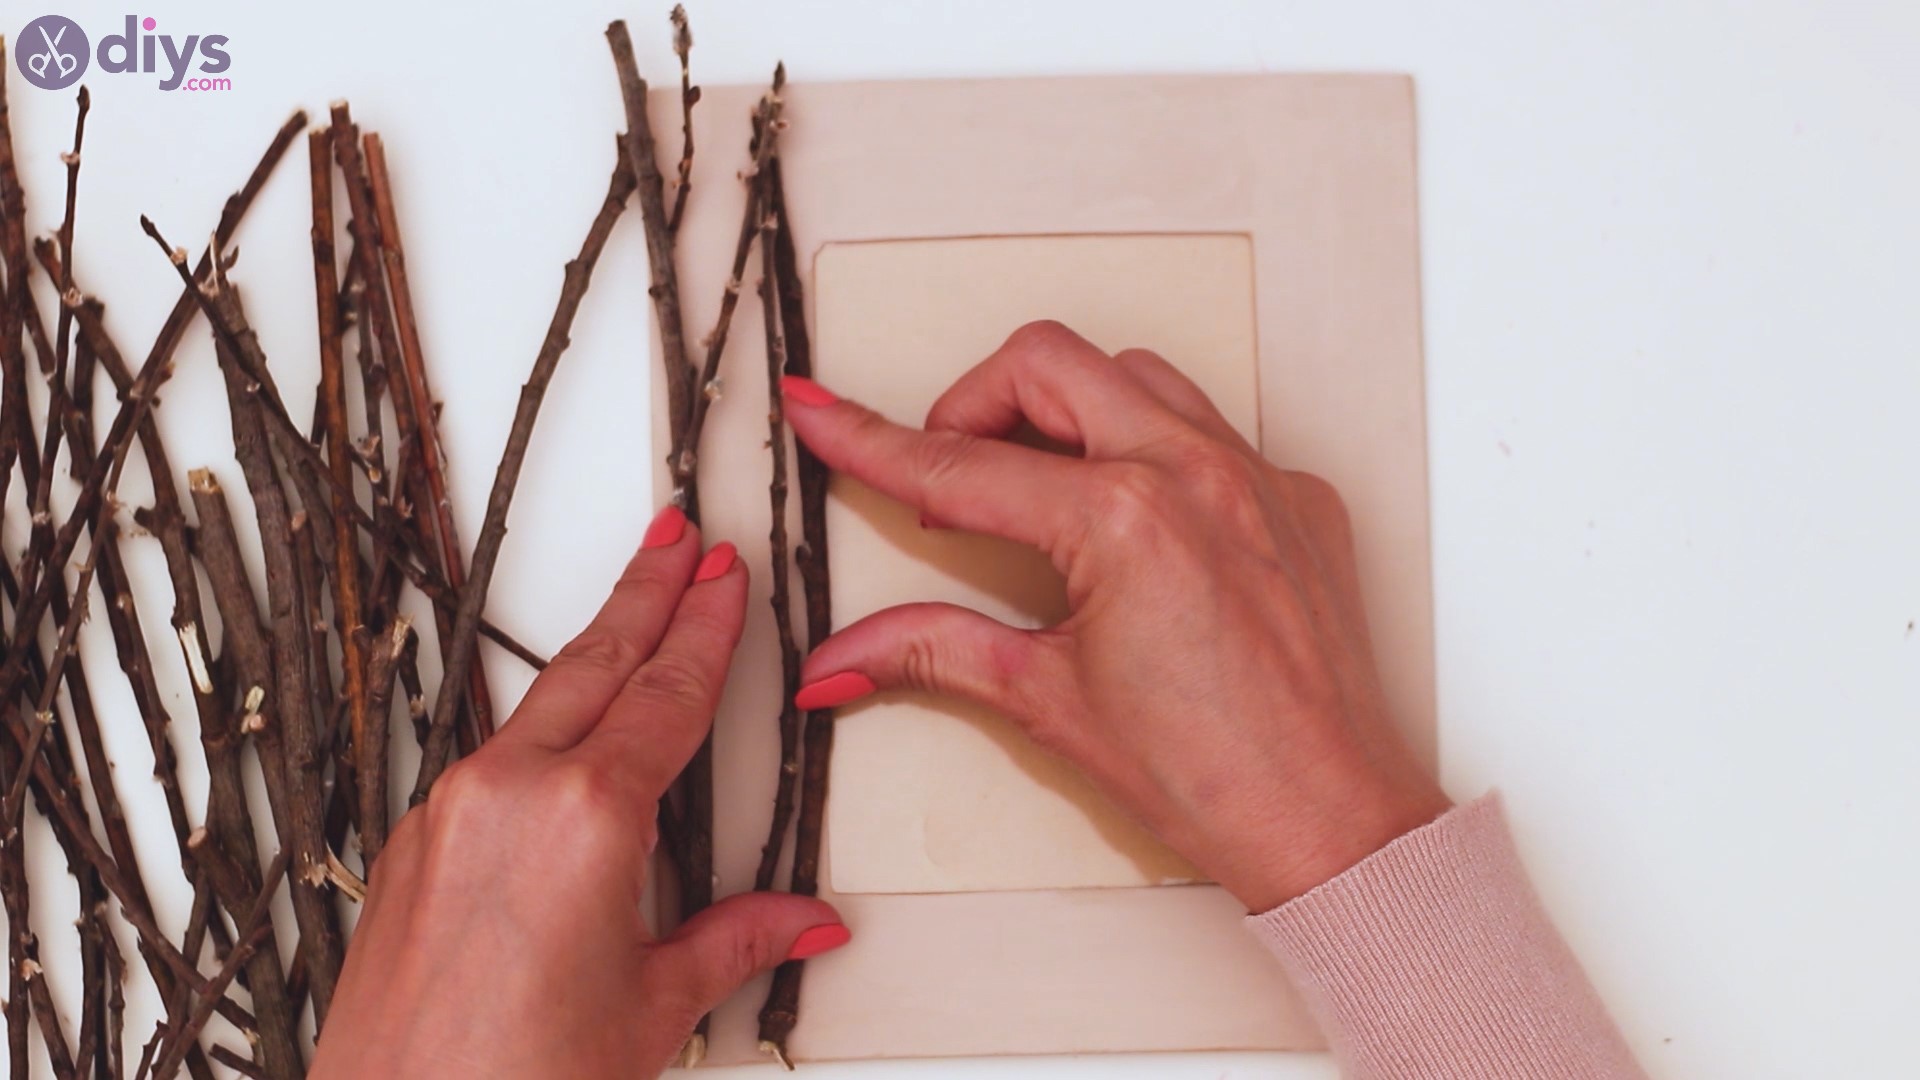
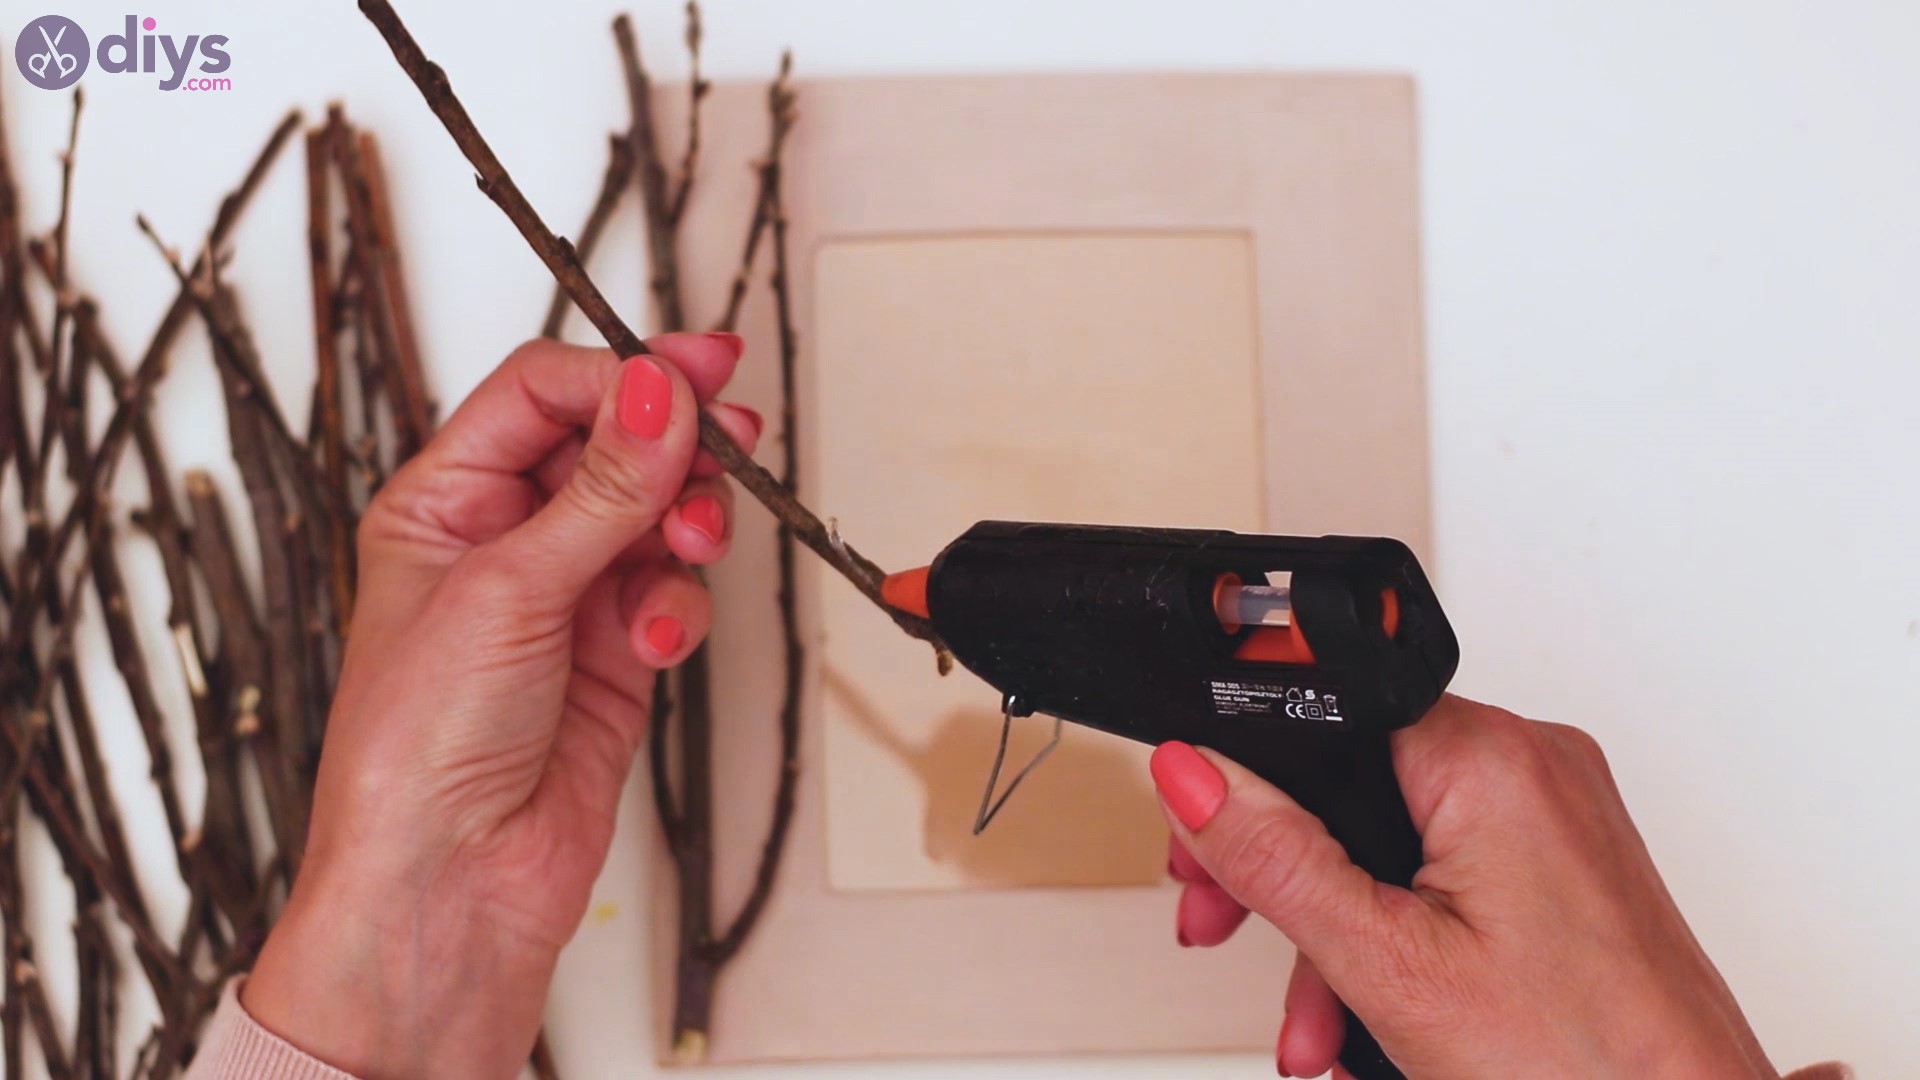
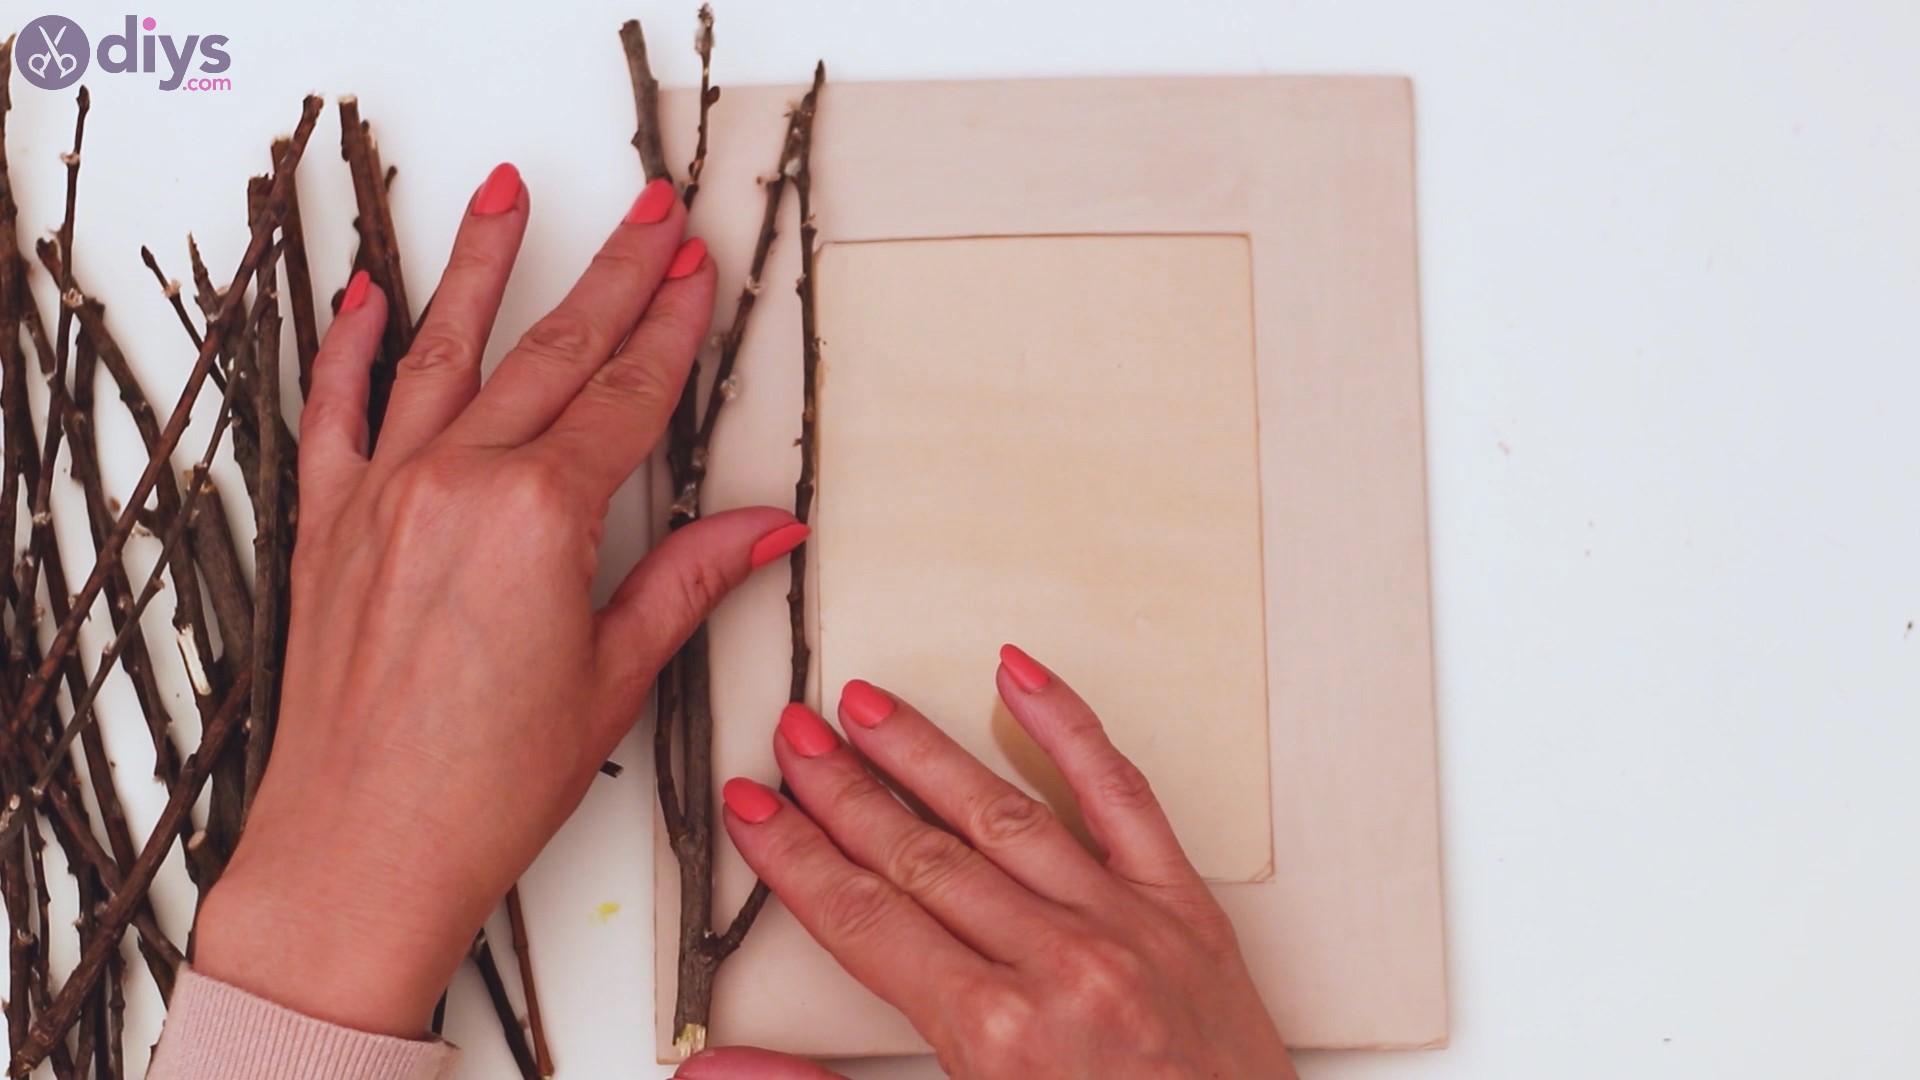
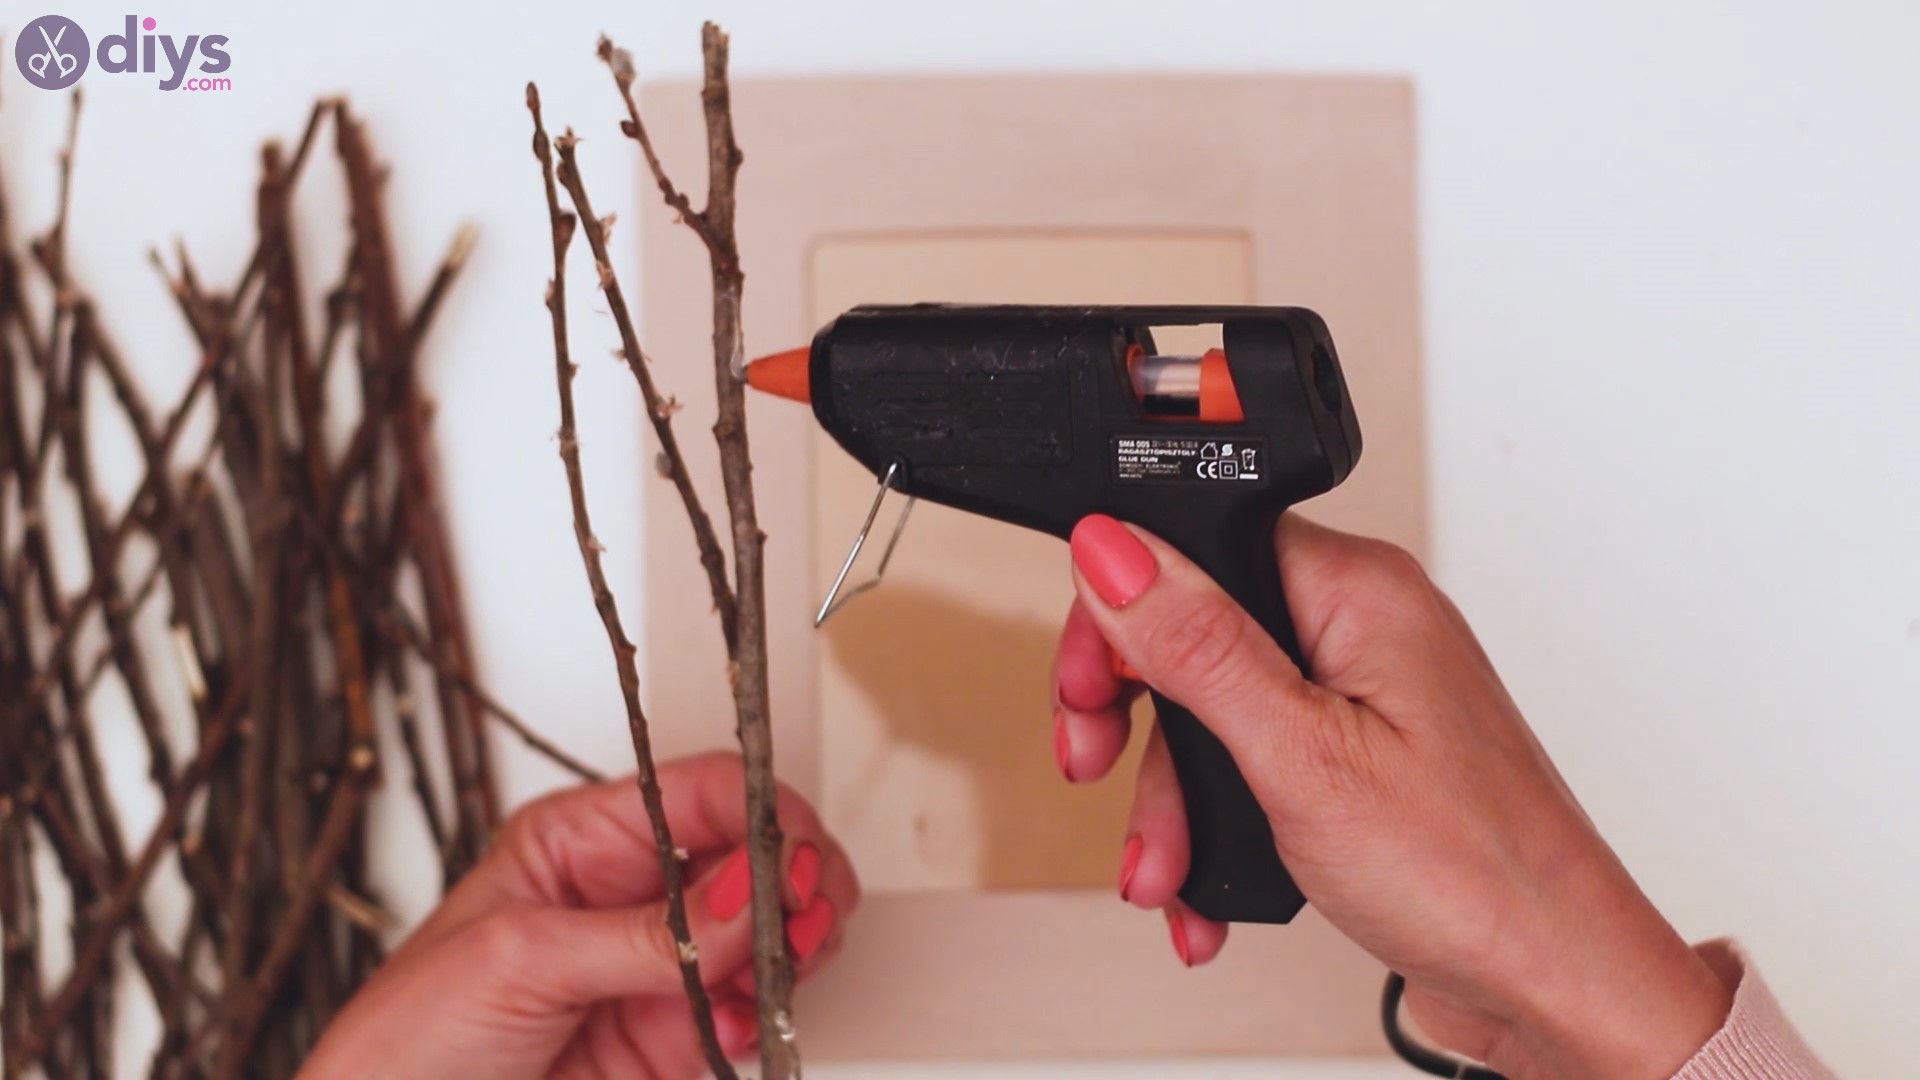
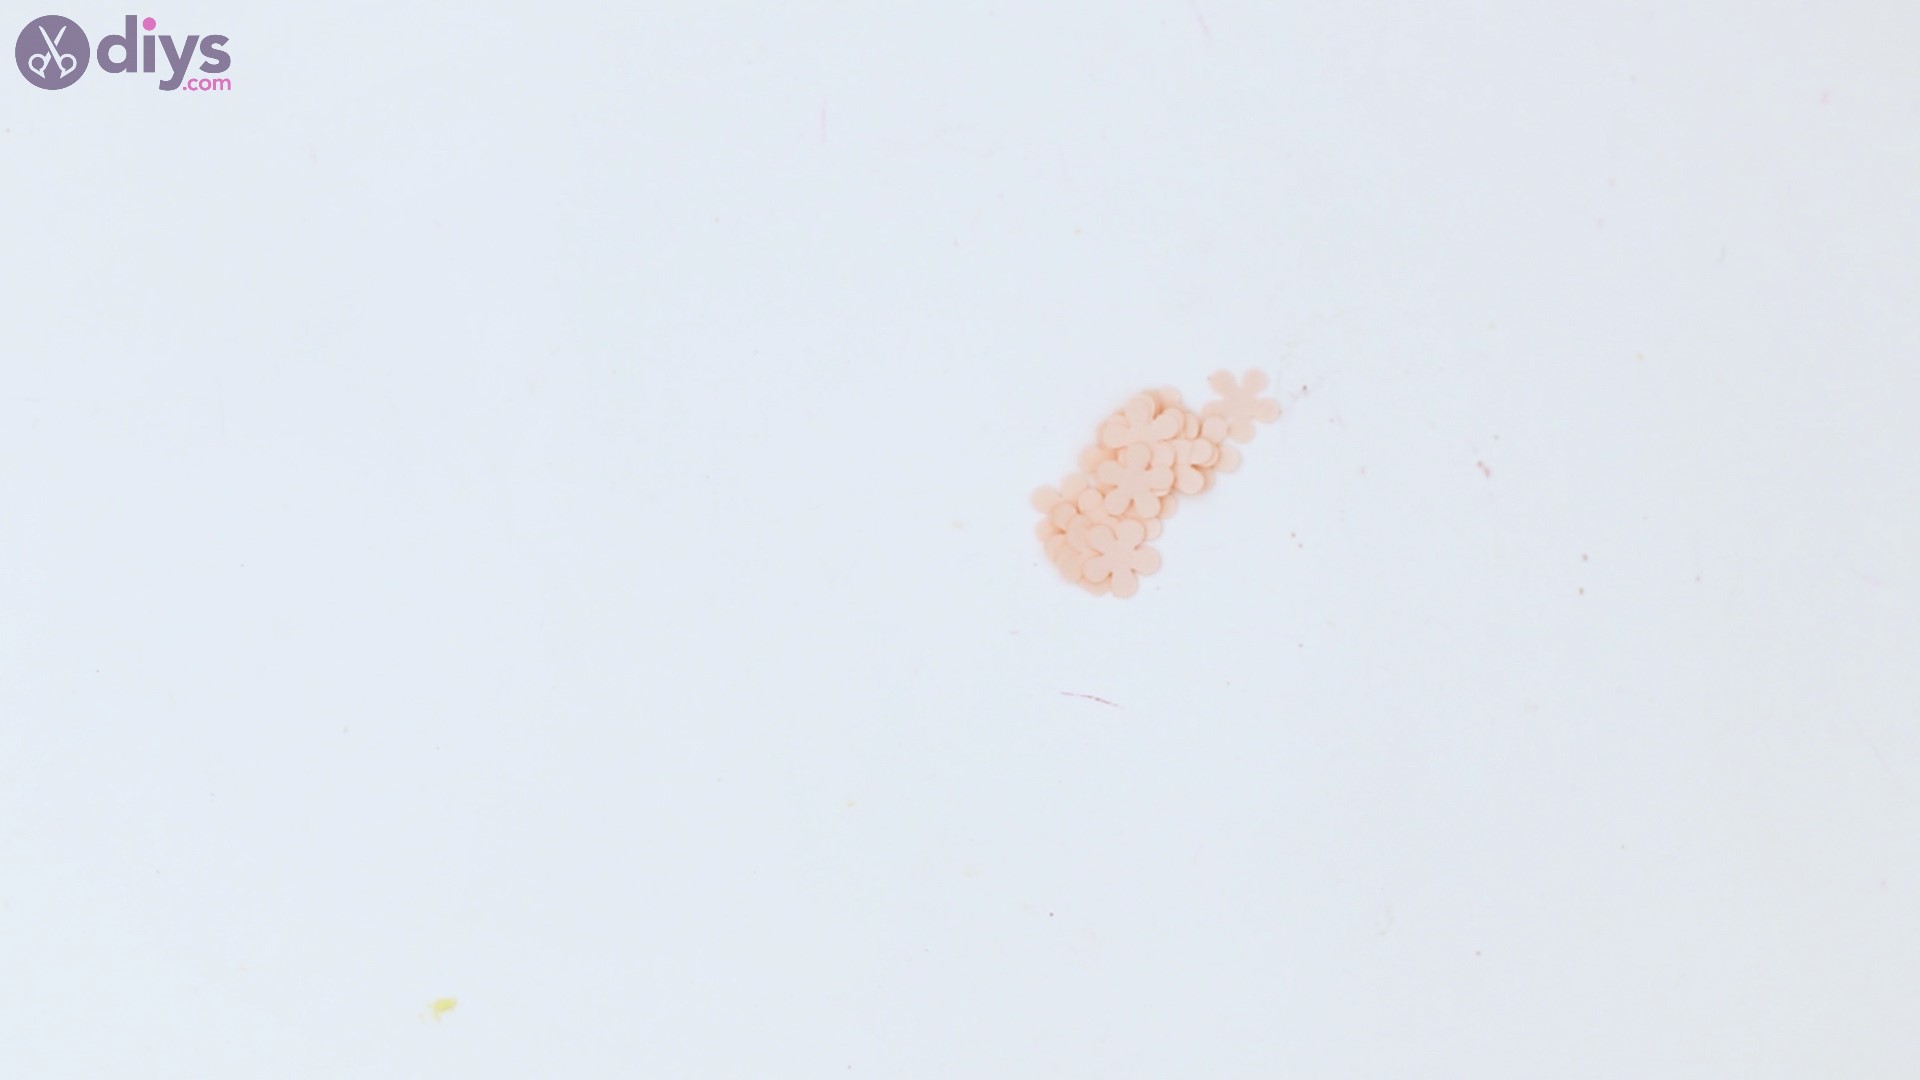
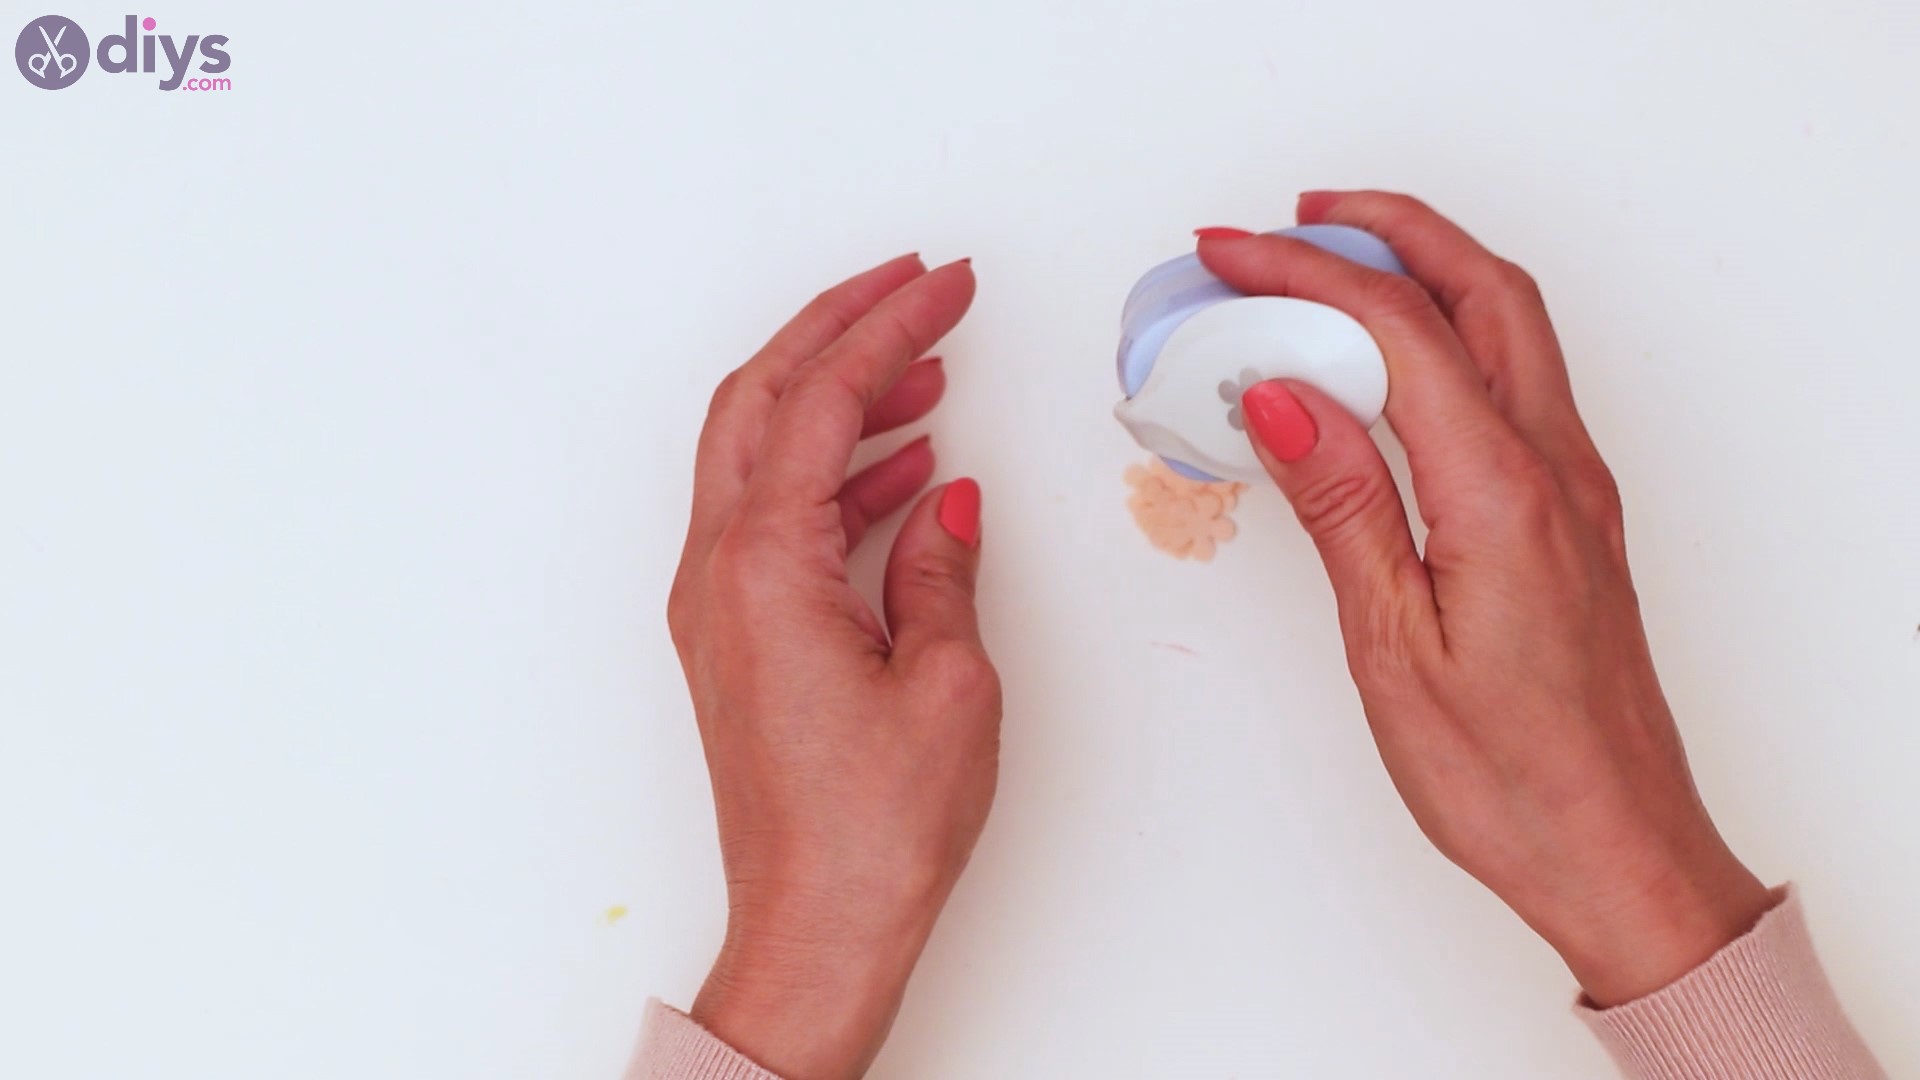
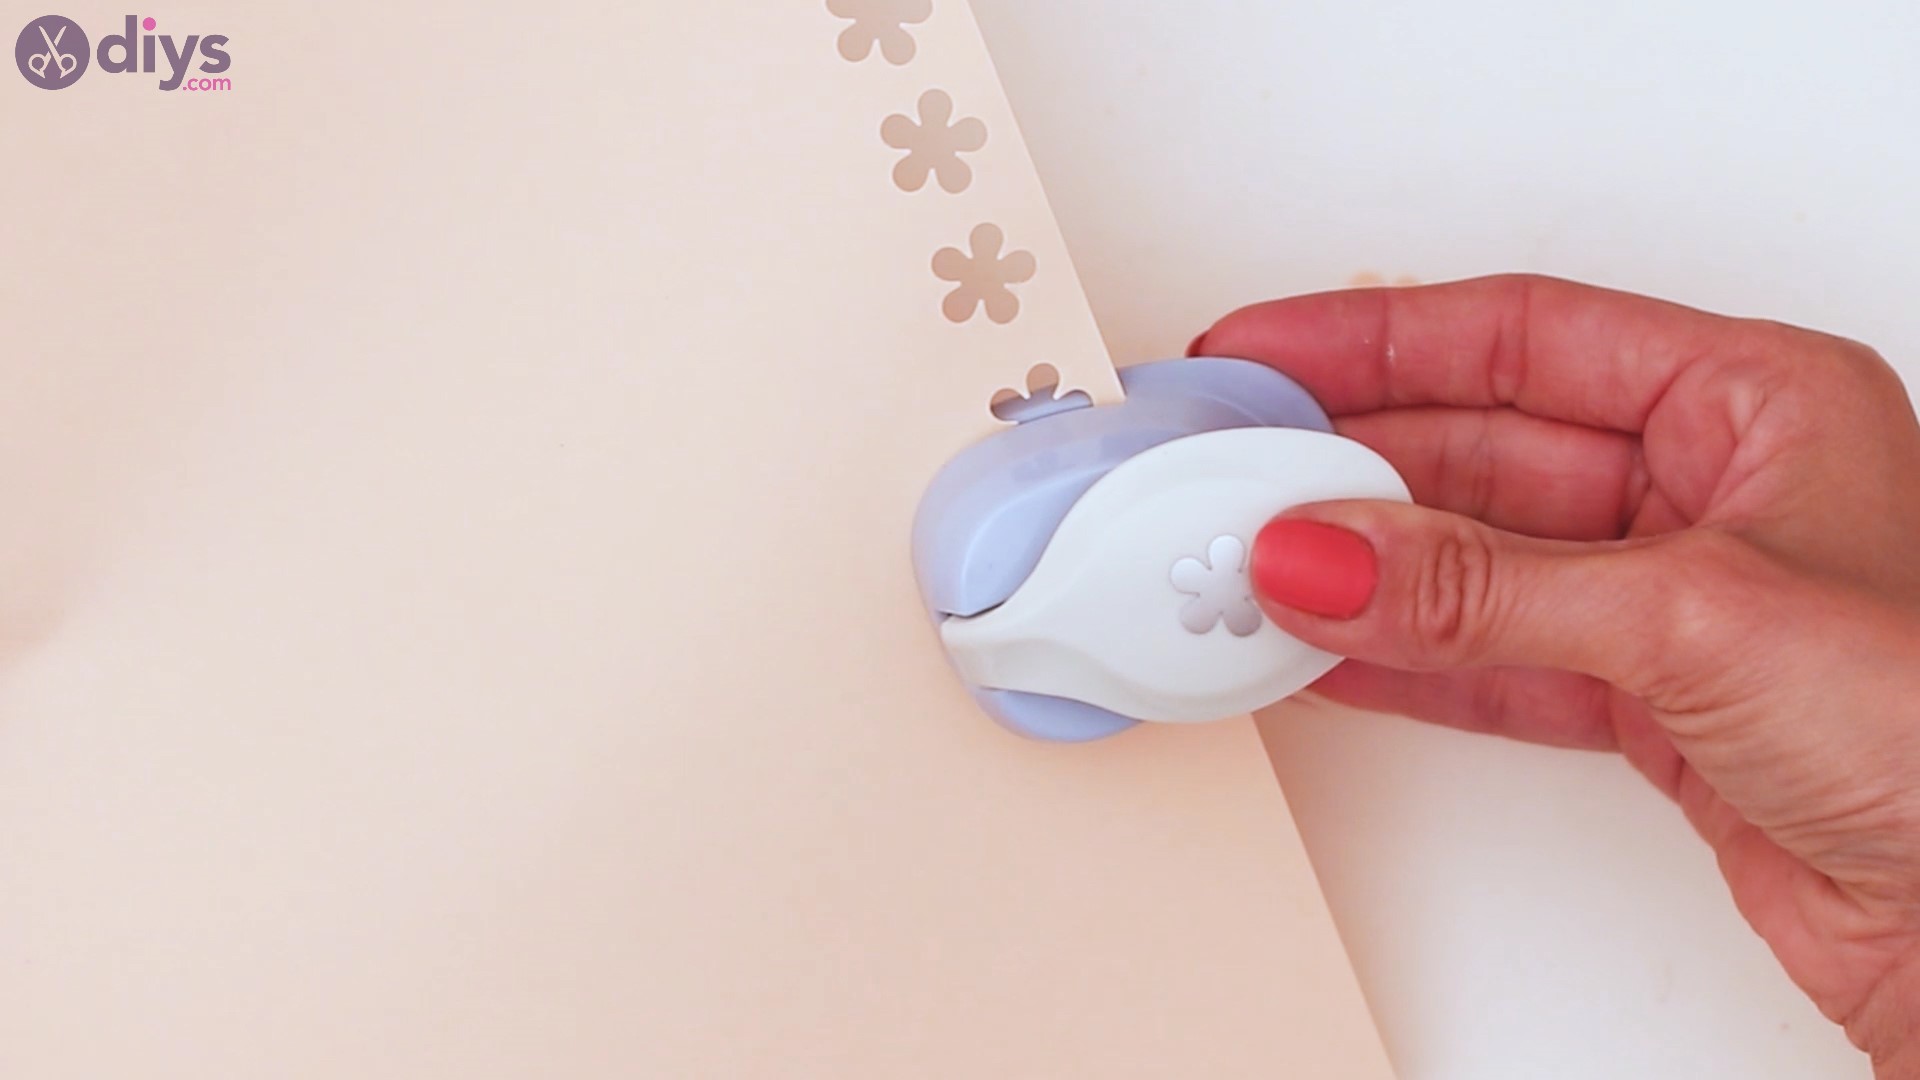

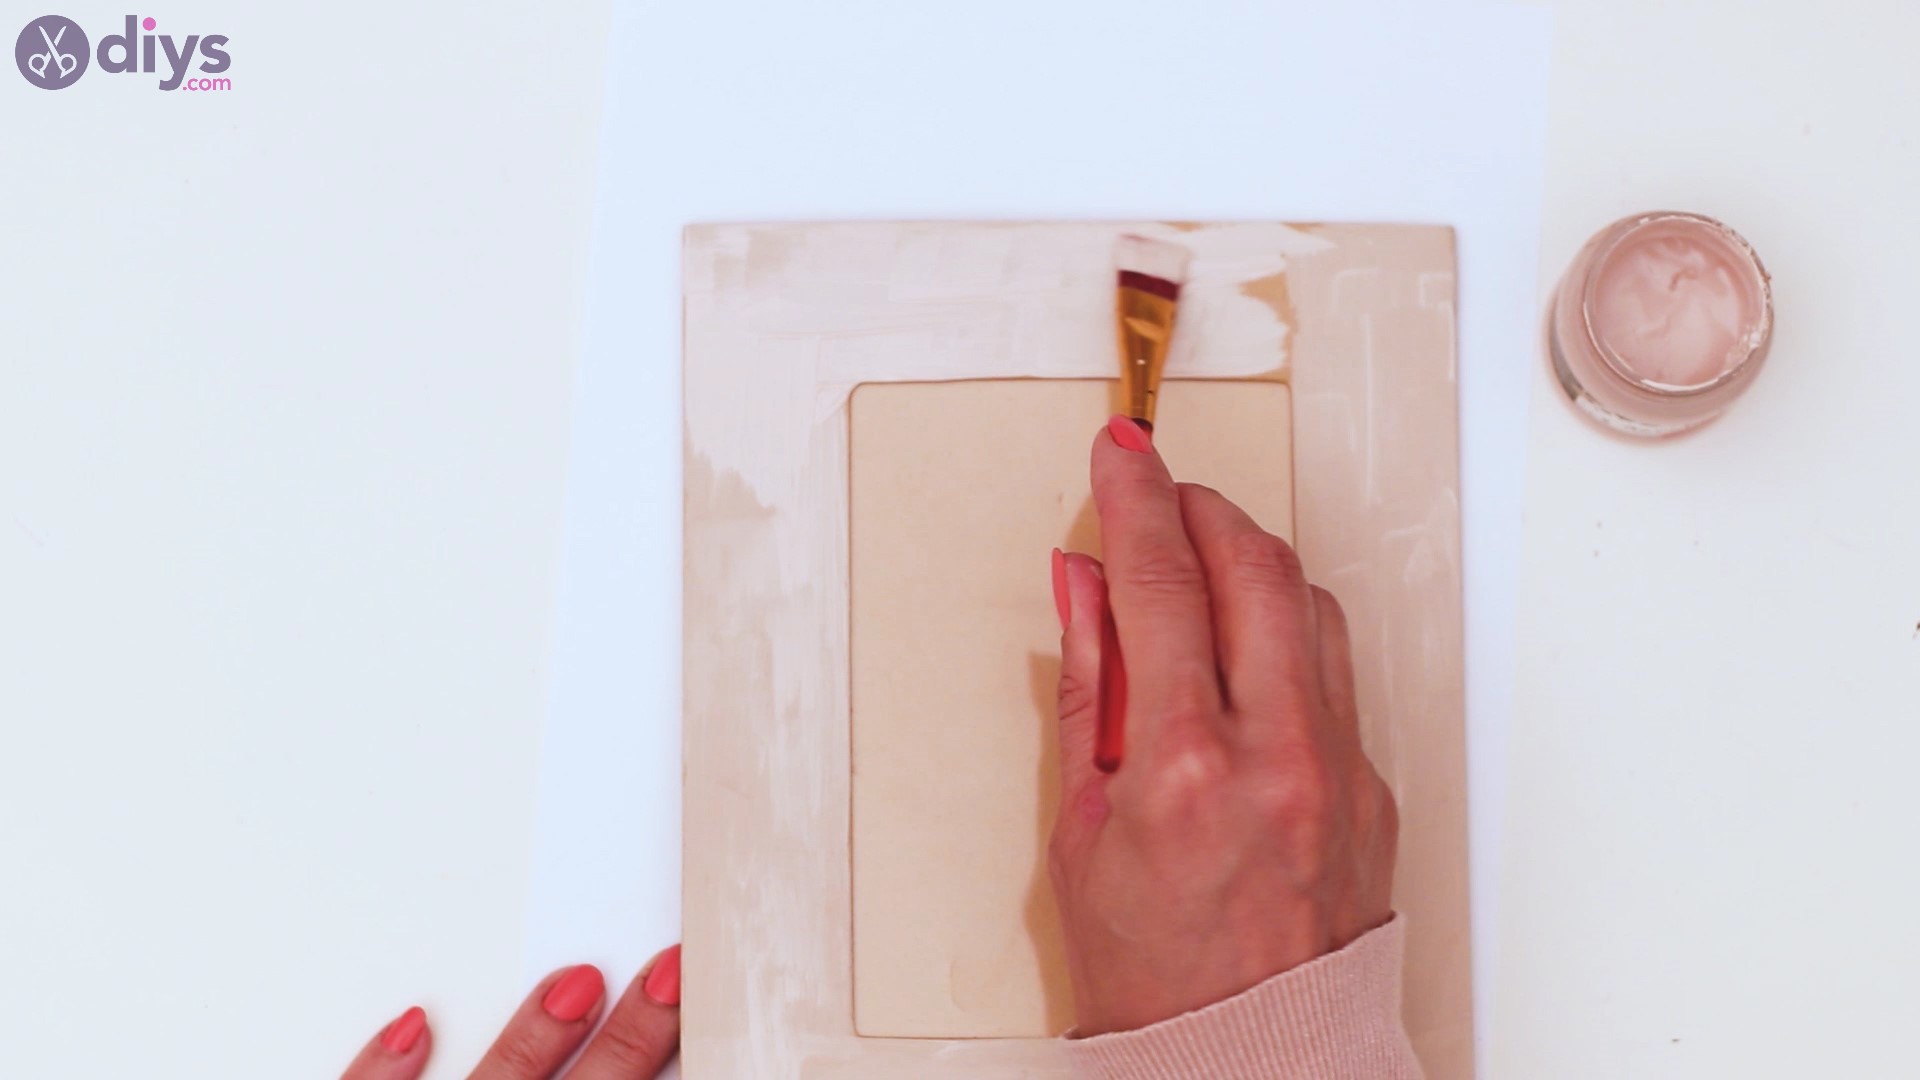
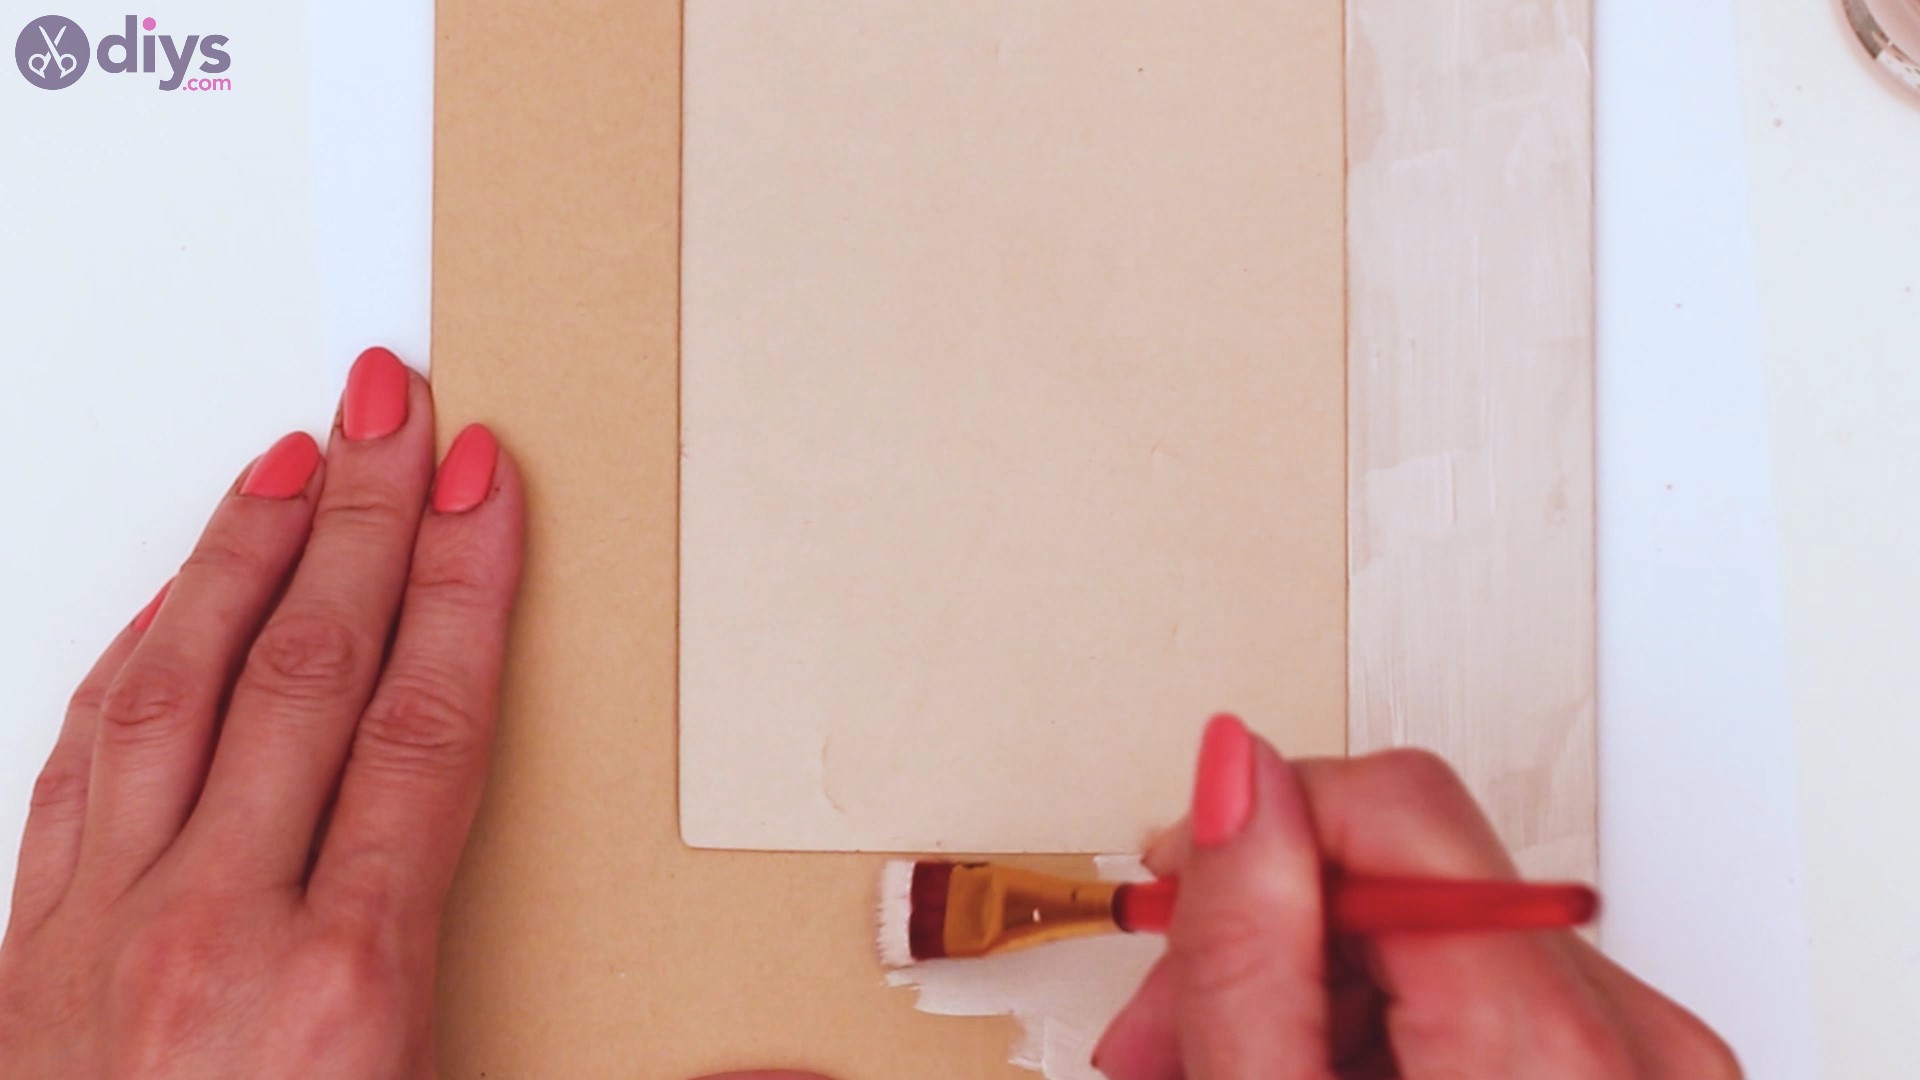
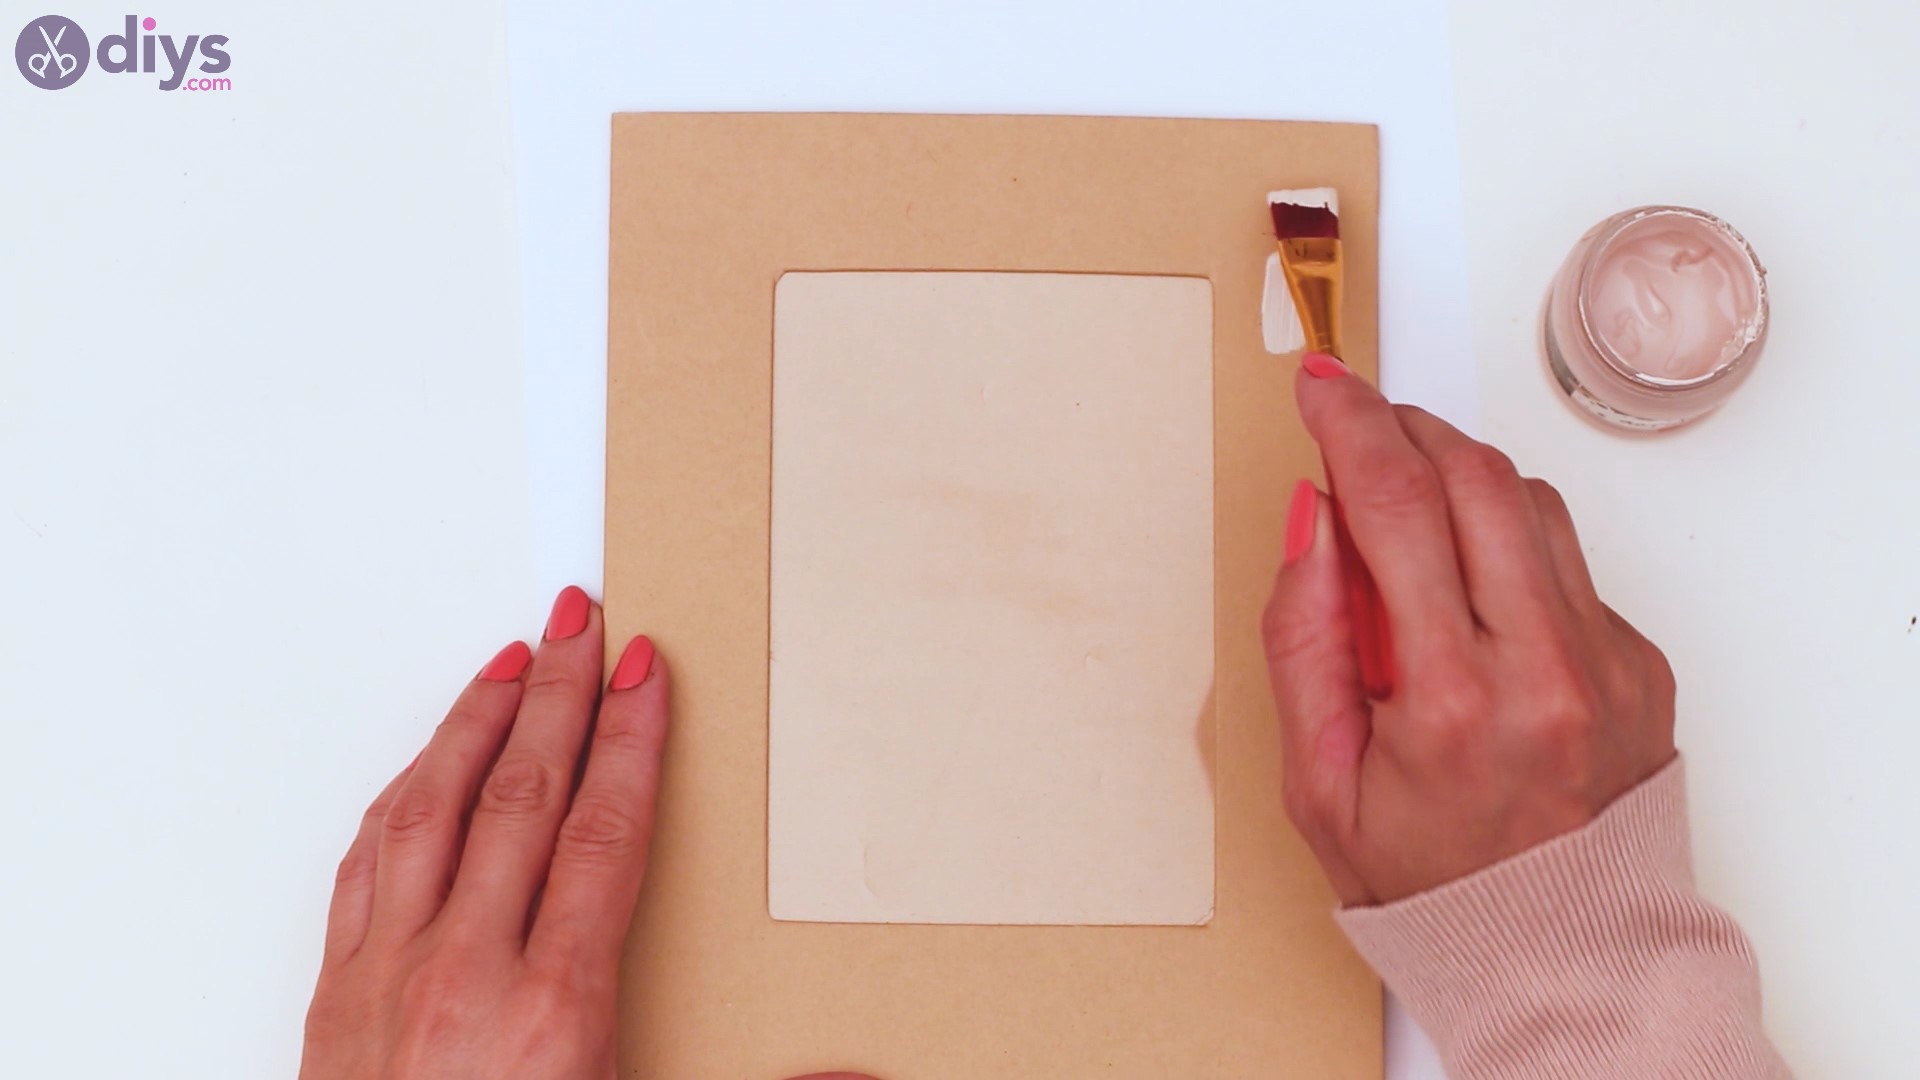
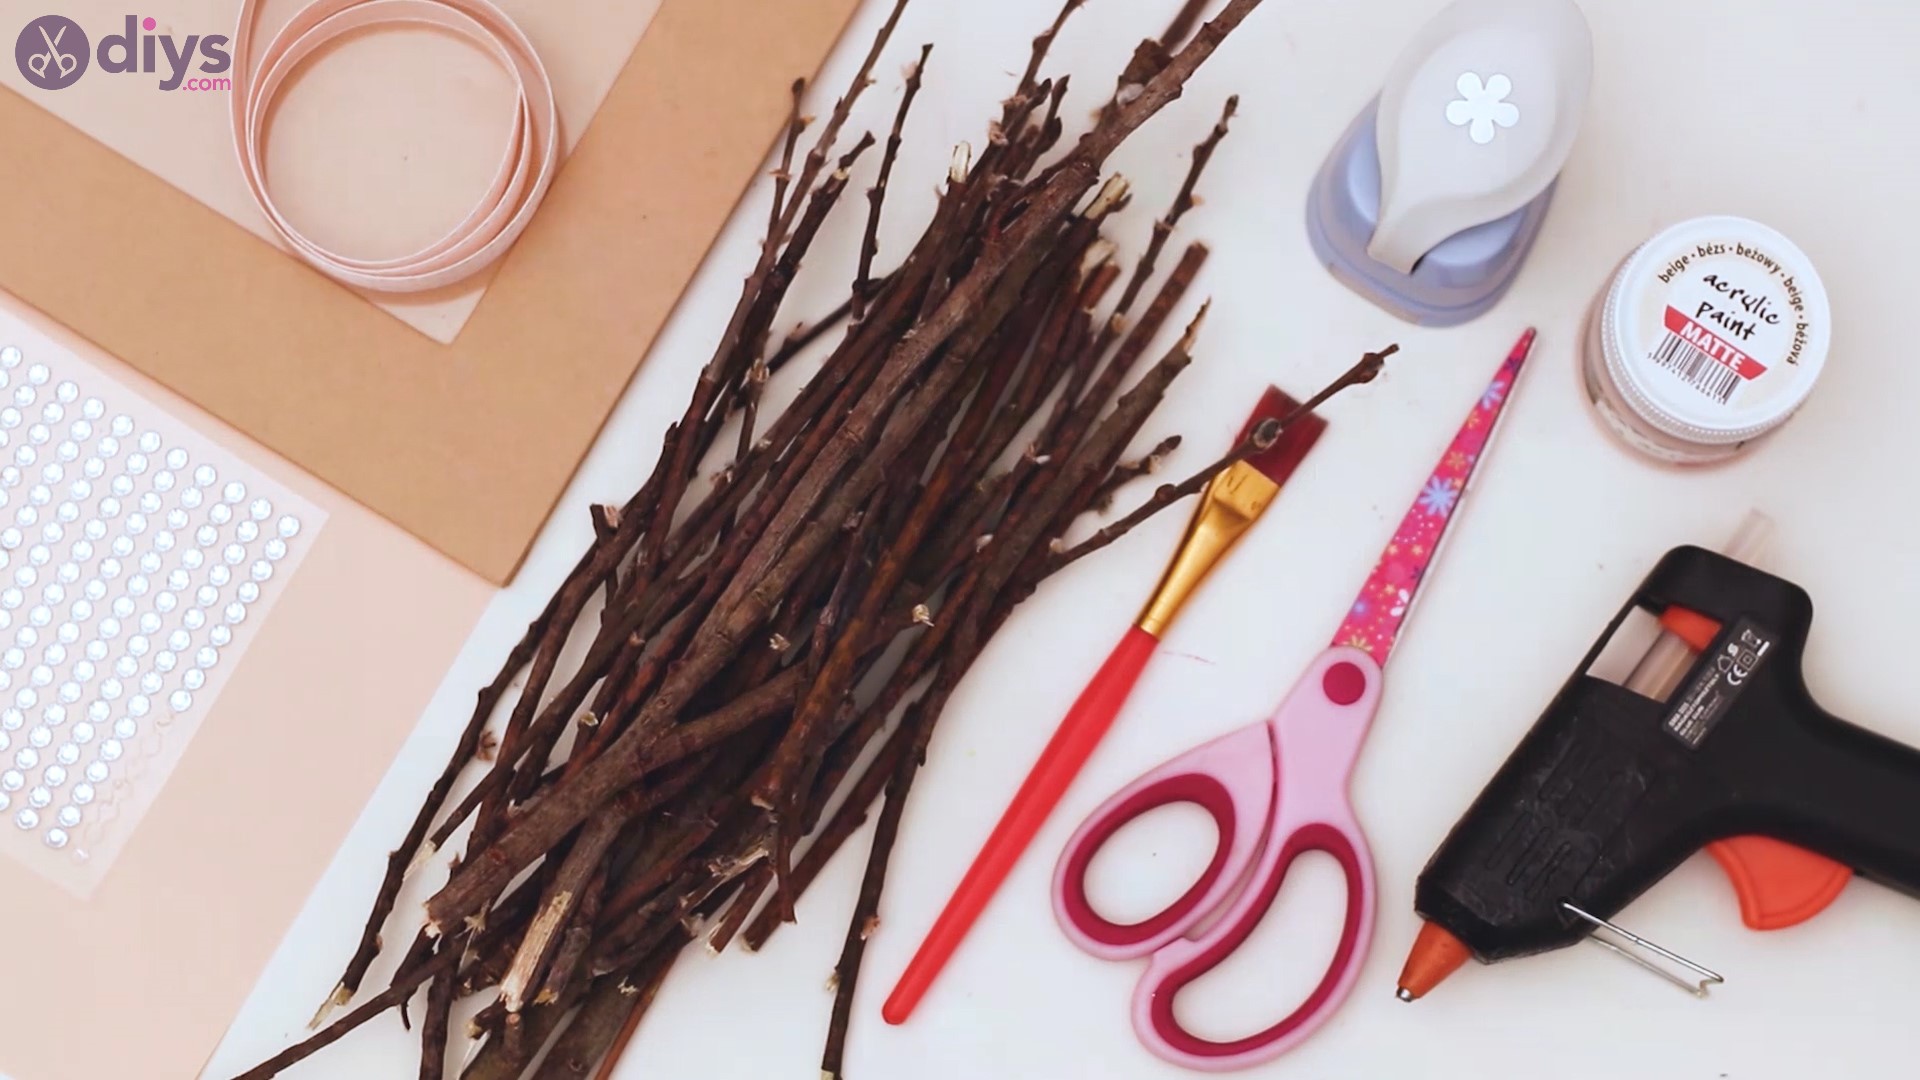
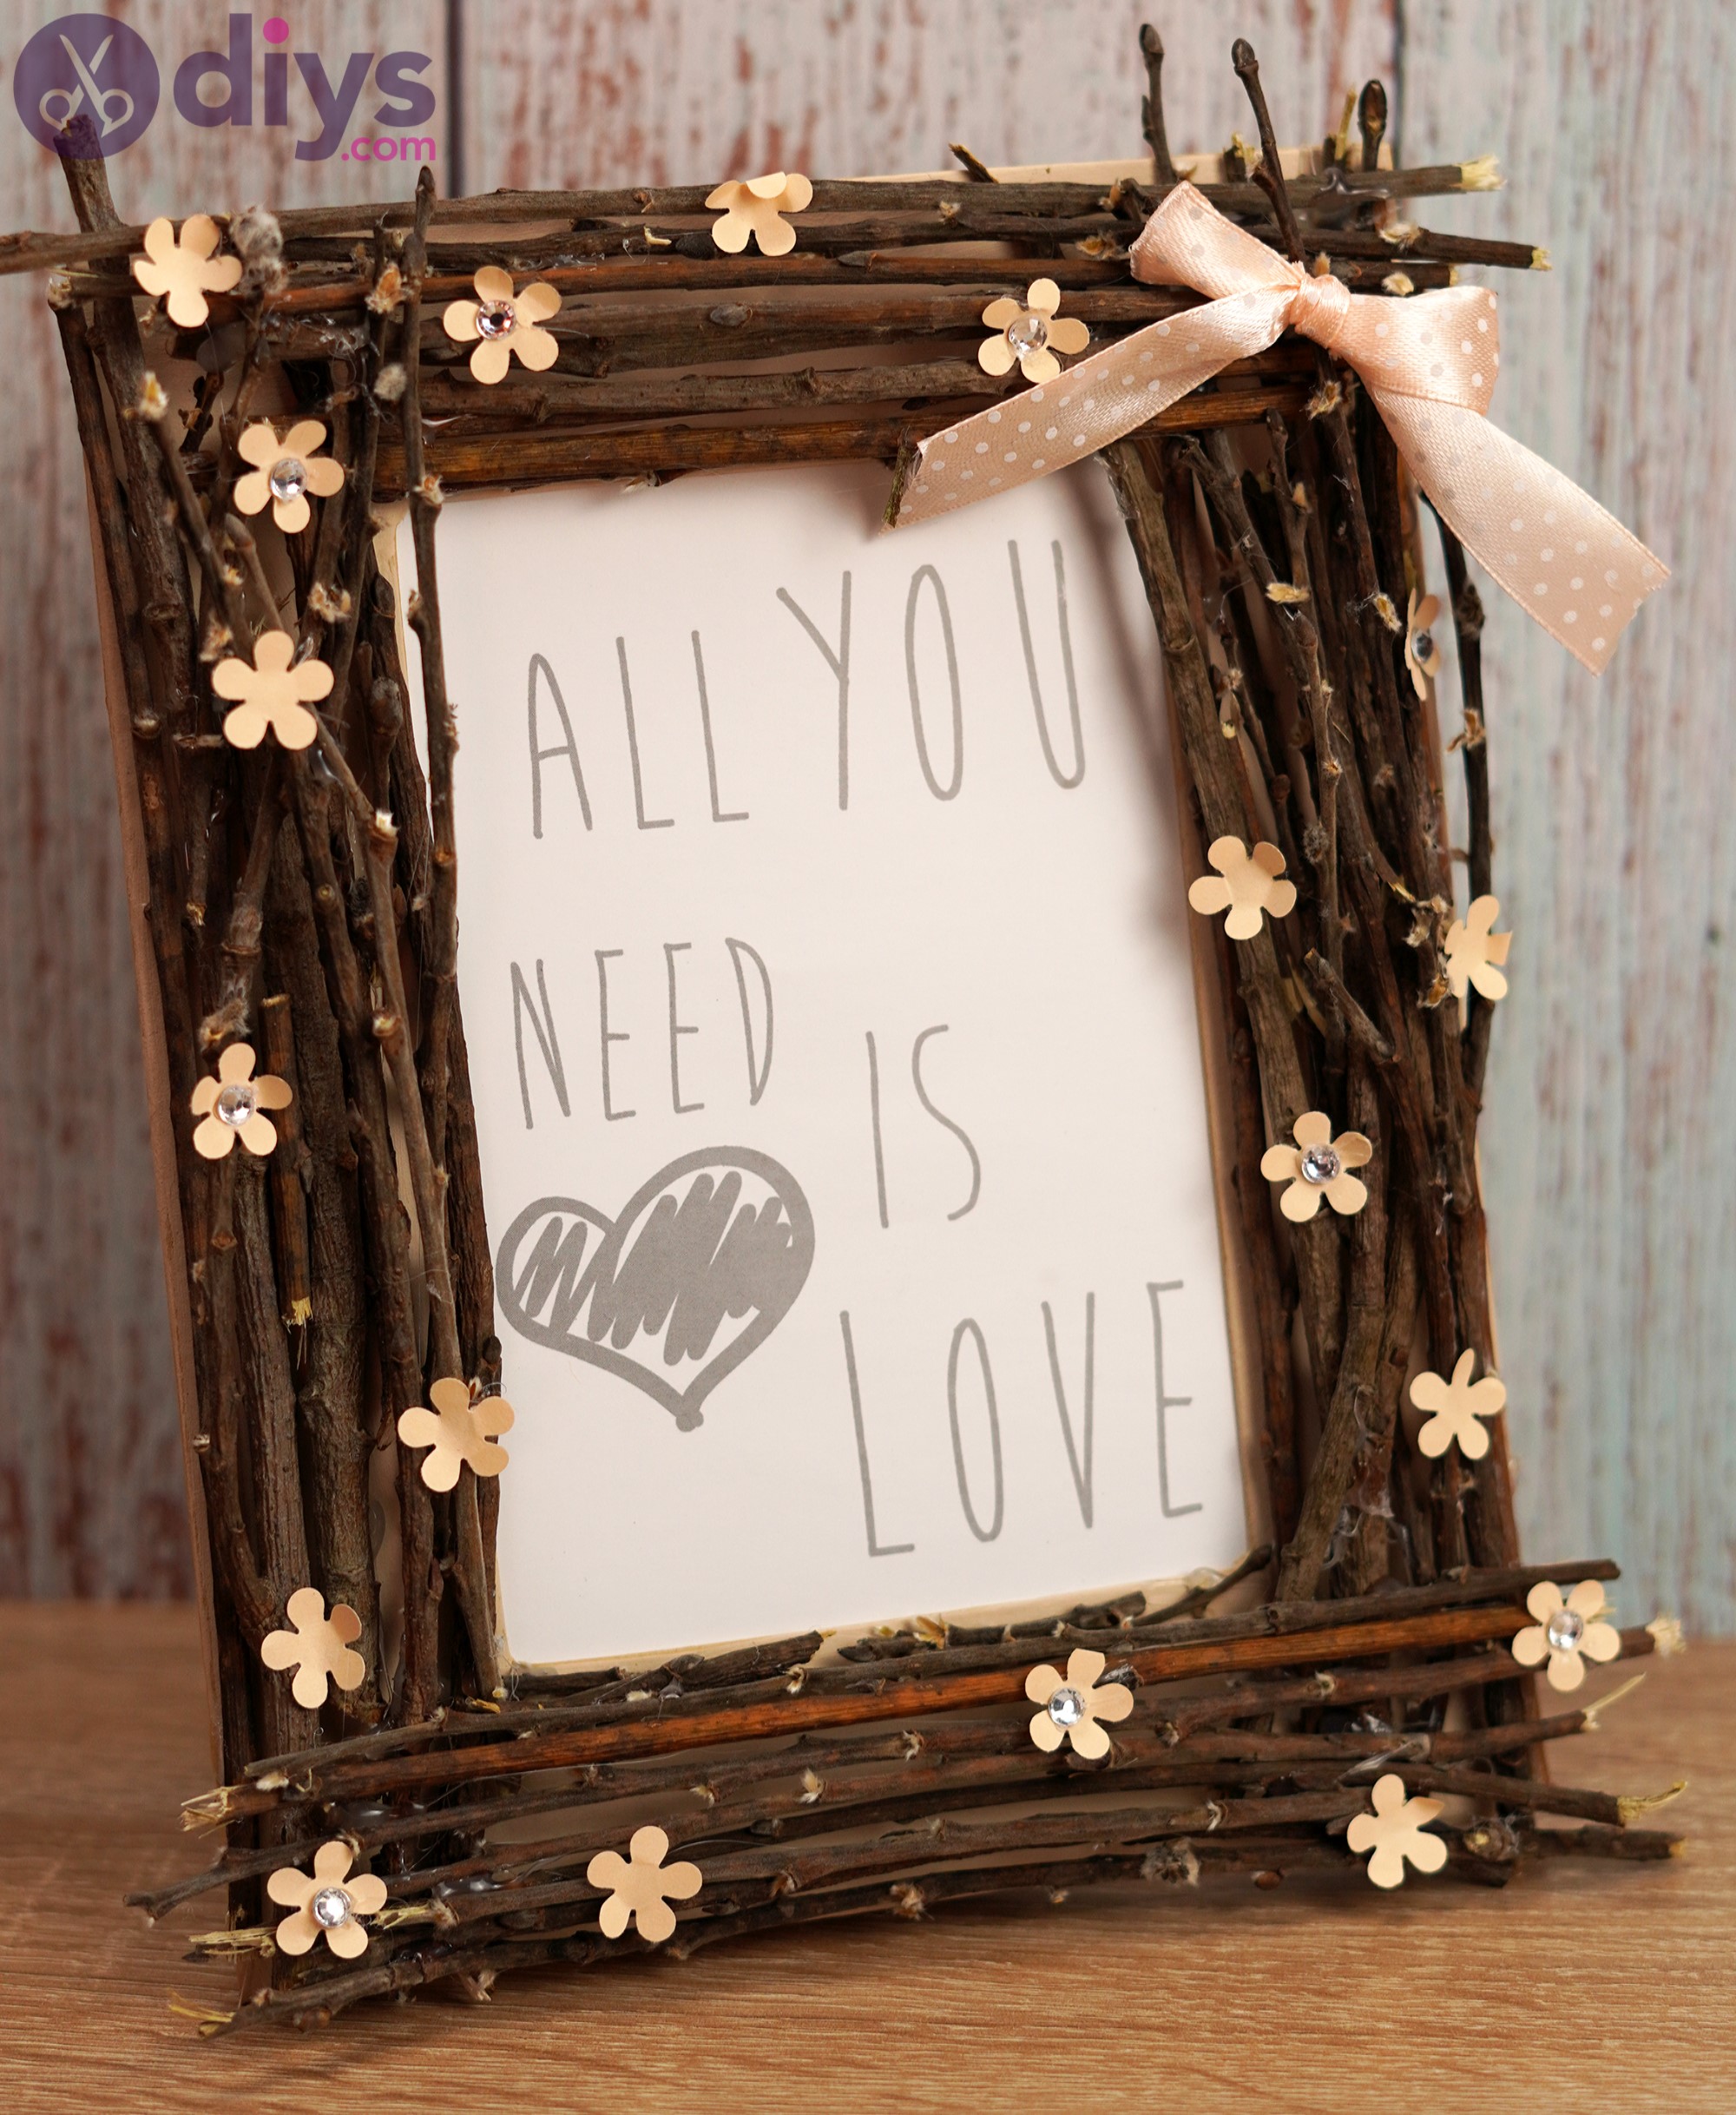
Photo frames you can buy from various shops are pretty sometimes, but most times they all look the same, and nothing helps them stand out. So, today we’re making a rustic twig frame to better put your prettiest picture into focus.

The rustic twig frame will be a great addition to your home and it can also be a perfect gift for those who love nature this Valentine’s Day, Mothers’ Day, or even Easter. Basically, it’s perfect for any holiday and it’s going to be that much more interesting as you get to make it on your own.
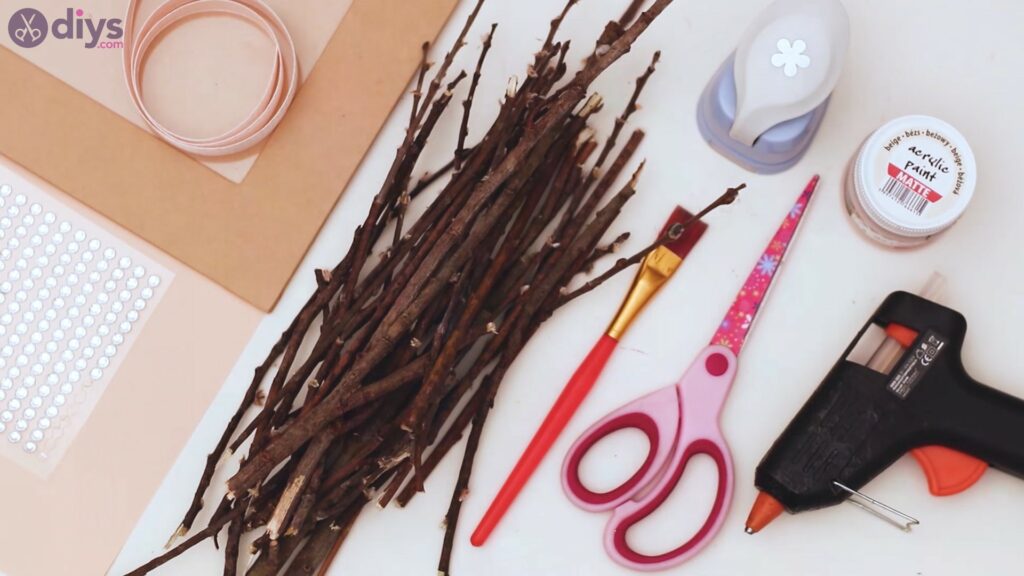
Materials for rustic twig frame
- frame
- peach colored paper
- rhinestone
- silk ribbon
- branches
- paintbrush
- beige acrylic paint
- glue gun
- scissors
- flower hole punch
How to make a rustic twig frame
Before we get started to making one of these beautiful rustic twig frames, we want to make sure you have all the materials within hand reach. If you want to be productive and finish this project as quickly as possible you’ll want to have everything ready before you start. So? Do you have all the materials on the table? Let’s proceed, then!
Step 1: Paint the frame
For our design today, we went with a cardboard photo frame, but you can work with whatever you have at home. So, get thephoto frame,yourpaintbrush,and thebeige acrylic paint and start laying down the paint. You want to make sure not to get any on the frame’s glass/plastic window.


Make sure to cover all areas of the frame with your paint. Also, we’re using a wide paintbrush for better coverage. You don’t need to paint multiple layers of color on the frame since it’s not going to be visible – it will only serve as a barely-visible background.

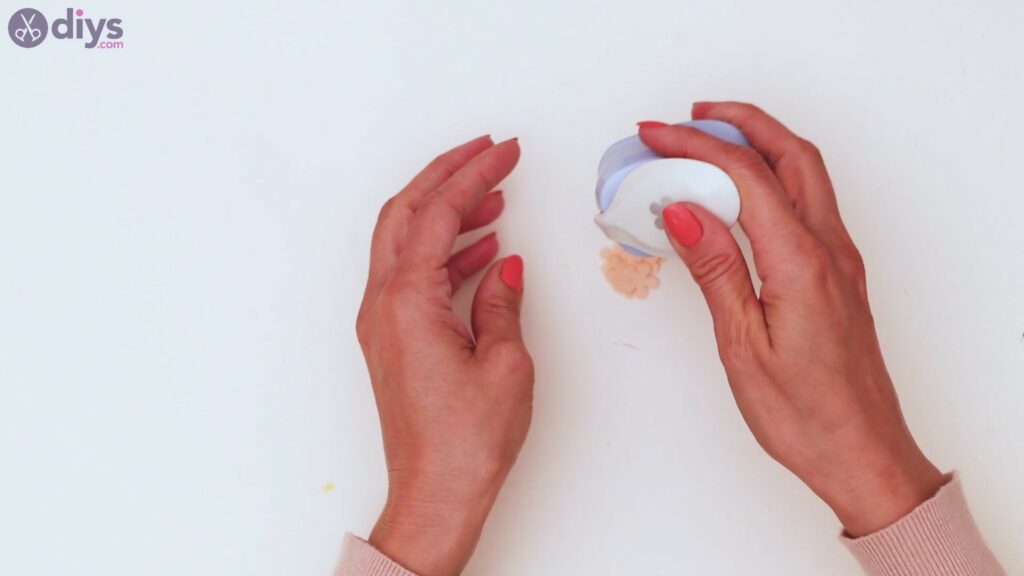
Step 2: Punch in your flowers
Next, you want to take the peach colored paperand theflower punchand start creating some flowers. These are super easy to use and work as any other hole punch.
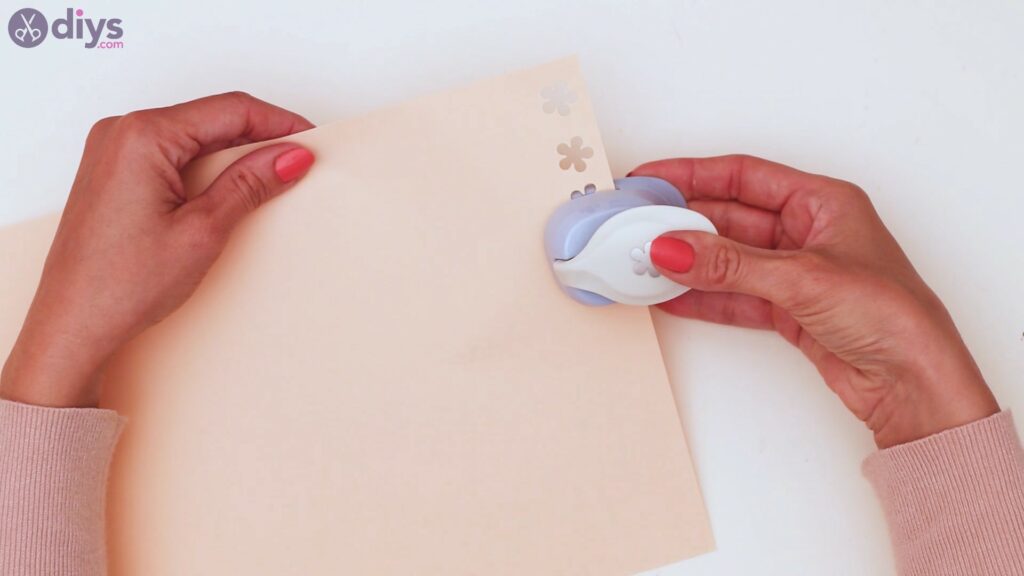

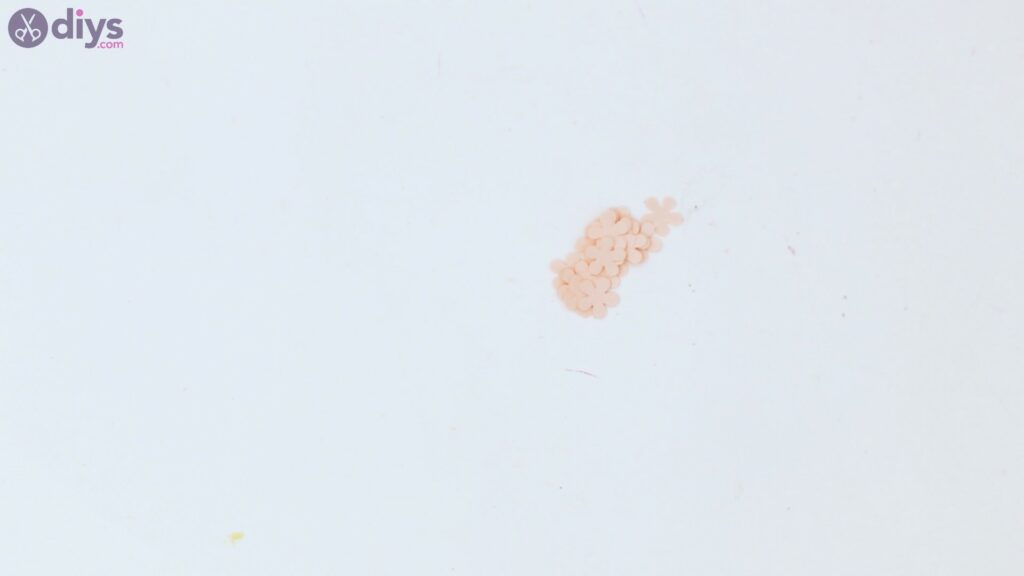
When you feel the reservoir is full you can empty it. If you think you have enough, you’re done. Otherwise, make some more pretty flowers.
Even if you’ve made more than you’ll need, we’re sure you’ll find a use for them for another craft.
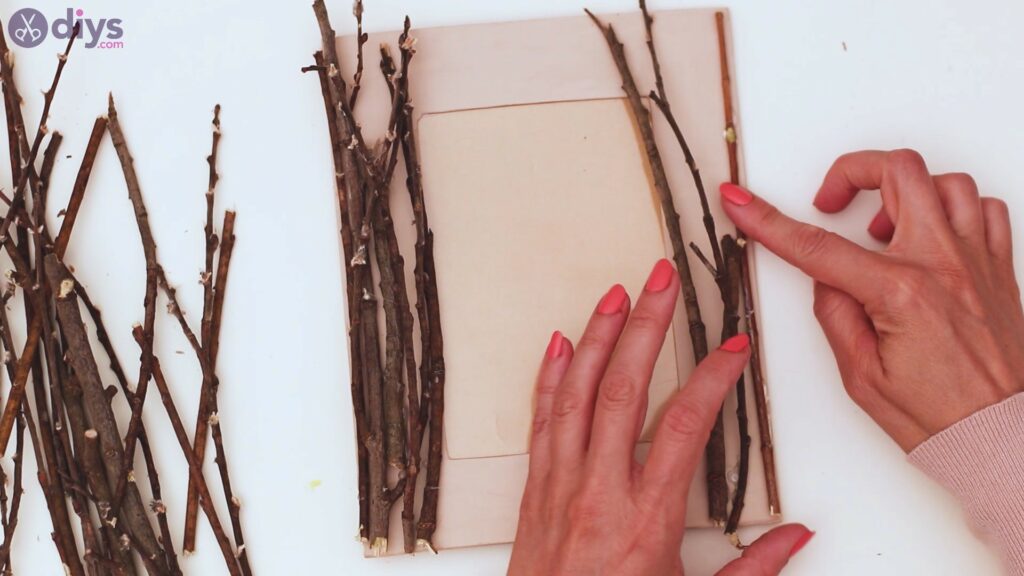
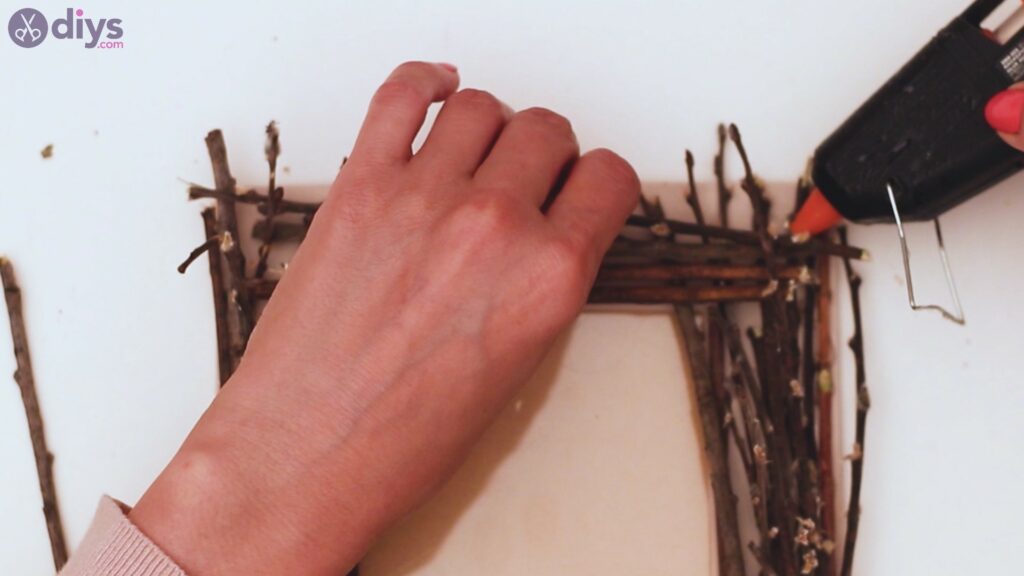
Step 3: Glue the twigs
The next step involves gluing the twigs to the picture frame. Grab thetwigs one by one and theglue gun. Add some hot glue to the back of the twig and press it into the frame.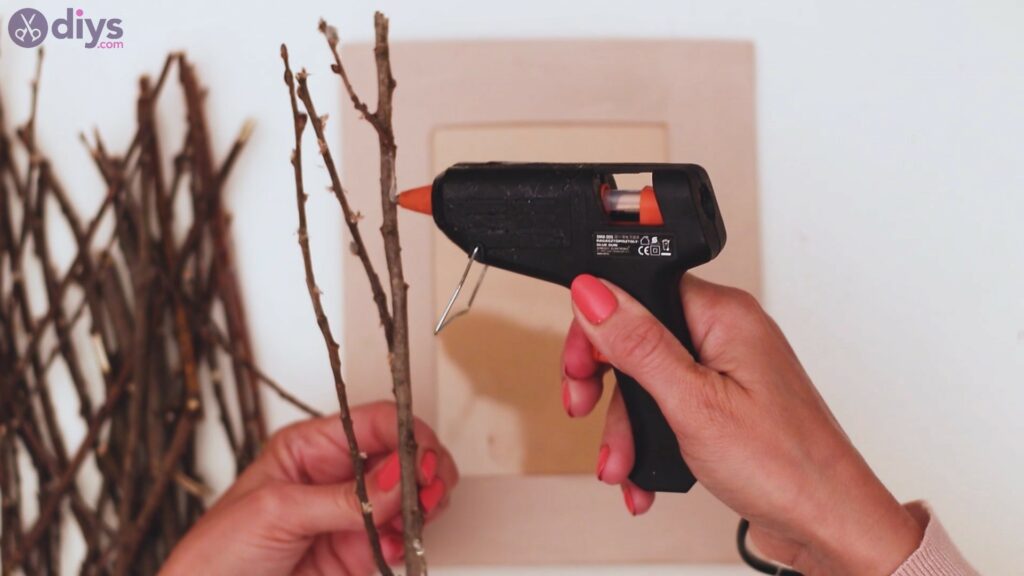
Try to place them as neatly as possible to the frame, following the lines and matching them with the natural shape of the twigs.
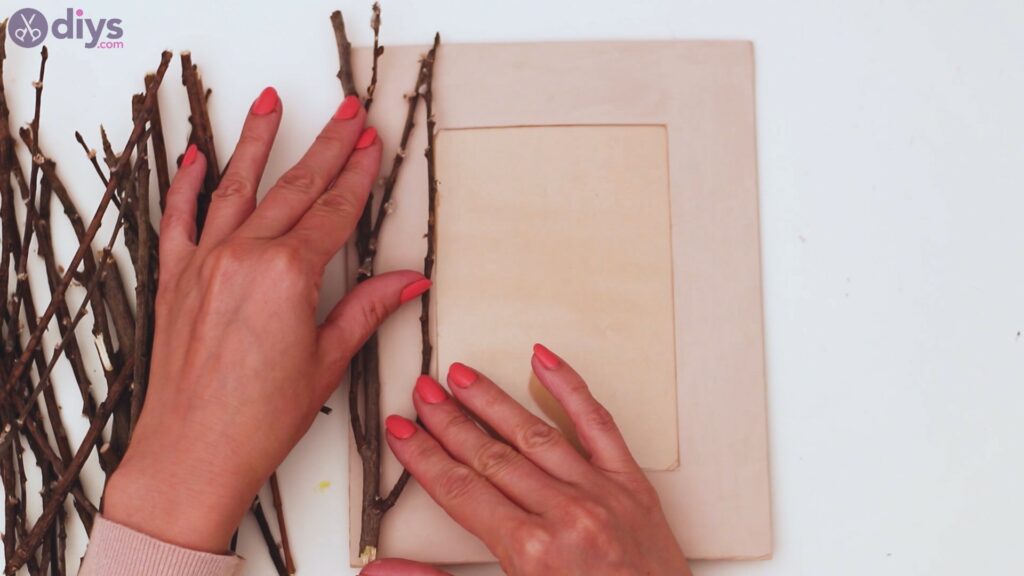

Keep adding twigs to the frame, going as far as to stack them one over the other. Even if your twigs have multiple branches like ours do, you still want to cover the whole area, so you’ll inevitably place them one over the other.


Move to the other side too. Pick various shapes and sizes of twigs and try to find their perfect spot on the frame.


Try to think of placing the frames as a game of Tetris or some 3D puzzle. Try to find the right place for each twig.
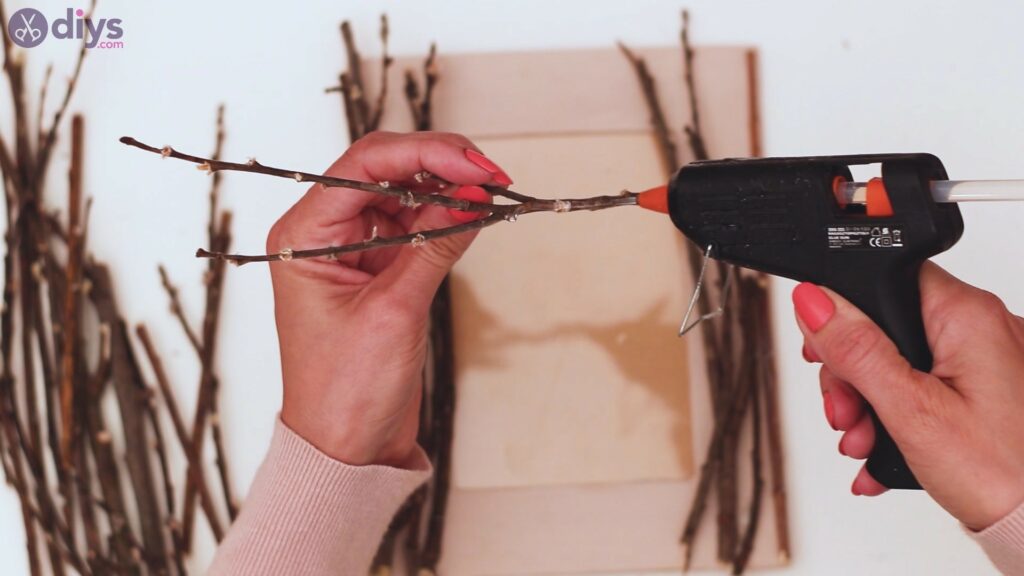
Also add twigs to the top area of the frame. Since the twigs on the sides are displayed on multiple levels, you’ll want to place the new twigs in between these, making sure they have the room for it.
Do the same thing for the lower area of the frame.

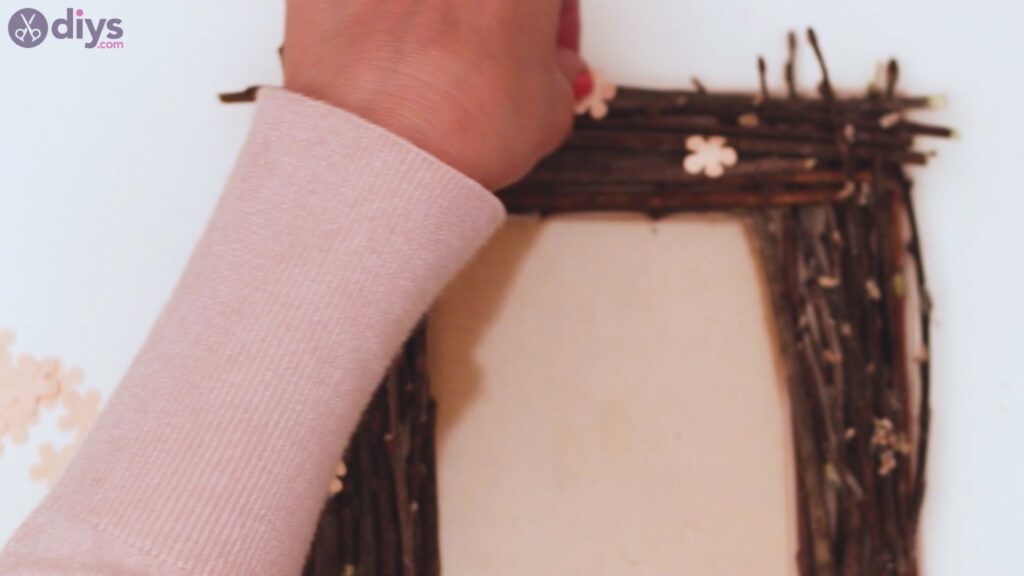
Step 4: Add the flowers
Now that your twigs are all in their designated place, you can start adding more globs or hot glue and placing the paper flowers over them
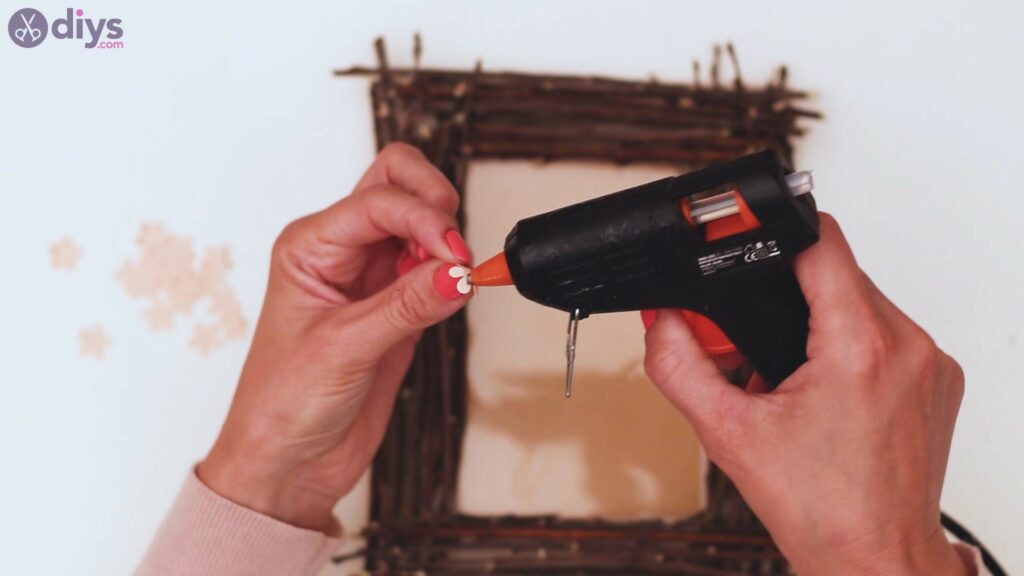
You can either add the glue to the back of the paper or directly to the twigs. Try to place the flowers are securely as possible.

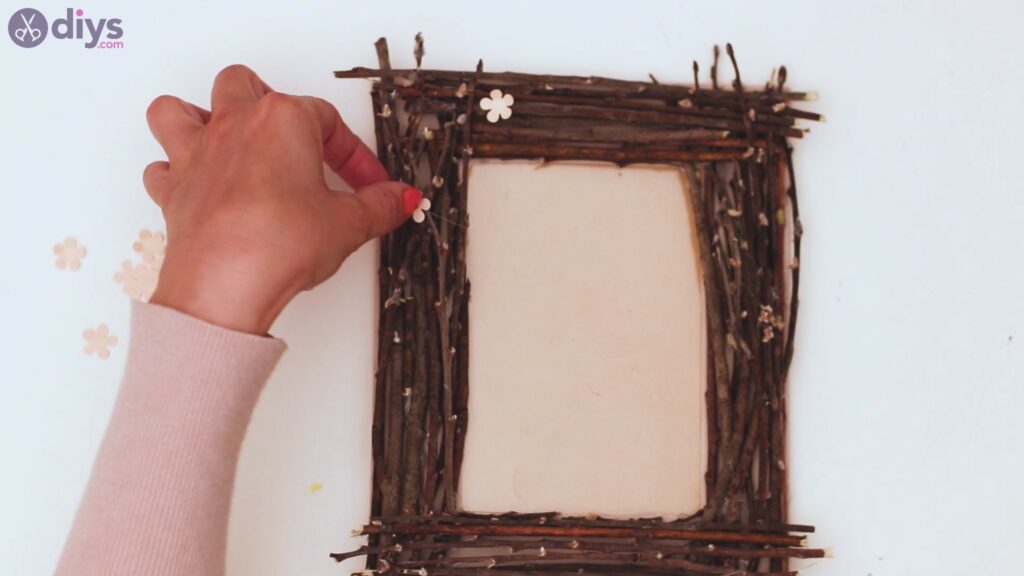
As you can see, the flowers will give this frame a delicate touch.
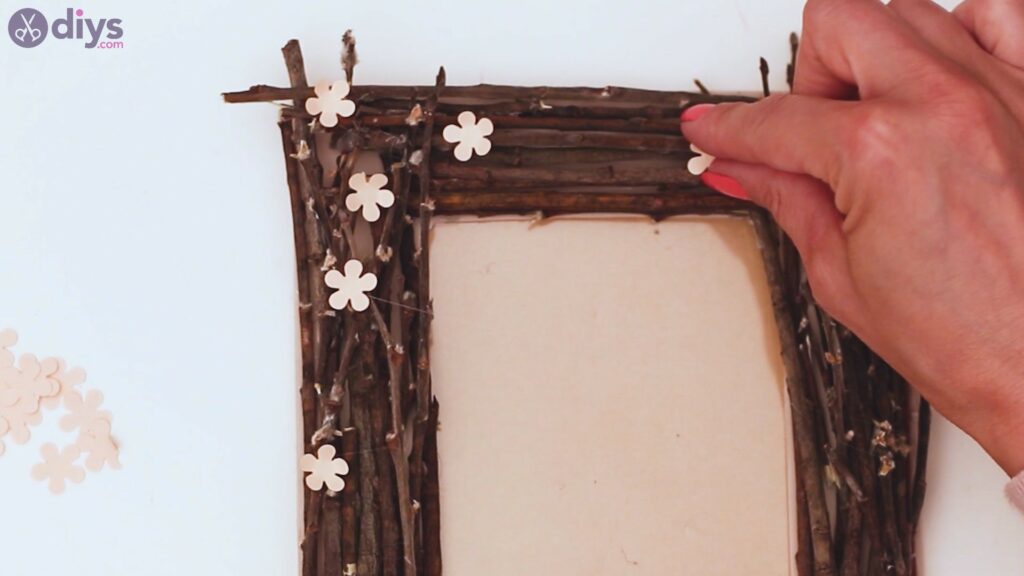
Keep adding paper flowers to tone down the frame, giving it a whimsical look.

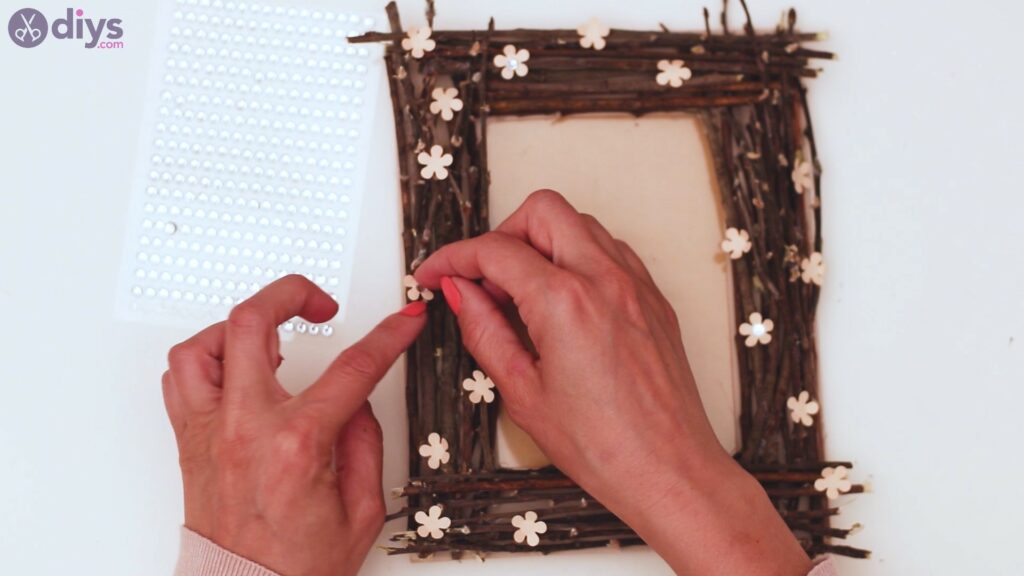
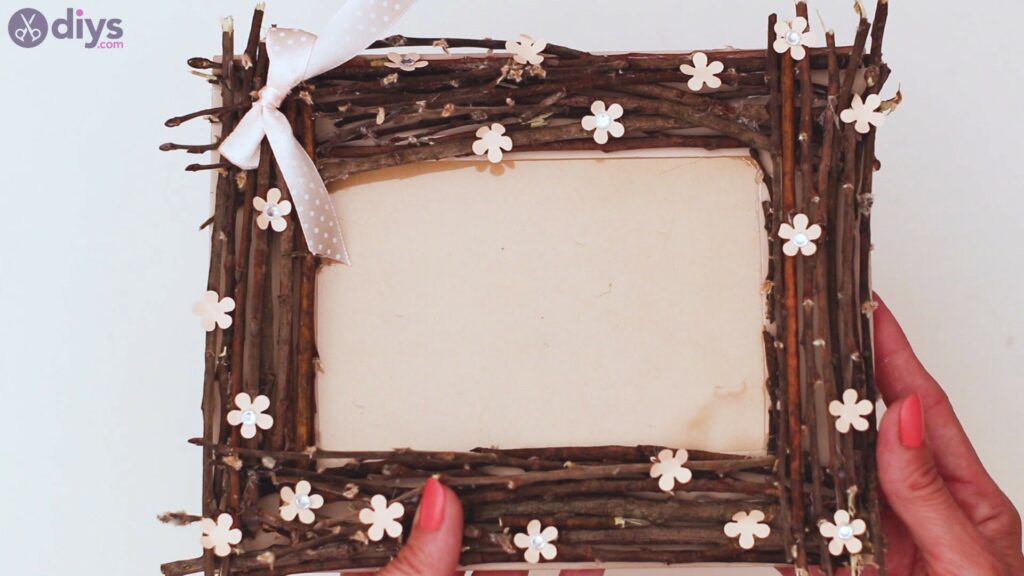
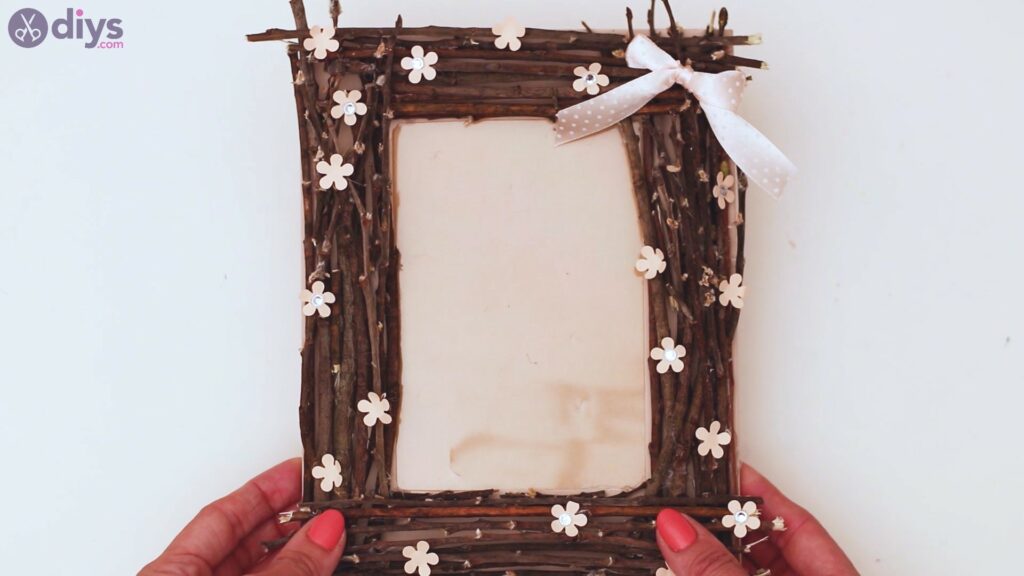
Step 5: Add the rhinestones
Now that the flowers are in their place, it’s time you add the rhinestones too. Ours are glued to a plastic sheet, so pick them up and find a place for them.
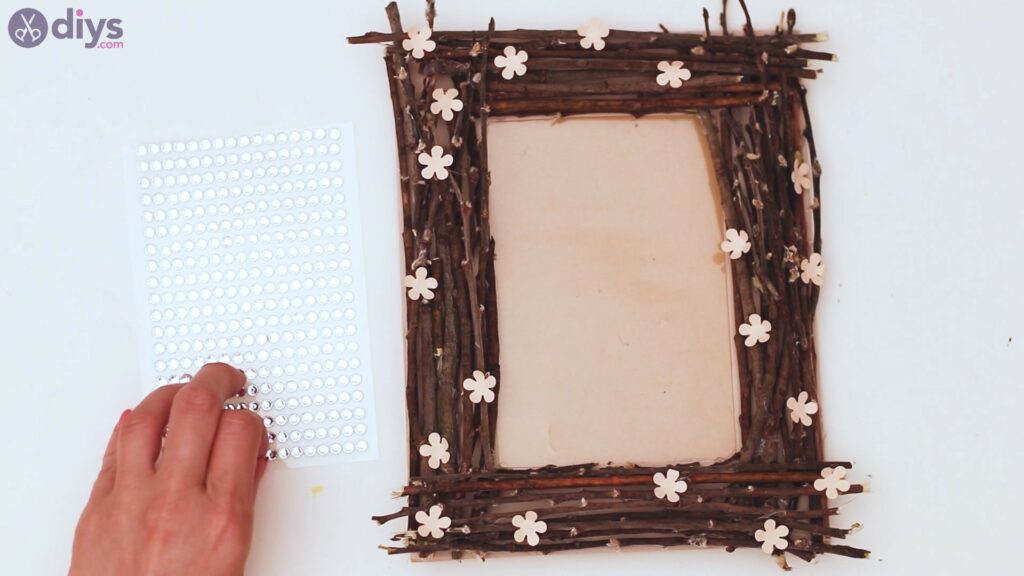
Ours already have adhesive on their backs, so there’s no need for extra glue. If yours come with none, get the glue gun out again and apply just a tiny dot to their backs.


Add the rhinestone to each of the flowers, making sure not to forget any.
Step 7: Make a bow
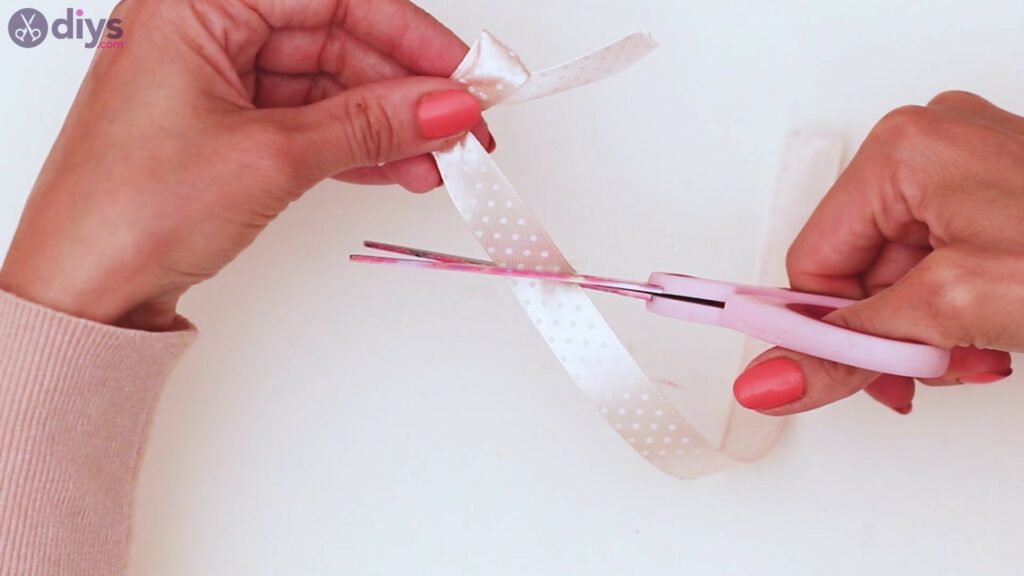
Next, get the silk ribbon you have and cut two pieces – one longer, one shorter.

Shape the longer ribbon into a bow, looping the material accordingly.
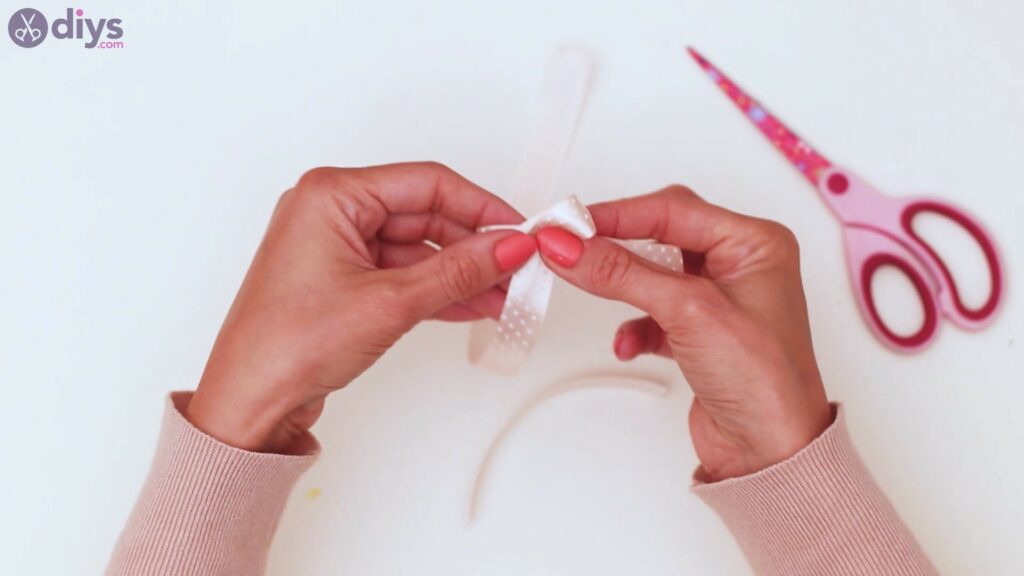
When you have the right size bow, get the shorter piece and tie it around the middle of the bow.
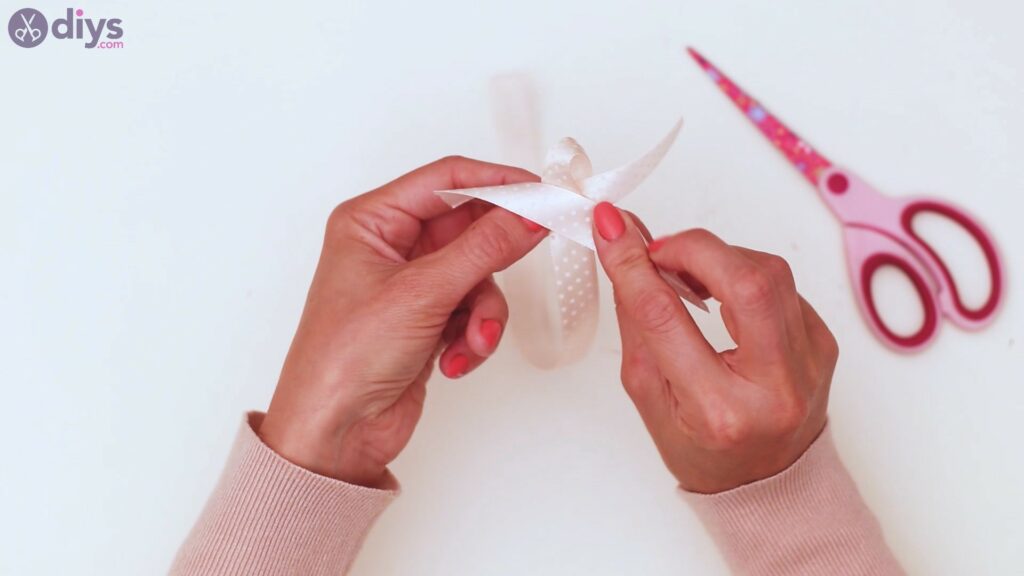
Tie a double knot so the bow does not fall apart. Grab your scissors and cut off the excess material.
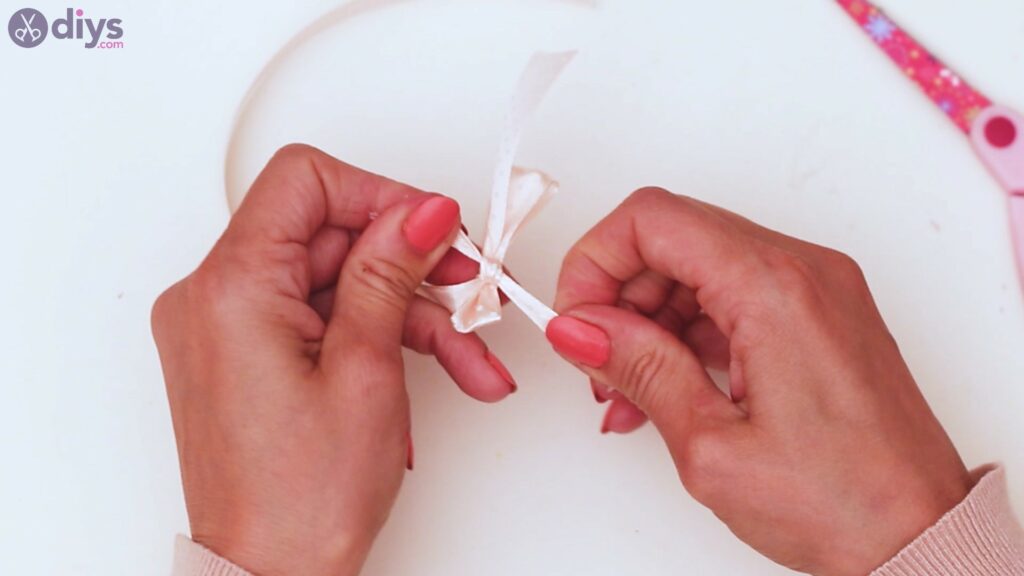

Then, it’s time to trim the tails of the bow. Make sure you cut the material straight and that the ribbon does not end up with loose threads.
Step 8: Add the bow to the frame
Next, get the glue gun and add some hot glue to the back of the ribbon you just made.
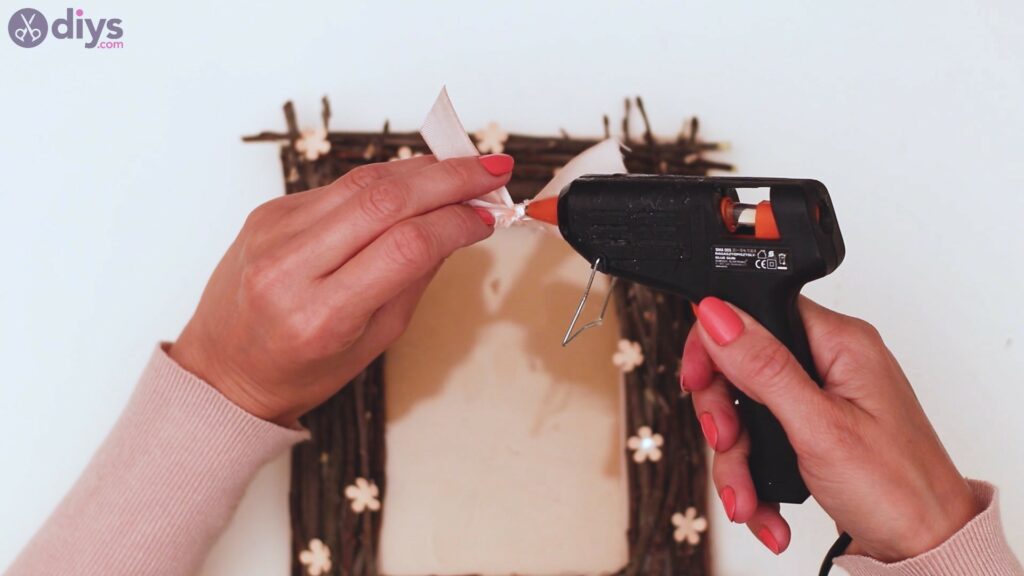
Place it where you find it will look the prettiest. We chose to put it in the top corner.

And there you have it! A pretty rustic twig frame to encase your best memories! Once more, this would be a great addition to your own collection, as well as a gift for someone you love.
You can customize the design however you see fit, but you can do this mainly by adjusting the shades you’re working with. Paint the frame base with the same shade you’ll be using for the paper flowers. You can also use a frame from a different material, but we do advise you that you go for a natural material like wood if you don’t have a cardboard one.
We would love you hear back from you so you can tell us what you think about this design. Also, drop us pictures with your creations over social media.