How to Craft a Twig Monogram for a Personalized, Last-Minute Valentine’s Day Gift
Updated on November 19, 2025


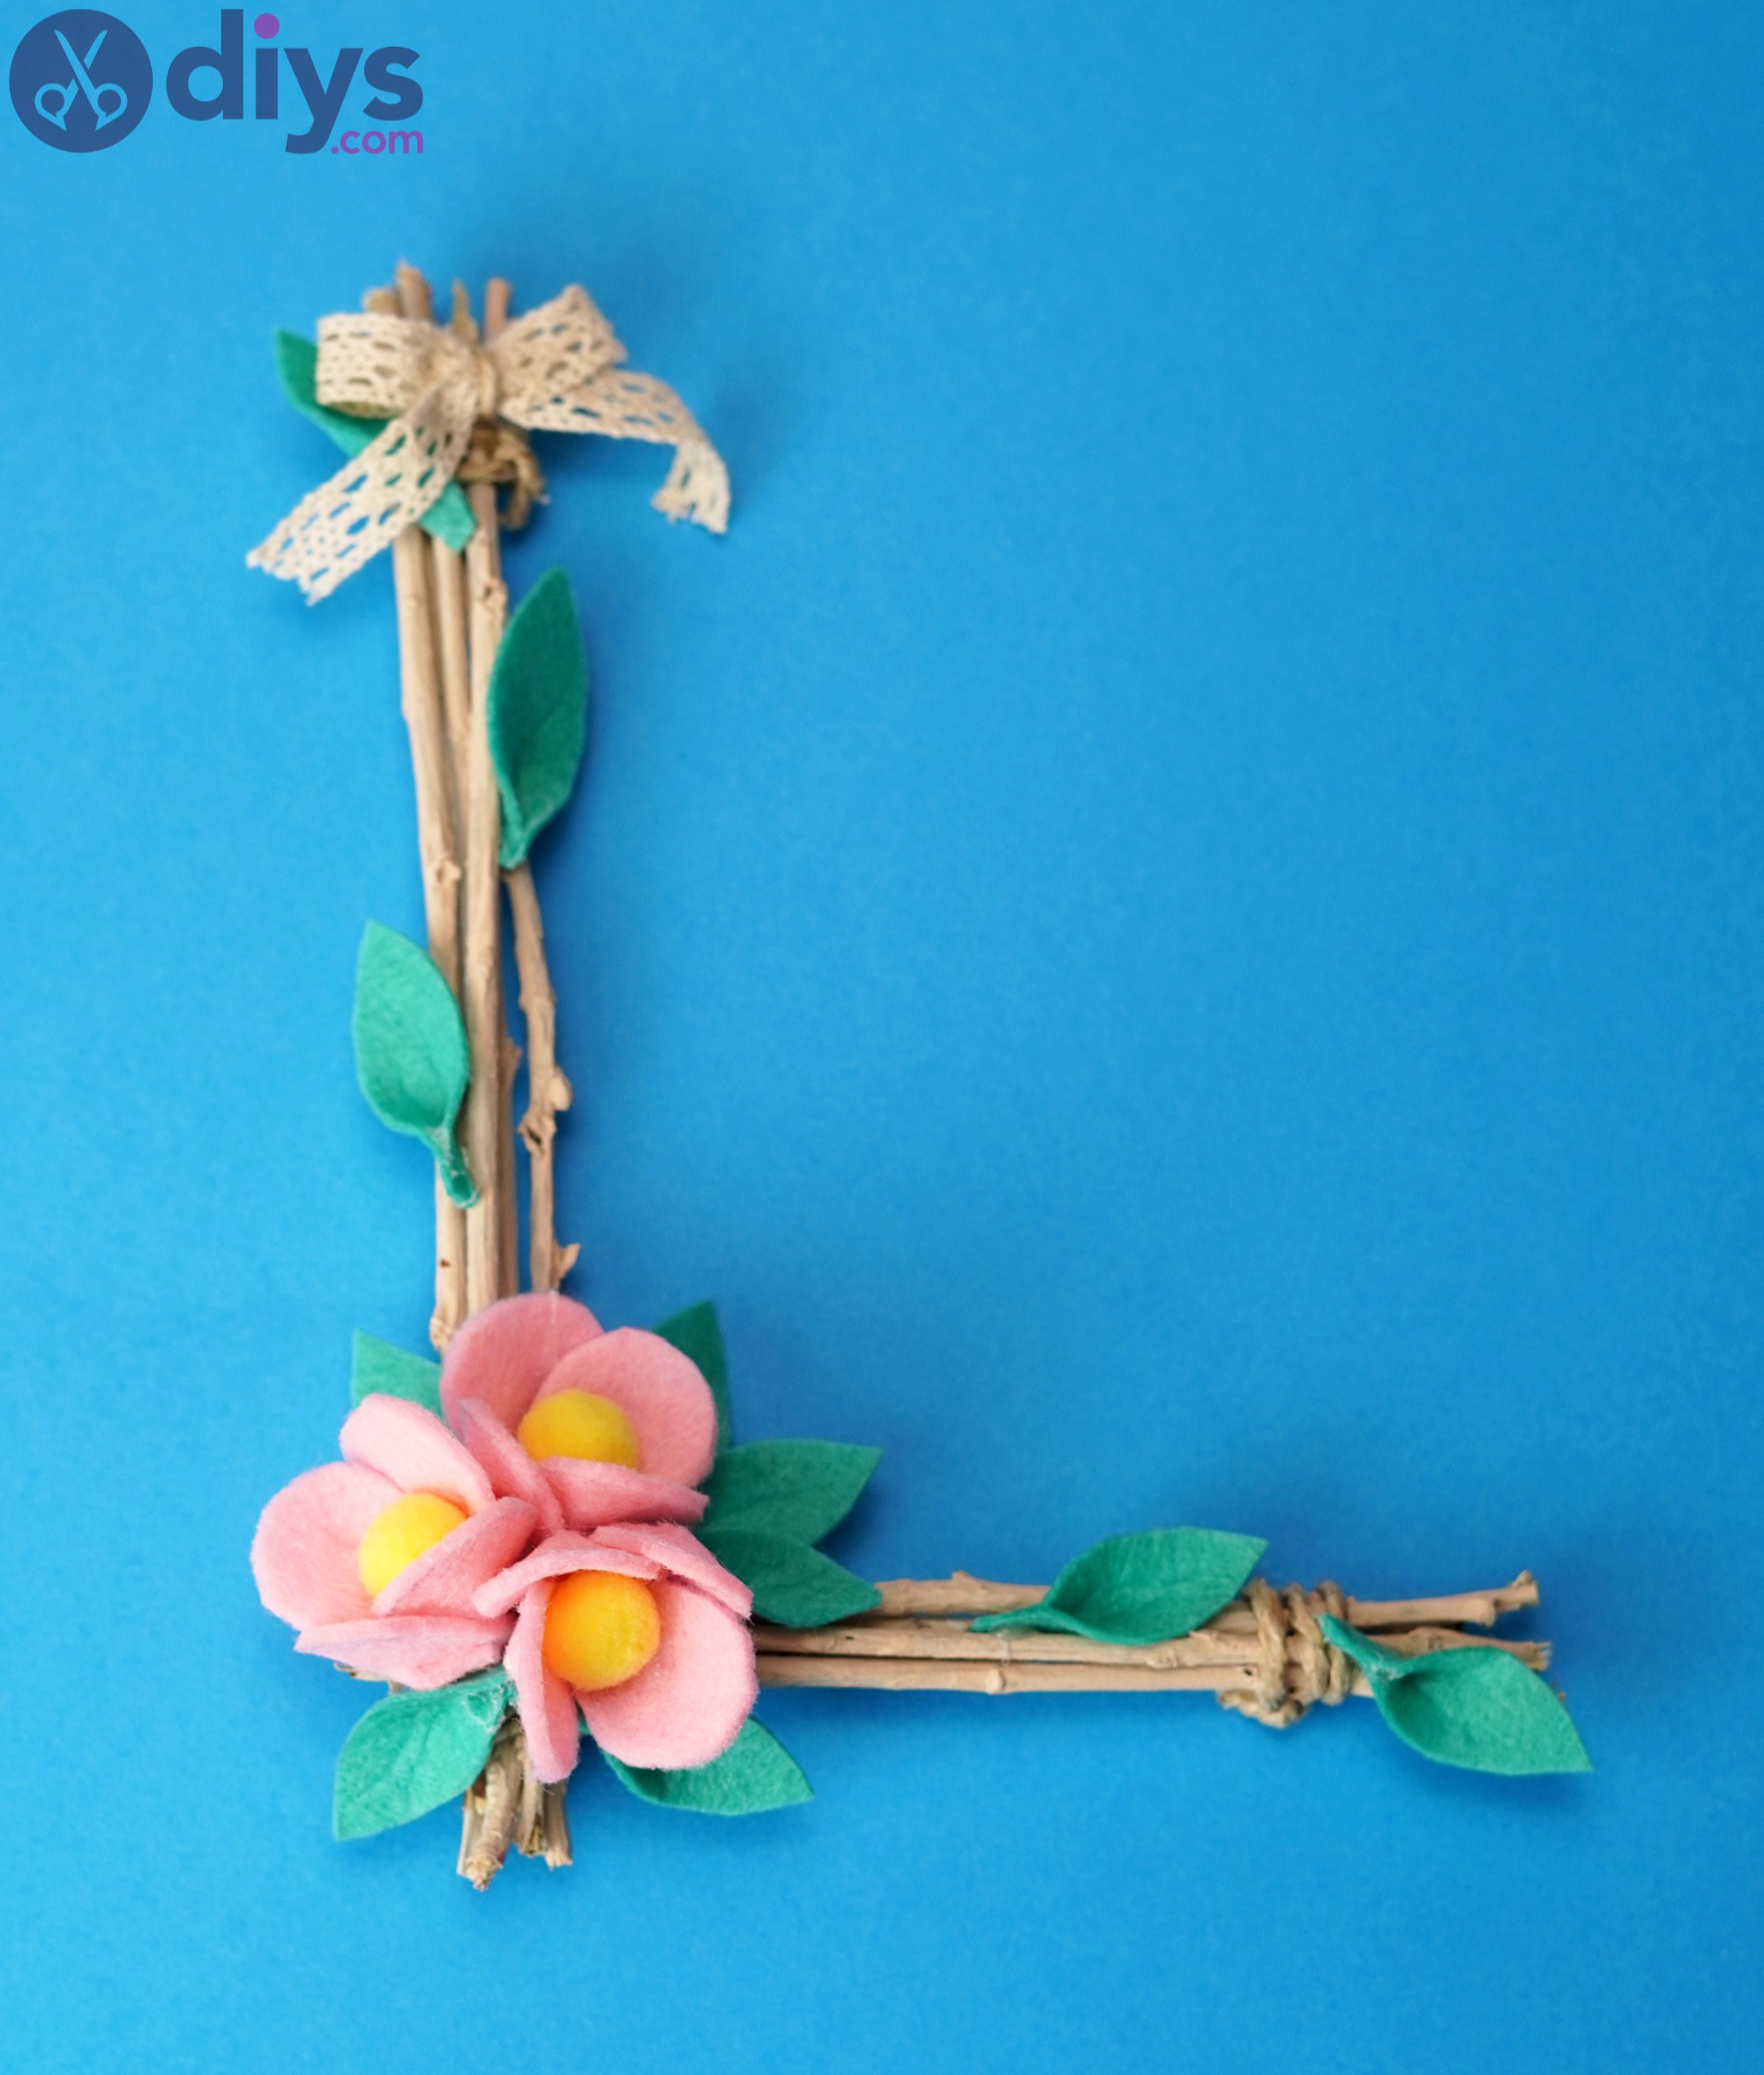
A DIY twig monogram is a simple and beautiful crafting project that creates a customized home decoration. Read on to discover how to craft a twig monogram in six easy steps.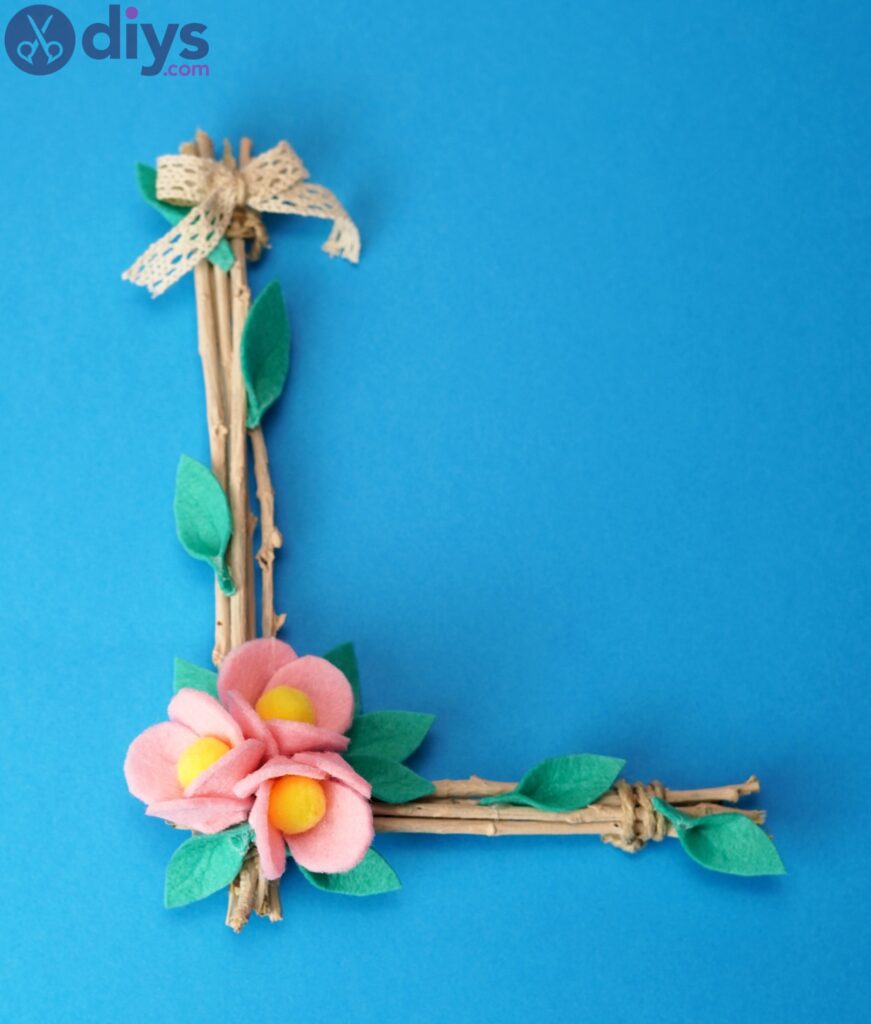
A DIY twig monogram is a decorative art piece created using natural materials such as twigs, branches, and other wood pieces. It’s a great way to personalize any room or outdoor space while adding a touch of nature to the decor. Make a twig monogram in any shape and size and finish it with paint or varnish for added protection and a professional look.
Twig monograms are lovely customizable gifts for any special event, such as Valentine’s Day, Mother’s Day, birthdays, or 5-year wedding anniversaries, since you can use the recipient’s initial.
This DIY wood craft is relaxing for adults. It’s also educational for kids old enough to safely handle a hot glue gun and scissors since it encourages them to think outside the box. Take this opportunity to have your children spend time outdoors and gather twigs. They can help in other ways, too, like painting branches or sticking pom-poms.
This tutorial describes the necessary supplies and steps for crafting a DIY twig monogram. It features images, a video guide, and more tips and tricks. The project takes about 2 hours to finish since you must wait for paint to dry, so a twig monogram is a great last-minute Valentine’s Day gift.
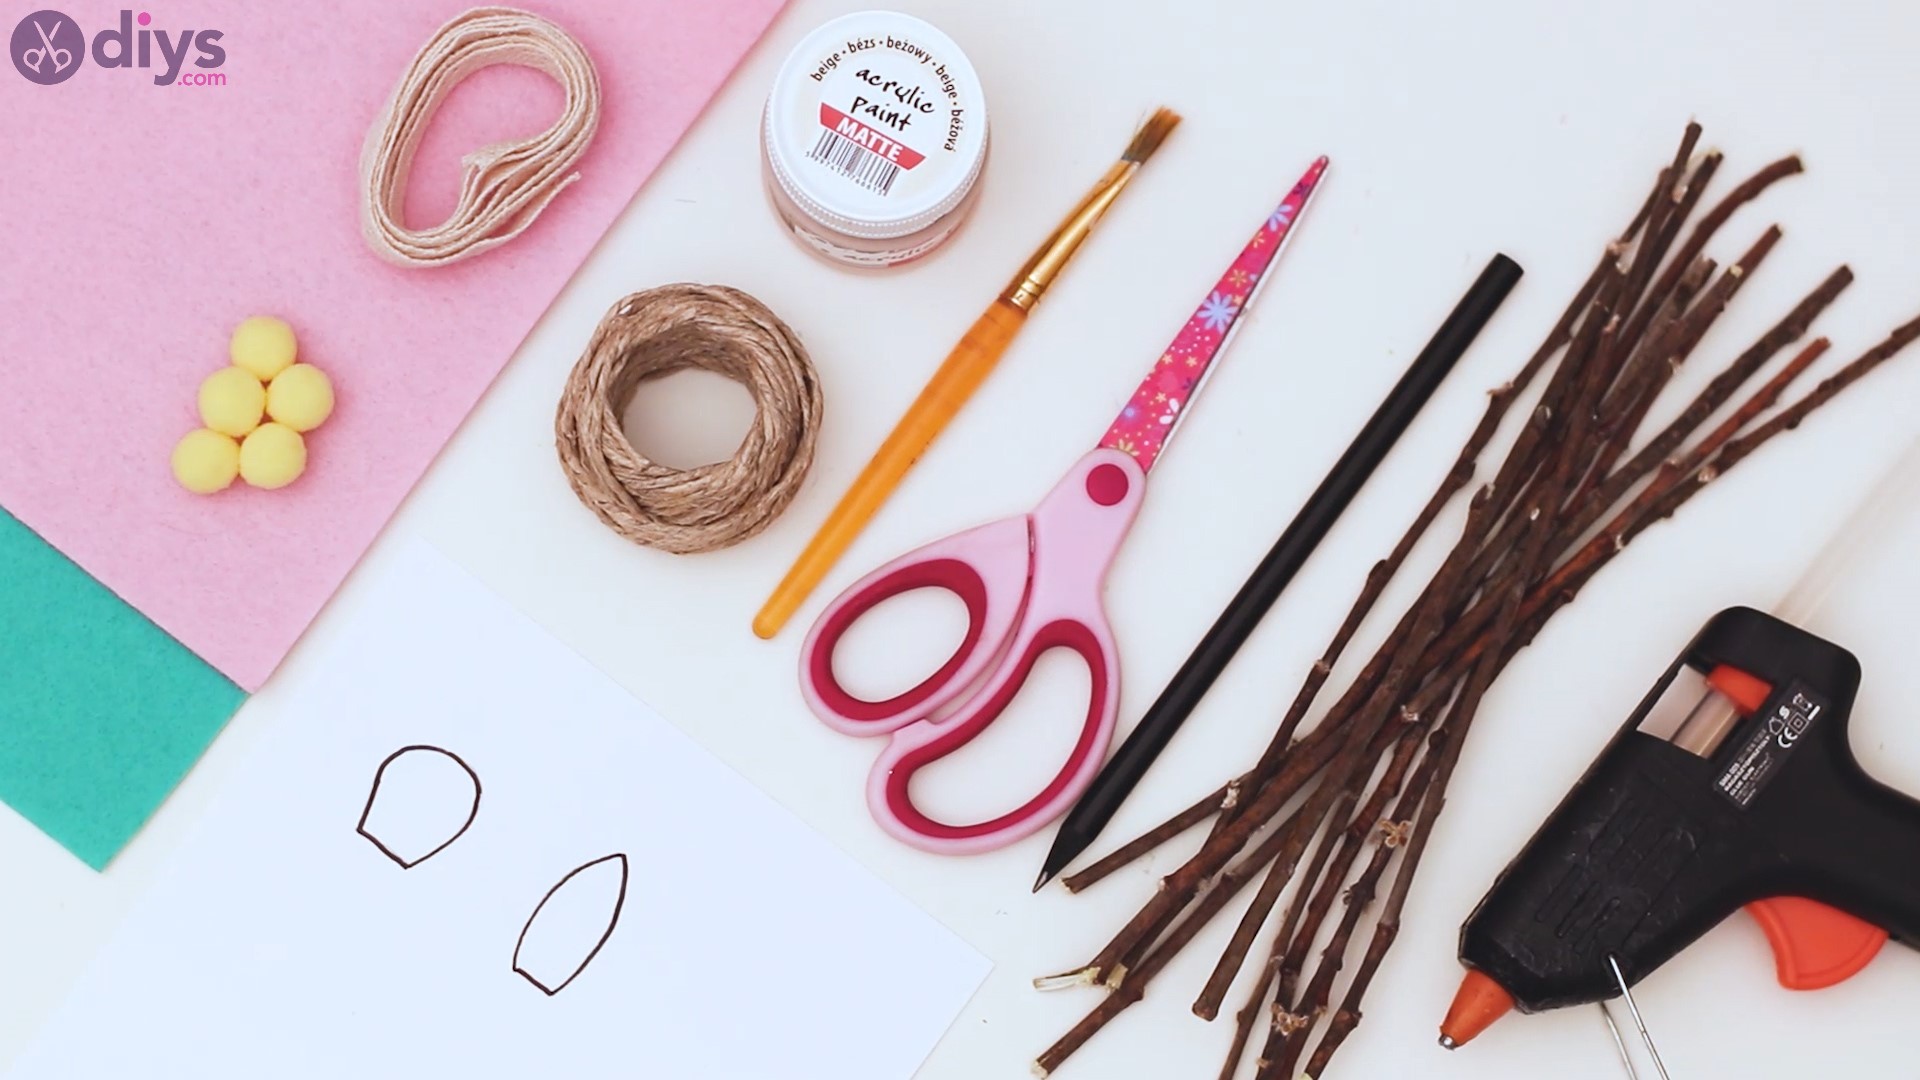
Supplies

- Twigs
- Acrylic paint. We used beige.
- Hot glue gun with glue
- Felt in various colors. We used purple and green.
- Pom-poms. We used yellow.
- Pencil
- Paper sheet
- Scissors
- Paintbrush
- Hemp twine
- Lace ribbon
How do I craft a DIY twig monogram?
Follow these step-by-step instructions to craft a twig monogram:
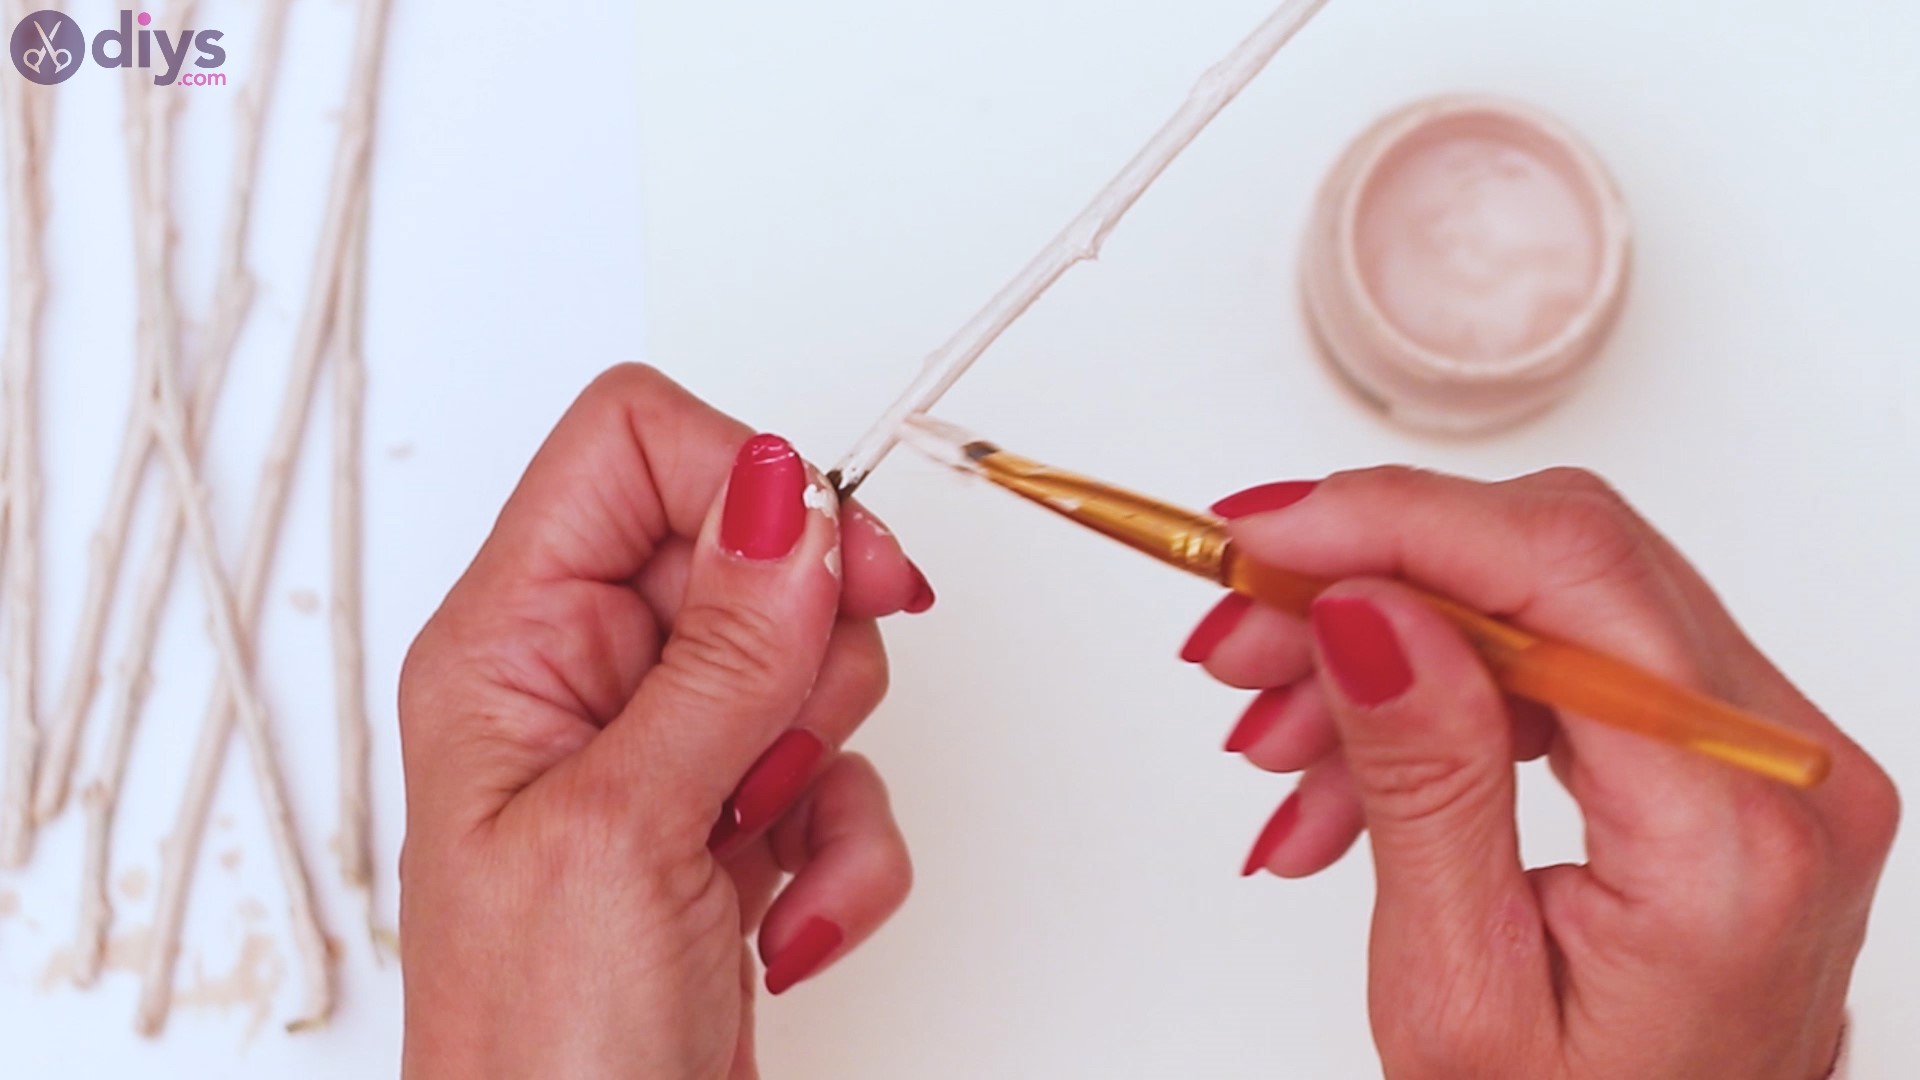
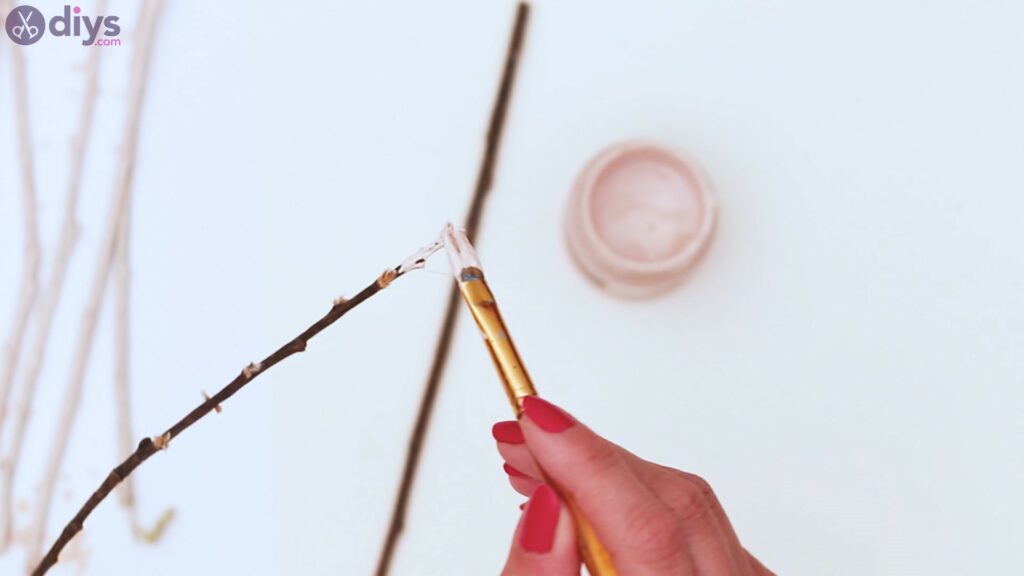
- Paint the twigs: Grab a twig by one end and cover it entirely in paint. If the color looks patchy, apply a second coat of paint. Wait for the paint to dry between coats. Meanwhile, proceed to the next step.

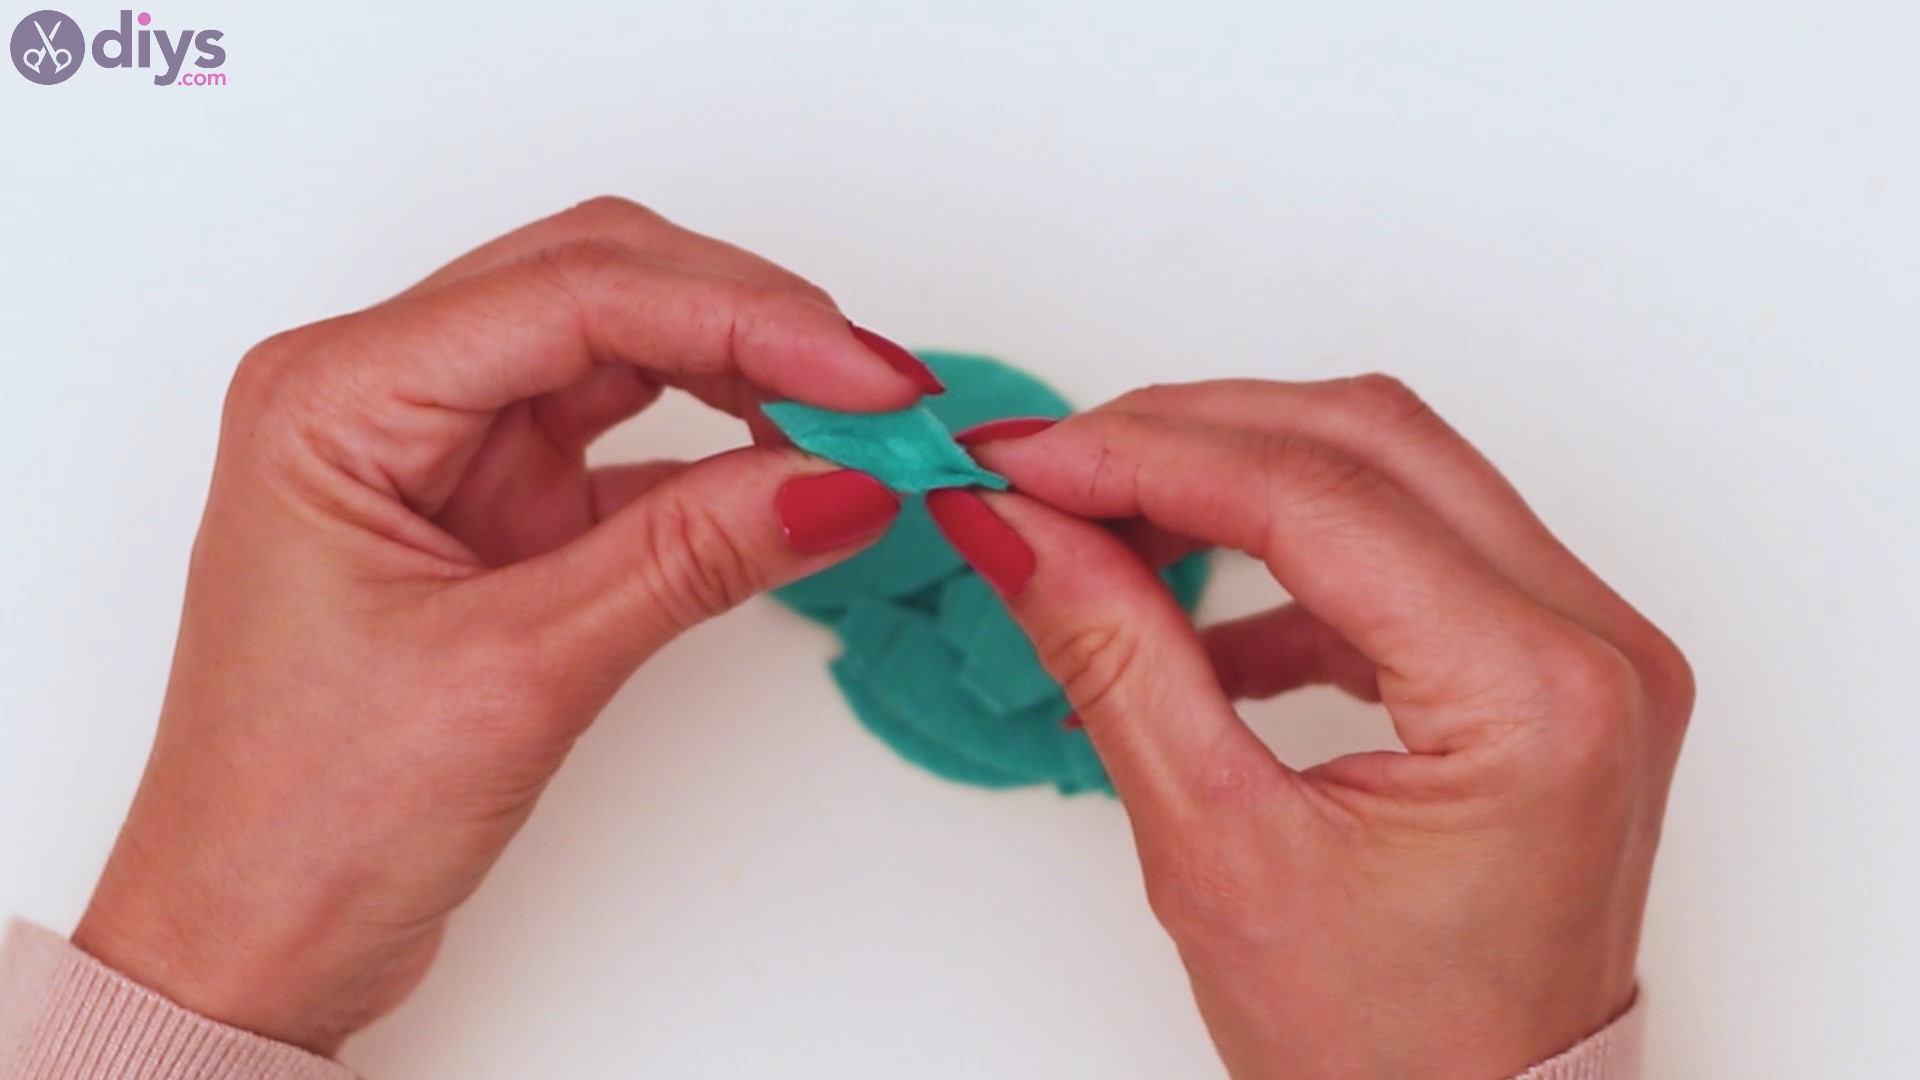
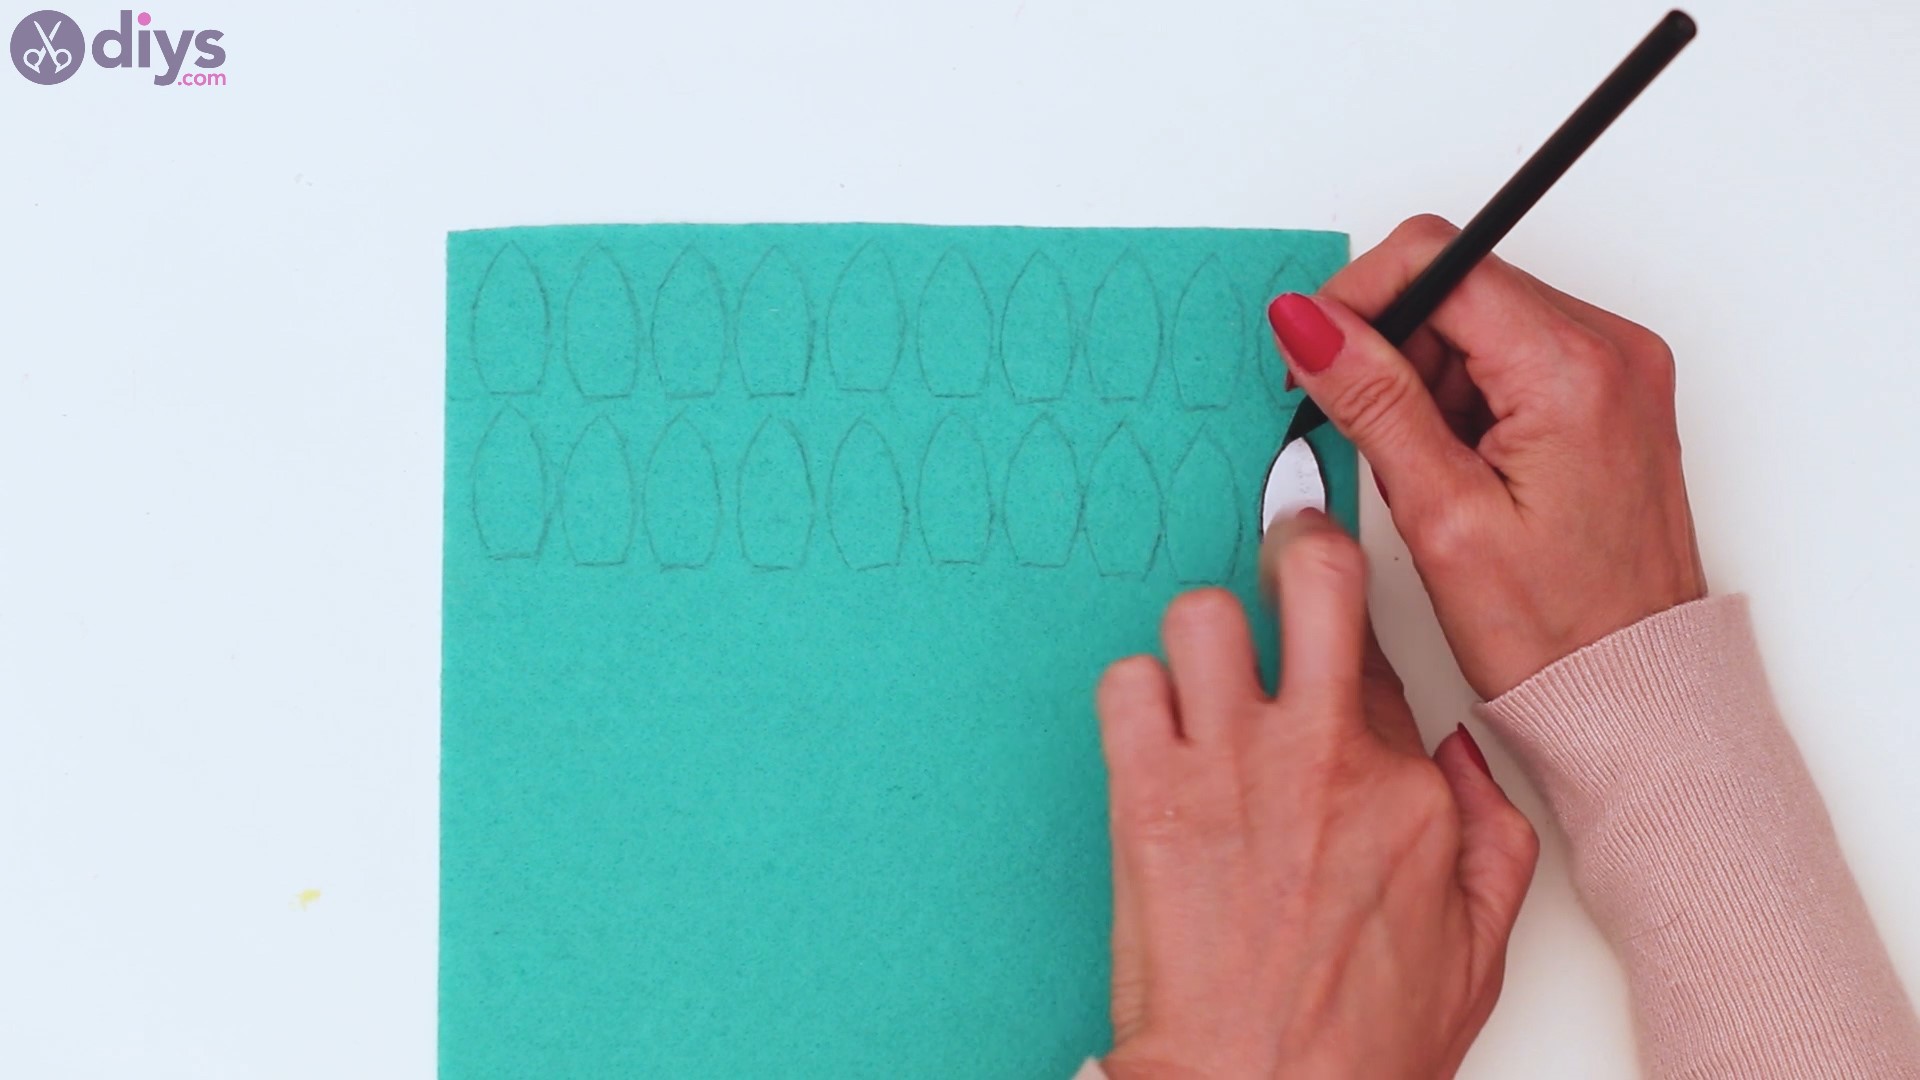
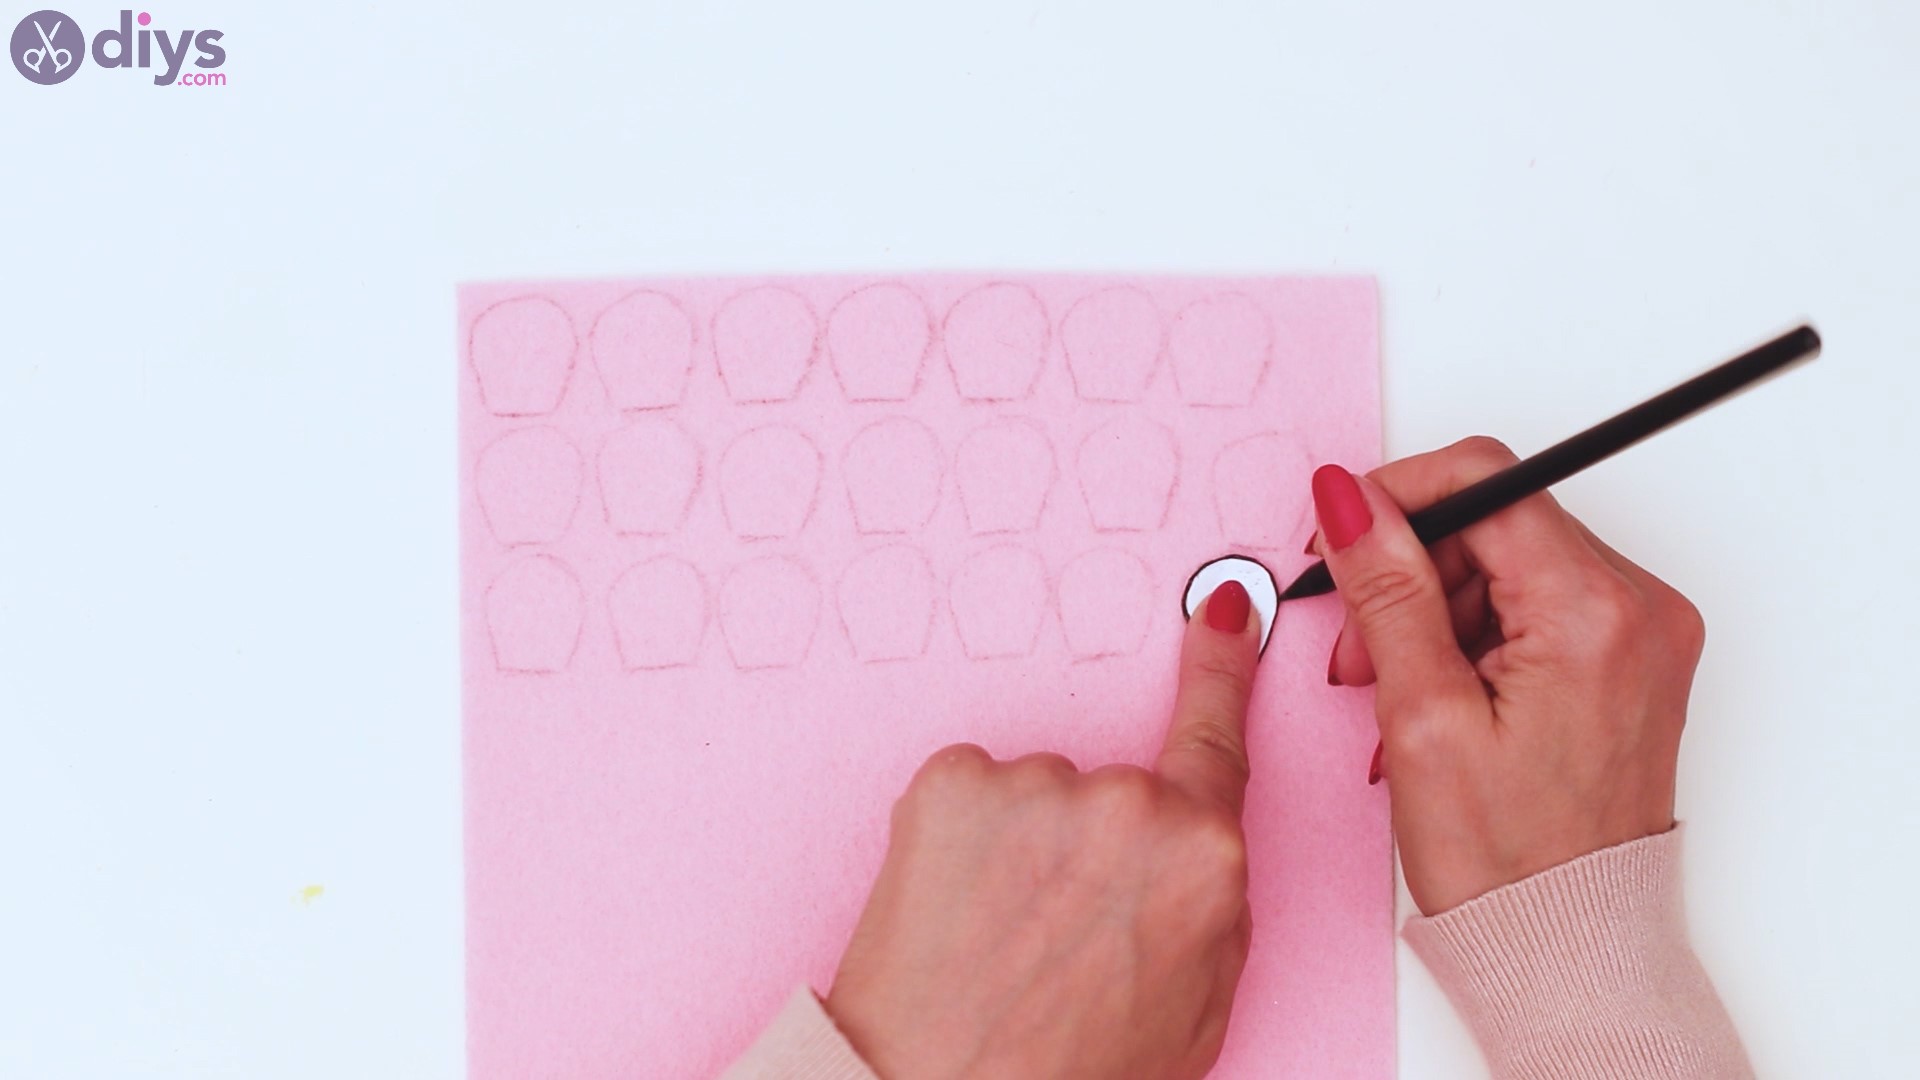
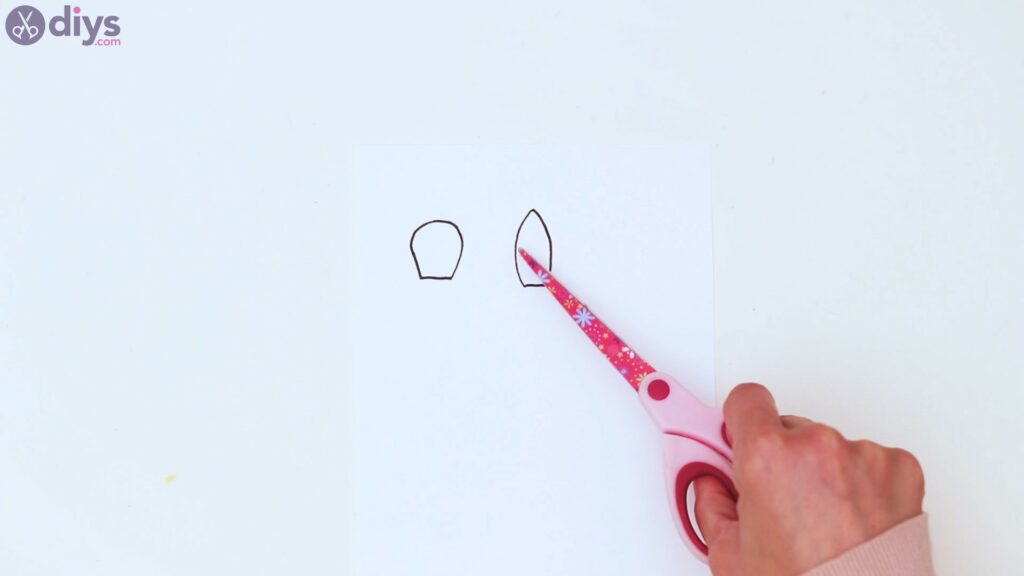
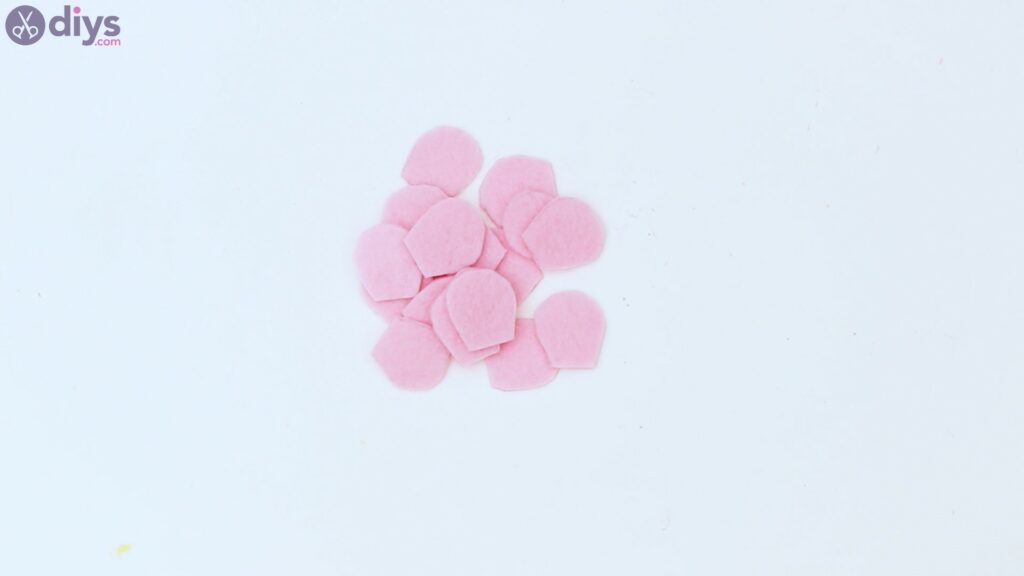
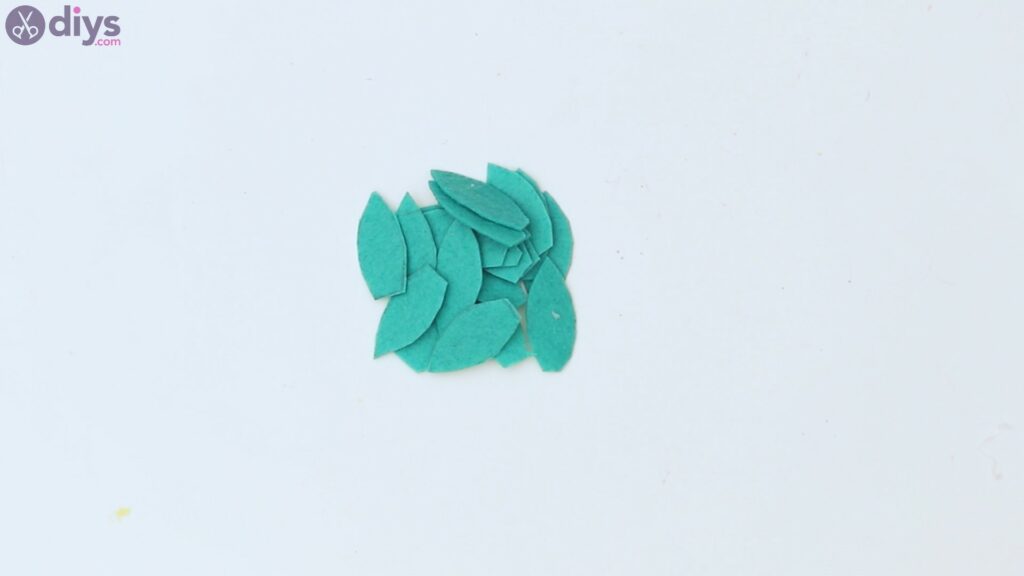
- Prepare the flower elements: Create outlines for petals and leaves, cut them from paper, and trace the outline to cut the same pieces from felt. We cut 4 petals per flower, resulting in a total of 12 petals, together with 20 leaves.
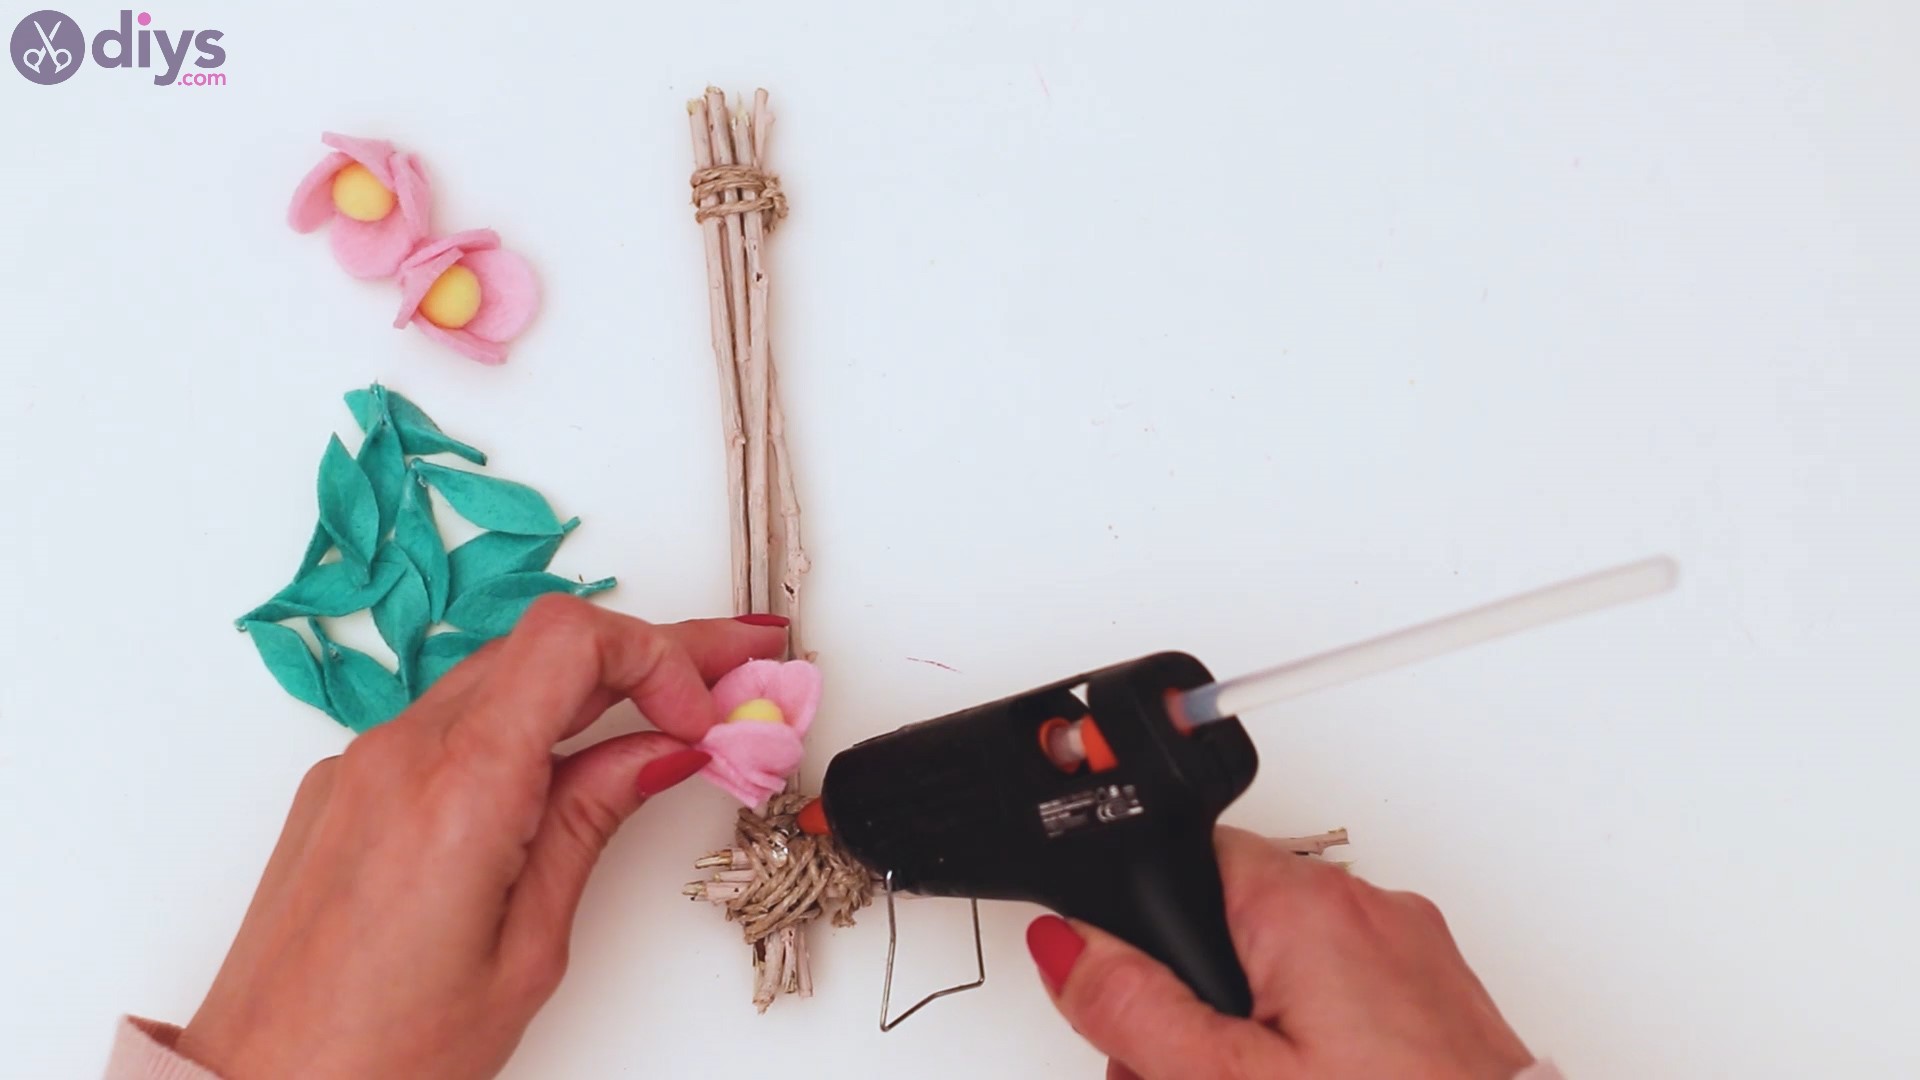
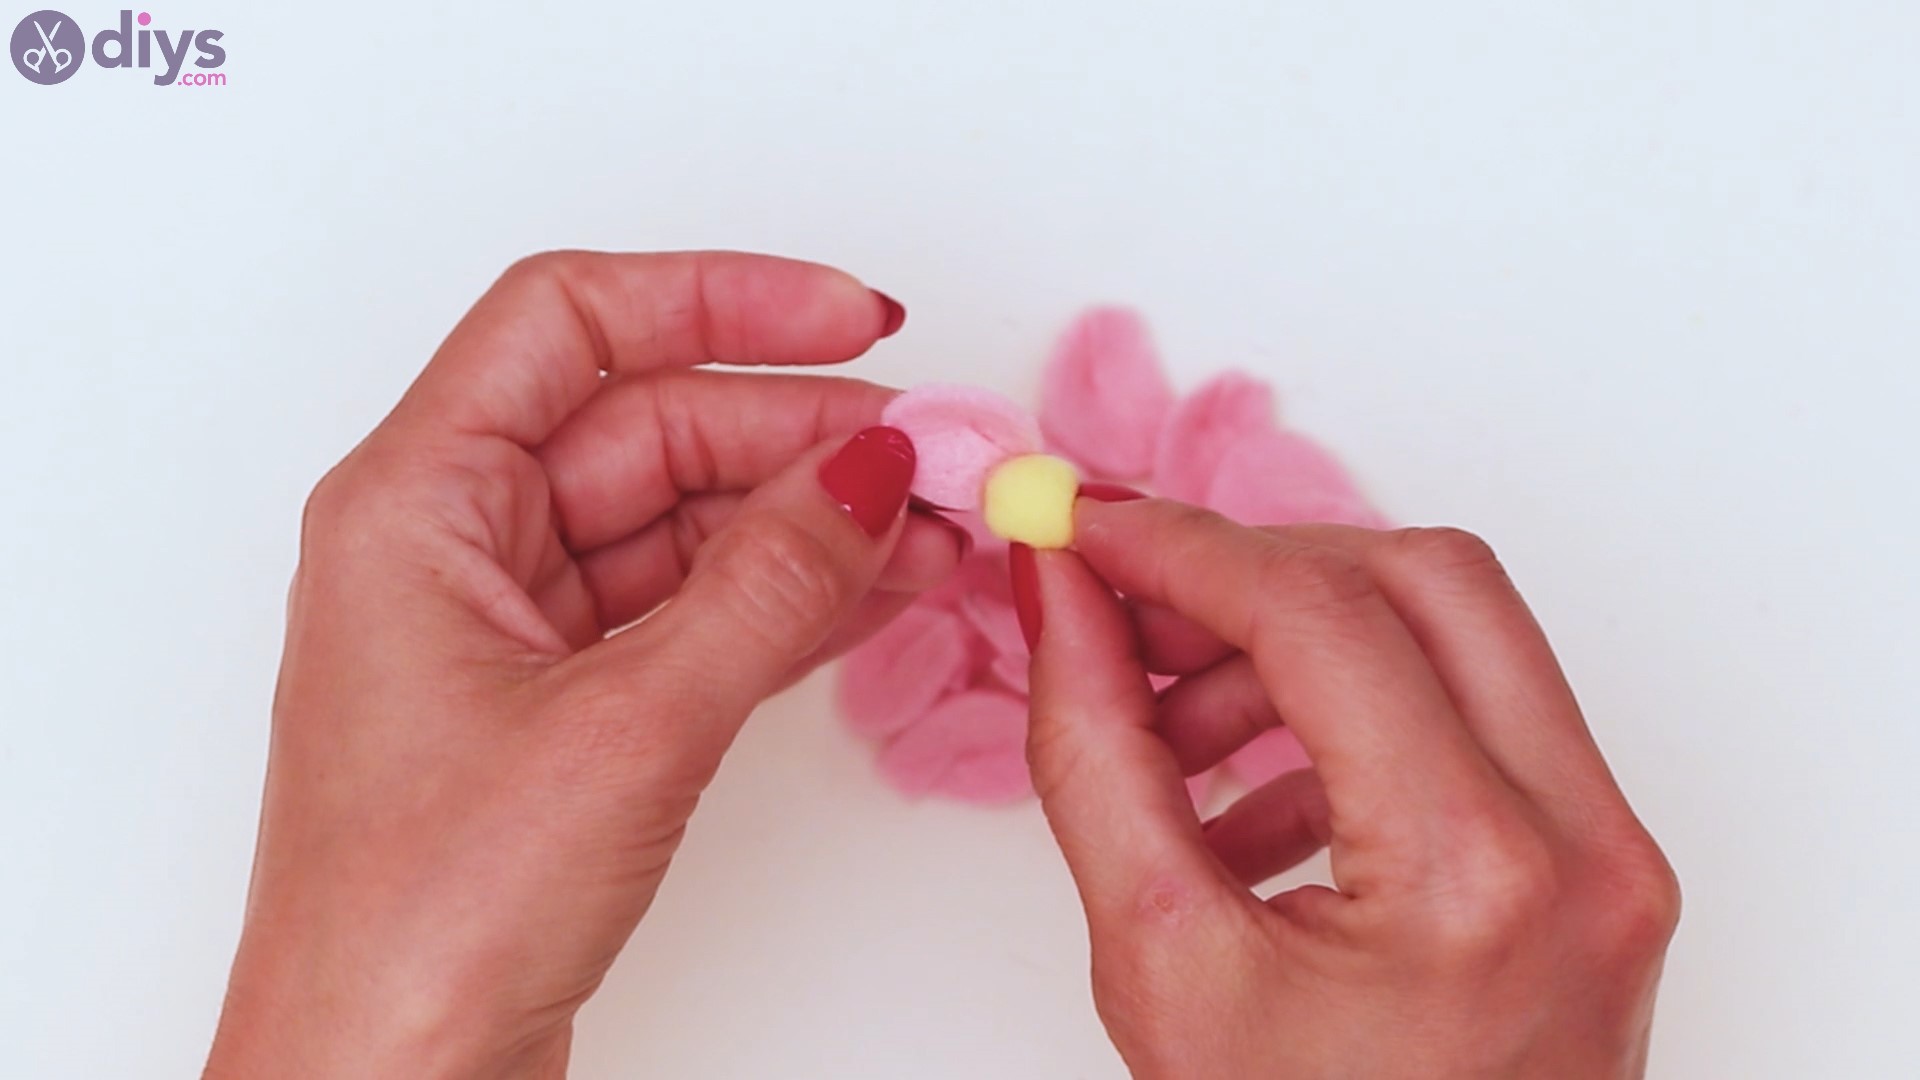
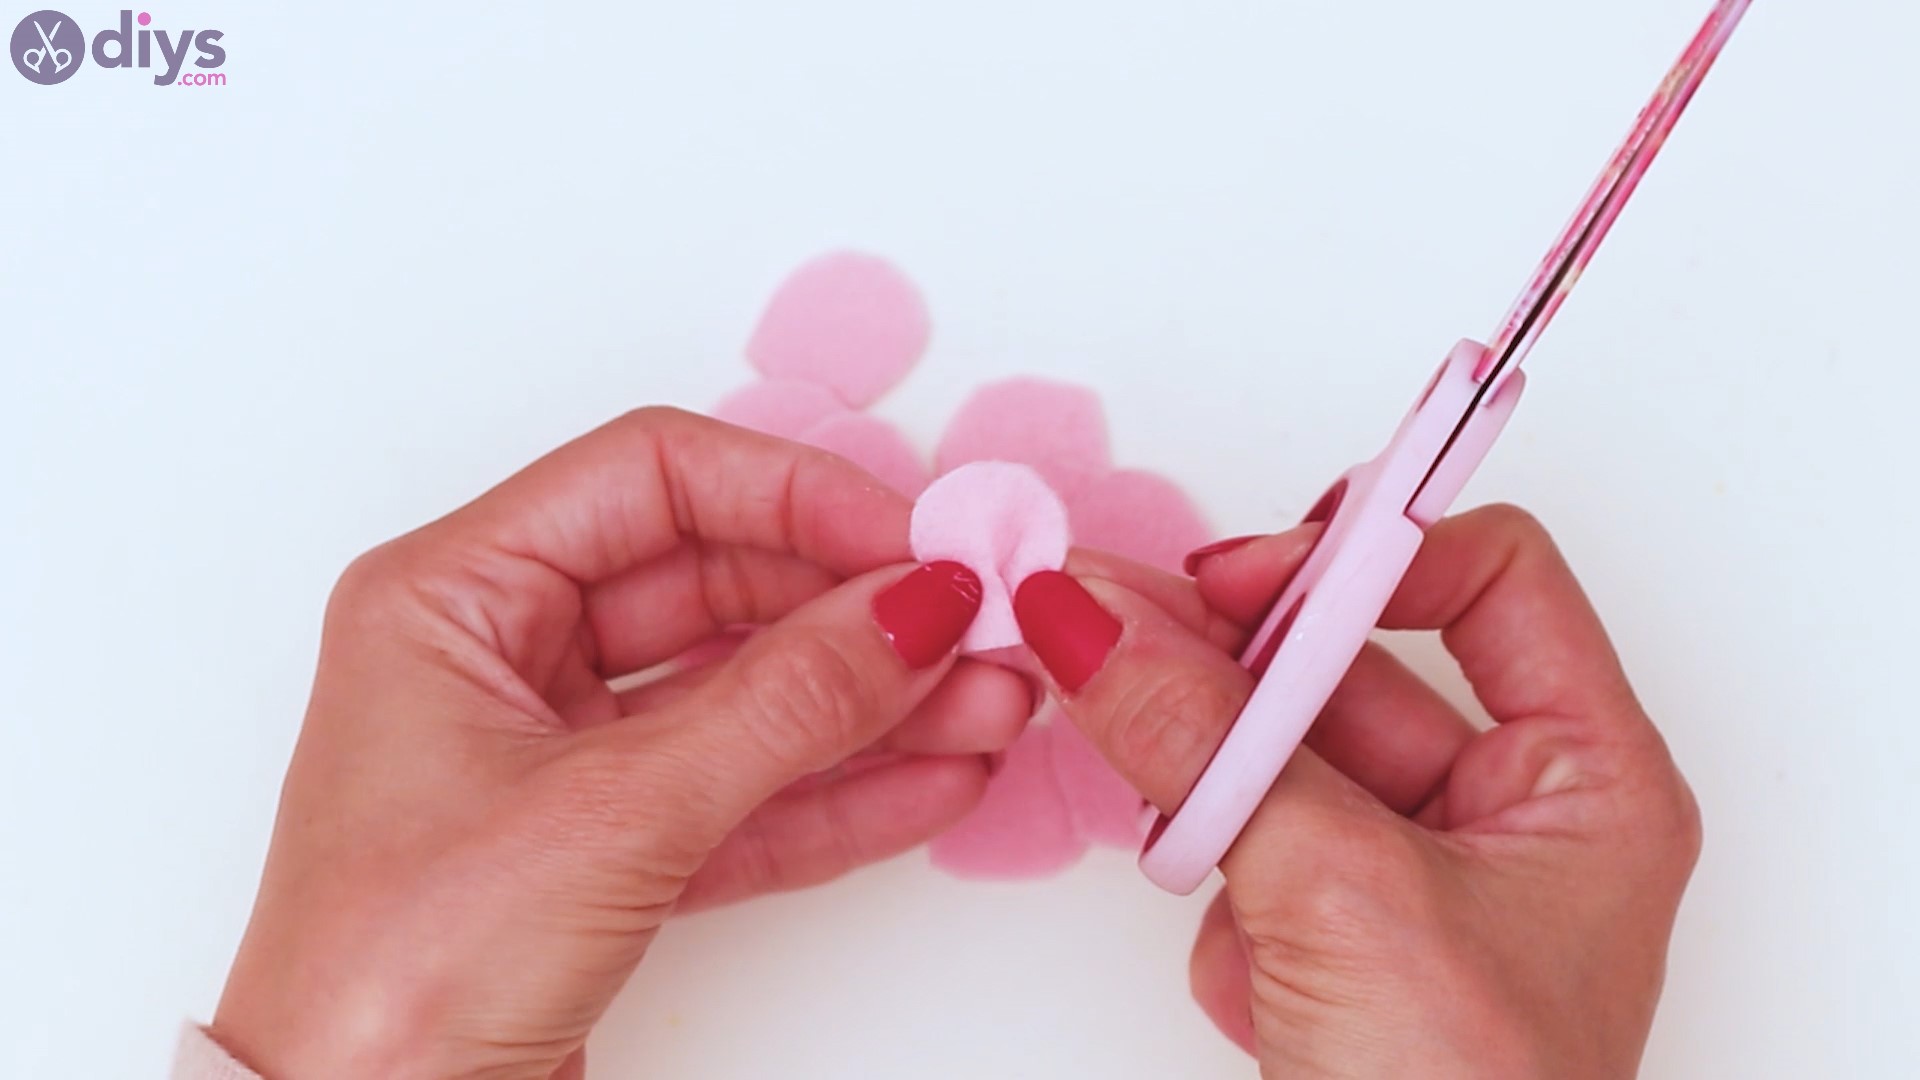
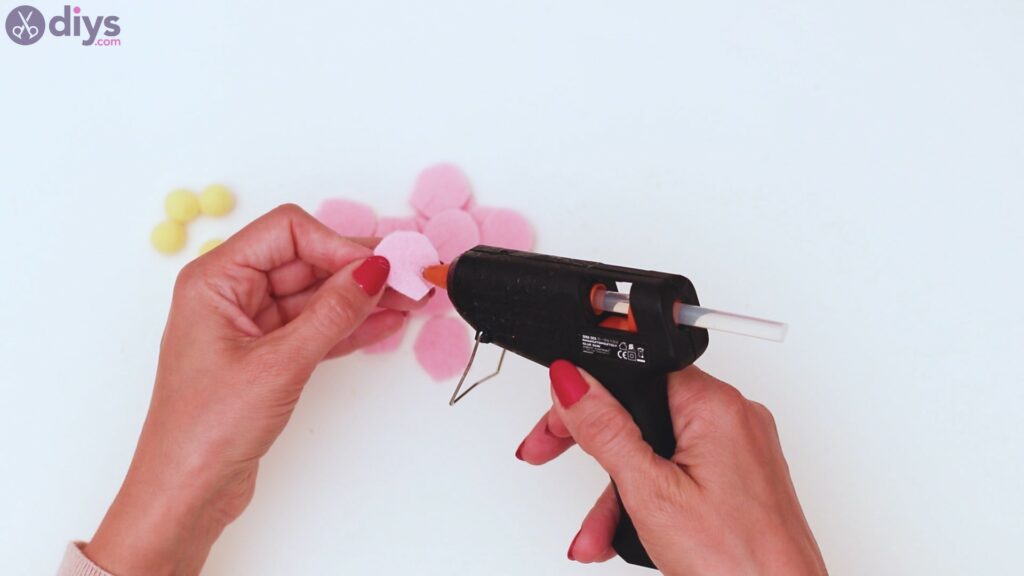
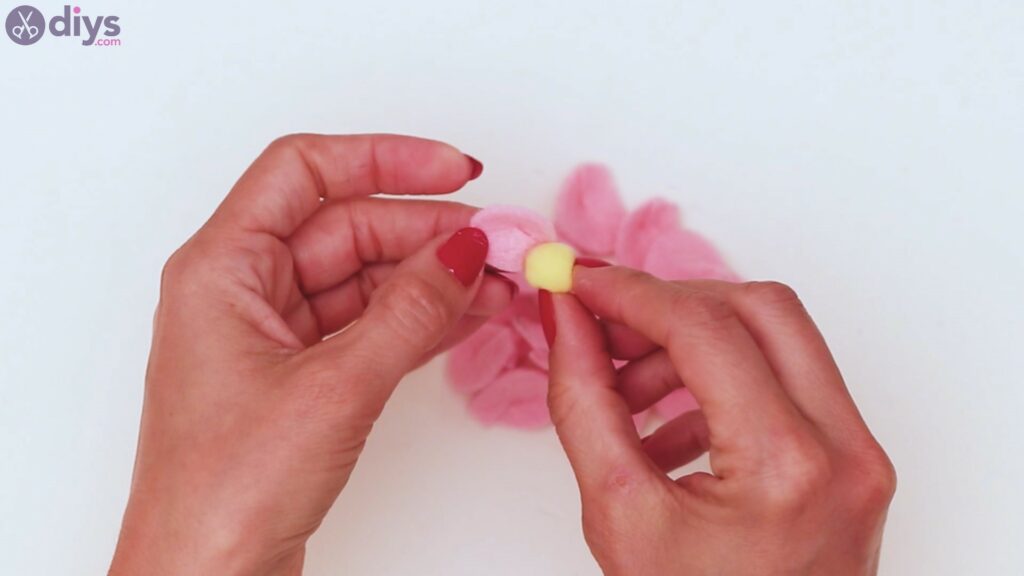
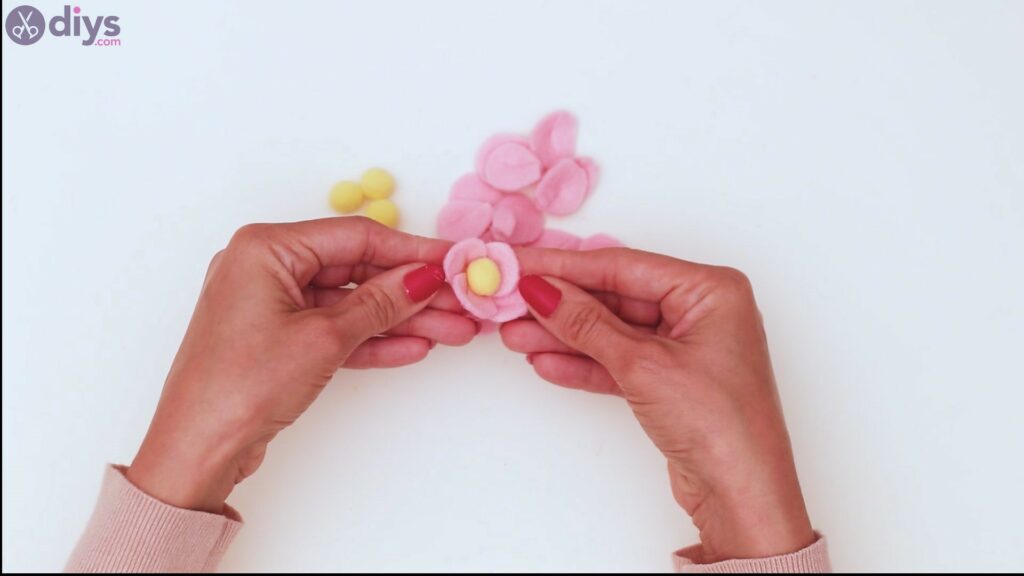
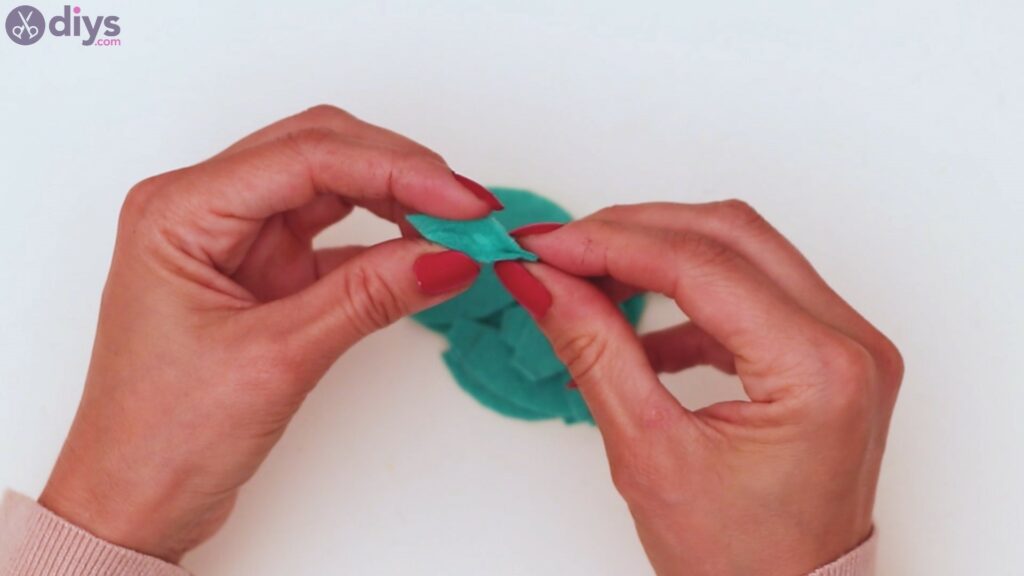
- Create the felt flowers: Cut a small crease into each flower petal. Then, slightly fold the petals at the crease, so the two edges meet, and secure each petal with glue. Next, glue 4 felt petals around a yellow pom-pom to create a felt flower. Repeat the process to make 3 extra flowers.
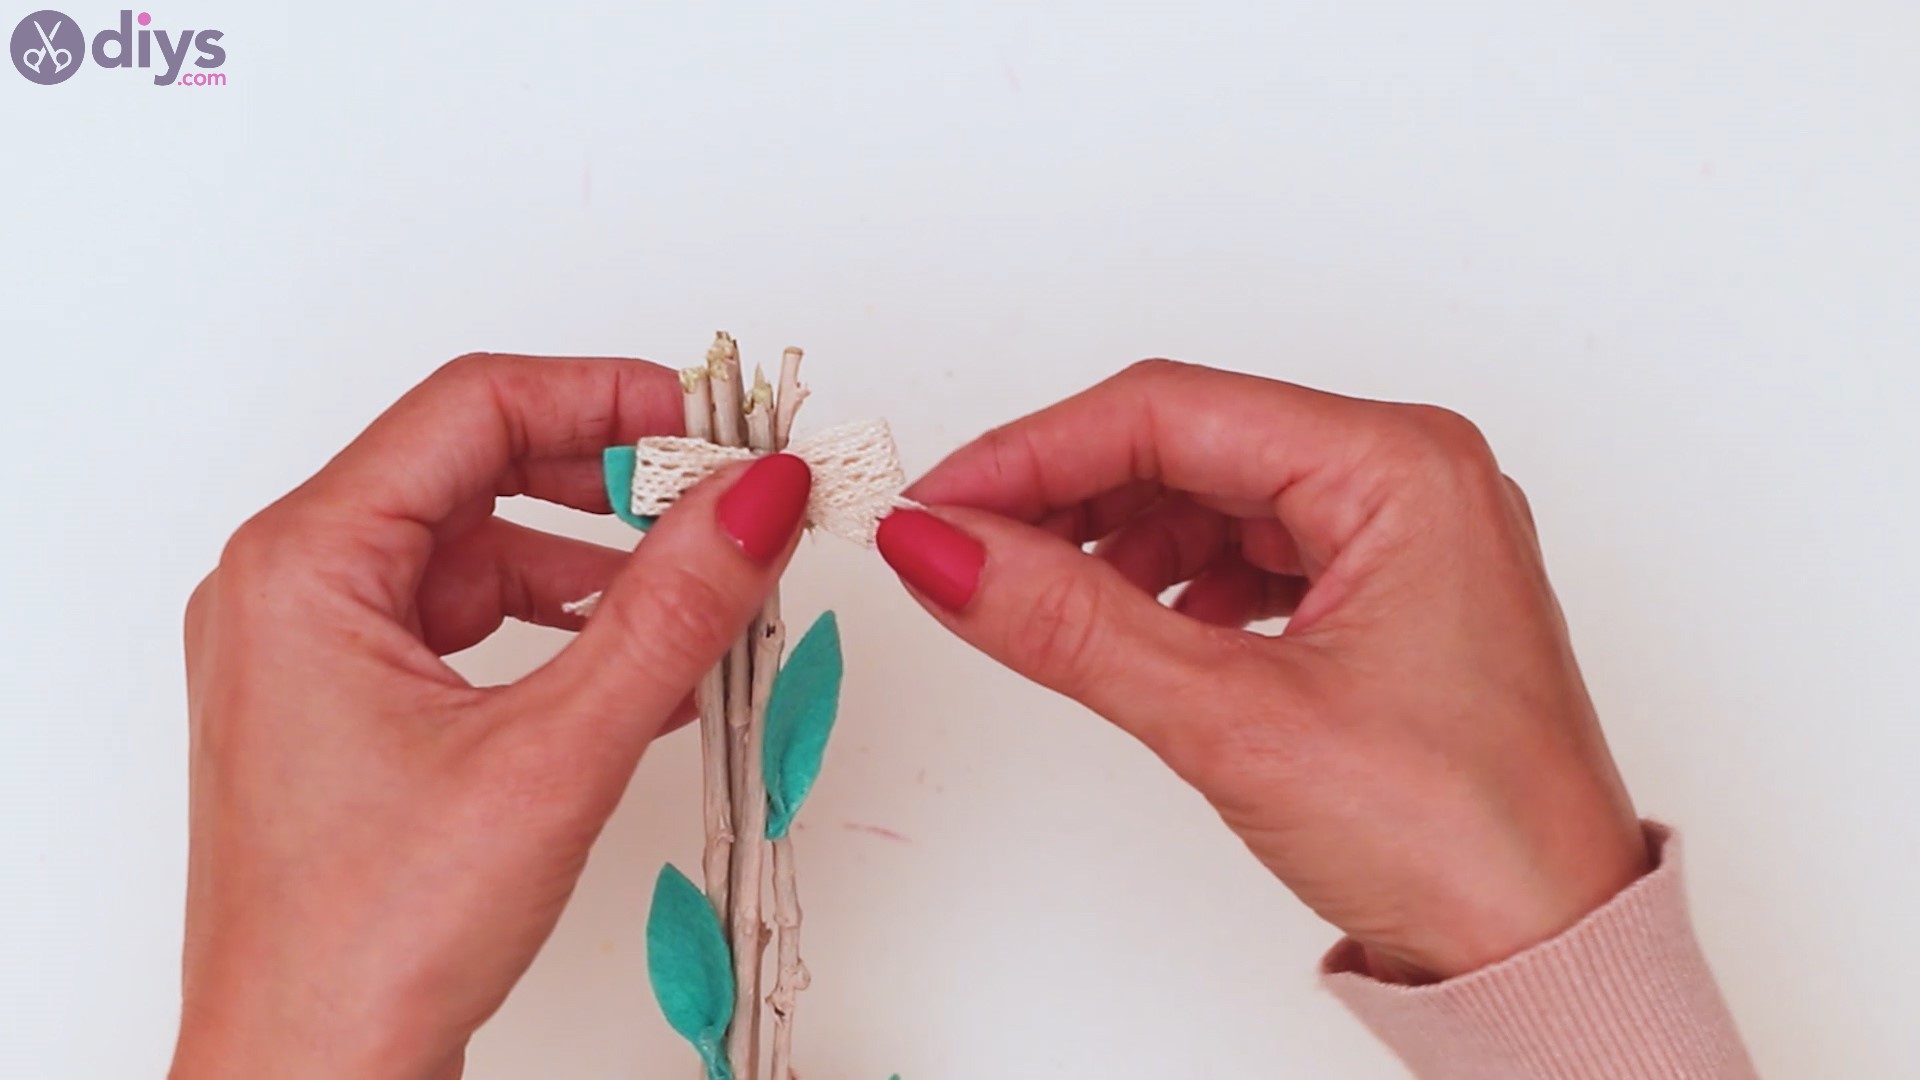
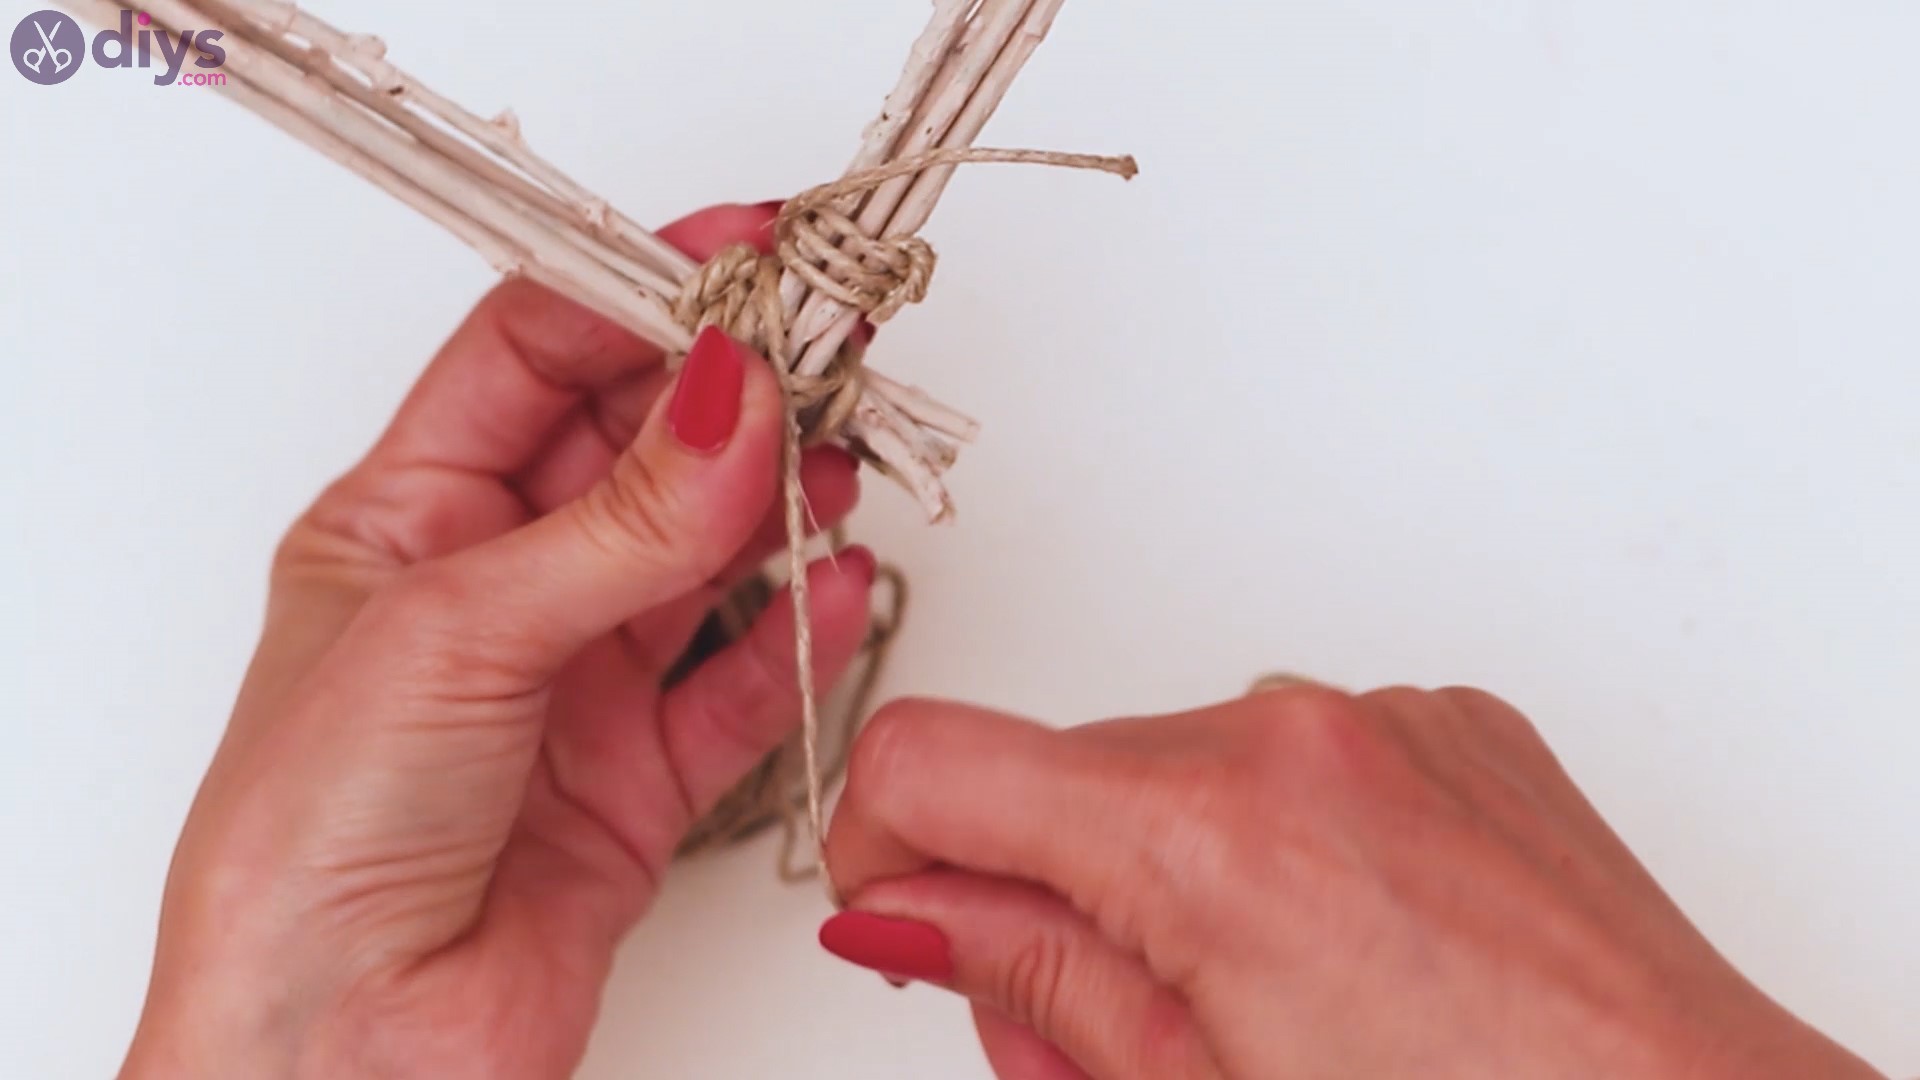
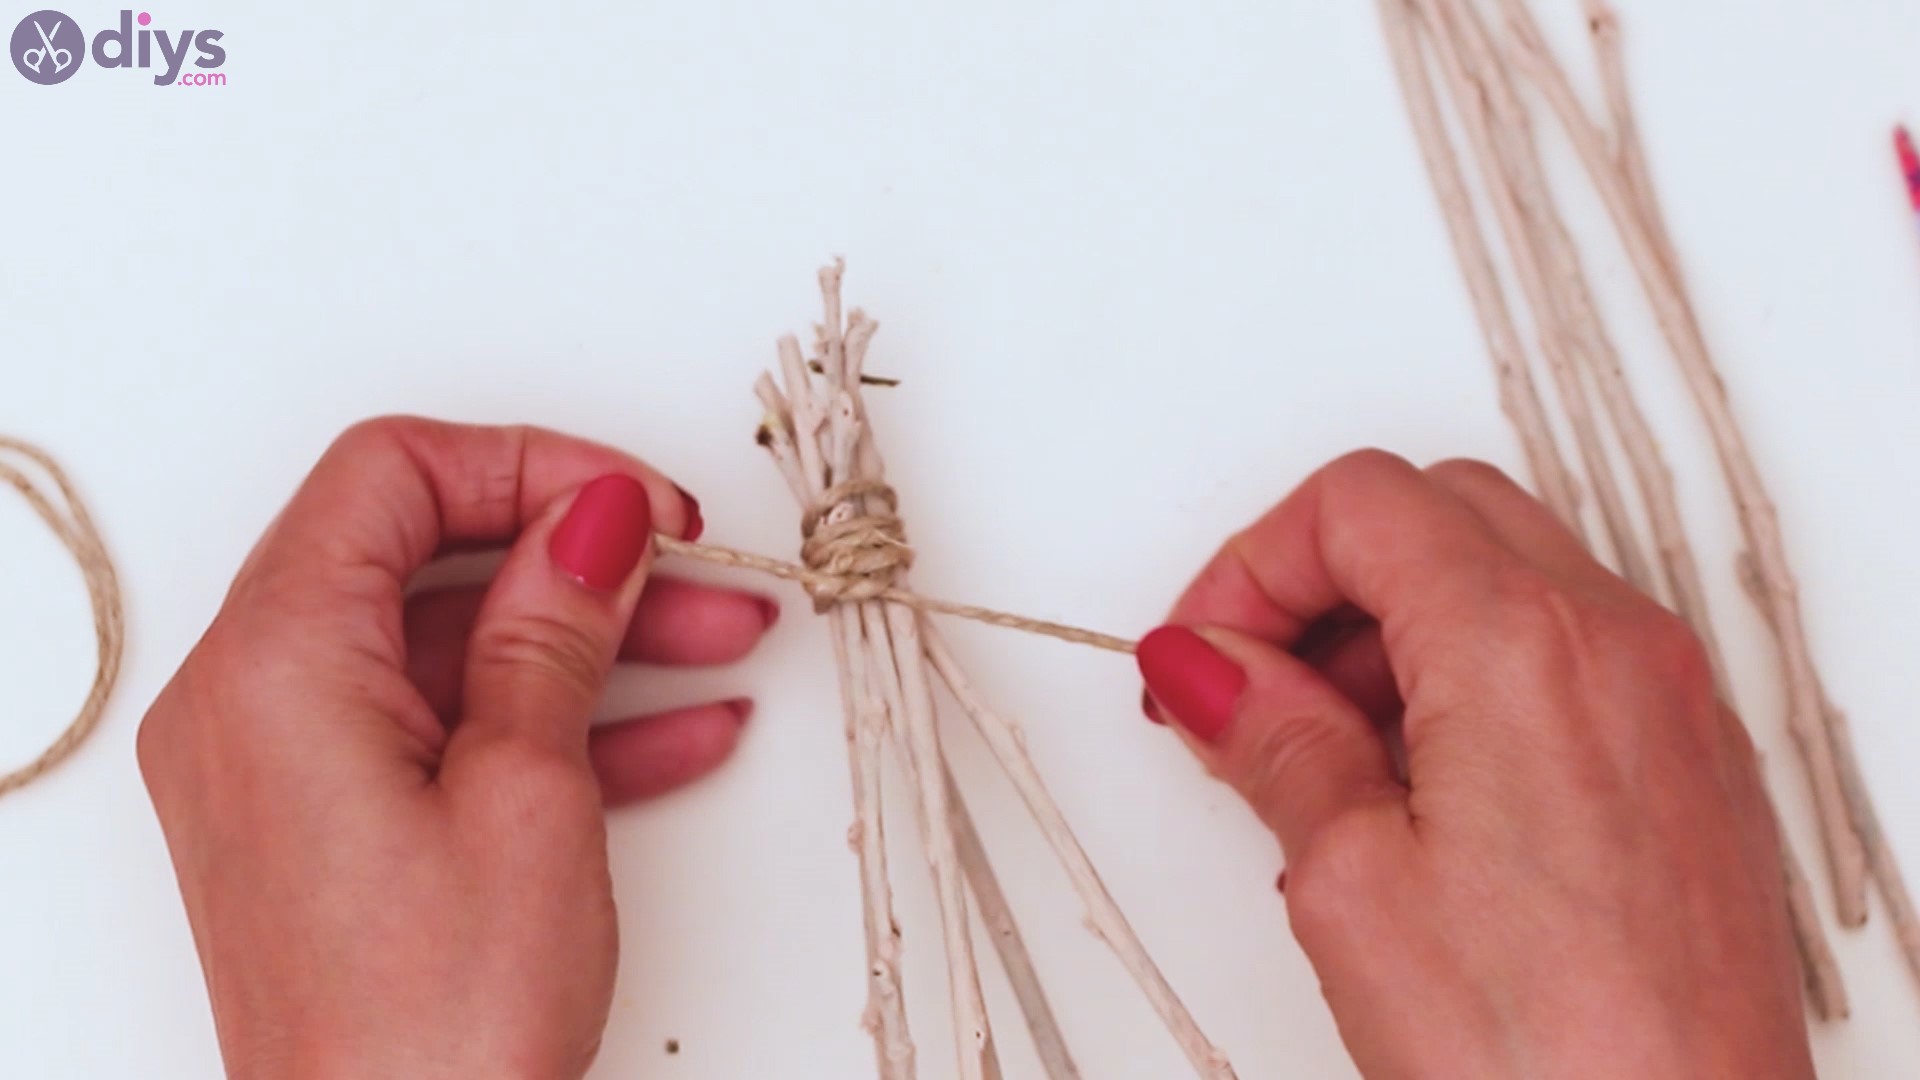
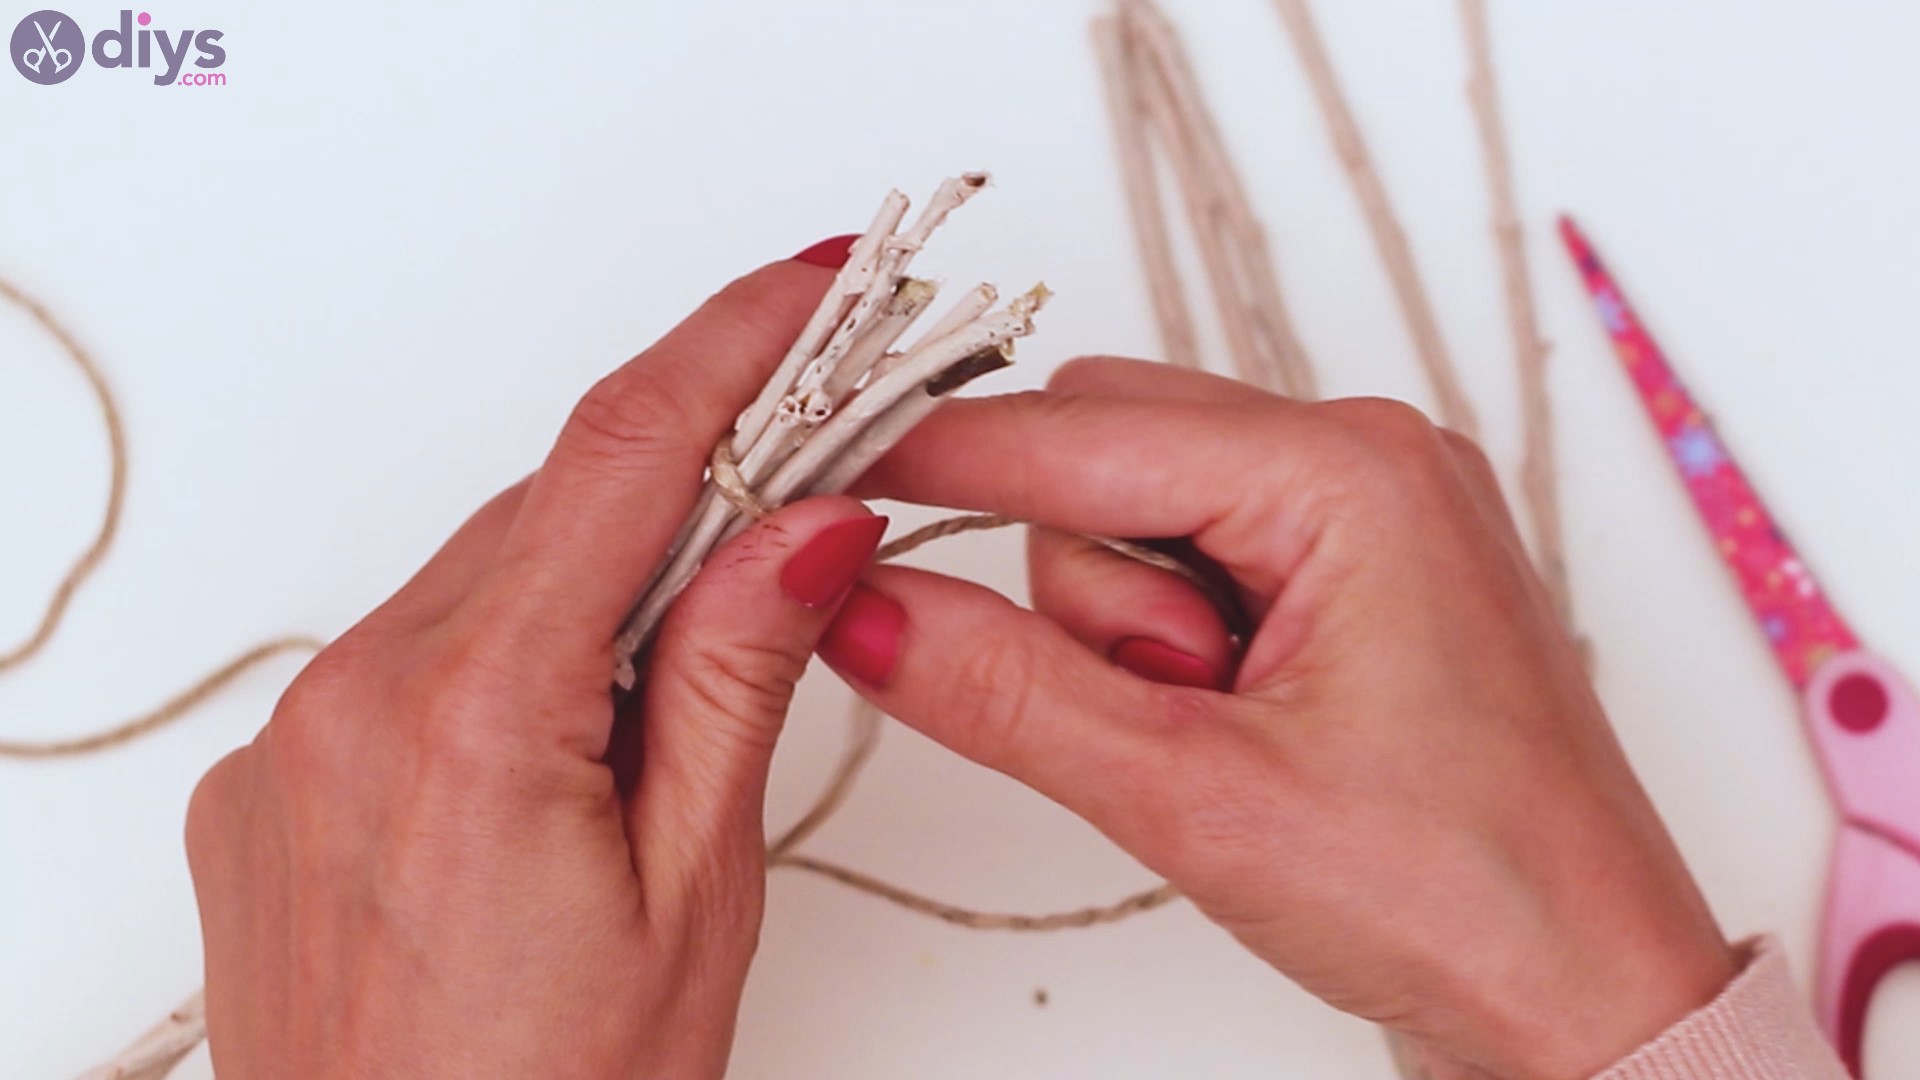
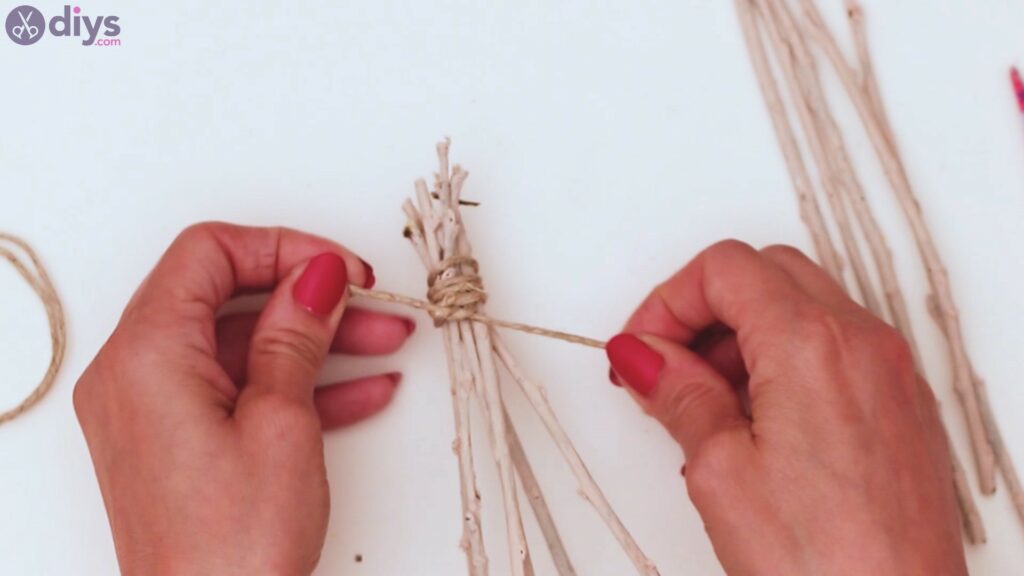
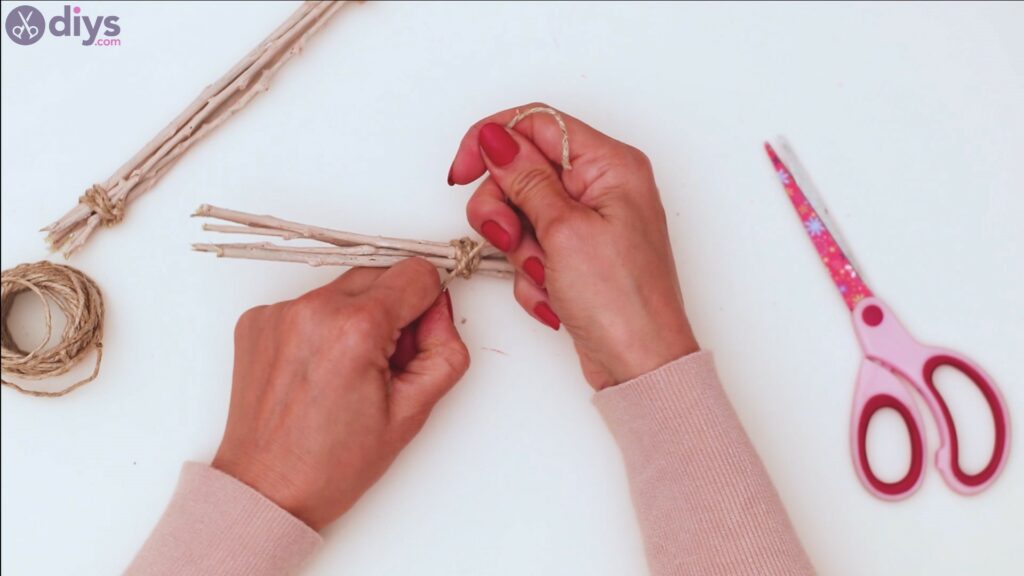
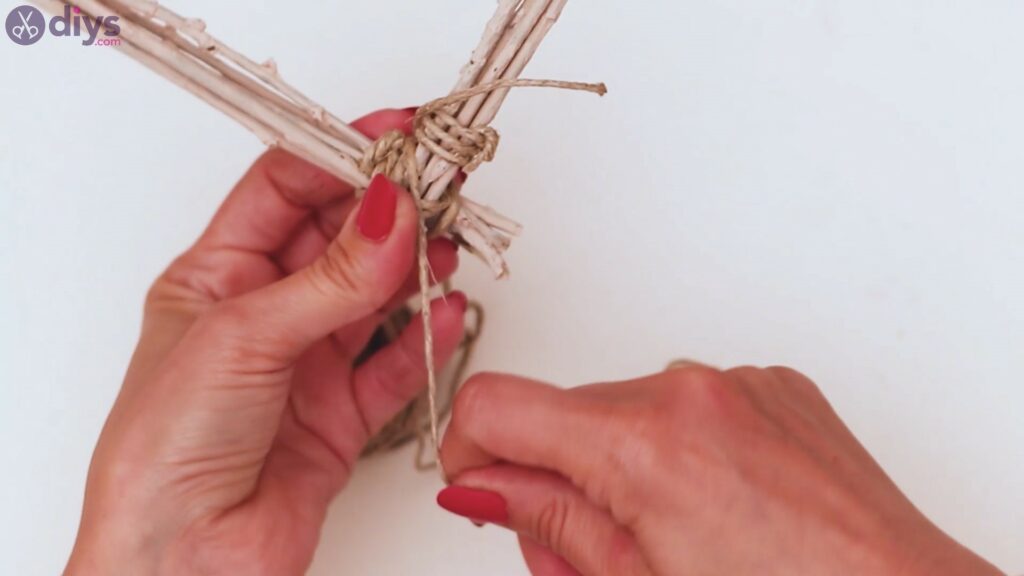
- Build the monogram: Make bundles from 6-7 painted twigs and wrap them tight at both ends with hemp twine; create one bundle for each letter segment. In our design, we used 2 bundles since the letter “L” has 2 segments.
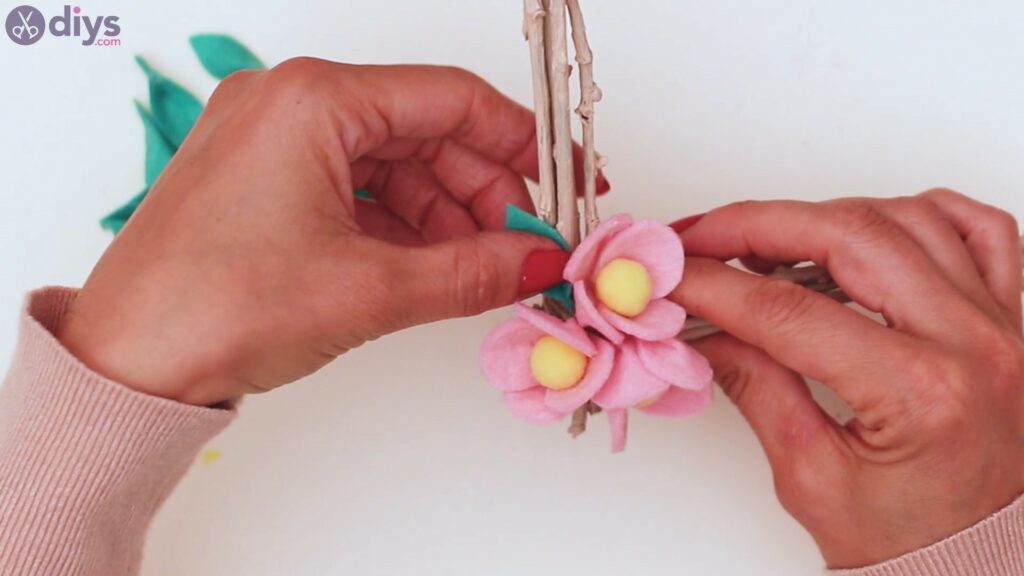
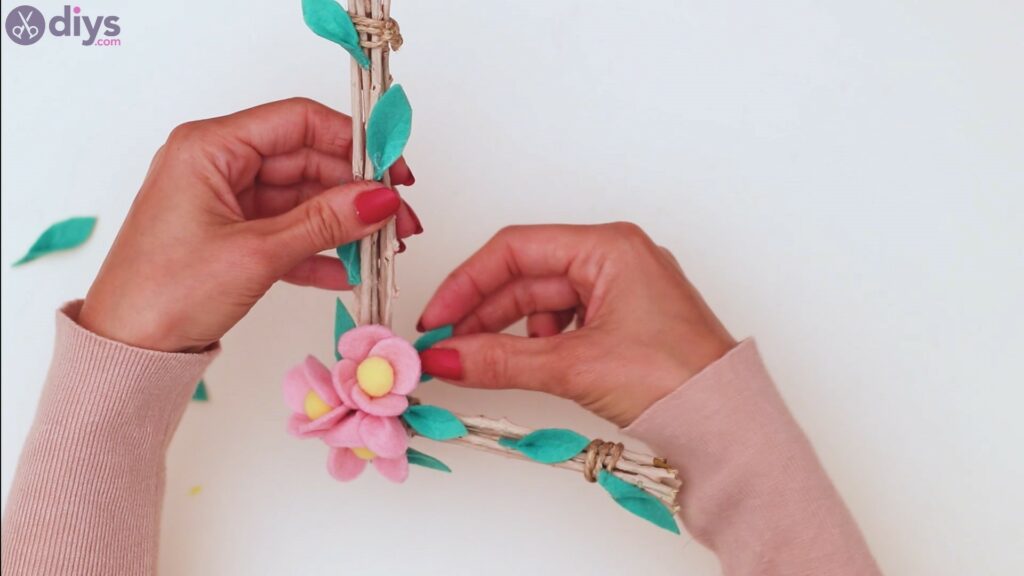
- Attach the flowers: Fold the bottom of each felt leaf in half and add glue to keep that shape. Next, glue the felt flowers to the monogram and felt leaves.
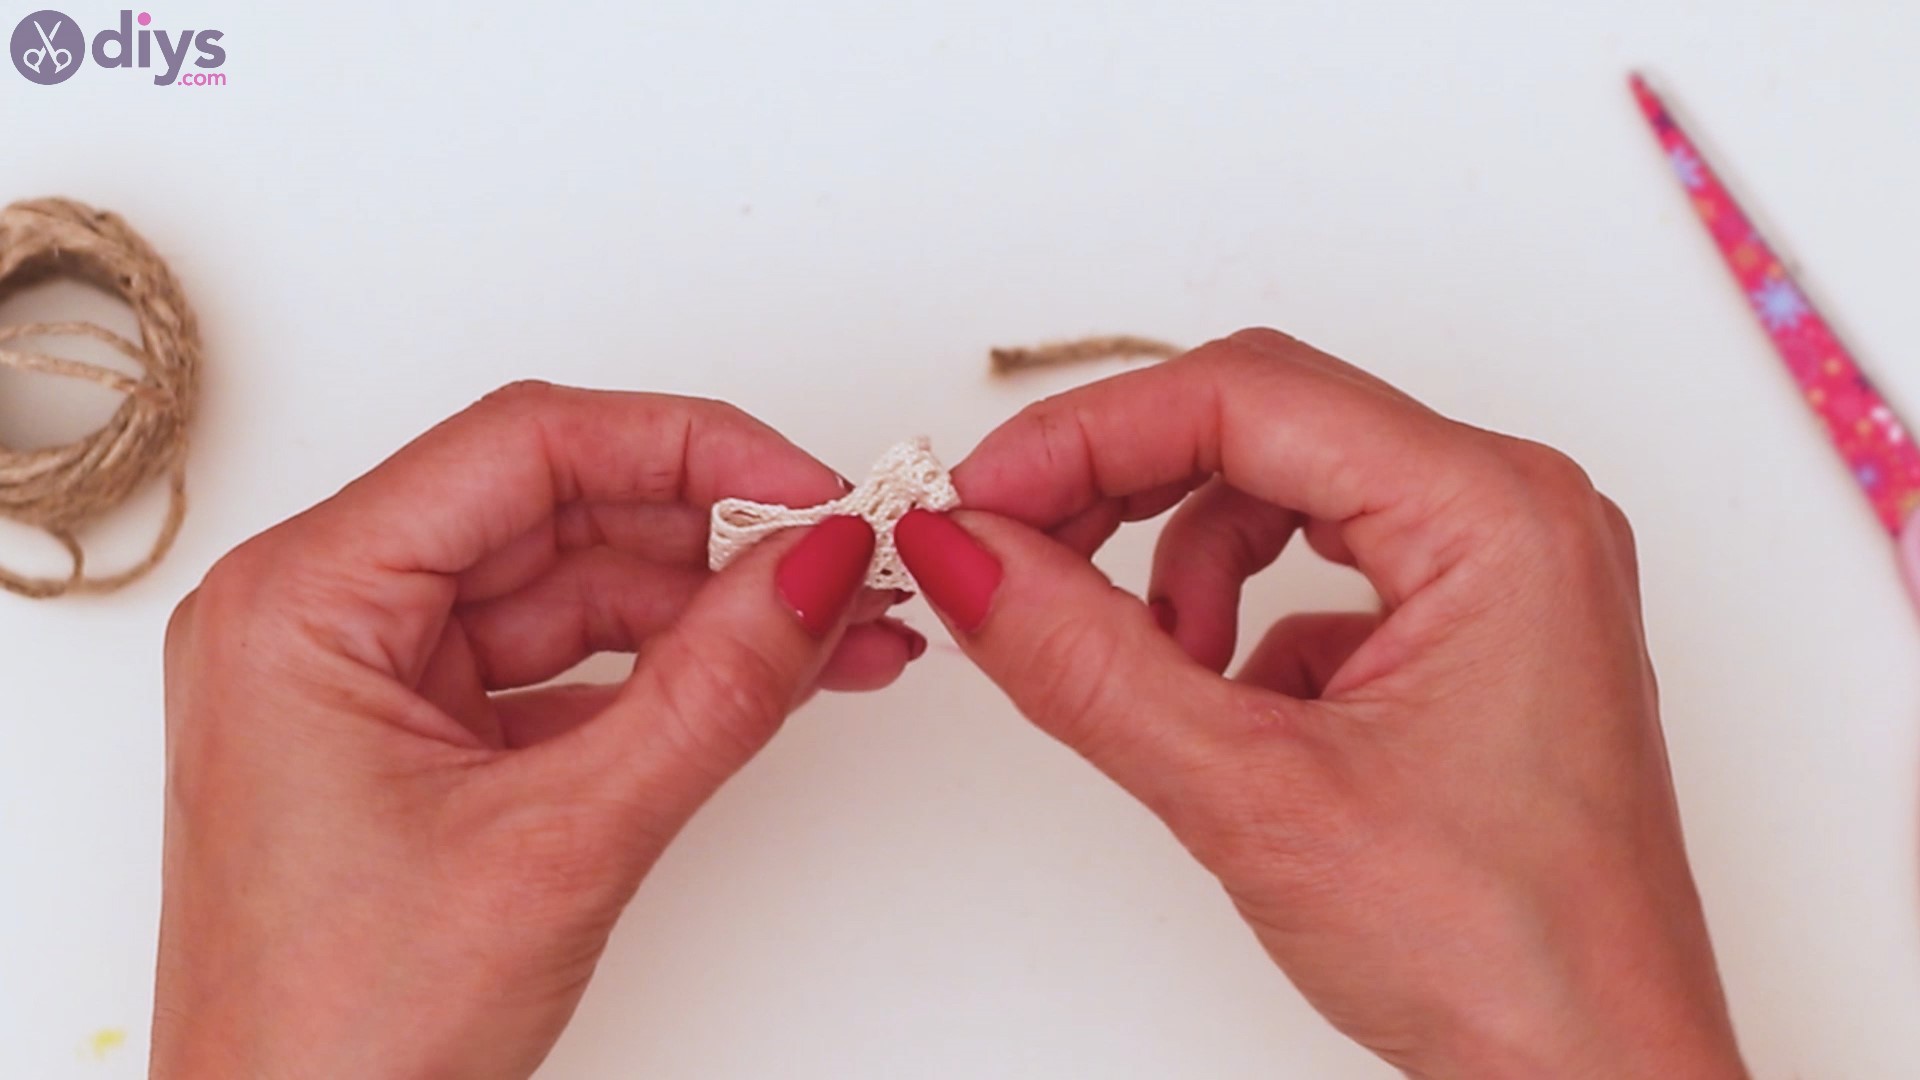
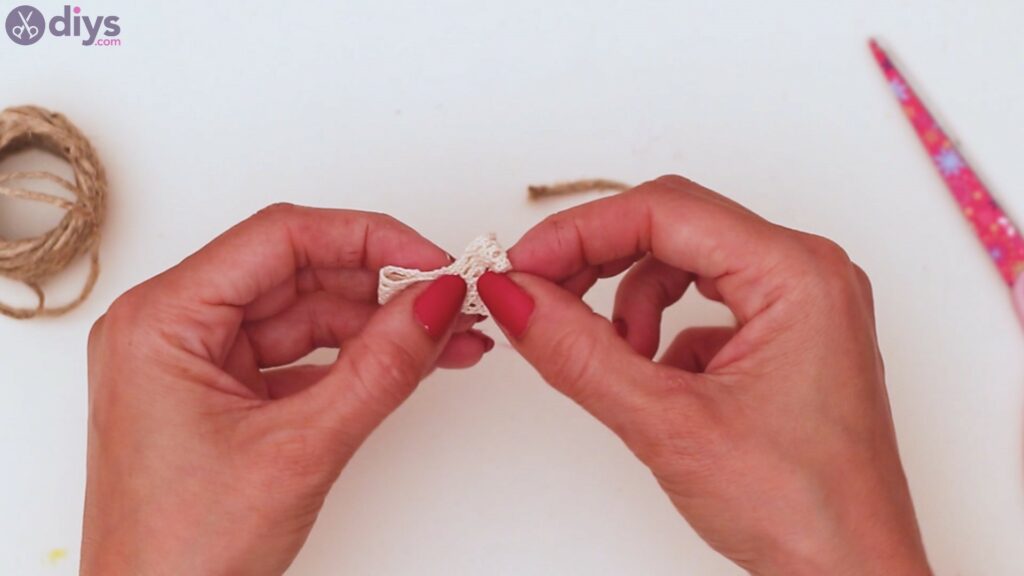
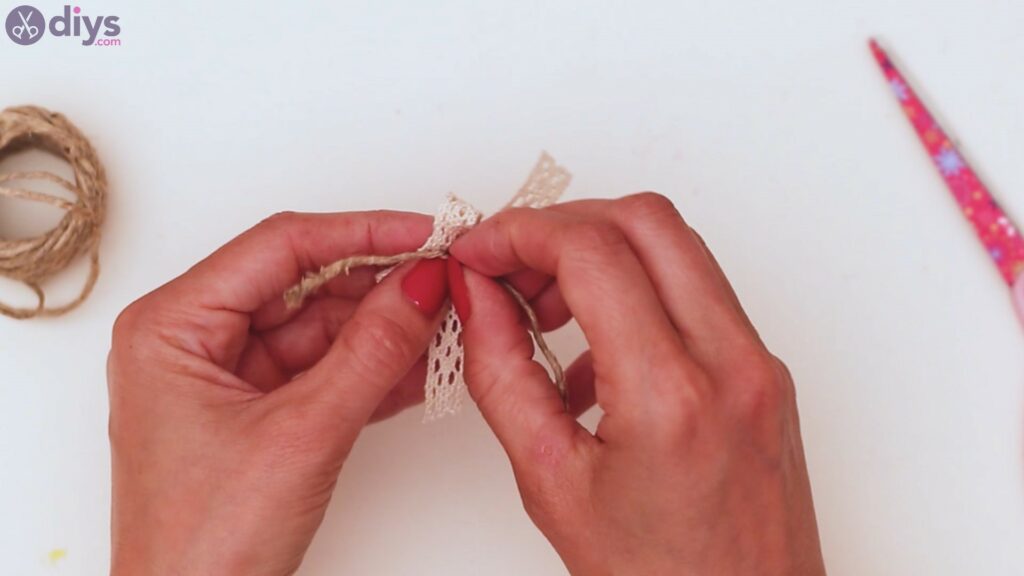
- Make a bow: Cut lace ribbon, tie it into a bow, and glue it to the twig monogram. Your DIY twig monogram is ready!


Video tutorial
Watch this video guide to better understand the process behind making a twig monogram:
More tips and tricks
Check out the following tips and tricks for improving or changing your DIY twig monogram:
- Use wooden dowels: Twigs create an organic look, but wooden dowels are straight and ideal for a polished decoration.
- Use fresh twigs: This project becomes more challenging when recreating a letter with many curves, such as an “S” or an “O,” since dry twigs are brittle and snap easily when over-bent. A simple trick for easily creating curvy letters is to bend fresh twigs.
- Add more rustic elements: Add more details such as feathers, small branches, tiny pinecones, buttons, or burlap.
- Write a whole word: A simple letter is great but an entire word is more impactful. For example, spell HOME for a housewarming gift or a child’s name for a gift.
- Make it part of a wreath: Add a twig monogram to a wreath form and hang it on a door or empty wall.
Conclusion
Making a DIY twig monogram is a fun activity and a wonderful gift idea for friends and family. With simple supplies and by following the steps outlined in this article, you’ll craft unique home decor in no time.