DIY Doily Wreath – Make Yourself a Perfect Easter Decoration
Updated on November 19, 2025


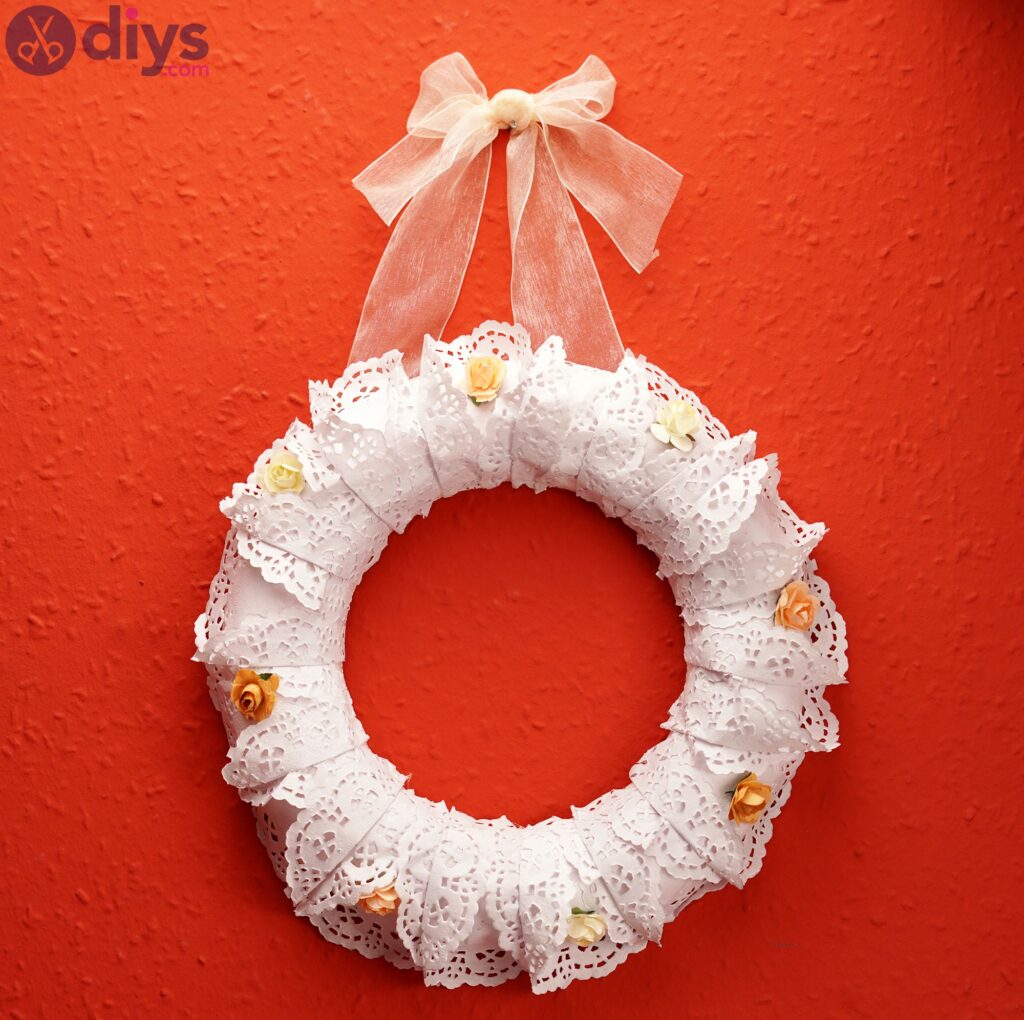
Whatever the occasion, it’s always nice to have a wreath on your door or your walls. Now, as we’re preparing for spring, a cute doily wreath will brighten up your home and make you feel more cheerful. In fact, this may be a great addition to your home on Easter.

There’s no better way to signal spring and the great weather than with a beautiful white wreath, so we’re going to make one. It only takes a few minutes of your time and then you’re have something personalized and beautiful.
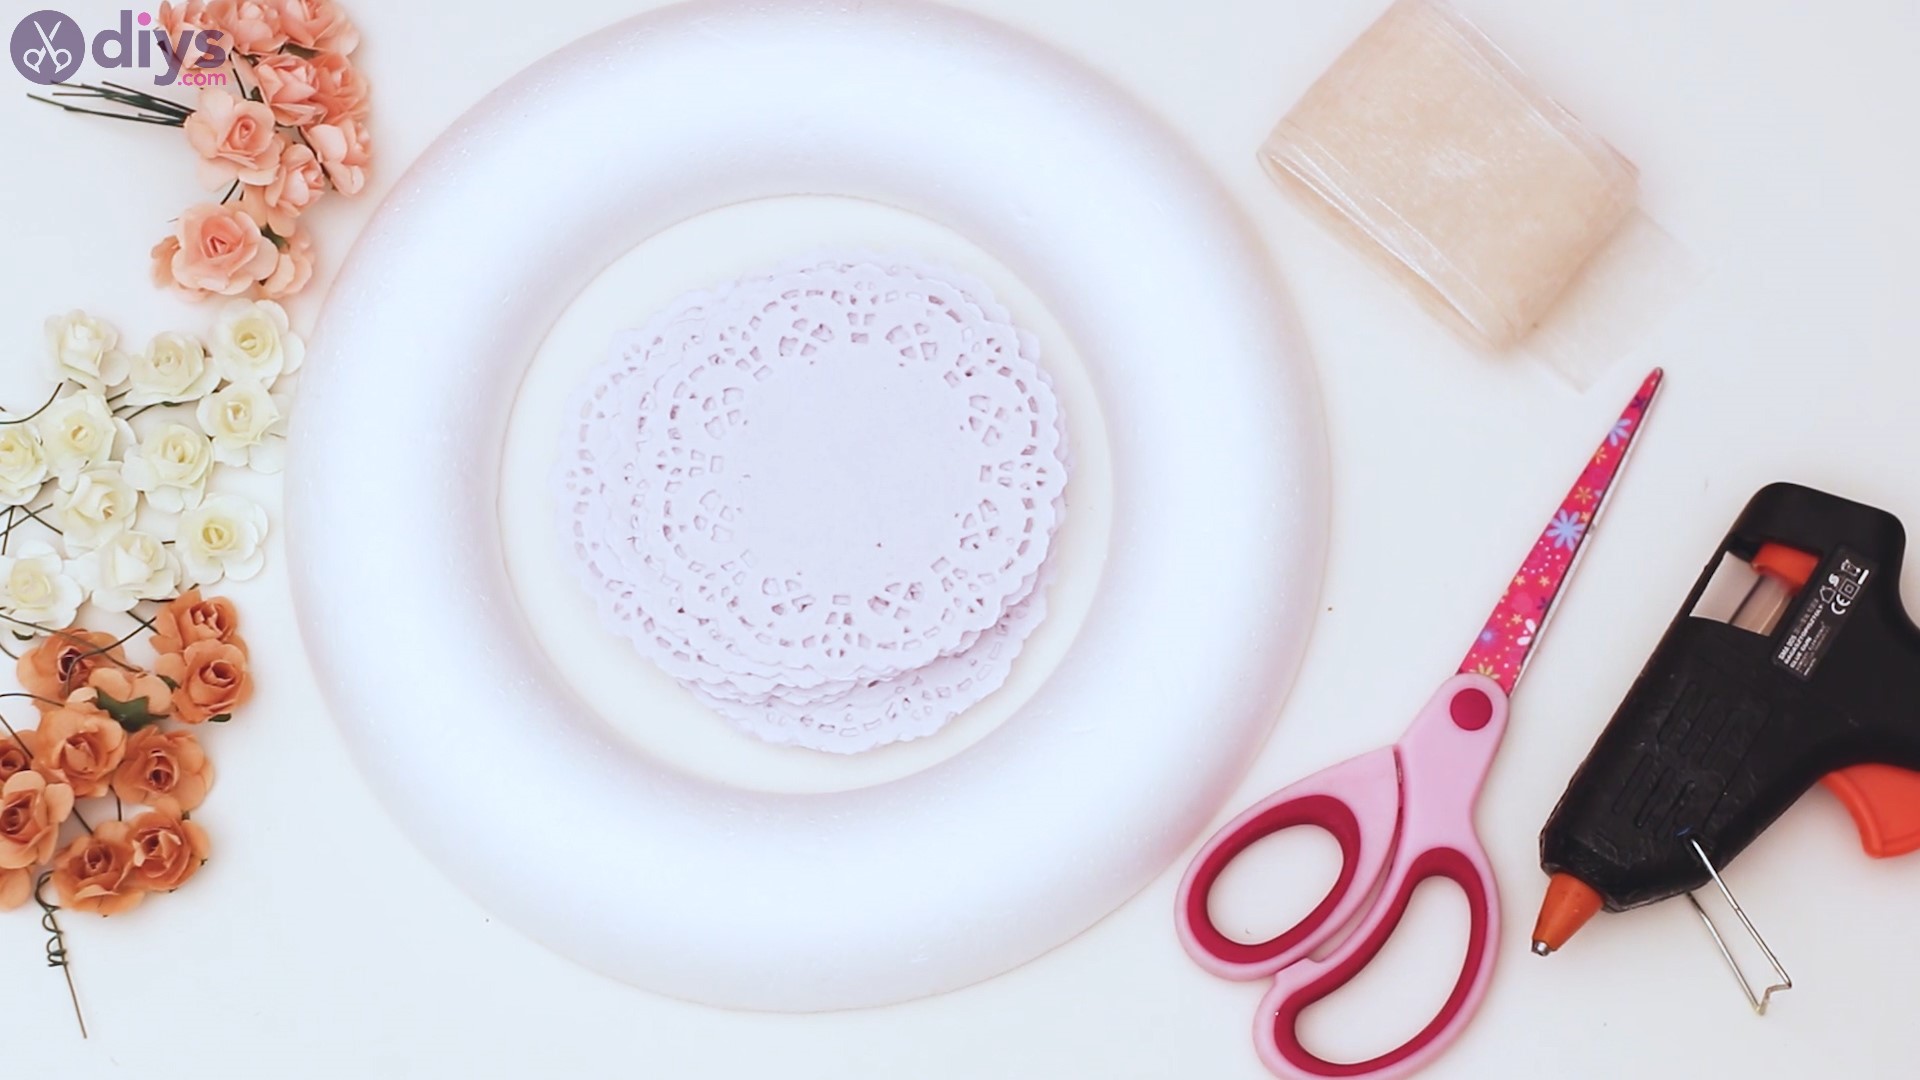
Materials for doily wreath
- polystyrene wreath
- artificial flowers
- lace paper doilies
- sheer ribbon
- scissors
- glue gun
How to make a doily wreath
Before we even start, you need to make sure you have all the materials on hand so you don’t have to go looking for one thing or another. Thankfully, there aren’t that many things you need to gether this time around, but there are certainly enough things that you don’t want to move too much. Let’s get going!

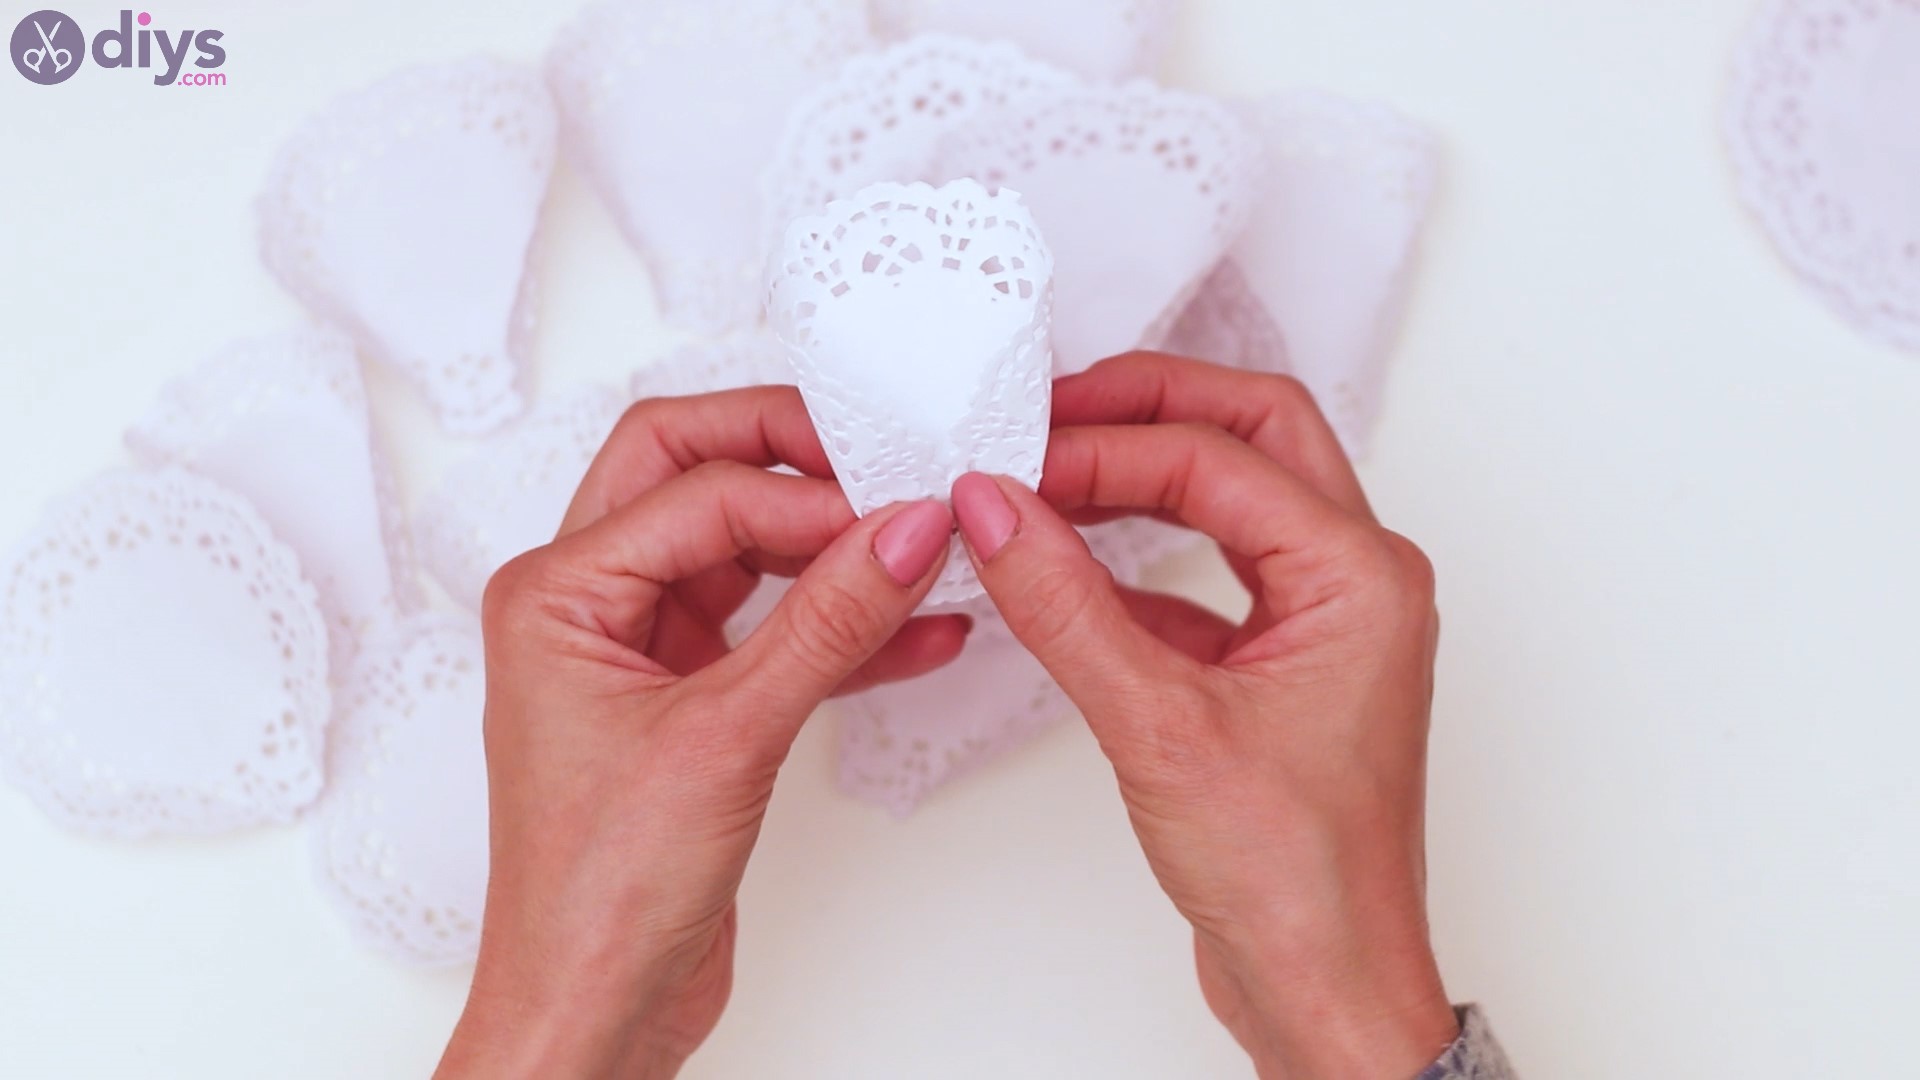
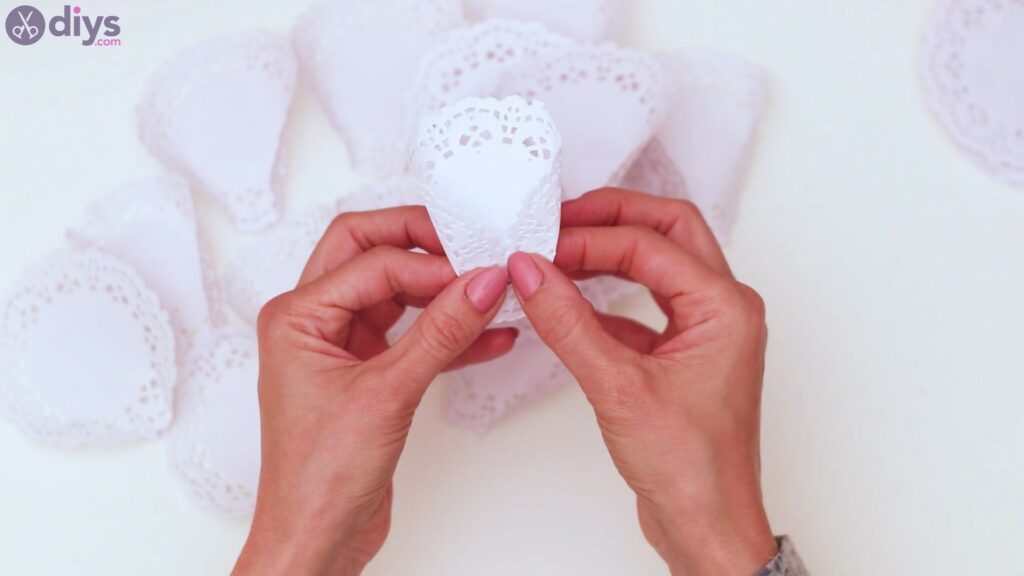
Step 1: Fold the doilies
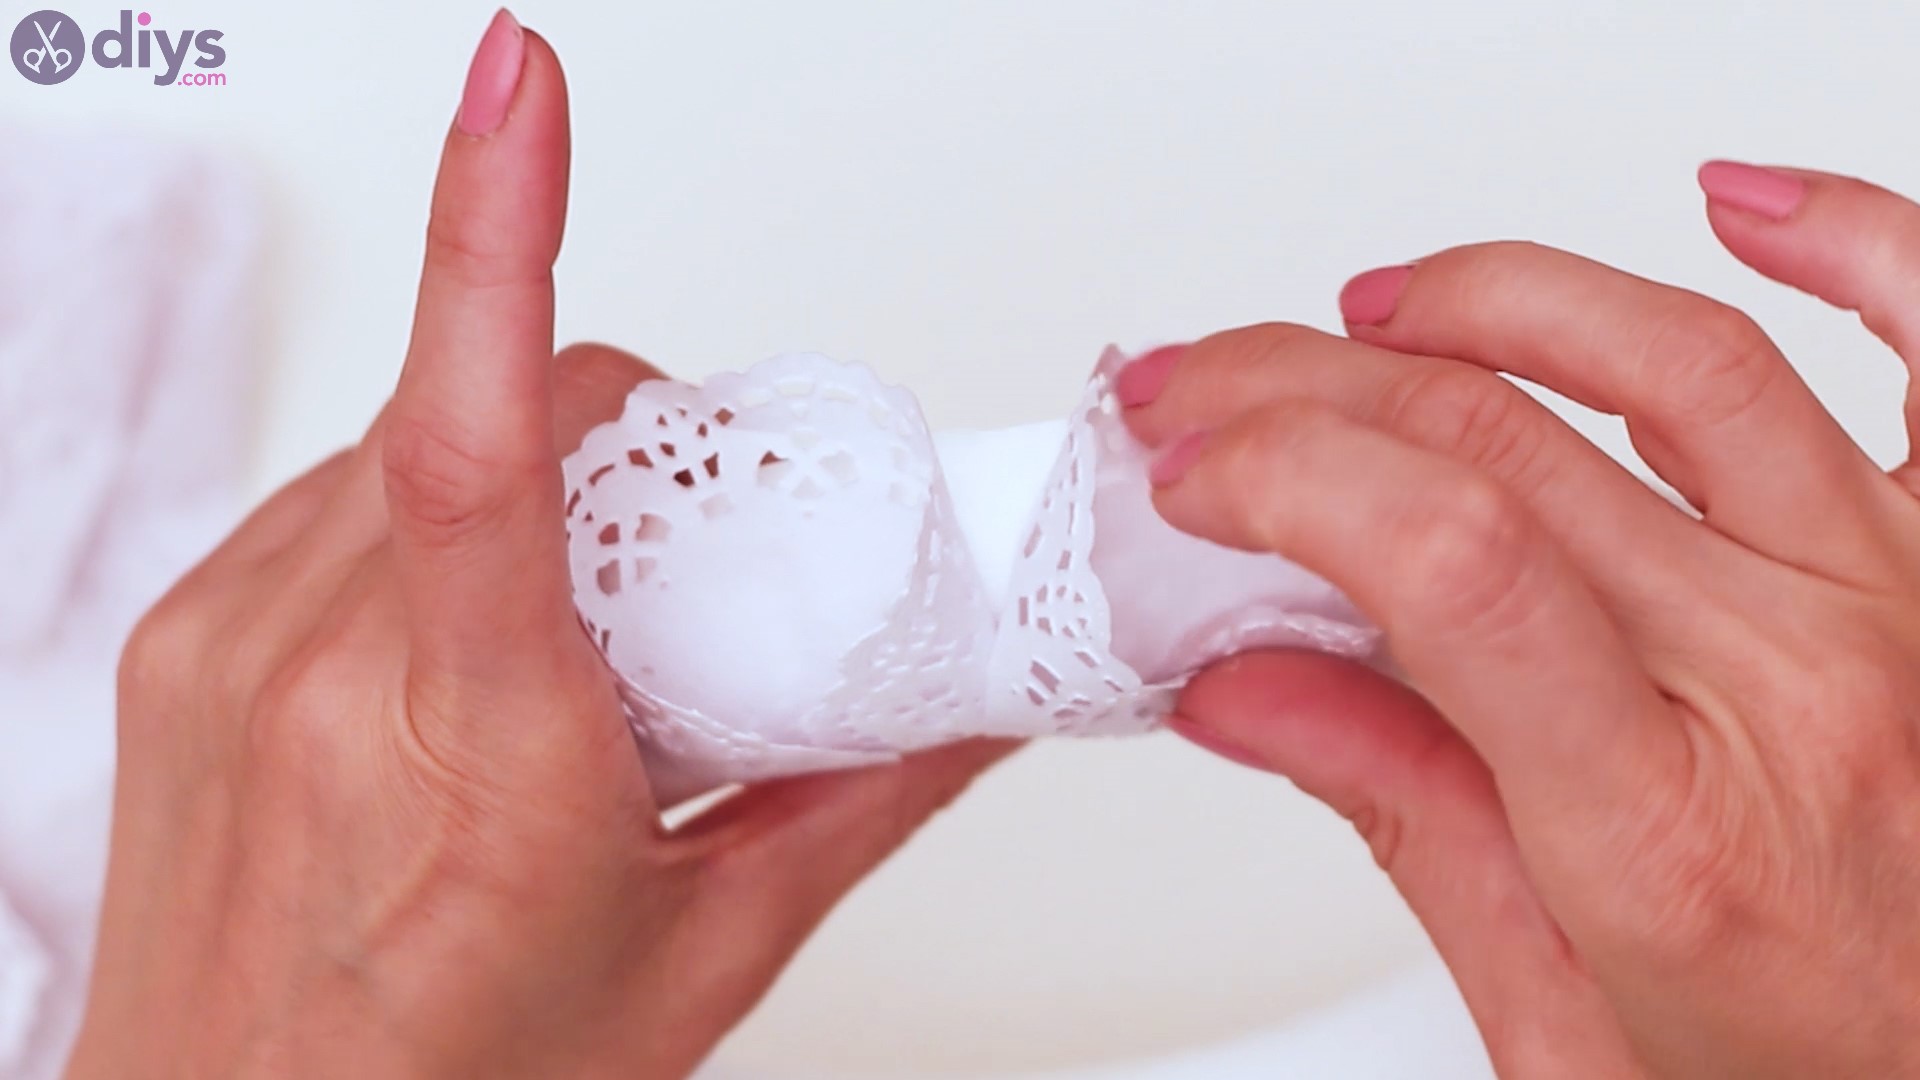
The first thing you need to do for this particular project is to take thepaper lace doiliesand start folding them so they’re ready to glue to the wreath.

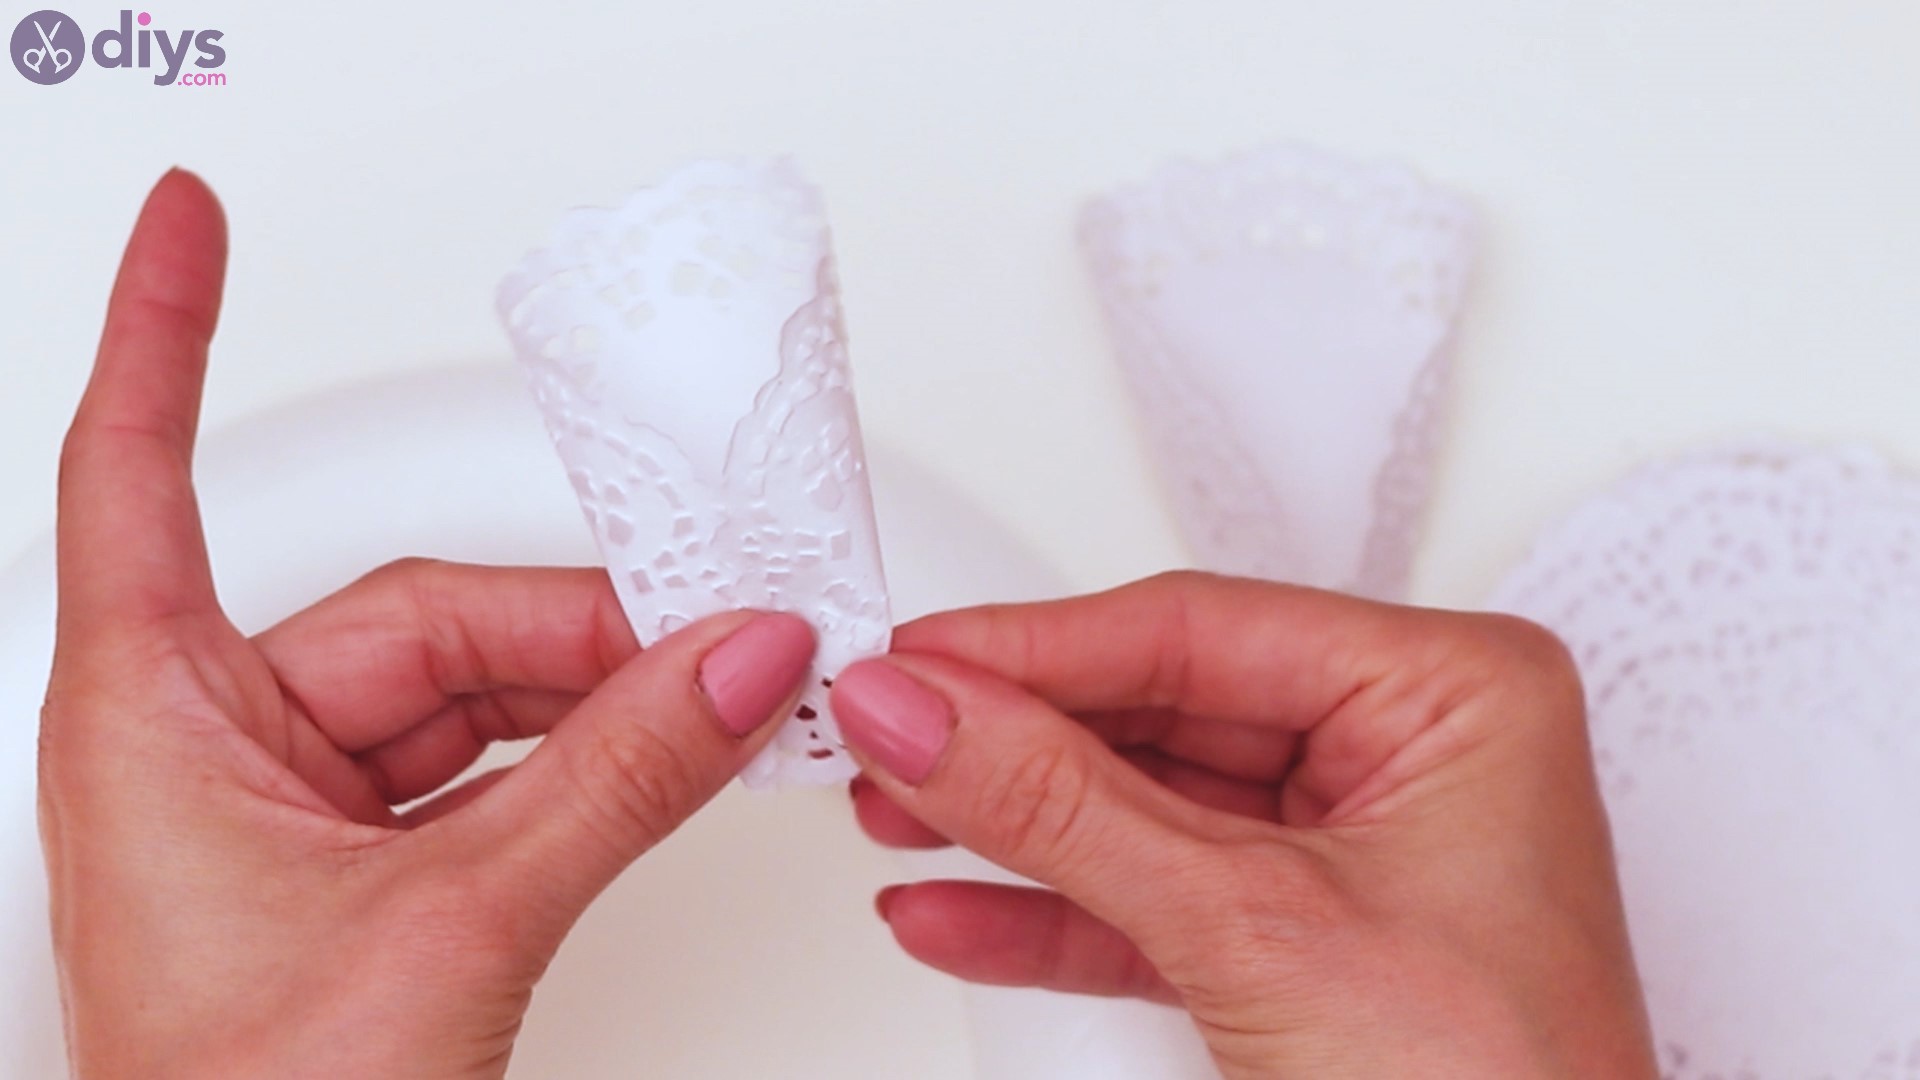
So, get one of the papers and roll it a bit so you get a feel about where the folding lines will need to be. You want the edges of the paper to overlap a bit.

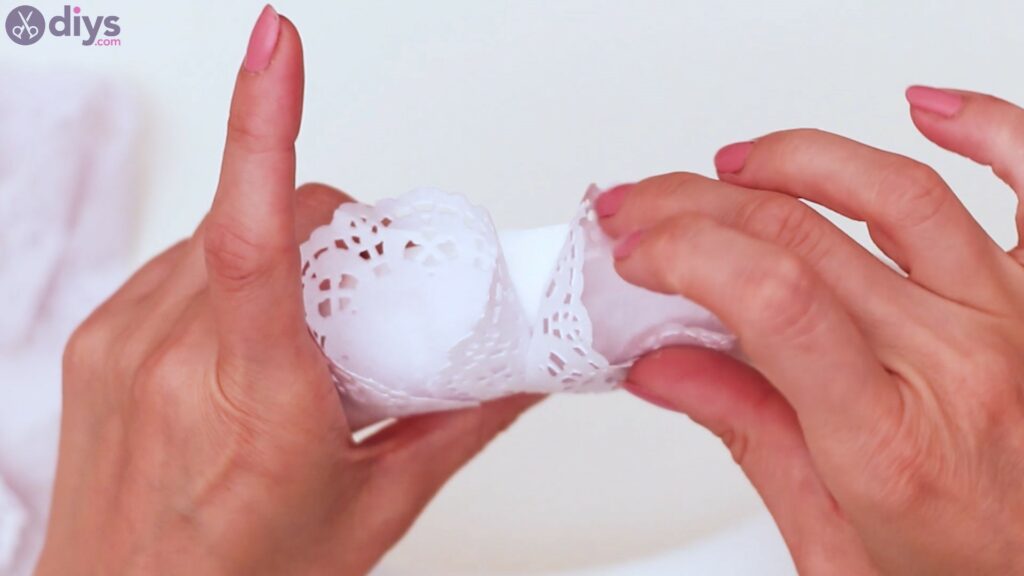
Then, fold both sides of the paper, making sure they overlap in the middle. The lace paper doily is pretty easy to handle so we’re sure there will be no issues in folding them all up, one by one.
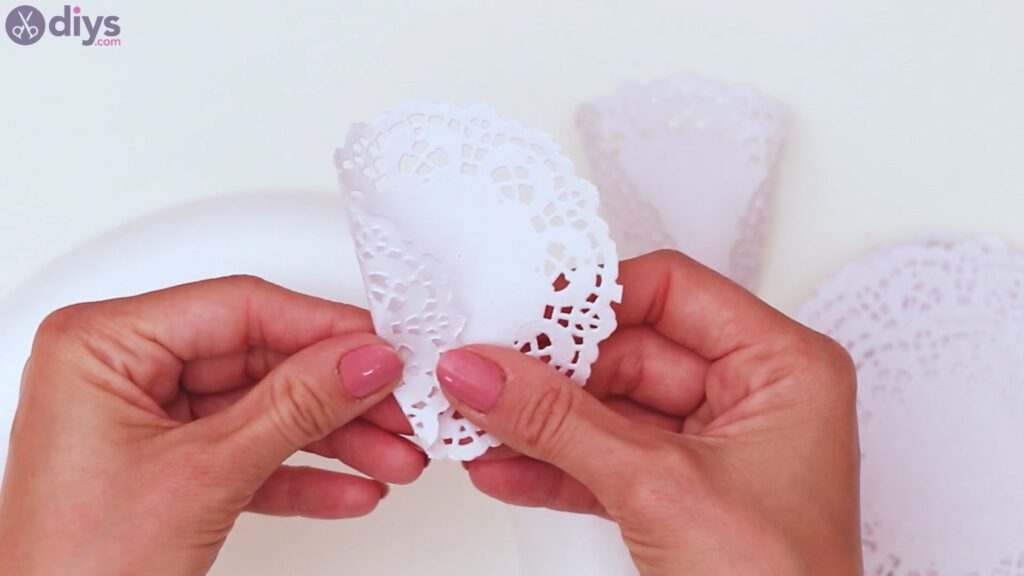

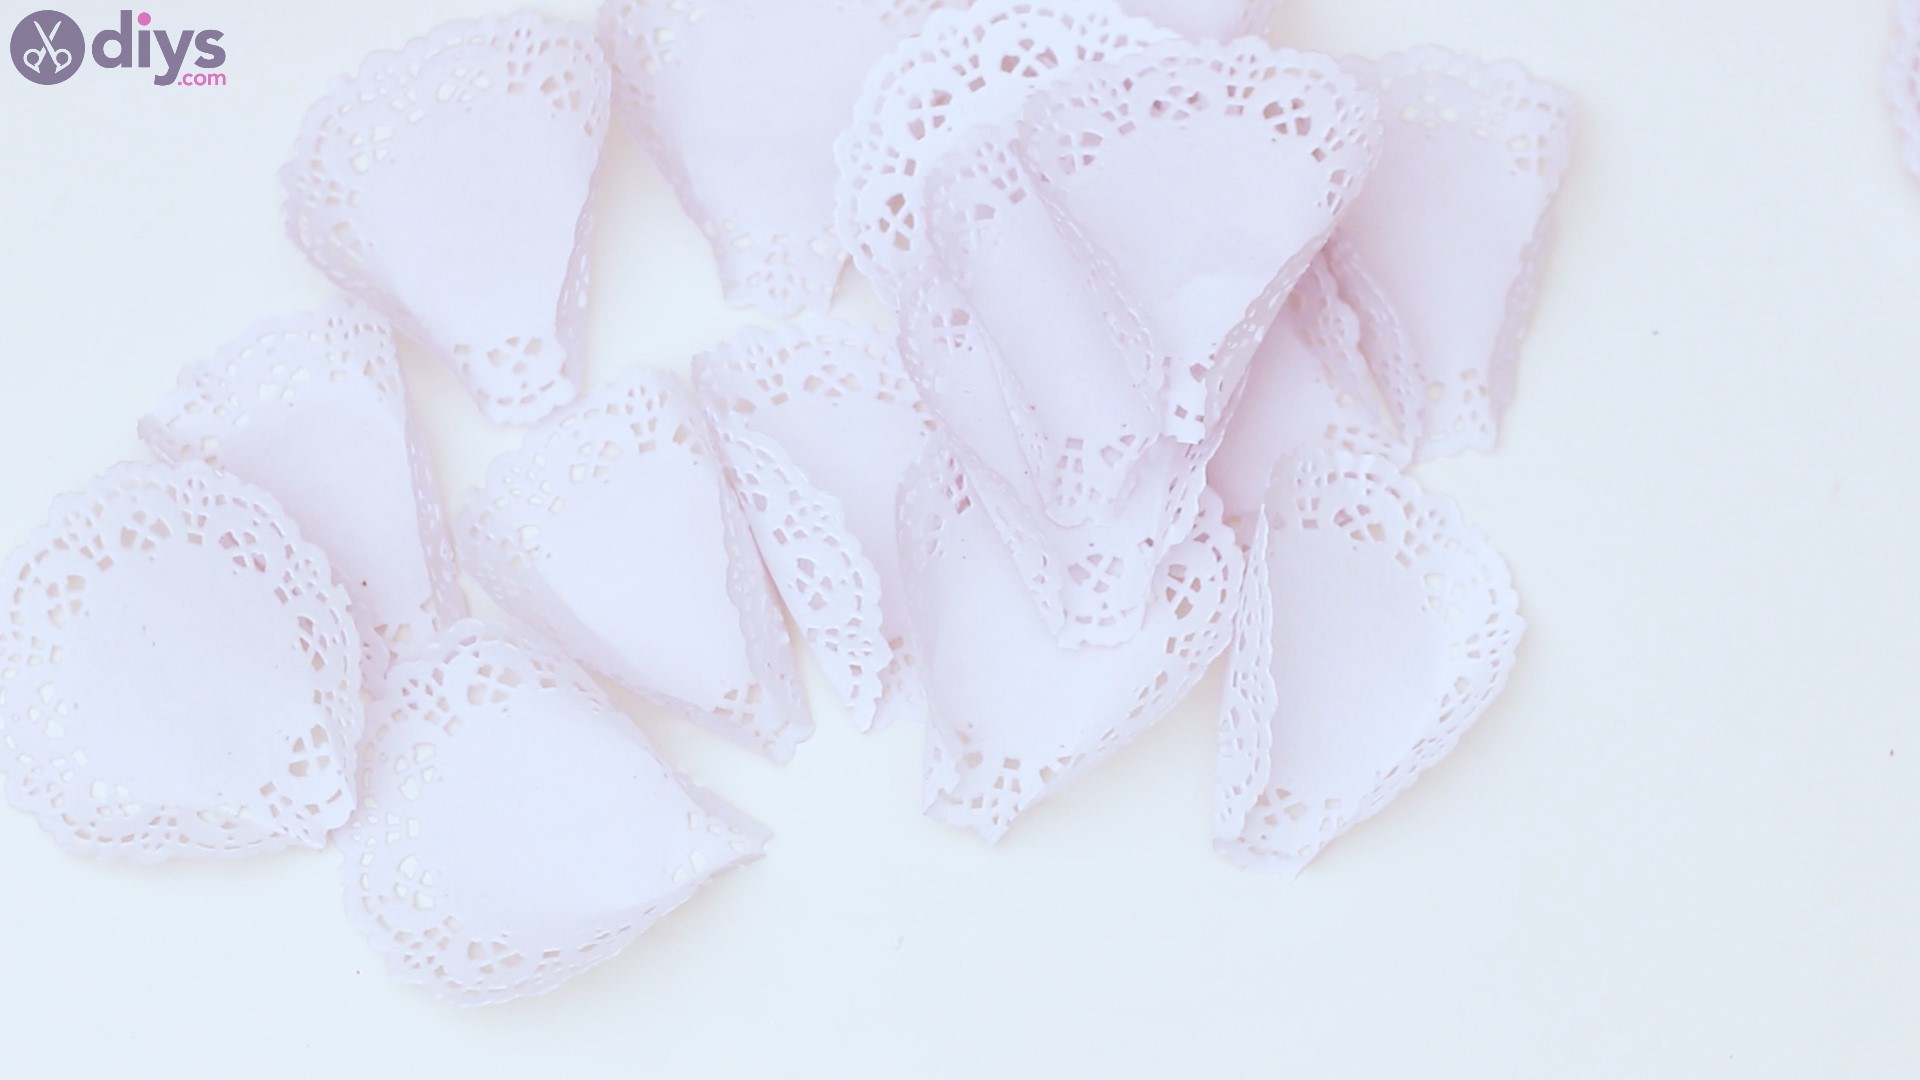
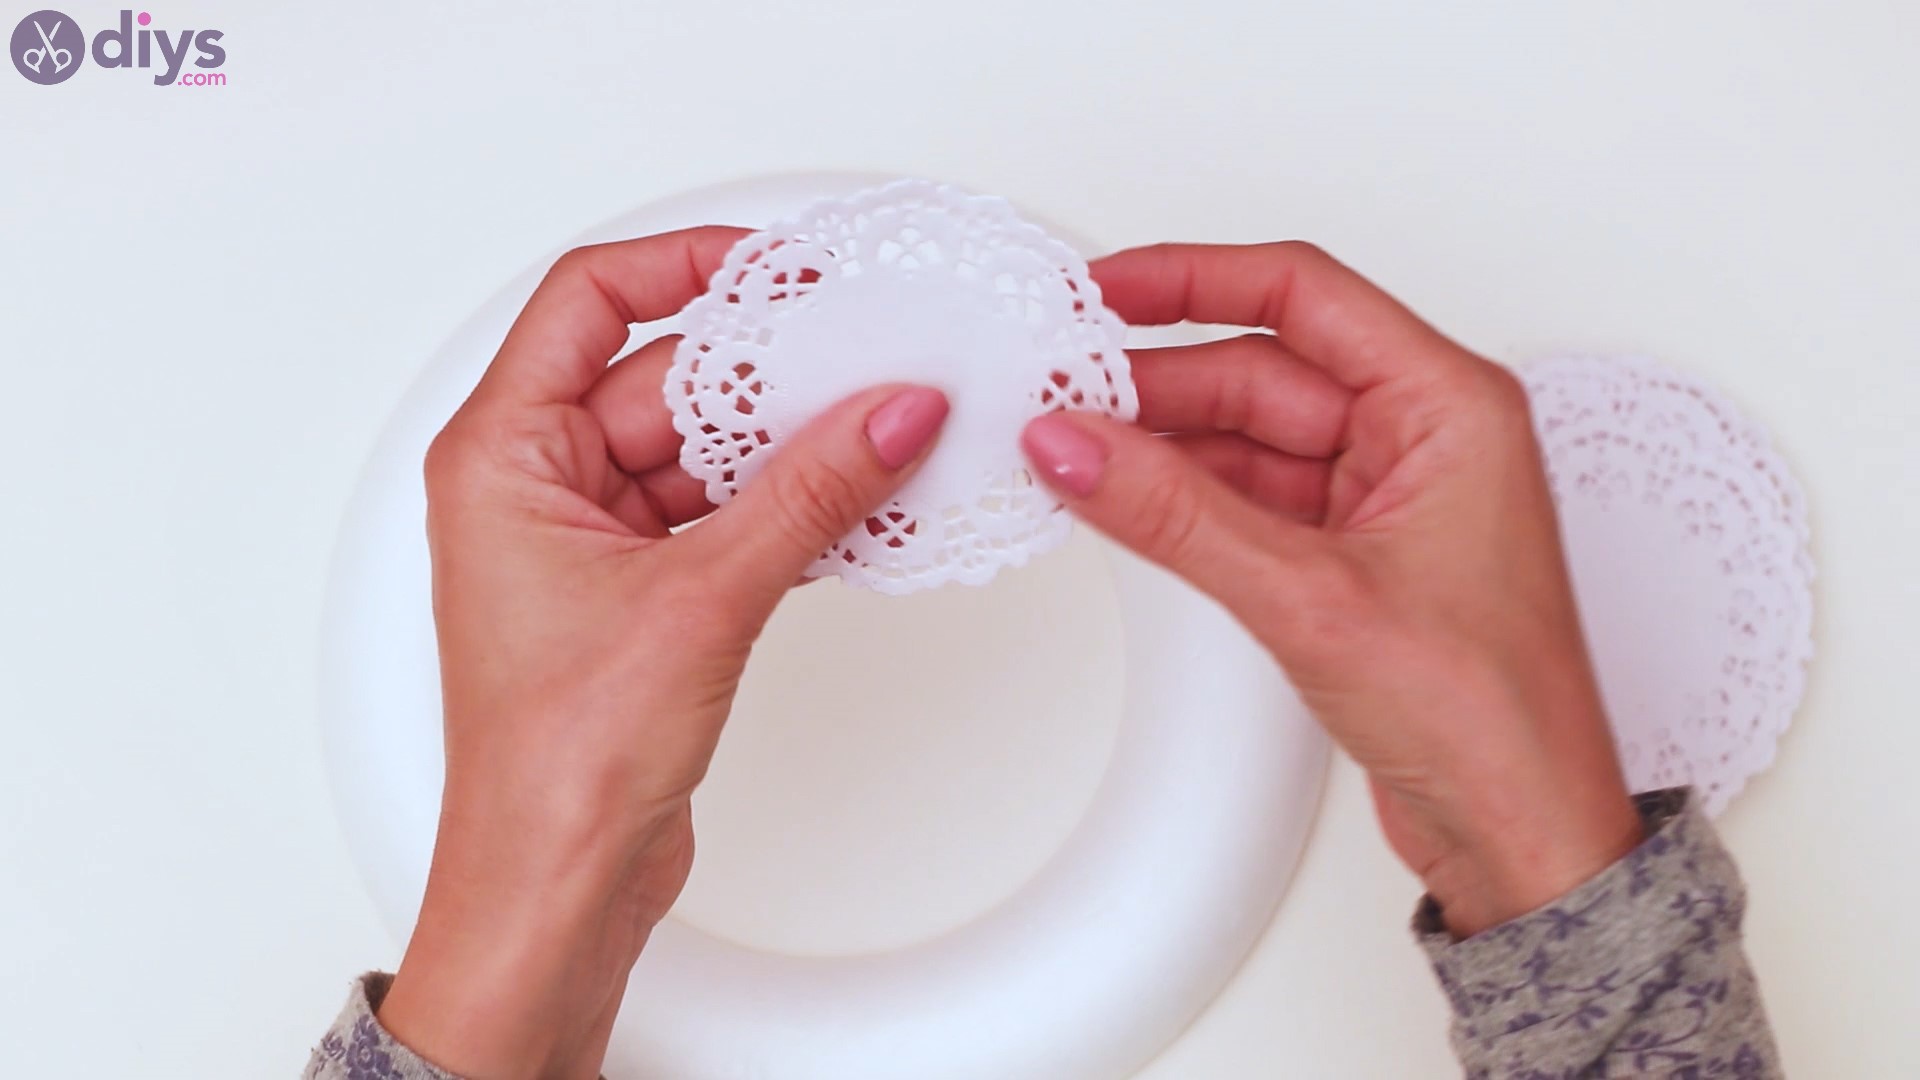
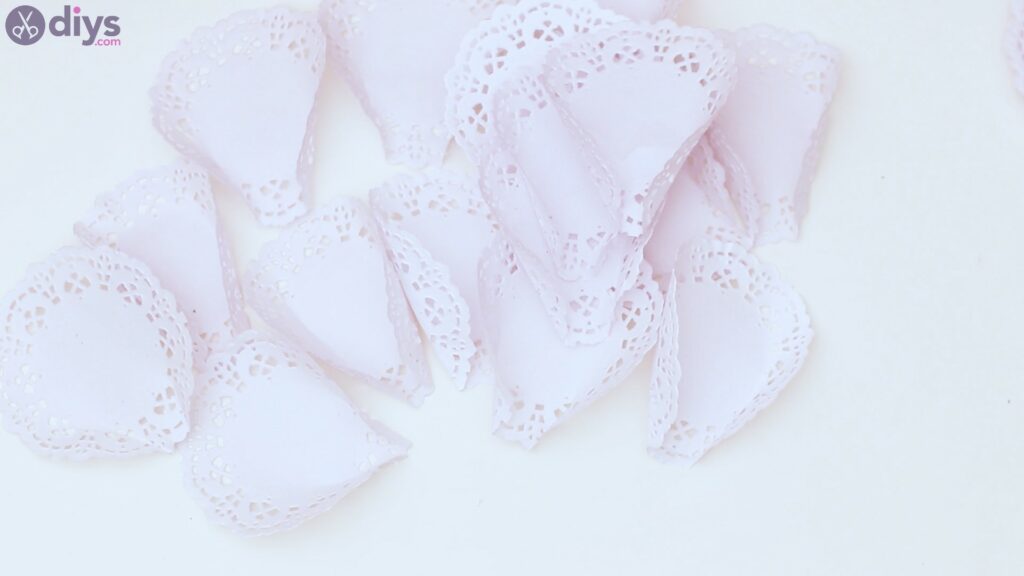
Keep going until you’ve folded them all and you have a big pile like we do.
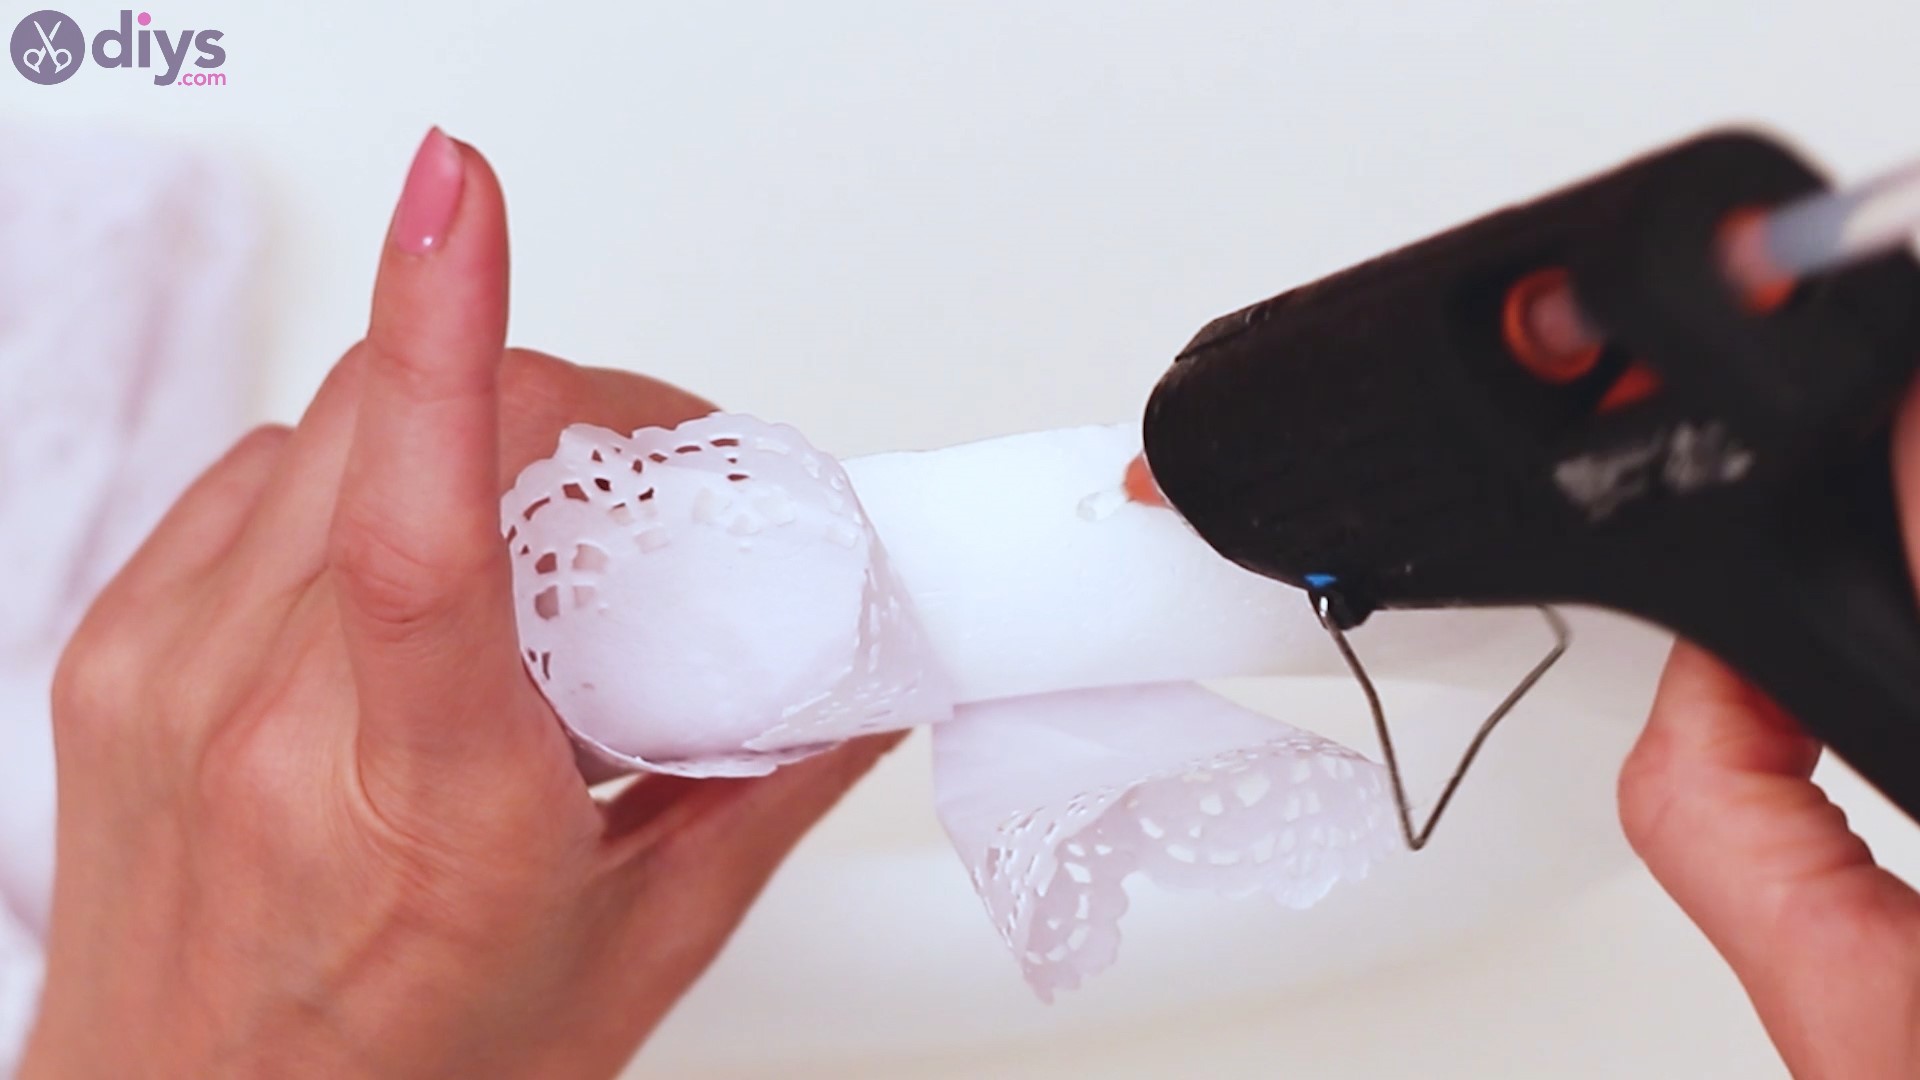
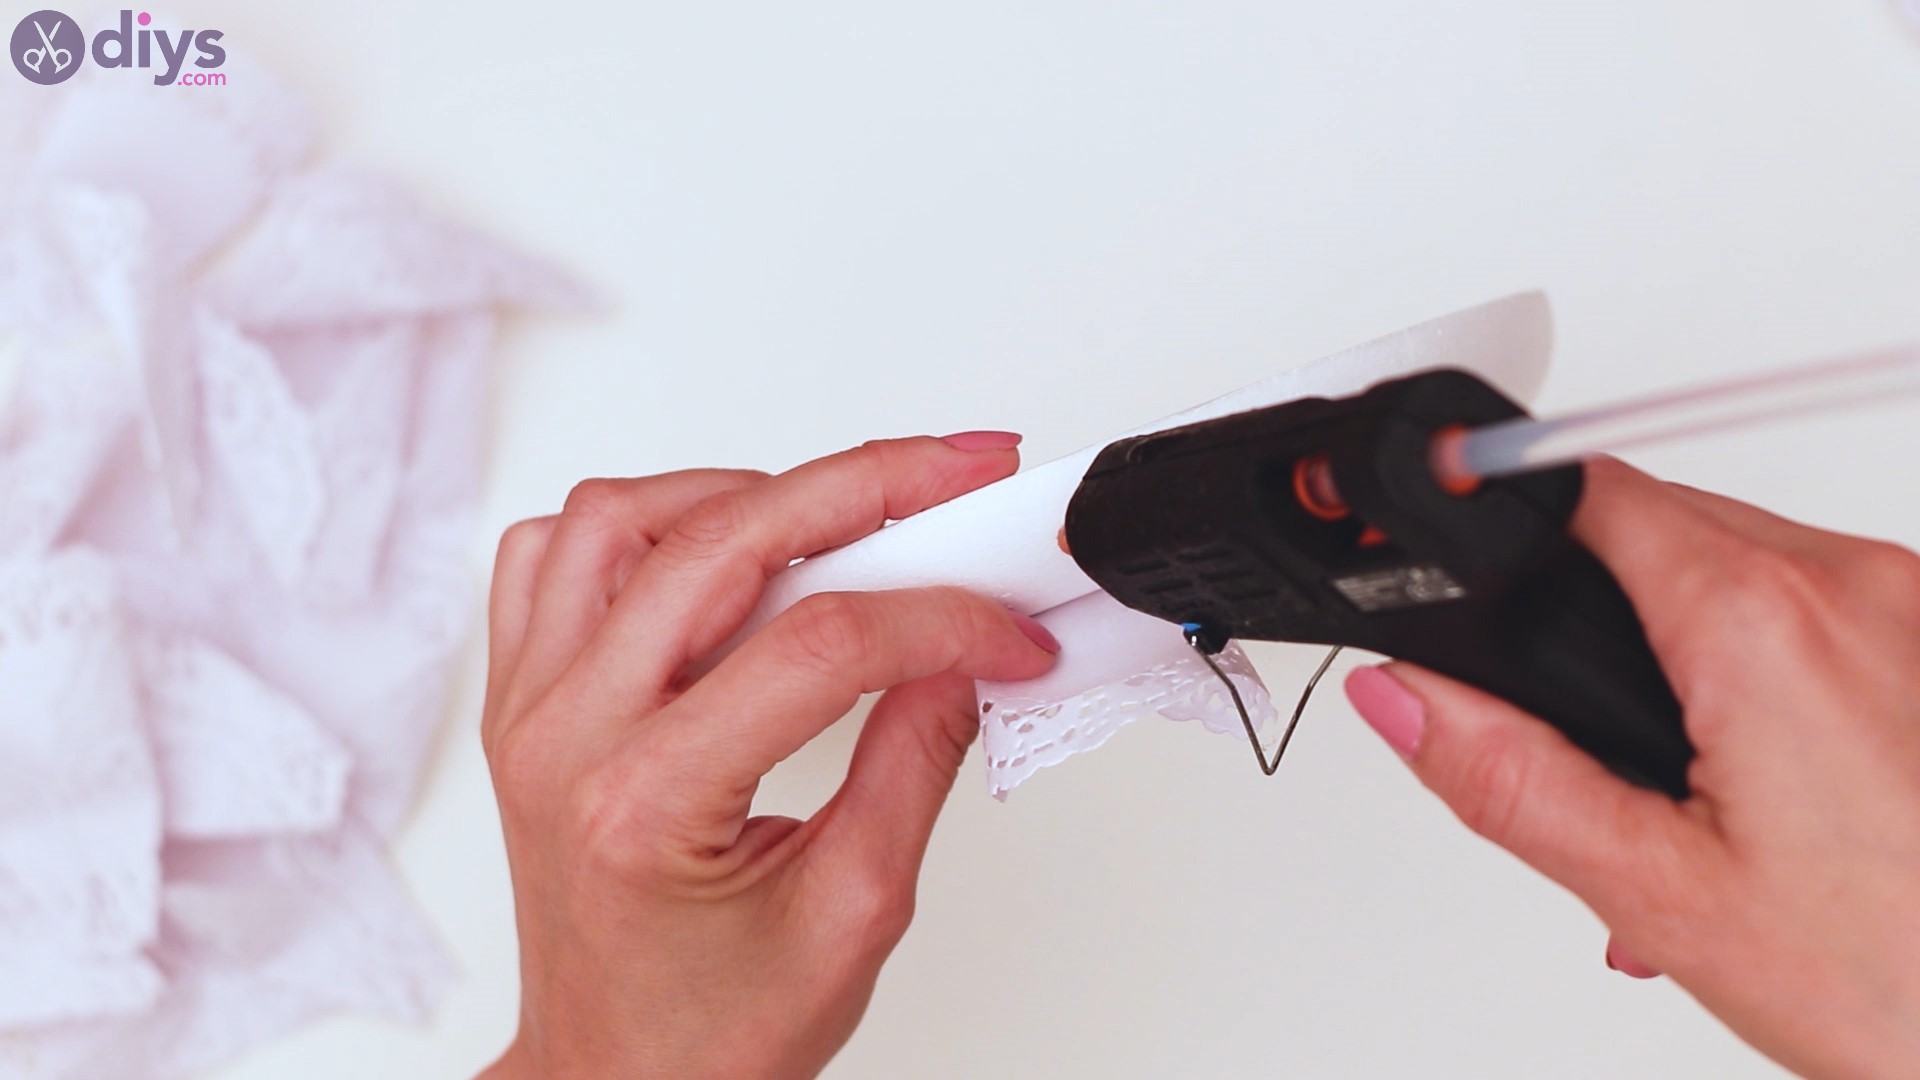
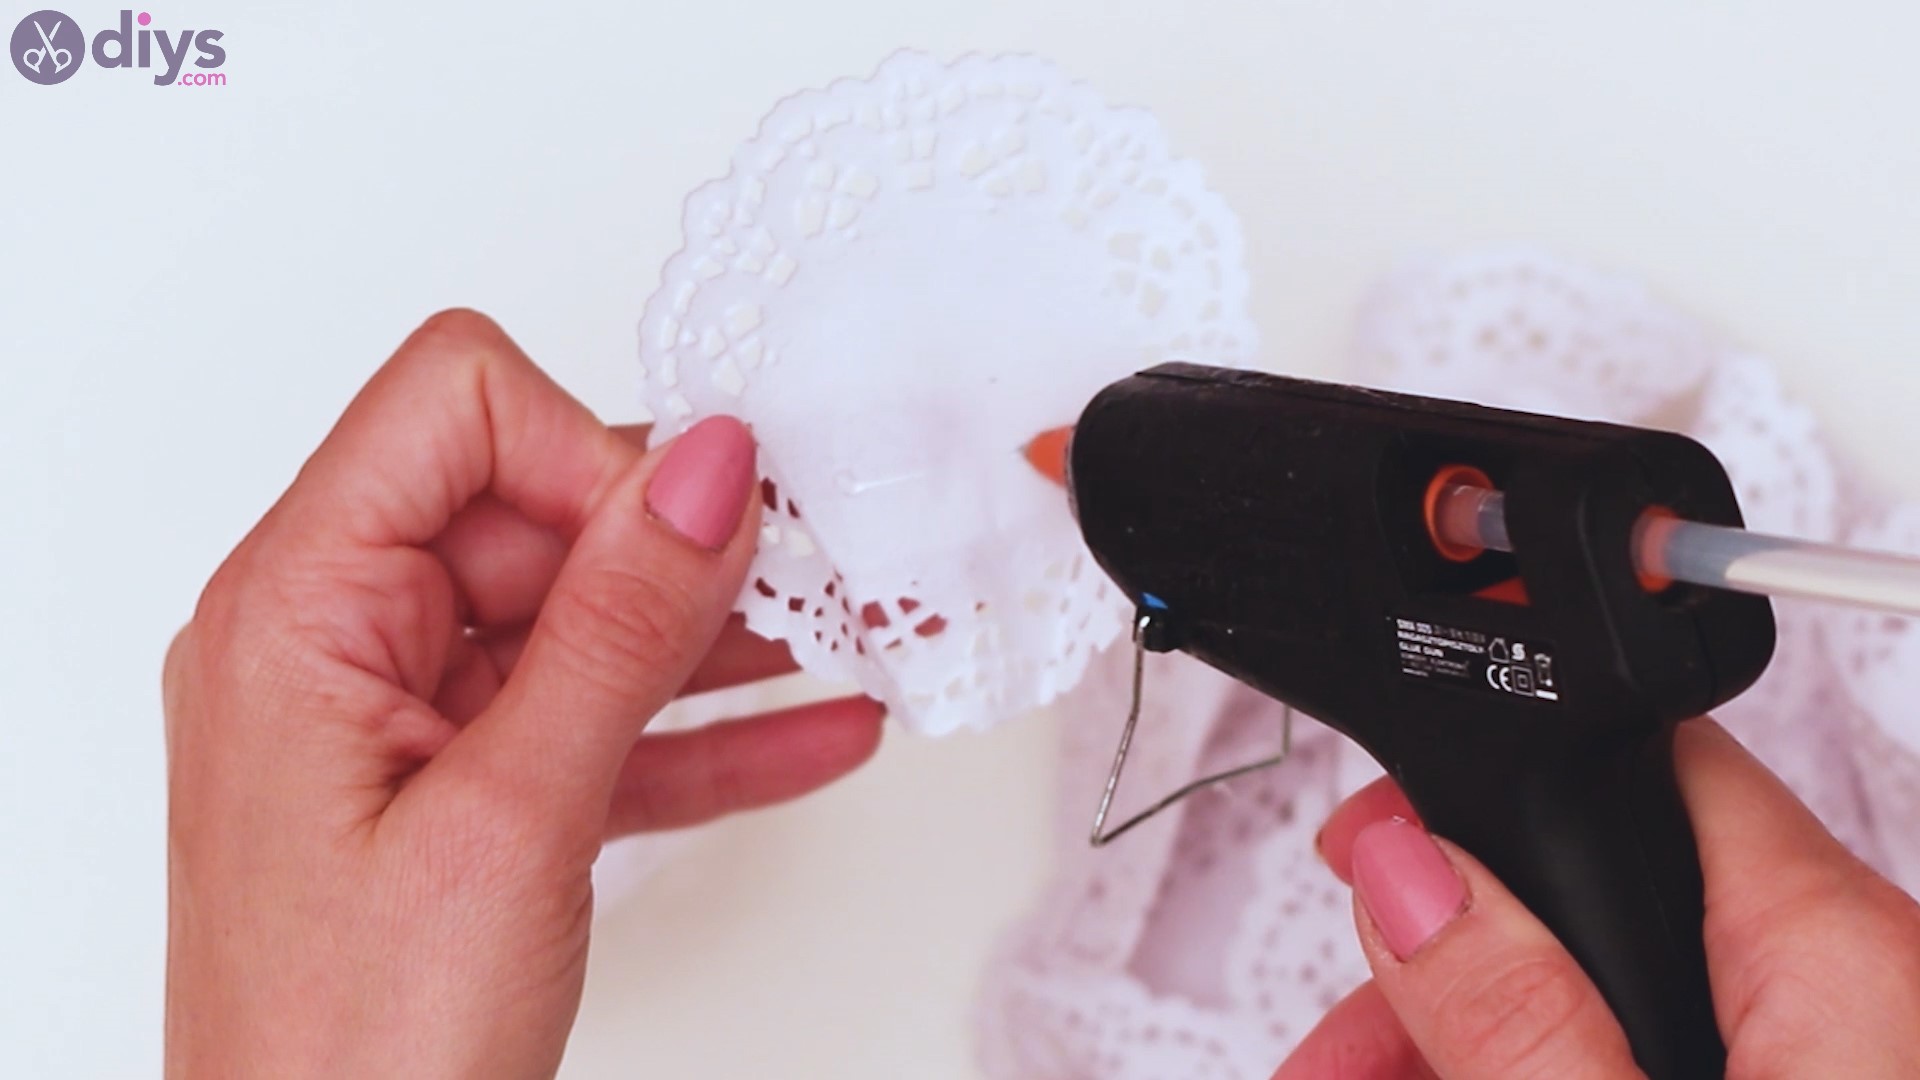
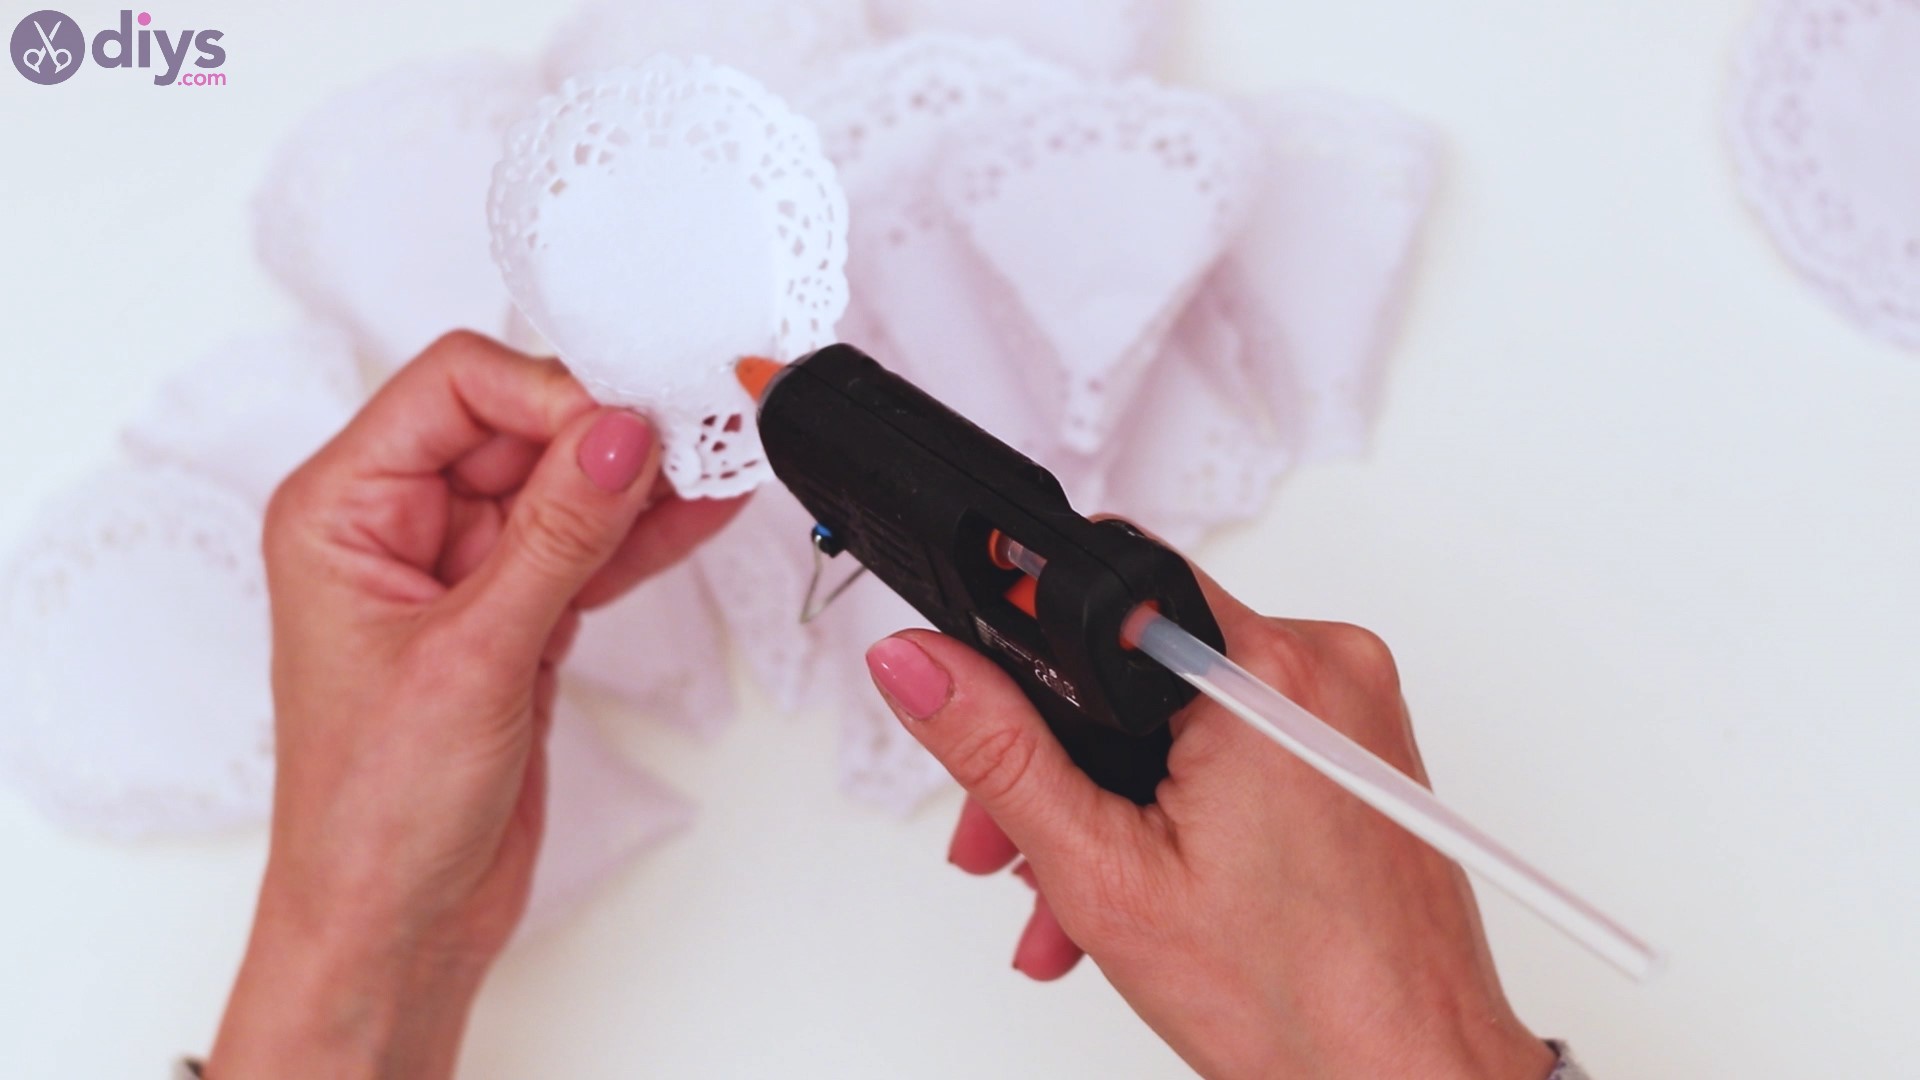
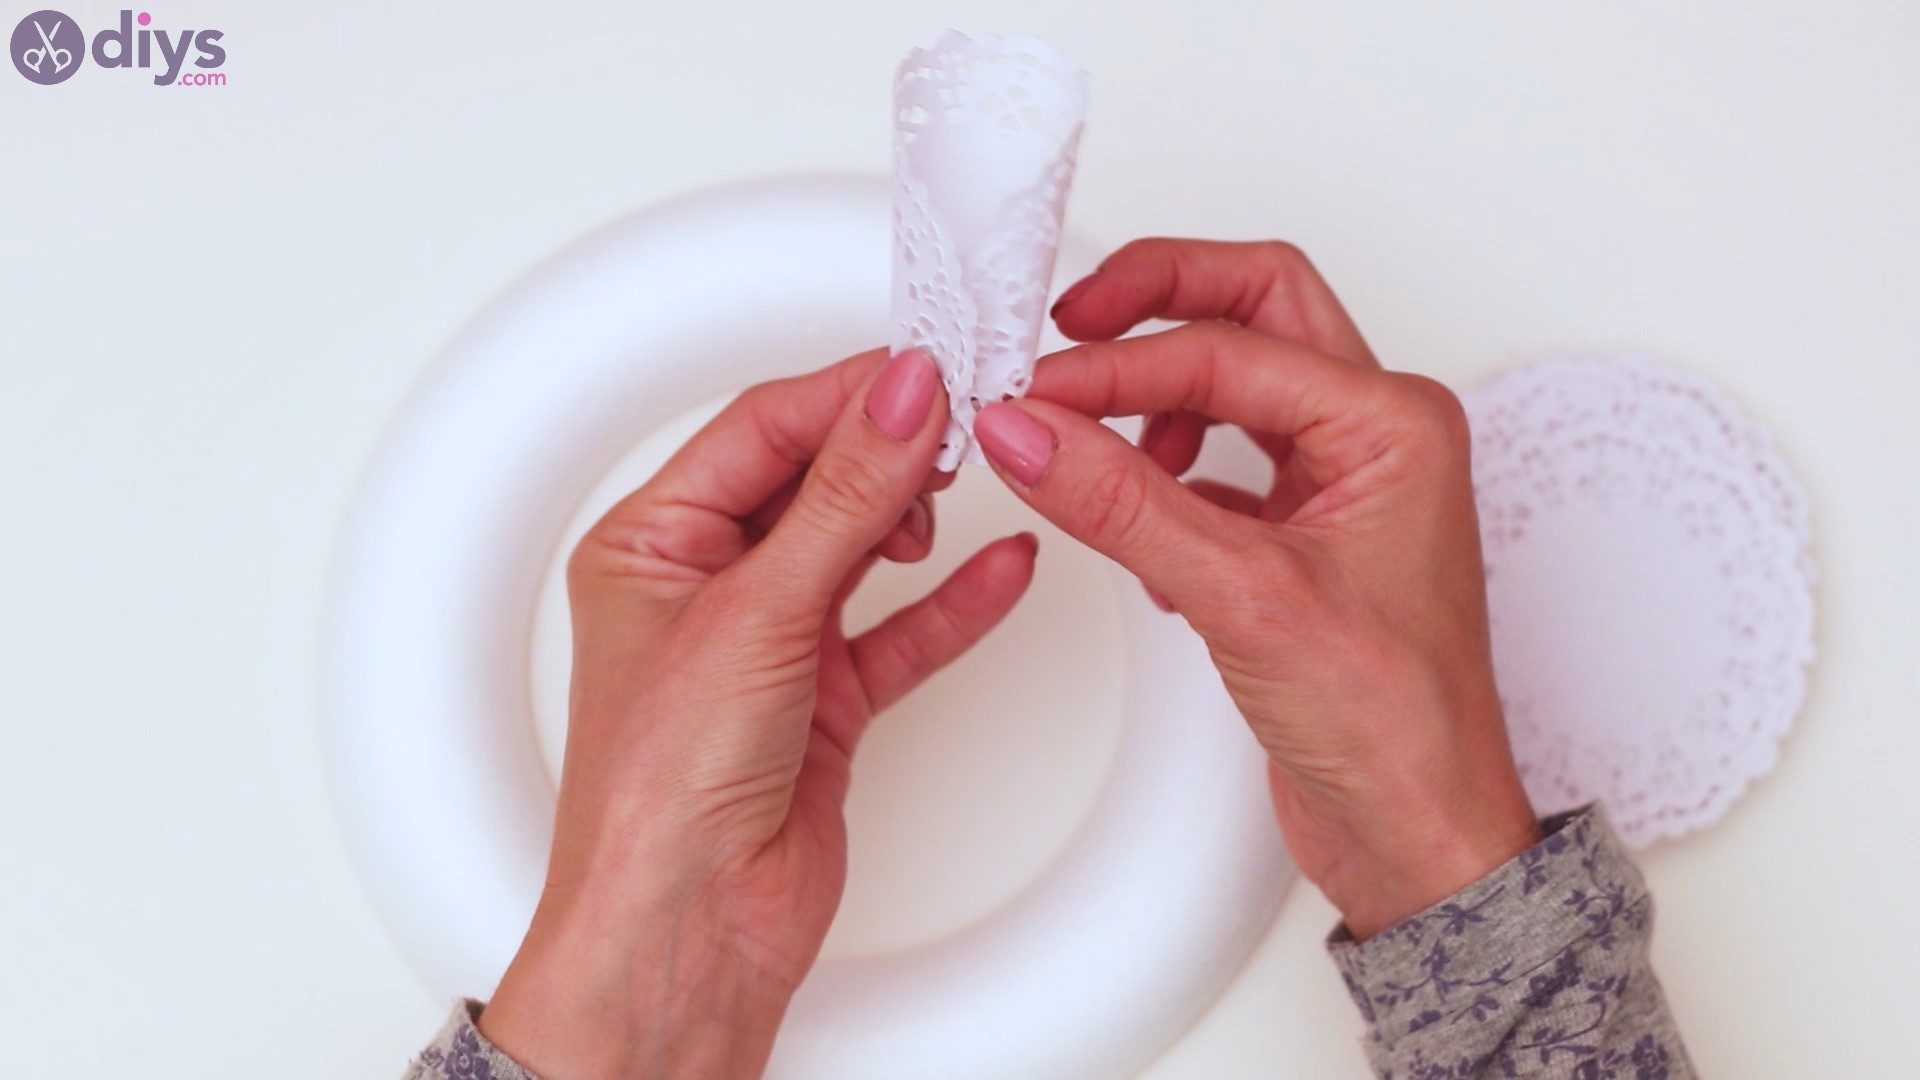
Step 2: Glue the doilies
First, you’re going to have to get theglue gunand add a dab of hot glue to the center of the lace paper doily. Fold both sides over the glue and make sure it all sets before releasing your hold.
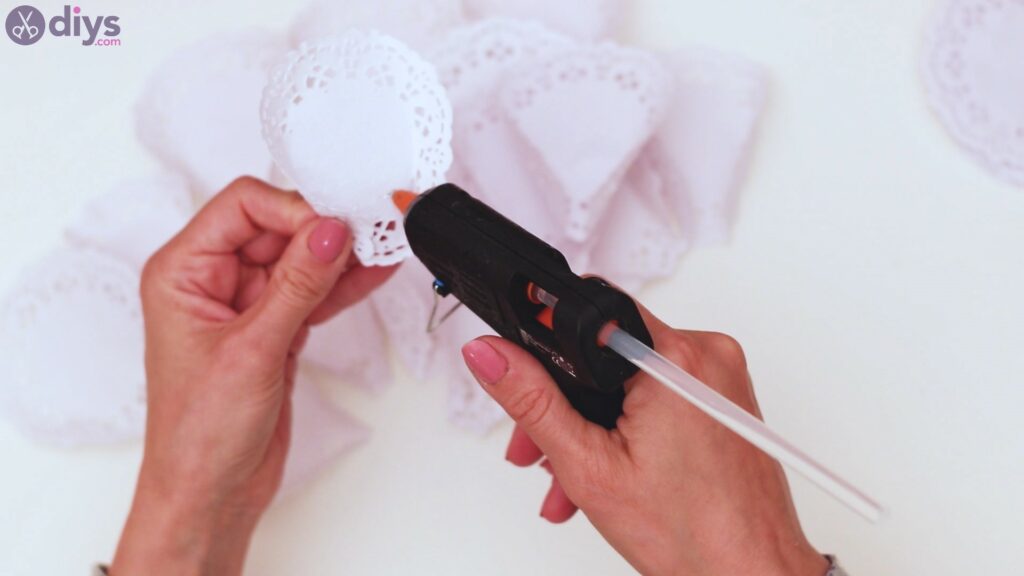
Repeat the process until all the lace paper doilies have been glued together like this. You’re prepping them to be added to the wreath right now, so it’s best if you have all of them ready to go.
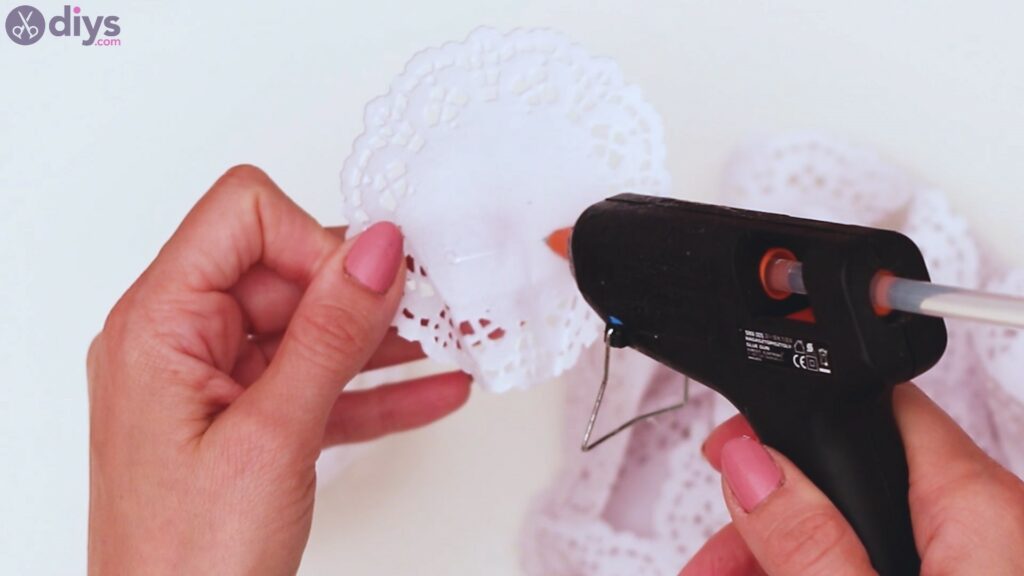
One thing you need to make sure of is that they are nicely arranged and glued together and that they all look as much alike as possible.

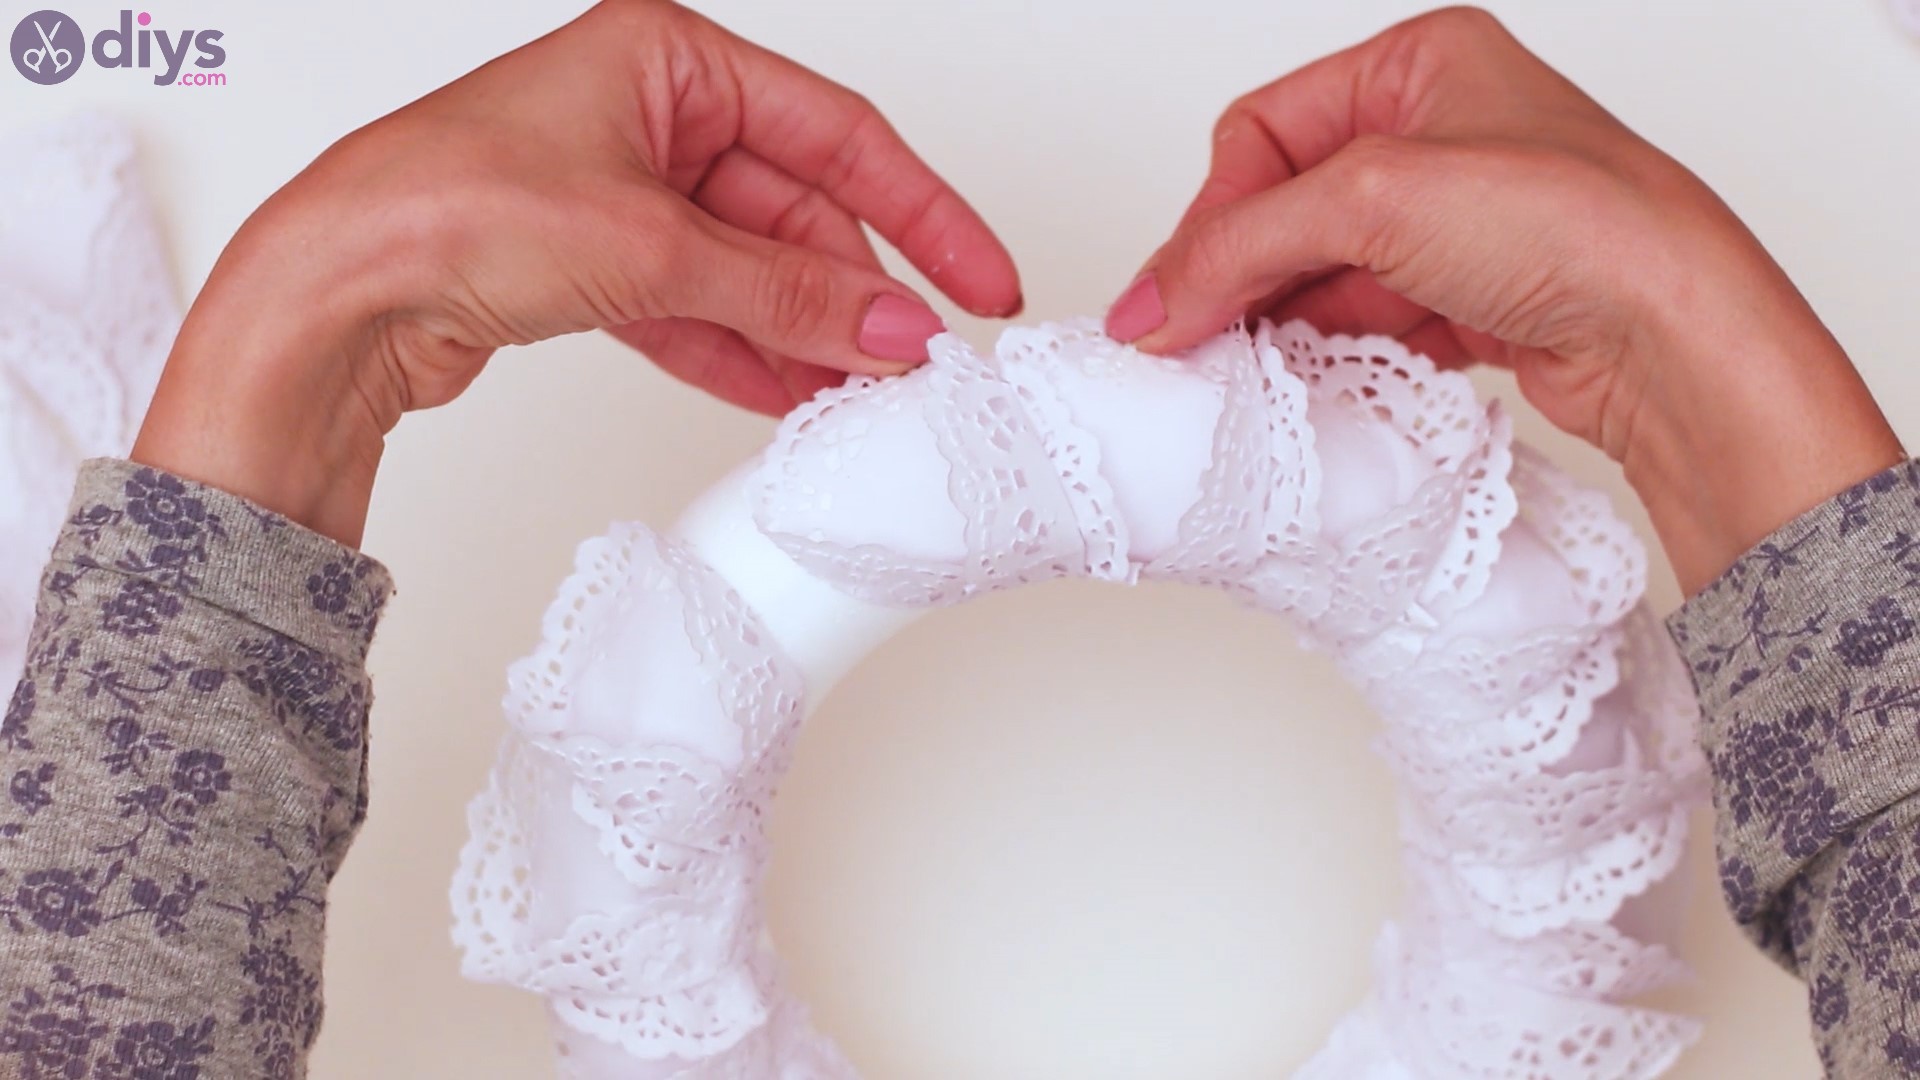
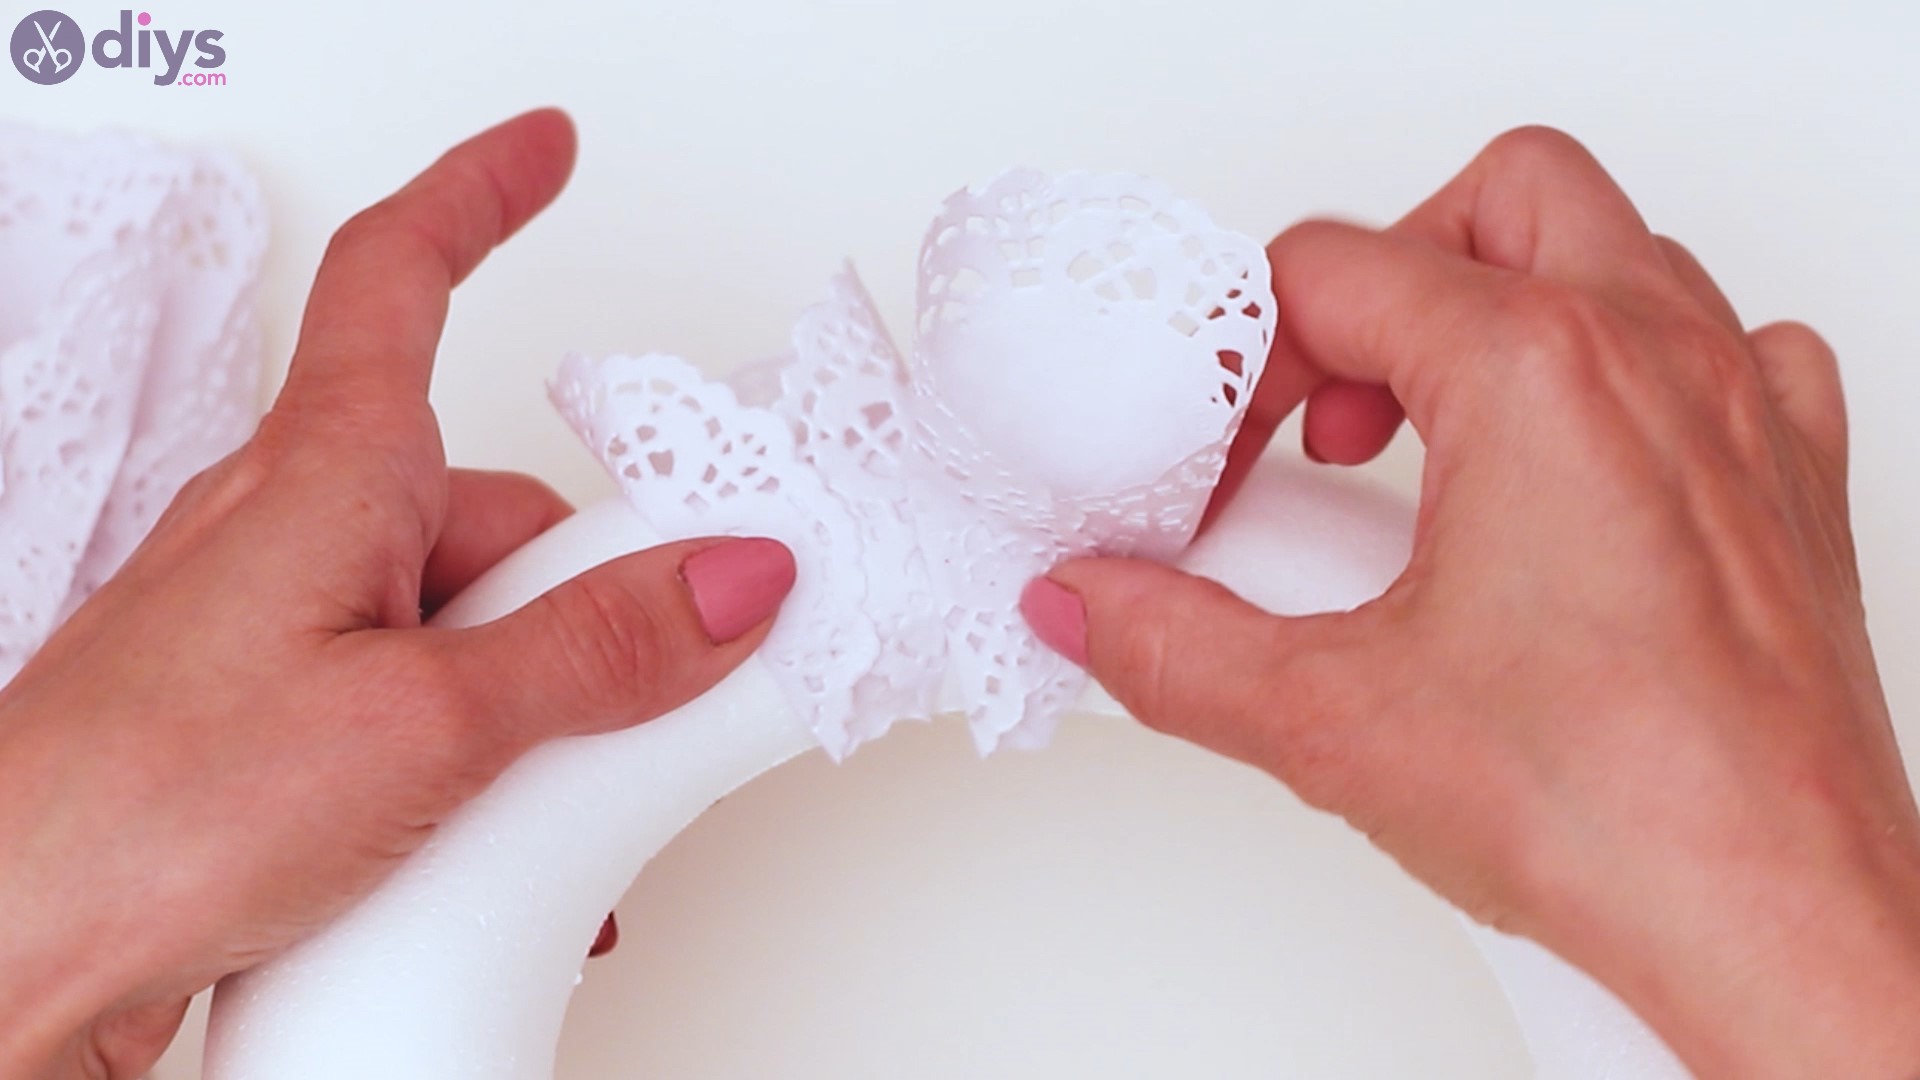
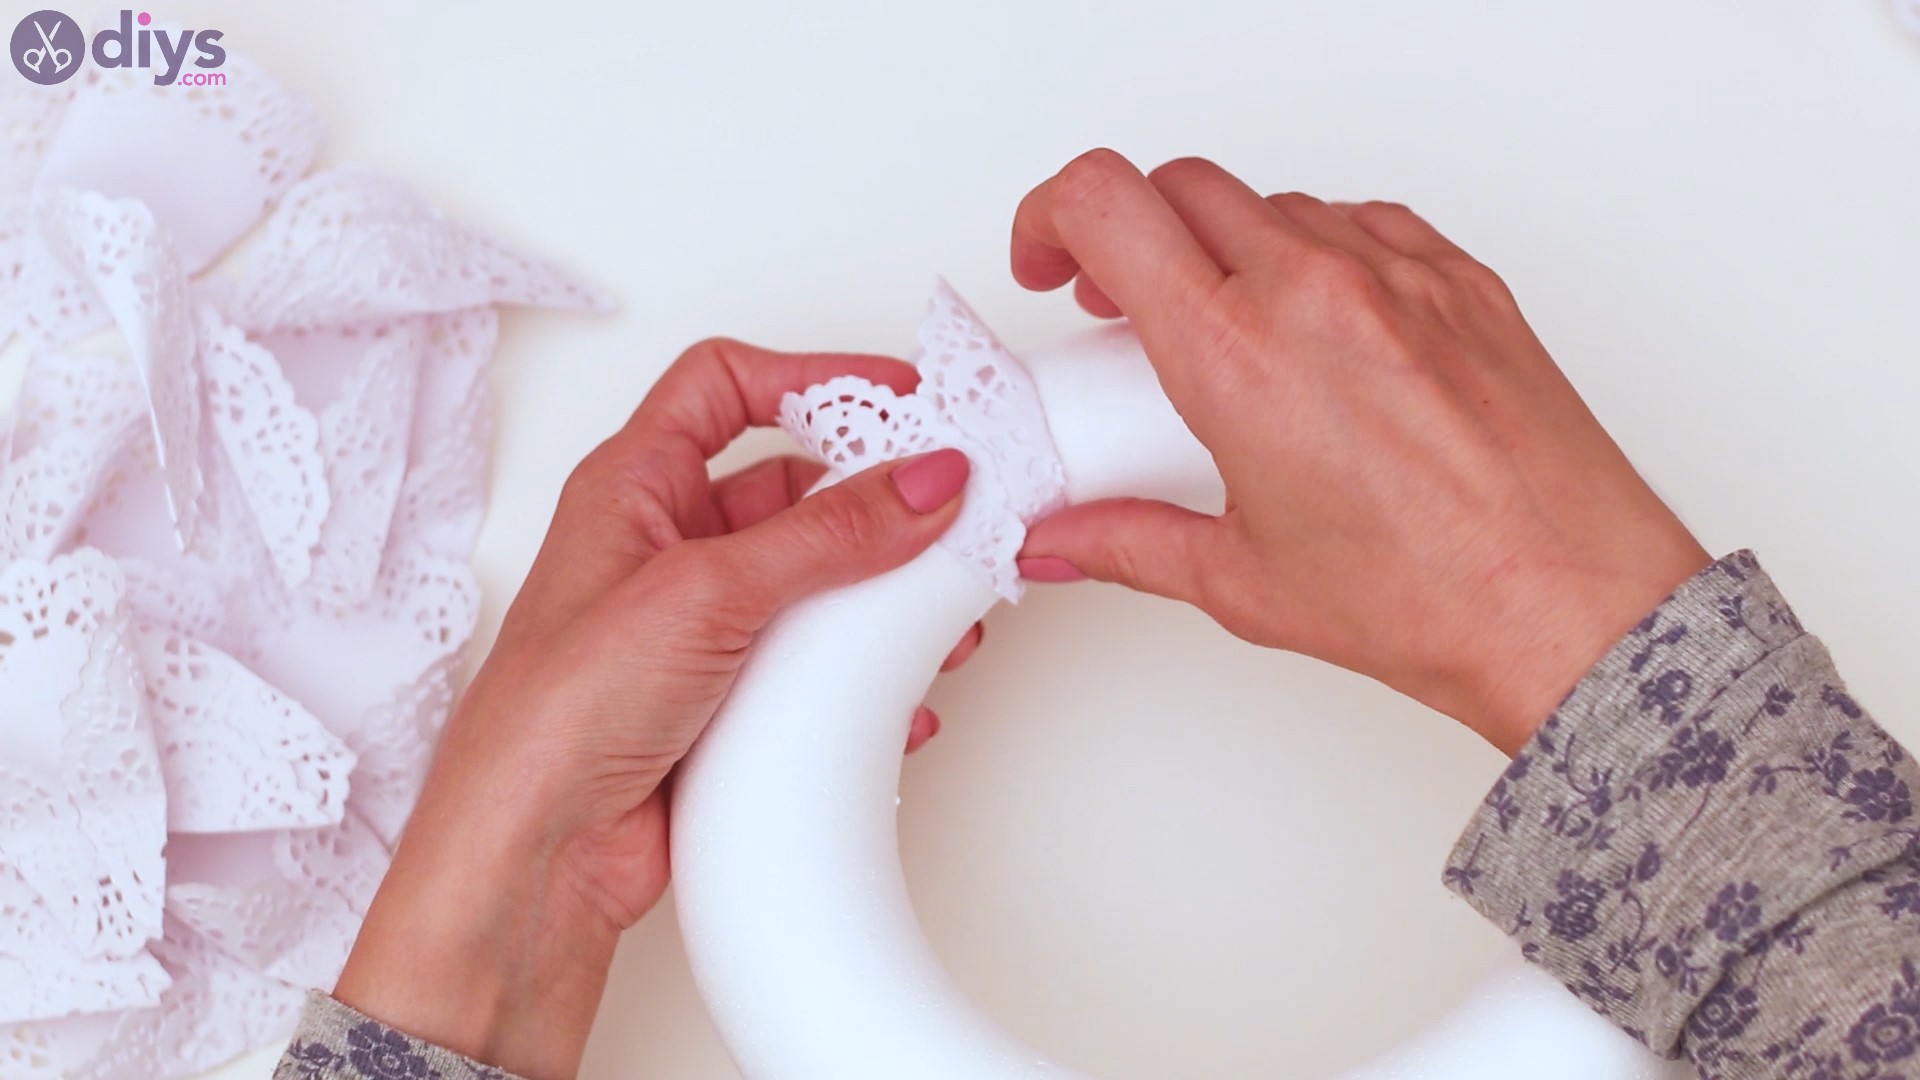
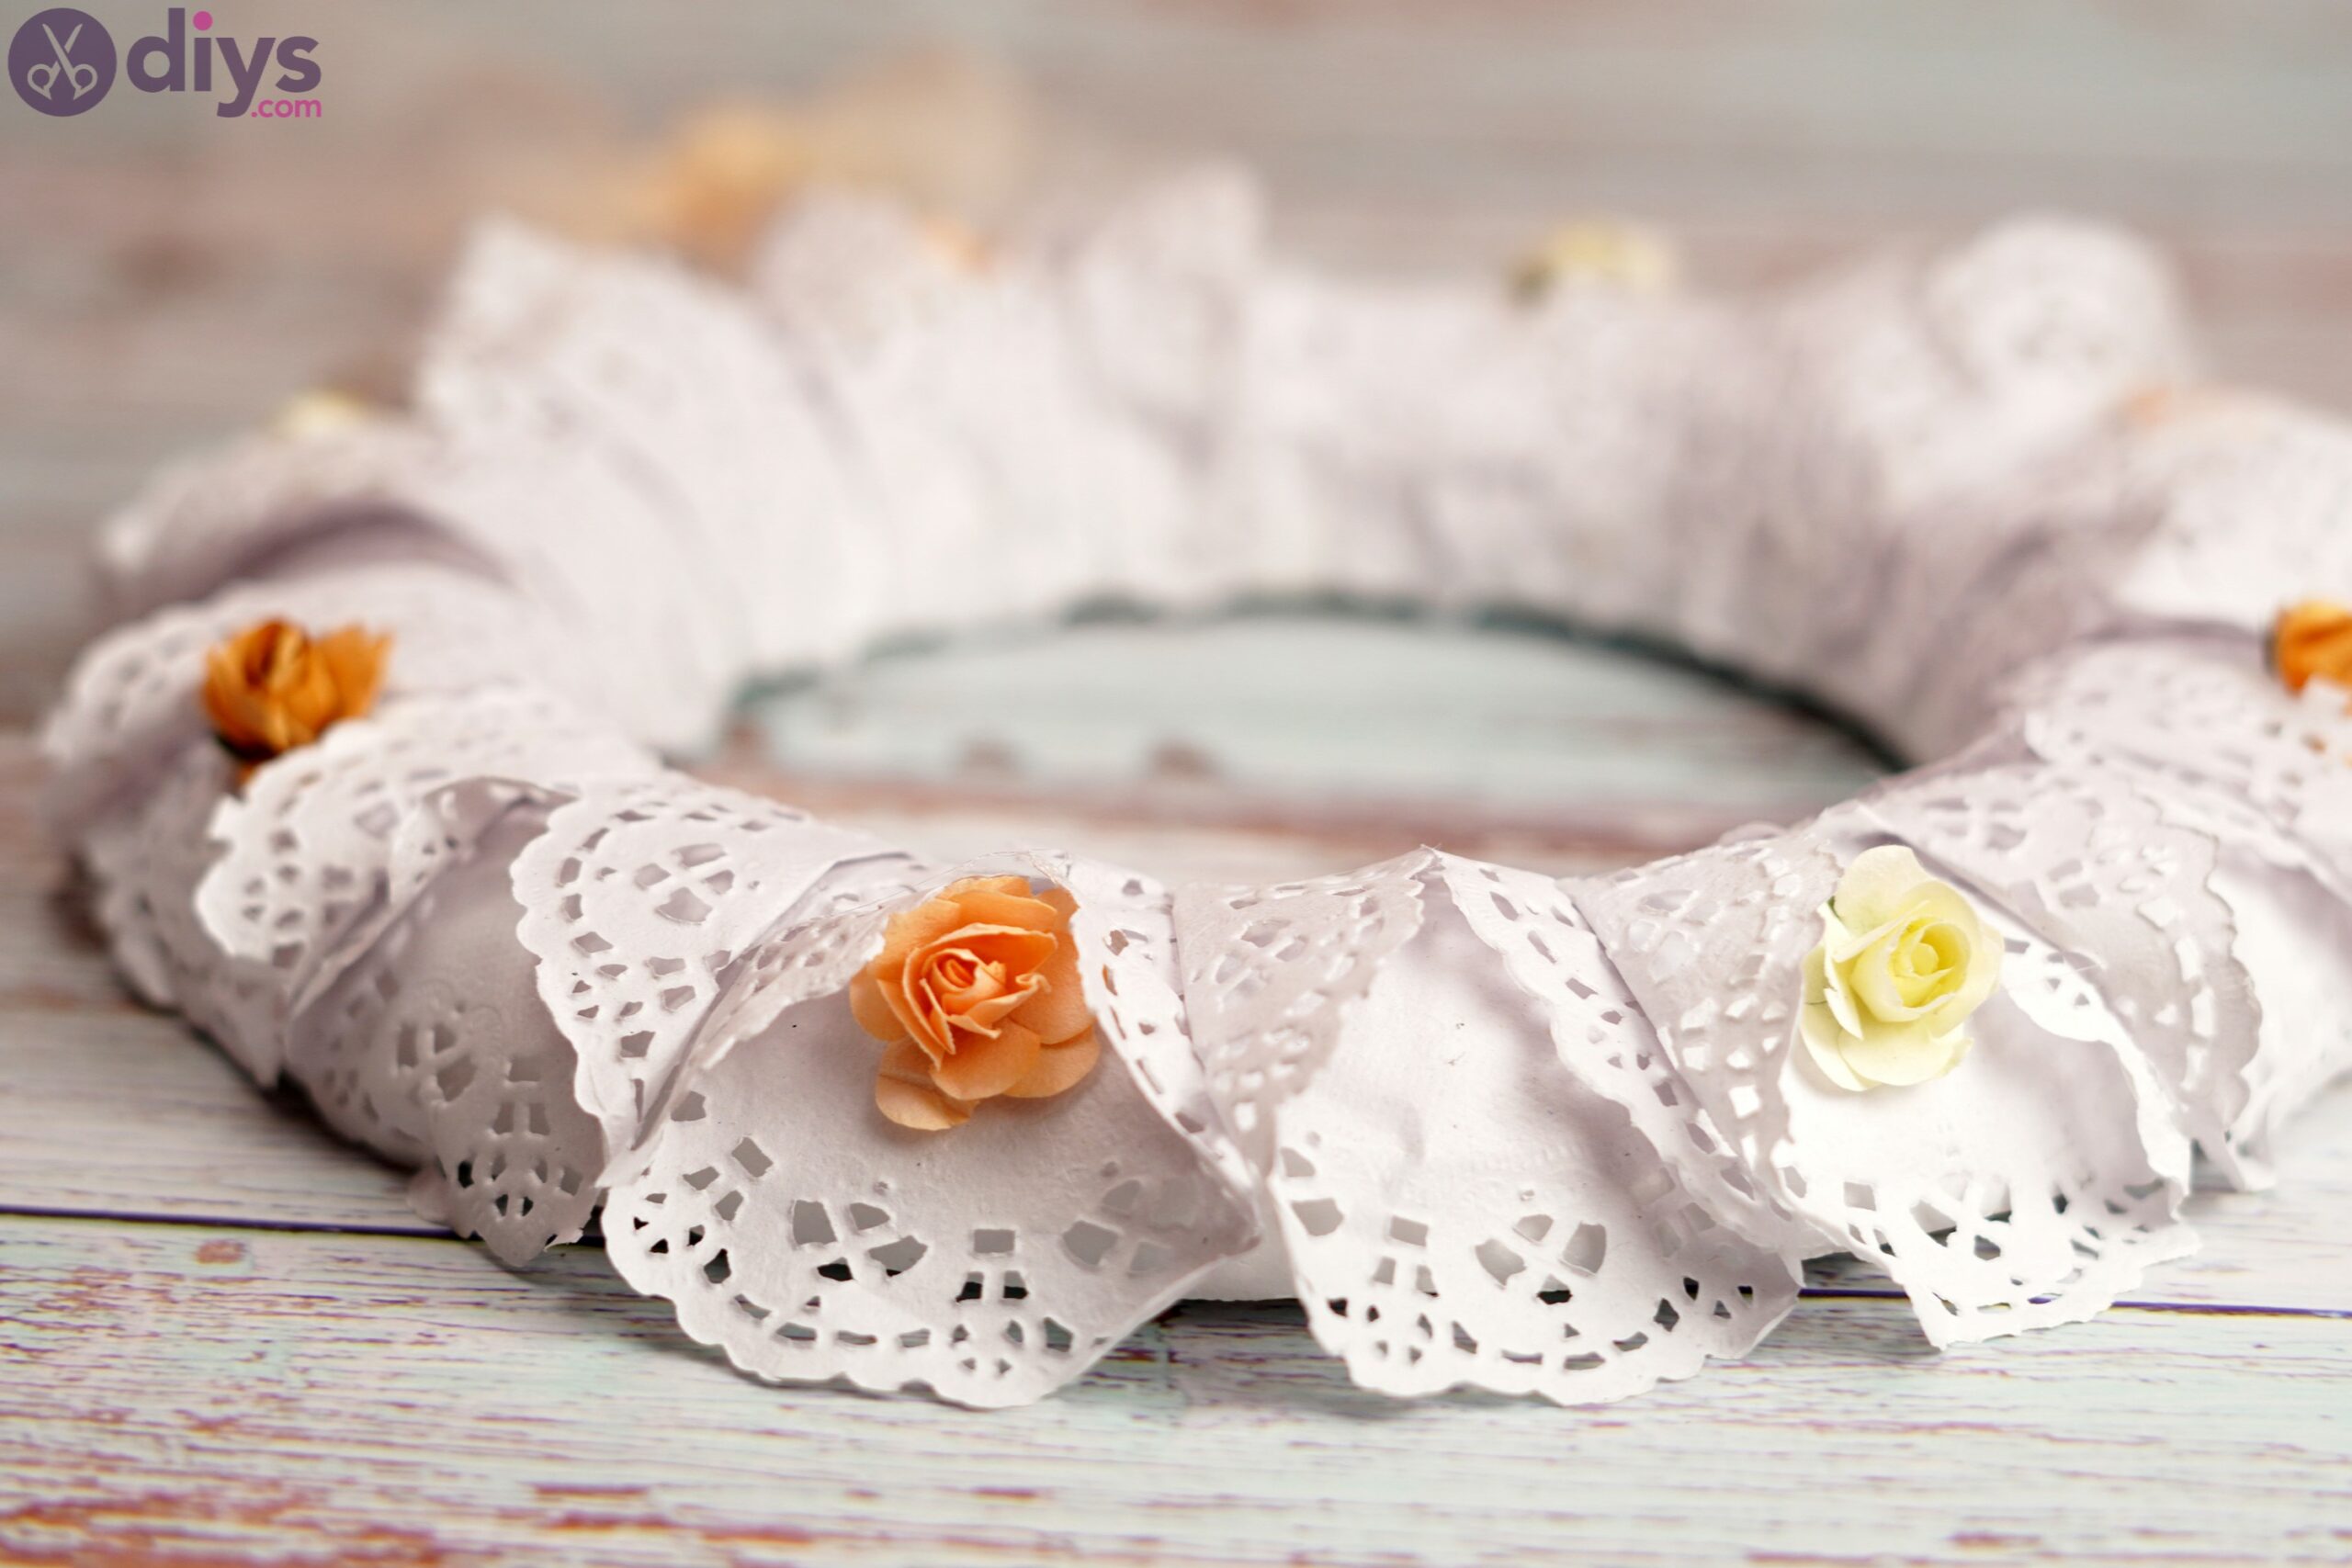
Step 3: Build the doily wreath
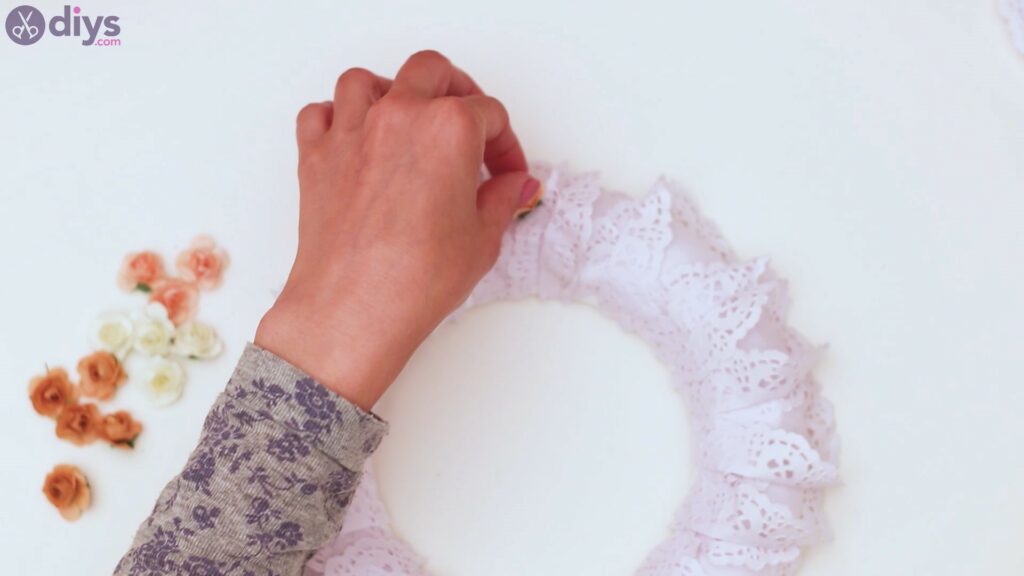
Now we need to move on to the next step, which is to glue the folded lace paper doilies do the wreath base. For this particular project, we used a styroforme wreath base as they’re pretty cheap and easy to use. Plus, the white background will look just right with the white doily paper.
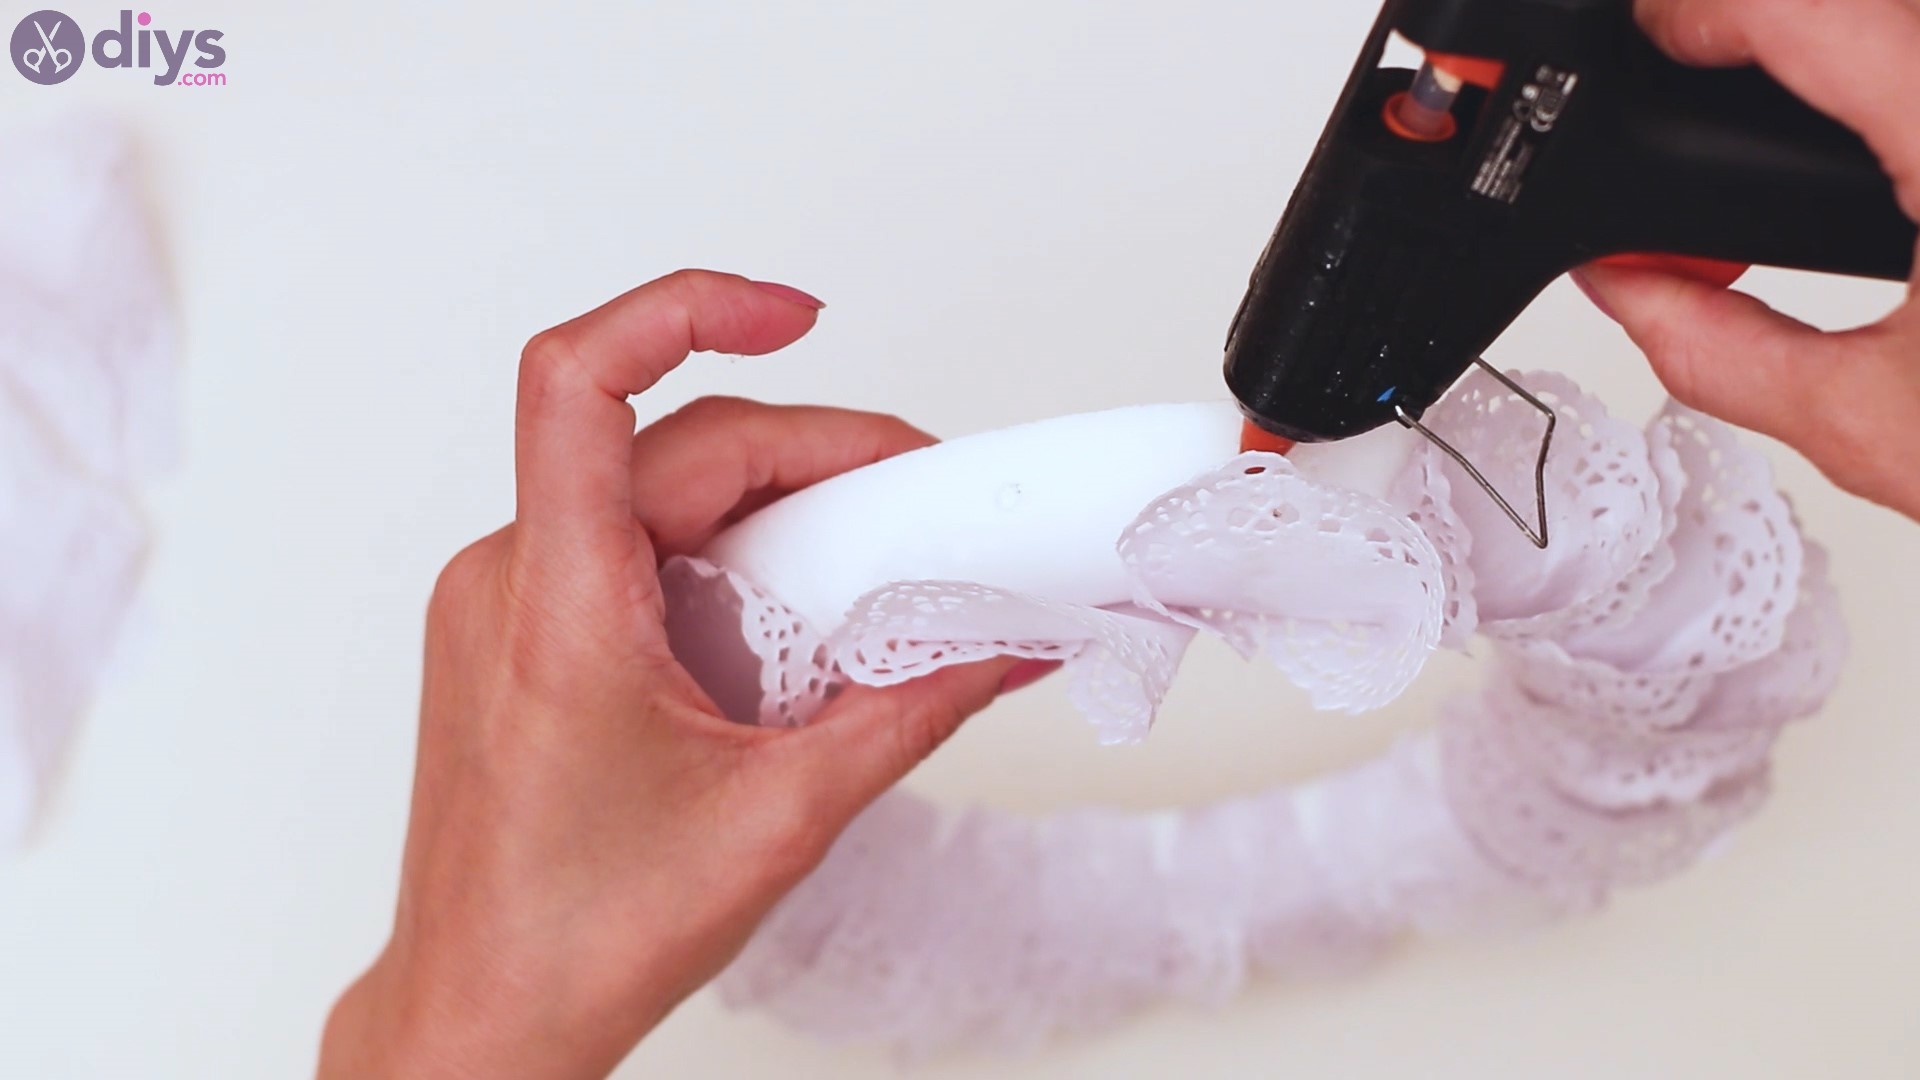
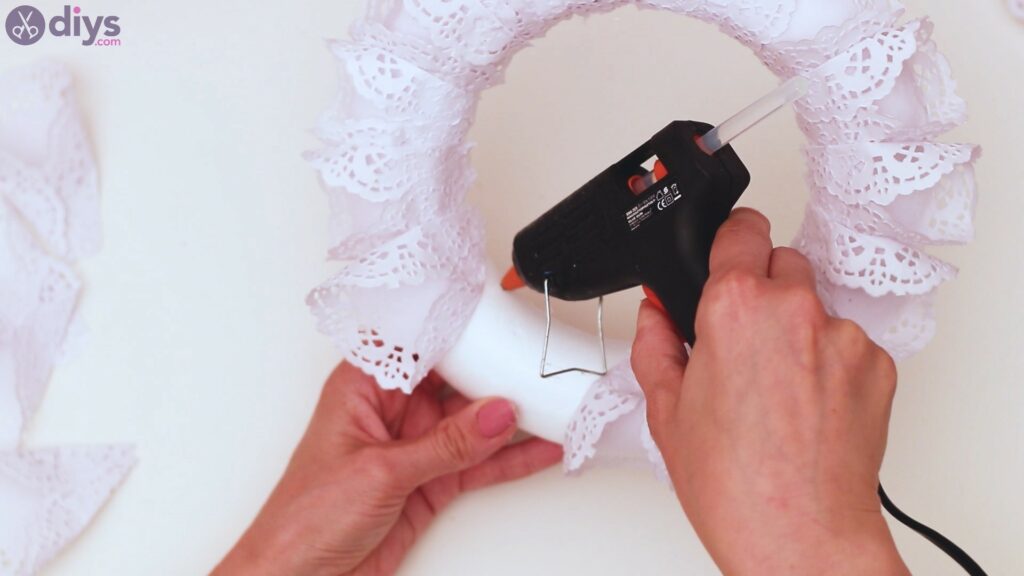
So, grab yourglue gunand the folded papers and start applying them to thewreath base. Make sure you know exactly where the paper is going to go and add some hot glue to the area. For our wreath, we placed the narrow area of the folded paper on the inside edge of the wreath. If your wreath is tubular, you’ll want to find the middle of the inside circle.
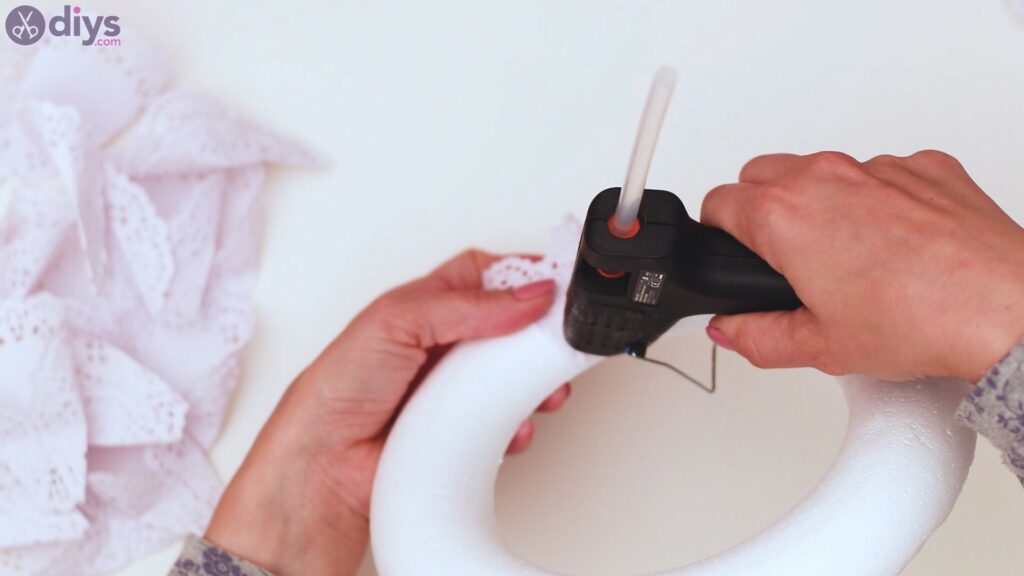
Add the hot glue and press the folded lace paper doily over it.

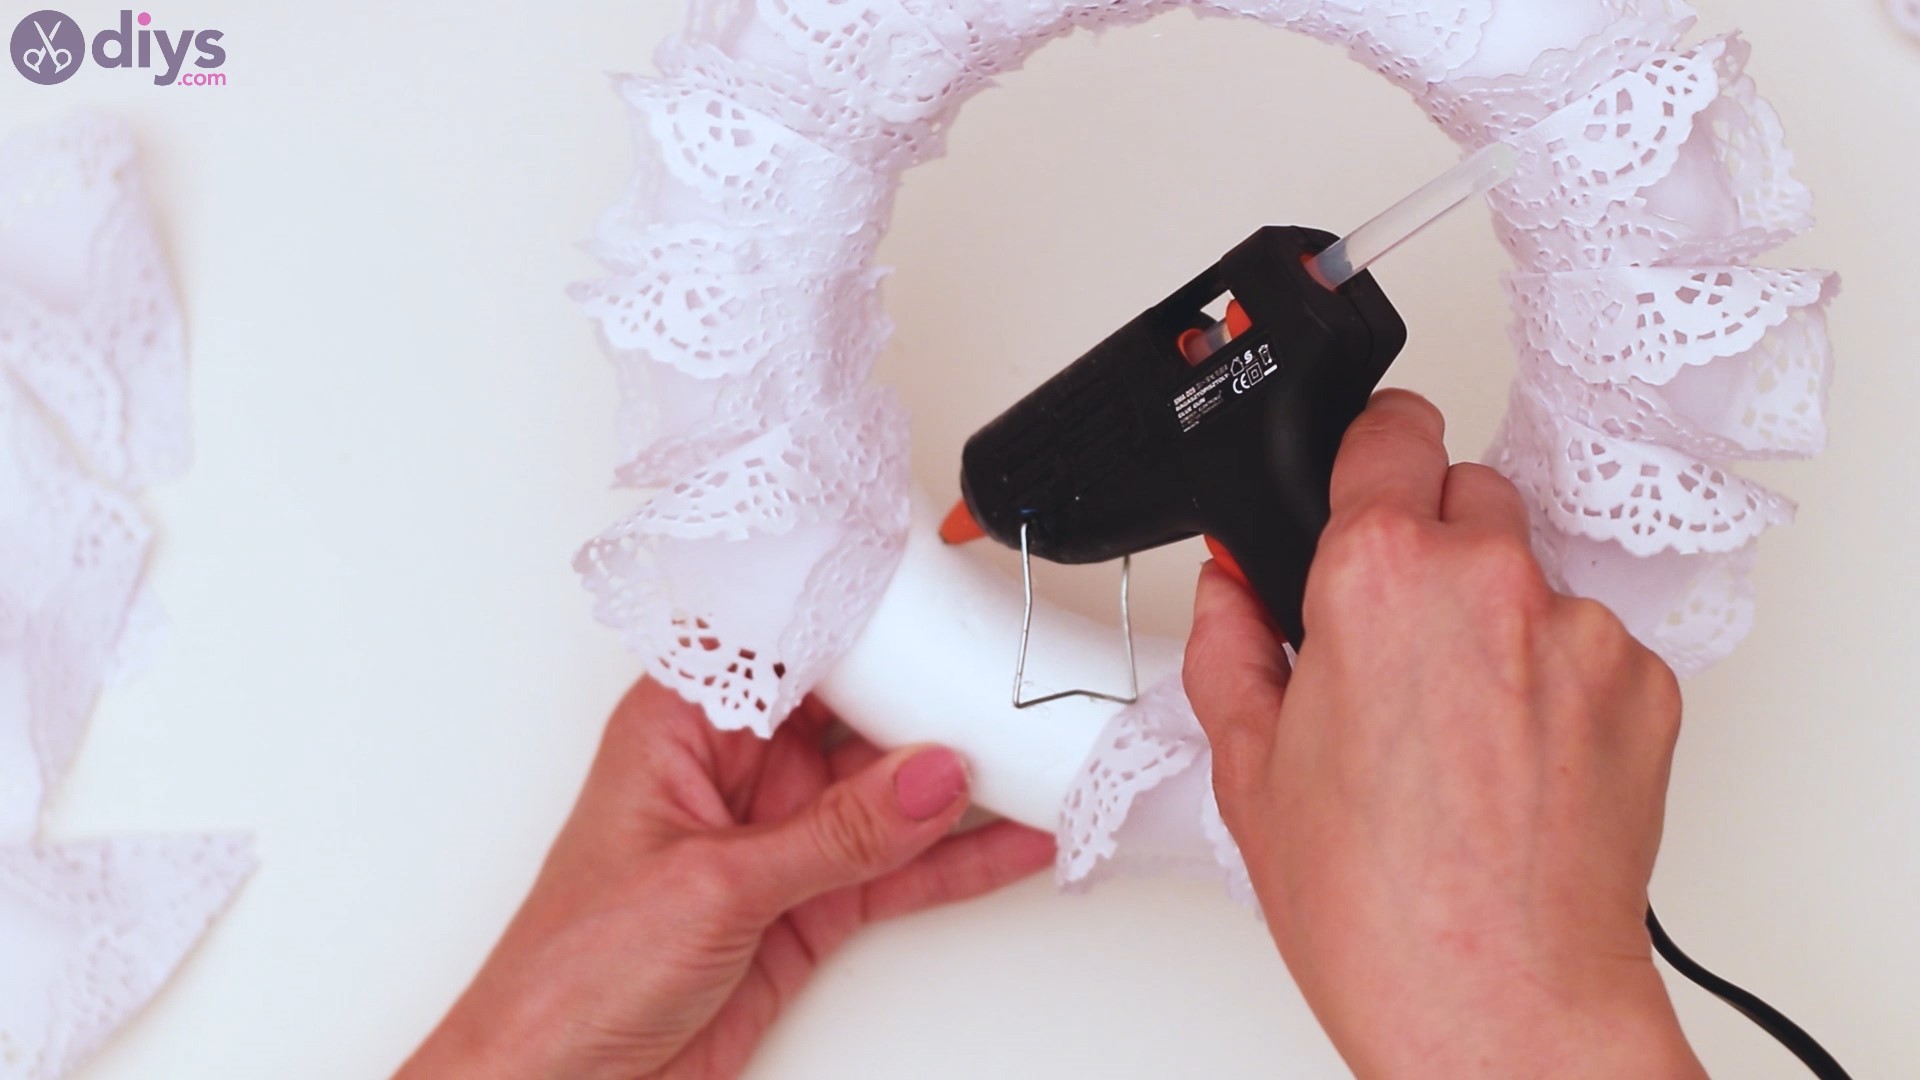
Once the glue has set, you want to add some more on the top area of the wreath and press the paper into it. Make sure you don’t add the glue right on the edge, as that will flatten the shape of the doilies too much. Leave about a half-inch distance from the edge.

Press the paper into the glue and hold it there for a second or two.

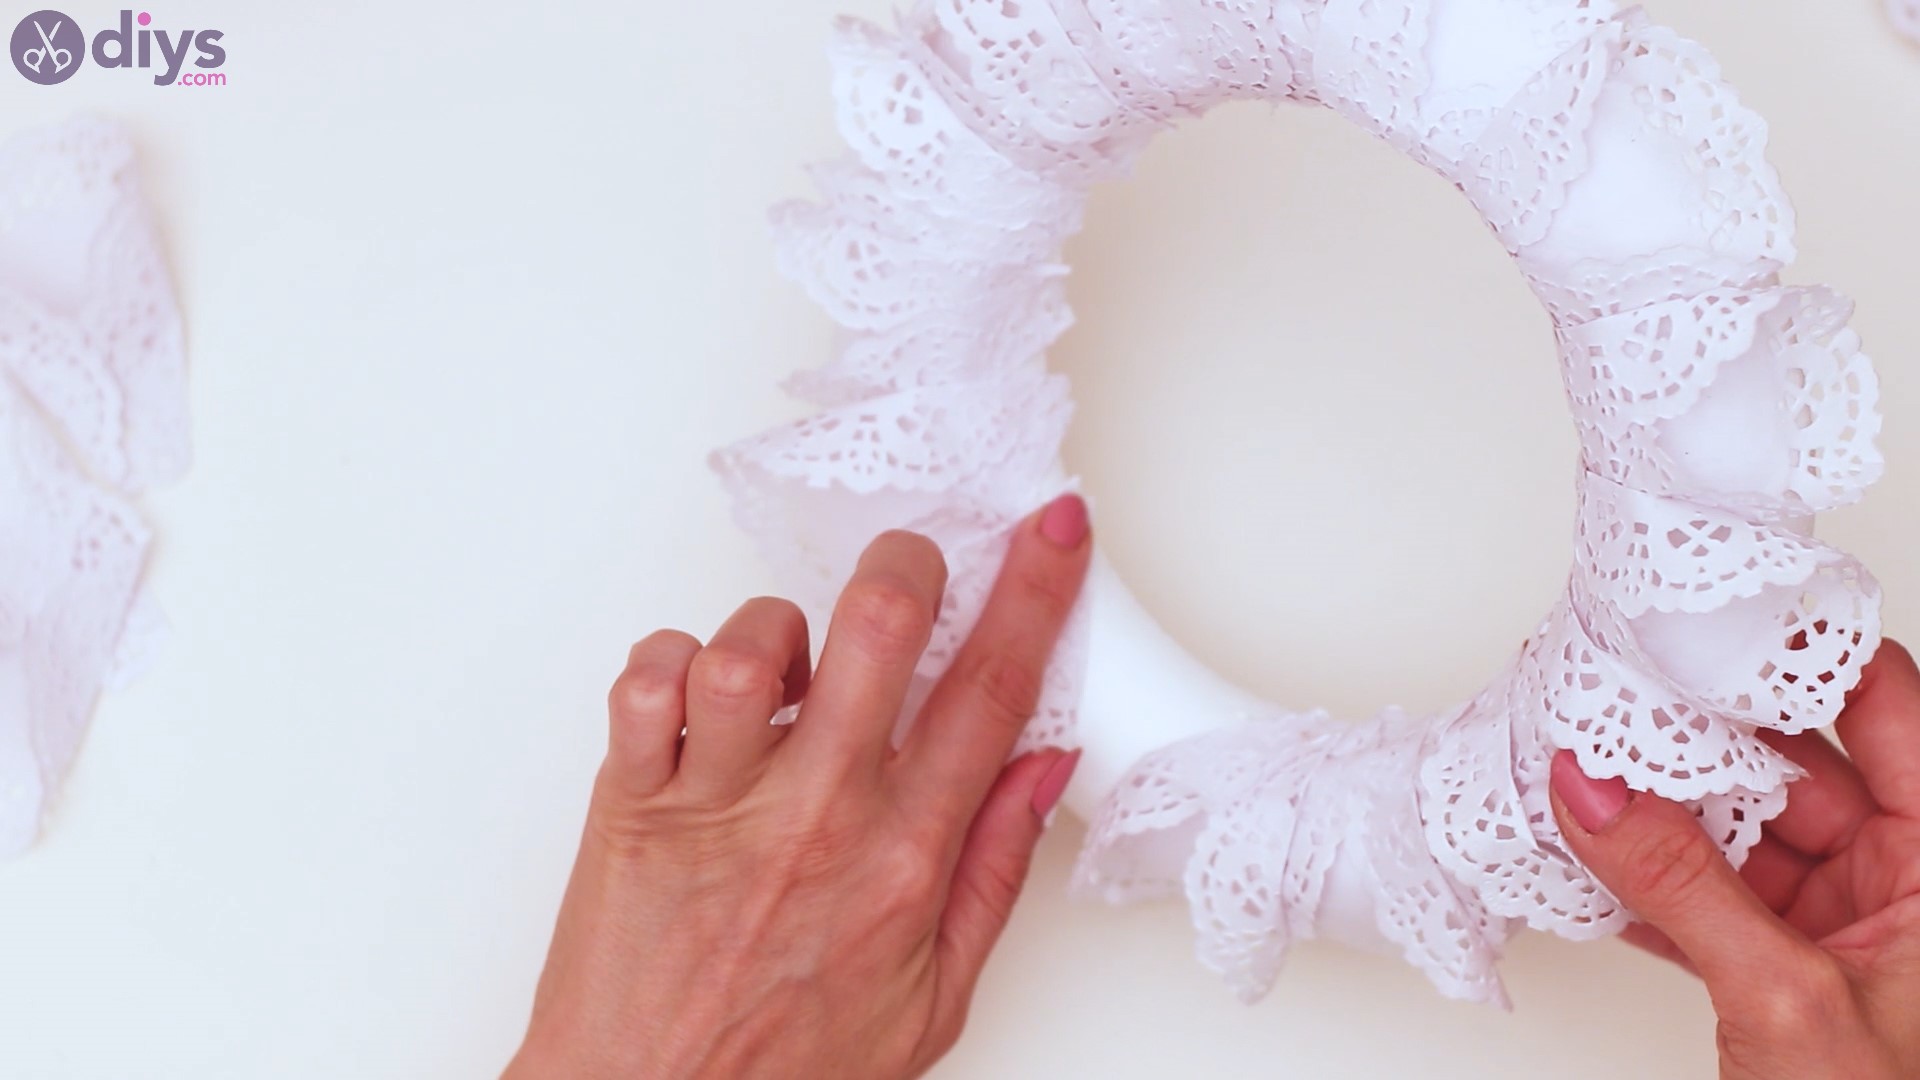
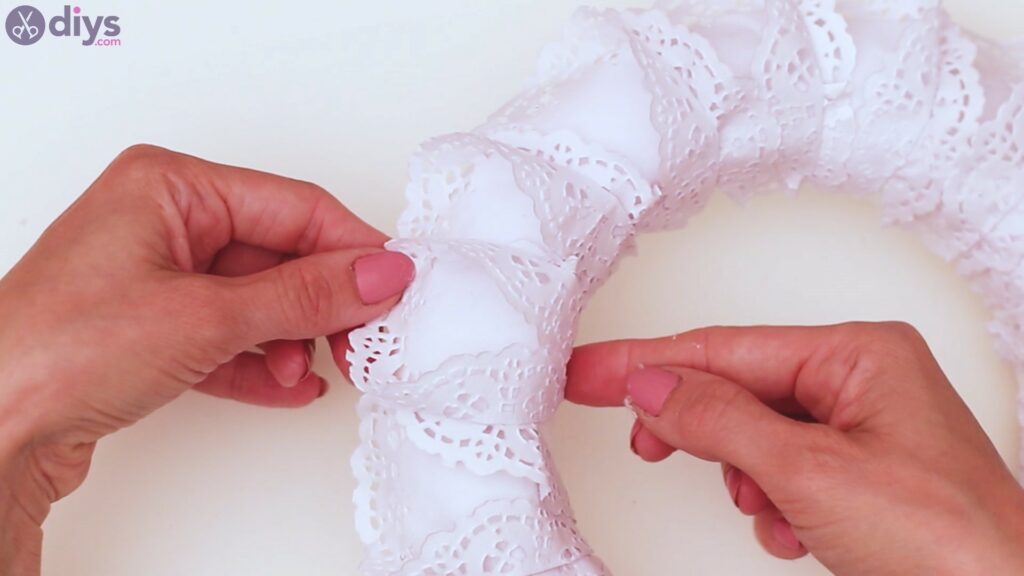
Add the second lace paper doily right next to the first one. You’ll want the edges to touch slightly, even overlap a tiny bit.


Once more, the hot glue needs to be applied in the lower area of the wreath and then, half an inch from the edge.

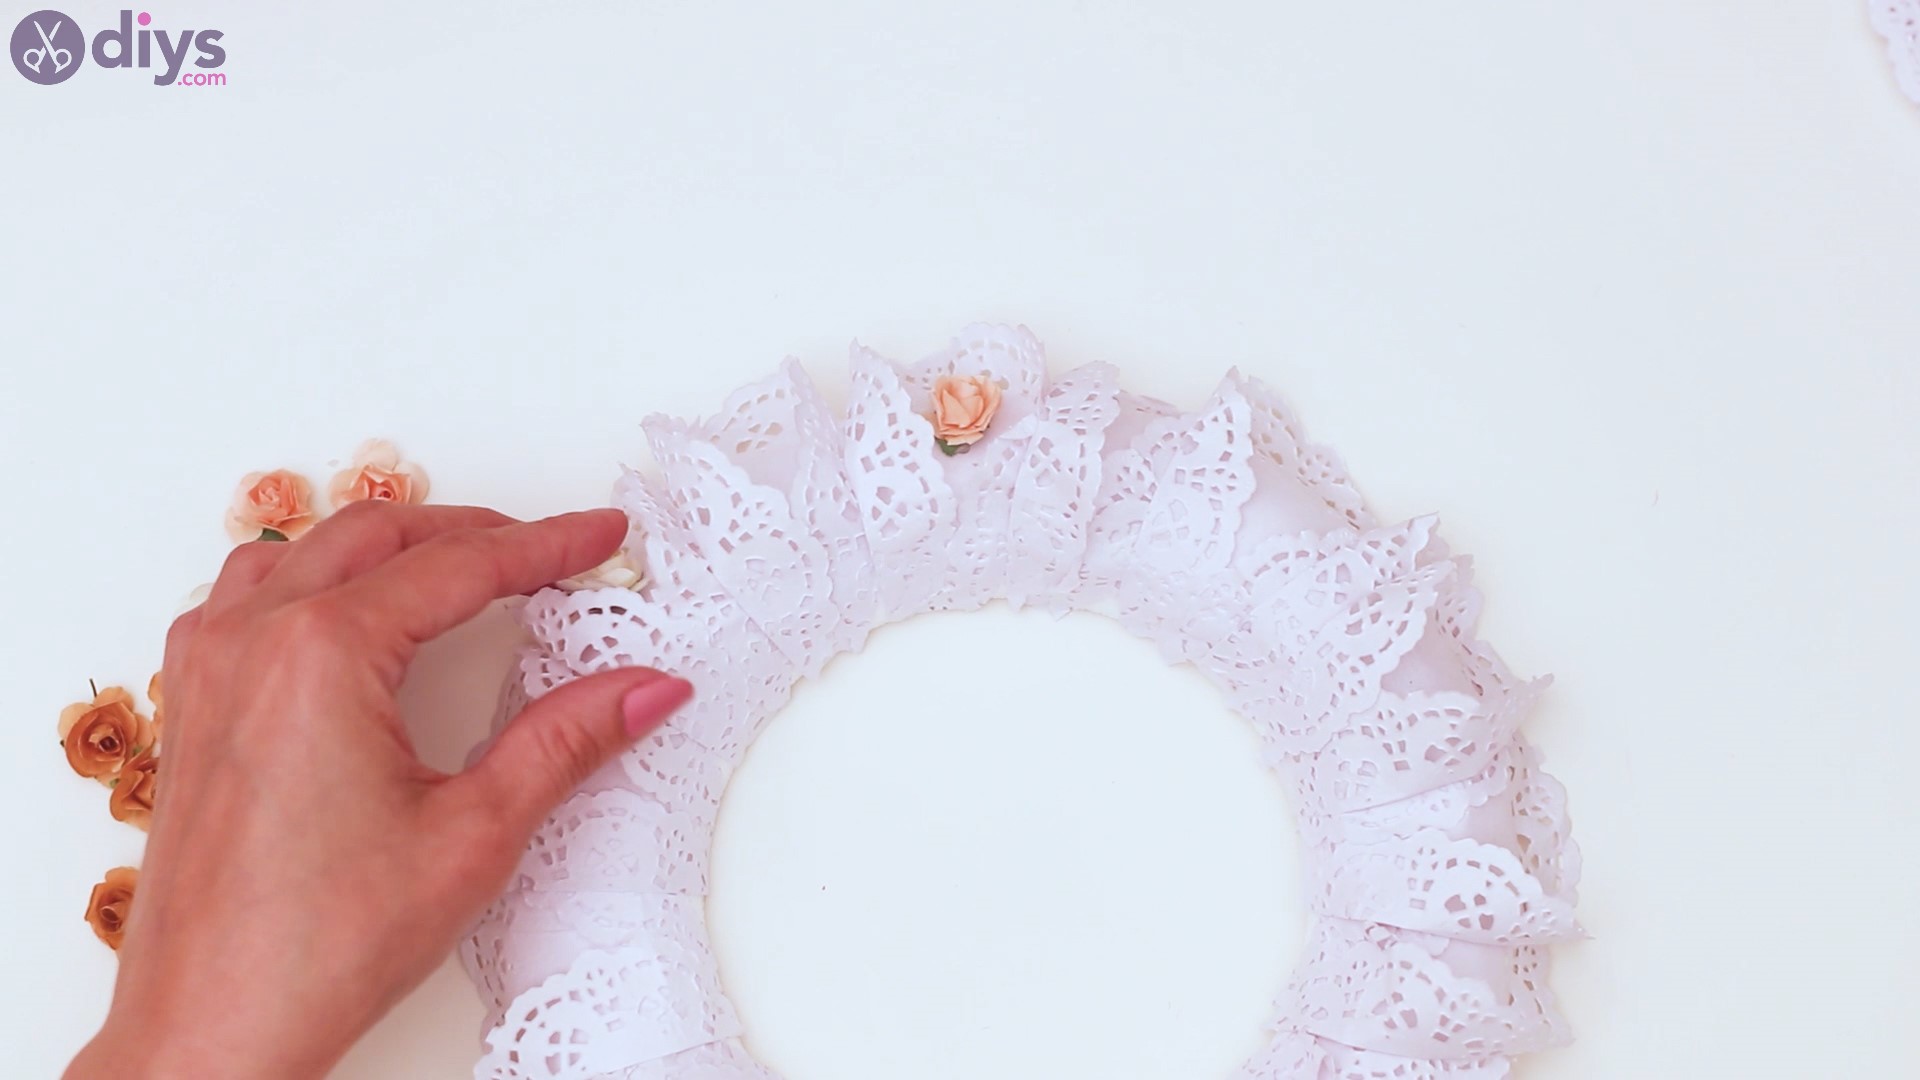
Keep going, adding in as many folded lace paper doilies as will fit. You may have made too many or you may need to make a few more – it all depends on how big the wreath is.
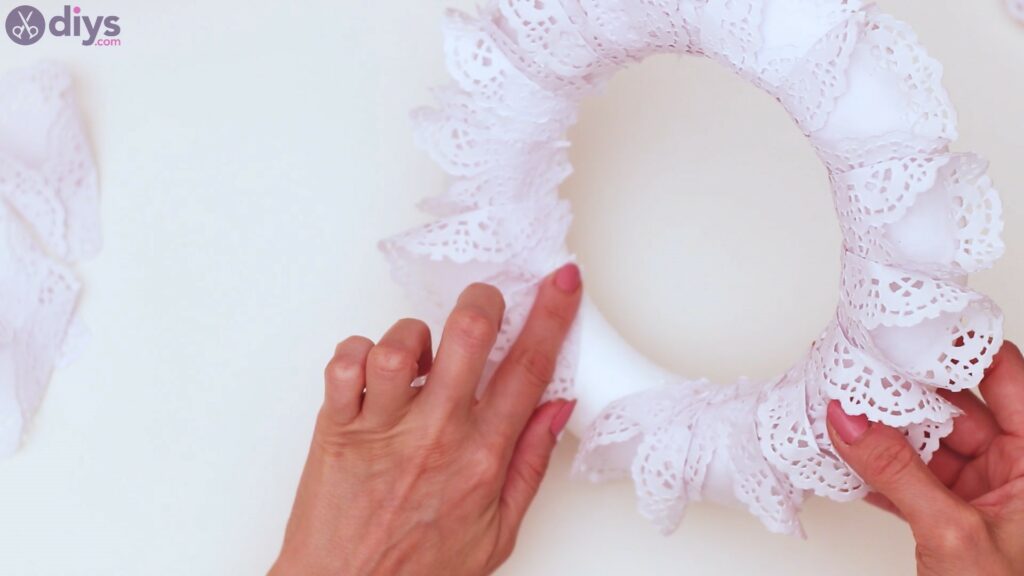
Arrange each paper carefully as you go, trying to keep the same spacing for the glue and between the doilies.


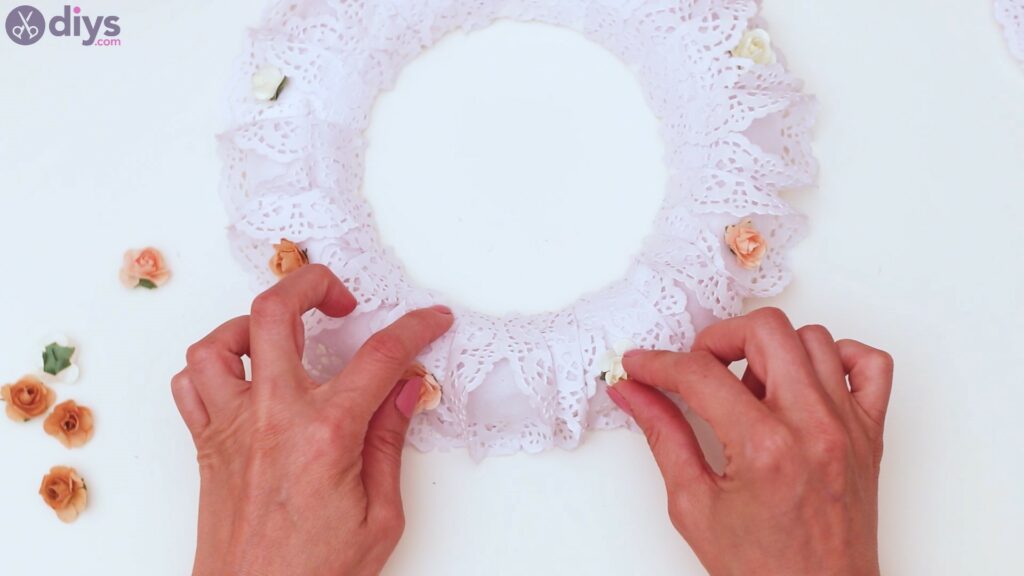
Finally, complete the doily wreath by placing the last piece of paper over the last gap present on our craft.
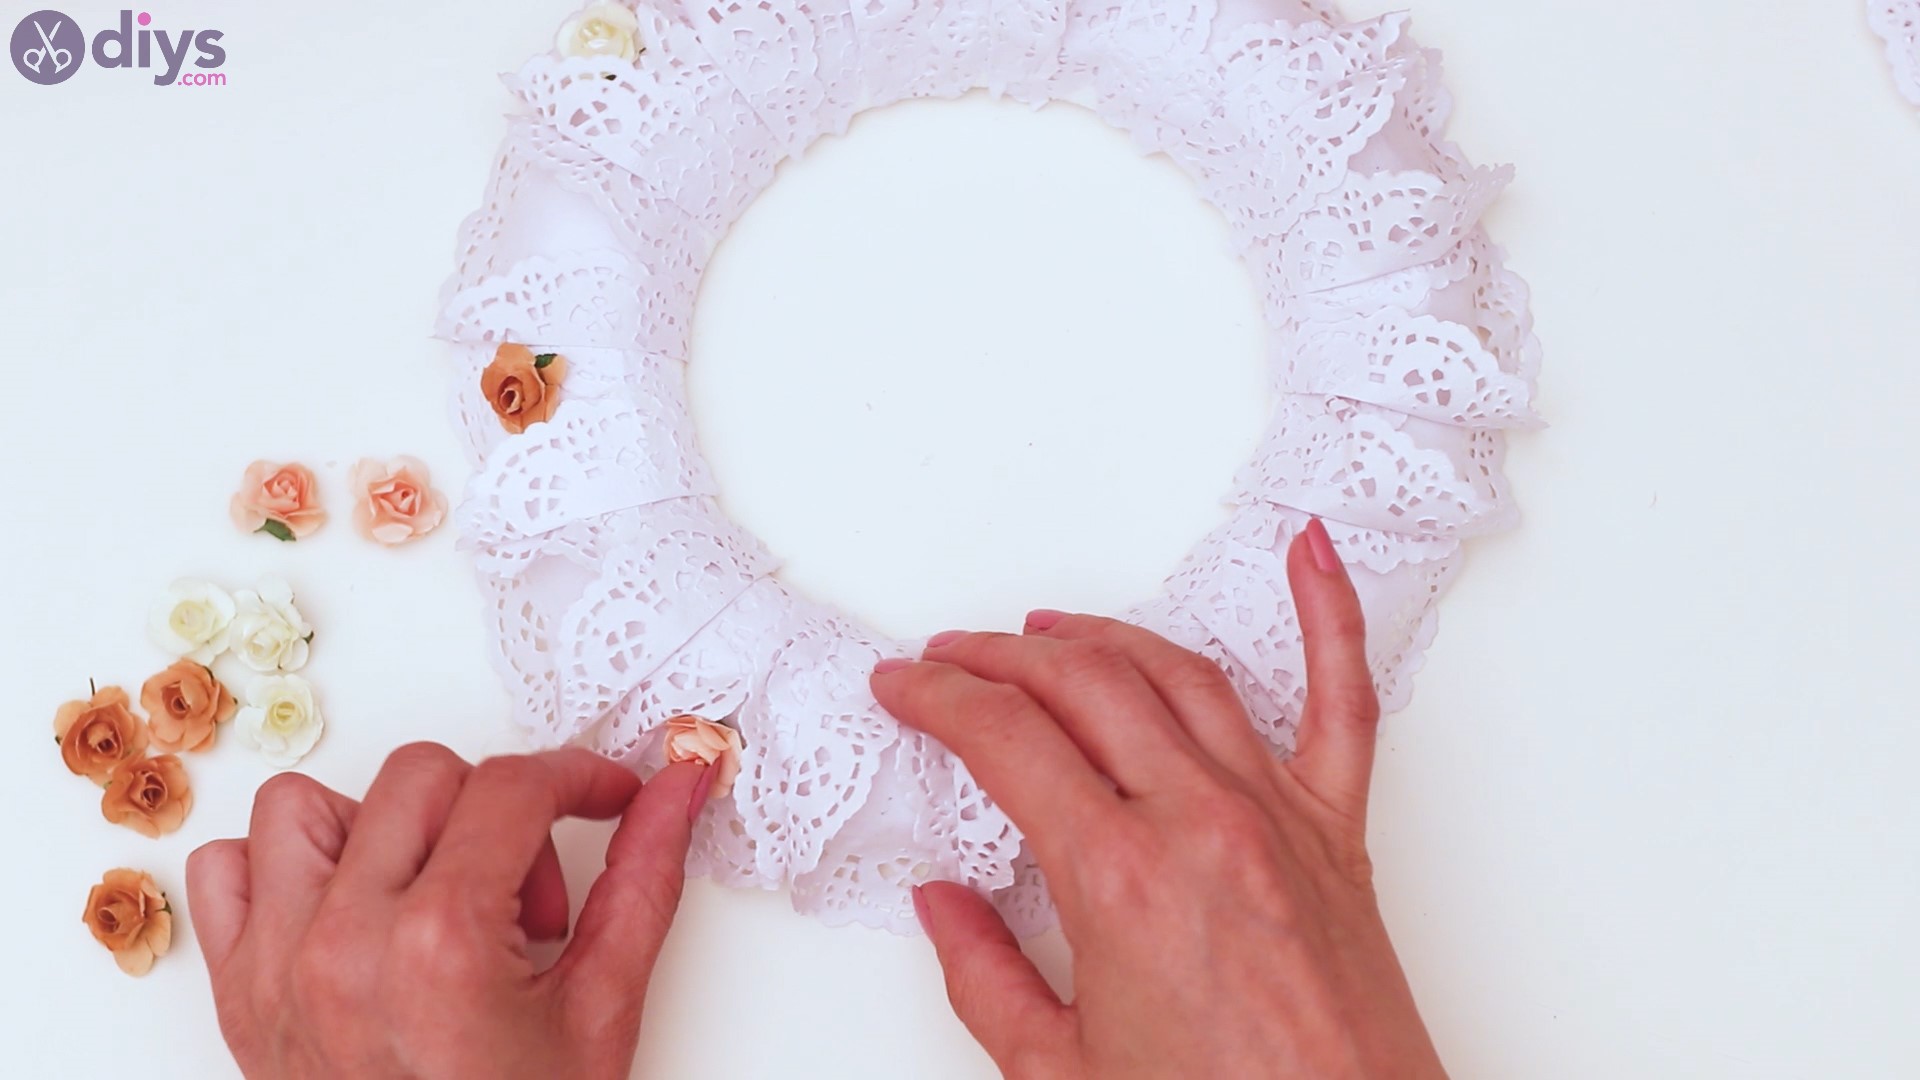
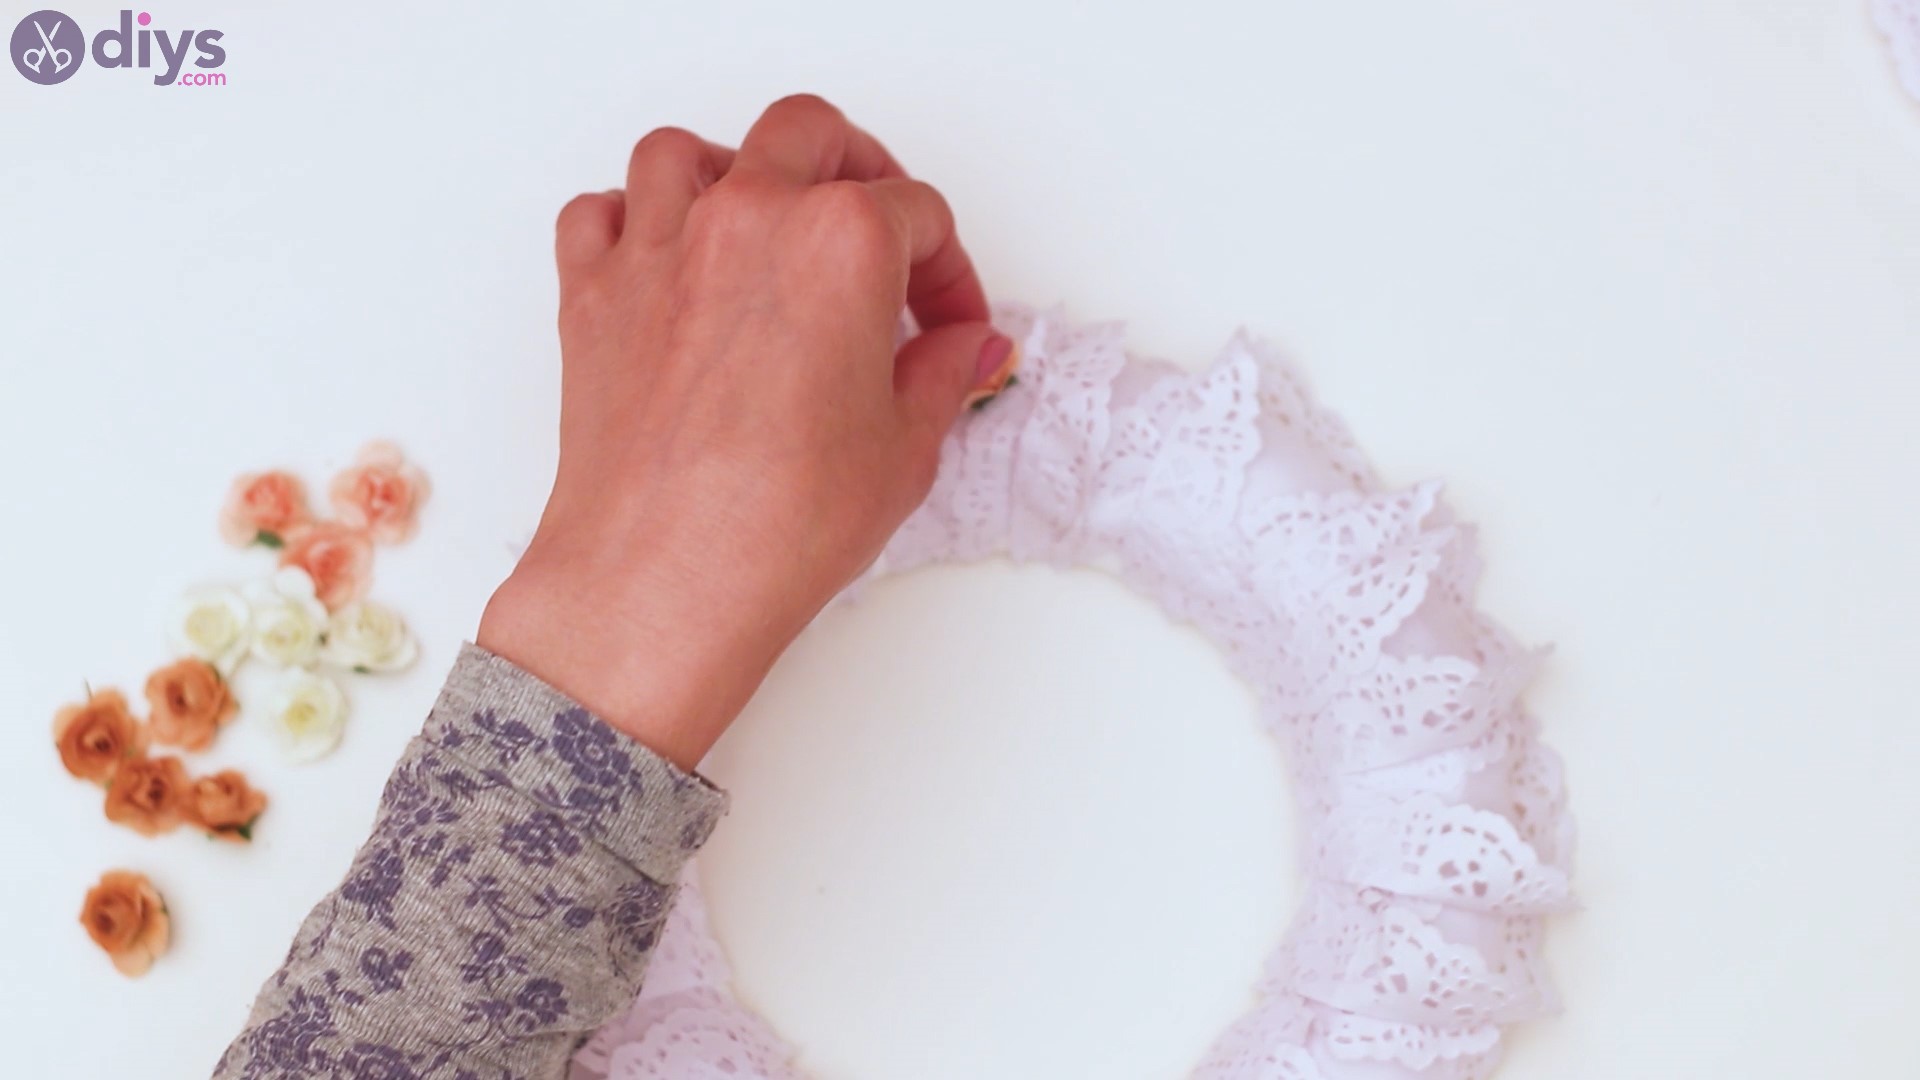
Step 4: Add the artificial flowers
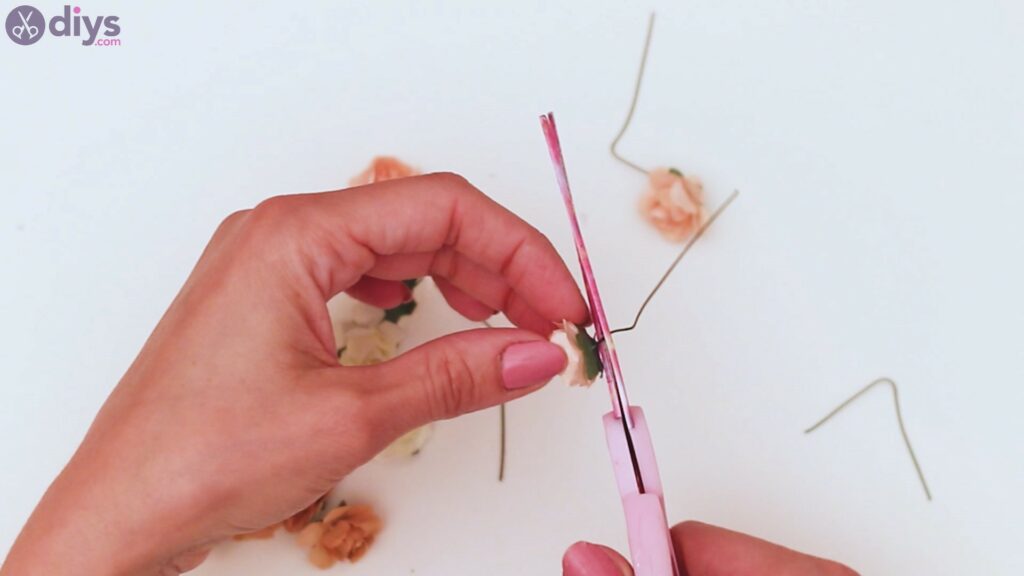
Next, you want to start preparing the artificial flowers. Ours had a wire stem, so we used thescissors to trim those off. You only need the actual flower, so it just depends on what you have at home.
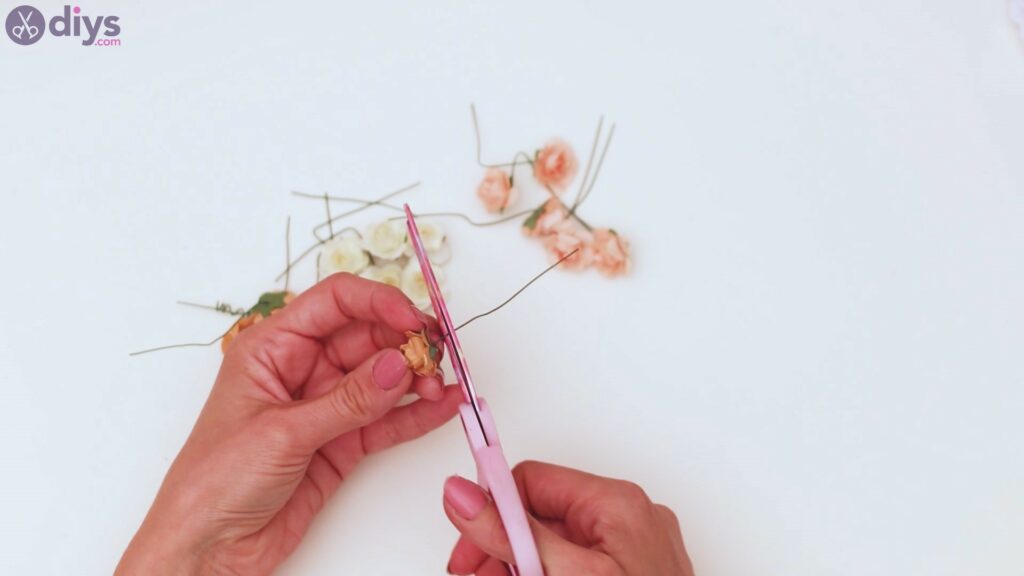
If yours are similar to ours, you just need to trim them at the base of the flower.
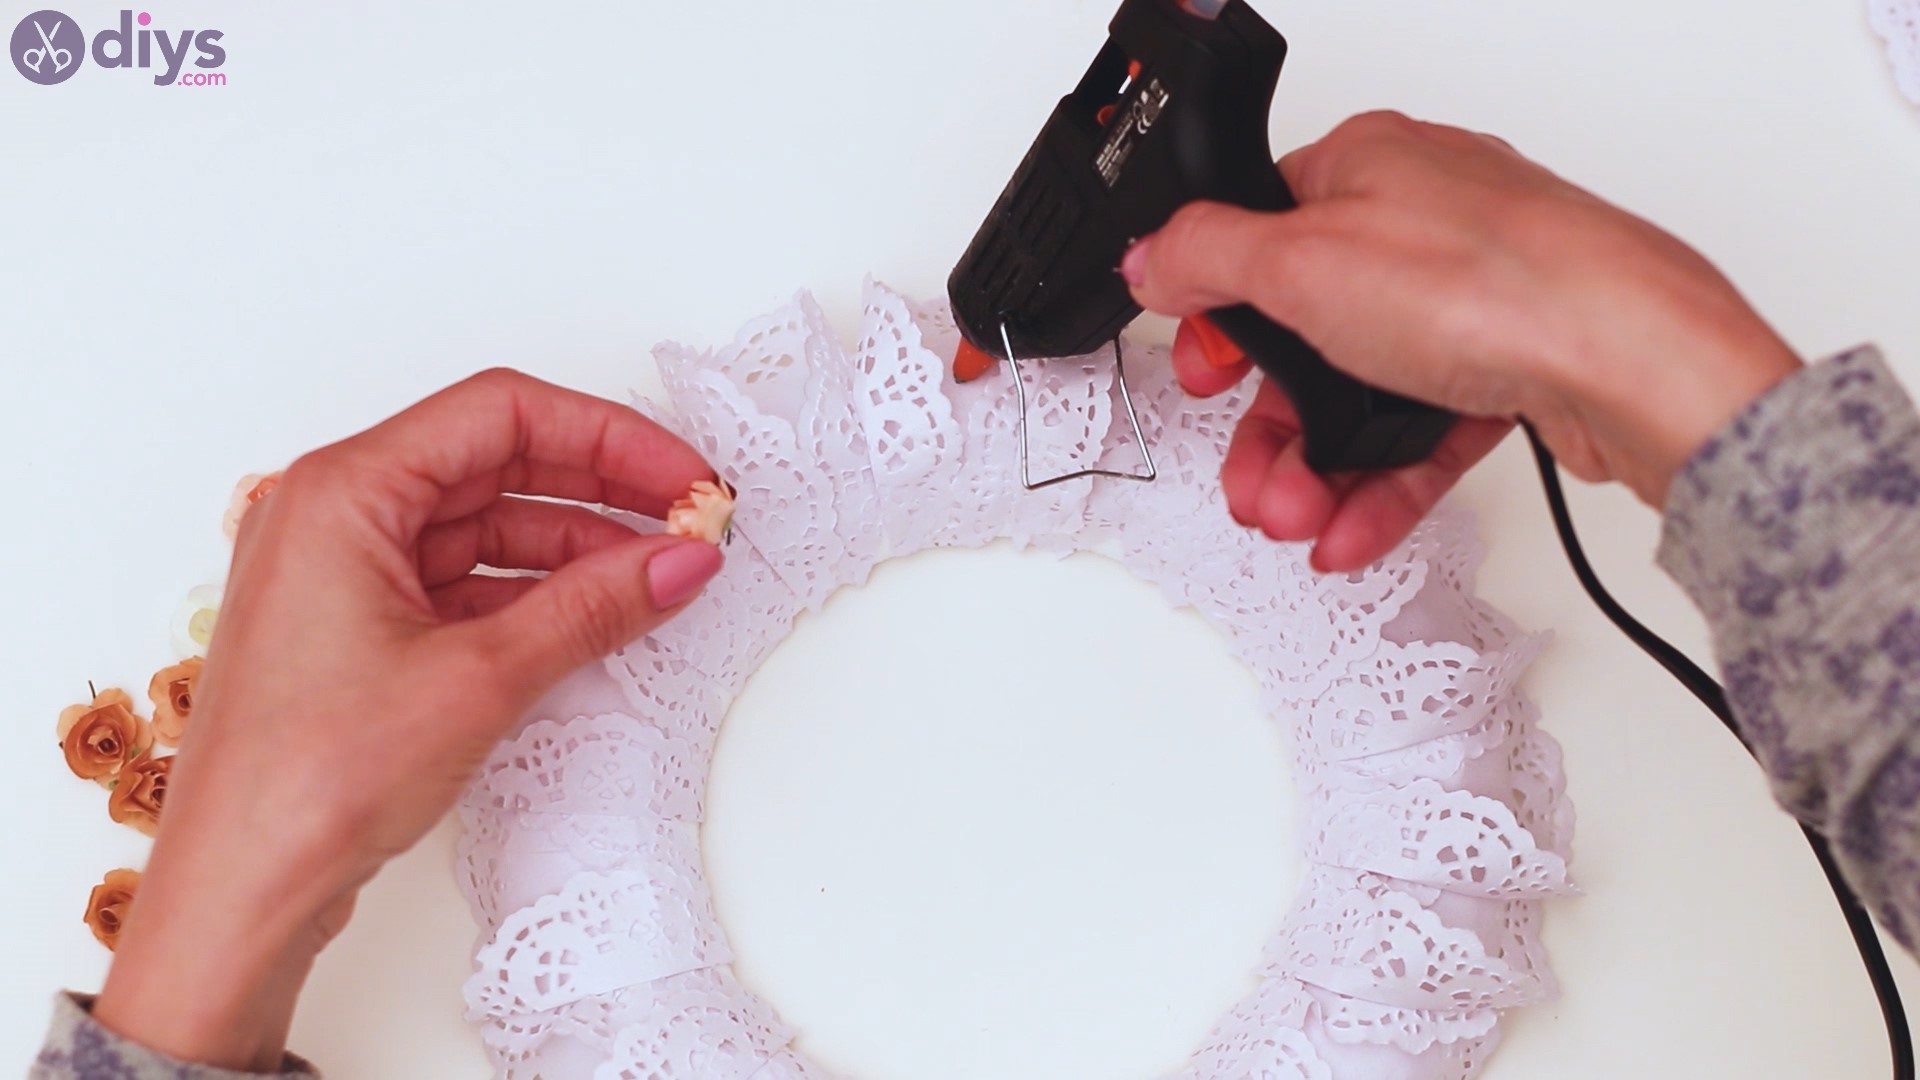
Once the flowers are trimmed, you want to get theglue gun once more. Add some hot glue to the inside of one of the papers and place the artificial flower over the spot.

Press the flower into the glue for a few seconds. This is a heavier and larger piece, so you want to make sure it will remain in place.
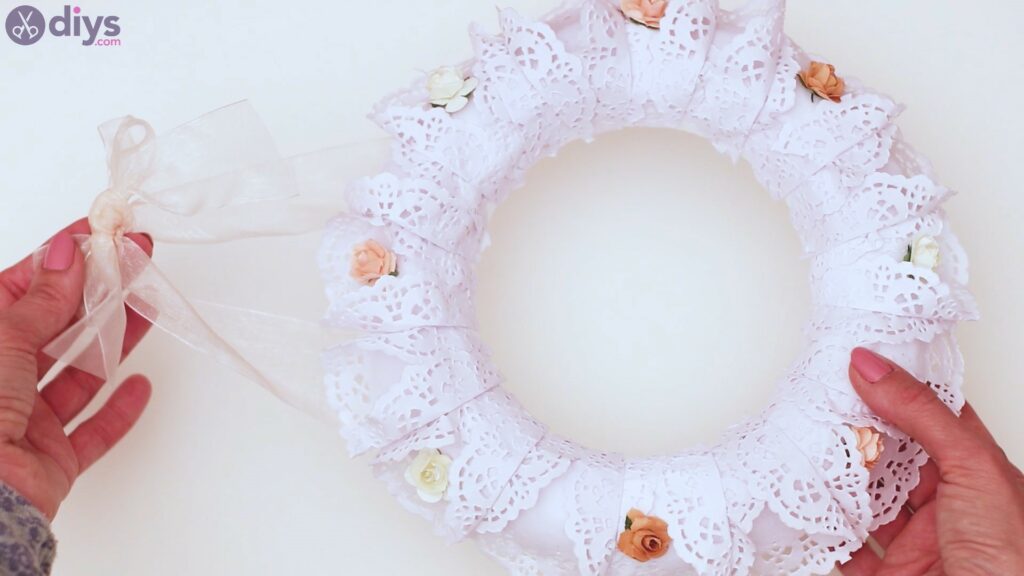
Keep adding flowers as you go. We chose different shades of light pink, beige, and white, but you can go with whatever flowers you have at home.
Also, we added the cute flowers every two doily papers, creating a pattern of sorts.

Add hot glue and then press the flowers into the spot.

It’s such a pretty pattern with the different flower shades!
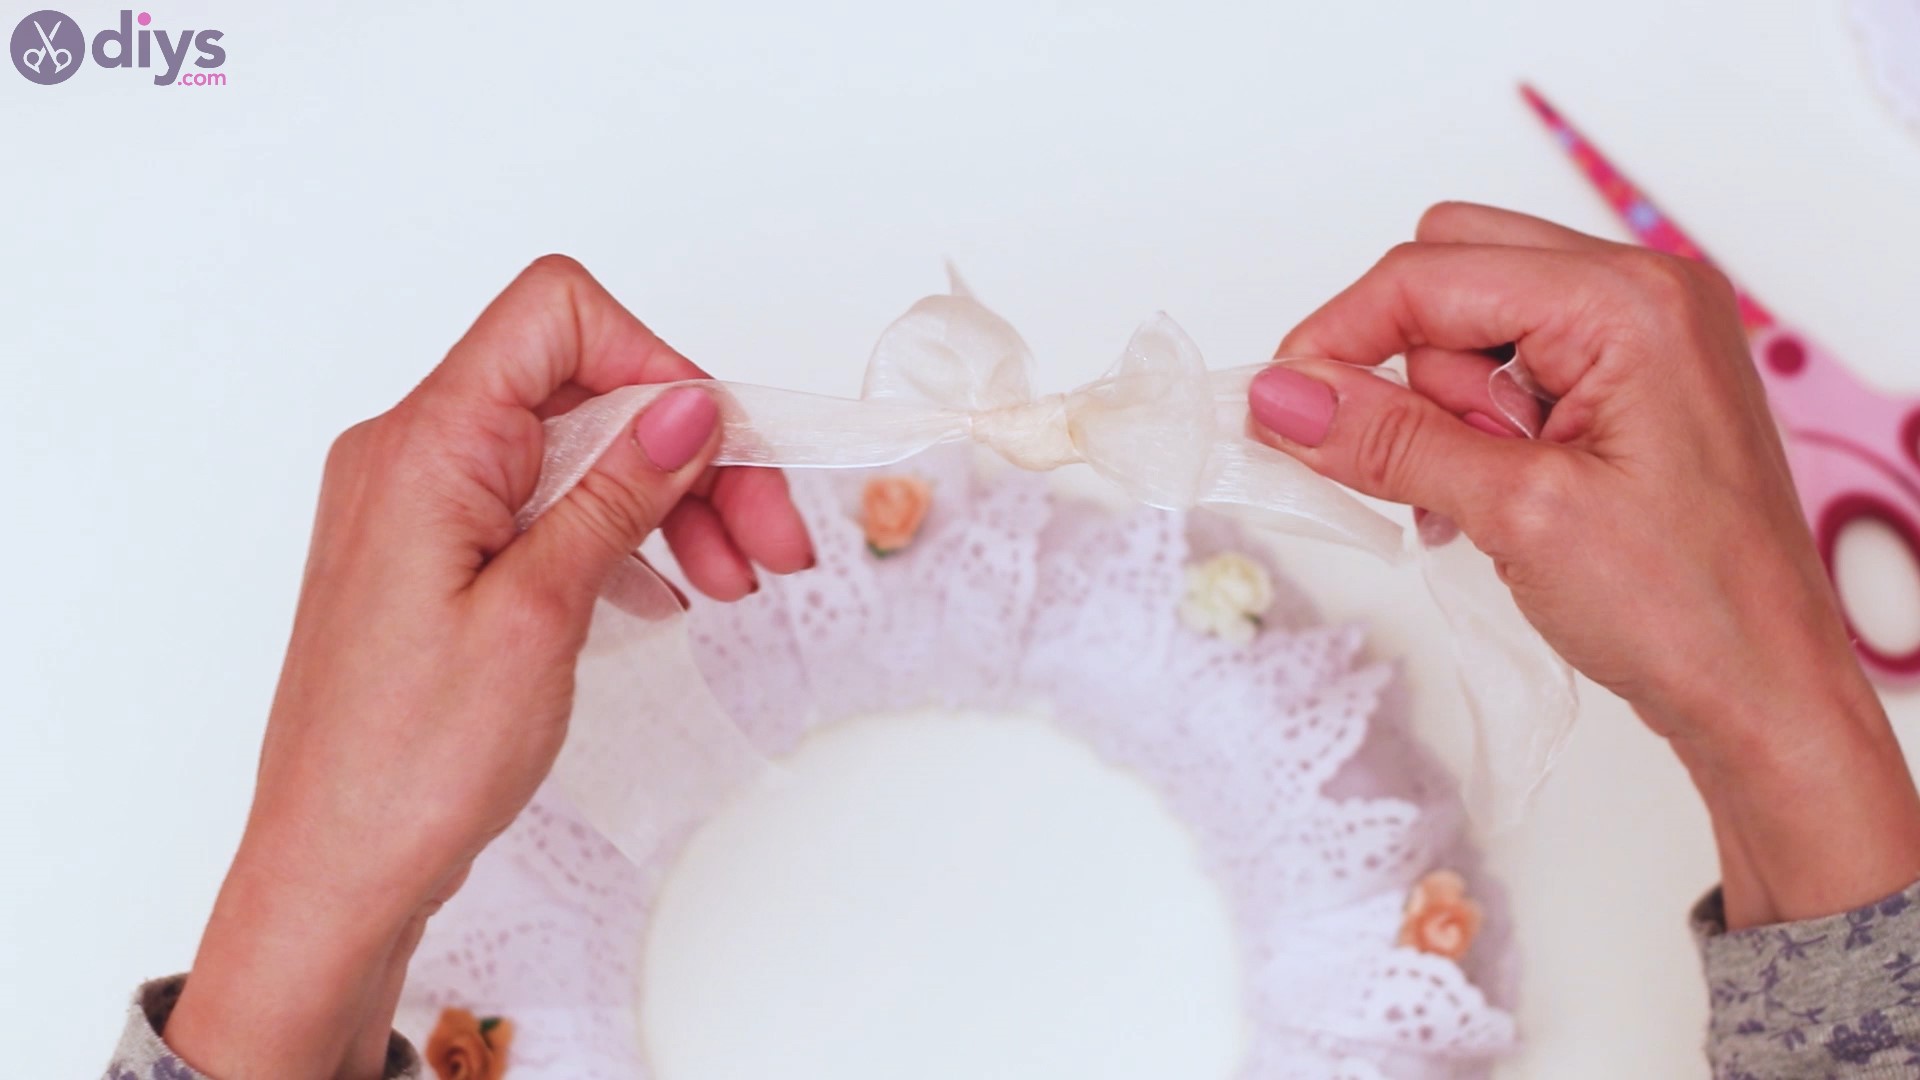
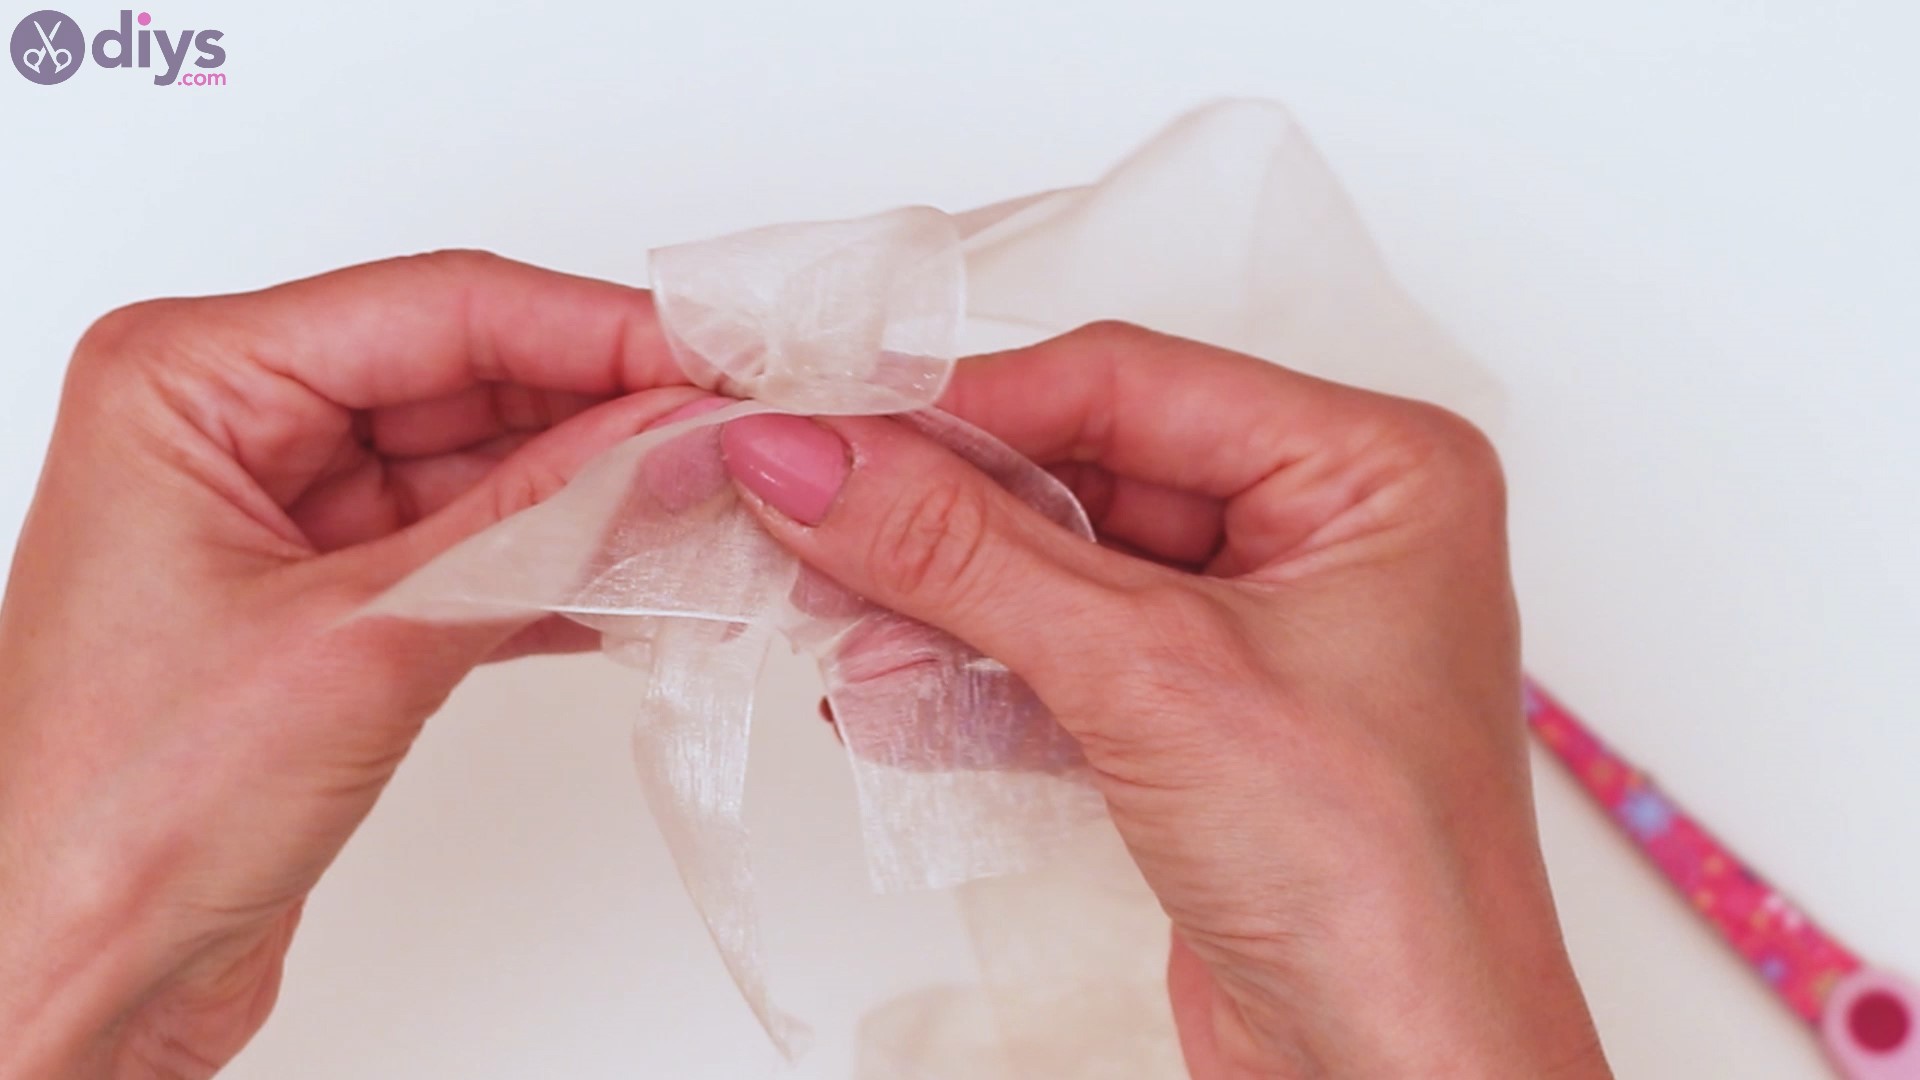
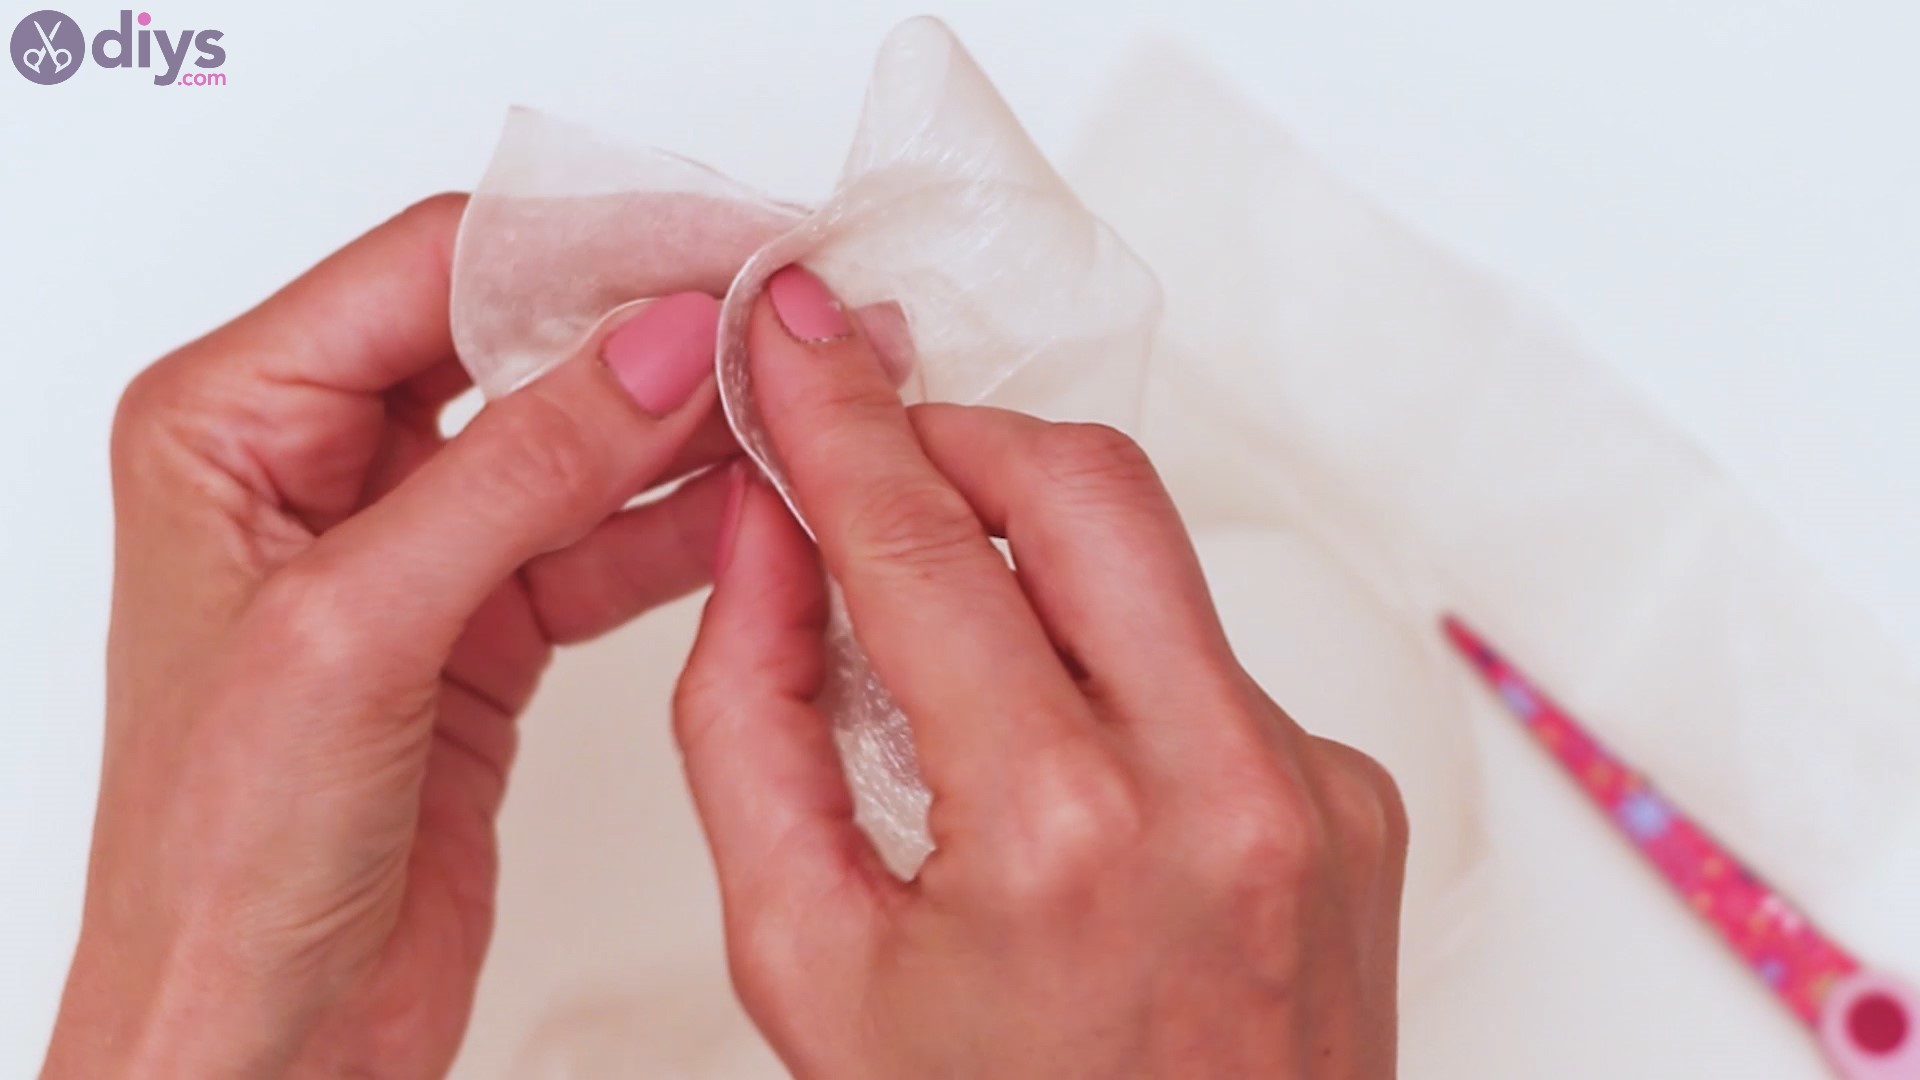
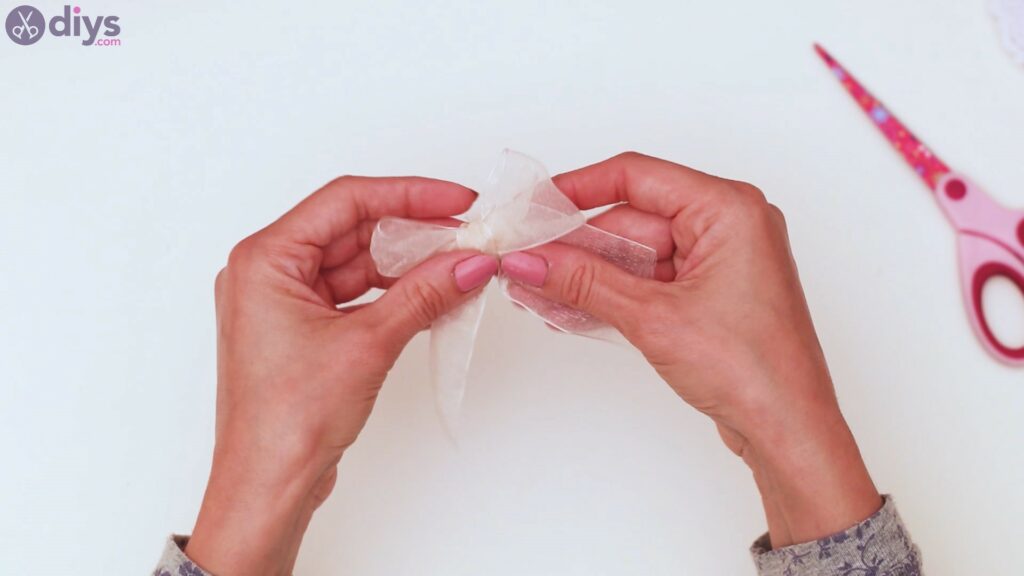
Step 5: Create a bow
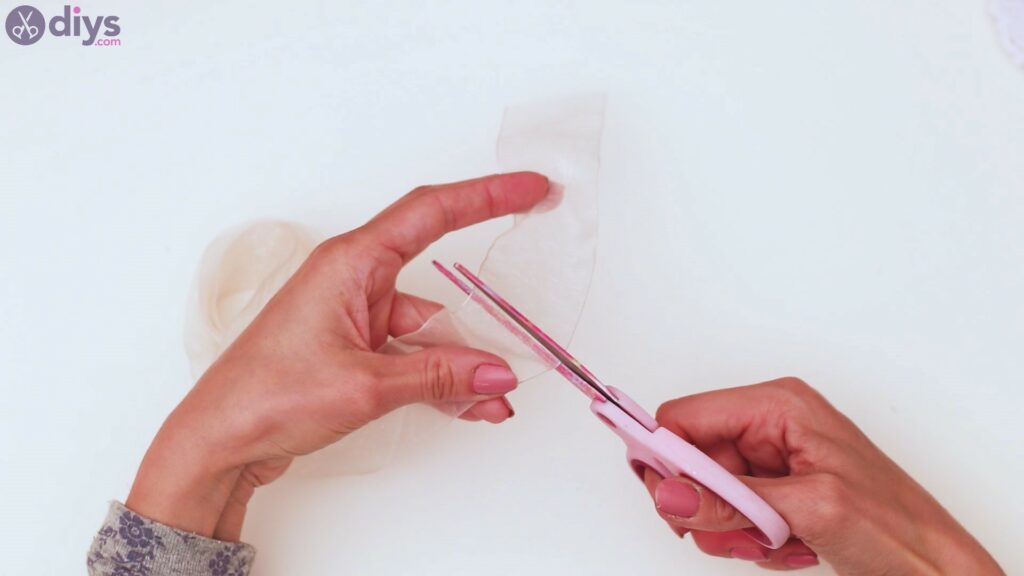
Next, you want to cut a piece of the sheer ribbon and set it aside. Then, take a bigger piece of ribbon and form a bow out of it, making equal loops.

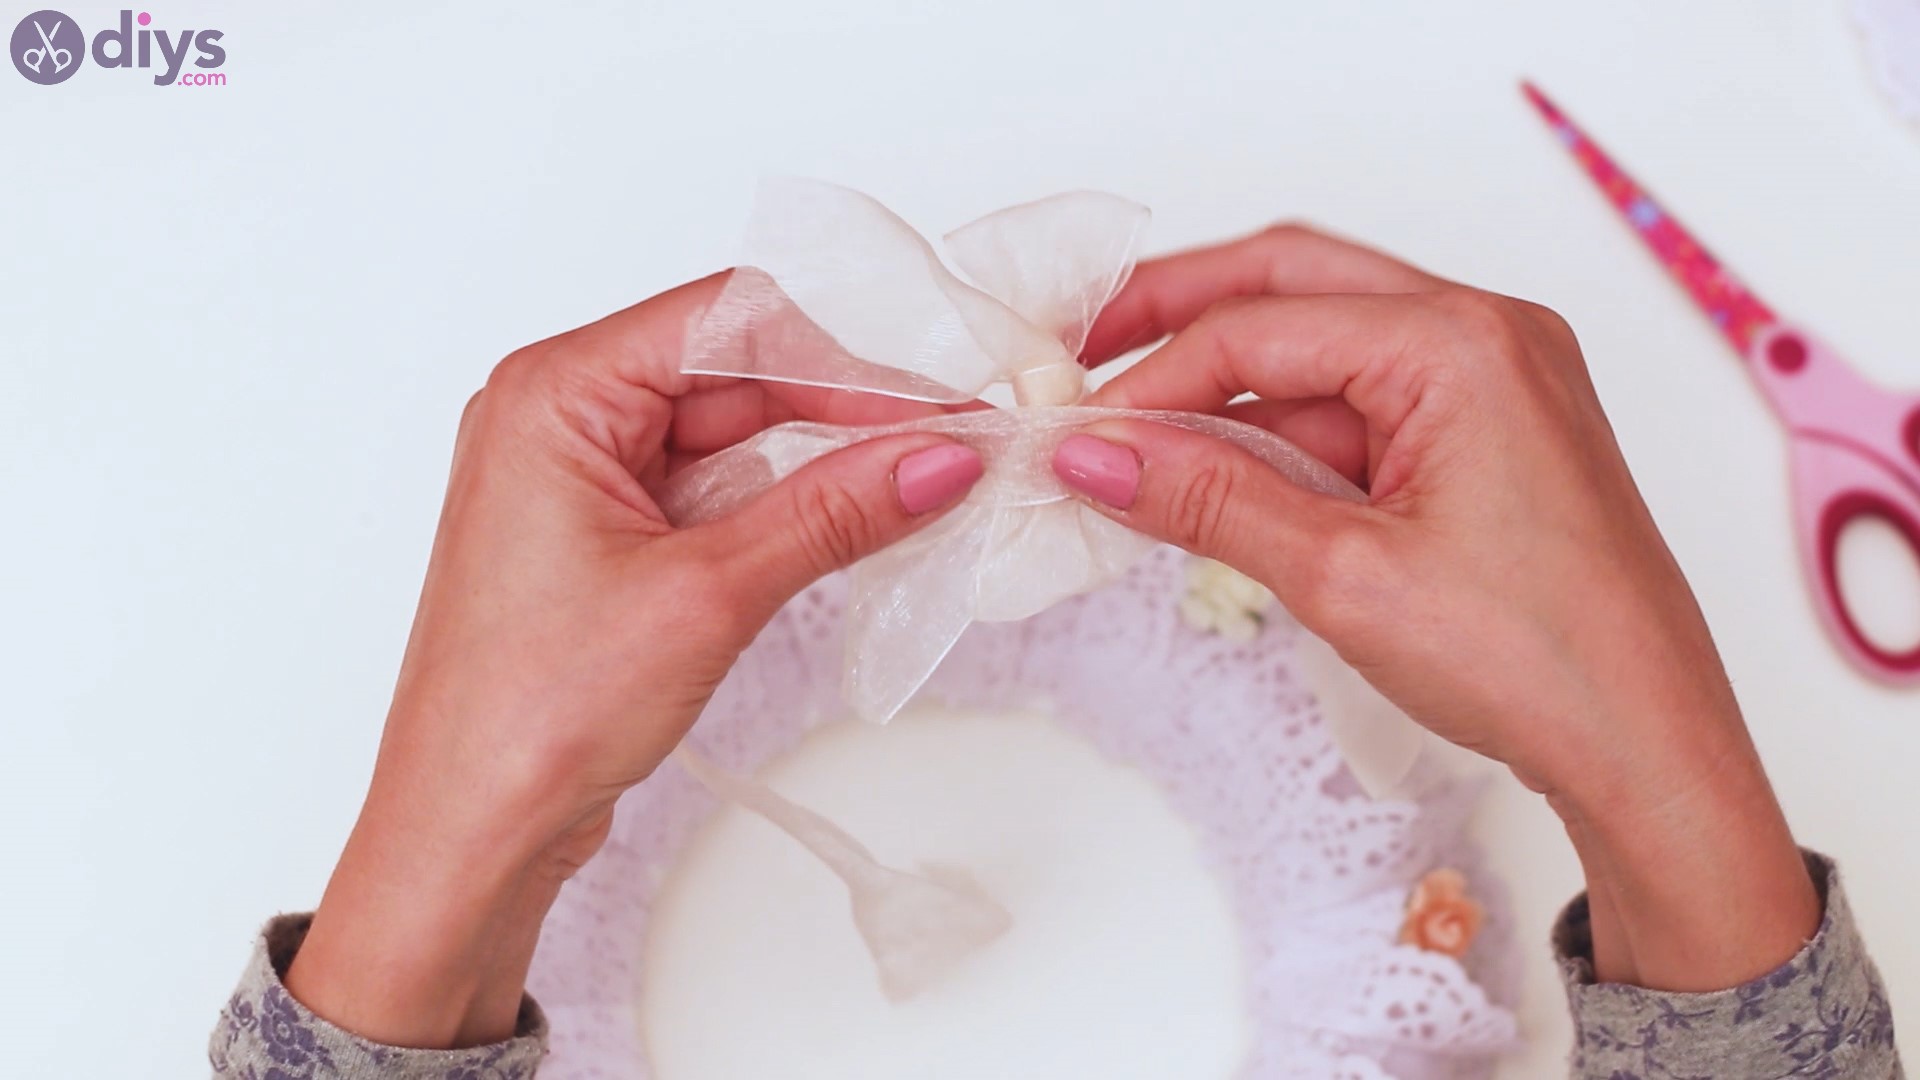
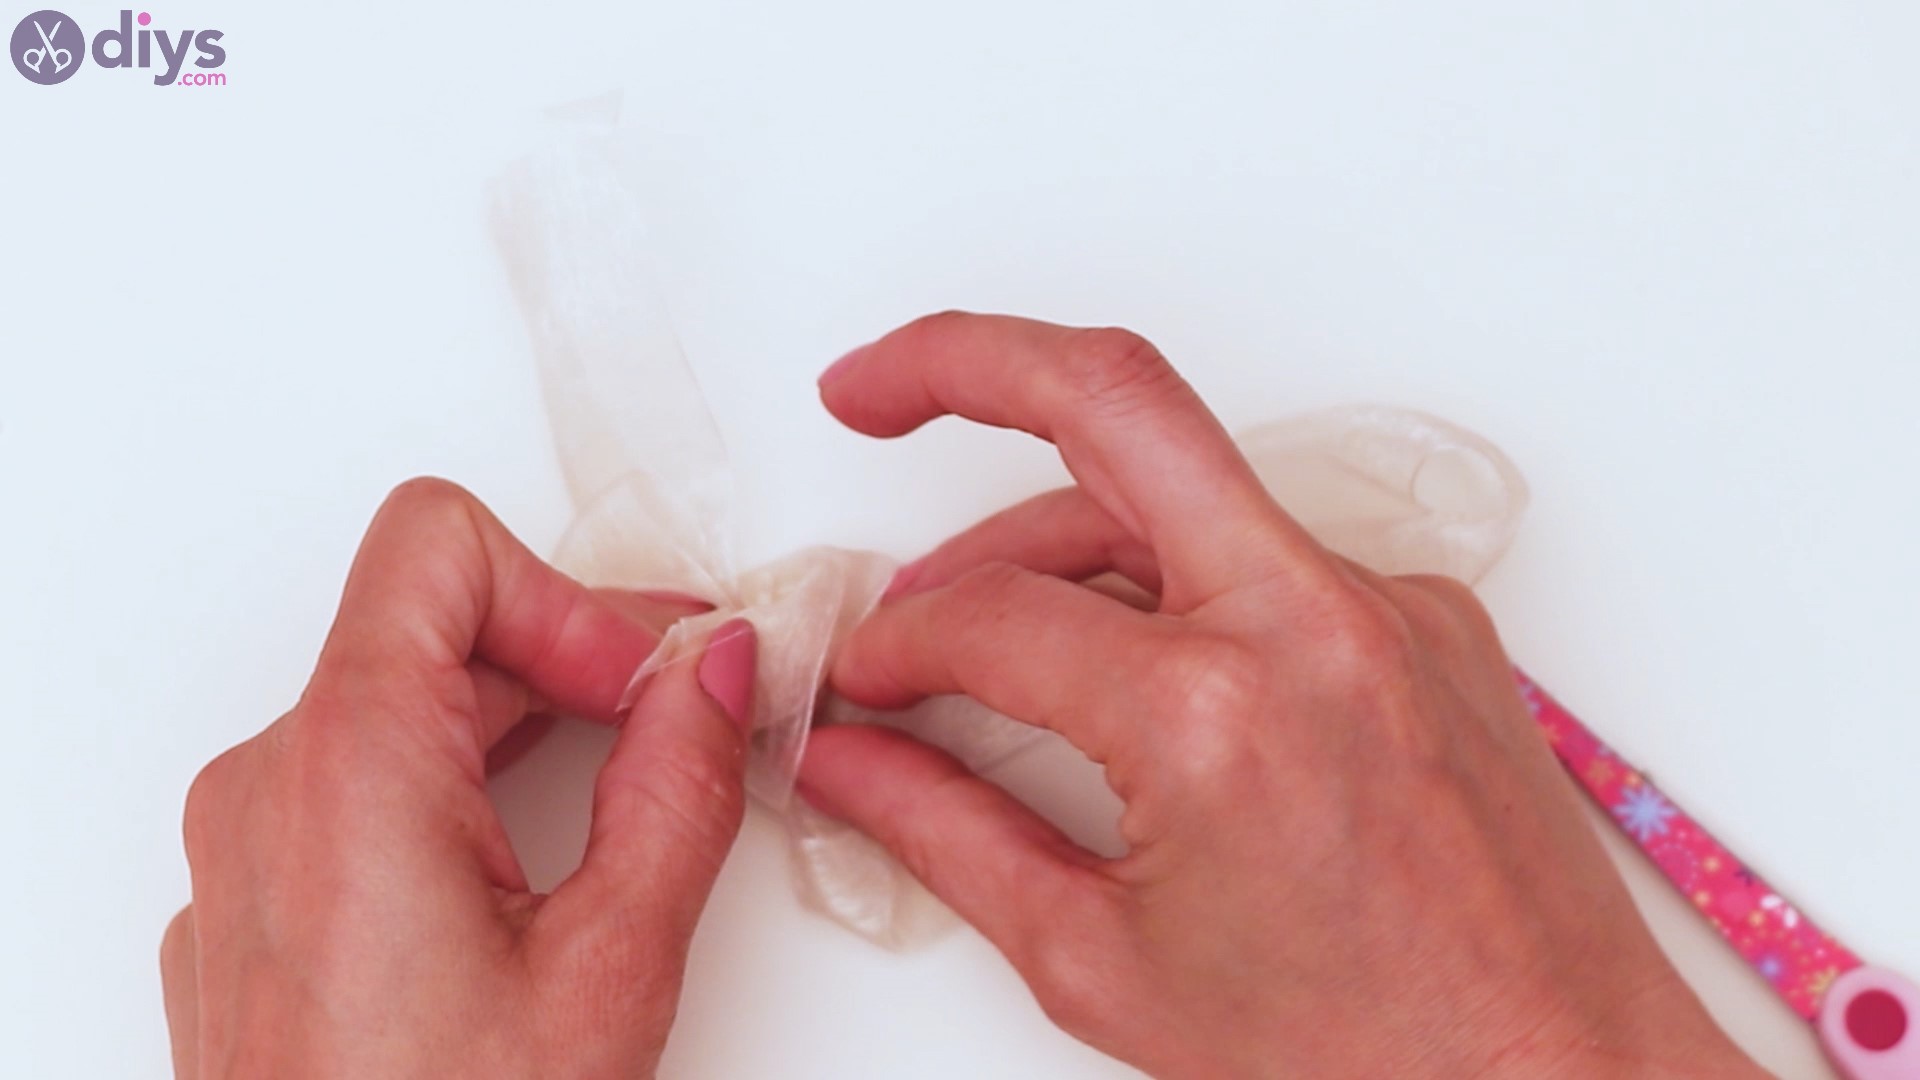
When the bow has the shape you want, bring the first piece of ribbon you cut and place it over the middle of the bow and tie a knot.

Make sure you tie a double knot, especially since this material is pretty slippery and you don’t want the bow to unwrap itself.

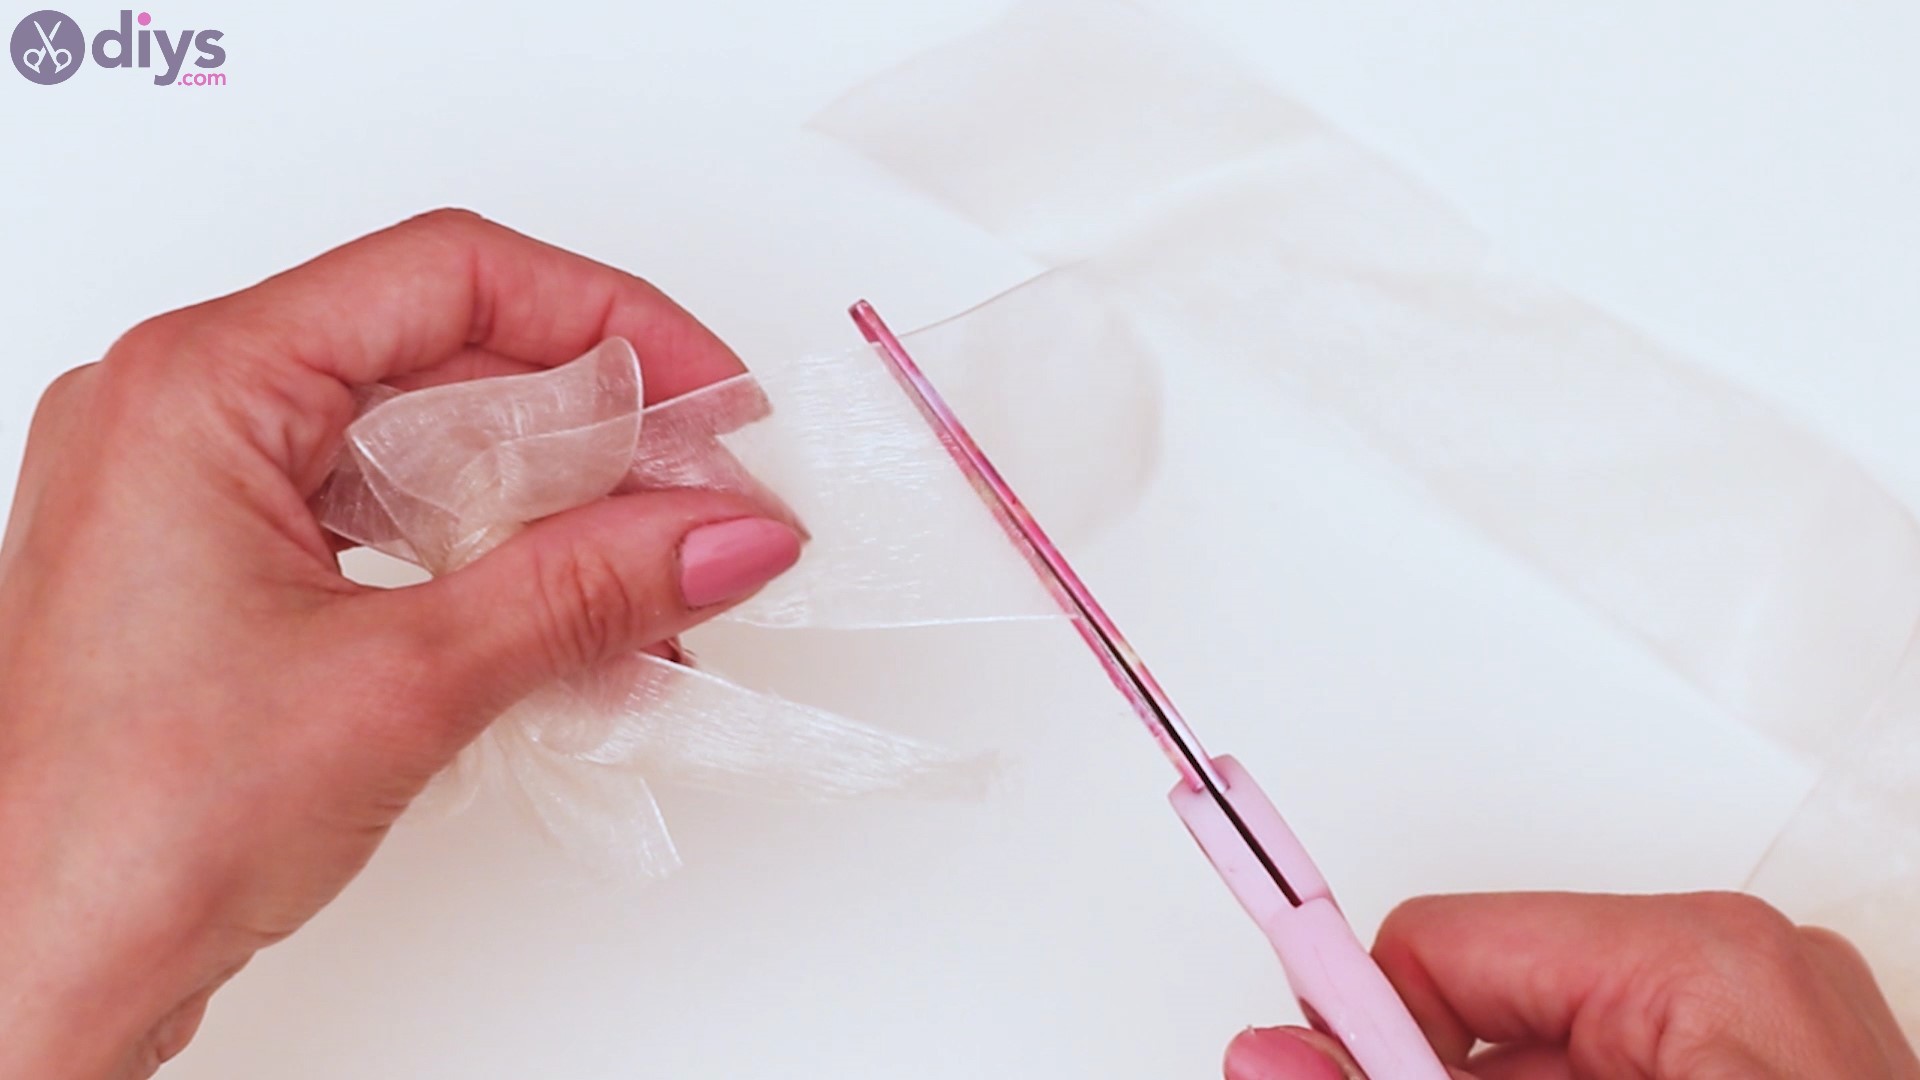
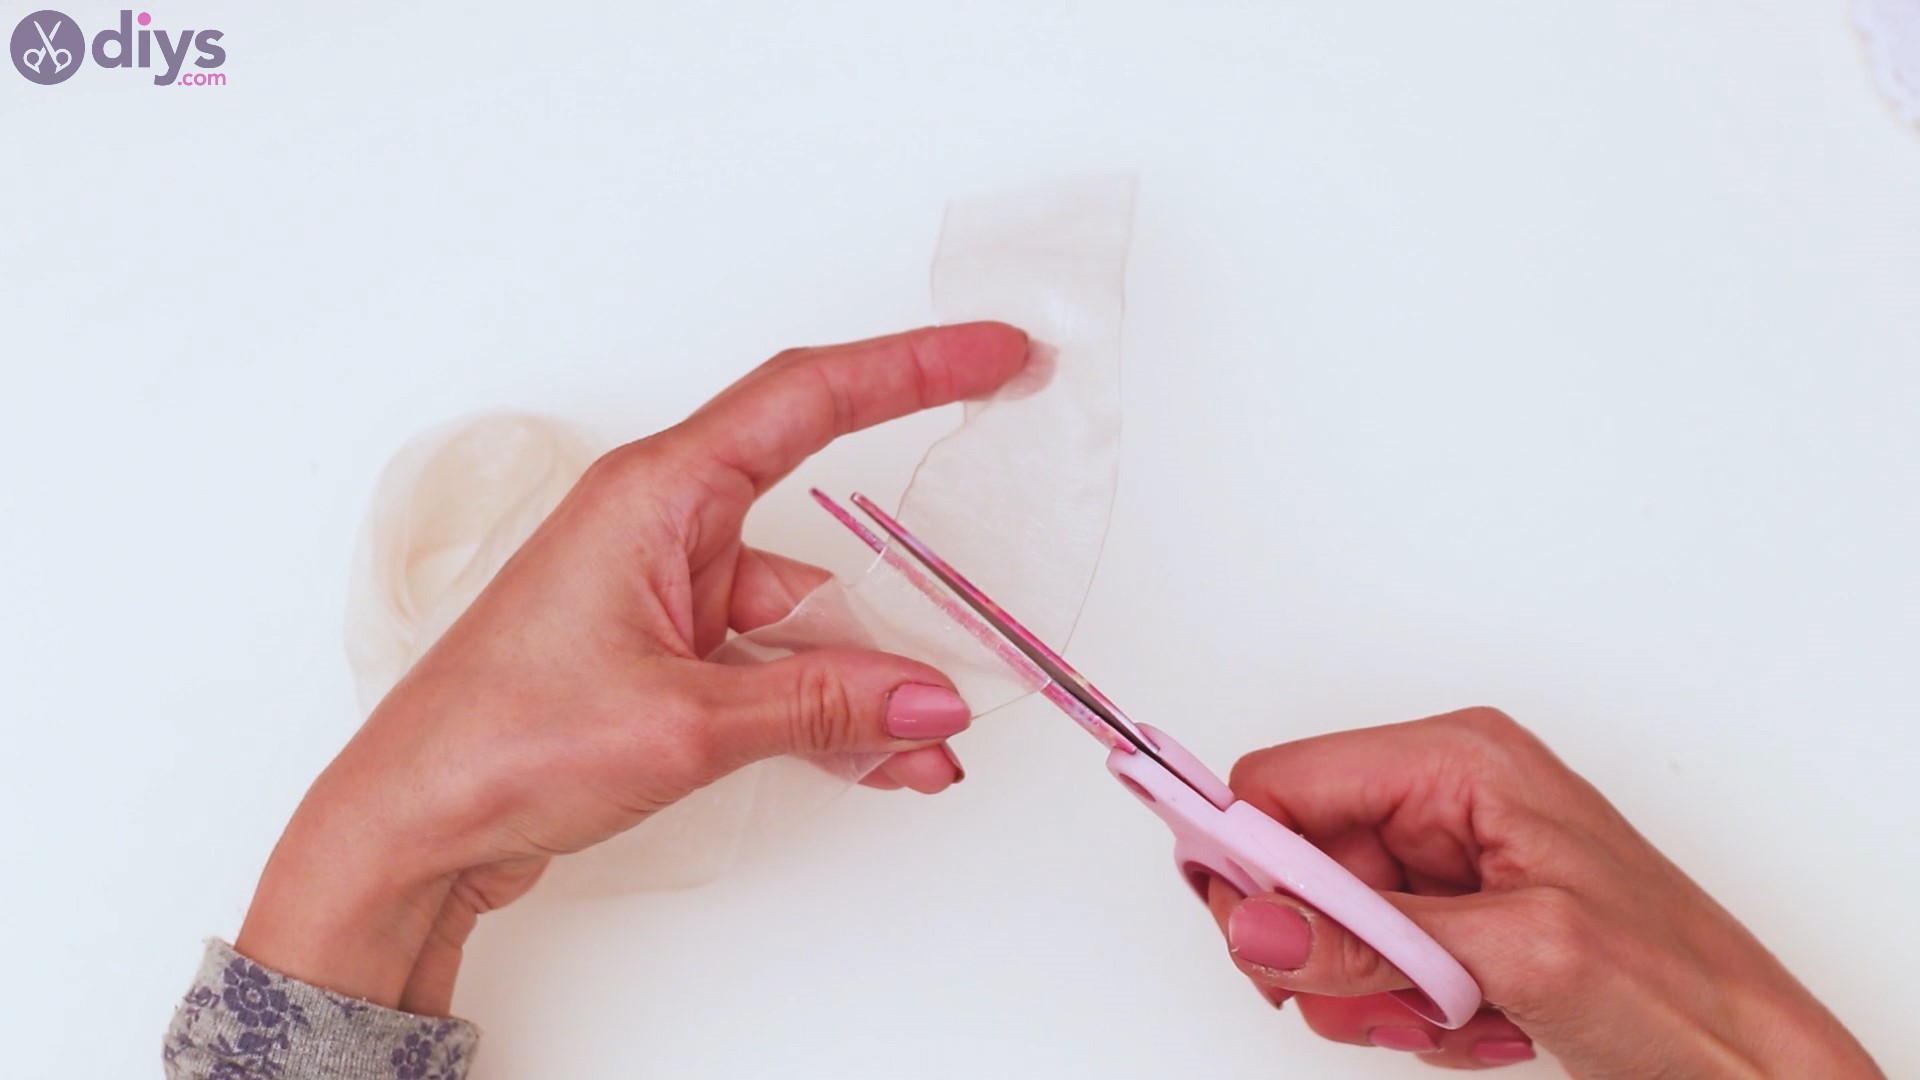
Get thescissorsand trim the ribbon at an angle to create beautiful lines!

What a beautiful bow we have!
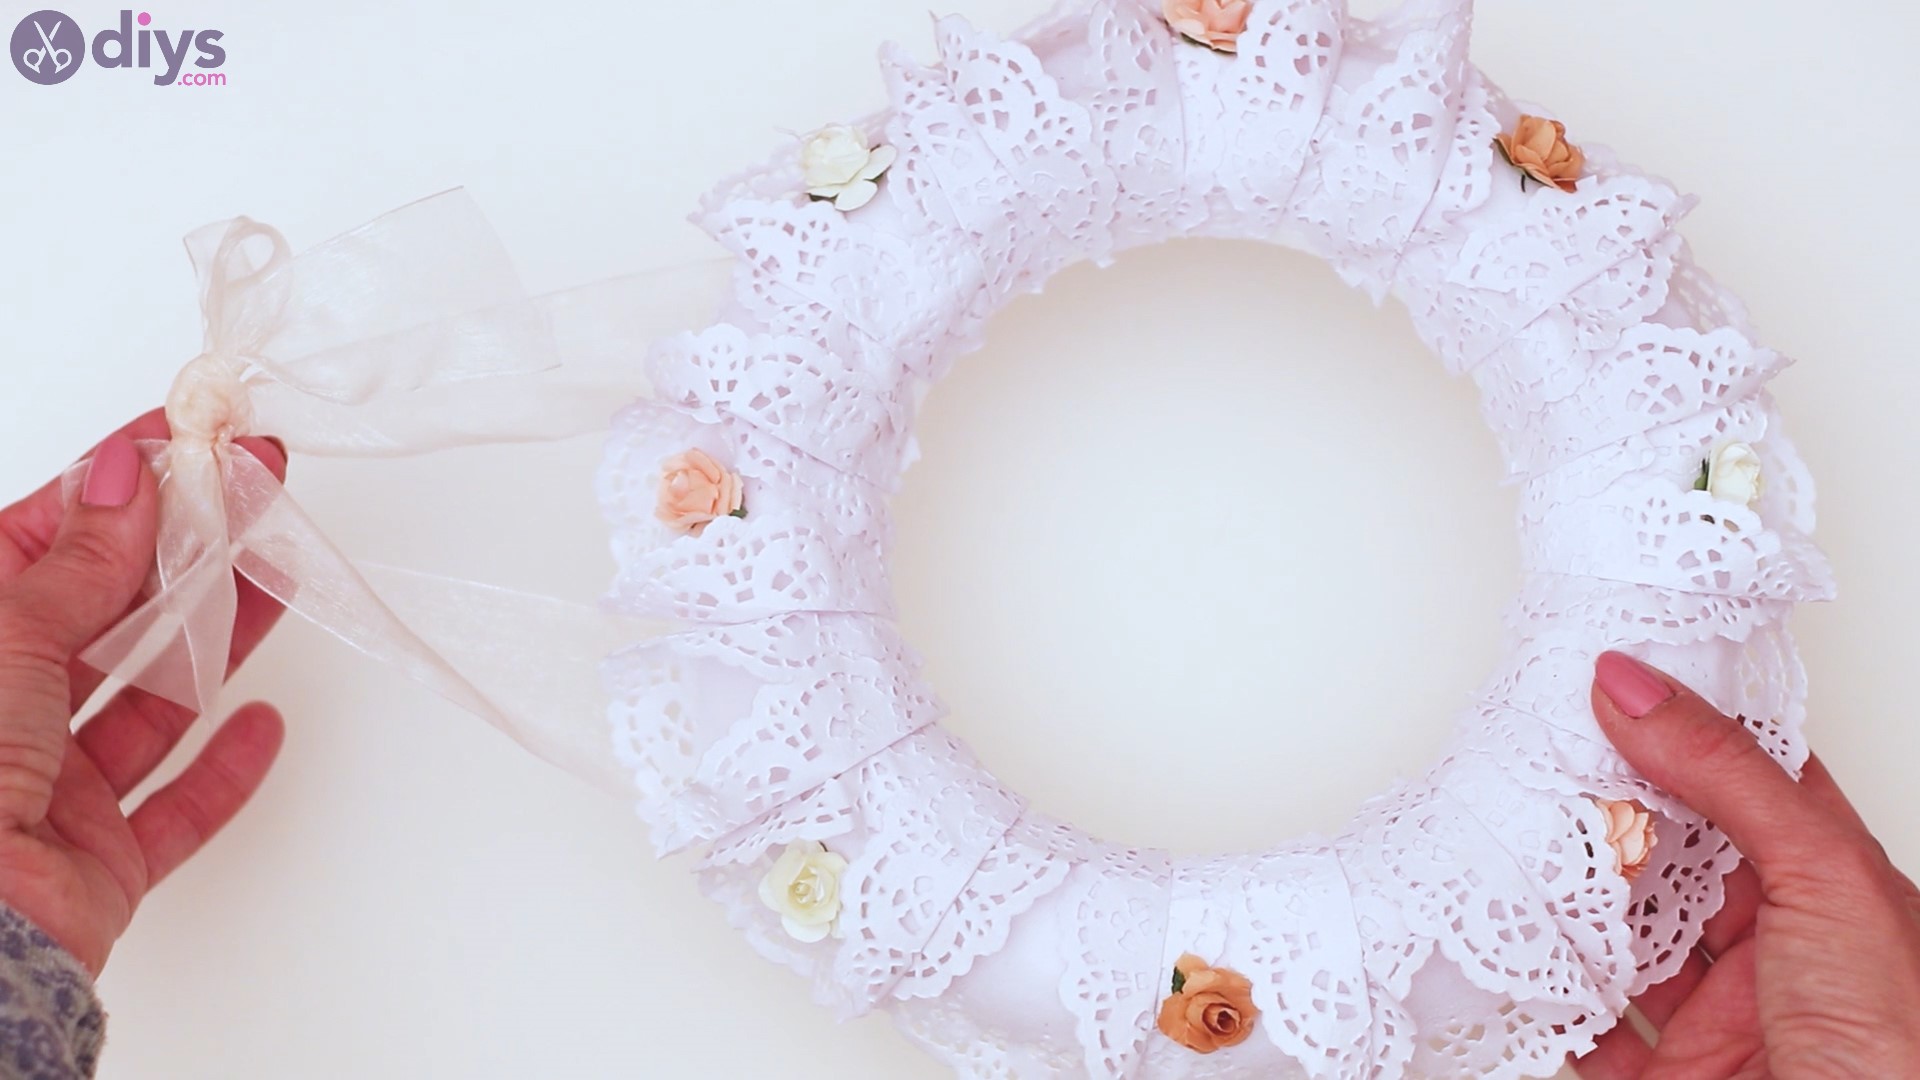
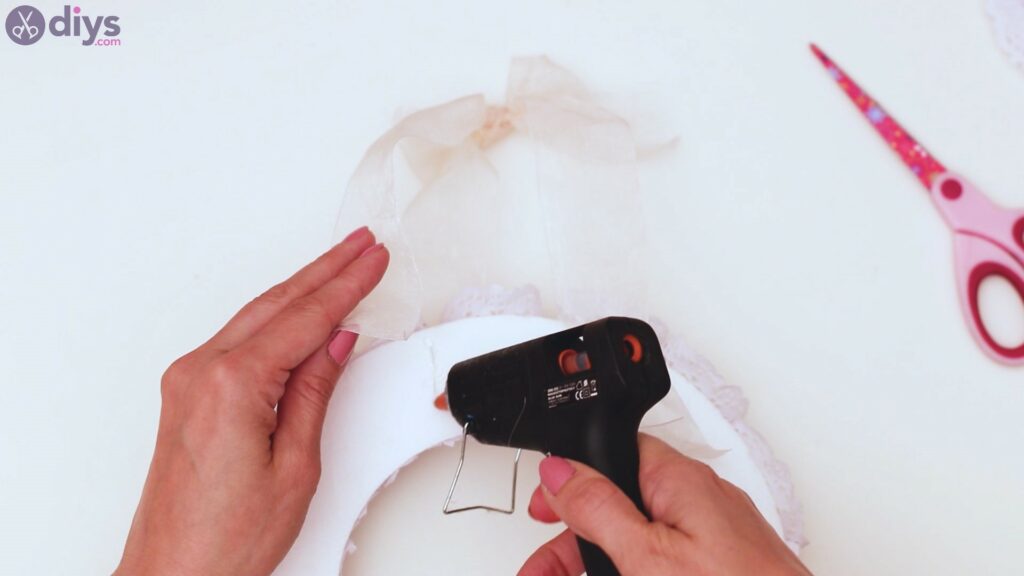
Step 6: Hang the wreath
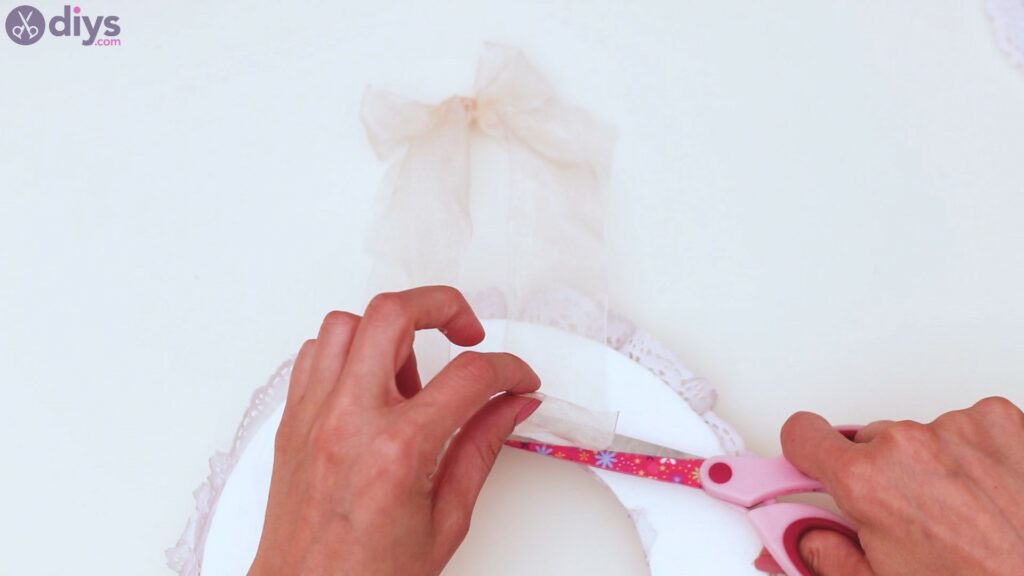
In order to make sure you can hang your wreath on your door or on the wall, you need to add an extra detail – a ribbon loop!

Get a bigger piece of ribbon place the bow you created in its middle. Then, tie a knot around it, so the bow is in its center.

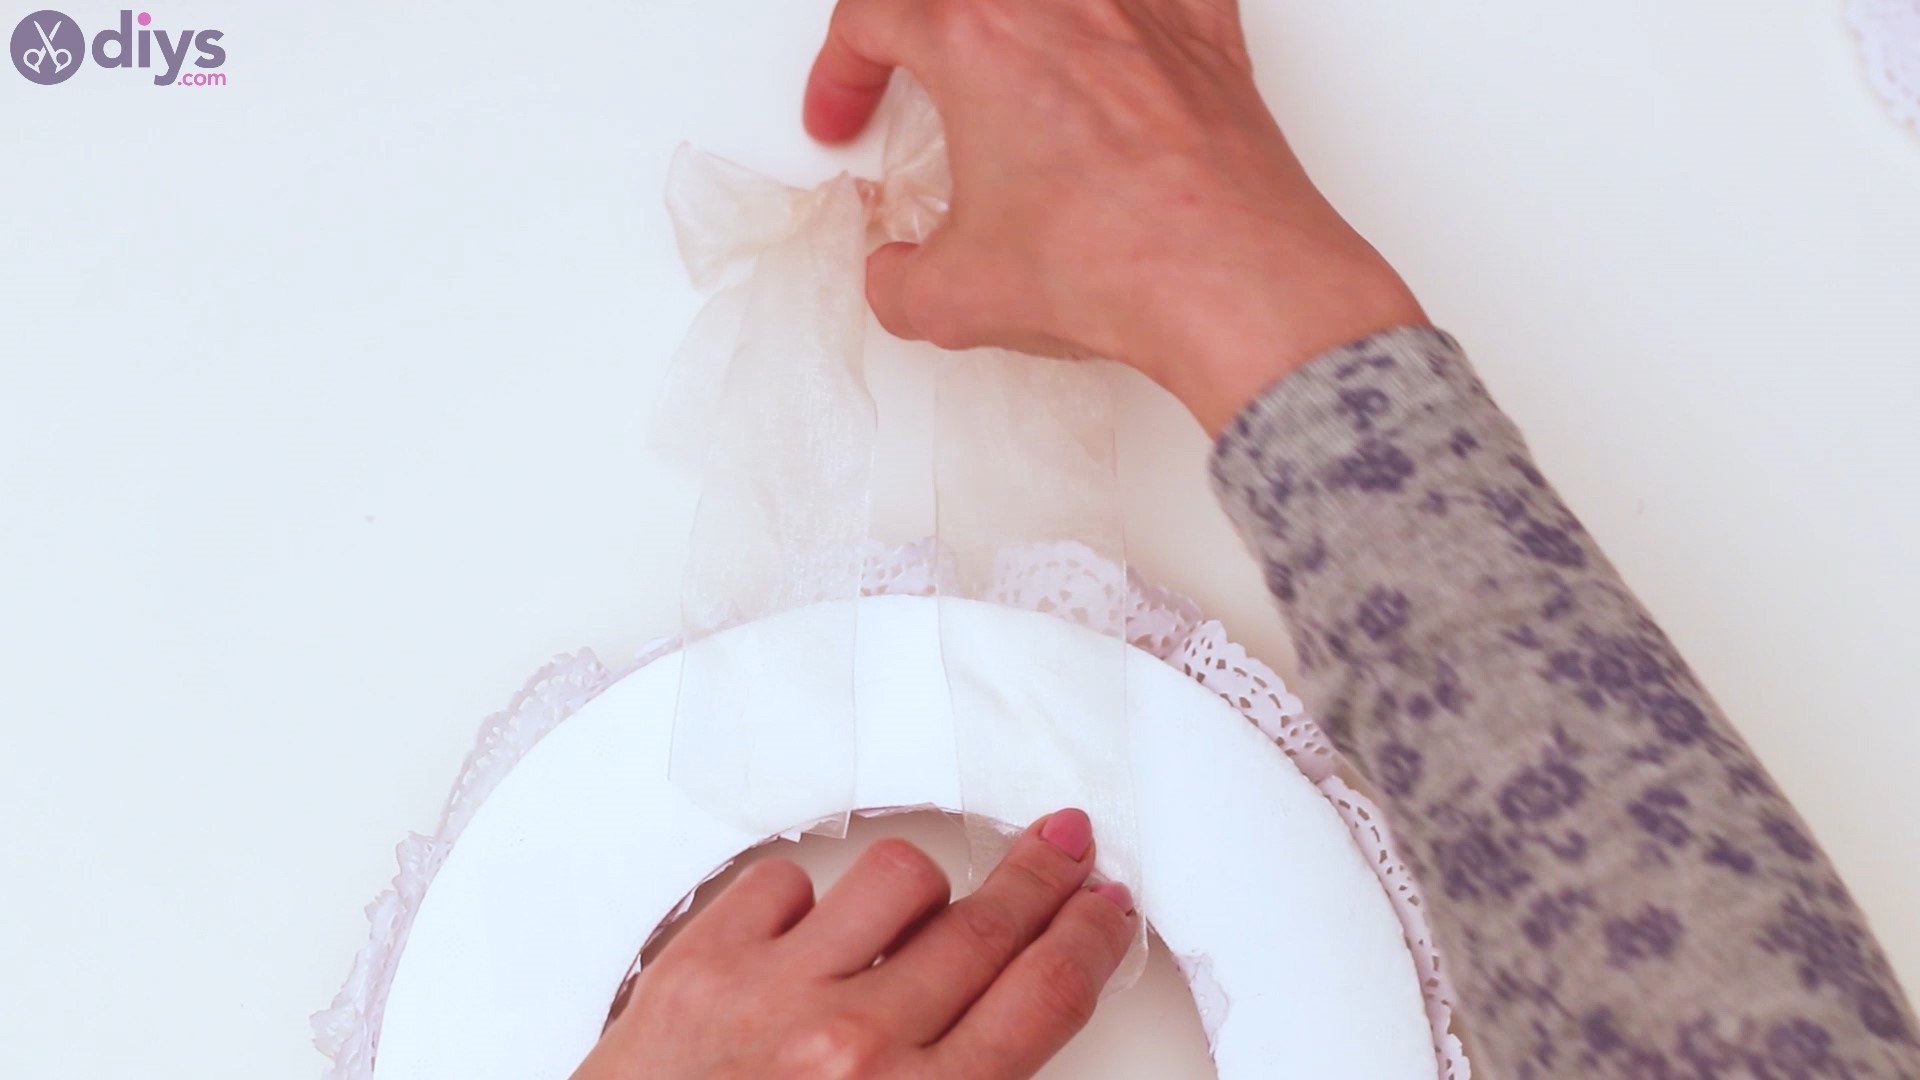
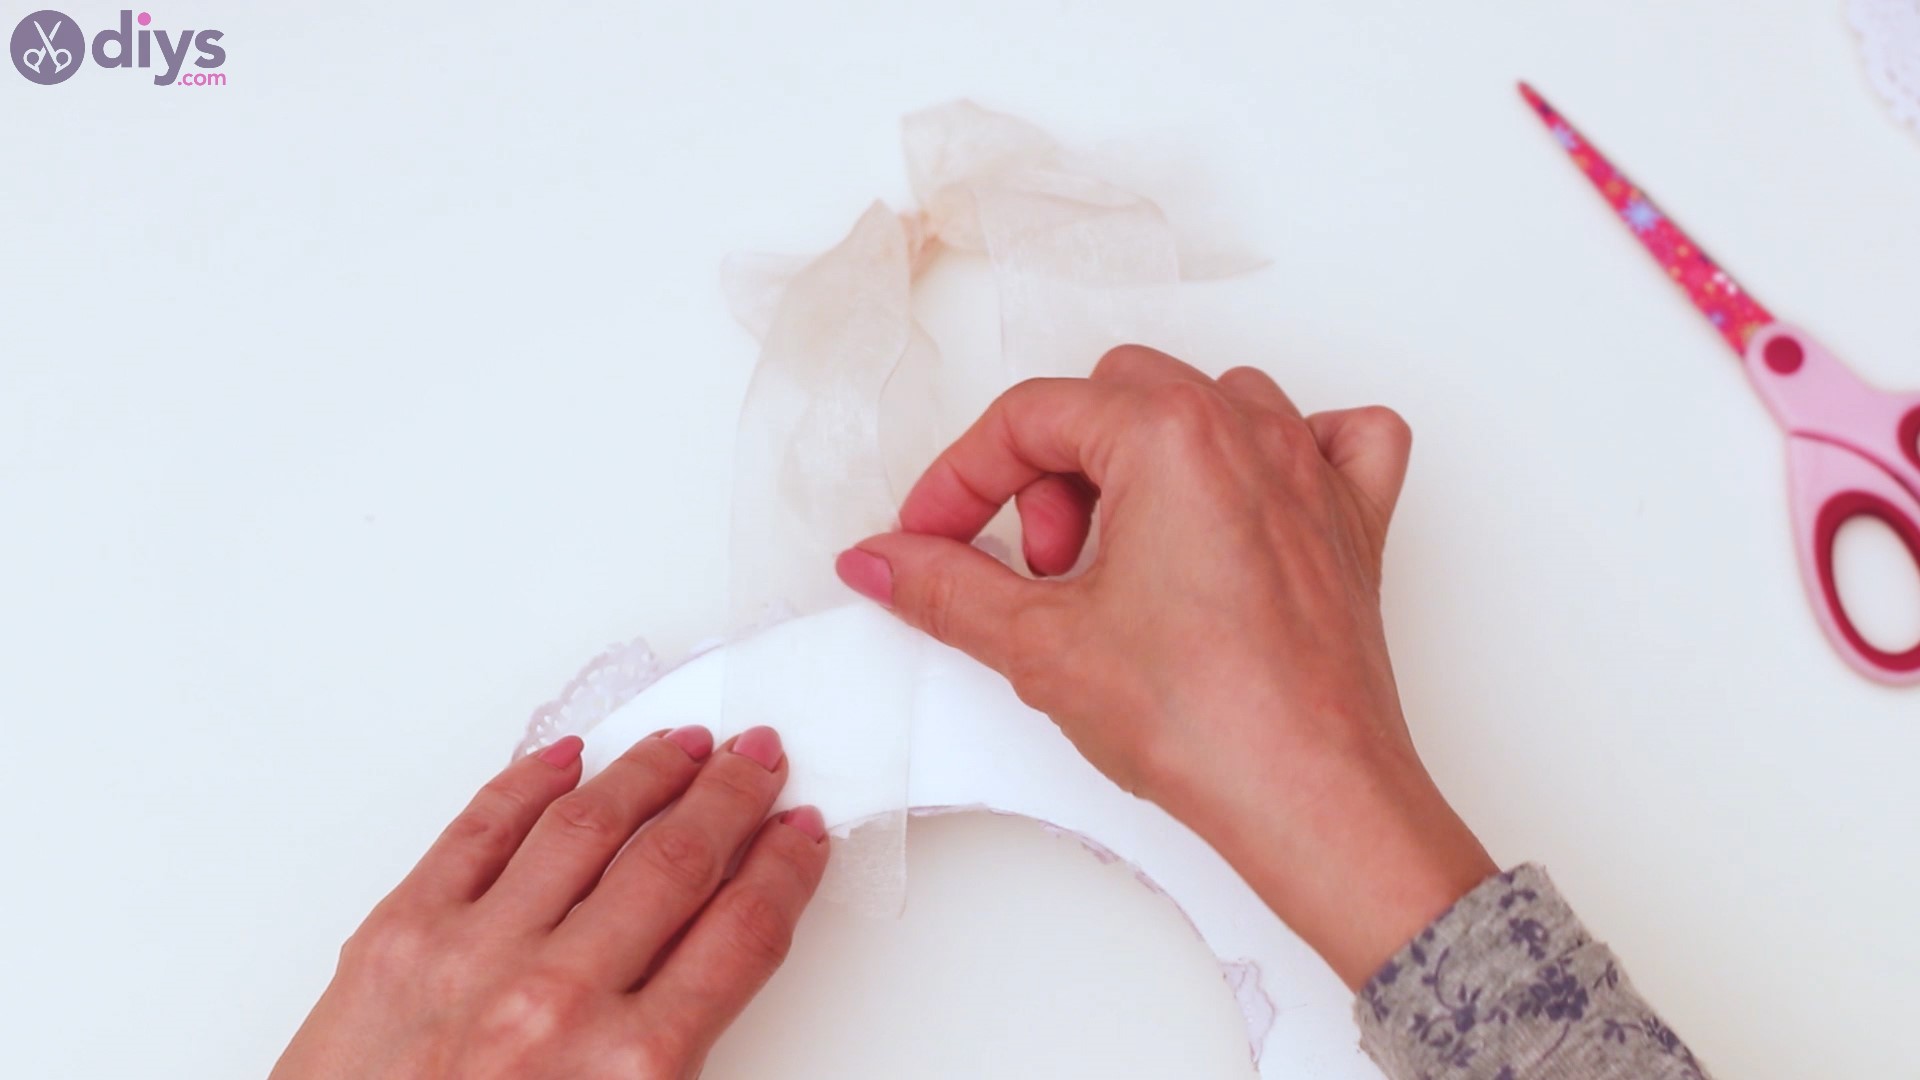
Turn the wreath upside down and add some hot glue to the back of it. You’ll want to choose two spots like this and place both ends of the sheer ribbon you cut earlier.
Press the ribbon into the glue and then trim the excess material that would otherwise be visible through the center of the wreath.
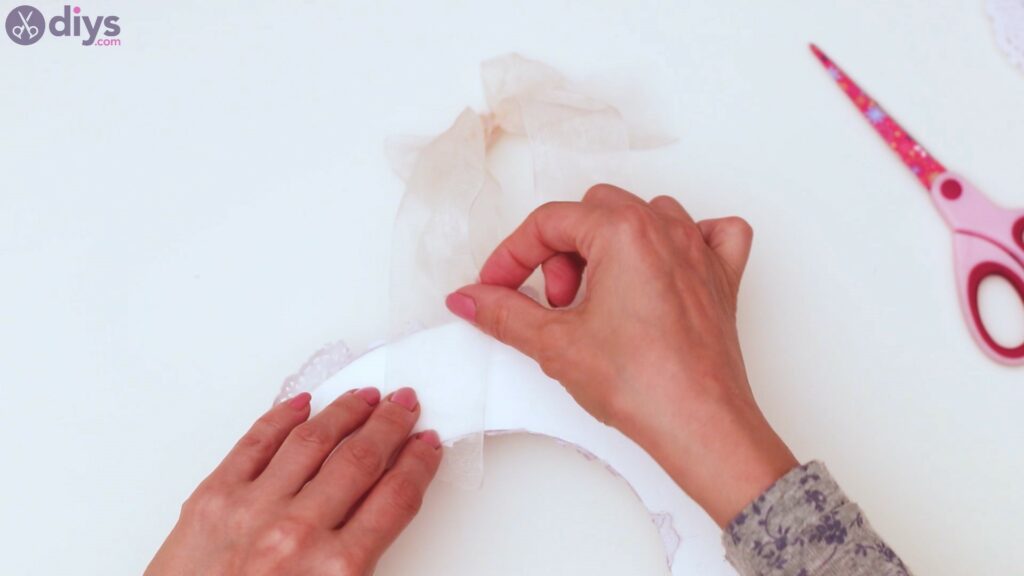
Repeat the process on the other side, making sure to keep the ribbon perfectly straight.
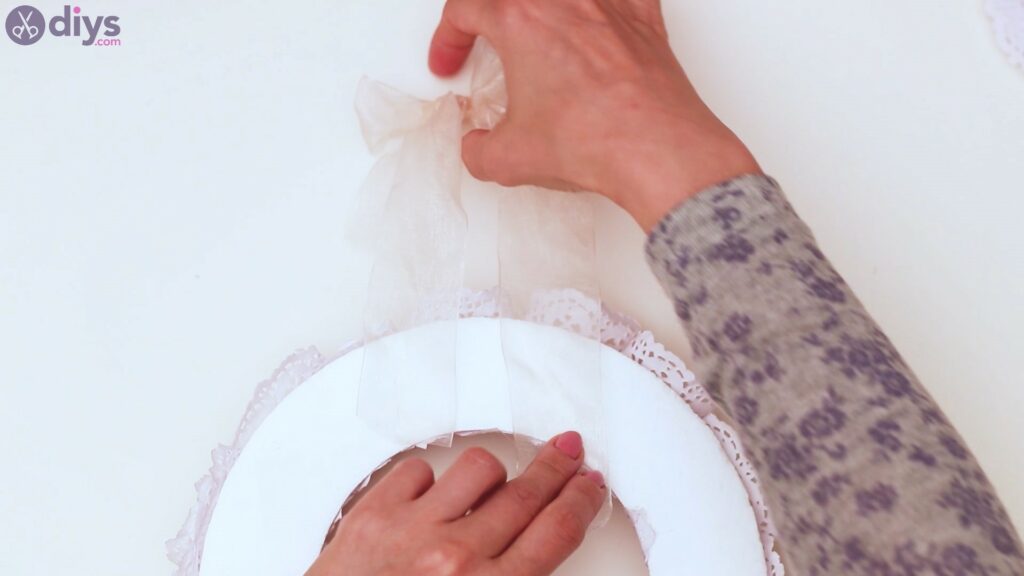
Once more, trim the excess material.
And there we go! We now have a pretty doily wreath for our walls. It will be perfect for Easter, as well as other celebrations. We love this design because it’s quite versatile. You can choose different colors for the lace paper doilies if you wanted, different flower shades, add more or less of them. Also, the sheer ribbon can have a different color if you so desire. It’s a pretty easy craft and we know you had an easy time making this.
We would love it if you shared your thoughts on the project in the comments section below. Also, drop your pictures over social media so we can check out your designs too!