DIY Paper Star Ornament For Christmas Tree
Updated on November 19, 2025


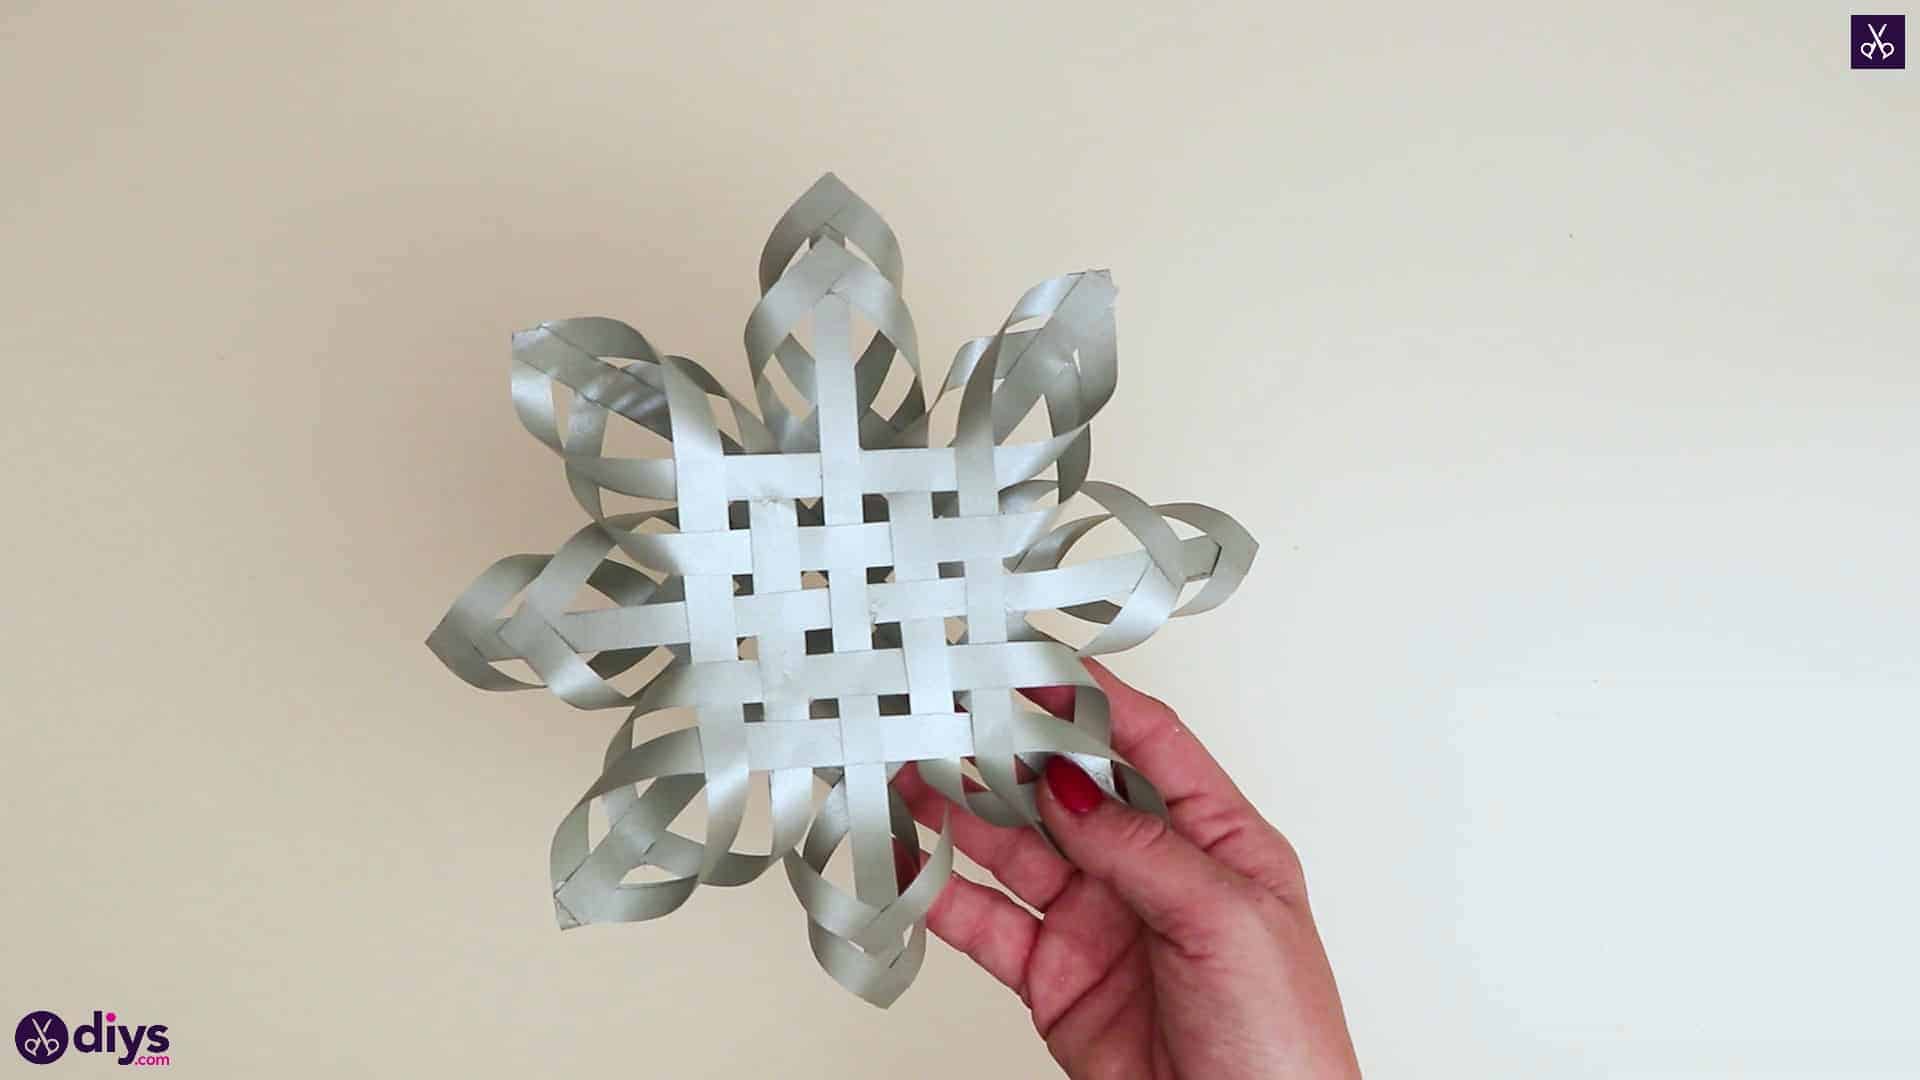
As much as I adore doing seasonal crafts with my kids, sometimes it’s nice to make something a little more intricate looking and complicated for myself! I get a real kick out of practicing my more advanced skills and putting those on display too. I’ve always been a pretty avid paper crafter, so this year I decided to try my hand at weaving techniques in order to make a pretty paper star to hang on my artificial tree. After I made the first one, I was so happy with the results that I made several more! I also made sure to document the process so other people who want to give these a try can follow along. Even older kids who have lots of patience and some experience with things like origami might enjoy this one.
Check out these step by step instructions complete with photos! If you’d rather follow along with a video tutorial instead of written words, scroll to the bottom of this post to find just what you’re looking for.
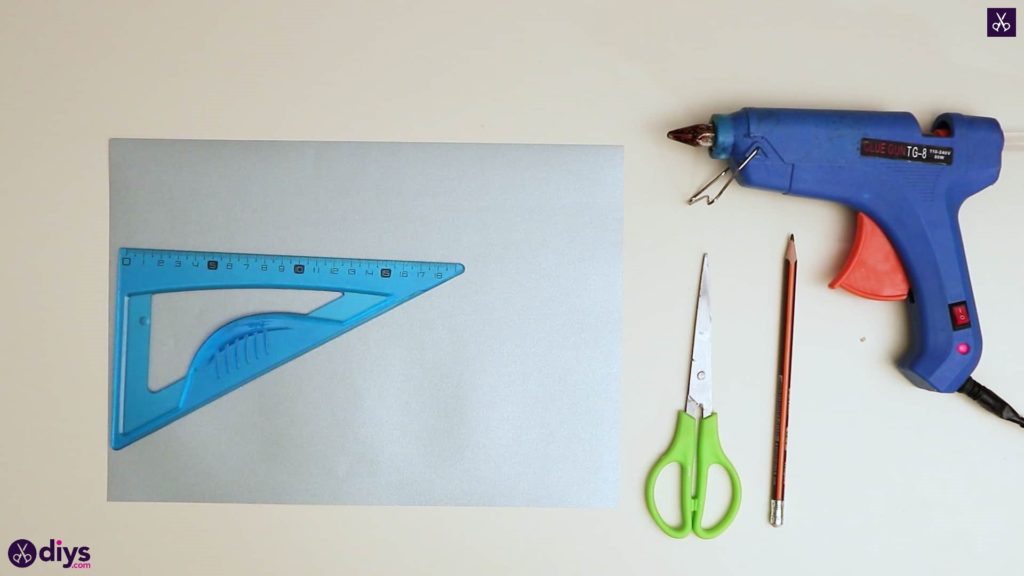
For this project, you’ll need:
- Scissors
- Hot glue
- A pencil
- Silver paper
- A ruler
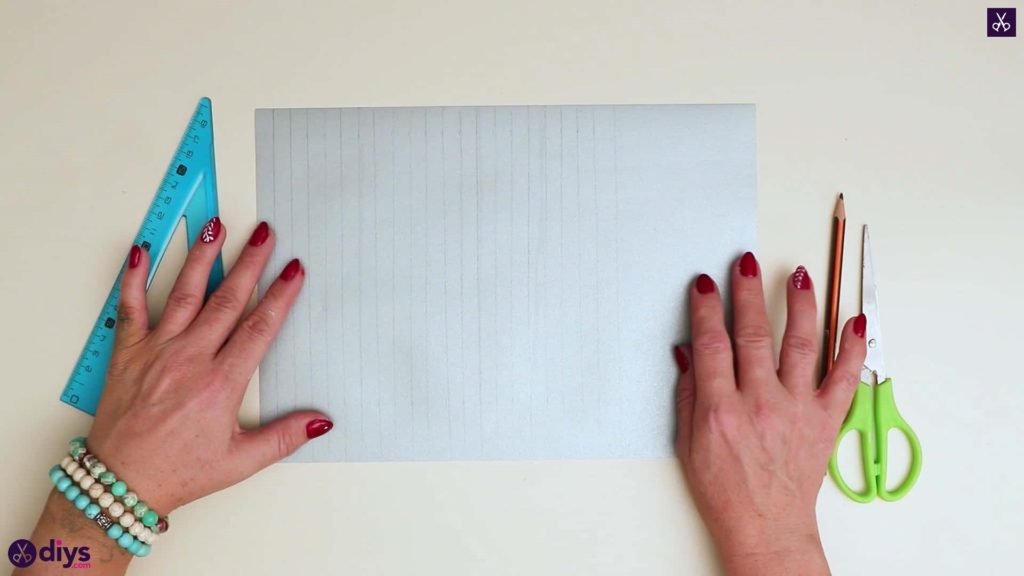
Step 1: be prepared
Gather your materials!
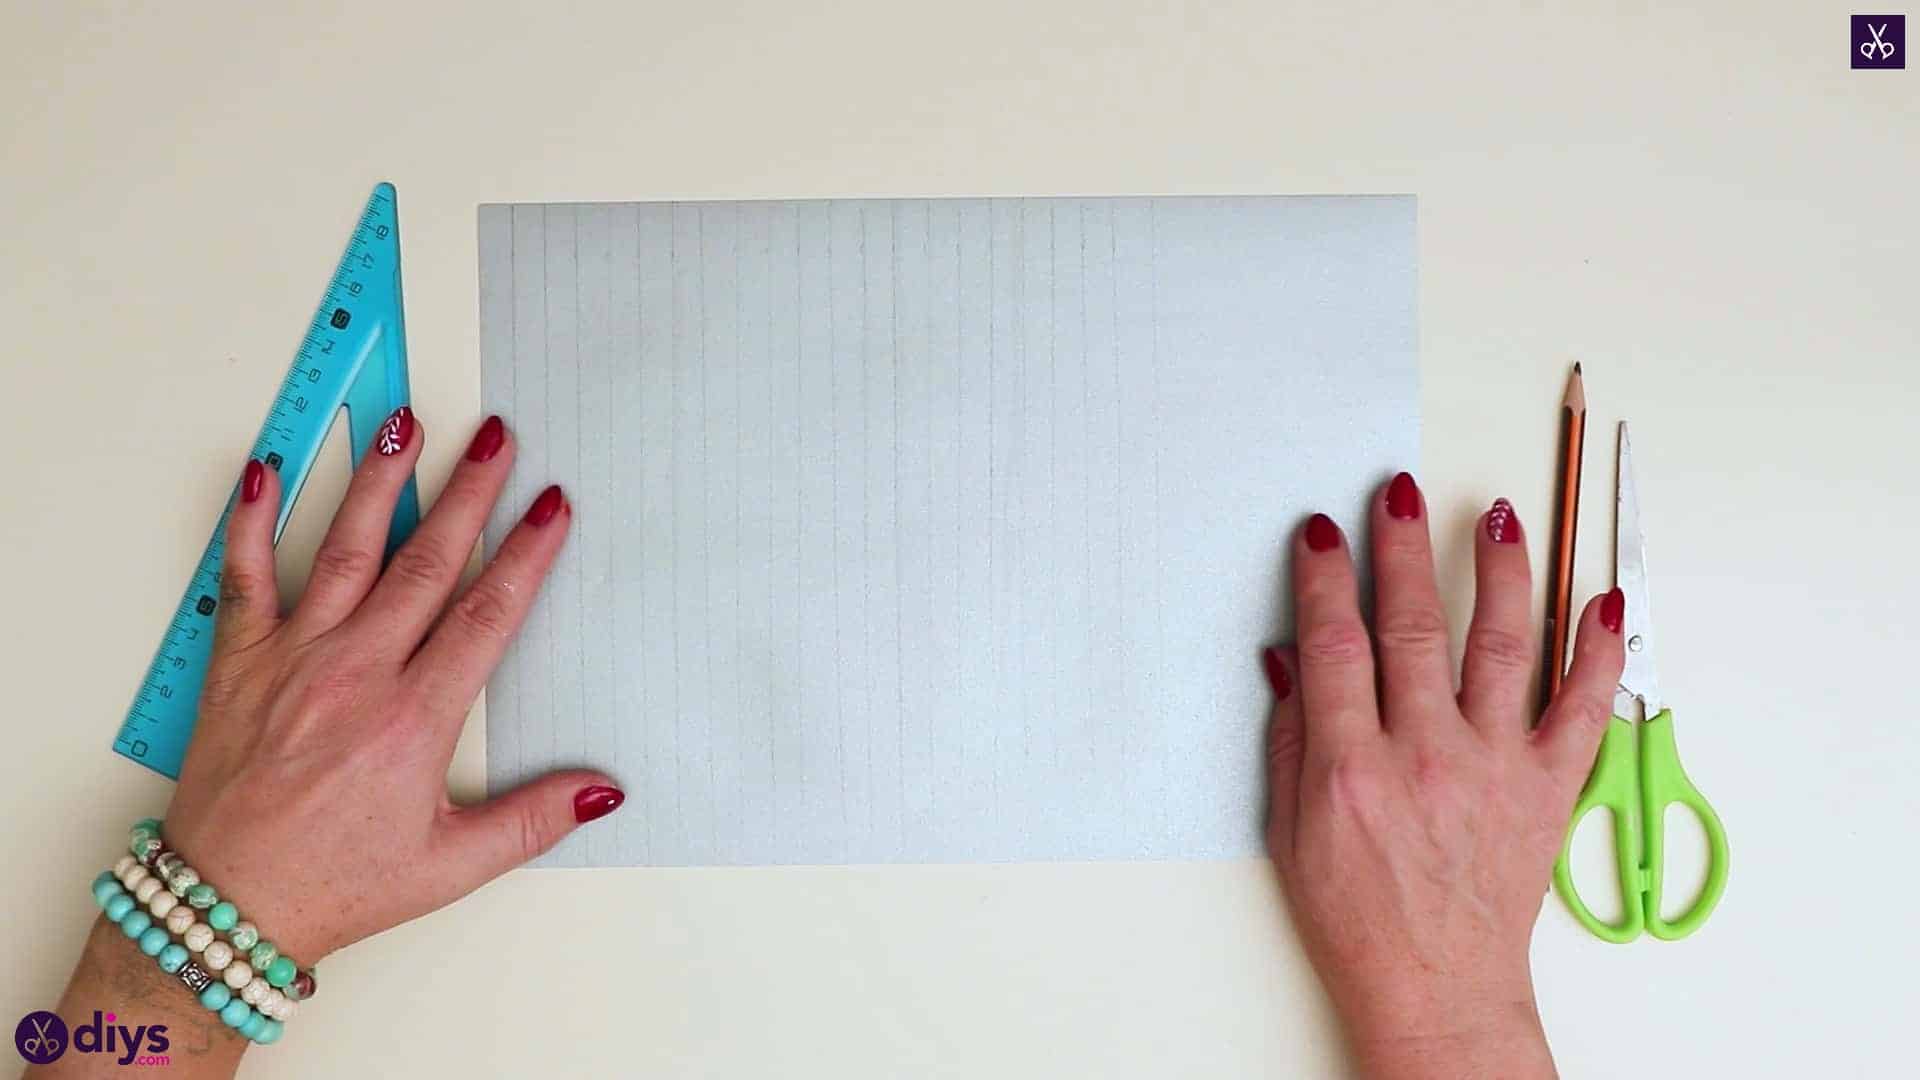
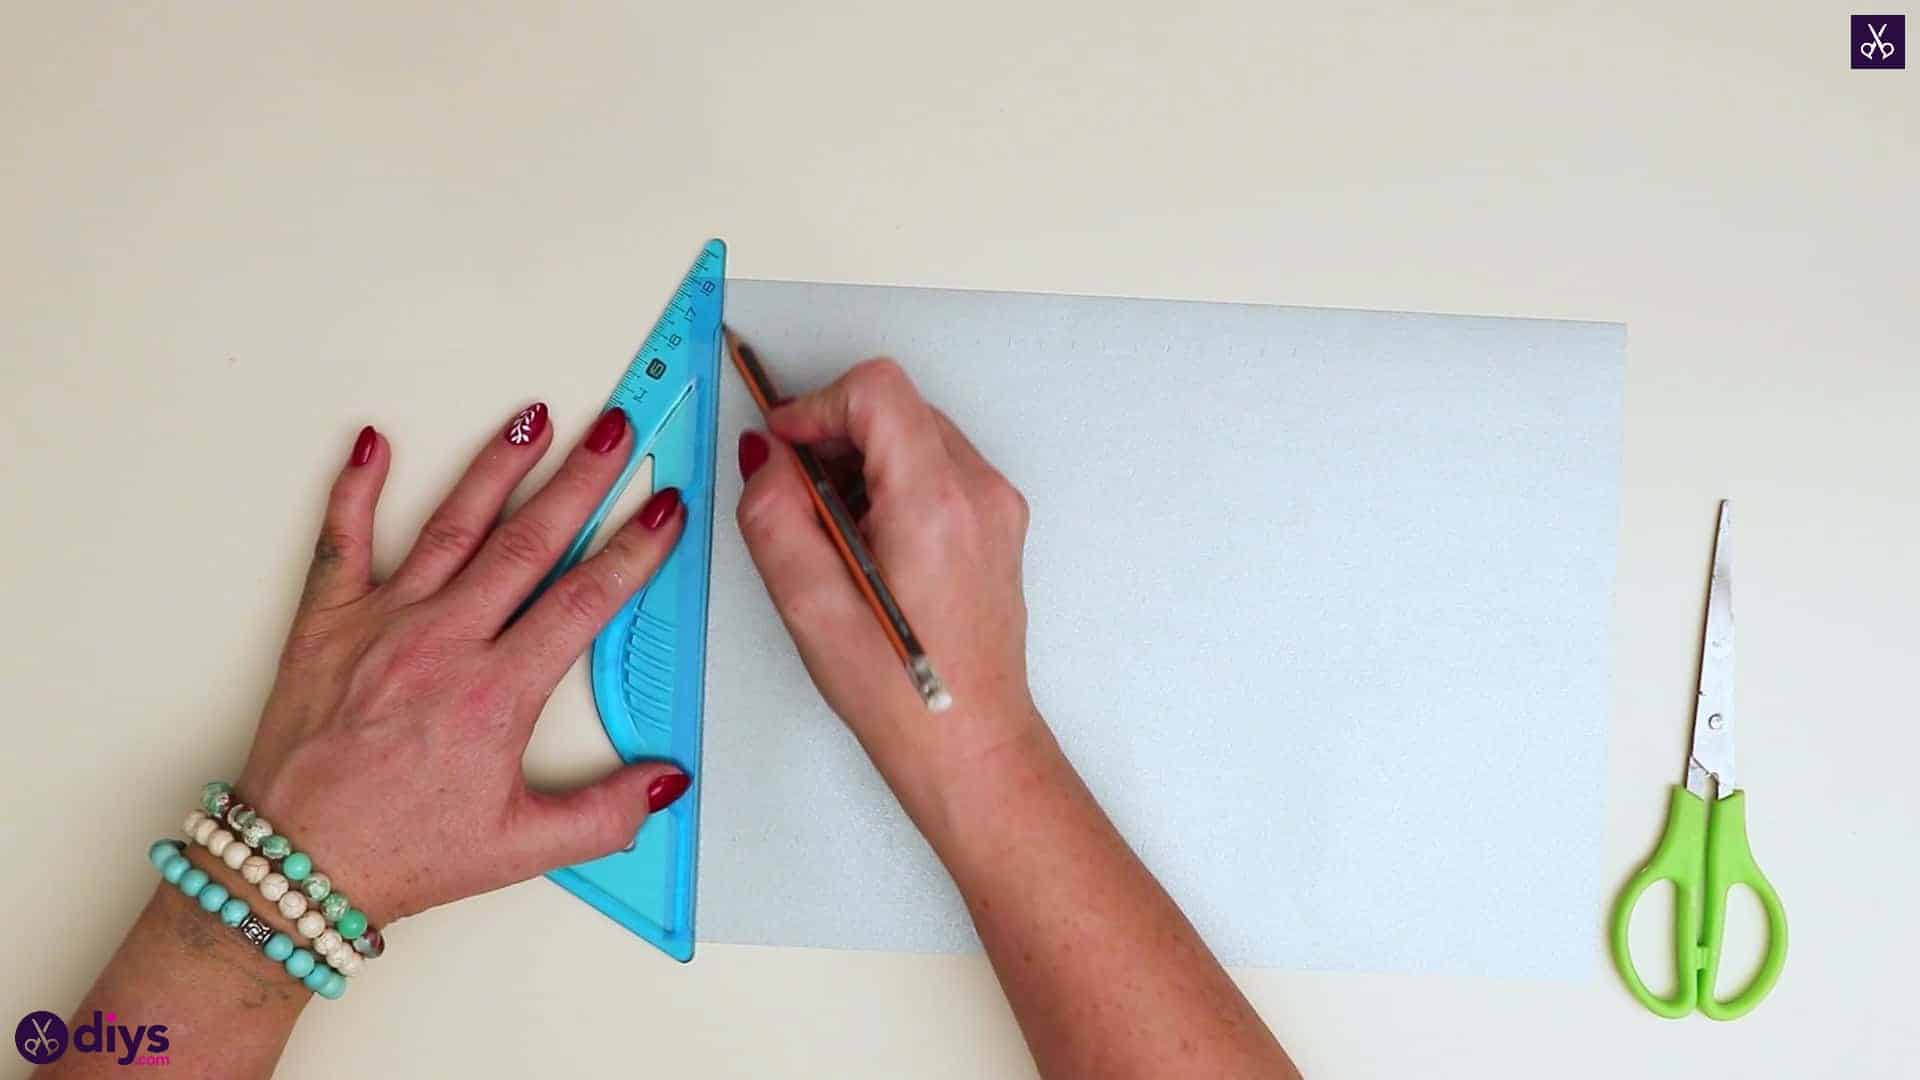
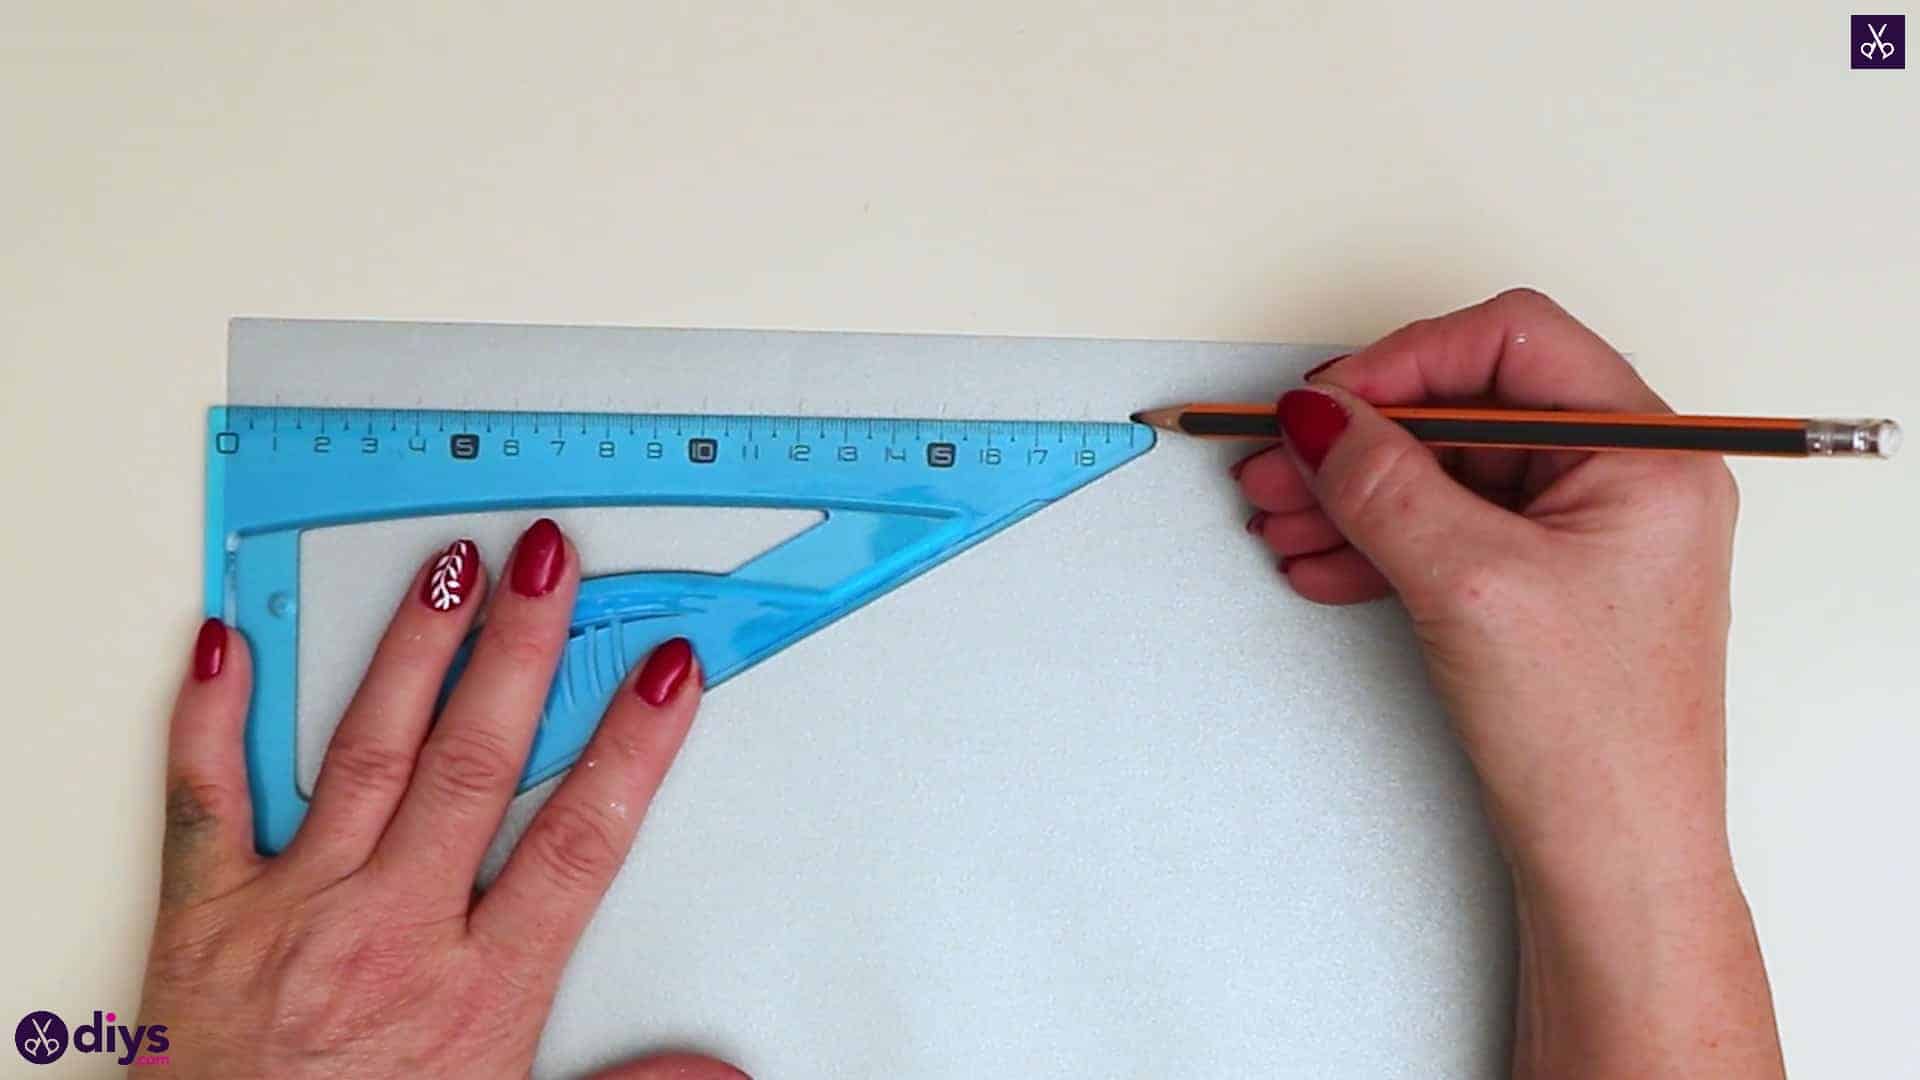
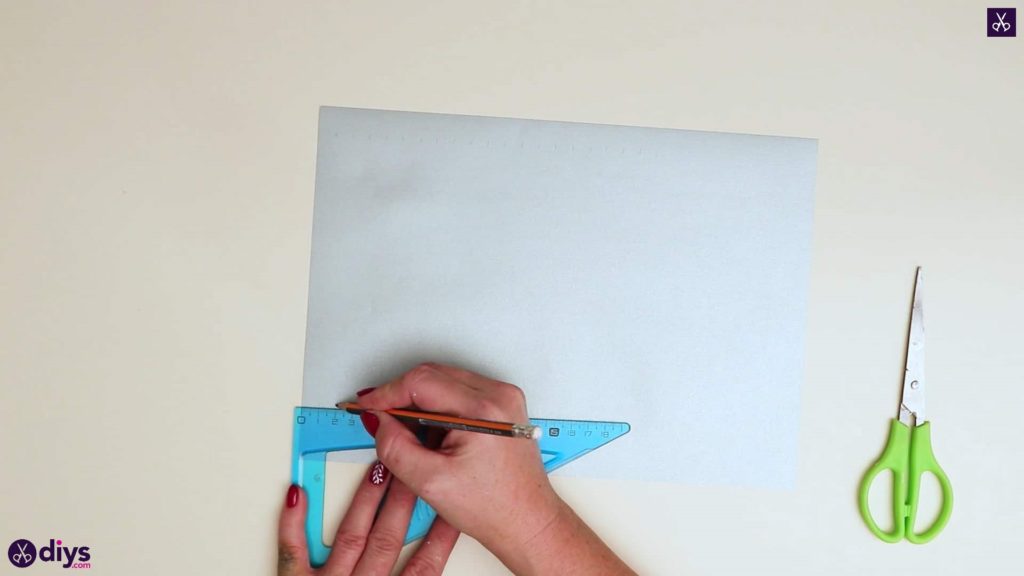
Step 2: draw your lines
Orient your silver paper on your work surface so it sits landscape, or with its longer edge positioned as its width and its shorter edge positioned as its height. Line the zero mark of your ruler up with the very left edge of your page, closer to the top. At every centimetre all the way along, make even pencil marks. Repeat the process lower down the page, starting with your zero mark aligned on the left edge again and making marks at each centimetre all the way along. These doubled markings will make it easier for you to draw straighter lines down the page later on. For each set, make your marks all the way across the page’s width until you reach the right hand edge.

Step 3: draw vertical lines
Turn your ruler vertically and line it up with each pair of centimetre marks, drawing a straight line from the top edge to the bottom edge of the page to join the marks. Do this from left to right, all the way across the page, making a line at every single pair of centimetre markings.

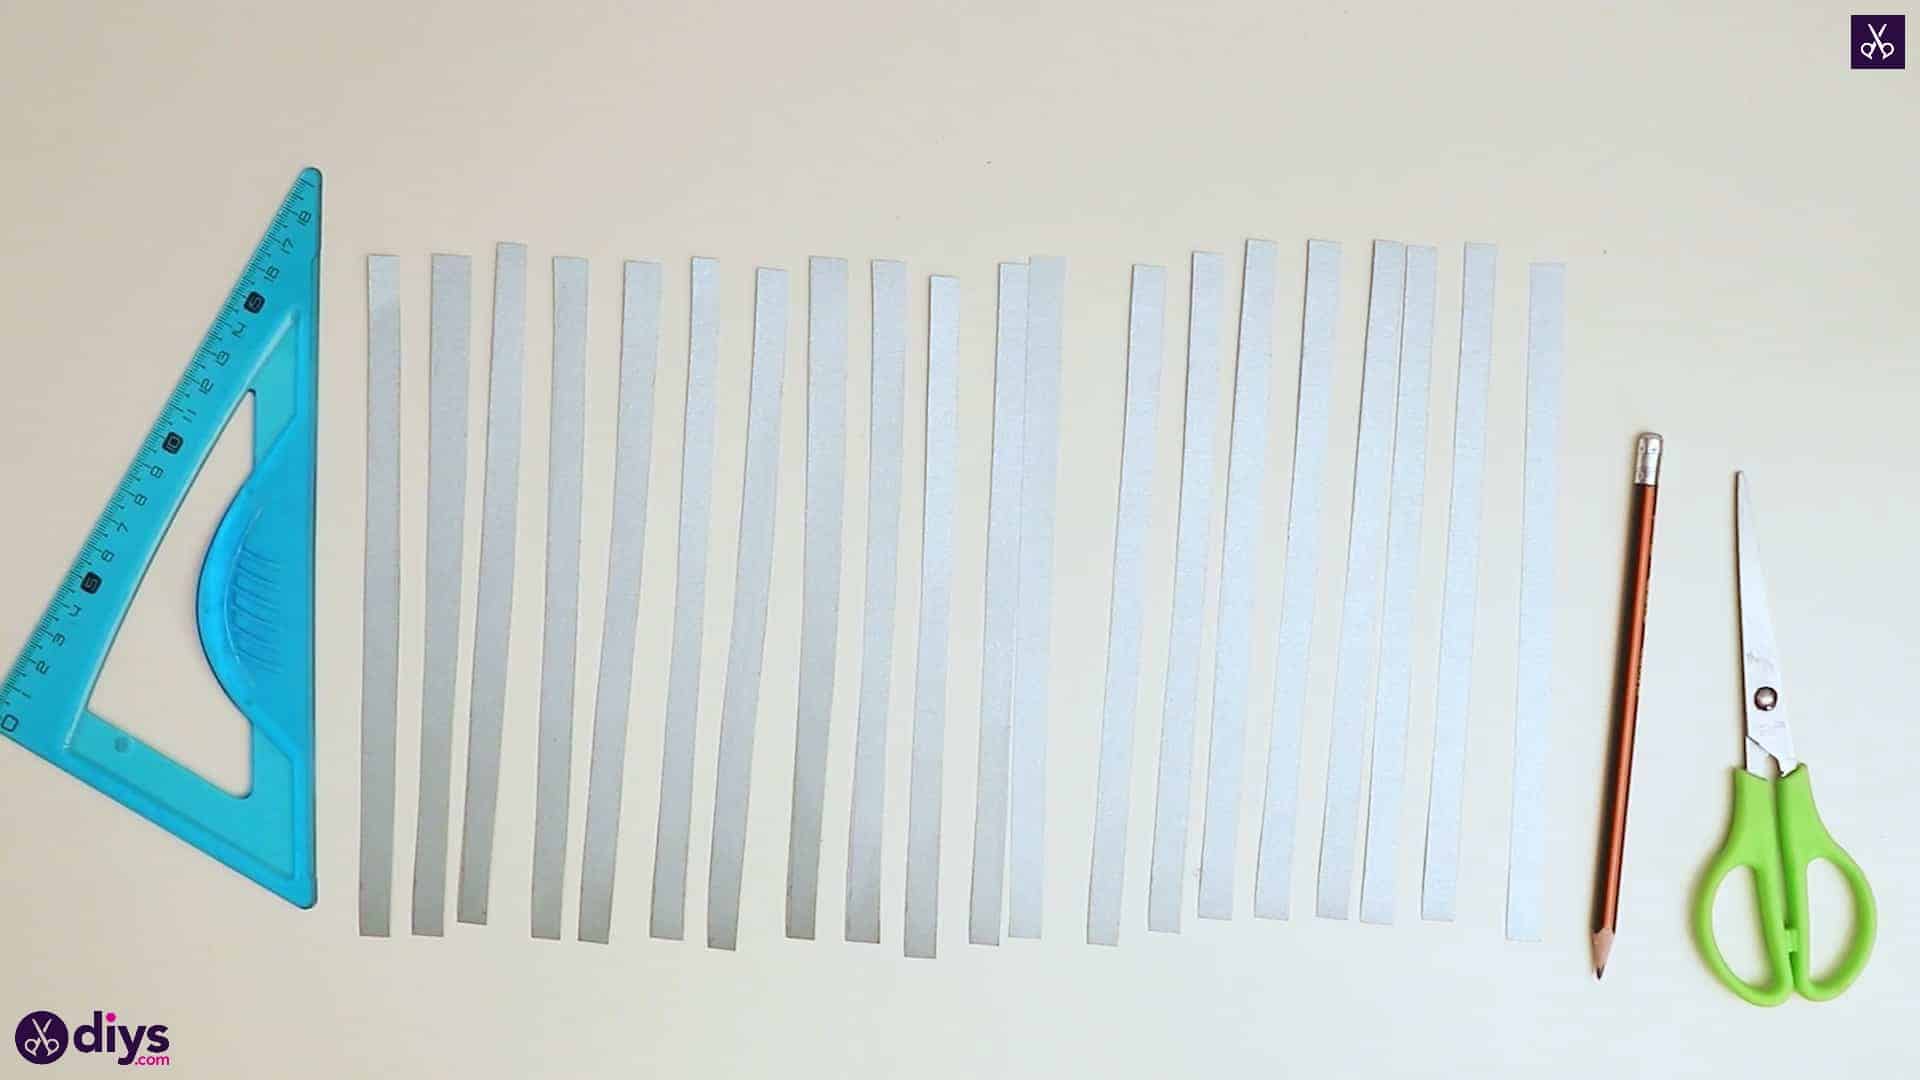
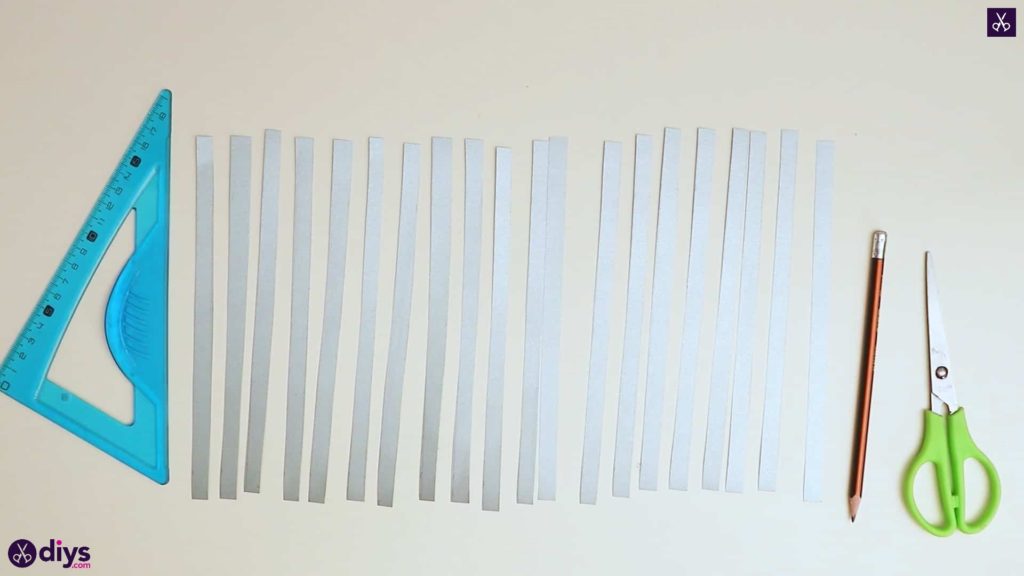
Step 4: cut strips
Cut out each strip from your page, keeping your scissors straight along each of your drawn lines until you have many strips that are each the full height of the page and one centimetre wide. You should end up with at least 20 evenly sized bits of paper.
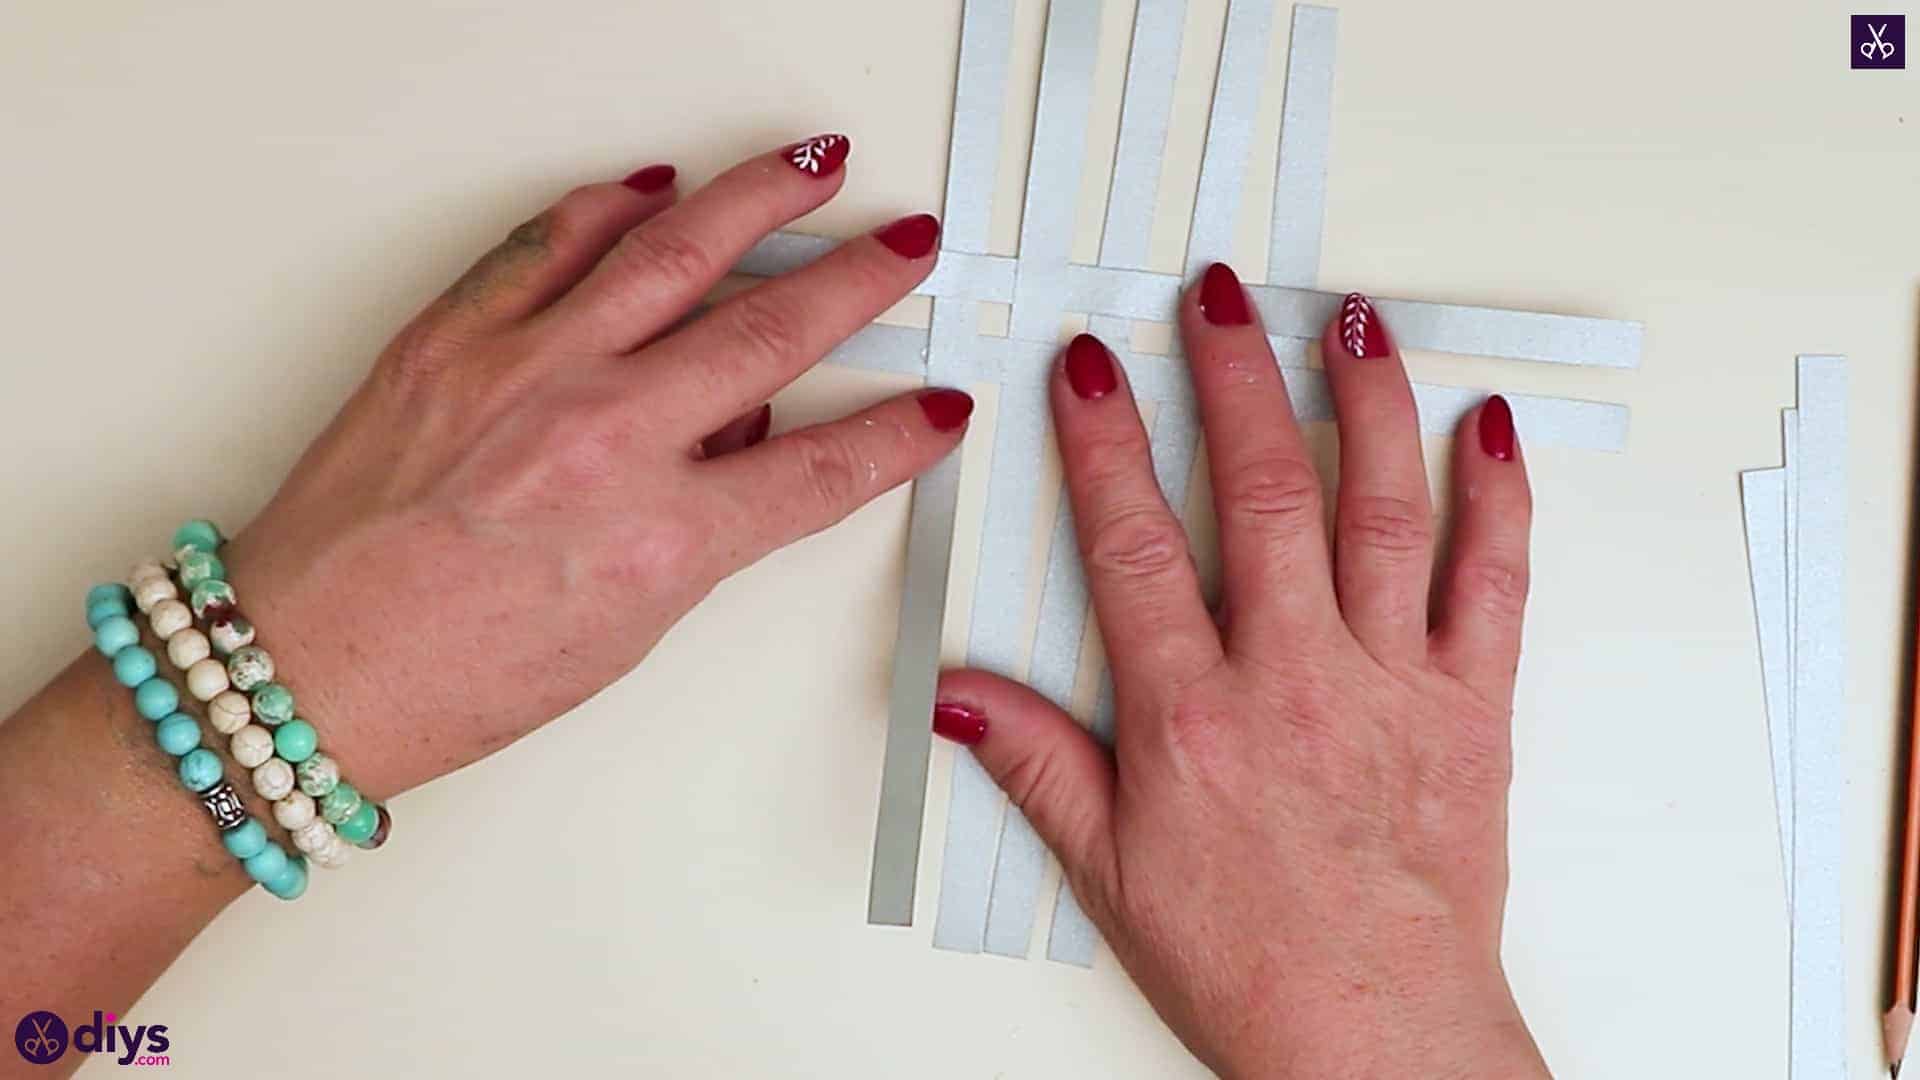
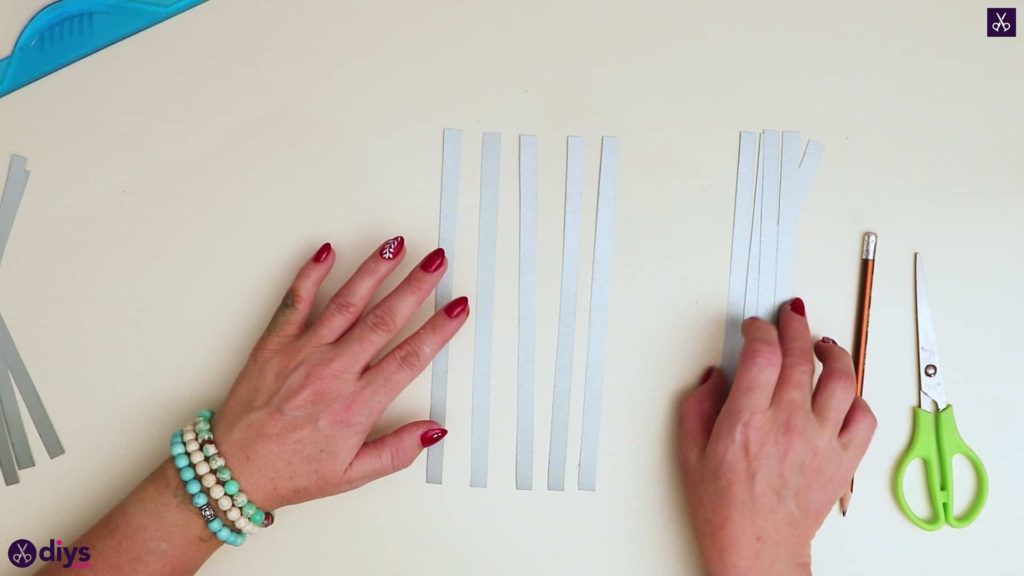
Step 5: criss cross
Divide your silver strips into two groups of ten. Set one bundle of ten aside for later and then divide your other group of ten into two groups of five. You’ll arrange one of these groups of five vertically and the other horizontally. Line up the first group vertically next to each other with a few millimetres in between them. Next, line the second group up horizontally across those first vertical strips, so they lay on top of them. You want an even amount of each vertical strip to stick out above and below the horizontal group from underneath, and an even length of the horizontal strips to stick out over each side of the vertical group. Adjust and position them until you feel like things sit evenly in a sort of grid.
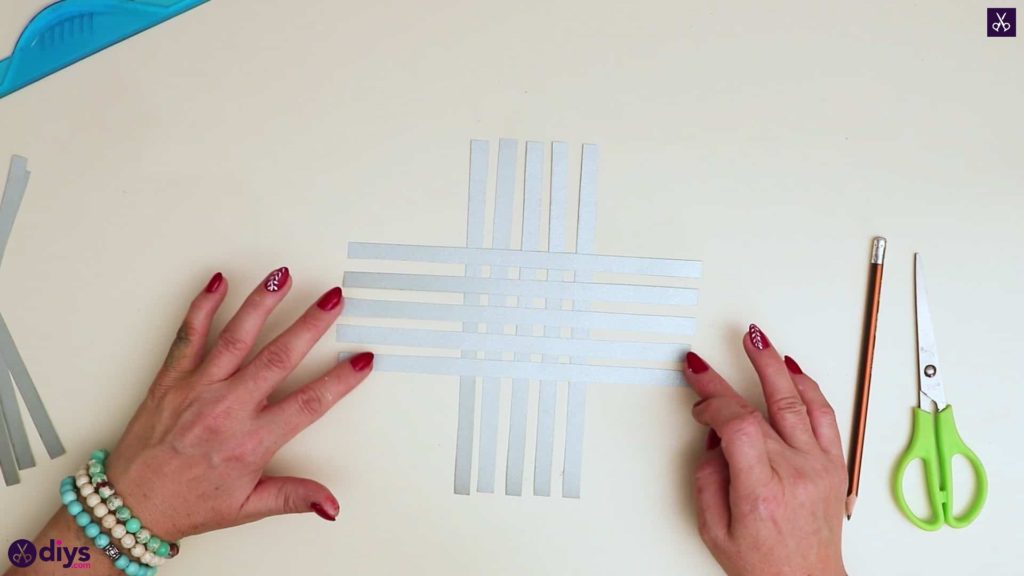
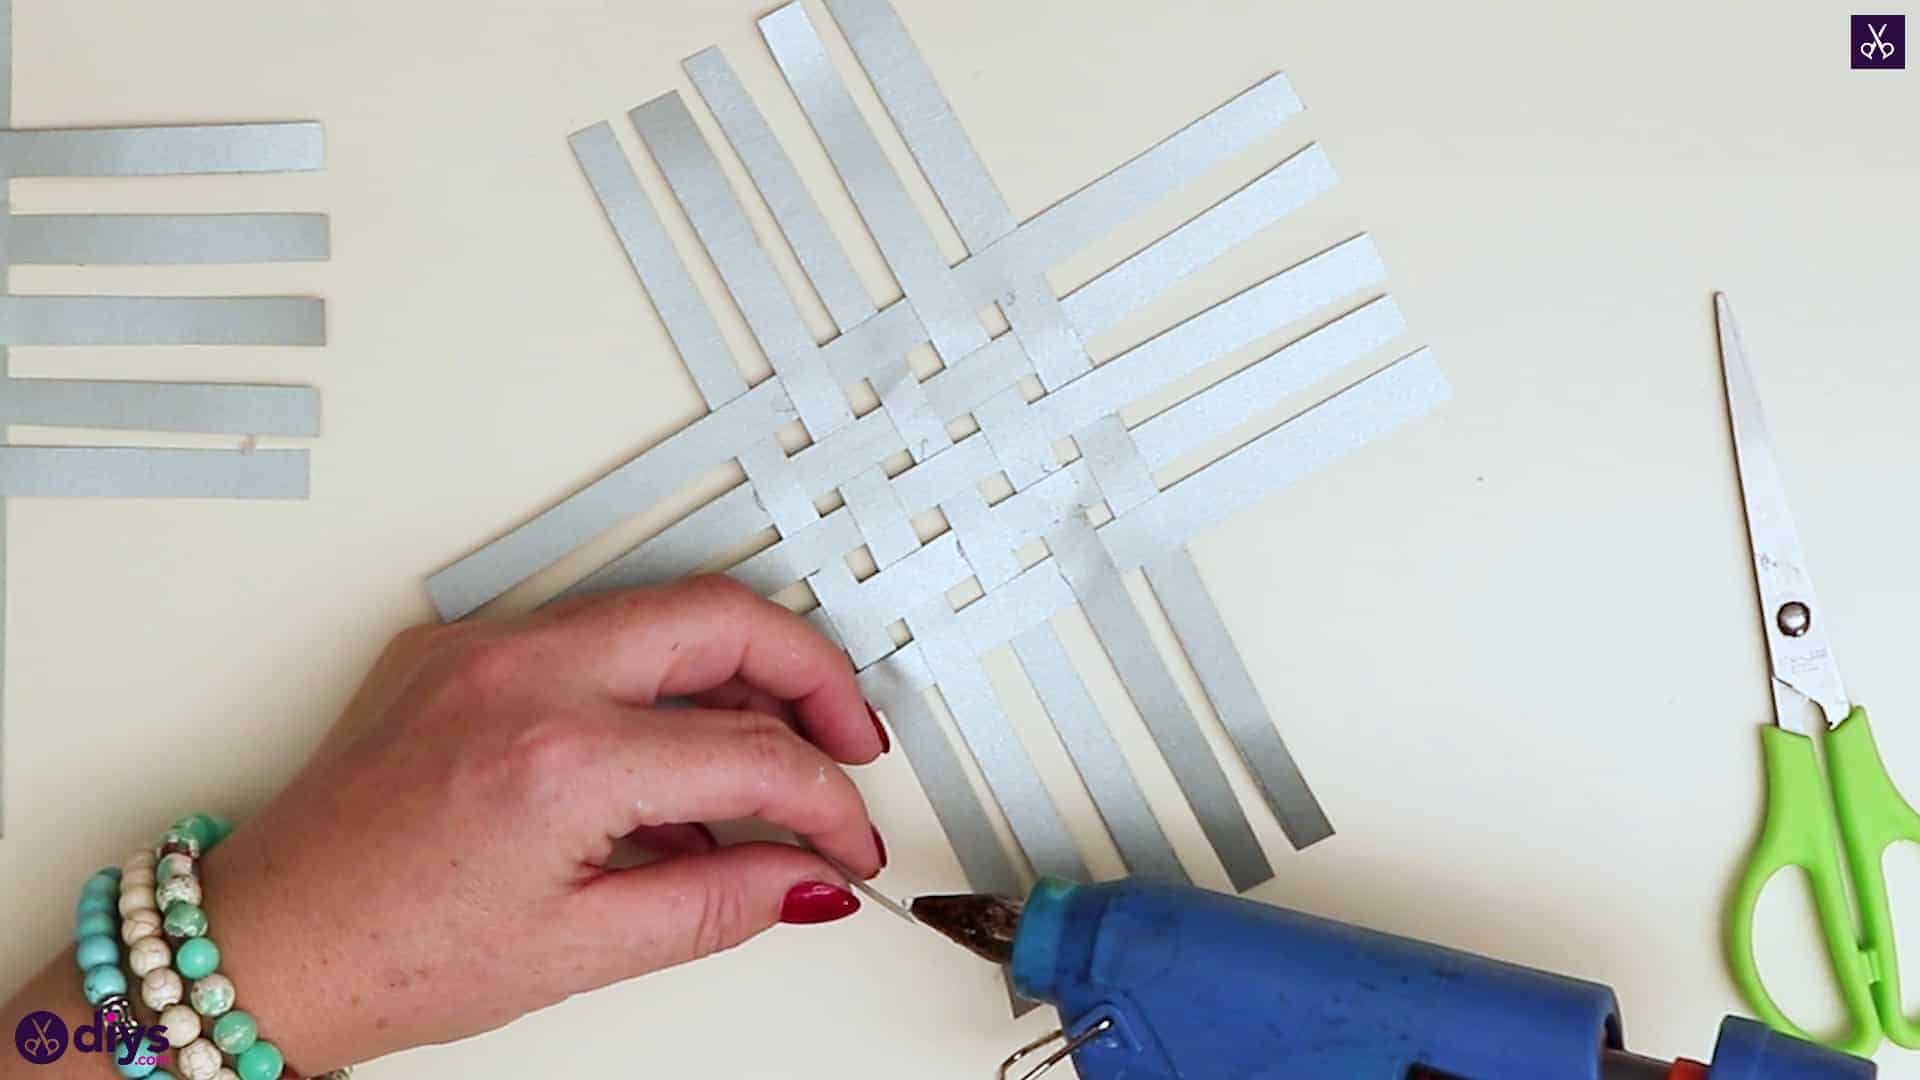
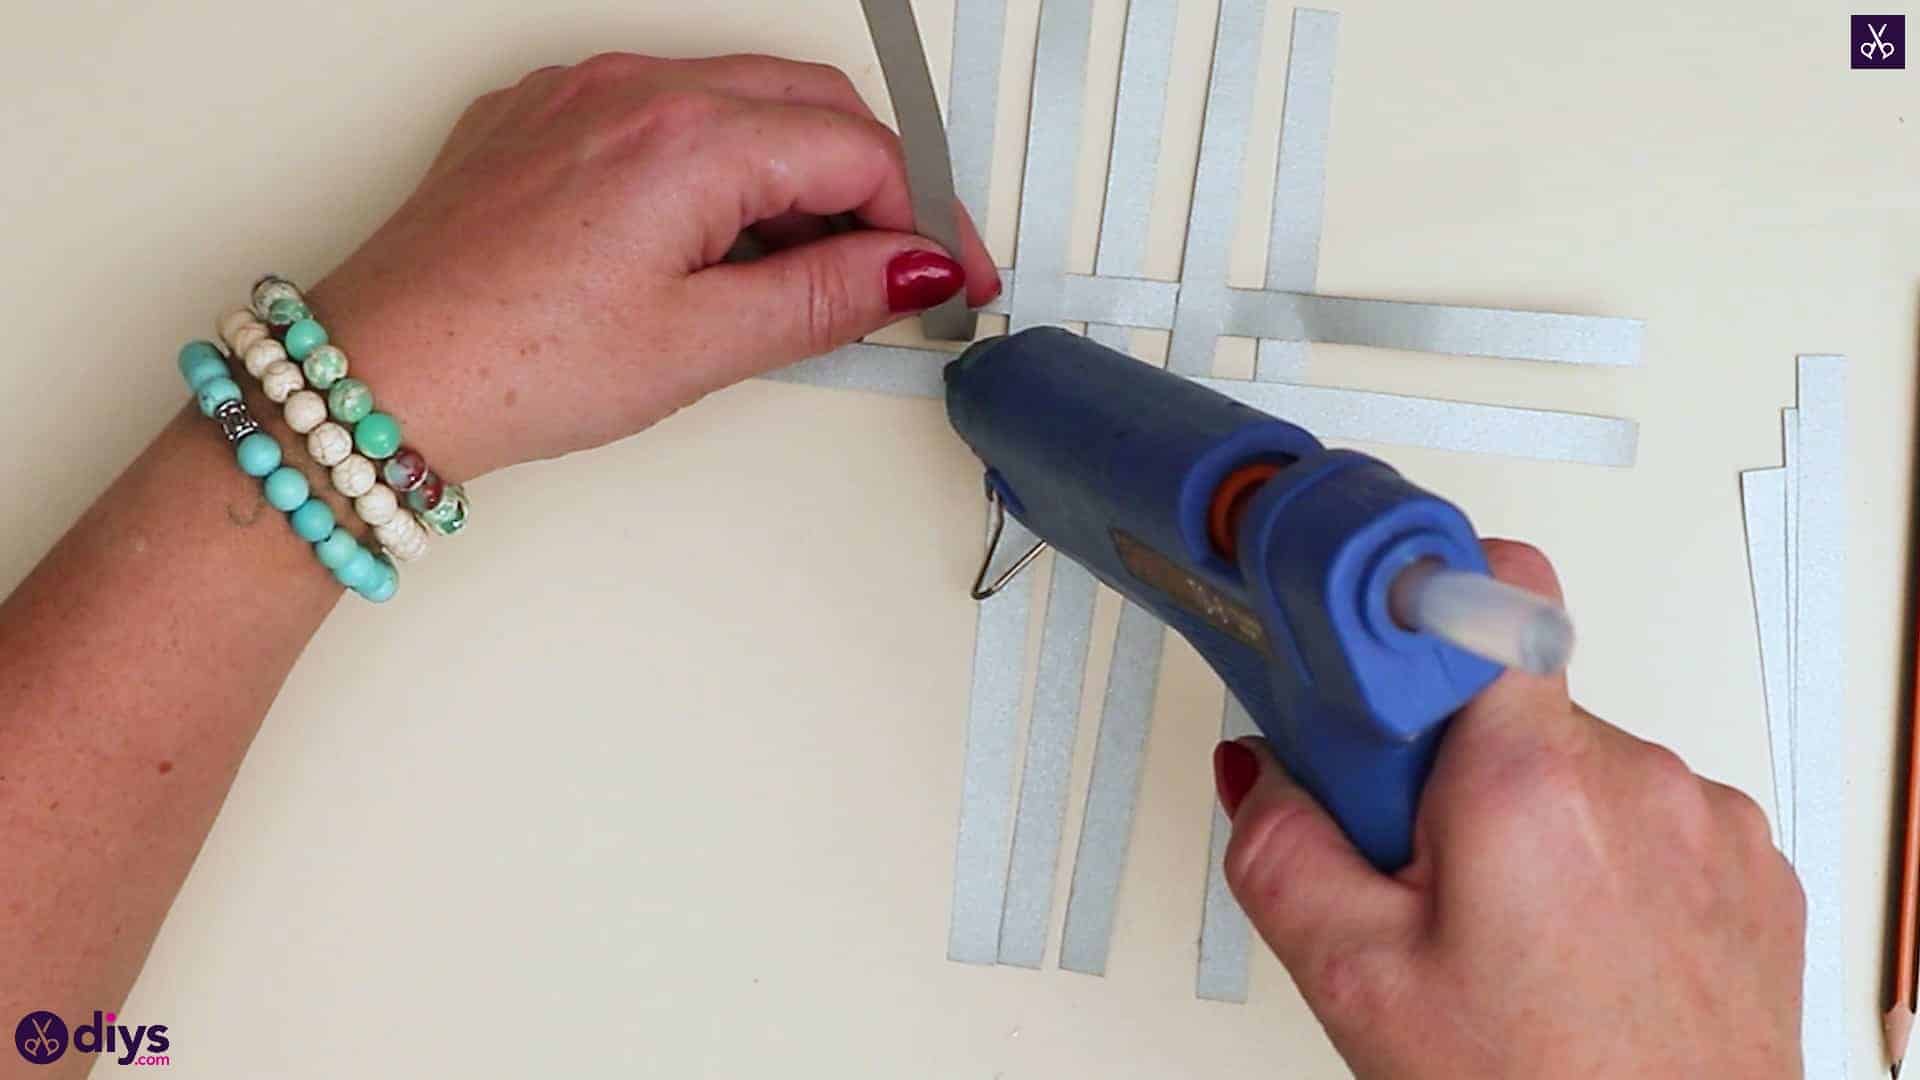
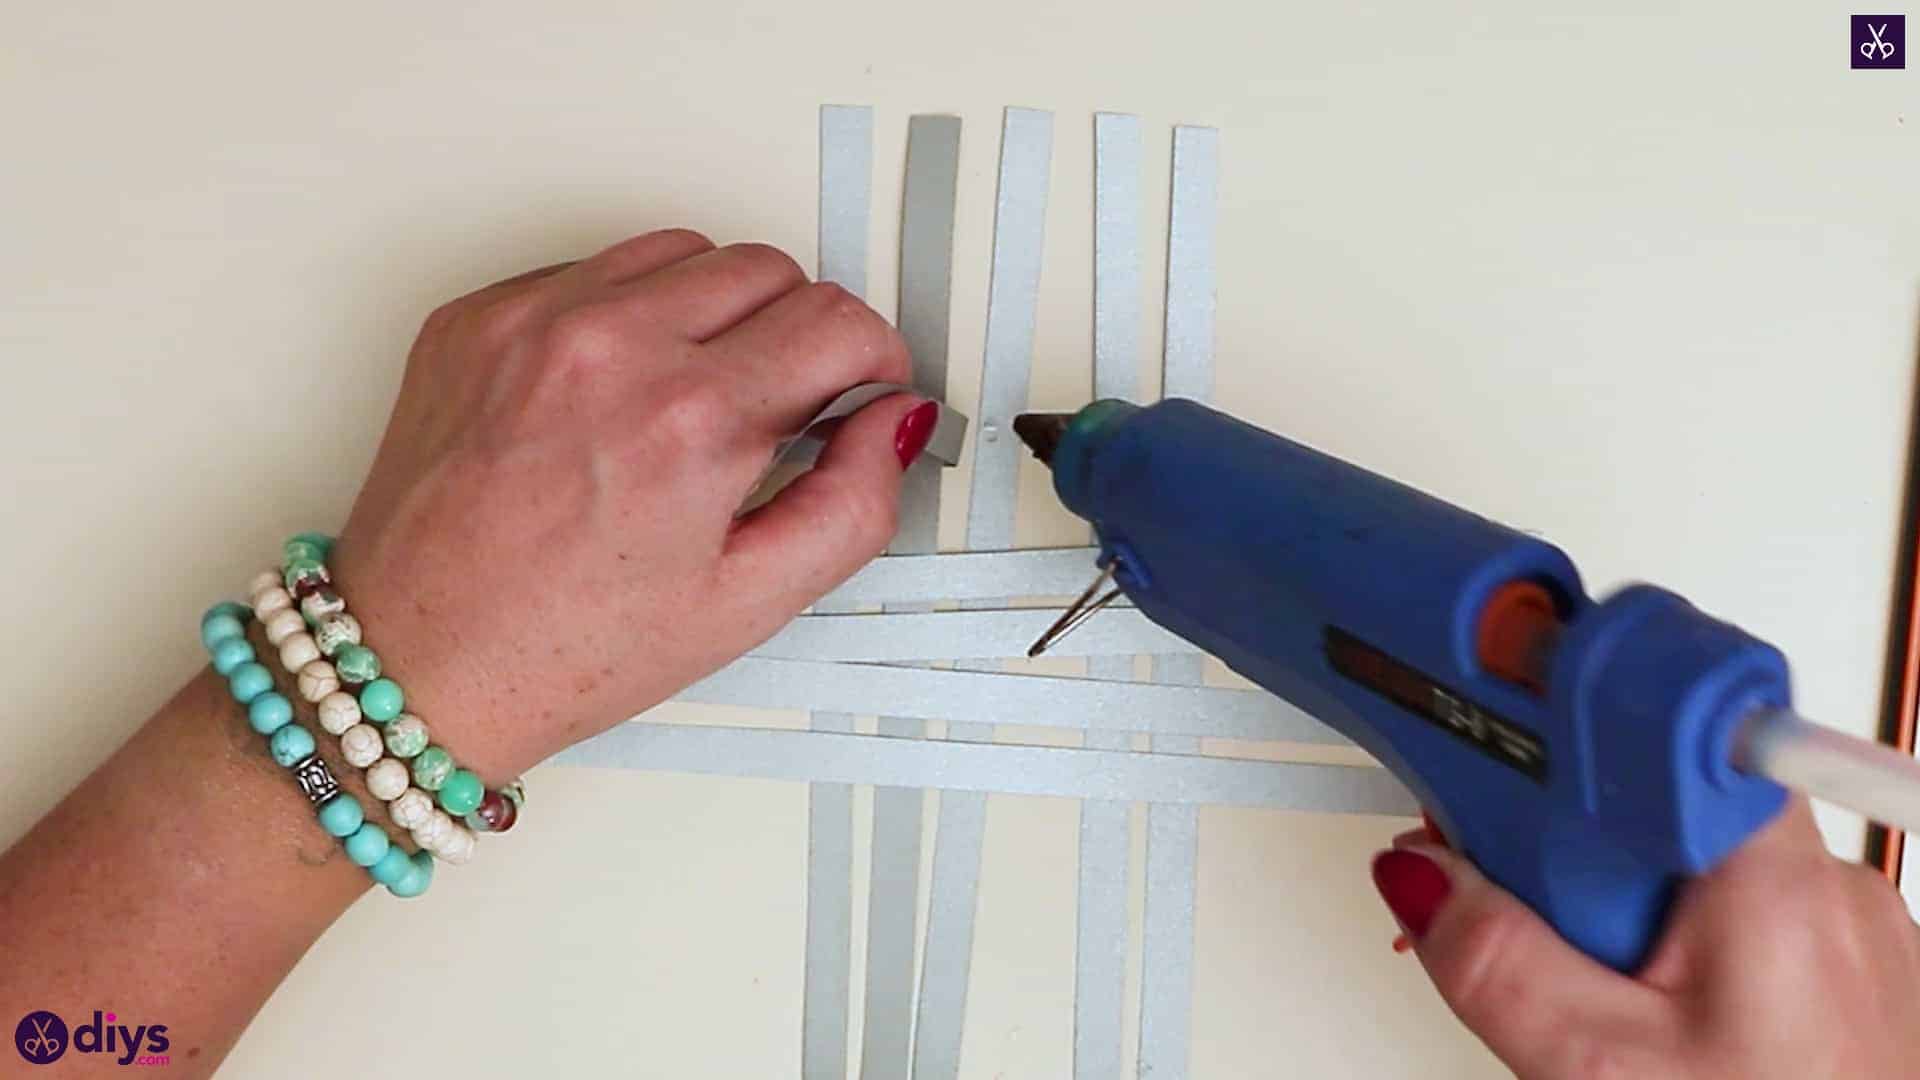
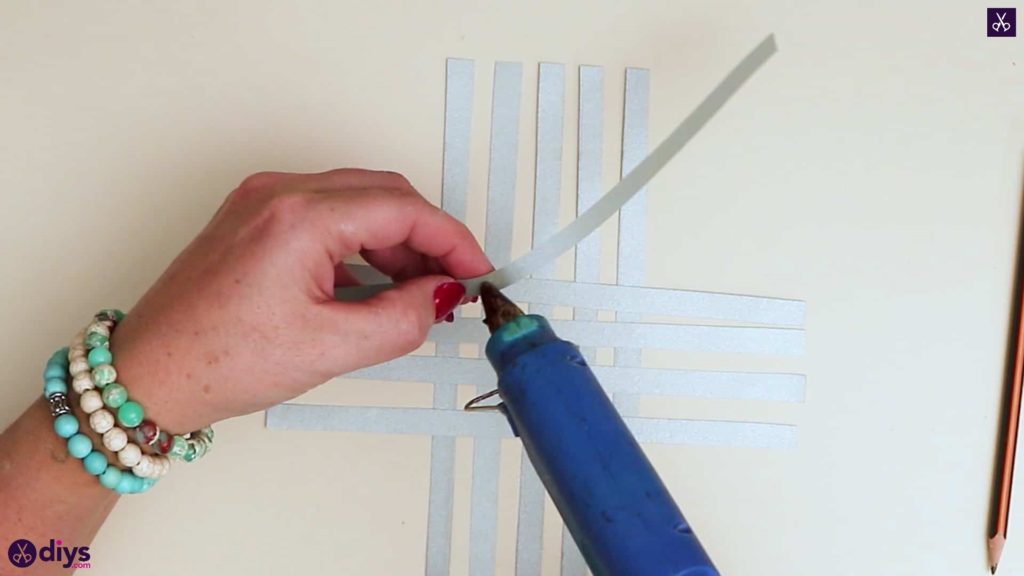
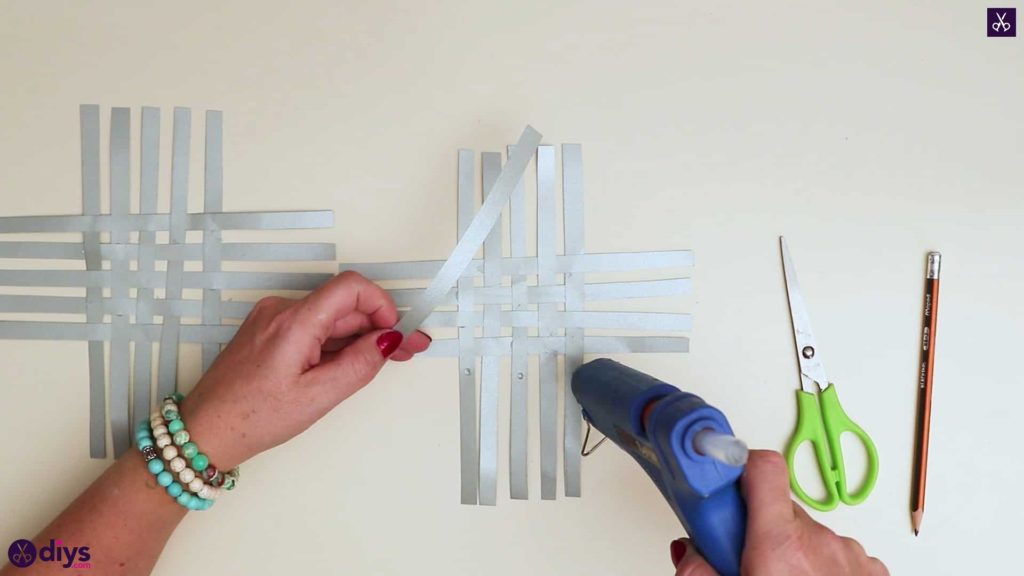
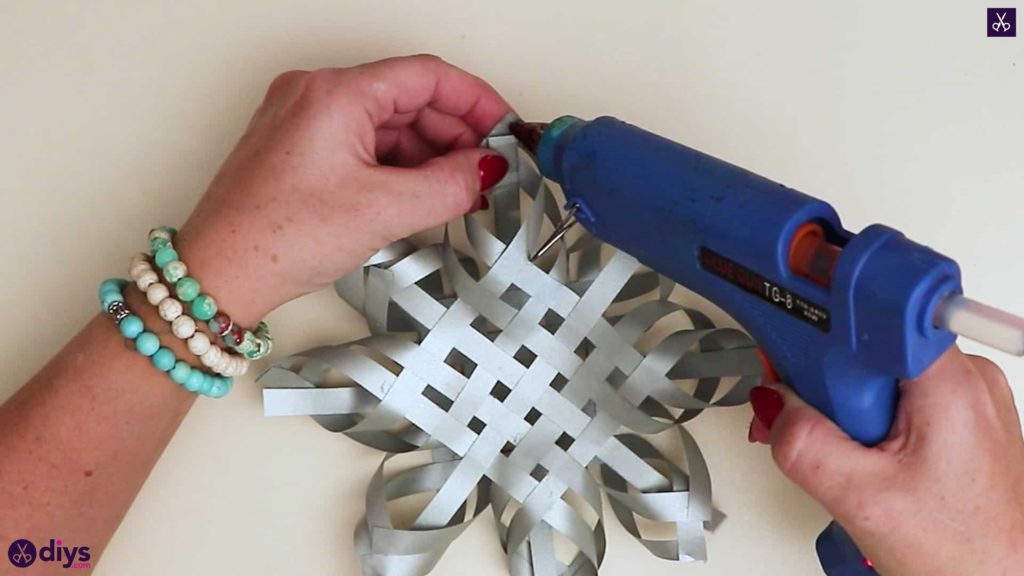
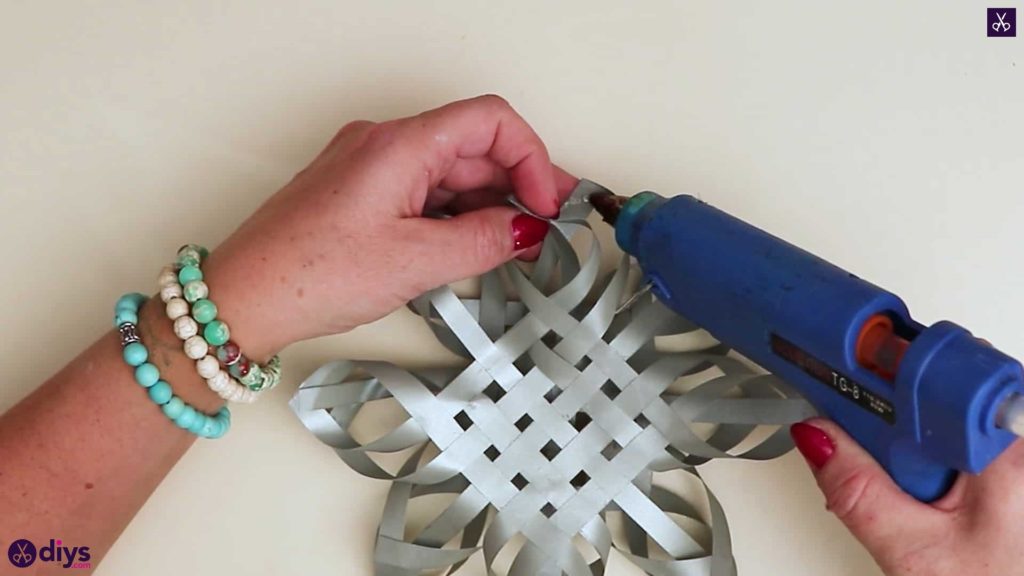
Step 6: glue
Now you’ll start weaving your strips and gluing them in to place in order to make a basketweave patterned square. Place glue in the spot where your first horizontal strip crosses over your first vertical strip and stick it in place to anchor that strip. Next, pass the horizontal stripunder the second vertical strip, placing a dot of glue between them where the cross over each other in this new way as well. Cross your first horizontal stripover your third vertical strip like you did your first one and dot glue between them, then gounder the fourth strip before sticking it in place. Repeat this process al the way across, alternating an under-then-over weave until your first horizontal strip is stuck into place crossing over each one of your vertical strips, all the way down its length.

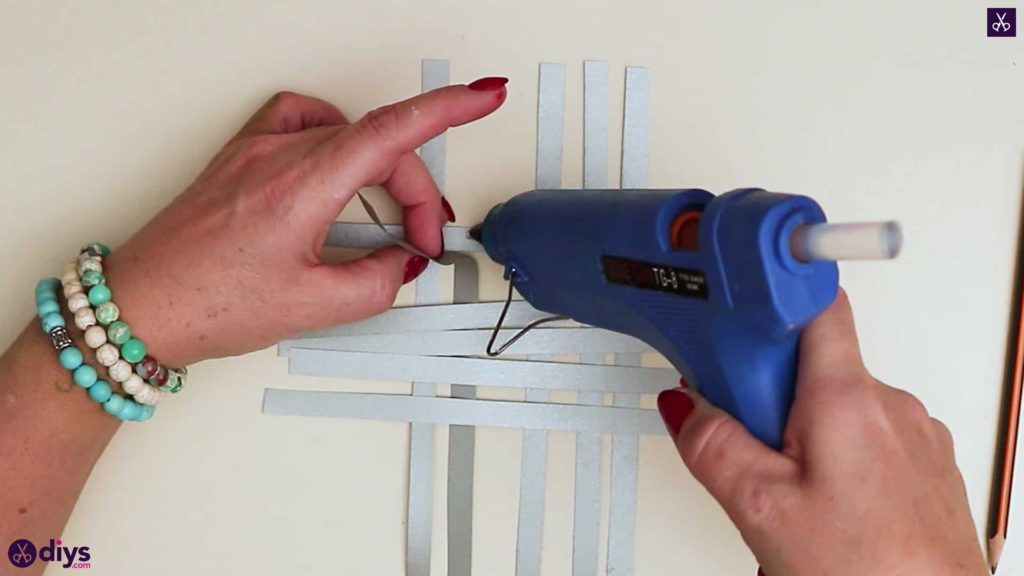

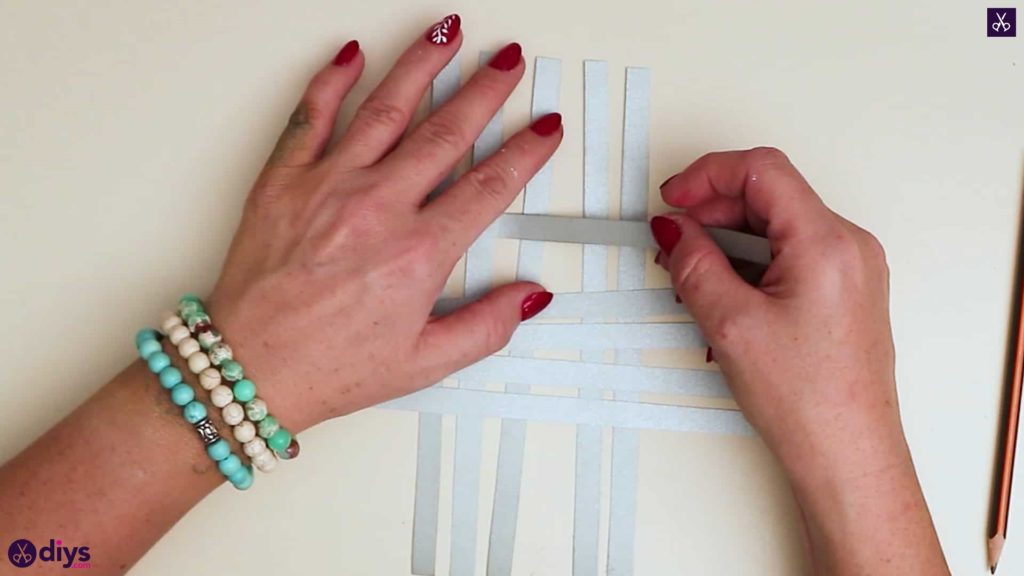
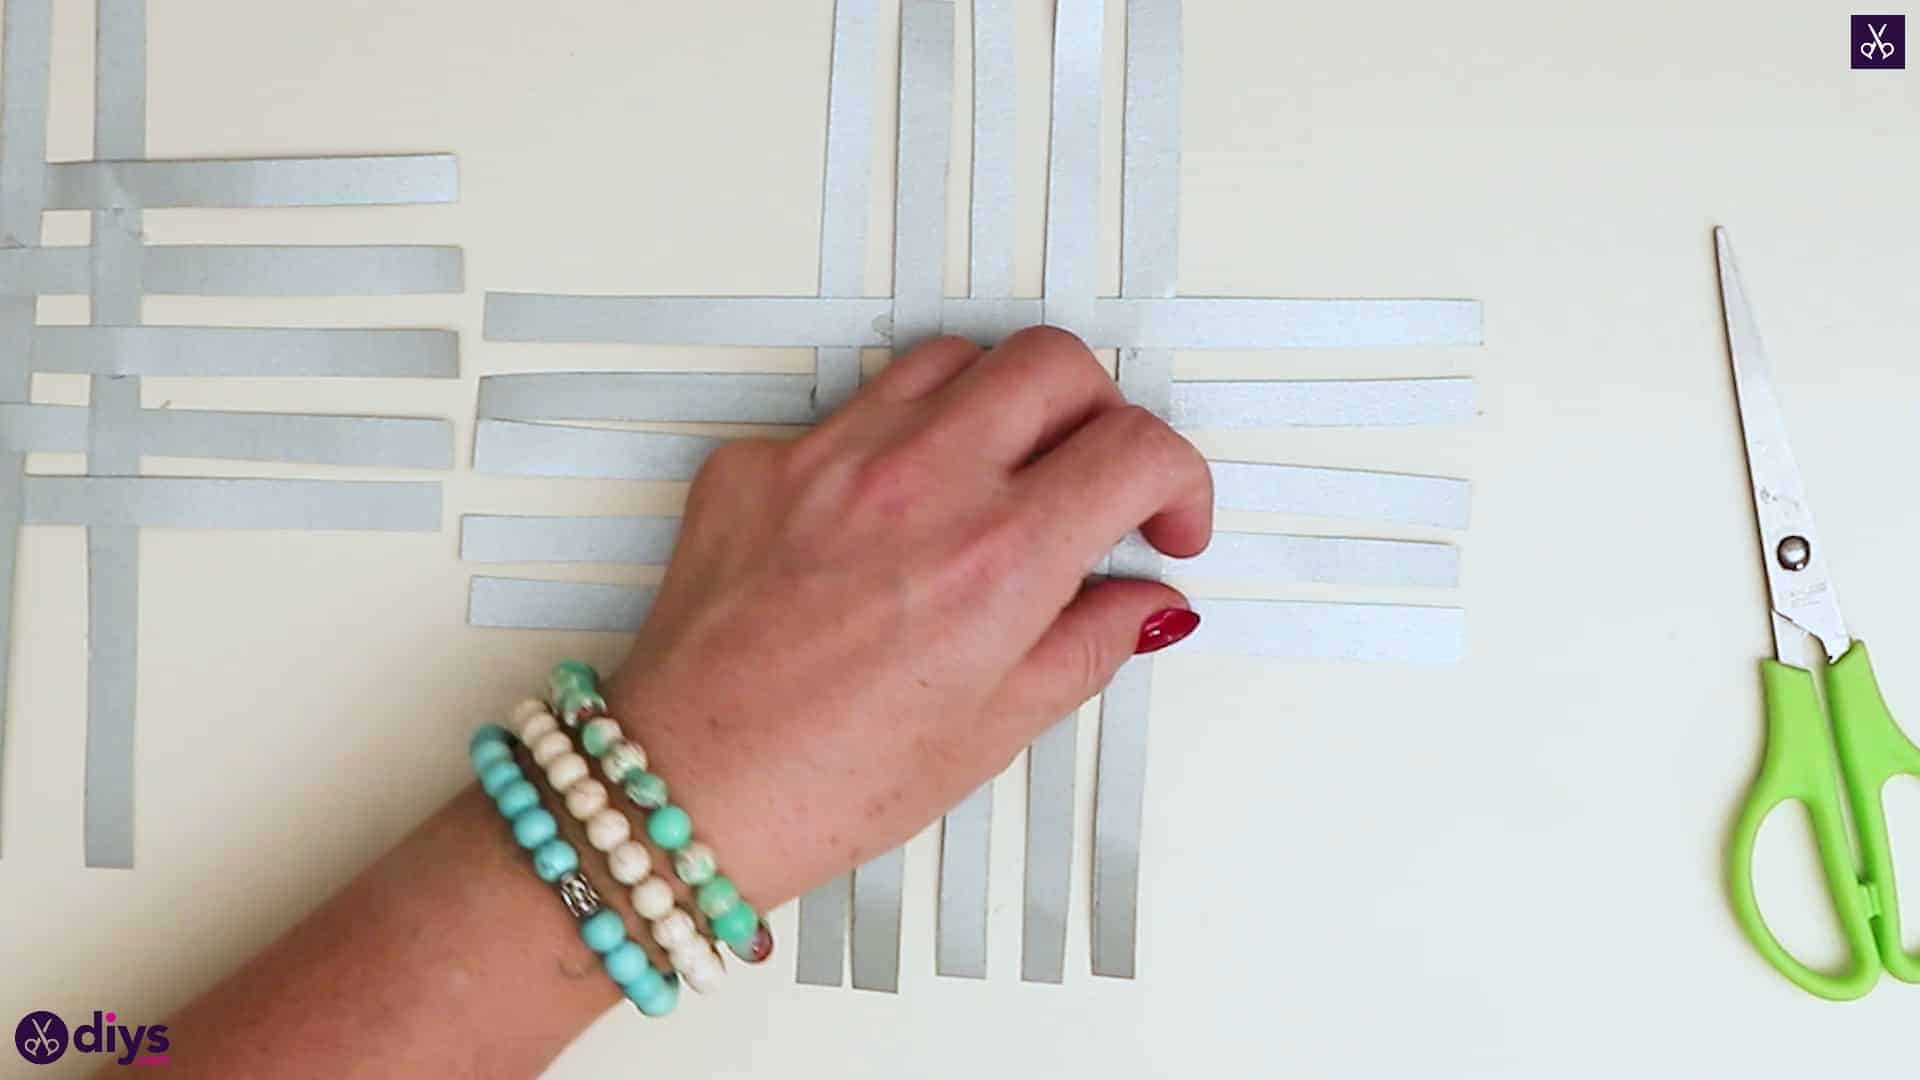
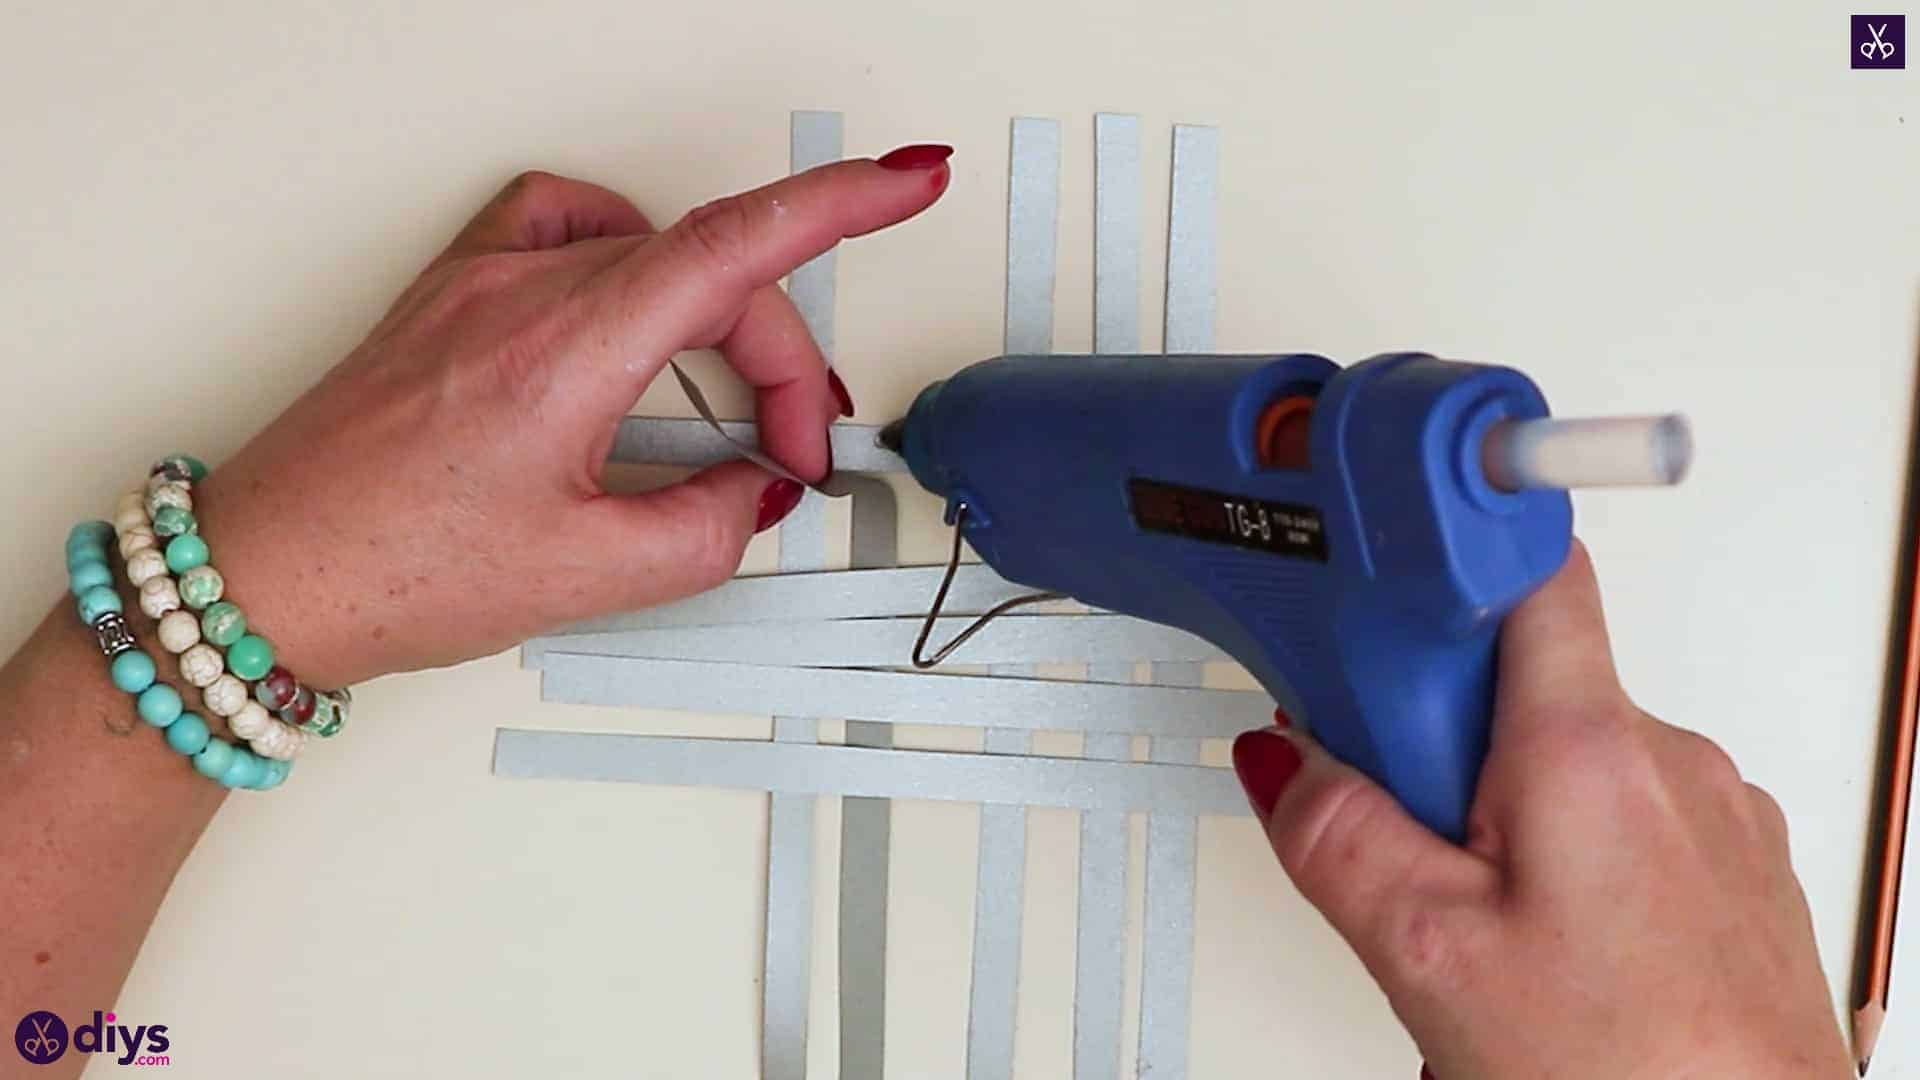
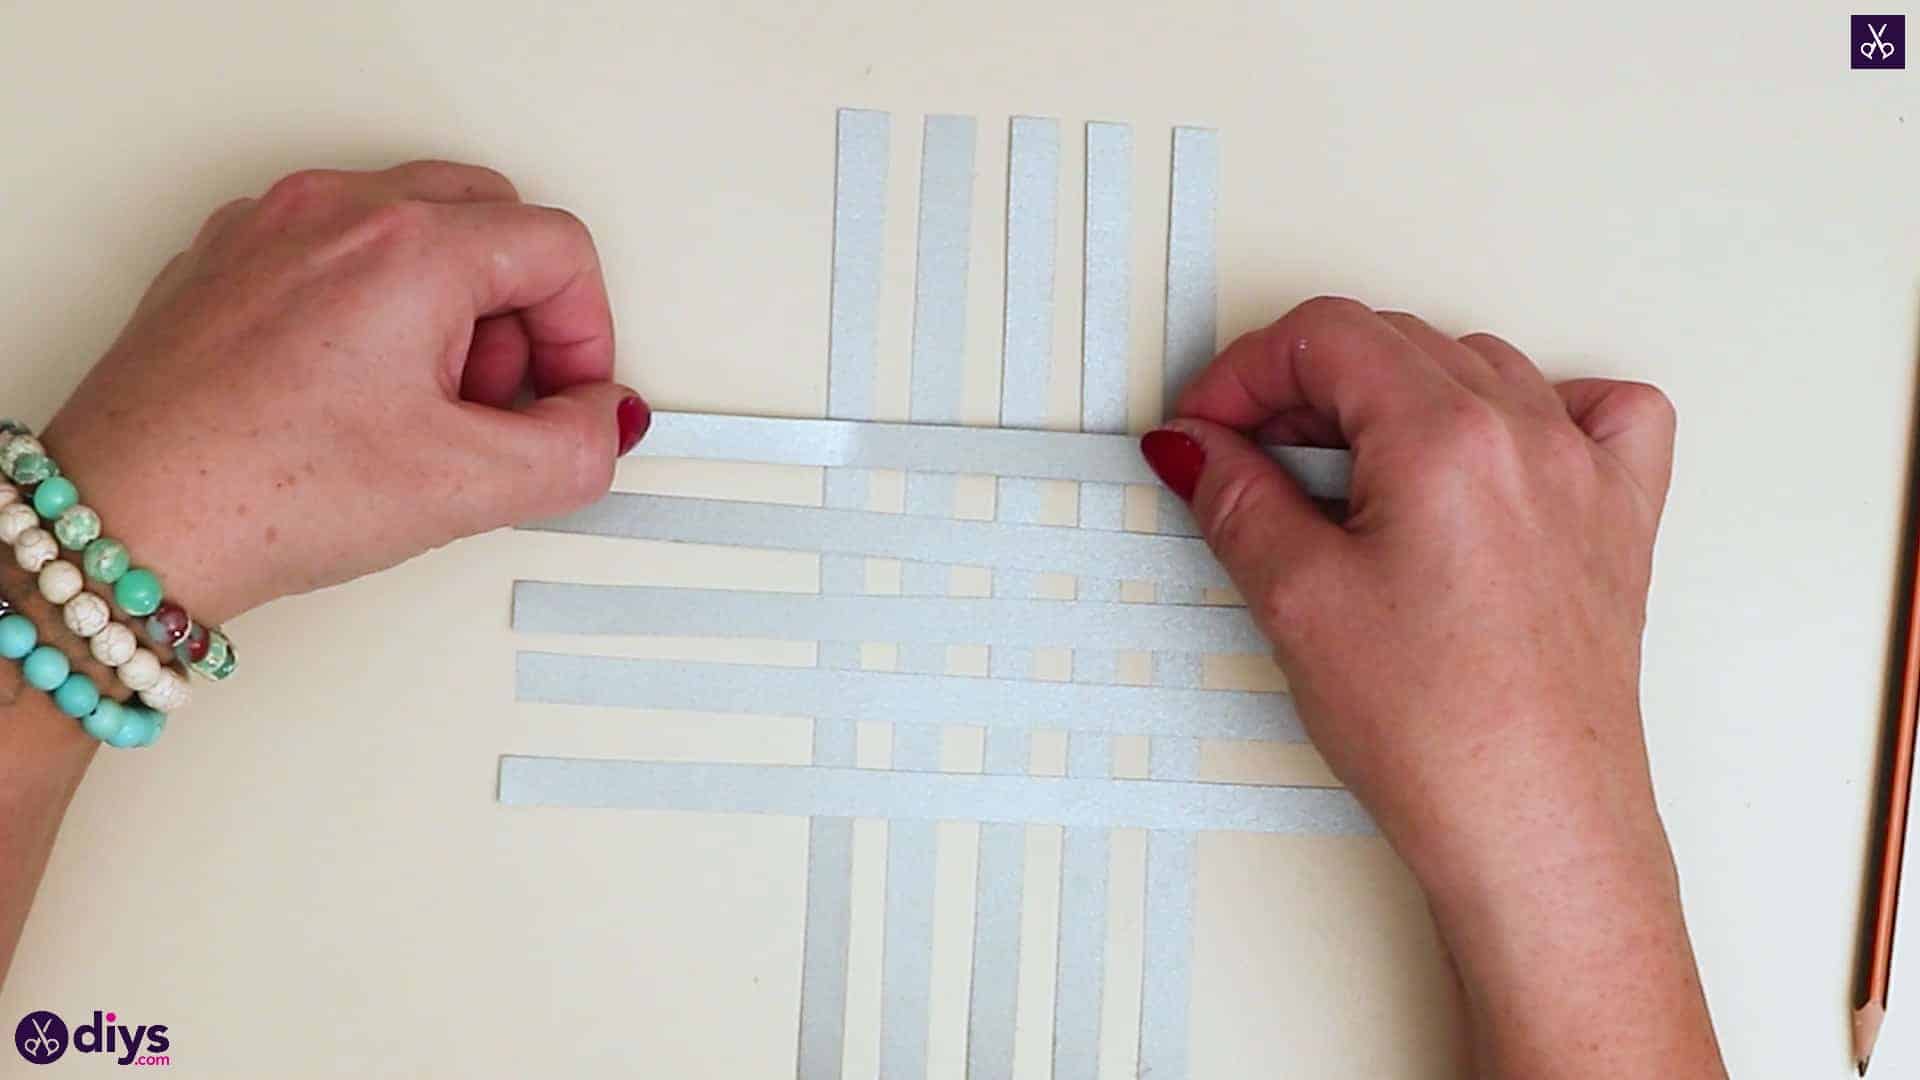
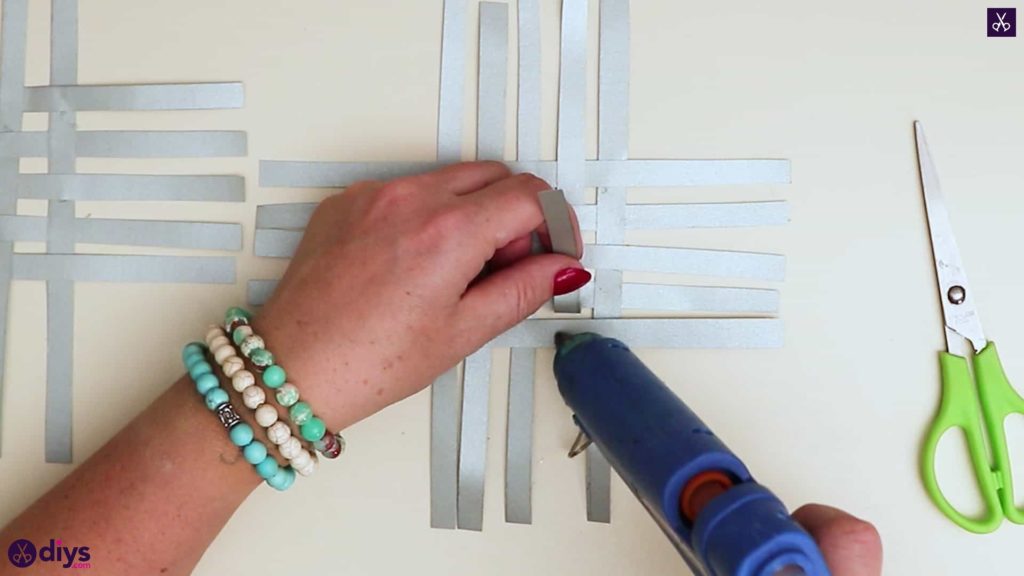
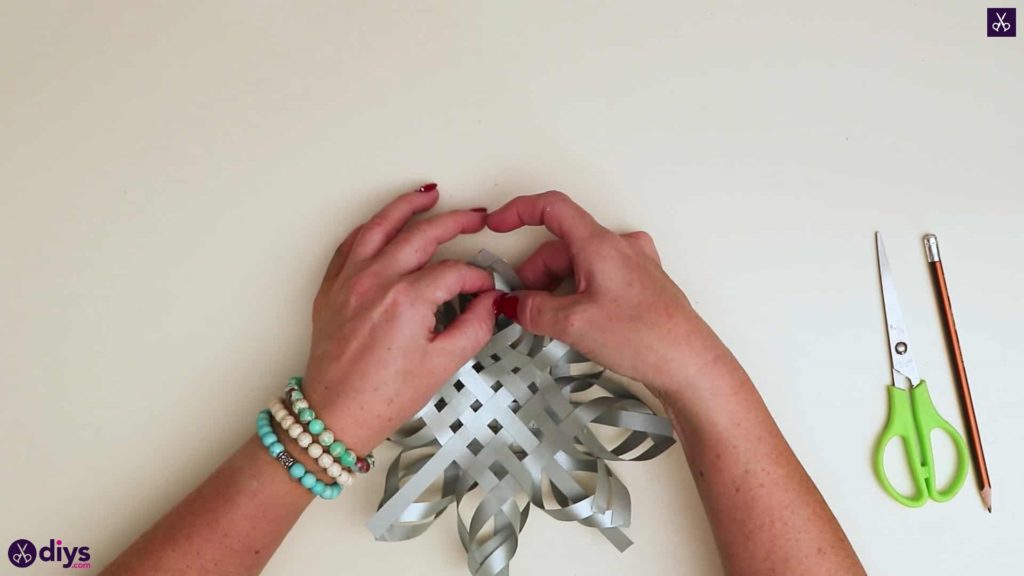
Step 7: weaving
Repeat the above basket weaving process almost exactly, with the same alternating and gluing technique that we just outlined, only using your other four horizontal strips. With the second strip, however, you’re going to reverse the pattern. This time, you’ll start out by gluing your horizontal strip under your first vertical strip instead of on top, then passing itover the second vertical strip instead of under. When you get to your third strip you’ll reverse that pattern again and do it just like you did with the first strip. Alternate this way with each strip so each one has the opposite basket weave pattern to the one directly above it. Complete your gluing and weaving process all the way down your five horizontal strips until you’ve finished a whole woven 5×5 grid.

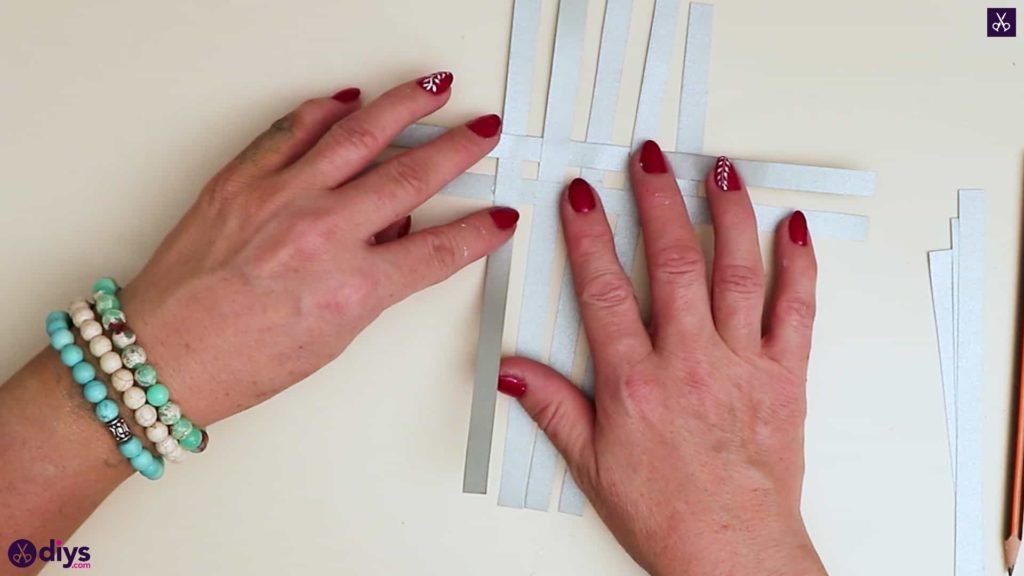
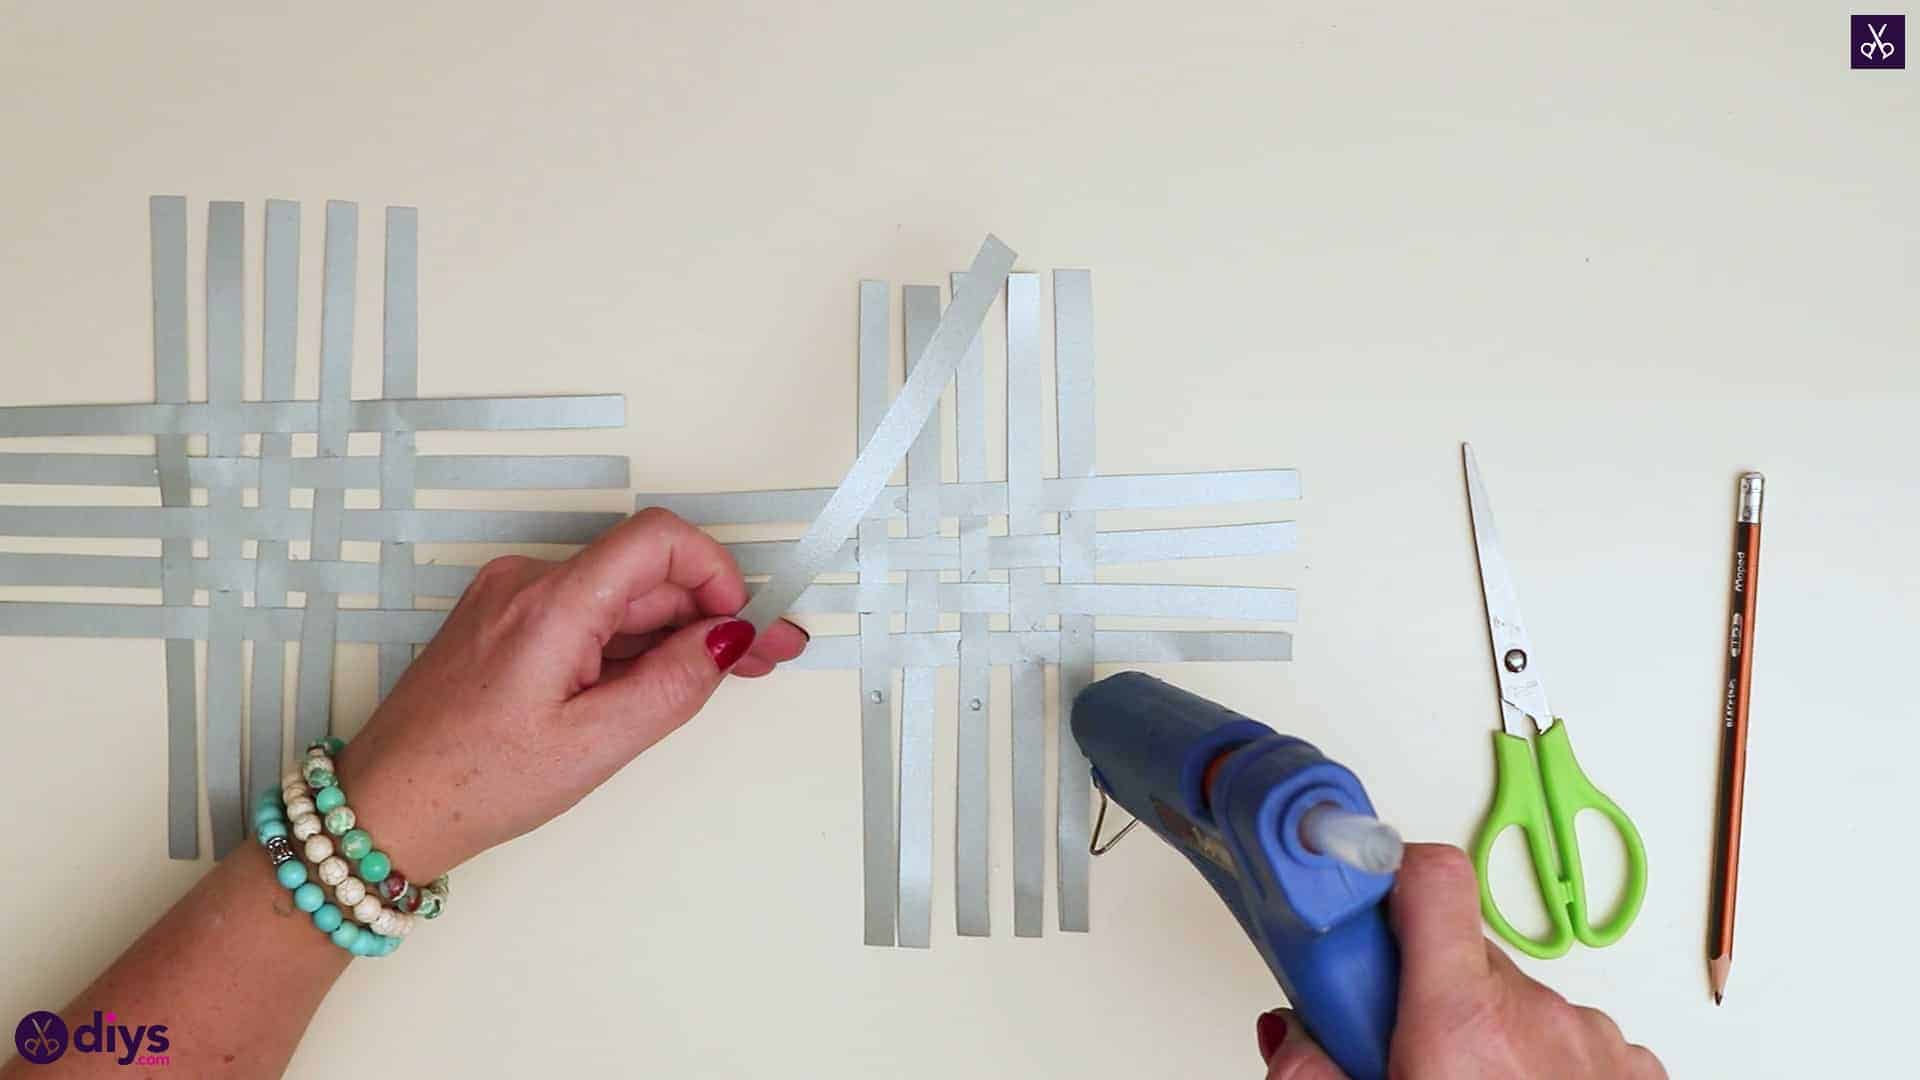
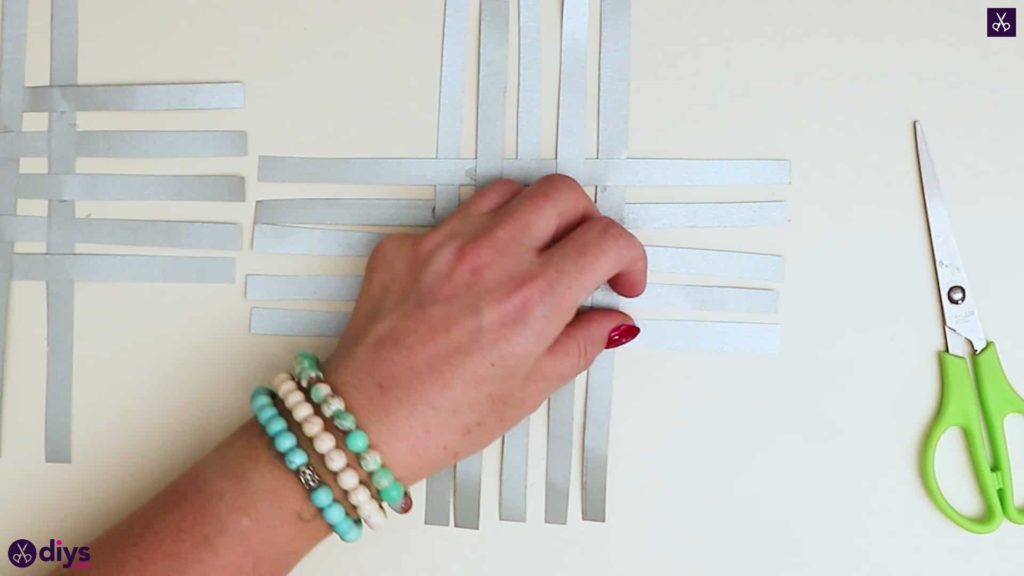
Step 8: repeat
Repeat theentire overlapping, weaving, and gluing process with your second set of ten strips that you set aside earlier, split into groups of five and laid vertically and horizontally in the same way as before. When you’re finished, you’ll have two woven grid, each with give loose ends on each side.
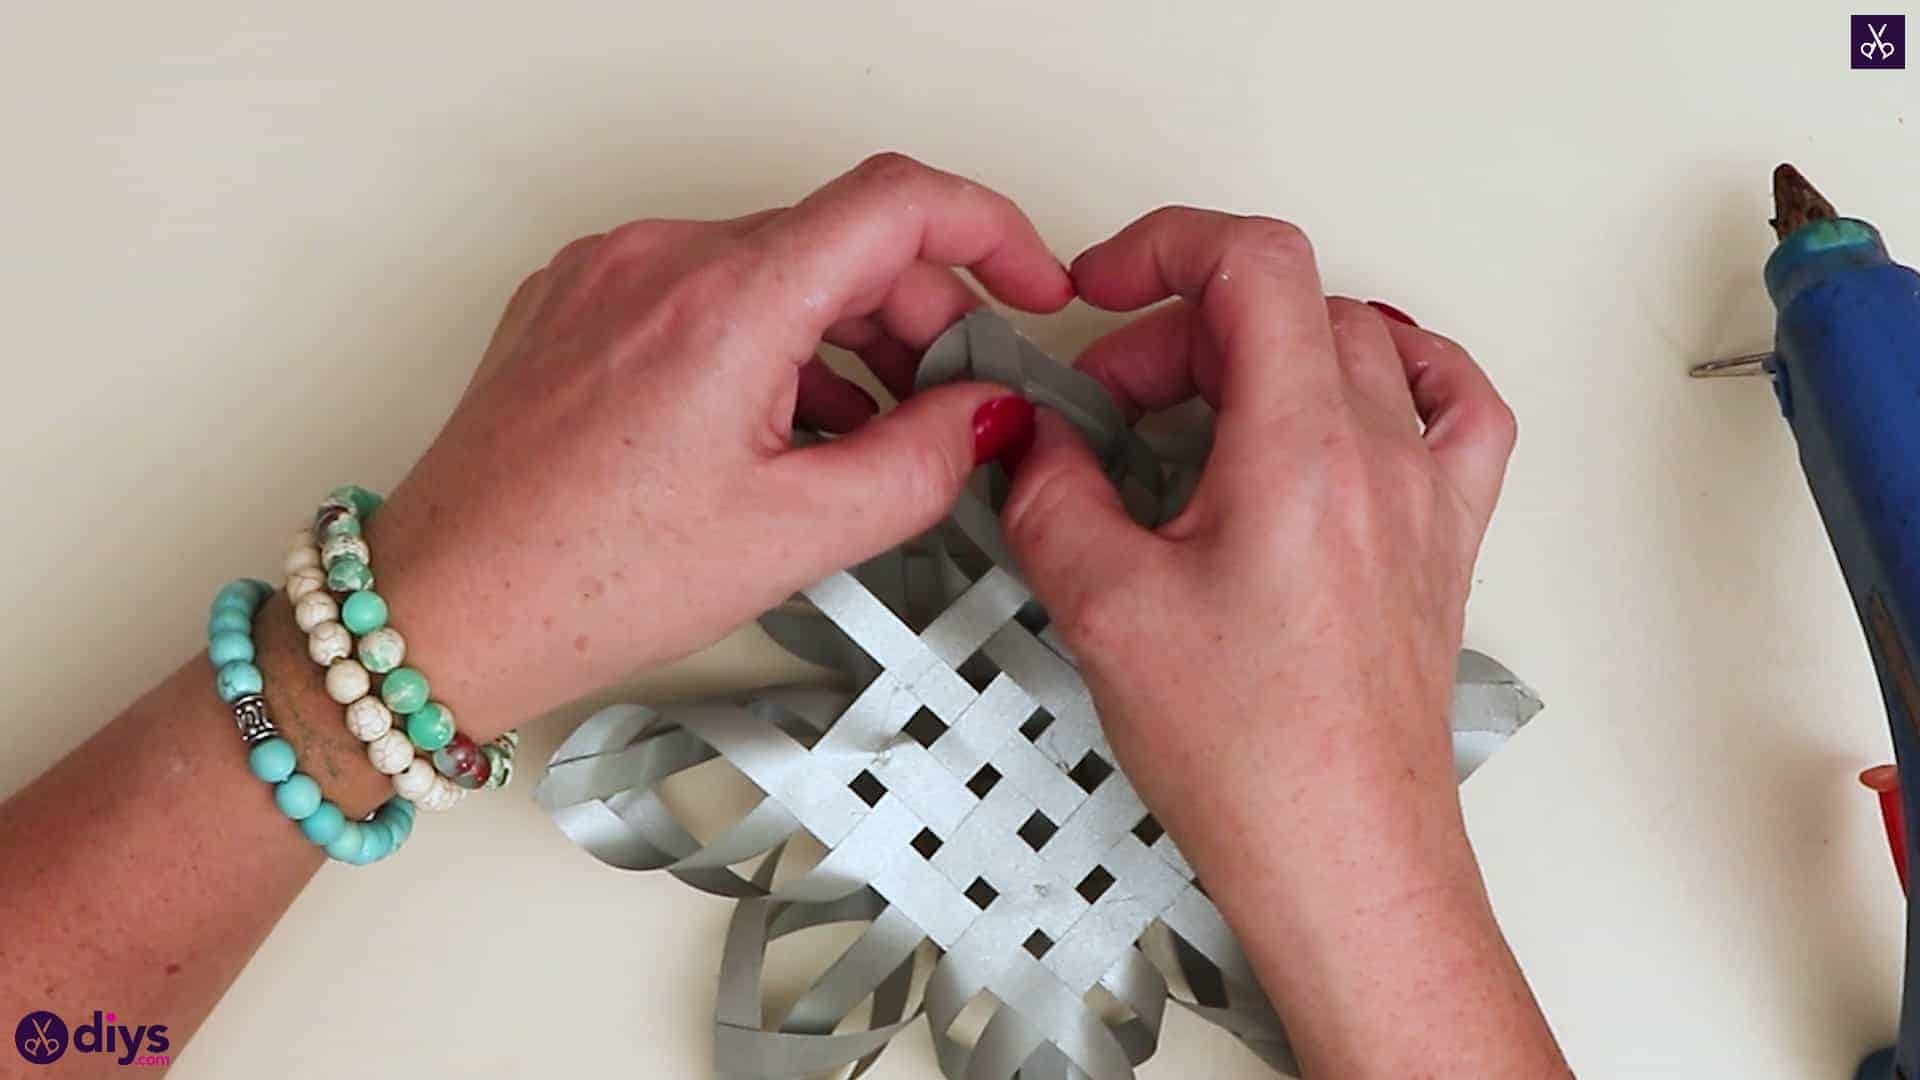
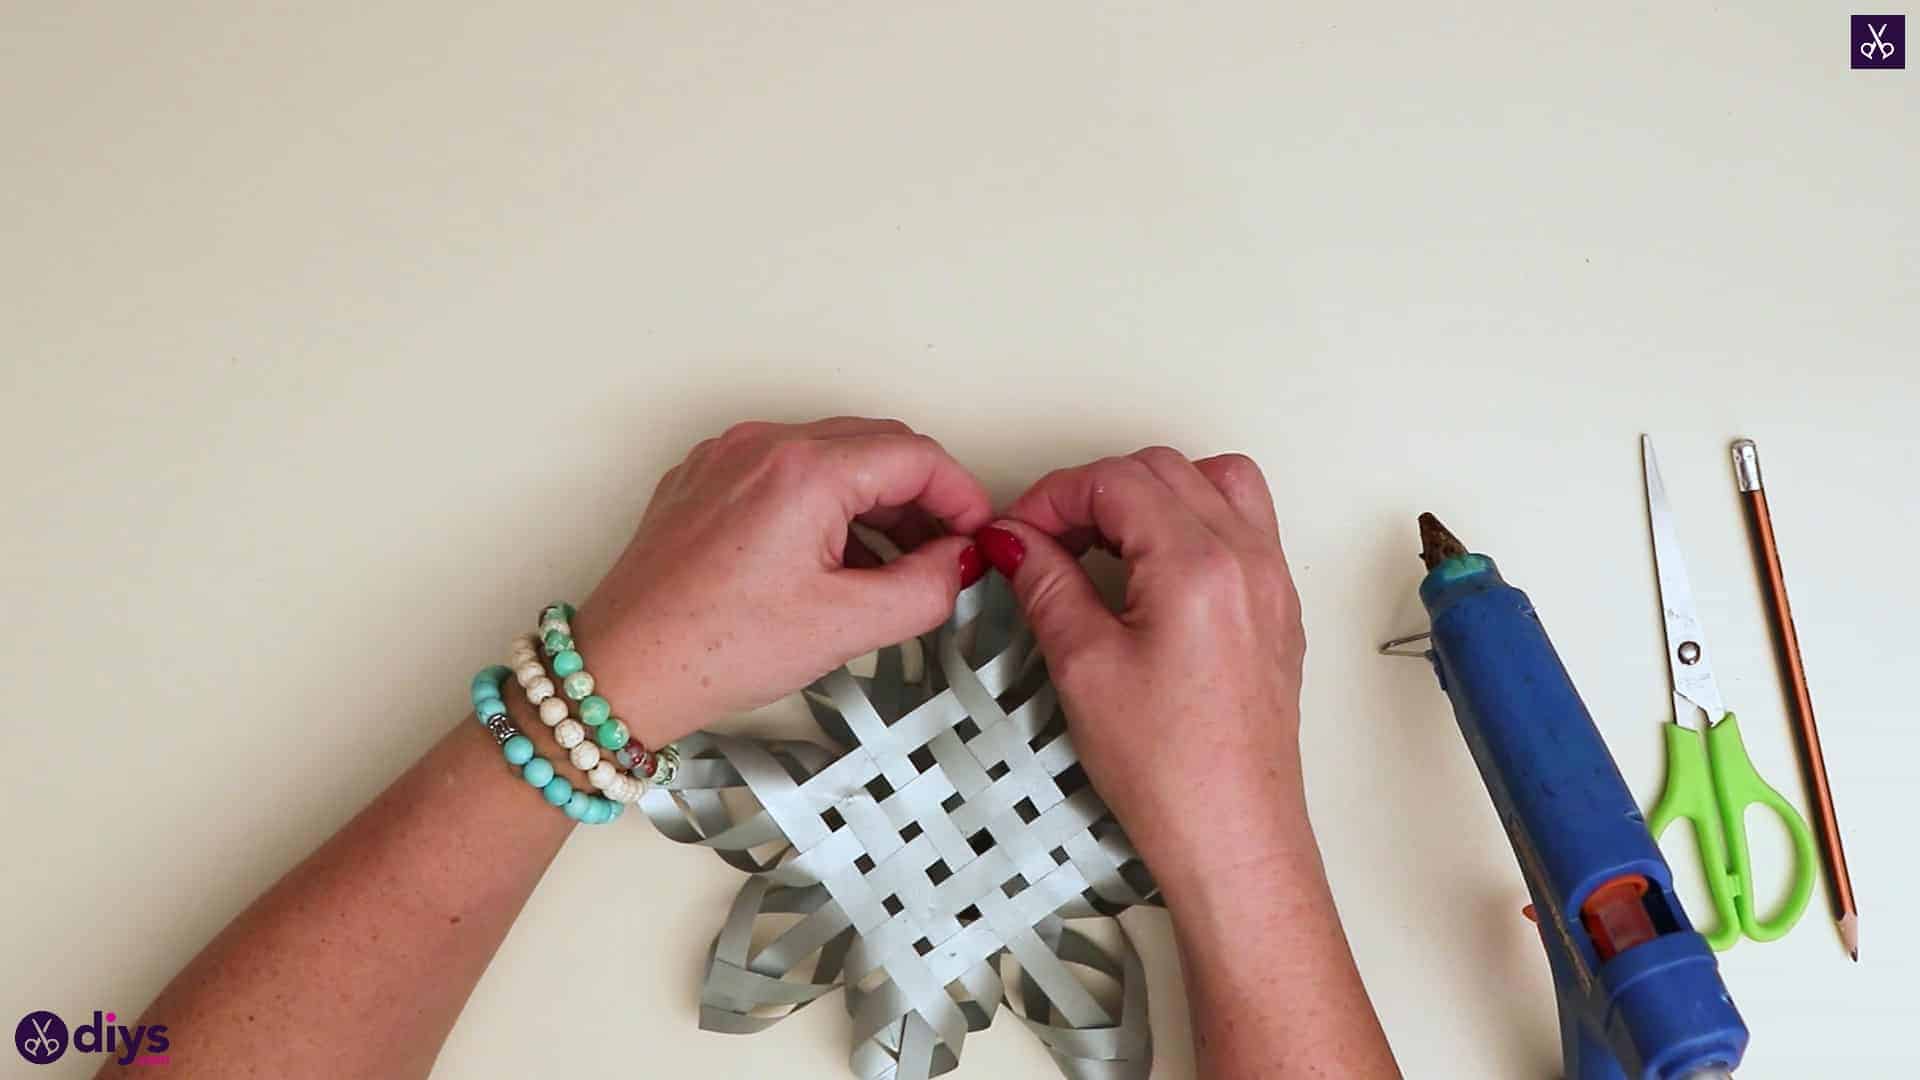
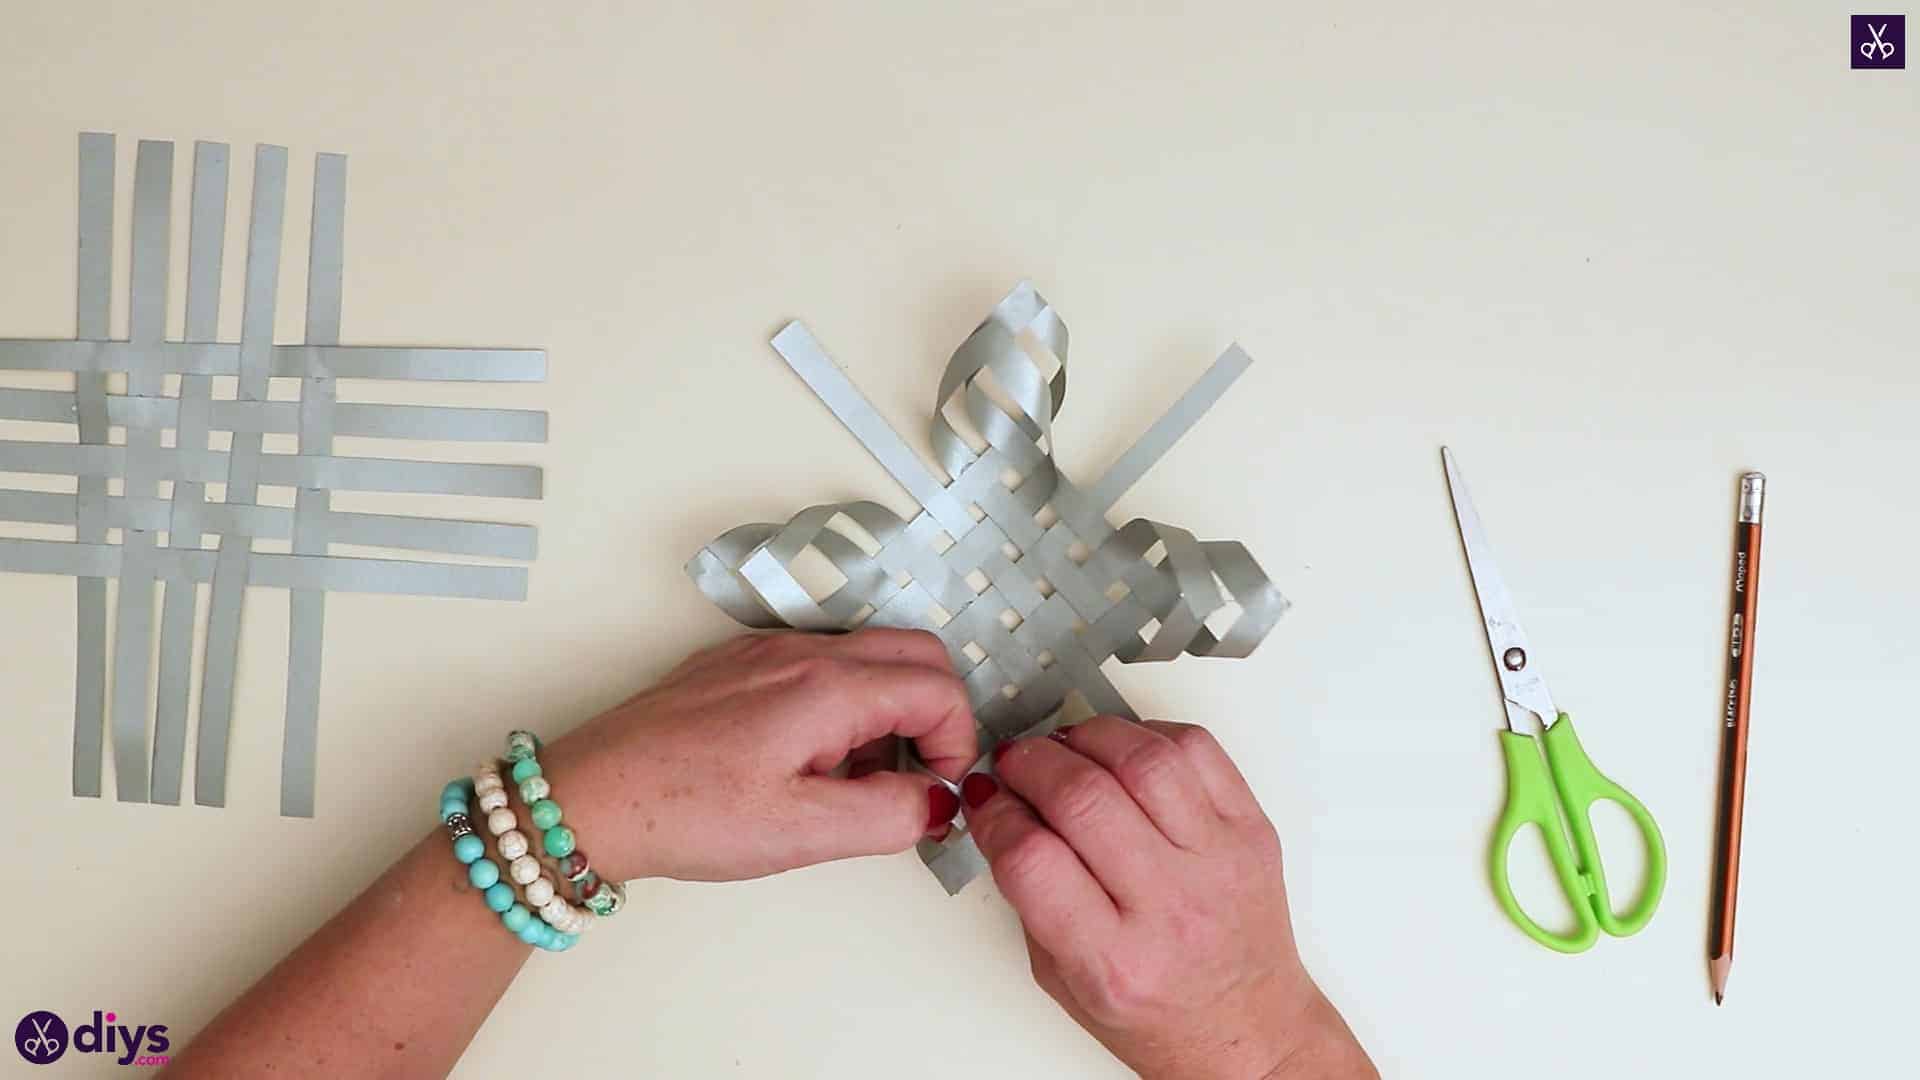
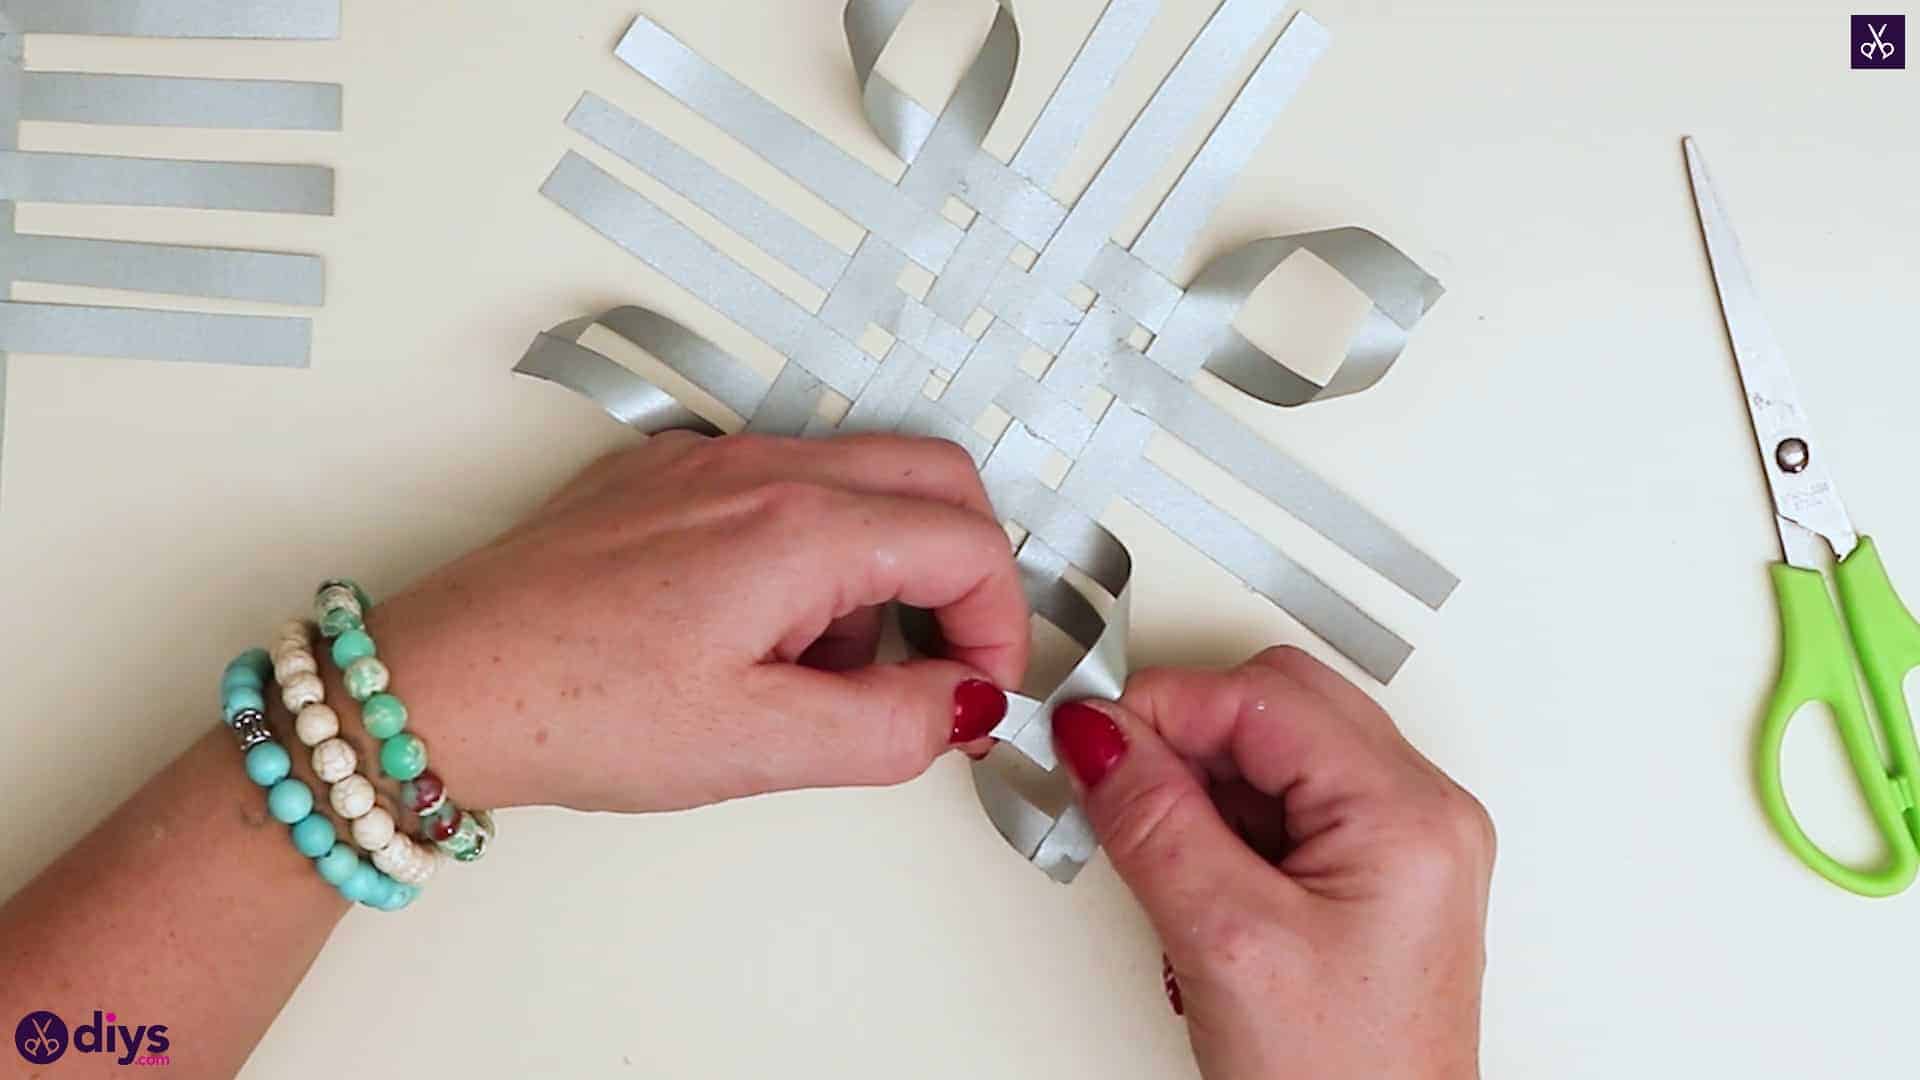
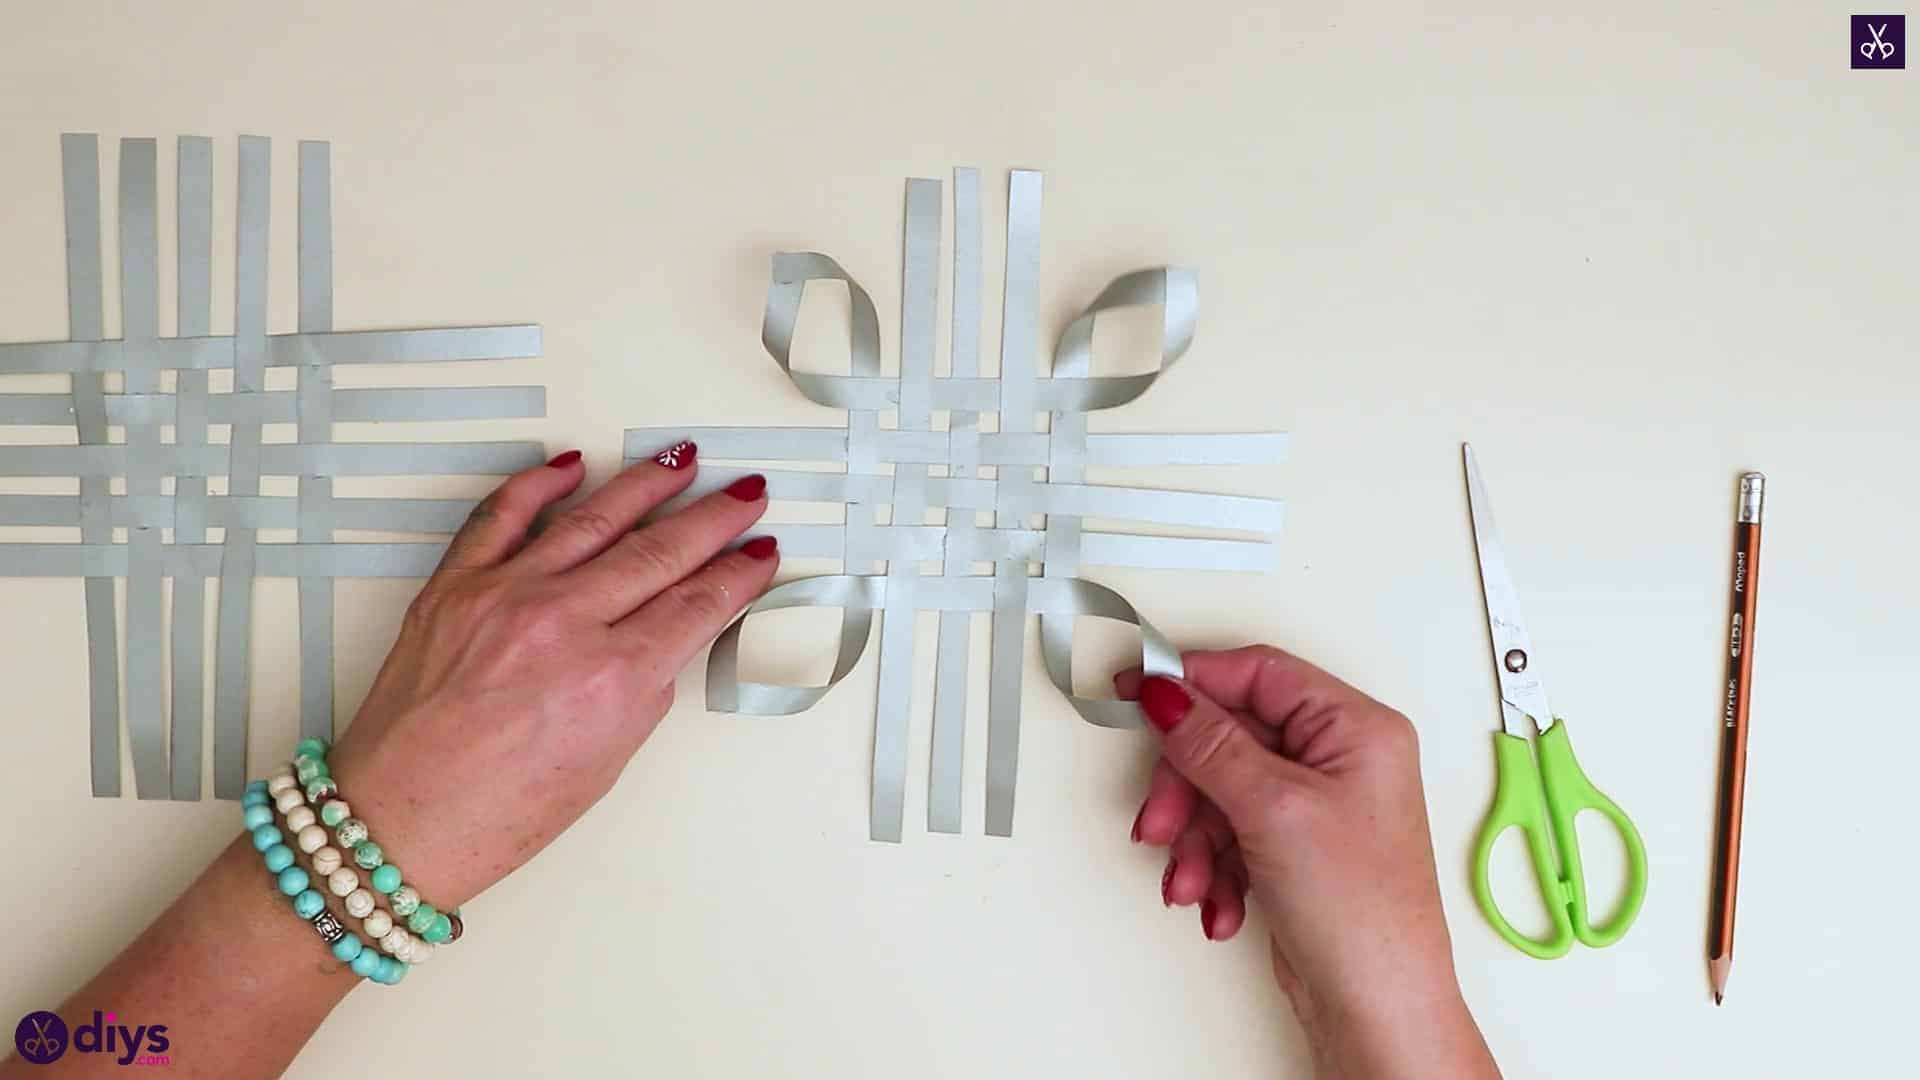
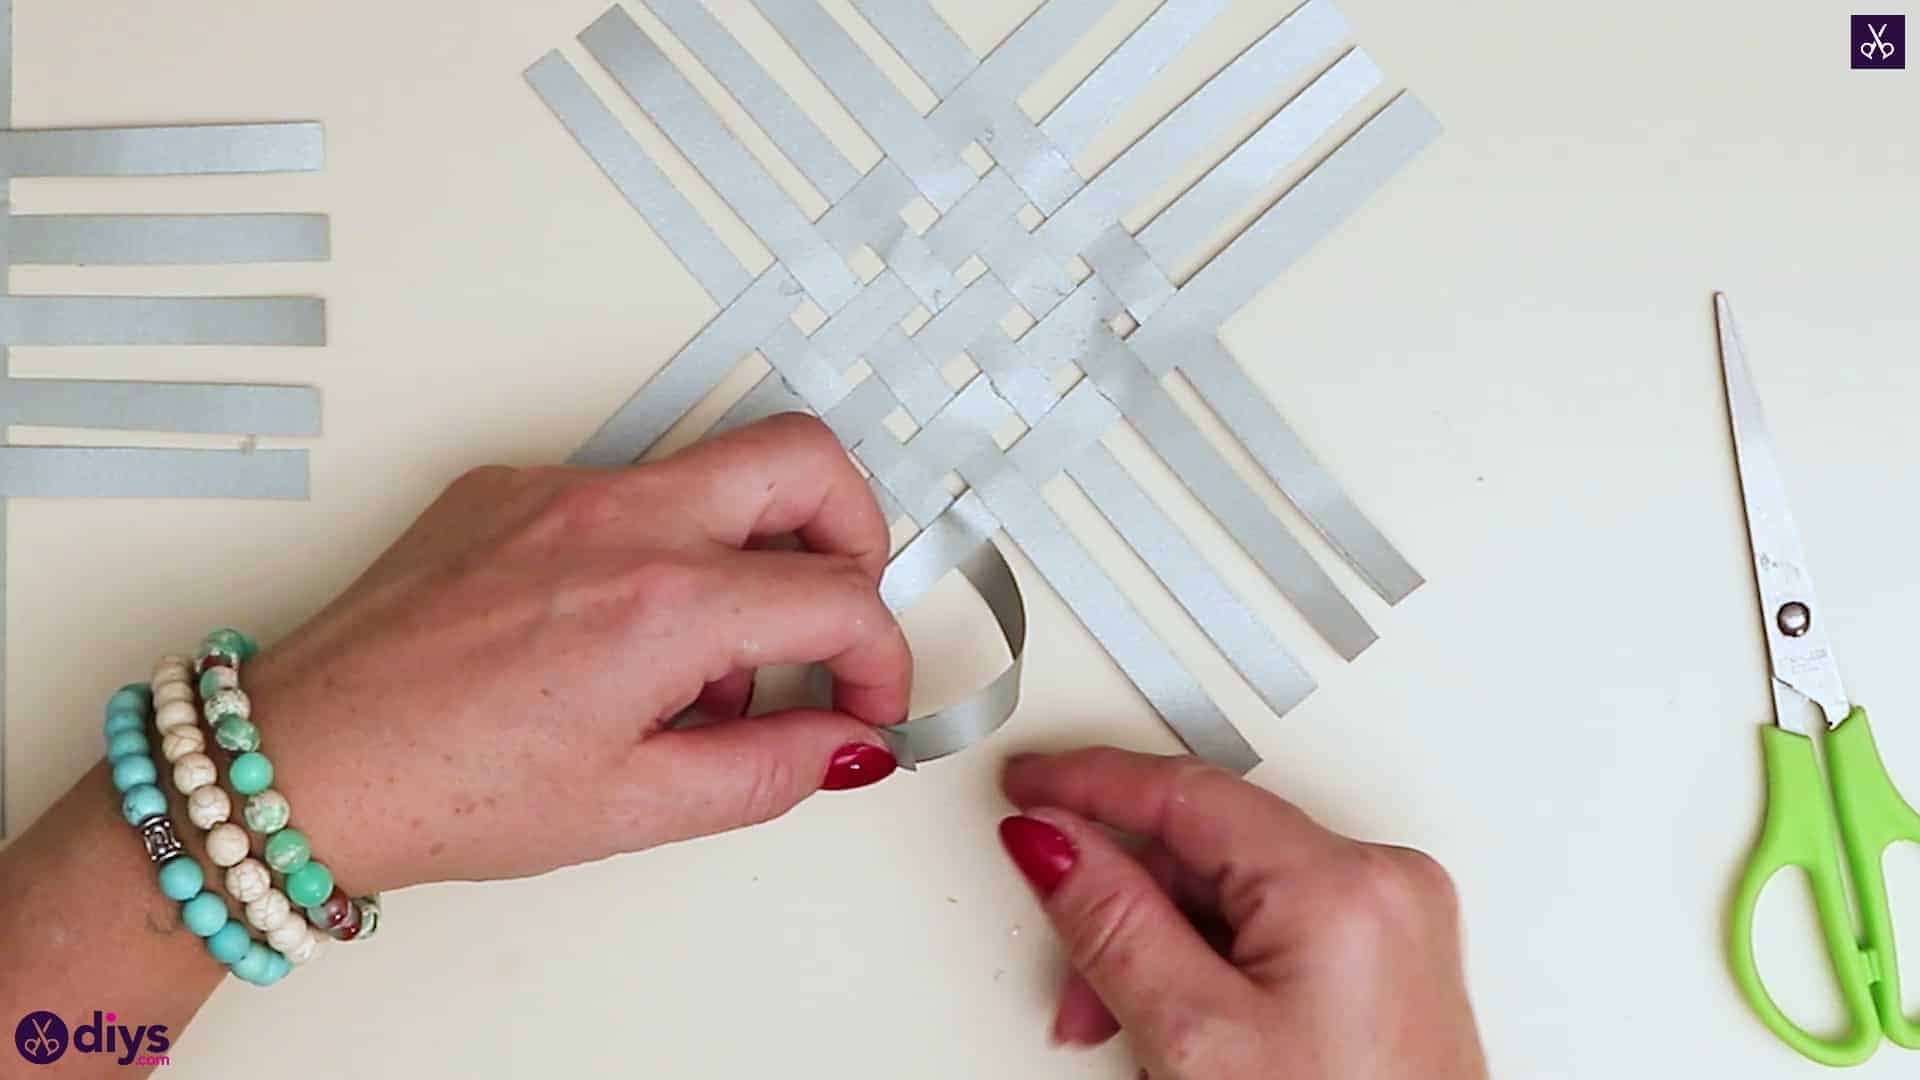
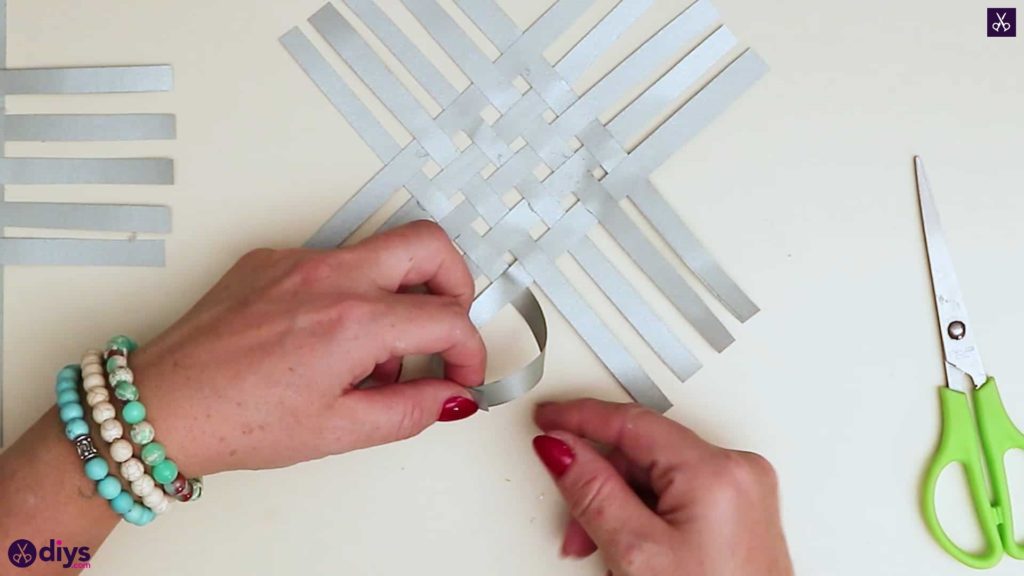
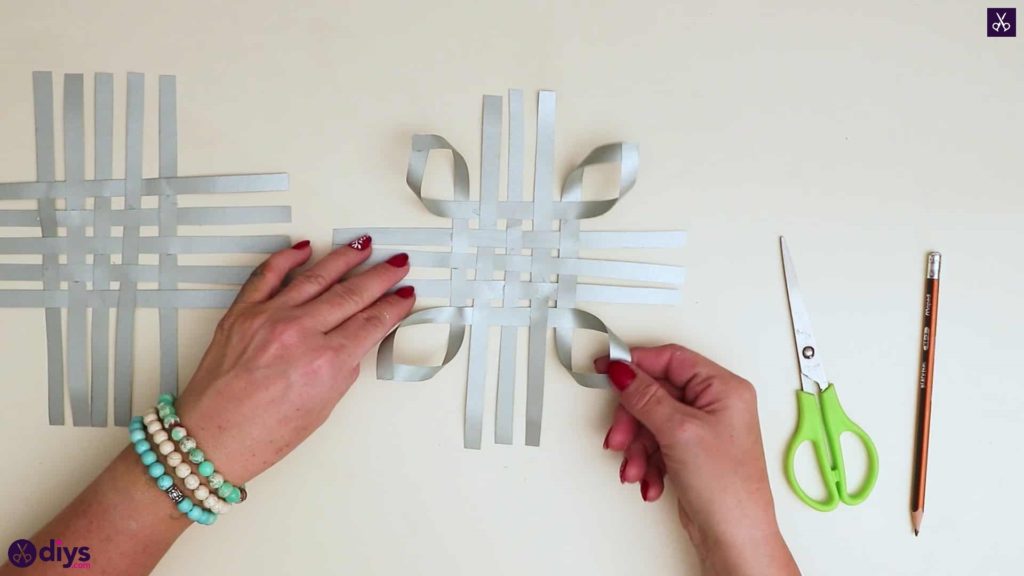
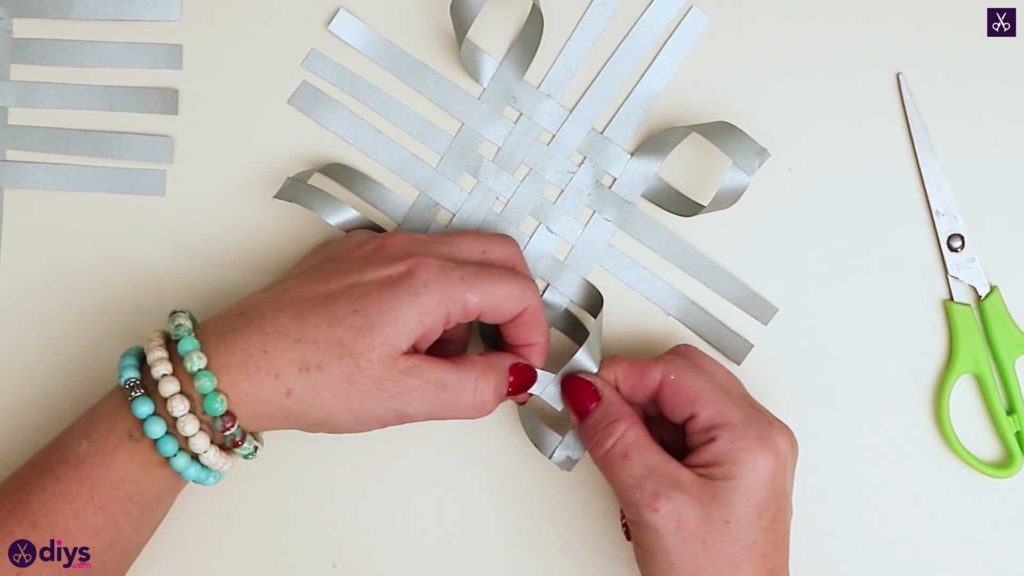
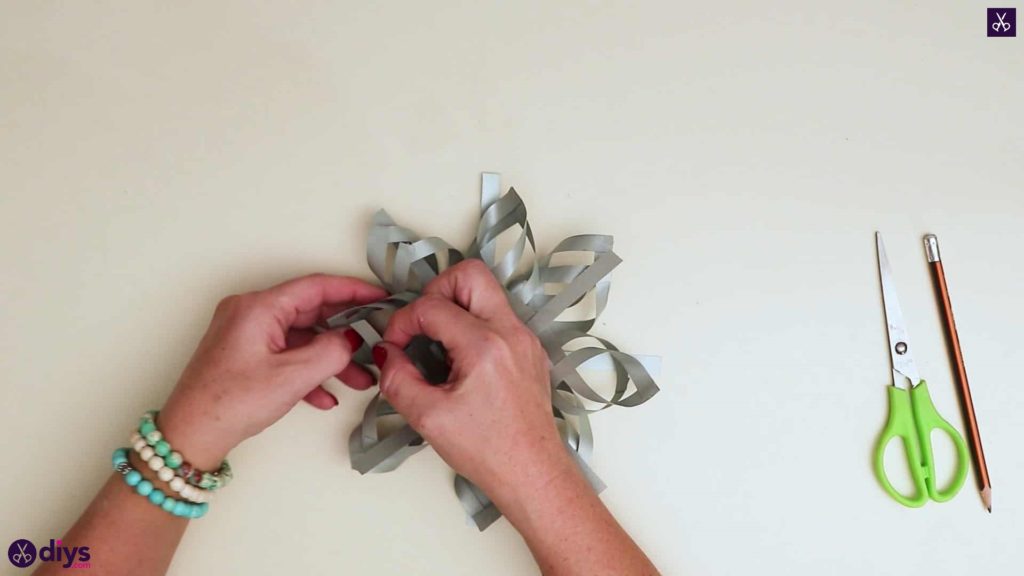
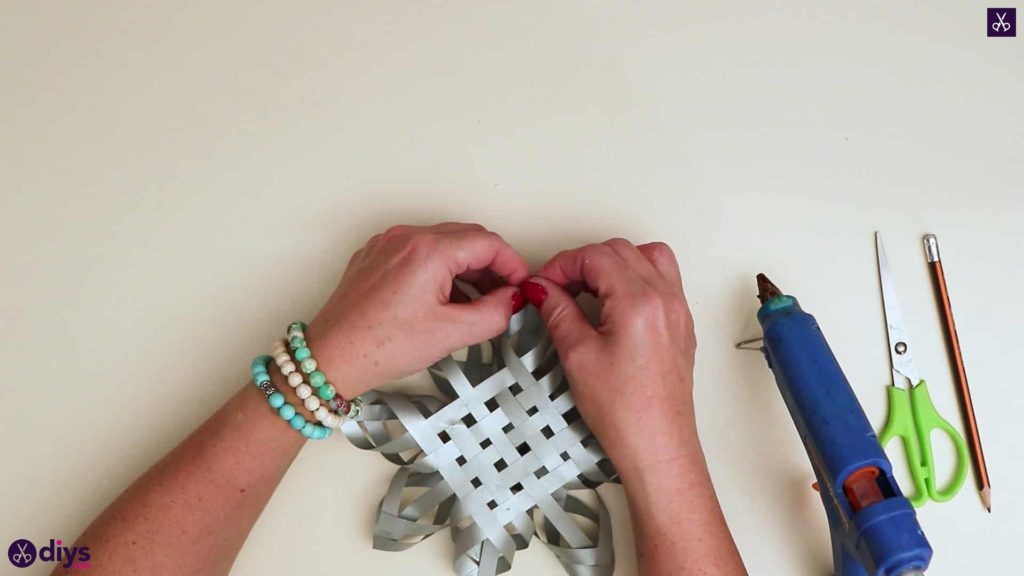
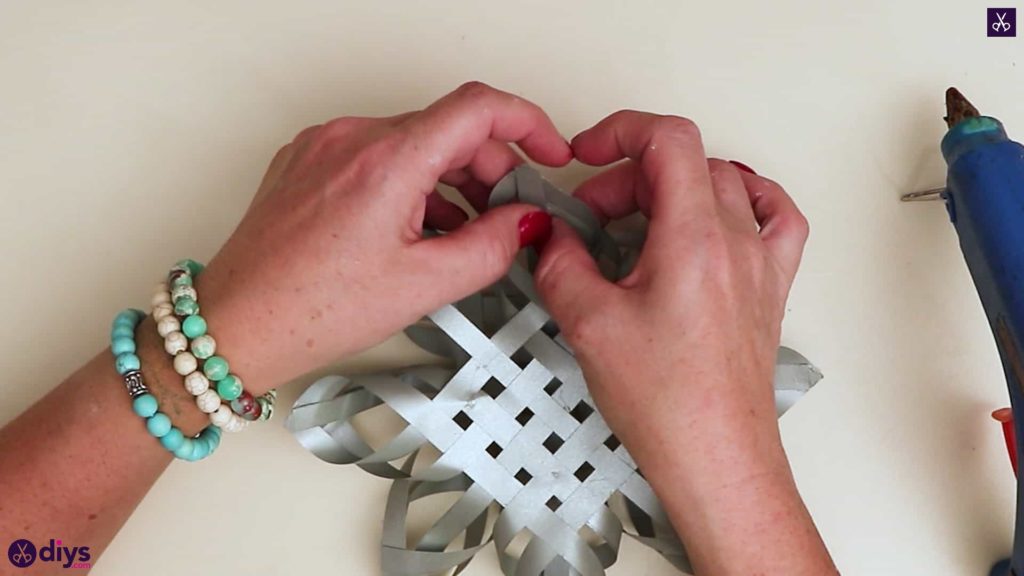
Step 9: start joining the ends
Take one of your completed grids and turn it slightly to the side, so the bottom, top, and sides are not the triangular spaces between the strip ends, while the ends sit on you work surface looking like an X. Work with your bottom space first. Take the outside strip from the group on the left and bend it in and up, slightly back towards the center grid and closer to the space facing you. Apply glue on the far side, then pick up the end of the strip in the group to your right and bend it in the same way, bringing it to meet your strip from the left. Press the right strip into the glue on your left strip, lining the edges up so their sides and corners meet and line up evenly. You’ve created a 3D loop that has some bounce to it! Rotate the piece again to work with a new space and set of outside strips, then repeat the process to make the same standing loop shape. Do this on all four sides so you have four corner loops.

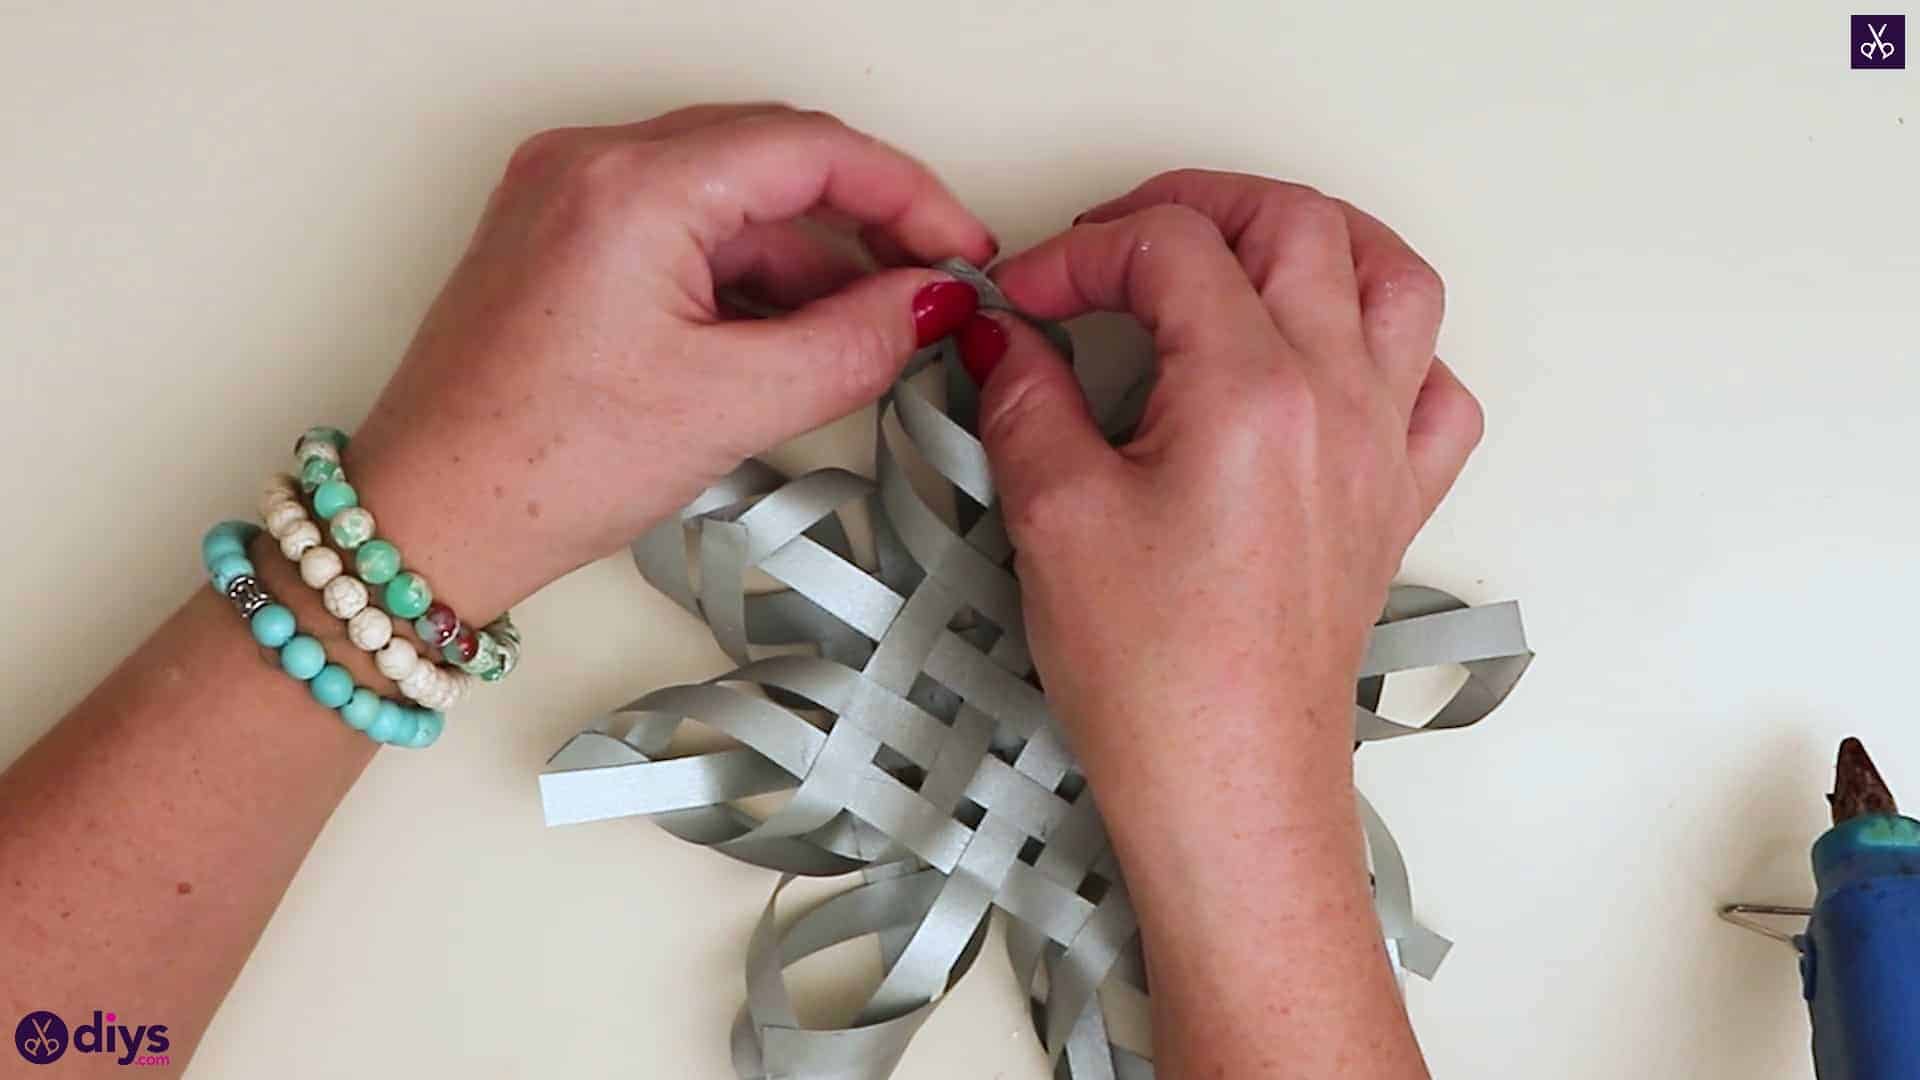
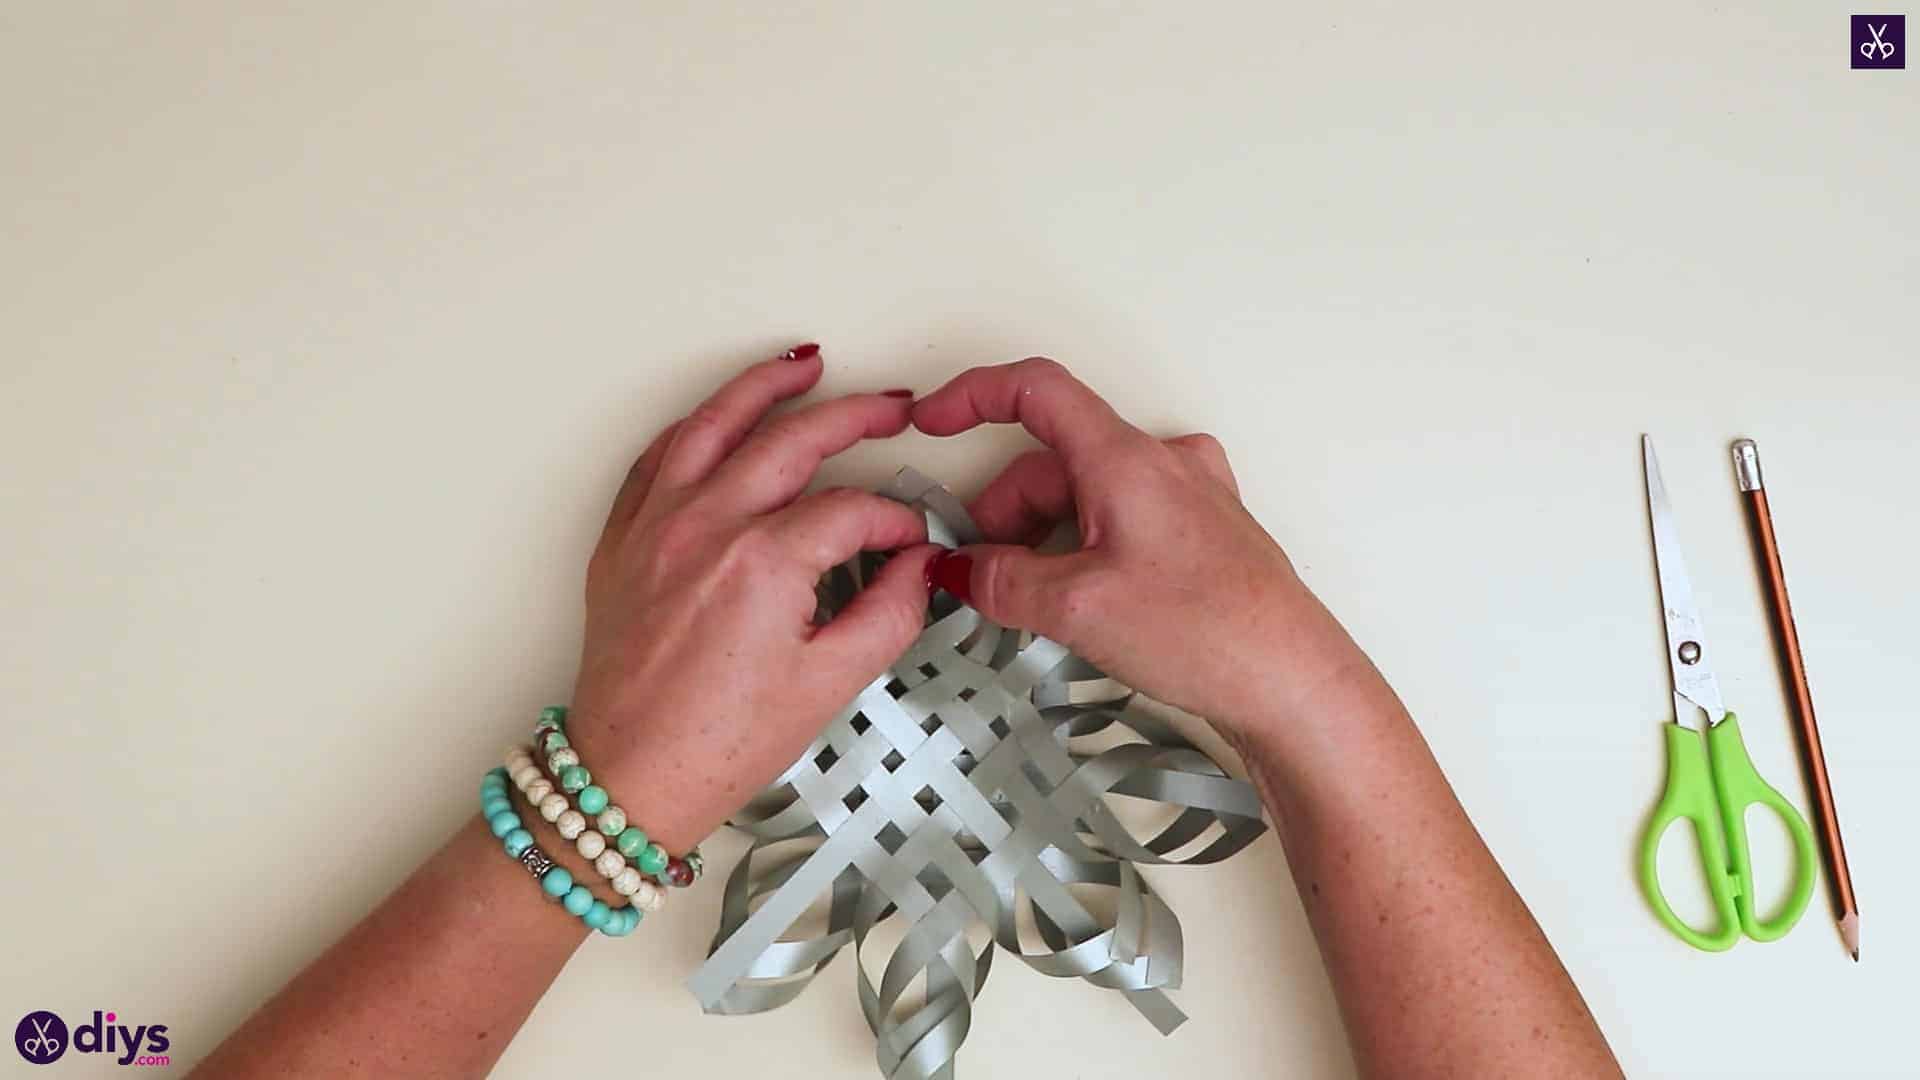
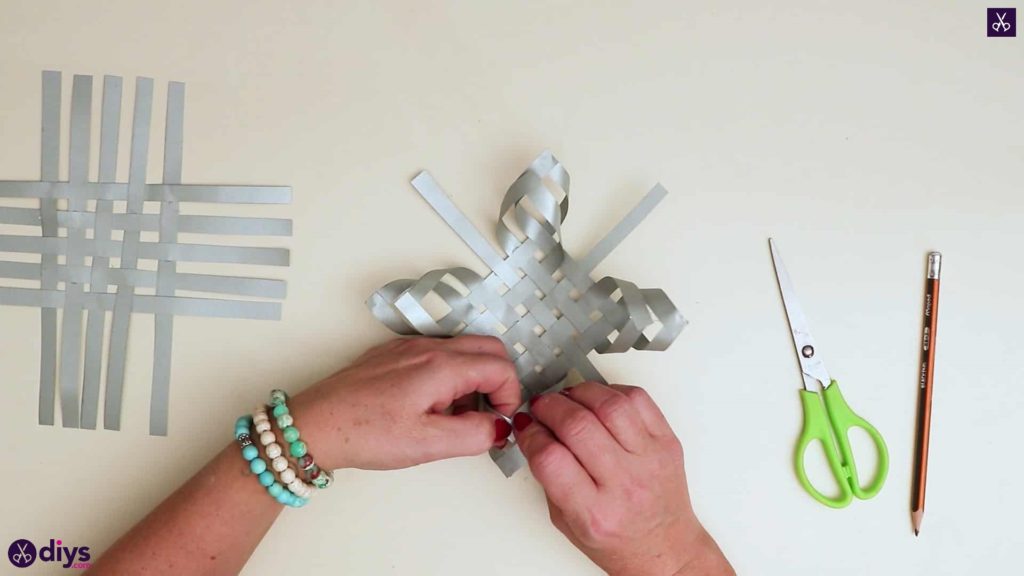
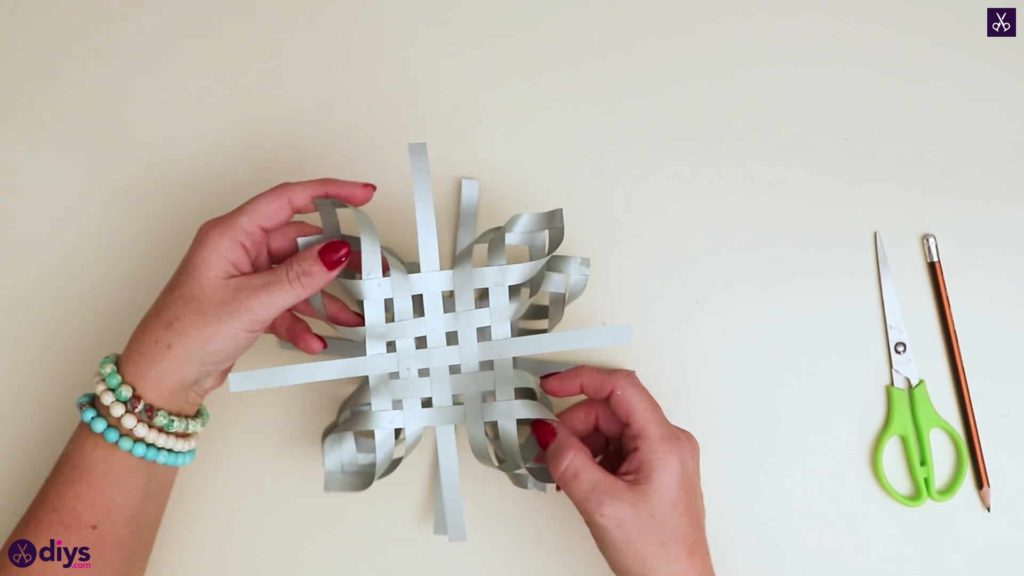
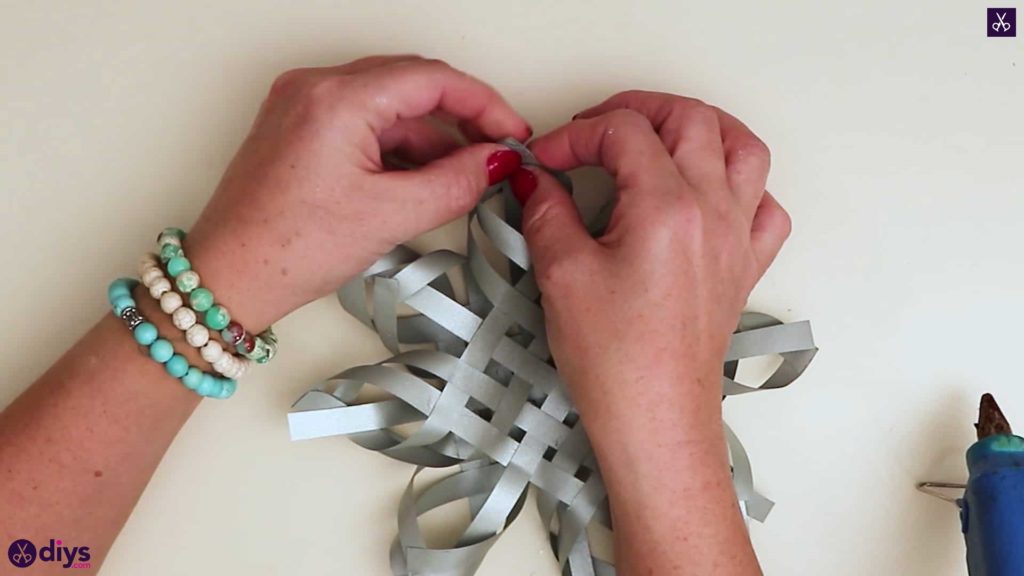
Step 10: repeat
Repeat the loop process once more all the way around! This time you’ll use the second strip in on each side, which became the edge strip as you created your first loops. This will make a second loop in each corner, sitting just a bit closer in to the center underneath the first. Make four more secondary loops so you end up with two in each corner. When you’re finished with that, repeat the entire corner looping process on your second grid piece until it also has two loops in each of its four corners. You now have two separate pieces with one strip left on each side between doubled loops.
Step 11: join the loops
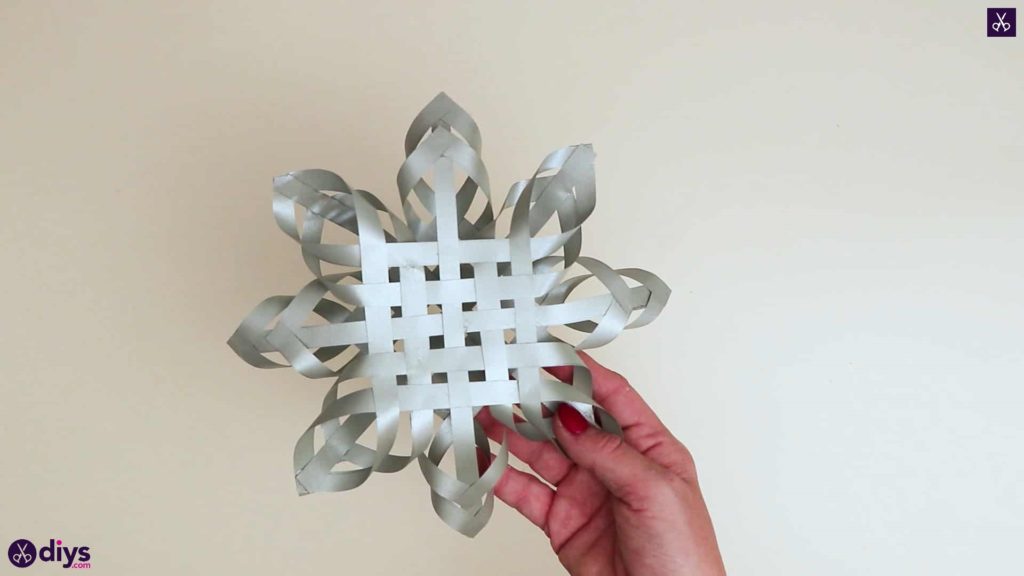
It’s time to join your loops! Place one looped grid on its flat side on your worktop, angled so the loops point up and down and side to side. Take your second looped grid and flip it so the loops face downward, then place it on top of your first shape. Turn is slightly, angling it so the loops of the top piece line up with the stripsbetween the loops on the bottom piece. Now, you’ll bring the strips of your bottom piece up through the inside of the loops above it from the piece on top and glue their ends into place at the inner tip of the outside loop. Do this all the way around, for each strip. Then repeat the process for the strips on the top, bringing down, inside, and through the loops below them from the bottom piece and gluing their ends in place at the tips.
Your beautifully intricate looking paper star is all finished! Just in case you’d like to try this project out for yourself, here’s a fantastic tutorial video to help you!
What is the measurement of the original paper and then the cut strips?
Thanks,
Janet Kelly