DIY Paper Angel Kids Craft for Christmas
Updated on November 19, 2025


My kids havealwaysloved simple paper crafts. Cutting and pasting is something they’re able to do quite without help, so it makes them feel independent. Even so, I usually end up crafting right alongside them simply because these projects are fun to do. That’s what happened when they made these cute little paper angels last week, and they had so much fun that I decided to outline the process I followed to make mine, just in case other people want to learn how they’re done as well.
Check out these step by step instructions complete with photos! If you’d rather follow along with a video tutorial instead of written words, scroll to the bottom of this post to find just what you’re looking for.
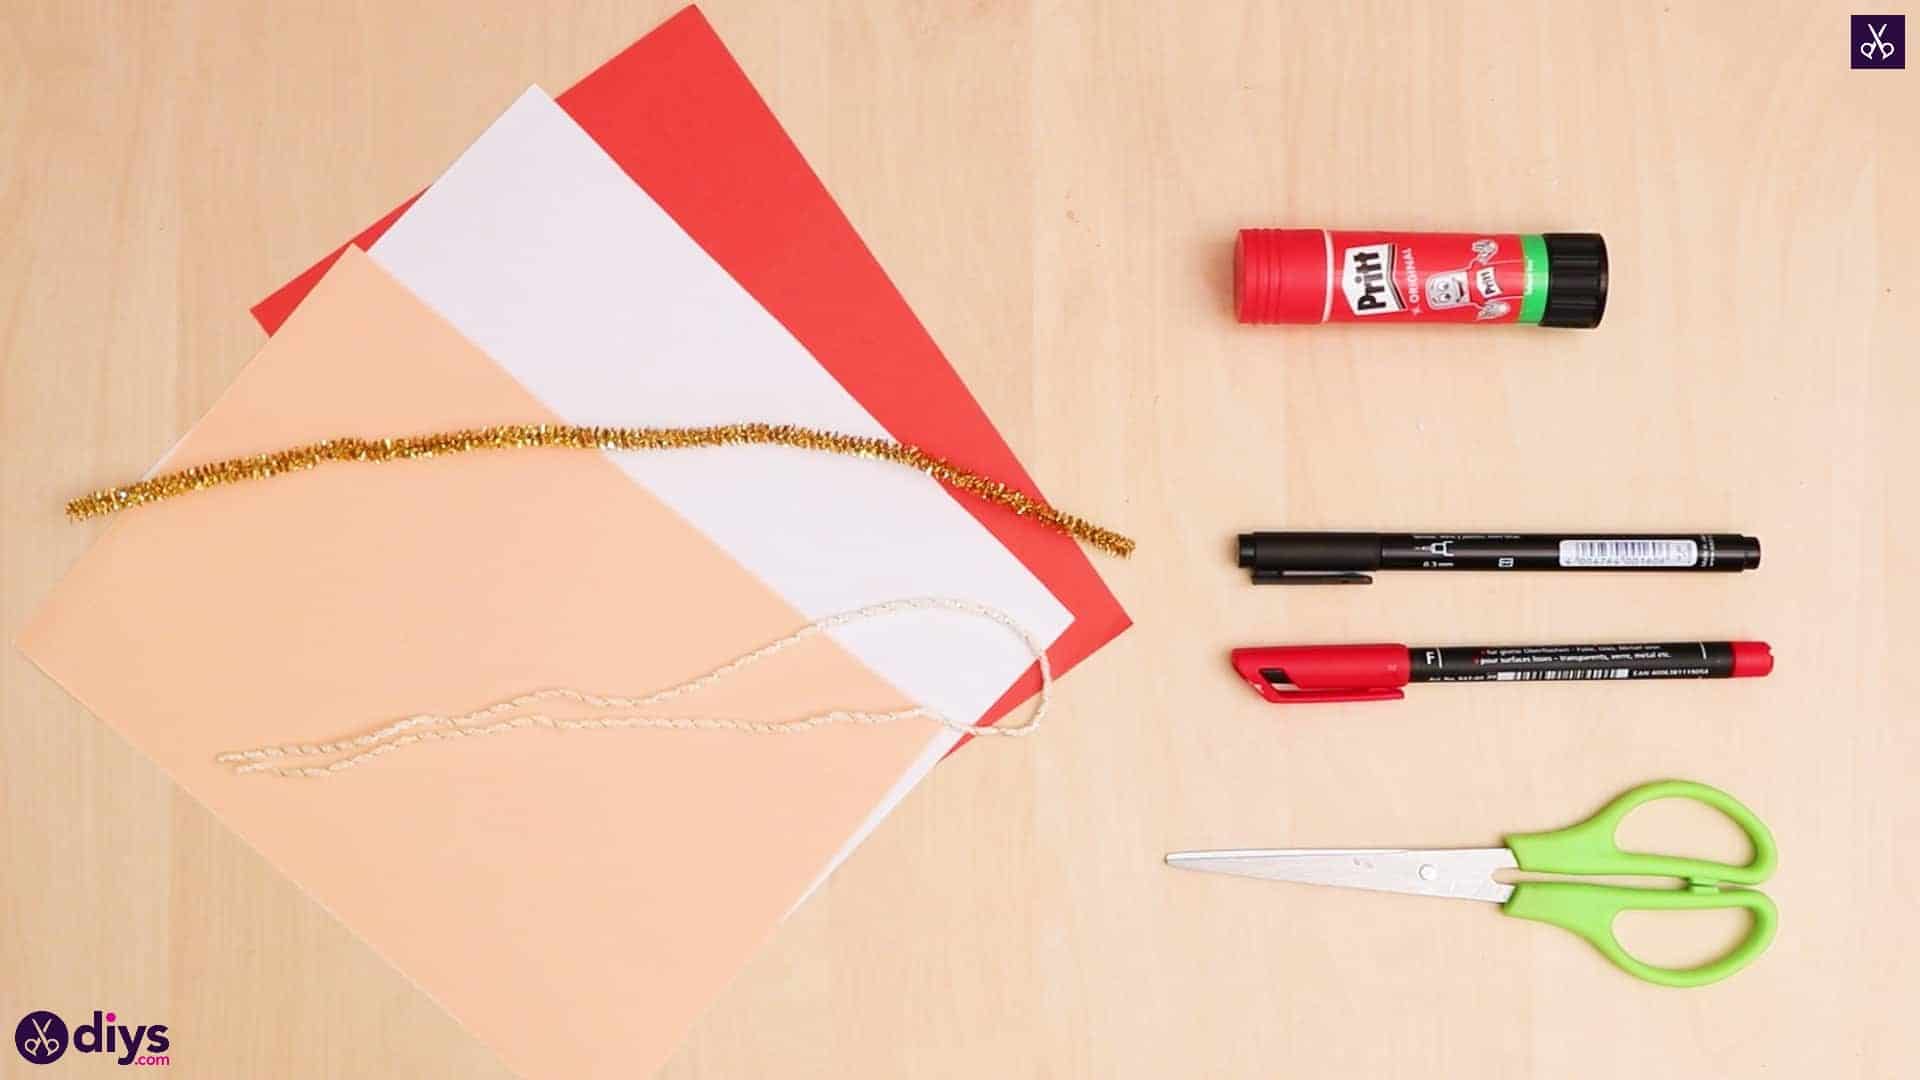
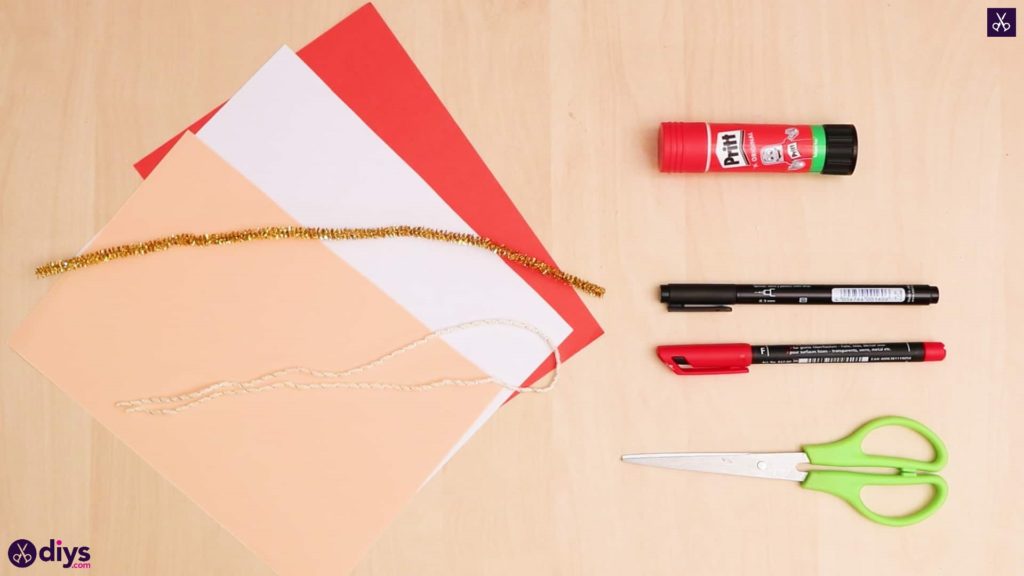
For this project, you’ll need:
- Paper (light pink, white, and red)
- Markers (black and red)
- Gold pipe cleaner
- Scissors
- A glue stick
- White and gold yarn
Step 1: preparation
Gather the materials!
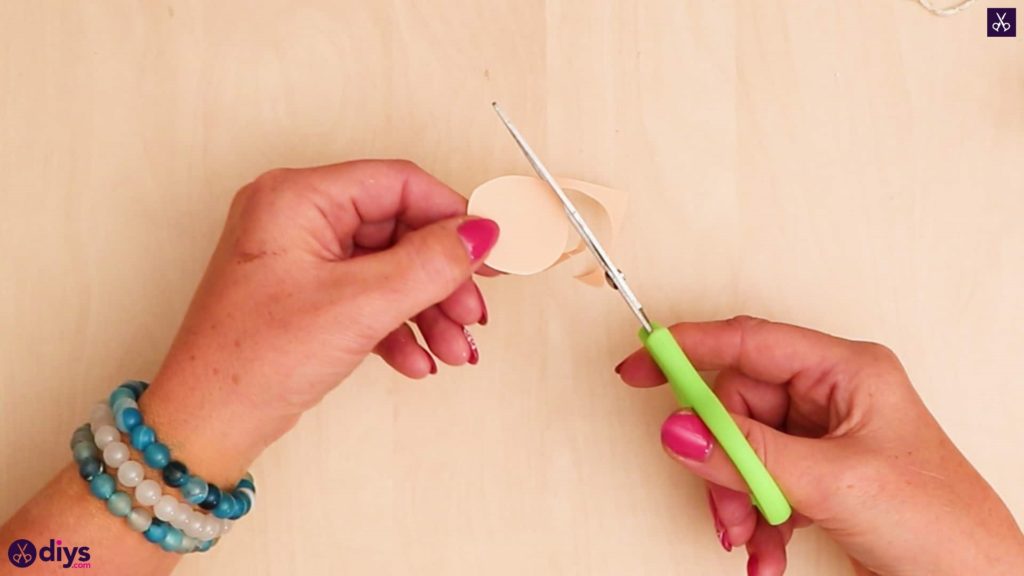
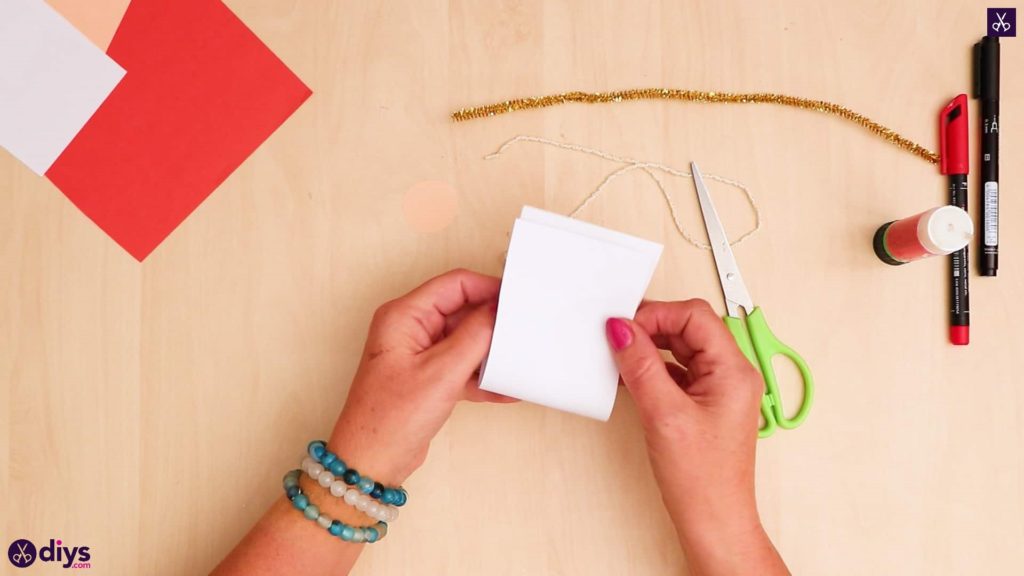
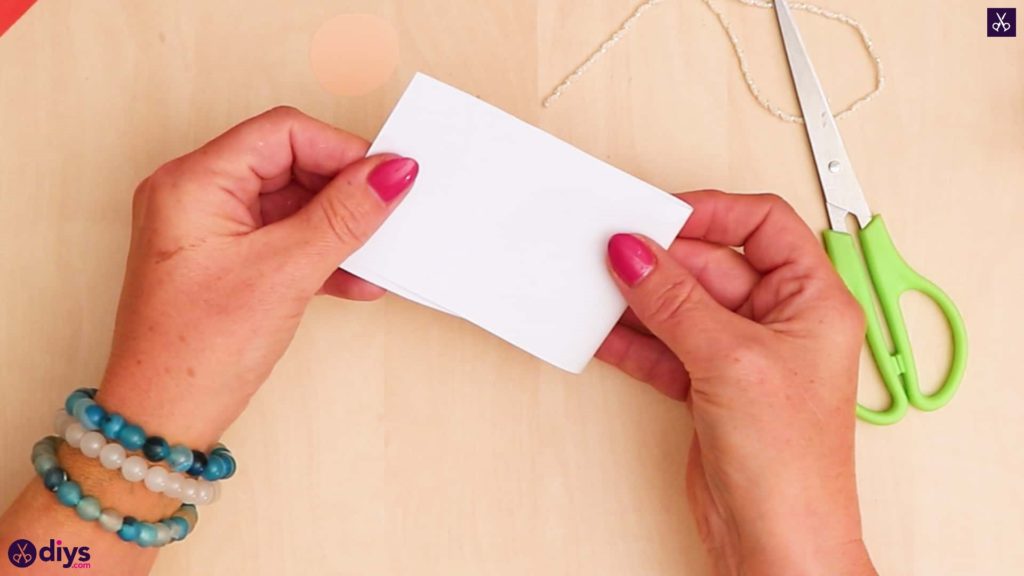
Step 2: cut the head
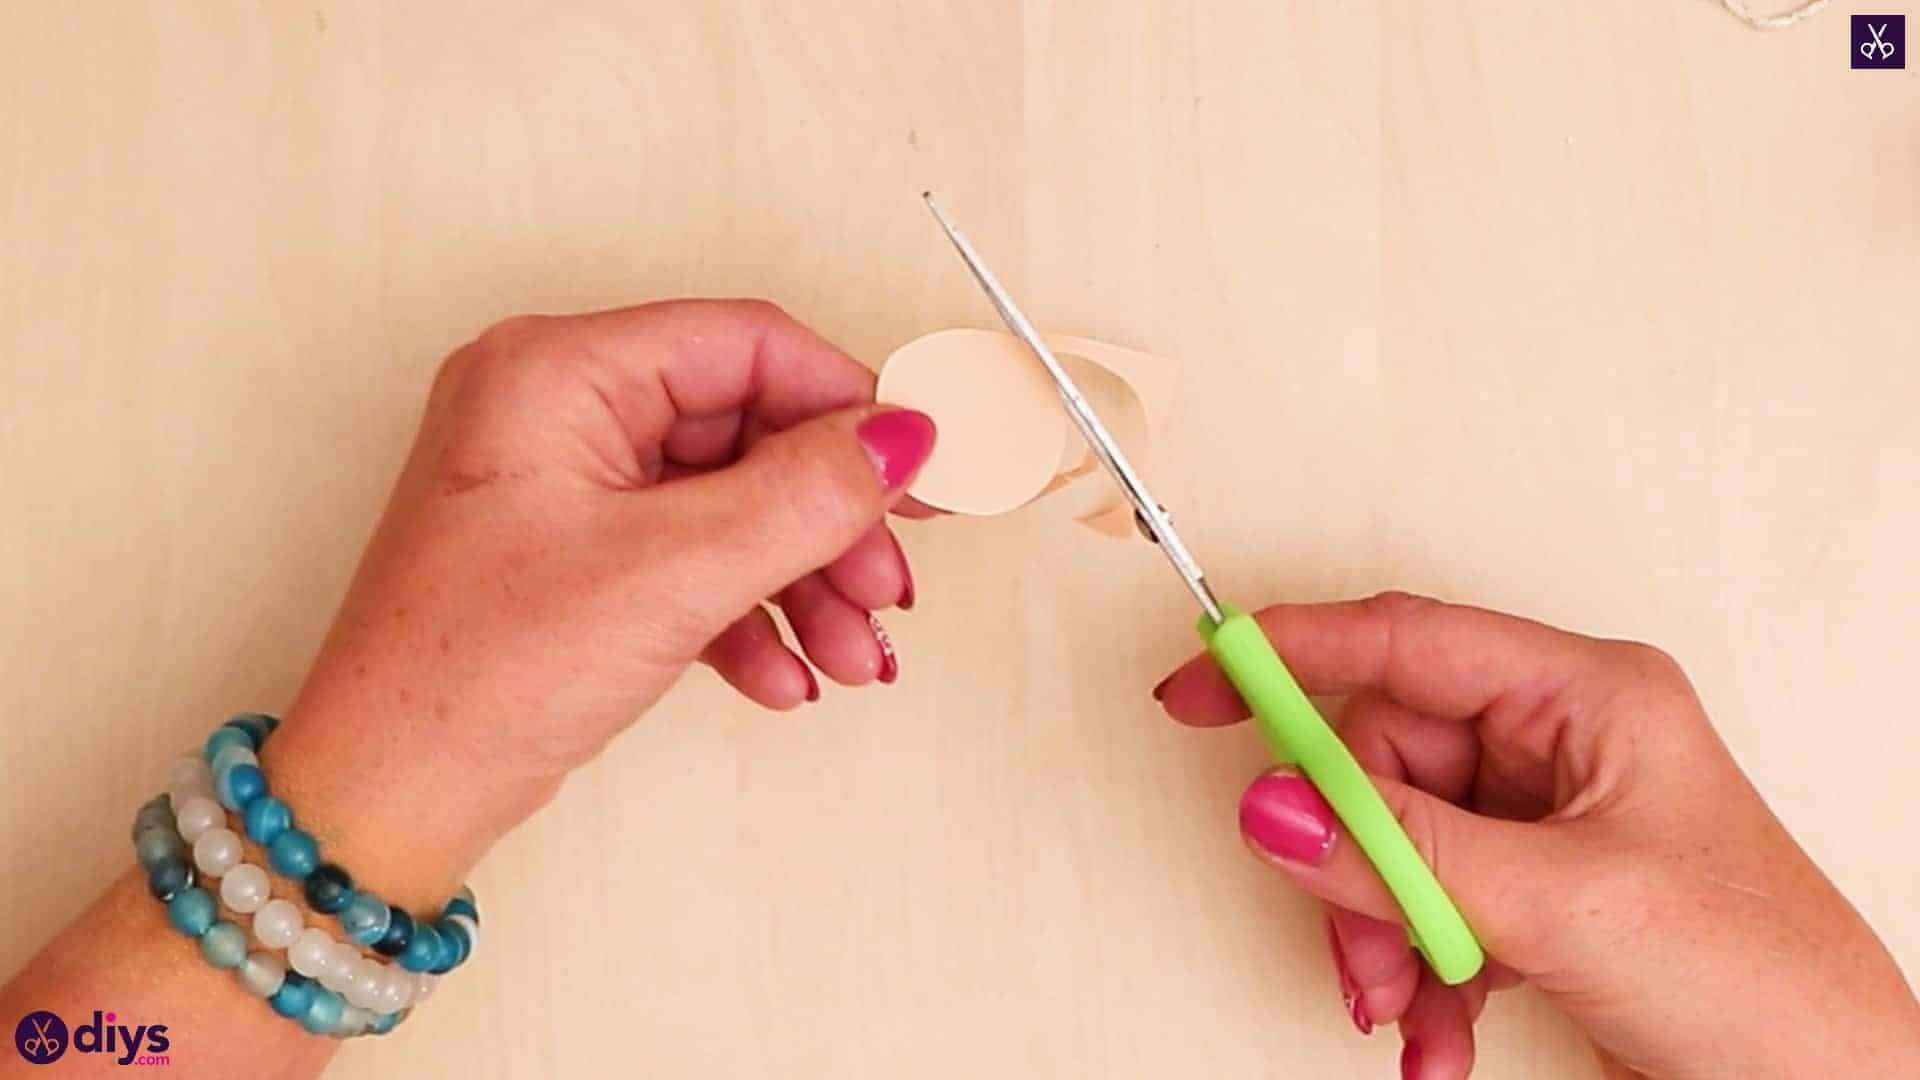
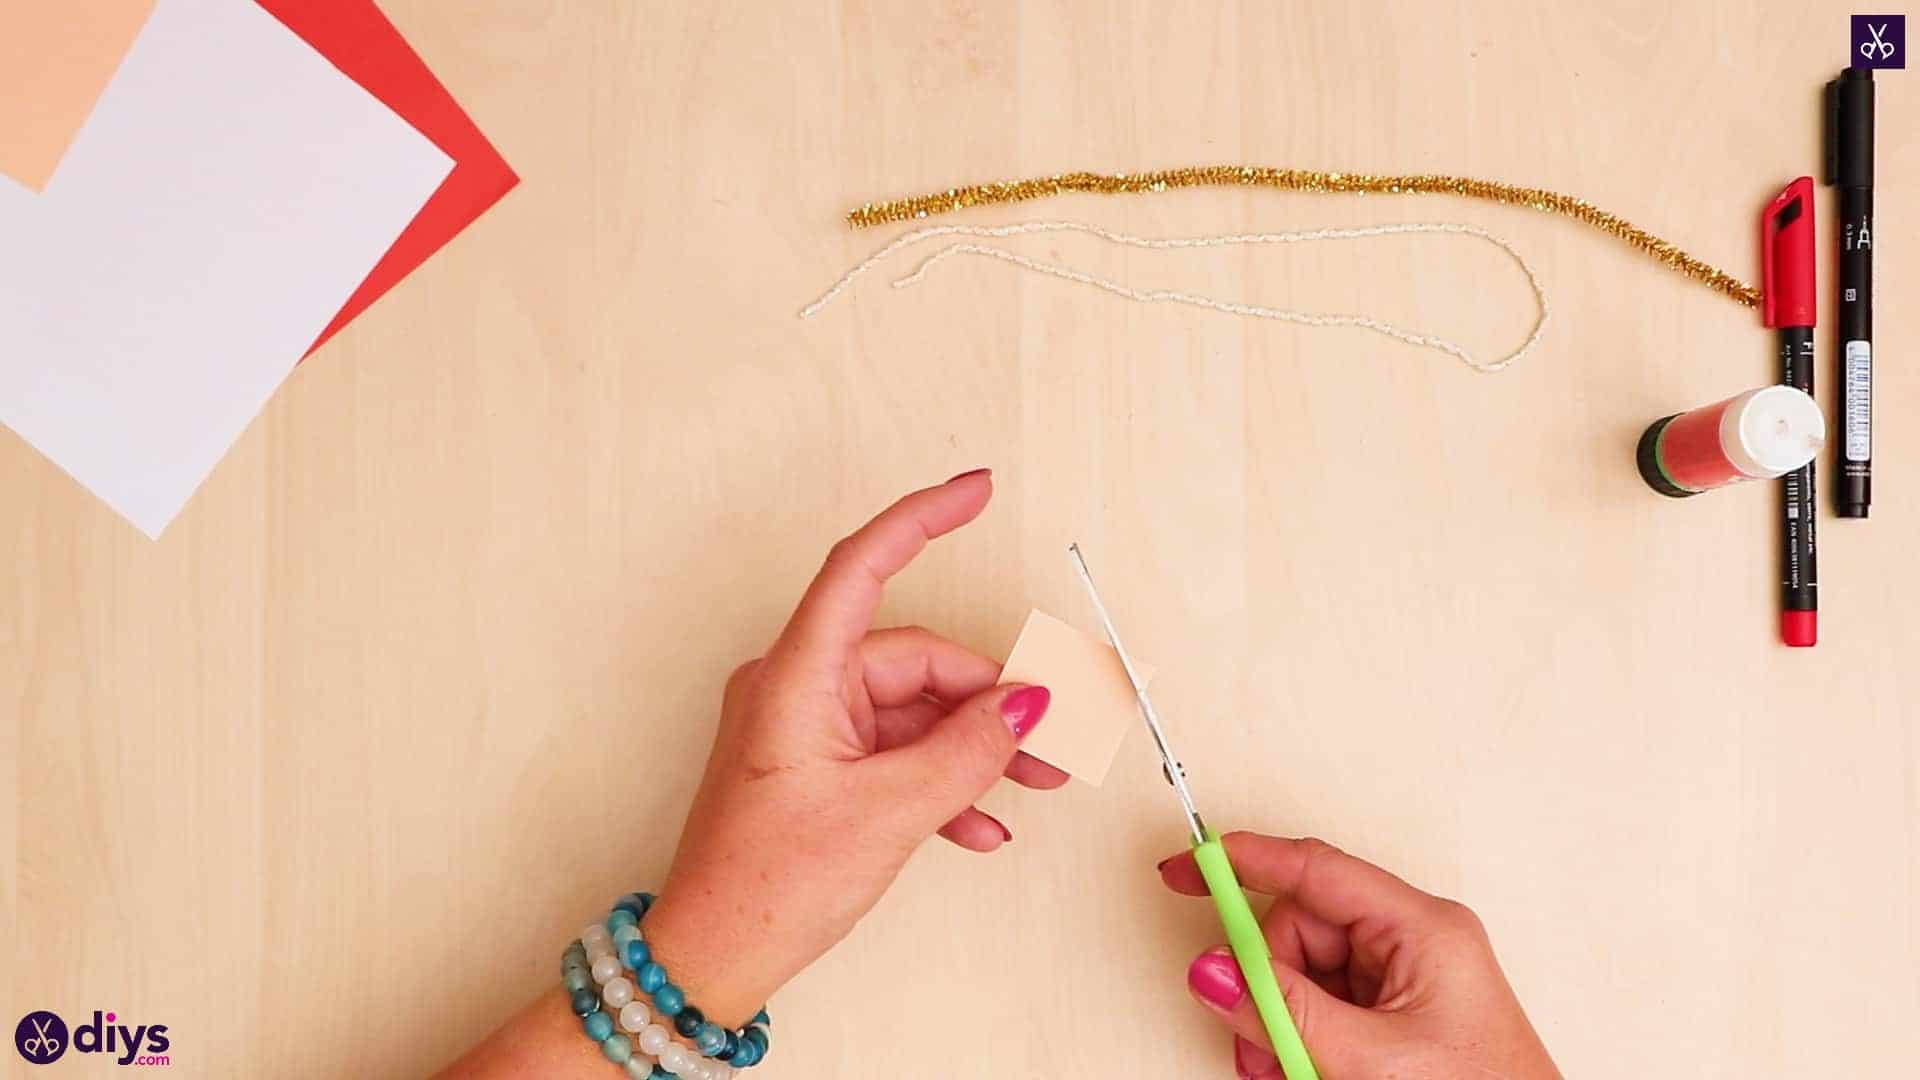
Cut a small one inch by one inch square from the corner of your light pink paper and round its corners and edges off with your scissors until you have a circle. This will be your angel’s head. Set it aside for the moment.


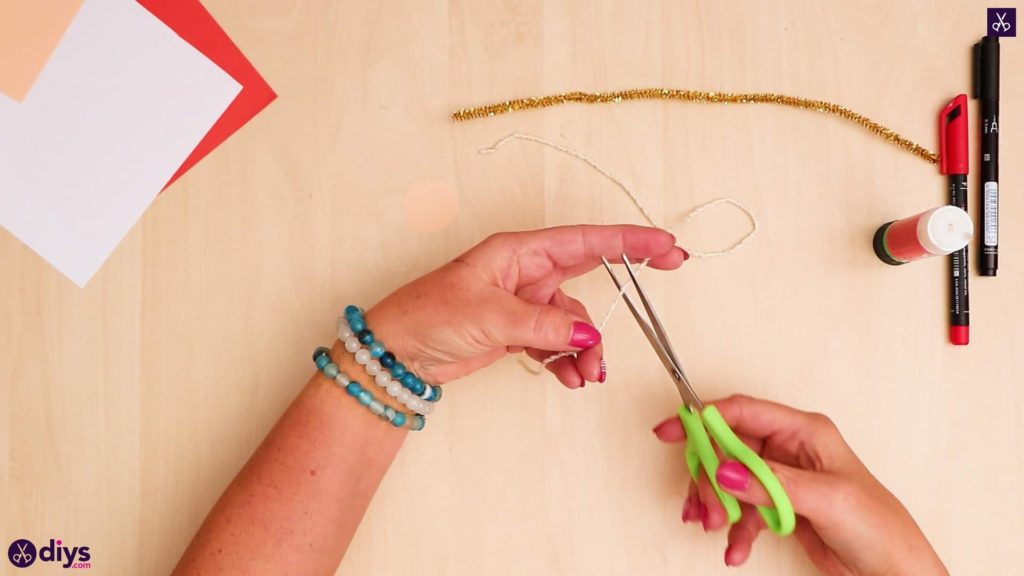
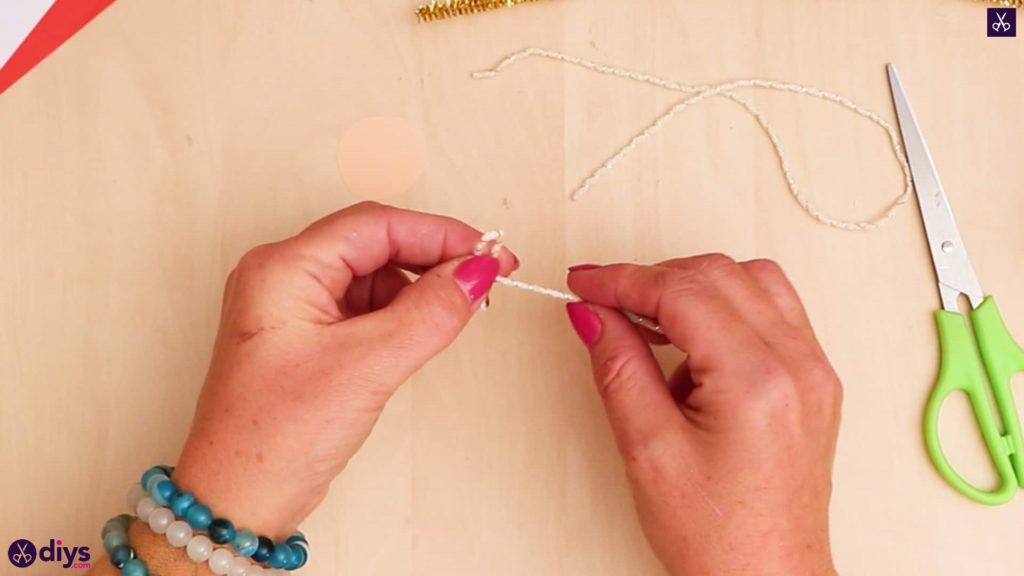
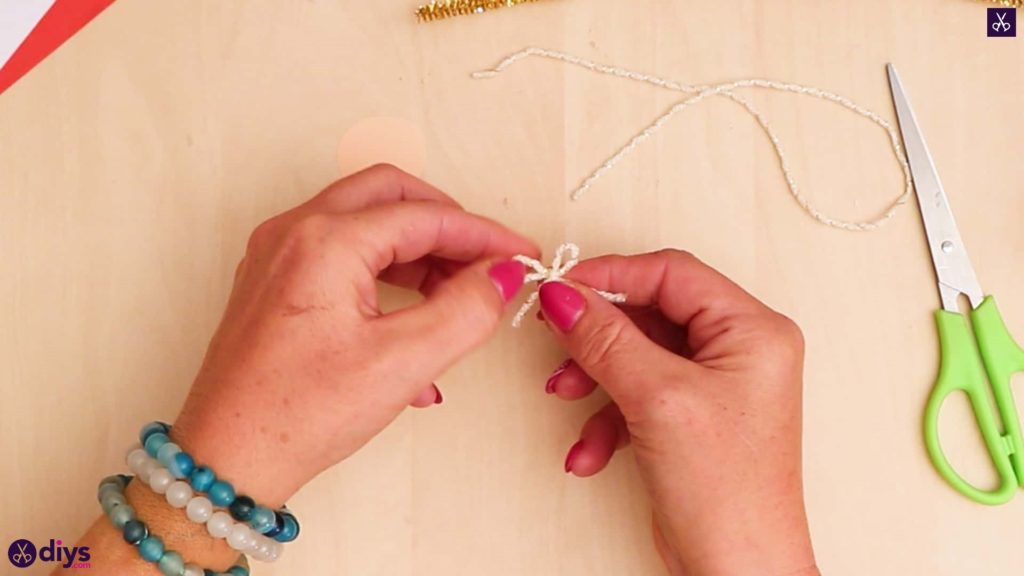
Step 3: make the bow
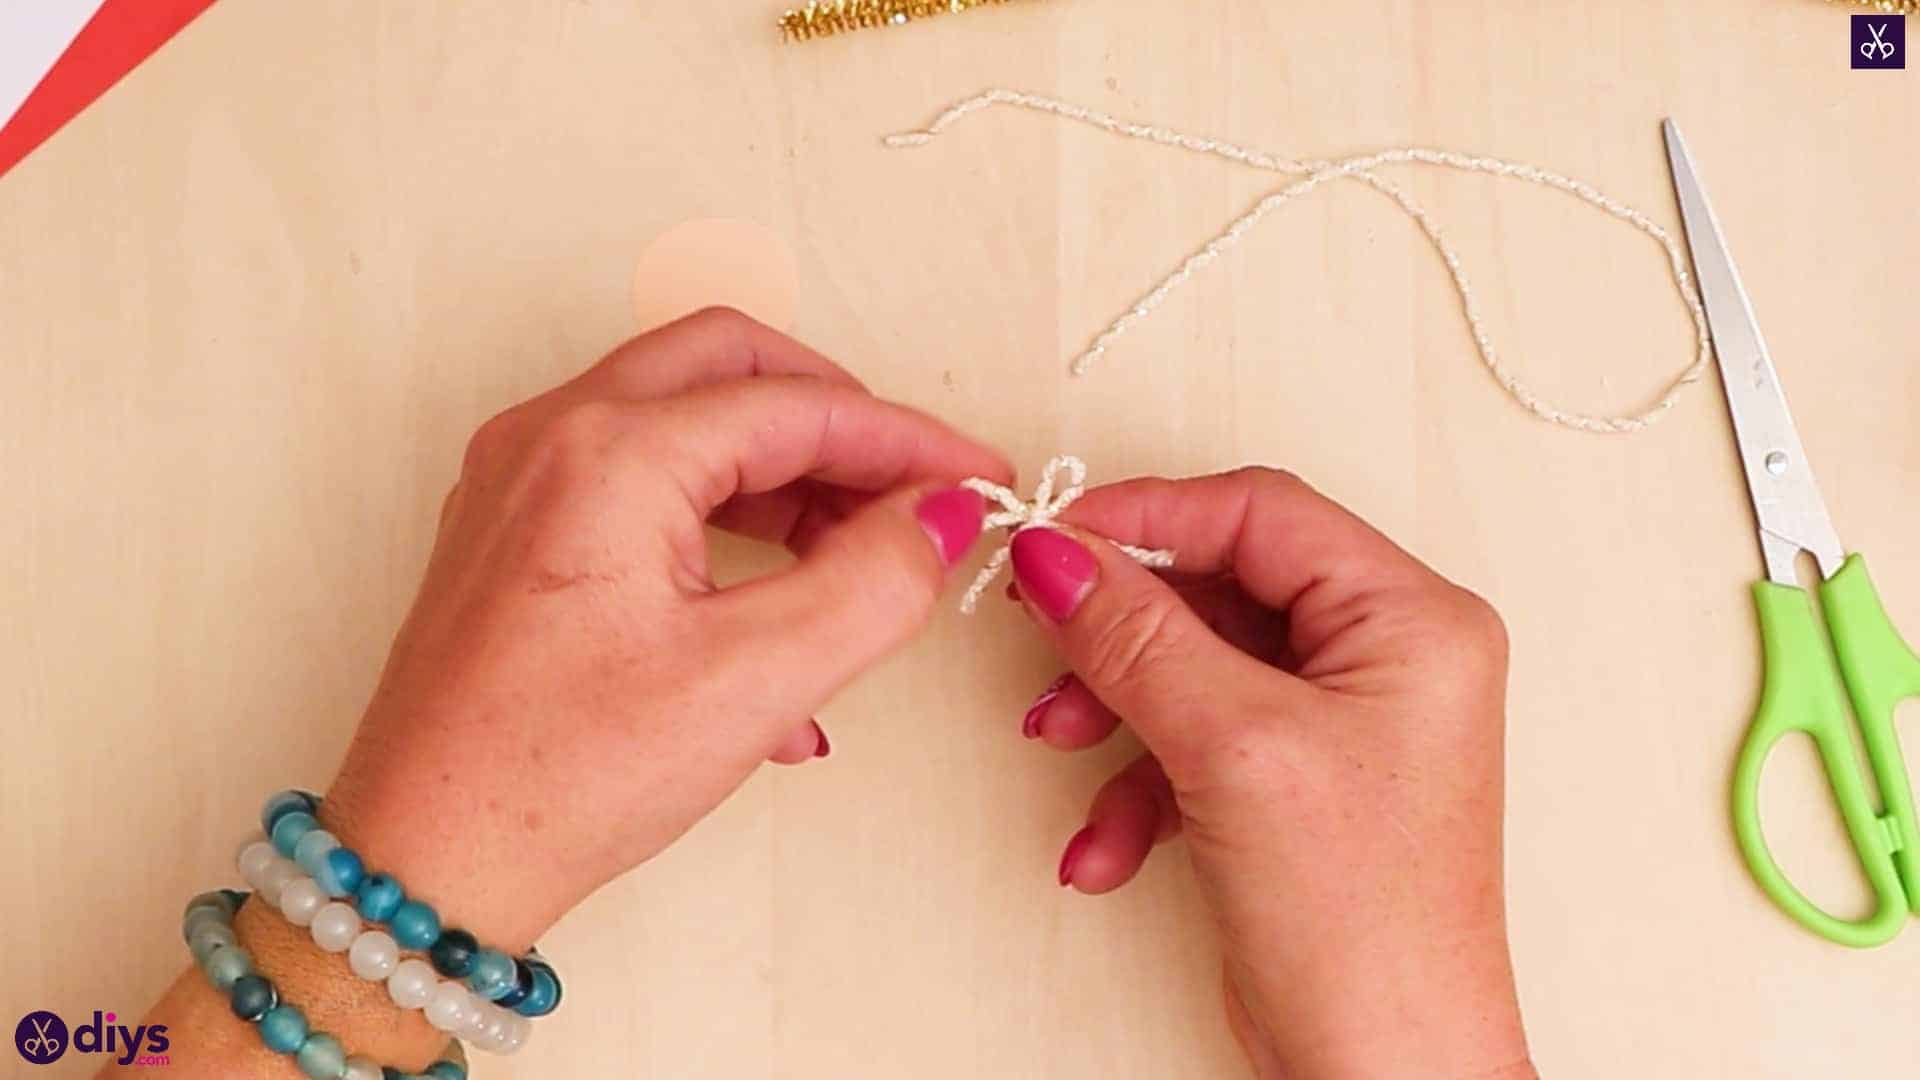
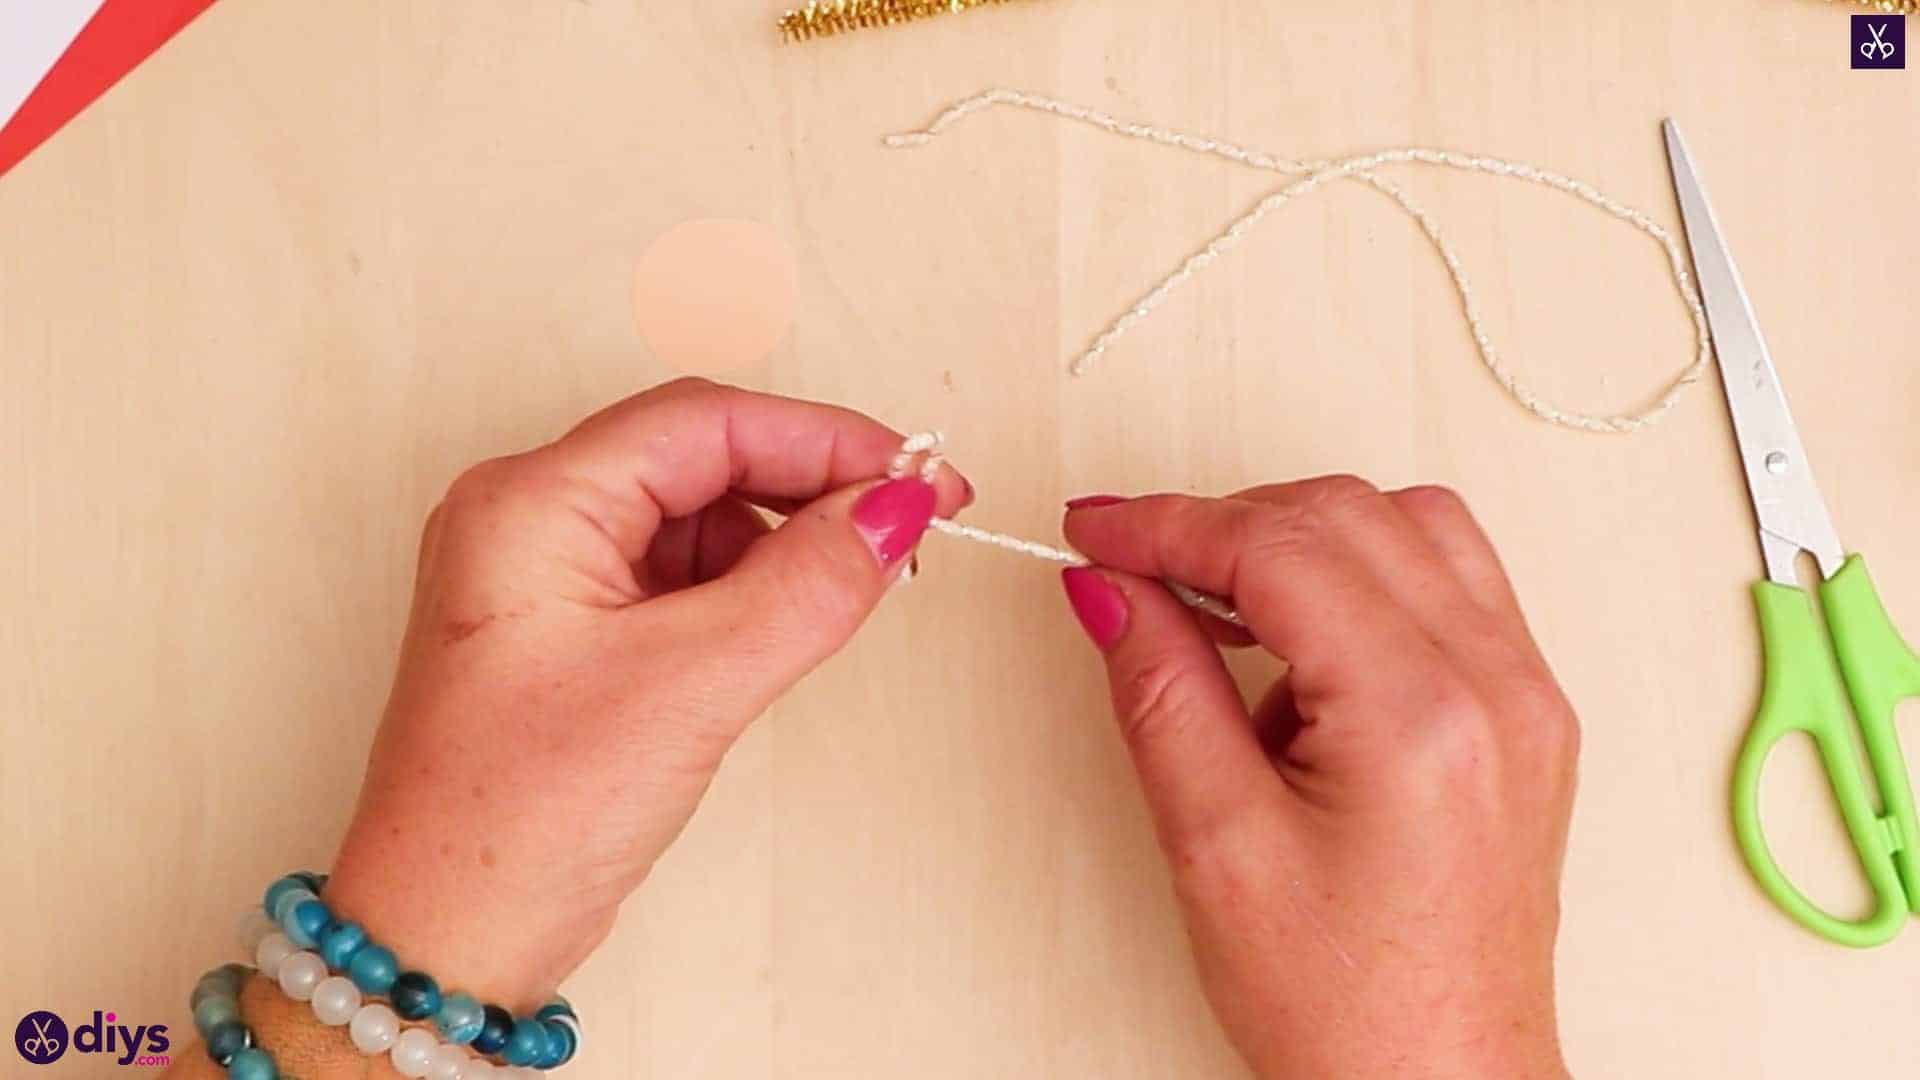
Cut a two inch piece from the end of your string and tie it into a bow! I did this by finding the halfway point of the string, making a loop in the ends on either side of that, and knotting them together like you would if you were tying your shoelaces using the “bunny wears” method. The result is a little bow knotted in the middle. Trim excess string from the tails if you like. Set the bow aside for now too.
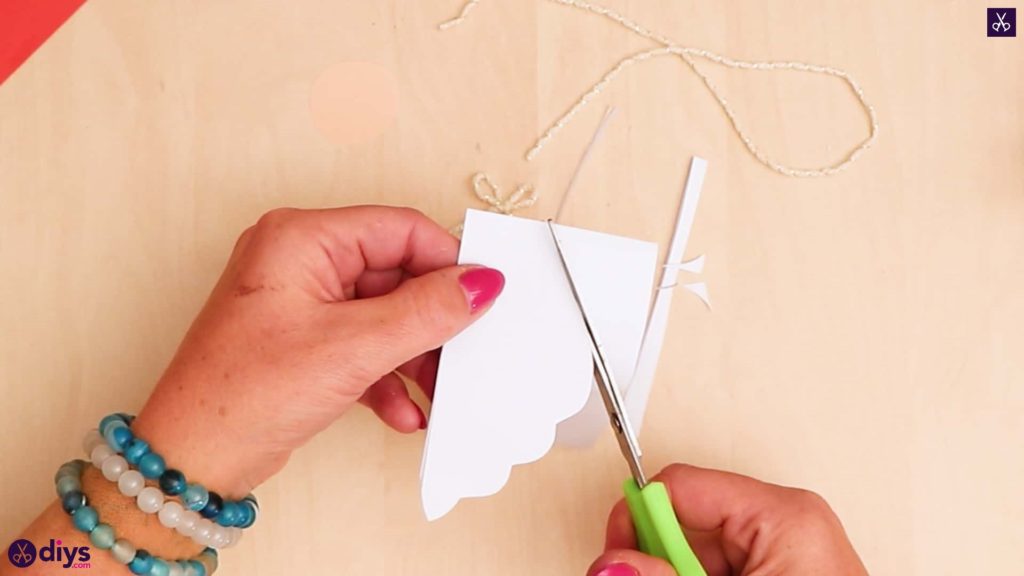
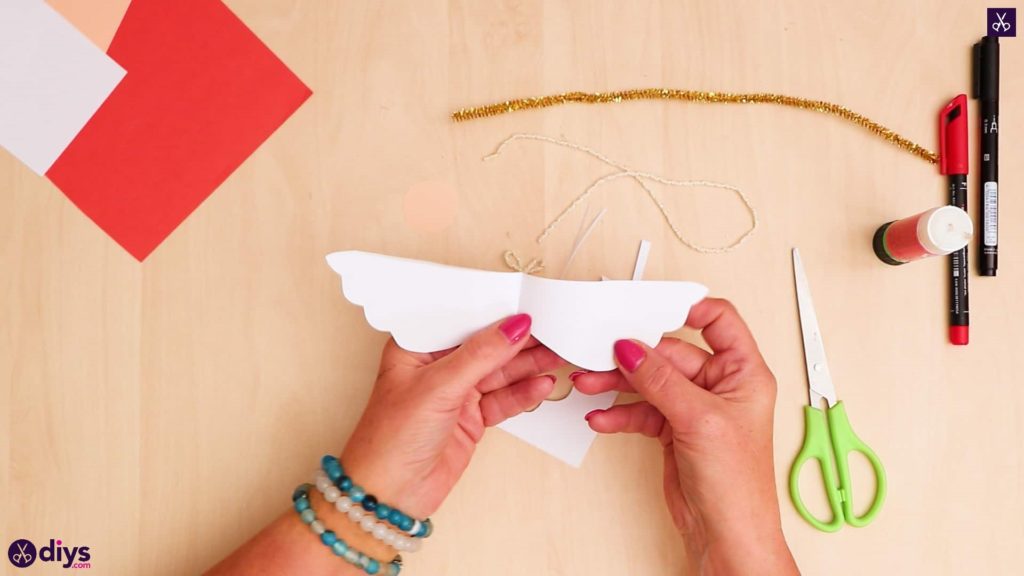
Step 4: make the wings
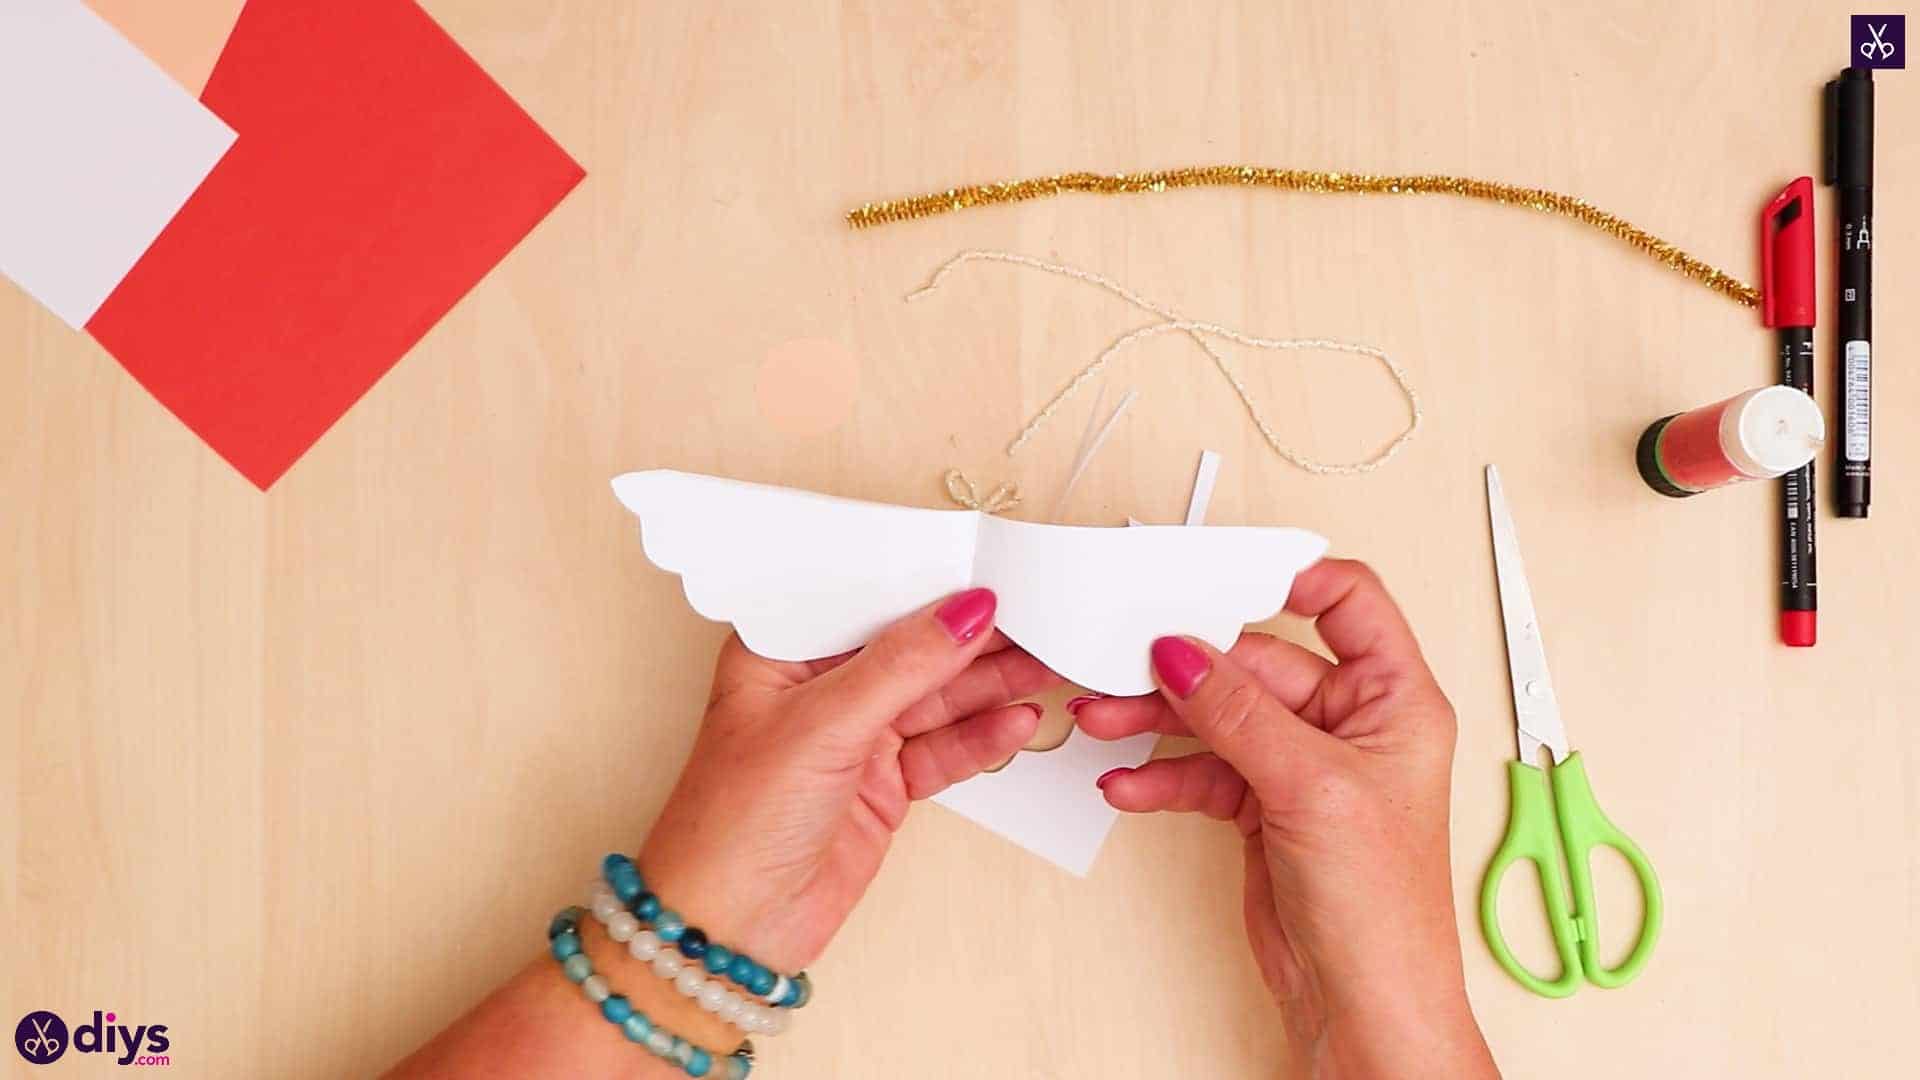
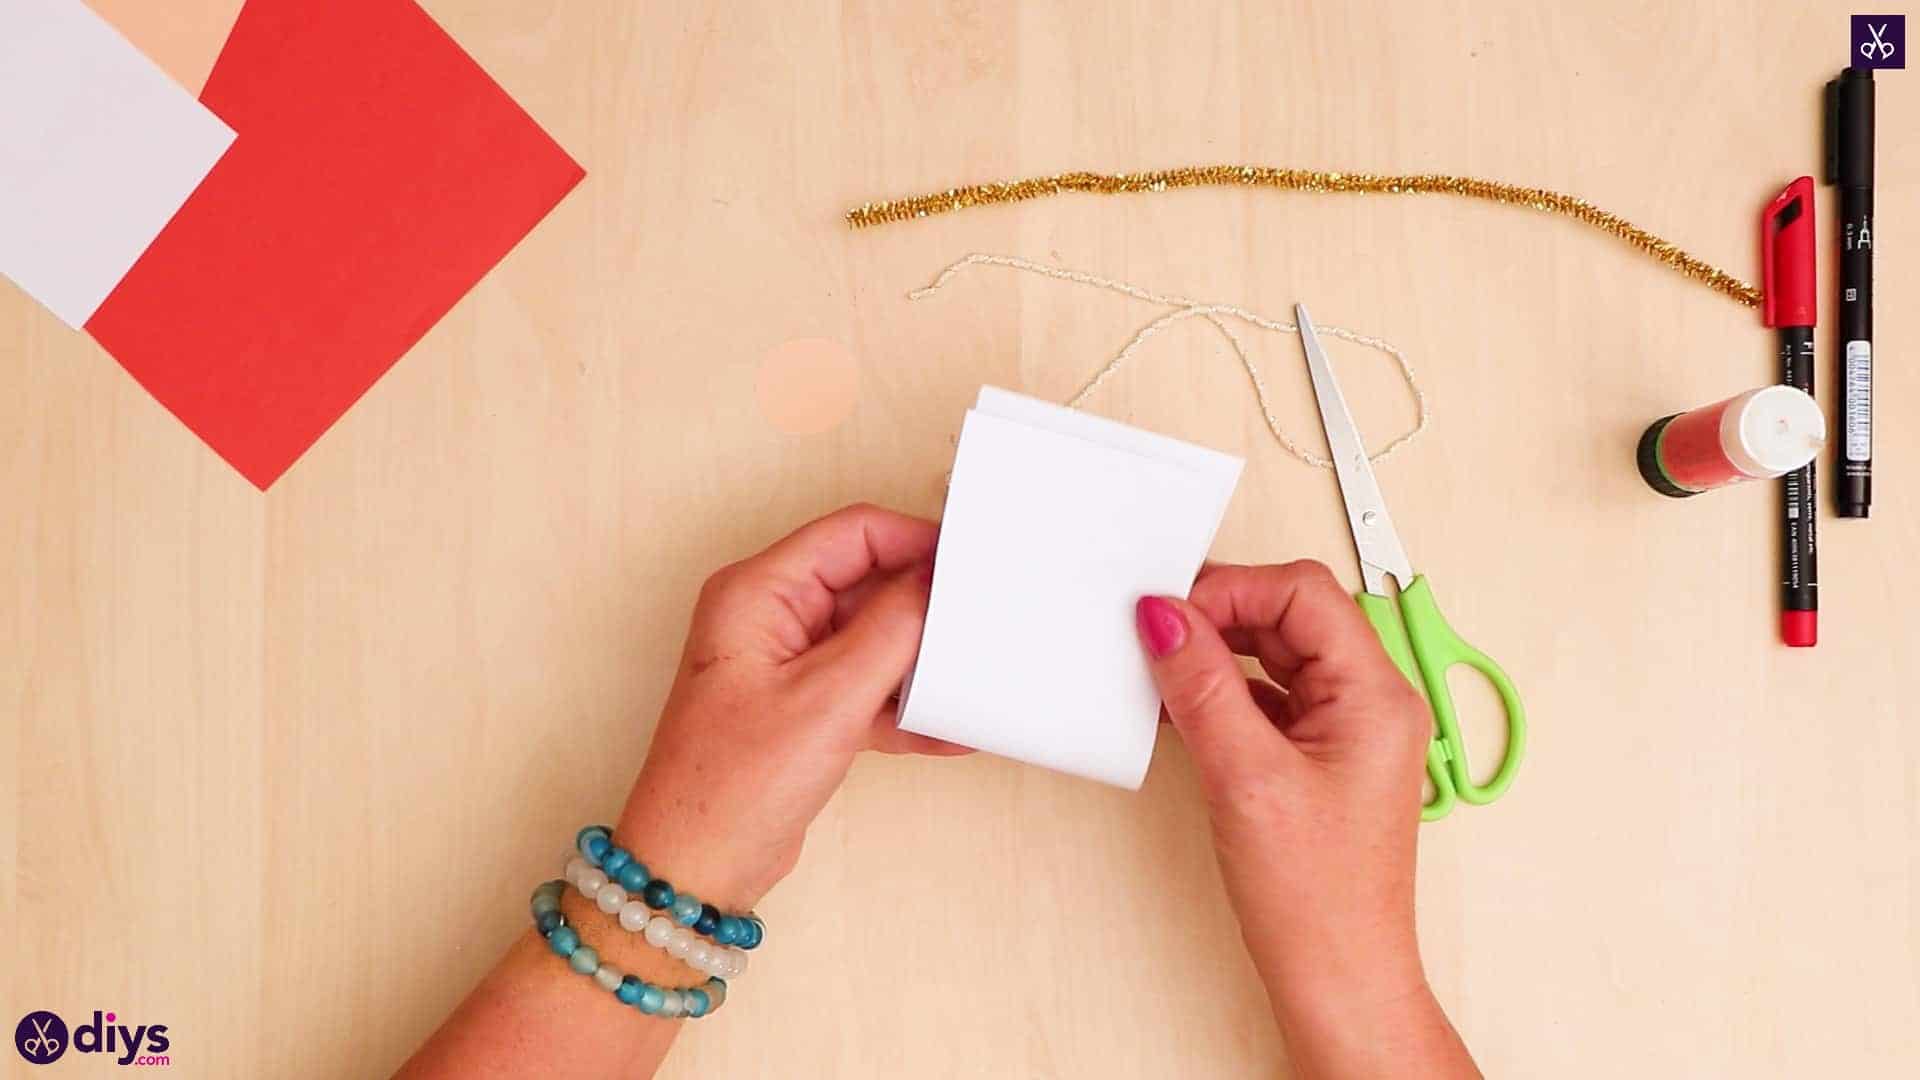
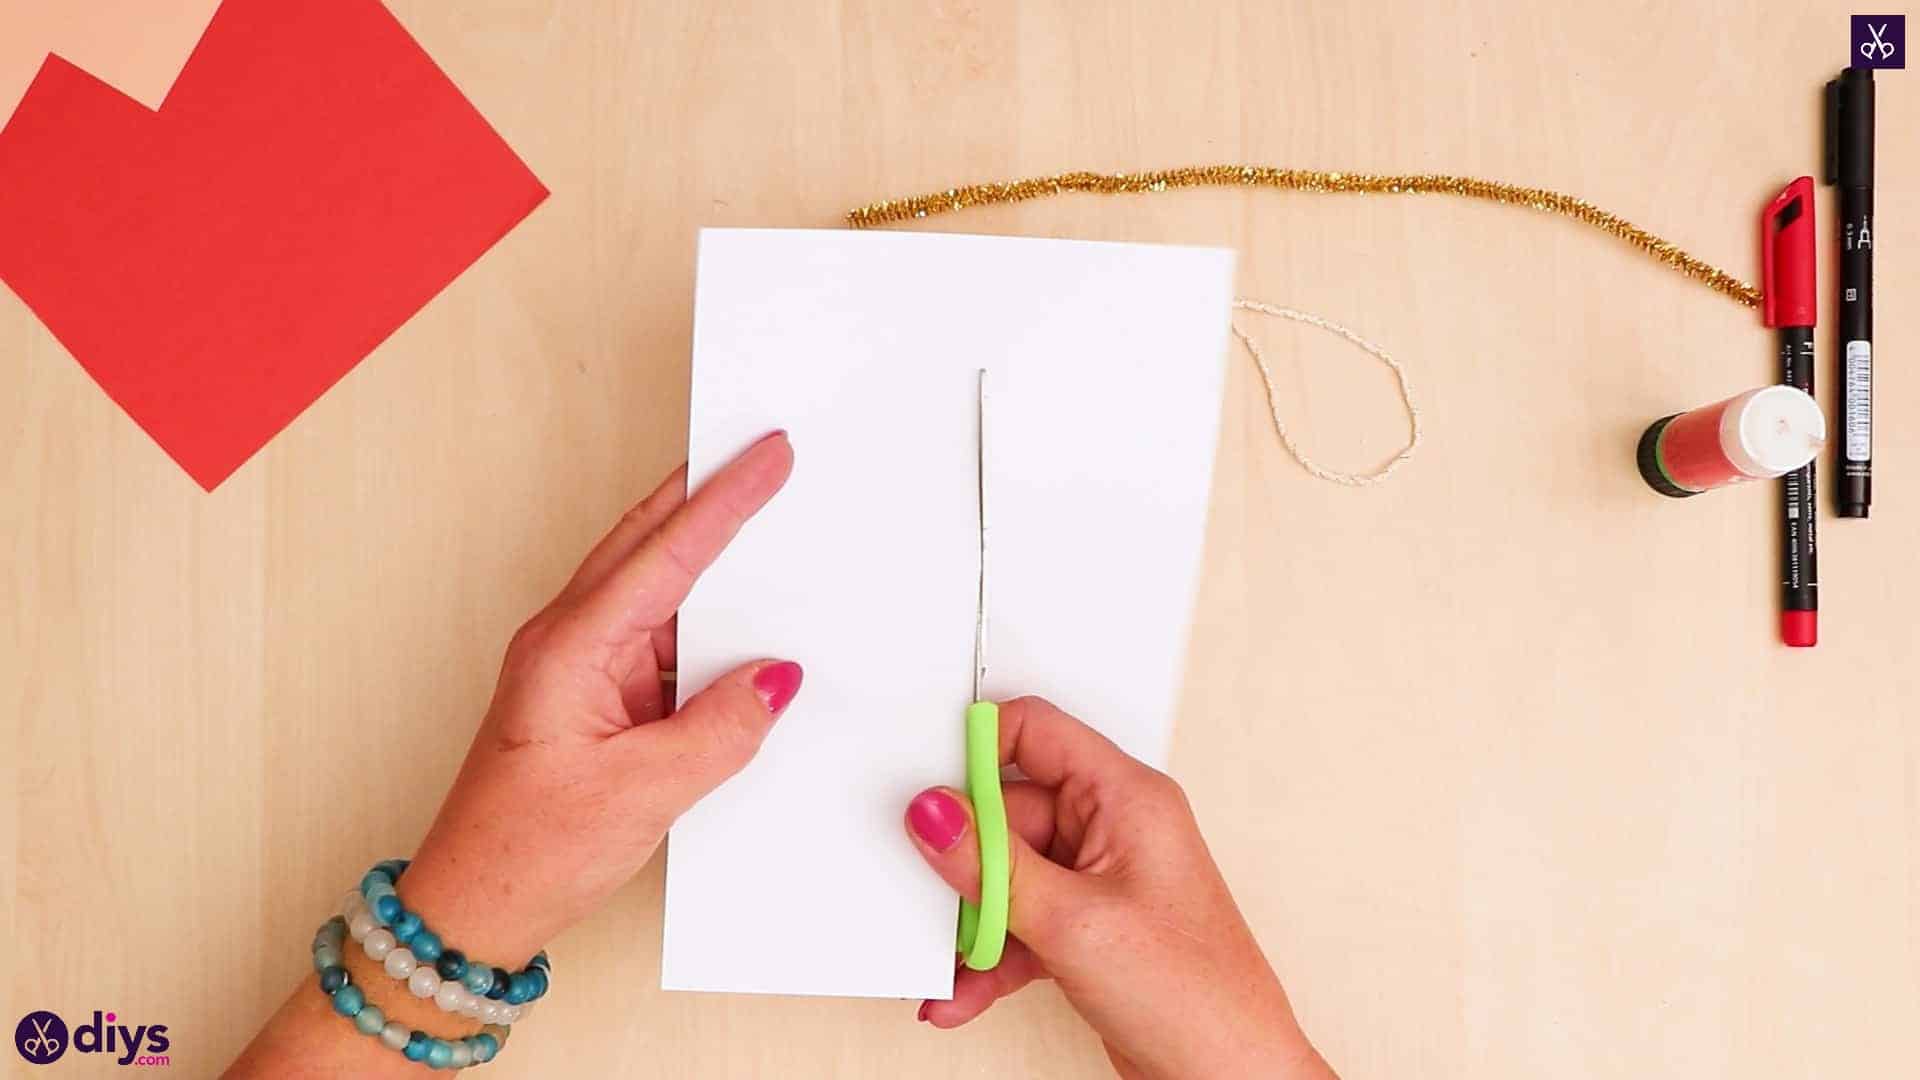
Turn your piece of paper portrait and cut it in half up the middle of its full height. Take one half and foldthat in half end to end lengthwise, so it’s just as wide as before but half as long. Use your scissors to cut the shape of a wing into this piece, making sure they pass through both layers folded together. Donot cut through the crease at the end. When you open the resulting piece, you’ll have a pair of angel wings joined at the center to mirror each other!

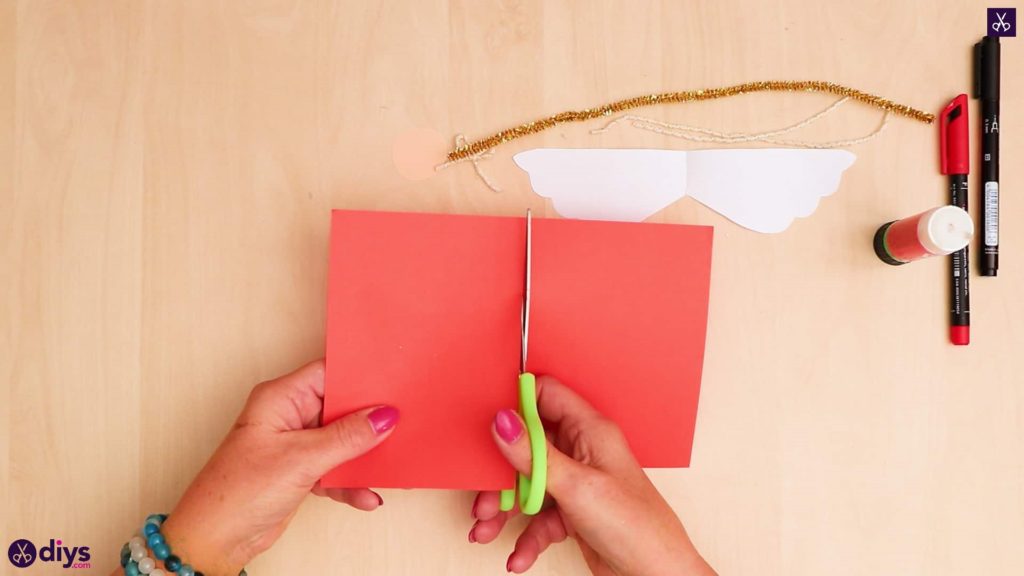
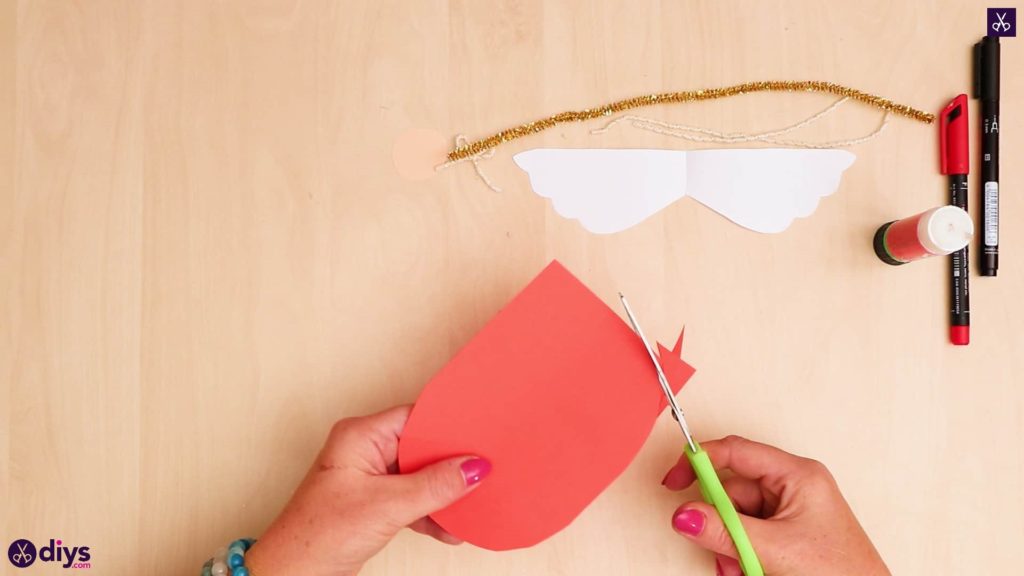
Step 5: shape the body
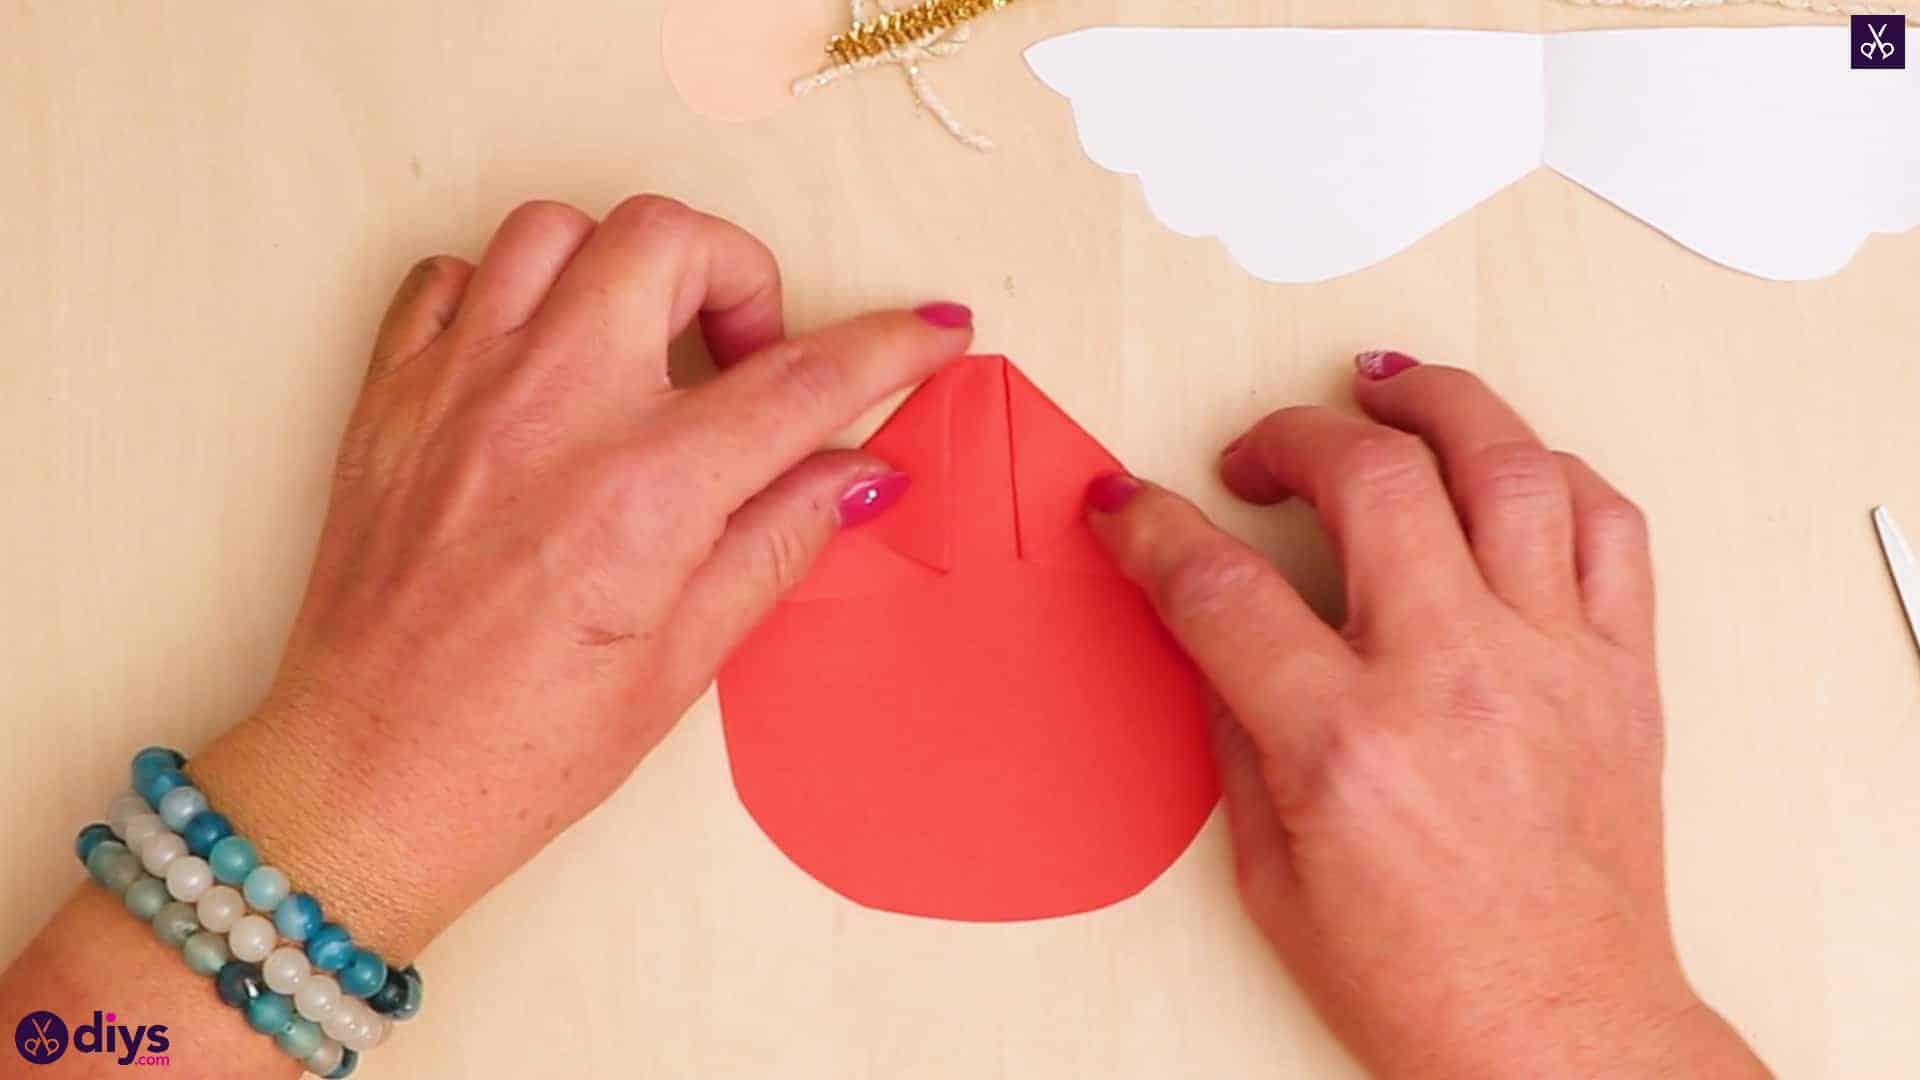
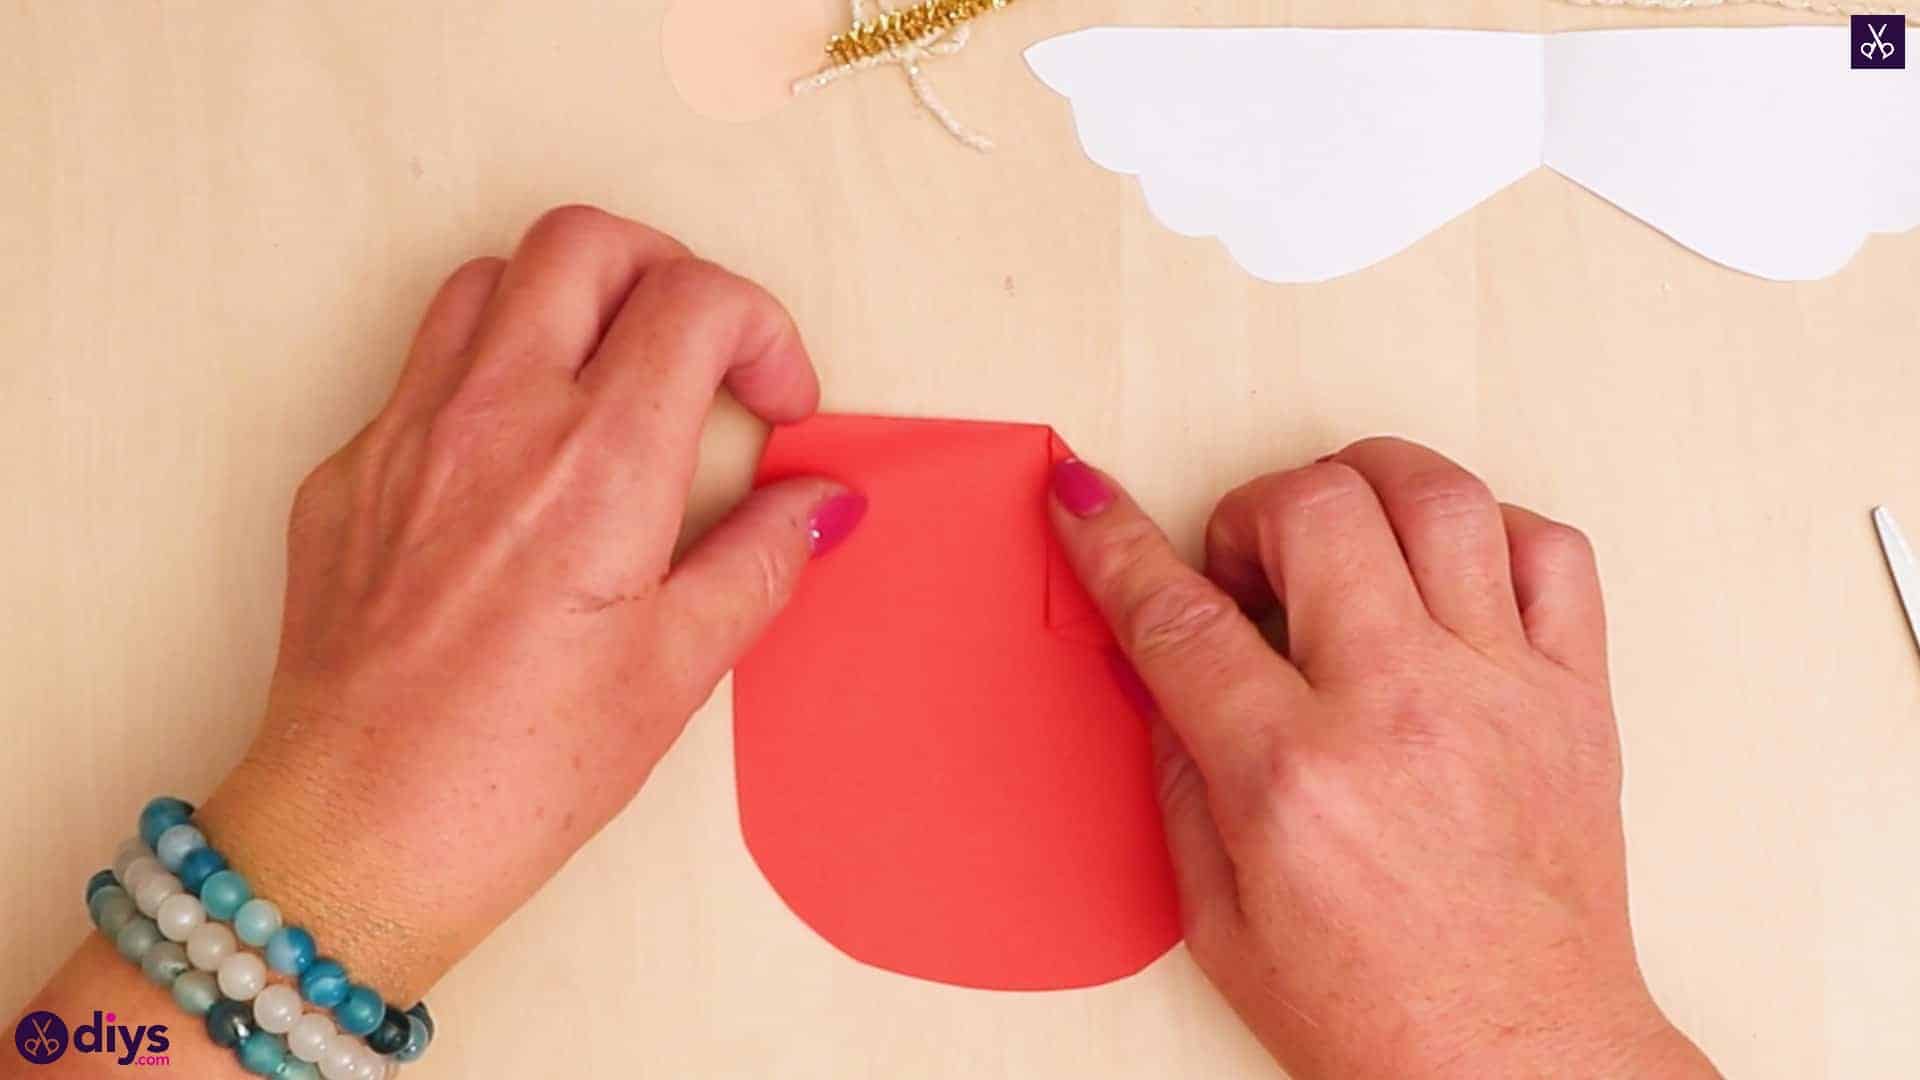
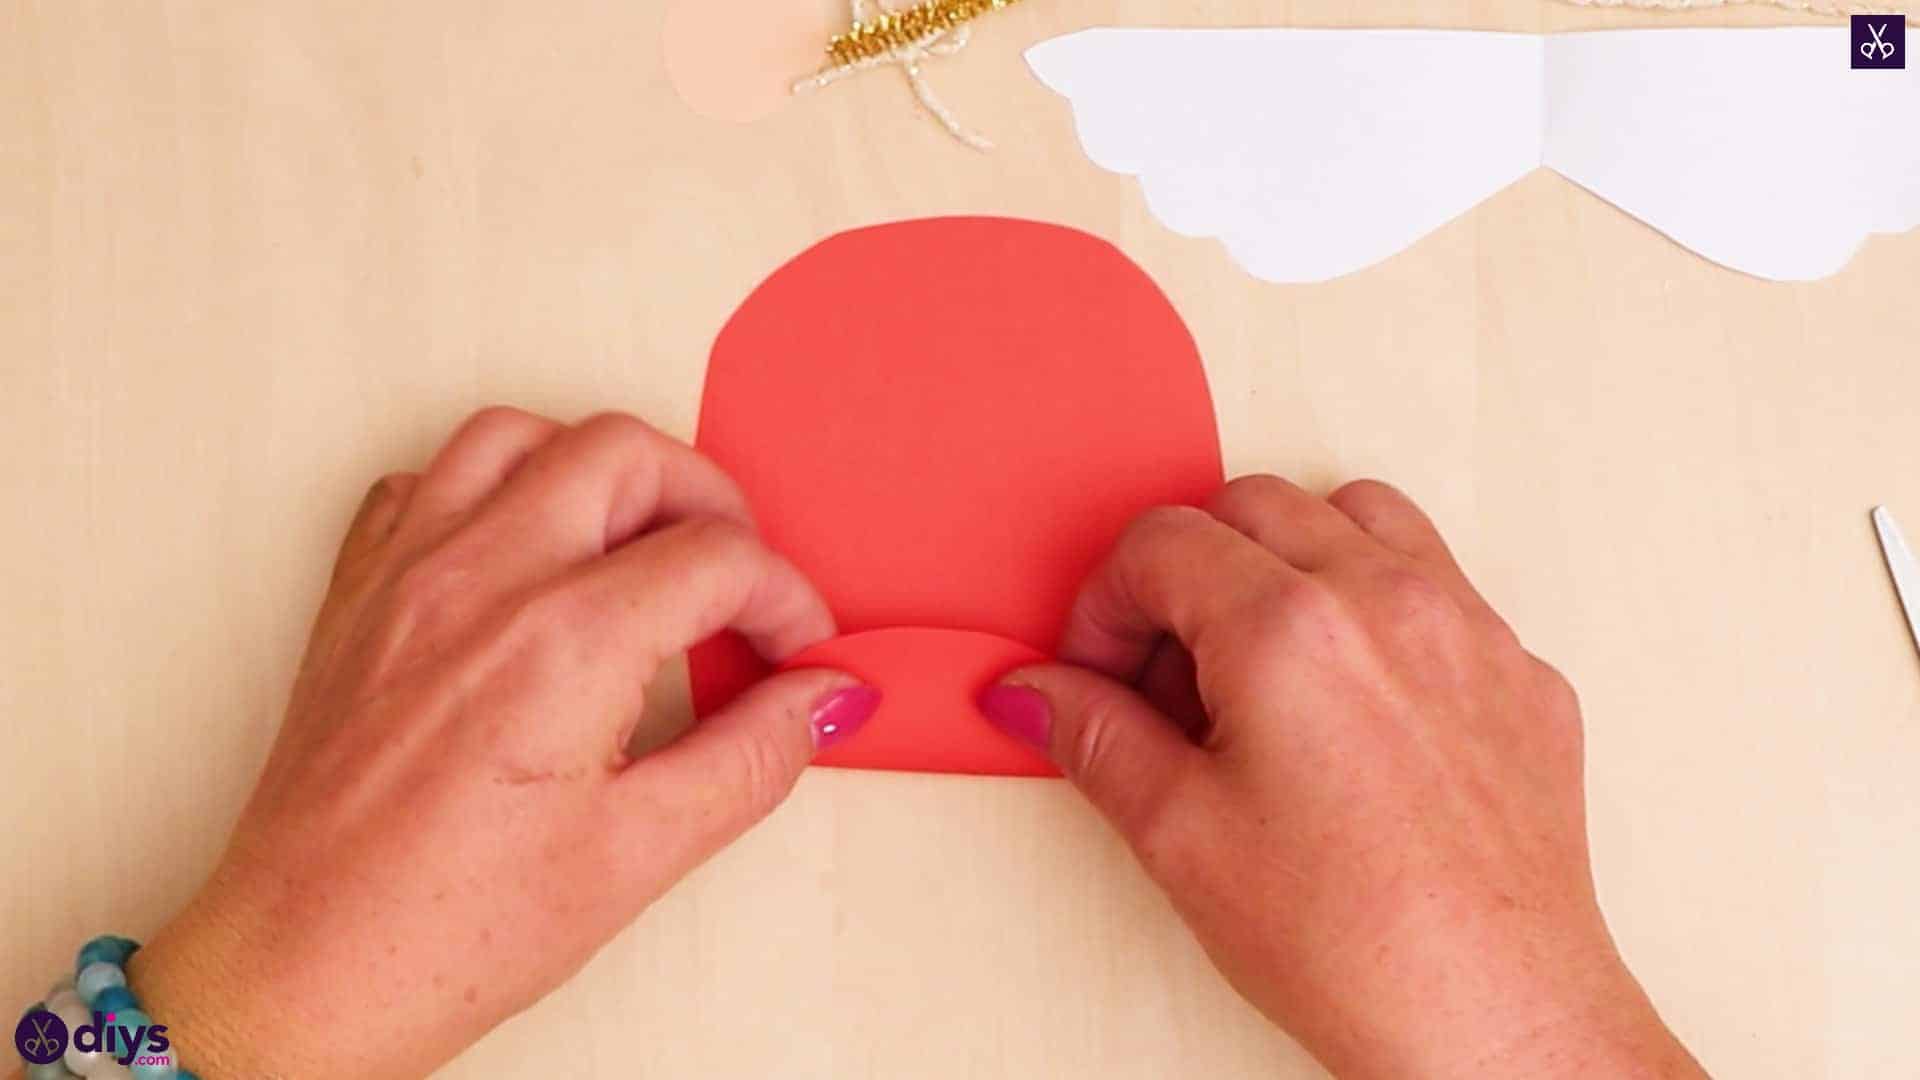
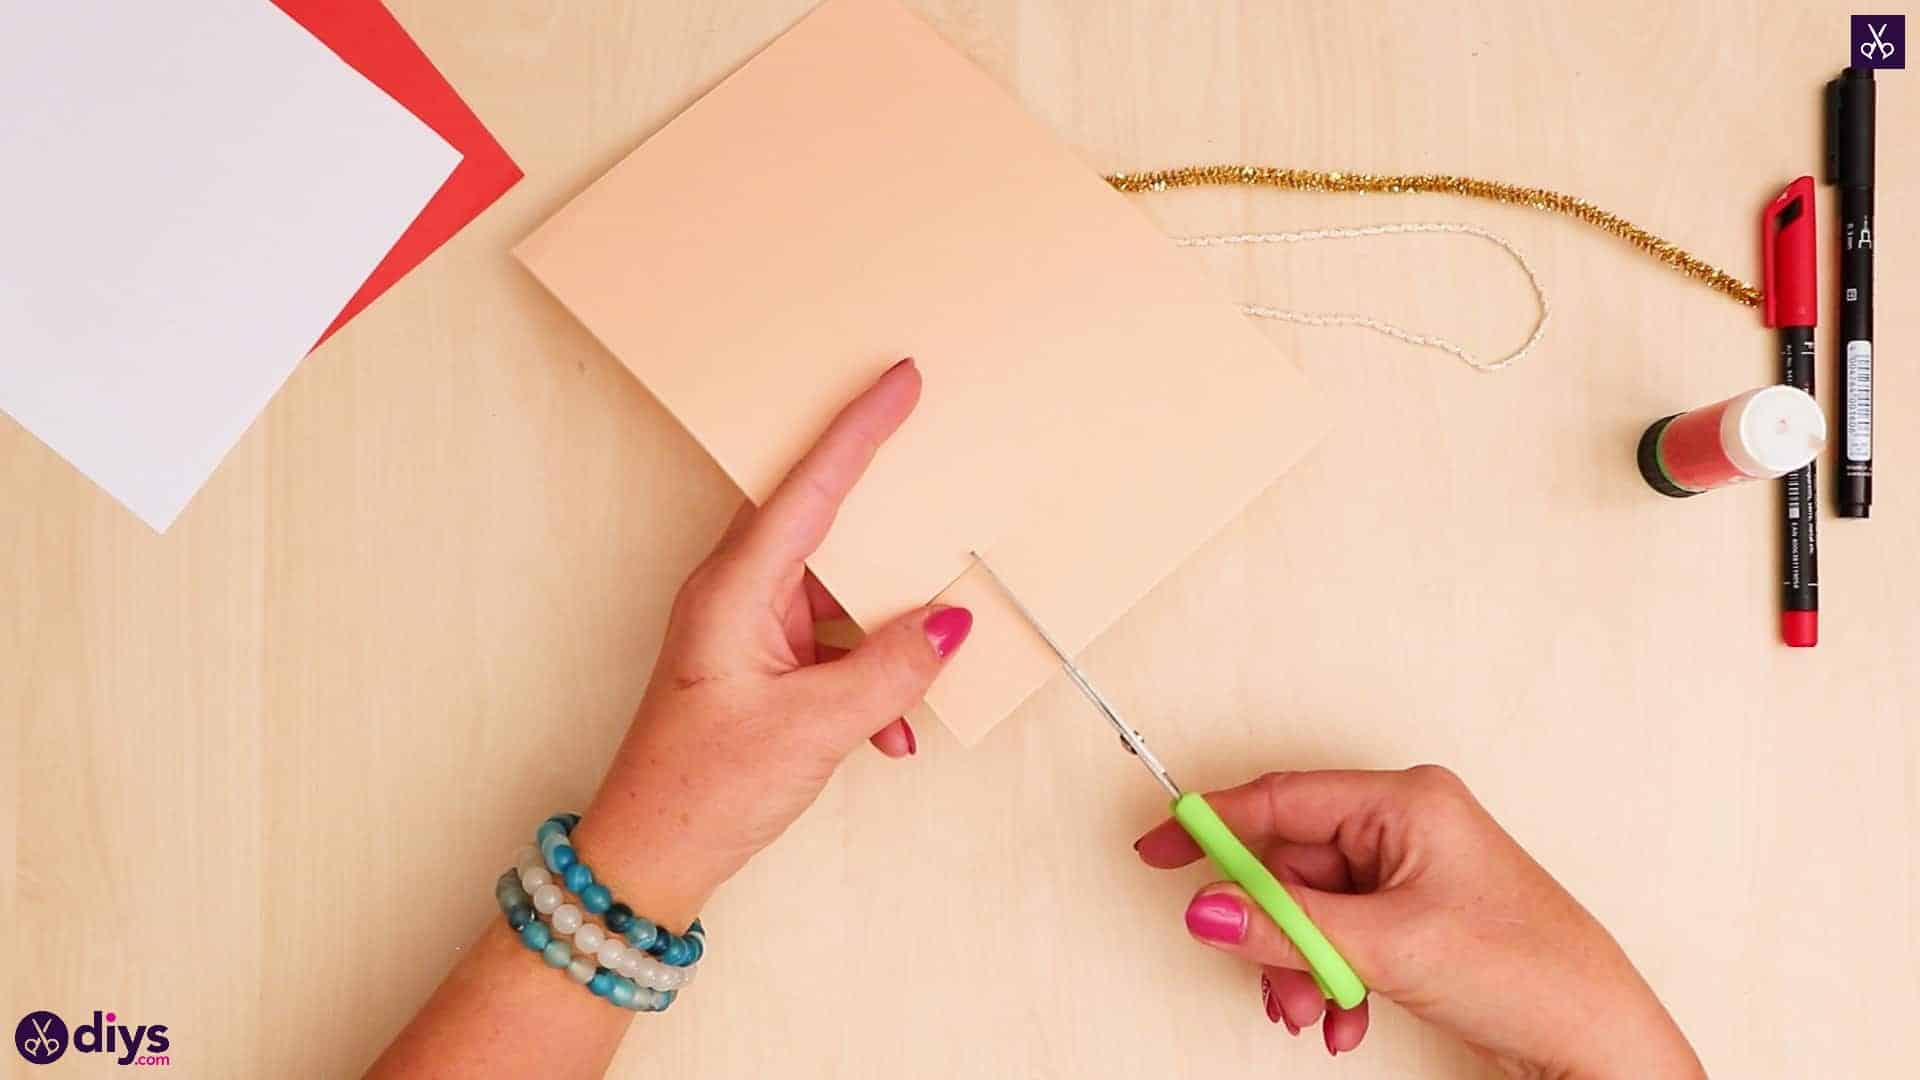
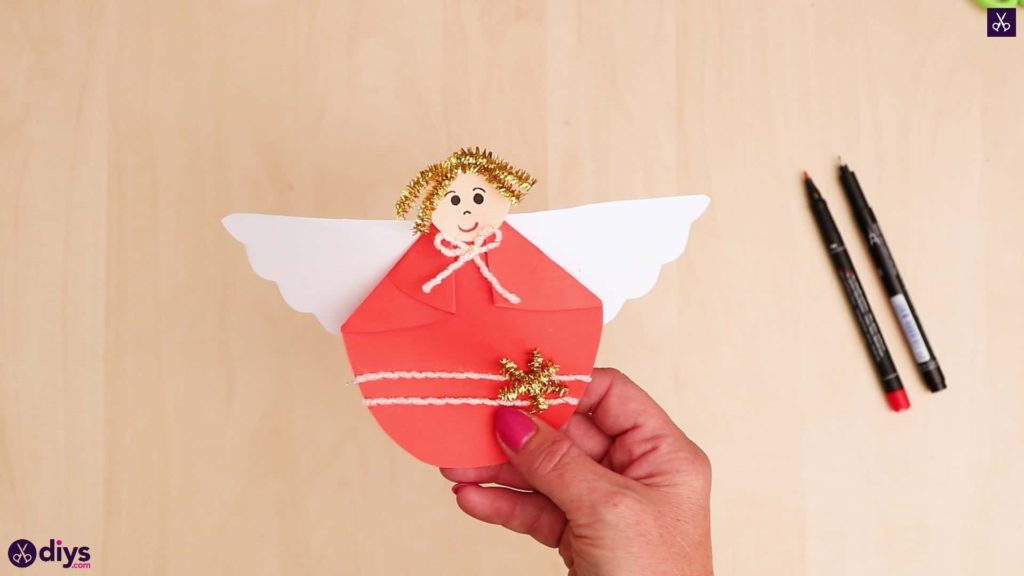
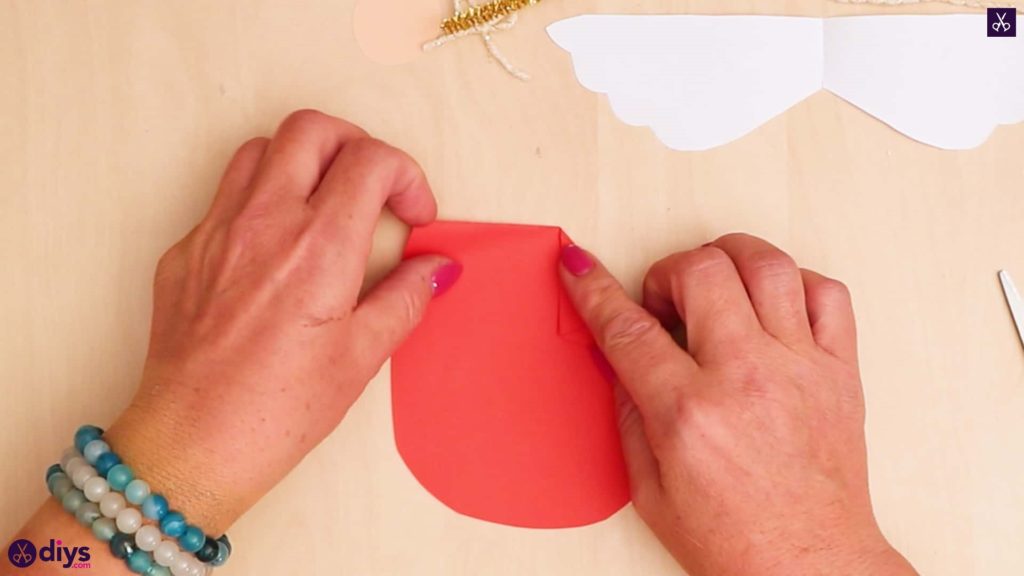
Turn your red piece of paper landscape and cut it in half vertically. Round off the corners of one half piece so you have a sort of elongated, slightly rounded rectangle shape. Place this shape vertically on your worktop and fold the rounded bottom edge upwards about half an inch, creasing the fold. Flip the piece over and up so this fold is now at the top but also at the back, lying against the table. Now, fold each end of this creased straight edge downward towards you but on a diagonal, creating a tapered shape at the top with two angled triangular folds on the front. This is a good time to trim and round off the curving bottom edge of your red piece if you need to, which I did. This is your angel’s body!


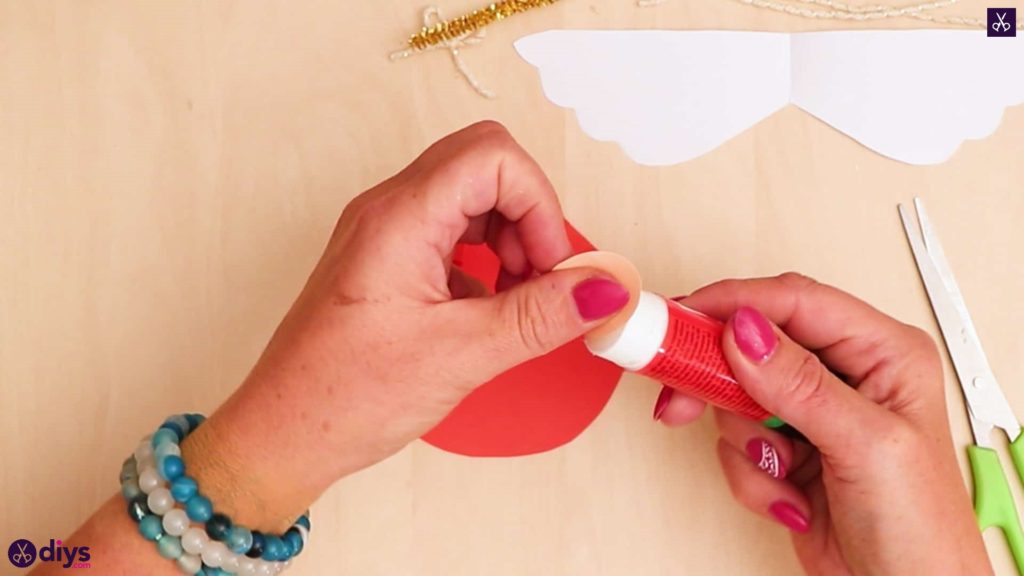
Step 6: start gluing
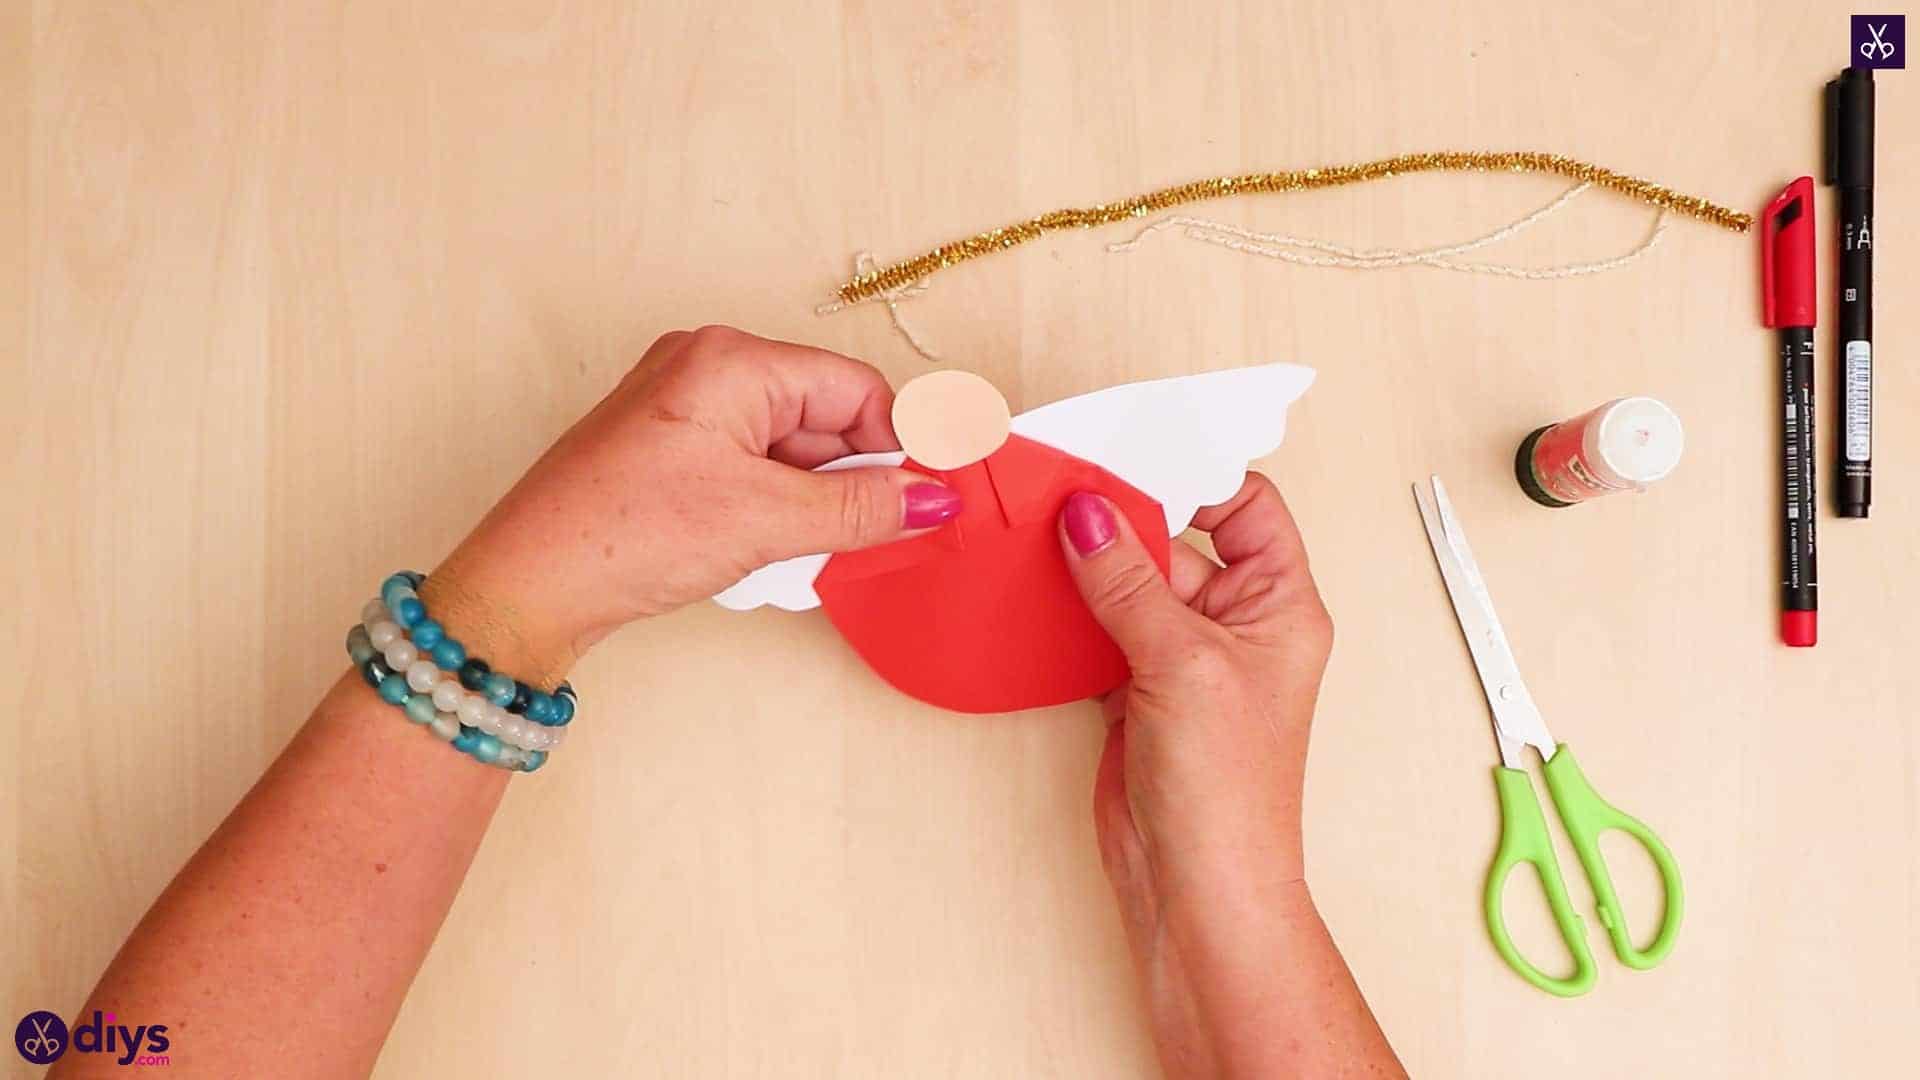
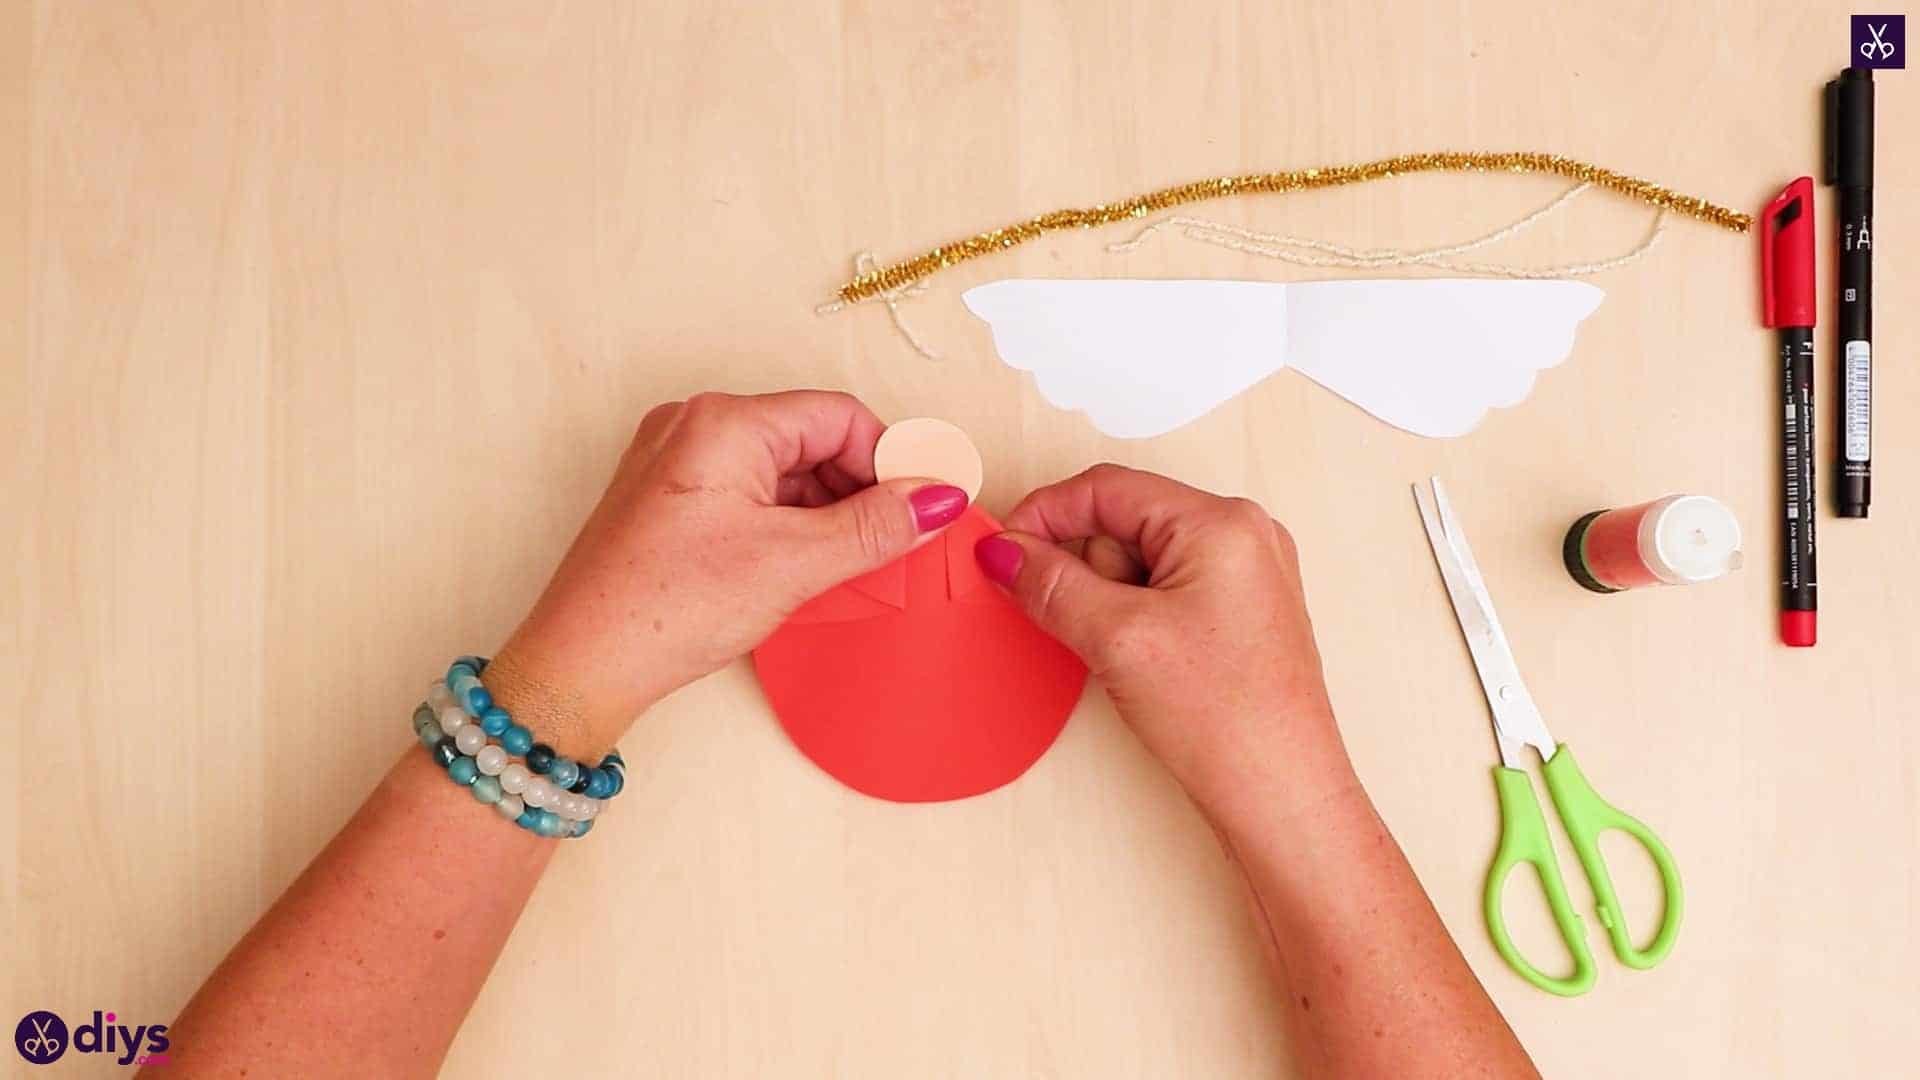
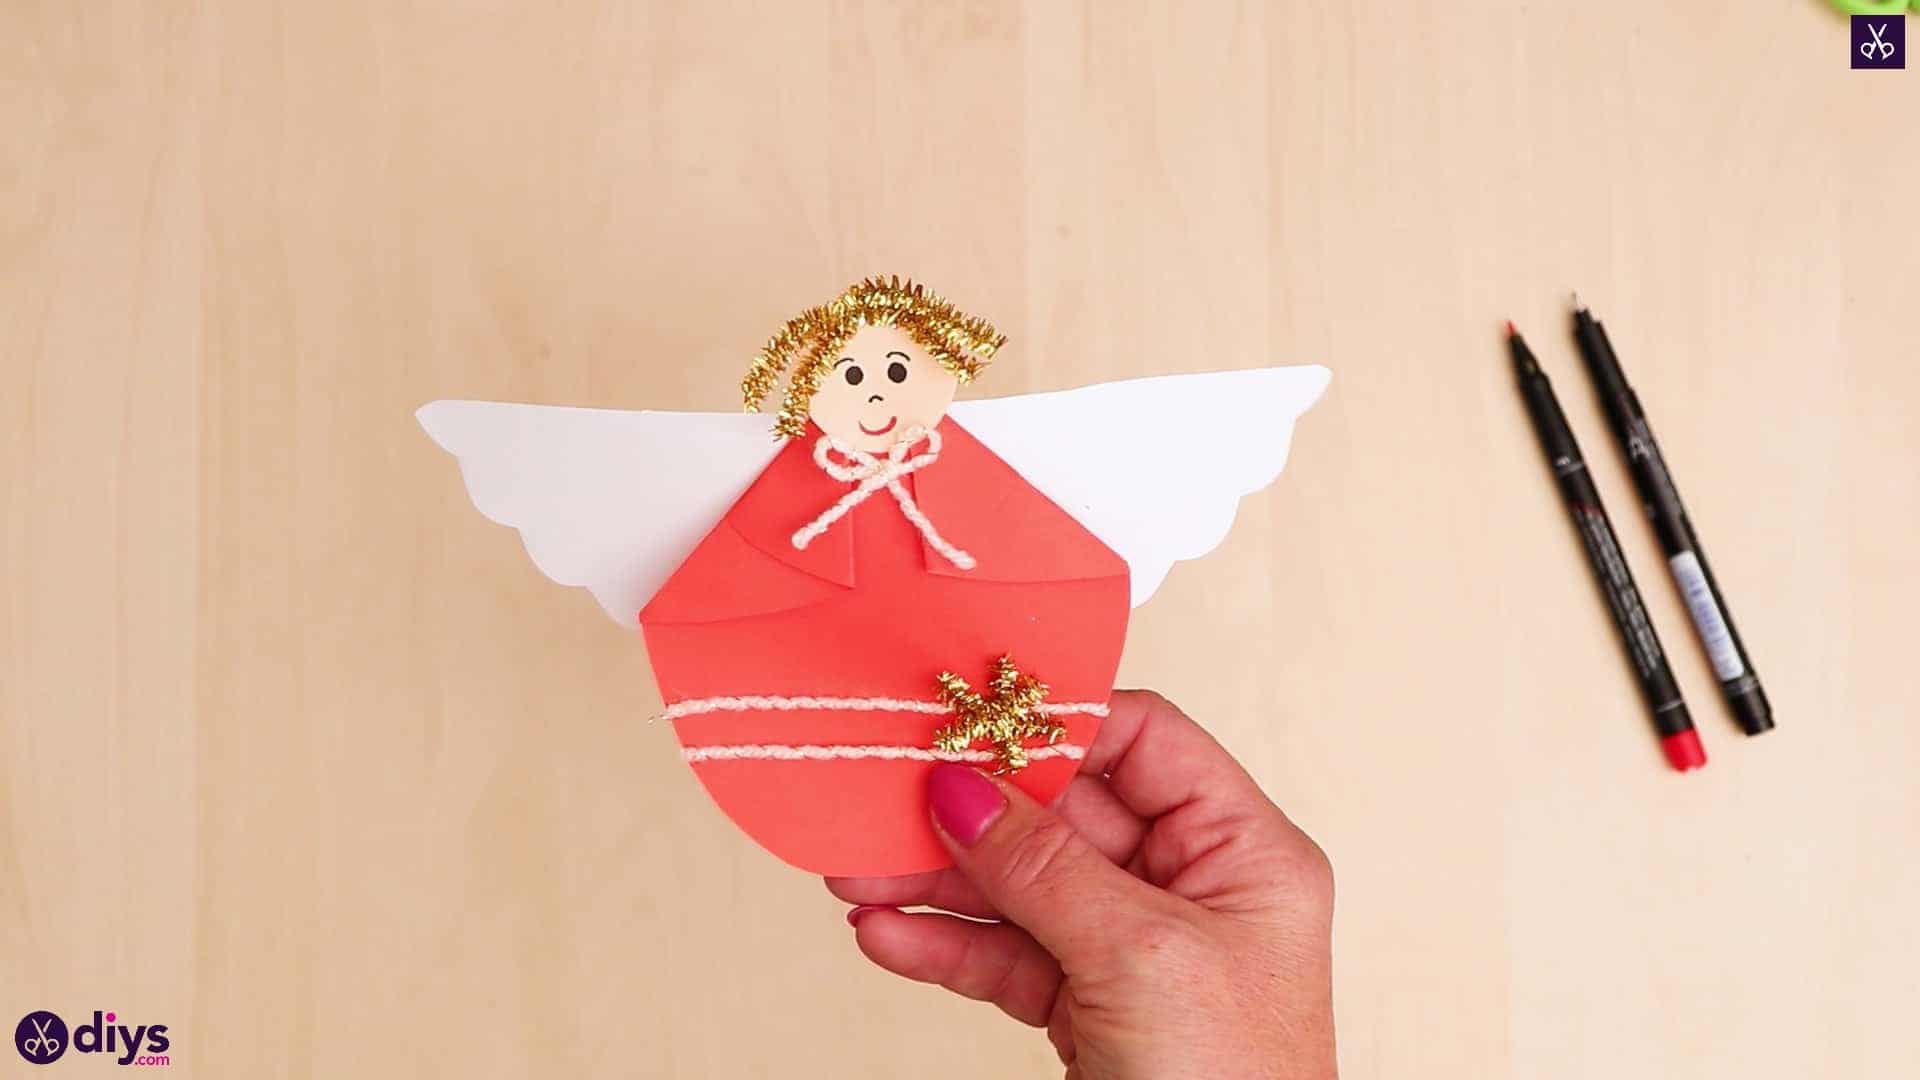
Apply glue to the back of your light pink circle and glue it to the tip of the tapered point, overlapping with your diagonally folded pieces. Your angel now has a head and little origami arms that look like praying bell sleeves!
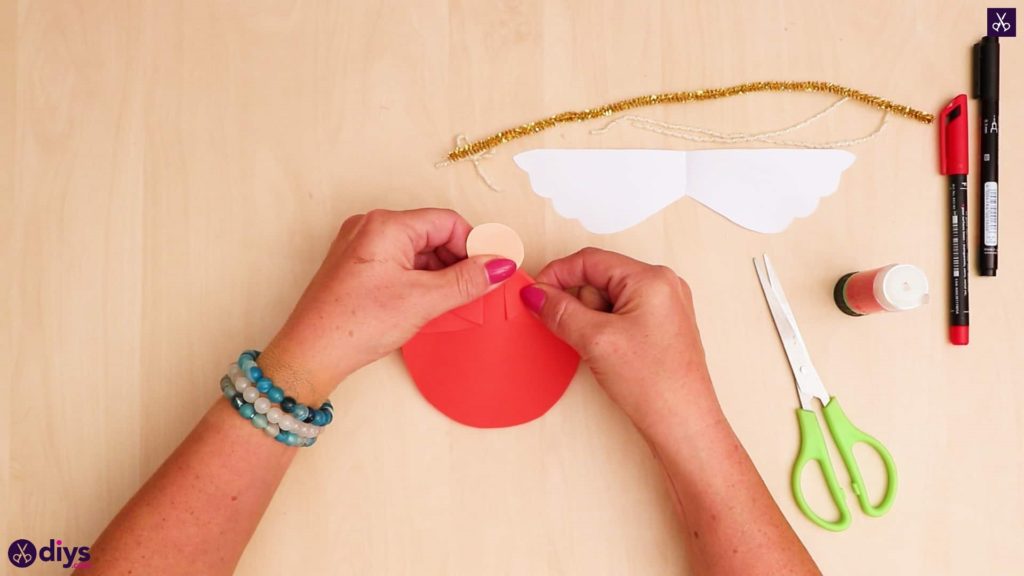
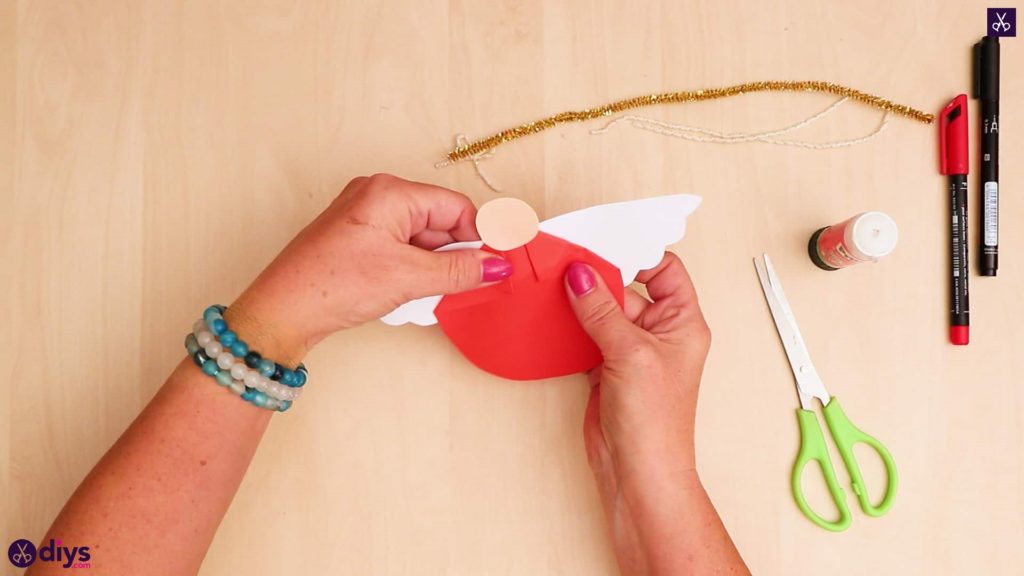
Step 7: add the wings
Apply glue to the folded center between your two wings and glue them to the back of your angel. I placed the center of mine just behind where the angel’s neck would be so they stuck out each side just right from the front.
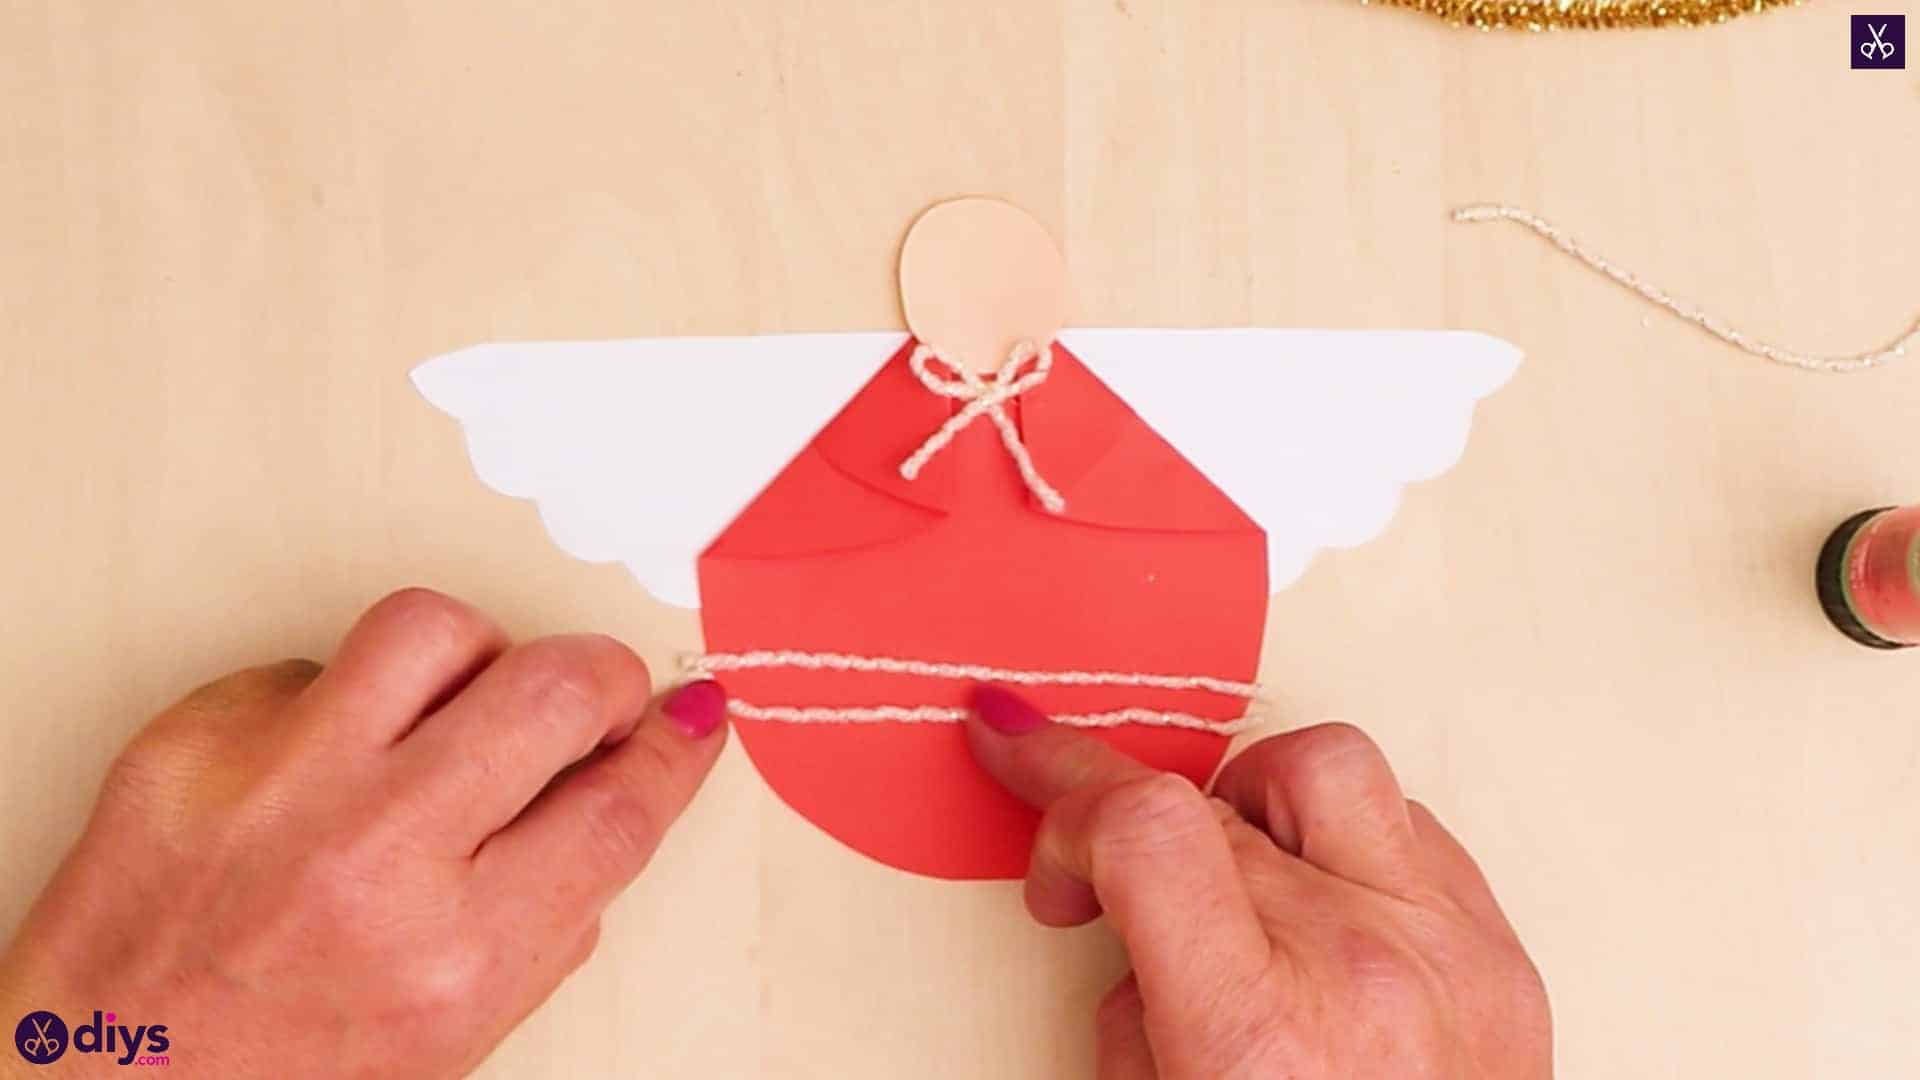
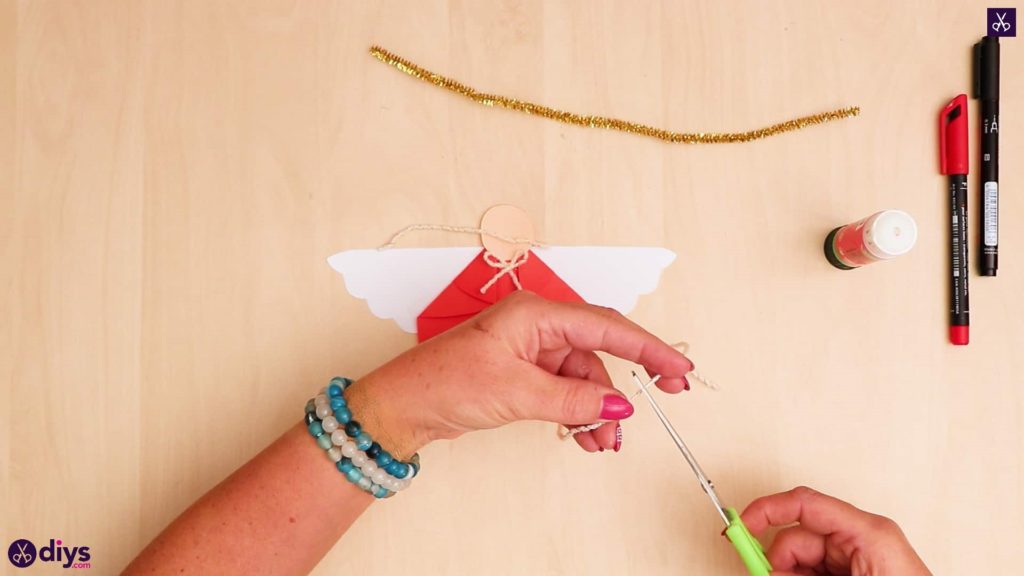
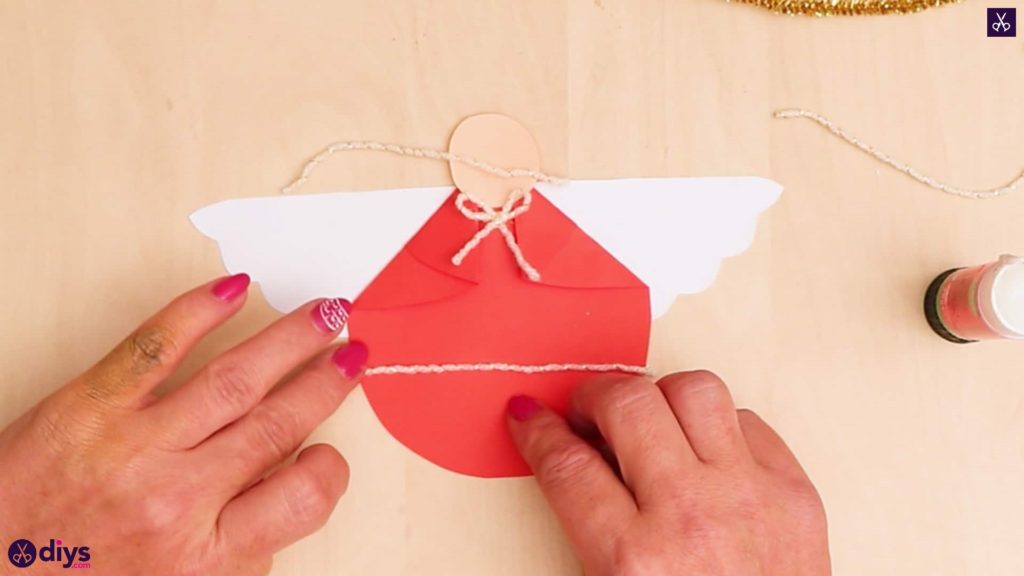
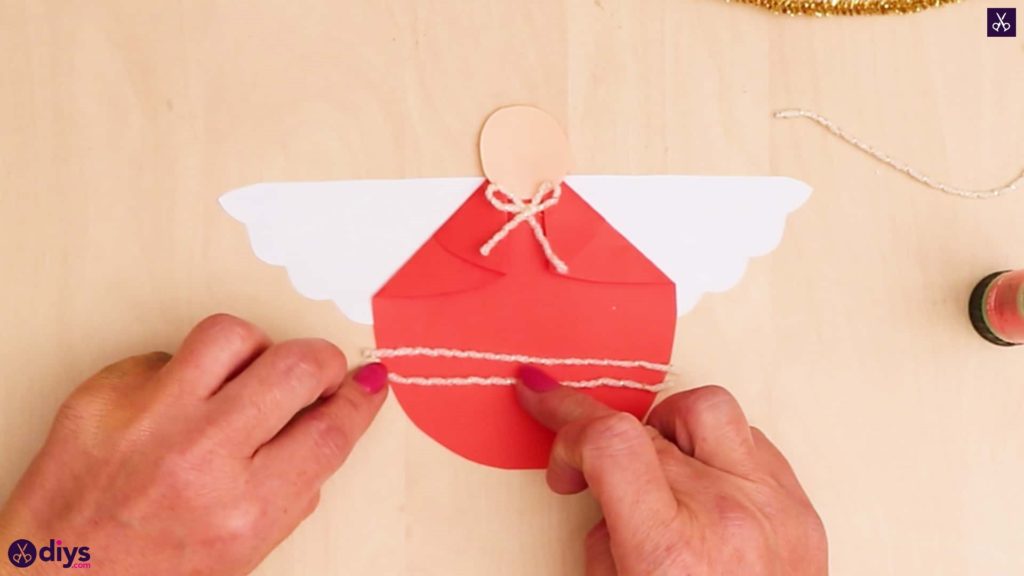
Step 8: embellish with string
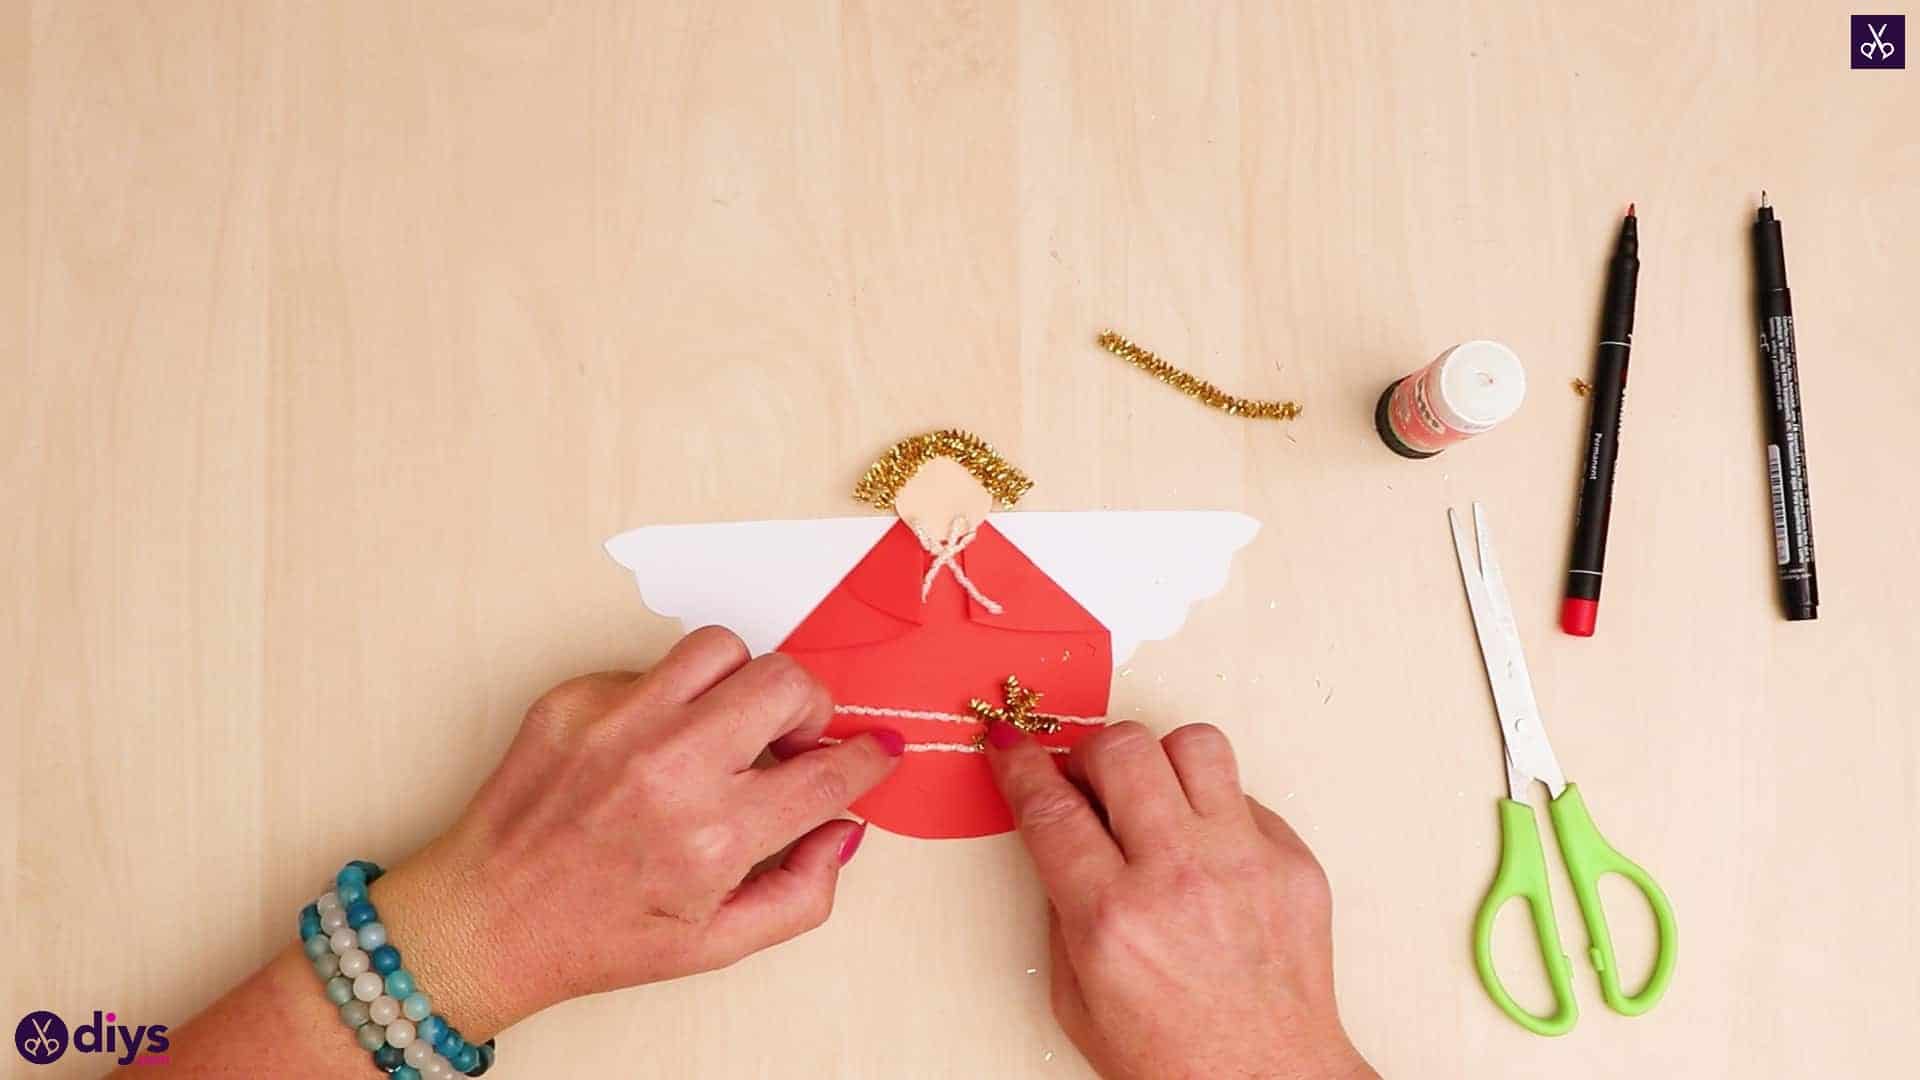
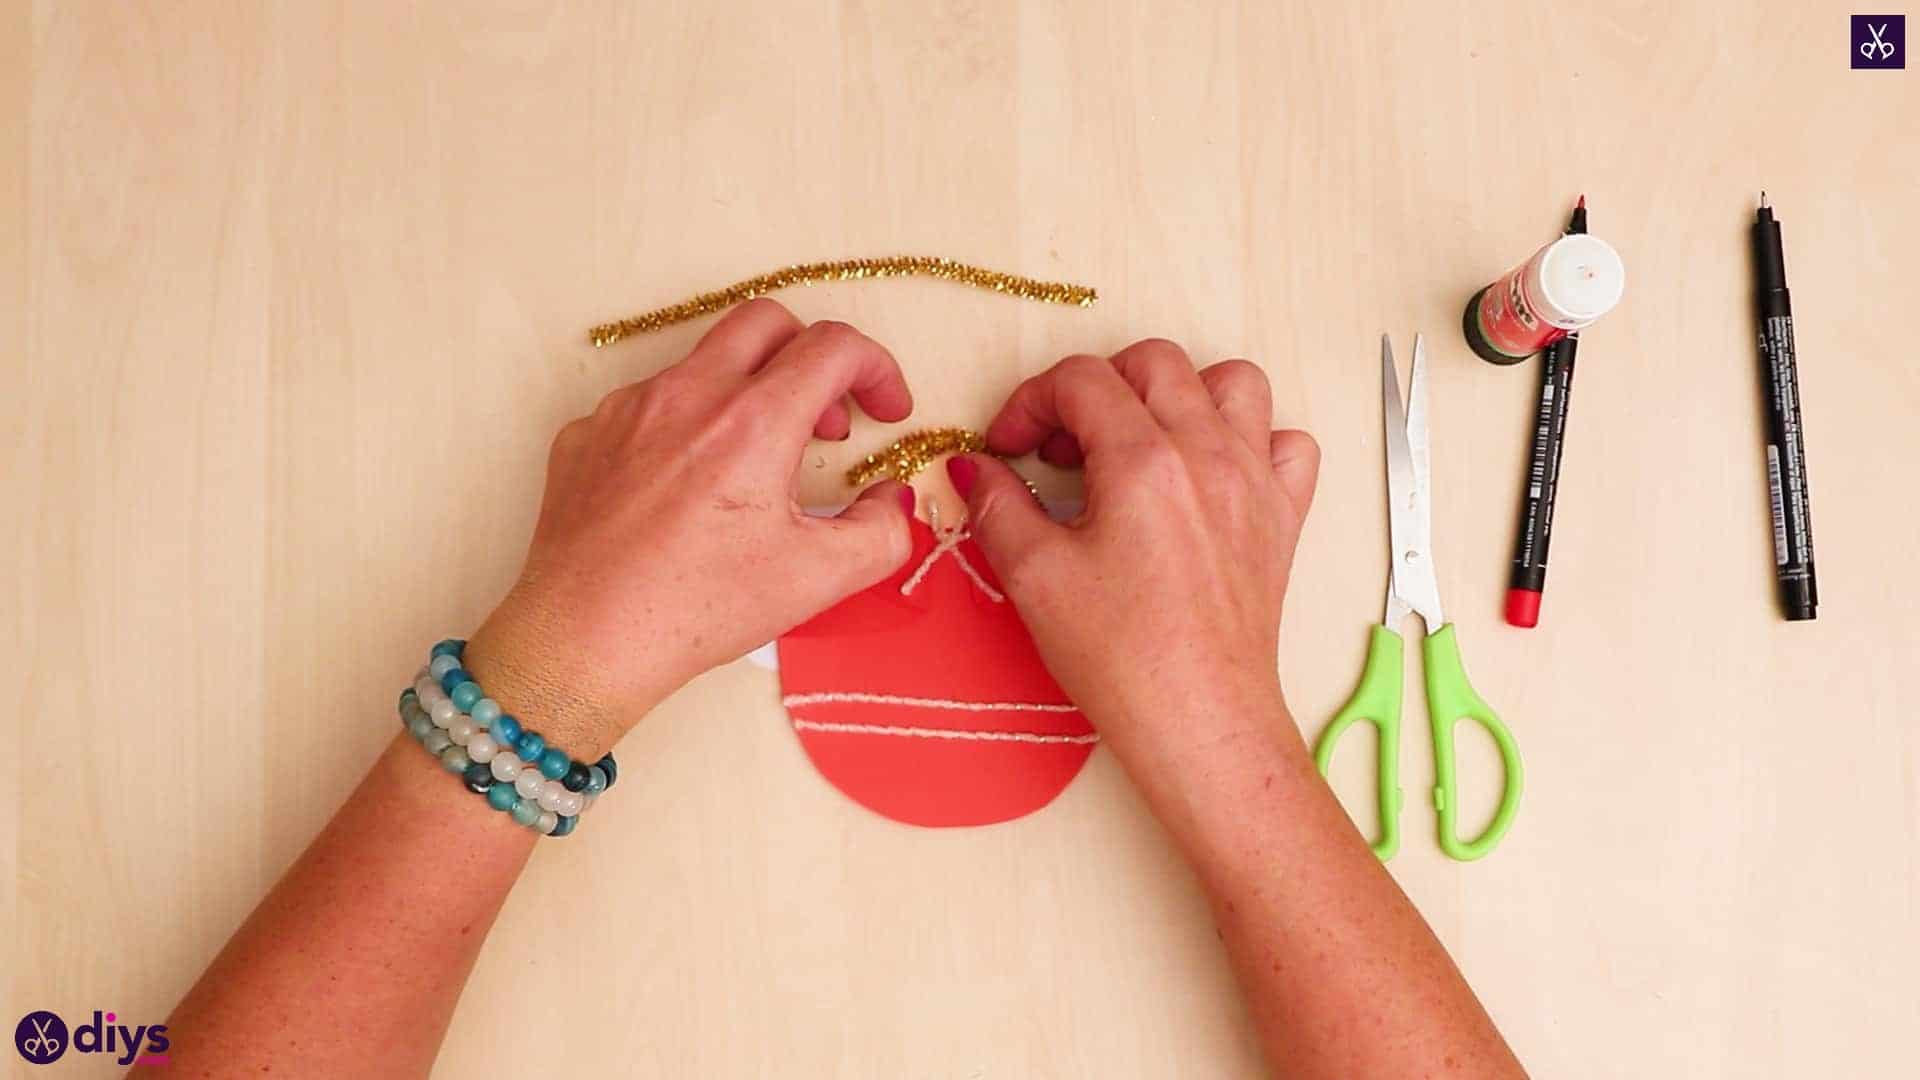
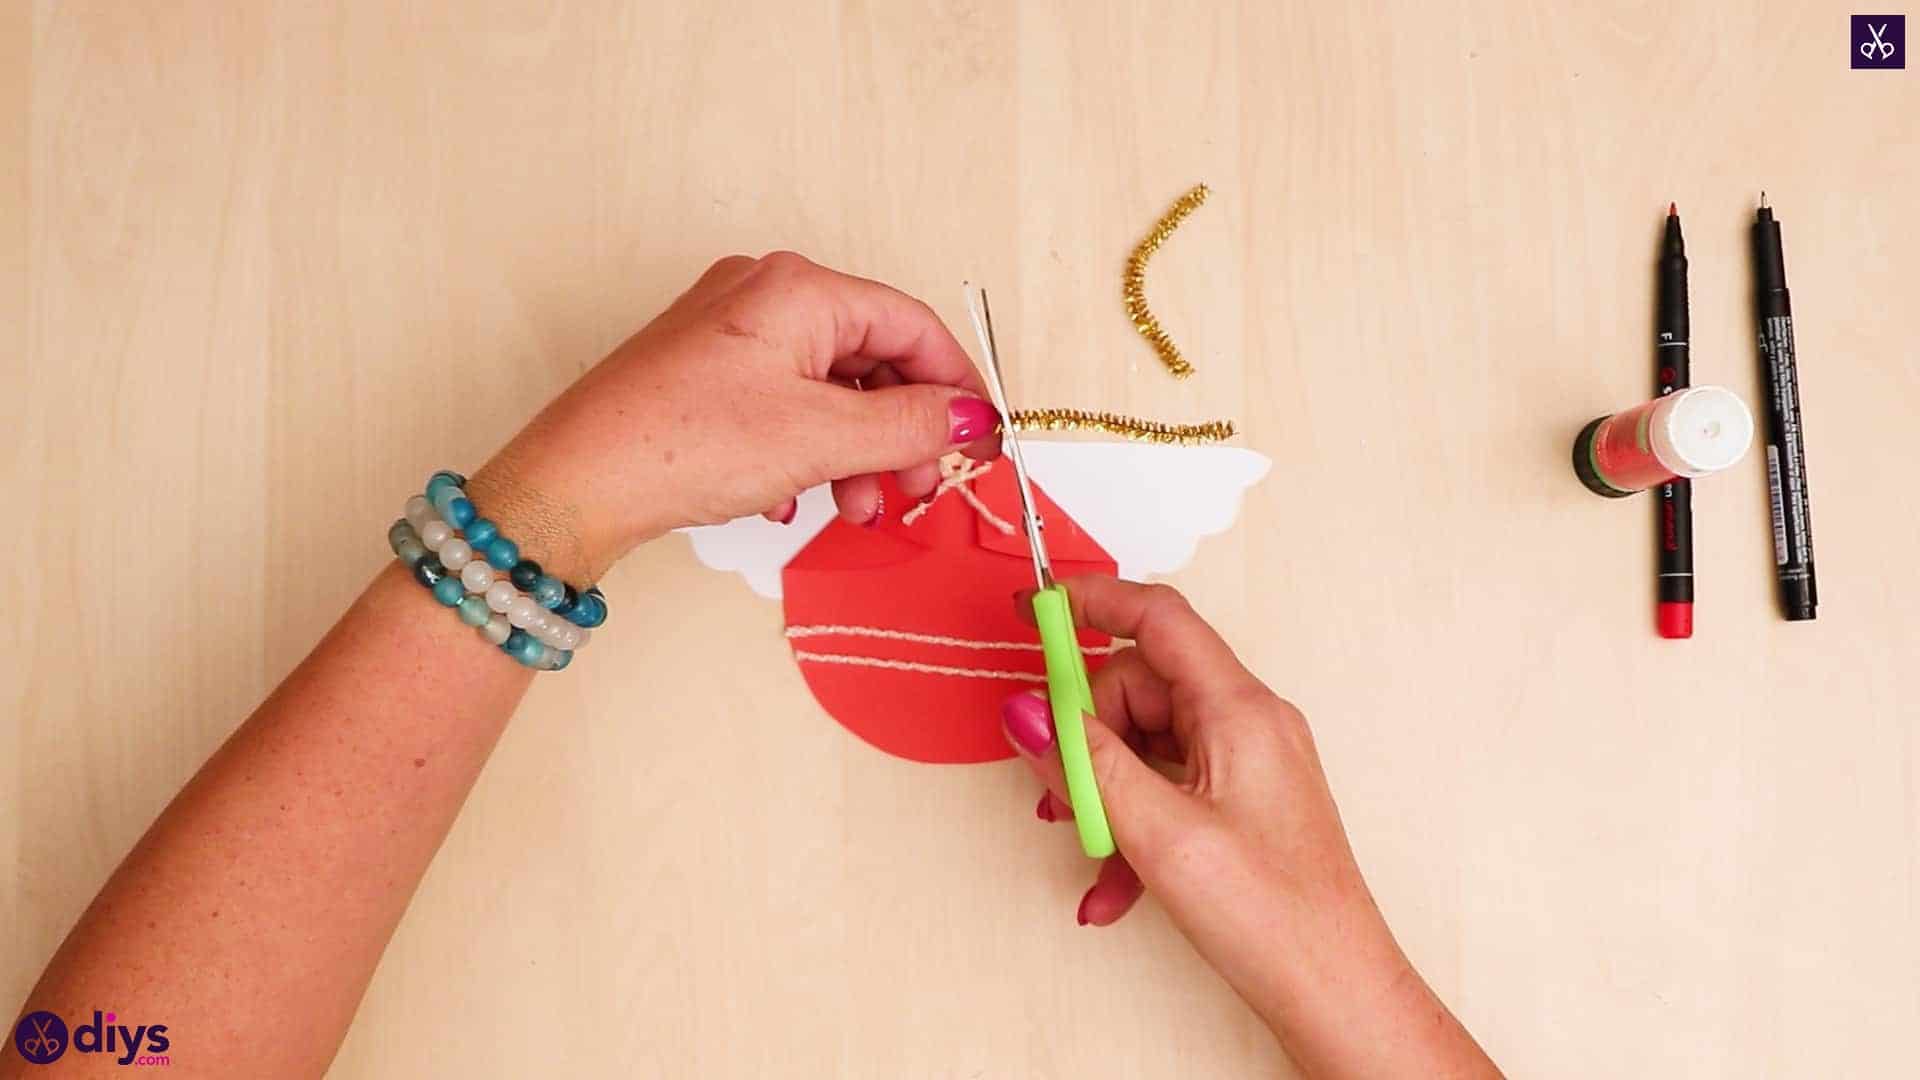
Apply glue to the back of your string bow and stick it into place right under your angel’s chin, as though it might be tied at the neckline of her dress. Then add detail by cutting two more lengths of string that are as long as the bottom of your angel’s red dress shape is wide. Apply glue to them and stick them down across the dress, near the bottom and evenly spaced.
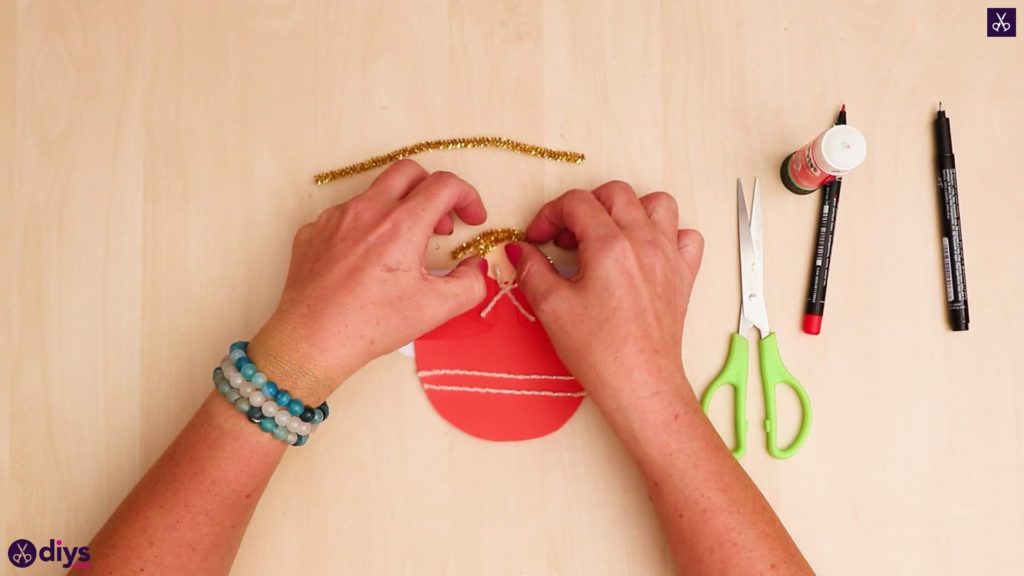
Step 9: make the hair
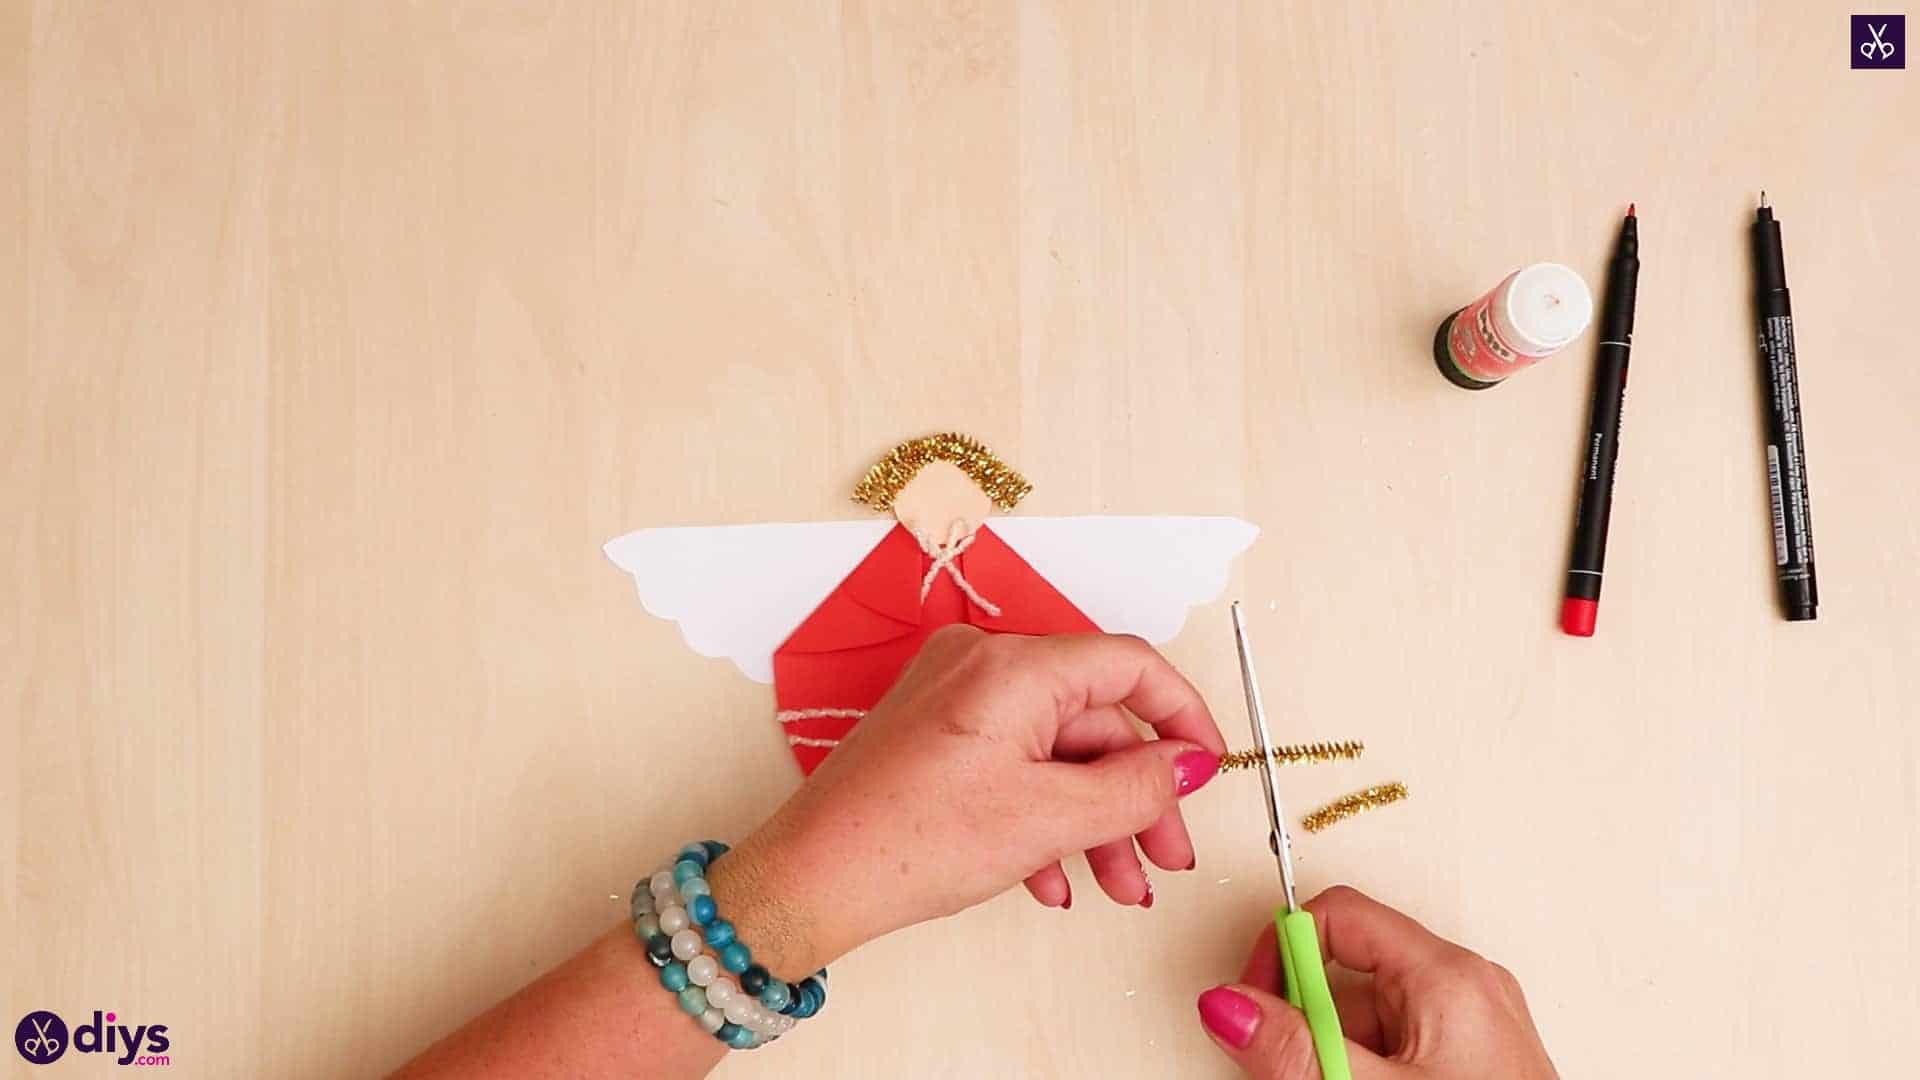
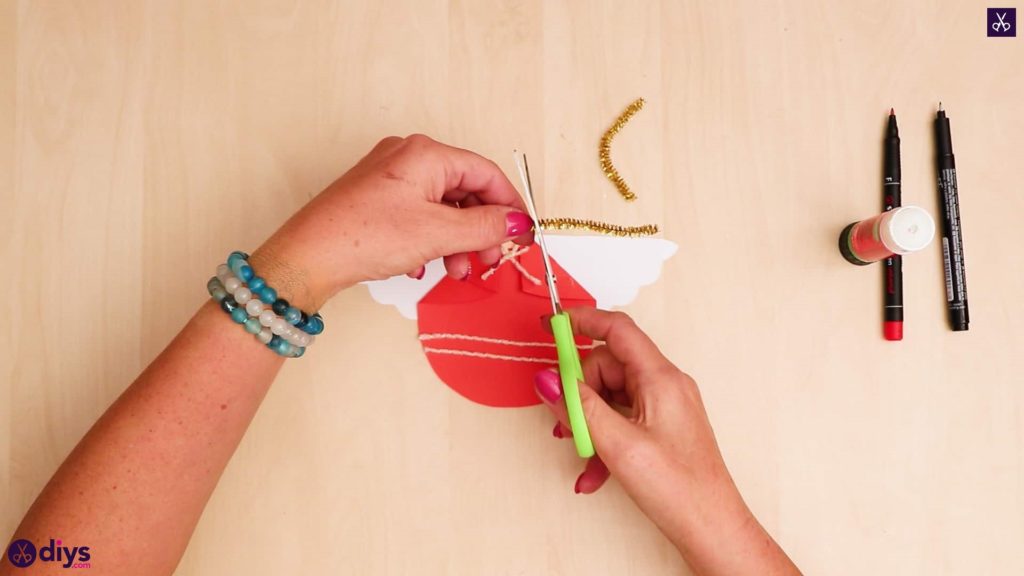
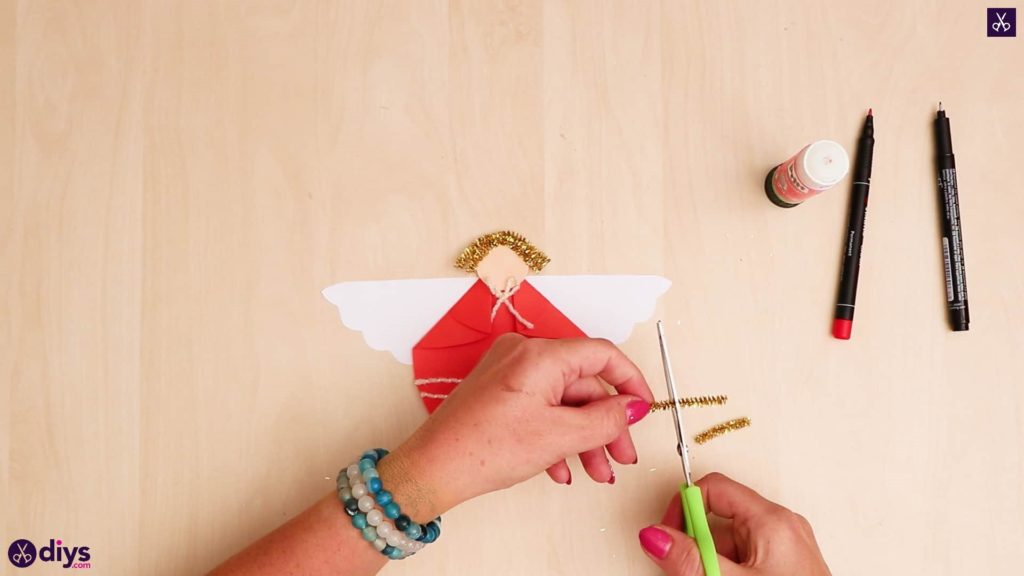
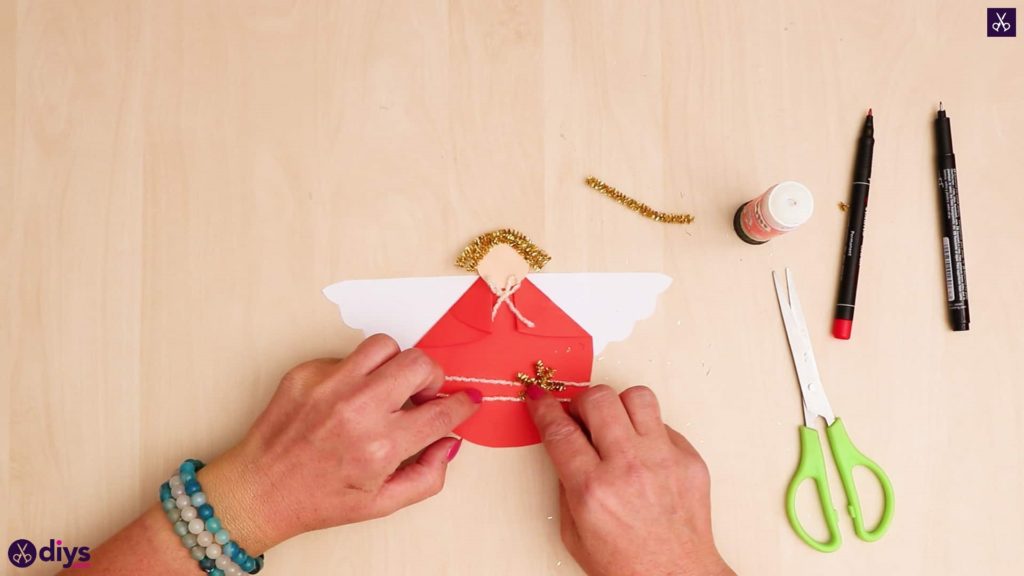
Cut two inch-long pieces from the end of your sparkly gold pipe cleaner. Bend them lightly so they curved gently downward and apply glue to their backs. Glue the first one along the top edge of the angel’s head, following the curve of the paper. Glue the second one just inside the first one. Your angel now has shining hair! Next, cut three half inch pieces from the end of your gold pipe cleaner. Cross the first two over at the middles and twist them around each other to make a little X. Cross the third one over in the middle too and twist it to make an asterisk shape. Apply glue to the back of this and stick it down to the side of the dress, overlapping the string lines for further cute detail.

Step 10: draw the face
Use your markers to draw your angels’ face! I used black for the eyes, brows, and nose and red for the smile.
Voila! Your pretty paper angel is complete. Just in case you’d like to try this project out for yourself, here’s a fantastic tutorial video to help you!