How to Craft an Easy Ribbon Heart for Valentine’s Day in 5 Easy Steps
Updated on November 19, 2025


A DIY ribbon heart is an easy way to test your creative side on Valentine’s Day or any other holiday that celebrates love. Keep reading to discover how to easily make a ribbon heart for February 14th.

Hearts are synonymous with Valentine’s Day, so craft a simple heart-shaped ornament that embodies romance. Use this ribbon heart to decorate your home on February 14 or add a personal touch to your gift tags. This ribbon heart is surprisingly easy to make in under 5 minutes and requires only 4 supplies, making it a fantastic last-minute solution.
This tutorial describes the supplies, step-by-step instructions, images, a video tutorial, and tips and tricks for crafting an easy ribbon heart. You need about 20 minutes to craft a single heart ribbon.
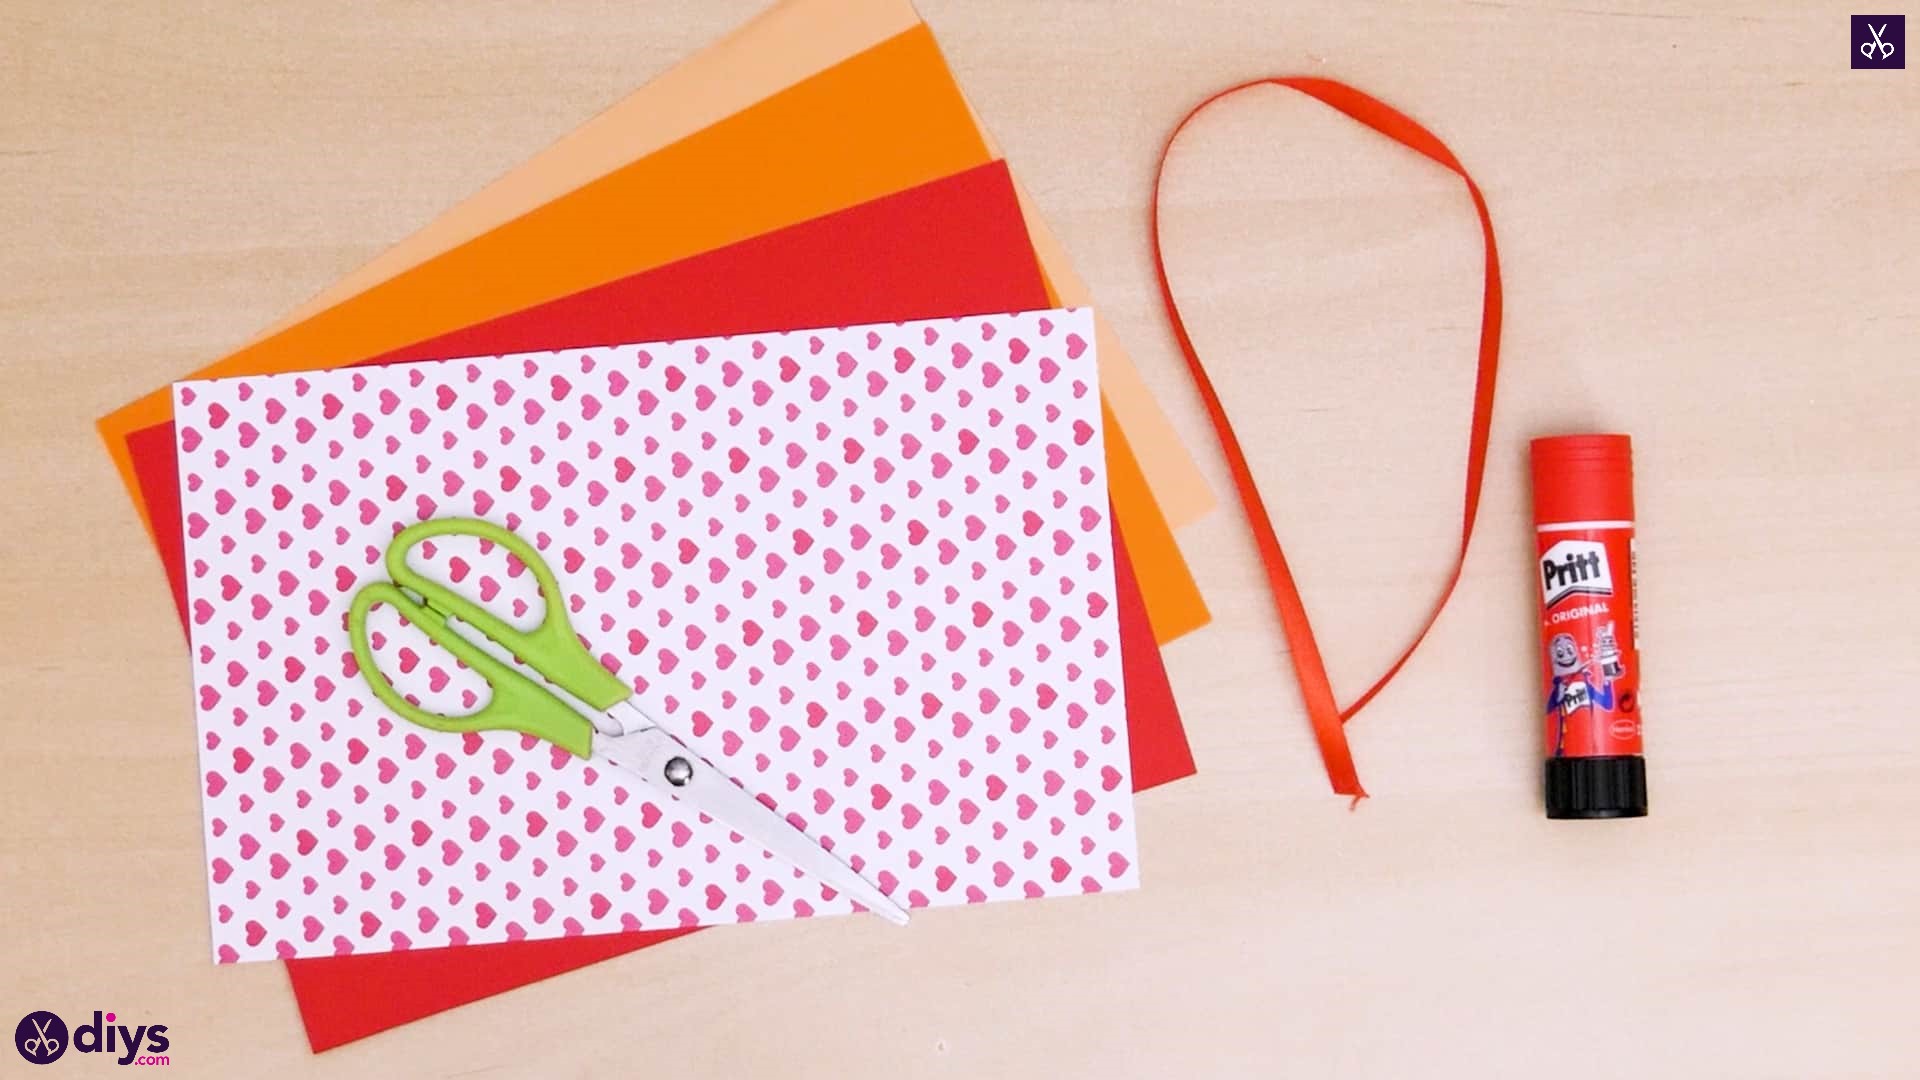
Supplies

- Colorful paper to create the paper ribbons. We used red, two shades of orange, and patterned paper.
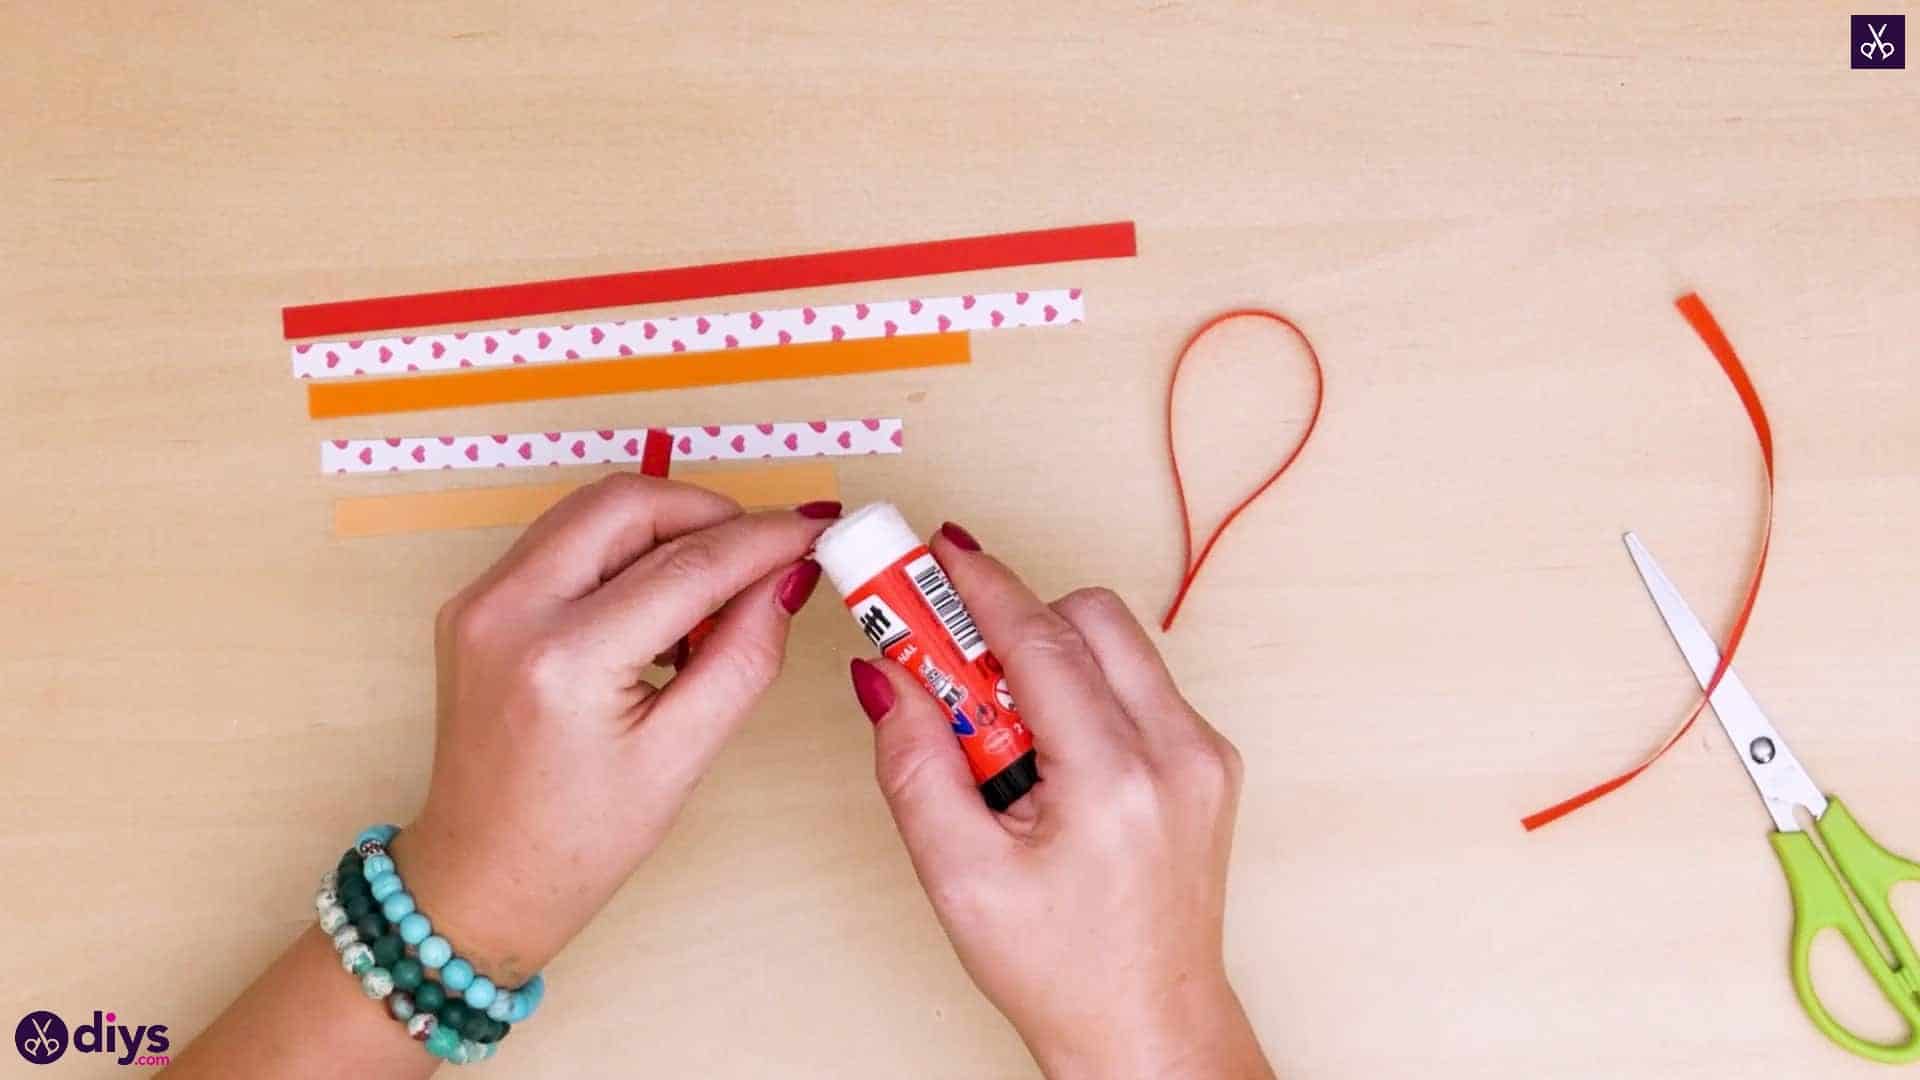
- A glue stick to bind the ribbon heart pieces.
- Red ribbon to create the heart’s hanger.
- Scissors to cut the ribbon and the colored paper into strips.
How do I craft a ribbon heart?
Follow these step-by-step instructions to craft an easy ribbon heart.
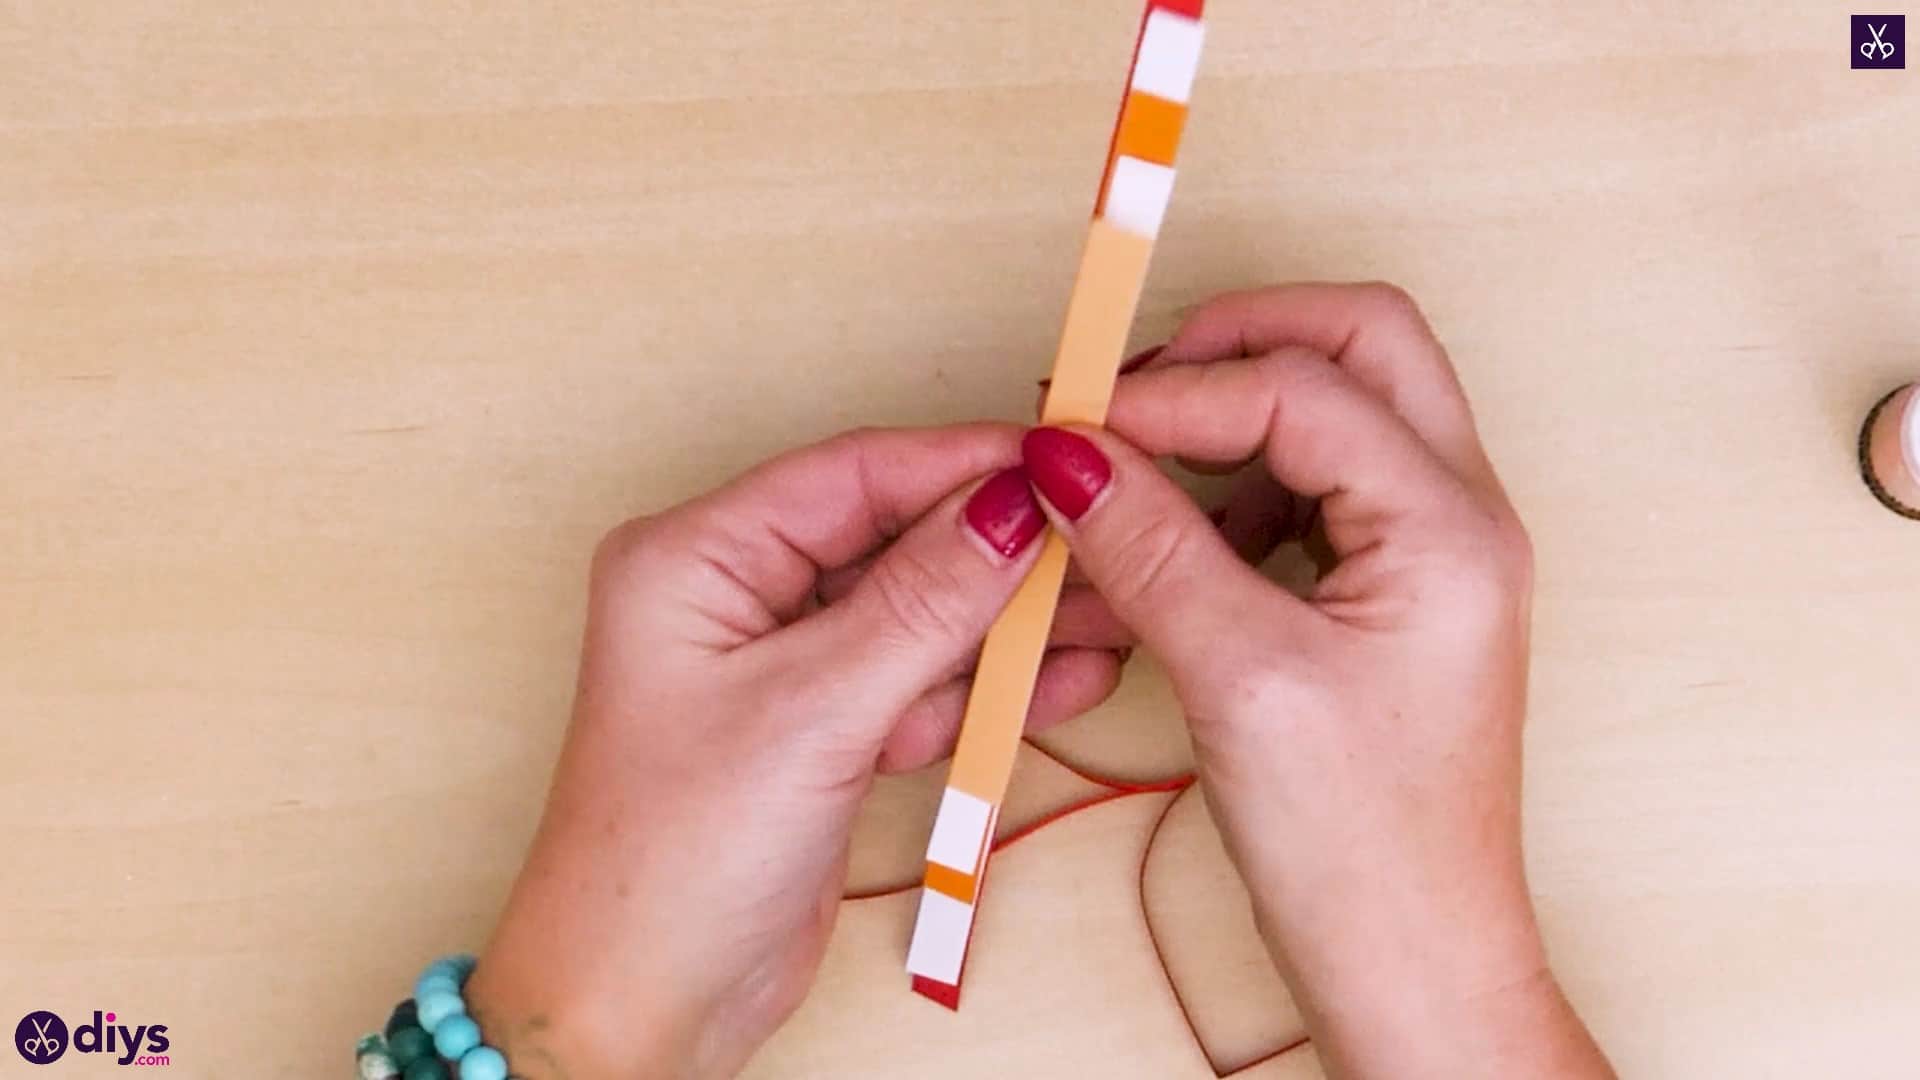
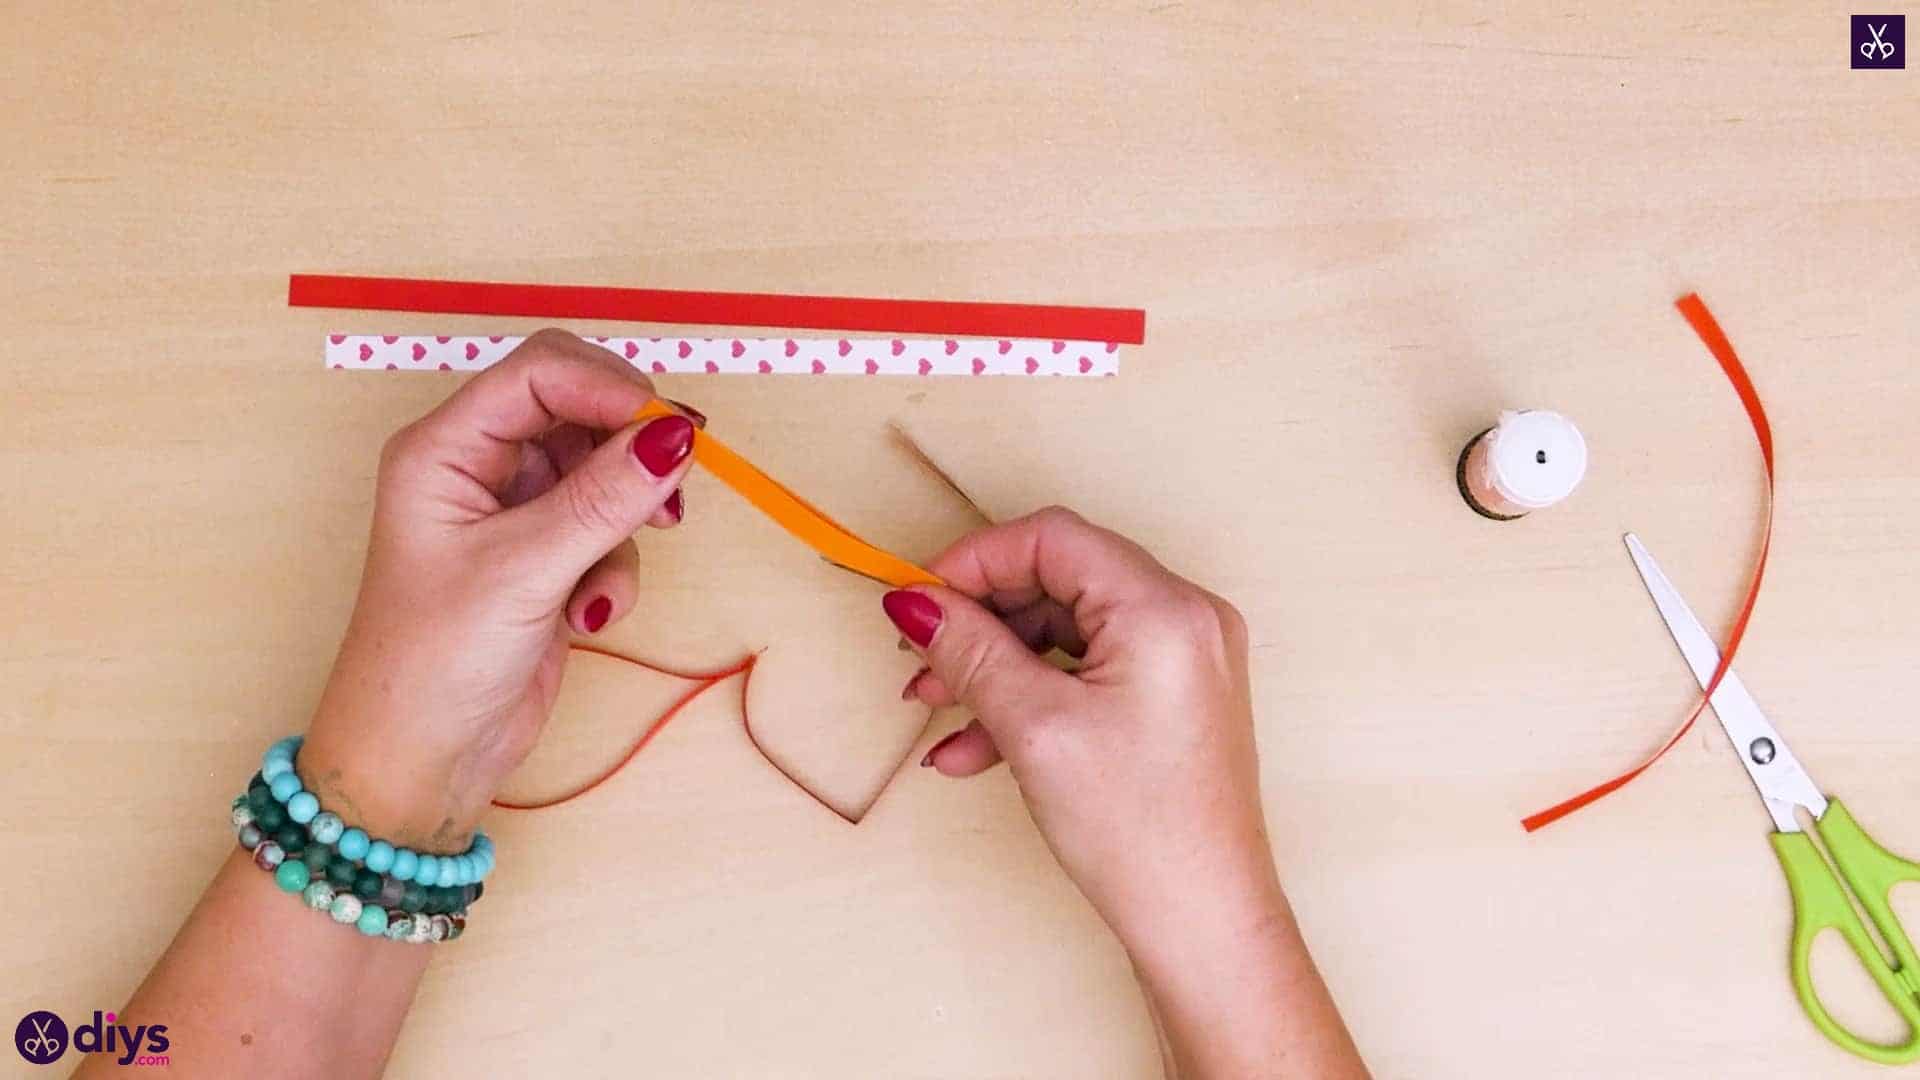
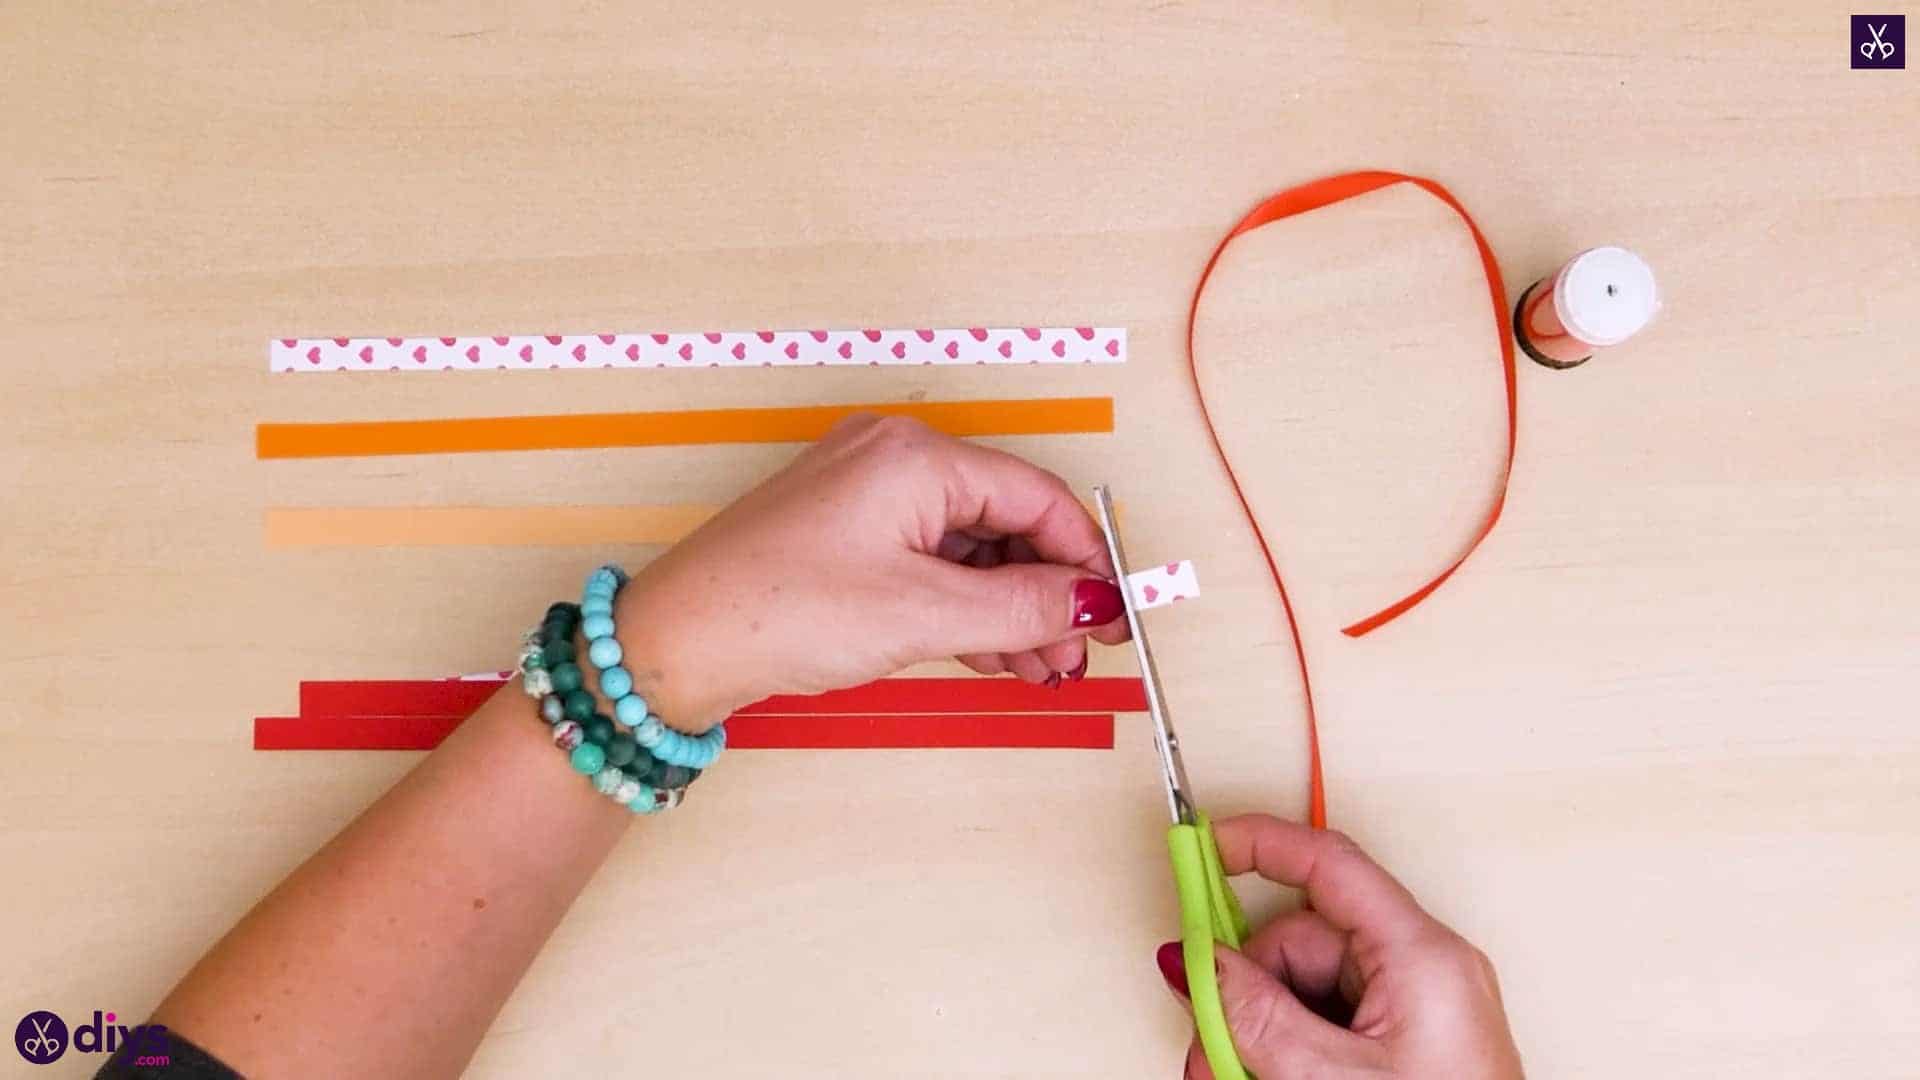
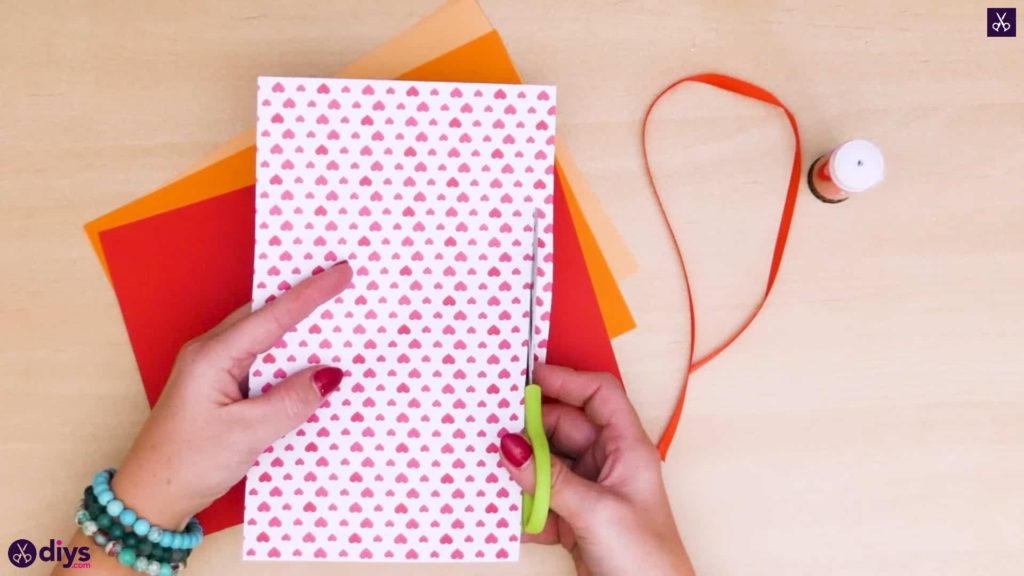
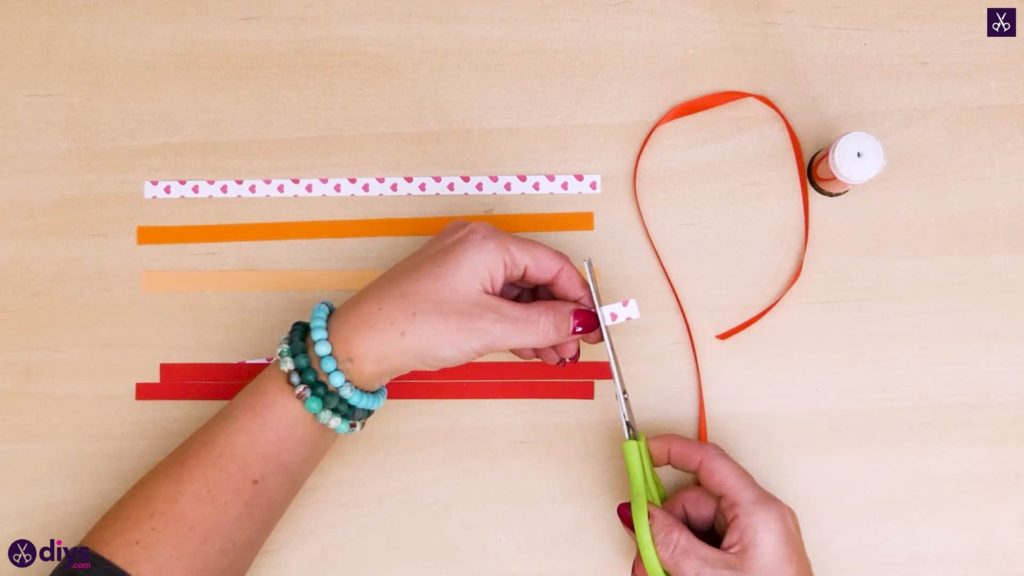
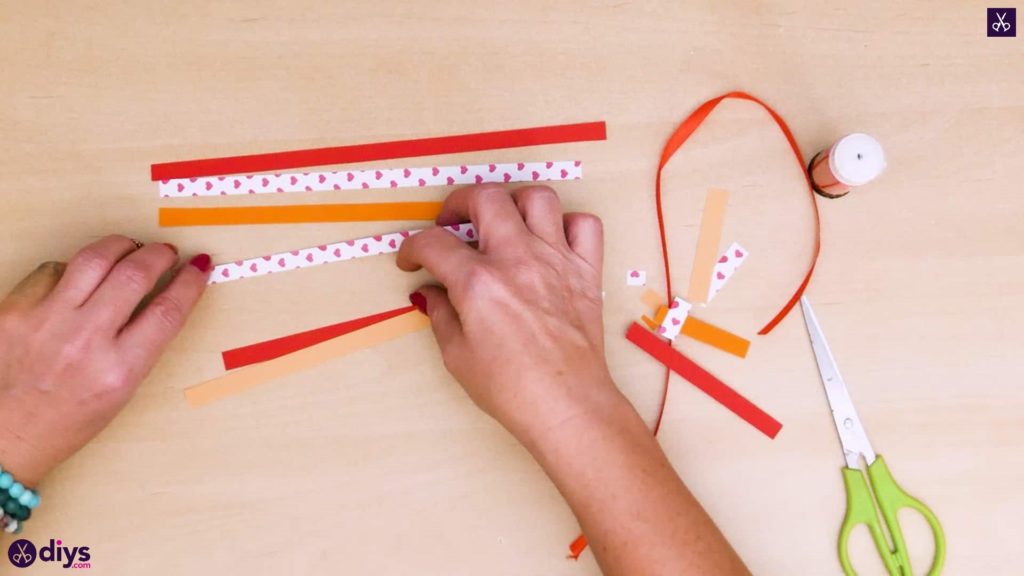
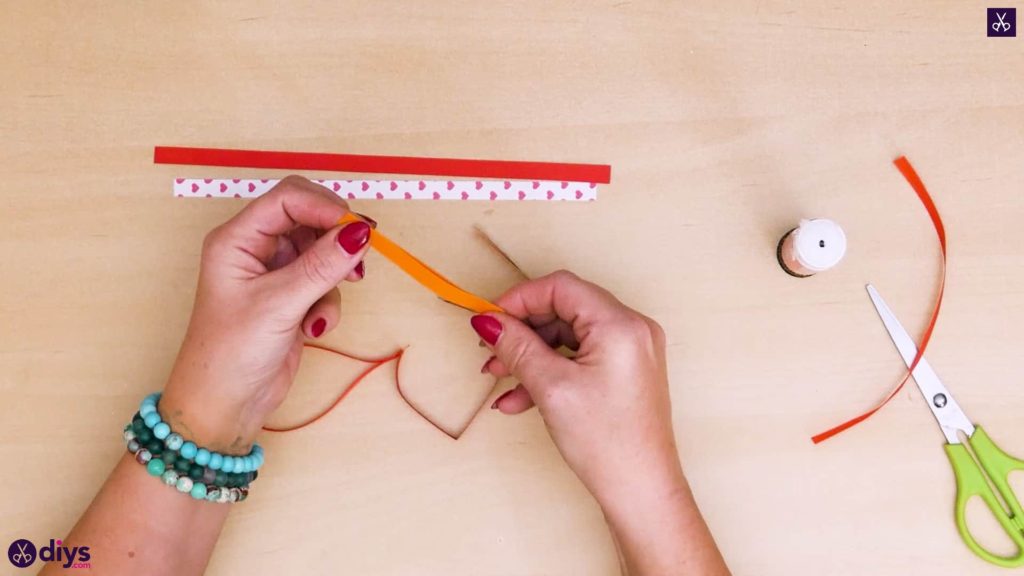
- Cut the paper strips: Cut half-inch (1.24-cm)-wide strips from each type of colored paper. Depending on how many layers you want your heart to have, the number of strips will vary, so cut extra strips to be sure. Place the strips in the order you want for the heart. Cut the strips about 1 in (2.5 cm) shorter than the previous ones.

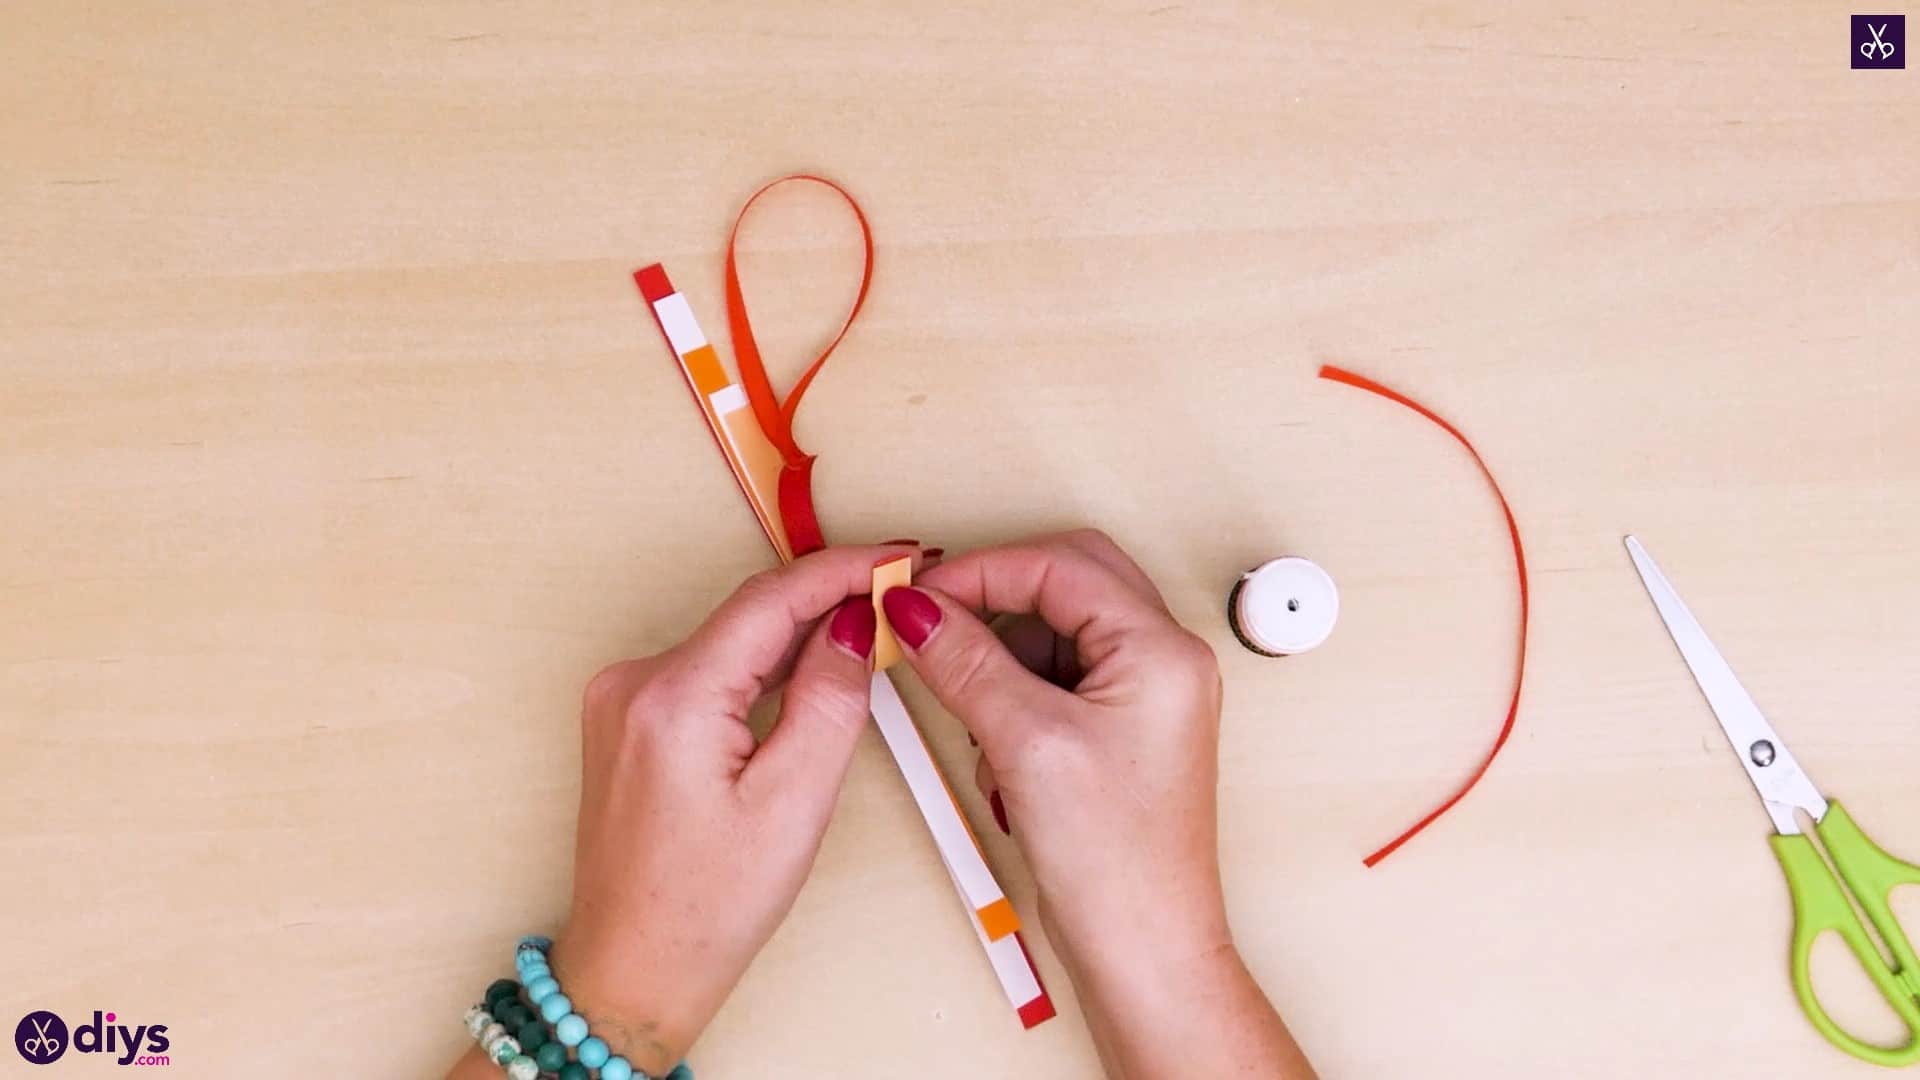
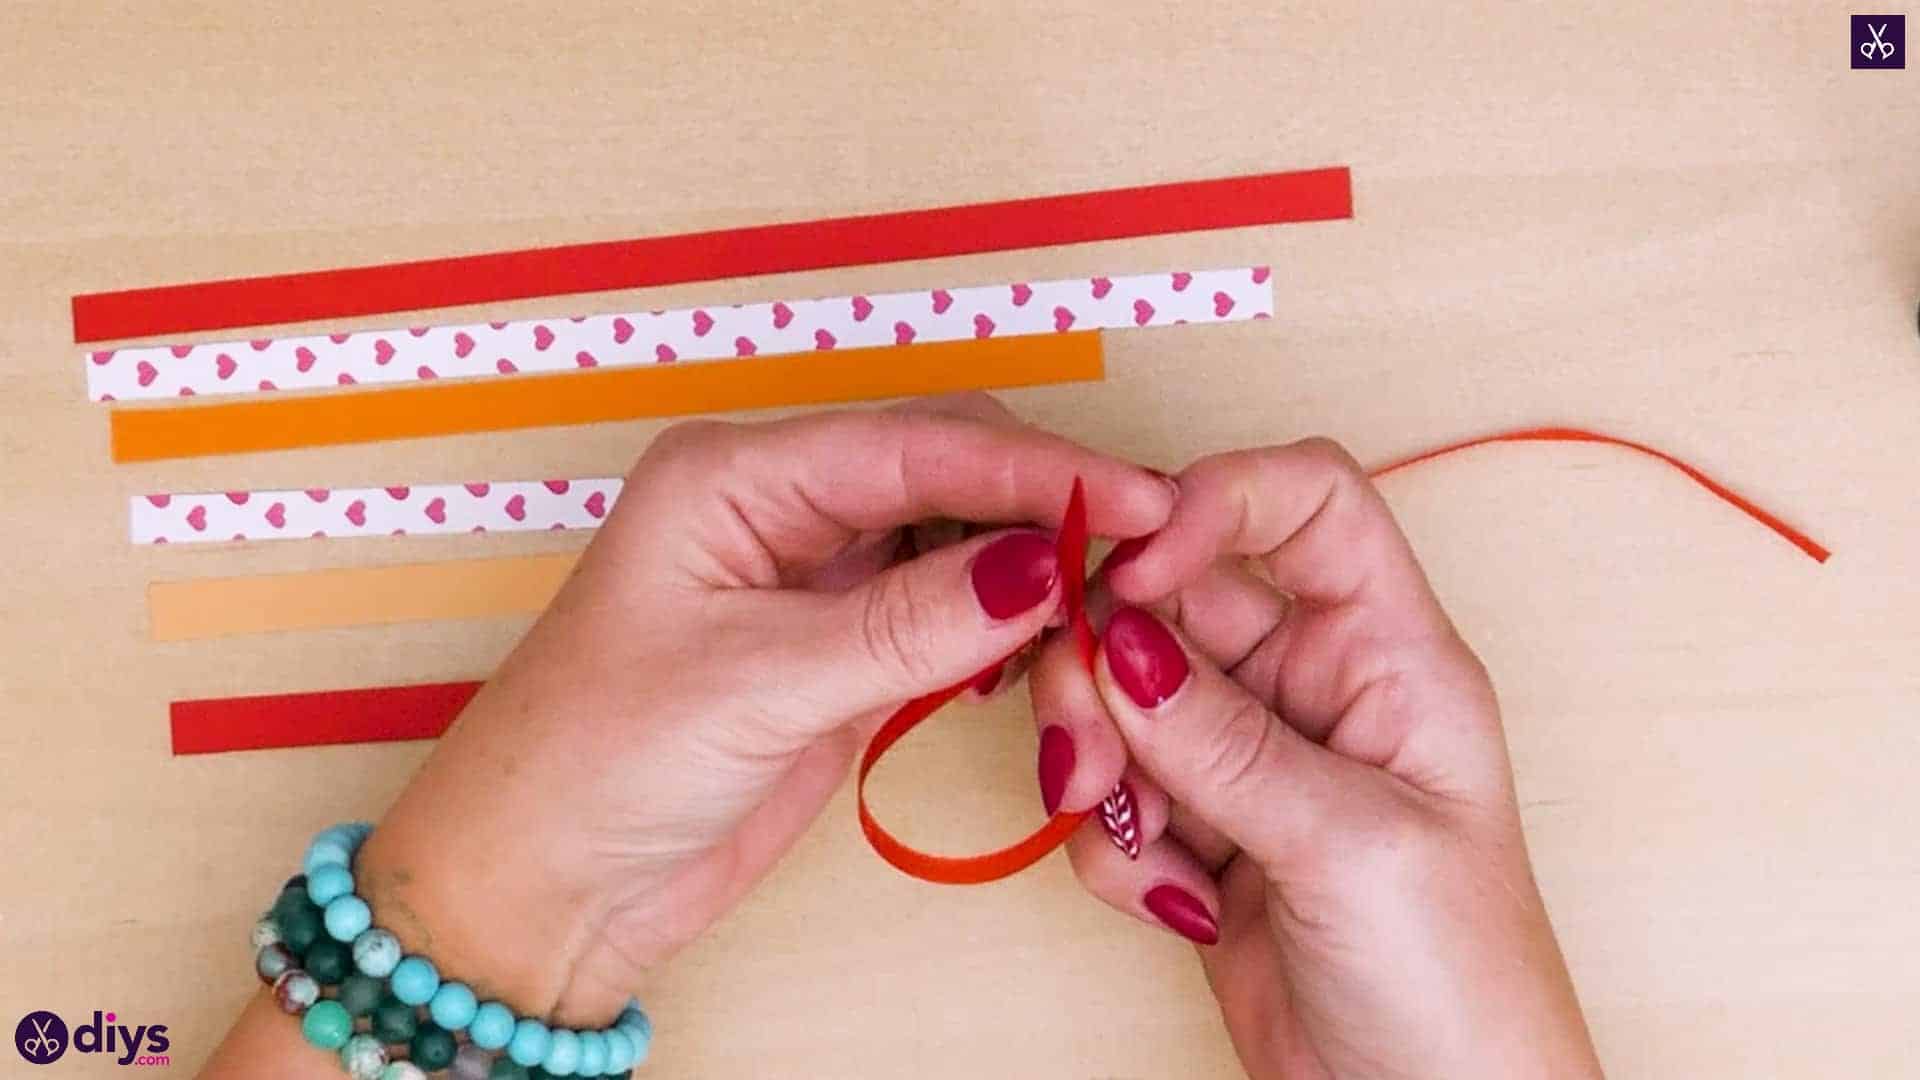
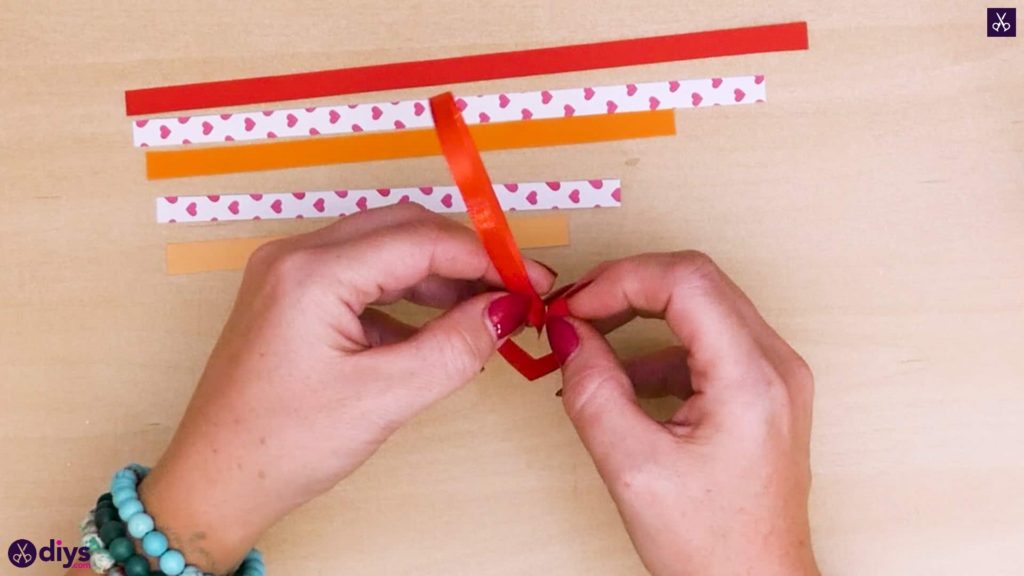
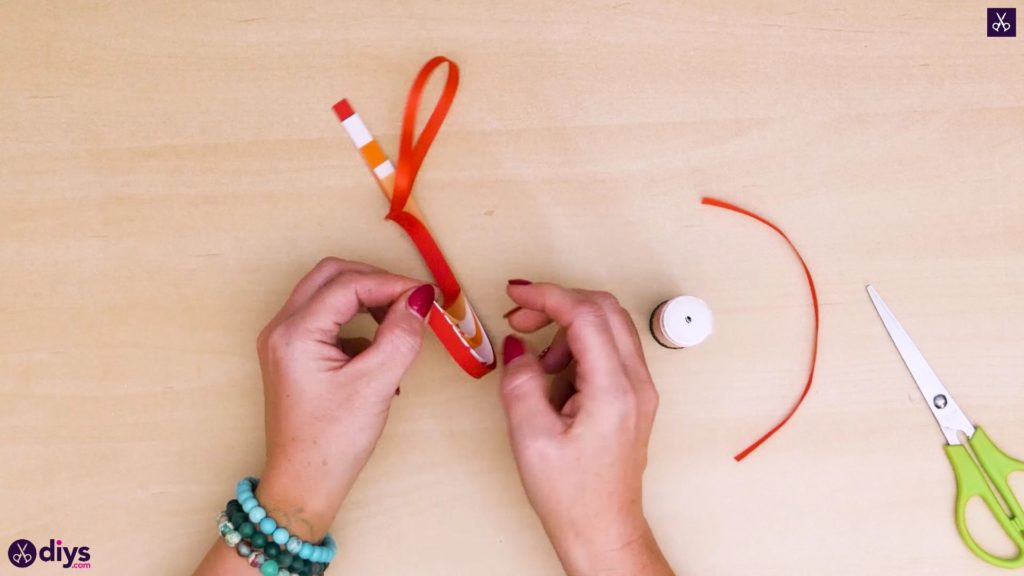
- Make the hanger: Cut a piece of ribbon about 6 in (16 cm) long. Bend it in half, so the two ends meet evenly, but without actually folding the ribbon; leave it as a large loop.
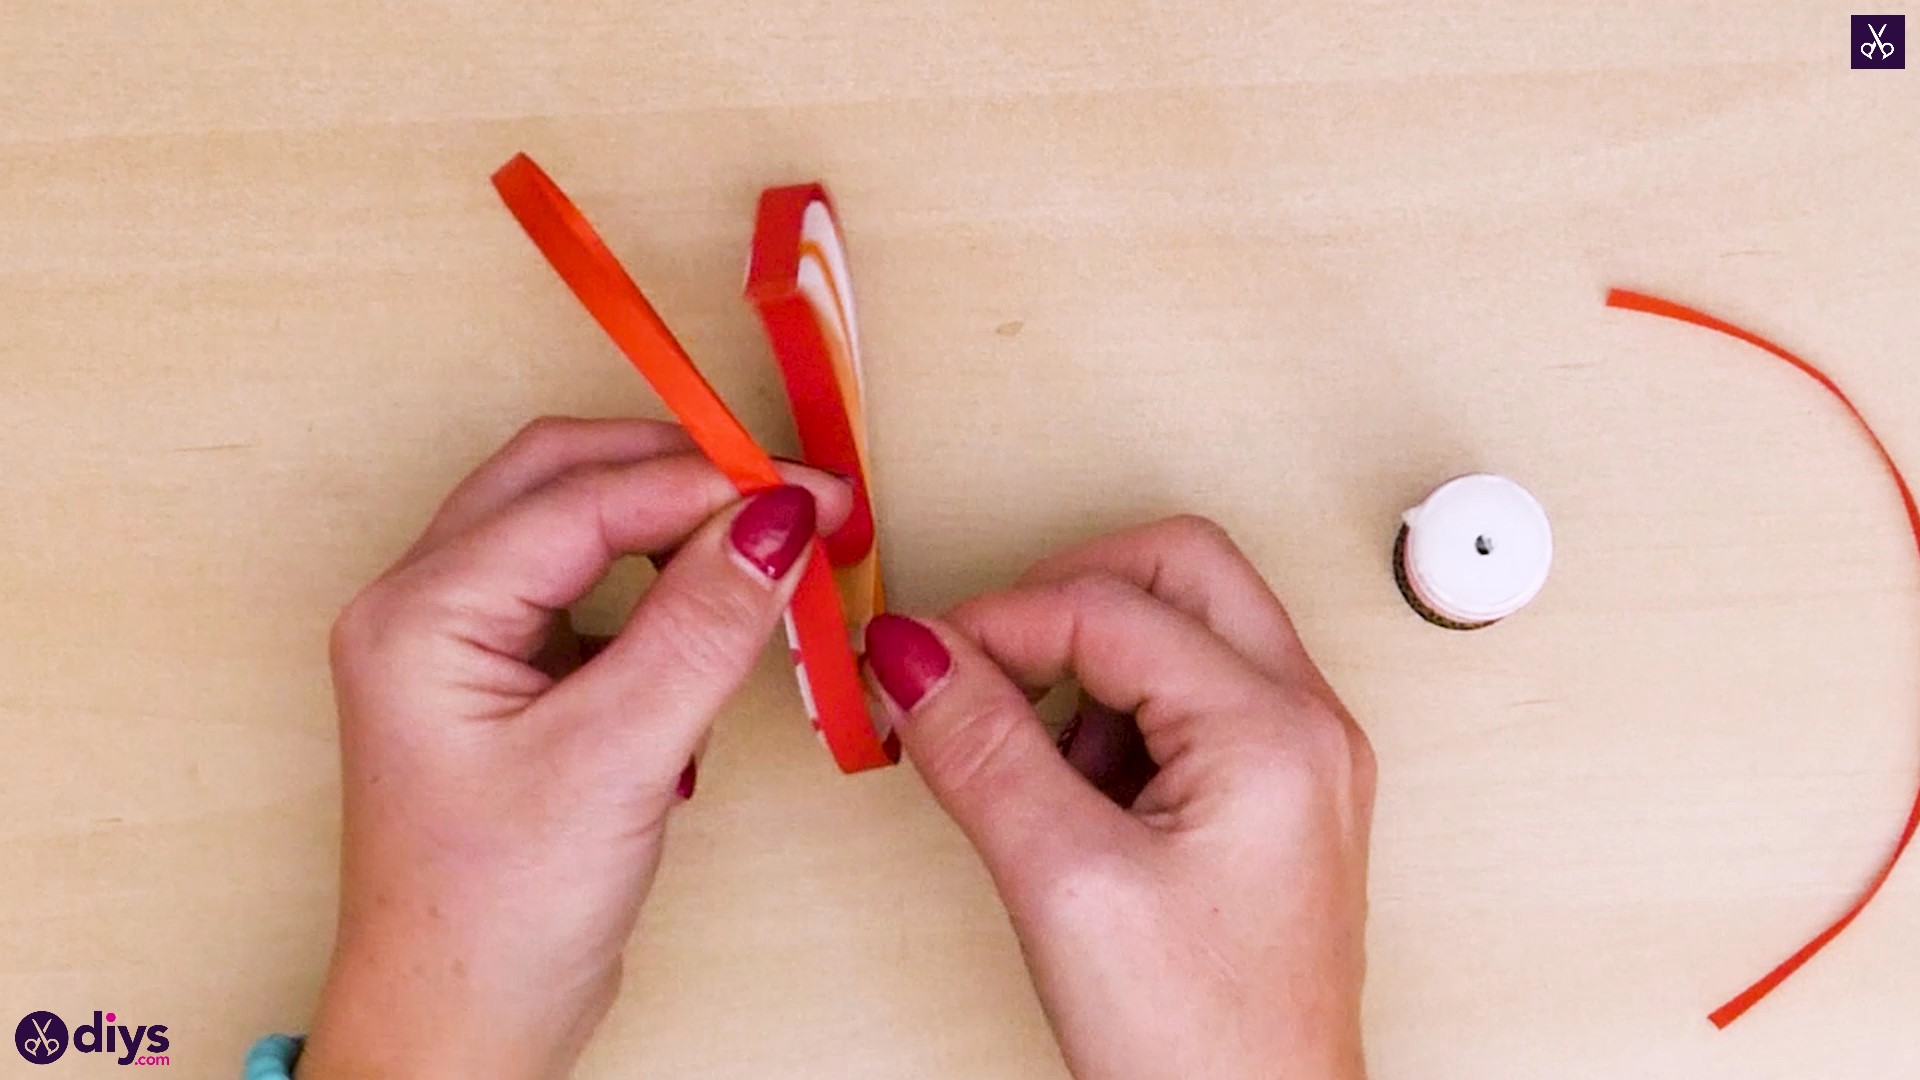
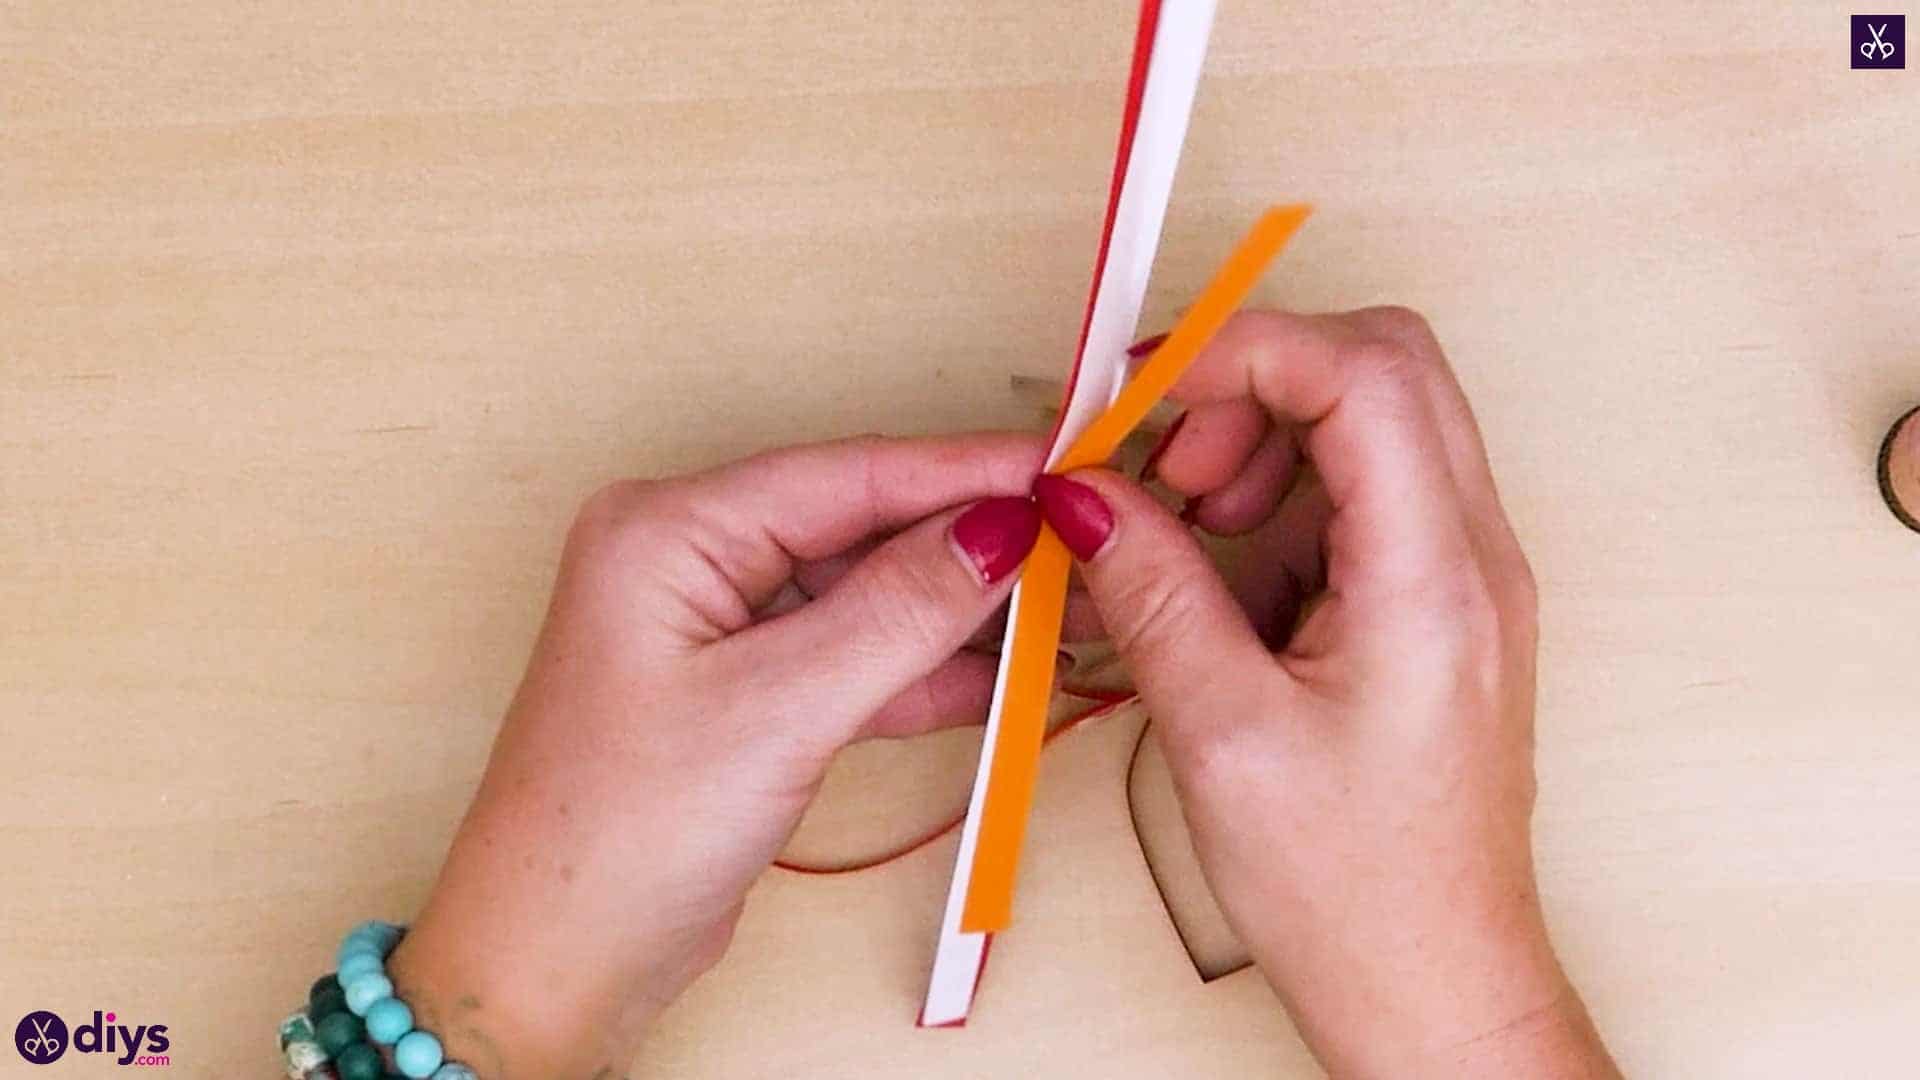
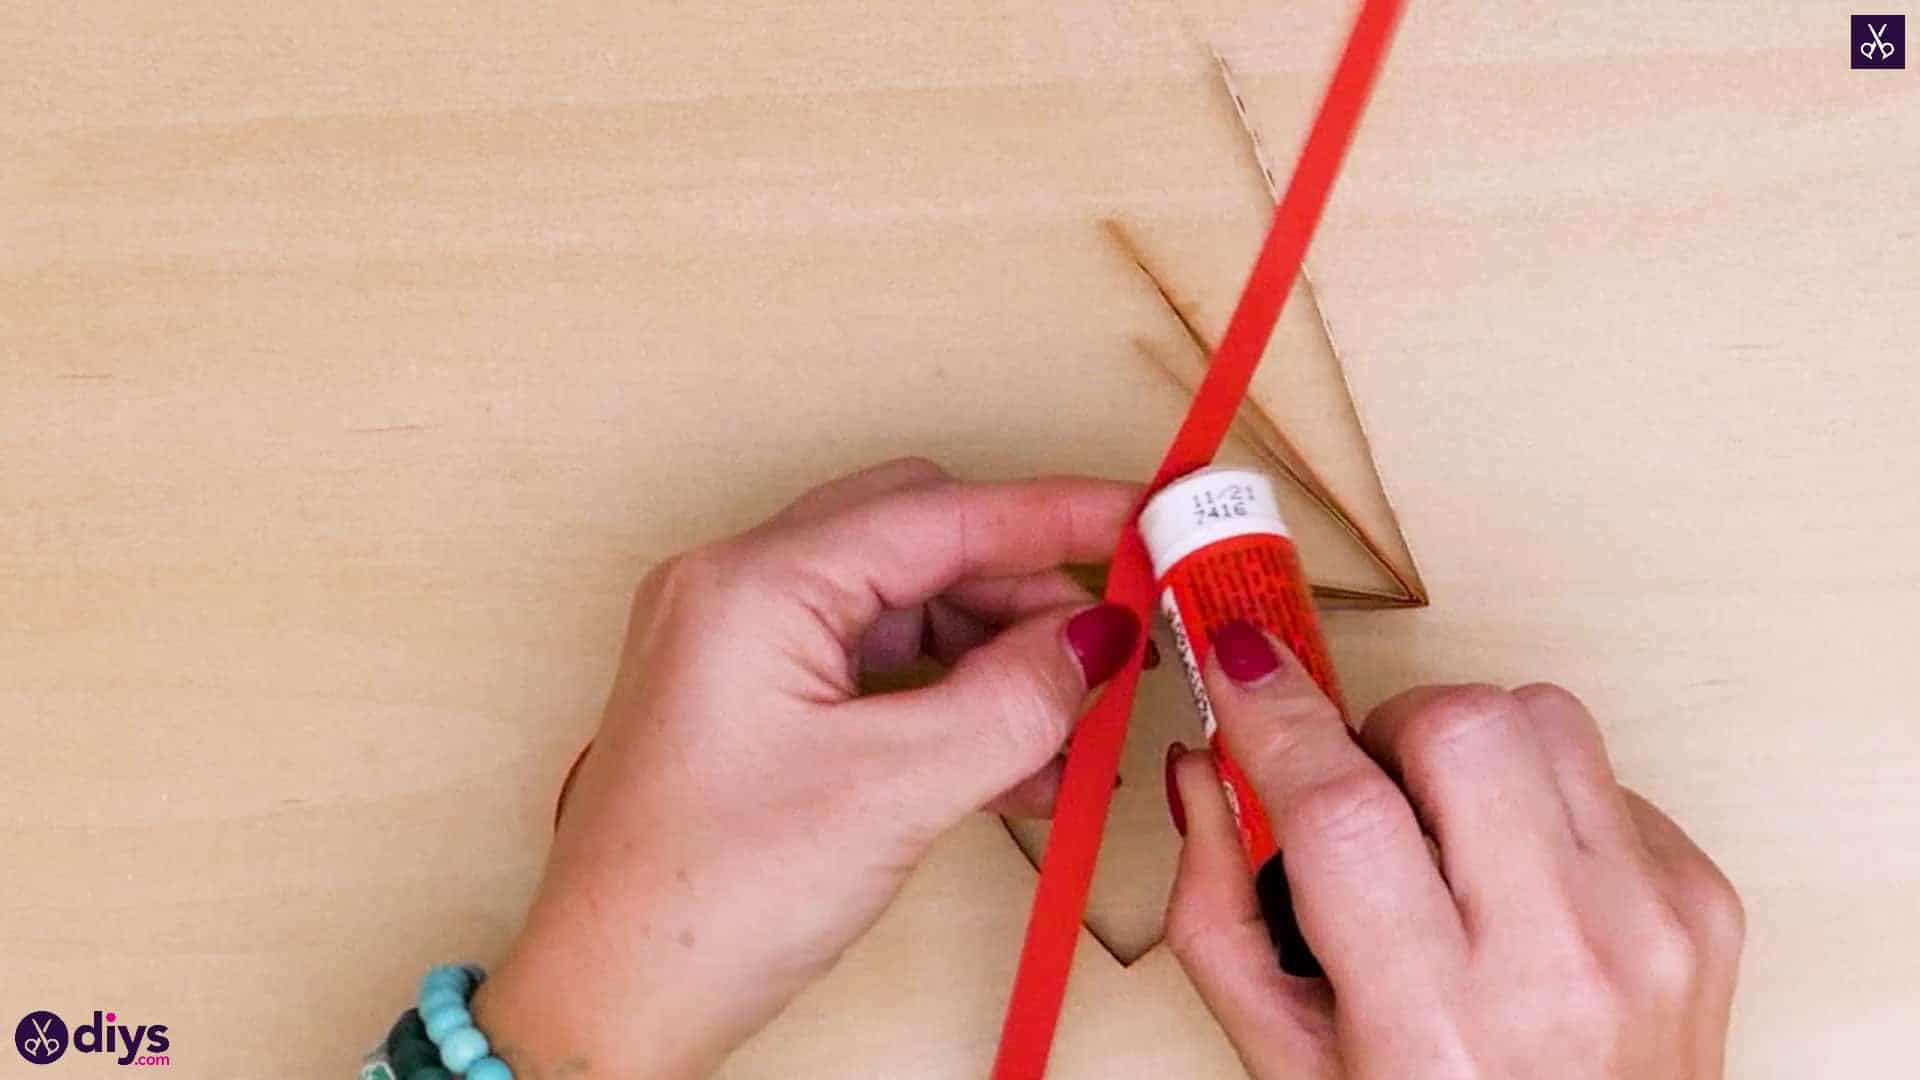
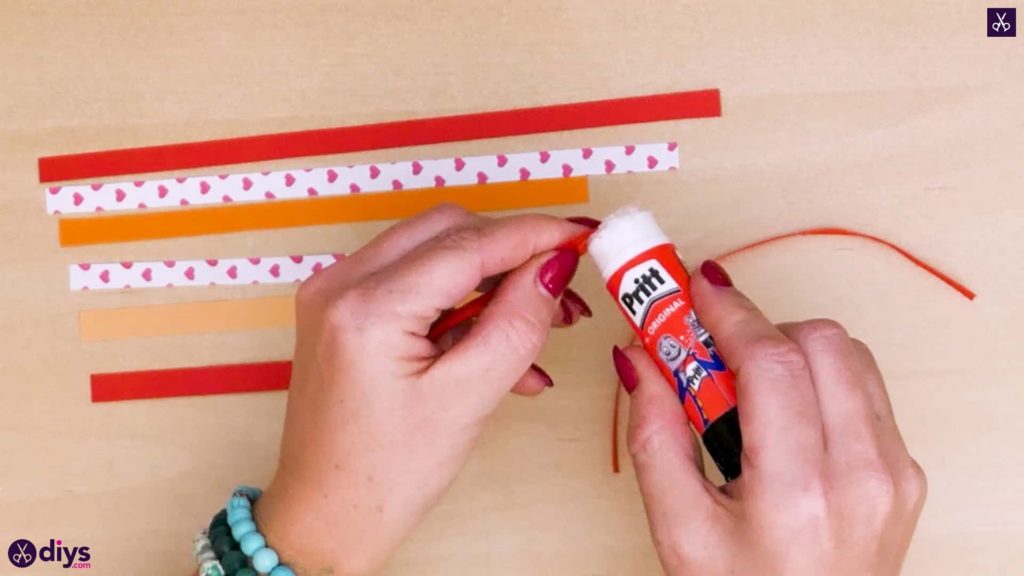
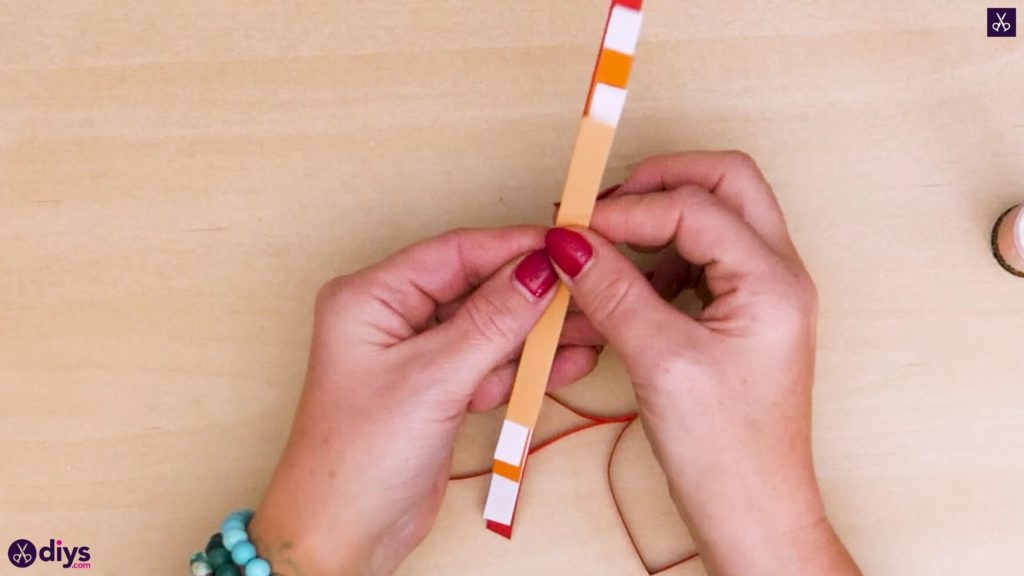
- Make the central ribbon heart: Cut a piece of ribbon about 4 in (10 cm) long. Fold it in half, so the two ends meet evenly. Then, glue to the two ends of your ribbon opposite the folded side. Bend the two ends inwards to form the paper heart. Attach the hanger you made earlier to the top of your heart, gluing the two where they meet.
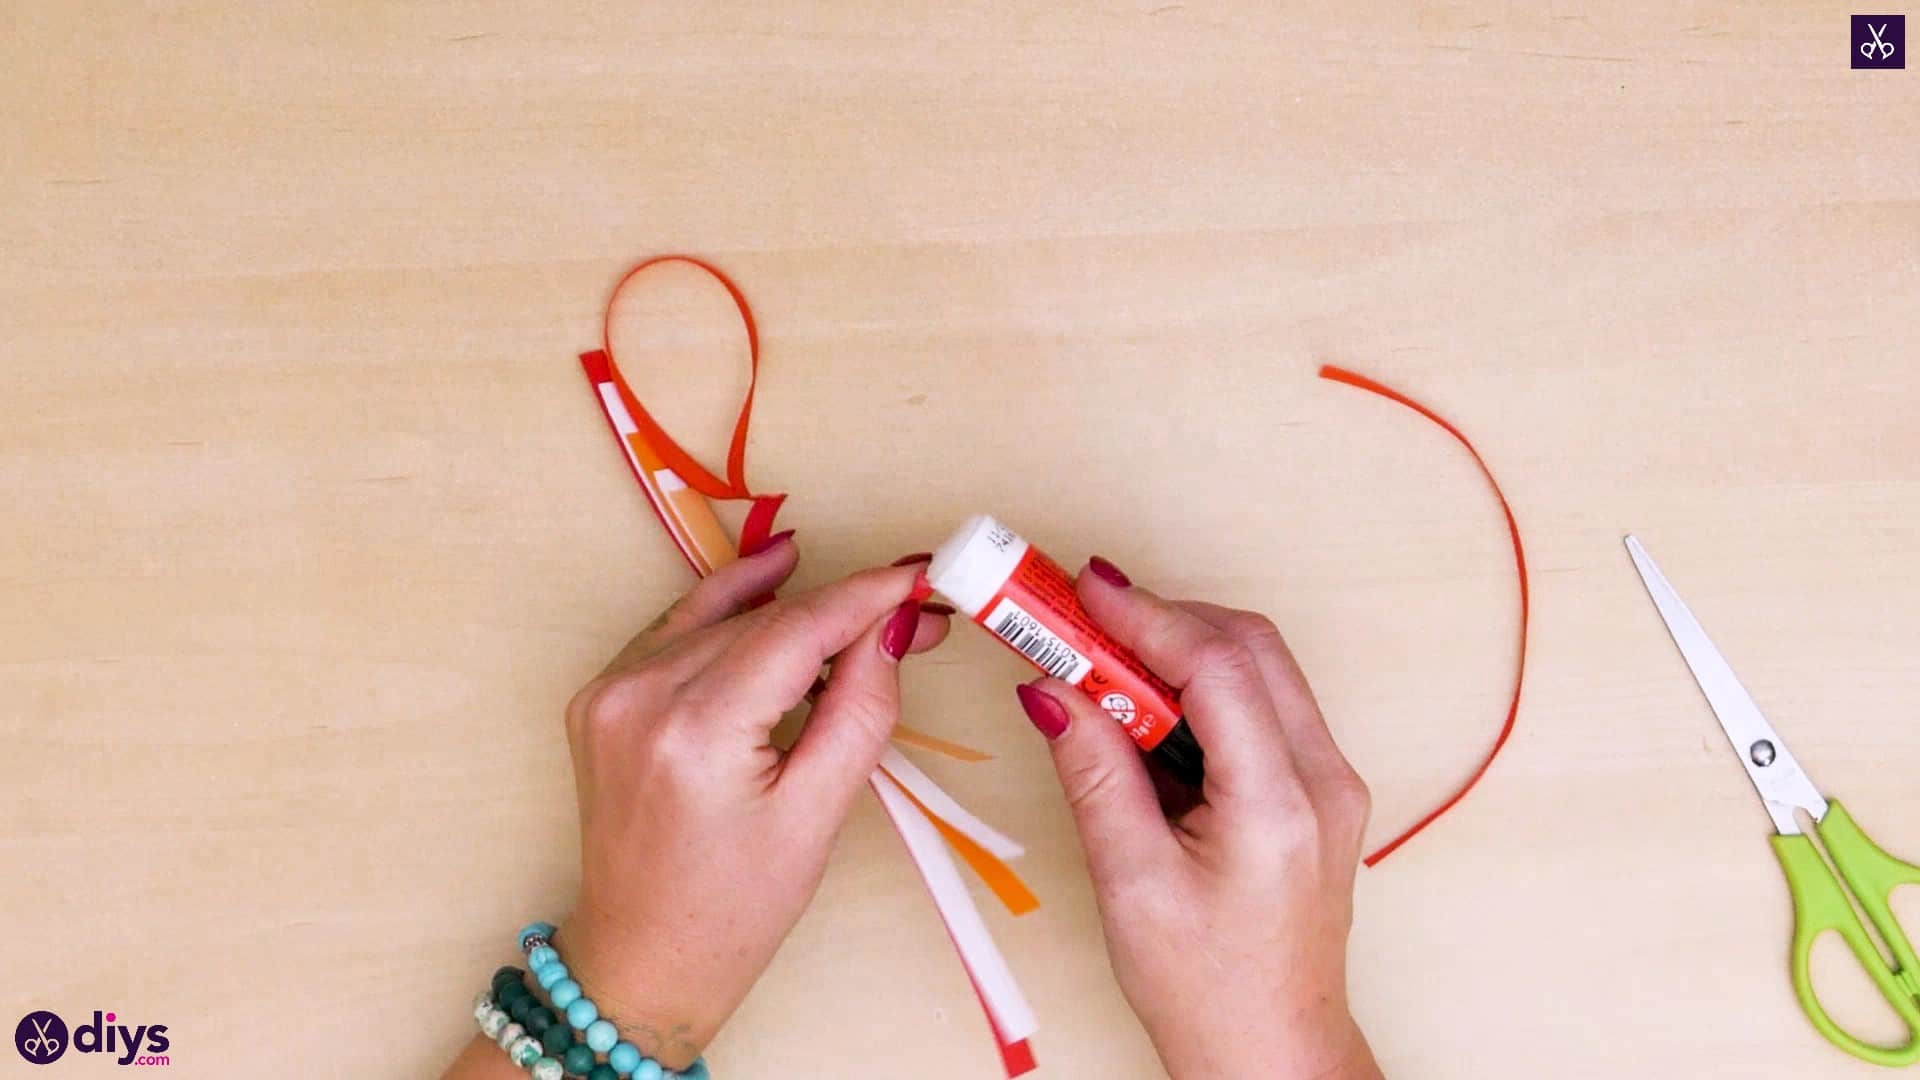
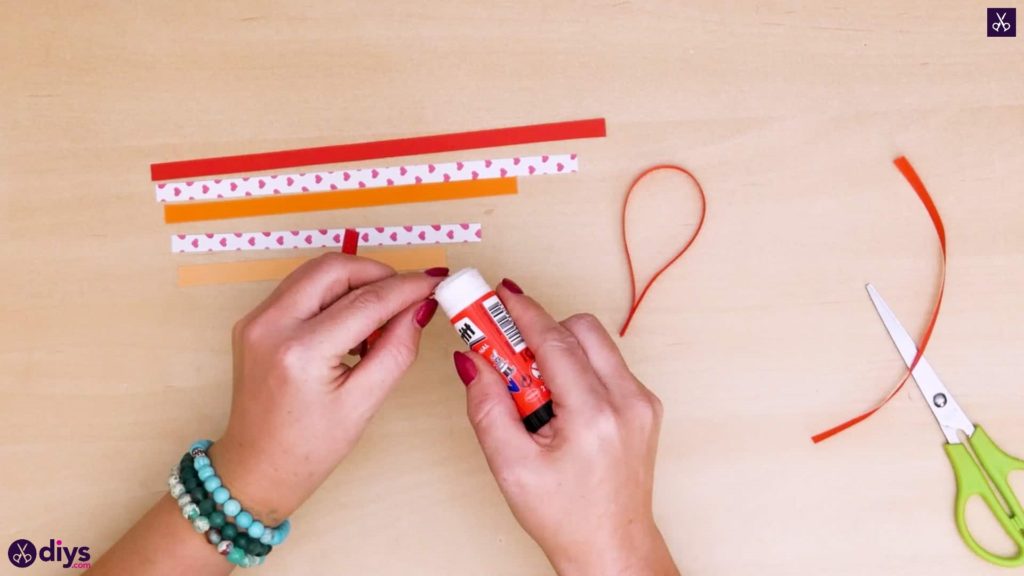
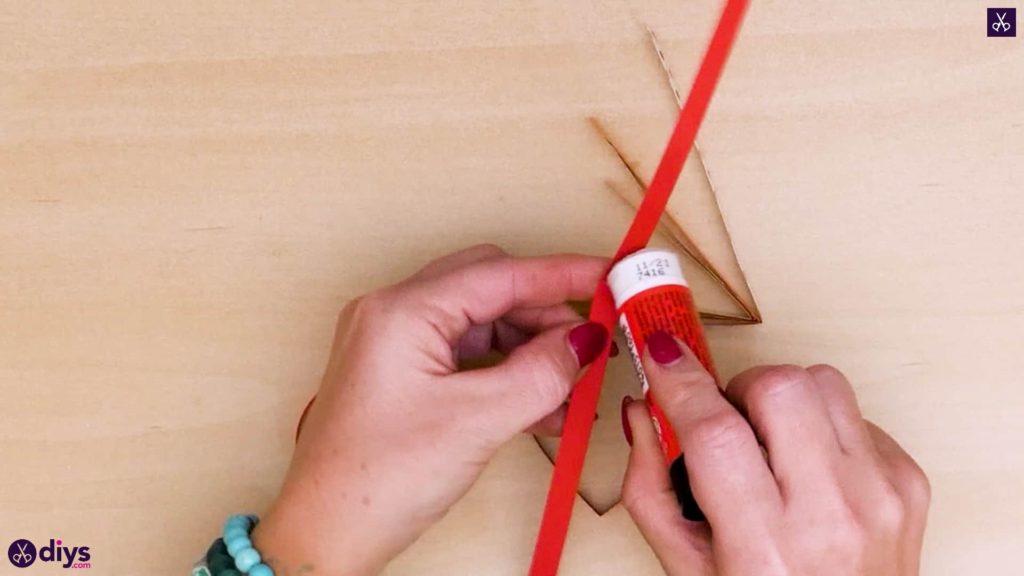
- Prepare the paper strips: Fold each strip in half so the two ends are perfectly equal. Apply glue to the inside crease of each paper strip. Then, place each paper strip within the other’s crease, with the shortest strip on the inside., and the longest on the outside.
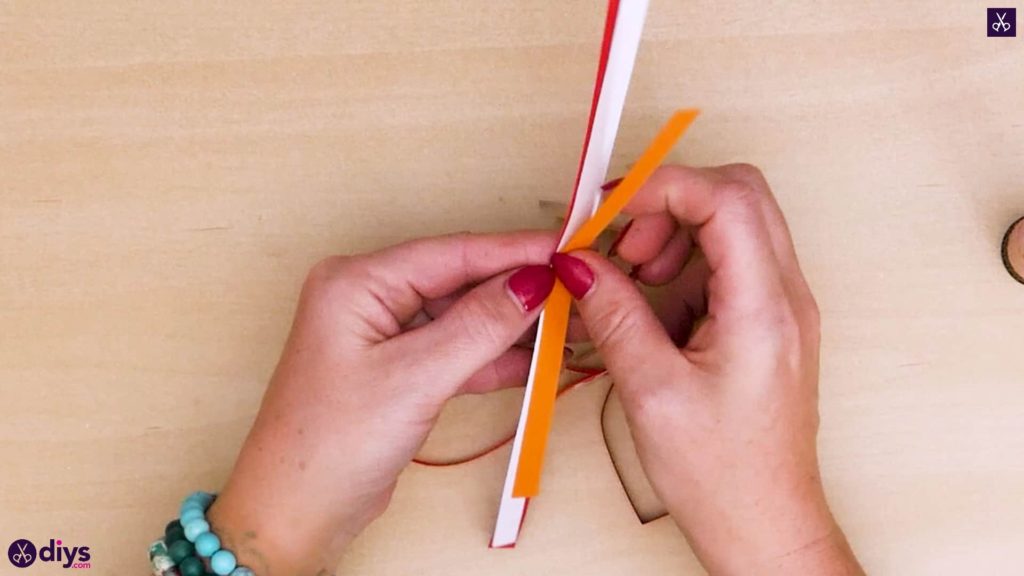
- Assemble the heart: Apply glue to the crease of your shortest ribbon, and attach the ribbon heart you made earlier, with the angled loop facing down. Then, apply glue to both ends of the paper strip, and attach them to the top of your heart, where the paper folds meet. Repeat the process with each paper strip, folding the ends on top until your heart has several space-out layers, similar to an onion.


Video tutorial
Below is a short and detailed video tutorial about how to craft this easy ribbon heart:
More tips and tricks
Check out more tips and tricks for improving your ribbon heart:
- Use a different shape: Instead of a heart, go for a star, snowflake, or butterfly.
- Try different colors: Experiment with different shades and combinations of colors to create unique designs. Additionally, change the colors based on the shape of occasion. For example, use yellow and gold for a star or white, blue, and green for a Christmas tree.
- Add other elements: Add beads, buttons, sequins, or glittery paper on the exterior part of the ribbon heart.
- Make an all-textile heart: To make the ribbon heart more durable, consider using only ribbon to craft it. Use wired ribbon to emulate the space between the layers since regular ribbon will simply hang.
Closing thoughts
Crafting this DIY ribbon heart is so easy it’s pretty much child’s play, and the fact that you only really need 4 supplies makes it perfect for those who aren’t familiar with things you could buy at a crafts store. Yet, for all its simplicity, it looks very beautiful, and it’s a great way to add a personal touch to any space or event. For more great ideas, check out our Valentine’s Day crafts list.