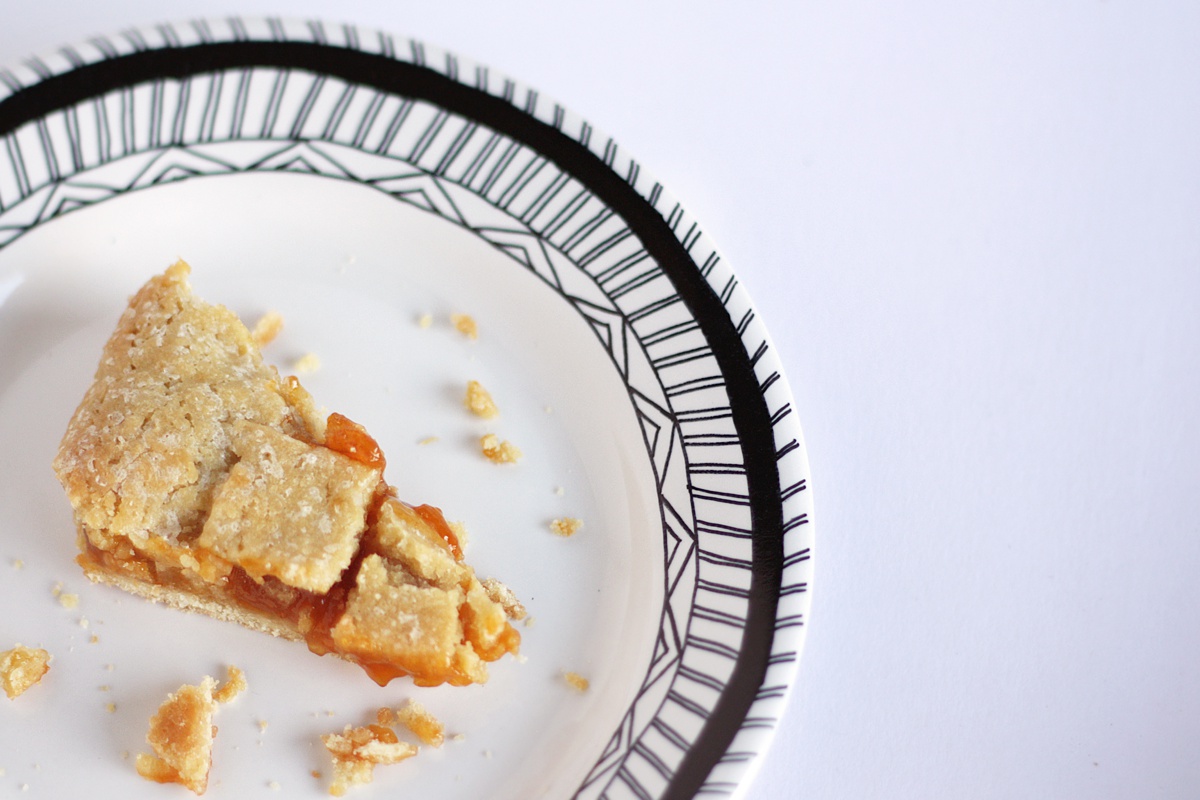
DIY Geometric Hand Drawn Plate
Updated on June 25, 2021
Hand drawn anything can happen to be a taboo issue, especially if you, like me, hold brushes and pens like using Japanese chopsticks eating rice meals: a total disaster. Geometry can become your best friend in this case, as everything can be made up with a ruler and few simple measurements. Keeping it pretty simple and combining different shapes and patterns ends up to a guaranteed “wow” final effect: chevron, confetti, triangles, full colour, zig-zag.. name yours!
For pottery painting, I reccomend using specific markers that will enable you to use your DIY with food and drinks; elsewise, have fun with a permanent marker and use the plate for general (but personalized!) storage solution.
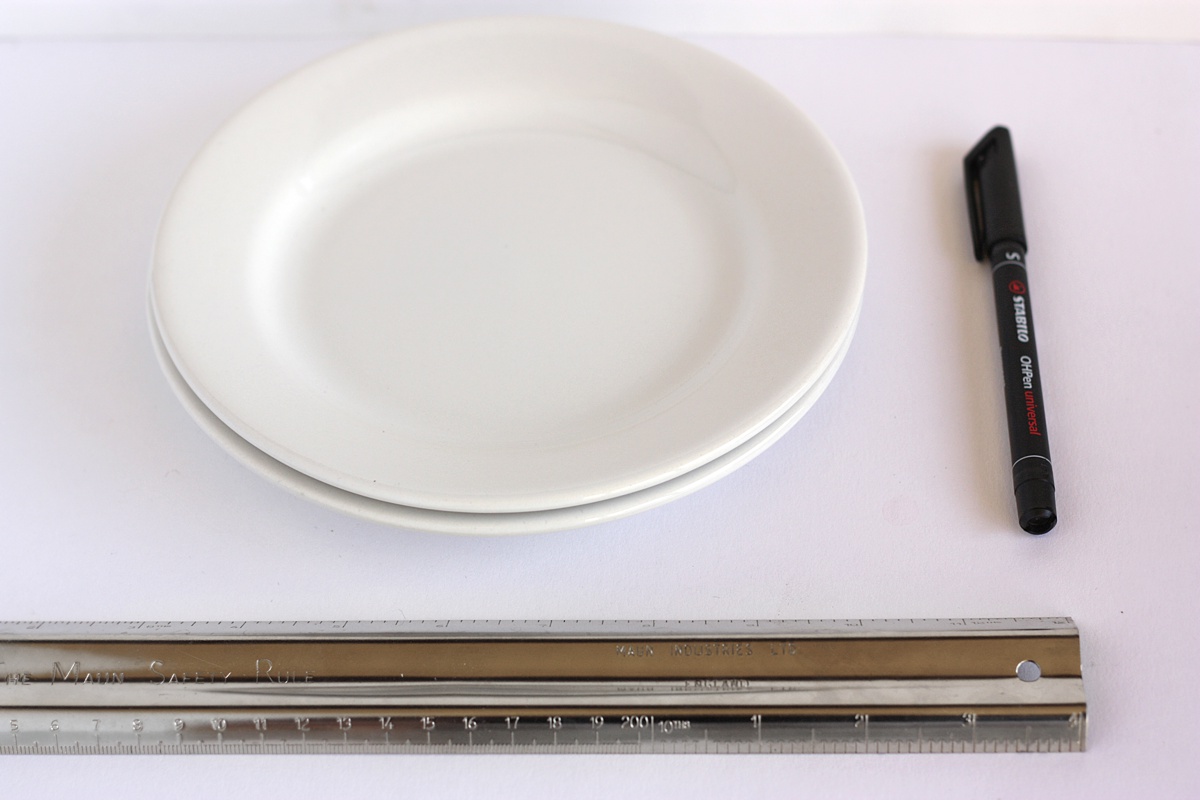
Material:
- white plain plates (no uneven borders)
- pottery marker or permanent marker, thin point
- ruler
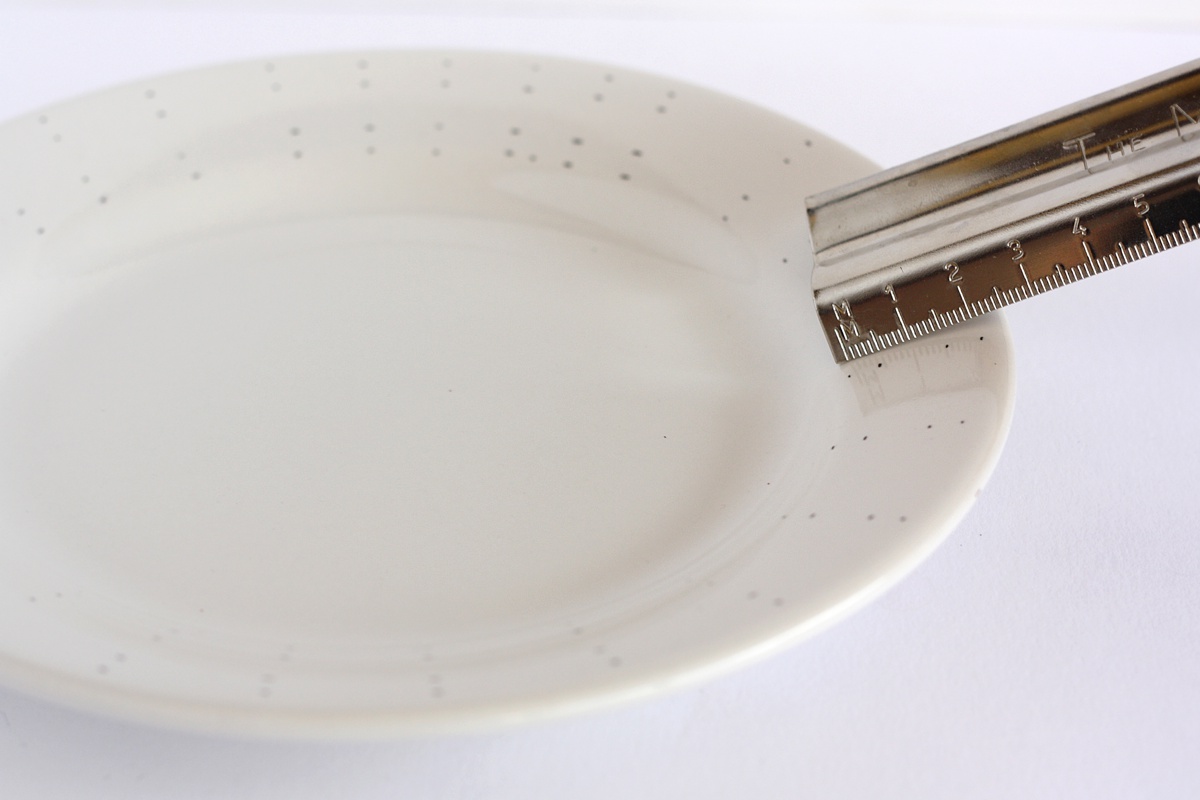
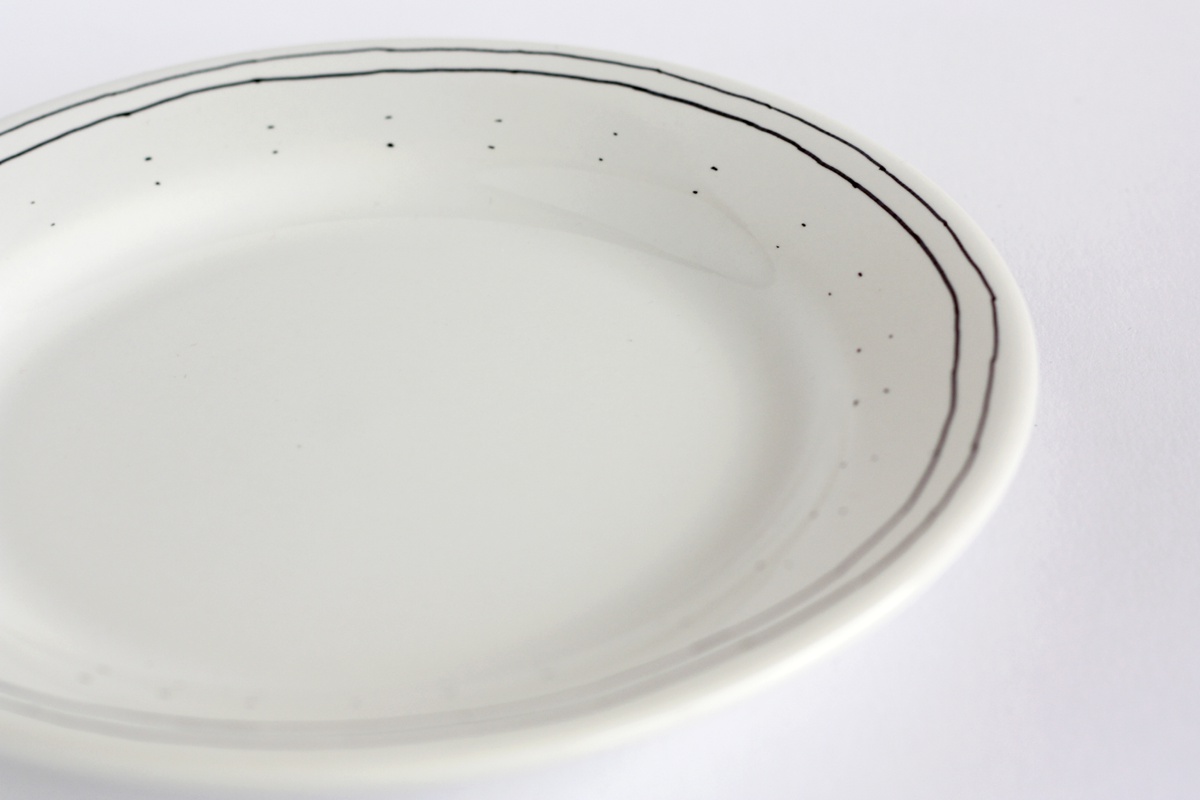
Start by deciding what kind of patterns you want to use and which space divisions you need. Make some test on scrap paper if you need, then use the ruler to make tiny dots on the plate’s crown (the slightly slope part). To make my design, starting from the plate’s center, you have to make a dot at 0 cm – 0.5 cm – 1.5 cm – 2 cm. In inches that is at 0 – 0.19 – 0.59 – 0.78 inches.
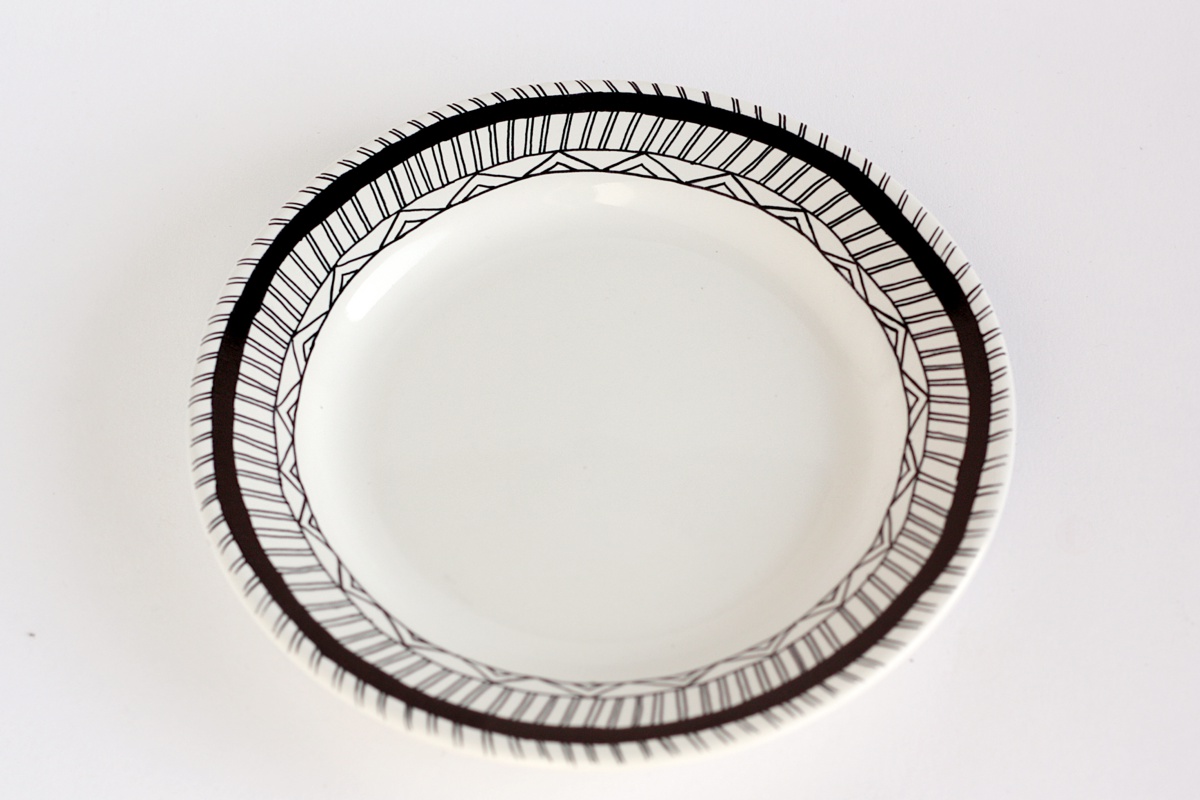
Since we’re not Giotto, the man who makes perfect circles freehand, we’ll use these dots all over the plate’s cown, so we’ll just have to join them.
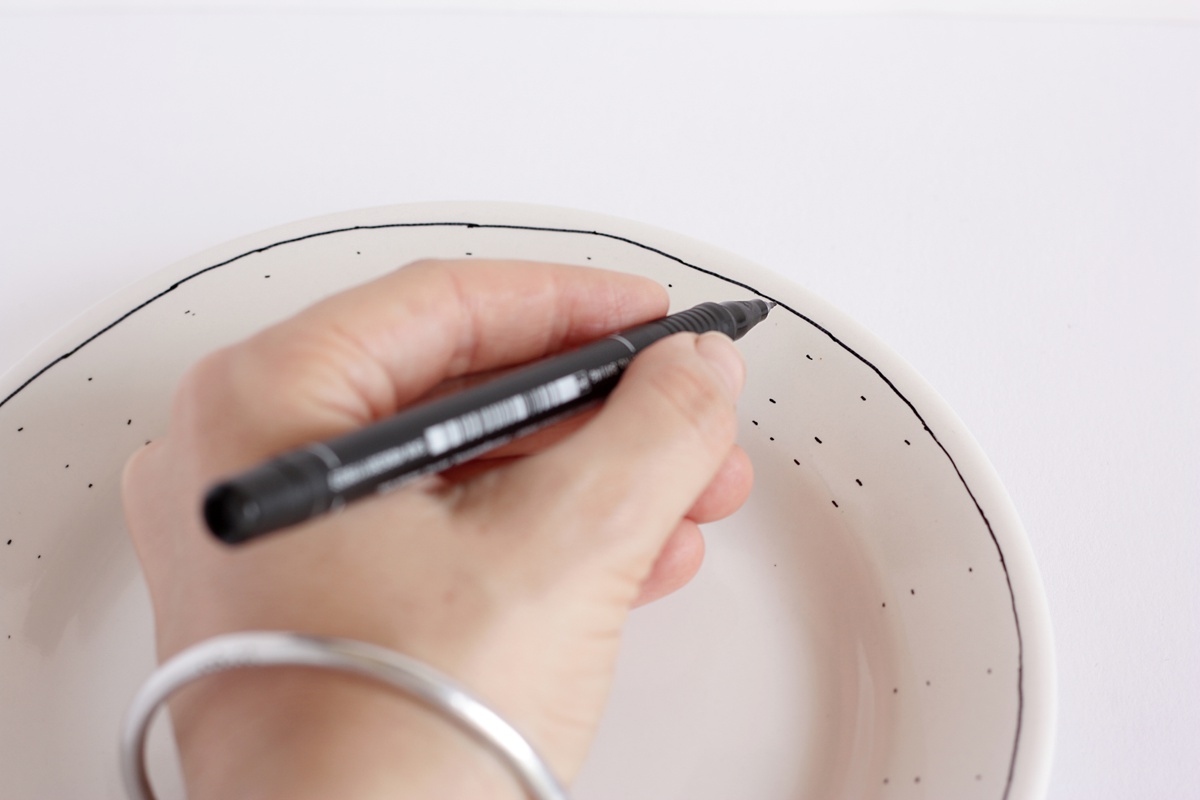
Make the first circle joining the dots.
Make a second circle joining the dots.
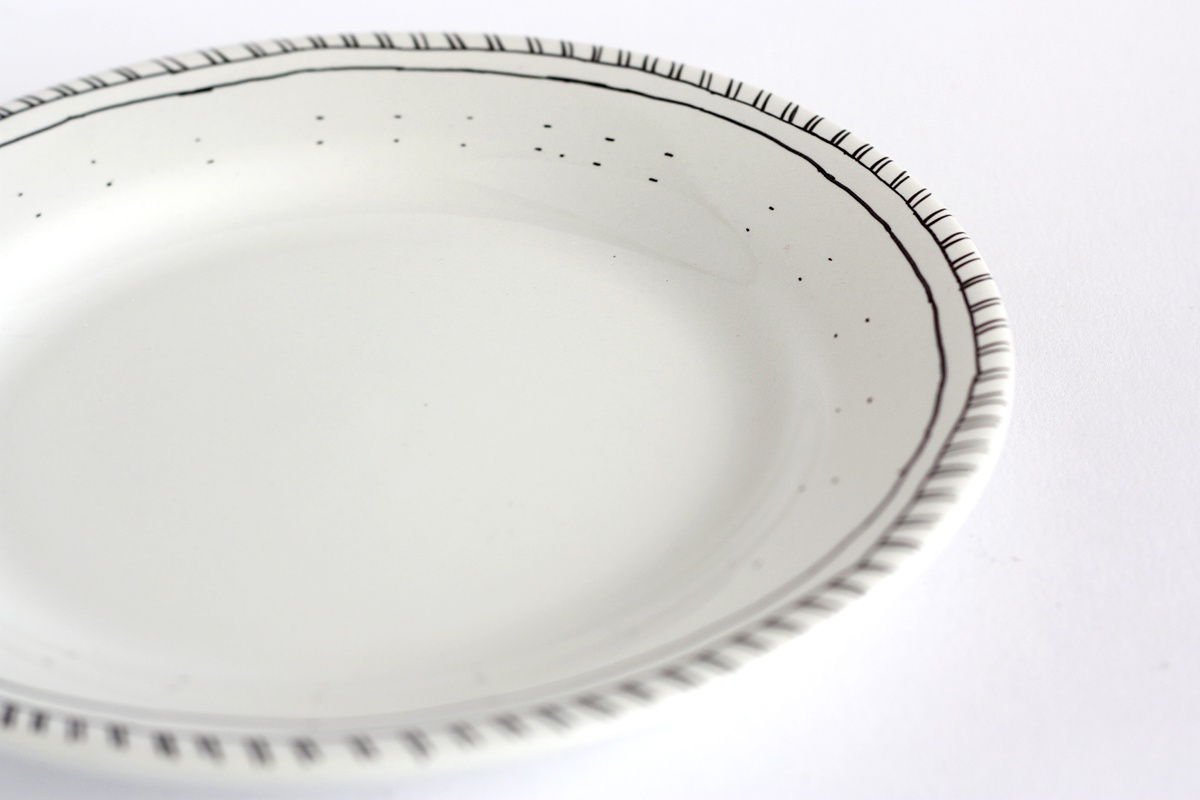
Make little diagonal lines from the first circle to the dish edge. I decided to pair them two by two to add more interest. This is pretty freehand, but try to keep the inclination the same all over.
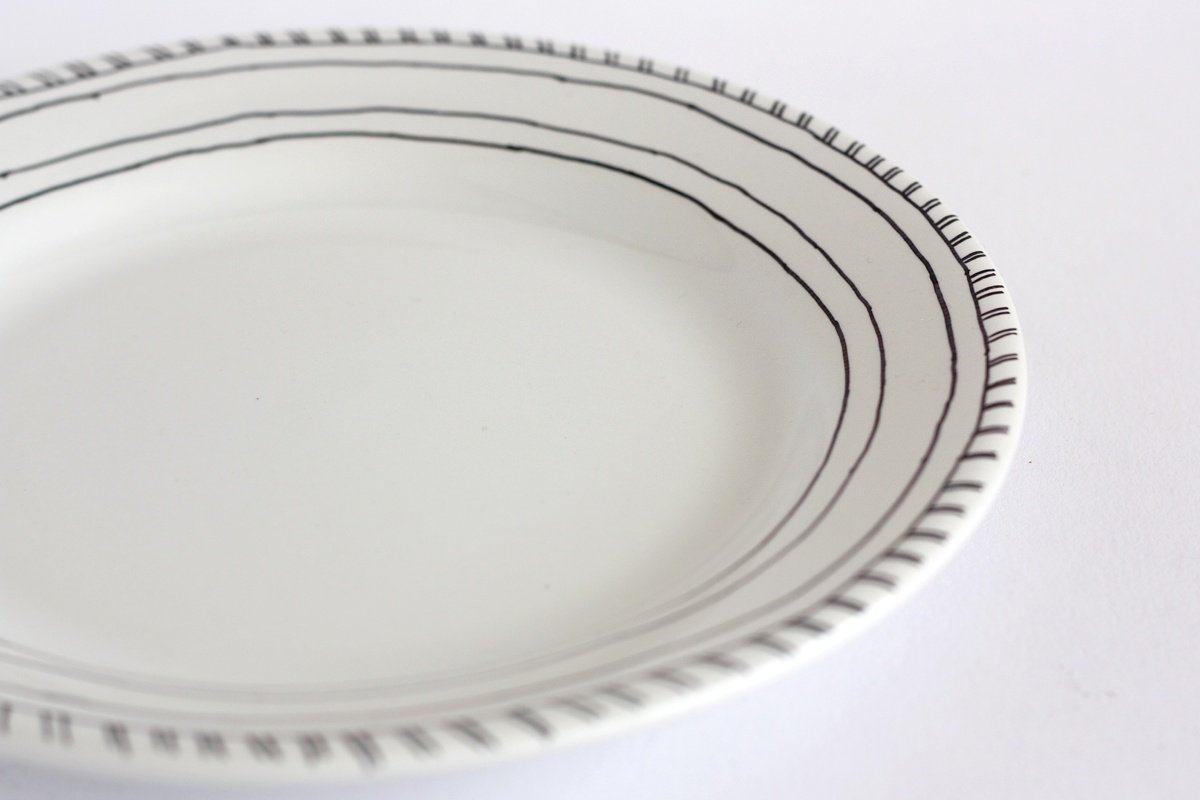
Finish joining the dots by adding the remaining two internal lines.
![]()
Now make the same design we did before between circles 2 and 3 (counting from outside). Remeber to flip the inclination of the lines and to make them start approximately aligned to the ones on the other side.
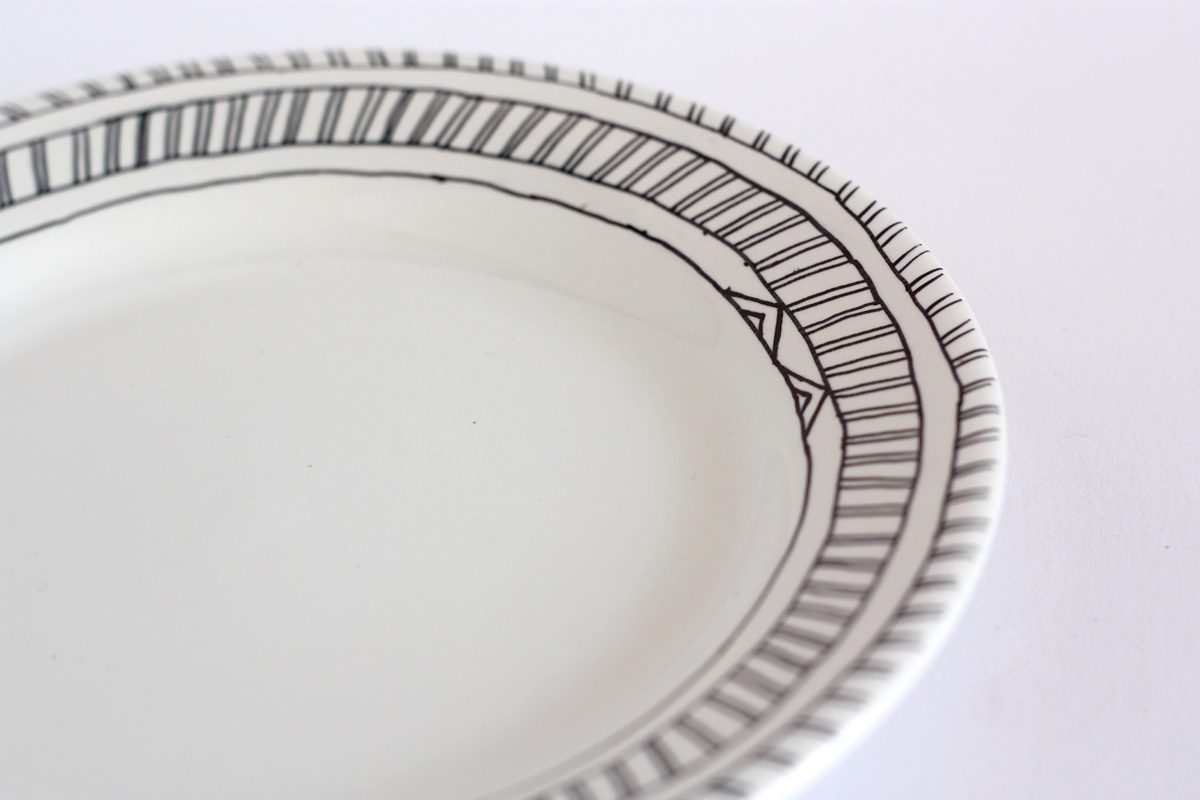
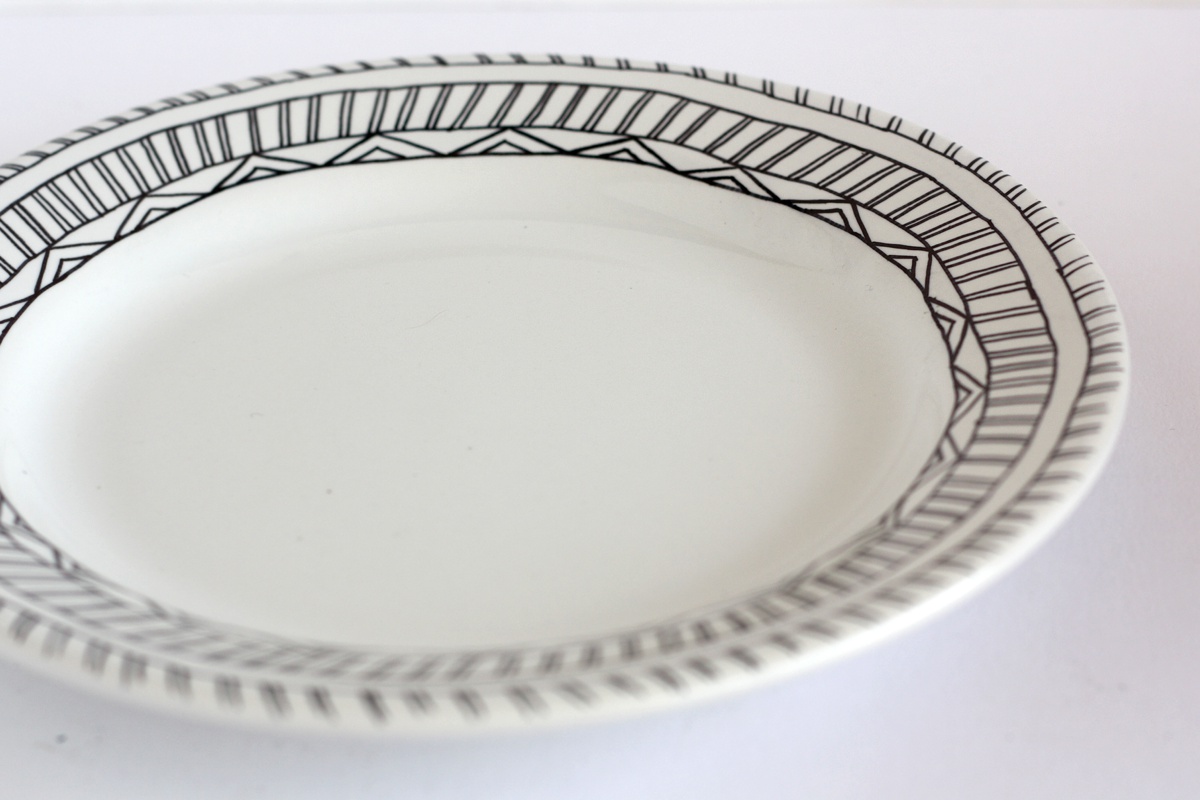
Now le’ts change pattern and add triangles to the last ring. Making a balanced rectangle is actually not so easy freehand and on a round line, so here’s the easy way: use a ruler to take note of the exact position of all vertexes. For example, mine where 2 cm wide marked on the 4th circle and 1cm on the 3rd circle. Then just join the dots you made and add freehand a little triangle beneath it.
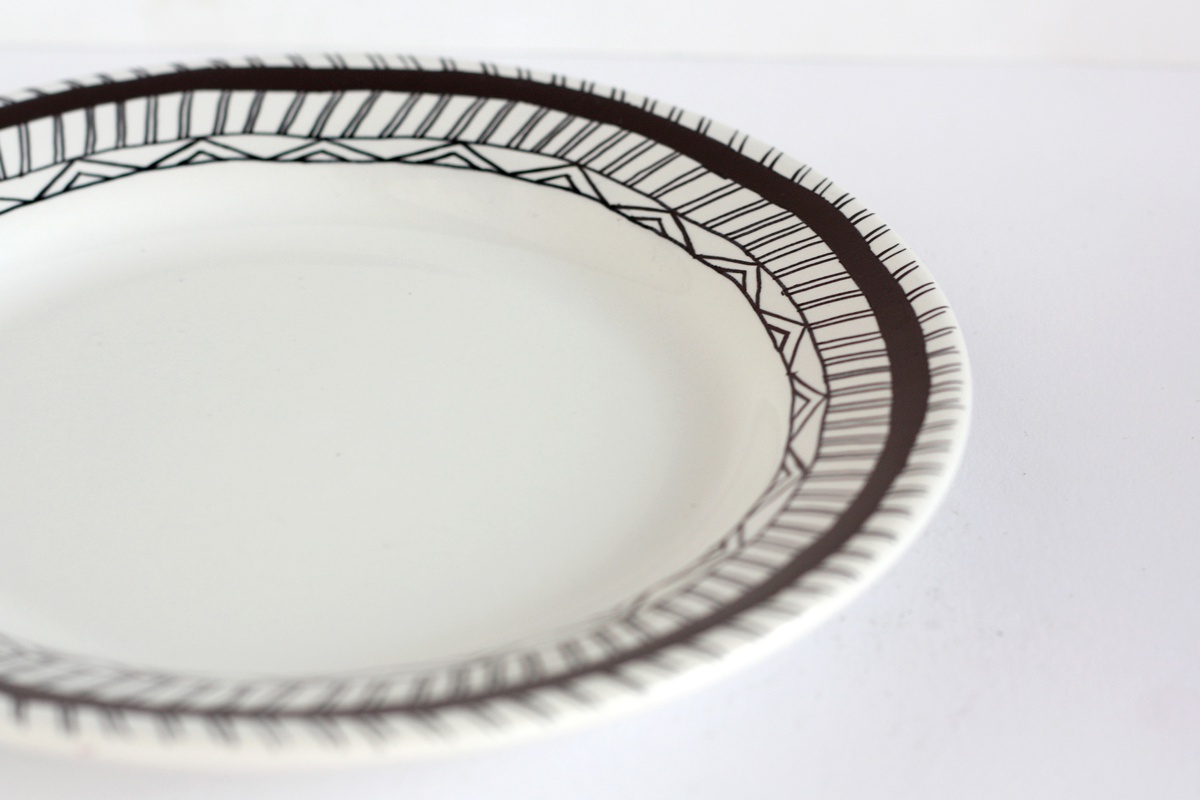
Finally, fully colour the space between the 1st and 2nd circle. Using a medium sized marker will make the job faster.
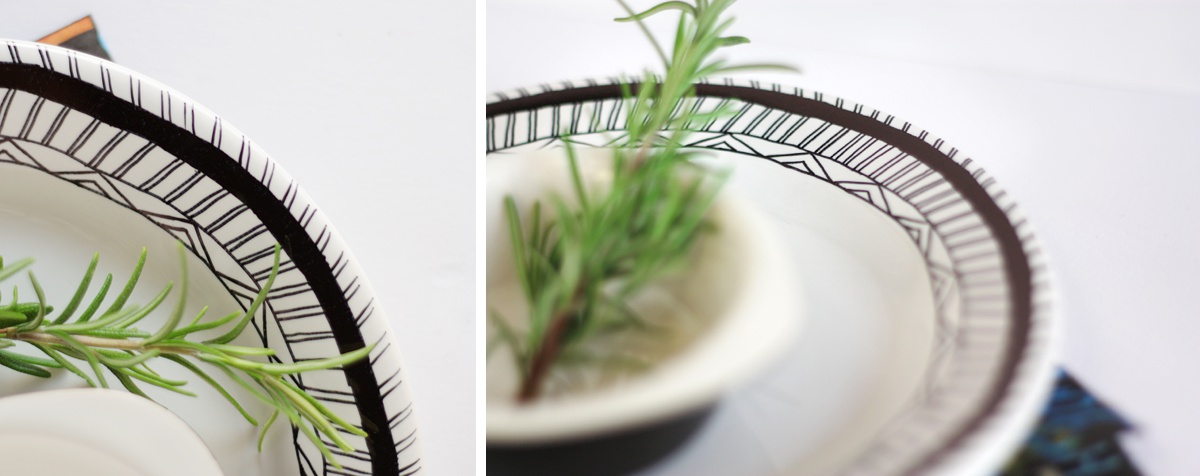
Finally, if you used porcellain specific markers you should probably cook them in the oven to make it food-safe, but please refer to the marker’s producer instructions. Finished! We’re all set for a stylish meal, ready for a last minute gift and I’m also thinking about alternative uses; hung as wall decor, to name one. Have fun!

Wow! Chiara this actually turned out so well! Love it