DIY Toilet Paper Roll Rocket
Updated on January 14, 2021

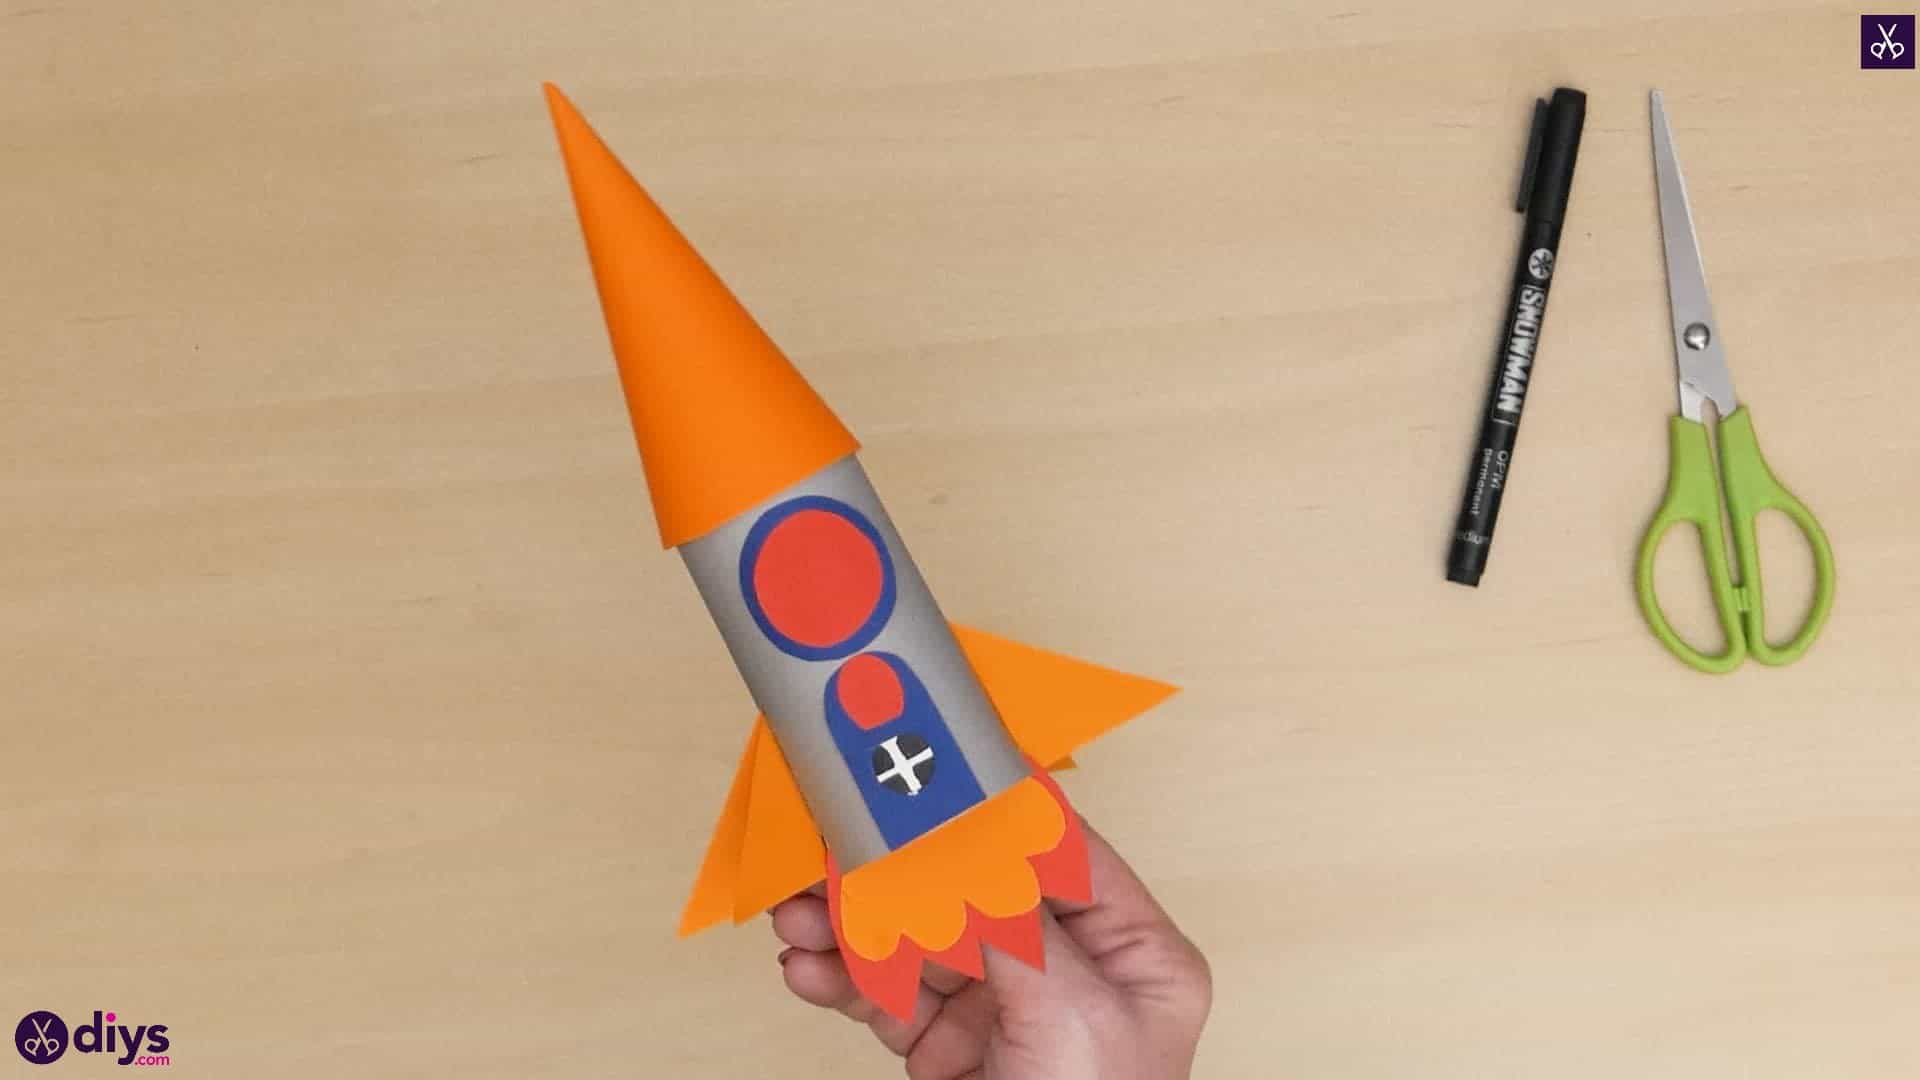


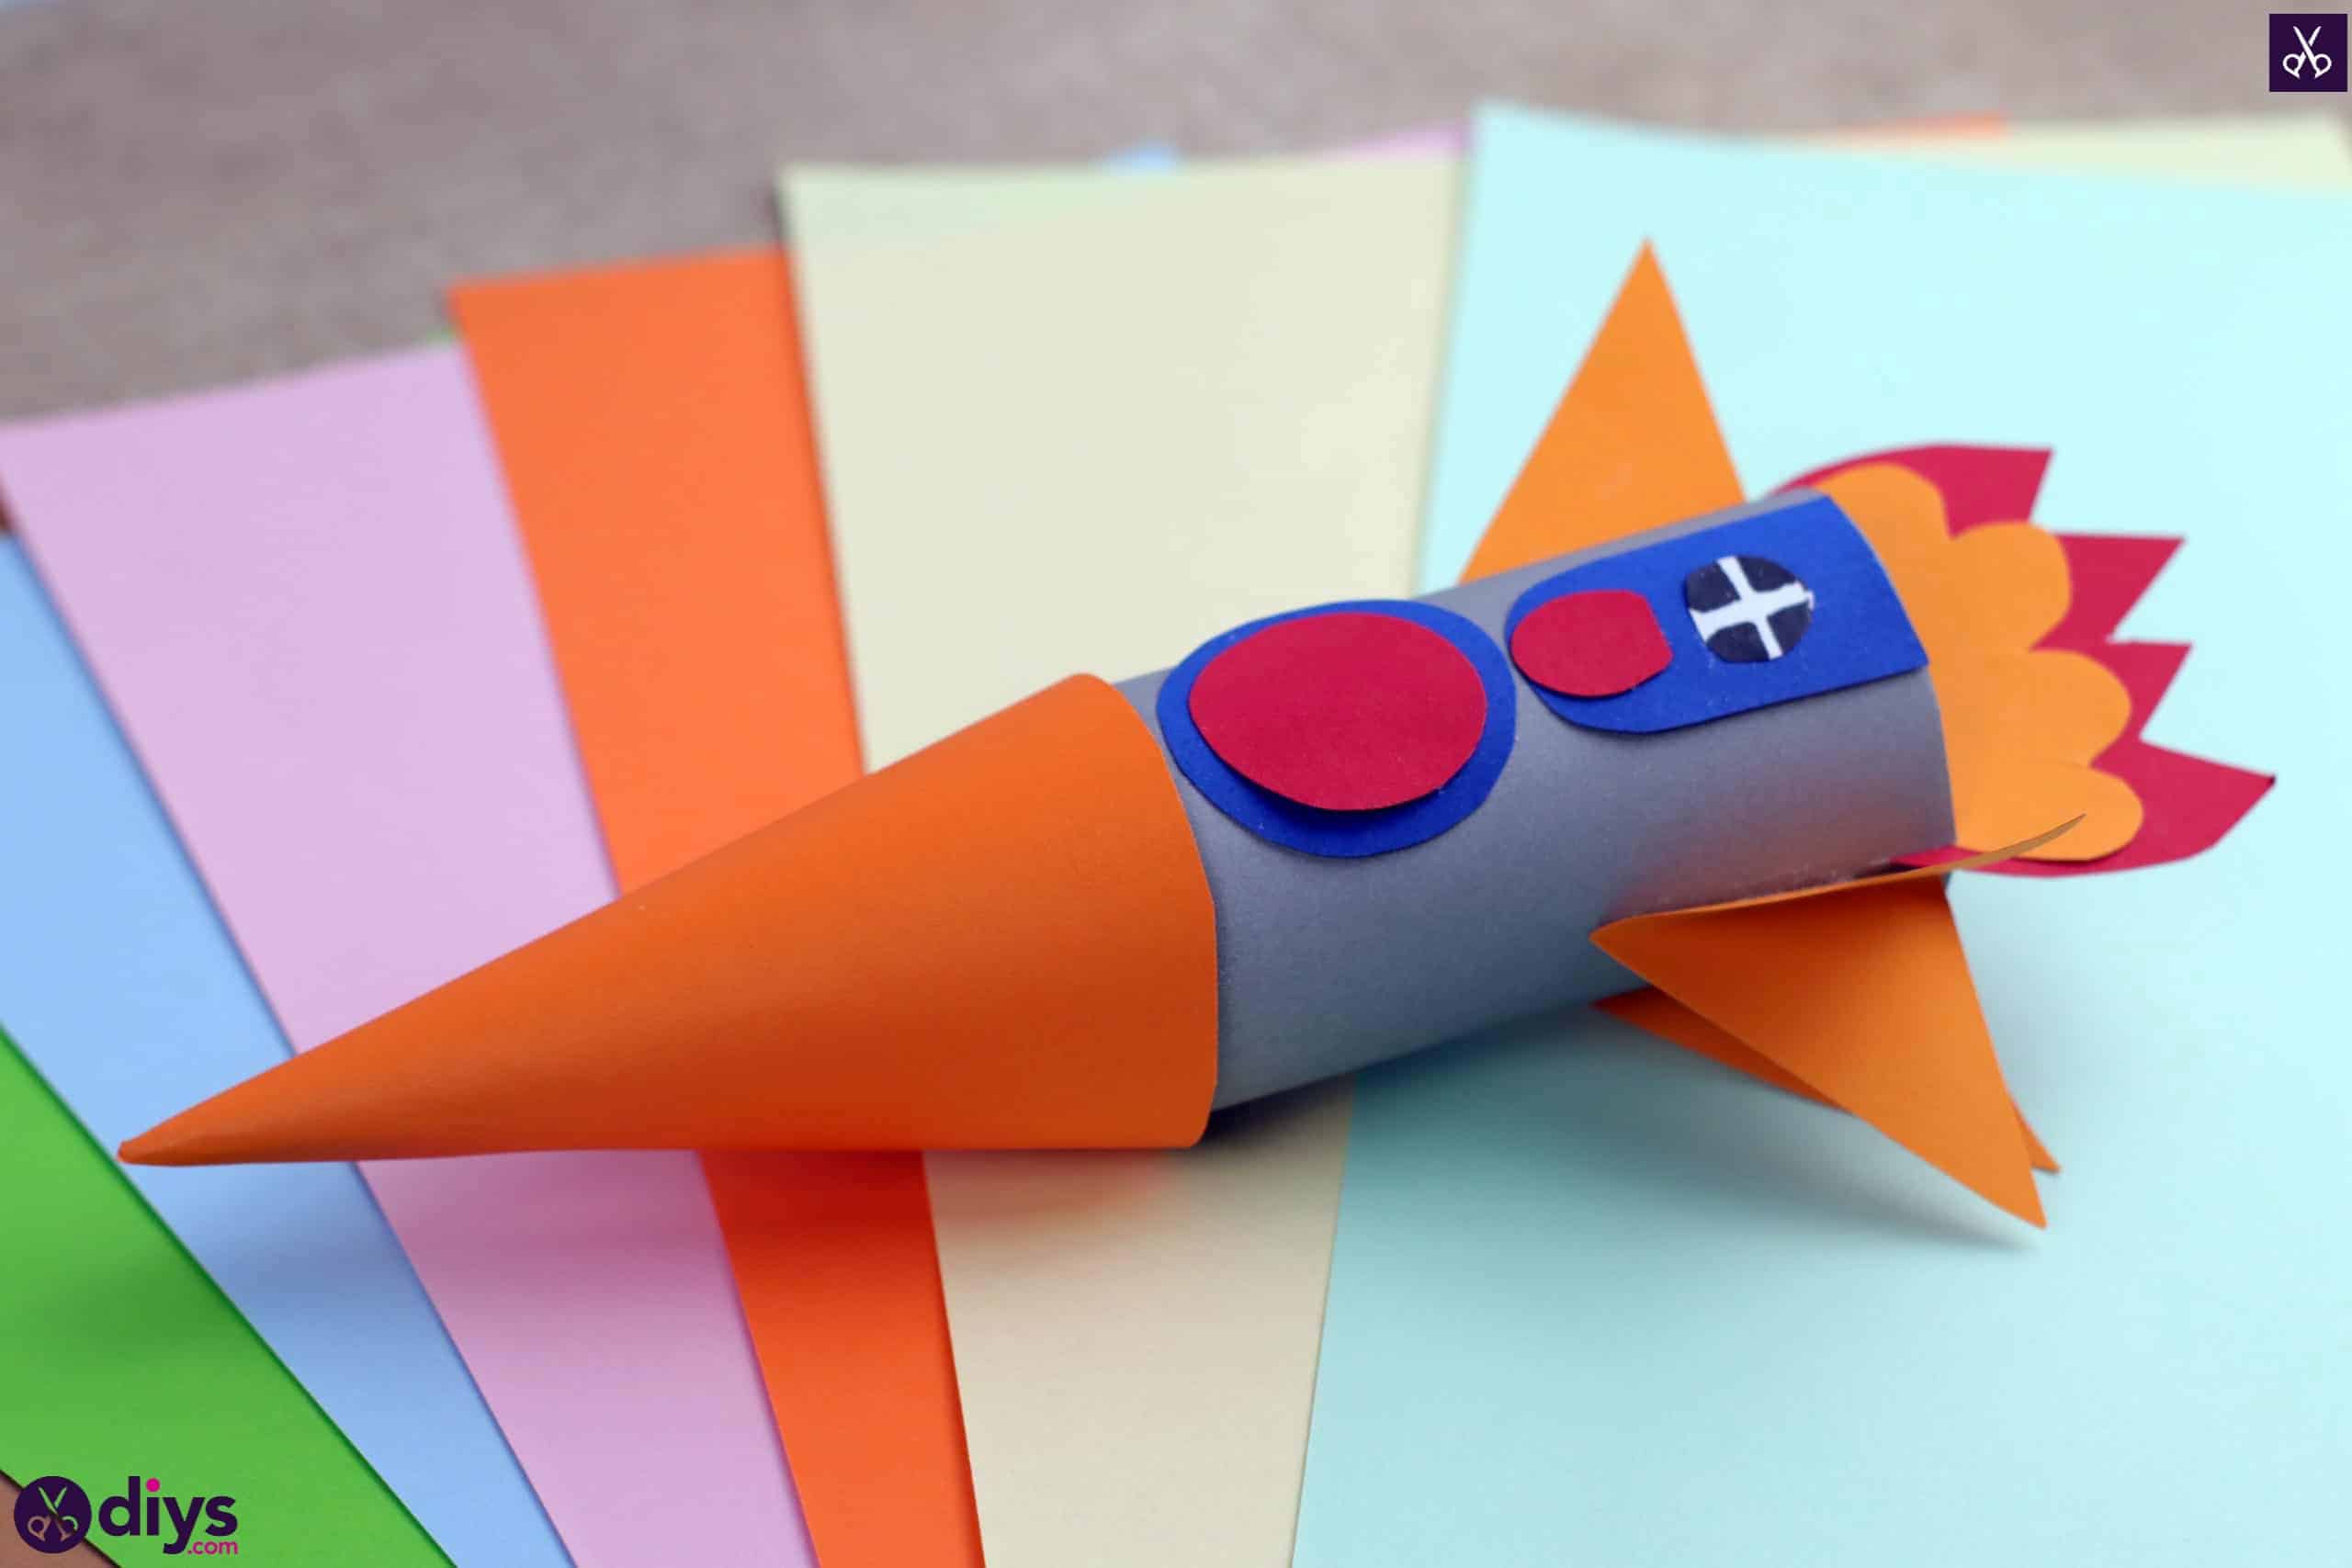
Cardboard toilet paper rolls are a perfect example of a easy fun project; they’re easy enough for kids to work with but they can be turned into all kinds of characters and things. Cut and paste and paper based crafts have also always been a big hit with my kids, which is why I knew I’d really hit the jackpot when I came up with this adorable paper an toilet roll rocket ship that involves all of those elements!


As usual, I decided I wanted to map out the process of one of Check out these step by step instructions complete with photos! If you’d rather follow along with a video tutorial instead of written words, scroll to the bottom of this post to find just what you’re looking for.
For this project, you’ll need:
- A toilet paper roll
- Scissors
- A glue stick
- Cardboard (orange, red, blue, and white)
- Grey paper
- A black marker


Step 1: Gather your materials!
Look at your list and gather everything you need.

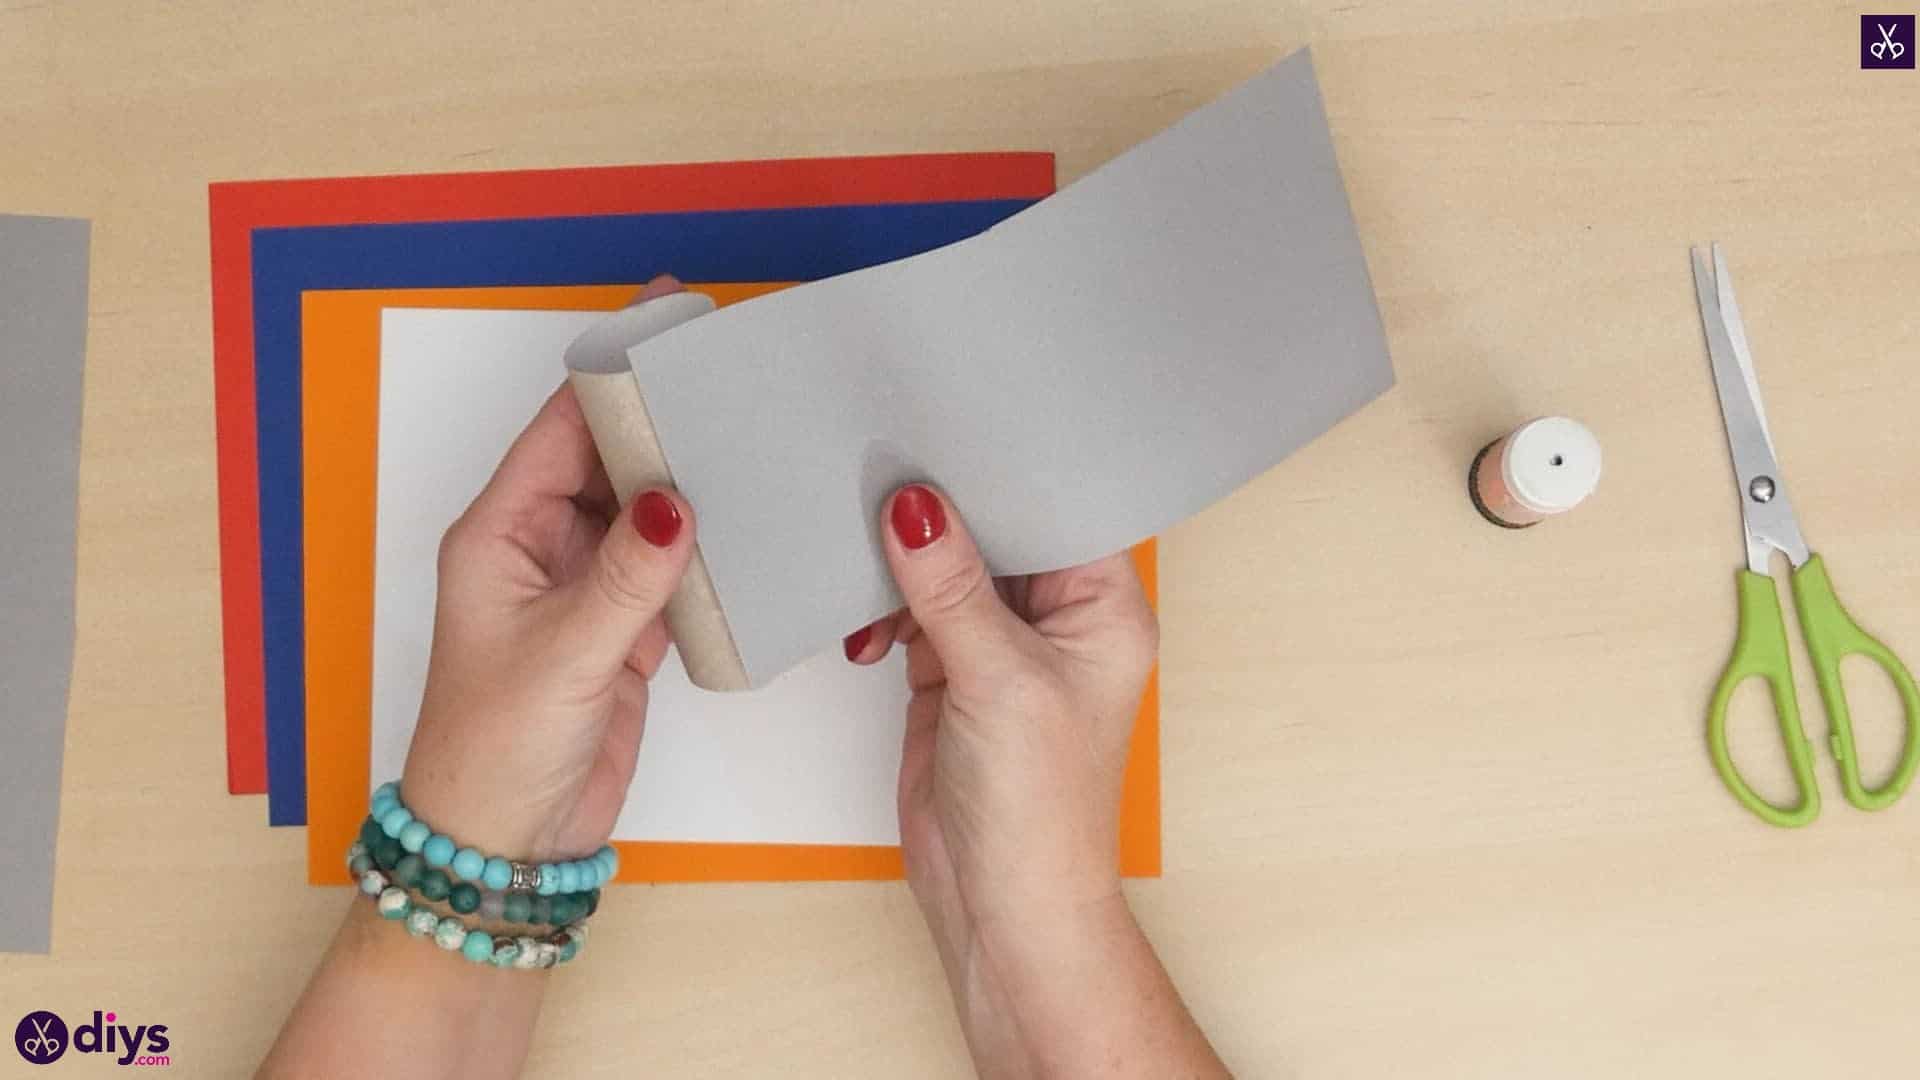
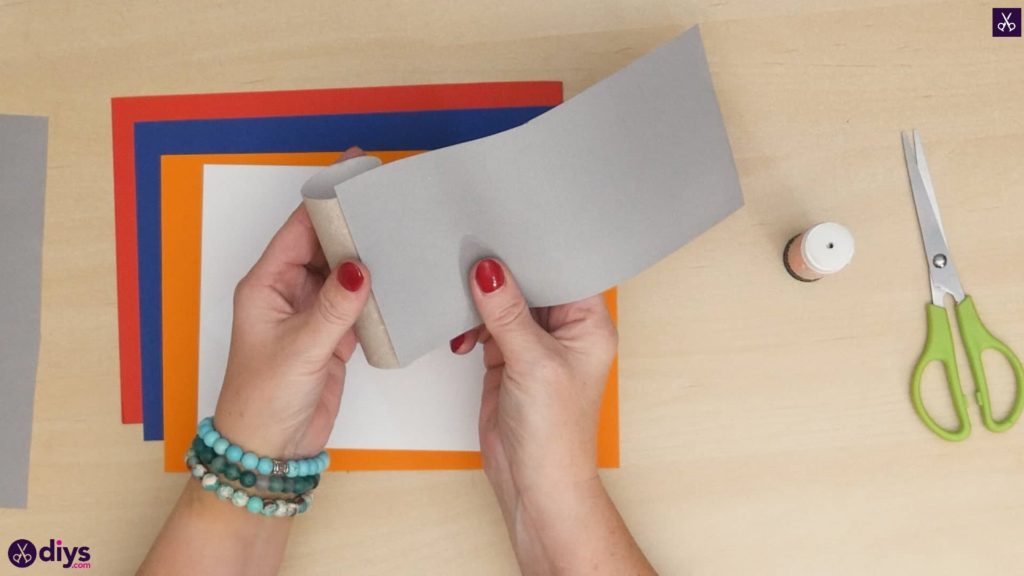
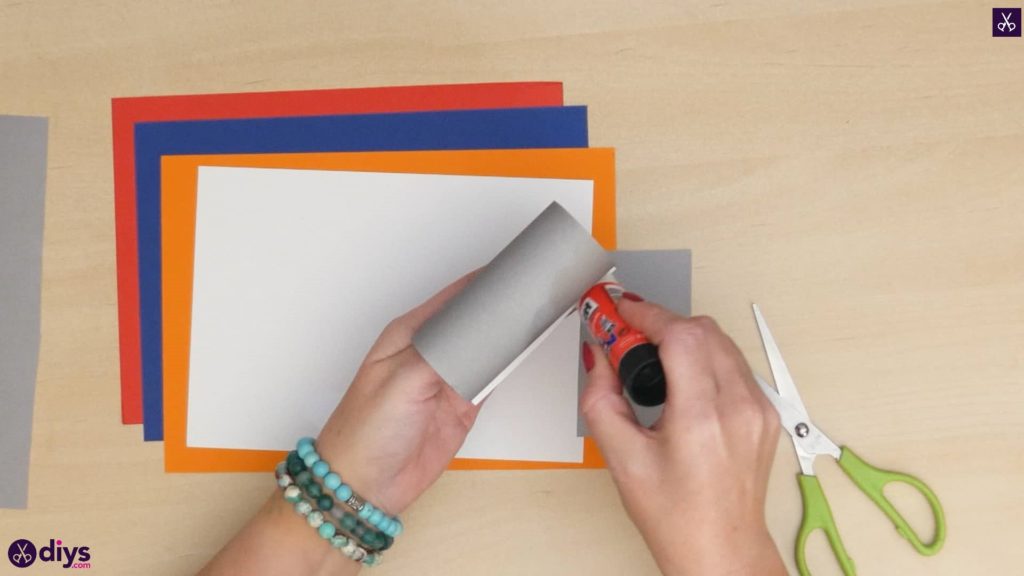
Step 2: start covering your roll
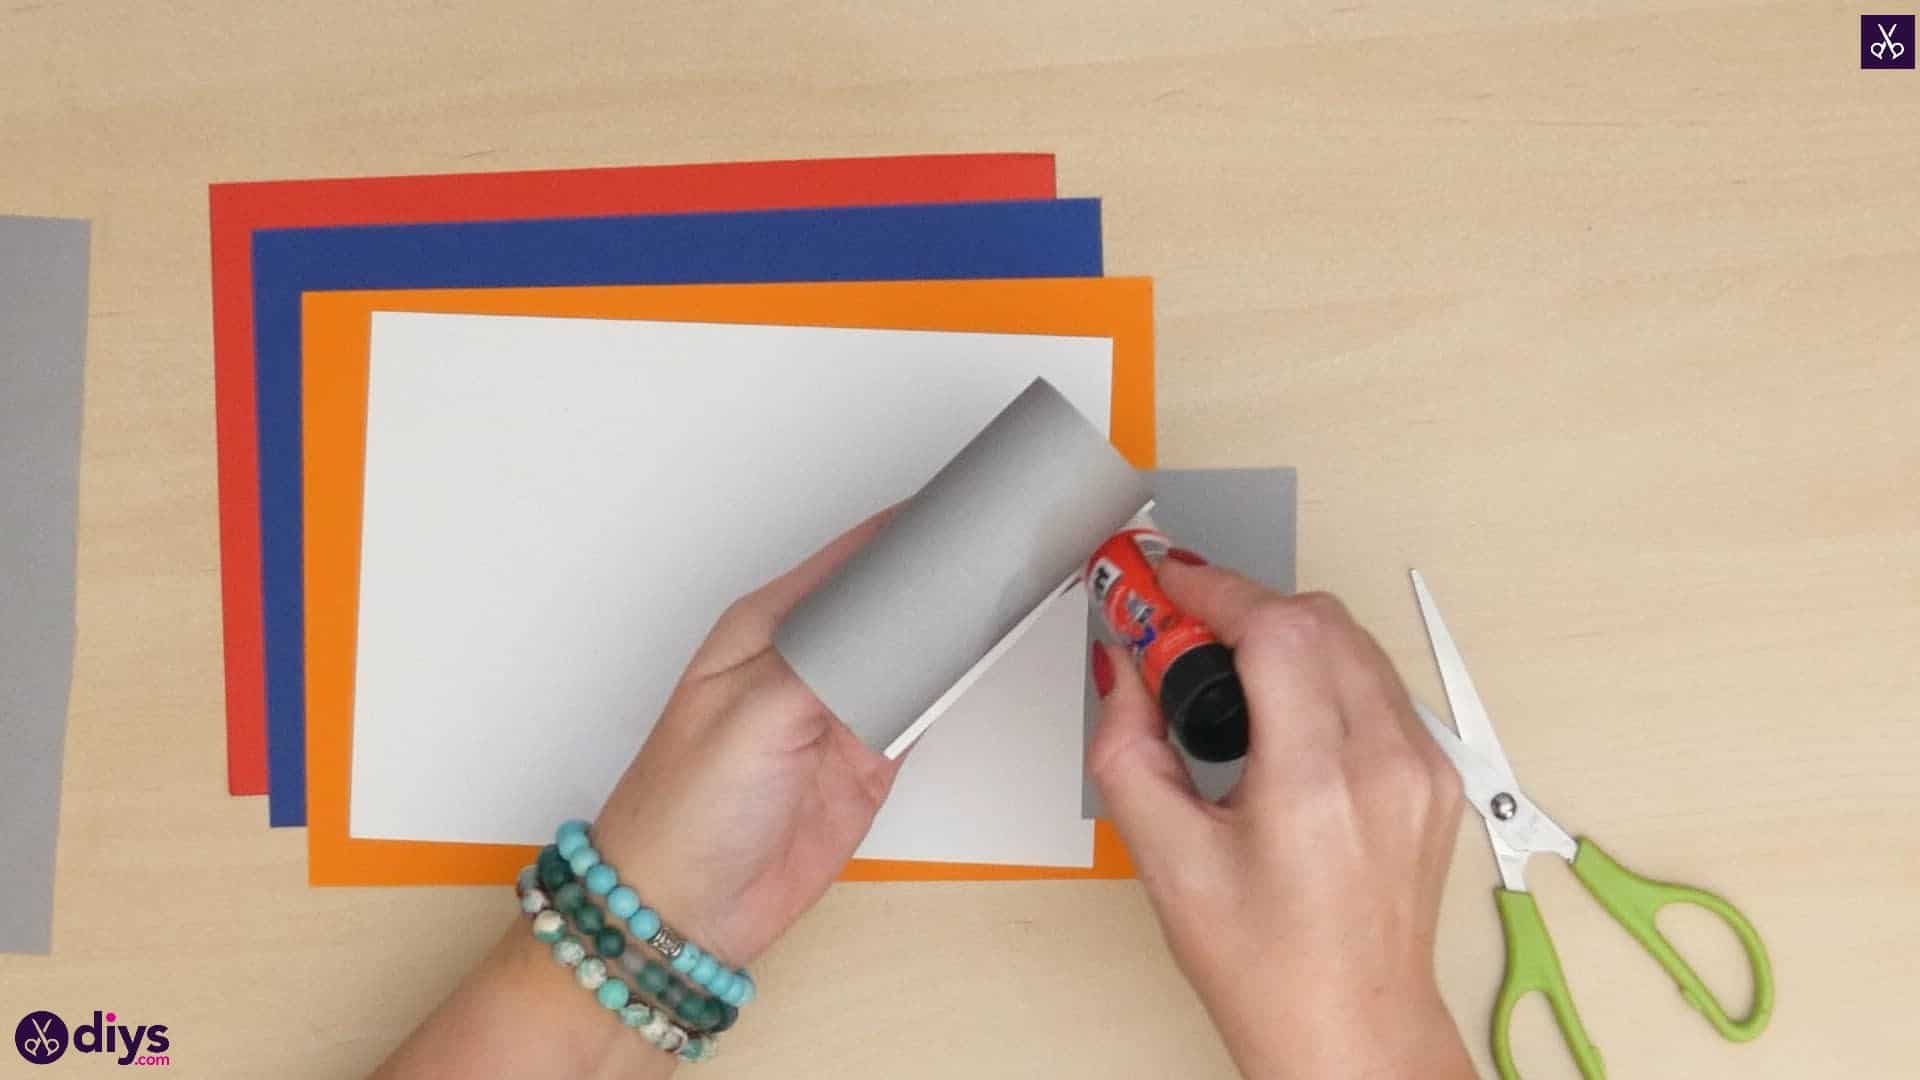
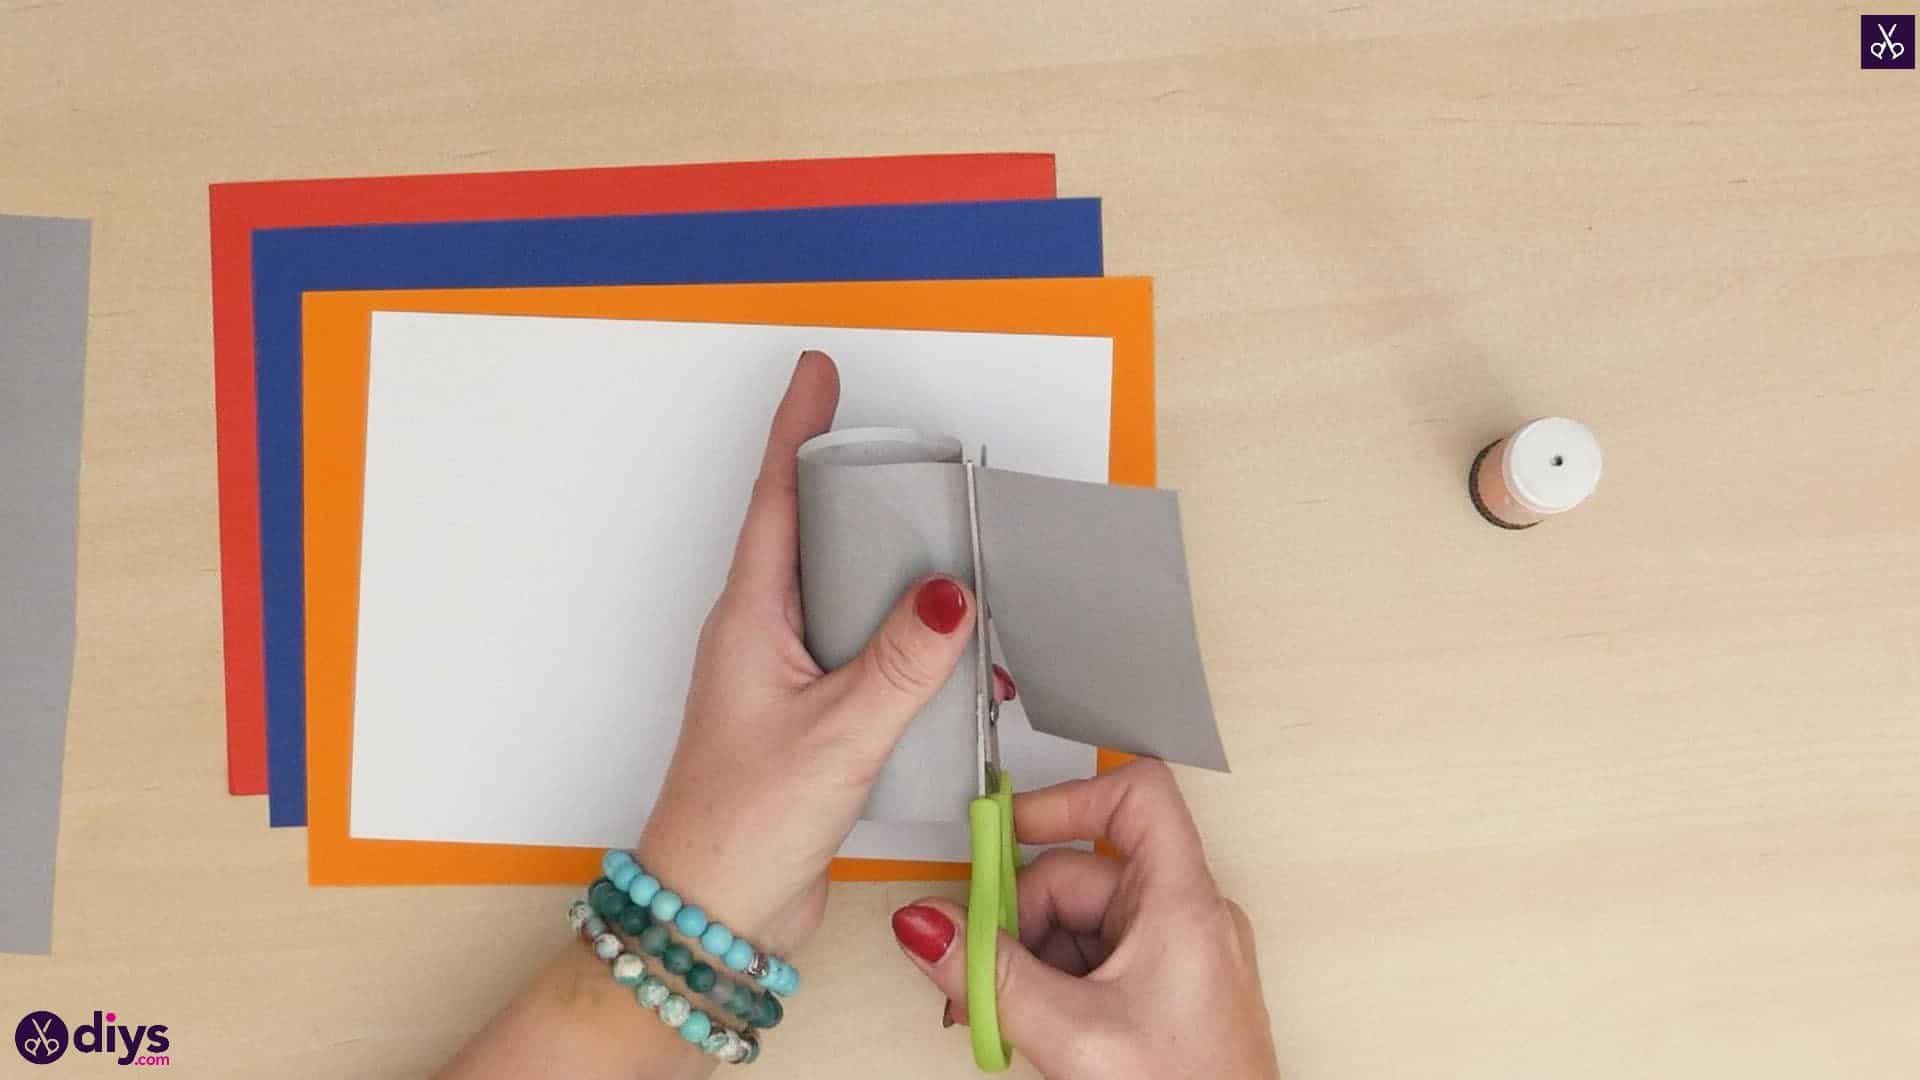
Cover your empty toilet paper roll in your grey paper! I turned my page landscape-wise so the long edges became the top and bottom of the page. Line the bottom edge of your roll up evenly with the bottom of the page and mark where the top of the tube hits the paper (by making a small mark with a writing utensil or making a small cut with your scissors). Use that mark as a guide to cut all the way across the page so you have a strip that is the same height as your toilet roll. Now apply glue all the way up the height of the toilet roll and stick one edge down there so the top and bottom edges of the page line up perfectly with the top and bottom edges of the toilet roll. From there, start wrapping the paper carefully around the entire surface of the toilet roll, keeping your top and bottom edges even the whole time. When you get back to the beginning and meet back up with your first edge, apply more glue over that and stick it down so the new edge overlaps with the first one, then trim the excess. Reapply glue and stick the last little edge down more firmly if you need to after trimming. Set the roll aside for the moment while you cut the rest of your pieces.


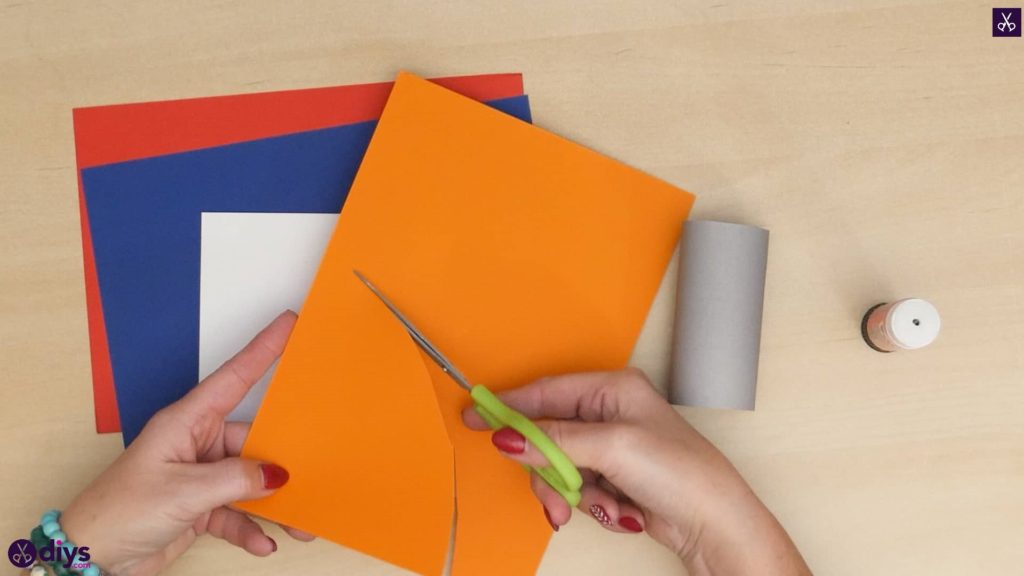
Step 3: shape and cut the top
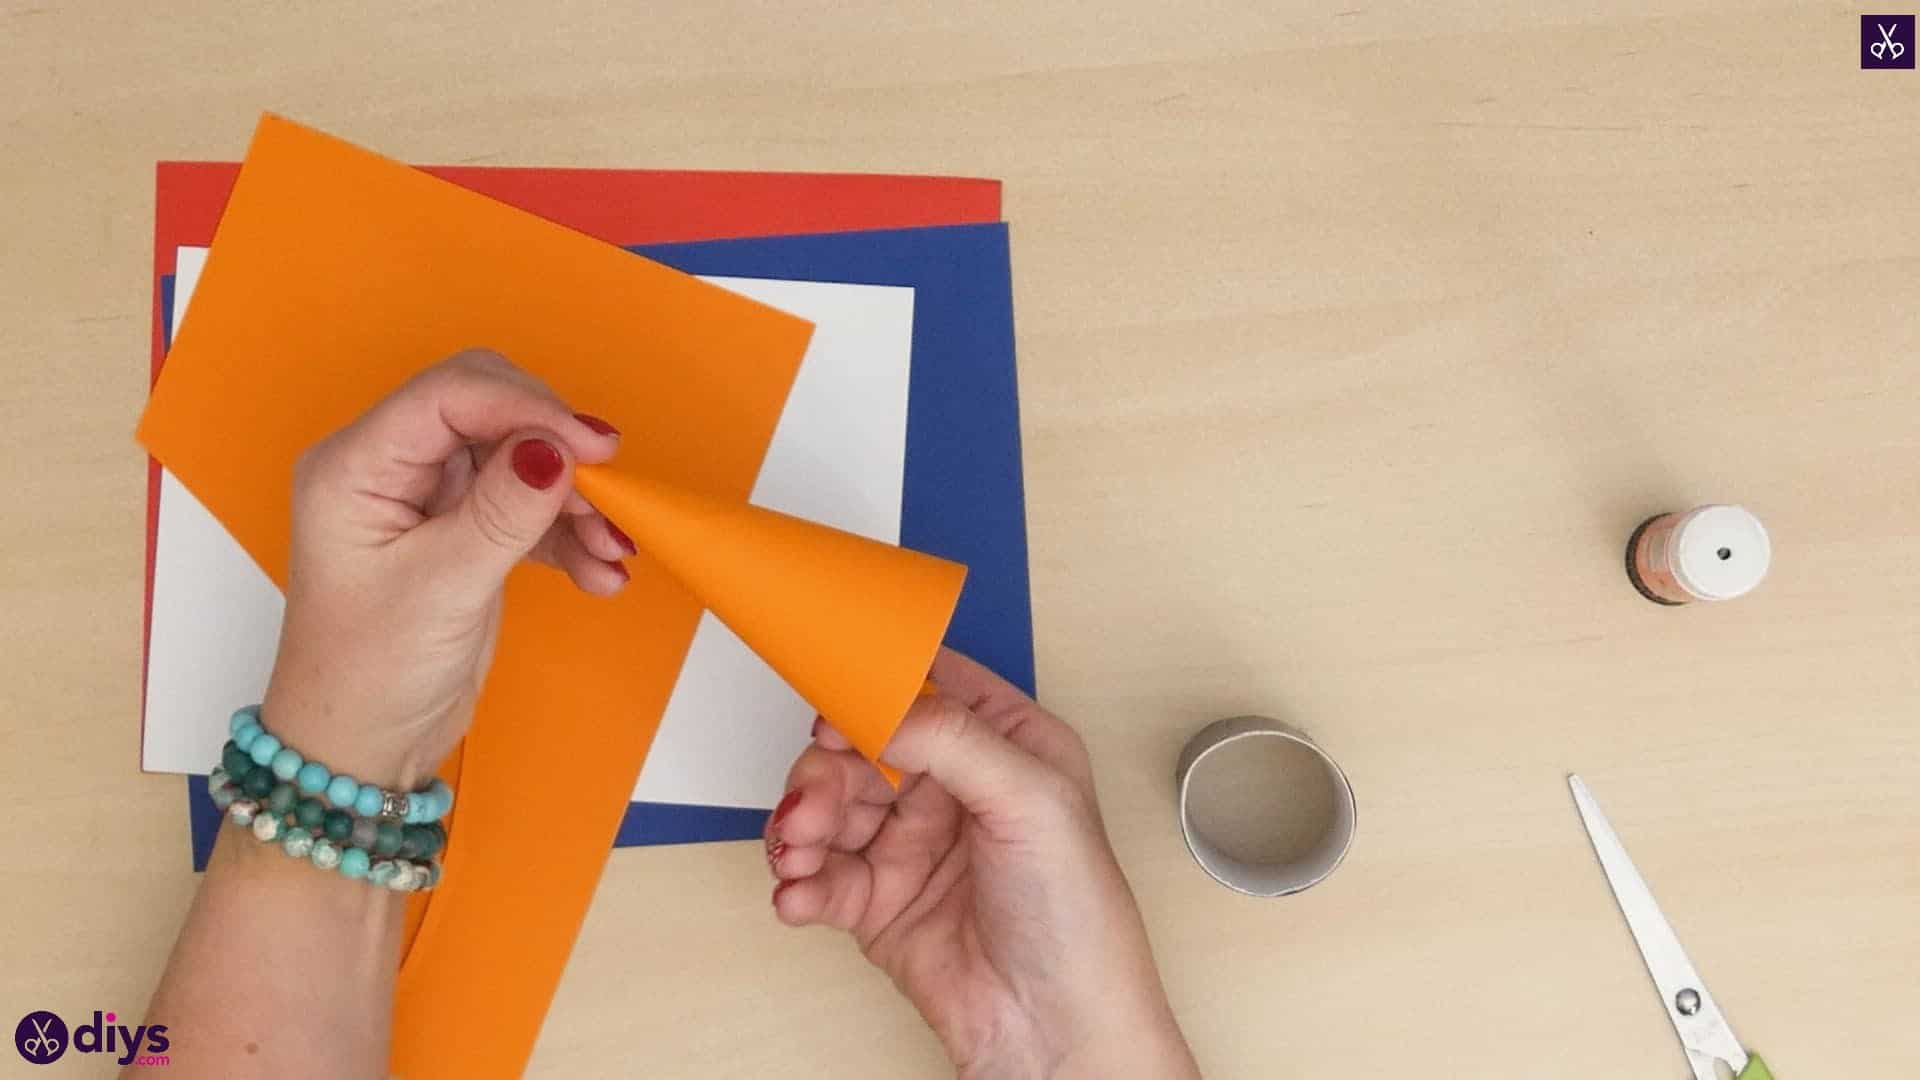
Make the top of your rocket! Turn your orange page portrait-wise so the long edges become the left and right sides. Place your scissors along the bottom edge, about half an inch from the bottom right corner and make an upwards cut that curves softly to the left in an arc until you hit the left side edge about equidistant up the edge from the bottomleft corner along the left edge as your first cut was from the bottom left corner along the bottom. Now curve the piece in on itself, curling one side in towards the other but tightening the top point and letting the curved side stay open in order to make a cone shape. Apply glue all along the edge that sits on the outside of the cone and stick it down in place. Set the cone aside with your toilet roll.

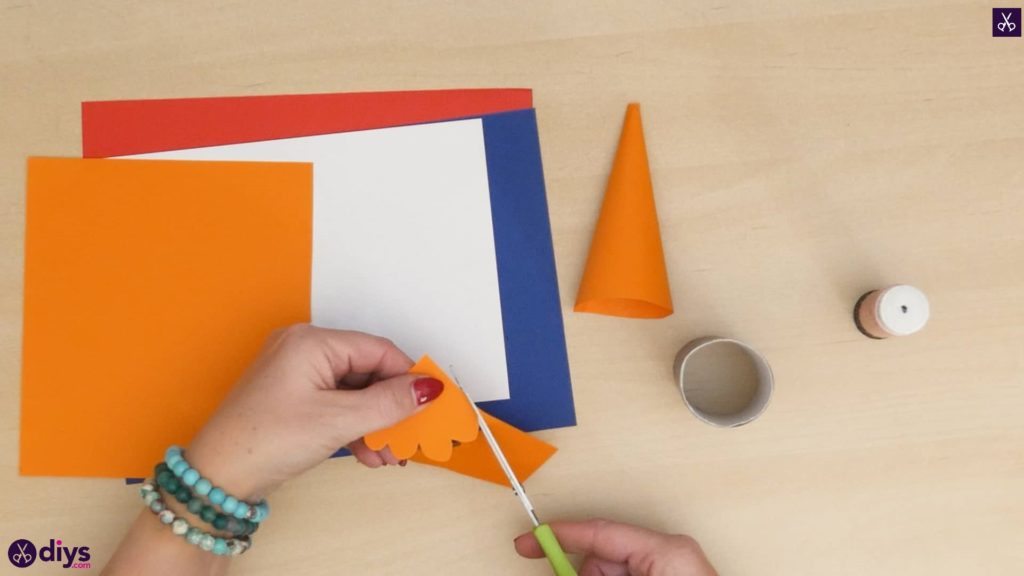
Step 4: start making the fire
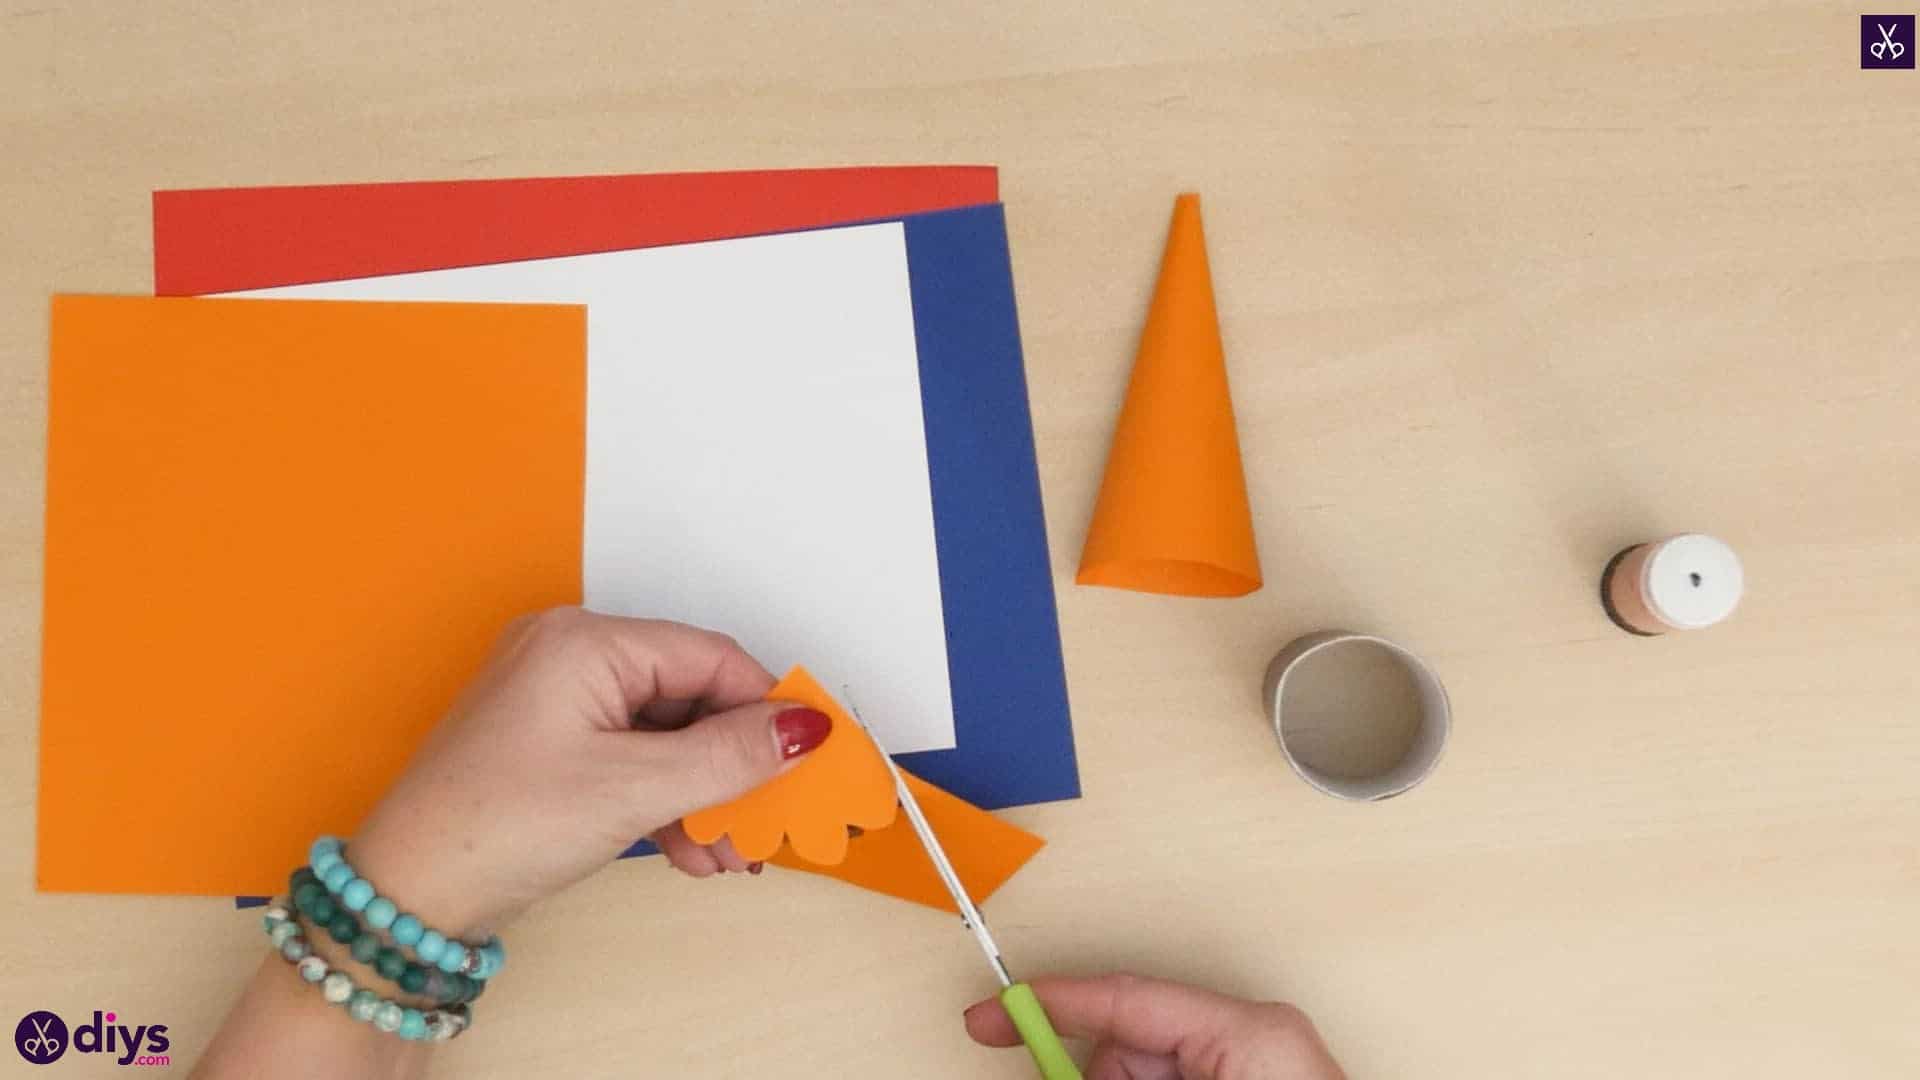
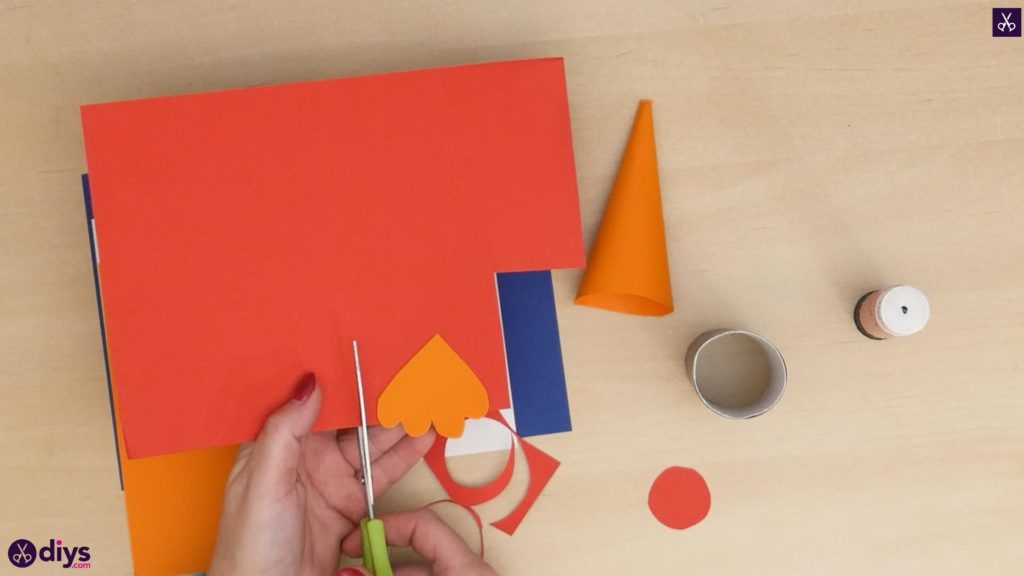
From another untouched corner of your orange page, cut a much smaller version of that same shape that started your cone, with edges from the corner that are about an inch long on each side. This time, instead of leaving the bottom like a smoothly curved arc, you’ll scallop it like a cartoon cloud or ruffled edging. This ill be the inner layer of your rocket’s engine fire. Set it aside.
Step 5: cut out details
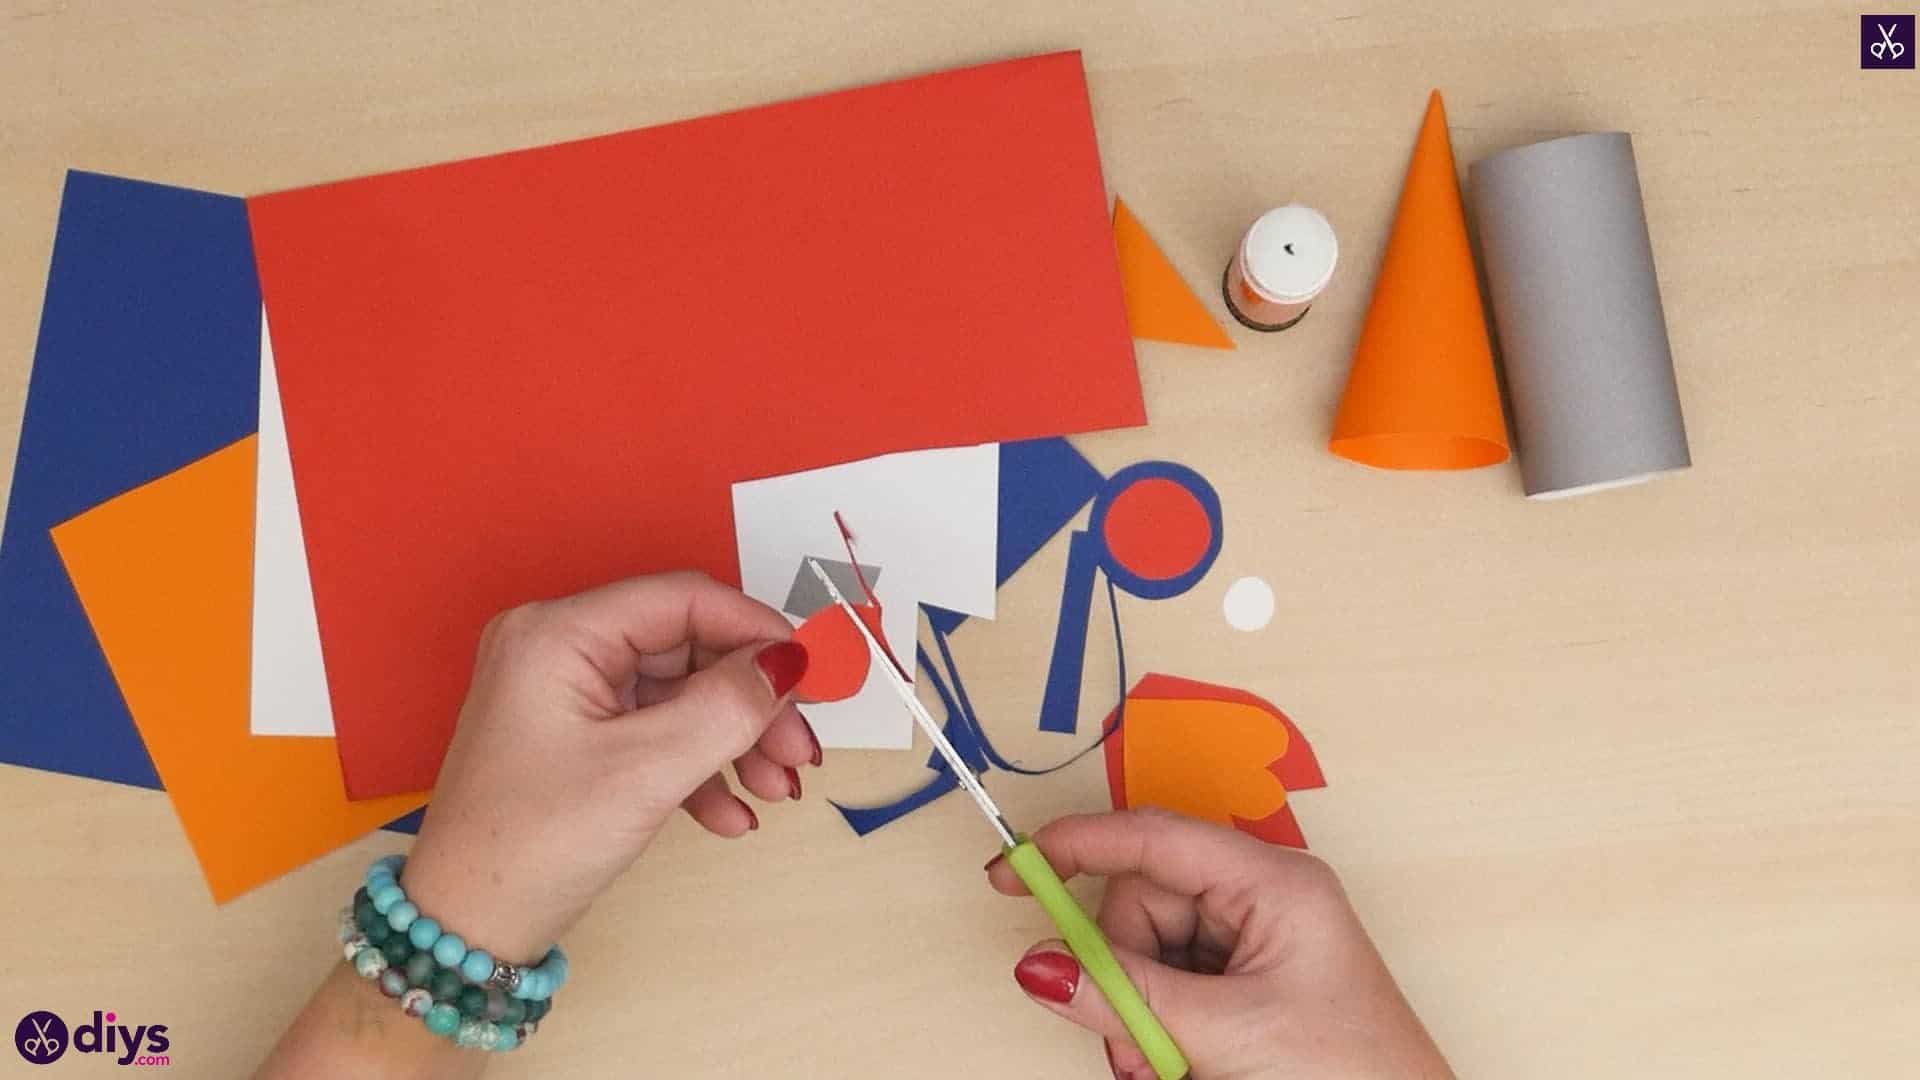
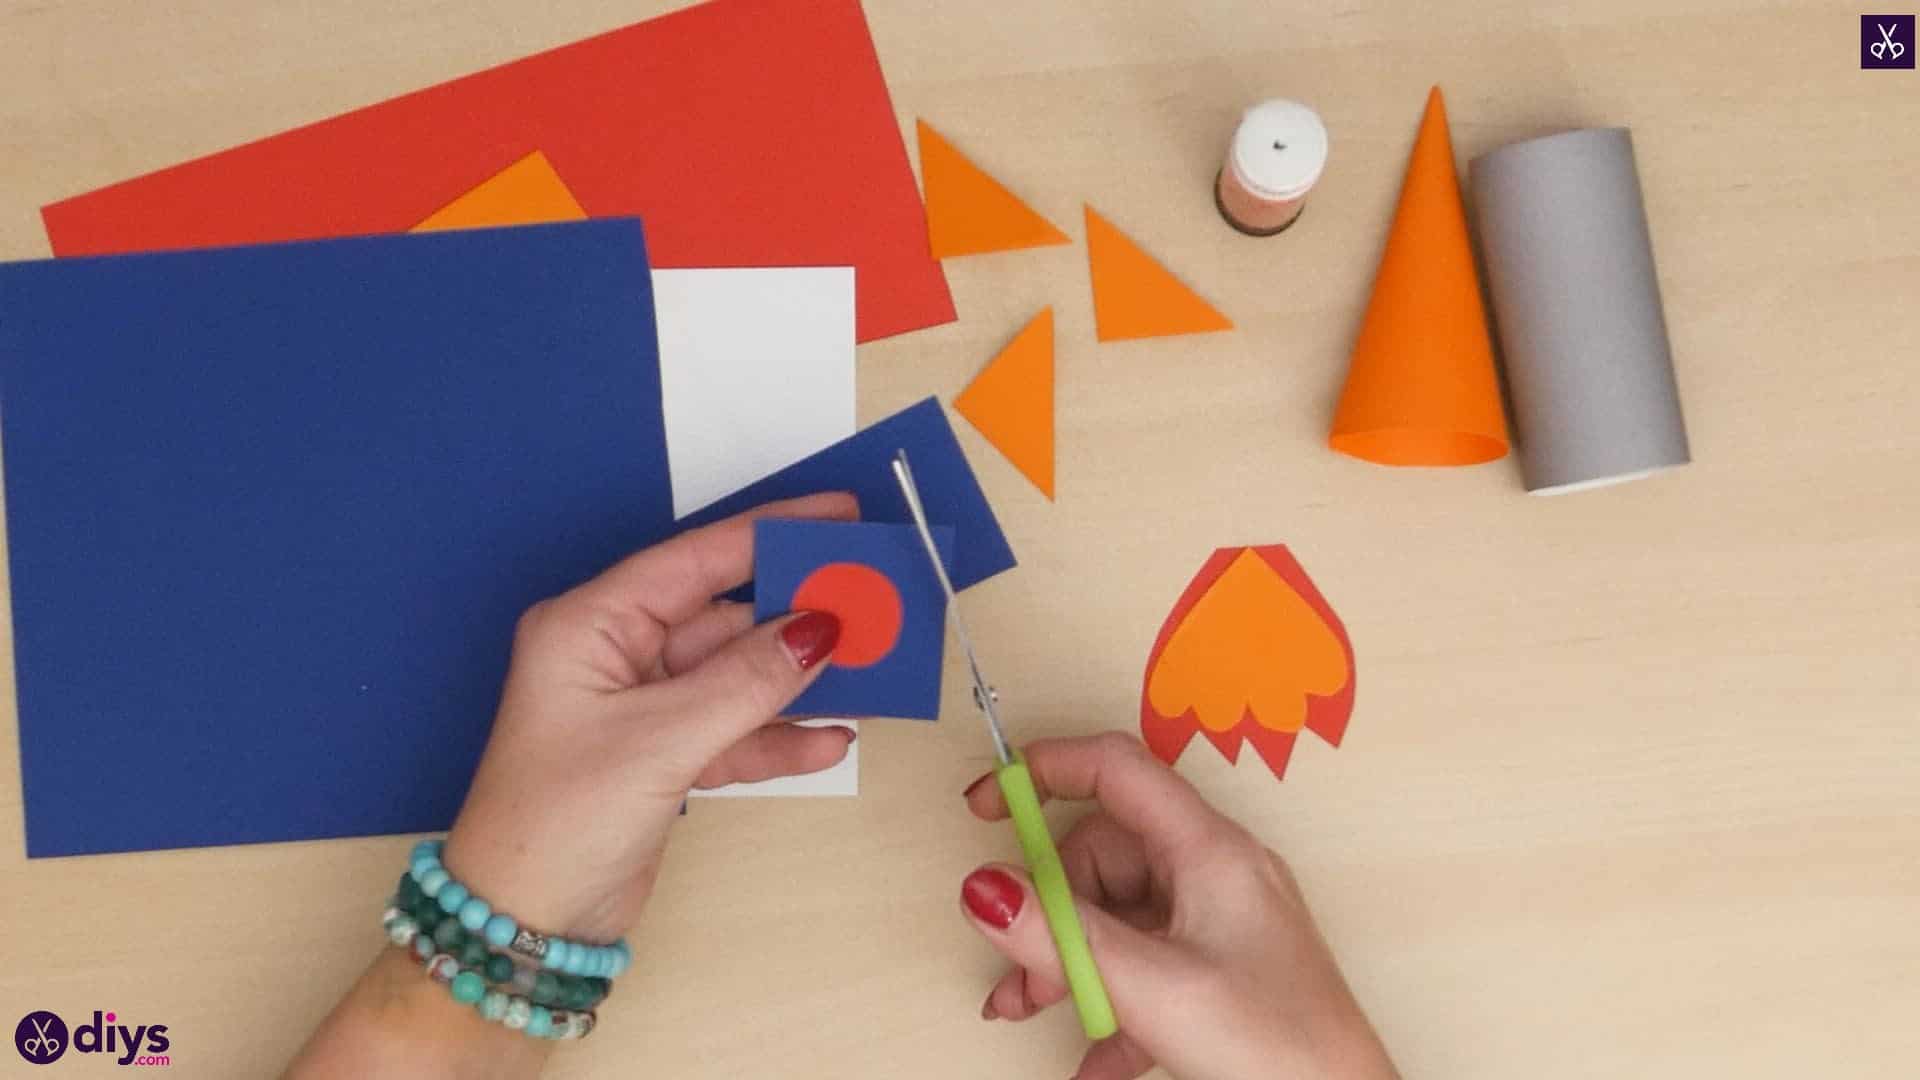
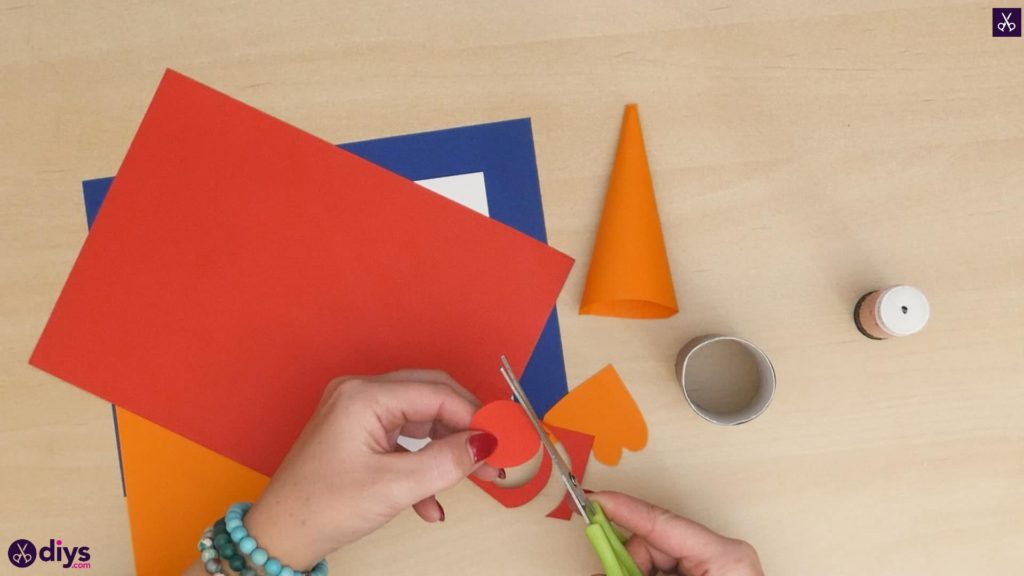
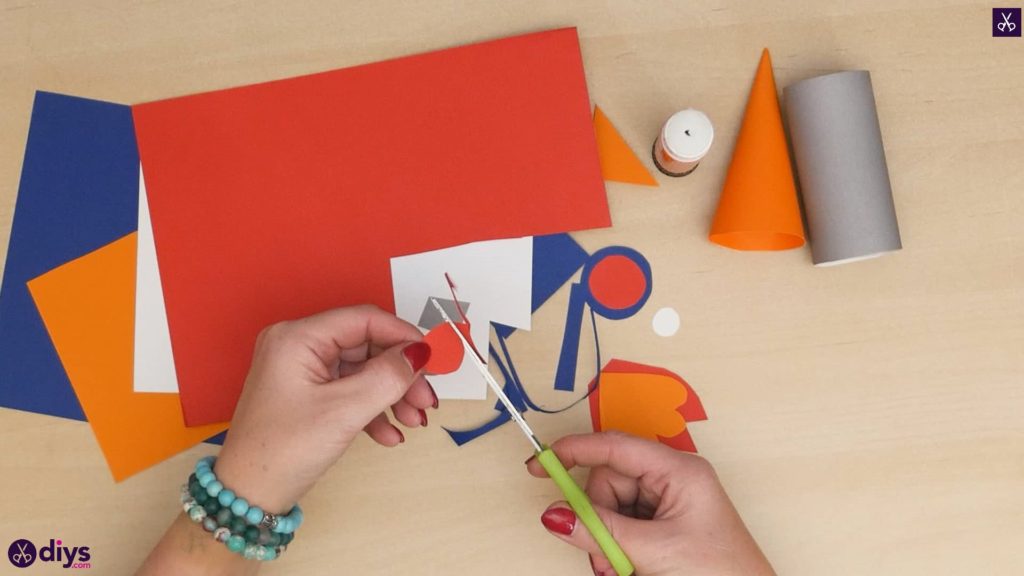
Cut a circle out of your red page that is about half an inch across in diameter. I did this by cutting a square from the page’s corner sized about one inch by one inch and then using my scissors to round off the straight edges and pointed corners. This will be the inner part of the rocket’s window.
Step 6: more cutting!
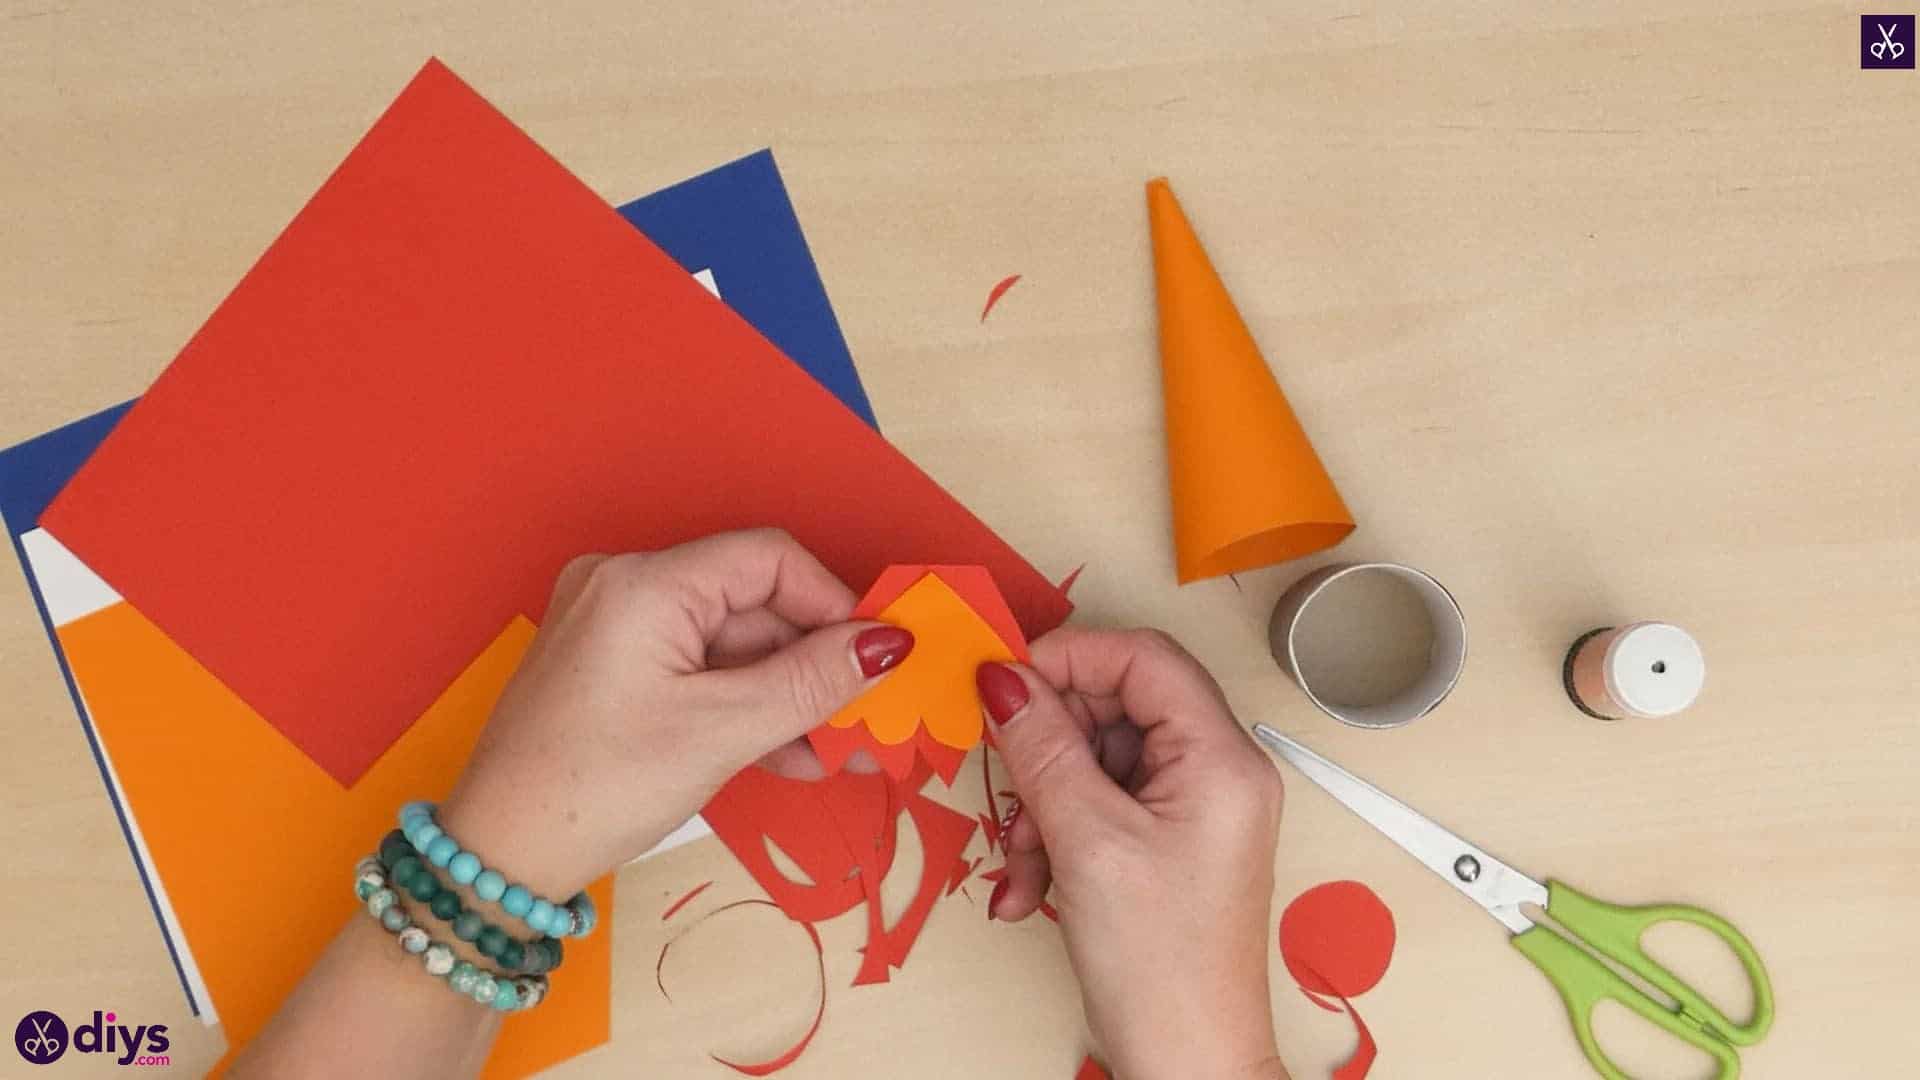
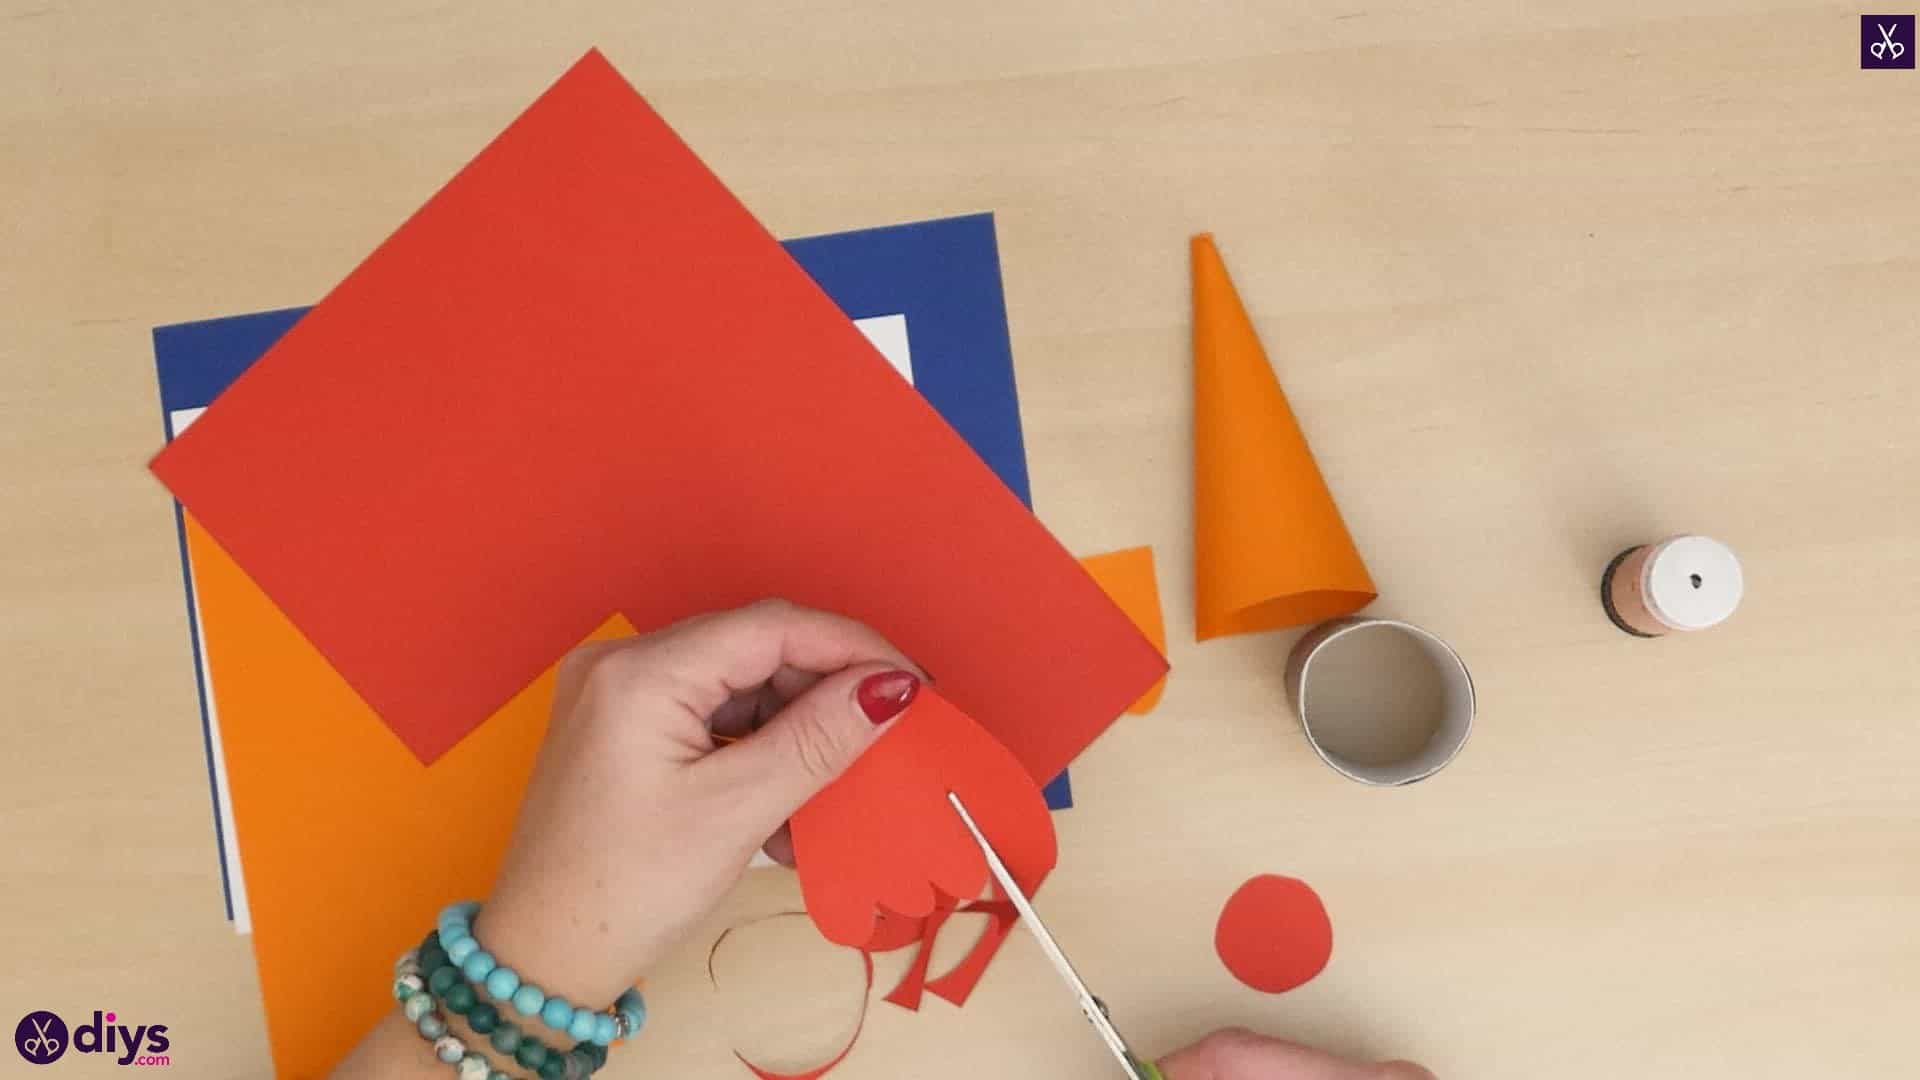
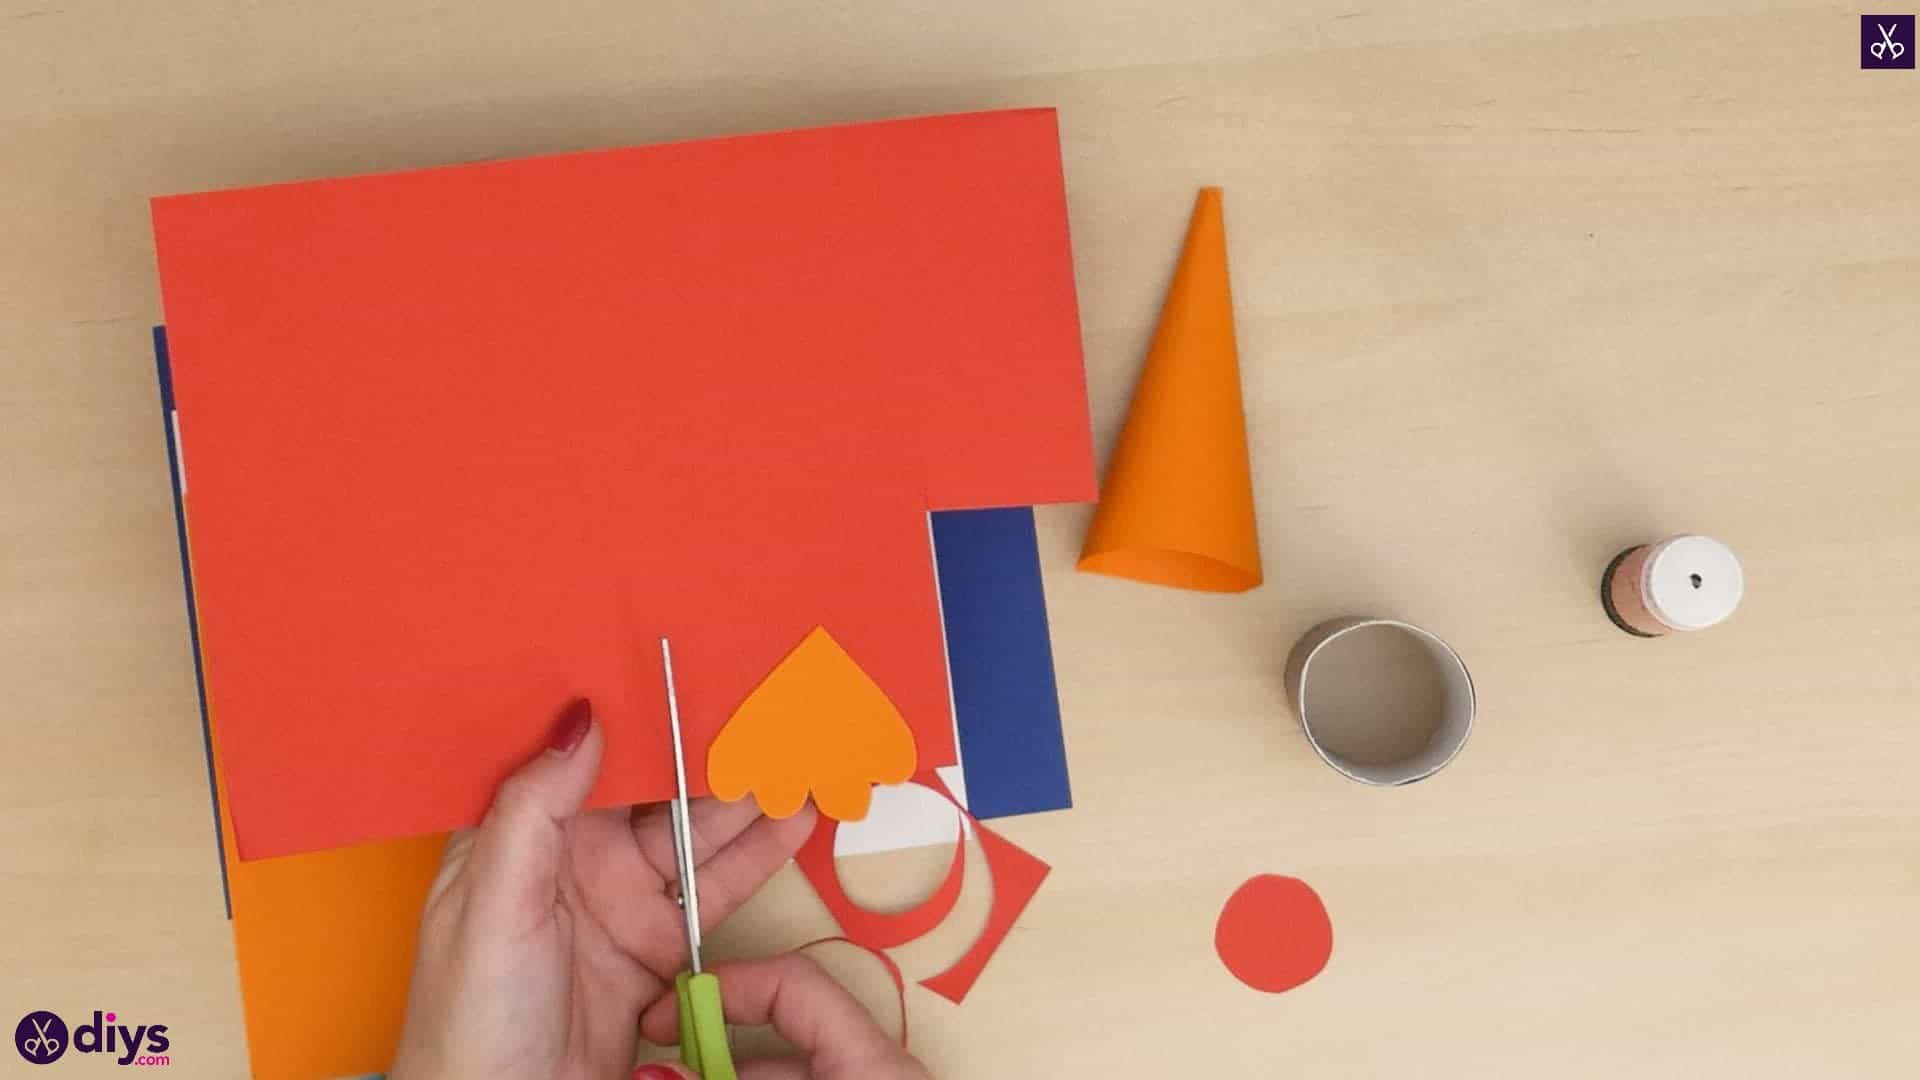
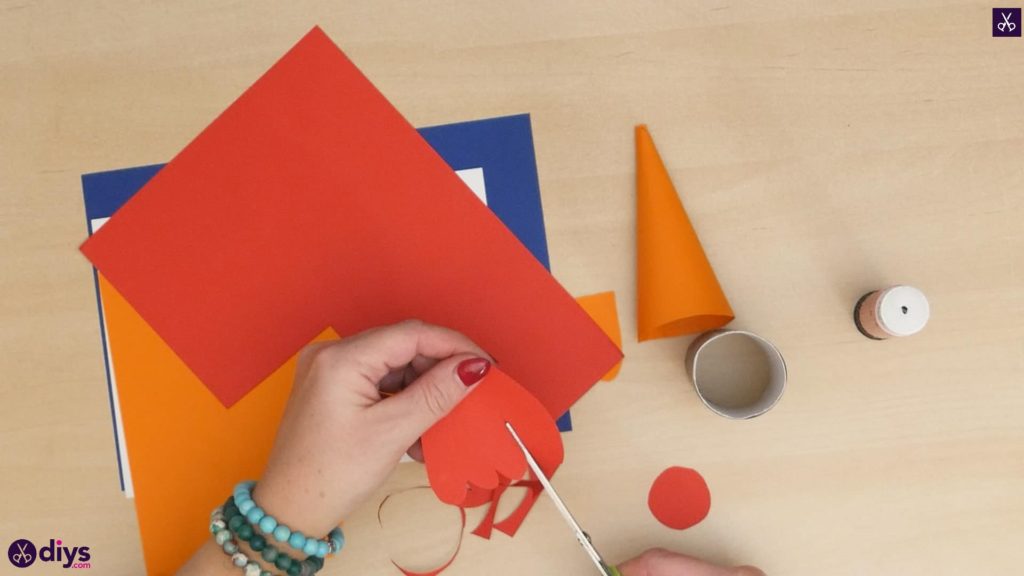
Cut the outer layer of your rocket’s engine fire! Place your first orange flame on top of the red page as a guide so you can cut another, larger flame piece around it, making sure that the red will show like a border. This time, instead of cutting a rounded bottom edge I made mine spiky and pointed like flames.
Step 7: shape your parts
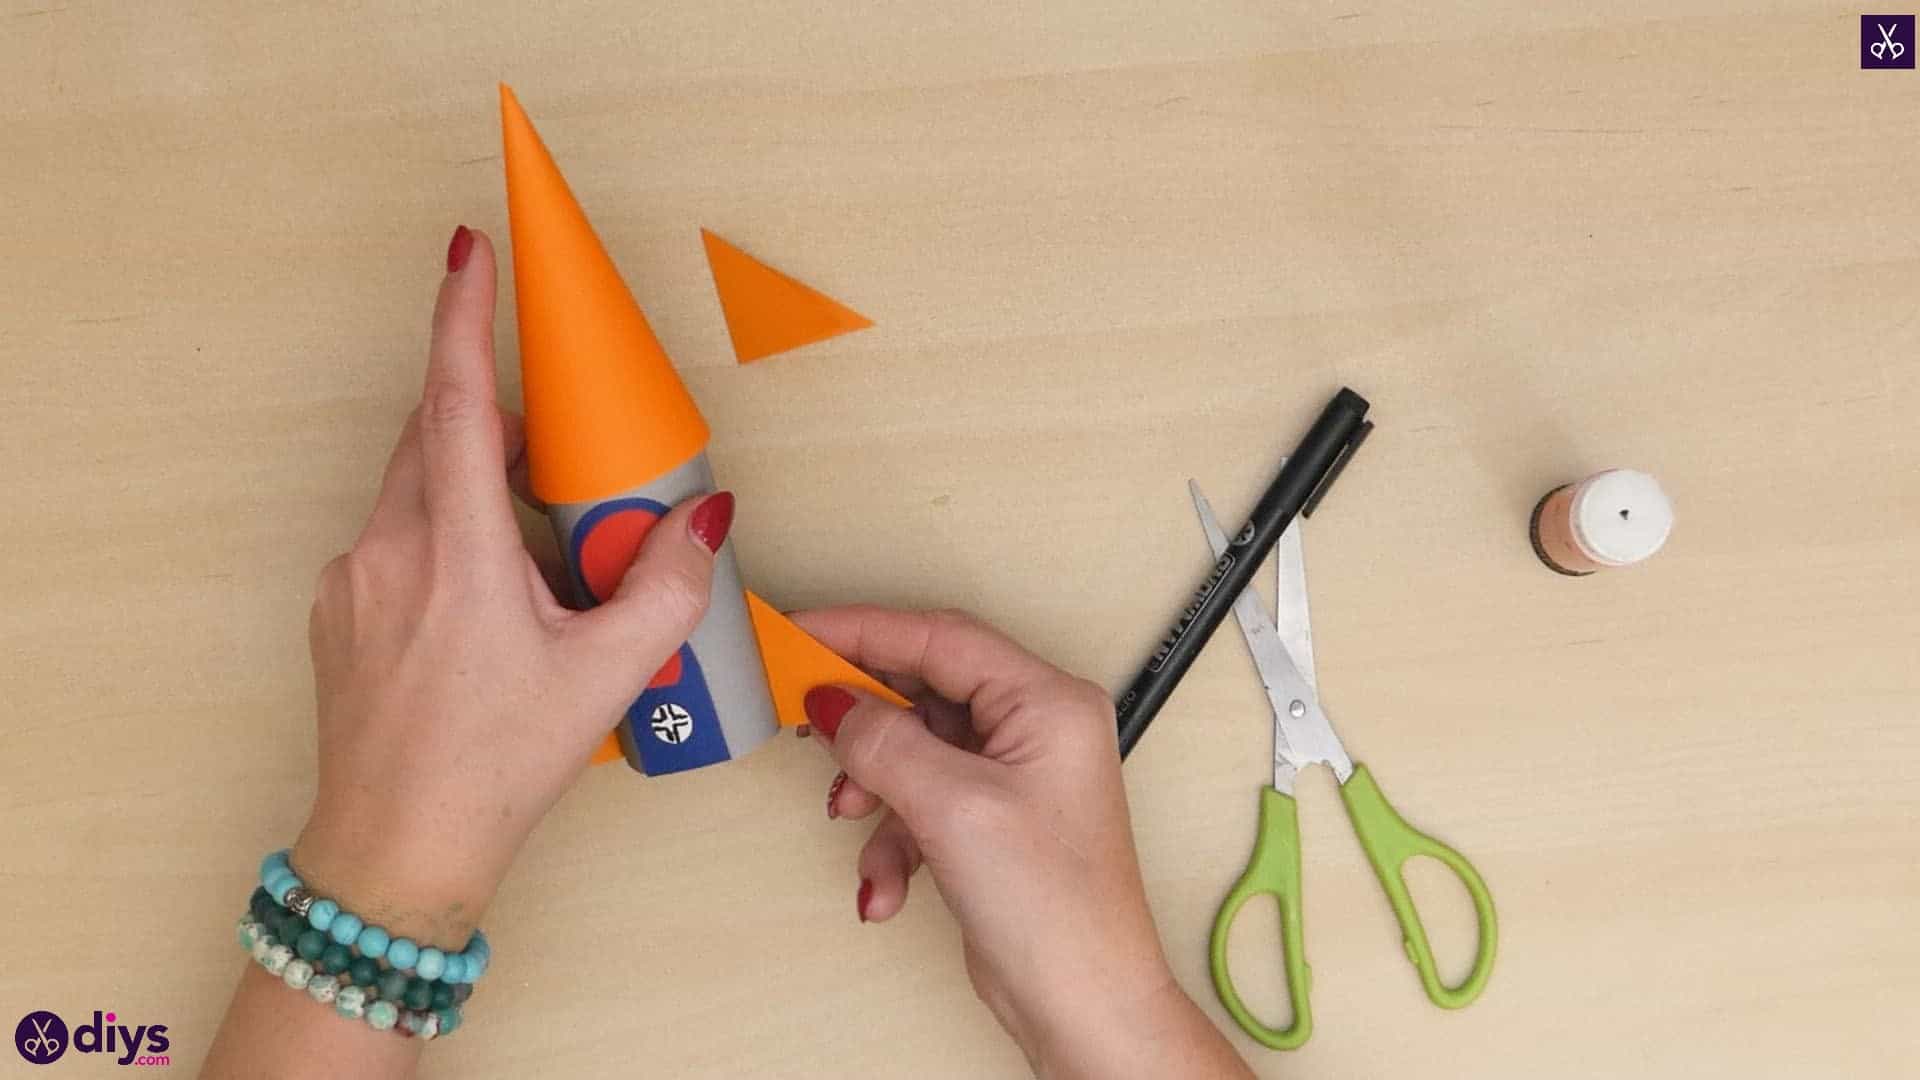
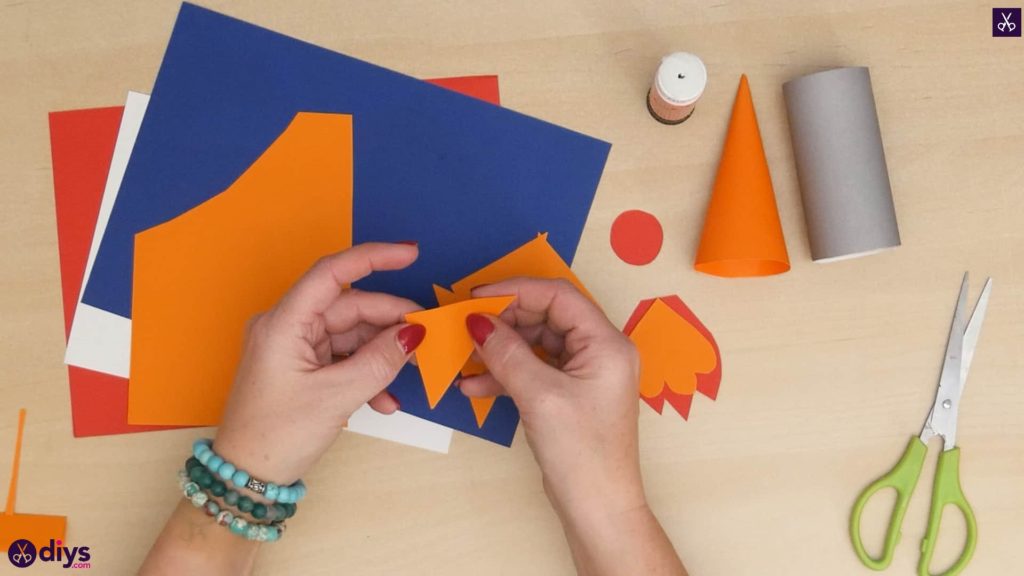
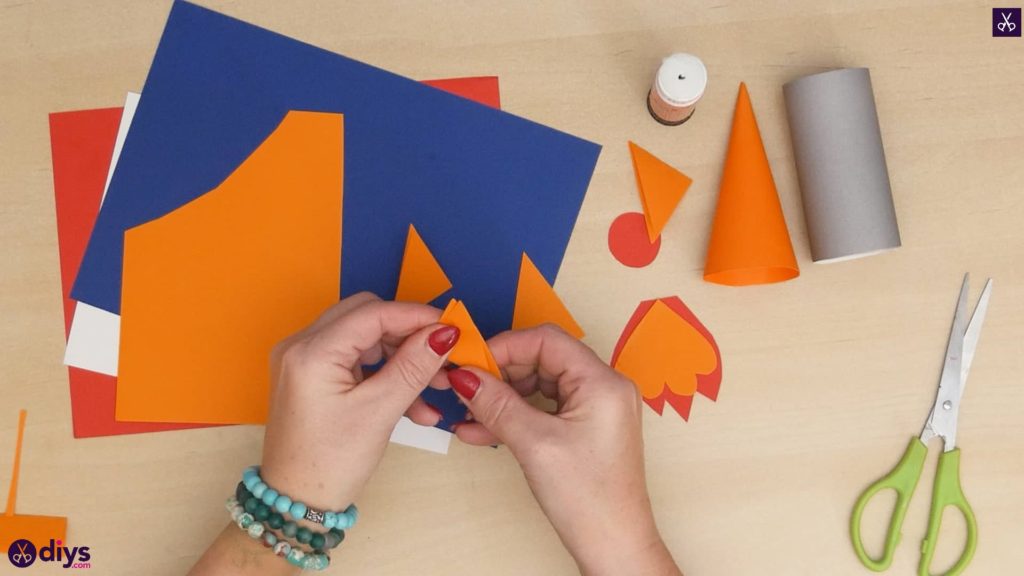
Cut out four triangles from your orange paper. Each of these will be an inch along the bottom with a top point that sits about half an inch about the very middle point in the bottom edge, giving them equal and even diagonal sides. Fold each of your four orange triangles in half along their vertical axes. These will be your rocket’s tail fins. Set them aside for the moment as well.
Step 8: glue and cut window
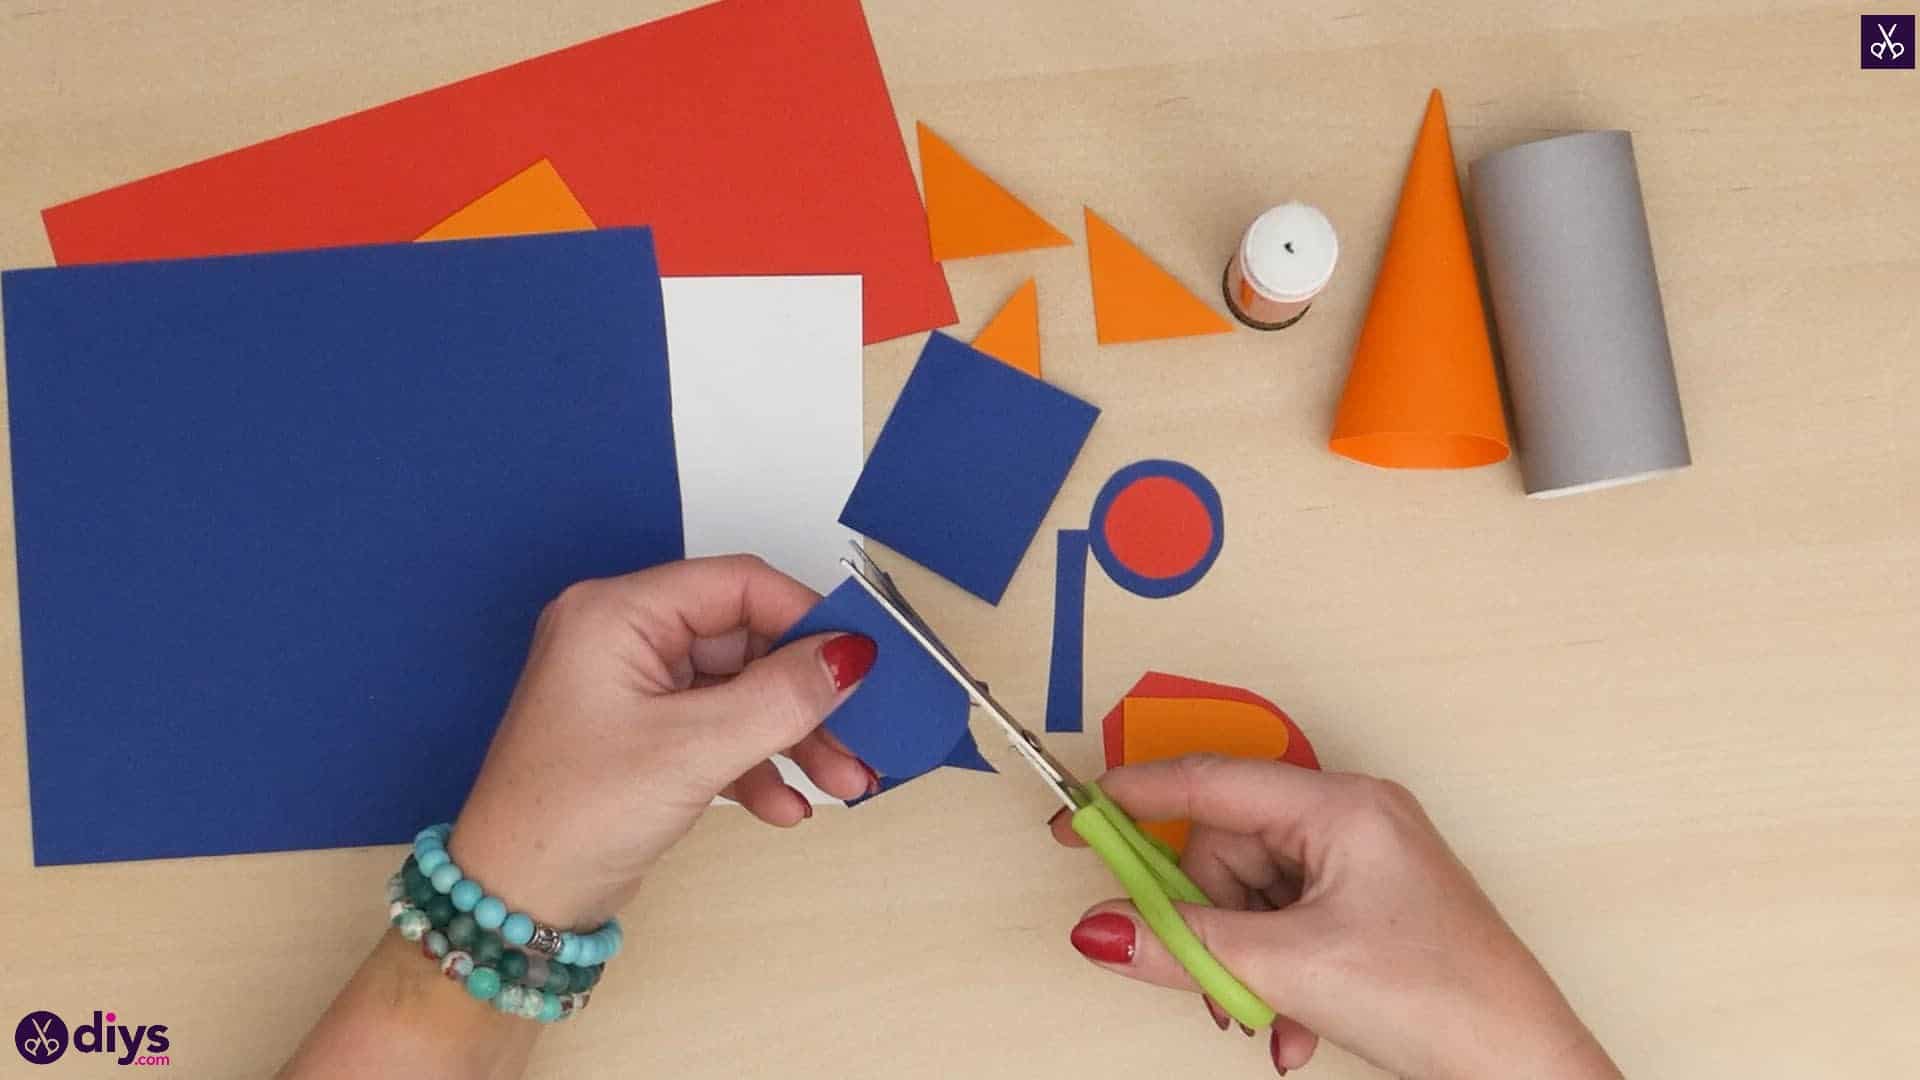
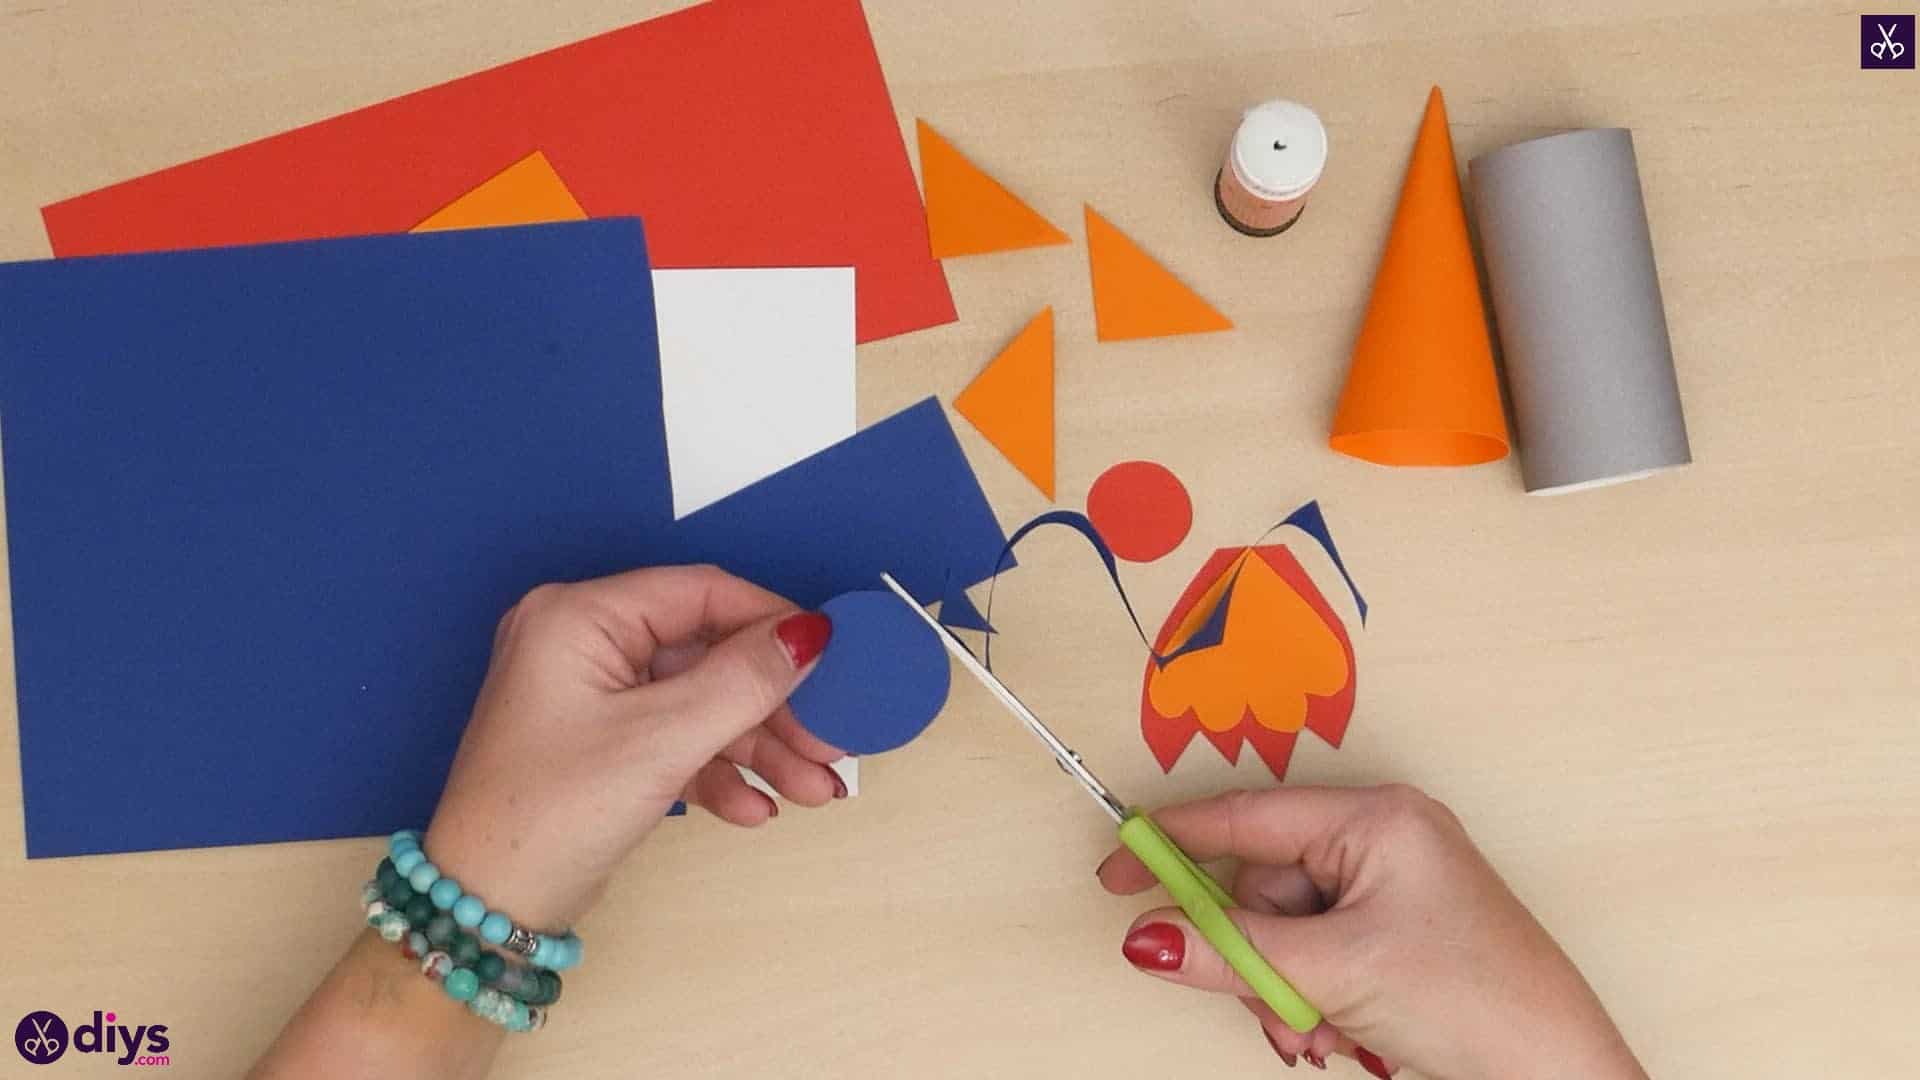
Cut a circle from your blue paper that is larger than the one you cut in red earlier. I repeated the technique of cutting a square and then rounding it off, but I held the first red circle against the square as a template so I could make sure the blue circle I cut was big enough that its edges showed like a border around the red; you’ll layer them later. Once again, set the pieces aside.


Step 9: glue and cut door
Cut a door shape out of your blue paper! Mine as about an inch tall and half an inch wide. I started by cutting a simple rectangle by those dimensions and then rounding the top off in an arch, kind of like a semi-circle.

Step 10: more details
Cut out a very small circle from your white sheet of paper; mine was only about a quarter of an inch in diameter. This will be the air seal wheel that would open and close your rocket’s door.

Step 11: the other window
Now, cut a small oval shape from your red piece, with one small flat edge. This will be a little window in the top of your rocket’s door. You now officially have all of your shapes cut out and ready to be assembled into a whole rocket on your toilet roll!
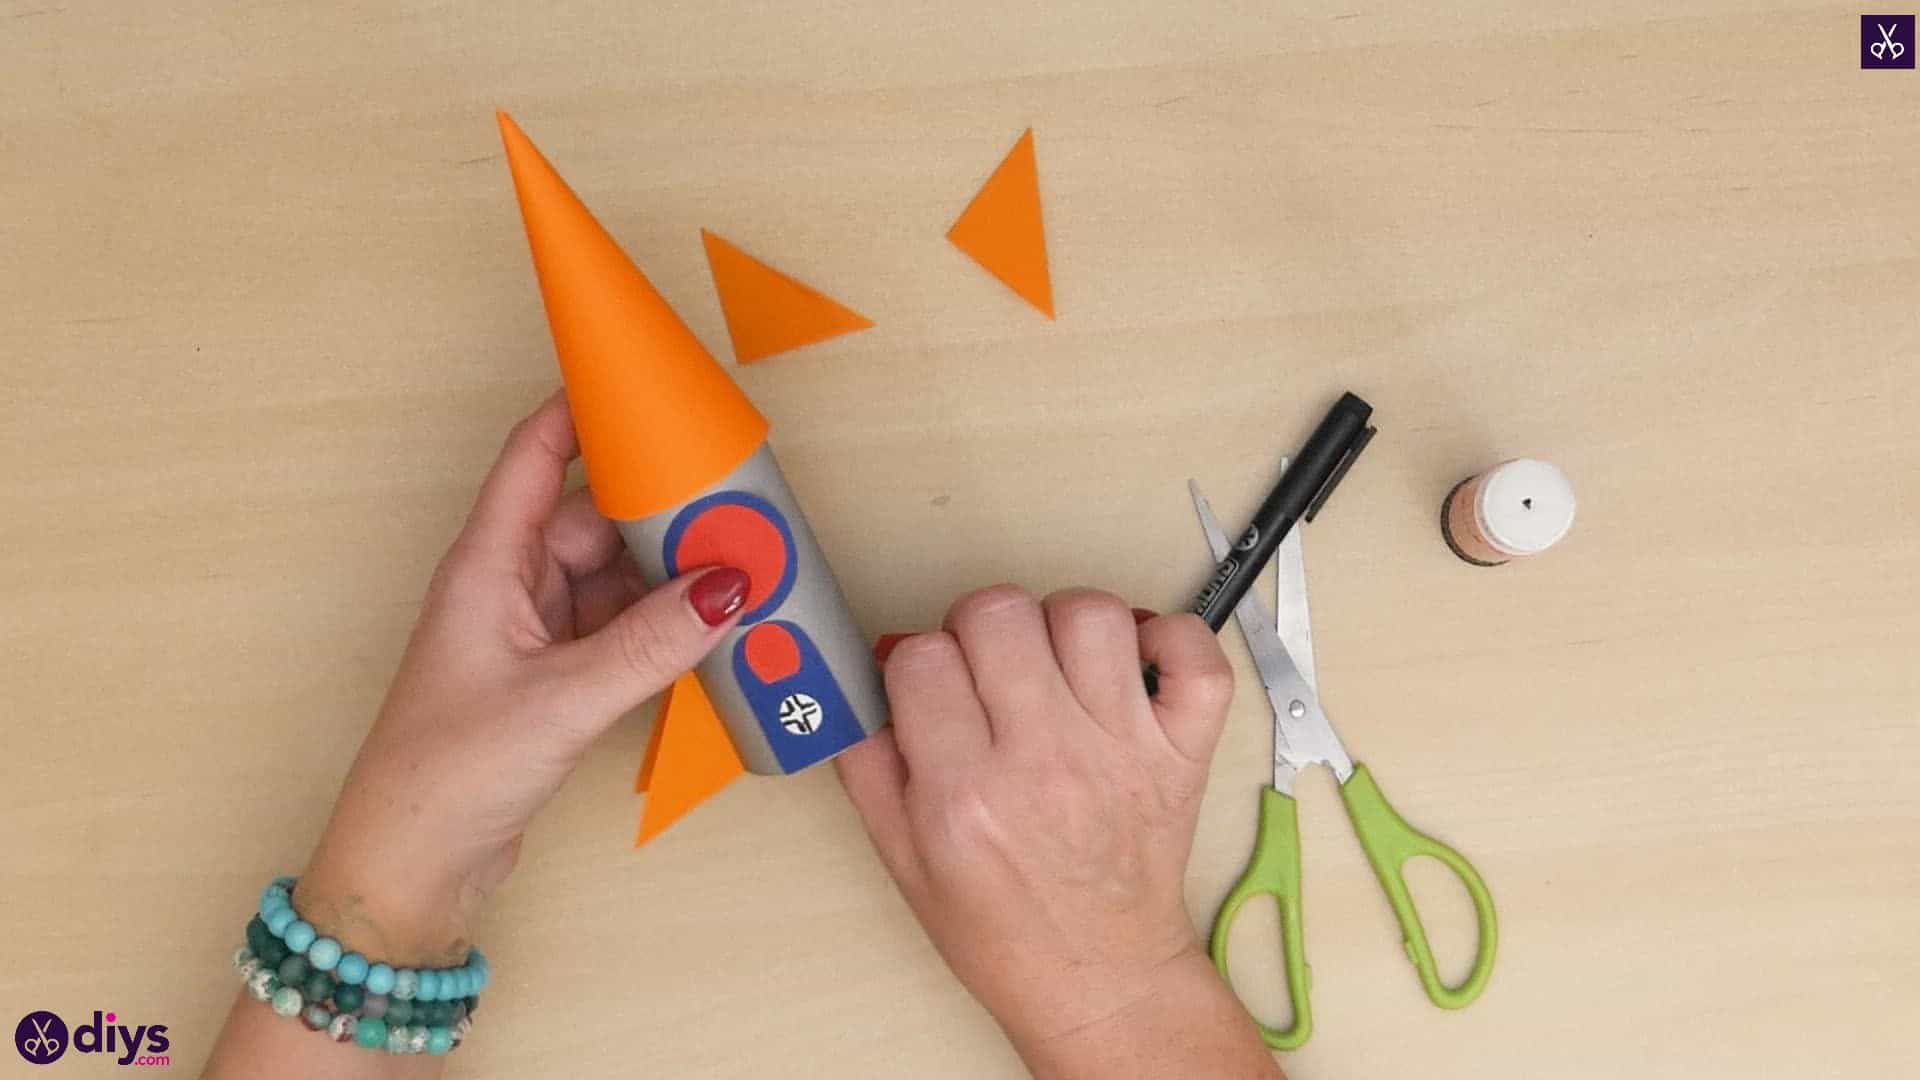
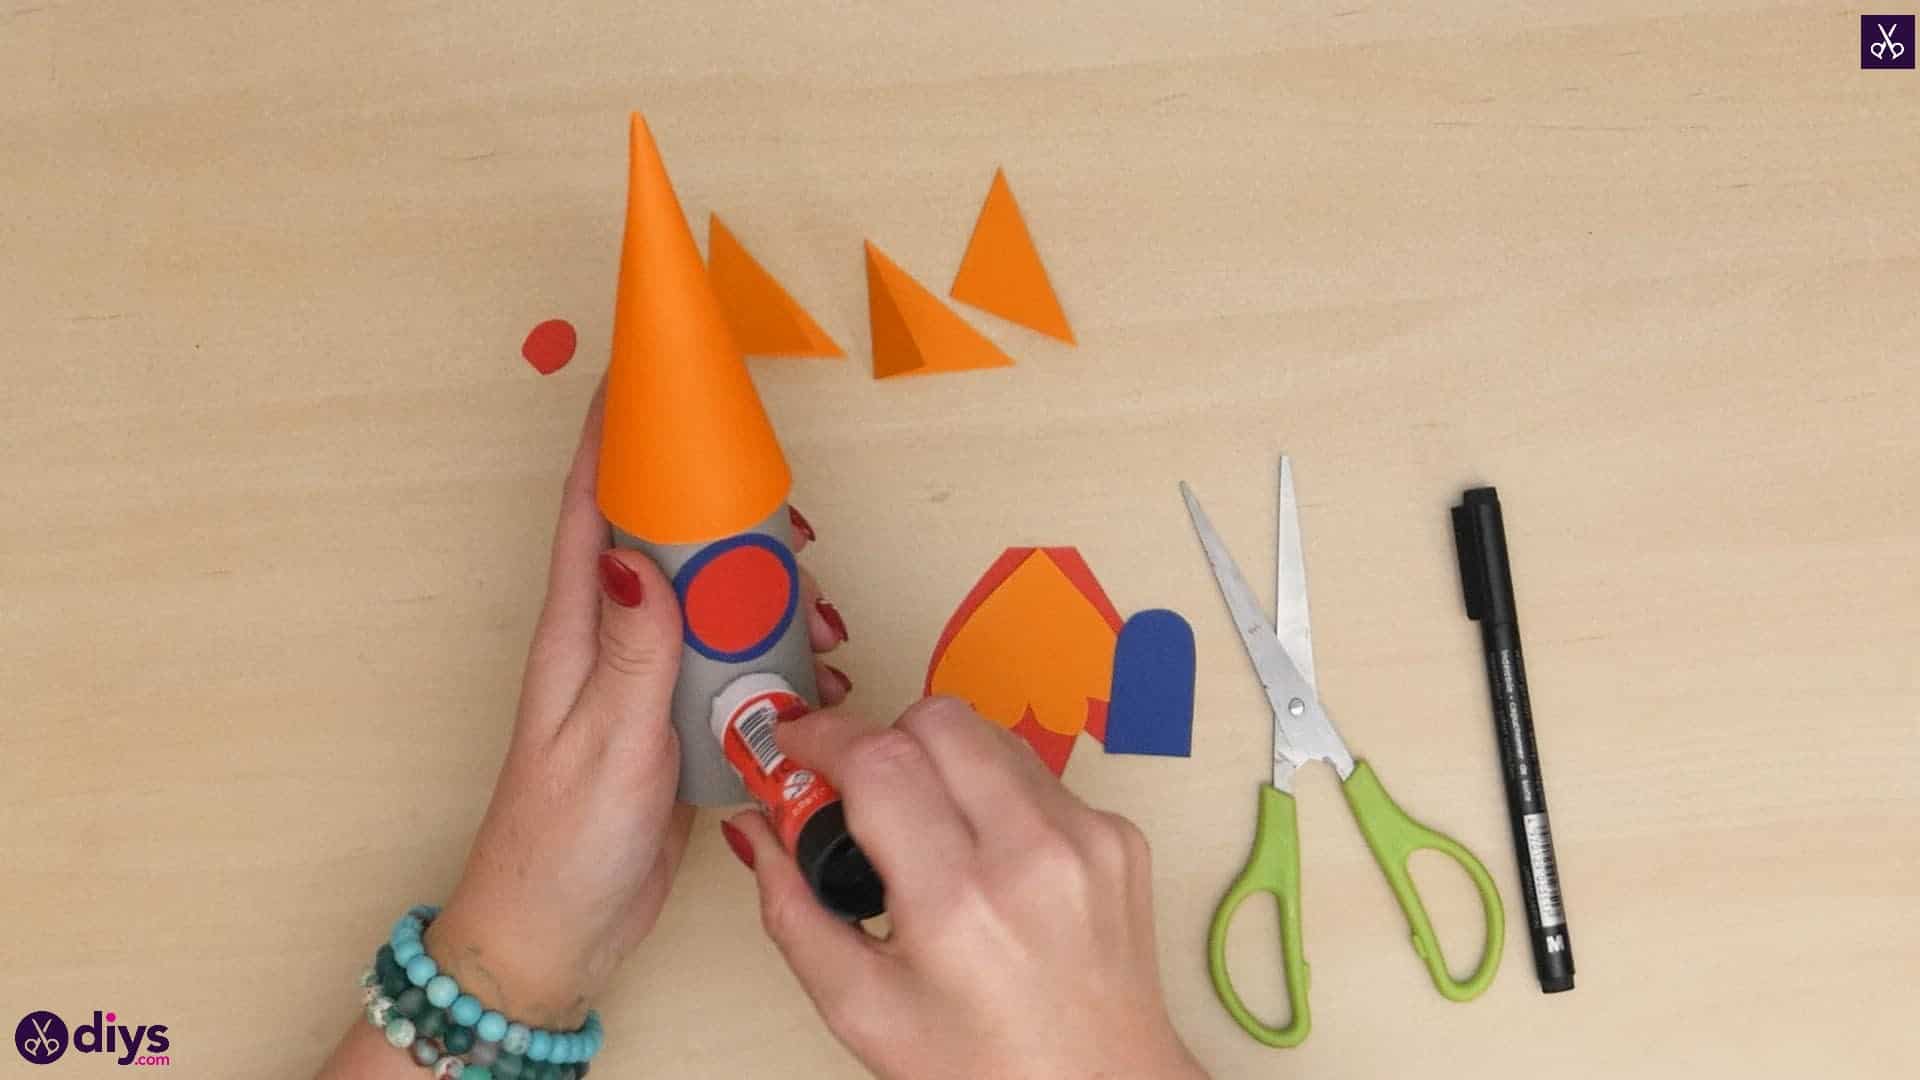
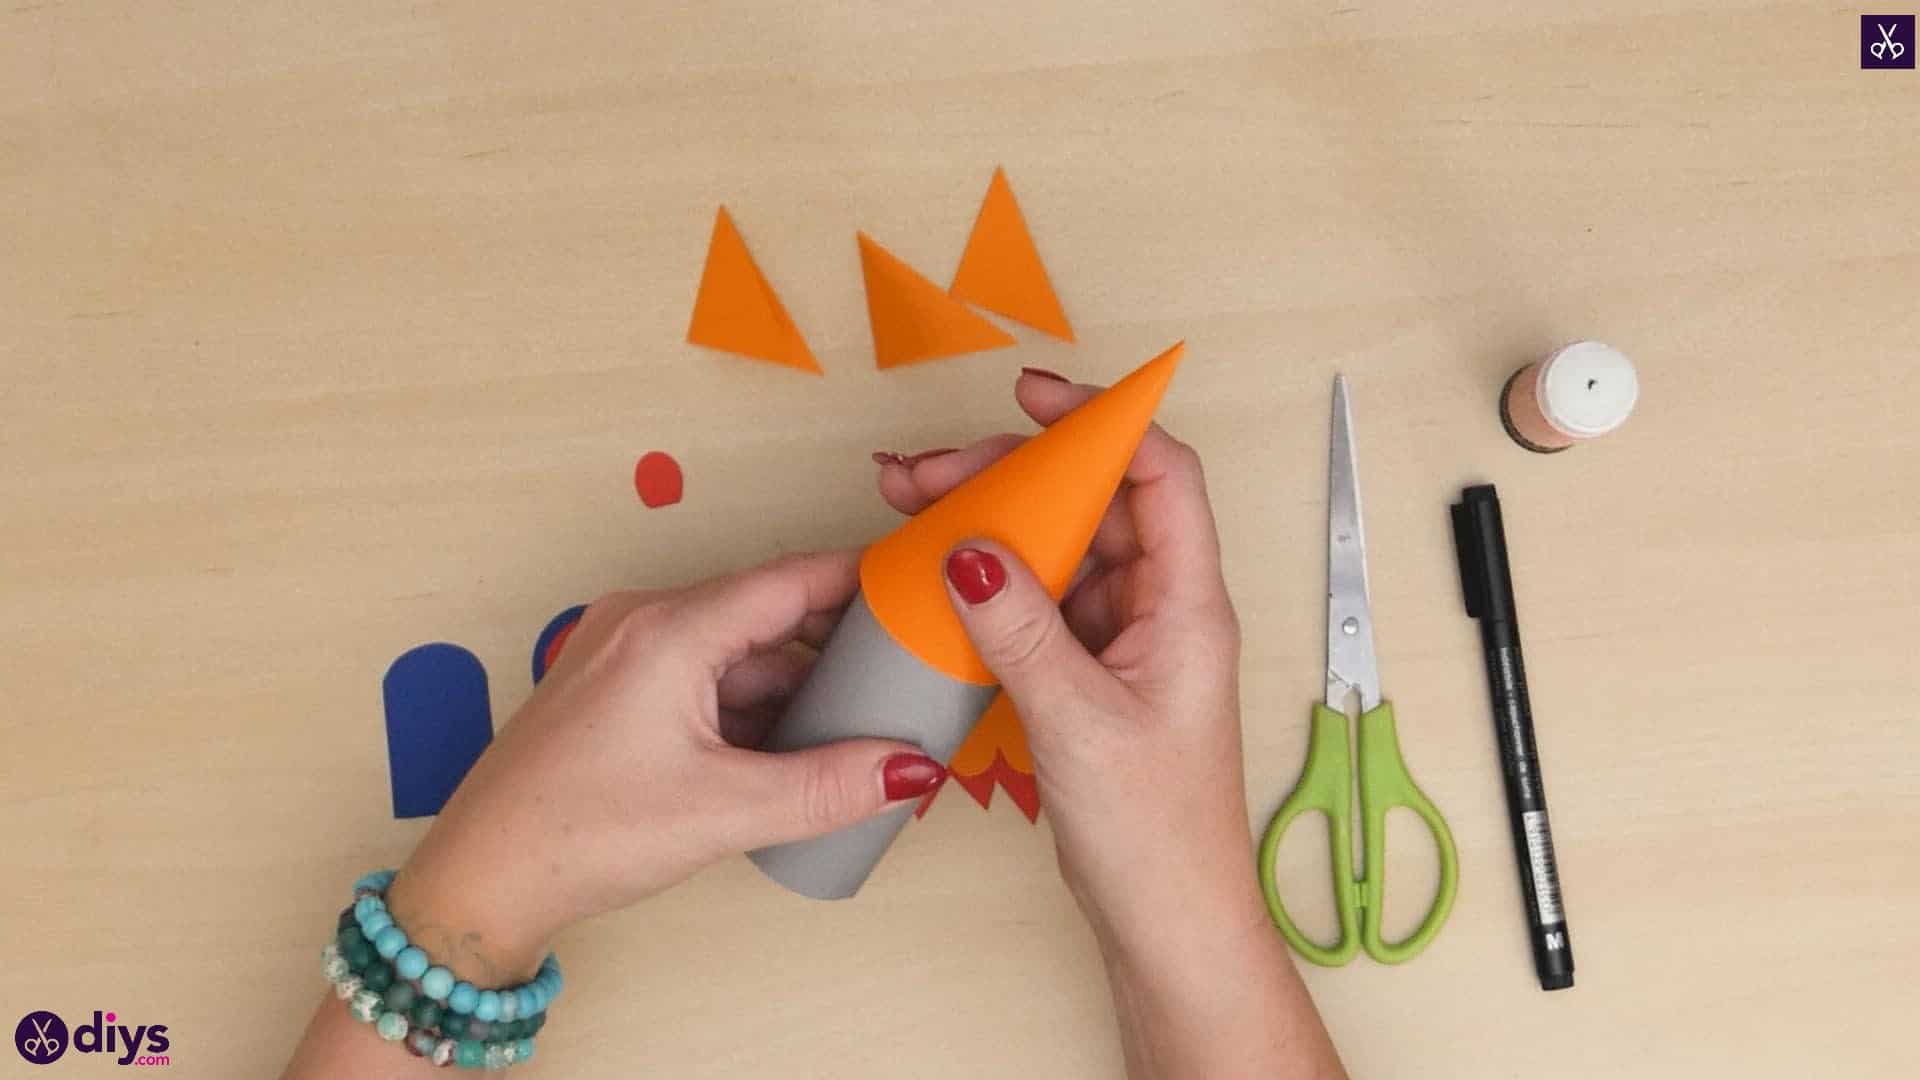
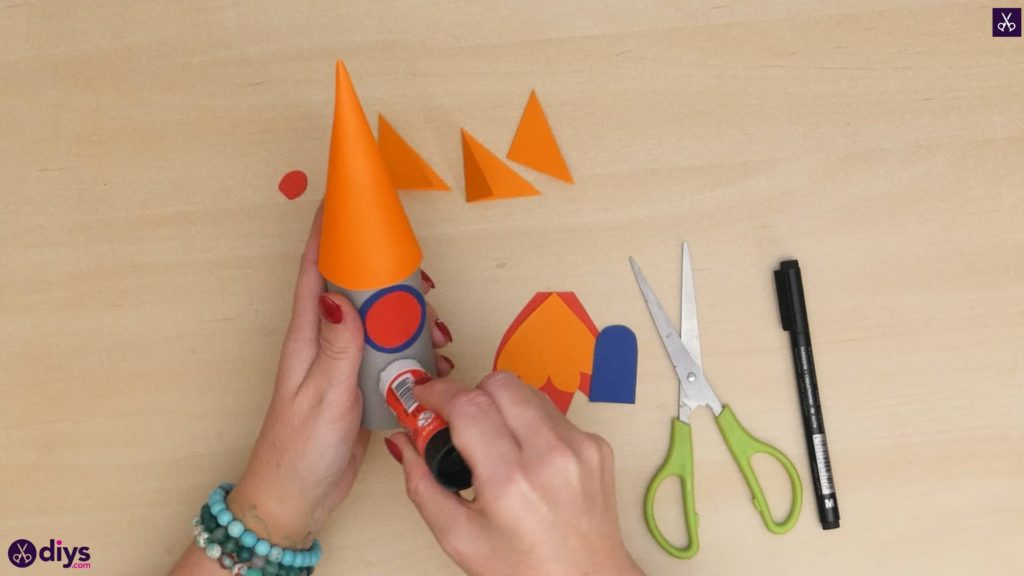
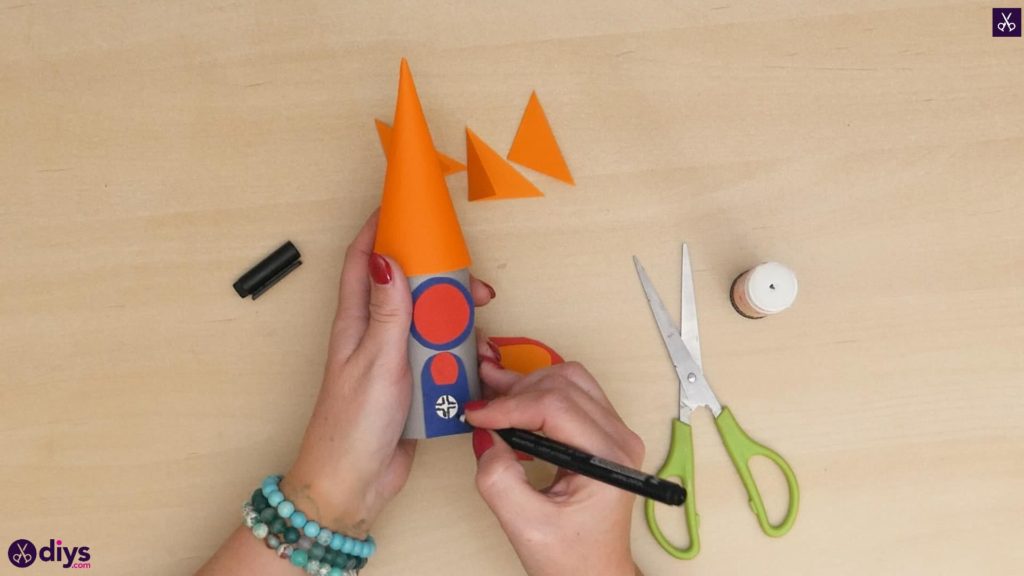
Step 12: add the top
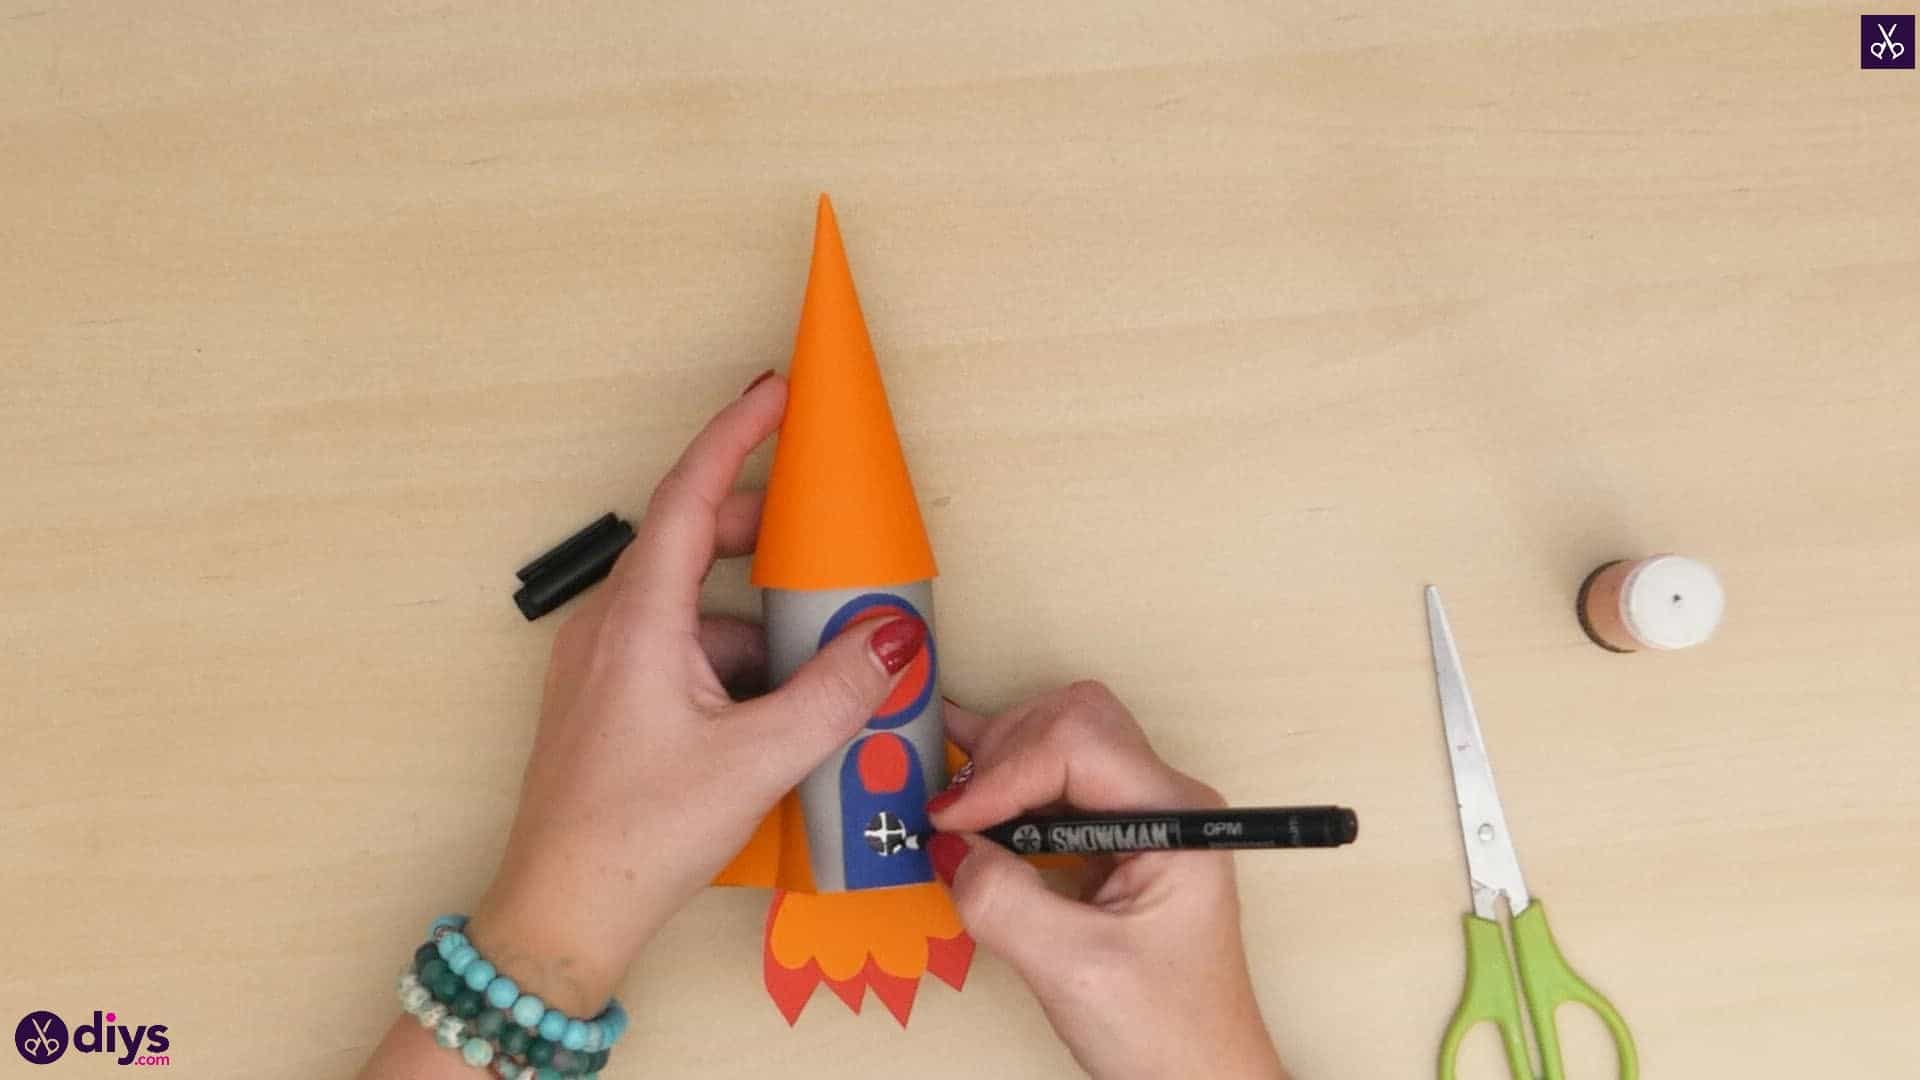
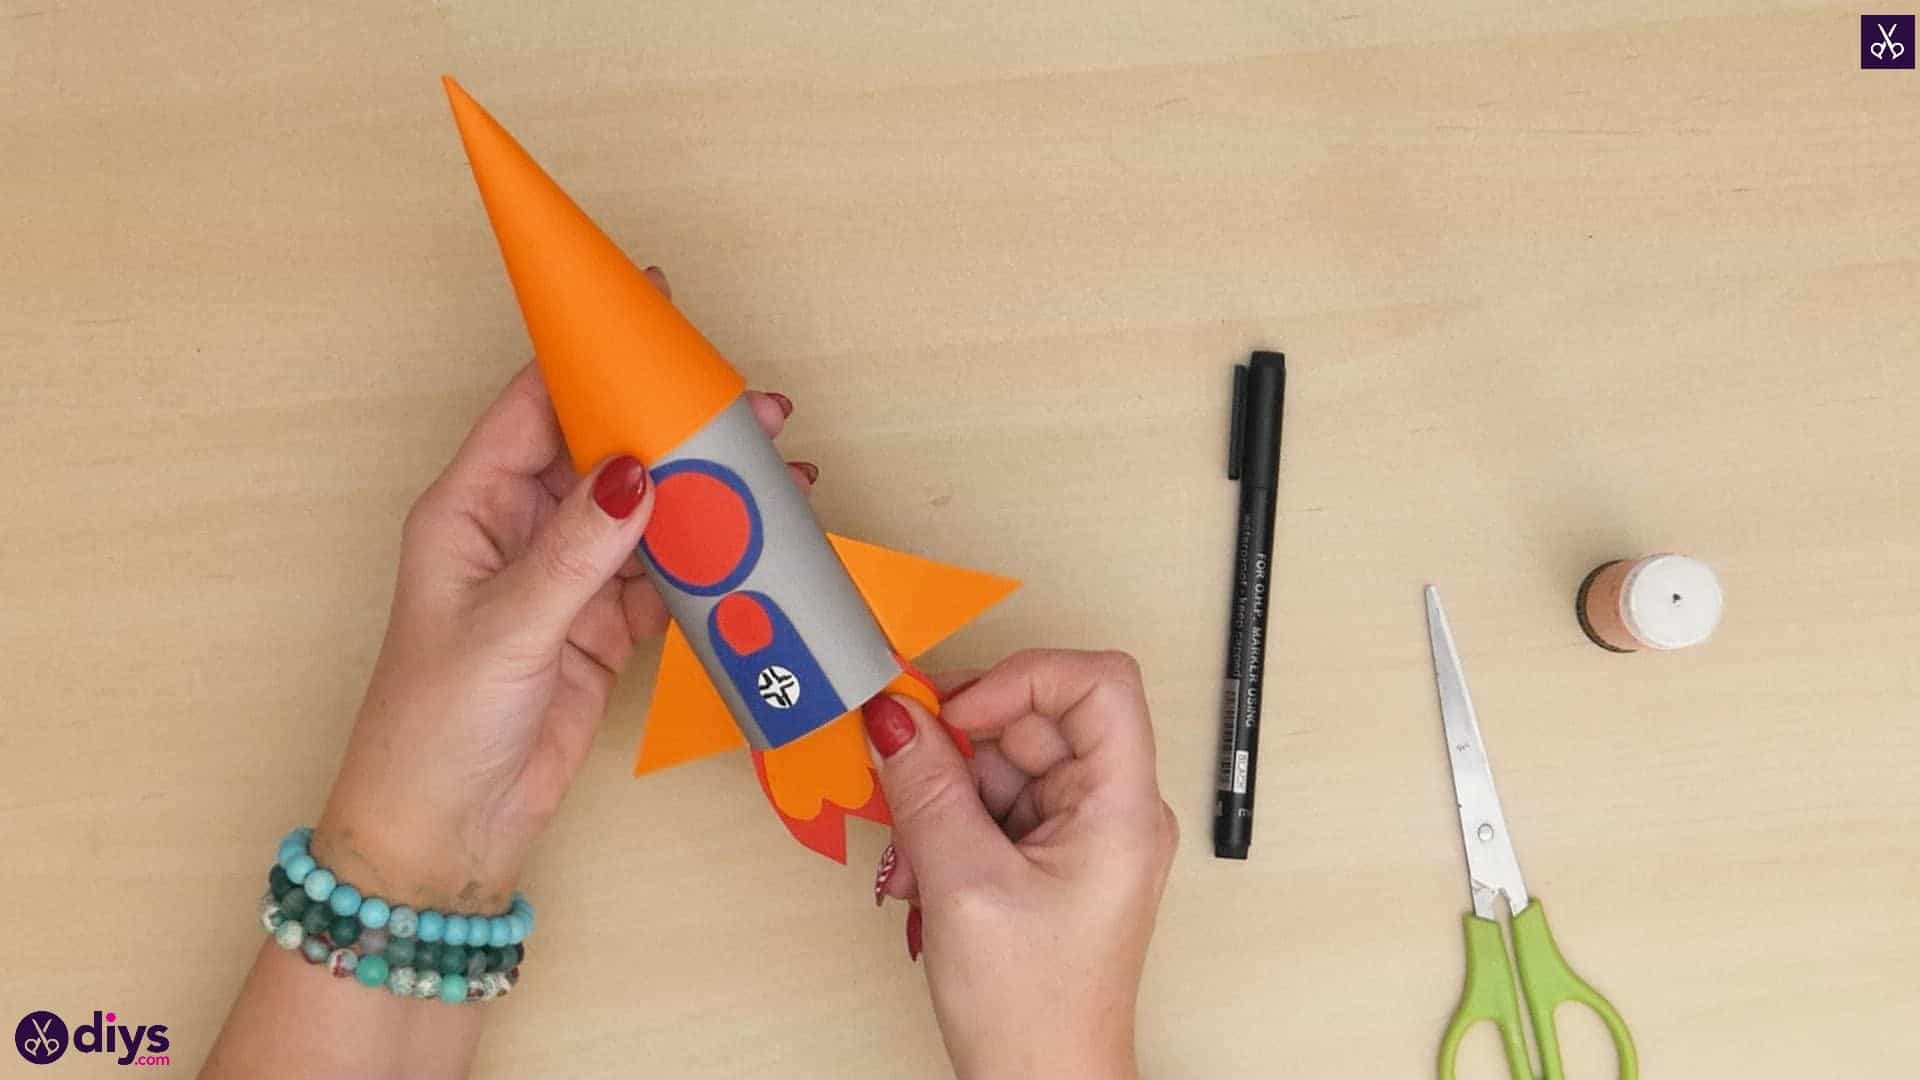
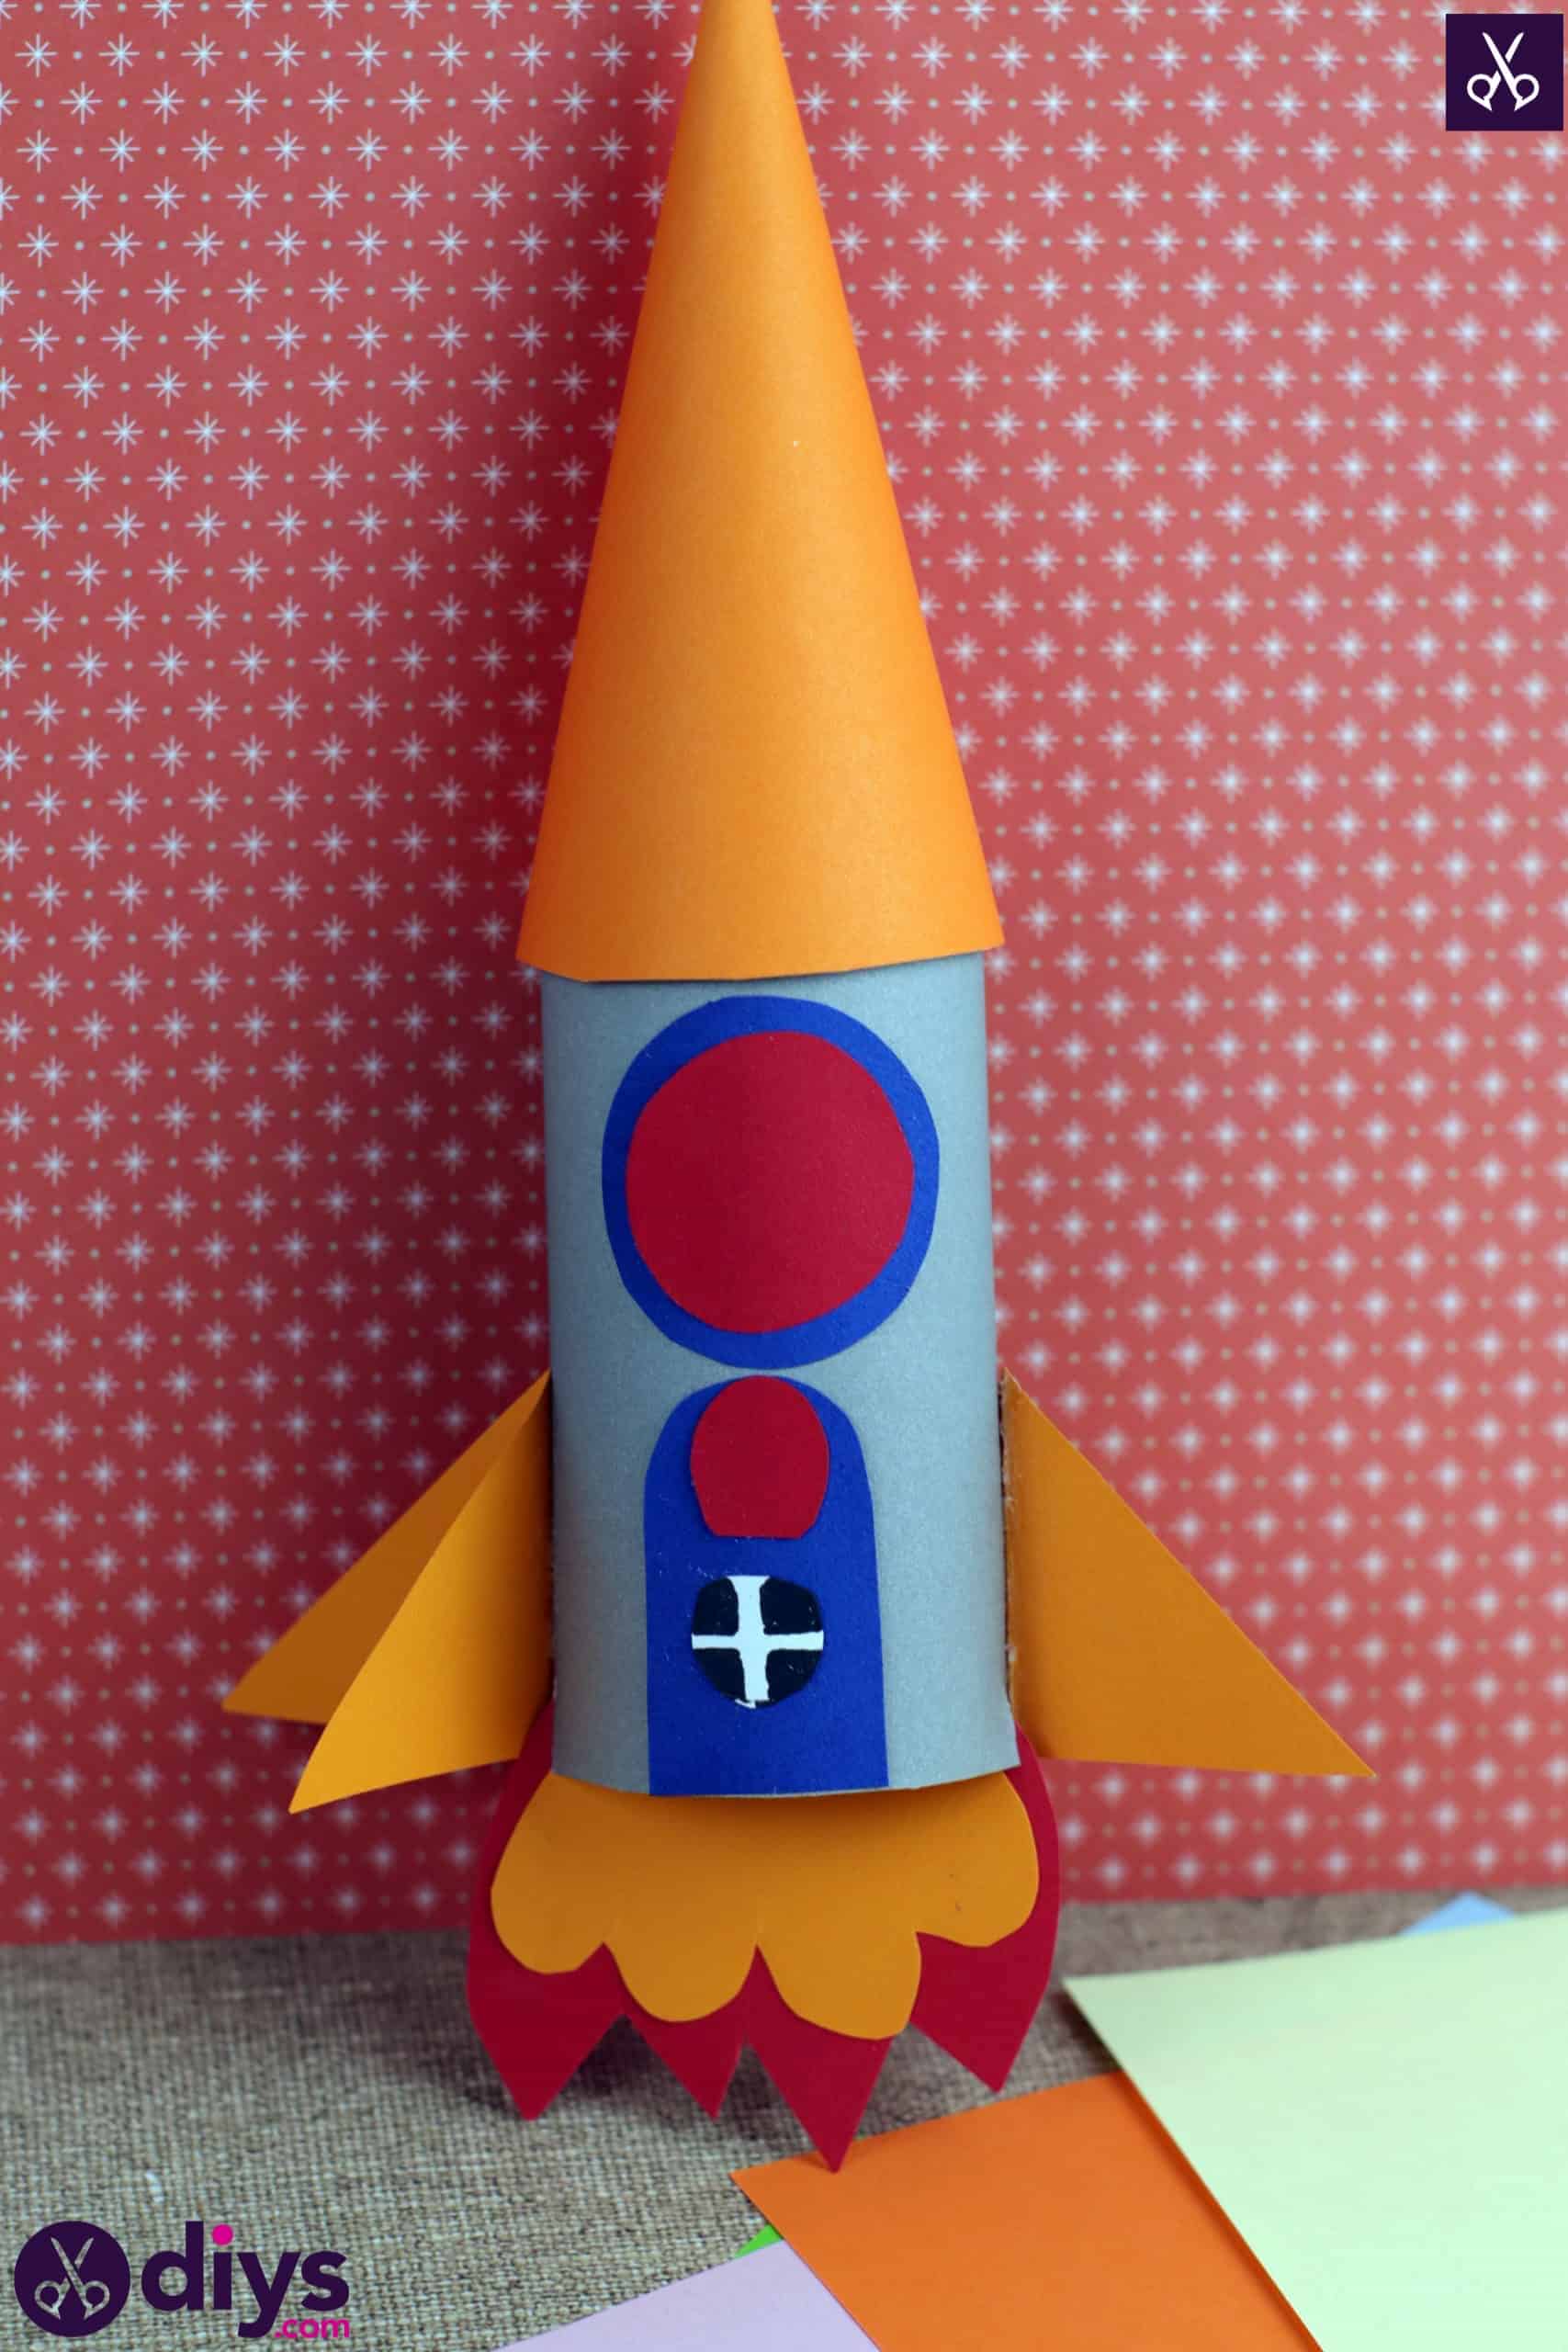
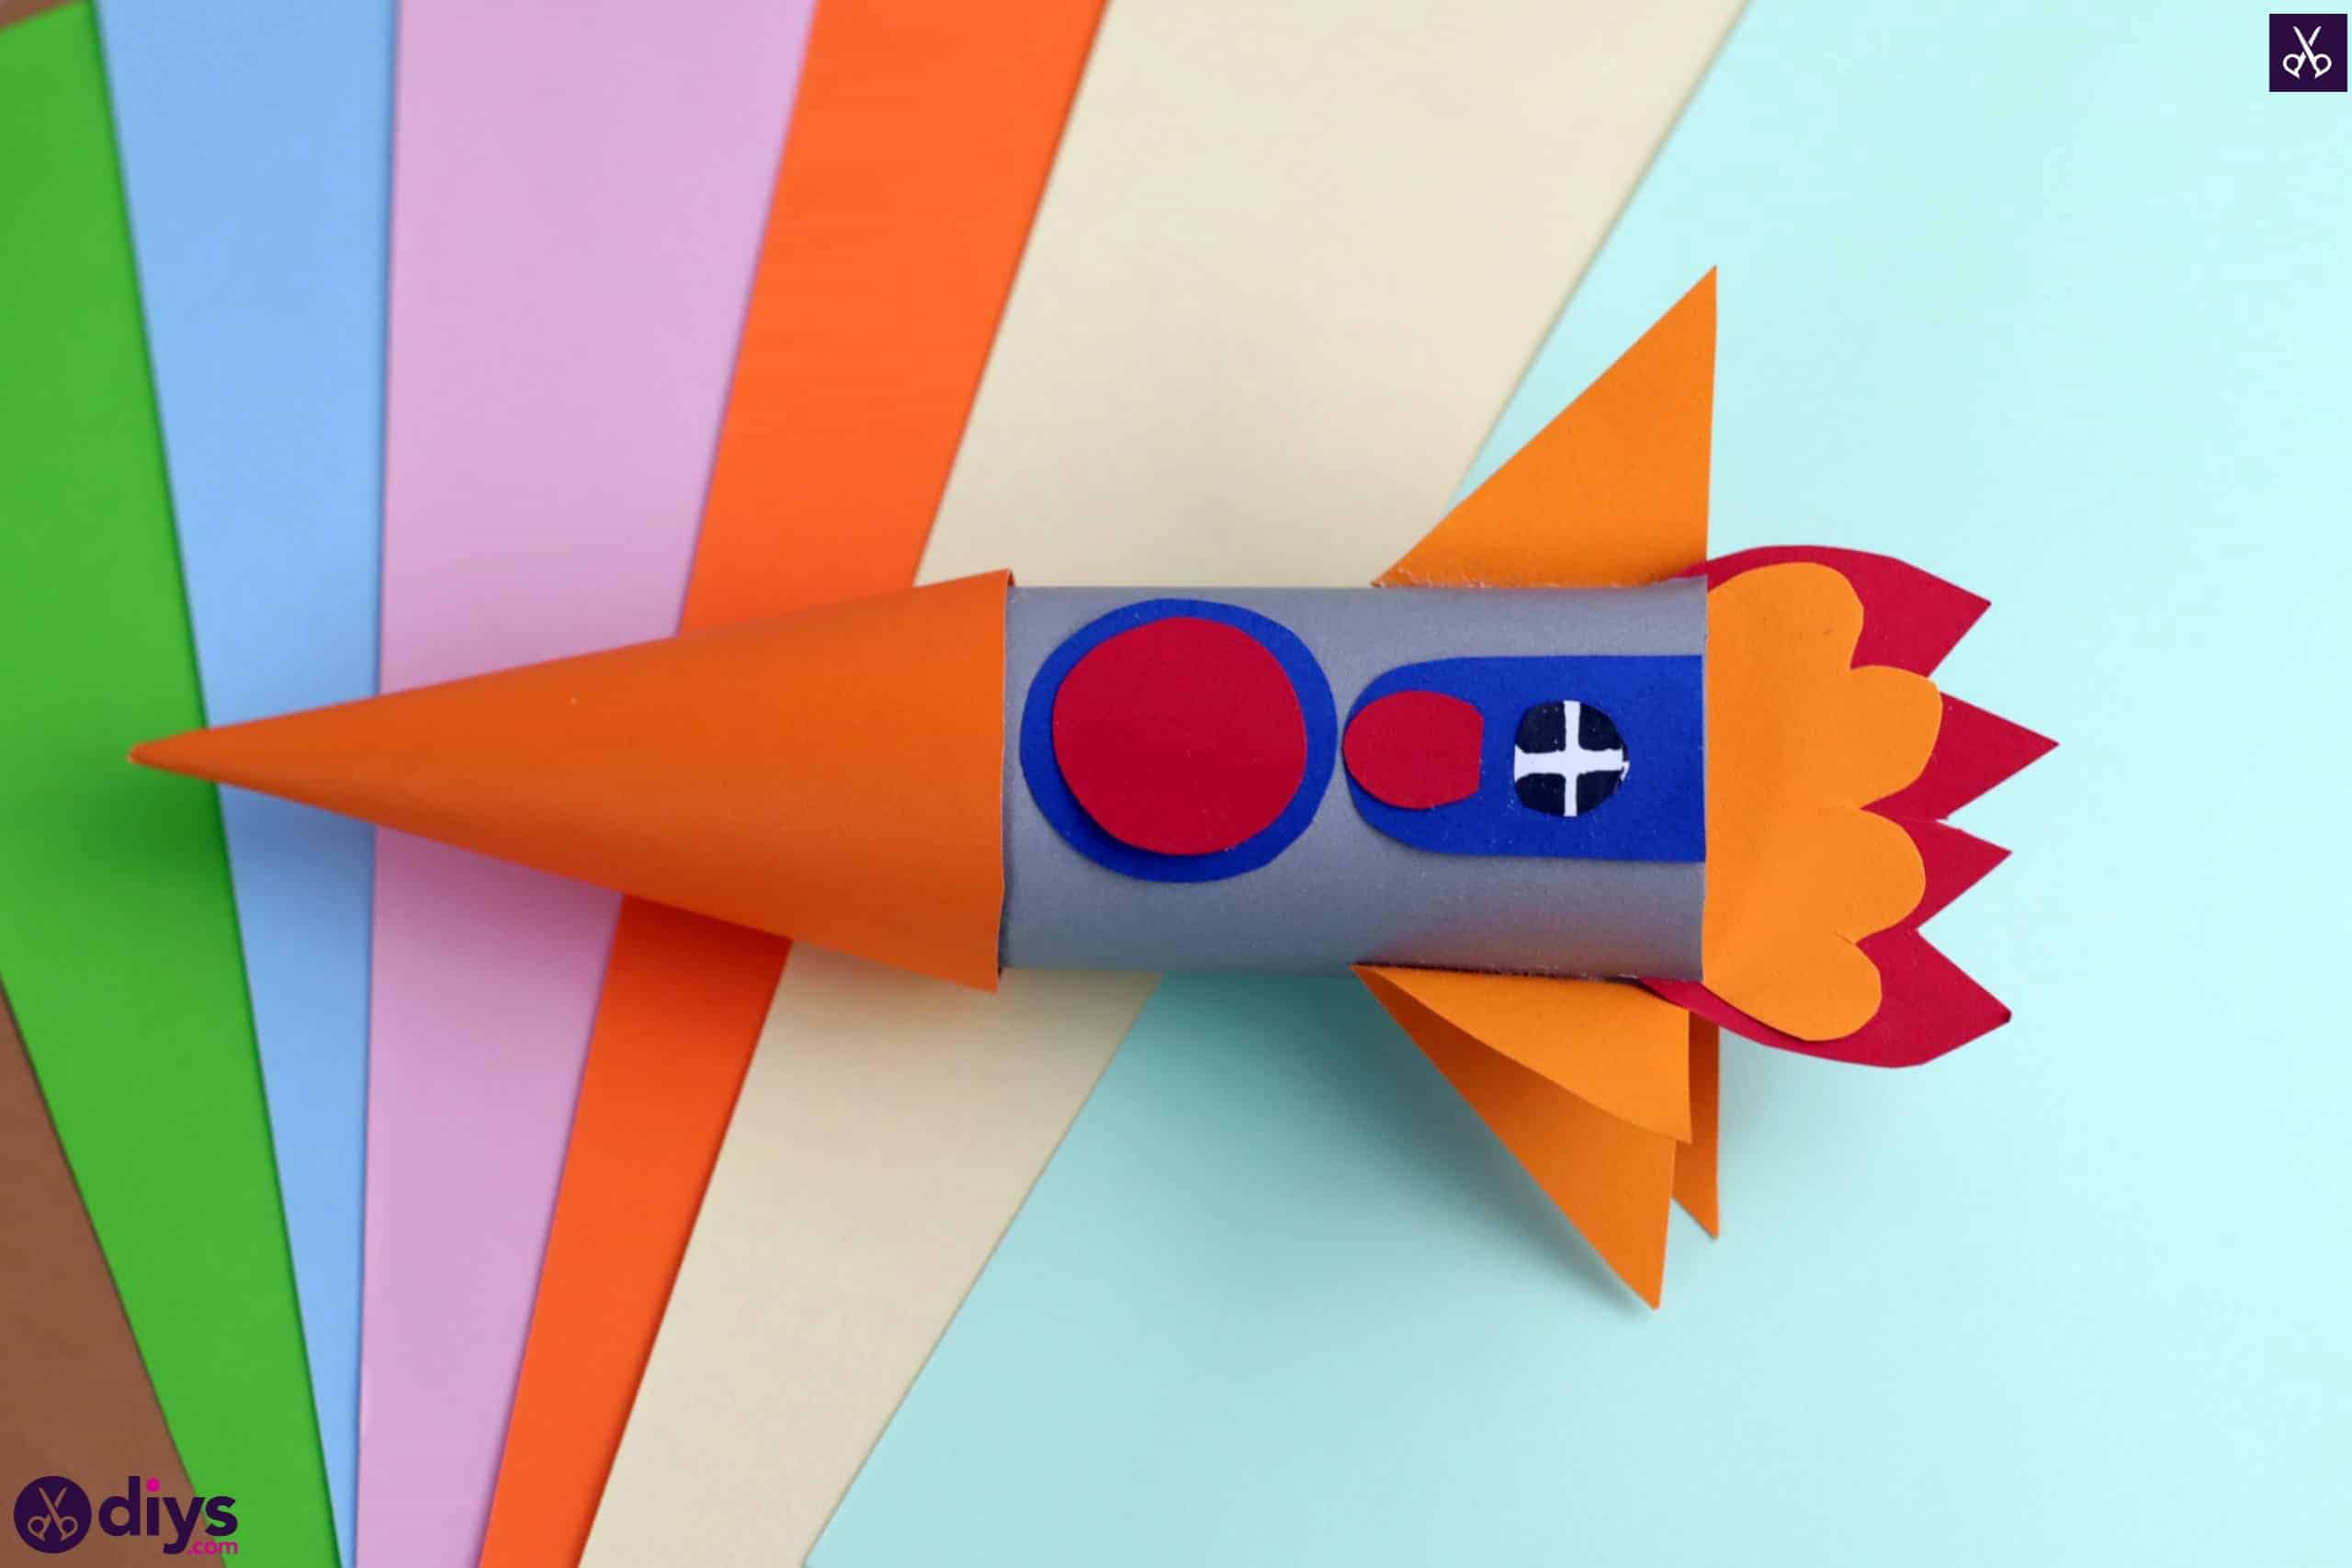
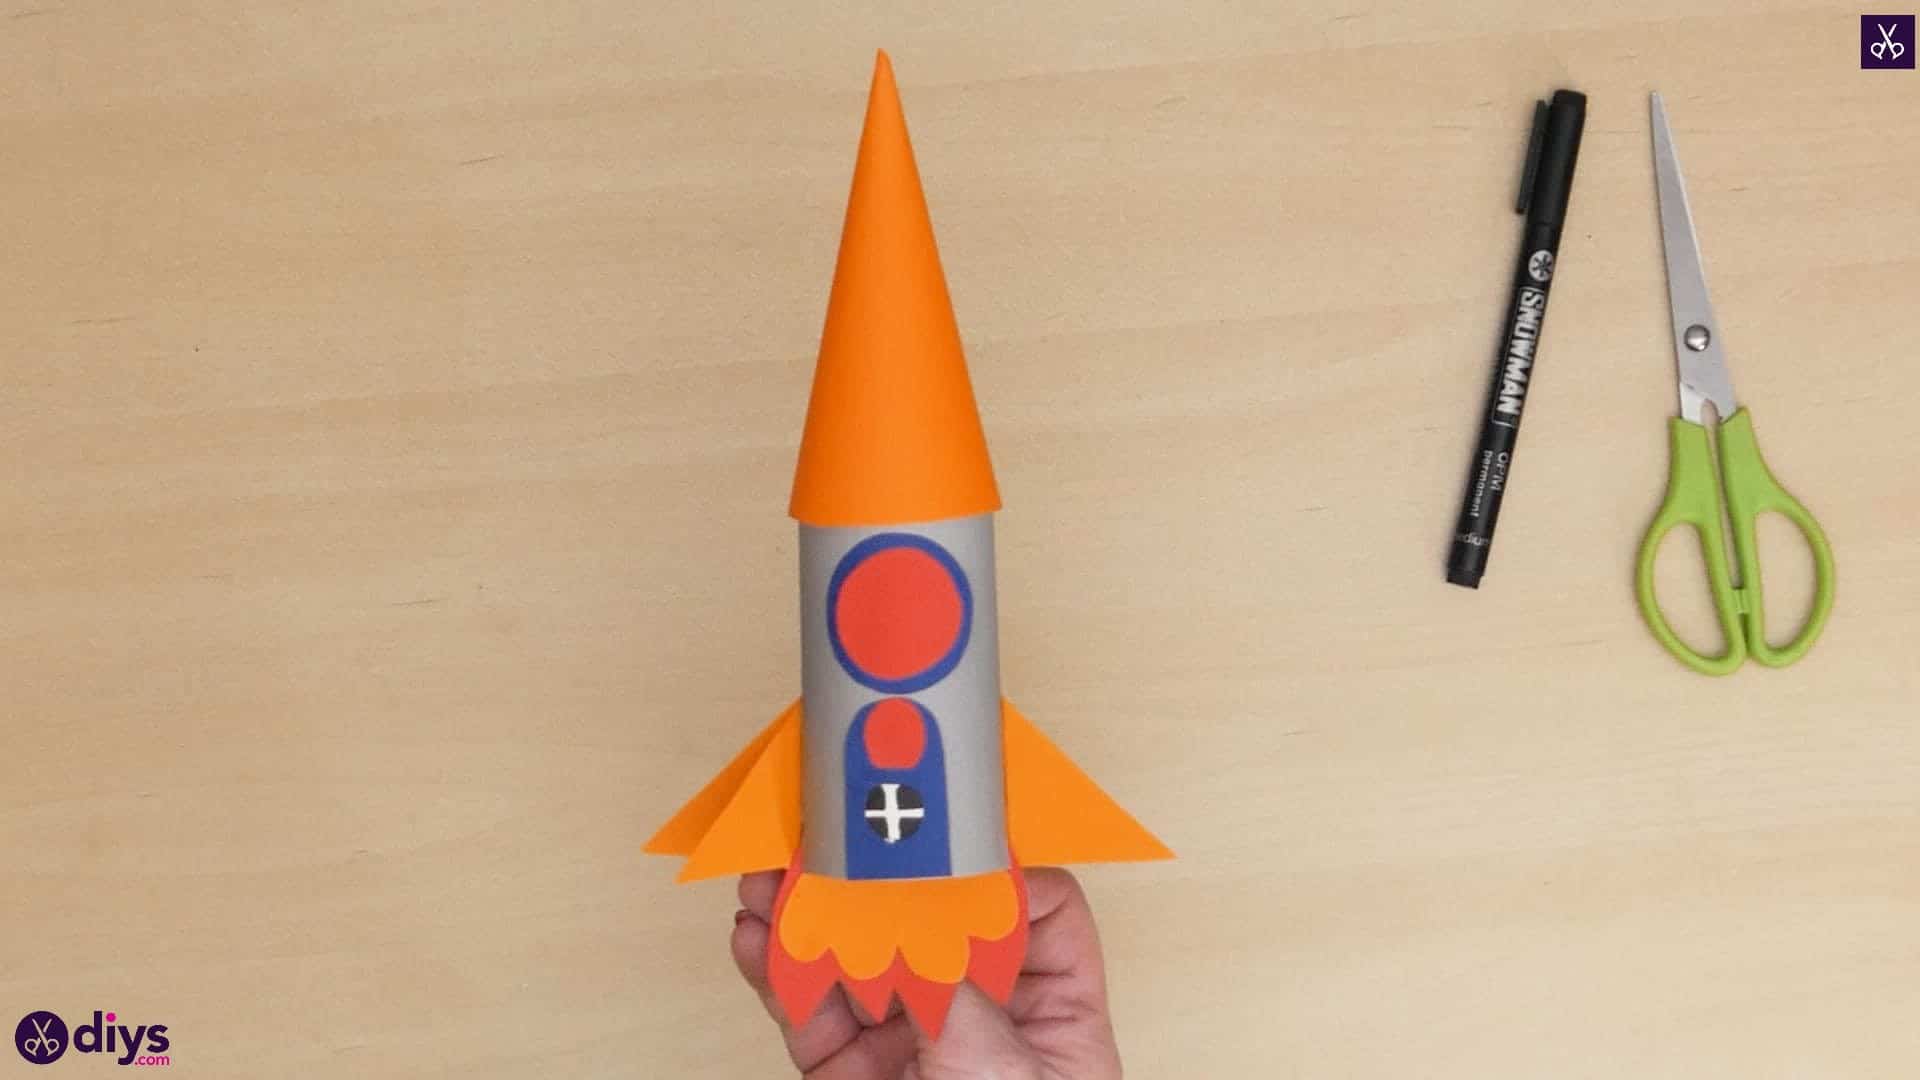
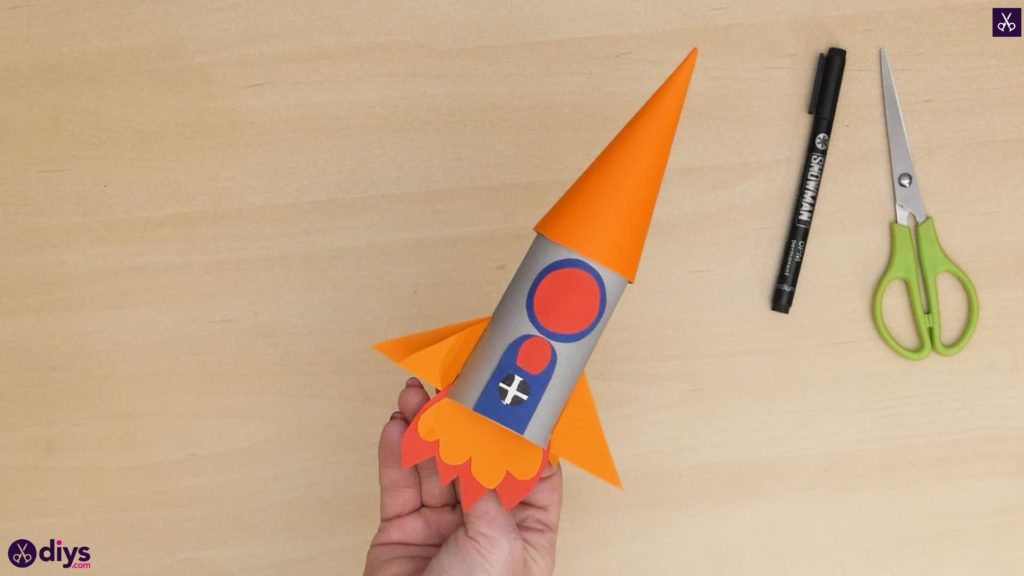
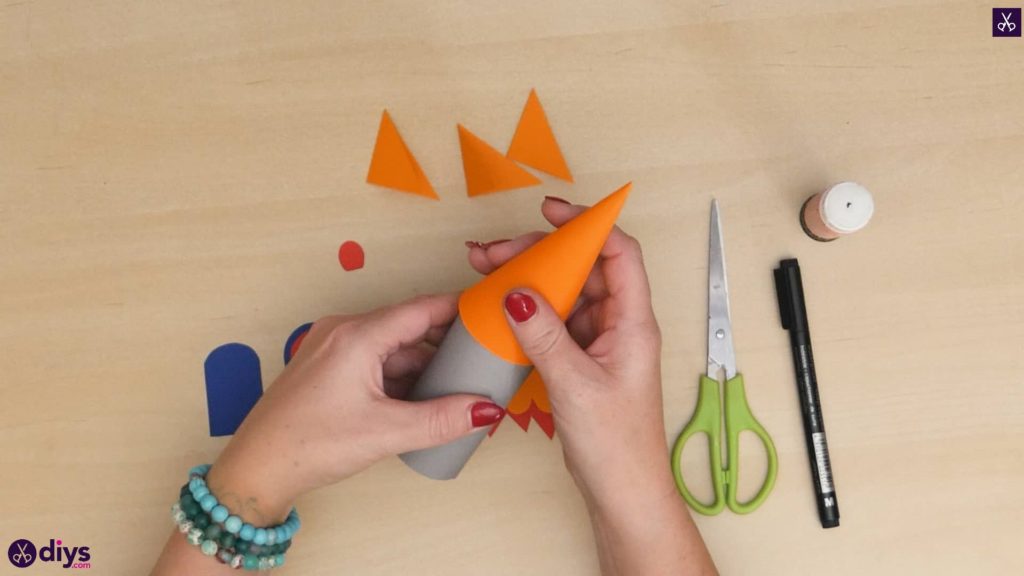
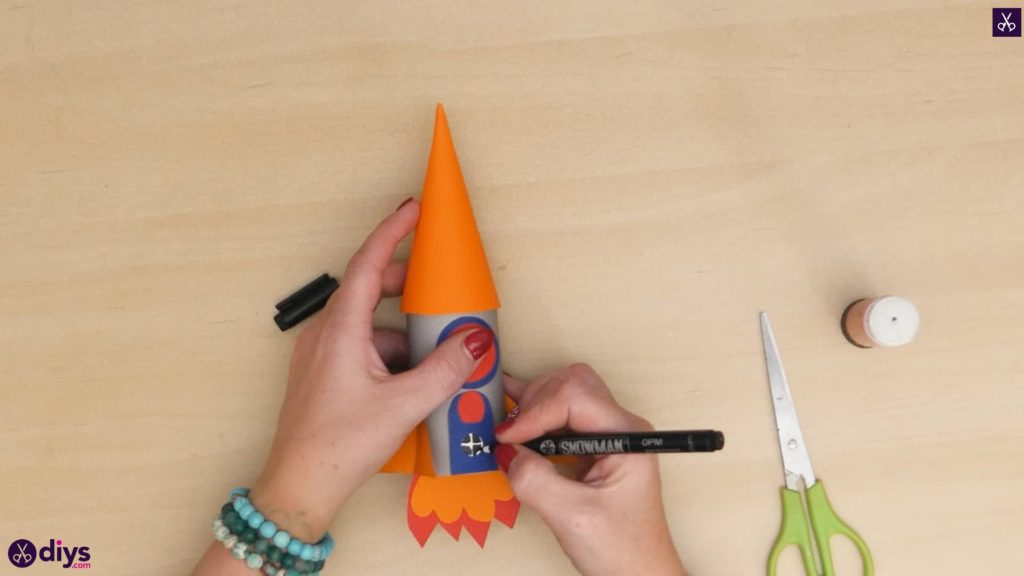
Apply glue to the top edge of your toilet roll all the way around and then press that edge into the inside of the orange cone you cut out earlier. You want to make sure the edge meets evenly with the inside of the cone so that it sits straight up and down rather than at an angle. This is now the nose of your rocket! Next, apply glue on the back of your red window circle and stick it down in the centre of your blue window circle to layer the two. Then apply glue to the back of that blue circle and stick the whole window in place on the grey toilet roll, just below the rim of your orange cone. Stick the blue door piece down to the grey roll just below the window, then stick the little red oval piece to that blue door right near the top, and the white circular handle piece down on the blue door just below that, in the middle. Use your black marker to draw the outline of a cross in the centre of the white circle to look like a rounded handle. Now, stick down your four tail fins! Apply glue on the outside of the crease where you folded each one and stick them equidistant from each other two on either side of the blue door and two around the back.


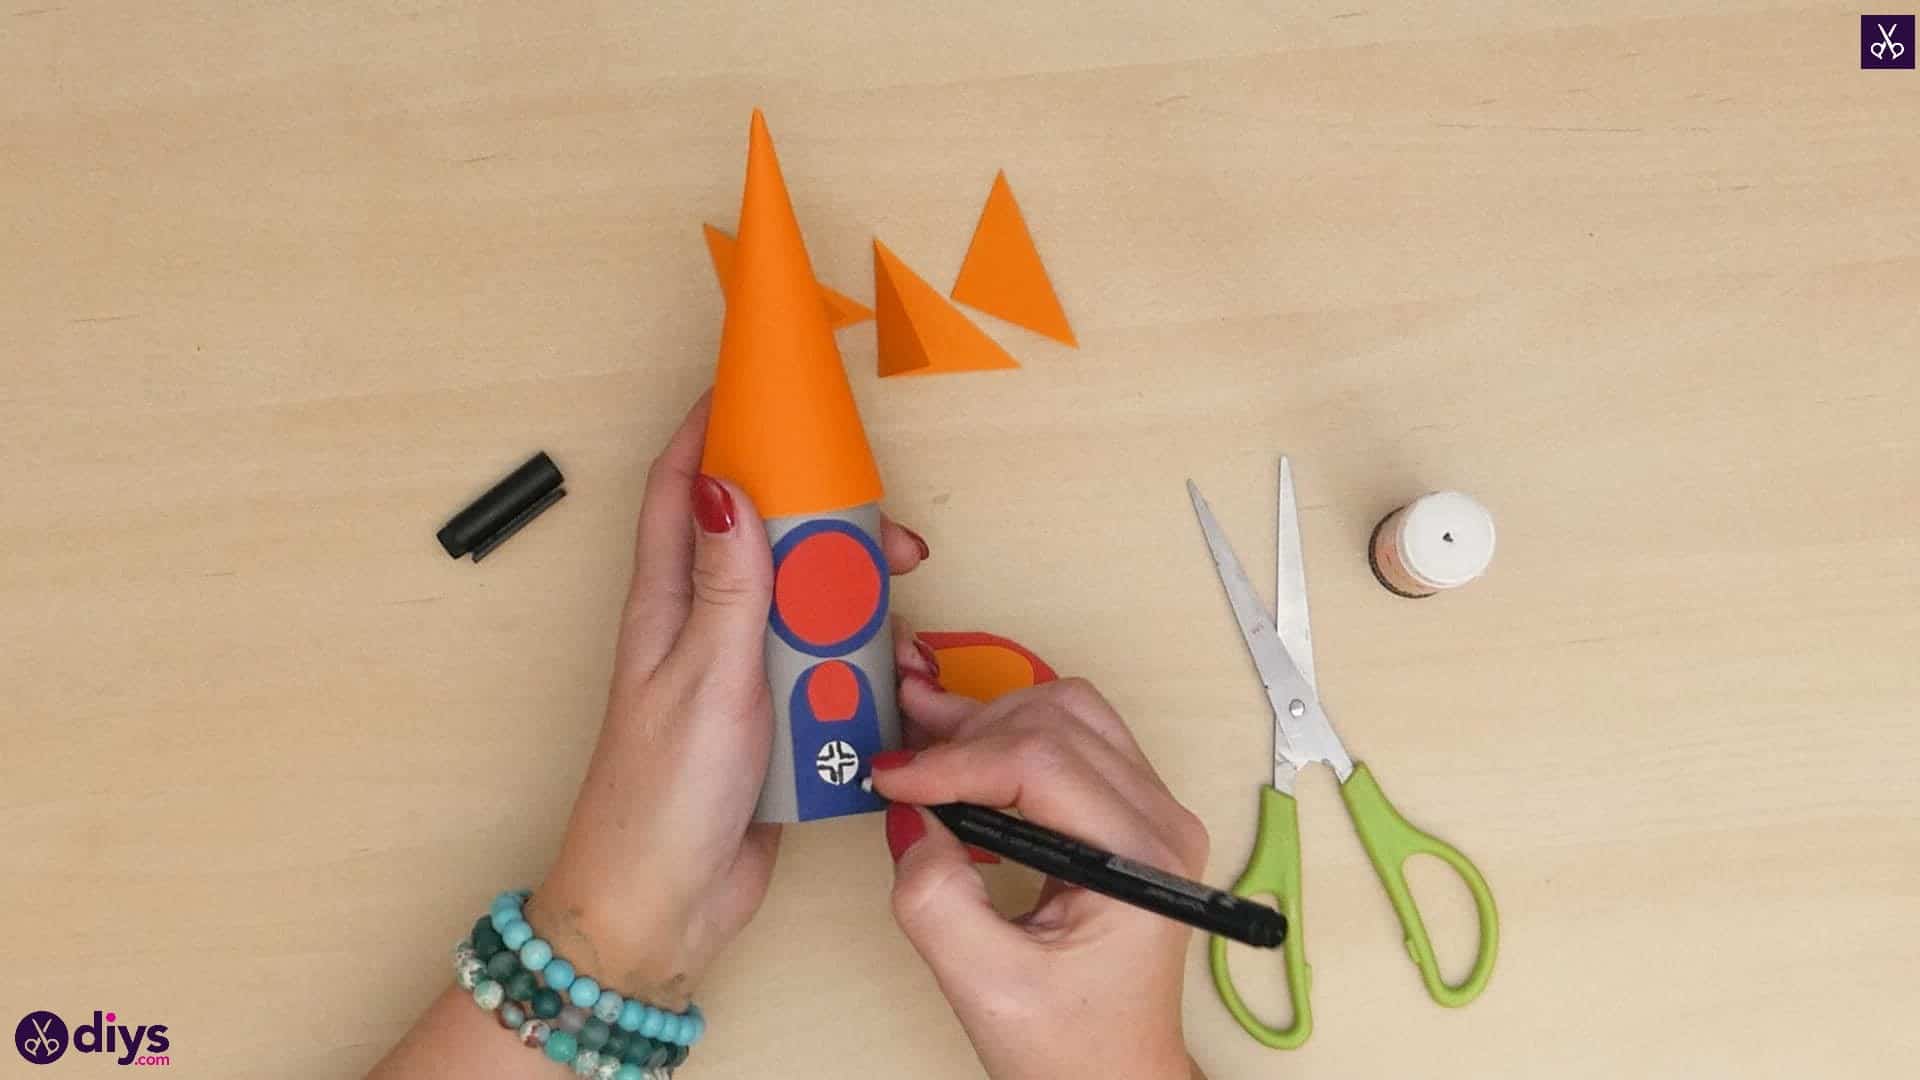
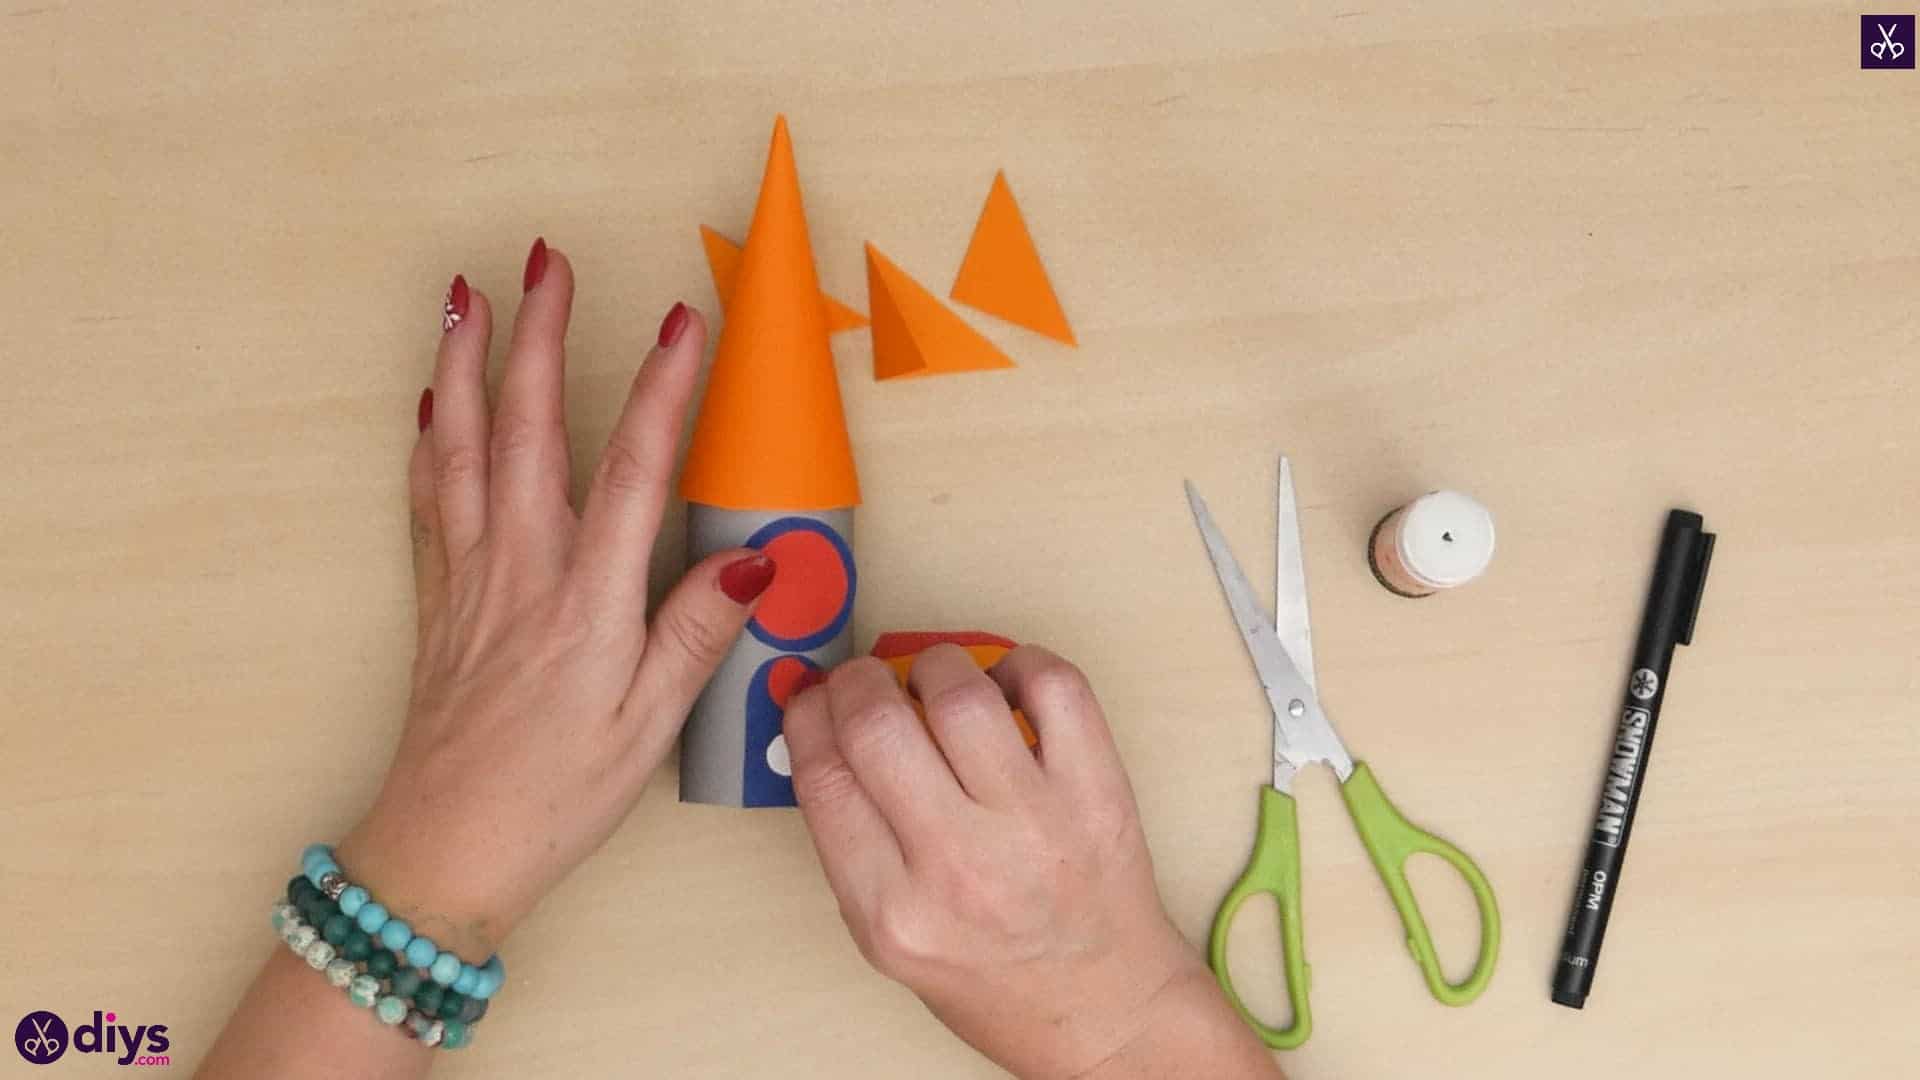
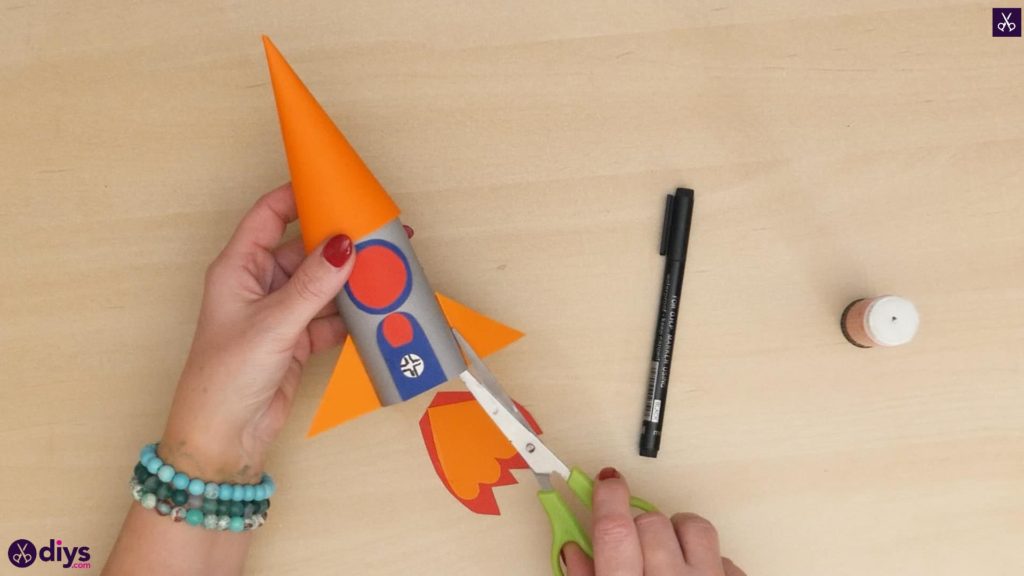
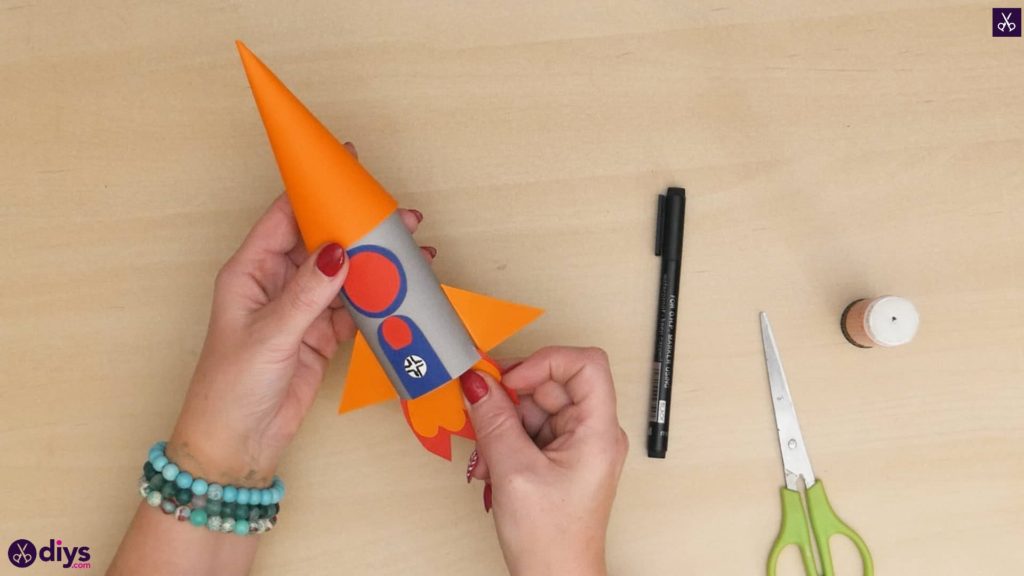
Step 13: add the sides
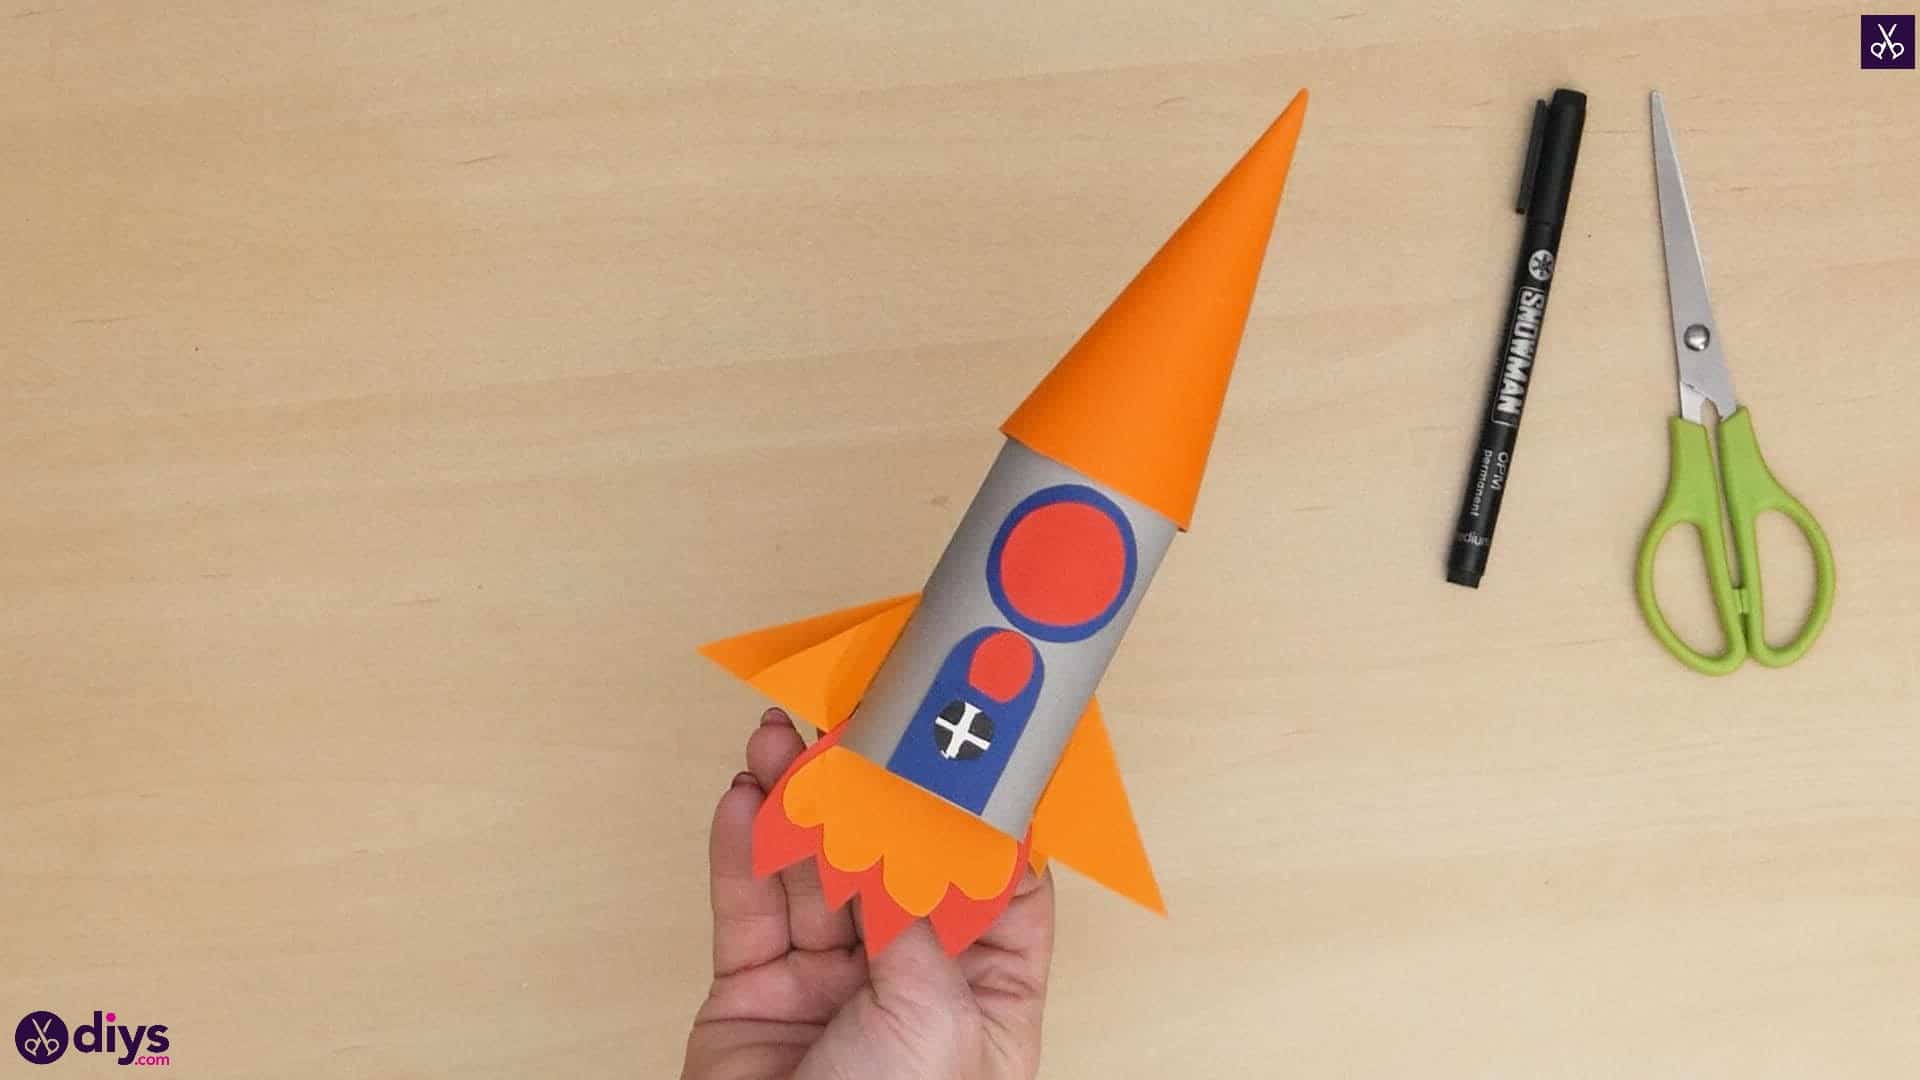
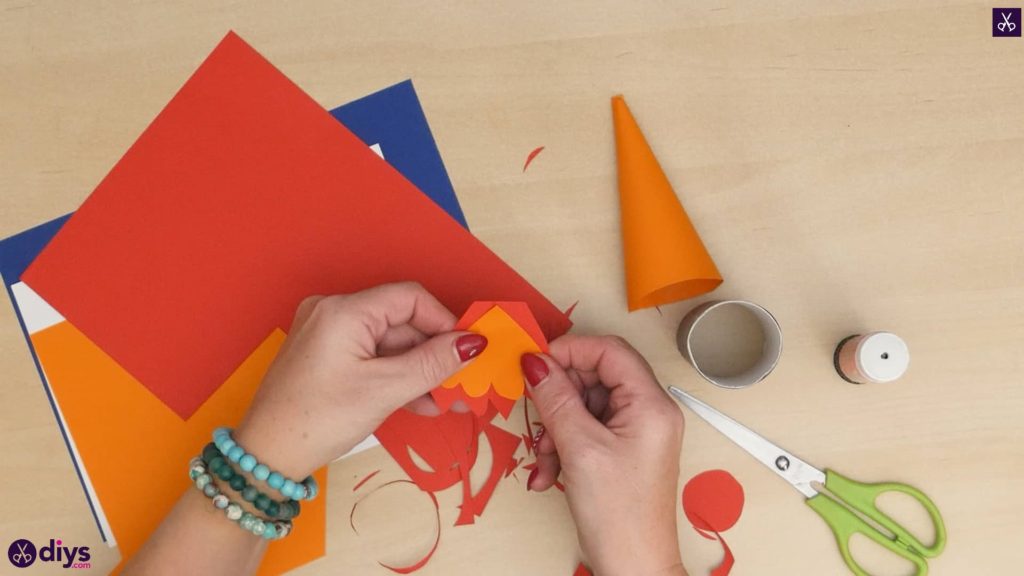
Apply glue to the back of your orange flame piece and stick it down in the centre of your red flame piece so it peeks out around the edge. Use your scissors to make small half inch cuts in the cardboard toilet roll between the tail fins on the sides and the blue door. Insert the top of your layered flame piece into the bottom of your toilet roll and let it slide into the cuts you made so it looks like it’s bursting out of the bottom engines. Then fill in the slots in your cross shape on the door handle with your black marker.
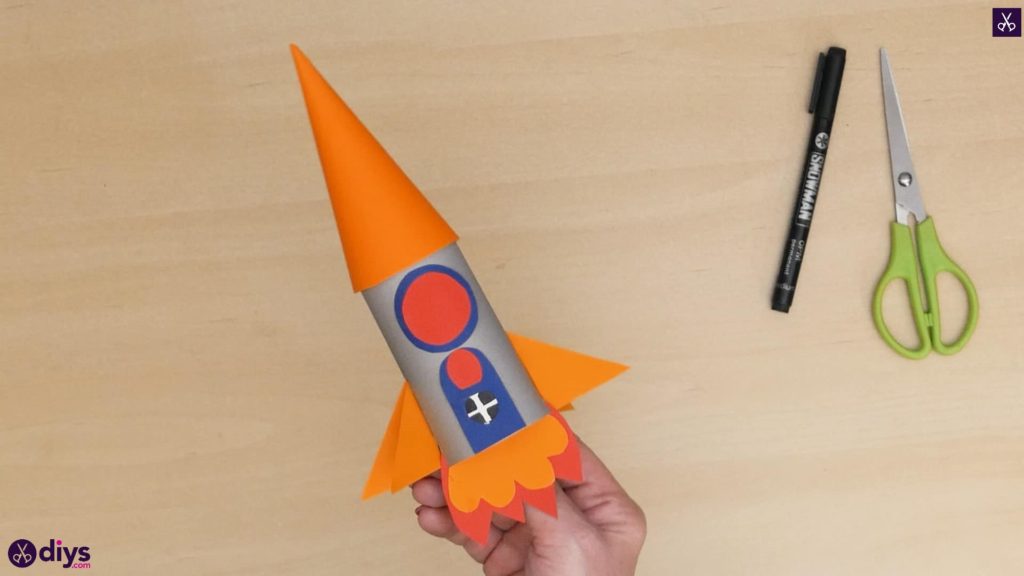
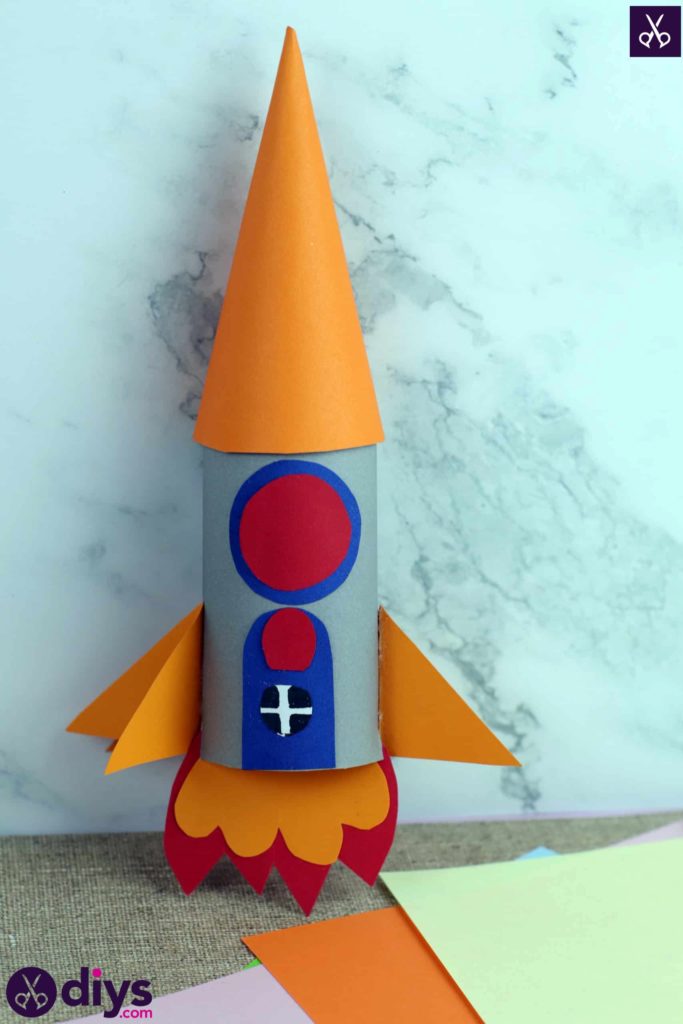
That’s really all there is to it! Of course, you can always get as creative as you please with colours, details, and embellishments. Just in case you’d like to try this project out for yourself, here‘s a fantastic tutorial video to help you!