How to Make a Toilet Paper Roll Cat
Updated on November 19, 2025


Whether your kids are just plain animal lovers who adore cats more than anything else, or whether they’re in the mood for cat themed things because Halloween is coming and it’s the season of black cats, I have a feeling our most recent craft might pique your interest! I happen to know that our kids adore cats for both of the reasons I’ve listed, so I decided to teach them how to make little black cats out of empty toilet paper rolls, since those are so convenient to use in crafting. The idea was such a hit that I decided to make another one and outline the process in order to share it!

Just in case you’d like to learn how to make a cute or spooky little toilet paper roll cat as well, here are the full instructions complete with photos. If you’d rather follow along with a video tutorial, keep scrolling until the end of this post to find one!
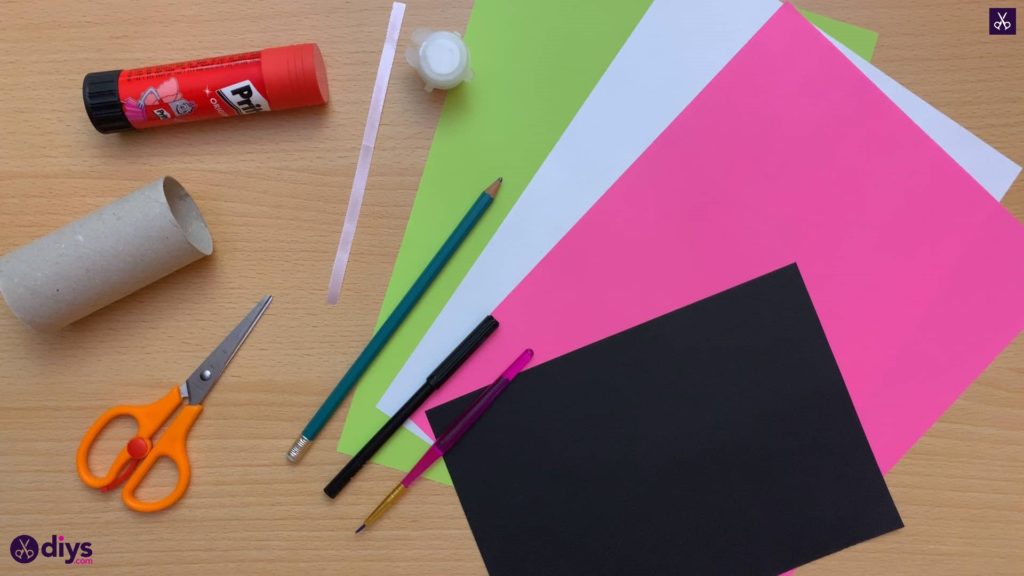
For this project, you’ll need:
- Coloured paper (Green, white, pink, and blacl)
- A white ribbon
- A pencil
- White paint
- A glue stick
- A black marker
- A paint brush
- Scissors
- An empty toilet paper roll
Step 1: get things ready
Gather all of your materials!
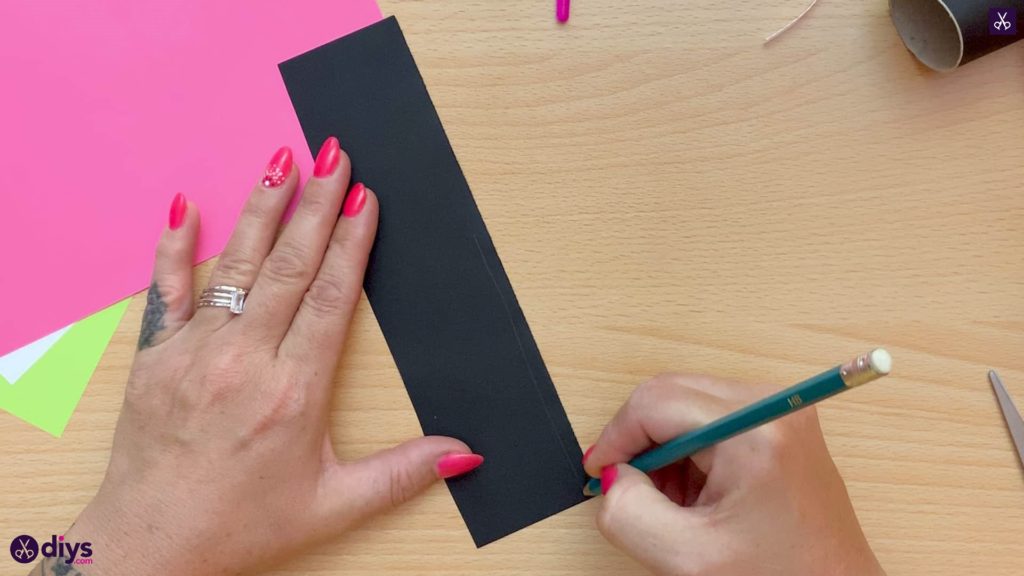
Step 2: cut and measure
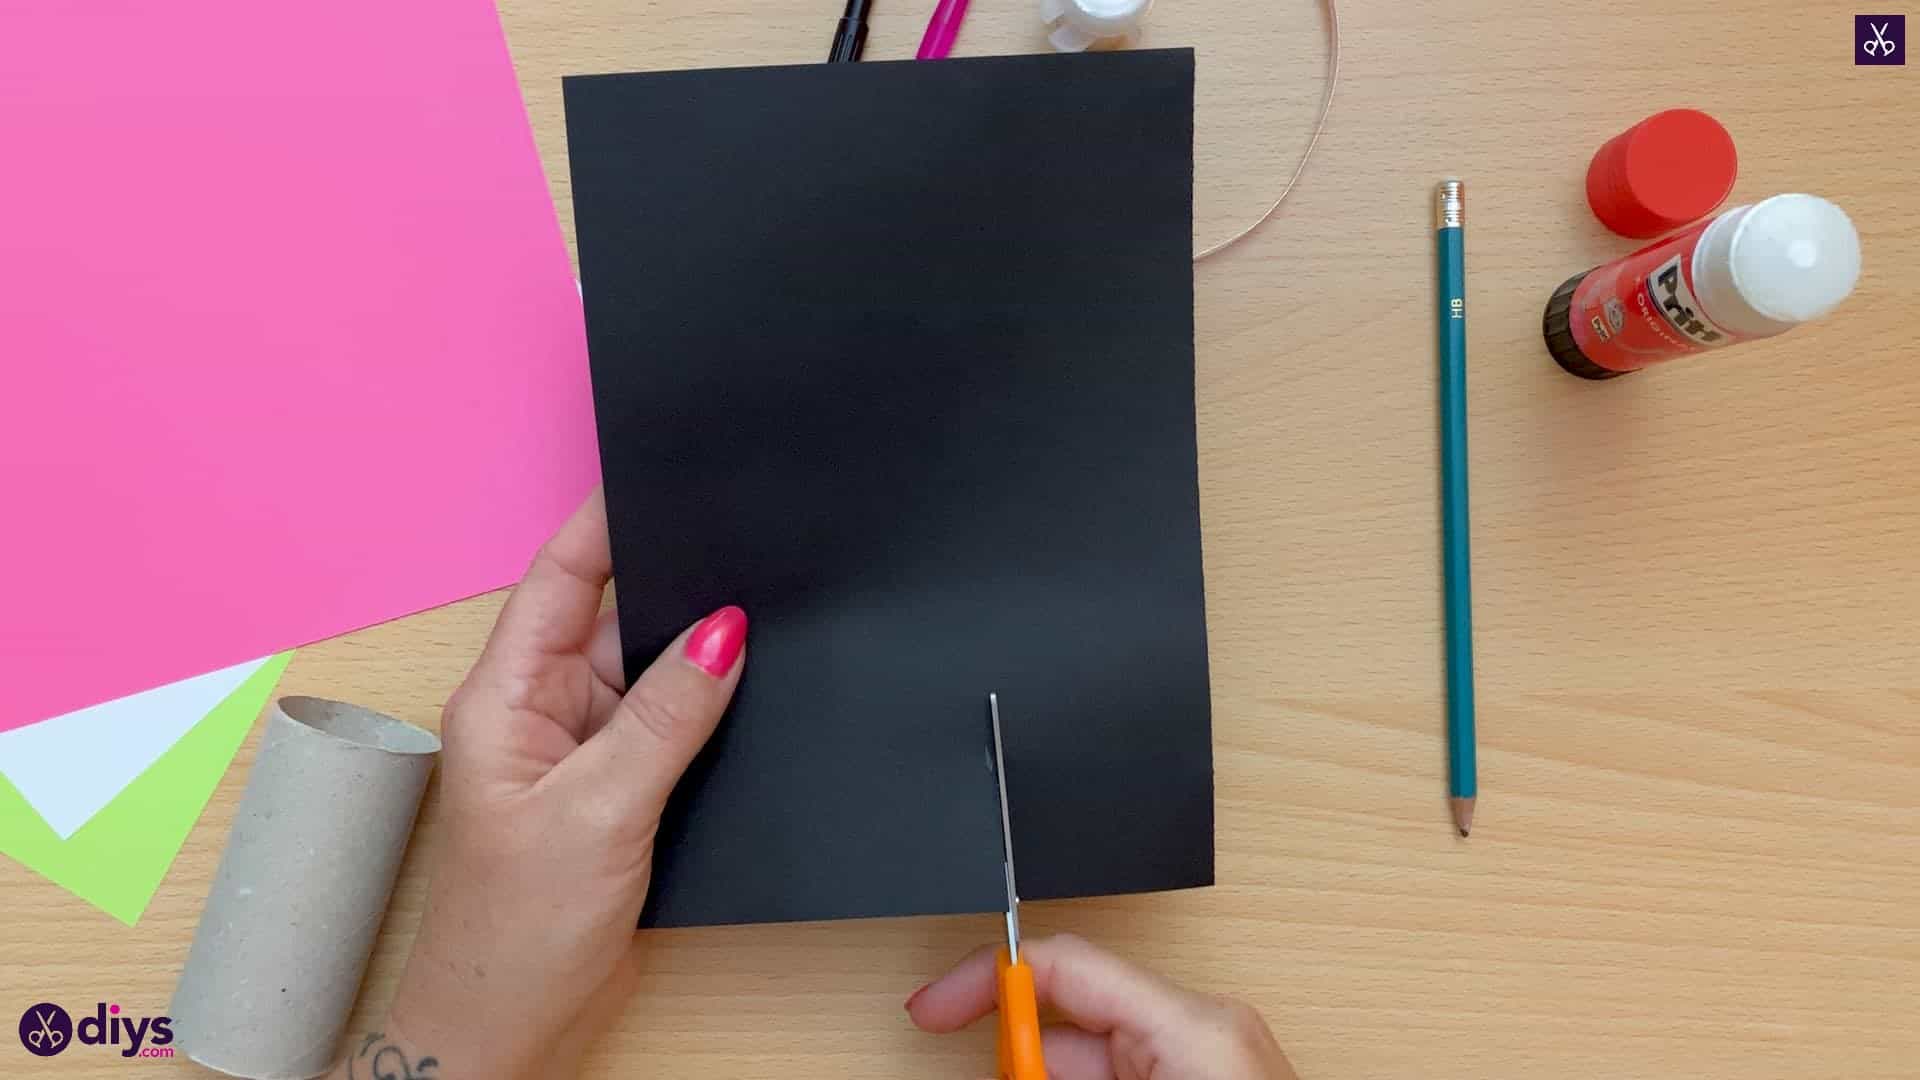
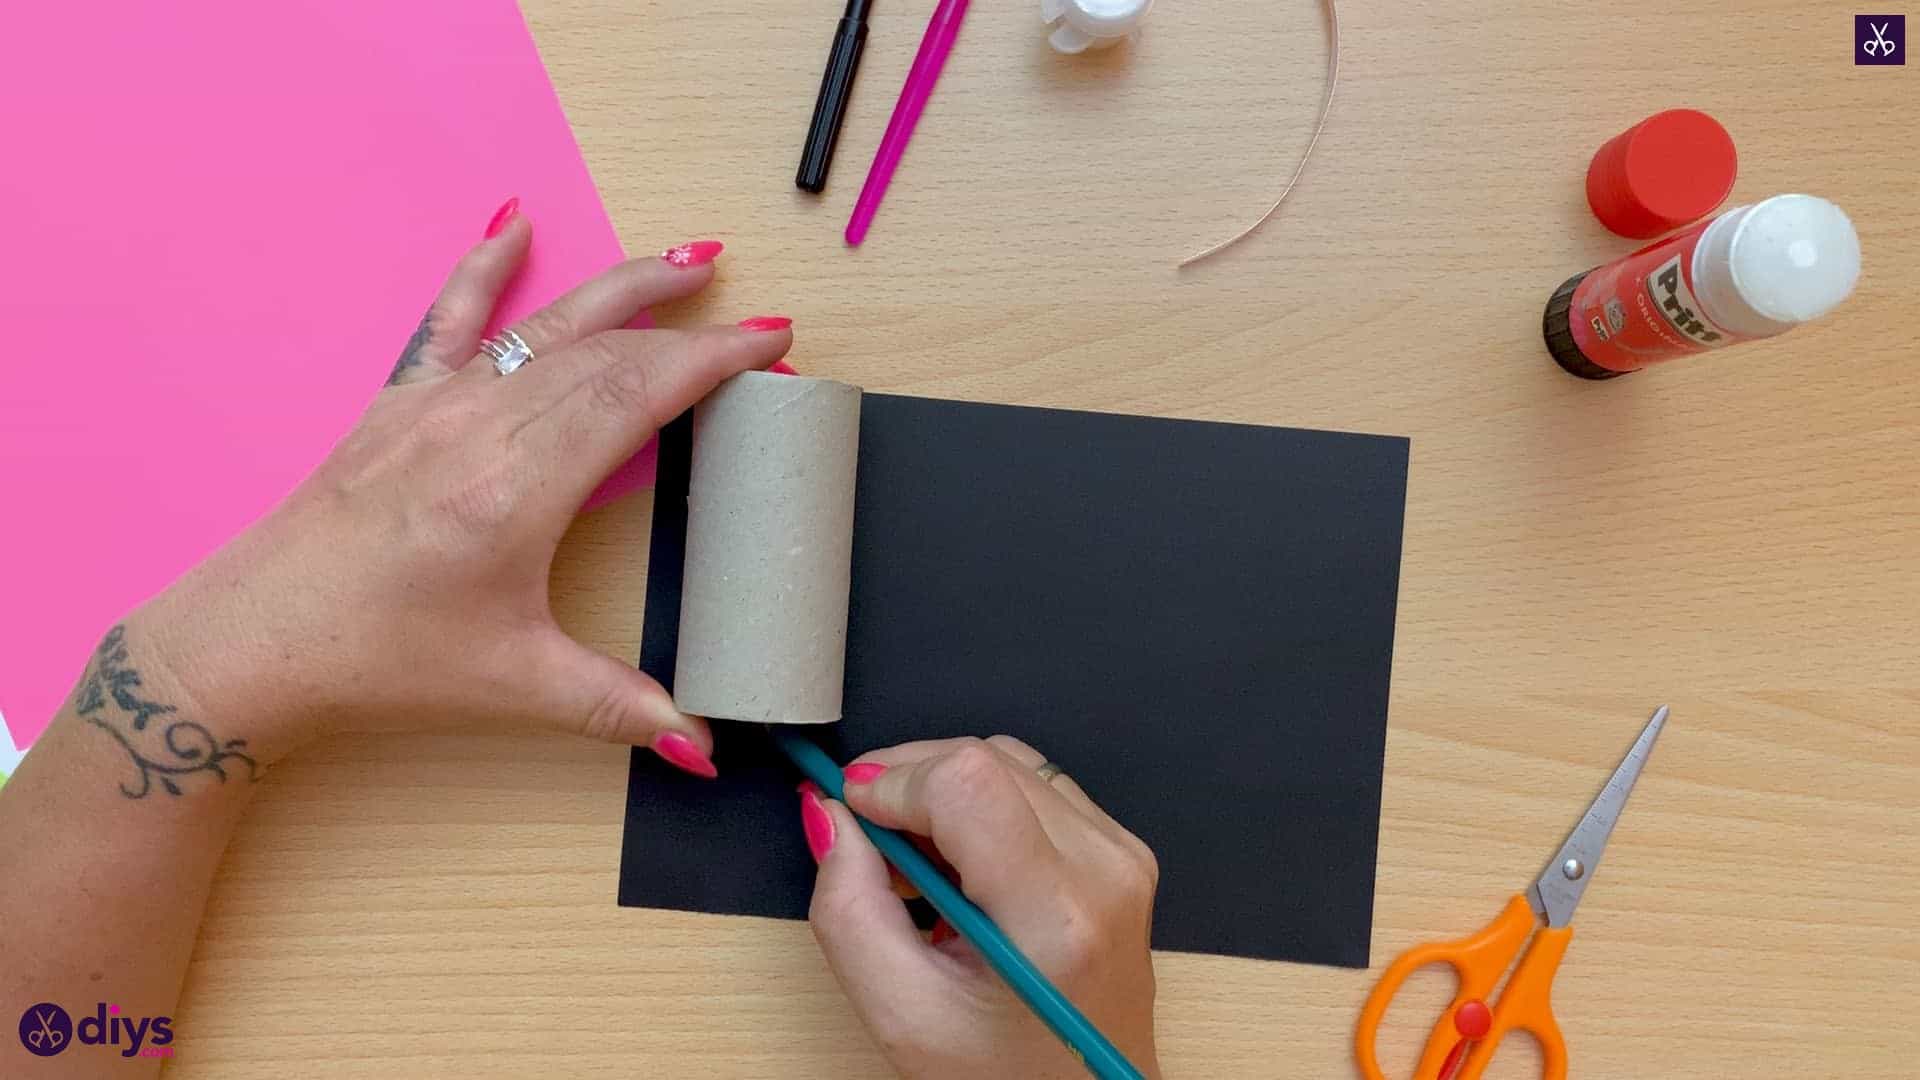
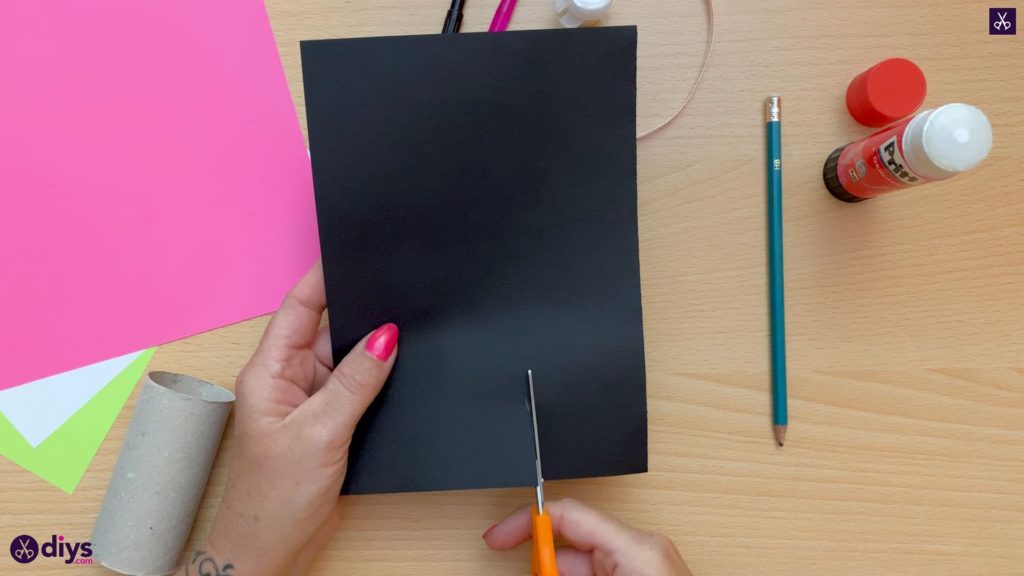
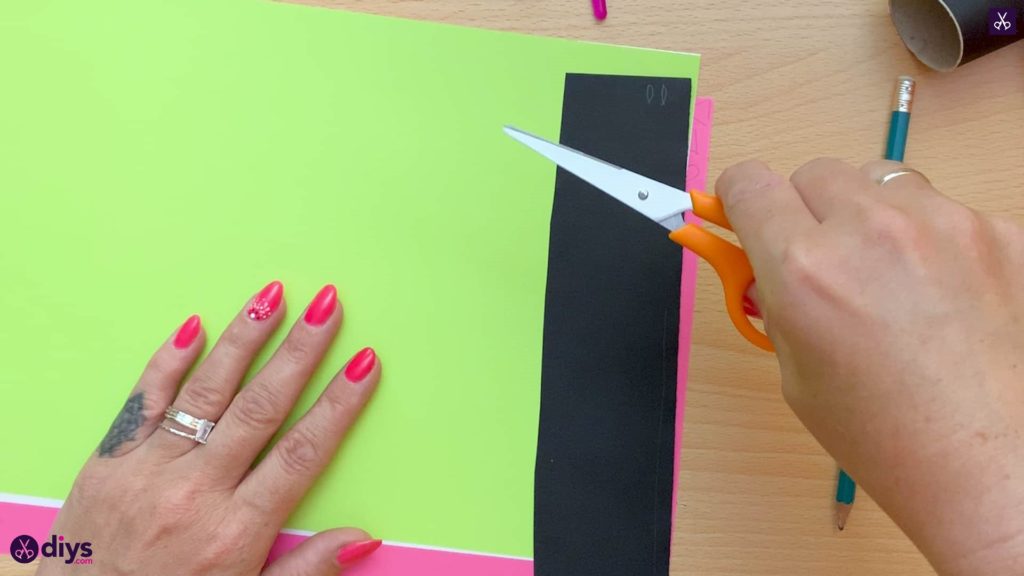
Place your toilet roll down on your black sheet of paper with their top edges lining up and make a mark where the roll’s bottom edge hits the page. Use this mark as a guide to cut a roll-sized strip of black paper.

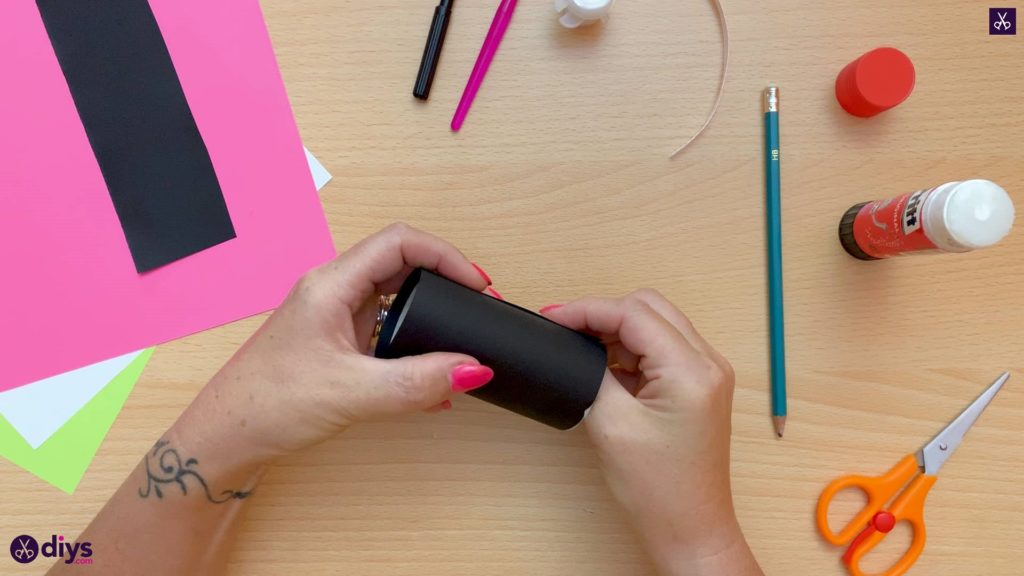
Step 3: glue
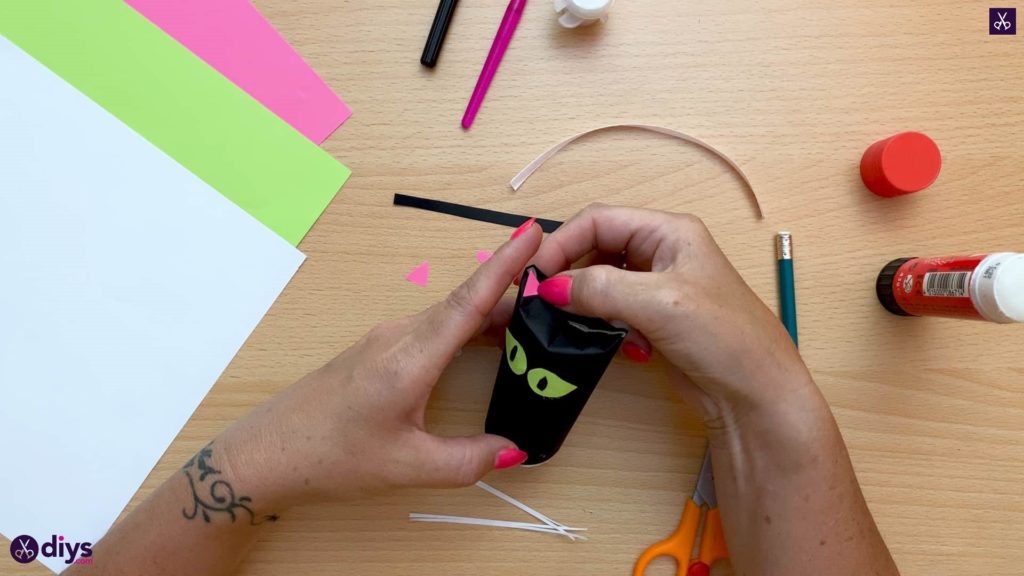
Apply glue down the full length of the toilet roll and press down one edge of the roll-sized strip you just cut from black paper. Wrap the strip around the roll so it covers the whole surface, trimming the excess once you’ve made your way back to the start and sticking that new edge down flush against the first one. Your roll should now be totally covered in black paper.
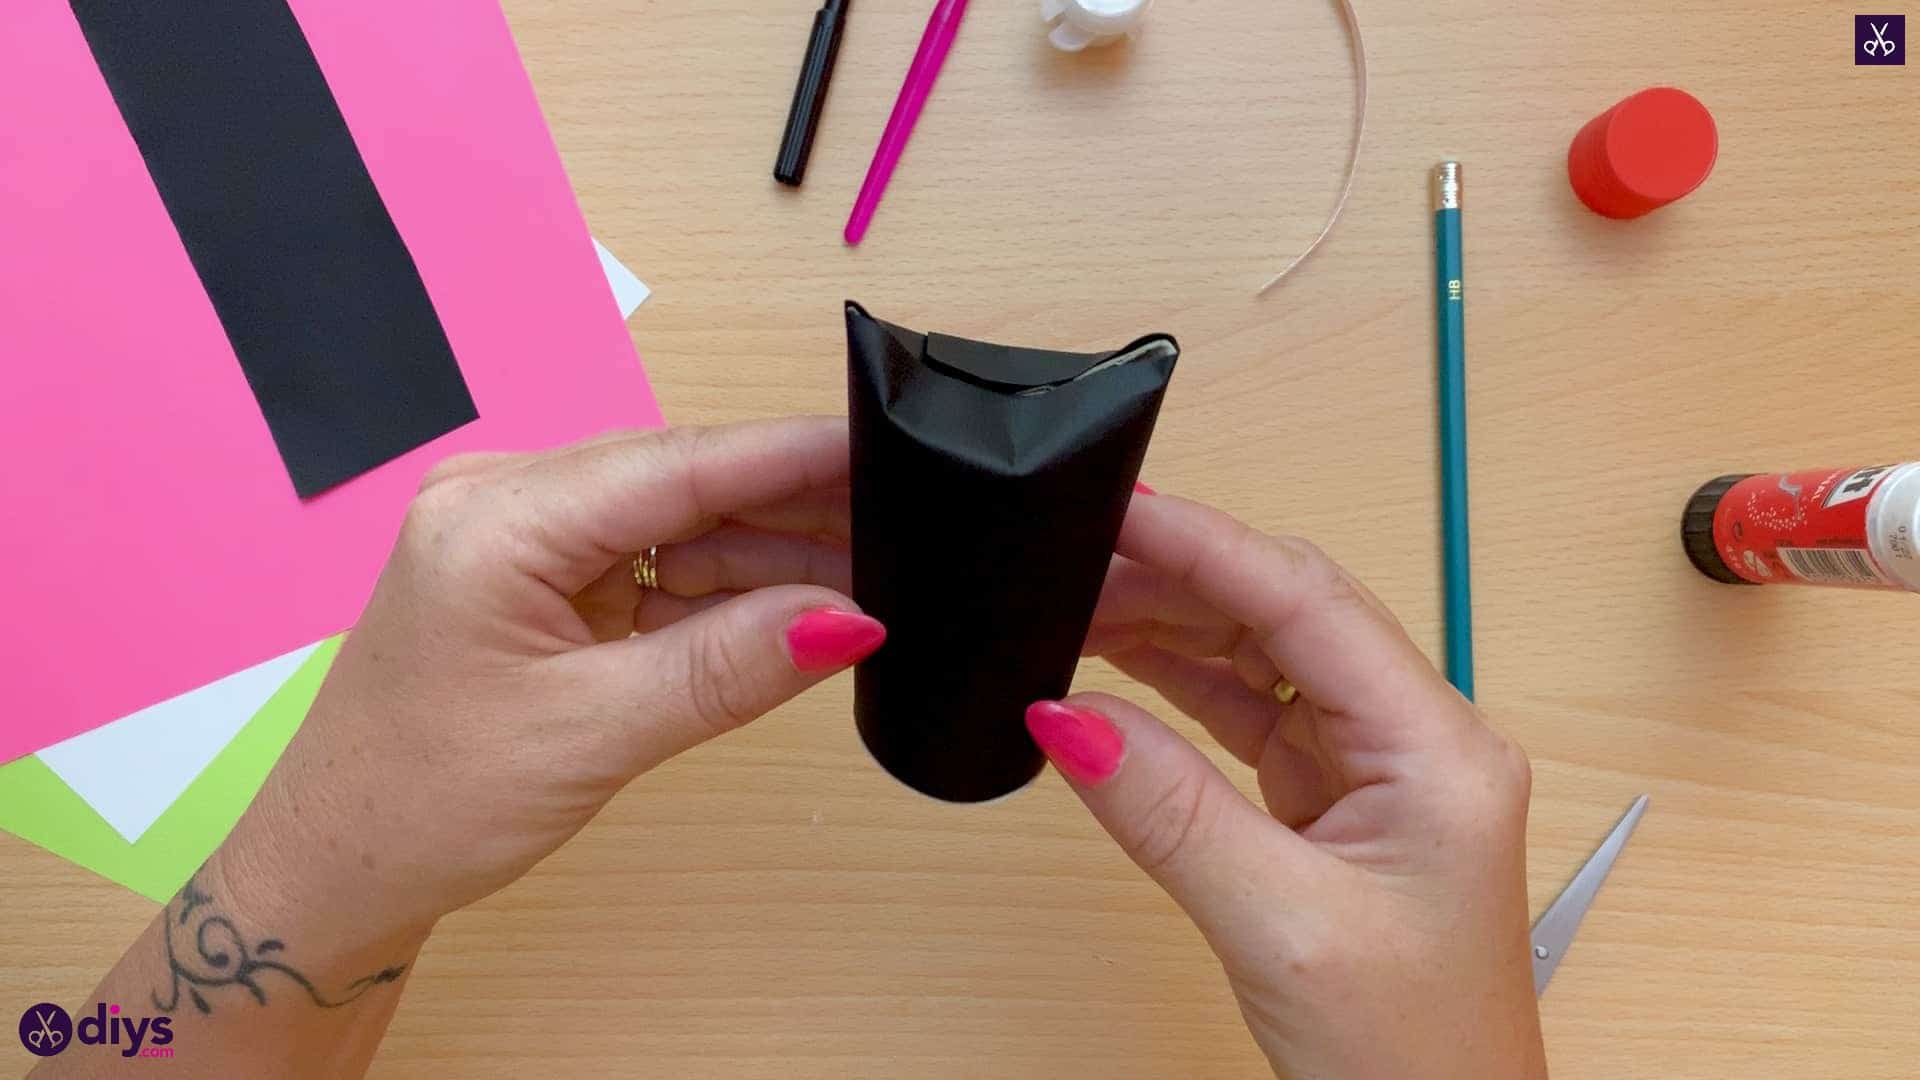
Step 4: make the ears
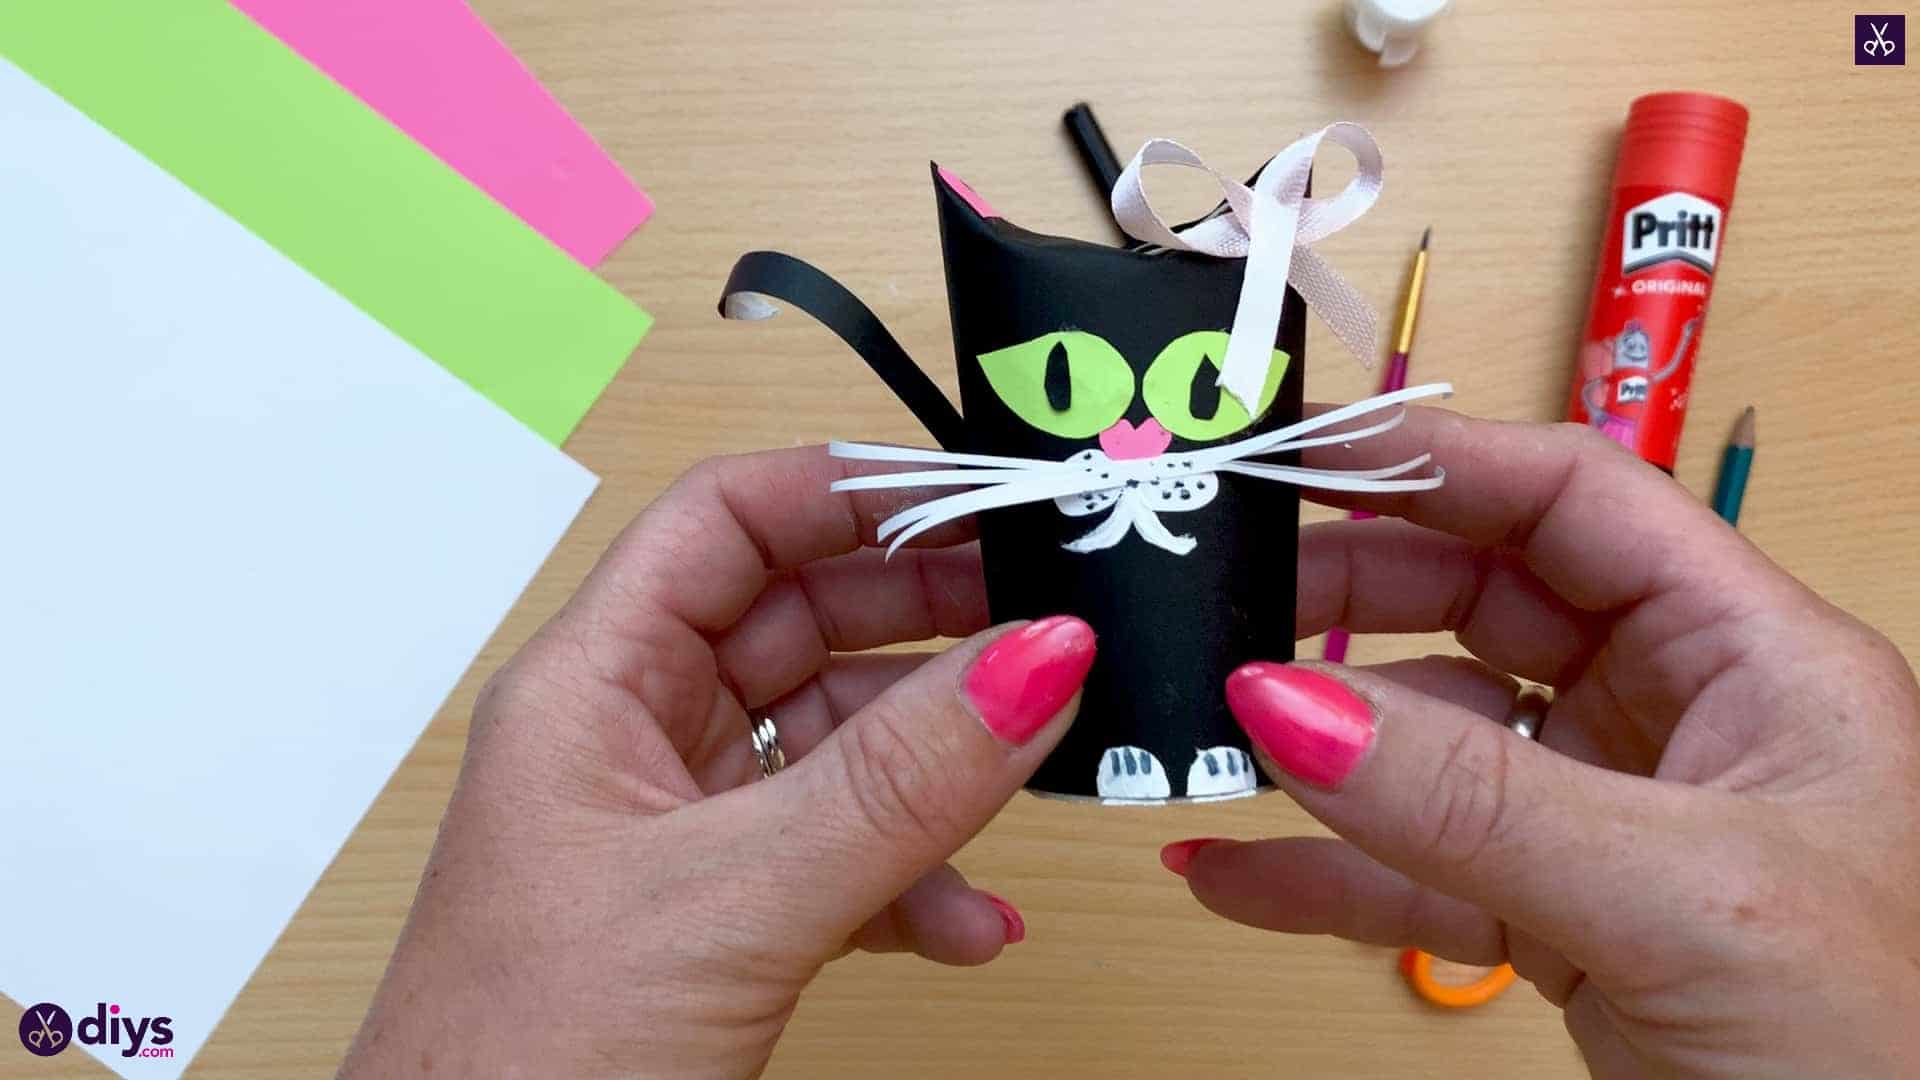
Press one edge at the top of the roll inwards so it bends towards the middle of the hole in the top. Bend the edge on the other side in to meet it. You should have a sort of semi-circle shape at the top of your roll now, with a point on one side arcing down in the middle and rising to a point on the other side. These will be your cat’s ears!

Step 5: draw the tail
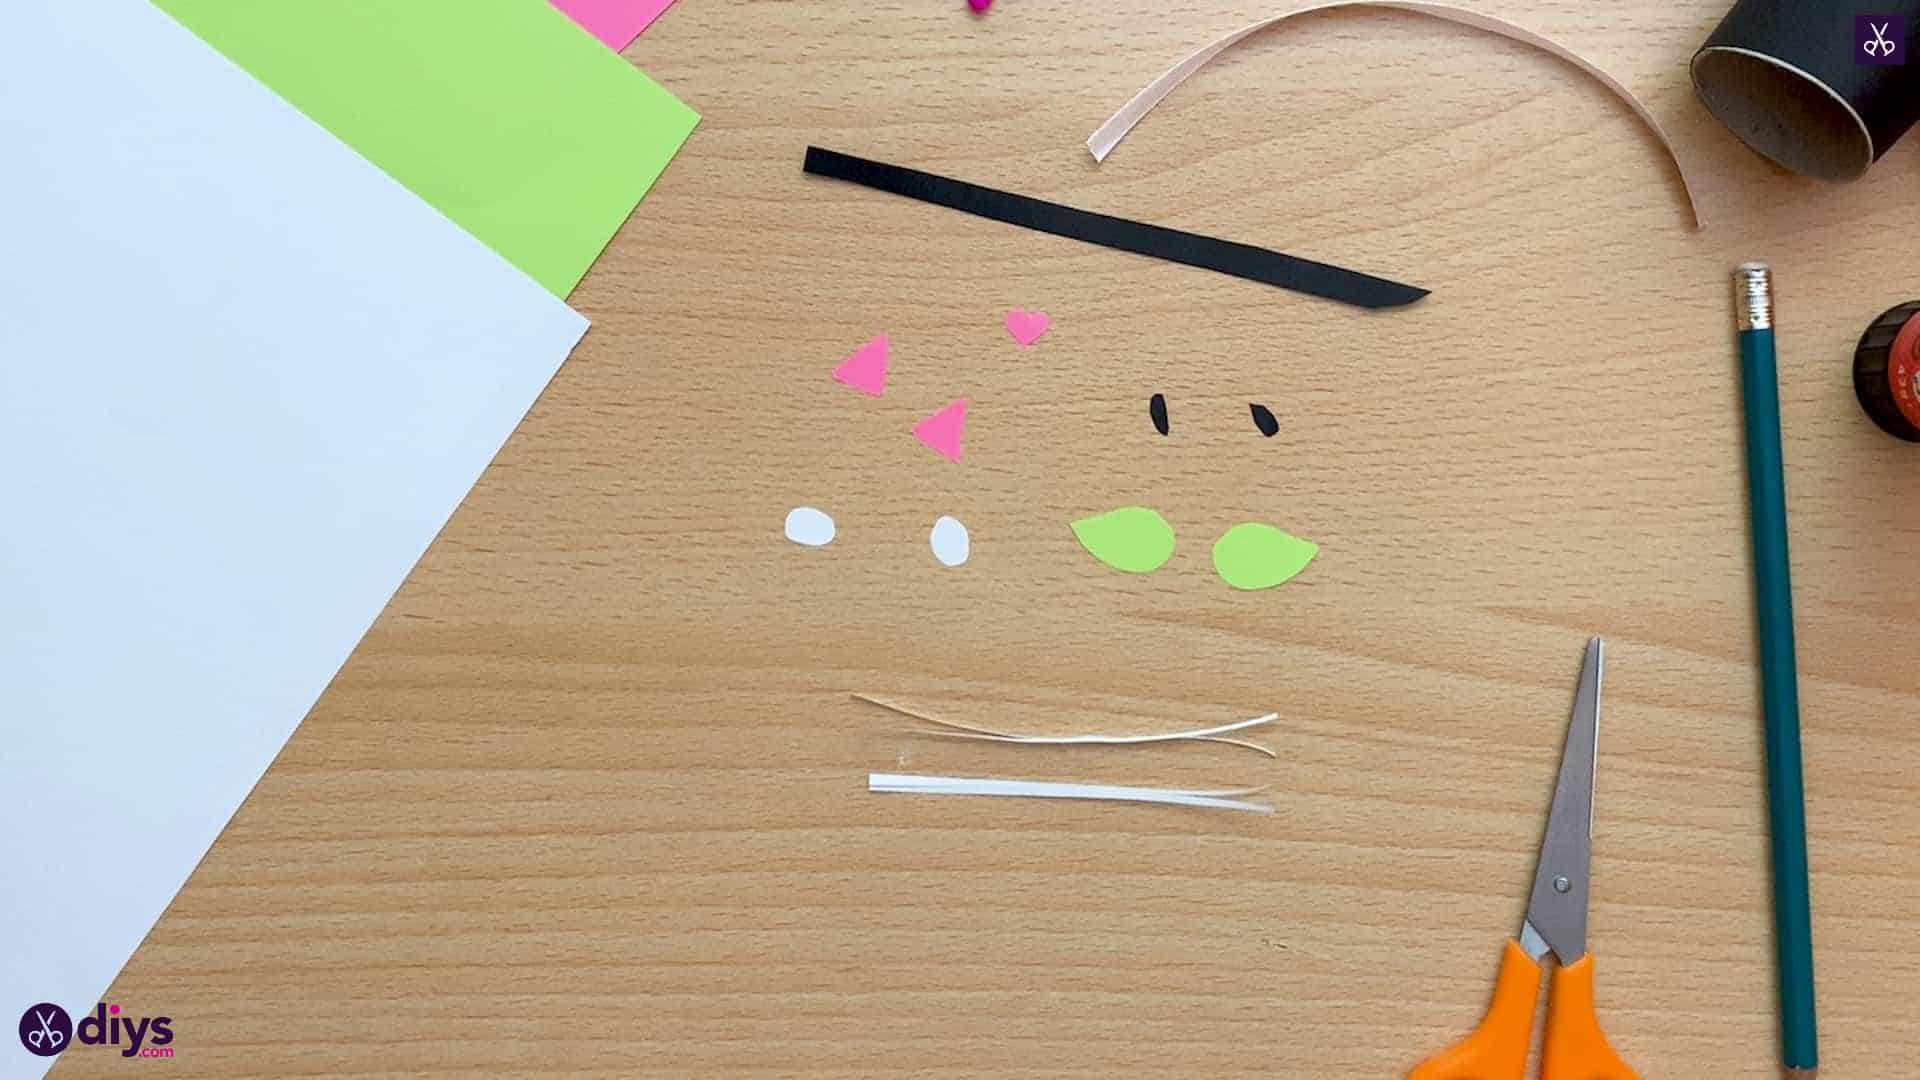
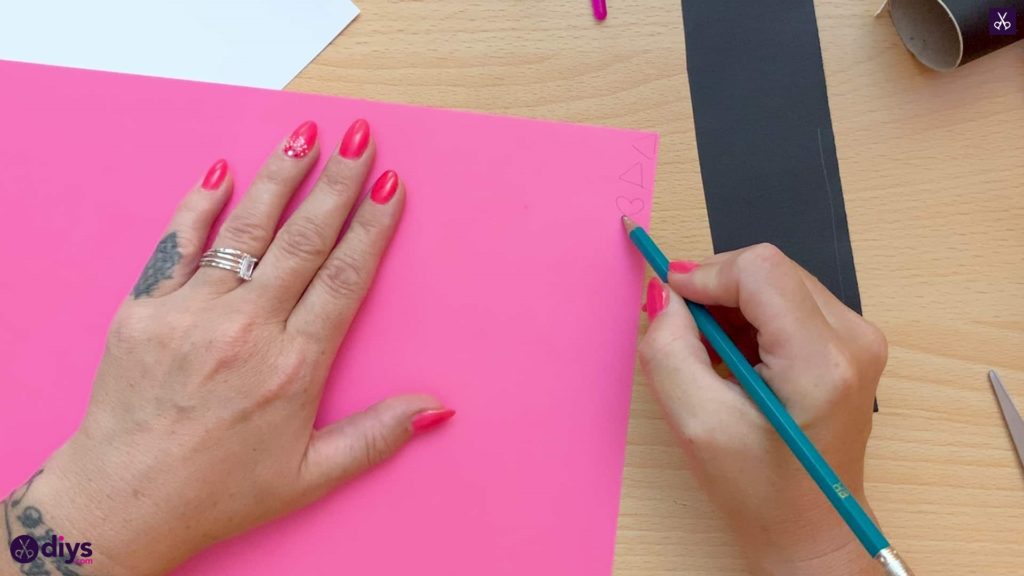
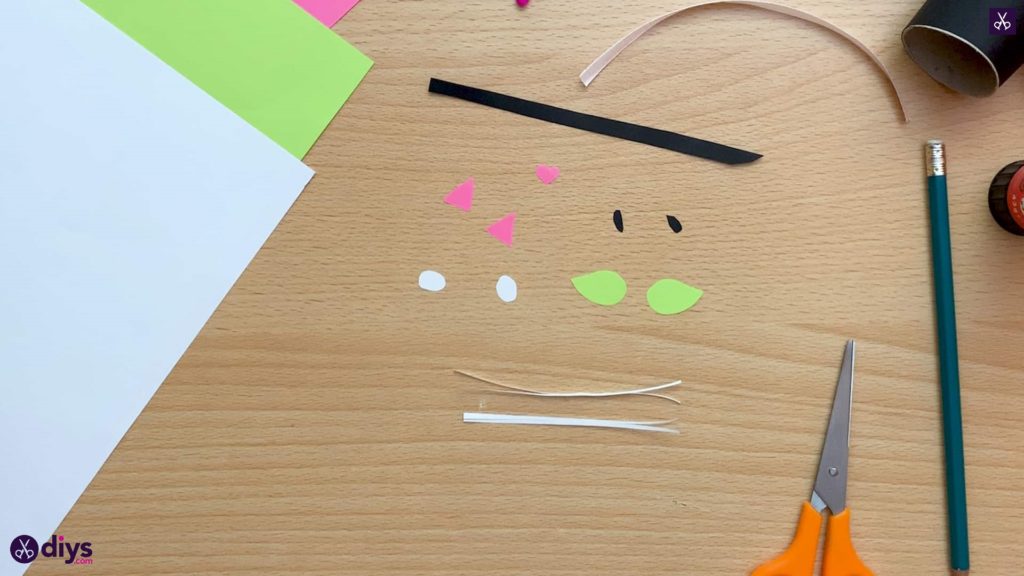
Draw the outline for your cat’s tail on your black paper by sketching a thin pointed rectangle about two inches long.
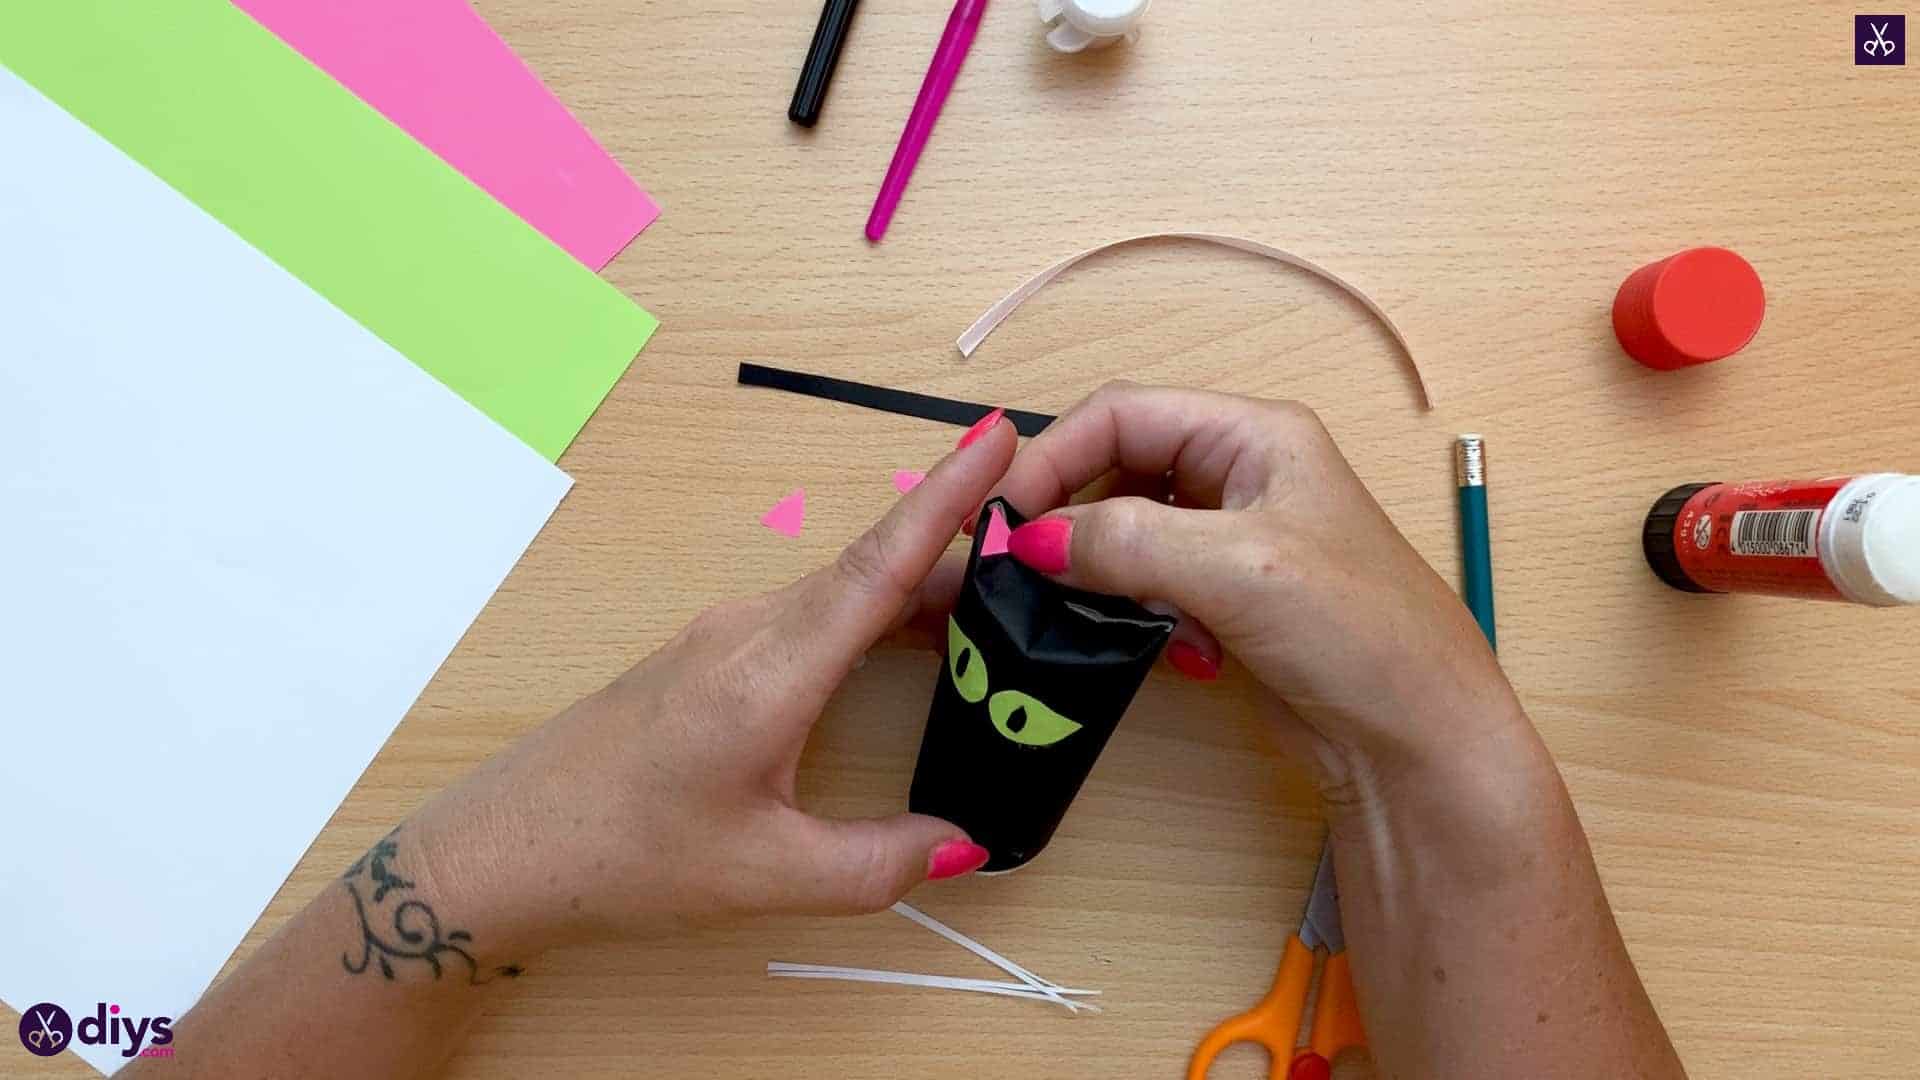
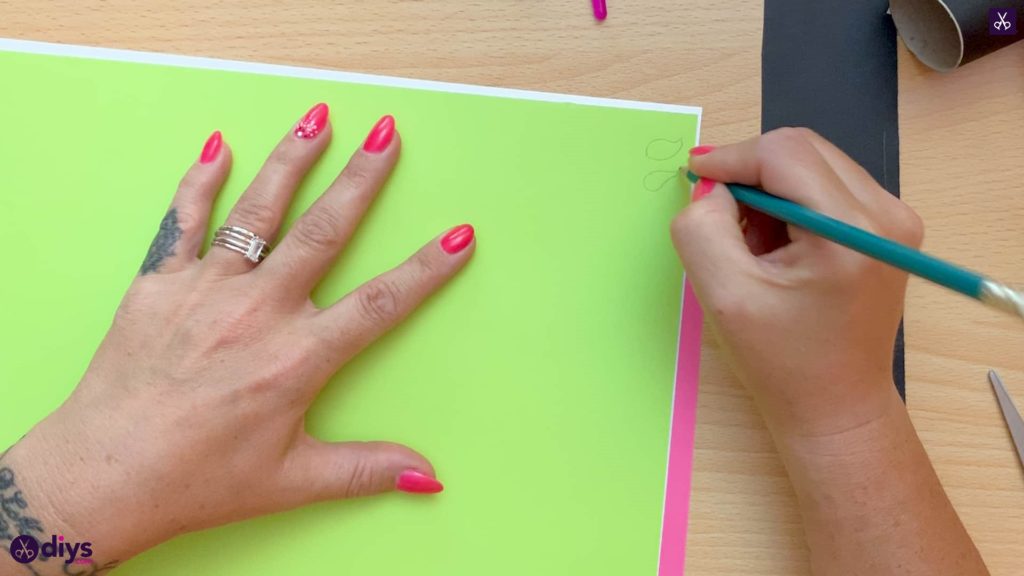
Step 6: make the nose
Sketch the shapes for the inside of your cat’s ears by drawing two small pointed triangles the same size on your pink paper. Also sketch a tiny heart about the same size of the triangles. This will be your cat’s nose!
Step 7: make the muzzle
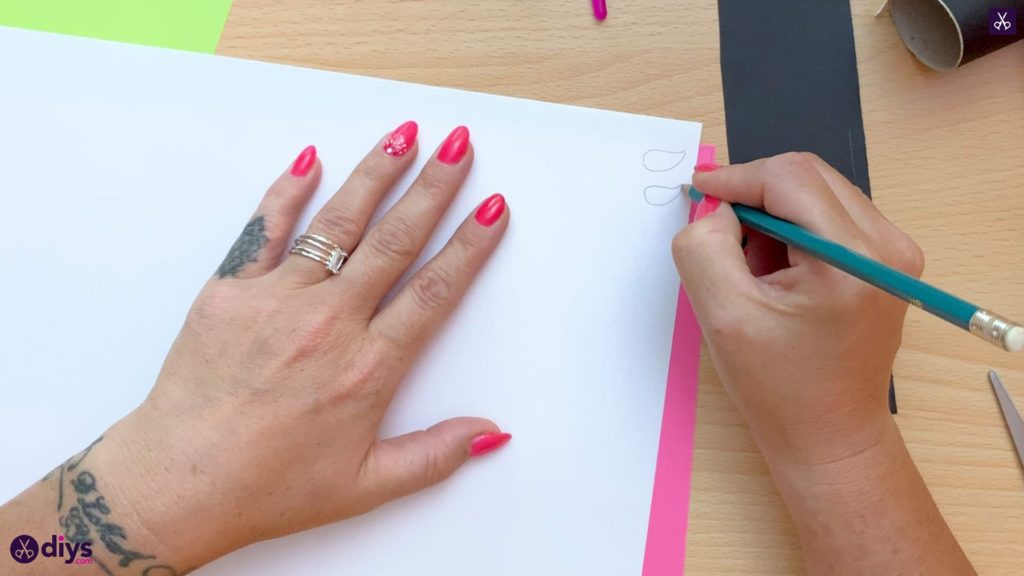
On your white page, outlined two shapes that resemble apostrophes. I made mine about the same size as my pink triangles. These white shapes will be your cat’s muzzle.
Step 8: make the eyes
Recreate that same tapering shape that you made on your white paper, but this time on the green. This time, I made the shape a little bit bigger. I also made one the opposite or mirror image of the other, rather than doing them exactly the same like I did with the white. These will be your cat’s bright, glowing eyes.
Step 9: make the eyes
Going back to your black paper, draw two thin tapered shapes that will become the pupils in your cat’s eyes.
Step 10: assemble
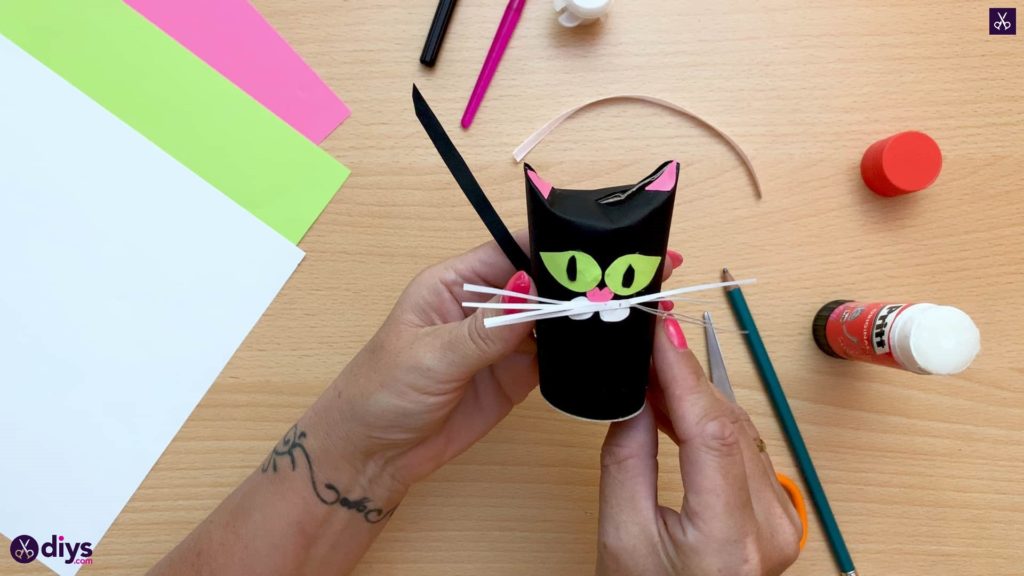
Cut out all of your paper pieces. From your white sheet, cut a few small slivers of paper about an inch long. These, bundled together, will be your cat’s whiskers. You now have everything ready to assemble your cat!
Step 11: add the details
Apply glue to the backs of the facial pieces and stick on the eyes, pupils, and ear centers.
Step 12: all done!
Apply glue to the flat end of your tail piece and stick it at an angle to the back of your cat, near the bottom, so it jaunts out at an angle like a cat’s tail. Then stick the two white muzzle pieces side by side below the eyes. Gather the white slivers together and apply glue at their collective center to stick them above the cat’s muzzle, and then stuck the little pink heart nose down over the whiskers. Your cat’s face is almost complete!
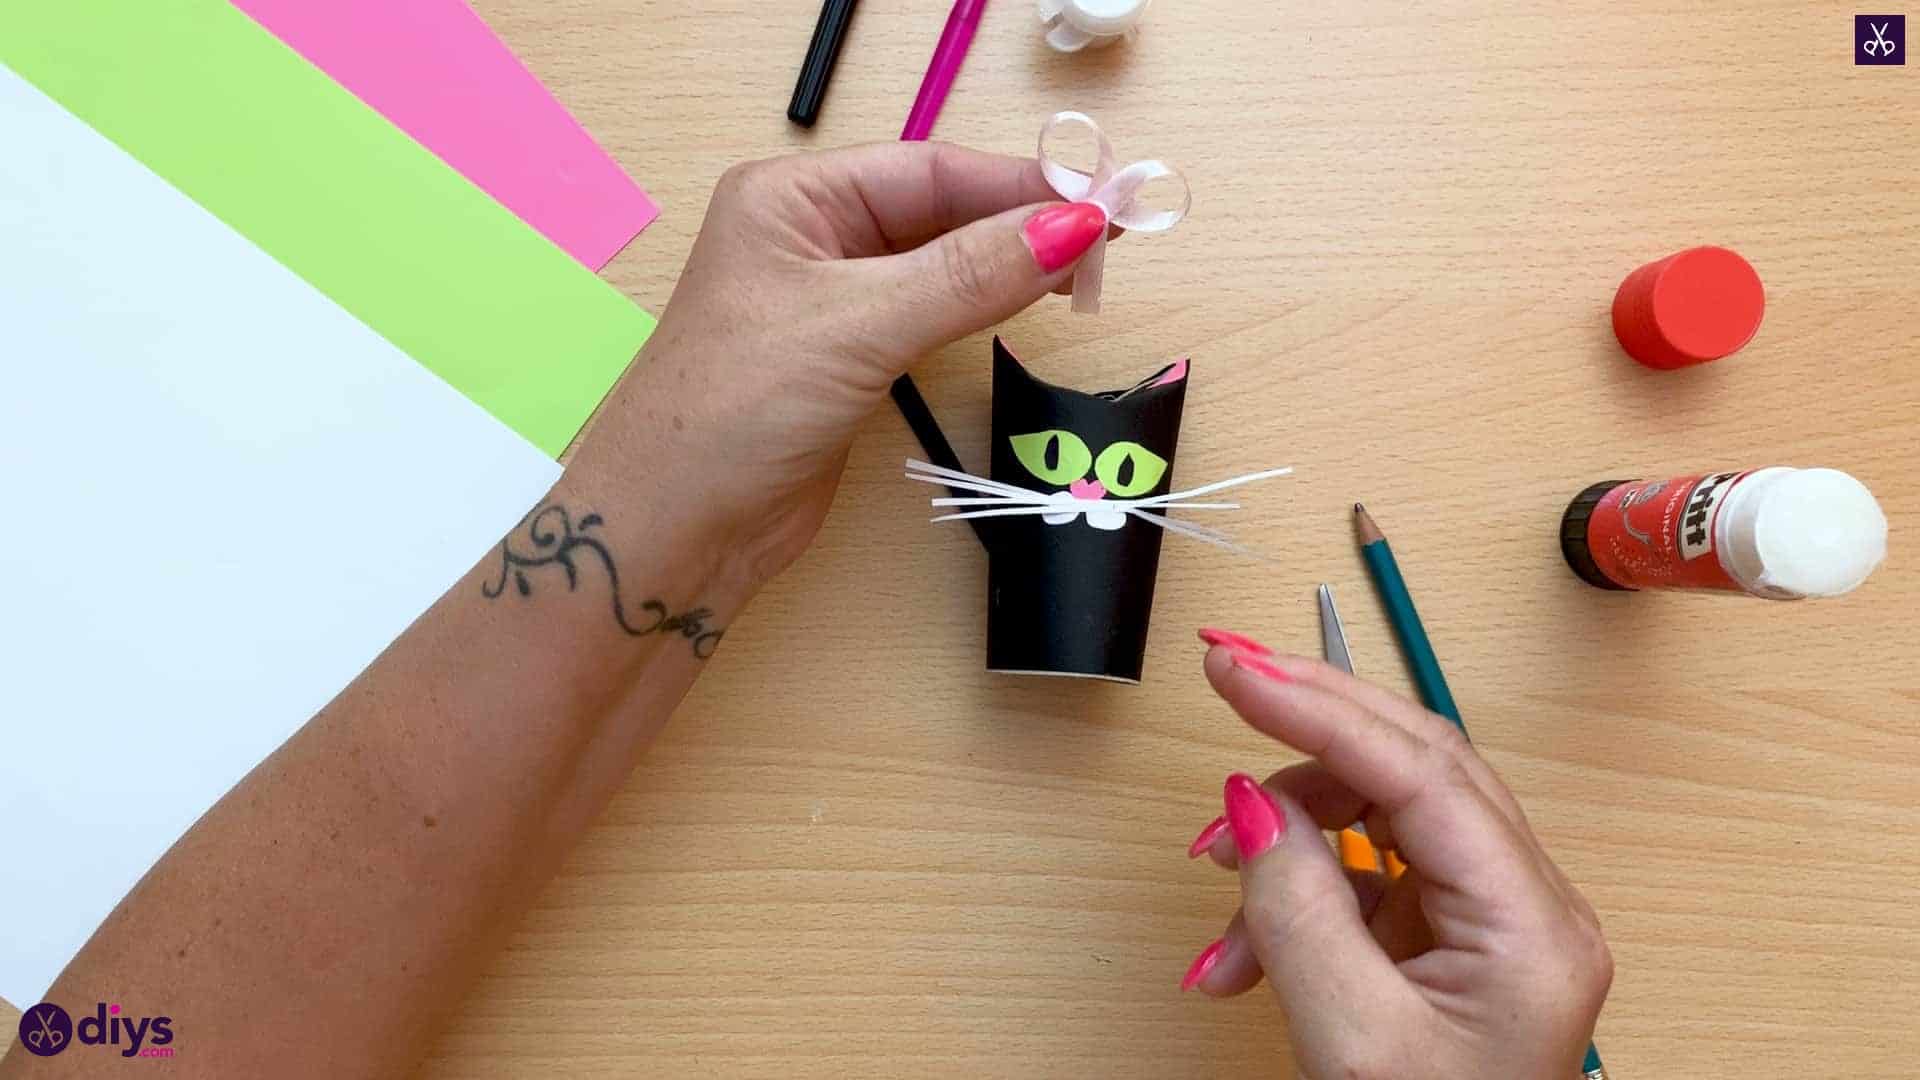
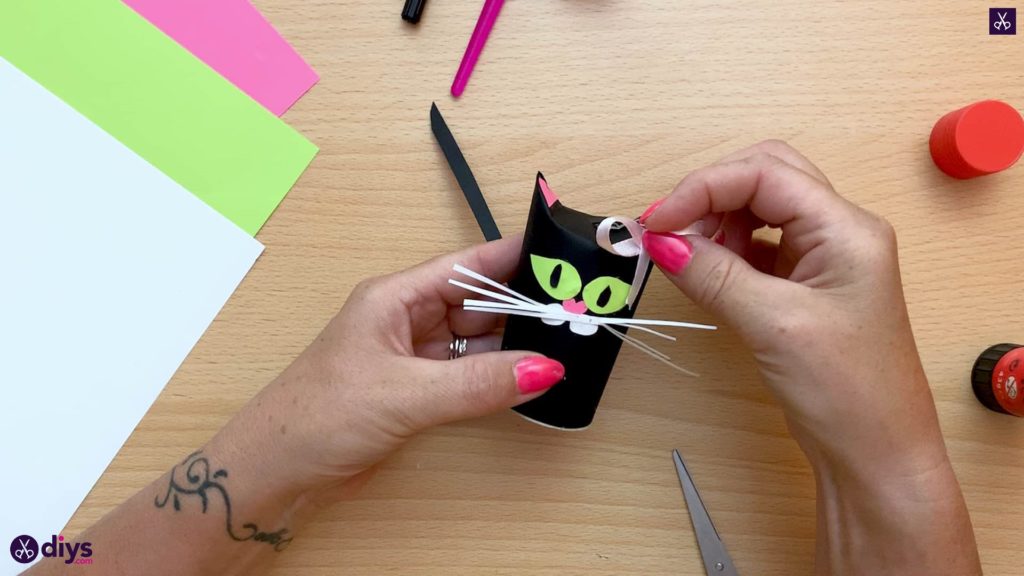
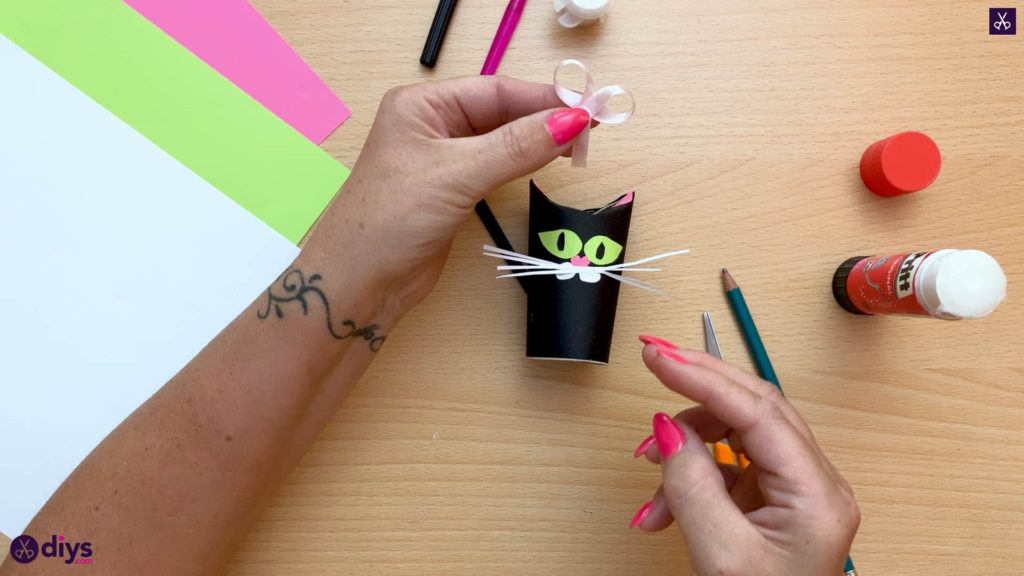
Step 13: extra bow
If you want to add an extra cute detail, rather than making your cat plain black and spooky, take your length of ribbon and apply glue in the center. Curl one and and then the other towards the center in a bow shape, crossing them over in the middle to hang down like a properly tied ribbon with two loops. Apply some glue on the back of your newly made bow and stick it over one of your cat’s ears.
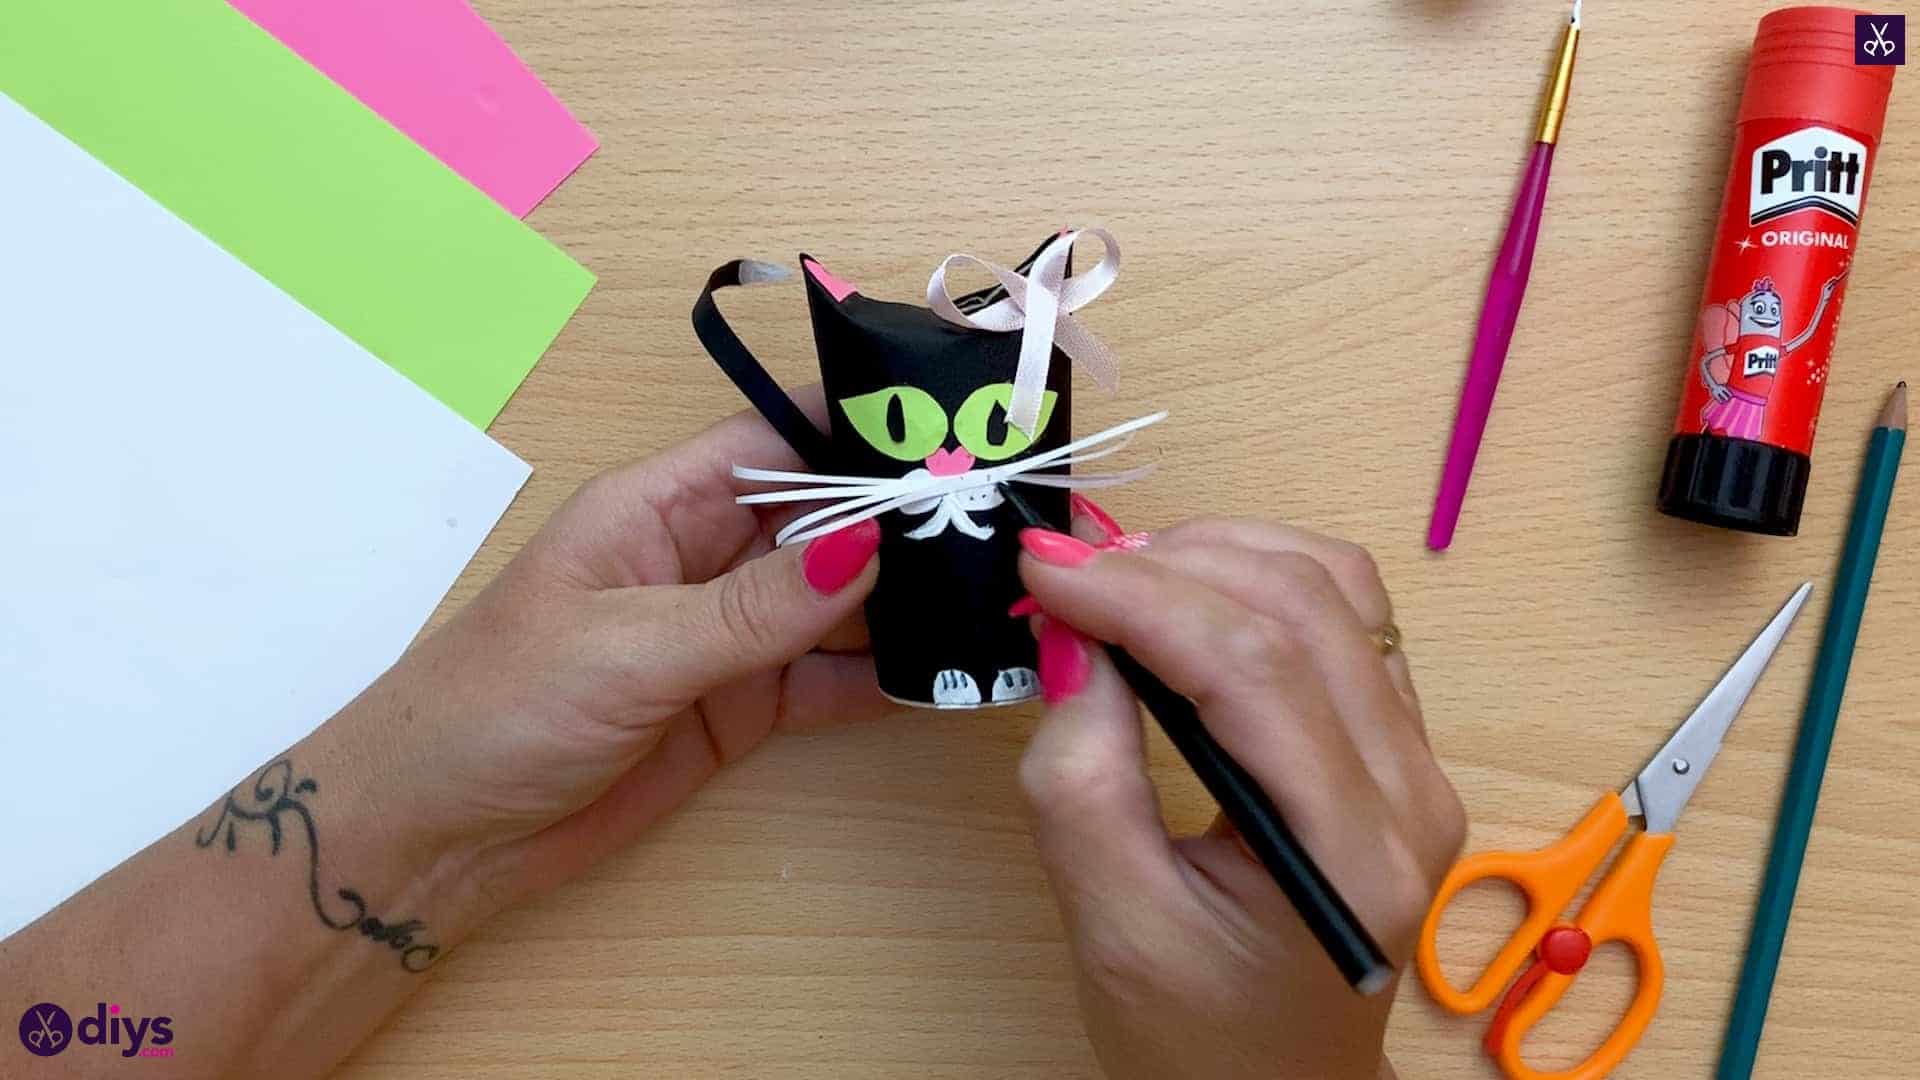
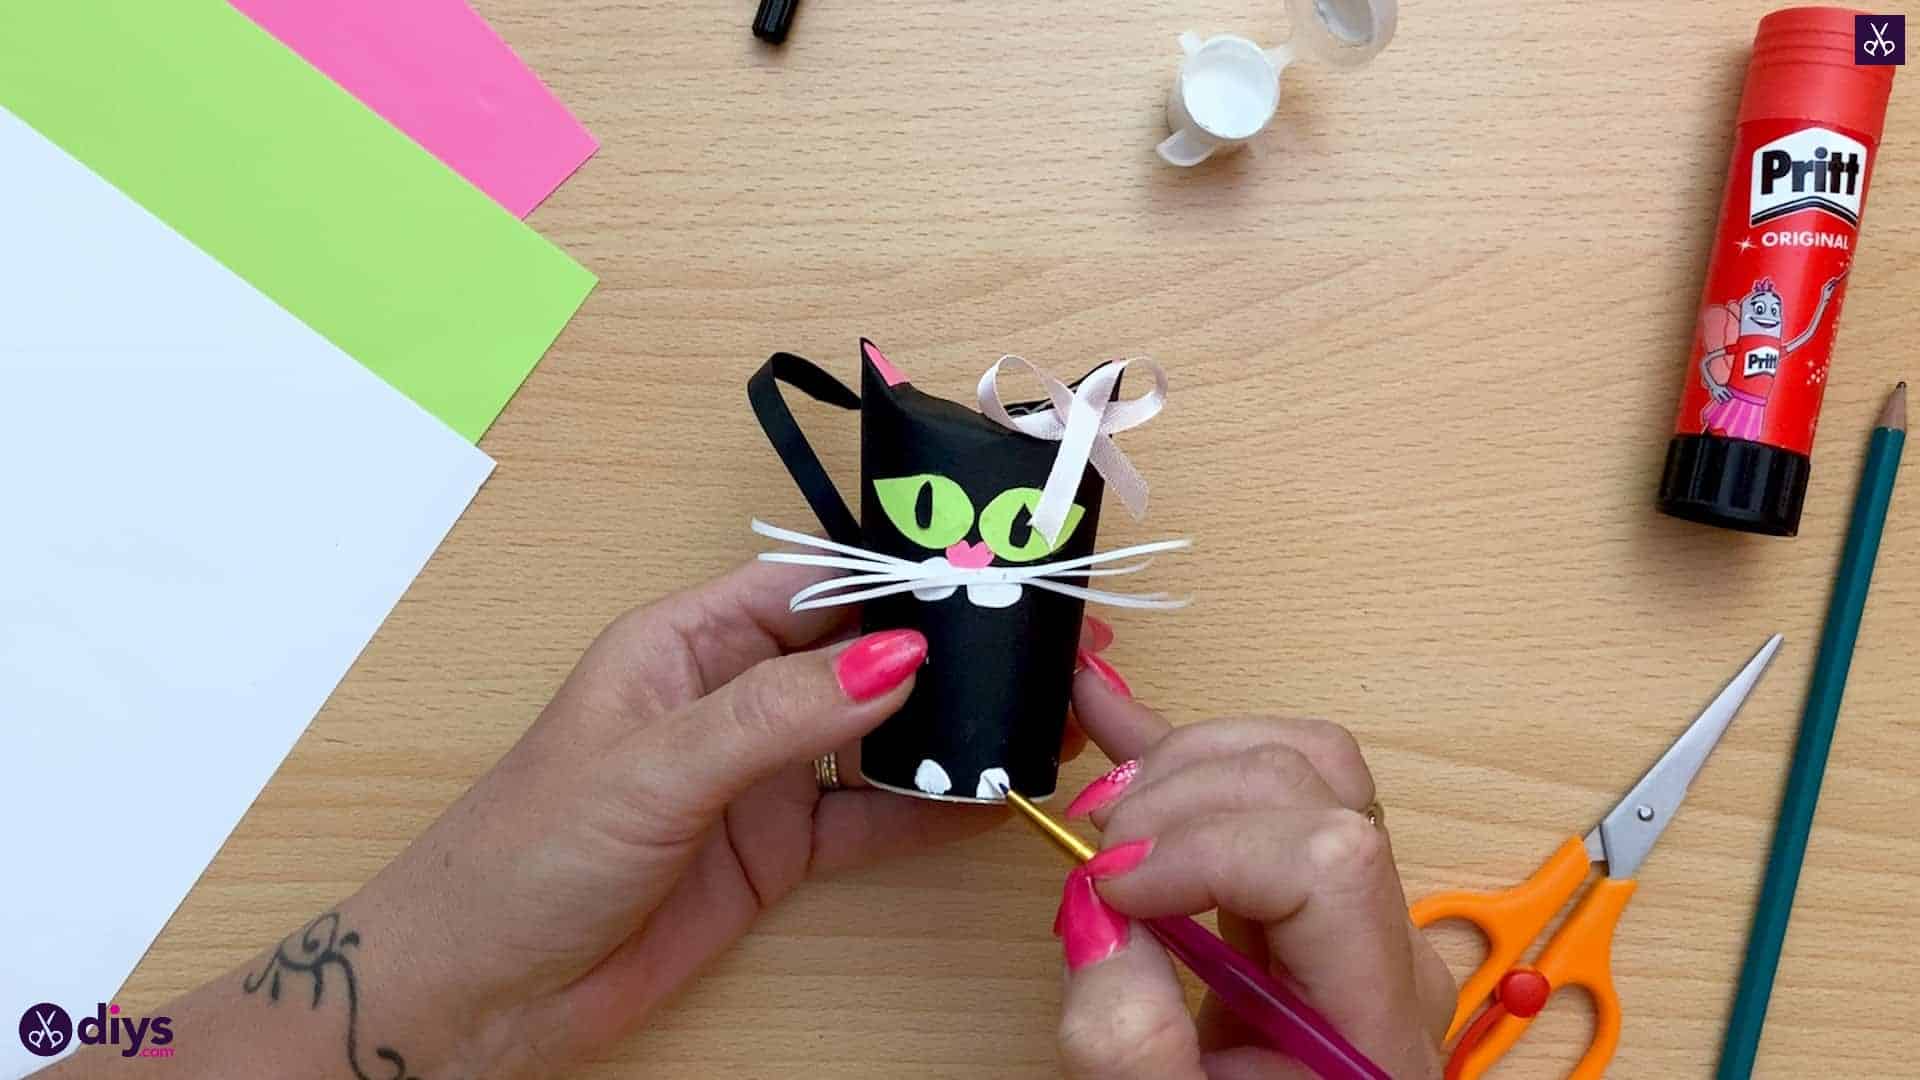
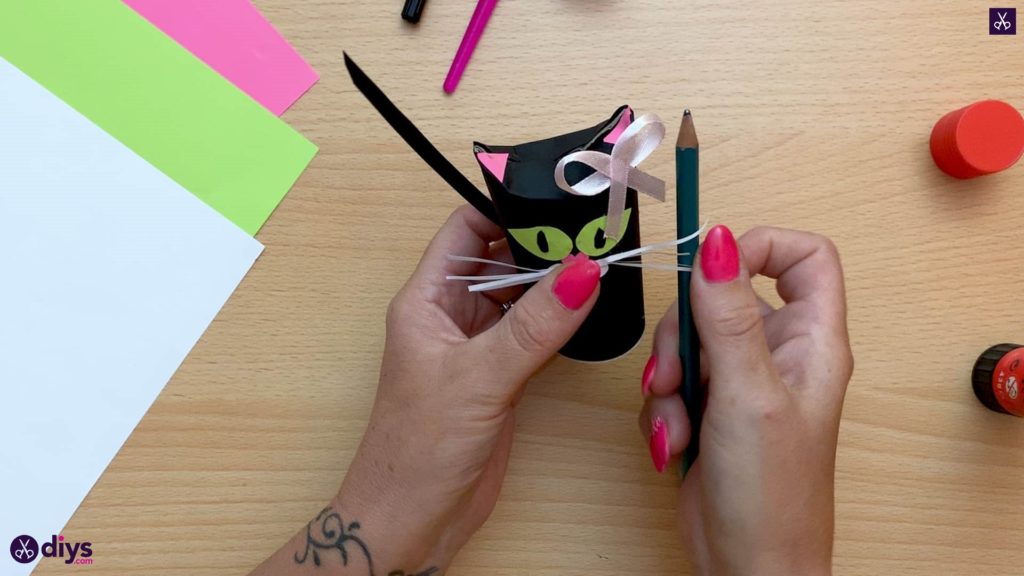
Step 14: whiskers
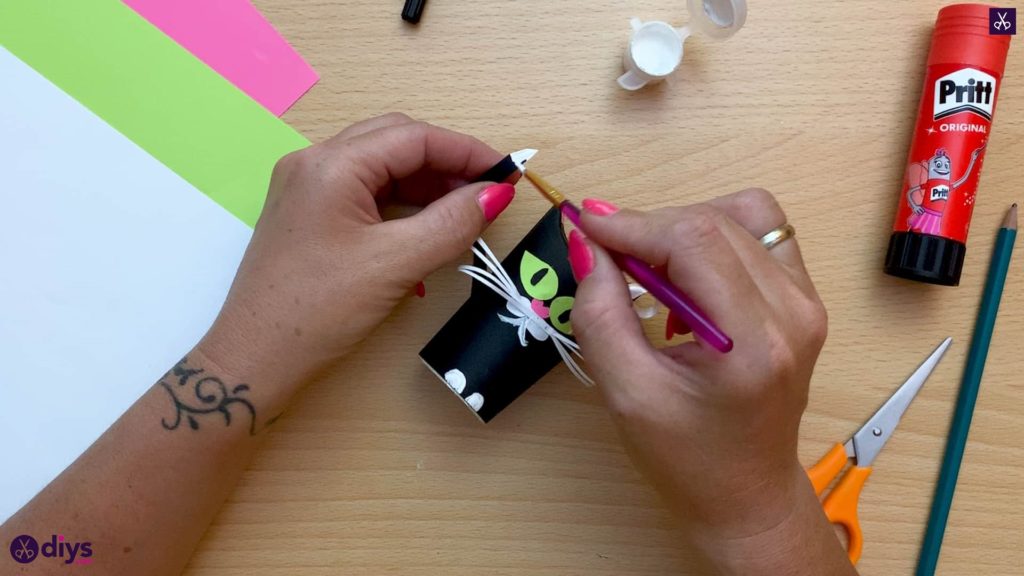
Give your cat some extra character by curling its whiskers around your pencil. I did this towards the back so the whiskers didn’t stick out the front like the cat was frightened. I used the pencil to give the cat’s tail a bit of curl while I was at it as well.
Step 15: paint
Use your brush to paint little white paws on your cat near the bottom front of the toilet roll.
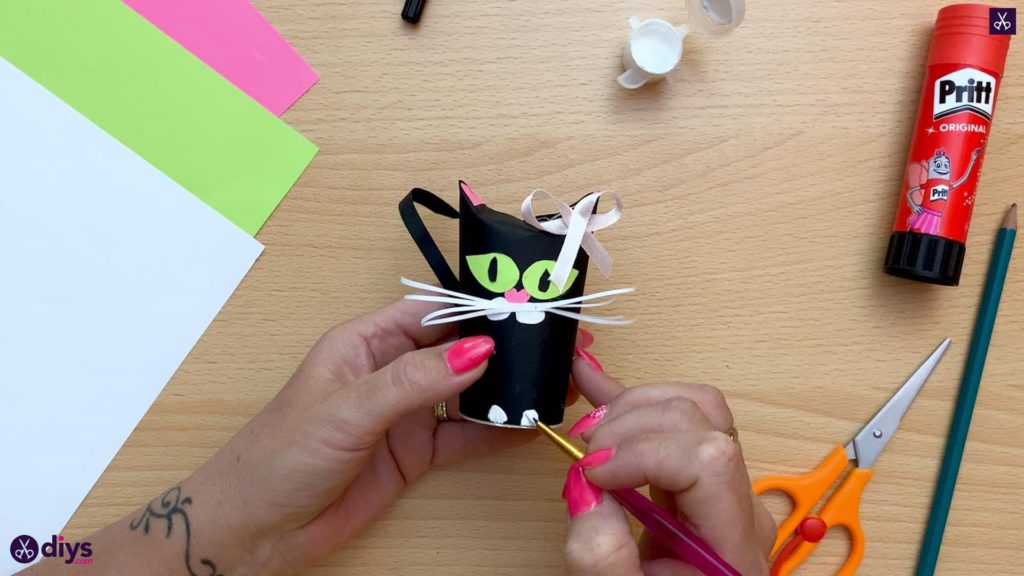
Step 16: chin and mouth
Paint two curved white lines below the cat’s white muzzle to make a little chin and mouth.
Step 17: little details
Paint a little white patch on the tip of the cat’s tail for some extra detail.
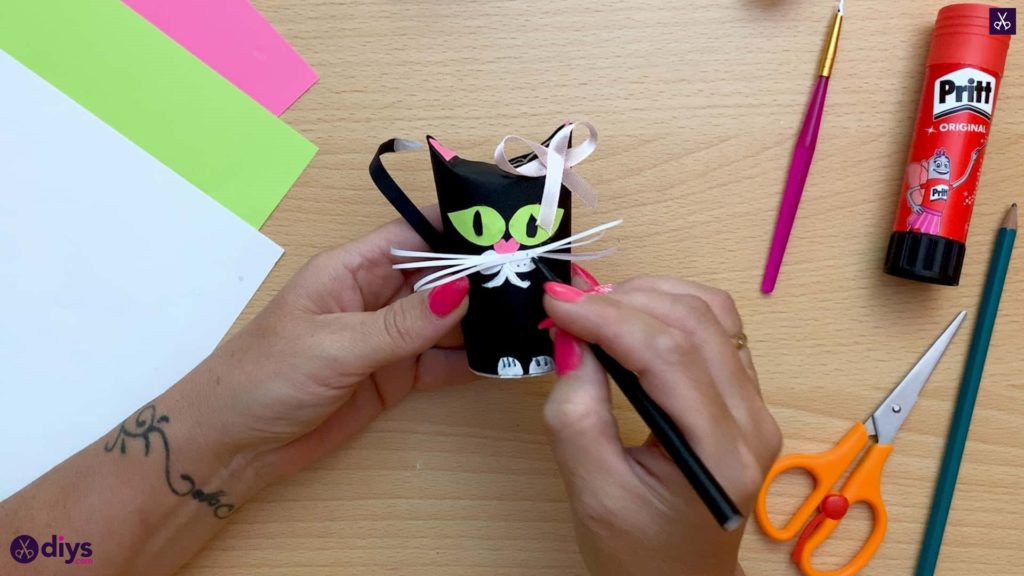
Step 18: finished
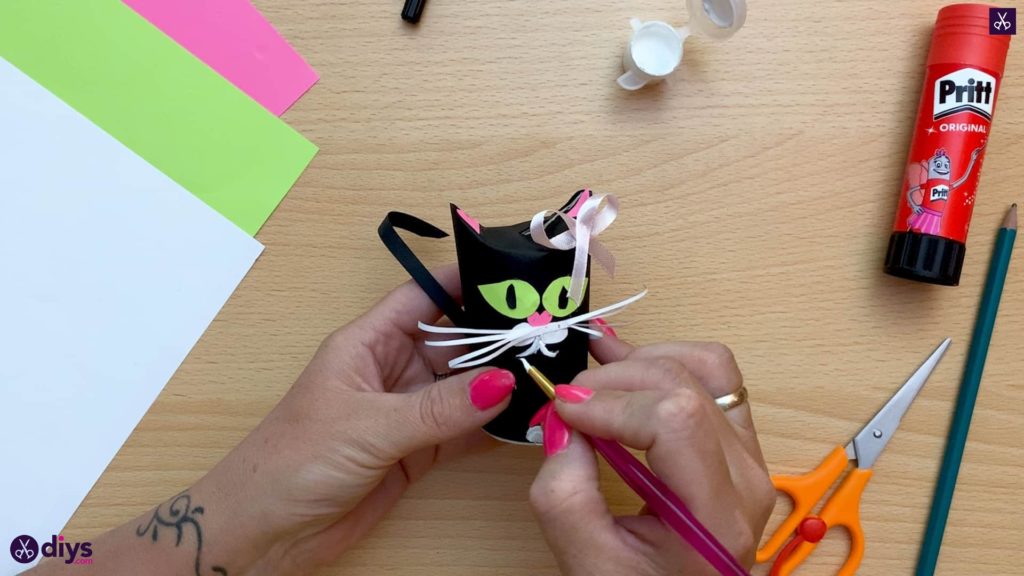
Use your black felt tip pen to take the detail even further by drawing toe lines on your cat’s paws and little whisker dots on its white muzzle.
There you have it! Your little black cat is complete. Just in case you’d like to try this project out for yourself, here’s a fantastic tutorial video to help you!