DIY Simple Cat Ears Headband
Updated on January 14, 2021

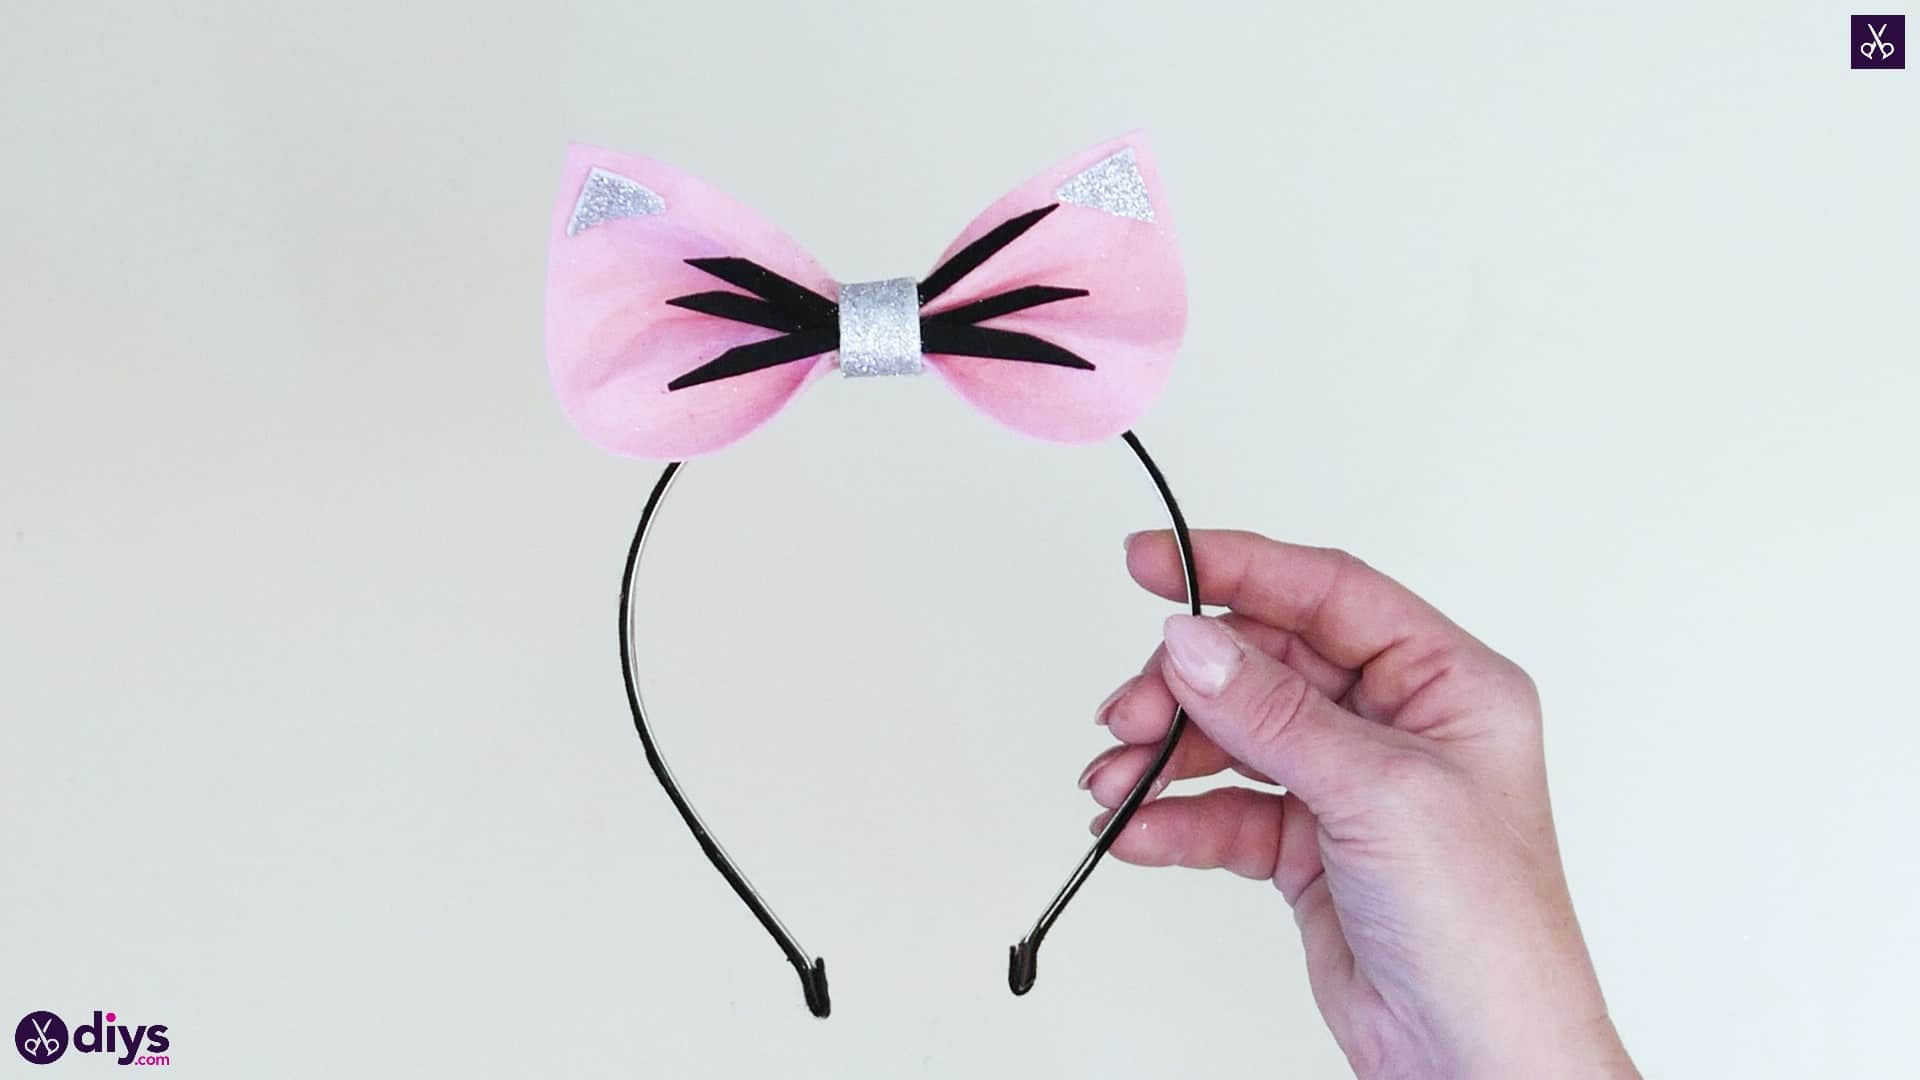


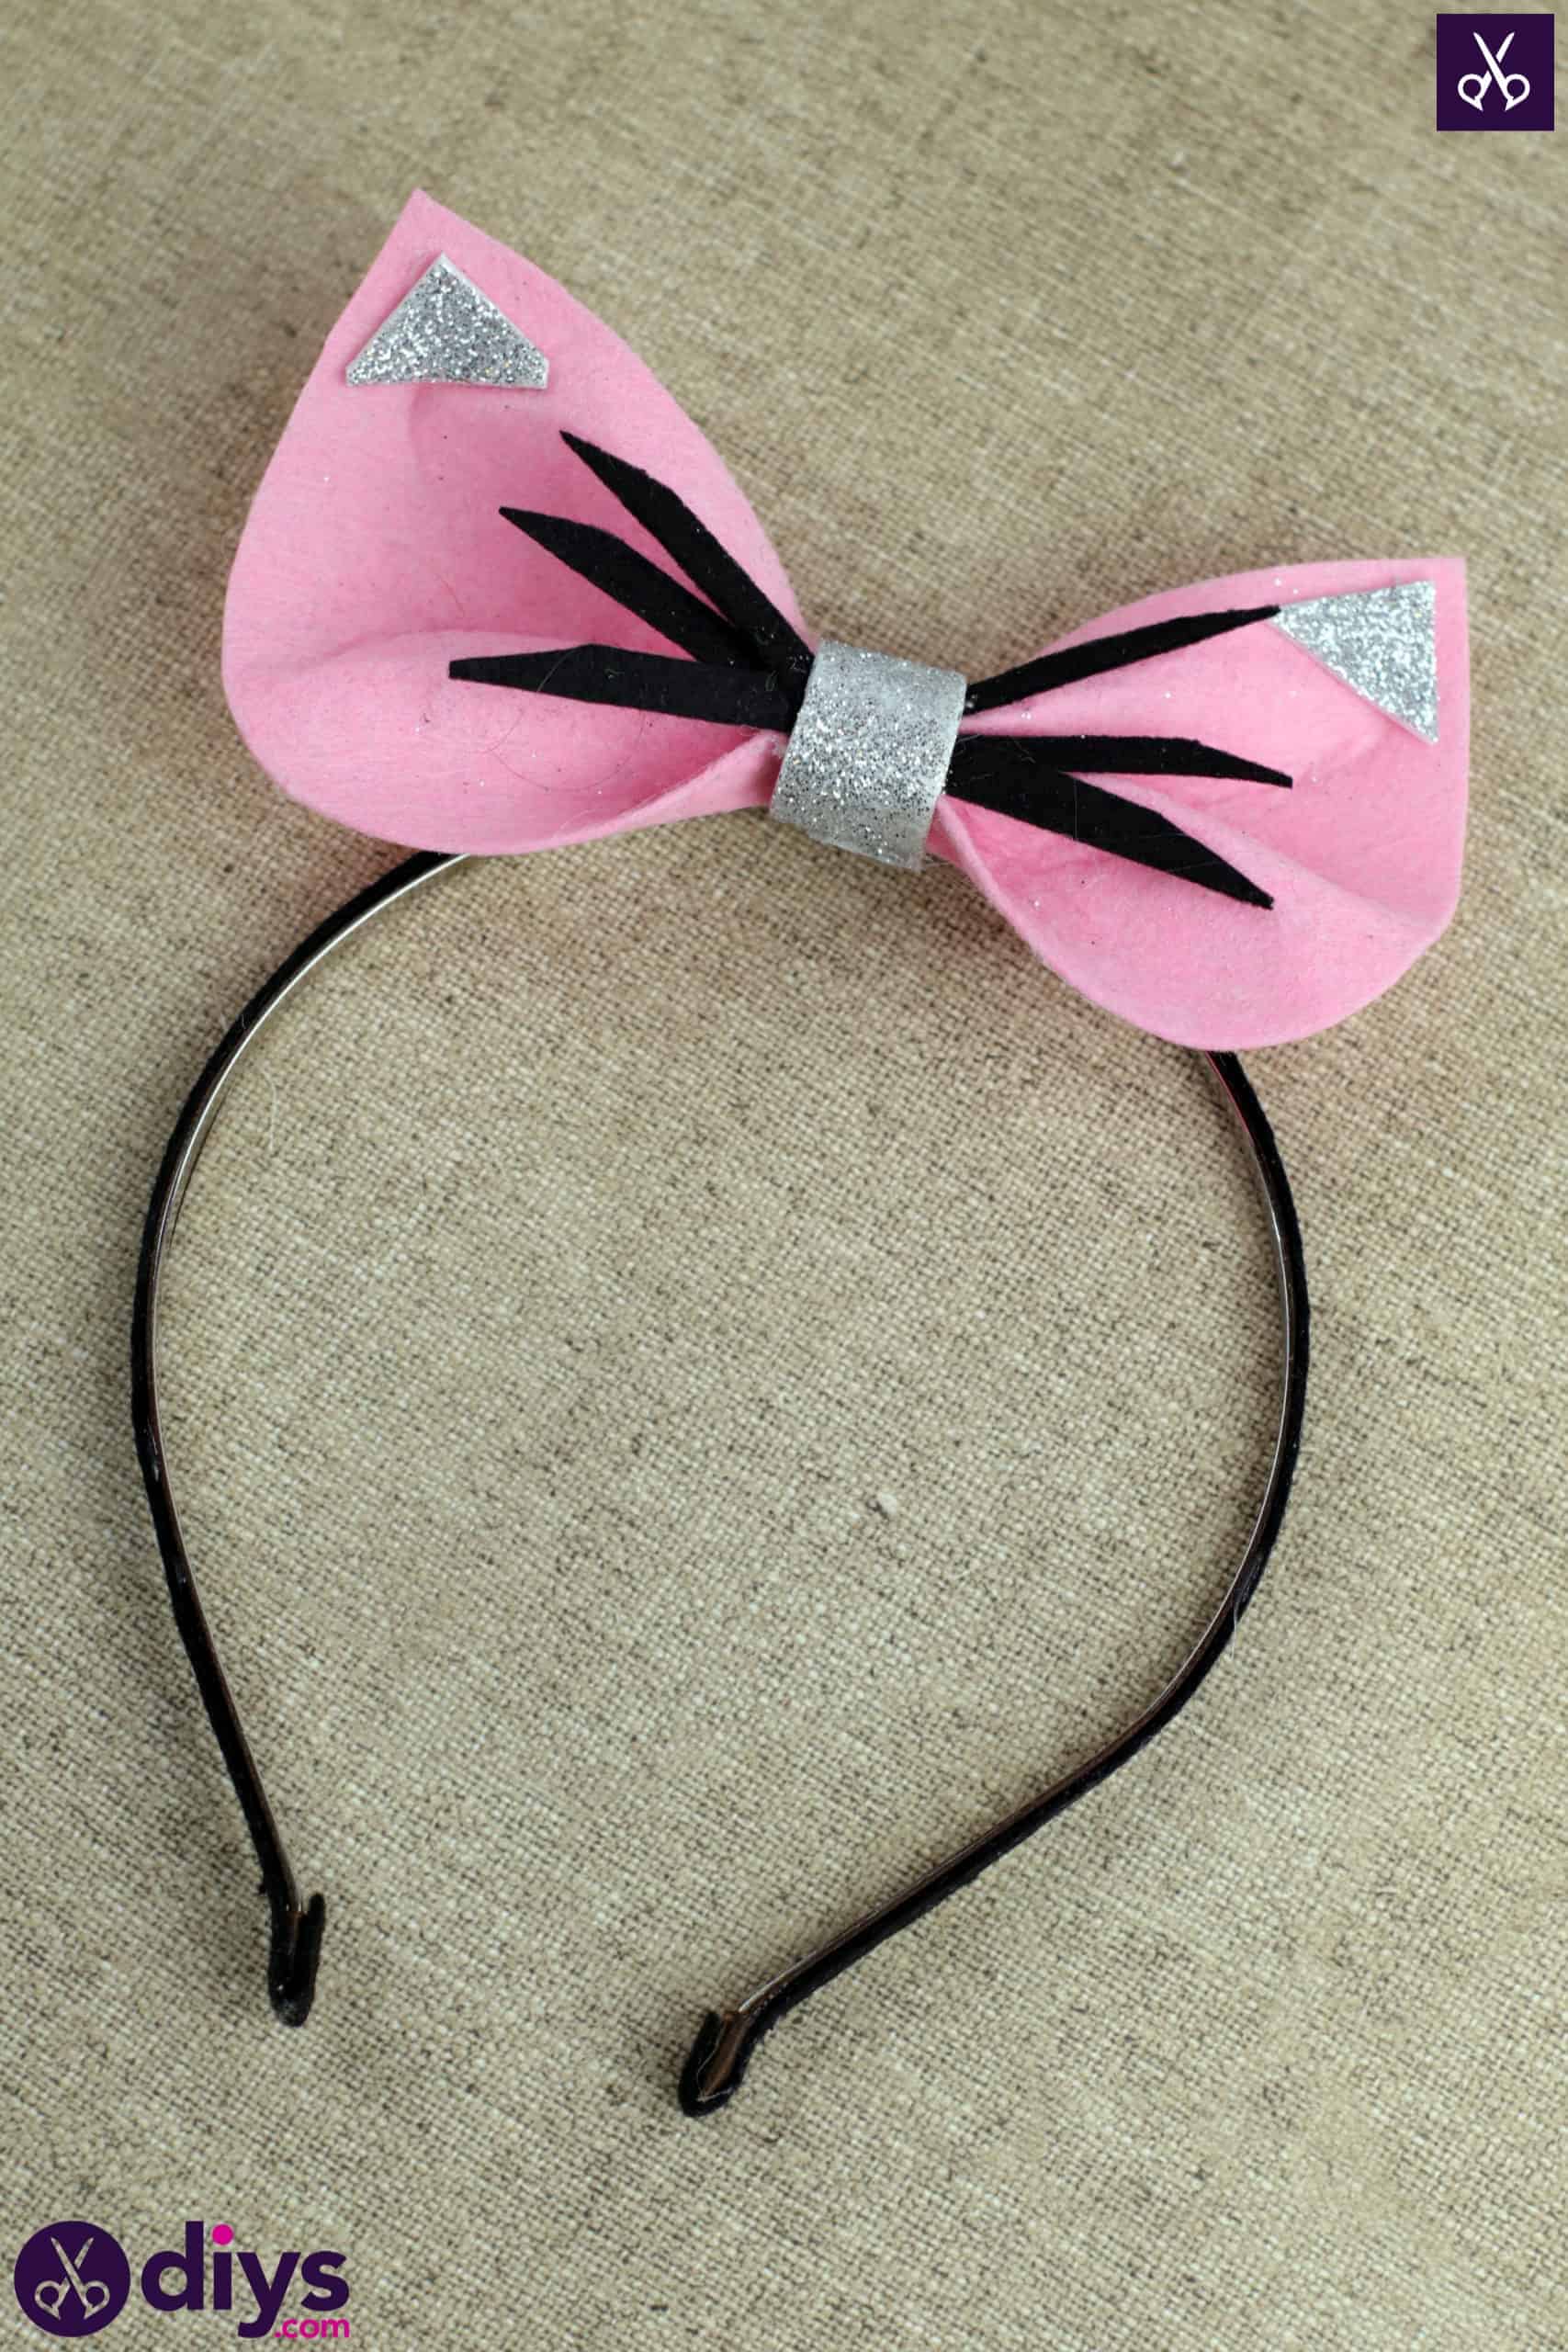
If you have a daughter or a kid’s party coming up, or just love to draft cool things, then consider trying this DIY simple cat ears headband! This step by step tutorial will show you how.

Check out these step by step instructions complete with photos! If you’d rather follow along with a video tutorial instead of written words, scroll to the bottom of this post to find just what you’re looking for.

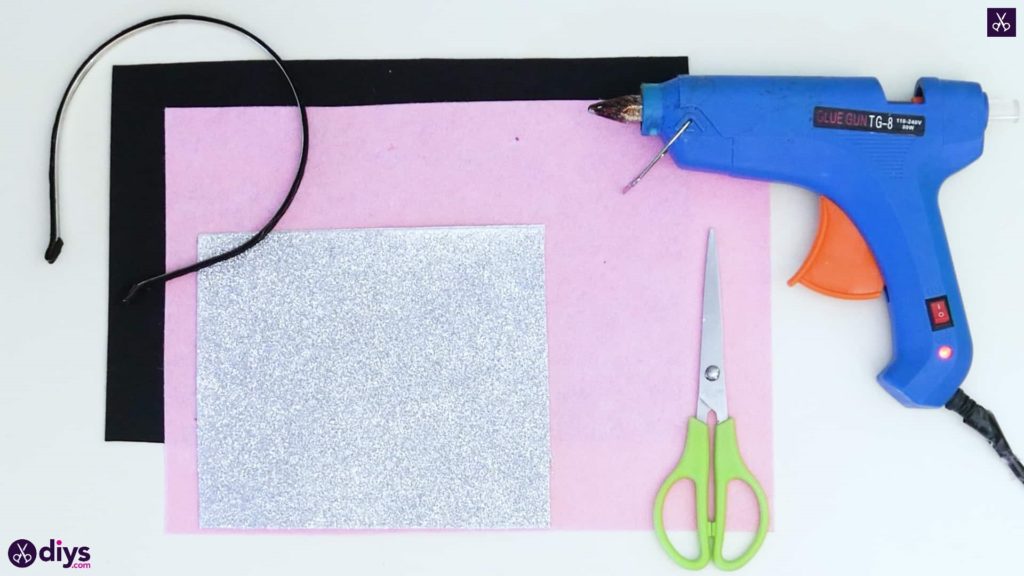
For this project, you’ll need:
- Felt (black and pink)
- A hairband
- Hot glue
- Scissors
- Sparkly silver foam paper

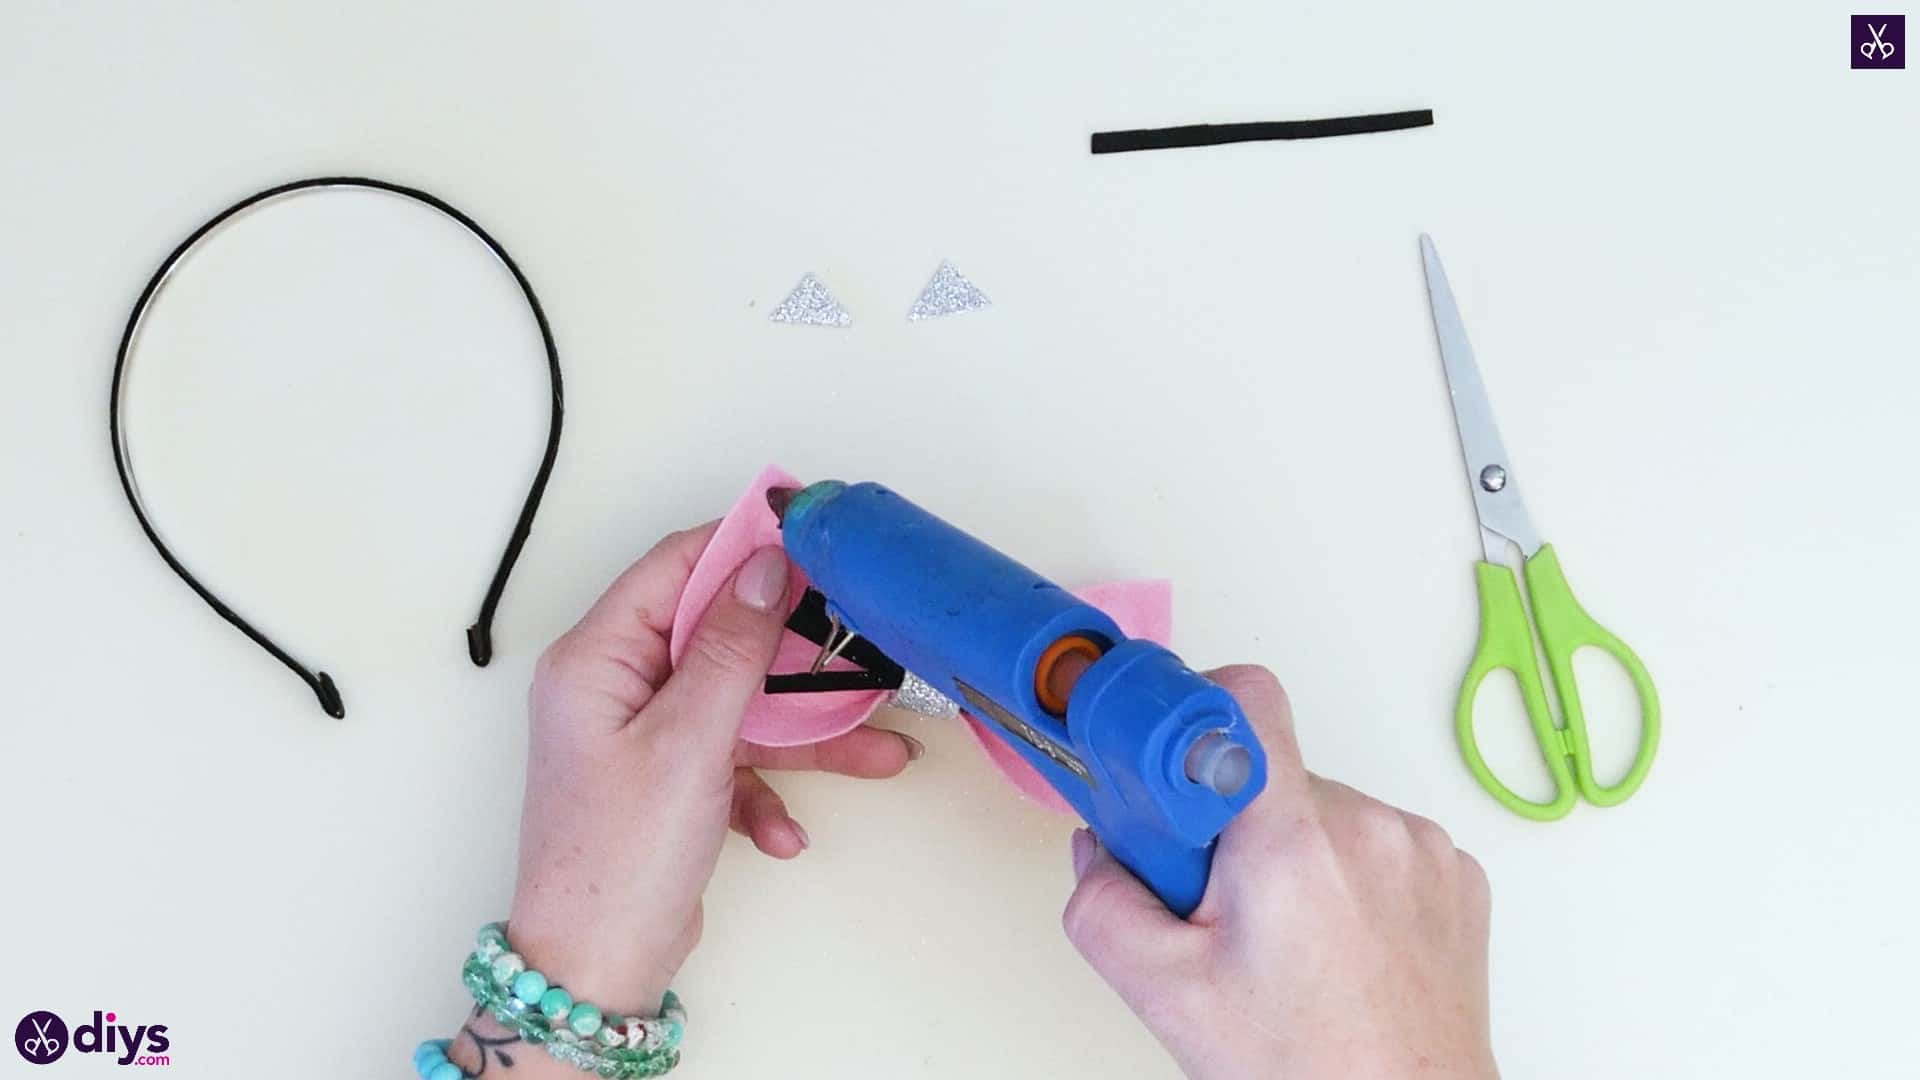
Step 1: Gather your materials!
When working with hot glue, timing is everything. So, be sure to have everything you need first.
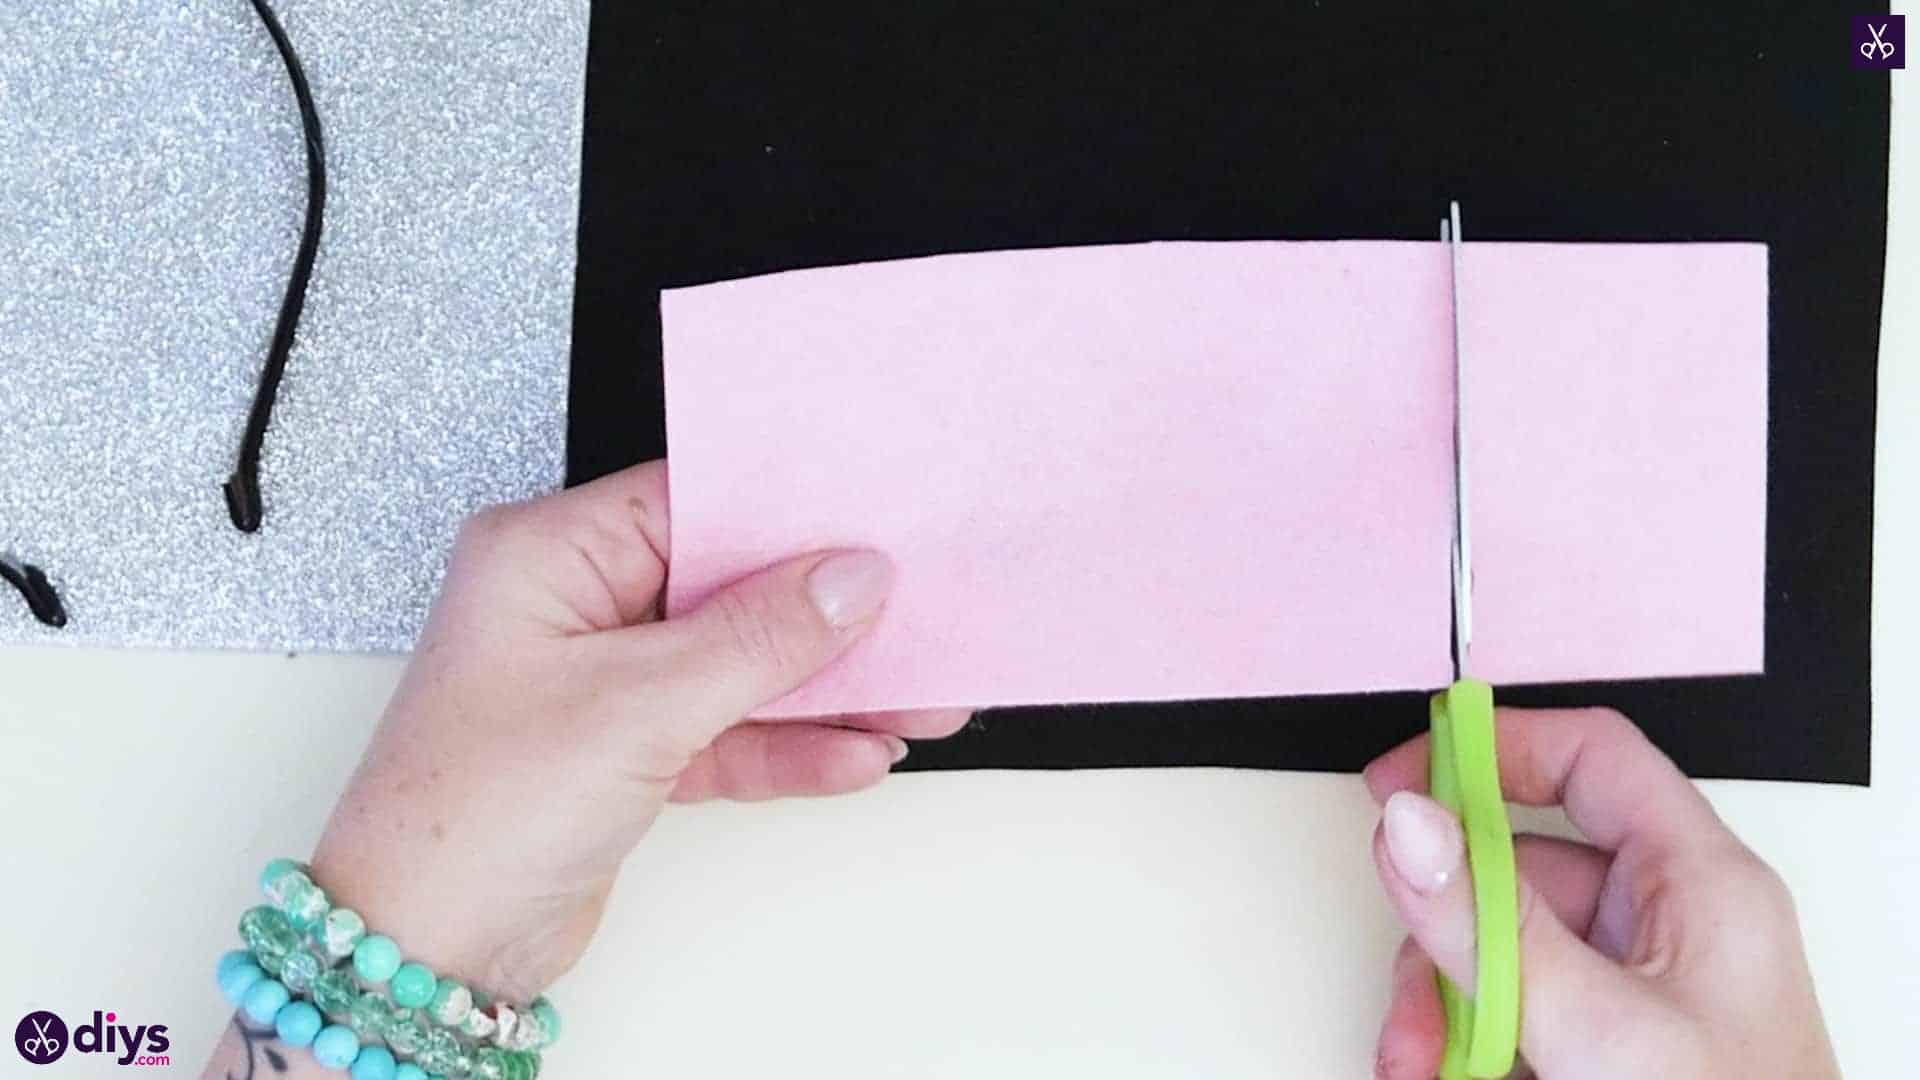
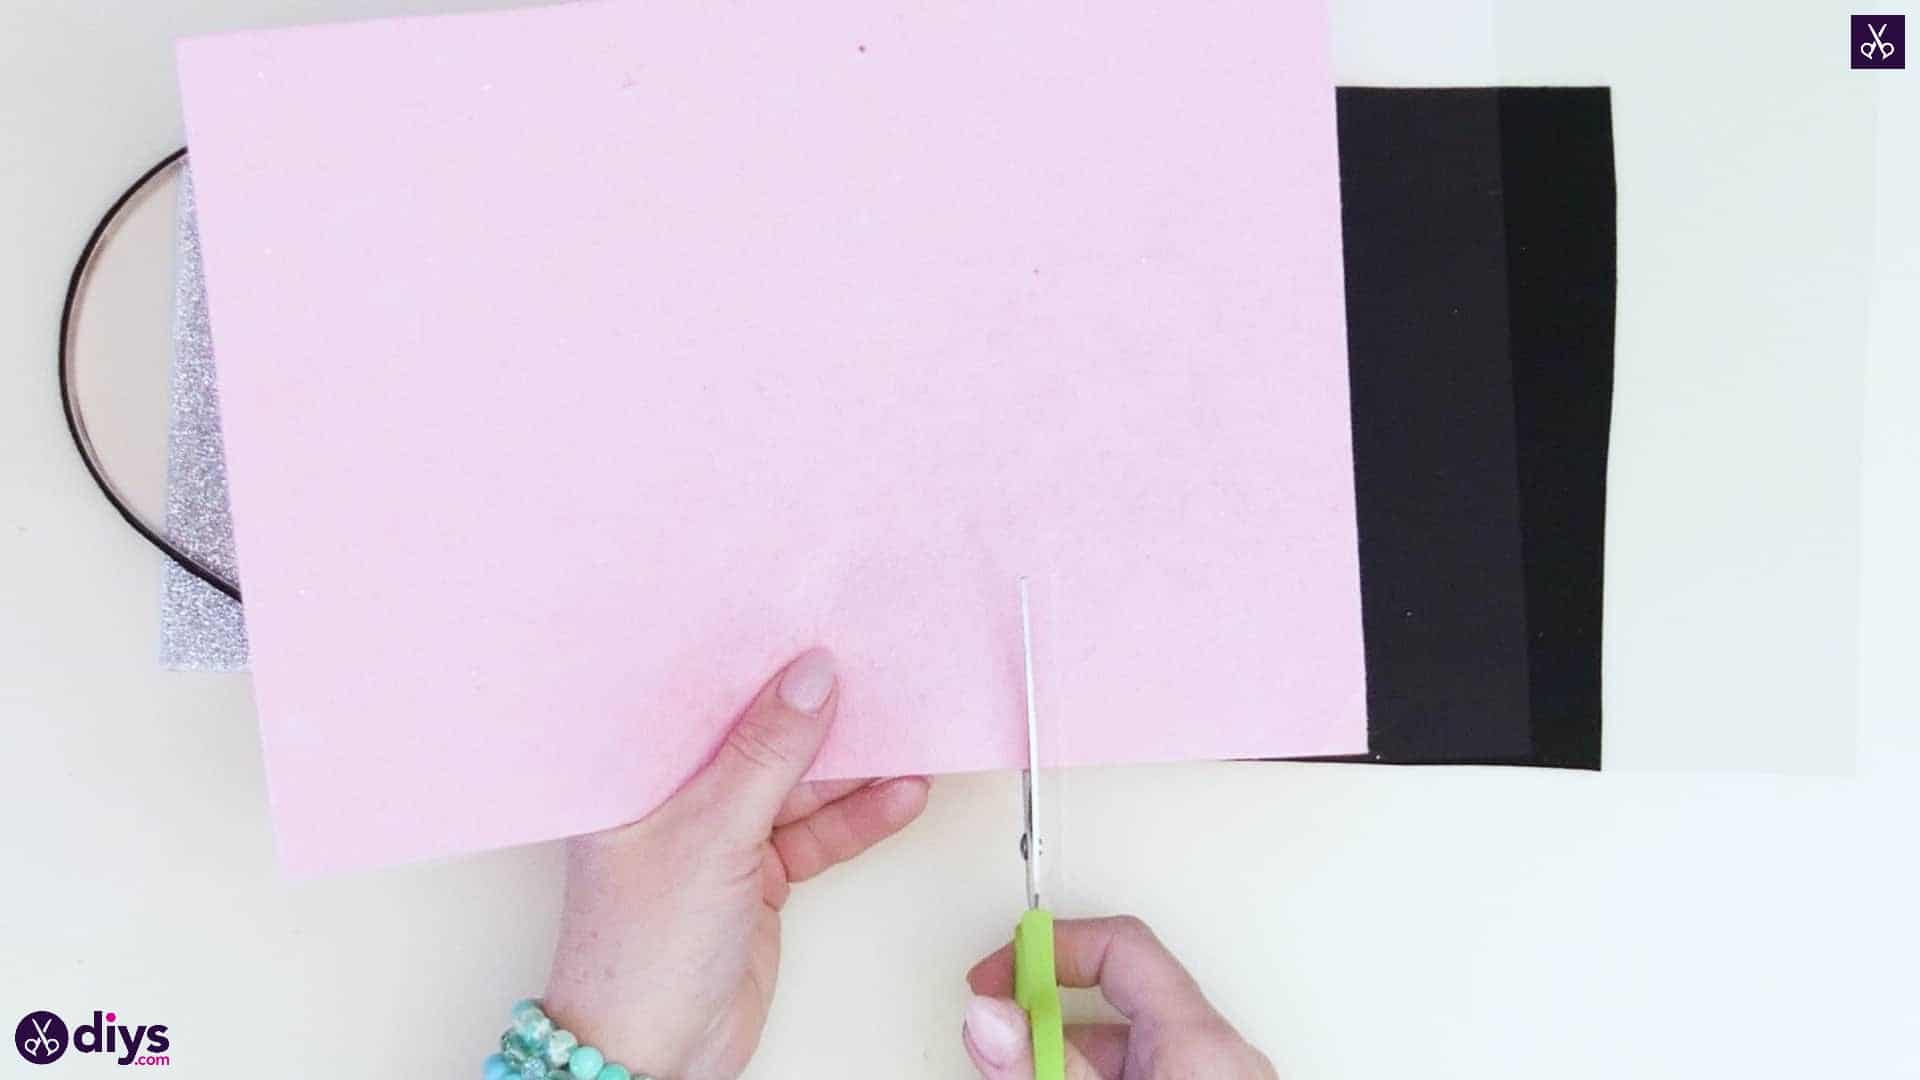
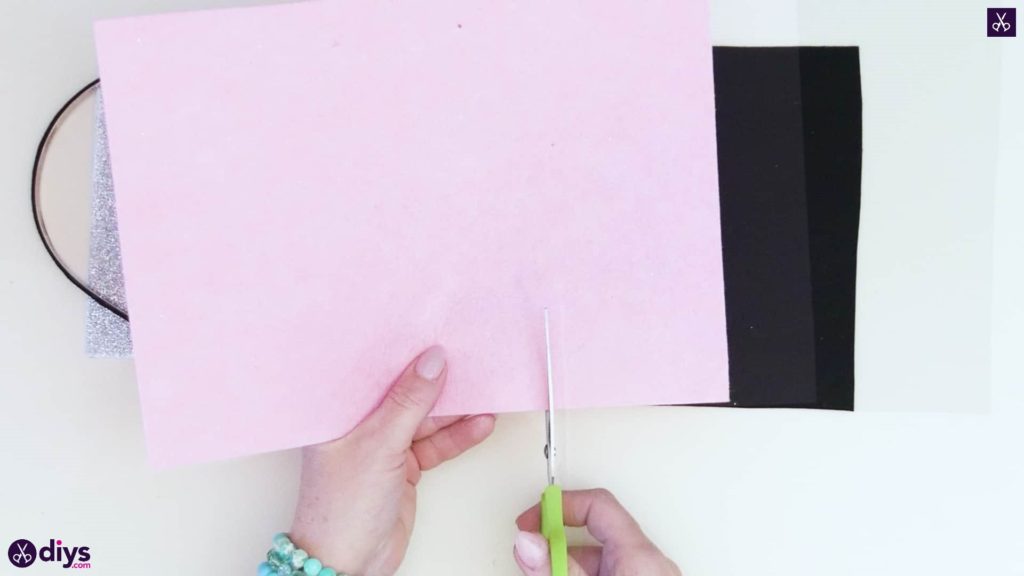
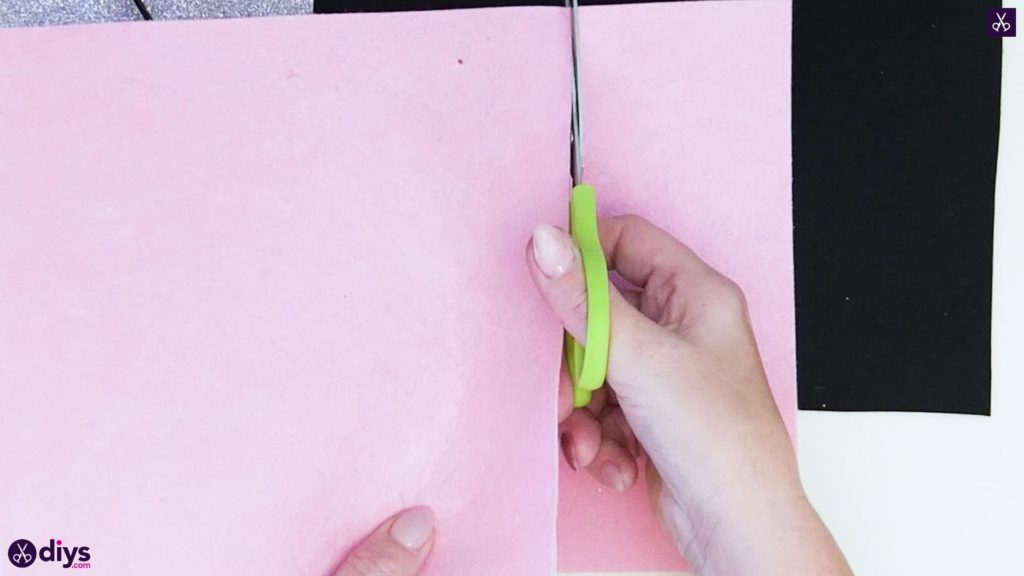
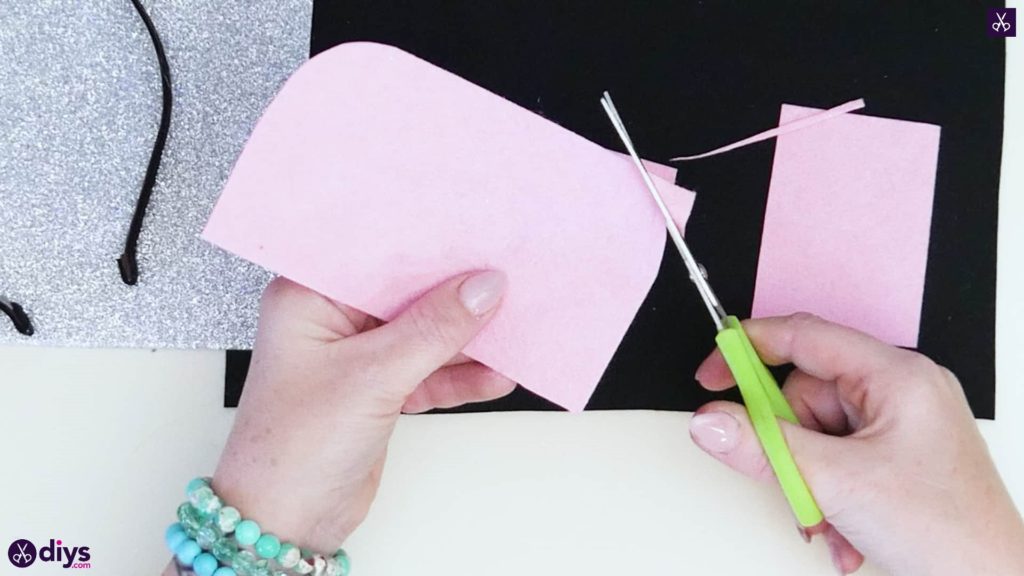
Step 2: cut pink felt
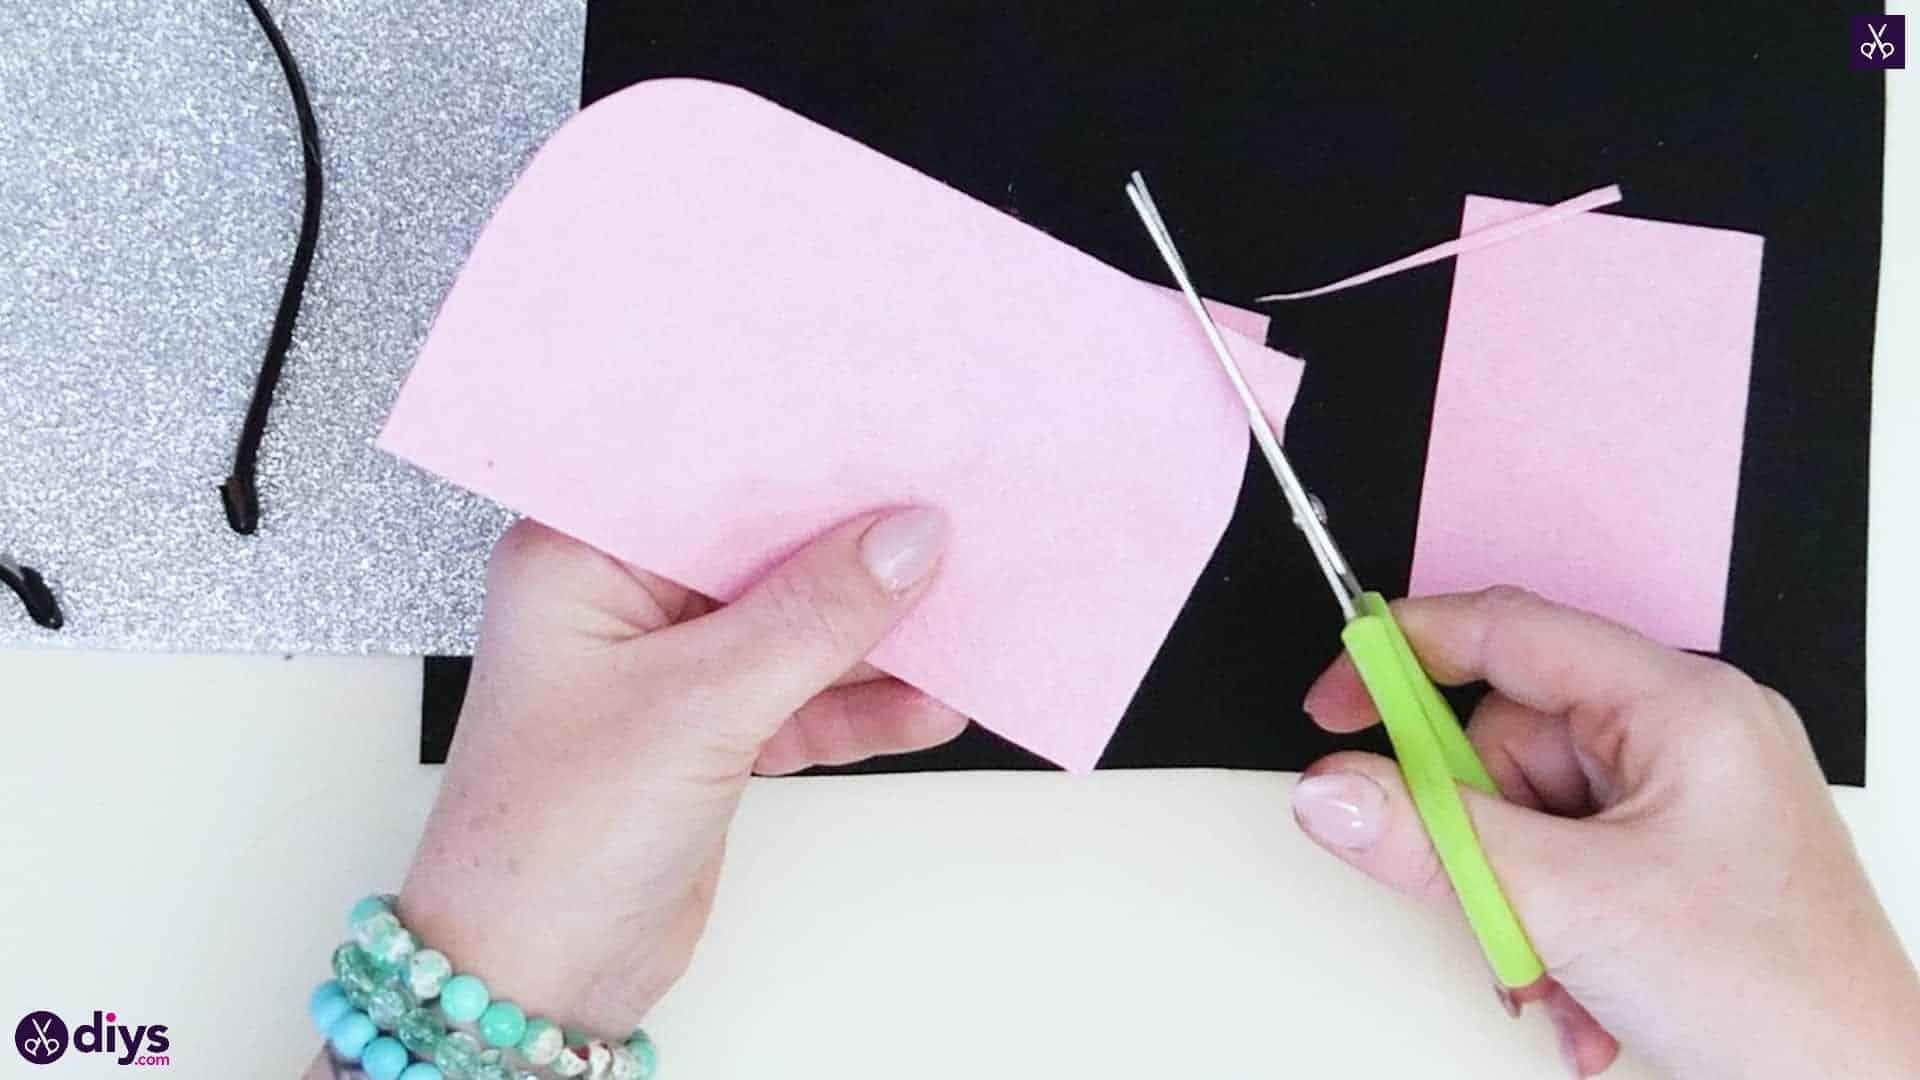
Cut a rectangle from your piece of pink felt that’s four inches wide and two inches tall. Once you’ve got that piece, use your scissors to round the top corners off so they curve softly rather than pointing at right angles. This will be the base of your cat ears. Set this aside until a little later.

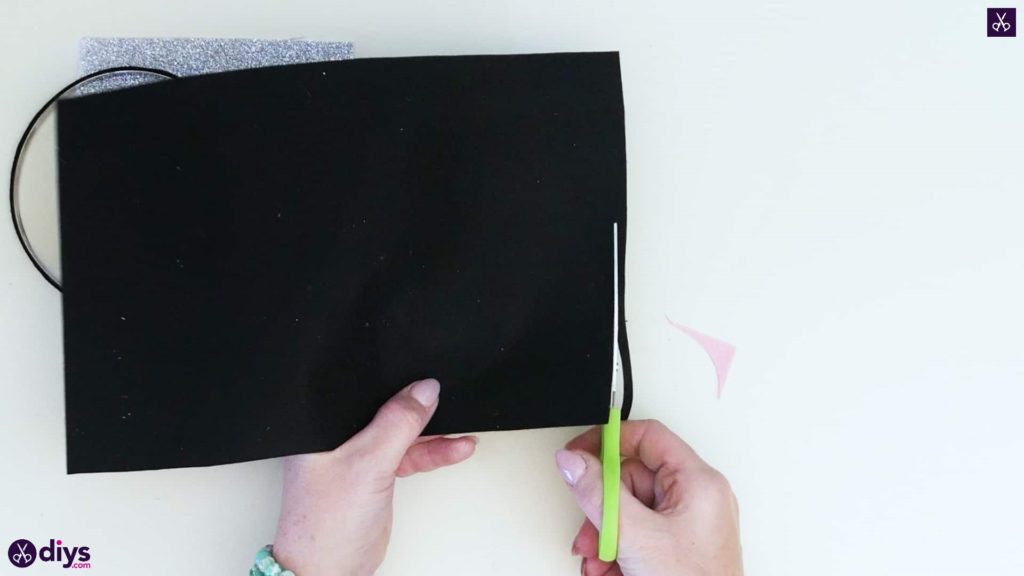
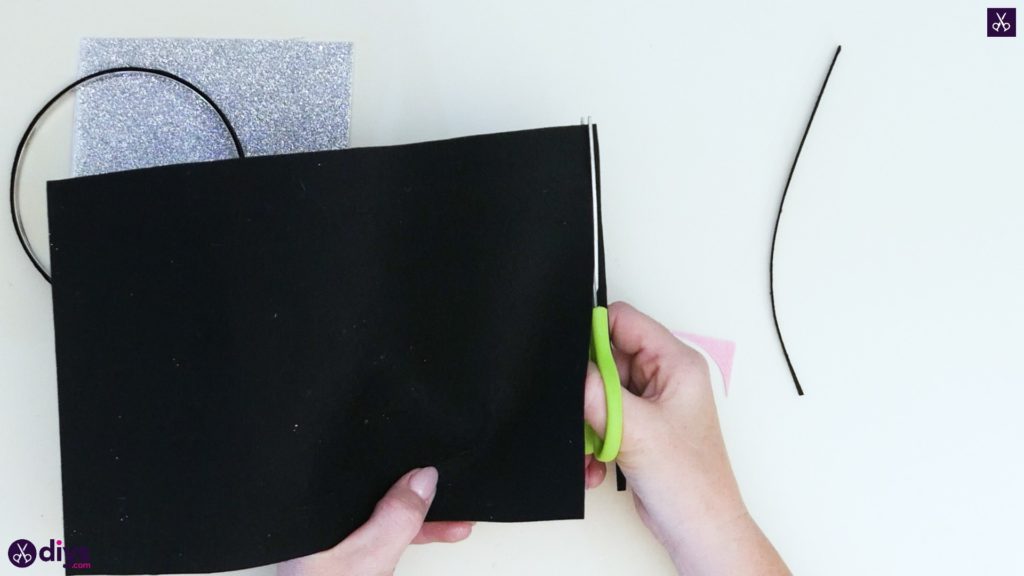
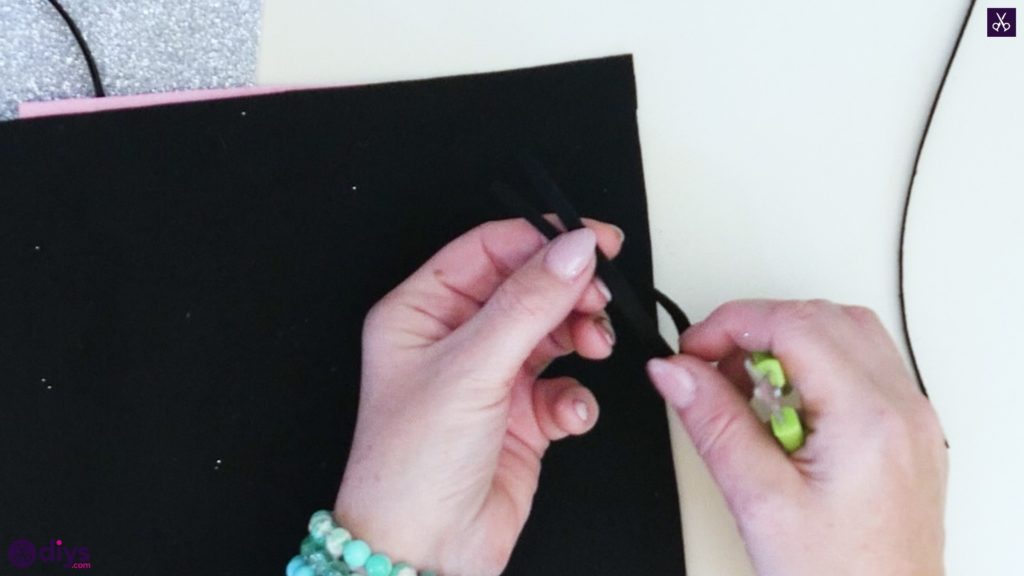
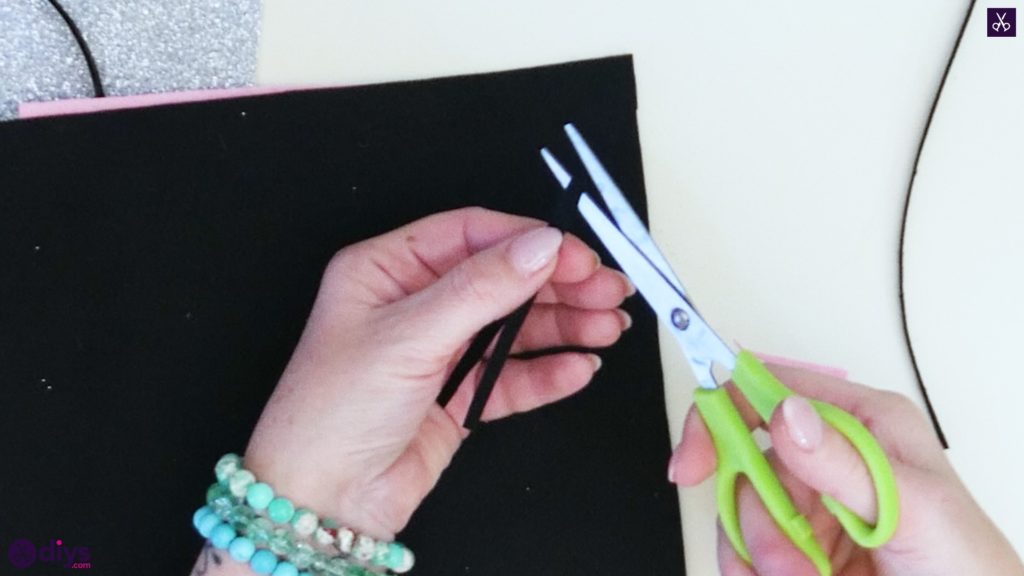
Step 3: cut black felt
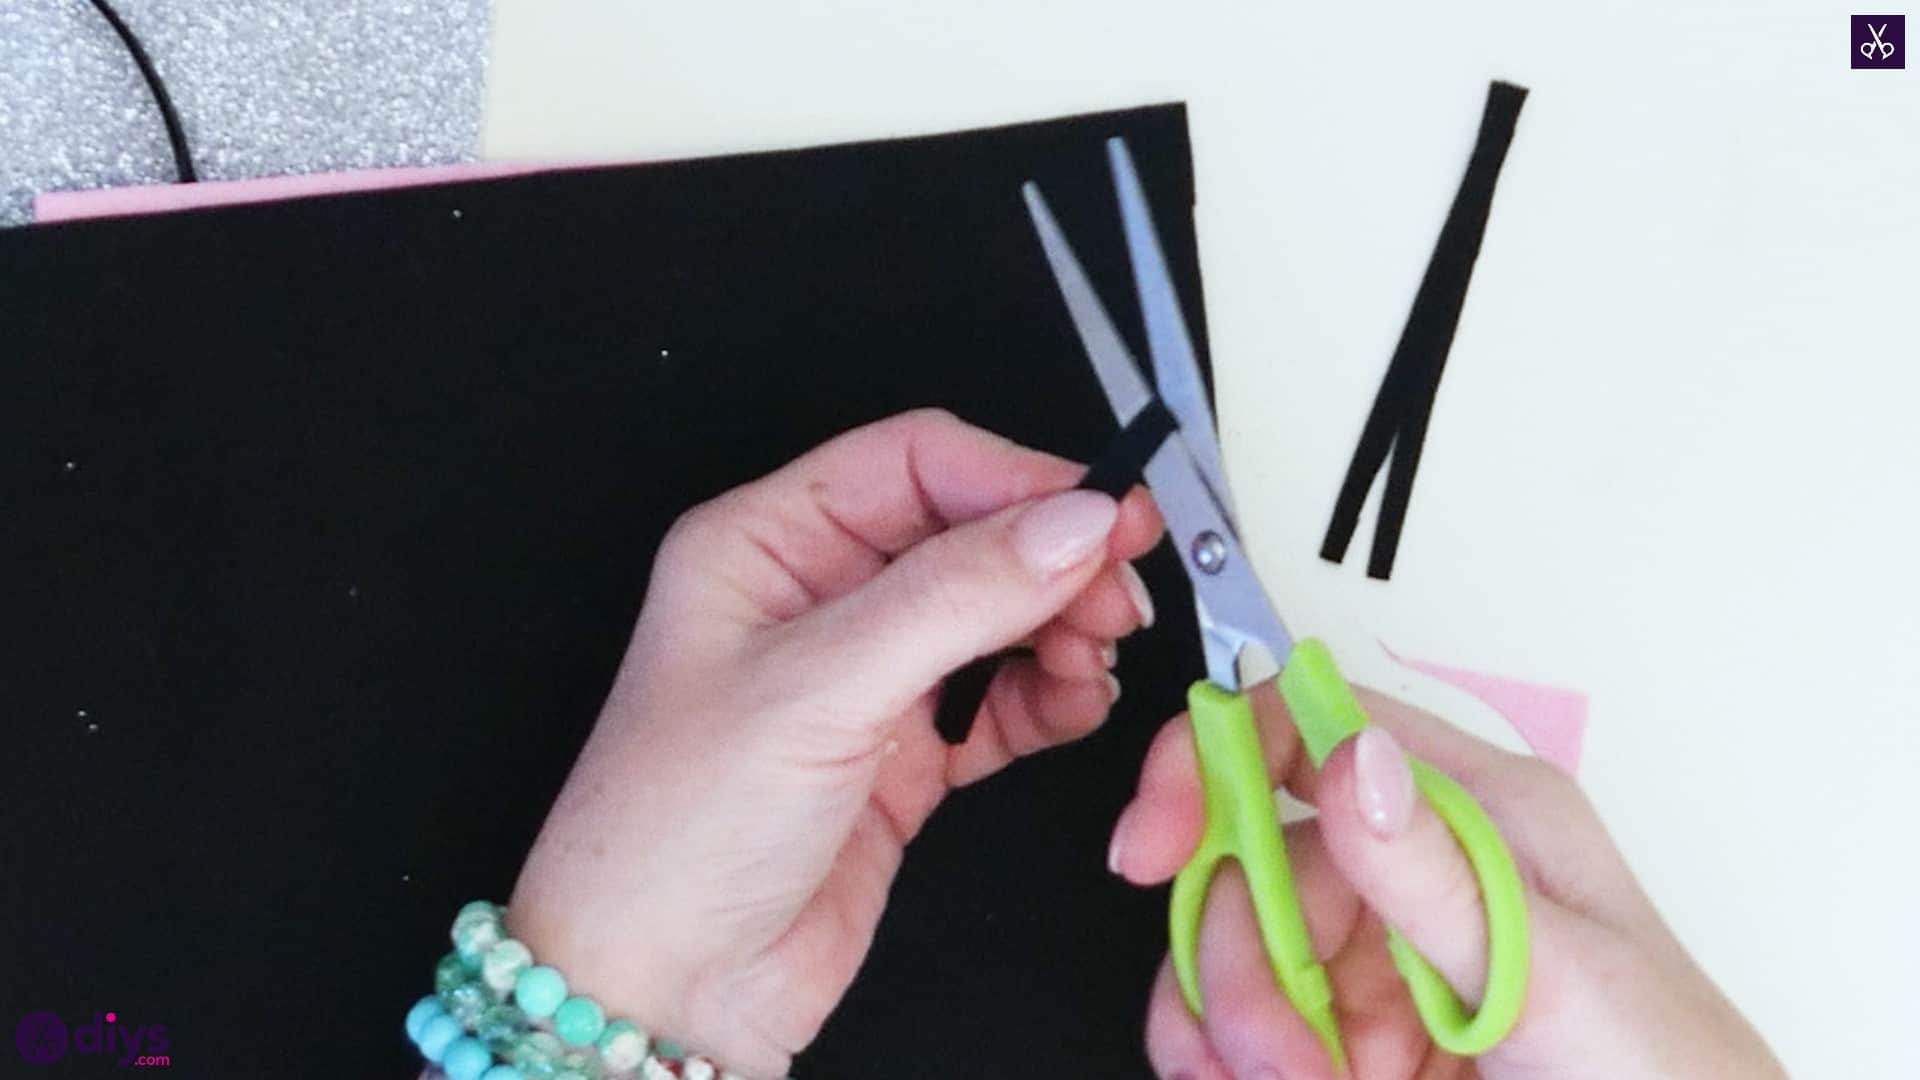
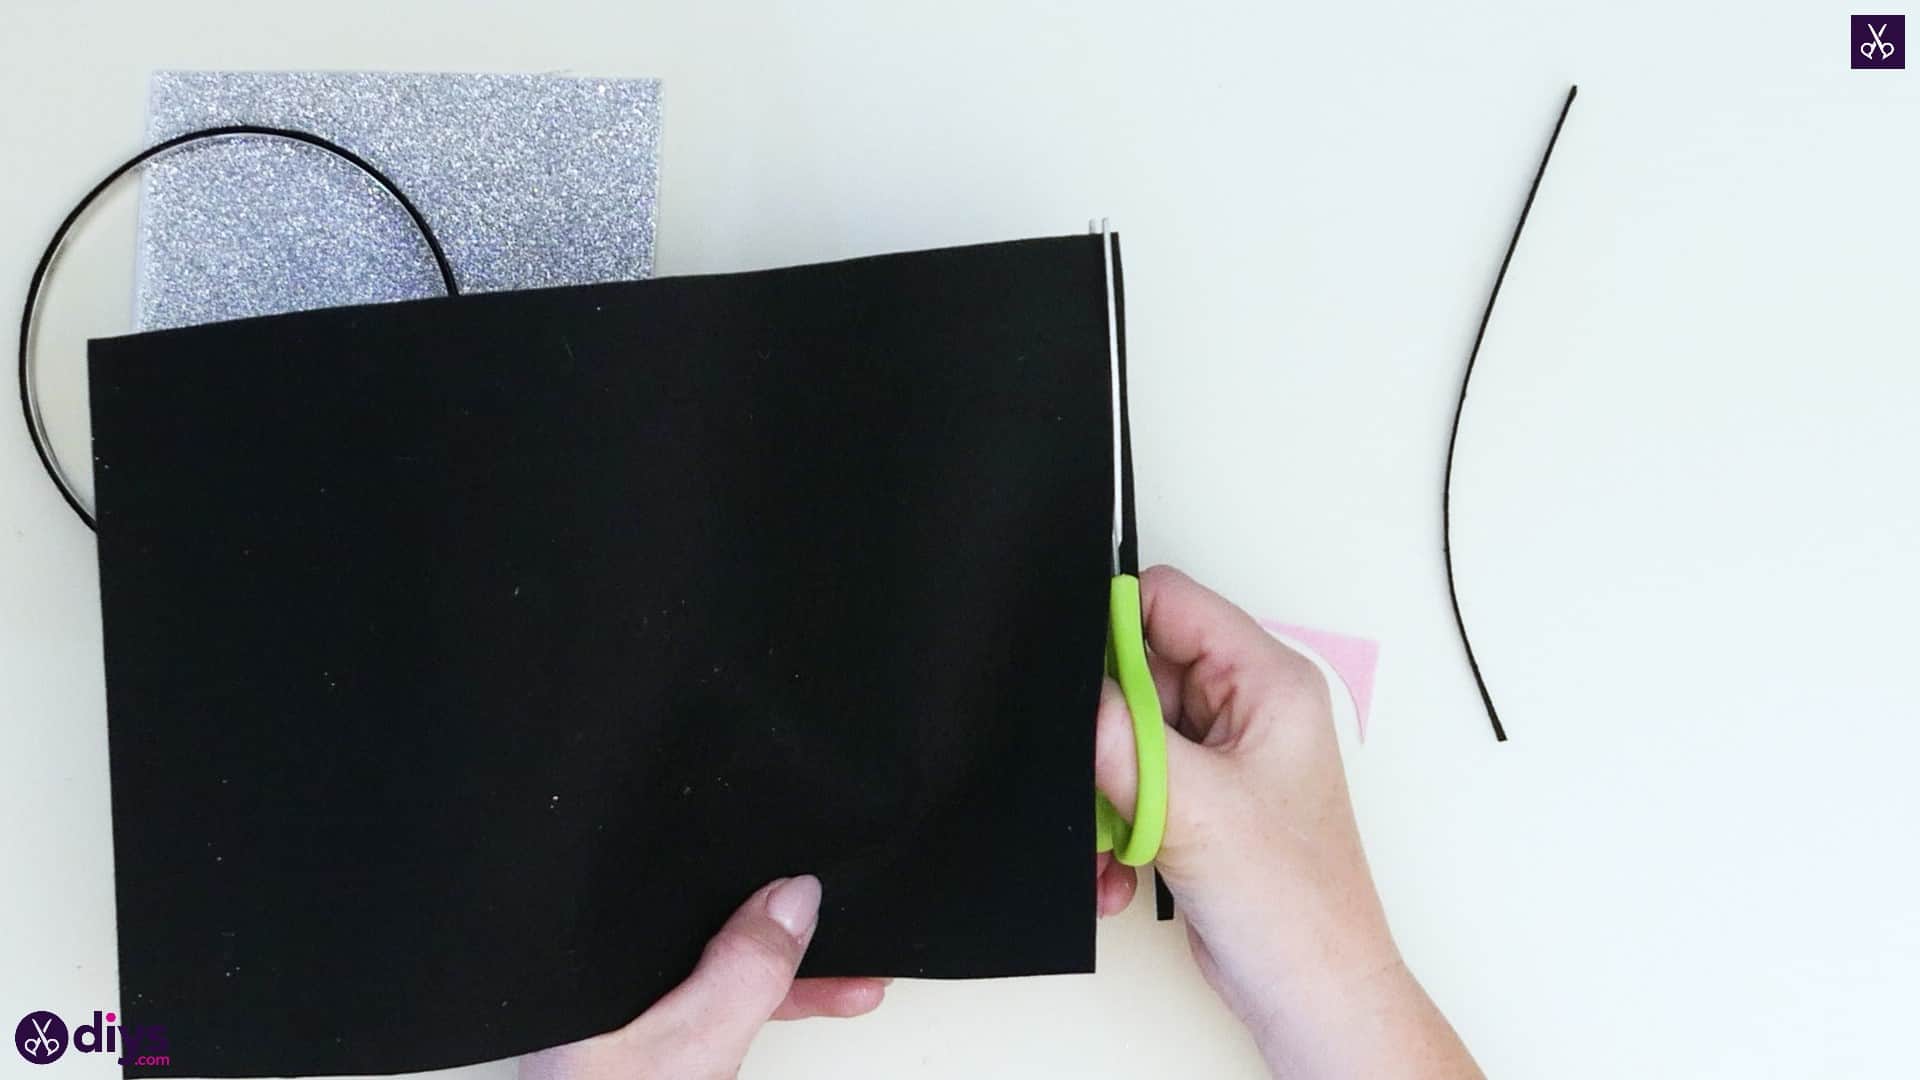
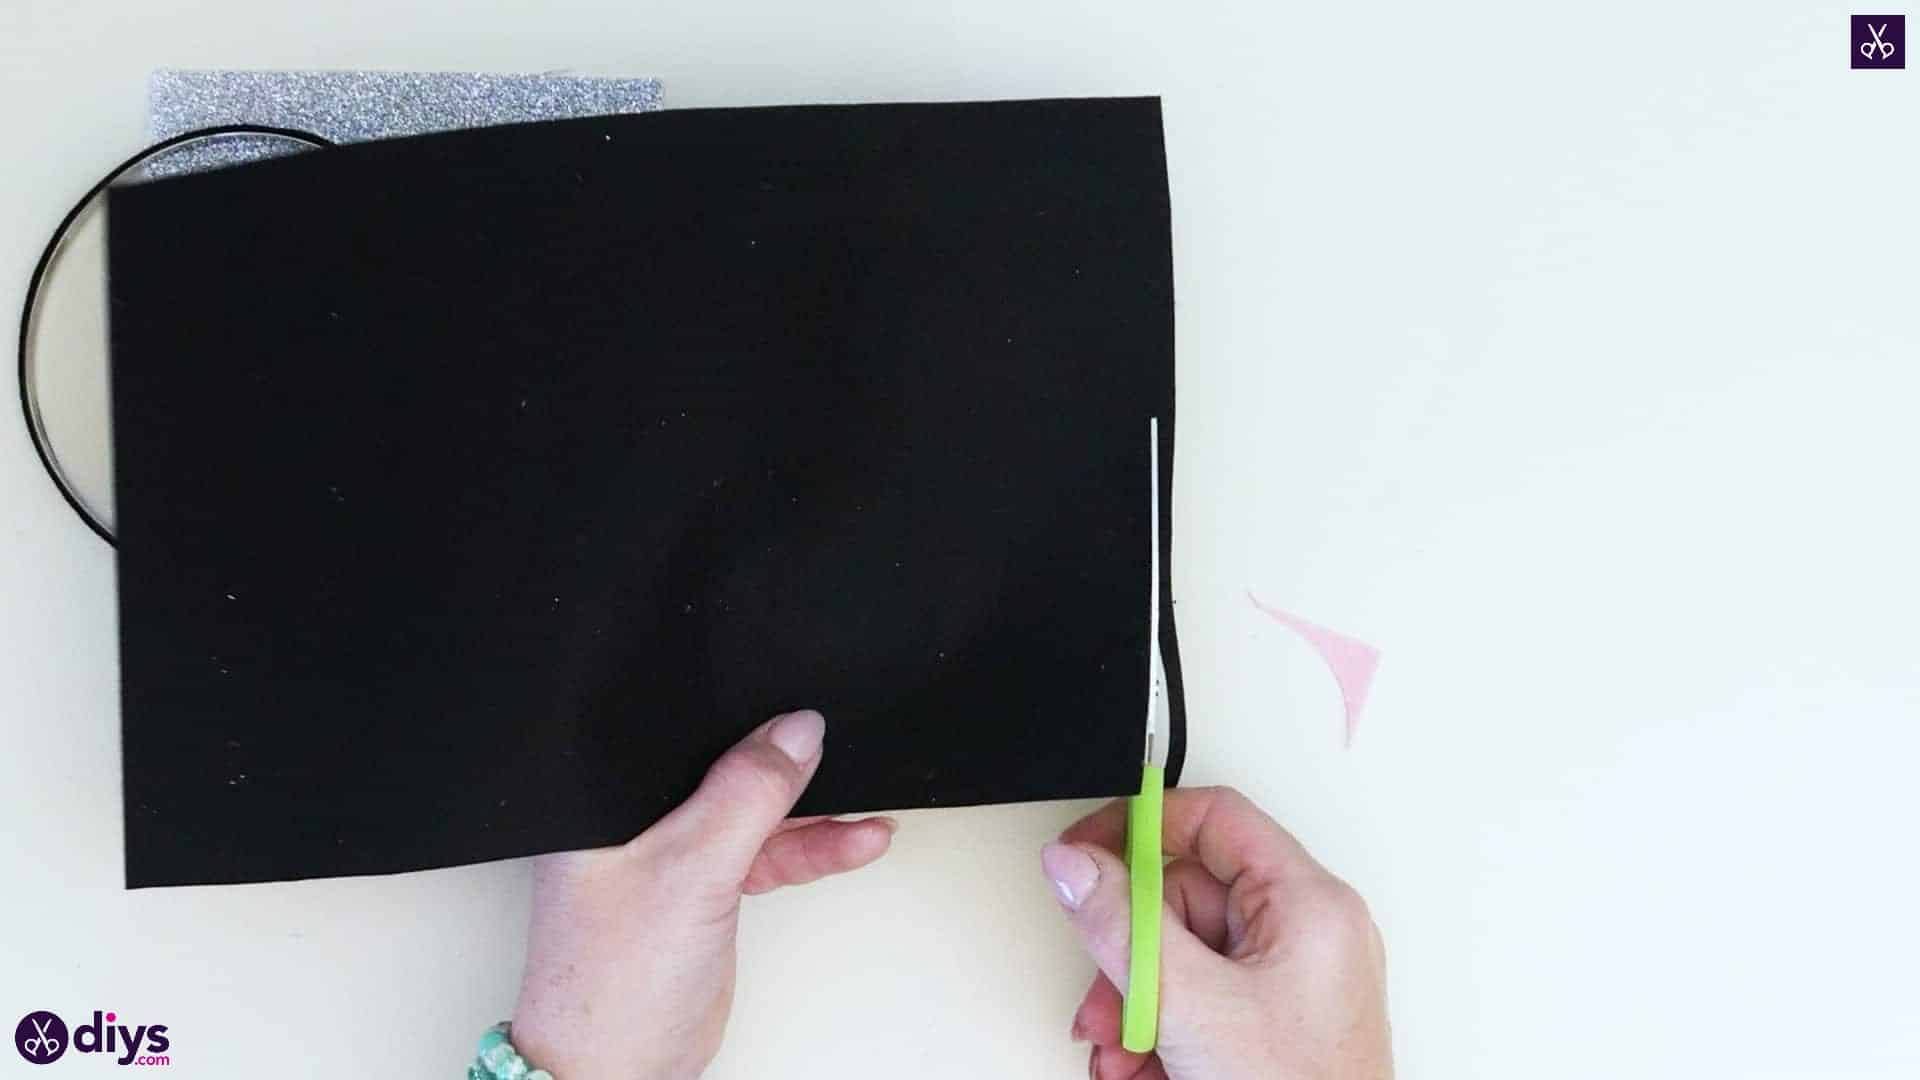
Cut your whisker pieces! Of course, you’re only making a headband and not a full costume, so these won’t actually go on your face, but they’re a cute representative detail that will add some character and get your point across. Along the short side edge of your piece of black felt, cut a thin strip (mine was about a centimetre thick) that is the whole length of the sheet (mine was about four inches long). Cut two of these strips. Then bend each in half, bringing their ends together to make a curve at the point halfway down each strip’s length, and cut them in half there. You’ll now have four black felt strips that are all the same length! Set these aside for the moment with your pink piece.

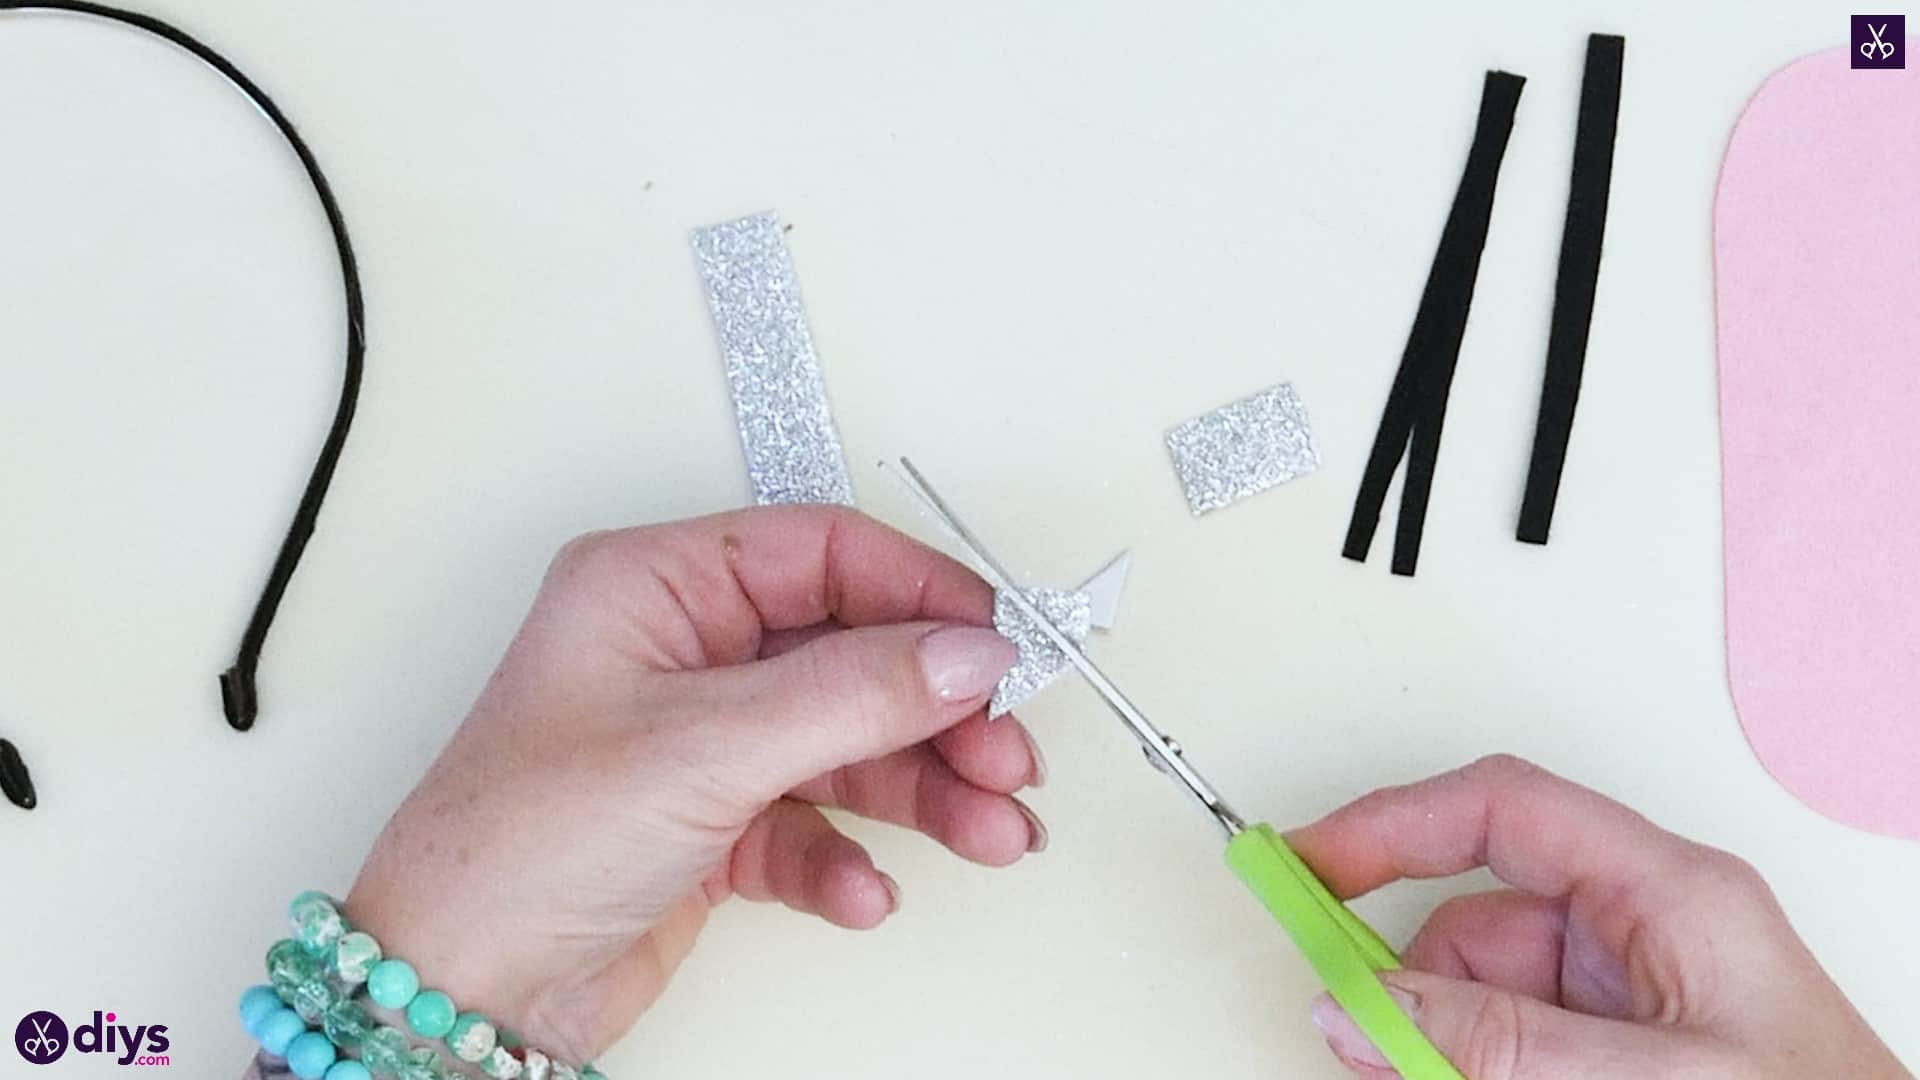
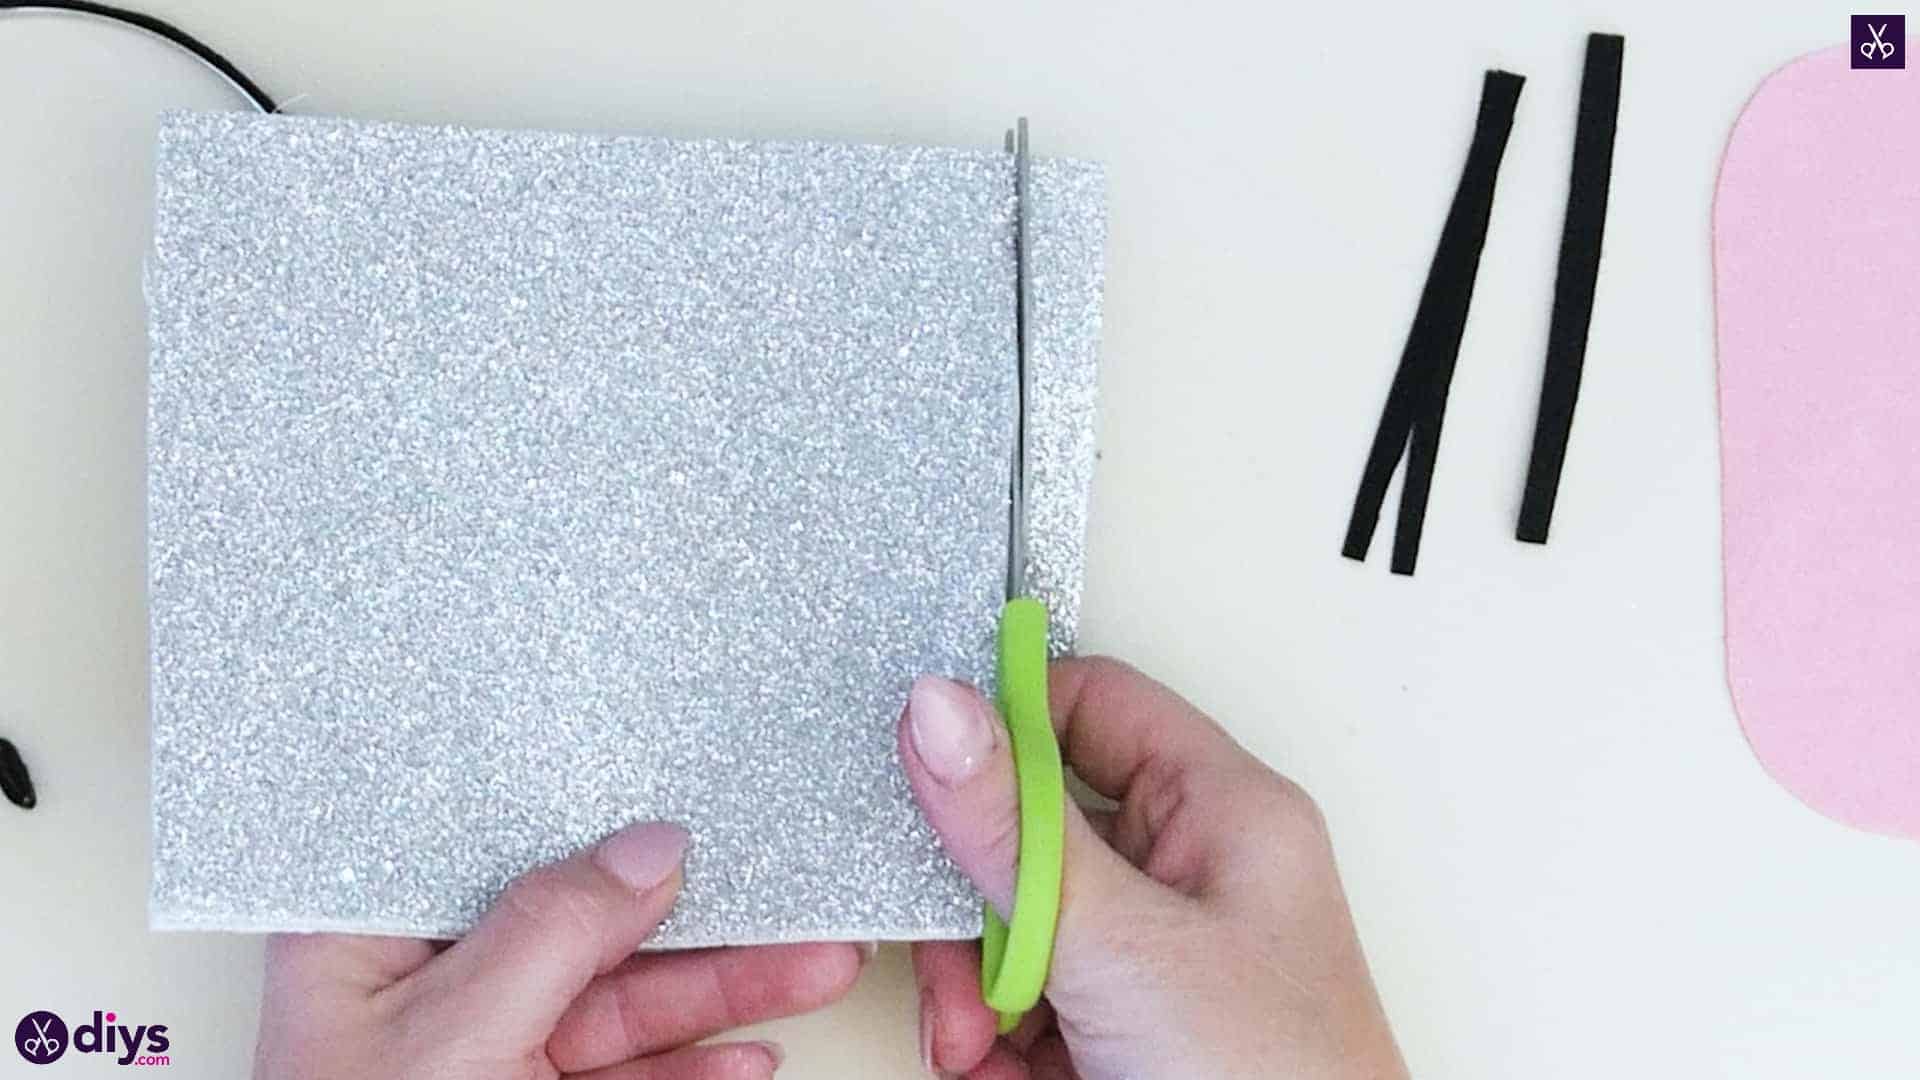
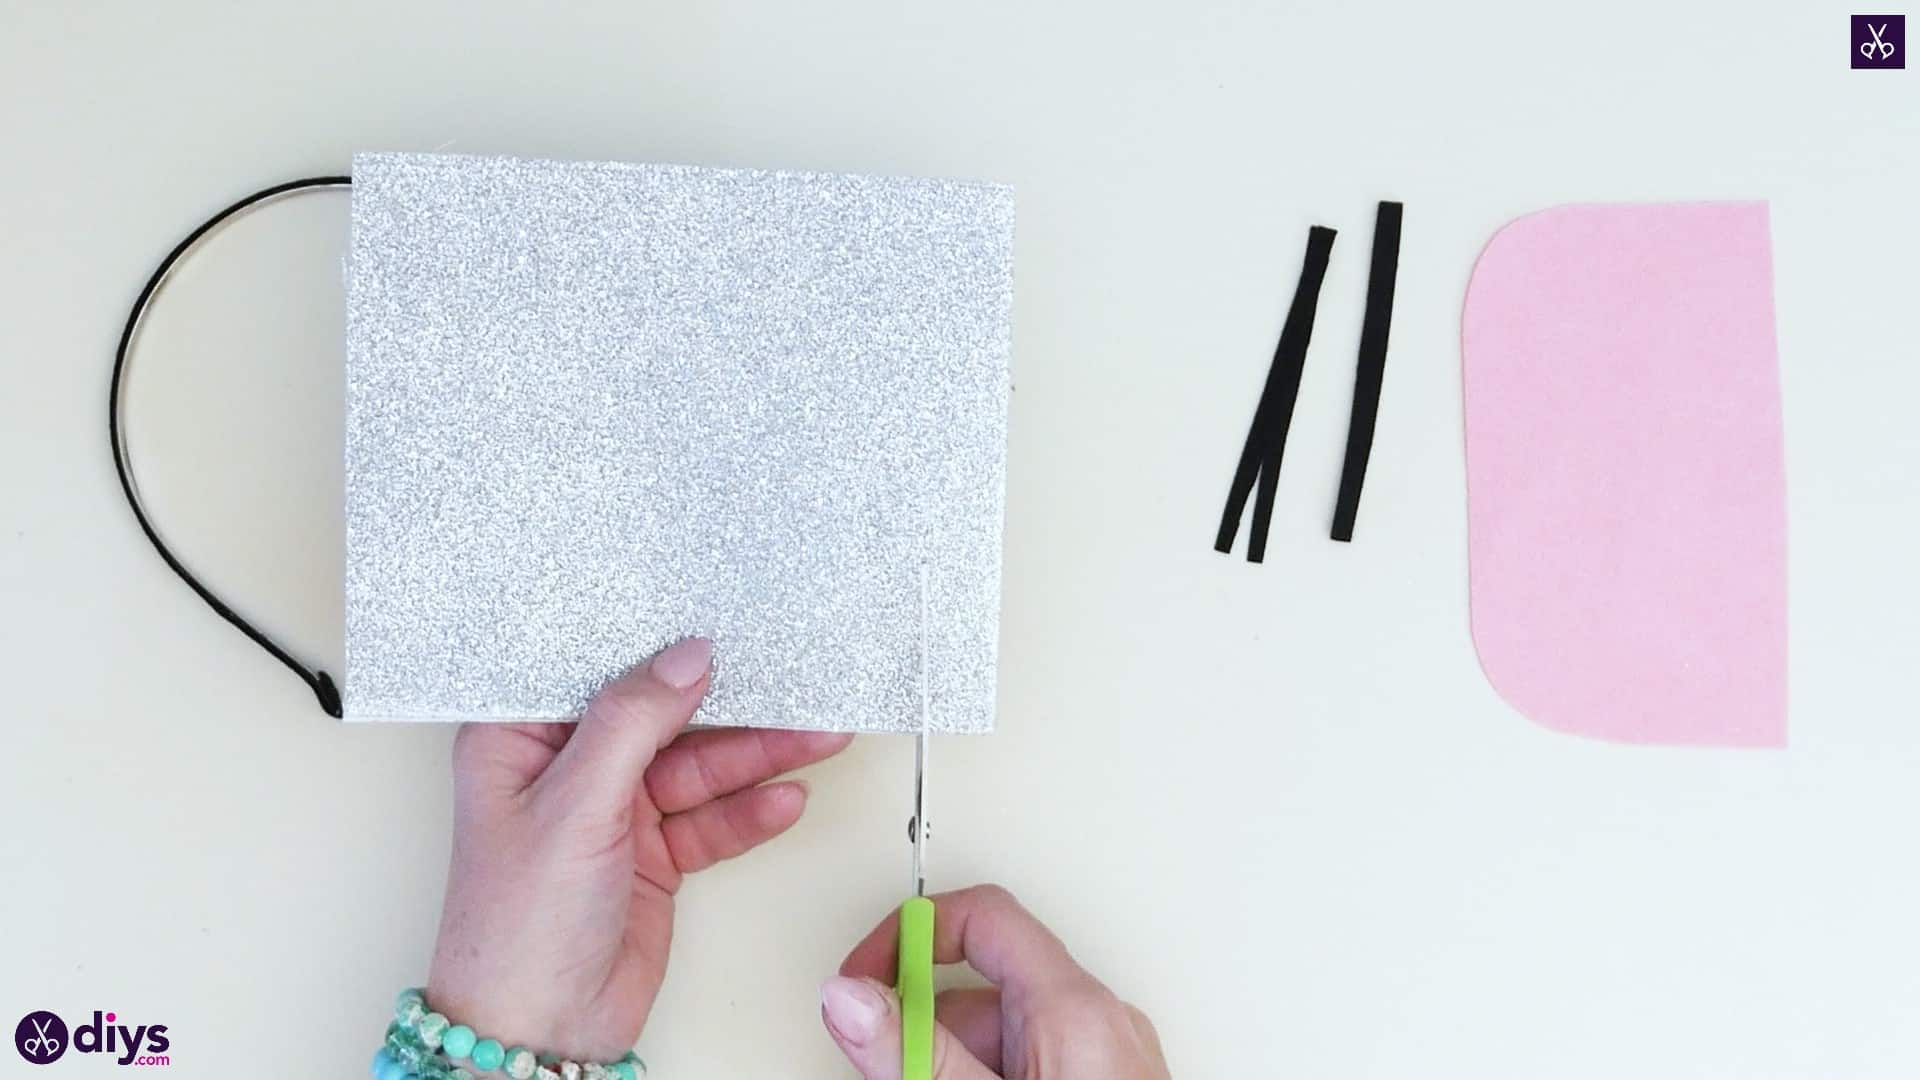
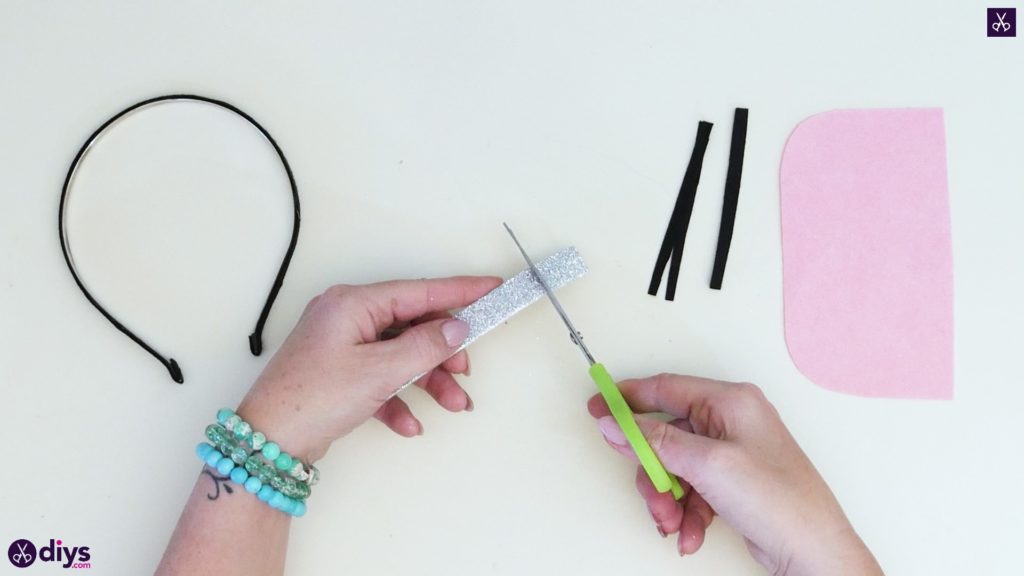
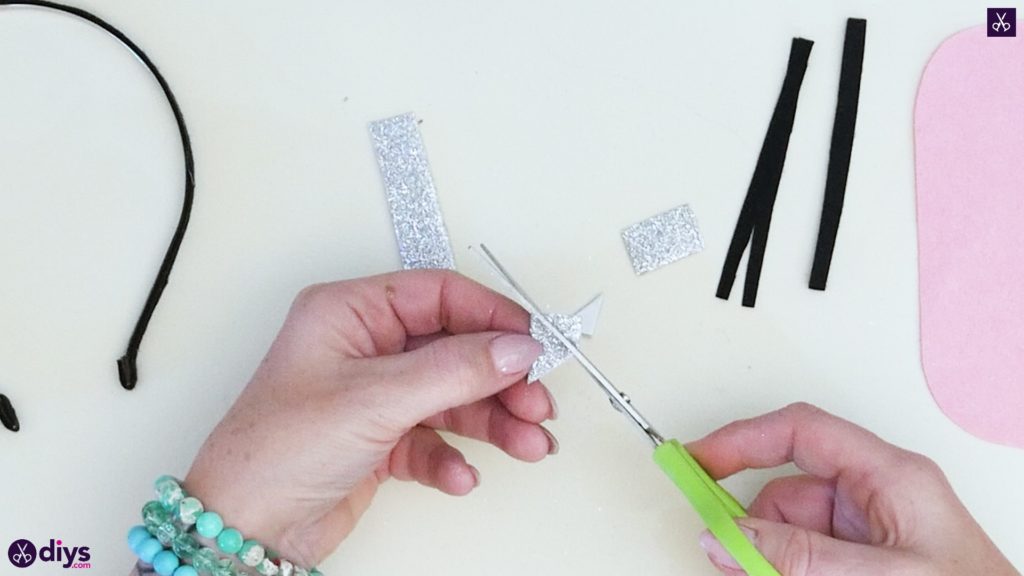
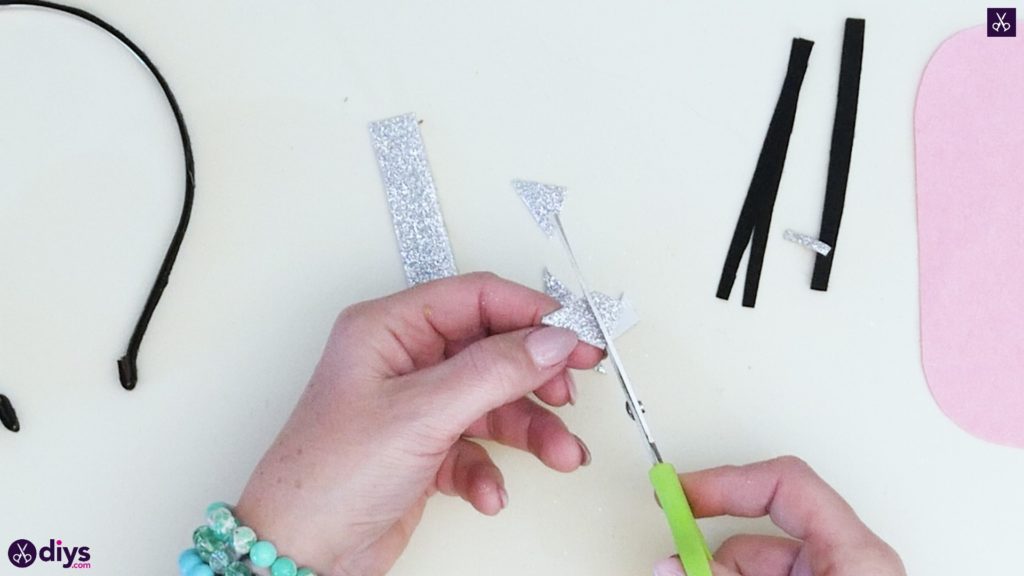
Step 4: cut sparkly paper
Now, from your sheet of sparkly foam paper, cut a strip from the side edge that’s about half an inch thick but the whole length of the sheet (mine was about four inches long). From the end of that strip, cut two pieces about half an inch long each, leaving you with a piece about three inches long leftover. Now, use your scissors to trim off the two top corners of each of the smaller squares you cut from your strip, giving you two small, sparkly silver triangles instead. Set these aside with your black strips.


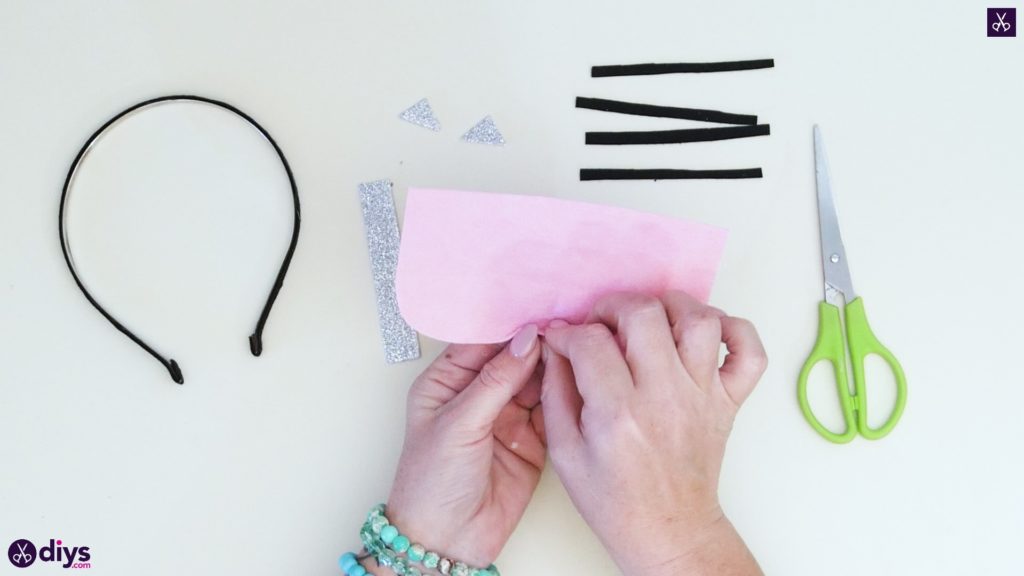
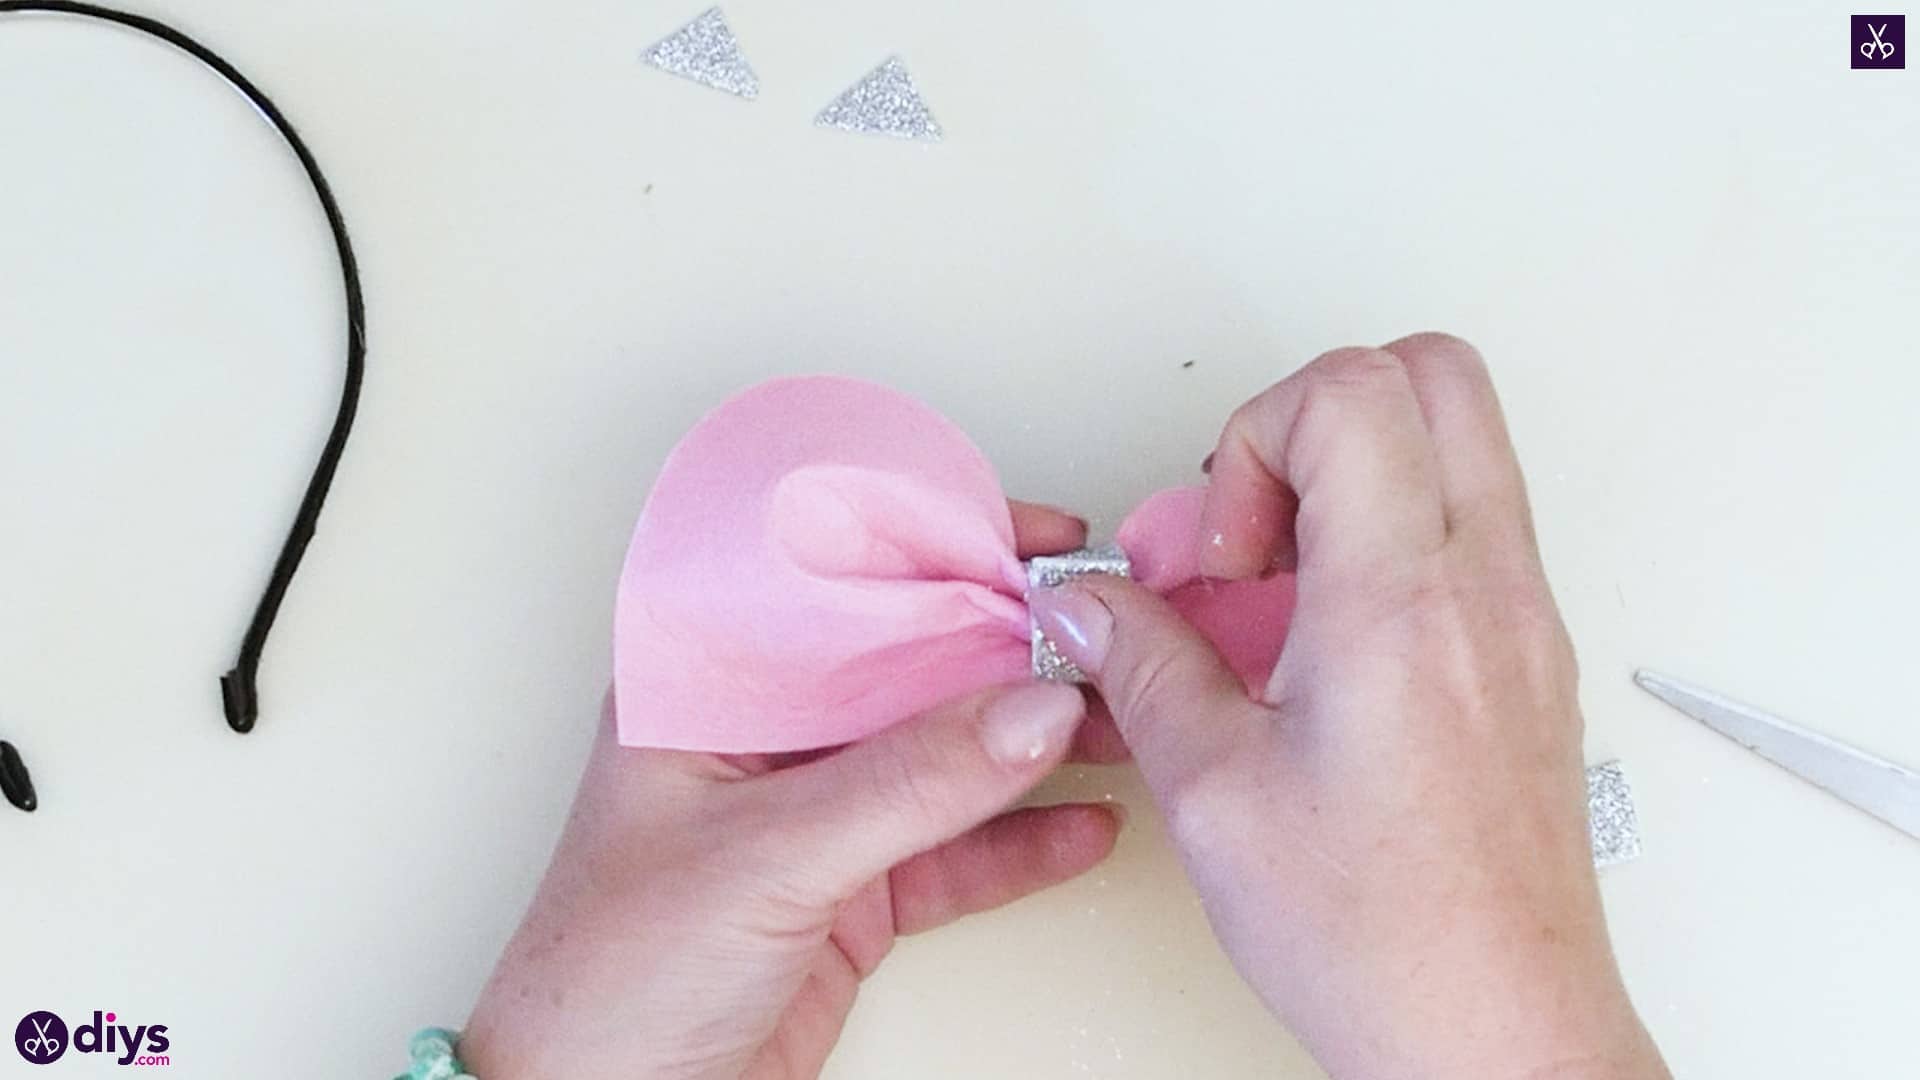
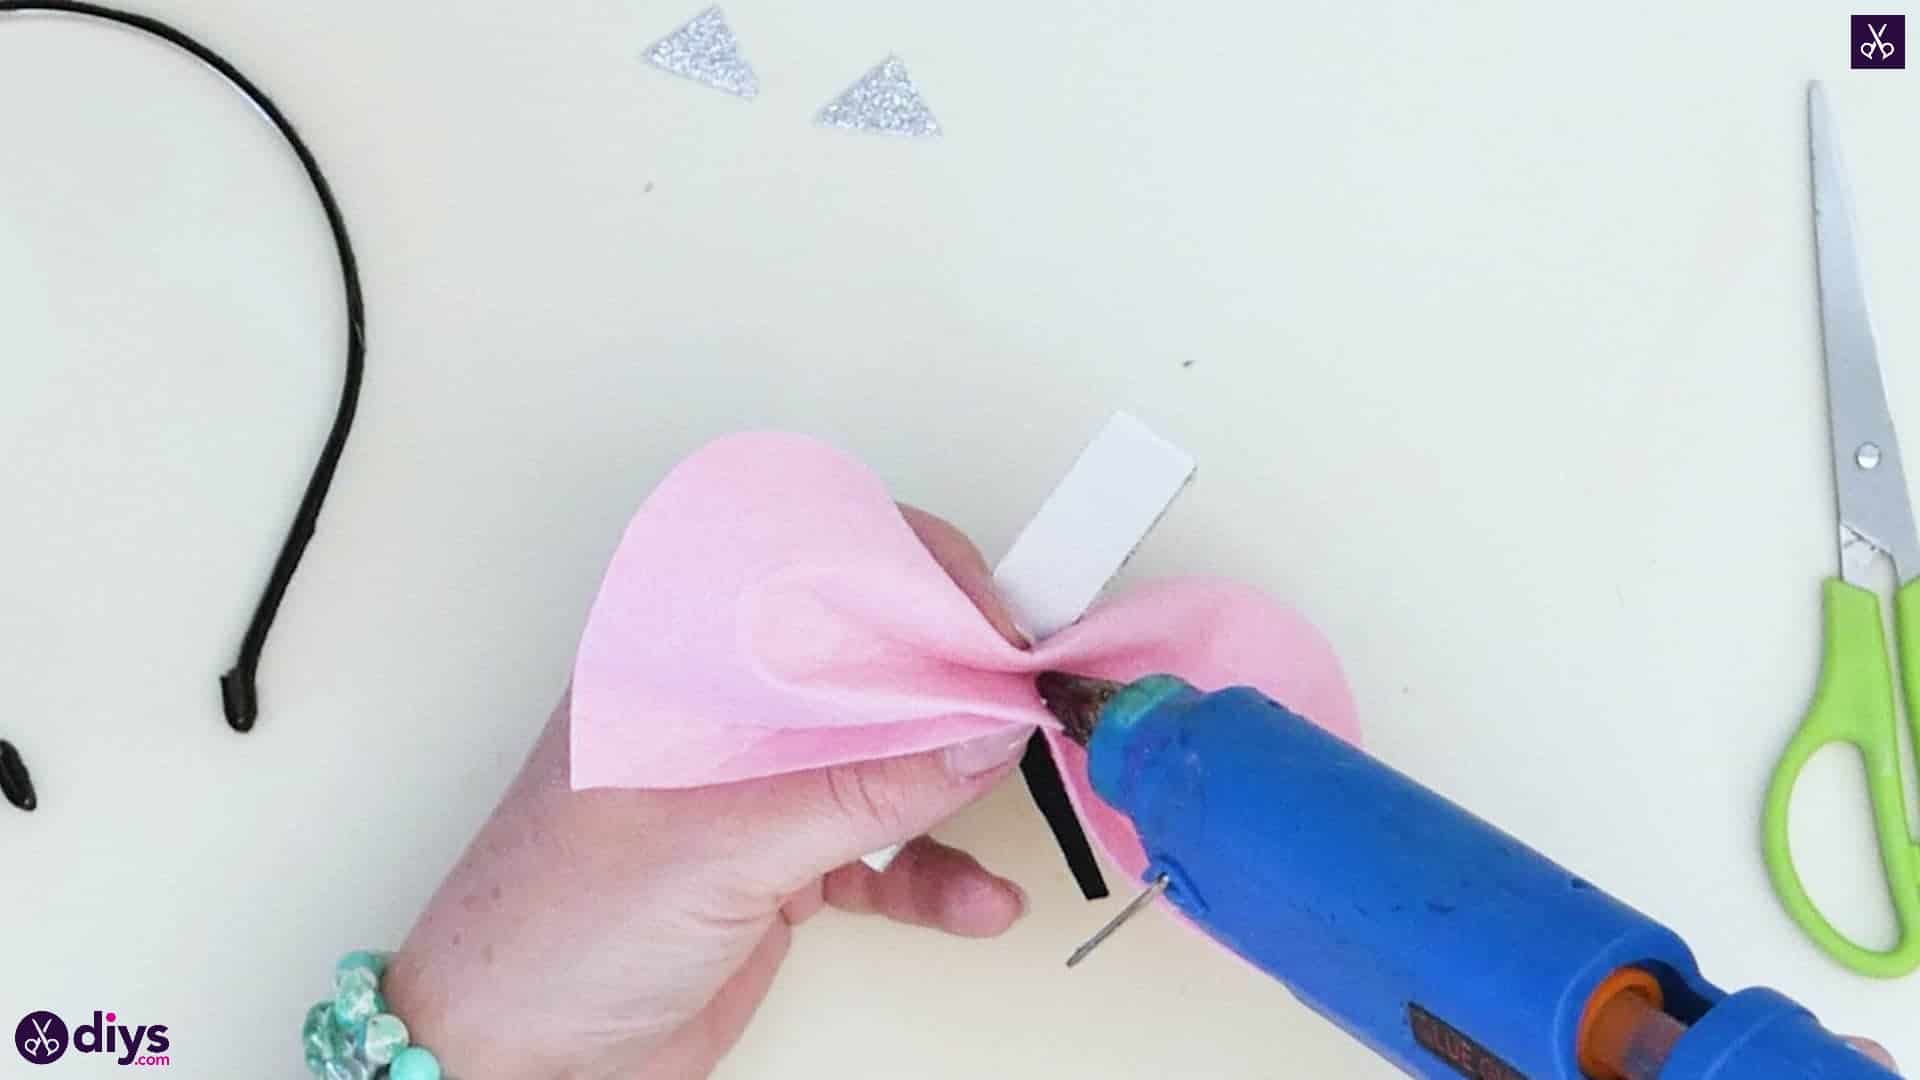
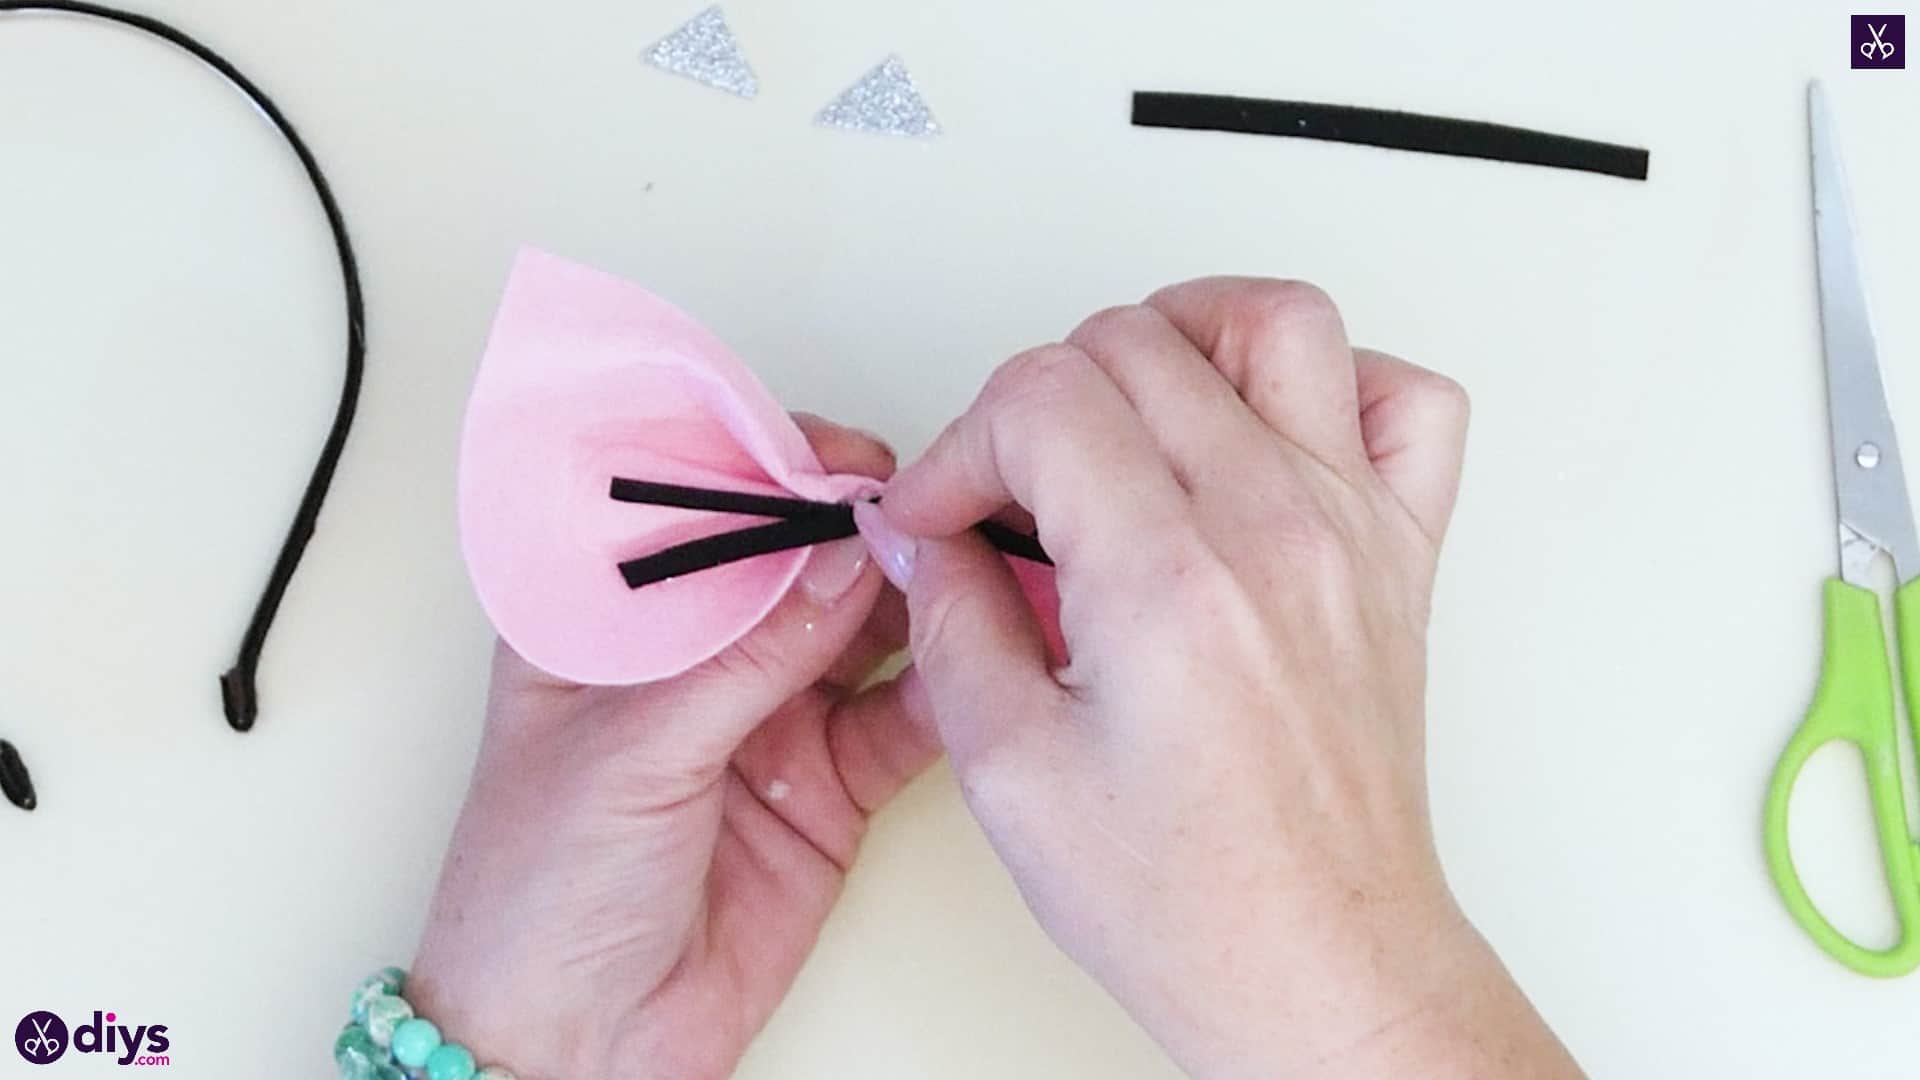
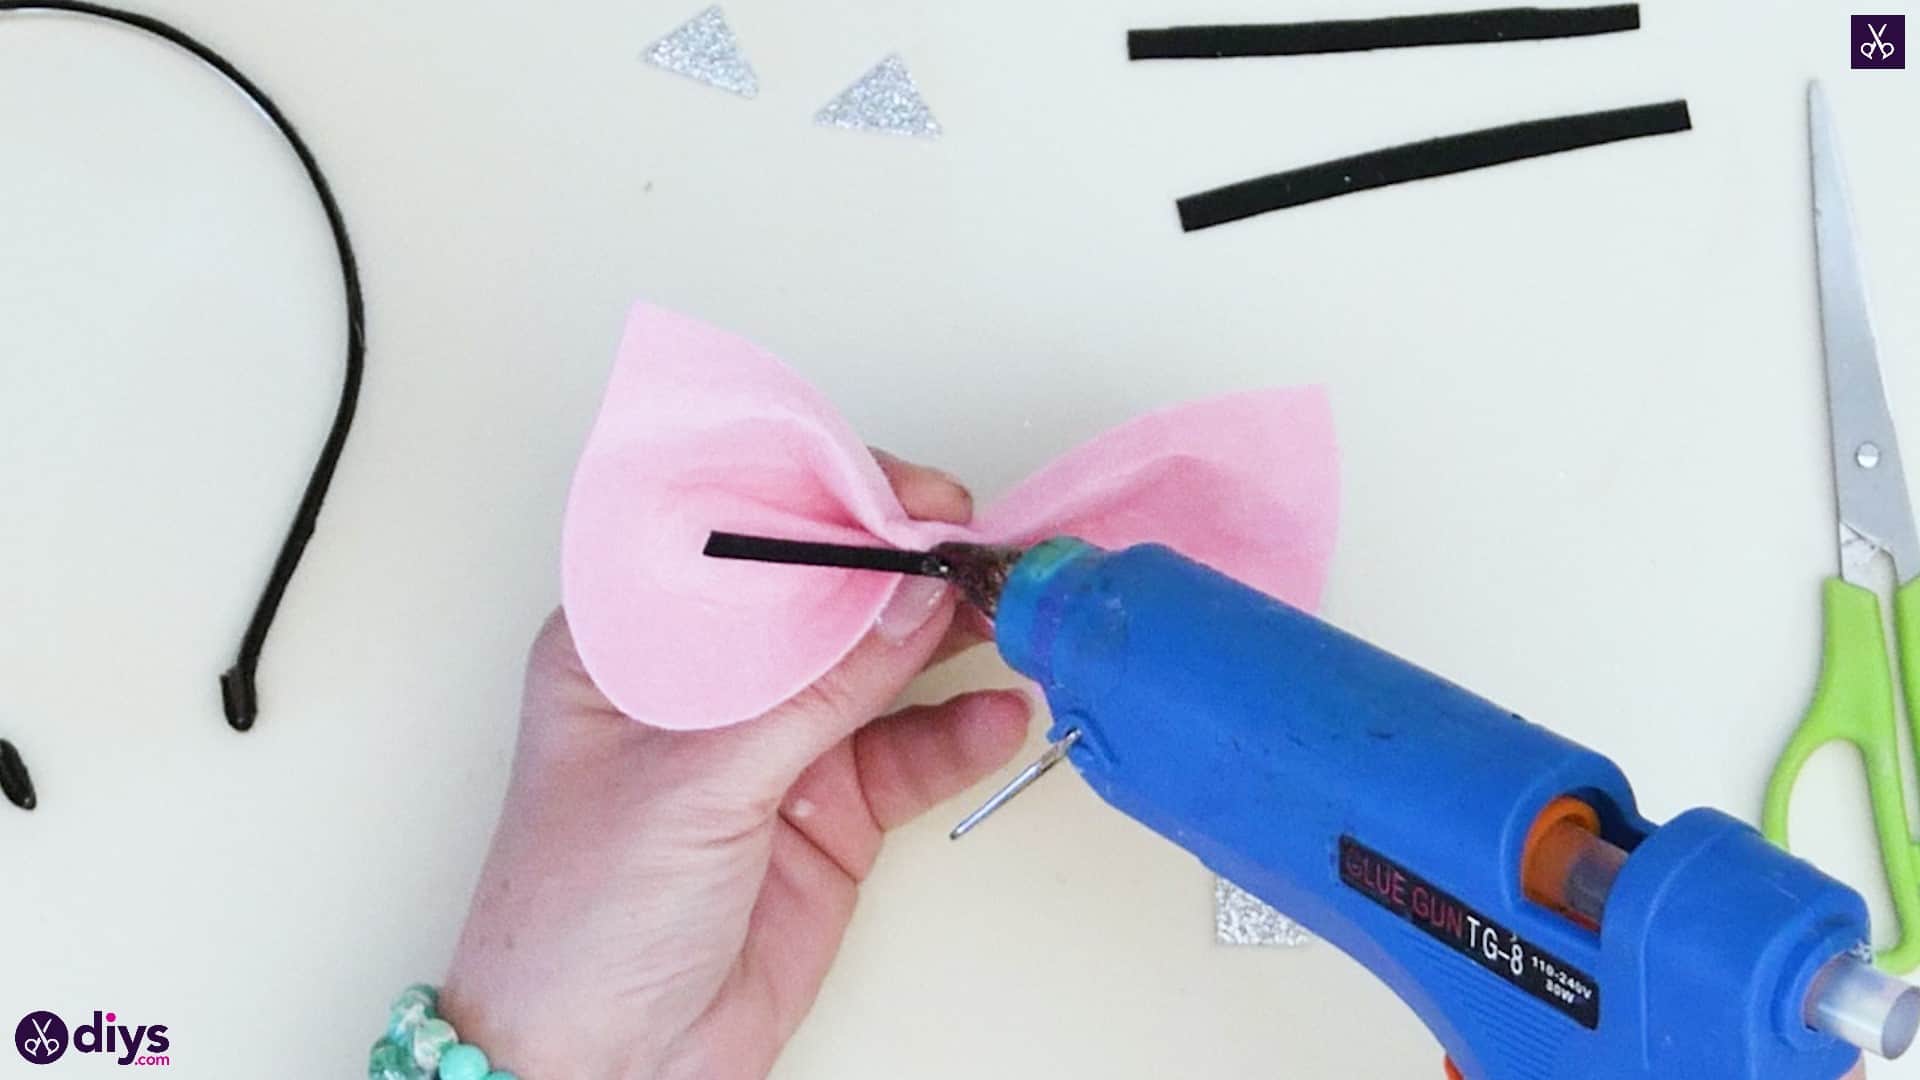
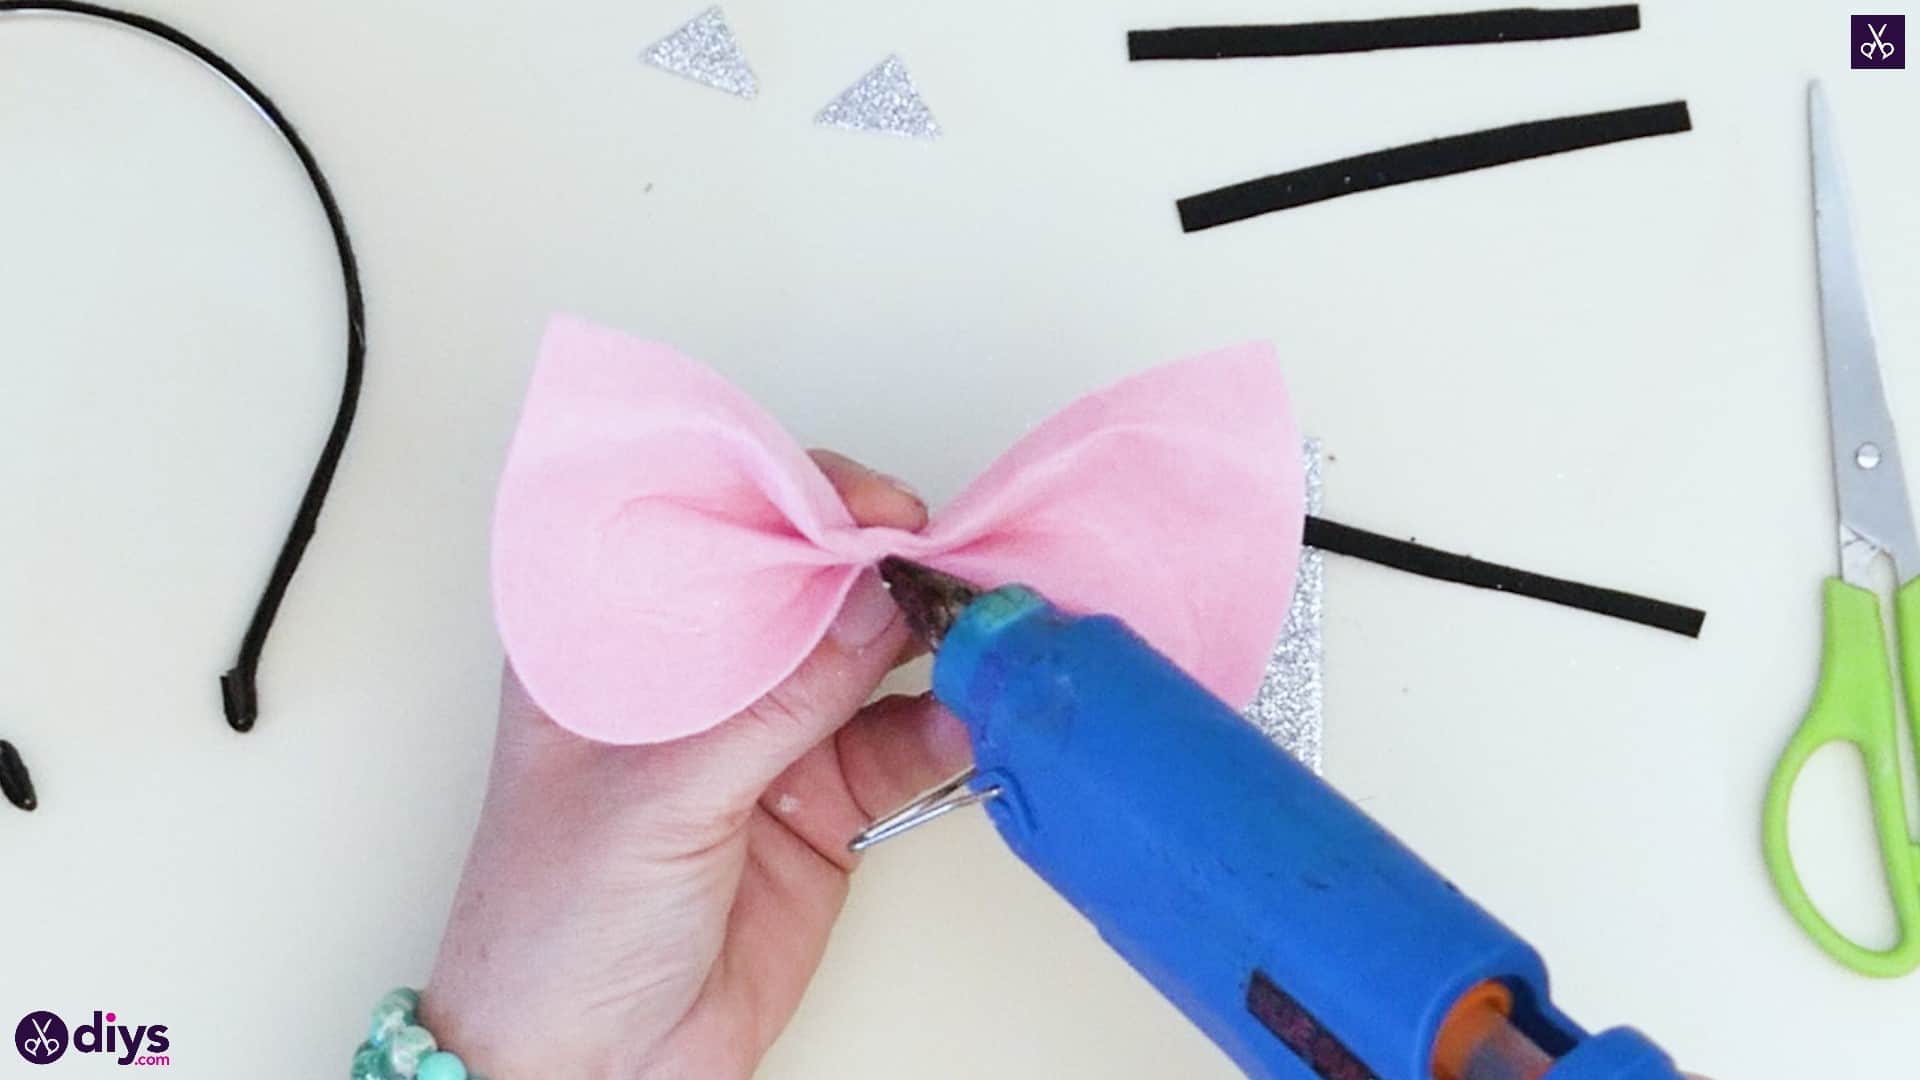
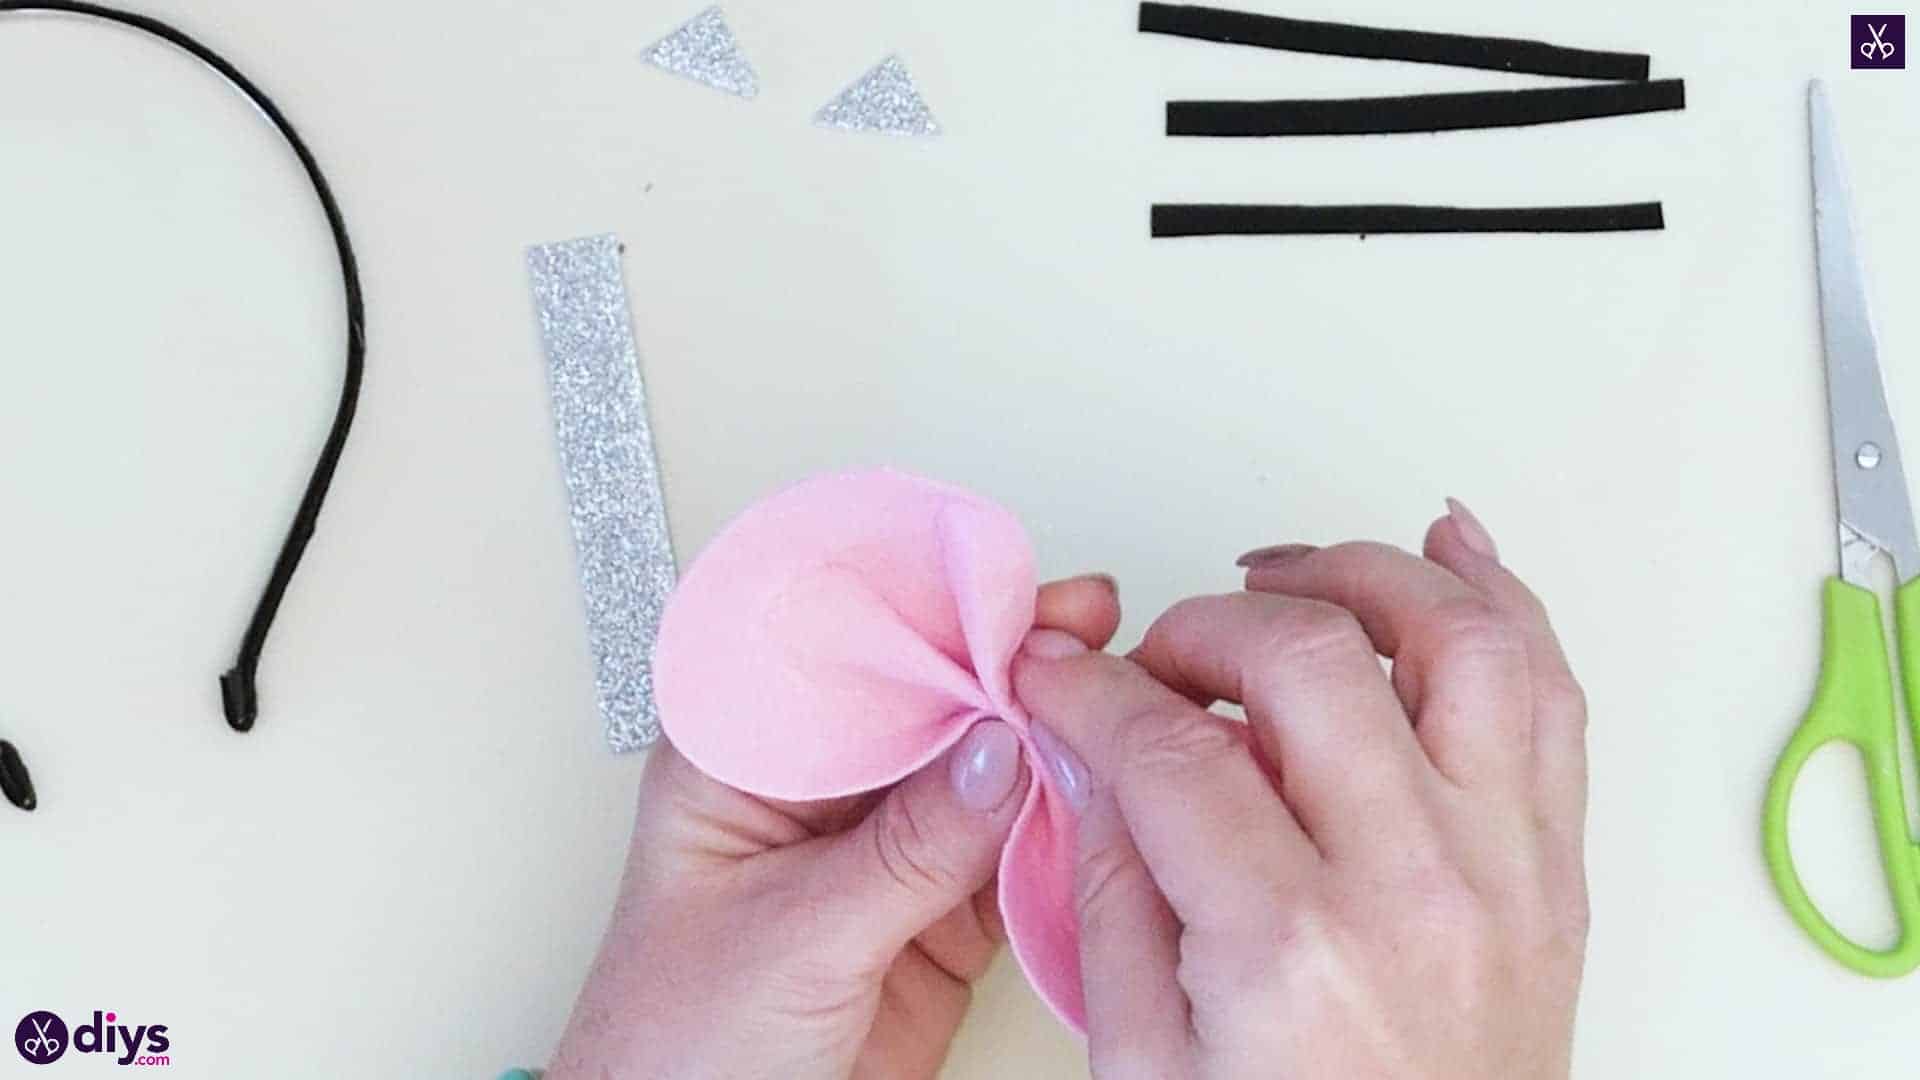
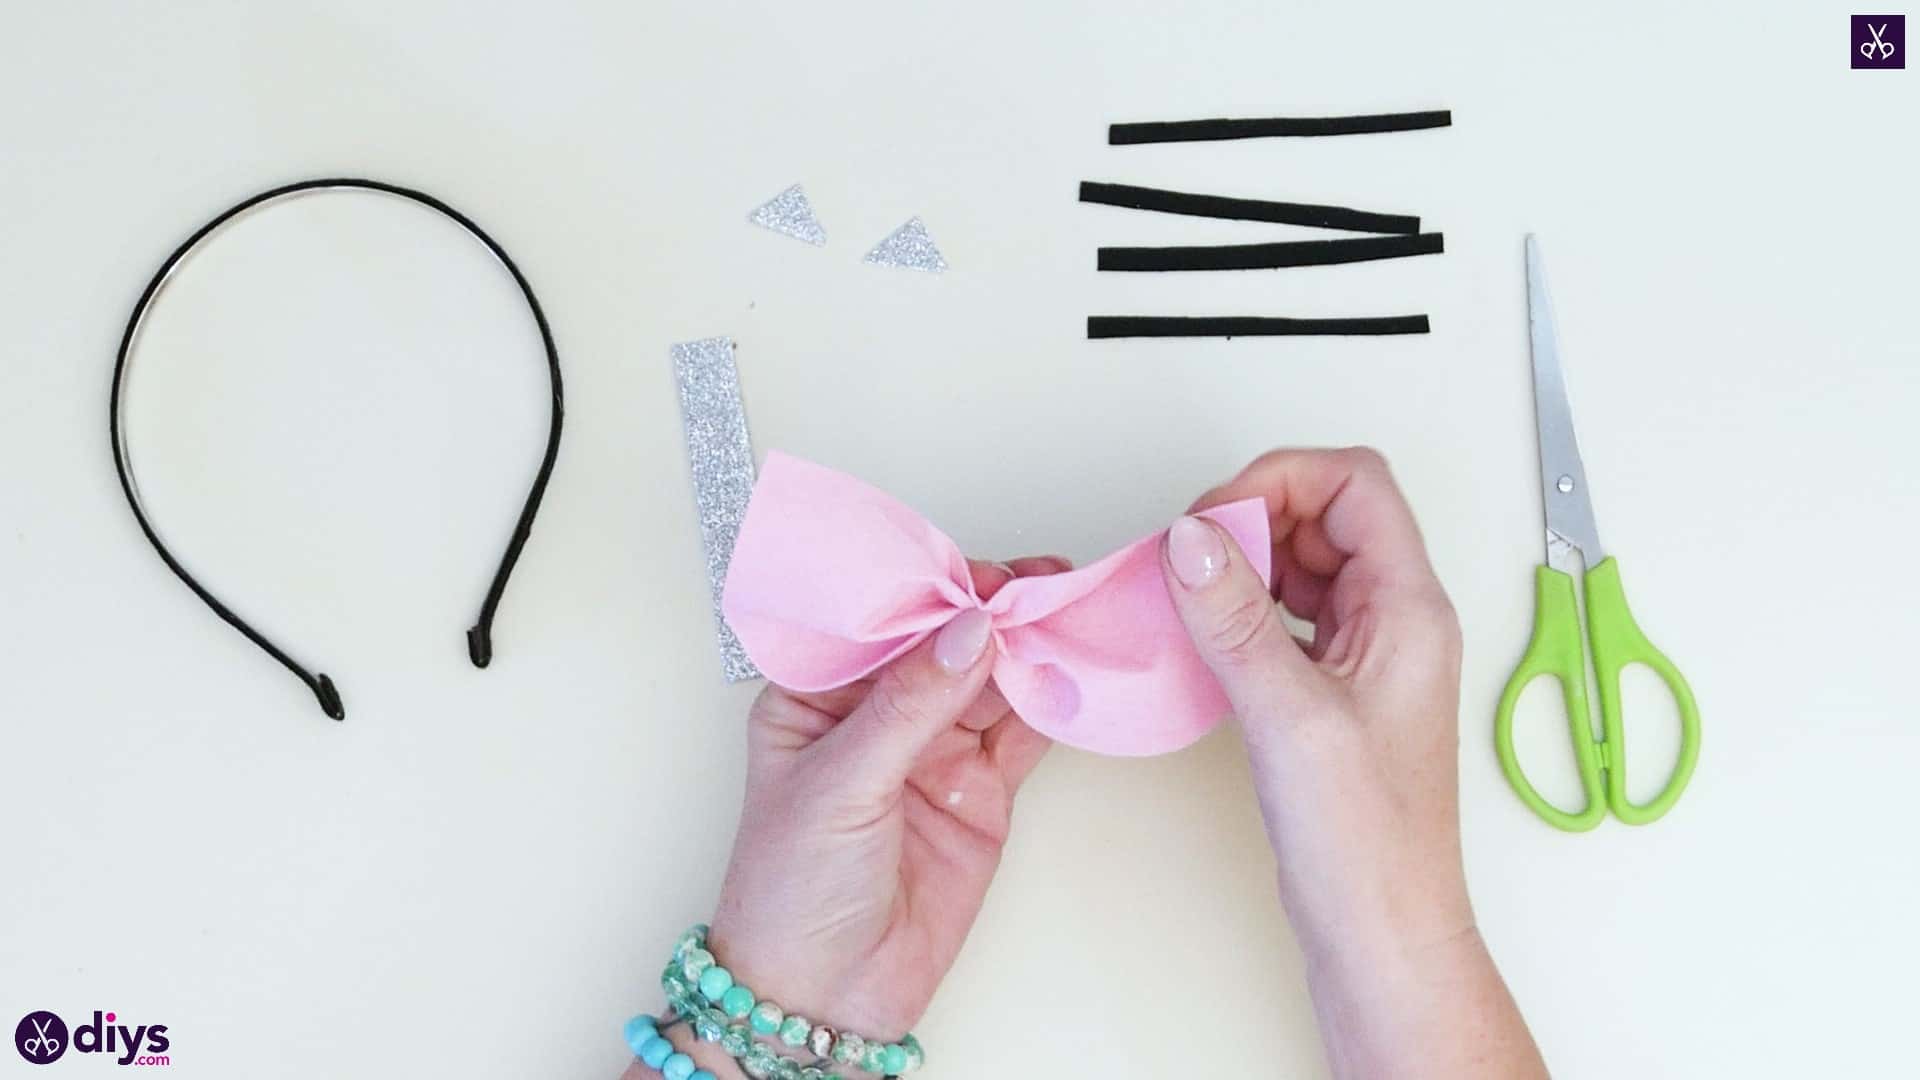
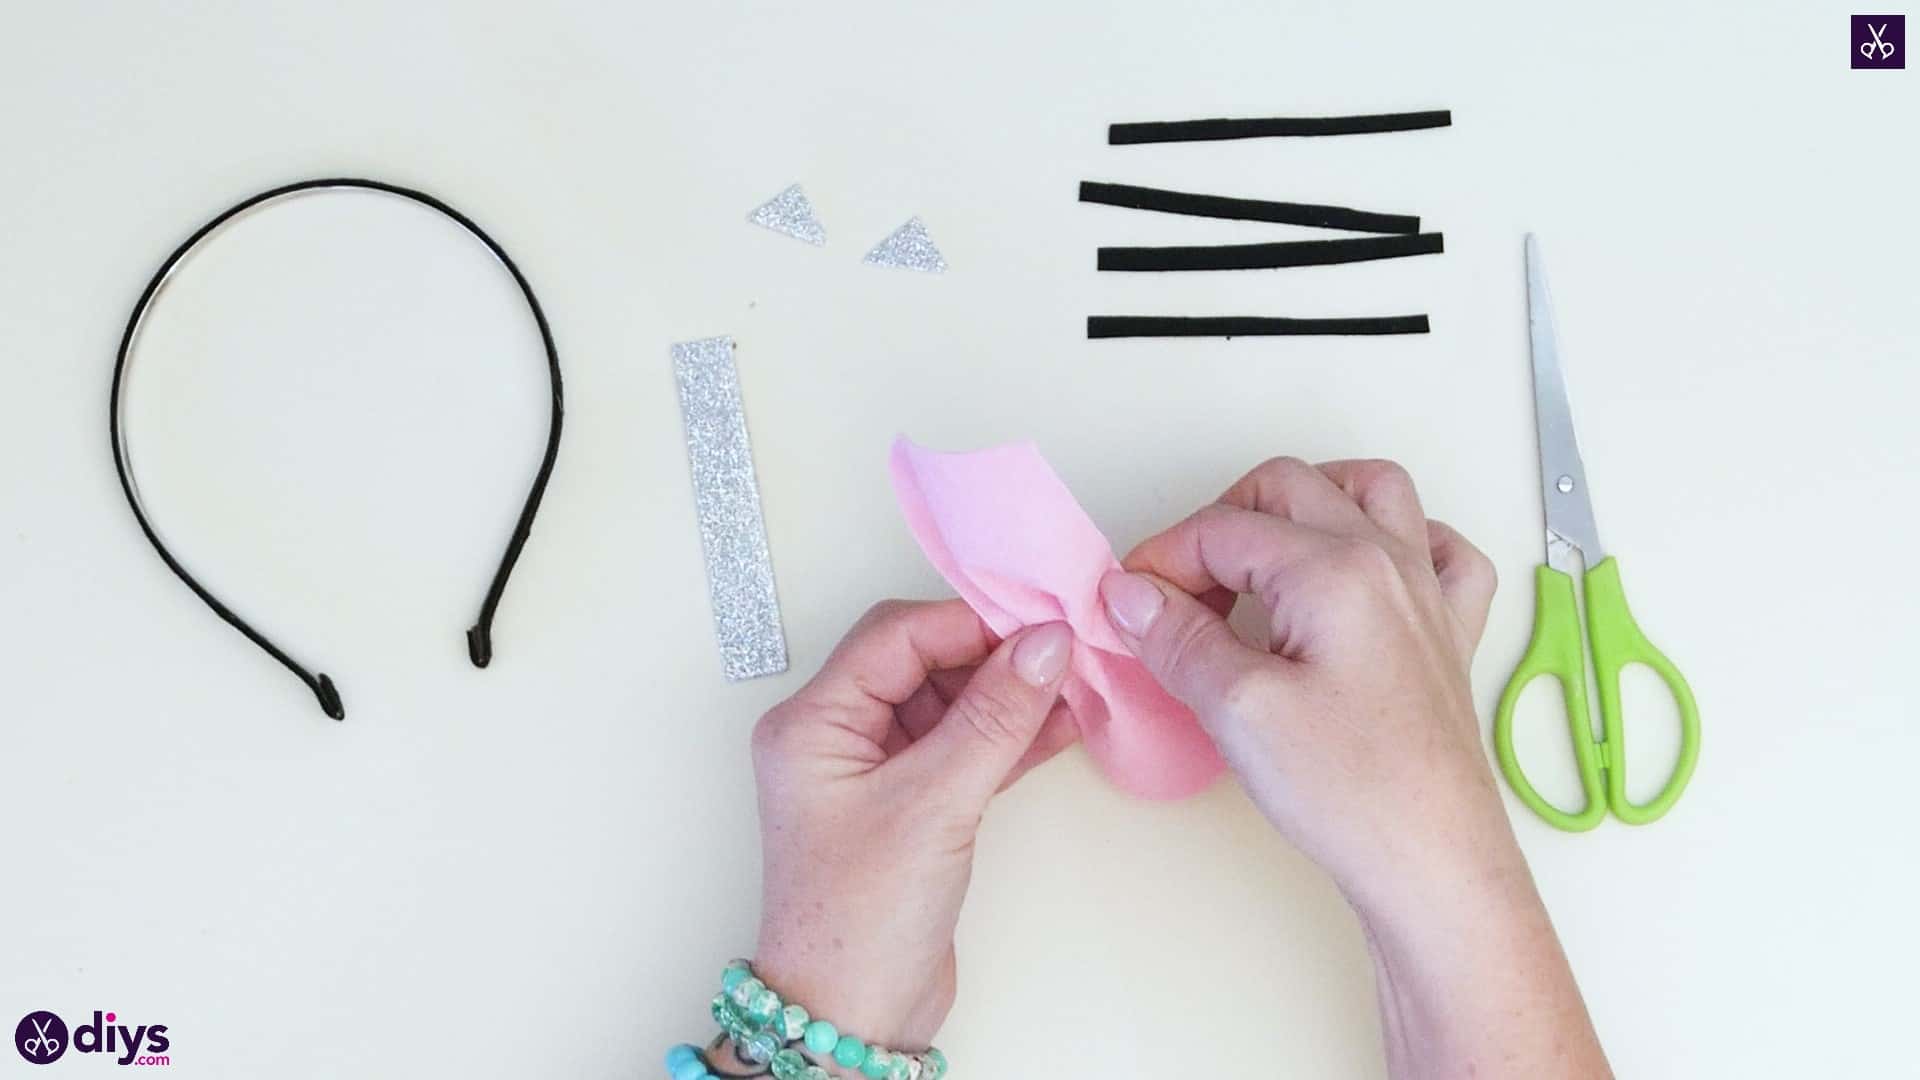
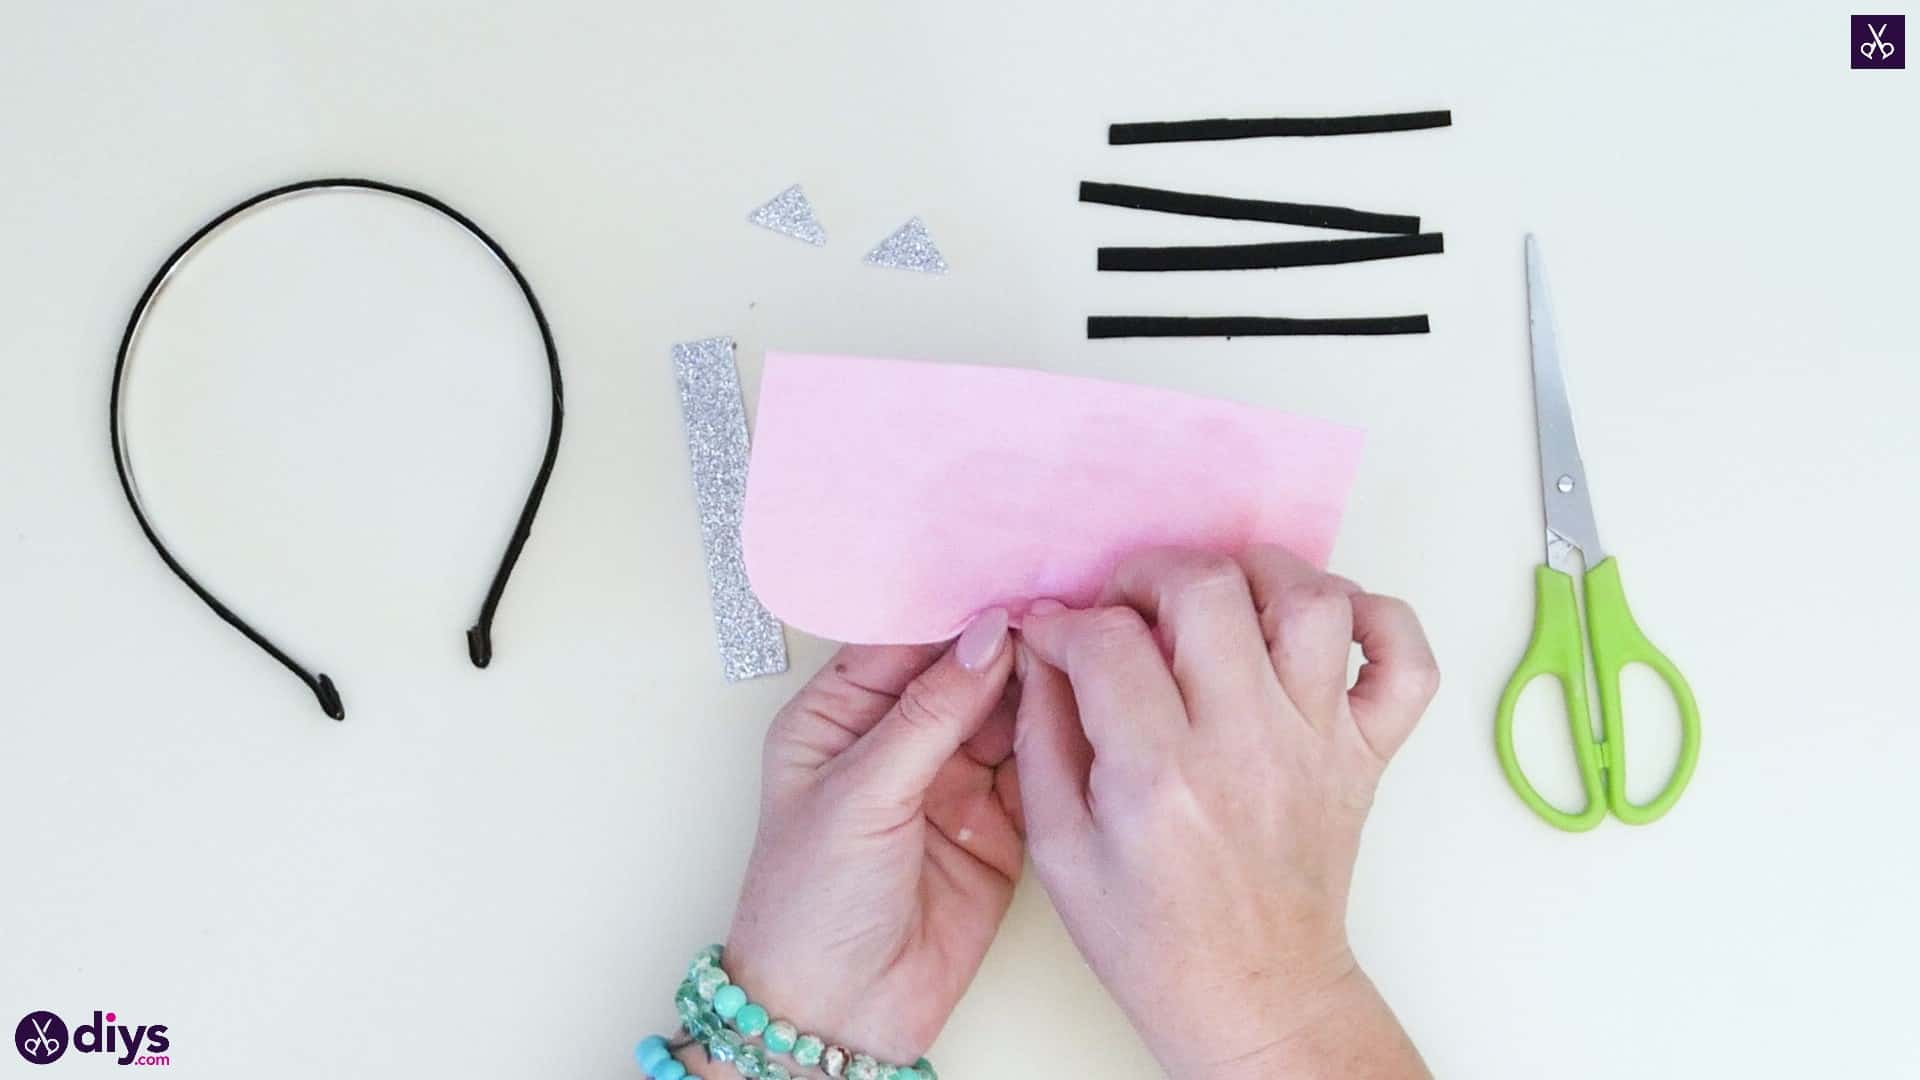
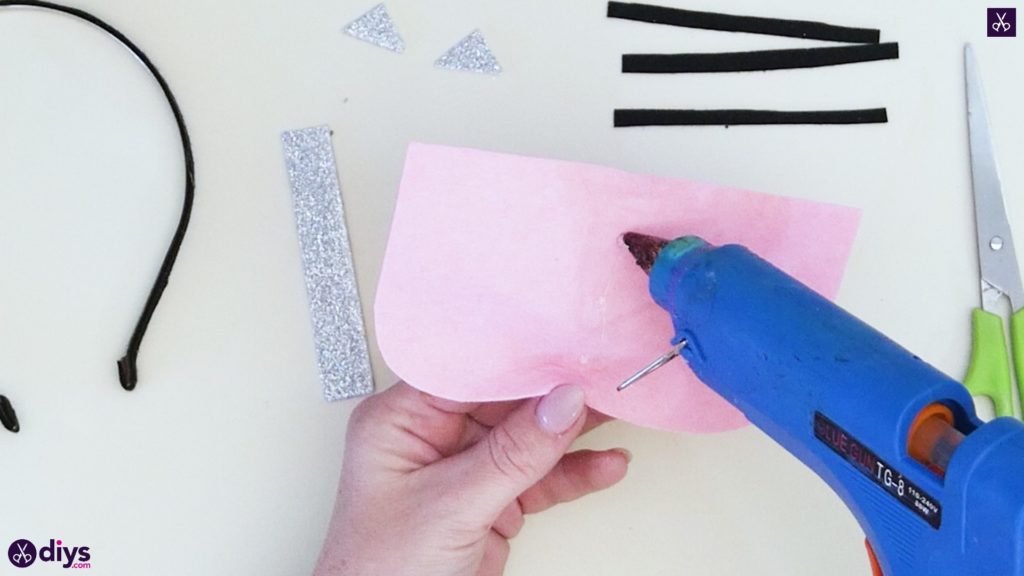
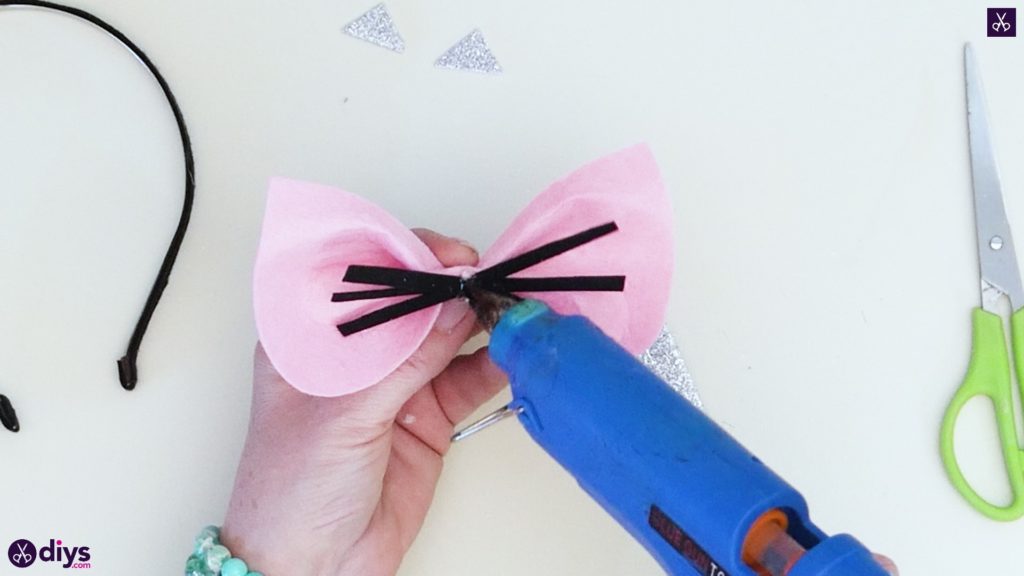
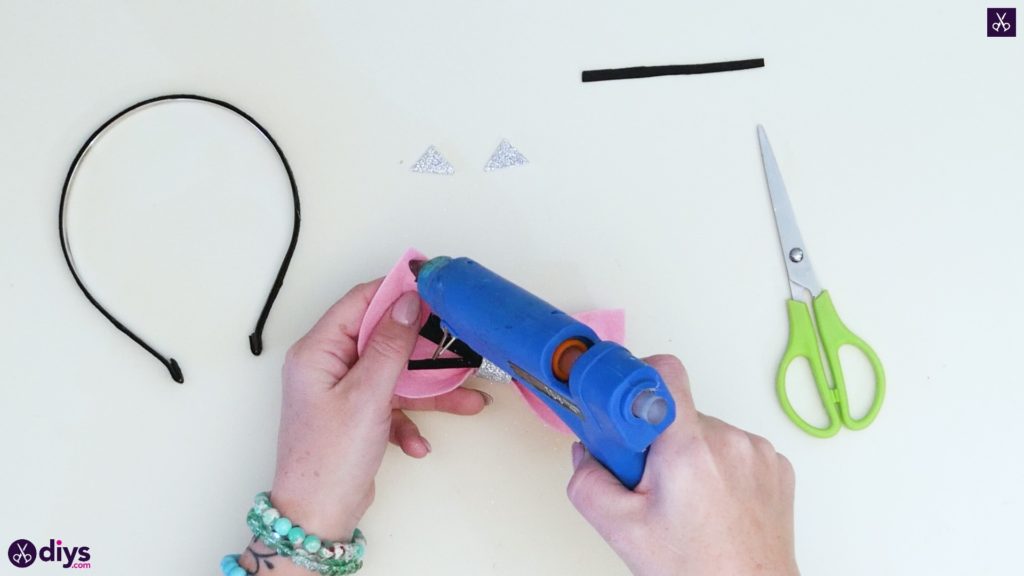
Step 5: shape the ears
Pick up your pink felt piece and turn it so the rounded pieces are at the bottom and the pointed corners are at the top. Find the centre mark along the bottom and pinch it a little, then grab the centre mark along the top and bring the two together, cinching the piece until your fingers meet in the middle. Now that you’ve marked out where you want to pinch the felt (make adjustments if you need to), let go at the top and pick up your glue gun. Apply dots of glue down the length of the felt on that centre line where you’ll cinch it again so that, when you squeeze to bring the top and the bottom back together again, your pinch stays in place.


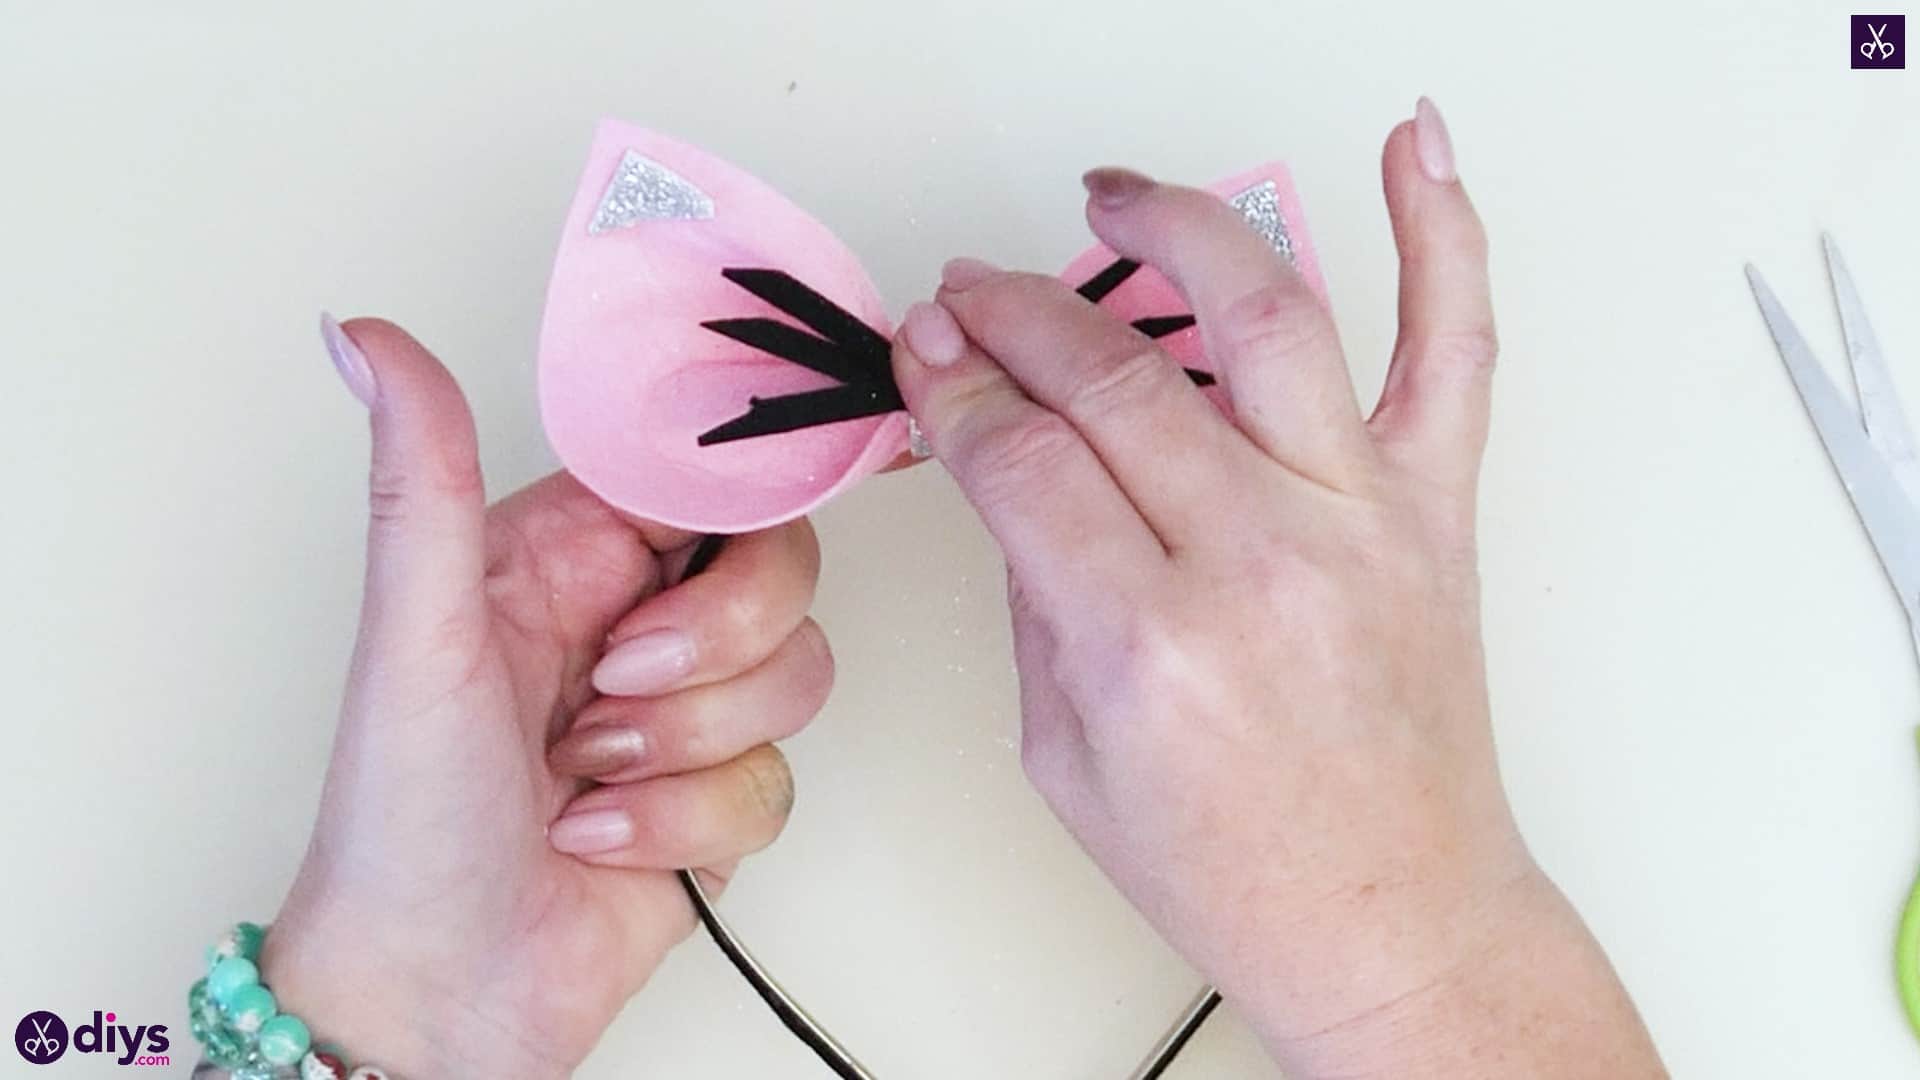
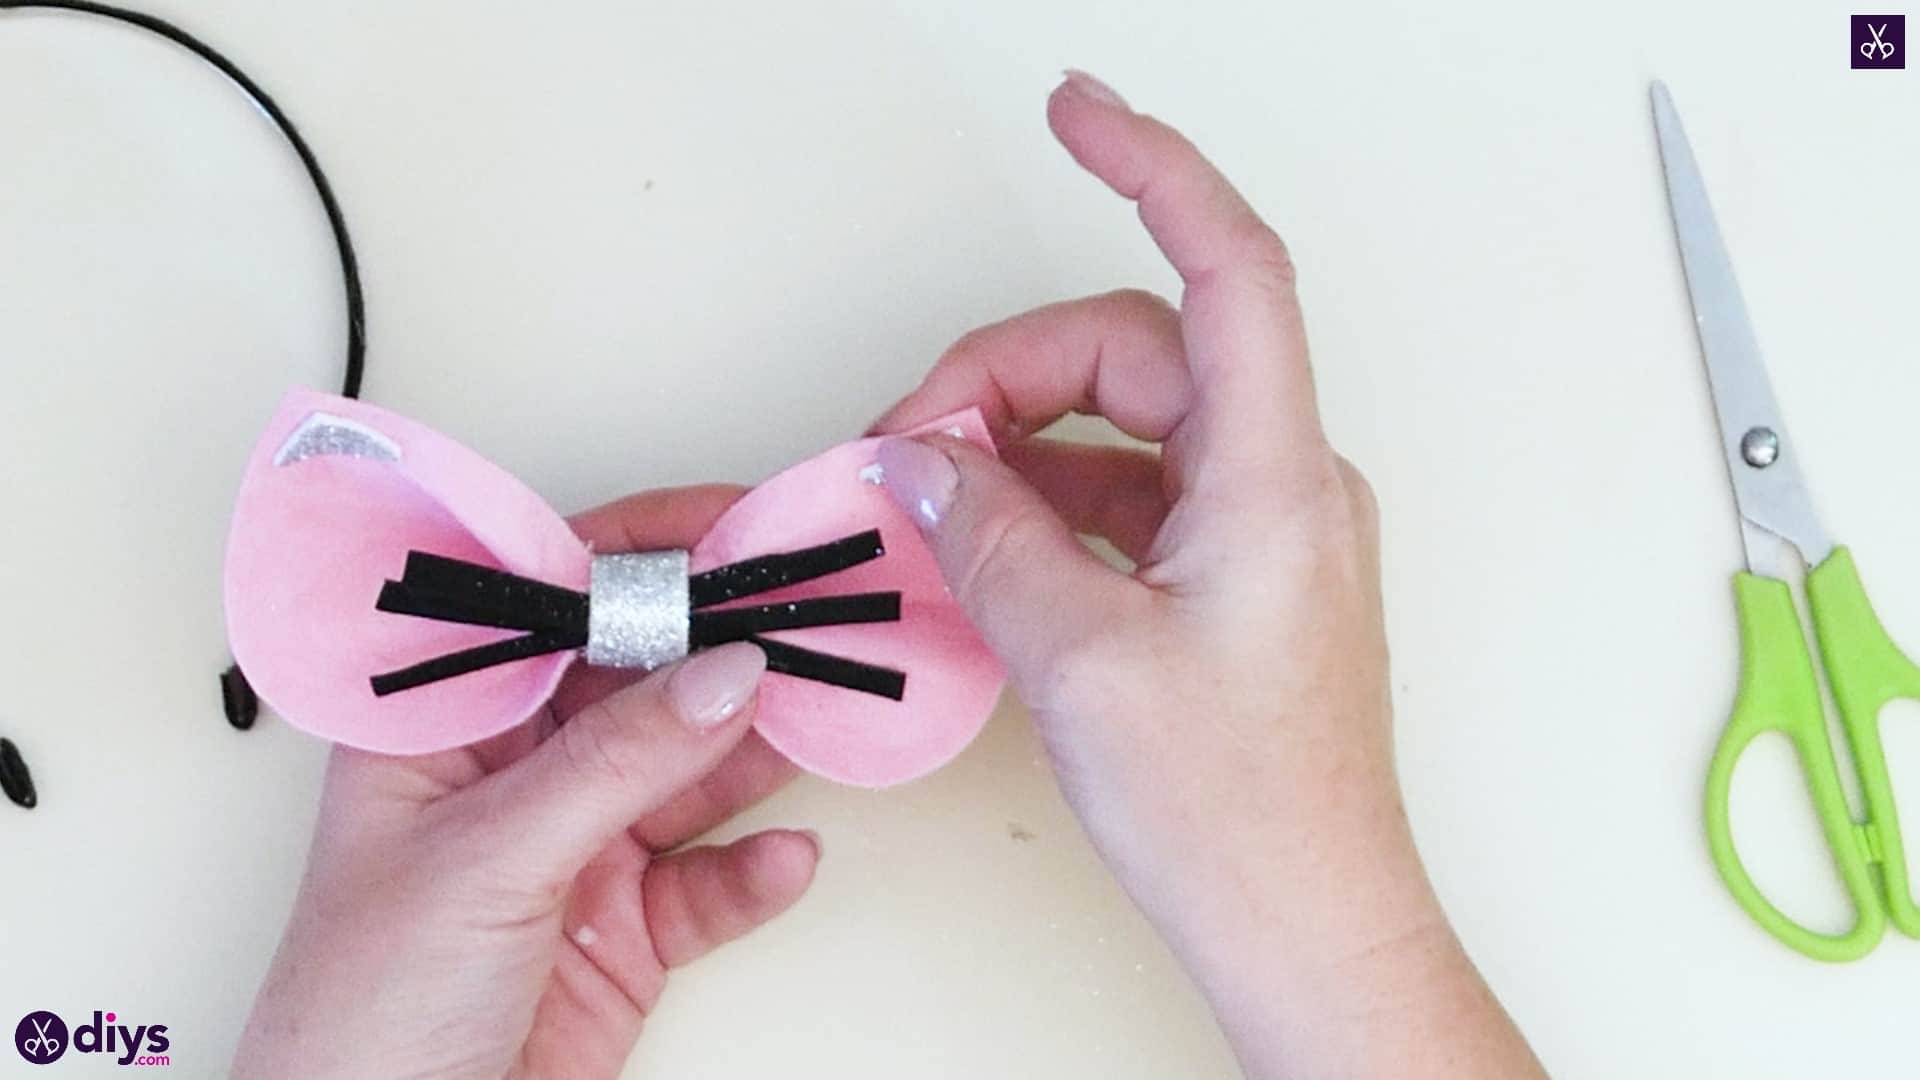
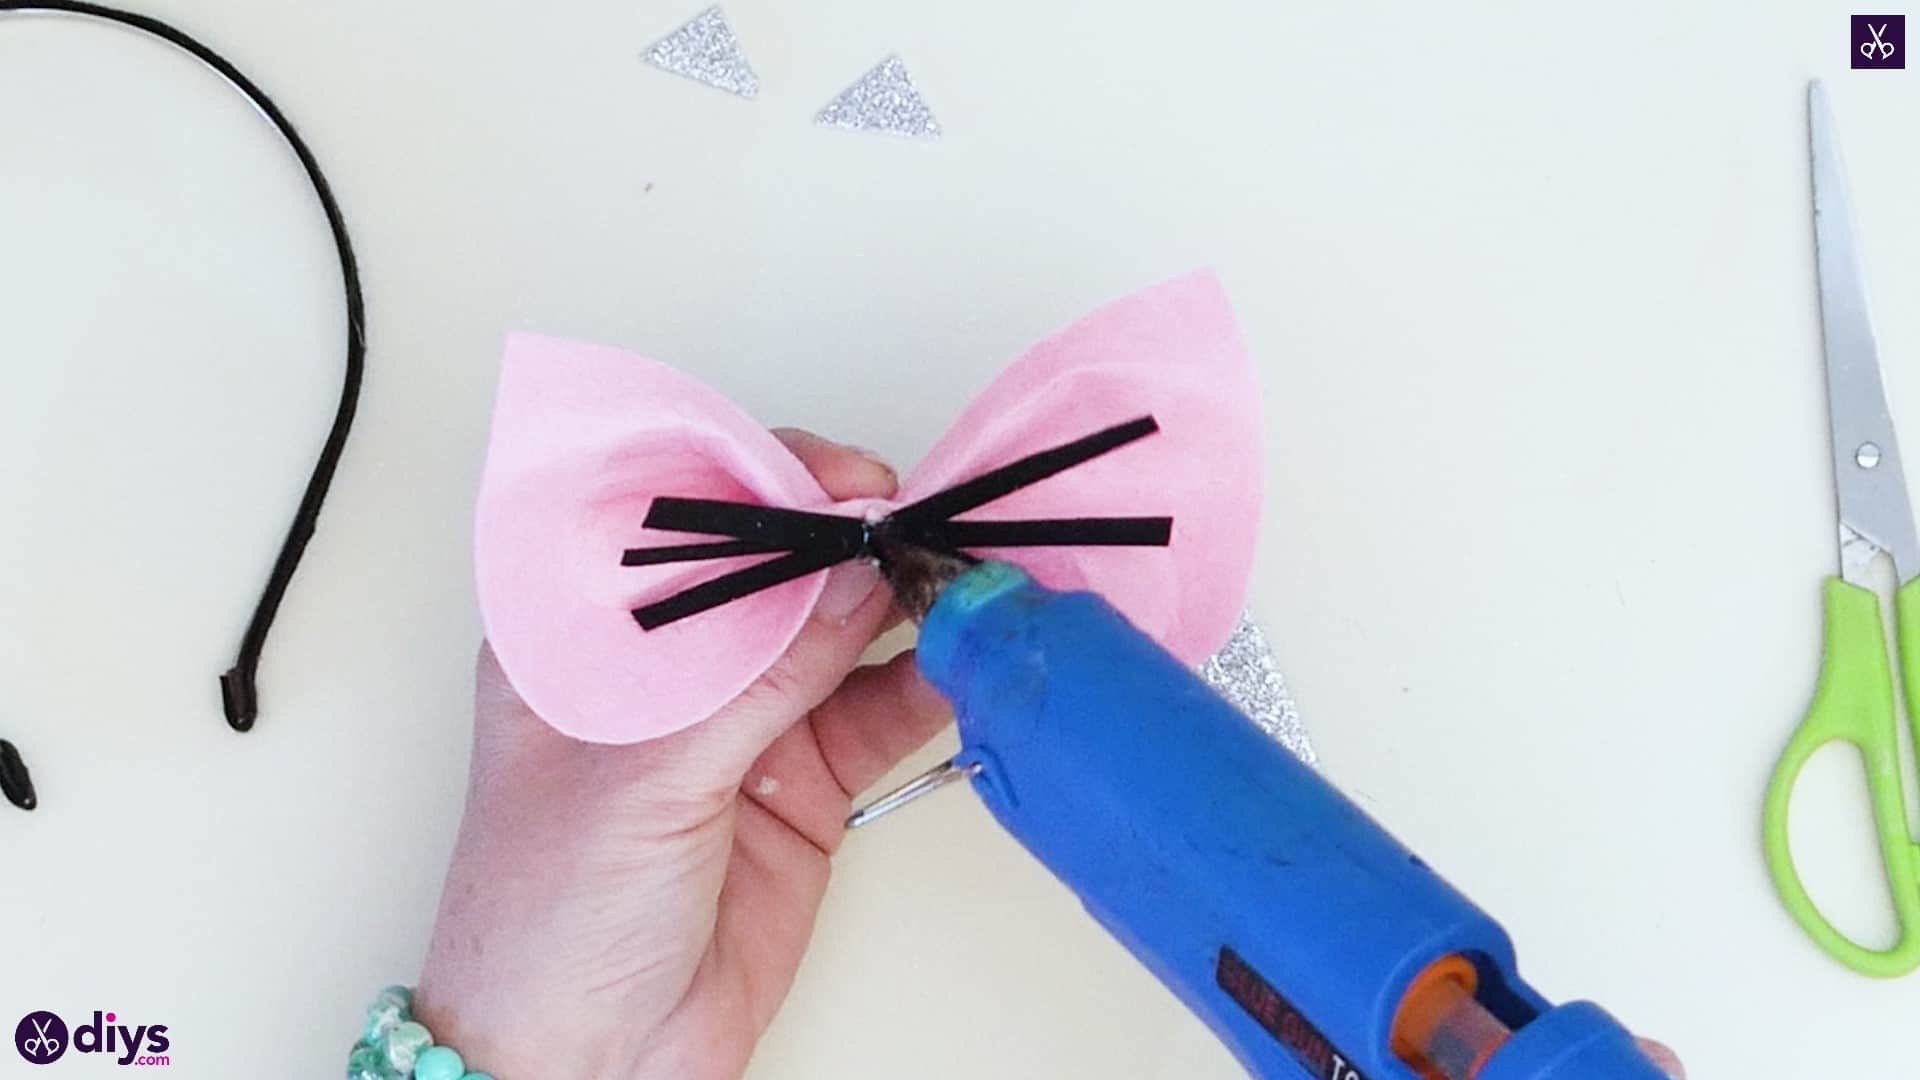
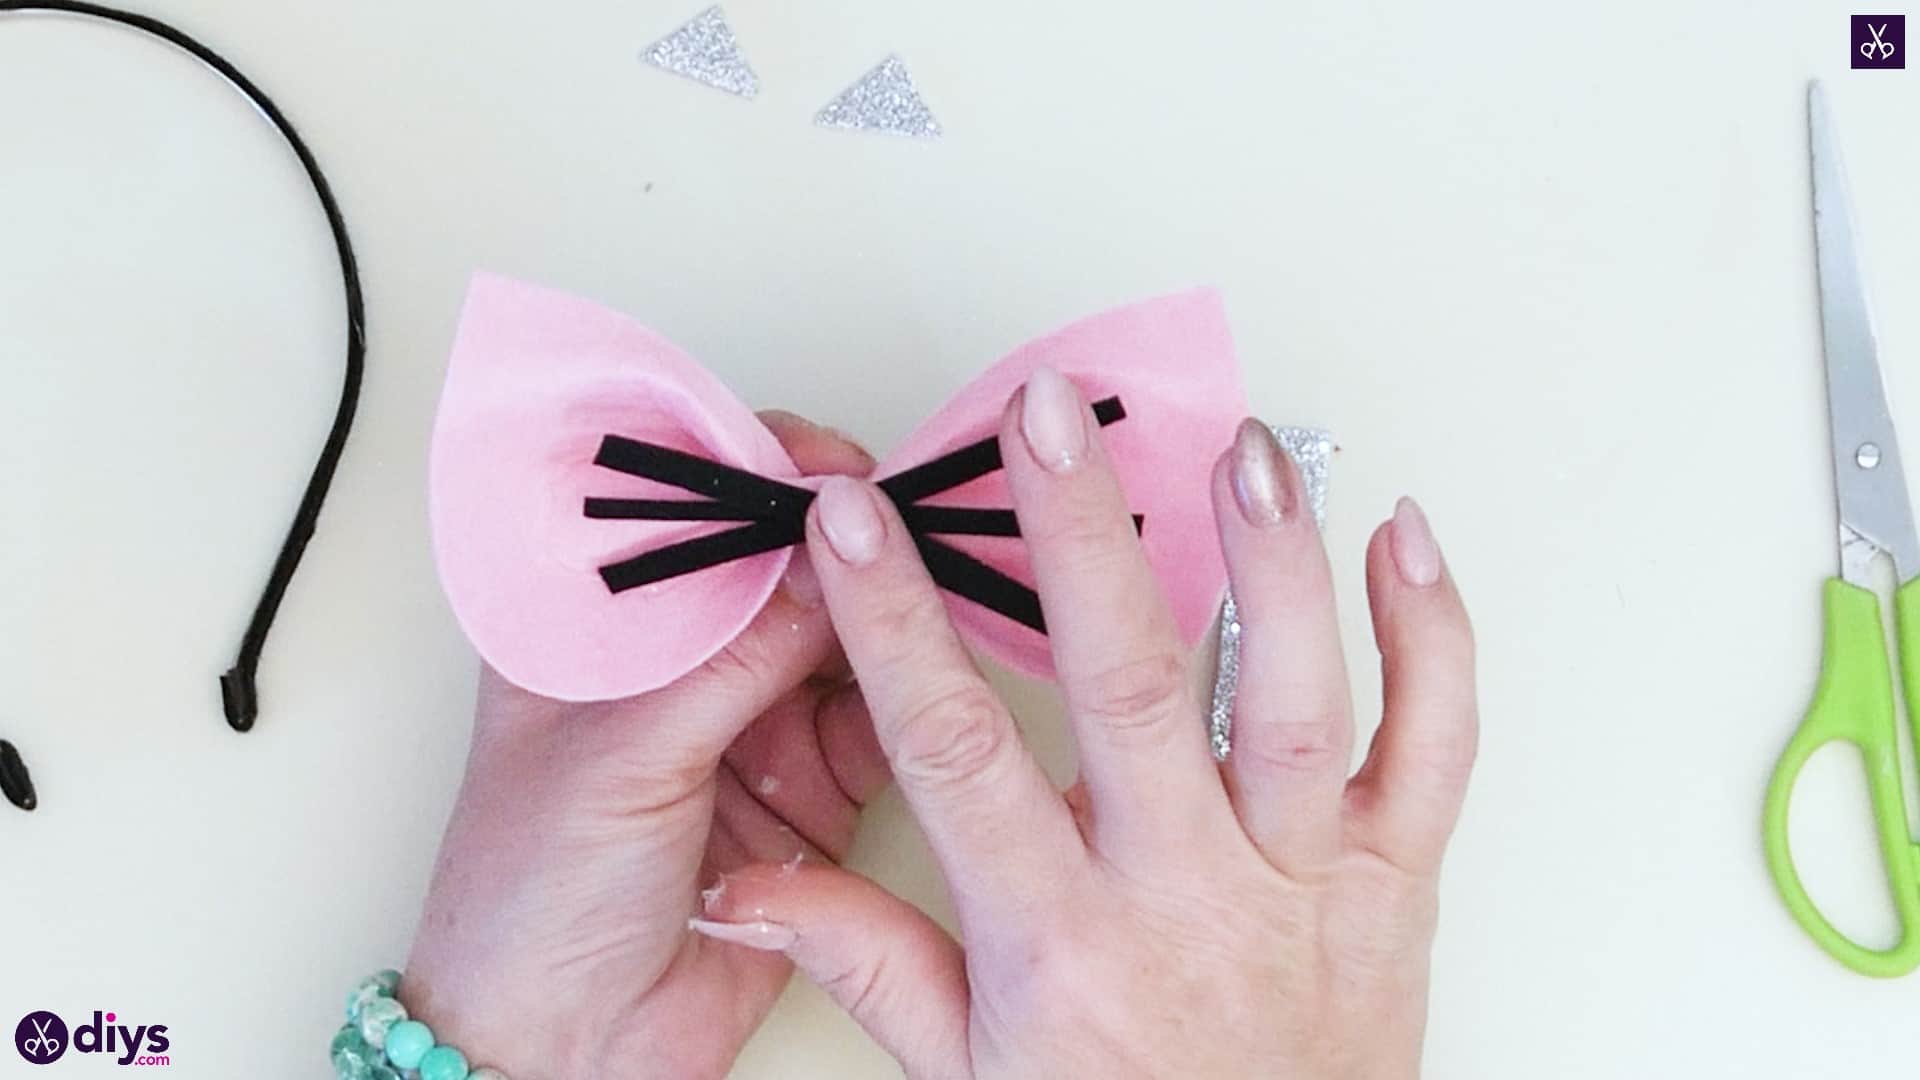
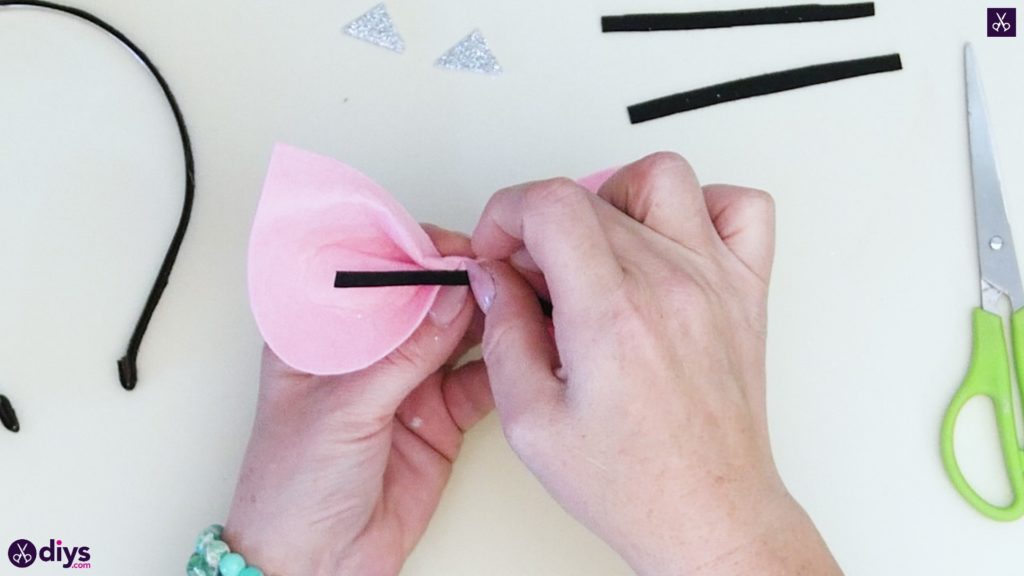
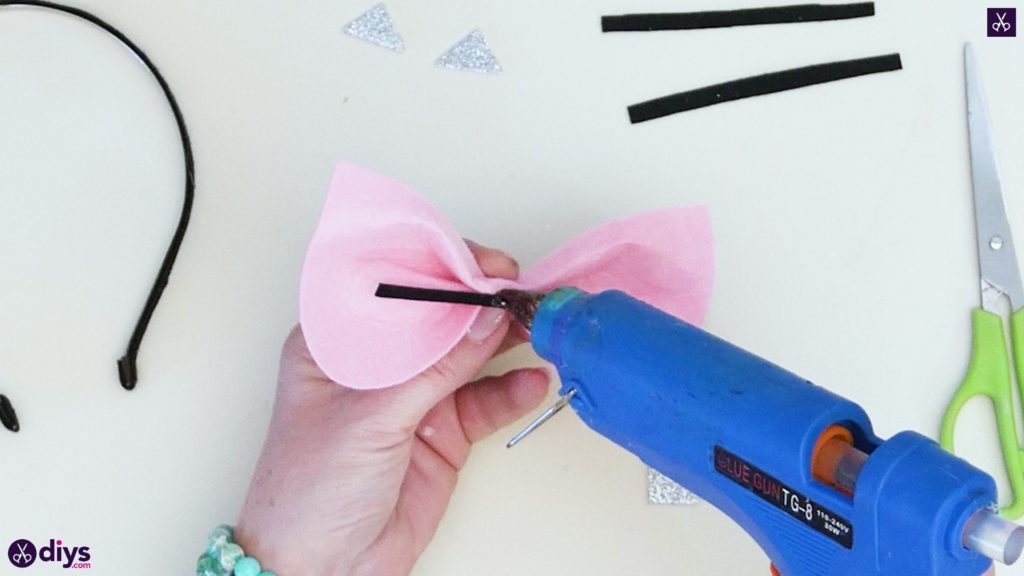
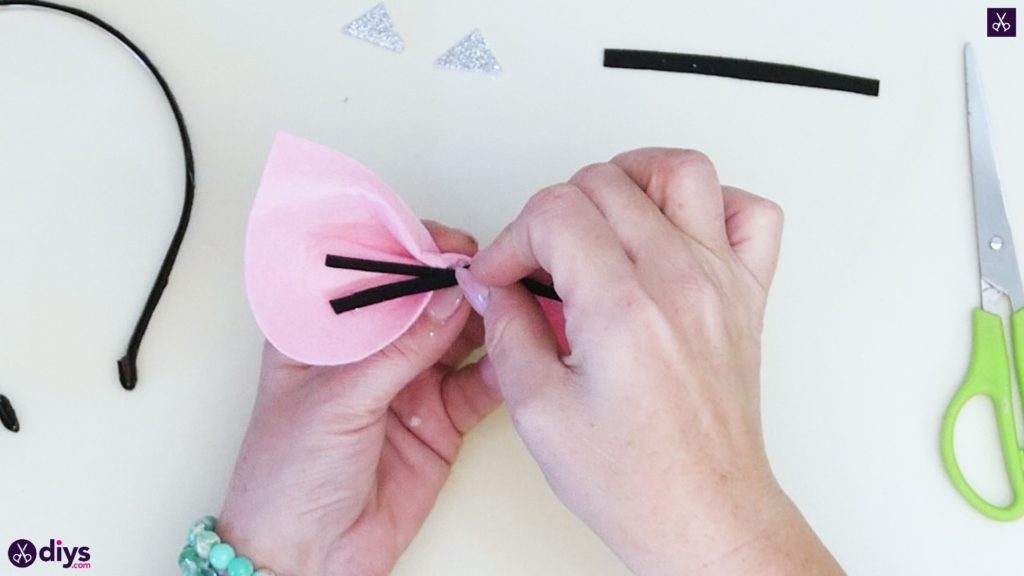
Step 6: add whiskers
Holding the pinched centre in place, apply a dot of glue to the front of the gathering, right in the middle. Now take one of your black felt whisker strips and stick it down in that glue right at the centre point in its own length, placing it horizontally so that half of the black strip’s length sticks out to the right and the other half sticks out to the left. Add another dot of glue and stick down a second black strip, keeping them close to the gathered centre so the ends all splay to the side from the same spot. Stick down a third strip in the same way to complete your whiskers (I decided not to use the fourth strip, as three whiskers on each side looked just how I wanted).

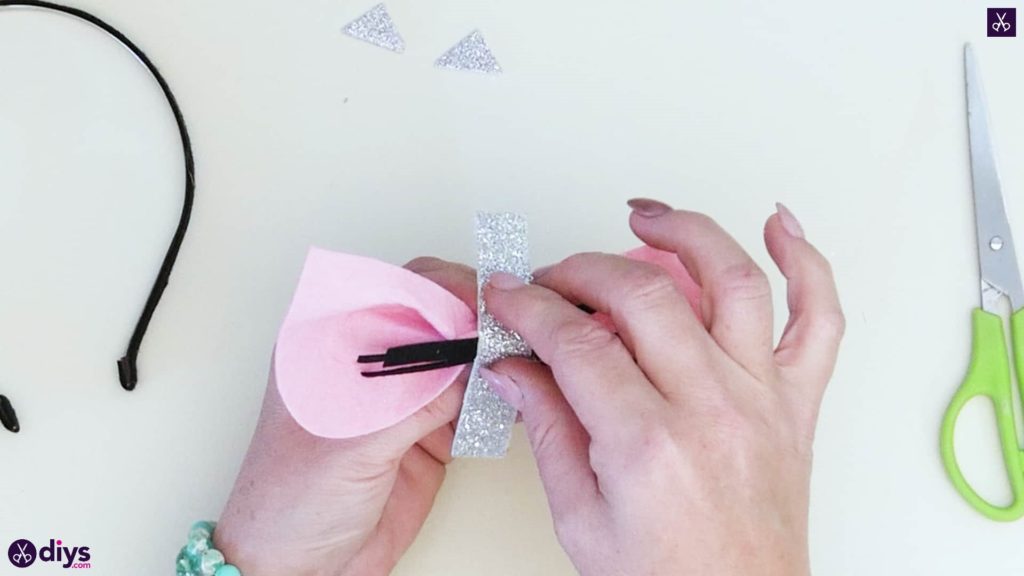
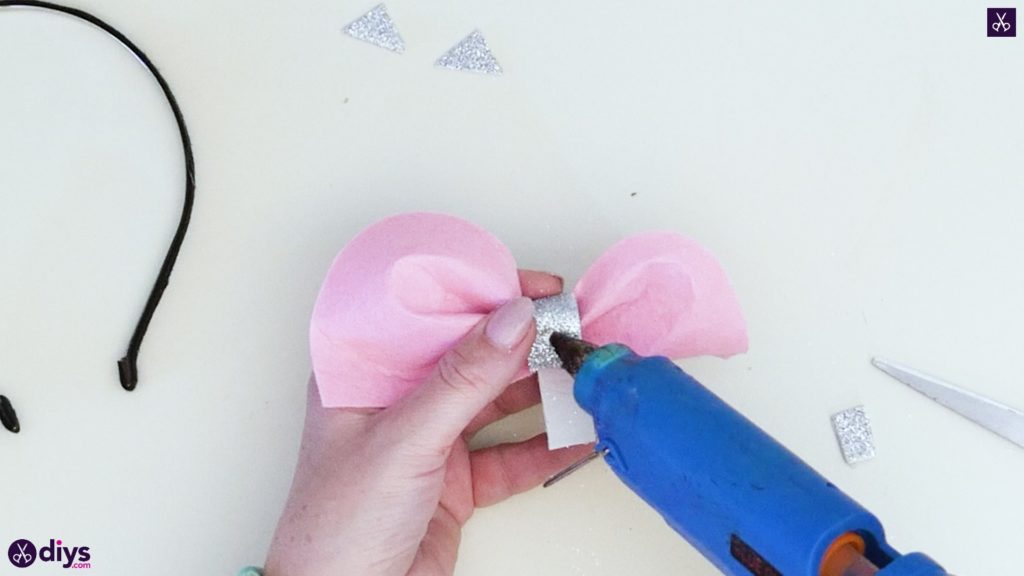
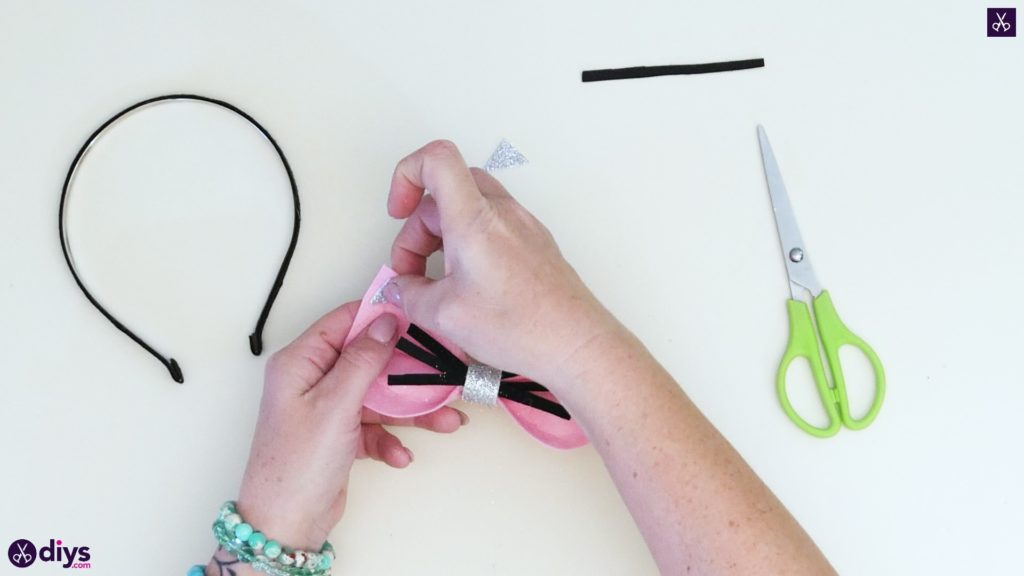
Step 7: cinch the center
Apply another dot to the centre of where you glued your whiskers down and pick up the sparkly silver strip you cut earlier. At its centre point, stick the strip down here vertically so it can be wrapped around the entire cinched piece, including both the black and pink felt. Turn the whole piece around and apply a dot of glue at the cinched centre on the back, then bend the silver piece at the top downwards to stick it down. Then apply some glue on the very end of that and bend the bottom end up to stick it down there. Your pink ears now have a pretty, sparkly band to keep them pinched in place.


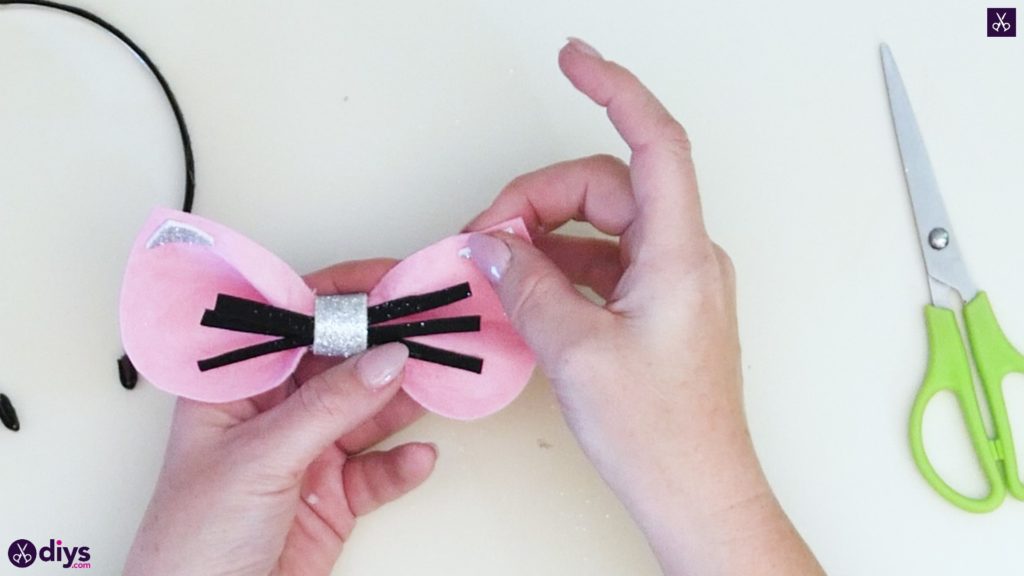
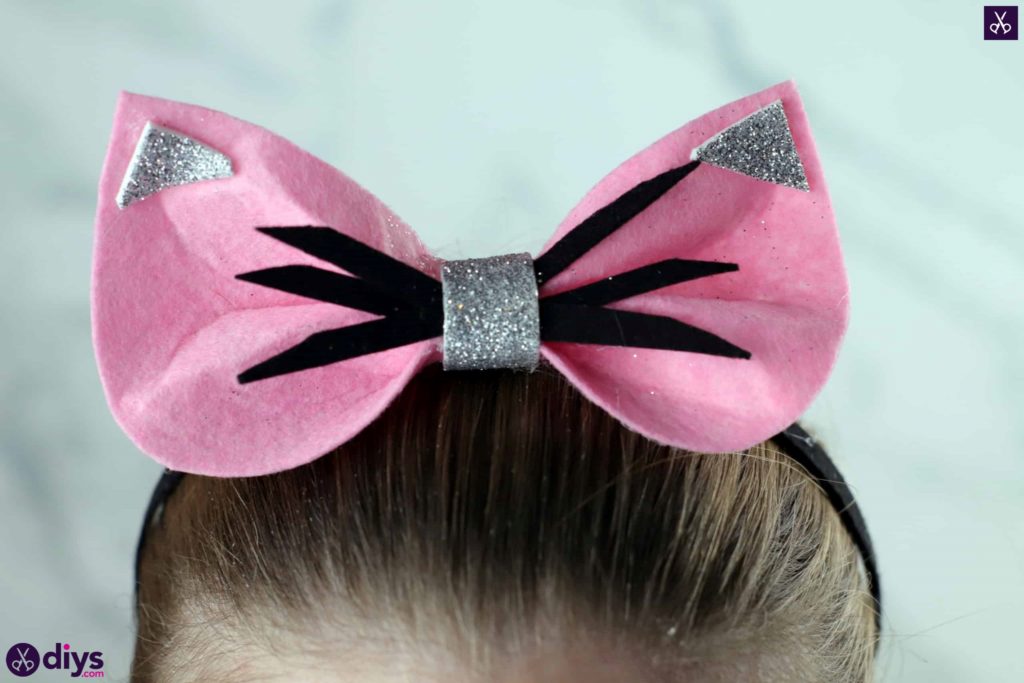
Step 8: add the sparkly triangles
Now turn your whole piece around back to the front. Use your glue gun to add the little sparkly triangles you cut earlier to the front top corners of your cat ears! This adds some cute detail to the tips.
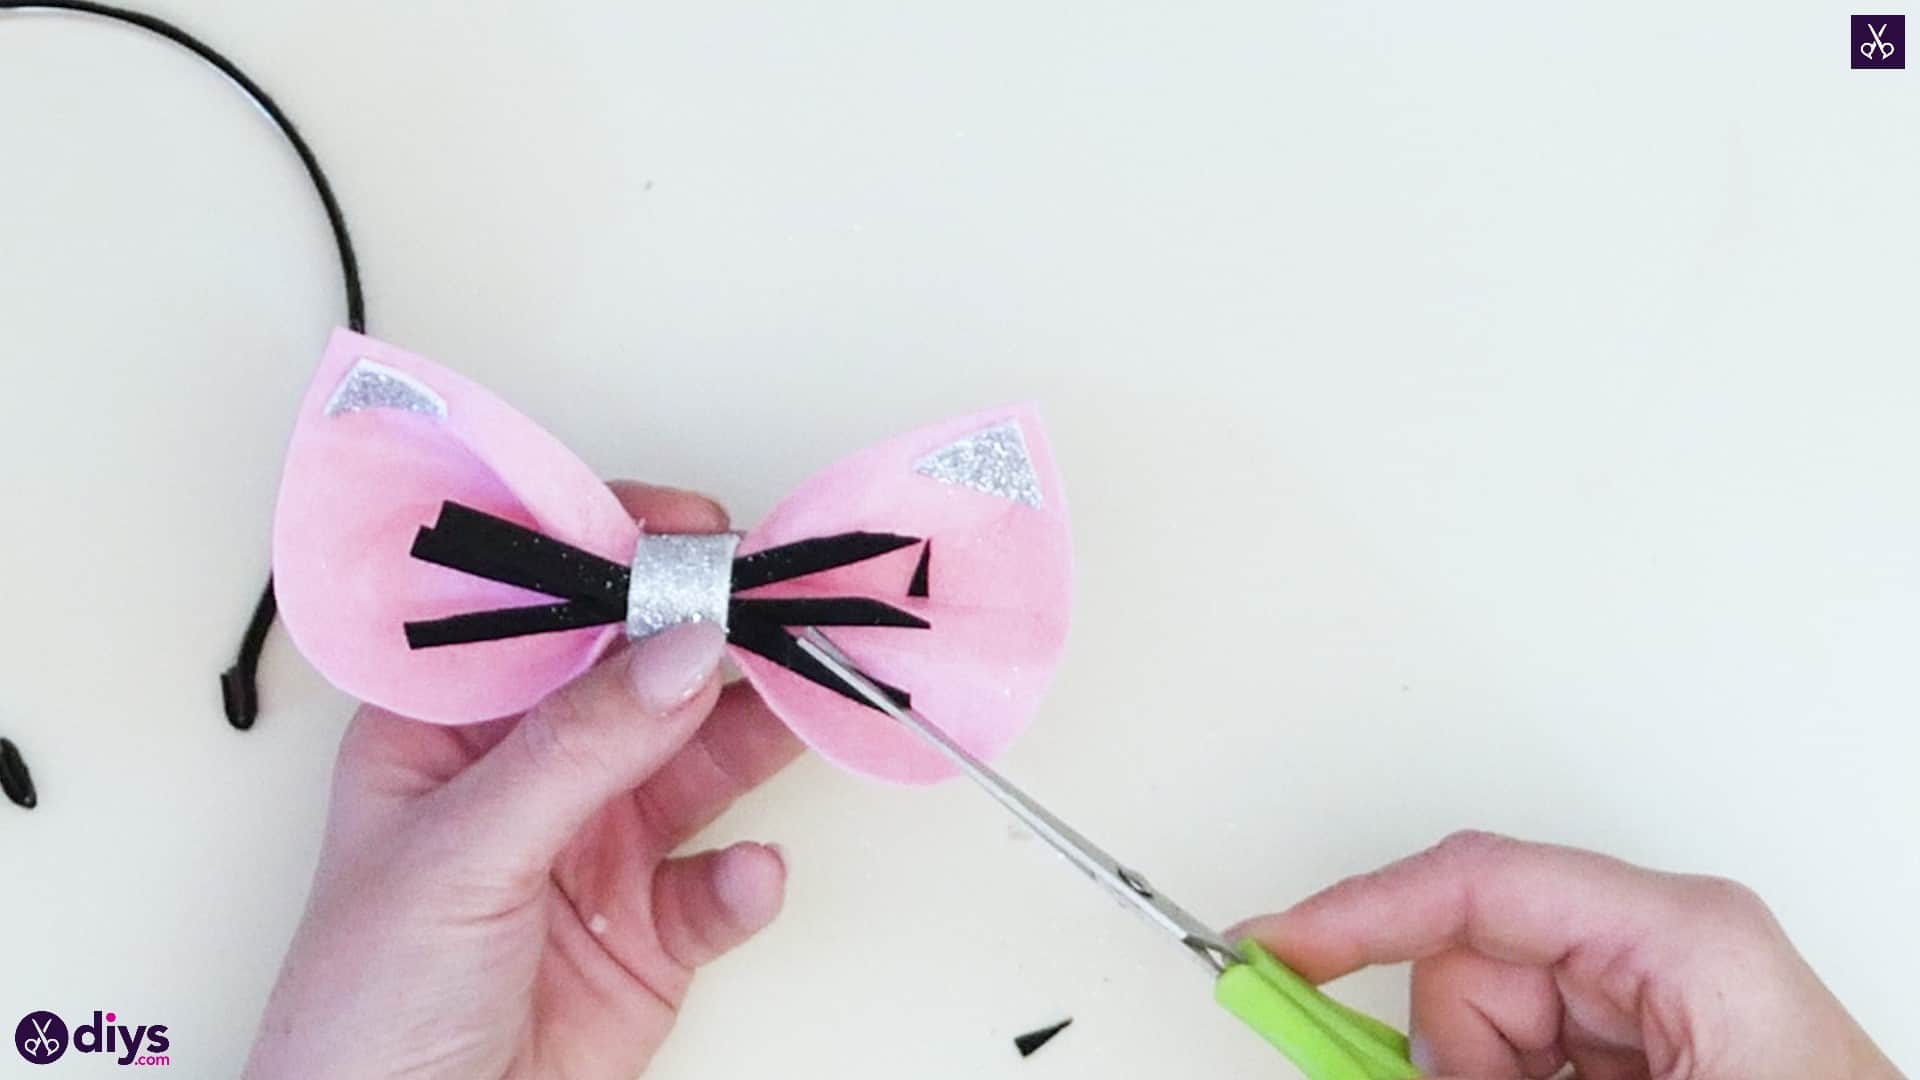
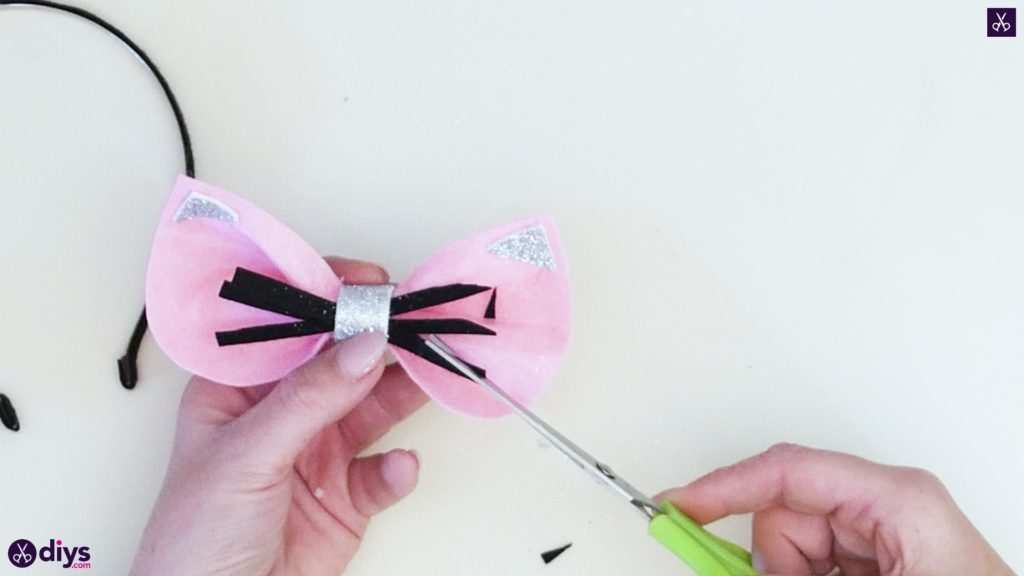
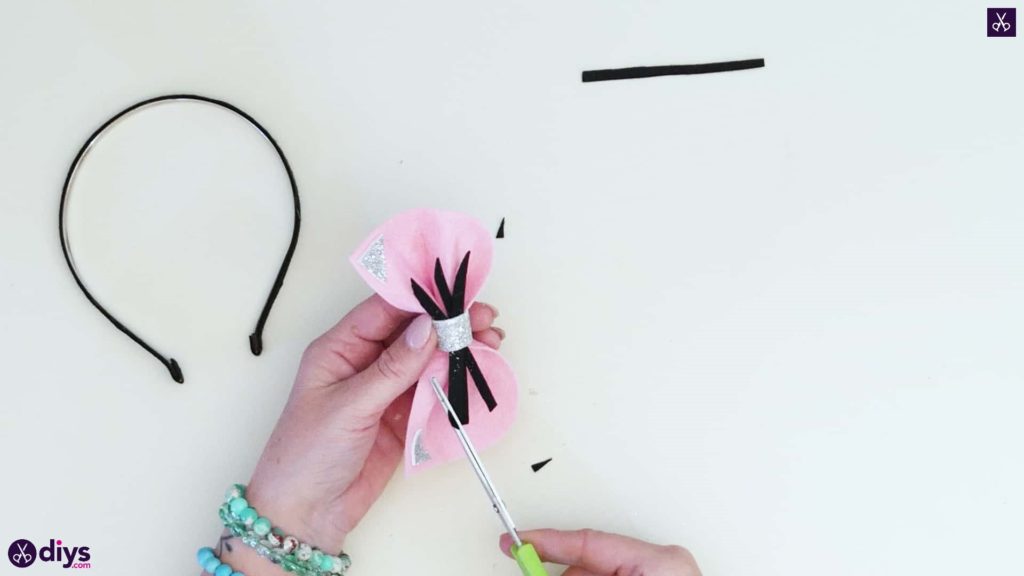
Step 9: shape the whiskers
Use your scissors to cut the ends of the black felt whisker strips into little points, angling your scissors slightly to make the whiskers look less blunt.
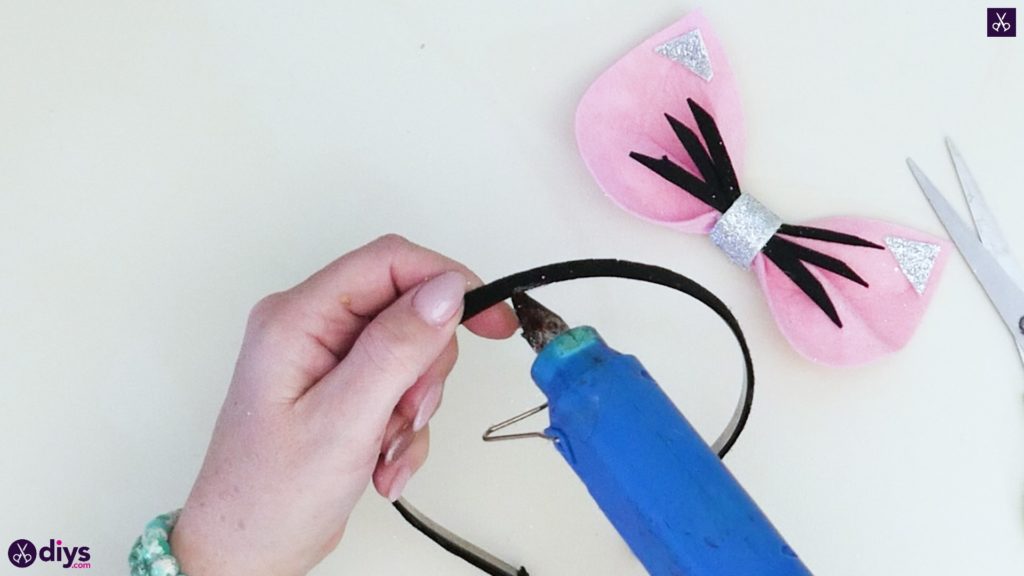
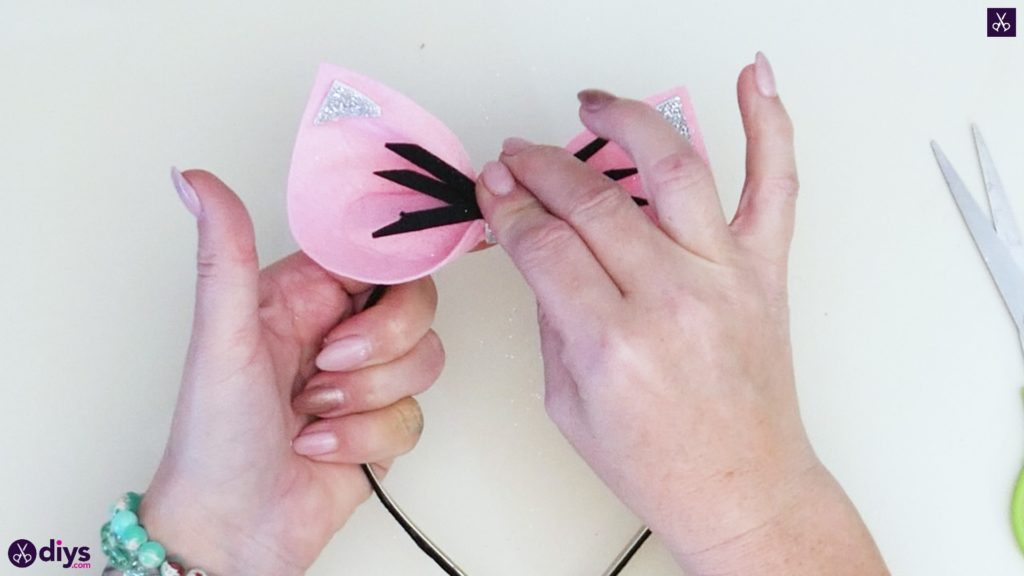
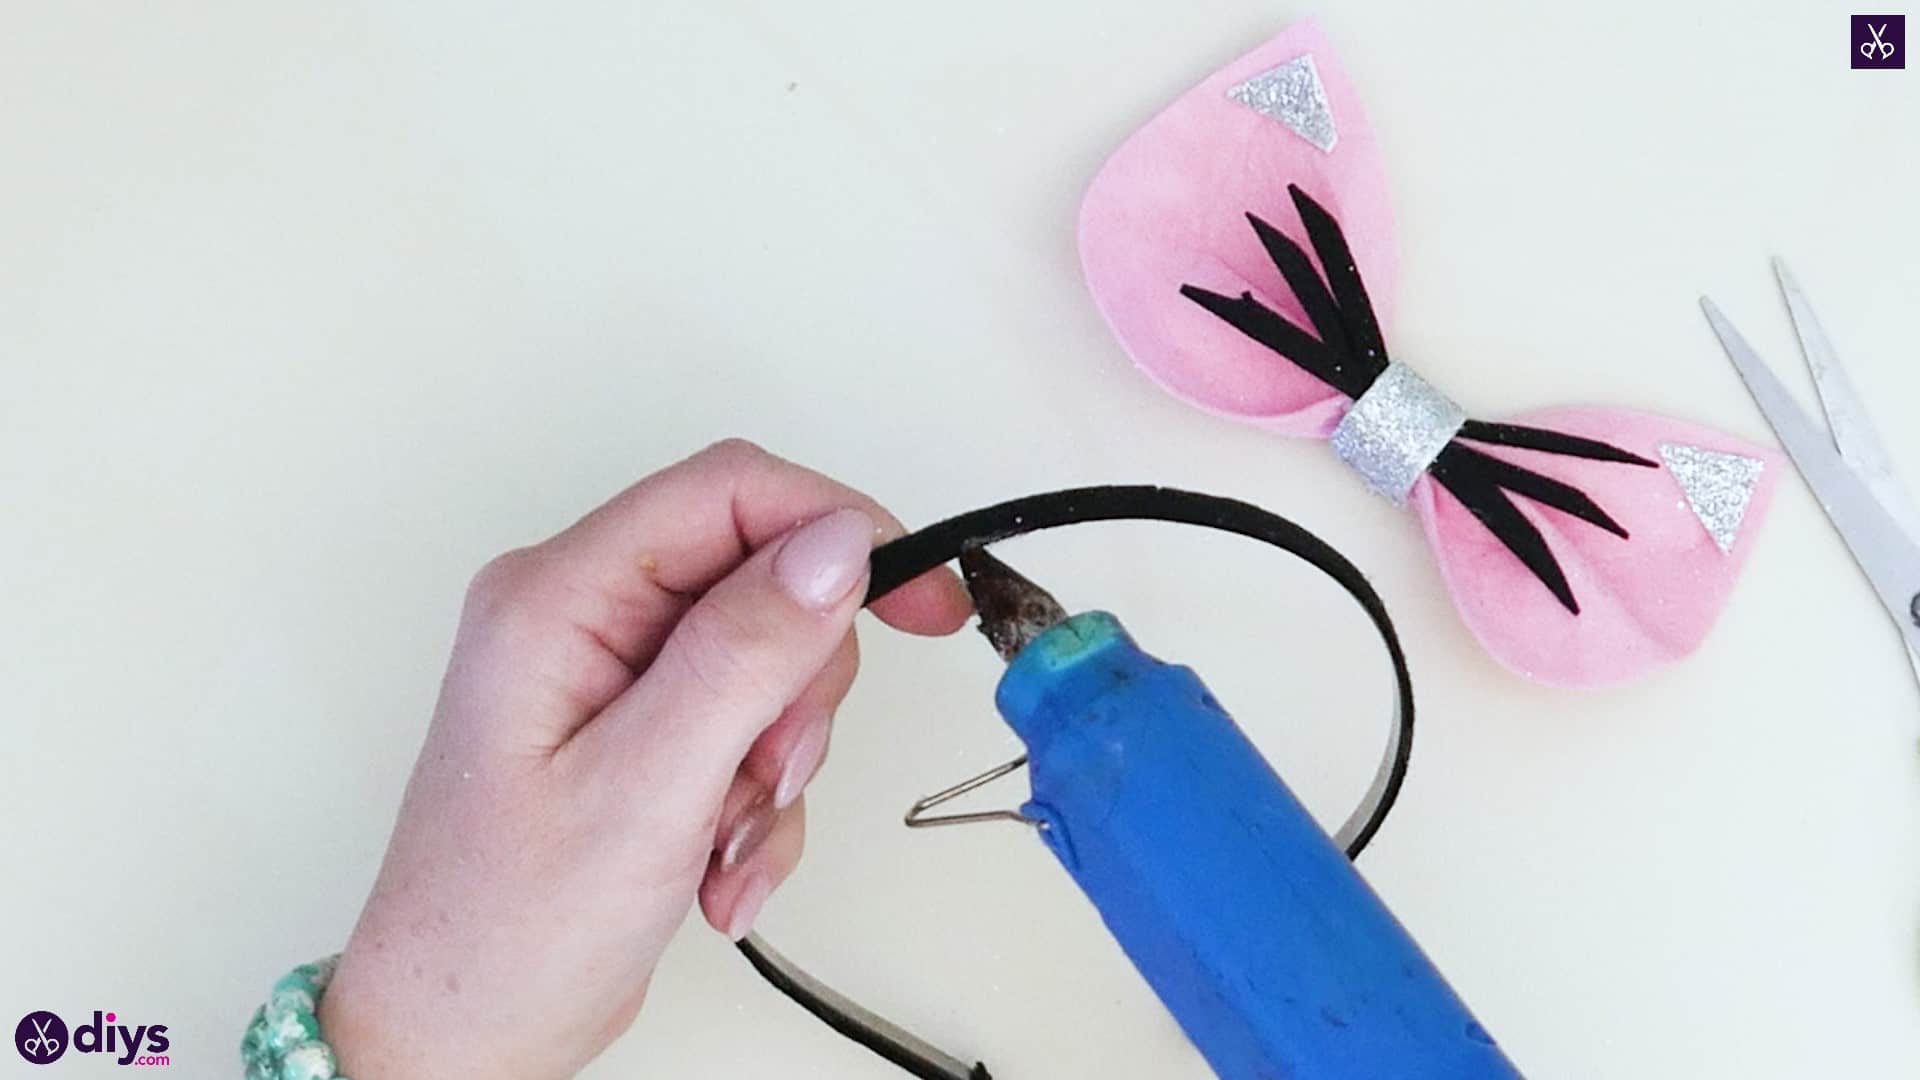
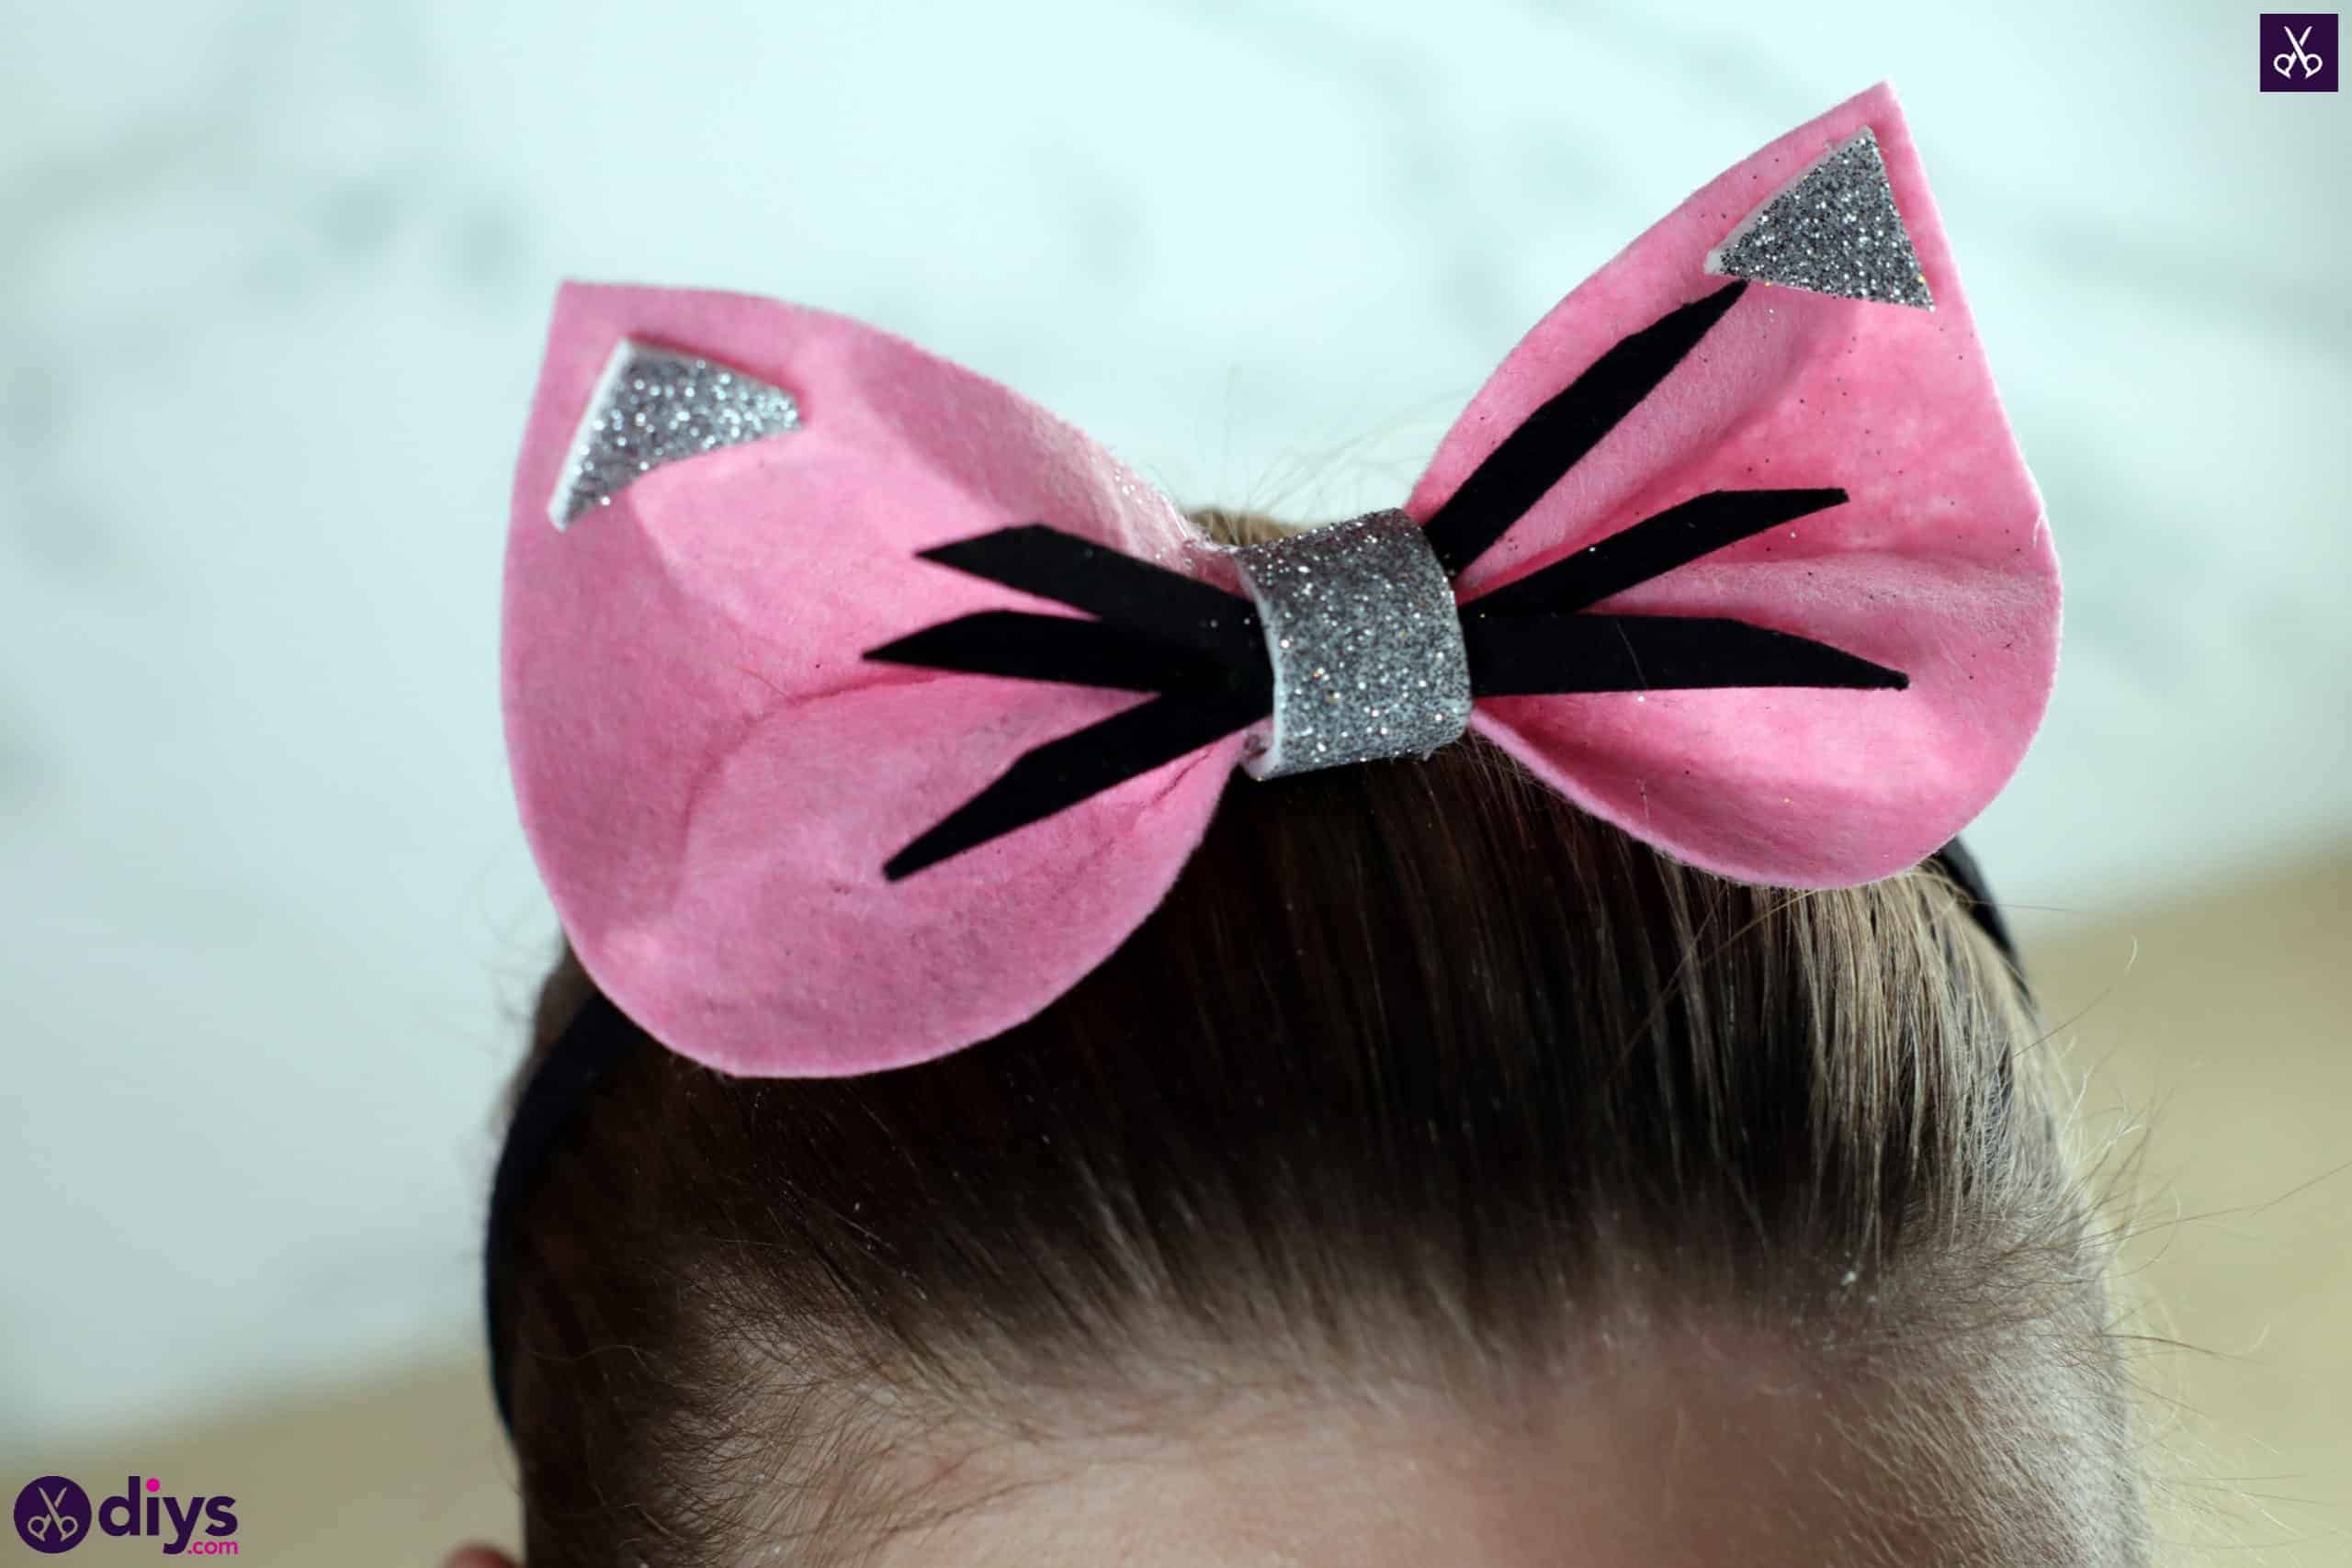
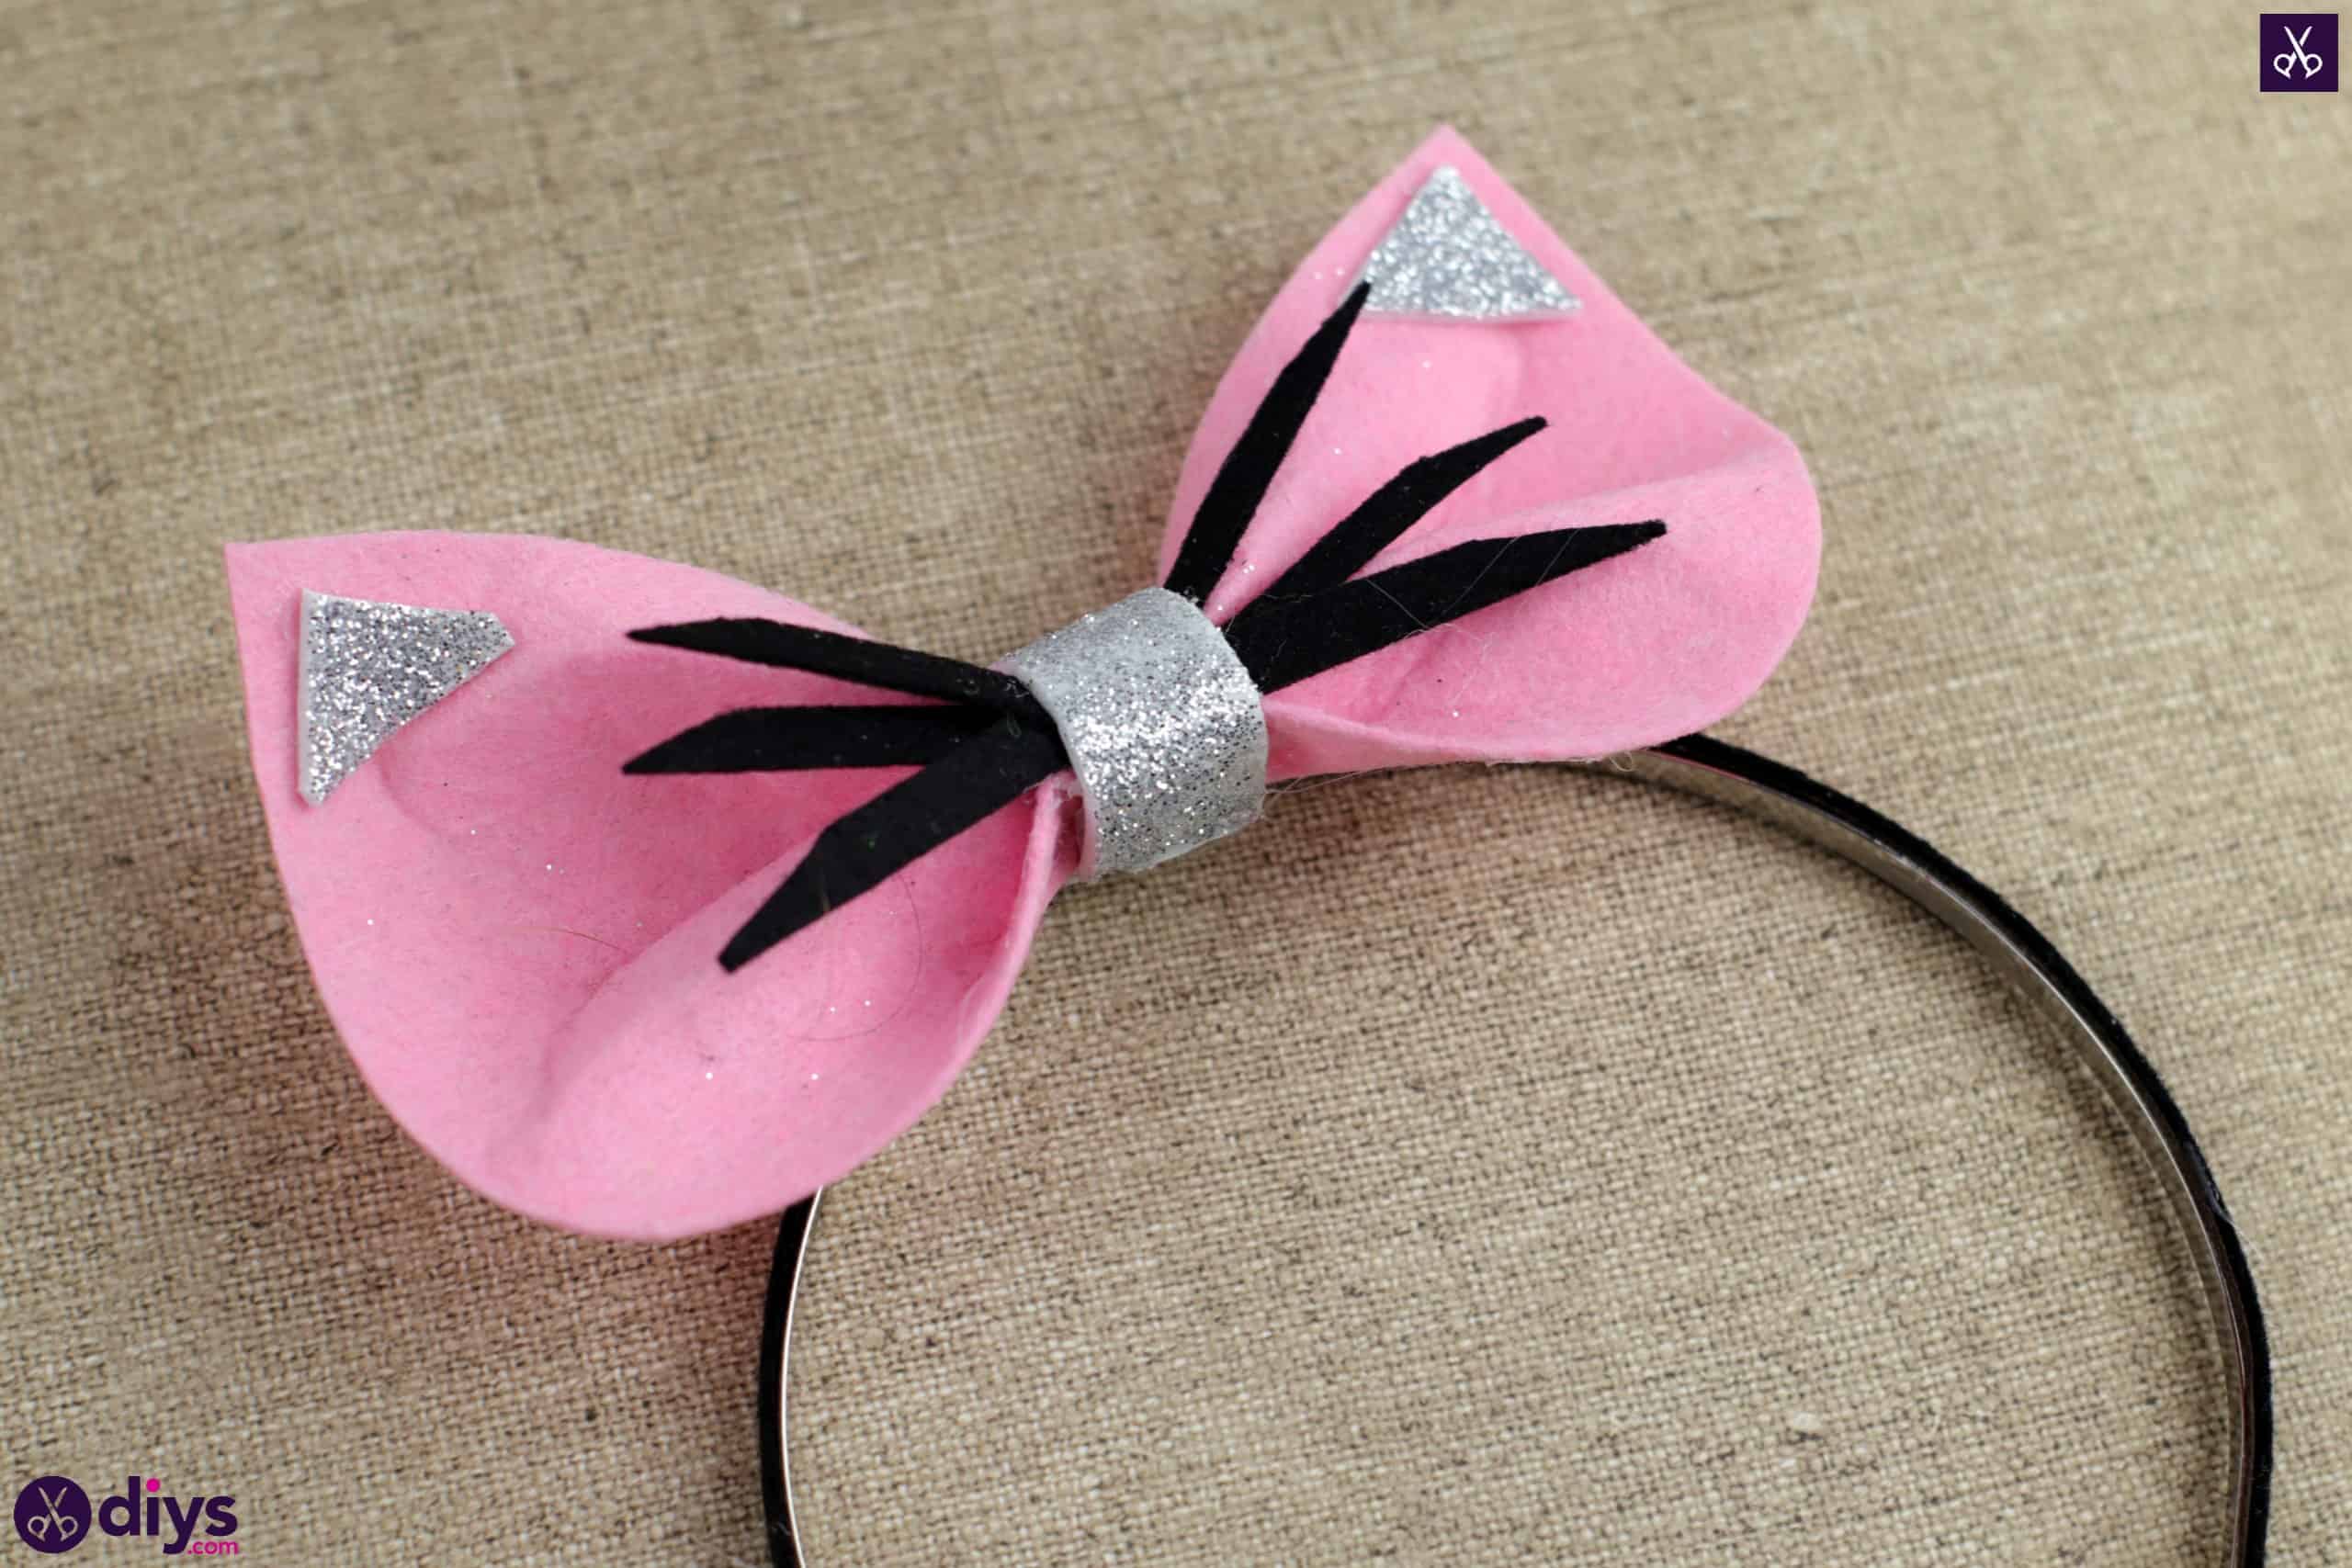
Step 10: attach the ears
Now apply some hot glue to the top middle of your hairband and stick the centre of your cat ears, right on the middle of your silver band, into the glue. I angled mine back and up just slightly so the ears don’t catch in the hair when the headband is worn.
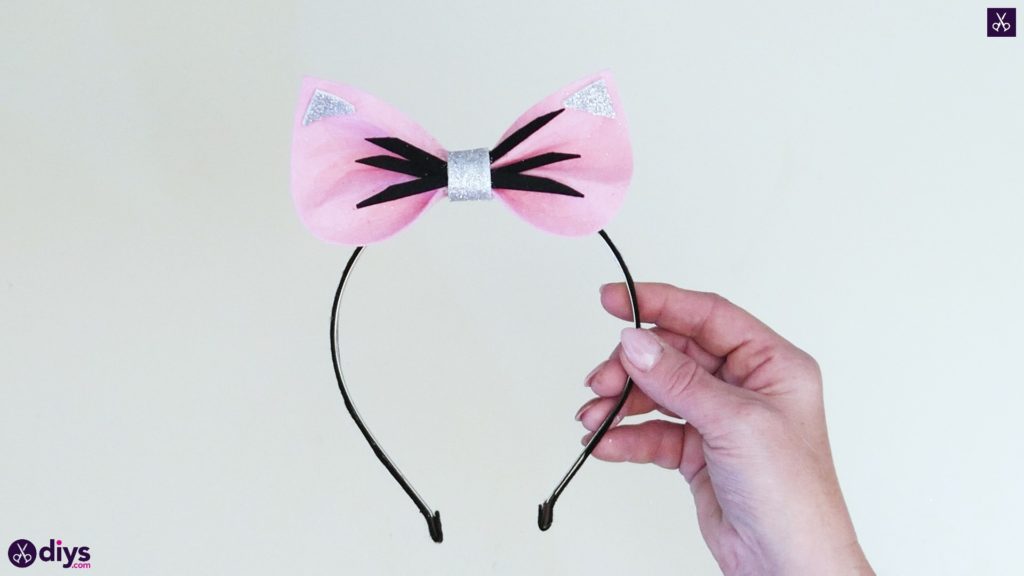
That’s really all there is to it! Just in case you’d like to try this project out for yourself, here’s a fantastic tutorial video to help you!