DIY Rustic Wedding Favour Bag
Updated on November 19, 2025

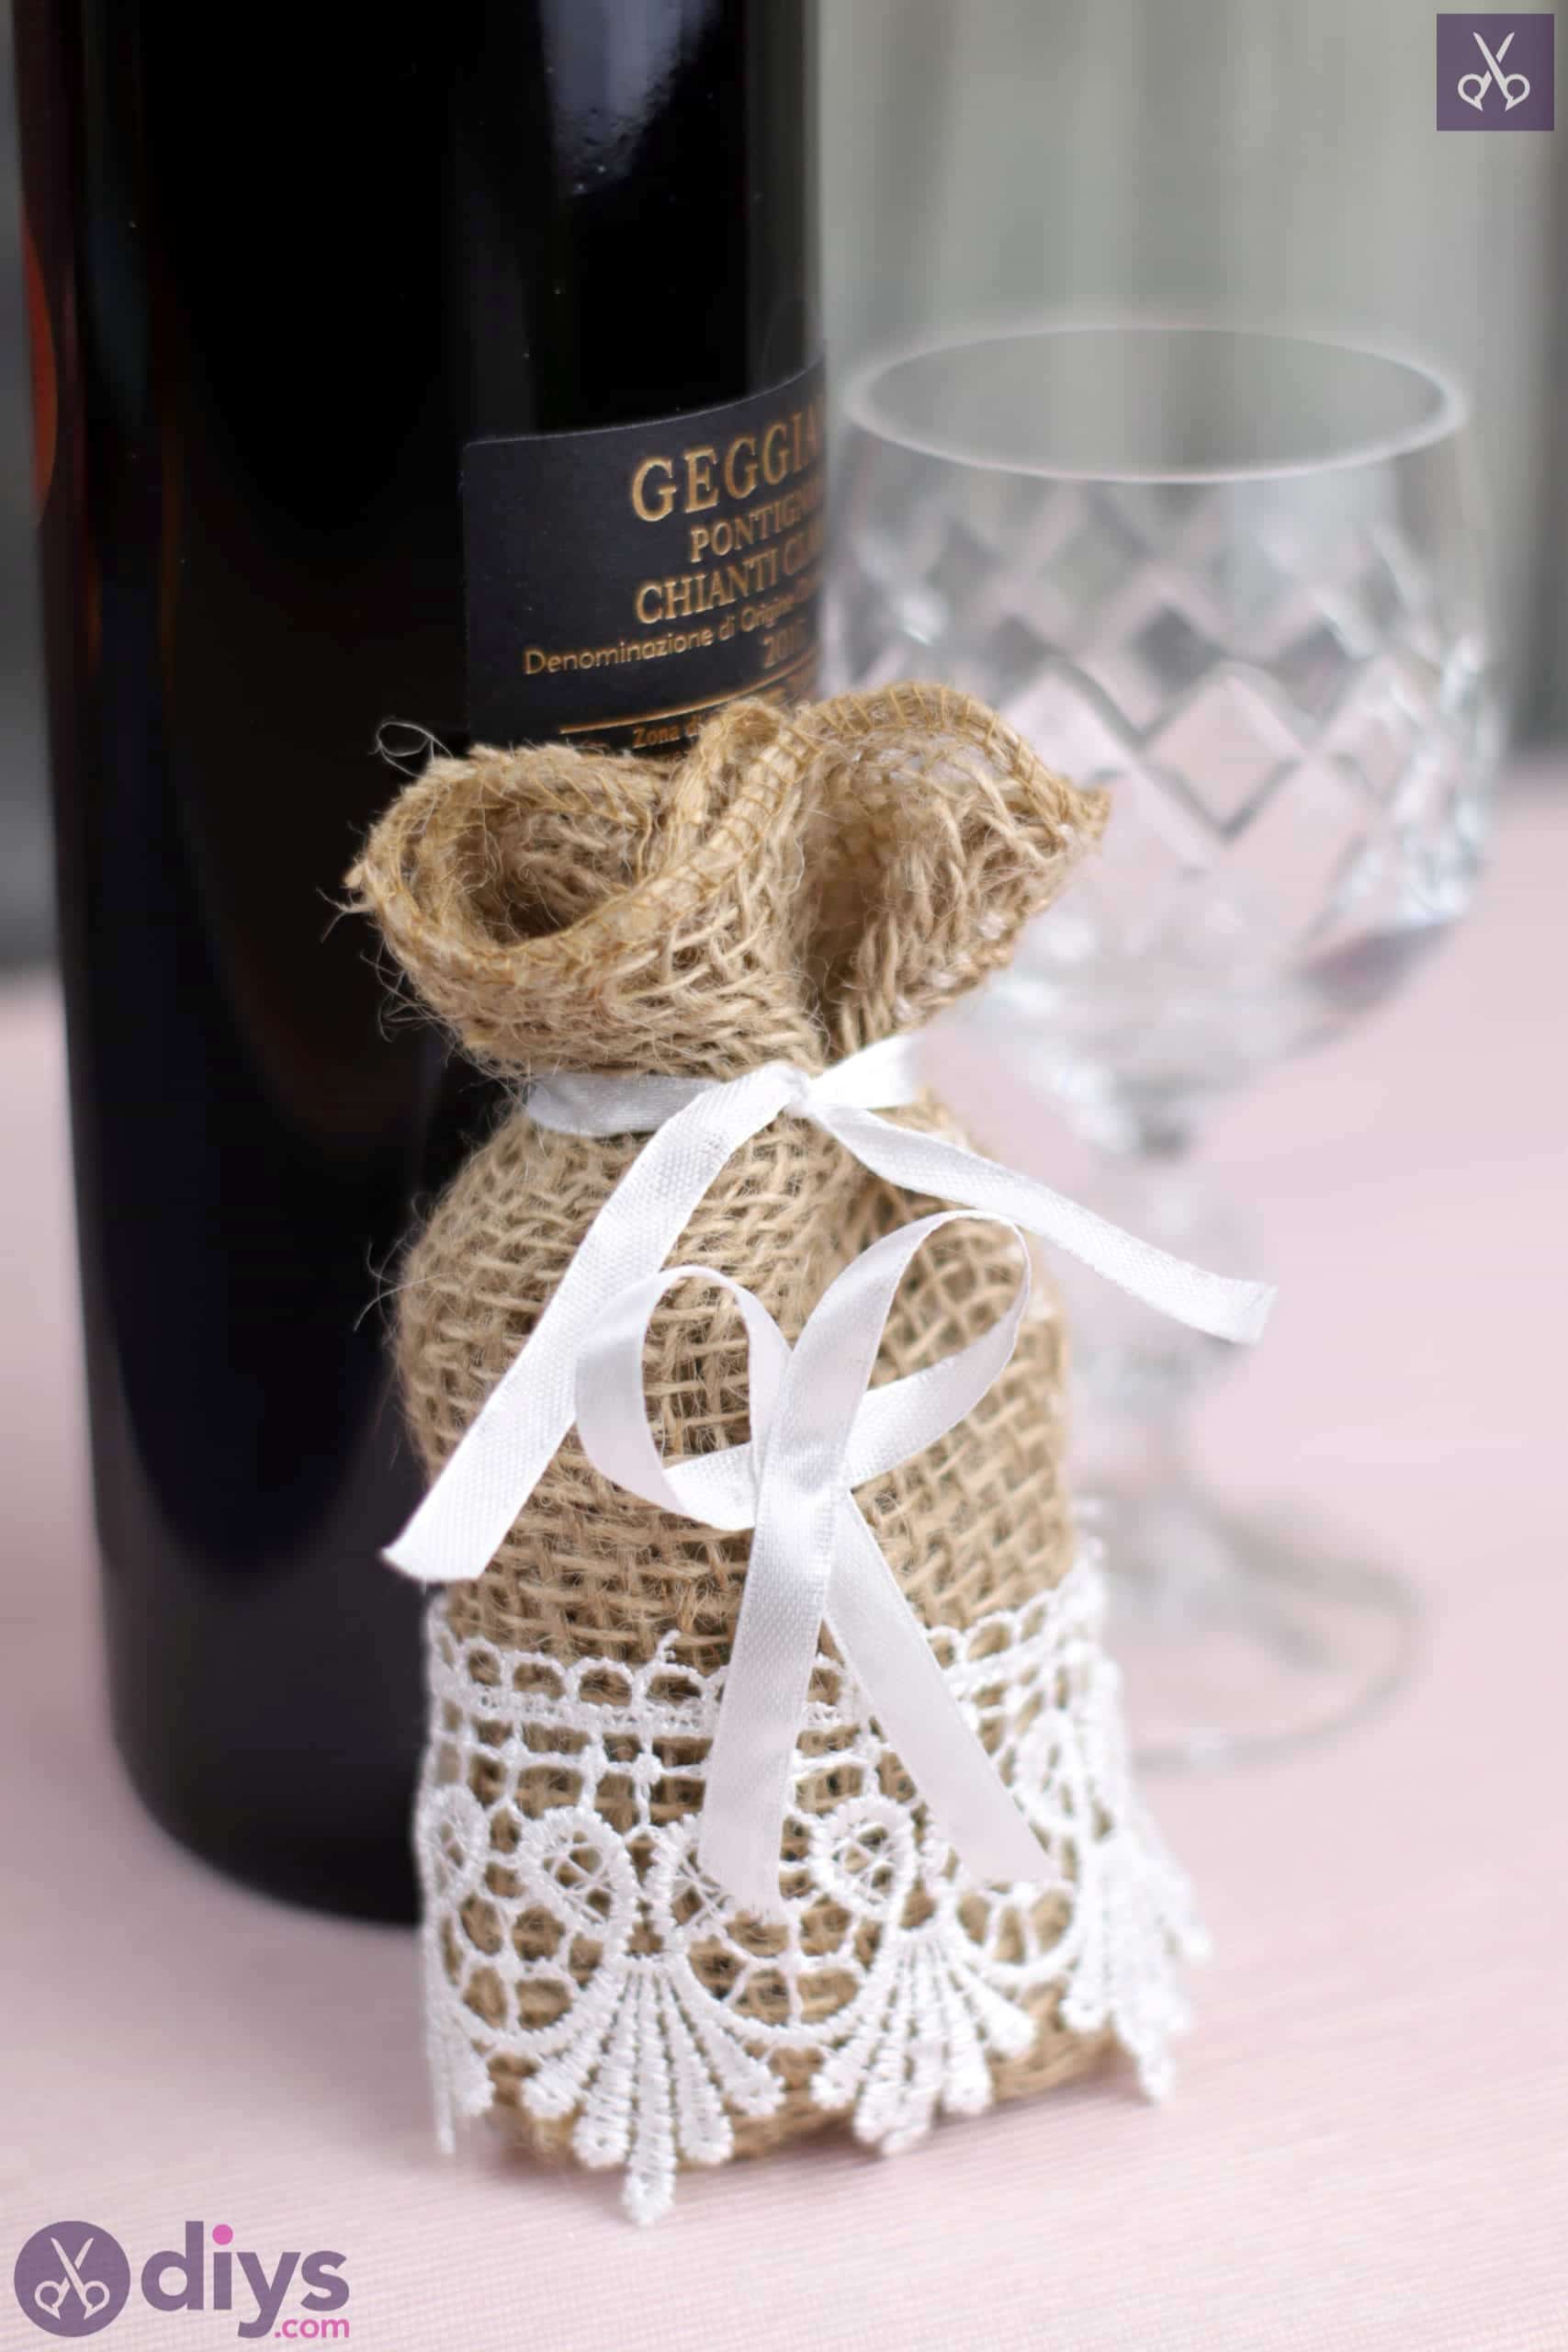
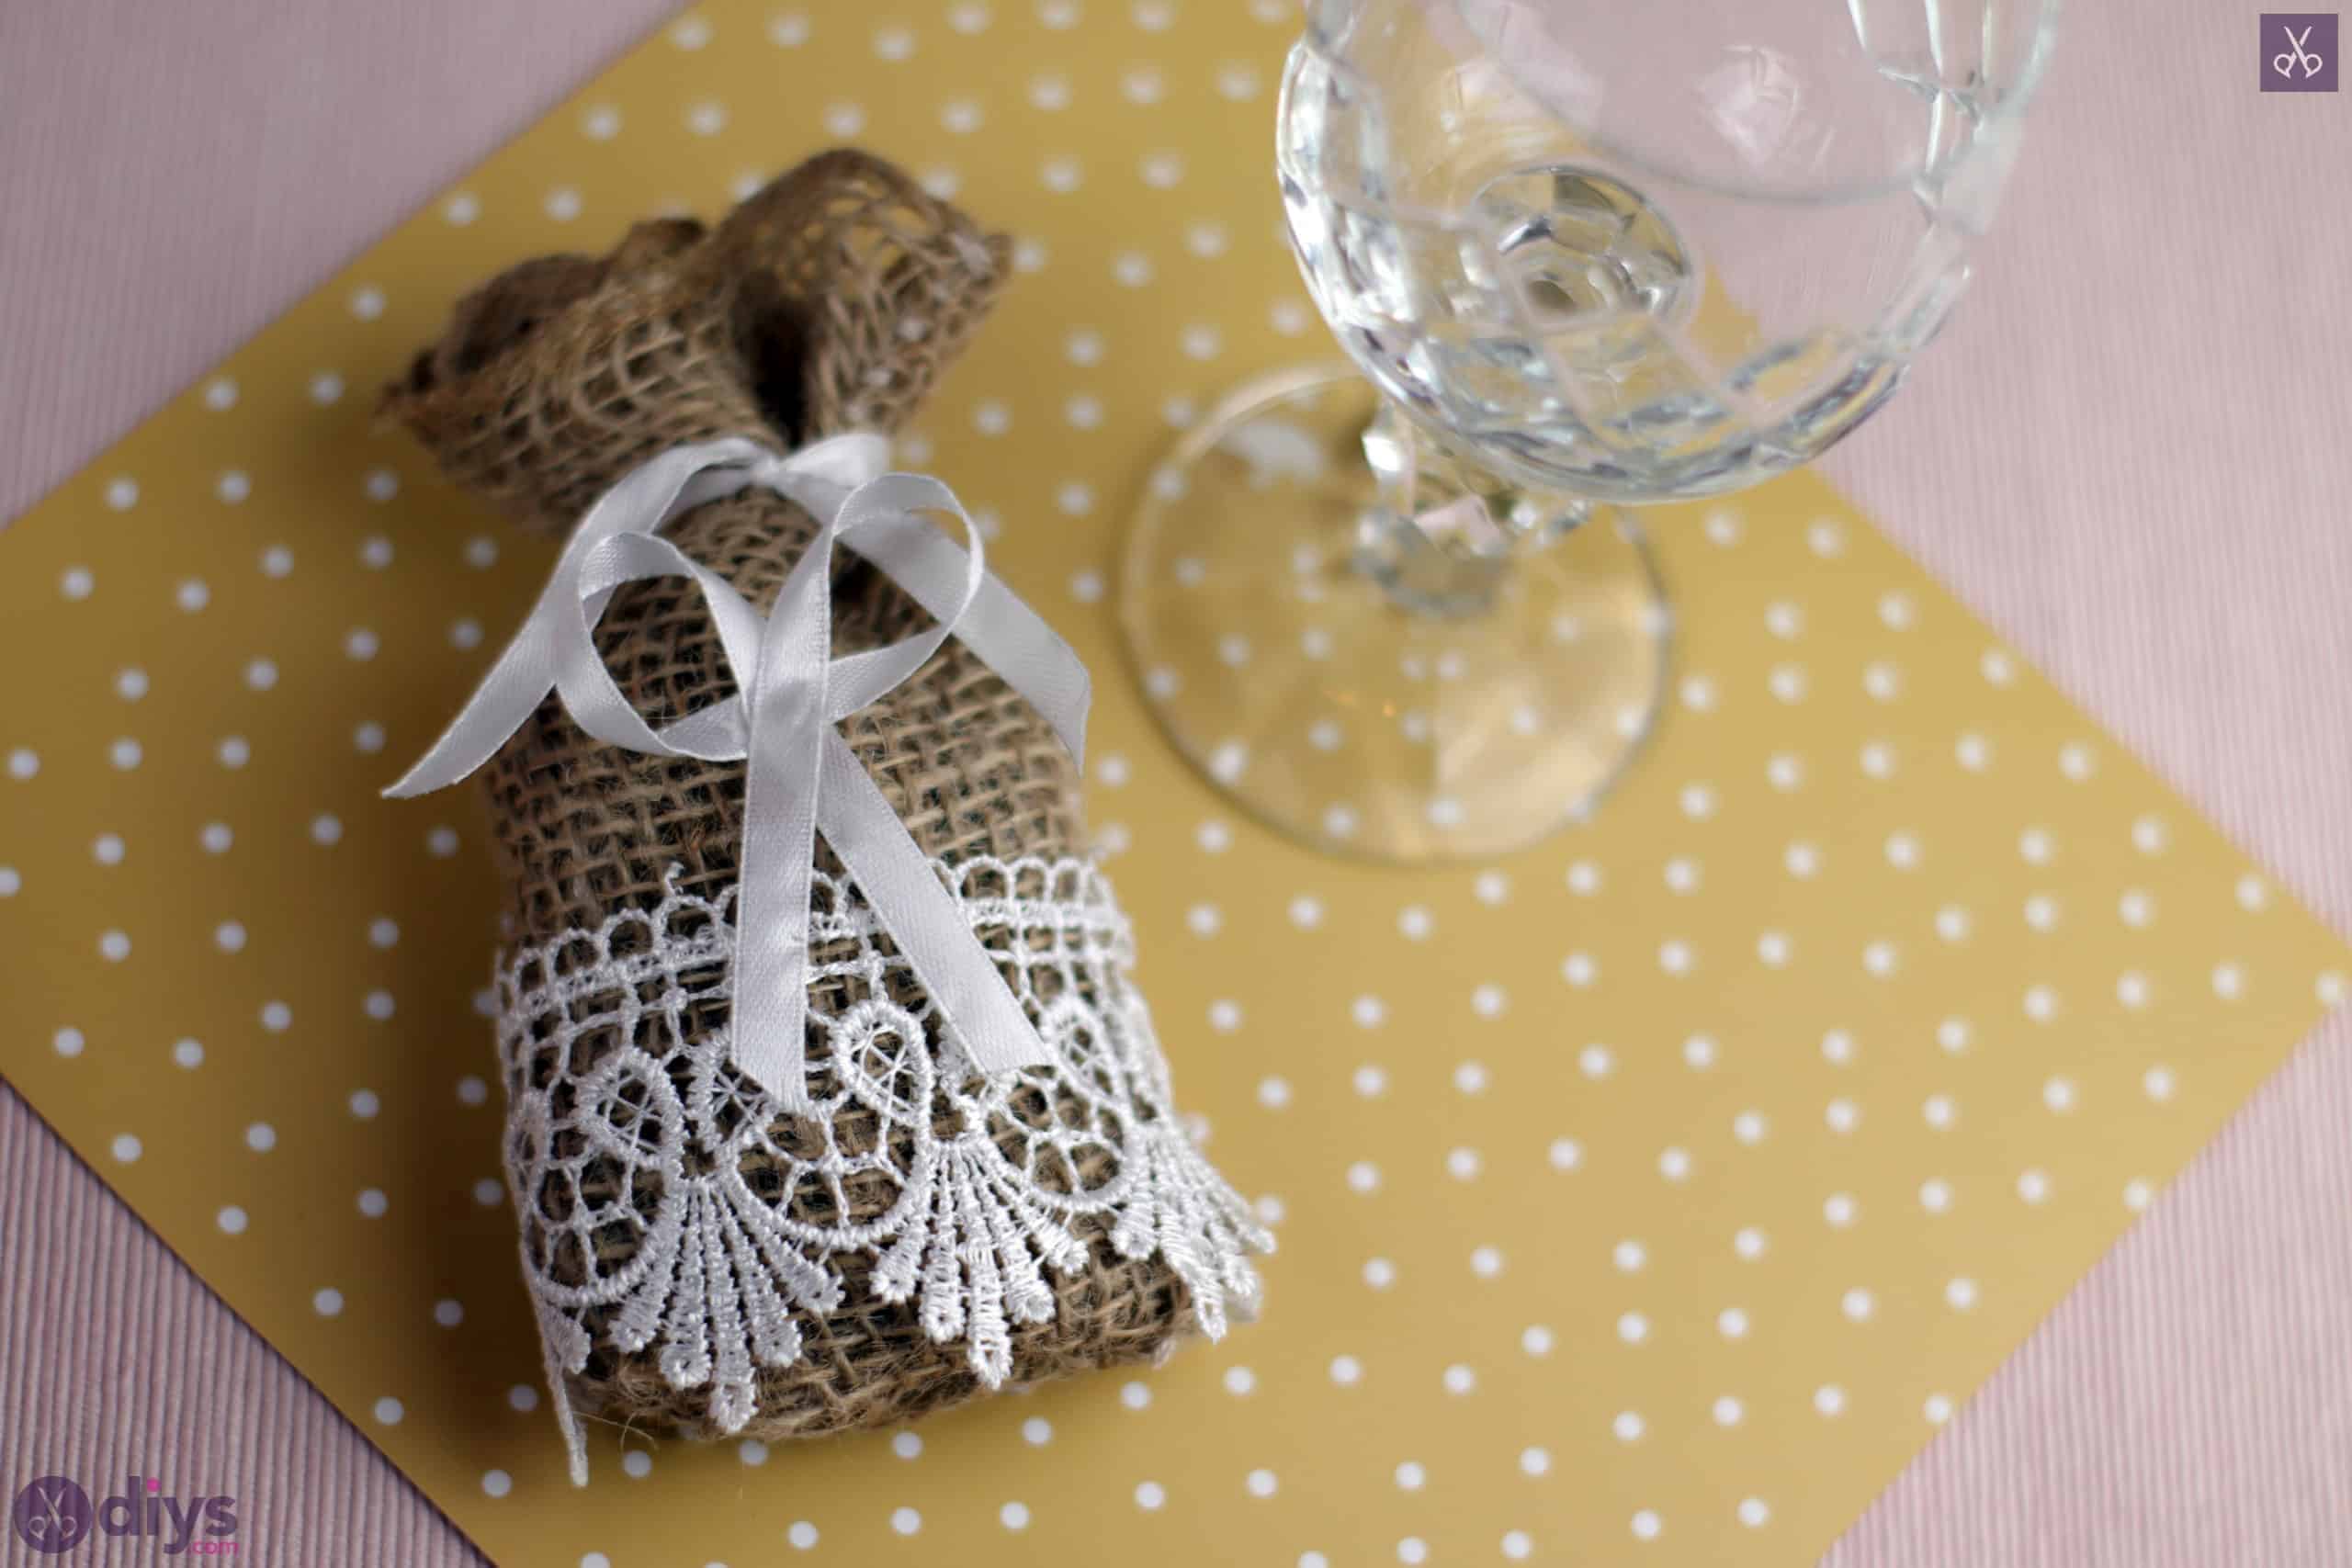


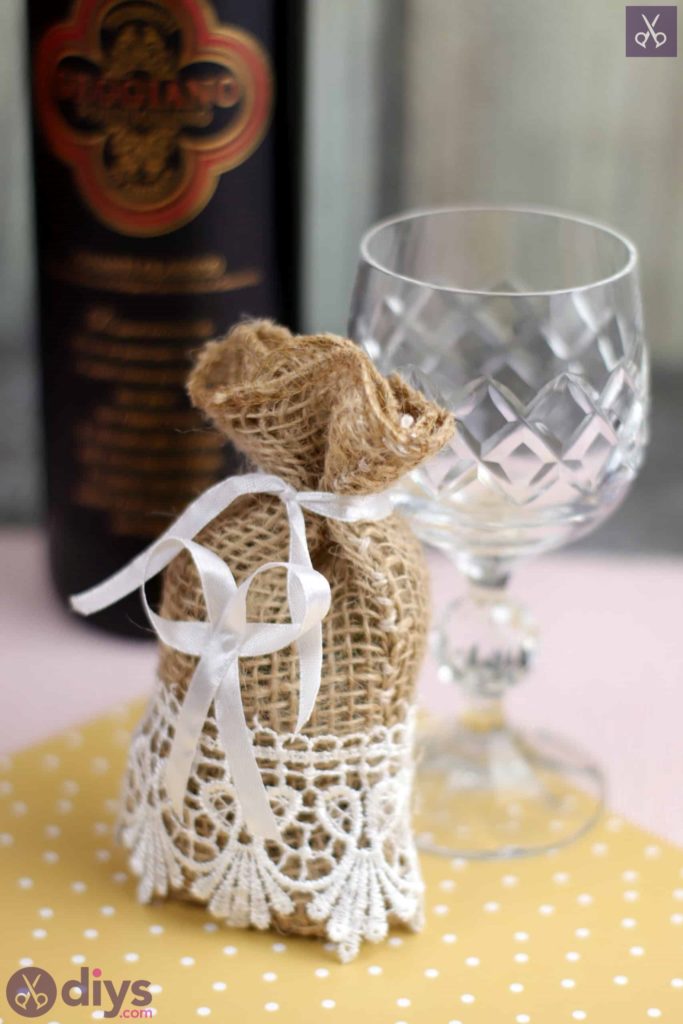
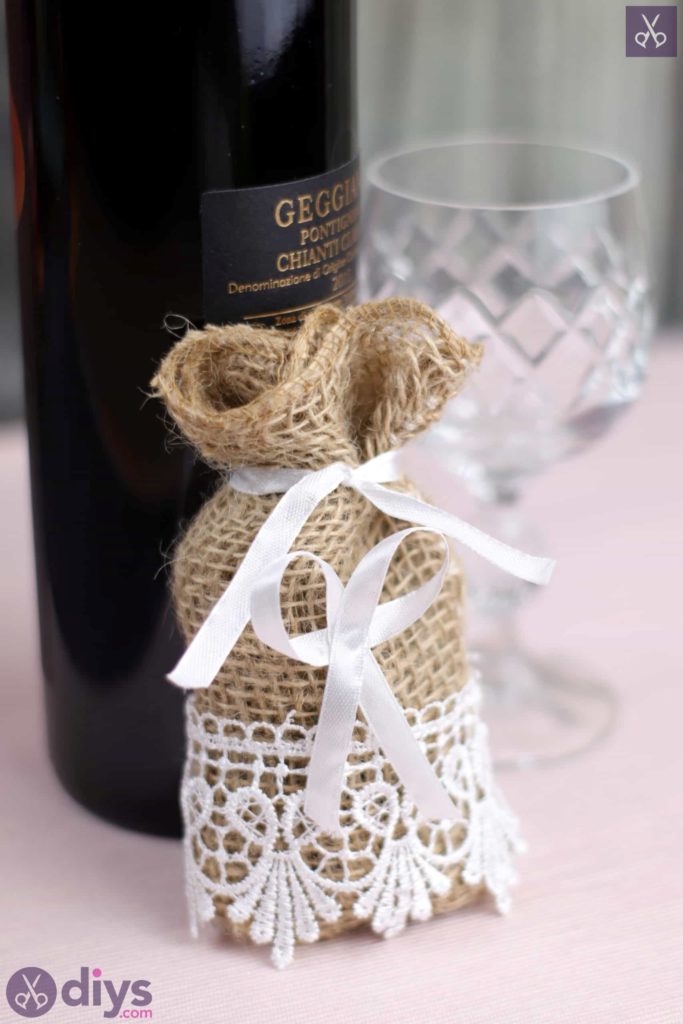
Whether you’re the one getting married or whether you’re just helping a friend whose wedding is coming up, having diverse crafting skills when you’re preparing for a wedding is a total gift! In fact, being able to make small elements of the wedding yourself is often a great way to cut down the budget and save a little bit of money. It can be a little more time consuming, so you might want to limit what you’re making to just a few bits and pieces, but there’s still a lot of charm and satisfaction involved in creating handmade details for an occasion that celebrates love and those close to you. I actually created a few small DIY elements at my own wedding several years ago and I’ve done the same for several friends and family members since! Most recently, I helped a cousin make these adorable wedding favour bags that she placed by each person’s table setting at the reception dinner, and they were very well recieved indeed.
Of course, these little burlap bags are particularly suitable for rustic chic or farmhouse inspired weddings! I’ve always loved being able to look up how other people created little projects like this before, so it only seemed fitting that I document and share y own crafting process in the sane way. Check out these step by step instructions complete with photos! If you’d rather follow along with a video tutorial instead of written words, scroll to the bottom of this post to find just what you’re looking for.
For this project, you’ll need:
- A sewing needle
- Hot glue
- Scissors
- Ribbon (white and brown)
- Lace
- Burlap

Step 1:
Gather your materials!
Step 2:
Make a little bow with your white ribbon! kept mine about an inch wide. Curve your end inward so a loop is created and the loose end crosses over where it meets the rest of the ribbon by about half an inch. Apply a small dot of glue where the two cross and stick the loop in place. Do the same from the other side to make a loop about the same size. Apply a small dot of glue in the same central place where the other piece crossed, right on top, and stick the second crossing ribbon down where it meets those pieces as well. Trim the end that’s still attached to be equal with the first end and then cut the very tips of both on an angle so they don’t fray. Set the bow aside.
Step 3:
Cut out a piece of burlap about eight inches long and three inches tall. Once cut, fold the strip in half so its shorter edges meet up evenly; you now have a doubled over piece that’s four inches wide and three inches tall, with loose ends on one side and a crease on the other. This gives you a rough idea of where the centre of that piece is, right along that crease. Unfold the piece flat again and refold it, this time bringing the right and left edges inward towards that crease in the middle. Overlap them slightly there. Next, thread your sewing needle, giving yourself at least 15 inches of thread length to work with and knotting the ends of your thread so it has an anchor while you’re stitching. Hand sew all the way down that overlapped meeting in edges to create a new seam and turn your folded piece into a circular piece. Do not cut your thread free when you get to the bottom.
Step 4:
At the bottom of the sewn seam, pinch the sides together so your whole circle piece is flat (with your seam in the centre), and then flip the whole thing over and fold it in half so your creased side edges meet evenly, making your seam now run down one side of a layered piece that’s half as wide as it just was. Pick up your sewing needle once more and, starting where you just left off, sew along the bottom of the new shape, making sure that your stitches go through all four of the layer you have there now. This time, you’ll knot your thread at the end of the row to finish it properly and then cut the excess and side your needle aside.
Step 5:
Re-thread your needle or simply re-knot the bottom if you still have a lot of thread to work with already in it. Turn your burlap piece to sew all the way down the other side, opposite to the longer side seam you already stitched before. Repeat the process of hand stitching through all of the layers all the way down to meet the bottom seam you already made. Cut and knot the thread at the bottom corner just like before.
Step 6:
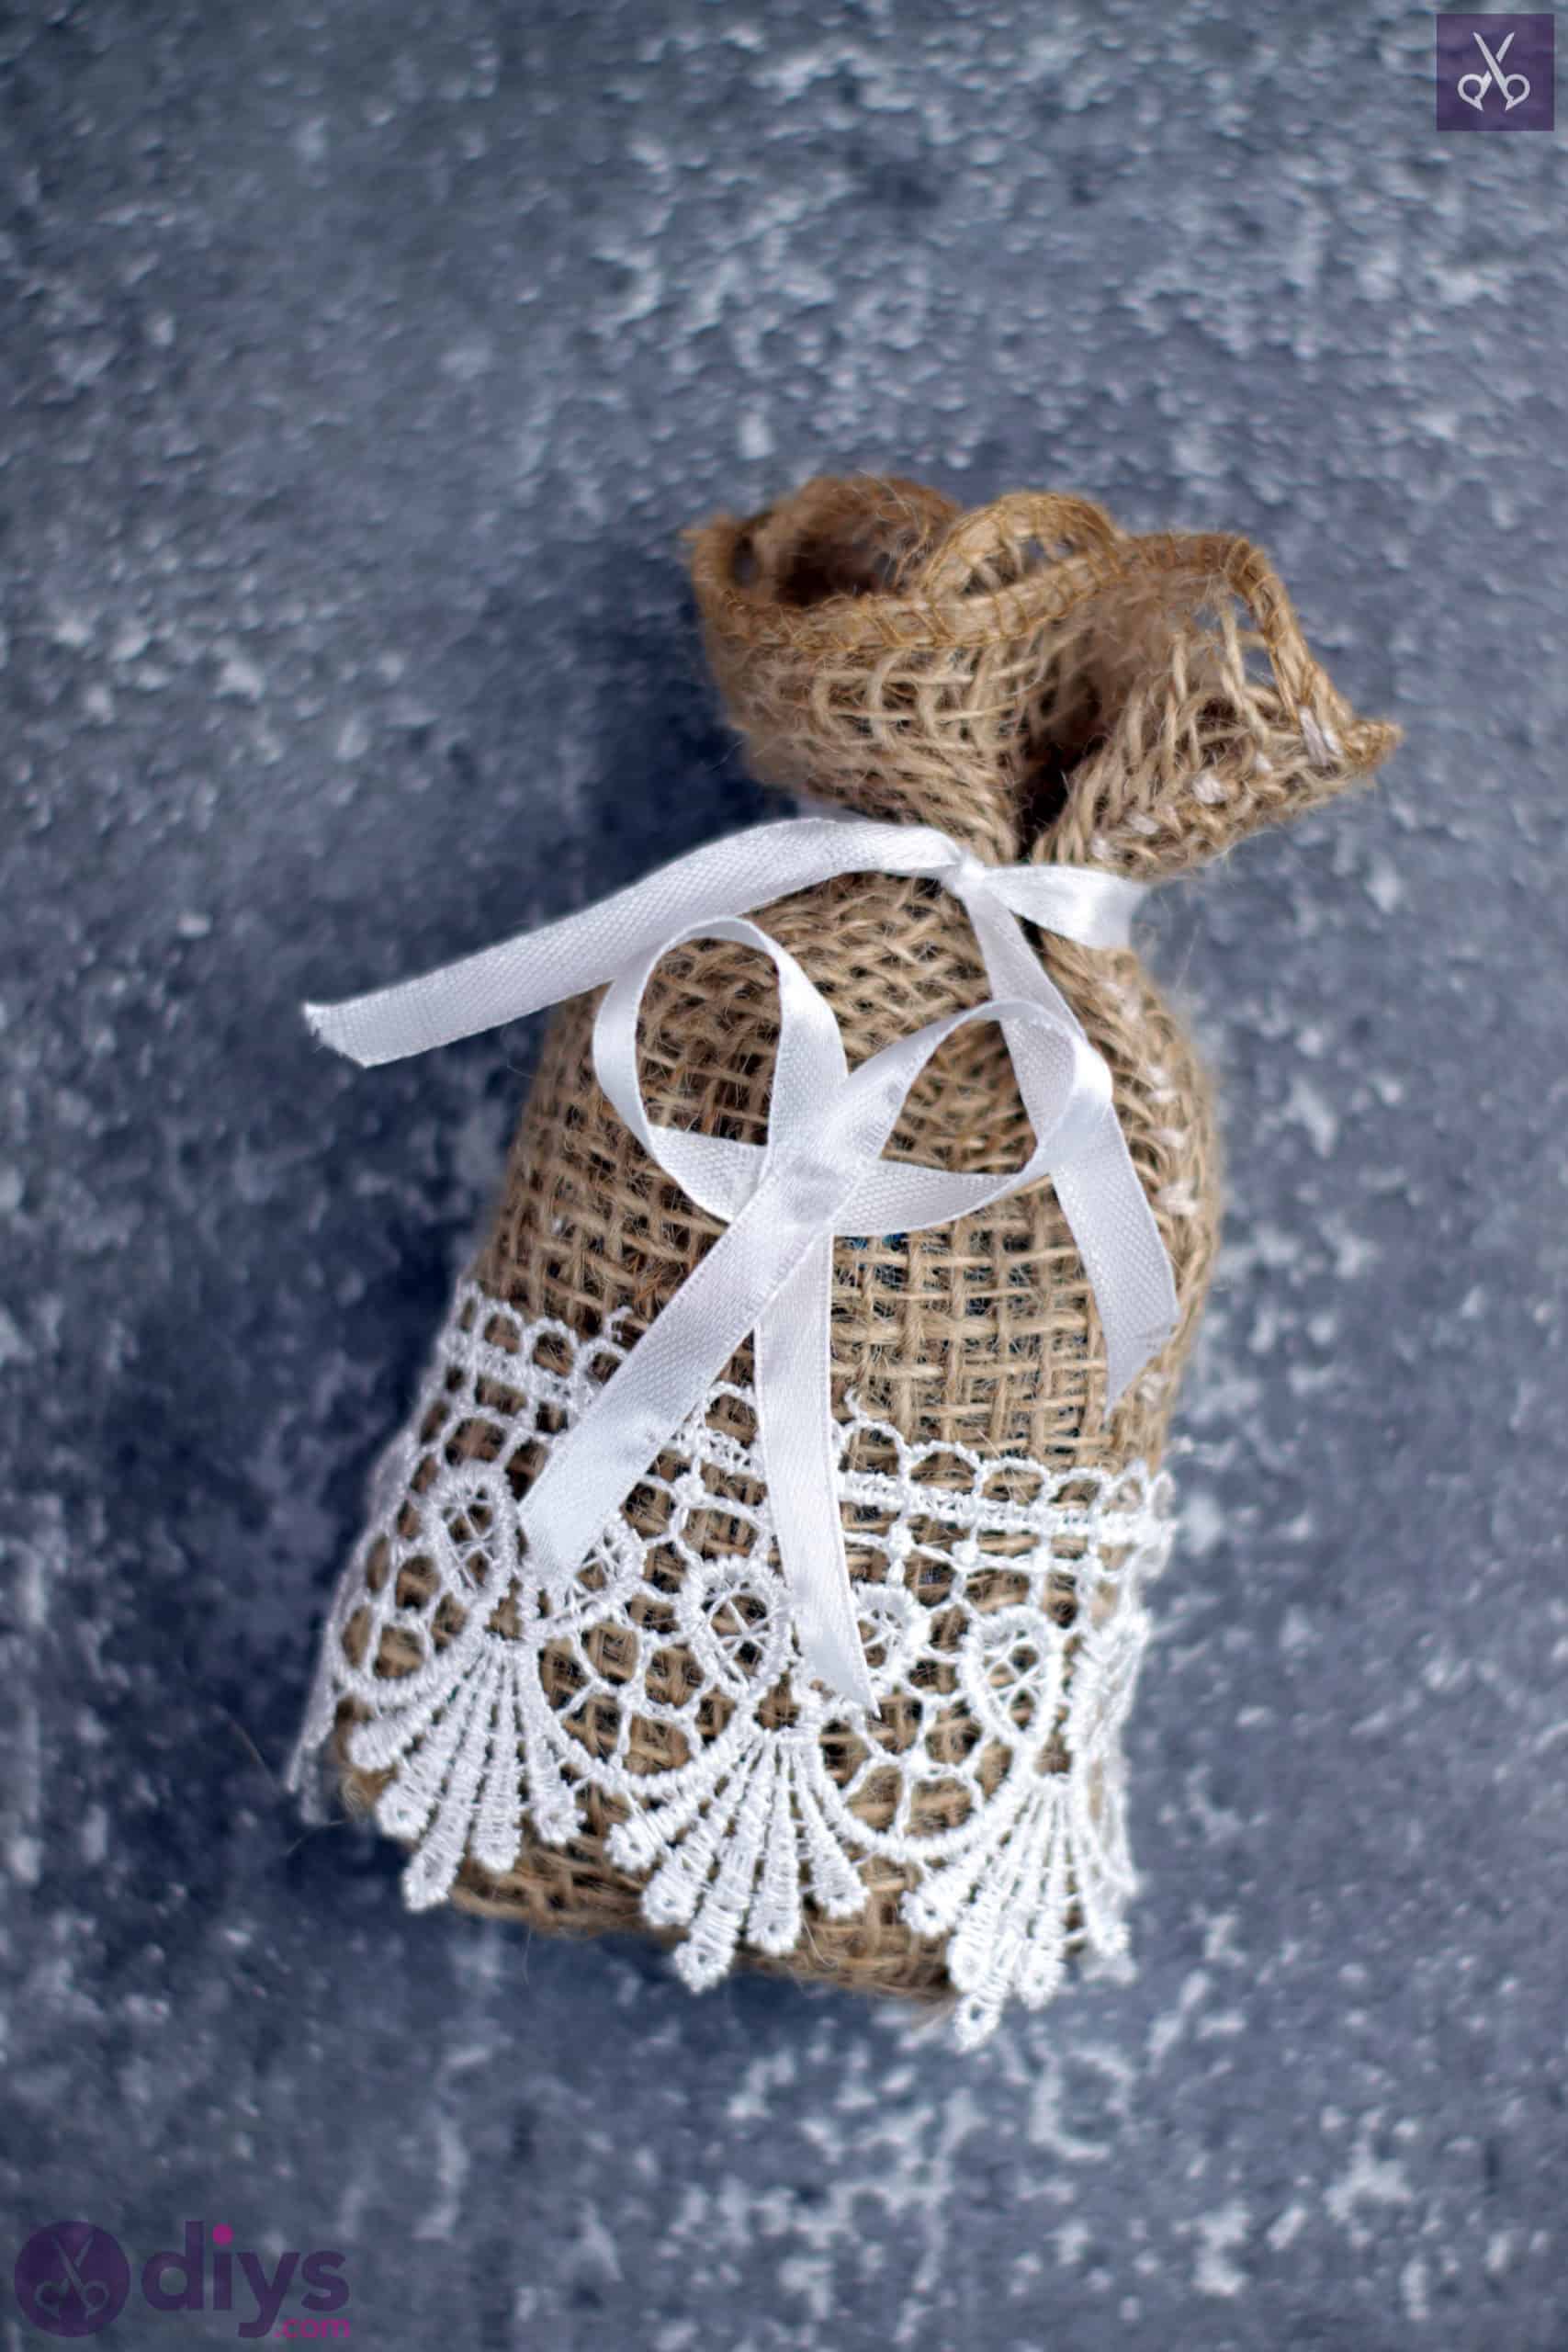
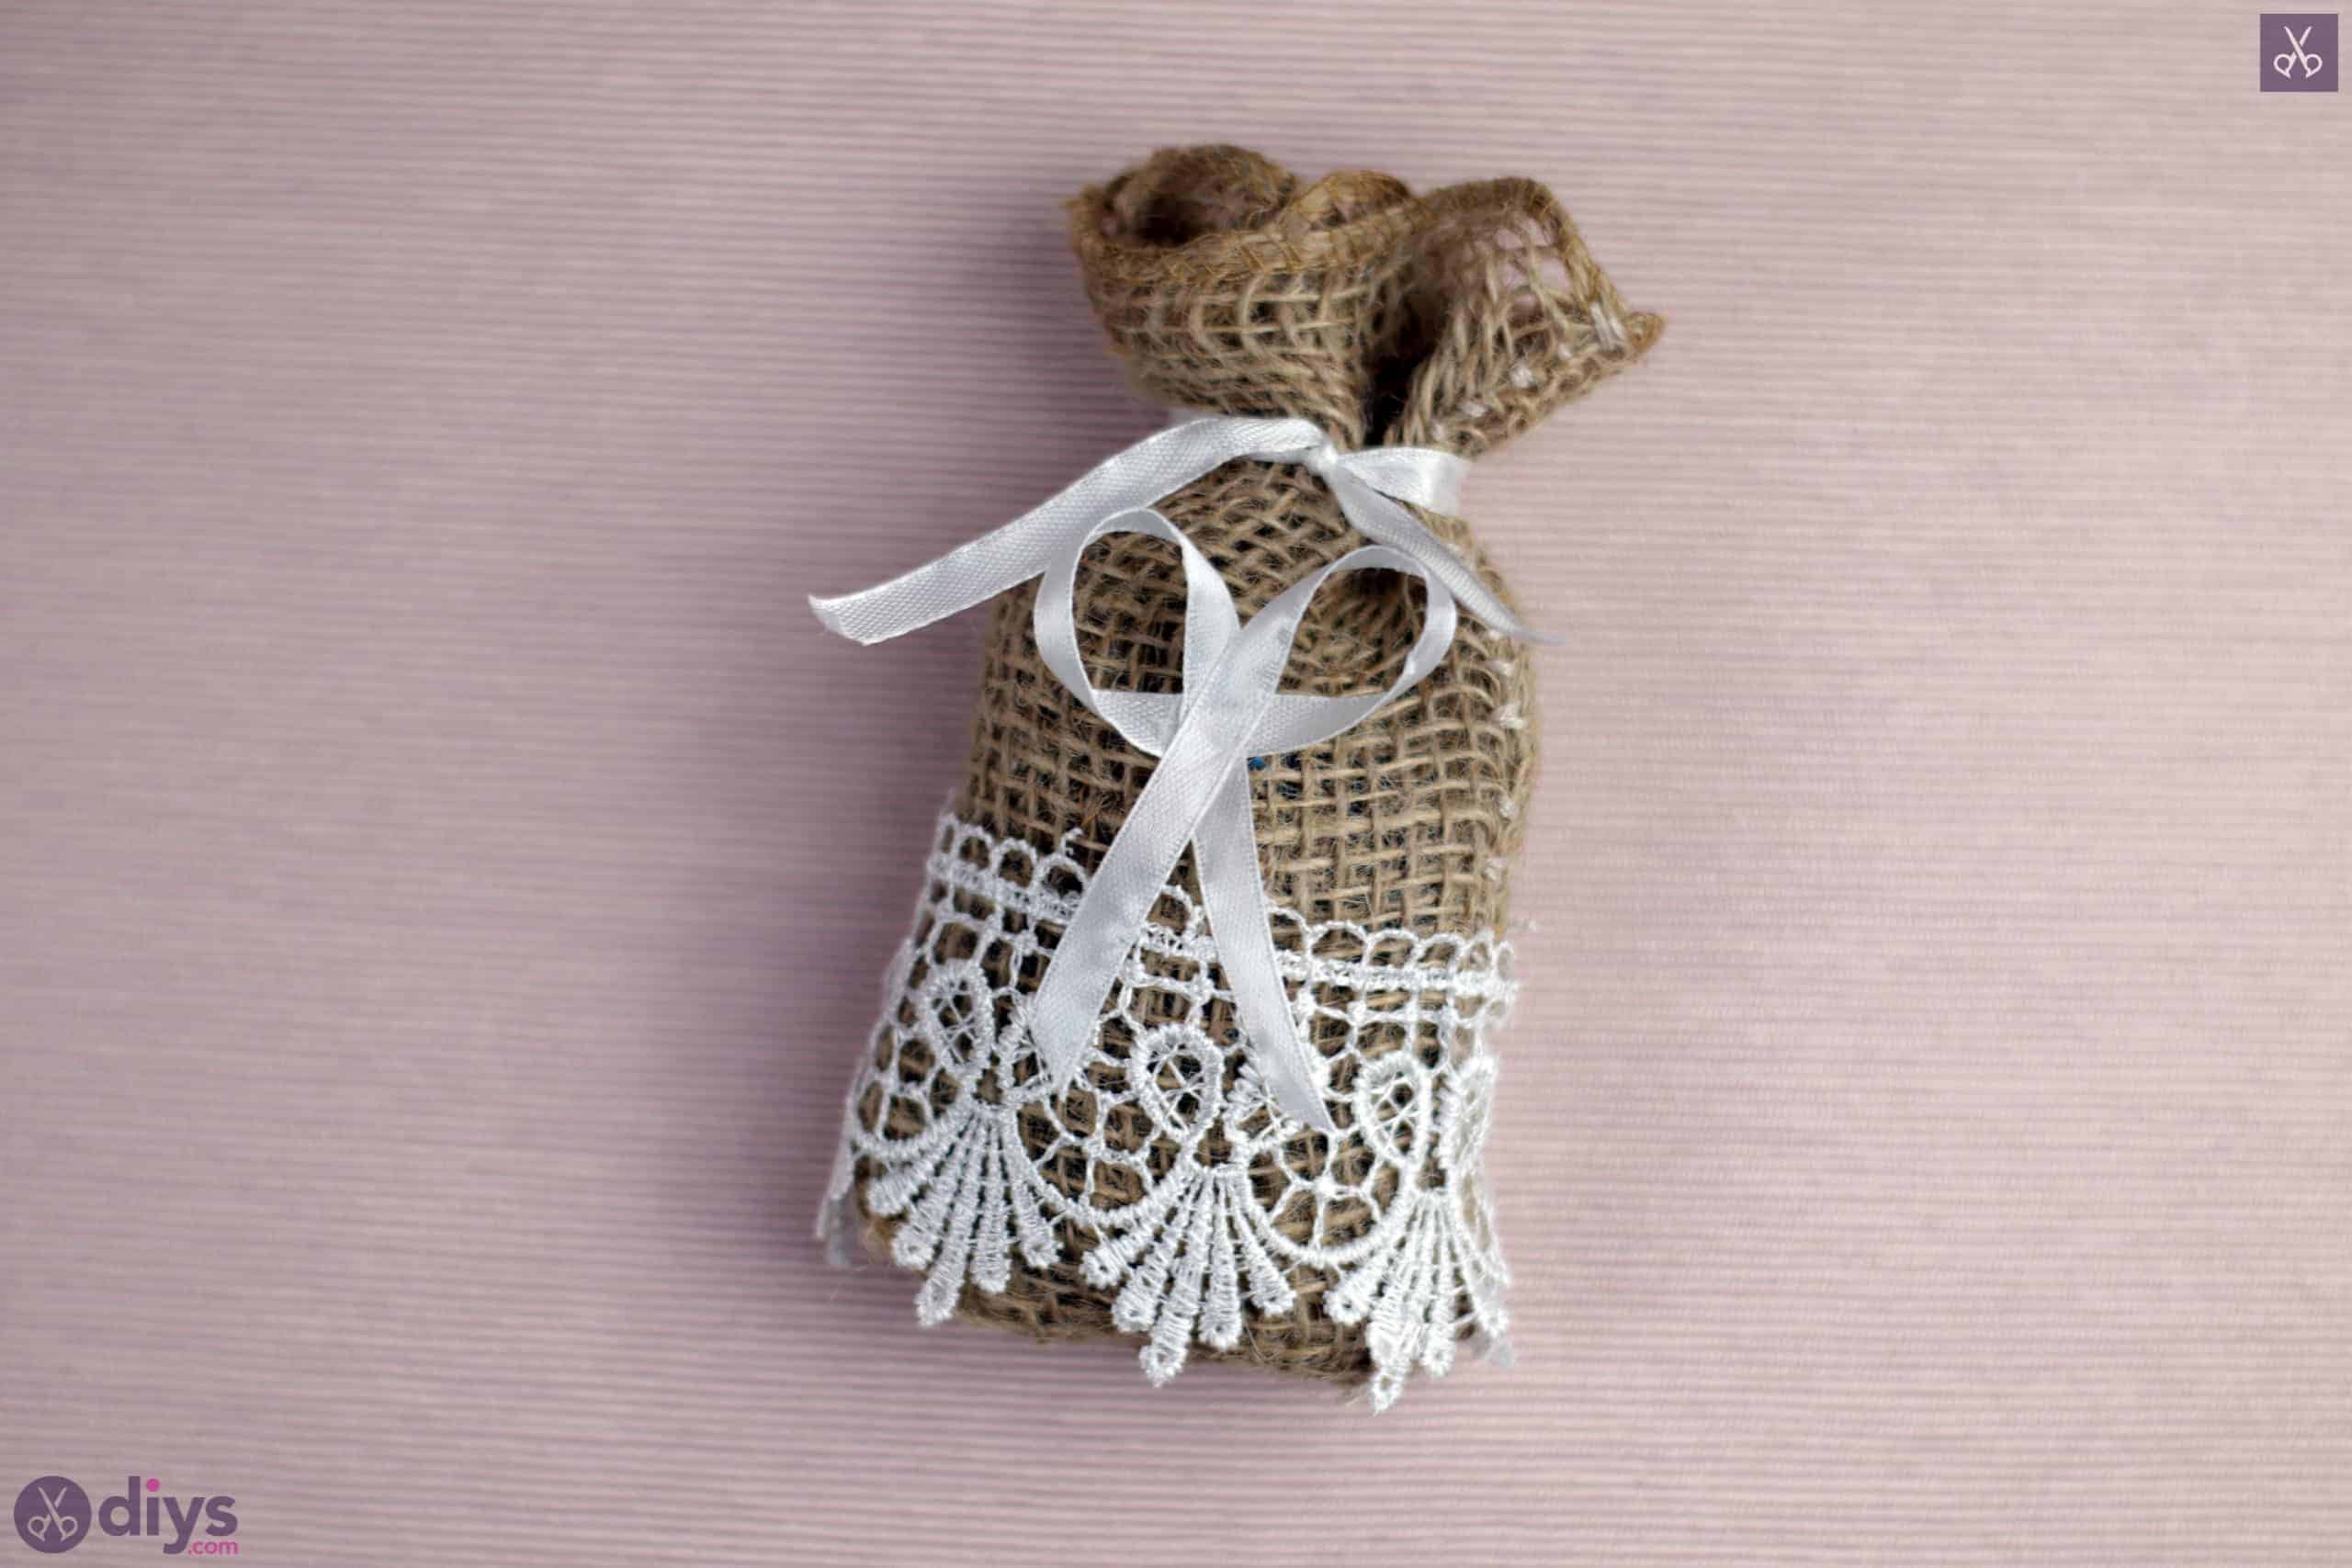
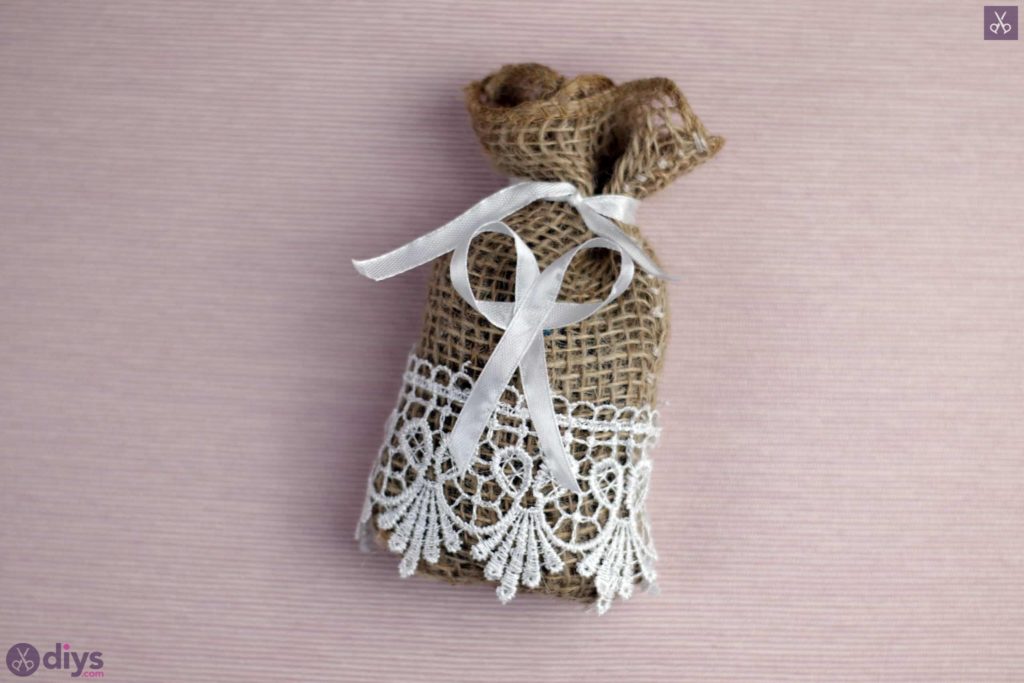
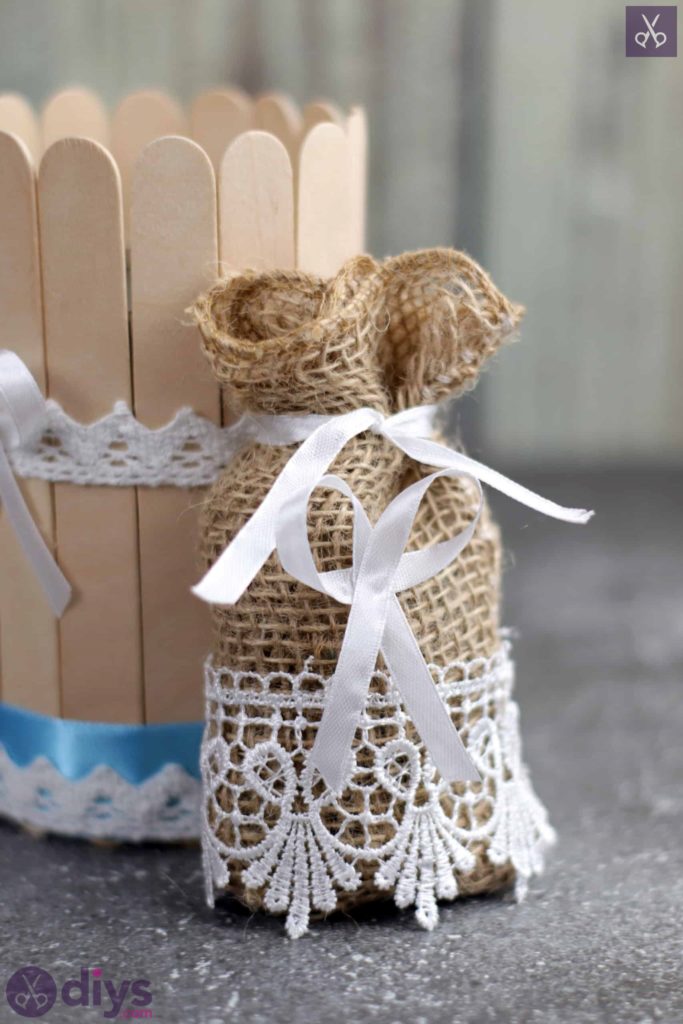
You now have a little bag! Through the opening in the top, turn the bag inside out so all the stitching you did is on the inside. This will make things look a little more neatly finished.
Step 7:
Apply a little dot of hot glue to the top corner of your lace ribbon or trim and stick it down to your burlap bag, near the bottom but high up enough that the trim’s own bottom edge lines up with the bottom edge of the bag. Wrap the trim around the bag so it sits evenly along the bottom edge all the way around, gluing the top edge down periodically all the way along to keep things in place. When you get back to where you started, trim the lace, apply a dot of glue down on top of your original end, and stick the new end down there so the two overlap a little for neatness. You can stick the bottom down here too, just to really make sure thing stay where they should.
Step 8:
Now decide which side of the bag you want to be the front. Pick up the little white bow that you made before and apply glue to the back of it, then stick it down to the front of your bag, just above the lace trim you stuck down before.
Step 9:

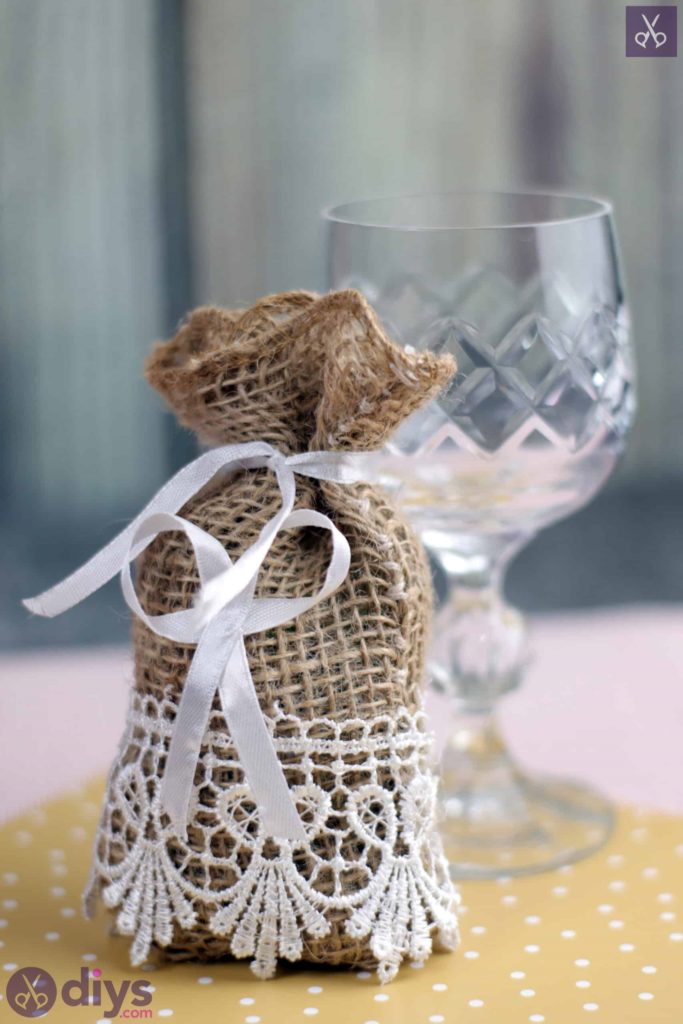
If you’re going to fill your bag with anything, now is the time to do it! You could fill it with potpourri for fragrance, candy, just stuffing for shape to make it a decorative piece, or even nothing at all if you already like how it looks. Once you’re done filling (or not filling) the bag, pinch it together above the white bow. Cut another length of white ribbon about four inches long and use it to tie the bag closed so it gathers at the top. I tied mine in a double knot to keep it closed well, but you could also finish it off by tying the ends in a bow after you knot them, or just tie a bow if you want people to be able to open the bags.
Your little wedding favours are all finished! Of course, you can feel free to use this basic concept but get creative by changing up the colours and materials that you work with. You can also fill it with just about whatever you please so long as it fits. Just in case you’d like to try this project out for yourself, her’s a fantastic tutorial video to help you!