DIY Paper Flower Wreath – Create a Colorful Wreath to Cheer You Up
Updated on June 23, 2021


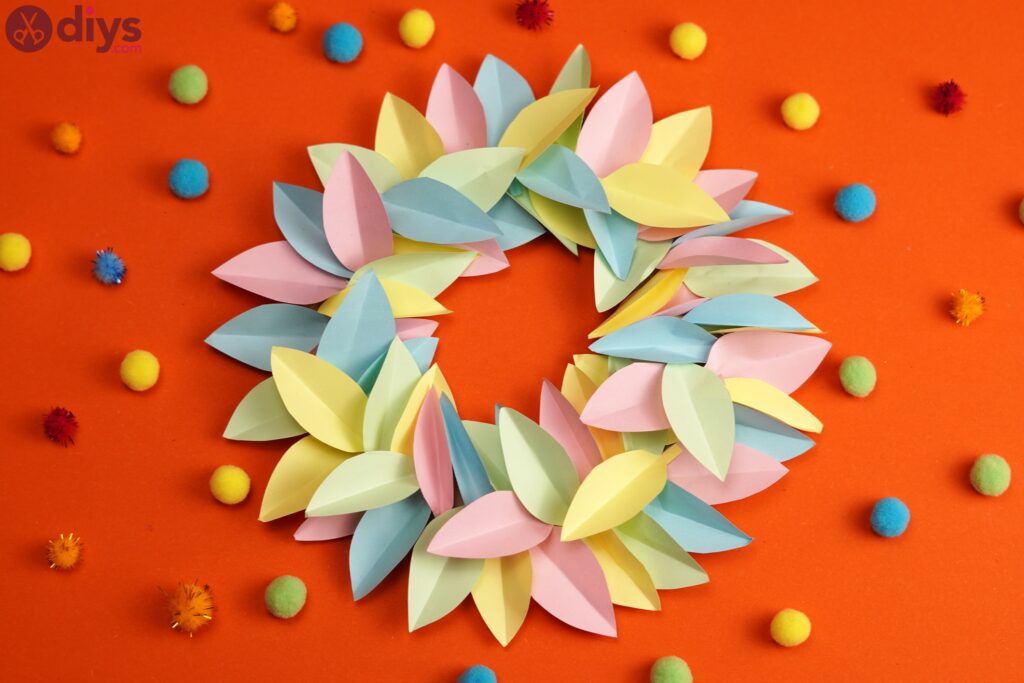
Colorful wreaths are super fun to have around as they tend to cheer you up fast. Our next project is so simple and yet so beautiful that we had to share it with you! Let’s make a paper flower wreath!
It’s such a cute design and it’s easy to make, although it does require a bit of patience to glue all these papers in.
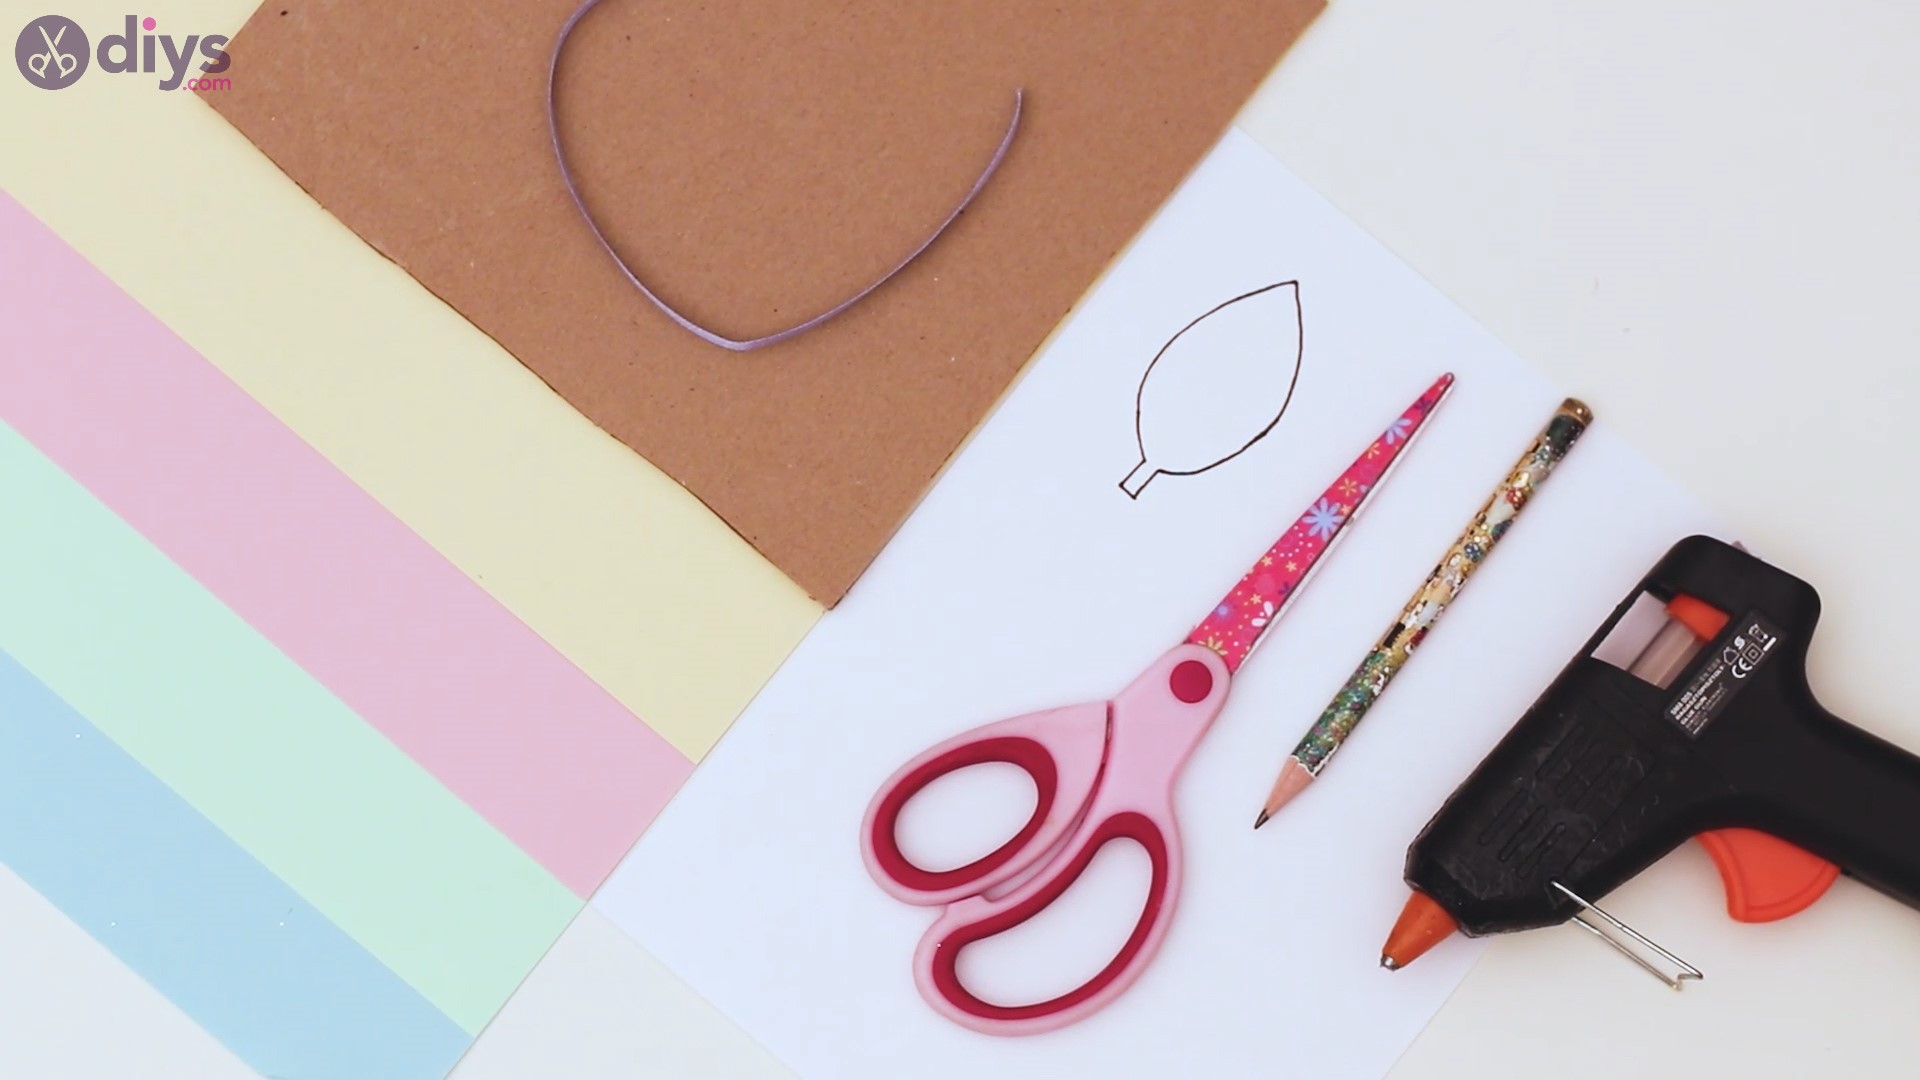
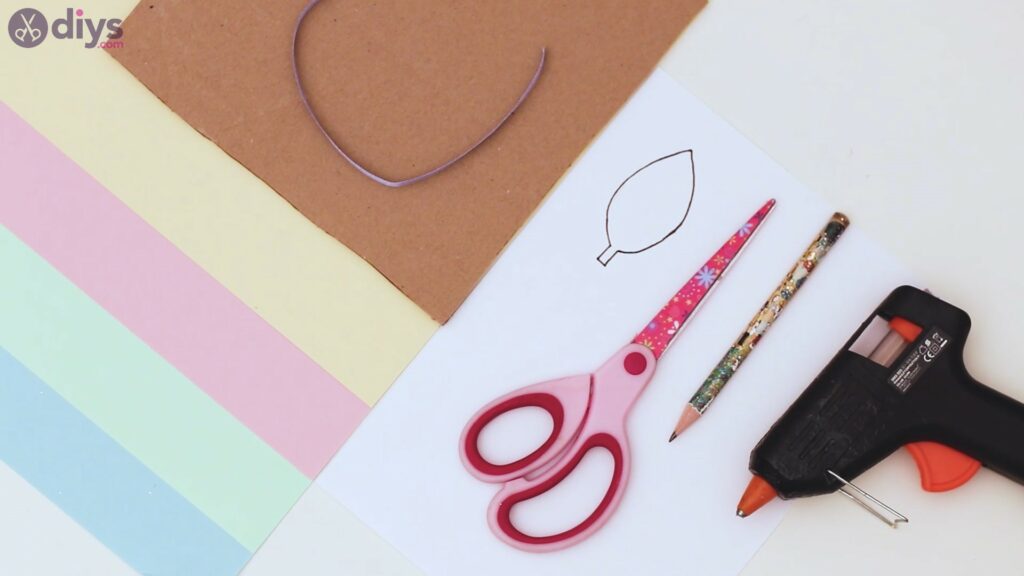
Materials for paper flower wreath
- colored paper – yellow, blue, green, pink
- silk ribbon
- cardboard
- pencil
- scissors
- glue gun
How to make a paper flower wreath
Before we even get started, we want to make sure you have all the materials ready to use. The last thing you want to do is to go around running trying to find some element you forgot about. So, do you have everything you need? Let’s start!
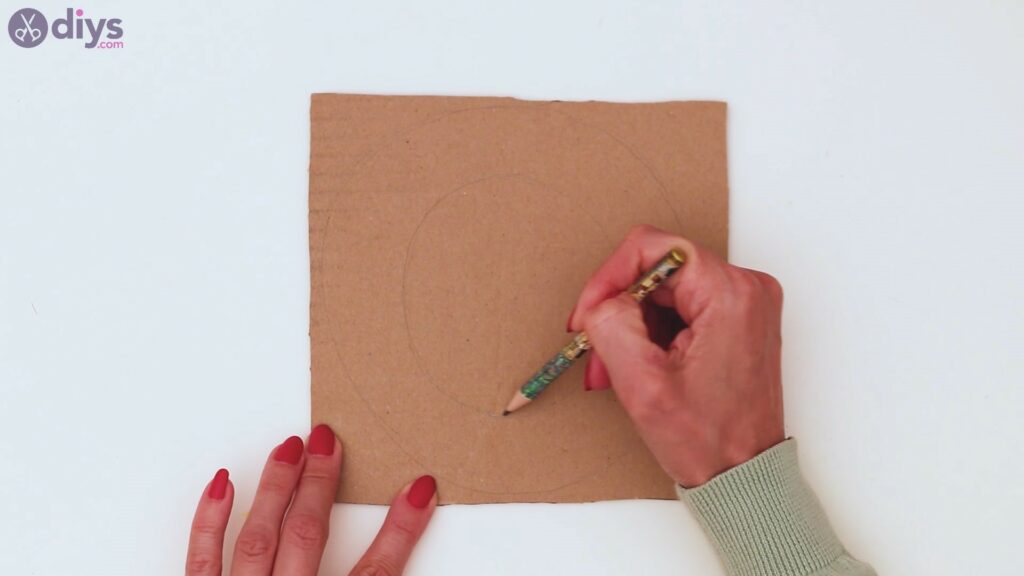
Step 1: Create your wreath base
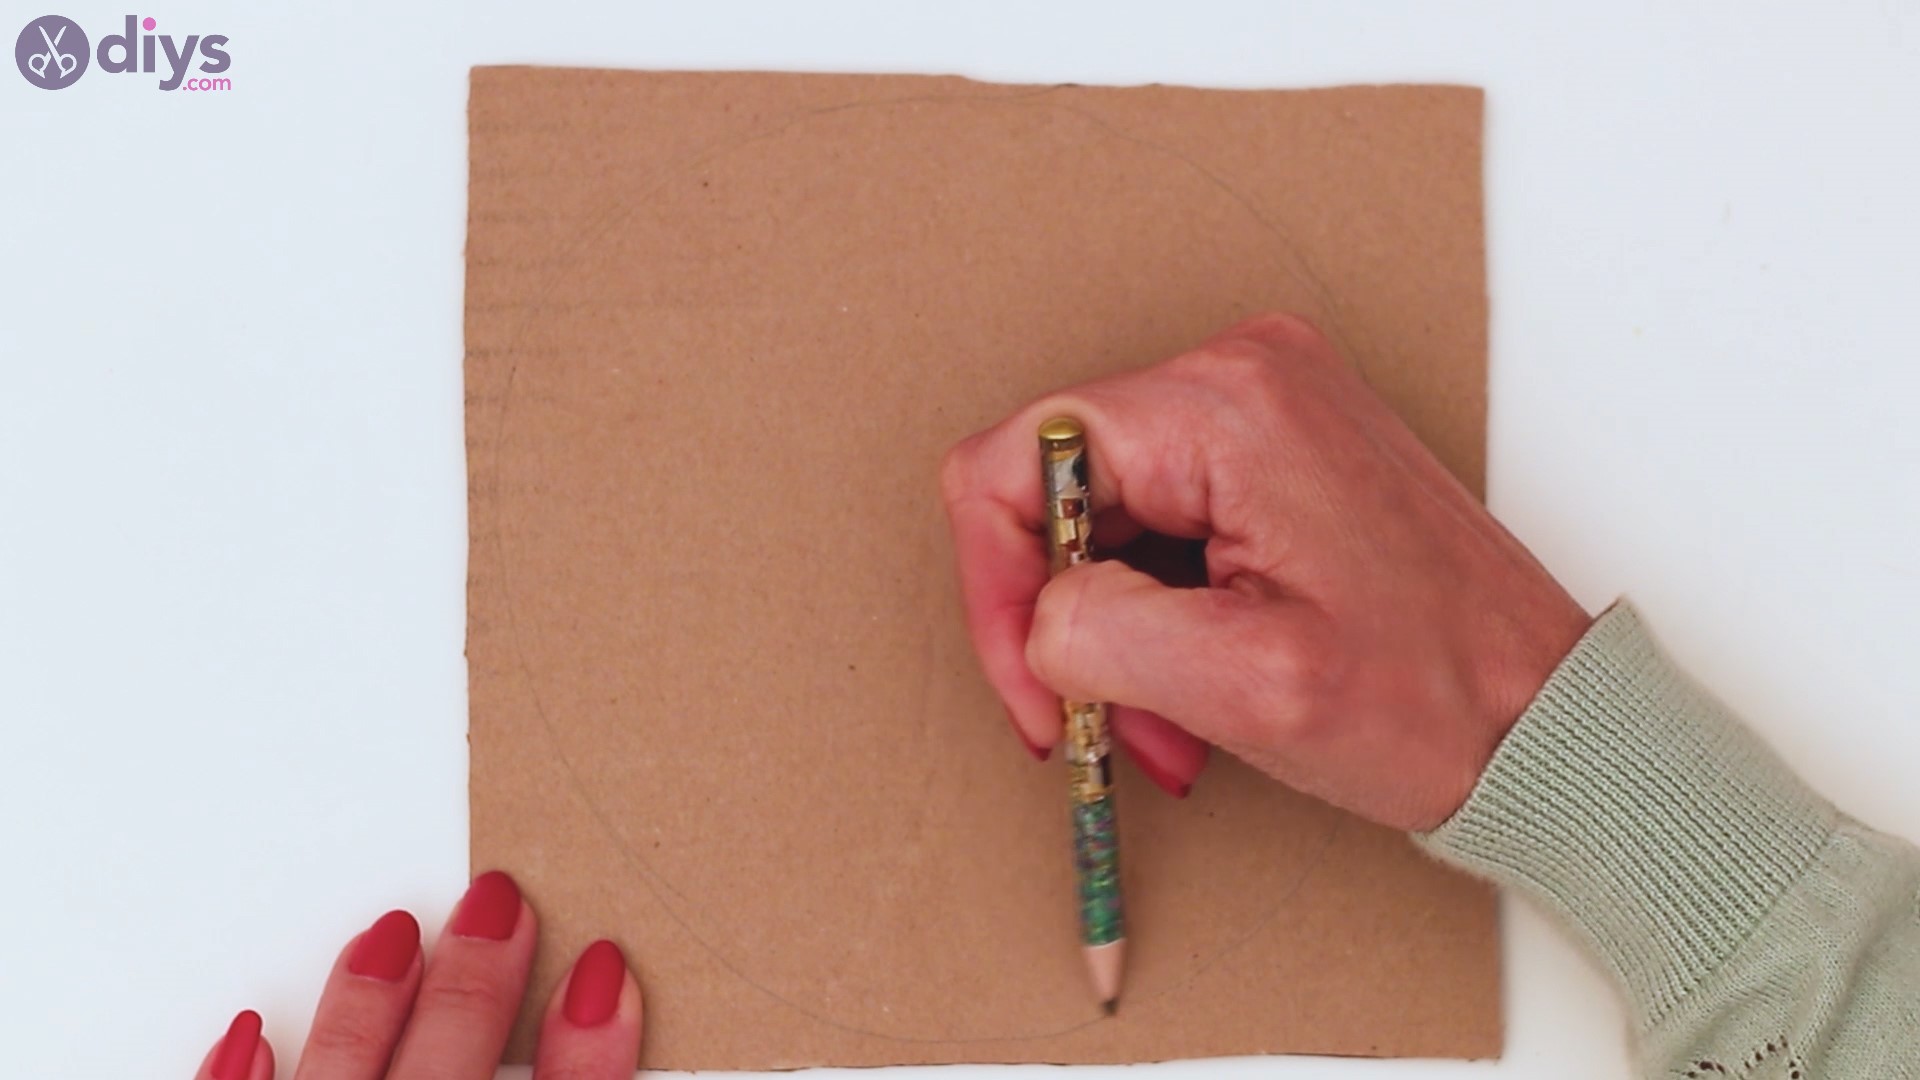
The first thing you need to do is to get yourcardboard piece and to draw two circles on it with your pencil. The big circle and an interior one – as with any wreath. Since free-handing a circle is pretty tough, we suggest using something round you have around your home – a plate, for instance – or a string and nail.

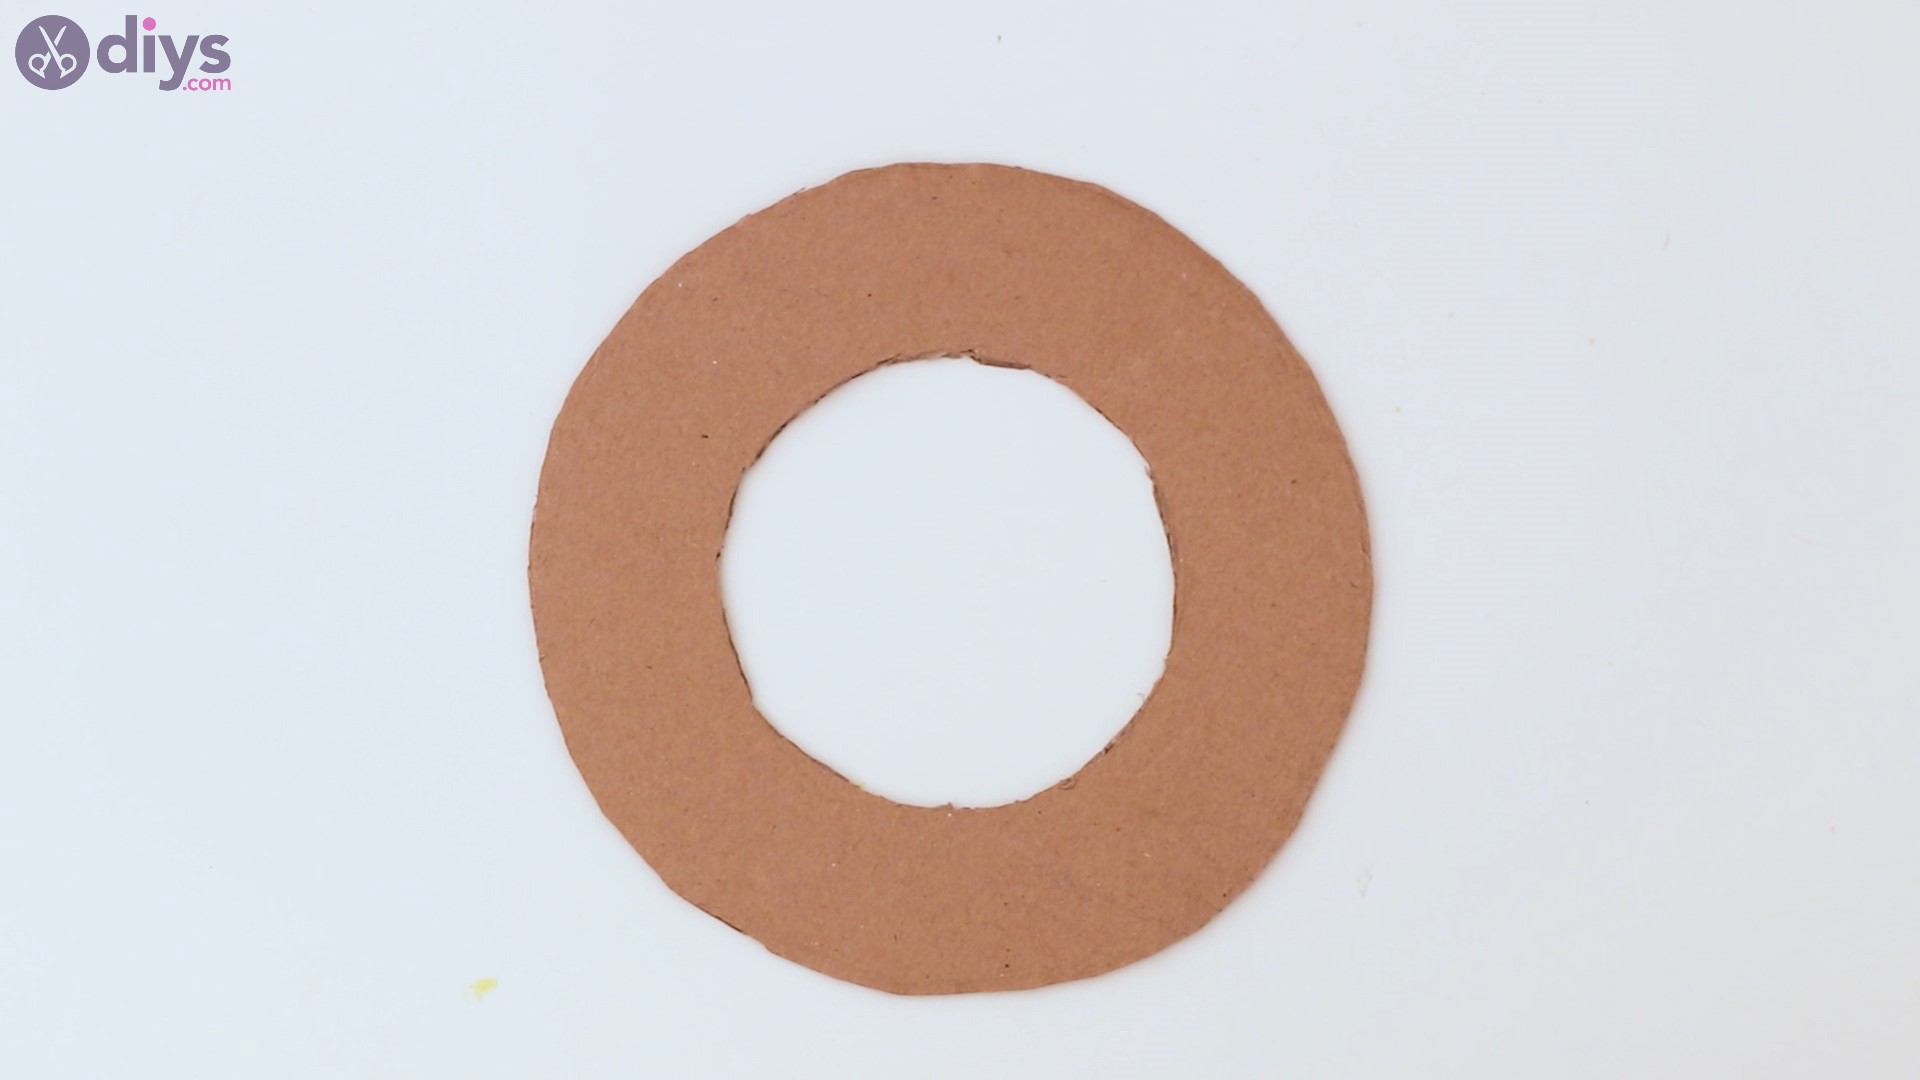
Next, it’s time you get thescissorsout and to cut the excess cardboard.
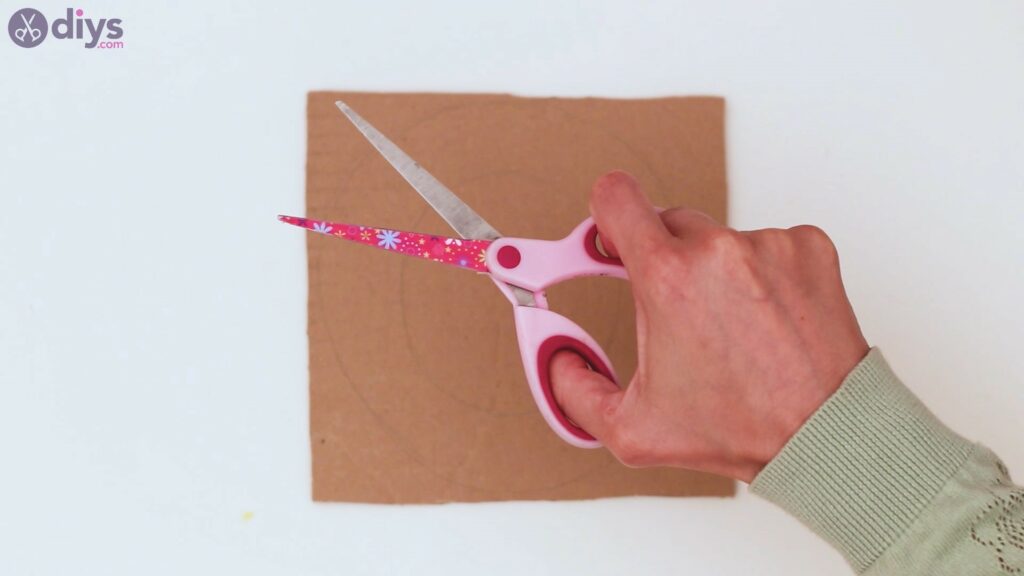
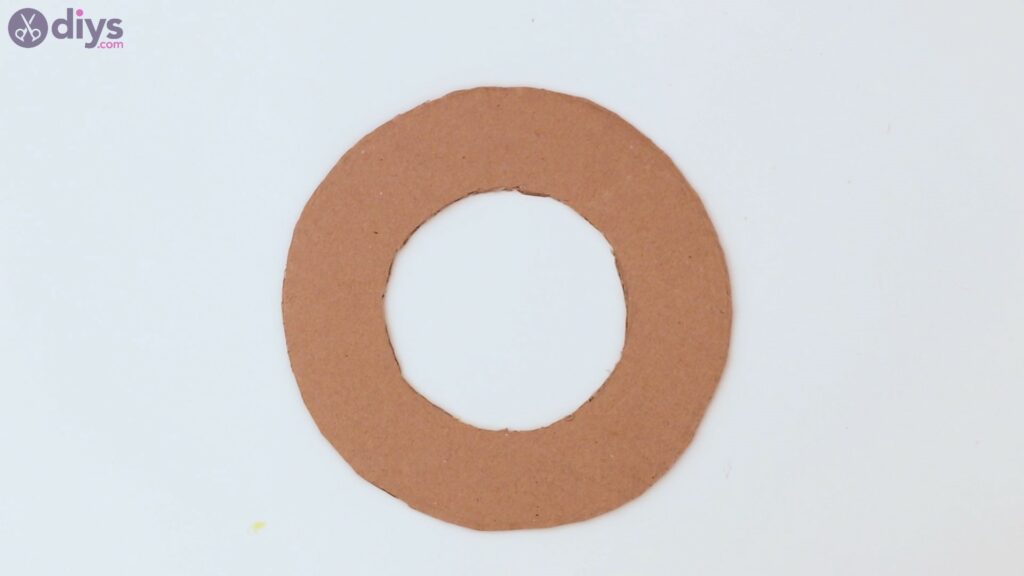
There you go! That’s your wreath’s base!
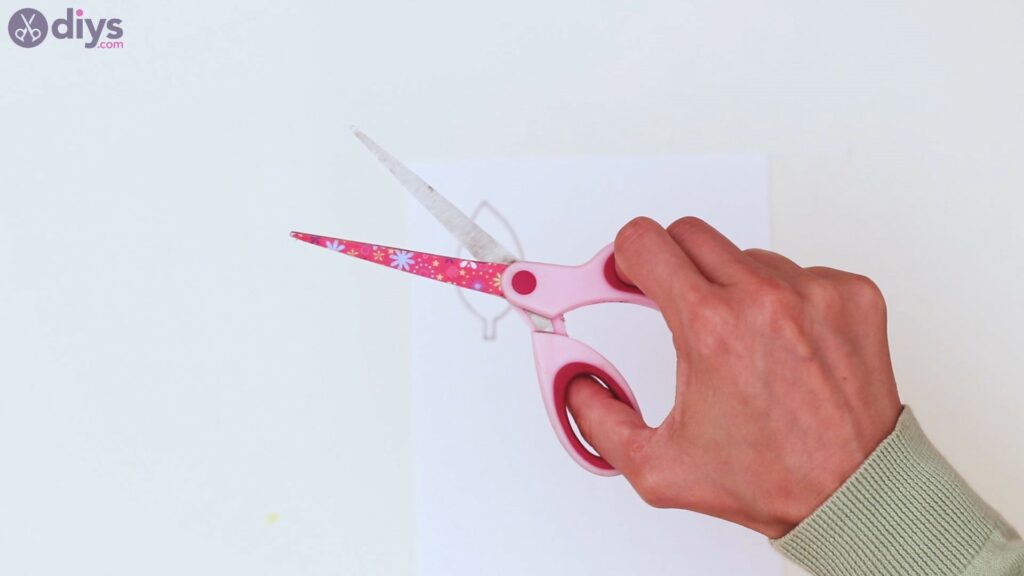
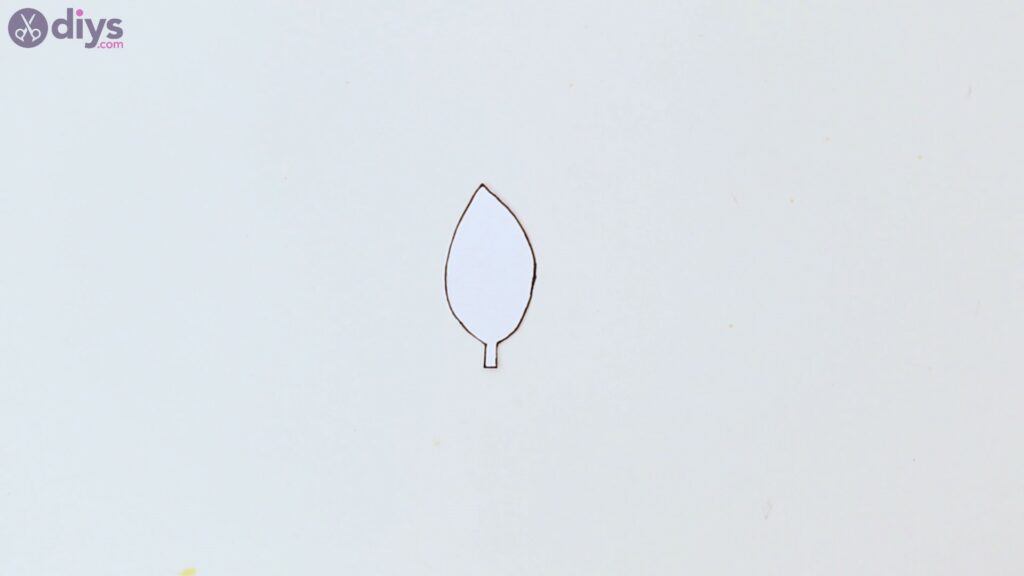
Step 2: Cut the yellow petals
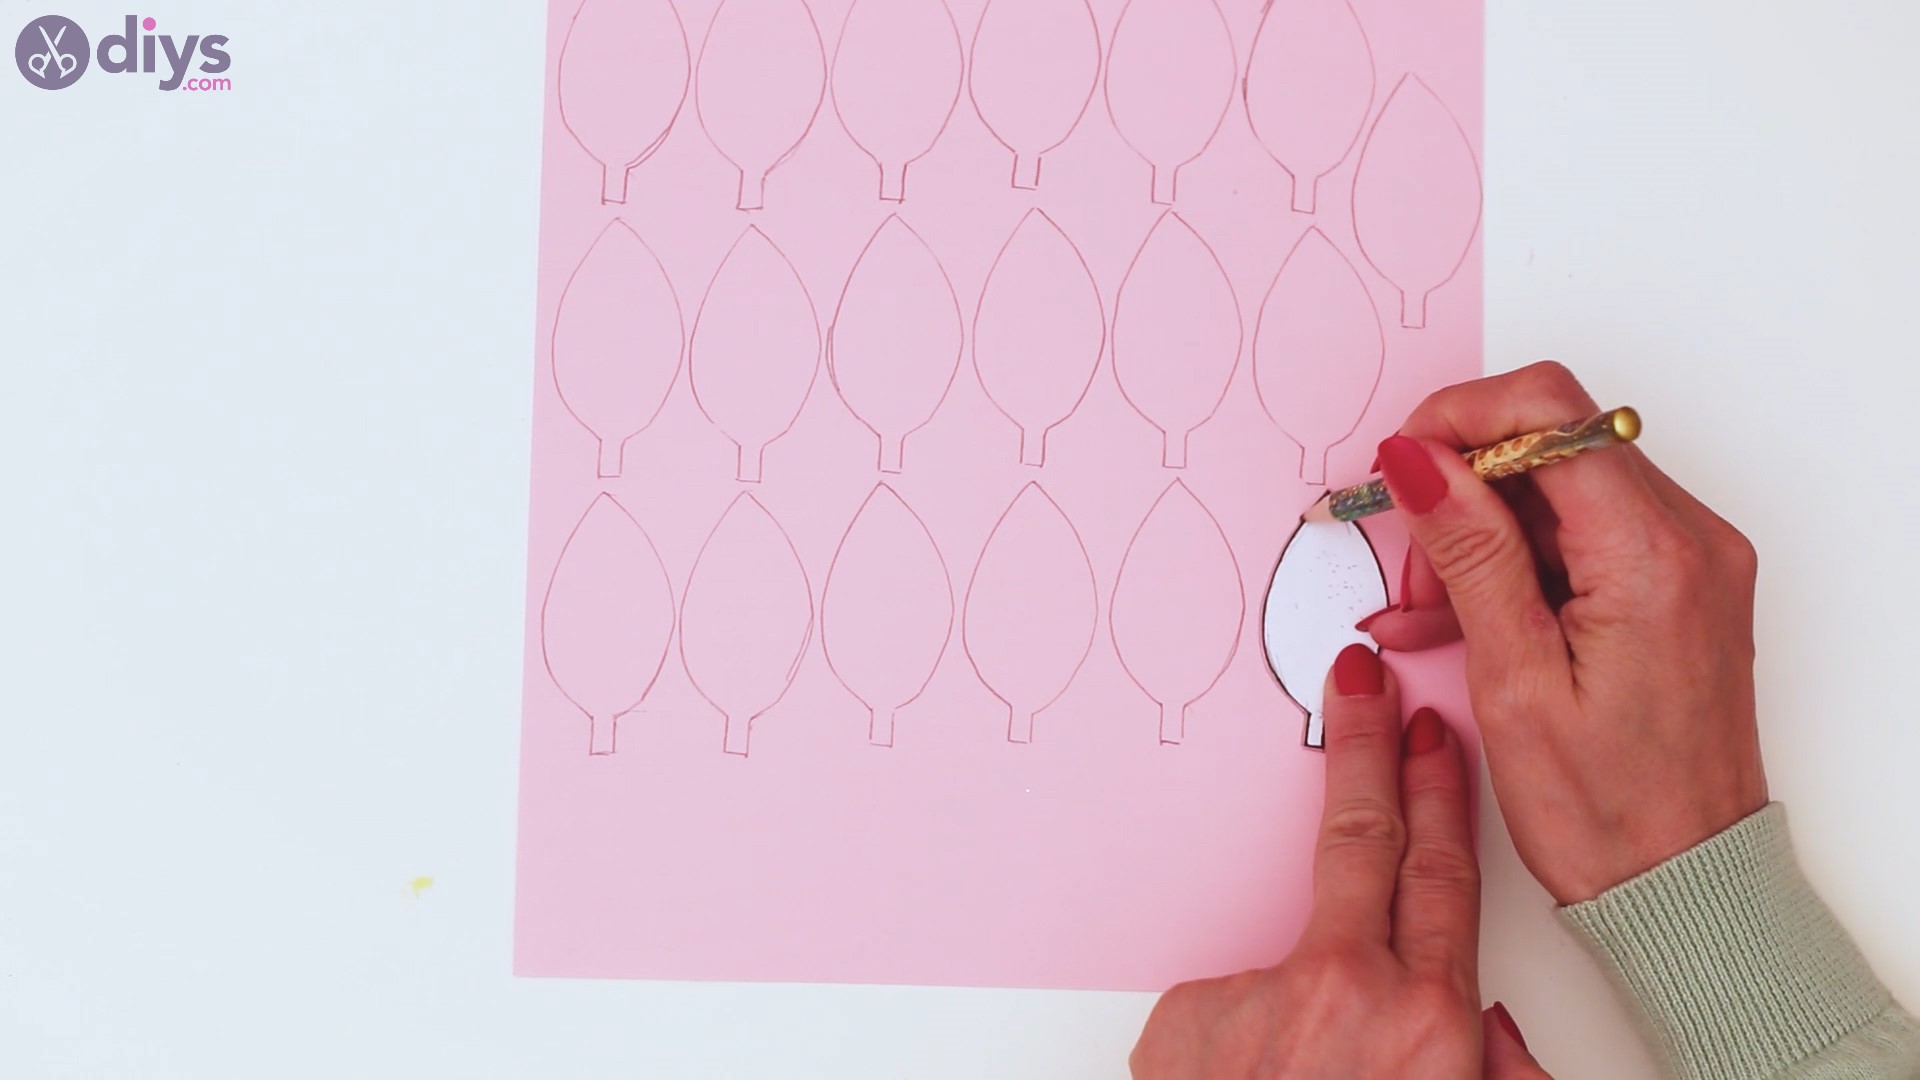
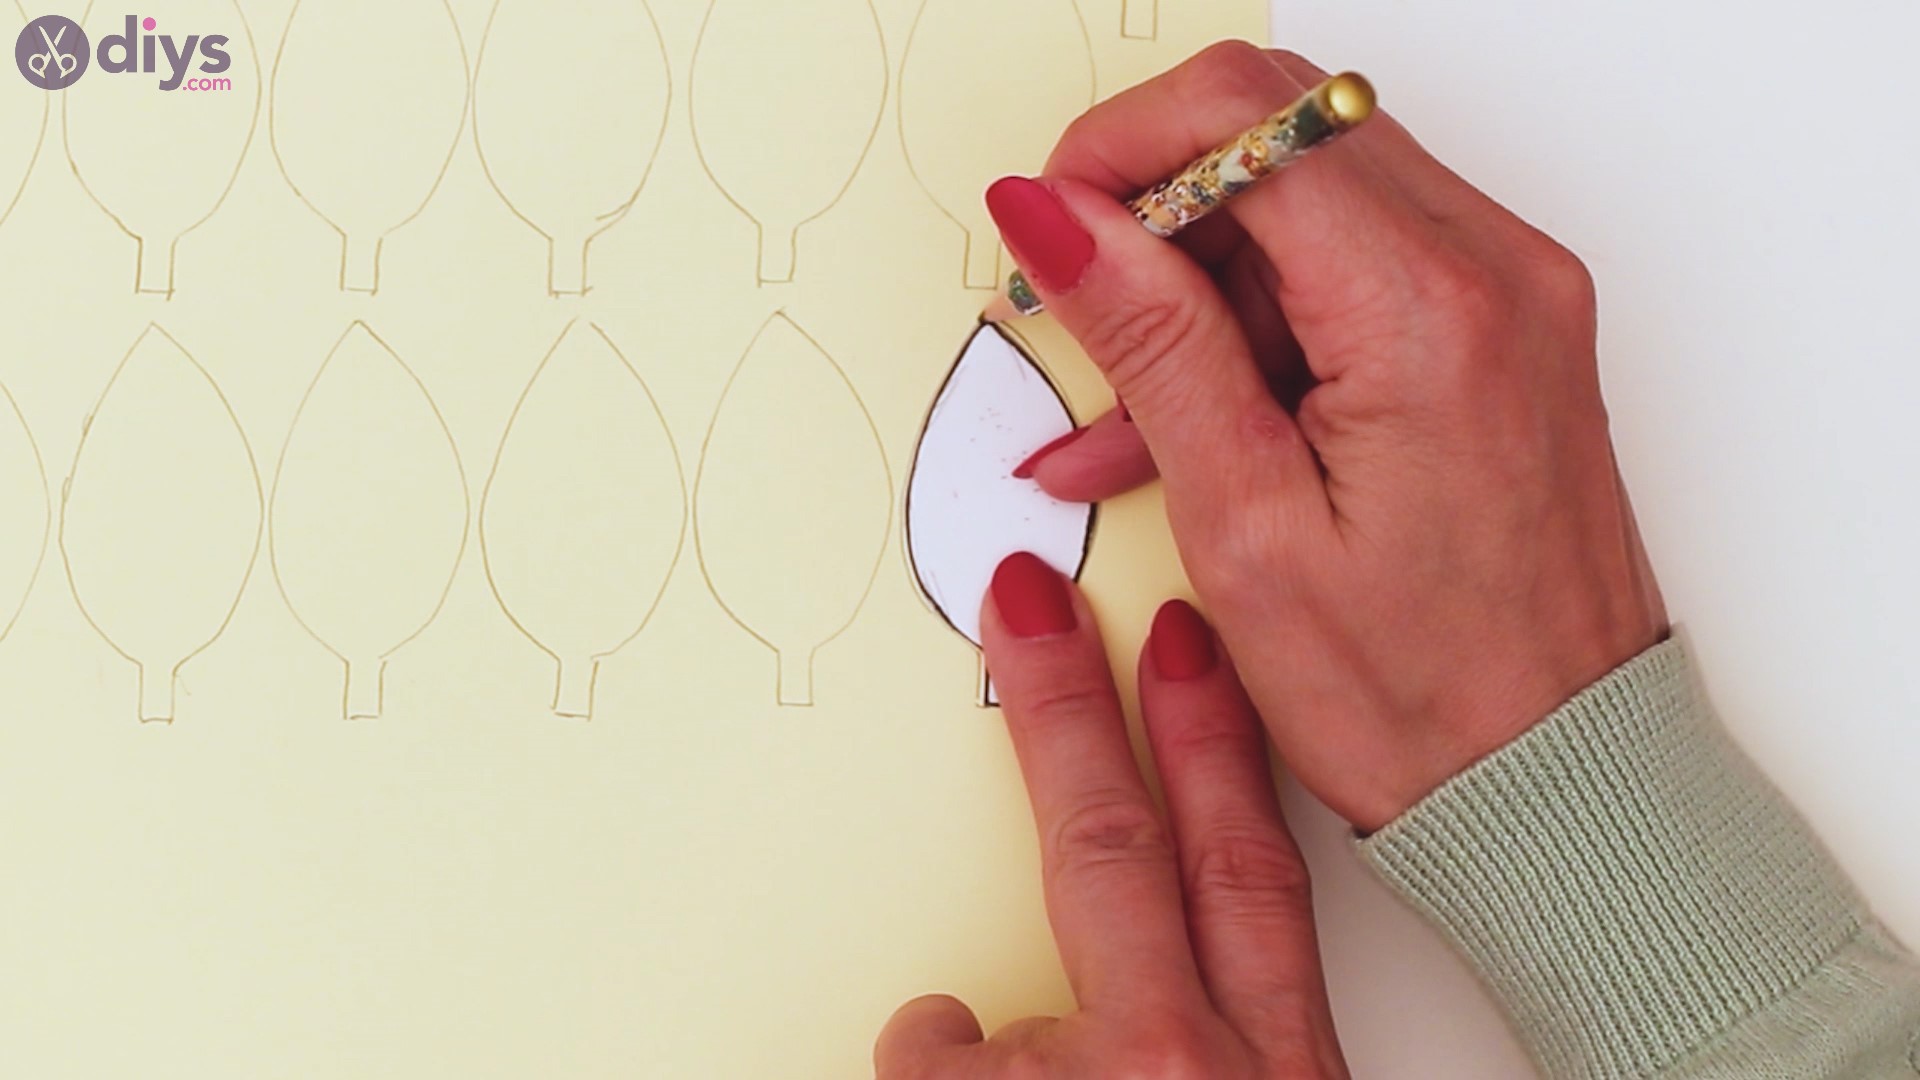
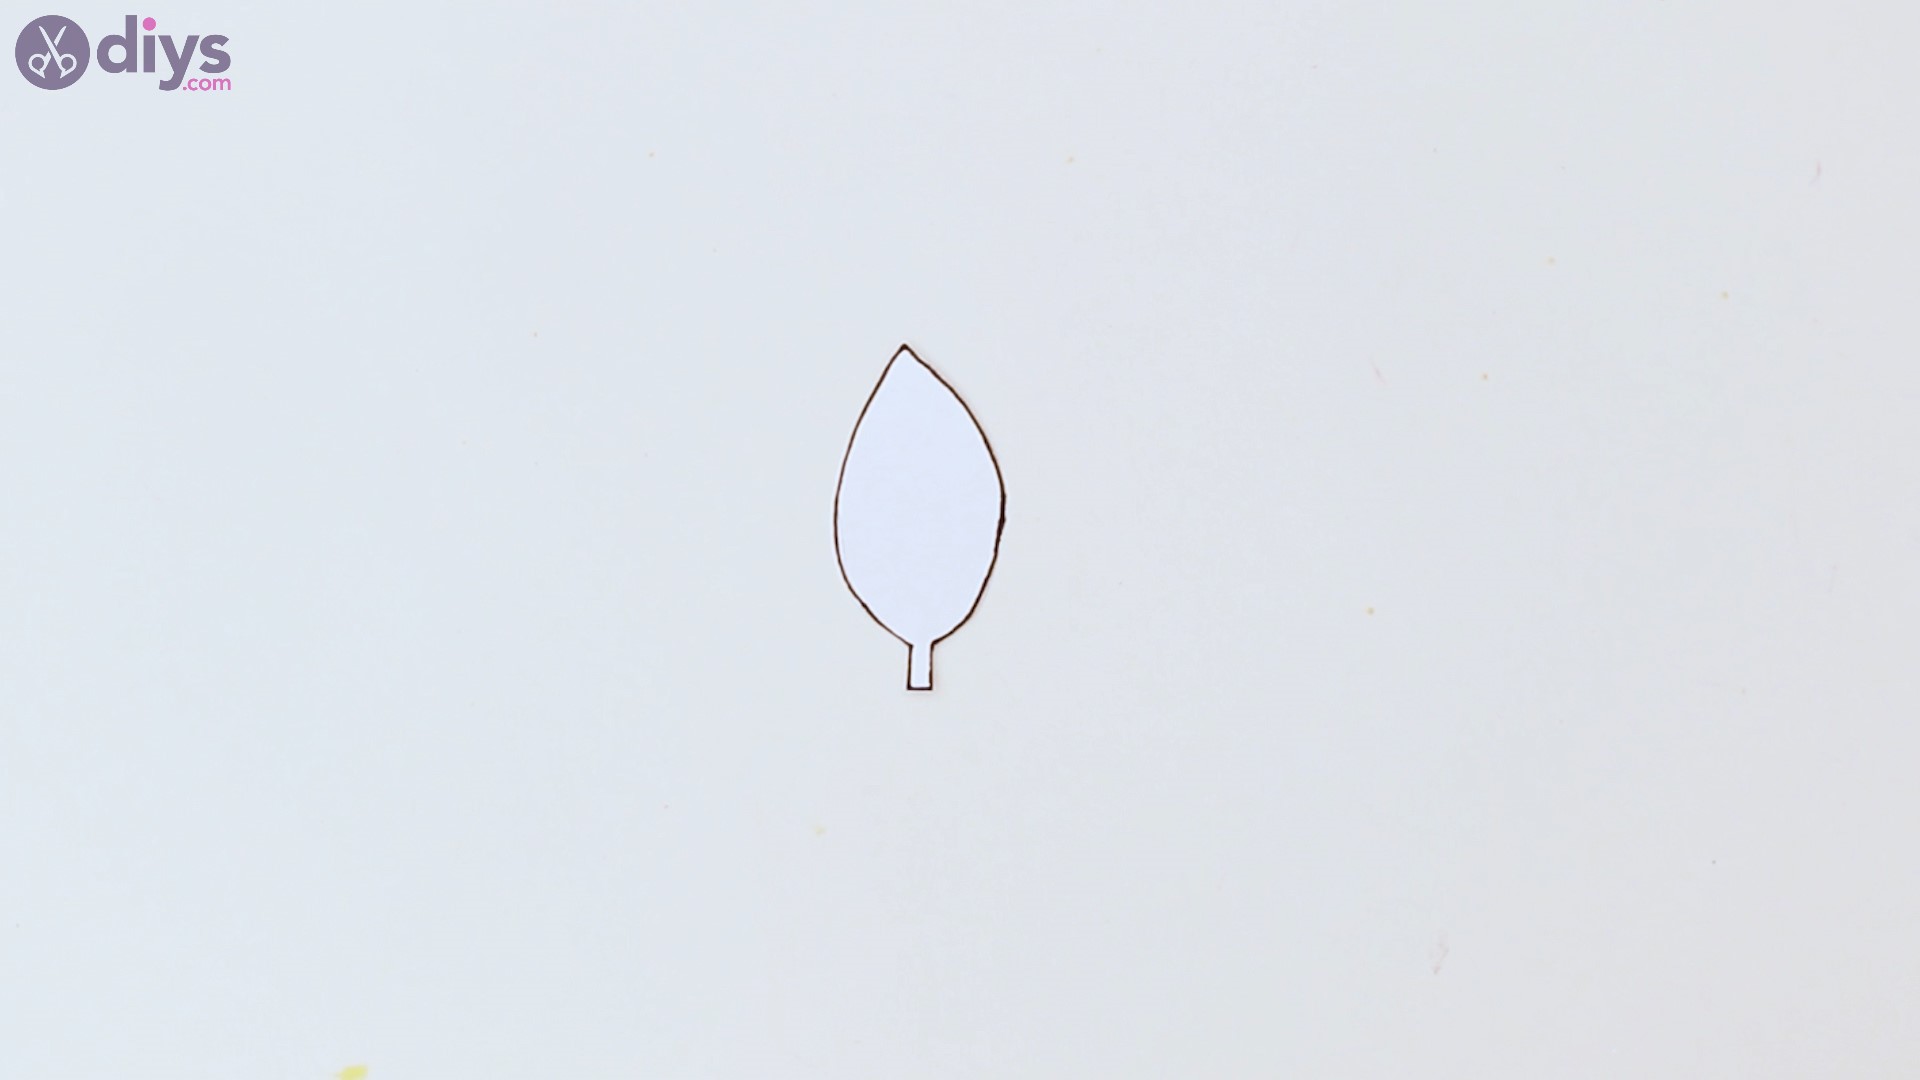
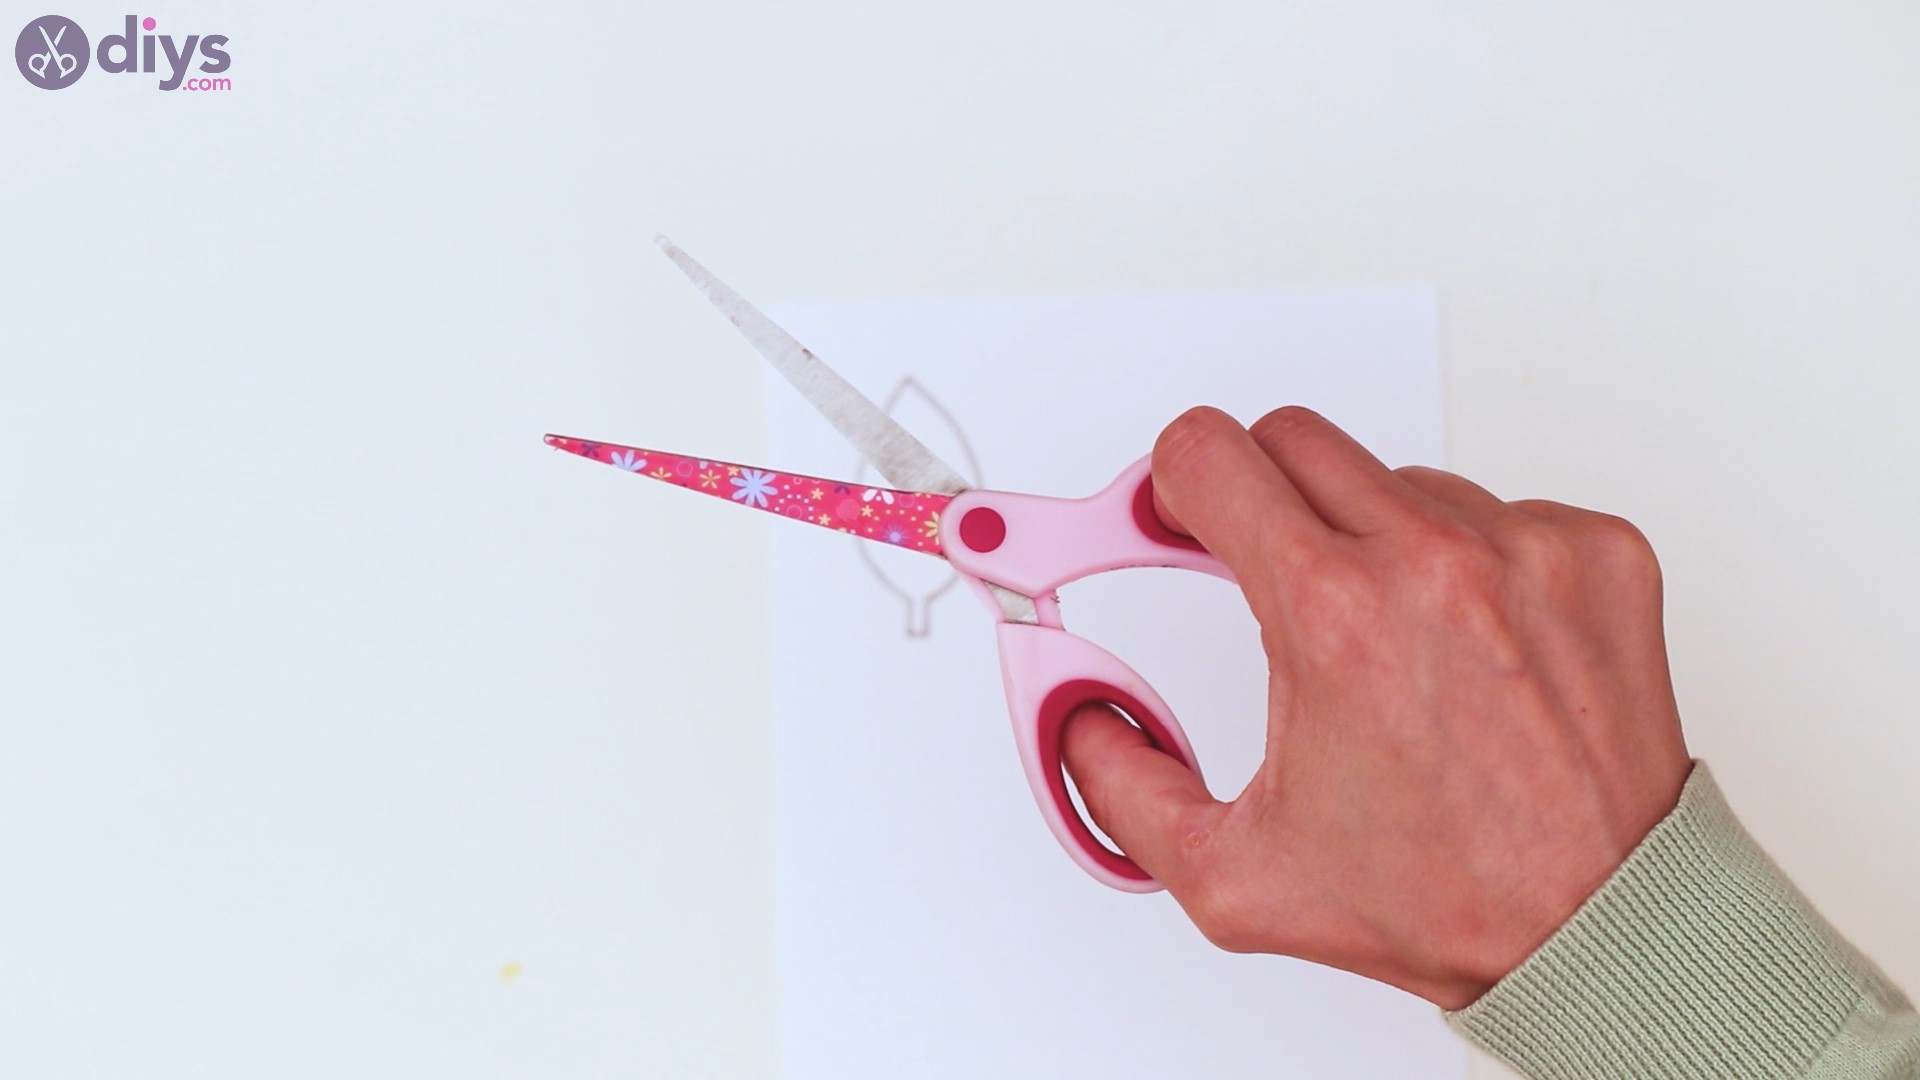
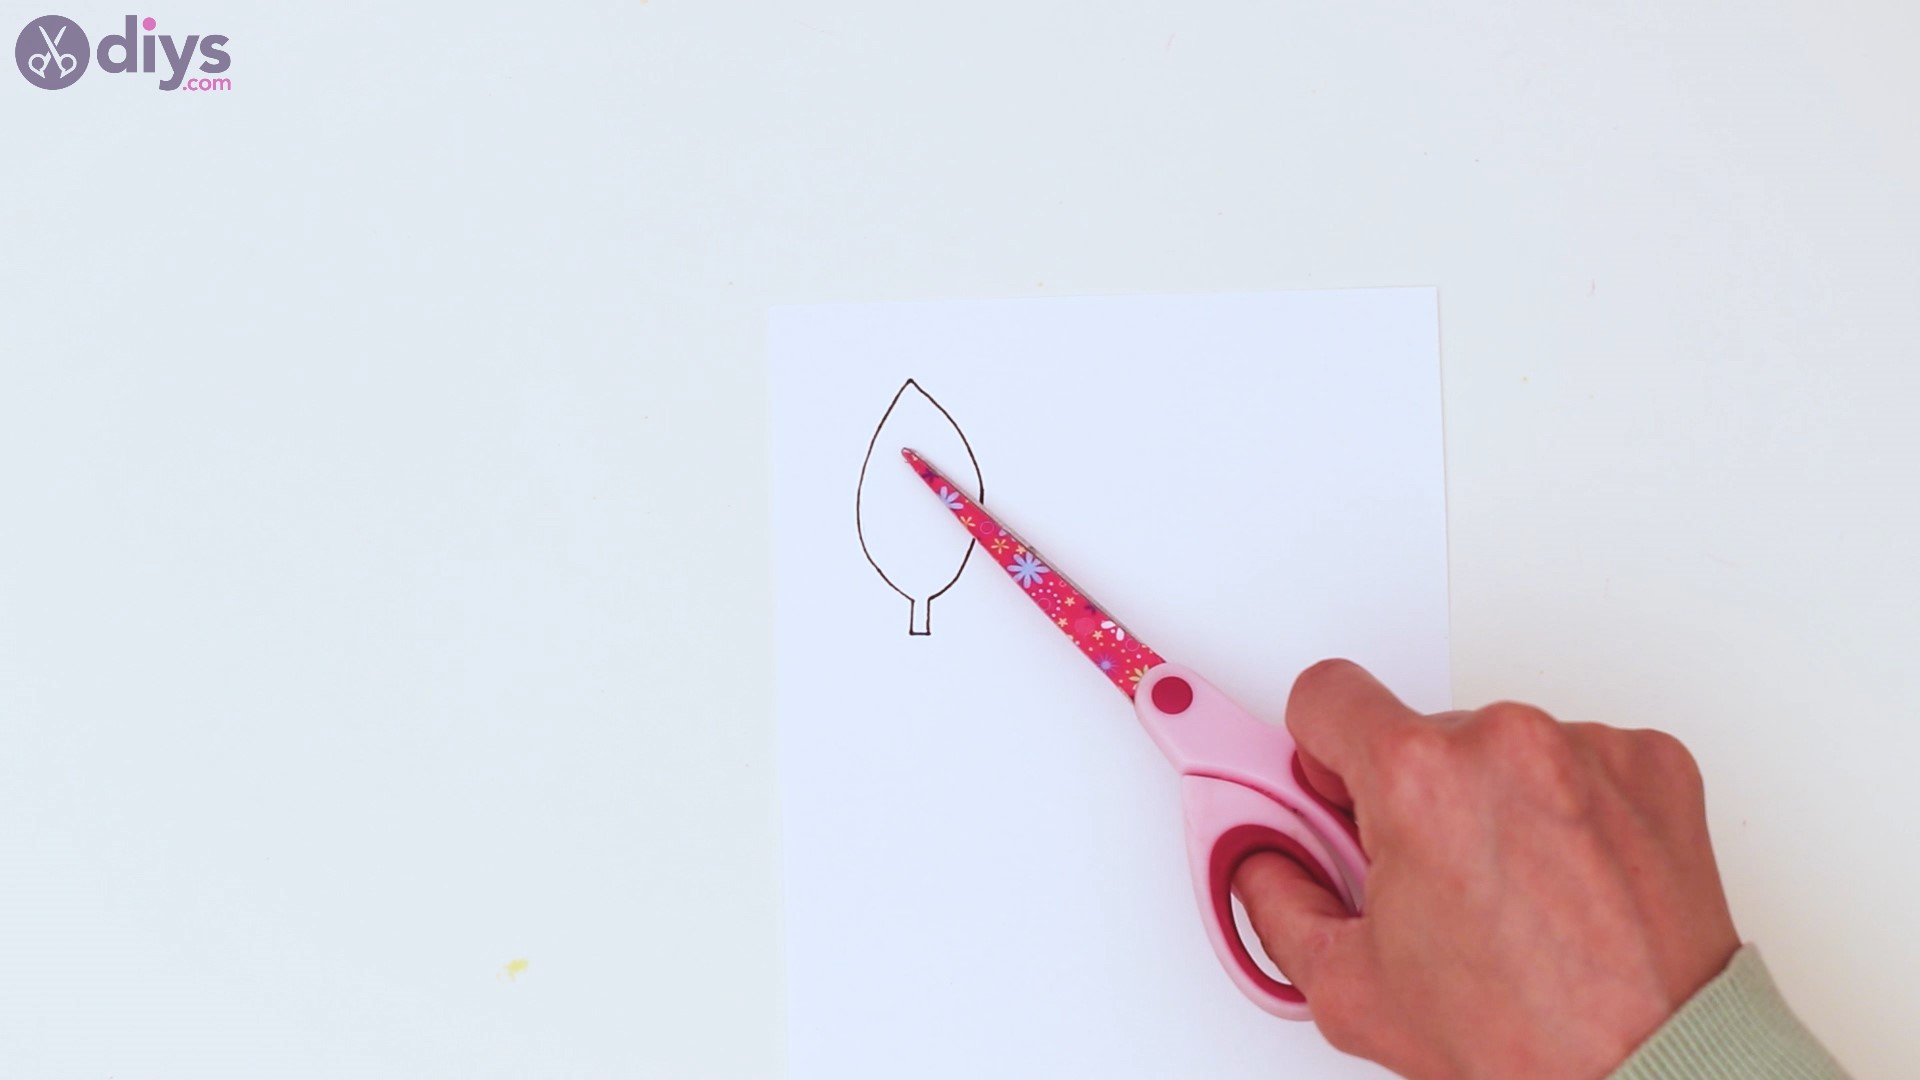
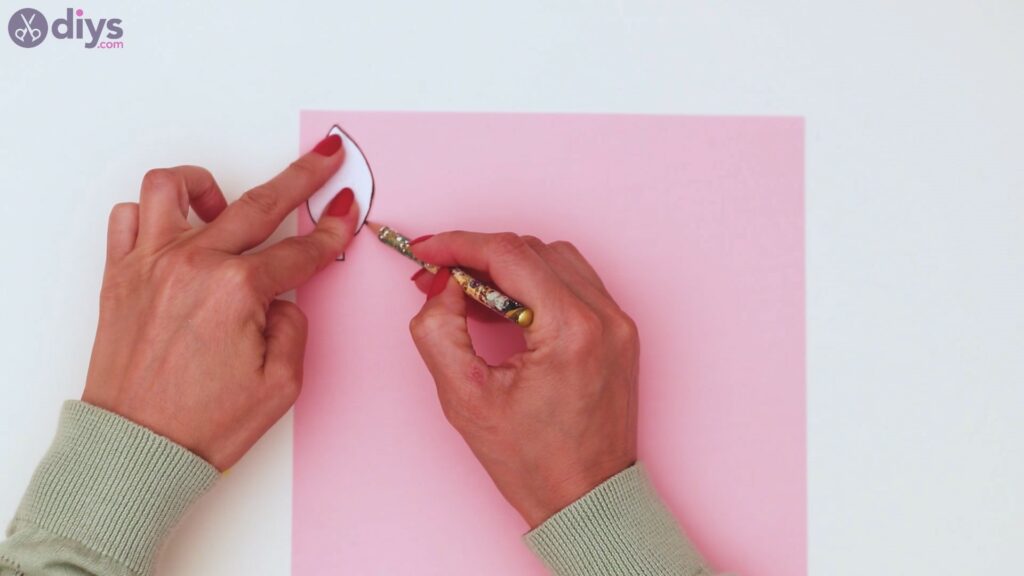
Next, we need to take the paper with the mold for the petal. You can print it out or draw it yourself – however you see fit.

Get the scissors and cut the shape out. You’ll be using it later.
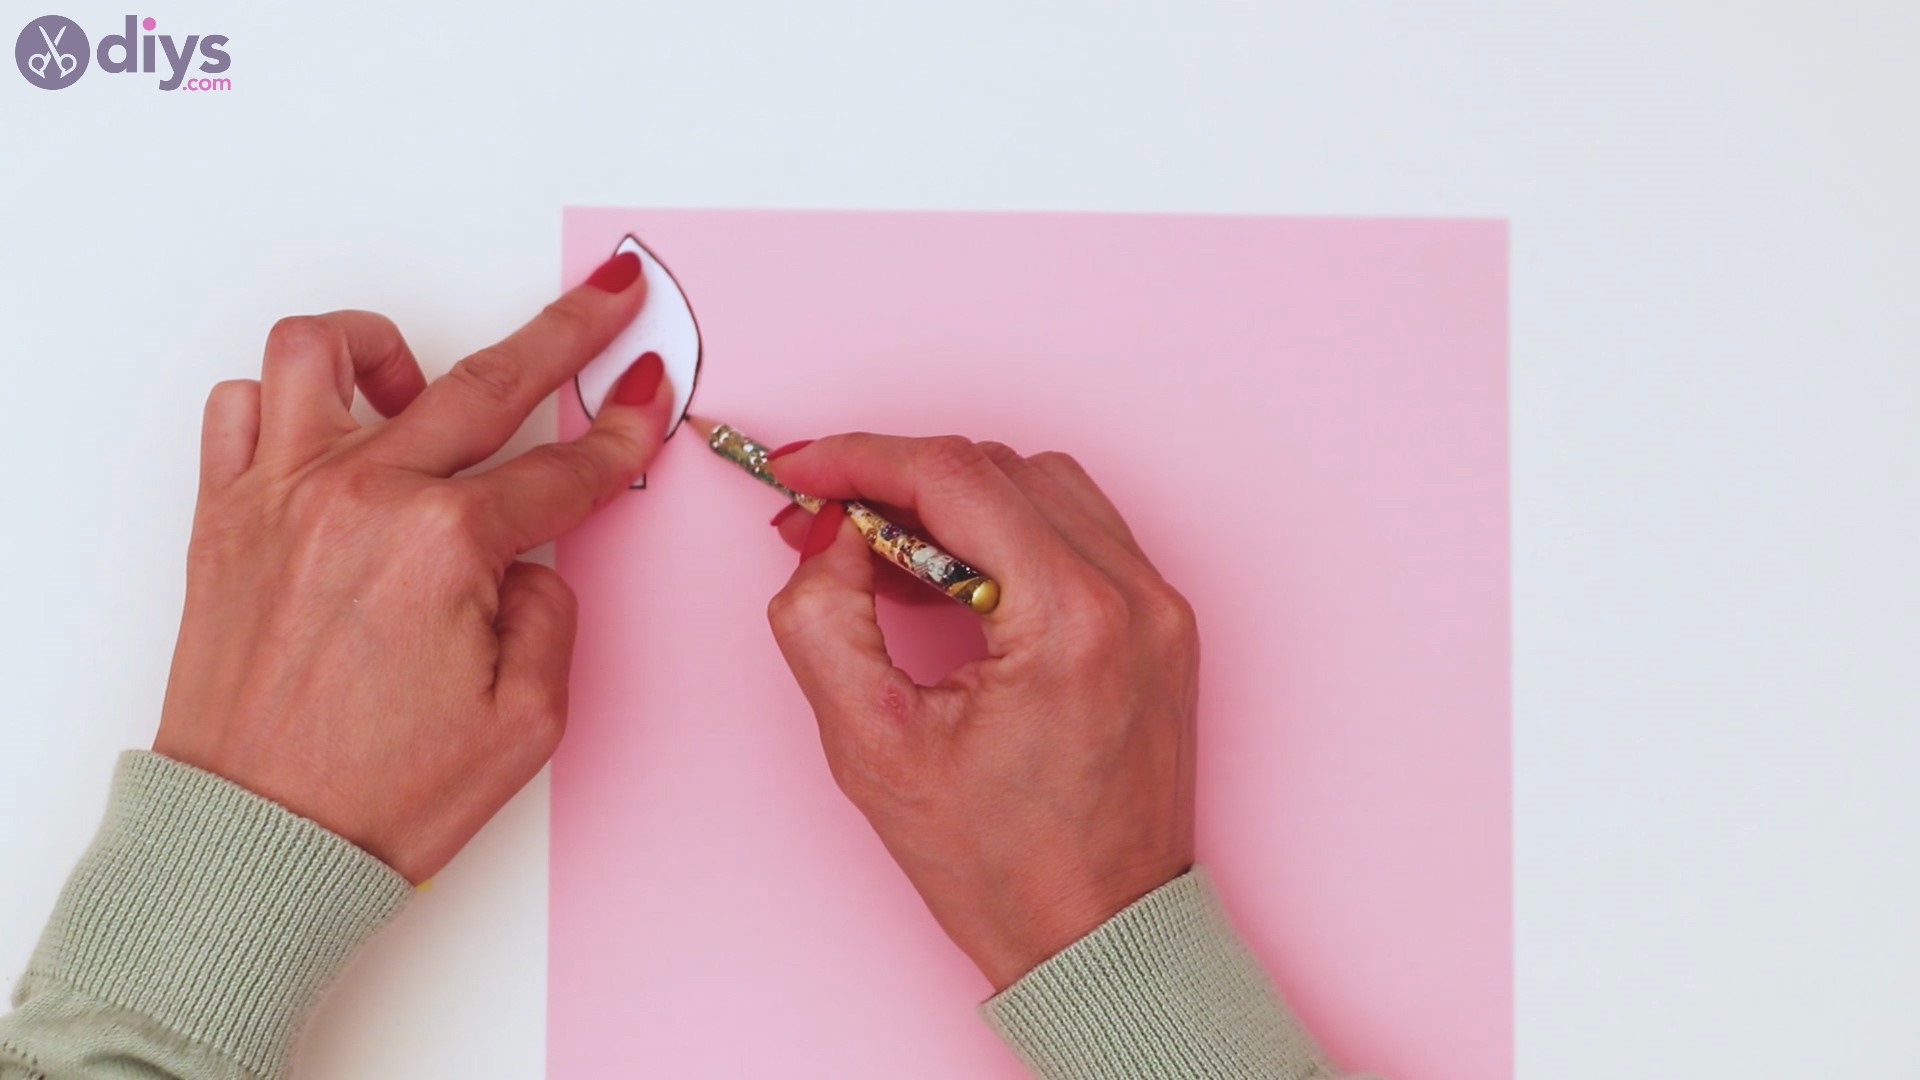
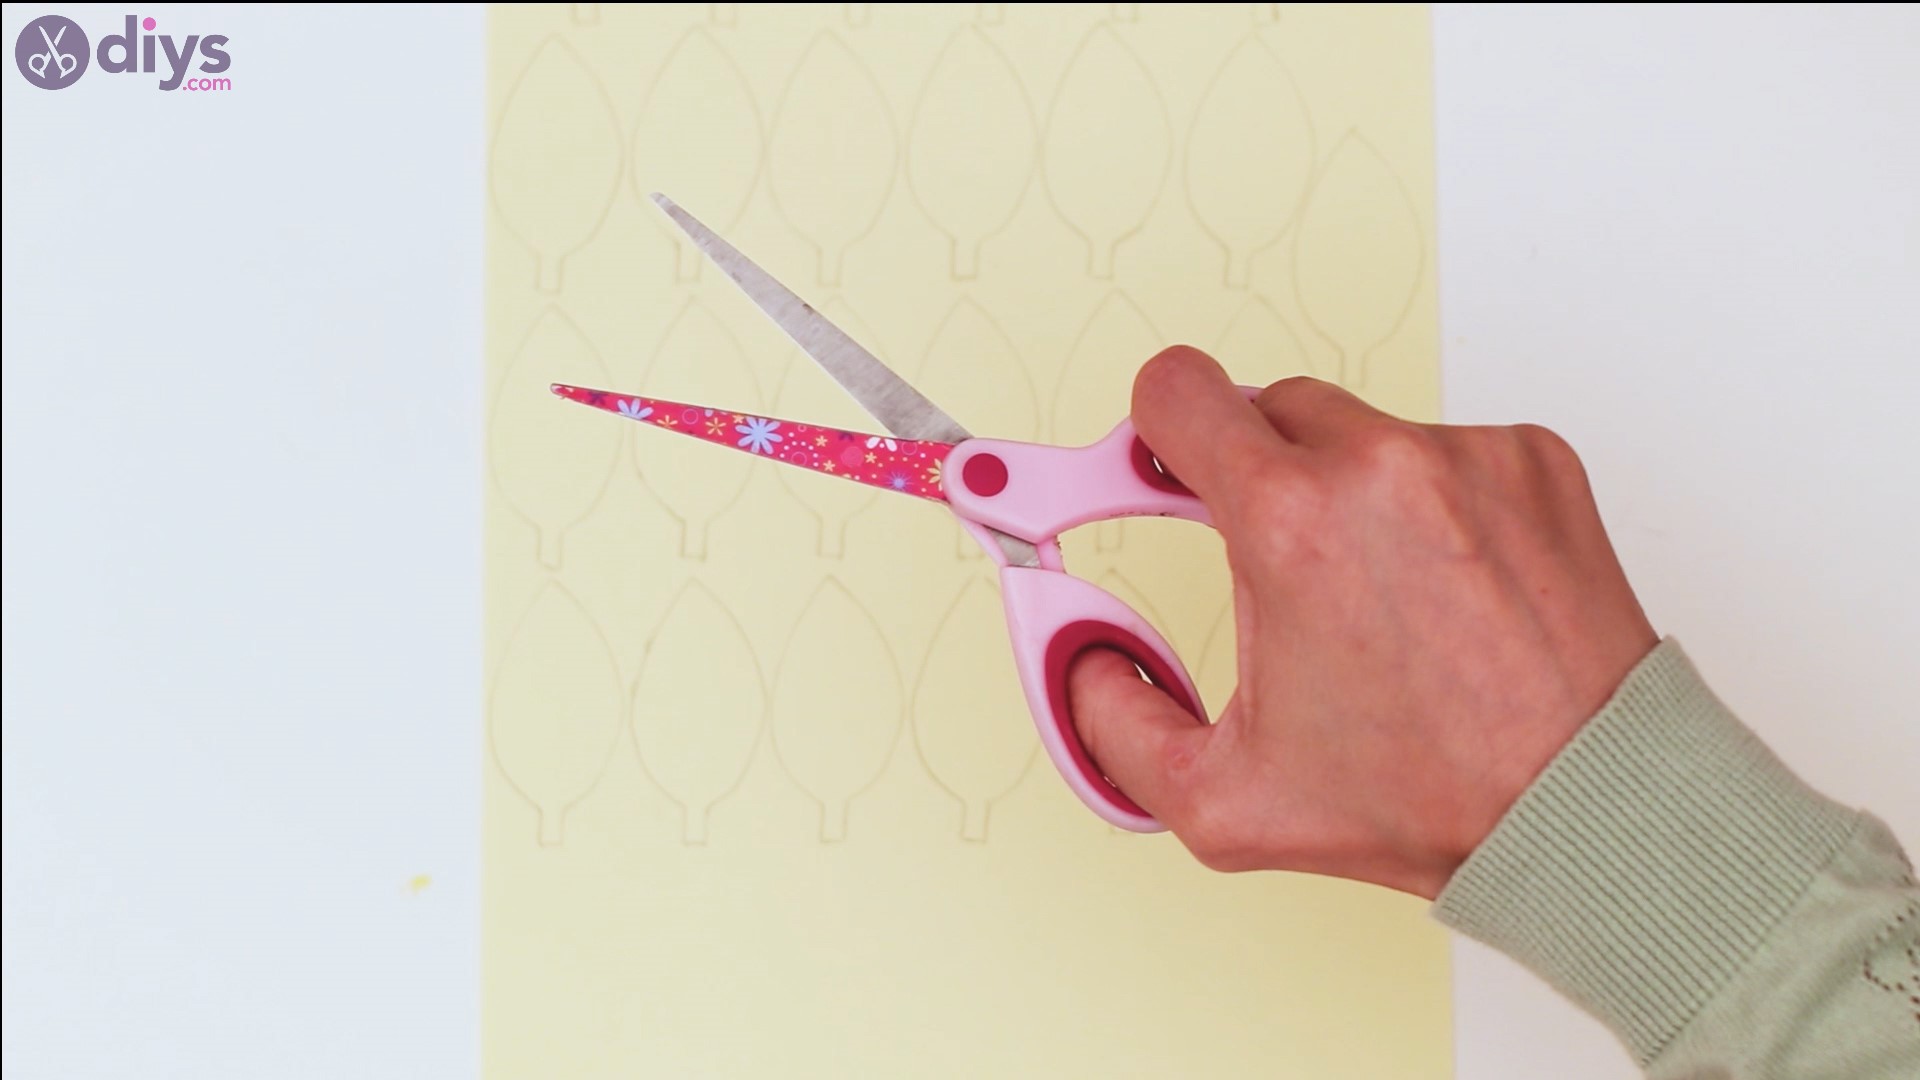
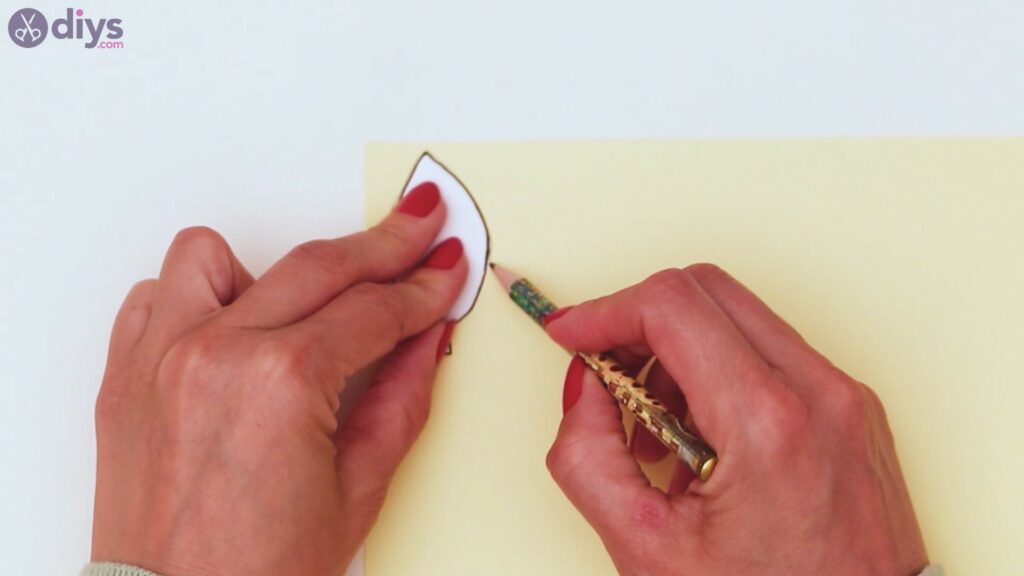
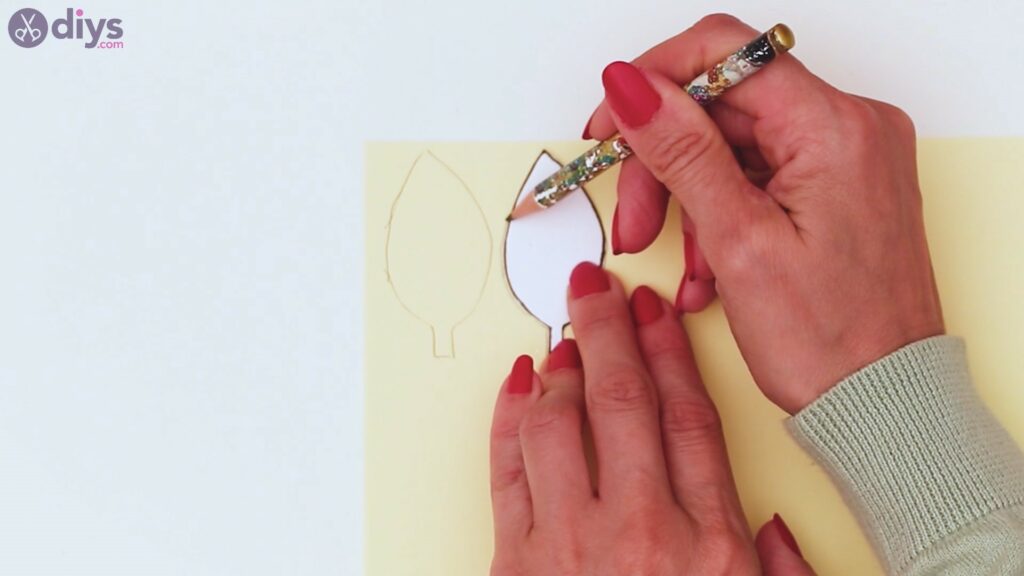
Place the petal pattern over the yellow paper and draw the contour.
Keep going until you have a paper full of rows of this type of petals.
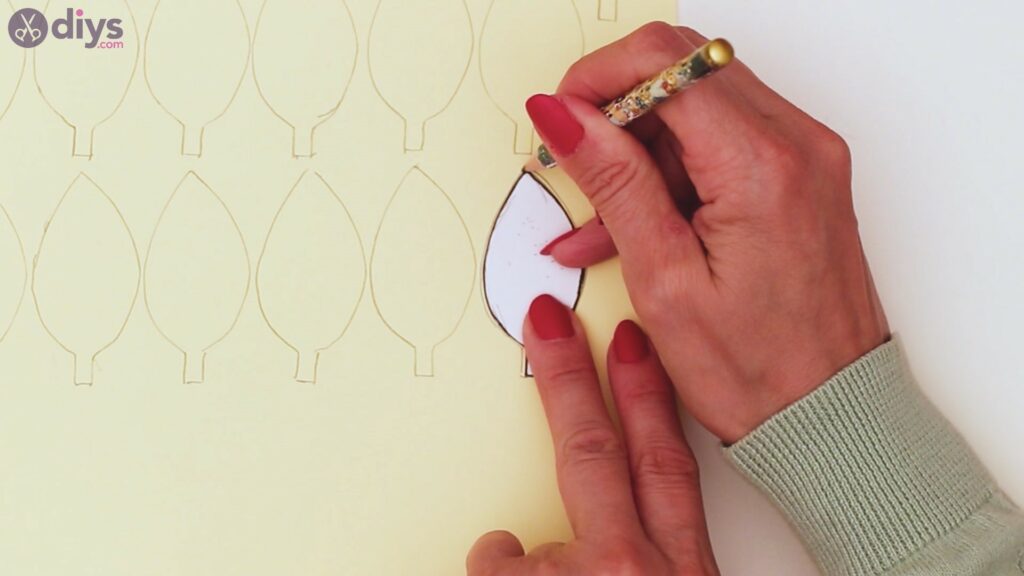
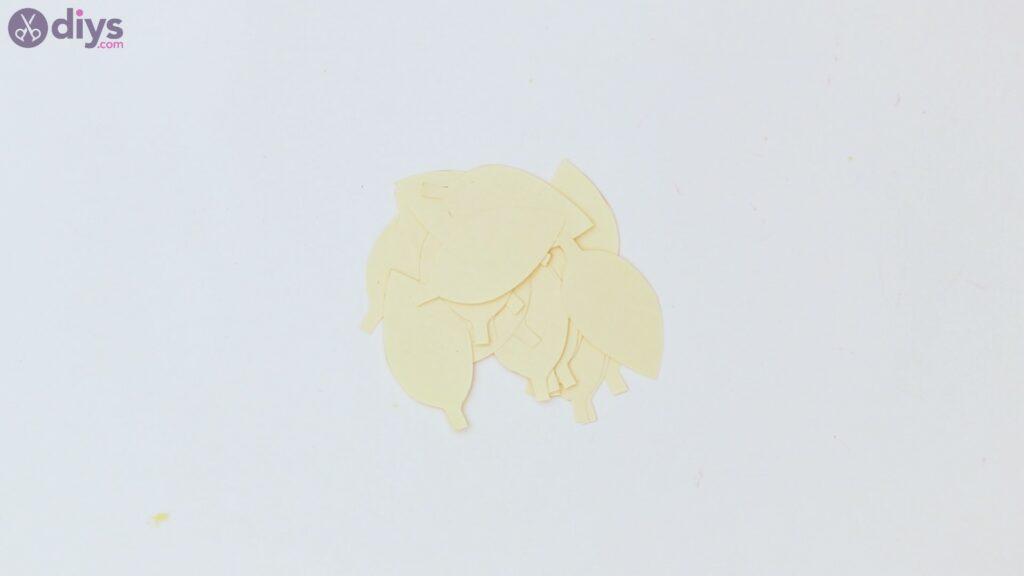
Next, get your scissors and cut them out. Make sure you follow the contour as best you can.

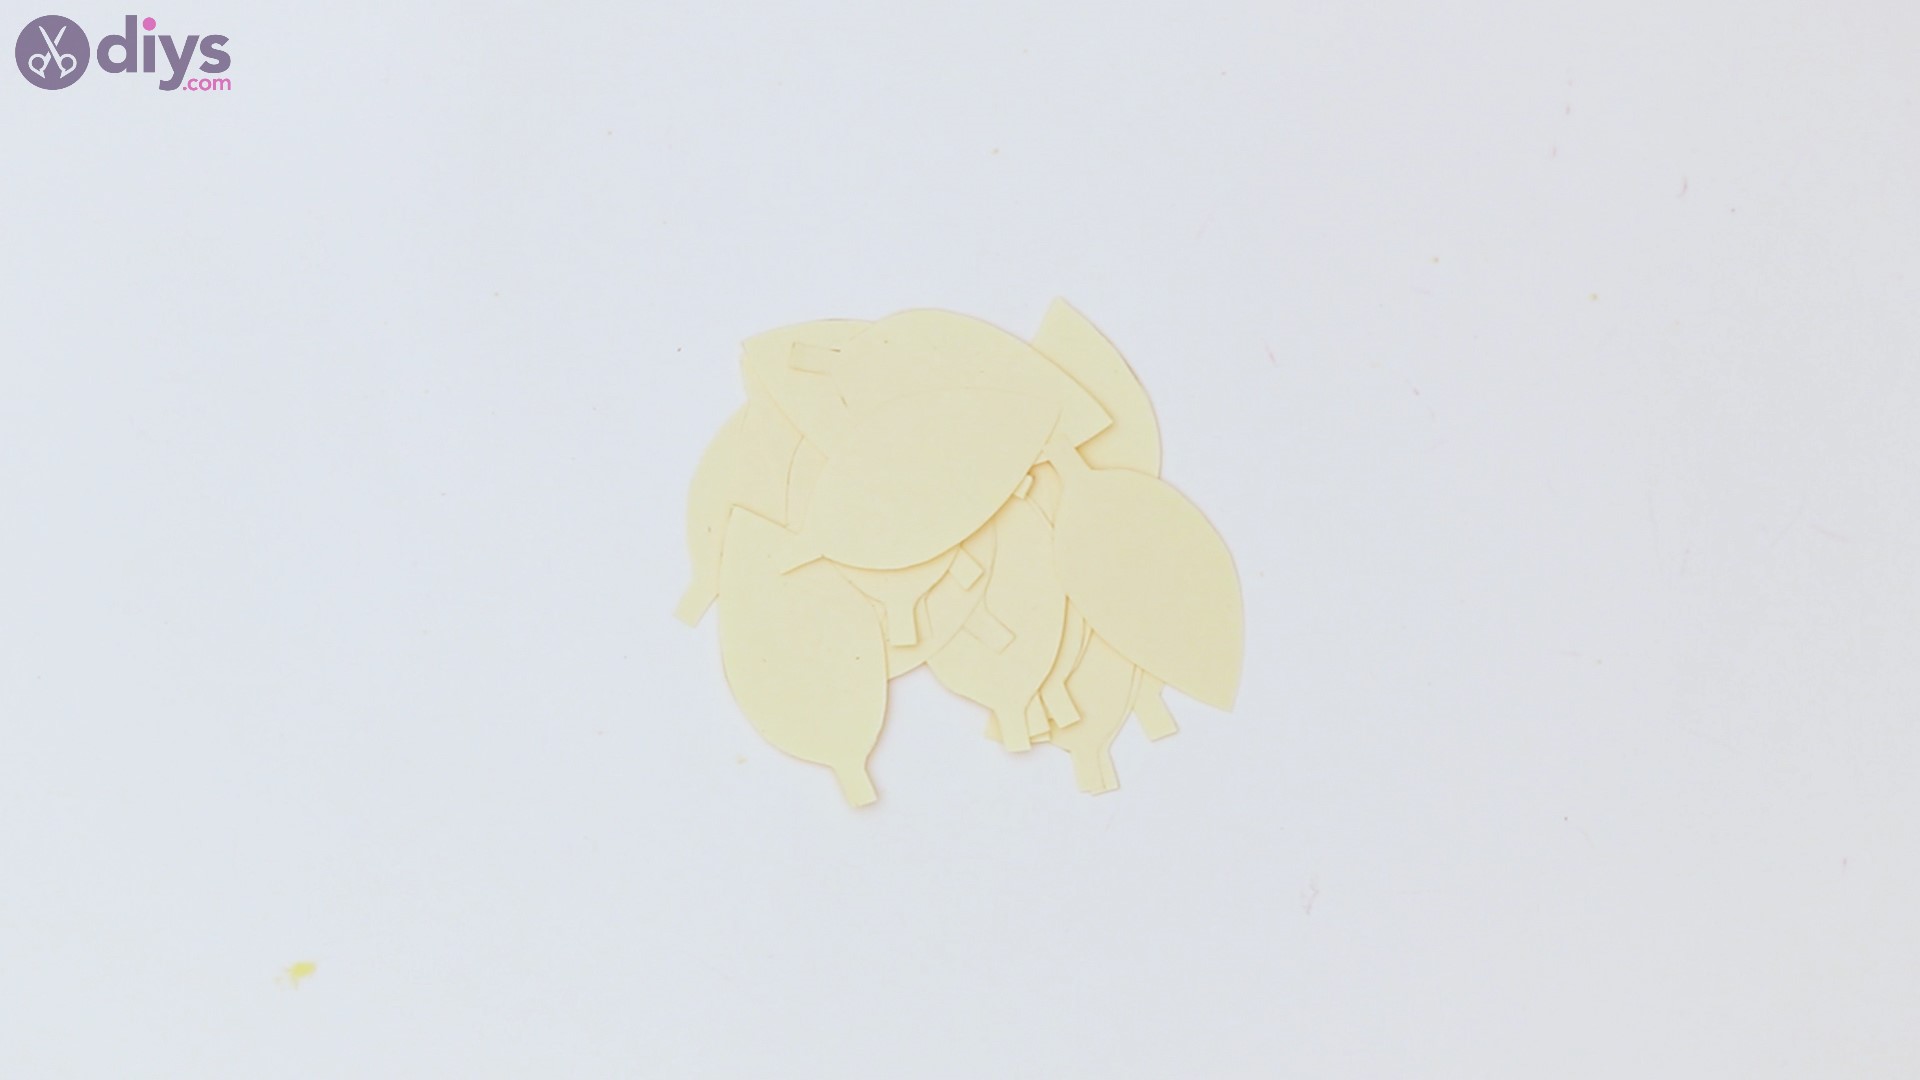
There, you go! A pile of yellow petals.
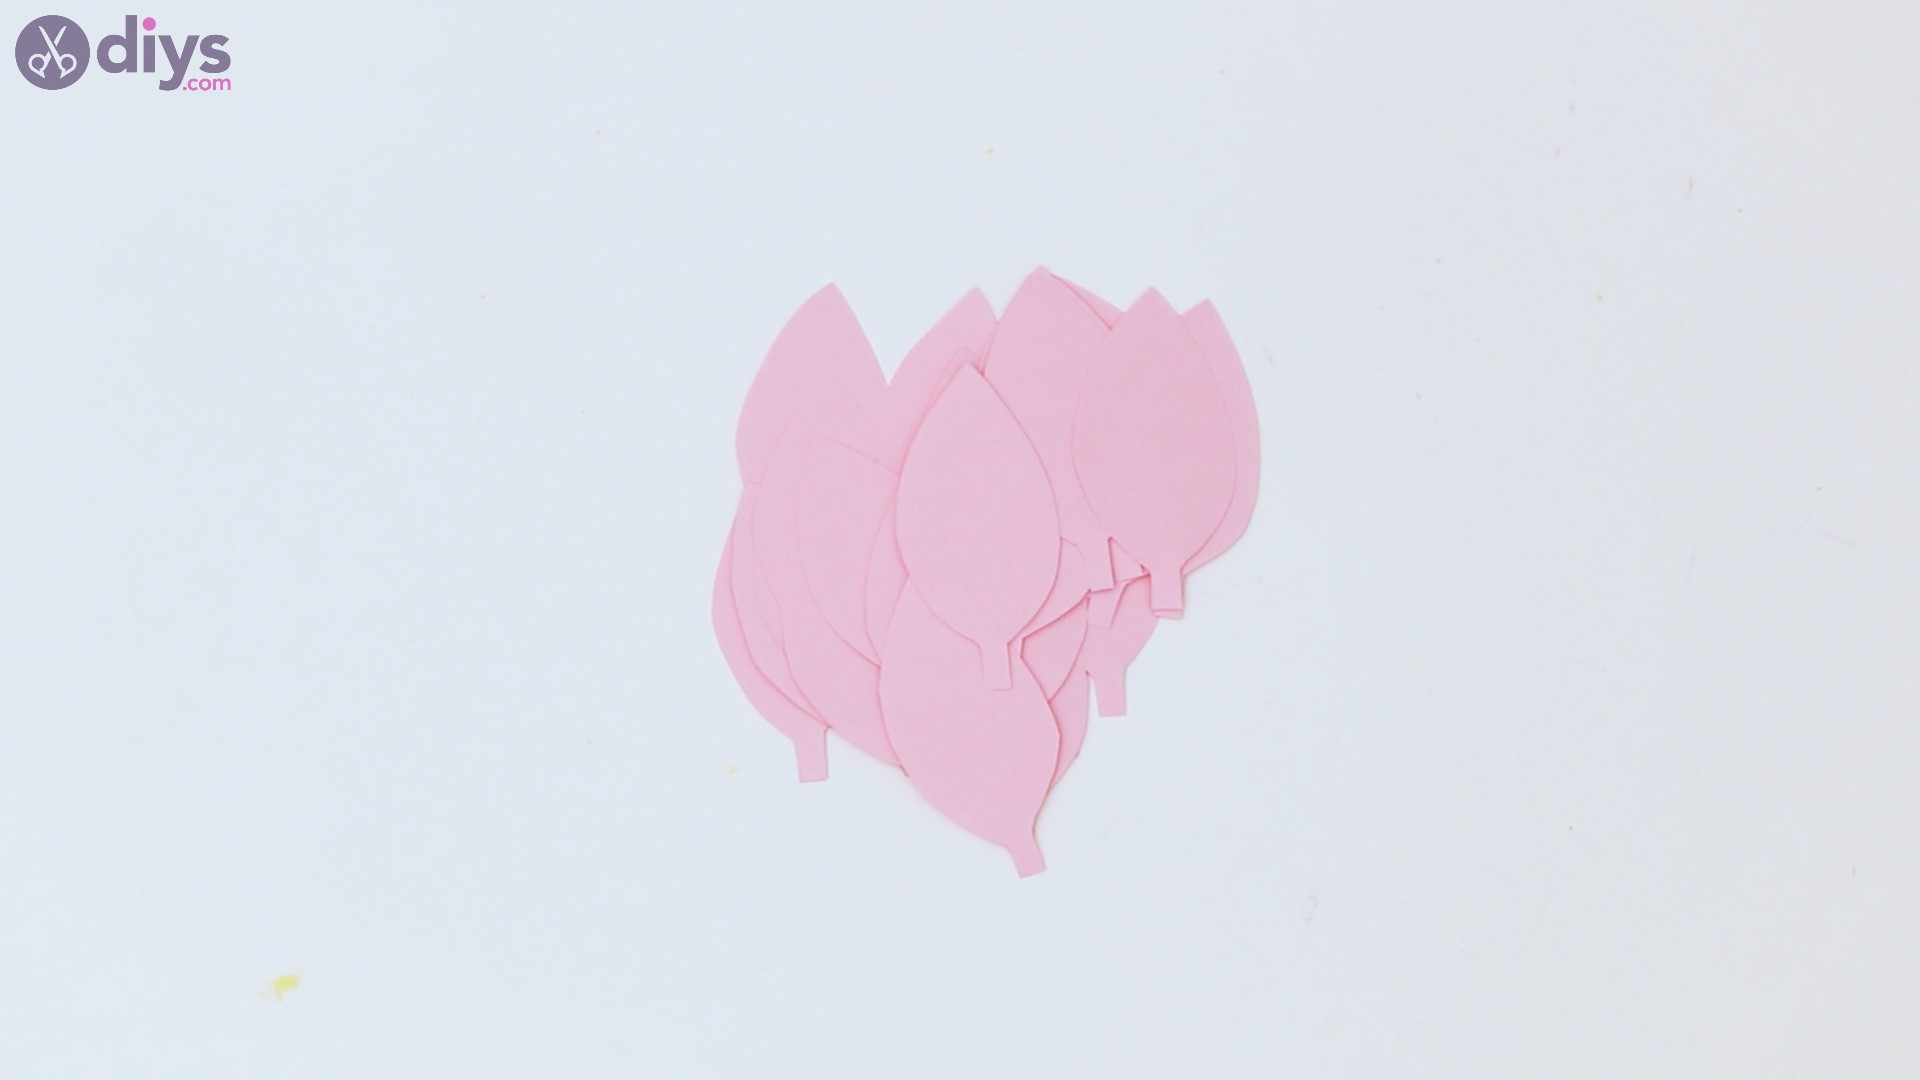
Step 3: Make some pink petals
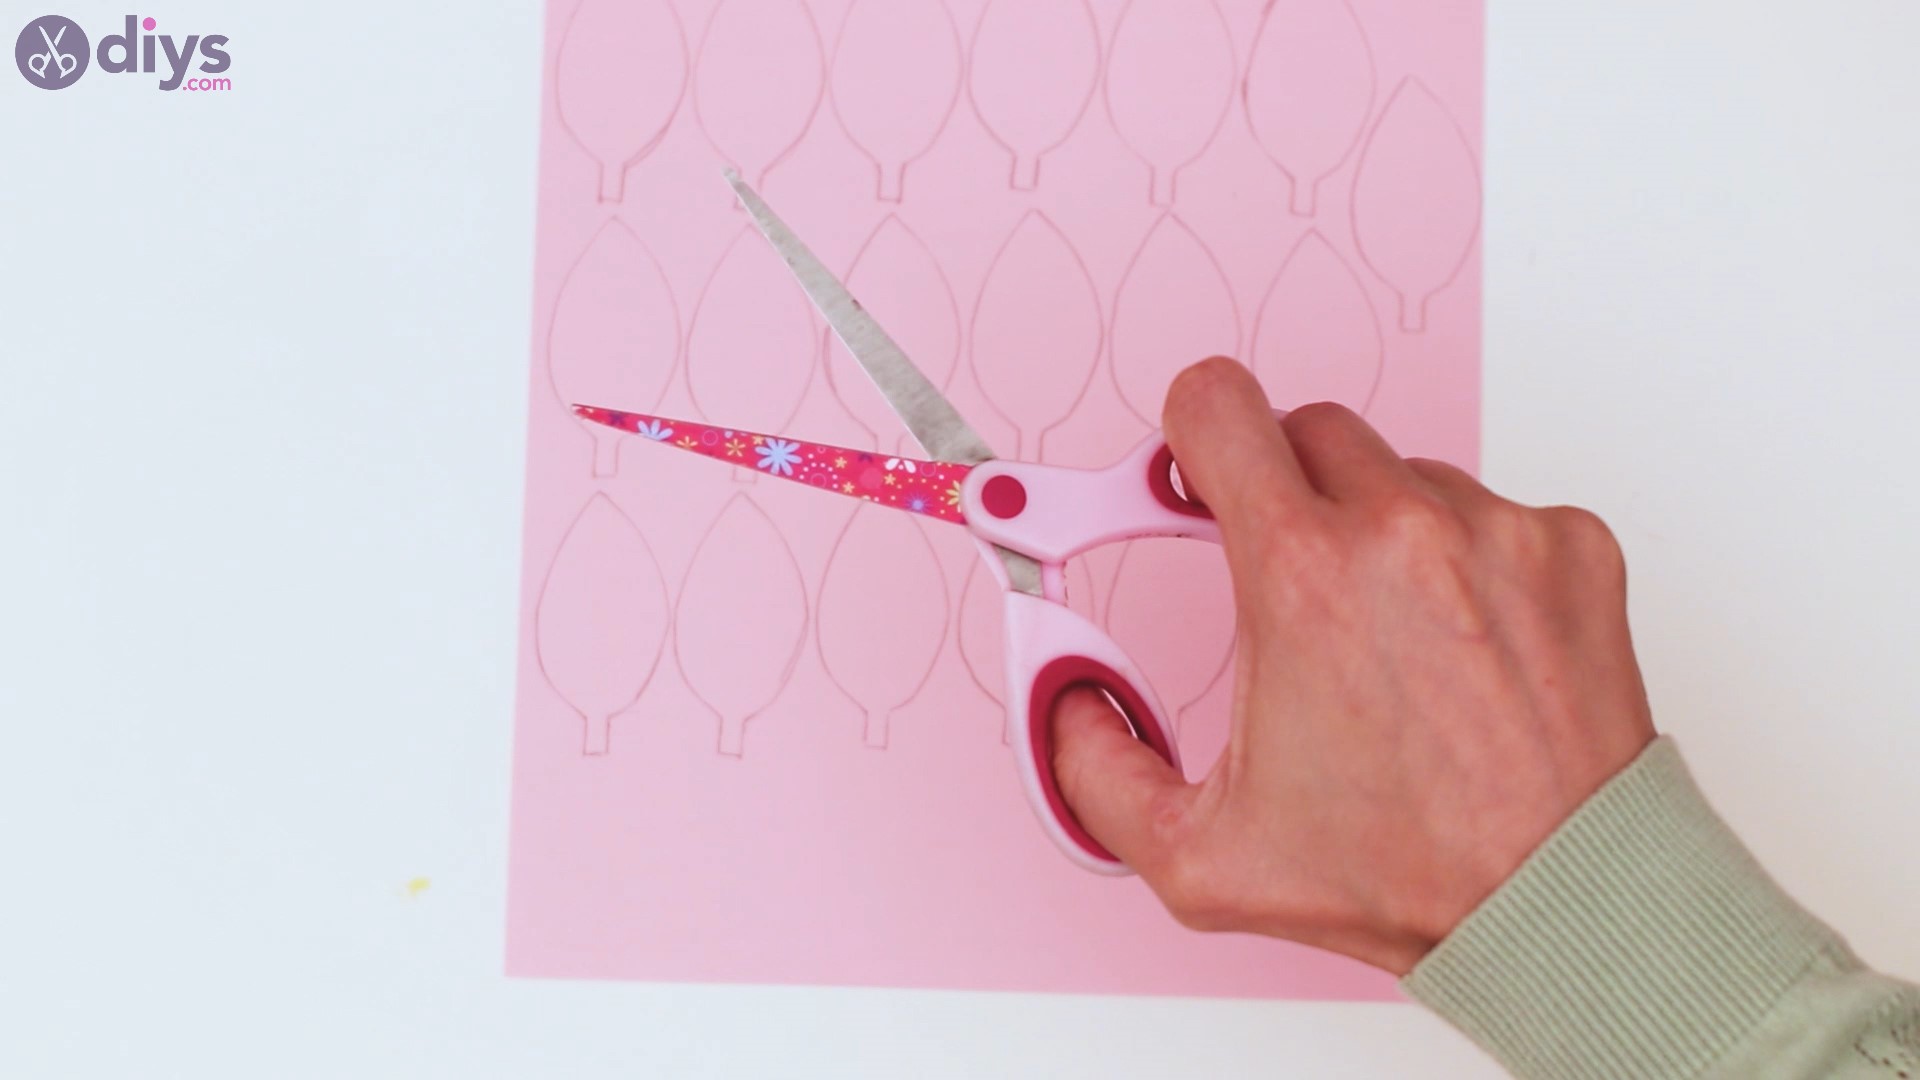
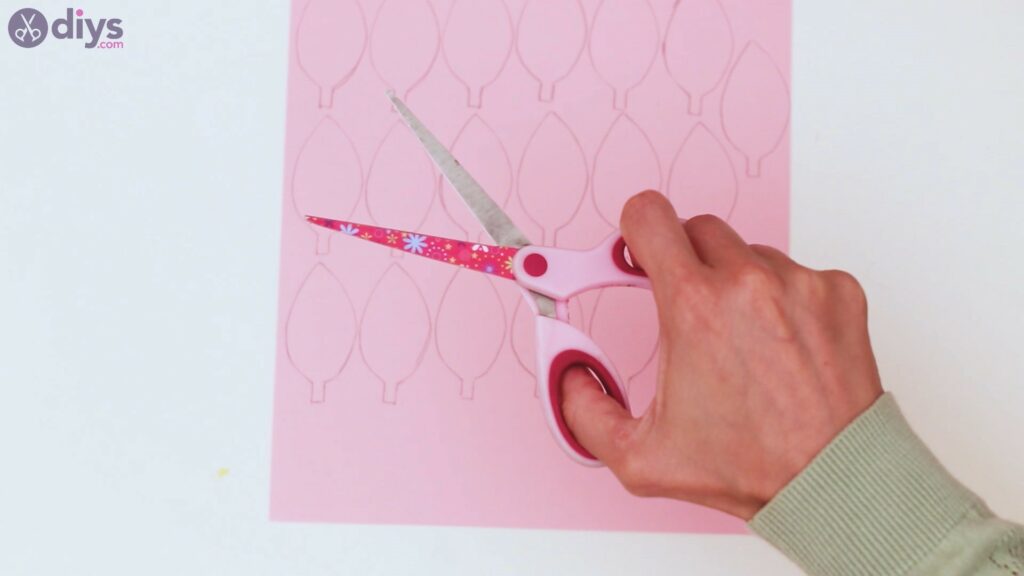
Next, we’re making some pink petals. Get the pattern ands keep drawing petals over the pink paper.

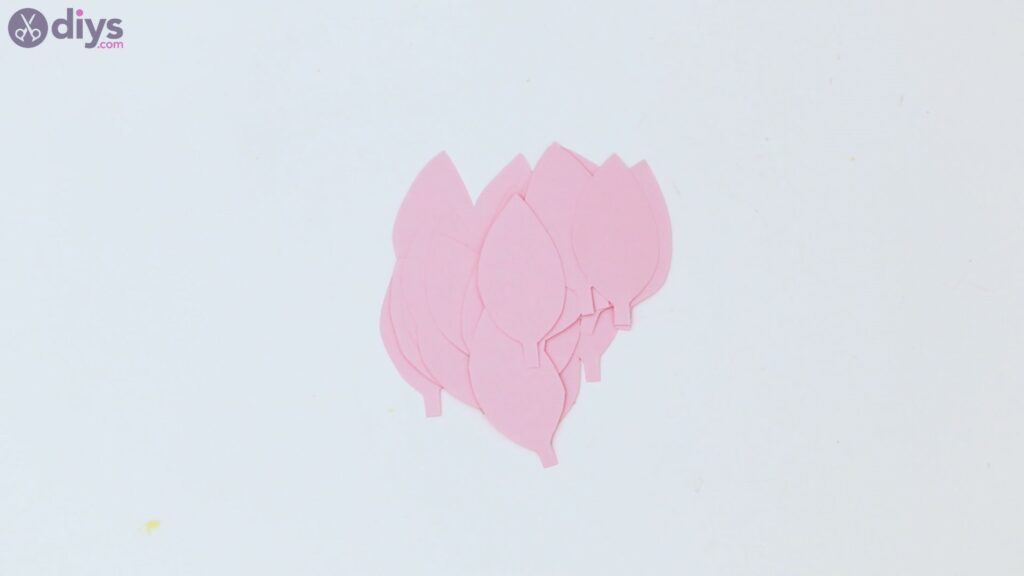
When your page is full, get the scissors and start cutting them all. Much like you did before, you want to follow the outline as best you can.
Now that you have the yellow and pink petals, it’s time you do the same for the green and blue pages.
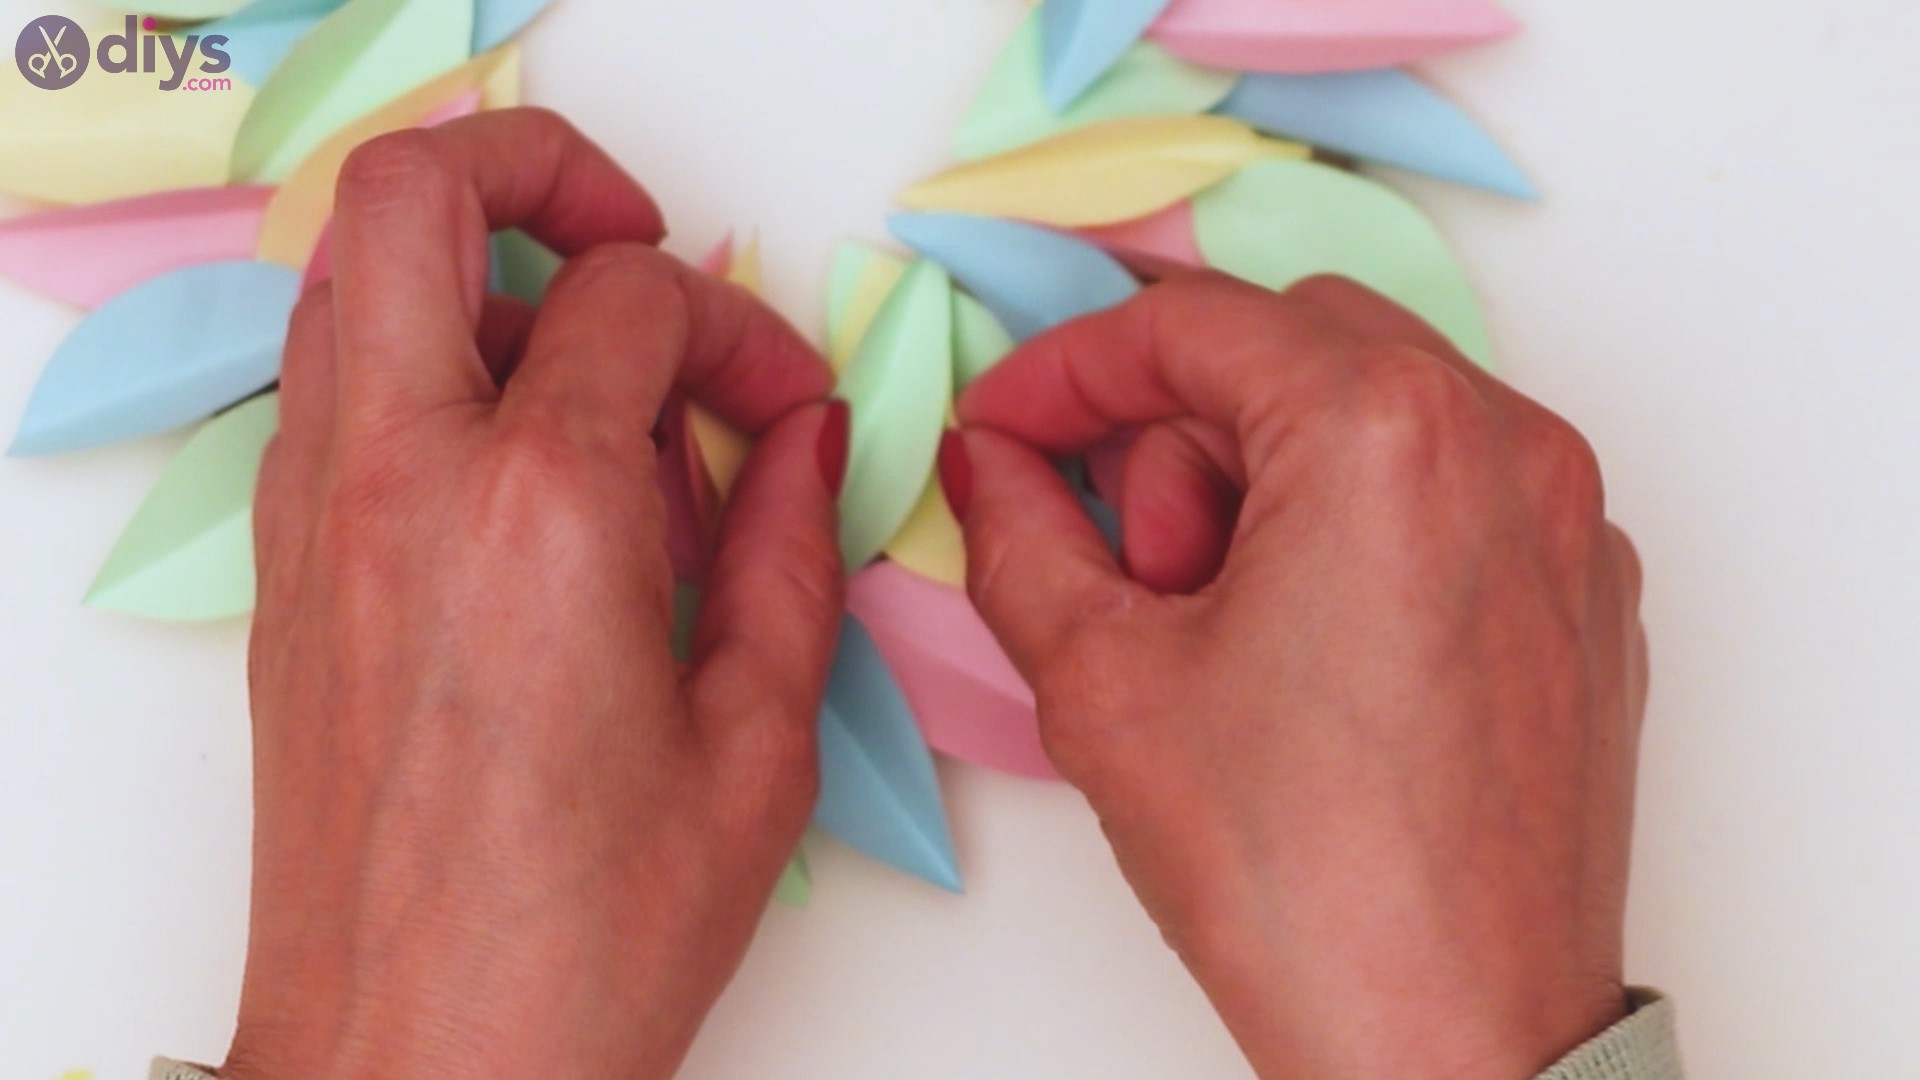
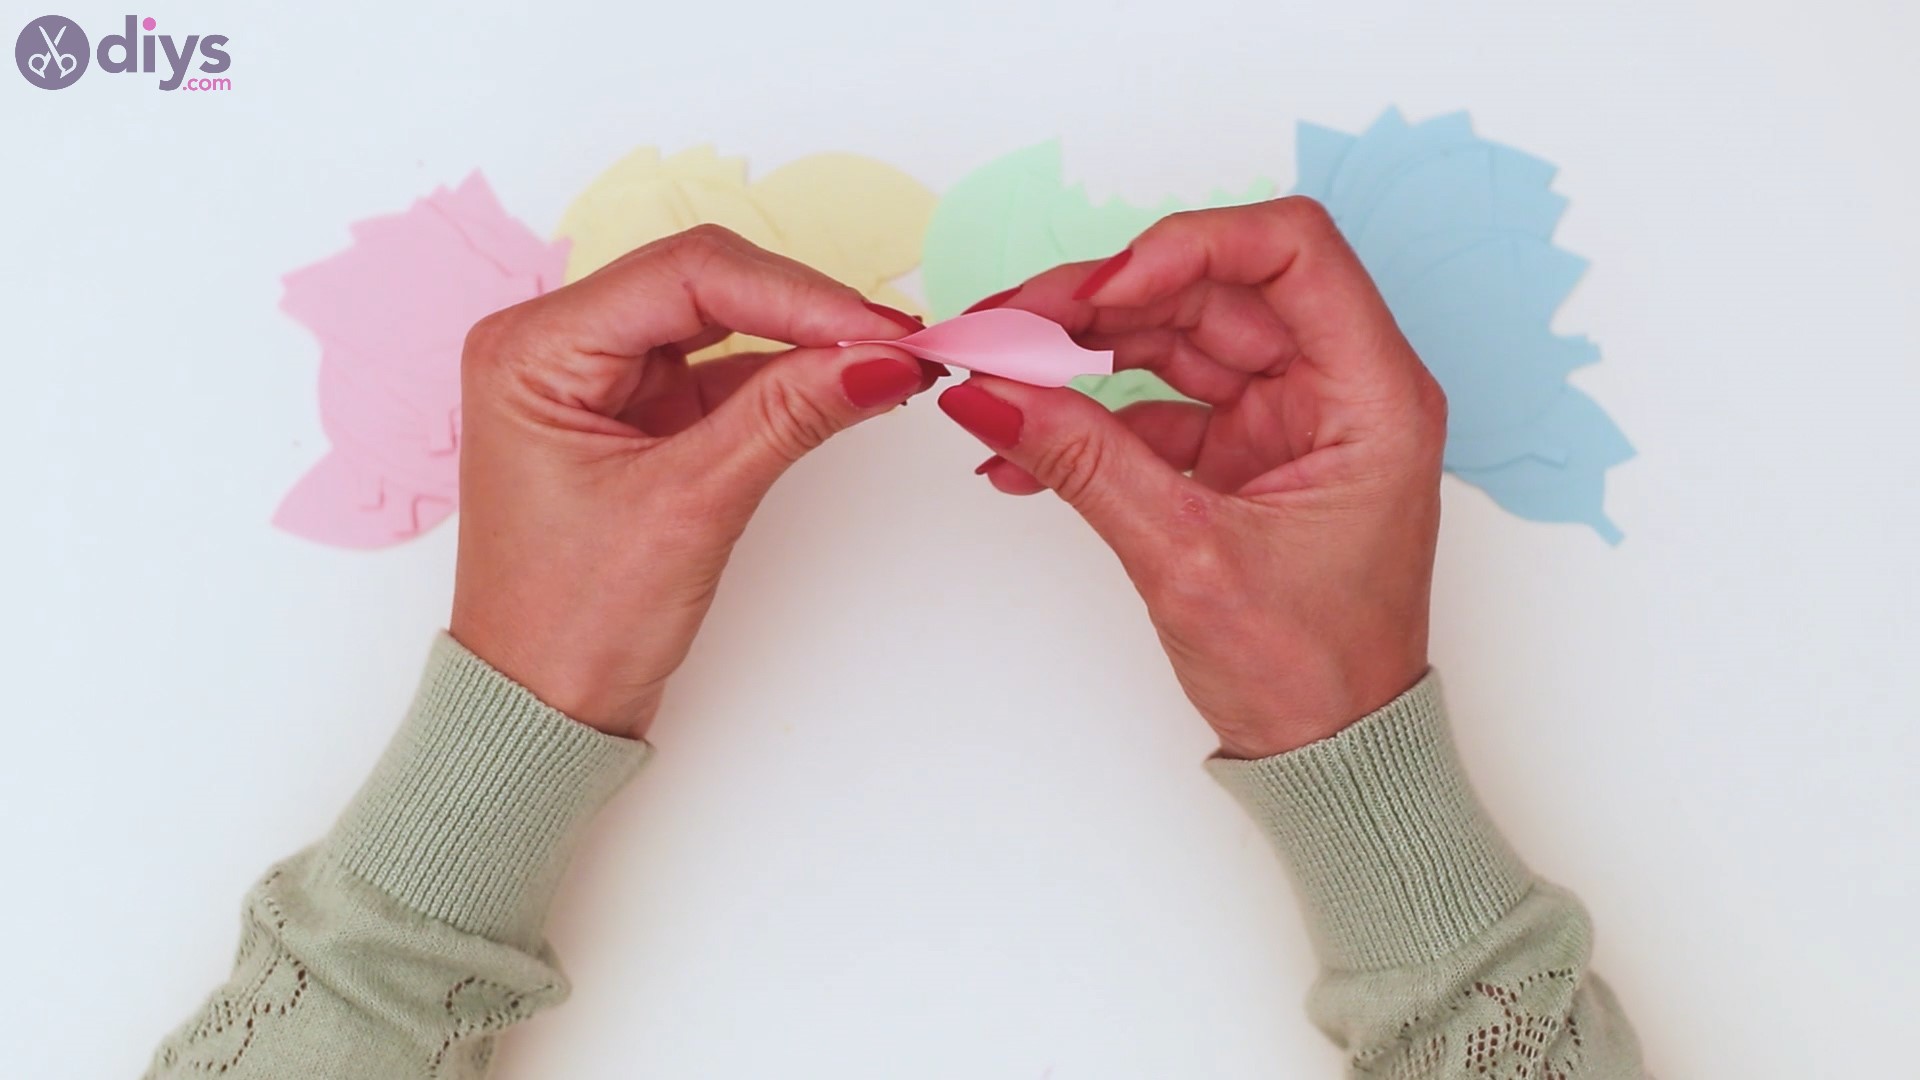
Step 4: Fold the petals
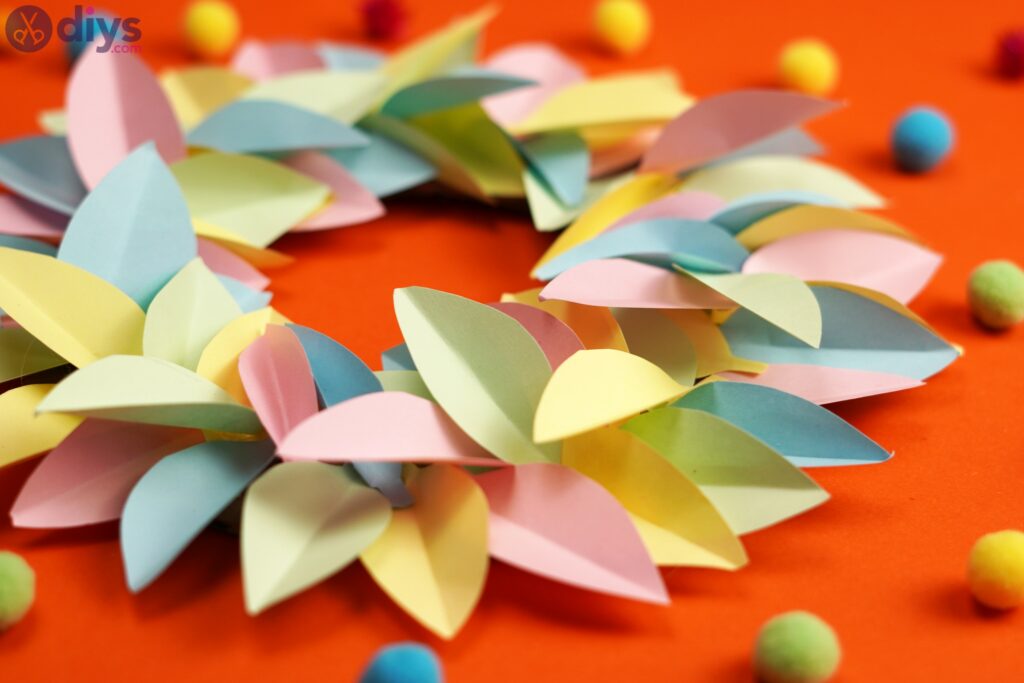
We want our pretty wreath to have some dimension, so we’re going to fold each of the papers representing our petals.

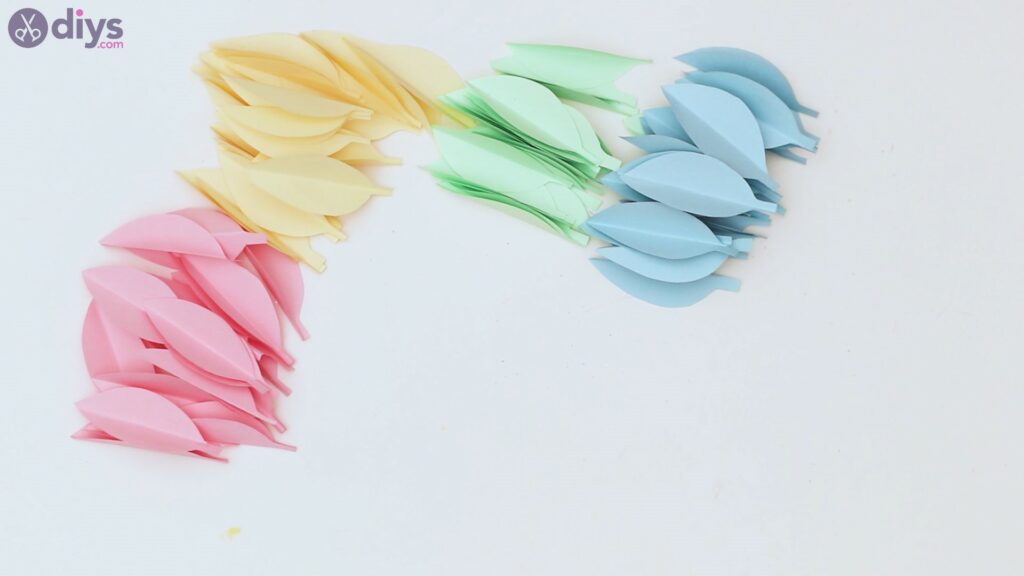
Fold them all down the middle, building up piles of colorful petals.
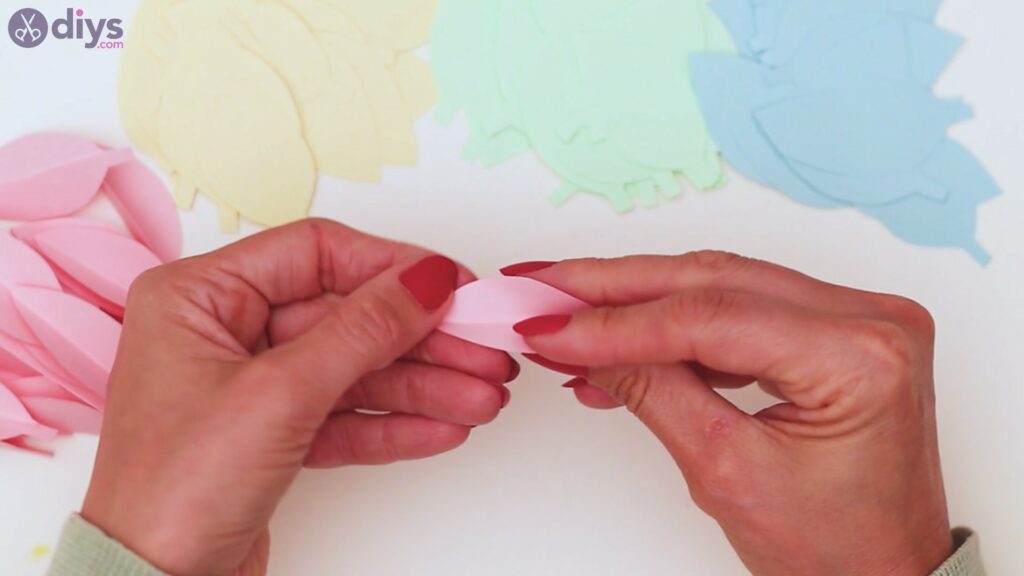
They’re so cute! They’re going to look so pretty when we put them together!
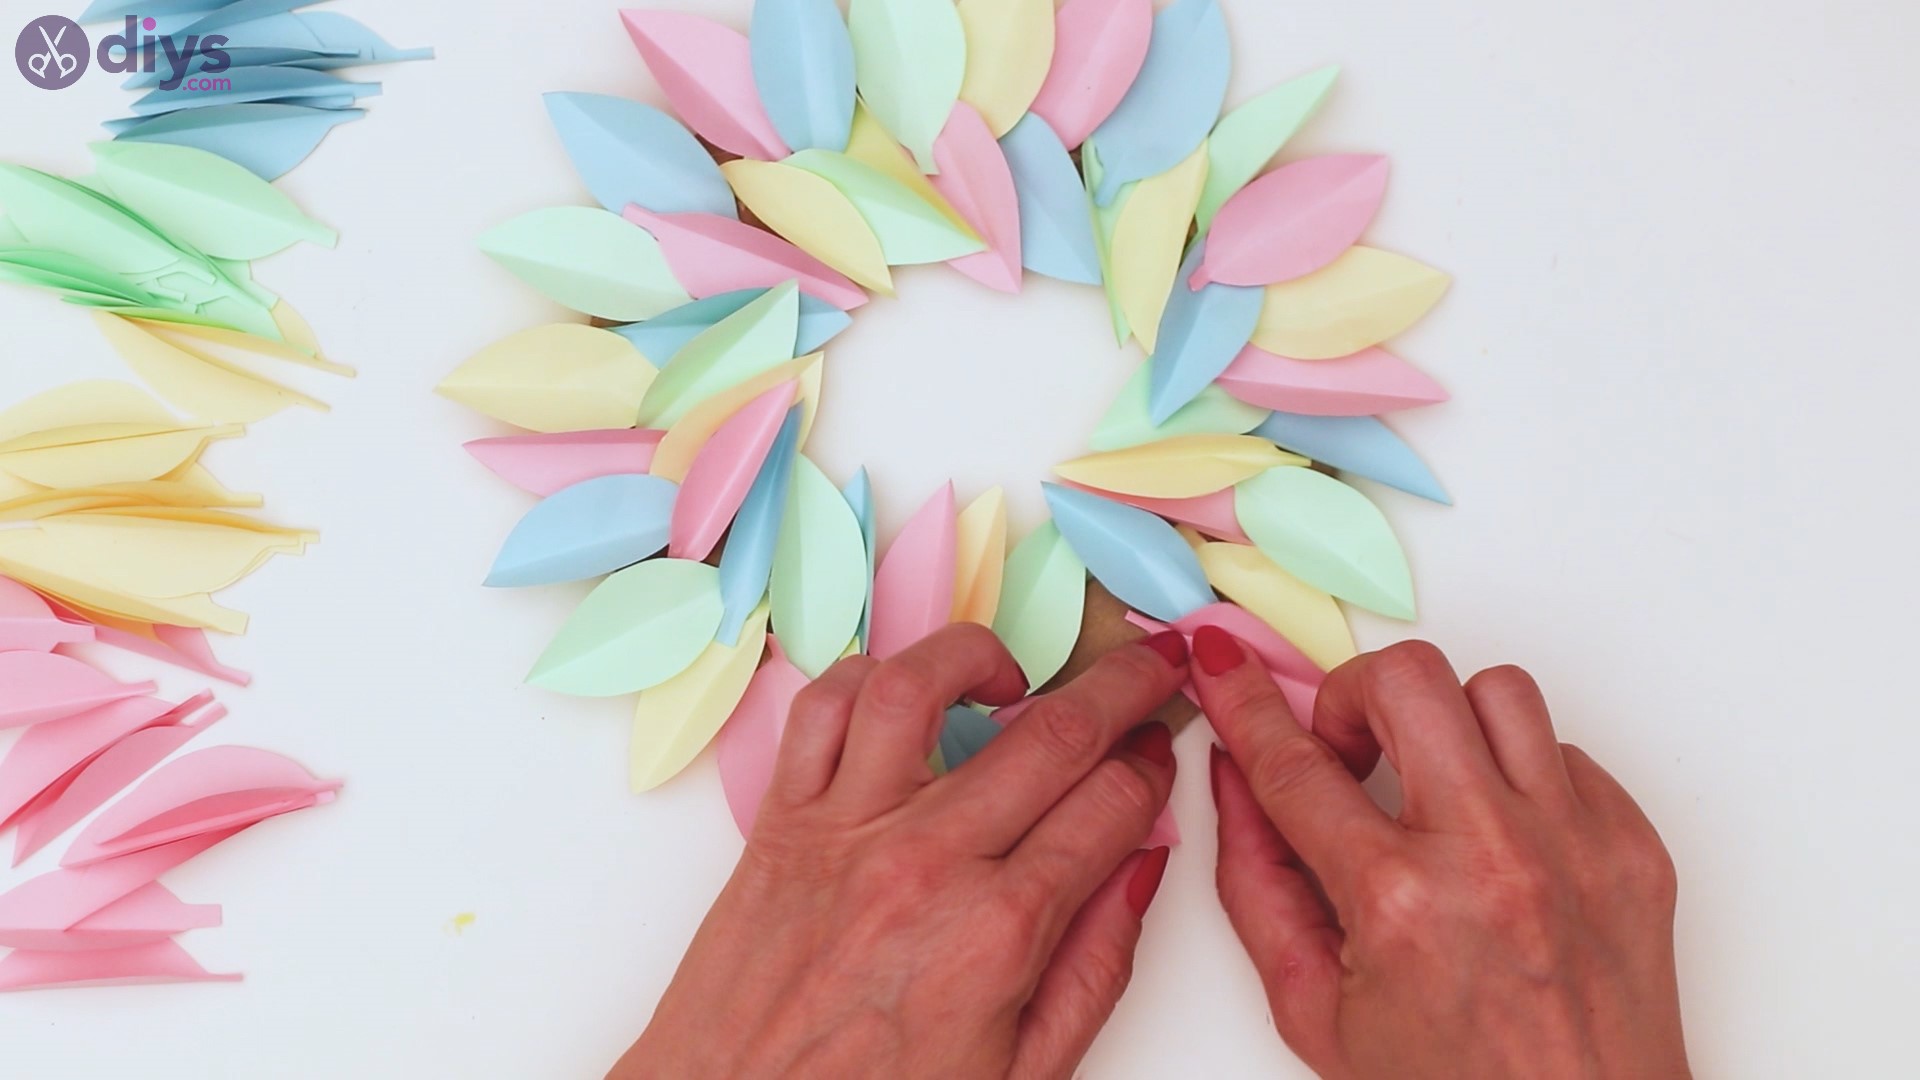
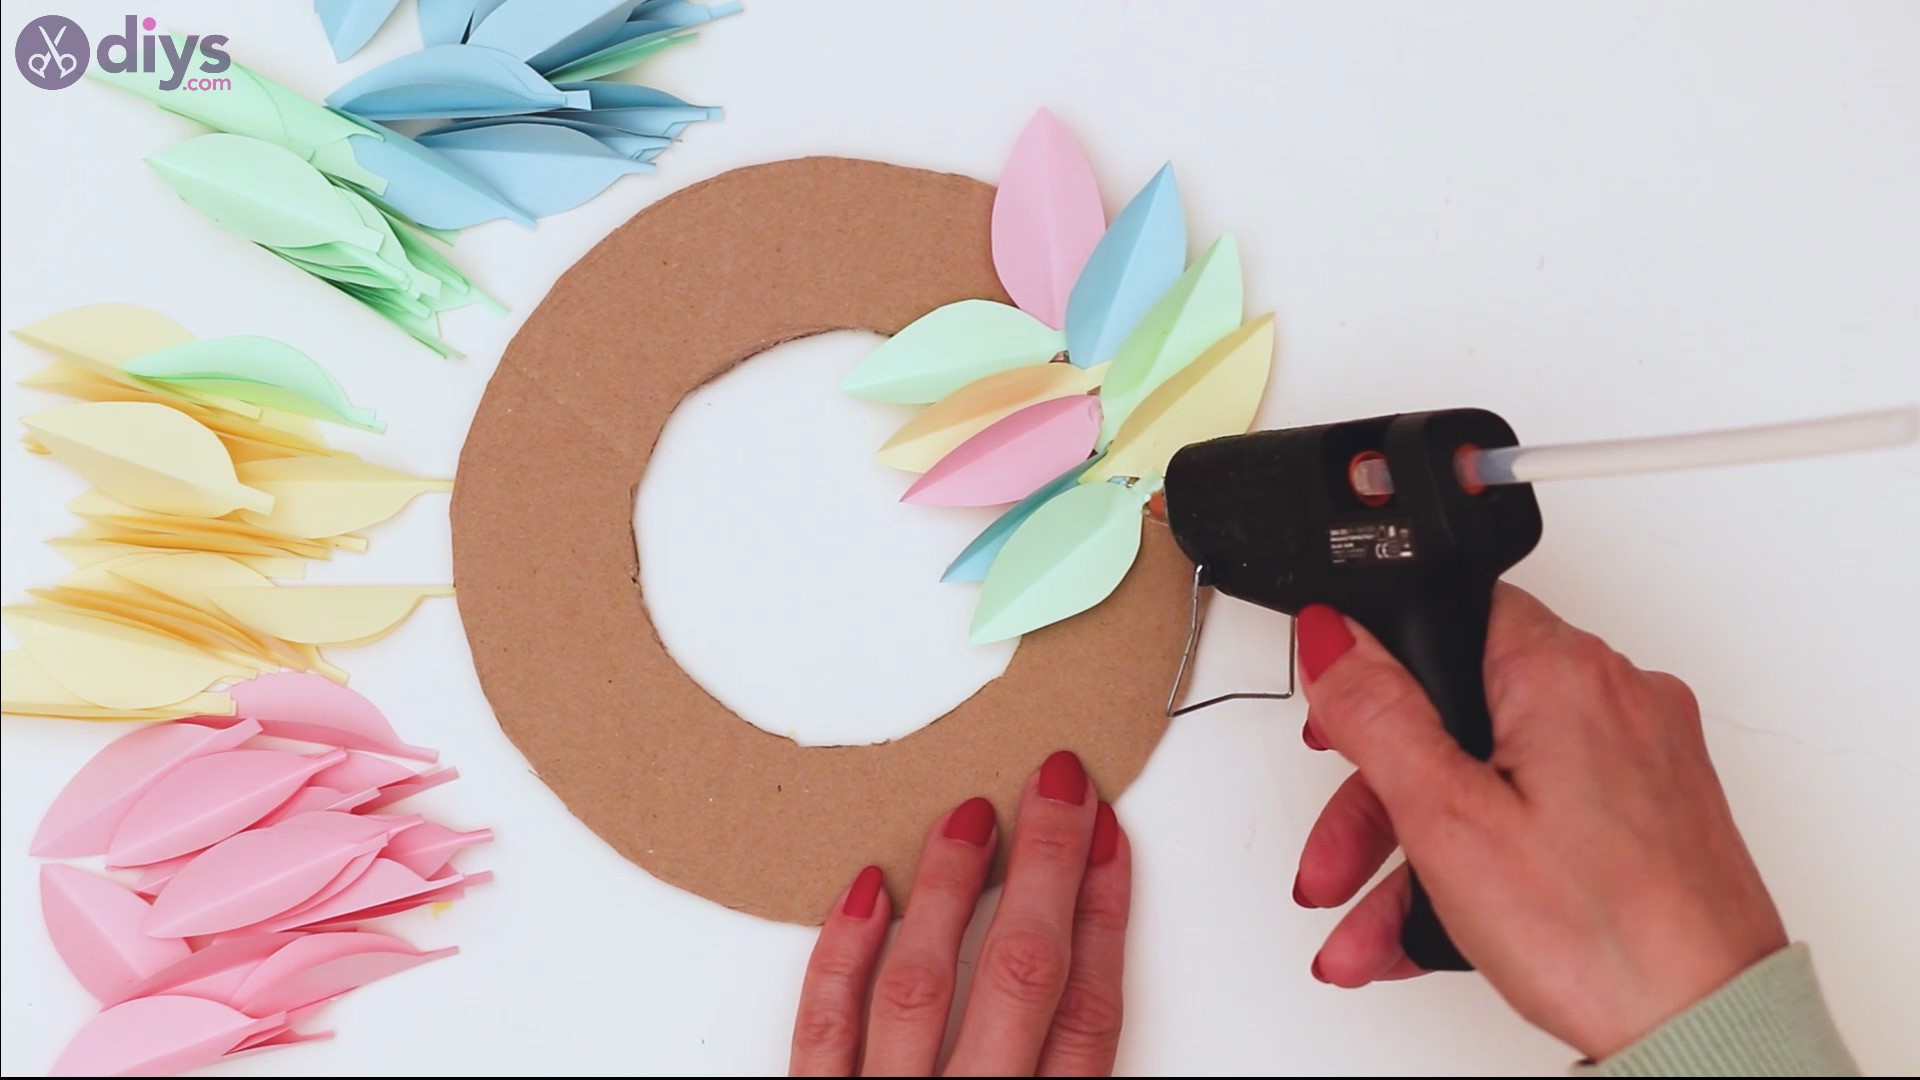
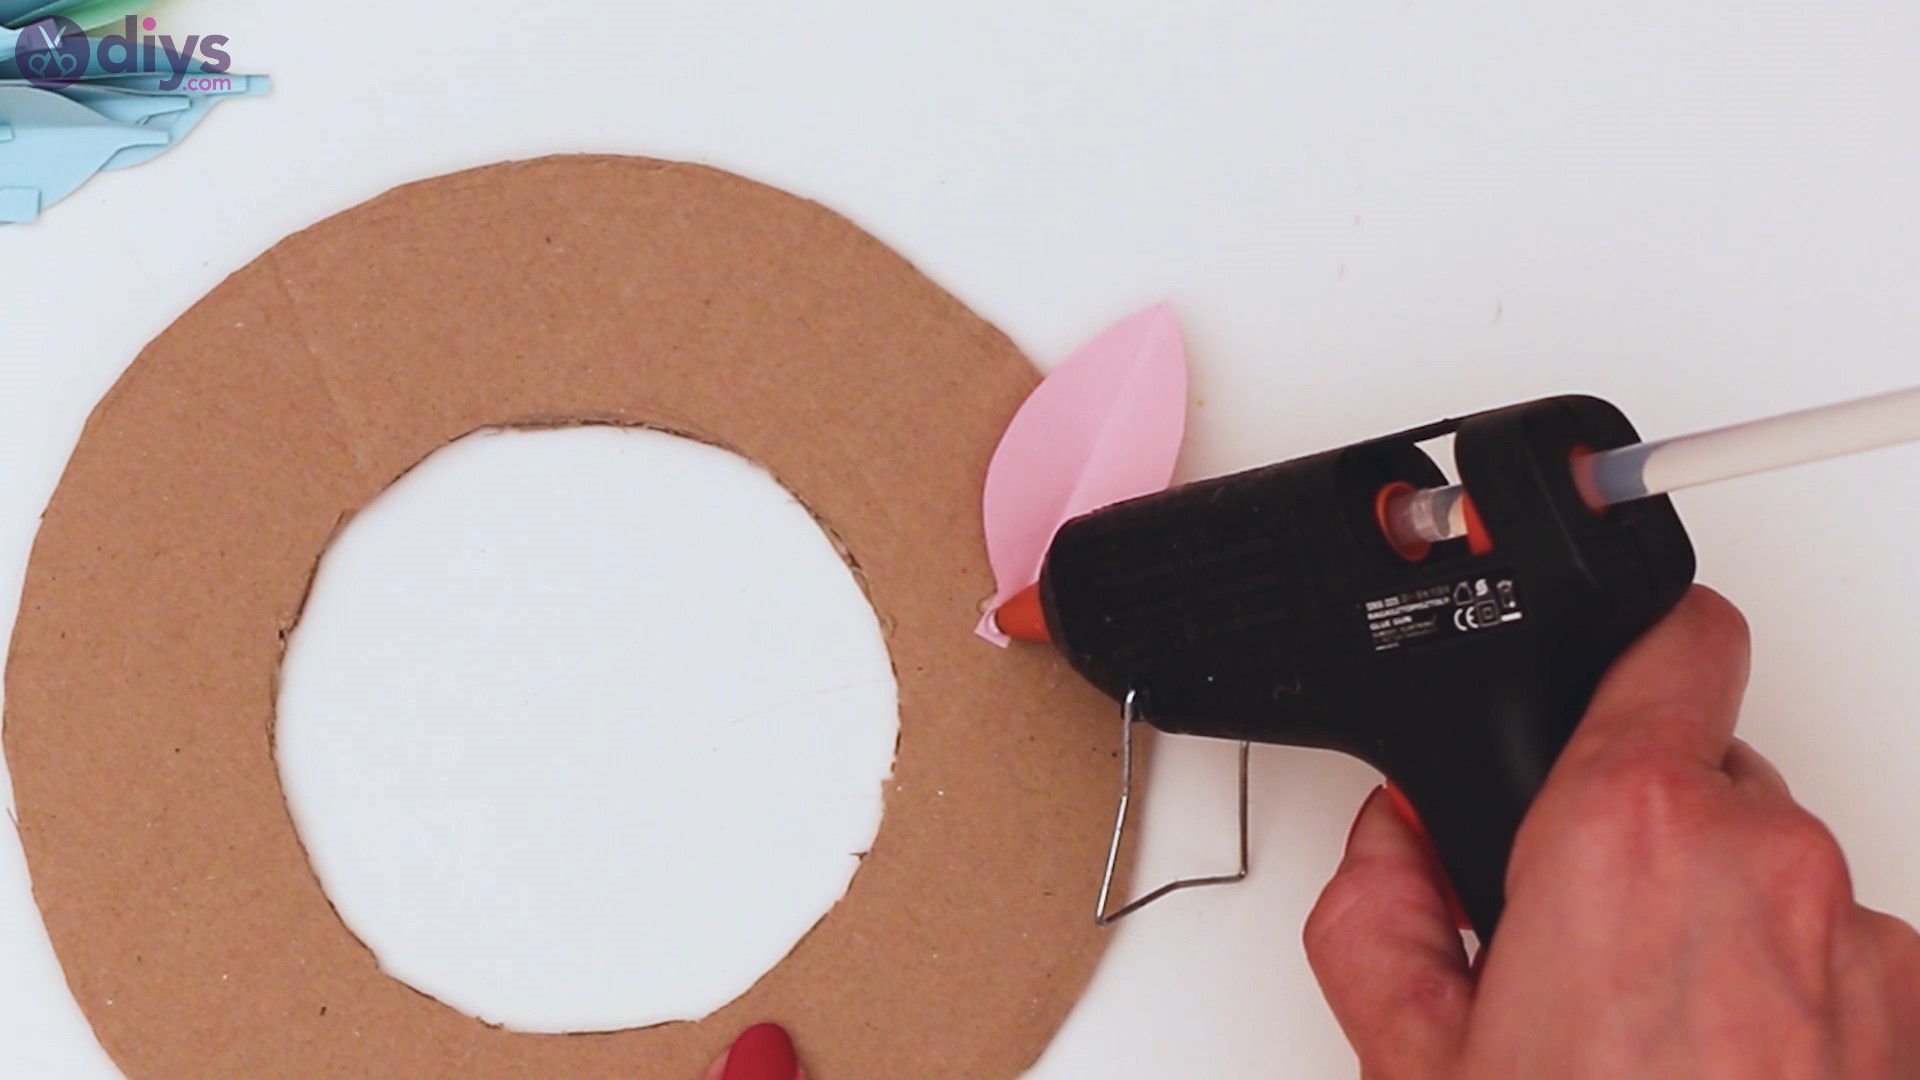
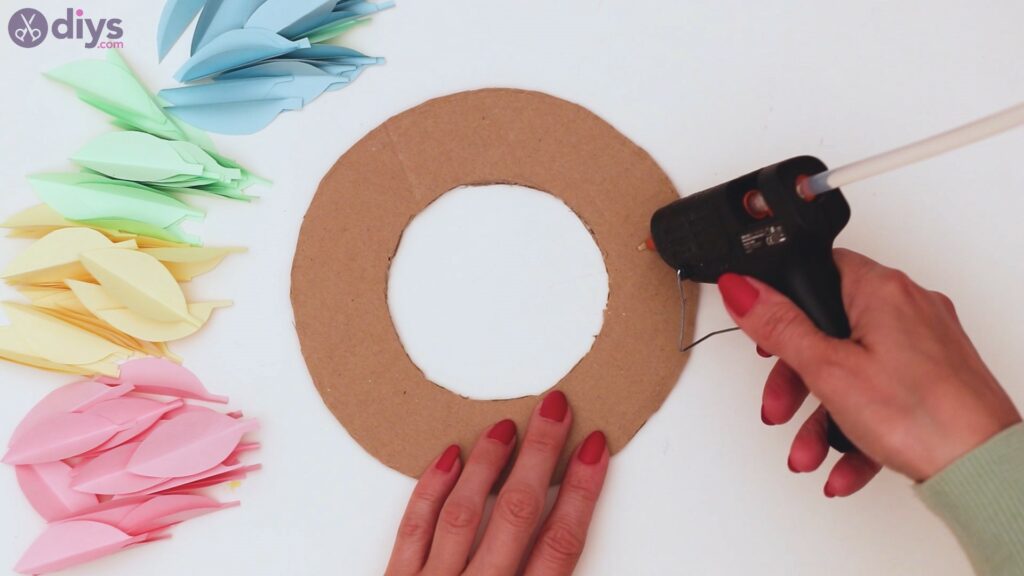
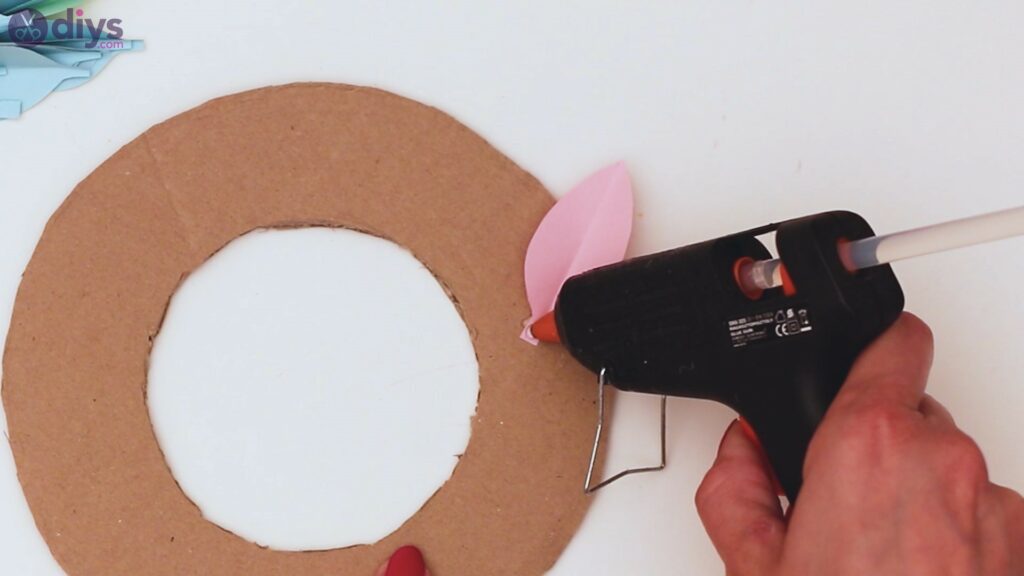
Step 5: Build your wreath
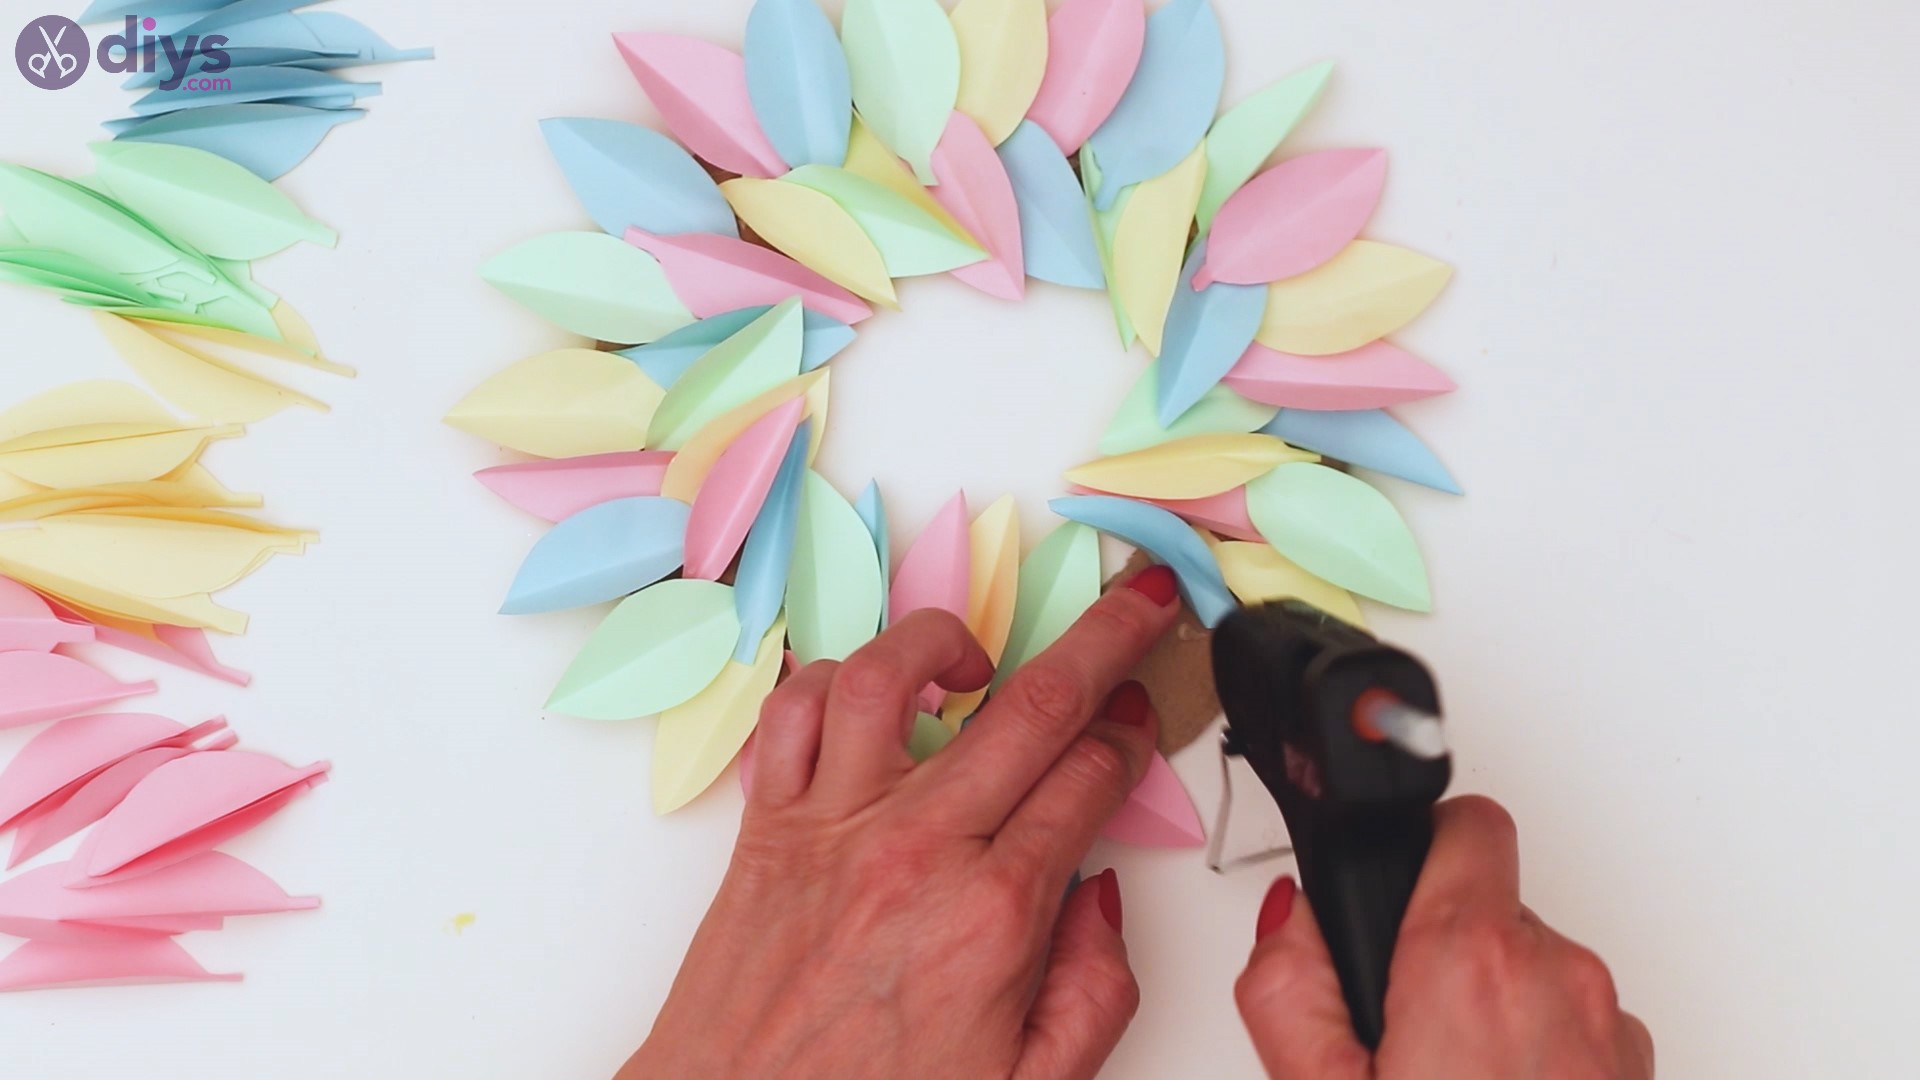
Now that all the elements are ready, let’s start building the actual wreath. So, get theglue gun and start applying hot glue to the cardboard.
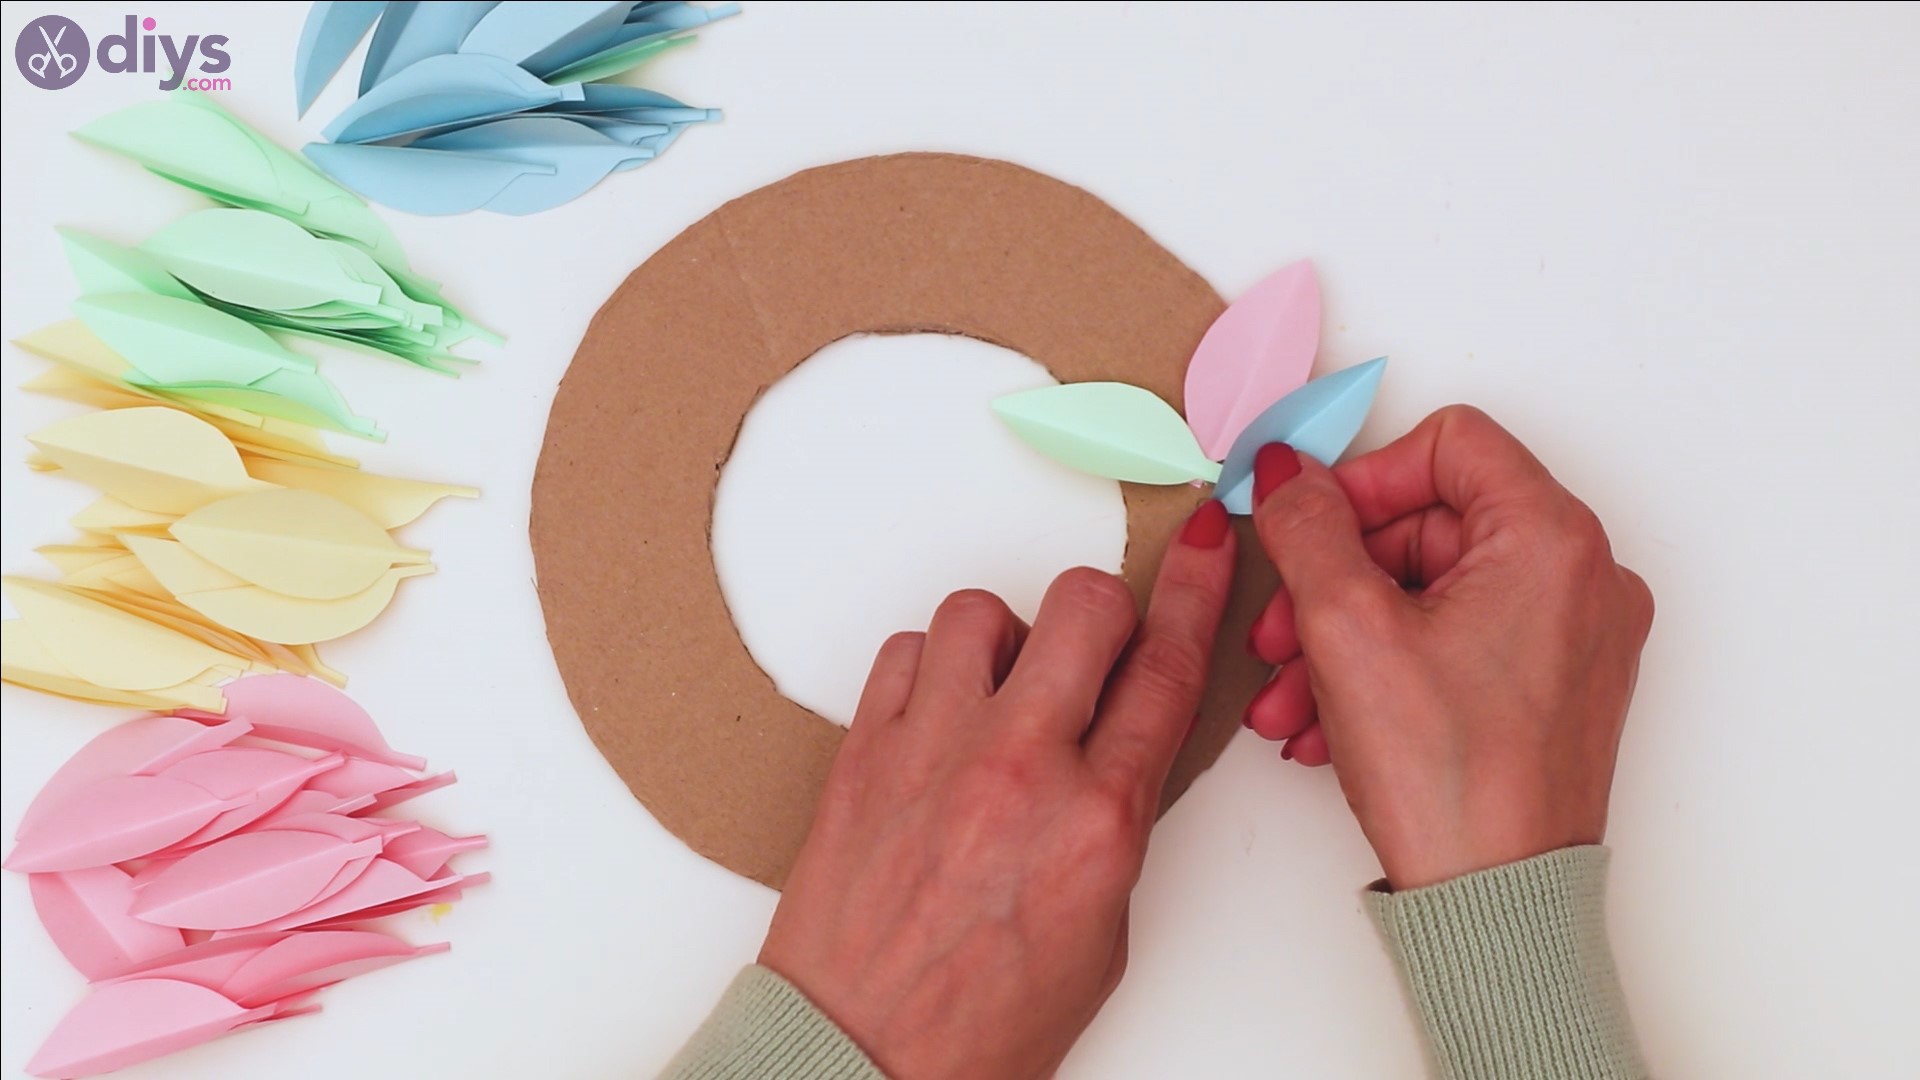
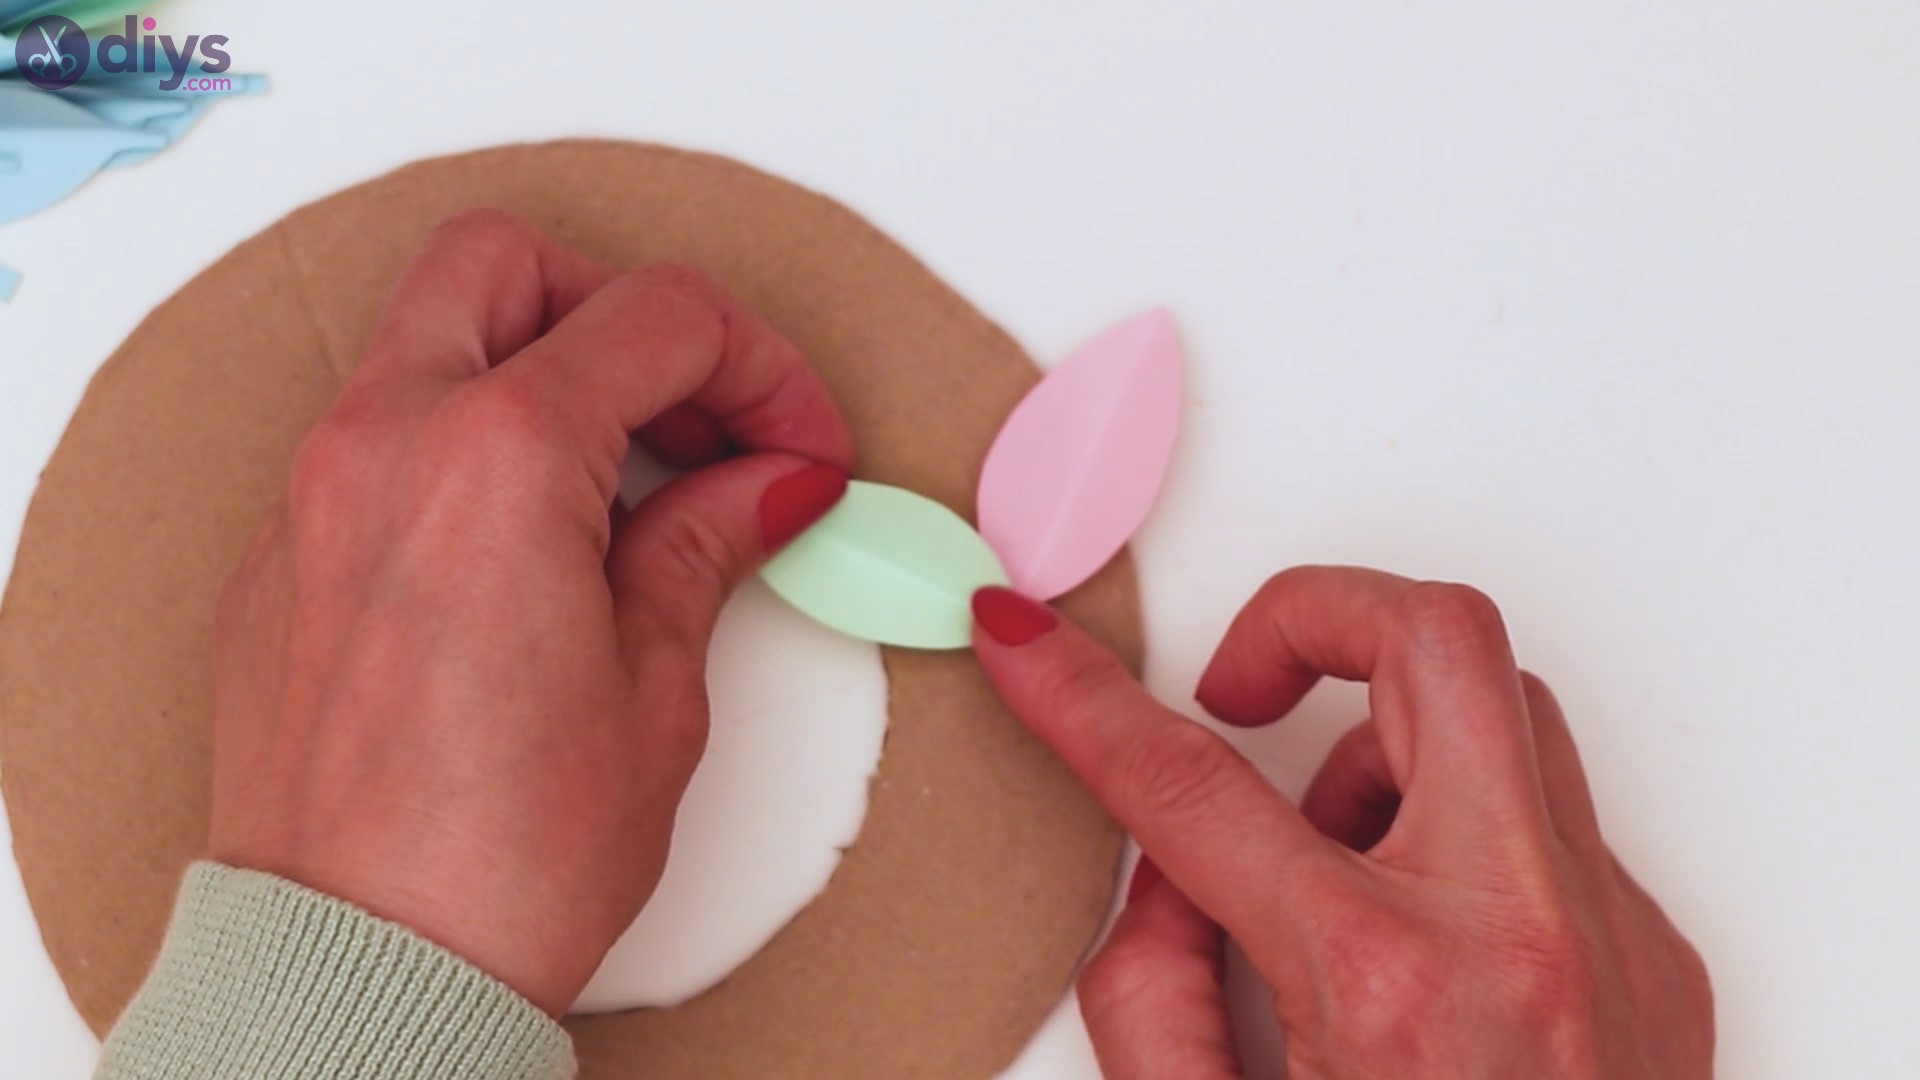
Pick a petal and place it on the cardboard, choosing a direction. We went with a diagonal here and we’re going to maintain this throughout the design.
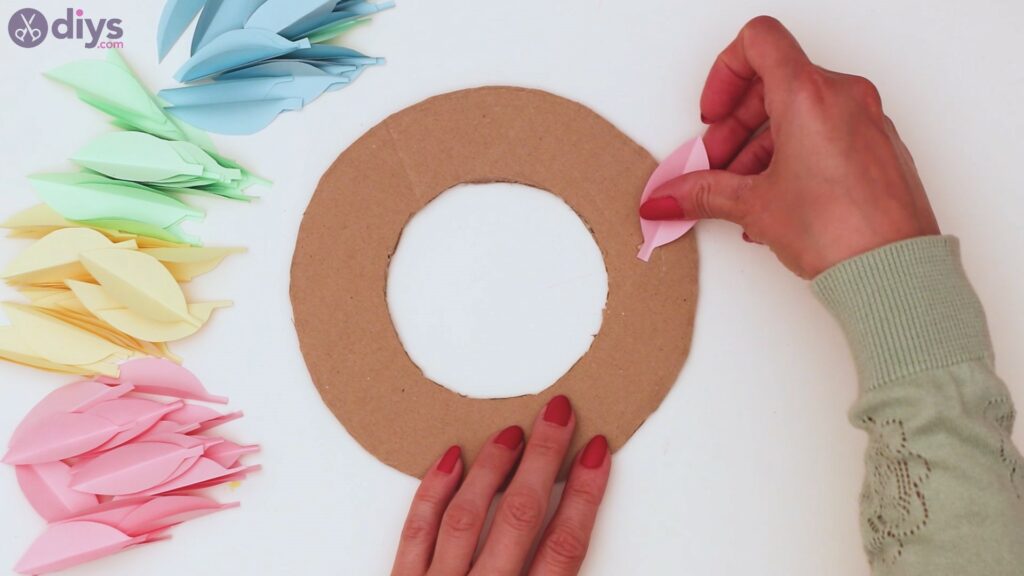
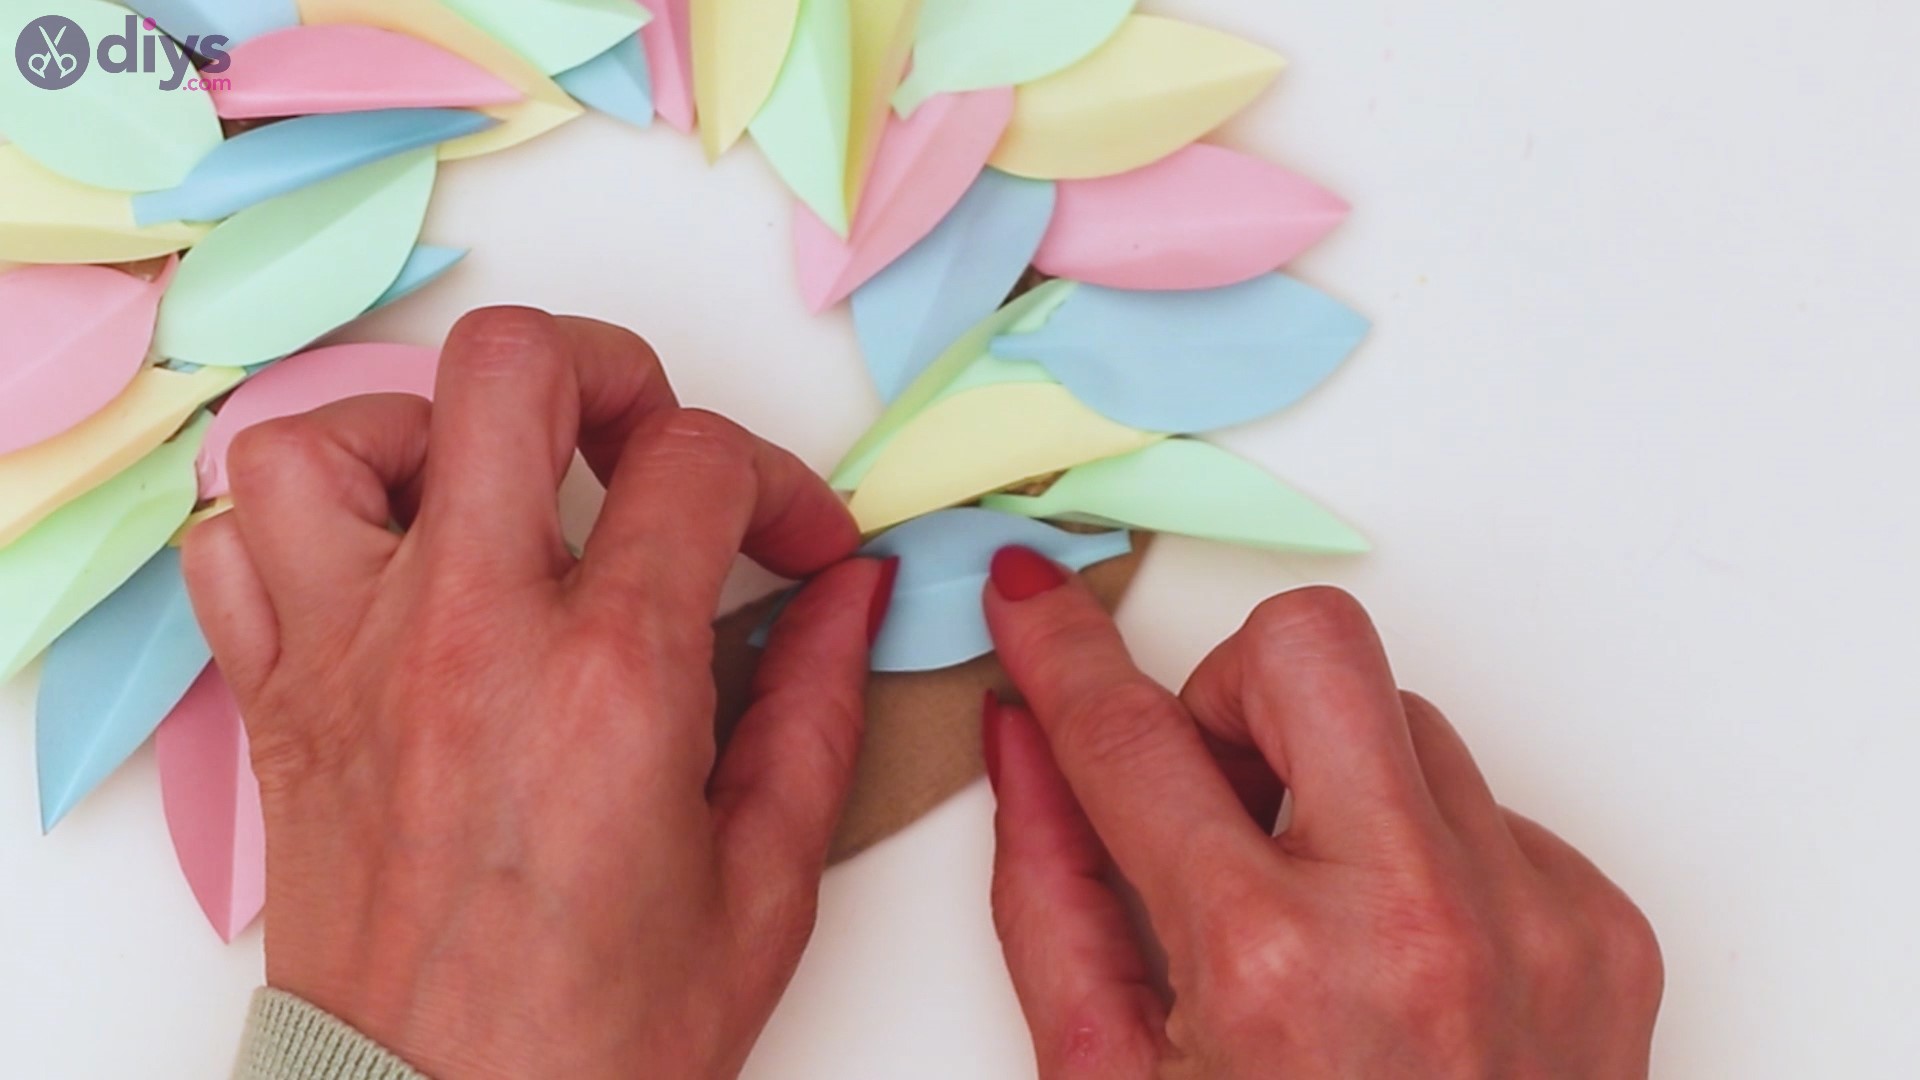
After you placed the first petal, add some hot glue to its base and pick another petal, in a different color, and add it on top, oriented to the left.

Then, add more hot glue and start adding more petals, going downwards. You want the petal you’re adding to partially cover the petal before it, as they overlap slightly.

Keep going in the same manner!
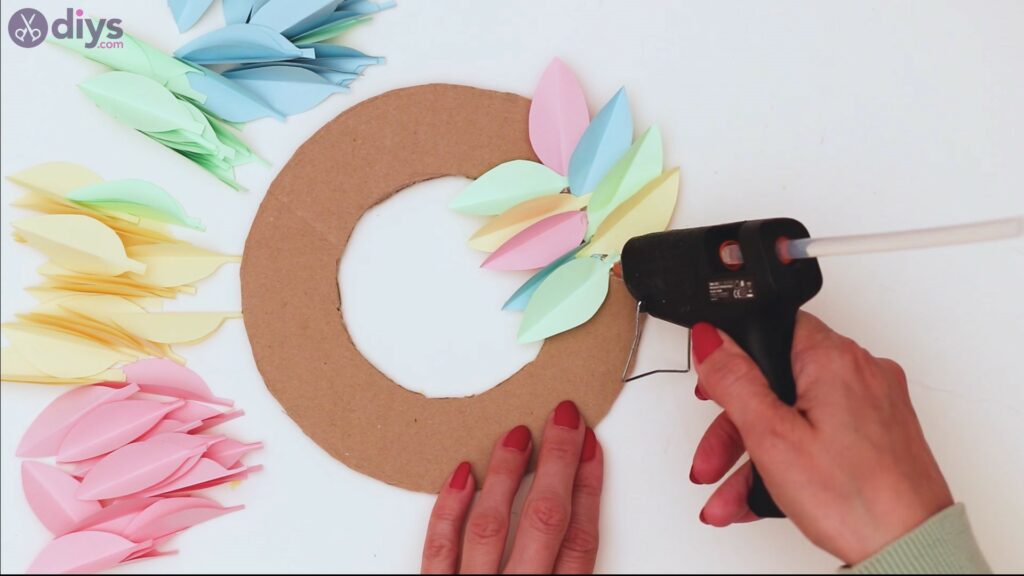
Remember to alternate the colors, to make the wreath look prettier as you go.
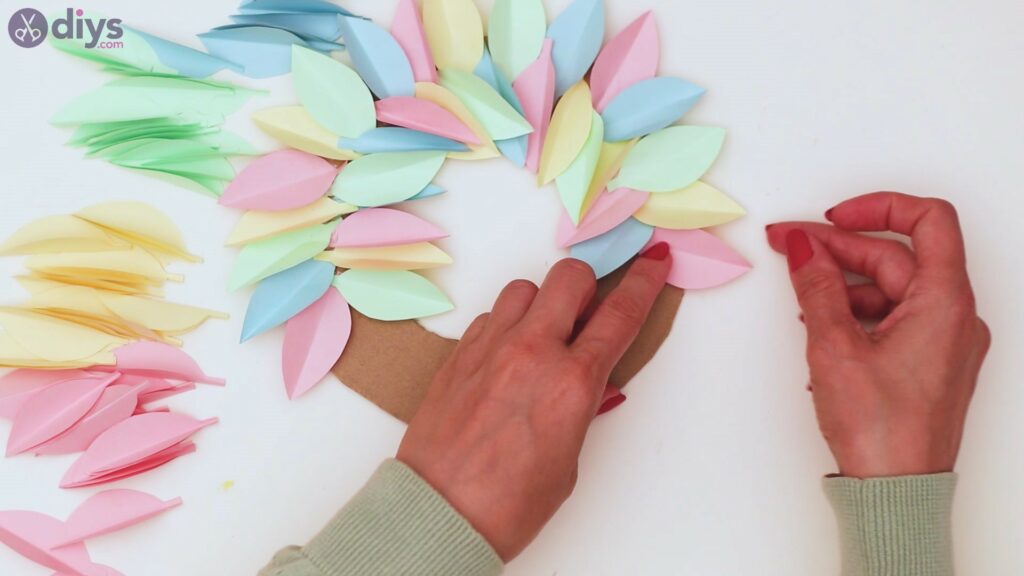
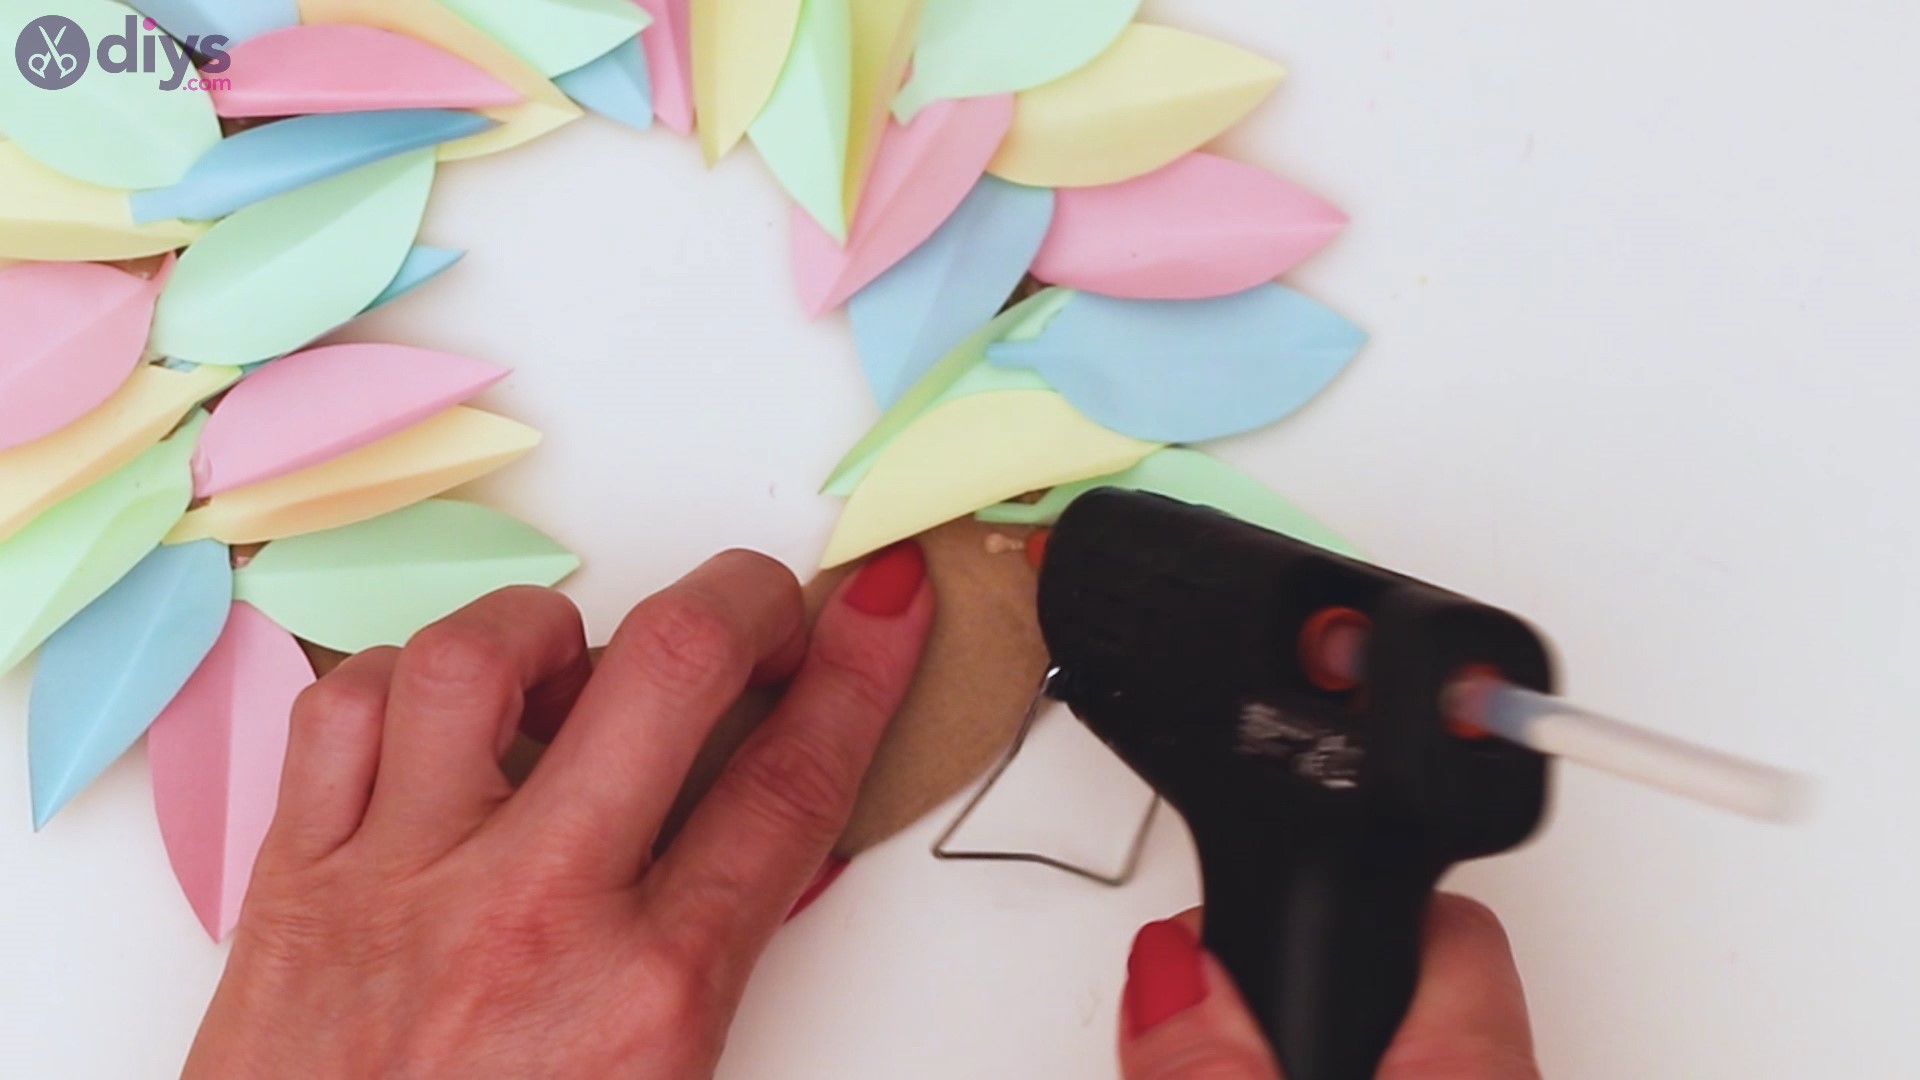
You’ll want to also start adding petals under the previous layer, positioning them at the base, so they peak up from underneath.


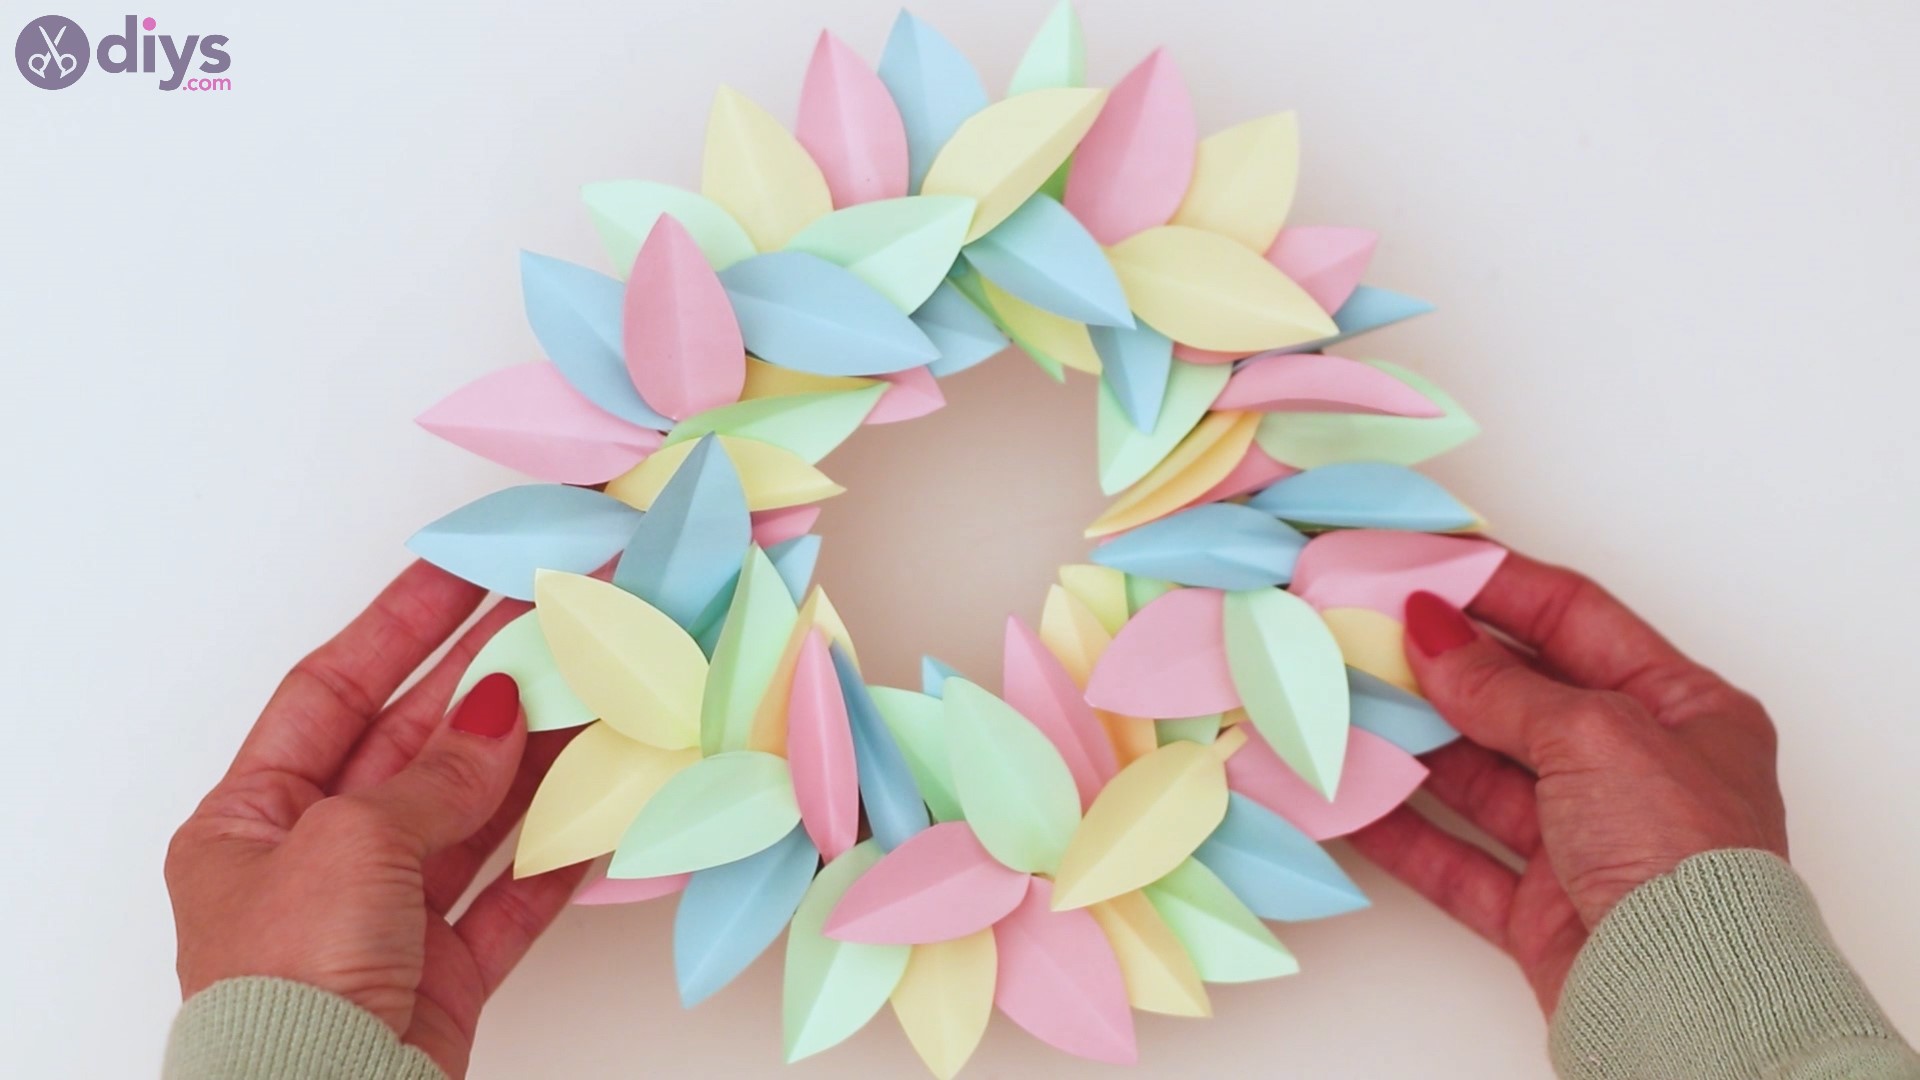
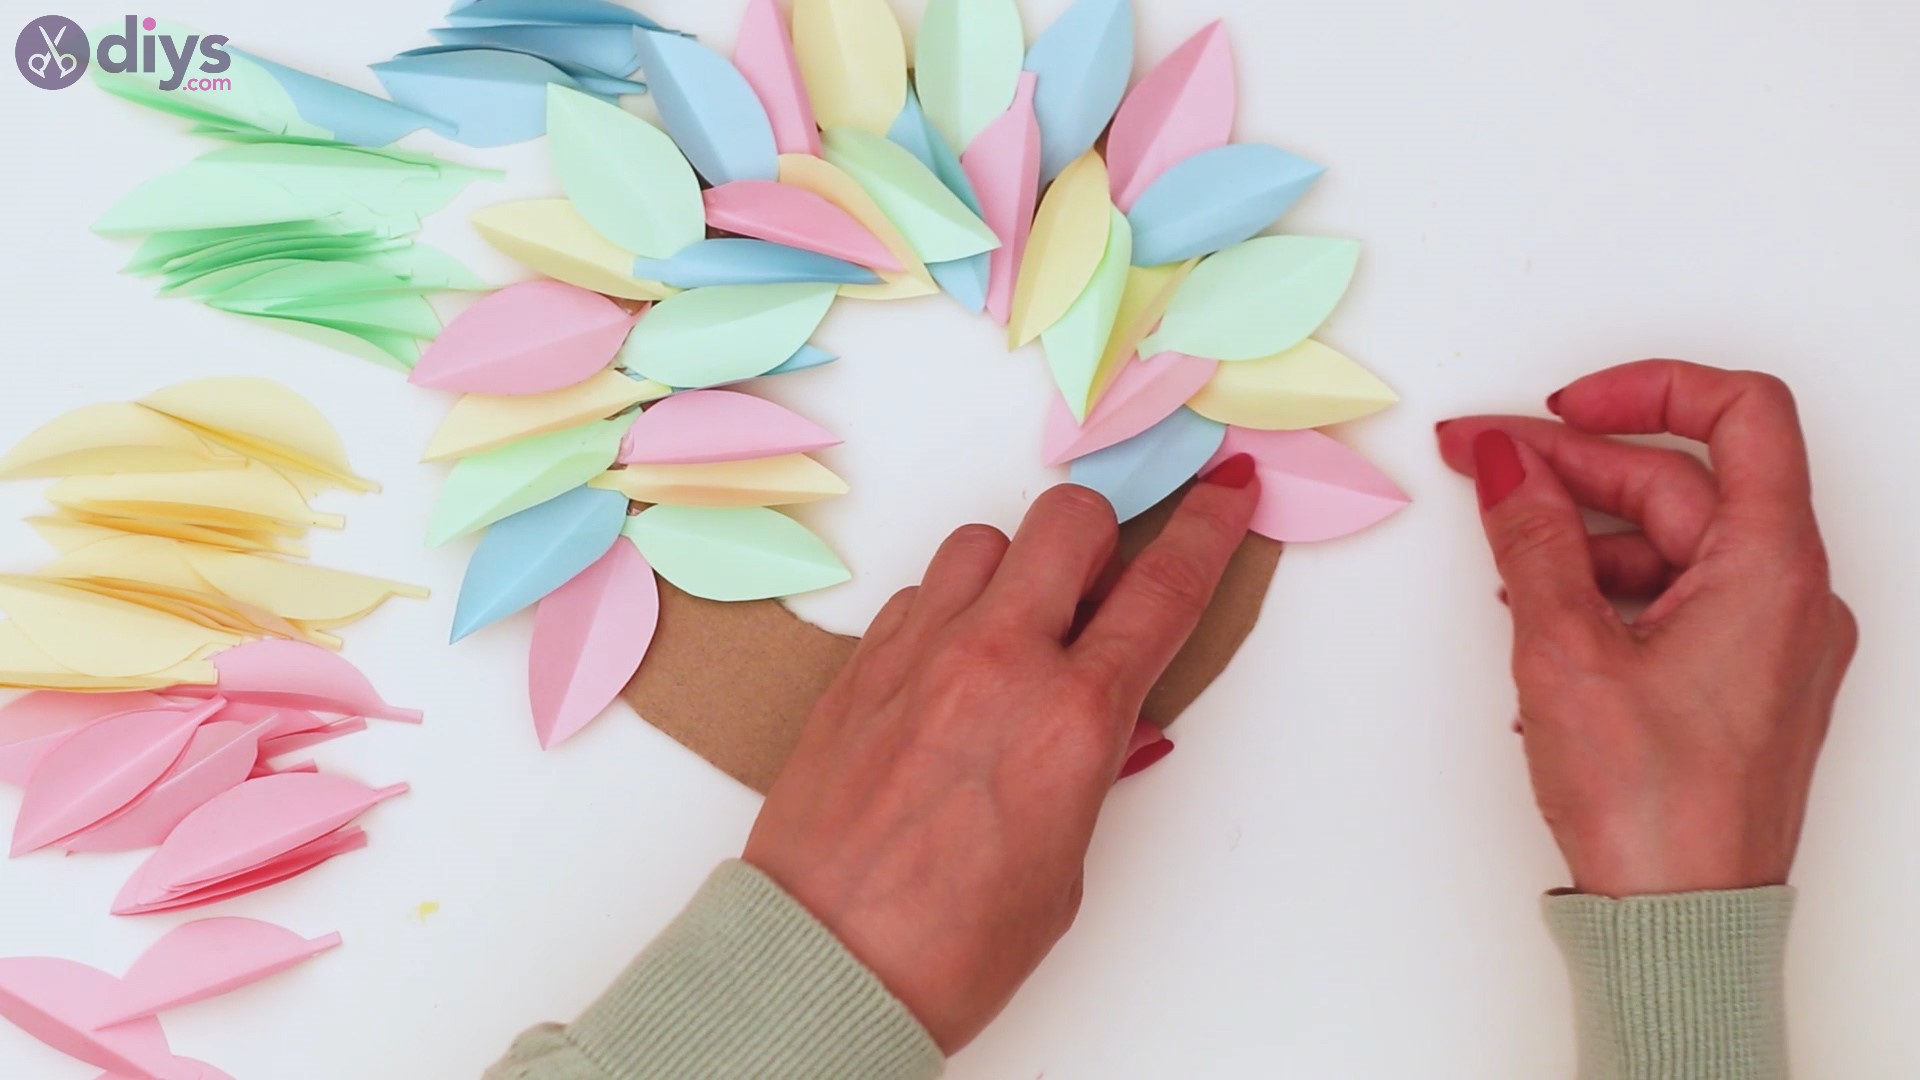
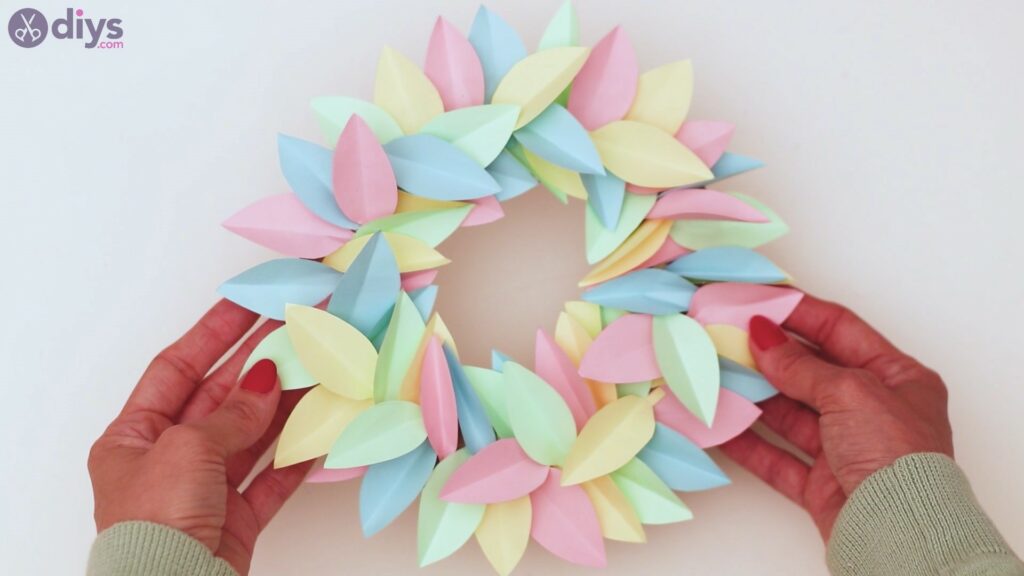
Build up the wreath until you’re out of space!


Make sure to arrange the petals a bit, pushing them to the right spot, as they may become a bit jumbled considering how many there are.

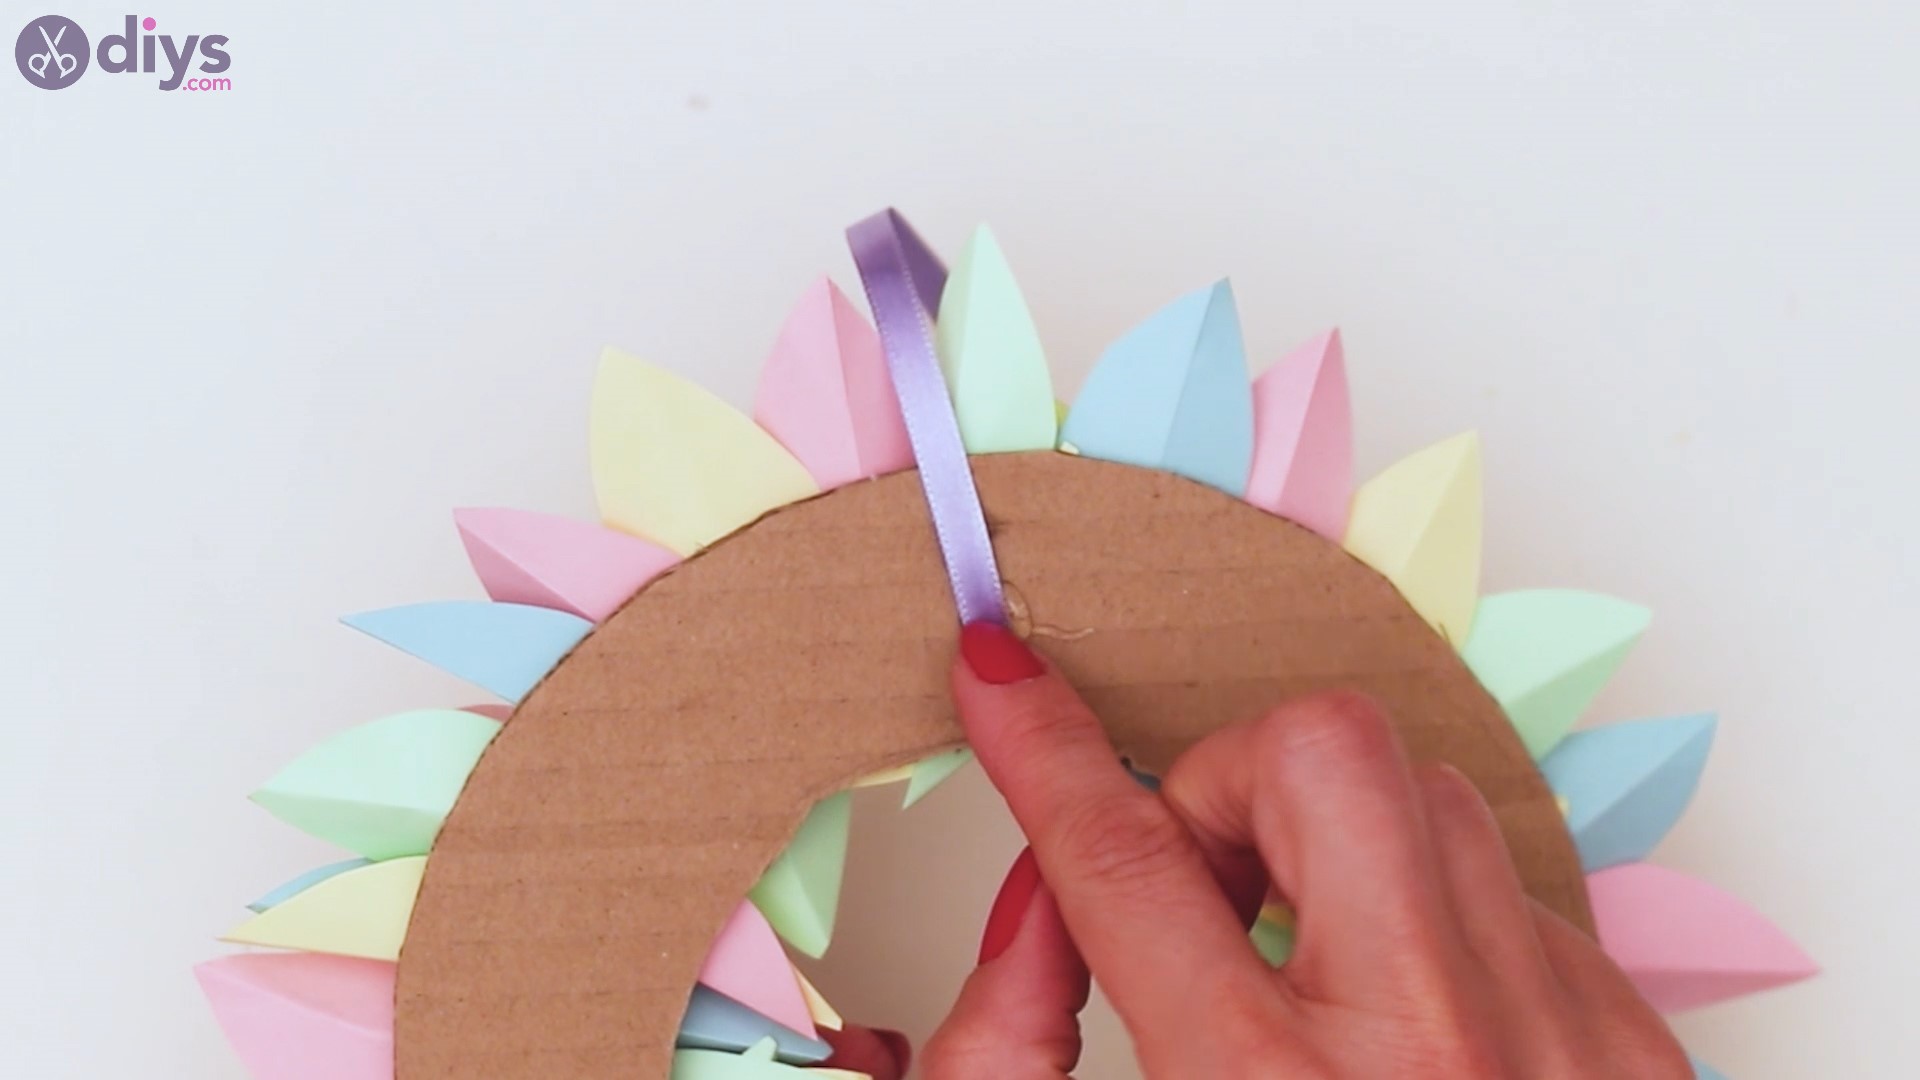
Step 6: Hang the wreath
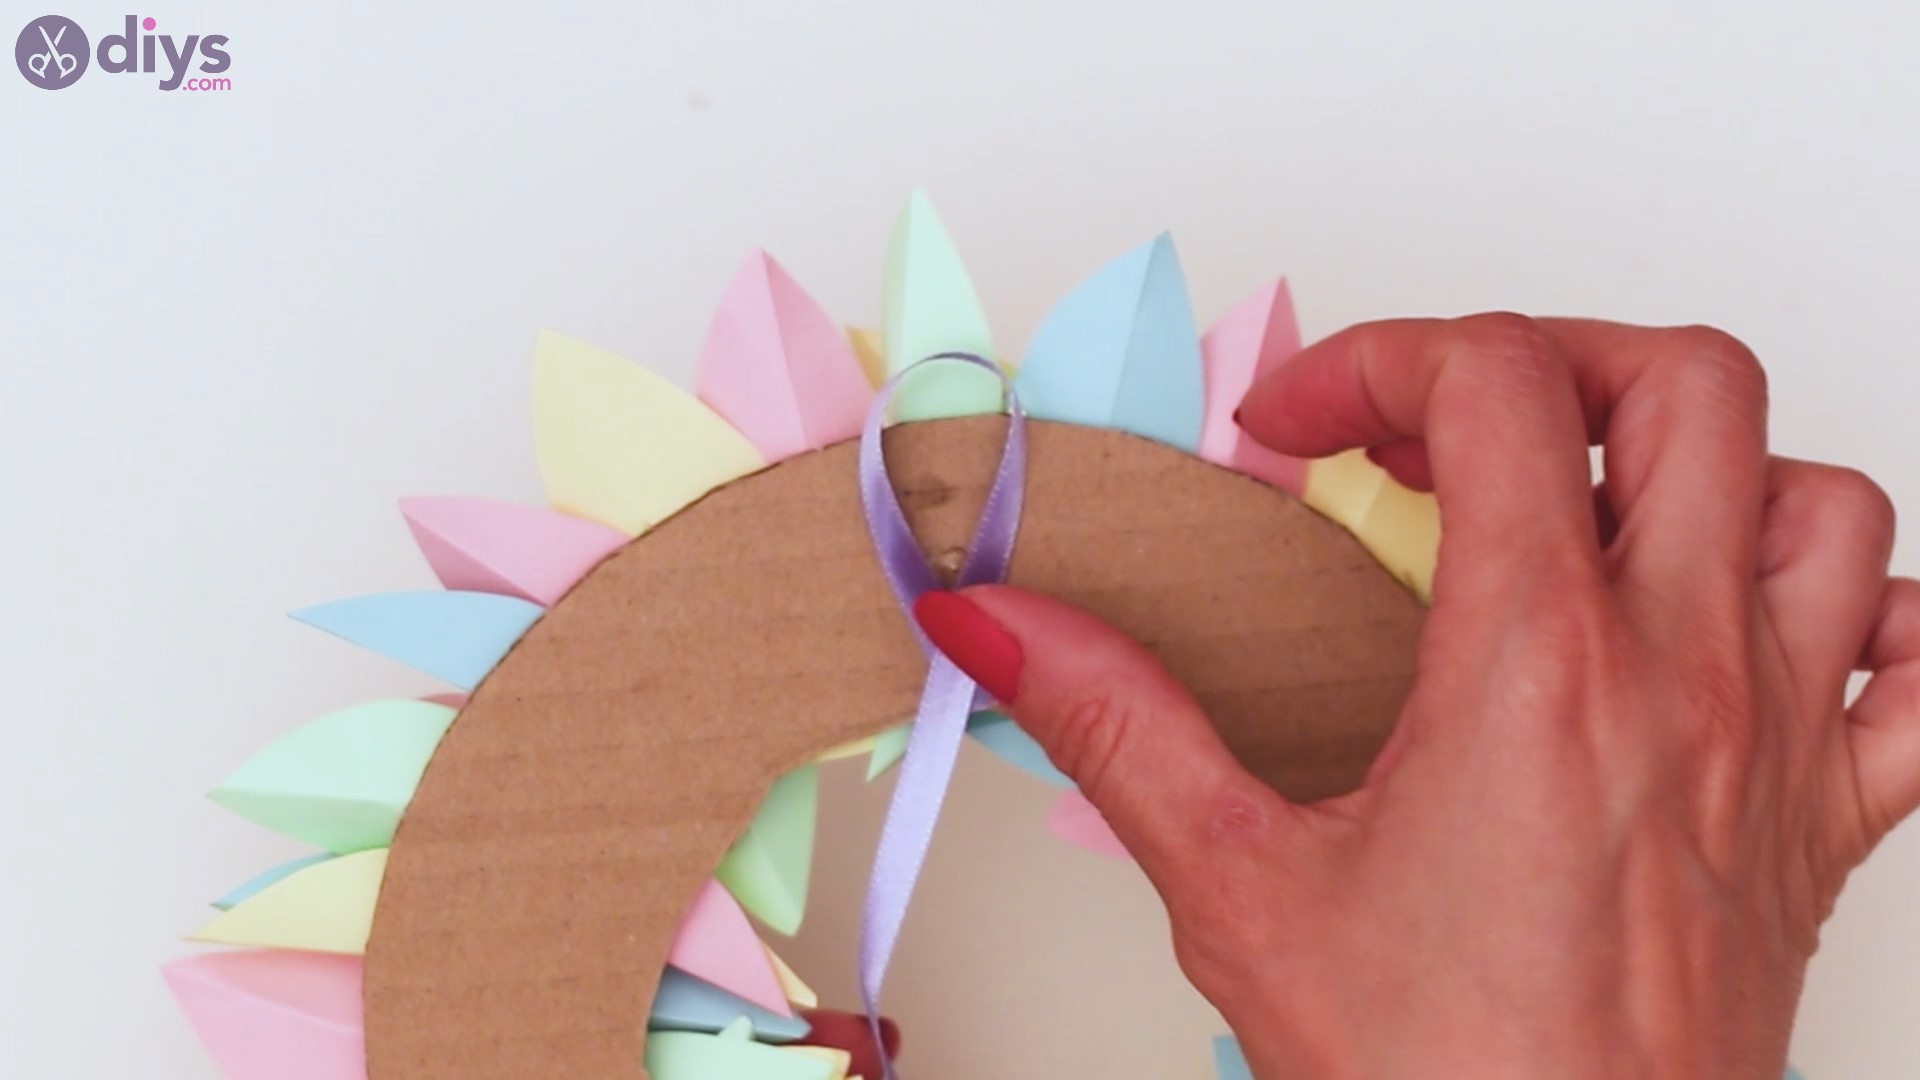
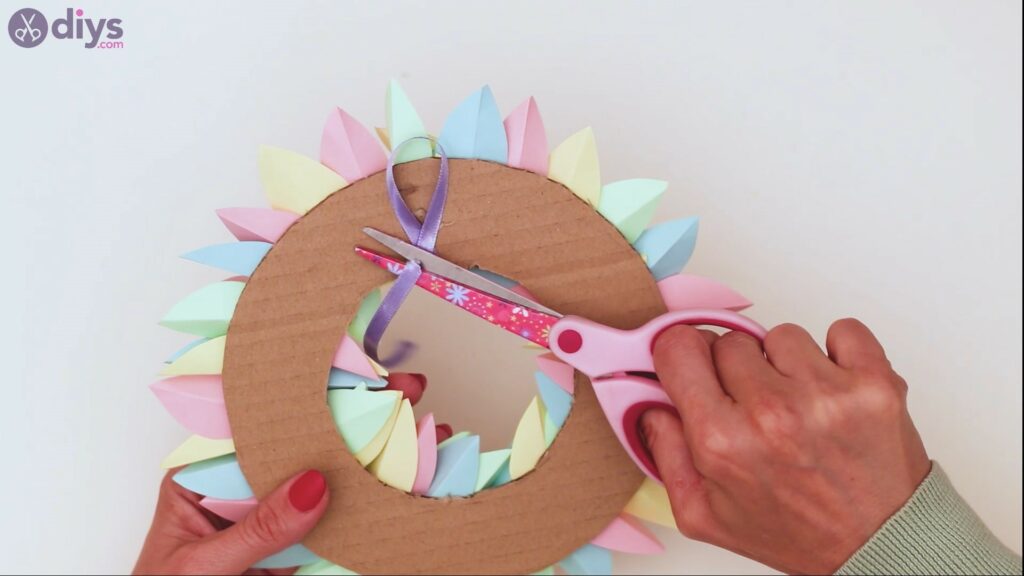
You want to make sure that your wreath can go up on a wall. You’re going to do this by using thatsilk ribbon we had on the list of materials. Add some hot glue to the back of the wreath base.
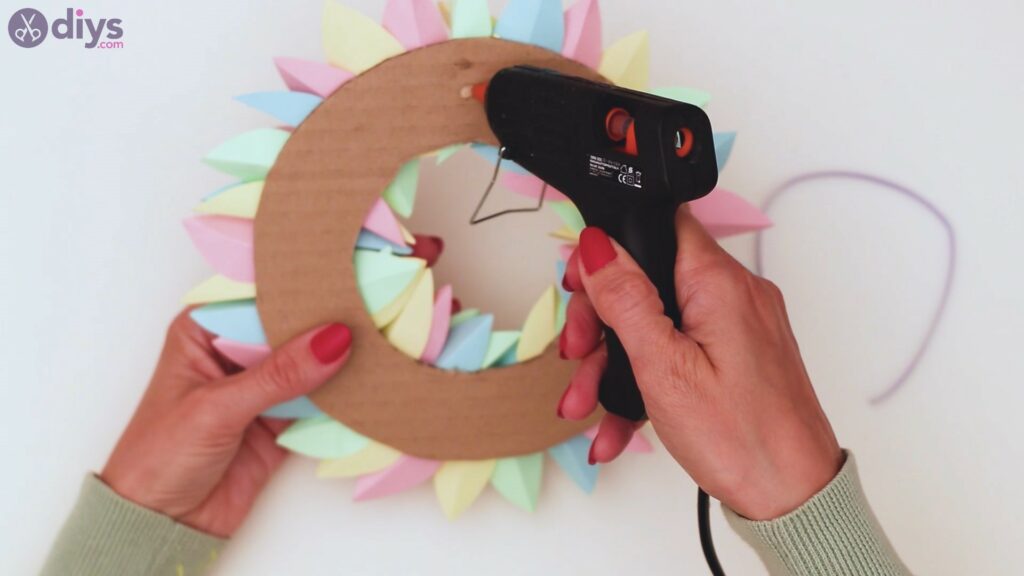
Place an end of the ribbon on to the glue. Then, add more glue and bring the other end of the ribbon over the same spot too.

Press the ribbon into the hot glue to make sure the glue sets.

Get your scissors and cut the excess ribbon.
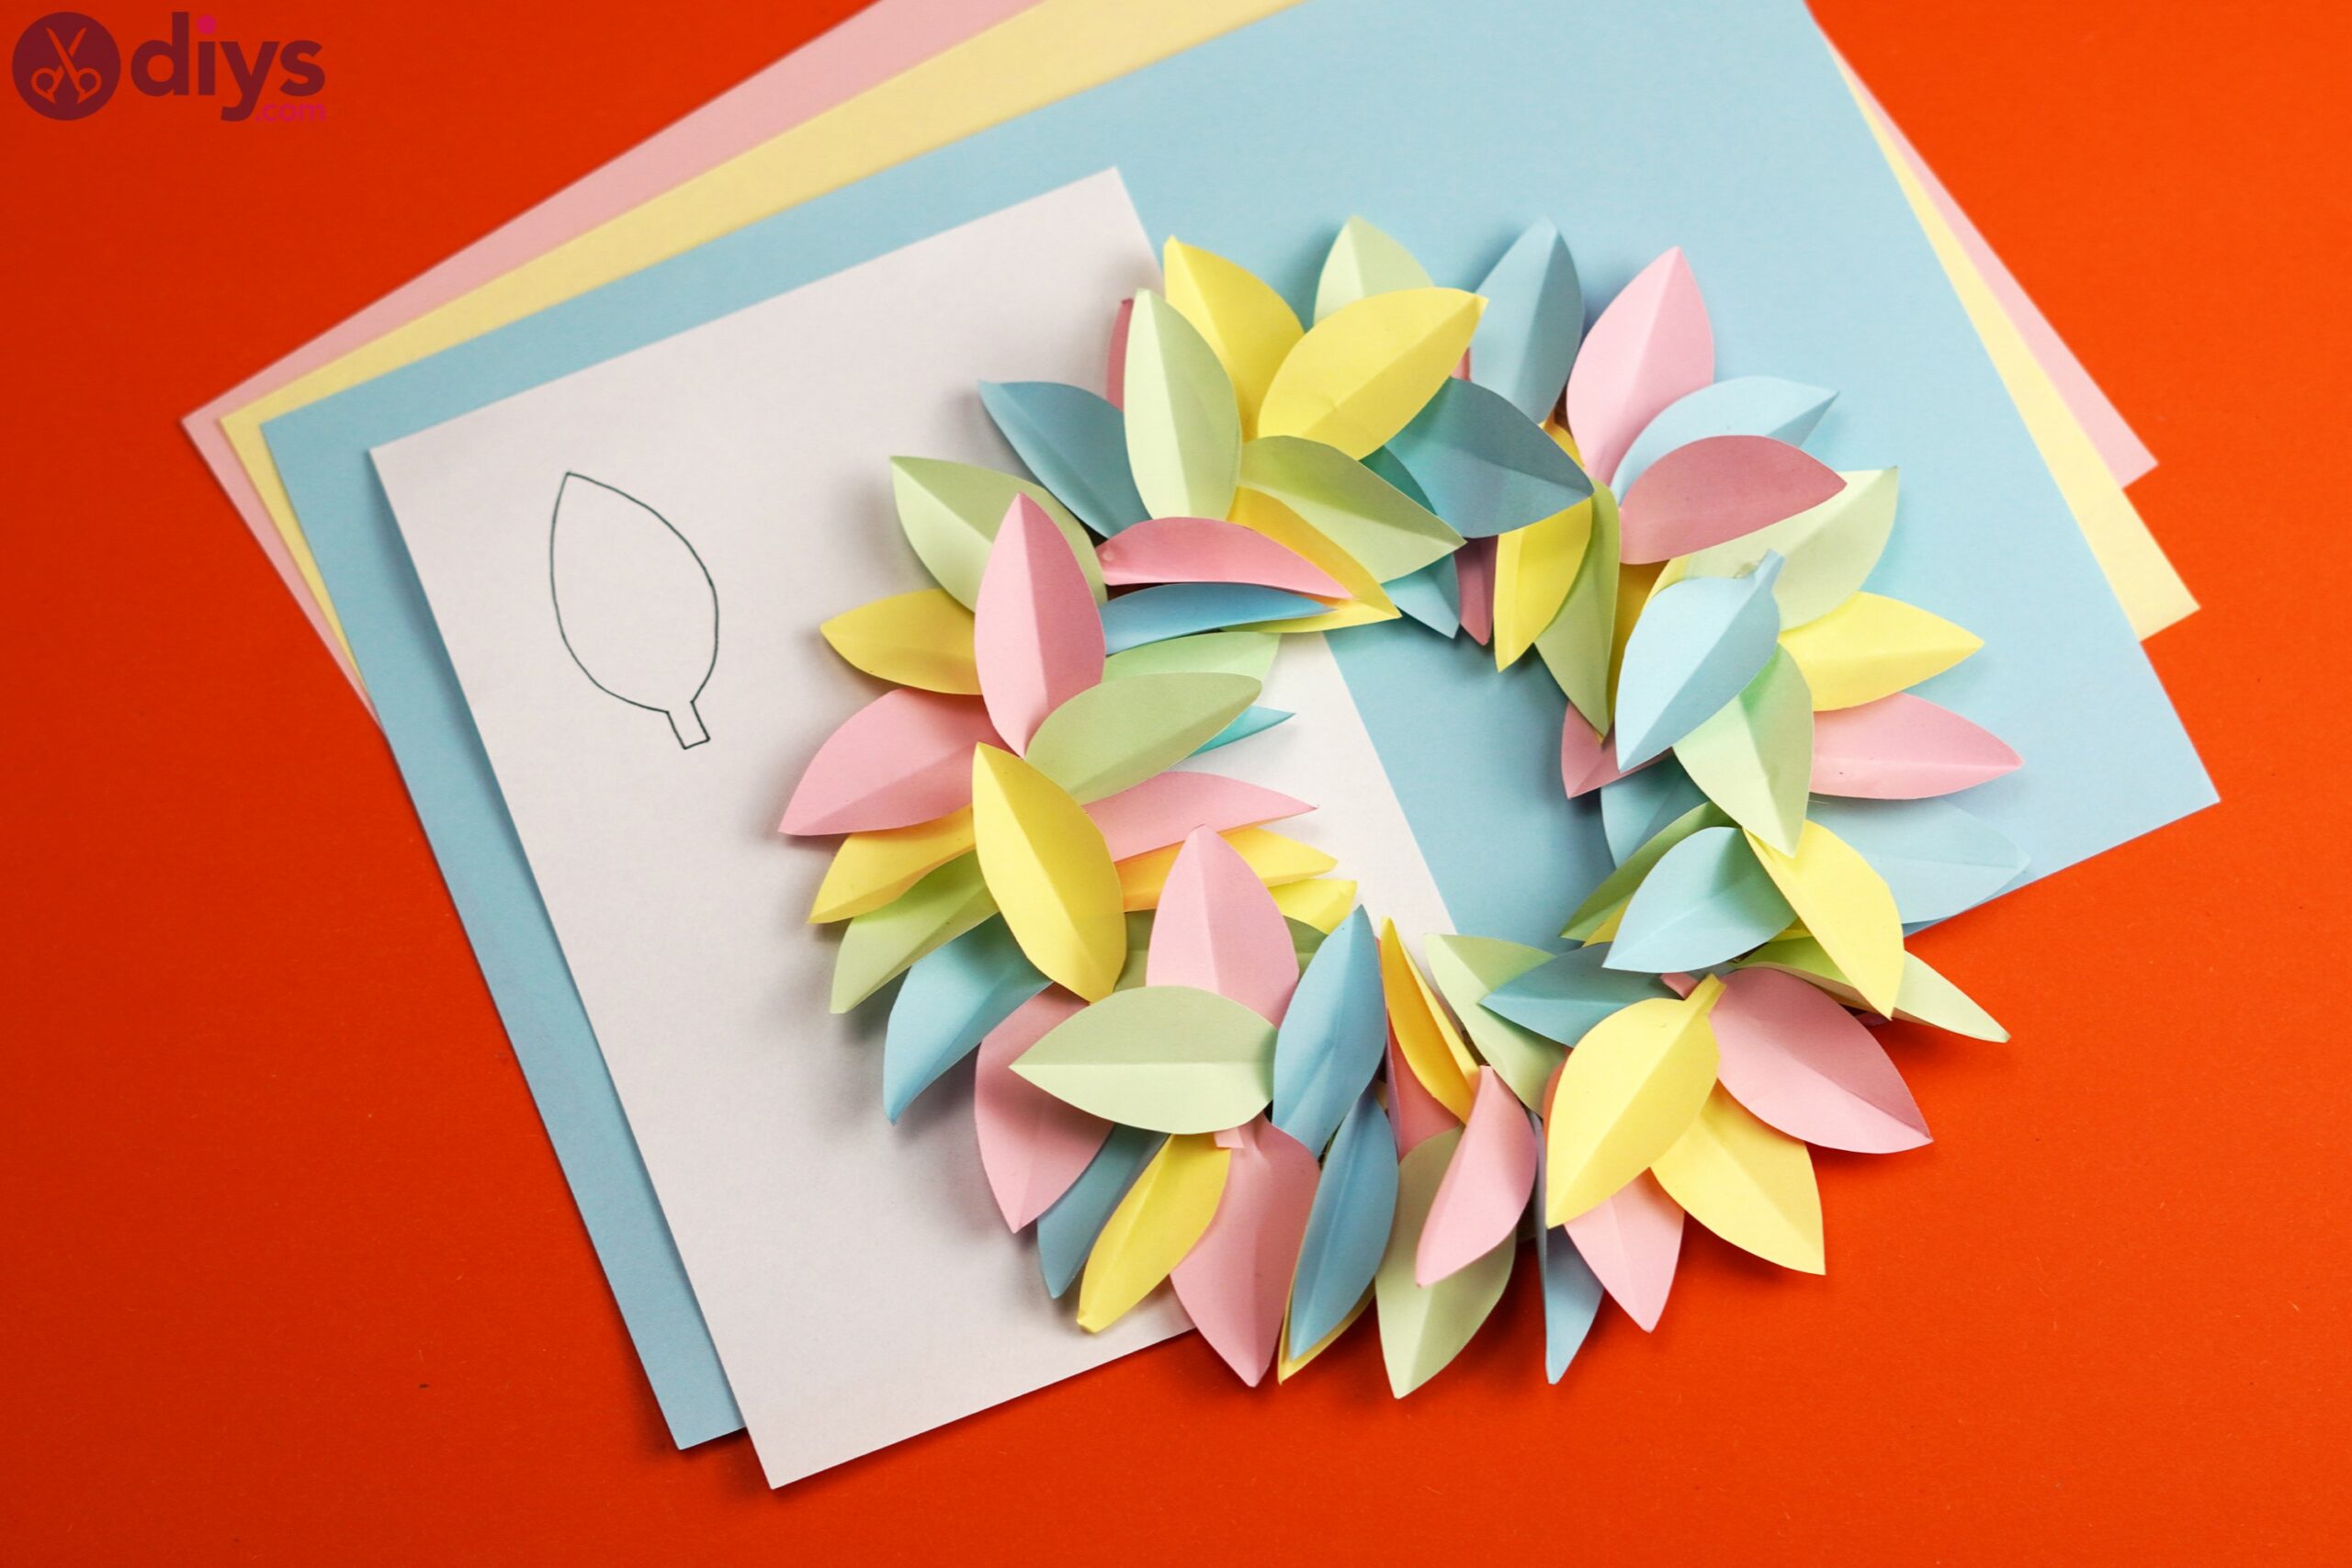
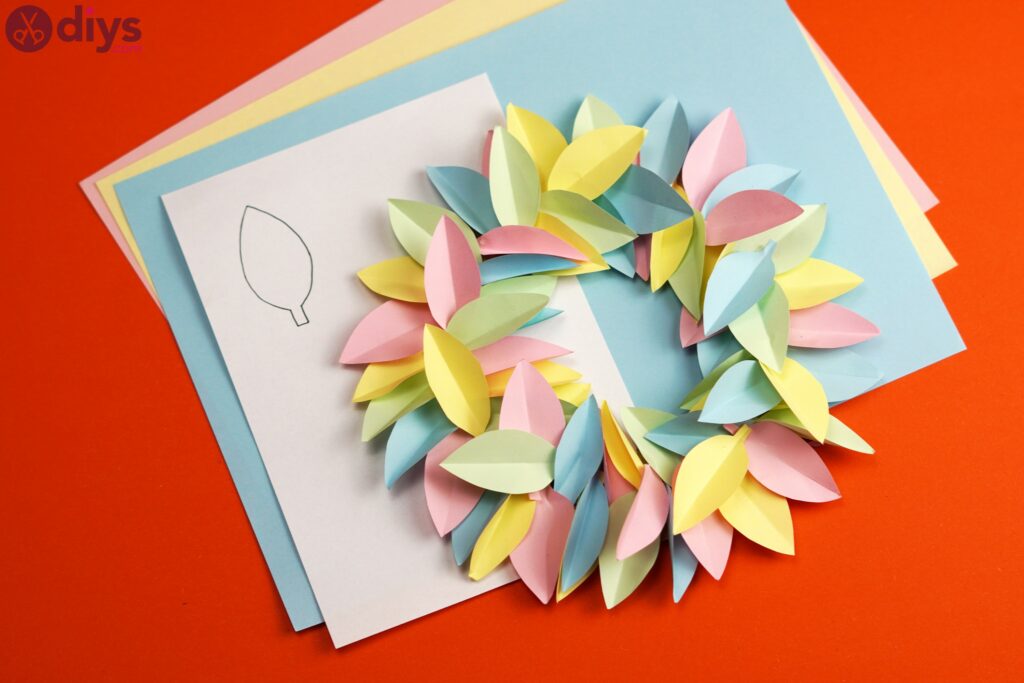
And there we go! We now have a wonderful flowery wreath ready to go up on a wall and make your day better every time you see it. We love how cheerful it is, and we hope you do too!
We’d love to hear back from you so you can tell us what you liked about this craft and how difficult you think it was. We’d also love to see pictures of your creations and you can send those out to us over social media.