How to Make a Fall Table Centerpiece
Updated on November 19, 2025

It’s bittersweet to go outside and see the leaves changing on the trees. Summer’s ended, but Fall is here. With the changing trees comes the beautiful colors of orange, yellow and red that do grace the outdoors, but can also give a warm feeling to any home’s decor. And as the seasons change, so does my home decorating- to start, I have created a lovely Fall table centerpiece using a very easy technique. Here’s how:

For this Fall table centerpiece projectyou’ll need:
- An assortment of silk or real flowers
- Wire cutters
- Tape (I used Scotch washi tape)
- A wooden container large enough for your bouquet
- Vase filler
Step by step tutorial instructions:
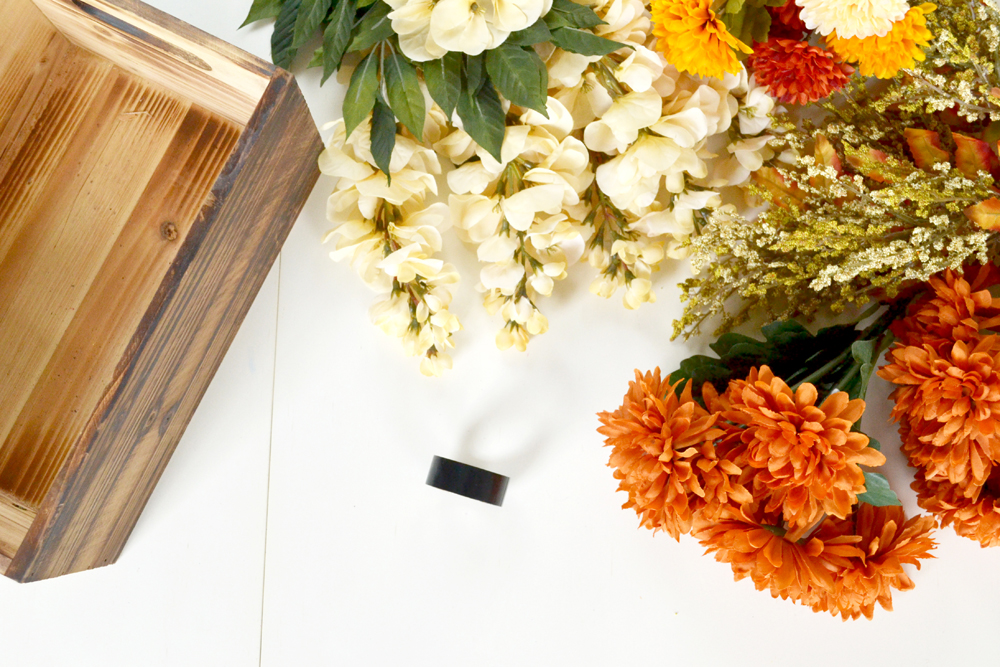
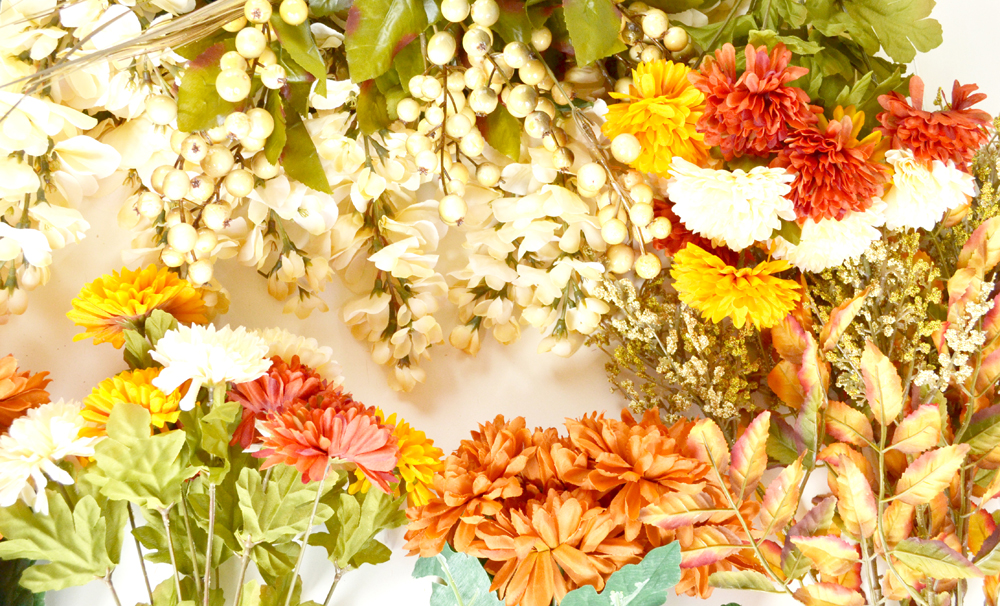
Step 1: Choose silk flowers
I love real flowers, but I want this piece to last me a while, so I decided to use silk. Silk flowers look great and the best part is that you can reuse them for next year when you’re done. Be sure to purchase silk flora with stems long enough to be seen outside of your vase when they are inserted.
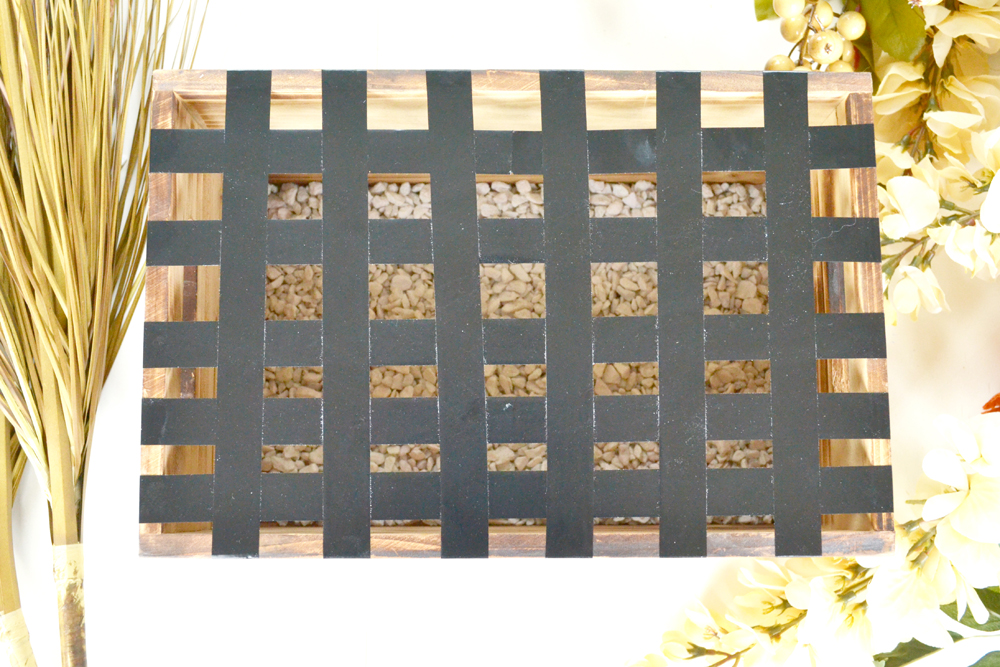
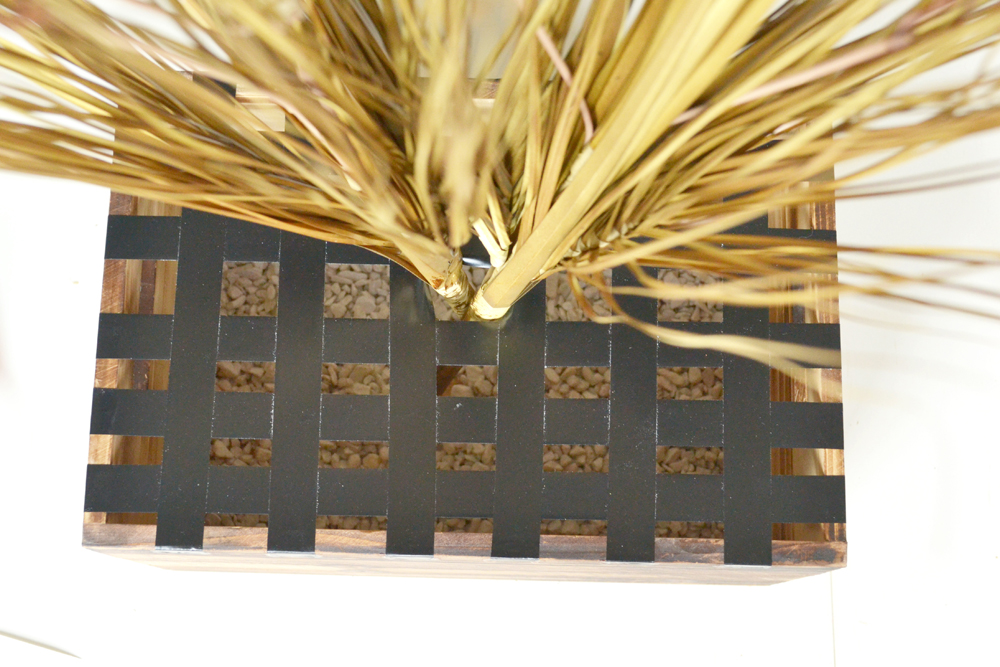
Step 2: gid pattern with tape
Fill your container with vase filler. I used small pebbles as it helps the stems stay put when inserted. Then with the tape, create a grid pattern across the top of the container. It’s easier to do this with a wooden box container rather than a basket, as the tape can adhere more easily. Let your grid squares be no more than a inch x inch. The larger the square, the harder it will be for the flowers to stand straight up. They will begin to lean and the bouquet will look a bit limp.
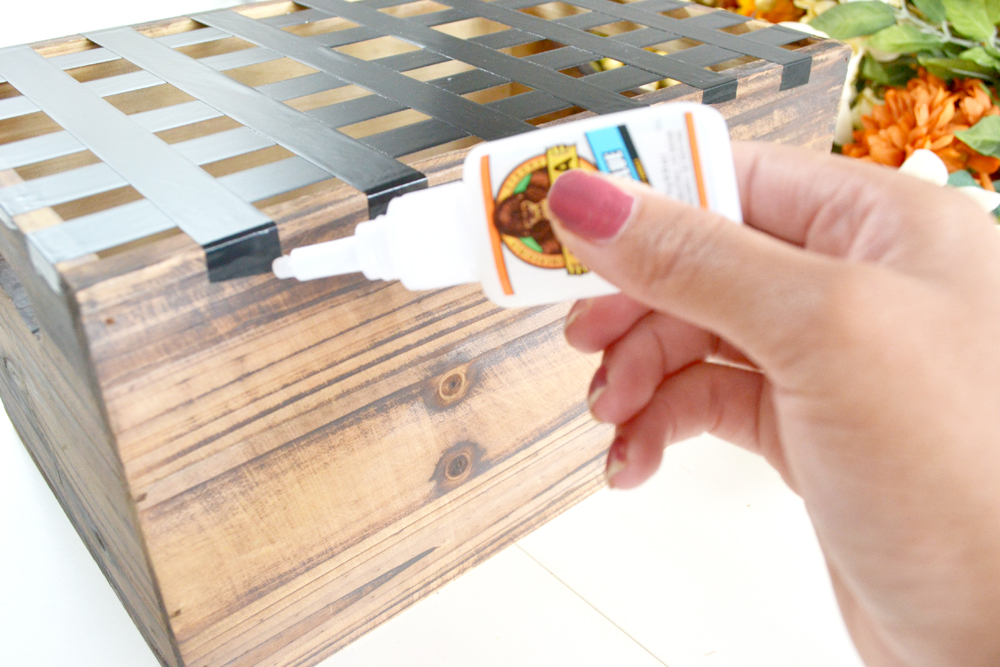
Step 4: glue tape
Once the grid has been set, you can reinforce the ends with super glue or another adhesive. As the weight of the flowers takes up the container, it may lift the tape if it is not reinforced.
Step 5: add flowers
Begin inserting the flowers. I typically like to start from the middle and work my way to the outer parts. But sometimes it can be easier to start at the edges. If you have a tall stems like these, it’s best to start in the middle. Insert the tallest stems in one or two of the holes in the center of the container. The grid is a type of guideline that keeps the flowers spread apart and staying in their proper place. The vase filler underneath keeps the stems from sliding around.
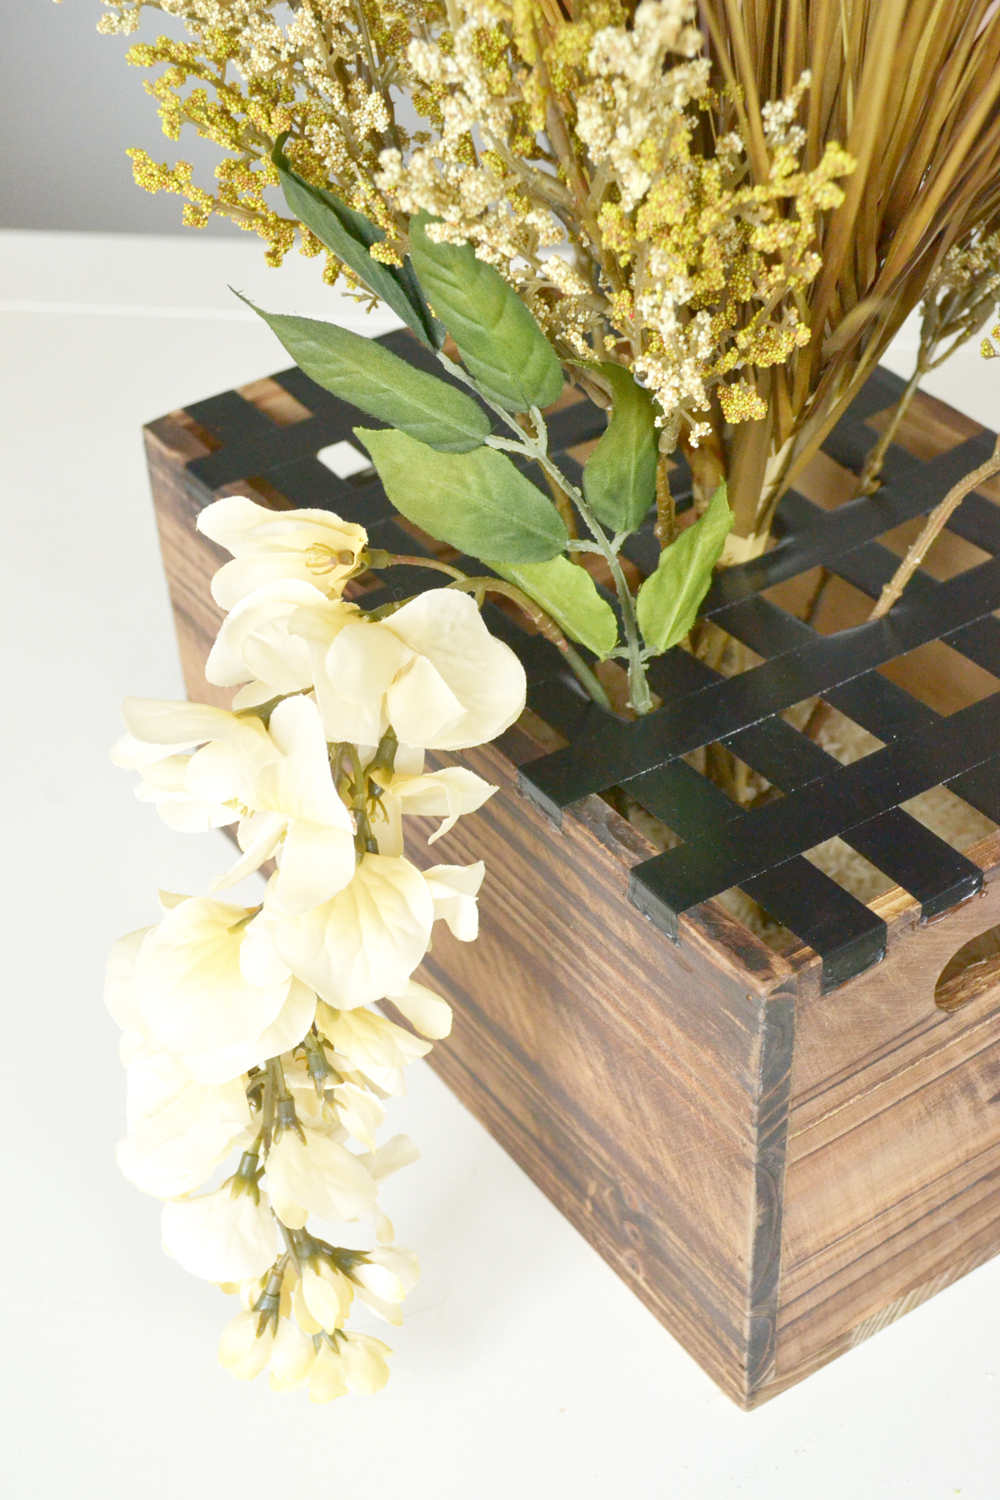
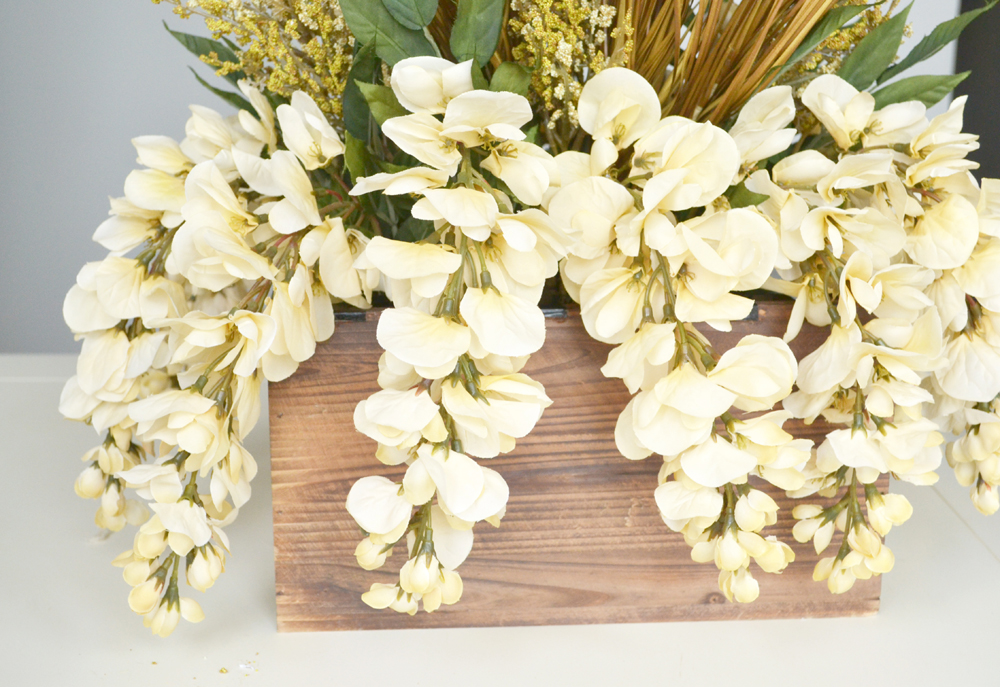
Because I had orchids, which droop a bit, I decided to place those next, on the outer rim of the container. Orchids look great hanging on the edge and they give the centerpiece a very romantic look and feel.
Step 6: Working circcle
Continue to fill the vase with flowers inside the grid, working around in a circle. Never try to fill one side first. Constantly spin the container as you place the flowers in to ensure a full, even look.
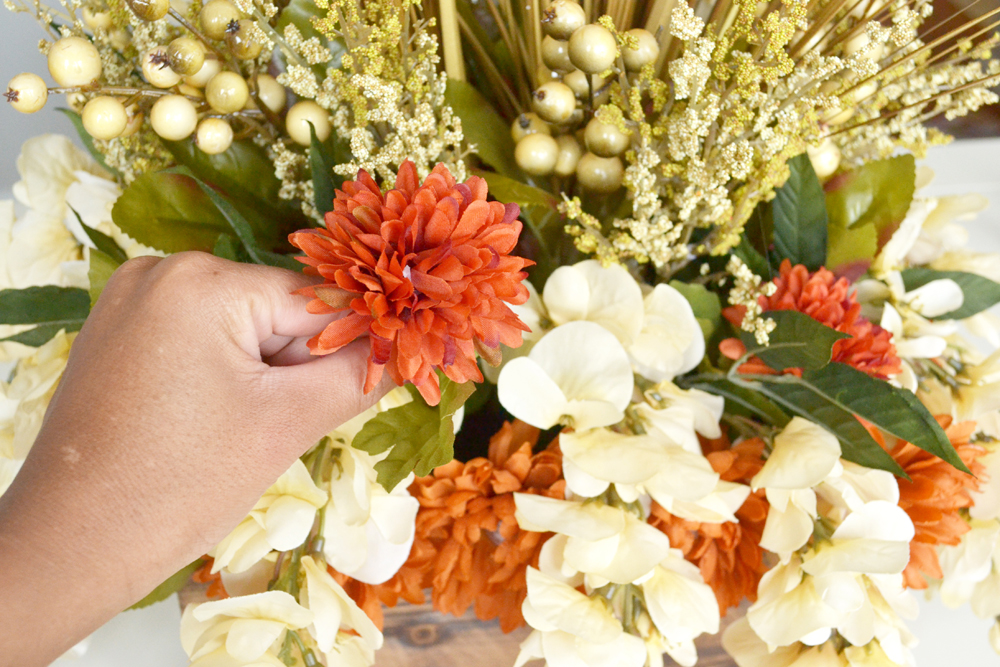
This is a very neutral bouquet, but with the pops of colorful flowers I do have, I want to insert those last to fill in any holes and gaps and to strategically place them where pops of color is needed. Sometimes you may have stems that are shorter than others. Insert those on the outer edge and be sure to bend the wire so the head of the flower faces outward, towards you.

As you finish, you’ll begin to notice any remaining gaps or holes in the bouquet. Use filler stems with leaves or any of the wider flowers you have left.
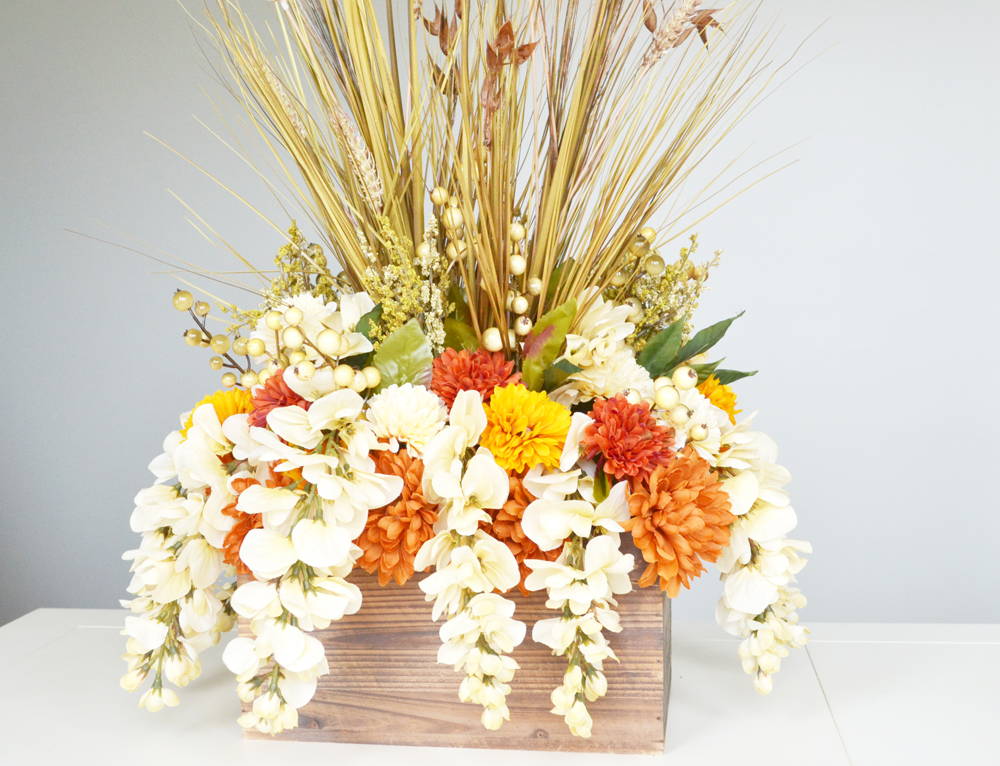
This centerpiece screams Fall. It’s perfect for an elegant party or a Autumn wedding. Keep it for yourself or give it as a give to thank someone during the upcoming holiday season.