DIY Lace Tin Can Holder – Make a Cute Container for Anything You Need
Updated on June 23, 2021
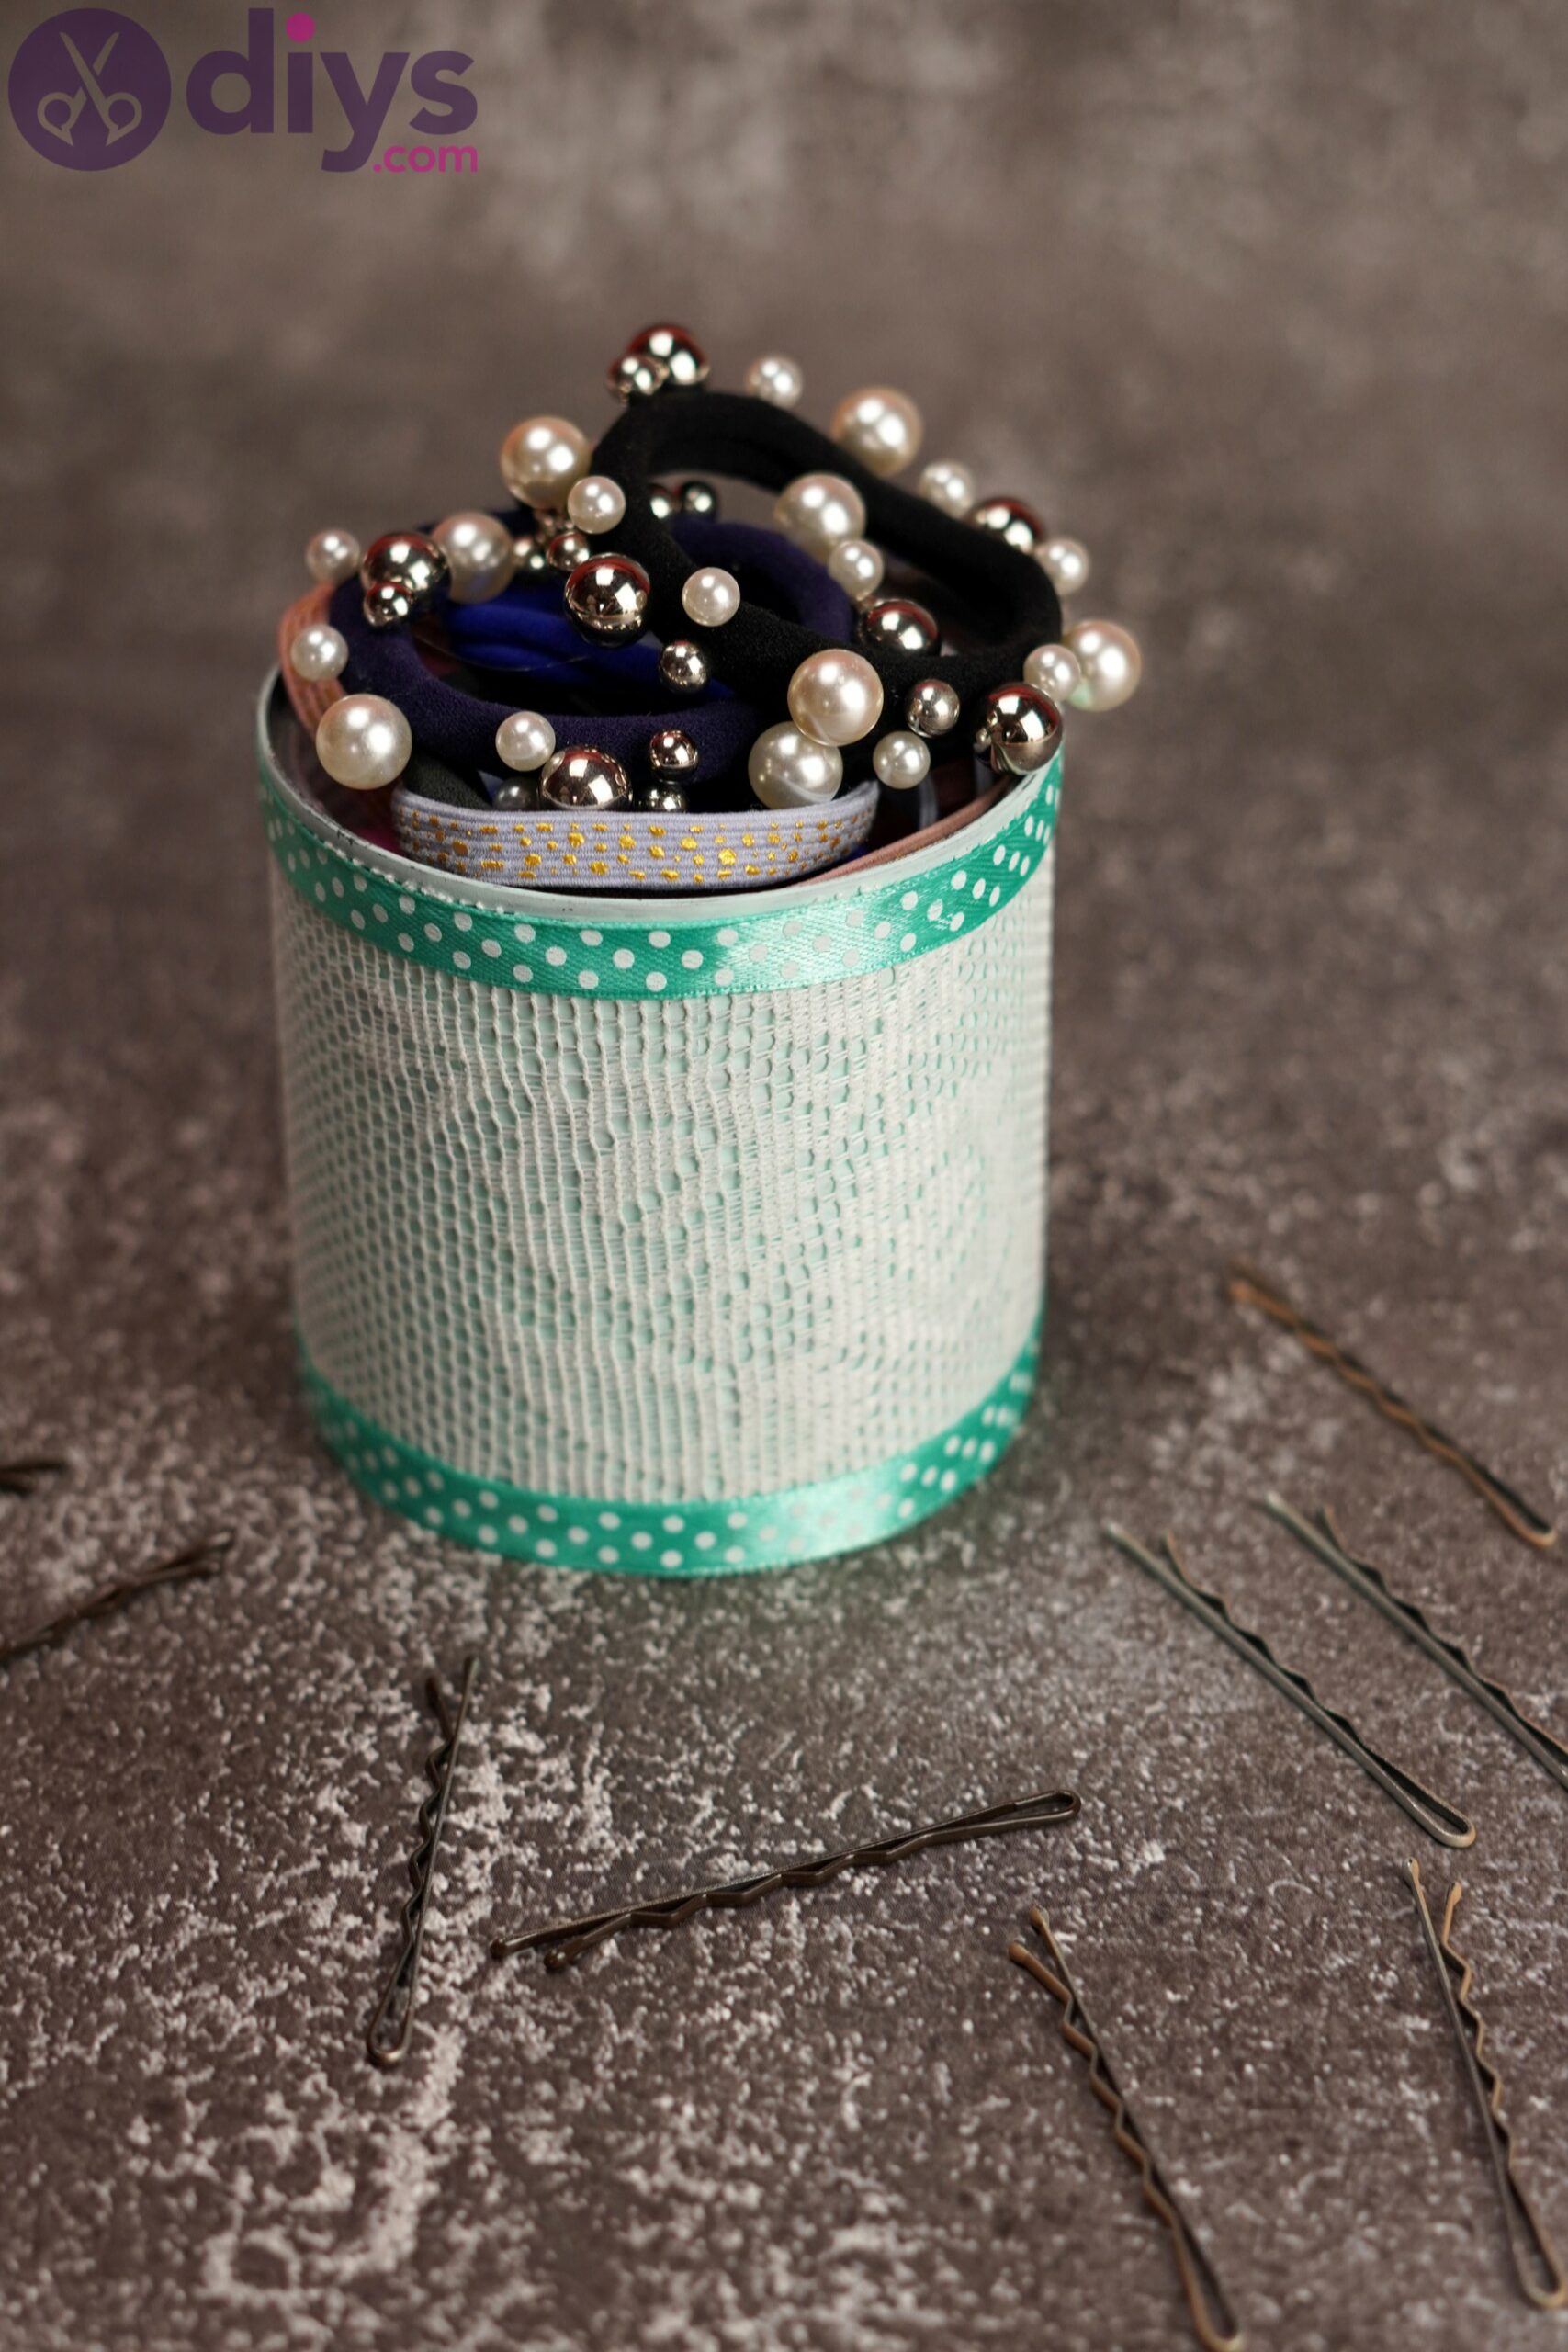


Somehow, we always seem to be in need of more containers for all our things – pens, knickknacks, makeup brushes, and so on. So, the least we can do is put our crafting hands to work and create beautiful containers. Today, our project is a lace tin can holder.
With just a few materials and a little bit of time and effort, we can create some really cute things. So let’s go figure out what we need in terms of materials and what steps you need to take to turn this into something beautiful.
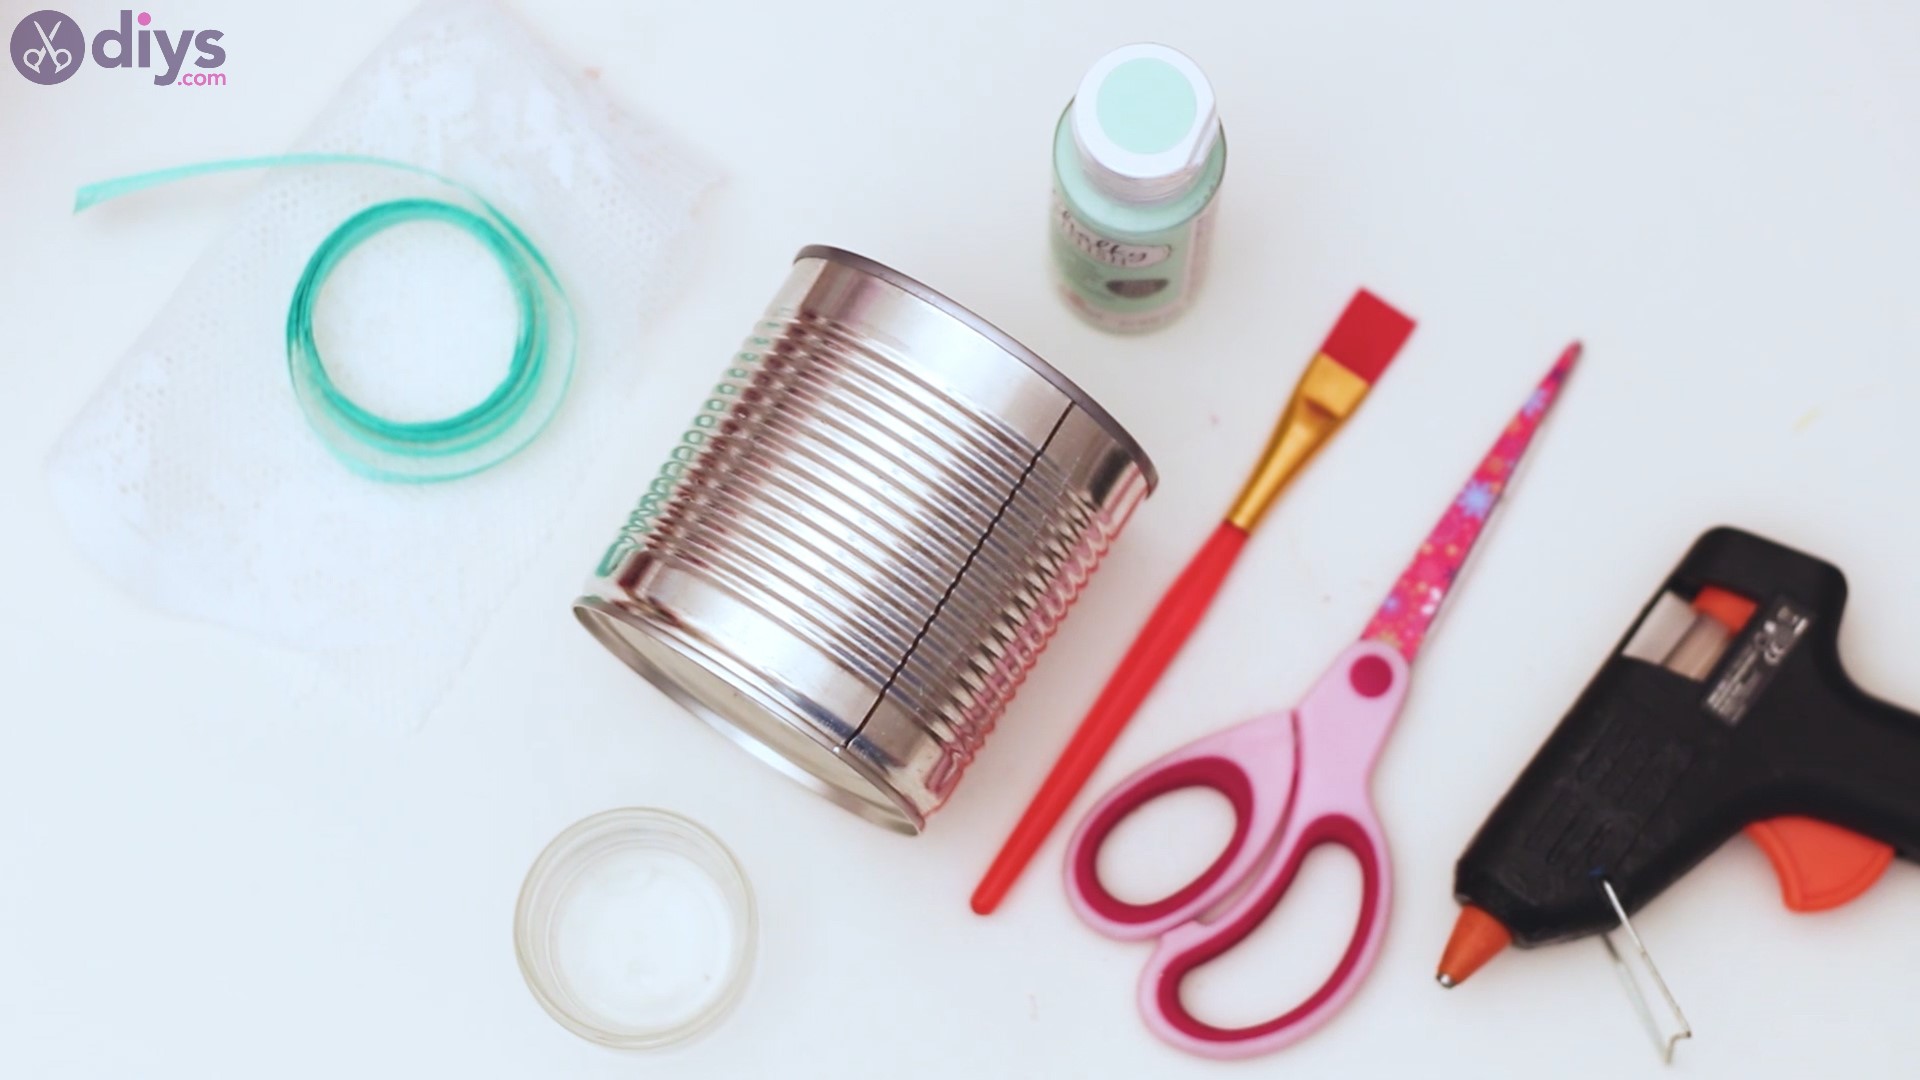
Materials for lace tin can holder
- tin can
- lace
- mint chalky paint
- silk ribbon
- paintbrush
- scissors
- glue gun
How to make a lace tin can holder
Do you have all your materials? We love making all sorts of projects, but we enjoy having all the materials on hand before we even start, as it makes things so much easier. So, did you gather everything? Let’s get started!

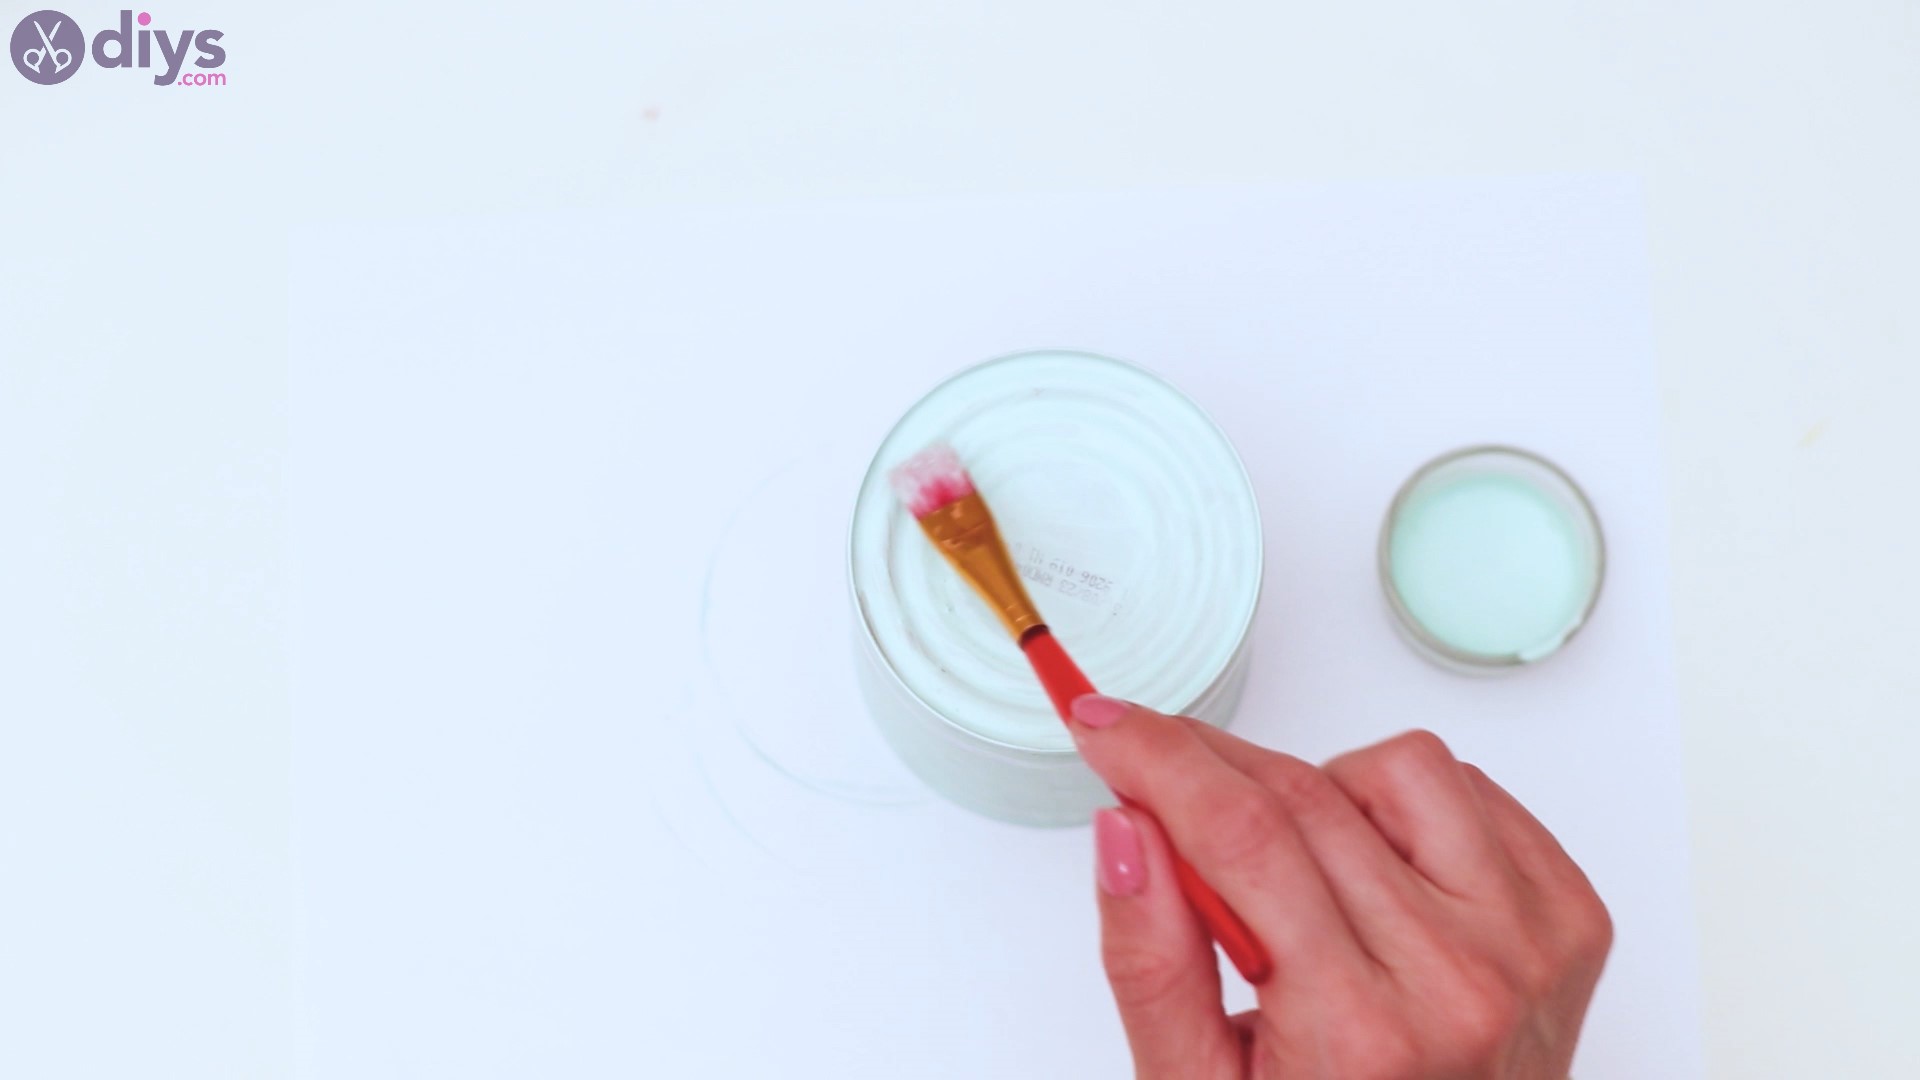
Step 1: Paint the tin can
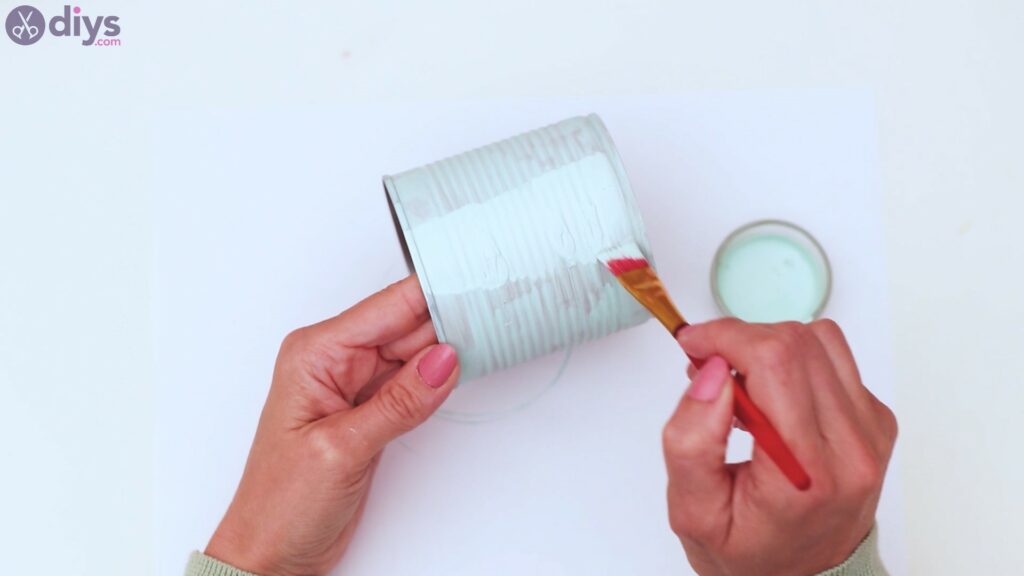
We’re going to start this project by grabbing ourpaintbrush,thechalky mint paint,and thetin can.Dip the paintbrush in the paint and start going over the tin can.
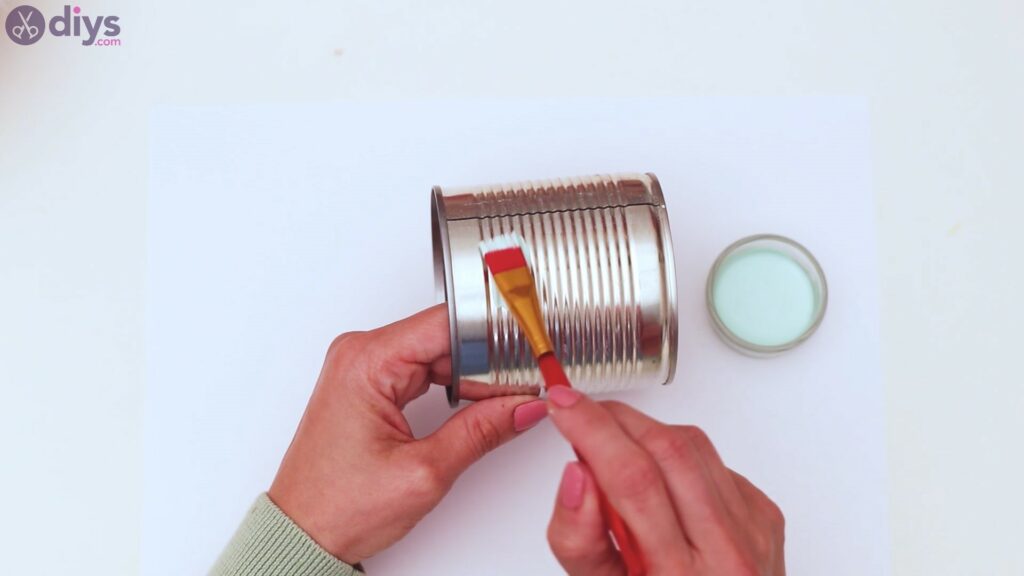
The chalky paint will cover the metal can well, so start applying it all over, making sure you cover all areas.
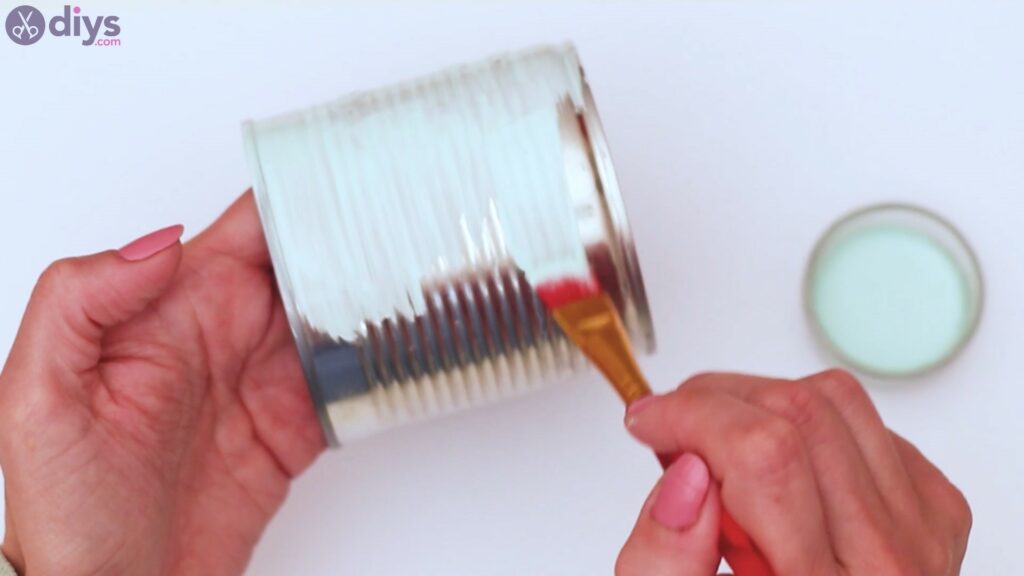
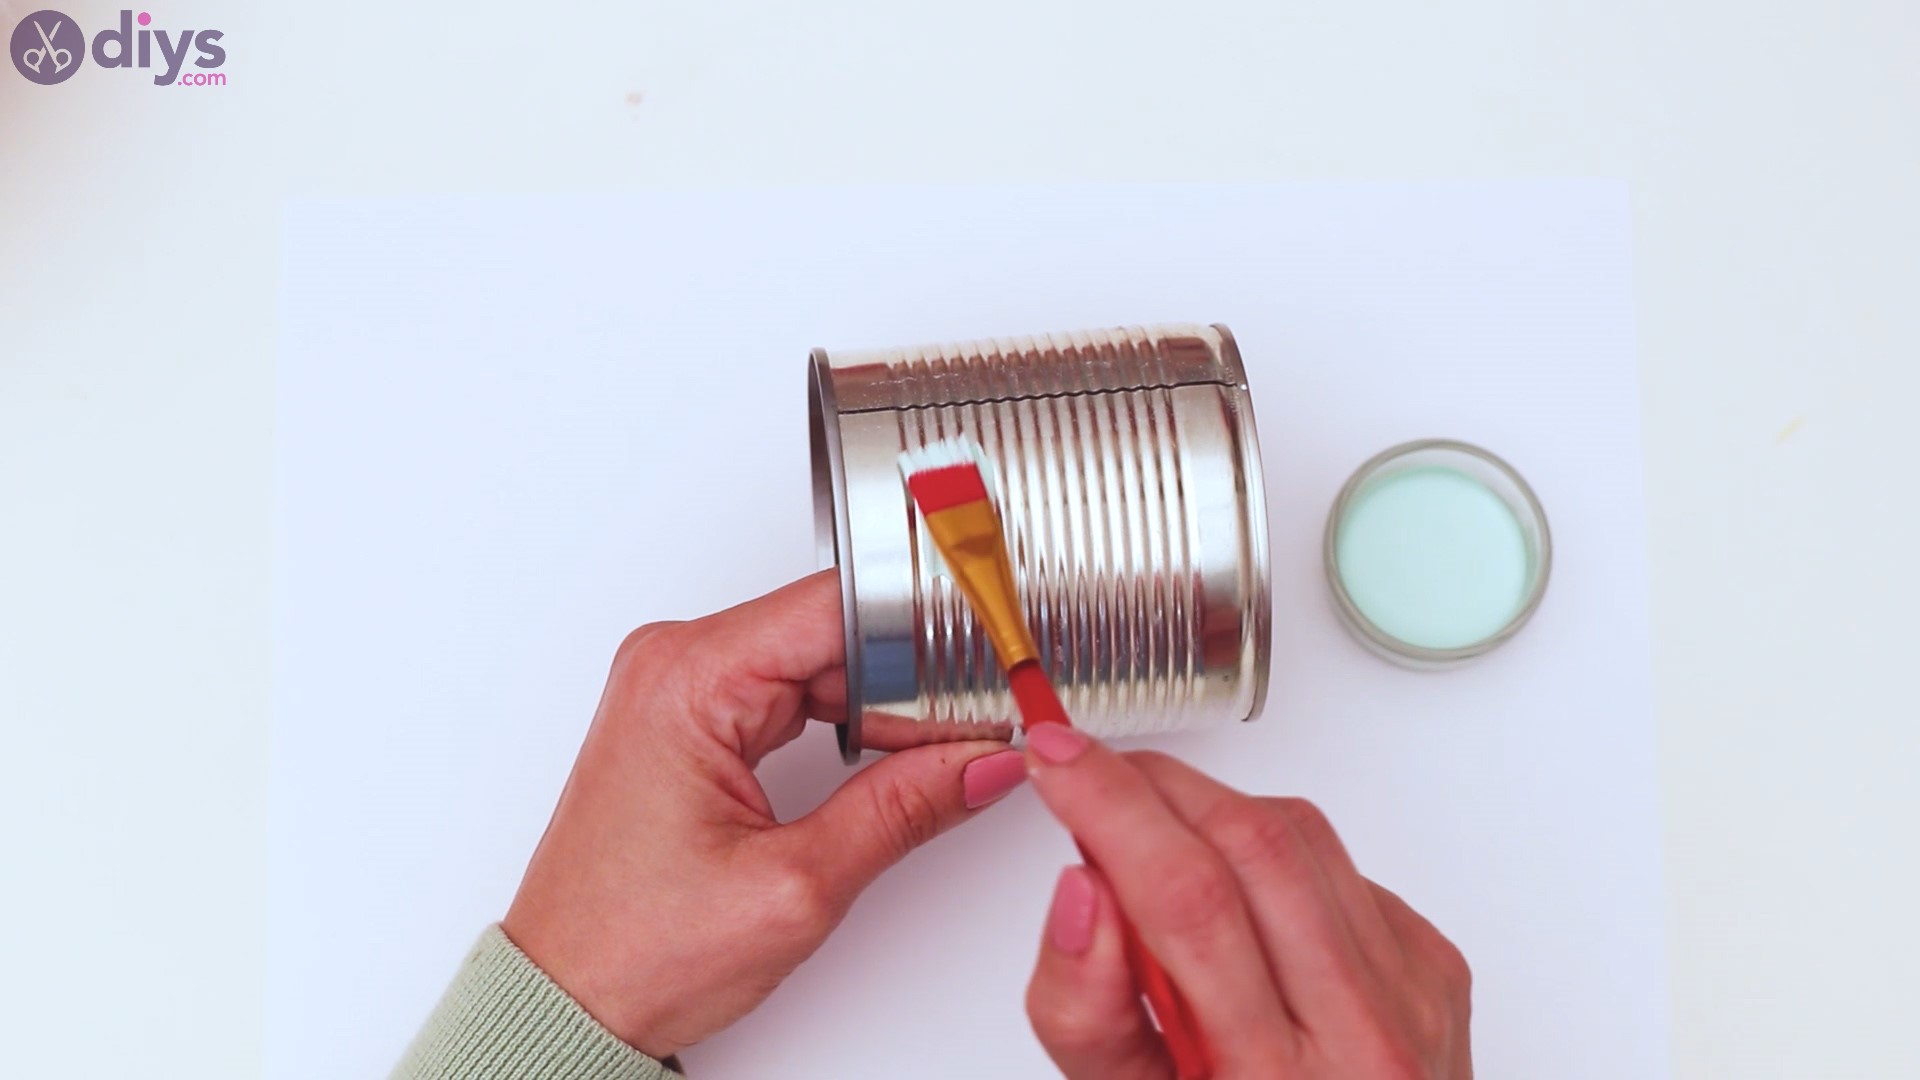
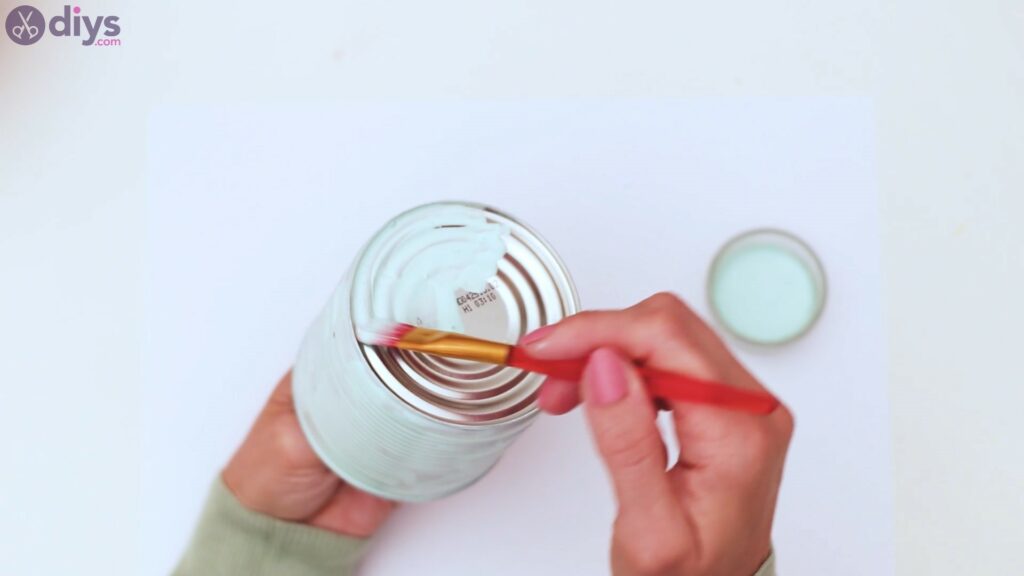
You also want to paint over the bottom of the tin can. Wash out the expiration dates and all other information, if any is printed on the can. If possible, of course. The paint will cover most of the print out anyway.
Step 2: Give the can another layer
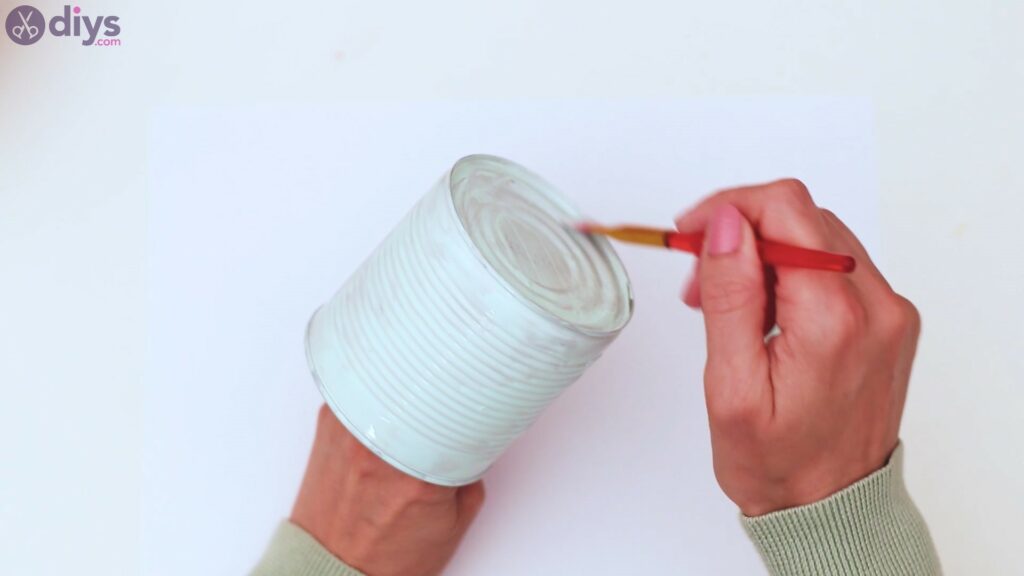
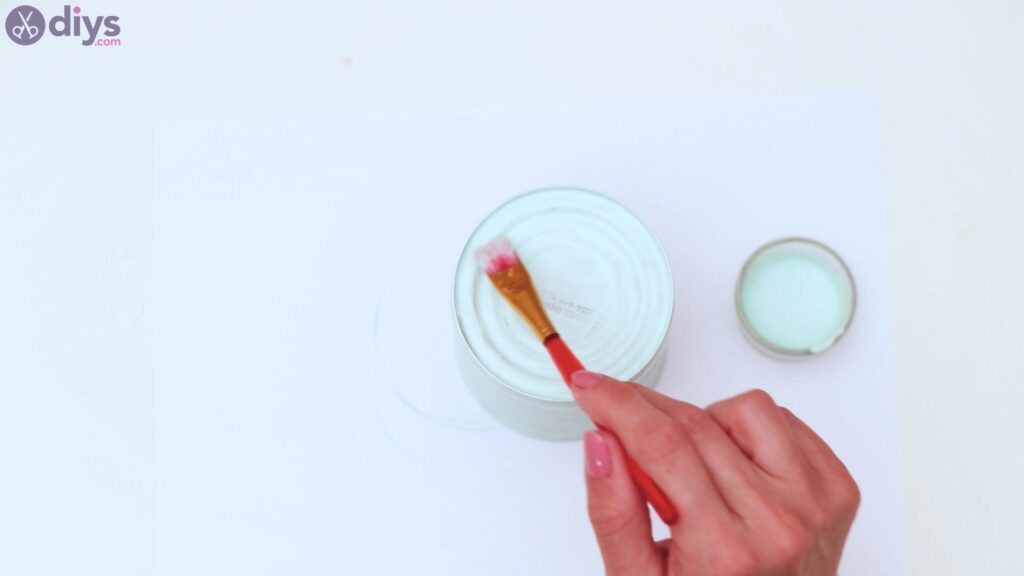
Given the thickness of the paint, you’re going to need a second layer here. So, once the paint has dried on the can a bit, you can give it a second layer of color.
Apply the color everywhere on the can, even on the bottom of it. As you can see, the best before date and all other information was mostly covered by paint. Ultimately, it doesn’t necessarily matter because you won’t be turning the can upside down that often to notice anything peaking from behind the paint.
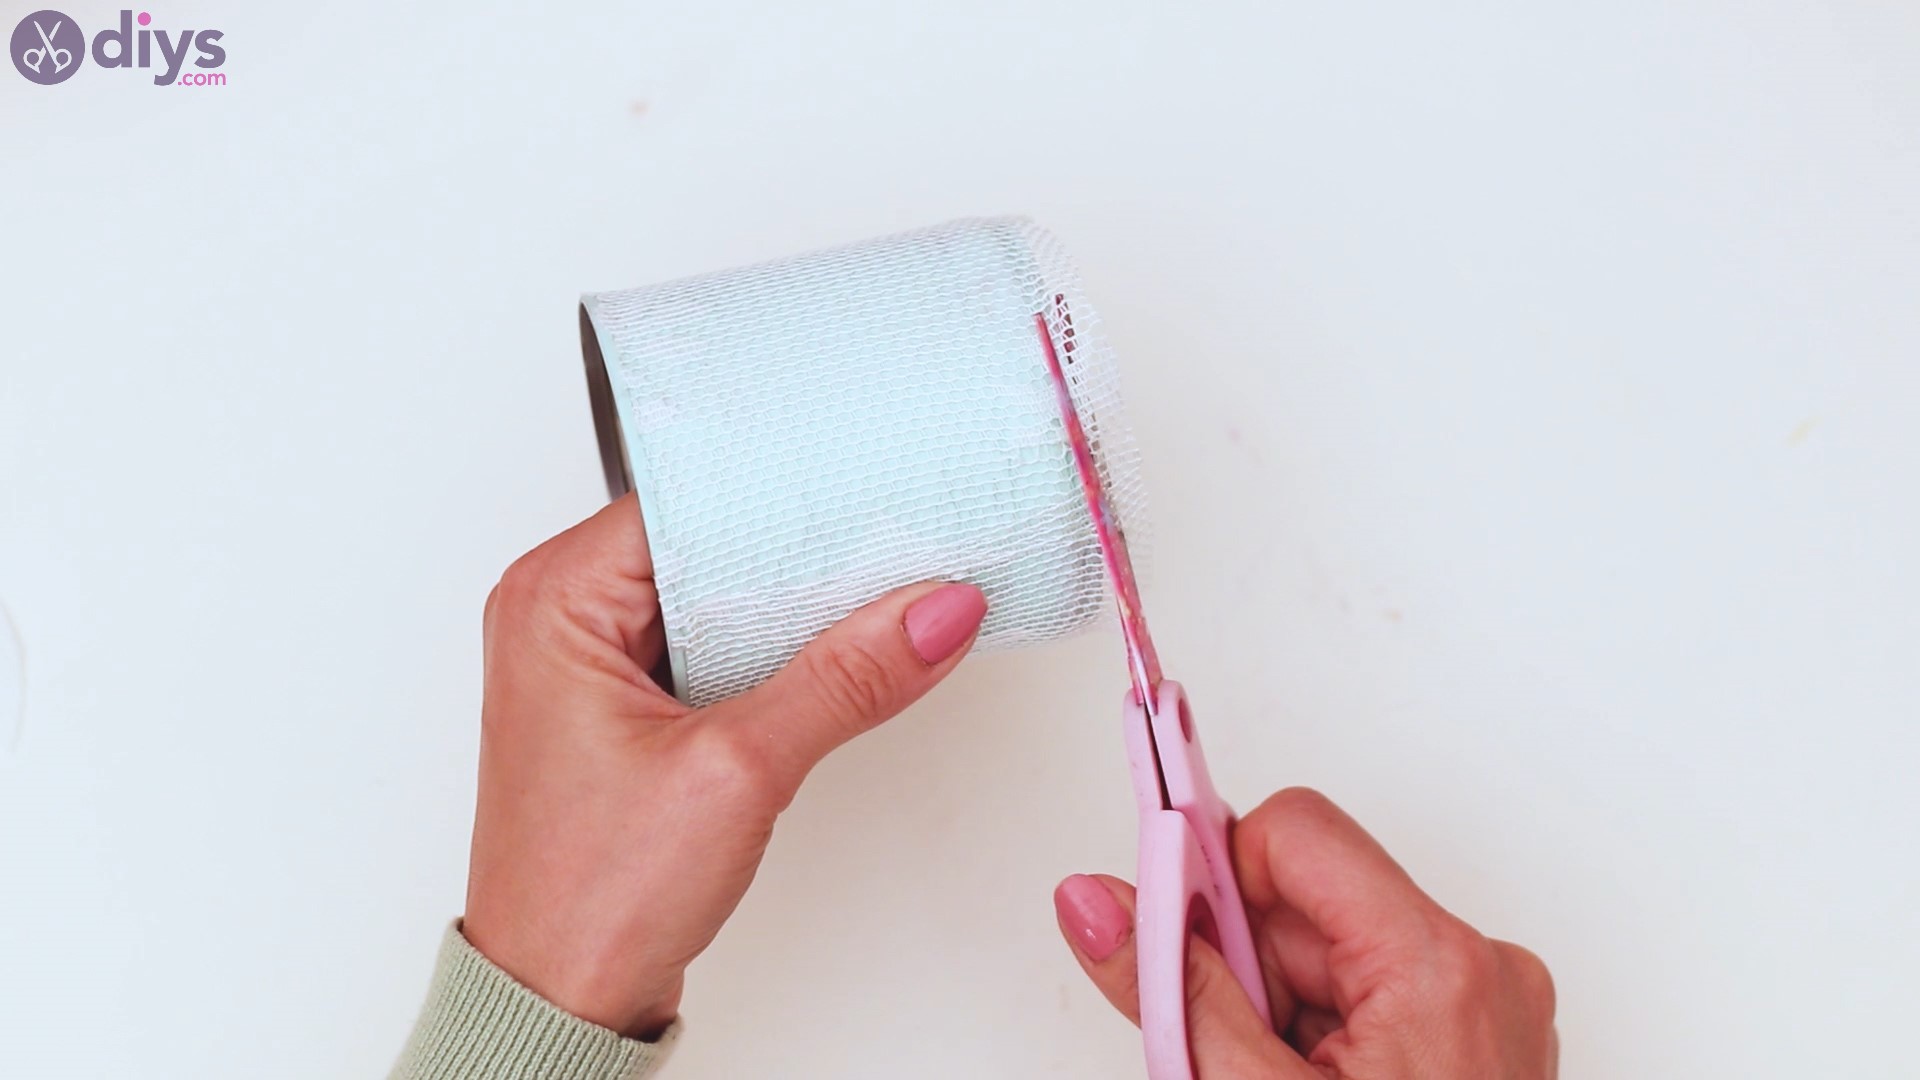
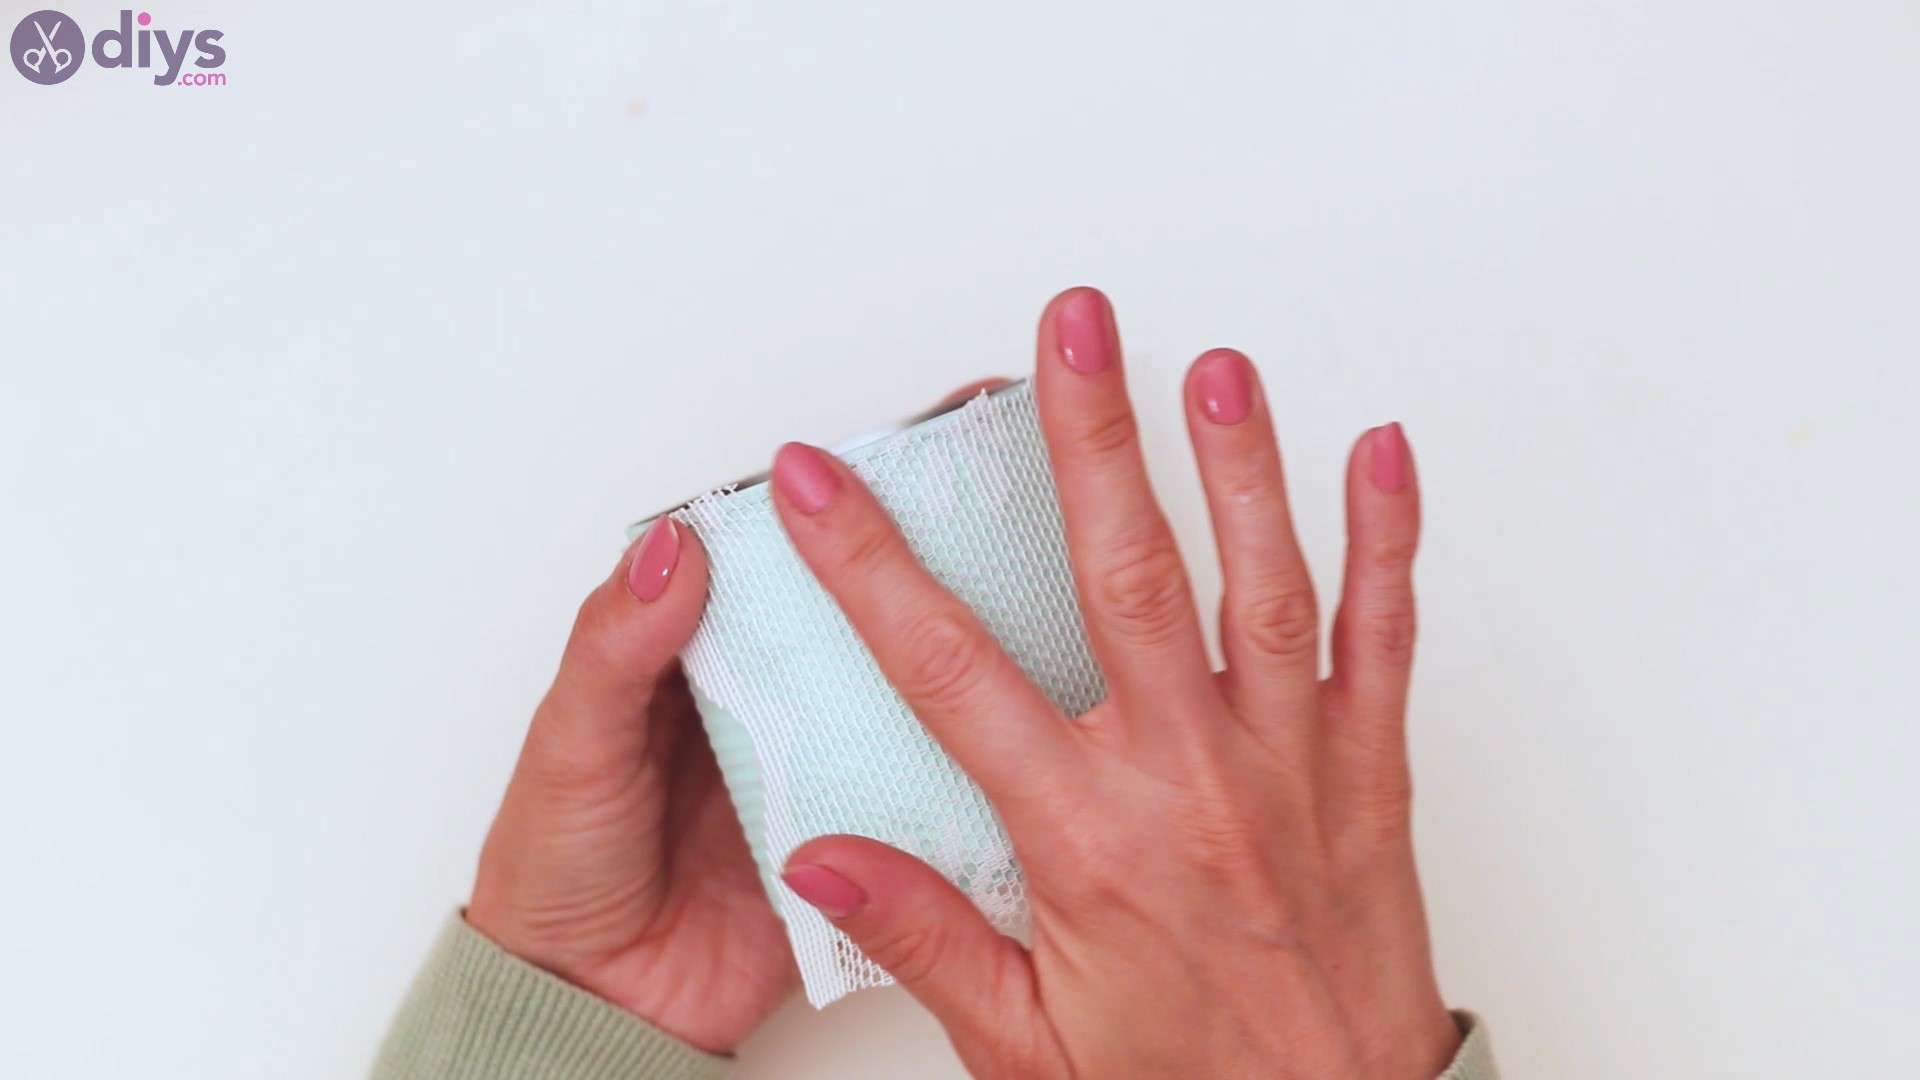
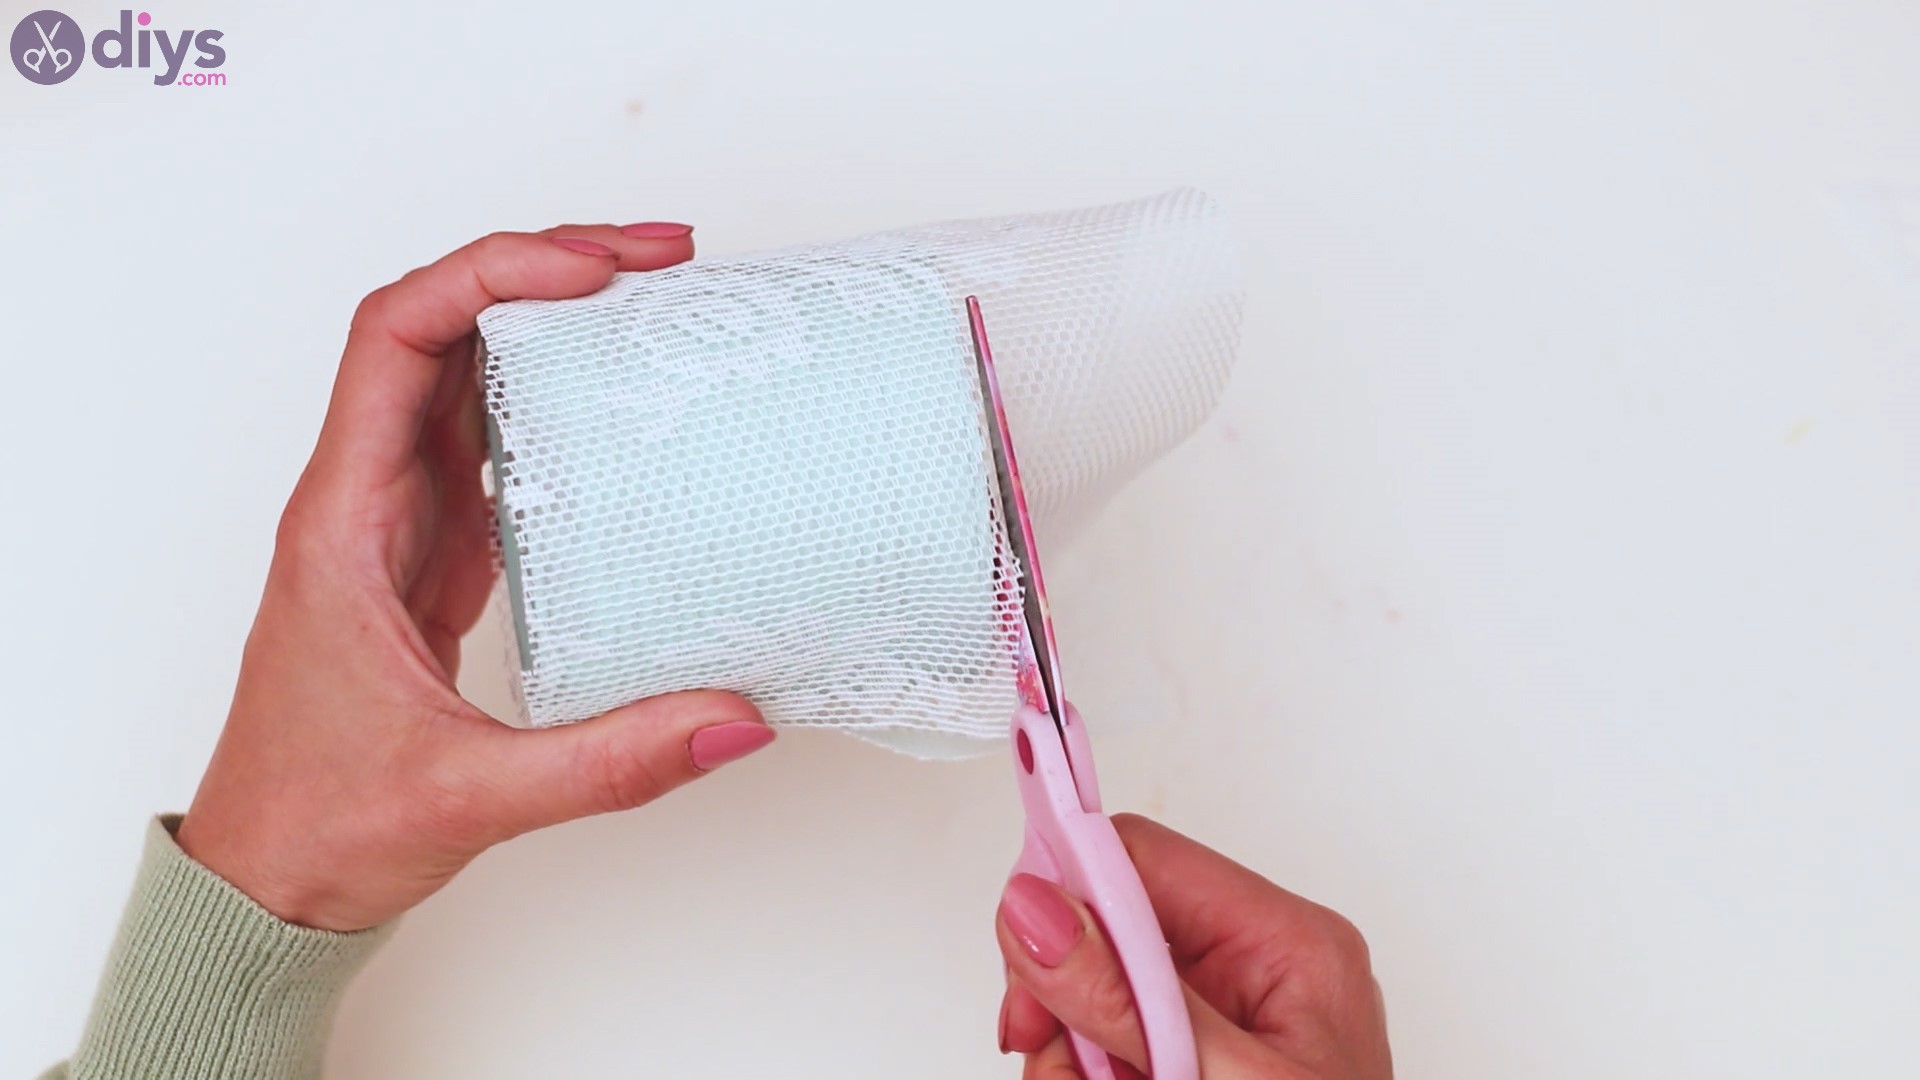
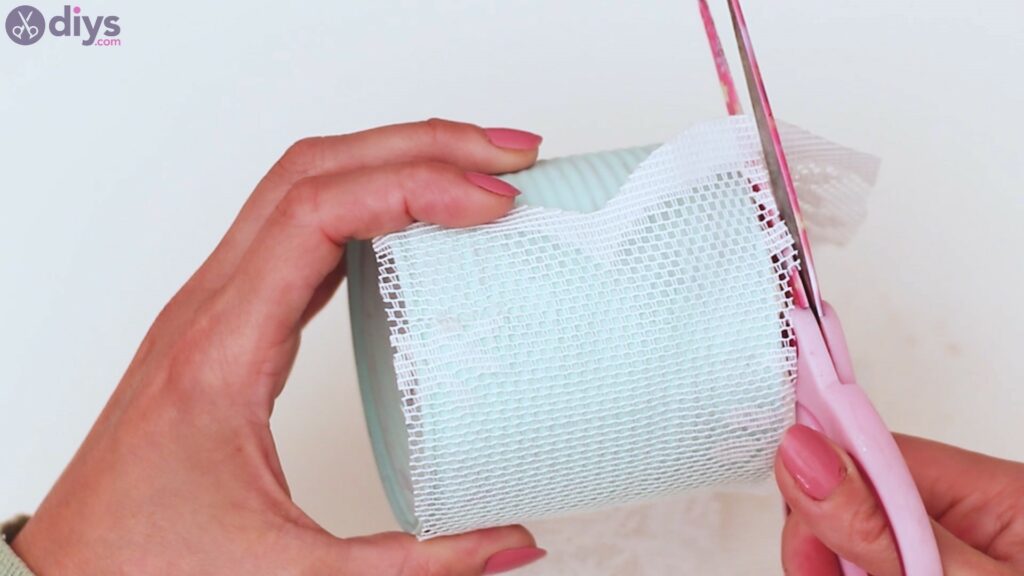
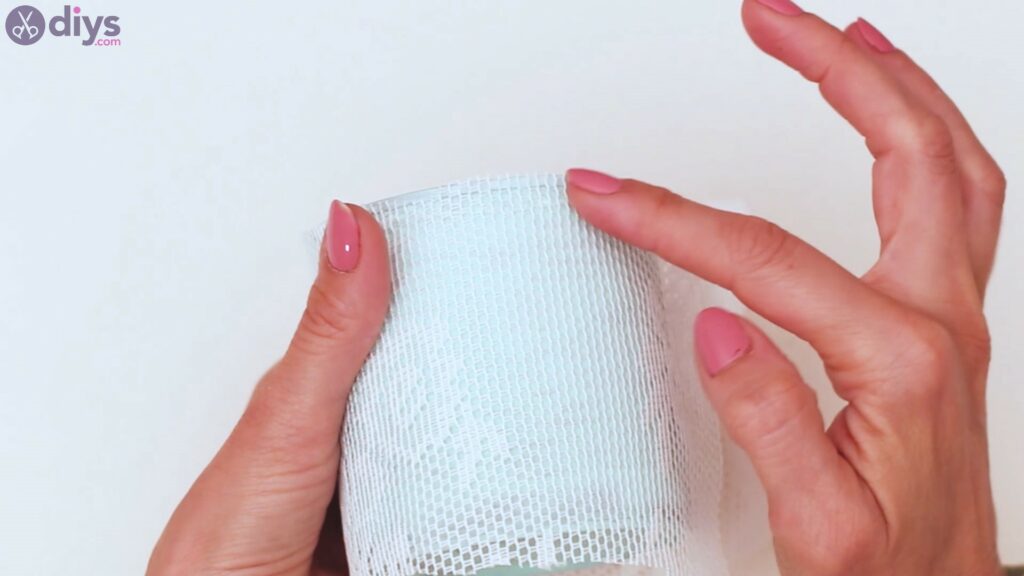
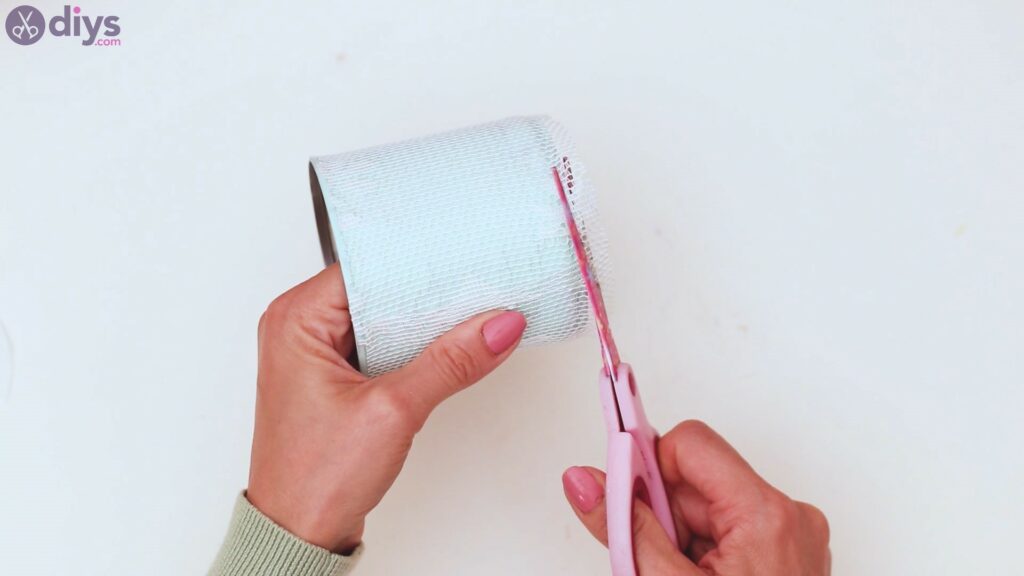
Step 3: Measure out the lace
Next, it’s time to get thelace out. You’ll need a bigger piece of lace here, not just a ribbon. Whatever patterned lace you have at home will work.

Place the lace piece over the tin can and measure it out. Grab your scissors and cut the extra material on the bottom, making sure to go as straight as possible.

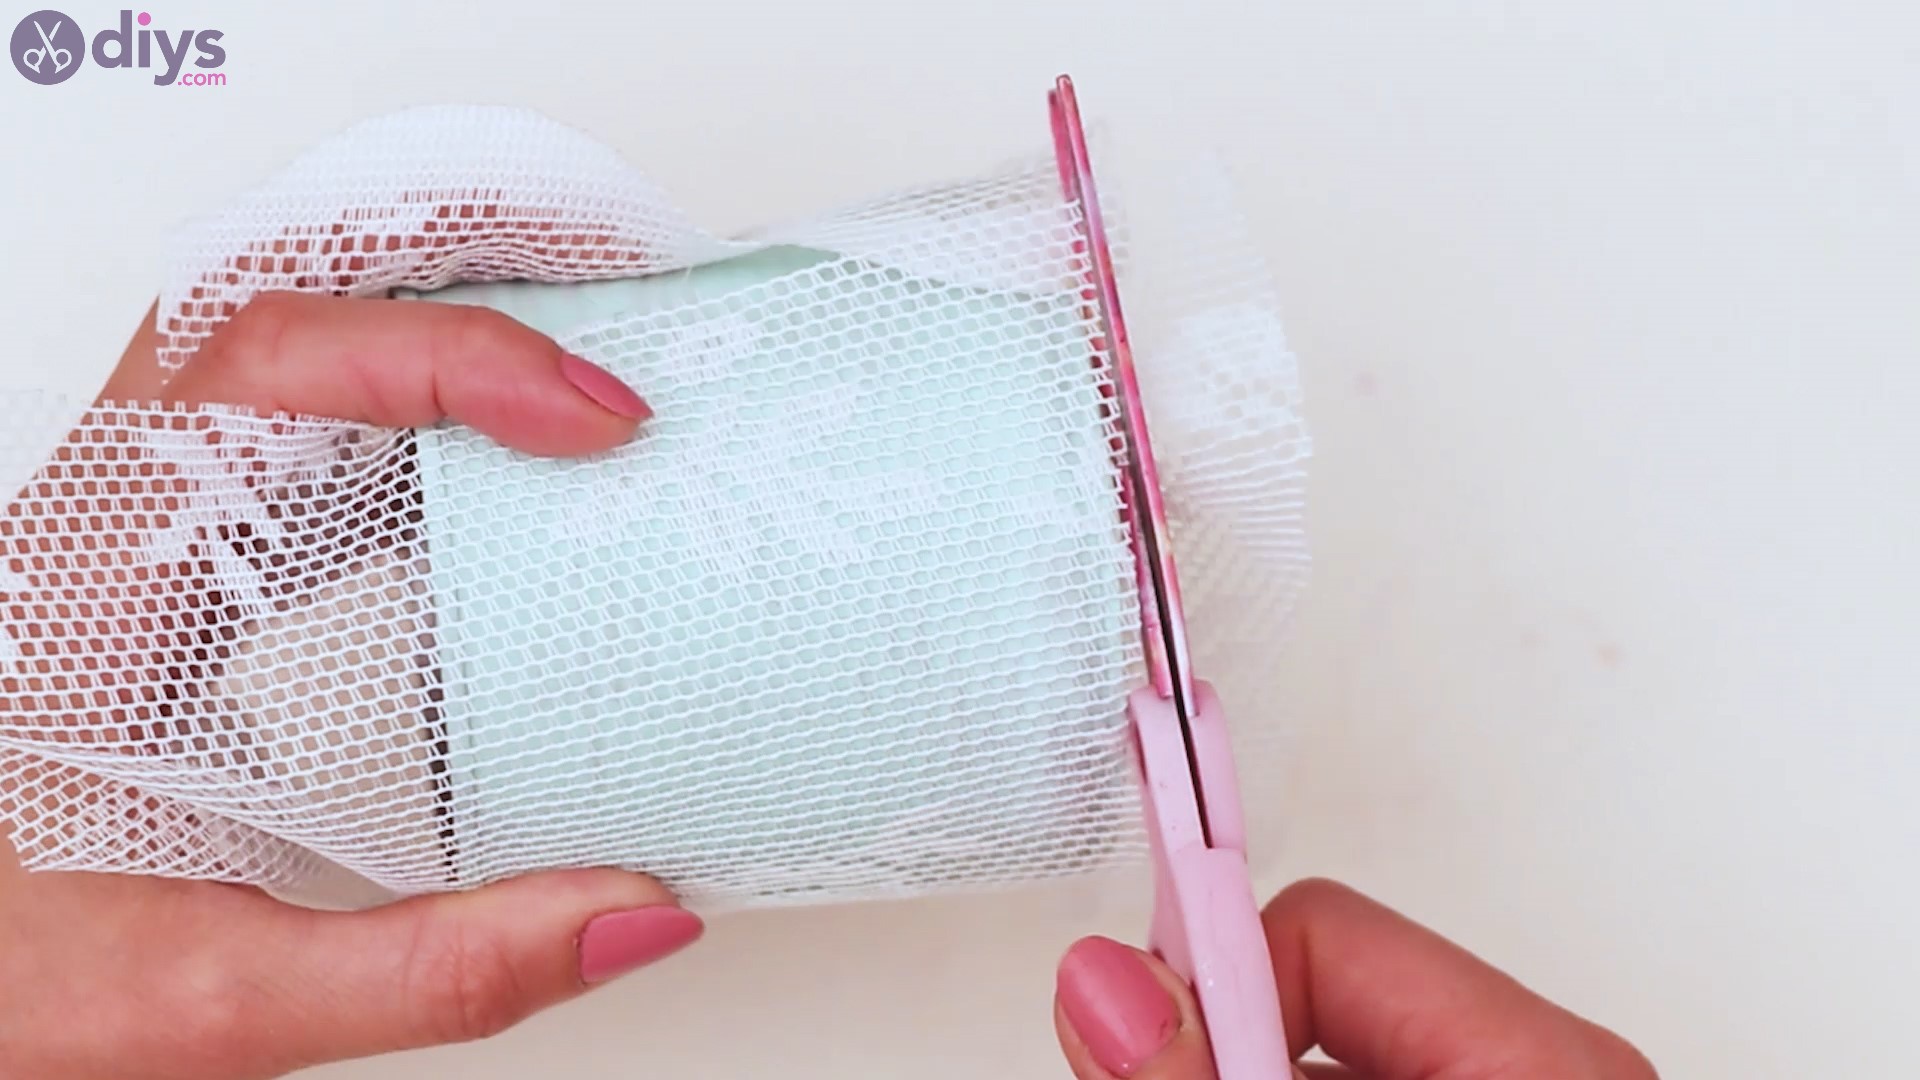
We know it’s a difficult job, but try to work as steadily as possible here and, more importantly, to hold the lace as steady as you can over the can.
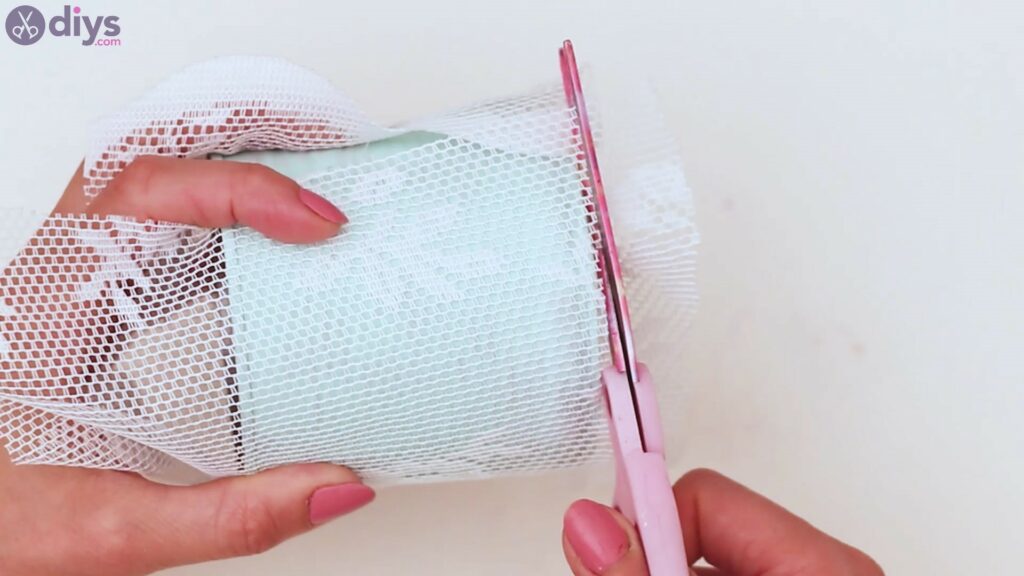
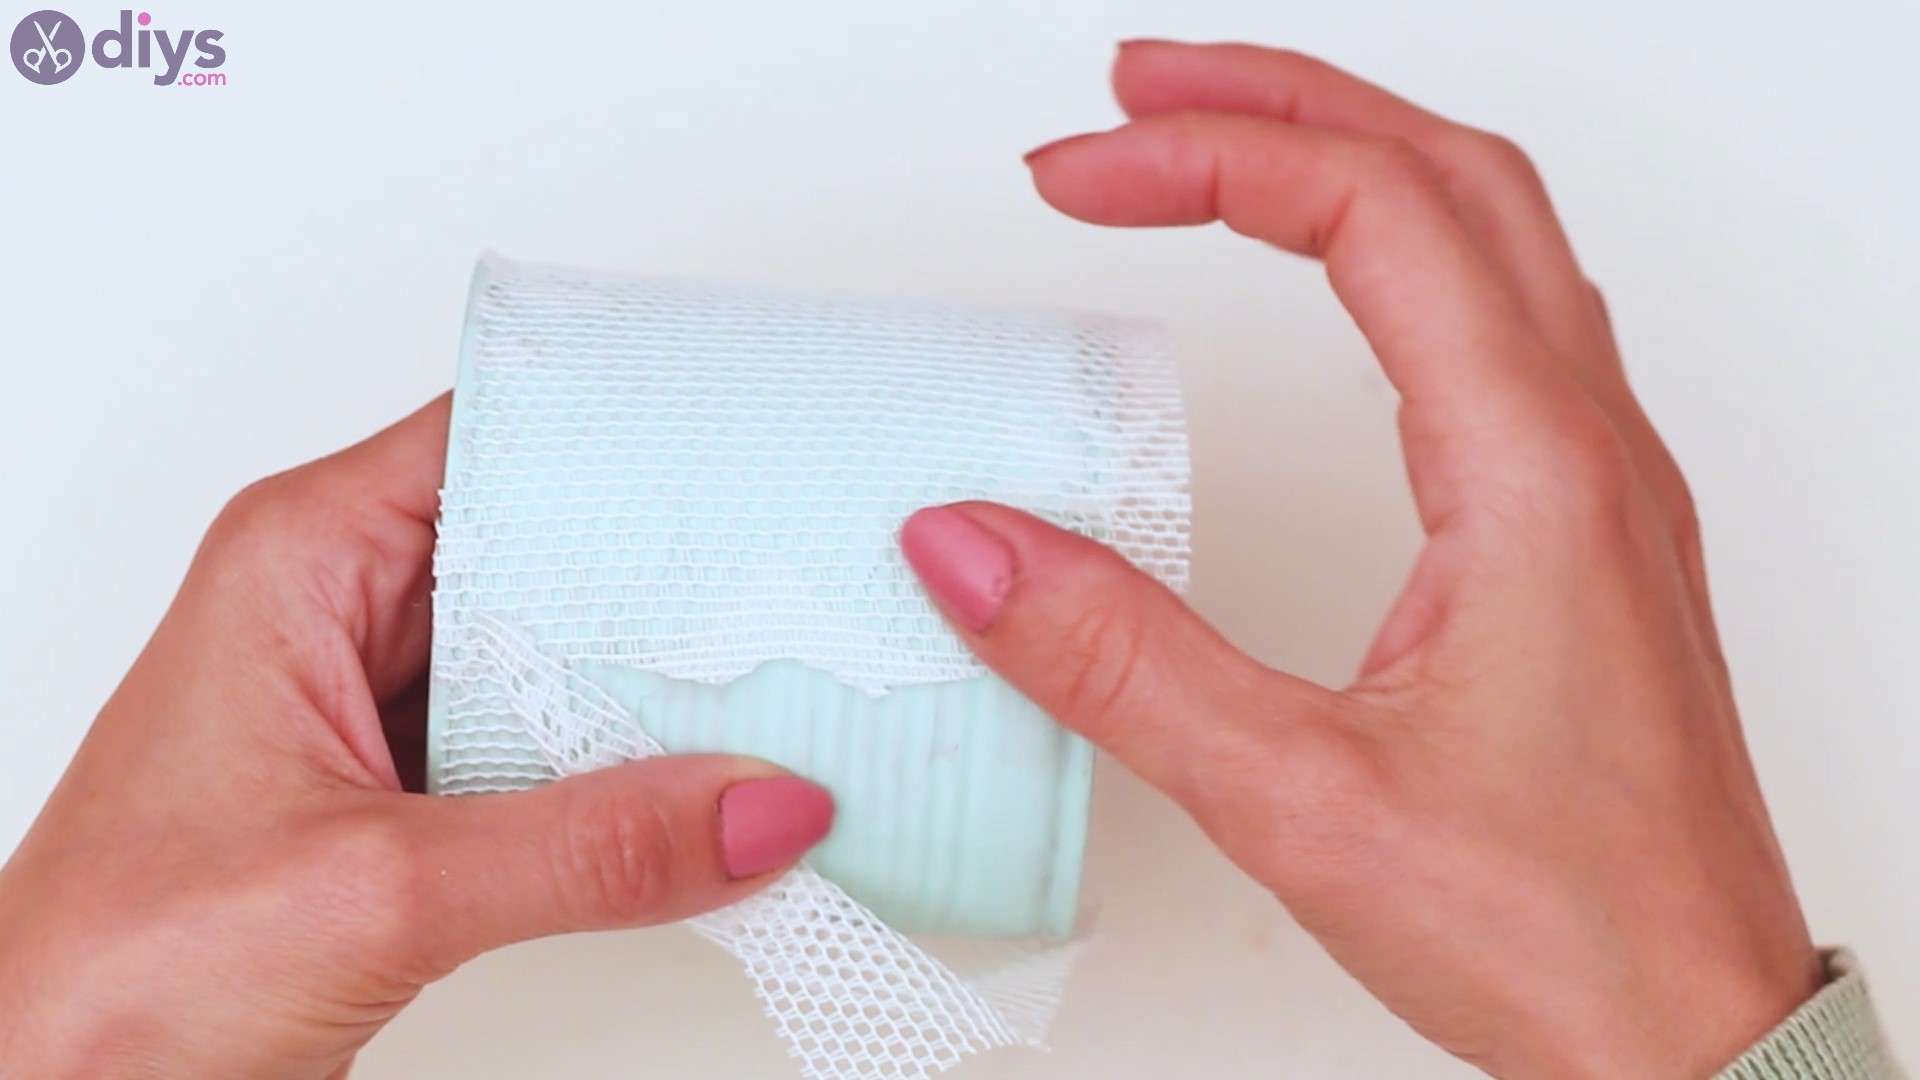
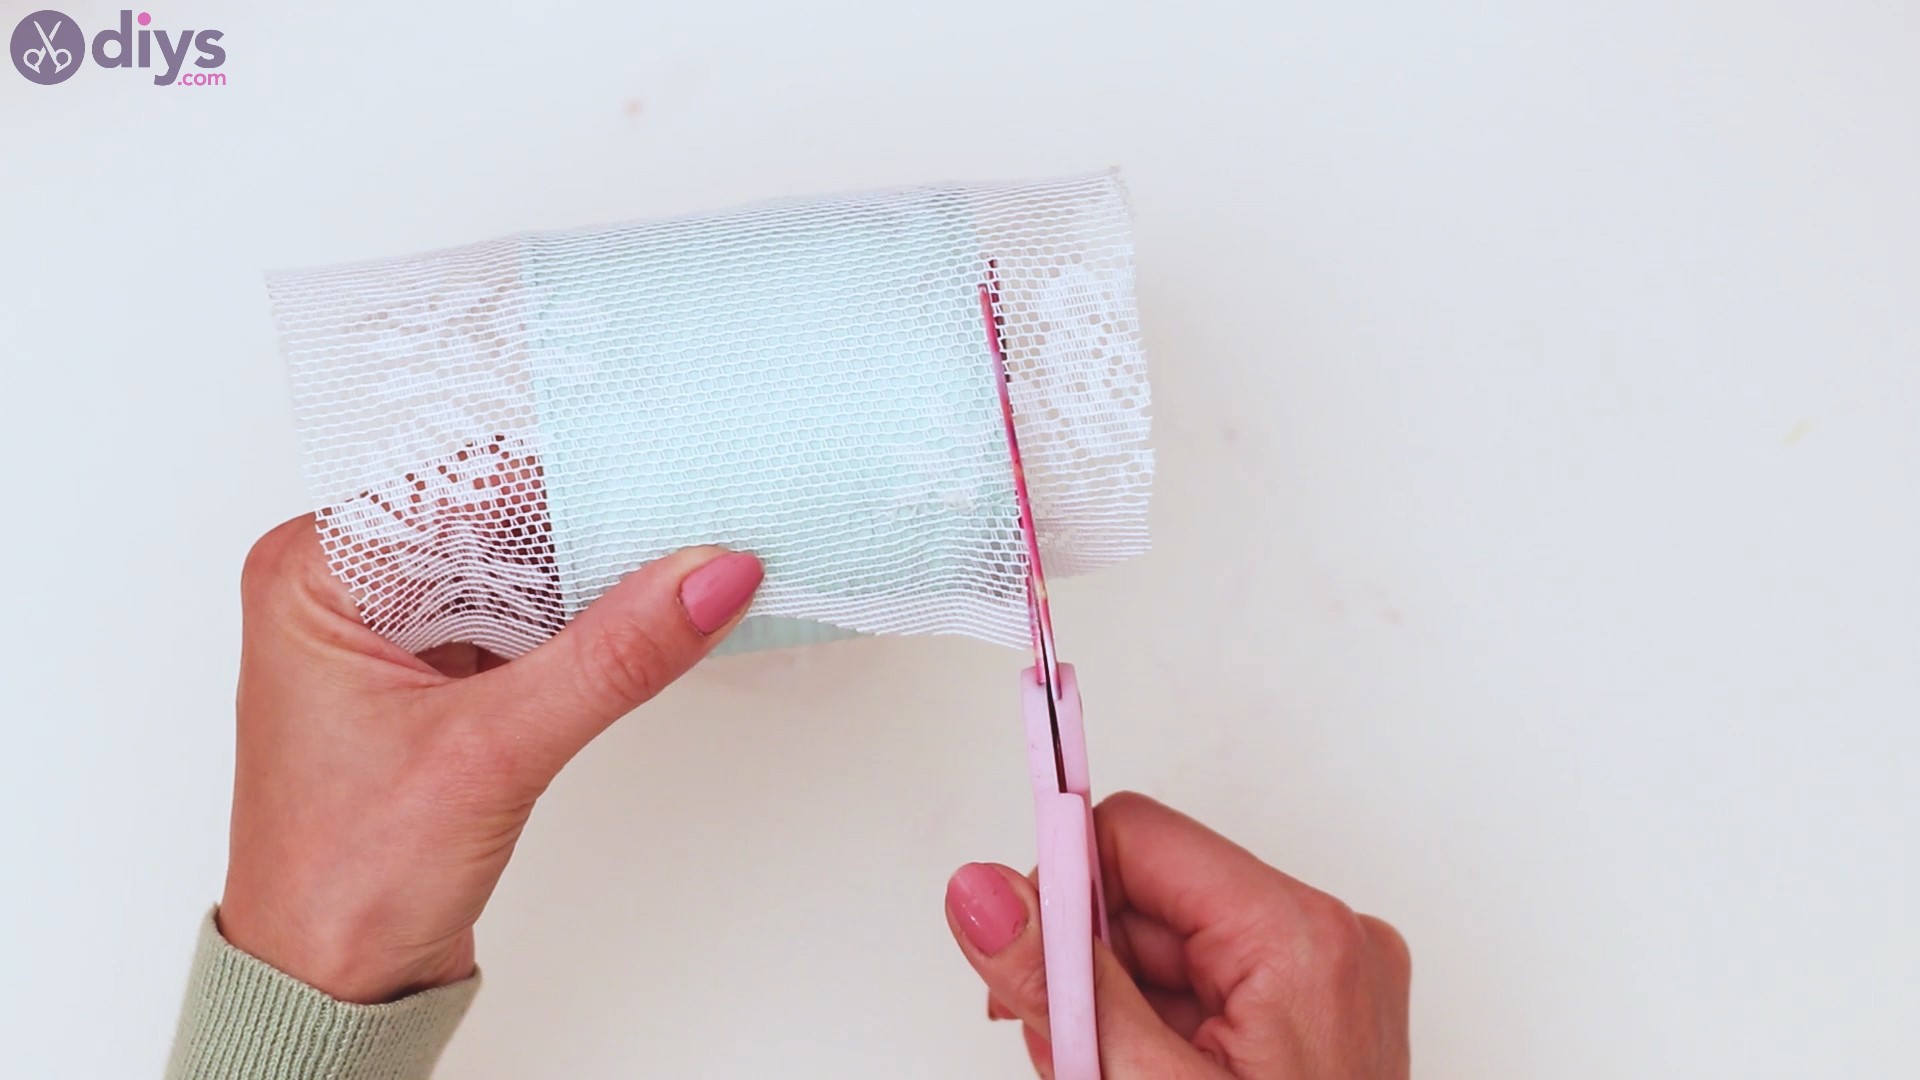
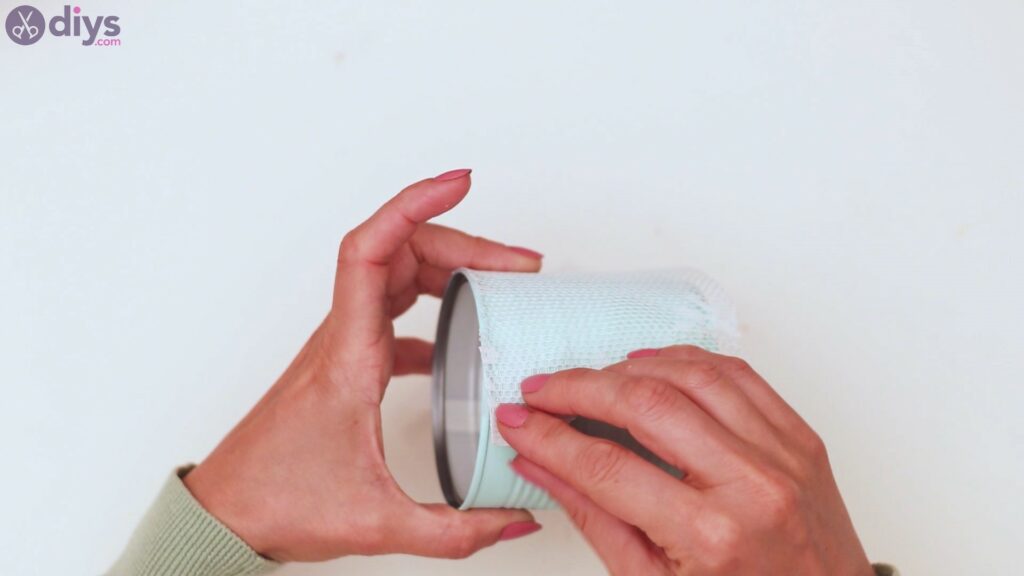
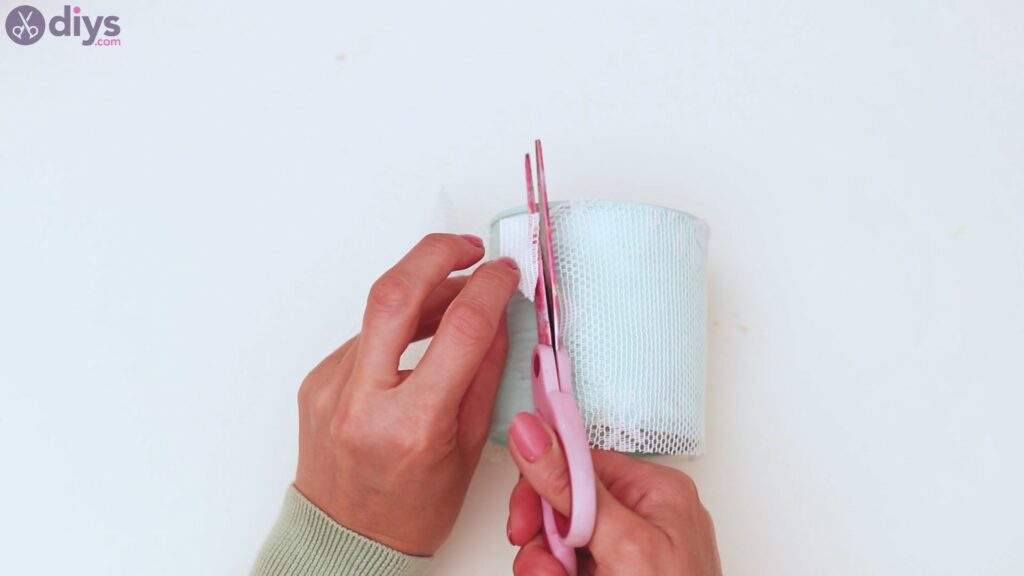
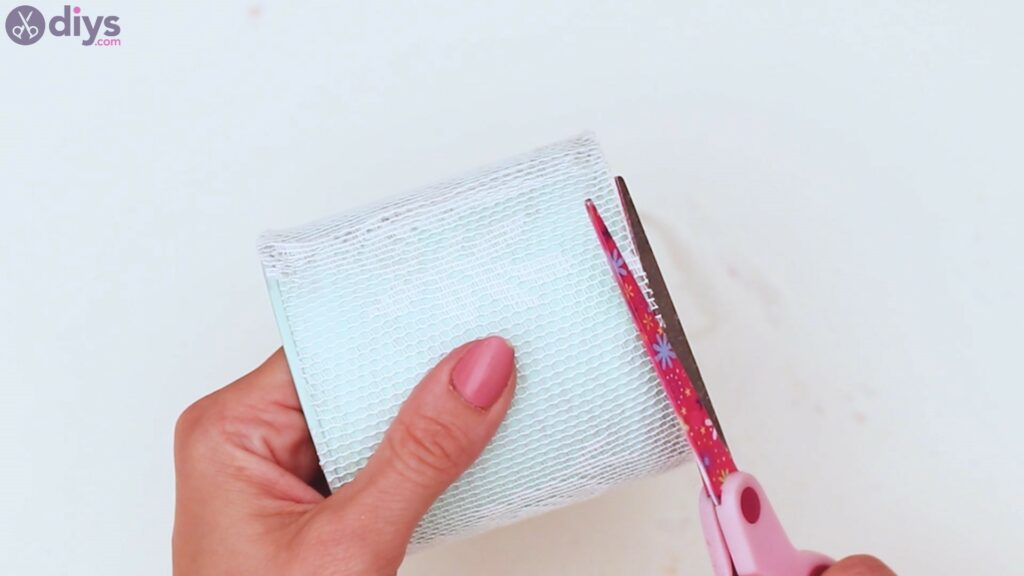
Turn the can the other way around and cut the excess lace in that area as well. Once more, try to go as straight as possible.
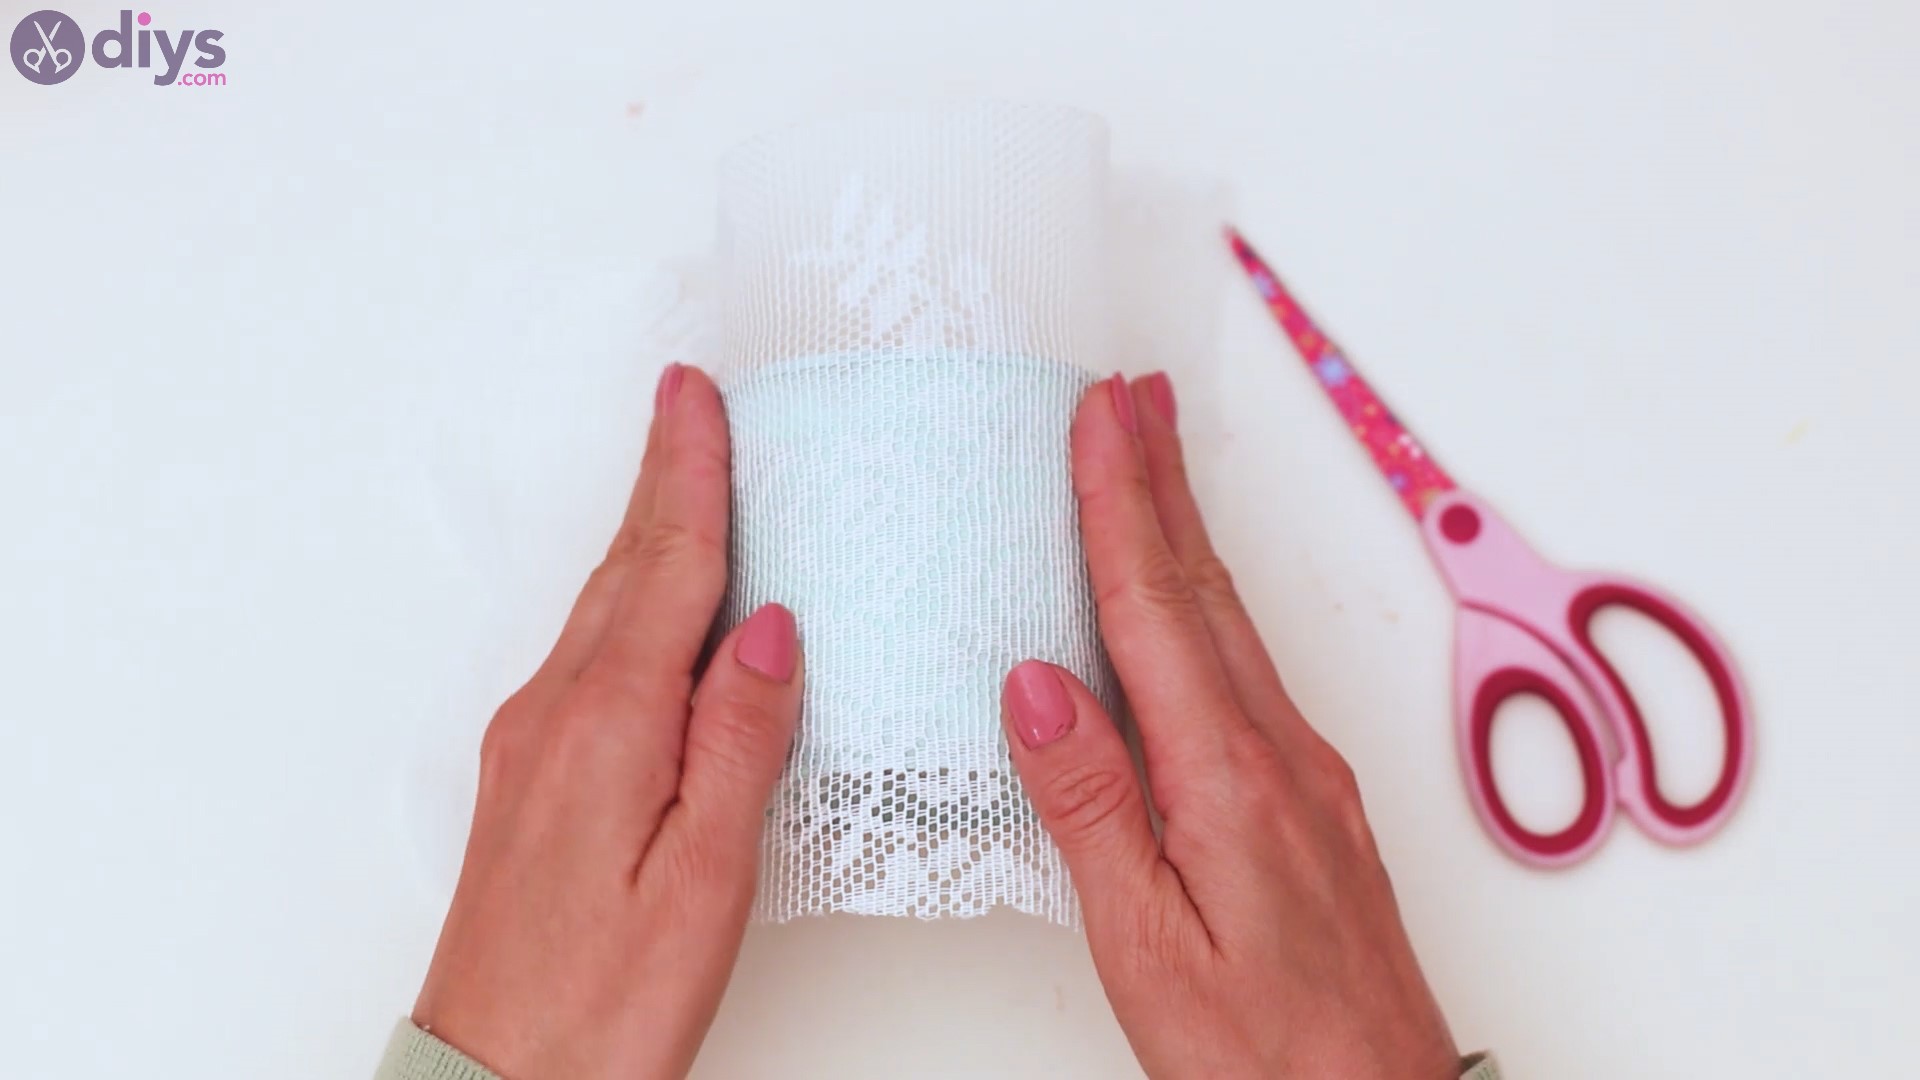
Hold the lace steady as you go and cut the material slowly, making sure it hasn’t slipped. If it was easier to rearrange the lace after cutting the first end of the material, it’s going to be more difficult to do that now, especially if you cut too much.
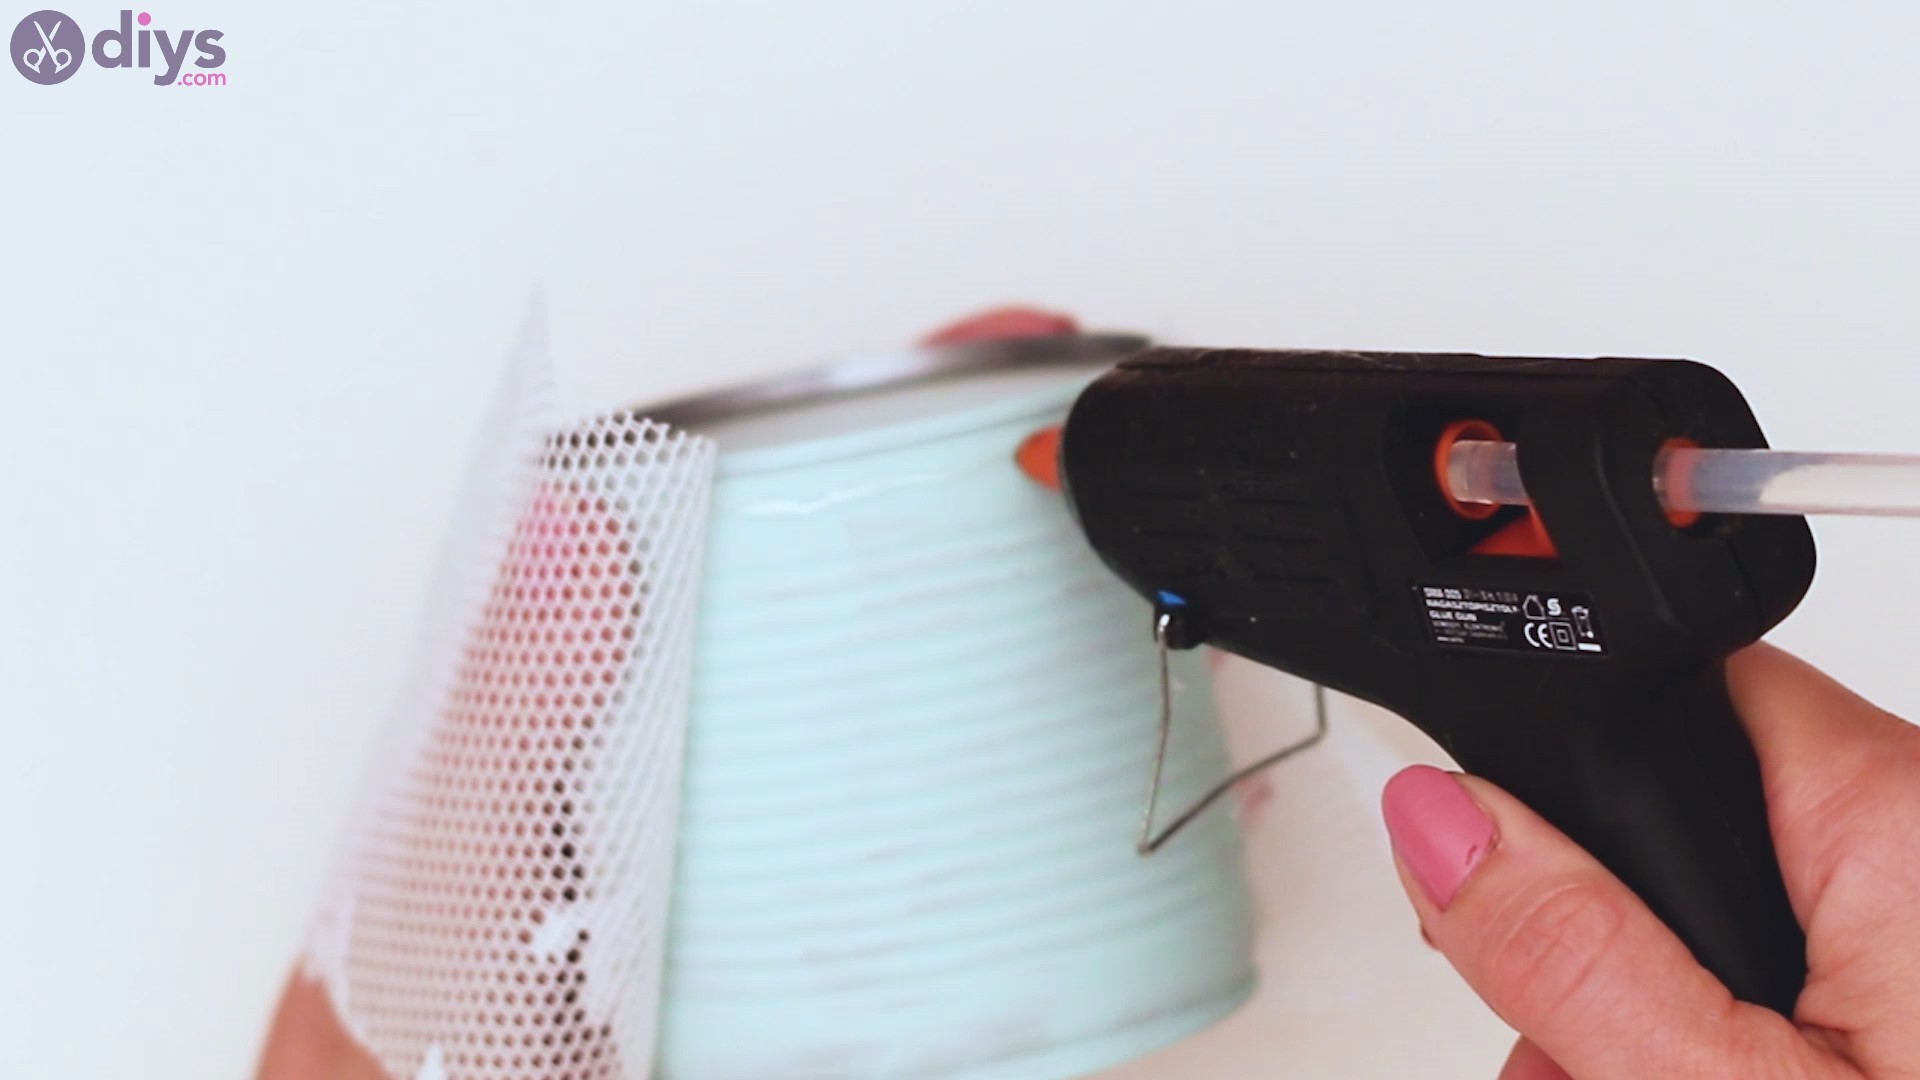
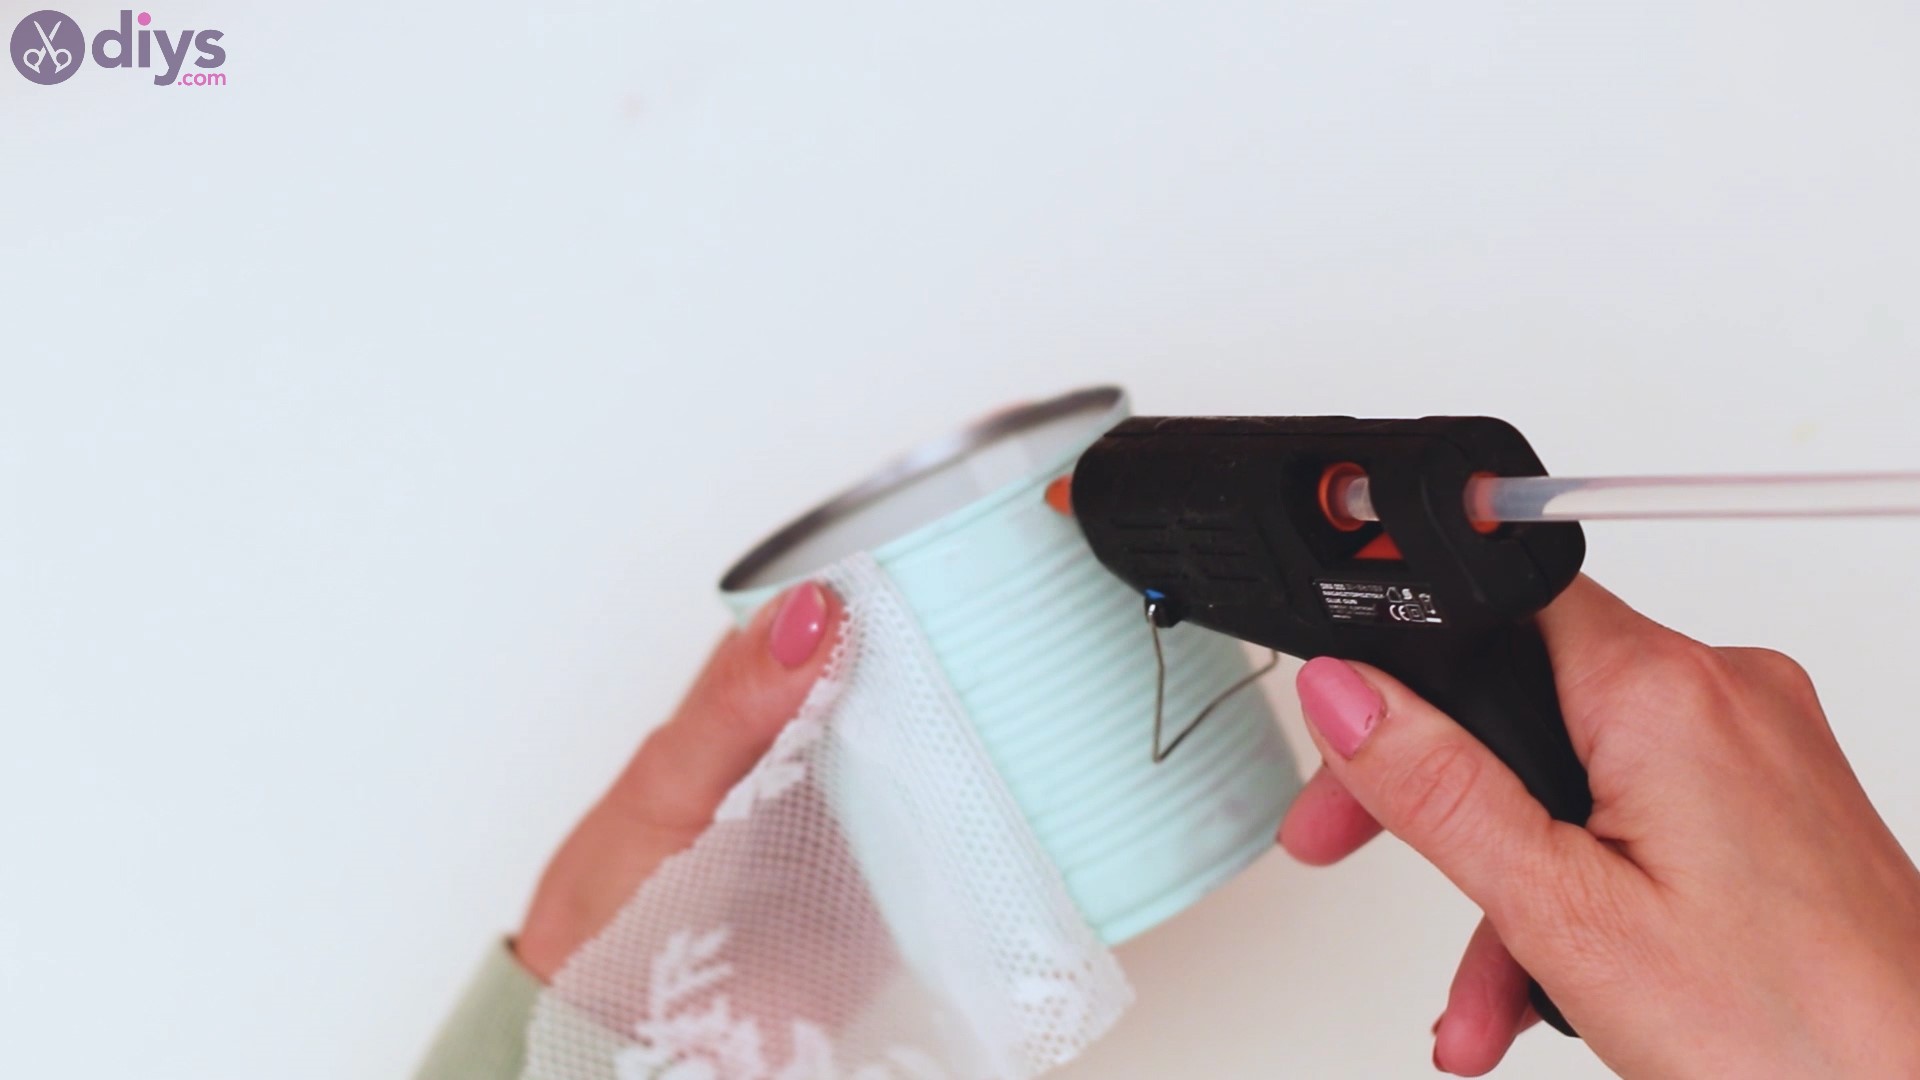
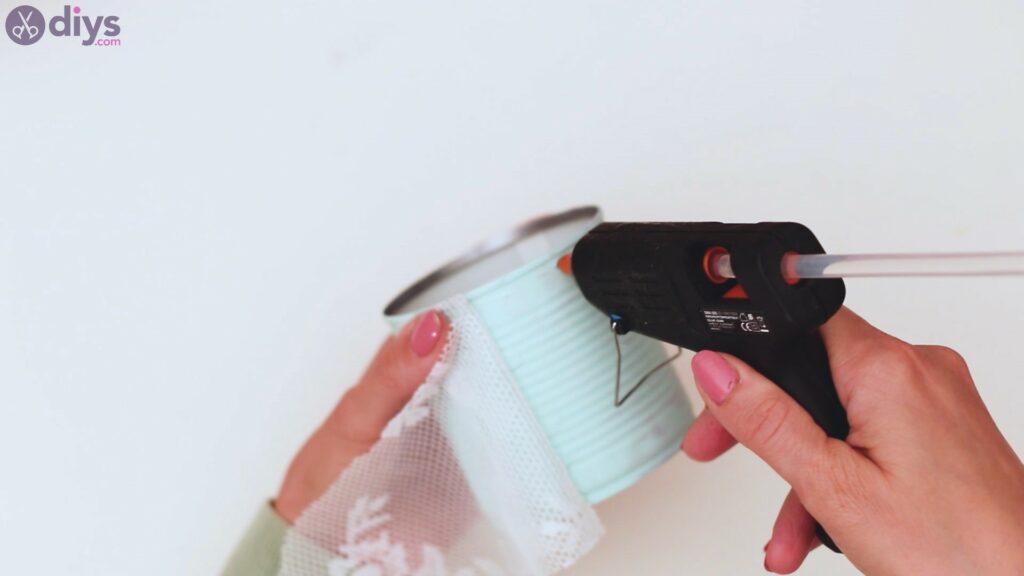
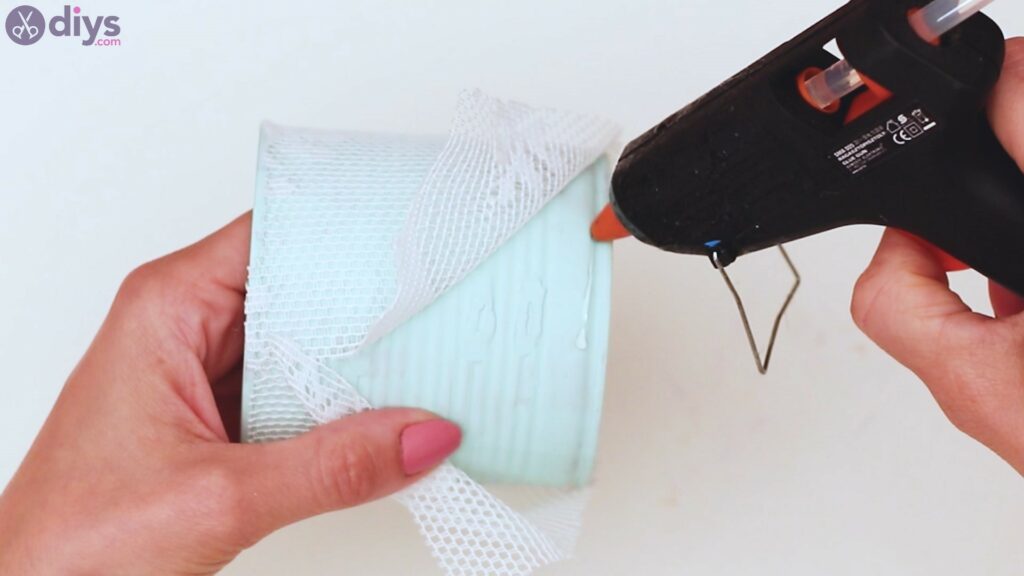
Step 3: Let’s glue it up
Now’s the time to get yourglue gunout and to apply some hot glue to the tin can. We went by applying hot glue to the edge of the tin and pressing the lace into it as we went. Make sure you apply hot glue in short streaks, as it dries up pretty fast and you don’t want to have to scrape it off.

Keep going, adding a bit of glue and then applying the lace over it.

As you go, make sure you also keep the lace as straight as possible and stretch it out slightly.
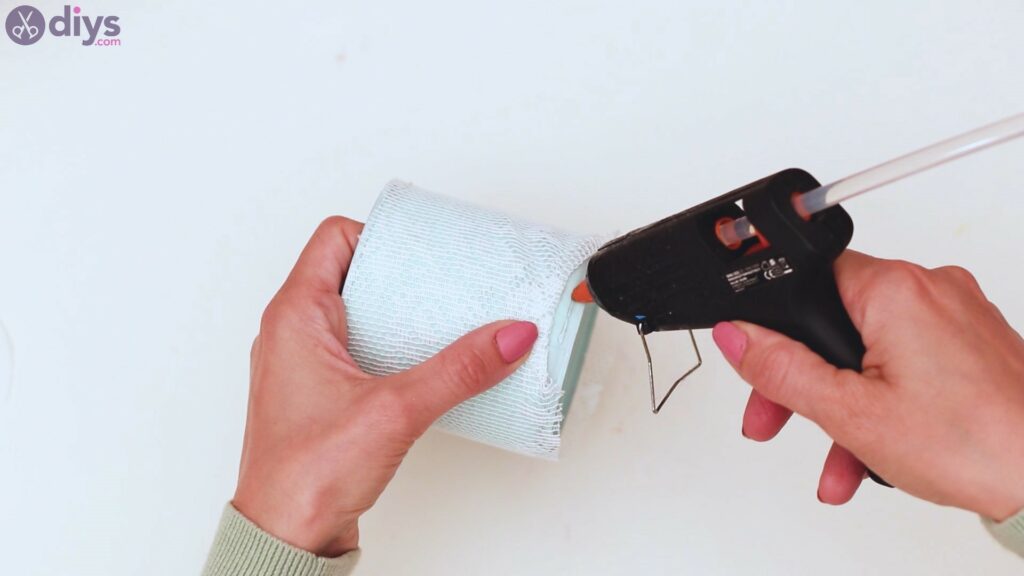
When you’ve finally reached around with applying the lace, get yourscissors out and straighten out the edge of the material.
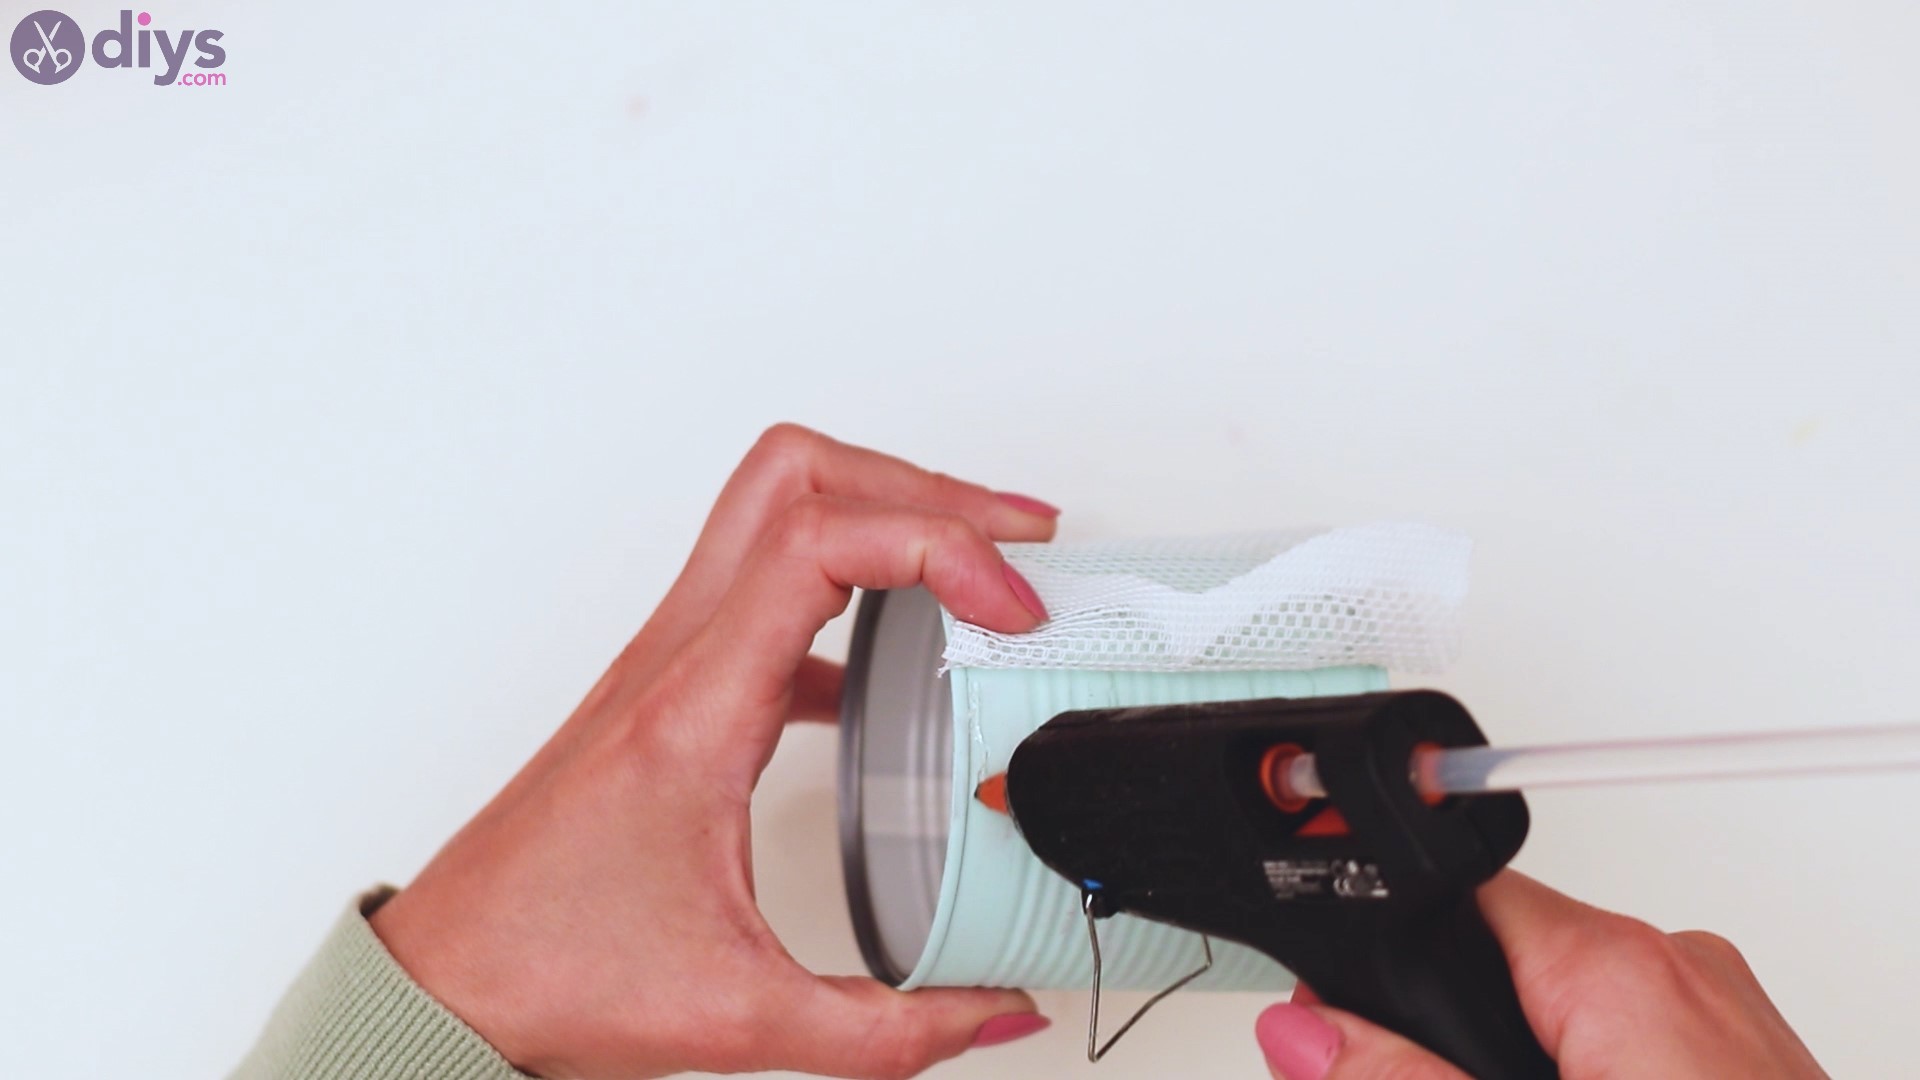
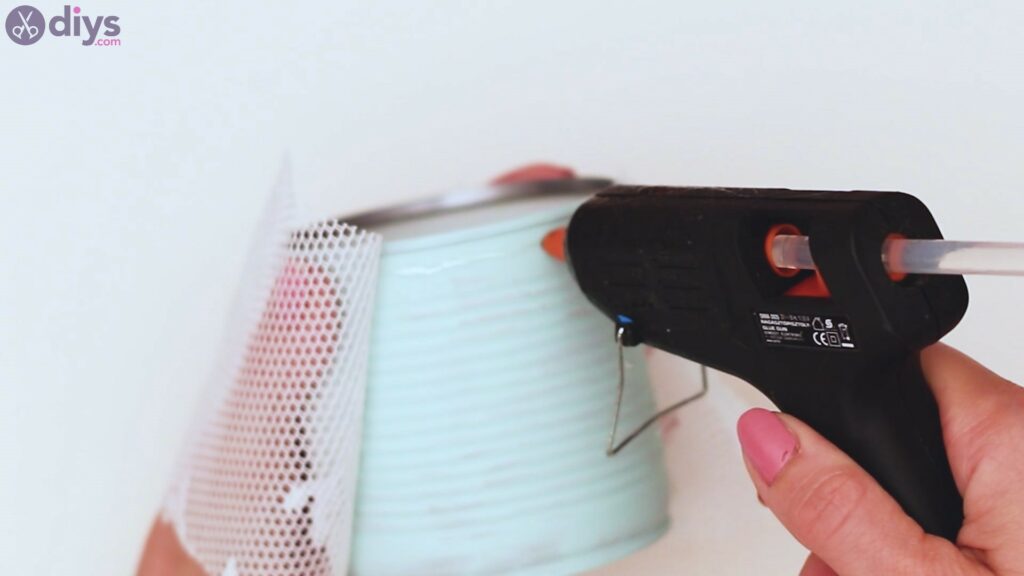
Next, you want to start applying hot glue to the bottom of the tin can too!

It’s going to be the same mechanics here – apply a bit of hot glue and press the lace into it. You have an extra job, however – make sure the lace is straightened out and pulled slightly before pressing it into the glue.

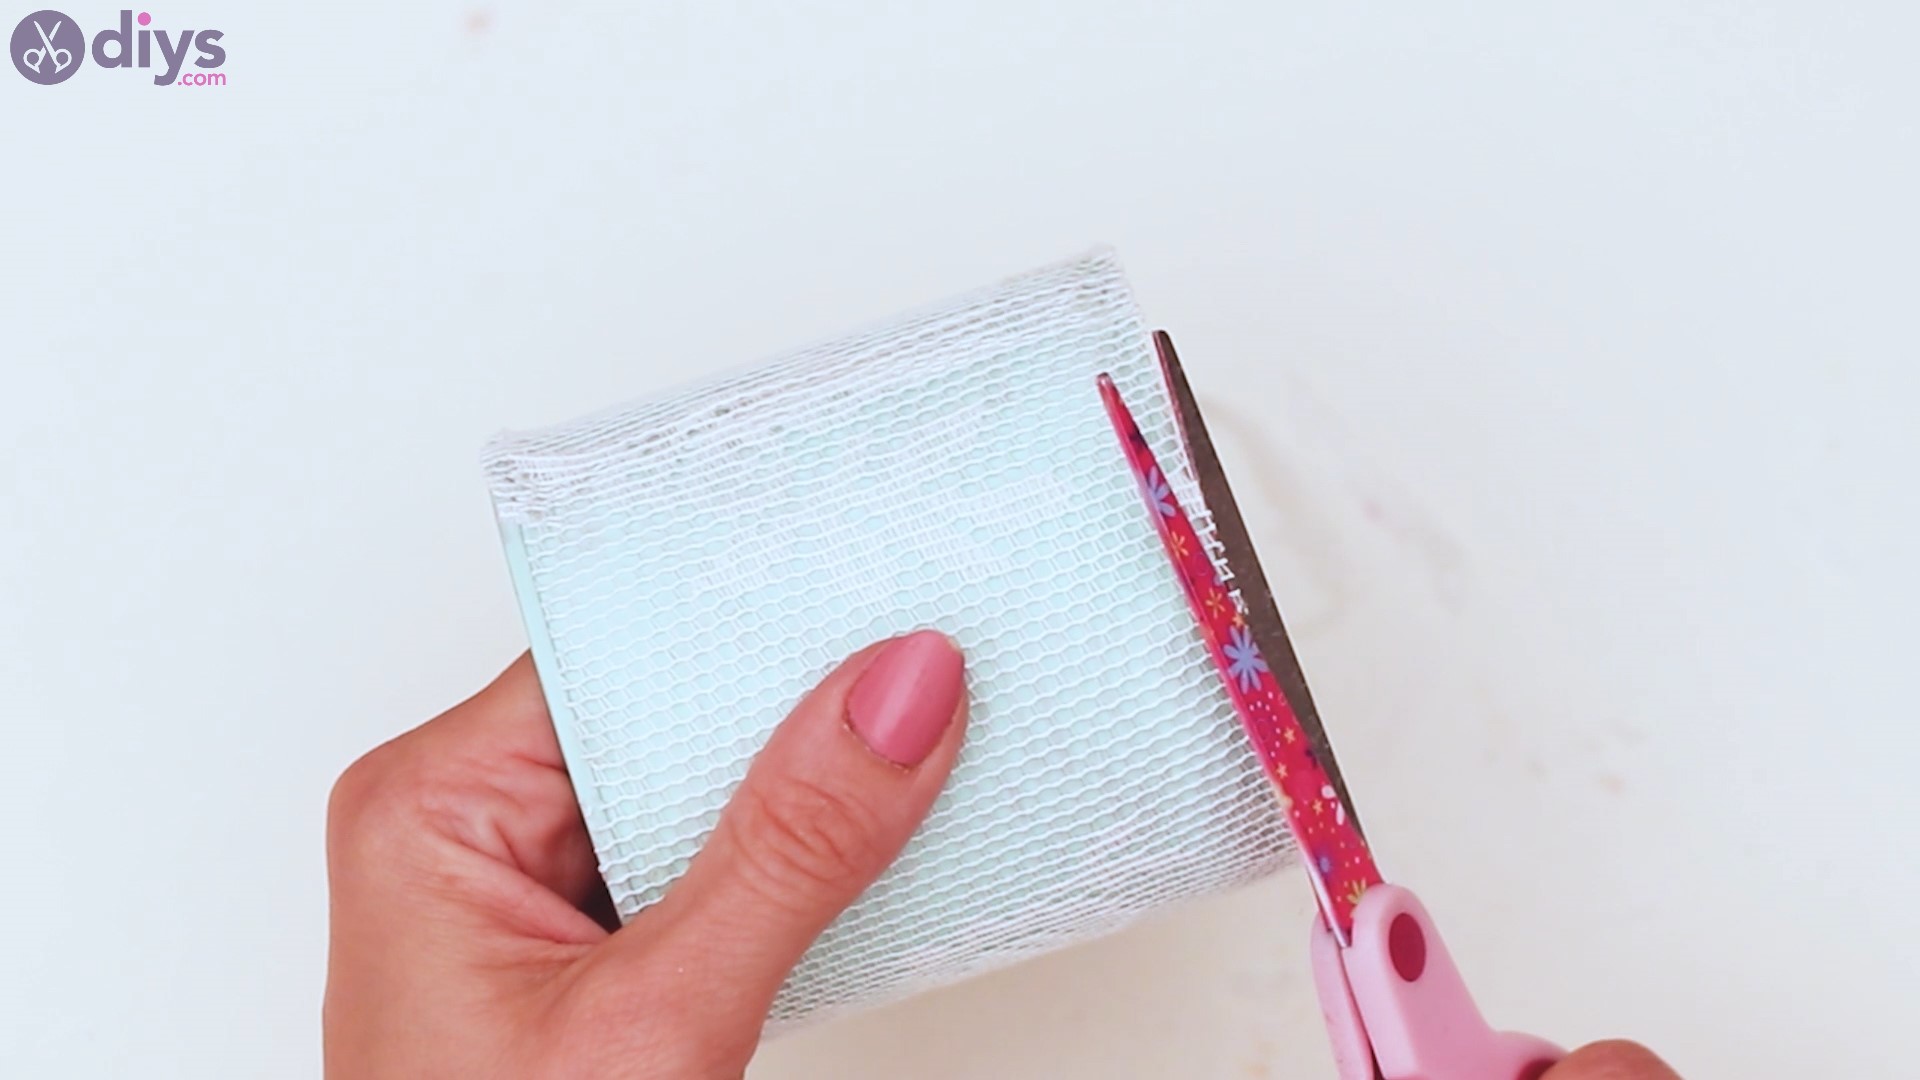
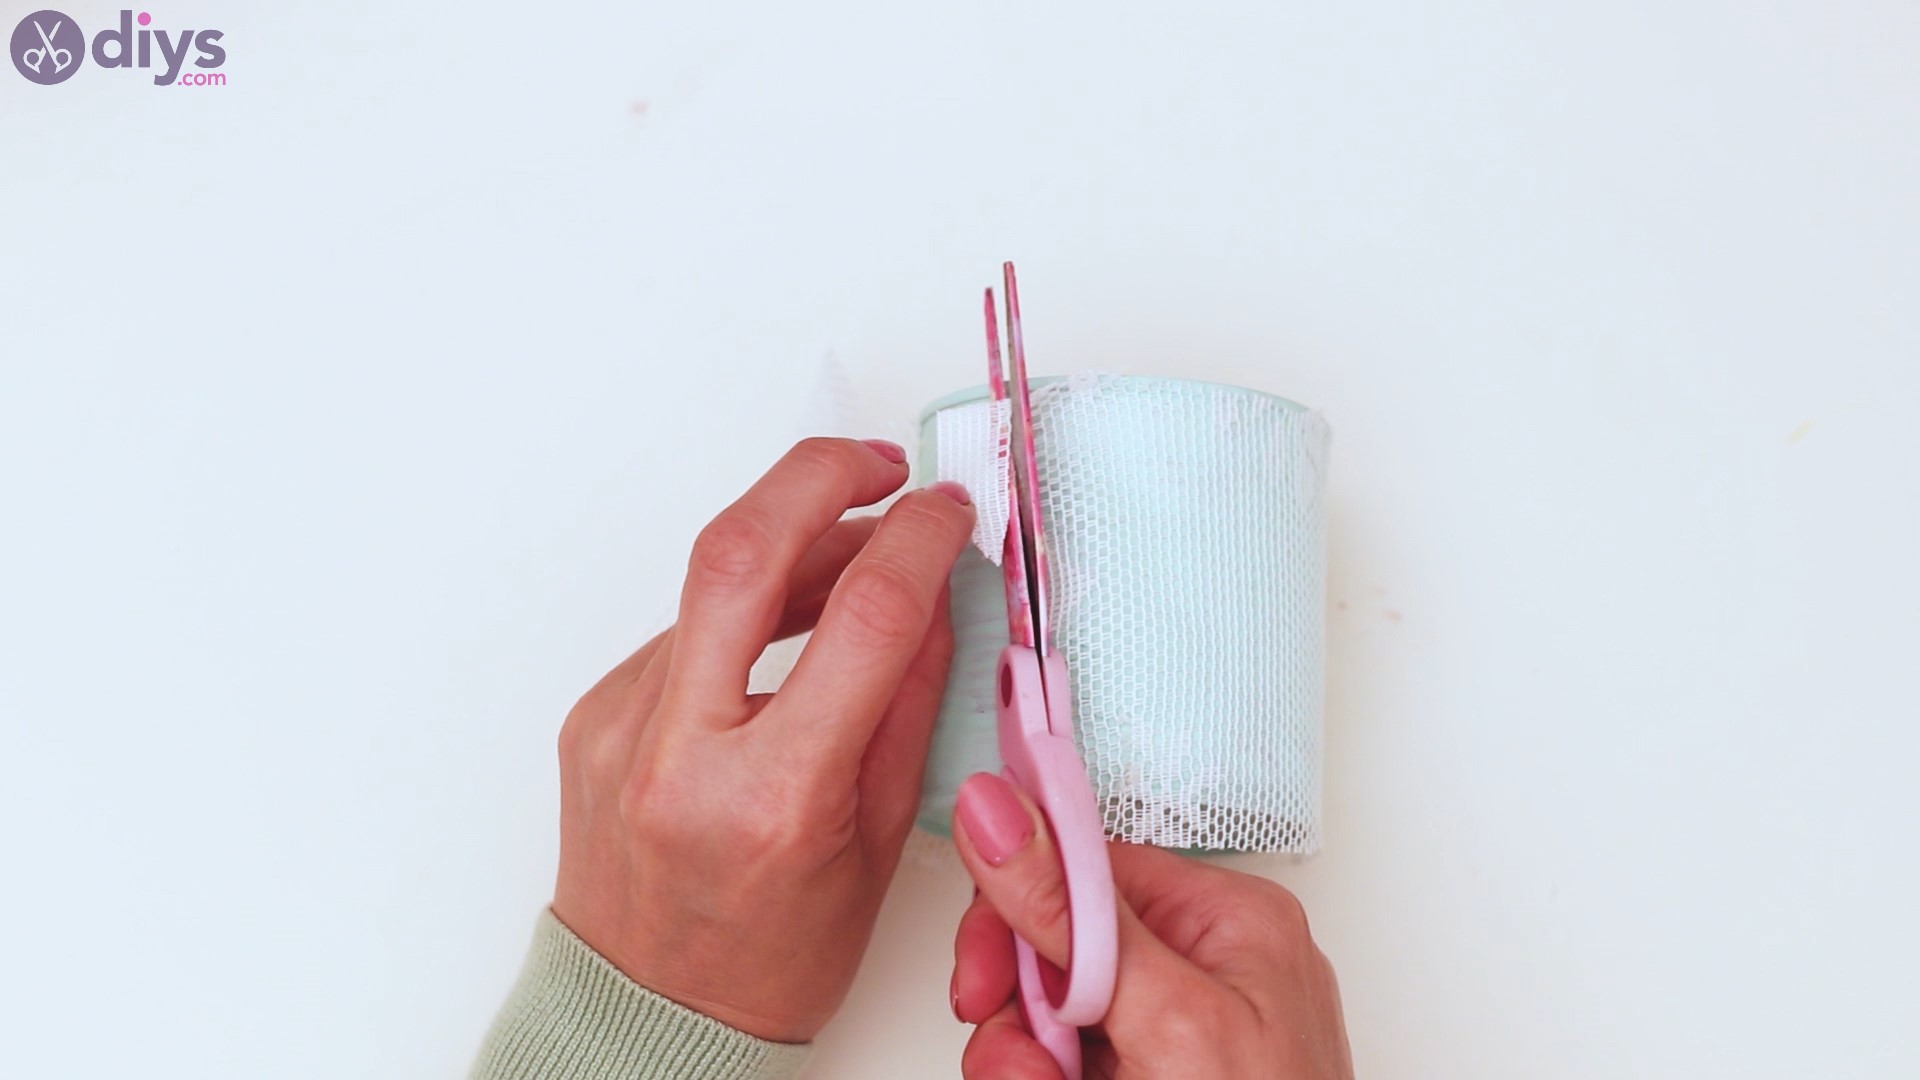
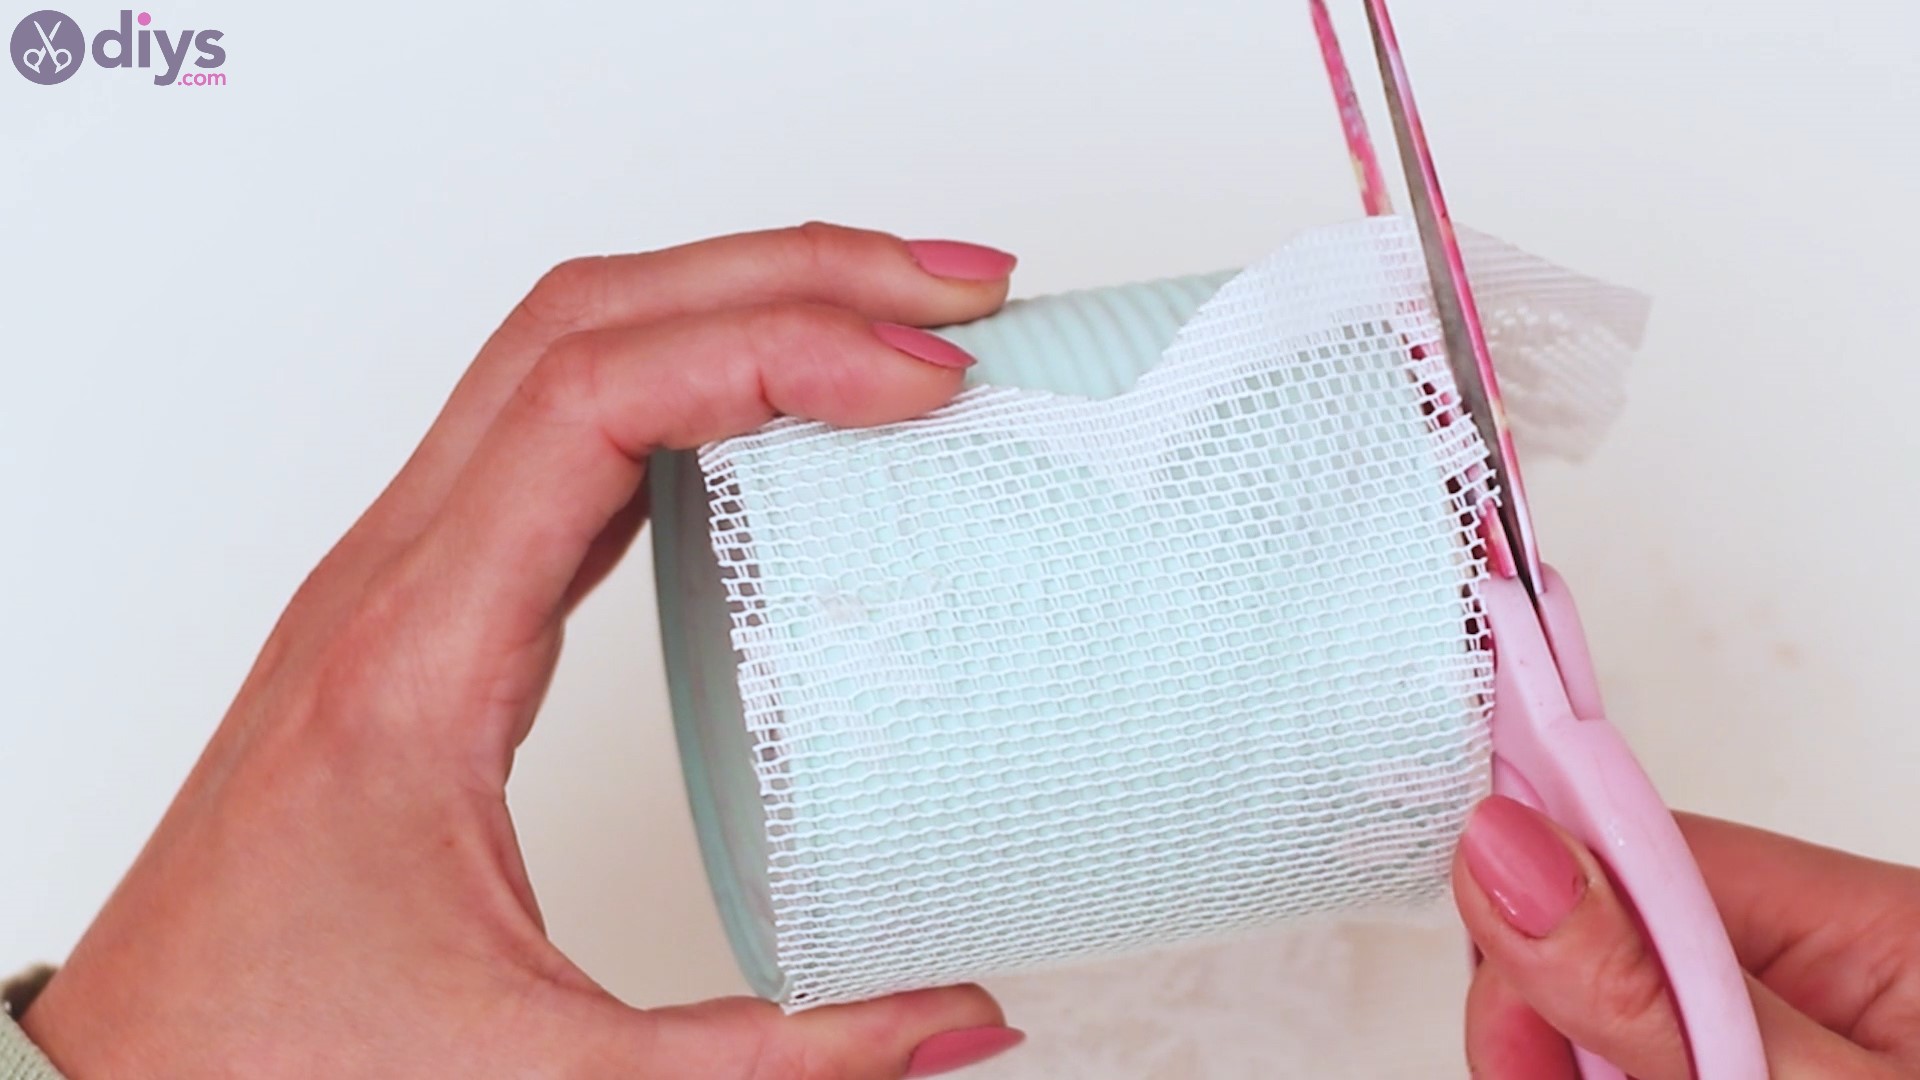
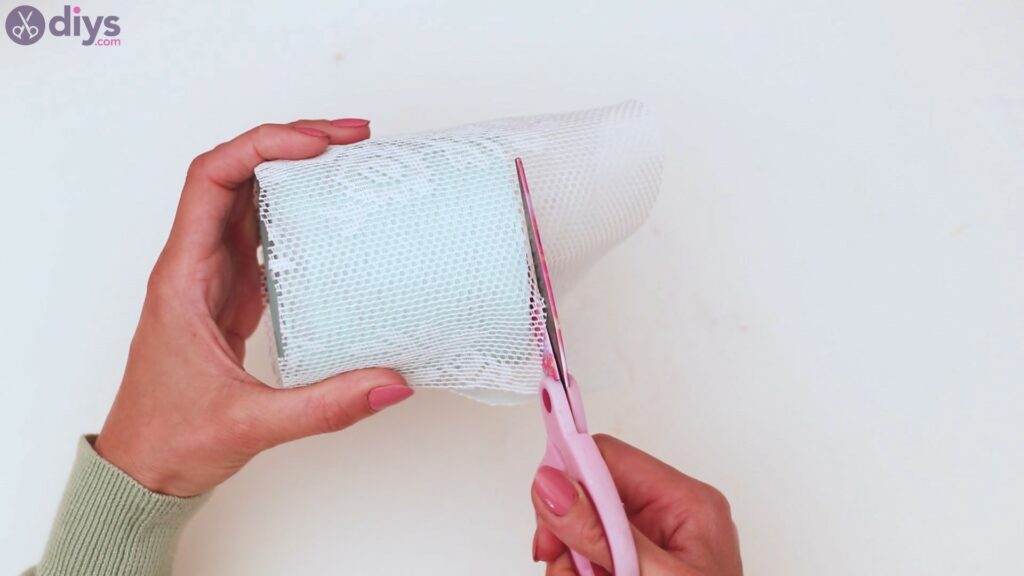
Step 4: Cut the excess lace
Before we move on, it’s time you made sure the lace looks good. So, get thescissors and cut off any excess lace resulted after gluing it to the tin can. Any edges you can find should be trimmed down.
Also, lace has a tendency to fray out, so please be careful when trimming it to include any stray threads.
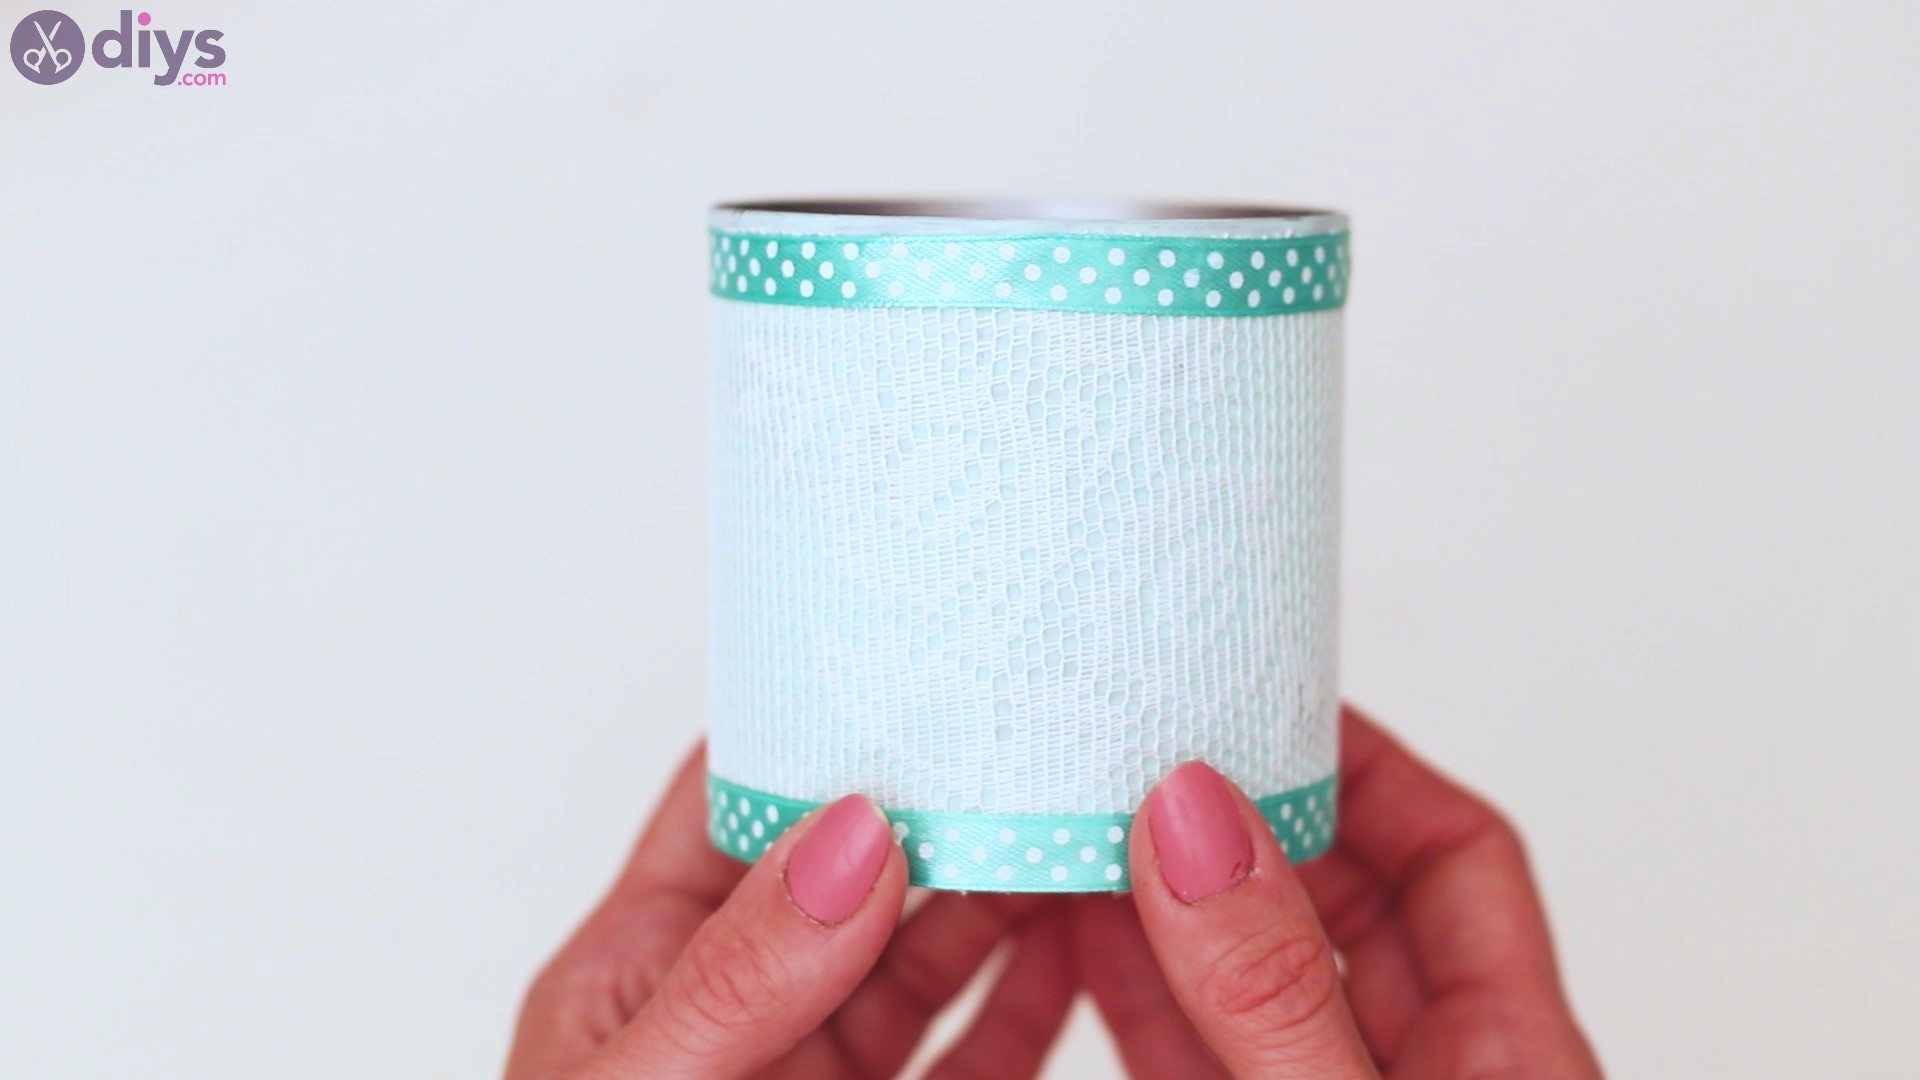
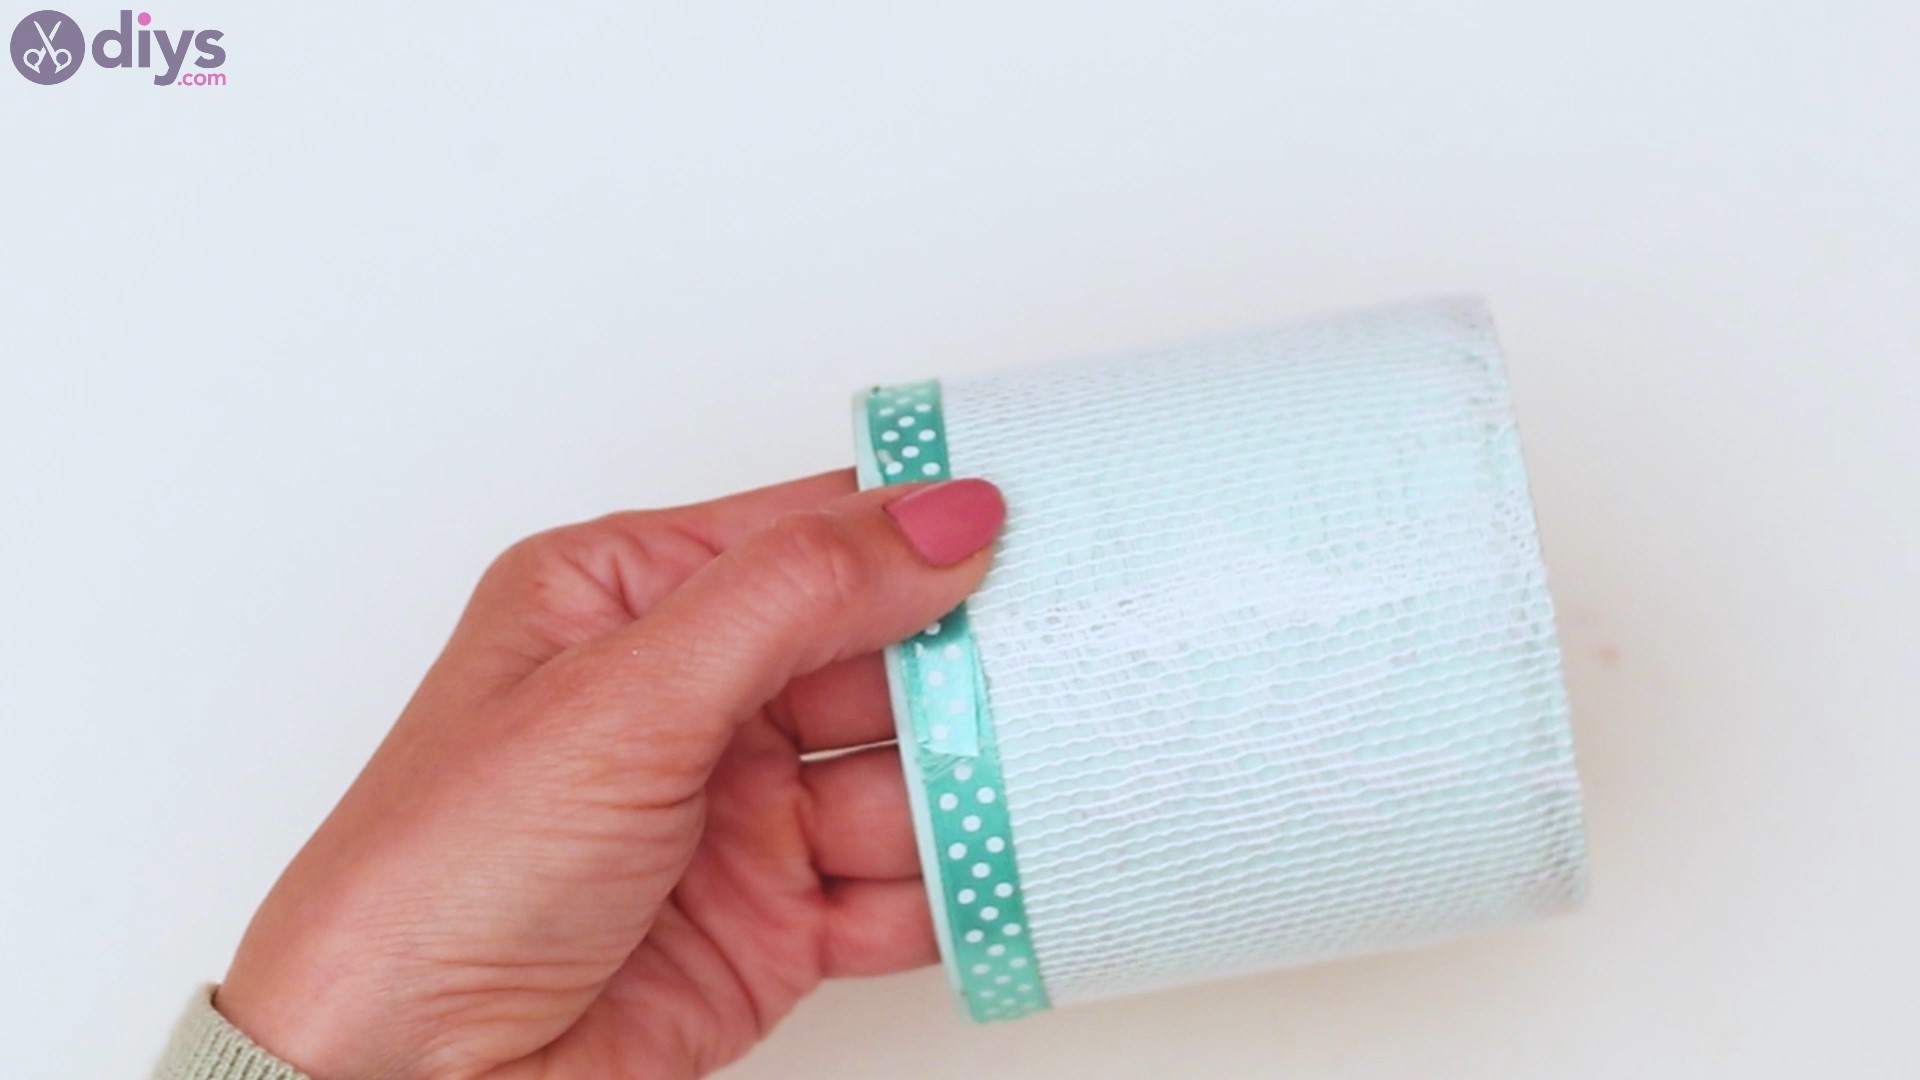
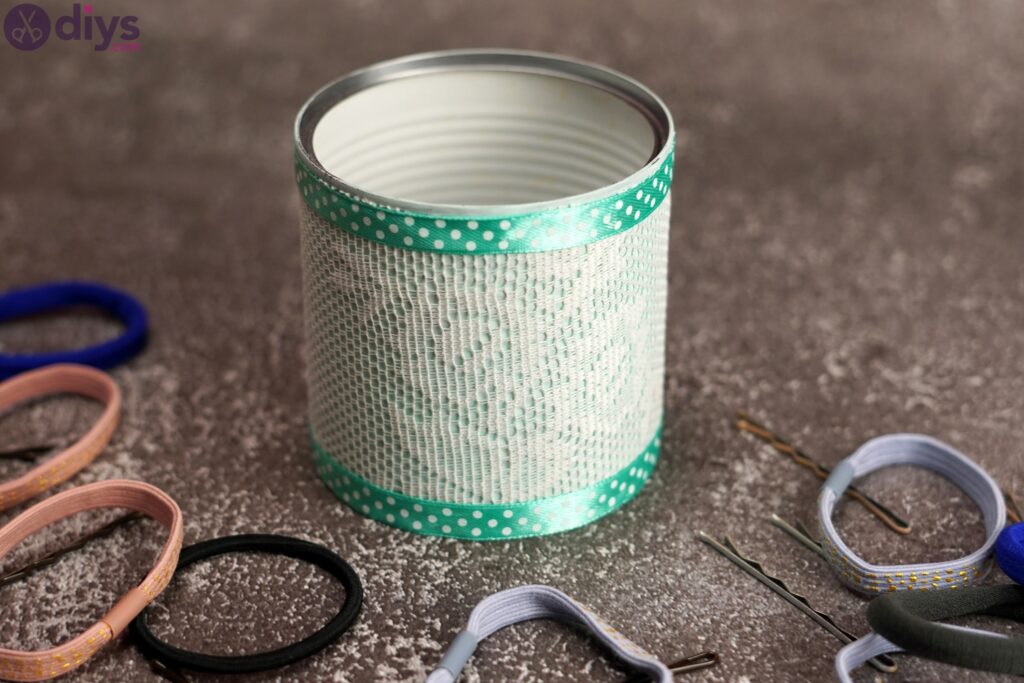
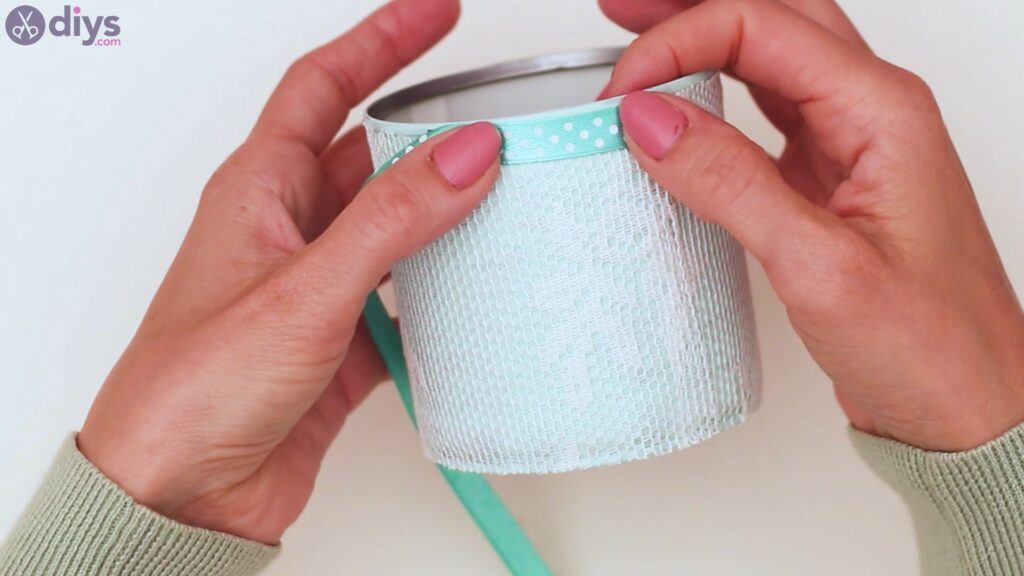
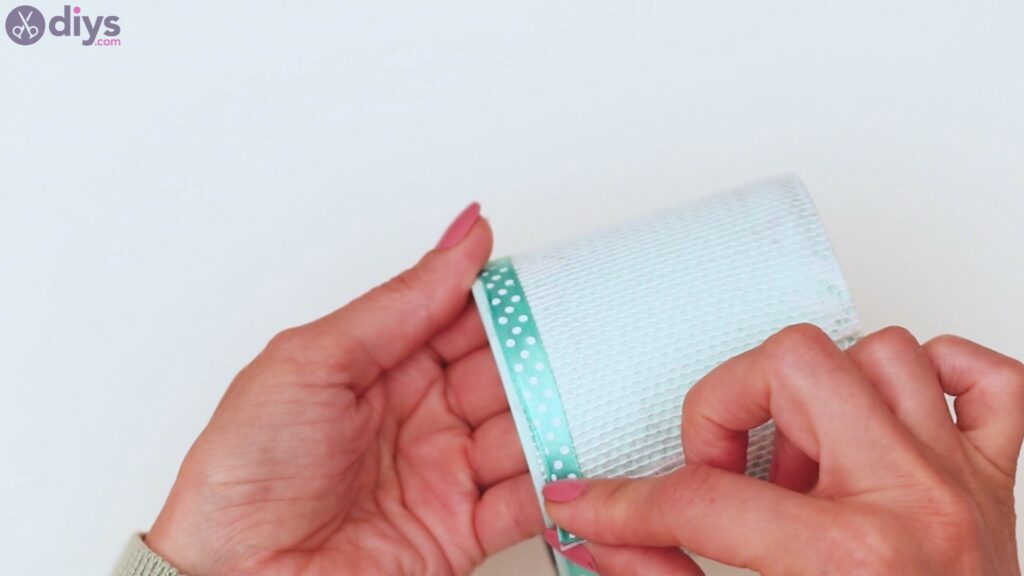
Step 5: Apply the ribbon
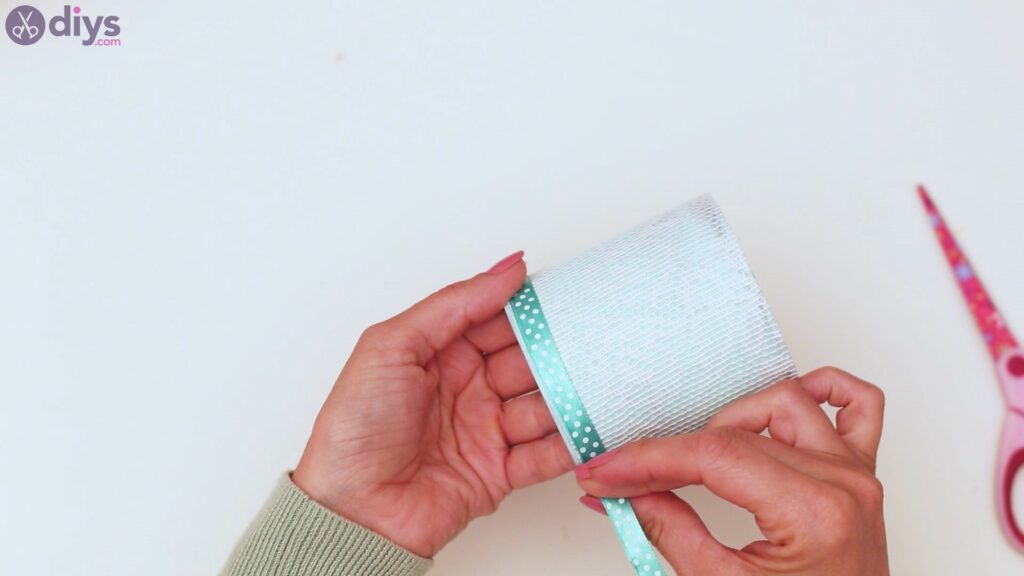
We also have the lace ribbon left on our table. So, get theribbonout and measure it around the tin can.
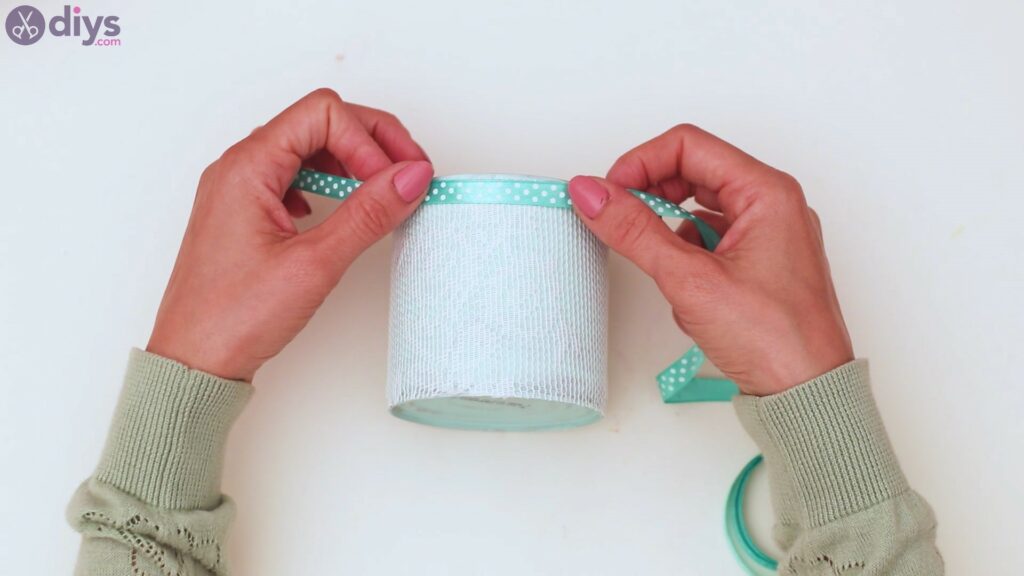
Once you know how much you need, get the scissors and cut the extra.
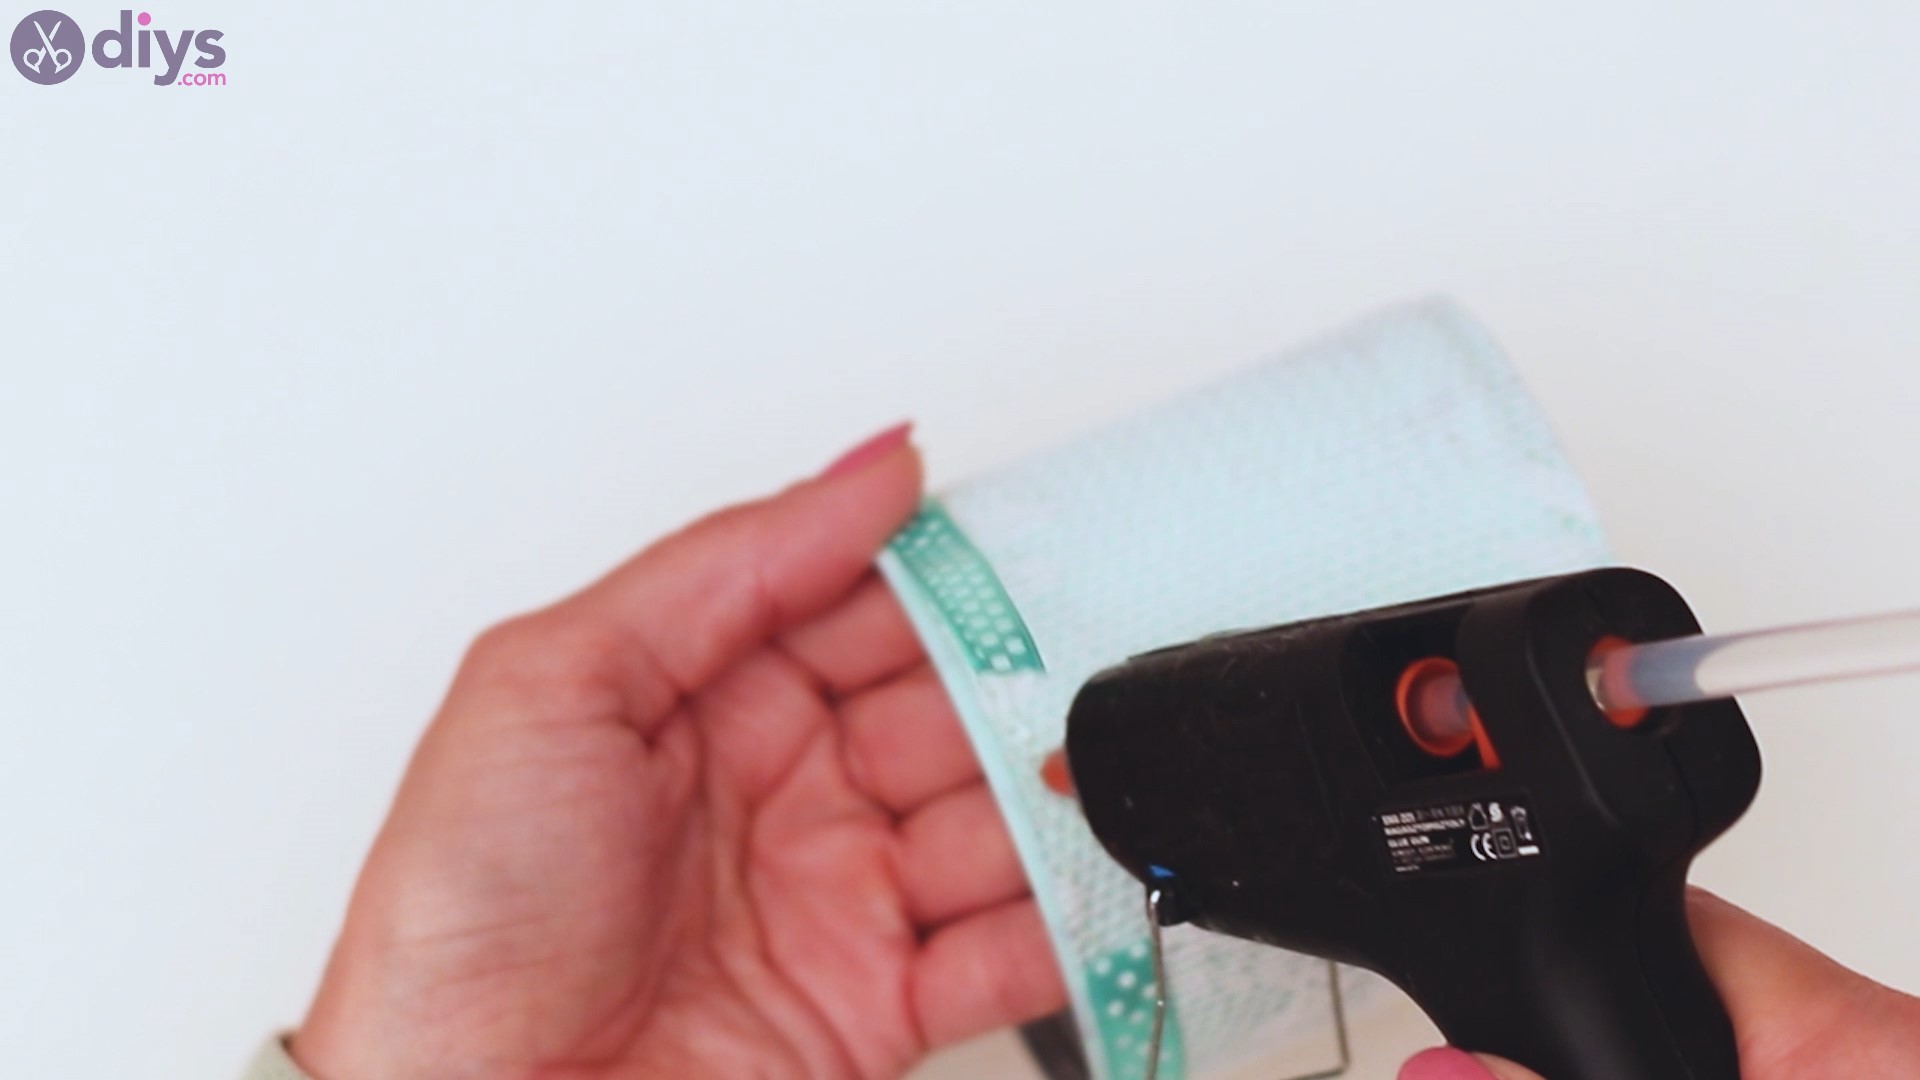
Get the glue gun once more and start applying hot glue over the lace, right beneath the edge of the tin can. Press the silk ribbon into the glue.
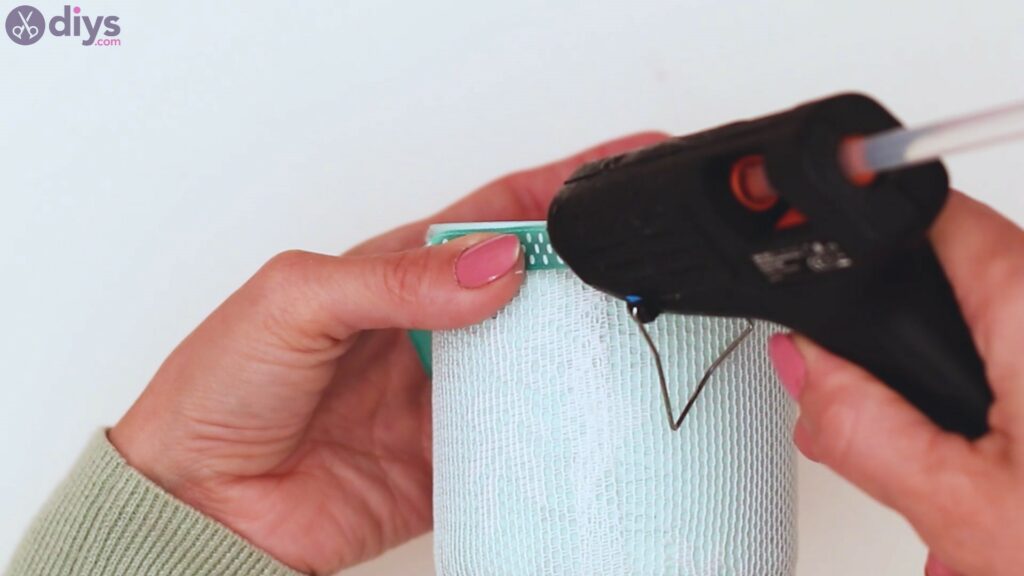
Go easy and steadily, making sure the ribbon is applied as straight as possible.
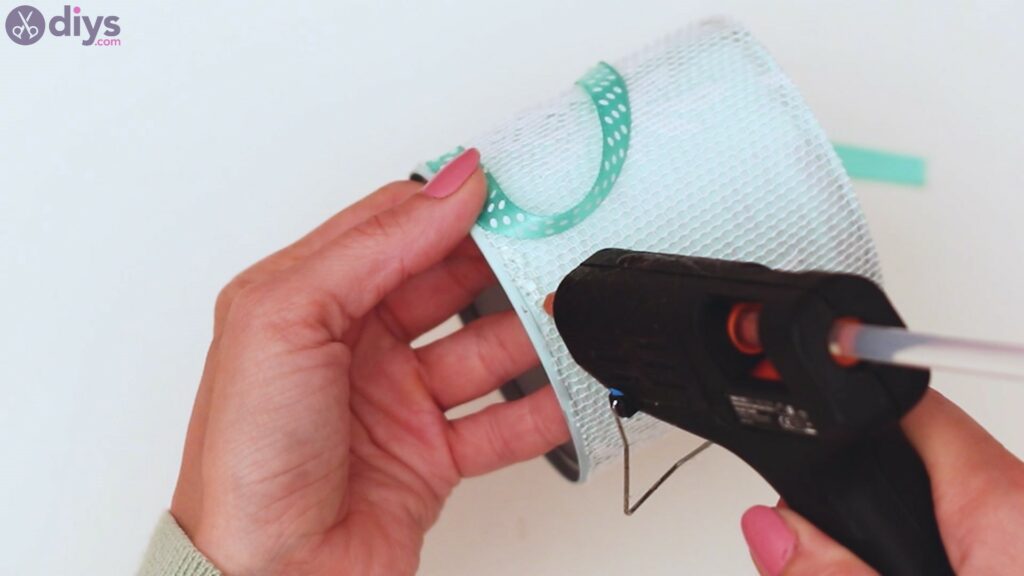
We recommend you press the ribbon into the glue in several steps, to ensure everything goes down straight. If you try to glue a bigger piece, there’s a larger risk you’ll apply it skewed.

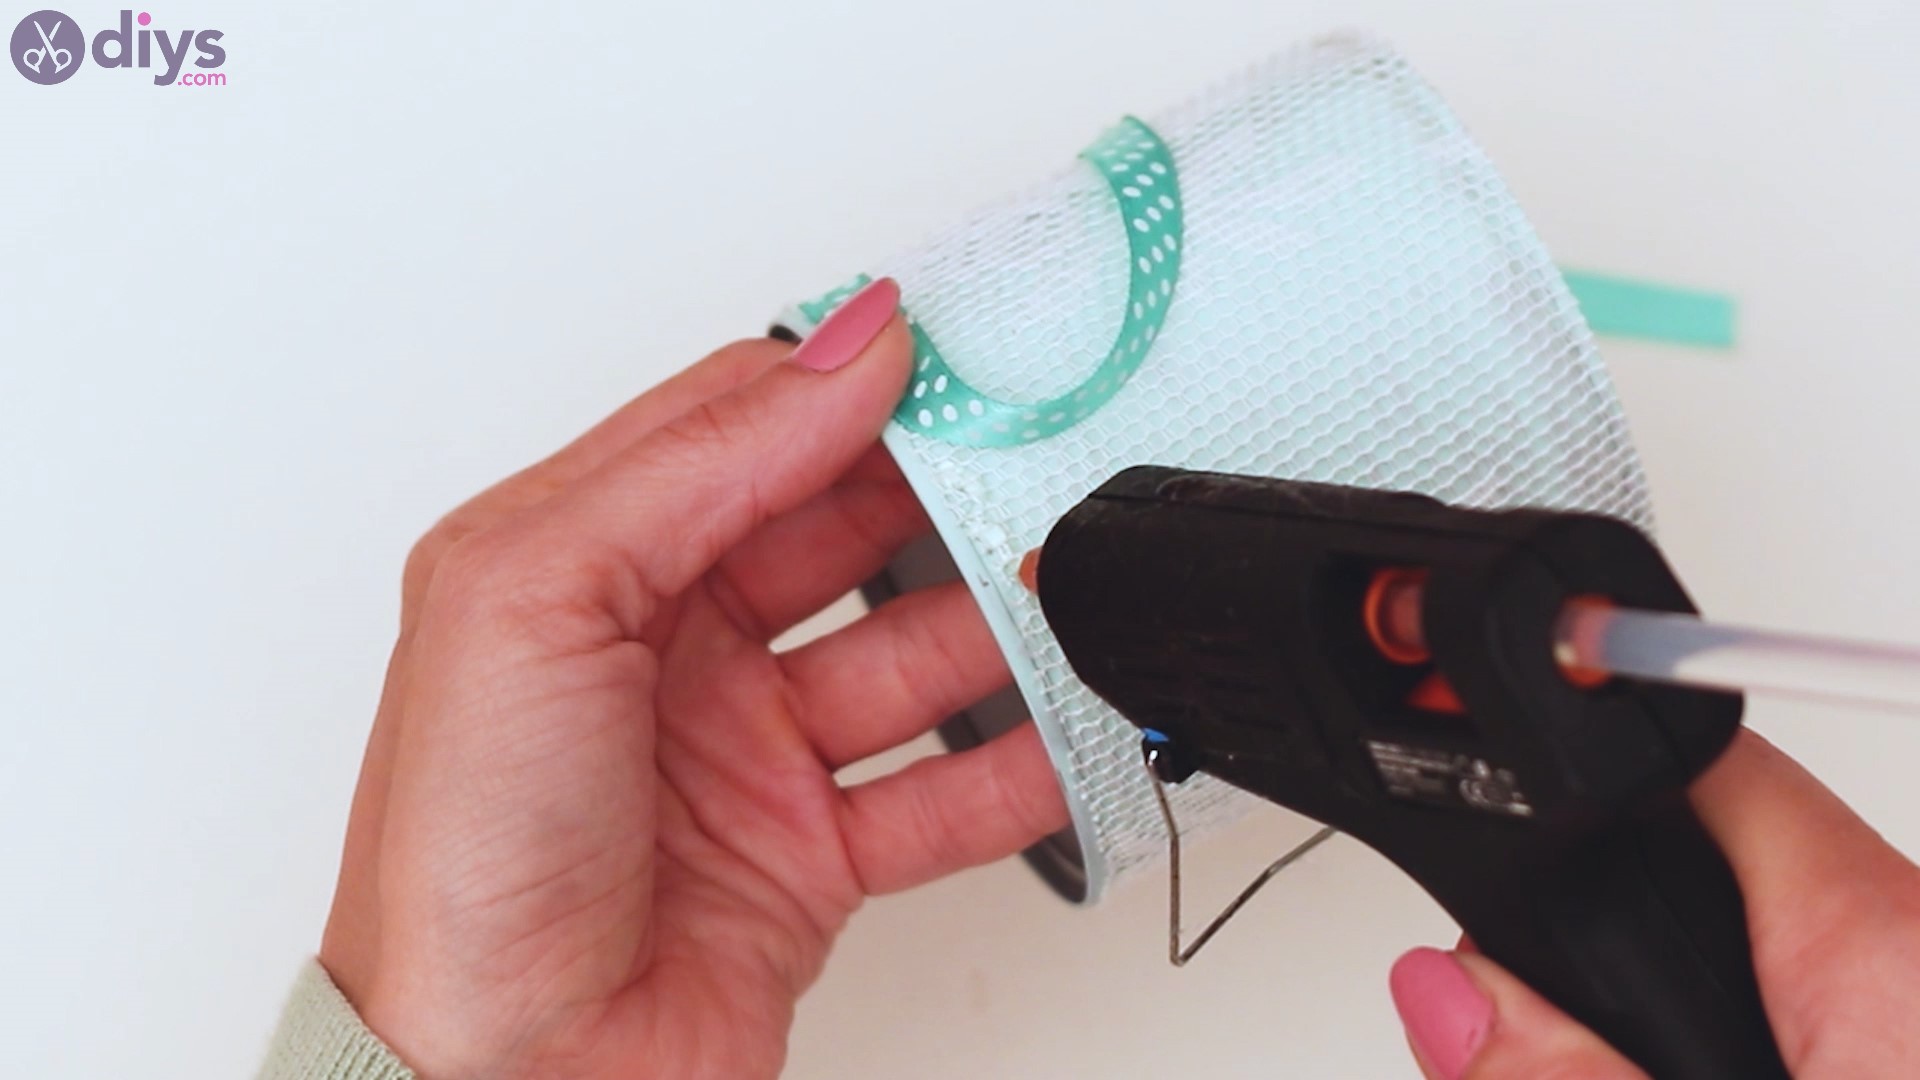
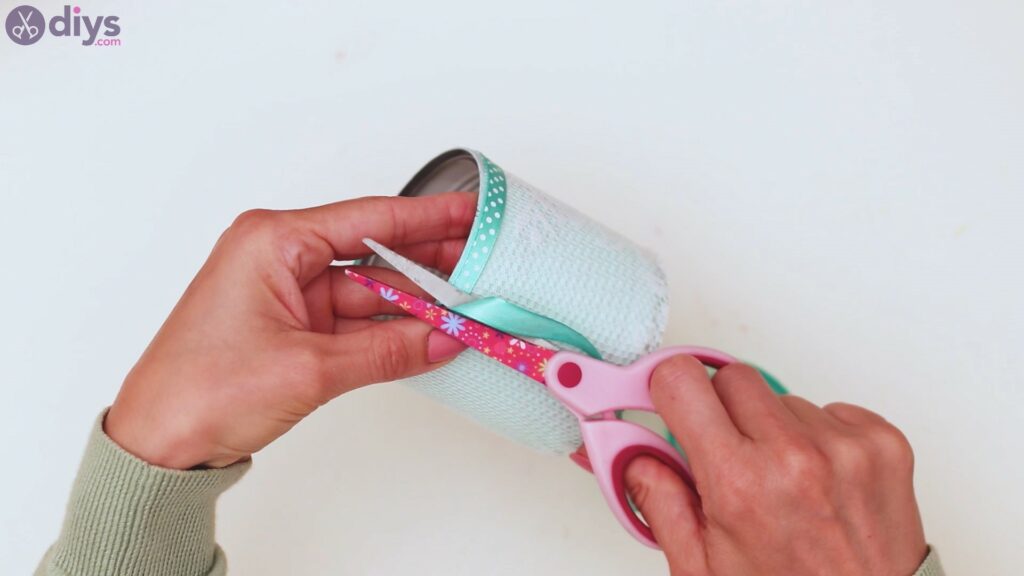
Once you reach around with the silk ribbon, place some extra glue over the edge and overlap the pieces.
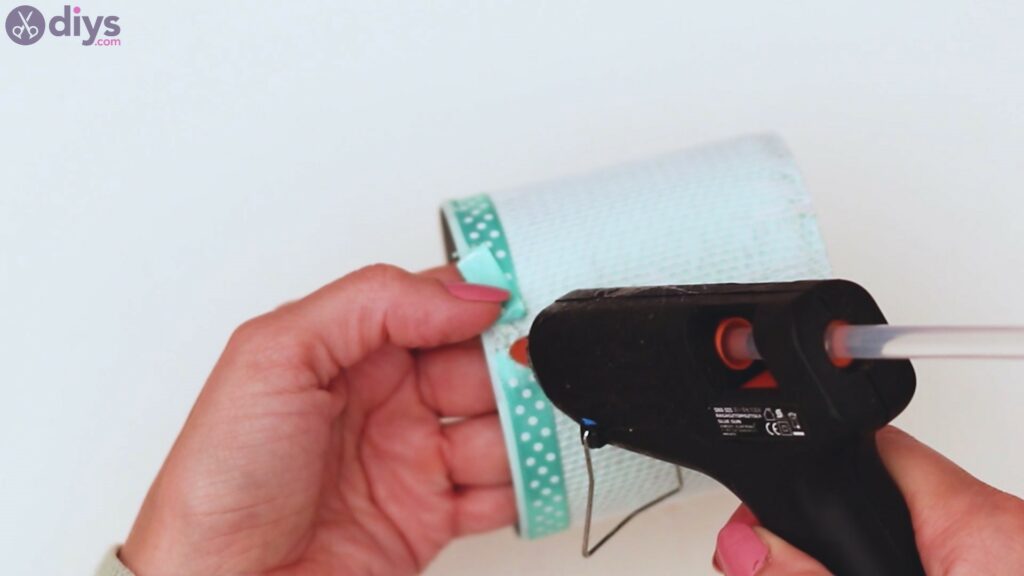

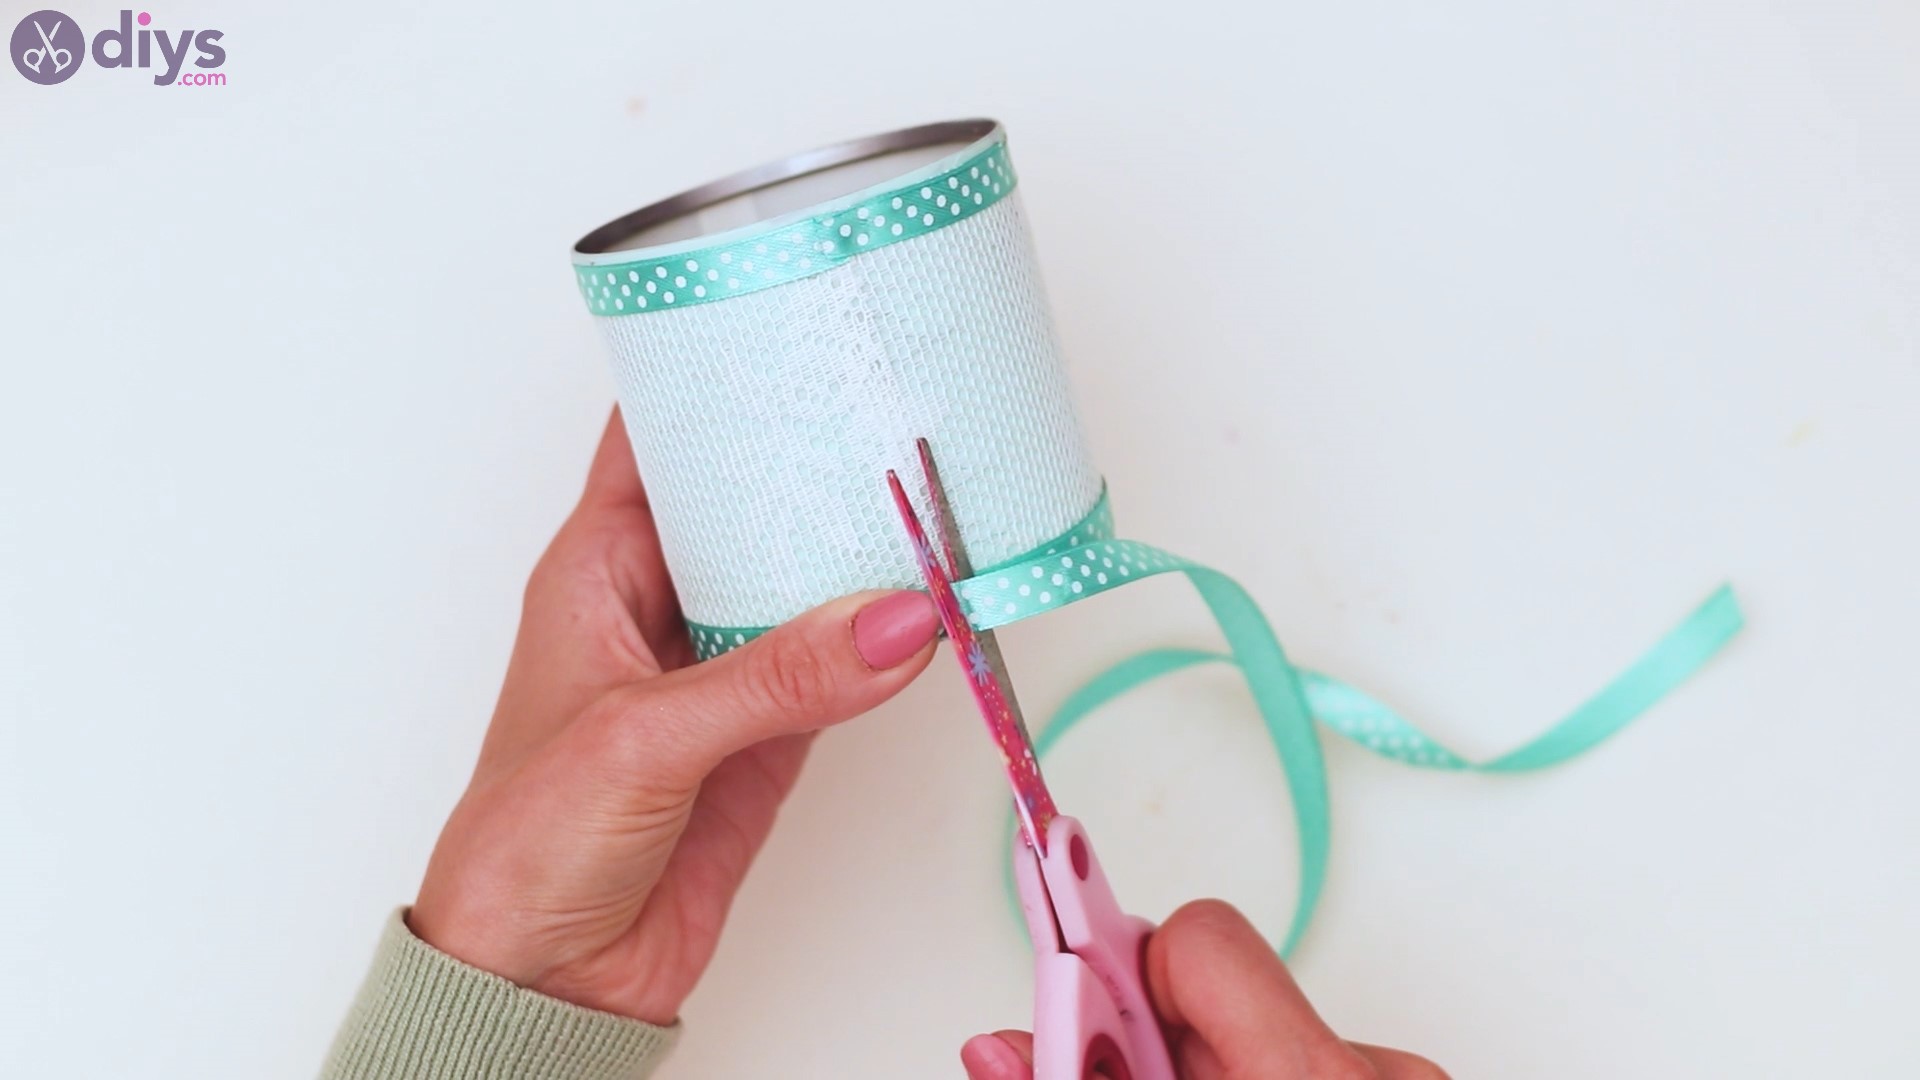
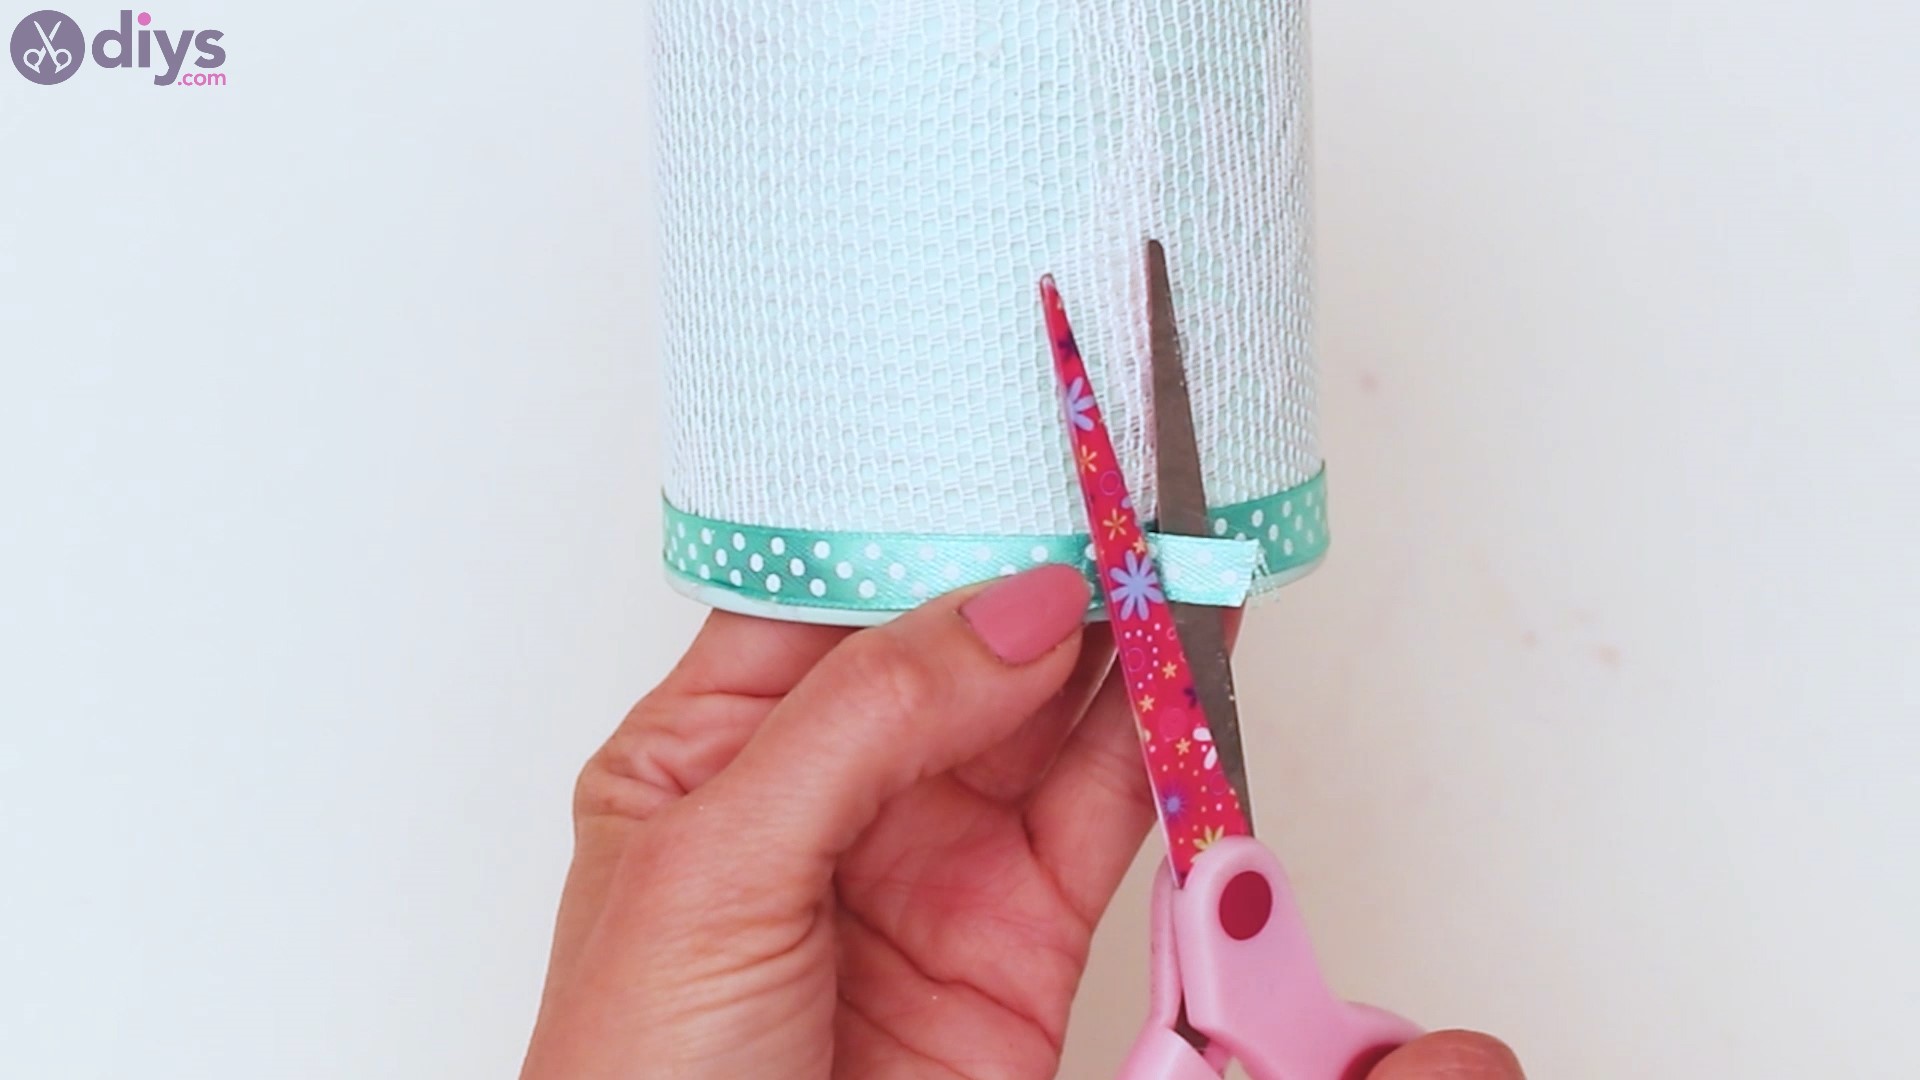
Cut off any extra silk ribbon you may have here.

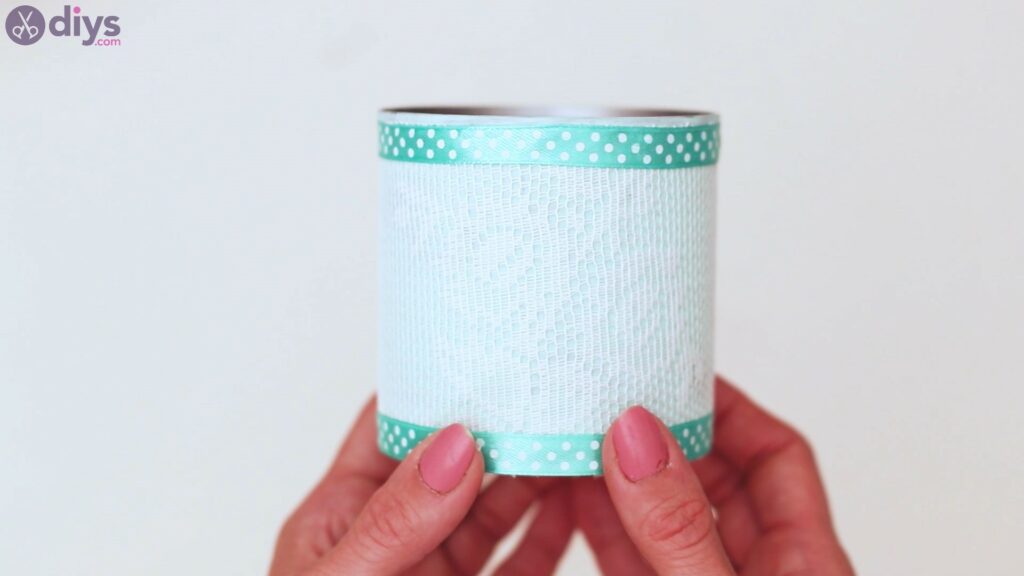
Now is the time to do the same thing for the lower area of the tin as well. So, measure out a length of the ribbon by placing it around the base of the tin can.

Apply hot glue as you go around the tin can and press the ribbon into it. Much like you did for the upper area, be careful as you go so the ribbon is applied straight. Cut off any excess material.
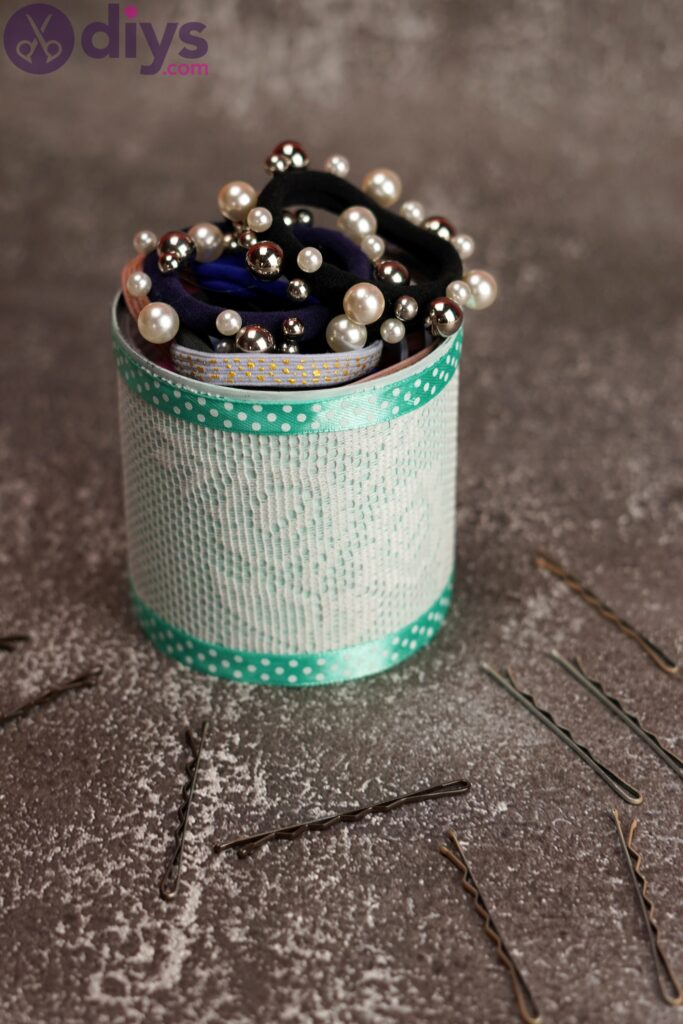
And there we go! You now have an extra container for whatever you want! It’s pretty and it will definitely look better on your desk or vanity than a plain tin can! You can obviously customize this however you see fit, but do make sure you pick shades of the same color for the paint and the silk ribbon you apply on the top and bottom.
We would love to hear back from you, so please drop us a note in the comments section. If you want to also share your creations with us, you can reach out over social media.