DIY Earrings Using Hot Glue Gun
Updated on November 19, 2025


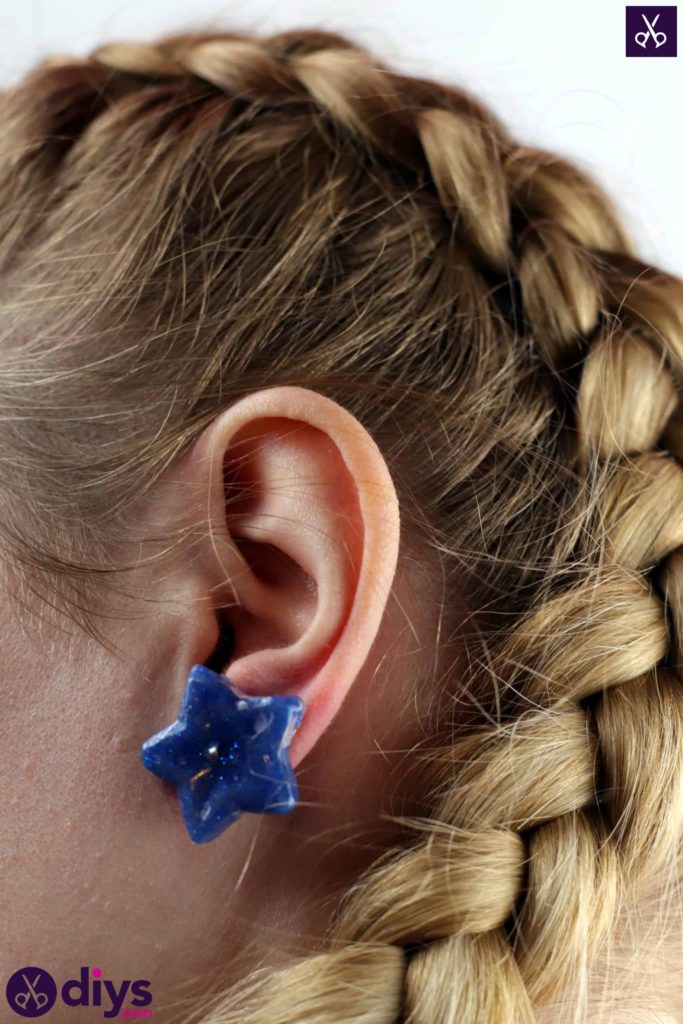
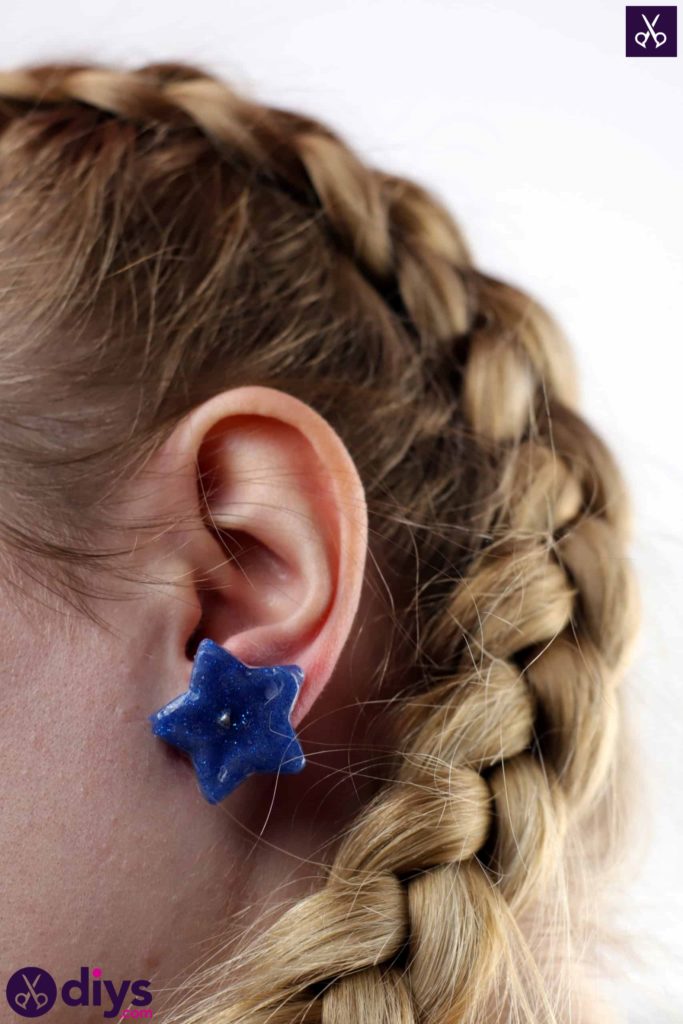
I’m always trying to come up with new ways to make DIY earrings! Our latest project was this adorable pair of star shaped earrings that are- you read that right- made from hot glue. Check out how we did it right here!
Check out these step by step instructions complete with photos! If you’d rather follow along with a video tutorial instead of written words, scroll to the bottom of this post to find just what you’re looking for.

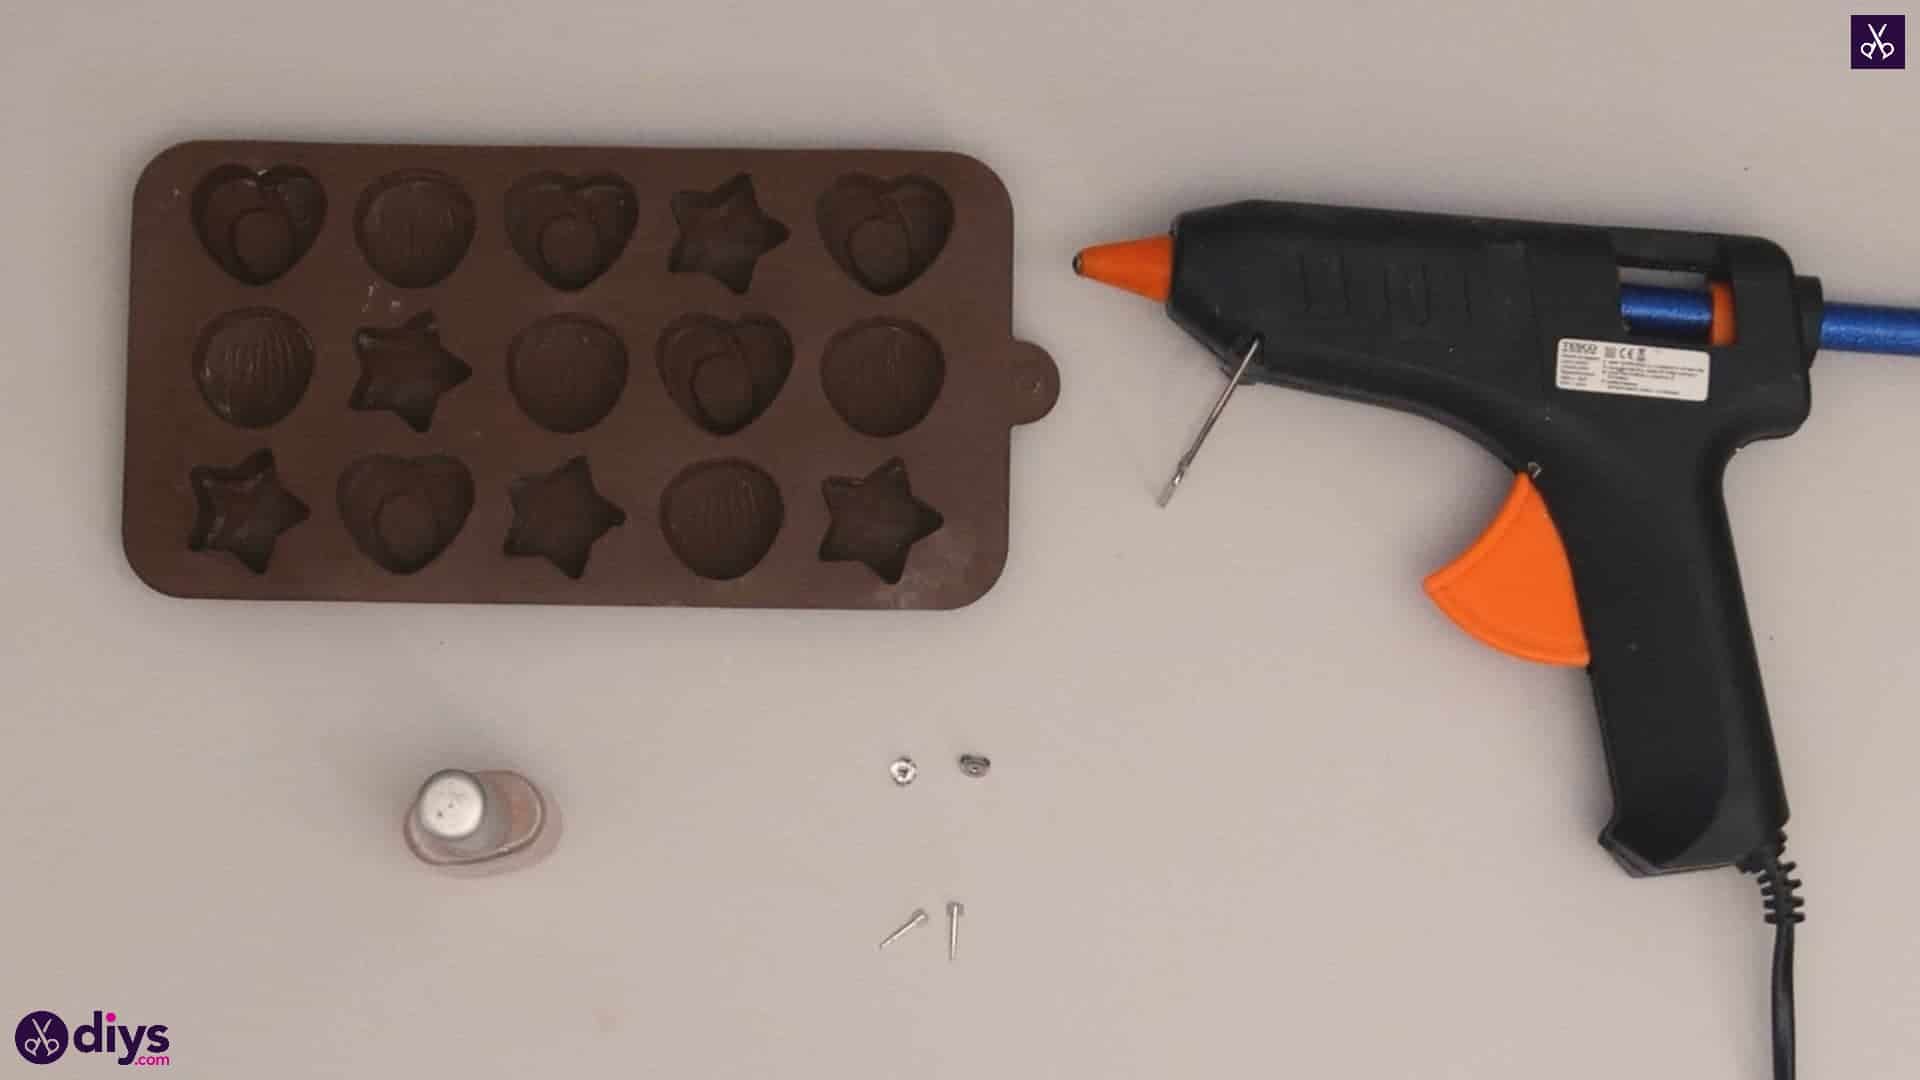
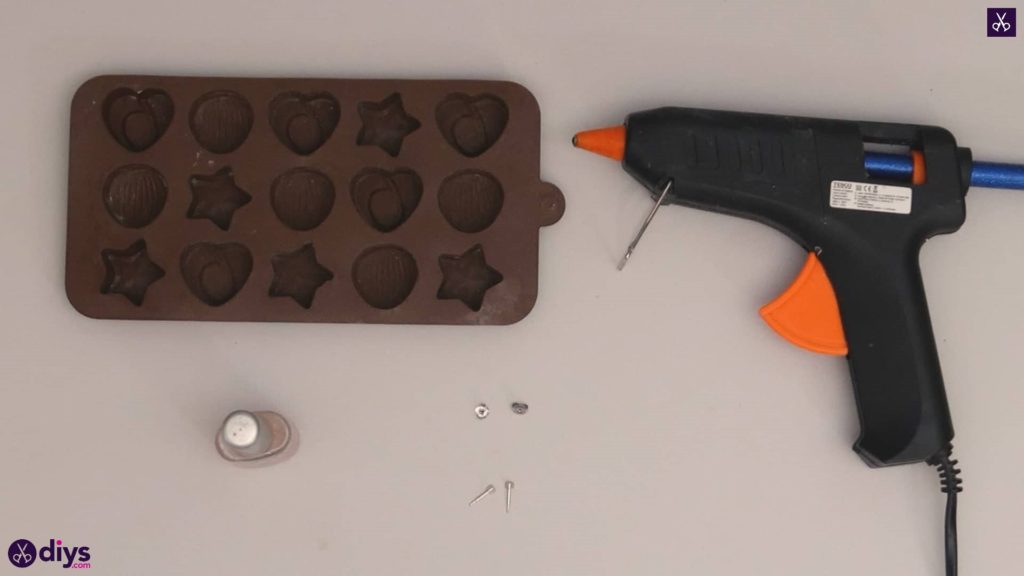
For this project, you’ll need:
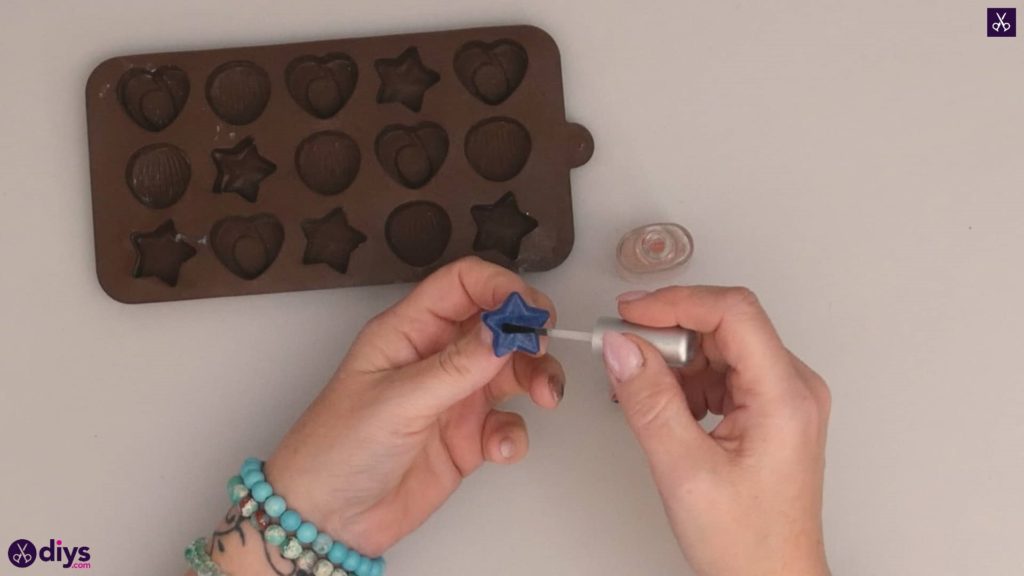
- Clear nail polish
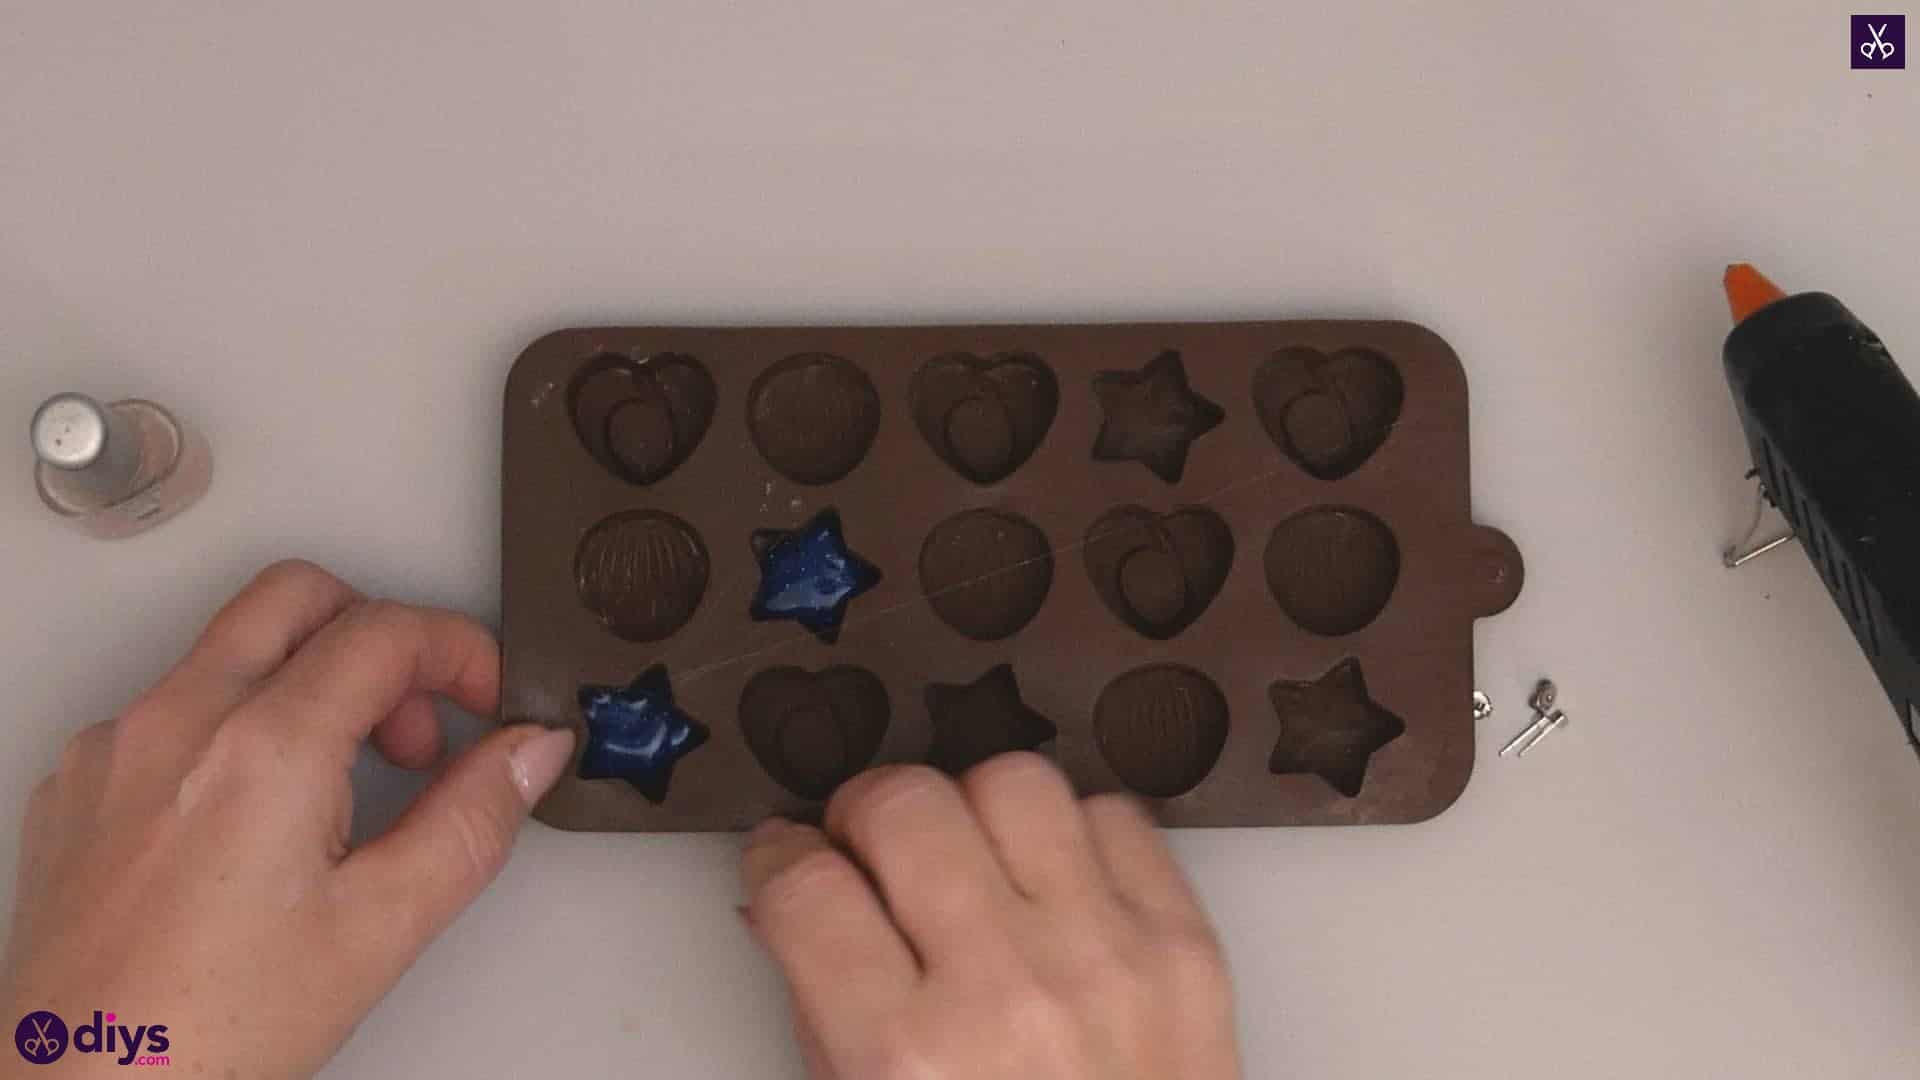
- Silicone form
- Hot glue (sparkly and/or colourful, if possible)
- Earring posts
Step 1: Gather your materials!
Check your list and get everything in front of you.
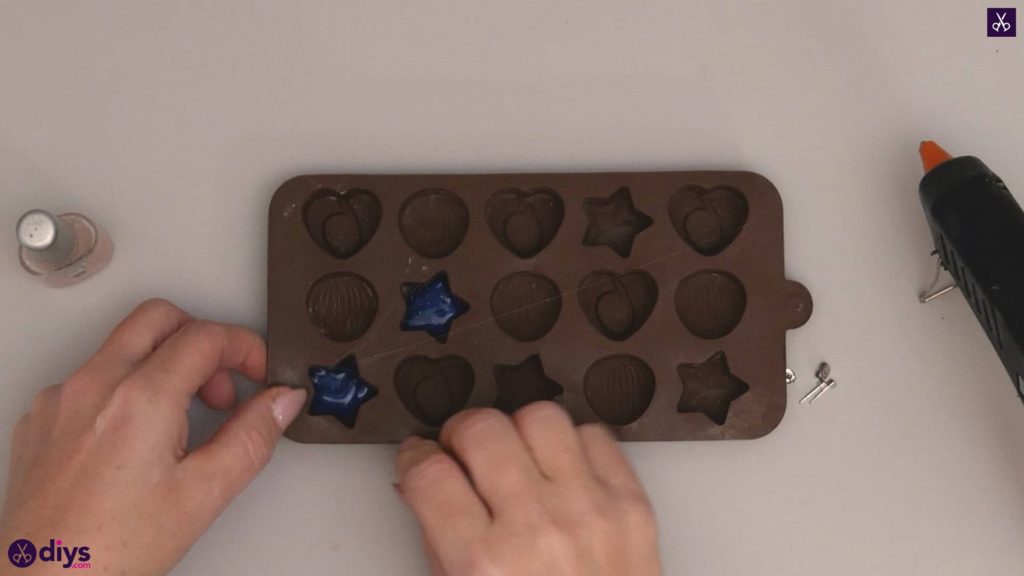
Step 2: get your gun ready
Heat your glue gun and put in your stick of glue; I chose a fun option from my local craft store that was blue and filled with glitter. Once the glue has reached melting point, fill two of your star shaped silicone form spots with glue. You want to fill it about three quarters of the way but not completely to the top. Once you’ve filled the shapes with as much glue as you want, quickly tap the form on the table top to even things out and then, while the glue is still wet and malleable, use the end of a pencil or paintbrush to smooth and even out the surface of the glue filling the heart shapes.

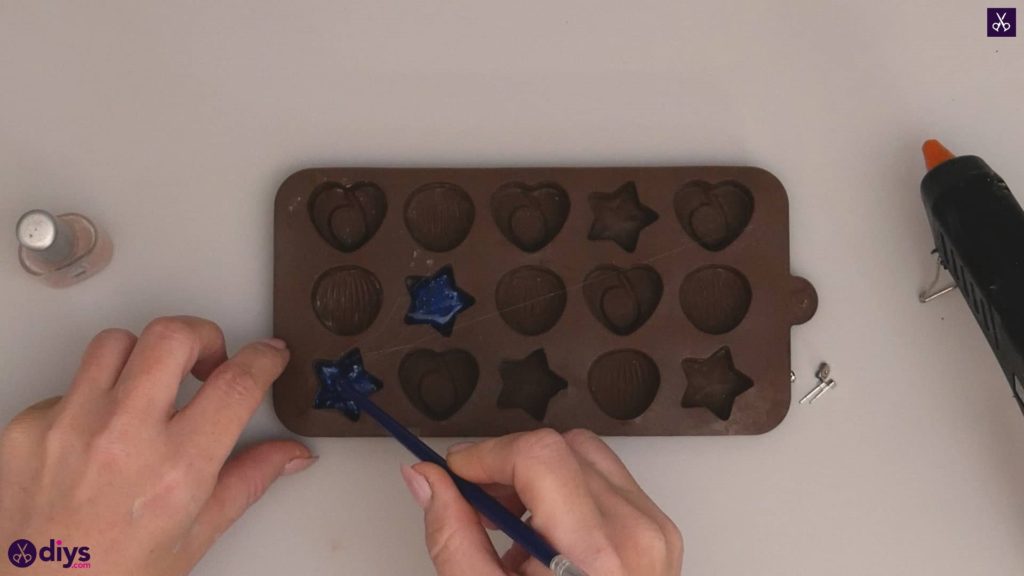
Step 3: add fixtures
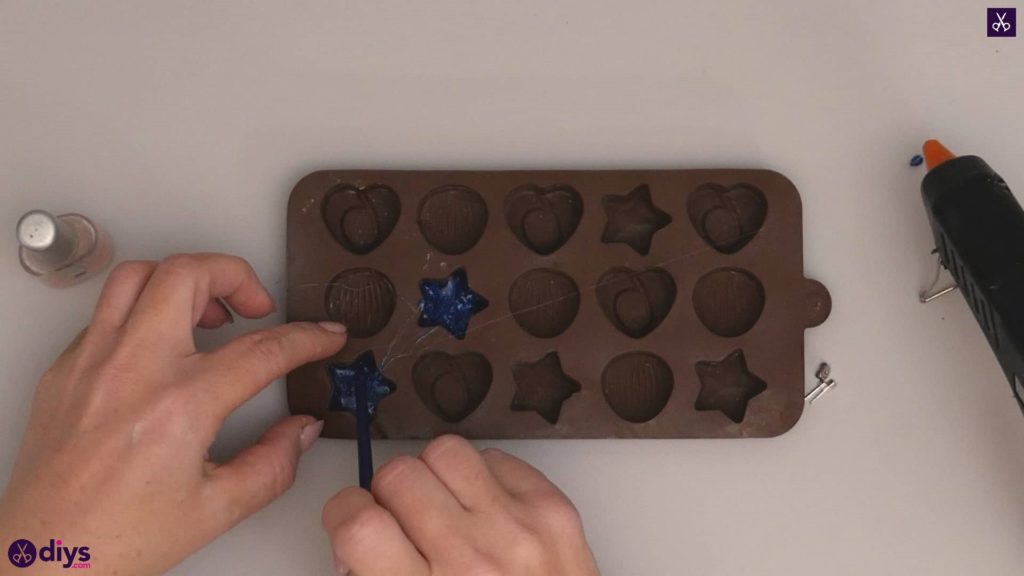
Before the glue has dried through, but once you’ve smoothed it, sink your blank earring posts right into the centre of the stars, one post in each of your two glue shapes. You can choose between making sure you don’t push the posts all the way down so they don’t show through the front, or pushing them all the way to the bottom purposely so that the silver tip shows through the front of each star like a bead, just for some cute detail. Leave the posts and the star shapes there to dry thoroughly.
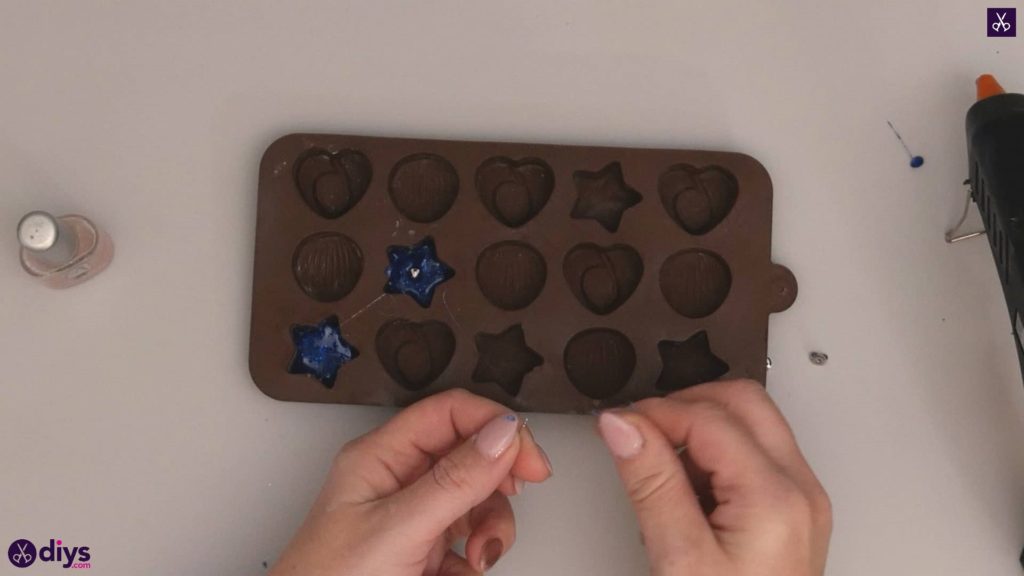

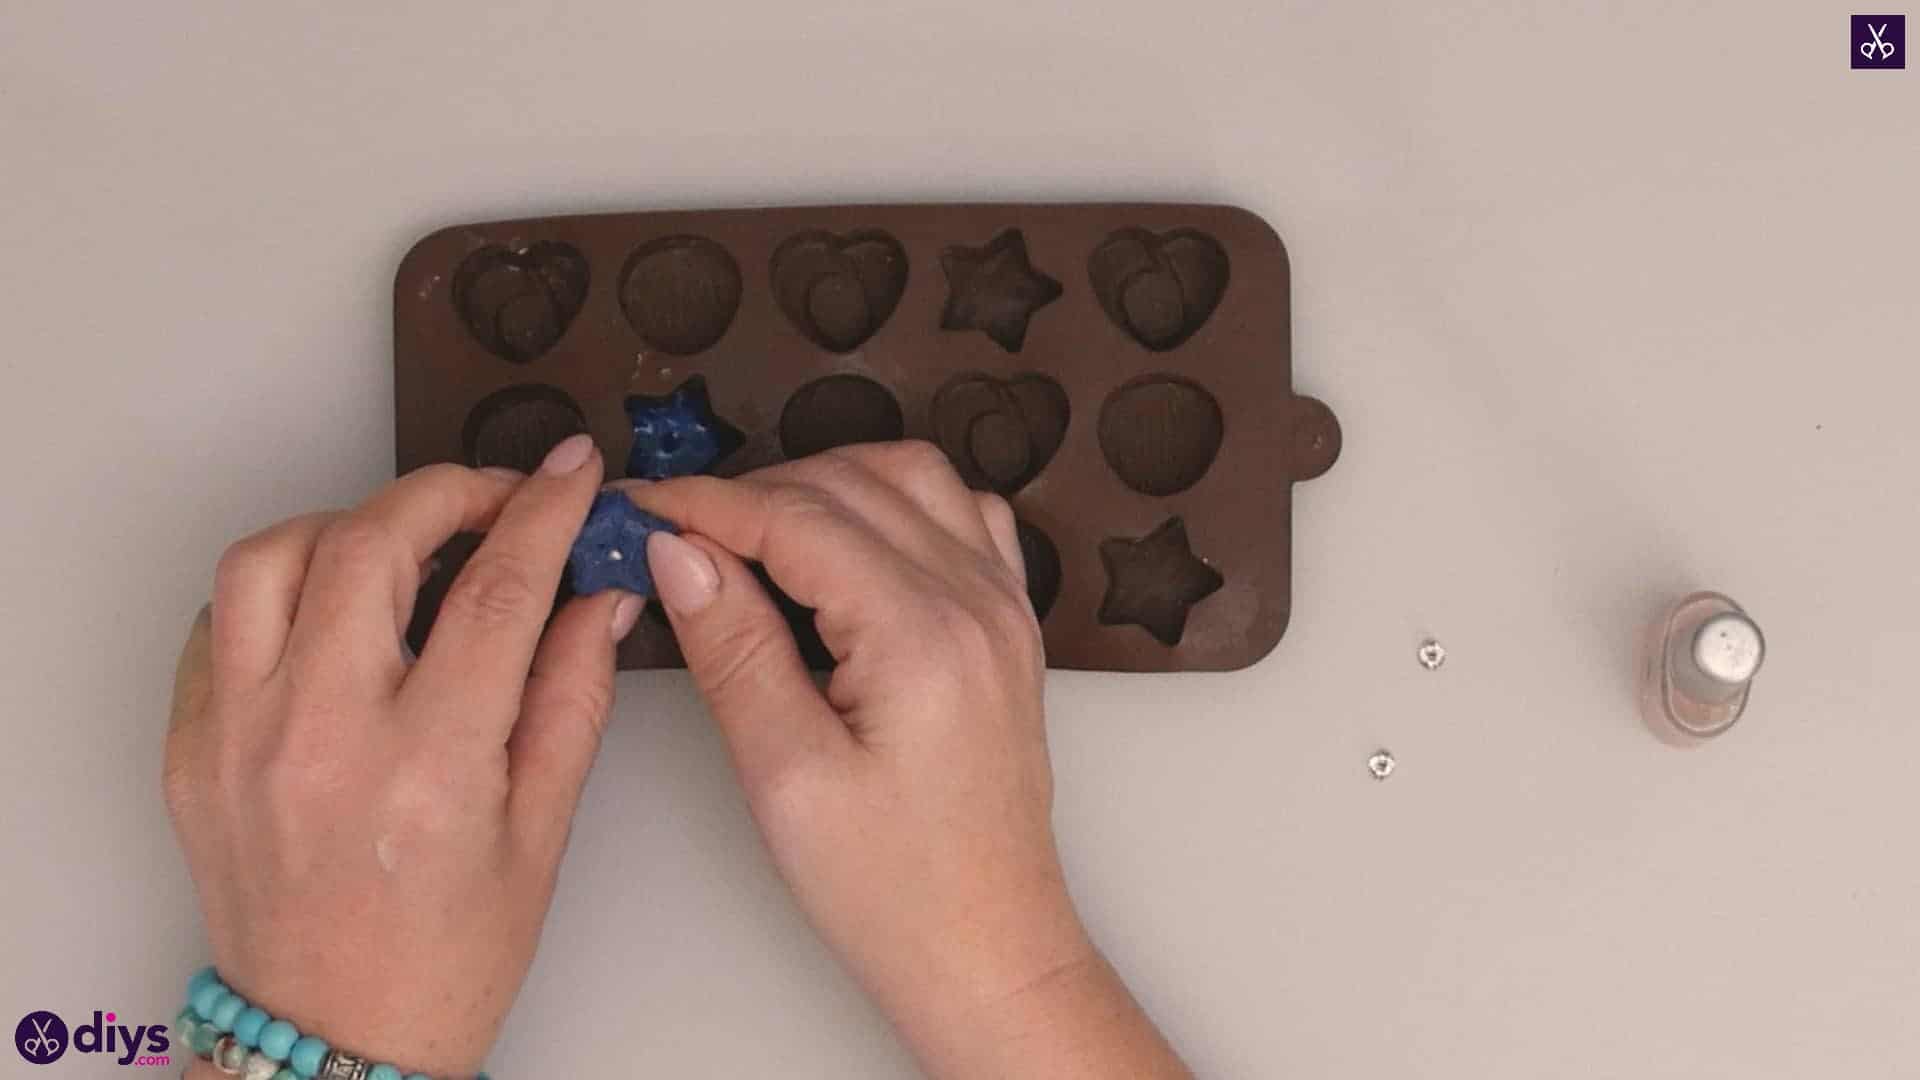
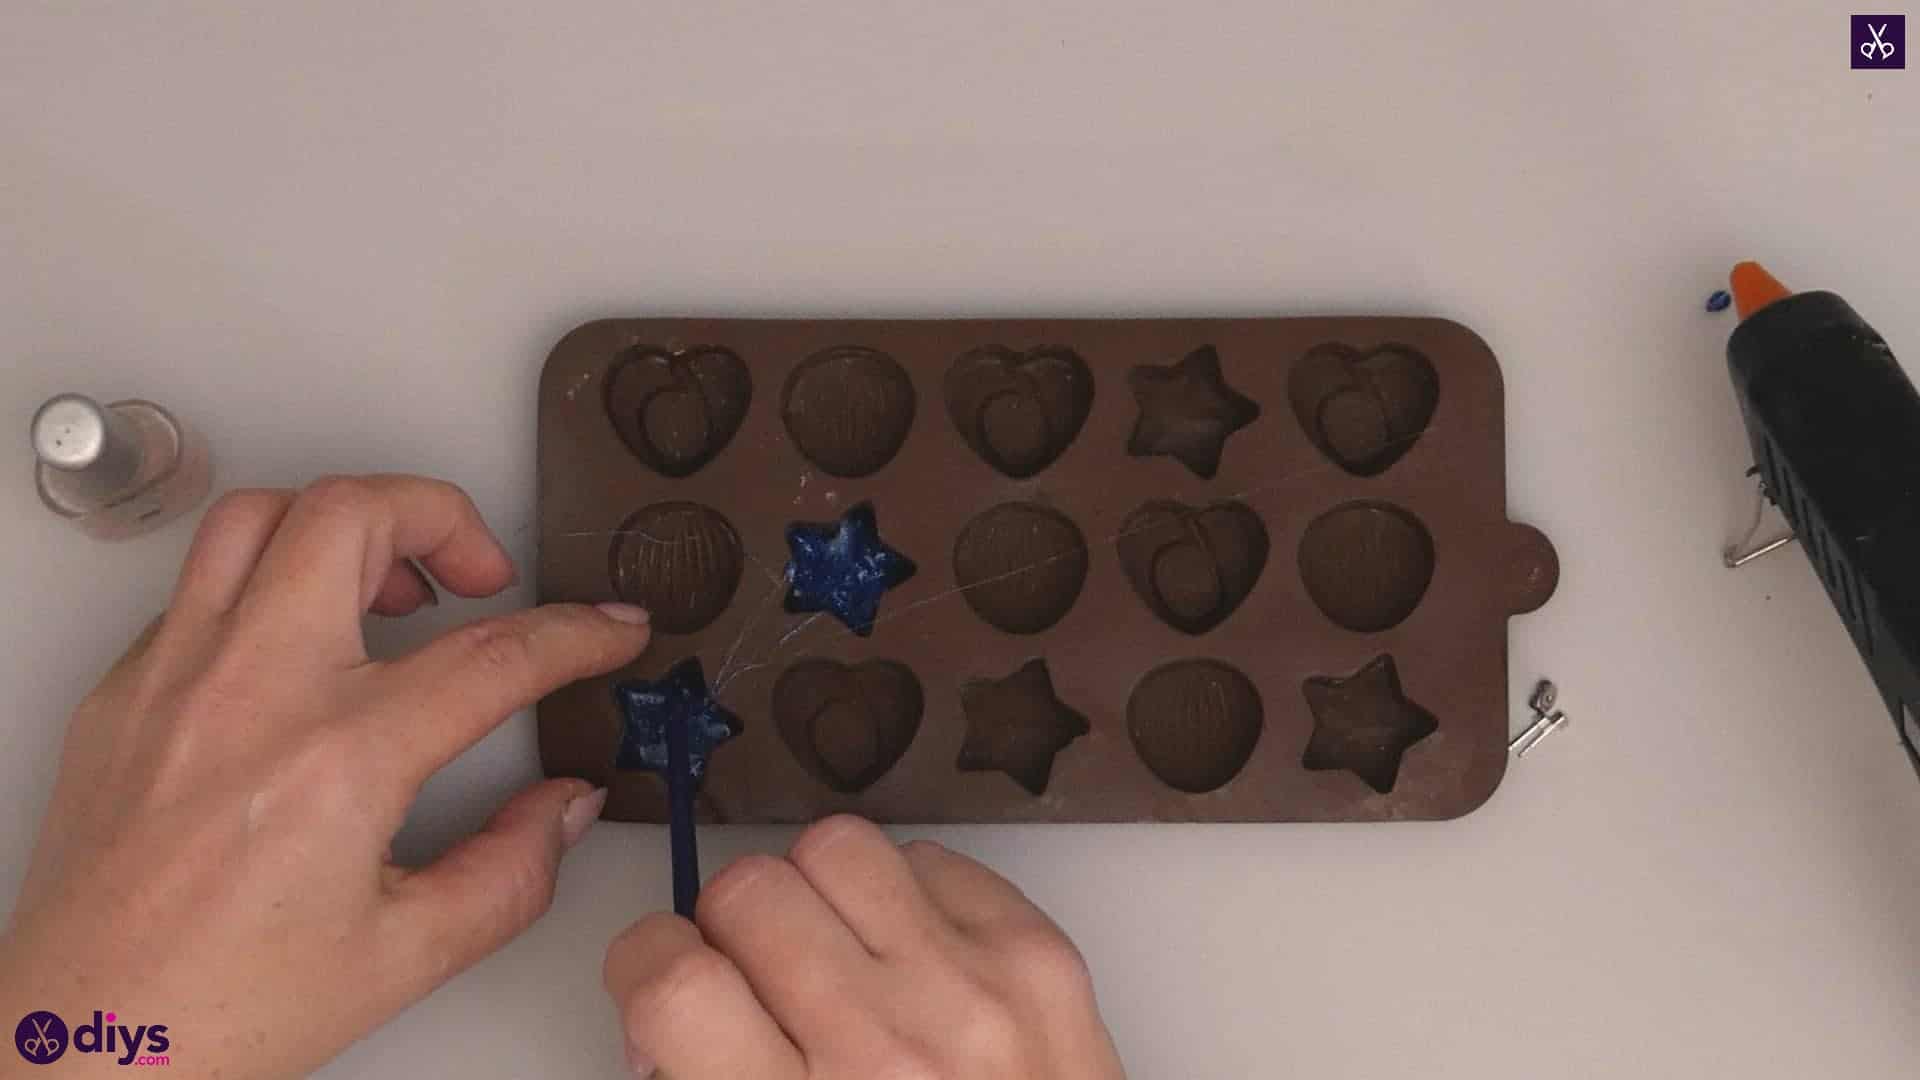
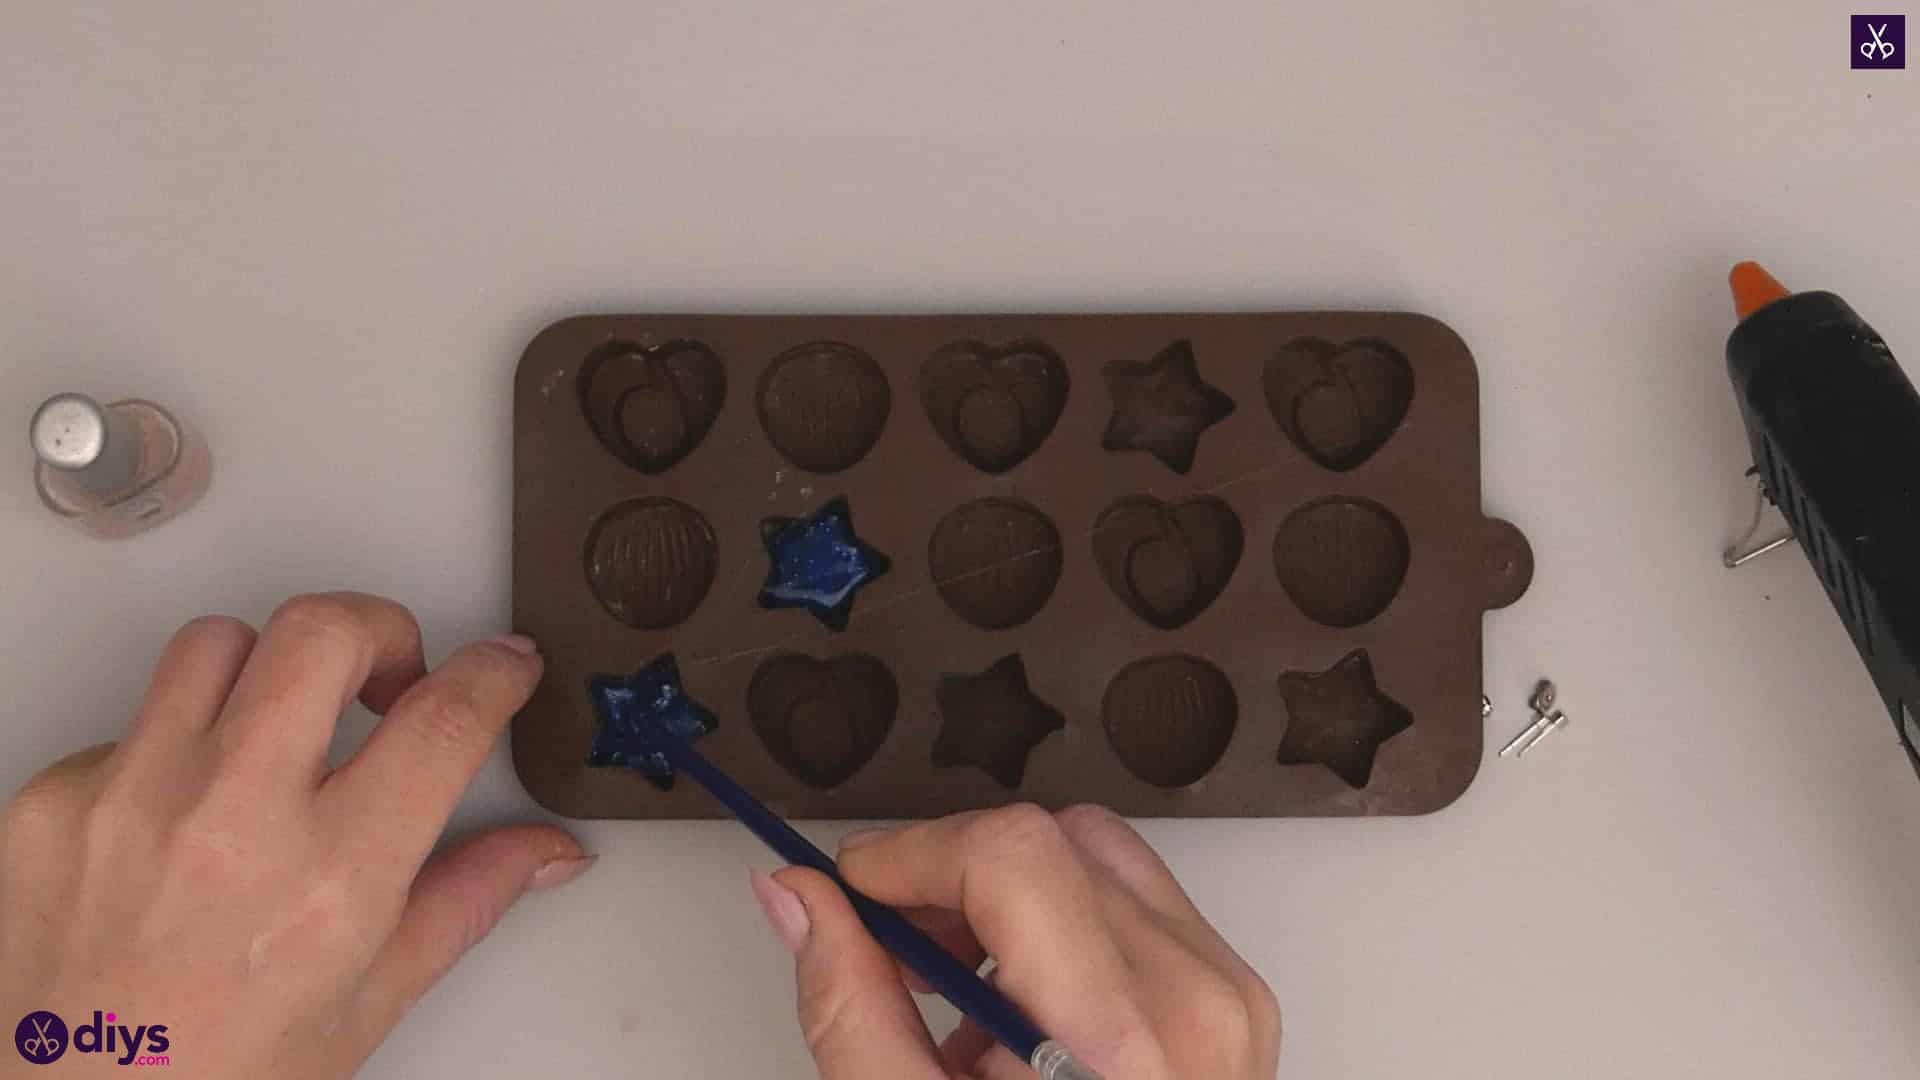
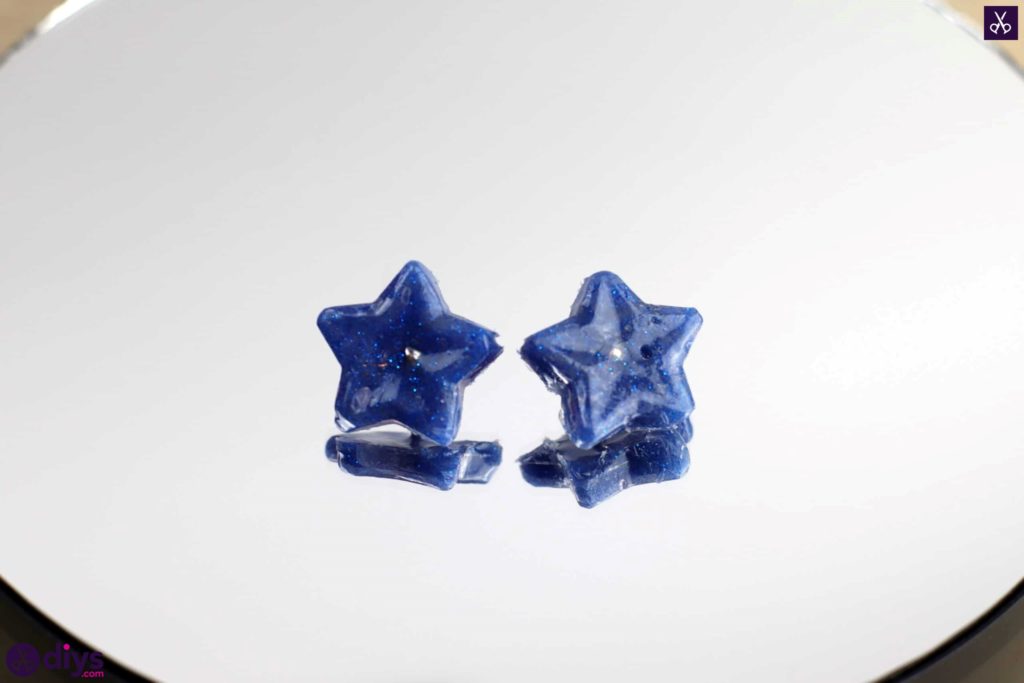
Step 4: remove from mold
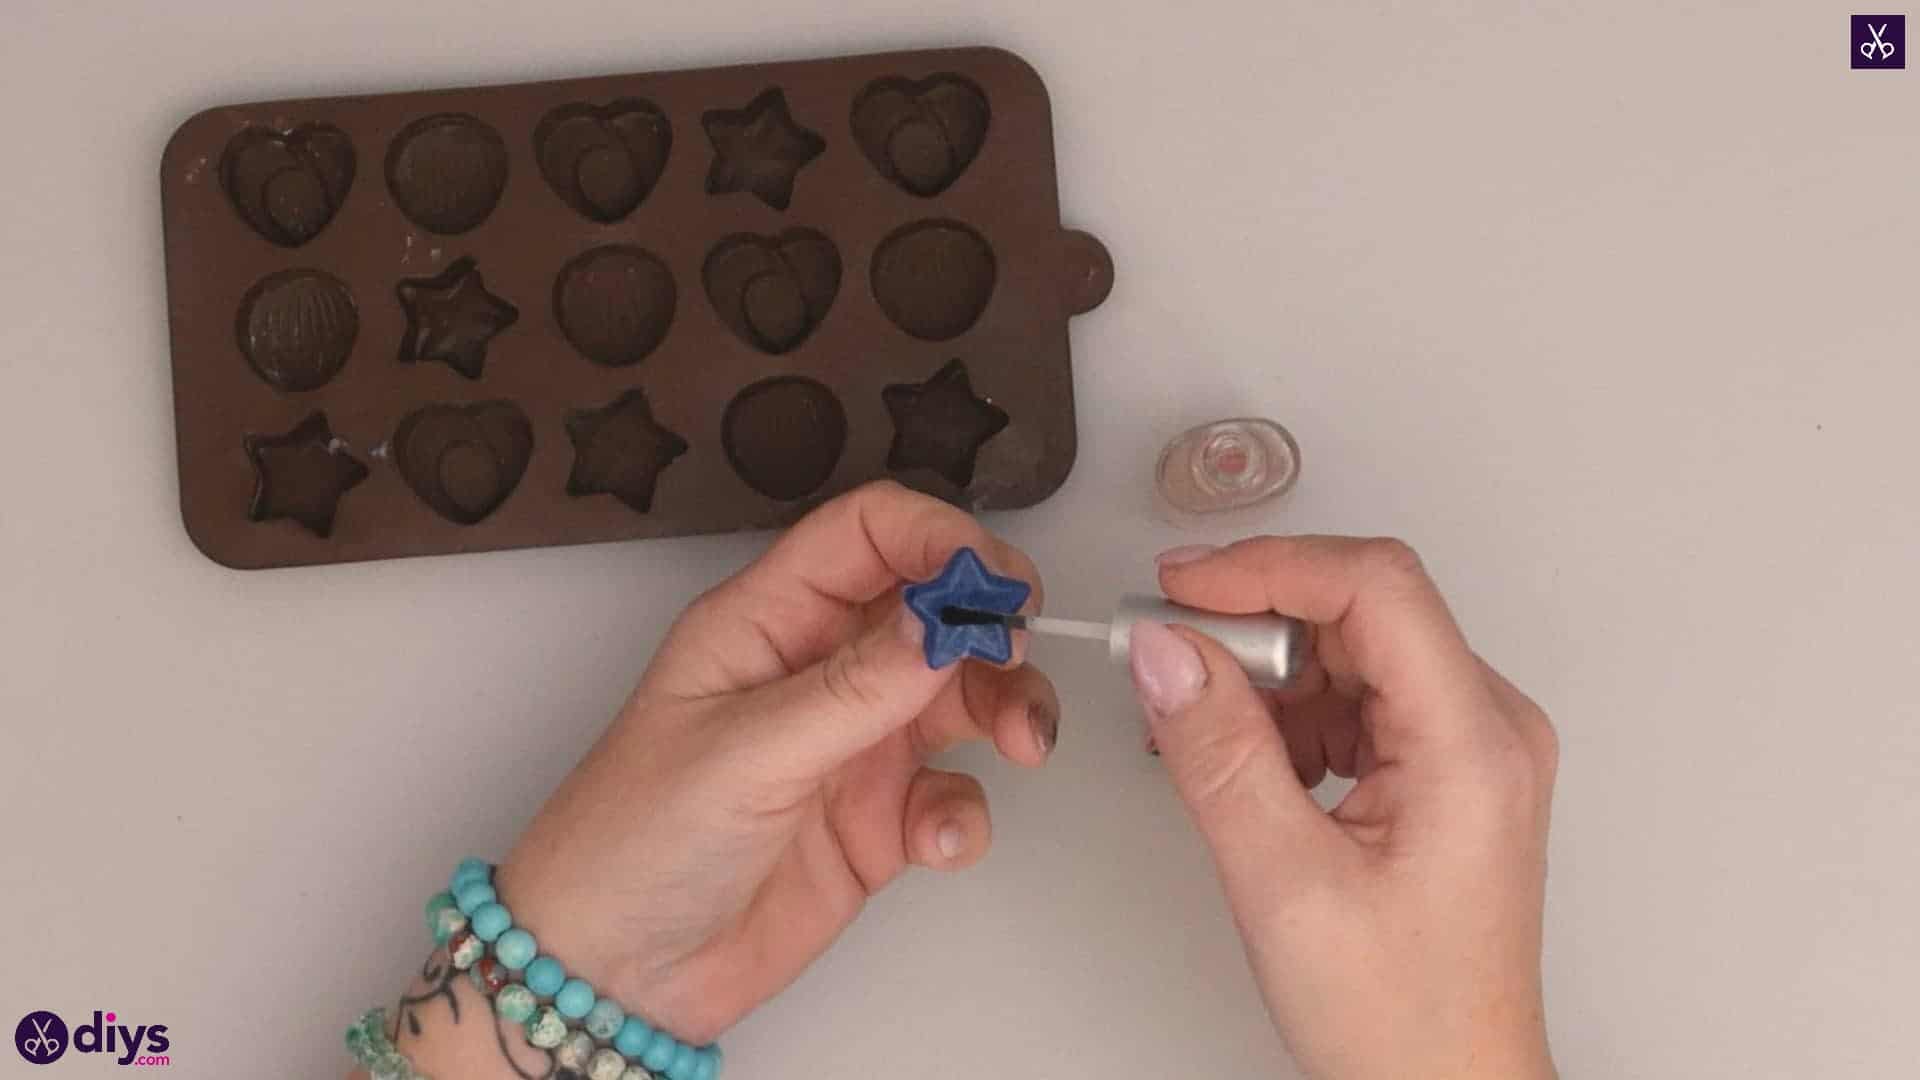
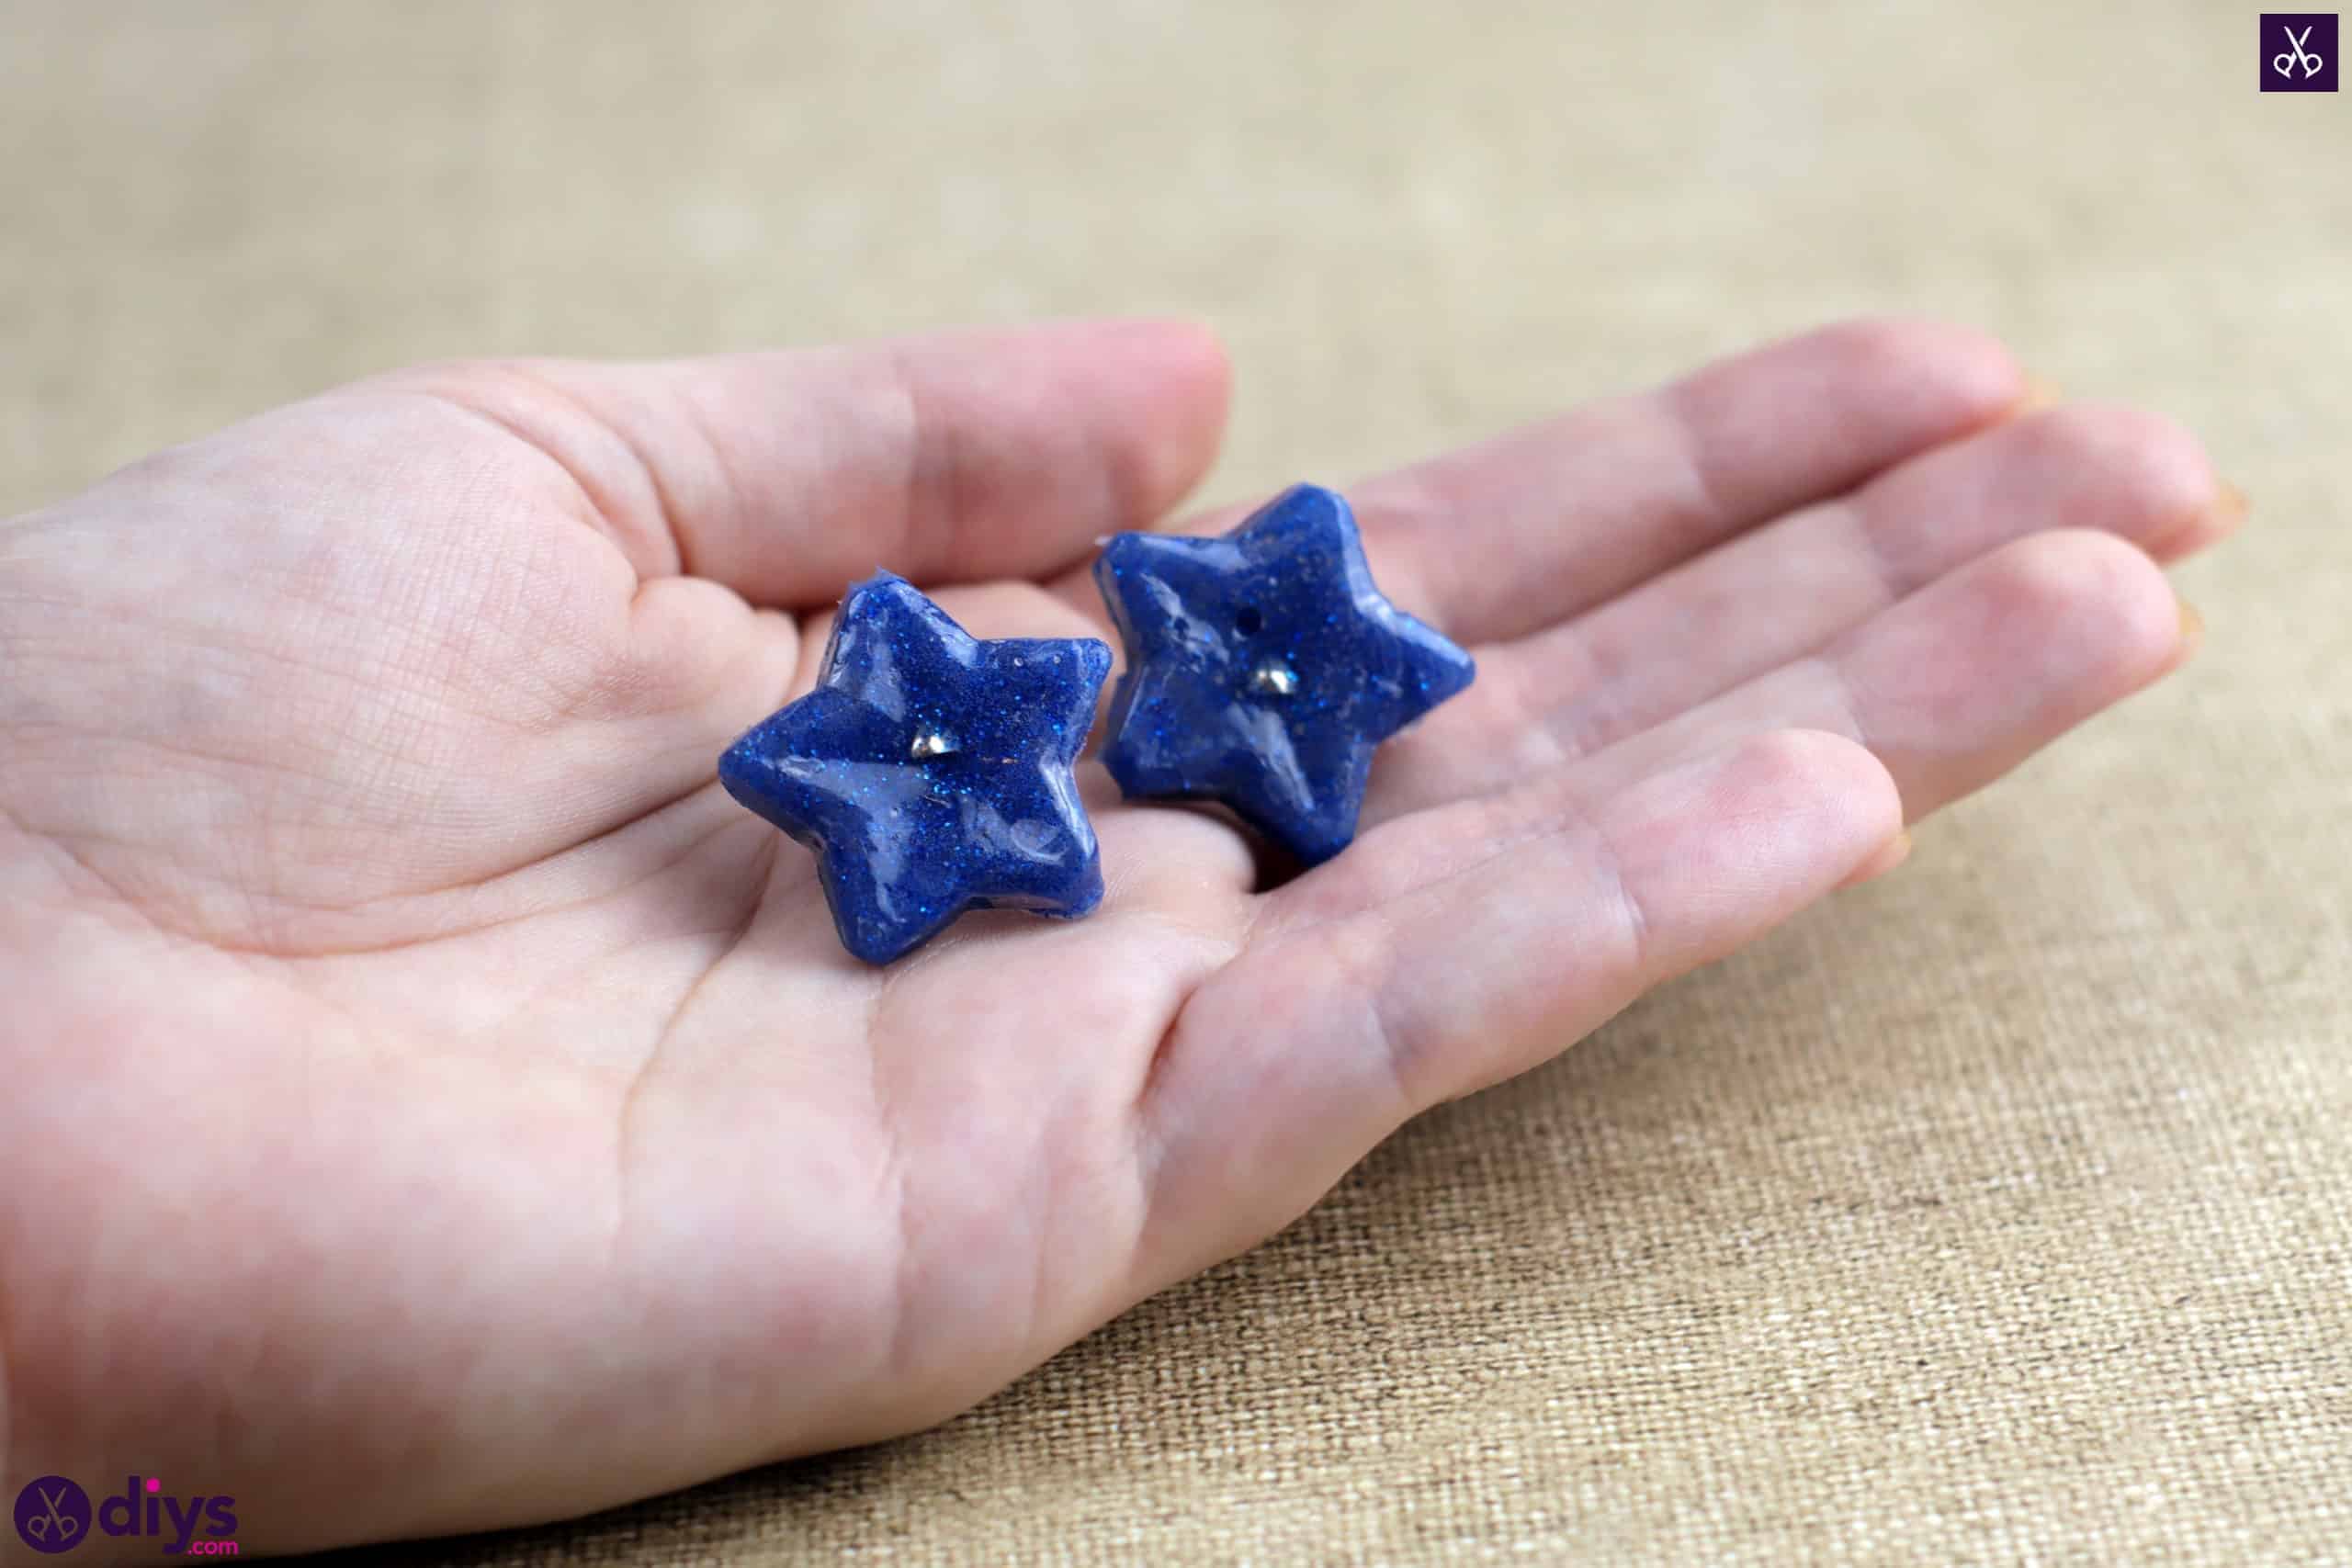
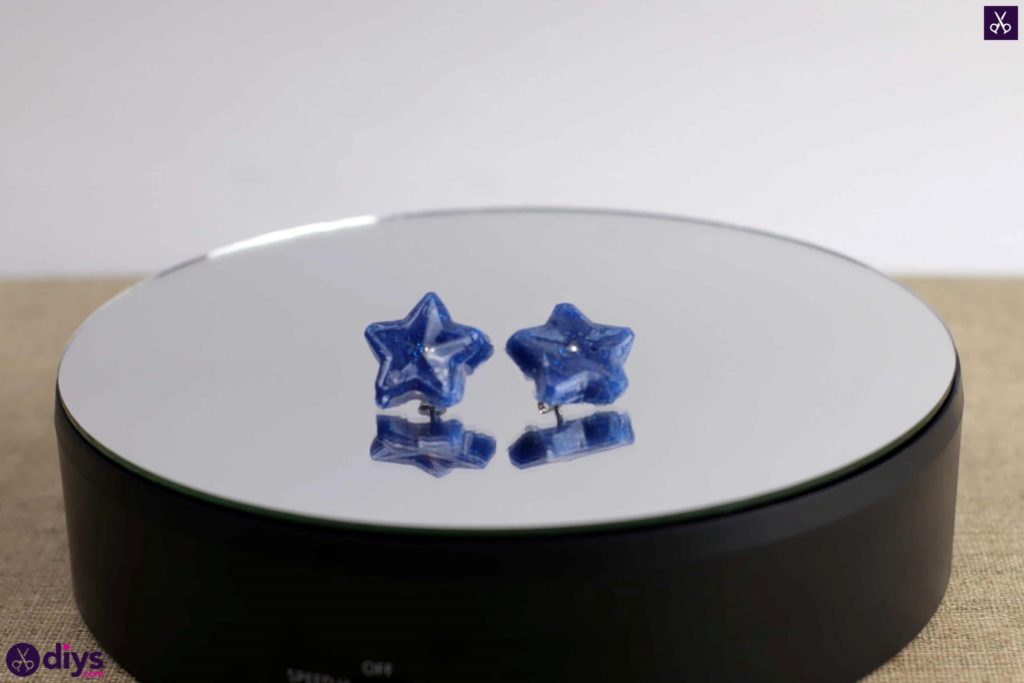
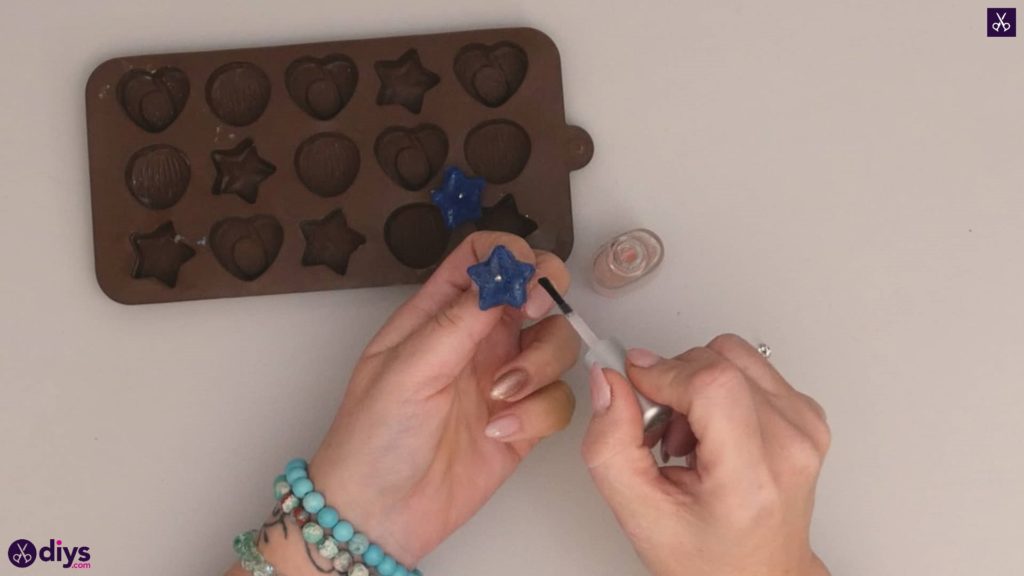
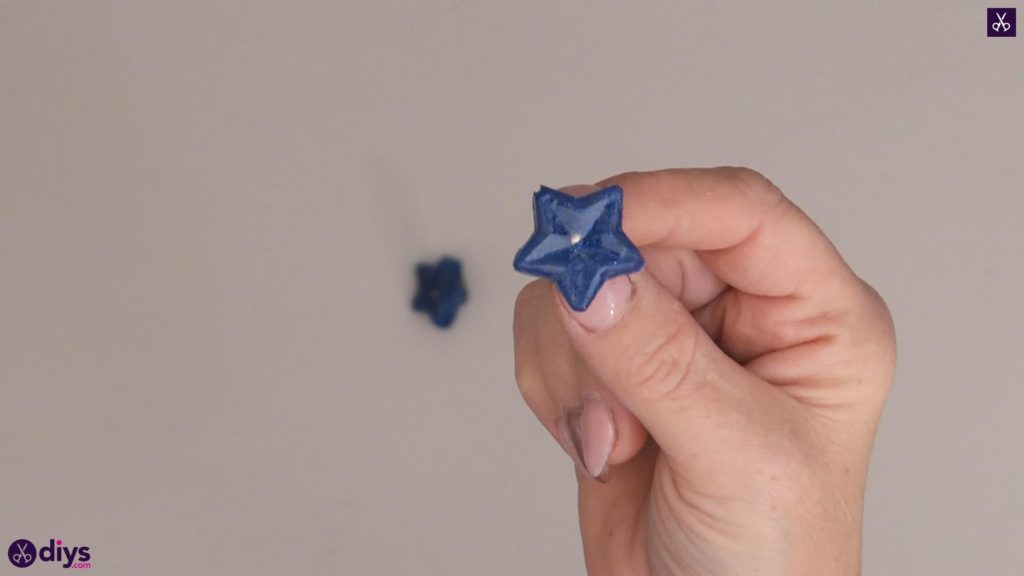
Once your star shapes have completely dried all the way through, bend the sides of the mold back to pop the star earrings and their posts out of the silicone. Turn each star glue-shape up and hold the earring by its post. Finish the look off by painting the entire surface of the glue stars with clear nail polish for a shiny top coat finish. Set them aside to dry before wearing.

That’s really all there is to it! Feel free to use this basic technique as a guide but make earrings in all different shapes and colours. Just in case you’d like to try this project out for yourself, here’s a fantastic tutorial video to help you!