Tips on Growing & Caring for Orchid Plants
Updated on January 13, 2023
Growing an Orchid can be a worthwhile or disappointing experience. It all hangs on whether you can get the conditions right. If you find its flowers quite luring, then you’ll perhaps be passionate enough to learn all it takes to grow and care for the houseplant.
In this guide, we’ve summed up the basics of maintaining and reproducing an Orchid.
More About Orchid Plants
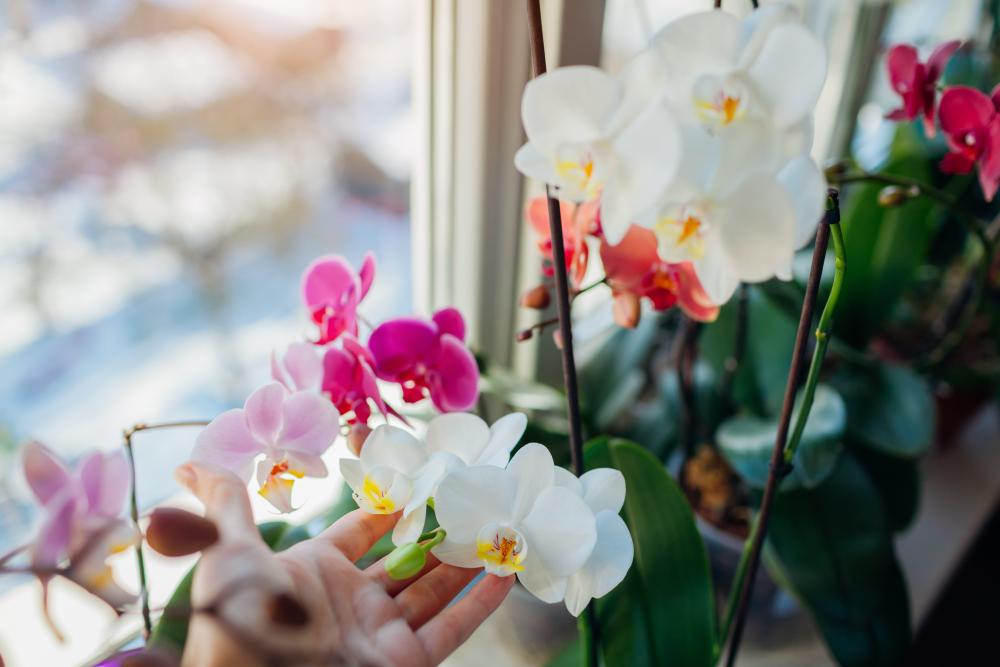
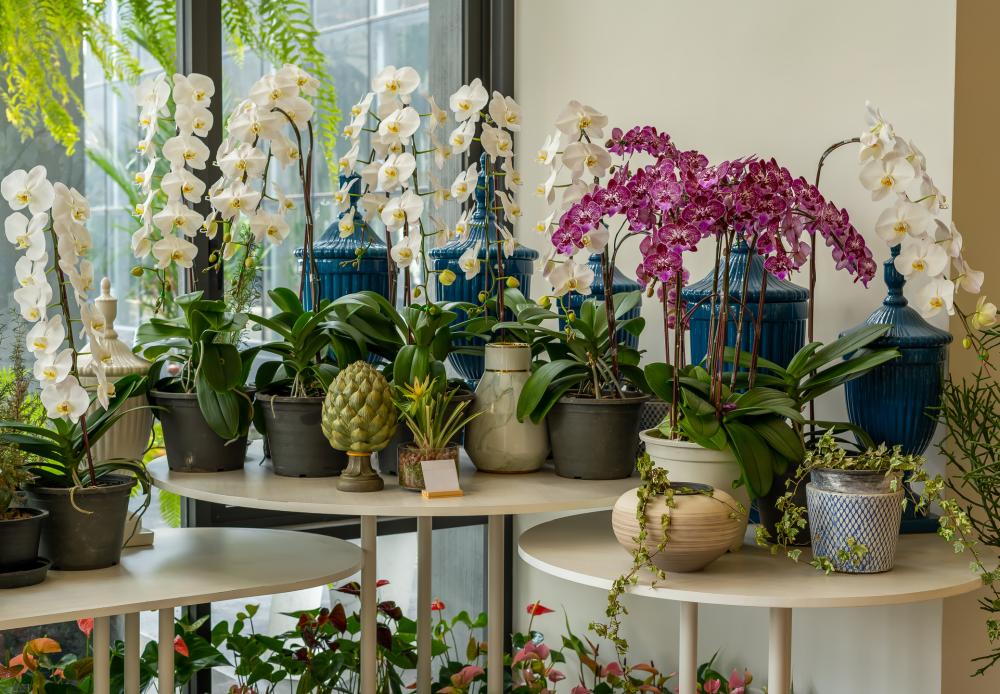
If it’s your first time growing an Orchid, we can relate to how easy it is to be intimidated by its stellar yet delicate appearance. Orchids come from the Orchidaceae family. The family is the second largest of all flowering plants. Most are epiphytes, while there are other Orchids with terrestrial attributes.
Not all of them are difficult to grow and maintain. Some have hardy traits and could stand tall all year round. Over 1300 species can be dominantly traced in the northern part of India. Most Orchids are perennial herbs with blooms that could last 8 weeks or slightly more.
If you know the exact genus, growing your Orchid type won’t be a nerve-wracking thing to do. While Orchids behave like tropical plants, they dread excess moisture and normal potting soil.
Lack of enough humidity and intense exposure to the sun are also other two common mistakes that beginners often make when growing this plant indoors. If you can mimic this plant’s native habitat, then you won’t experience any flaws with it.
How to Grow Orchids Indoors
Growing Orchids indoors provides the perfect environment to tweak the suitable conditions. Here are a few pointers to work with when looking to grow Orchids in an indoor setting:
- Pick a spot where the growing medium will receive bright, indirect light for about 5 hours every day.
- You can choose to purchase the tropical houseplant from a nursery or grow it from scratch using some propagation tips that we’ll discuss later in this guide.
- Since the stems of this plant are somewhat feeble, you’ll want to find ways to give it support while growing.
- Use a container that fits the roots without leaving too much space that would cause the plant to bend downwards.
- When sourcing cuttings from the mother plant, aim for those that seem not to have any underlying issues.
- Tweak the indoor humidity levels to give the houseplant a tropical environment that it’s accustomed to.
- You also need to grow the plant in a warm environment throughout the seasons.
- Make sure to give the plant some shade, to protect the foliage from any intense heat.
How to Care for Orchids Throughout the Seasons
Tips on How to Encourage Blooming
Orchids are an all-time favorite for many growers because of their colorful and opulent flowers. It’s perhaps more reason why you have an interest in learning how to grow this cheerful bloomer. The plant, however, needs tailored conditions to produce flowers during the blooming period.
To encourage blooming, you want to get the light conditions right. However, since the stems are somewhat feeble, you might need to hammer a stake about right next to the plant, to give the stems extra support and keep them from bending downwards. Orchids bought from nurseries or gardening stores are most often already staked, especially if they have flower buds on them.
You also want to filter any direct light since the intense heat from the sun could cause the blooms to lose their vigor. If you want to heighten the chances of blooming, use fertilizer lights. We’ll look at the feeding options later in this guide. After owning this cultivated bloomer, you’ll soon realize that the flowers aren’t meant to last forever.
Trim the spikes on spent flowers to promote the production of flowers during the blooming phase. Leave the old spikes intact because the flowers will sometimes emerge from them. If the spikes begin to turn yellow or brown, the chances of reblooming would be pretty slim, so it’s best to just prune them.
When pruning the spikes, make sure to use a sterilized pair of scissors, to avoid infecting your Orchid plant with hard-to-treat infections.
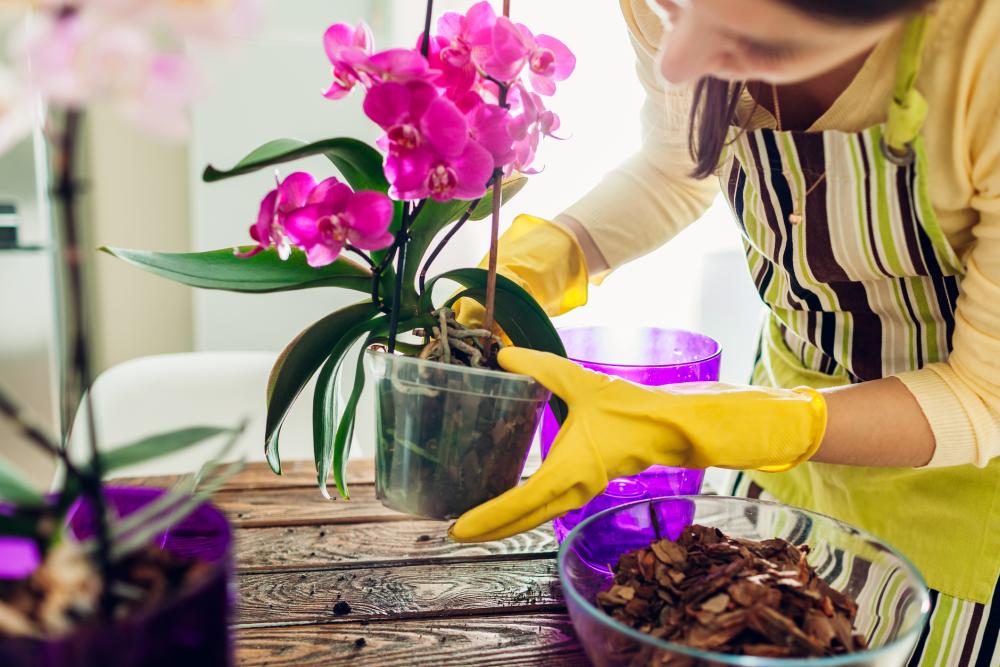
Soil & Repotting
The growing medium needs to match the growing conditions that the Orchid houseplant requires to sprout and produce vibrant blooms. While this plant is tropical in nature and is accustomed to high humidity, the roots must not sit in damp soil for too long.
When preparing the potting soil, you want to keep the drainage needs in mind. If the soil retains too much moisture for a lengthened period, your Orchid plant might start to suffer from rotting and a couple of dreadful fungal infections. In fact, potting soil isn’t recommended.
Instead, stick to orchid mix and you’ll see your houseplant burgeon generously. Grow it inside an orchid potting mix since it provides proper airflow, easy drainage, and root ventilation. It’s best to transplant (phalaenopsis) orchids every 12-18 months.
Repotting is usually the best time to replace the old potting soil with one that has a potent nutrient composition. The potting mix structure dictates a lot about how often you’ll need to water your Orchid houseplant. Orchids need firm anchoring after potting them till the roots mature up.
You also want to use a container, with enough drainage holes that let out any excess moisture. Orchids grow in slightly acidic conditions. Where it’s native to, the tropical houseplant grows under trees where the ground is filled with organic but nutrient-scarce matter.
To mimic these conditions, it’s best to place heavy reliance on the Orchid mix instead of normal potting soil. If you don’t want to use a commercial mix, you can try going the DIY route. Some of the materials you can use to prepare the mix include charcoal, bark, peat moss, coconut coir, gravel, and sphagnum moss.
Pick any two materials to prepare the potting mixture. For efficient air circulation, lay the materials lightly inside the growing pot, especially around the roots’ area. Most gardening stores sell clay pots specifically made for orchid plants with slits on the sides instead of the base part.
The splits help provide enough air circulation to the roots. Other gardeners like to grow their Orchids inside transparent plastic containers to keep track of the development of roots.
Temperature Conditions
Being tropical in nature, that tells a lot about the kind of temperature levels Orchids like to thrive in. Most Orchids will require consistent warm temperatures to grow optimally and produce flowers during the blooming season. They can accommodate temperature fluctuations of about 10 degrees Fahrenheit between day and night.
Orchids growing indoors will typically do well under temperatures ranging from 65 to 75 degrees Fahrenheit during the day. The temperature range is suitable for intermediate growers such as Cattleya, Miltonia, and the Dendrobium species. When it’s nighttime, 50-65 degrees Fahrenheit will work just fine.
You might, however, need to adjust the indoor temperatures, depending on the Orchid type you’re looking to grow. Some will need a significantly warm environment, while others sprout better under mid-range temperatures. It’s also essential to note that temperatures going beyond 90 degrees Fahrenheit can damage the blooms.
Species such as Bidium, Odontoglossu, or Miltoniopsis are often dubbed cool growers and prefer pretty average temperatures. The day/night differential helps promote healthier growth, compared to maintaining constant temperature levels.
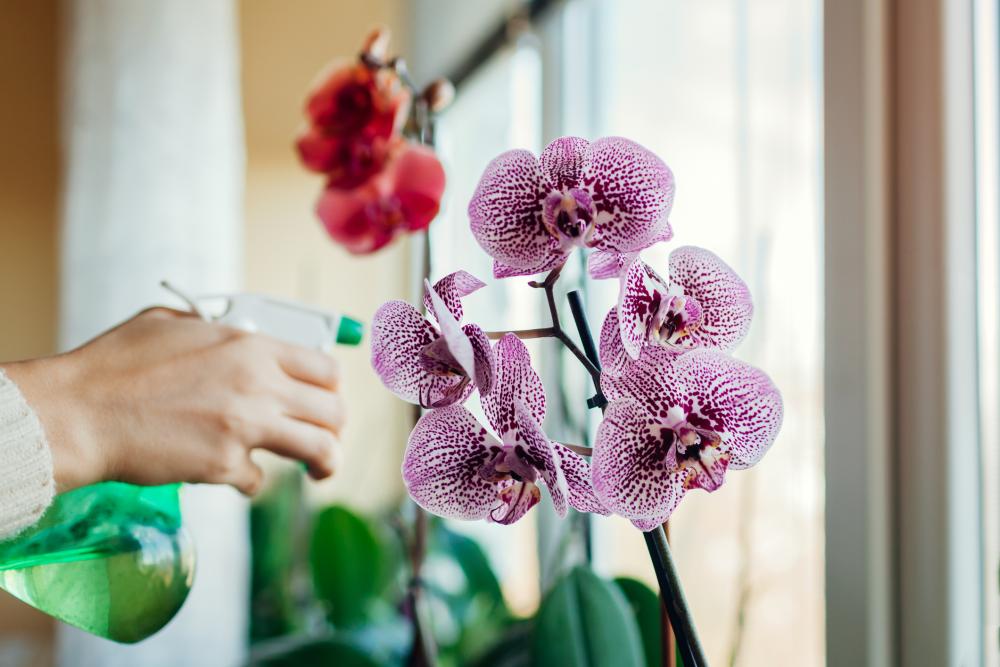
Humidity Requirements
Nearly all tropical houseplants like to grow in an environment with high humidity. The suitable humidity rate for most Orchid species lies anywhere between 40-70 percent. Make sure to use a growing pot with drainage holes, place it on top of a tray with gravel, then add water on the tray to constantly give the plant the right set of humidity levels it needs.
Light Conditions
Avoid exposing the growing medium to direct light at all costs. While Orchids need bright light throughout the growing season, you need to provide the growing medium with some shade to keep the leaves and blooms from getting scorched. If you know the exact Orchid type you’re growing, it would be much easier to tweak the preferred light conditions.
Placing the growing medium near an east-facing window where it gets a few hours of the morning sun would help the tropical charmer bloom in quite an imposing manner. On the other hand, placing the container in a dark location causes the plant to experience leggy growth and might fail to bloom. If you want to use fluorescent or LED grow lights, make sure the Orchids plants are at least 8′ inches away.
To know whether the light conditions are optimal, keep checking the leaf color as often as possible. If they look bright and green, then there won’t be a need to panic. However, dark-green foliage means the plant is not getting enough sunlight. Yellow or red leaves, on the other hand, are a sign that your Orchid houseplant is getting scorched by intense heat from the sun.
Varieties like Cattleya, Cymbidium, Ascocenda, Phragmipedium, Brassia, Vanda, and Dendrobium prefer access to brighter light than other Orchid types.
When & How to Water Your Orchids
If the potting mix can handle drainage quite effectively, you won’t find trouble predicting the houseplant’s watering patterns. Watering this tropical beauty once a week would be enough to make it grow splendidly and produce showy flowers. The roots must not sit in water for too long.
Rotting and a bunch of fungal infections might crop up if the plant is exposed to excess moisture for a lengthened period.During winter, lightly mist the plant just to keep it hydrated and reduce the watering intervals to once per month. You need to wait for the potting mix to dry up entirely before watering your Orchid houseplant once again.
Most Orchids would survive drought over damp conditions. Overall, the watering intervals will depend on the temperature, growing medium, type of container, and plant age.
Is Feeding Necessary?
While feeding isn’t a must, your Orchids will produce more flowers when boosted with fertilizer during the blooming season. Feed them lightly during spring and springtime once every week. To avoid burning the foliage, use soluble fertilizer and dilute it at half its strength. Use a balanced fertilizer preferably in the ratio of 20-20-20. Avoid spraying the leaves when fertilizing and make sure to drain them if the solution is in excess.
Too much fertilizer could burn the leaves and bloom of your Orchid houseplant. During the days designated for feeding, you want to avoid watering your Orchids. Alternatively, you can try out natural remedies like Epsom salt, and crushed chicken shells. Chicken shells hold a high composition of calcium and potassium. Calcium helps with the strengthening of the cell walls, while potassium boots up the entire chlorophyll production process.
Grooming & Maintenance
There won’t be much grooming or maintenance to do since most Orchid types aren’t fussy. Pruning isn’t necessary as the plant doesn’t possess any invasive traits. Your Orchids just need a balance of light, water, air circulation, and the right potting mix. Get rid of any wilted leaves and flowers once the blooming period is over. Make sure to leave the spikes intact since blooms tend to sprout from the old ones most often.
How to Propagate Orchids
Propagating Orchids isn’t a burdensome task. There are two viable ways to go about it. You can choose to propagate Orchid houseplants using stem cuttings or offshoots that fall off from the mother plant and sprout on the edges of the growing medium. I tend to find stem cuttings much easier since the steps aren’t too complicated for a beginner.
To achieve higher success when propagating, choose cuttings that look healthy and don’t have signs of fungal or bacterial infections. They need to be thick and at least 4′ inches long. Use a sterilized pair of scissors to dissect the stem cutting right above the node. Each cutting needs to have at least two sets of leaf nodes.
Use an antifungal remedy like charcoal or cinnamon to treat the wounds and keep the cuttings from catching diseases. Use a potting mixture that’s ideal for Orchids to improve the development of roots. Plant the cuttings horizontally in a wet medium like sphagnum moss. Make reference to the tips under the soil requirements section.
It’s worth noting that sourcing cuttings from epiphytic Orchids tend to have higher chances of success. Those with terrestrial traits can also be used for propagation, but the method will be slightly different. You can choose to use rooting powder to speed up the formation of roots.
Common Orchid Flower Problems
Extreme variations in the growing conditions would definitely cause your Orchids to experience stunted growth or look offbeat. If grown under optimal conditions, you won’t need to worry much about any adverse effects. However, this houseplant often gets infested by pests like scale insects, mealybugs, and aphids.
During the growing cycle, Orchids might struggle with mealybugs, especially if the potting mixture doesn’t let out excess moisture and the nitrogen levels are high. If you spot honeydew deposits on the underside of the leaves, your Orchids are most likely infested by these bugs.