How to Repot a Plant Safely, Including Root-Bound Houseplants
Updated on November 19, 2025

Learning how to repot a plant is simple, especially when following a good tutorial. This article describes the step-by-step instructions for repotting a plant.
Read on to discover the correct steps for repotting a plant and a root-bound plant, together with the required supplies. You will also learn the most common reasons for repotting plants and more helpful information.
When should plants be repotted?
It depends on the current state of the plant since plants do not have a pre-established schedule for repotting. Generally, a thriving plant with no visible signs of distress will go on without repotting for years. However, if the plant is root-bound, it is best to repot it at the start of spring since it will have plenty of time to recover. Unless the plant is root-bound, here are the signs that it’s time to repot your plant:
- Slowed growth cycle: Sudden changes in a plant’s growth rate are the first signs that you may need to change its container.
- Dying foliage: Leaves that turn yellow and eventually fall off show that the plant is suffocating and not getting all the nutrients it needs.
- Visible root growth: When the plant’s roots start poking out the drainage holes, it clearly shows that it has outgrown its pot. An overdeveloped root system will eventually push the plant entirely up and out of the planter.
- Needs more watering: Overdelevoped root systems need a lot more water. So if you must water your plant more often than before, it needs a bigger container.
- Salt and mineral deposits: When salt and mineral deposits gather on the pot’s surface, the plant has used up all the resources of the potting mix, so it needs repotting.
- The plant is top-heavy: The pot serves as an anchor, keeping the plant upright. A plant that falls over easily must be repotted in a bigger container with new potting soil.
Supplies for repotting a plant
- A potting tarp or a newspaper to prevent making a mess during the repotting process.
- Gardening gloves to keep your hands clean and safe while handling potentially harmful plants, such as cacti.
- New potting mix to replace the old one that doesn’t have nutrients anymore. Check the type of soil your plant needs. Some of the best potting mixes contain peat moss, vermiculite, and perlite.
- A trowel to handle the potting mix while transferring it to and from containers.
- A fertilizer or soil amendment, depending on the plant. It’s generally best to use an NPK fertilizer.
- A new container about one or two sizes larger than the old pot. Containers are made from various materials, so use one that matches your plant’s requirements. For example, terracotta pots breathe and dry out faster, while plastic ones retain moisture.
- Porous material to place over the drainage holes, such as stones, coffee filters, or terracotta pieces.
- A watering can, a spray bottle or a water bottle to give the plant a good watering after repotting it.
- Scissors, pruners, or gardening shears to trim the plant’s root system if needed.
You might need more supplies, depending on the plant and its requirements. Check that you have everything before starting to repot the plant.
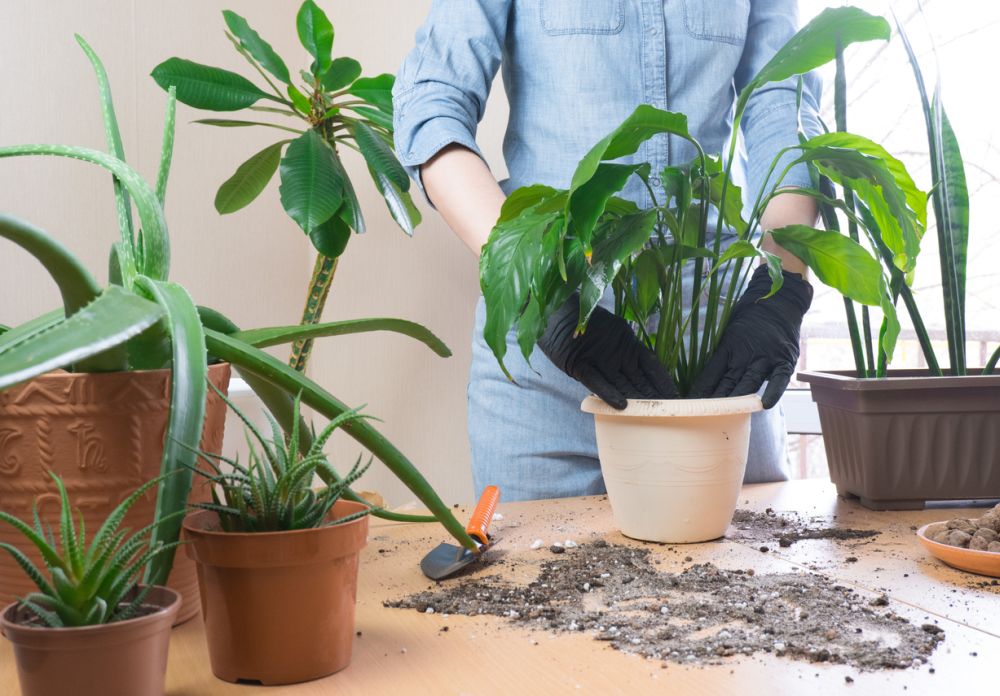
How do I repot a plant?
Check out the following step-by-step instructions to repot a plant easily and safely:
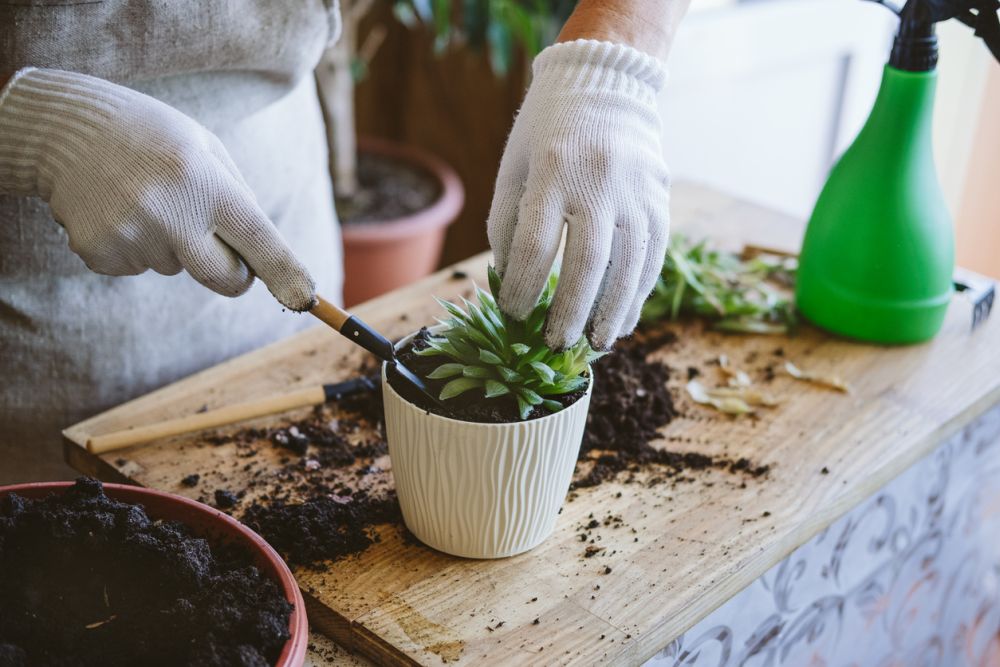
- Prepare the new container: Fill about a third of the new container with potting mix and use your hands or the trowel to gently compact the soil until there are no air pockets left. If the container doesn’t have drainage holes, add a layer of porous material before adding the potting mix.
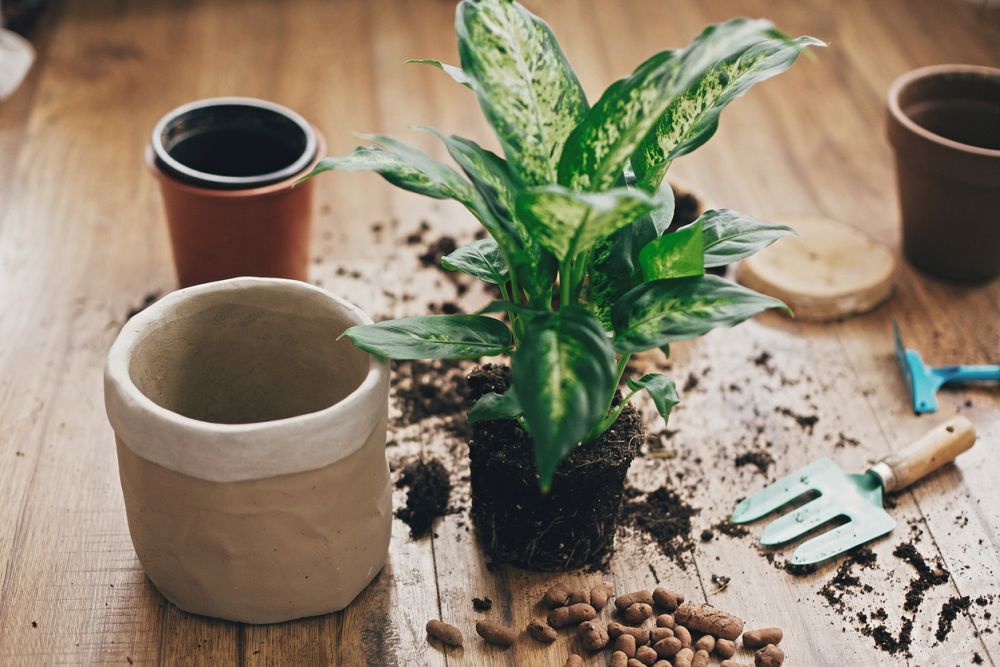
- Remove the plant from the current container: Turn the plant pot sideways, grab the plant by the stem, and gently tug on it to remove it from the old container. Tapping the bottom of the pot will help loosen the plant a bit and make removal a lot easier.
- Remove the old potting mix: Use your hands to gently loosen the rootball and remove about a third of the soil from the roots. Inside the old pot, you’ll find a compact mass of soil and coiled-up roots. Since the old soil mix no longer contains any nutrients, remove and replace it with a fresh batch. On the other hand, if the soil mix is not that old and if you’re sure it doesn’t carry any diseases, keep it and put a bit of new soil on top.
- Loosen and trim the roots: Since the roots grew in a tight container, they are all curled up into a big ball. So use your hands to loosen and spread out the roots in all directions. Take your time and be gentle since the root system is fragile and contains parts almost as fine as hairs. Finally, use scissors or shears to trim damaged, sick, or dead roots.
- Add the plant to the new container: Place the plant inside the new container on top of the fresh potting mix prepared earlier, taking care to center the plant so that its roots spread out as evenly as possible.
- Add the rest of the potting mix: Add more potting mix until the plant stands upright without your assistance. It’s not necessary to keep adding soil until you reach the pot’s rim. On the contrary, the extra room is useful for watering the plant.
- Even out the soil: Use your hands or trowel to even out the potting mix and cover the roots. Don’t apply too much pressure since the plant would suffocate under compact soil. Ensure the soil is even and soft as if freshly tilled.
- Fertilize the plant (optional): Most gardening soil mixtures come packed with all the nutrients that a plant needs, especially NPK, so it’s not necessary to fertilize the plant. Check the label of your potting mix and the requirements of your plant to make sure. Adding too much of one nutrient might burn your plant or even kill it entirely. If the plant needs a boost, use a chemical or natural fertilizer like worm compost, fish emulsion, crab shells, bone meal, blood meal, wood ash, bat guano, manure, or algae.
- Water the plant: Thoroughly watering a plant immediately after repotting it is mandatory since fresh soil mix is relatively dry from top to bottom. Stop watering the plant when the soil surface stays moist and the water doesn’t run through the drainage holes.
Place the newly repotted plant in the preferred spot and keep it away from direct sunlight or warmth until it adjusts to the new environment. With a bit of proper care and attention, you’ll soon get to enjoy a beautiful and healthy home-grown plant!
How do I repot a root-bound plant?

Extra care is required when repotting a root-bound plant since you must gently remove the plant from its container without breaking the roots. The best time to repot root-bound plants is during spring so that it has an entire growing season to recover. Here are the steps necessary for safely repotting a root-bound plant:
- Prepare the plant for removal: Water the plant one day before repotting it to make the roots flexible and easy to manage.
- Prepare the new container: Choose a new pot two or three times larger than the current container to accommodate the overdeveloped root system.
- Remove the plant from the current container: Tap the sides of the pot to loosen the plant. If it doesn’t work, gently turn the pot upside down while holding the topsoil and push through the drainage hole with your fingers.
- Examine the roots: Take a closer look at the root system to check for healthy and unhealthy roots. Healthy roots are white or tan, supple, and with a sweet earthy smell. Unhealthy roots are mushy, brown, and foul-smelling.
- Trim and untangle the roots: Use a sharp knife or scissors to trim the unhealthy roots. Next, untangle the healthy roots using your fingers or any tool that resembles a fork or a comb. Remember that there must be a balance between the aerial and the underground portion of the plant. So, if you need to remove a lot of the root system, you must also remove some of the foliage and fruits so that the smaller root system can support the plant.
- Add the plant to the new container: Fill about a third of the new container with potting mix, center the plant, add more potting mix until the plant stands upright on its own, and even out the soil. Fertilize the plant if necessary and water it thoroughly.
Root-bound plants with large chunks of their root systems and their foliage trimmed need extra attention after repotting because they’re more sensitive to light, temperature, and humidity. During the first couple weeks after repotting the plant, water it often and set its ideal light conditions, depending on the plant.
FAQs
Find out more helpful information about repotting plants:
What is a root-bound plant?
A plant becomes root-bound when its roots have filled the entire container.
An easy but unsure way to tell if a plant is root-bound is by checking for roots erupting from the topsoil or drainage holes. These signs may also indicate an overwatered plant or potting soil without nutrients. A more difficult but clear way to tell if a plant is root-bound is by removing the plant from the pot and inspecting the root system. If the root ball looks like a loose network, has the shape of a pot, and contains a lot of visible soil, the root system is healthy. But if the root ball is tangled, looks like a dense mass, and the roots completely circle the root ball, the plant is root-bound. If the roots have barely visible potting soil, forced the plants out of the pot, or caused the plants to crack the pot, the plant is severely root-bound and overdue for repotting.
Can you leave plants in plastic pots?
Yes. Most store-bought houseplants in plastic pots will survive in those conditions for several months. However, the plant’s root system will eventually grow and search for sustenance. So, it’s best to repot the plant in a bigger container with better soil as soon as possible.
Do plants go into shock when repotted?
Yes, plants sometimes go into transplant shock after repotting them. It’s a side effect of moving a plant with a trimmed root system, sometimes accompanied by wilting leaves or dying branches. However, the plant will eventually recover from transplant shock with proper watering and sunlight conditions.
How long does it take for a plant to establish after repotting?
There is no predetermined time for a plant to establish itself after being repotted. It depends on the age and type of plant, soil conditions, and climate. Seedlings need 2-3 weeks to establish their roots. Fully grown plants or trees may take years.
Is it better to water potted plants from the top or bottom?
Watering potted plants from the top is better for preventing the spreading of pests and fungi and preventing the build-up of salt and minerals. However, you can safely water your plants from the bottom every now and then, especially if you leave on vacation.
Closing thoughts
There is no secret to repotting a plant, even a large one. Anyone can do this without fearing they will kill the houseplant, especially when following our tutorial. It’s best to research the type of plant you’re dealing with, its root system, and the preferred soil type.