DIY Summer Lovin’ Geometric Manicure
Updated on November 19, 2025
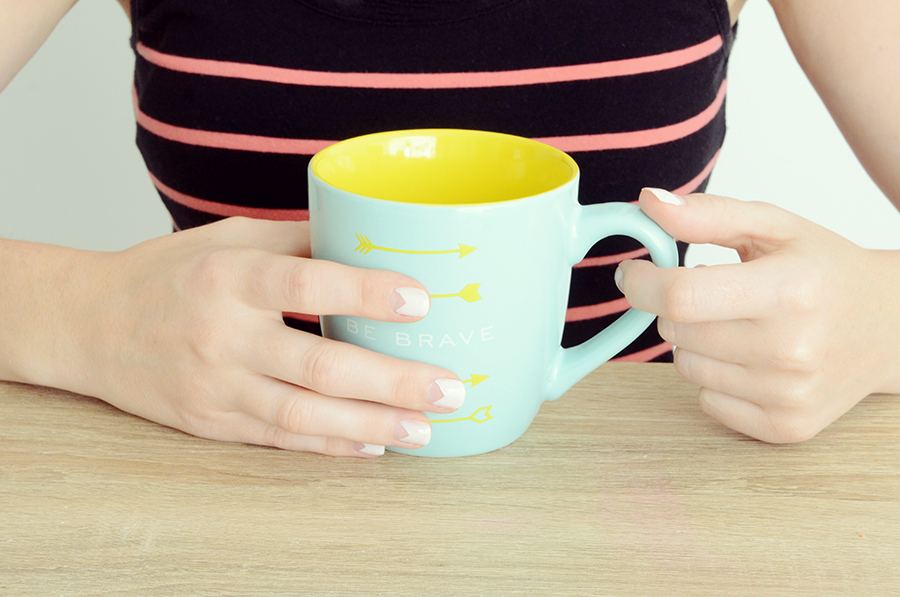
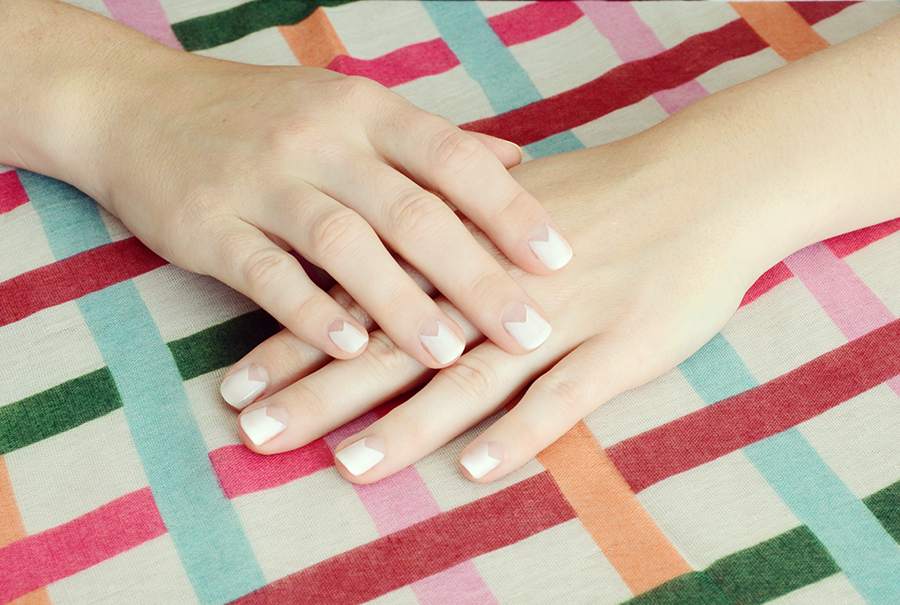
This summer, manicures are going geometric… and white is the hot new color. So today I wanted to share an easy manicure style that you can do yourself, using these two new trends. The design creates a triangle of natural nail by the cuticle, while the rest of each nail is painted a soft white color. Read on to find out how to accomplish this look on your own hands.
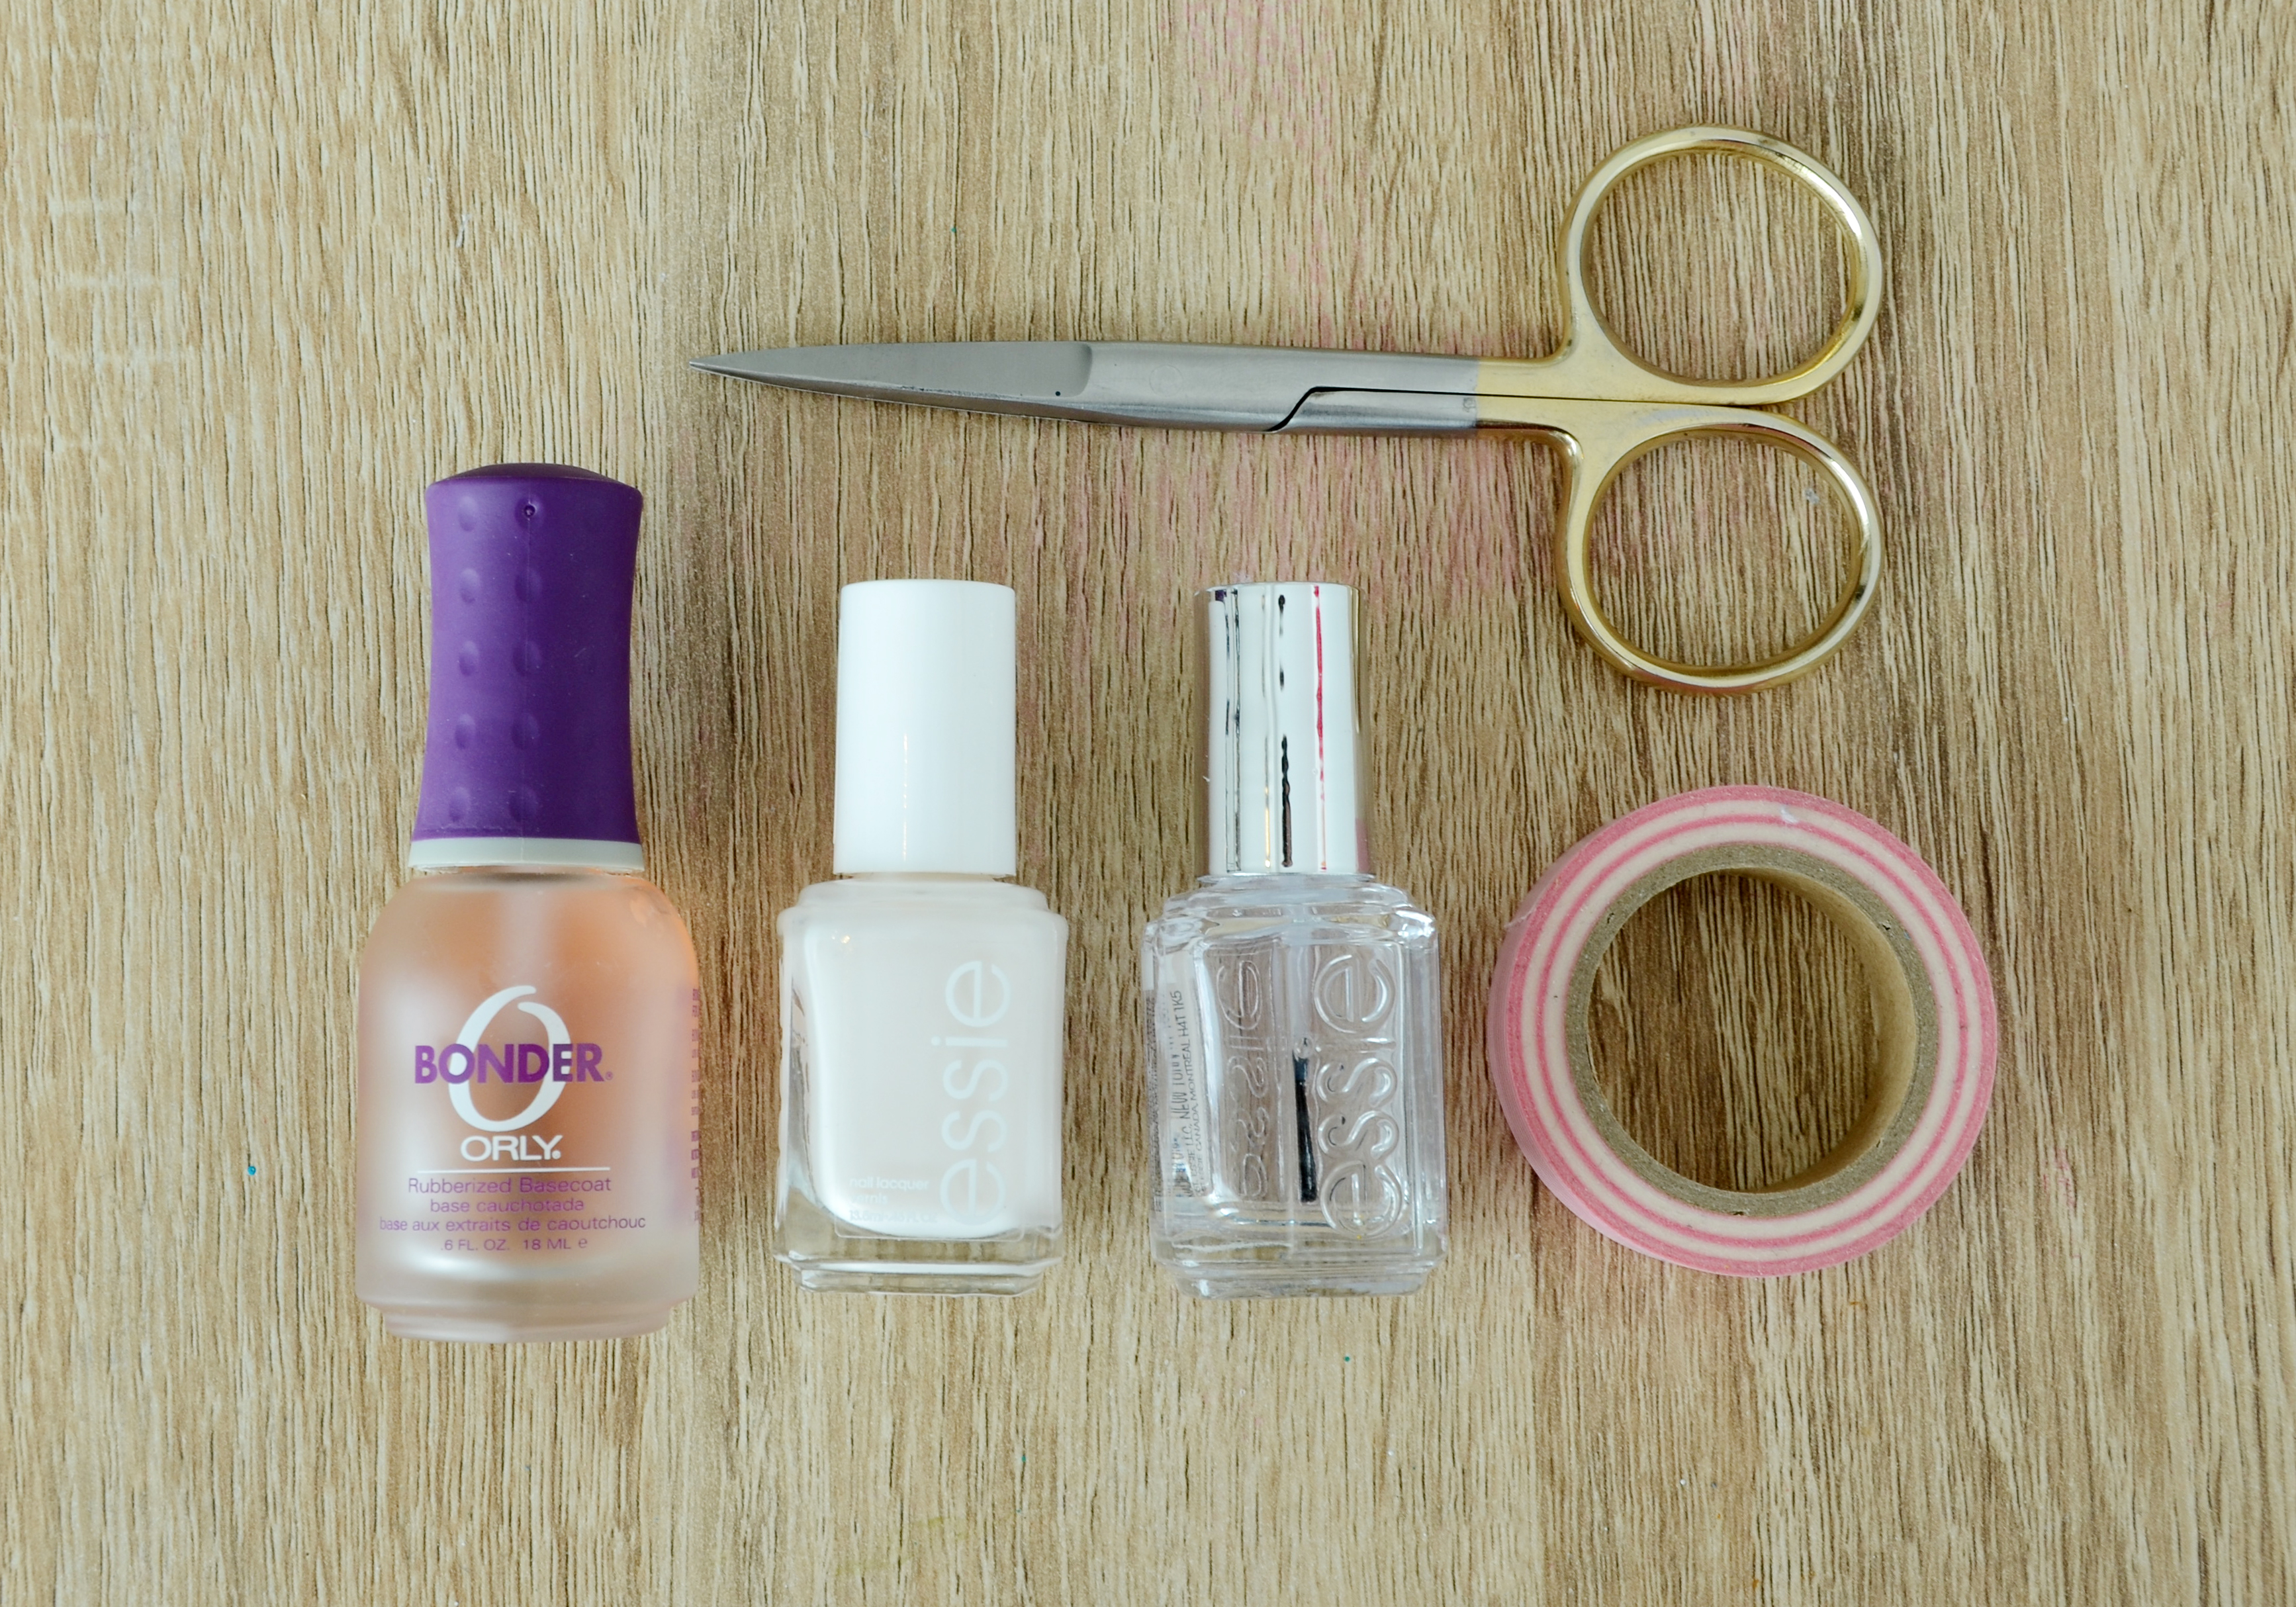
Here’s what you’ll need:
- Orly Bonder Base Coat
- Essie Tuck It In My Tux Polish
- Essie Gel Setter Top Coat
- Washi Tape
- Scissors
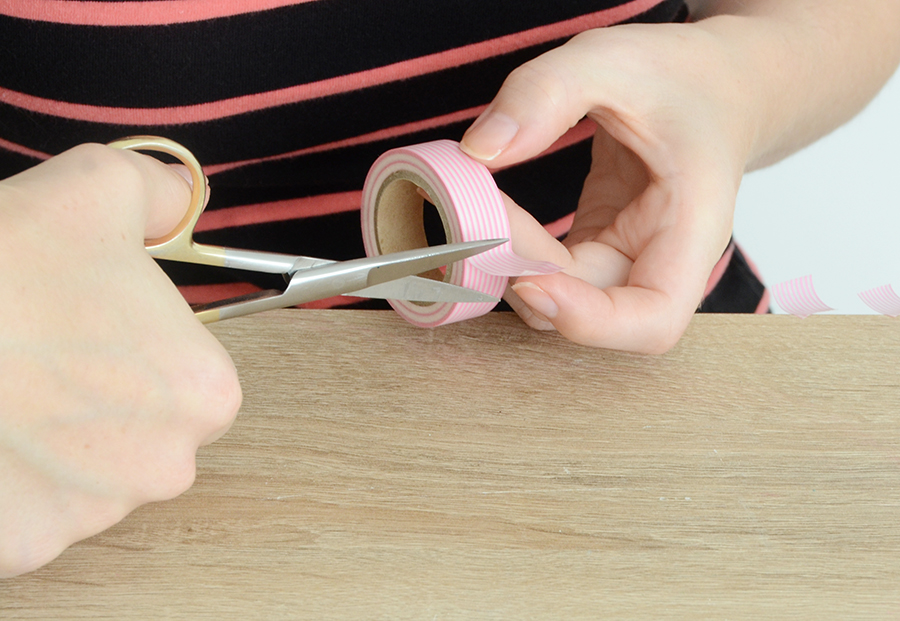
Begin by cutting ten squares of washi tape using a small pair of scissors. Attach them to the edge of your work surface.
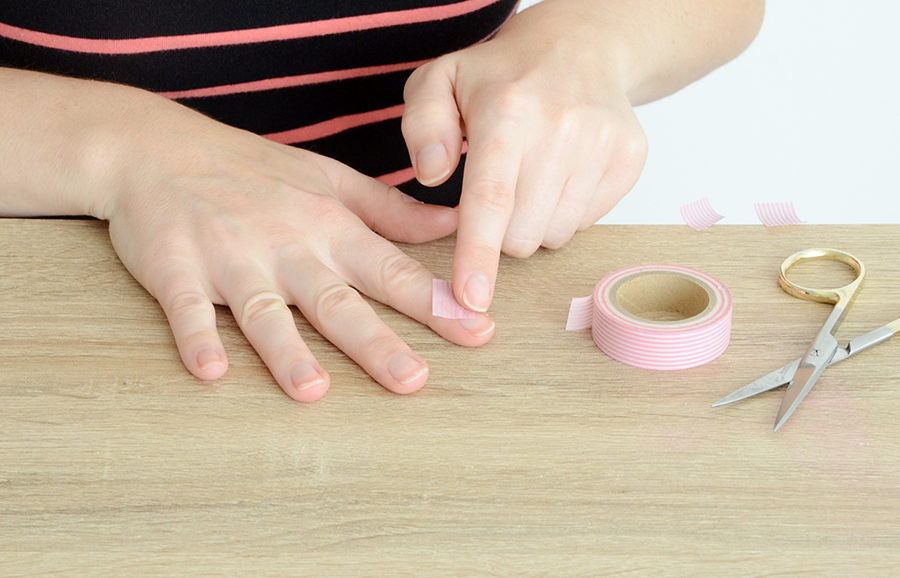
Next, apply one square of washi tape to each nail, as shown above. The corner of the tape should form a triangle at the base of your fingernail. Push down firmly so they are securely applied.
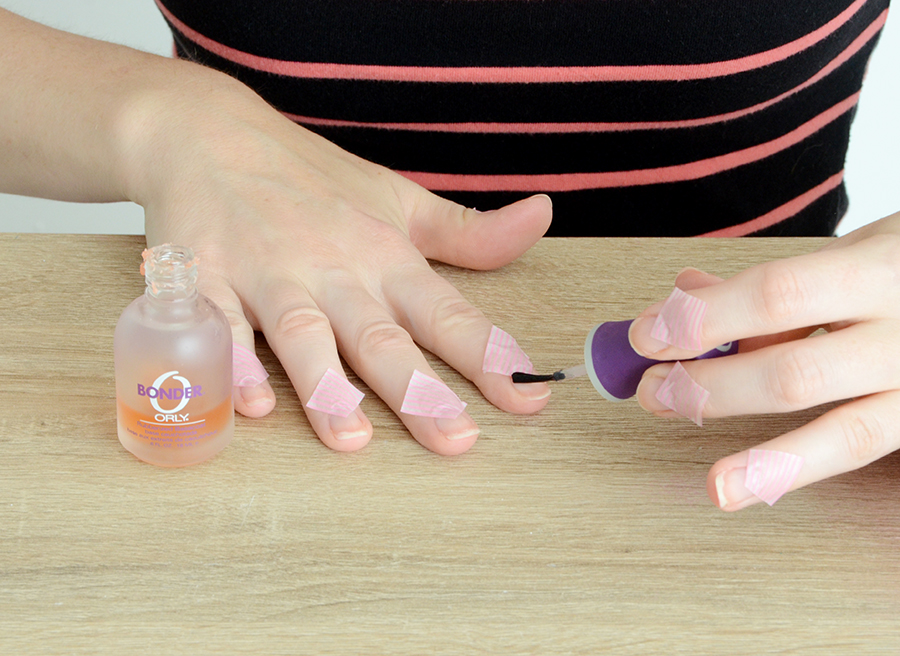
Paint a coat of Orly Bonder on each nail, overlapping the tape a bit. Let the base coat dry thoroughly before you move on to the next step.
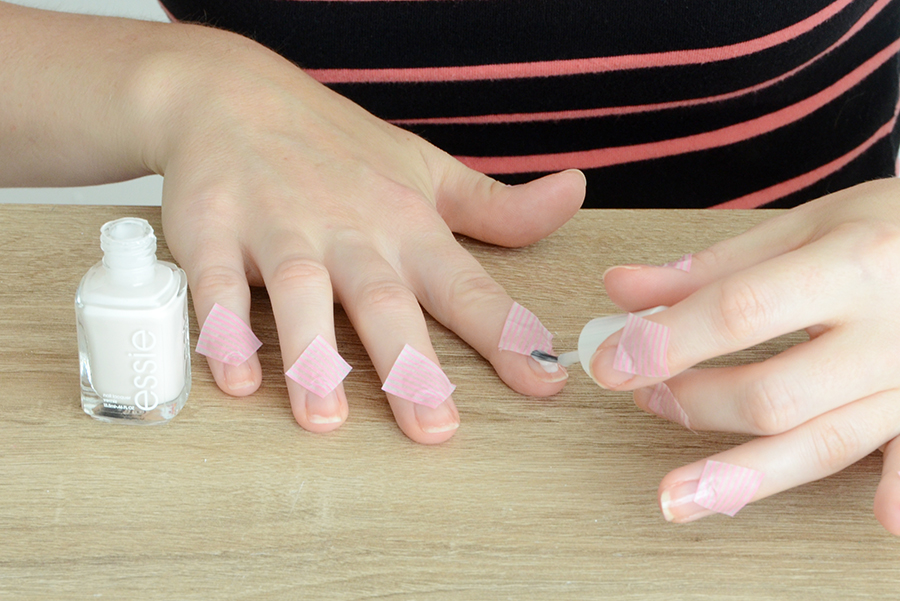
Next, paint two coats of Essie Tuck It In My Tux on each nail. This time, let them dry only briefly in between coats.
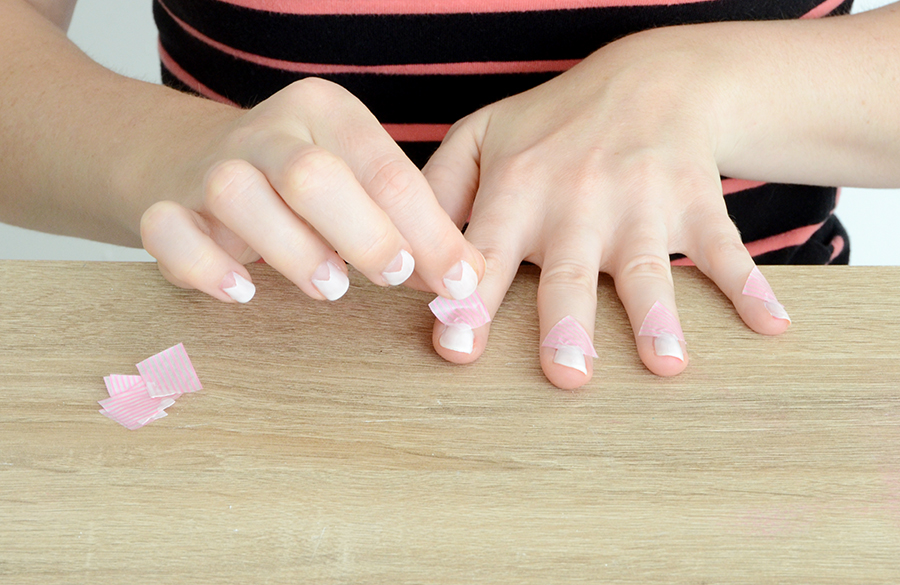
Immediately pull the washi tape off of each nail. If you let them dry partially, then the edges of the polish will peel off when you take the washi tape off.
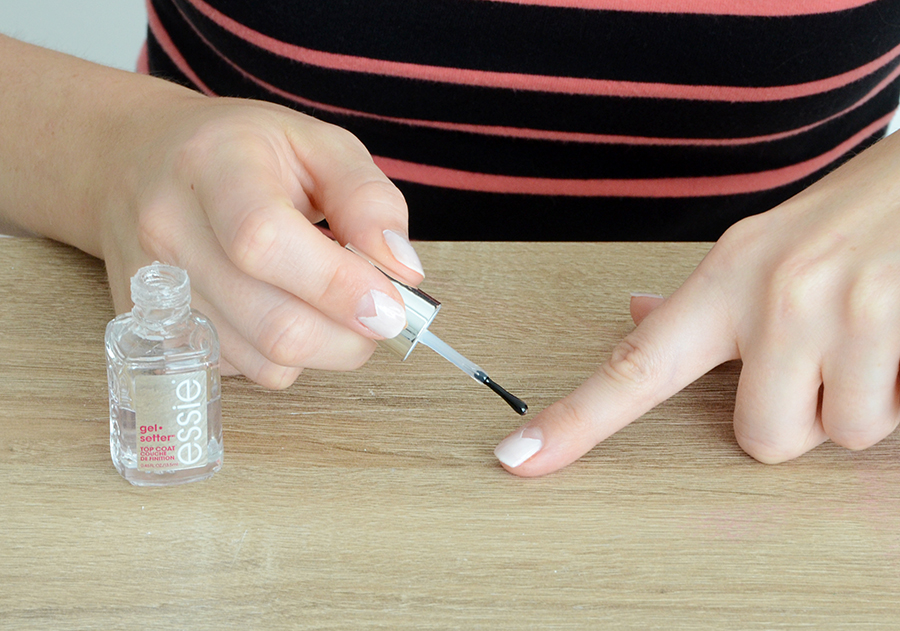
Paint a coat of Gel Setter top coat over each nail, let dry, and your Summer Lovin’ geometric mani is complete!
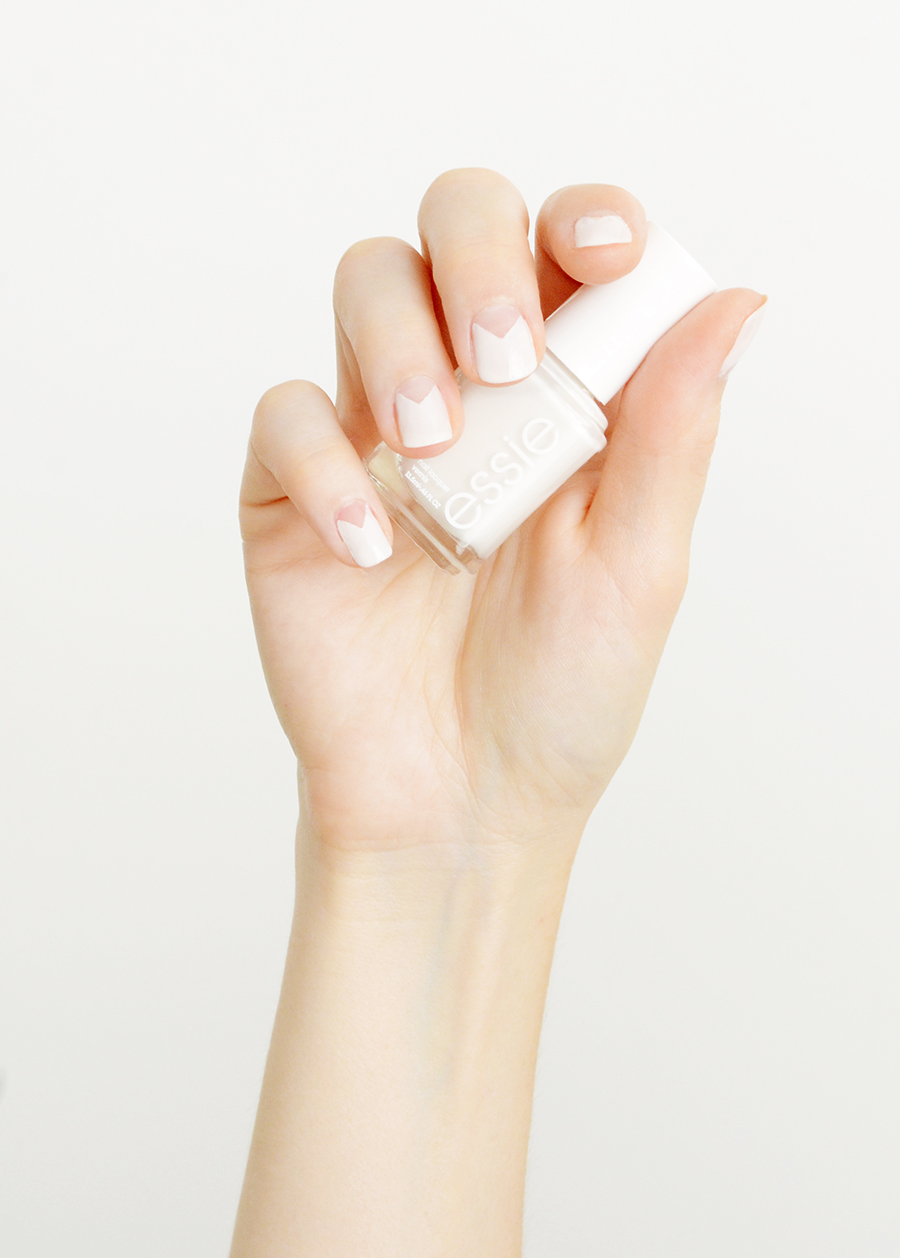
This is a fun play on the classic French manicure, with a large area of white and less visible natural nail. Your friends are sure to love it… probably so much so that they will beg you to give them a Summer Lovin’ manicure too!