DIY Wine Cork Trivet – How to Create a Showpiece Out of a Trivet
Updated on November 19, 2025


Trivets are extremely useful things to have in the kitchen, as you really want to protect the countertop and the tables, as too much heat will damage them. One thing trivets are not, however, is eyecatching. So, we thought we’d help you create a beautiful trivet with the help of wine corks.
In this way, not only will you be protecting your tables and your kitchen countertop, but it will also look beautiful. Of course, the best use for this trivet is quite likely at a dinner party when you’re bringing the hot dish to the table for everyone to get a serving.
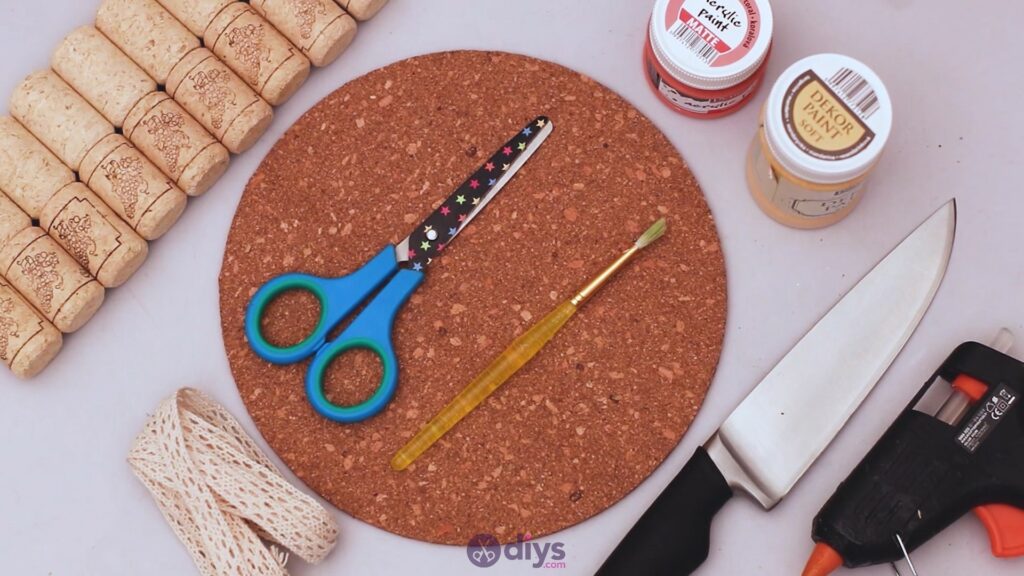
Materials for wine cork trivet
- wine corks
- round corkboard
- knife
- glue gun
- corral and beige acrylic paint
- paintbrush
- lace ribbon
How to make a wine cork trivet
Creating your own beautiful trivet will take a bit of work, but the result is worth it, we believe. Gather up all the materials so you have them within arm’s length, and get started.
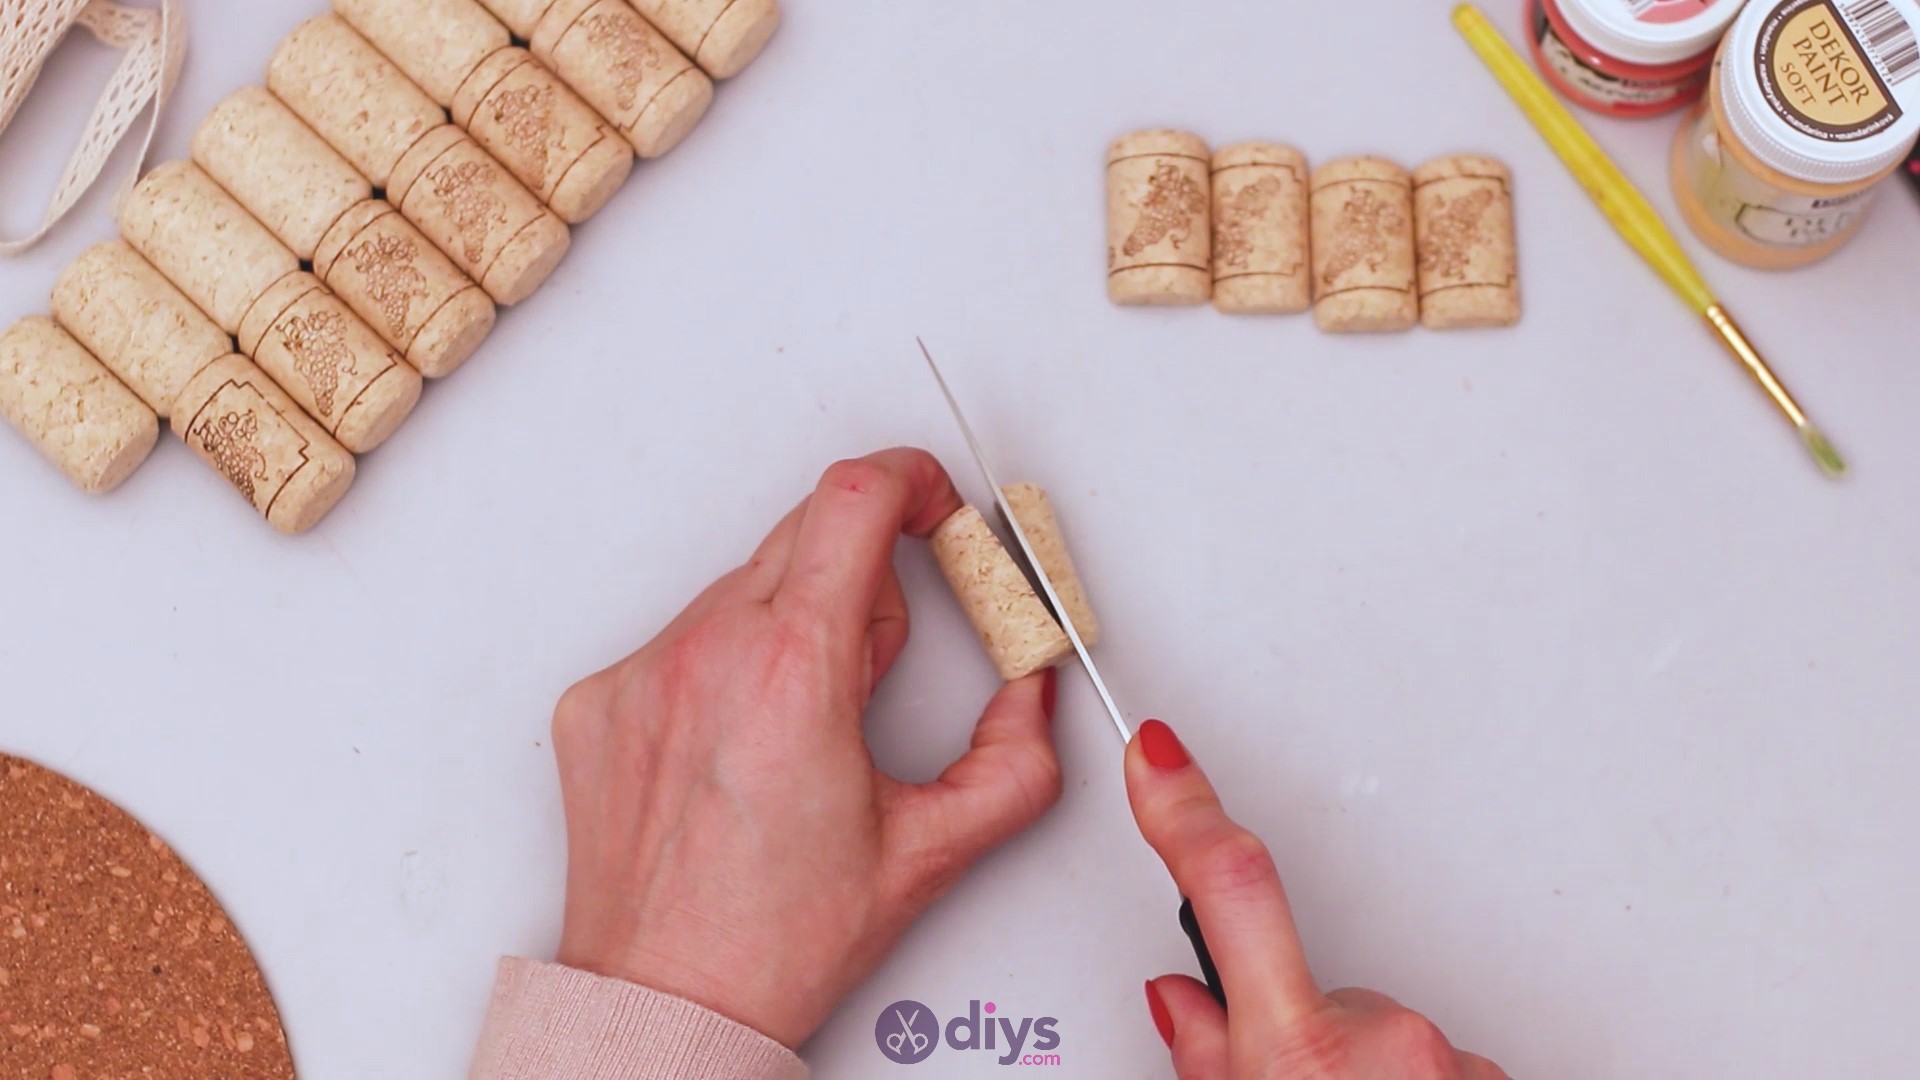
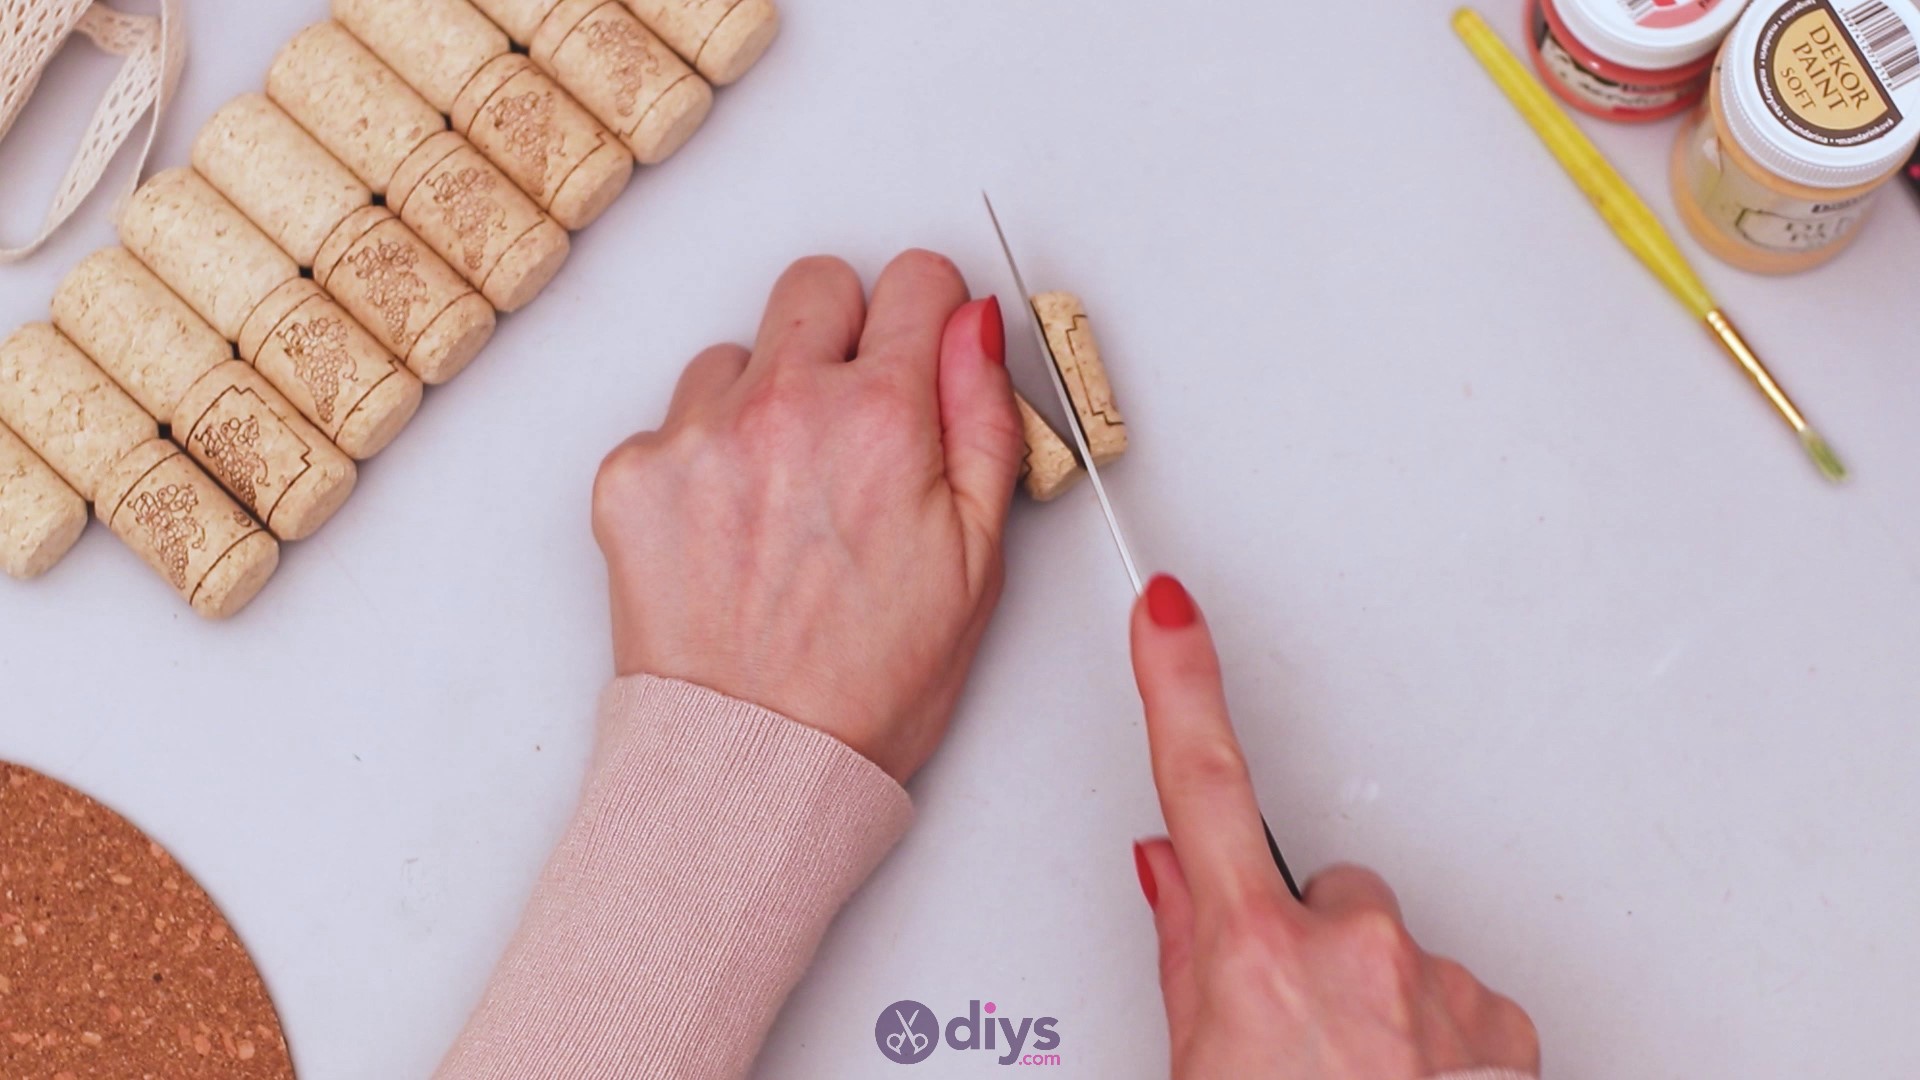
Step 1: Cut the corks
You’re going to start off by taking thewine corks and theknifeand cutting them straight down the middle. You’ll want to make the cut vertically and try to keep the knife as steady as possible. Also, try to make the cut smooth, as you’ll be putting glue on that side of the cork.


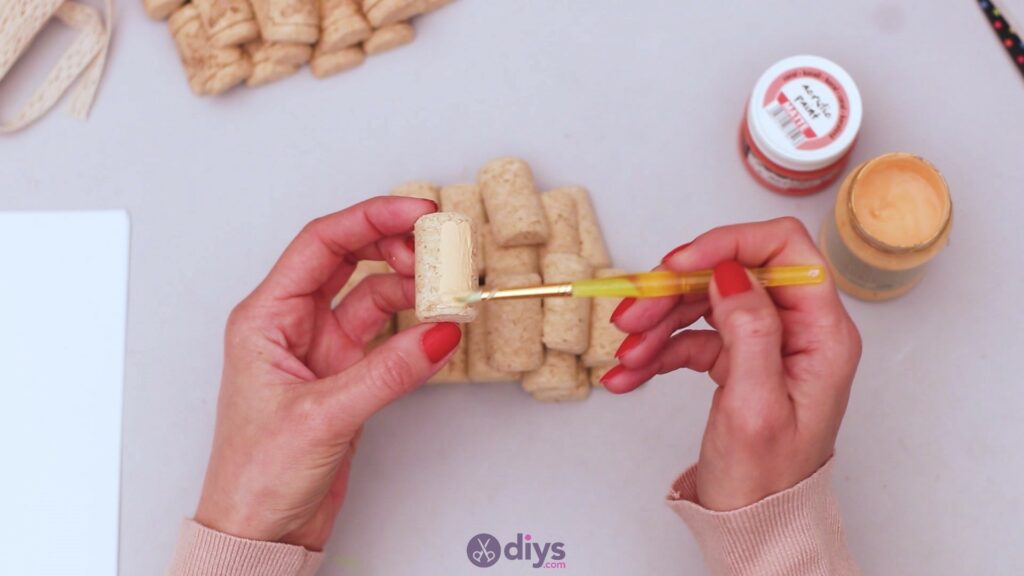
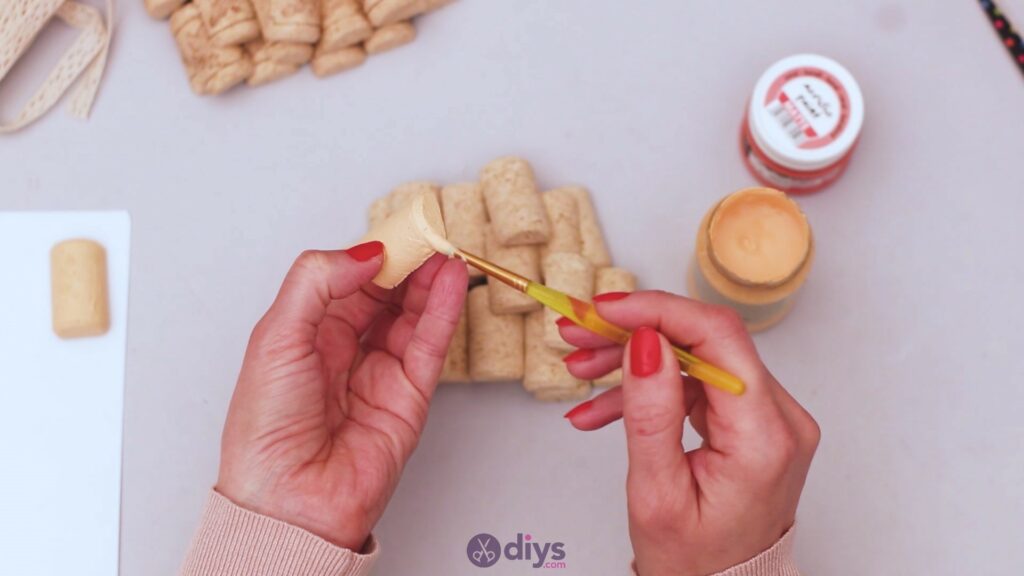
Step 2: Paint the wine corks
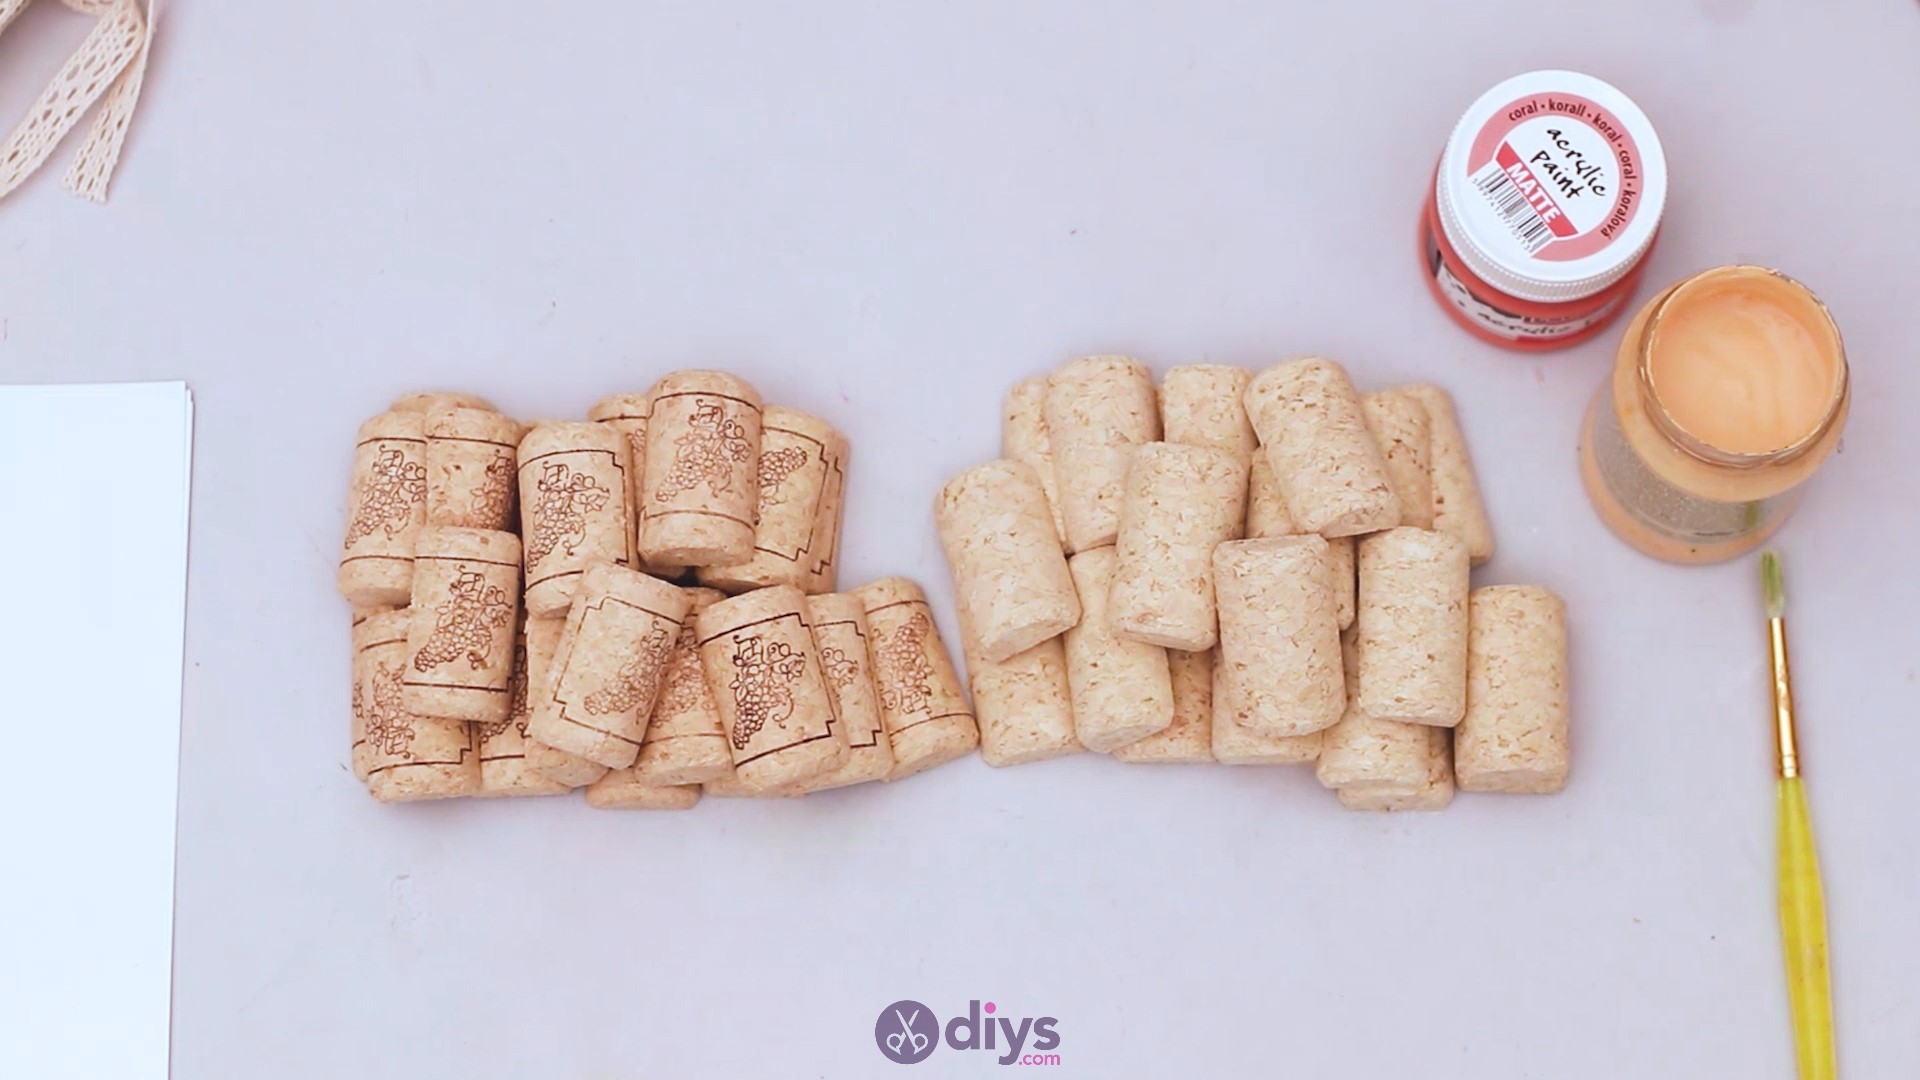
There you go! Your pile of wine corks is not cut and you can proceed to the next step. Split the pile into three – one you’ll leave plain, one you’ll paint corral, and the last one you’ll paint beige.
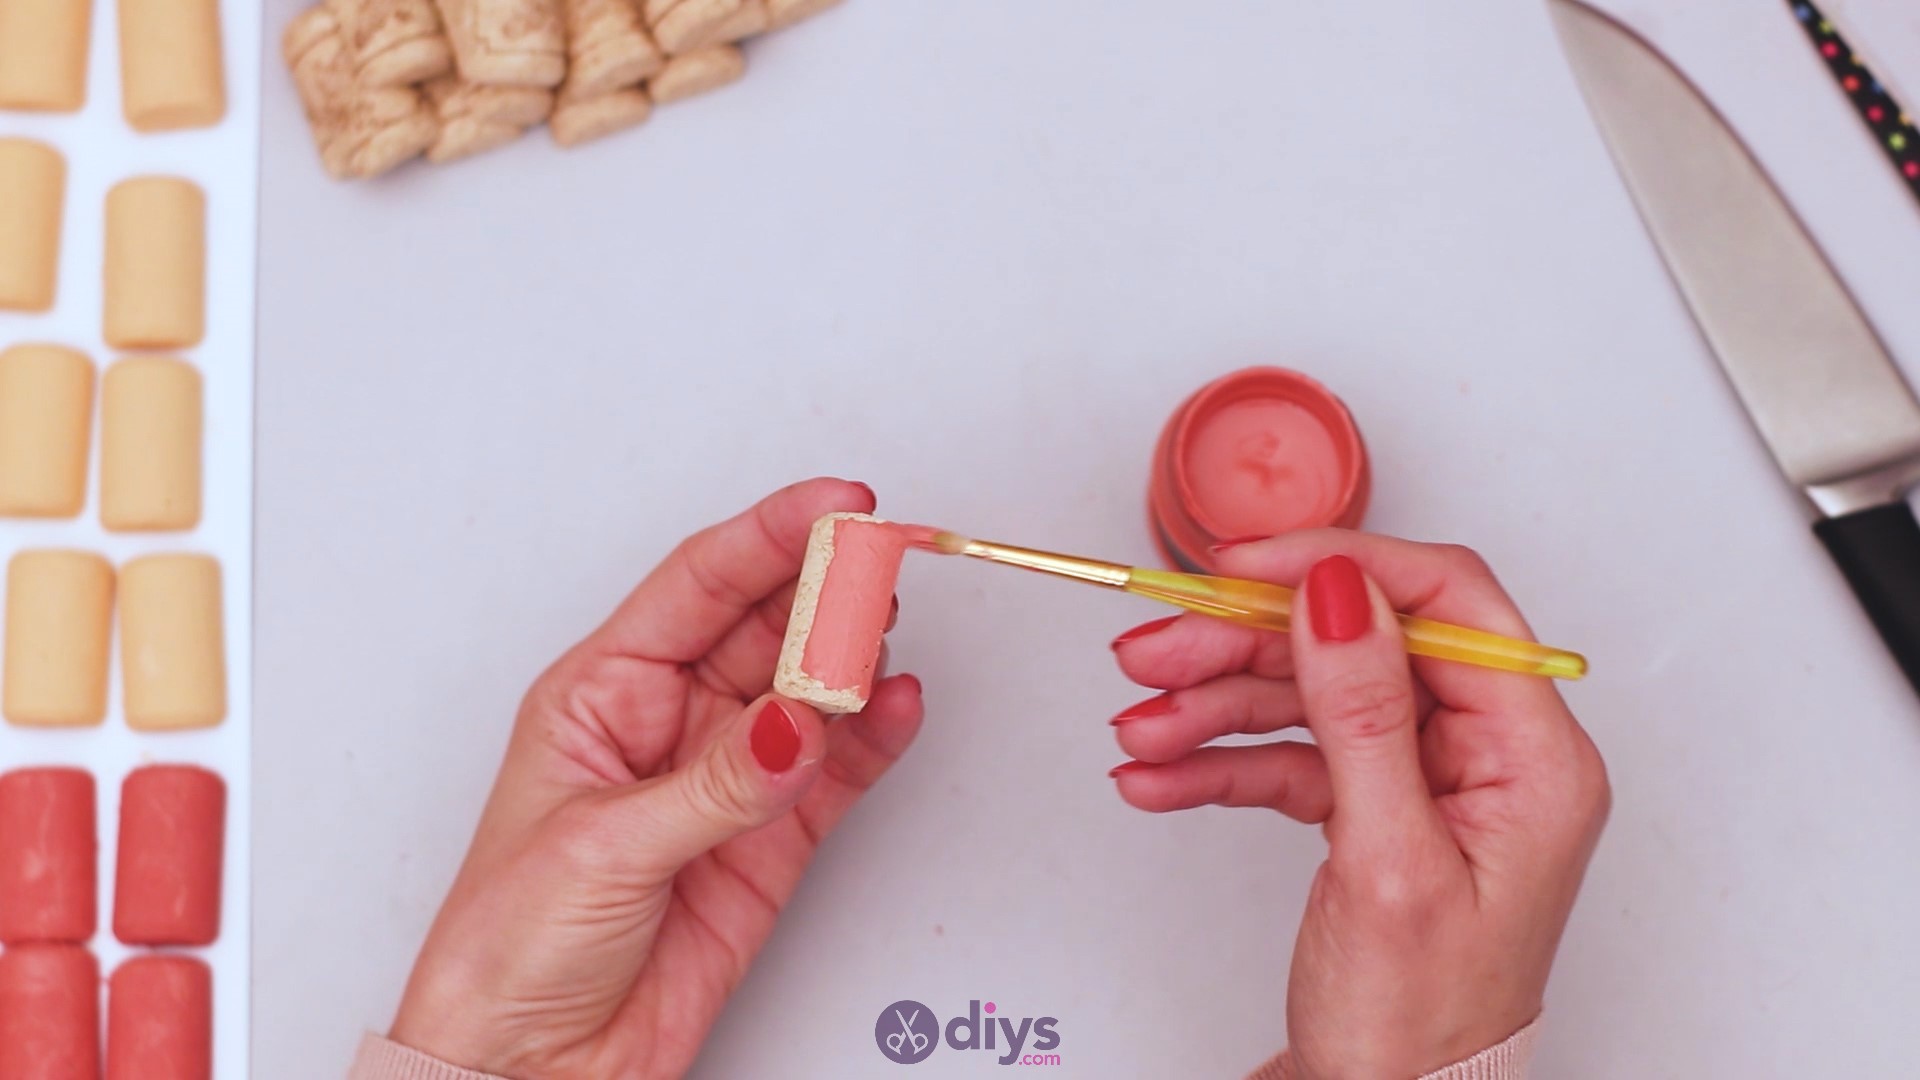
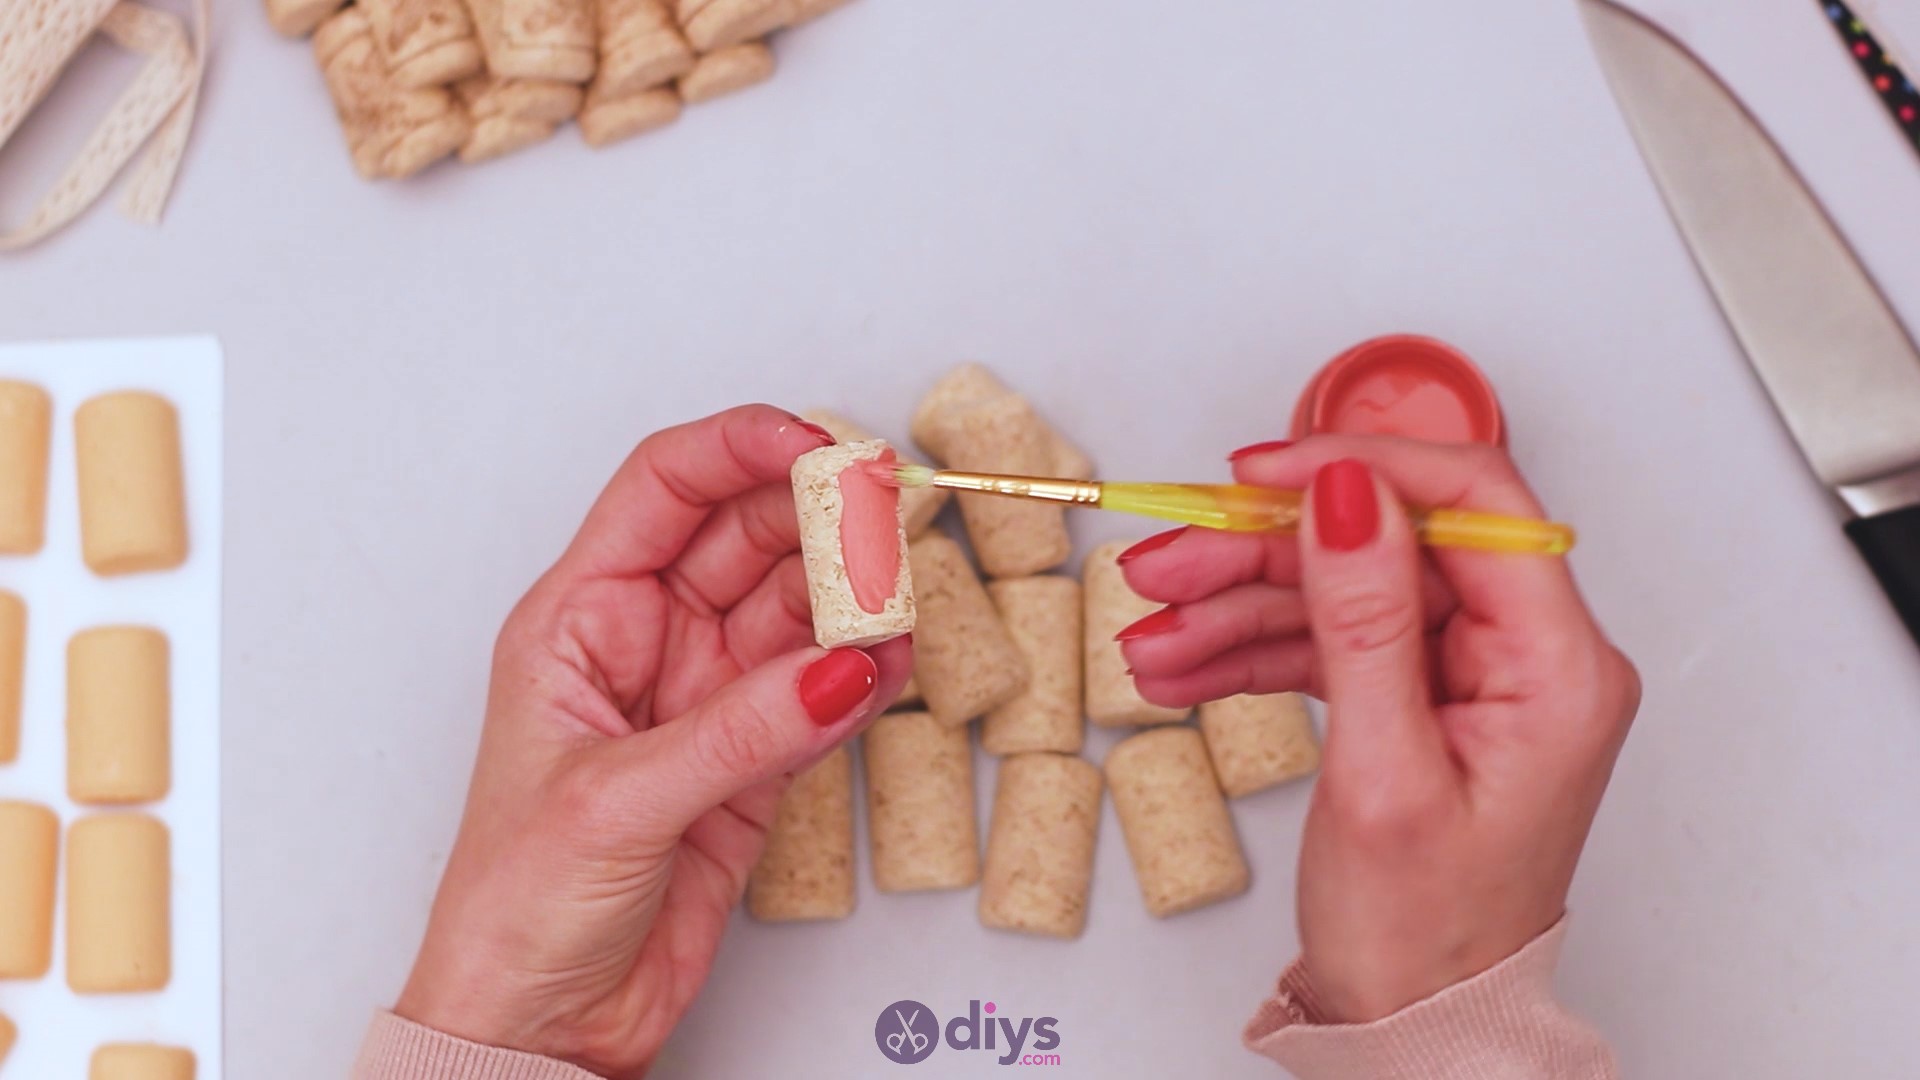
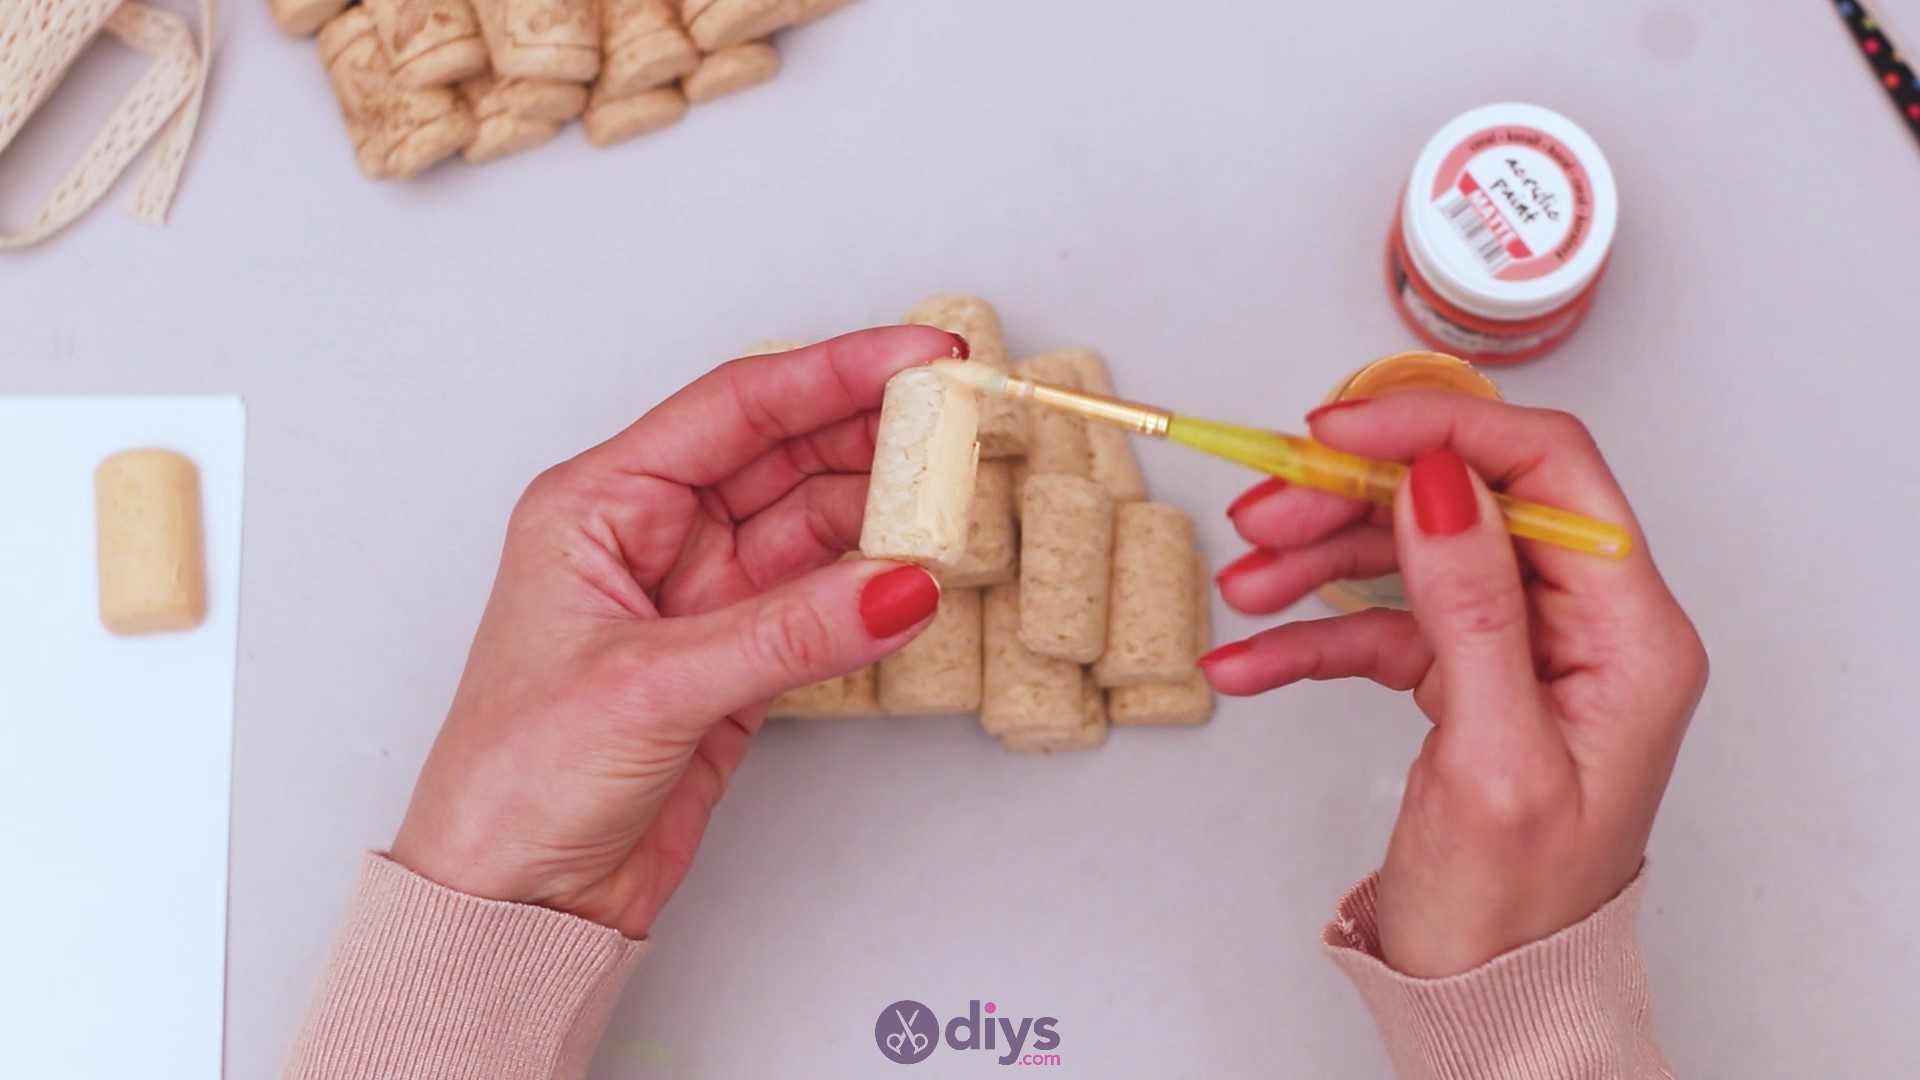
So, get the corral and beige acrylic paint and start adding color to your wine corks. You’ll want to take thepaintbrushand lather up the paint over the side of the cork, including the edges. Leave the back of the cork alone.

As you can see, our wine corks have a grape drawing on one side. If yours are plain, you won’t have this issue, but if your corks look like ours, you should be careful about cutting them in such a way that one of the sides you’re left with is completely plain. Paint will be much easier to layer out over the plain sides, as you won’t have to “hide” the grape design. Either way, make sure not to add lighter shades of paint over the cork sides that have a design like ours do, as it will require multiple layers for complete coverage, something that will take quite a bit of extra time.
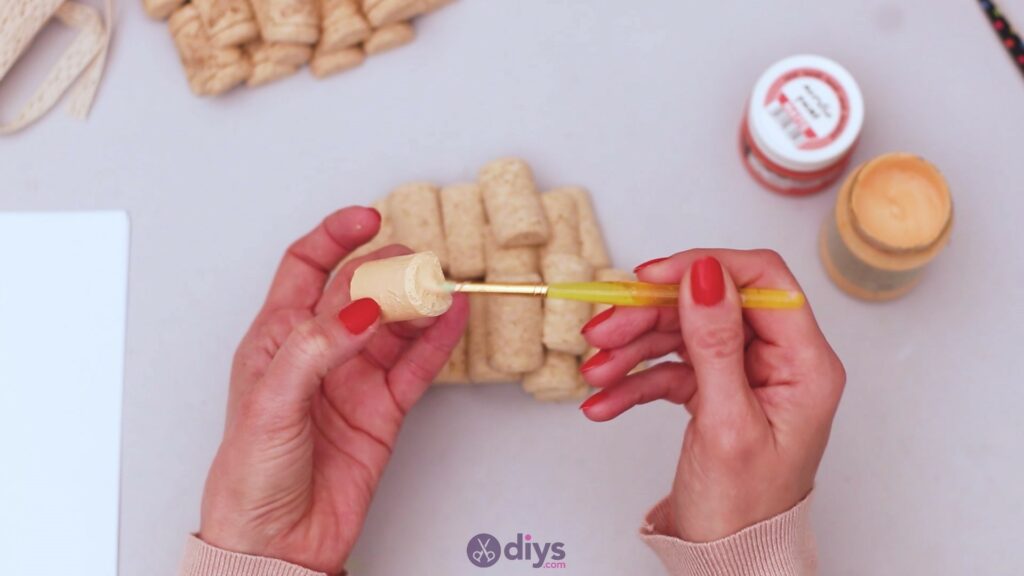
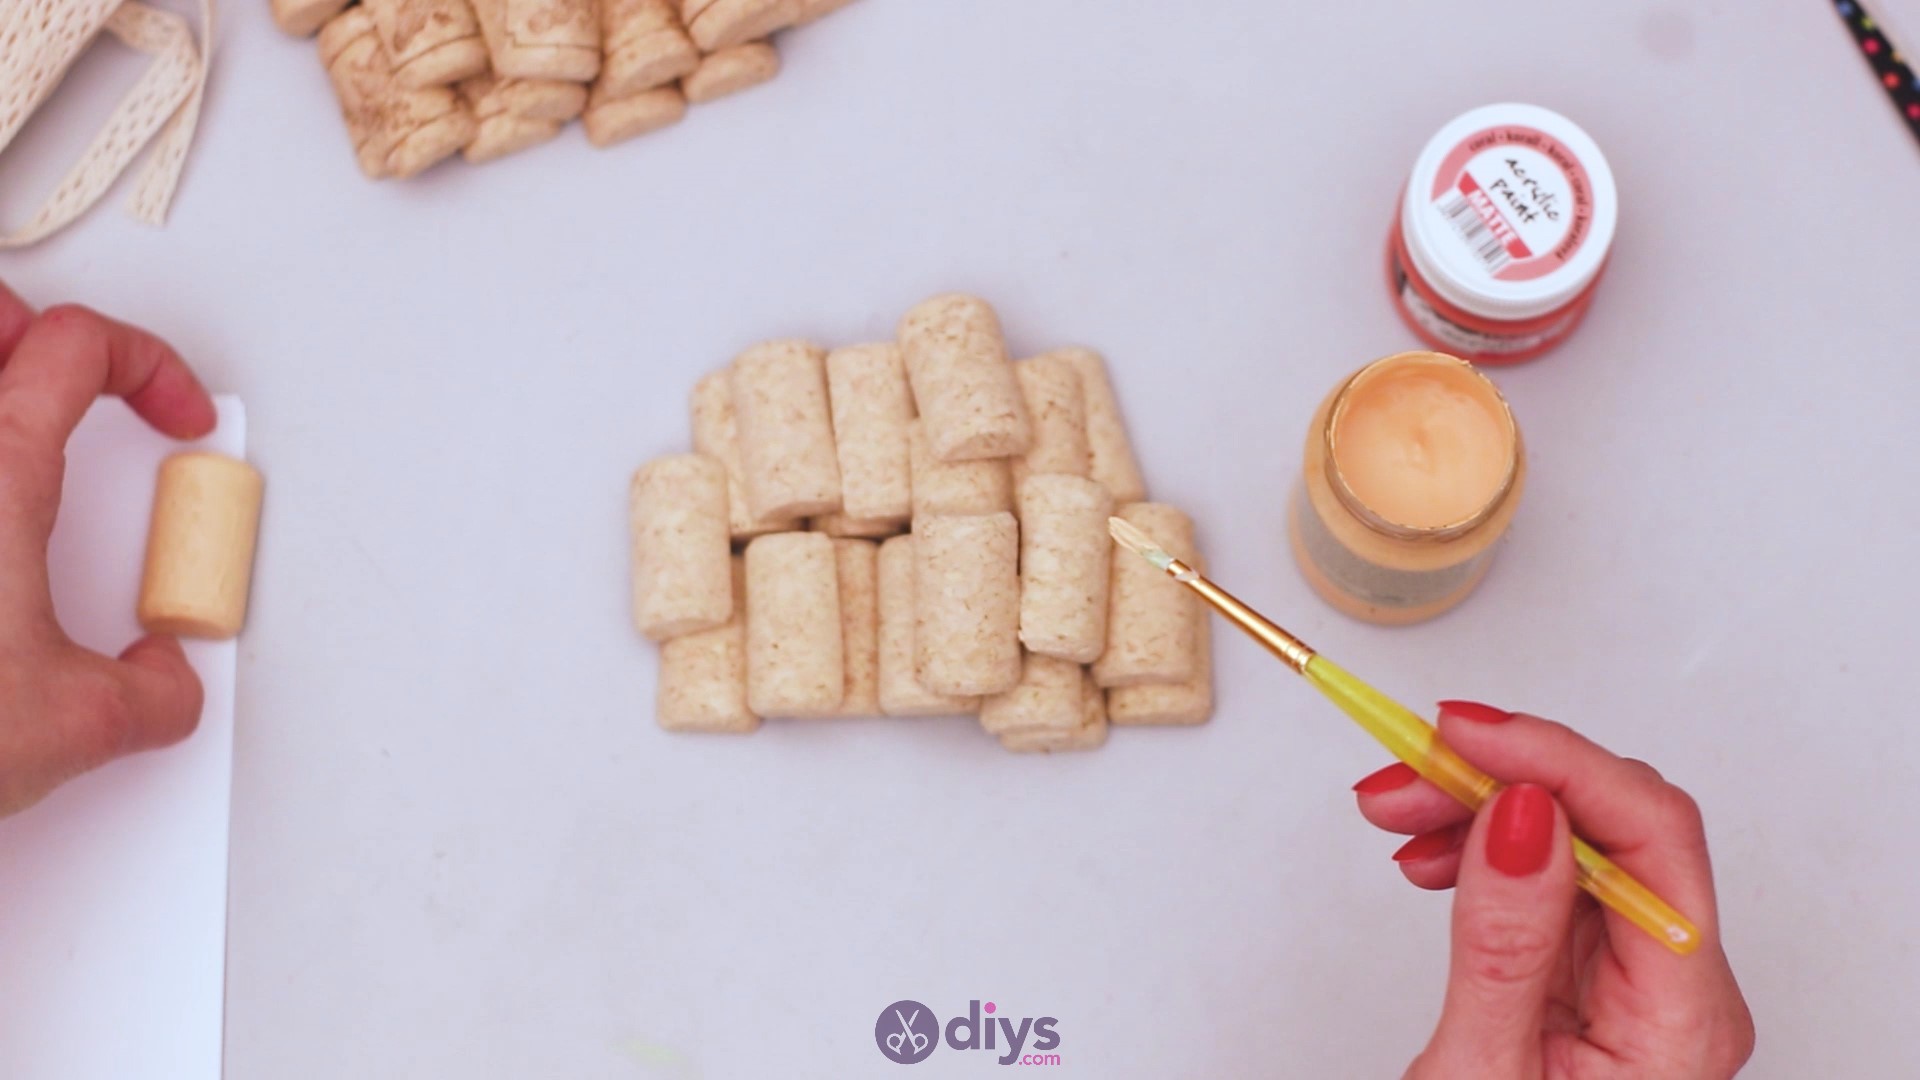
Acrylic paint dries up pretty quickly, so set the painted parts on a piece of paper and allow them some time.


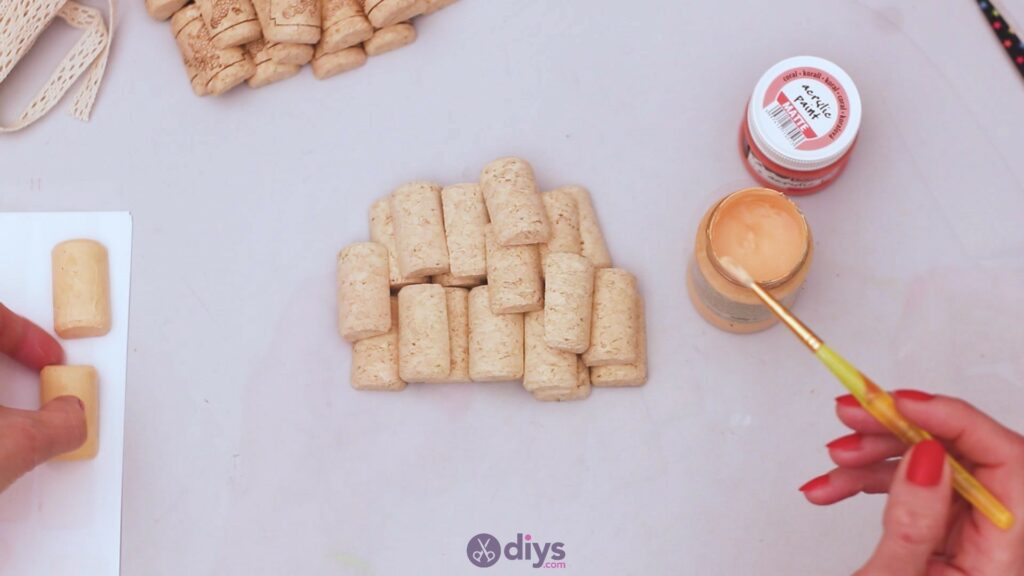
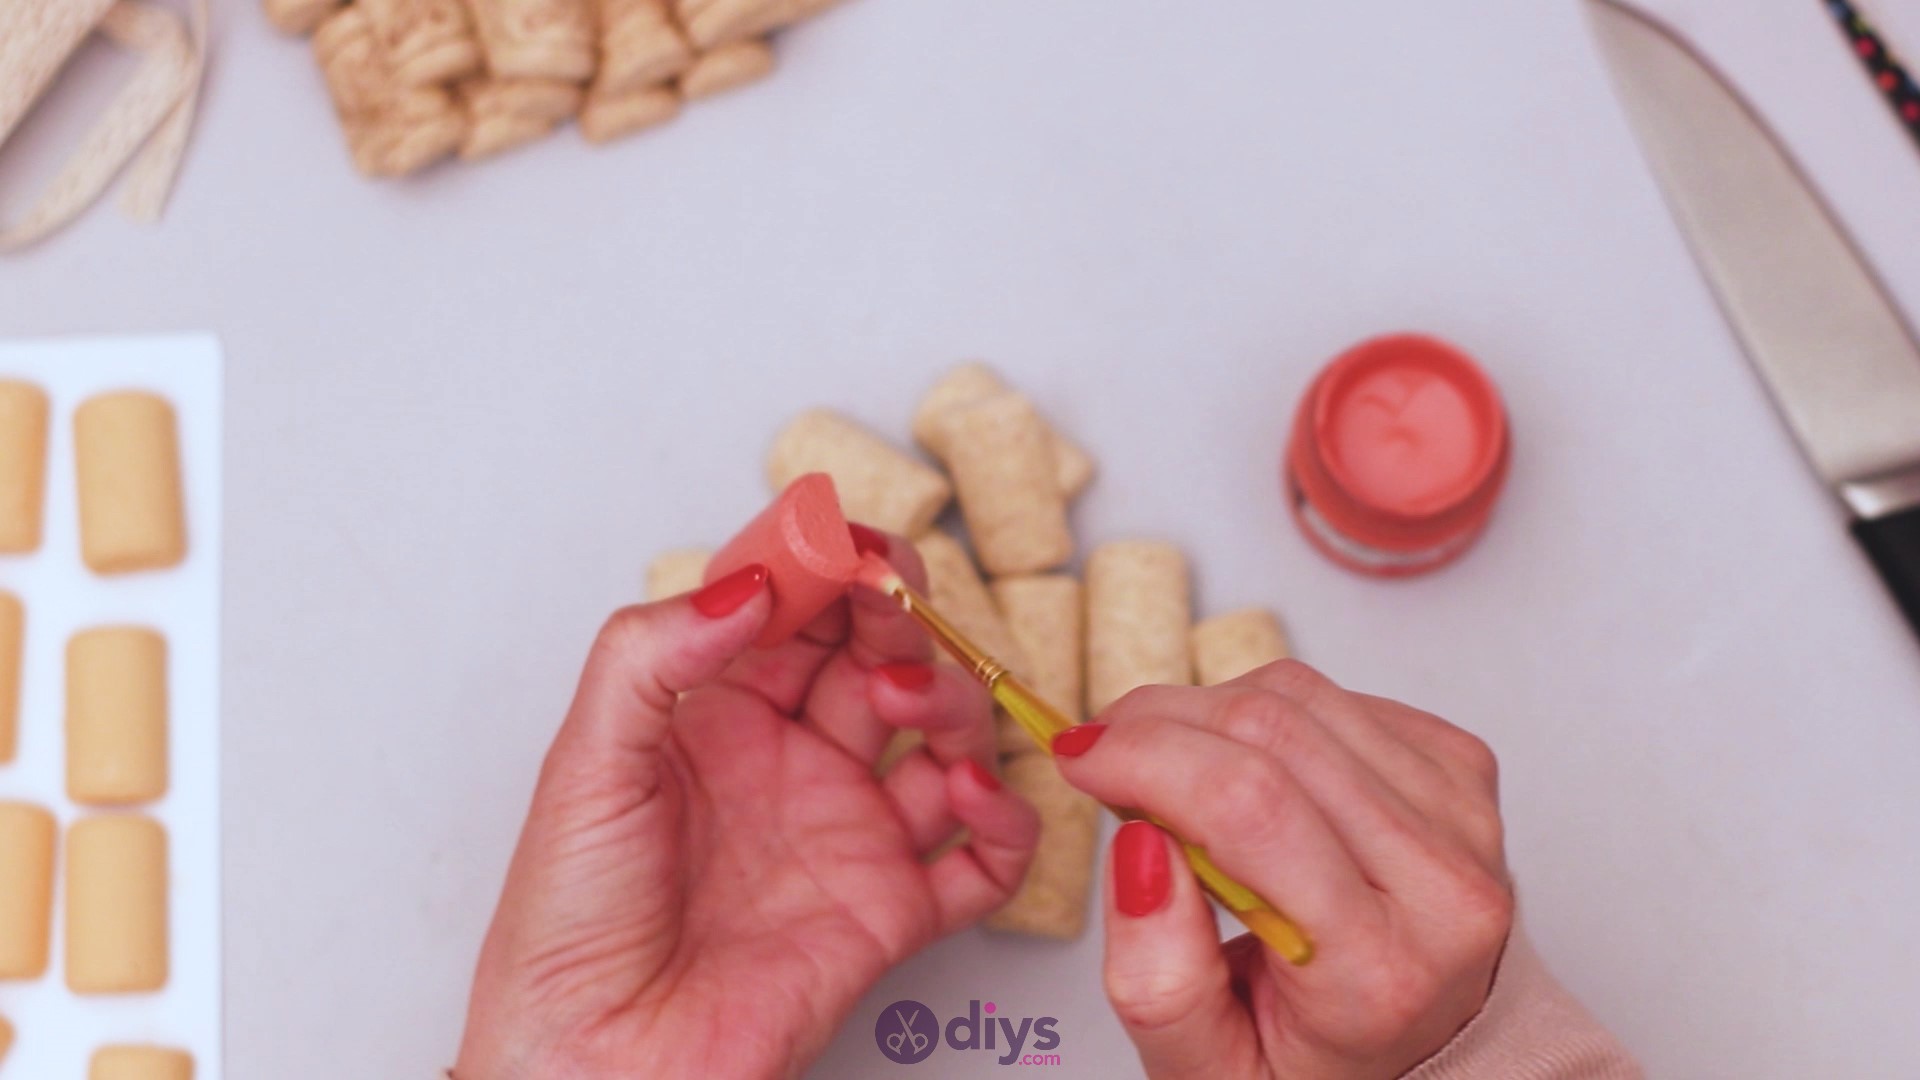
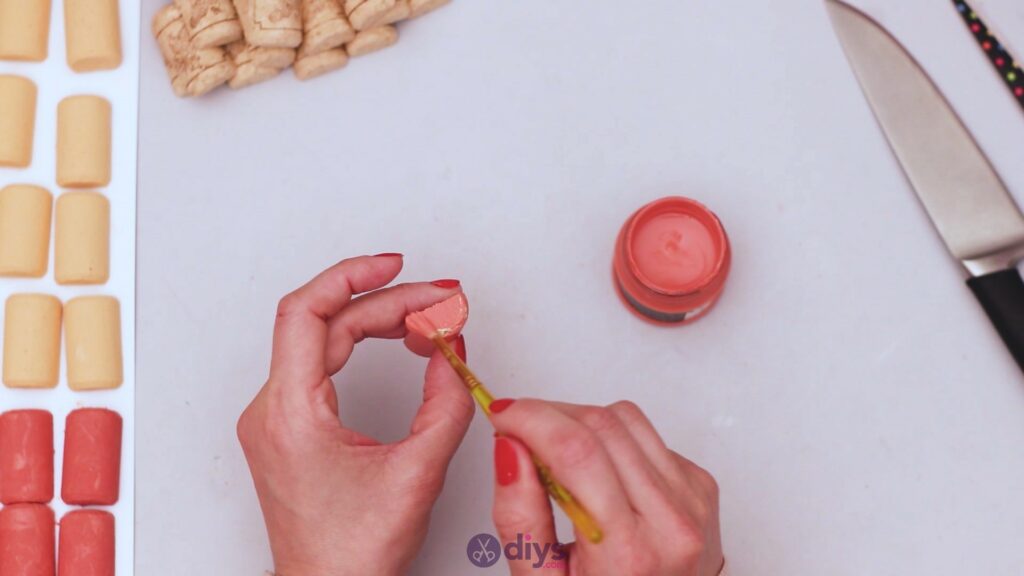
Once you’ve painted the first pile beige, you can move to the second and add corral paint over the wine corks.

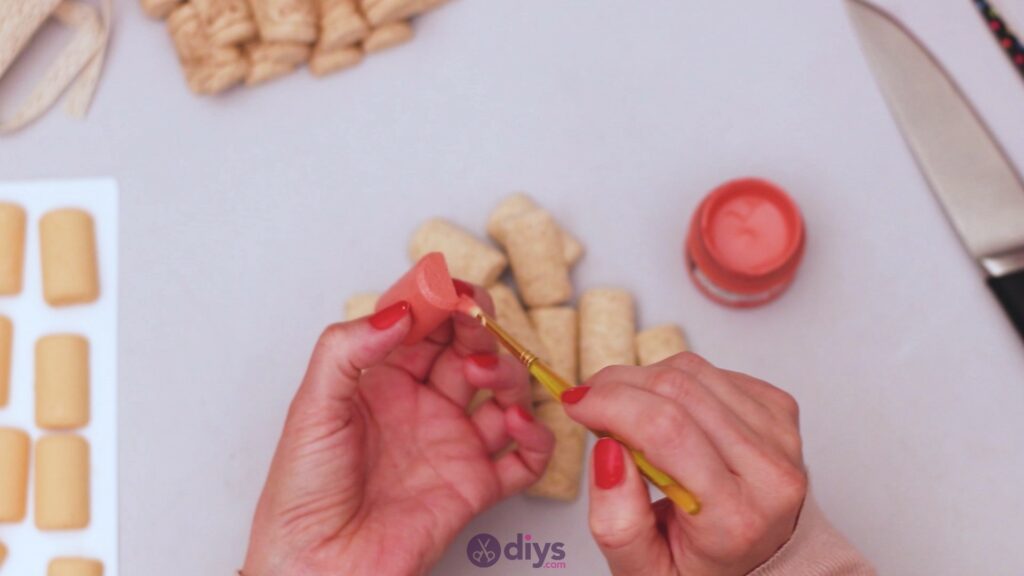
Make sure your paint covers all sides, as well as the edges, even if that means you’ll be painting up your own fingers here and there.

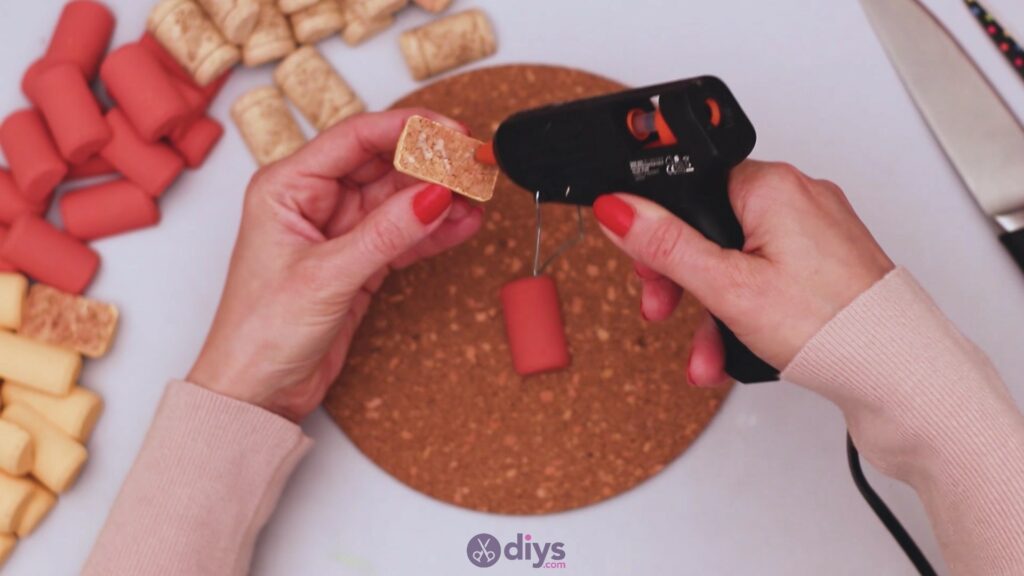
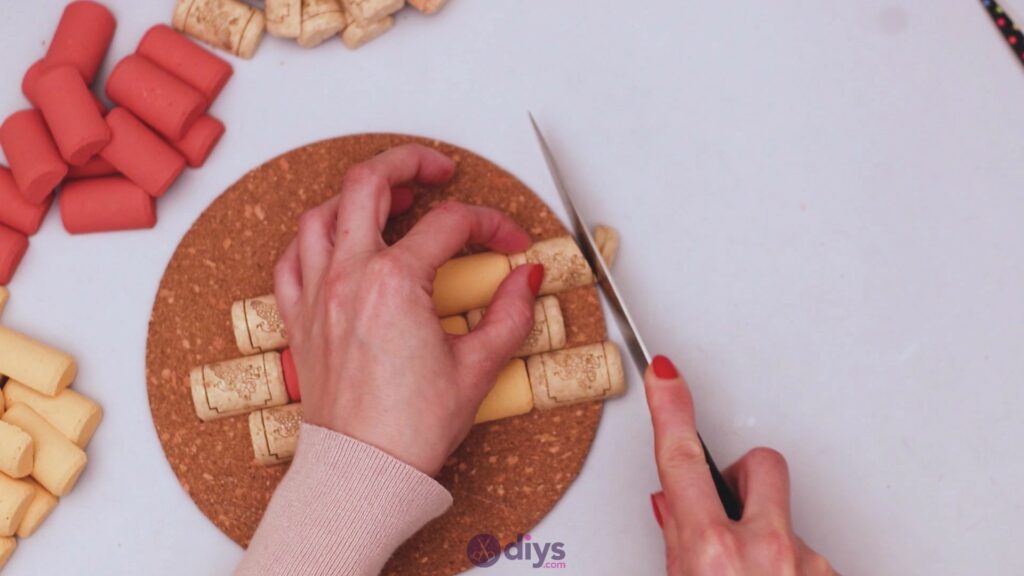
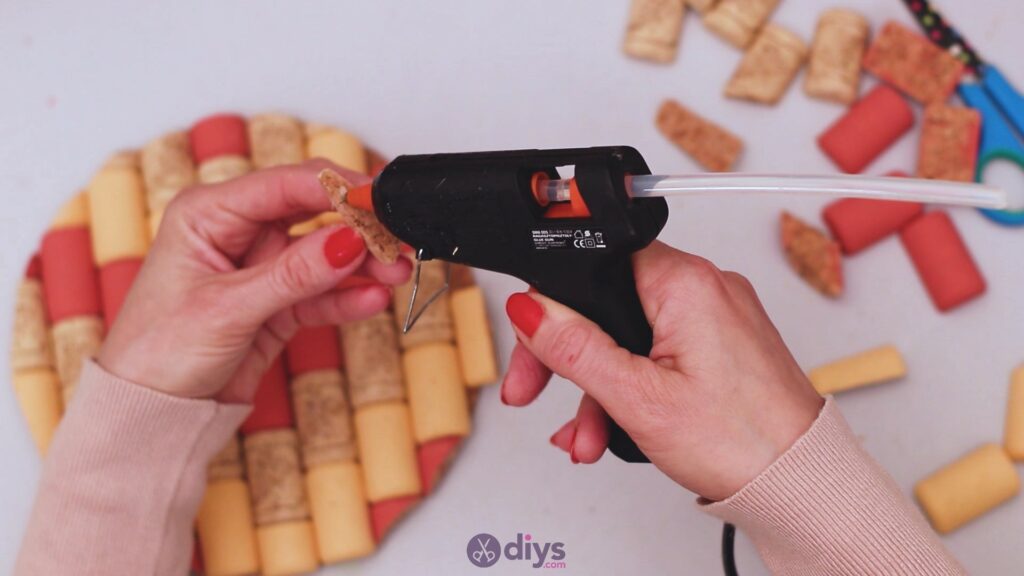
Step 3: Glue the corks
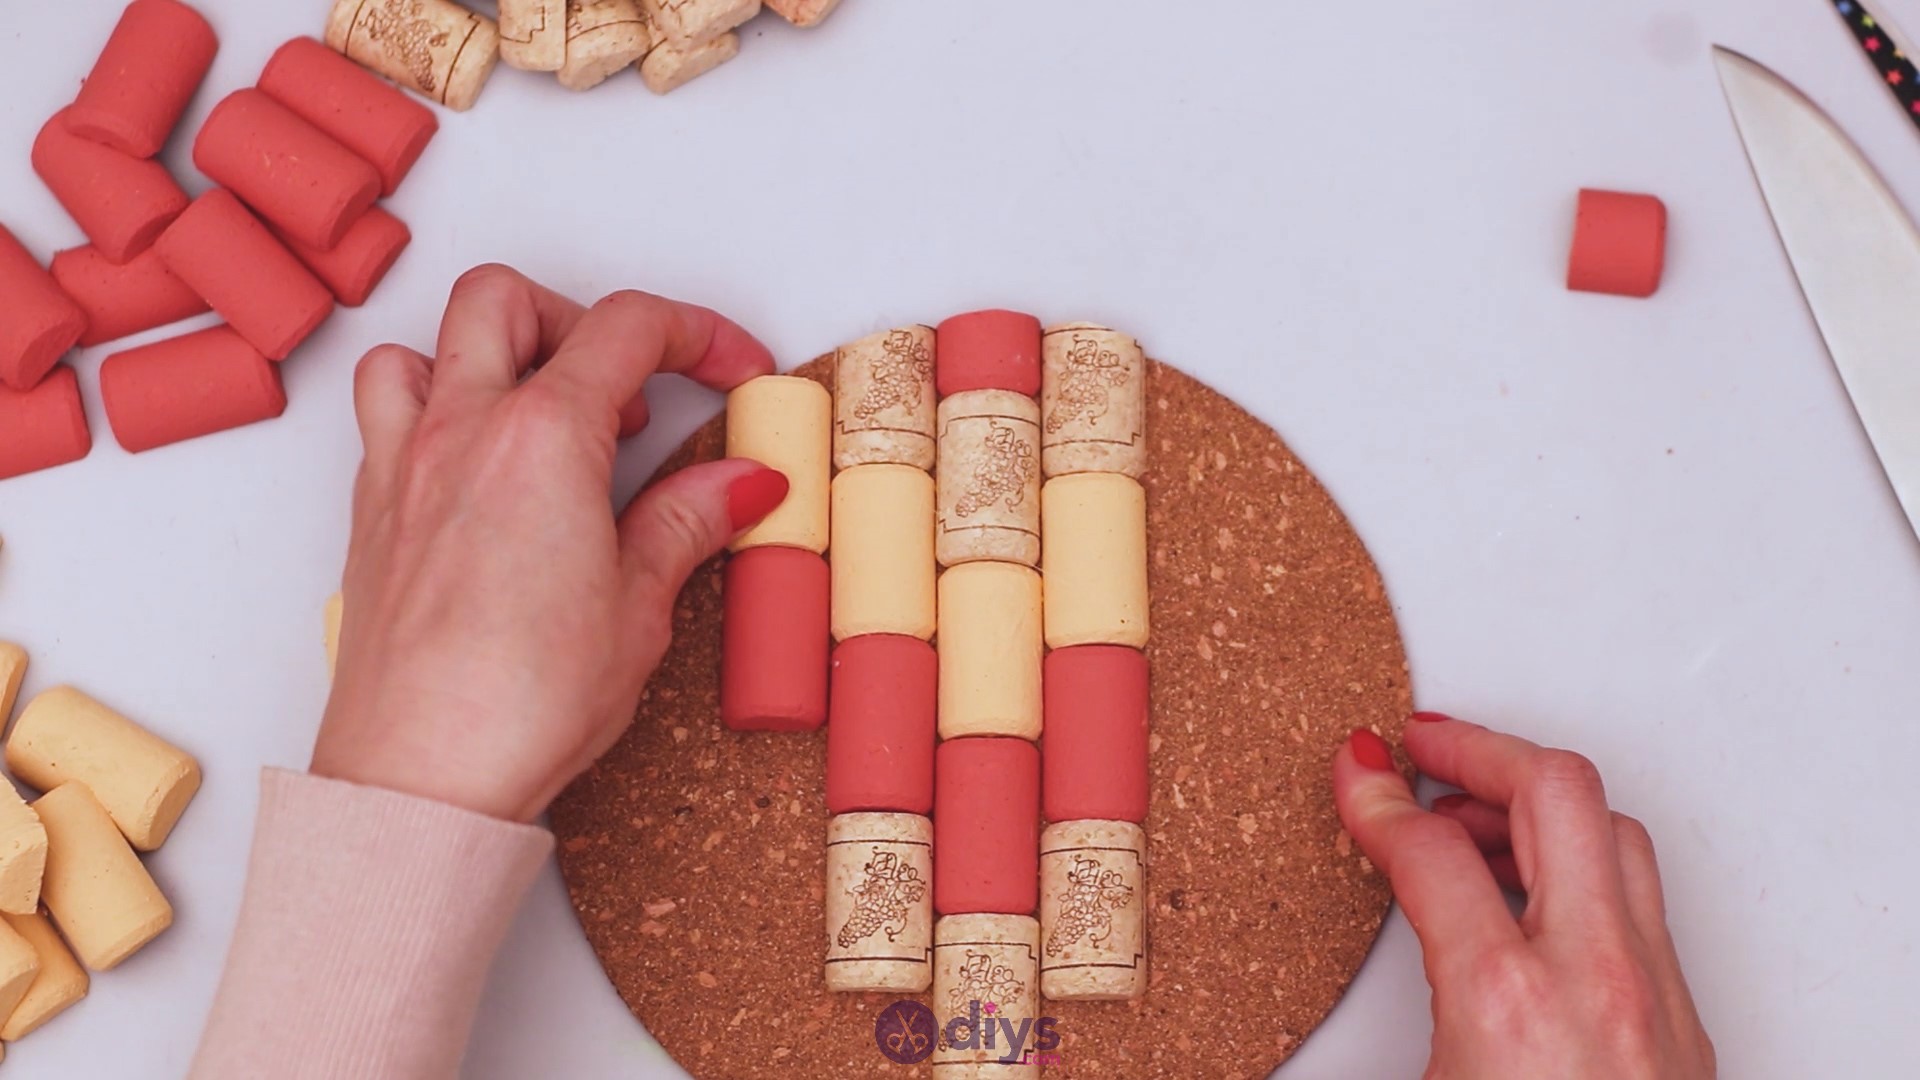
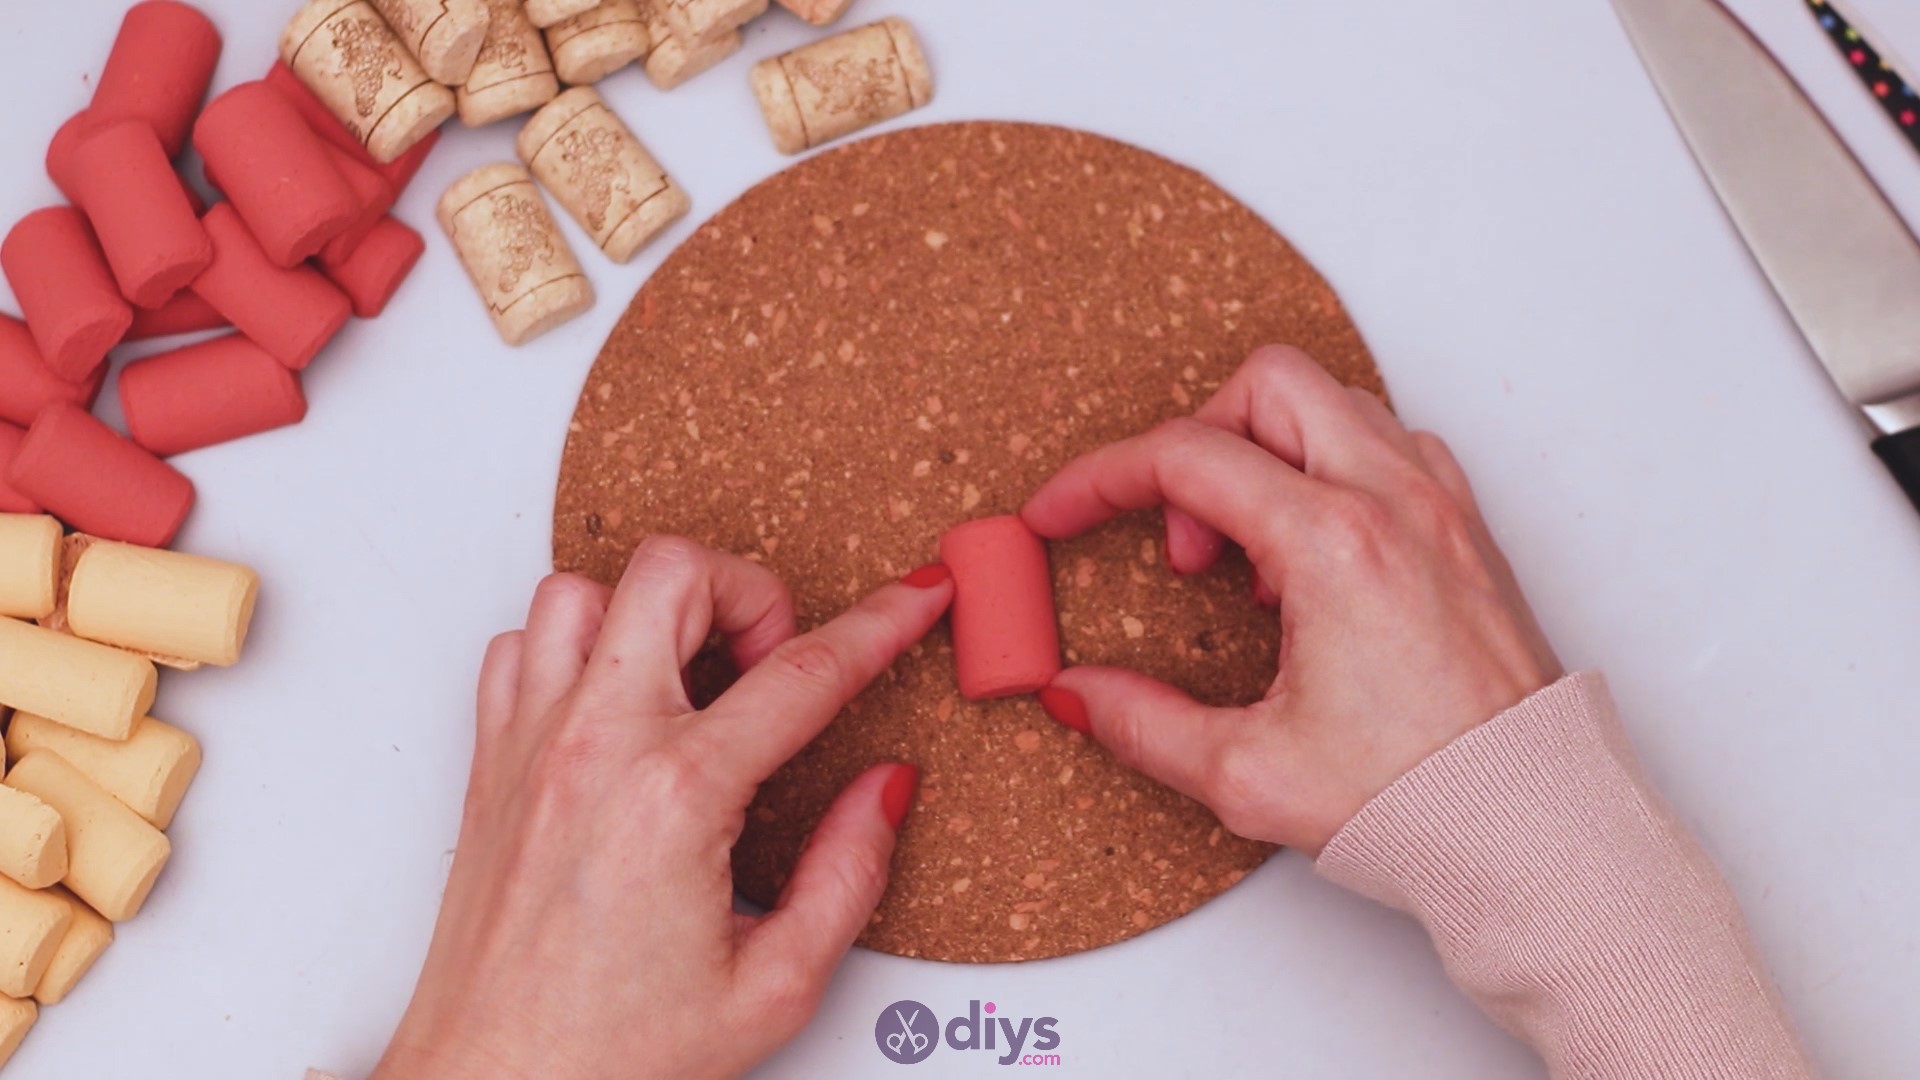
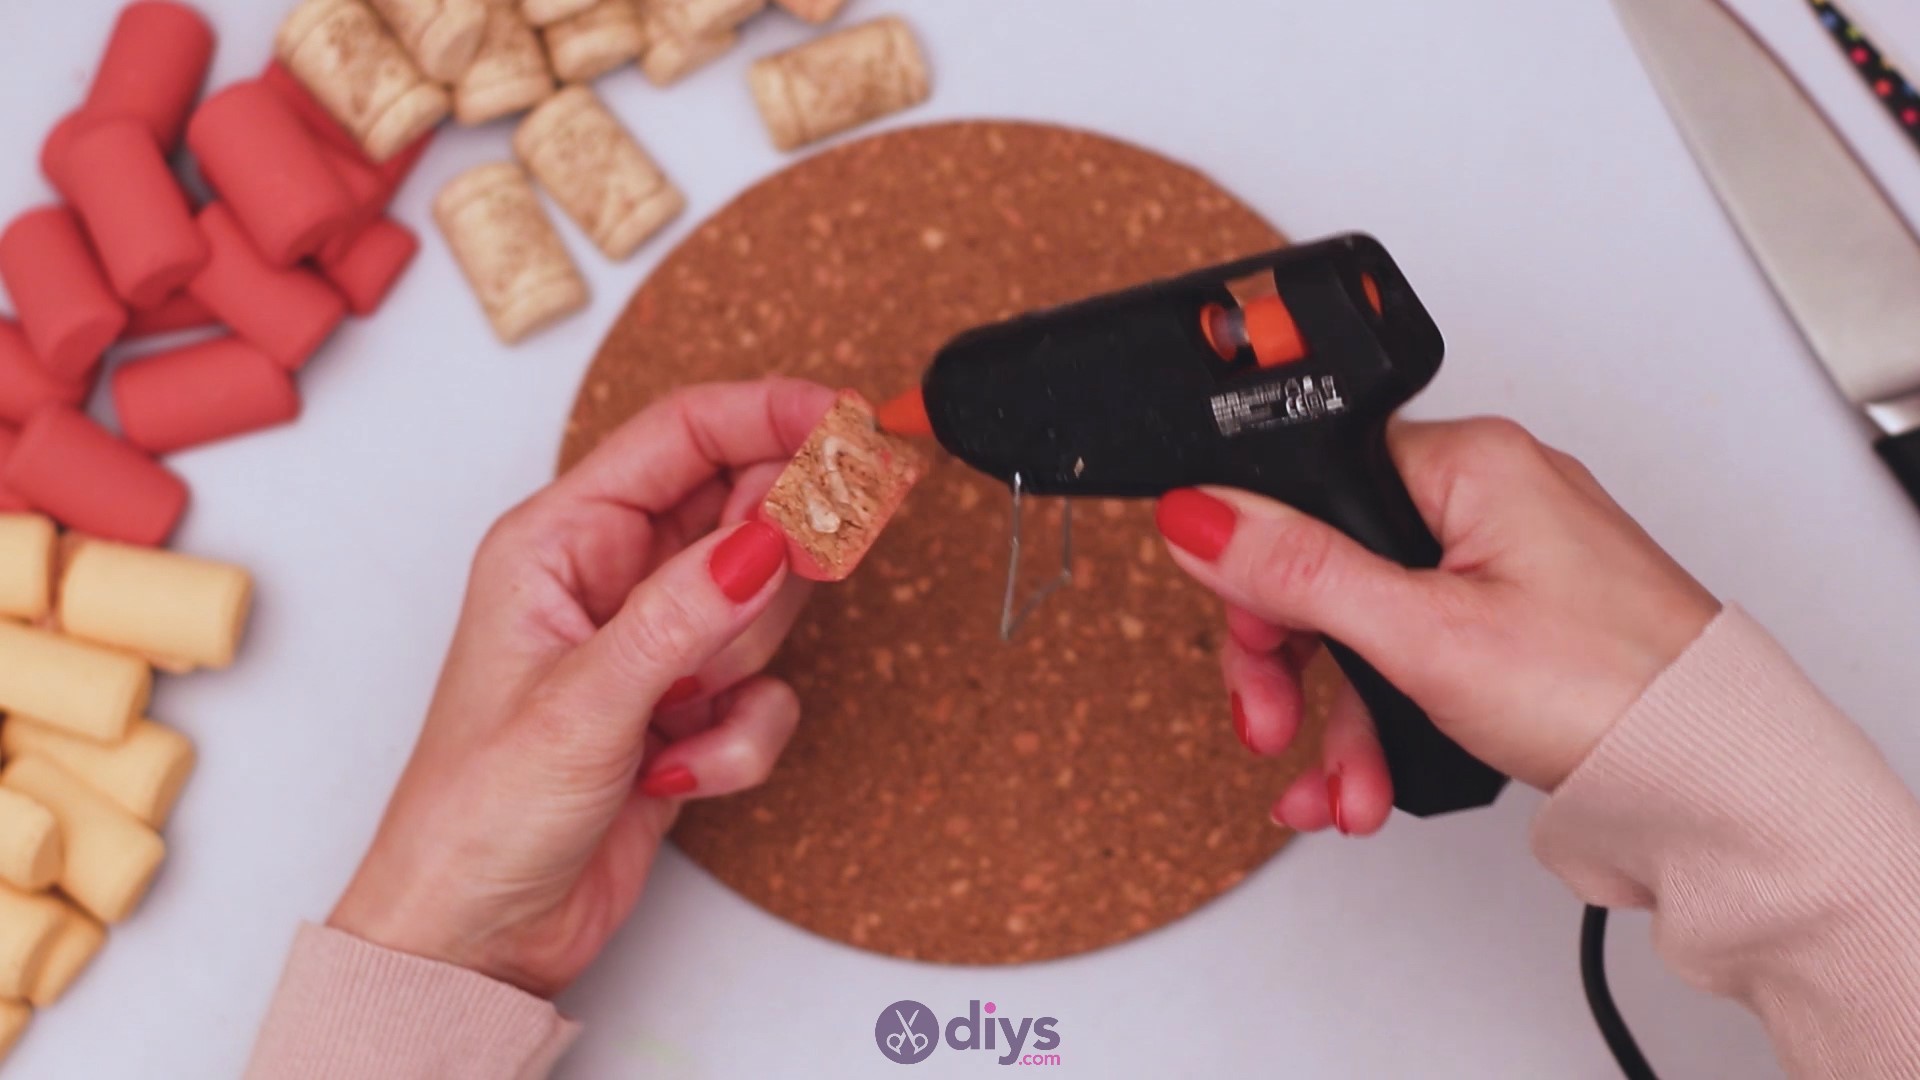
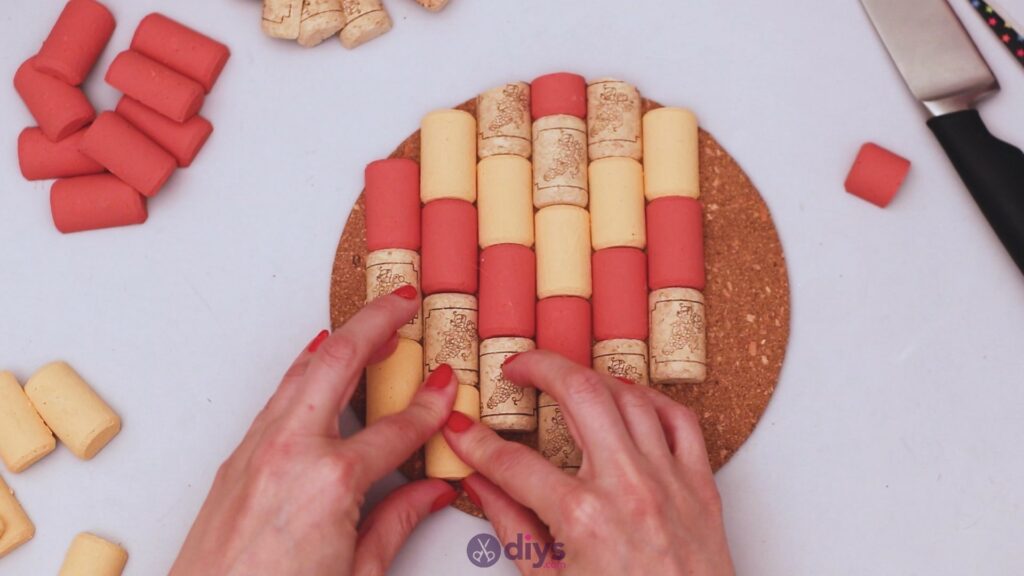
Now that the paint has dried on your wine corks, you’ll want to proceed to the next step. Get the round corkboard and the glue gun, and also keep the knife within reach. Turn one of the wine cork halves over, add hot glue, and place it on the corkboard.

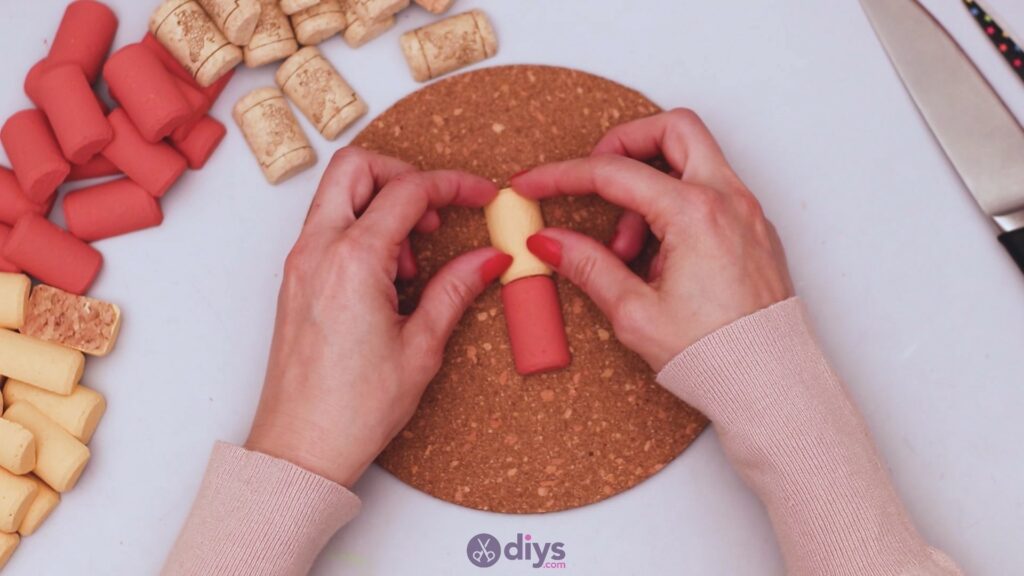
We started out design close to the center of the round corkboard.

Pick another wine cork, in a different color, and place it just above the first one.
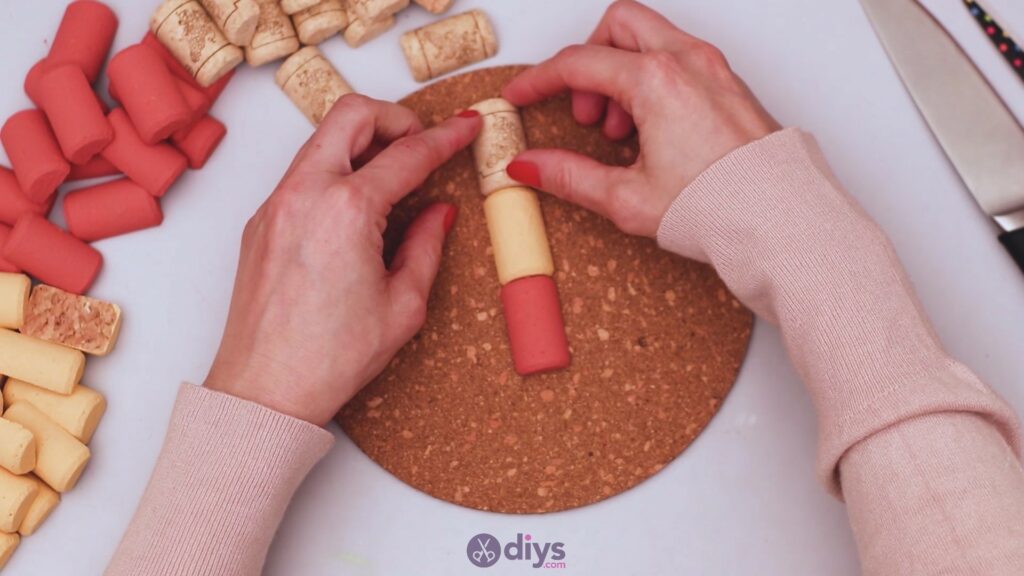
Repeat the process with a plain cork too!
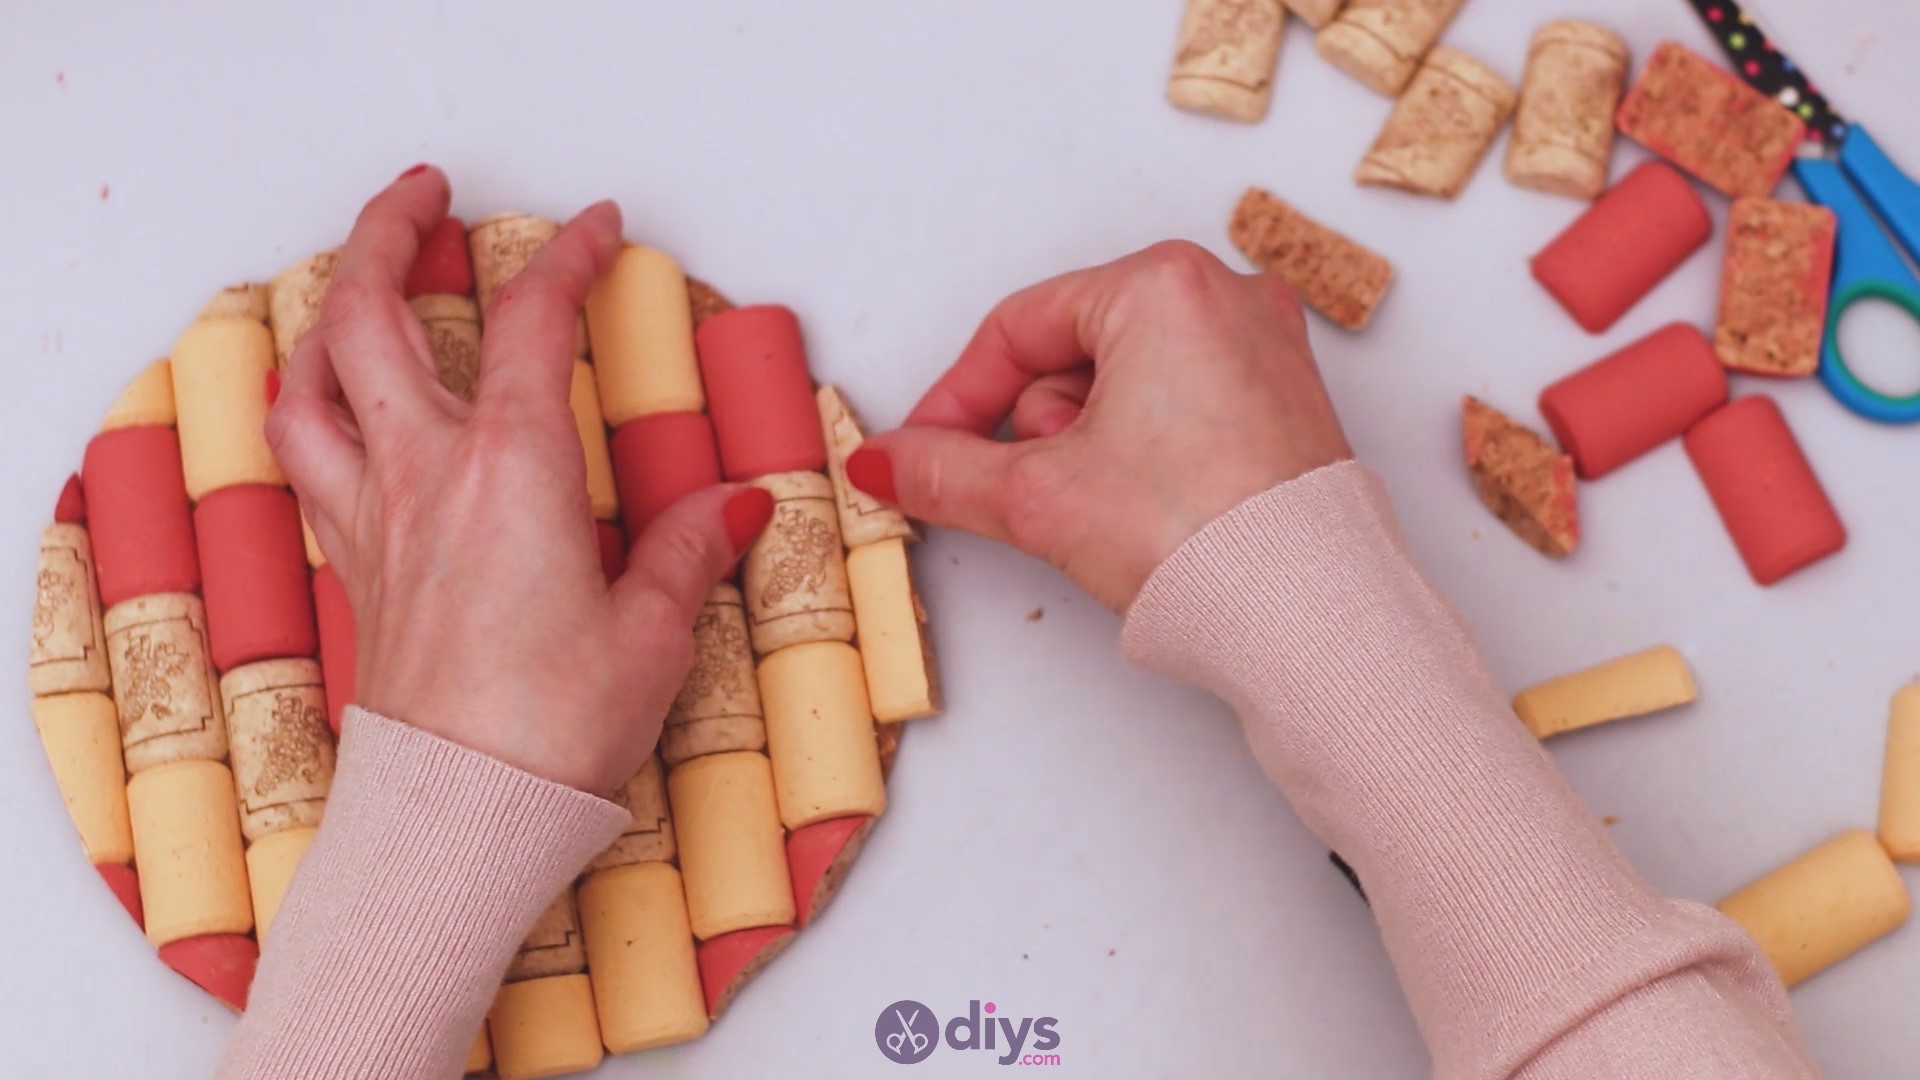
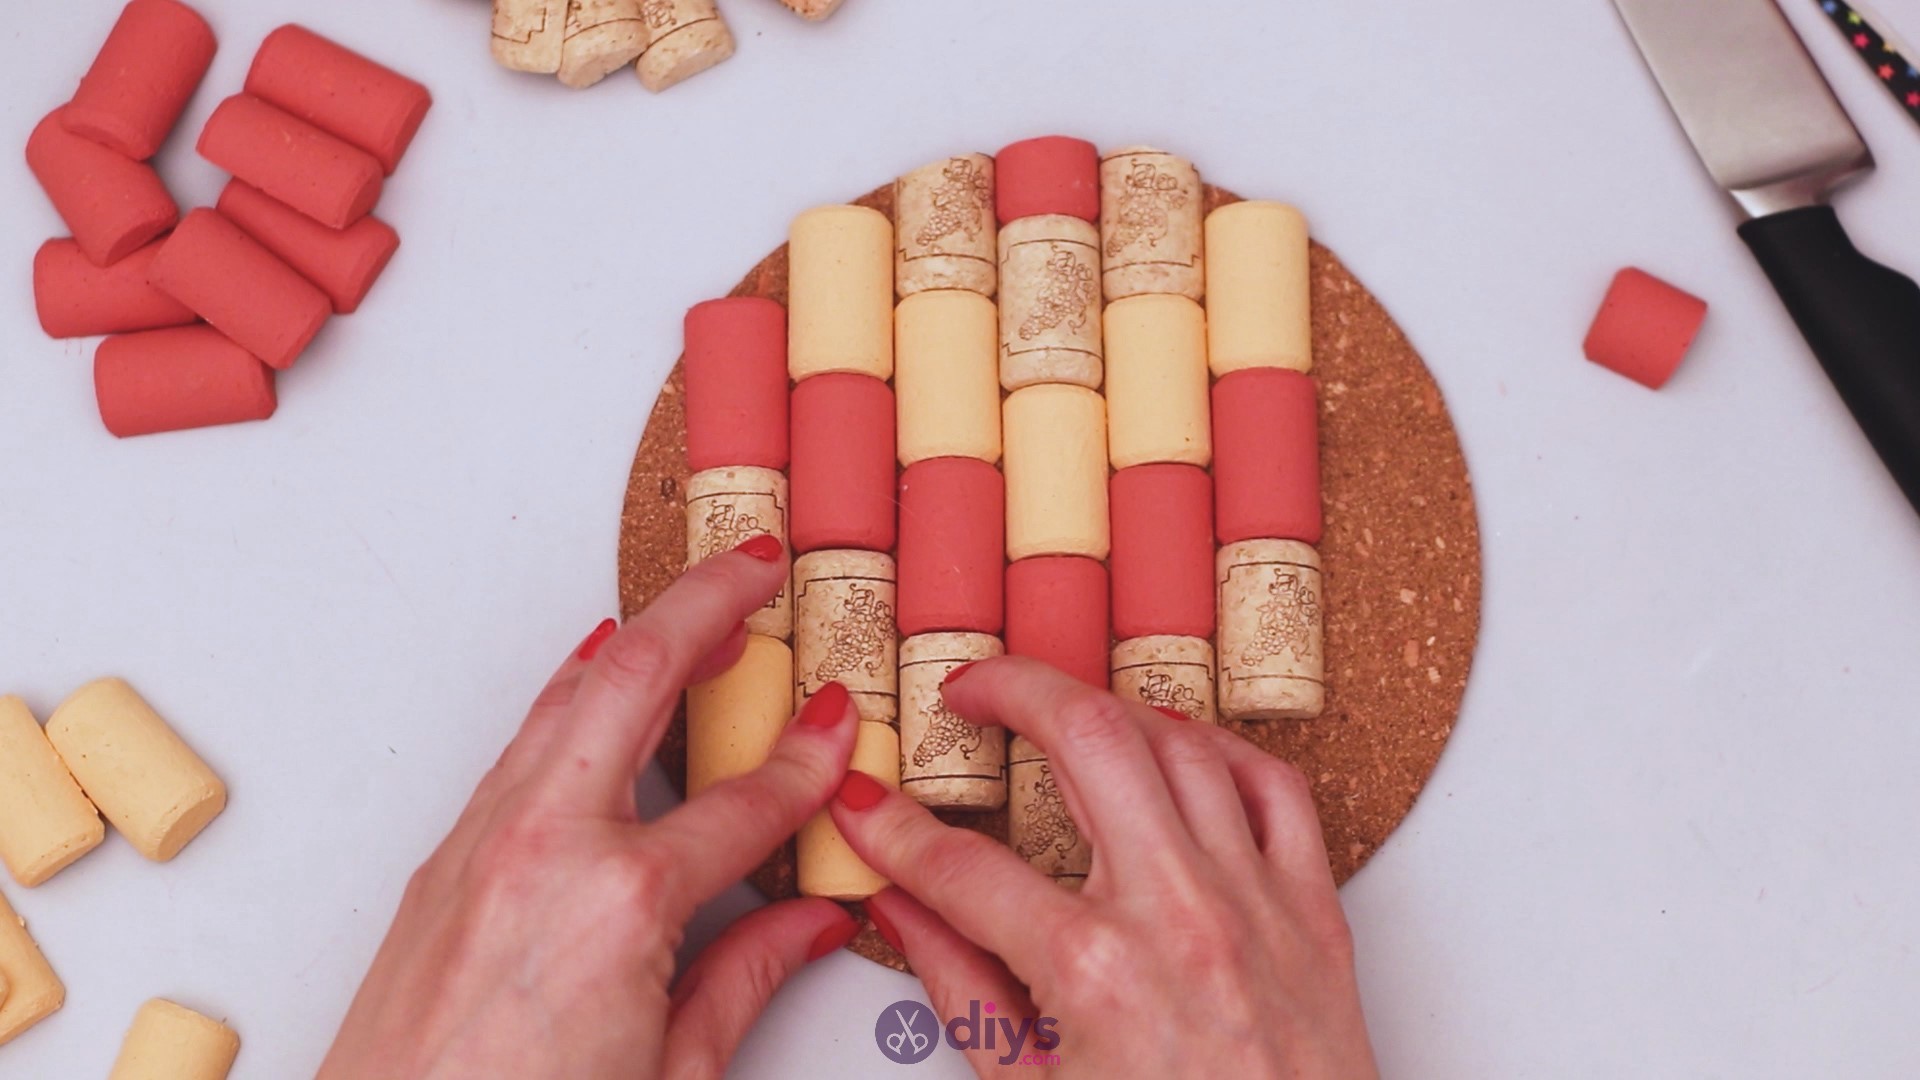
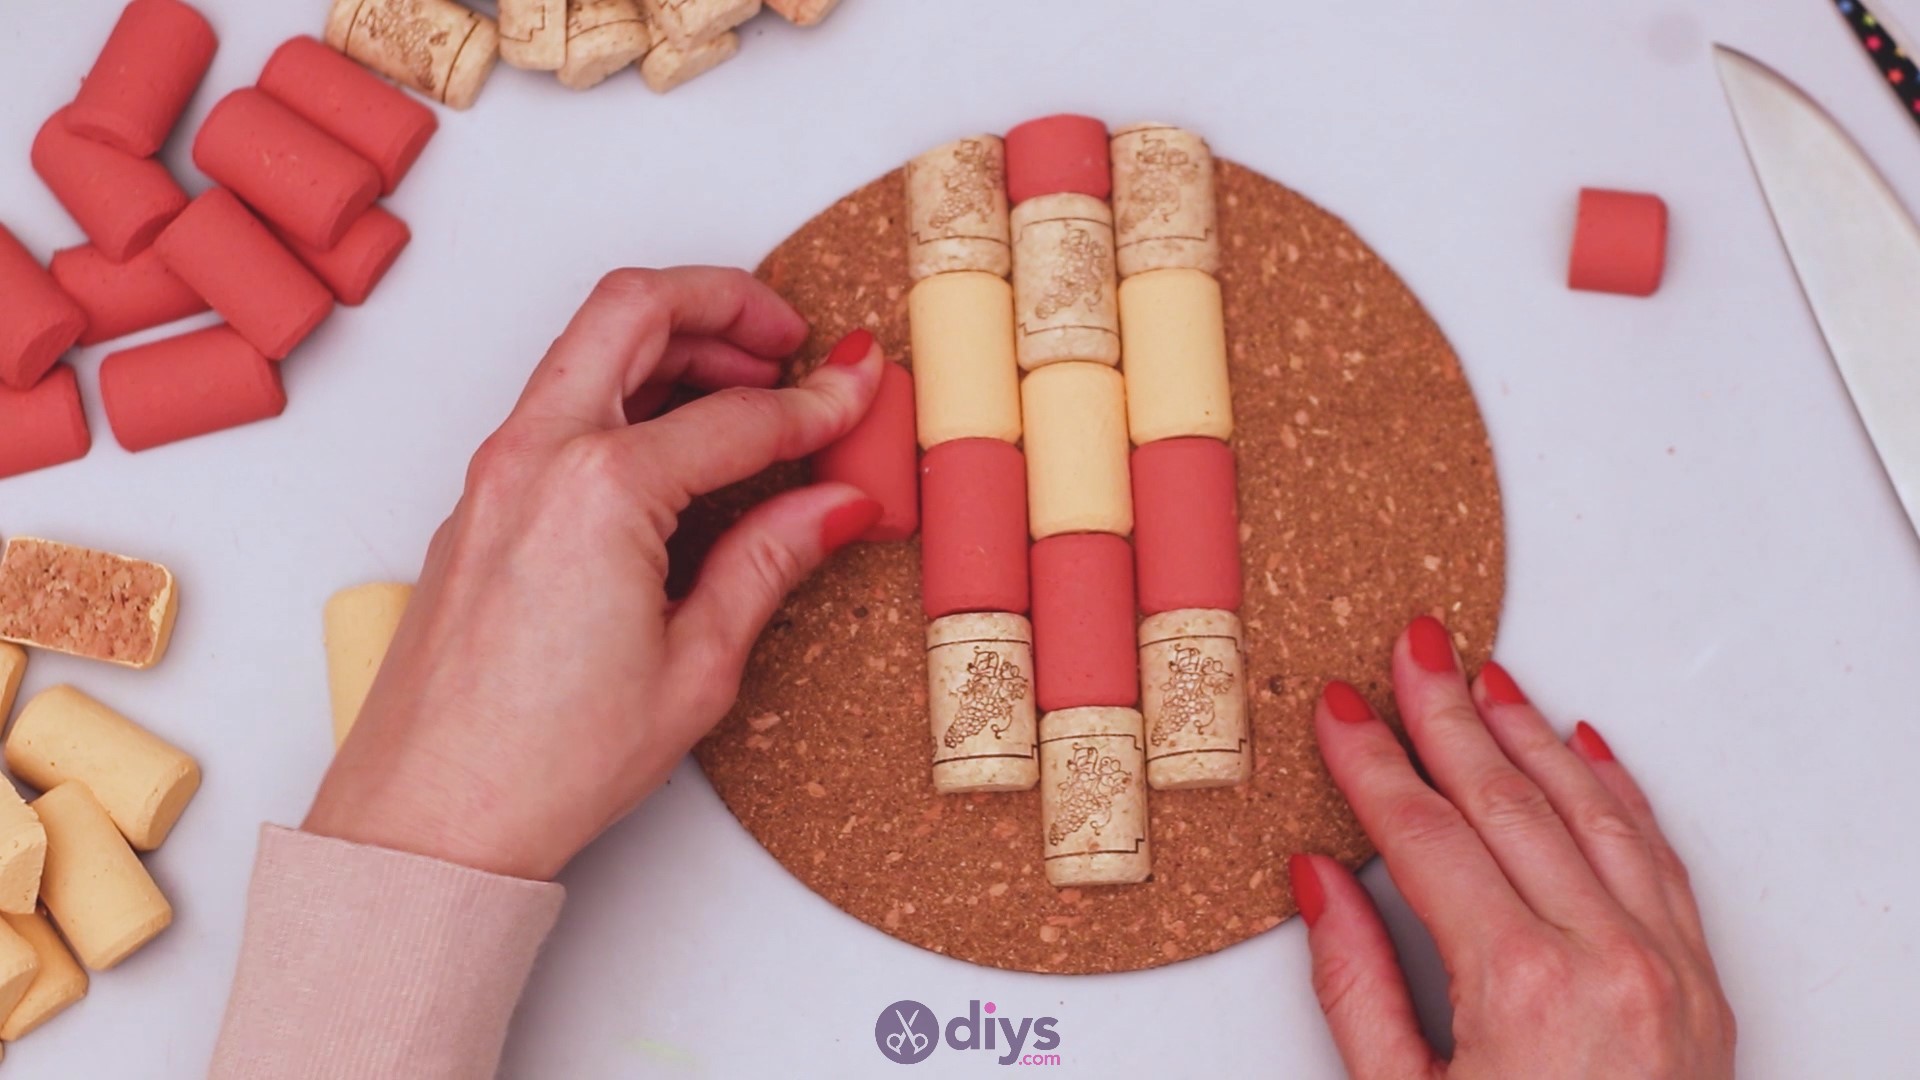
Then, you’ll move on to the left side. Start adding corks in another line, but this time, go half a measure up, as you can see in our picture below. In this way, you’ll be able to create a colored pattern that will make the trivet look nice.
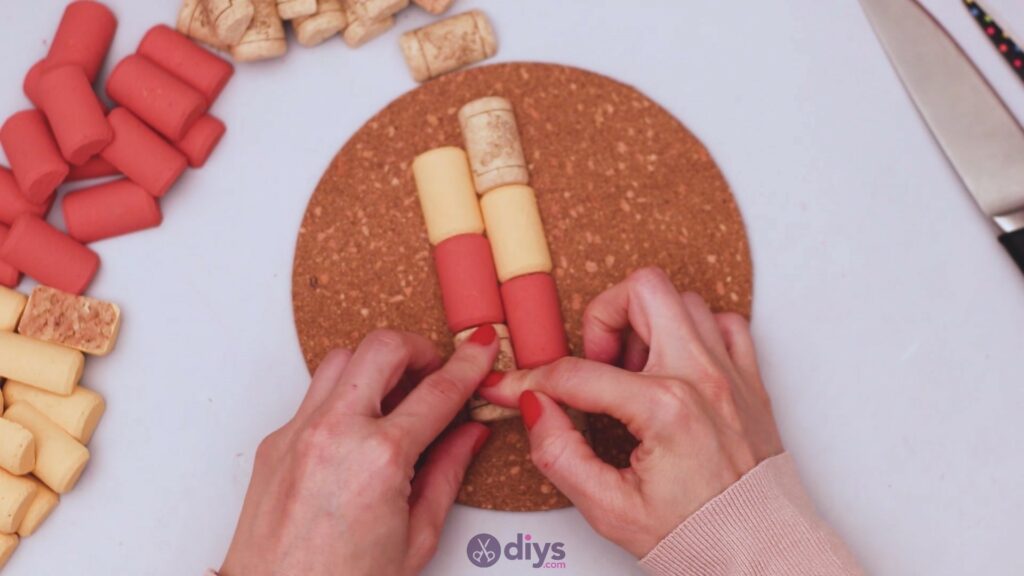
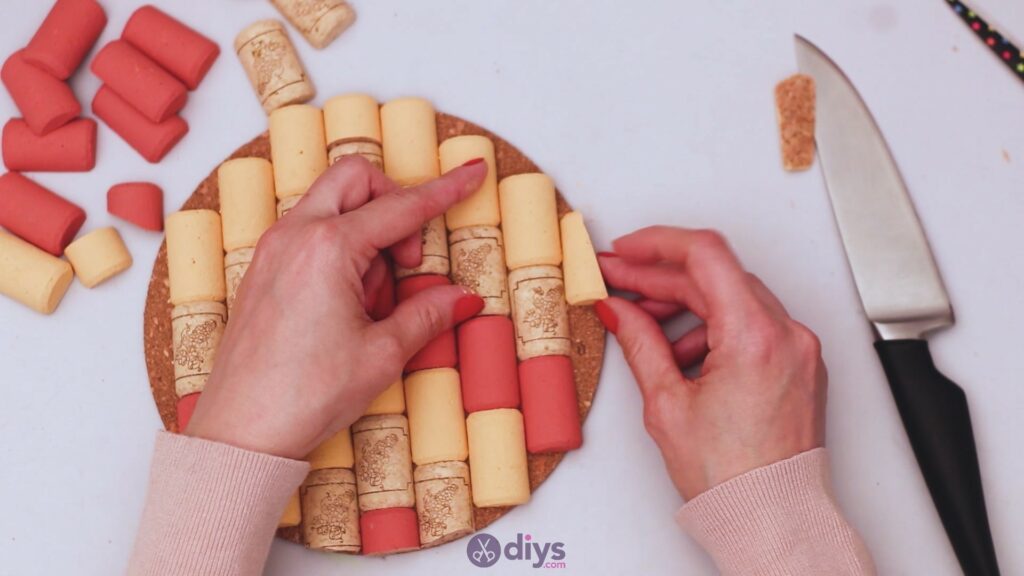
Add a round of wine corks on the right side of the initial line too. Follow the same pattern you did on the left!

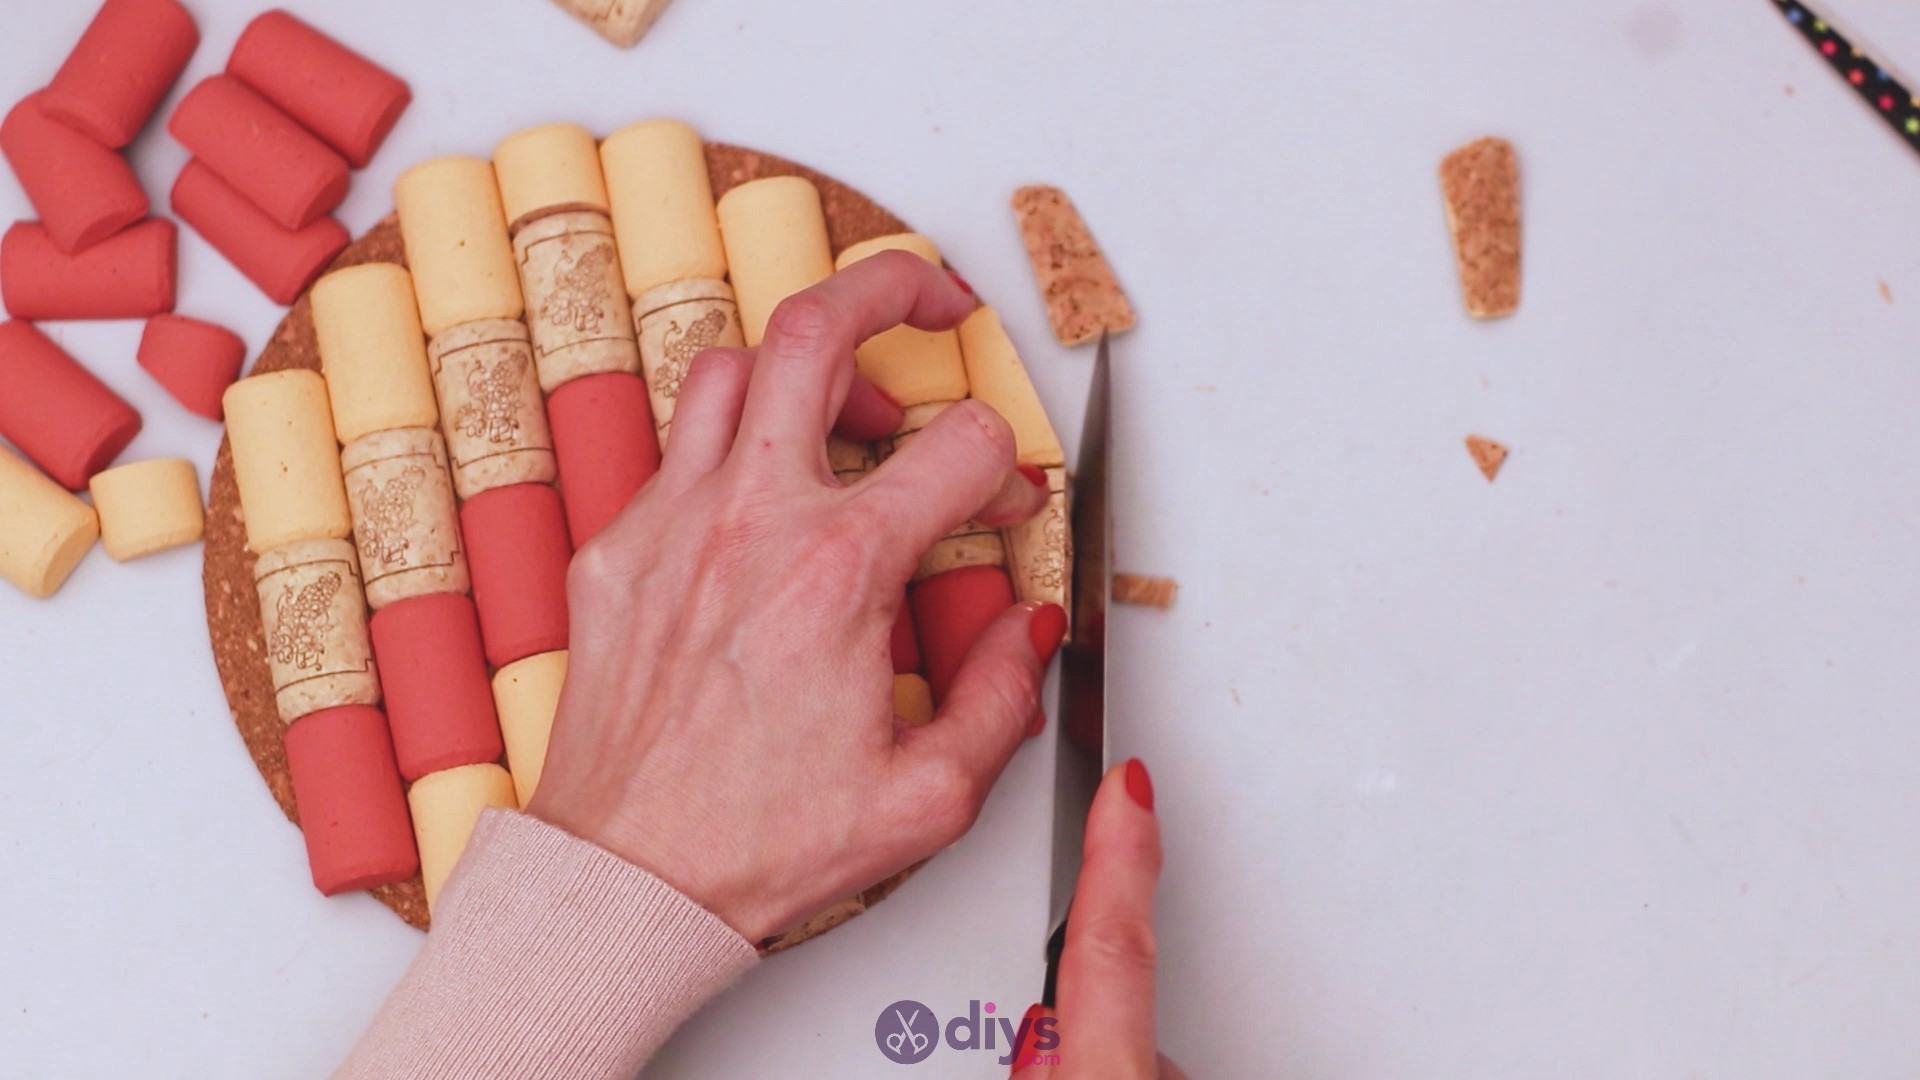
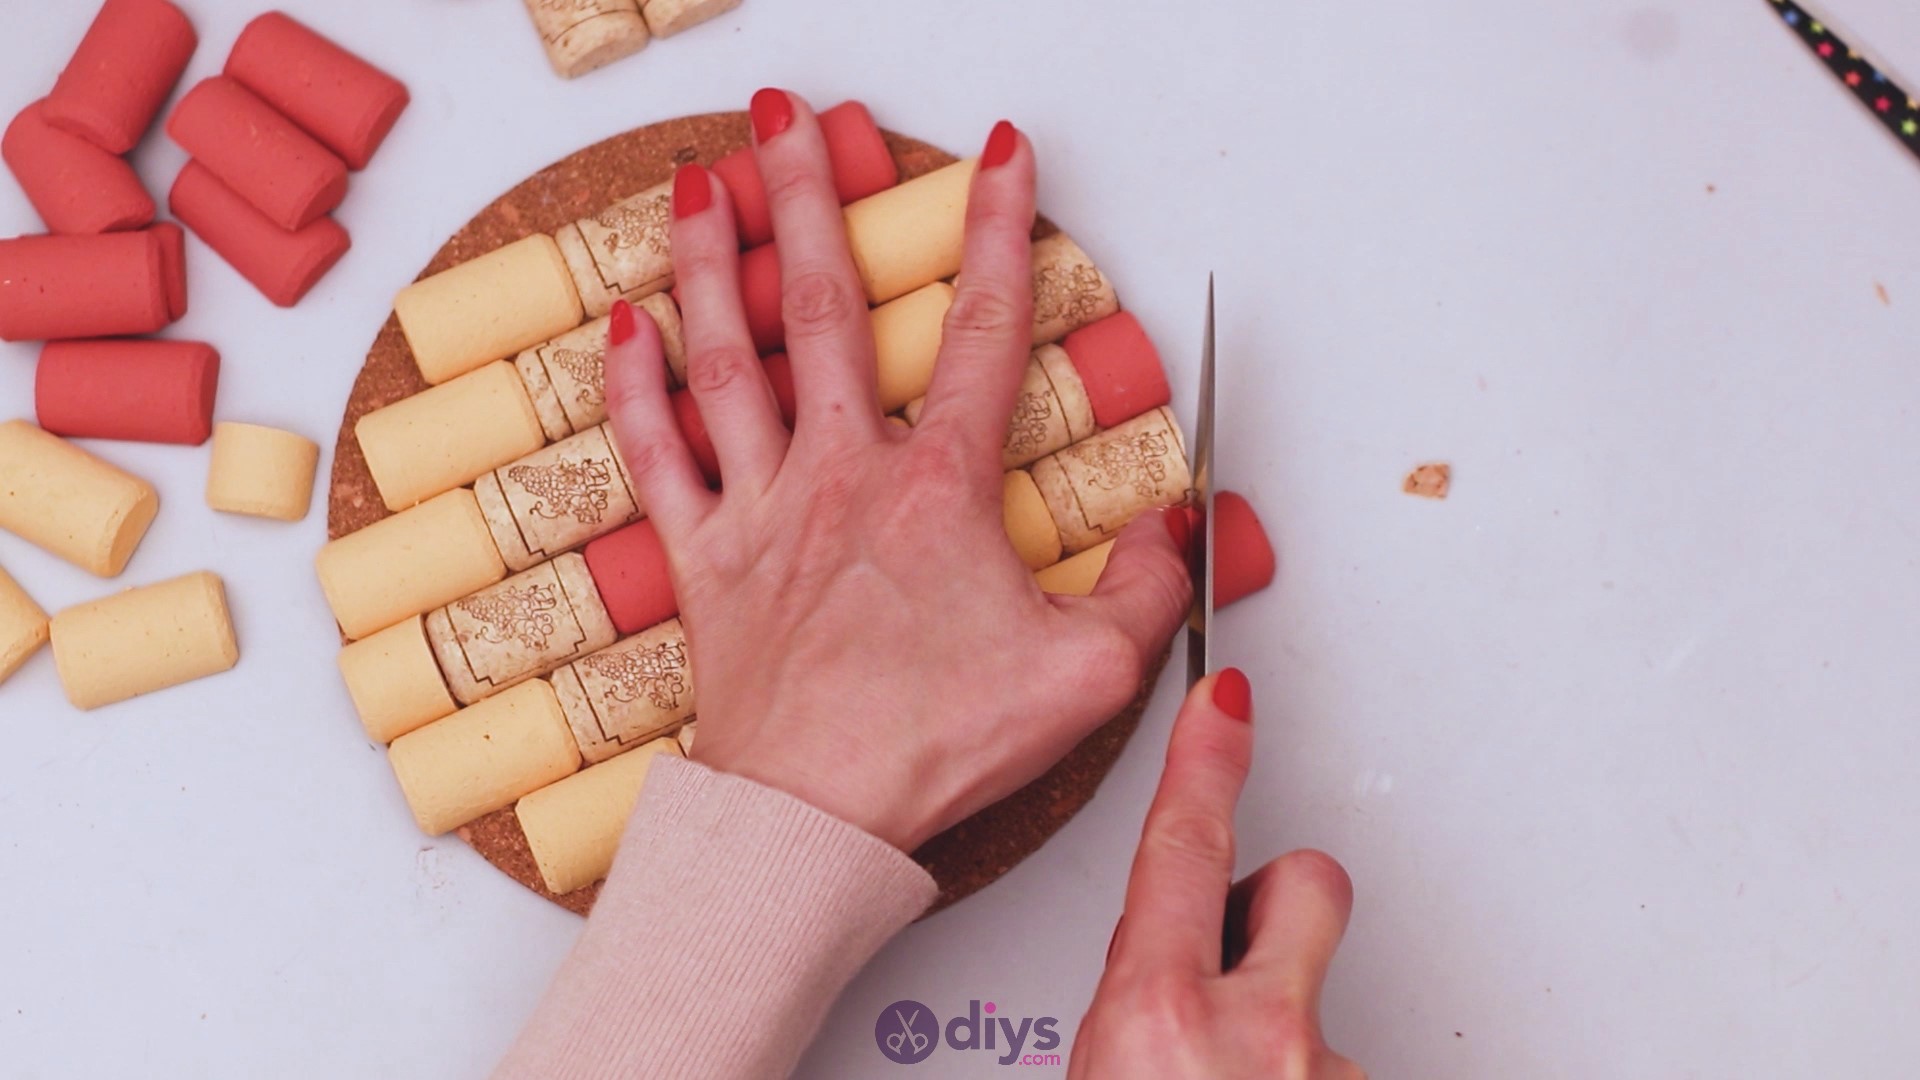
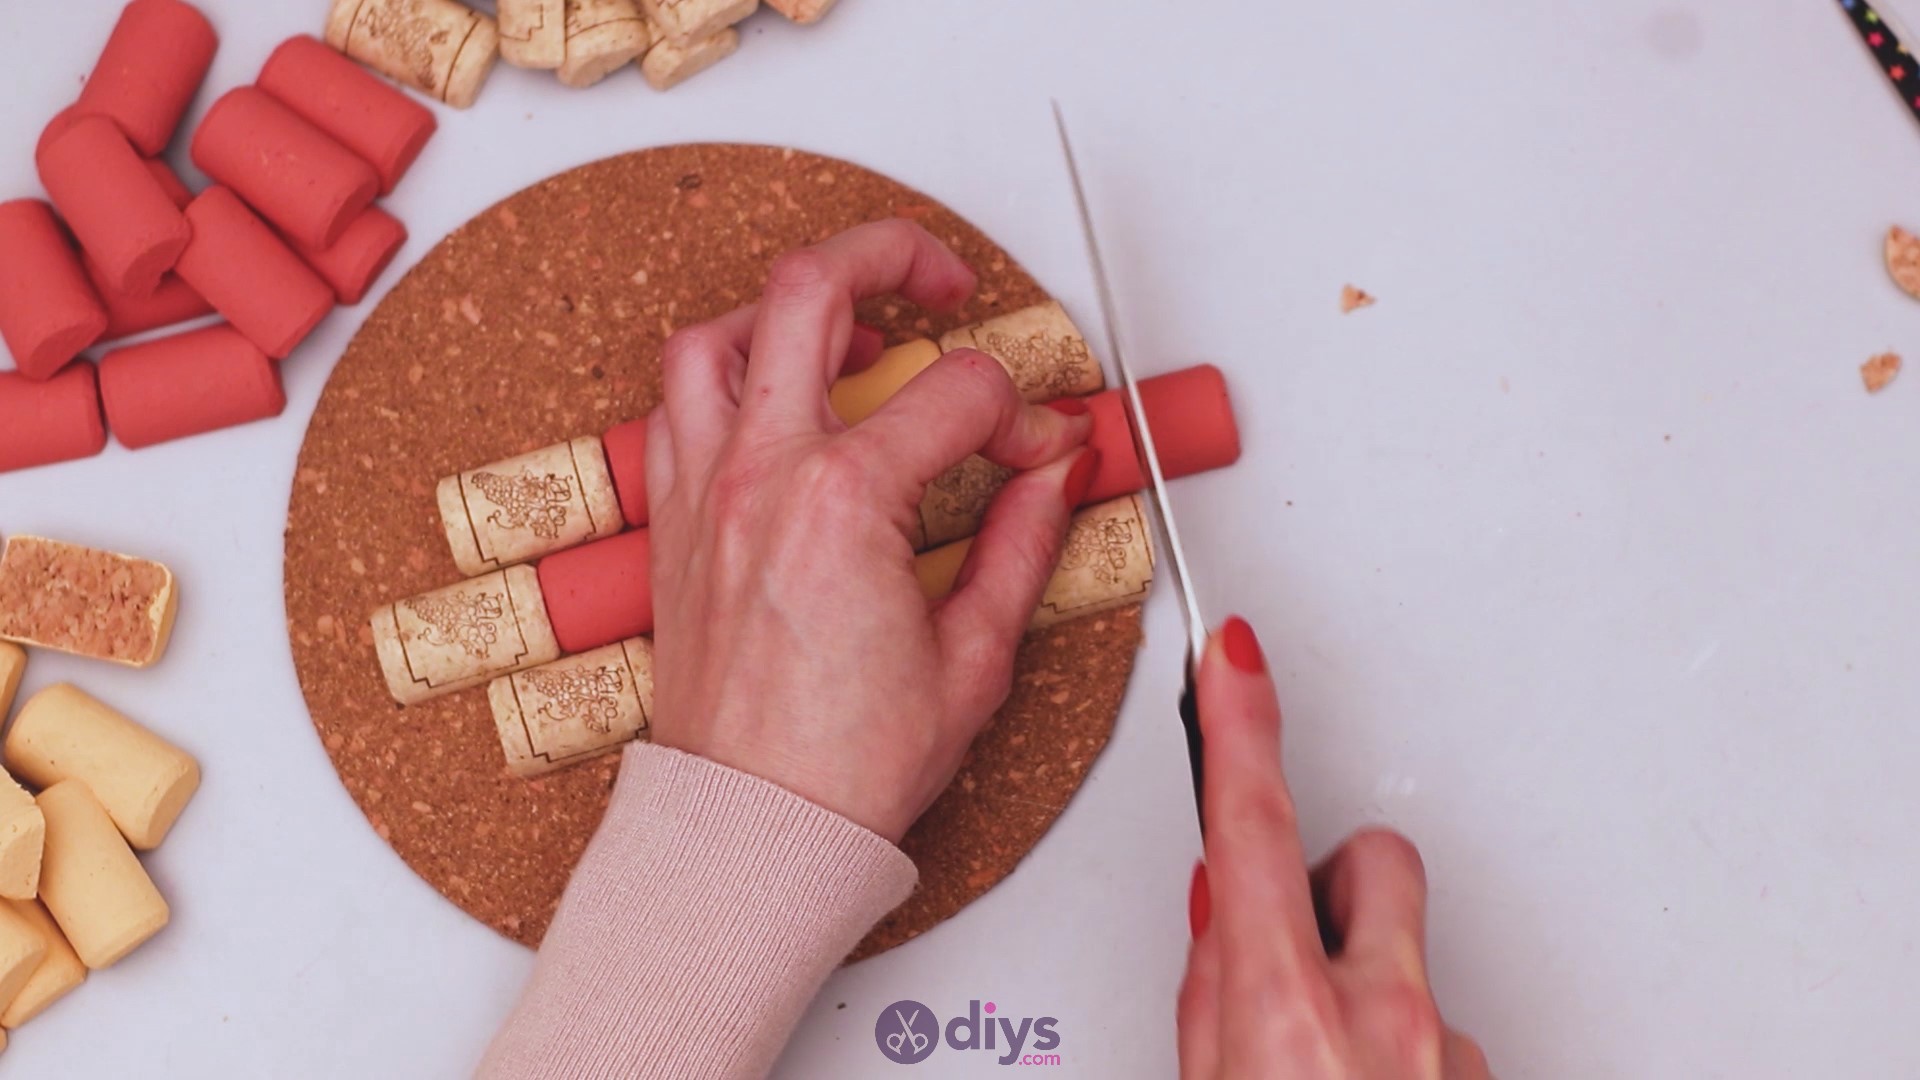
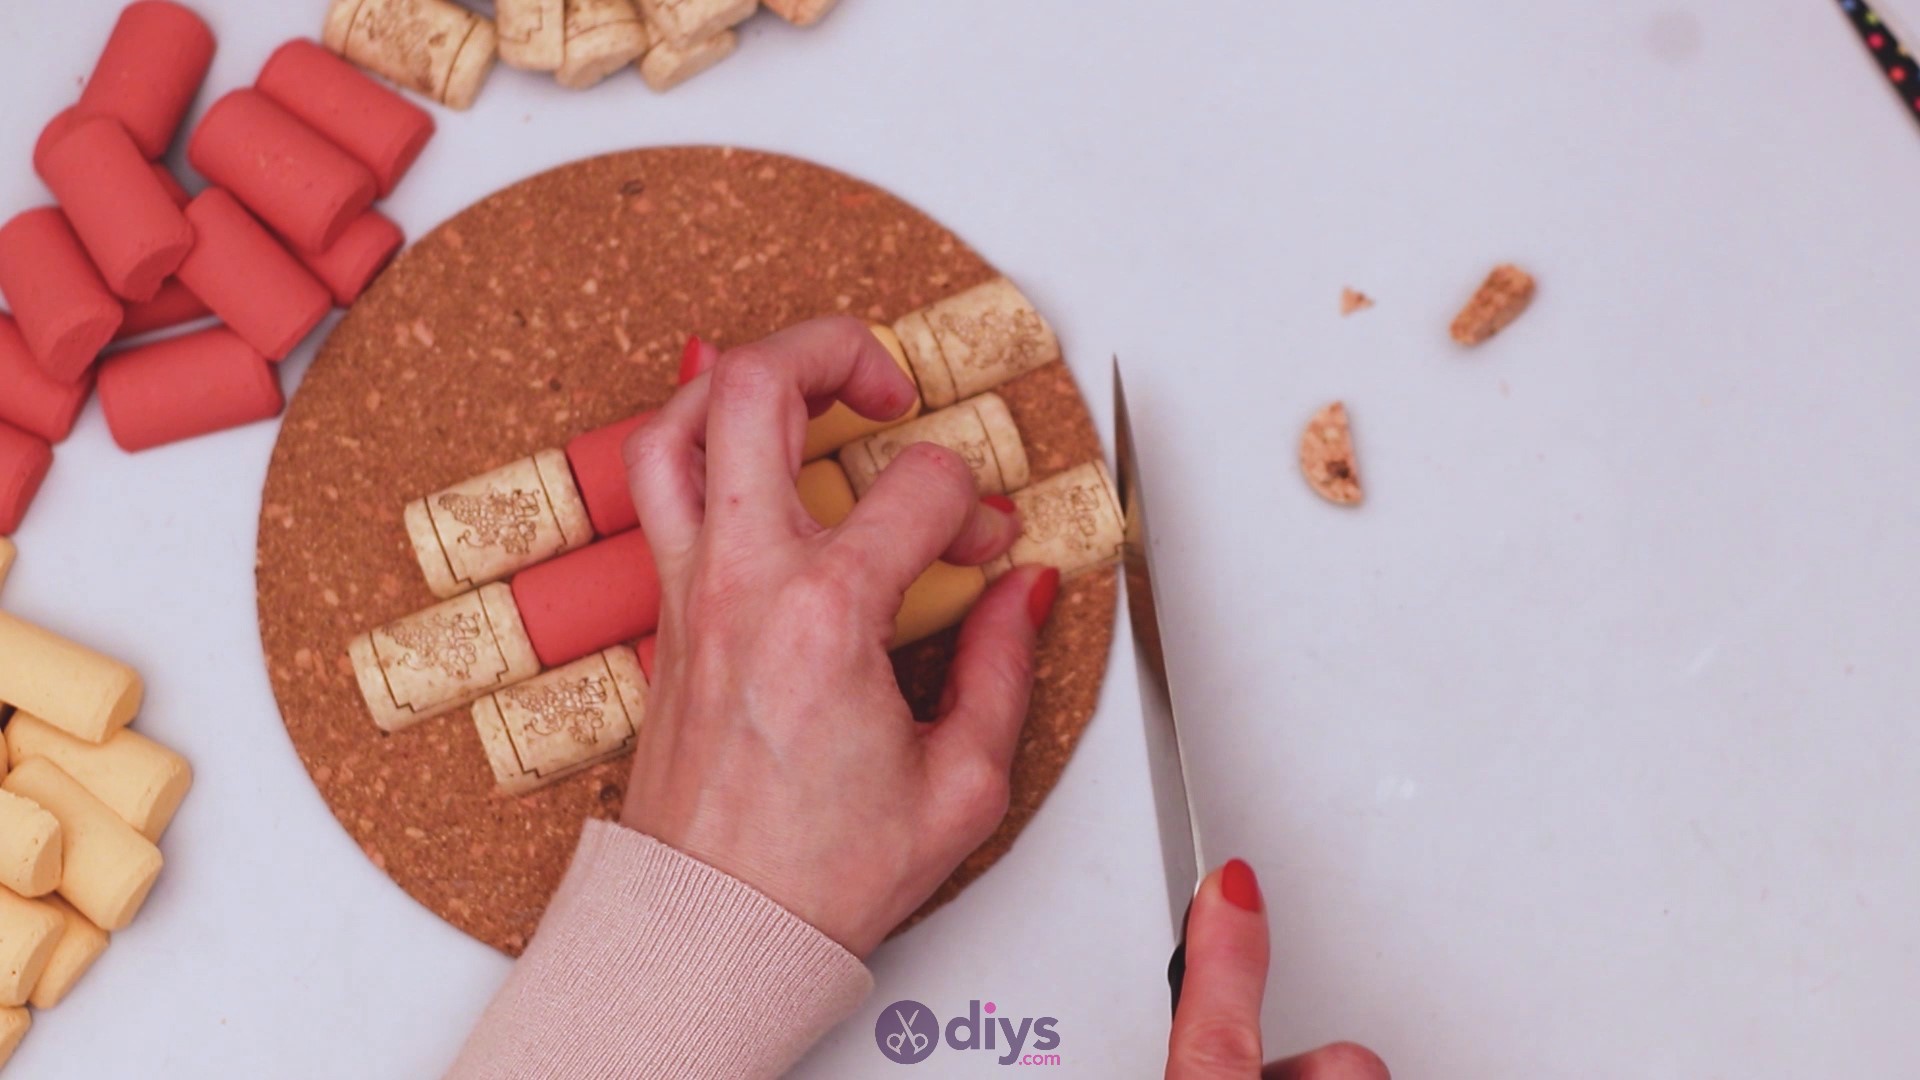
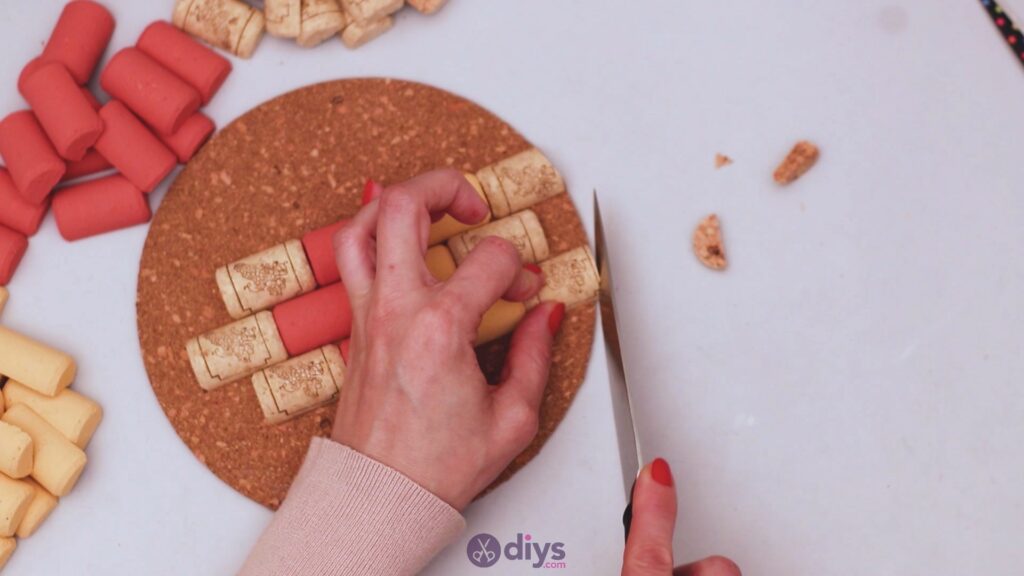
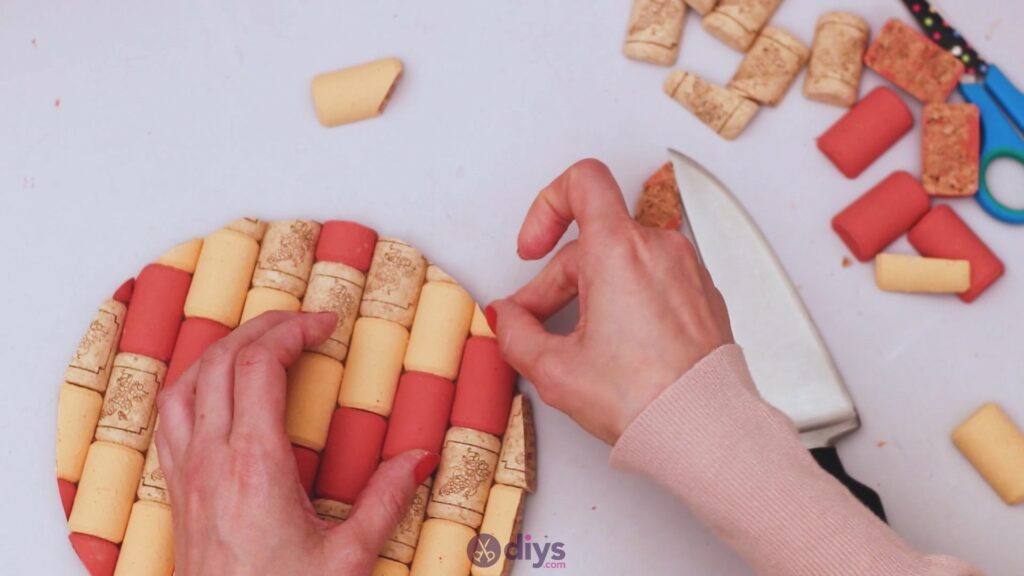
As you can see, some of the wine cork is “crossing the border” of the round corkboard, so take the knife and cut the excess off. Be careful so you don’t cut the corkboard too.
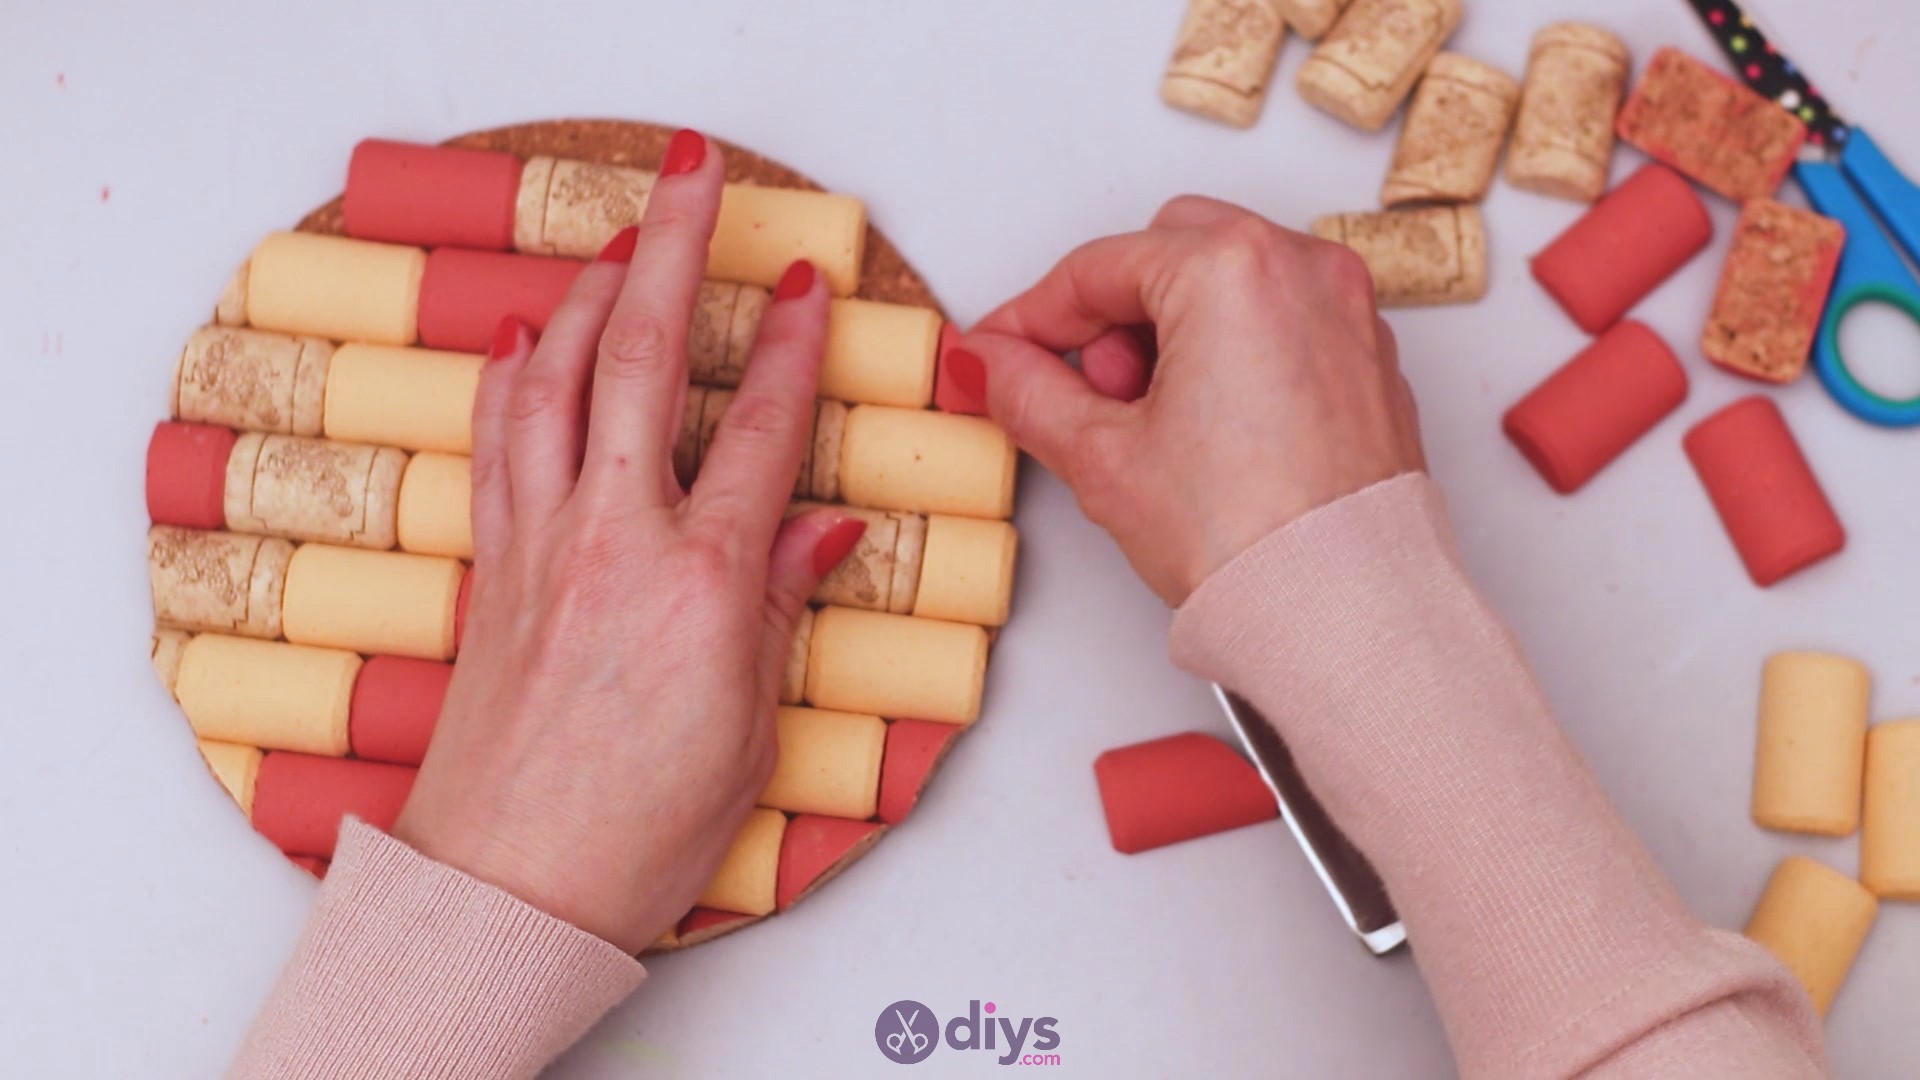
The middle line has some extra space left, so take a corral piece of wine cork and cut it to fit the space. Get the glue gun, add some hot glue, and place it on the corkboard.
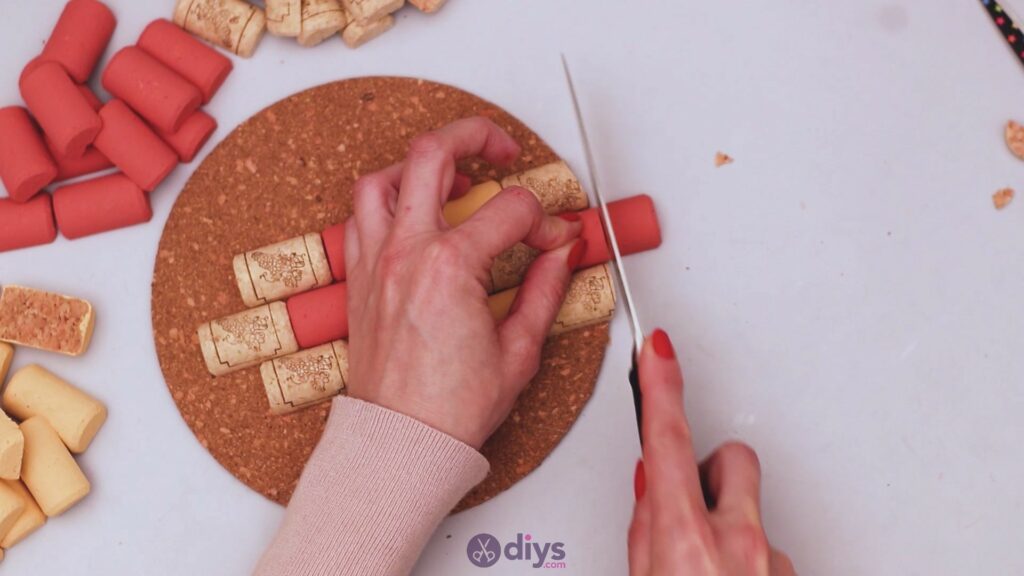
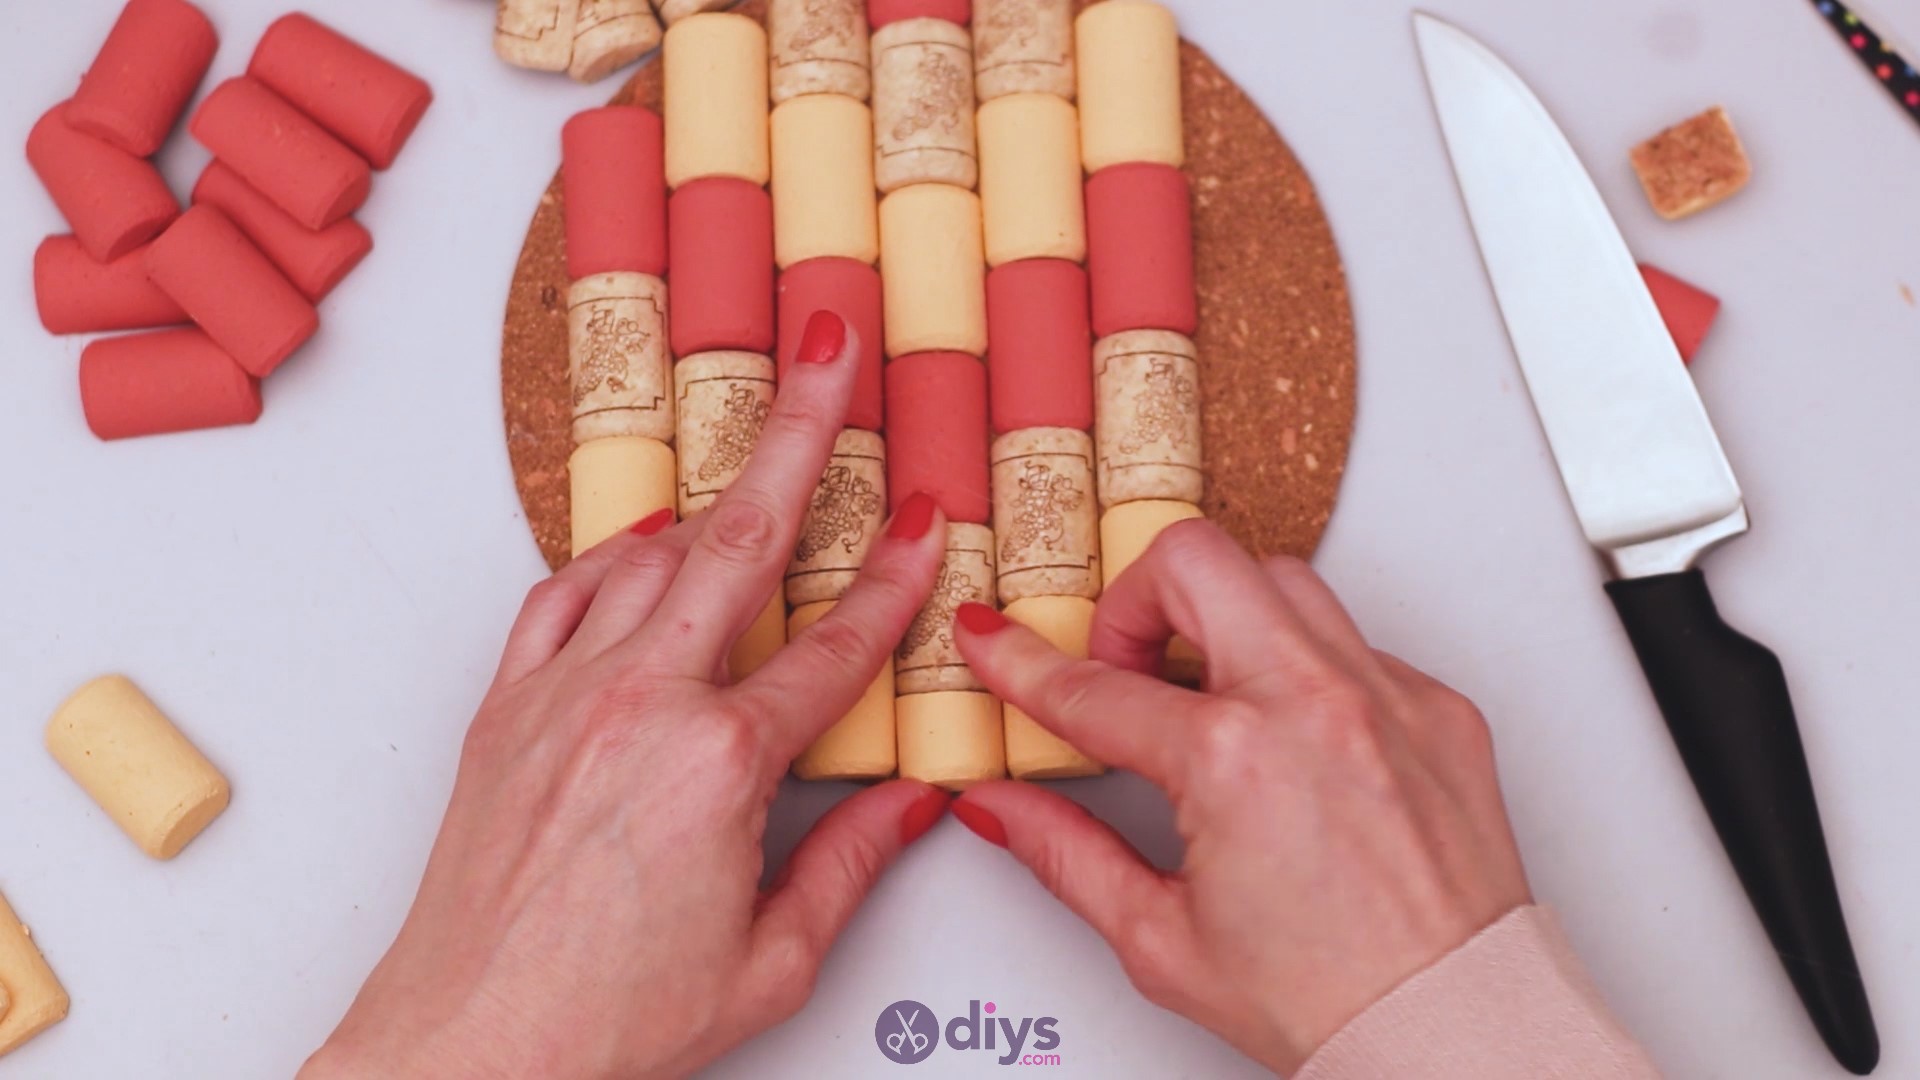
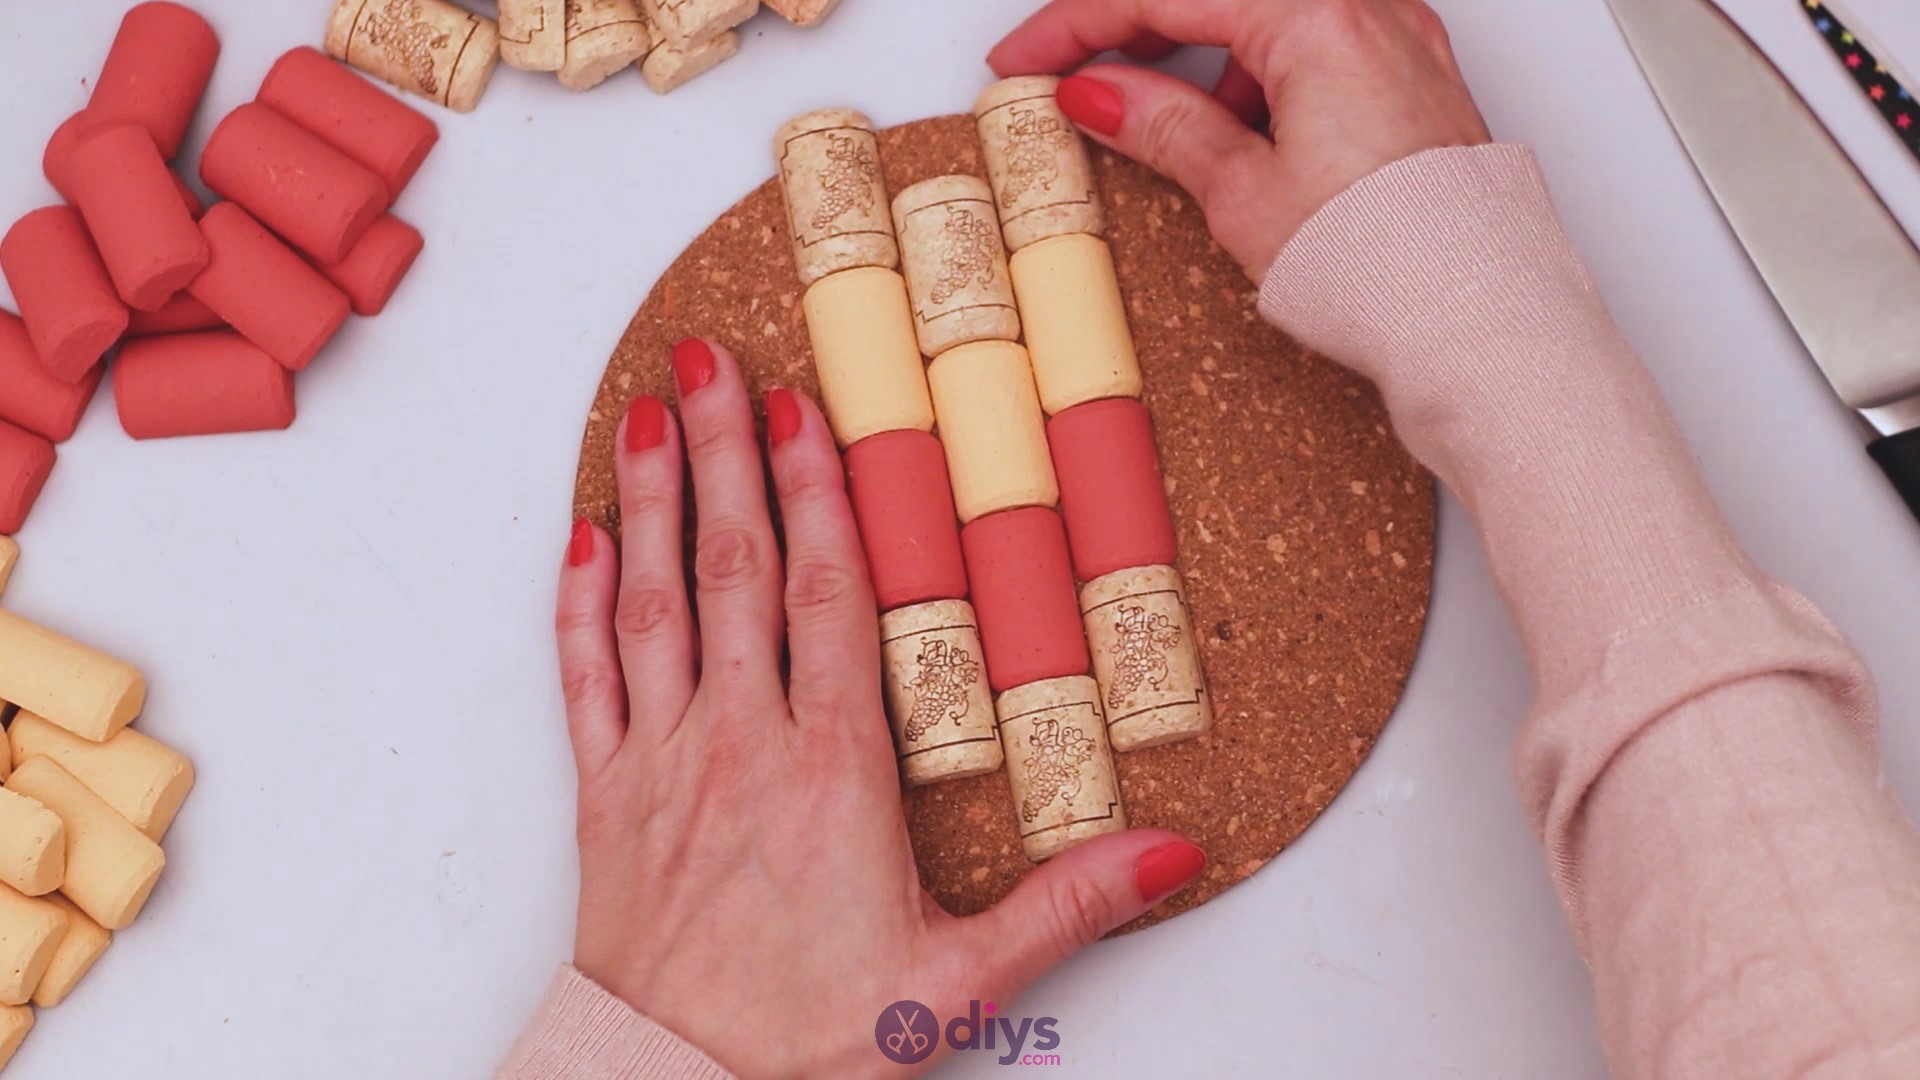
Continue building your design with the same pattern in mind.
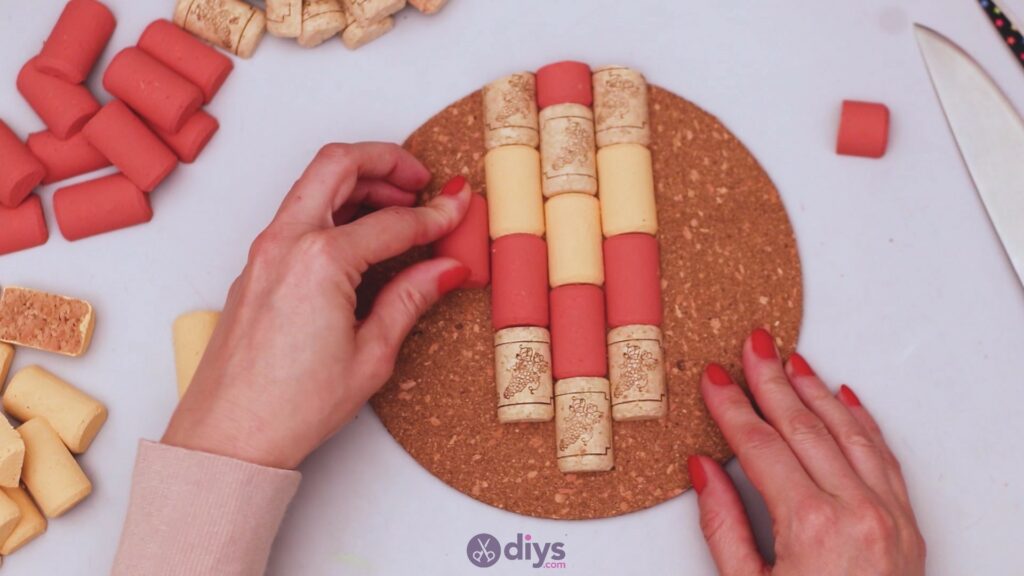


When you’ve glued down most of the wine corks that will cover the corkboard, get the knife and make the shape adjustments required, by trimming the corks a bit.

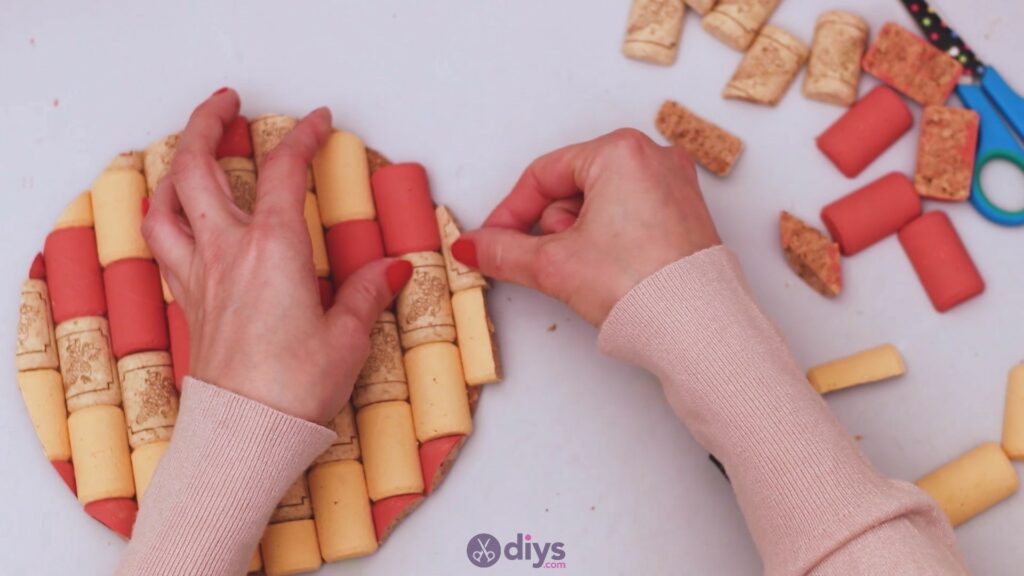
Step 4: Add the bits and pieces
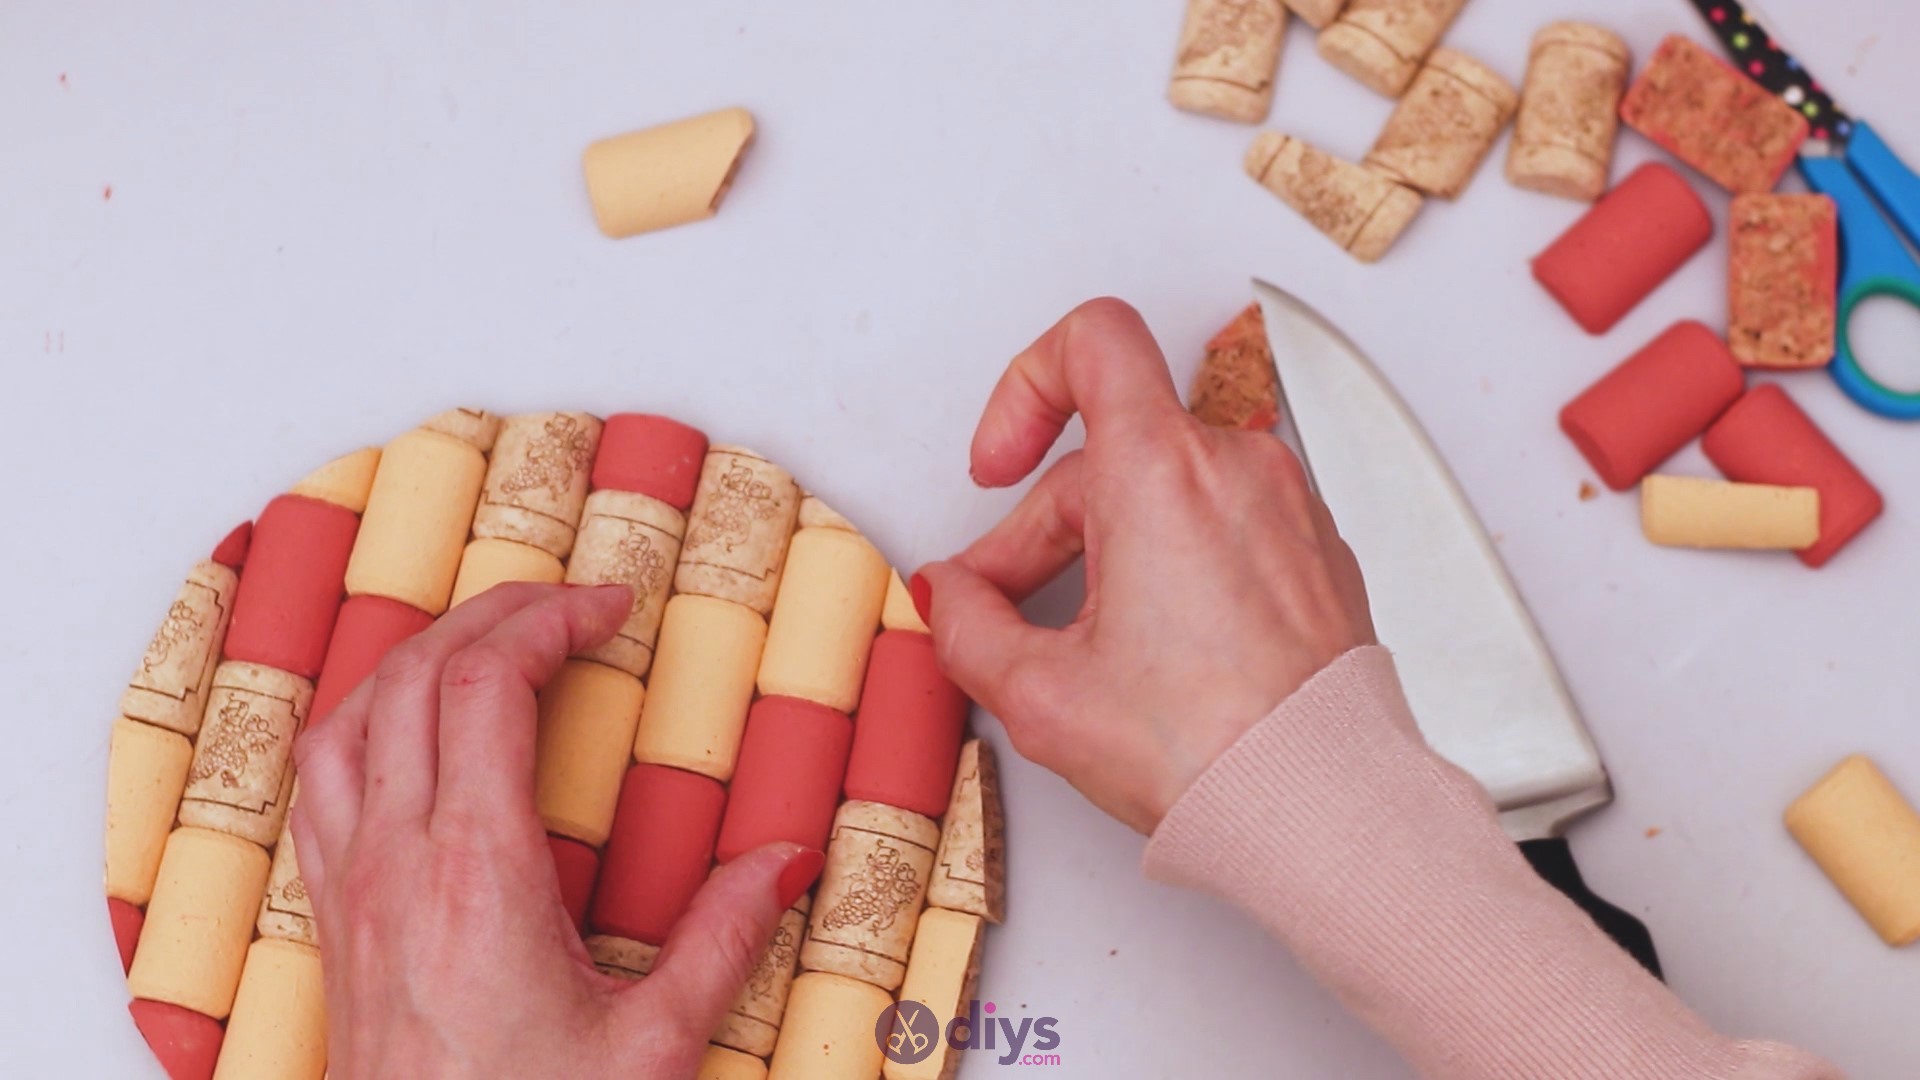
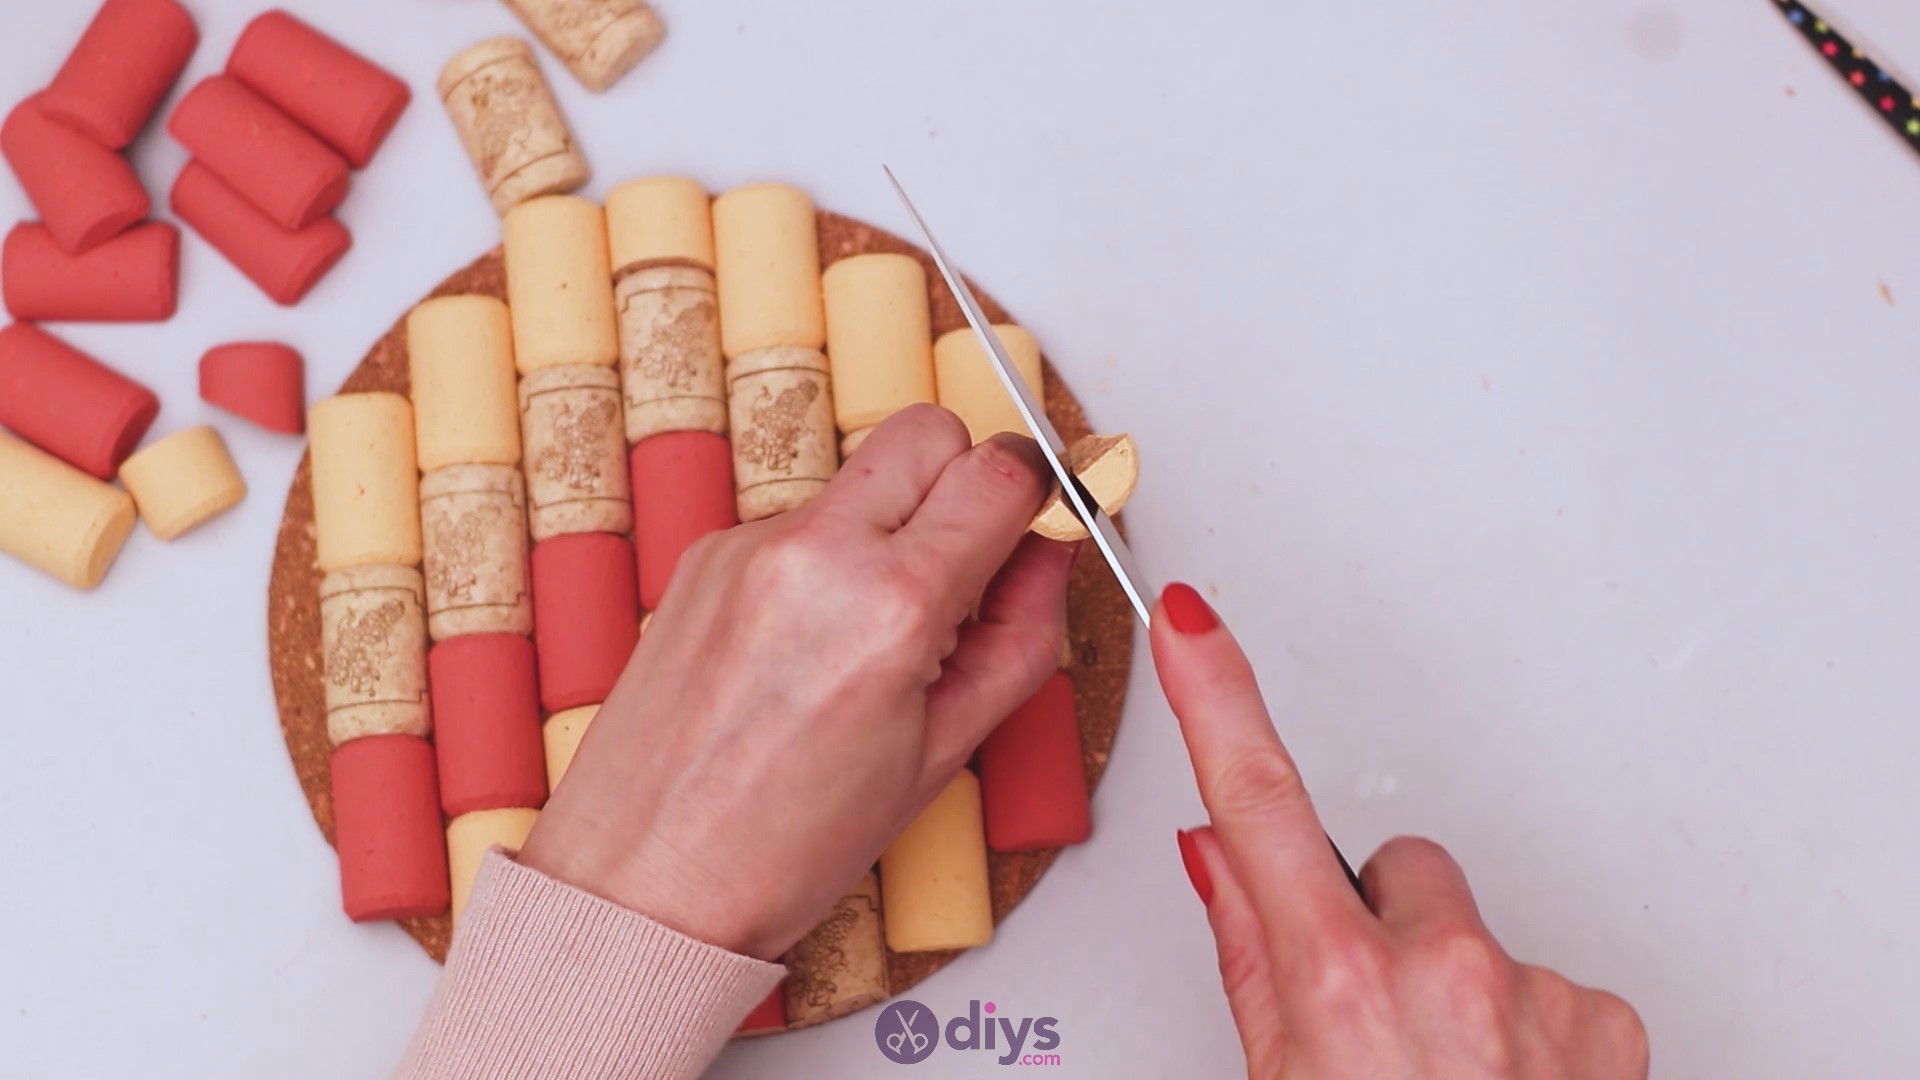
Now that we’re only left with the sides and various other areas that require small pieces of wine corks to complete the round look, you can start measuring things up and cutting the corks before placing them to the corkboard.

Try to maintain the same color scheme so the trivet will look more beautiful.
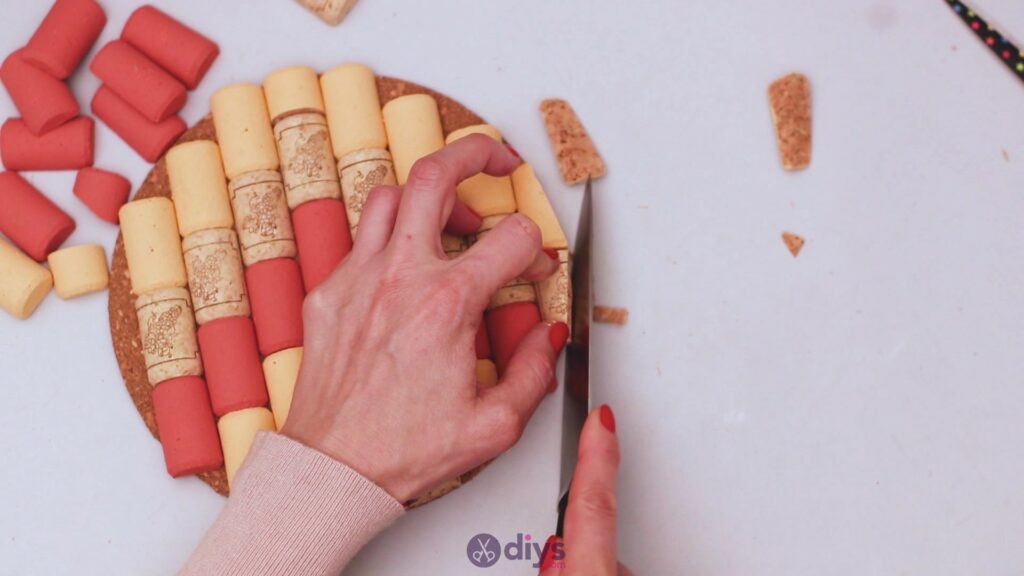
Keep the pattern even when it comes to the smallest triangle shapes you need for corners.

Please make sure to press all the wine corks into the corkboard and maintain the pressure for a few seconds, allowing the hot glue time to set.
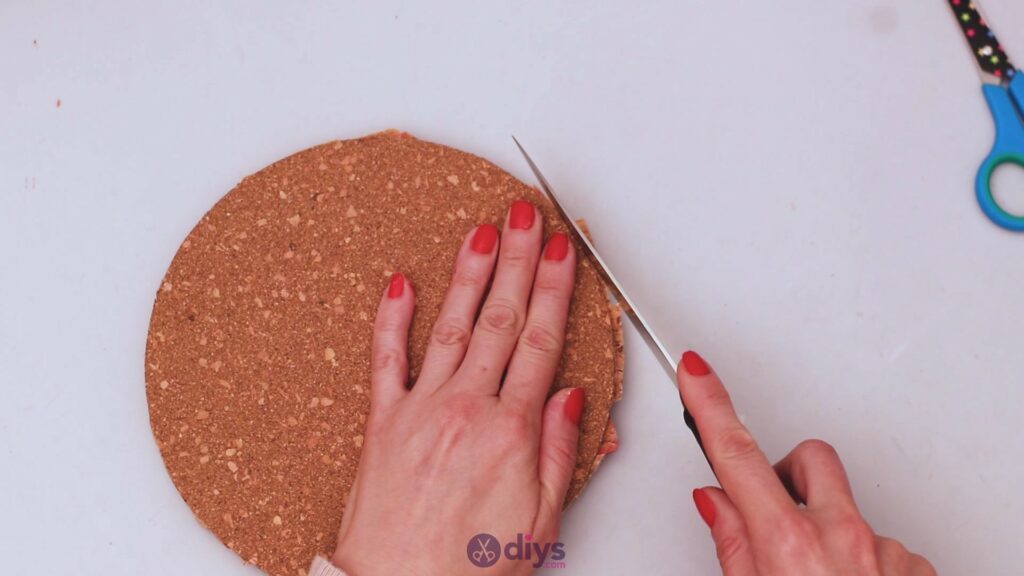
Step 5: Trim the excess
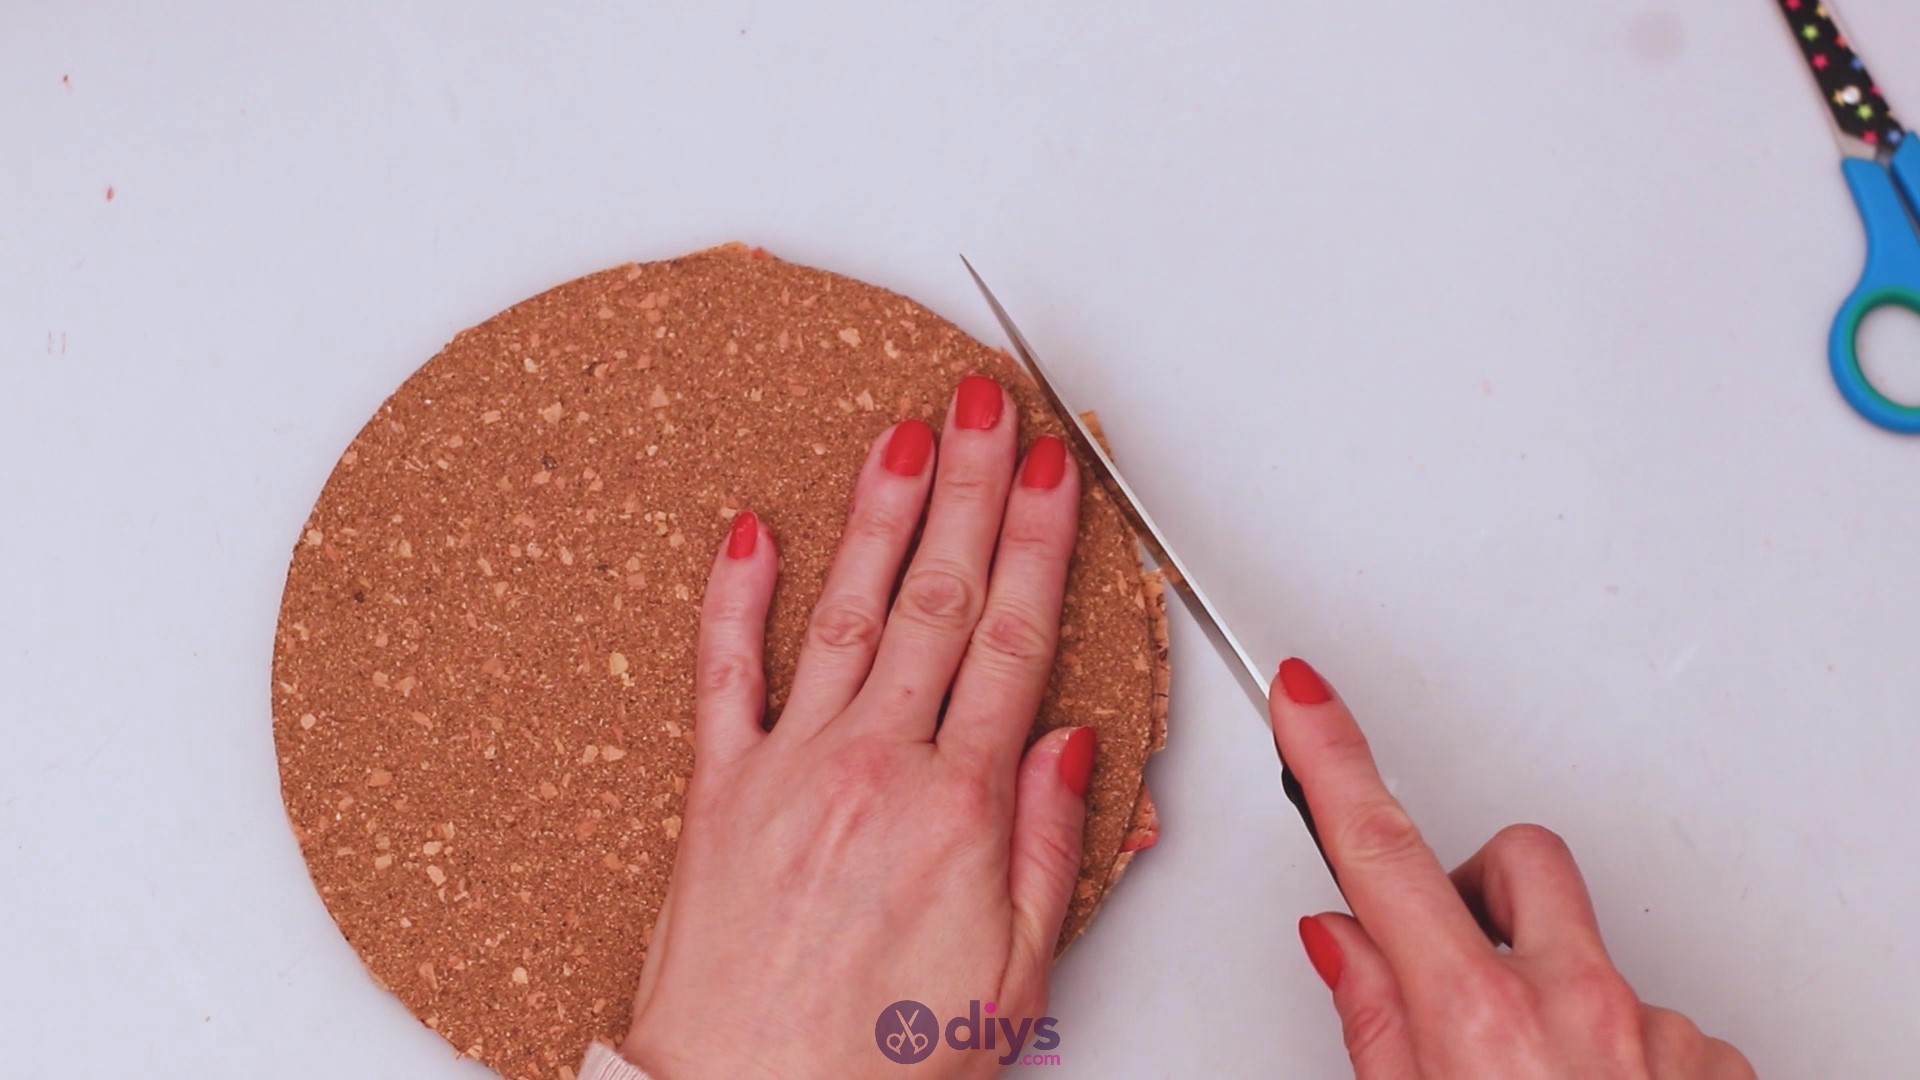
While we’re sure you’ve done quite a bit of trimming until now, it’s time for the finishing touches. So, turn the corkboard over, and follow the round shape. This will be a lot easier as you can spot any pieces that are protruding. Get the knife and slowly and steadily go through them all.
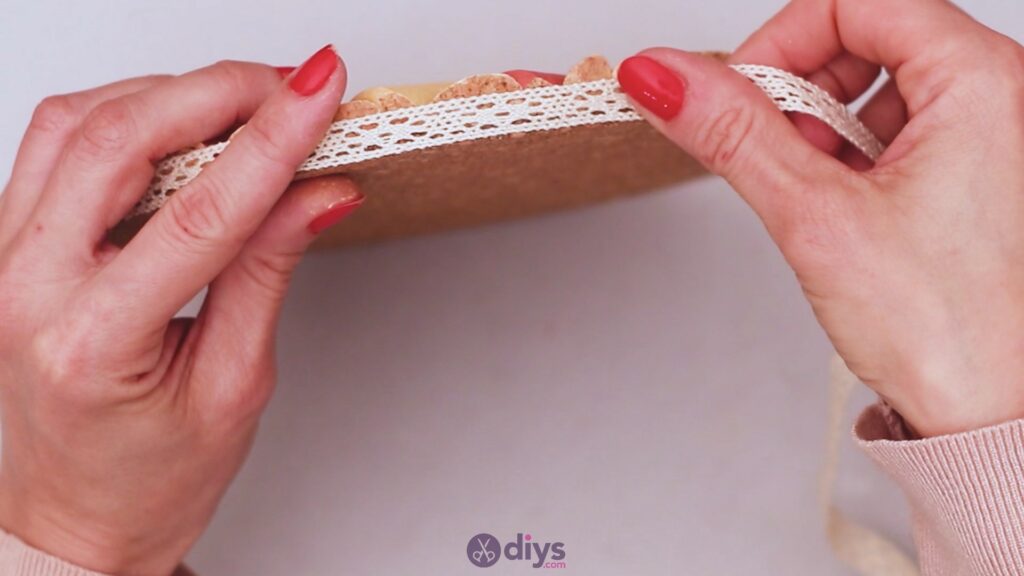
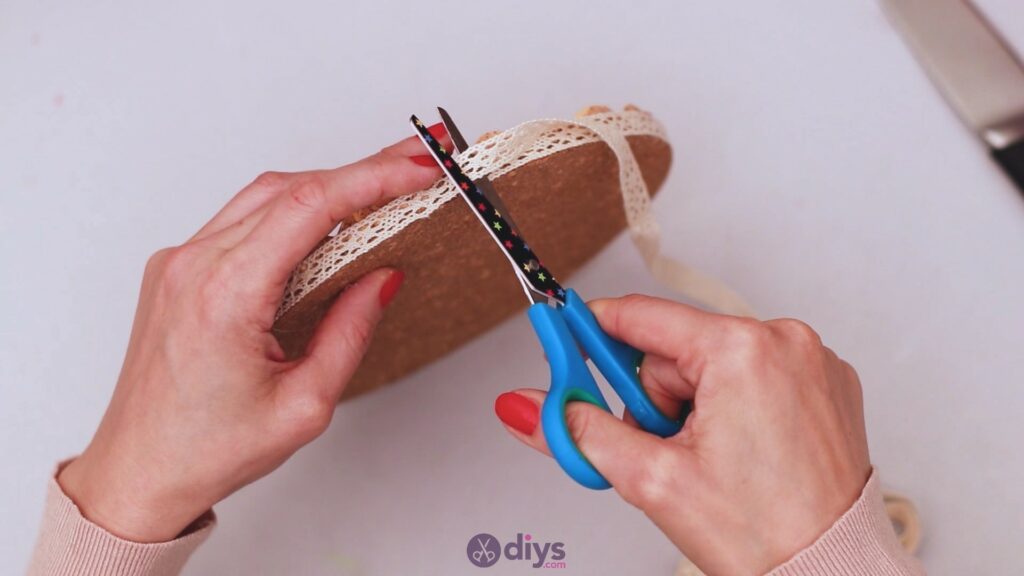
Step 6: Add the lace ribbon
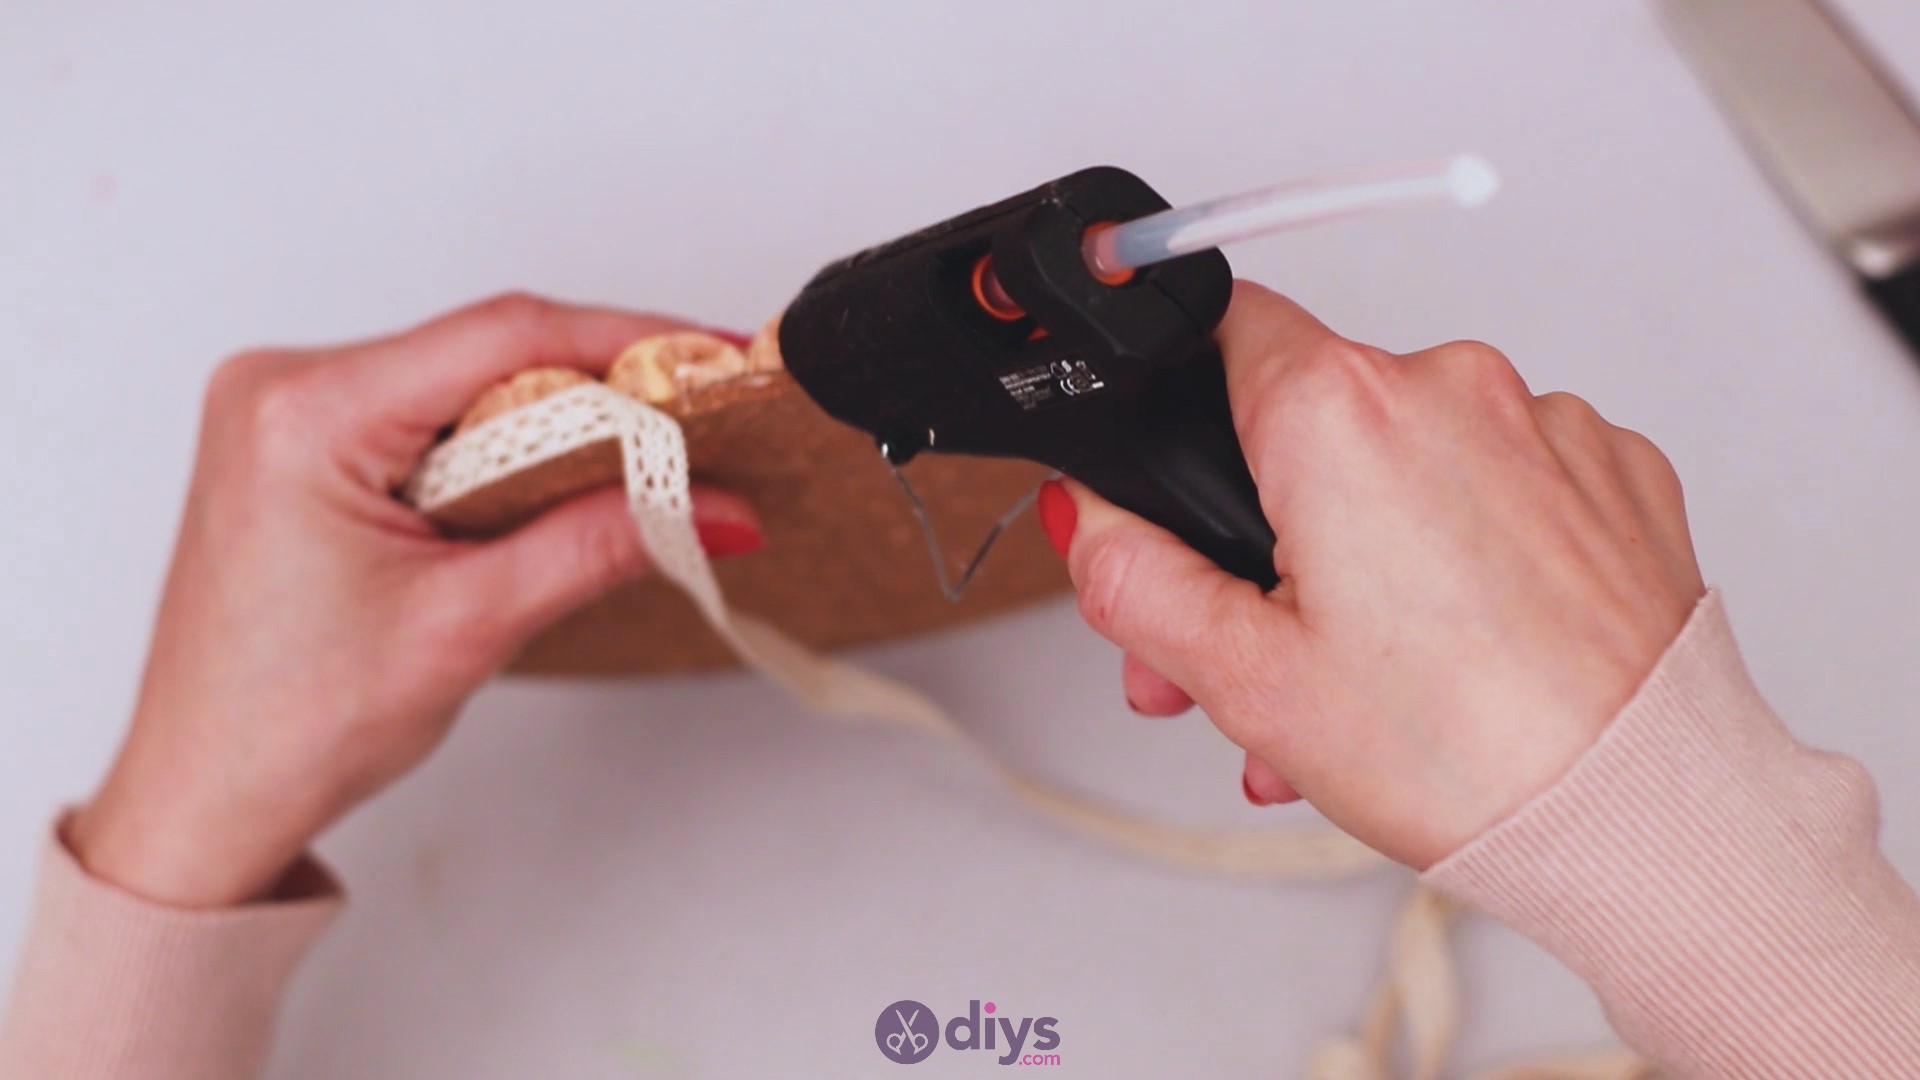
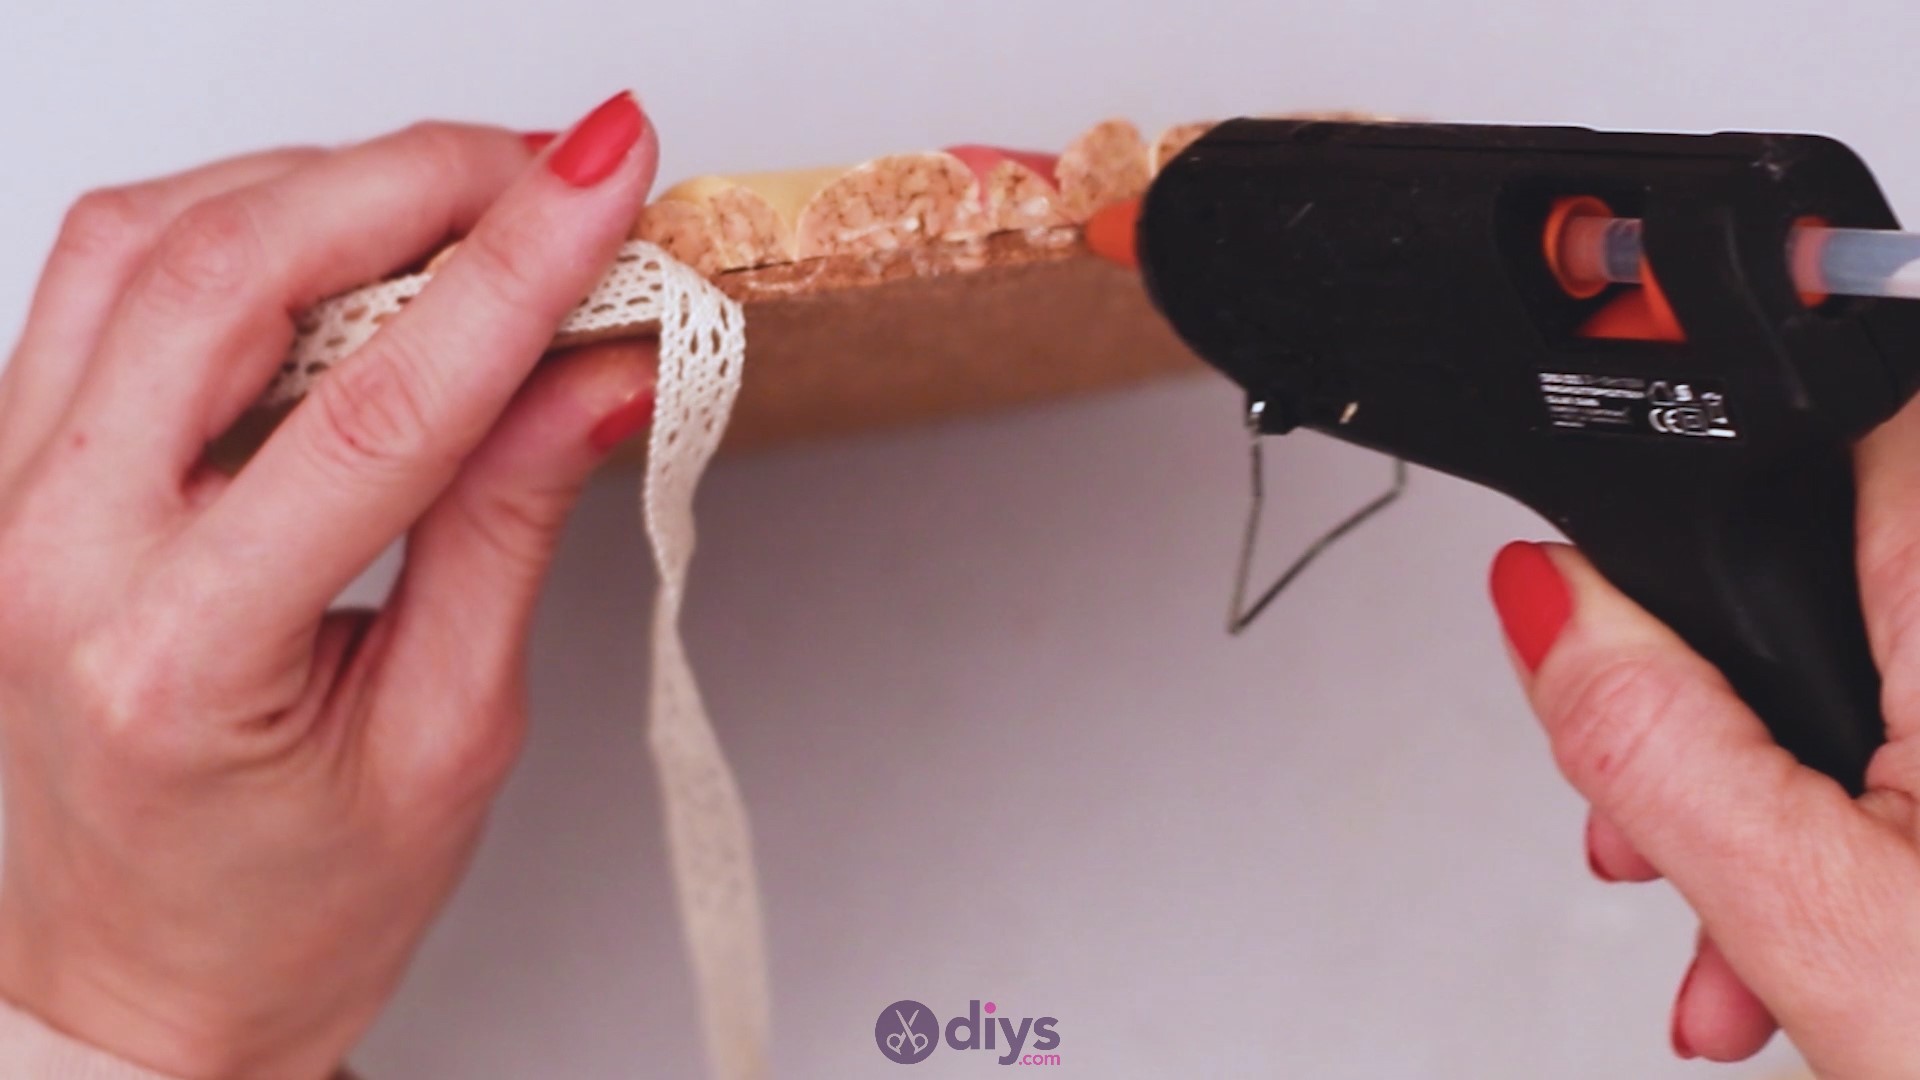
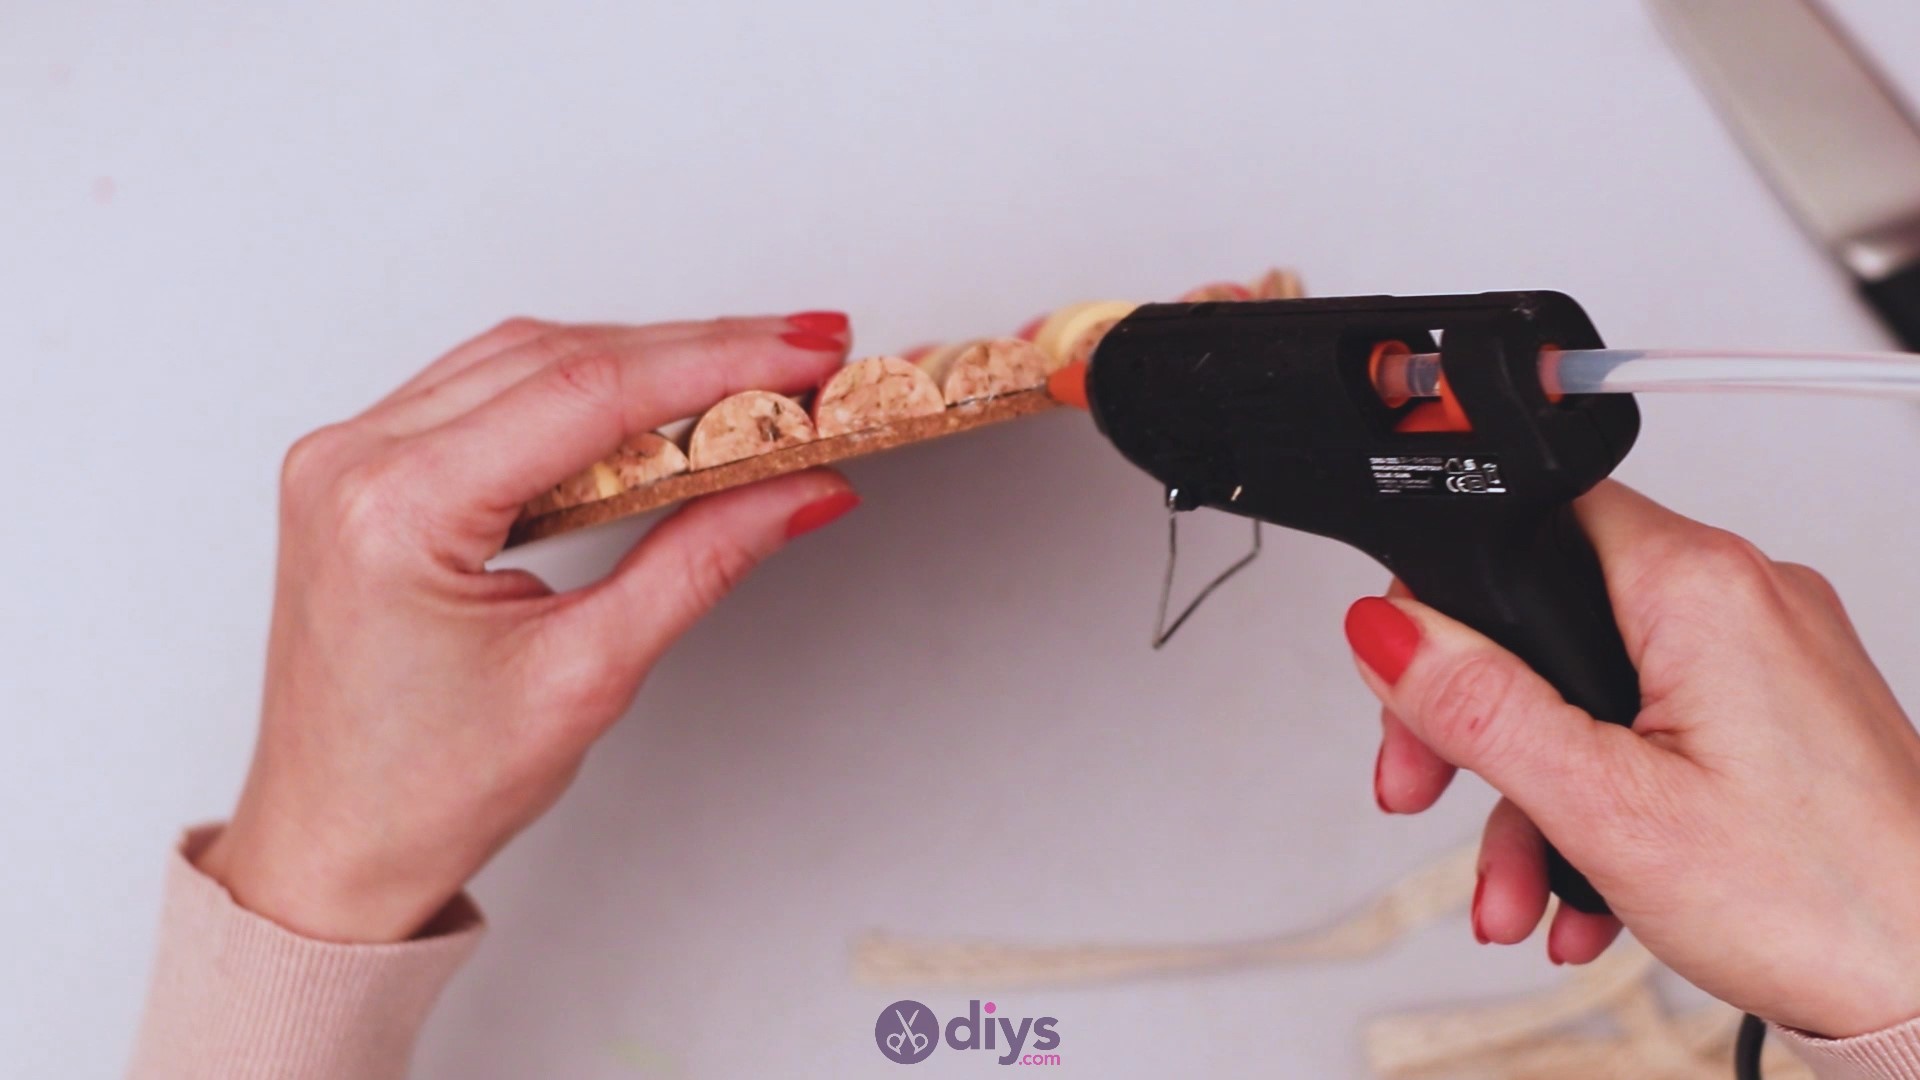
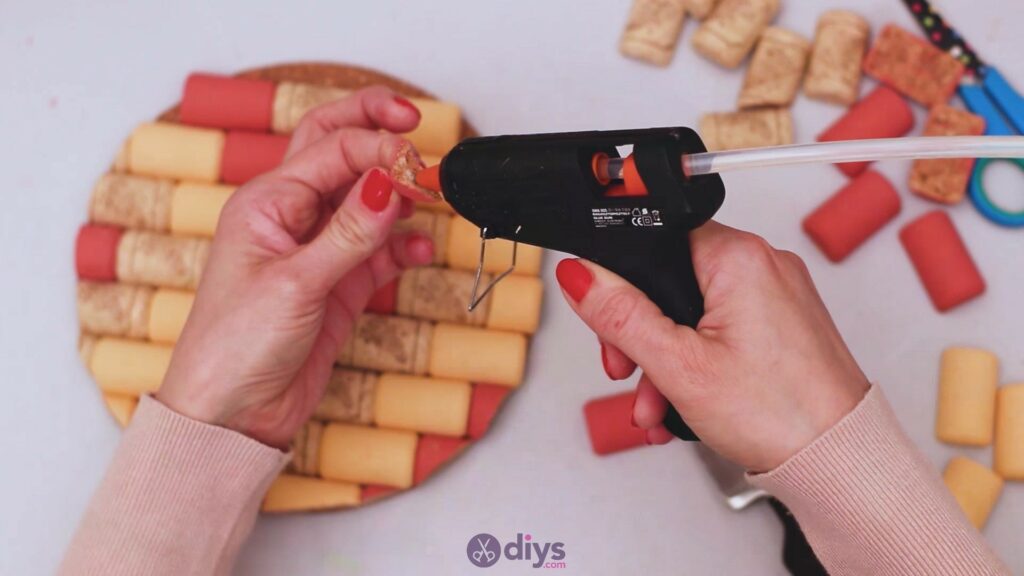
Finally, we get to decorate the trivet! Get the glue gun and start adding hot glue to the bottom area of the trivet sides. Basically, you want the glue to cover some of the corkboard and the wine corks you’ve laid on top.

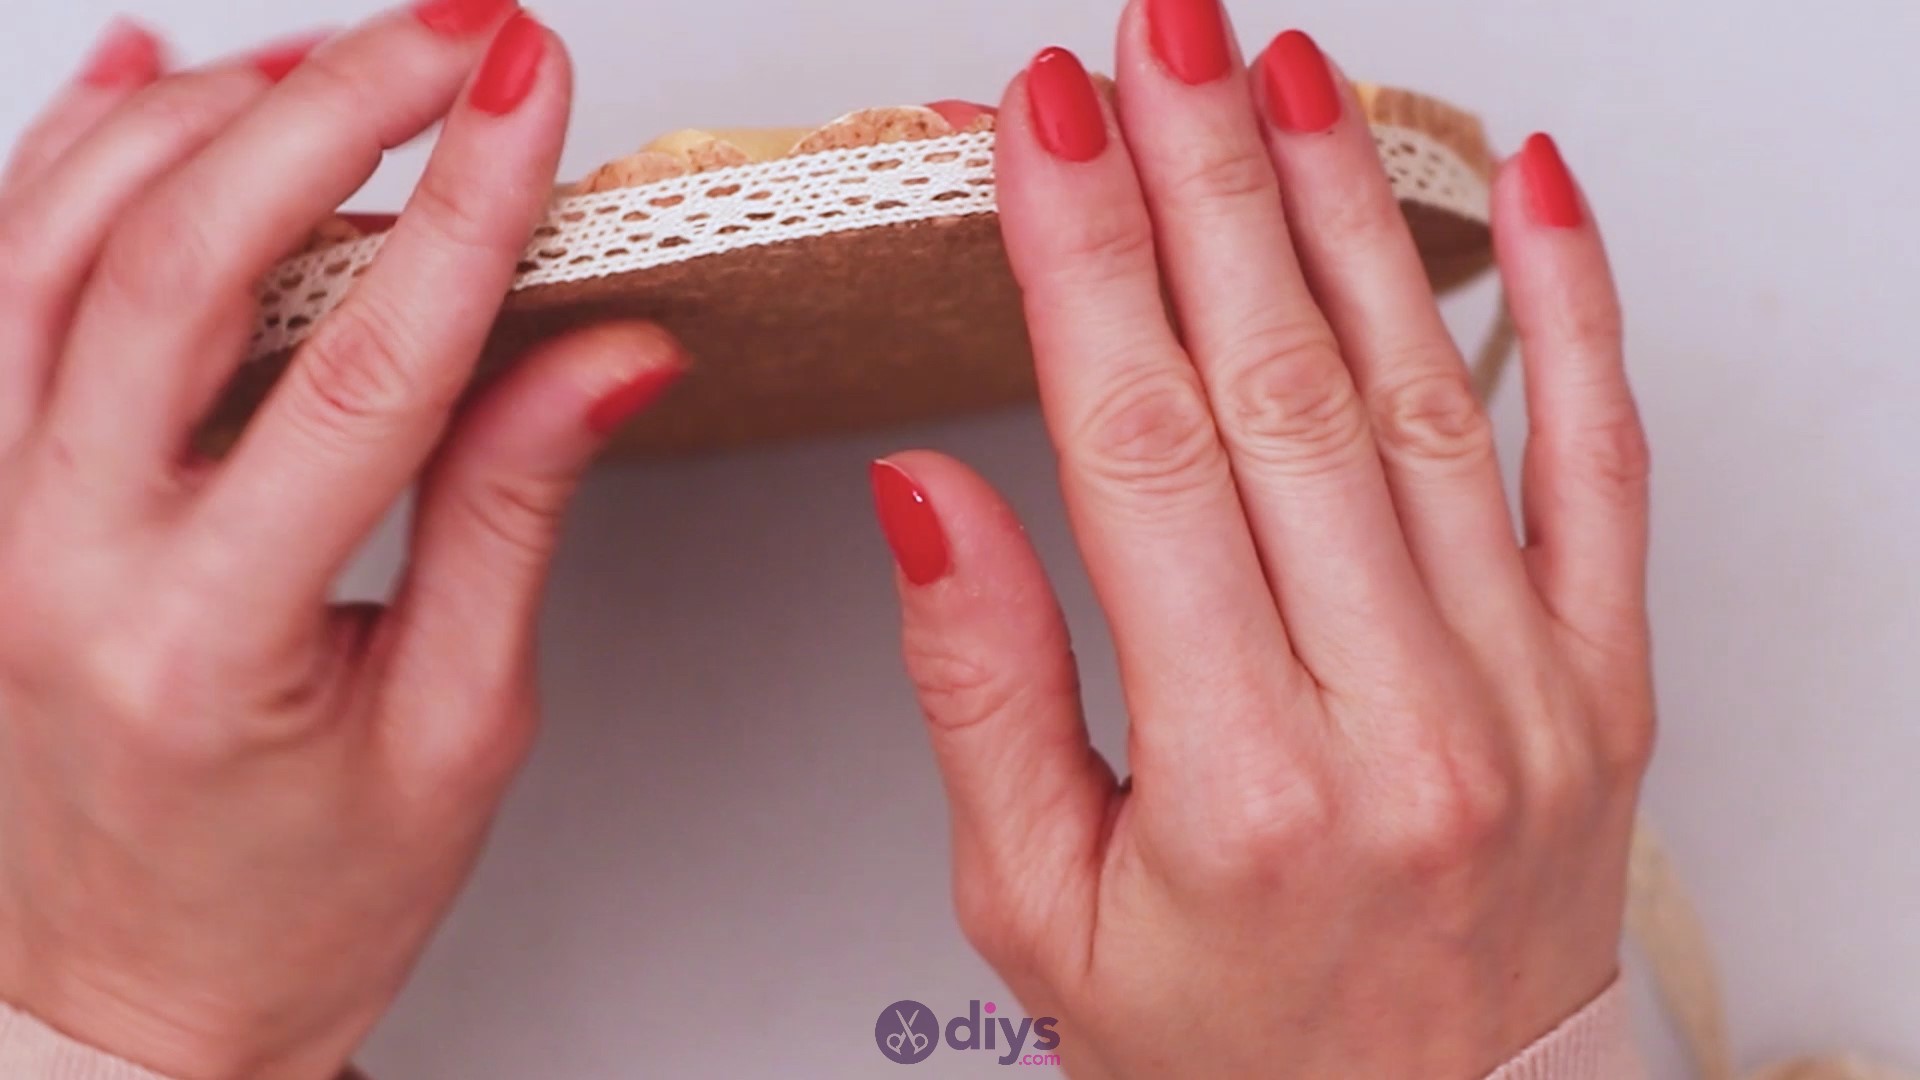
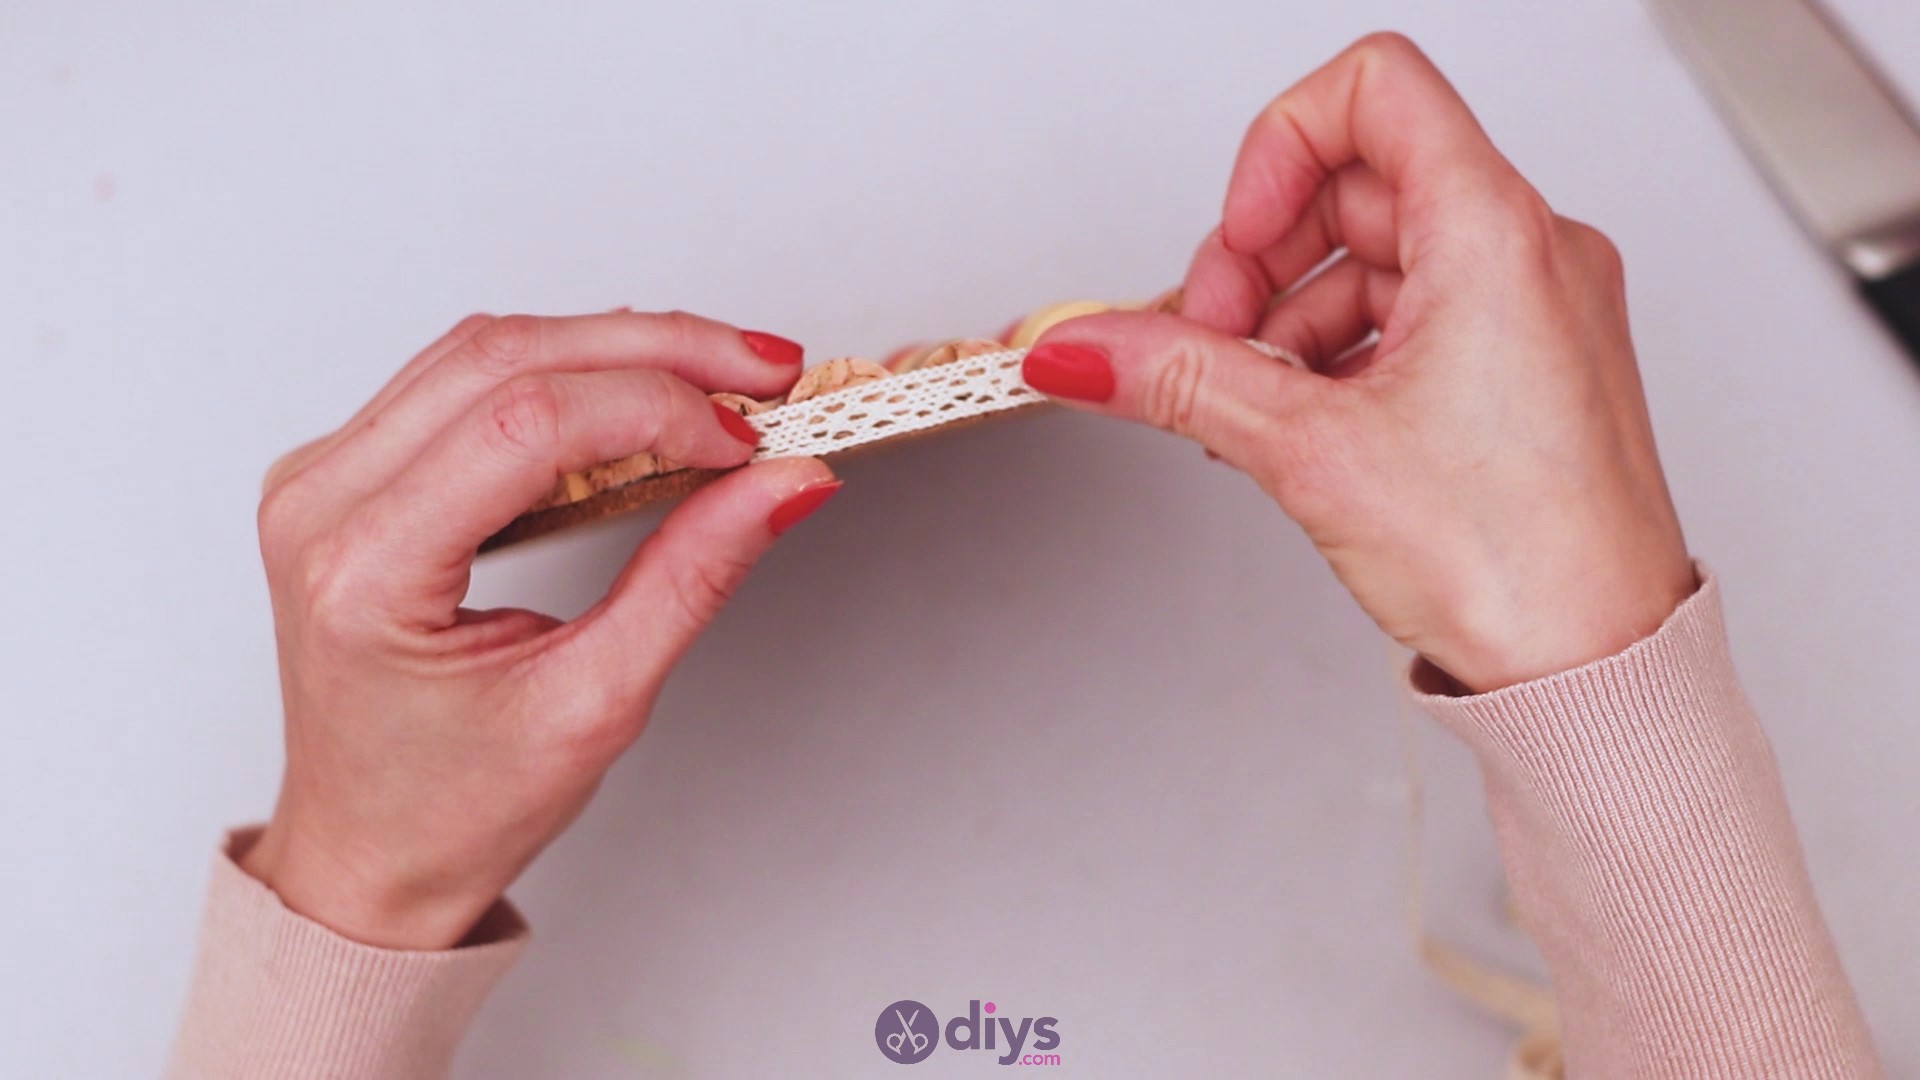
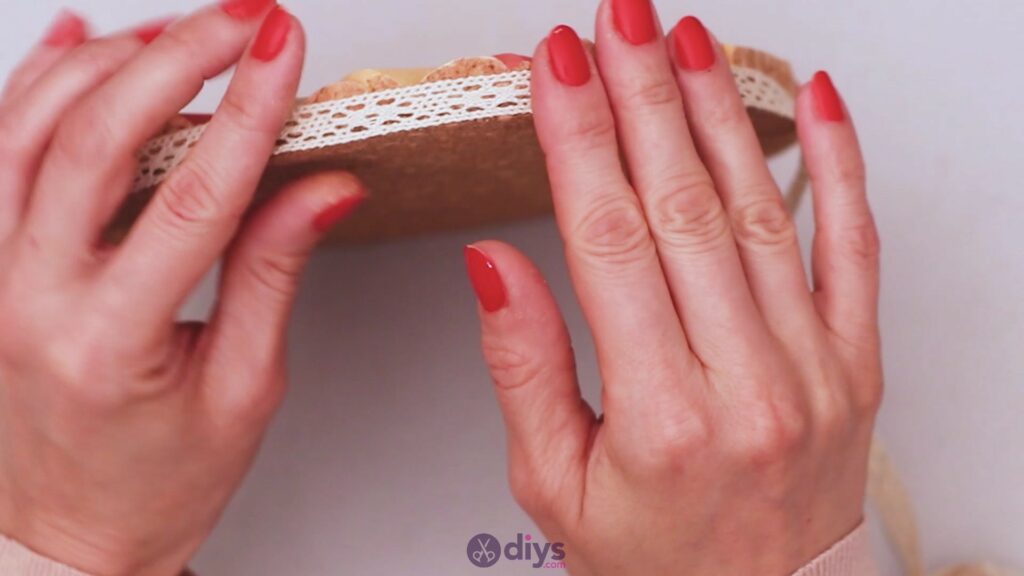
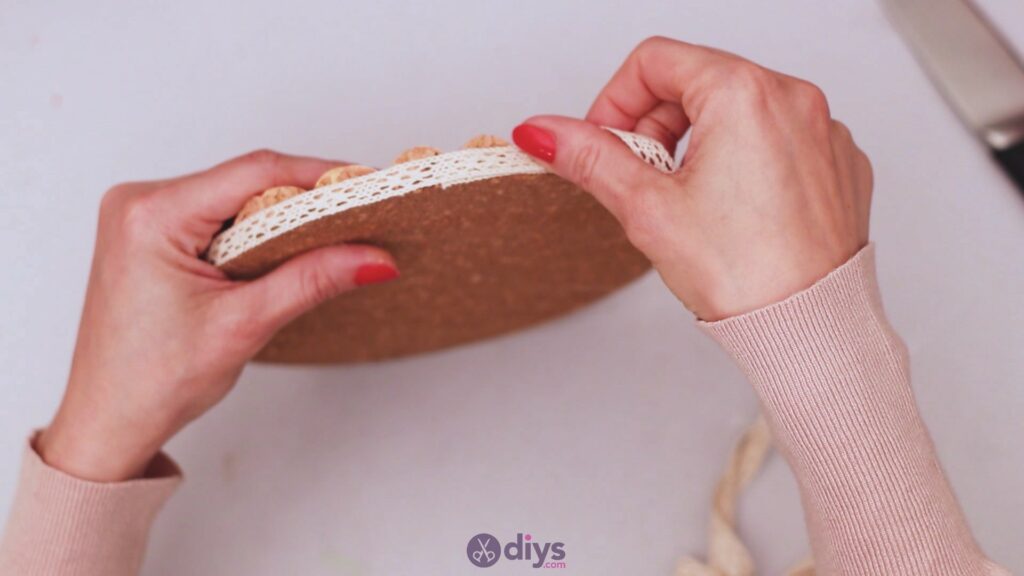
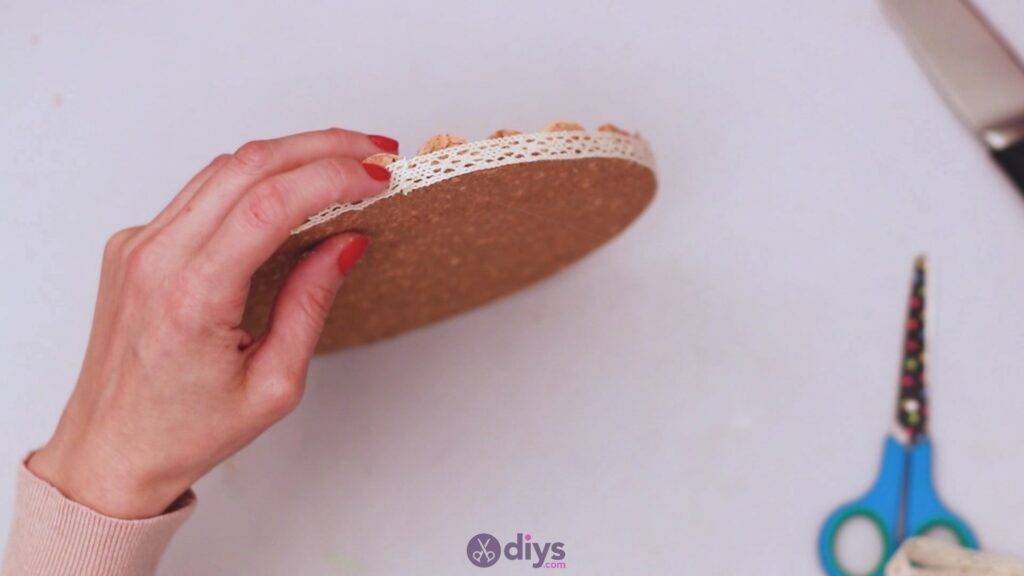
Add the lace ribbon as you go, pressing it into the glue before moving to the next section.


Make sure to guide the ribbon straight and to align the bottom area to the bottom of the trivet.
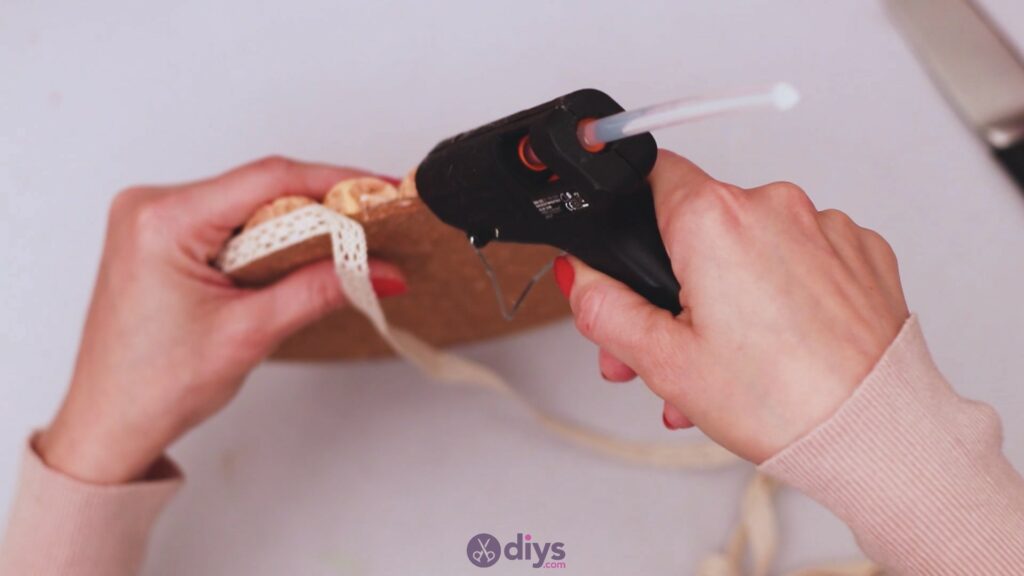
When you’ve nearly reached around, you should measure the ribbon so it slightly overlaps the place where you started. Cut the excess ribbon and add more hot glue, even over the start of the ribbon. Then, when you place down the other end of the ribbon, it will seamlessly cover the edge.
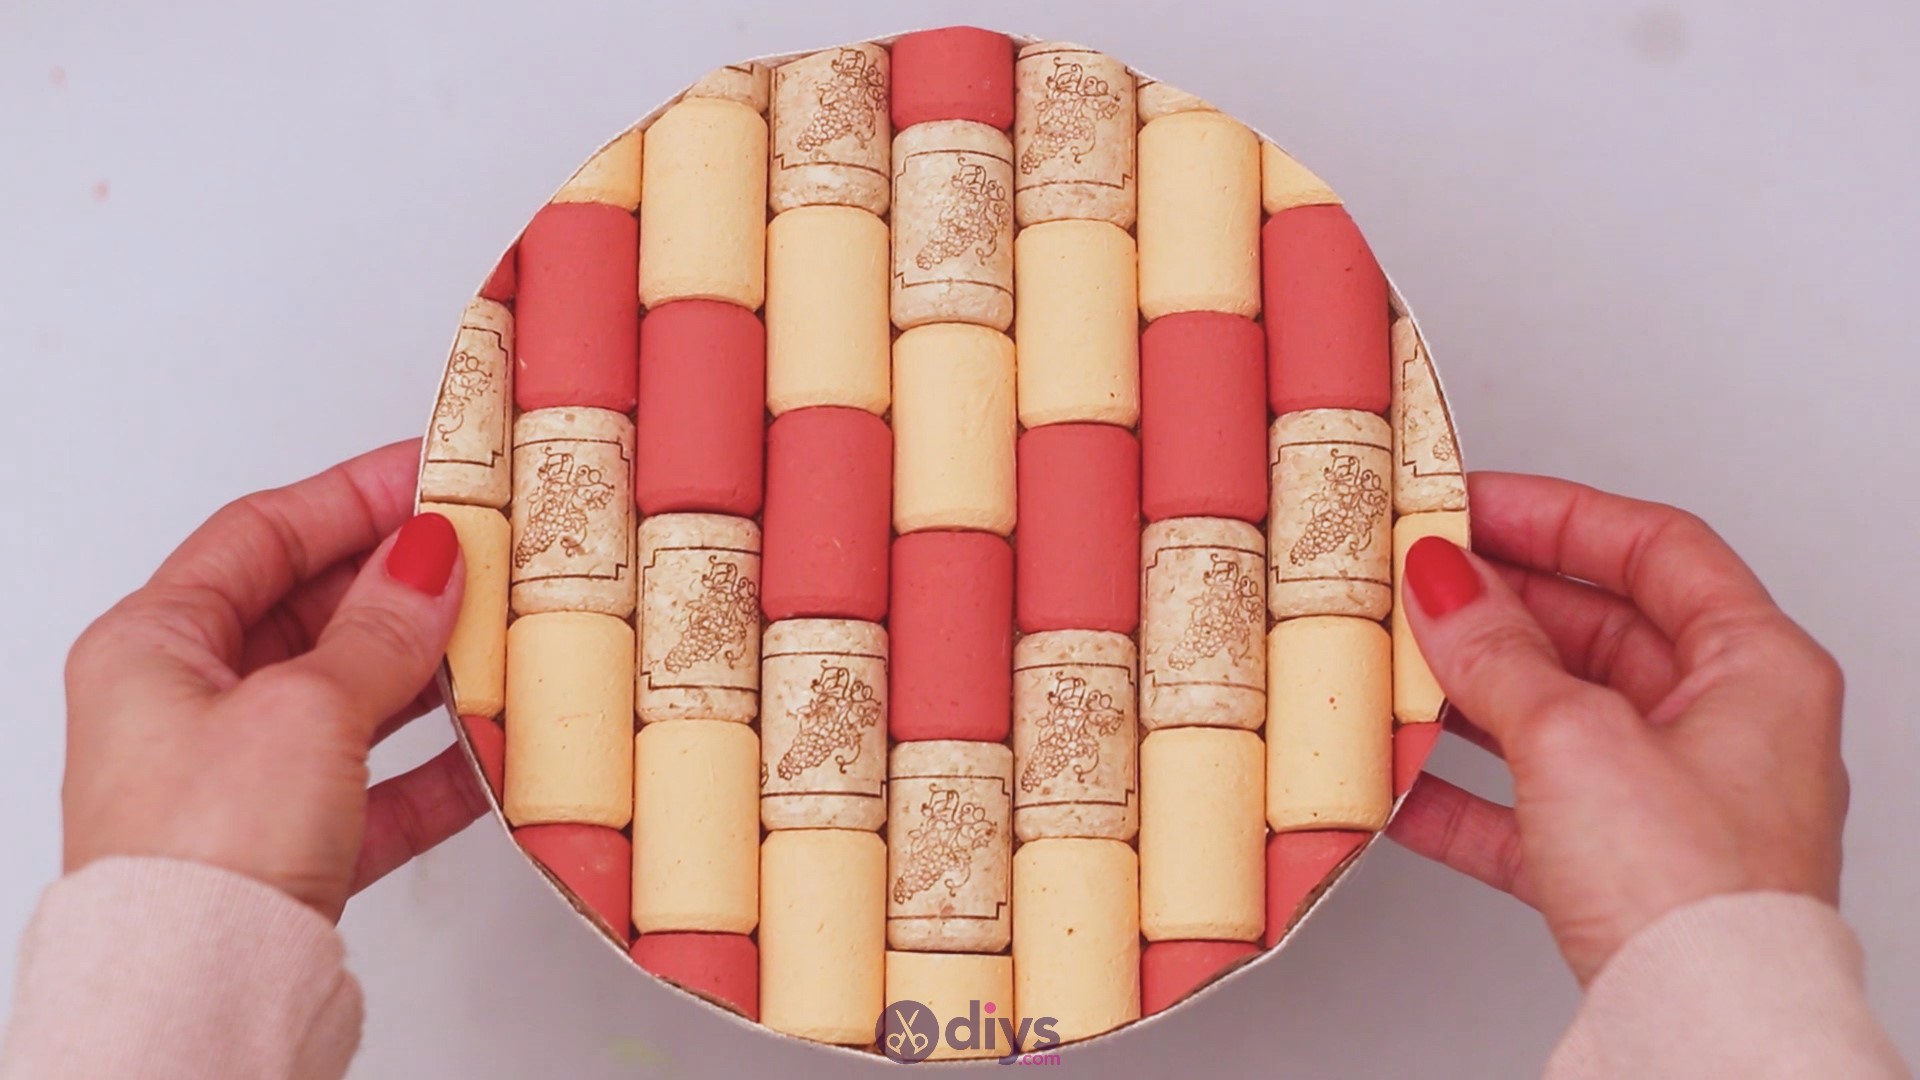
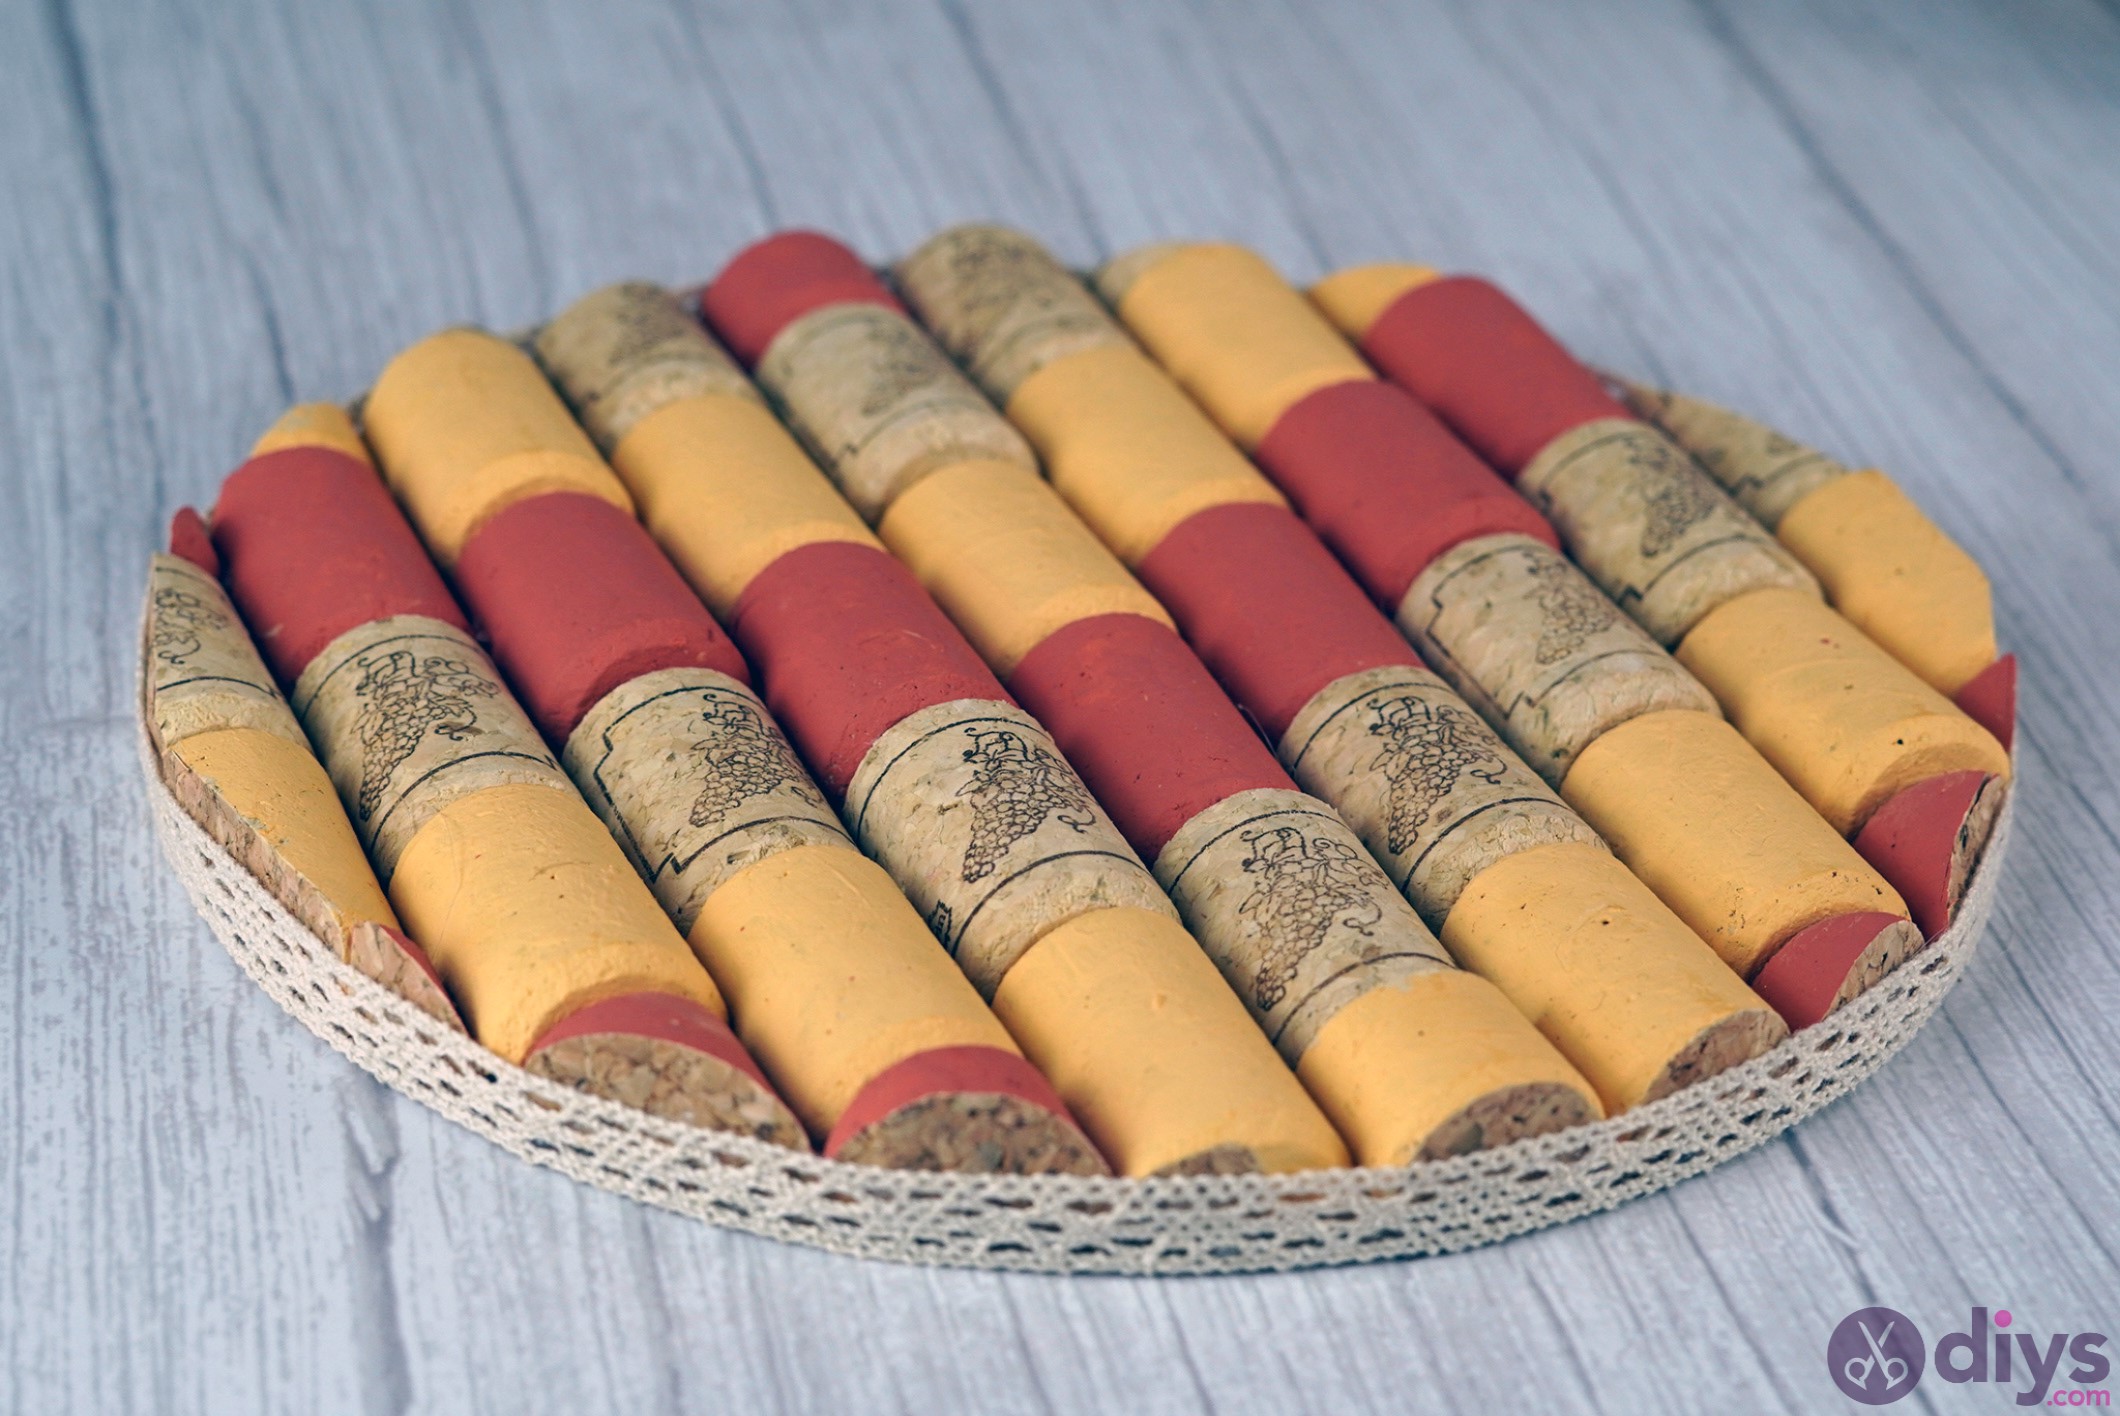
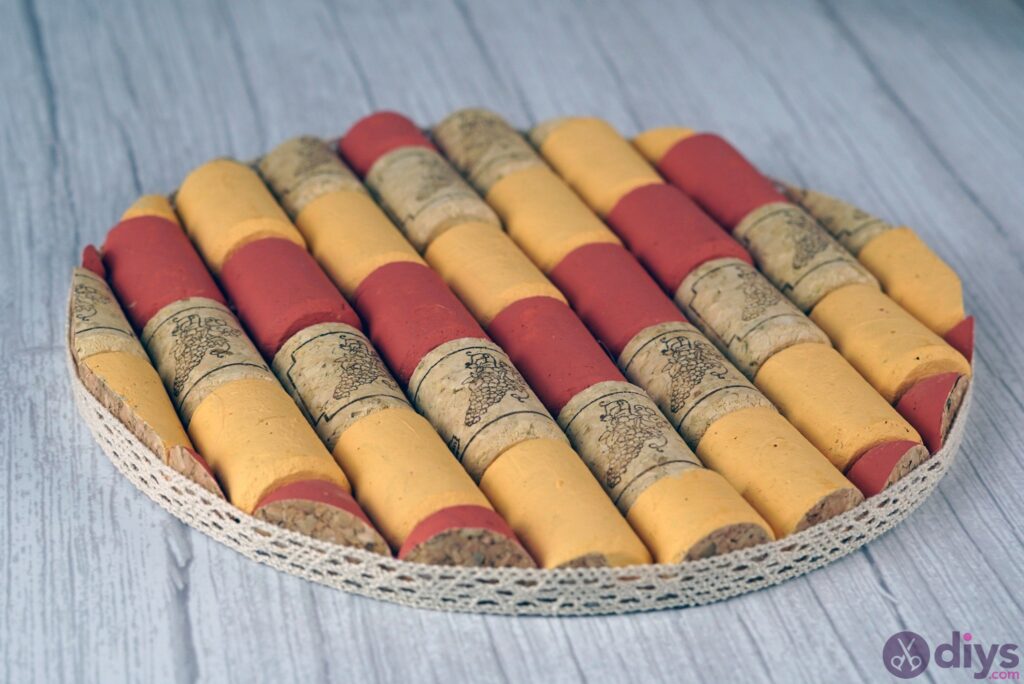
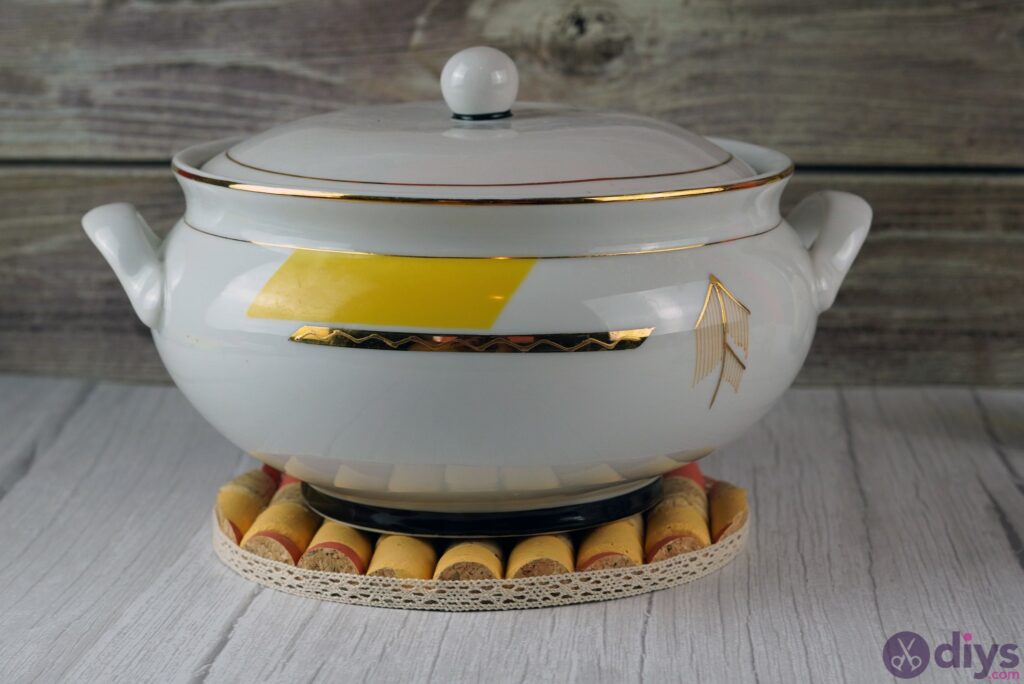
Voila! You now have a beautiful trivet to “show off” when you have dinner parties and you need something to protect your table from the heat. Since it’s made of a corkboard base and wine corks, it will offer a lot of thermal protection for whatever piece of furniture you place it on.
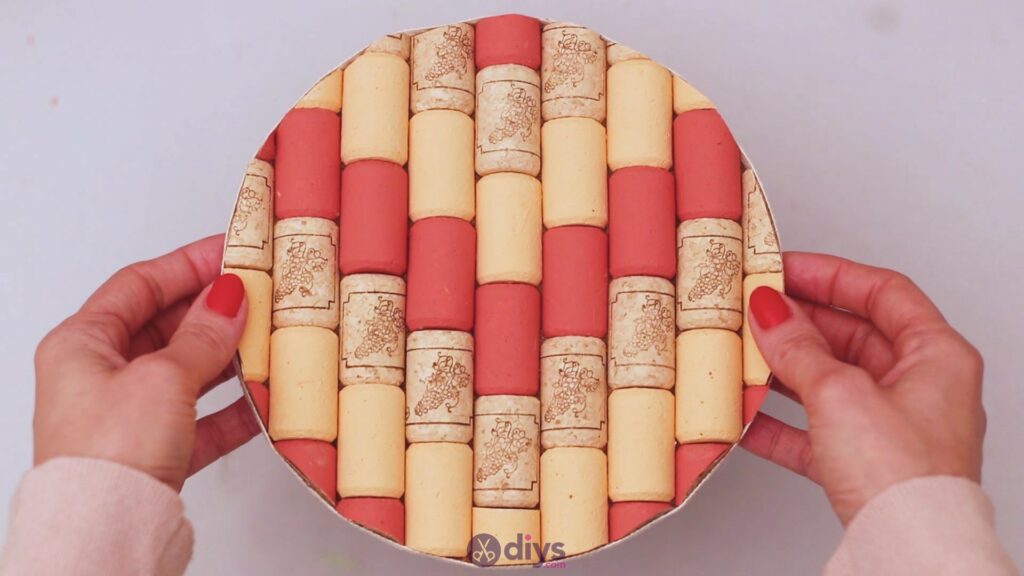
We really love how the design turned out and we think you should definitely give it a go too and then share the pics with us! You can obviously go for another pattern if you wanted to, or different paint colors for the wine corks. You can even choose a different kind of ribbon for the edge, although we will recommend you don’t go for any synthetic threads as those will shrivel due to the heat.