DIY Wine Cork Napkin Ring – How to Make Napkin Rings With Wine Corks?
Updated on November 19, 2025


Napkin rings are things you don’t use every day, but sometimes, when you host a fancy dinner, you may want to have some on hand. If they’re handmade, it’s even better, as you put your heart into them.

We know that fancy dinners aren’t necessarily on the menu in the midst of a pandemic, but this too shall pass and you’ll be able to meet up with friends and family once more. When this happens, you’ll be ready with cool napkin rings. Let’s get on with it!
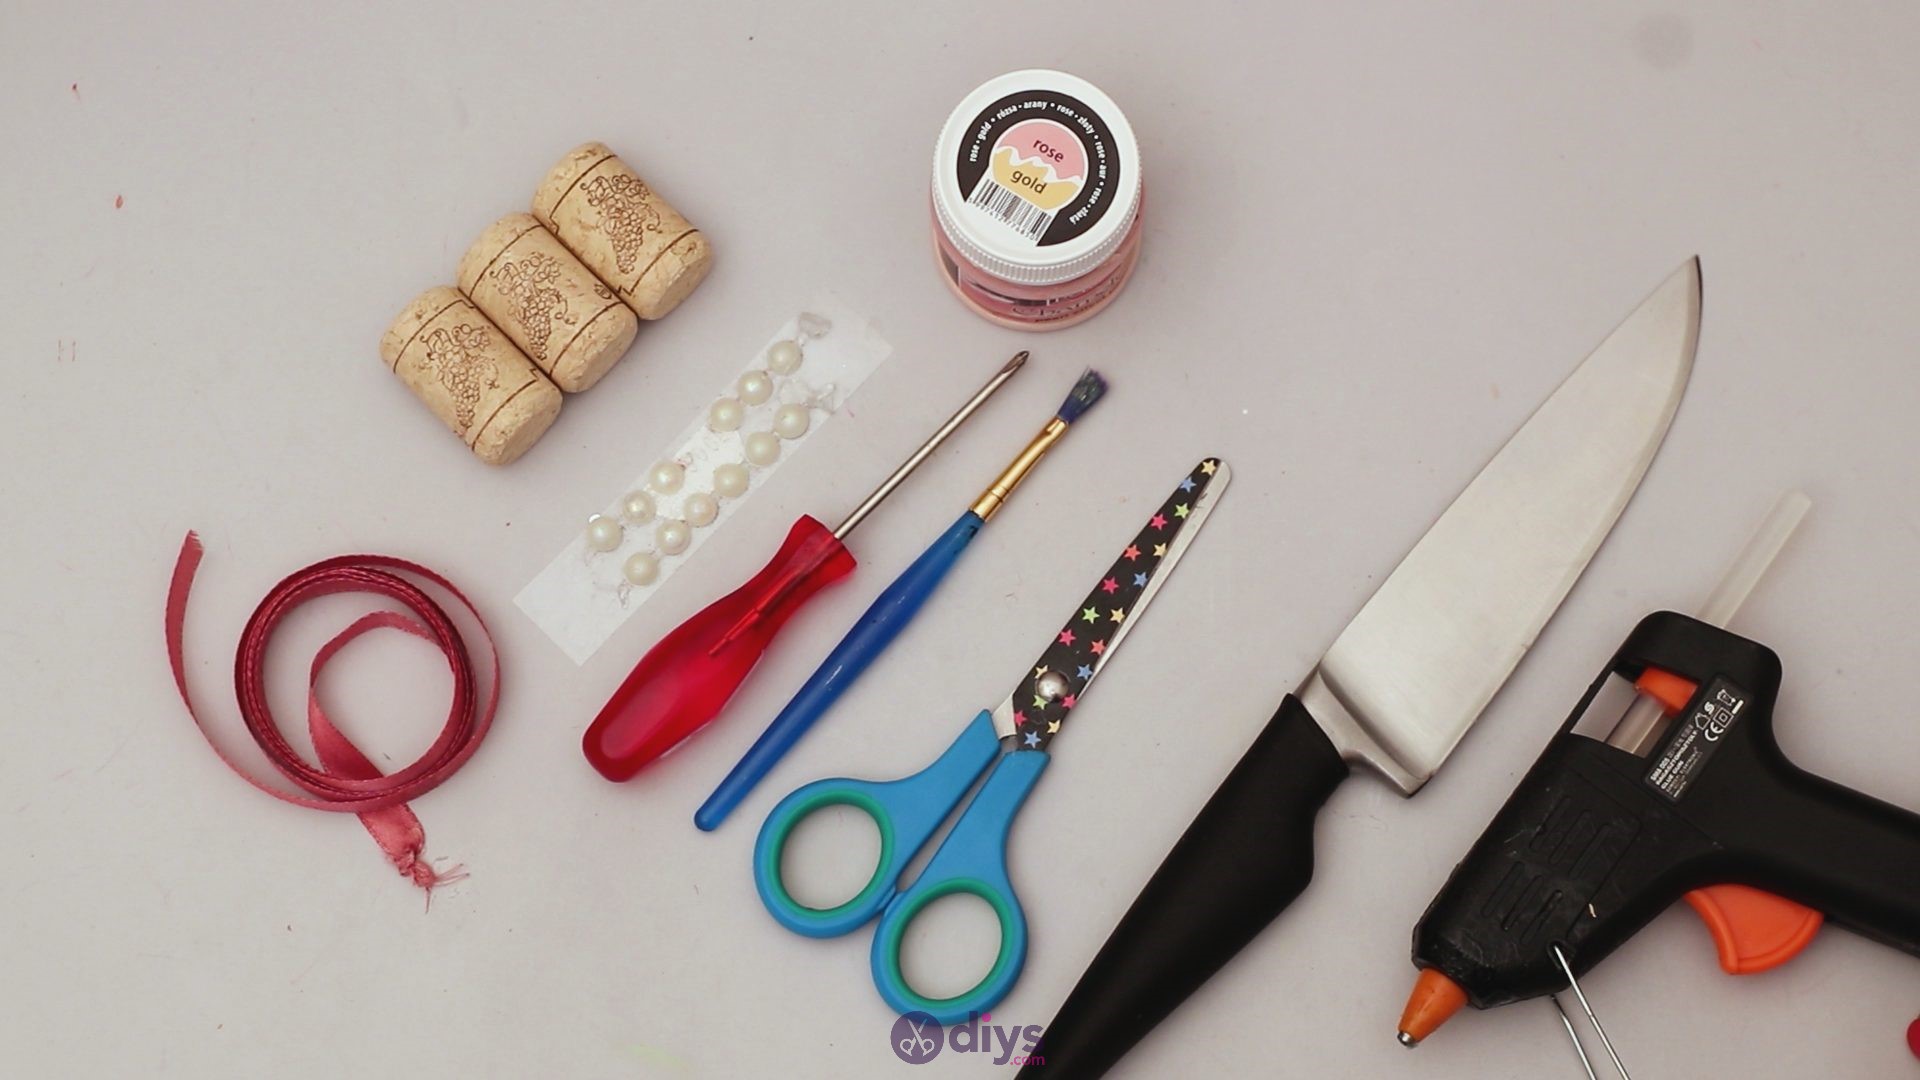
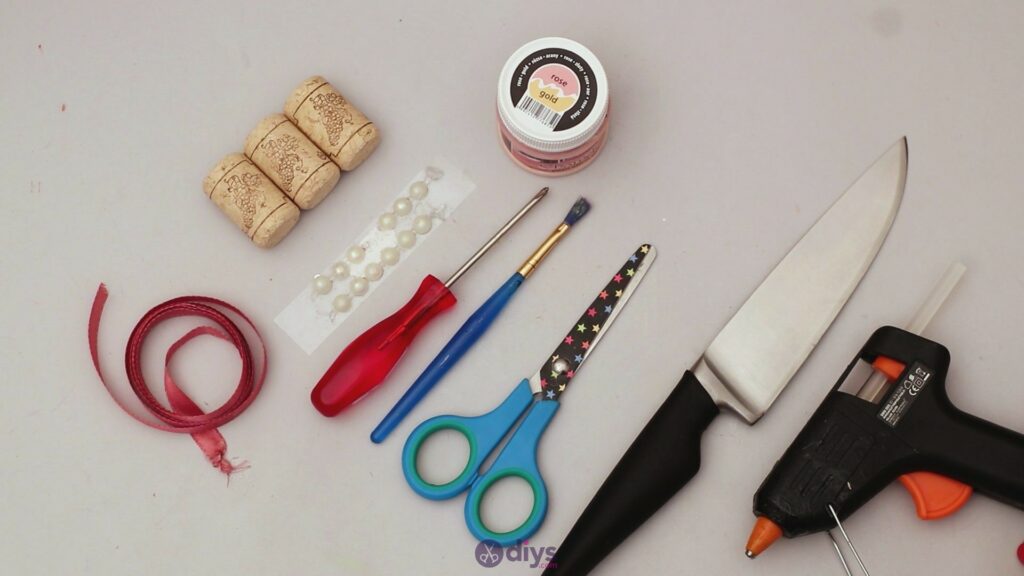
Materials for a wine cork napkin ring
- wine corks
- knife
- Phillips screwdriver
- rose gold acrylic paint
- paintbrush
- silk ribbon
- half bead decors
- scissors
- glue gun
How to make a wine cork napkin ring
Creating your own napkin rings will take a bit of time, but it’s certainly going to be a rewarding process. So, let’s get started.
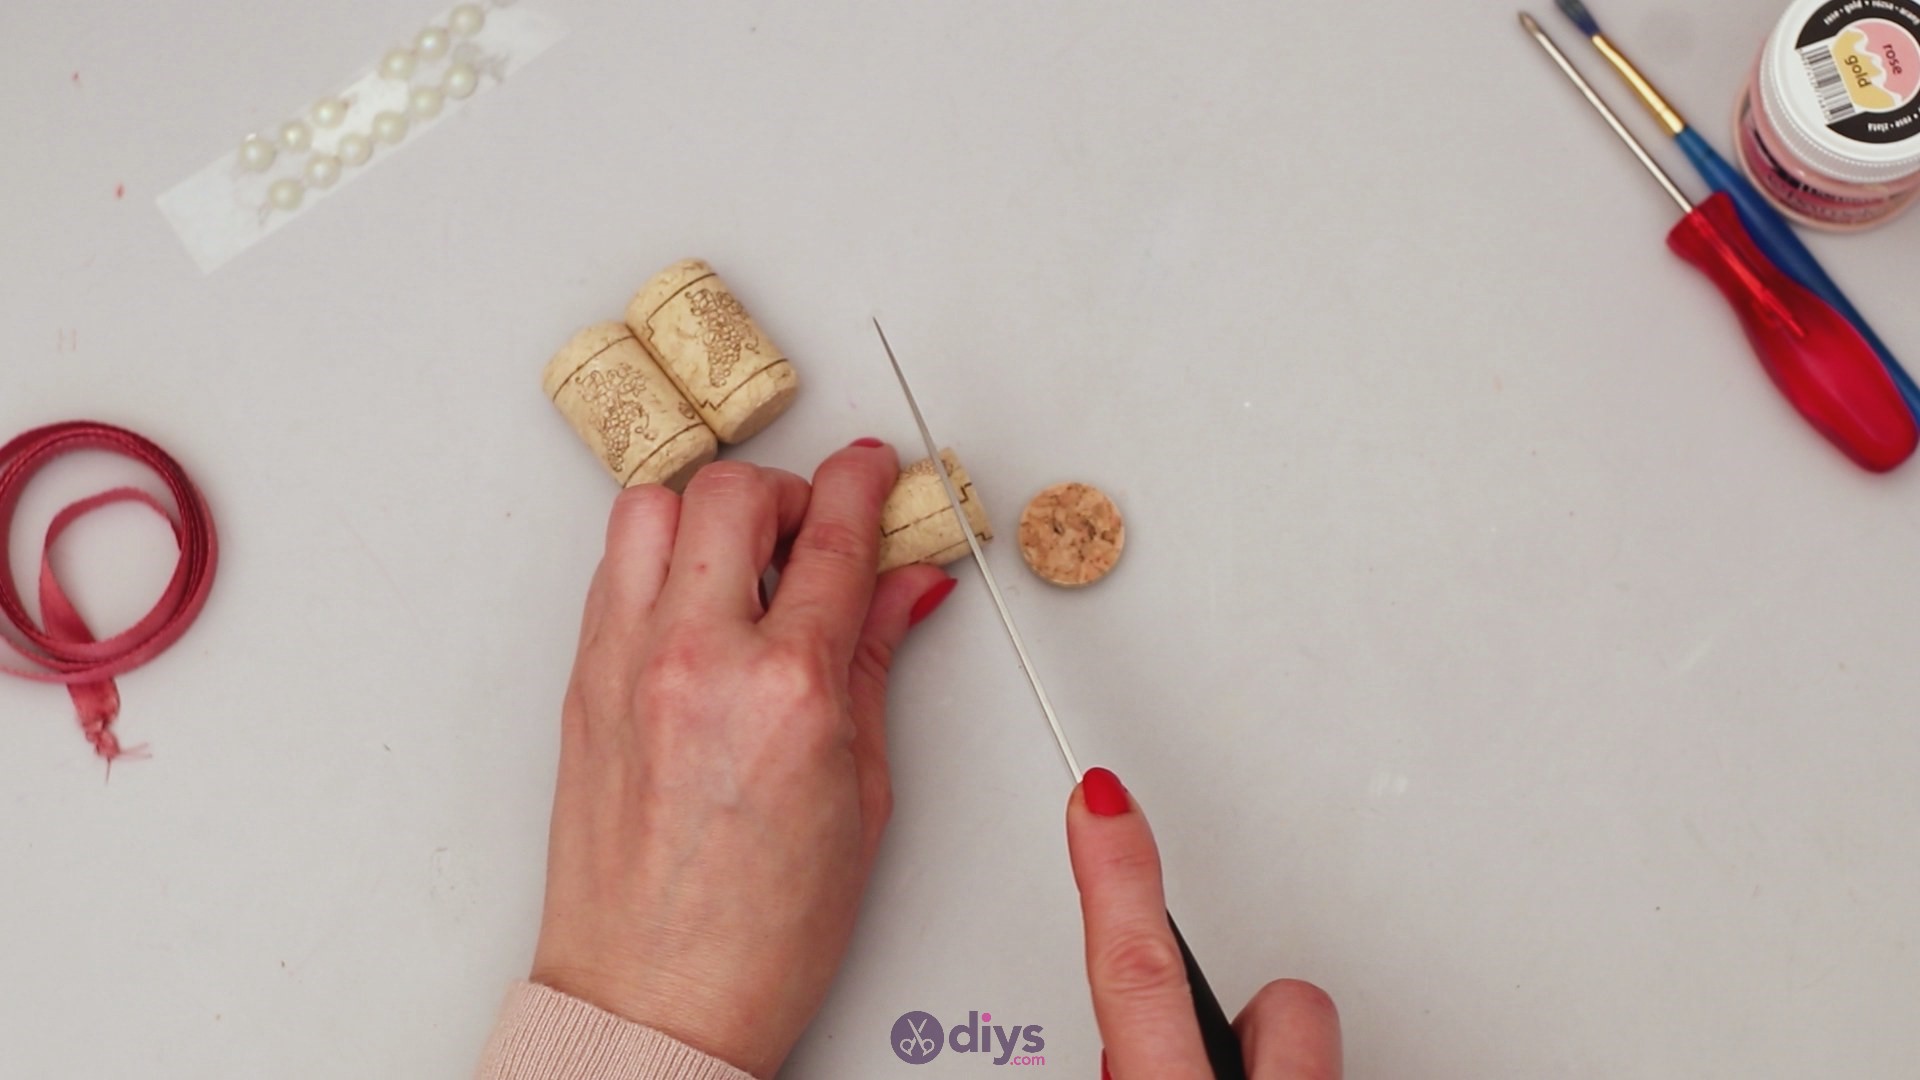
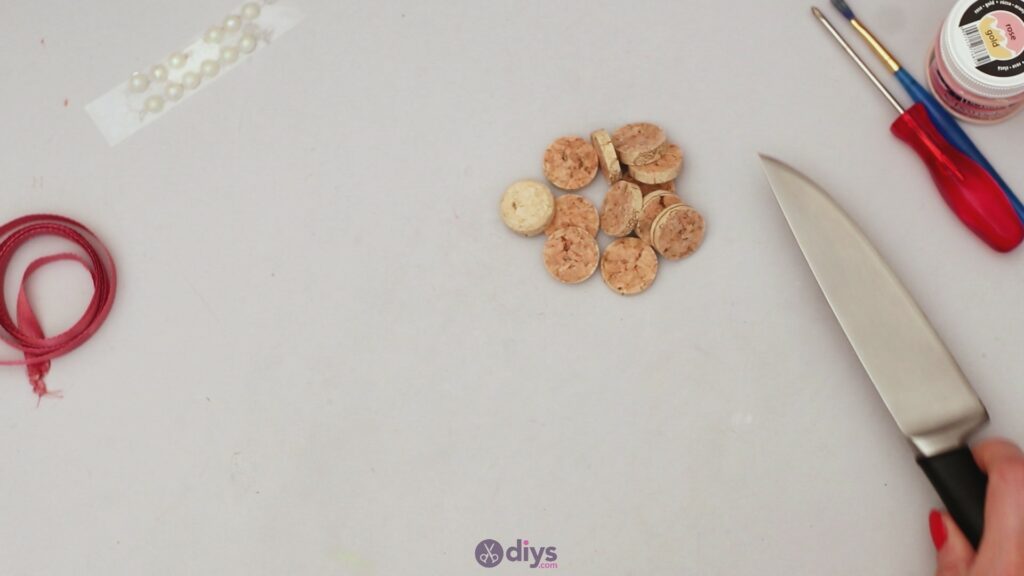
Step 1: Cut the corks
We’re going to start our napkin ring creations by cutting the corks into thin slices. So, grab your knifeand yourwine corksand start slicing them. You want the pieces to be thick enough to be durable, but not too bulky.
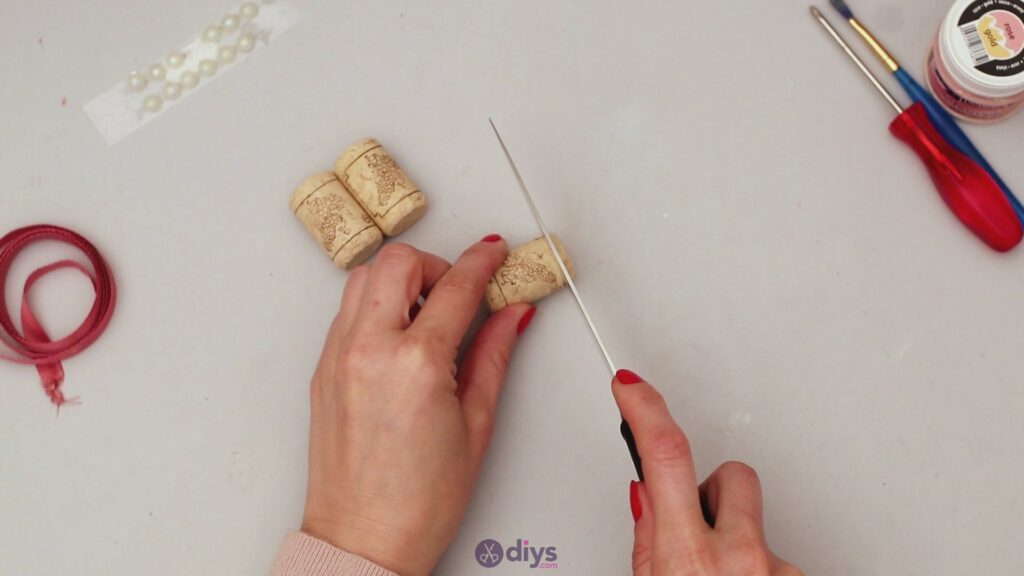

There you go. We only had three wine corks, but that’s the number you need for a single napkin ring. You can slice up more if you want to create more napkin rings at the same time.
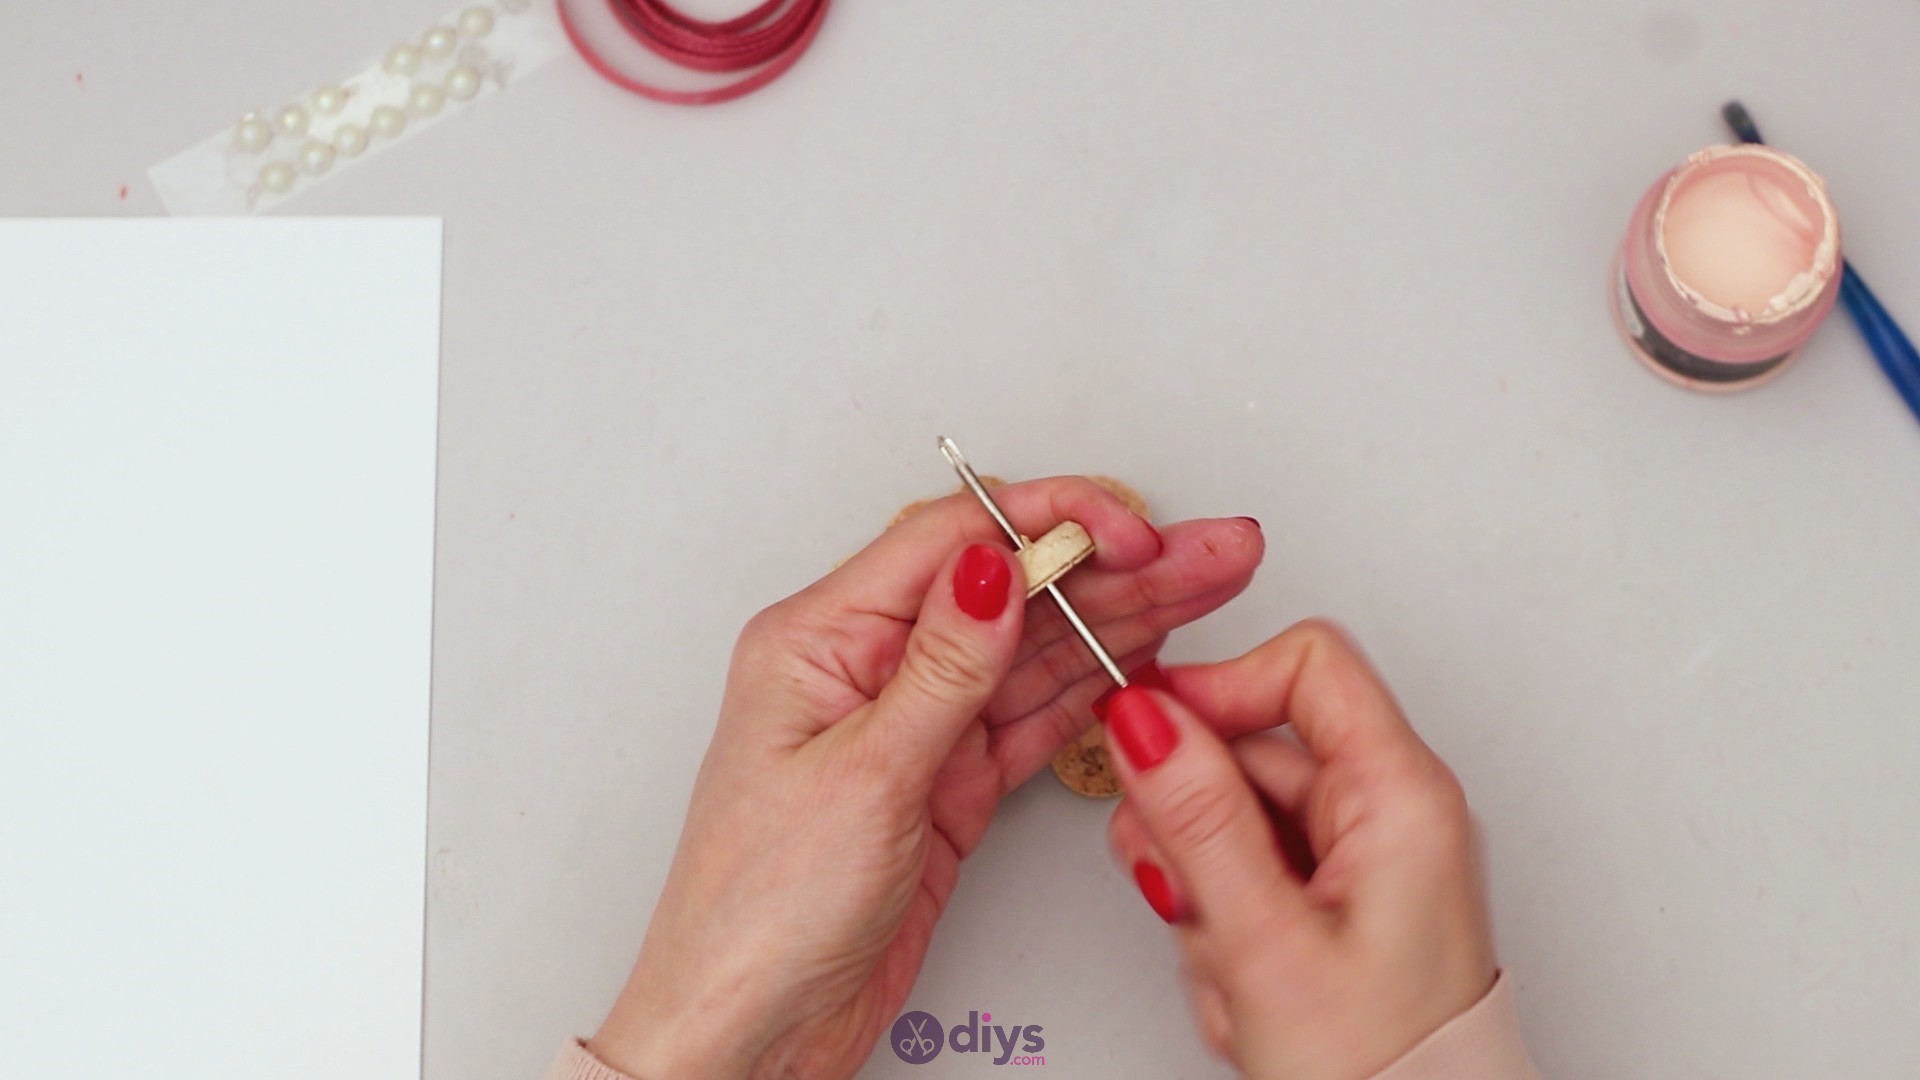
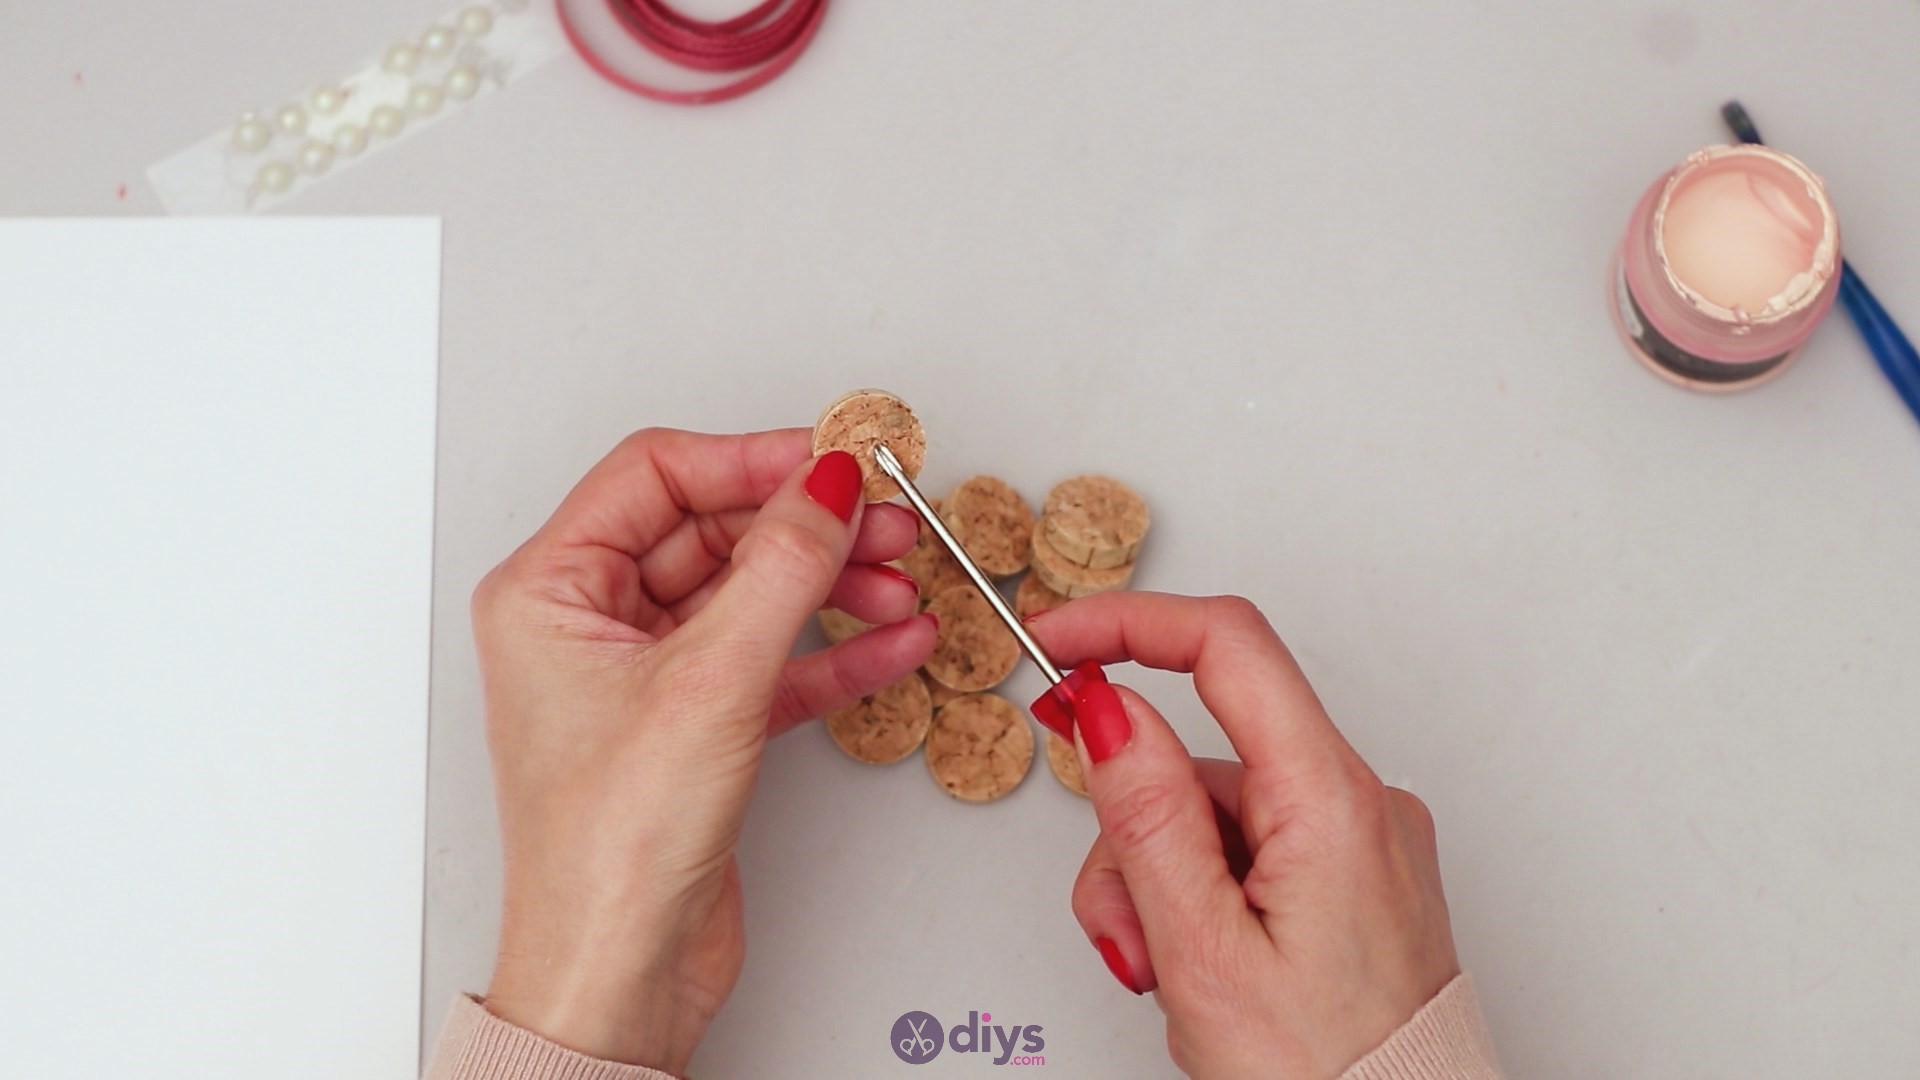
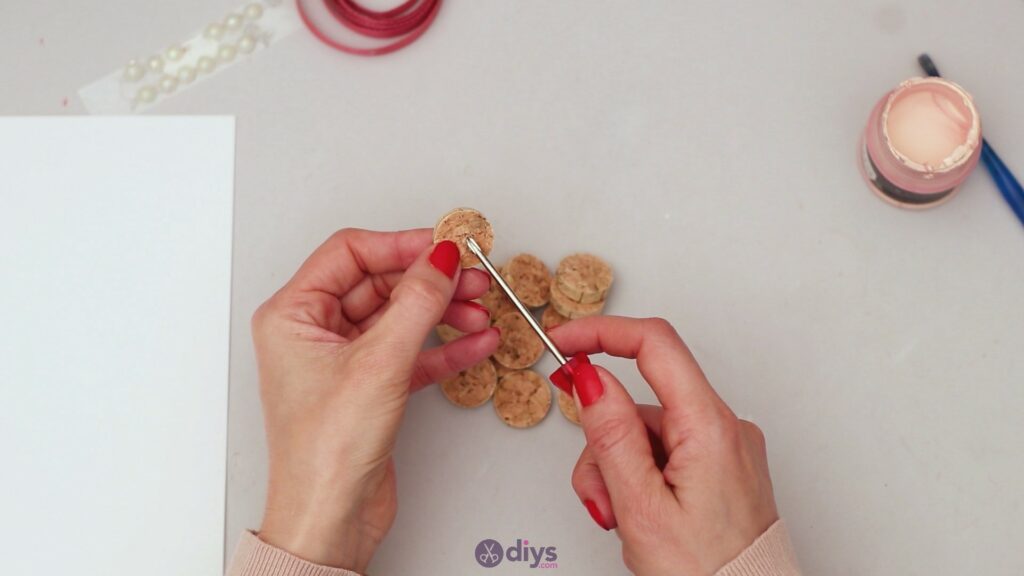
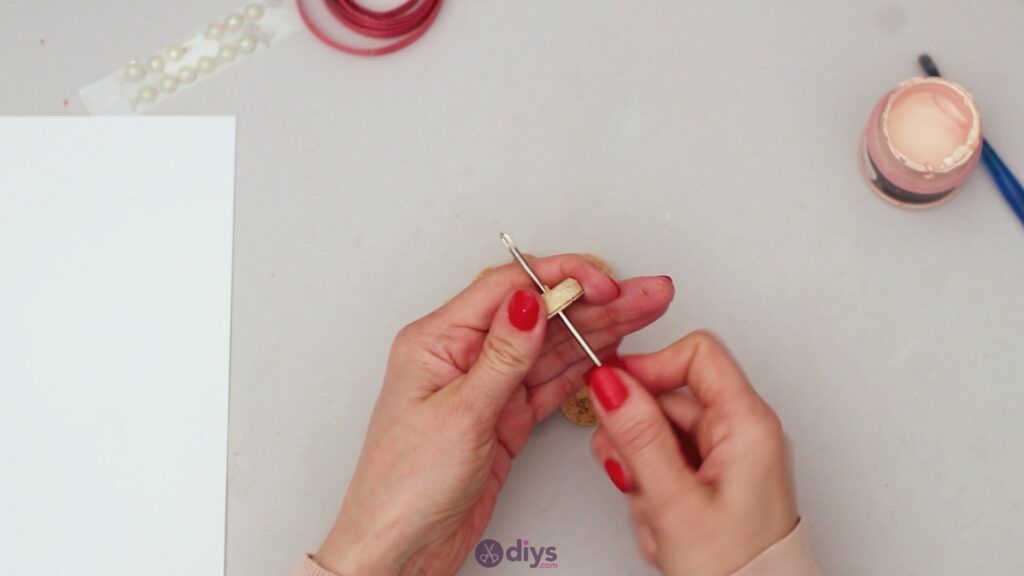
Step 2: Pierce the wine corks
Next, get thePhillips screwdriverand the wine cork slices push the tip through the middle of their middle. You want to be careful when doing this as the corks can break if you’re too rough when pushing the screwdriver through. Make use of the ridged head and twist and turn if necessary.
Step 3: Paint the corks
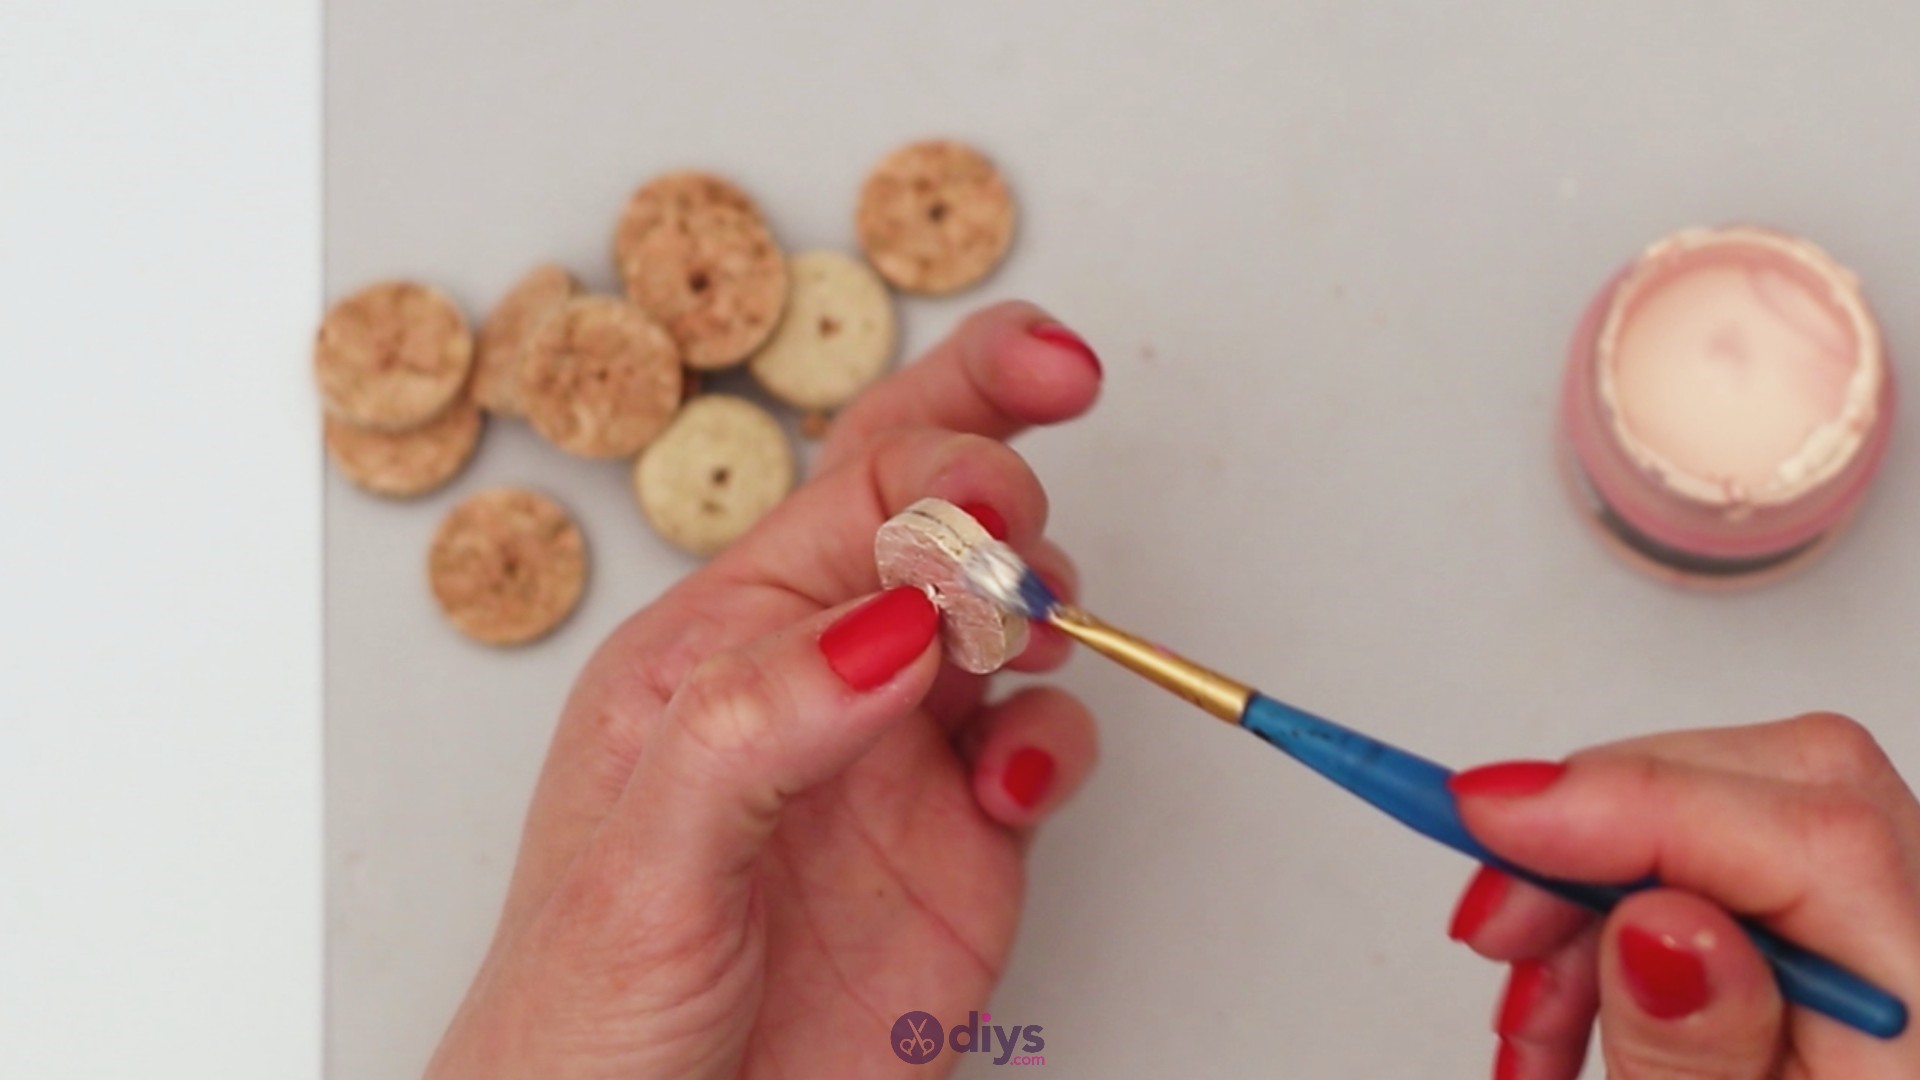
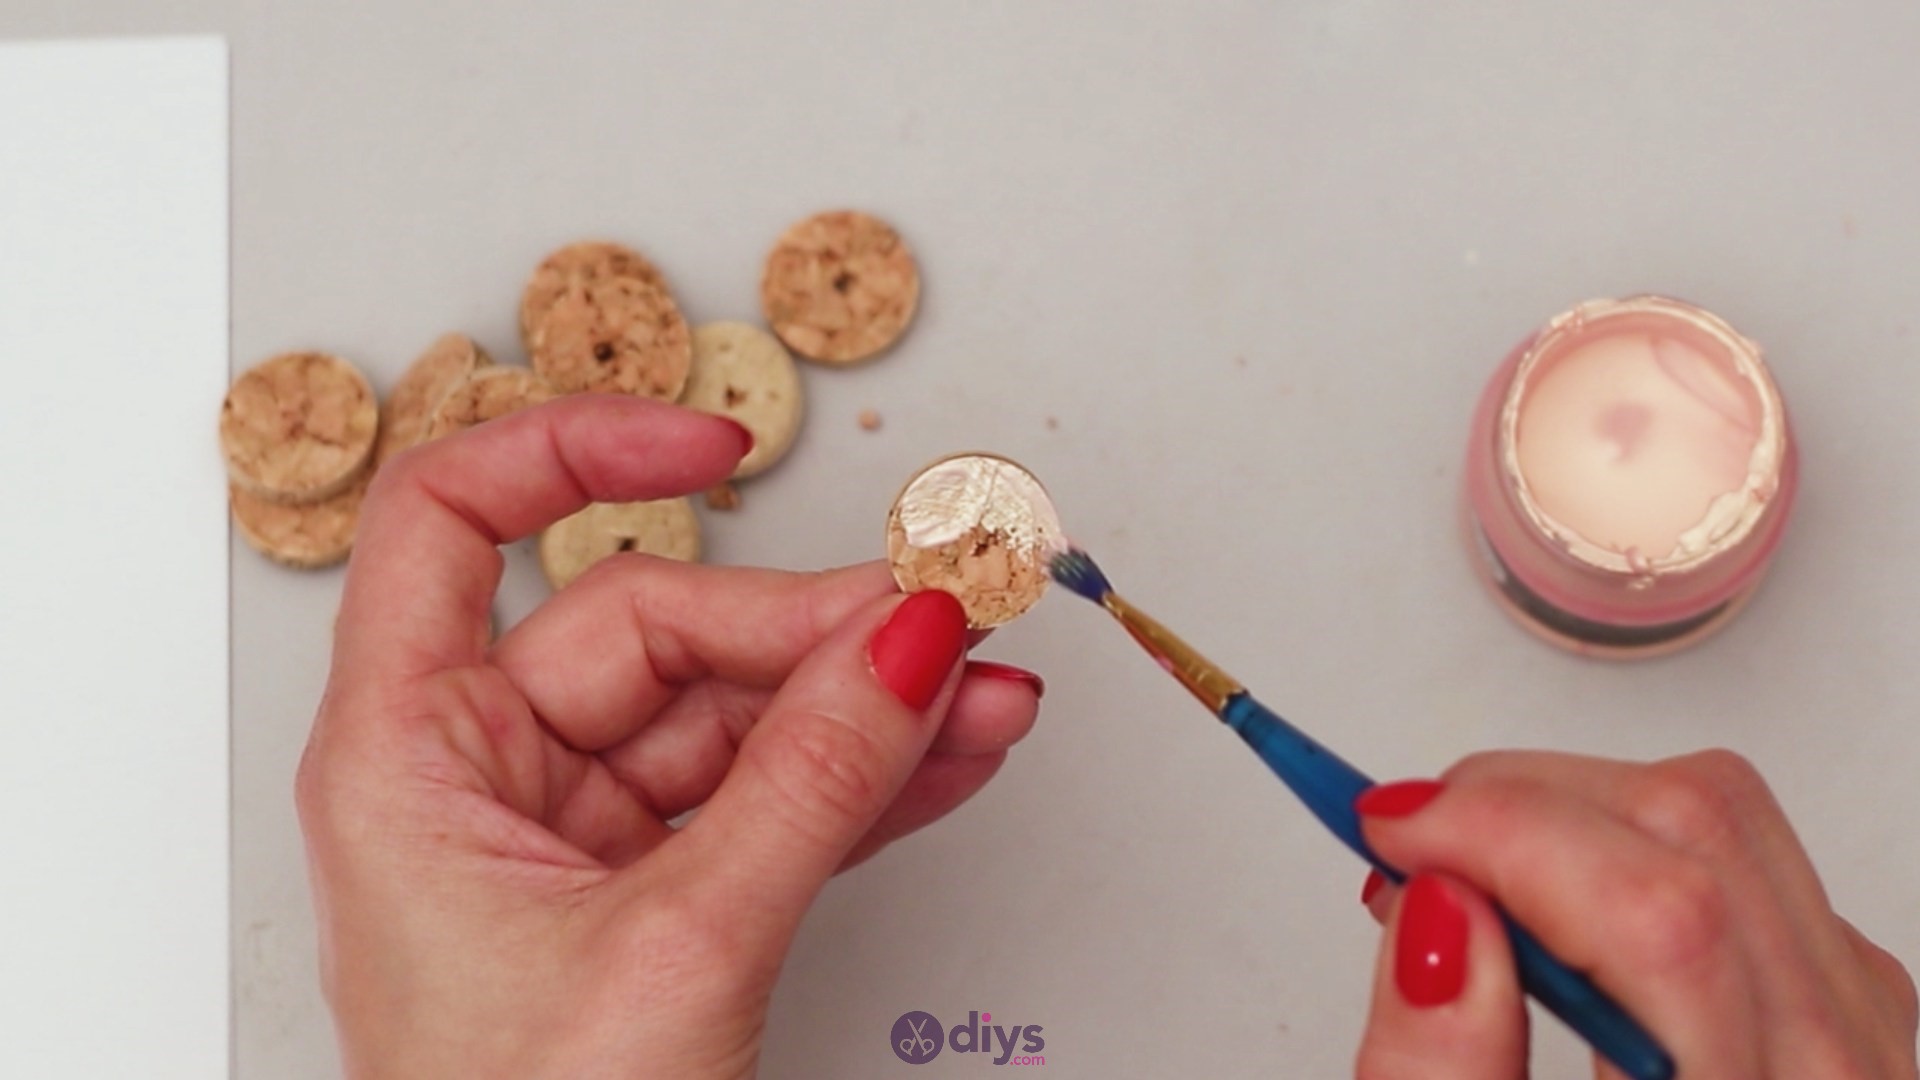
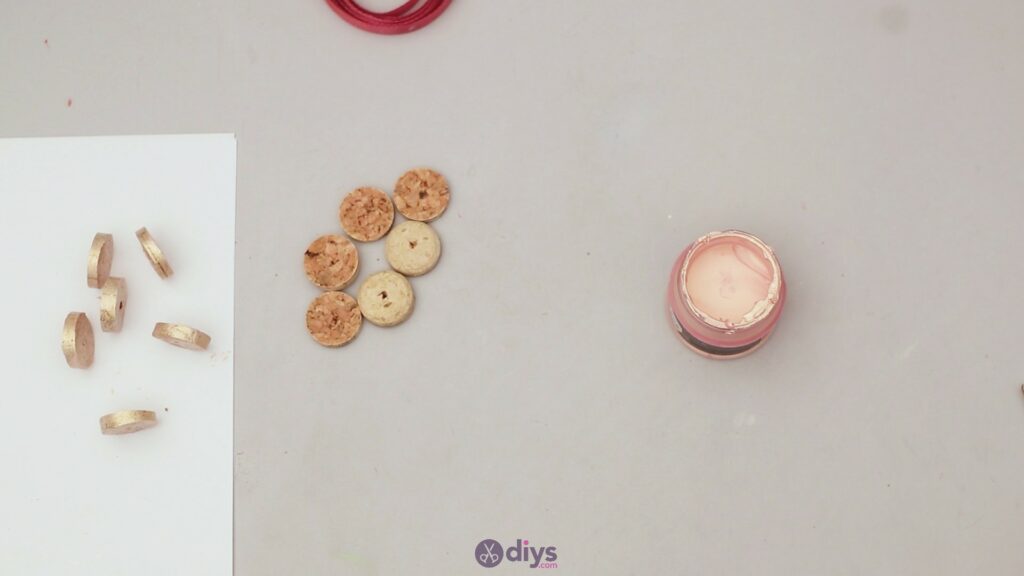
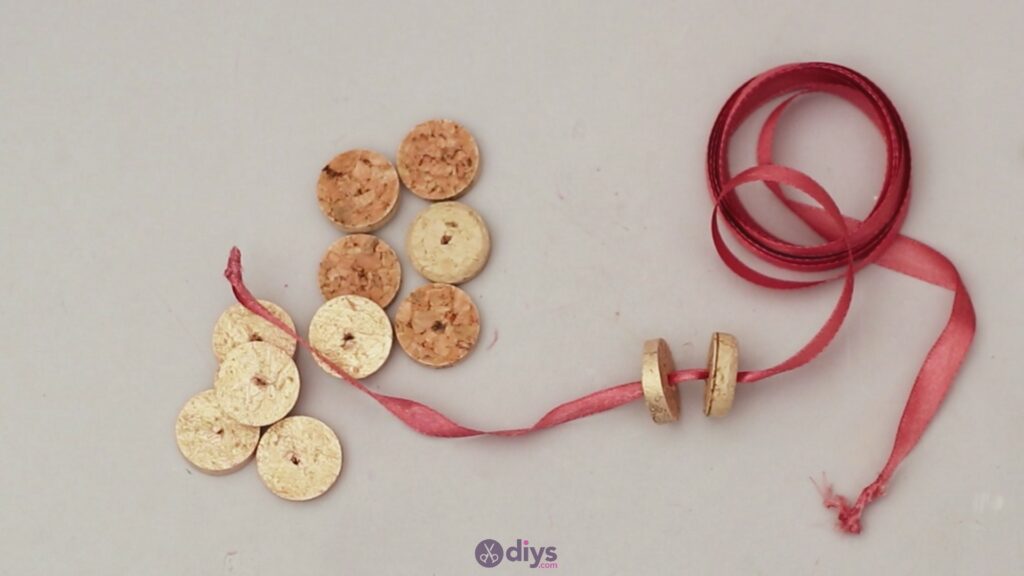
For the next step, you want to get therose gold acrylic paint and yourpaintbrush and to paint a few of the wine cork slices. We split the pile of wine cork slices in two and painted half of them only.
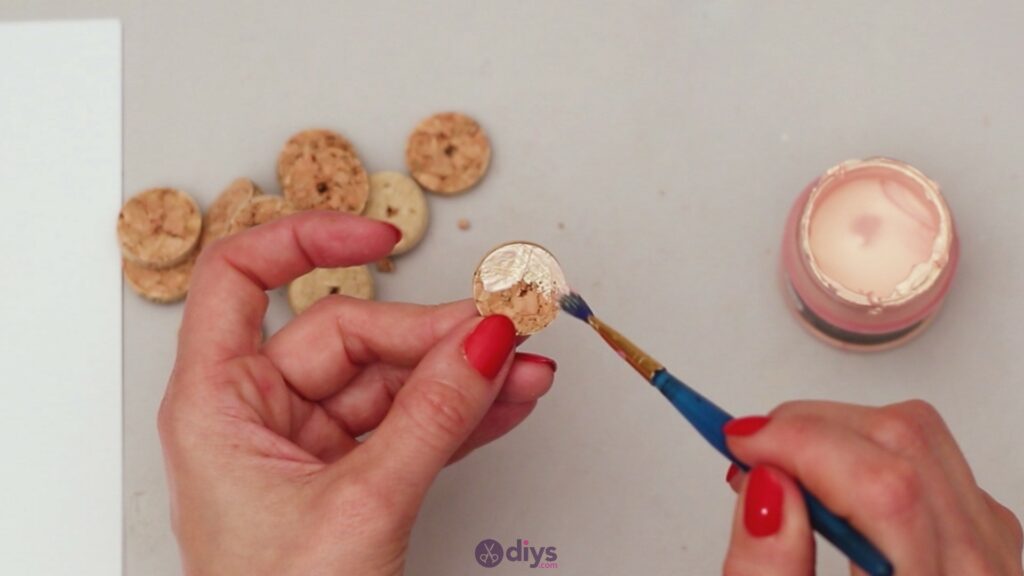
You’ll want to make sure you paint the slices on all sides, including the edge. Place the pieces on a paper and leave them off to dry.

Our recommendation is to put the slices on their edge so the surface that’s in contact with the piece of paper is as small as possible. Acrylic paint dries up pretty fast, so it shouldn’t take too long before they’re ready to use in the next step.
Step 4: String the wine corks
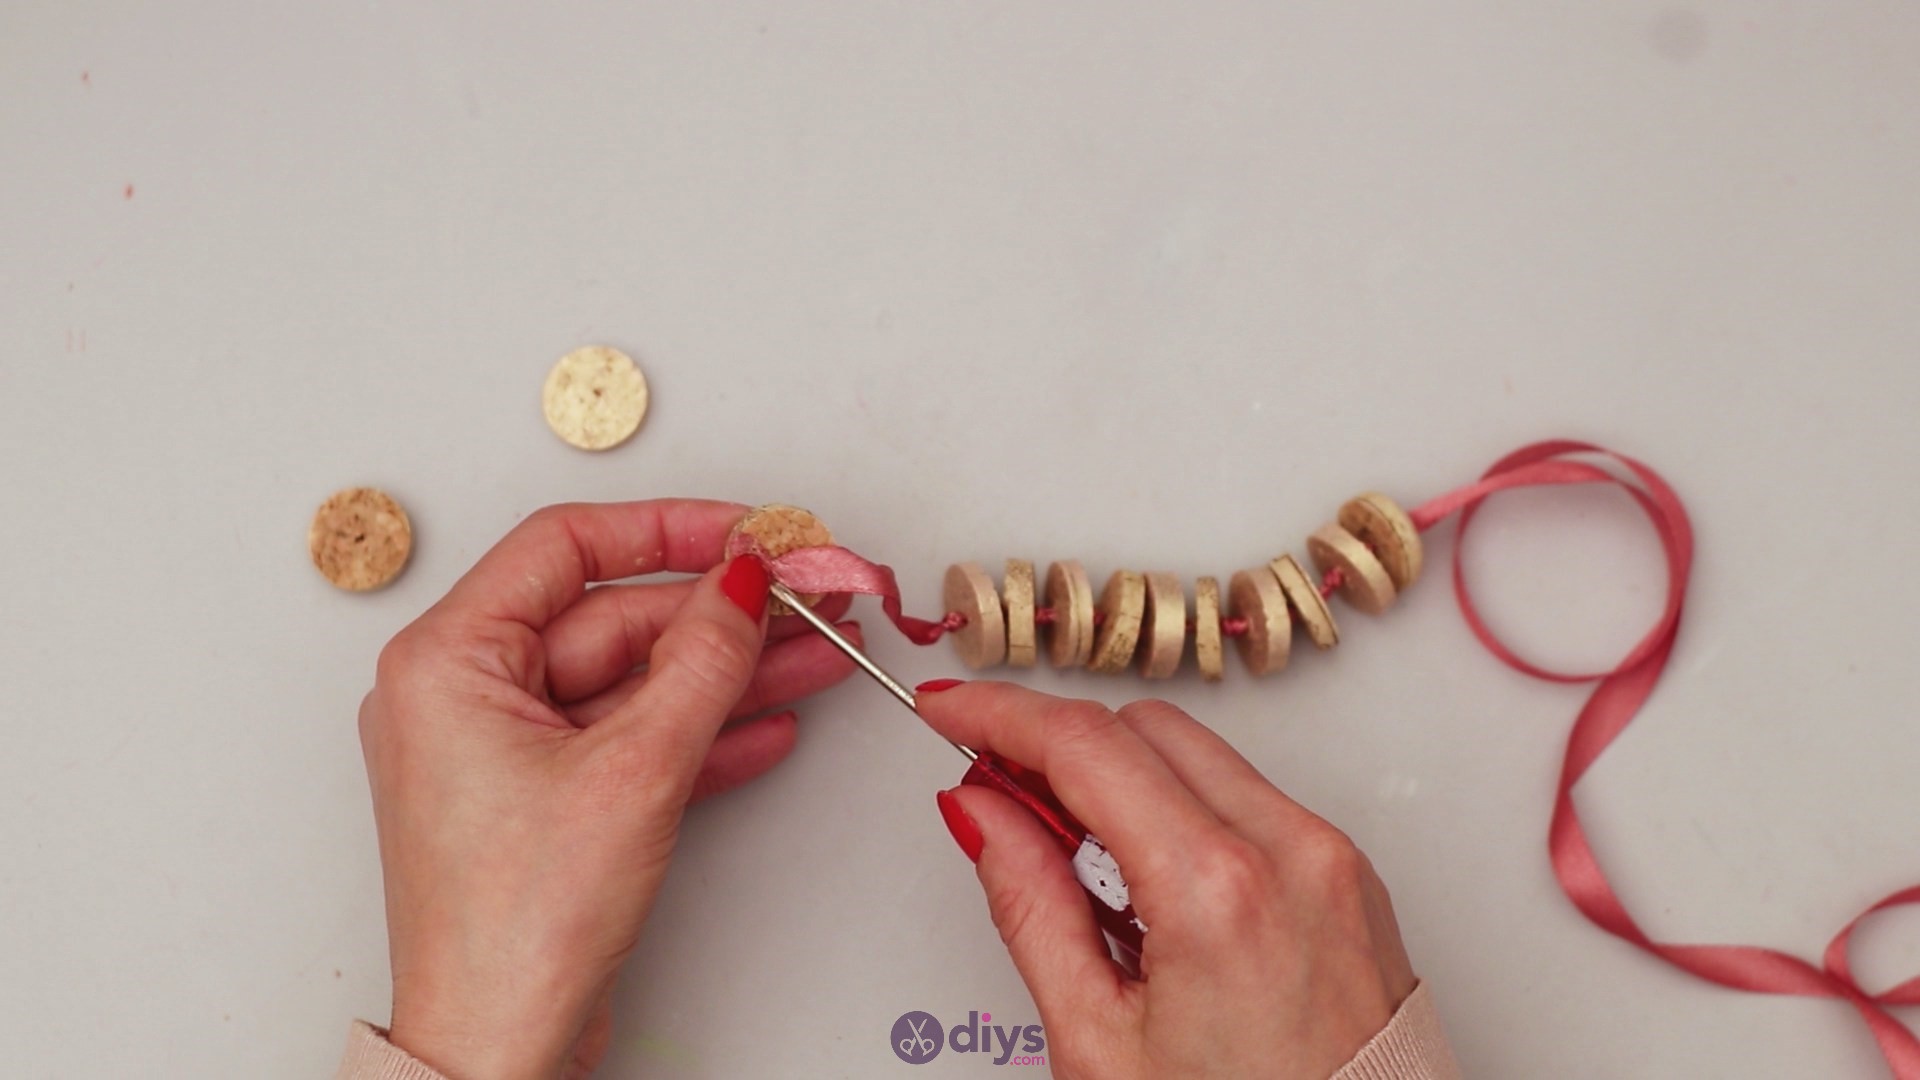
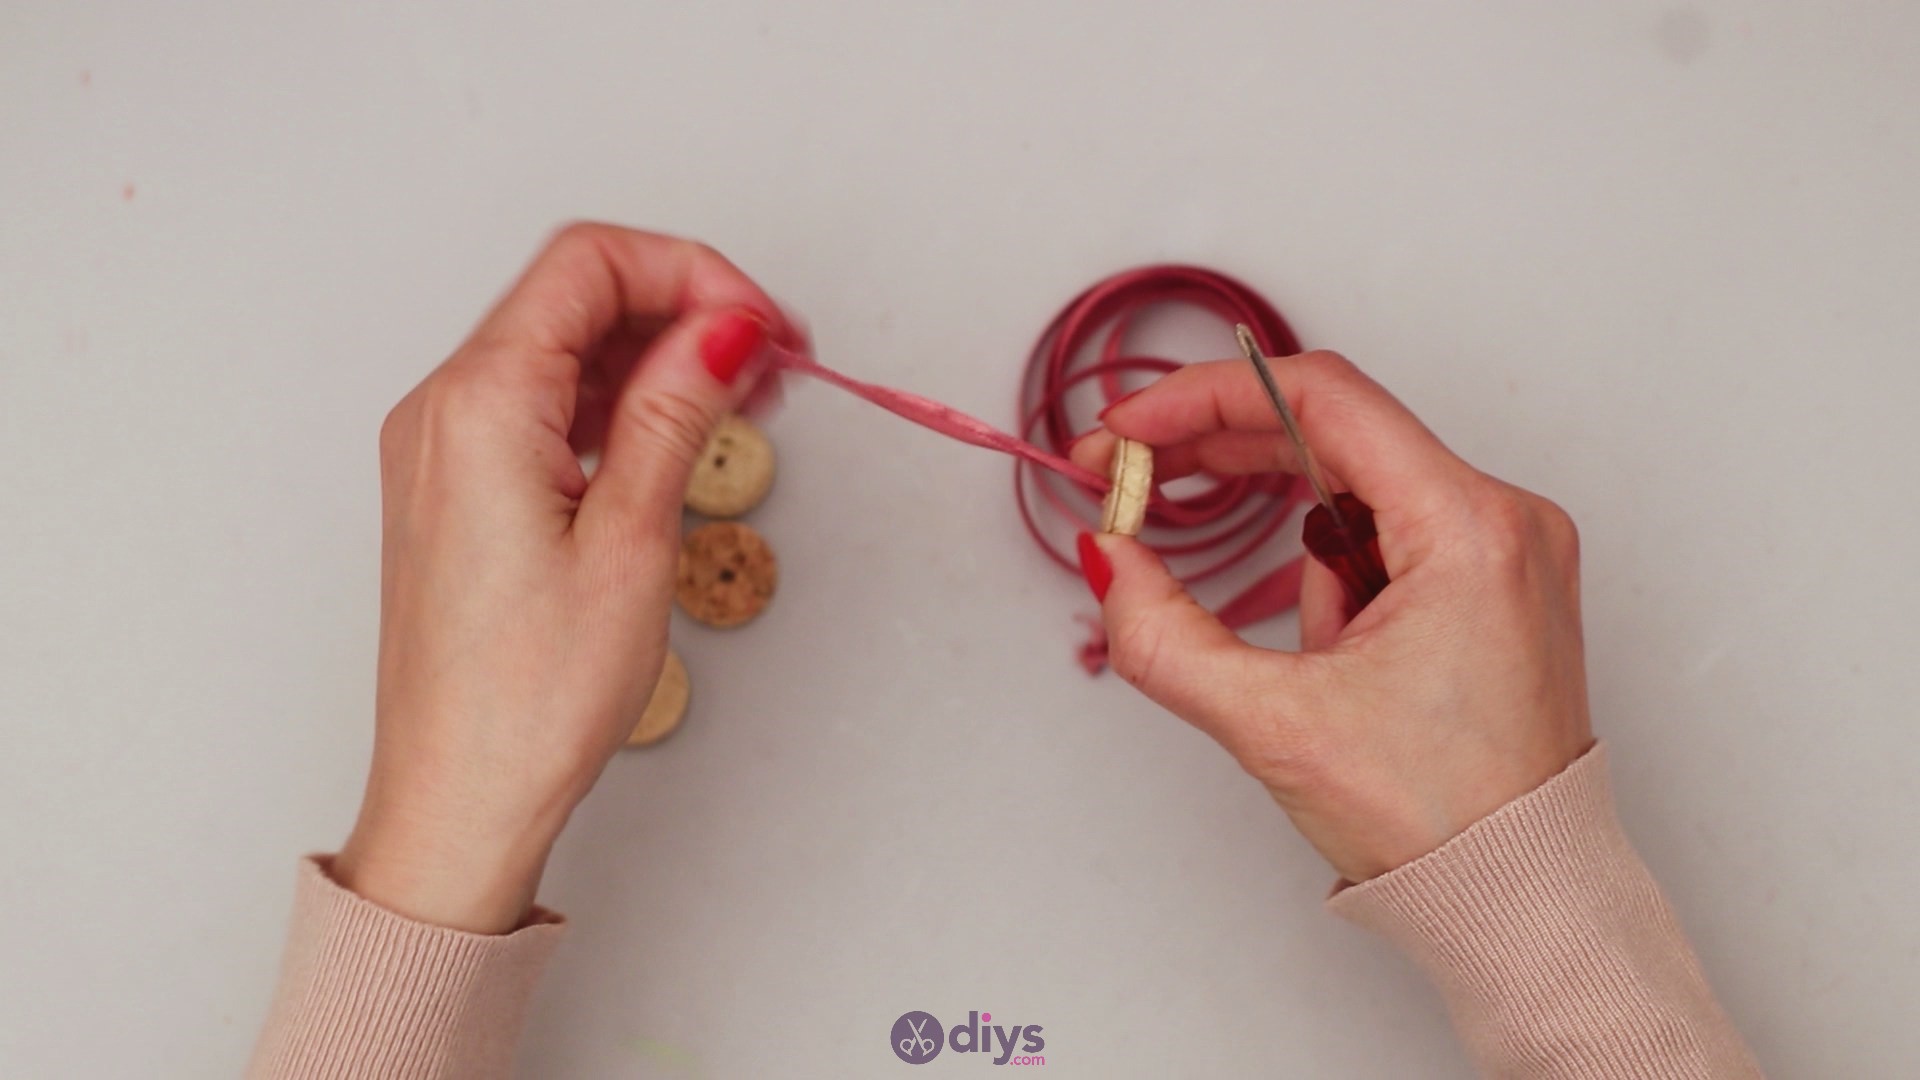
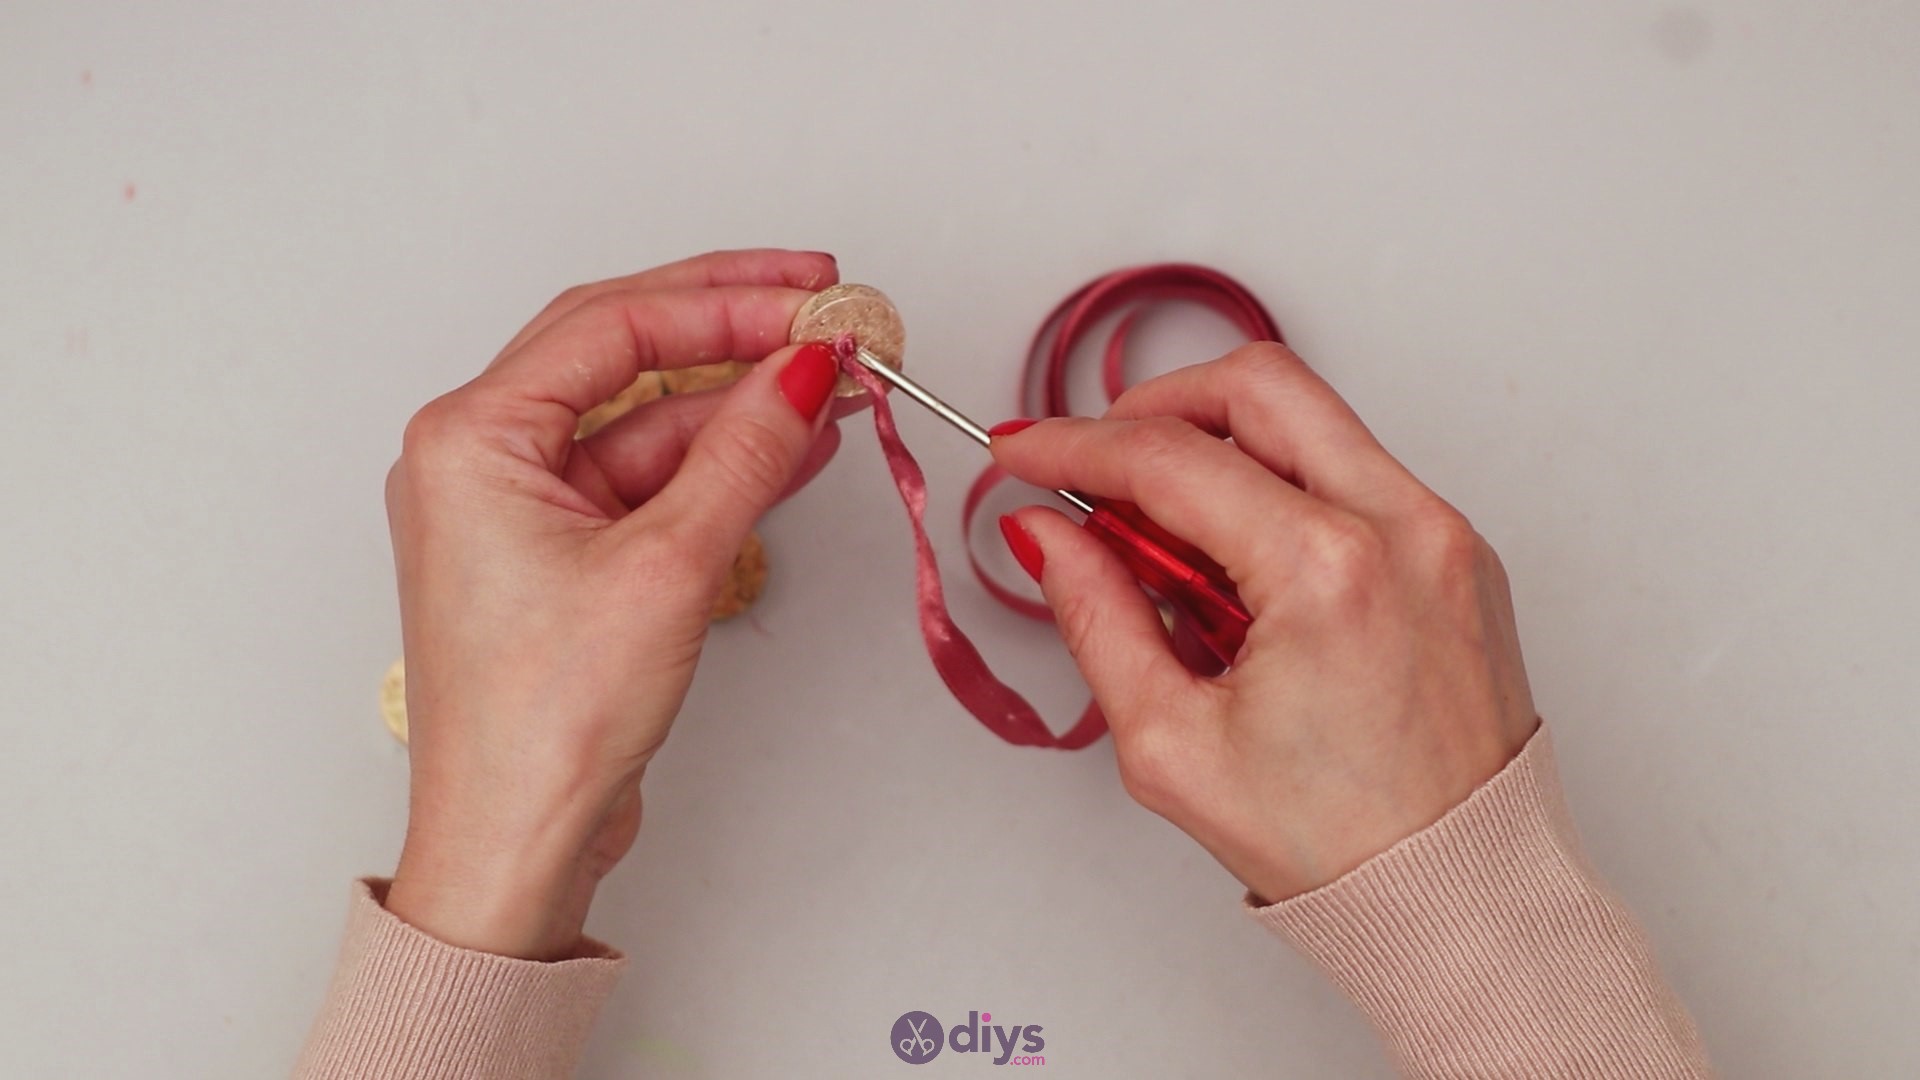
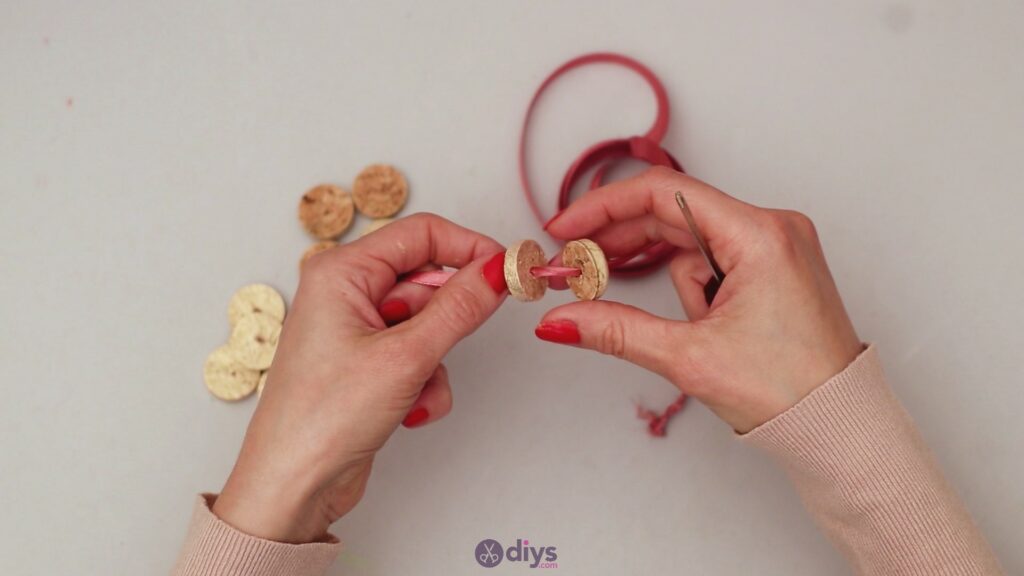
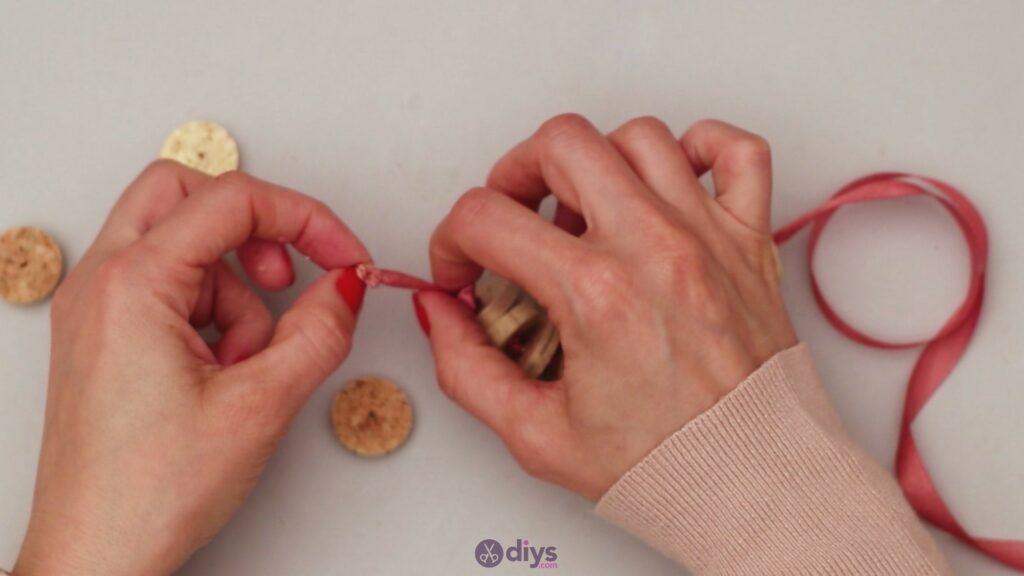
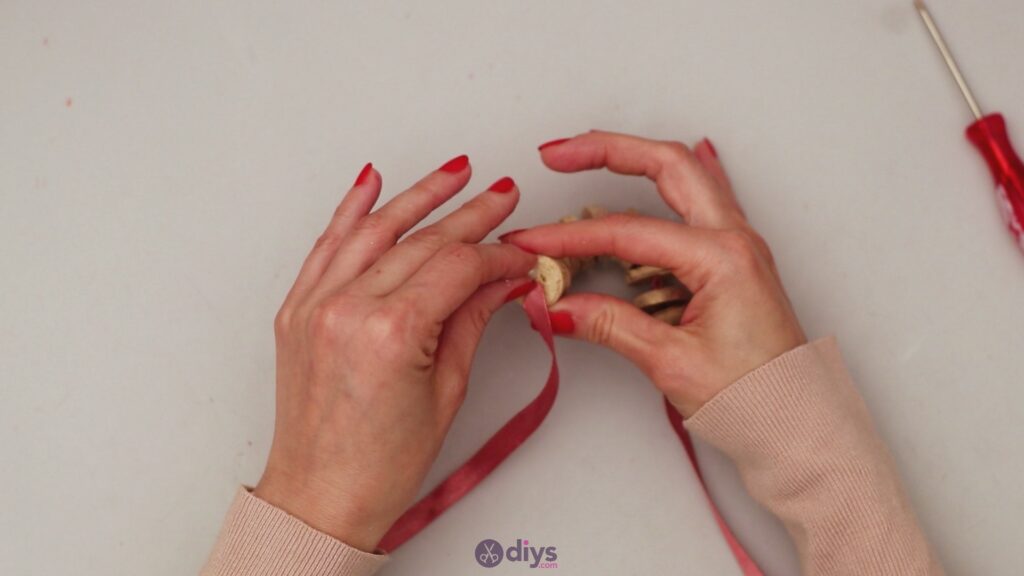
Now that the paint has dried on the wine corks, it’s time to move on to the next step. Take the wine cork slices, thesilk ribbon,and thePhillips screwdriver.
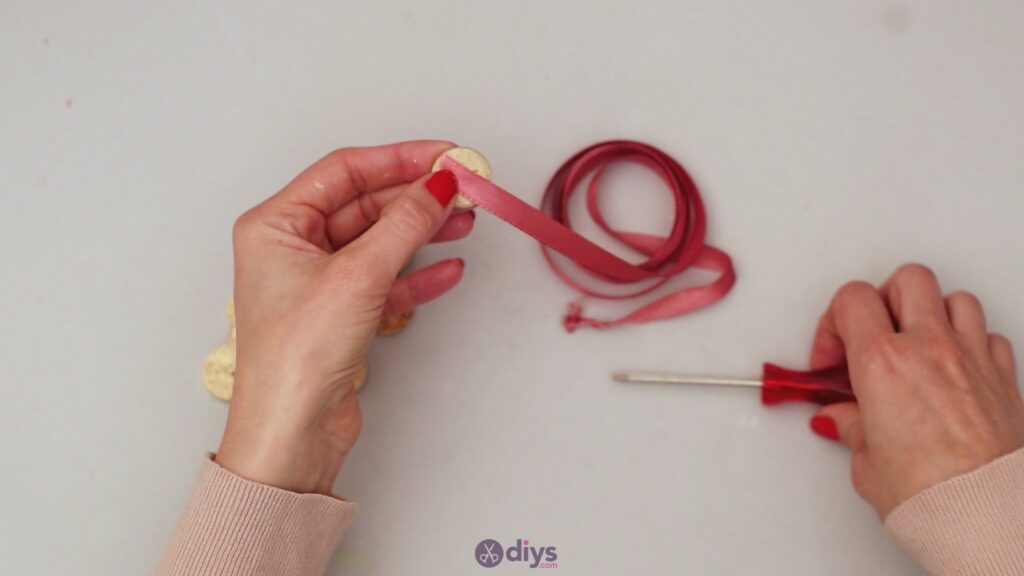
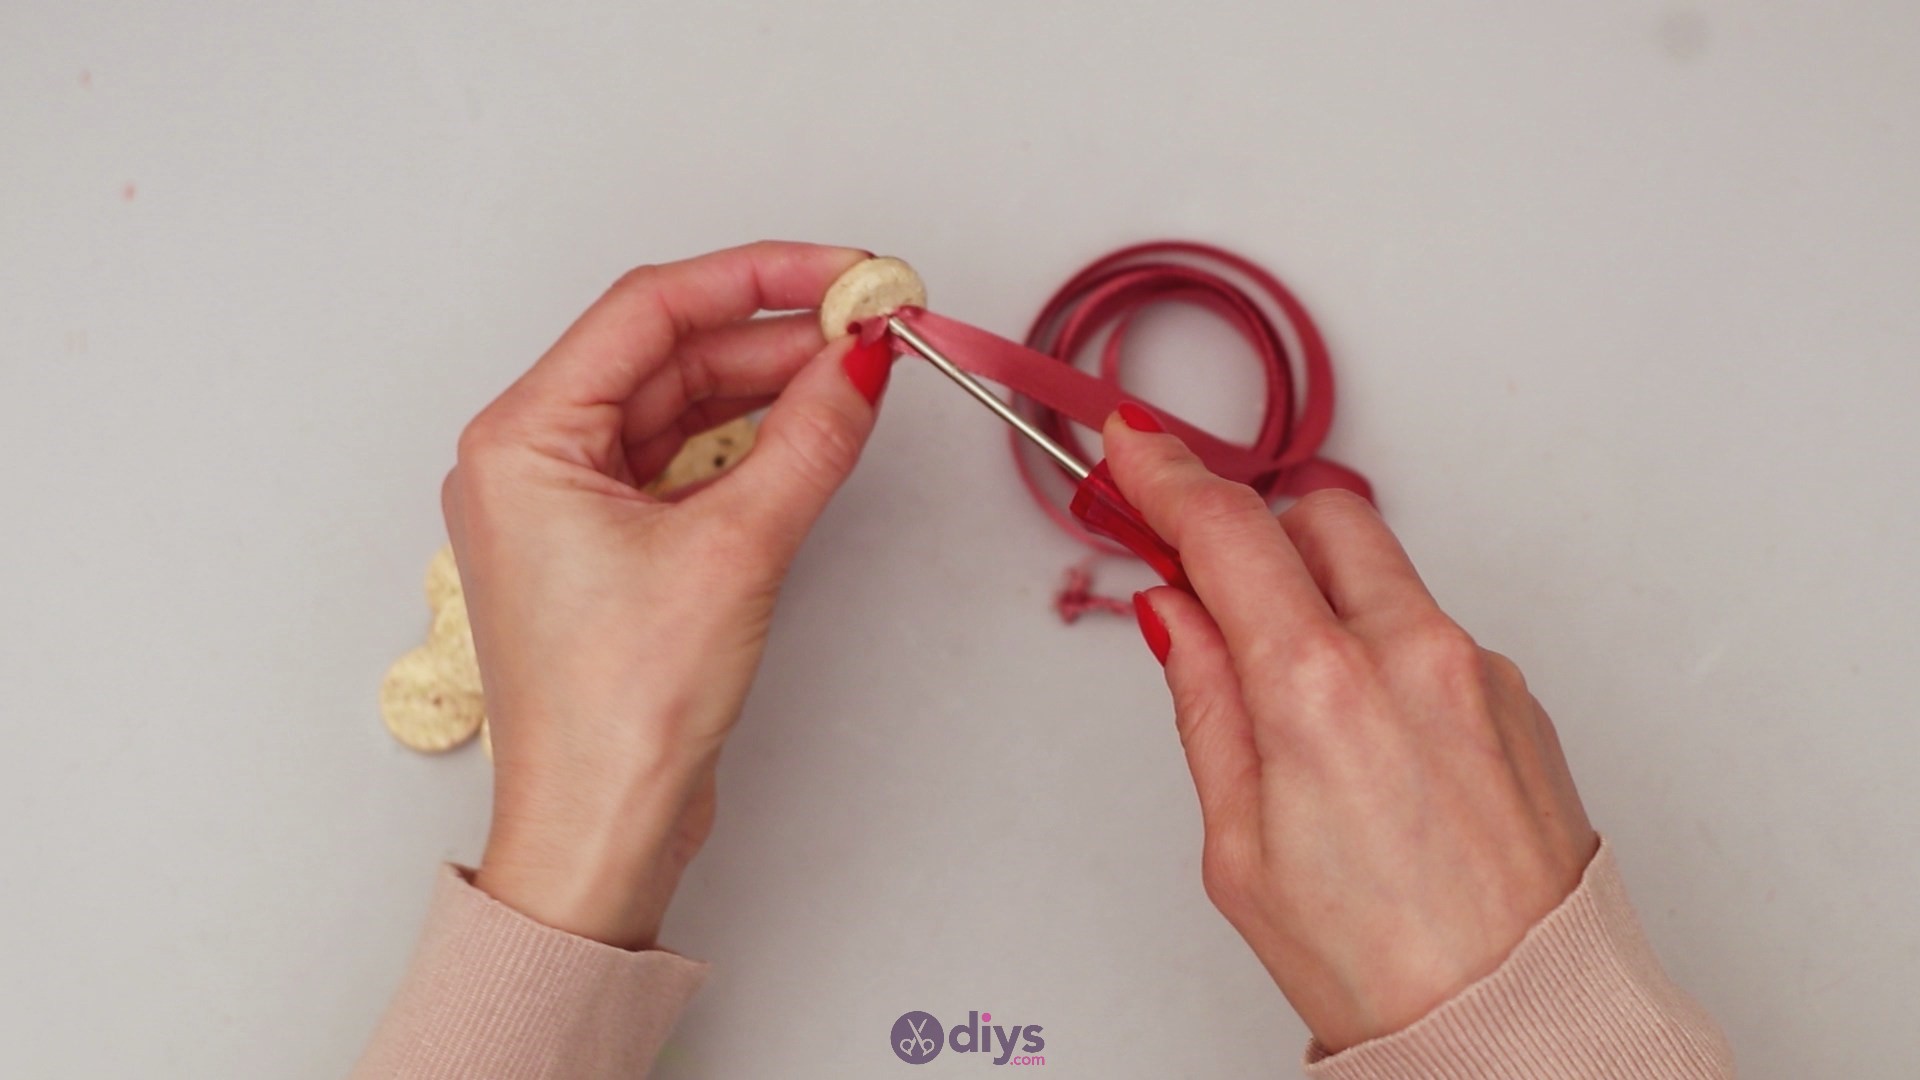
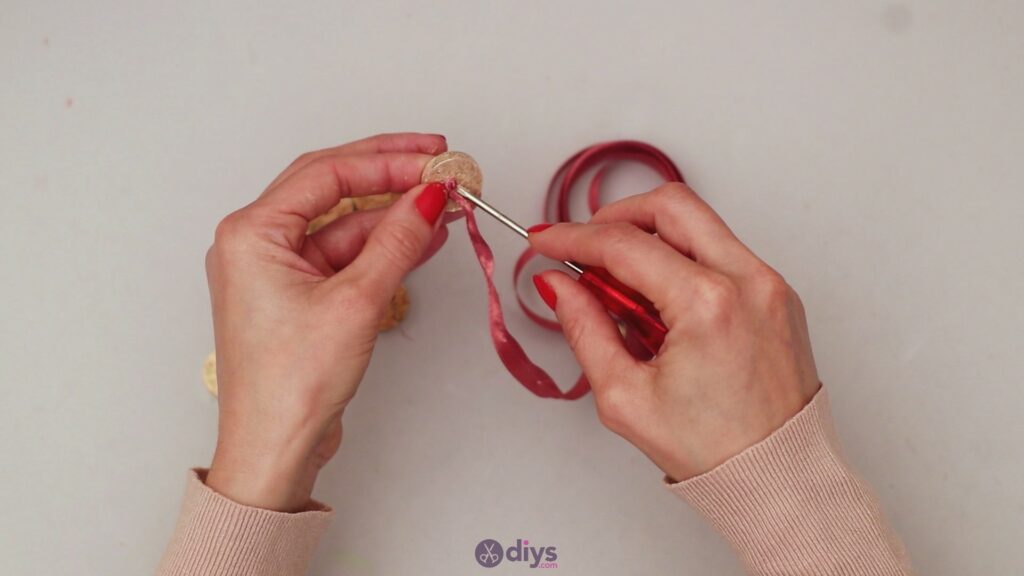
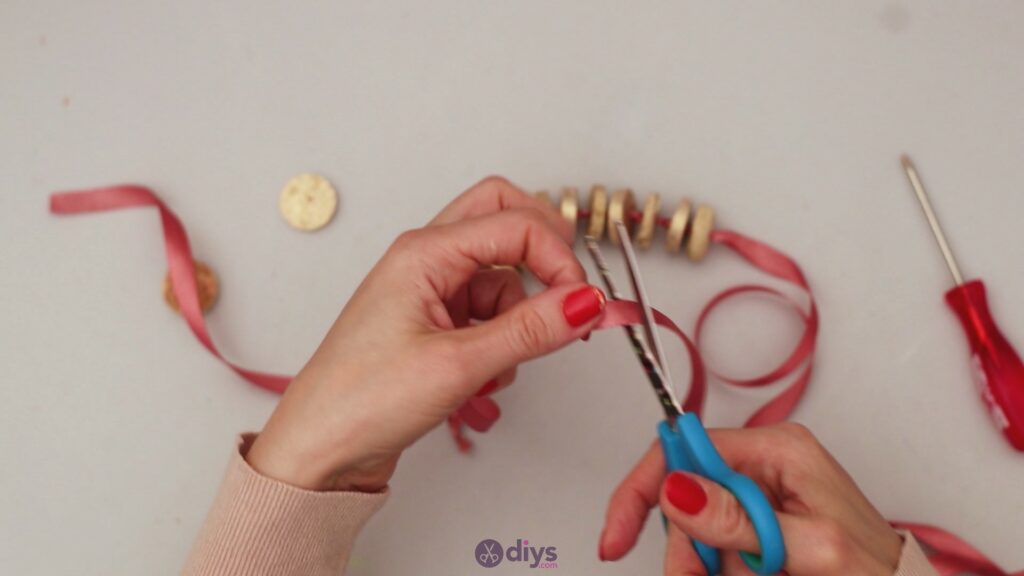
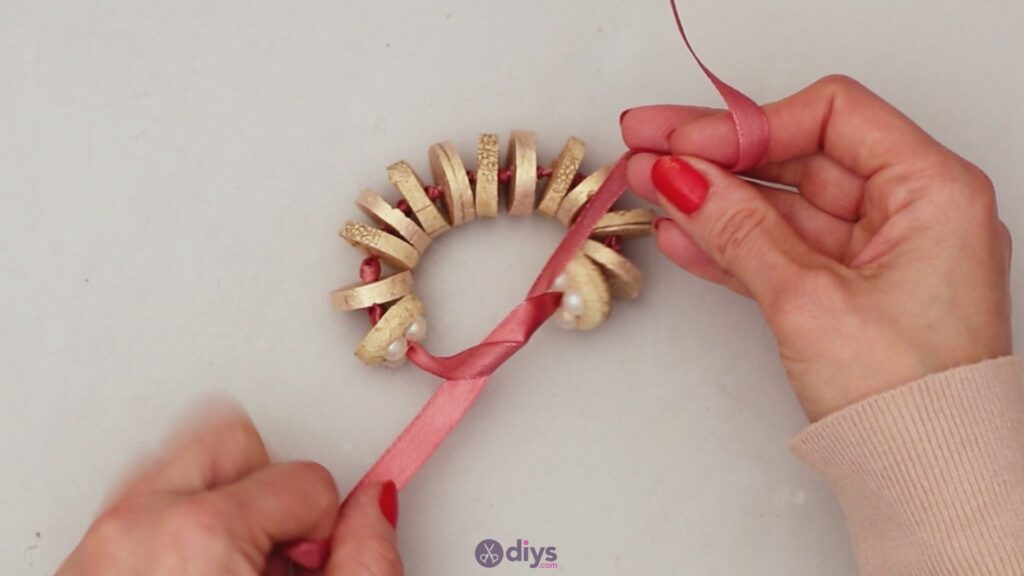
Place the ribbon over the wine cork, grab the screwdriver and push the silk ribbon material through the hole you created in the middle of the slices.

You want to stuff the ribbon through the hole, especially since we went with a wider ribbon. Be careful not to be too rough with the silky material as you could puncture it.
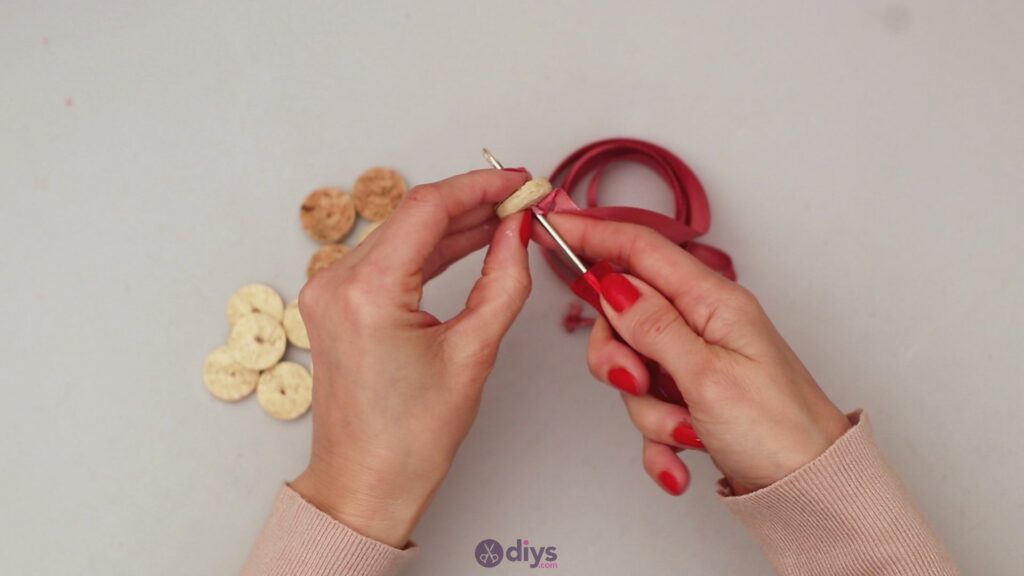

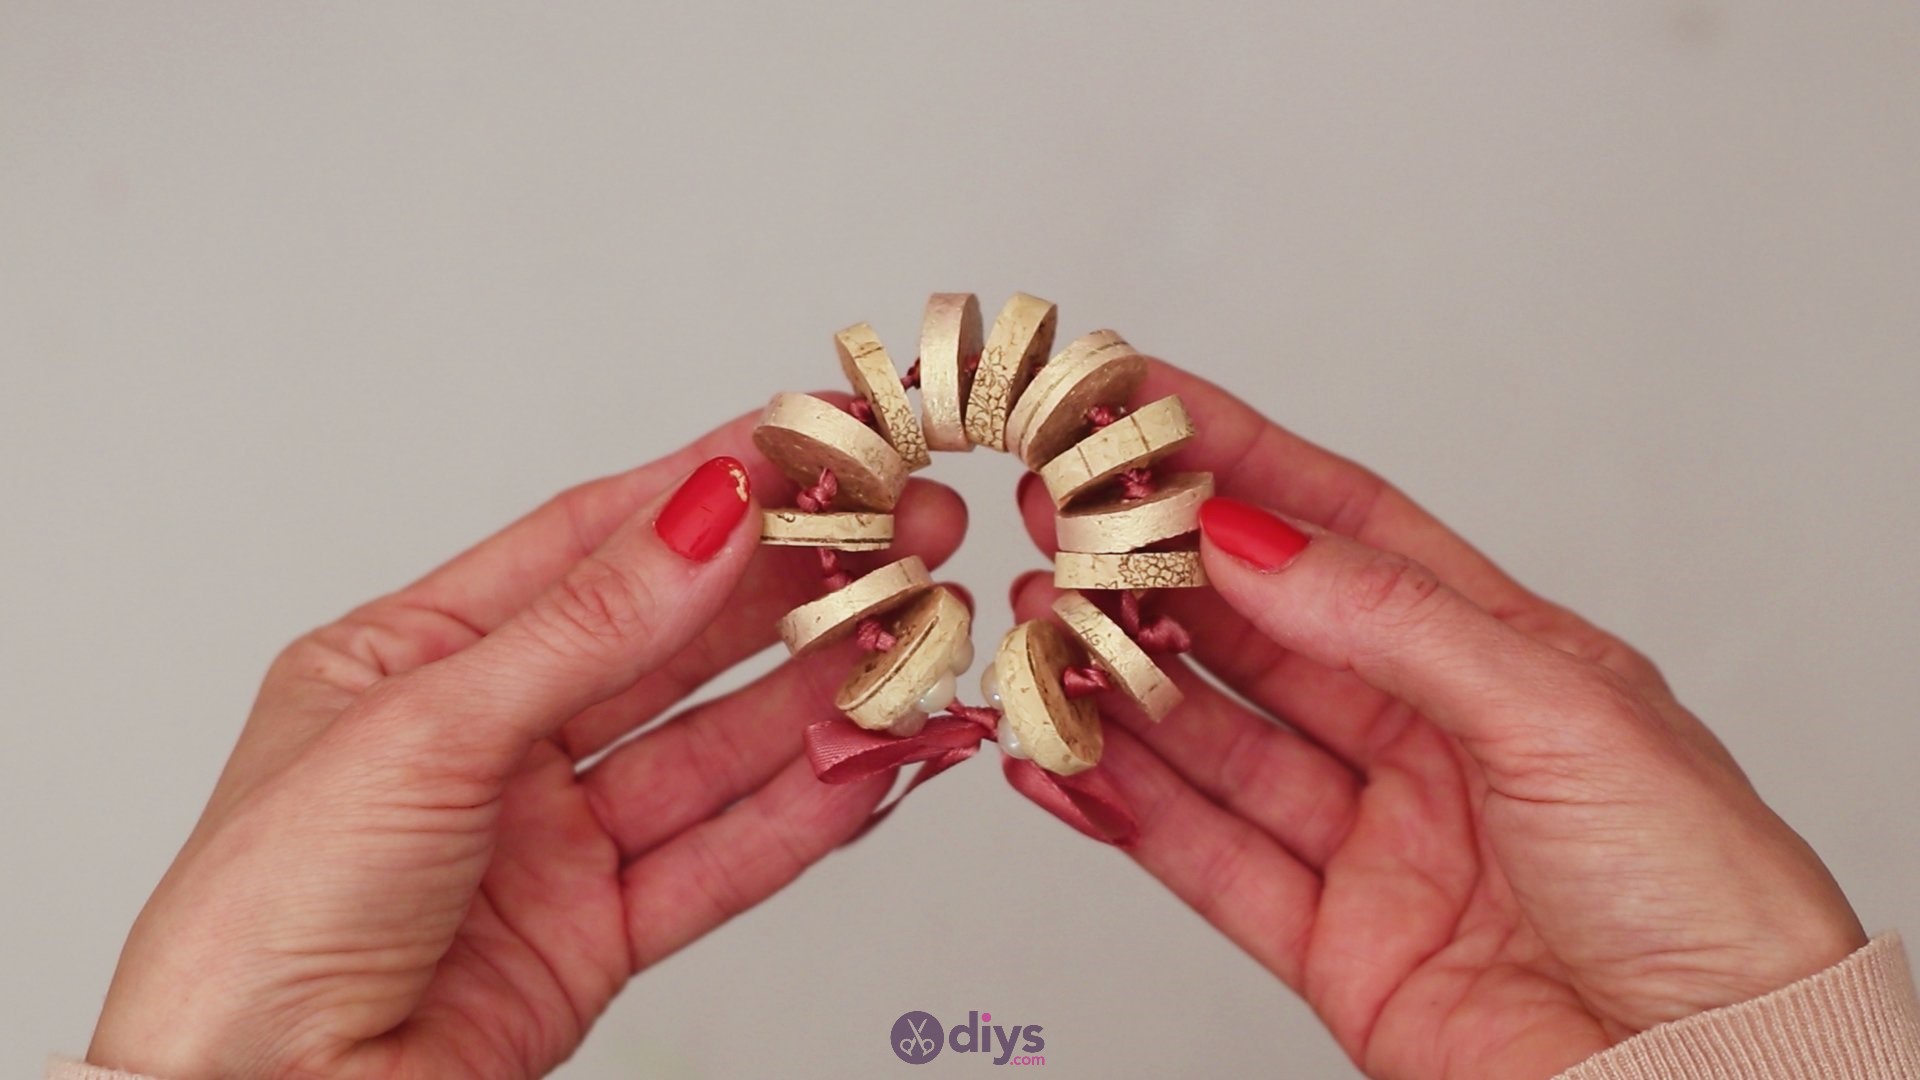
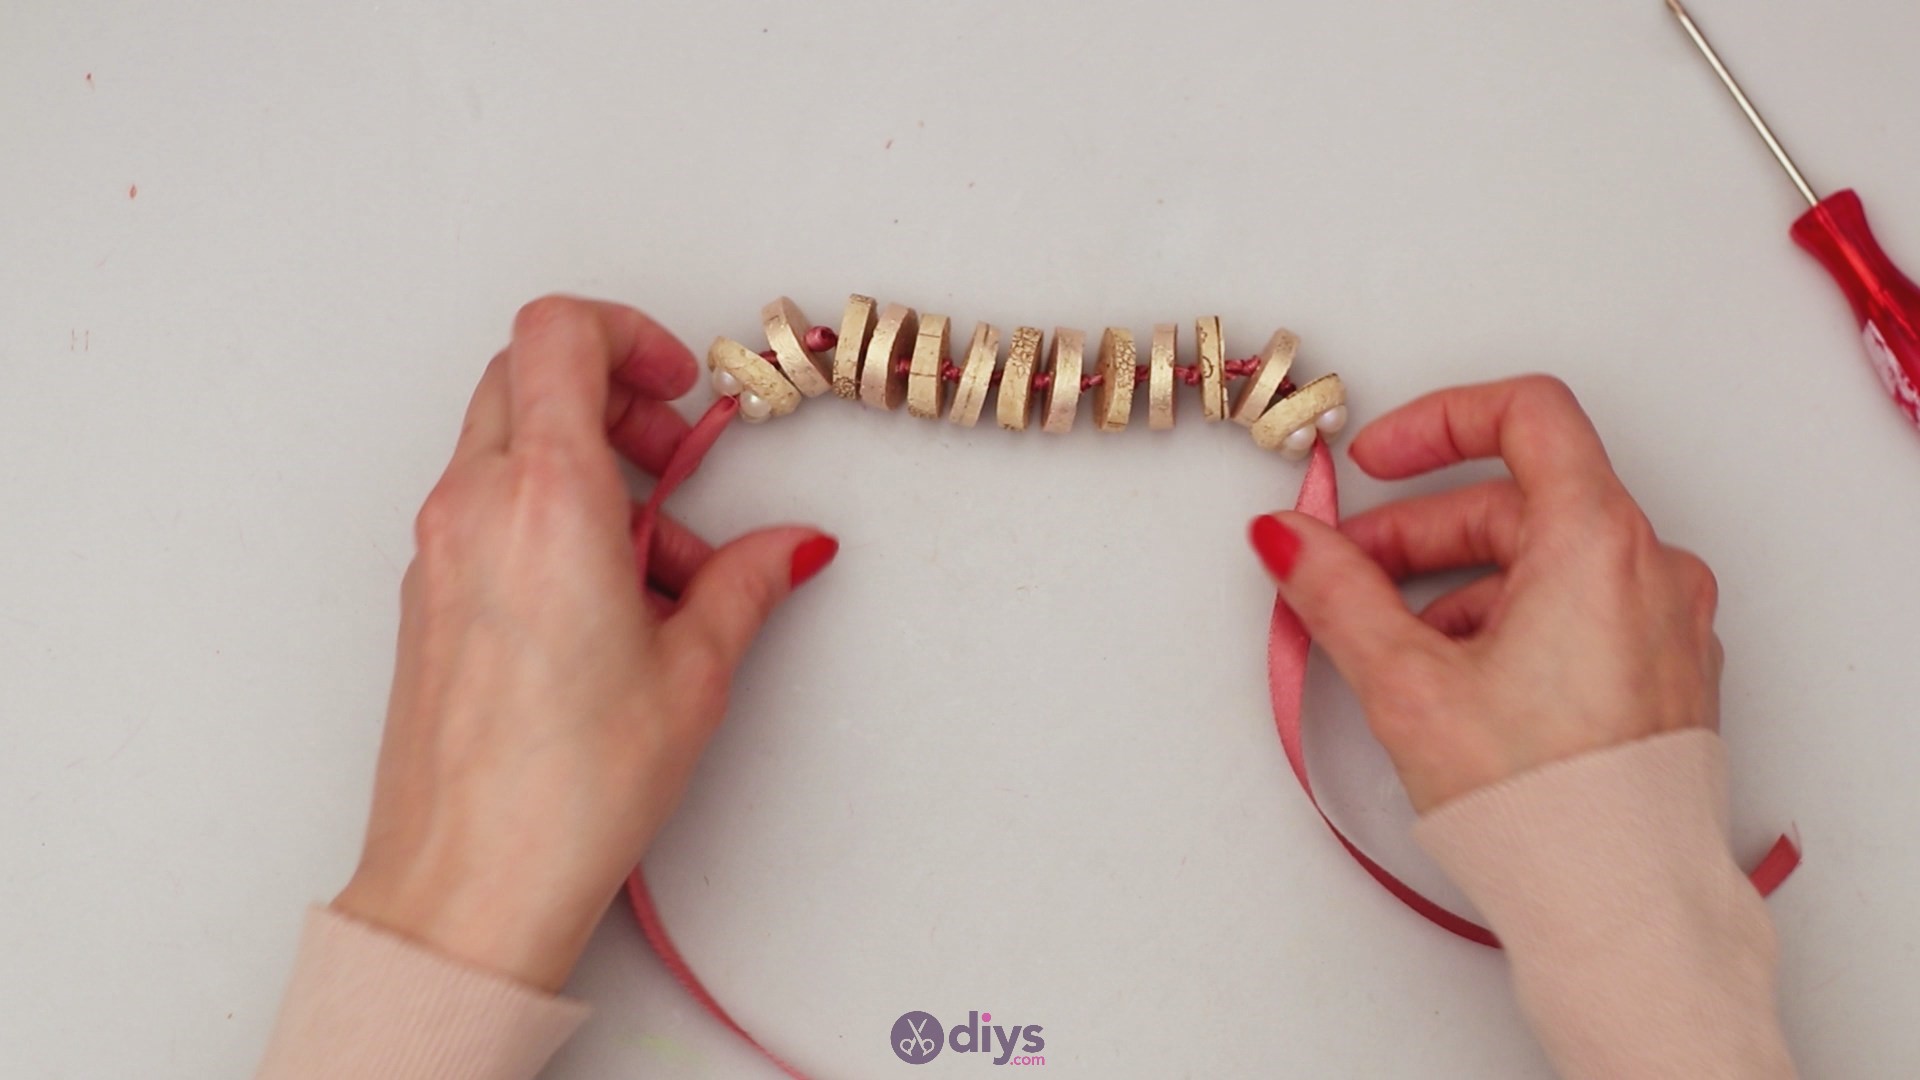
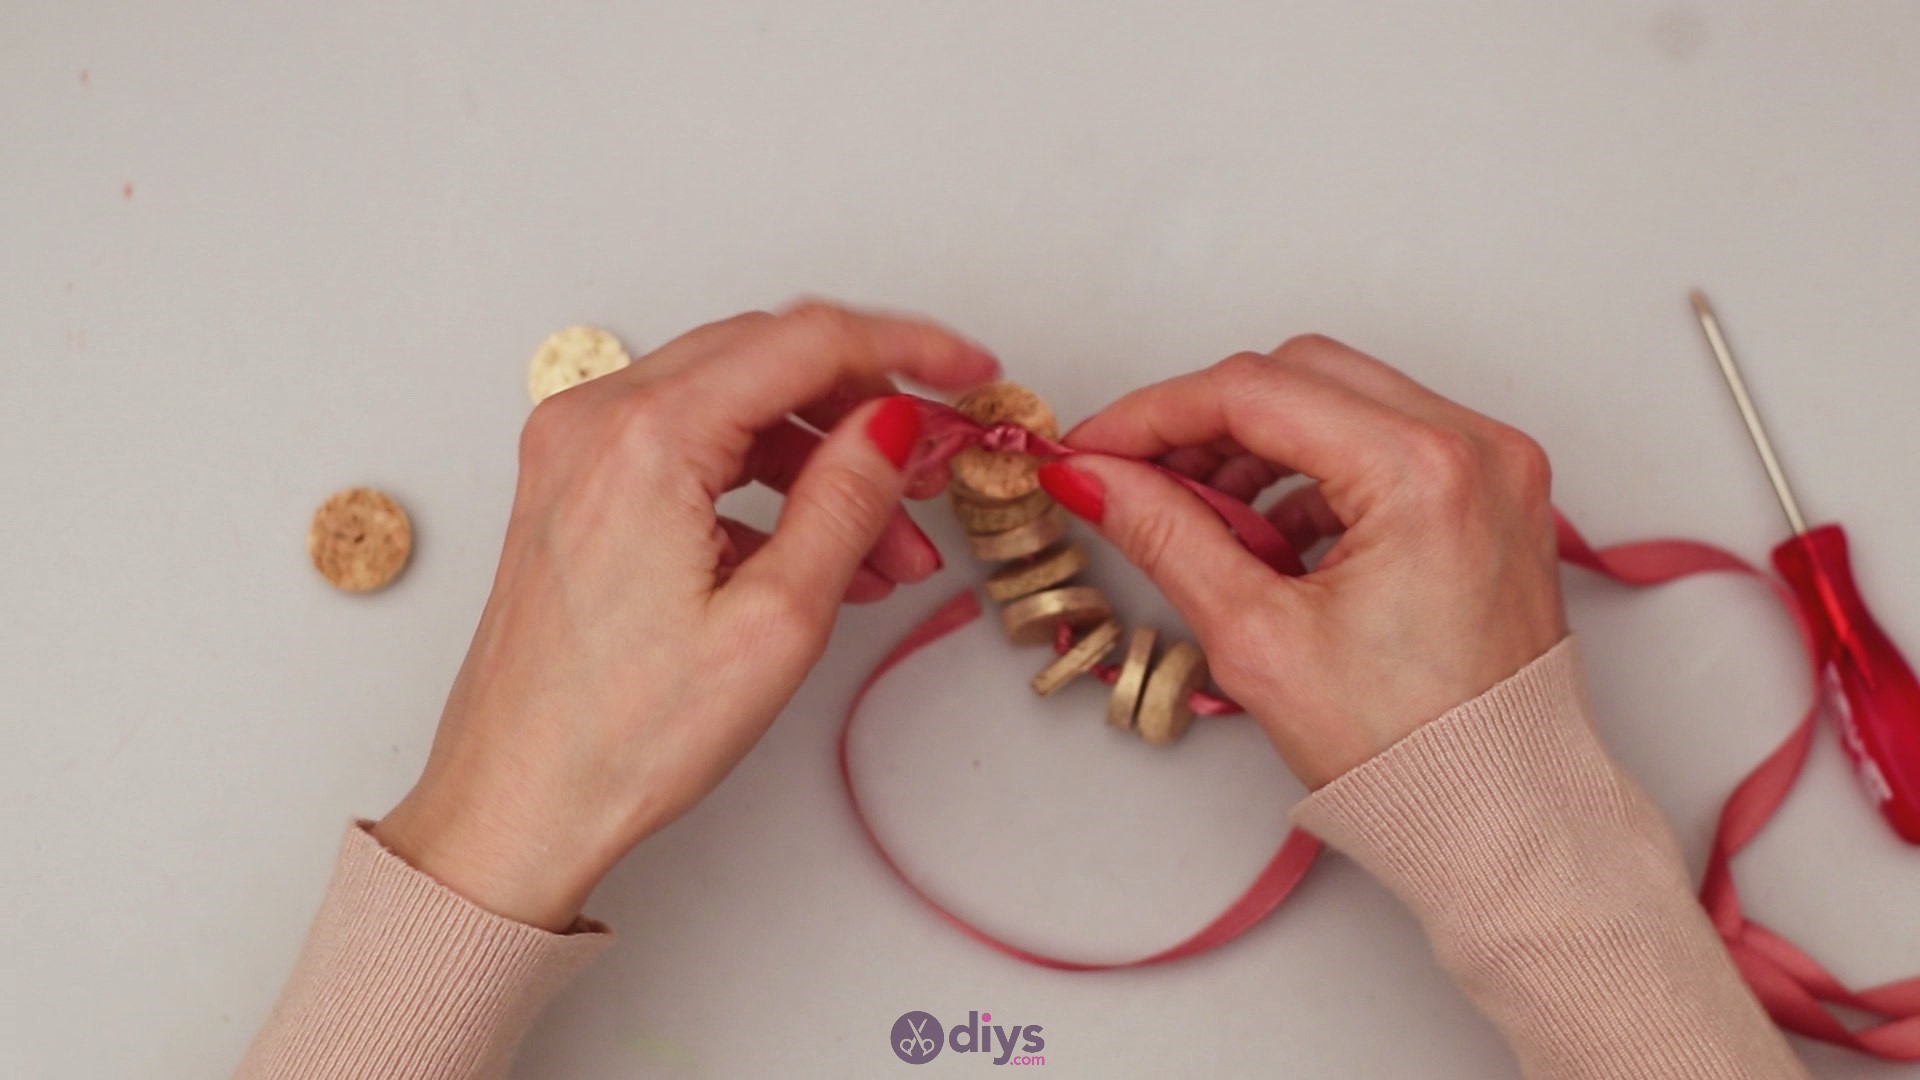
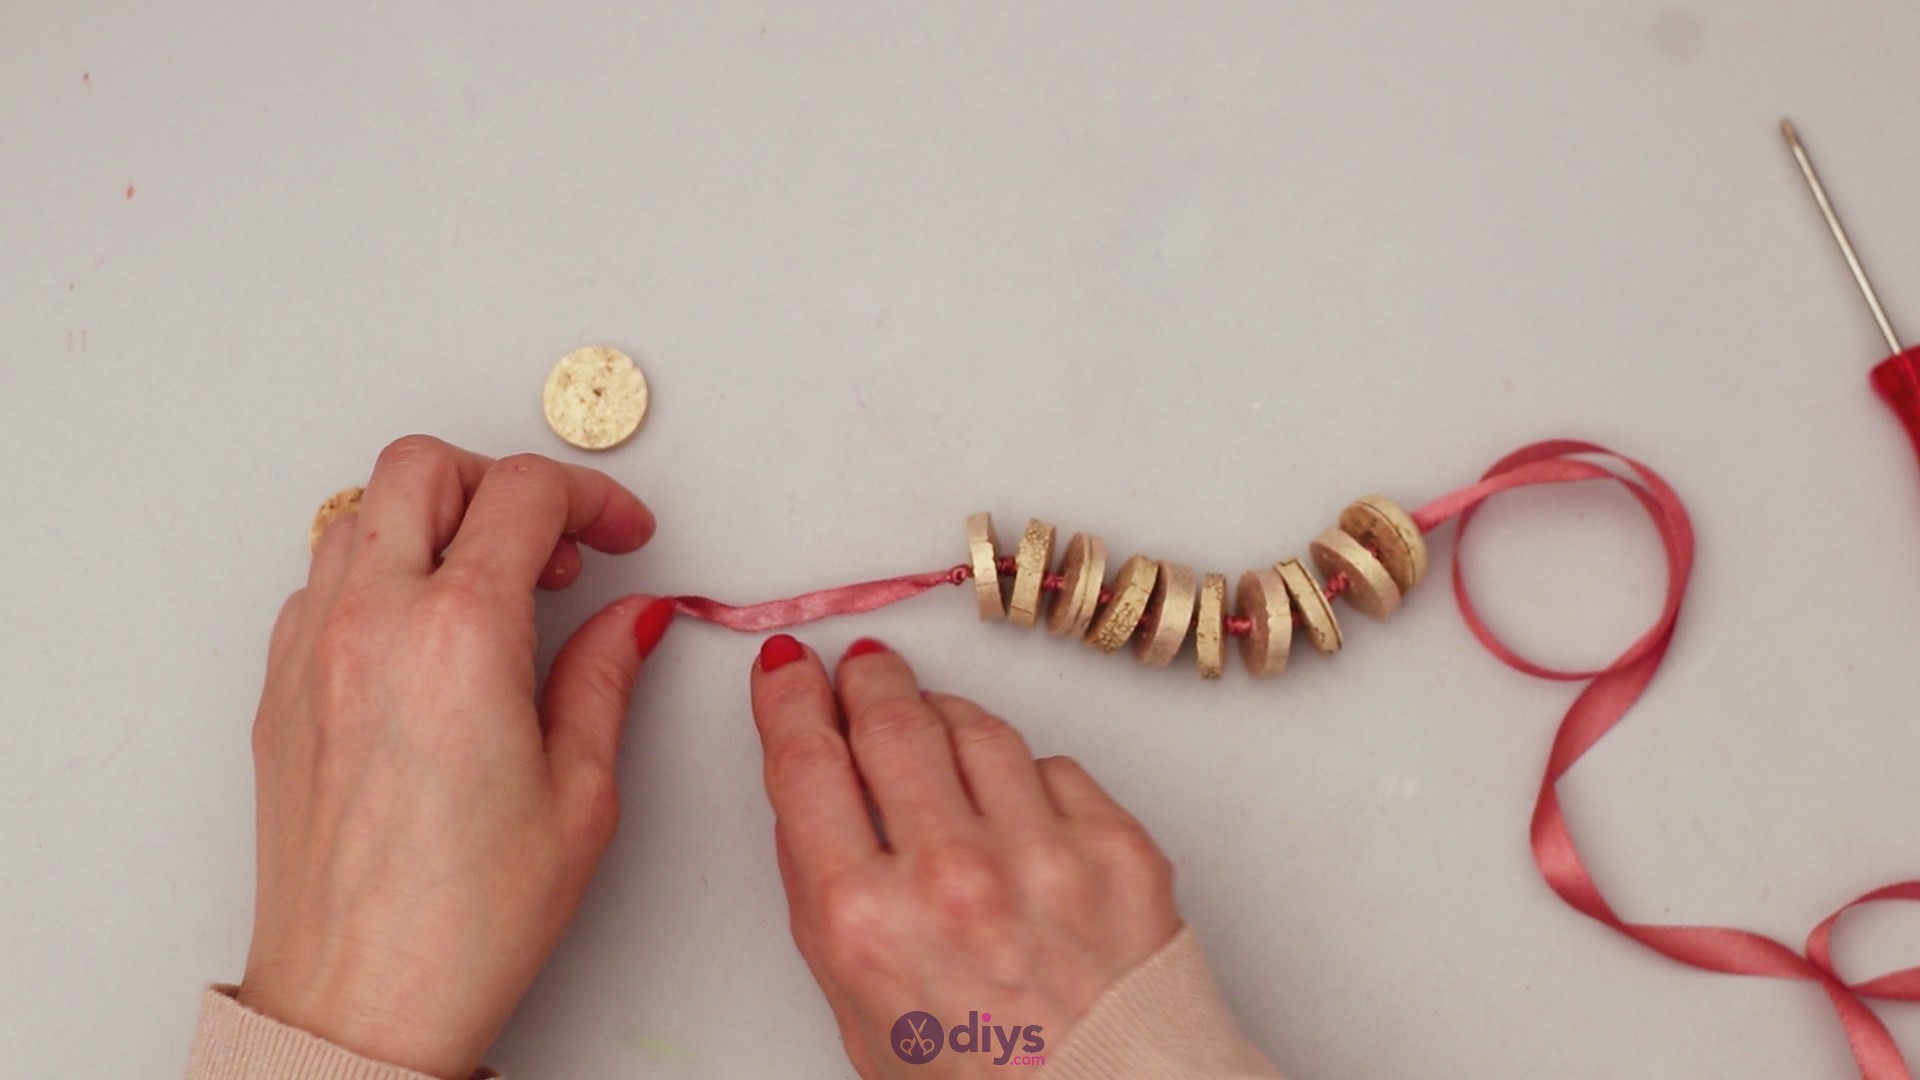
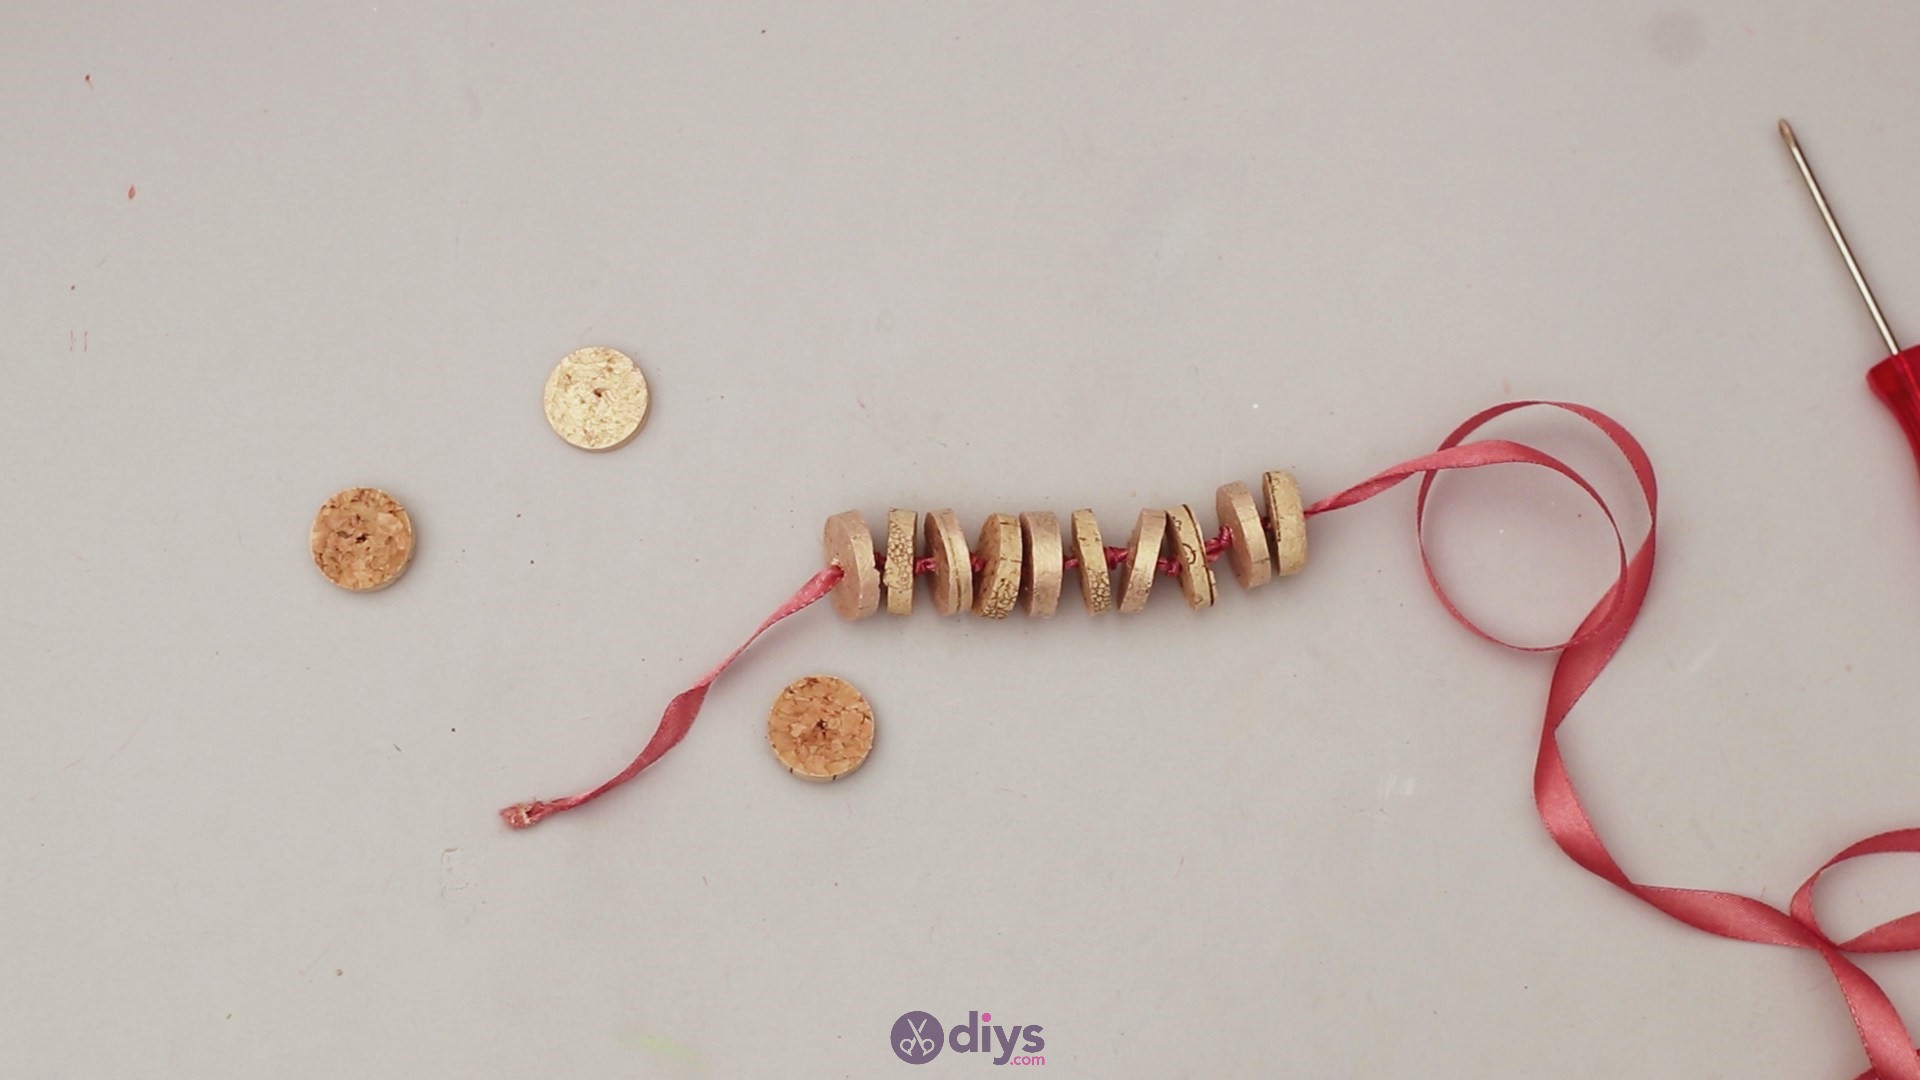
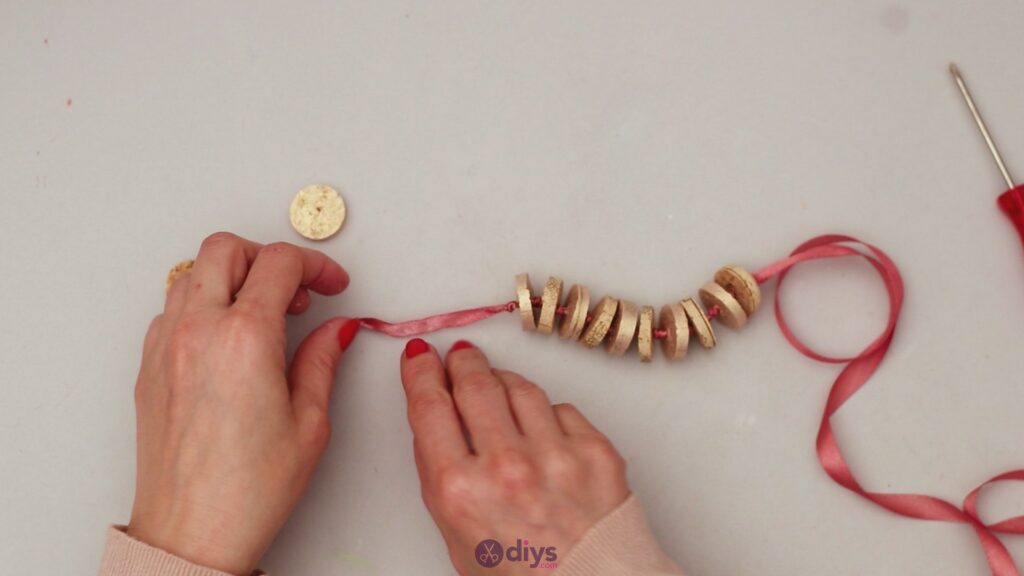
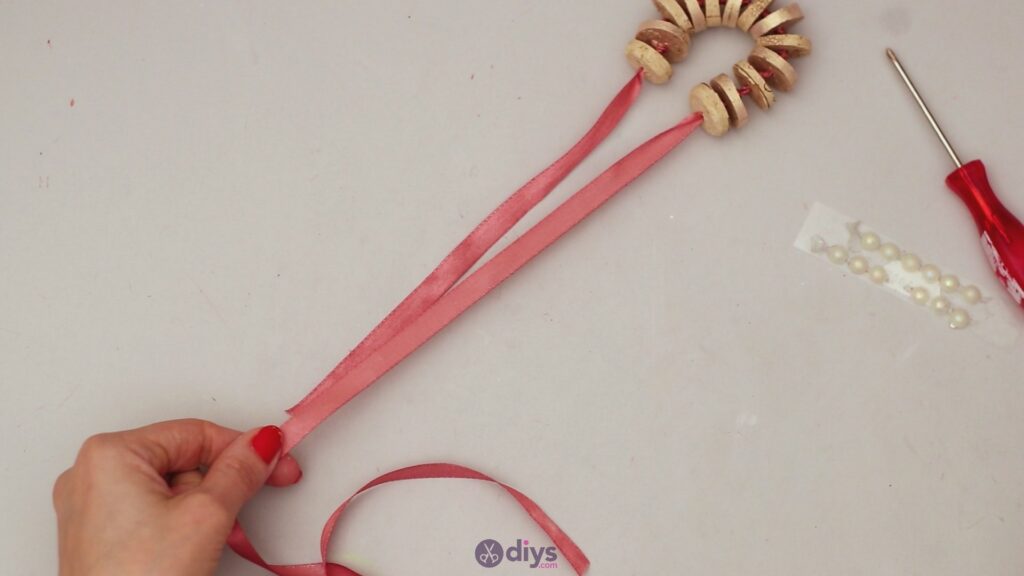
Pull the ribbon and add more corks. You’ll want to tie a knot after every cork piece, as the knots will act as spacers between the cork slices.
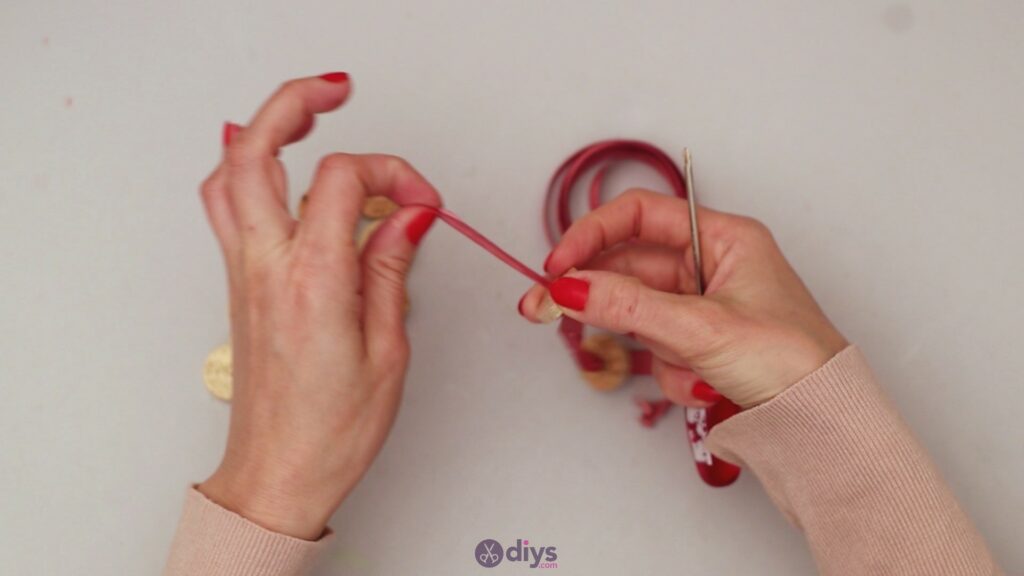

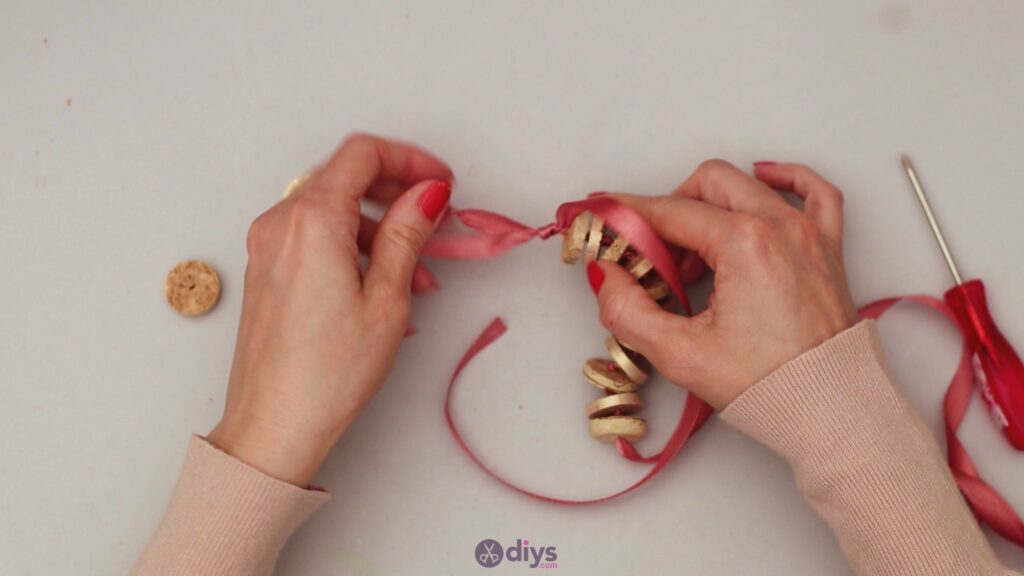
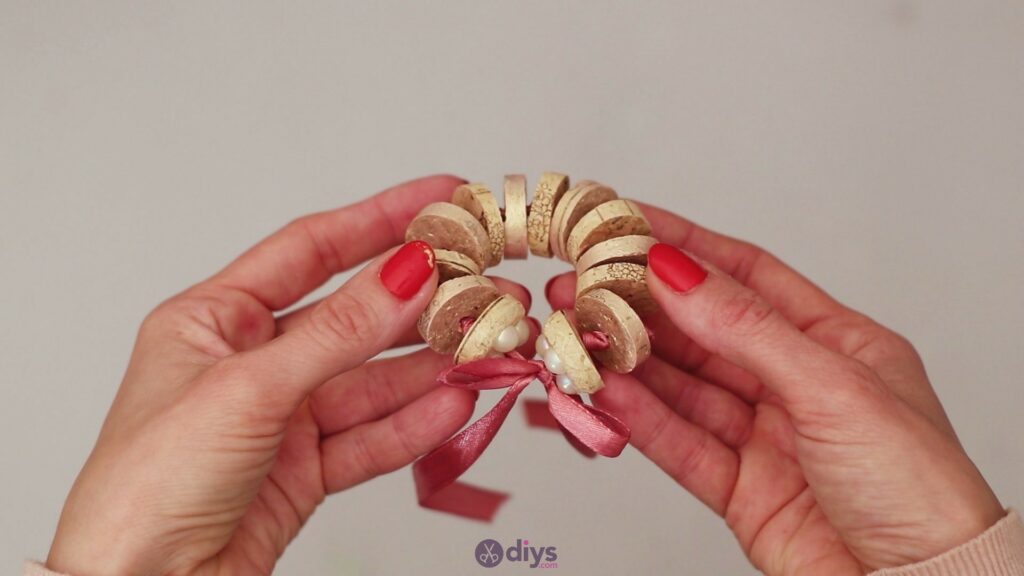
Alternate the painted corks with the ones you left in their natural color. Keep tying the knots as you go.
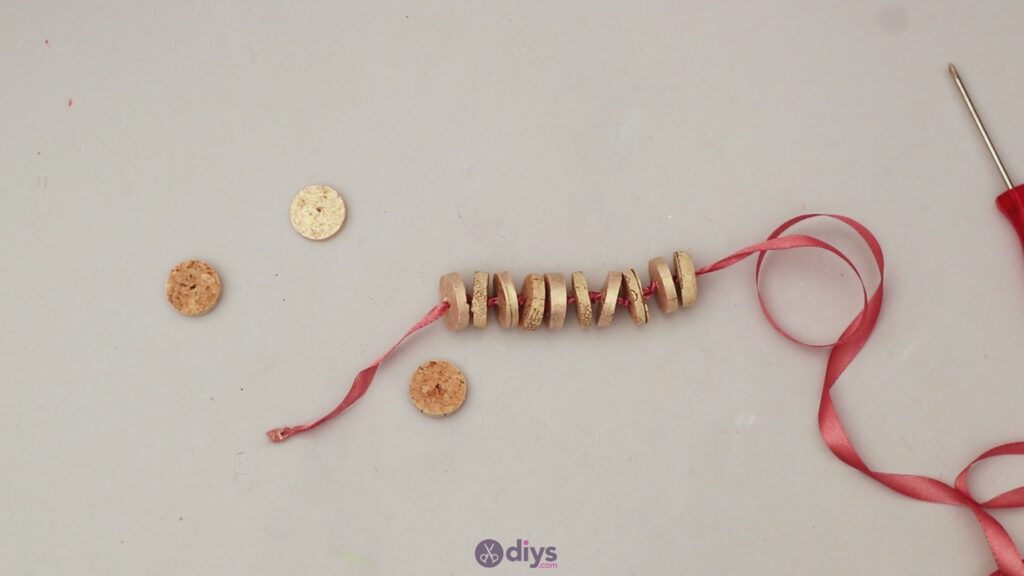

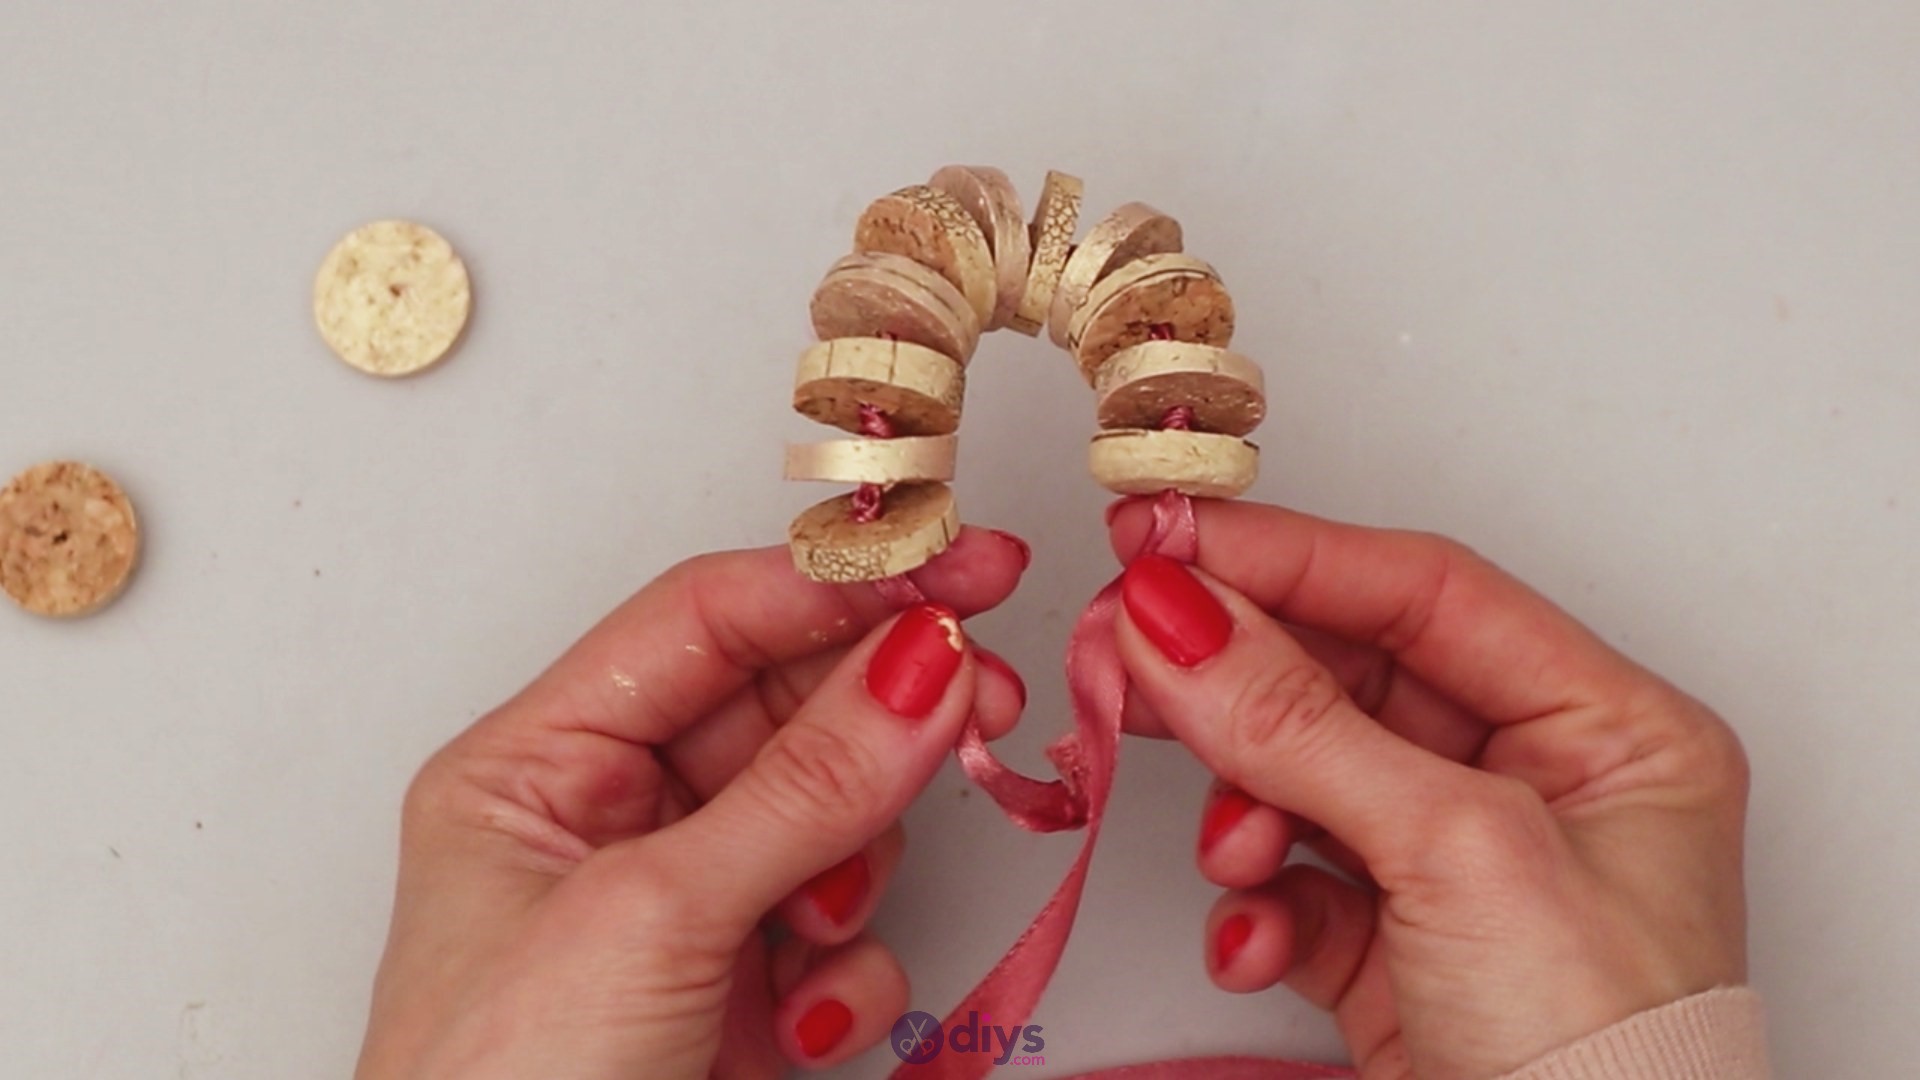
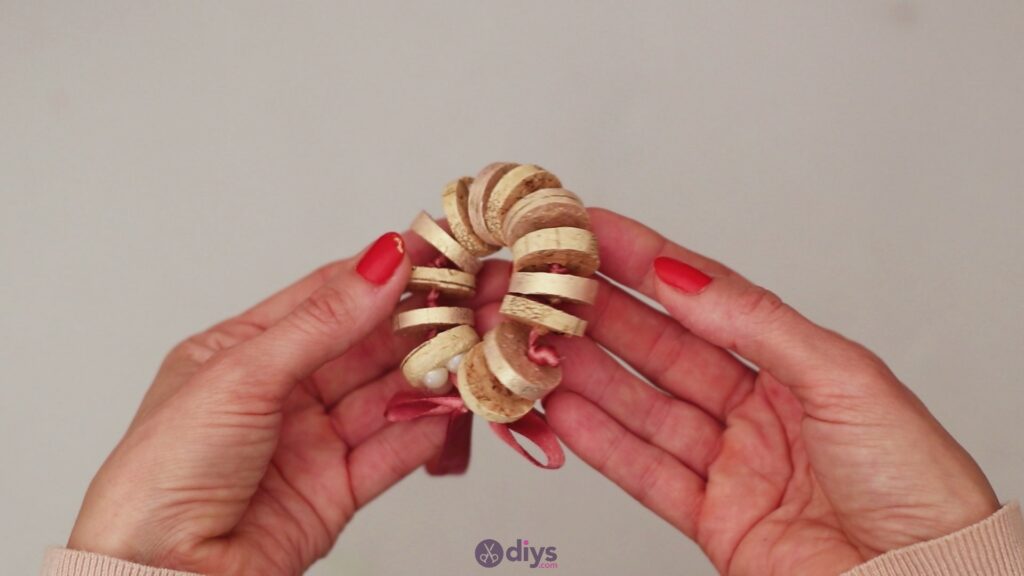
Look how neatly they go together! Alternating the slices like this gives the napkin ring a bit more dimension.


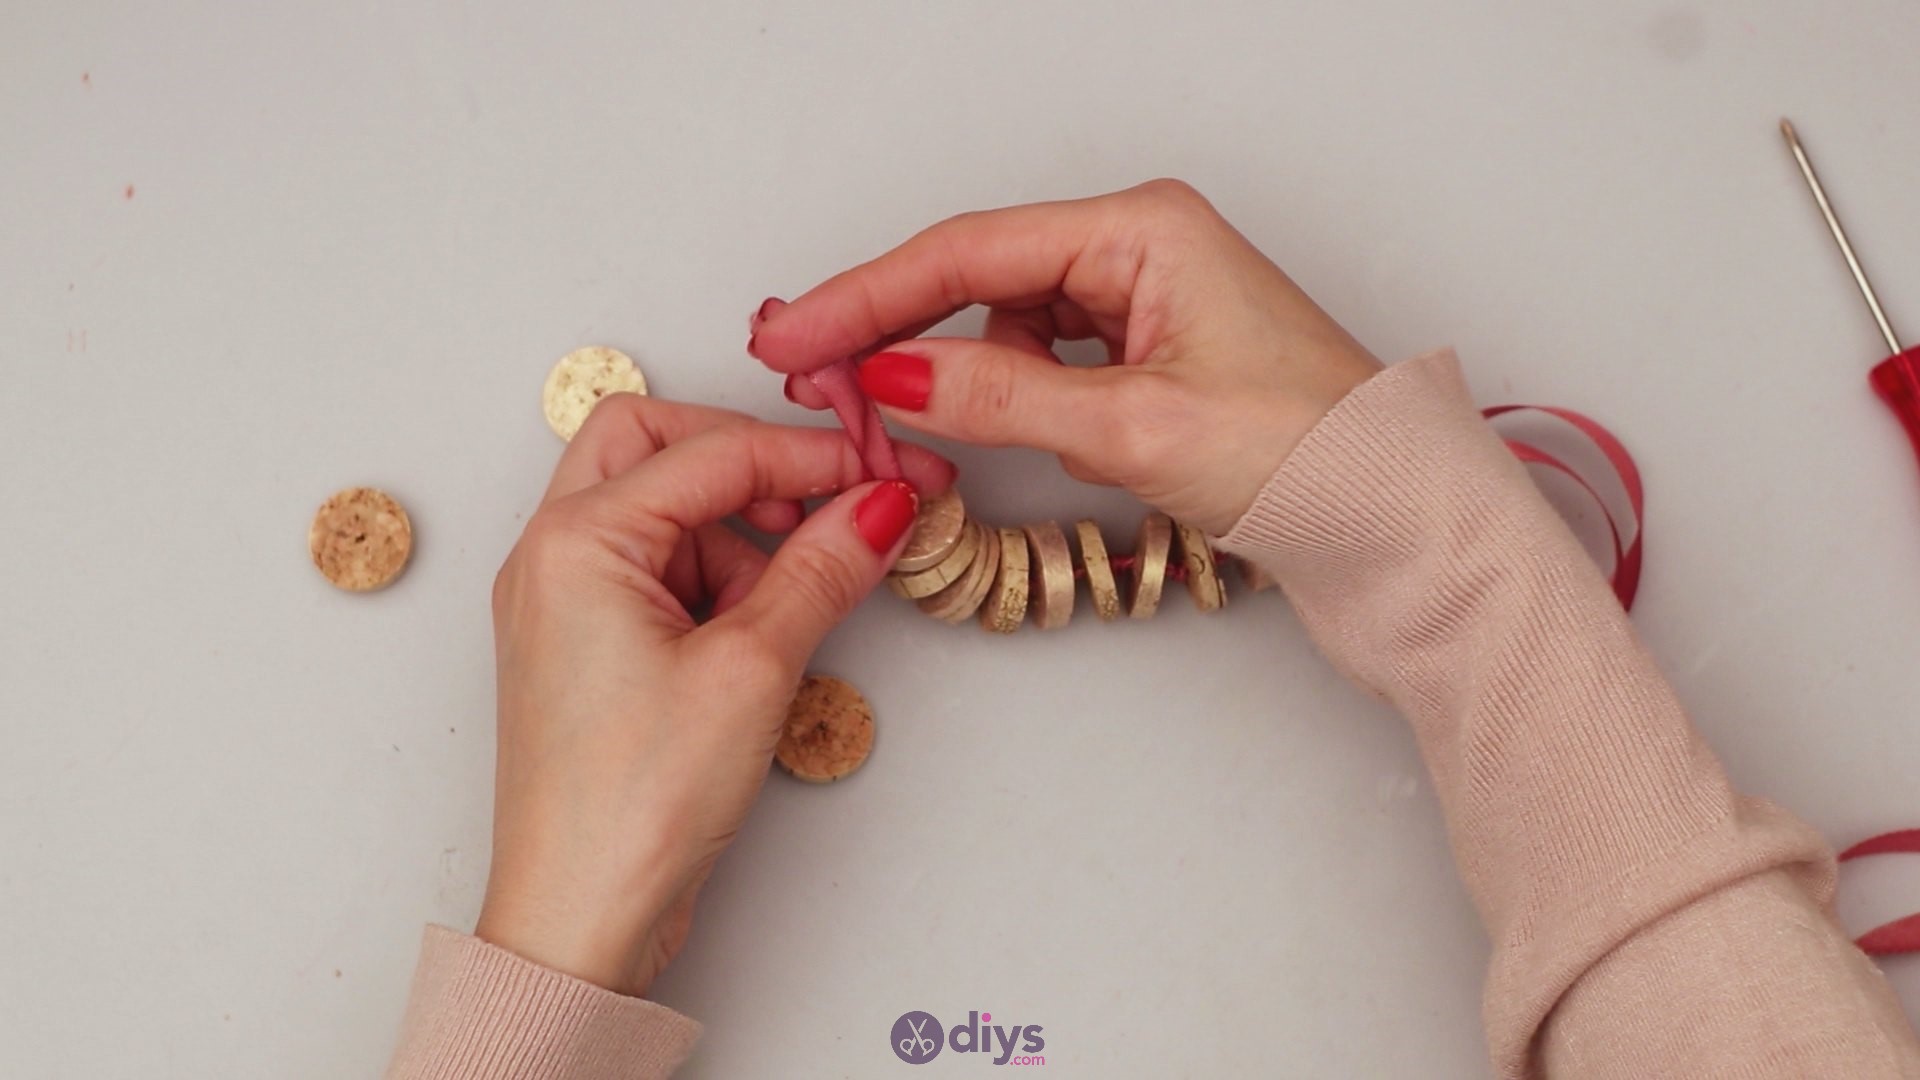
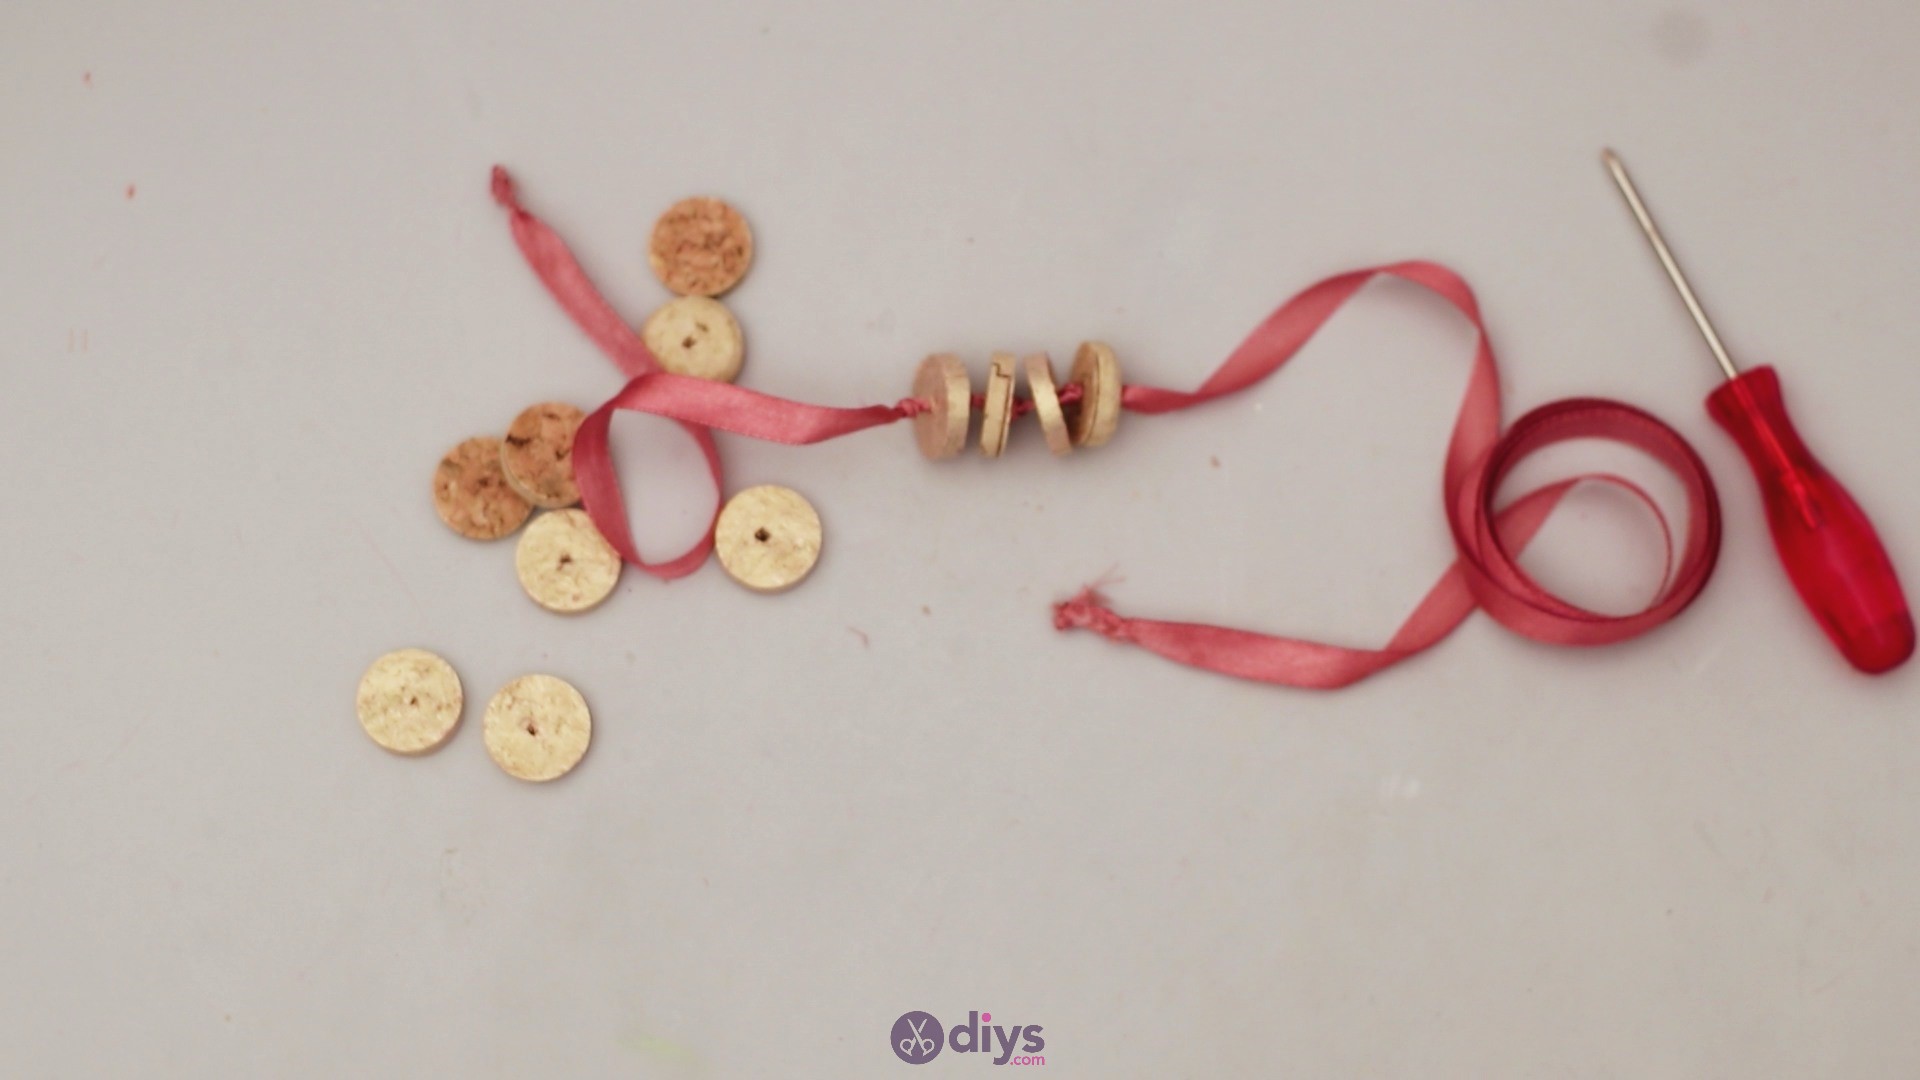
Try it out. Bend the ring and see if you like the size of it.

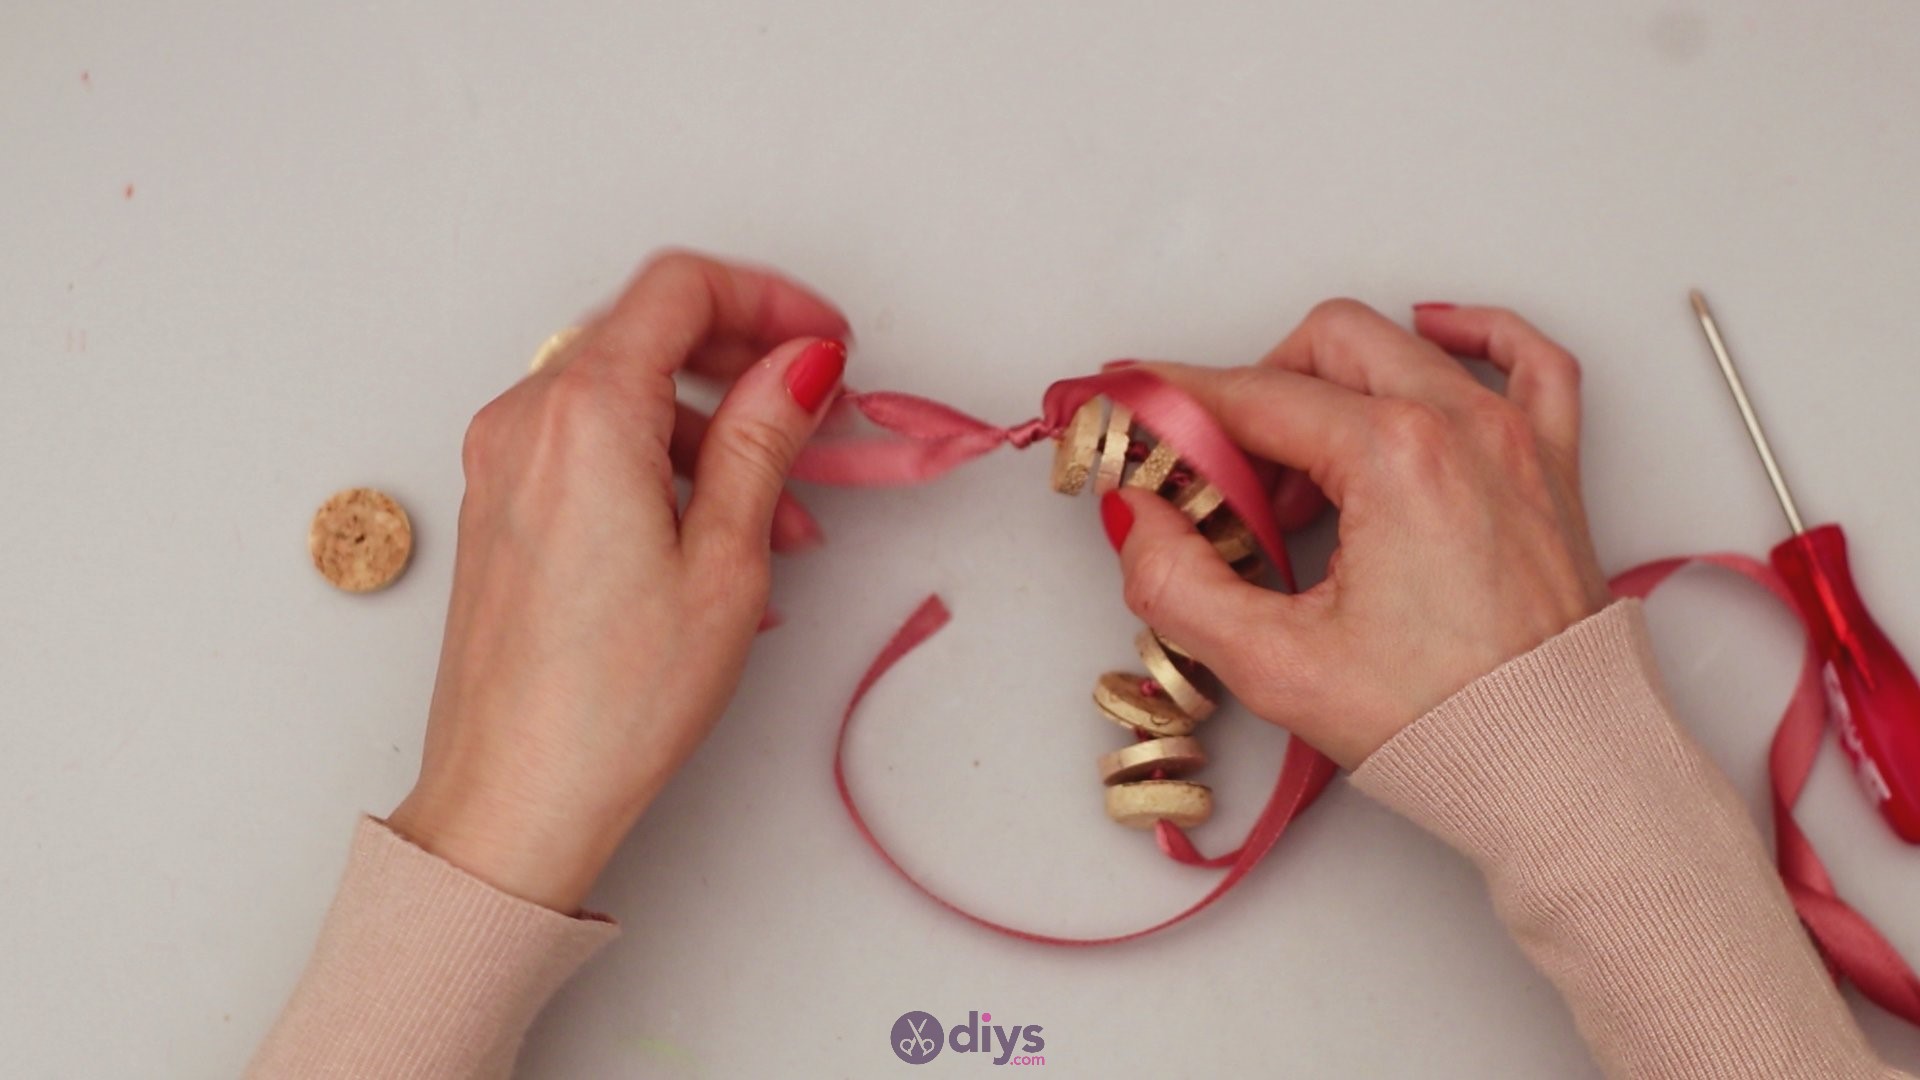
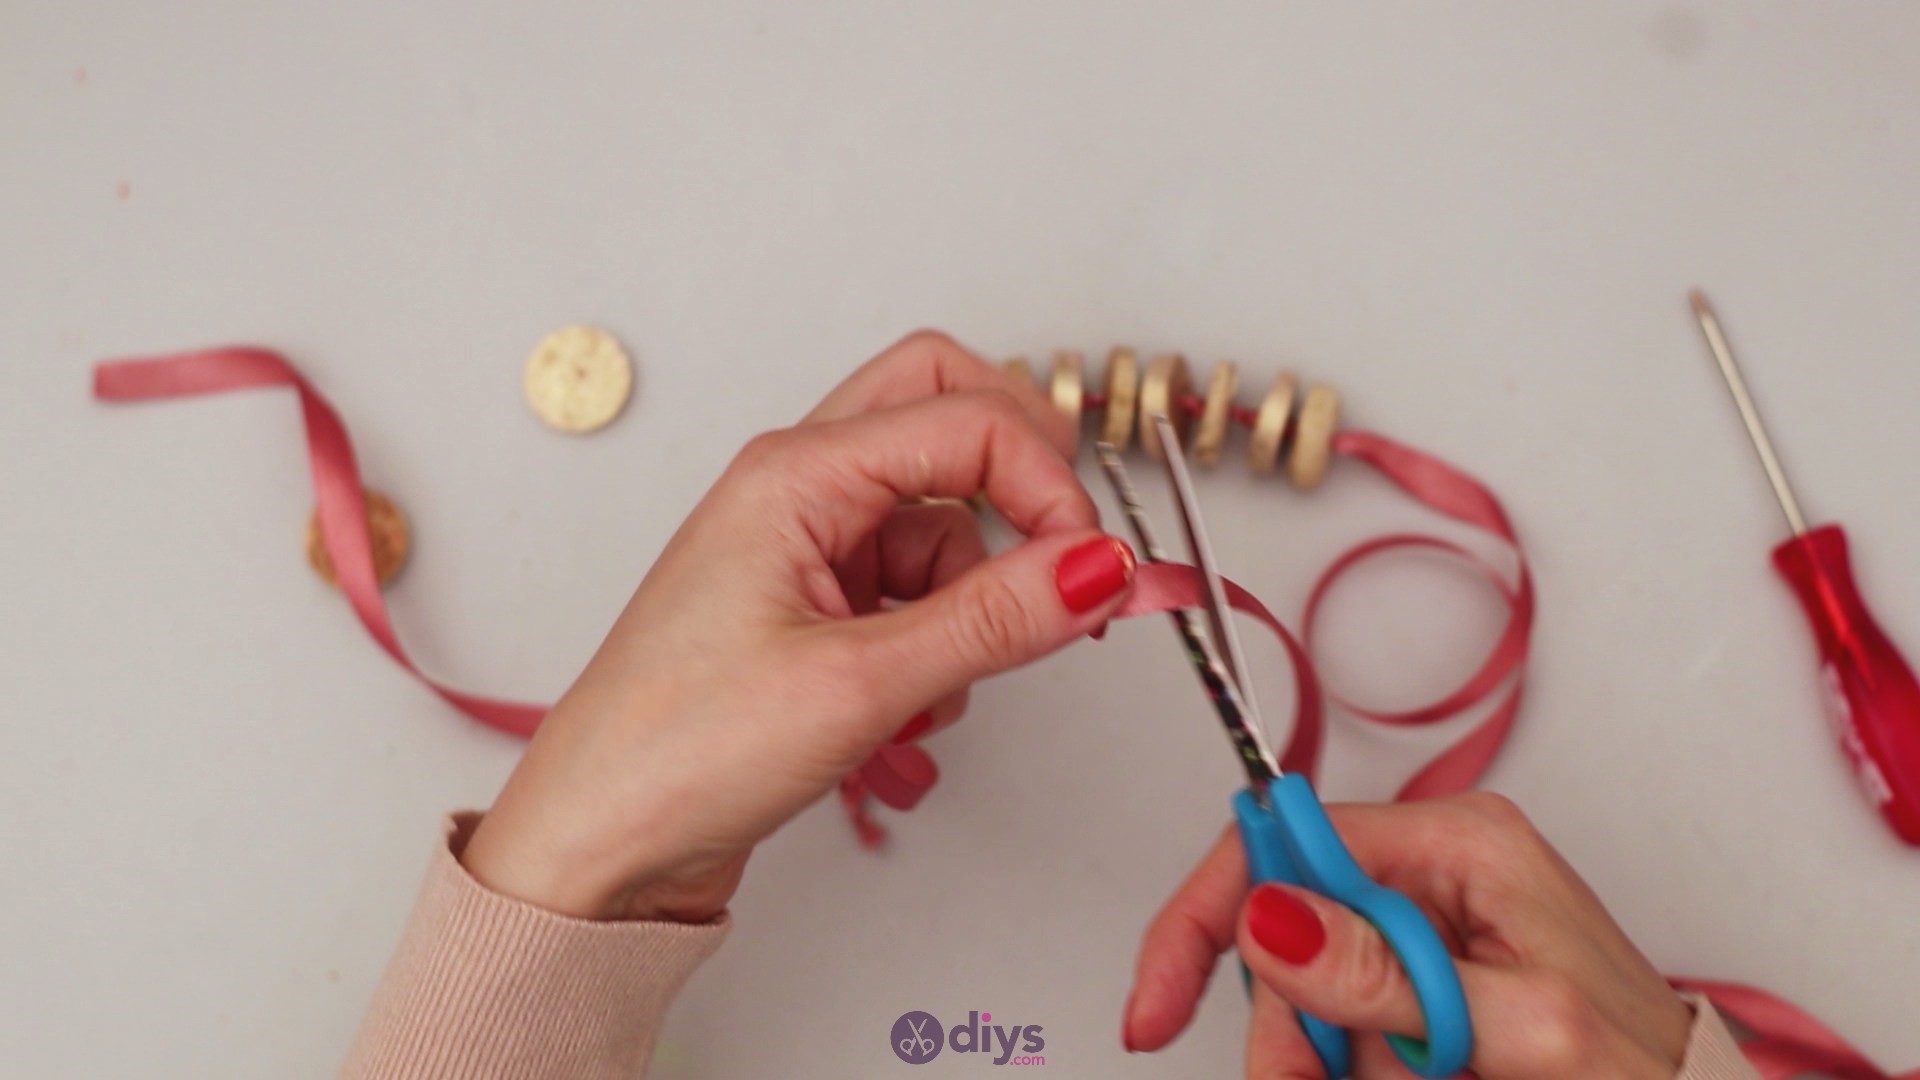
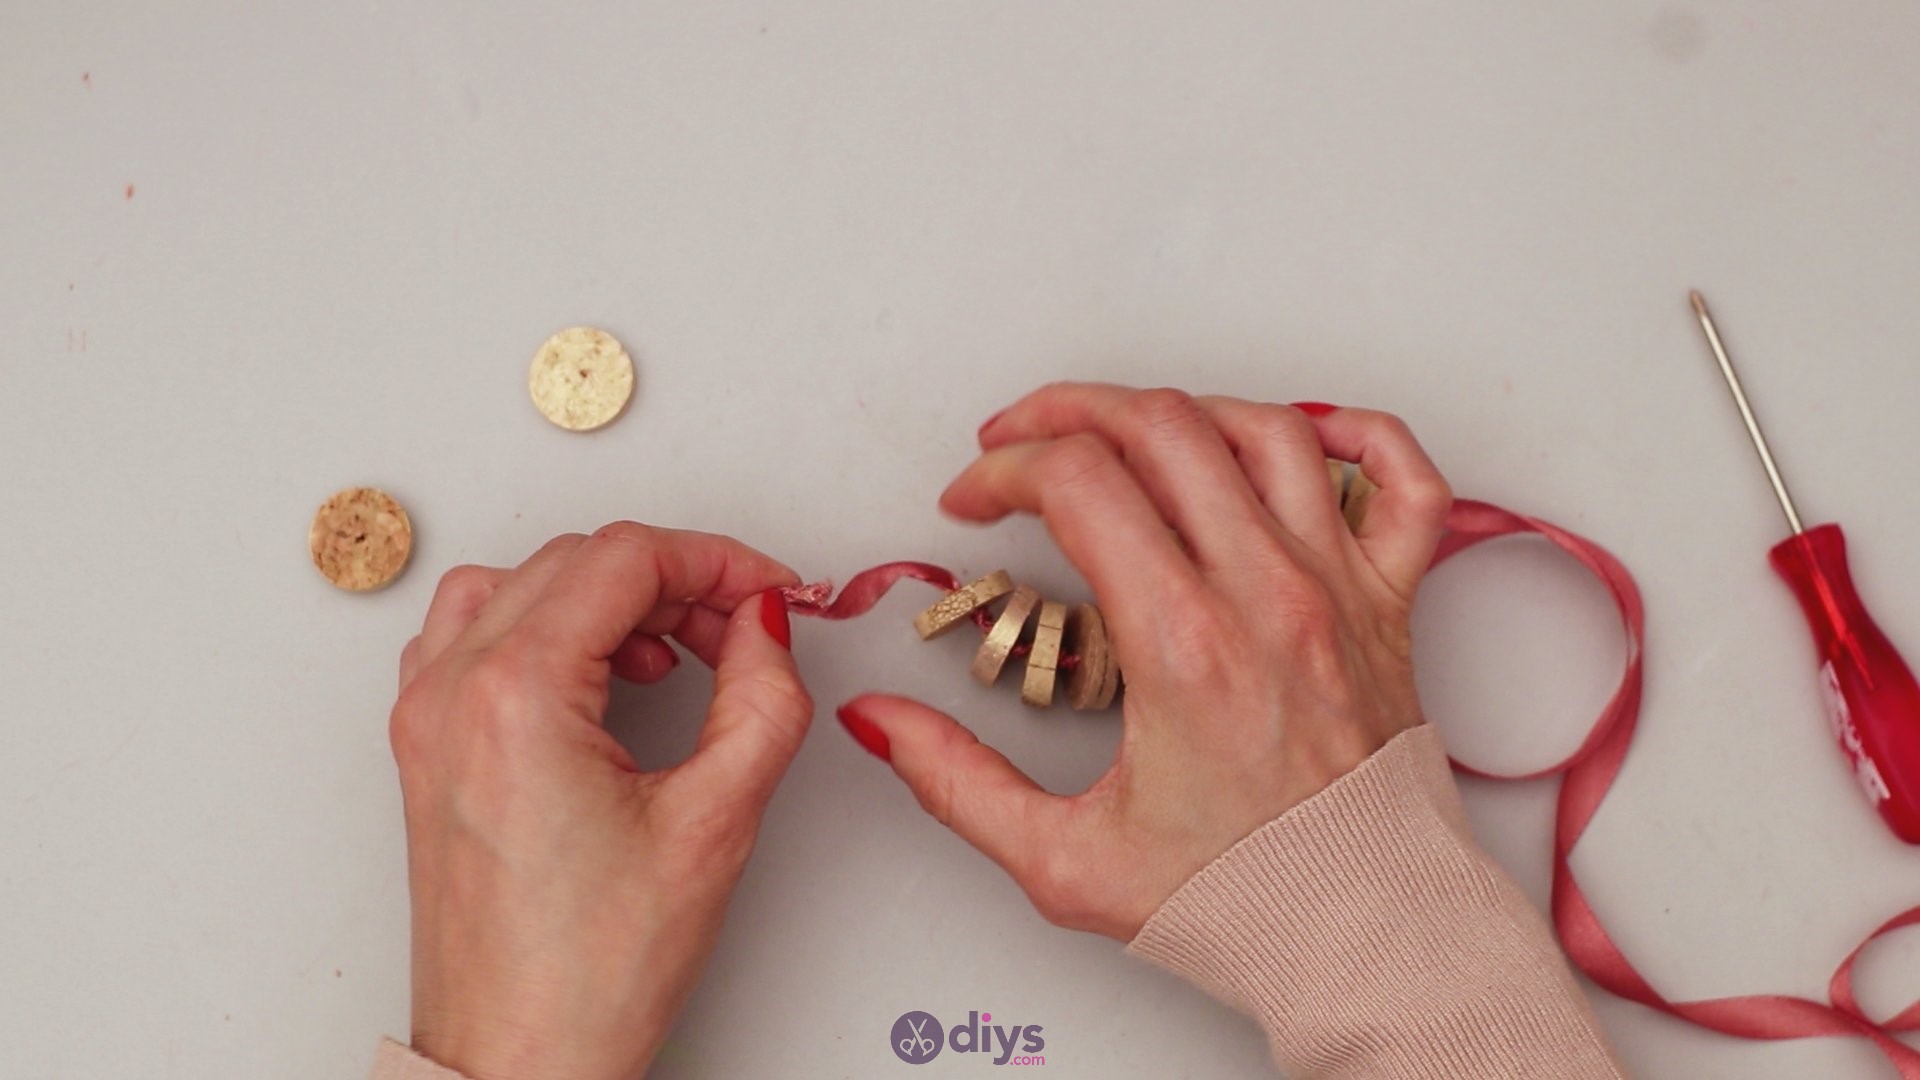
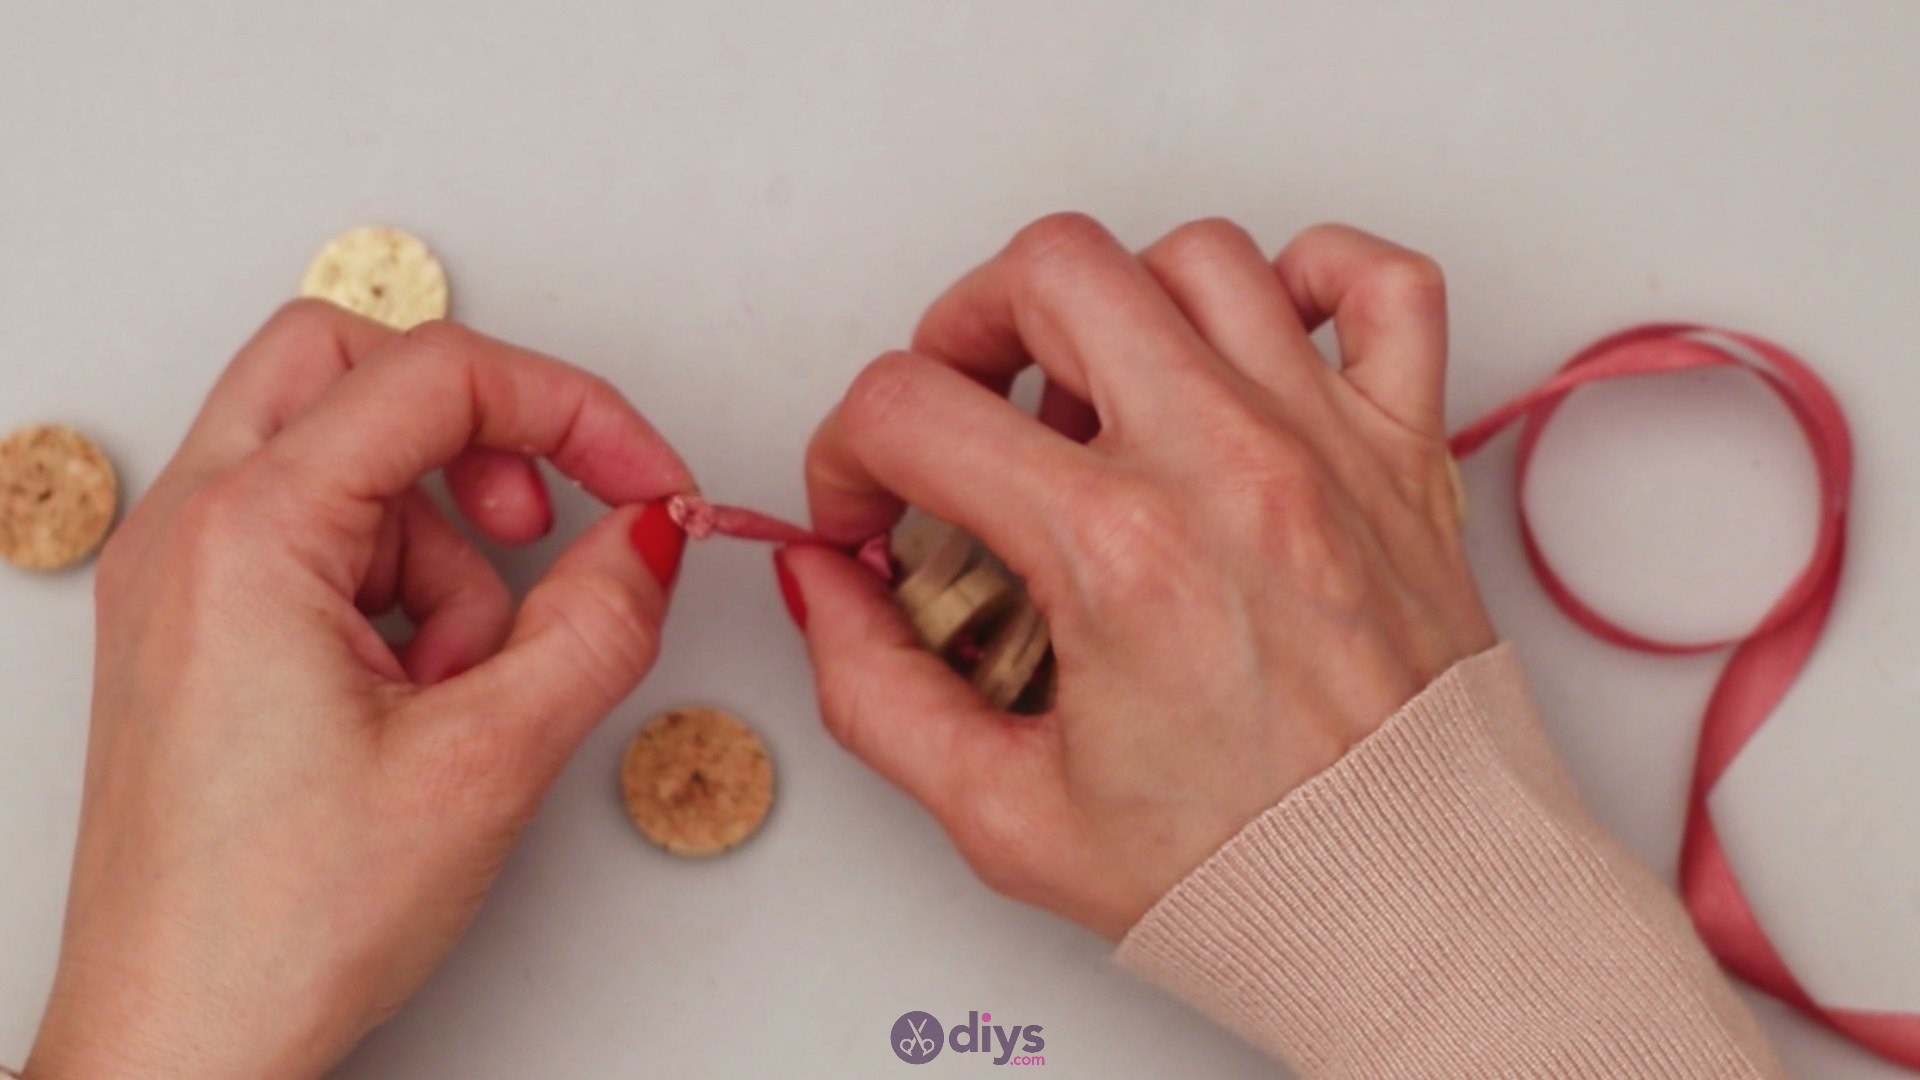
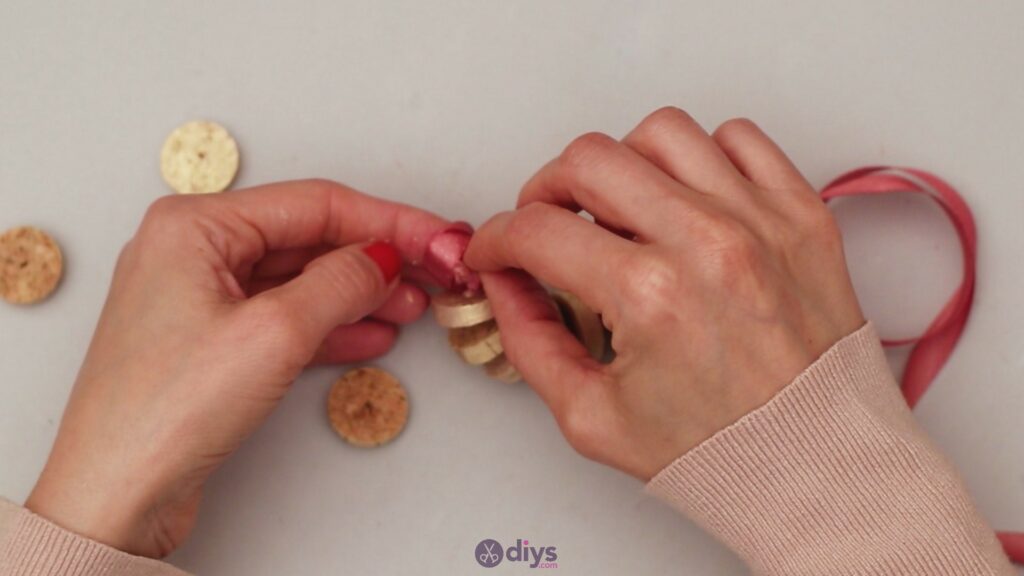
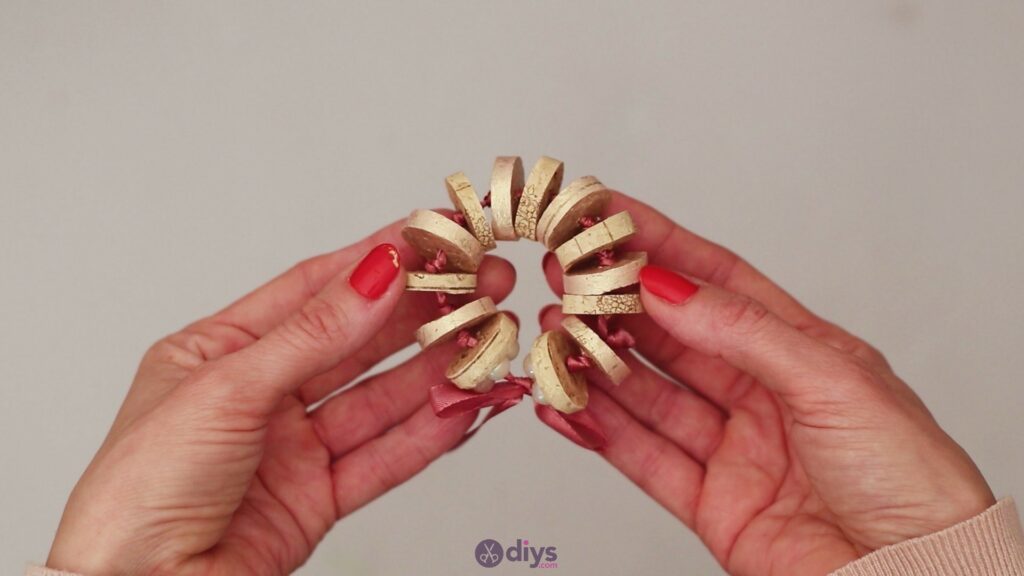
Leave two of the slices alone to use later. Now you’re faced with a problem – one end of the napkin ring has a really short ribbon.
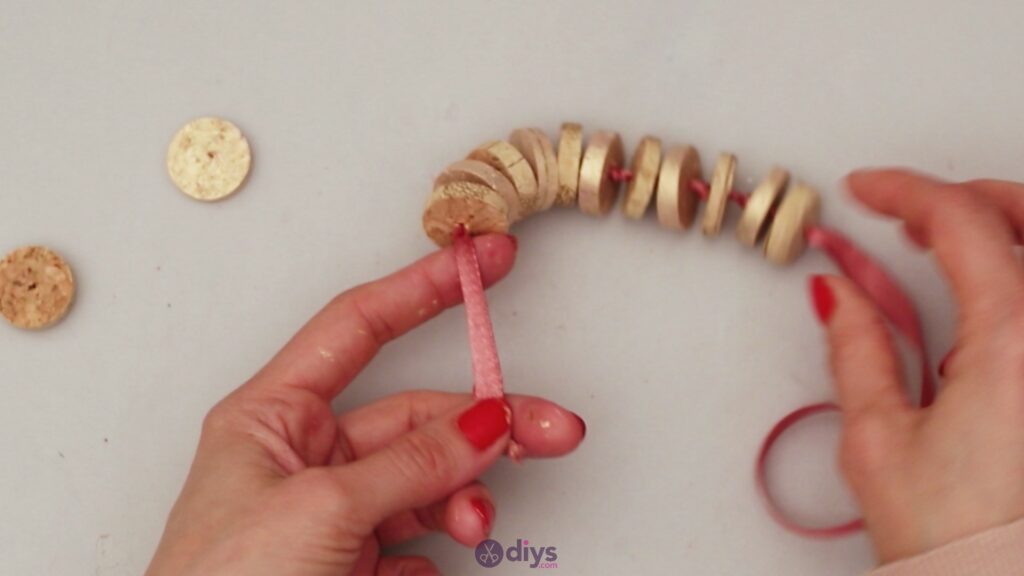
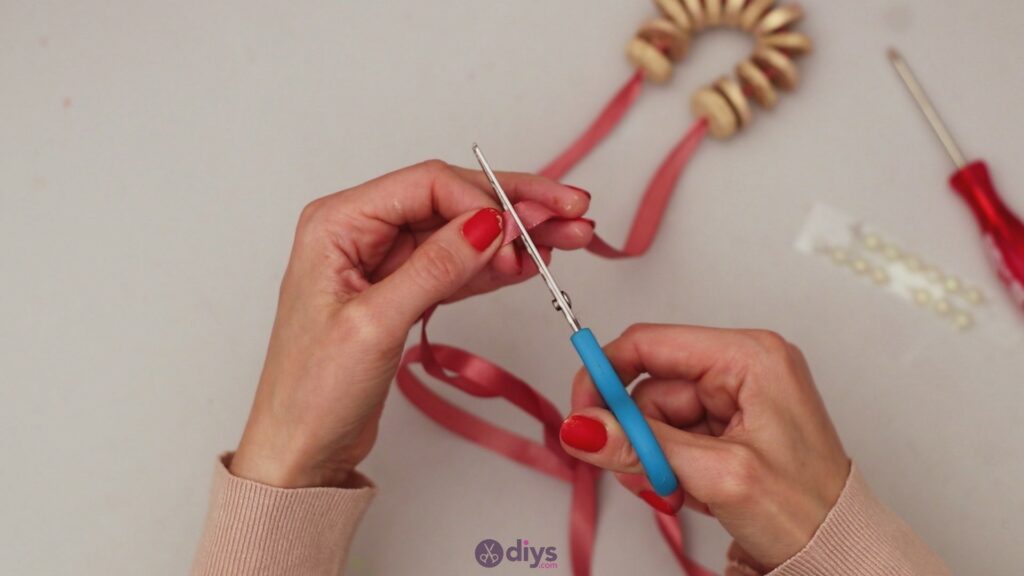
If you forgot to push the wine corks more to the middle of the ribbon, like we did, you don’t have to panic. Simply cut some extra ribbon, and tie the pieces in a tight knot. Cut off the excess material afterward.

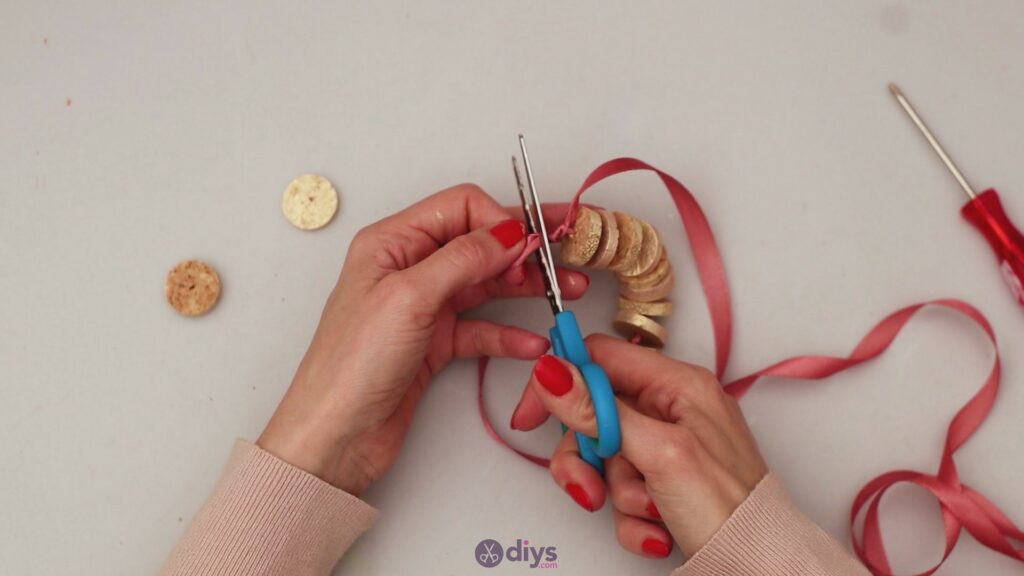
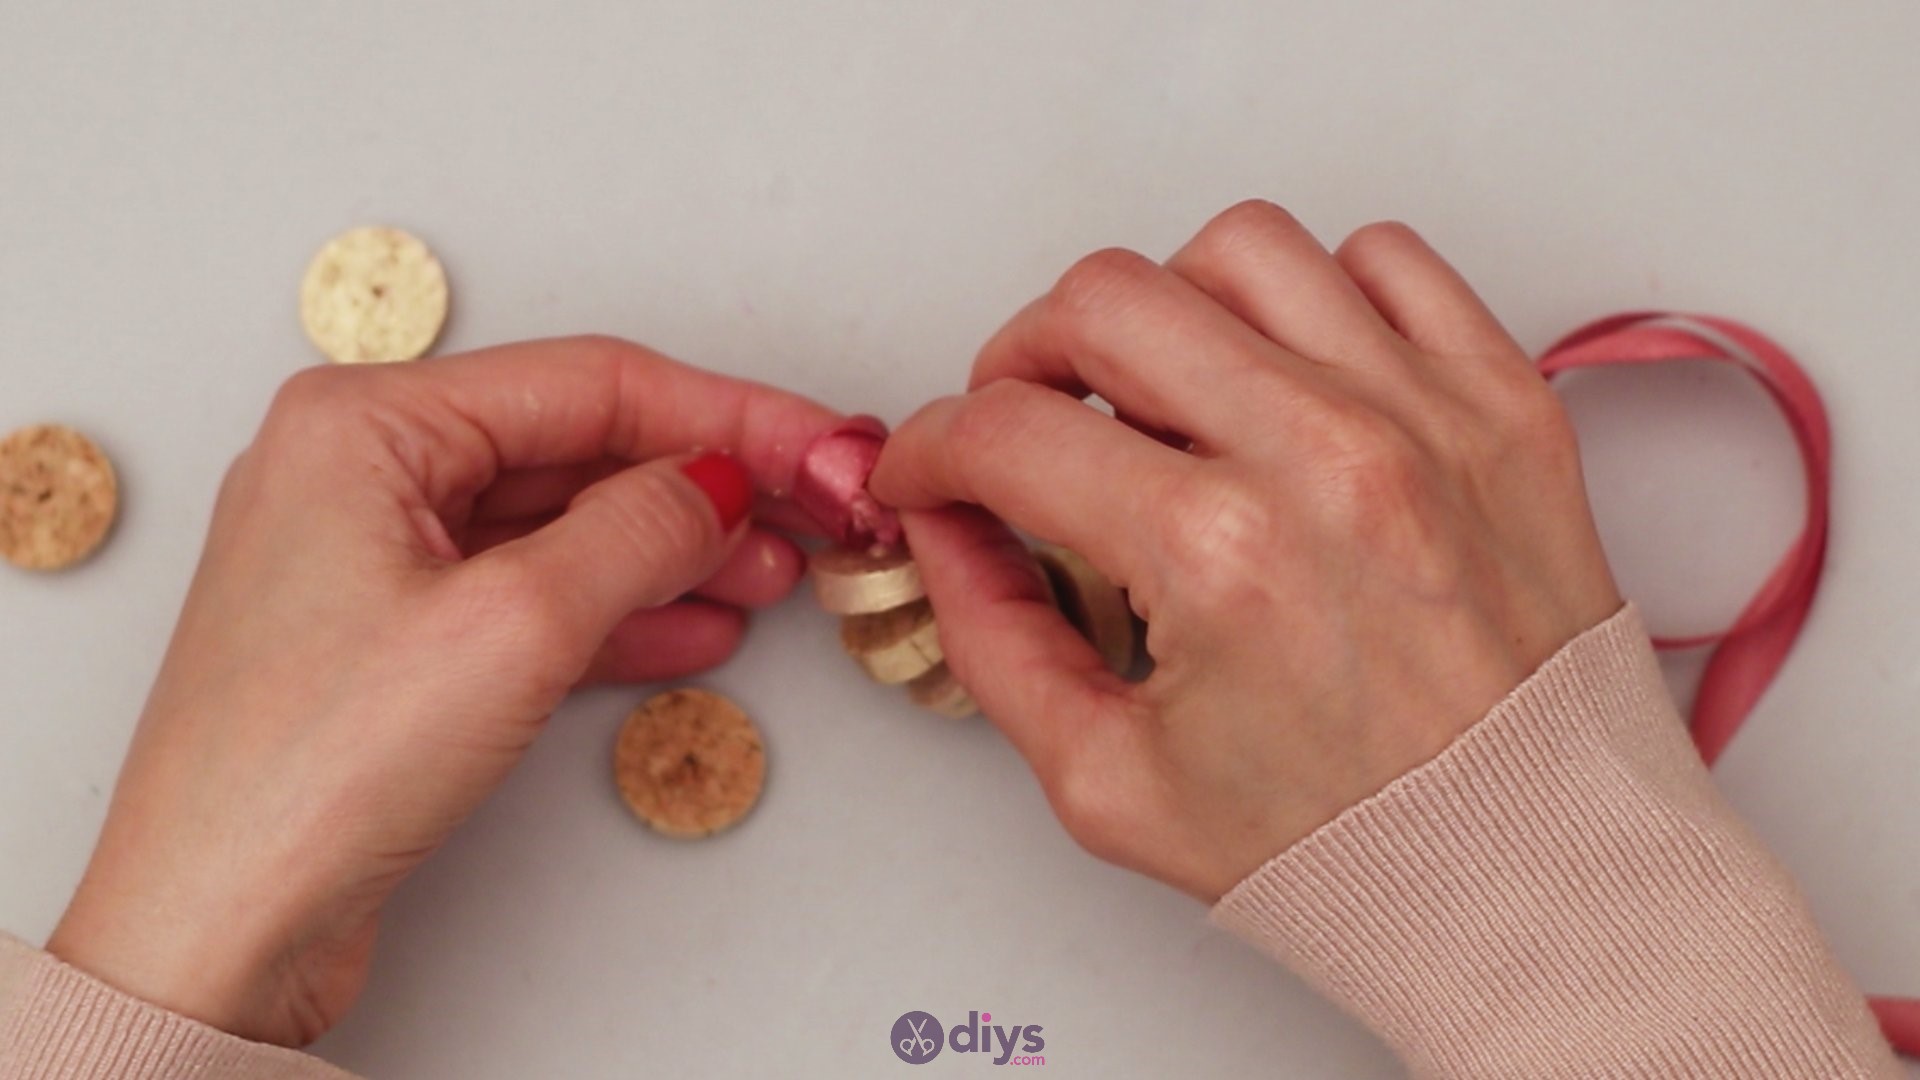
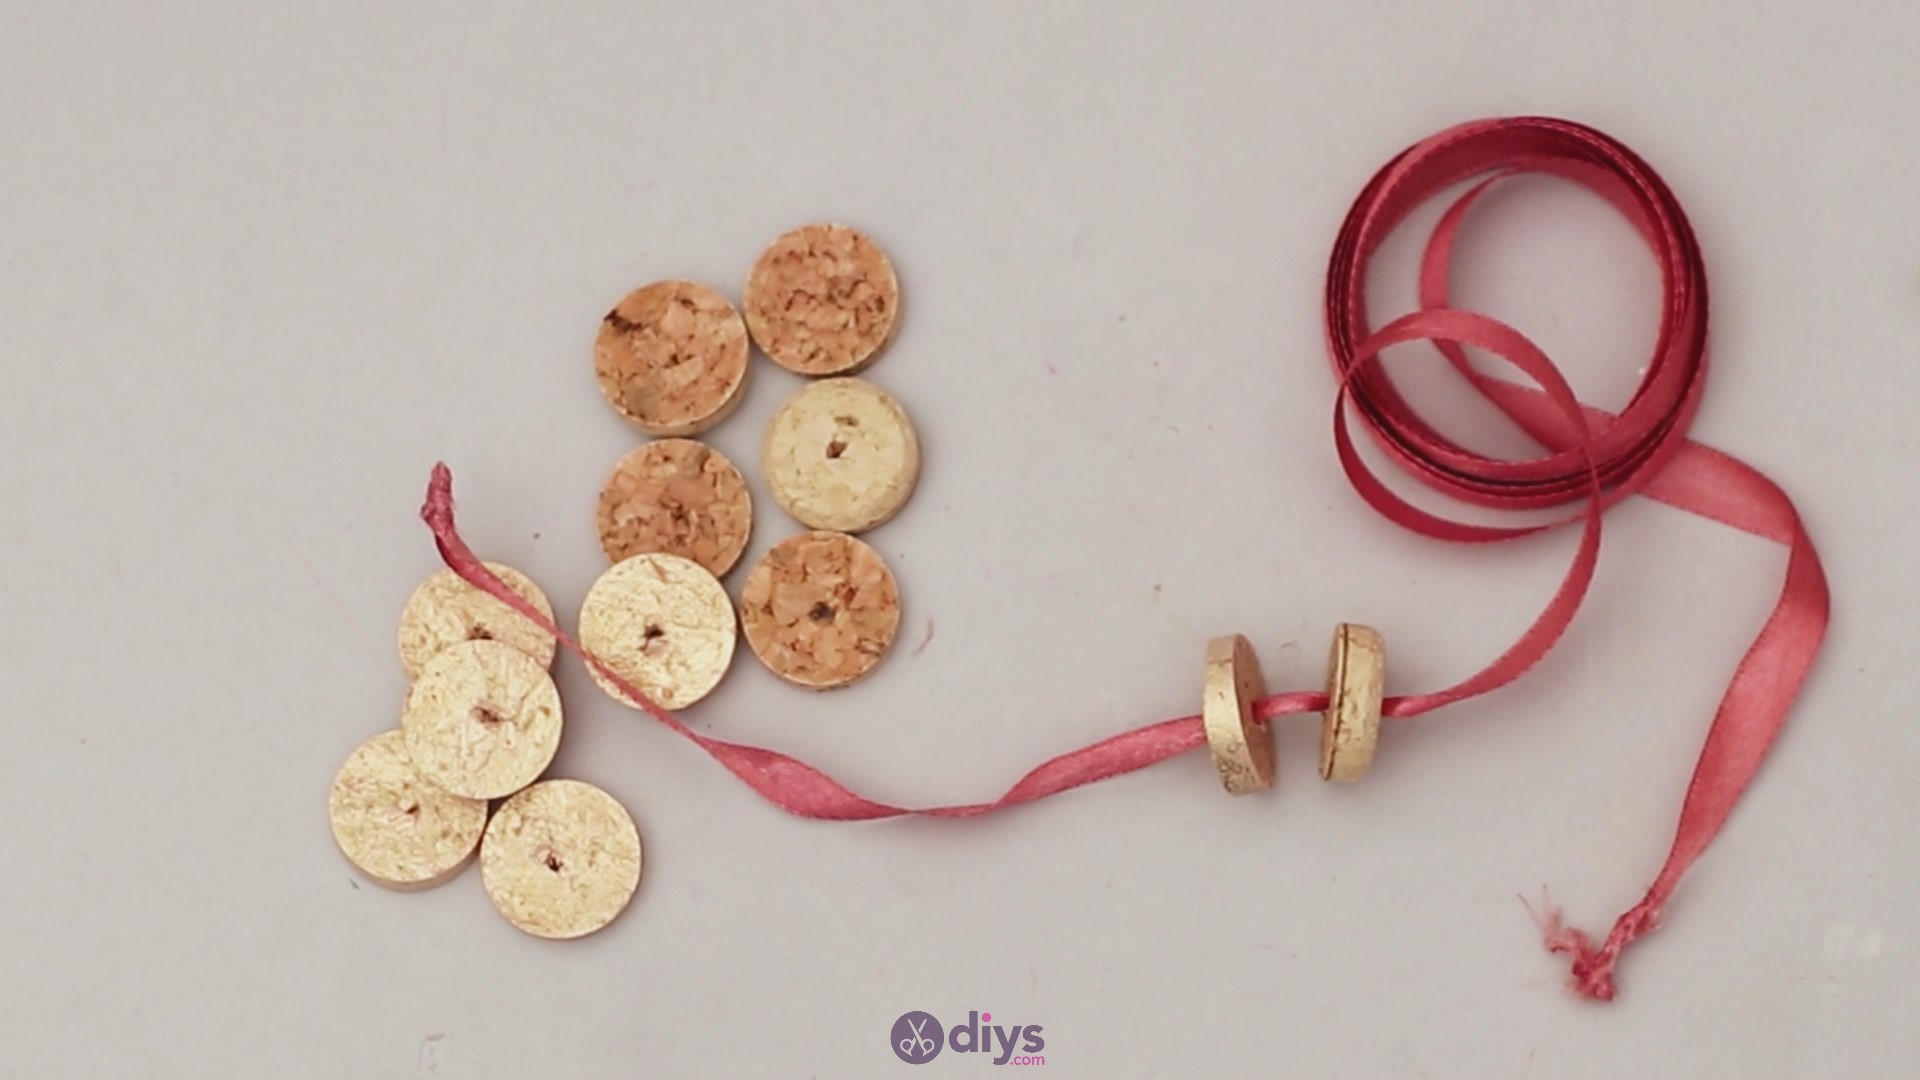
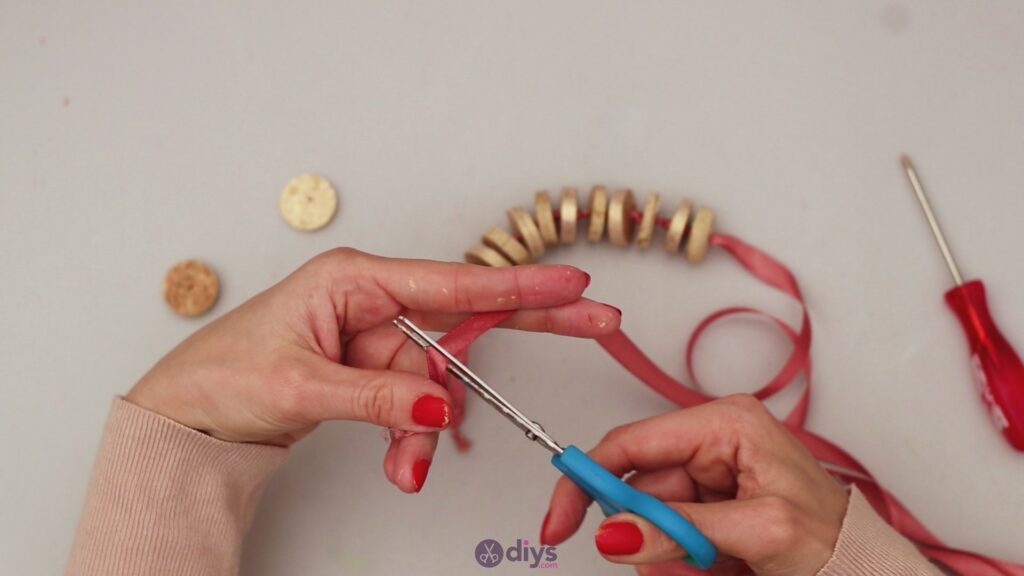
Alternatively, you could always push the cork slices more to the middle of the ribbon from the start. The fact that you keep tying knots as you go makes it more difficult to figure out exactly how much material this will consume, as well as more difficult to fix. So, if you realize you’re out of ribbon, simply tie up some more.
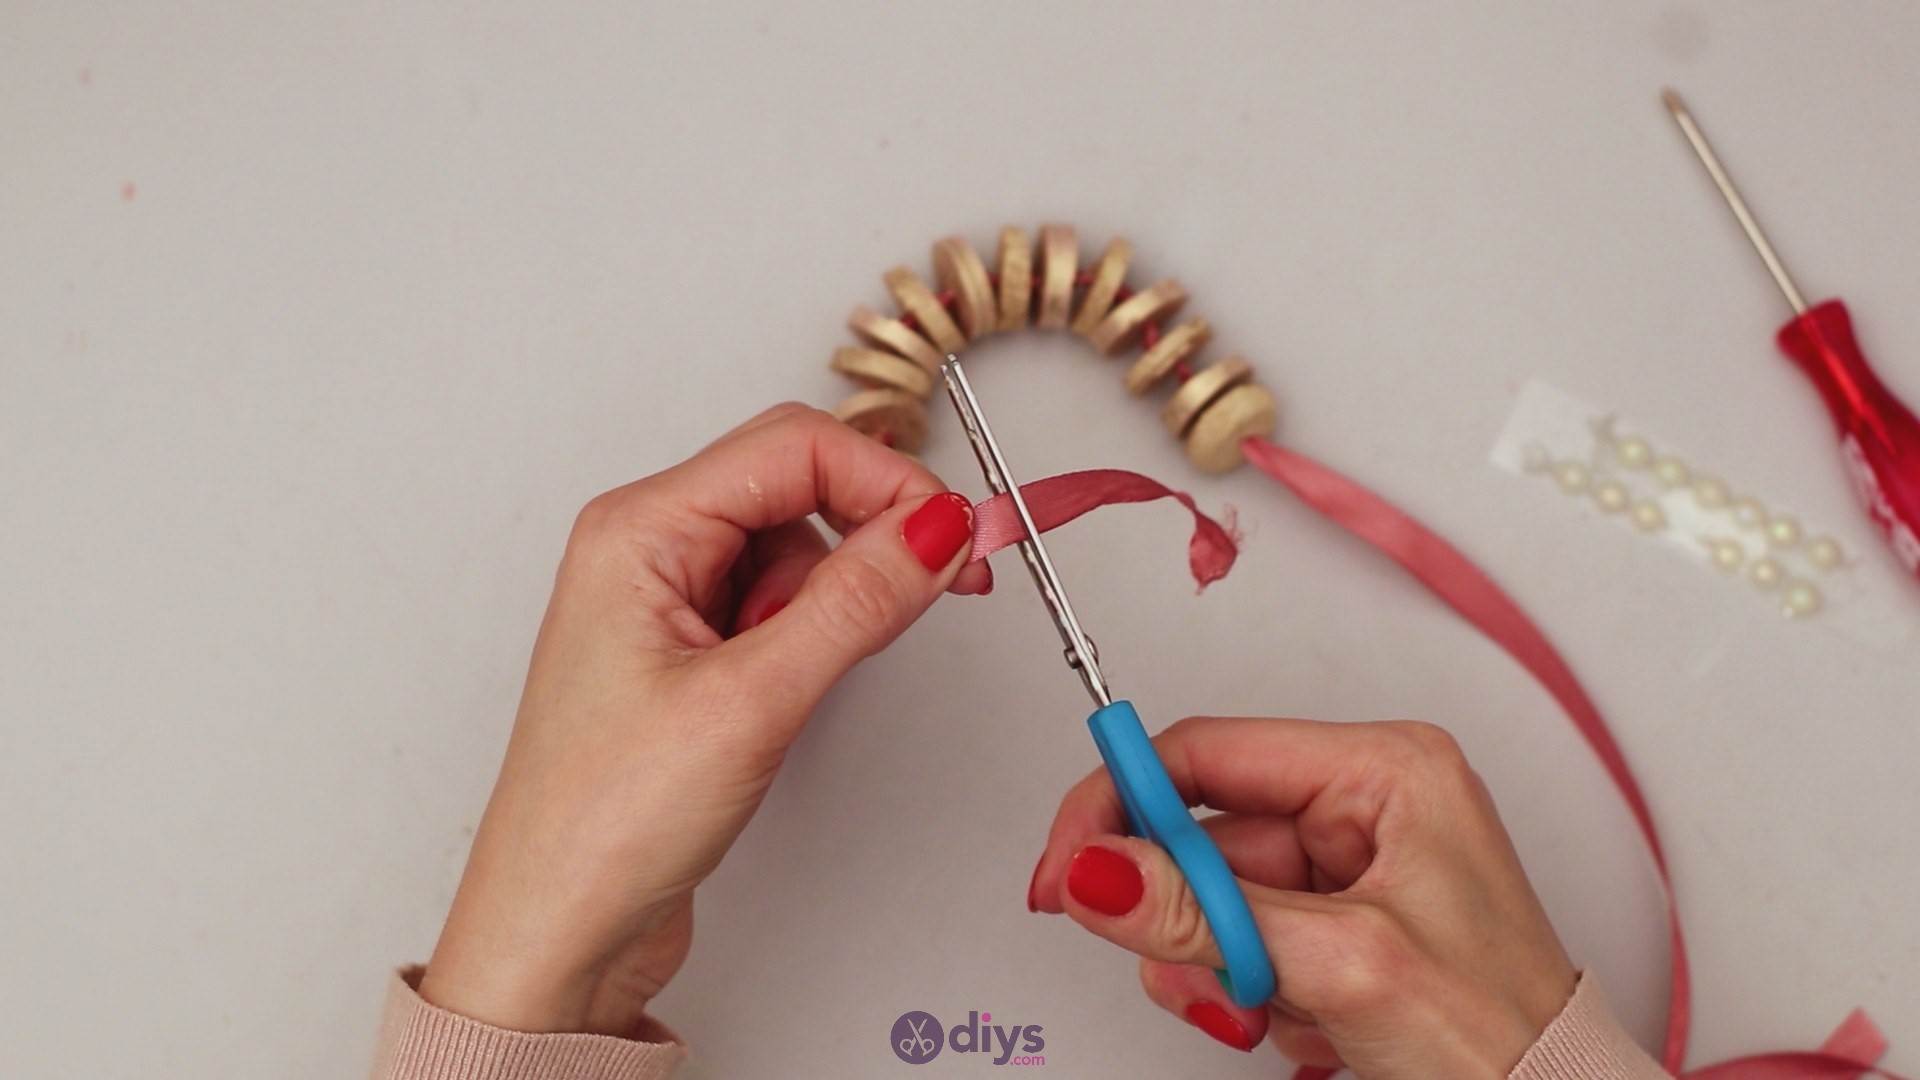
There we go! Fixed the problem! Cut the edges of the ribbon so it looks neater. Also, you’ll want for both sides to have the same length.

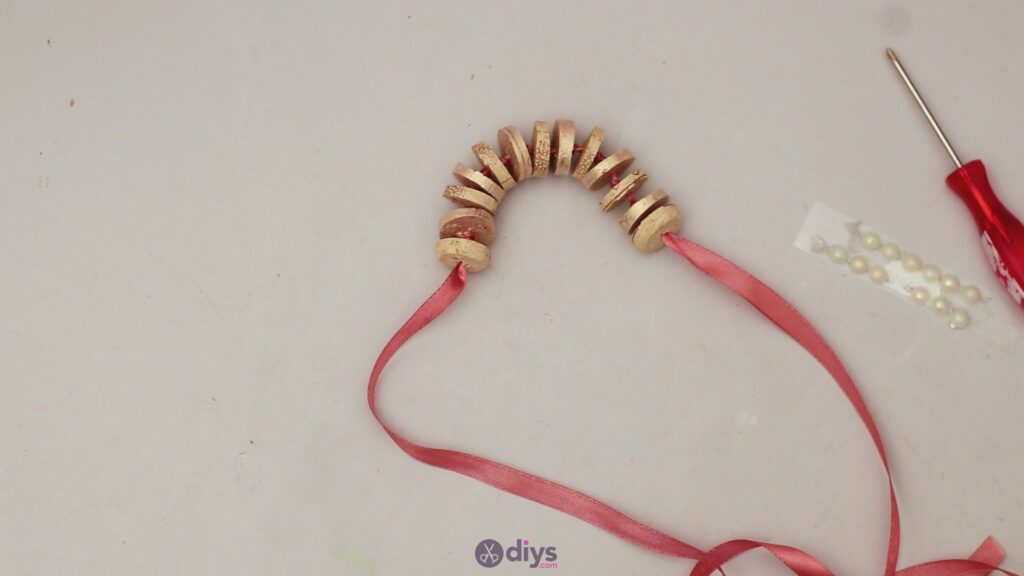
Make sure you add the last two wine cork slices to the design before moving on to the next step.
Step 5: Decorate the napkin ring
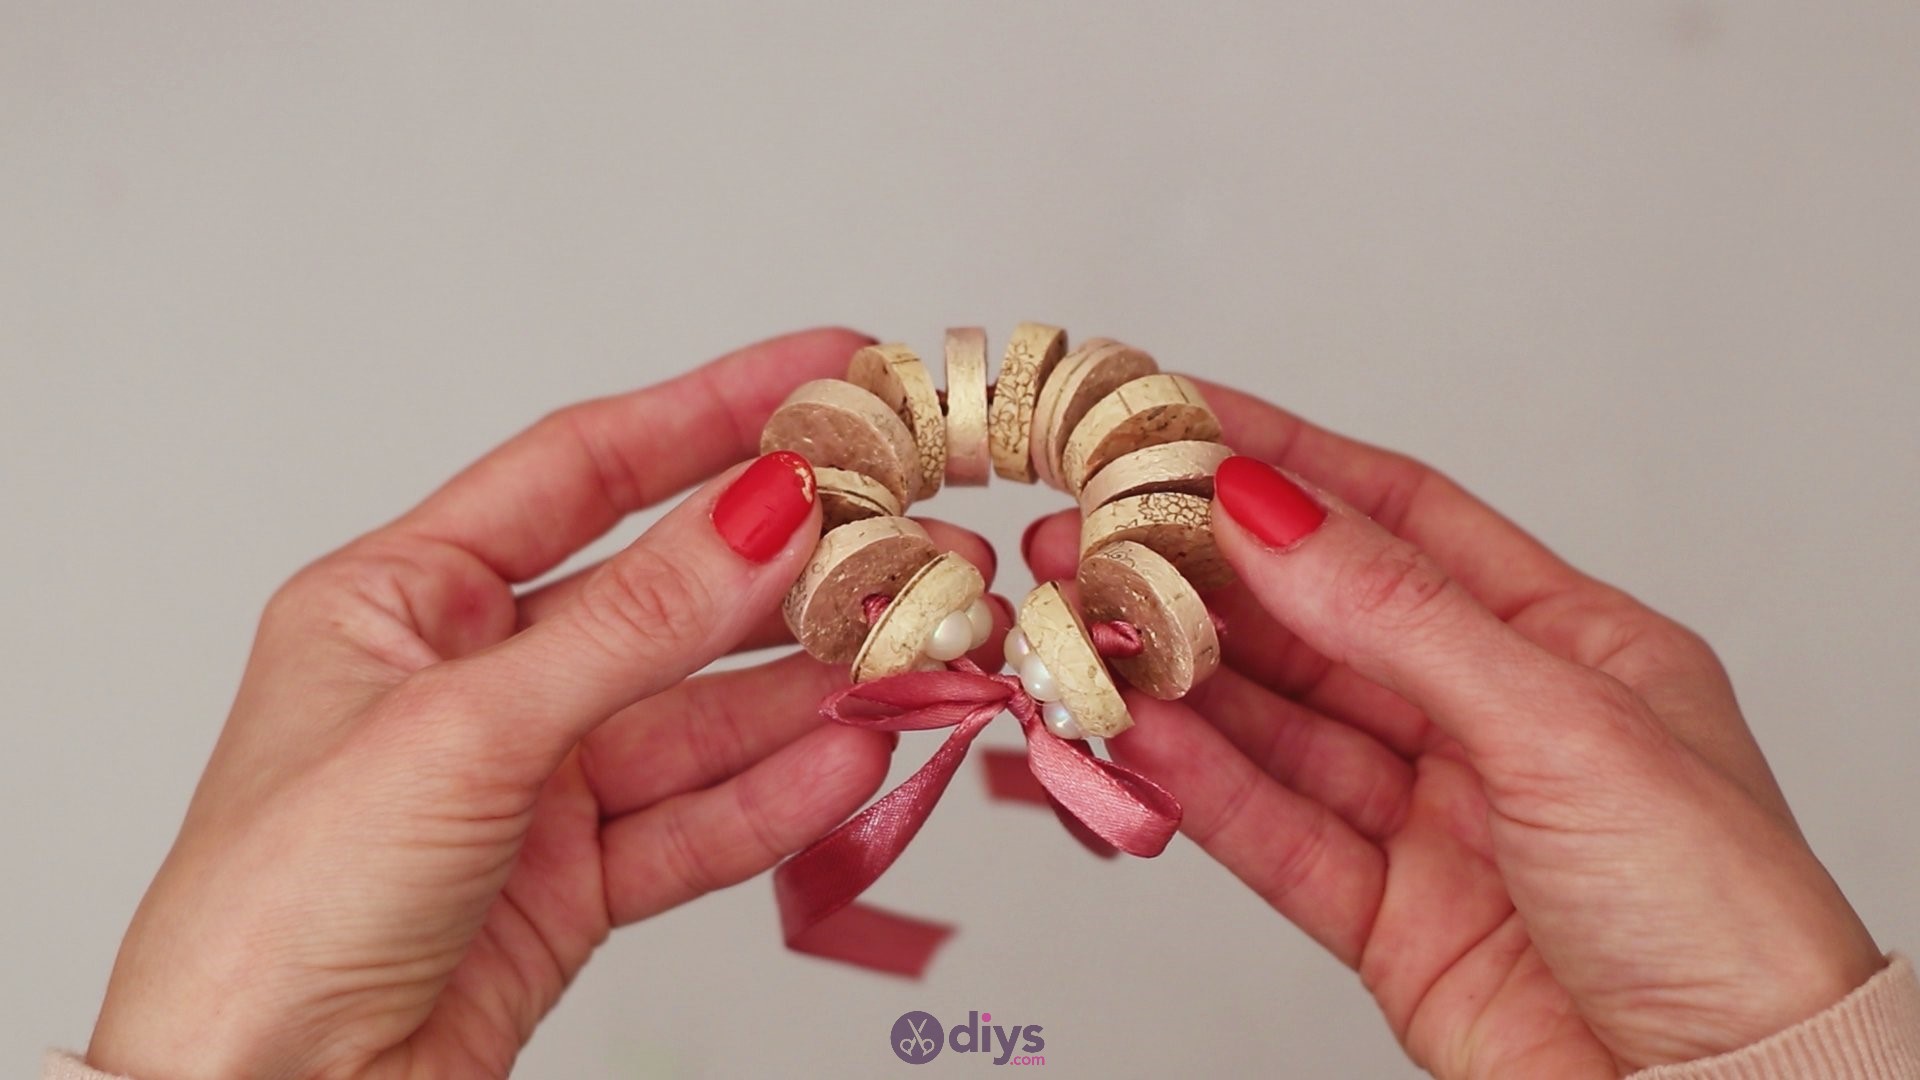
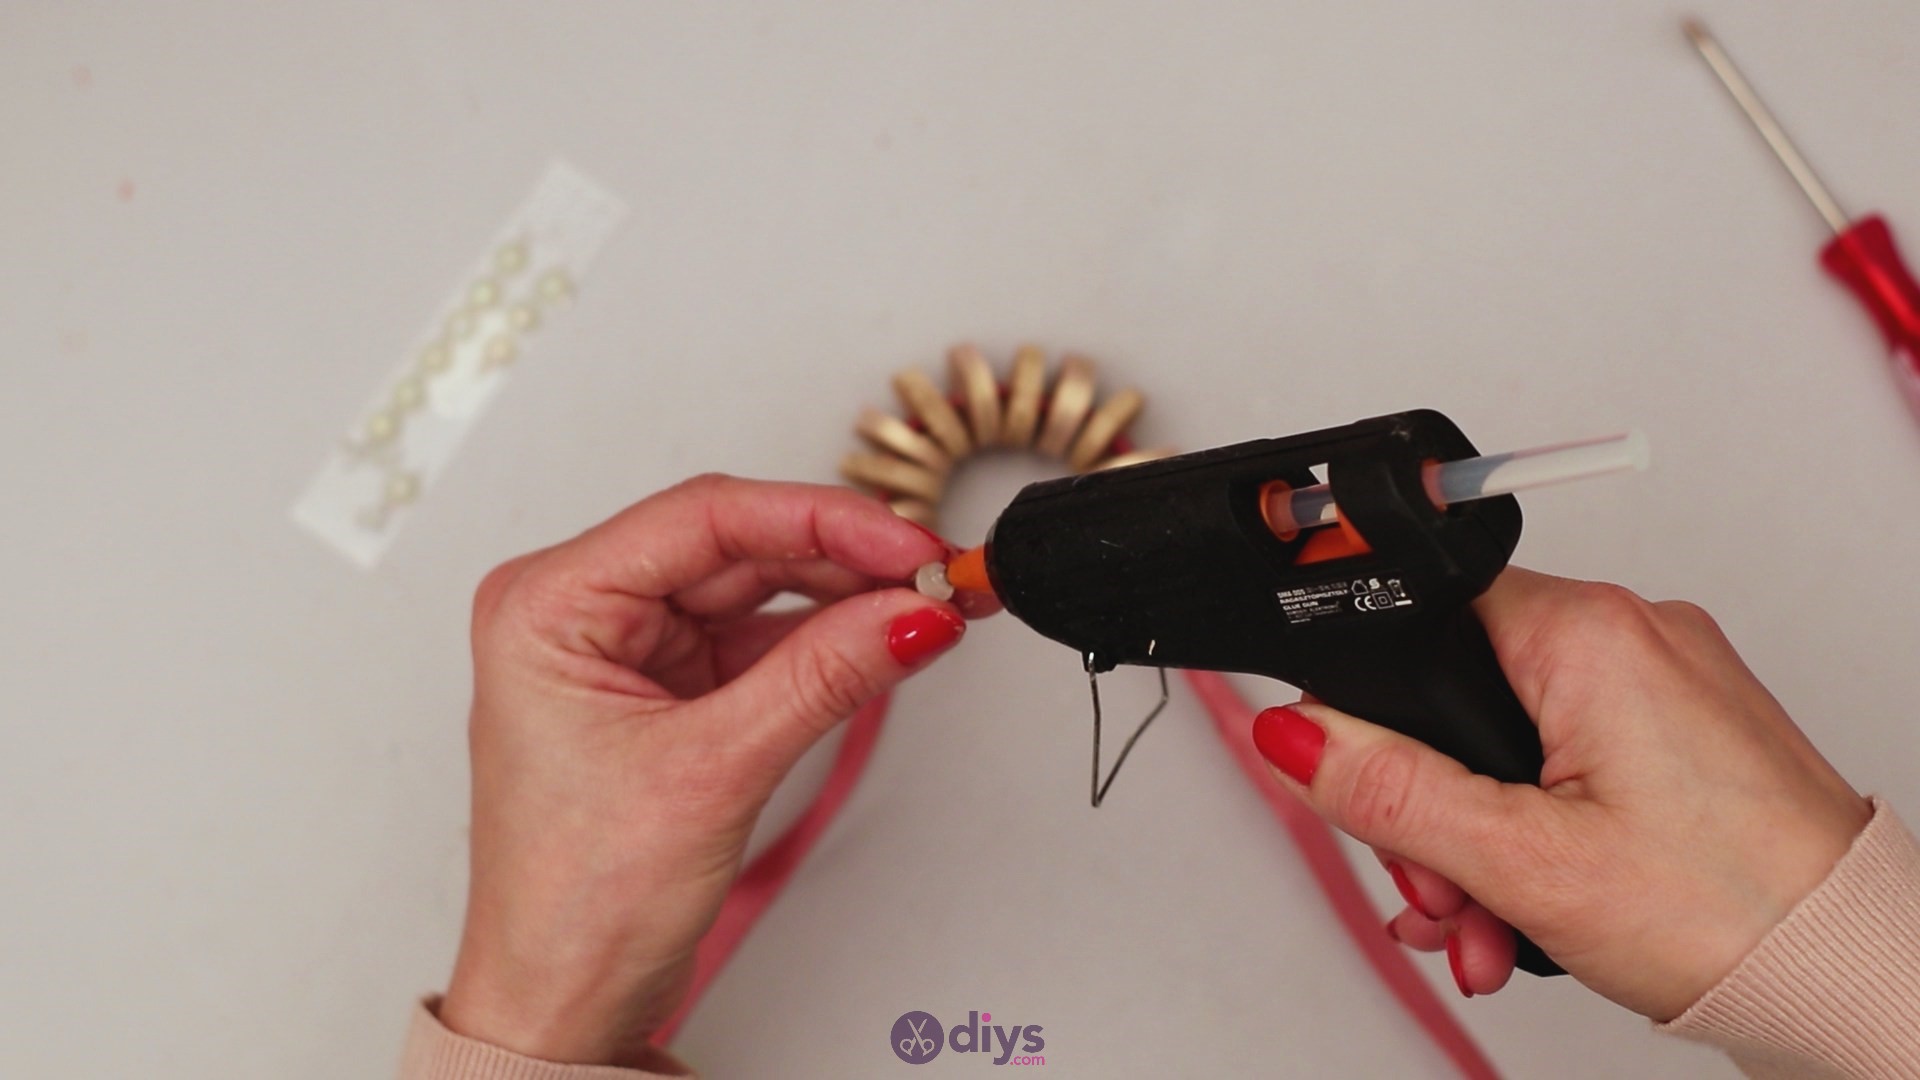
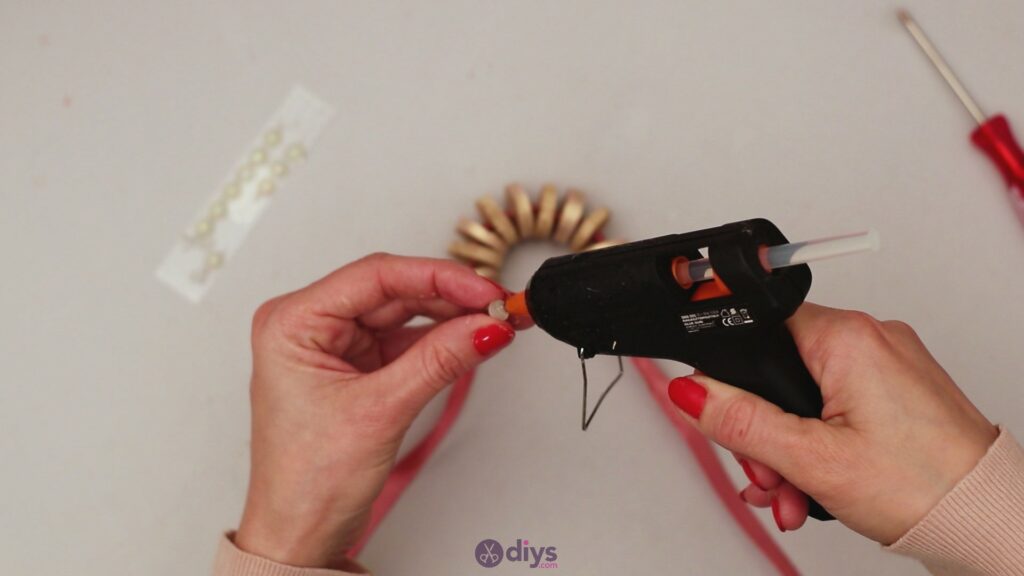
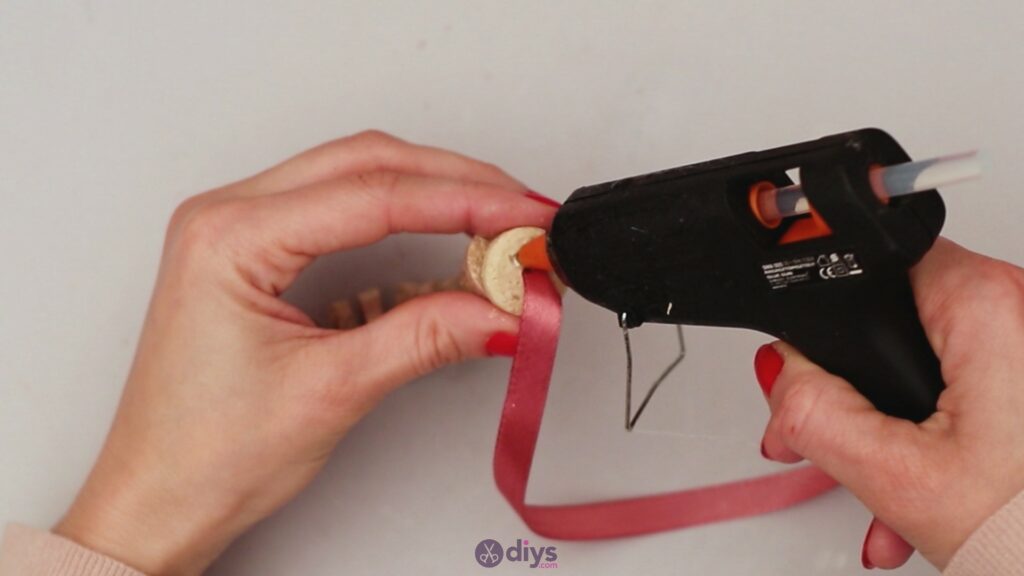
Now it’s time to decorate the napkin ring just a tiny bit. Get the half bead decorsand the glue gun.
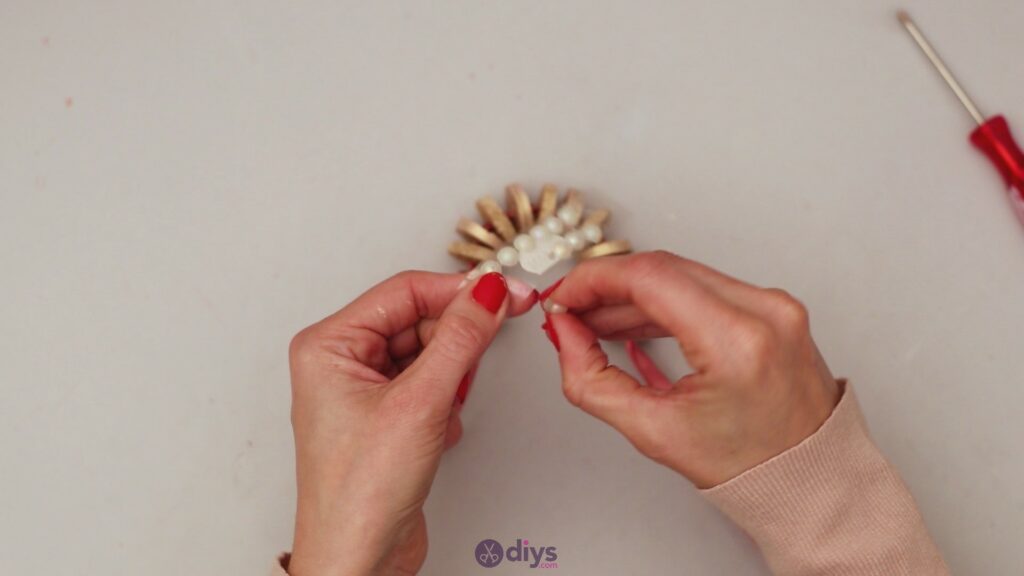
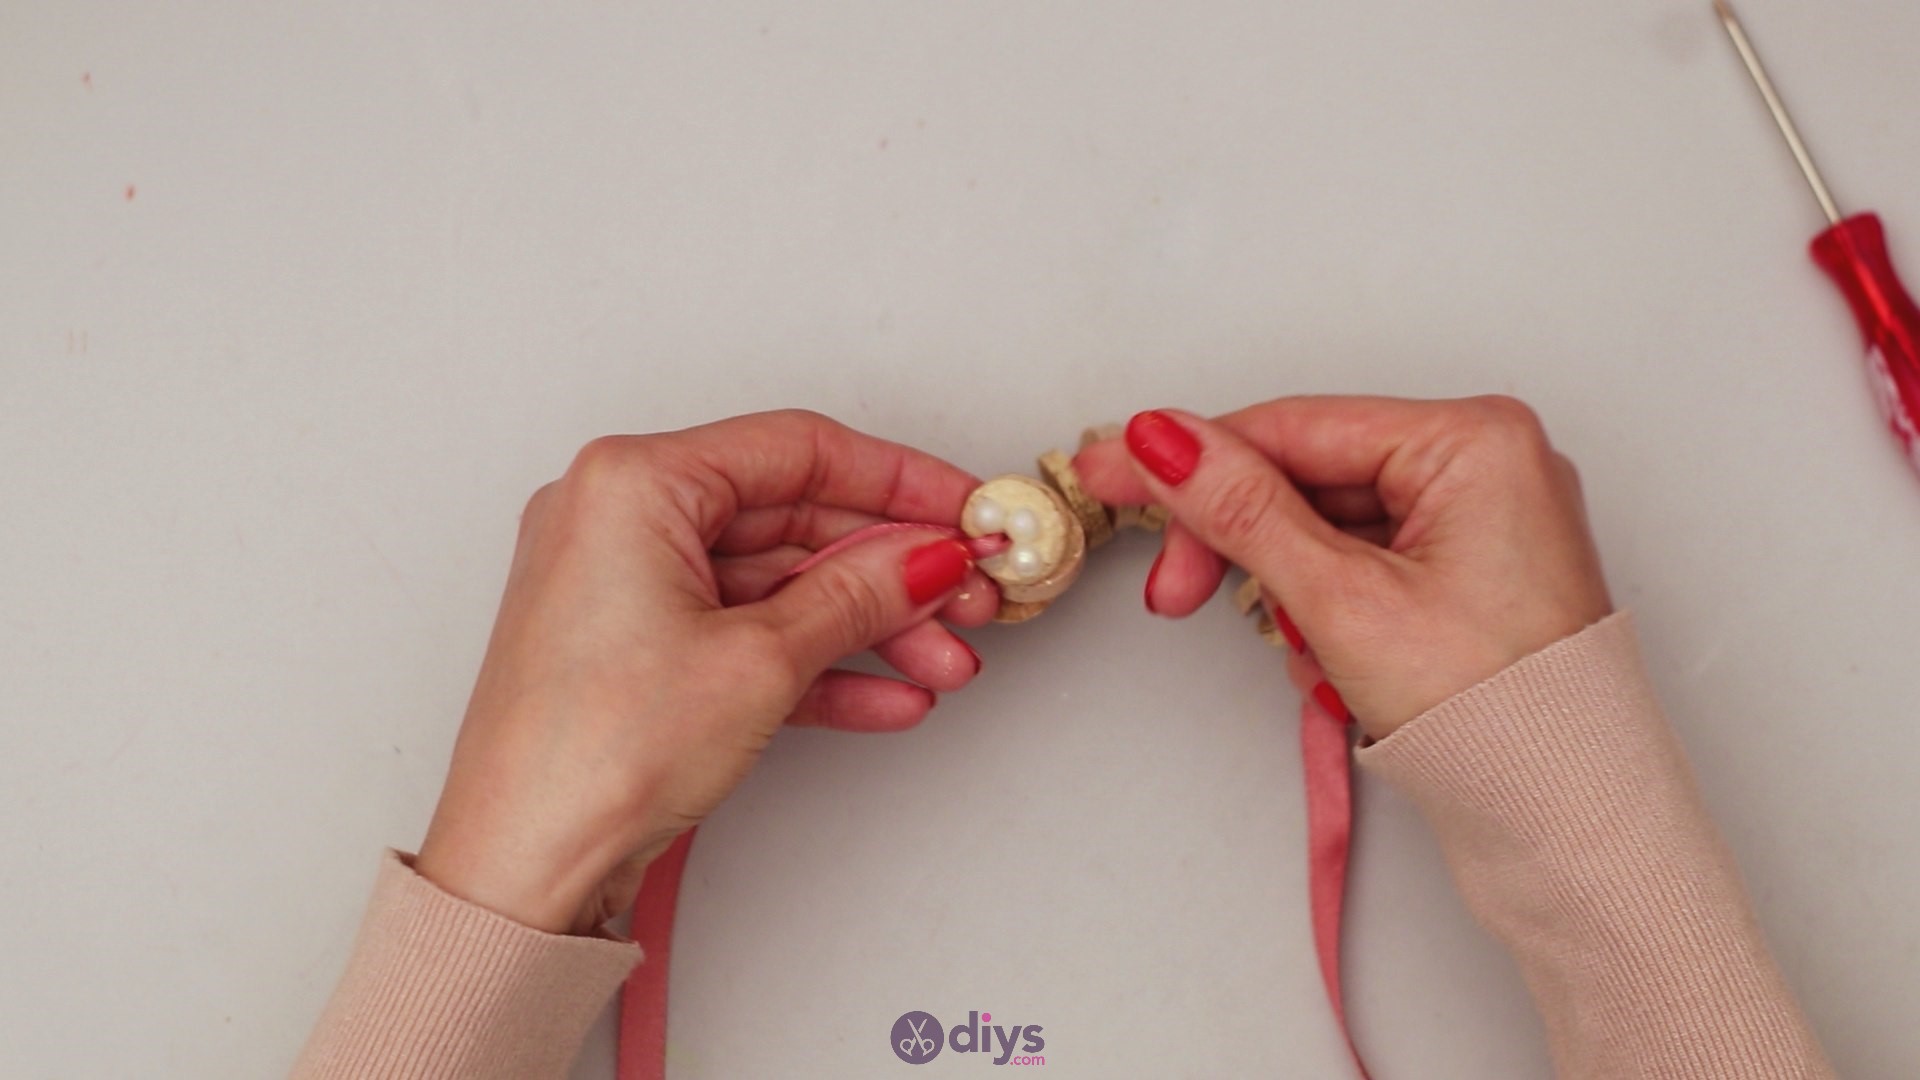
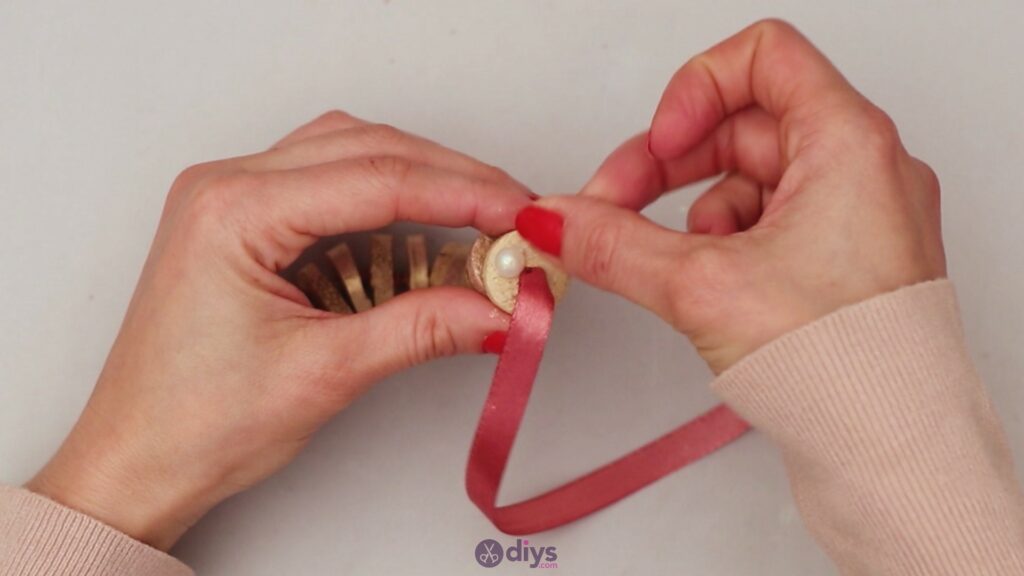
Our half bead decors came on a sticky piece of plastic so you could peel them off. Whatever kind of half-beads you have, they’ll work just fine. Add hot glue to the back of a piece and then place it on one of the last two wine corks.
You’ll want to place the bead centered between the ribbon and the edge.
Add four half-beads in total, surrounding the silk ribbon.

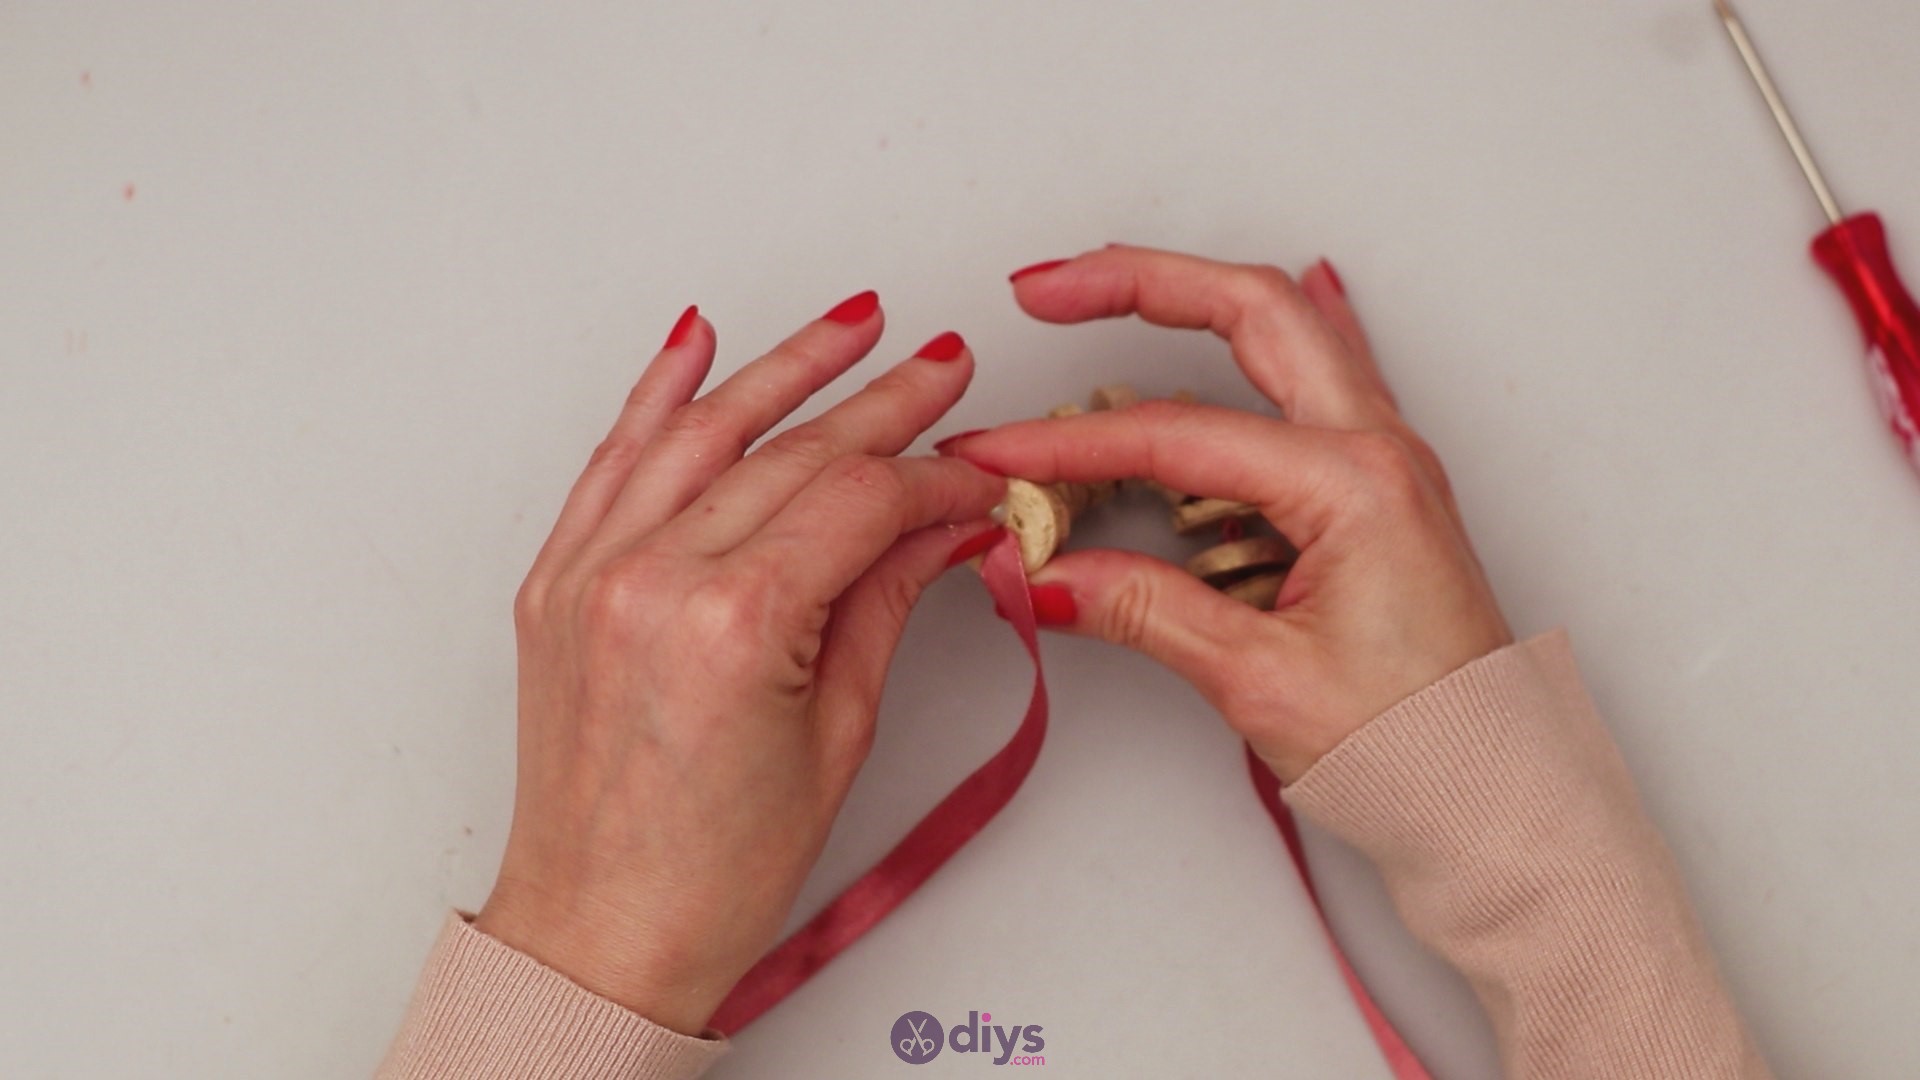
Now it’s time to do the same on the other end of the napkin ring. You can also add hot glue to the cork directly so you can choose the position better, and then add the half bead over the dot.
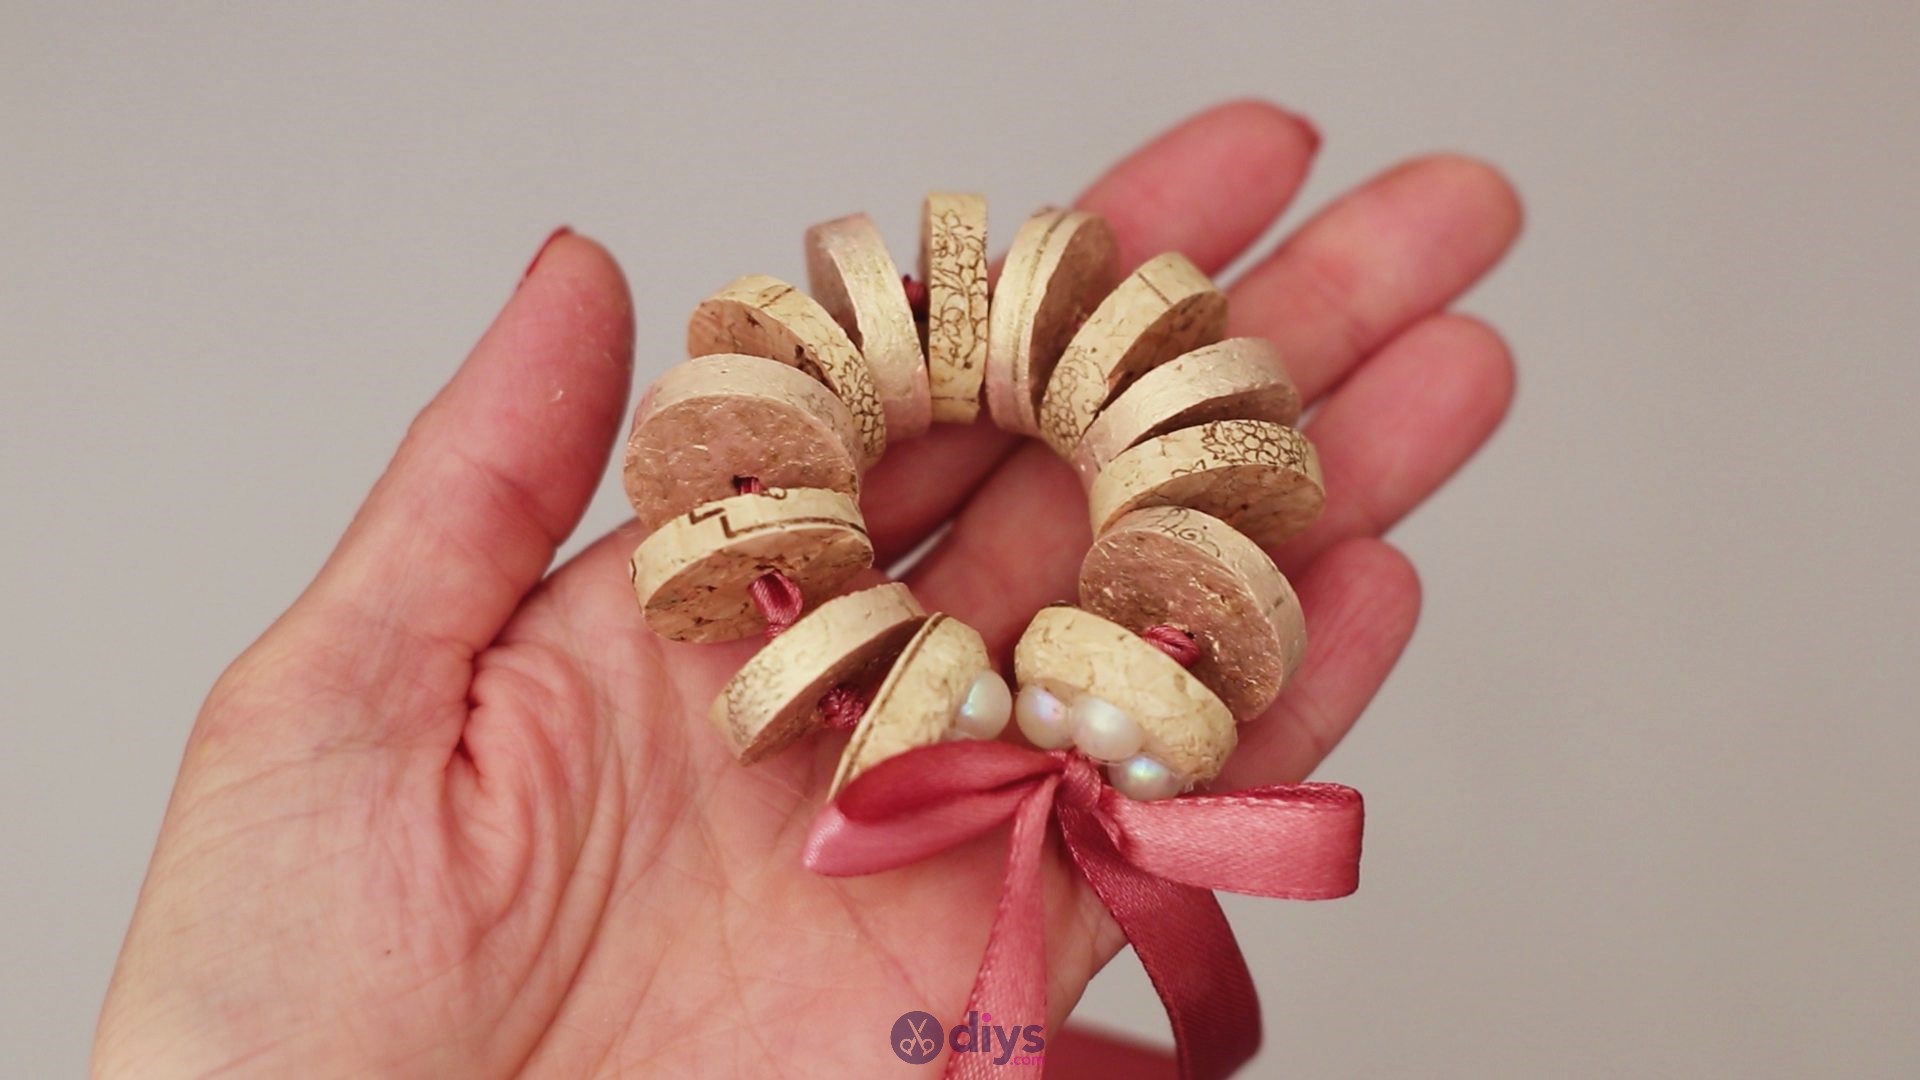
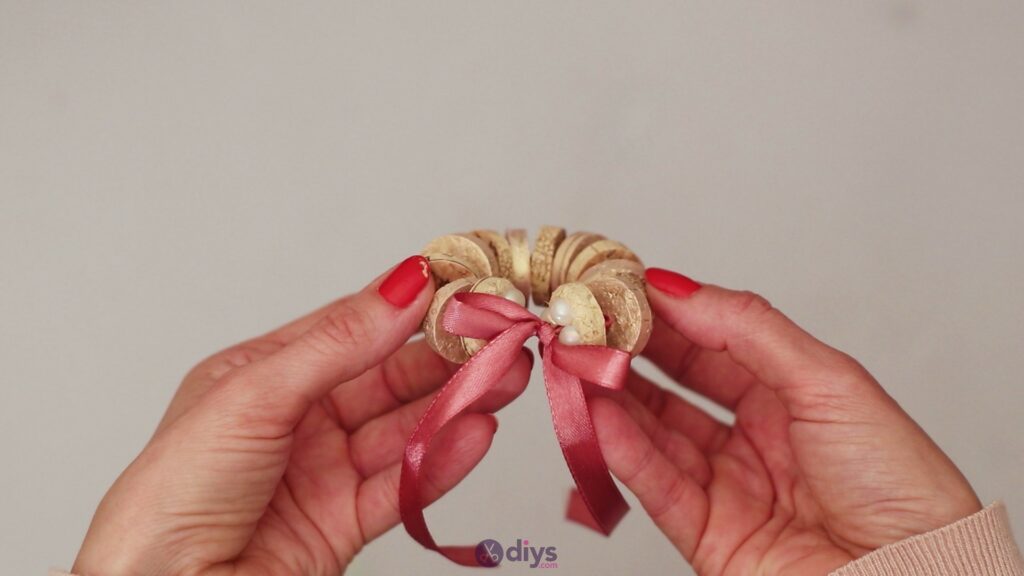
Look how neat they look! The pearls look great with the soft pink ribbon!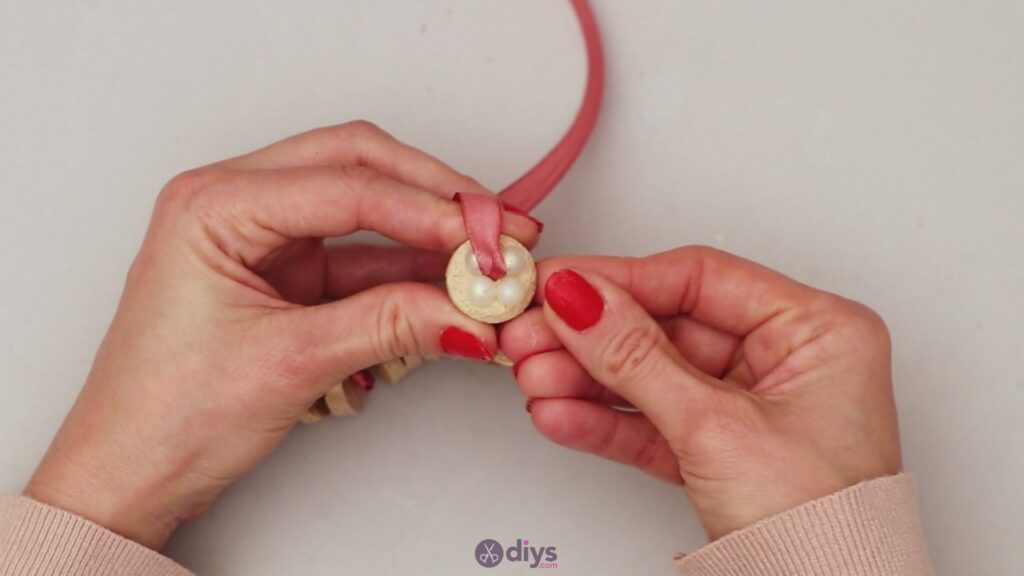
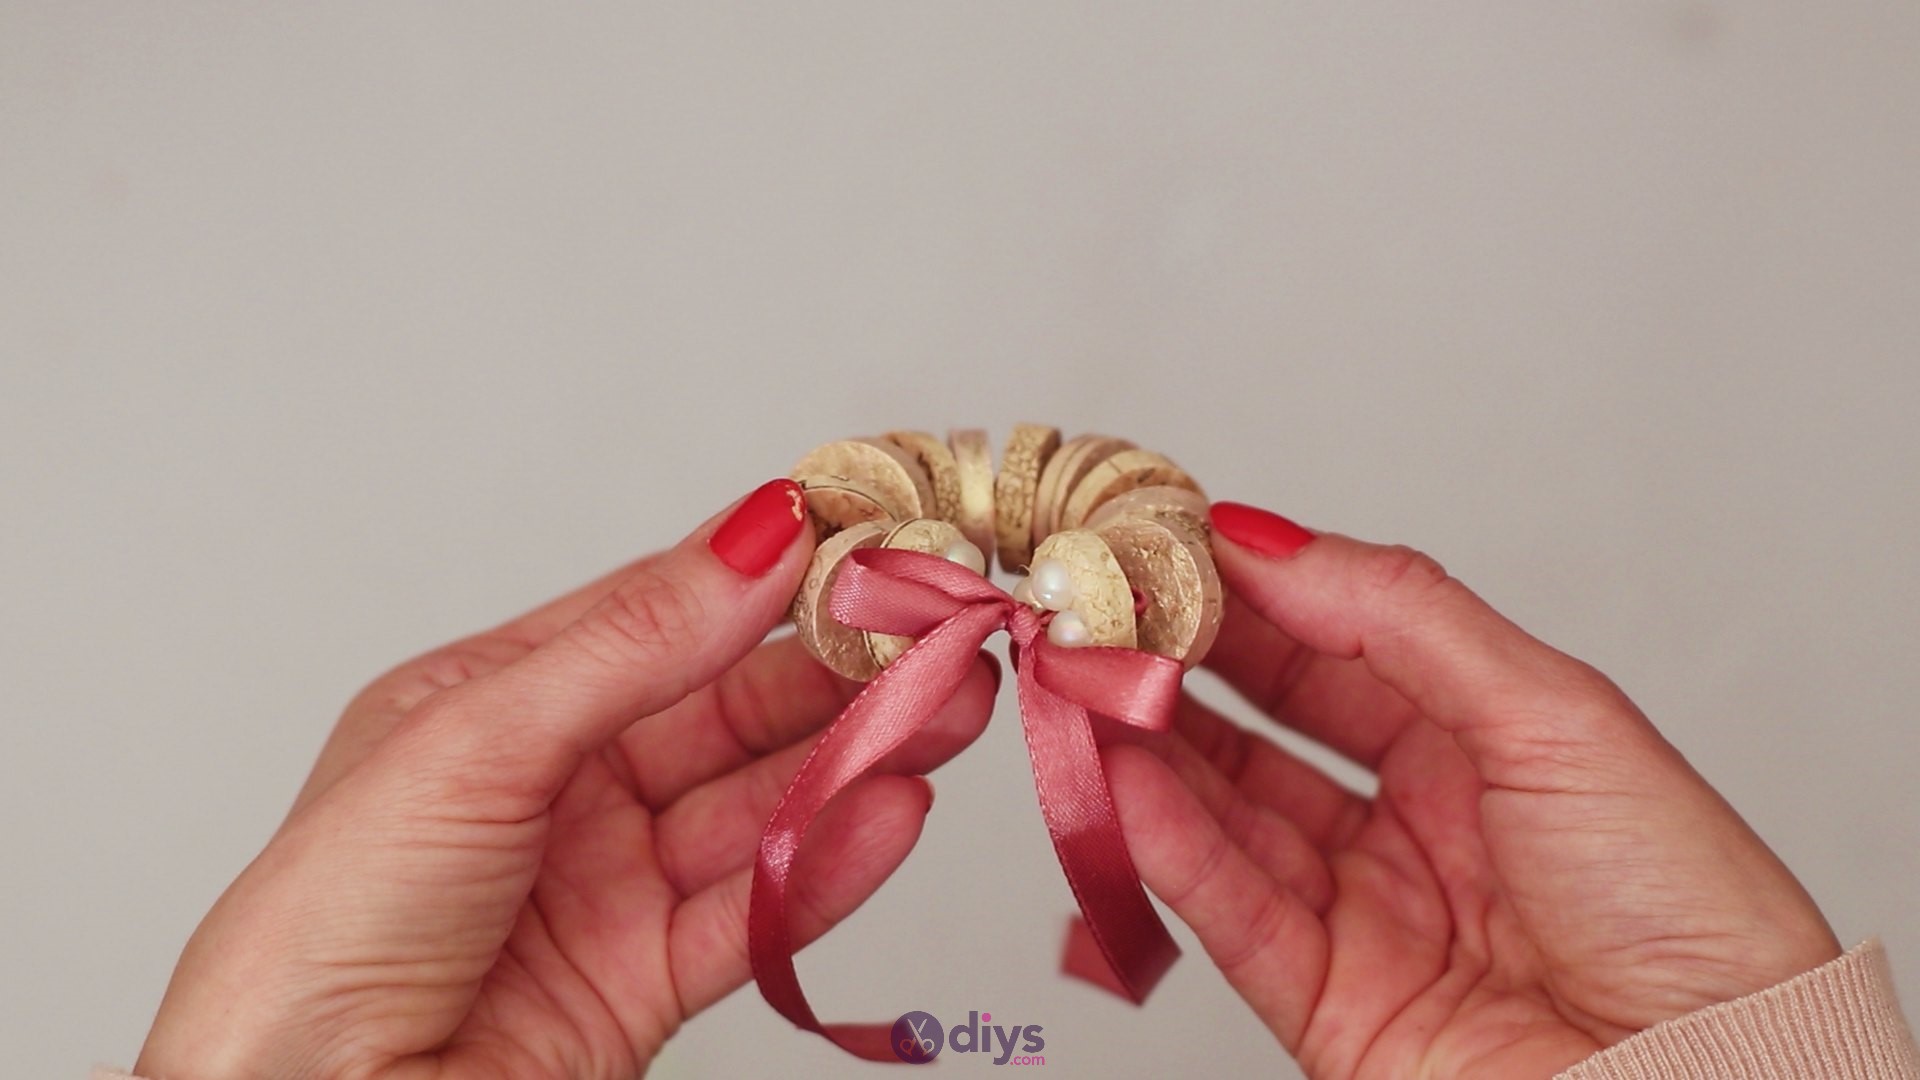
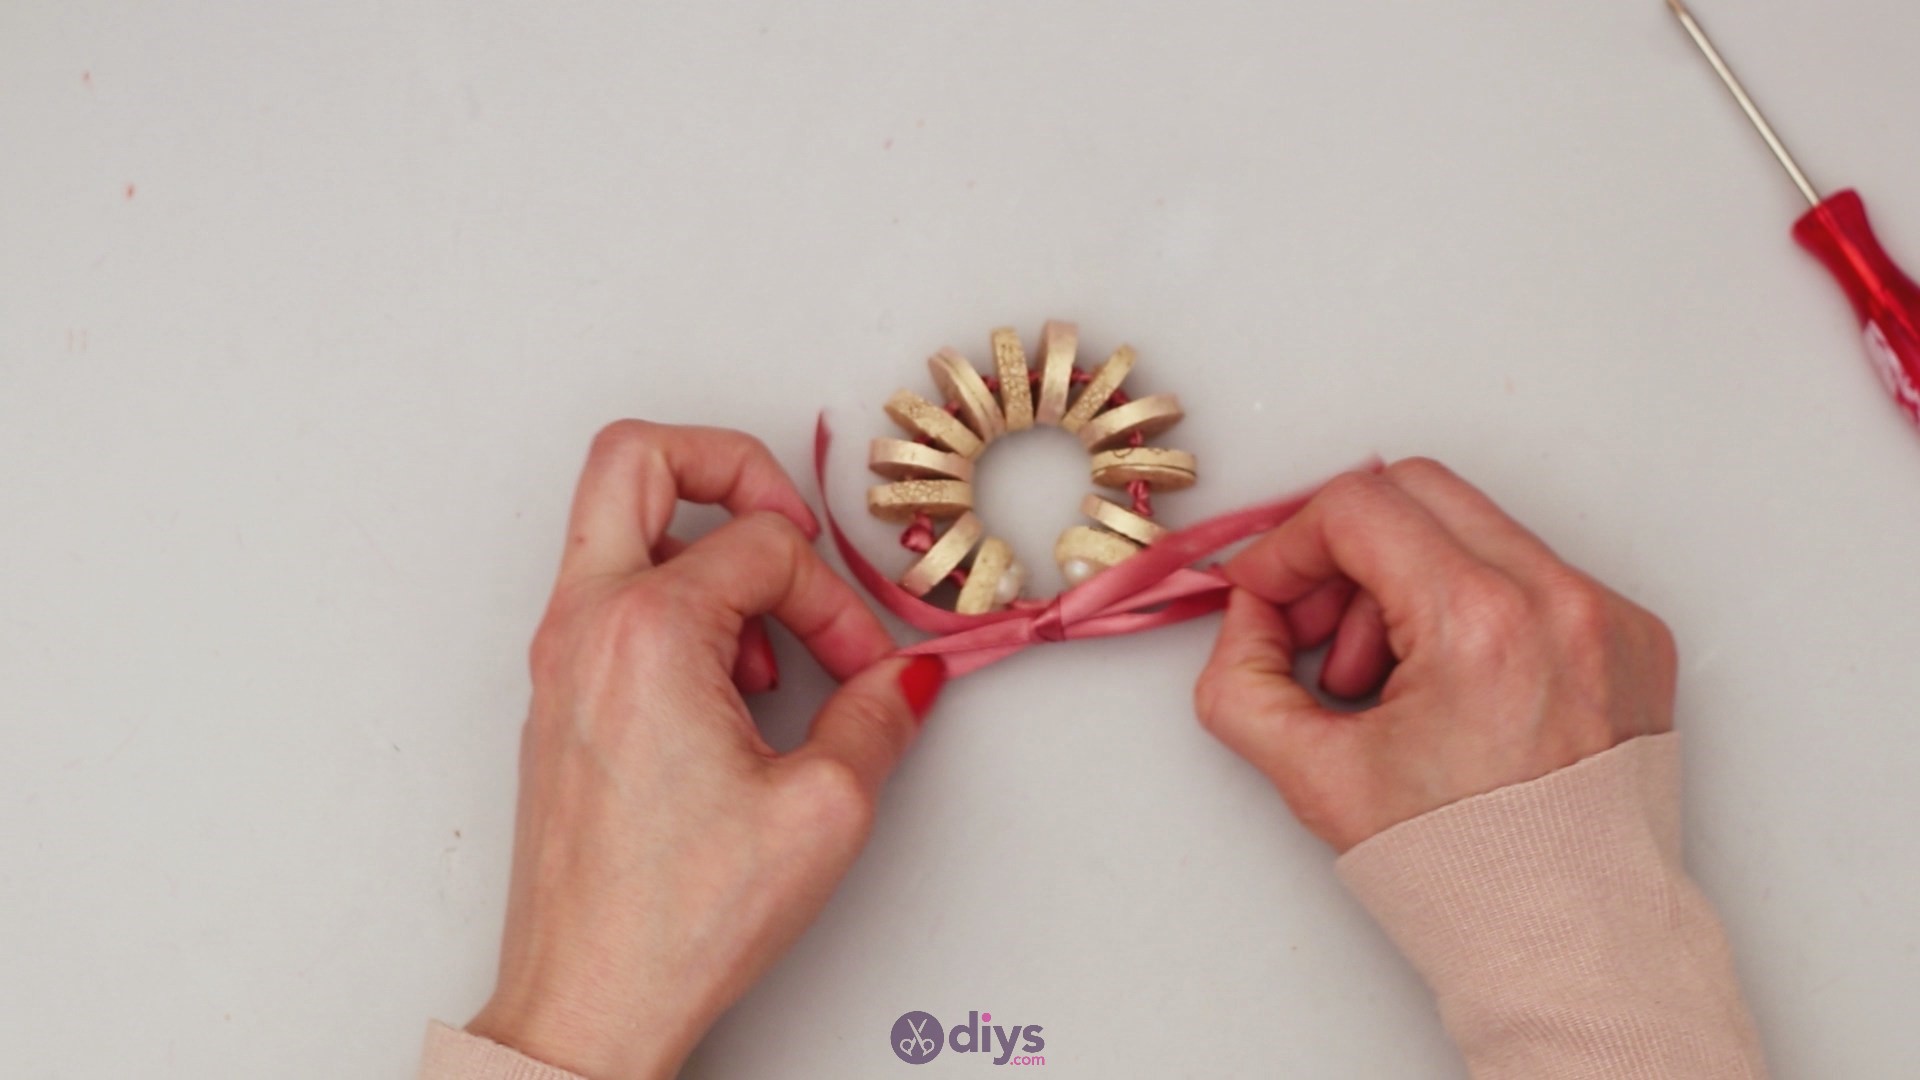
Step 6: Finish off the napkin ring
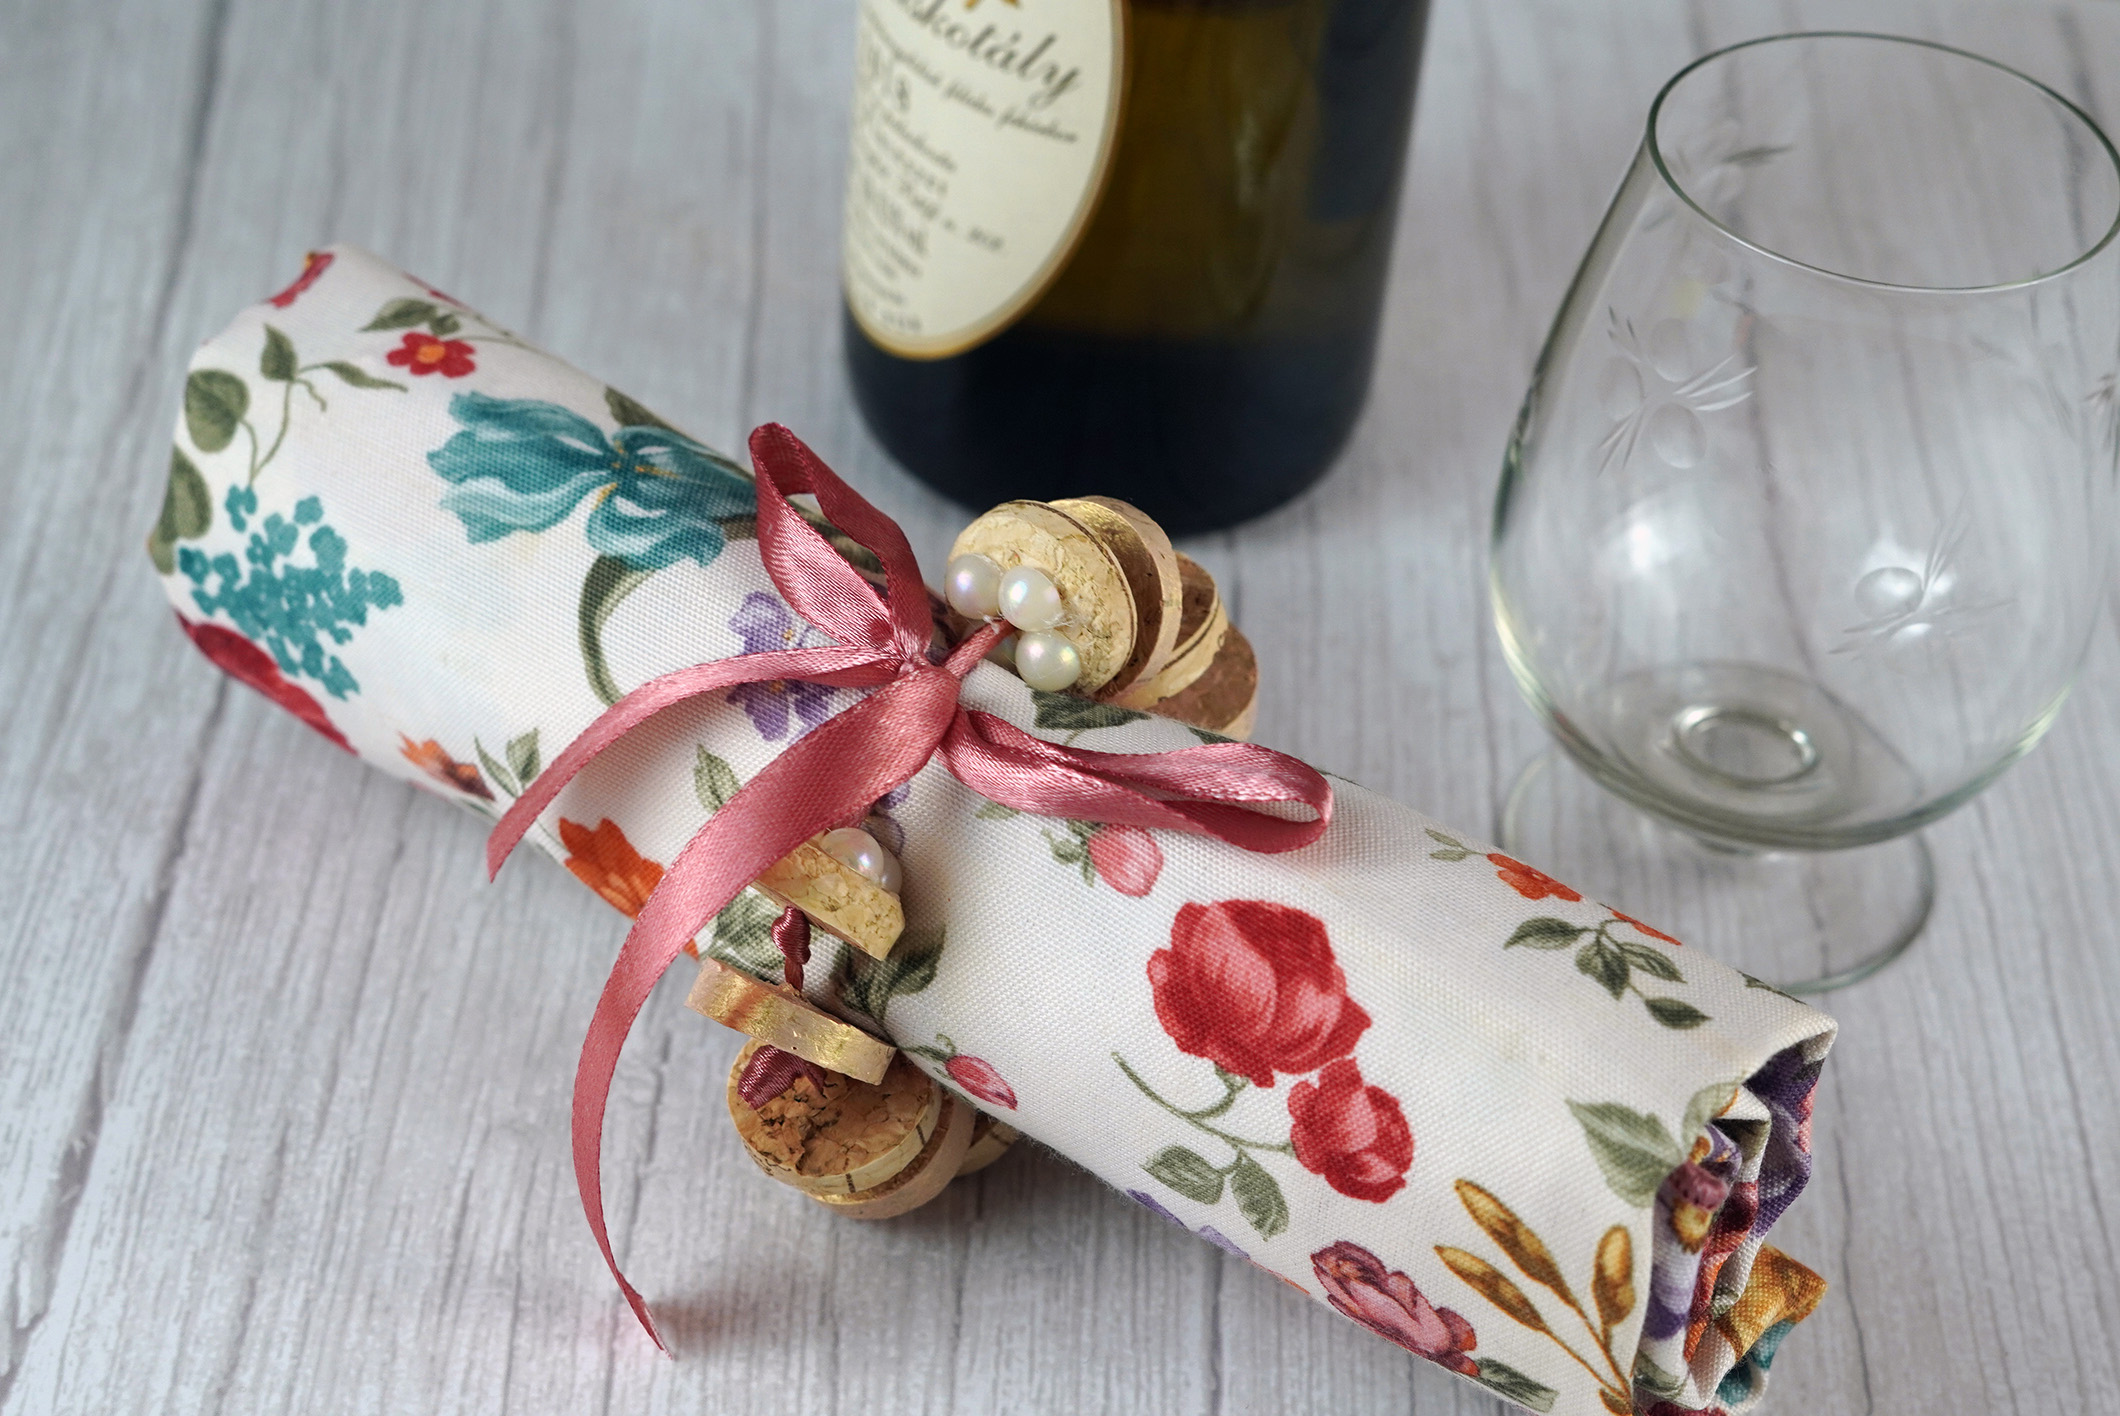
Next, you need to finish up the napkin ring you just created. You’ll do that with a pretty bow!


There you go! The wine cork napkin ring is done and you can go ahead and do another one. We’re sure you’ll need at least a couple of them in your drawer.
Now, the only thing missing is a cute napkin to tie the ring around. We’re sure your guests will appreciate your creativity and will likely ask you how you made them or where you bought them from.
You can always create more, and you can even make some for your friends and family members. They’re not too difficult to make and you’ll likely take half as long to make one the second time around.
You can obviously customize the napkin rings however you want, using a different shade of acrylic paint, a different color for the silk ribbon, and even for the half-beads. Customize them however you want so they fit your home perfectly.

We would love to see your creations! Drop your photos in the comments section so we can enjoy them too!