DIY Vintage Mason Jar Craft
Updated on November 19, 2025


If there’s one thing I’ve always adored just as much as I love crafting, it’s upcycling. There’s just something so fulfilling about giving an old or empty object we’re not using anymore a new lease on life! That’s why I’m such a big fan of mason jar crafts. Lately, I’ve been feeling especially keen on the idea of making decor pieces that suit the slightly rustic chic and openly vintage inspired aesthetic of my home, which is how I found myself making this lovely lace, burlap, and twine vintage mason jar!

I’d be lying to you if I said I only made one. I’ve actually made about six of them because they’re useful for storing small clutter and little trinkets in too. I even documented the whole DIY process for one of them so I could share how I did it. Check out these step by step instructions complete with photos! If you’d rather follow along with a video tutorial instead of written words, scroll to the bottom of this post to find just what you’re looking for.
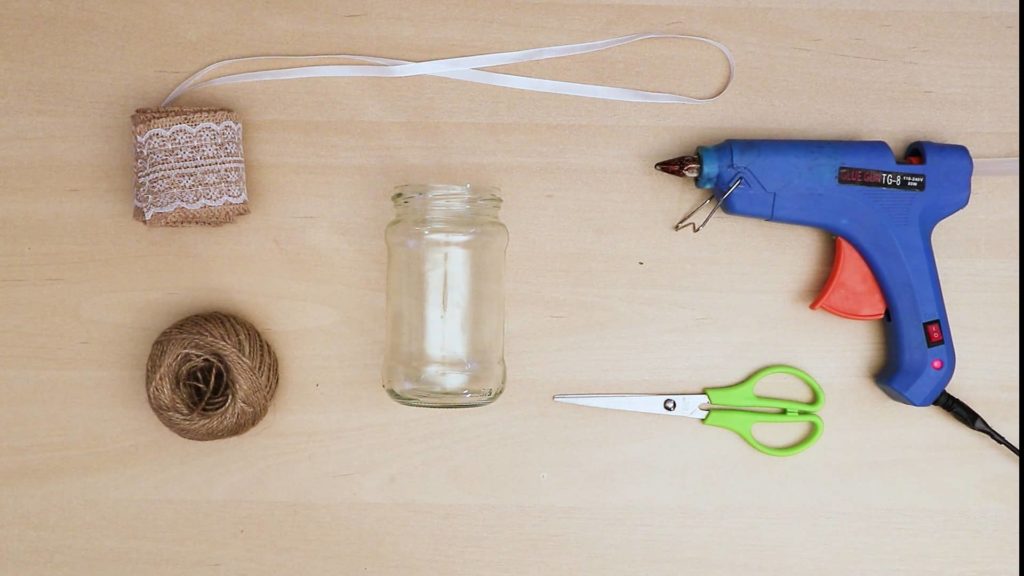
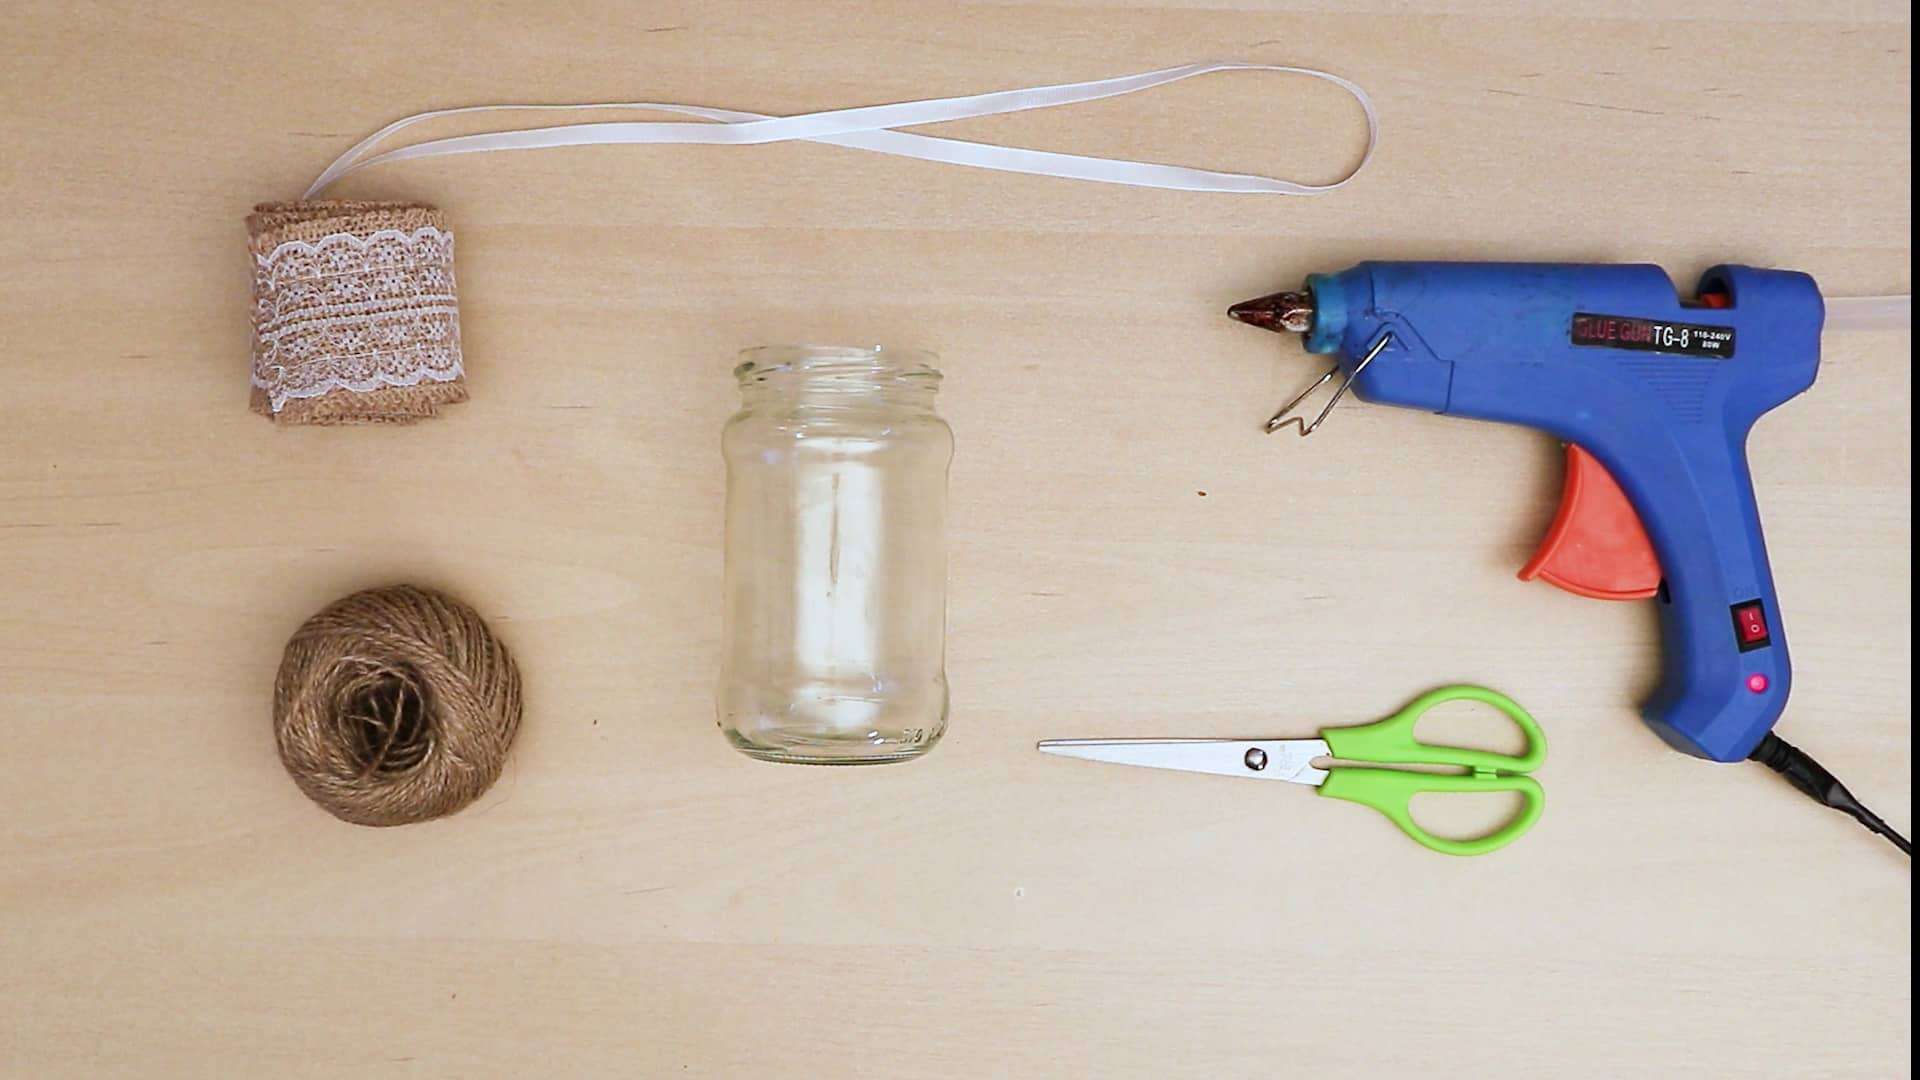
For this project, you’ll need:
- A glass mason jar
- Jute twine
- Thick burlap and lace trim
- A thin white ribbon
- Hot glue
- Scissors
Step 1: Gather your materials!
Check your list and get everything you need.
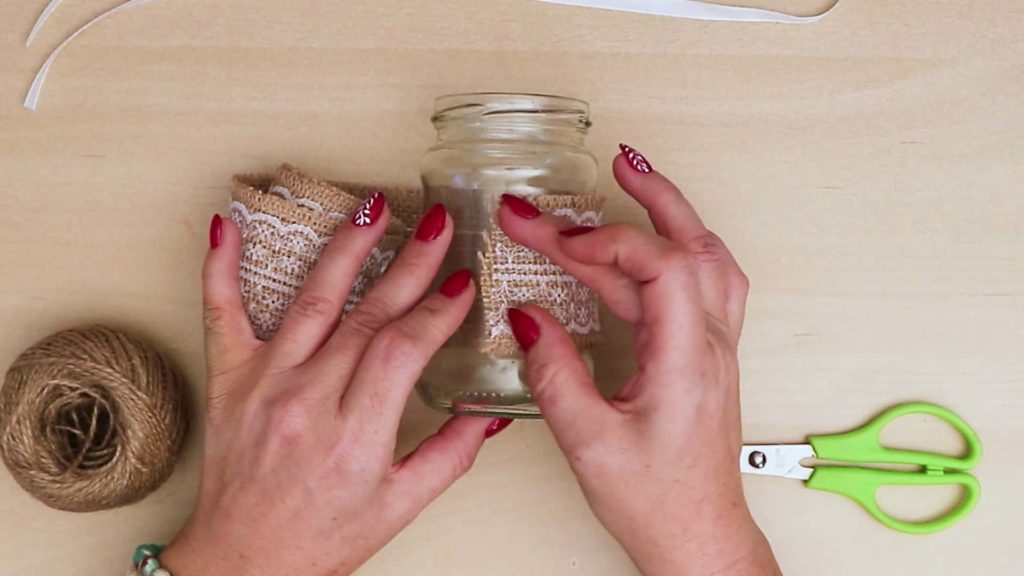
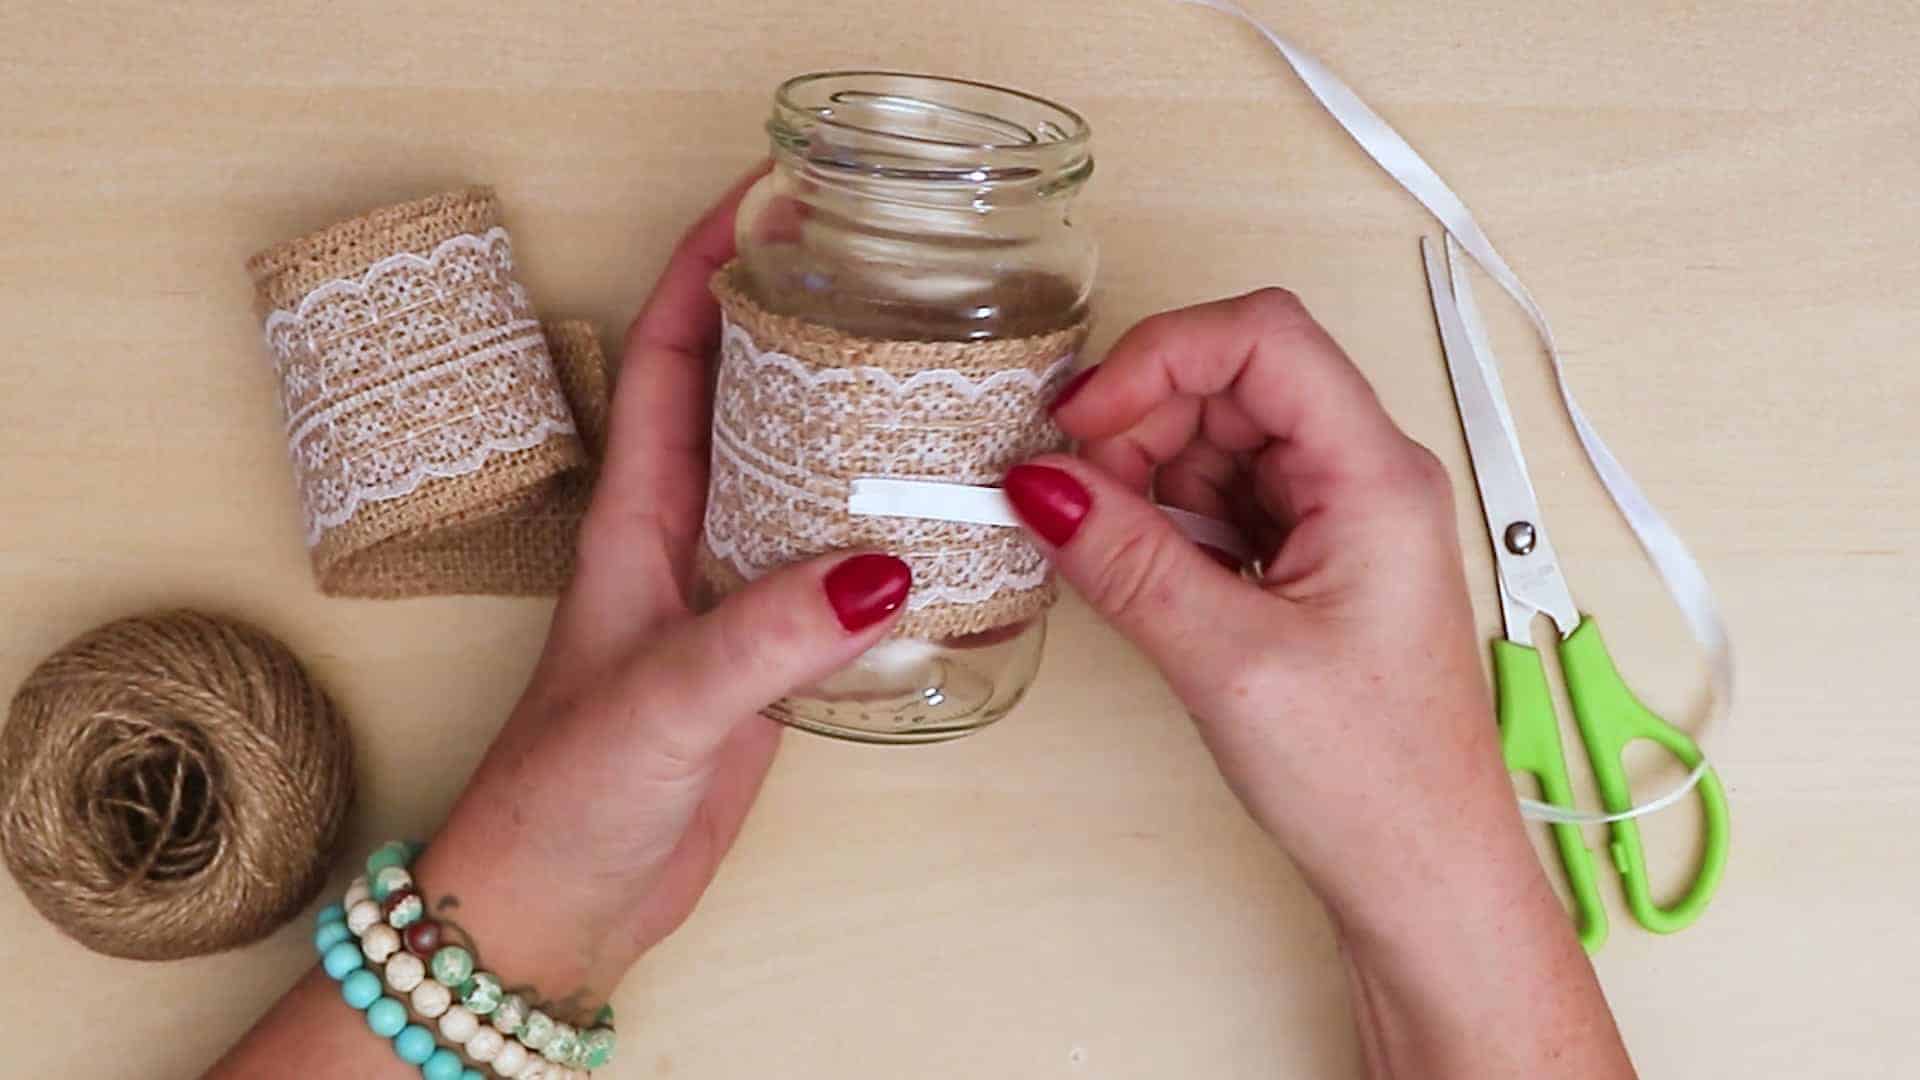
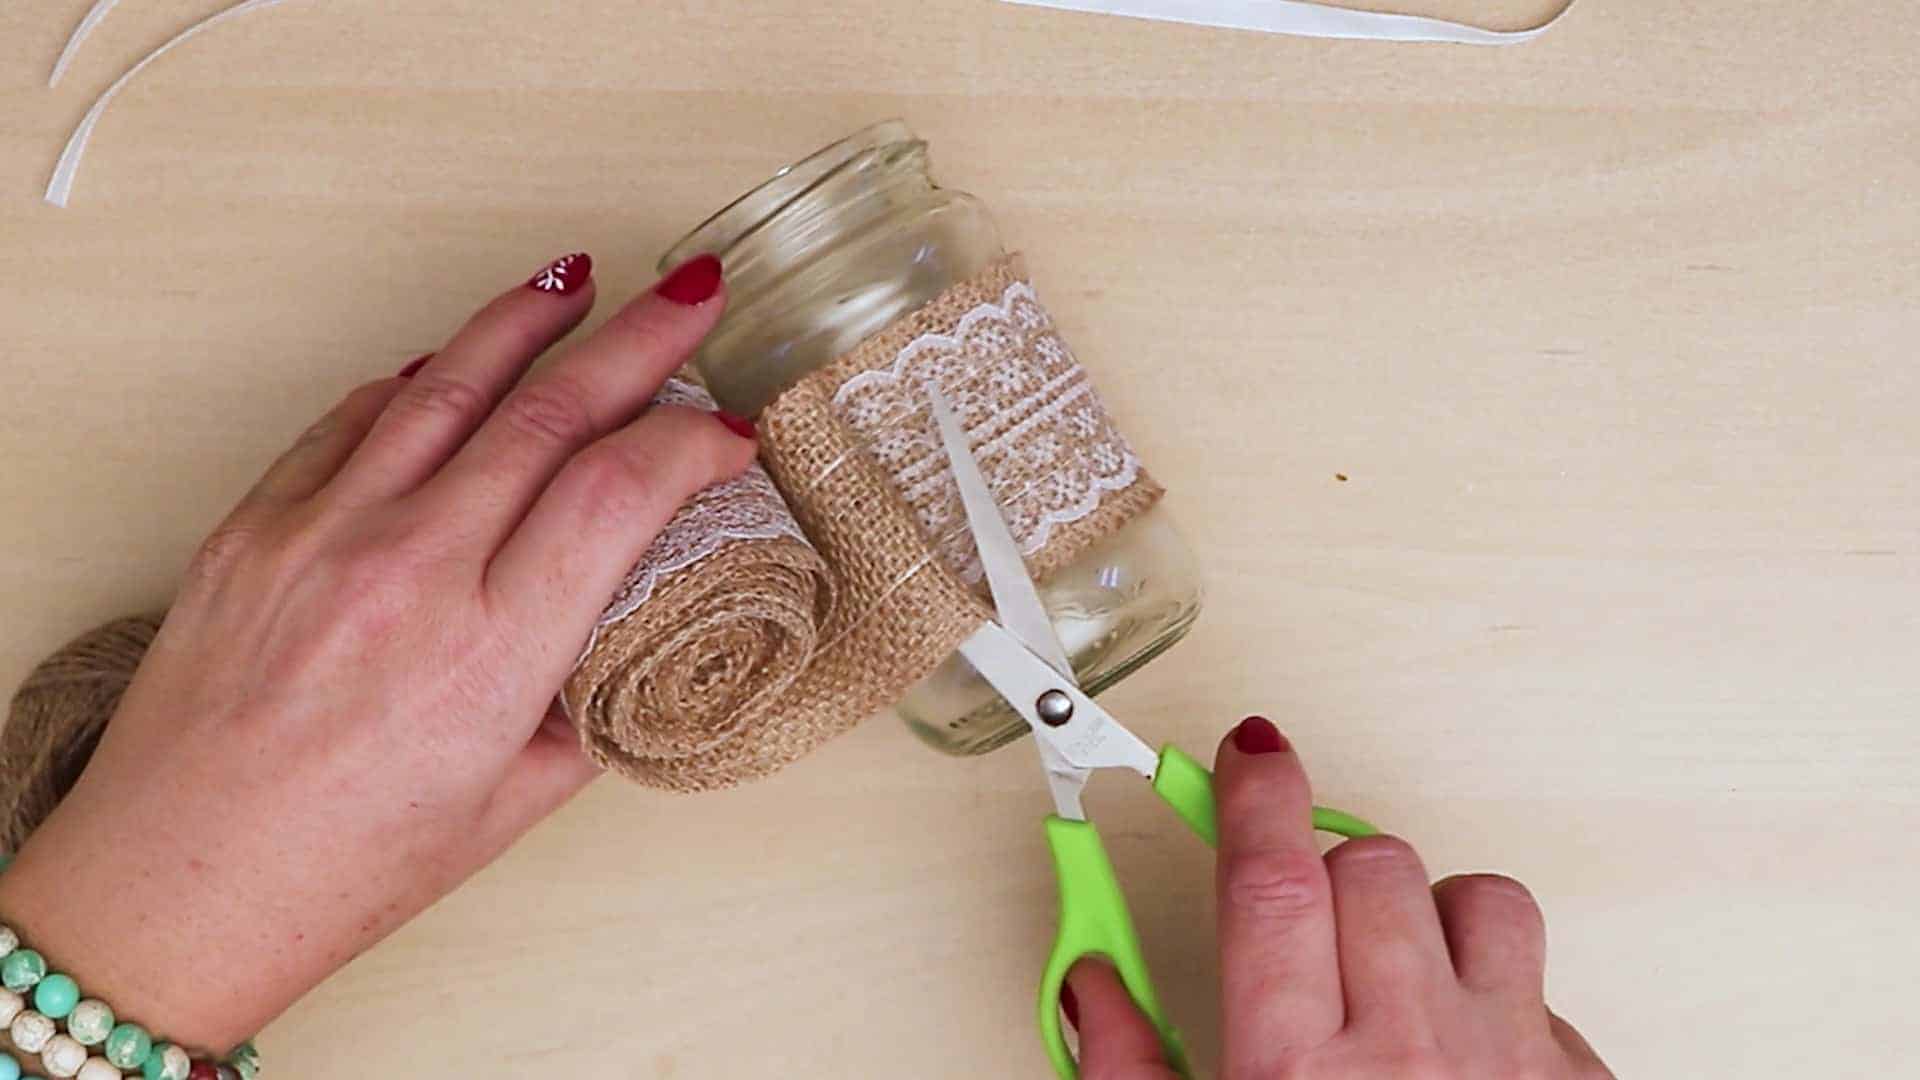
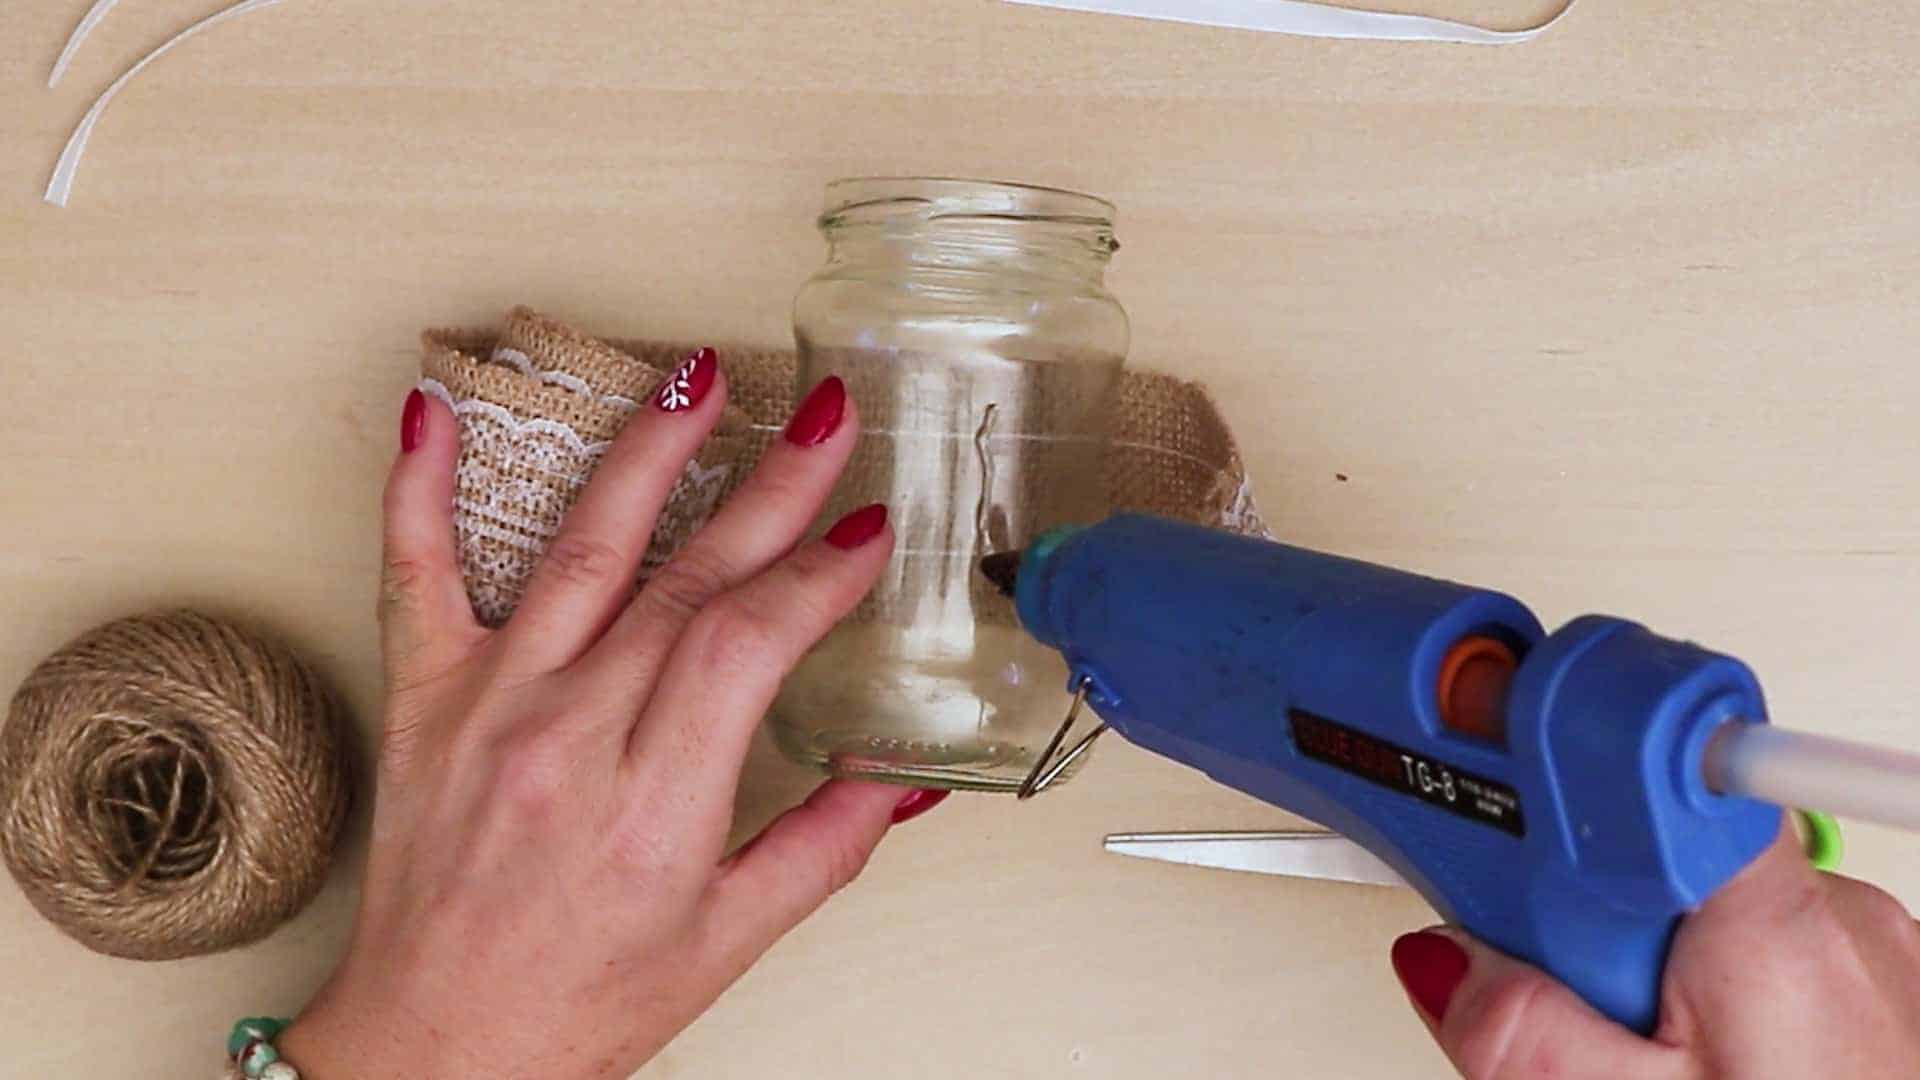
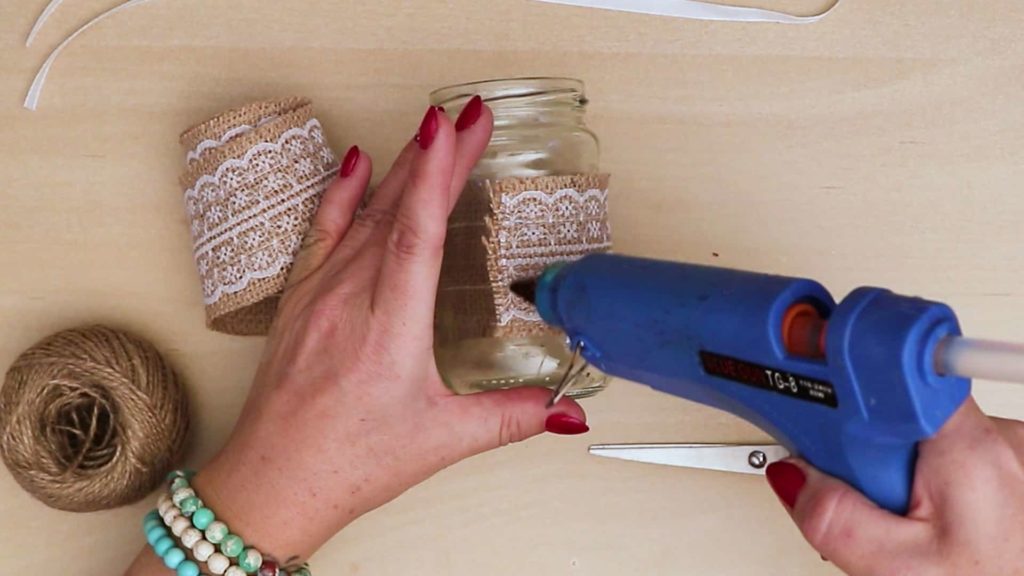
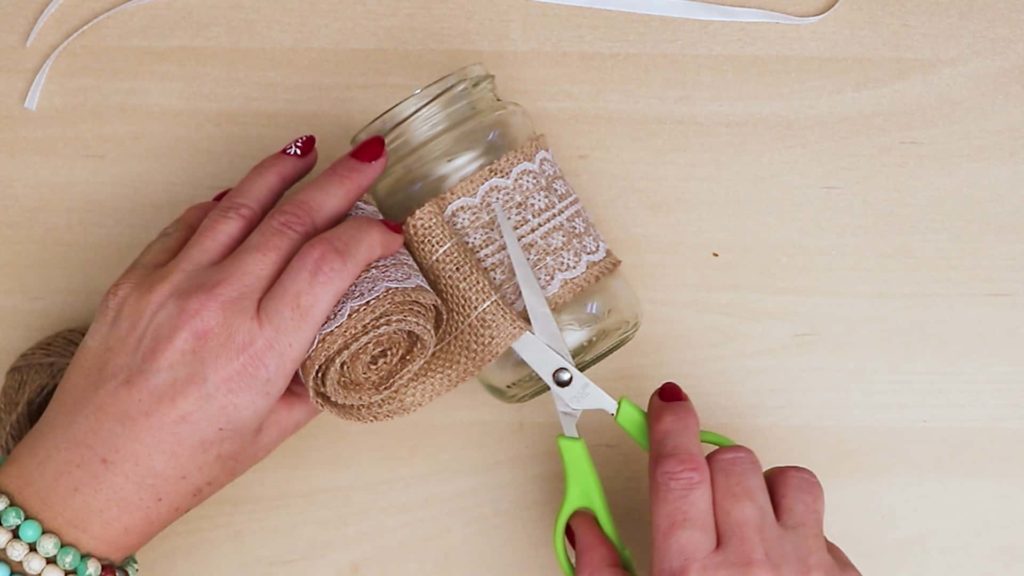
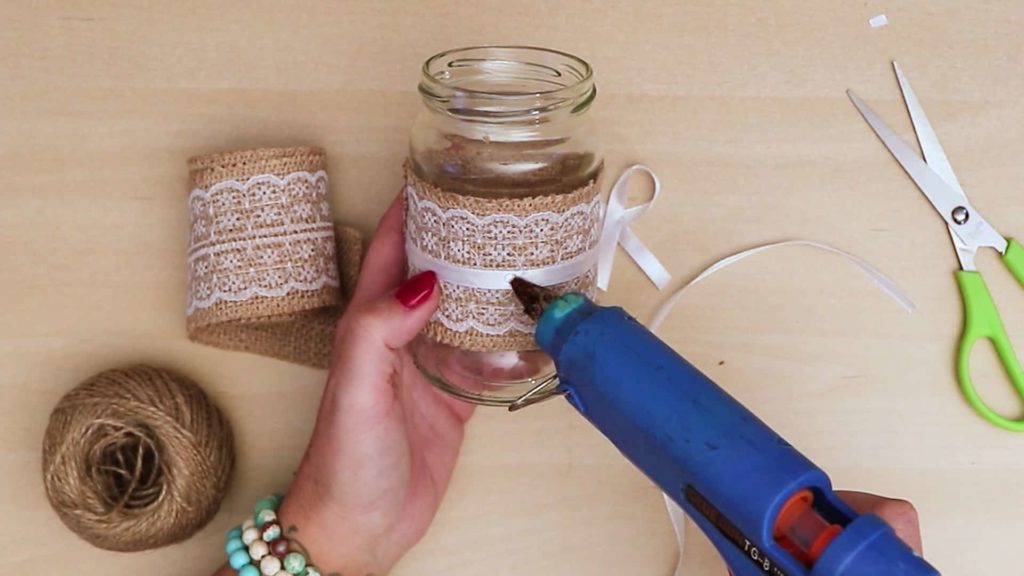
Step 2: start gluing the burlap
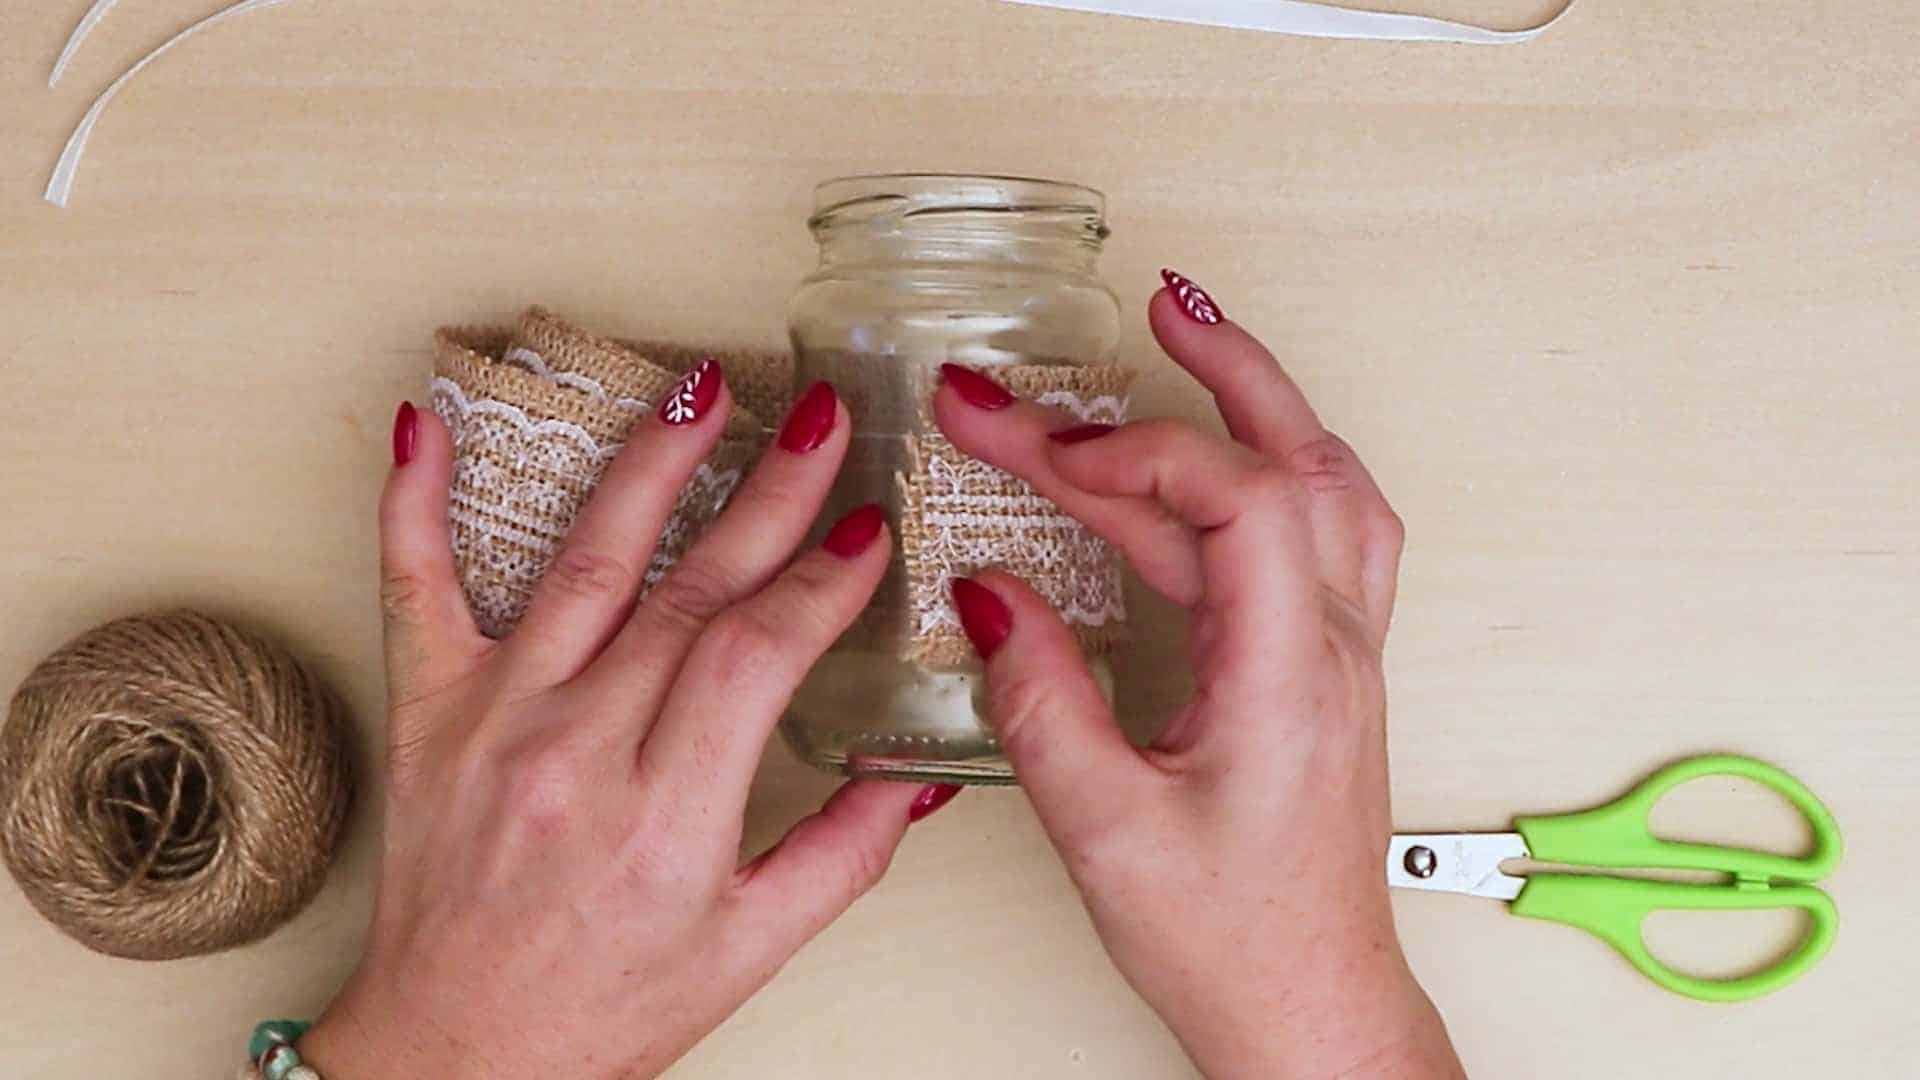
Place your burlap trim around your empty glass jar as a sort of trial run to see where you’d like to position your band. I chose a very central spot in the jar’s height. Lift the end and apply hot glue on the jar where you want it to sit, then stick the edge down to anchor your trim in place. Wrap more trim around the jar until you meet your first end again to see where they overlap. Apply hot glue along the edge of the first end, on top of the the trim this time, and then wrap once more and press the overlapped trim into the glue. Use your scissors to cut a new end free from your roll of trim.

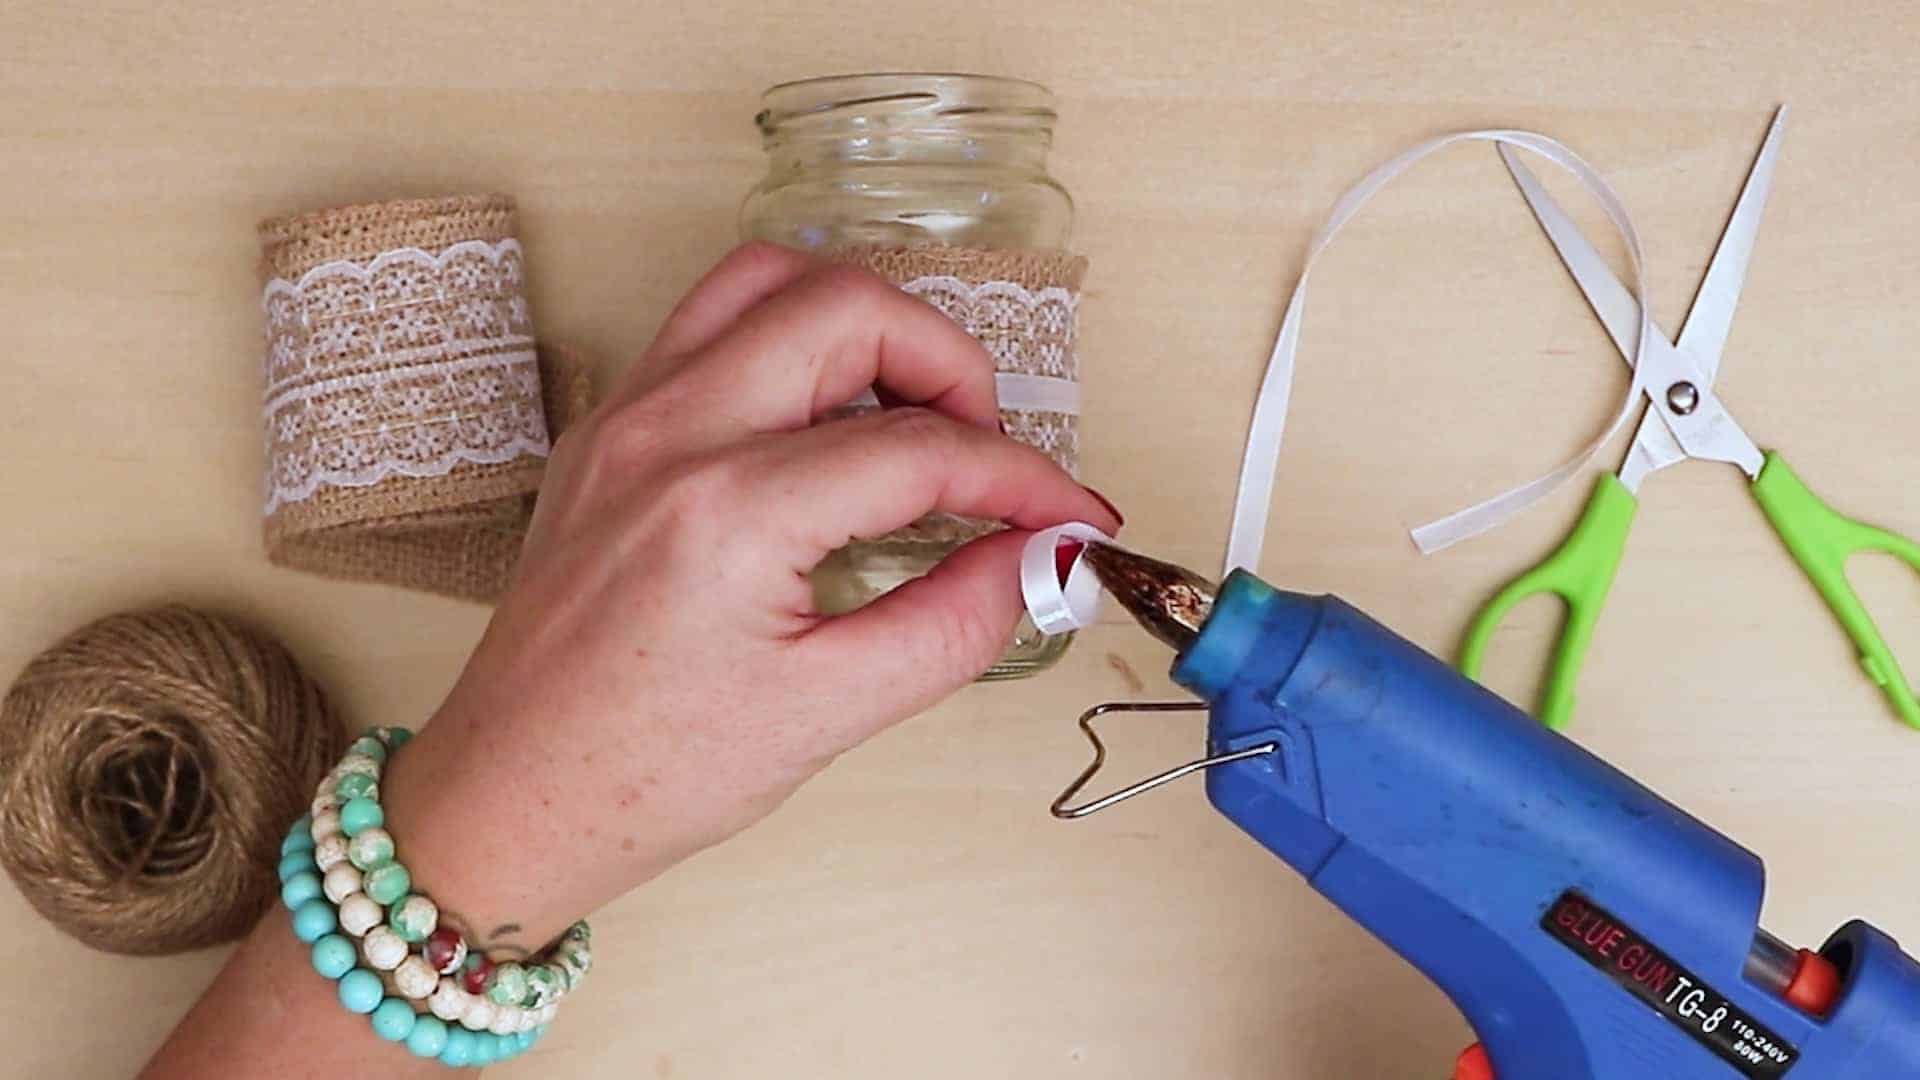
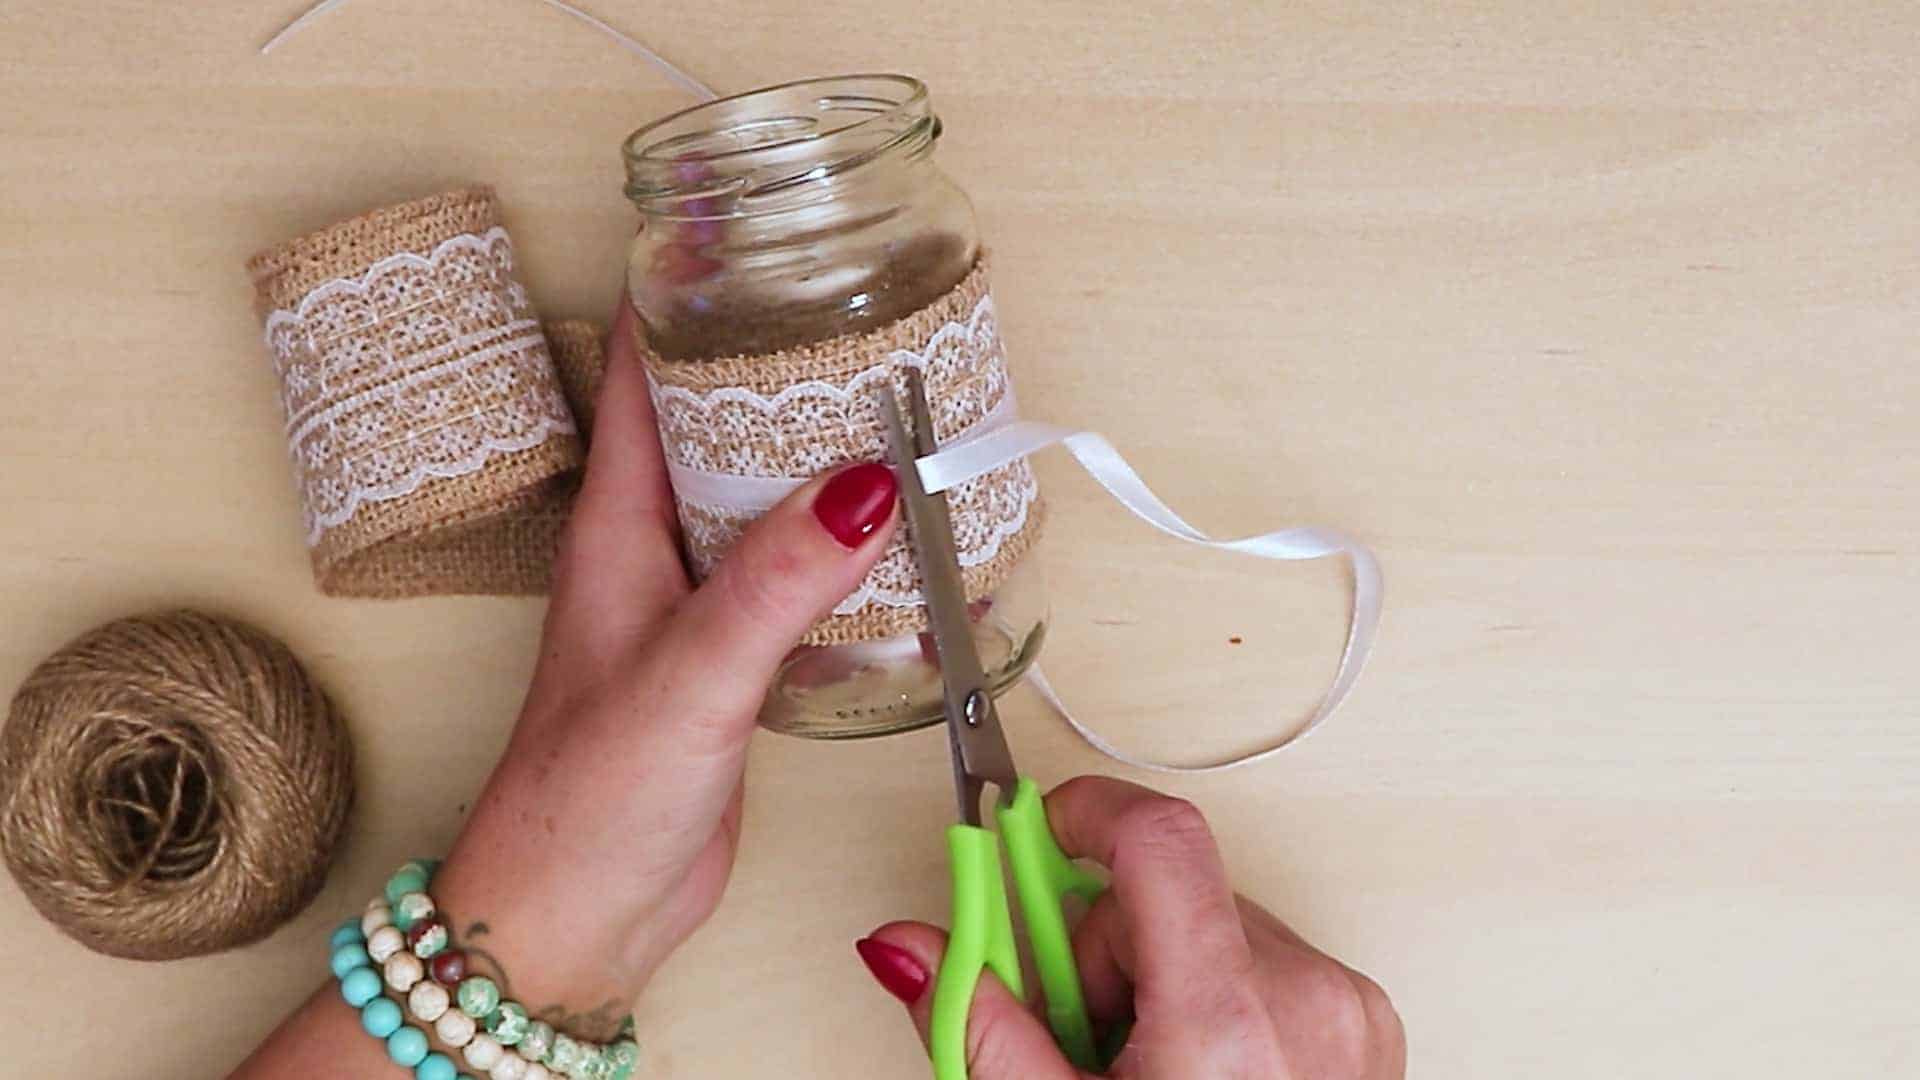
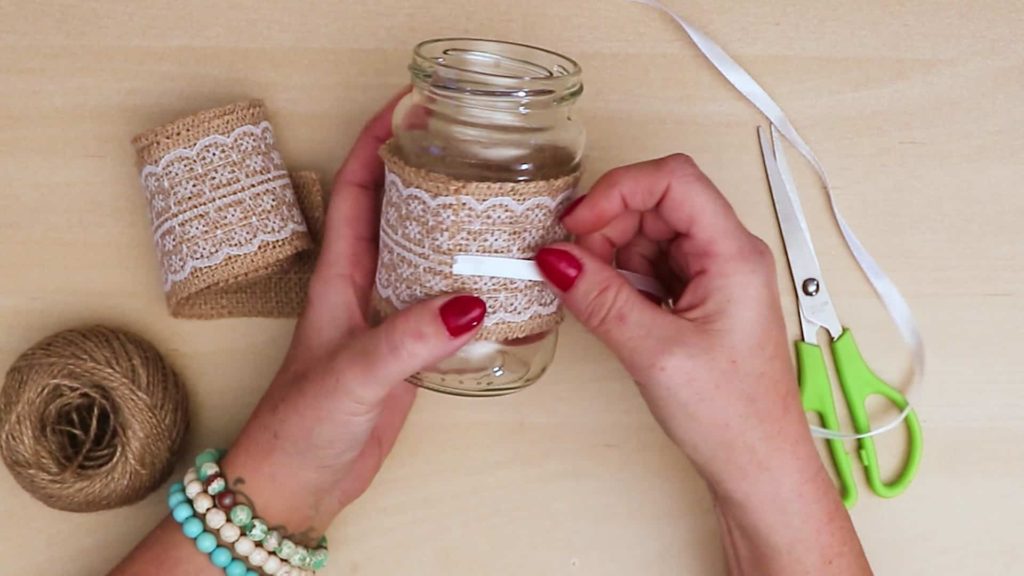
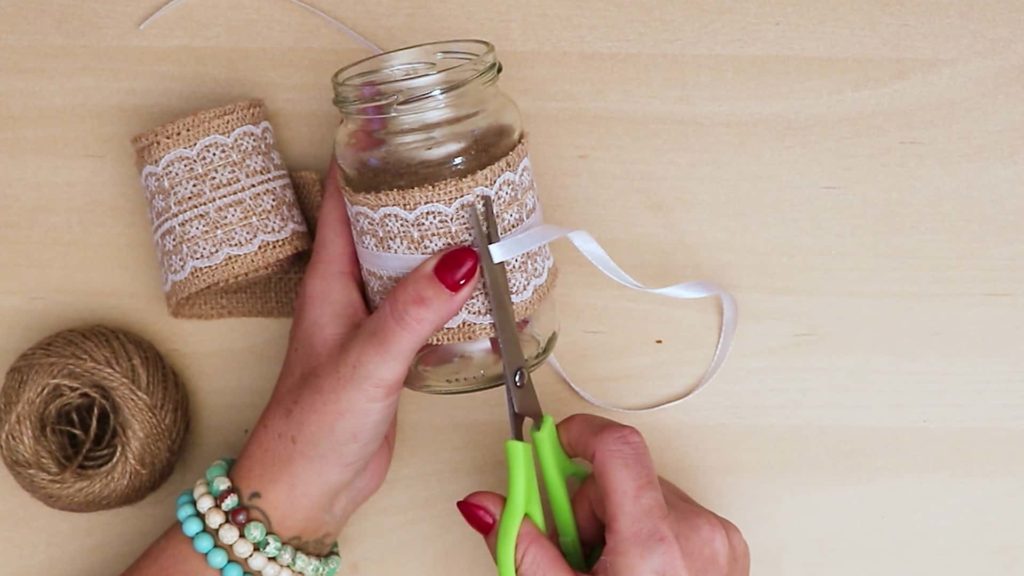
Step 3: add ribbon
At a central spot in the trim you’ve just added to your jar, add another dot of hot glue. Position your white ribbon to wrap it horizontally around the jar and stick your first end down in that glue to anchor it. Keep wrapping the ribbon all the way around until you meet up with your end again, just like with the trim. Cut the ribbon where it overlaps at your anchor and glue this new end down on top of the first. You know have a band of white ribbon through the center of your lace and burlap. I chose to position both my seams in the same place so my jar would have a discernible back side and a neater looking front side for display.

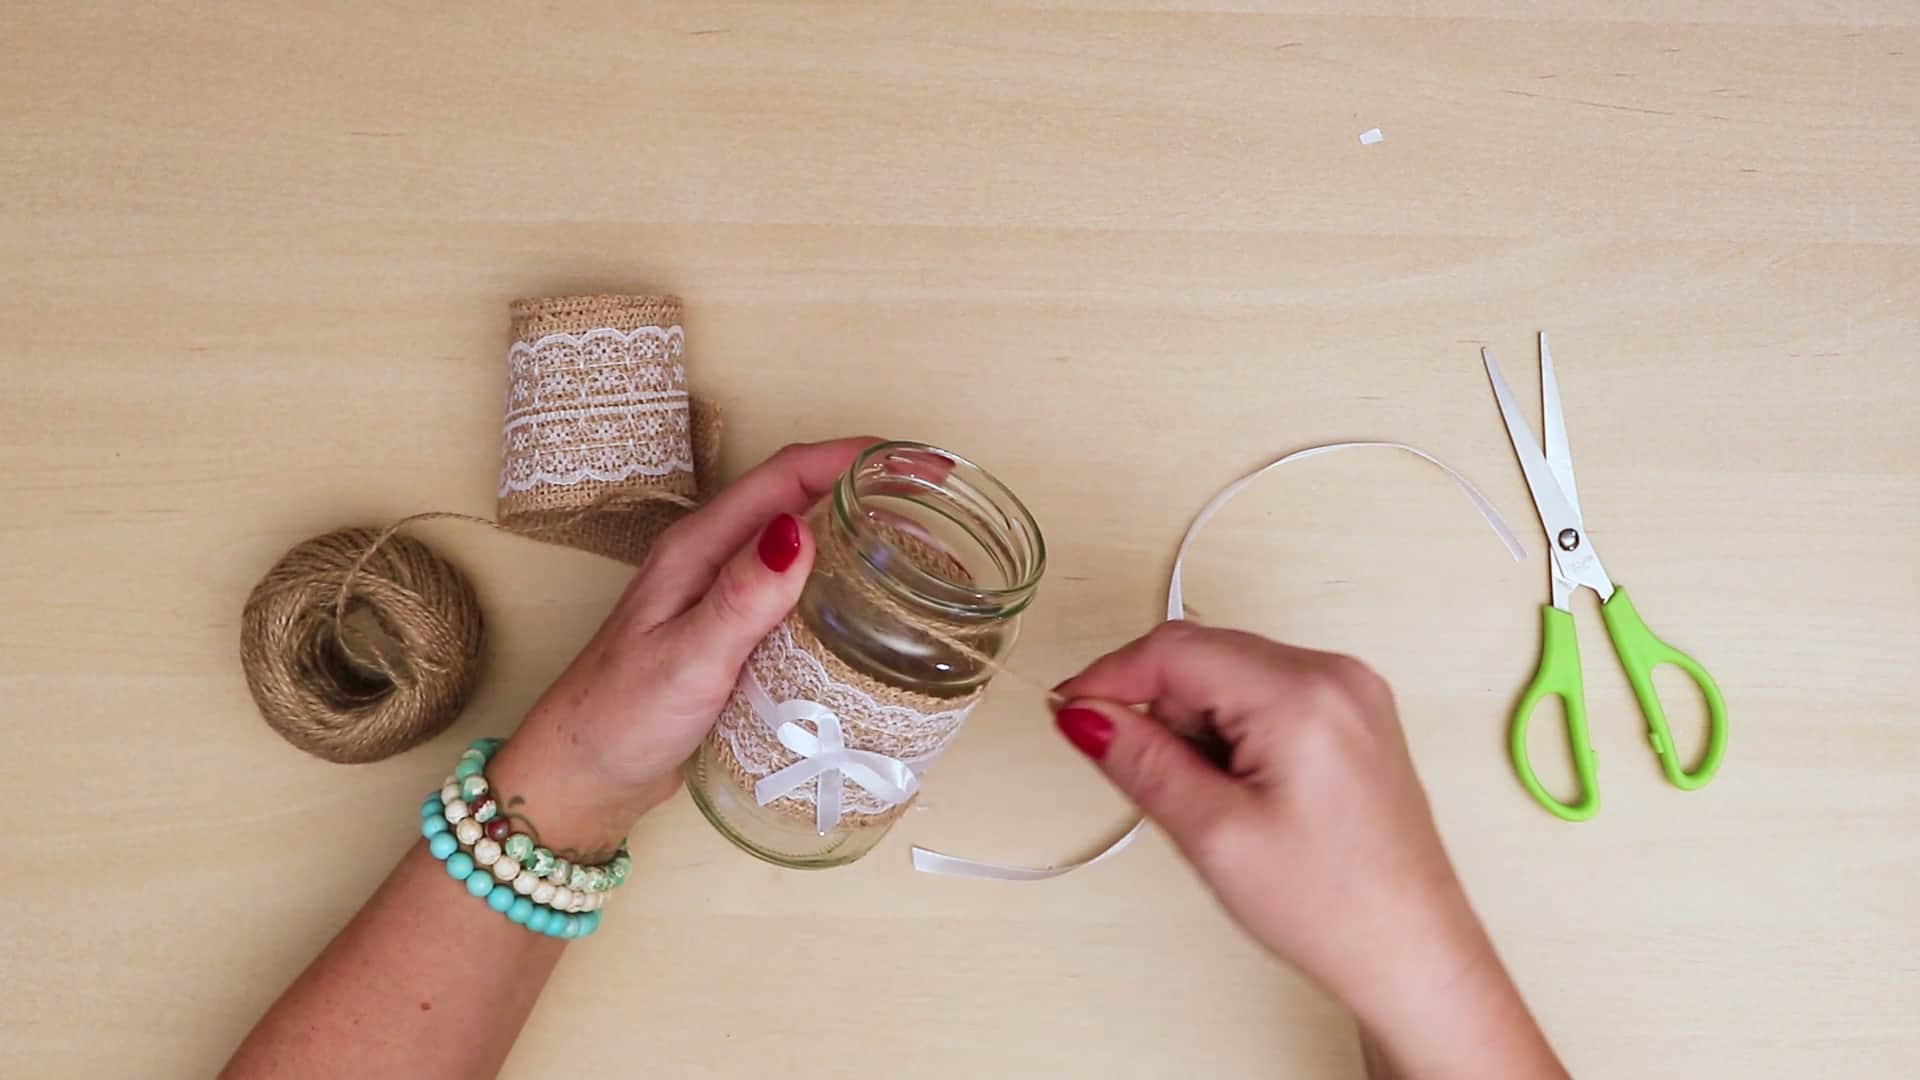
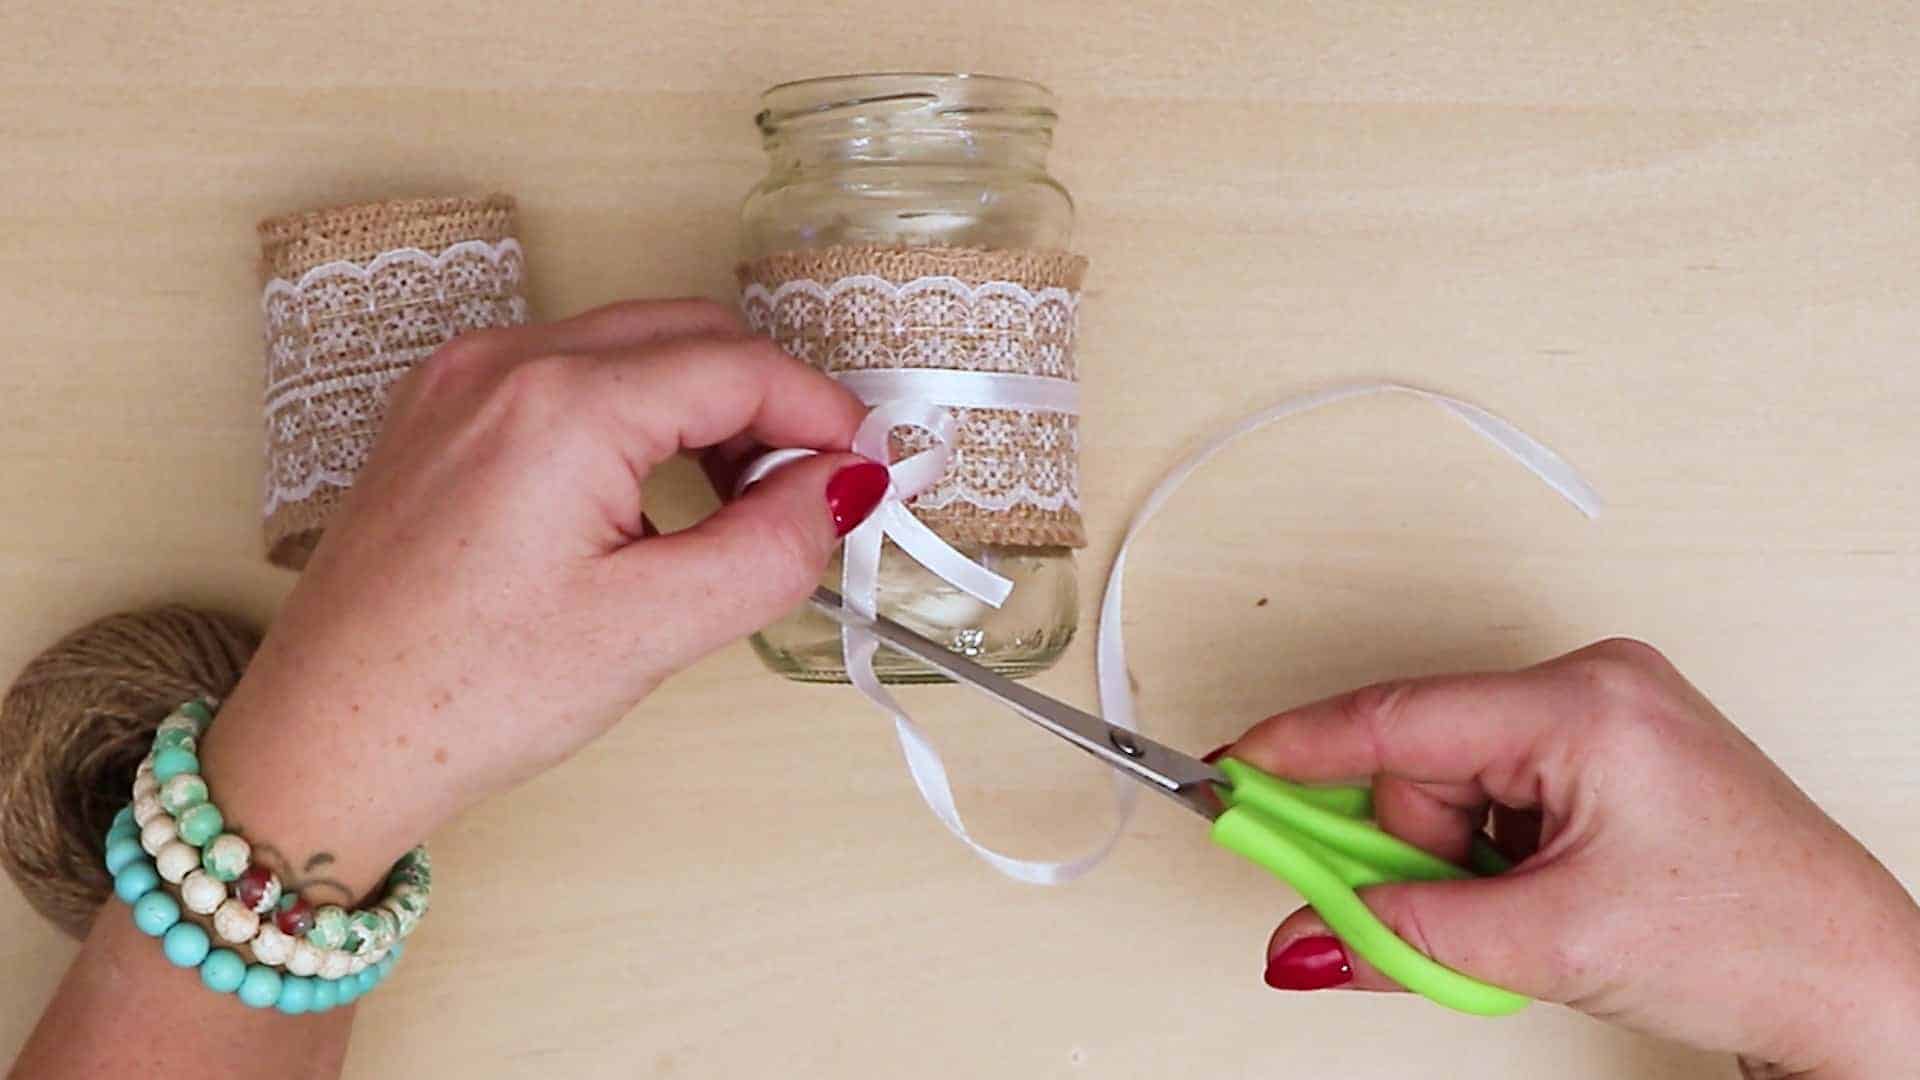
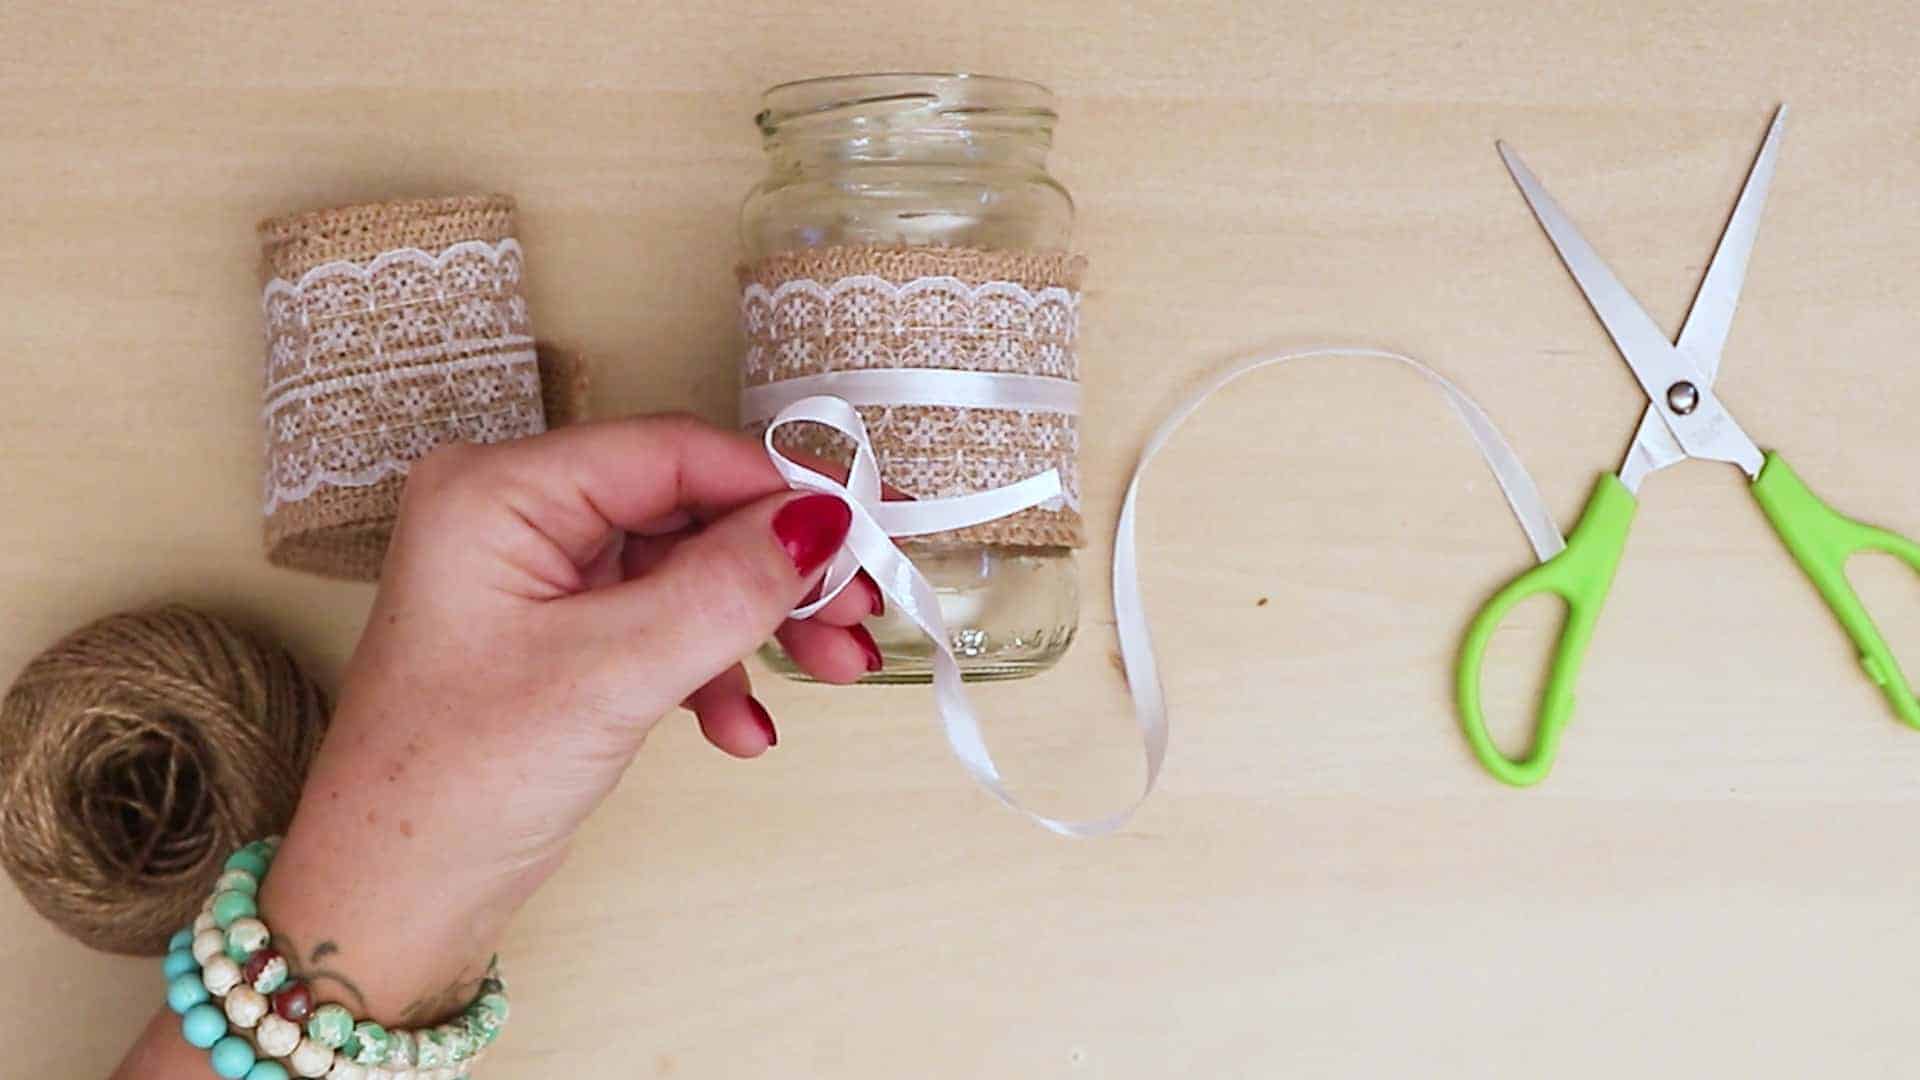
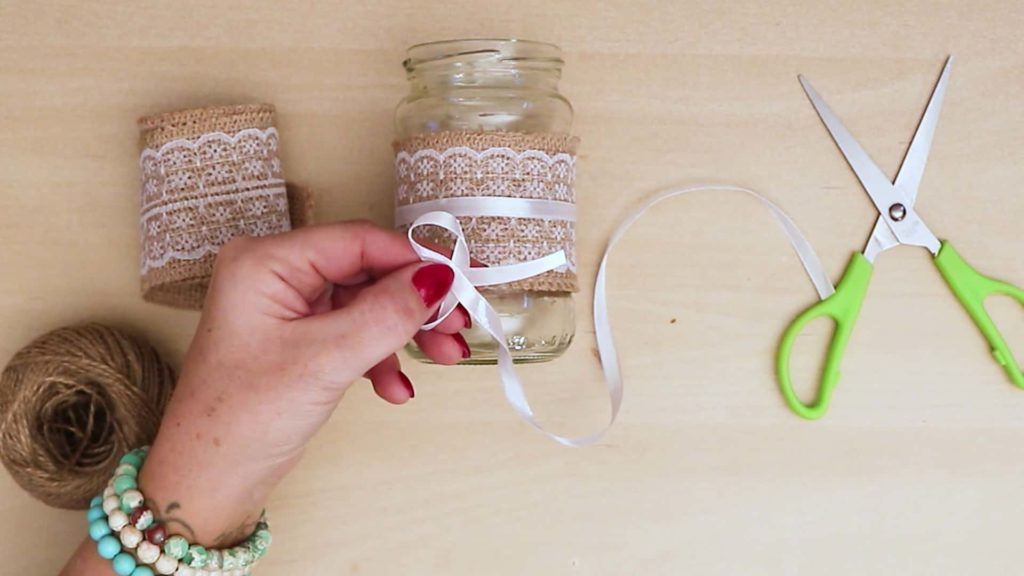
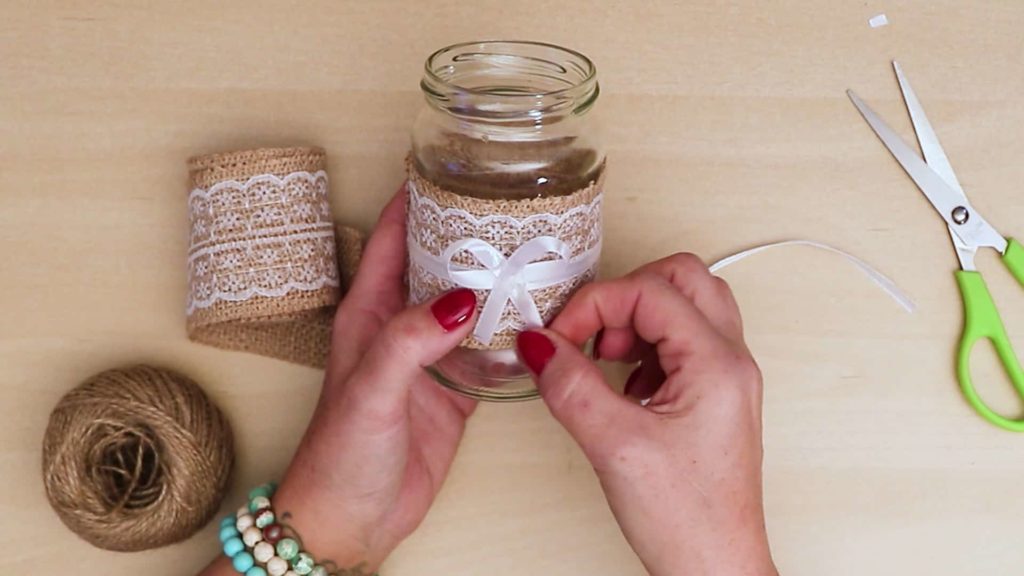
Step 4: add the bow
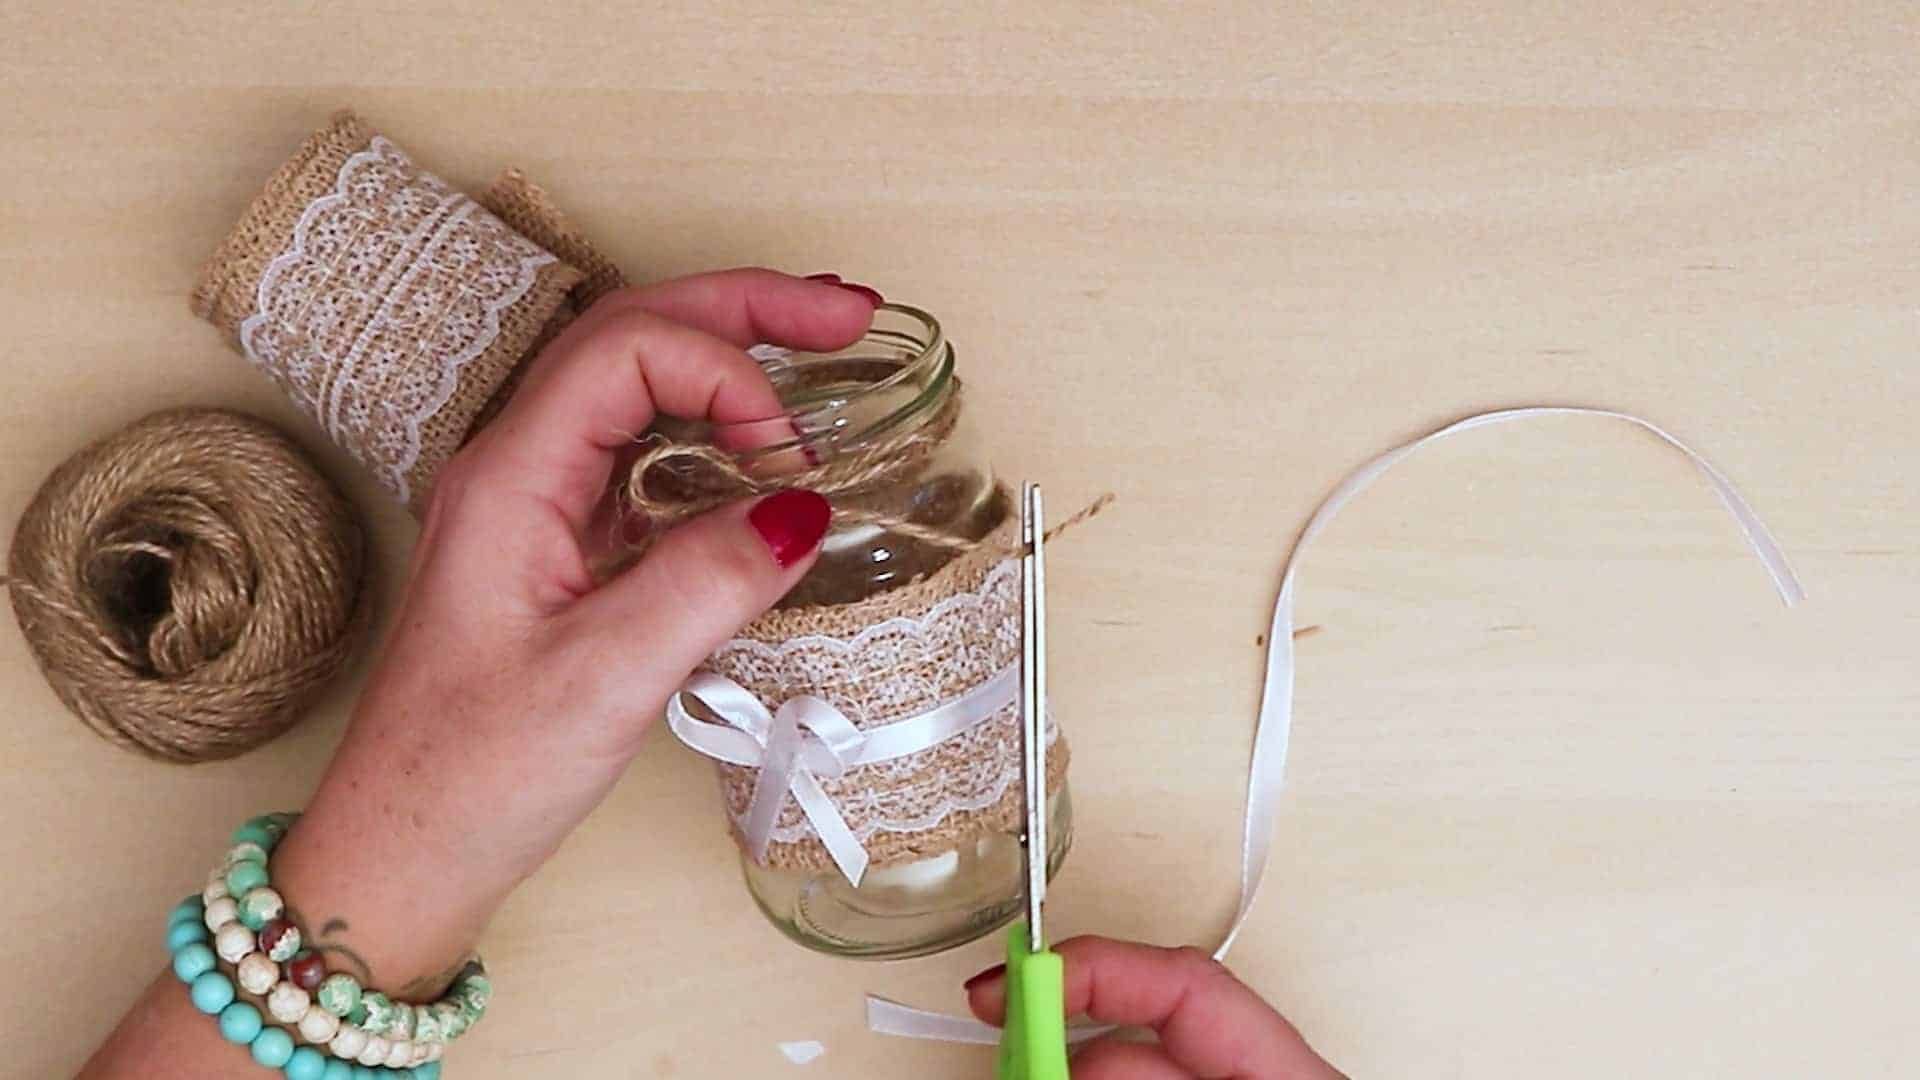
Make a bow from the spare white ribbon you trimmed off earlier! Curve the end in and downward diagonally so it crosses over the rest of the ribbon and makes a loop. Apply a dot of glue in the place where the ribbon crosses itself and stick those pieces together. This is one side of your bow. Repeat the process on the other side, gluing the ribbon down in the same spot to cross over diagonally from the opposite direction. This is the second loop of your bow. Use your scissors to trim the bow’s two ends if necessary; cutting them on an angle will help stop the ribbon from fraying. Turn your jar around to the front and place a dot of glue in the center of the white ribbon that wraps around your burlap. Stick the back of your new bow down here (with the cross over ends at the front or facing outwards).


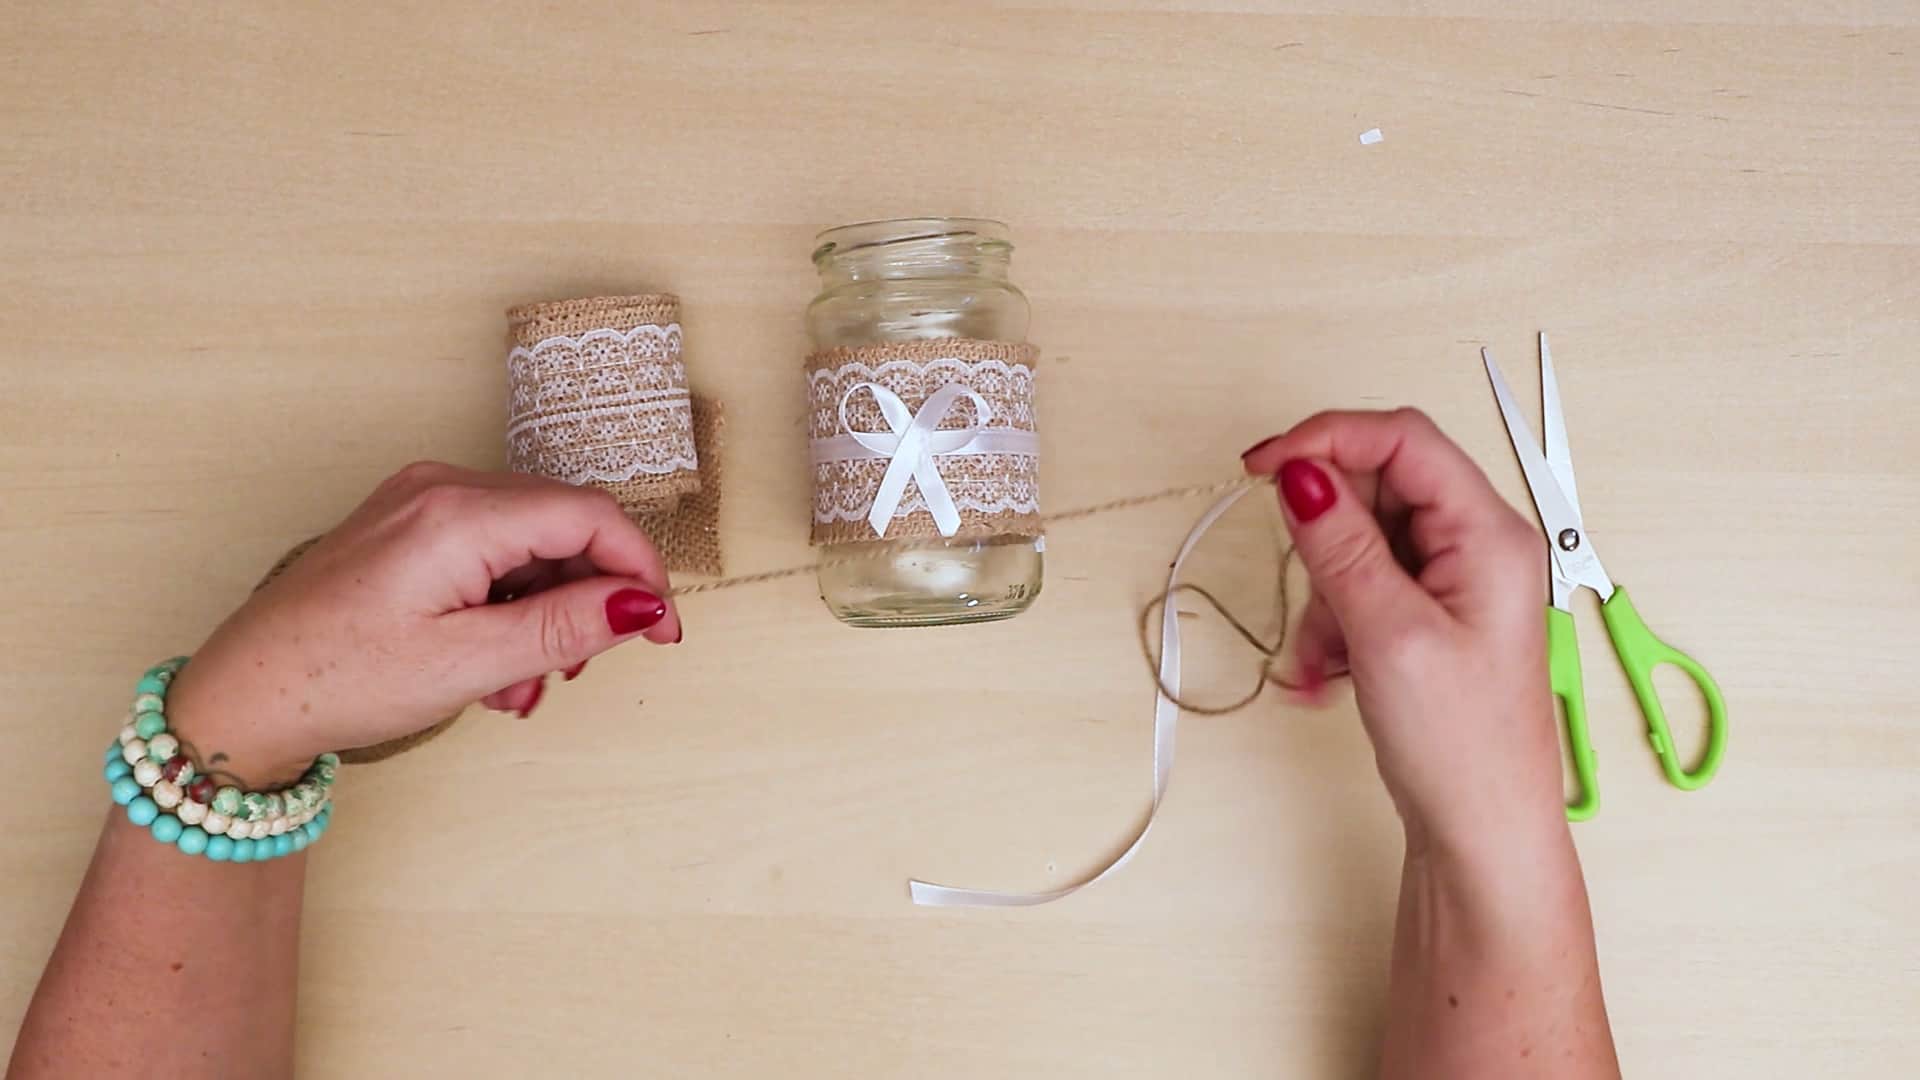
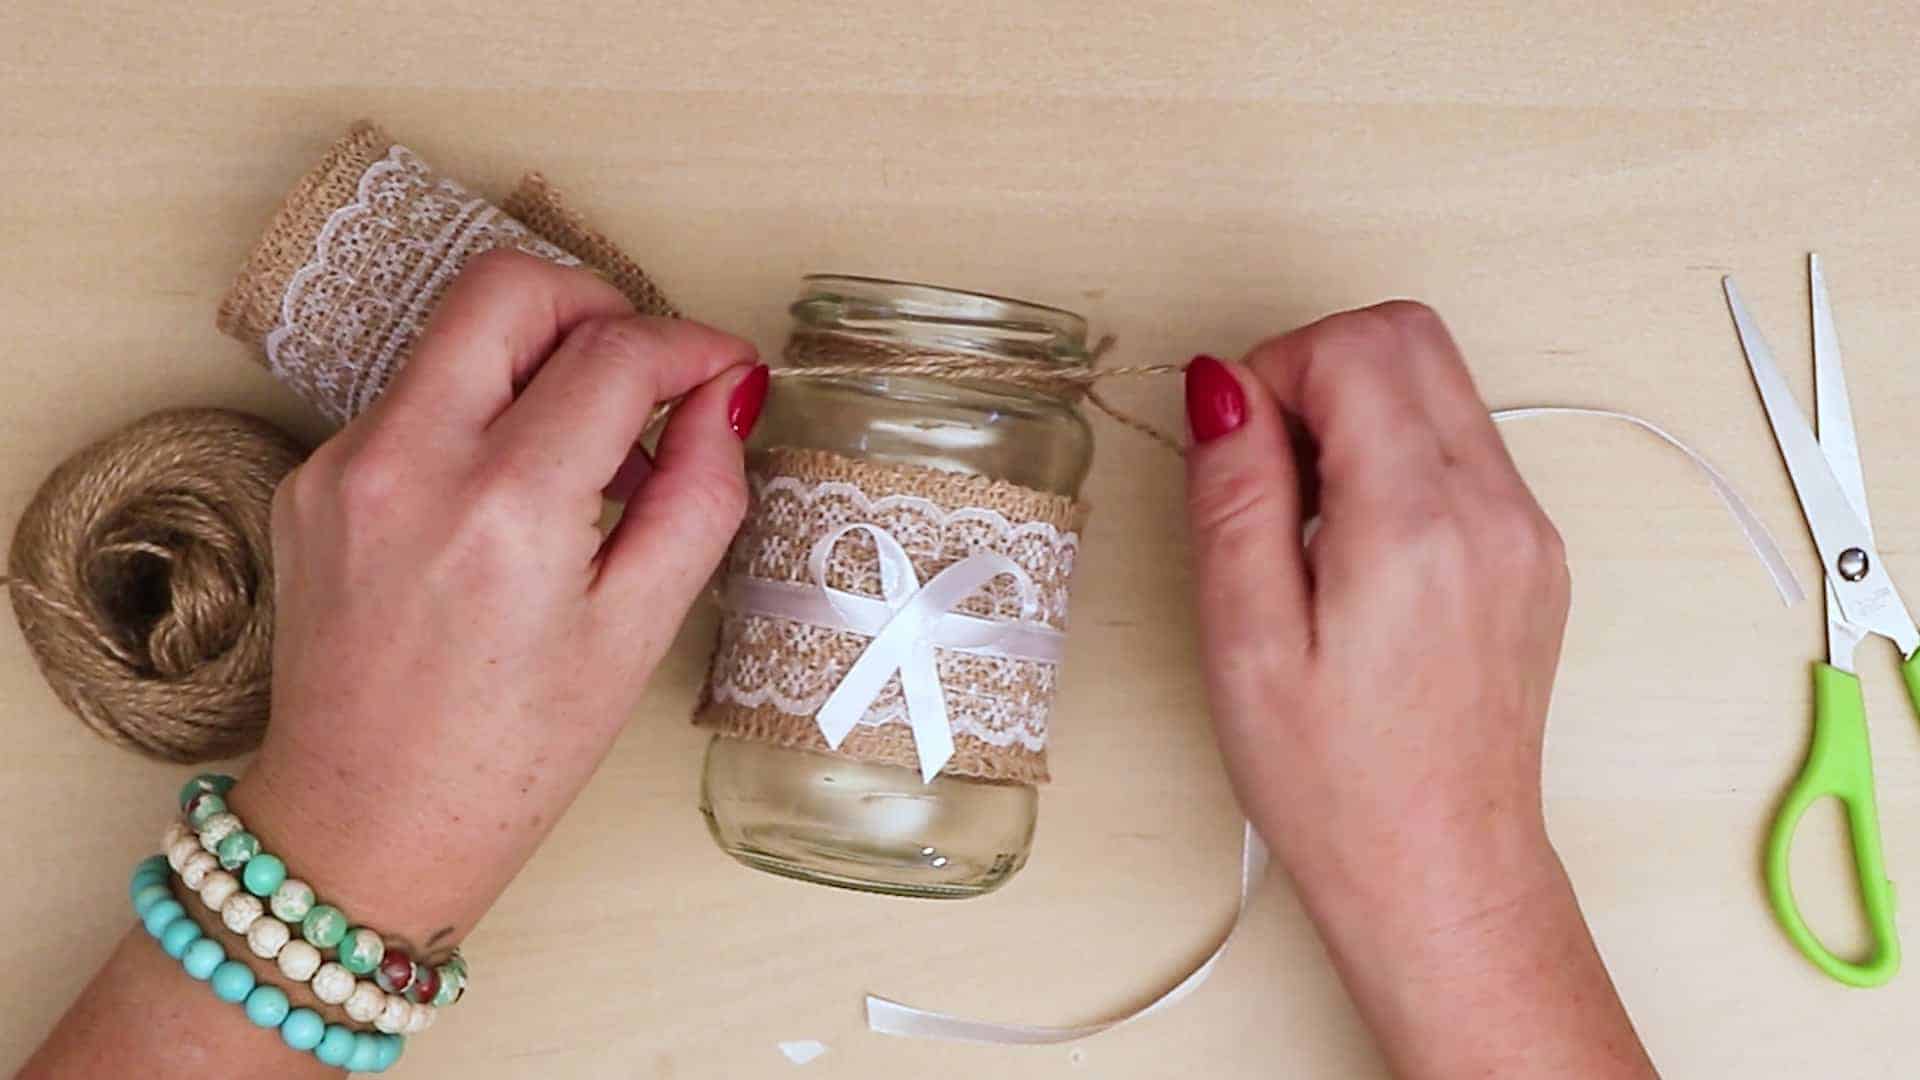
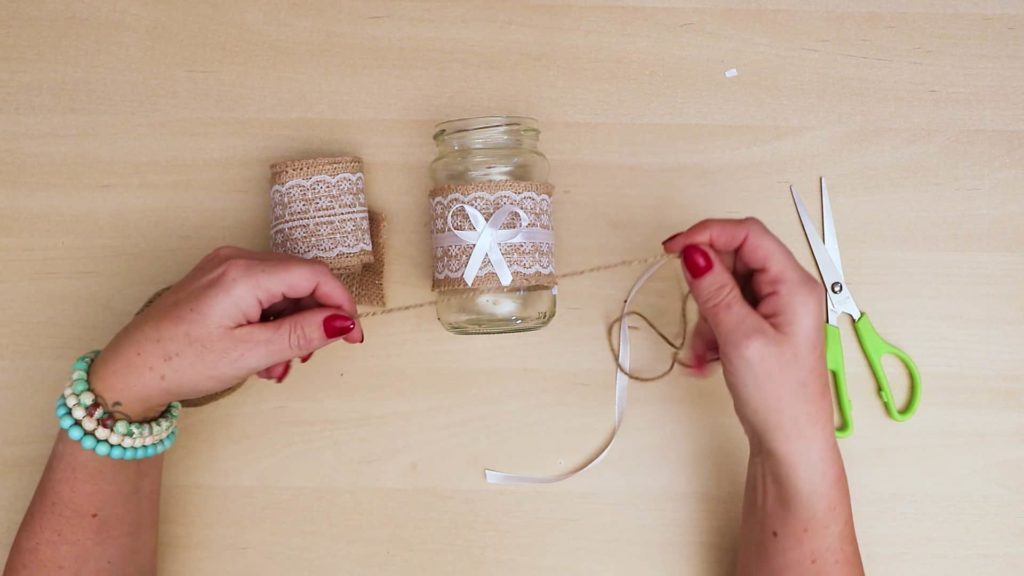
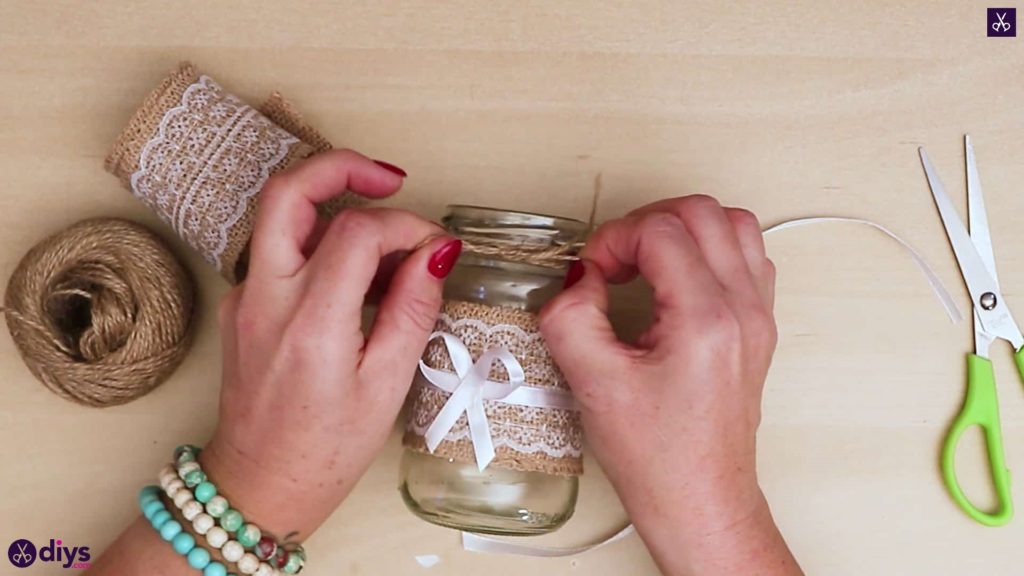
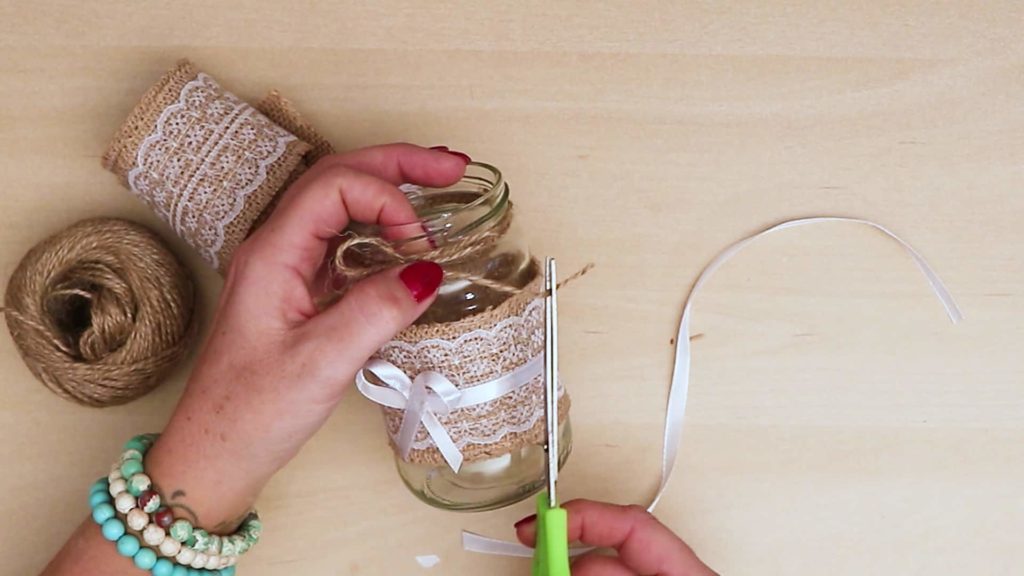
Step 5: embellish the neck
Wrap the top of your yarn in jute twine! I wrapped mine in the indentation right below where the lid would have once upon a time screwed on. Keep some excess end in one hand and wrap the ball of twine around the top of the jar about four times, then cut the ball free. Tie your two ends together at the front, above your white bow (I tied mine in a double knot to make sure it stays). Trim the end of your new twine bow if necessary.
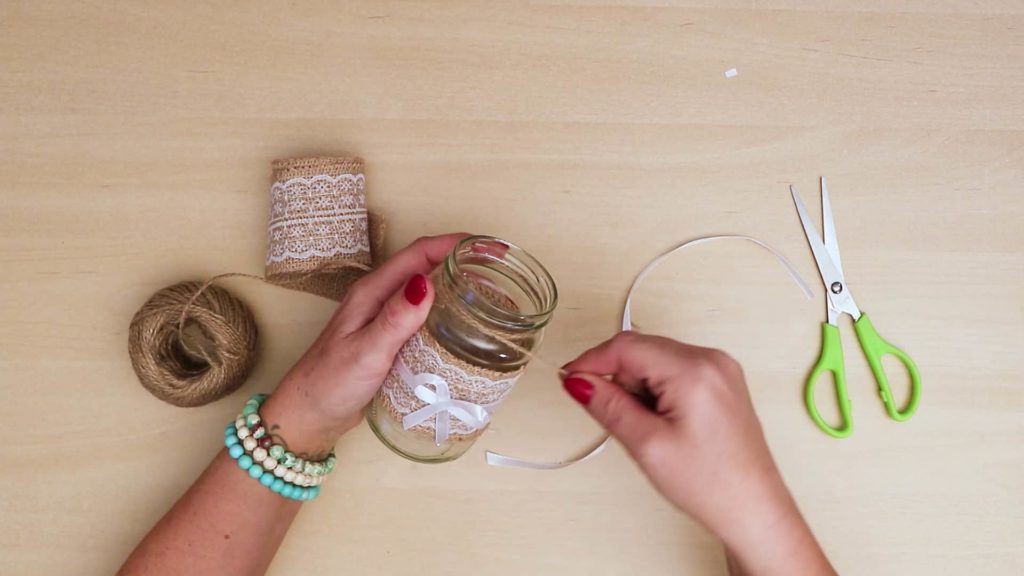
Your vintage inspired jar is all finished! Just in case you’d like to try this project out for yourself, here’s a fantastic tutorial video to help you!