How to Make a Snowflake Candle Holder in 5 Easy Steps (No Special Tools!)
Updated on December 1, 2025
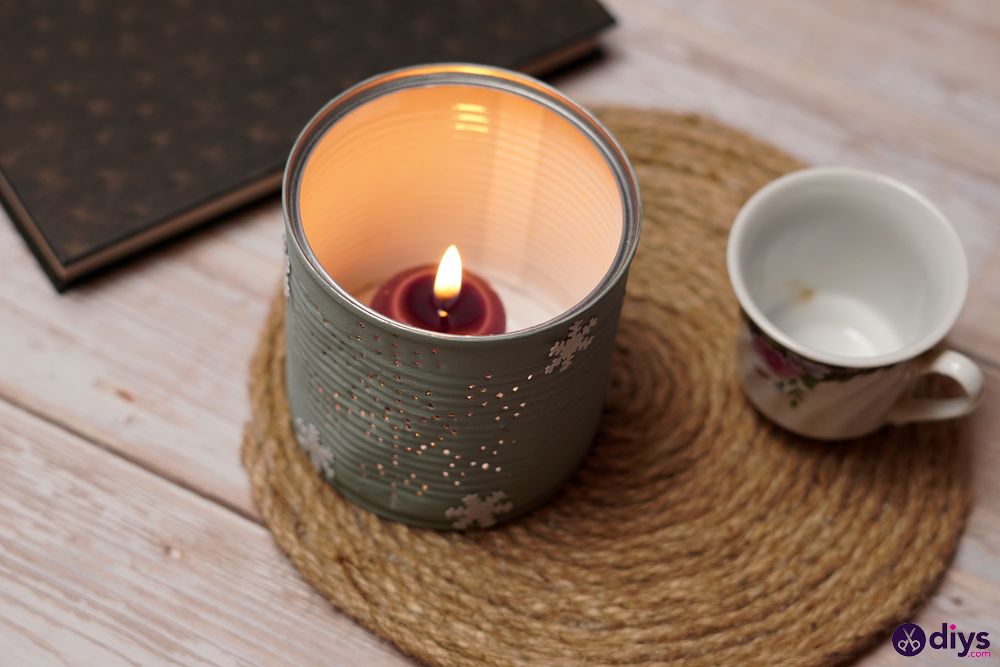
A DIY snowflake candle holder helps create a cozy atmosphere during winter by candlelight. This article teaches you how to make a simple, inexpensive snowflake candle holder using ordinary objects that you probably have already.

Decorating a candle holder for Christmas is a fantastic way to add warmth and cheerfulness to your holiday ornaments. A snowflake candle holder is aesthetically pleasing and practical for bringing a cozy glow to any room, ideal for a private family gathering. Use snowflake candle holders to create beautiful displays with candles, evergreens, lights, ribbons, ornaments, poinsettia flowers, holly berries, and anything else that fuels the Christmas spirit. Plus, crafting a winter candle holder is a terrific way to bond with children.
This article describes the supplies, detailed instructions, pictures, a video tutorial, and additional tips for crafting a DIY snowflake candle holder.
Supplies for the DIY snowflake candle holder
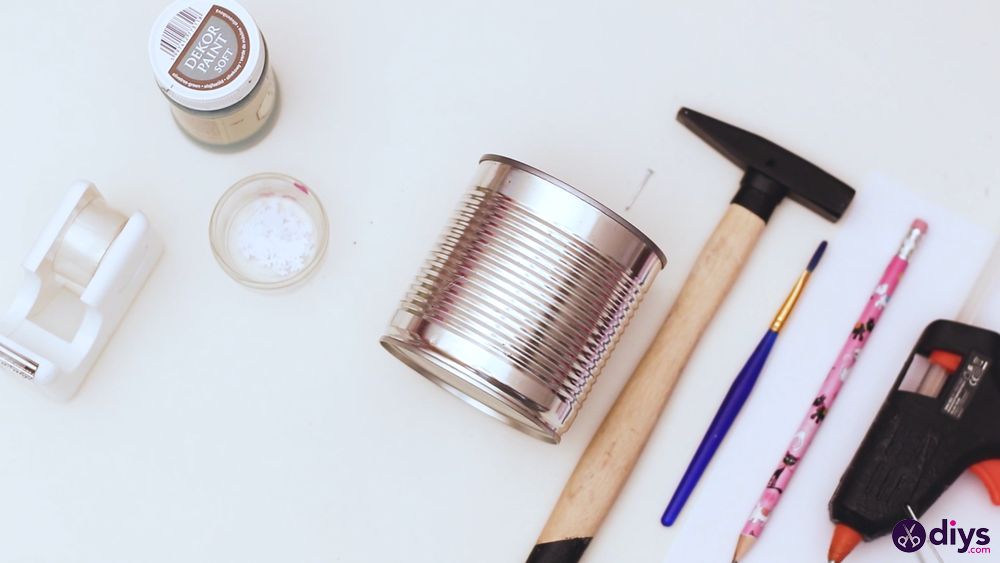
- Tin can
- Pencil
- Paper
- Tape
- Hammer and nails
- A paintbrush
- Chalk paint
- Tiny decorative snowflakes or snowflake cardstock cutouts
- Hot glue gun with glue
- A scented or battery-operated candle
How do I craft a DIY snowflake candle holder?
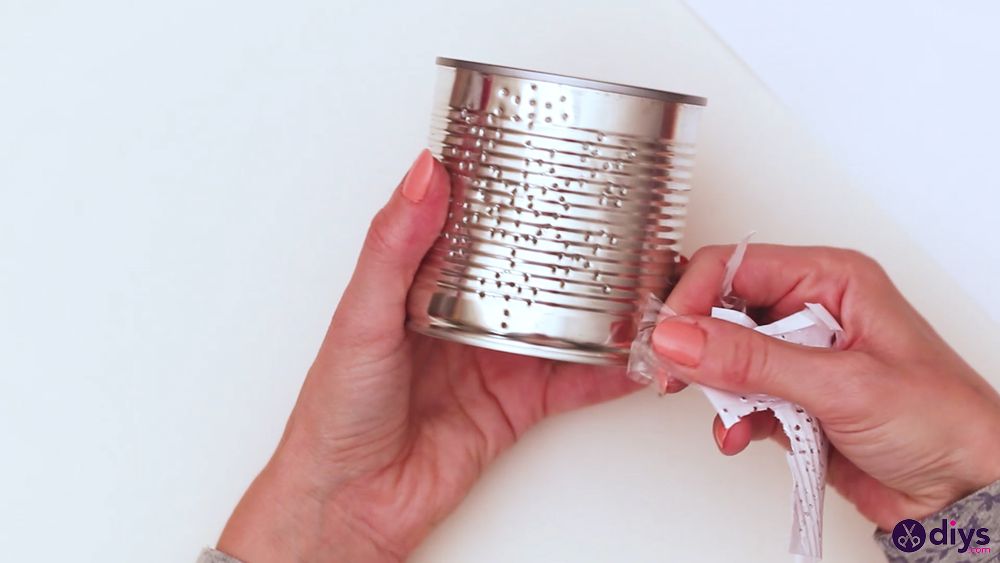
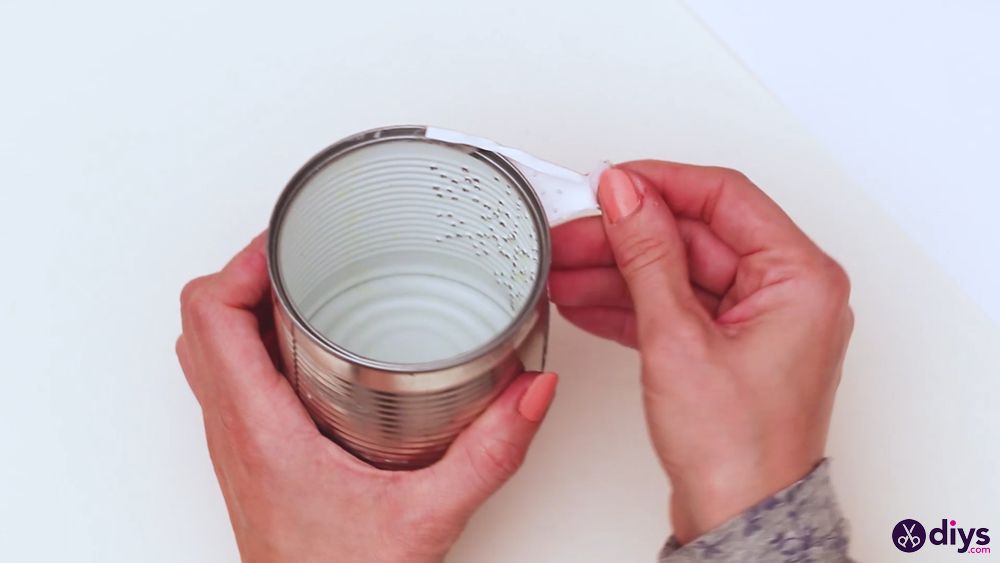
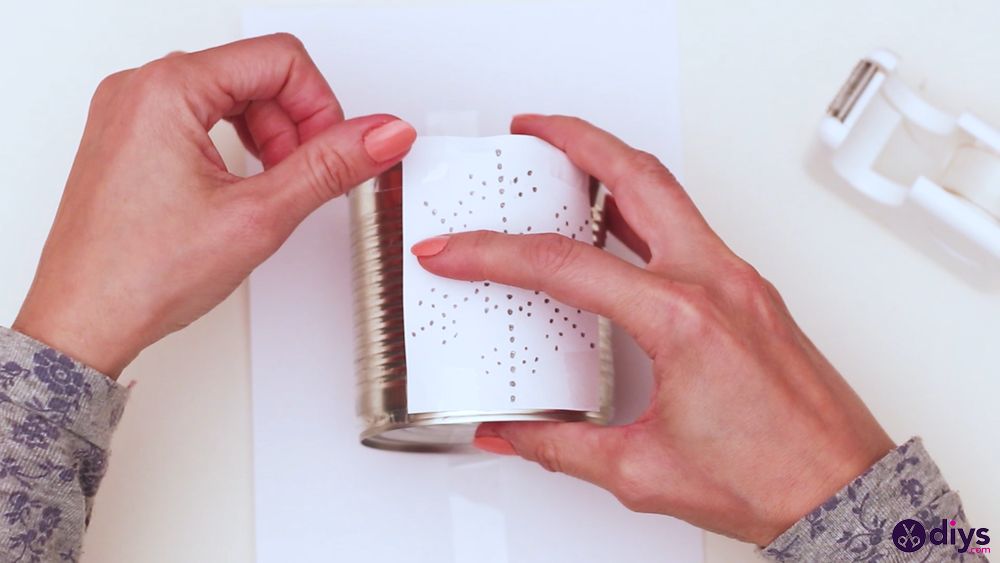
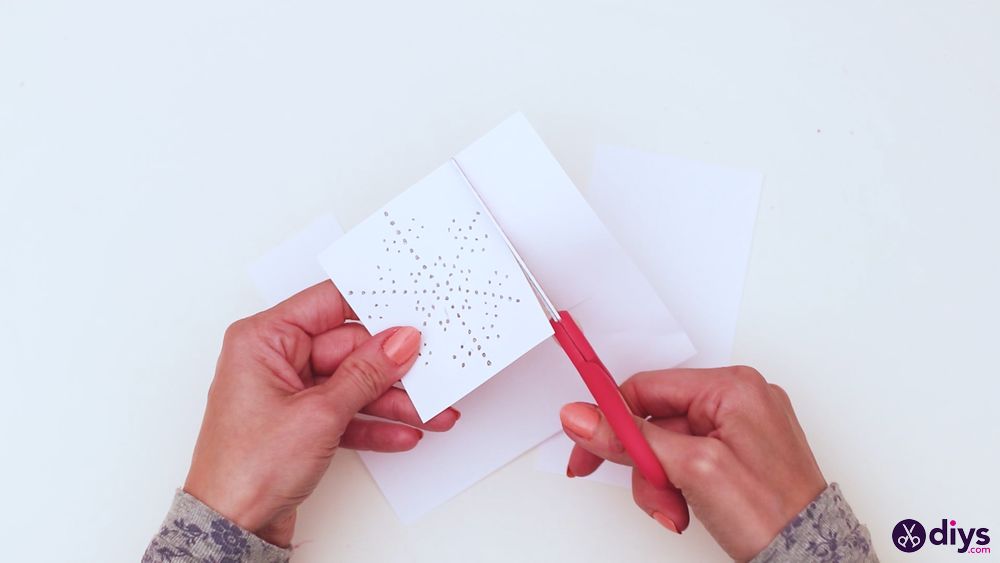
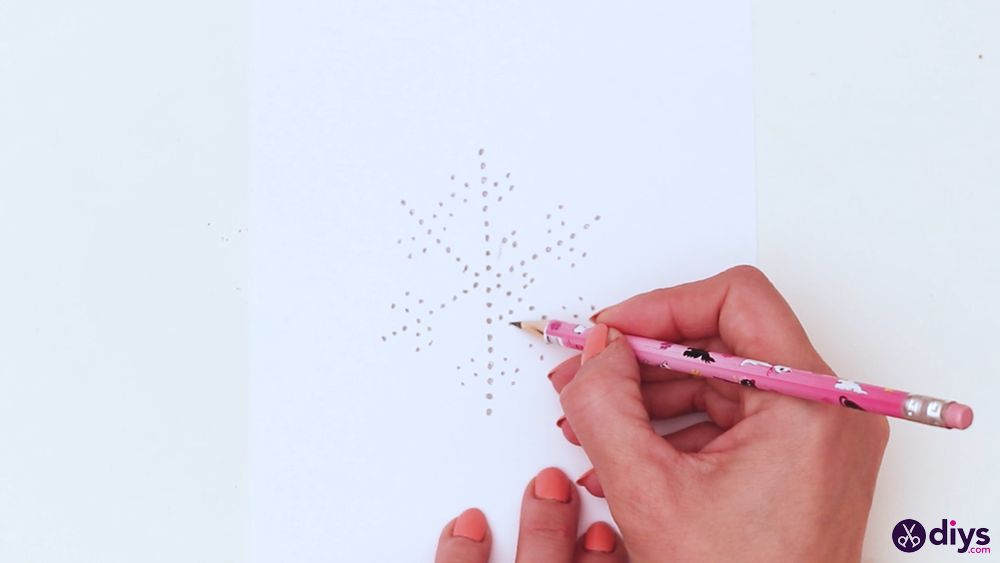
- Sketch and attach the snowflake pattern: Outline a simple snowflake pattern on paper by drawing small circles instead of a continuous line. Then cut the snowflake template and tape it onto the tin can.

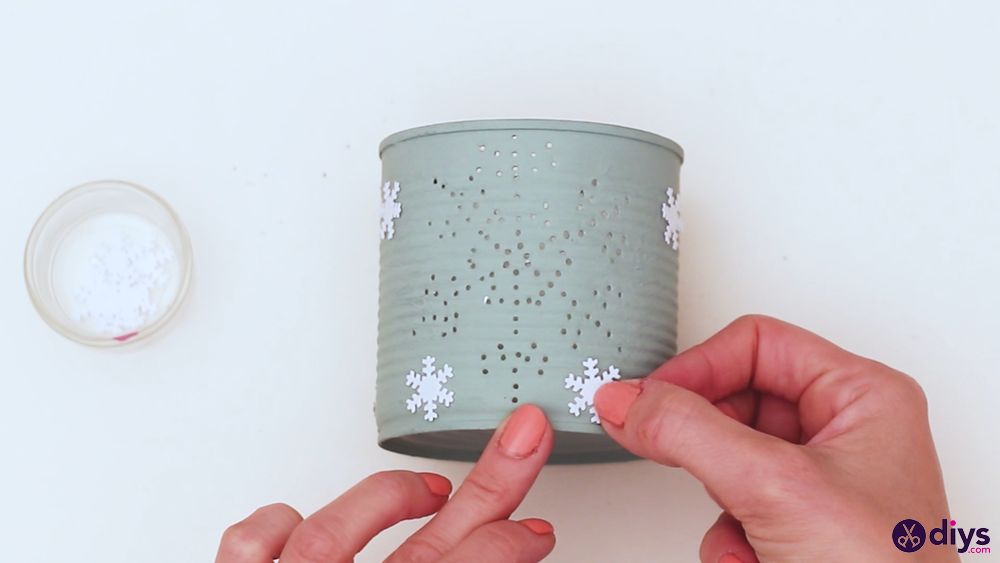
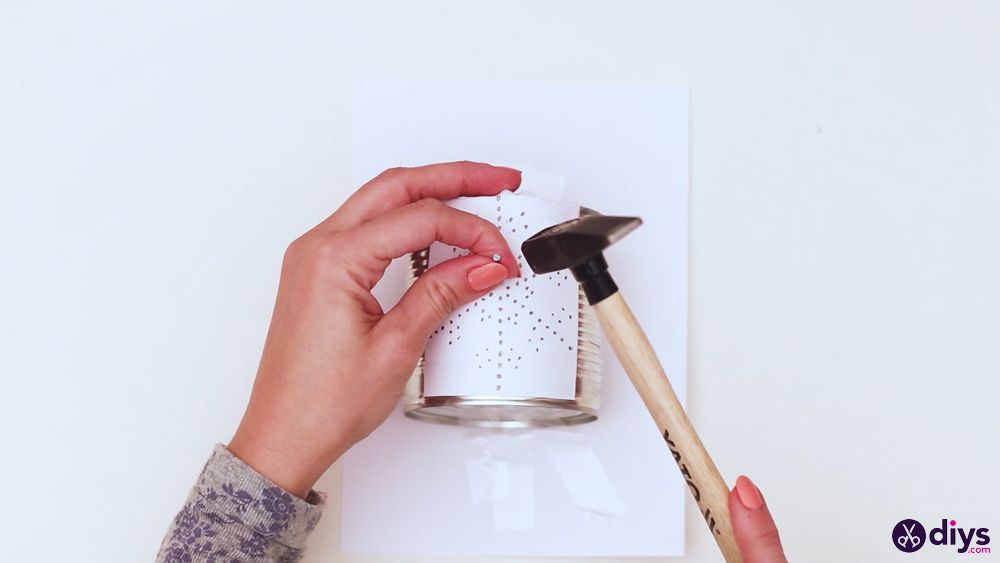
- Punch holes in the tin can: Using your hammer and nails, poke holes into the can by tracing the snowflake pattern.
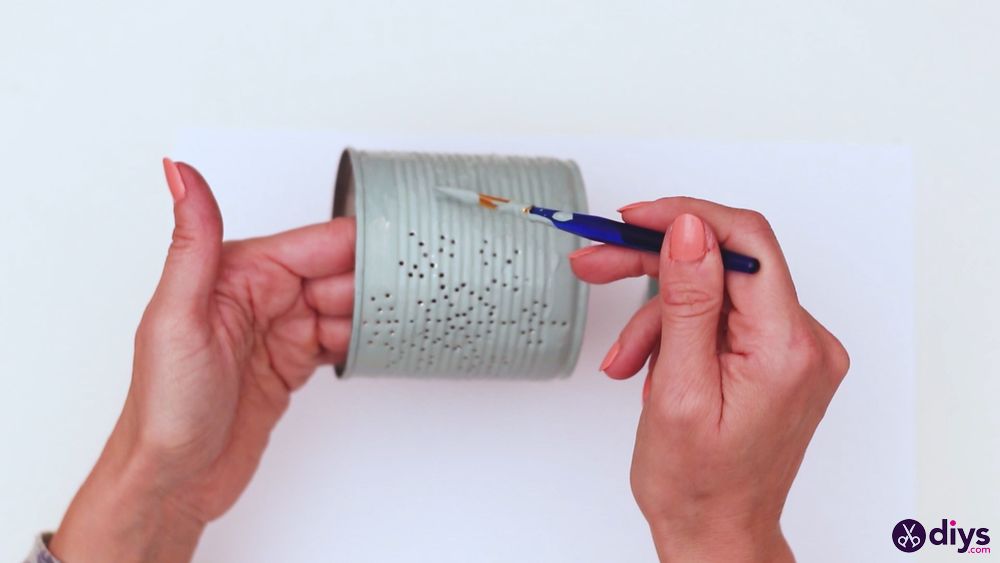
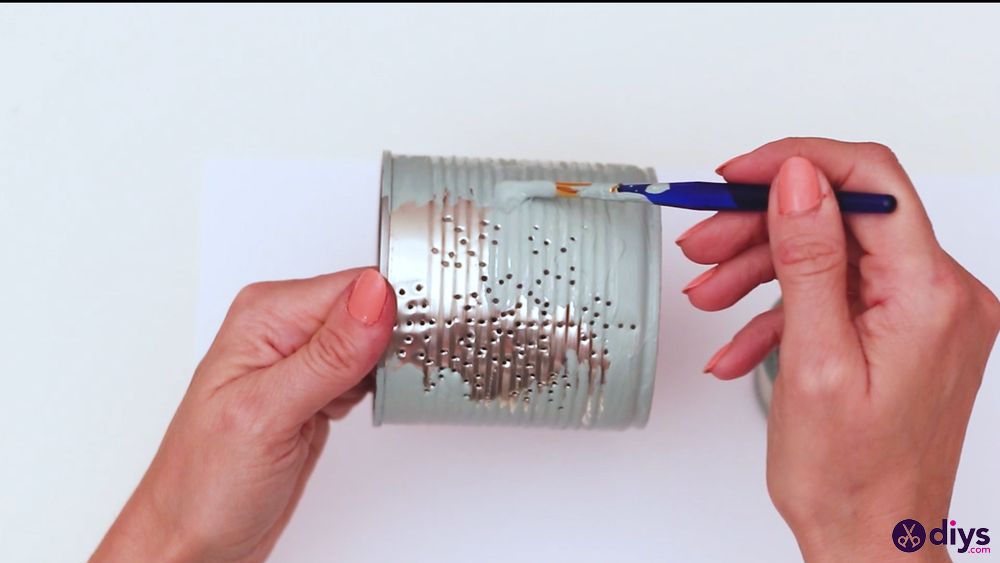
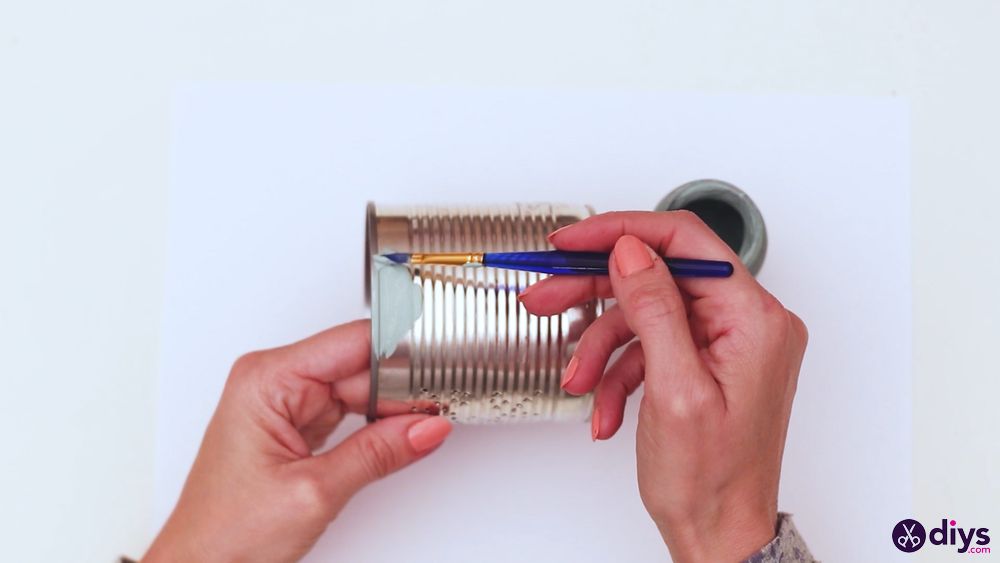
- Paint the tin can: After you finish poking the snowflake pattern, paint the entire tin can to give it a wintery feel. Allow the paint to dry and apply an additional coat if you dislike the initial results.
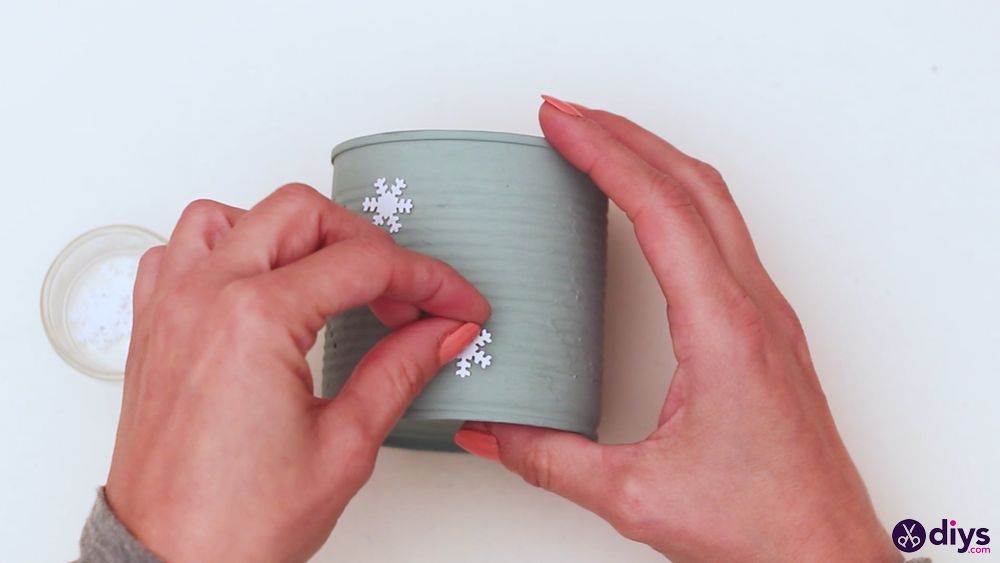
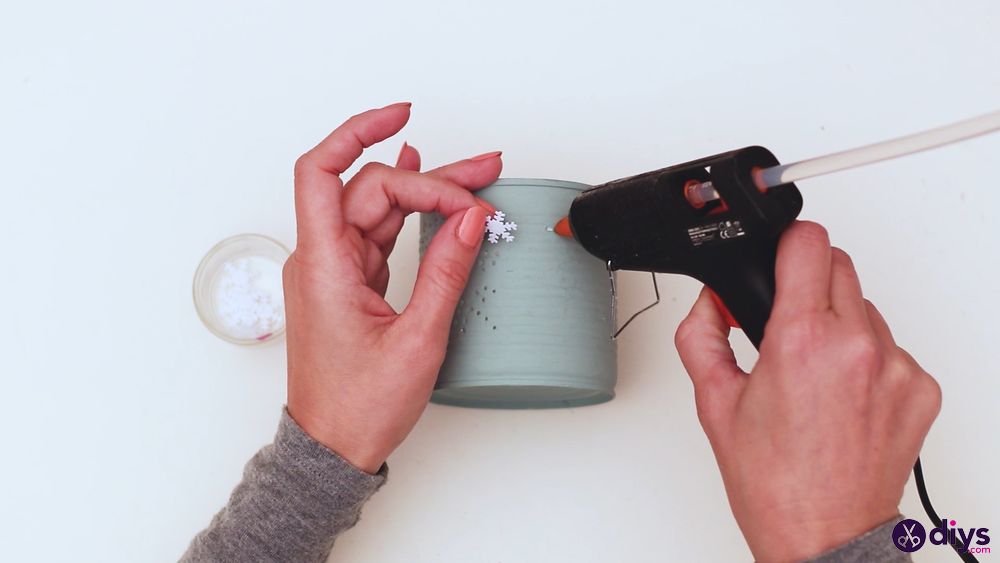
- Add decorations: Glue decorative snowflakes to the tin can, carefully avoiding the holes.
- Place the candle: Insert a scented or battery-operated candle into the candle holder and light it up to enjoy the wintery atmosphere!

Video tutorial
Check out this video guide for making a DIY snowflake candle holder:
Tips and tricks
Here are a few tips and tricks that will help you when crafting your own DIY snowflake candle holder:
- Try different patterns: We punched holes in the shape of a snowflake, but you could try out different patterns like stars or Christmas trees.
- Adjust the space between the holes: The role of patterned holes is to let candlelight shine through. It will be easier to distinguish the snowflake pattern by punching holes closer to each other. Use smaller nails and take care not to rip the tin.
- Make tin cutouts: Try cutouts instead of hammering nails into the tin can by using scissors to trace the pencil-sketched snowflake pattern.
- Add sparkles: Cover the tin can with glitter or sequins to make the candle holder sparkle if you find chalk paint too dull.
- Add a hanger: Use ribbon and glue to hang the candle holder from the ceiling or on a wall.
Closing thoughts
Crafting a DIY snowflake candle holder is an easy and fun project for preparing Christmas decorations. With just some basic supplies, create something beautiful to make your home feel extra cozy during the winter. Check out additional DIY candle holder ideas.