DIY Pinecone Christmas Tree
Updated on November 19, 2025


As of late, my kids and I have been on a total pinecone crafting kick. There’s just something so fun about using them as unconventional tools for making DIY holiday decor. That’s why I’ve been coming up with as many cute pinecone ideas as possible lately! The latest concept was these little pinecone Christmas trees that we made last week. I was so happy with how they turned out that I made one more so I could share how they’re made with anyone else who wants to give them a try.

Check out these step by step instructions complete with photos! If you’d rather follow along with a video tutorial instead of written words, scroll to the bottom of this post to find just what you’re looking for.
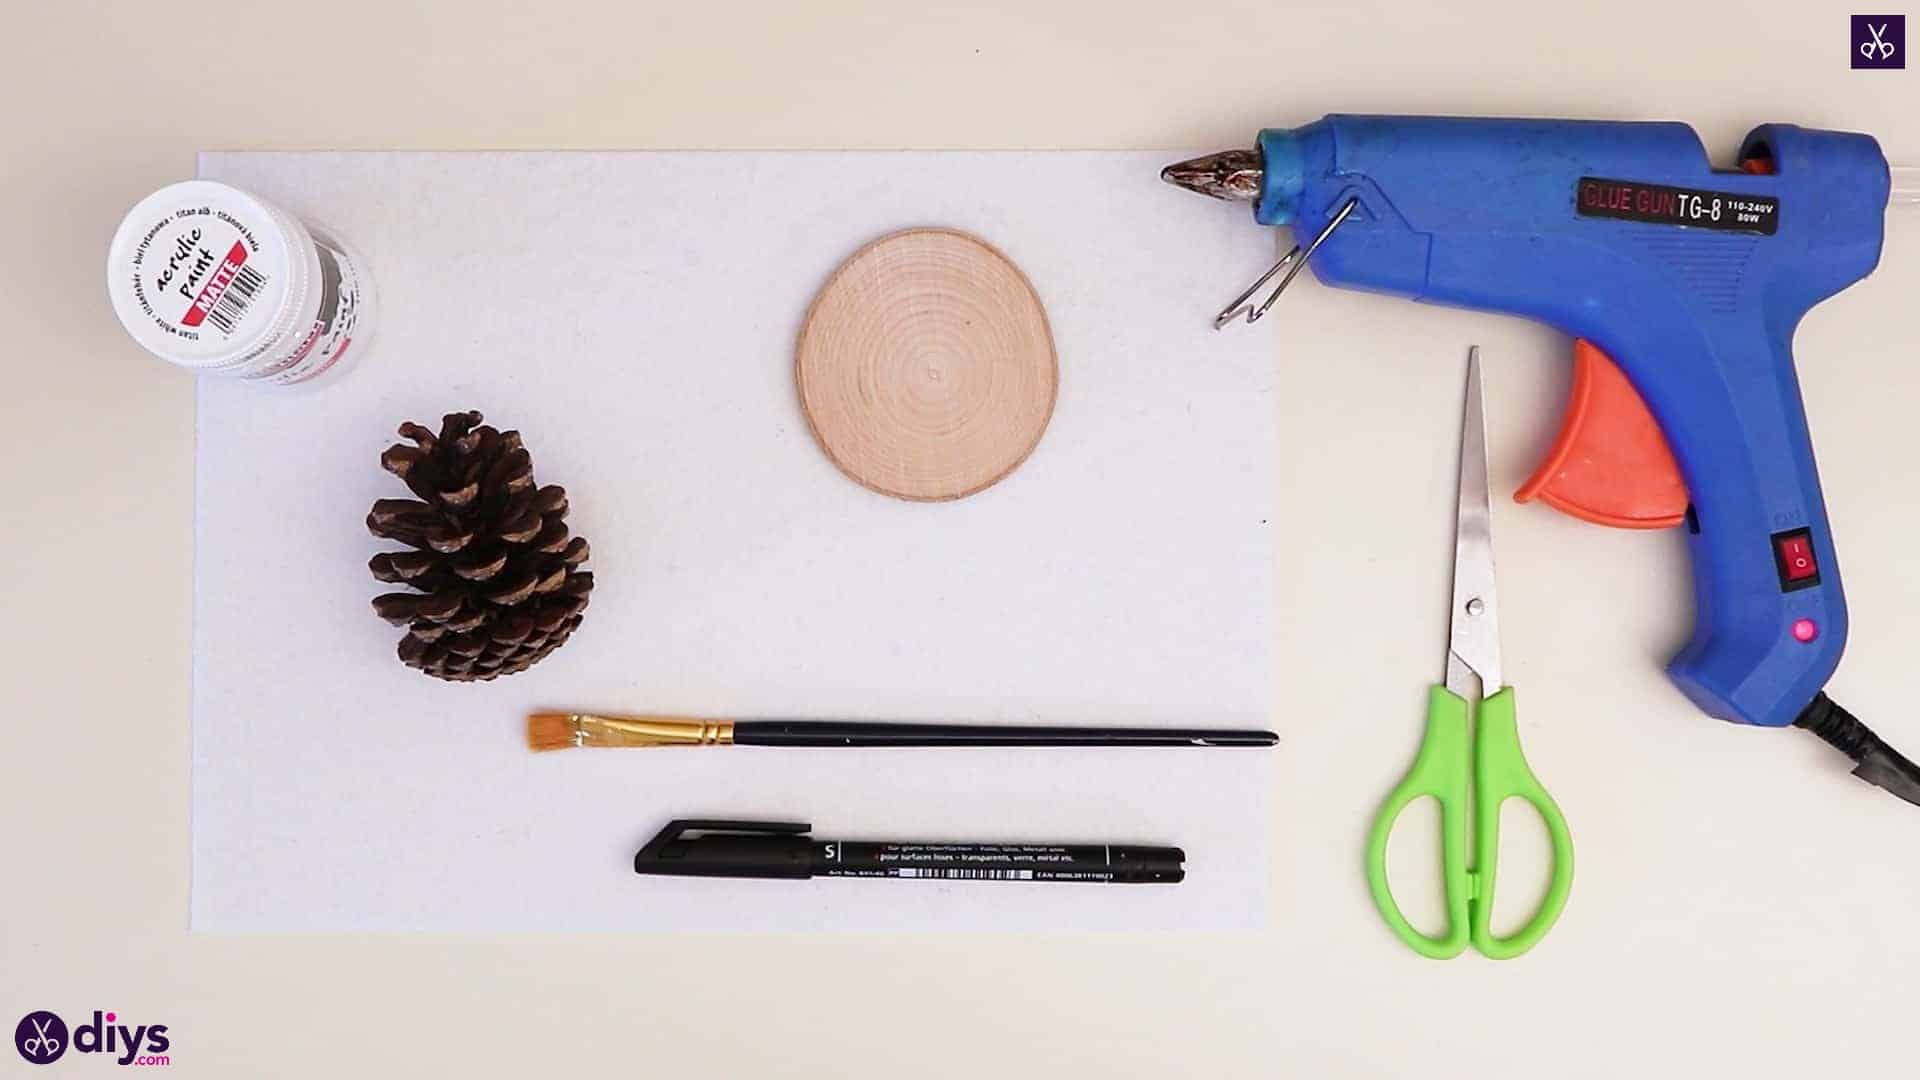
For this project, you’ll need:
- A pinecone
- A sheet of white felt
- White paint
- A paintbrush
- A wooden disc
- Hot glue
- A black marker
Step 1: prep
Gather your materials!

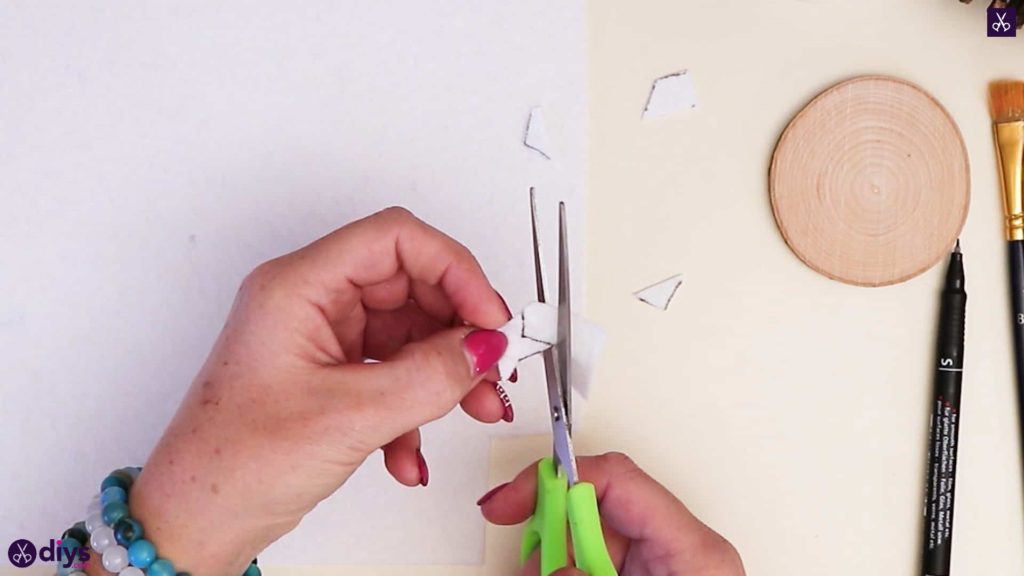
Step 2: draw and cut stars
Use your marker to draw the shape o f a star onto your white felt in one corner. Cut the corner out and then carefully cut out the star. Set it aside for later.


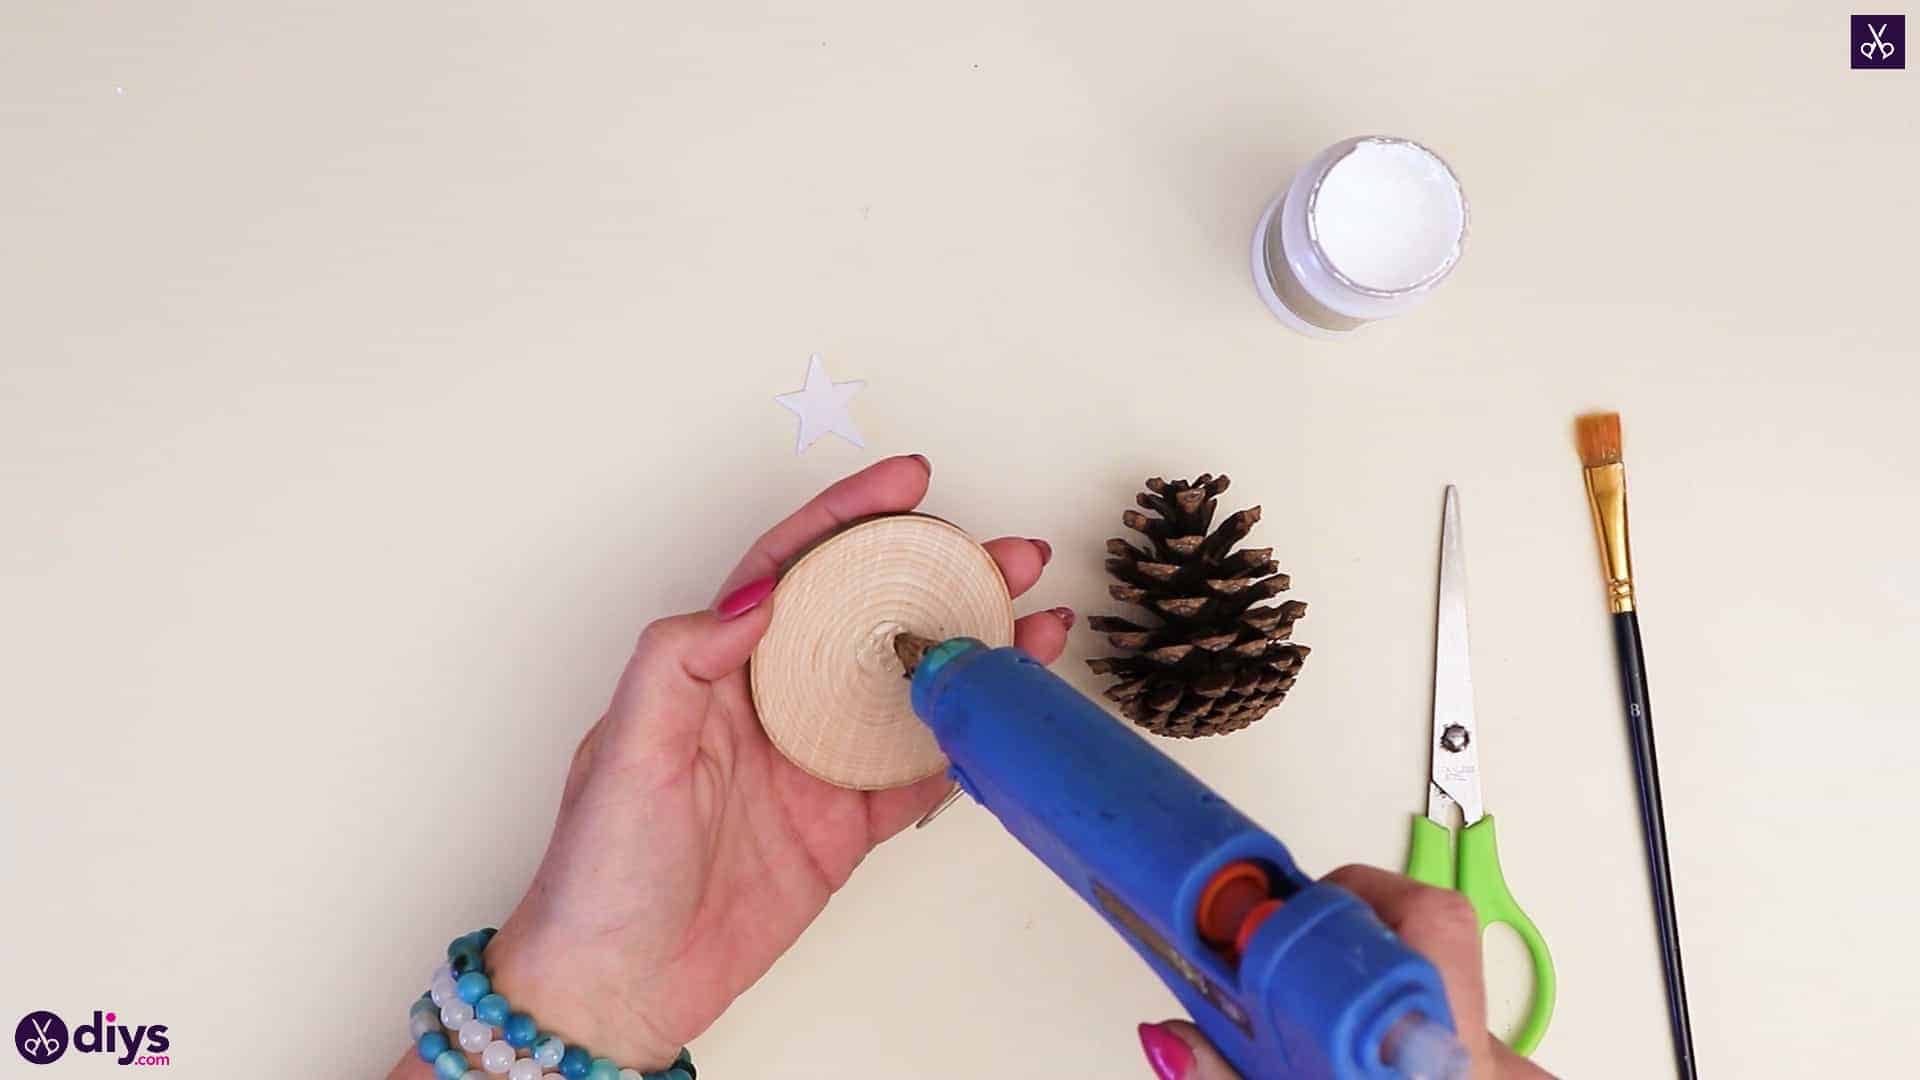
Step 3: secure pinecone
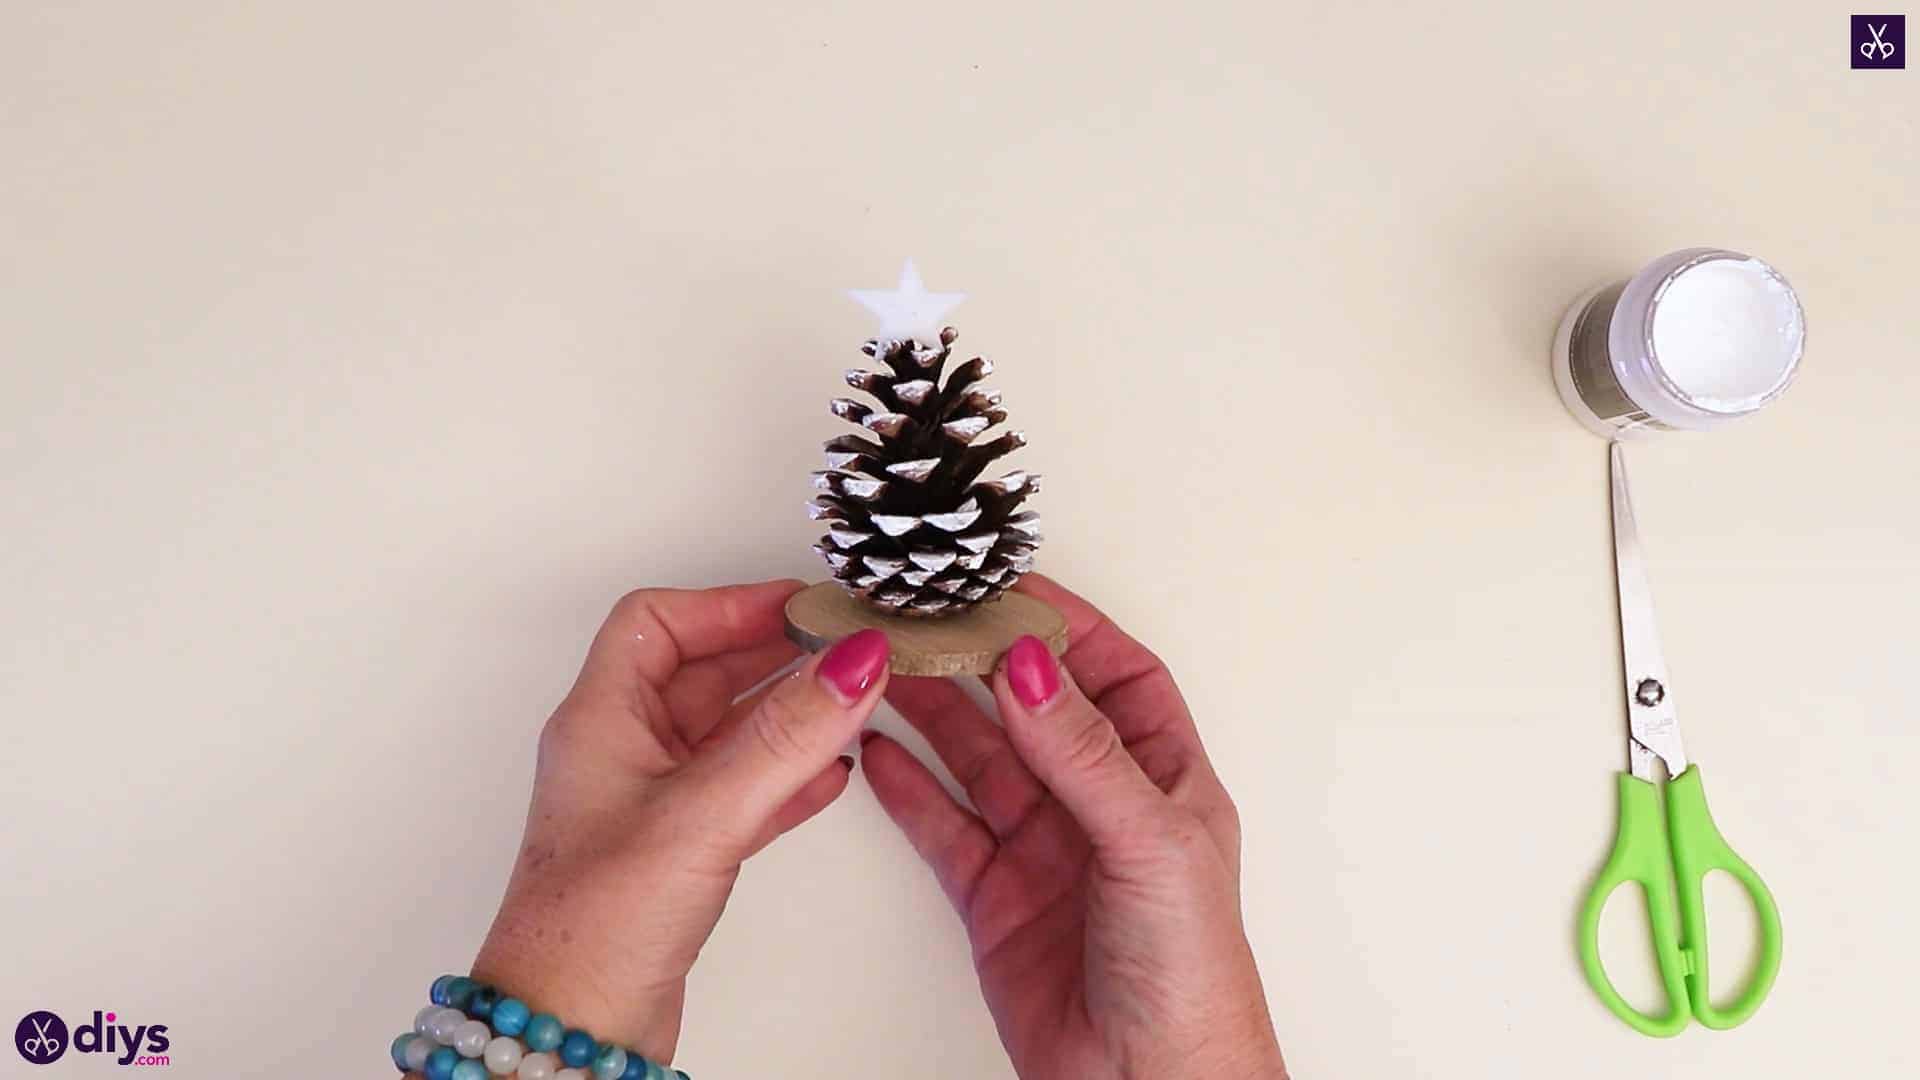
Apply a dot of hot glue in the center of your wooden slide and press the center bottom of your pinecone down there, oriented so the wider end is the bottom and the smaller tapered end is the top, just like the shape of a Christmas tree.


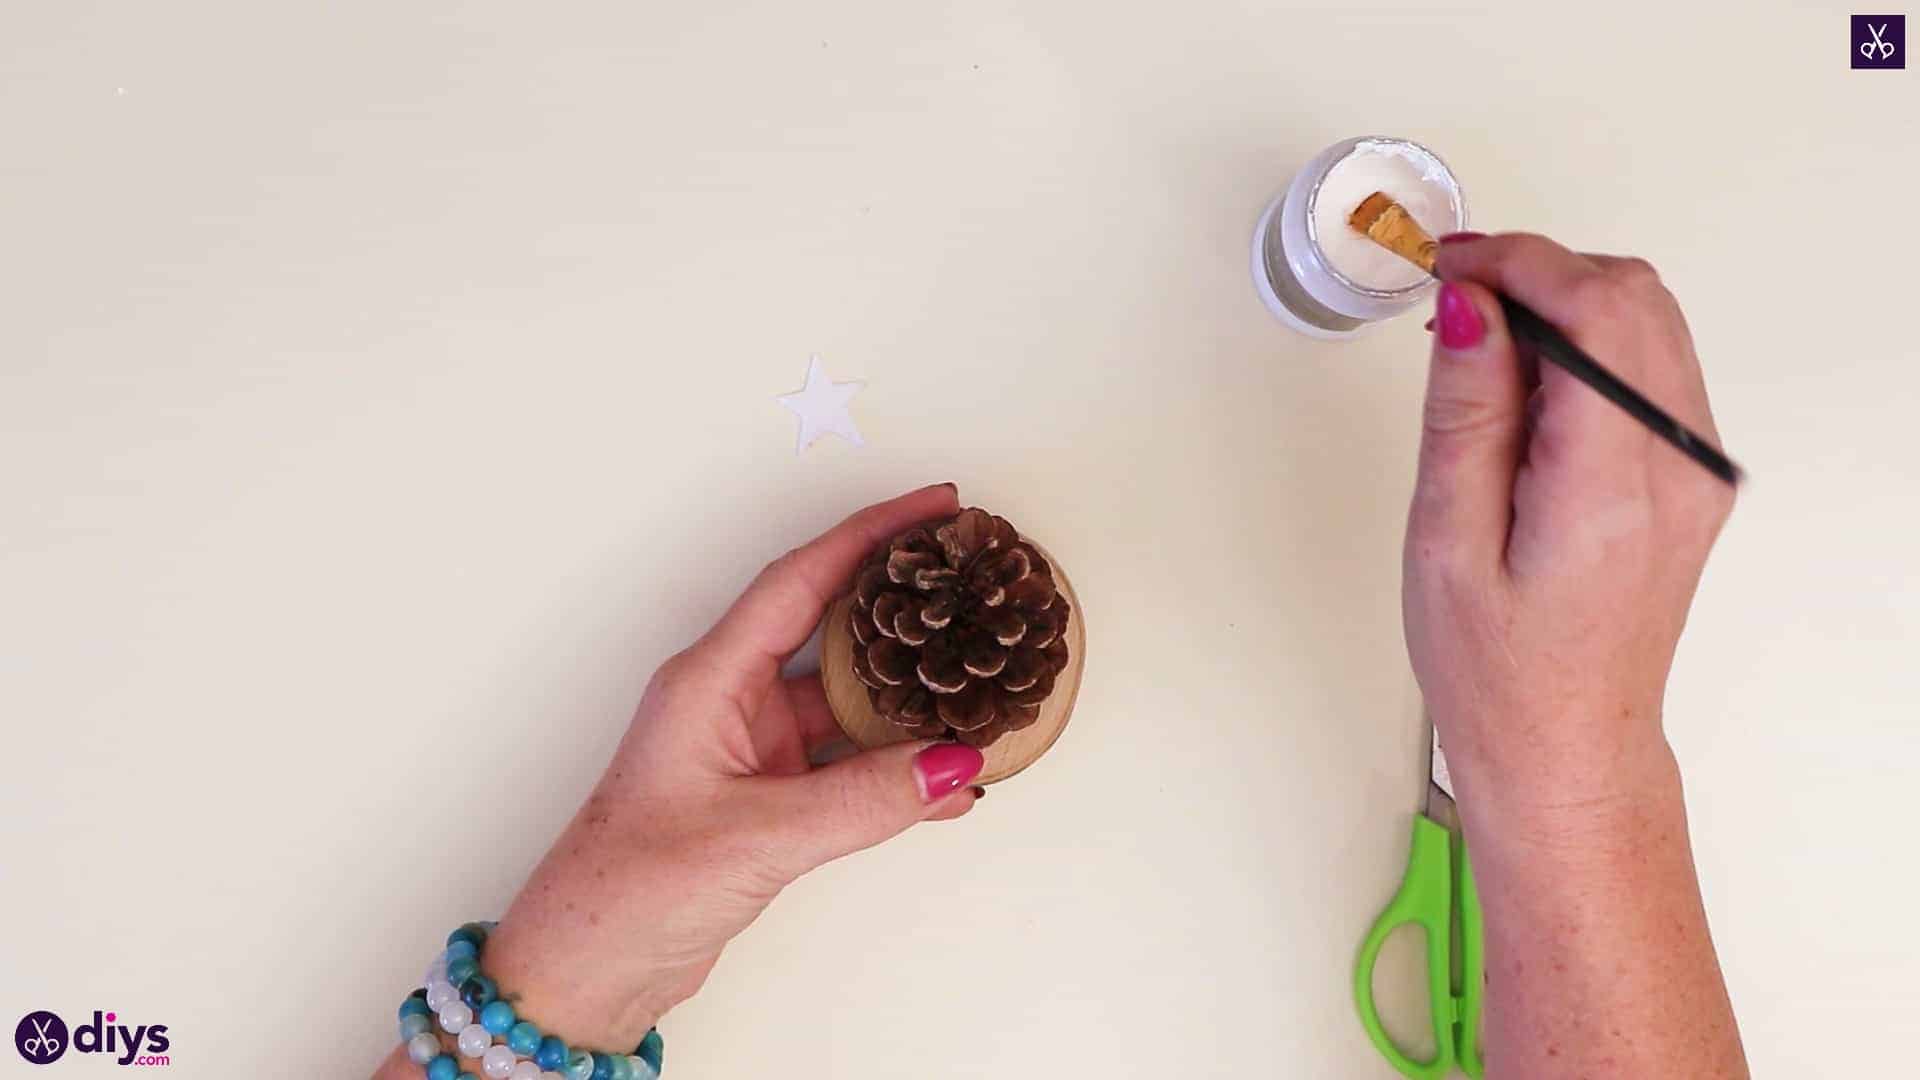
Step 4: paint
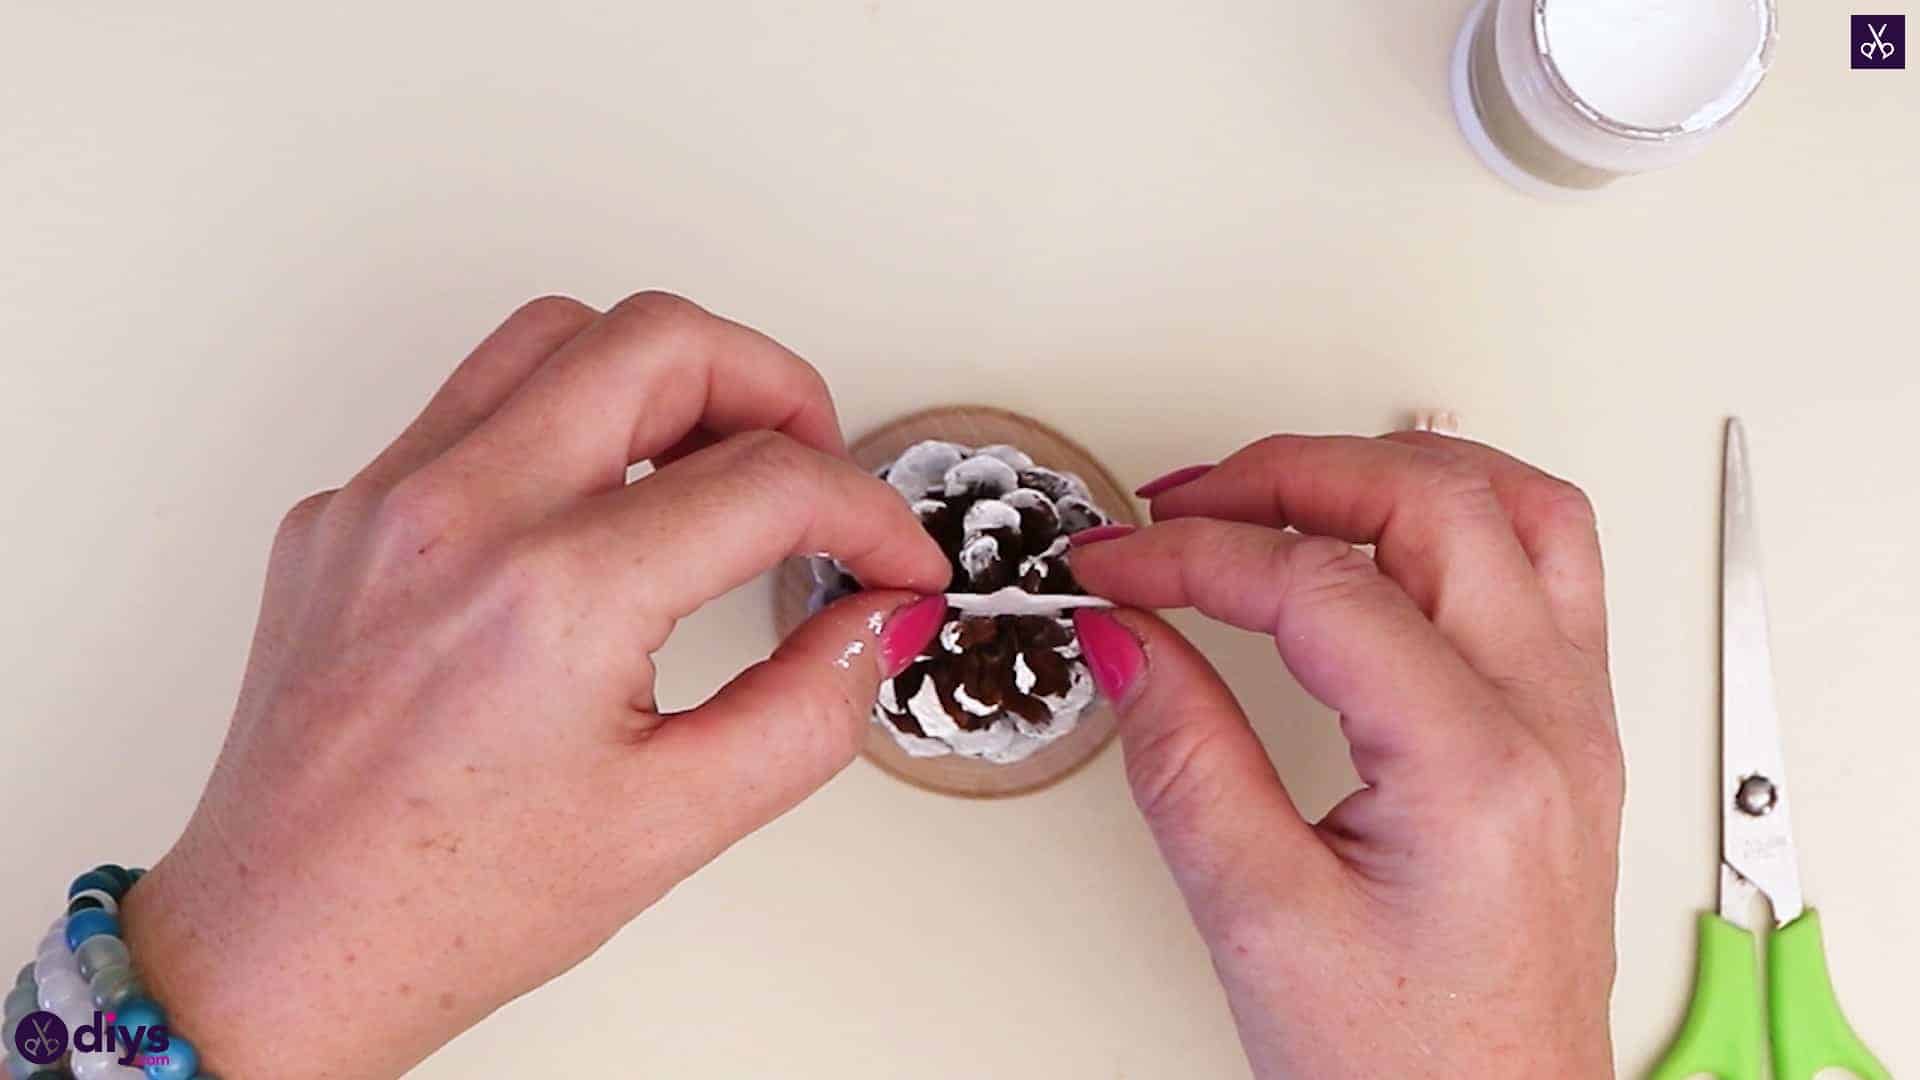
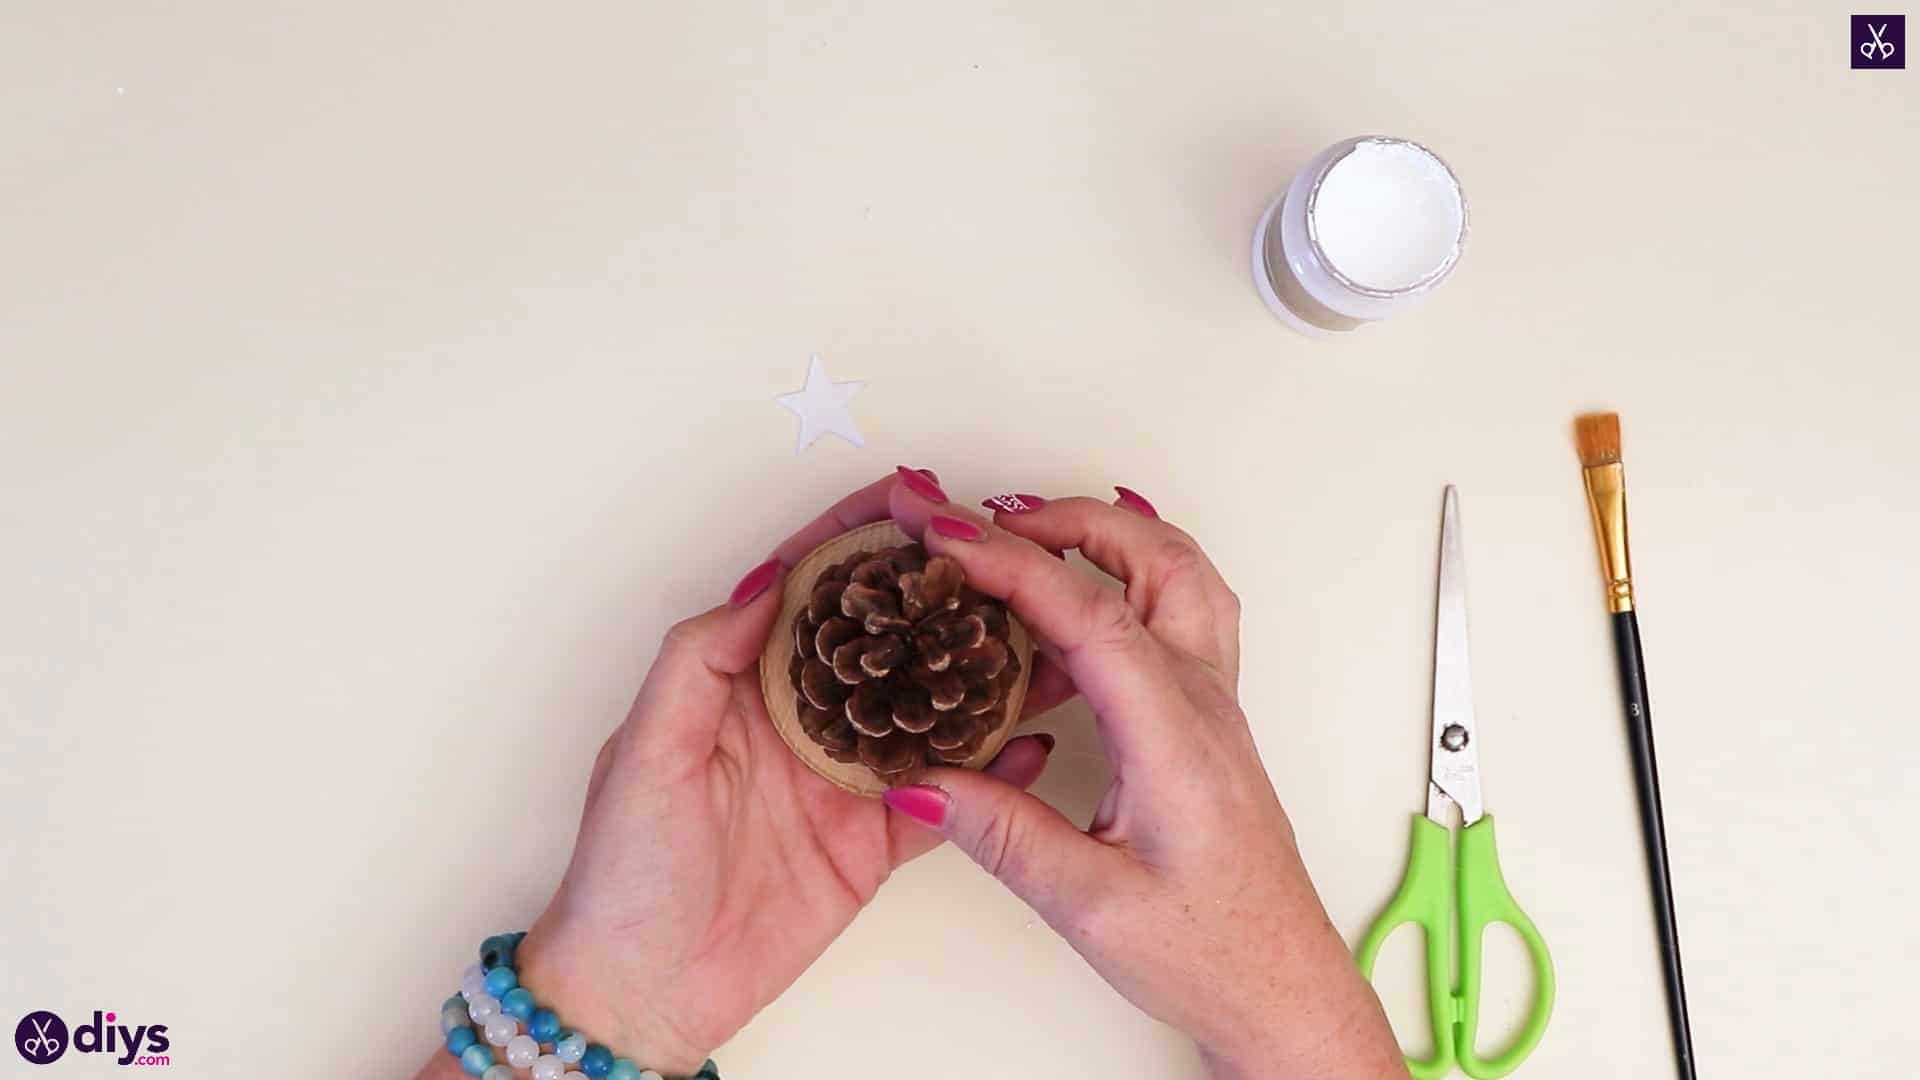
Use your paintbrush to apply white paint on the tips of the trees “branches”, or the ends of the pinecones spines. You want to paint it sporadically rather than solidly so it looks like a tree covered in fallen snow. Let the paint dry.


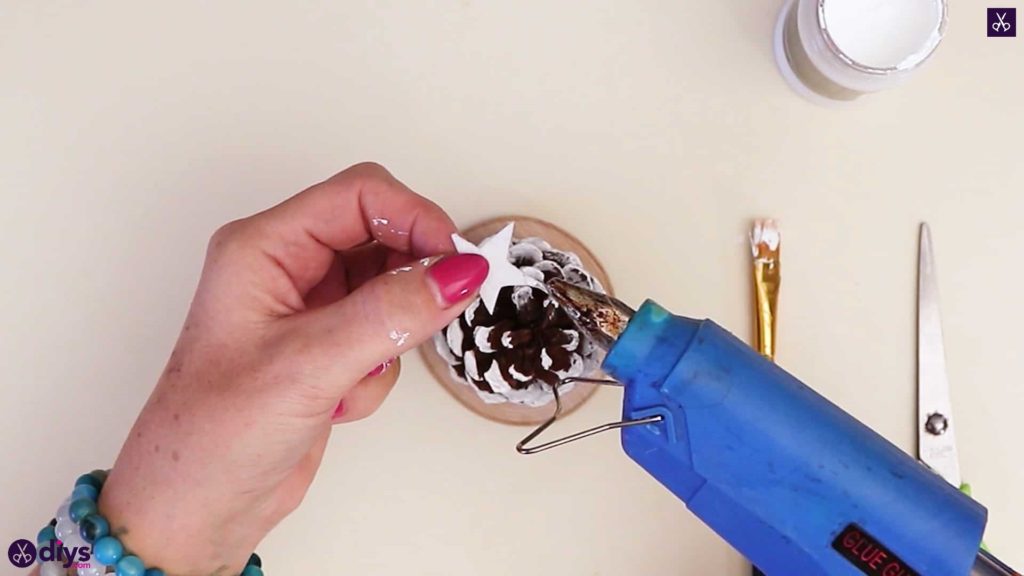
Step 5: add stars
Choose two points on your star to be the bottom two and apply hot glue. Press these carefully into the top of your pinecone so the star sits right on the top point of the tree just like a classic Christmas tree.

That really is all there is to it! Just in case you’d like to try this project out for yourself, here’s a fantastic tutorial video to help you!