Aloe Growing Problems – Troubleshooting Common Aloe Care Issues
Updated on October 23, 2021
Although they have scientifically proven medicinal qualities, aloe growing problems might discourage the hobbyist gardener with little time on their hands. In fact, the last thing many people would expect from the hardy aloe, with its excellent tolerance for poor soil and harsh weather conditions, is that it would have so many growing problems.
To name but a few of these problems, your aloe might display a lack of flowering and even refuse to produce new pups. Other times the hardy succulent will just topple over or look droopy. There are many ways your aloe can be high maintenance. The following list contains the most common aloe care growing problems and how to solve them.
Aloe Growing Problems: Aloe Not Flowering
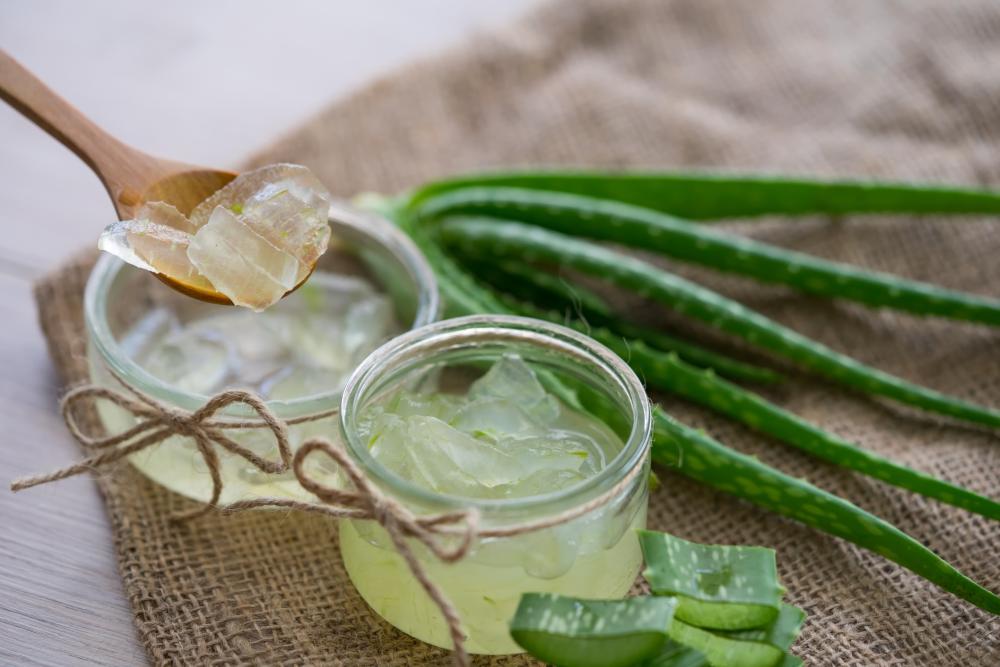
Aloe flowers are known for their ornamental values and detoxing properties. And if you’re passionate about DIY and prefer to make stuff at home, you can use aloe vera to make perfumes, hair treatments, and countless other homemade products. So when your aloe plants go a year without flowering, you start to doubt your gardening skills and wonder if it was something you did or didn’t do that caused this problem.
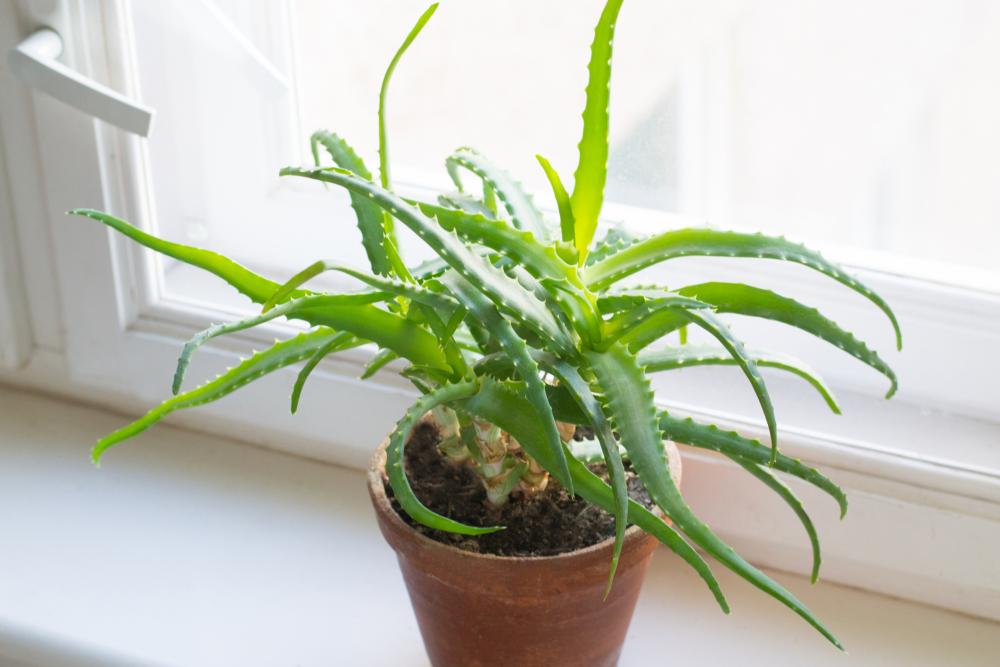
For one thing, if you’re growing aloe as a houseplant, chances are it will not flower at all. Aloes flower either in the wild or when planted in the garden. And even then, they need very specific conditions to start flowering. Among these conditions, plenty of light comes at the top. Aloes are tropical plants used to bright light and warm temperature all year round. In addition, they need regular watering since drought sends the plant into a self-preservation mood, and a flower seems like a waste of resources when the plant is fighting for survival.
How to Fix It
Even if you’re growing aloe as a houseplant, you can still get it to flower as if it was growing outdoors all the time. The idea is to trick the plant into thinking it’s in its natural habitat. Here are a few things you can do to coax it to flower.
- Once the spring starts with its warm 70 degrees F. temperature and radiant sun, take the aloe outside and let it bask in the sun for 8 hours a day. Make this a gradual process starting with just two hours of sunlight and increase it every few days. Bring the plant back inside in the evening.
- Adequate watering is essential for the plant’s flowering. Aloe likes to get just enough water to keep it growing. It doesn’t like dry soil, but it doesn’t like waterlogged soil either. Give the aloe enough water to reach its roots but wait for the top 3 inches of soil to dry out before the next irrigation.
- Allow the plant to go dormant just before flower time. This involves less watering and keeping it in a cool place. Flower time is usually in the late winter or early spring.
Droopy Aloe Plant
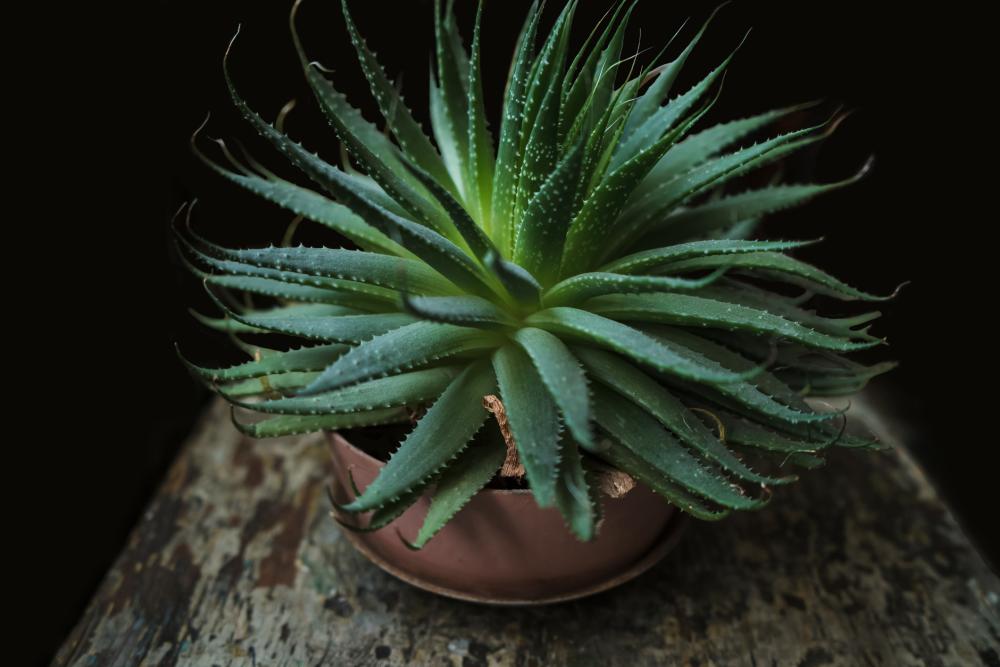
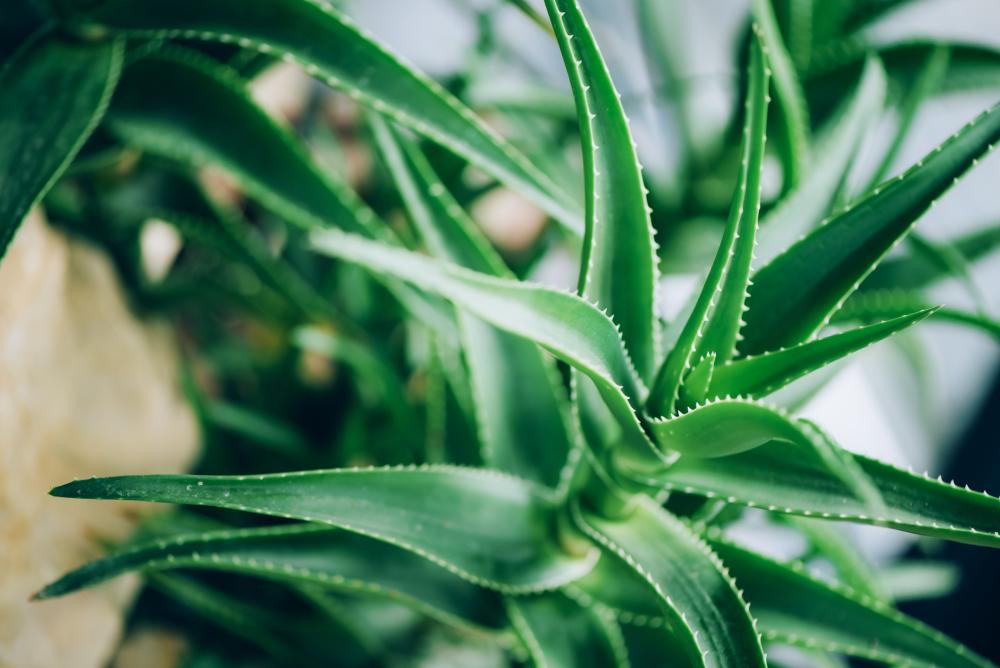
The meaty leaves of aloe are probably its claim to fame. Even if it doesn’t flower, the ornamental values of the leaves are undeniable. Whether they’re variegated or plain green, they still get your attention. So when those leaves start to droop and lose their cheerful color, you know something is not well with those hardy plants.
A quick examination of the aloe growing conditions would quickly reveal the real cause of the droopy leaves. It could be a lack of good light, improper watering practices, a small pot, low temperature, or some fungal infection.
How to Fix It
Make an inventory of all the possible things that could interfere with the aloe’s growing conditions and go through them one by one. Mind you, there might be more than one reason for the drooping leaves. So after fixing a possible cause, keep going through the list.
- If your potted aloe is sitting in a dark corner, it’s time to move it closer to a window that gets plenty of sunlight. Let it soak up 6 hours of sun every day and you’ll see the leaves straightening out and regaining their healthy colors.
- If the temperature in the room is under 50 degrees F. that could be another reason the leaves look sickly. Move the plant to a warm place in the house where the temperature is constantly between 65 and 72 degrees F.
- Aloe loves to be soaked with water until it flows out of the drainage holes at the bottom of the pot. Then let the soil go dry before you soak it again.
- Aloes have robust root systems. Their rootball grows sturdier over the years so you’ll need to repot the plant. This can be done about once every couple of years.
- Repotting the aloe should be a good opportunity to examine the roots for any fungal infections. Trim away damaged or dead roots and use fresh, new soil.
Aloe Growing Problems: No Pups
One of the easiest ways to propagate aloes is using their offshoots. These small growths, called pups, emerge on the base of mature plants. If your aloe doesn’t have any pups, that means you won’t be able to propagate it if something happens to the mature plant.
One reason, the aloe is not producing pups, is that the growing conditions around it are just too good. The plant is growing in a large pot, far too large for its root system, and there’s no competition. So there’s no pressing need from the aloe’s point of view to worry about its survival.
Paradoxically, if the plant is stressed out such as going through a drought or not getting enough light, it will not produce pups either. It’s a catch 22 kind of situation where you need to strike a balance between good living and lightly nudging the plant to grow a few pups to ensure the survival of the species.
How to Fix It
Check the pot where you grow your aloe. If the rim is wider than the diameter of the plant’s foliage, then you need to repot it. Move between pots in small increments so that the aloe doesn’t get too relaxed and forget about propagation.
Give the aloe enough light, adequate temperature, and refresh the soil every time you repot it. And finally, only mature aloes tend to grow pups. If your plant doesn’t have pups, it might be too young.
Sticky Aloe Leaves
Let’s face it. Sticky aloe leaves are the last thing you’d want to see or have around the house. For all intents and purposes, your aloe looks the epitome of health. Except for that gooey substance that coats the leaves.
In most cases, insects are the main cause of sticky aloe leaves. But sometimes, it’s another sappy plant or chemical exposure that causes this problem. When you have determined that it’s insects such as aphids, mealybugs, or scale that instigated this health problem, then you can find the right treatment.
How to Fix It
When insects attack aloe plants, they feed on the sap in the leaves and leave behind a trail of honeydew. This is the sticky substance you see trickling down the leaves and giving them this unsightly look. Apart from appearances, honeydew can be an invitation for more serious infestations and diseases. So the sooner you wash it off and get rid of the pests, the better.
- Identify the type of insect that’s feeding on the leaves and eliminate it accordingly. If it’s aphids, then wash them off with a hose or use a neem oil spray. Mealybugs and scale are easy to kill with rubbing alcohol.
- Rinse the sticky goo off the leaves with warm water.
- If the aloe plants are under sappy plants, relocate them to a cleaner spot.
- Make sure the potted aloes are not exposed to chemical fumes or car exhaust. Keep them away from the driveway or garage entrance to prevent chemical buildup on the leaves.
Wilting Aloe Veras
What many people tend to forget is that aloe veras are hardy plants that don’t like too much water. In fact, if you trace most of the problems you’ll get from aloes, it almost always leads to overwatering. One of the key elements to having a healthy aloe plant is to keep the soil more dry than wet. Wilting aloe veras are the result of overwatering the plants or using the wrong growing medium. Exposure to harsh sunlight for long hours could also cause the leaves to wilt. So if you notice your aloe showing signs of distress, go through the list of causes and deal with them one by one.
How to Fix It
With such a long list of causes, wilting aloe vera can be a little tricky to treat. But the following steps can help you detect the cause quickly and bring the plant to life again.
-
- Water: Examine the leaves of the aloe. Are they brown, wilting, and have soft spots on the surface? These are signs of overwatering. You’ll need to repot the aloe and use a growing medium with more sand than clay in it to improve drainage.
- Salt: Over fertilizing aloes is never a good idea. The more fertilizer you dump in the pot, the more salt residue remains in the soil. Salt buildup can cause the plant to wilt. Repotting is the best way to save the plant and don’t fertilize it more than once a month.
- Temperature: Cold temperature can stress the succulent enough to cause it to wilt. Ideally, you should keep the room temperature between 60 to 85 degrees Fahrenheit. If the temperature drops below 55 degrees F, the aloe will suffer.
- Light: Aloes can survive in dim to medium light conditions. Too much sunlight can lead to sunburn and wilting. So keep the potted plant away from a window facing south or west.
Galling On Aloe Plants
When bubbles swell under the surface of your aloe leaves and stem, you have every reason to worry. These contortions are not normal and are the signs of pest infection. The insect in question here is the eriophyid mite. A tiny insect that feeds on the leaves and in doing so its saliva finds its way into the tissue of the plant causing these ugly swellings. Aloe galls are usually green and sometimes pinkish. If left untreated, the galls can encroach on the whole plant giving it a deformed and stunted appearance.
How to Fix It
Treating galls on aloe plants can be as easy as slicing the bubbles off with a blade. But in cases of heavy infections, you might have to uproot and dispose of the whole plant to prevent the spread of the disease to other aloes near it.
- If the plant has only a couple of galls developing on it, use a sharp and sterilized blade to cut off the galls. Make sure to remove them at the base and burn them.
- Inject the soil with an insecticide such as Dimethoate, Orthene, or Carbaryl. The best time to do that is in the spring to allow the roots to absorb it and repel the mites.
- Remove heavily infected aloes and dispose of them safely to keep other aloes safe.