DIY Wine Cork Vase: How to Make a Wine Cork Vase
Updated on November 19, 2025


You can never have enough flower vases! Whether you commonly receive flowers or cut them from your own garden, or perhaps use the vases for plastic flowers and other decorations, it doesn’t really matter; what does matter is that we have a really cool DIY idea for you – a wine cork flower vase!
It’s easy to make, it looks fabulous, and it only requires a few materials from you. This new creation will look great in your living room, and you can even gift some just like if you want. Let’s see what steps you need to take to make a wine cork flower vase!
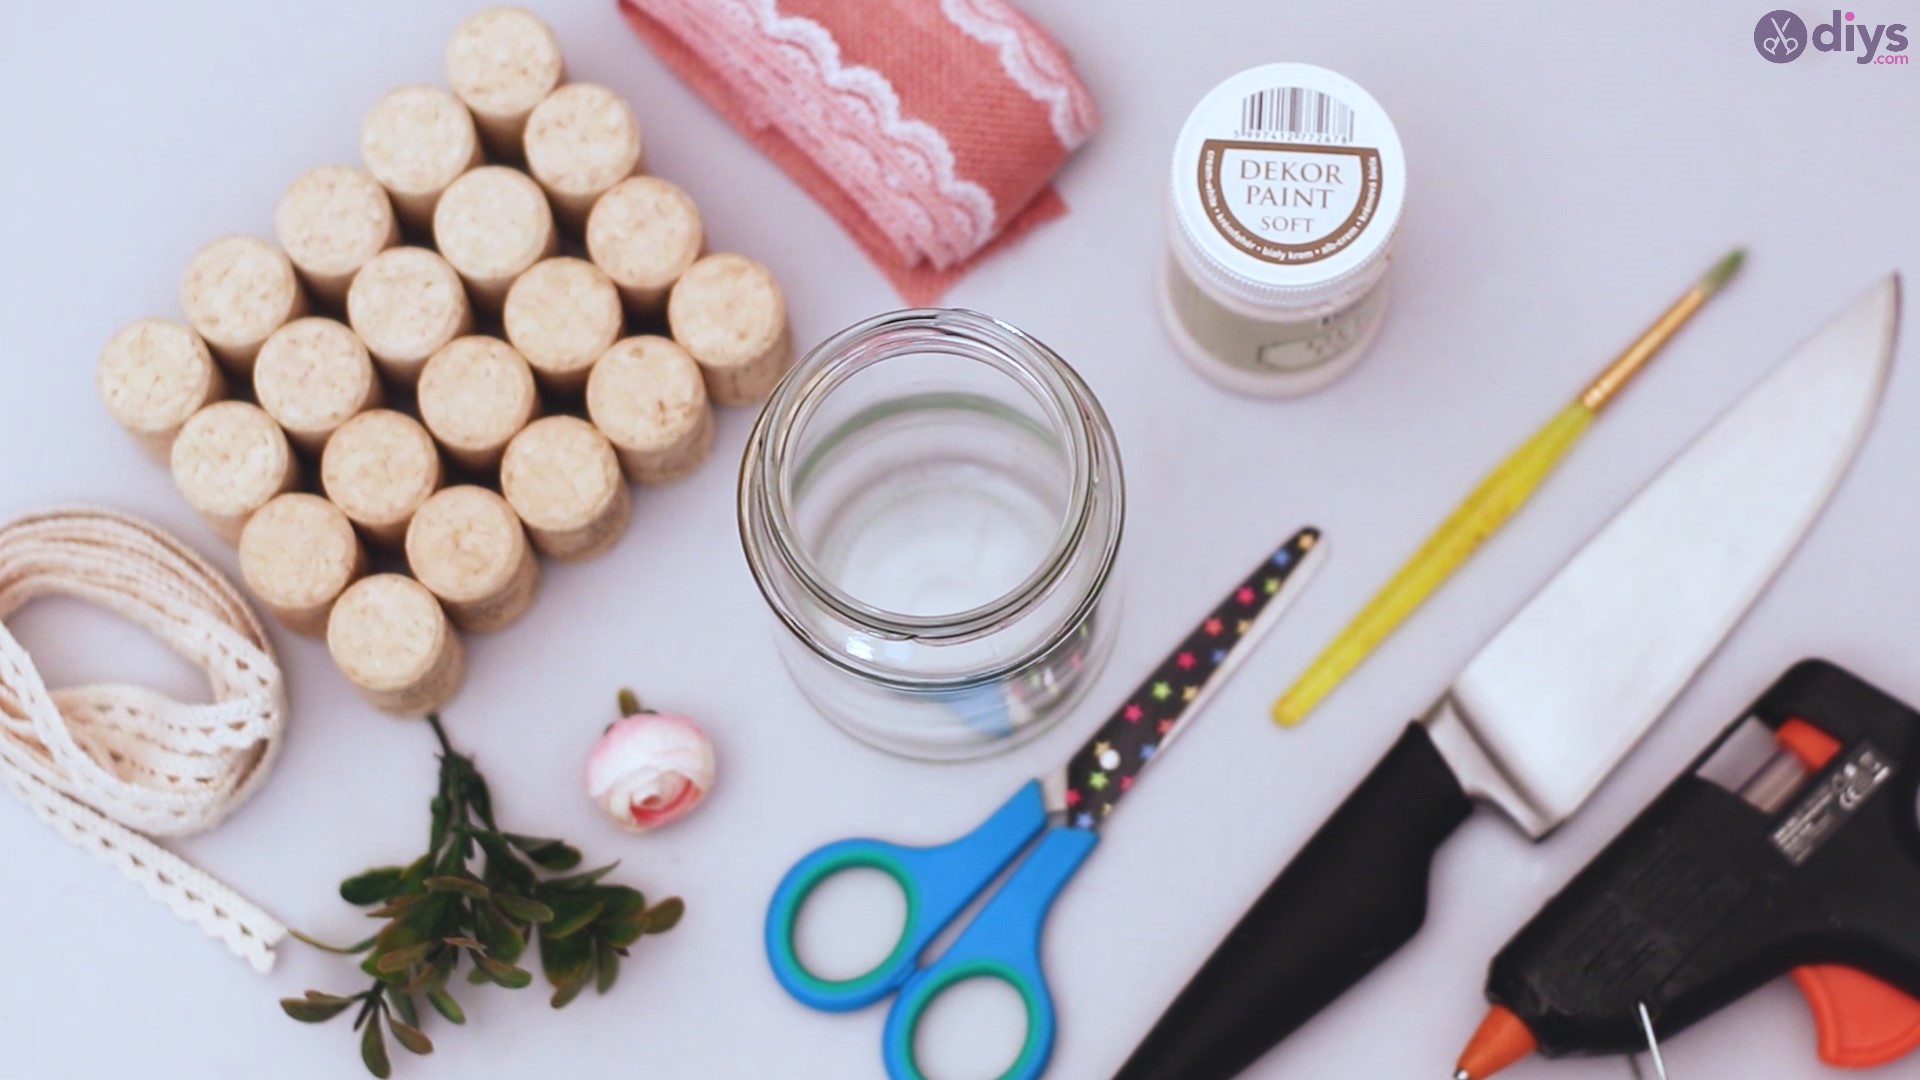
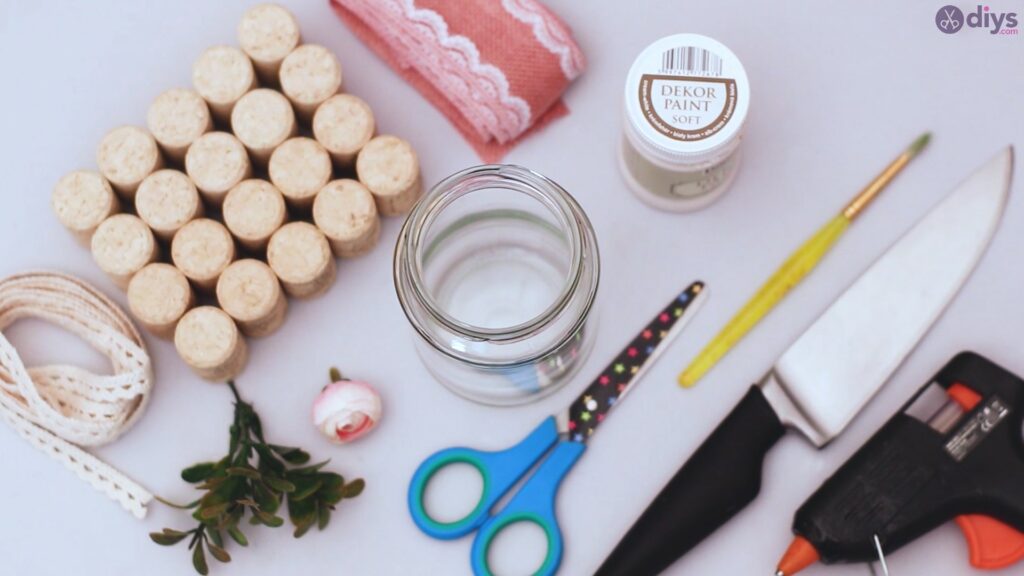
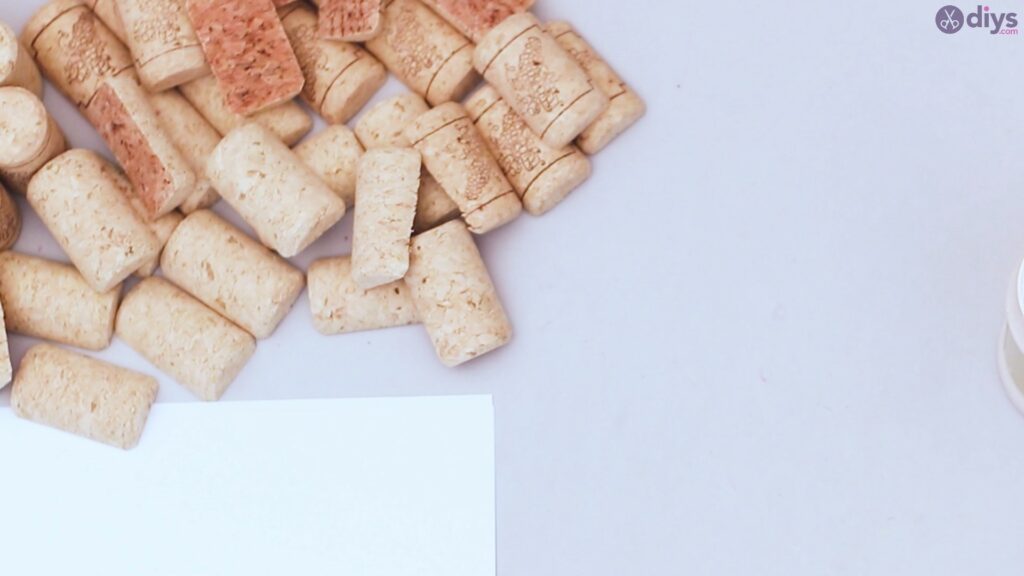
Materials for wine cork flower vase:
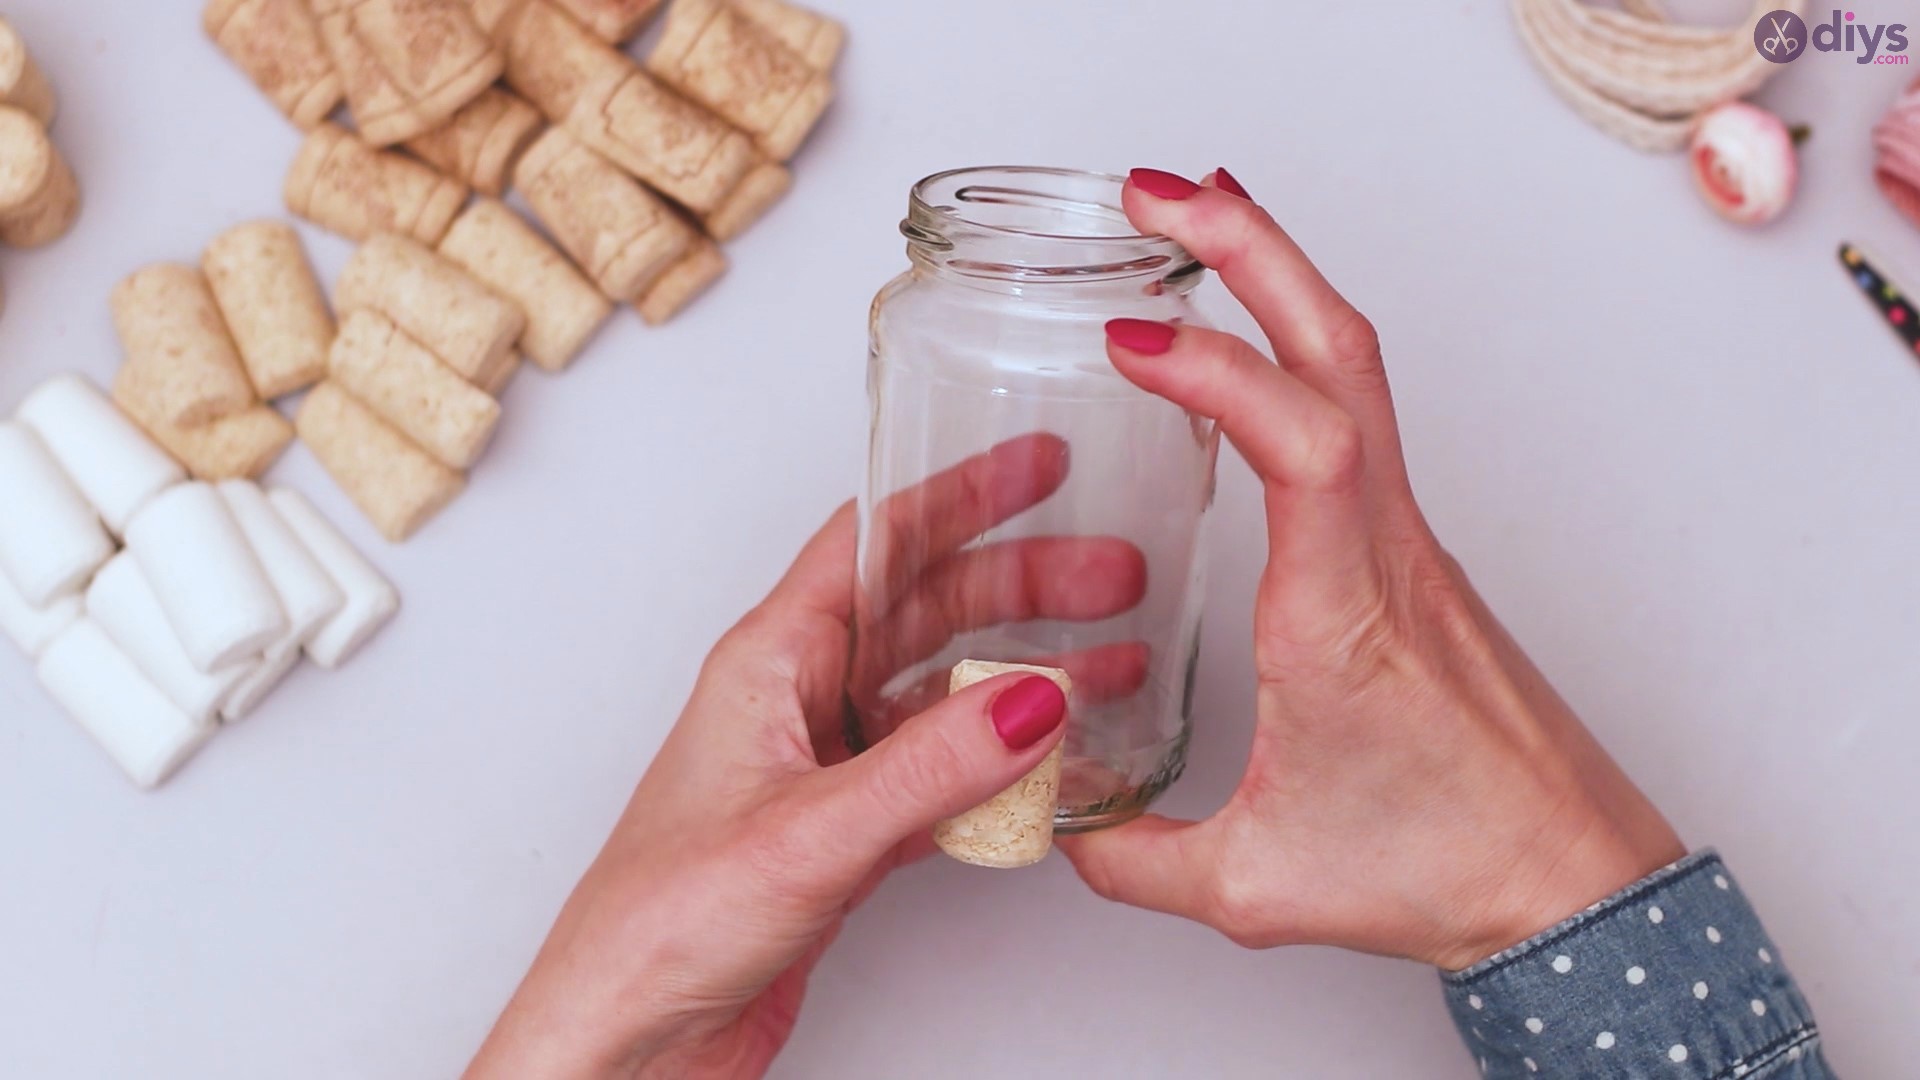
- mason jar
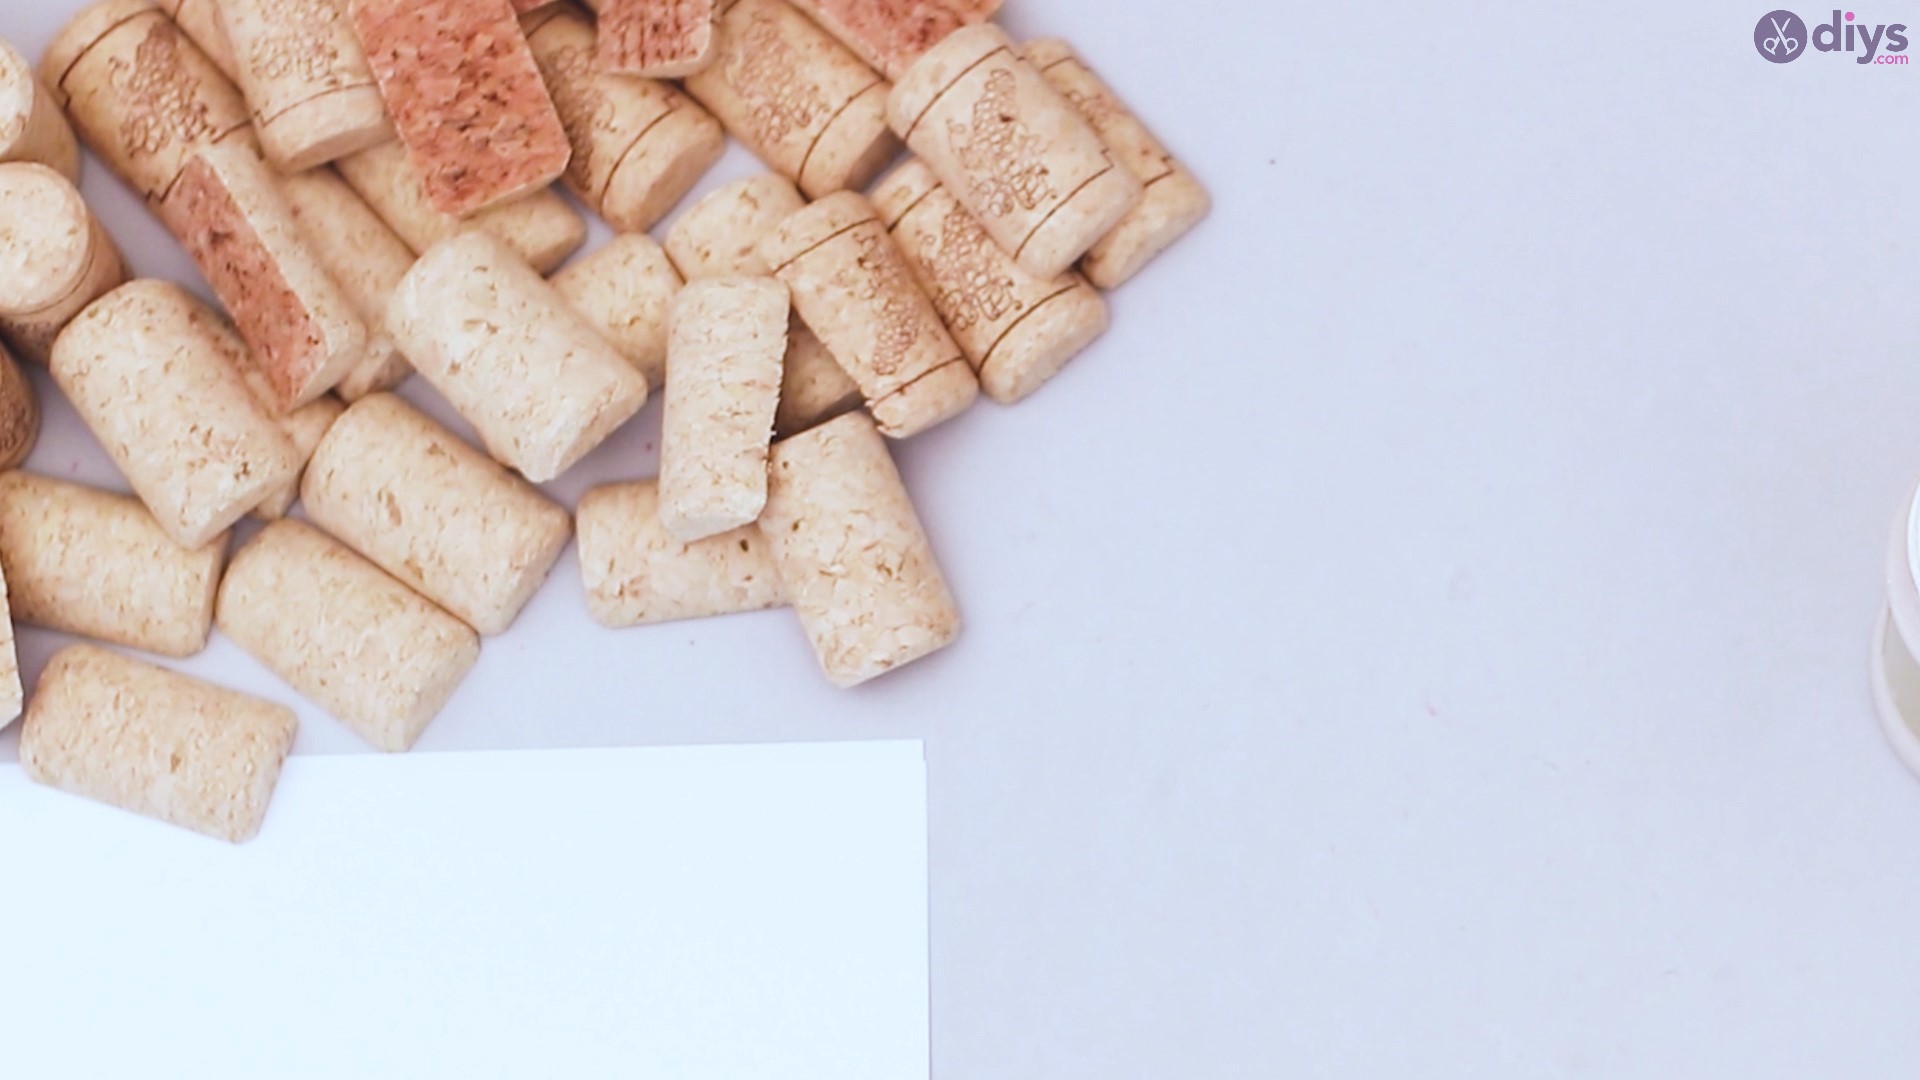
- wine corks
- creme white acrylic paint
- paintbrush
- scissors
- glue gun
- artificial flowers
- jute ribbon
- lace ribbon
How to make wine cork flower vase?
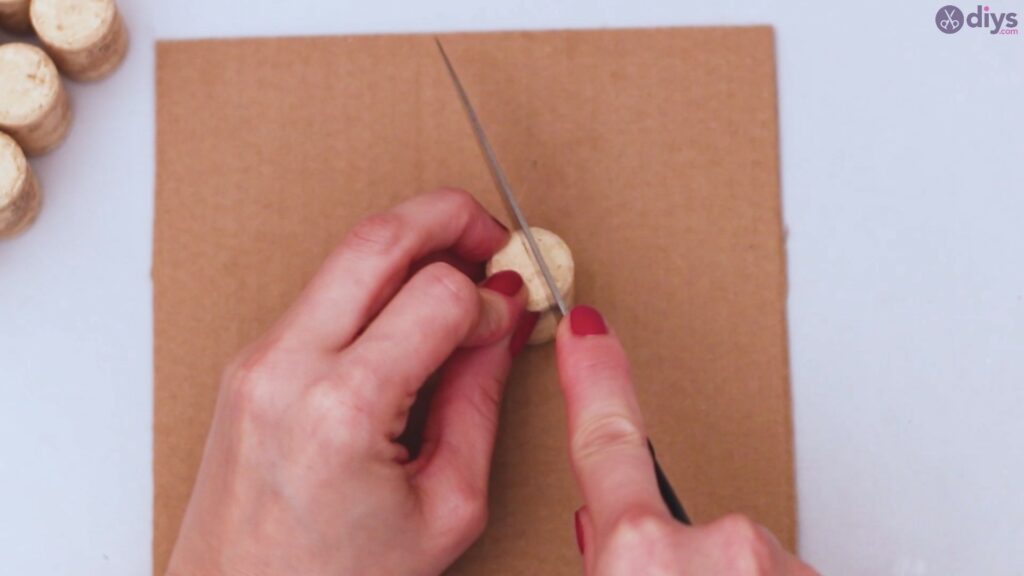
Step 1: Prepare Your Corks
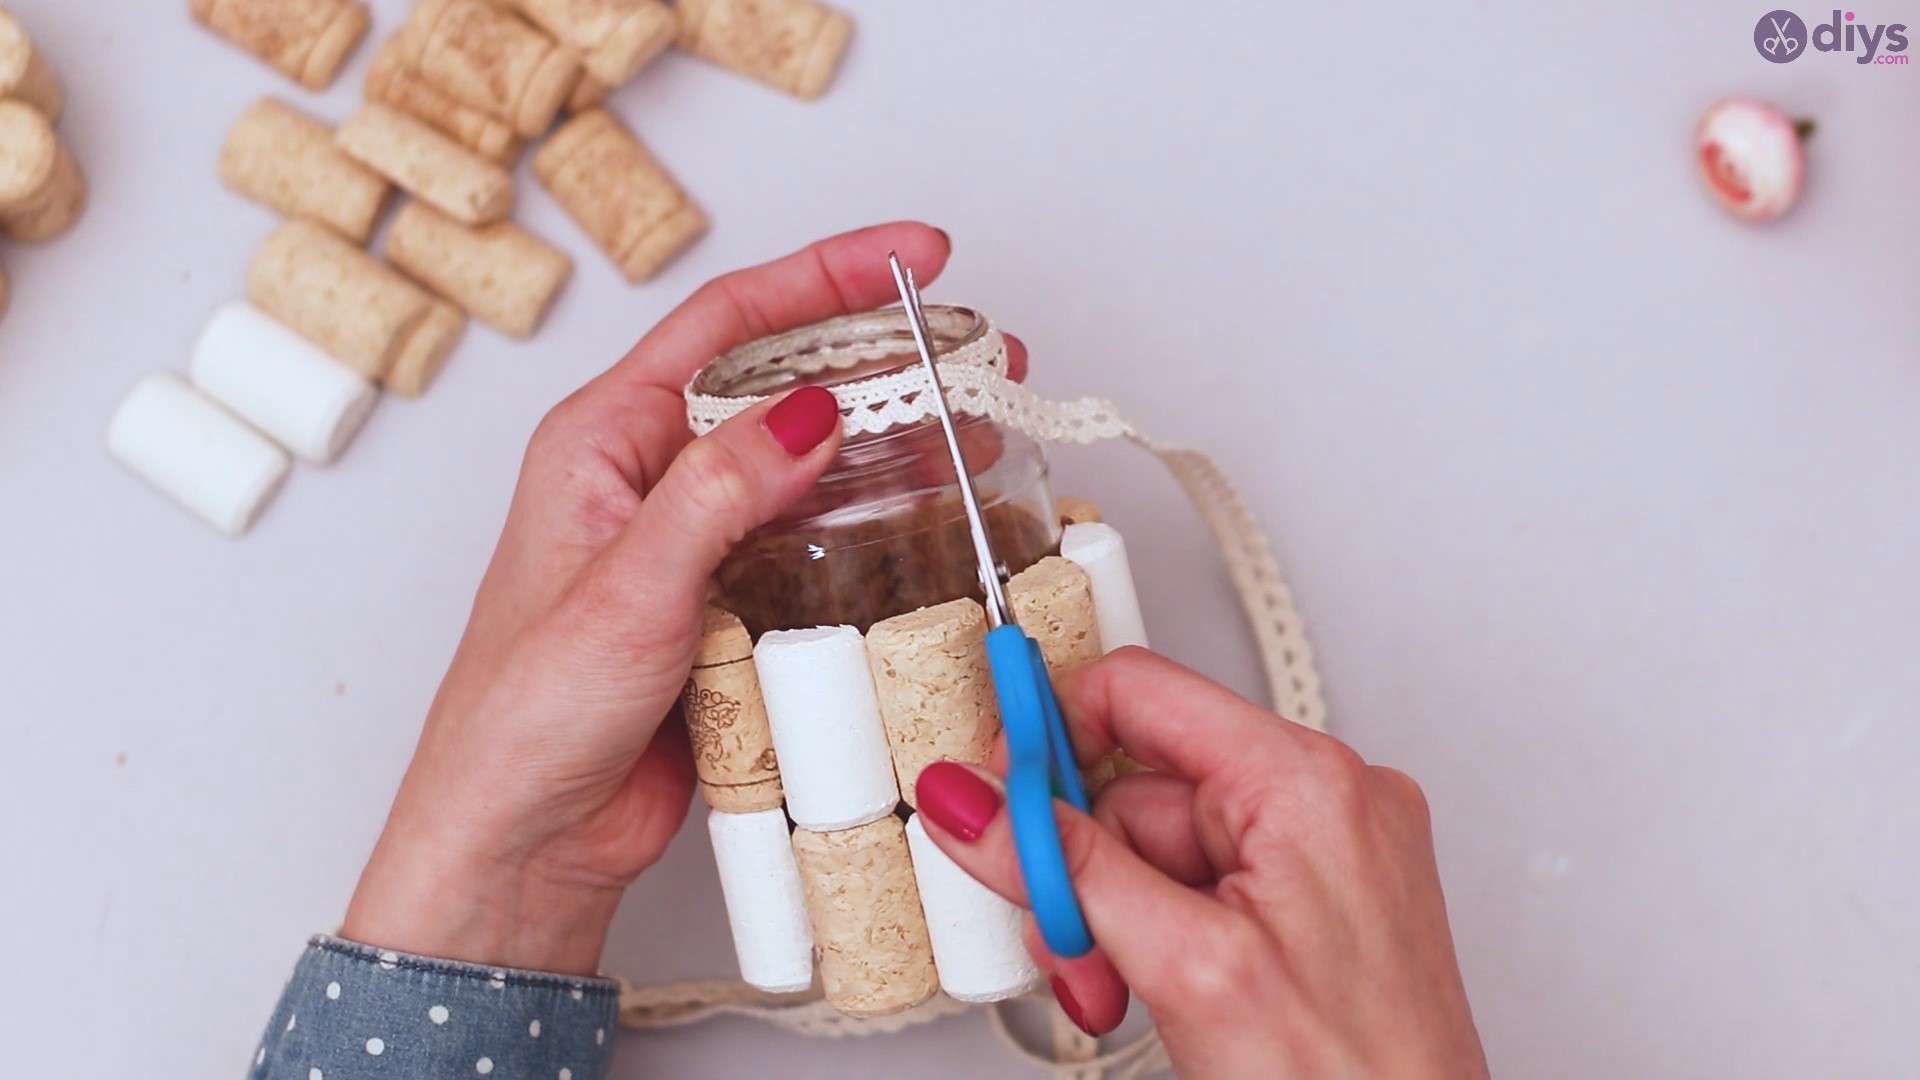
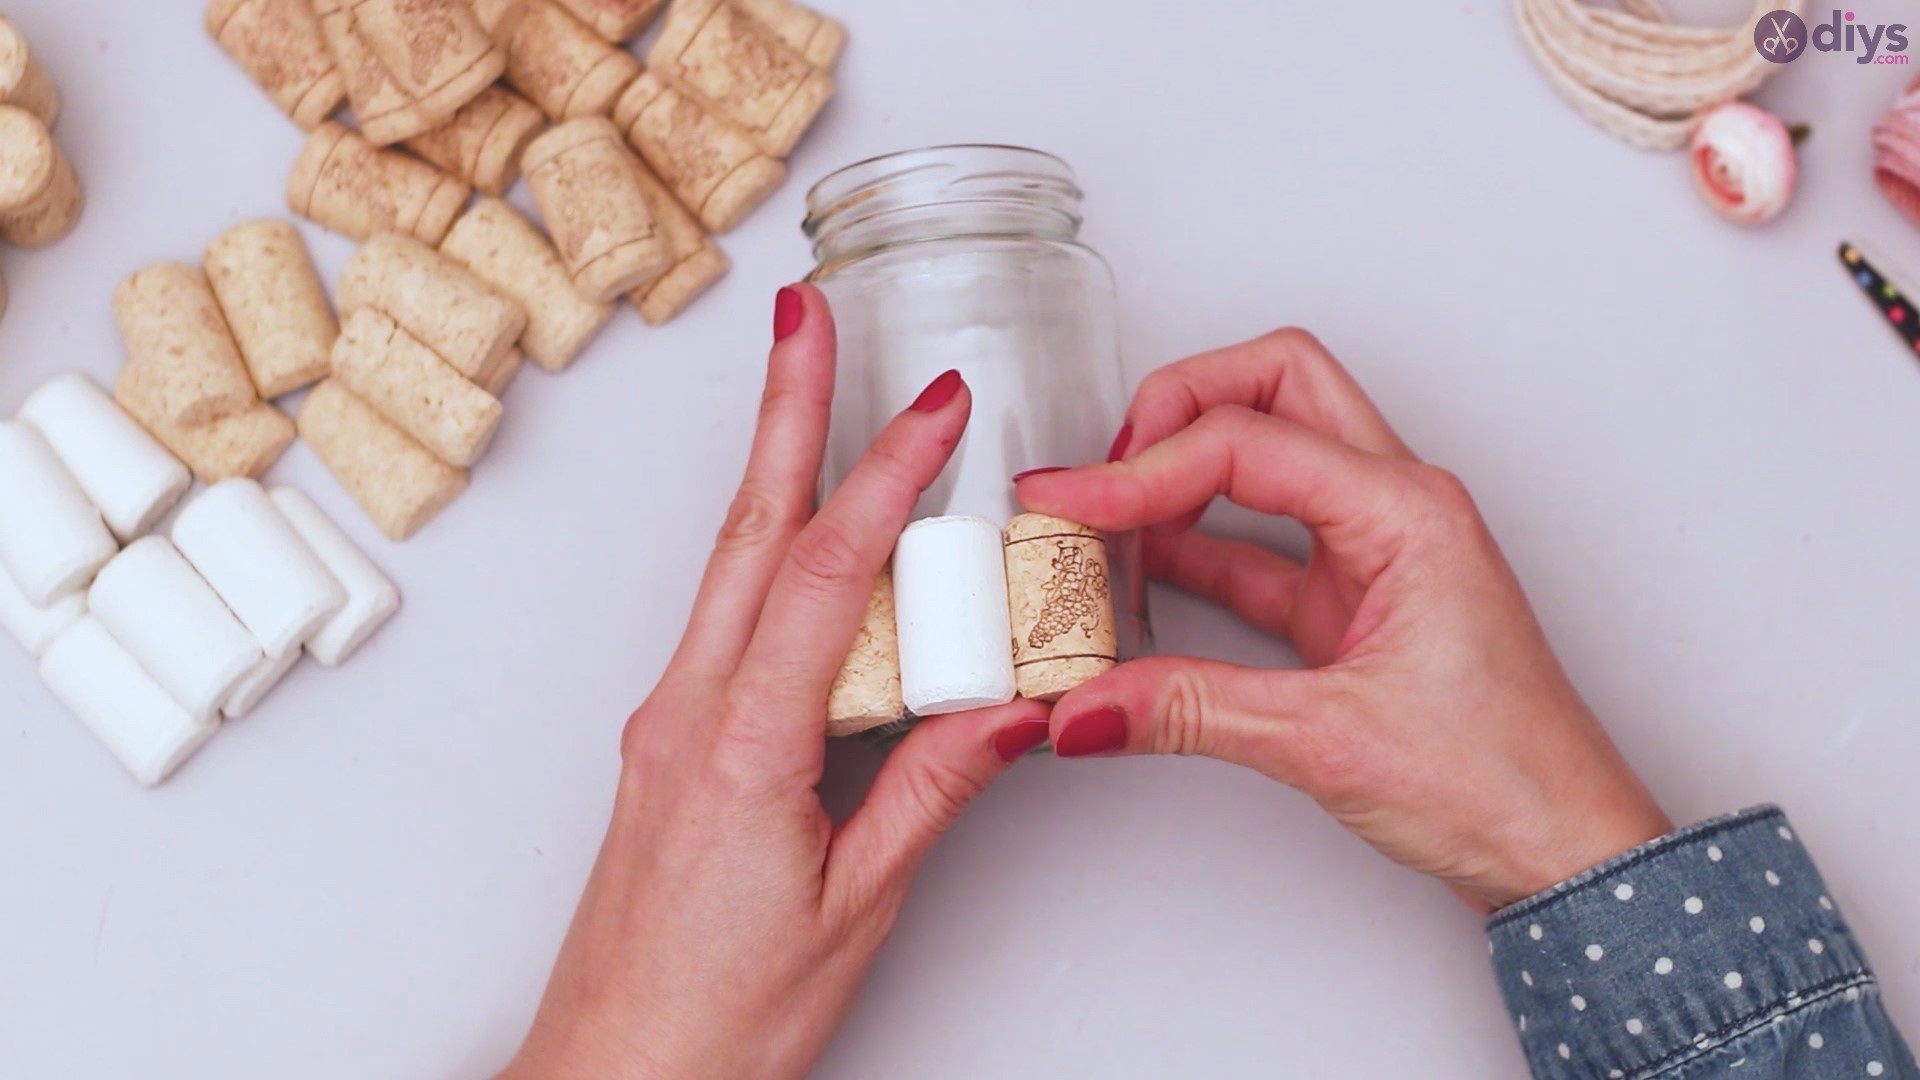
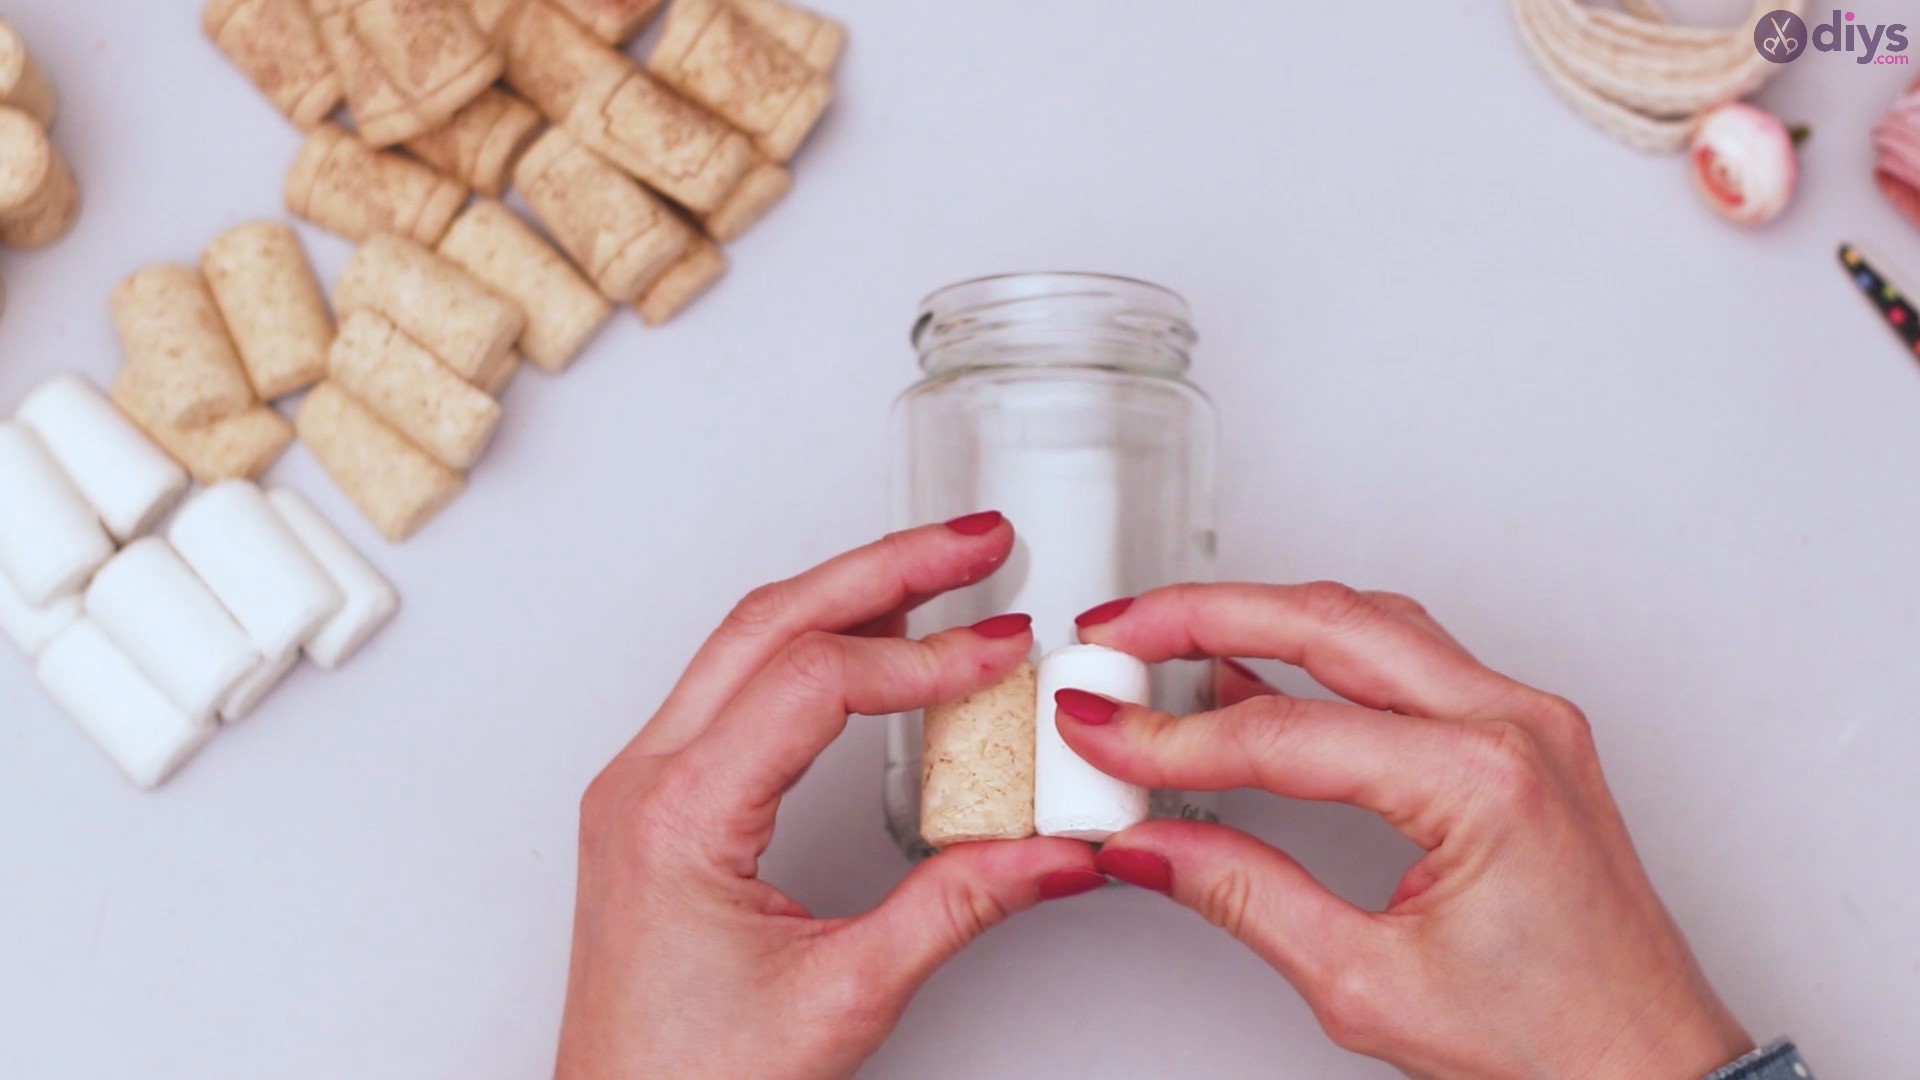
We’re going to kick off the tutorial on how you create your own wine cork vase by preparing the wine corks. You’re going to want to cut them in two, as shown in the pictures. Try to make the cuts as straight as possible, so use a sharp knife and go slow and steady. You may mess up a few corks, so make sure you have extras.

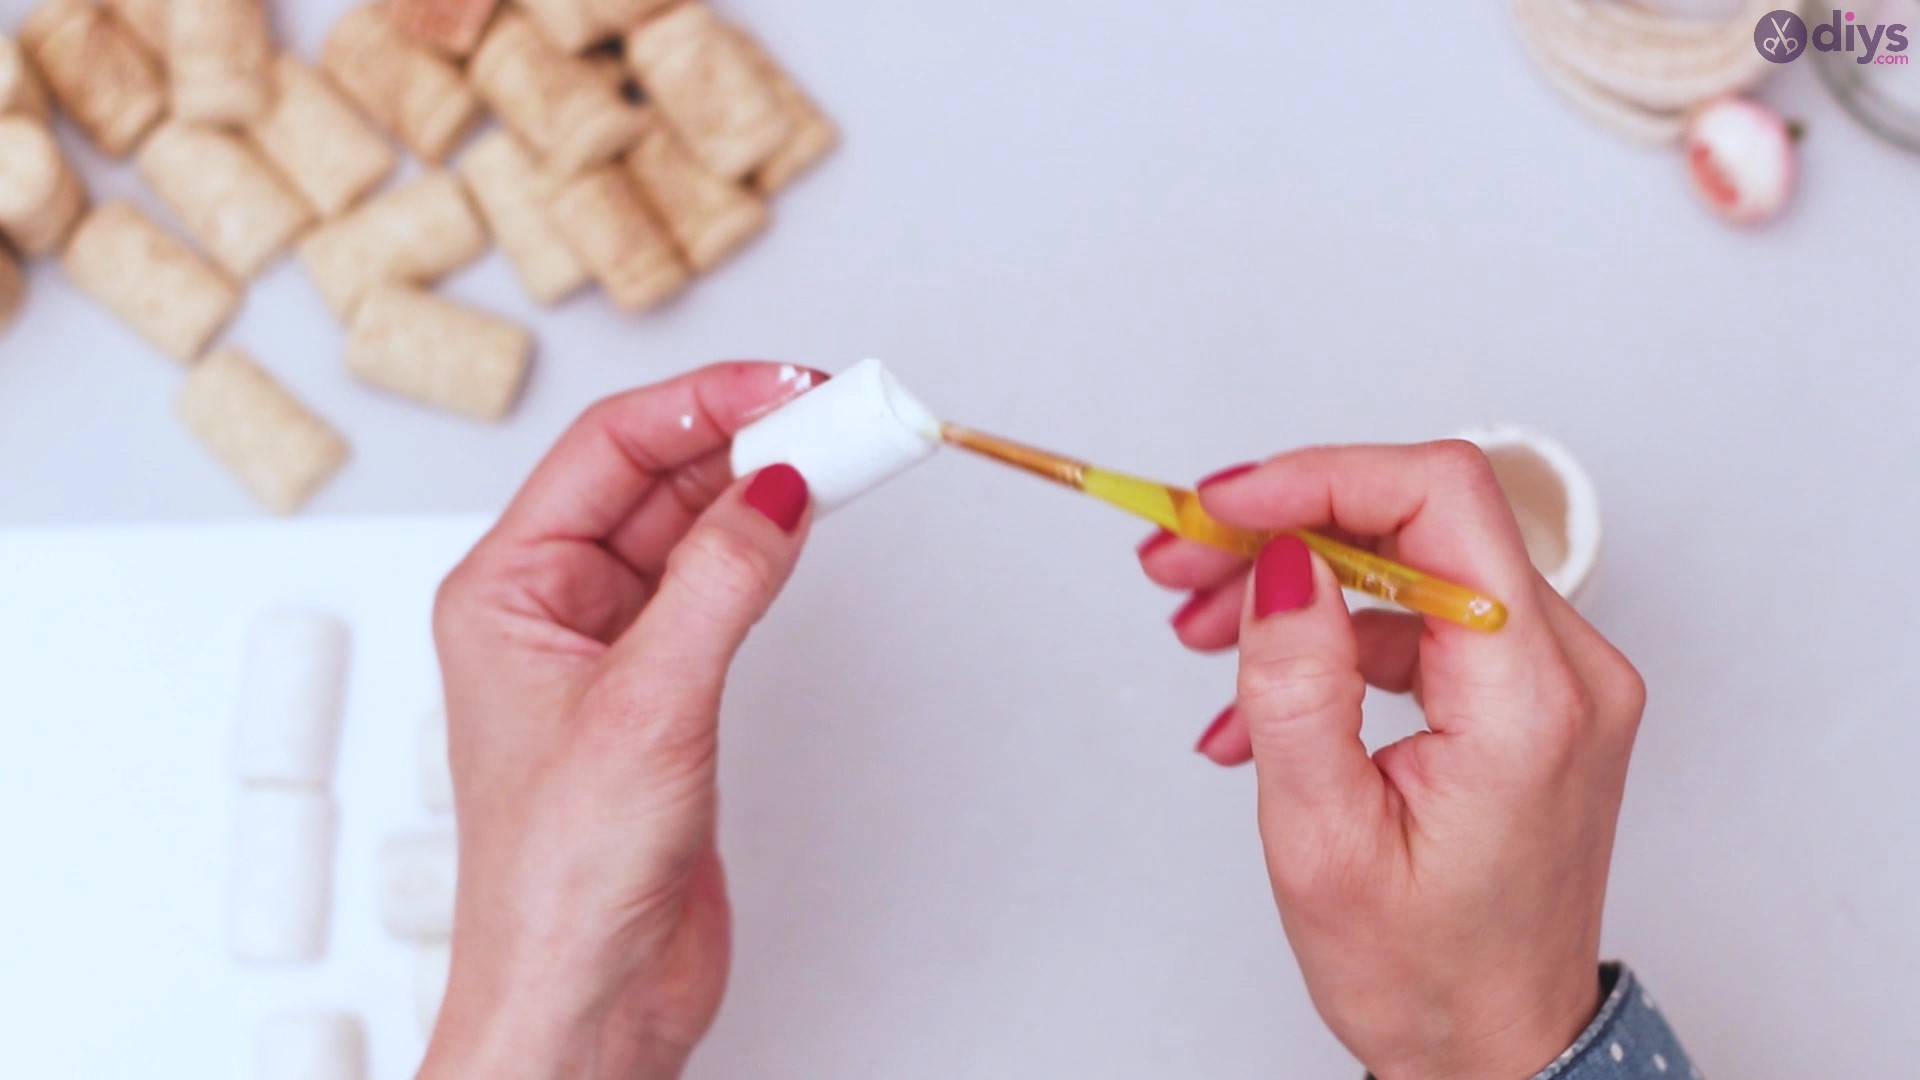
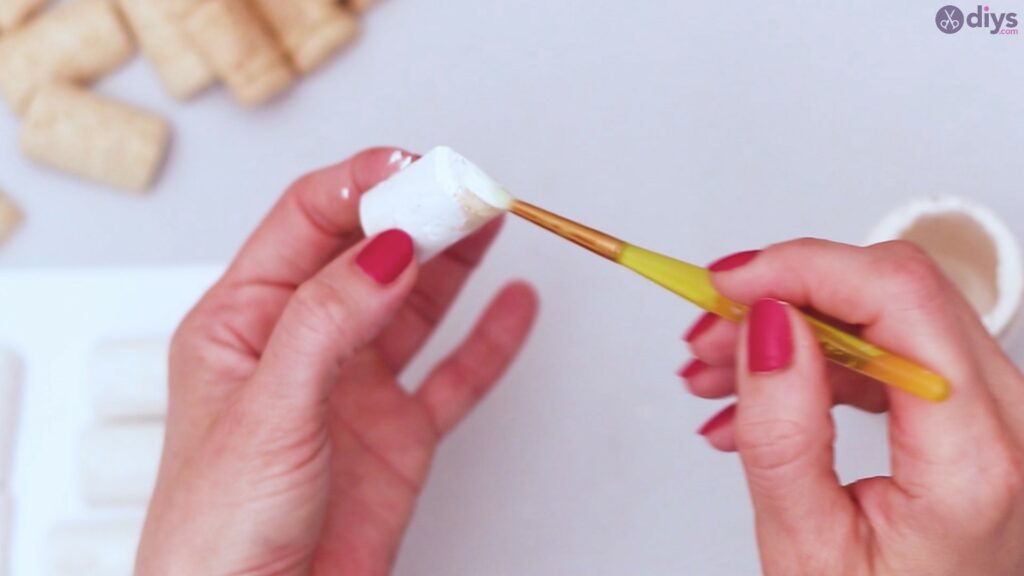
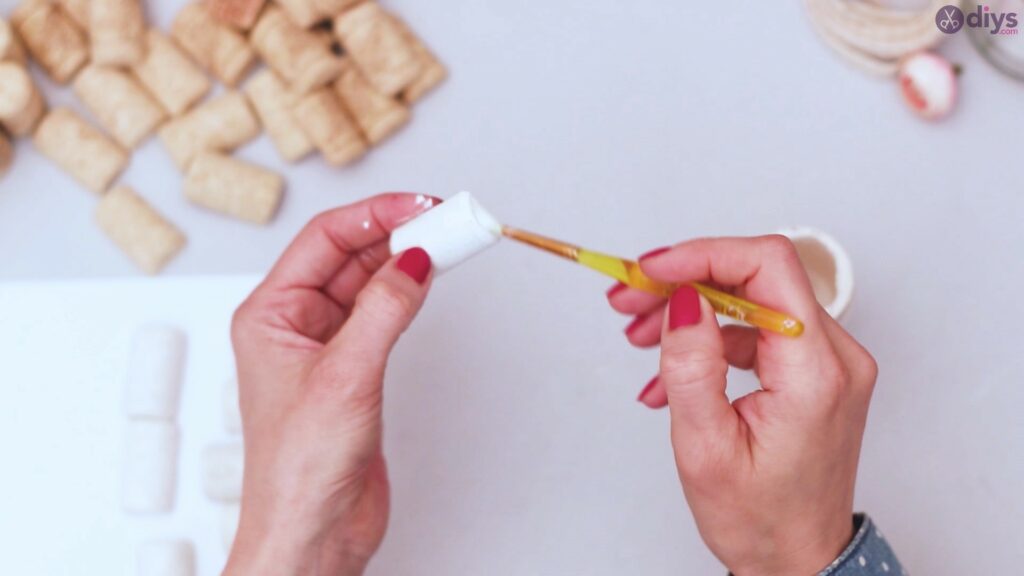
Step 2: Paint the Corks
Now that you’ve finished cutting the corks, it’s time to move on to the next step which involves getting yourwhite acrylic paintand thepaintbrushand adding color to your corks. You’re going to want to paint the exterior and the tops and bottom too, so it looks nice and even. Don’t paint all the wine corks – leave some of them plain as it will make for a nice contrast.

Acrylic paint dries up pretty fast, especially when applied on a porous surface like that of the wine corks. Although you may be tempted to do it, don’t add any water as that will make it necessary to add multiple paint layers.
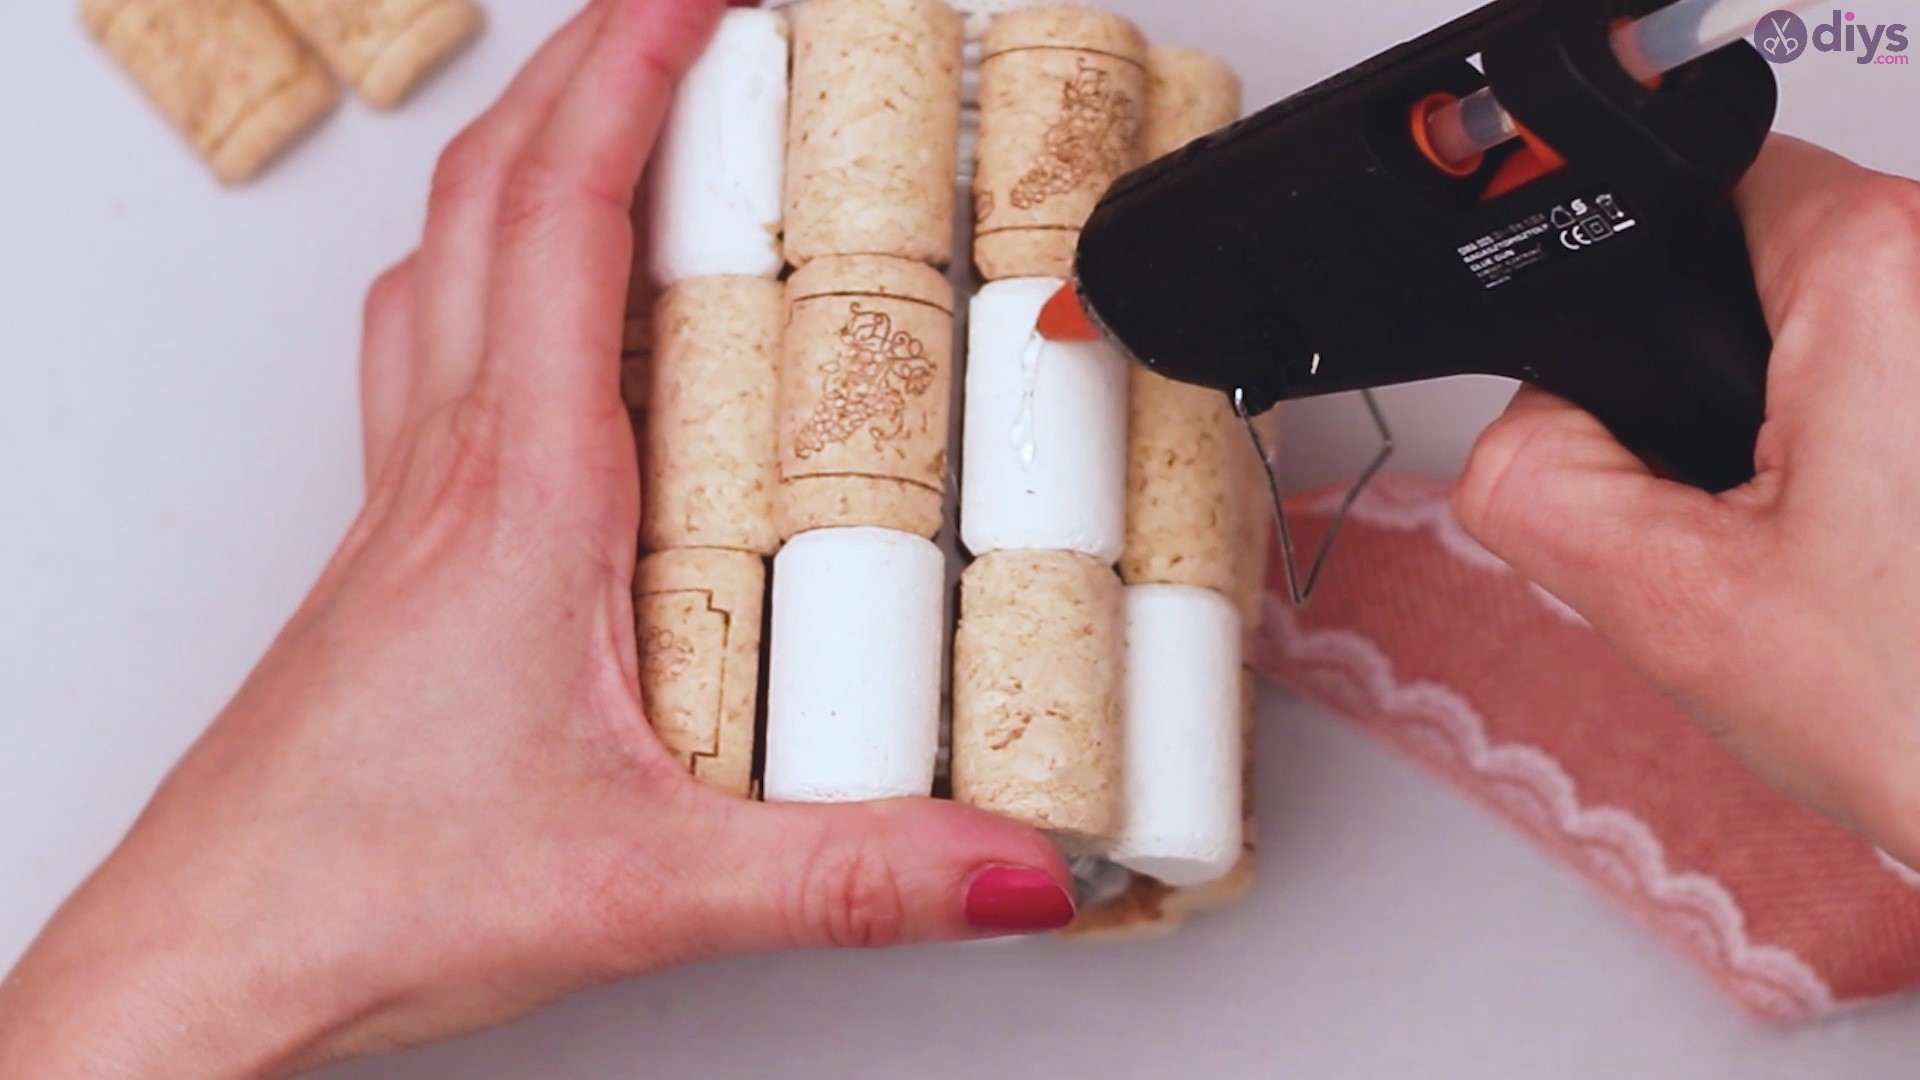
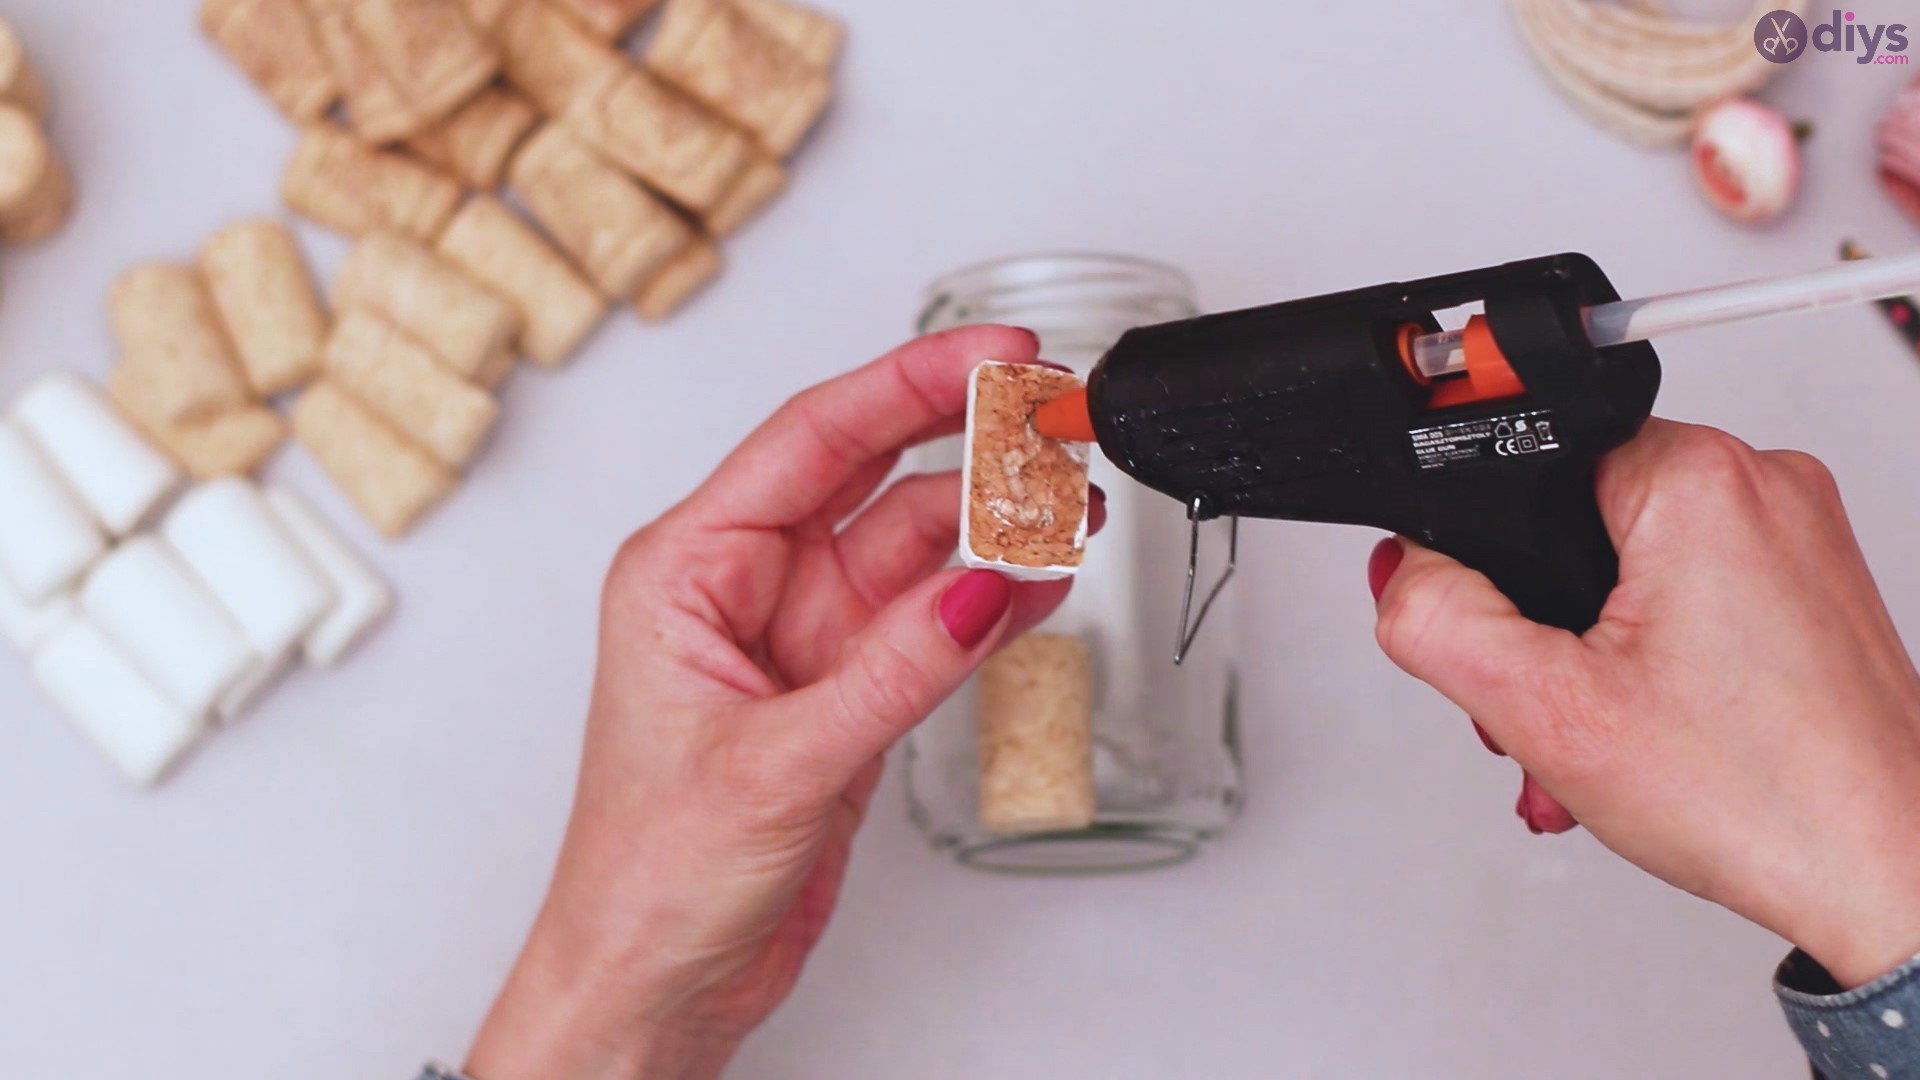
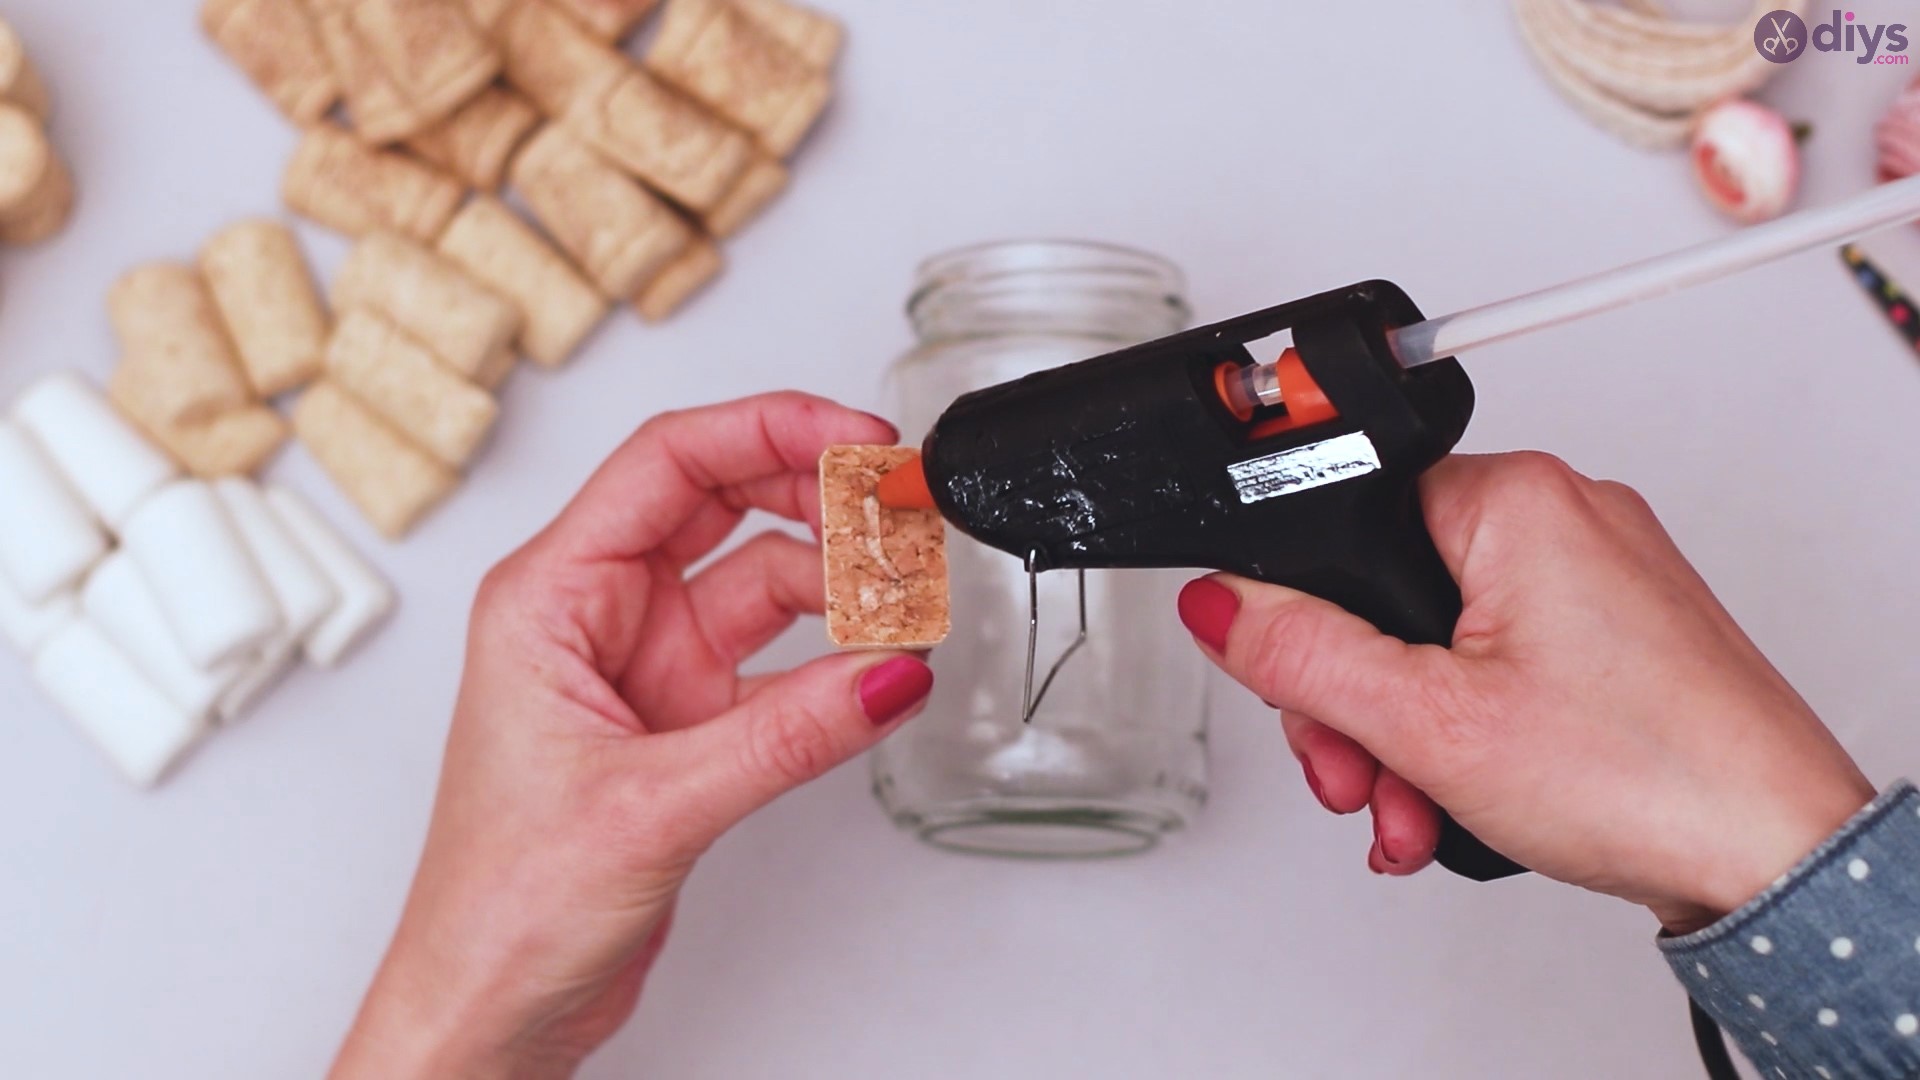
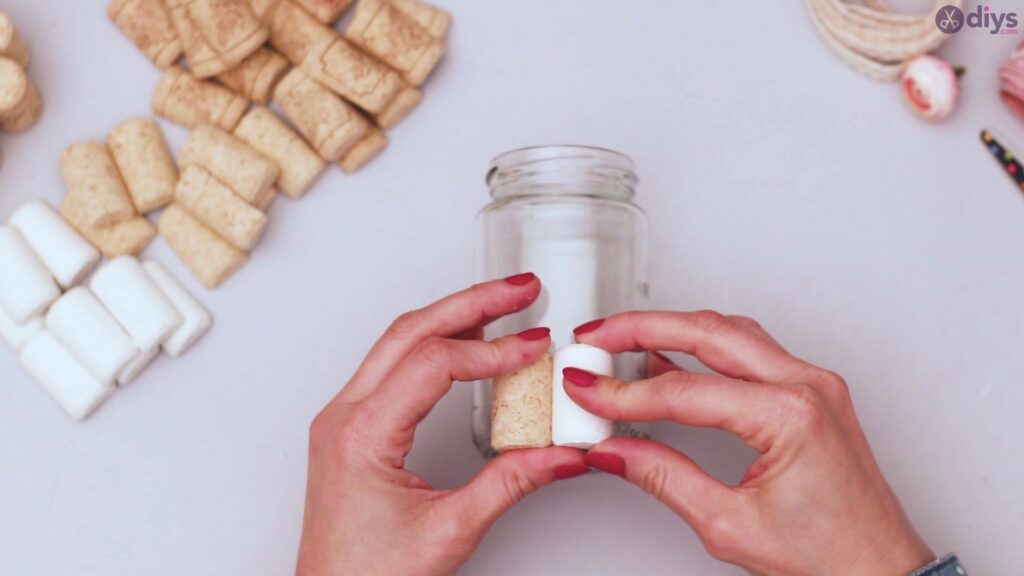
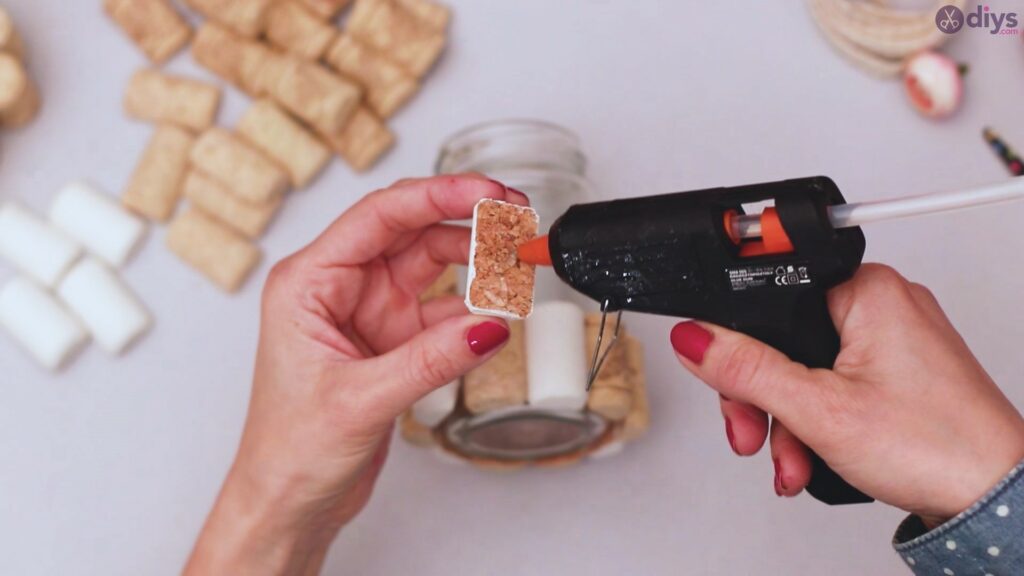
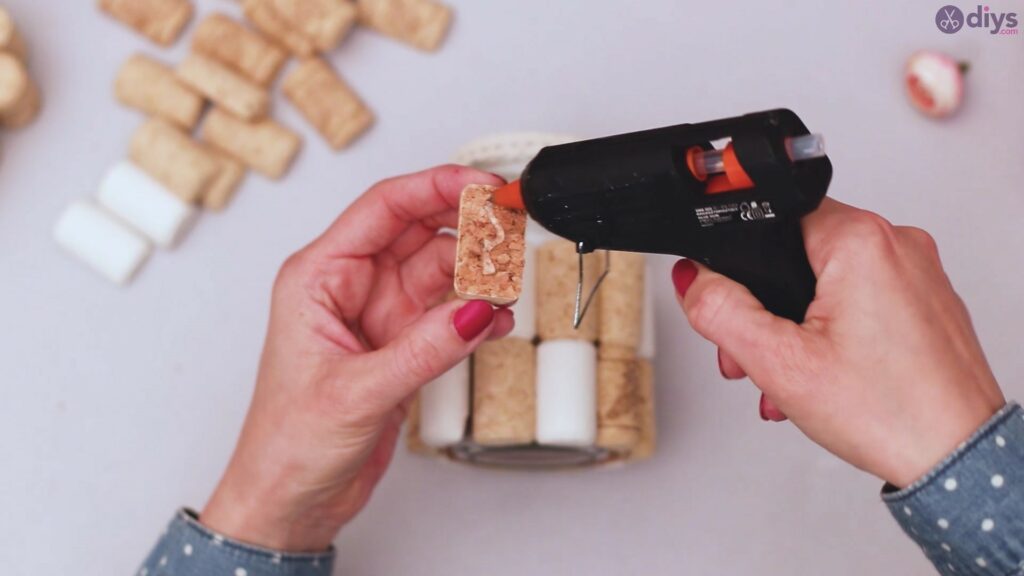
Step 3: Glue the Wine Corks

Now that the painted corks are done drying, you can proceed to glue them to the jar. So, get yourjar and theglue gun and pick up thewine cork halves. Apply hot glue to the back of the cork and neatly place it on the jar.

You’ll want to start off at the bottom of the jar and built up from there. Once you apply a wine cork piece to the jar, hold it there for a few seconds so the hot glue sets.

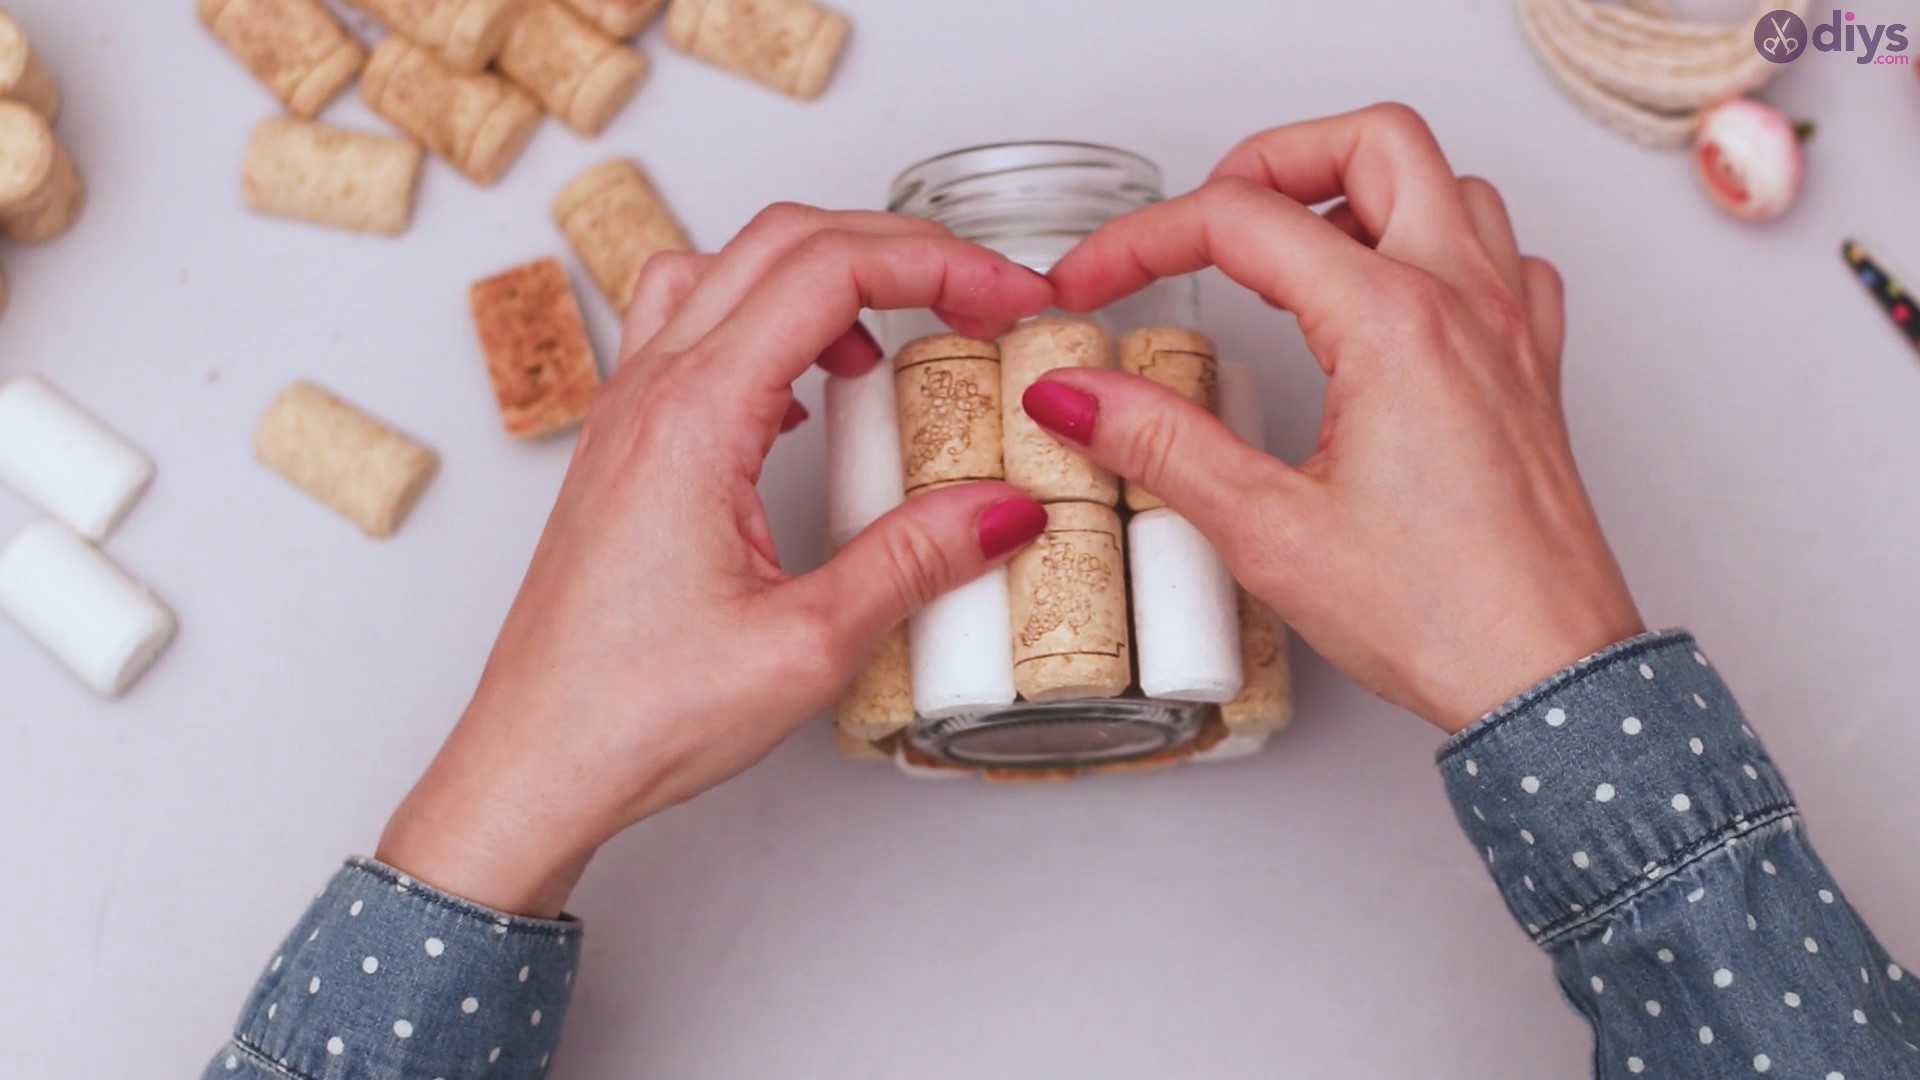
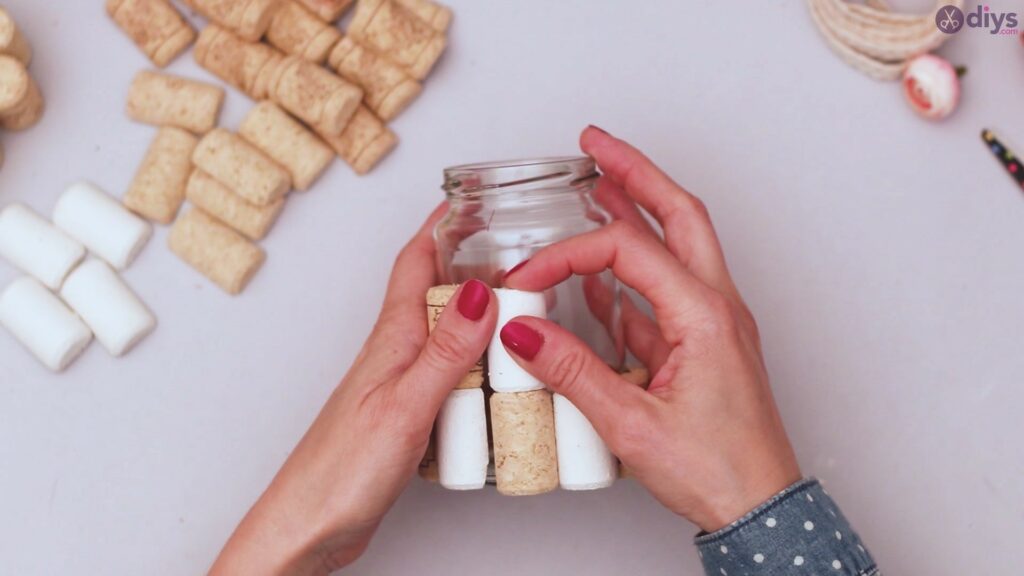
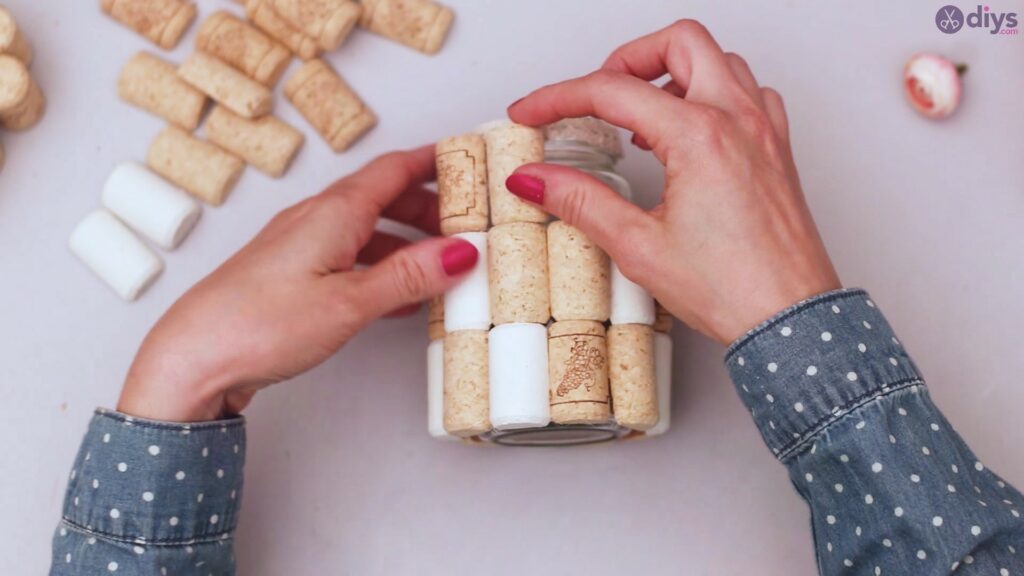
Add more wine cork halves to the jar. You can alternate between white corks and plain ones, make a pattern or simply mix them randomly. Both ways will result in a great vase, so you don’t have to worry too much about it.
Place the first round of wine corks on the lower area of the jar to create a line. Make sure the corks align and they’re neatly arranged close together.

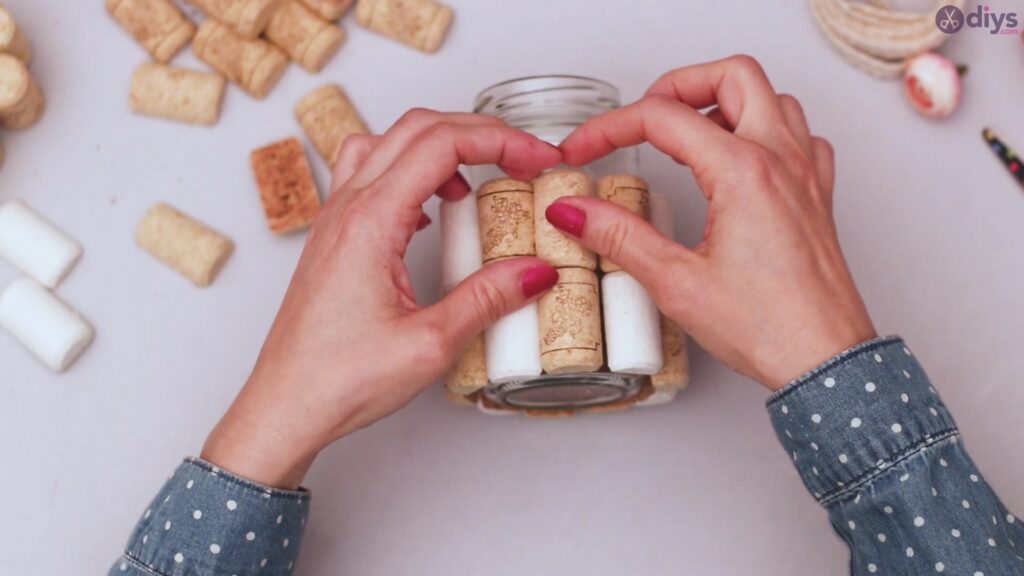
Continue applying wine corks until the bottom circle is complete and then move up to the second layer.
You’ll want to make sure the corks on the second layer align with the ones below them in order to create straight lines. In this way, it will look a lot cleaner.
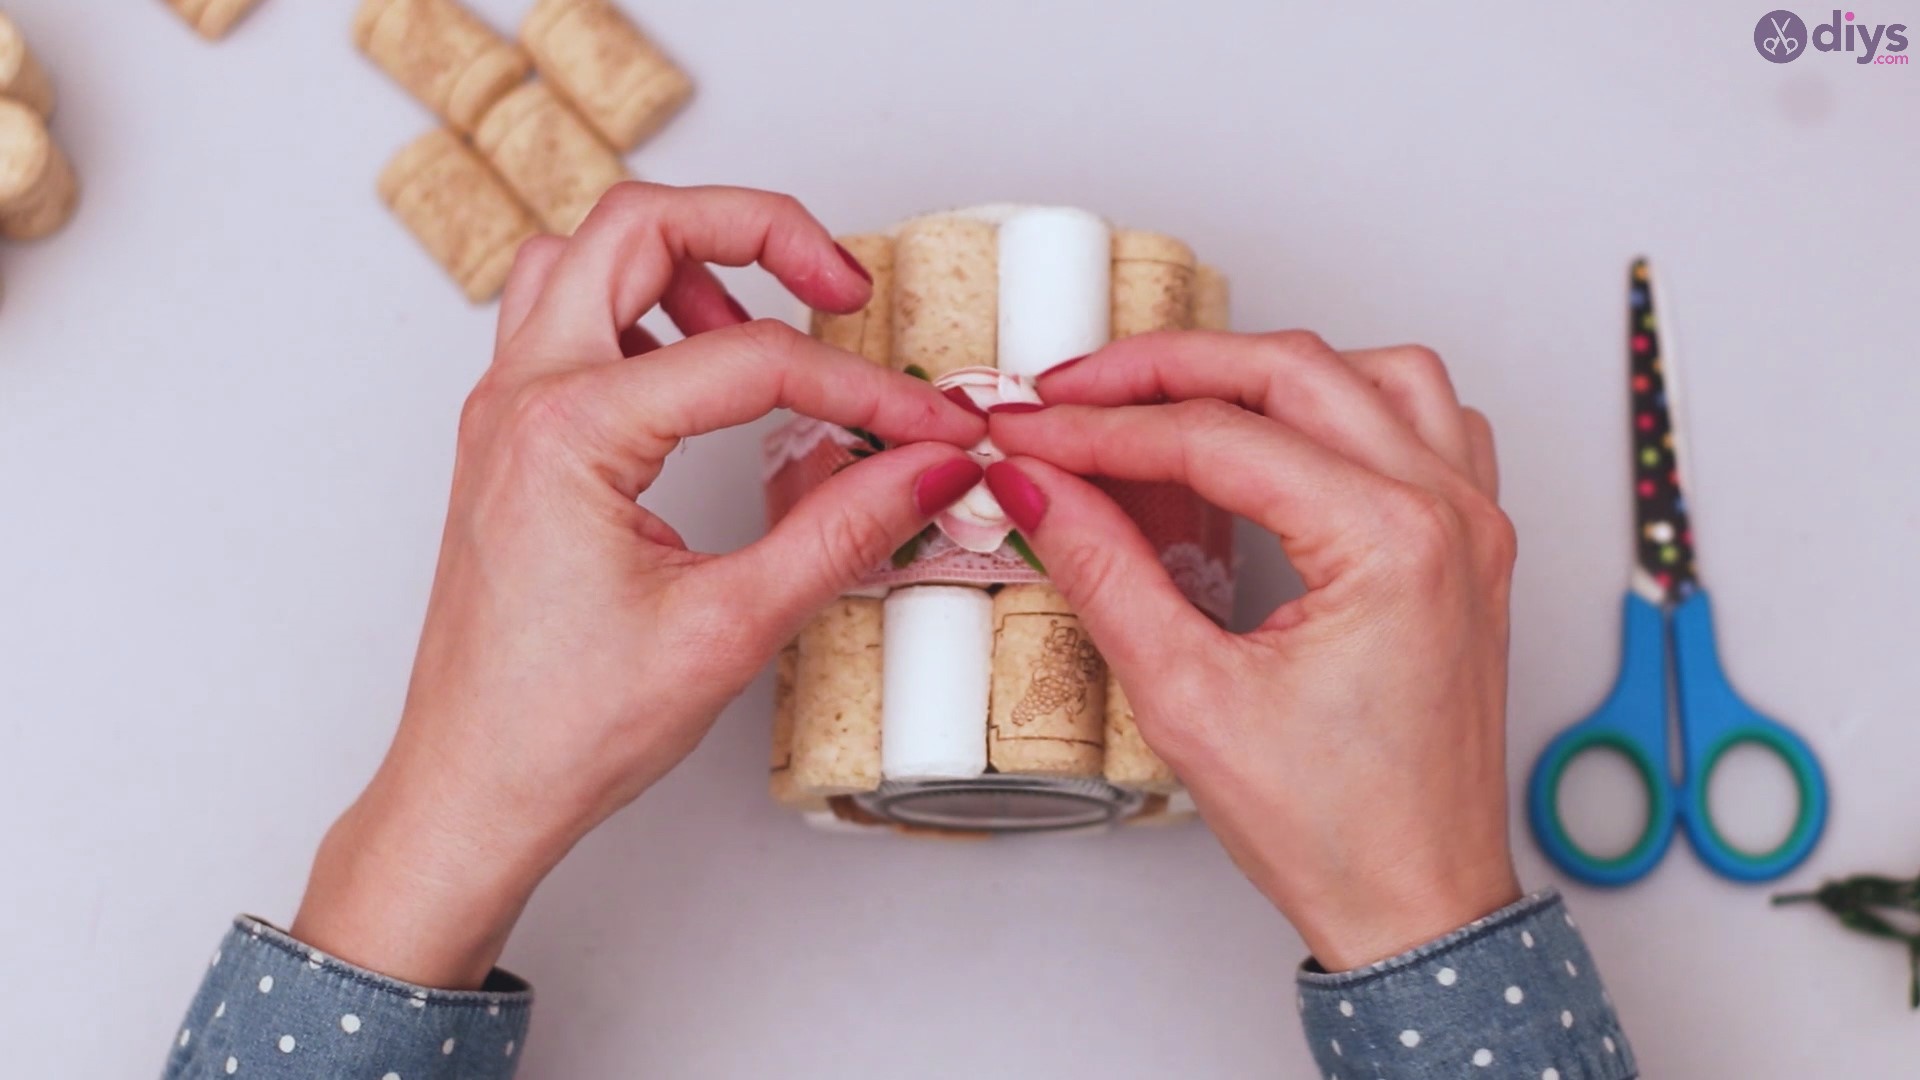
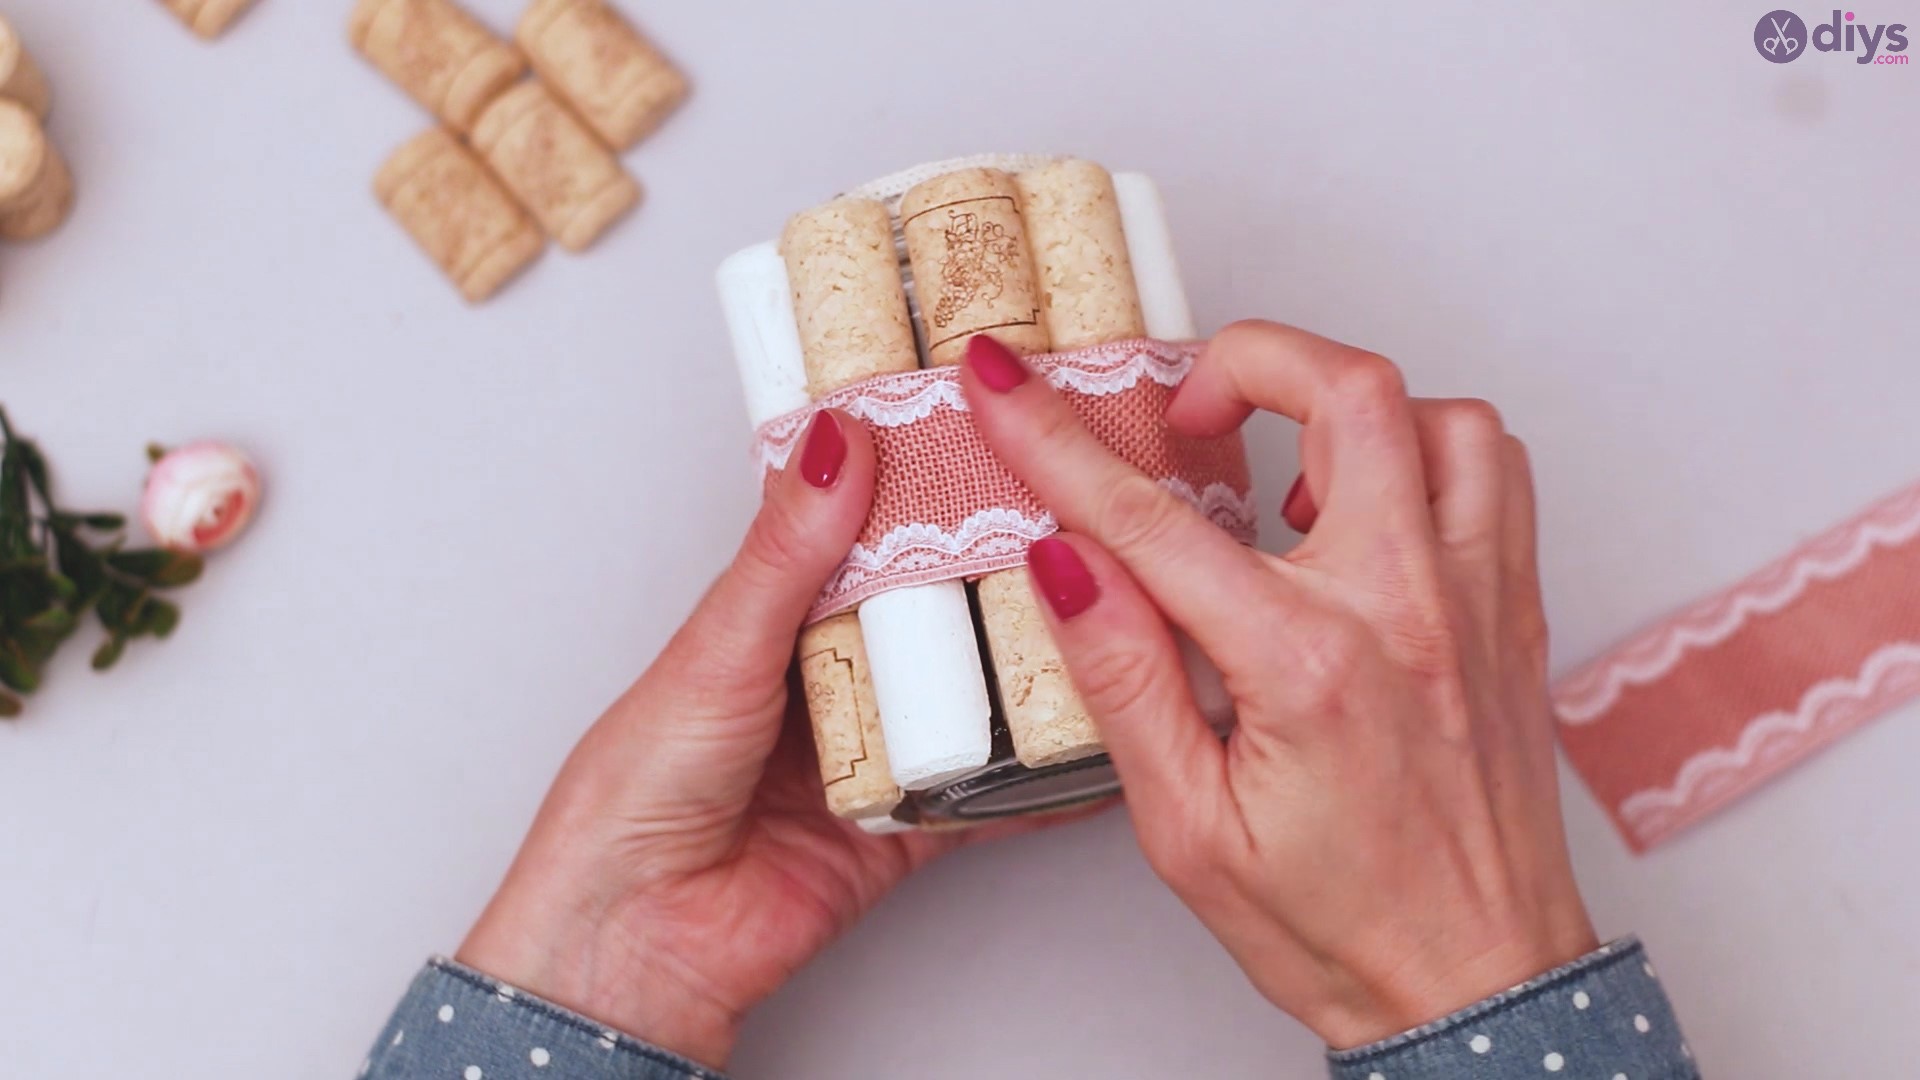
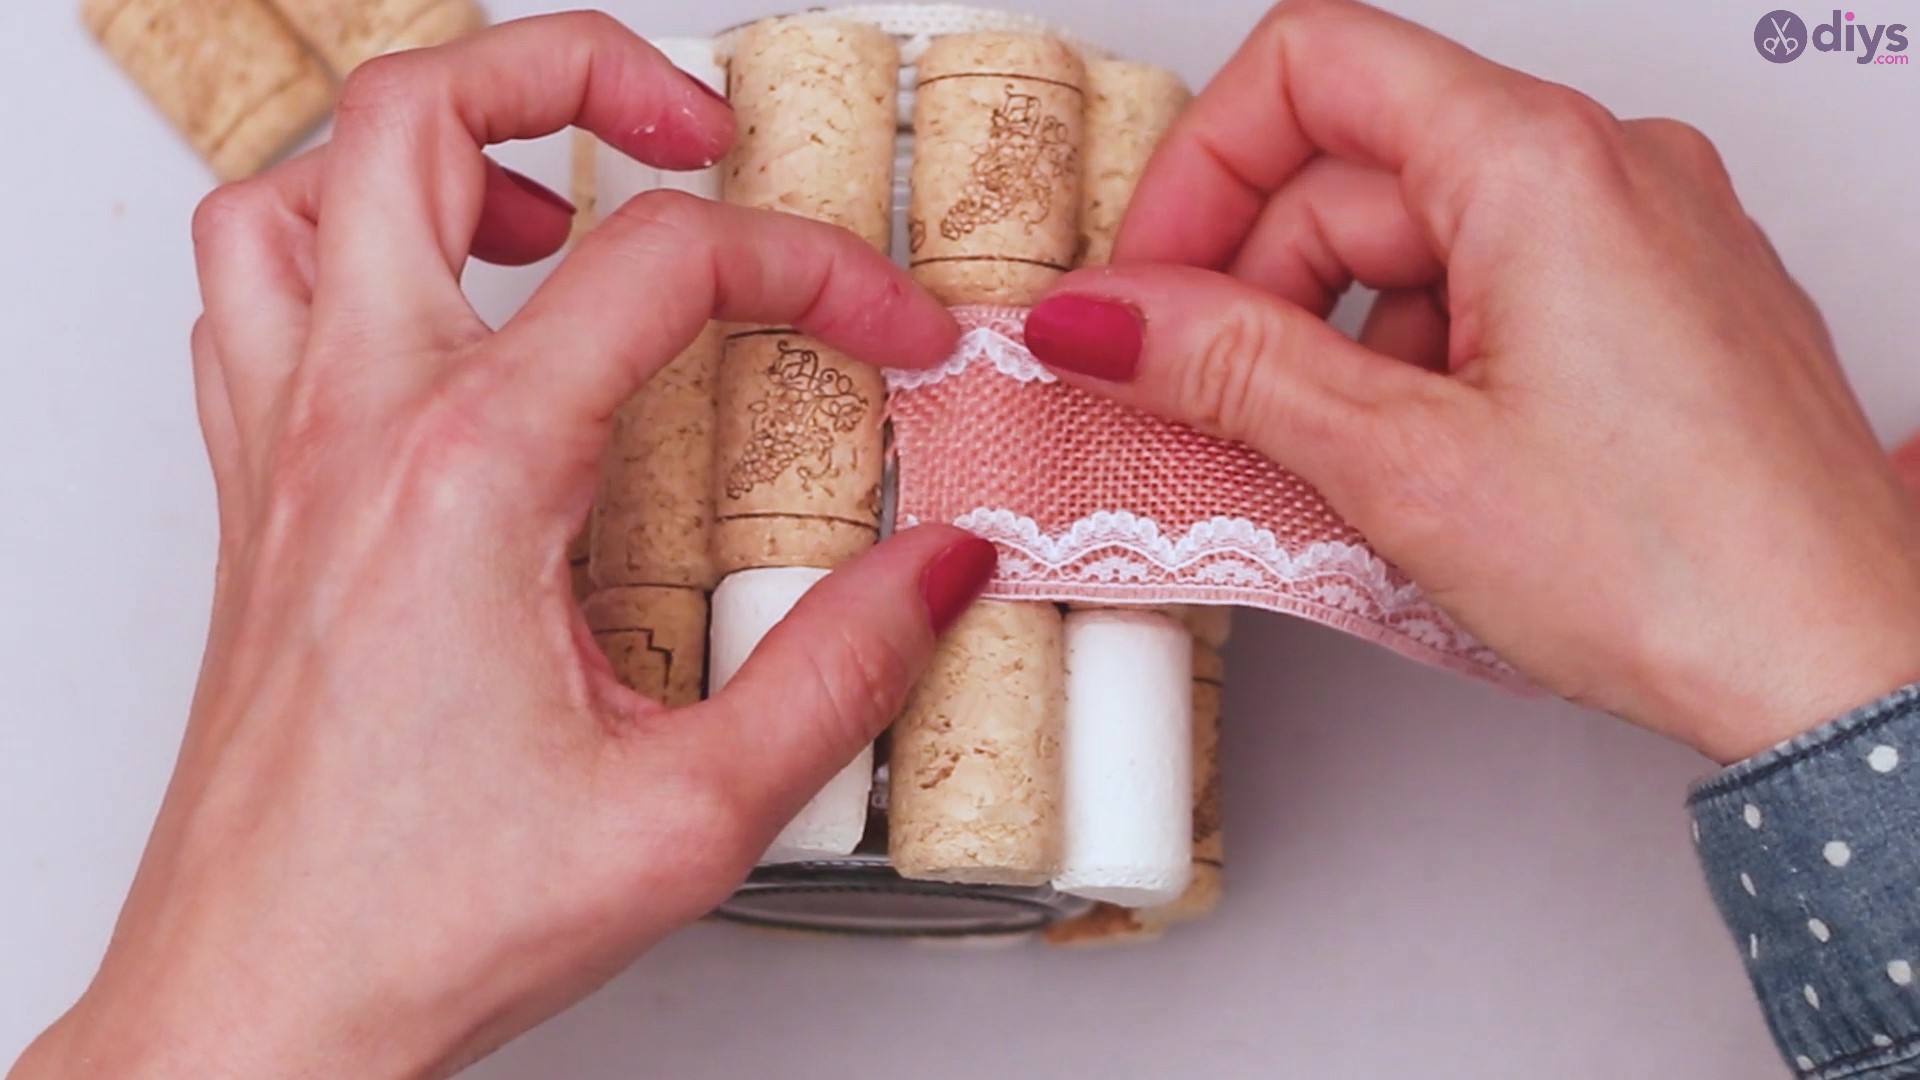
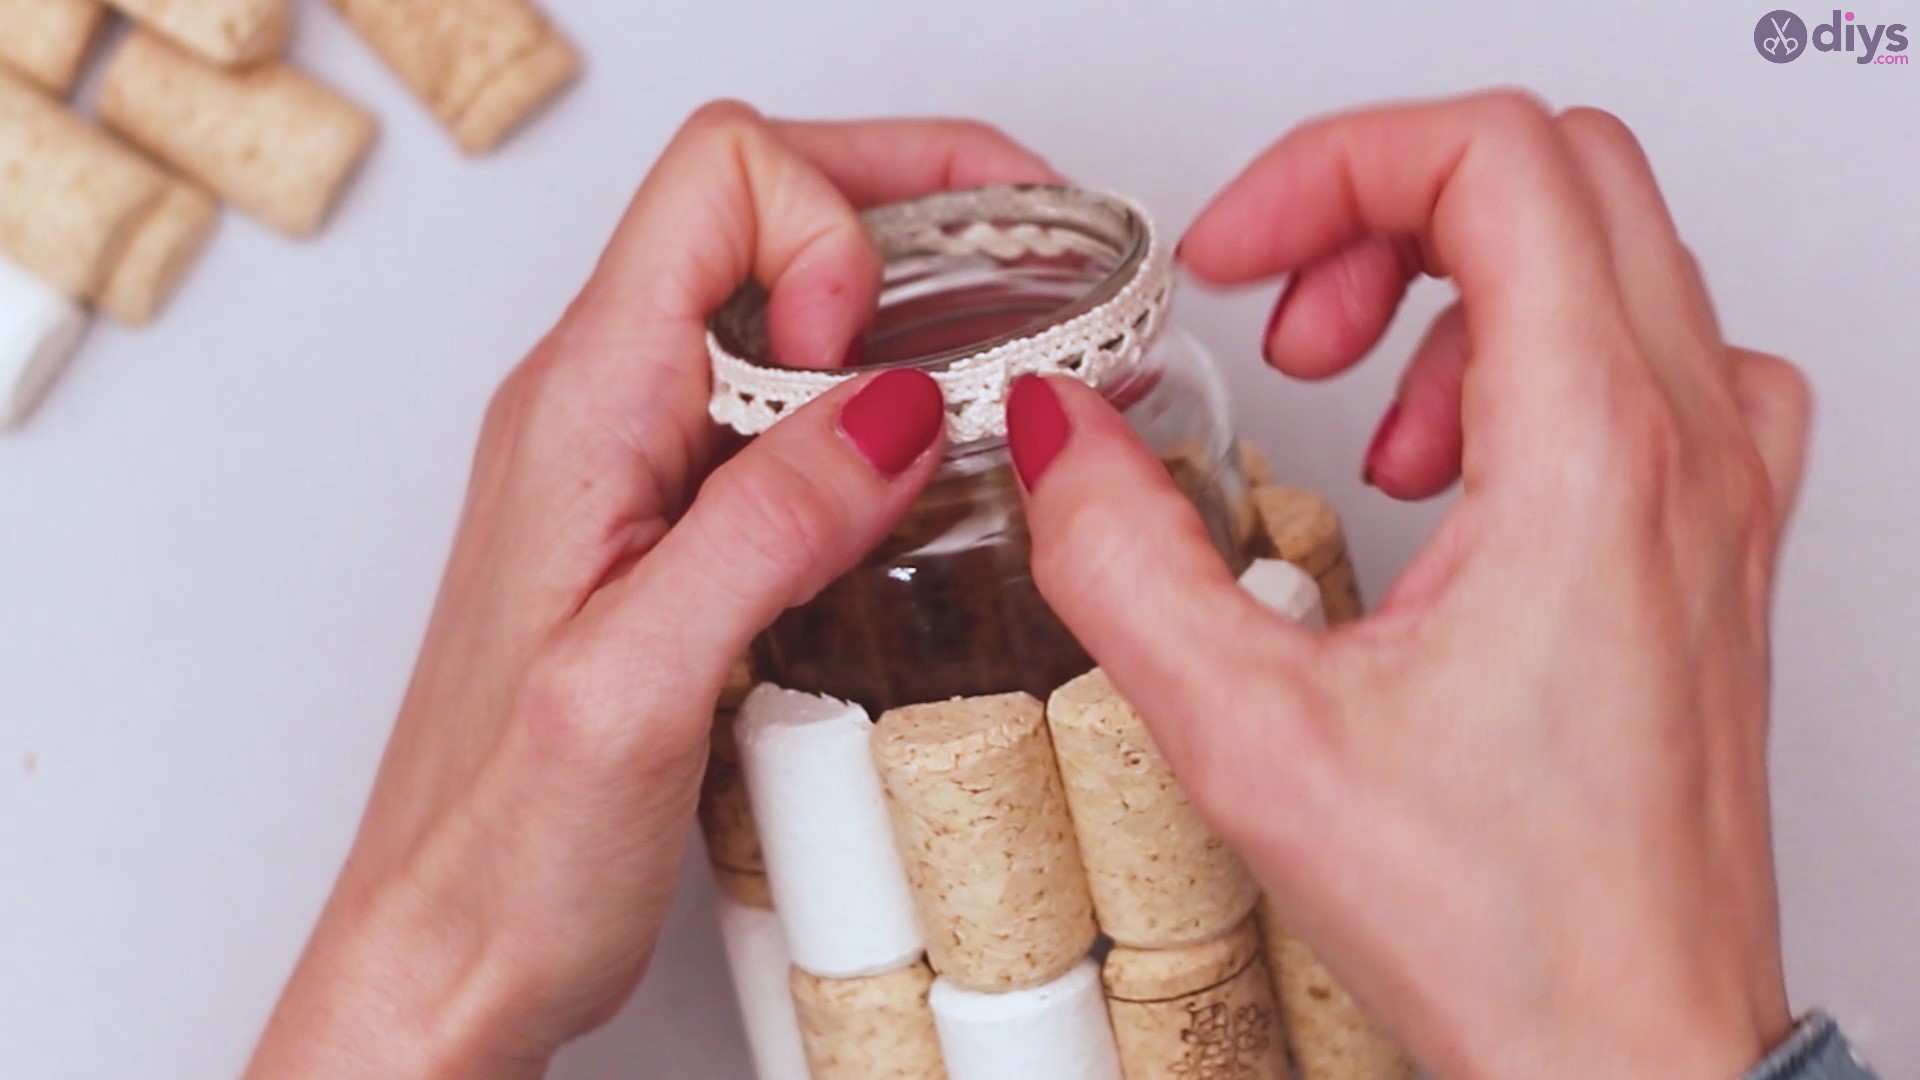
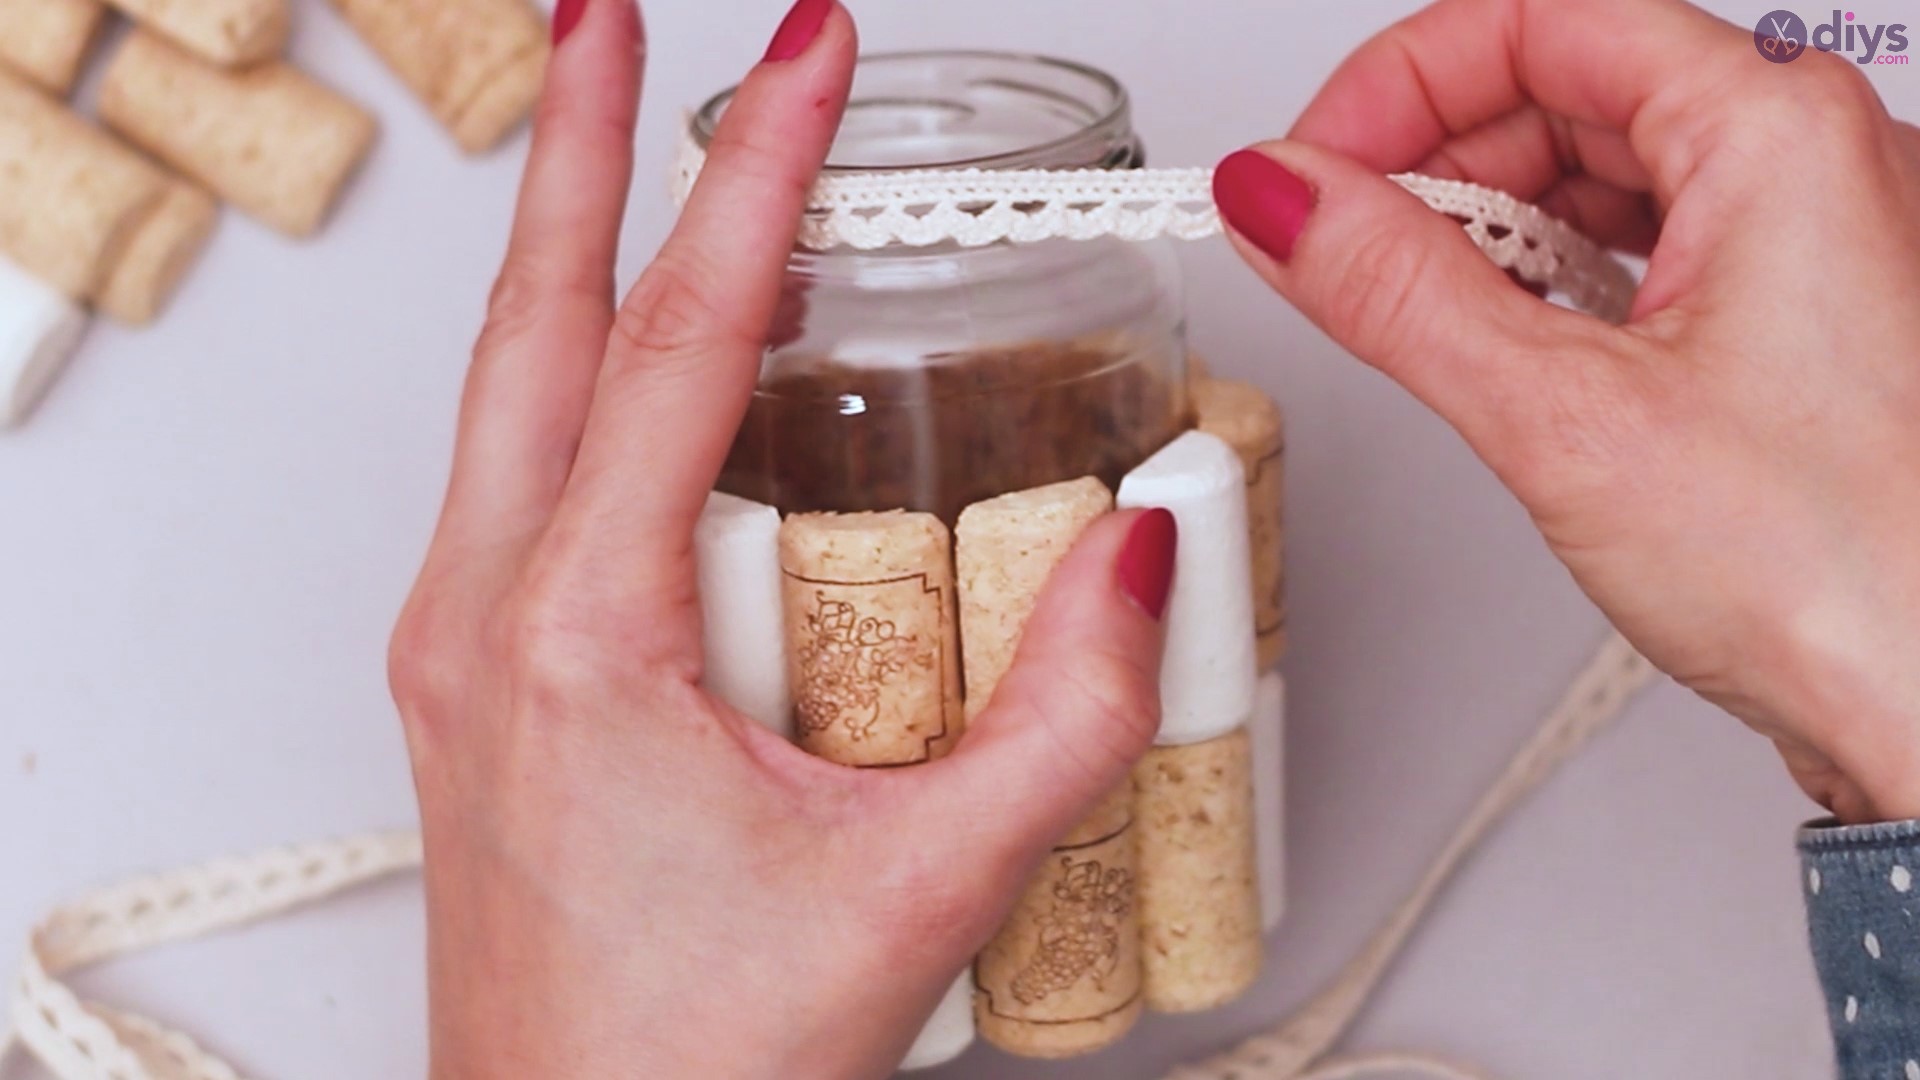
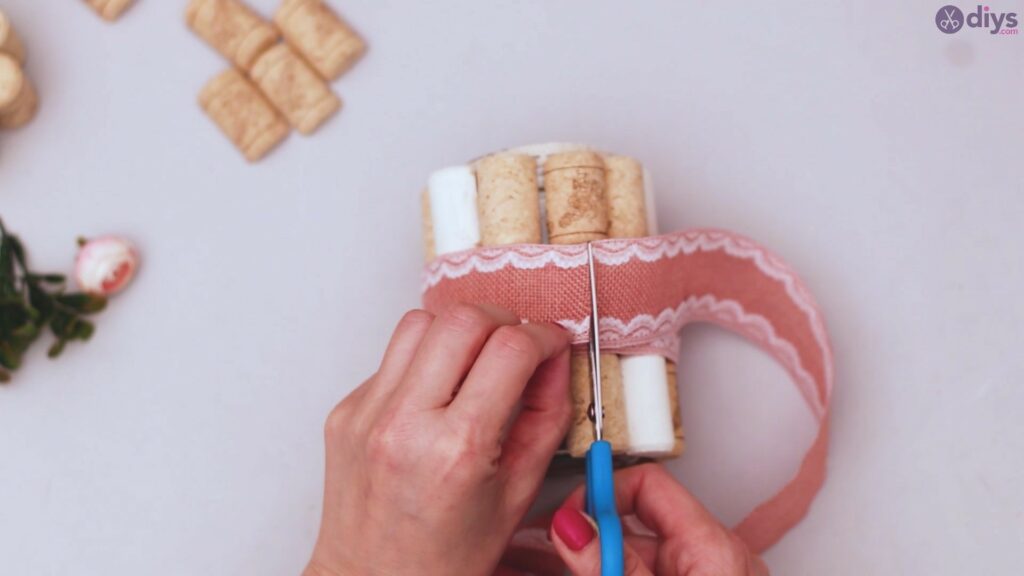
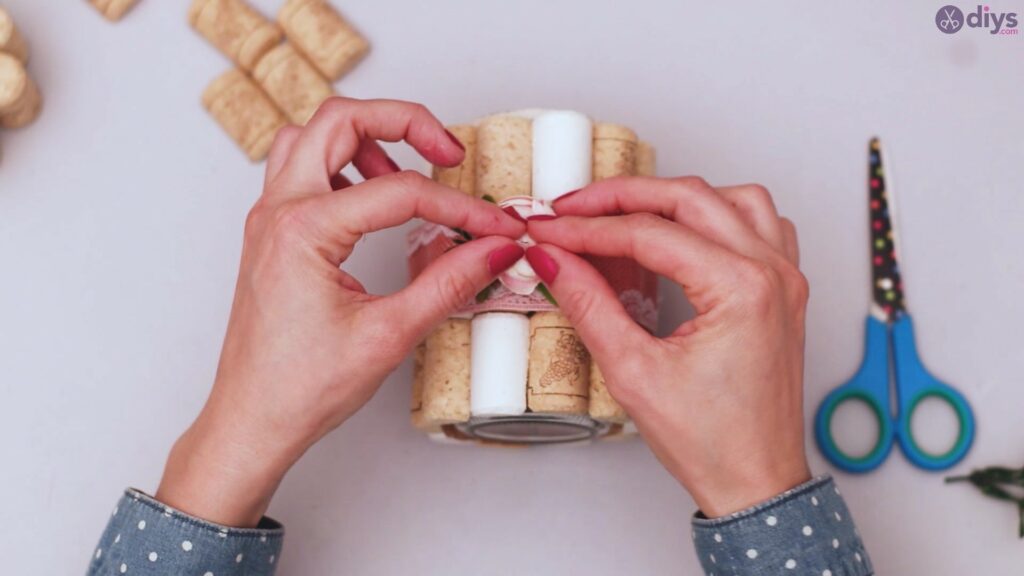
Step 4: Add the Lace Ribbon

Now that the two bottom layers of wine corks are applied, it’s time to work on the lip of the jar by applying a beautiful lace ribbon. You’ll want to start by applying hot glue to the lip of the jar little by little. Apply the lace ribbon over the glue as you go.
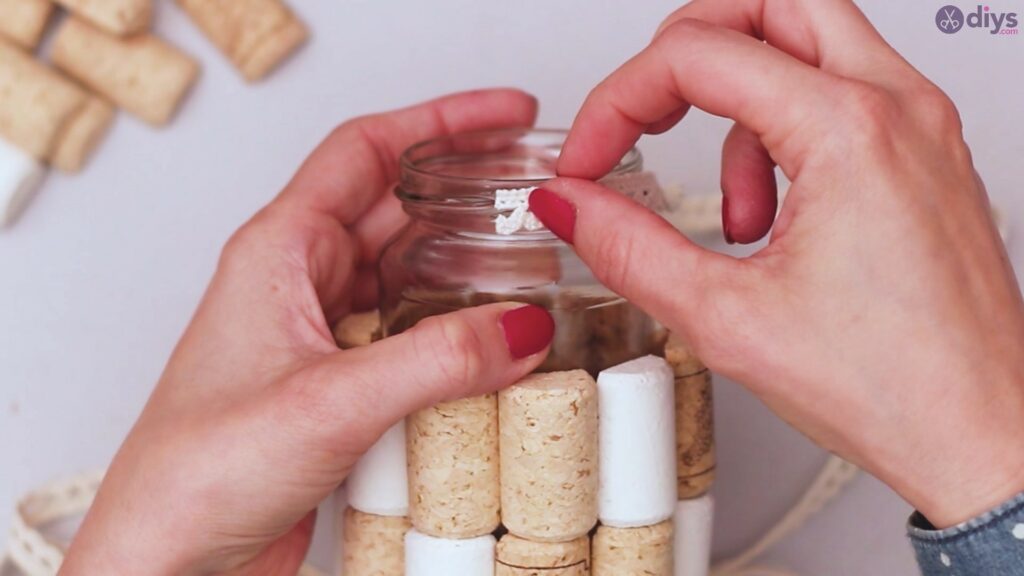
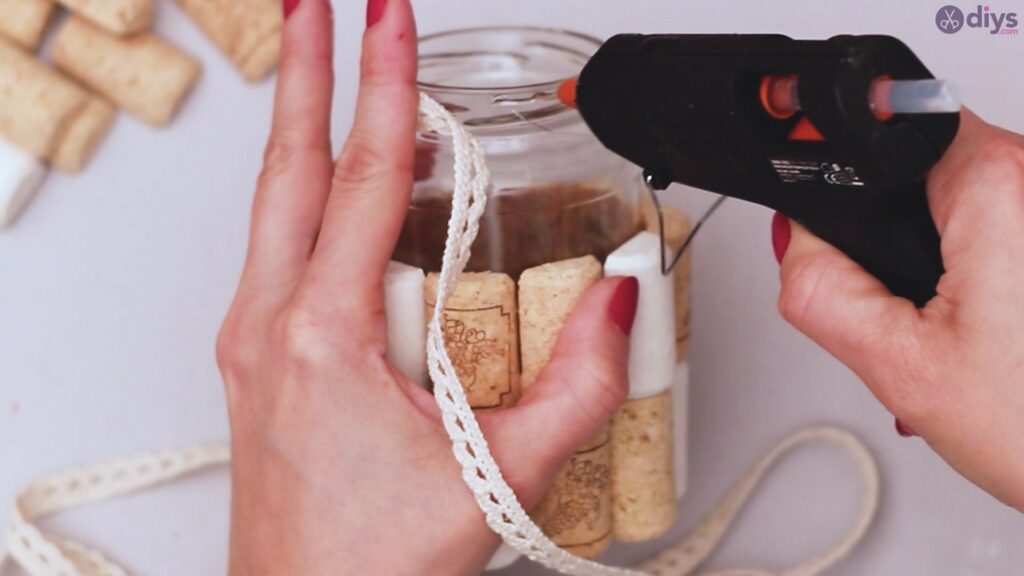
Make sure that the top of the lace ribbon aligns with the top of the jar too. It’s going to be a bit difficult here, since the ridges for the jar cap will push your ribbon out in areas and give it more space in others, but you need to be consistent.

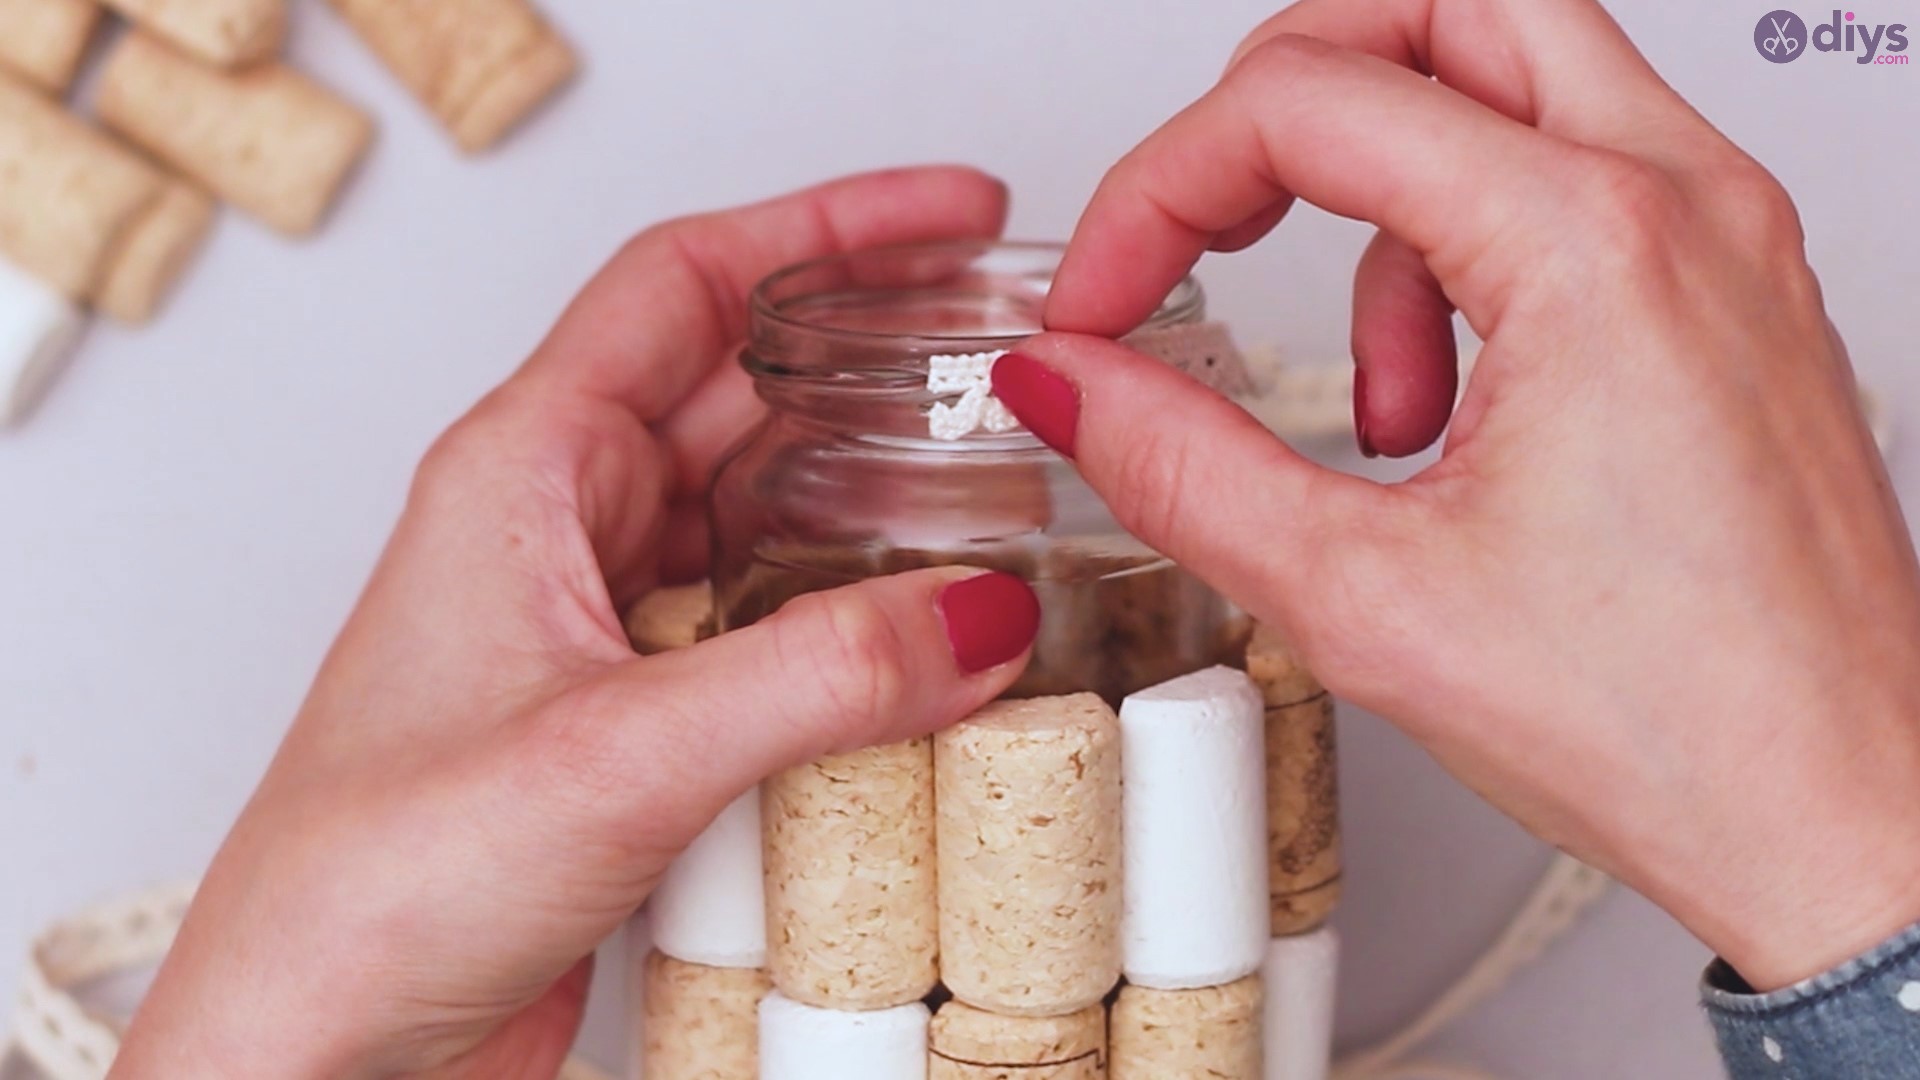
When you’re almost done with applying the ribbon, measure out so the sides slightly overlap before cutting. Add a bit of hot glue over the end of the ribbon you started out with and overlap the lace, creating a perfect circle.
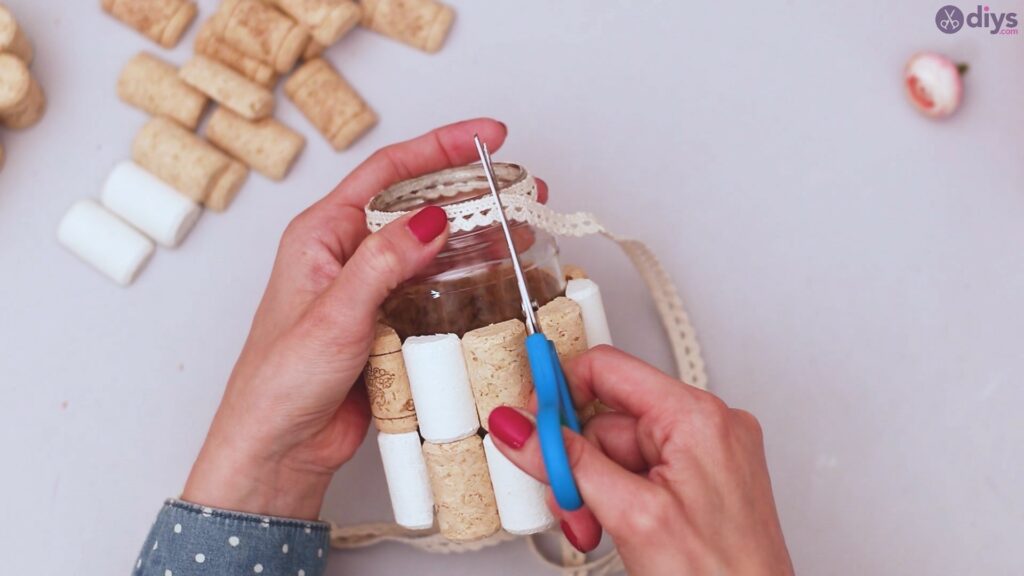


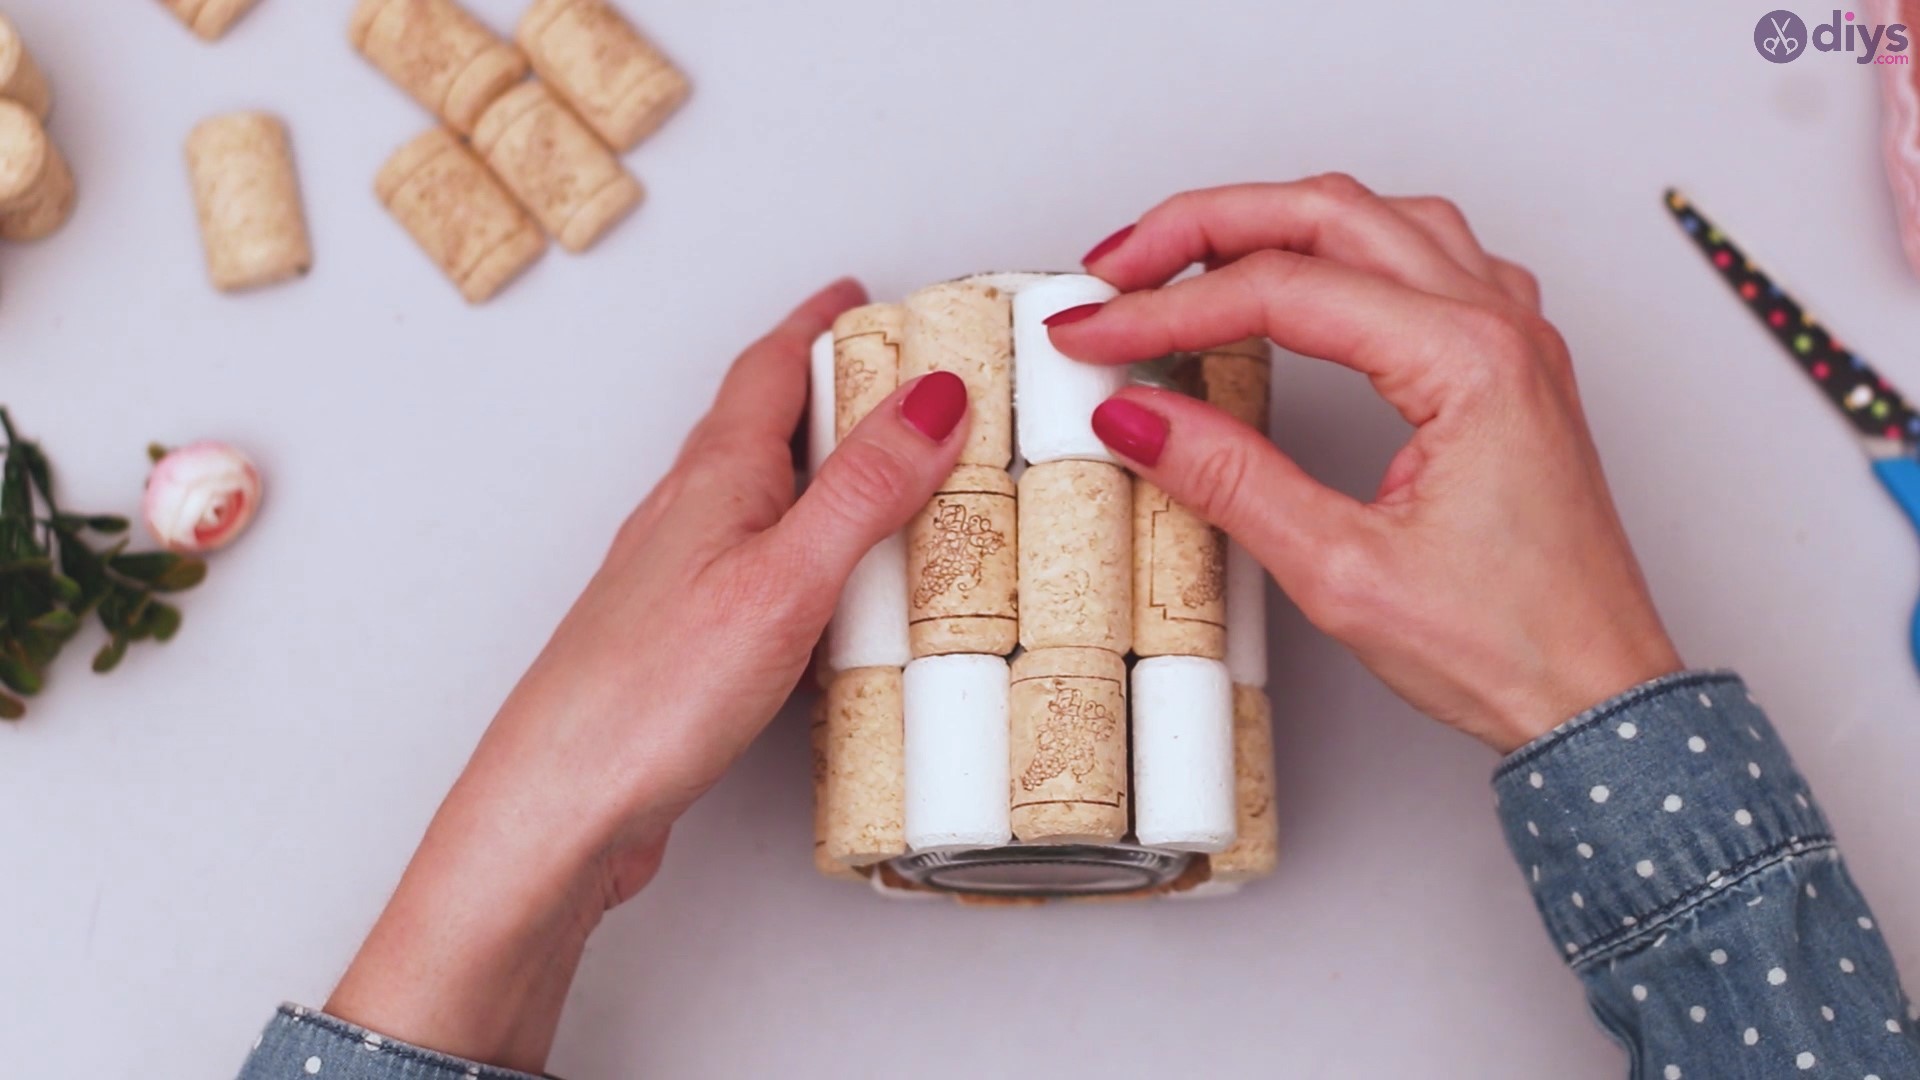
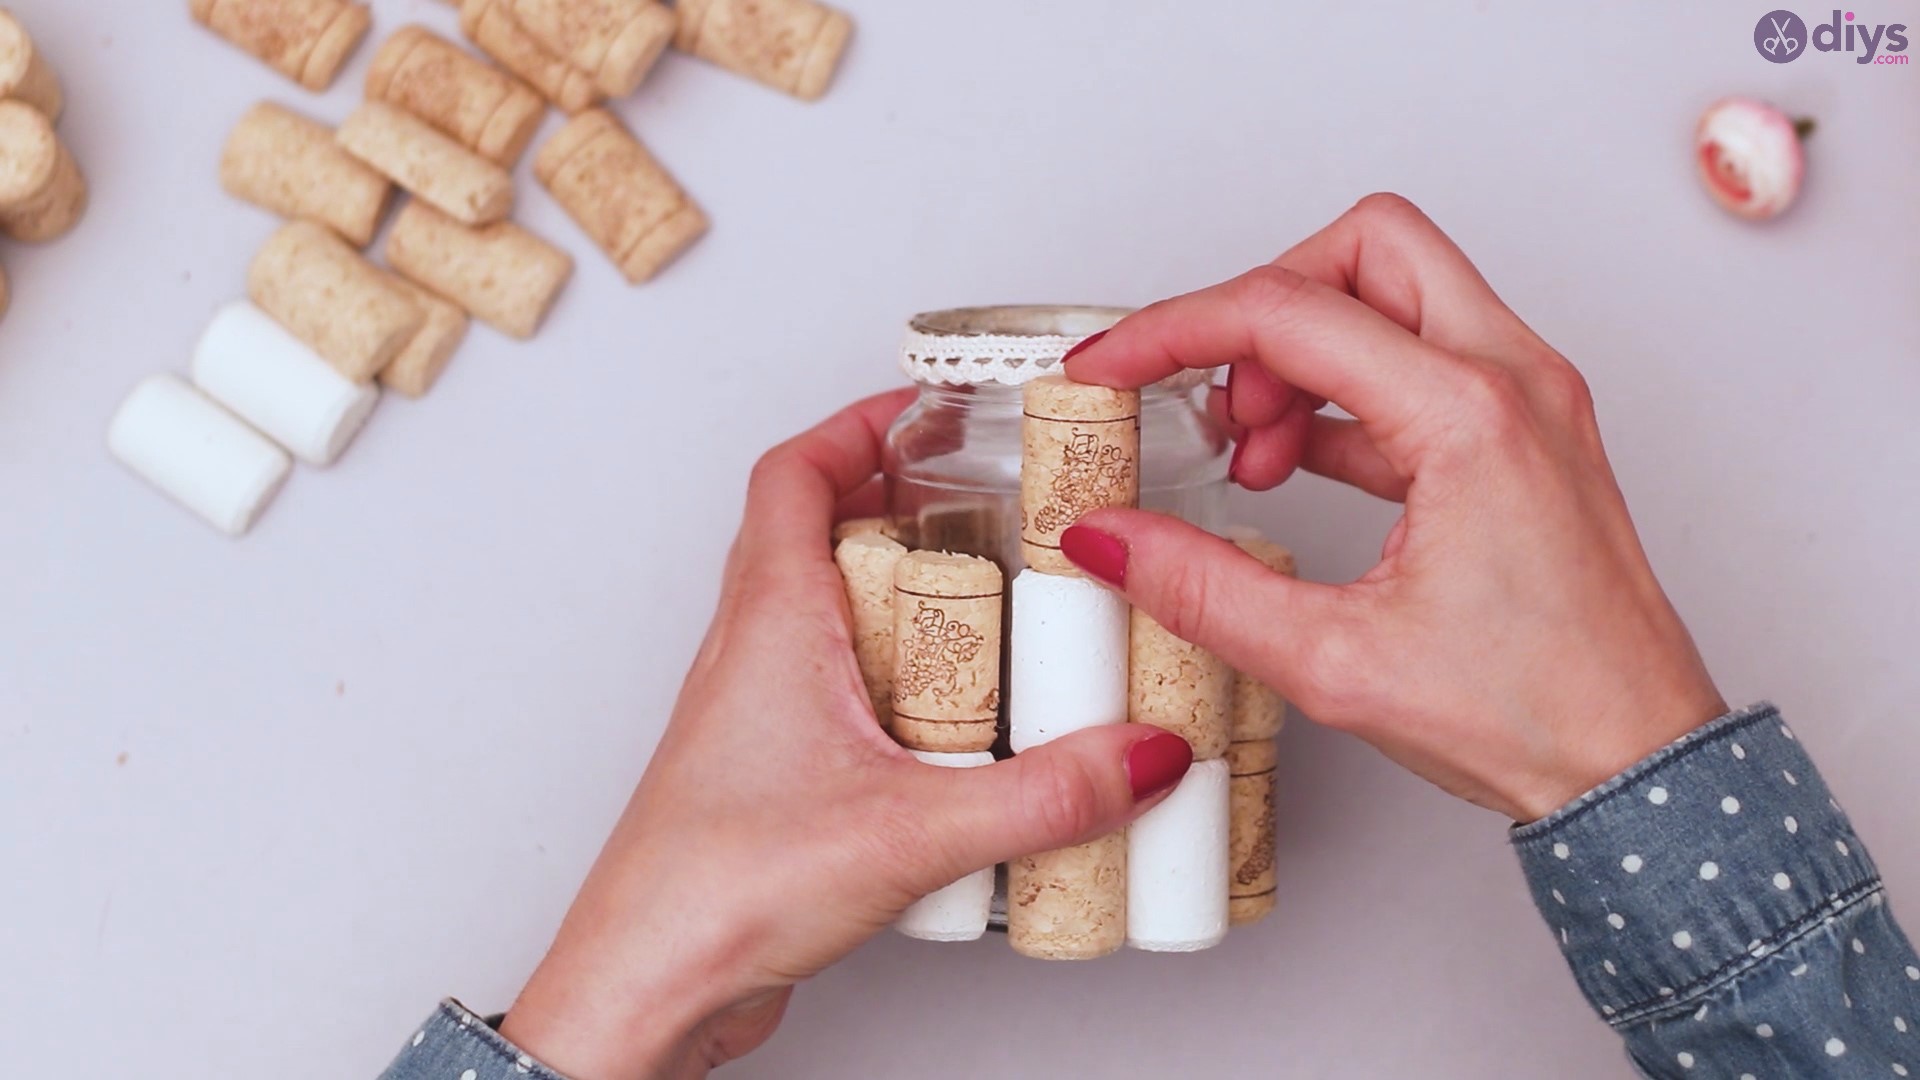
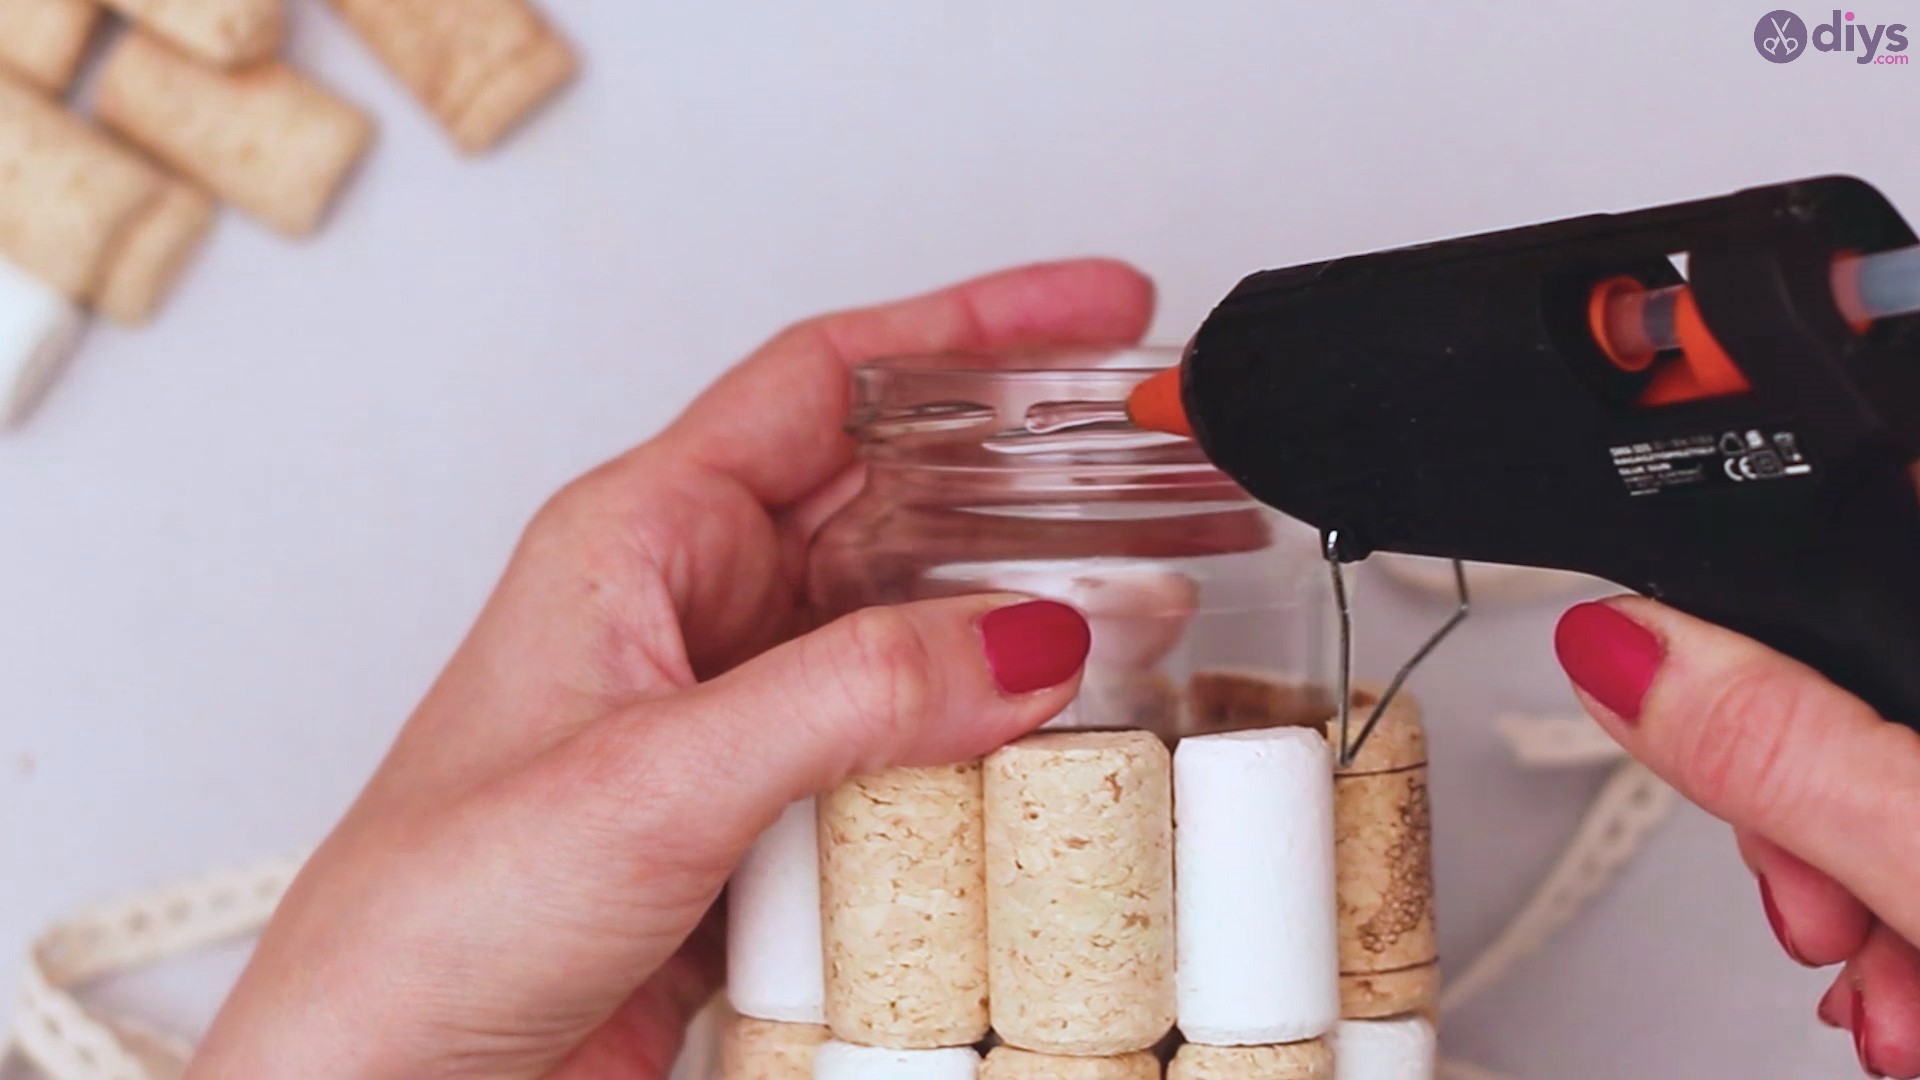
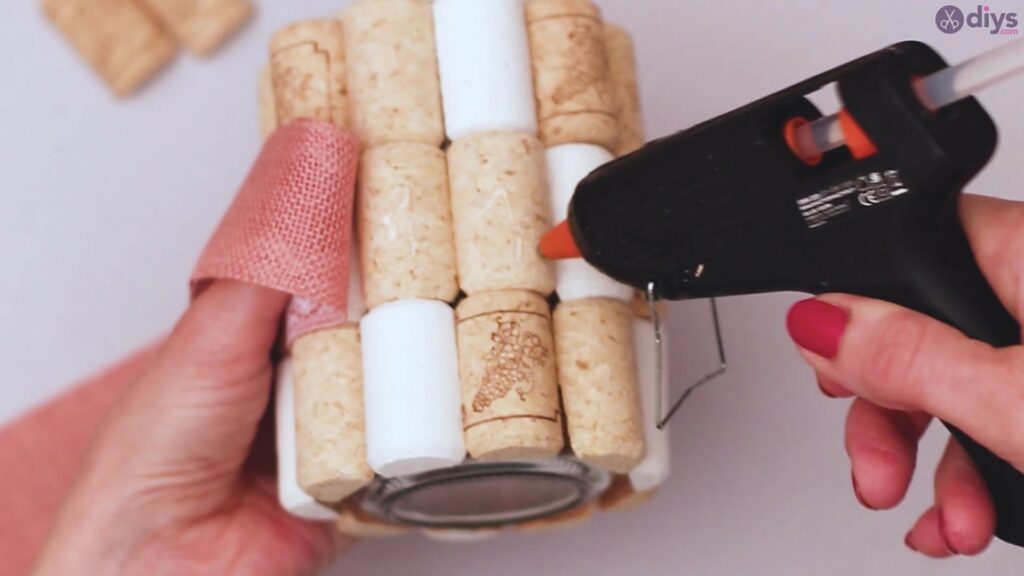
Step 5: Add More Wine Corks
Now that you’re done applying the beautiful lace ribbon, it’s time to add the last level of wine corks. Keep in mind that due to the curving of the jar, you may not be able to glue all of it straight. Apply hot glue only on the portion where you know the wine cork will actually go on the jar.

Place the wine corks as you did before – making sure they align with the ones you glued before, in order to create a perfect line.

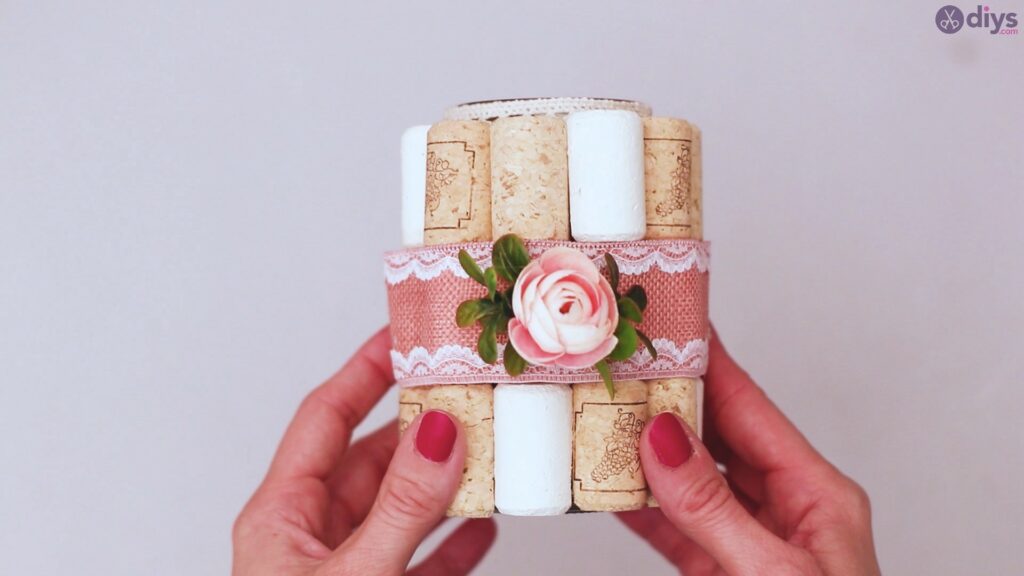
As you can see, alternating the plain wine corks with the painted ones creates a nice pattern, even if you apply them randomly.

Finish applying the wine corks. As you can see, the lip of the jar is a bit hidden by the top layer of wine corks, but still visible. Thanks to the white lace, the vase now looks wonderful even if you see it from above, like this.

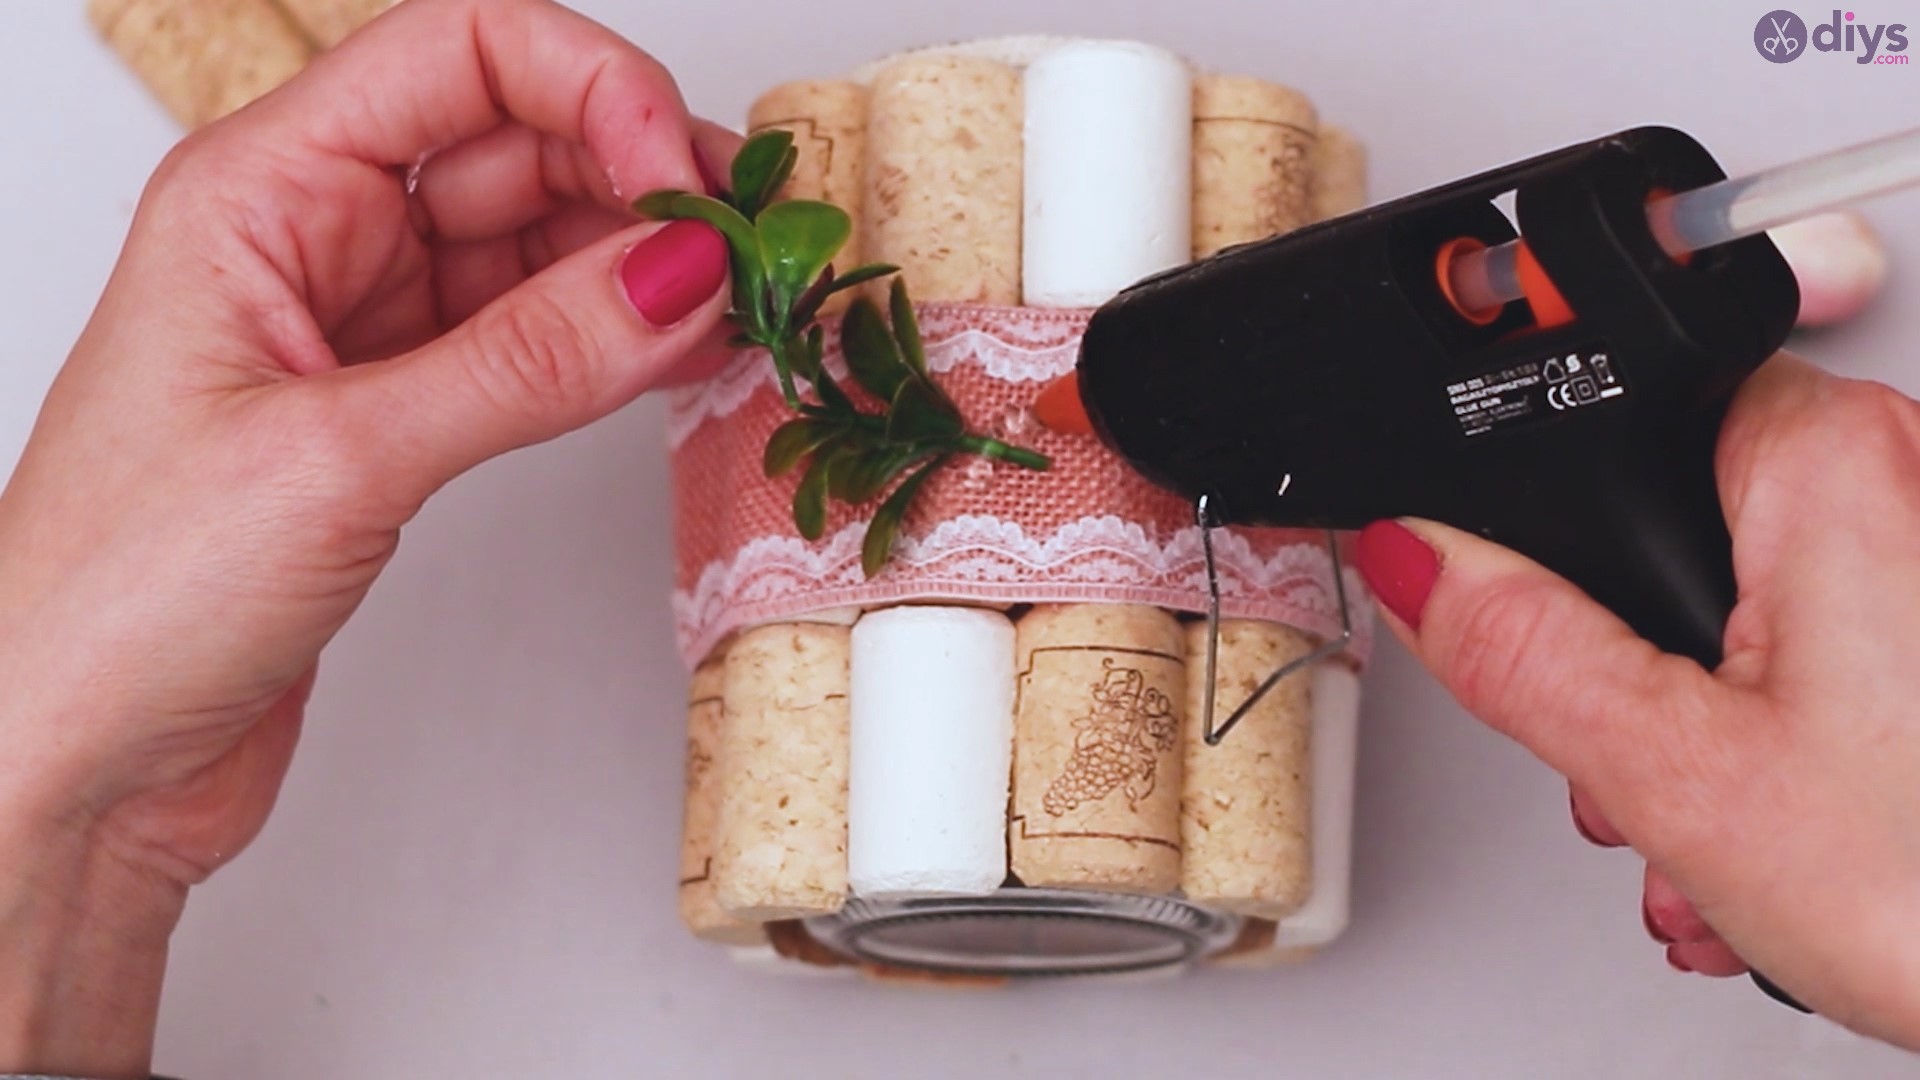
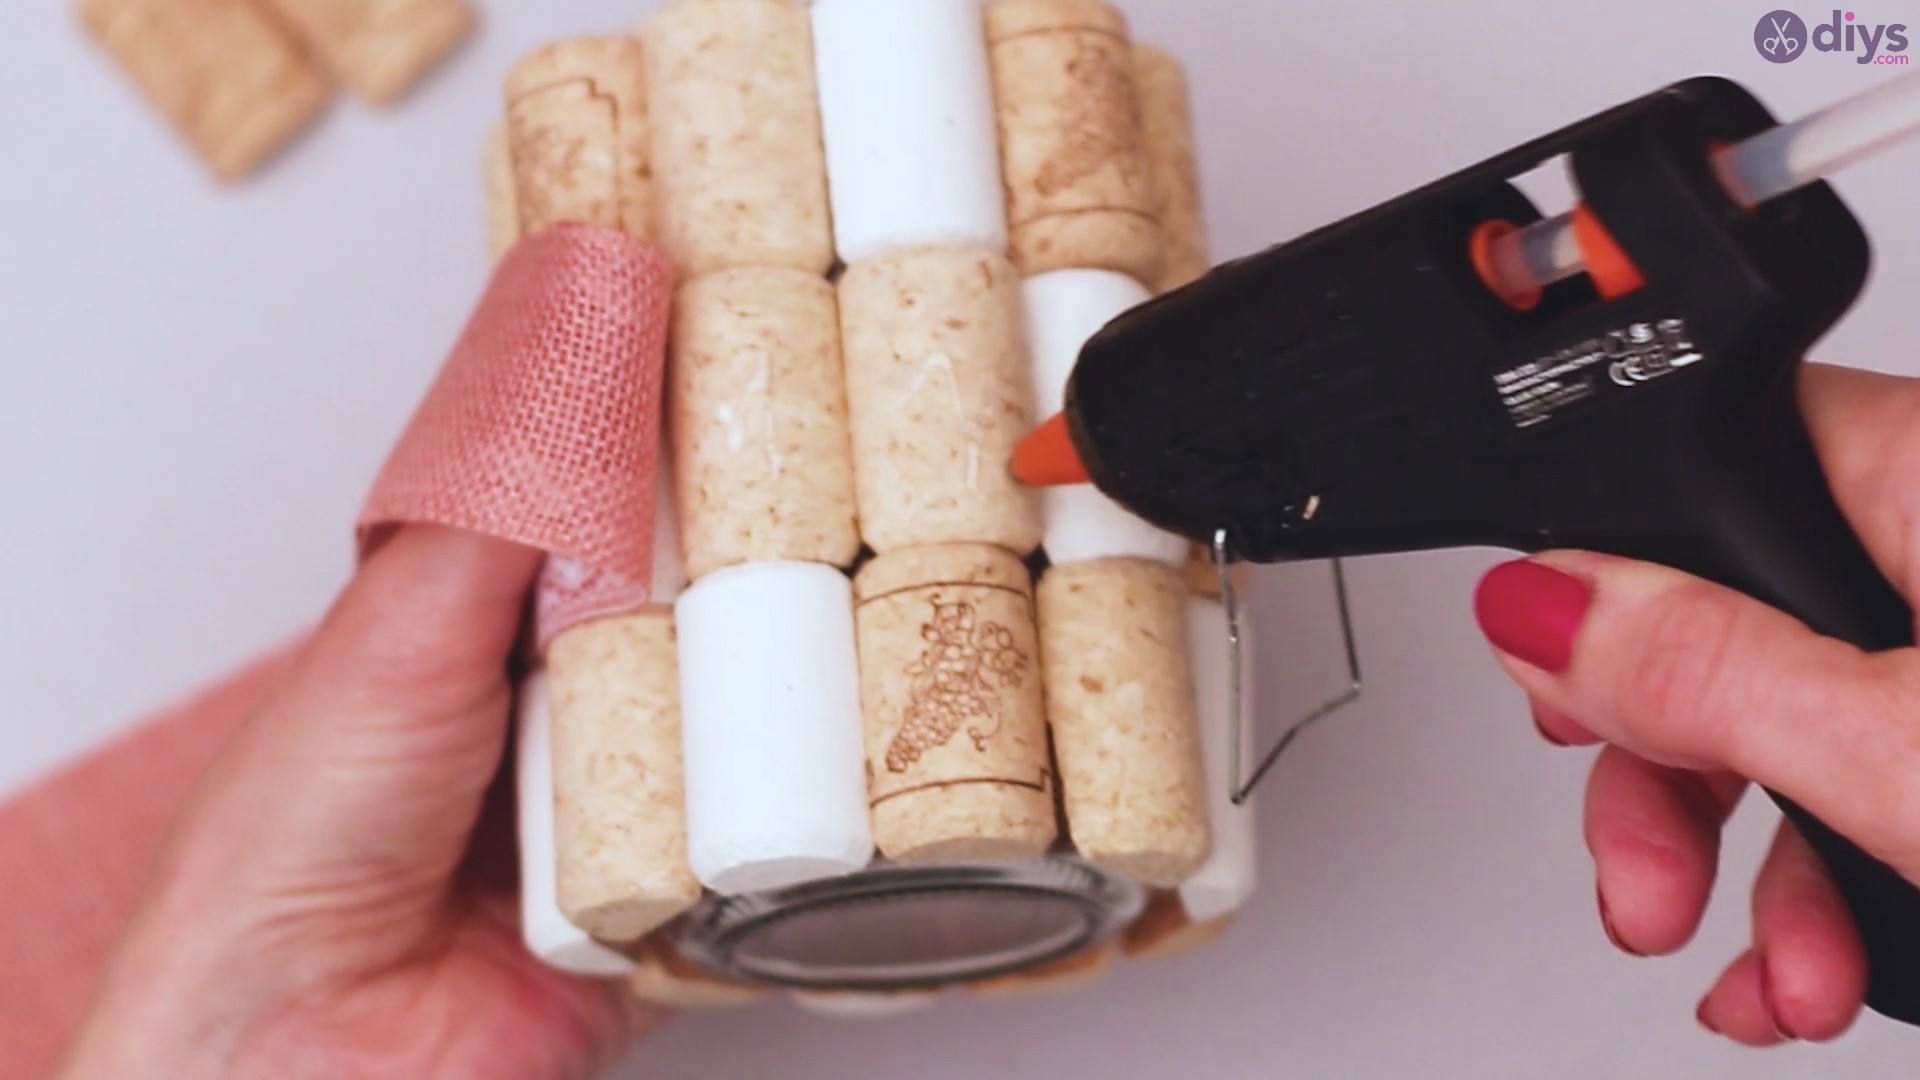
Step 6: Add the Jute Ribbon

Now that the wine cork vase is mostly done, it’s time to decorate it a bit. You can start by adding thejute ribbon. We chose a ribbon that is wider, so it covers most of the second level of wine corks. Apply hot glue on each of the wine corks from the middle level and press the ribbon into them.

When you’ve completely encircled the vase, it’s time to cut the excess ribbon. You want the sides to overlap a bit, so make sure you don’t cut the material too short.
Add hot glue on the last few corks and press the ribbon into the streaks of glue.

Add more glue over the first end of the jute ribbon and place the end of the material over it so the pieces overlap. Keep the sides pressed together for a few seconds so you can be sure the glue is set.
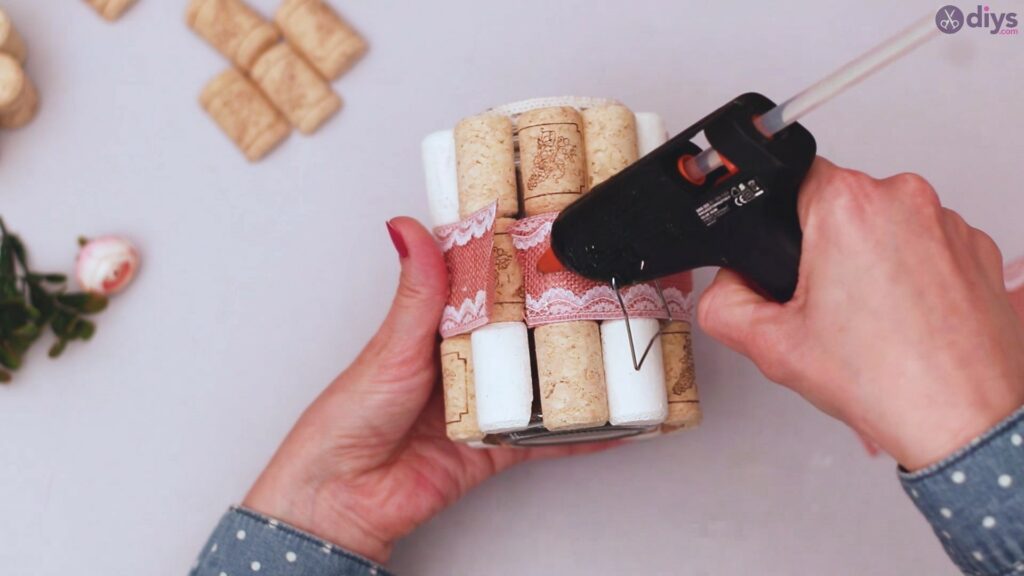
There you go! Look how pretty it looks with the ribbon!

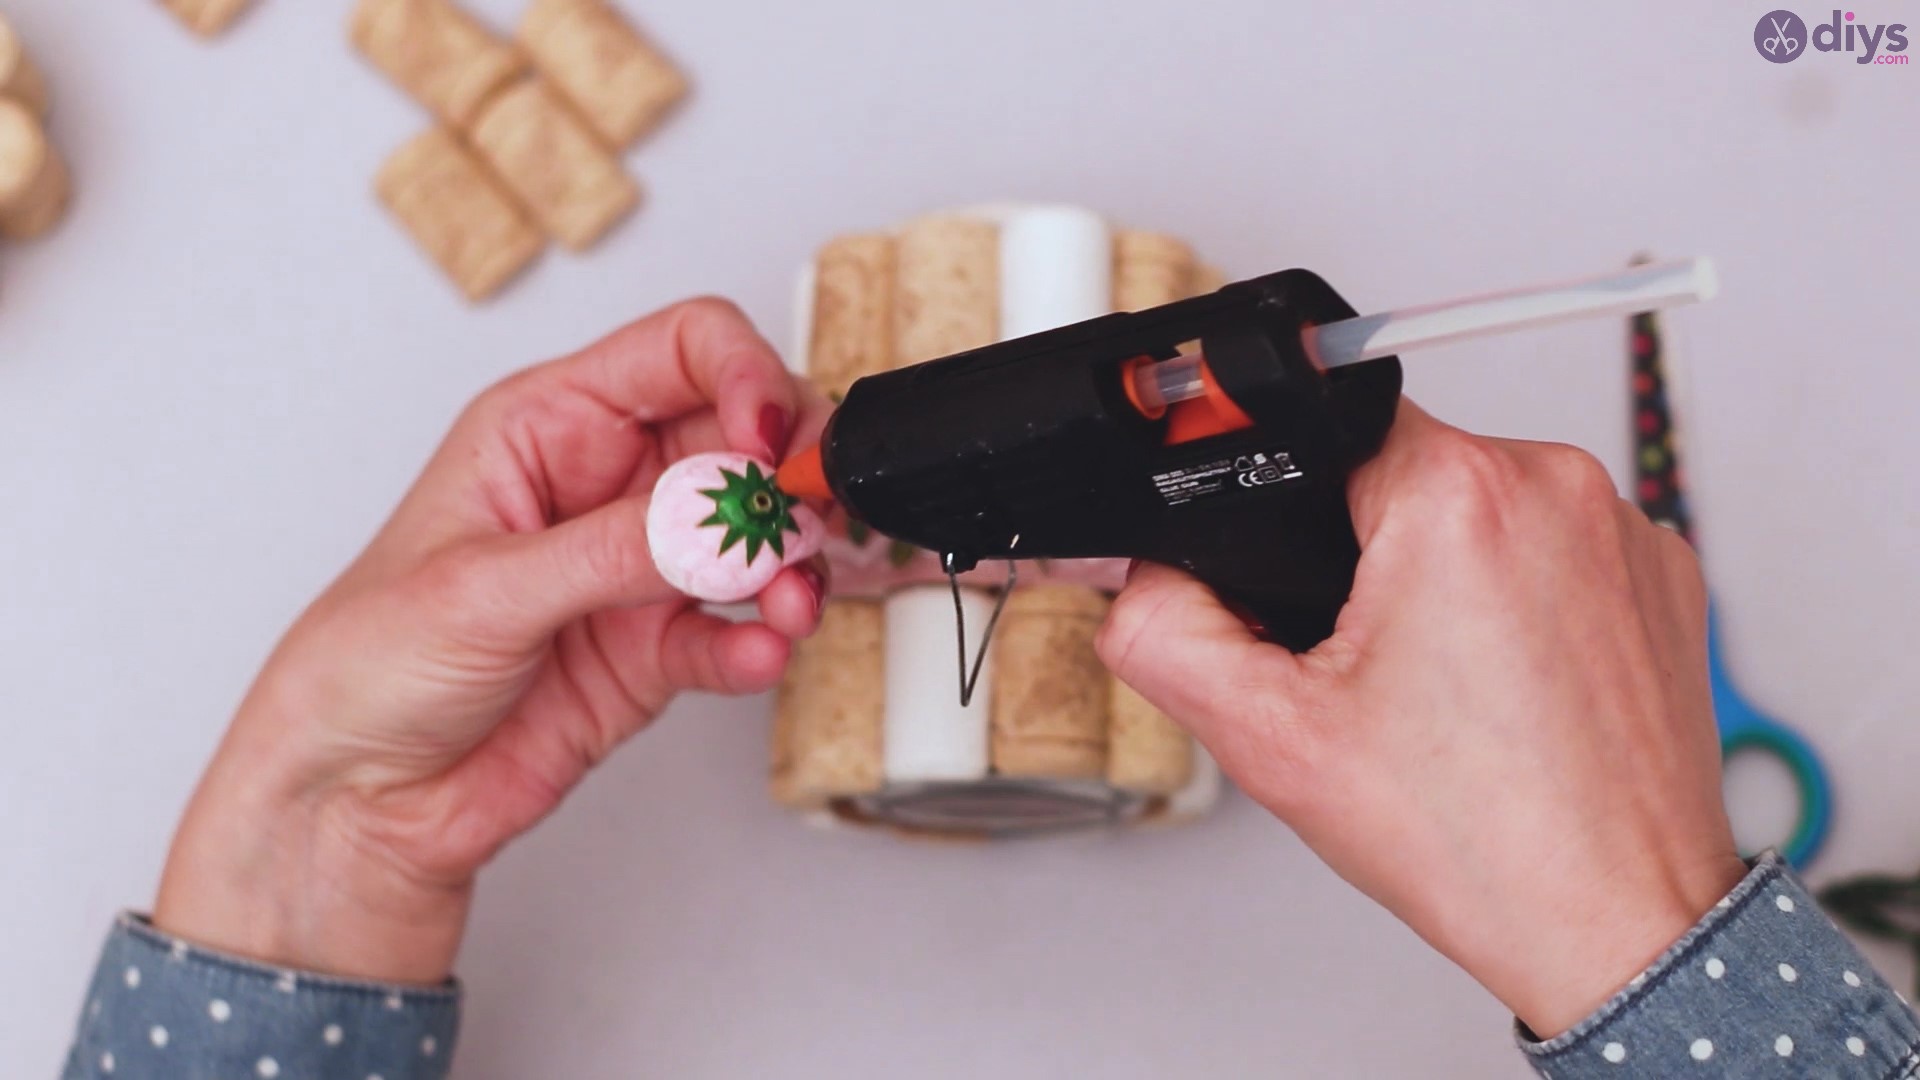
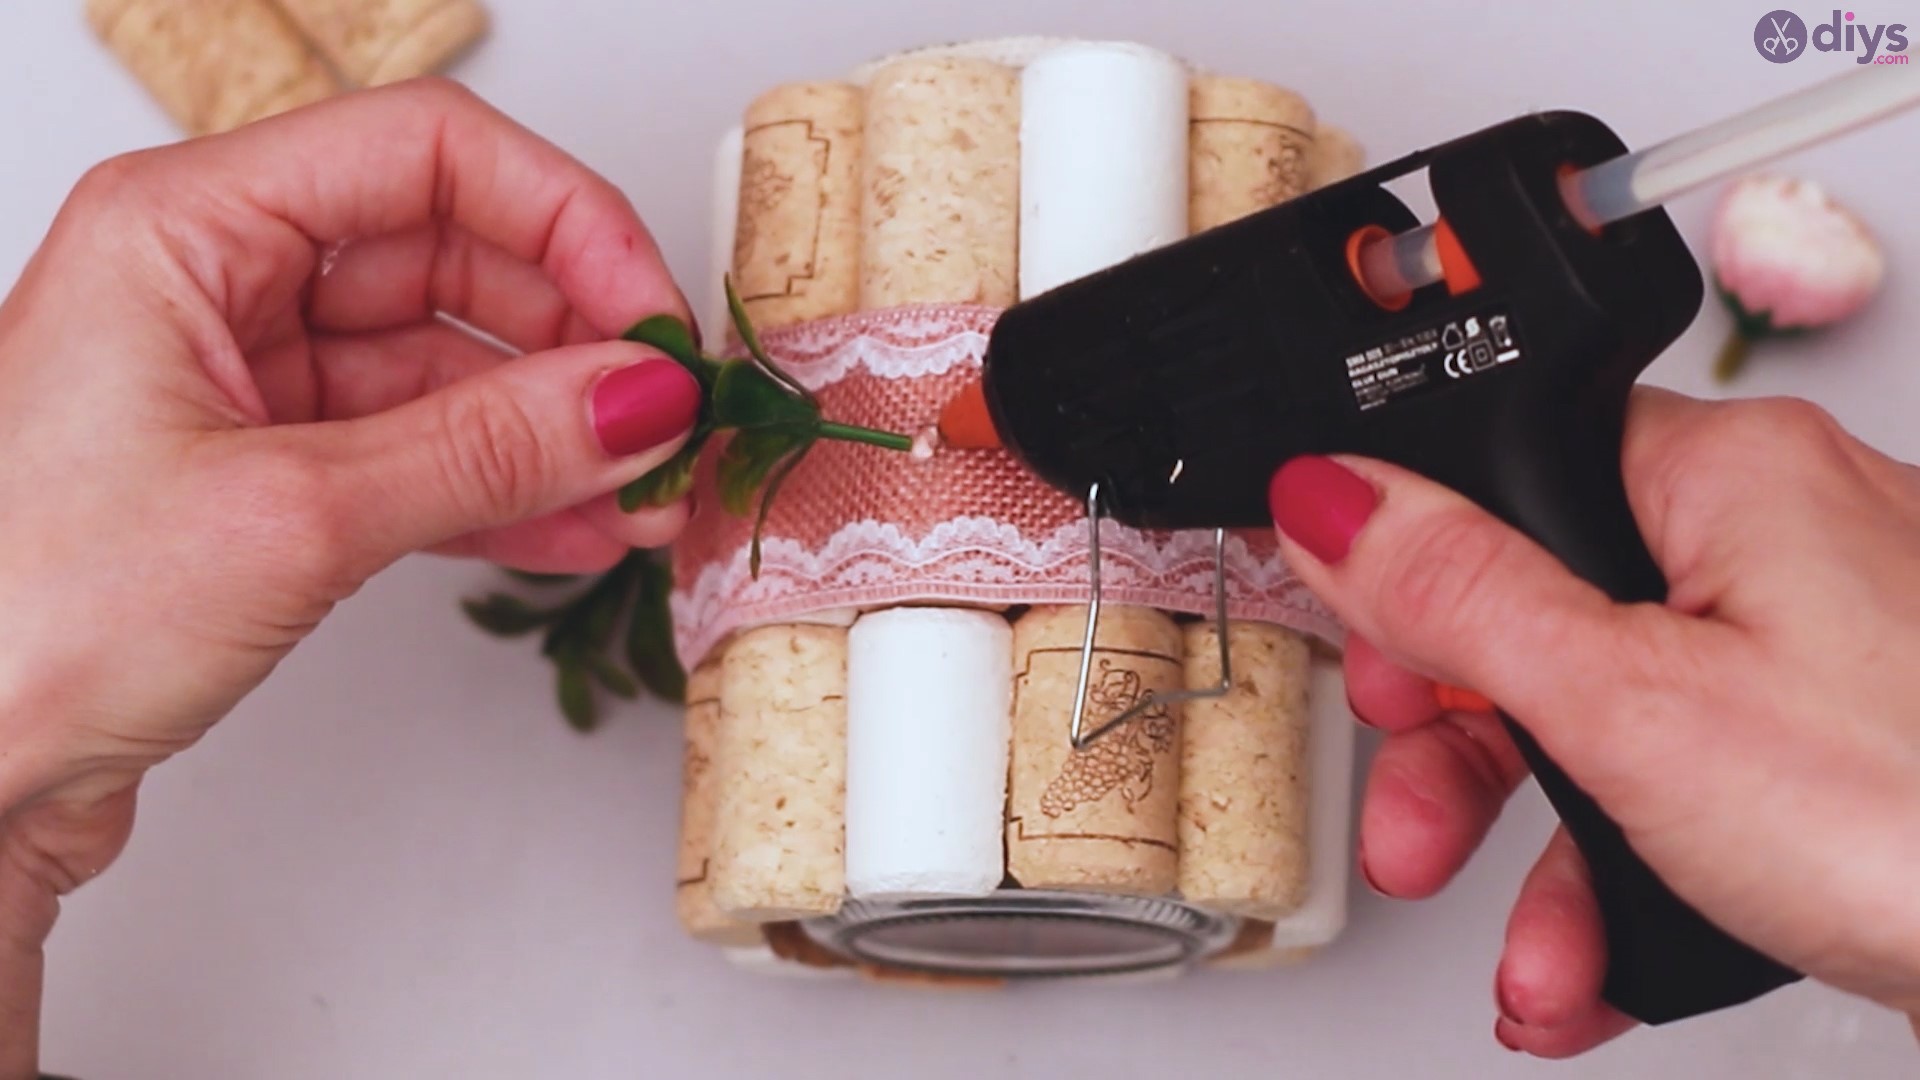
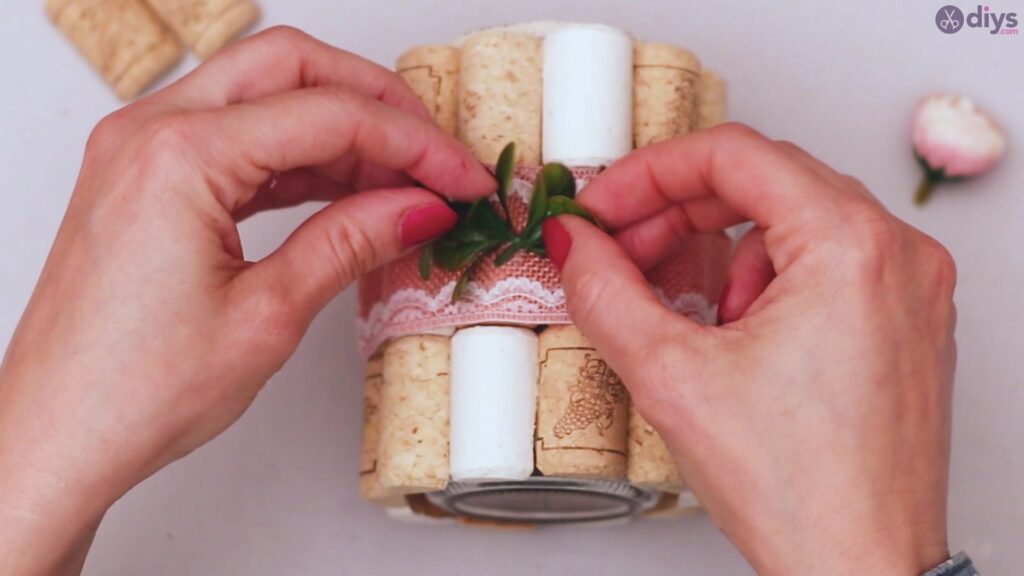
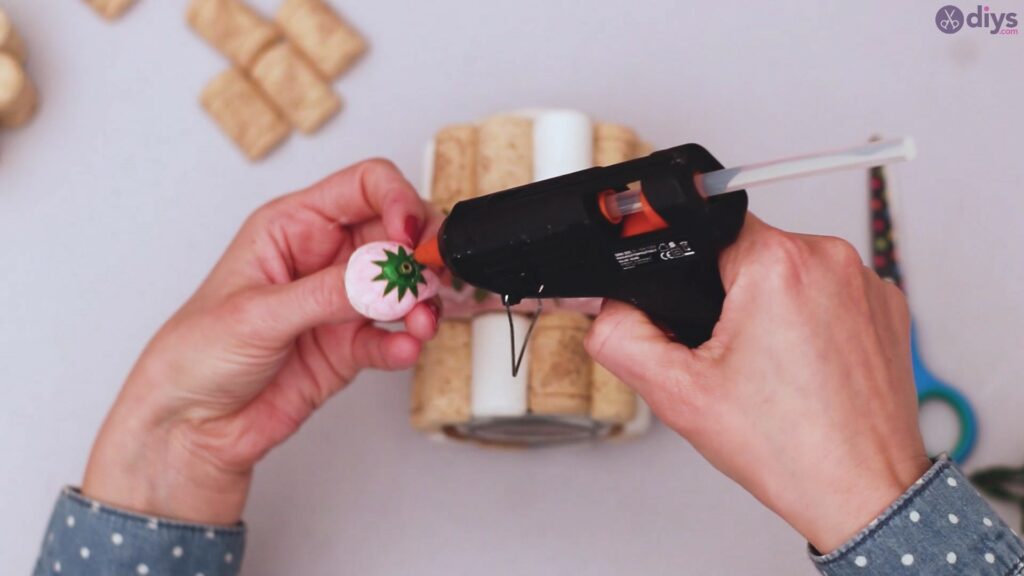
Step 7: Add the Flowers
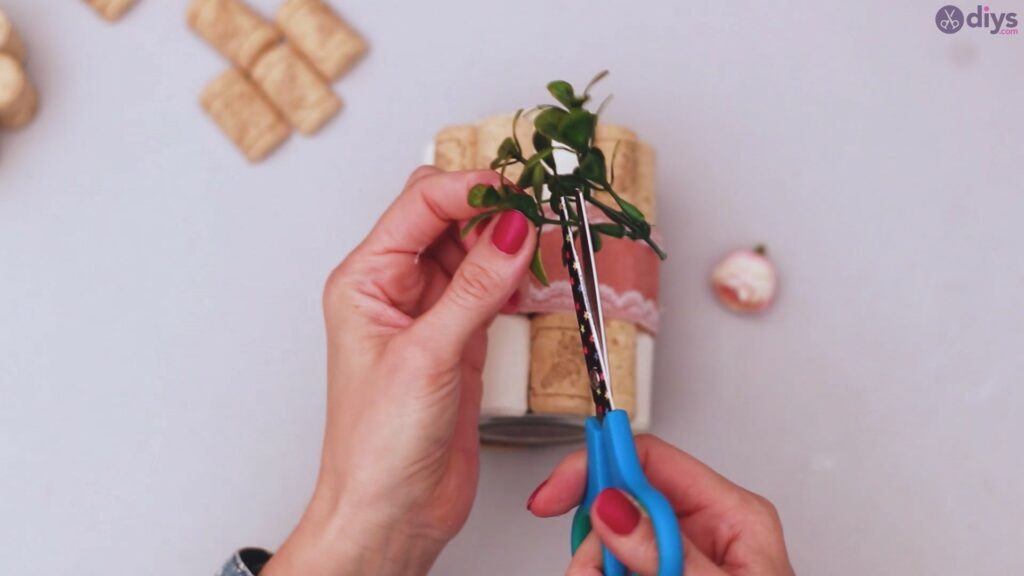
Our beautifulartificial flower comes with some leaves and stems, so we went ahead and cut some of those off. We still want them in our design, but sticking the whole thing as it was wouldn’t have looked nice. We started by cutting the rose off at the base of the stem and then a couple of the branches, leaving some leaves on them.
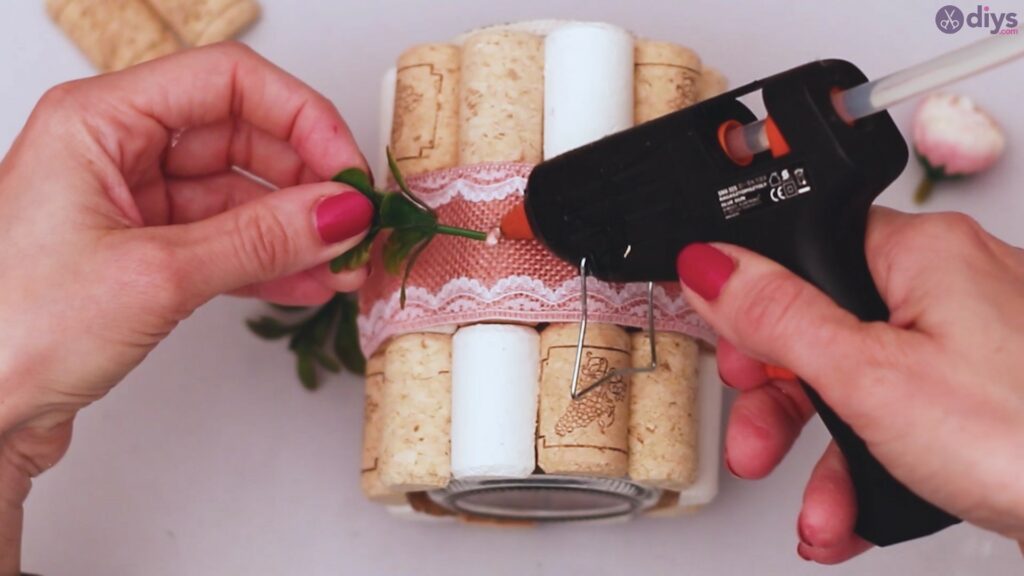
Add some hot glue and make sure you press the branch into the glue and hold it there until it sets. It’s a bigger and heavier piece, so you may want to go a bit heavy on the glue.
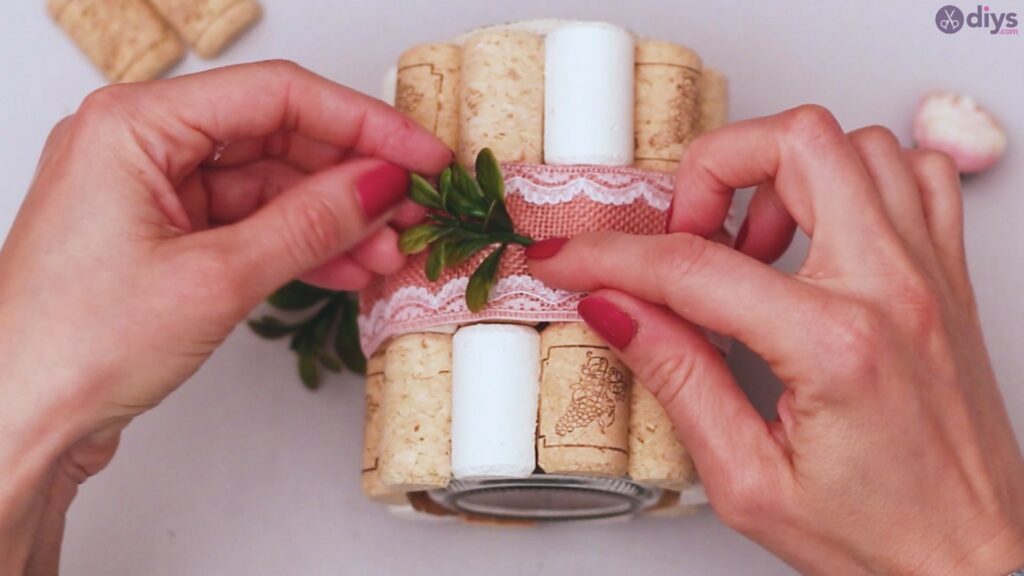

Add the second branch too. Just like you did with the first one, you want to add a lot of glue and hold it there for a while. Also, for a nice look, make sure you glue the branches close together.
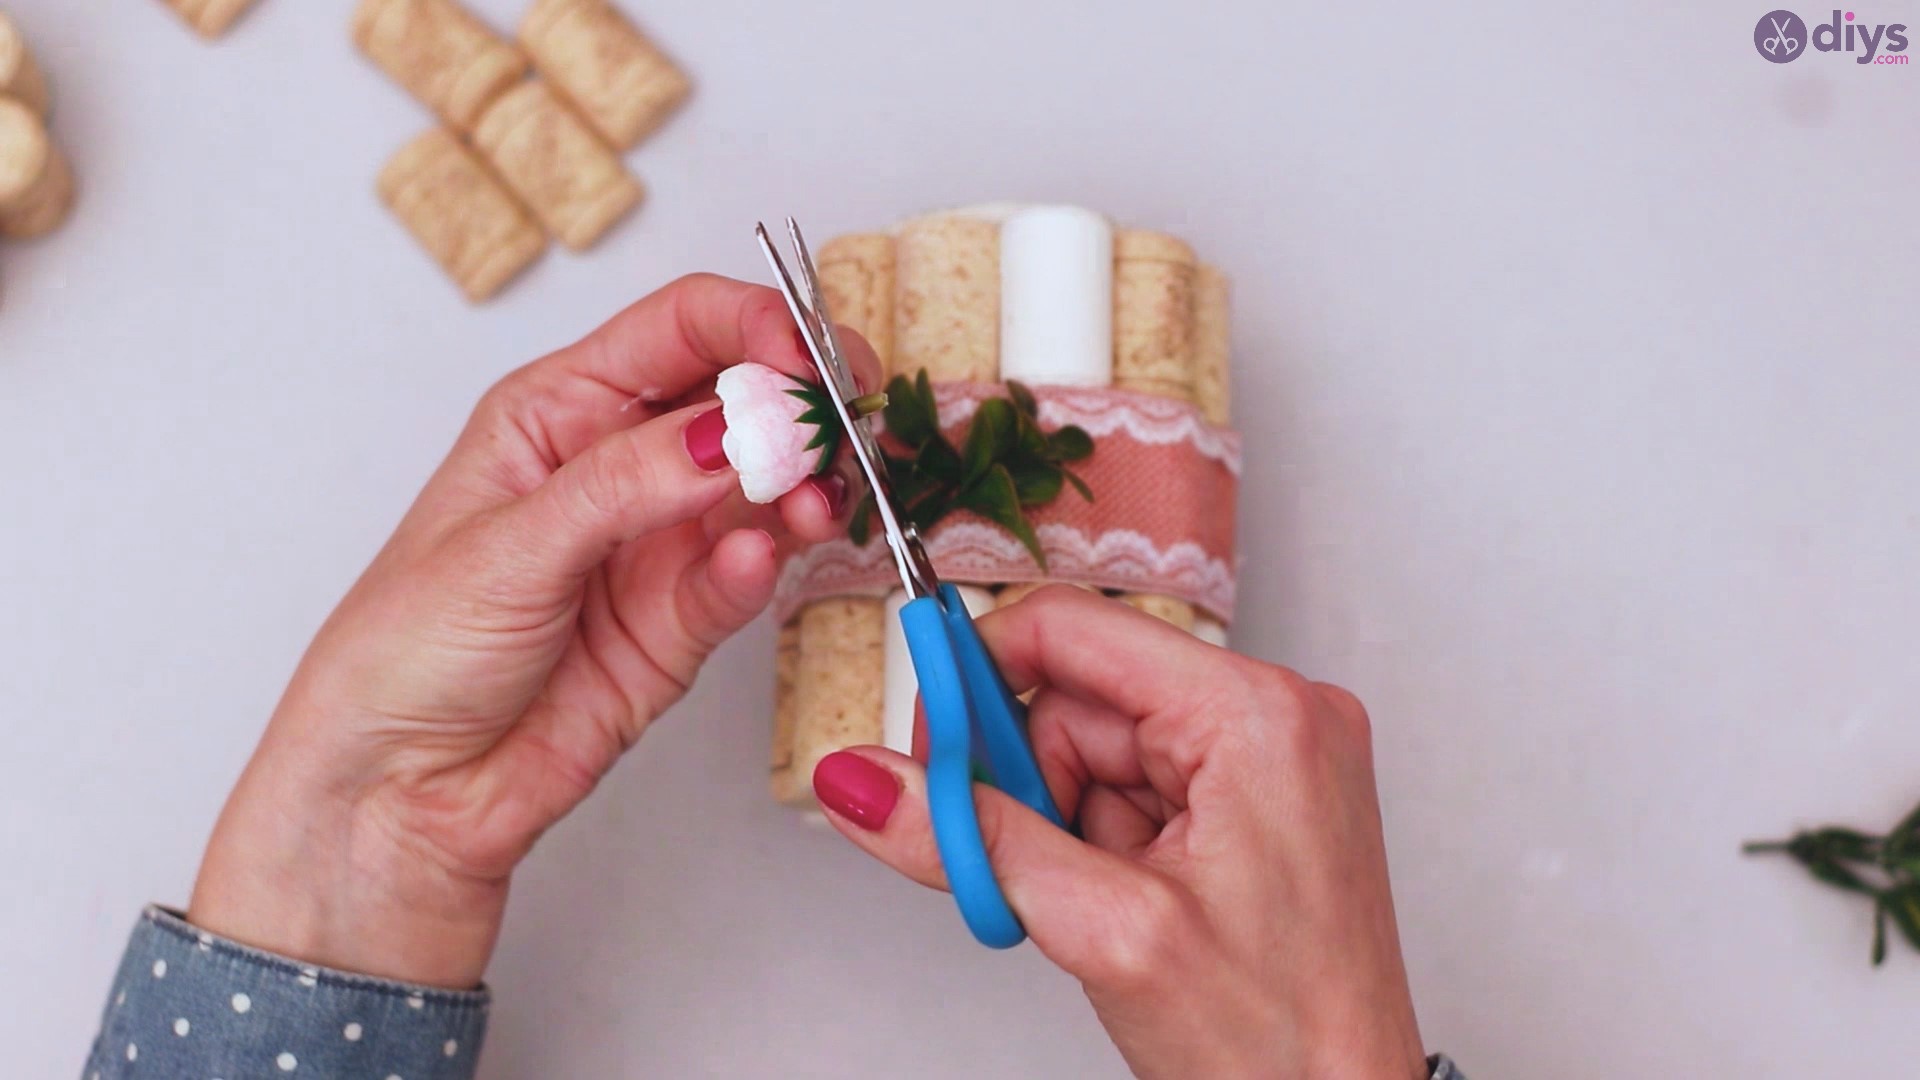
Trim the stem of the artificial flower completely. You’ll want to try to cut as straight as possible, so make sure your scissors are sharp.
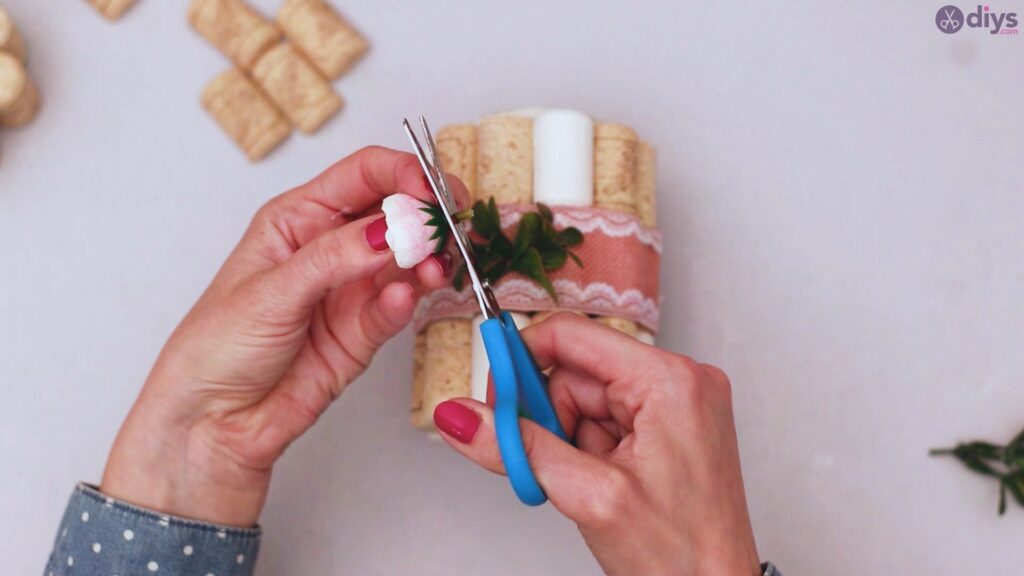
Add hot glue to the bottom of the flower. Again, go heavier on the glue since the flower is a bit heavier than what we’ve added so far.
Place the flower in the middle of the branches and press it firmly for a few seconds. If you hold it like shown in the picture, the flower won’t get deformed, so even though you need to use a little force to make sure it sticks to the vase, be gentle with it.
Here’s how our wine cork vase looks! Isn’t it lovely! The small decorative touches really make the vase stand out! And look how easy it was to make! Just a few wine corks, a few ribbons, and a lot of hot glue on top of an unused jar!
Such a beautiful addition to your home! It can also be a cute gift for friends and family members who appreciate handmade gifts. Of course, you can customize these however you see fit and however you need. Given the many different jar sizes, you may need to adjust the number of wine cork levels. Of course, you can also paint them in different colors, use other decorations, and so on. We think ours looks perfect, but imagination has no limits, and we’re sure you’ll want to make some adjustments to suit your style better.