DIY Wine Cork Soap Rack – How to Make a Soap Rack Out of Wine Corks?
Updated on November 19, 2025


Decorating your house is something pretty easy to do, especially when it comes to the living room, or even the bedroom and kitchen. Decorating your bathroom in any way, however, is a bit more difficult to do. So, with our next idea – a wine cork soap rack, we’re going to do just that – bring something pretty into the bathroom.

Of course, since we’ll be using wine corks, we really don’t suggest you do put a bar of soap on top of it, but you can definitely place it on the counter near your sink and add some cute soap bottles. If you wanted, you could even use it as a designated place to put your lotion bottles instead.
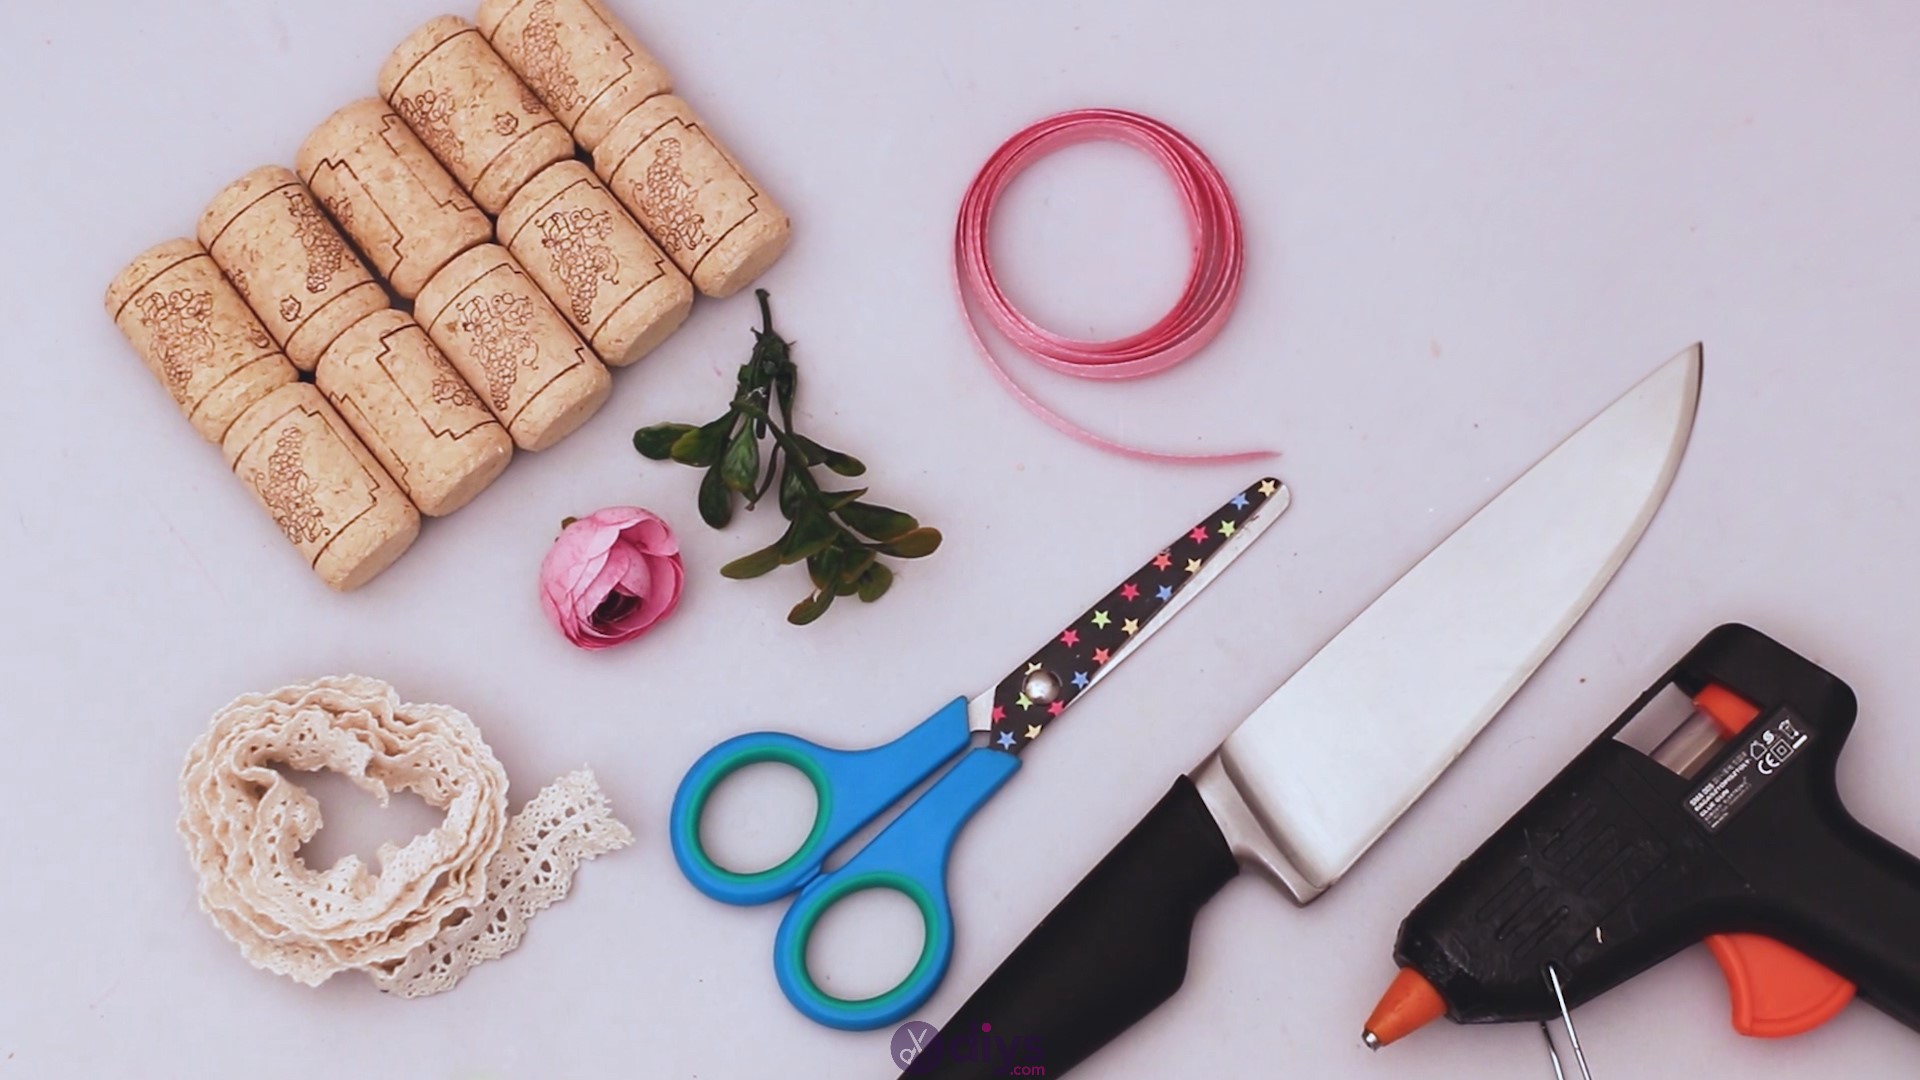
Materials for wine cork soap rack
- wine corks
- glue gun
- scissors
- lace ribbon
- silk ribbon
- artificial flowers
How to make a wine cork soap rack
Have you gathered up your supplies? We like to have all of them on hand, so we don’t run around after them when we’re in the middle of using our glue gun. So? Are you ready? Let’s begin!

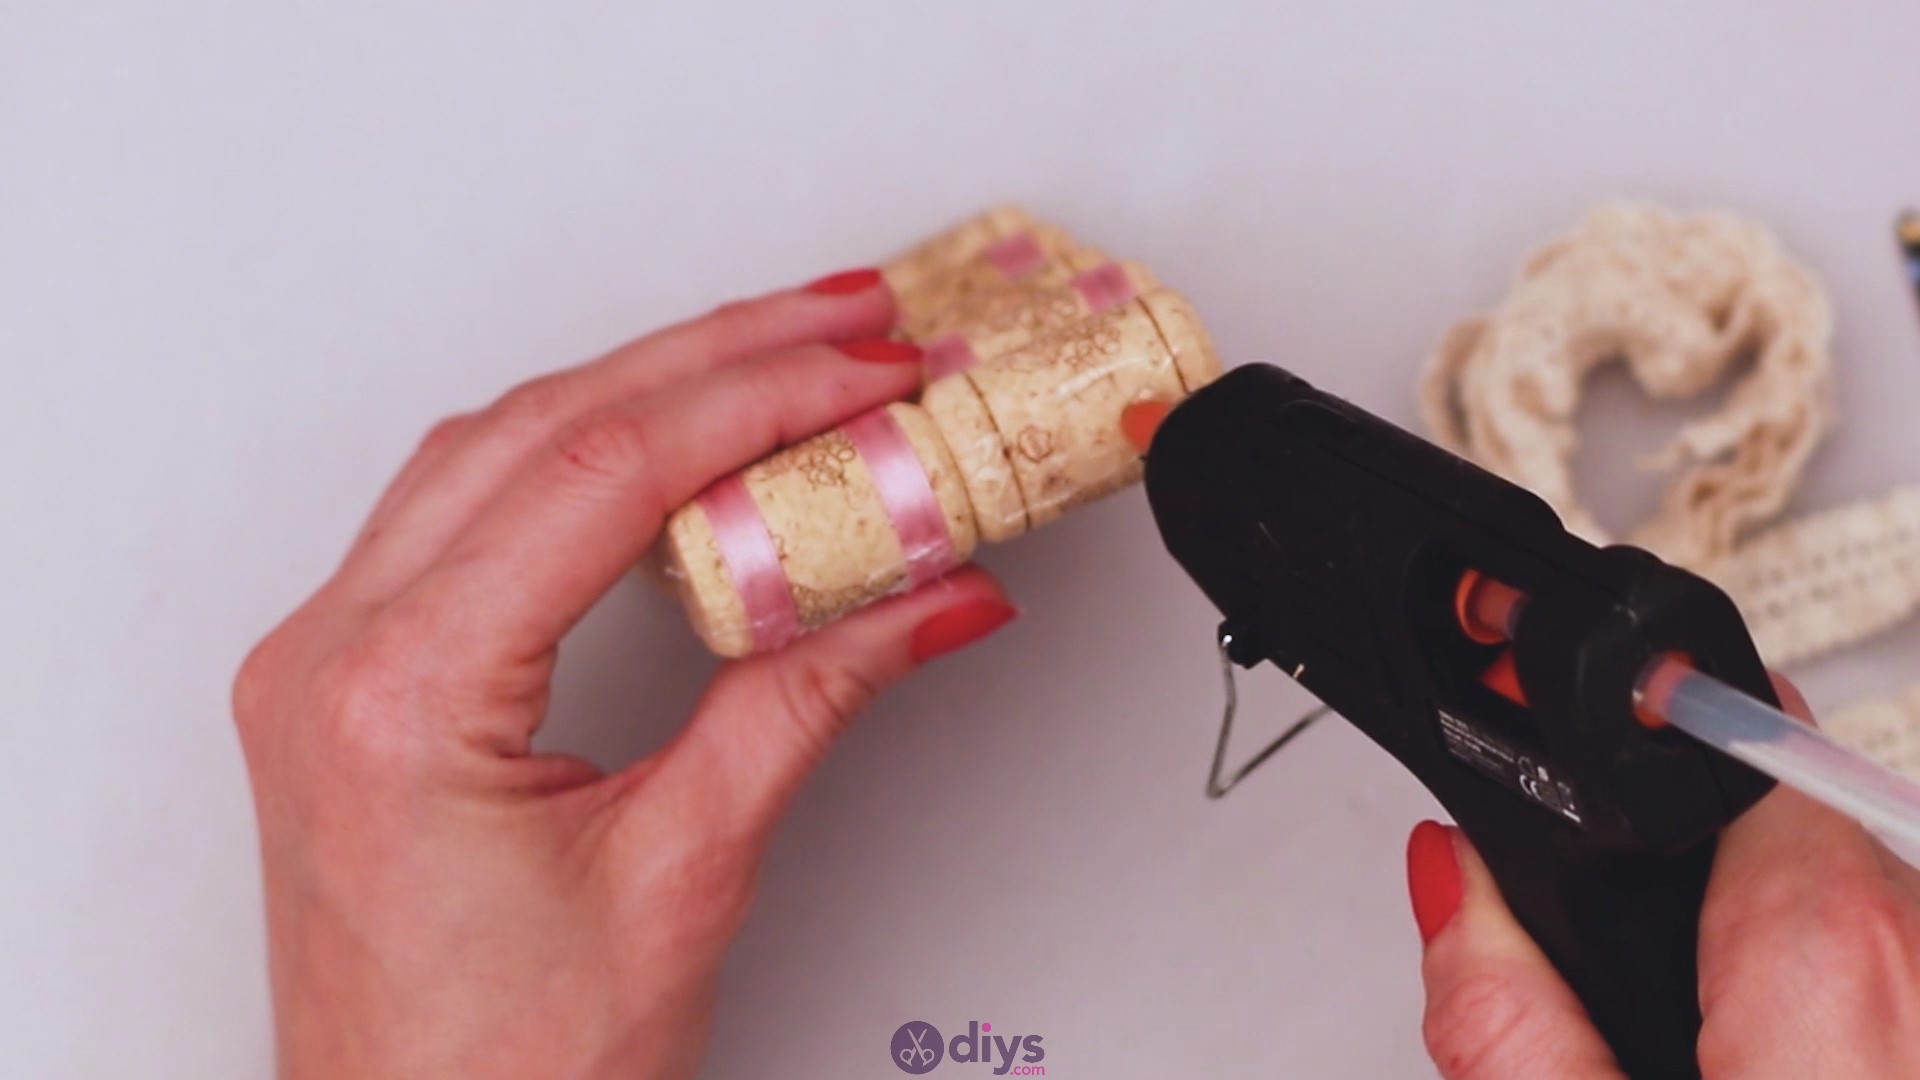
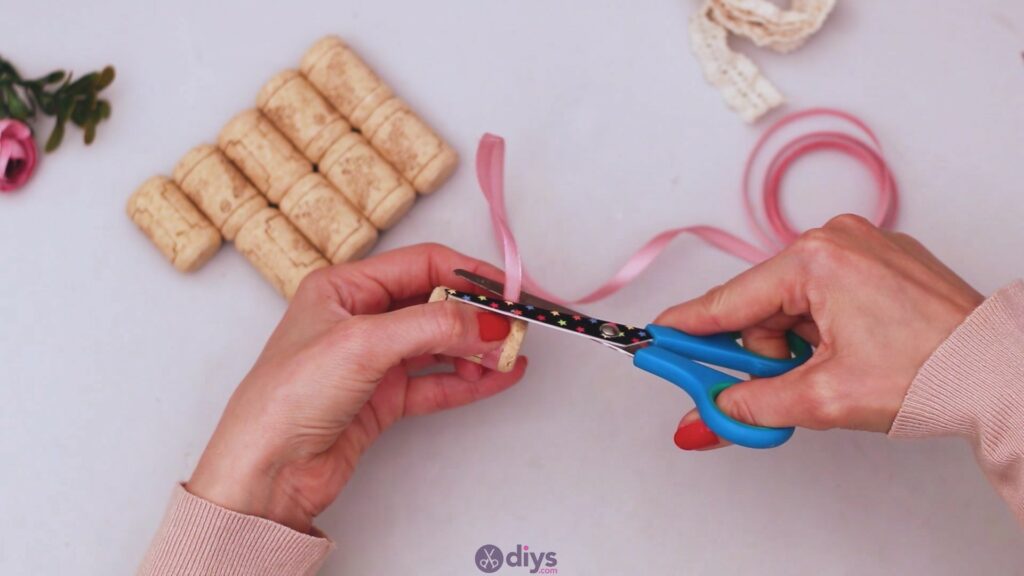
Step 1: Prepare the wine corks
We’re going to start our project by decorating some of the wine corks we’ll be using. We have ten wine corks in total, so we’re going to take five of them, theglue gun,and the silk ribbon.

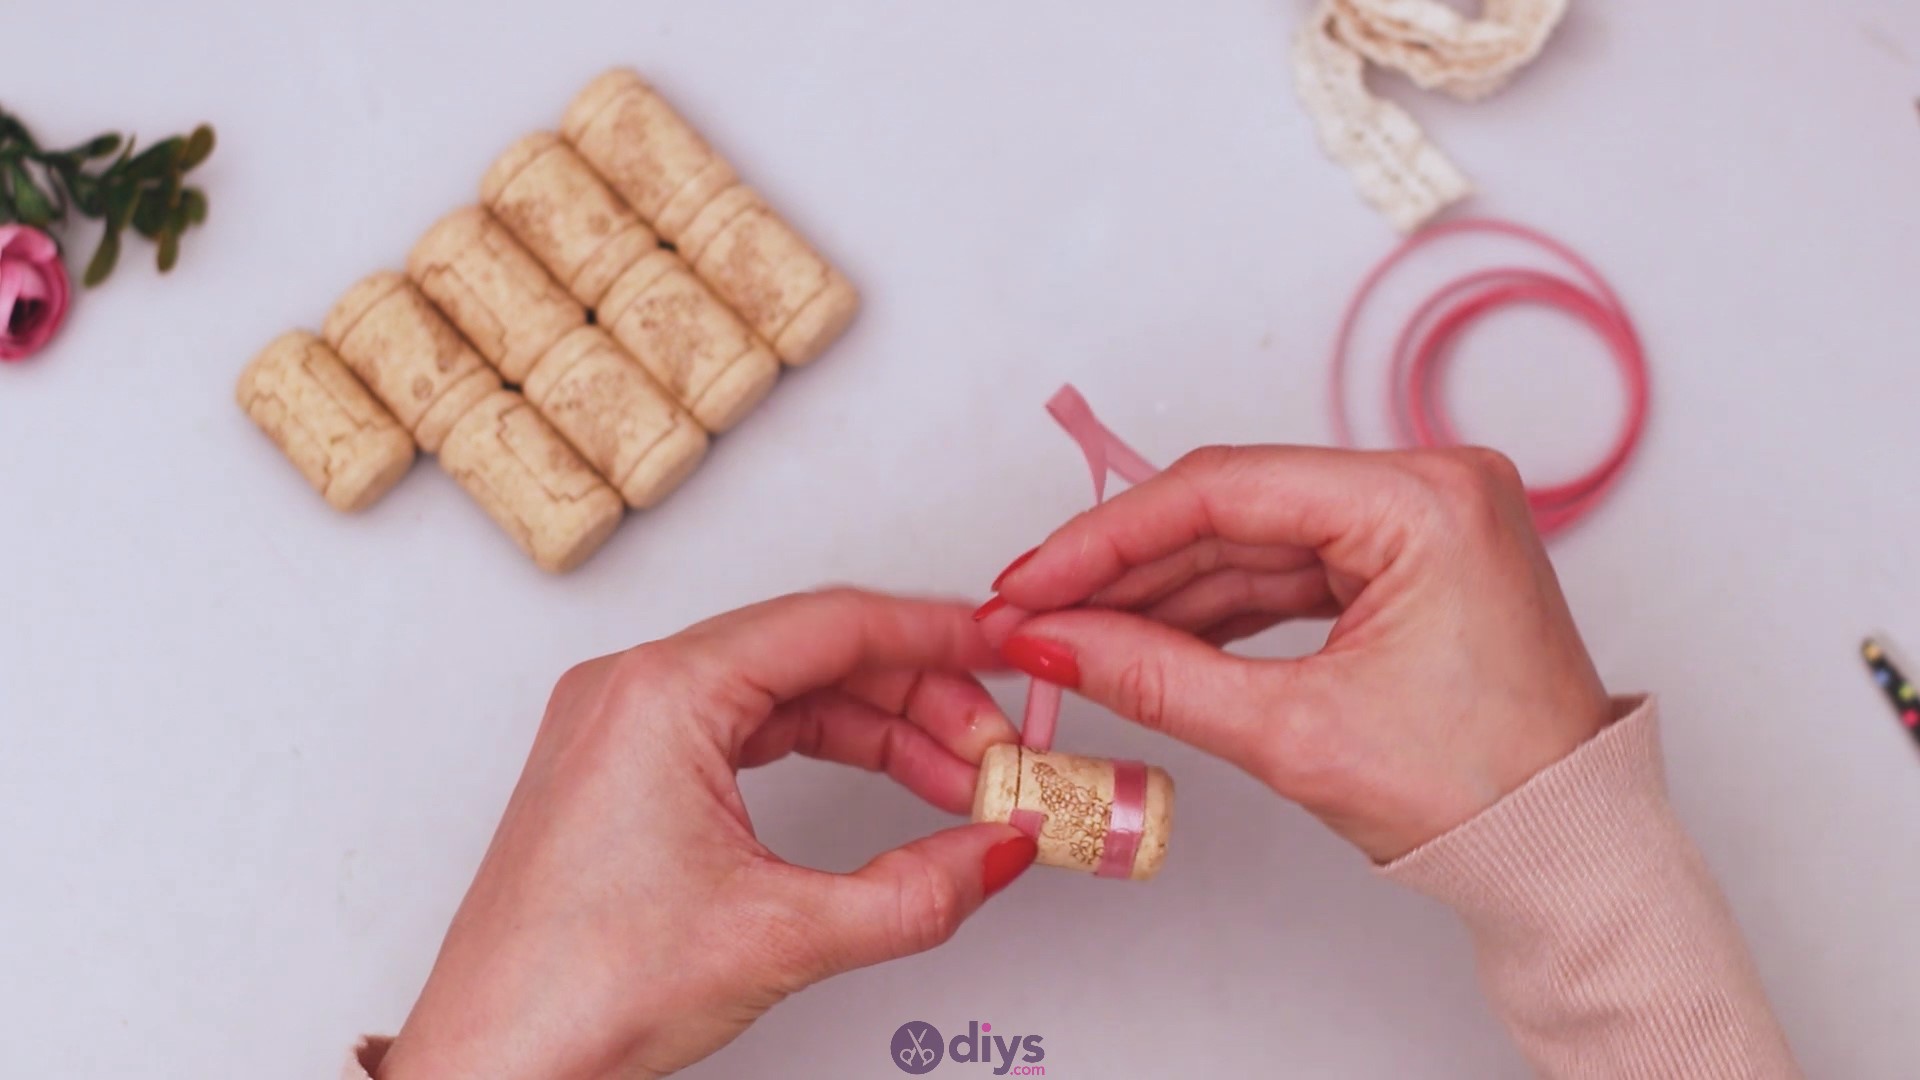
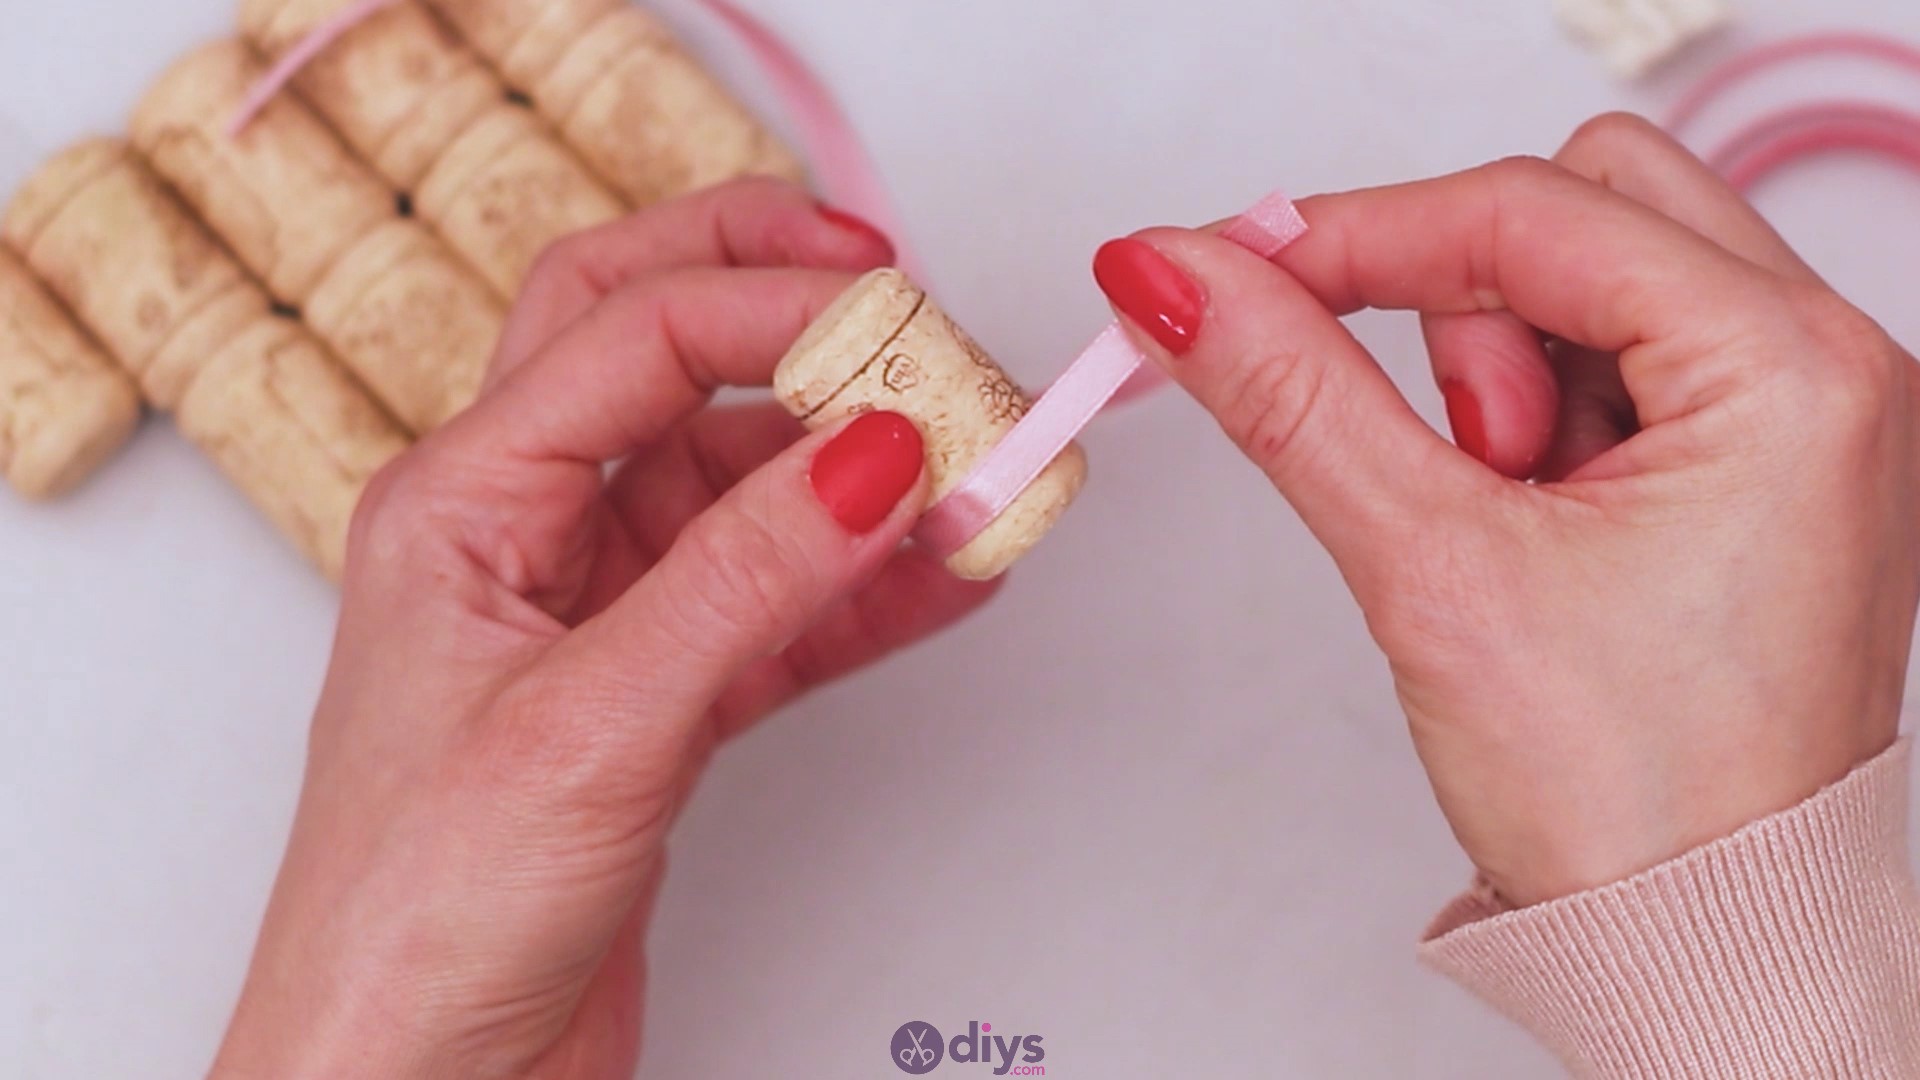
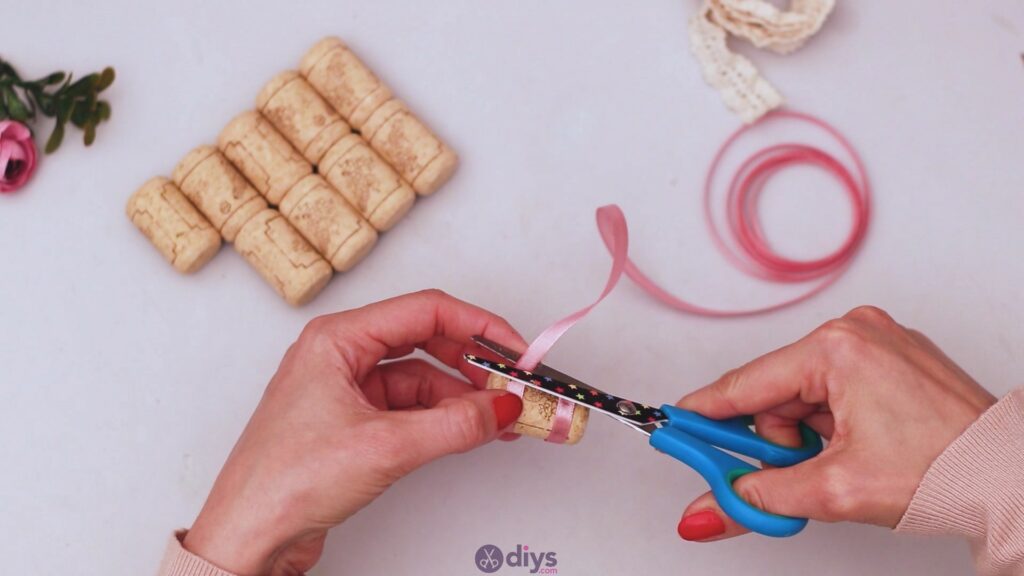
First, you’ll want to measure how much ribbon you need. Encircle a wine cork with the ribbon and cut the material when they barely overlap. Try to keep the scissors as steady as possible so you make a clean straight cut. Once you’ve measured out one, you can go ahead and use the same size for the others too – you’ll need 10 ribbons.
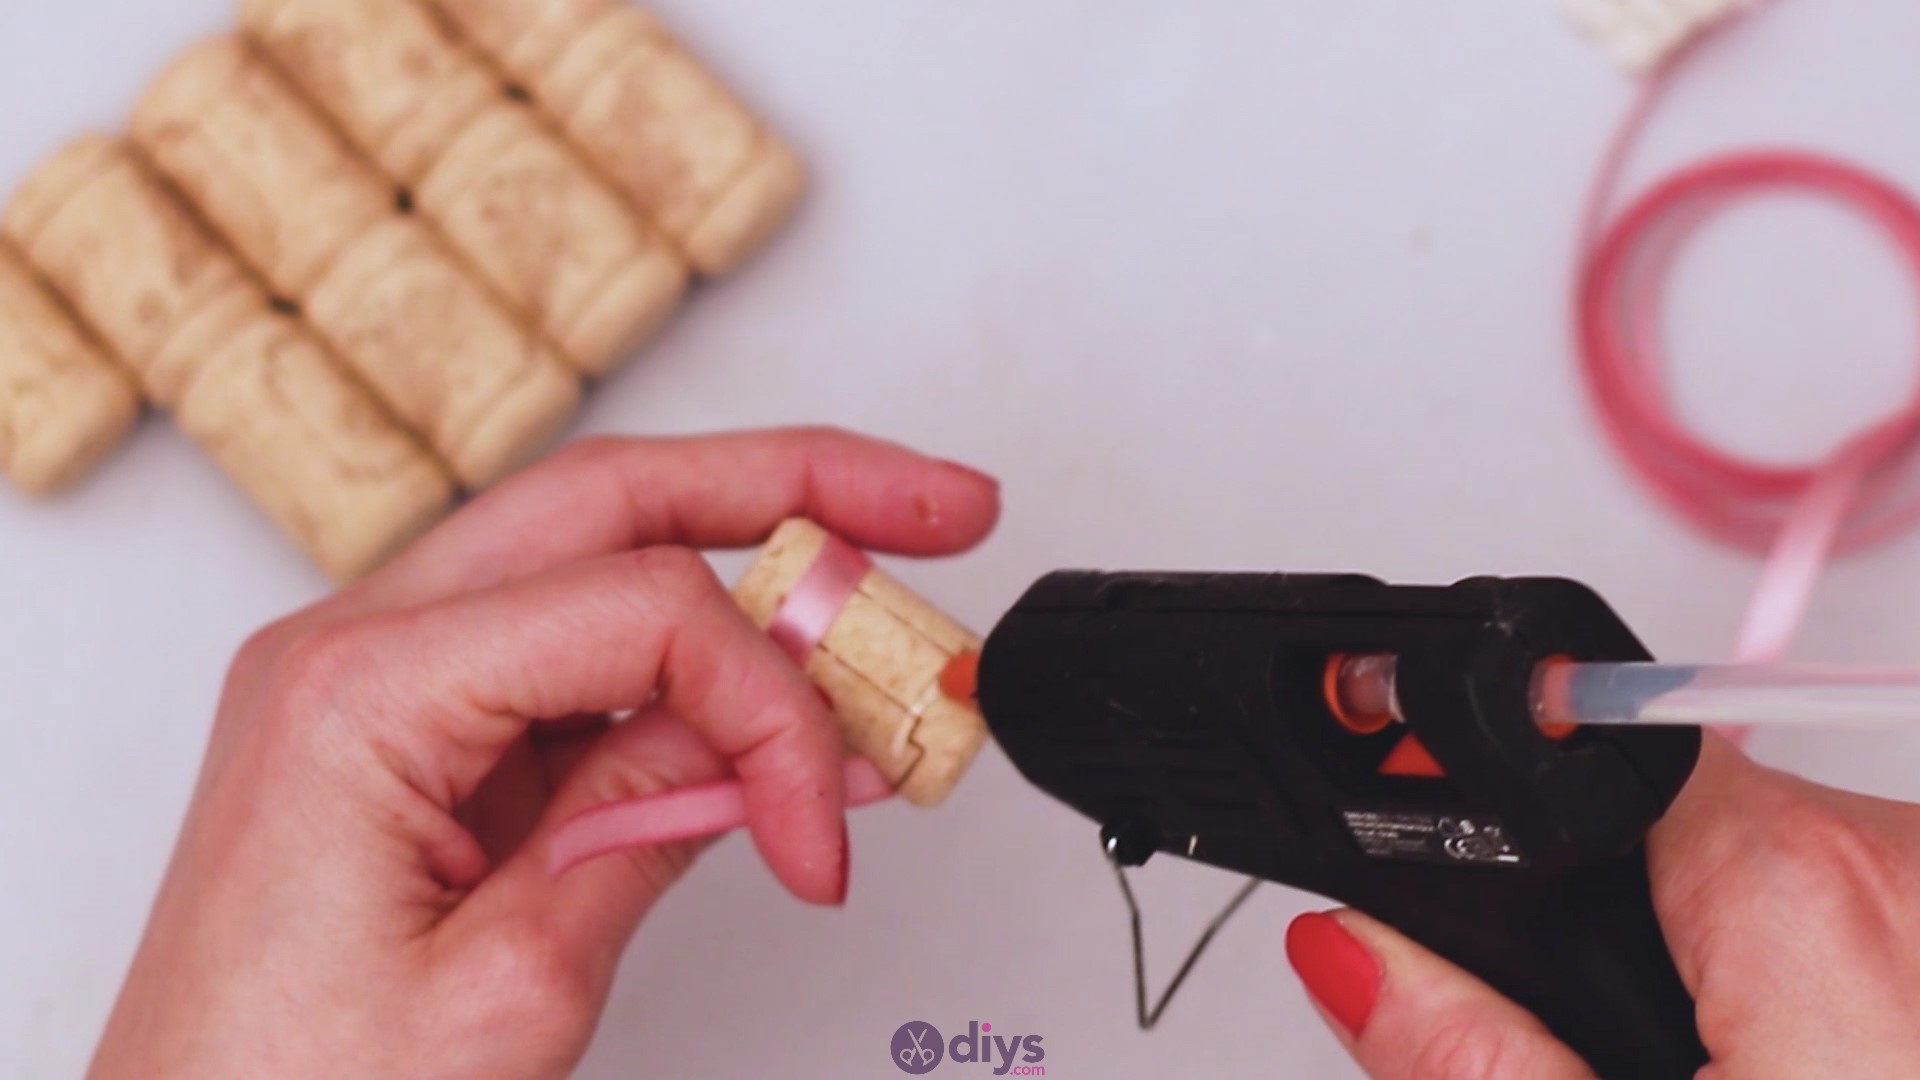
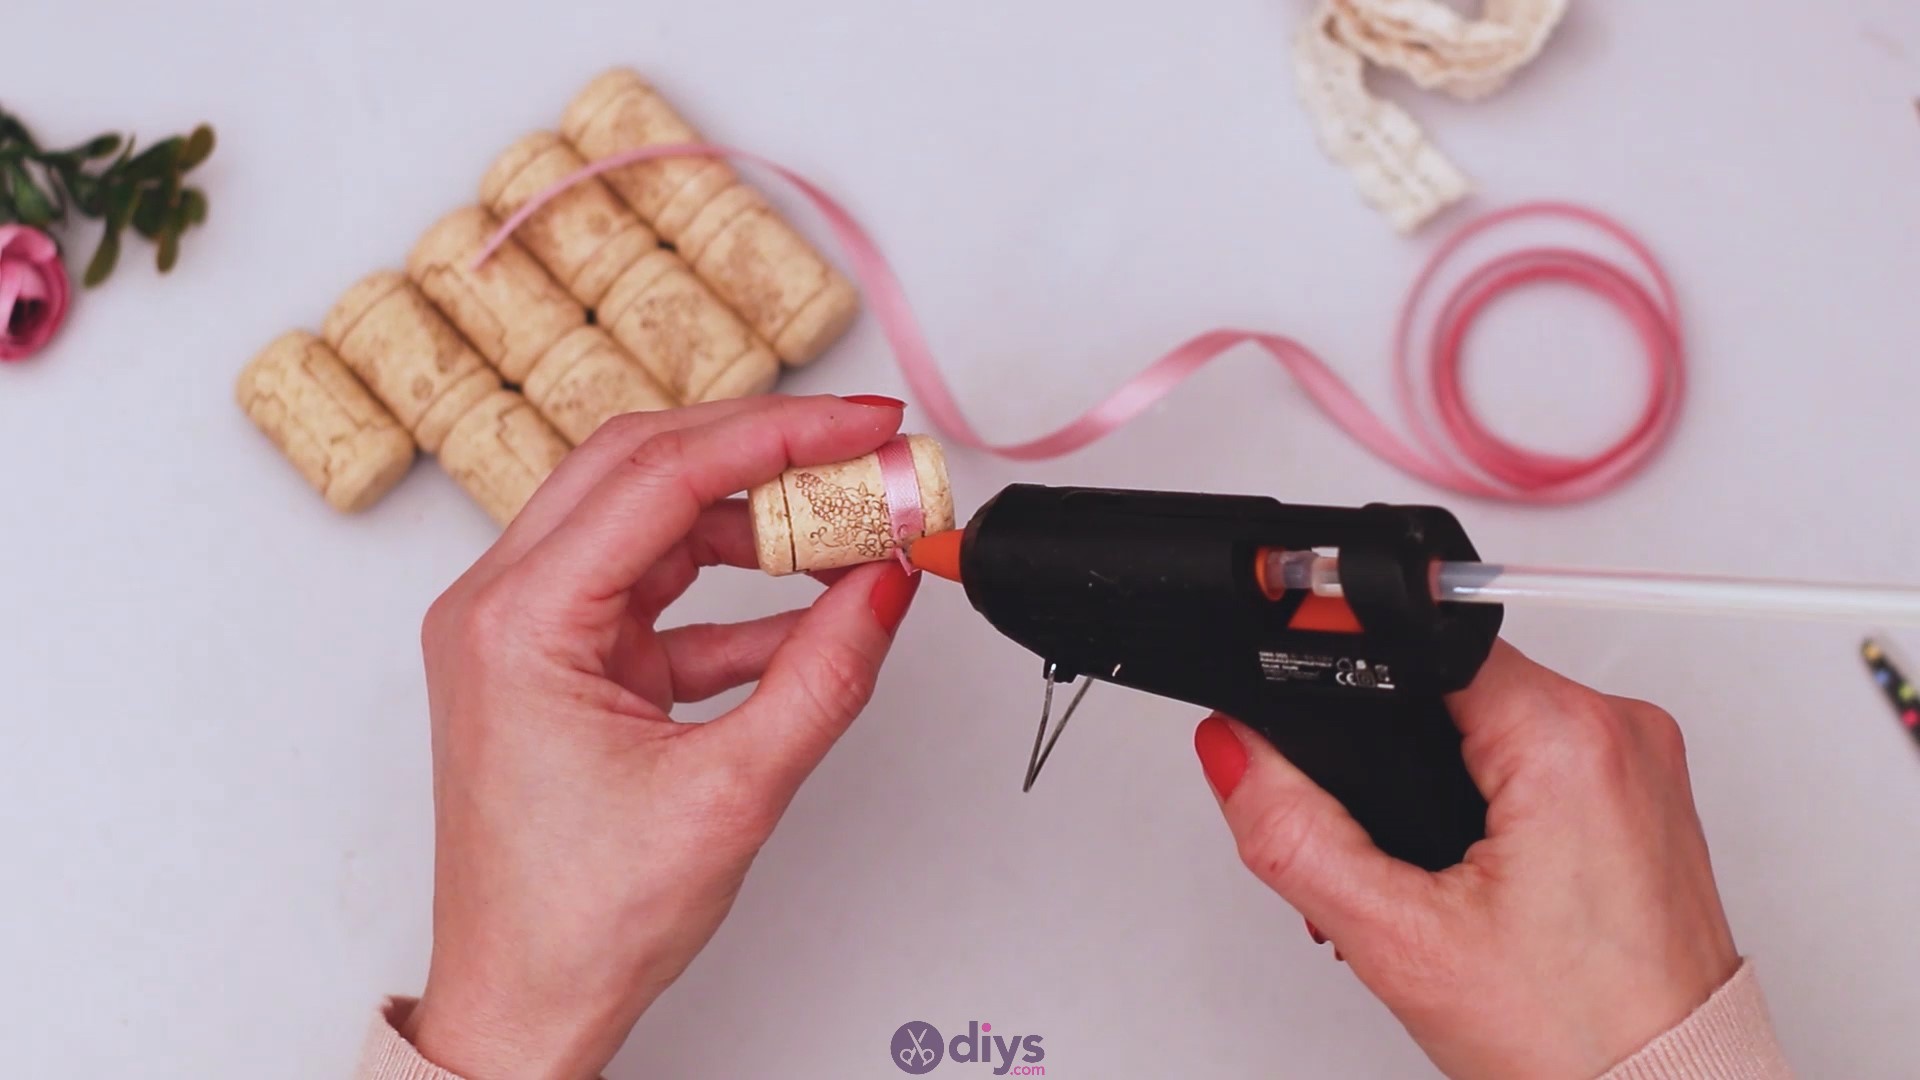
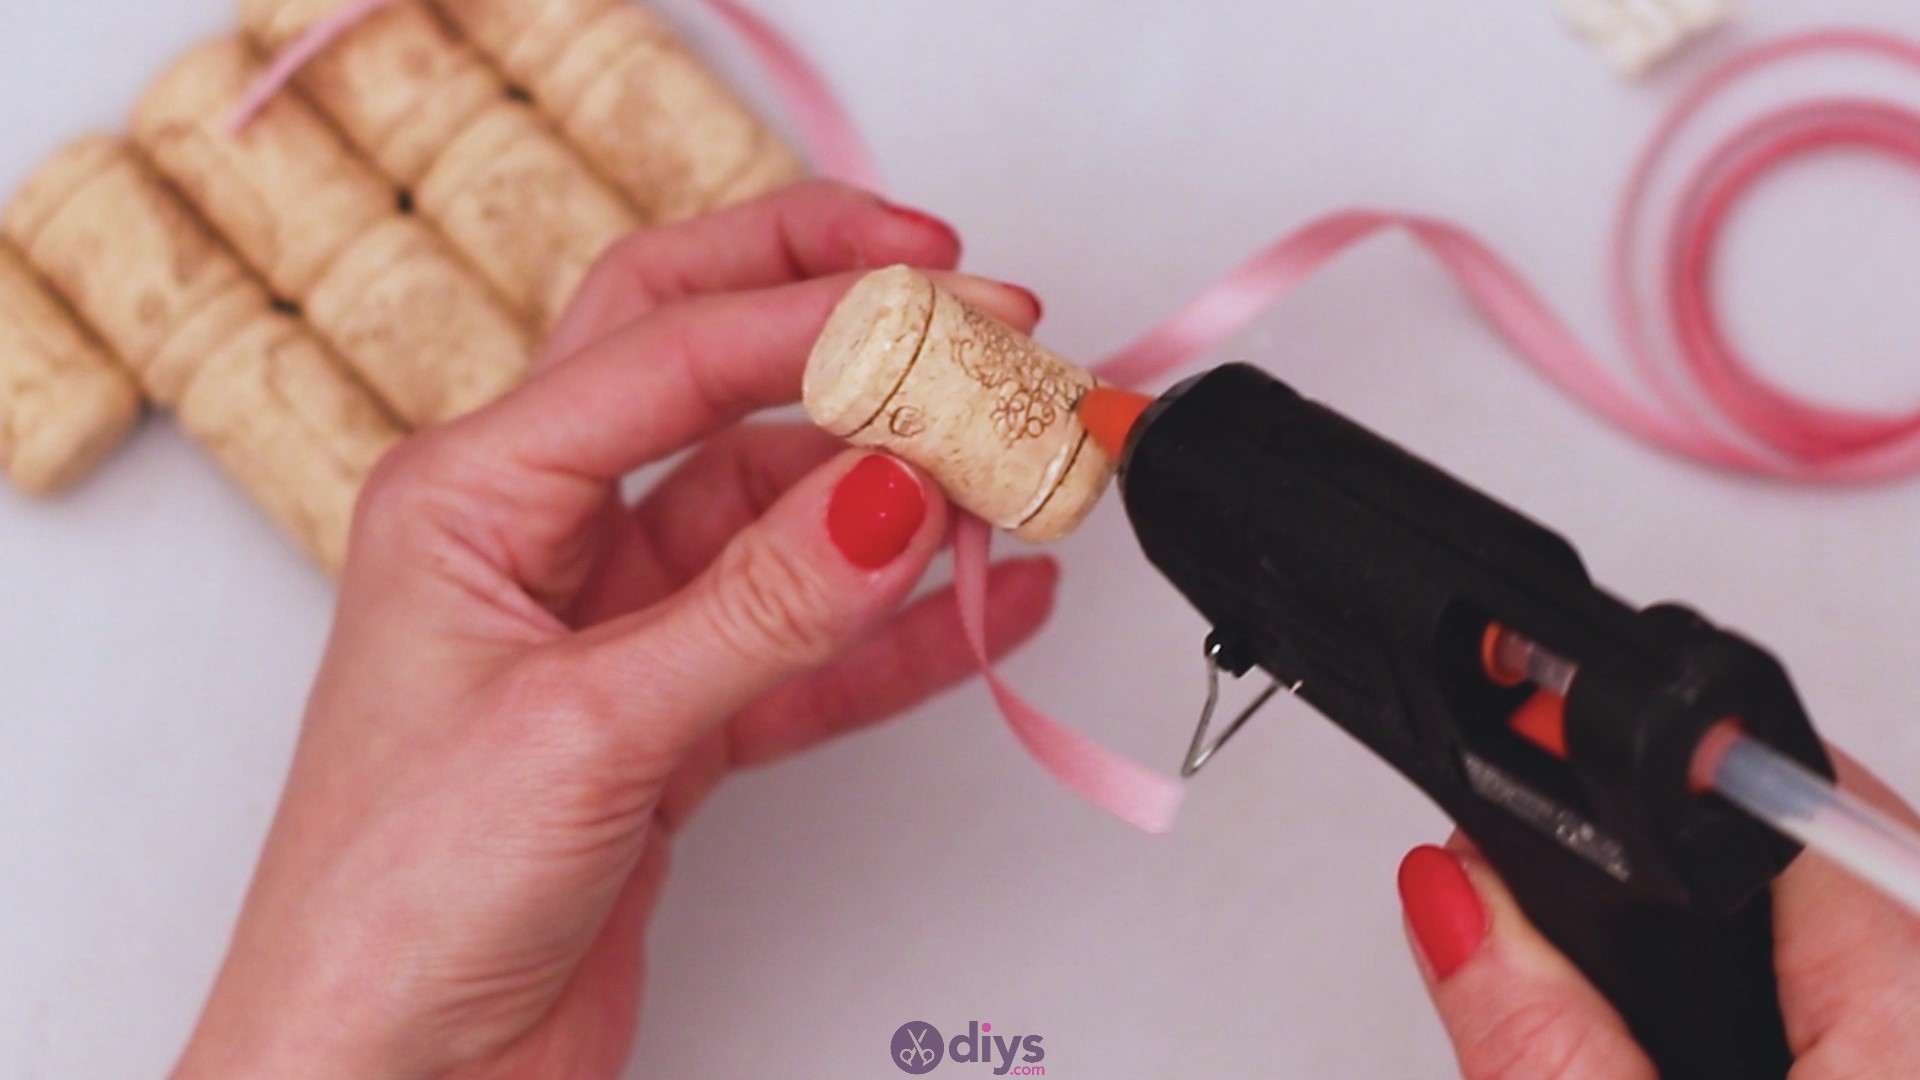
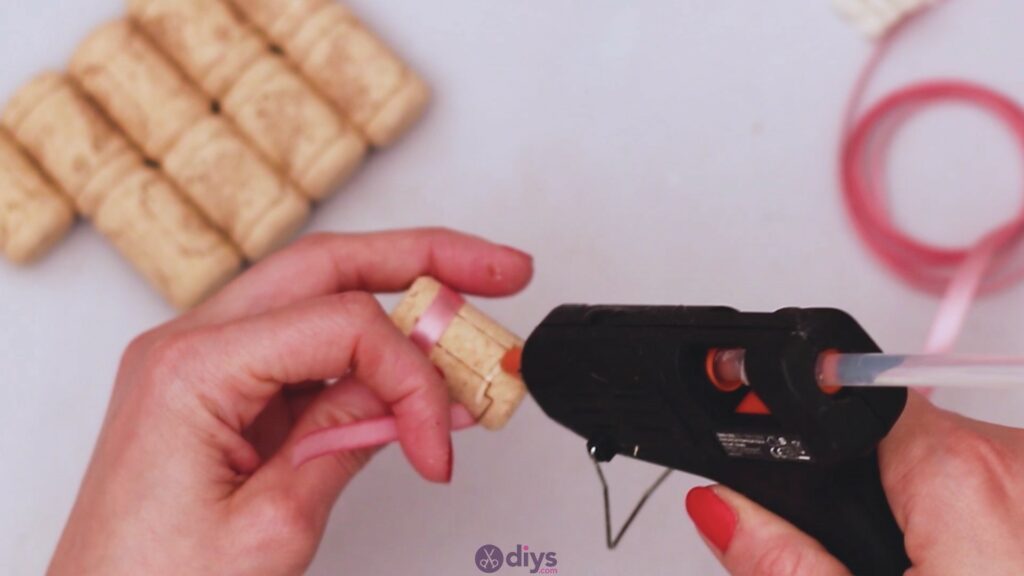
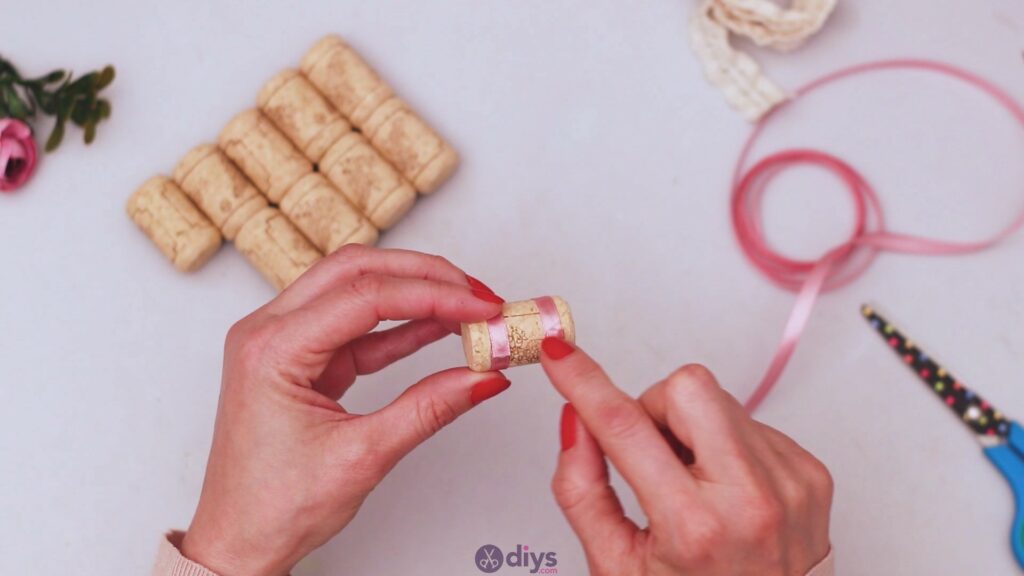
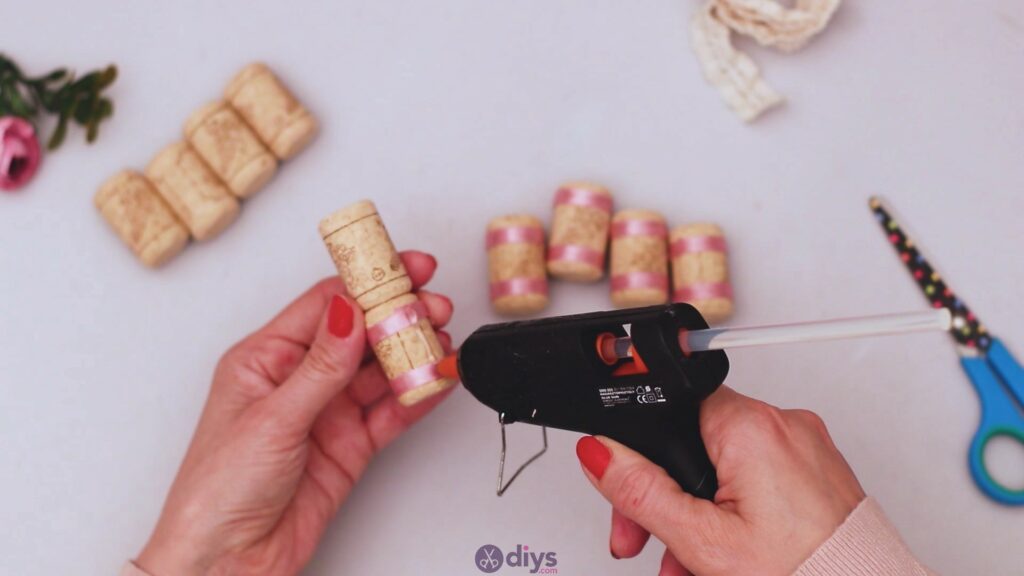
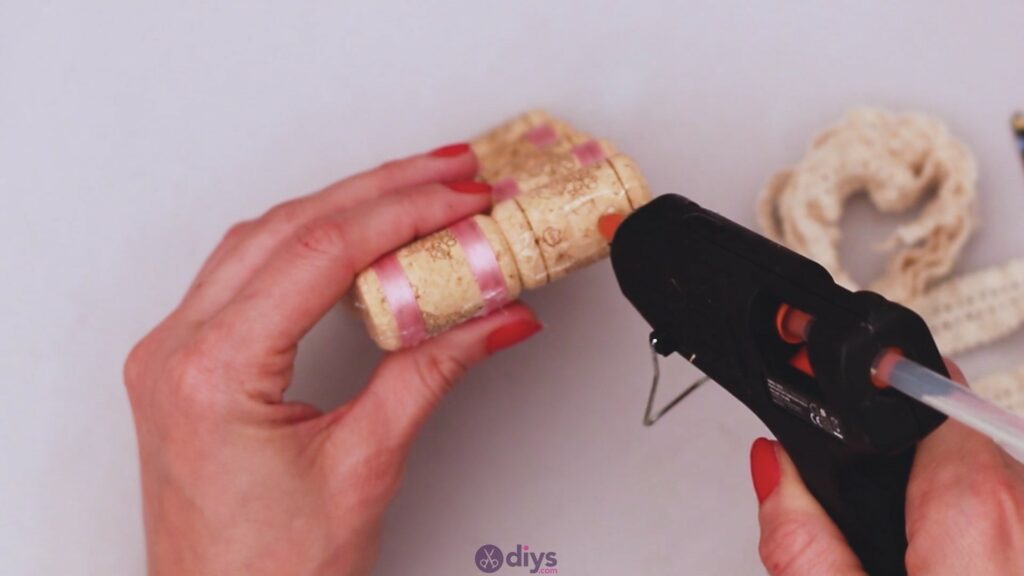
Our wine corks have a couple of lines on them, and they’re equally distanced from the edges. If yours don’t have the same markings, you can eyeball it and try to match the distances. You’ll want to add some hot glue to the area and then place the silk ribbon.


When you reach around the wine cork, add an extra bit of hot glue and place the material over it, creating a perfect circle.


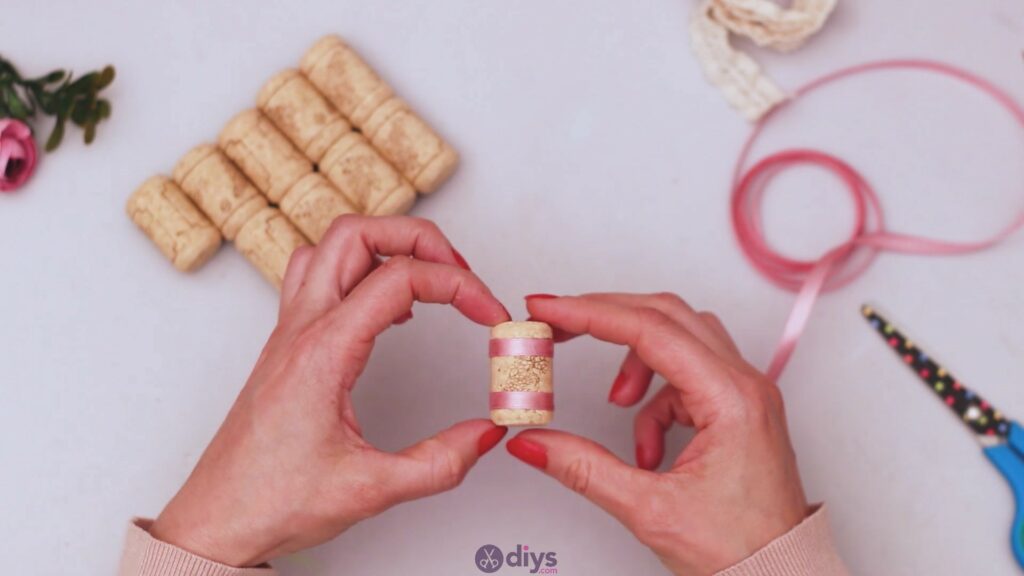
Repeat the process with the hot glue and the ribbon on the other end of the cork.


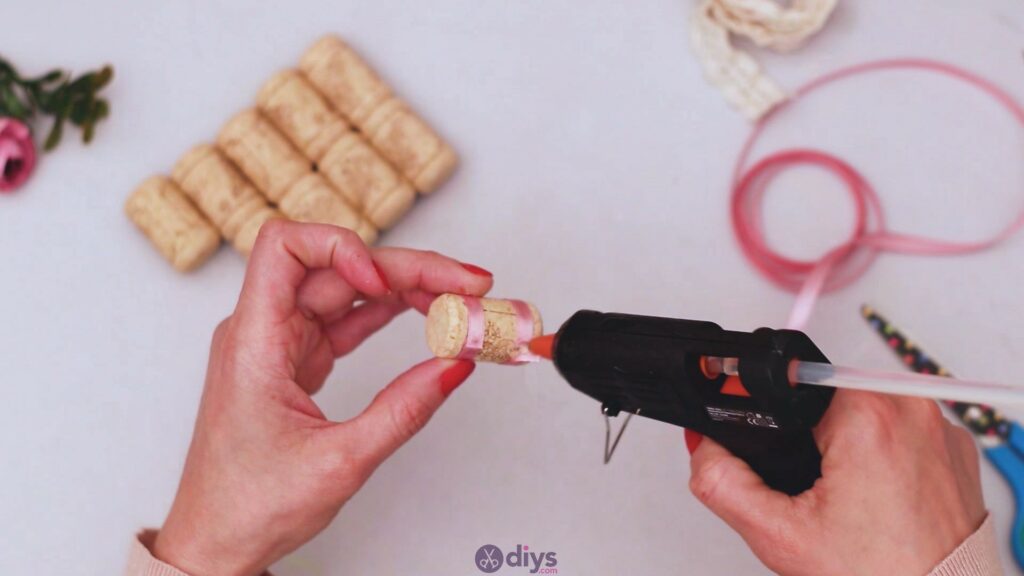
Make sure you press the ribbon into the glue for a few seconds, so you can make sure it sets properly and the material is straight.
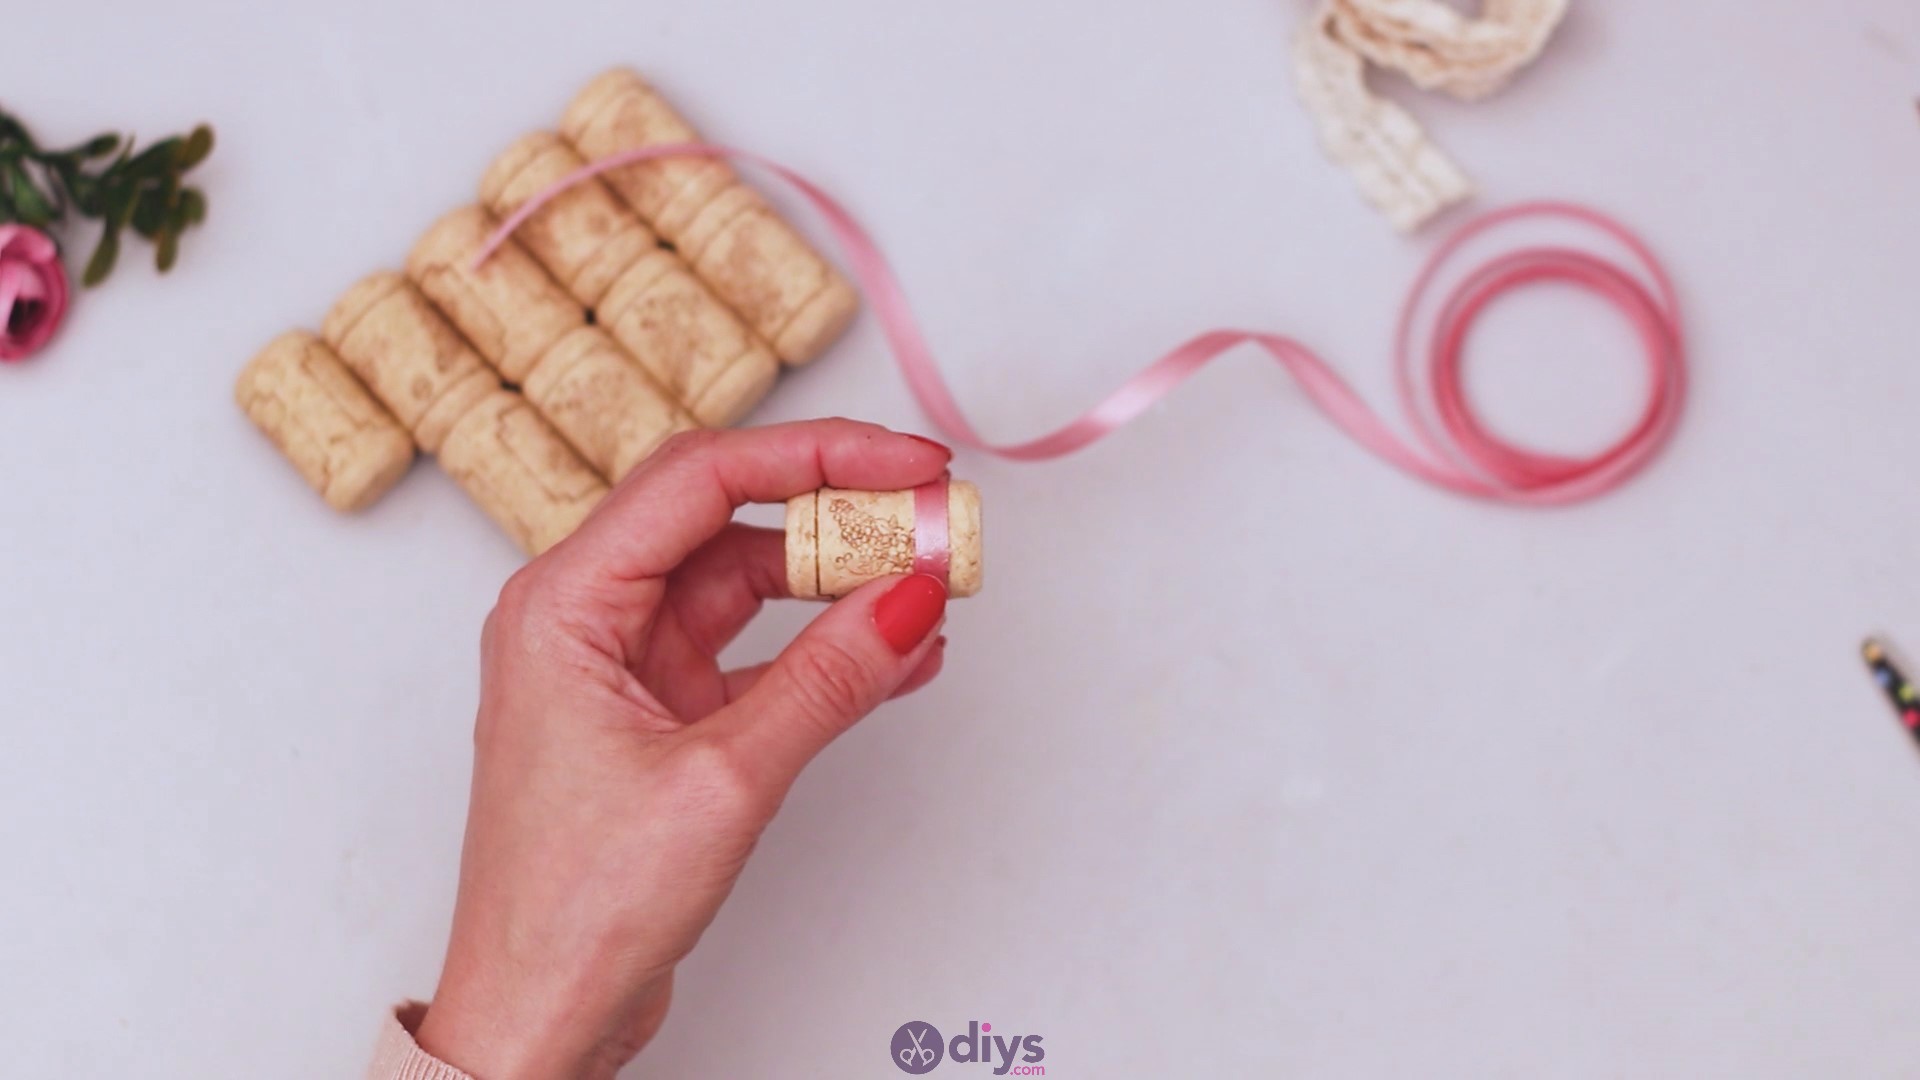
There we go! You have one perfectly decorated wine cork. You can repeat the process for the other four corks too!
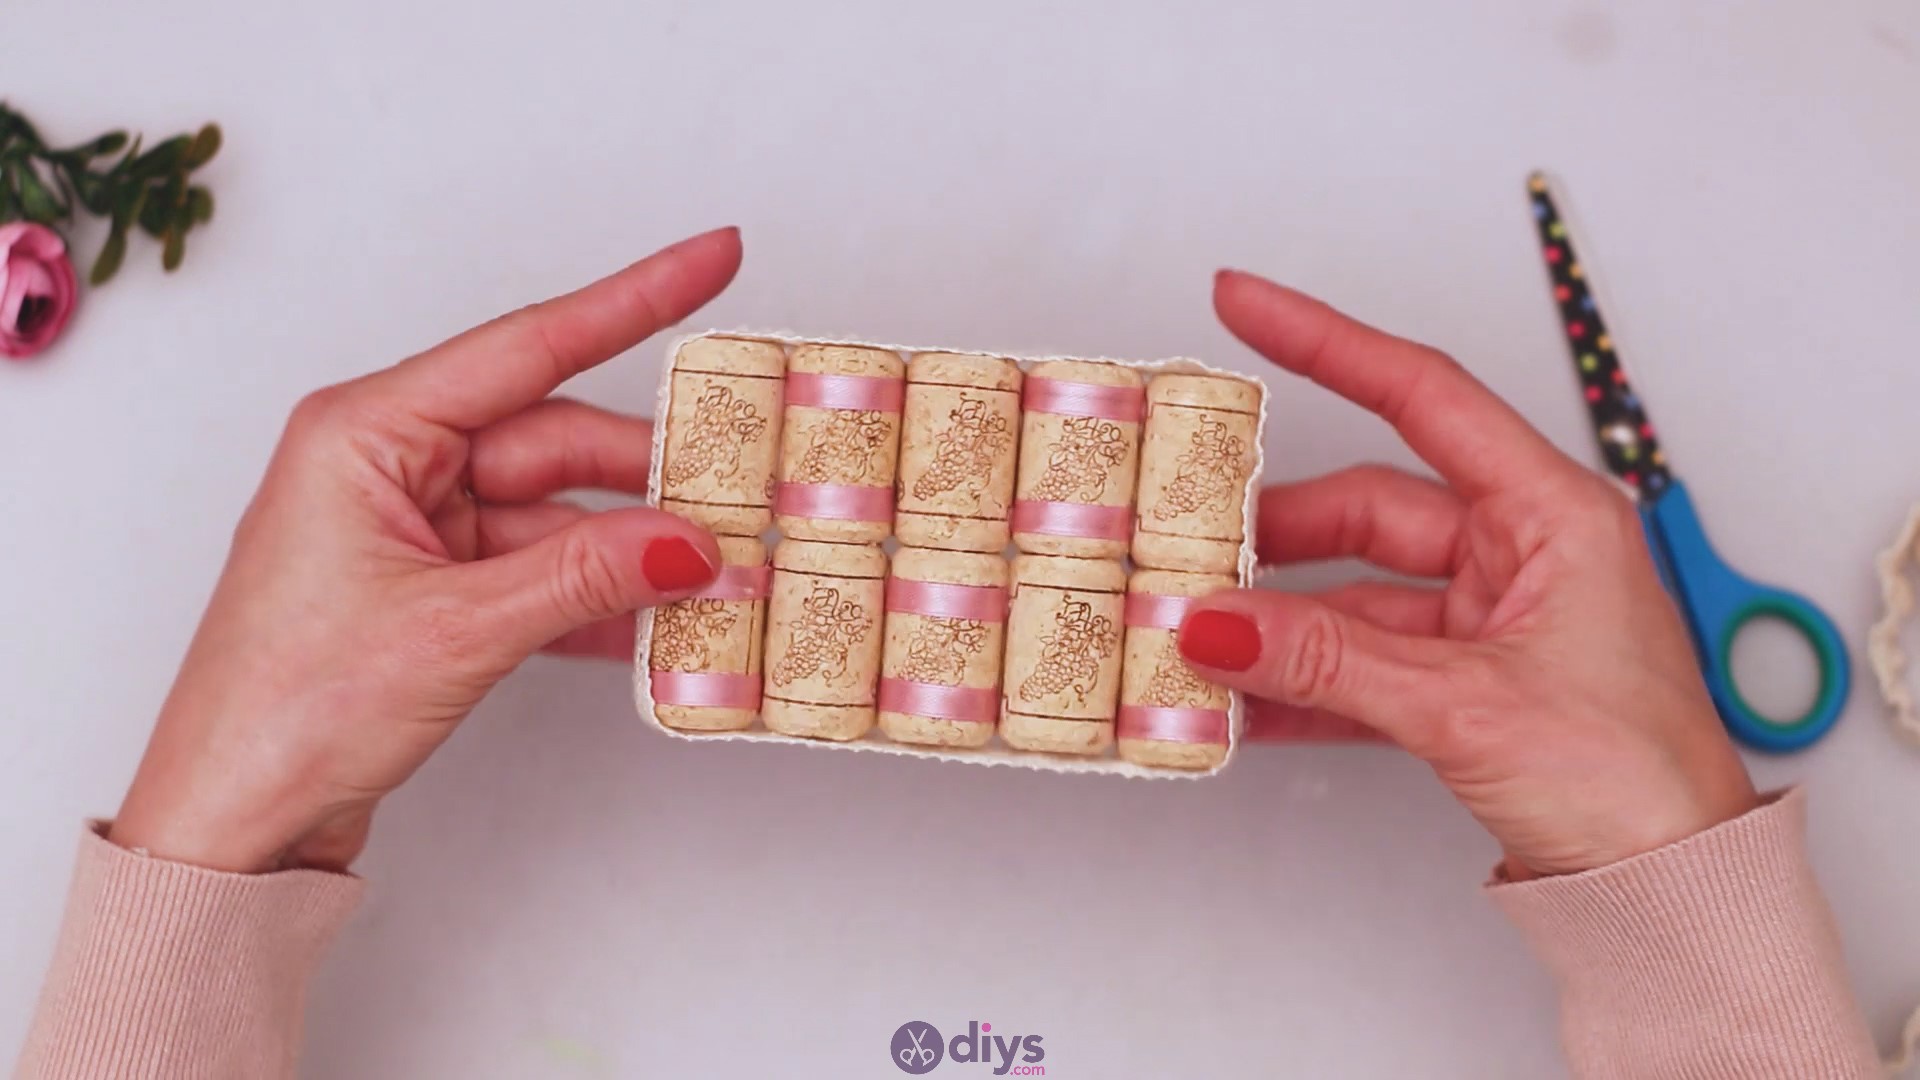
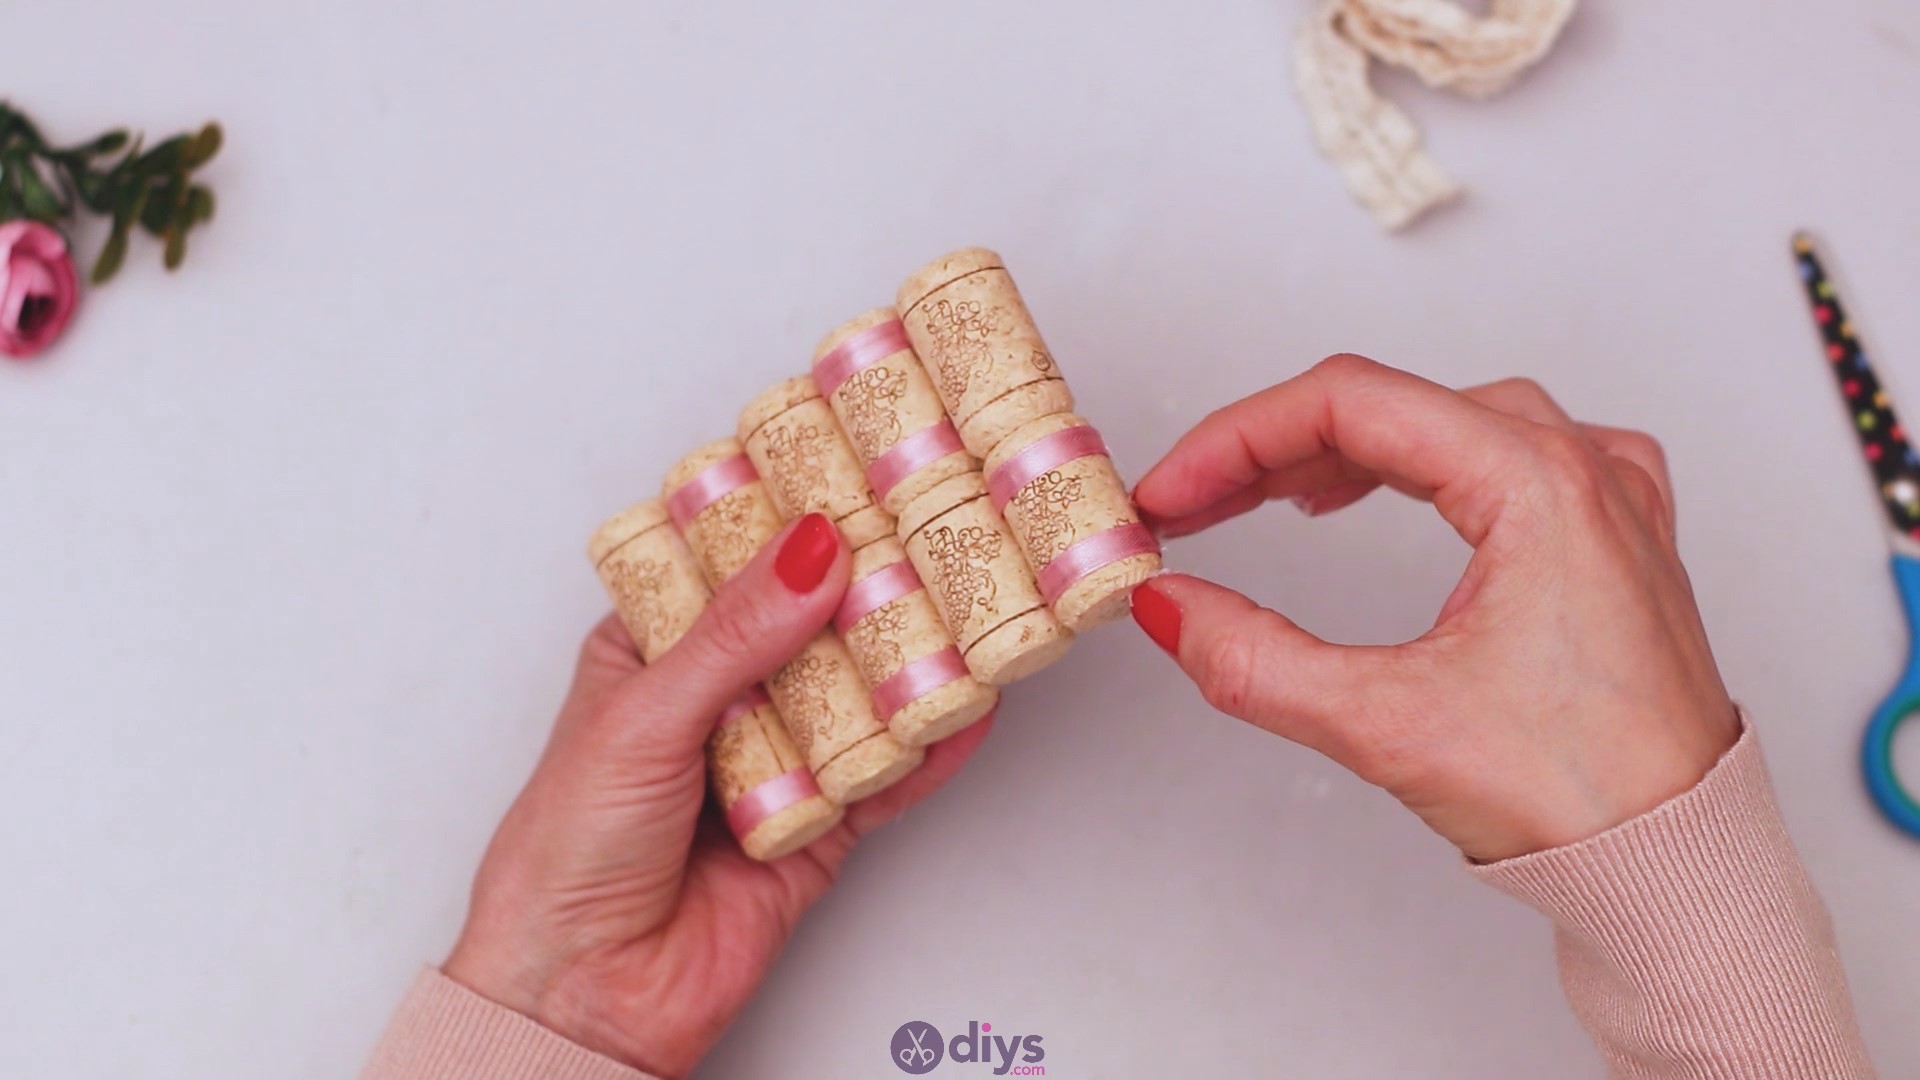
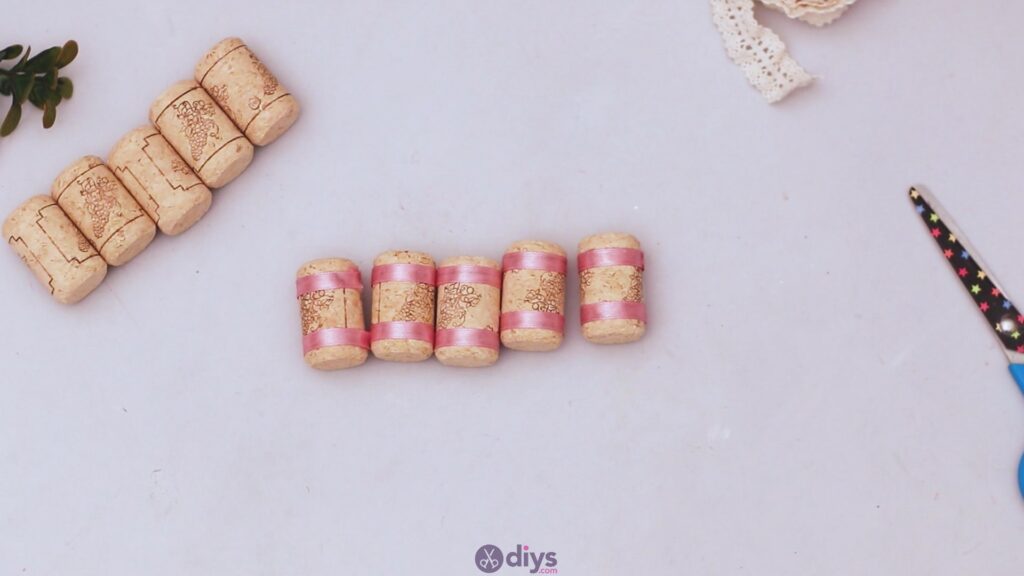
When you’re done, you’ll have five plain wine corks and five decorated with silk ribbon.
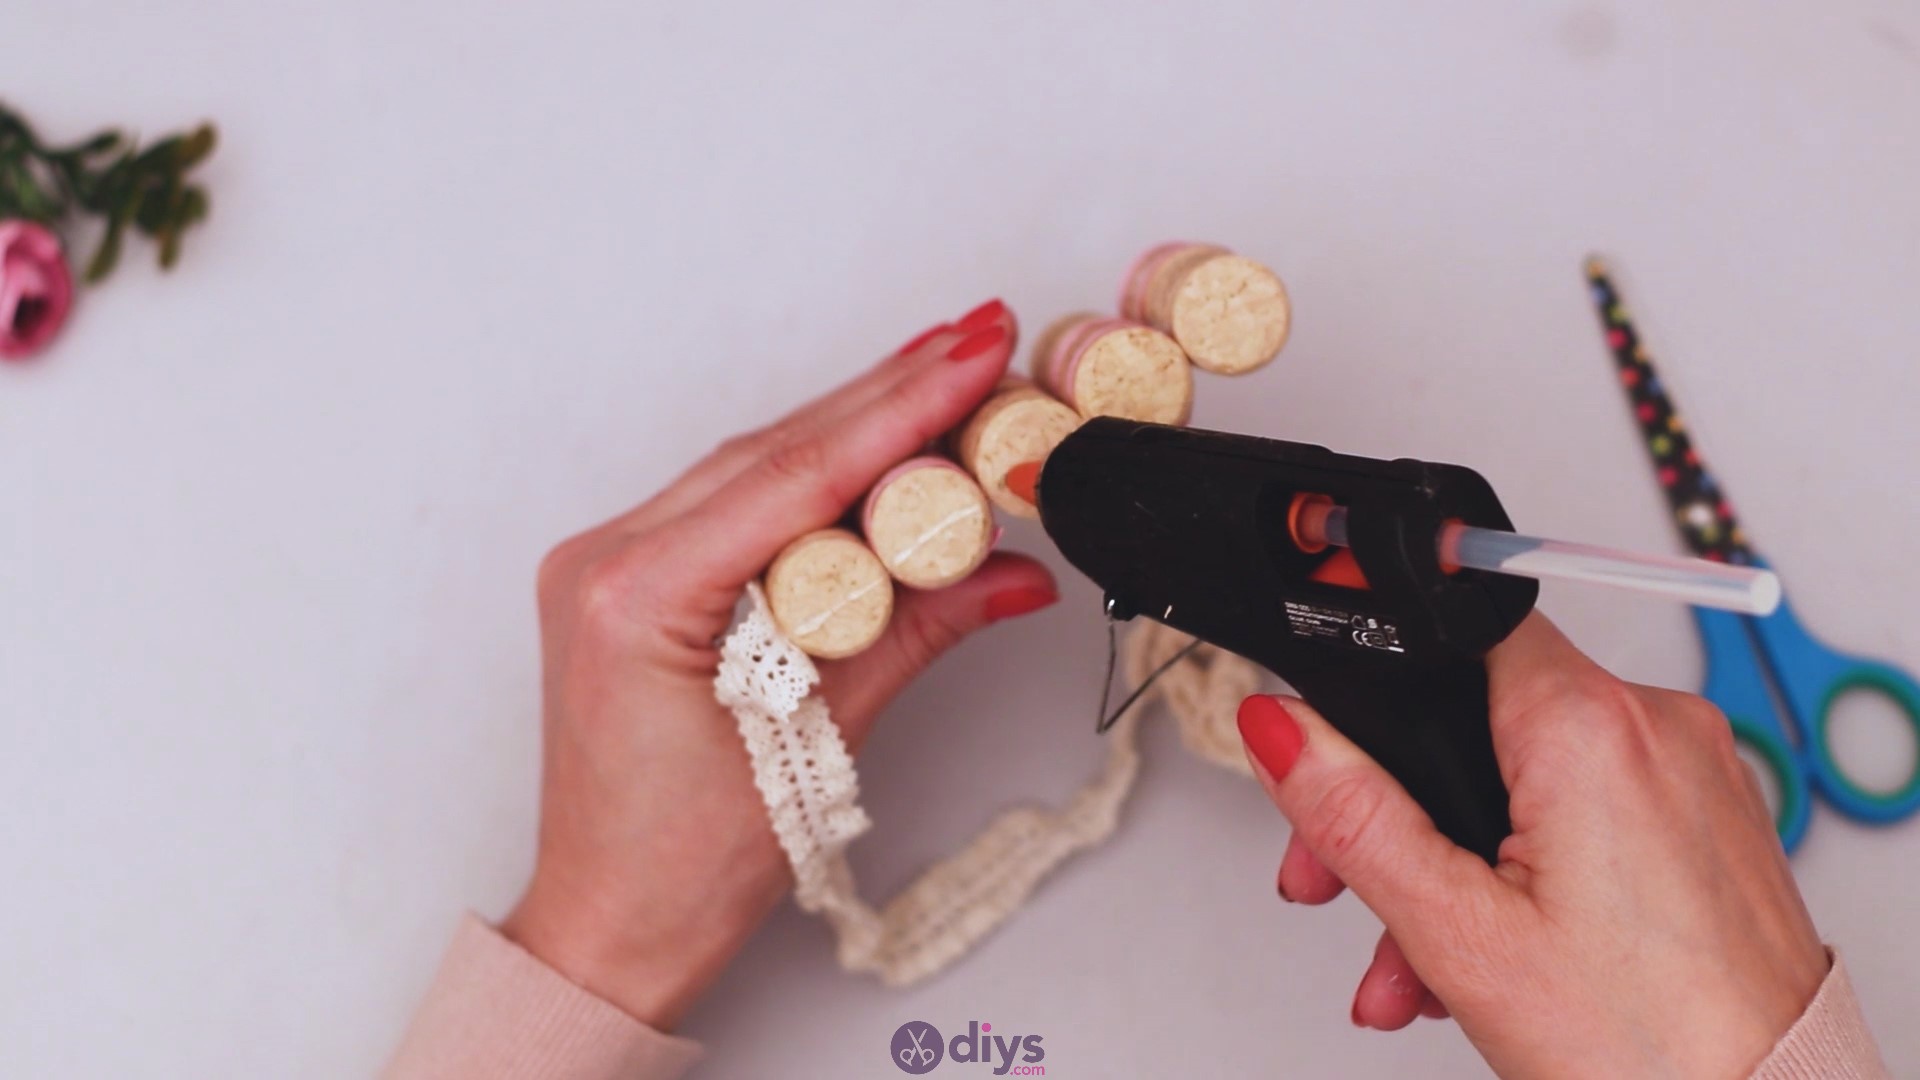
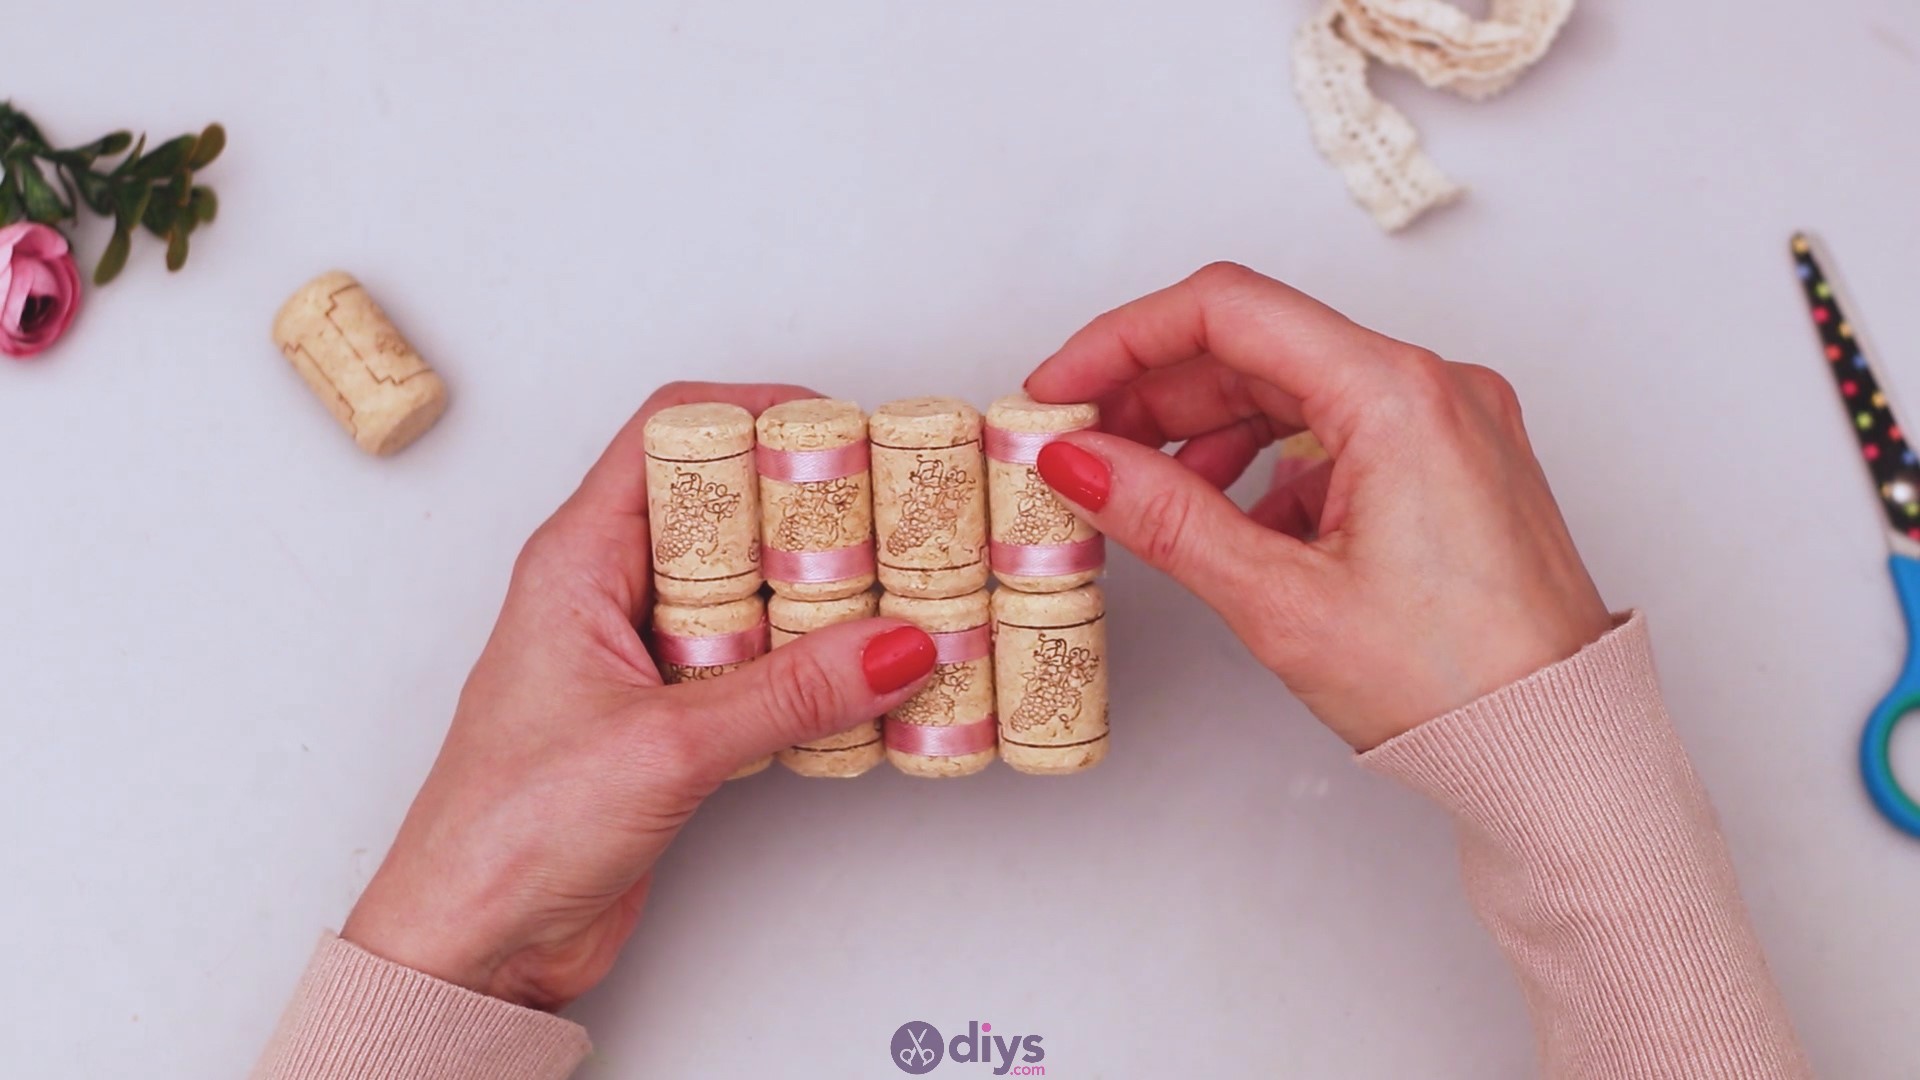
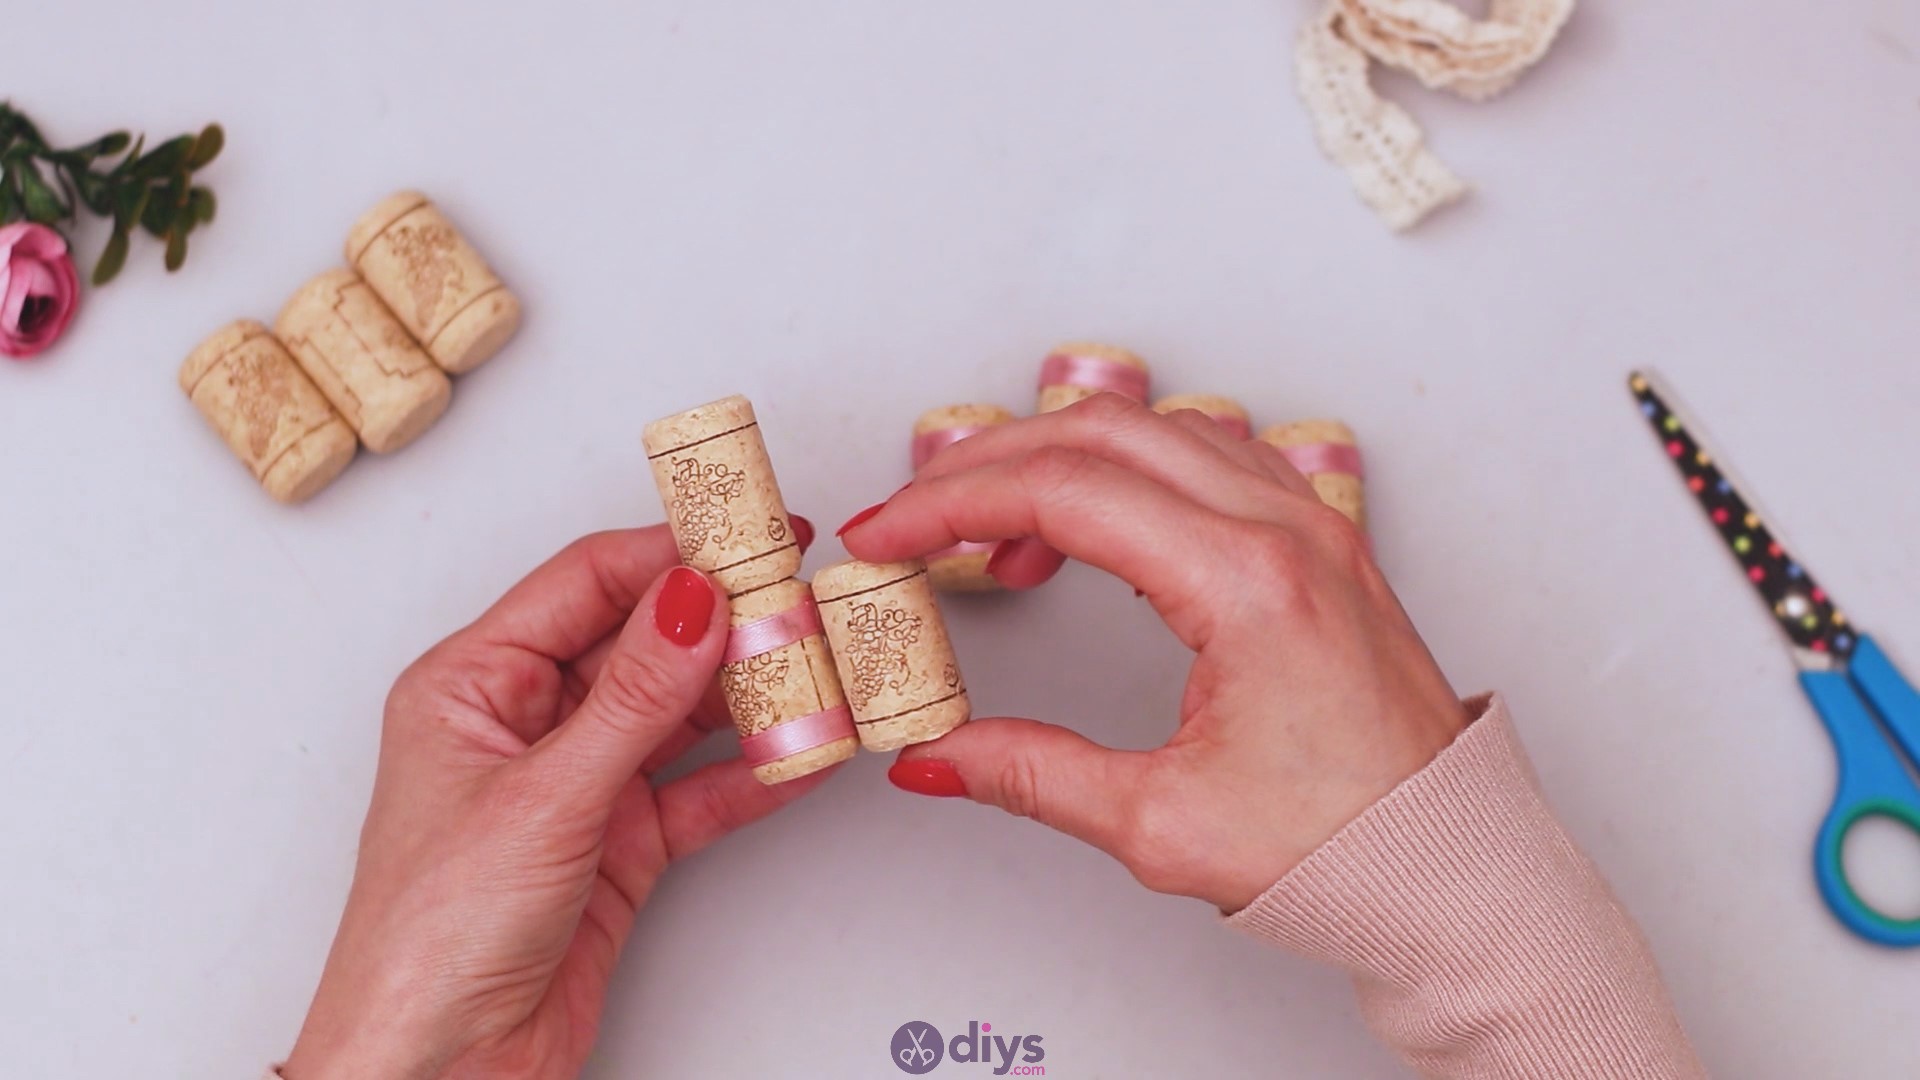
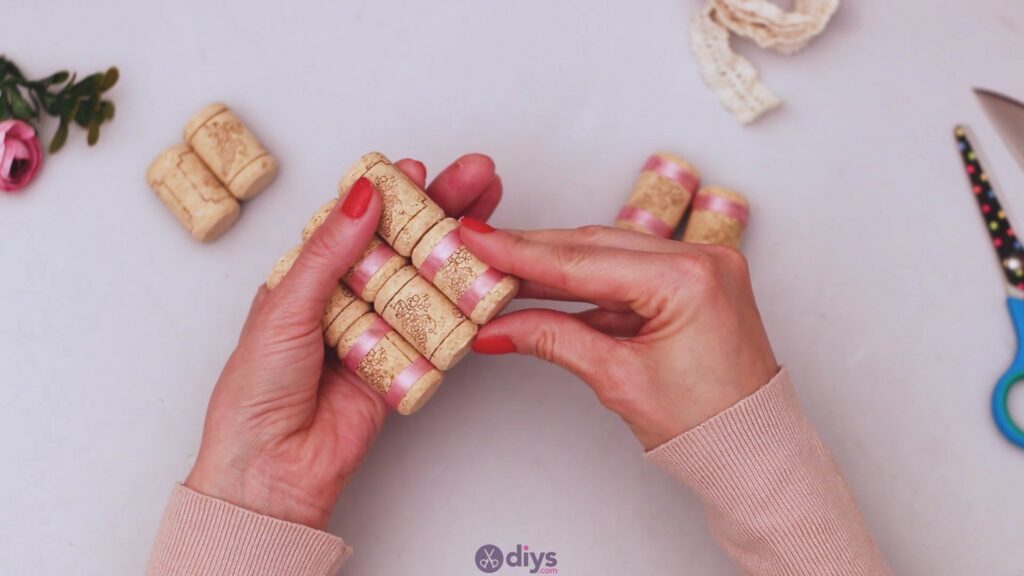
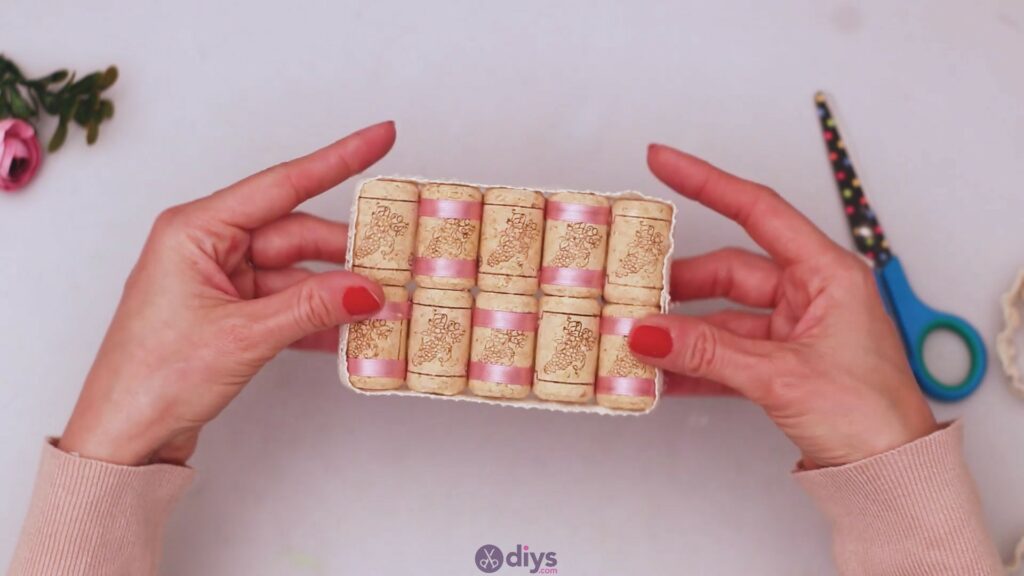
Step 2: Create the soap rack
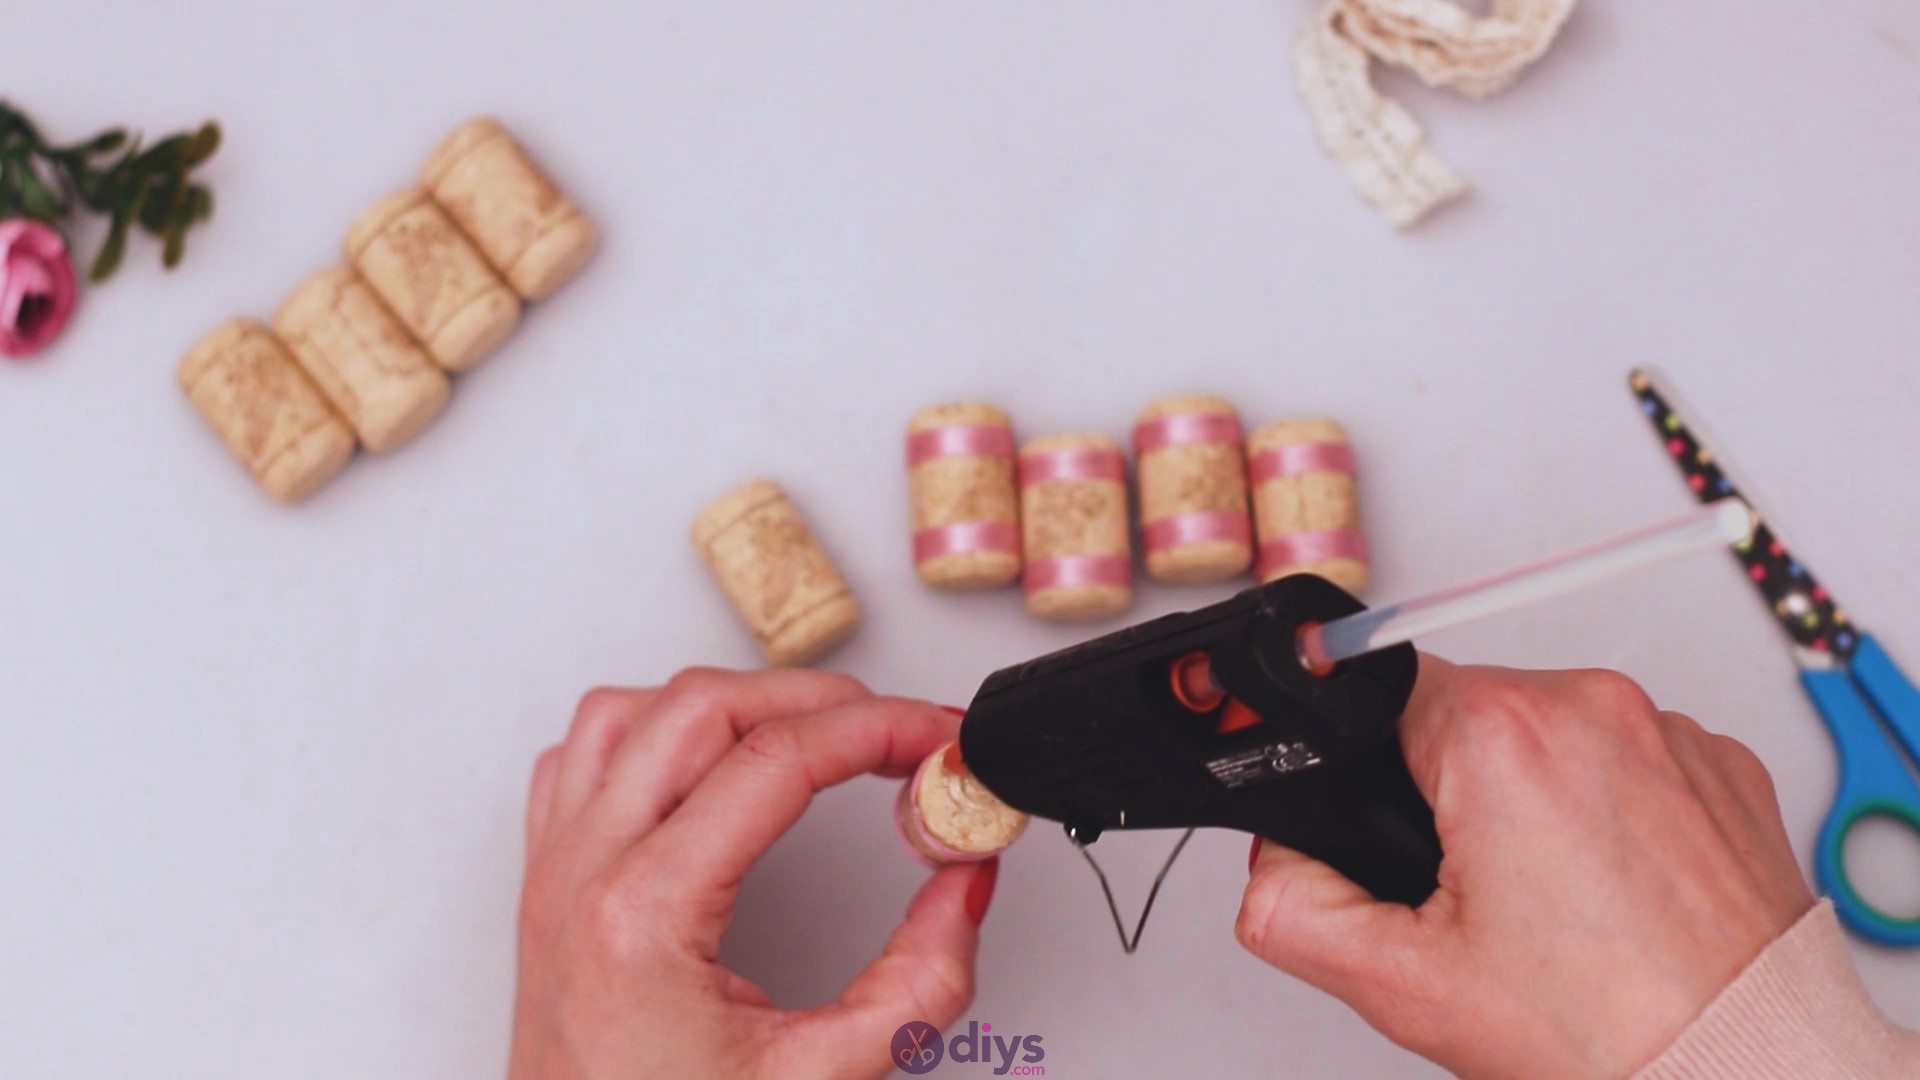
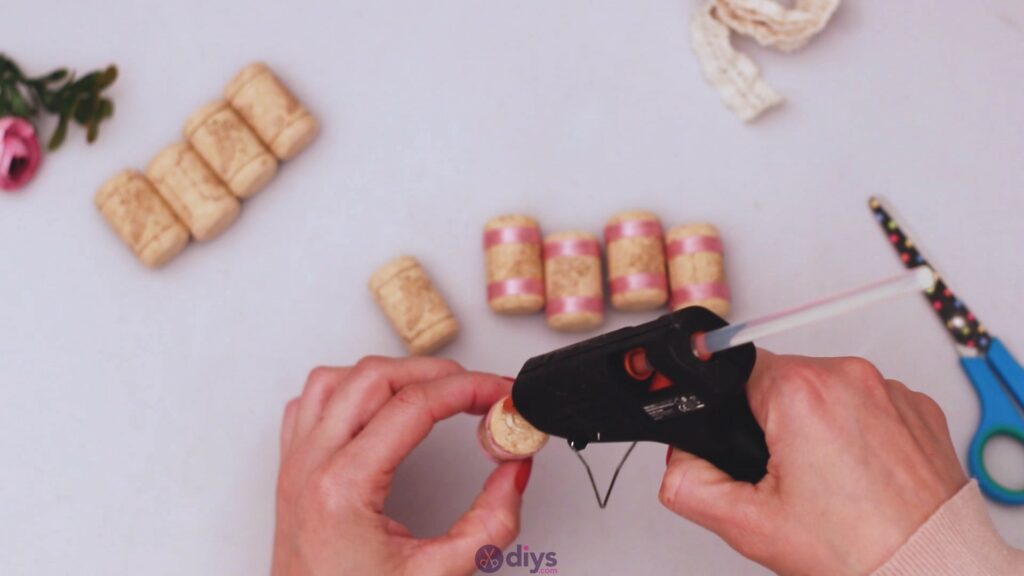
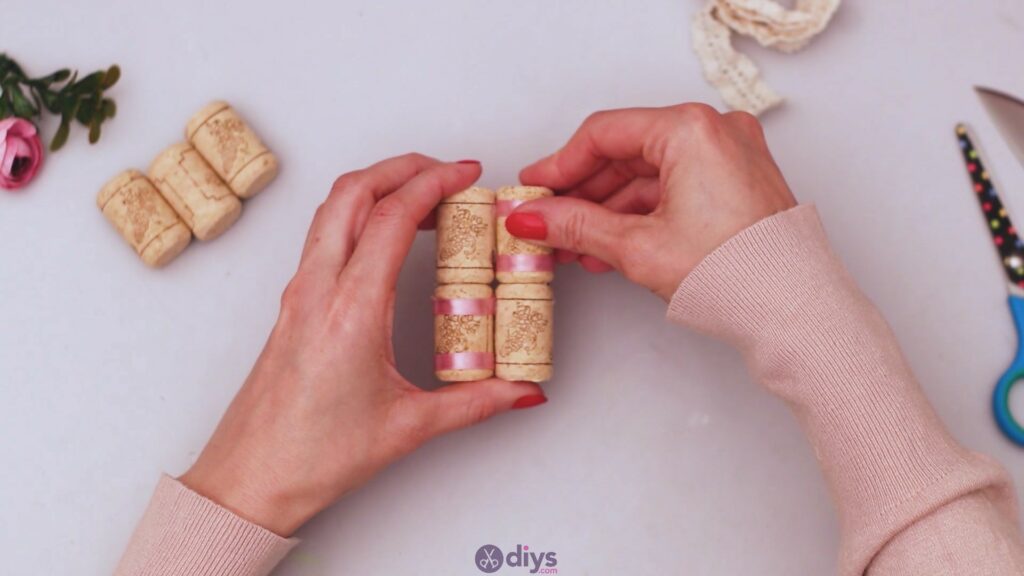
Now that you have all your pieces lined up, it’s time to create the actual soap rack. Get one of the decorated wine corks, add hot glue on one of its ends and then place a plain cork on top of it.
Press the two wine corks one into the other and hold them like that until the glue sets.

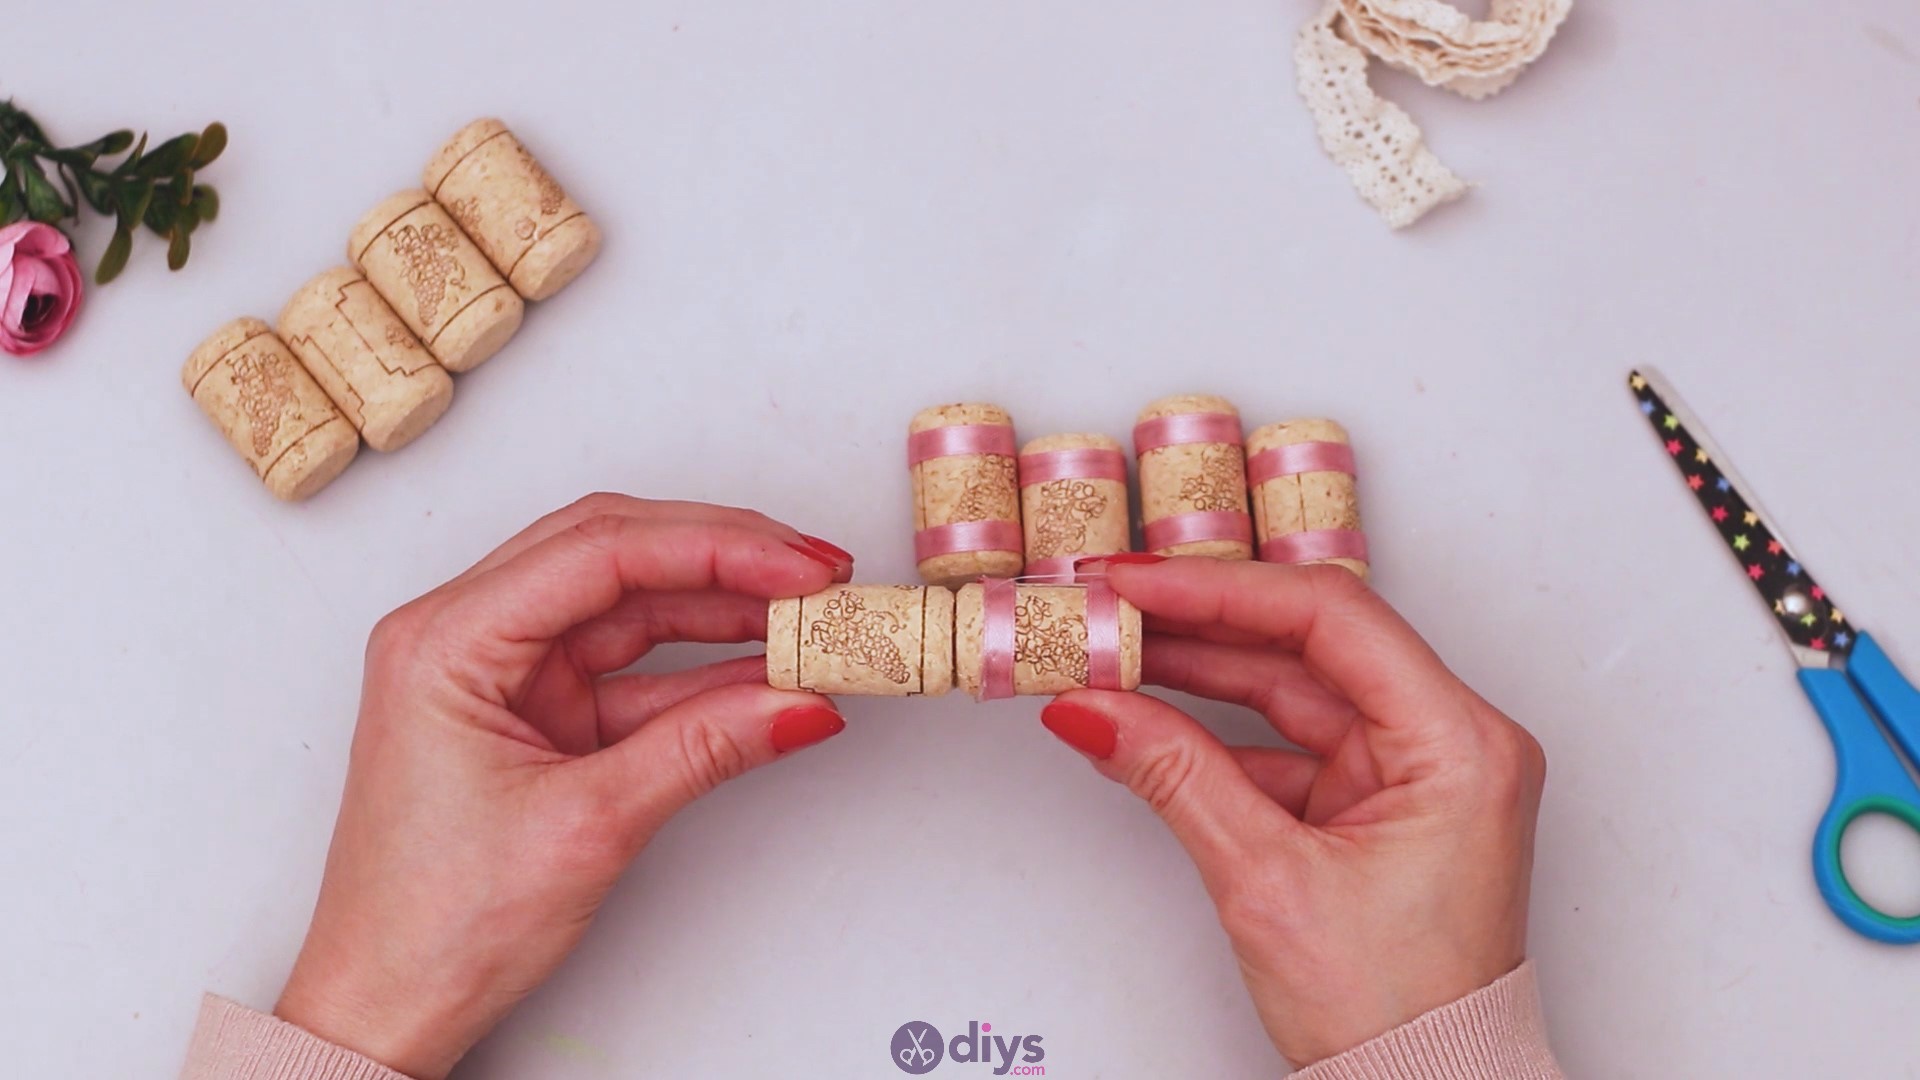
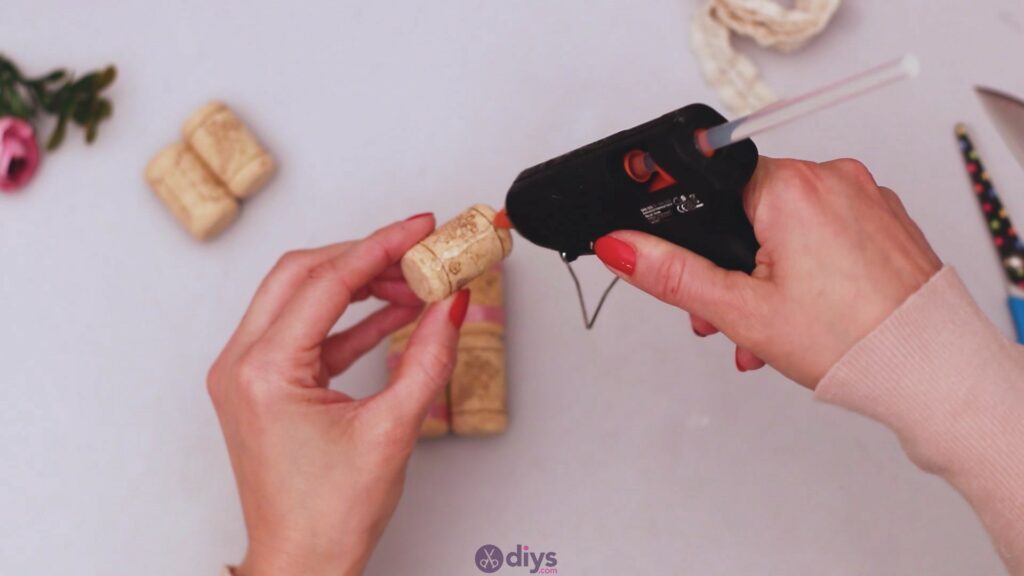
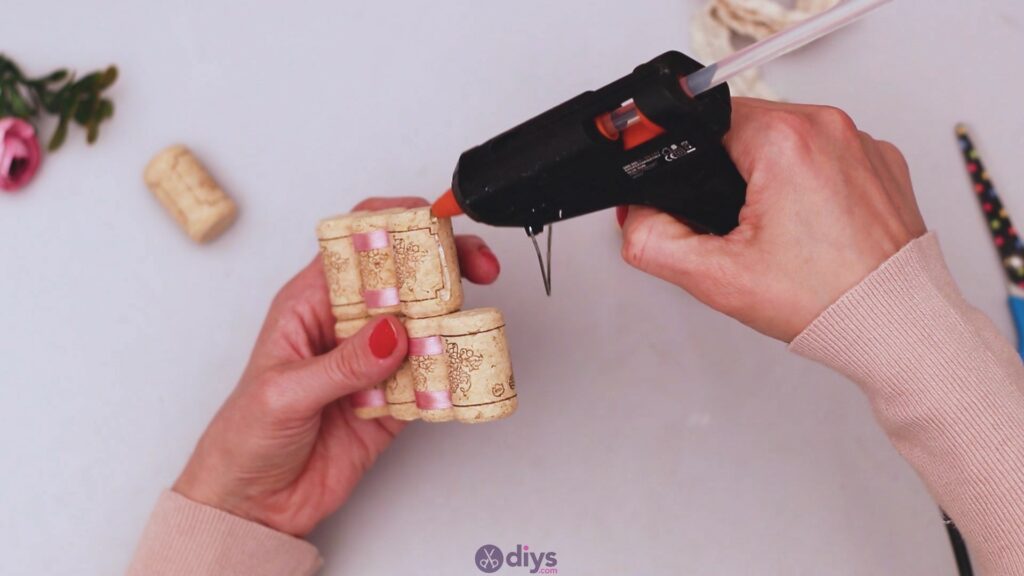
Add hot glue to one side of the bottom wine cork and add another piece there. We used the wine corks alternatively – one plain, one decorated.

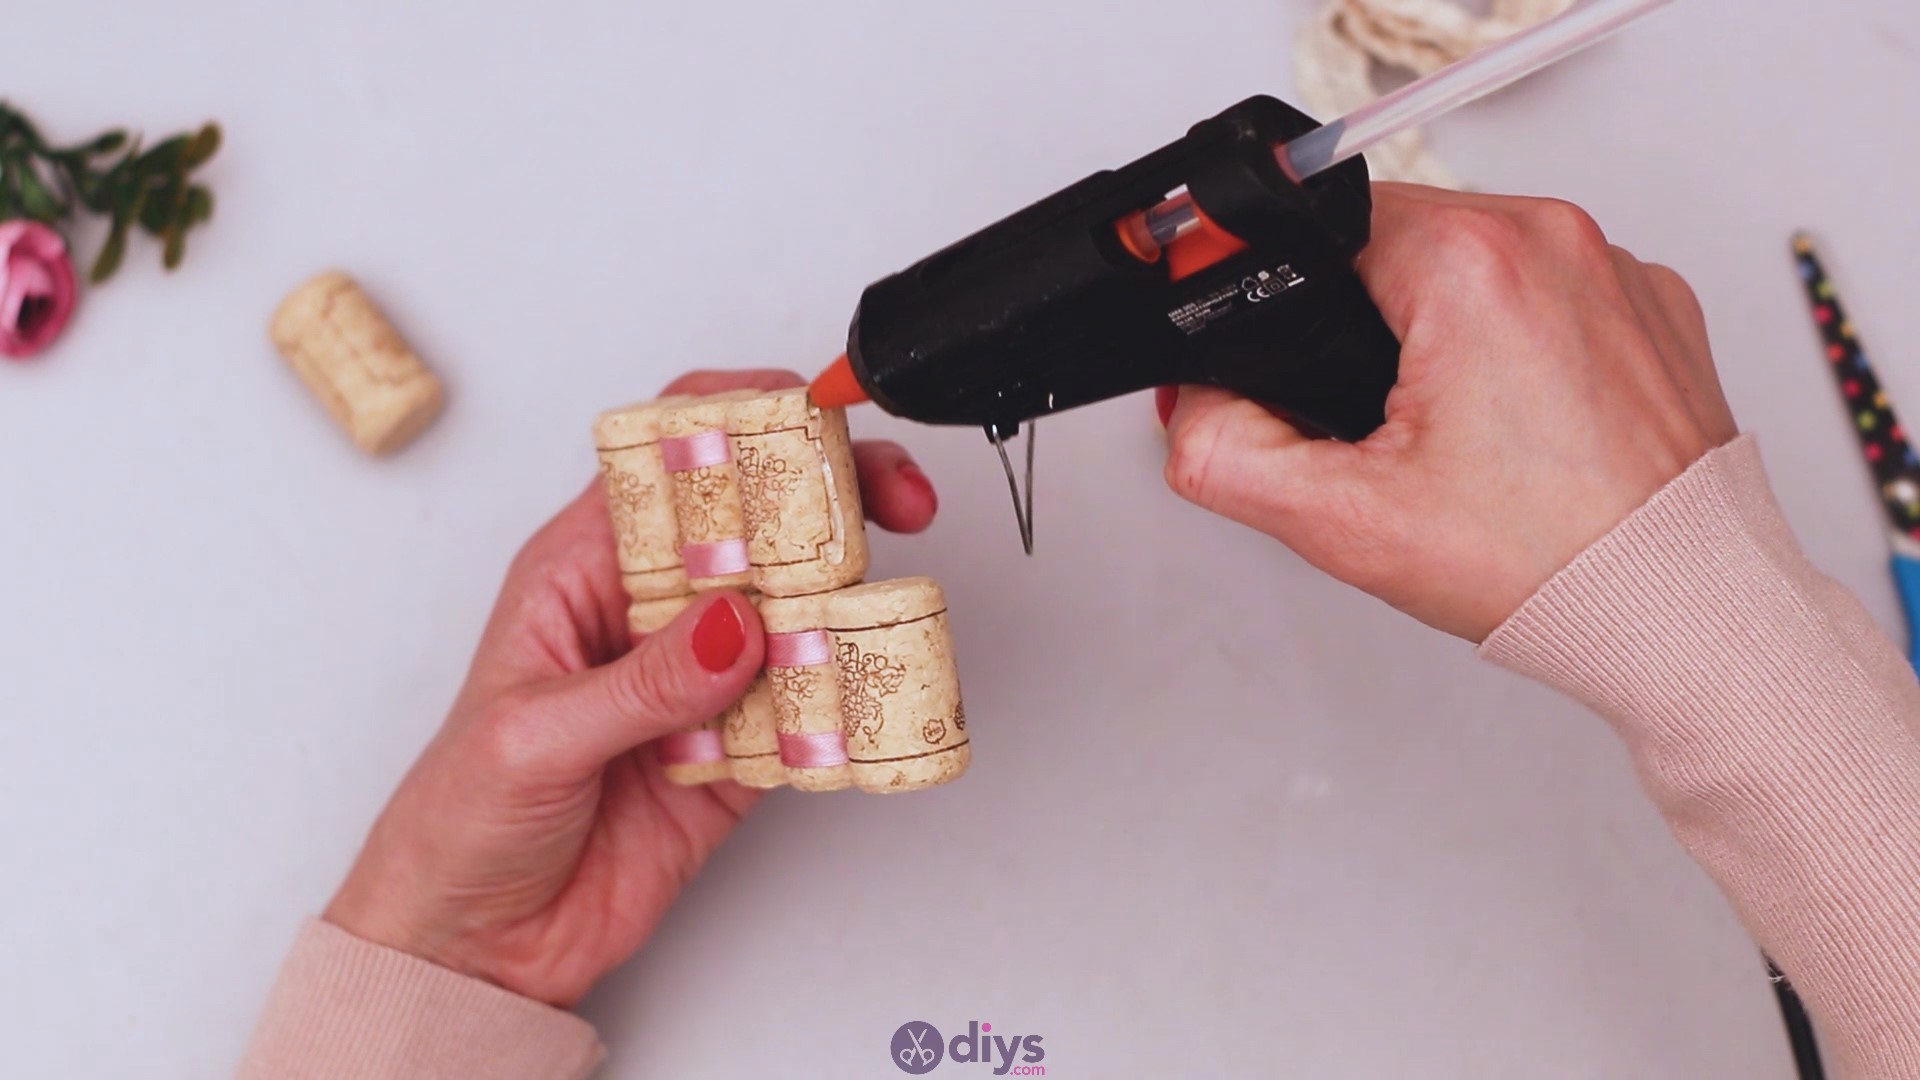
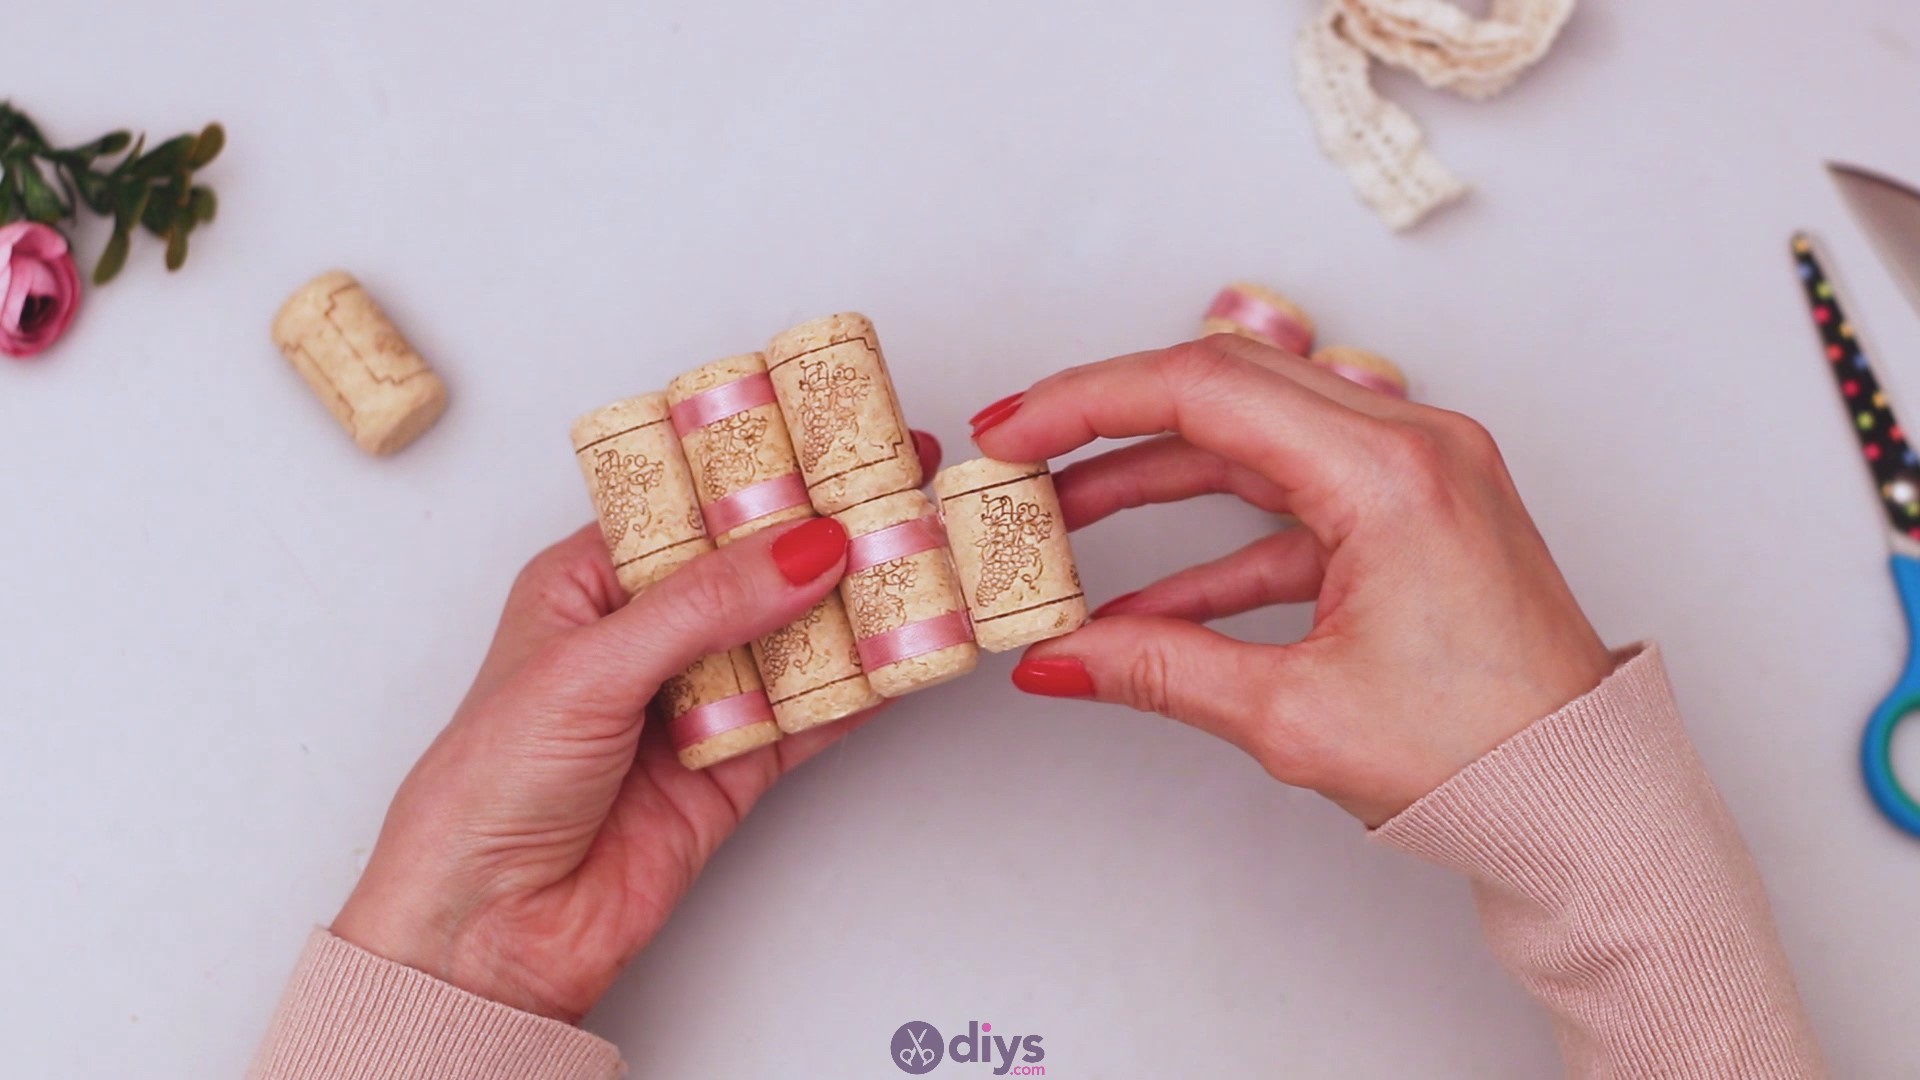
Once you’ve placed the bottom cork, you can add hot glue to the top area and then on the side of the neighboring cork too. Place the fourth cork and press it into the other two, waiting a few seconds for the glue to set.
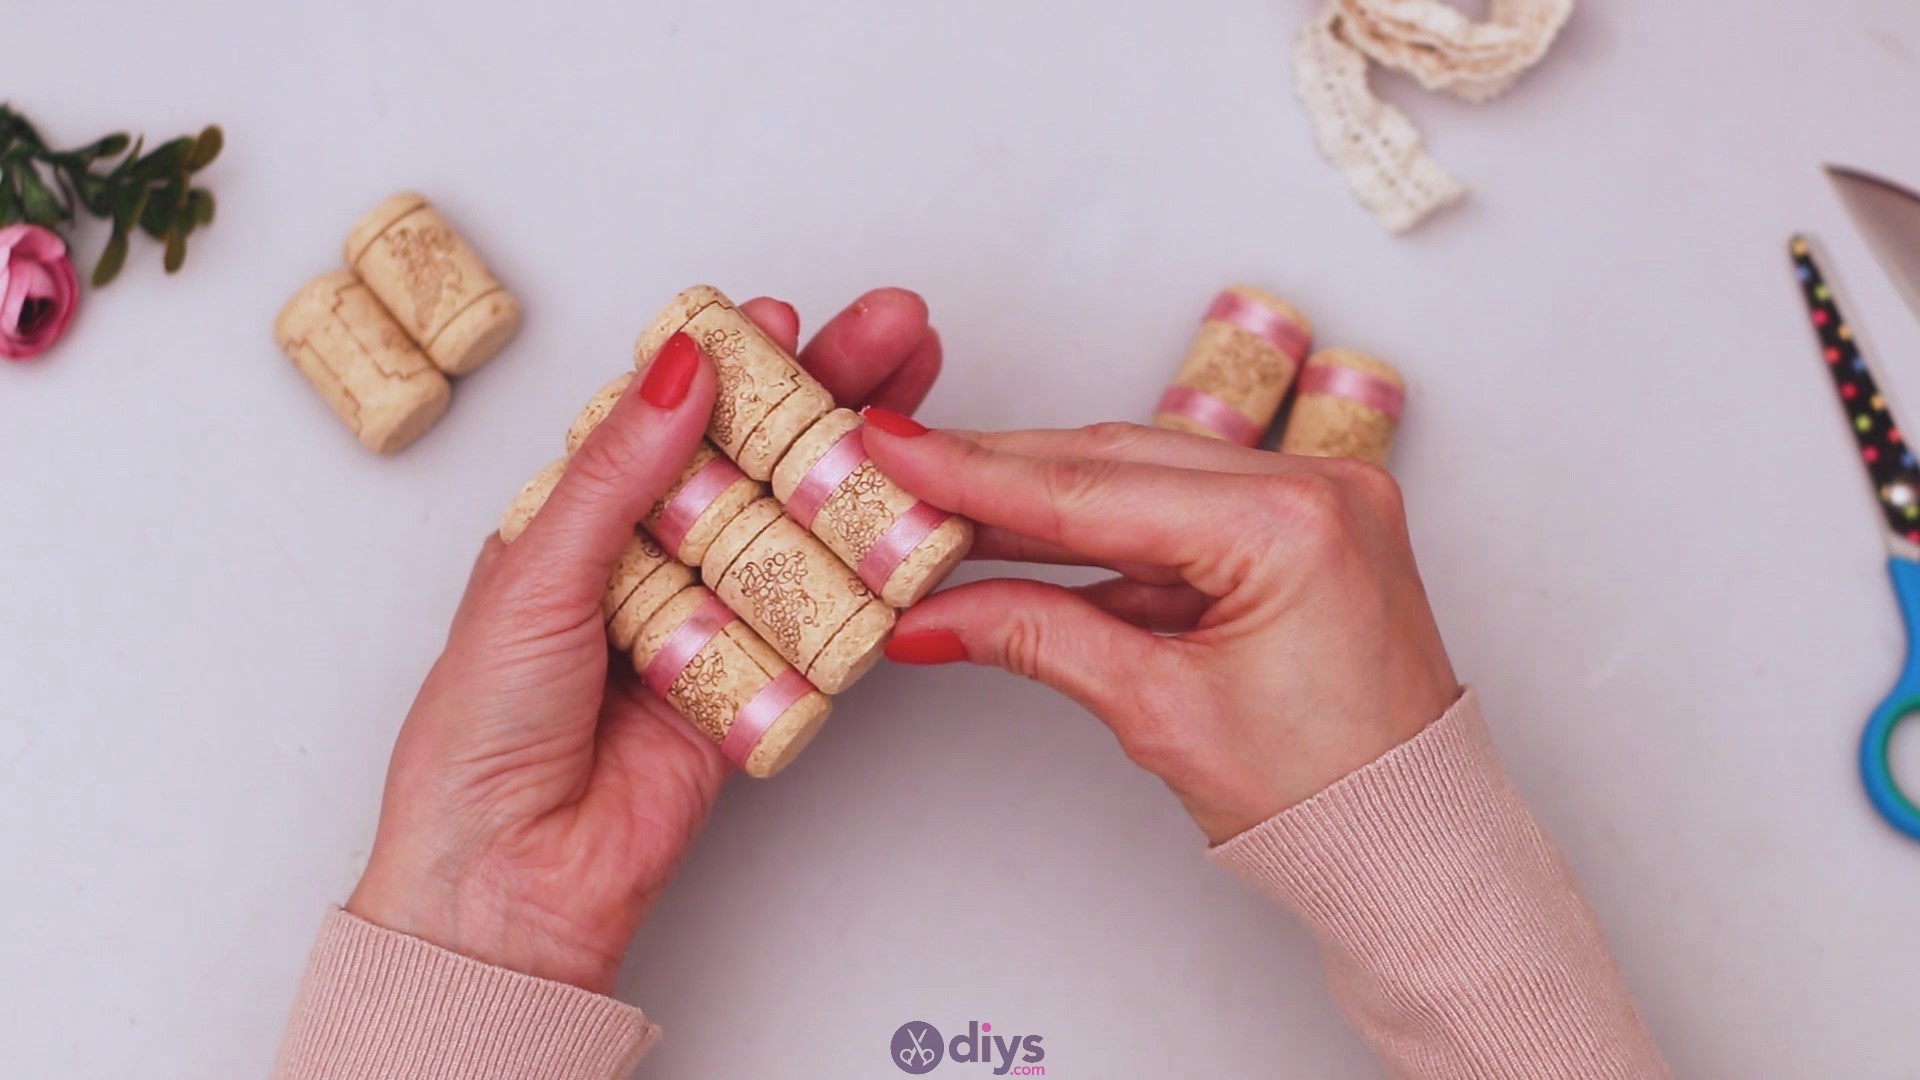
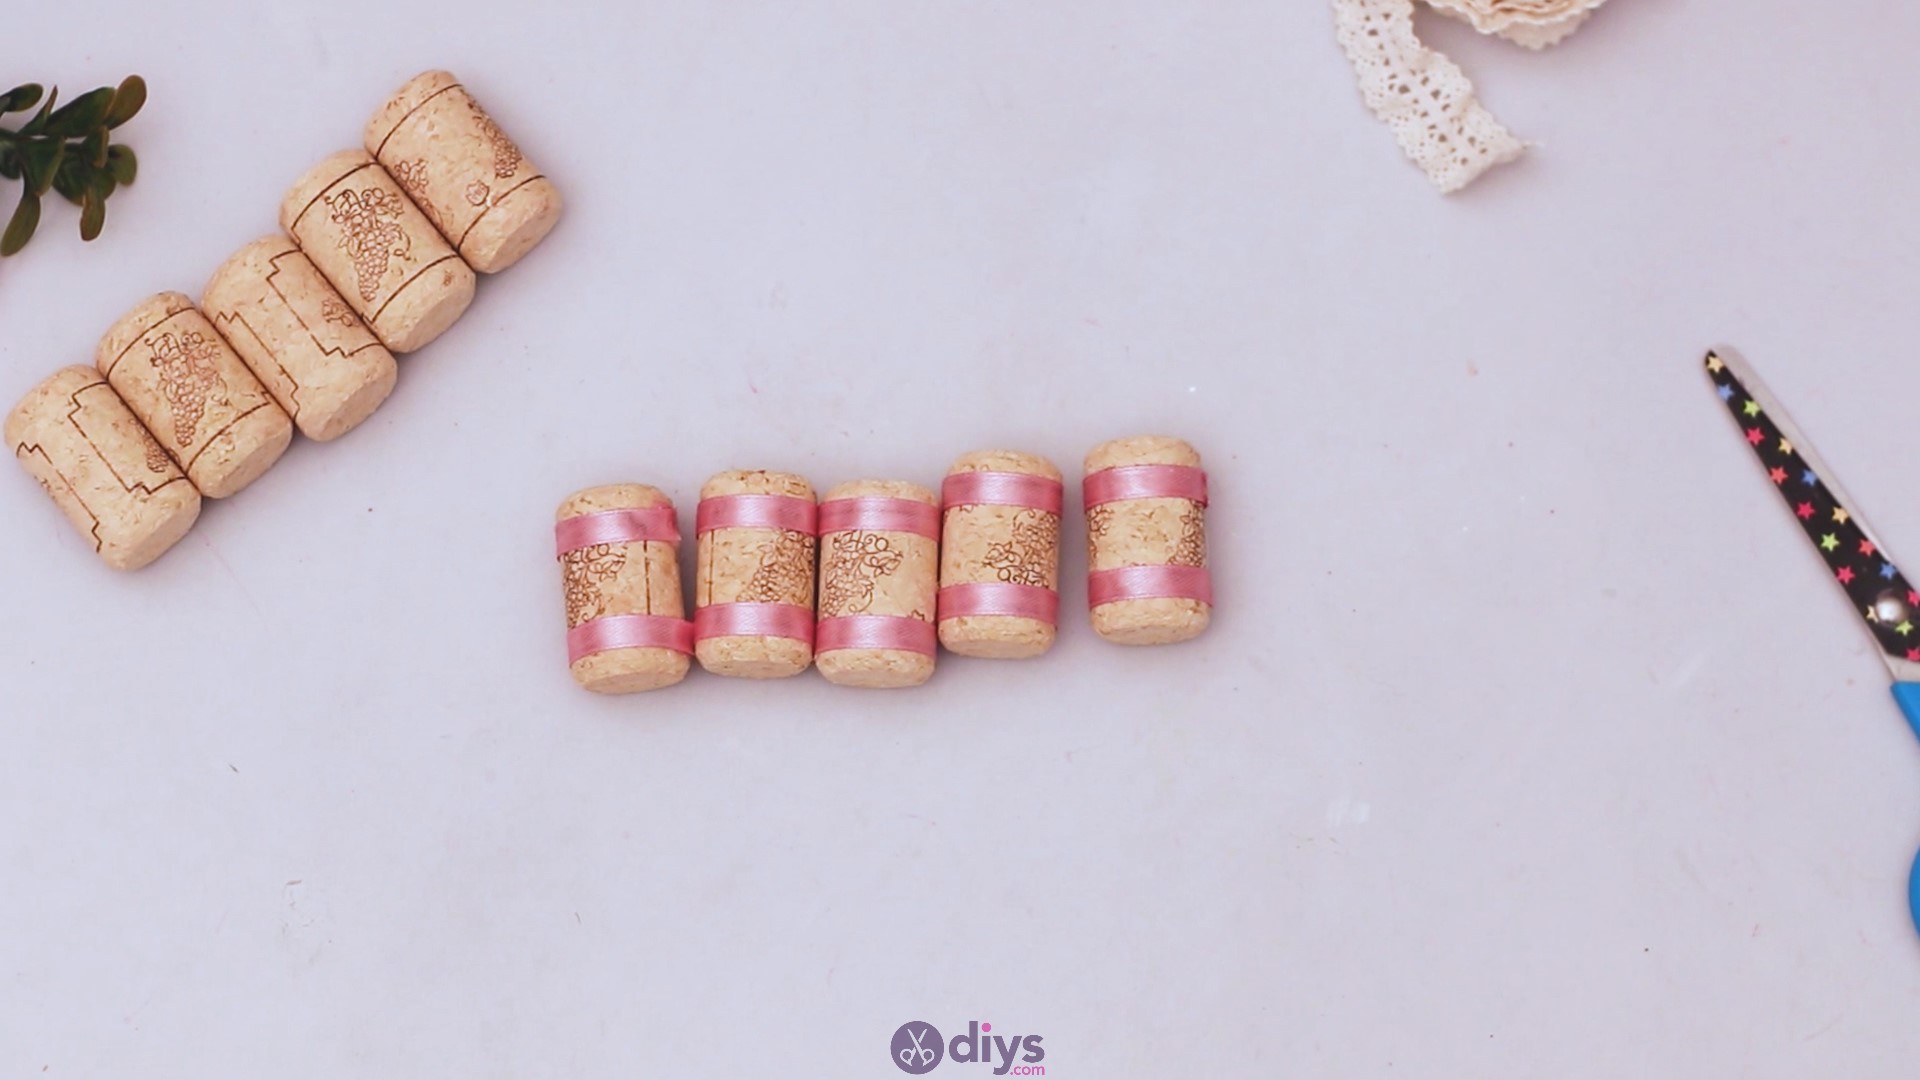
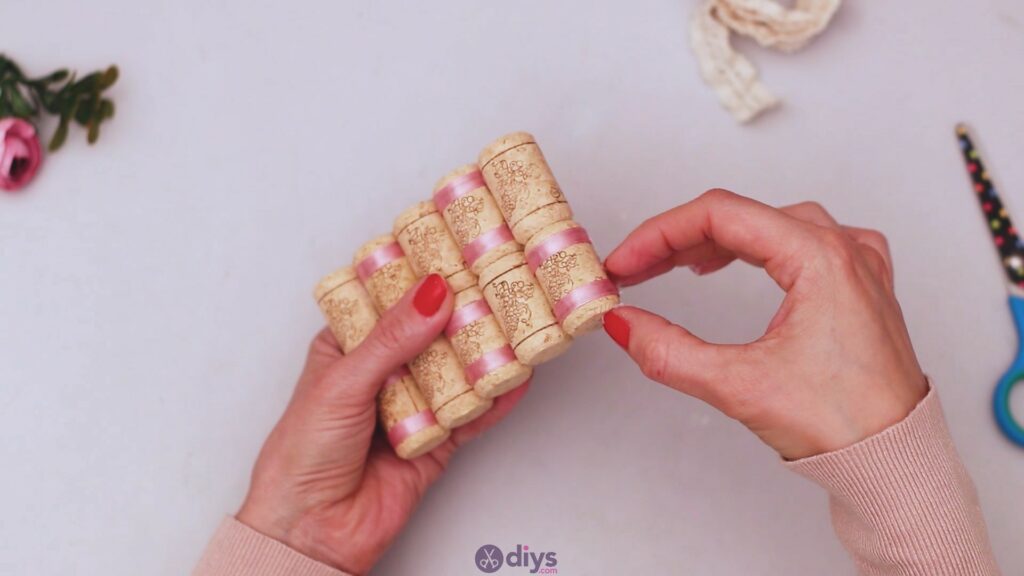
Repeat the process for all other wine corks. Try to maintain the top and bottom lines as straight as possible.
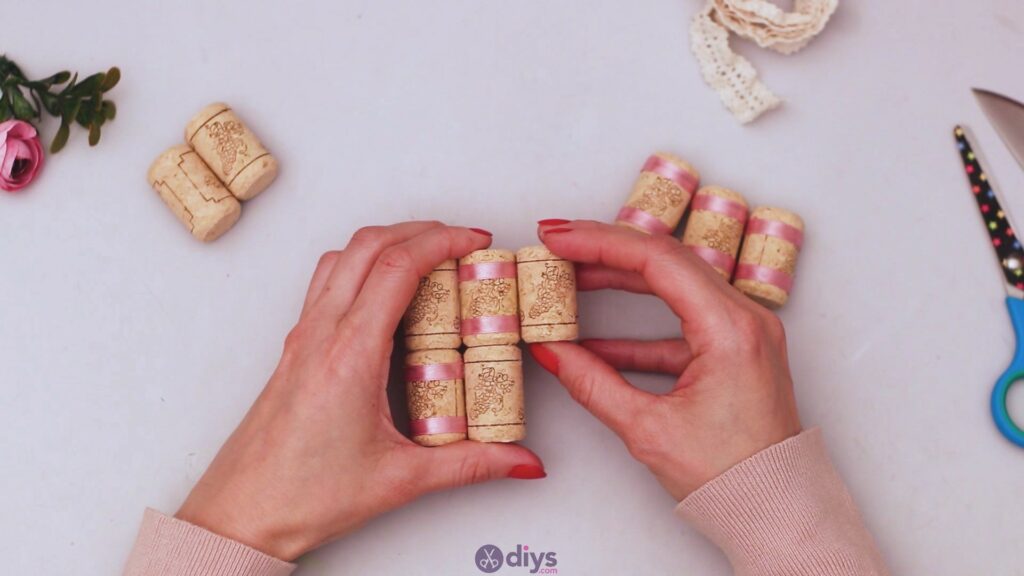

Keep adding the wine corks and making sure the glue is set before adding the next ones. Otherwise, when you add pressure, the neighbors may move too.

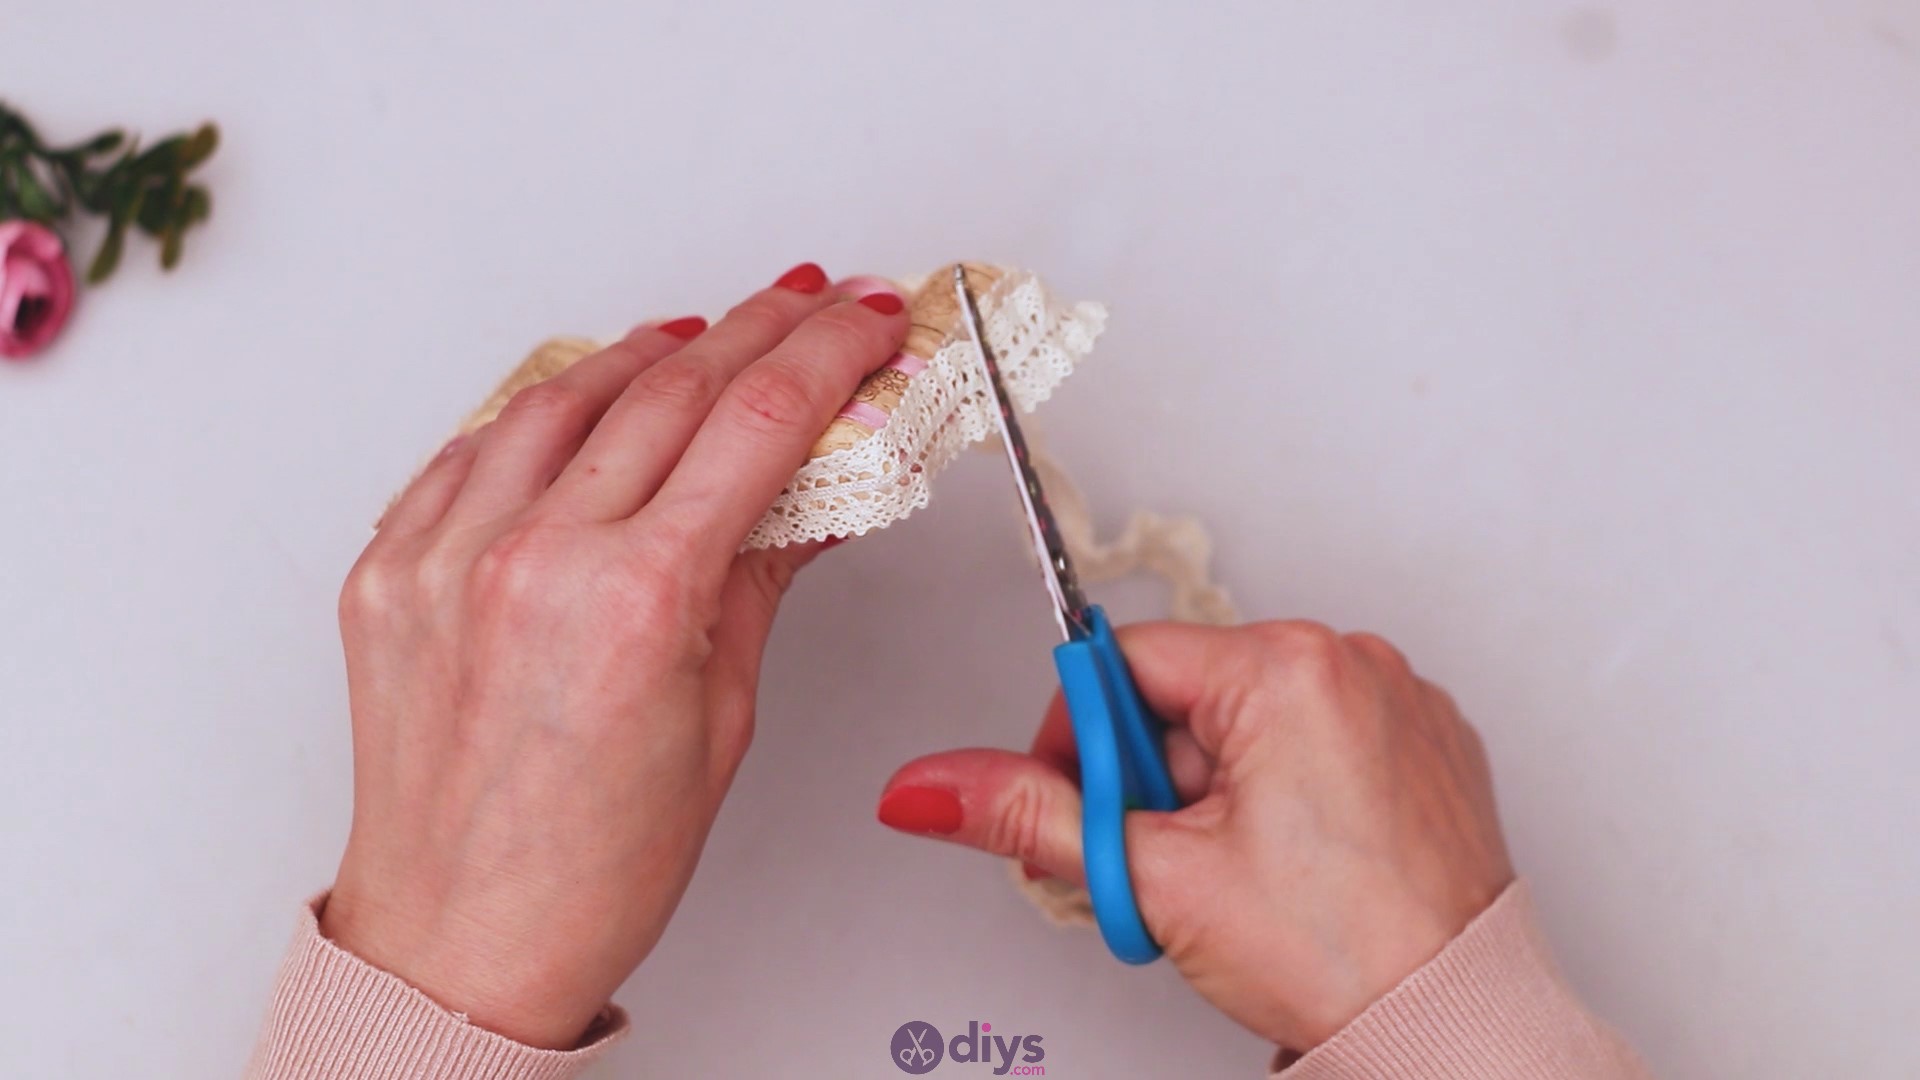
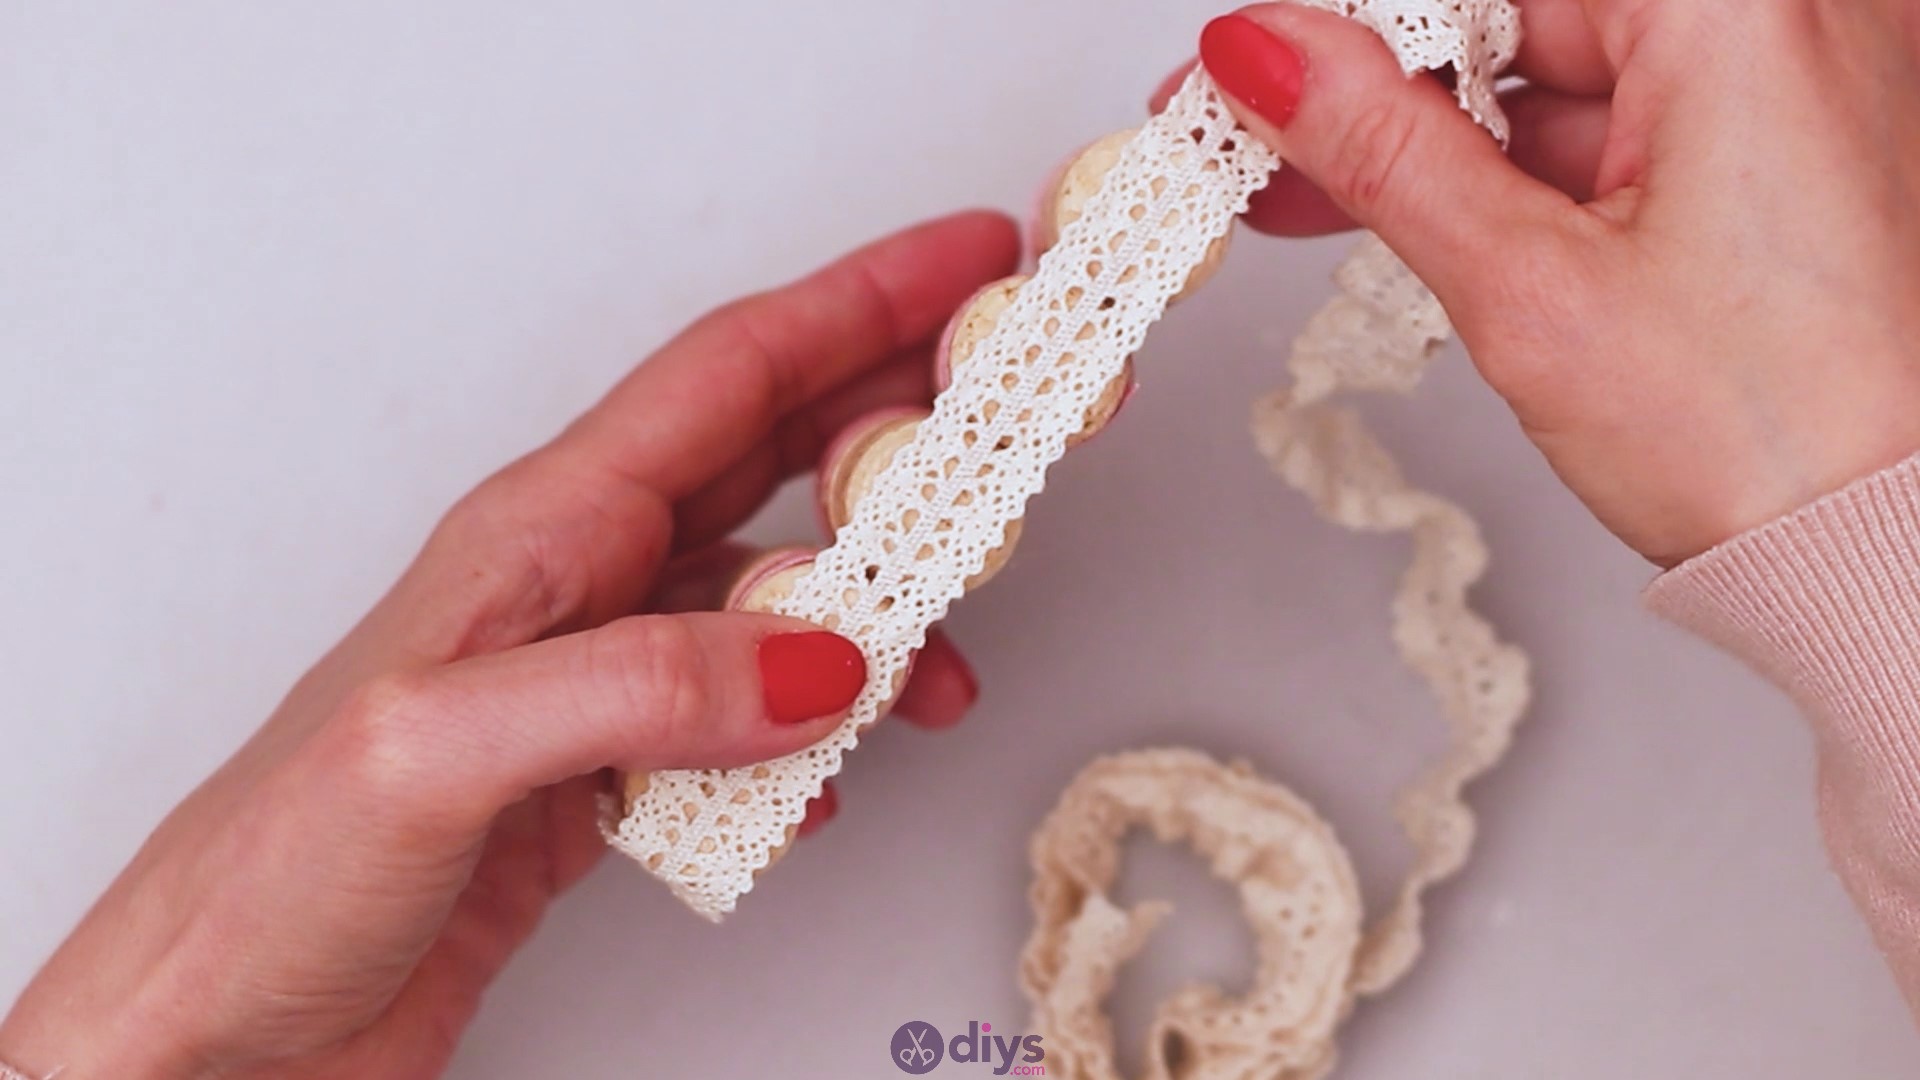
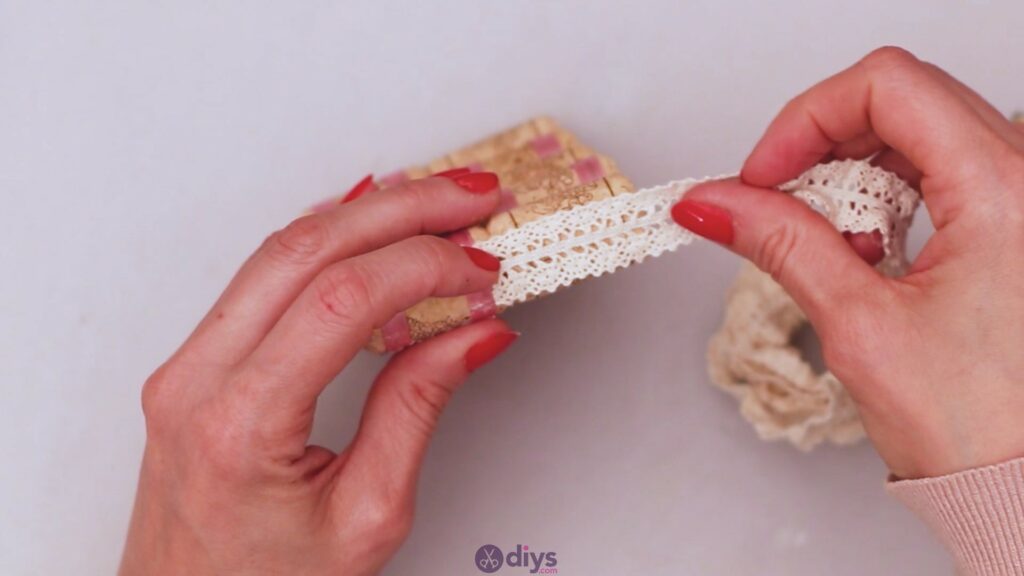
Step 3: Add the lace ribbon
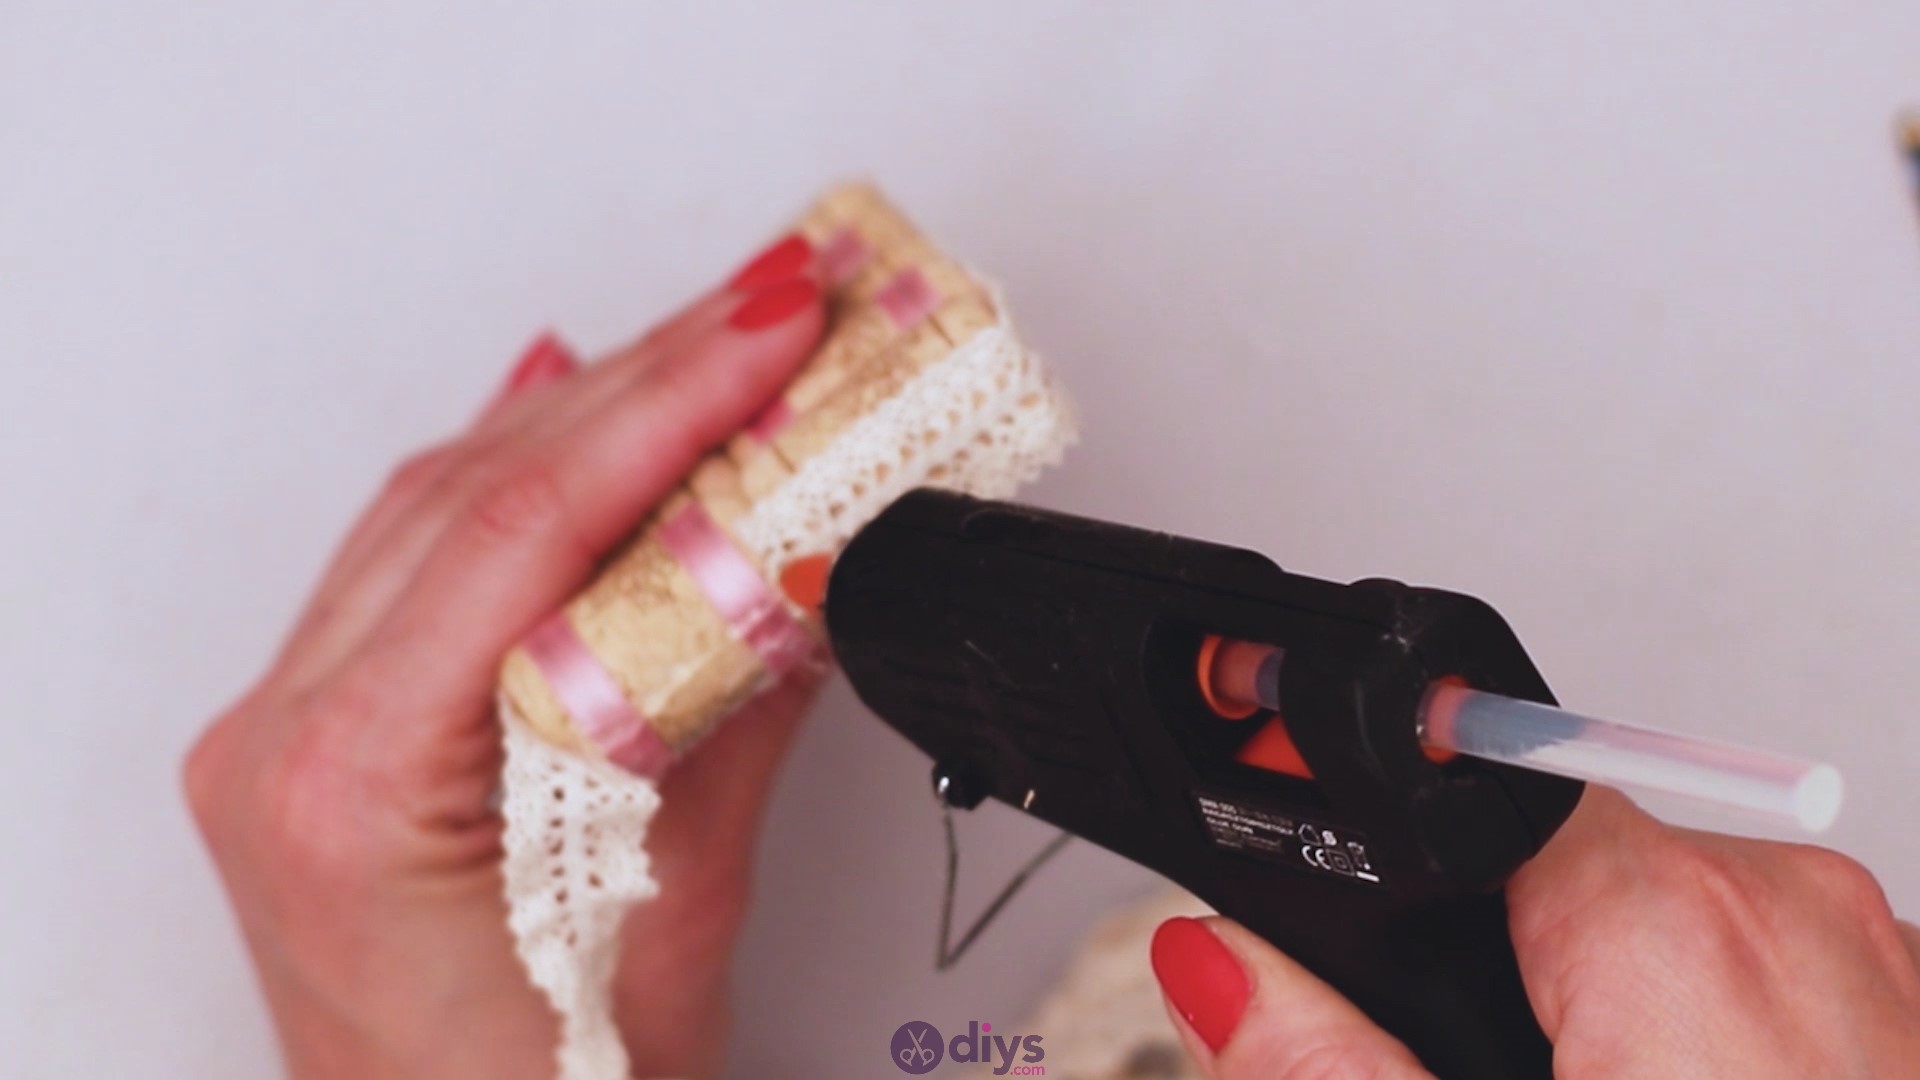
Now that the rack is pretty much done, it’s time we start decorating the piece. First up, we’re going to use that prettylace ribbon.Get theglue gun once more and start adding a lot of glue on the edges of the rack. Press the lace ribbon into the glue and wait for it to set.

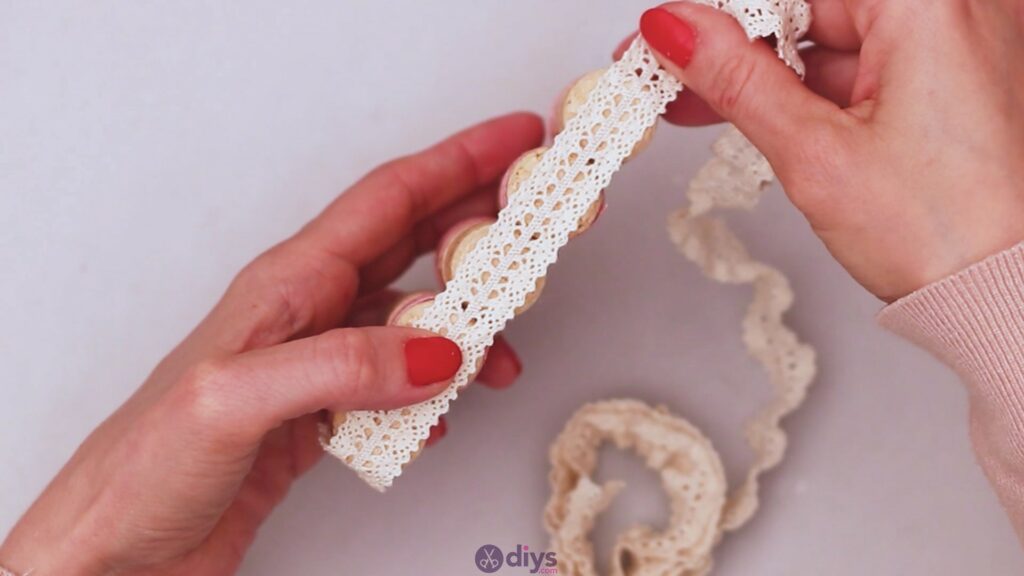
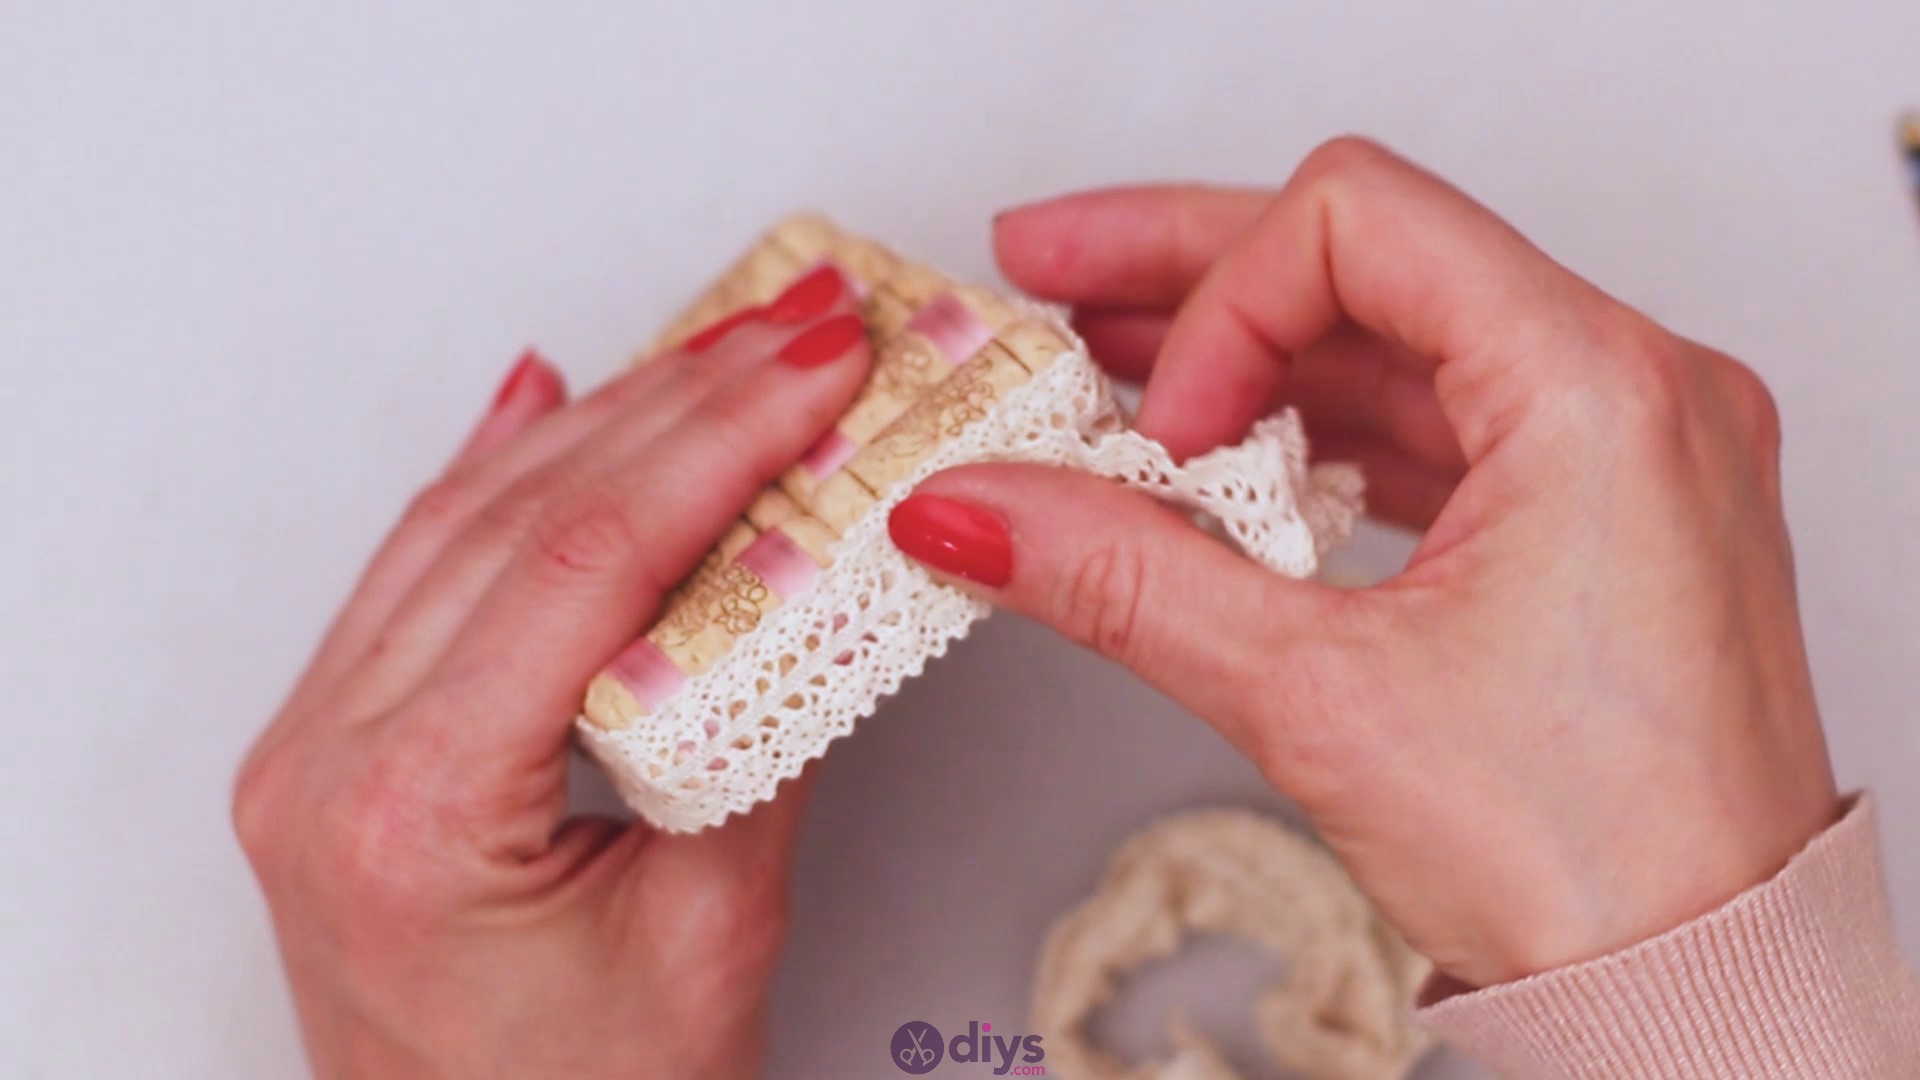
Go around the rack, adding more and more glue and pressing the ribbon into it. Make sure you keep the lace straight as you go.

Measure out the ribbon and cut the extra when you notice the material overlaps, allowing just a tiny bit of extra length.


Glue the ribbon edge over the original layer and make sure to line them up perfectly.
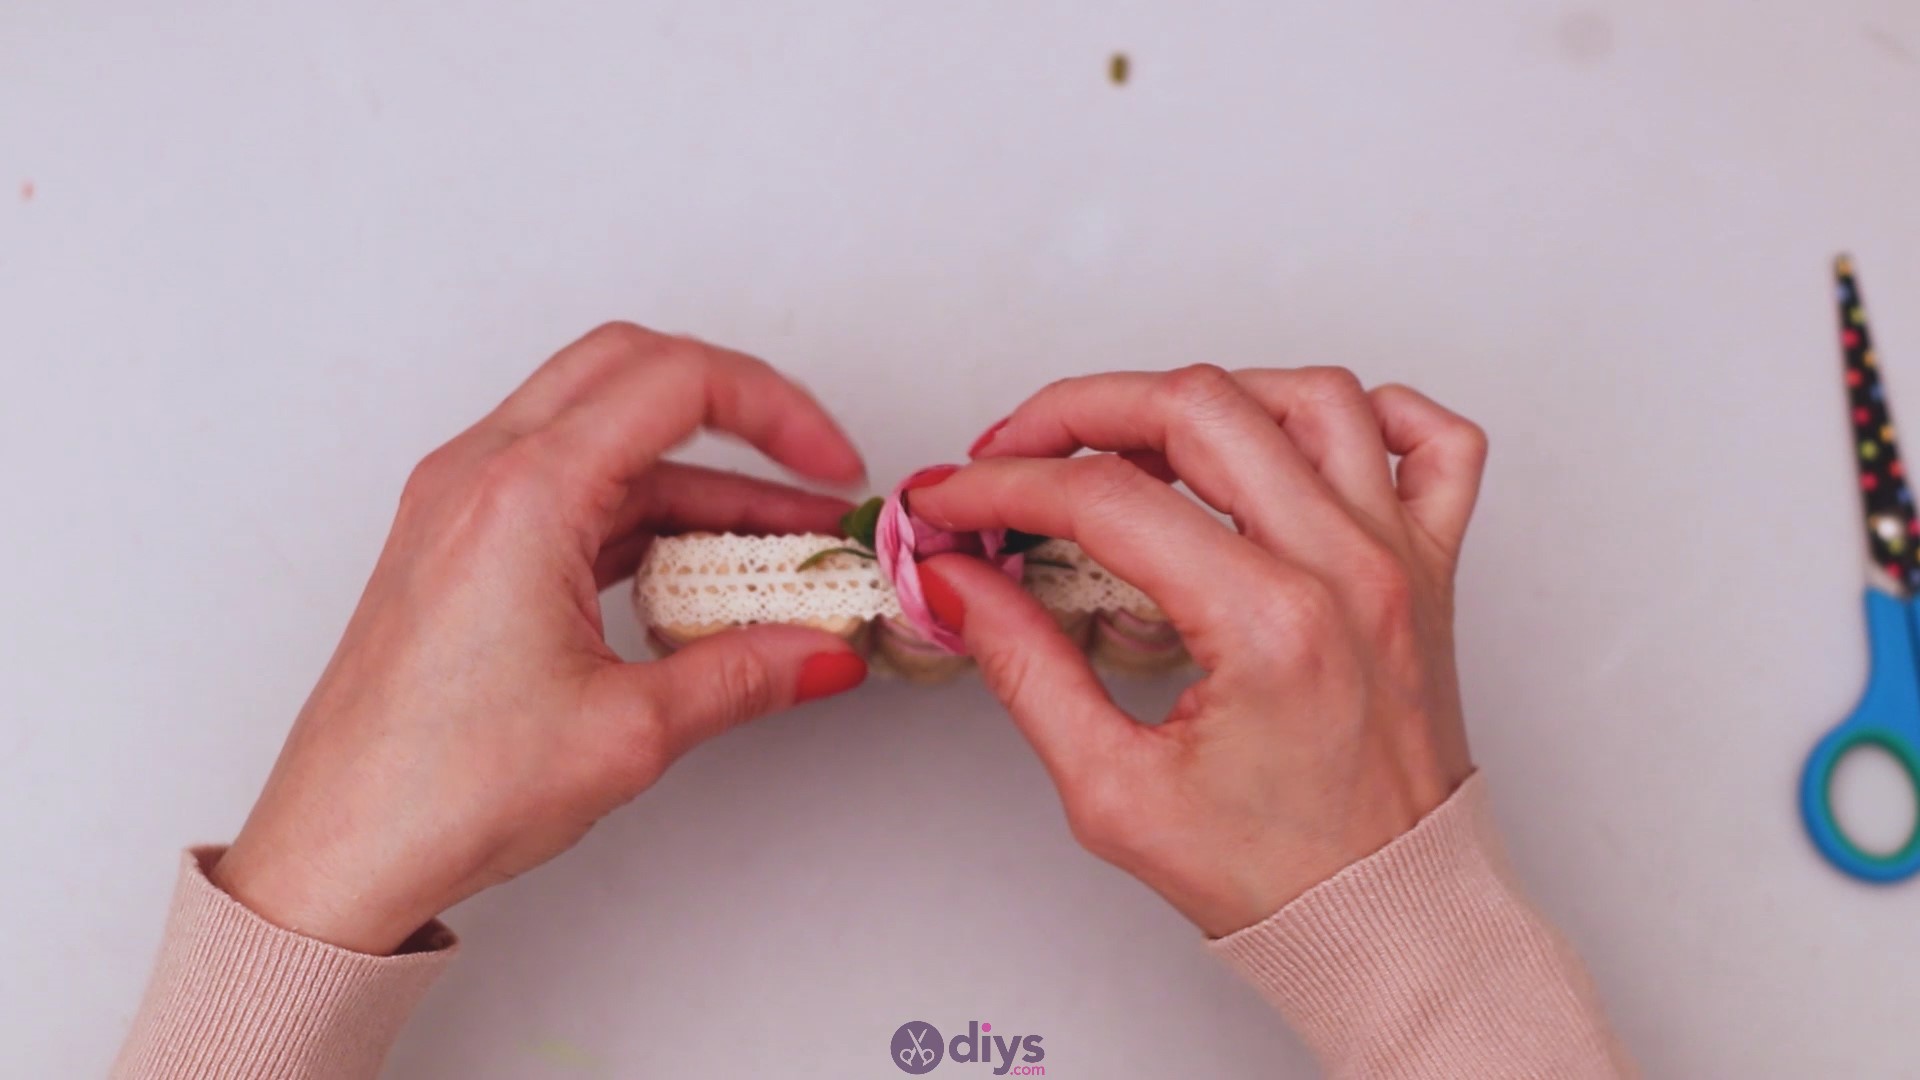
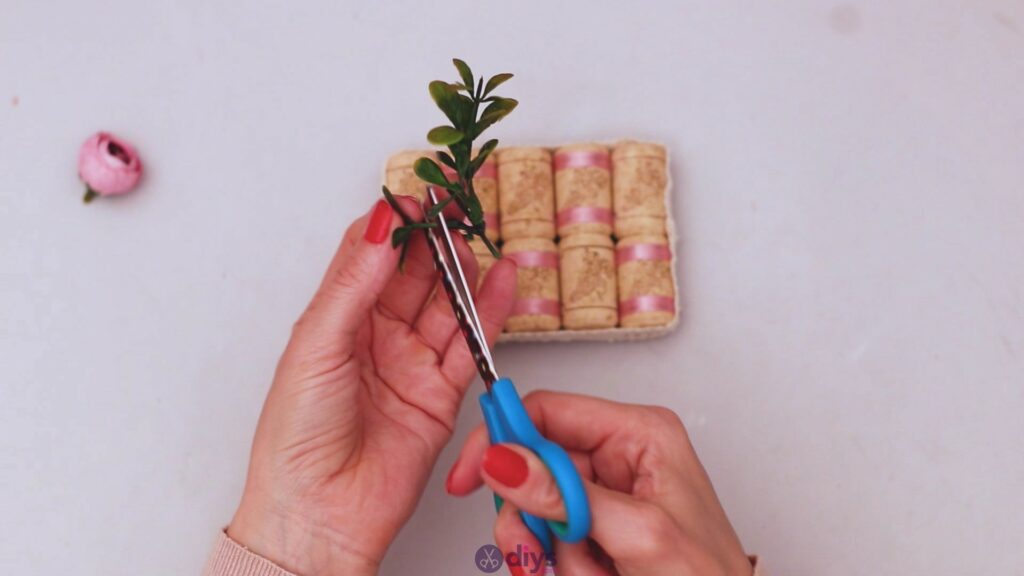
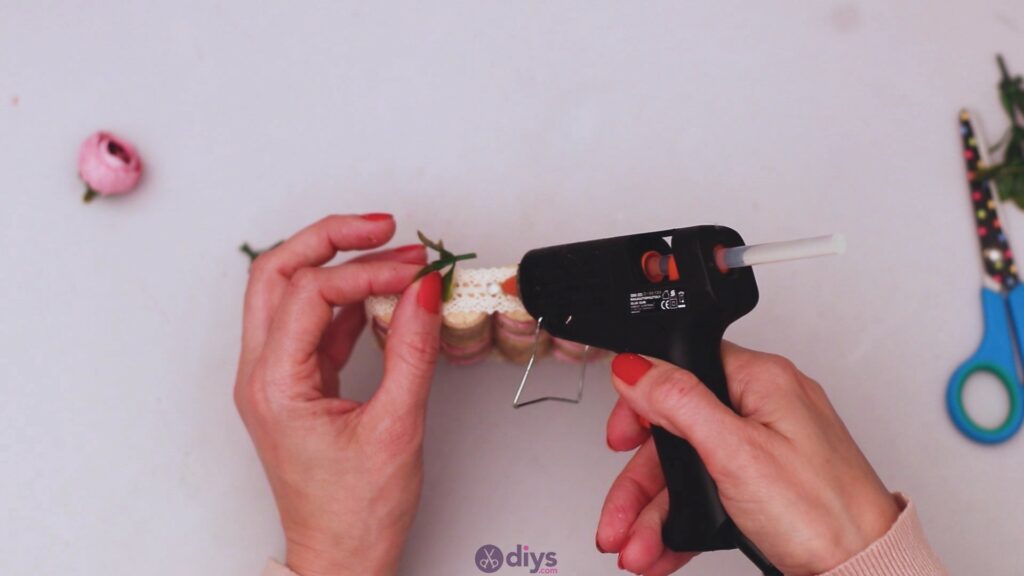
Step 4: Add the artificial flower
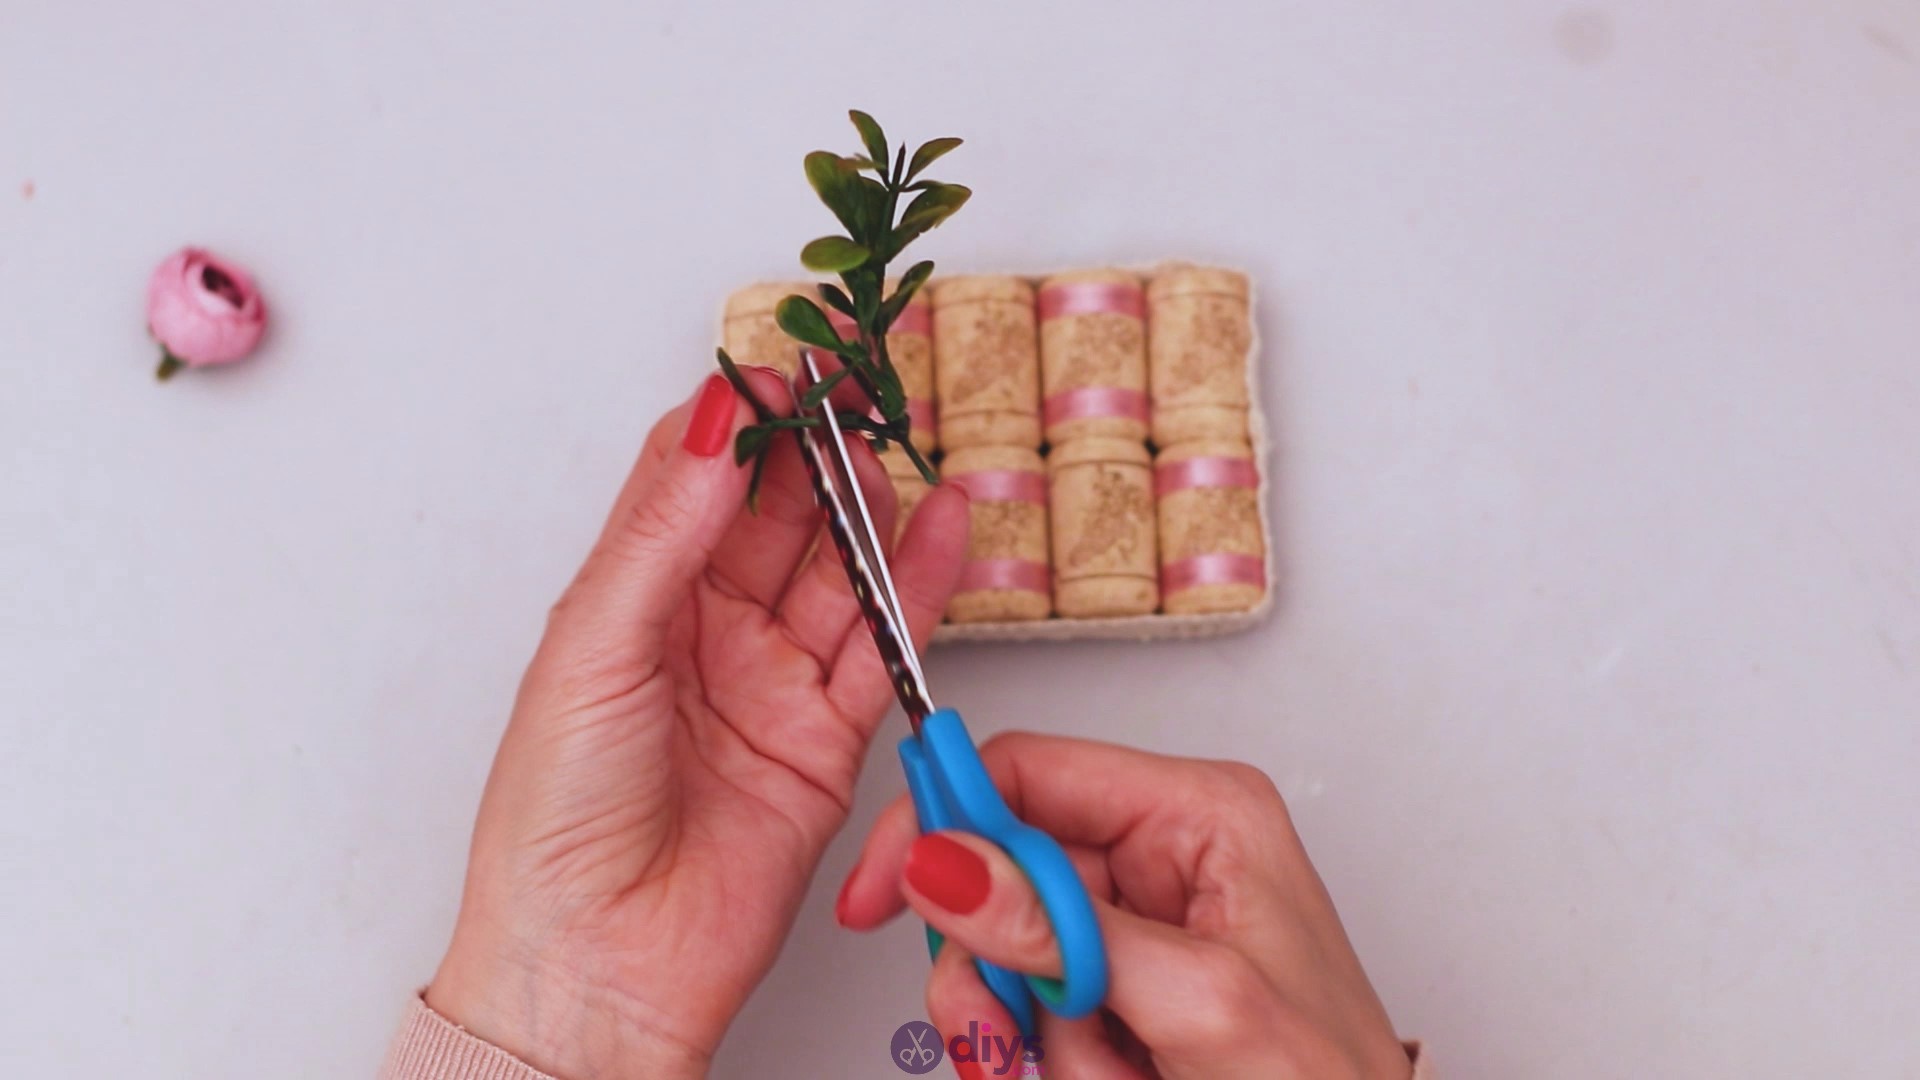
We have another step left here – adding the artificial flower. First, you’ll want to cut the flower – cut the bud off at the stem, and then cut a few leaves.
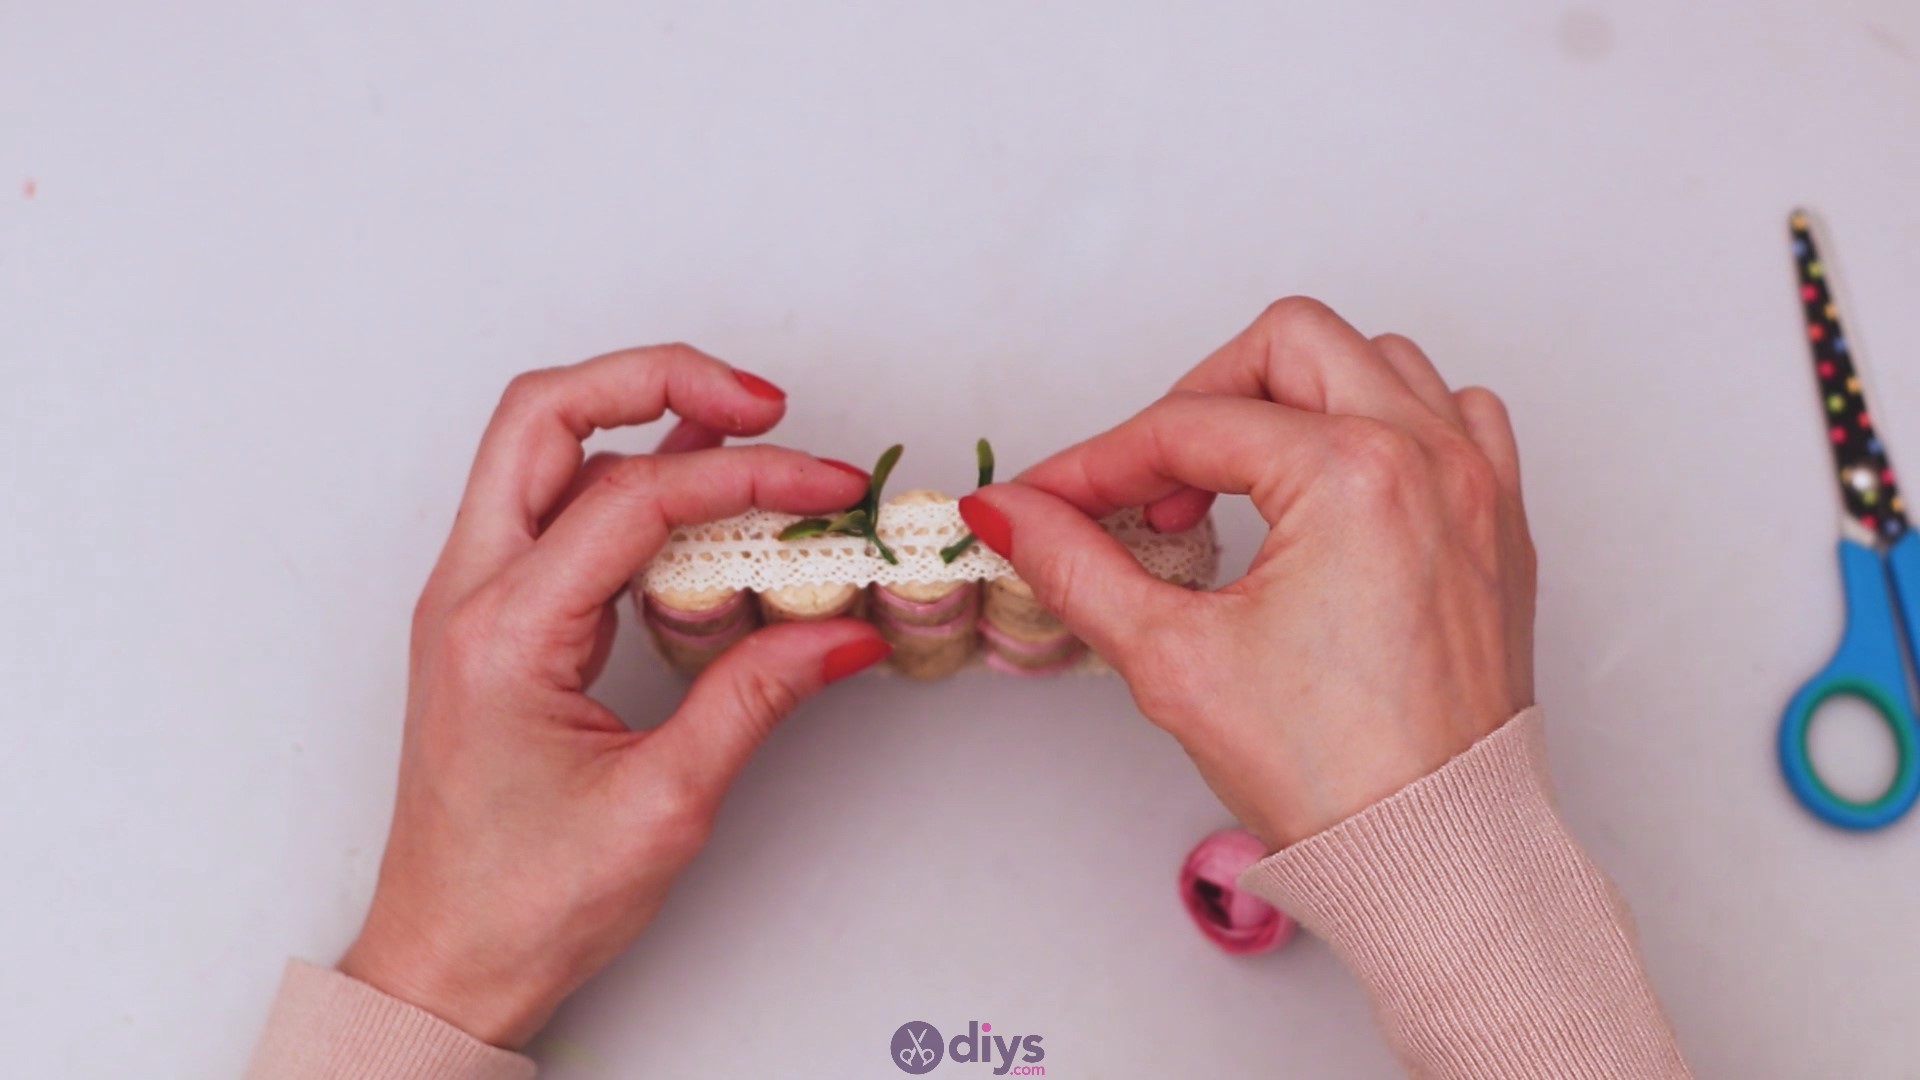
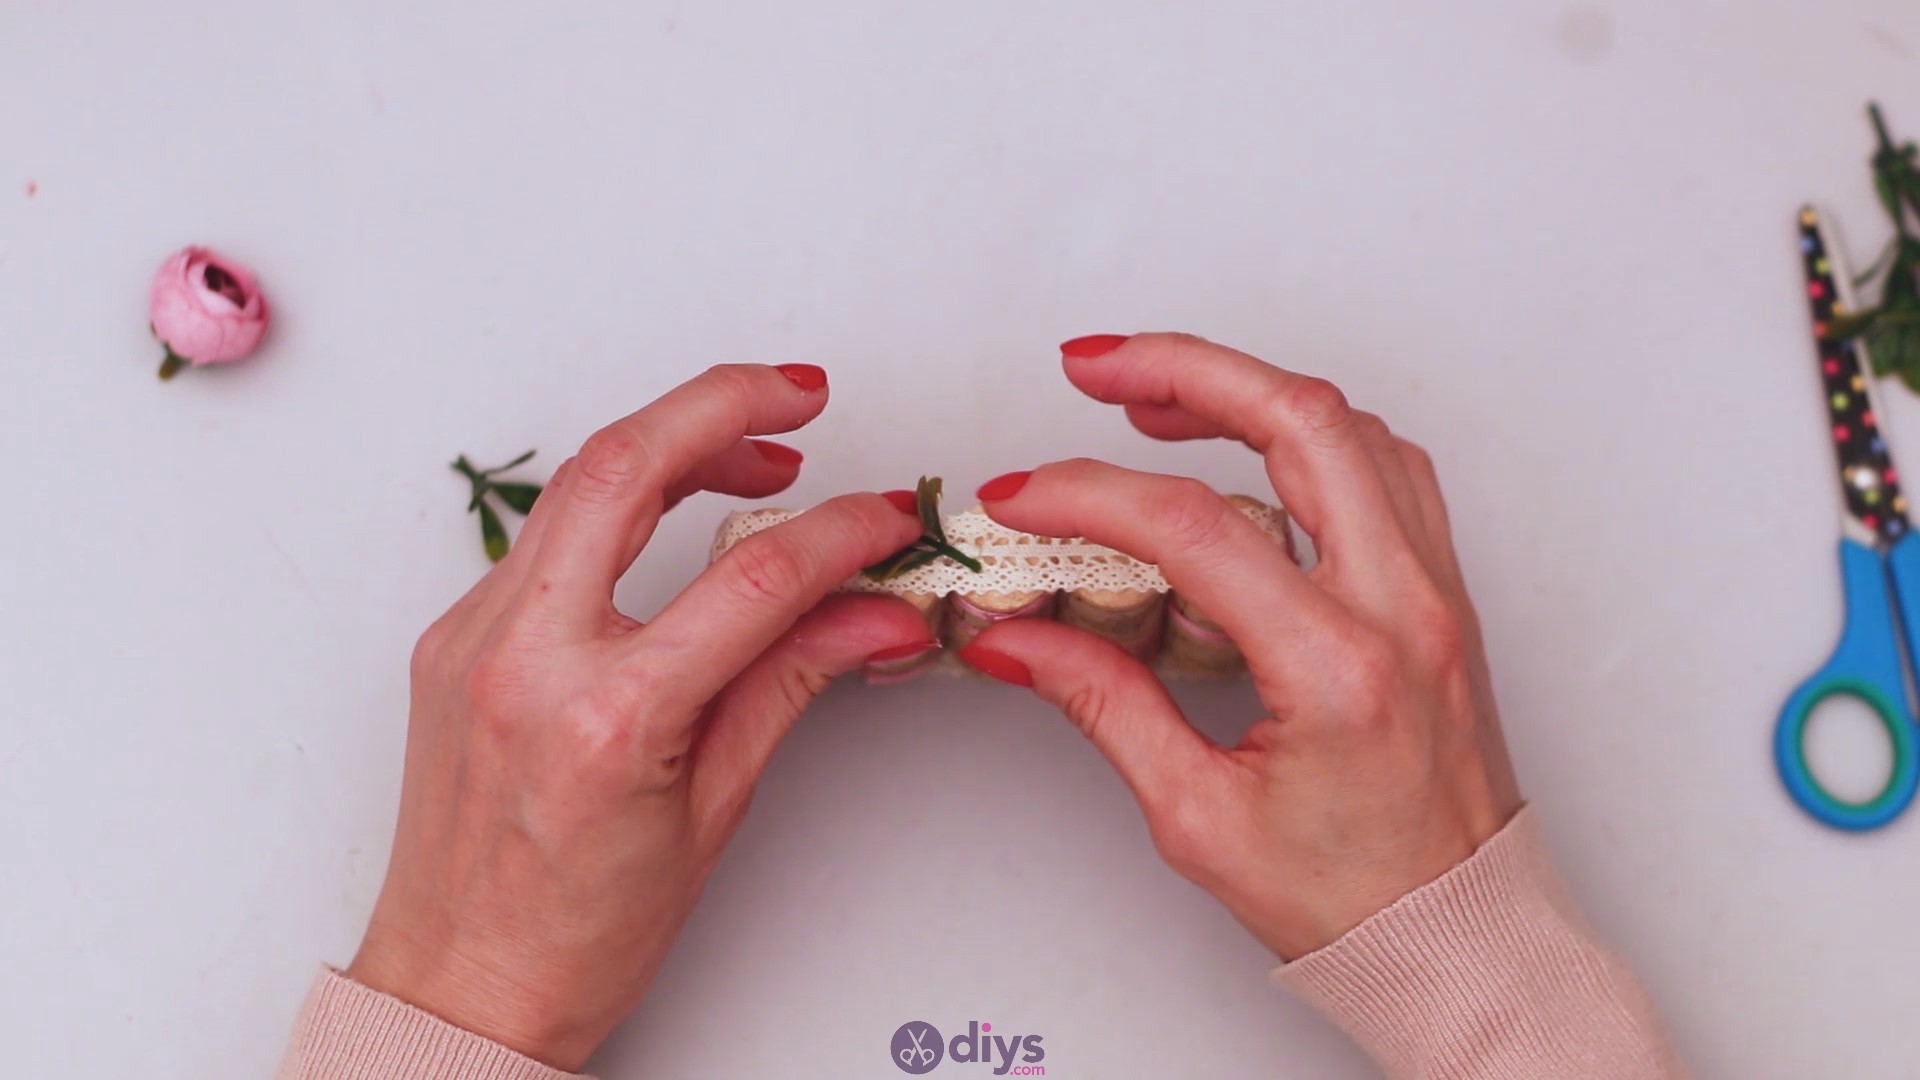
Choose a side of the rack and add some hot glue in the middle of the design. Add the leaves branches into the glue and hold them there for a while.

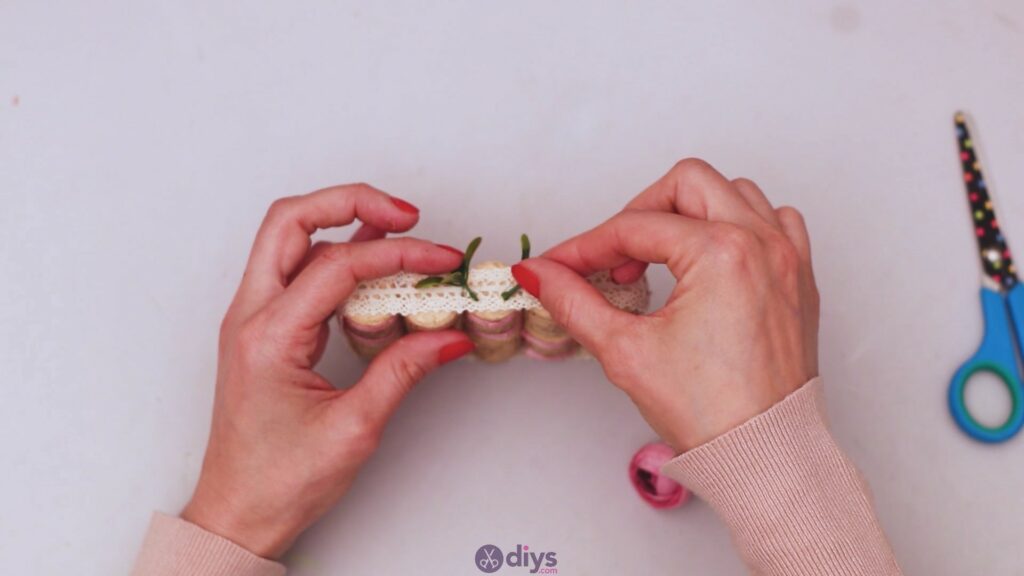
Once the leaves have dried on the design, it’s time to move on to the flower. You want to turn it over and add a lot of hot glue on its bottom.
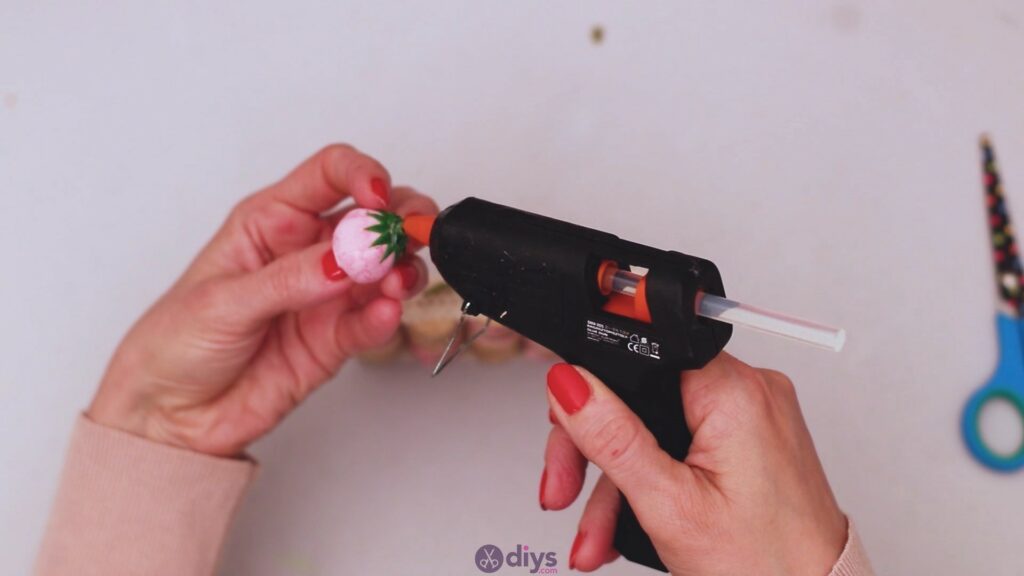
Press the artificial flower into the middle area between the leaves. Be careful on how the flower sets. Since this is a heavier piece, you want to hold it as straight as possible on the glue. Also, since it’s a more delicate piece, you want to make sure you don’t squash it completely.

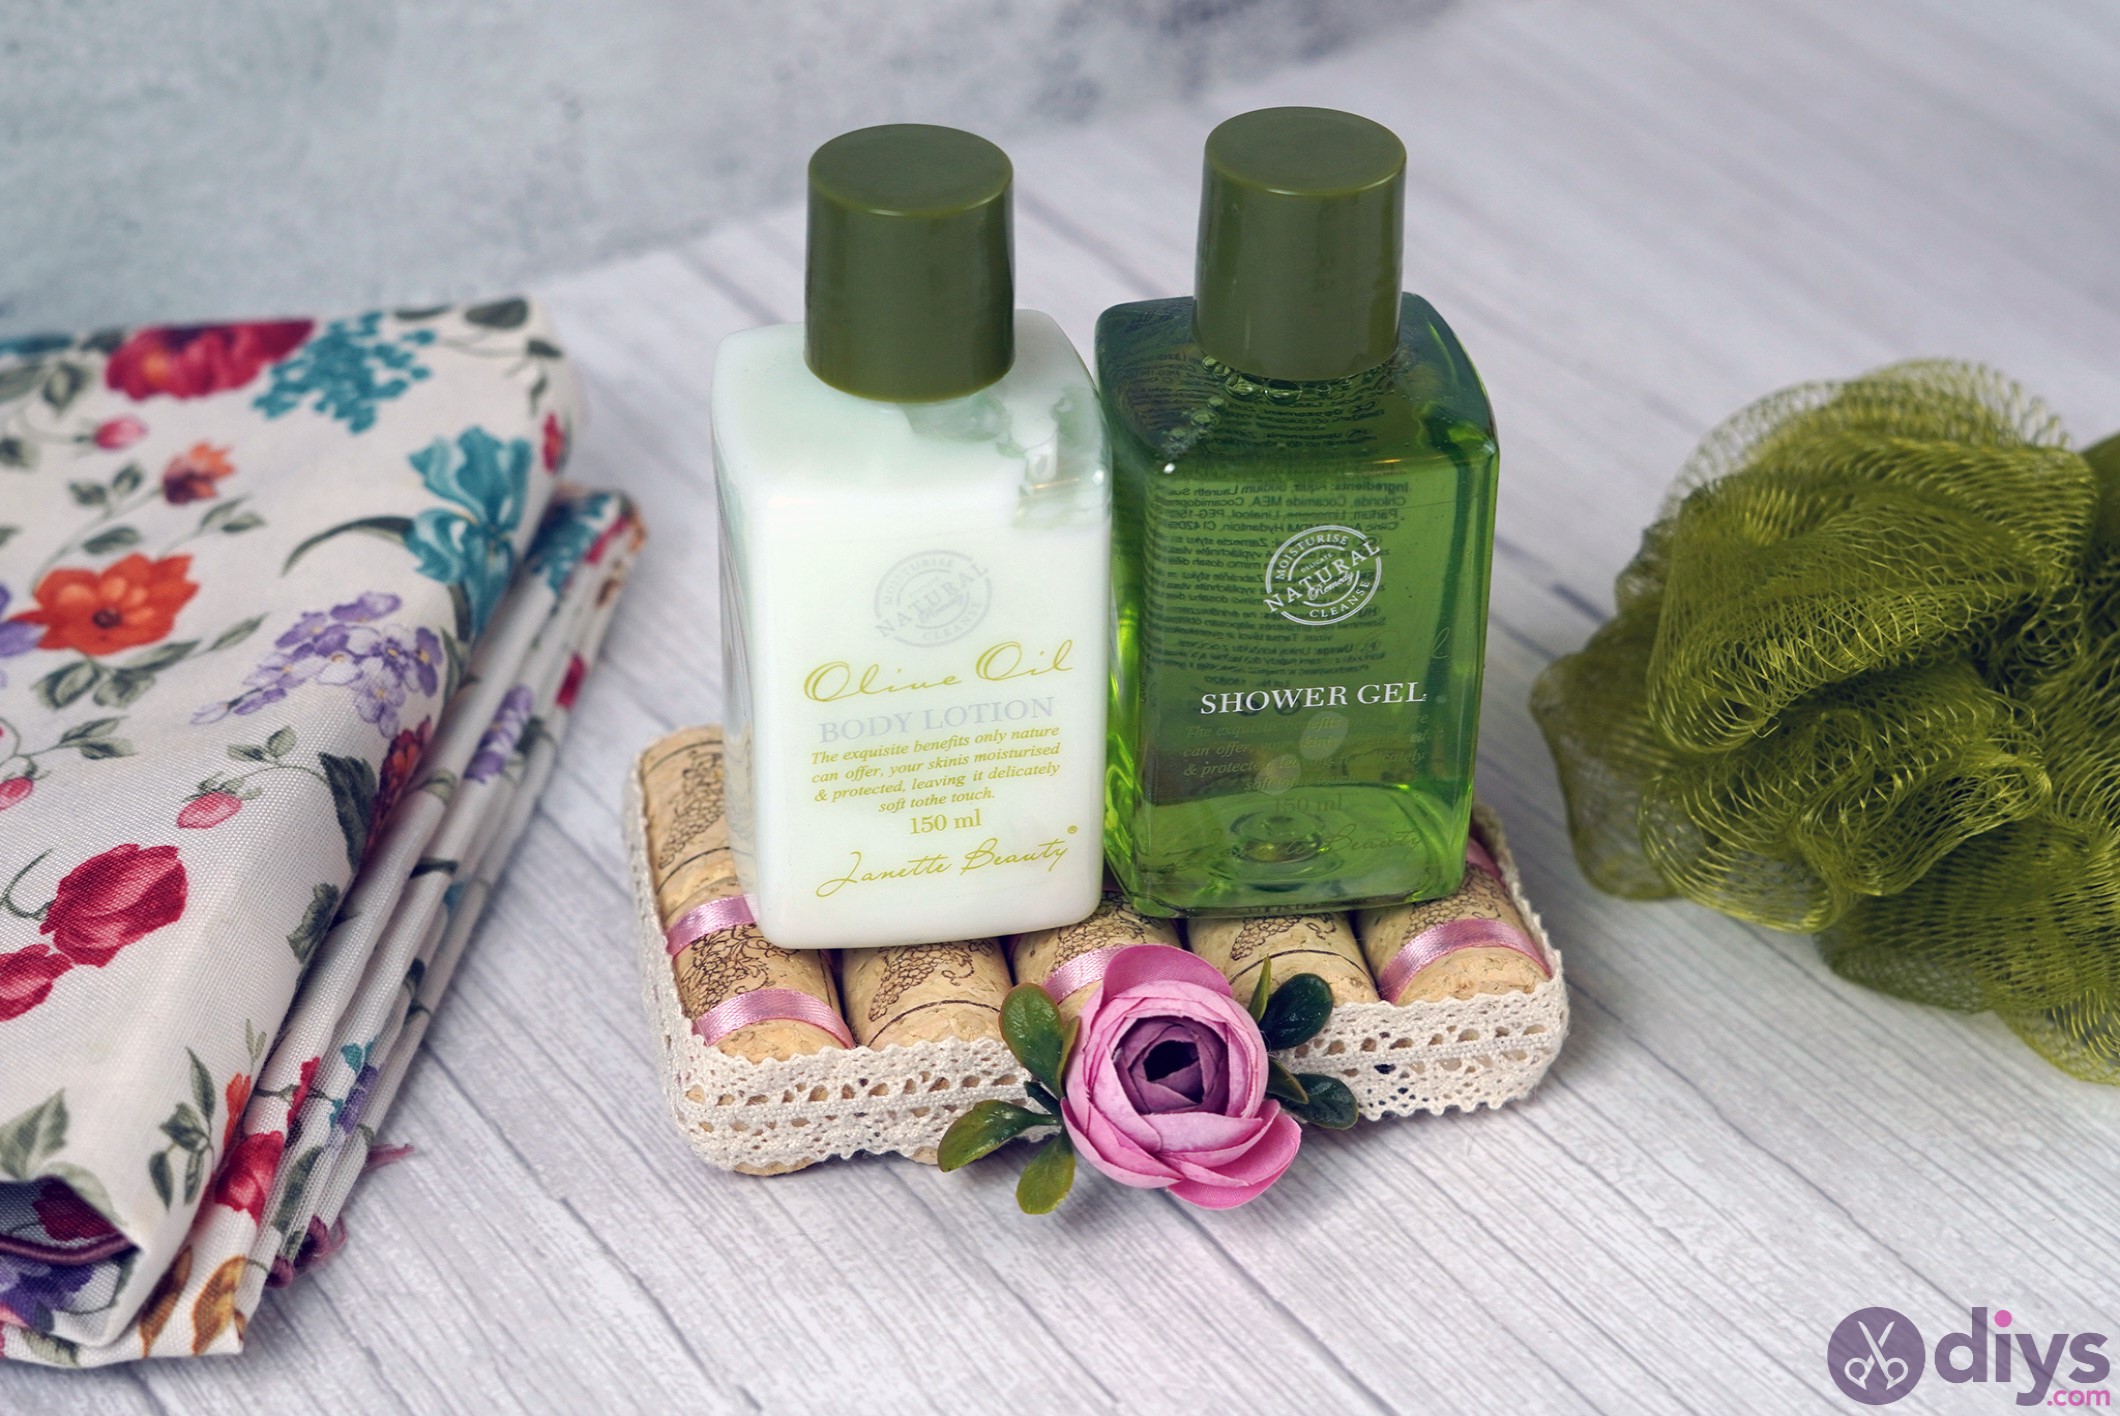
And that is it! Now you have a beautiful soap rack on which you can put your fancy soap bottles or even your lotions. Given the materials we used, try as best you can to not wet it too much.

We love how the finished product looks and we know there’s room for customization if you want it. You can, for instance, add a different color for the ribbon, choose a different type of lace ribbon and even go without a flower, if you so desire. As long as you have imagination, you’re good to go to create a beautiful creation now that we’ve provided you with the tutorial. Share your creations with us as we’re curious to see them!