DIY Wine Cork Napkin Holder – How to Make a Napkin Holder With Wine Corks
Updated on November 19, 2025


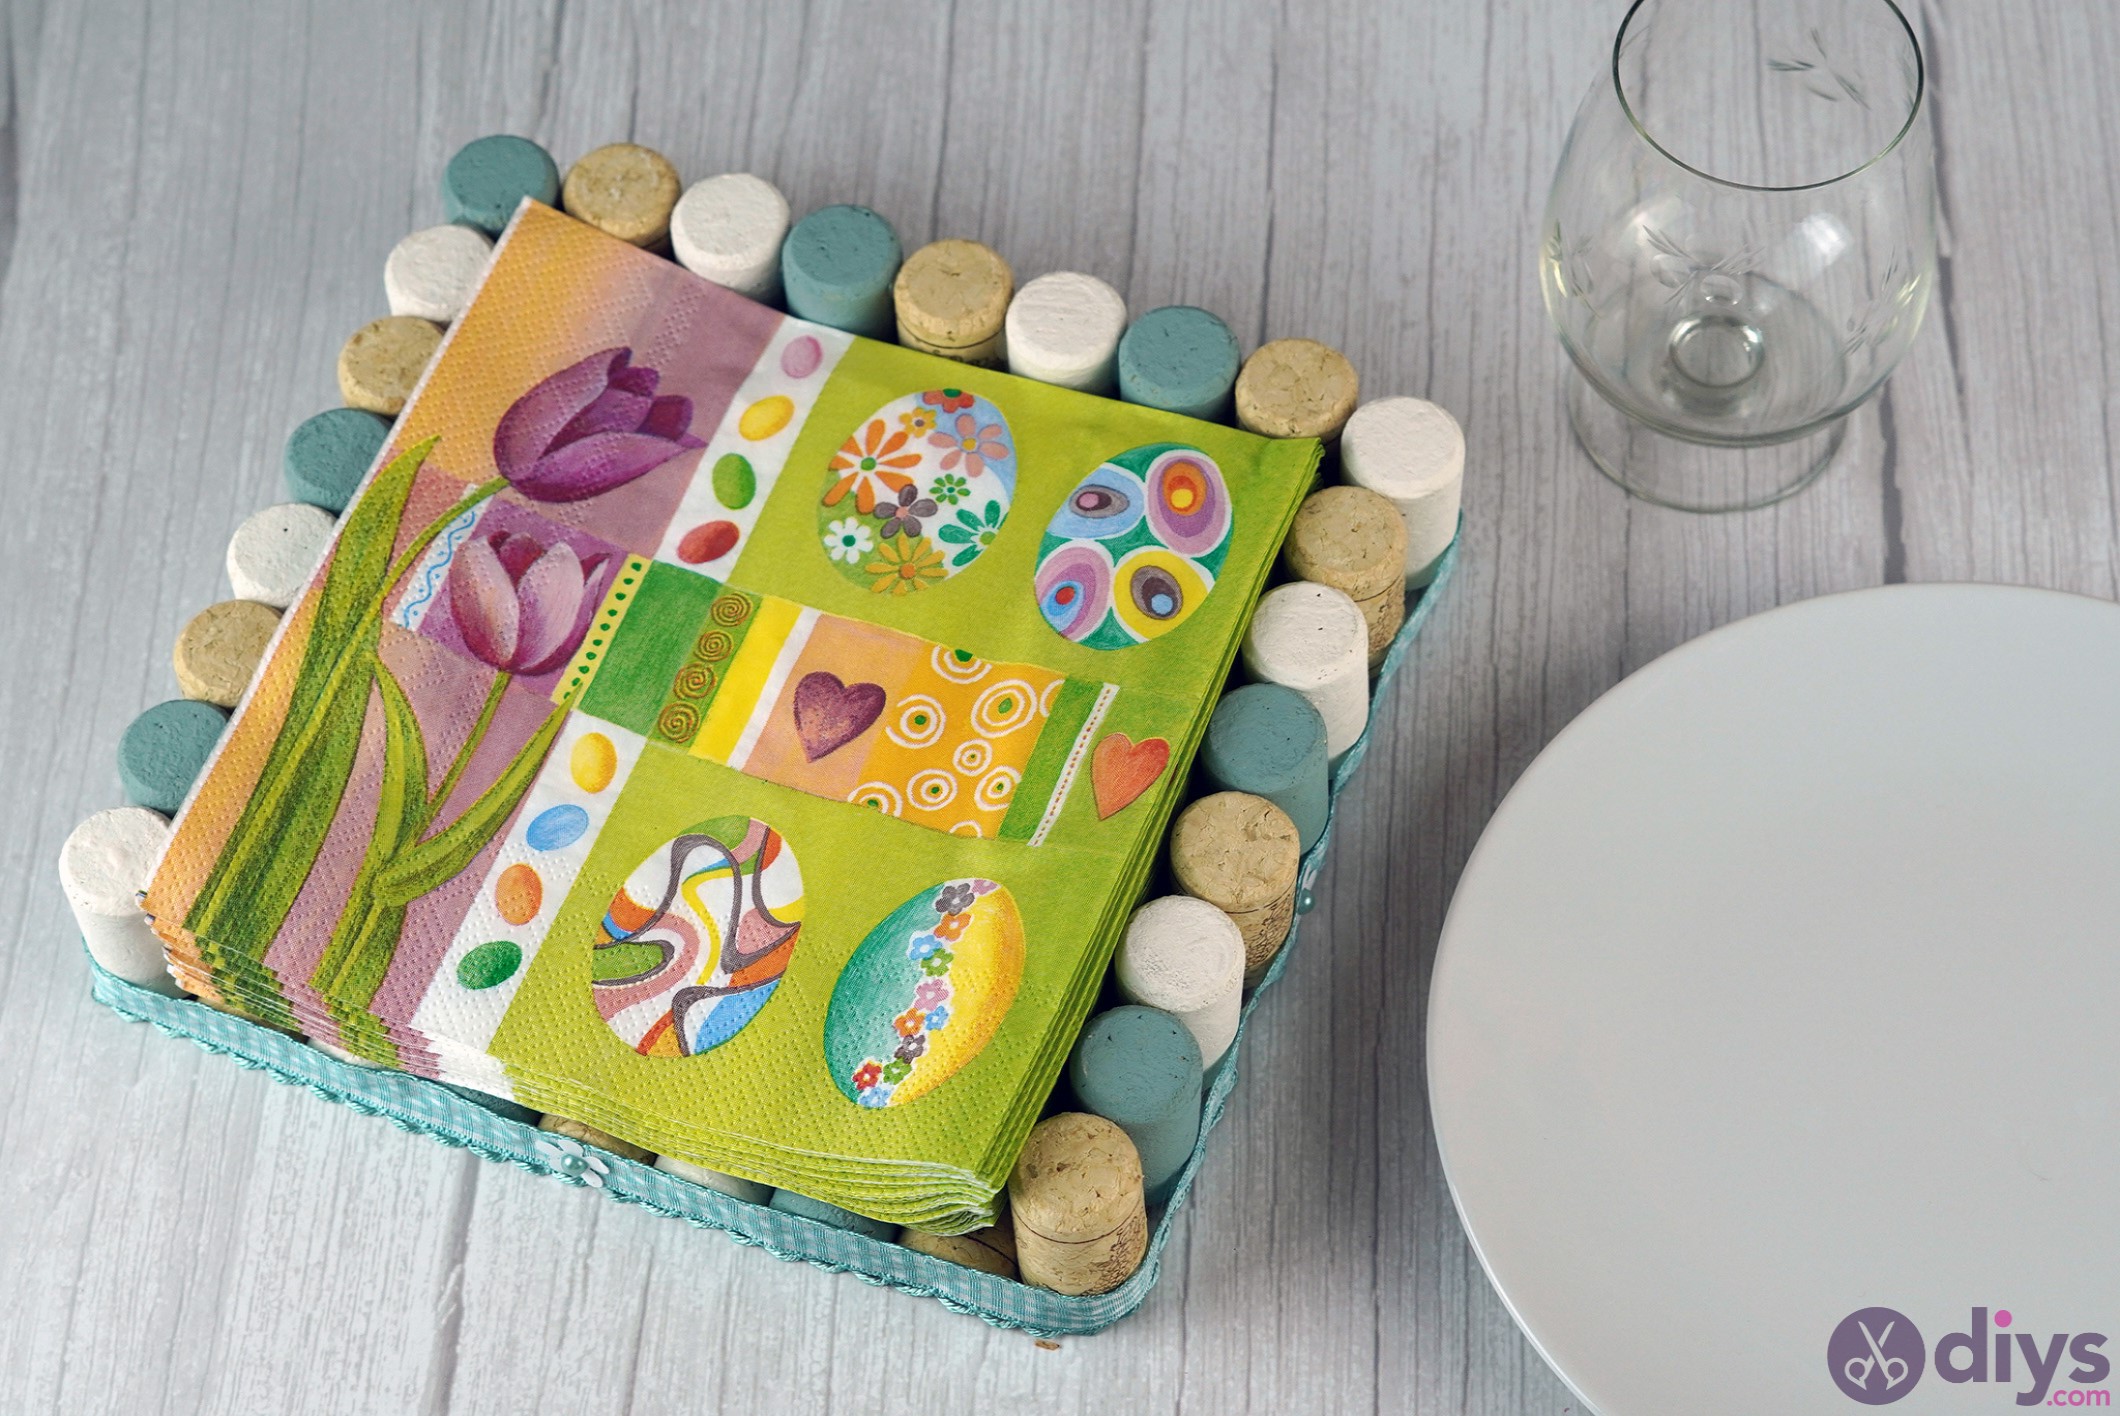
Whenever you’re feeling creative and have some spare time on your hands, making some cute creations for your home may be the best idea, including a wine cork napkin holder.
In this way, you’ll have a more elegant way to share napkins with your guests coming over for dinner. Not only will this napkin holder look great, but it will also be rather practical for everyday use.
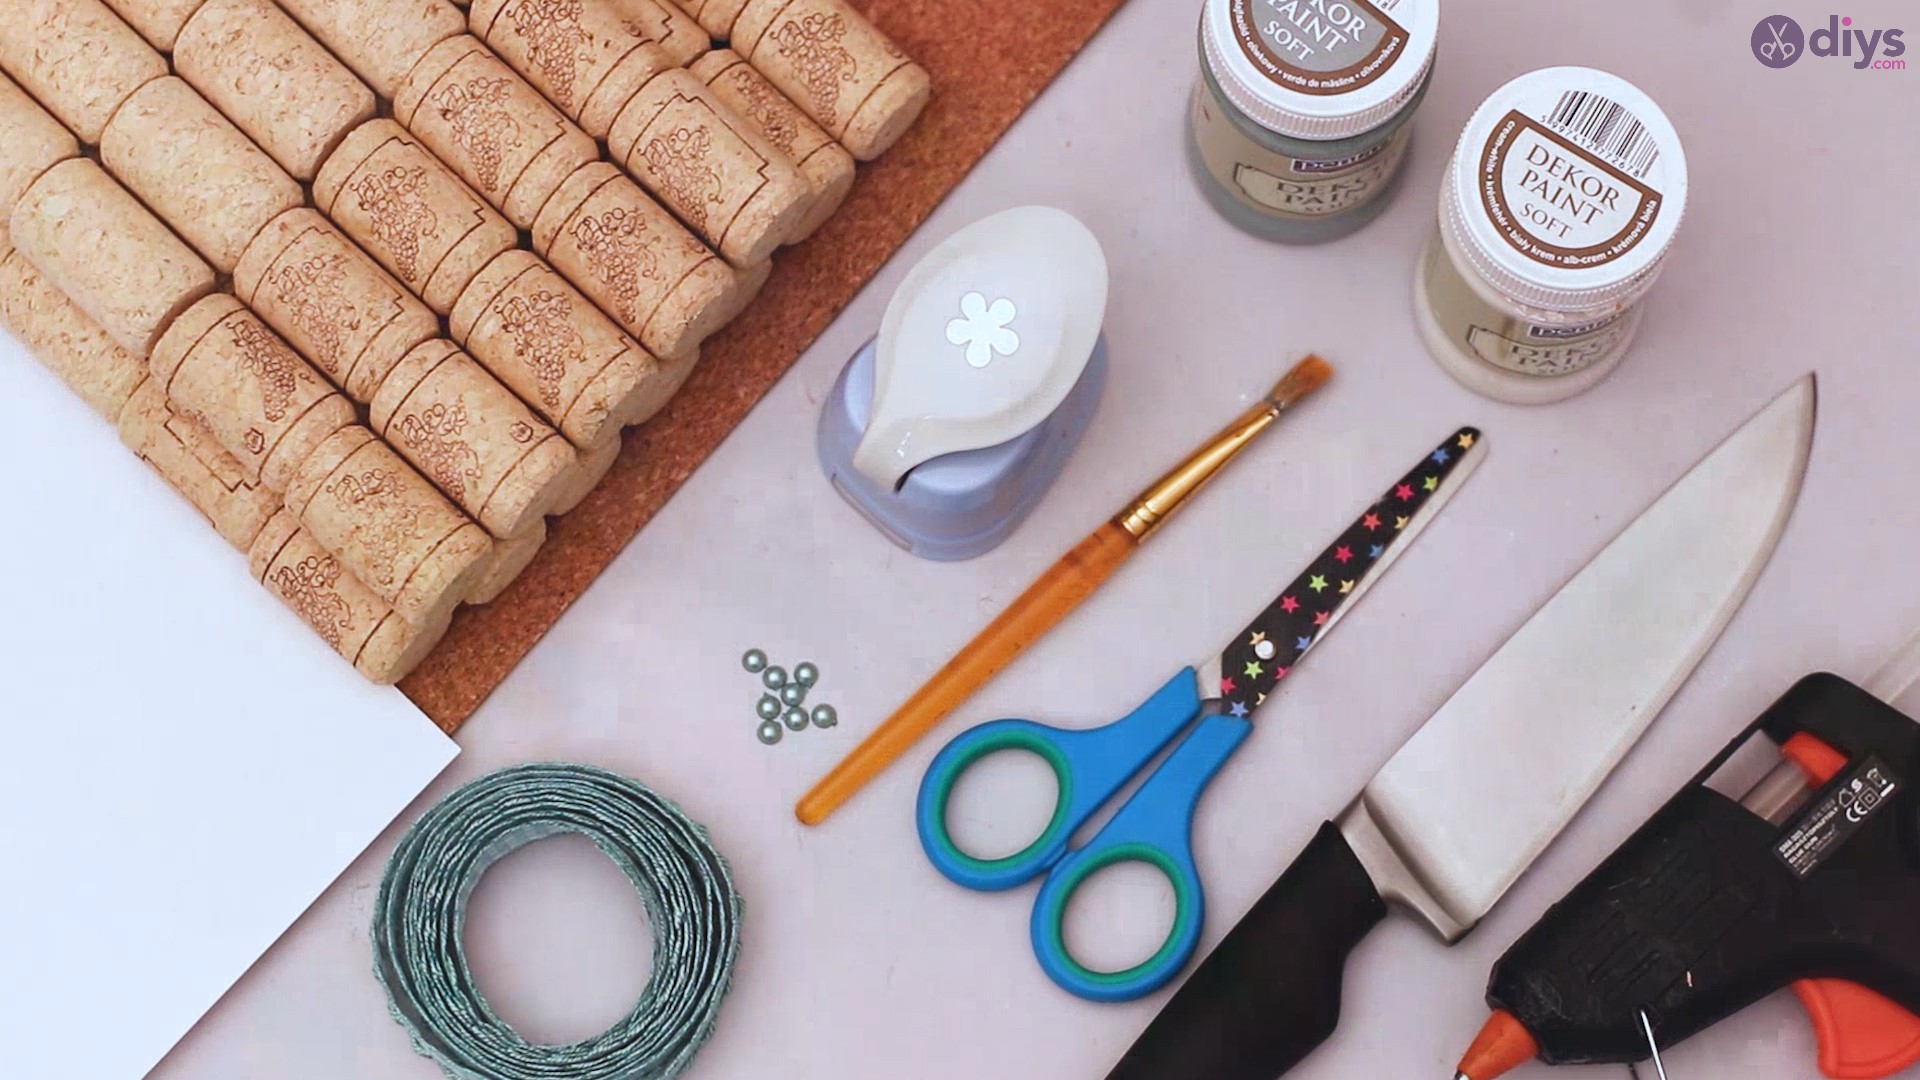
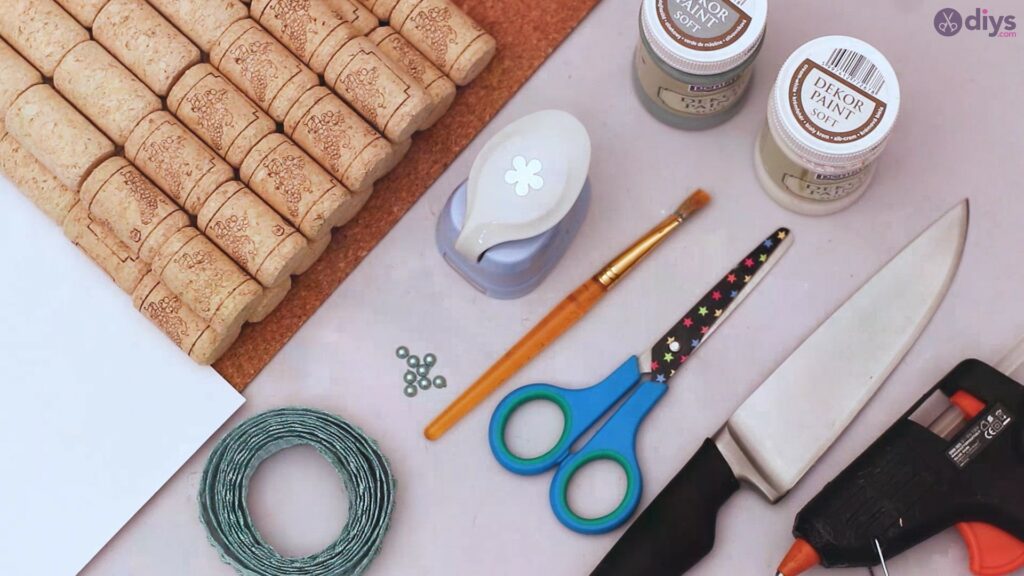
Materials for wine cork napkin holder
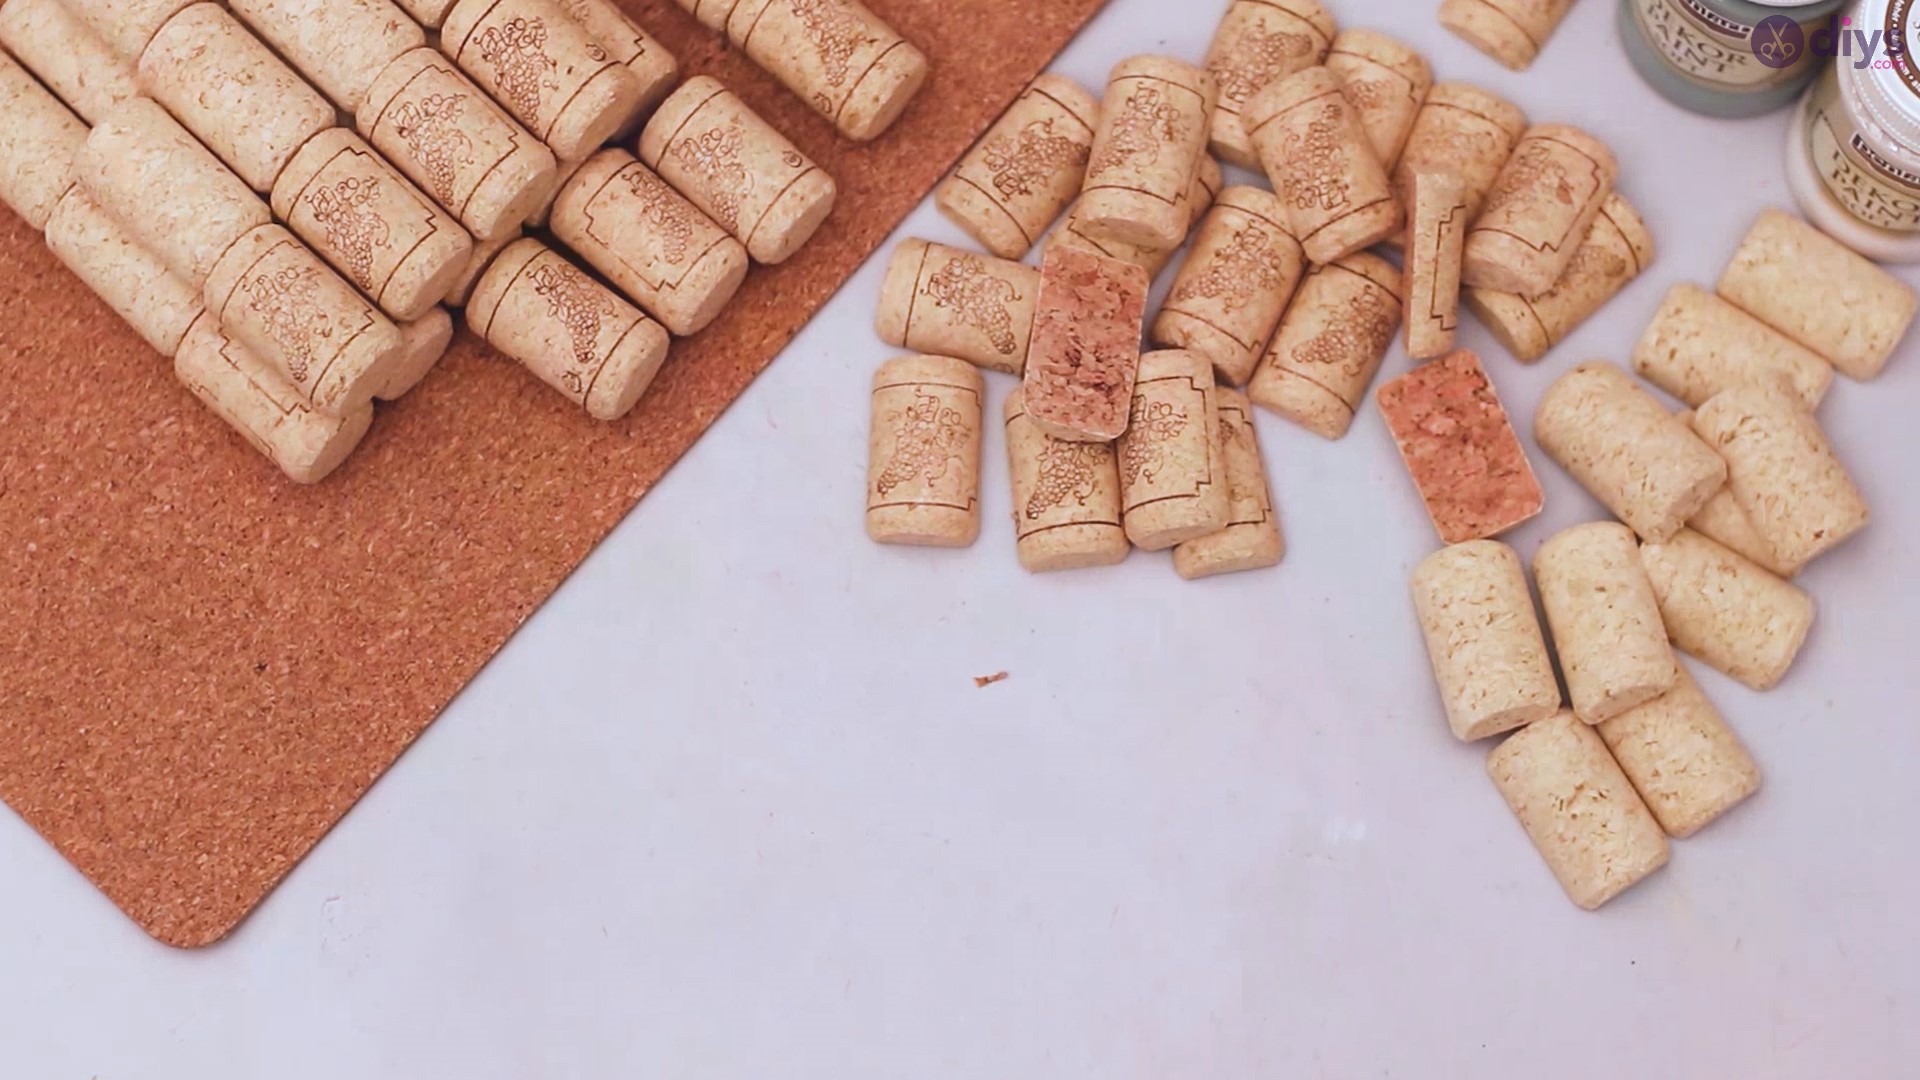
- wine corks
- corkboard
- flower paper punch
- paper
- silk ribbon
- decor beads
- white and green acrylic paint
- paintbrush
- glue gun
- knife
- scissors
How to make a wine cork napkin holder
We’ve gathered up all the materials we need for the wine cork napkin holder and we’re ready to get started. You should do the same in order to avoid running all over the house looking for materials.
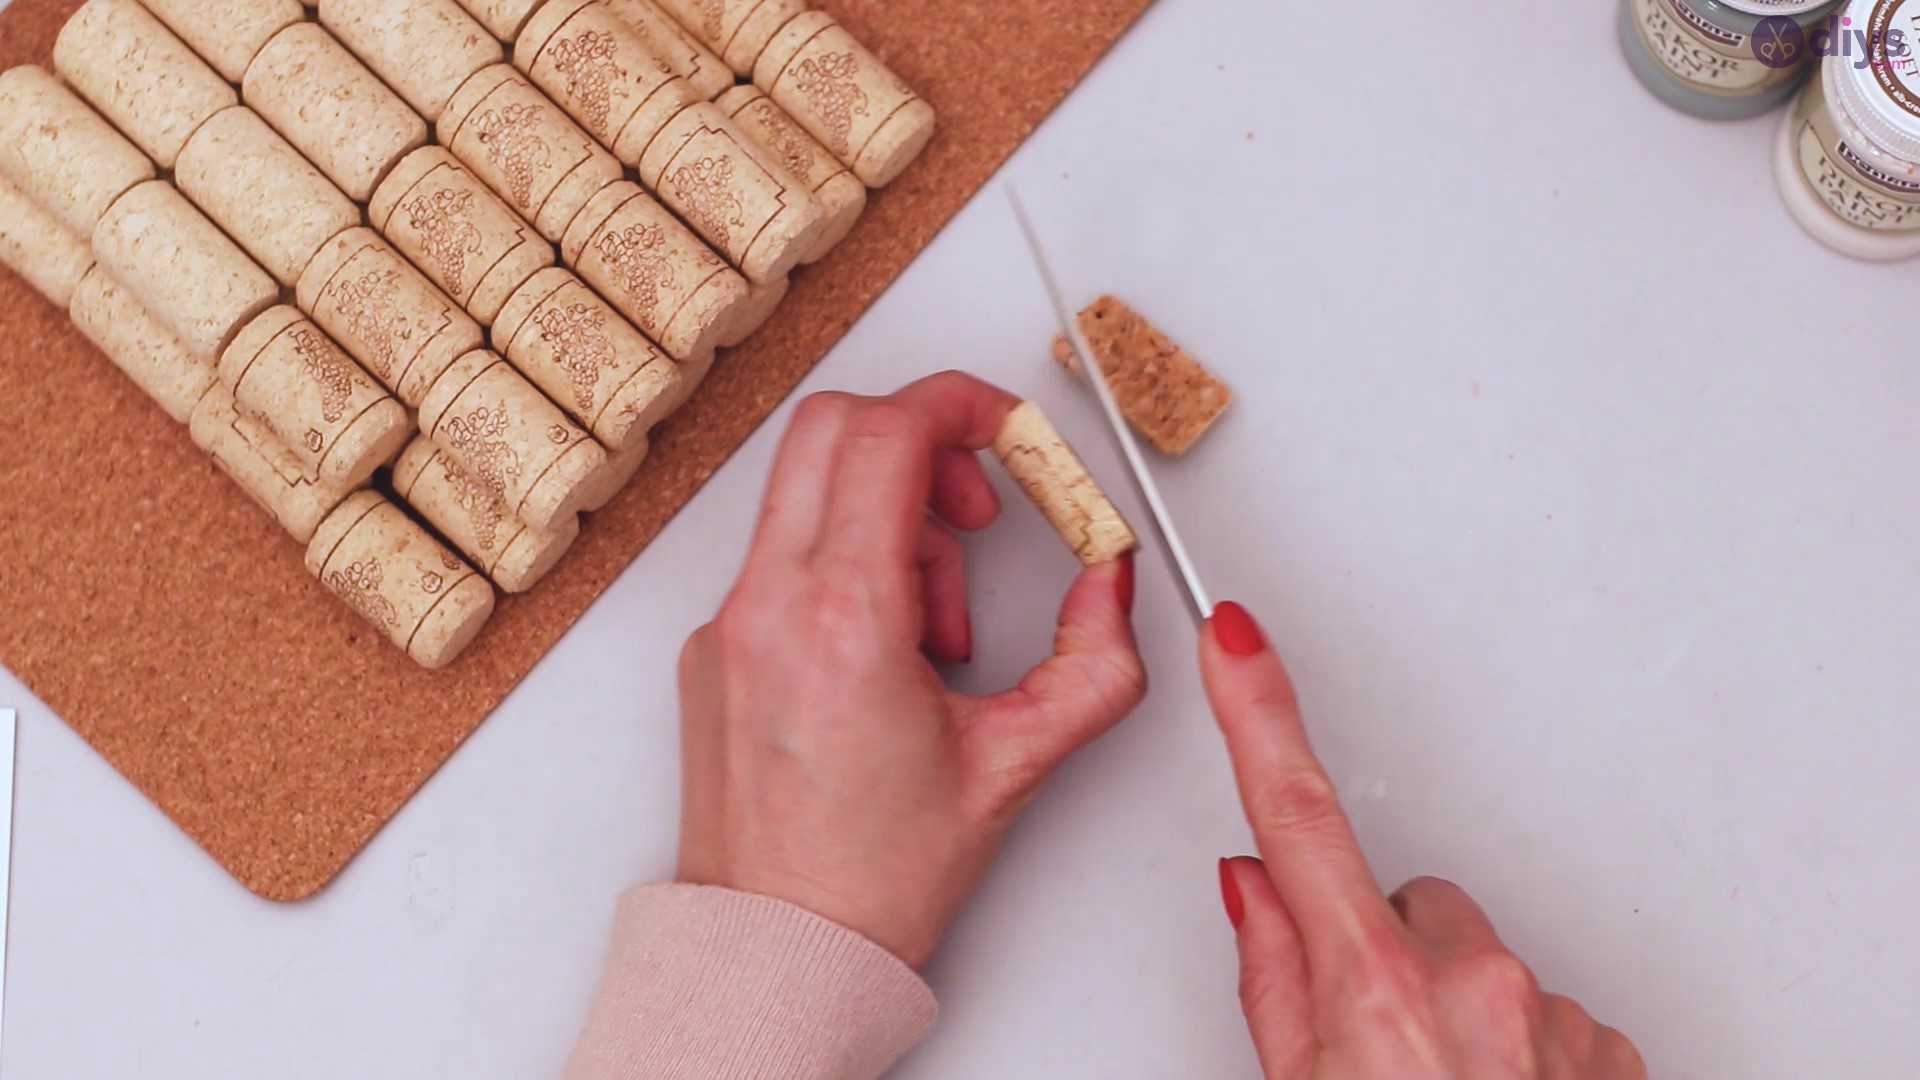
Step 1: Cut the corks
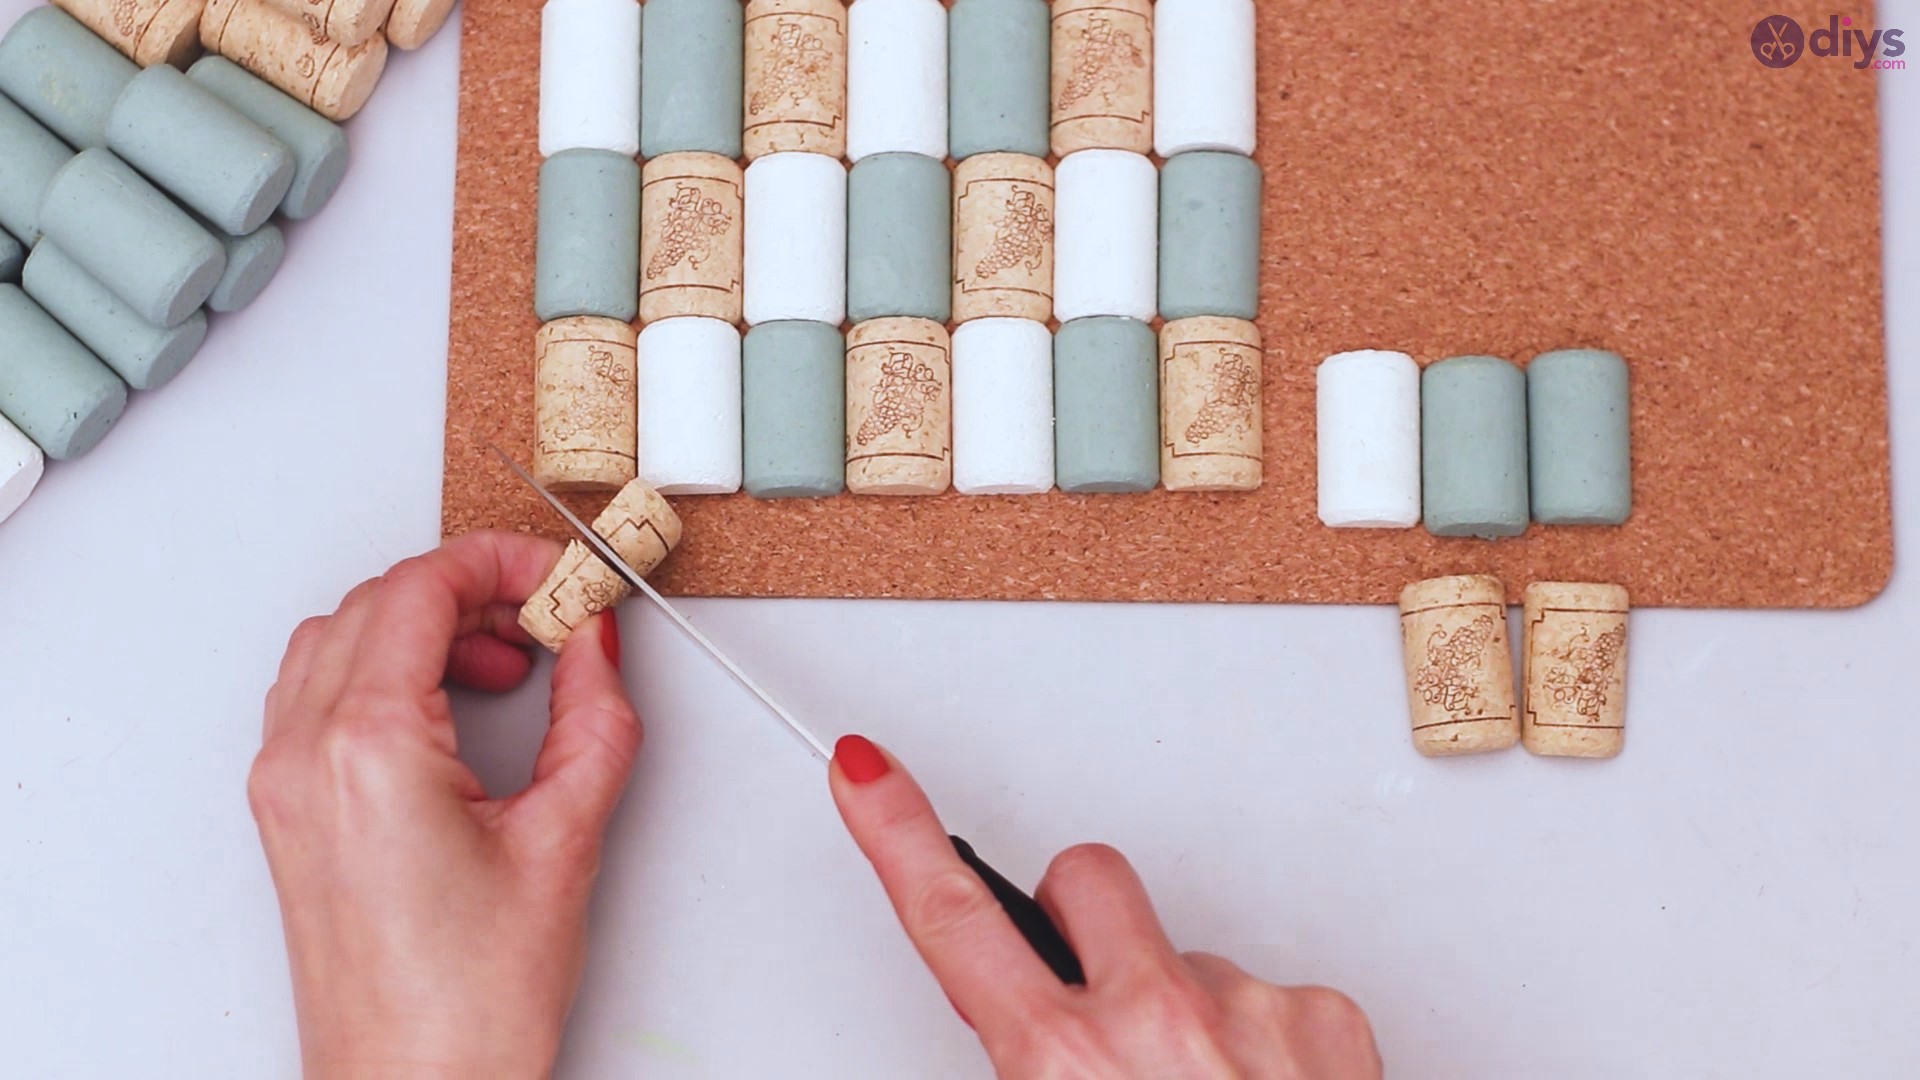
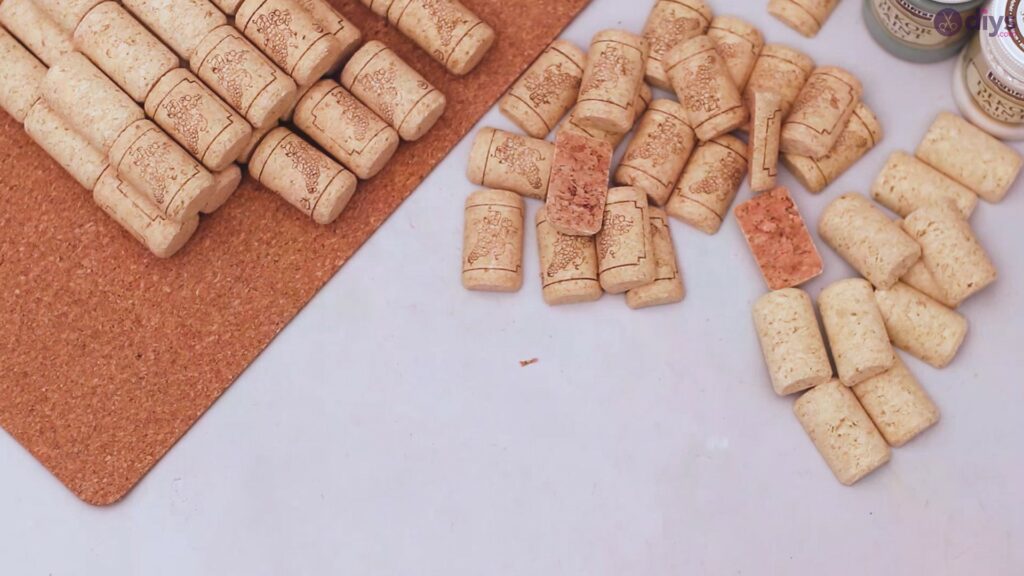
The thing we’re going to start with is cutting the corks. So, get theknife and thewine corks, place the latter vertically and start cutting down the middle.
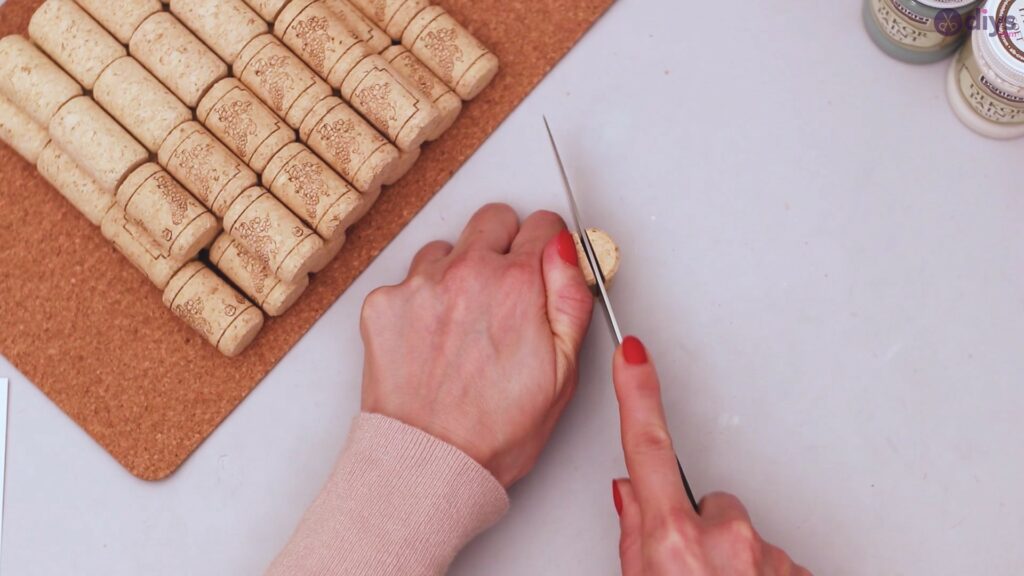

Keep a steady hand and try to go down as straight as possible since you’ll want the pieces you use to have roughly the same size. Having a straight side will also help when we reach the stage where we glue them.
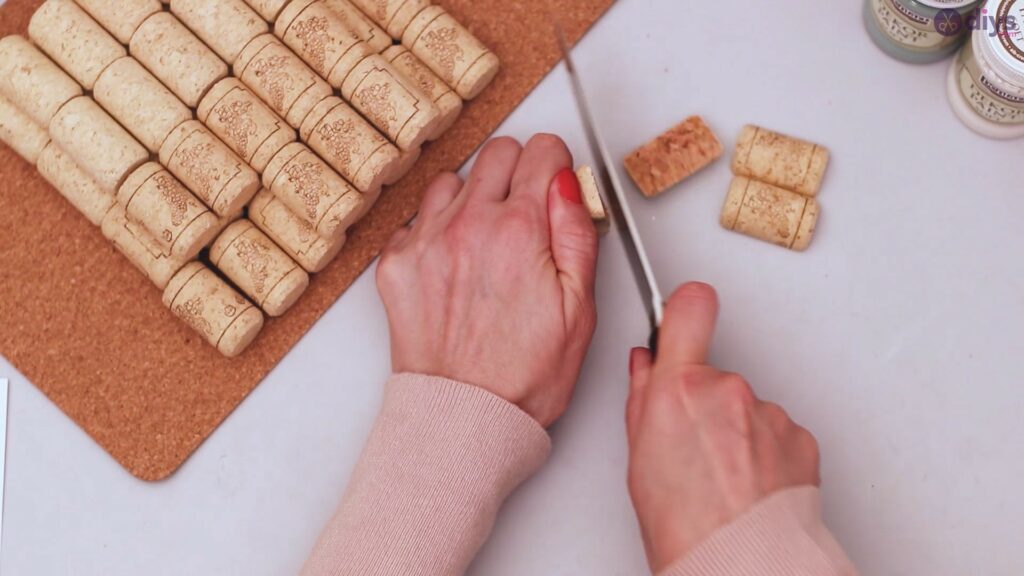
You will want to cut just a portion of your corks, as some of them you’ll use whole. So, cut about a dozen and, if you need any extras, you can always cut more later on when you start arranging the pieces.
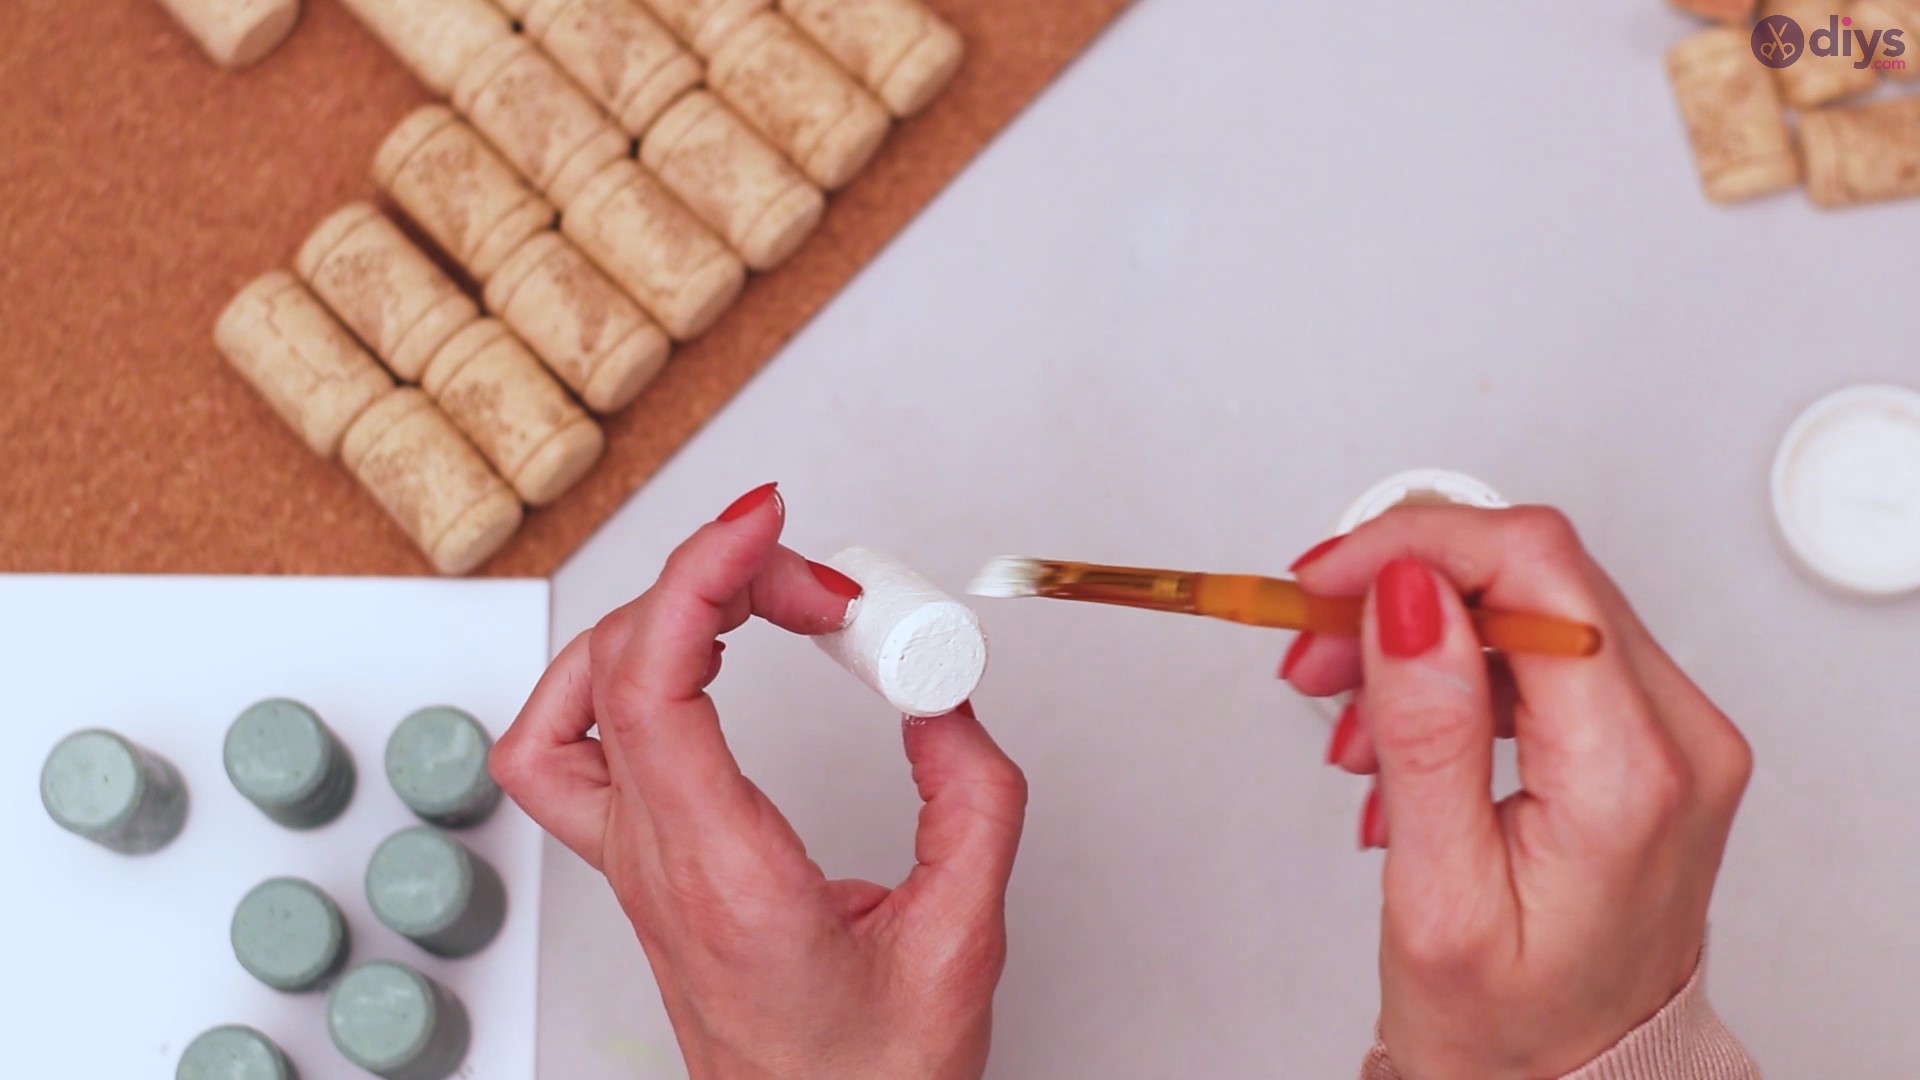
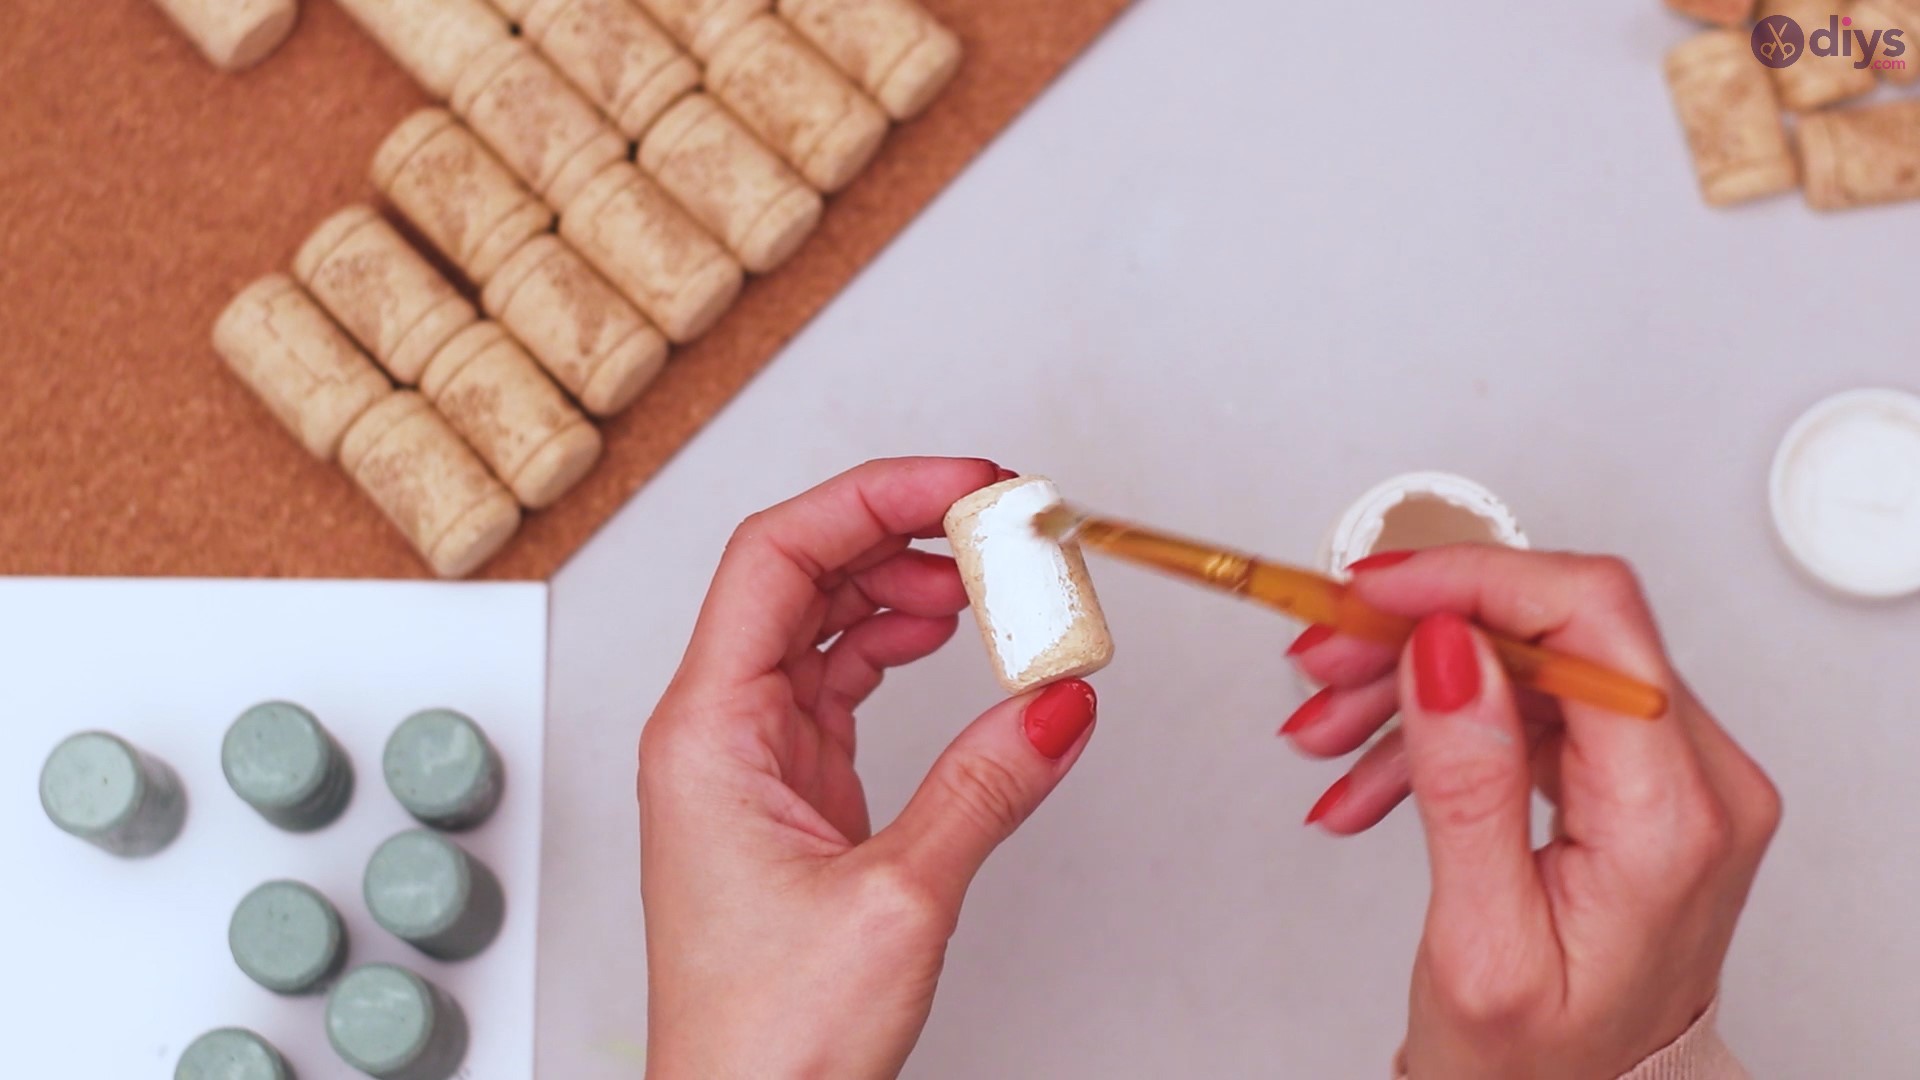
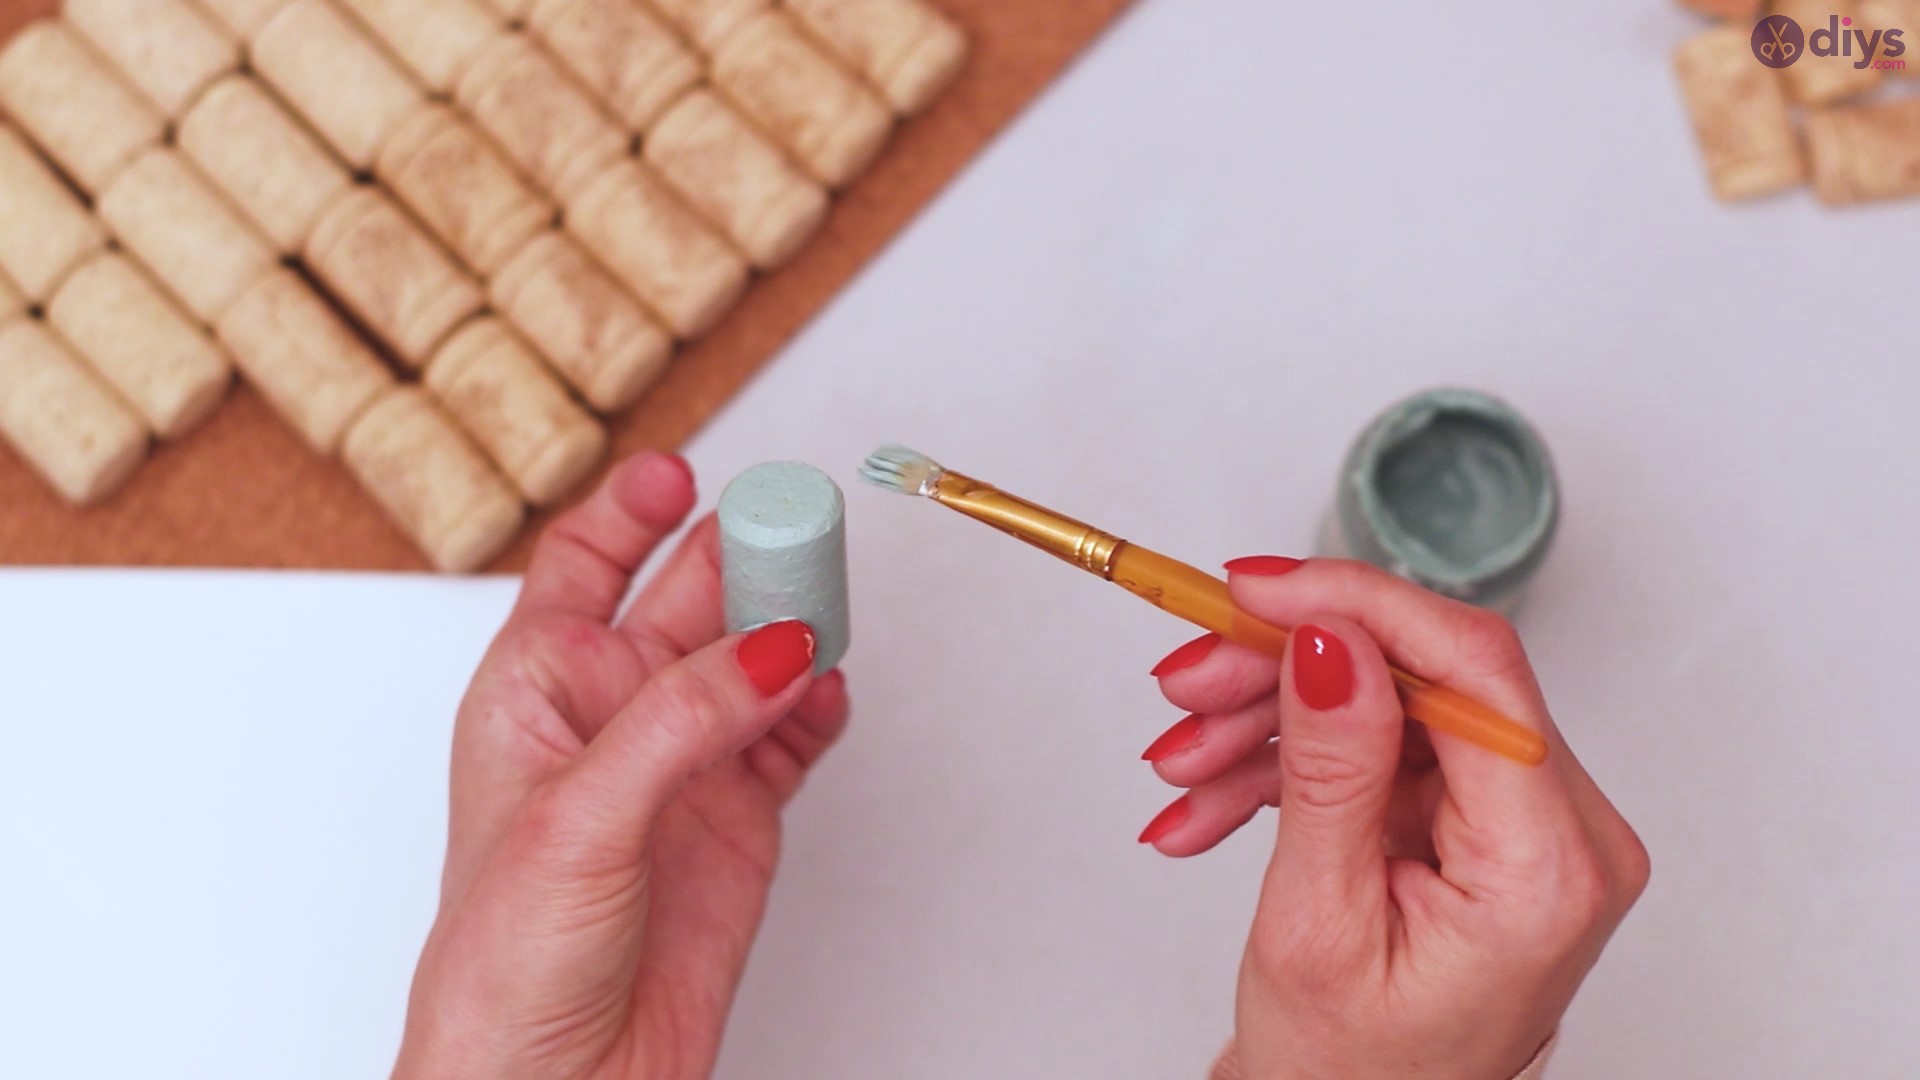
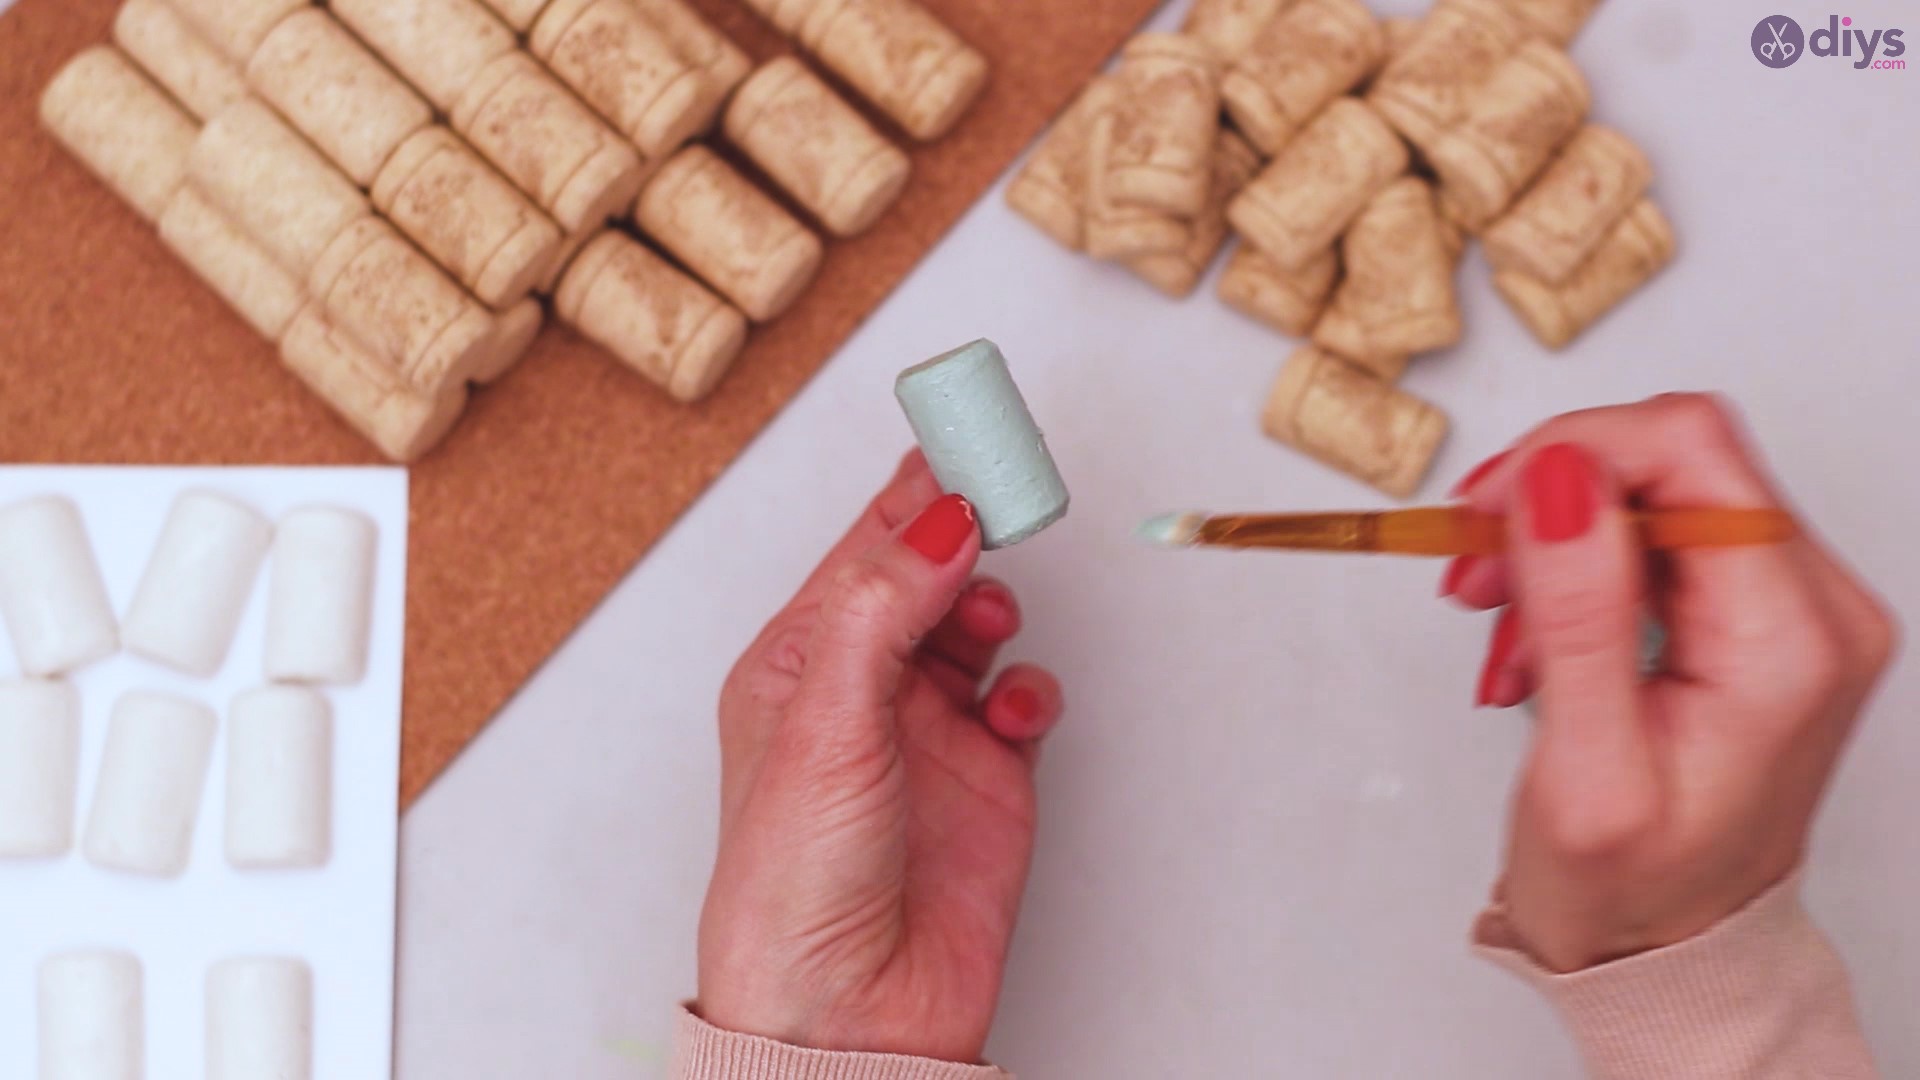
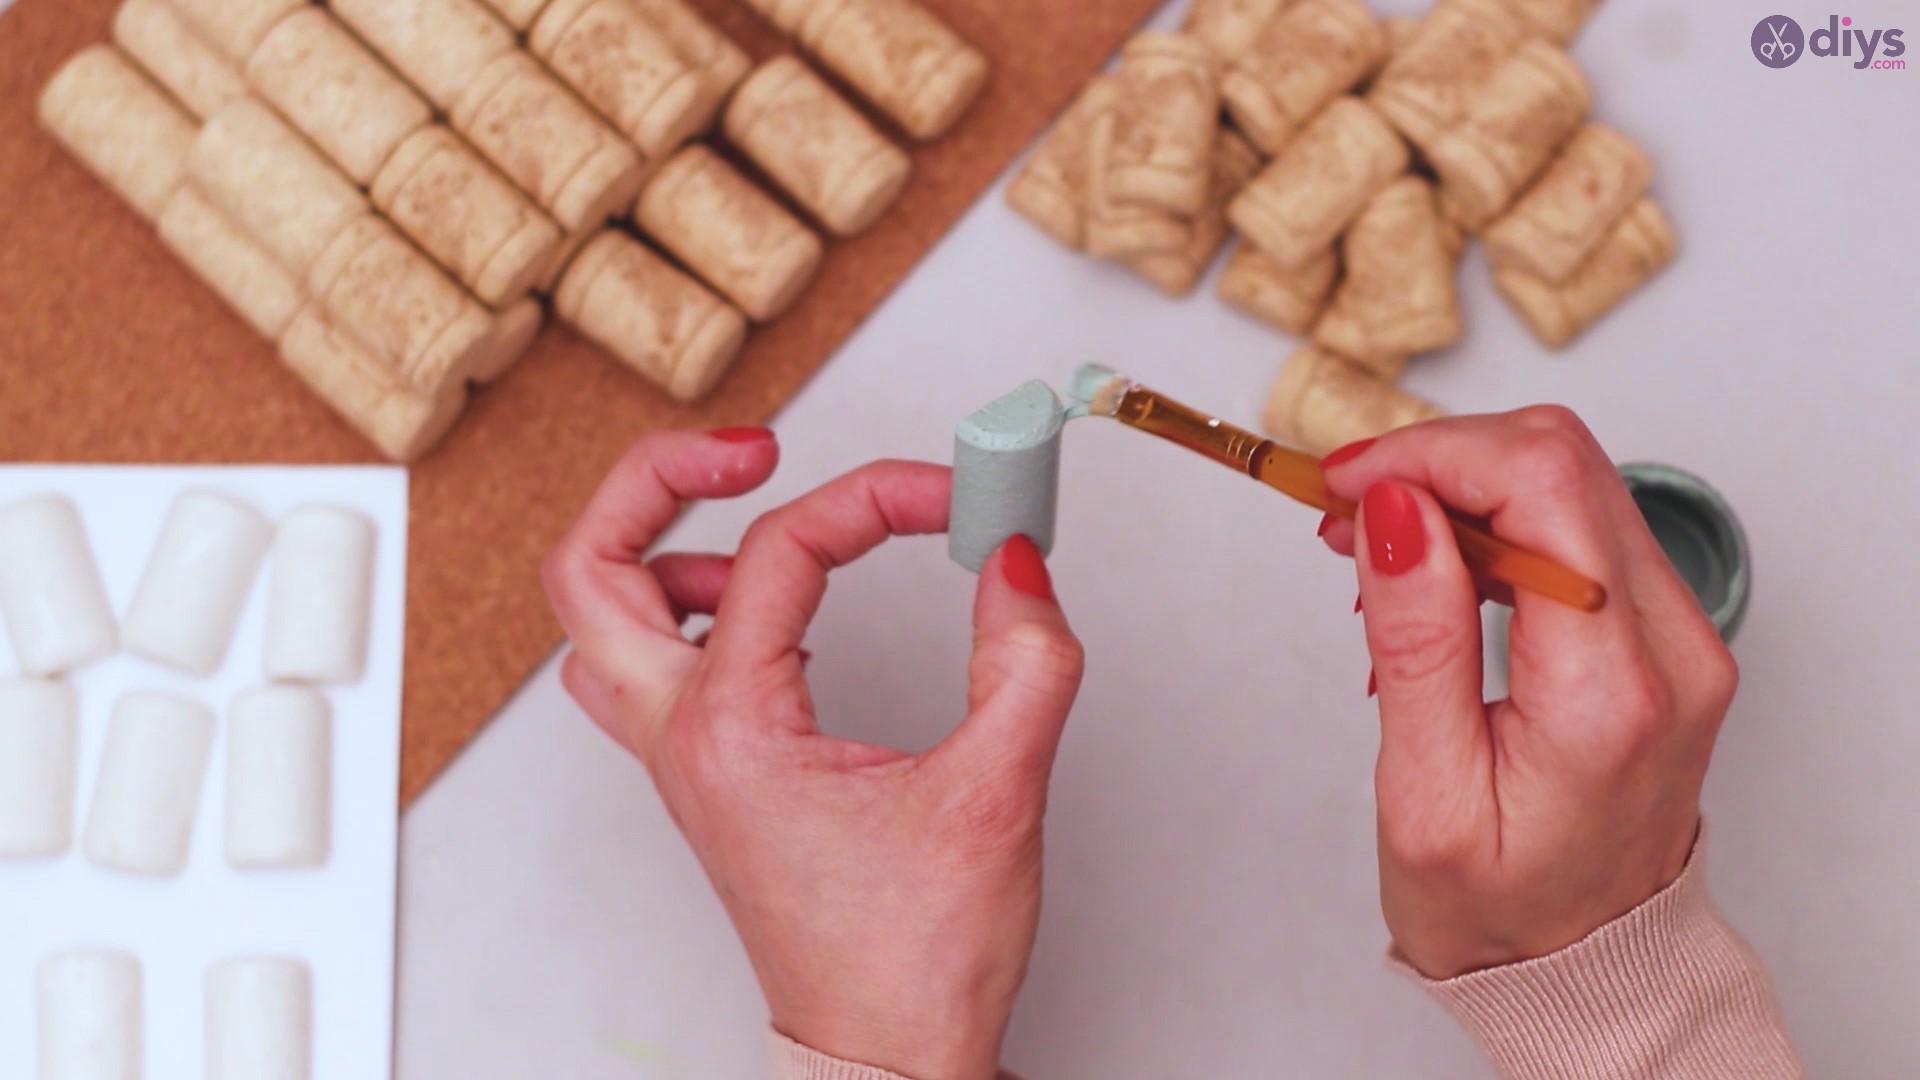
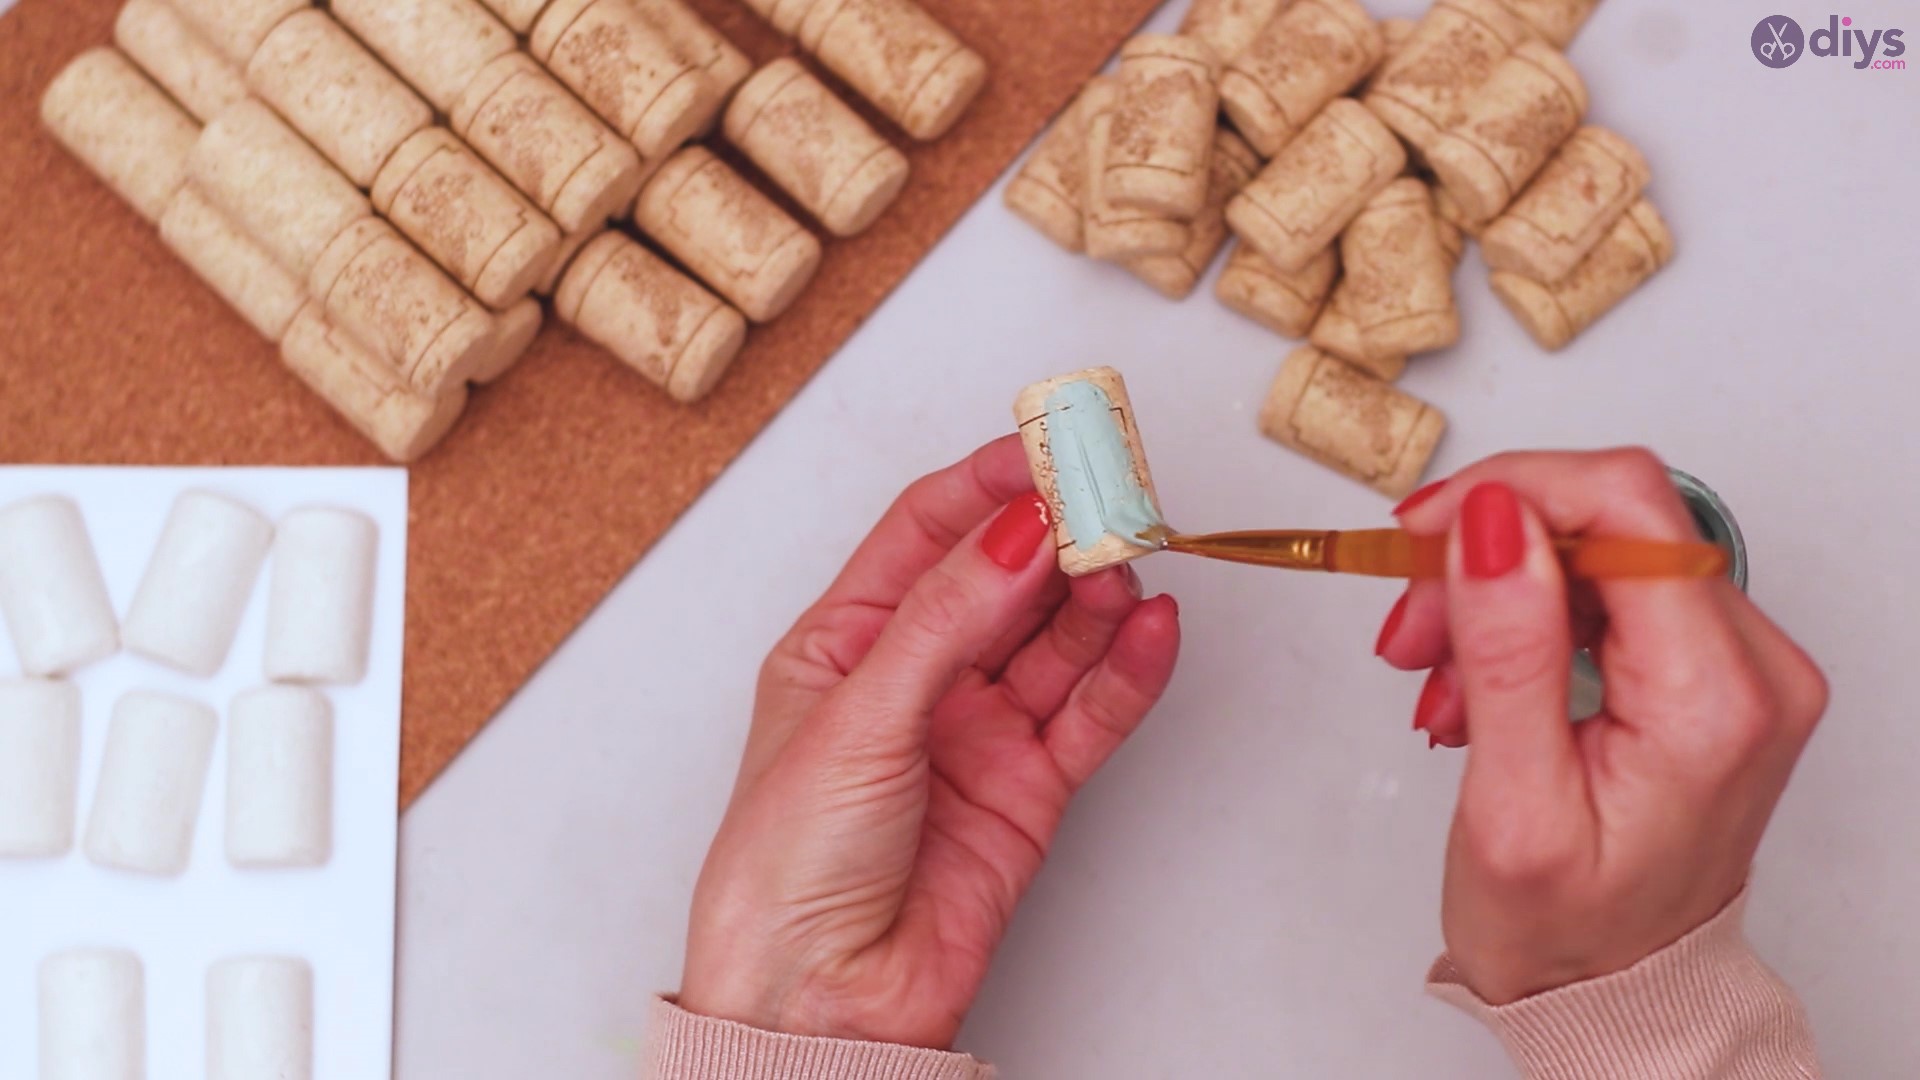
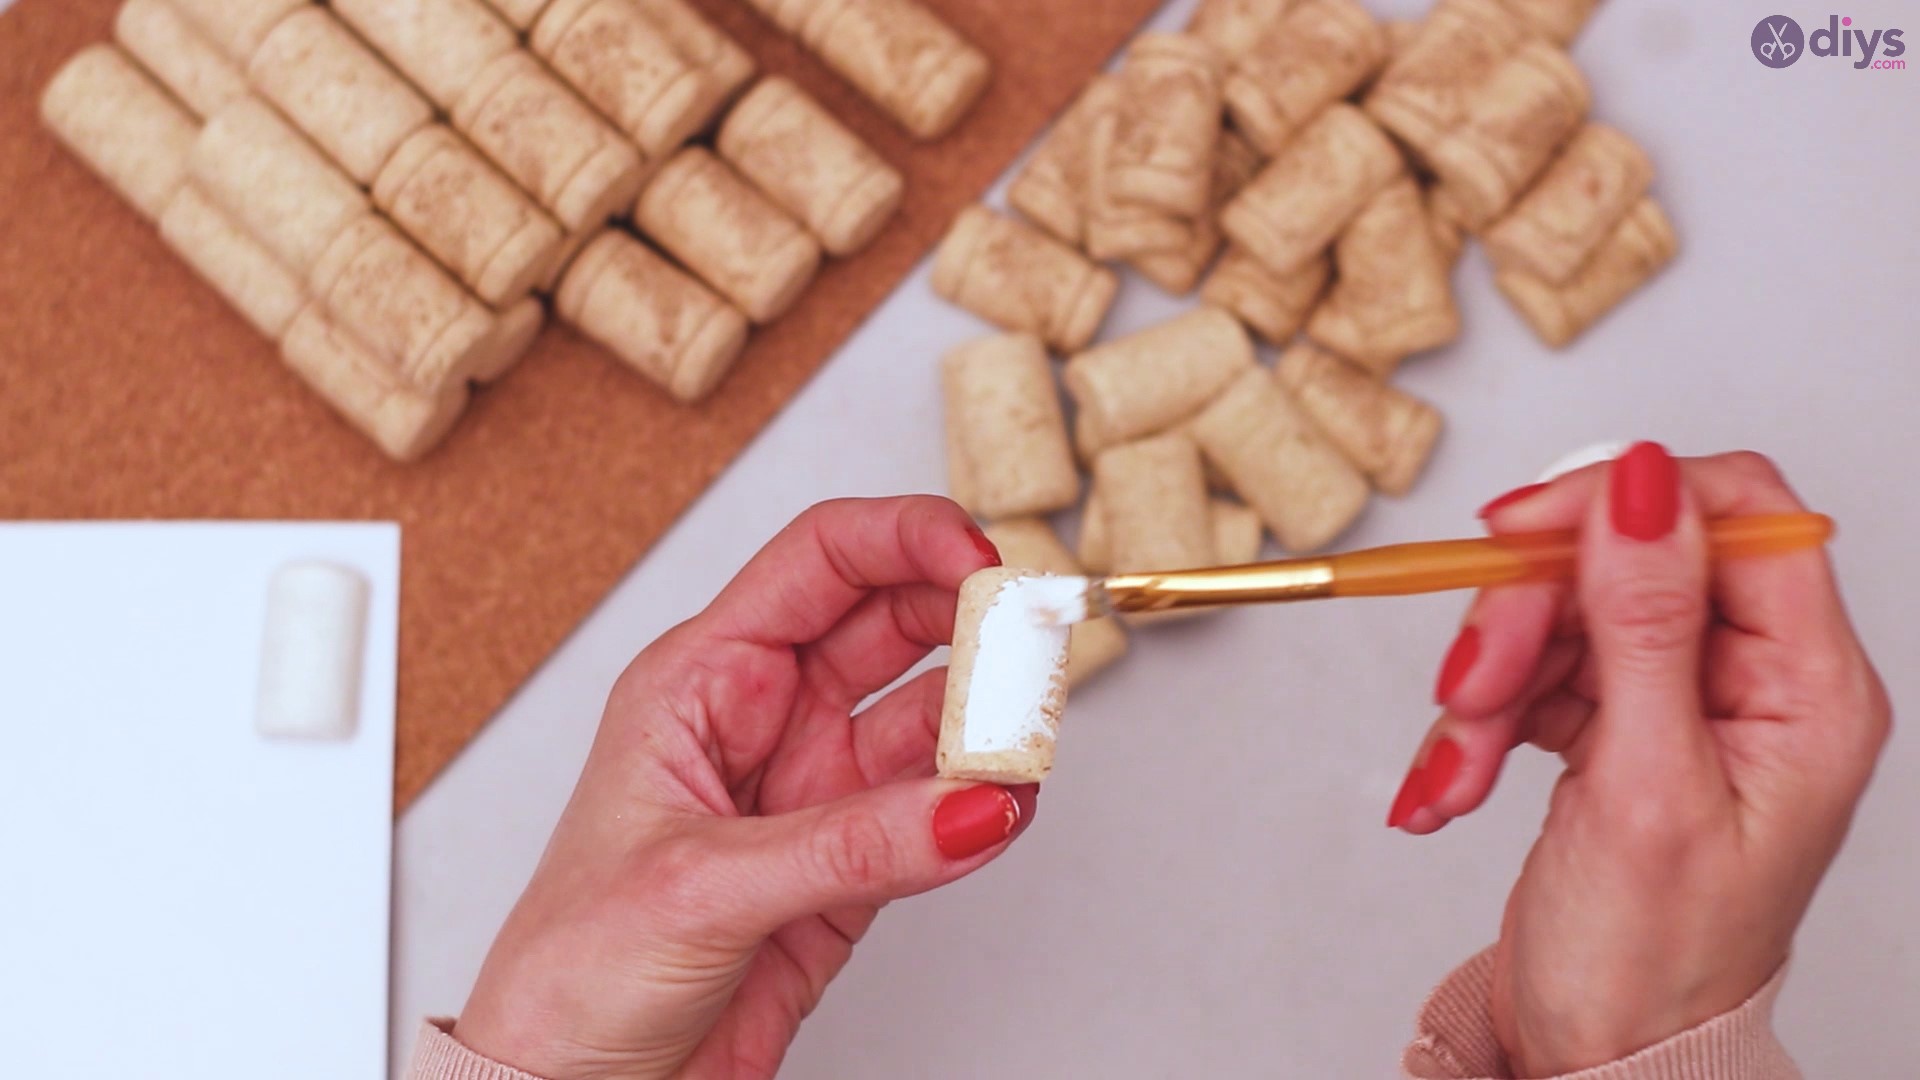
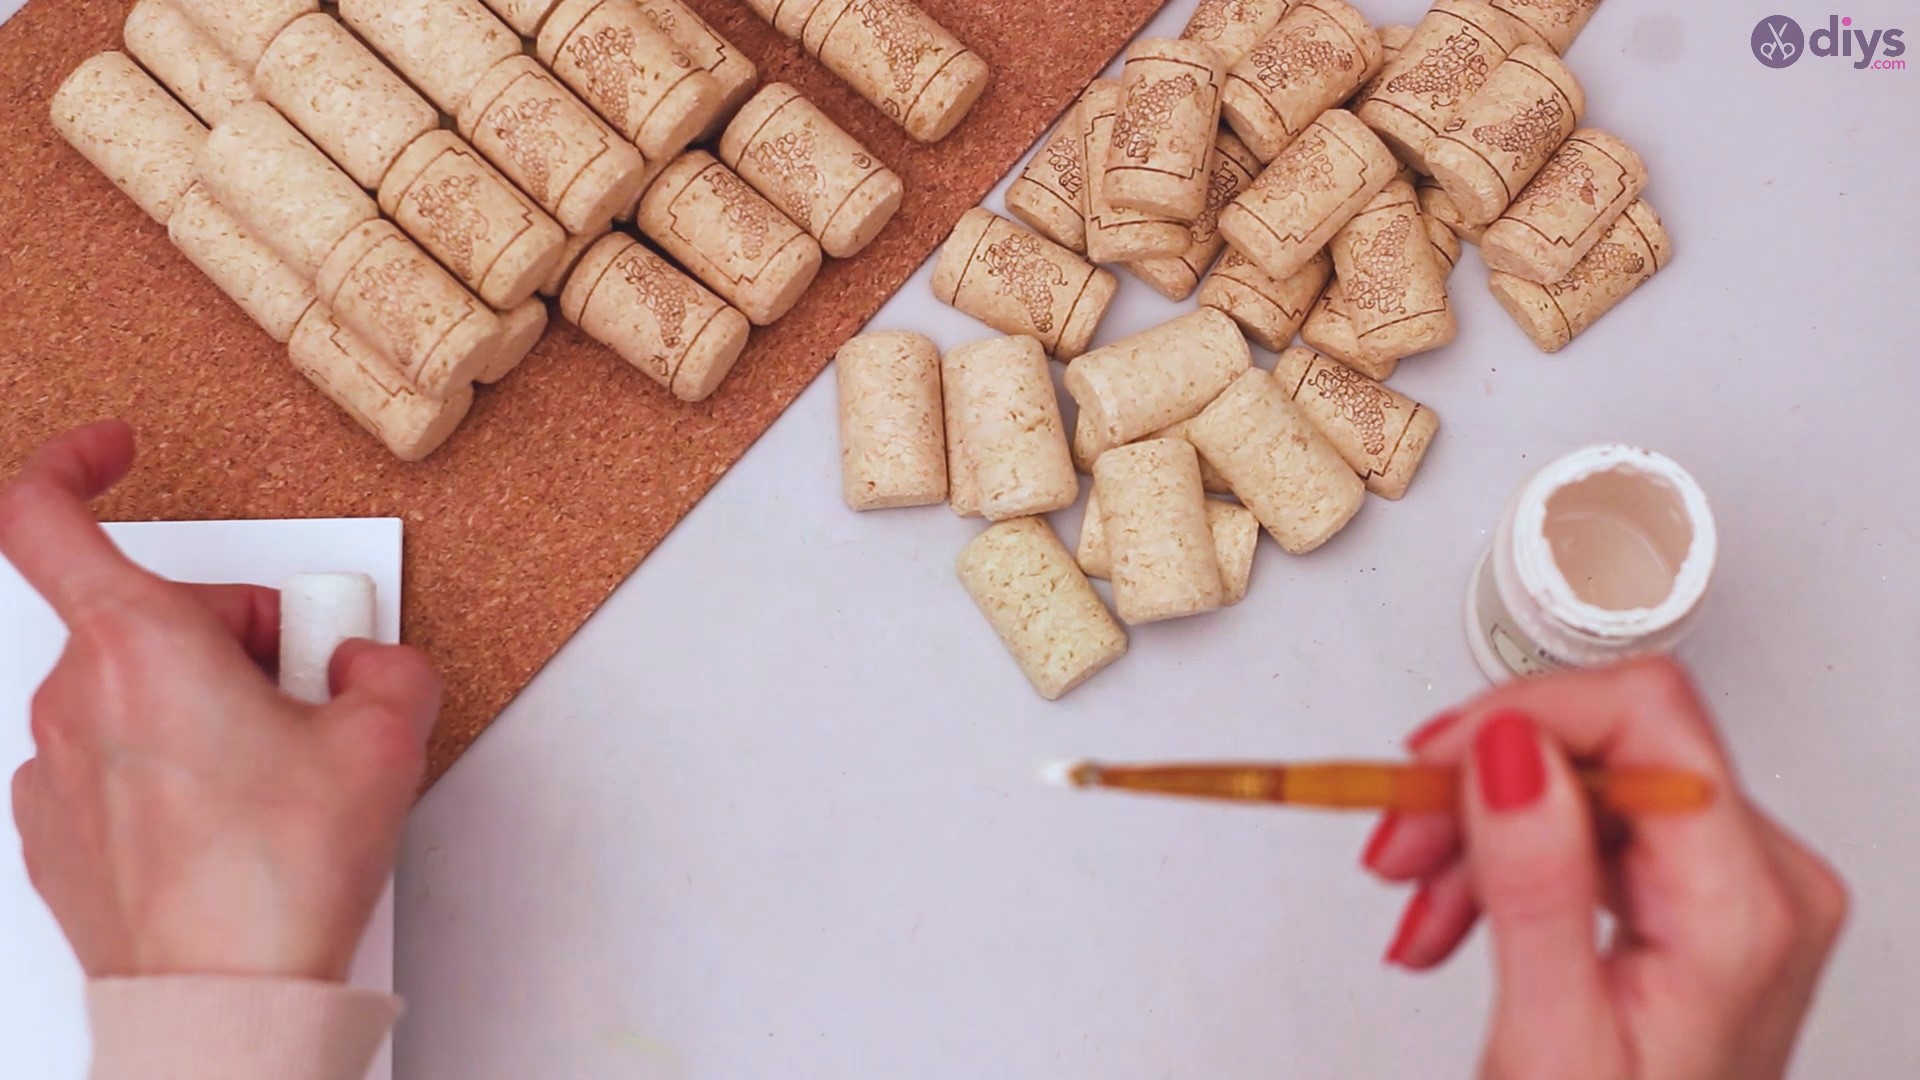
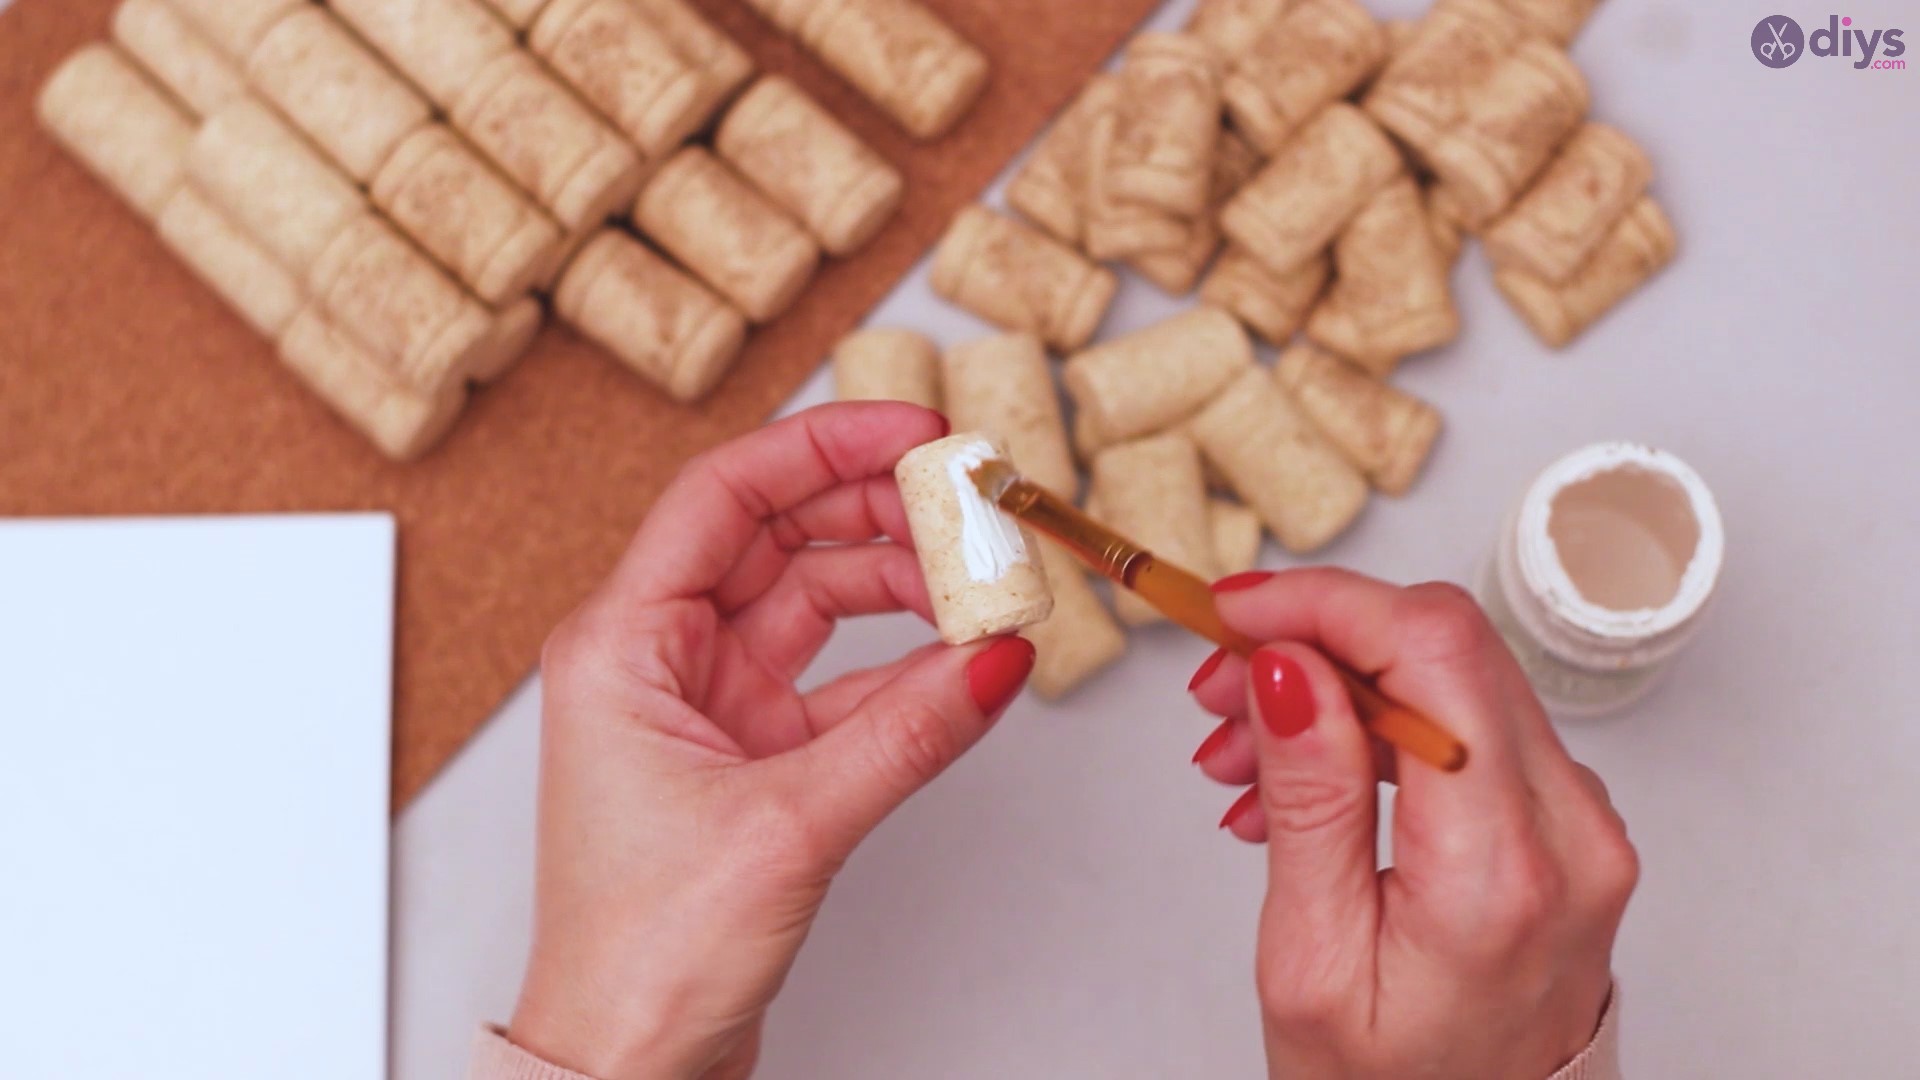
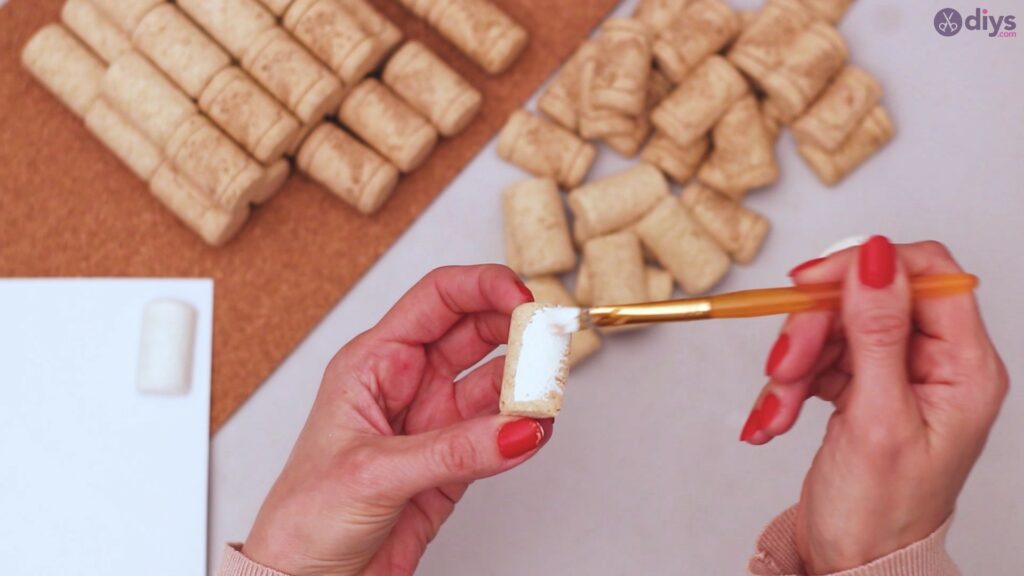
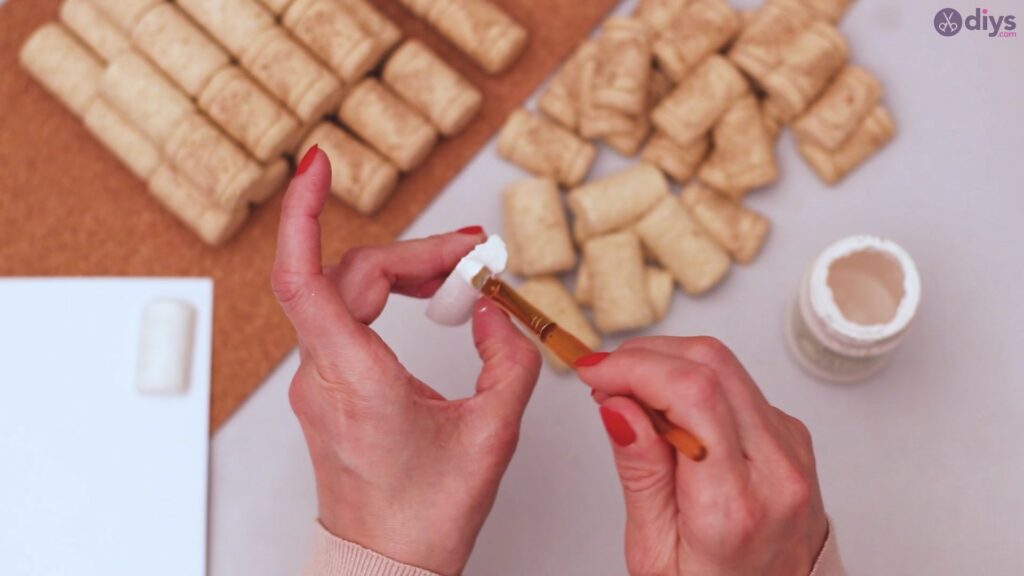
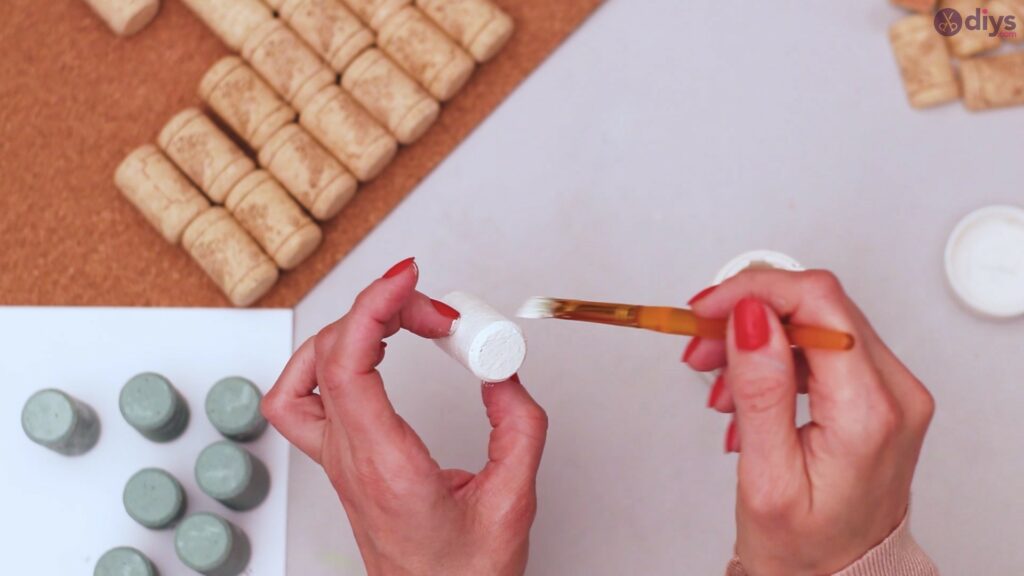
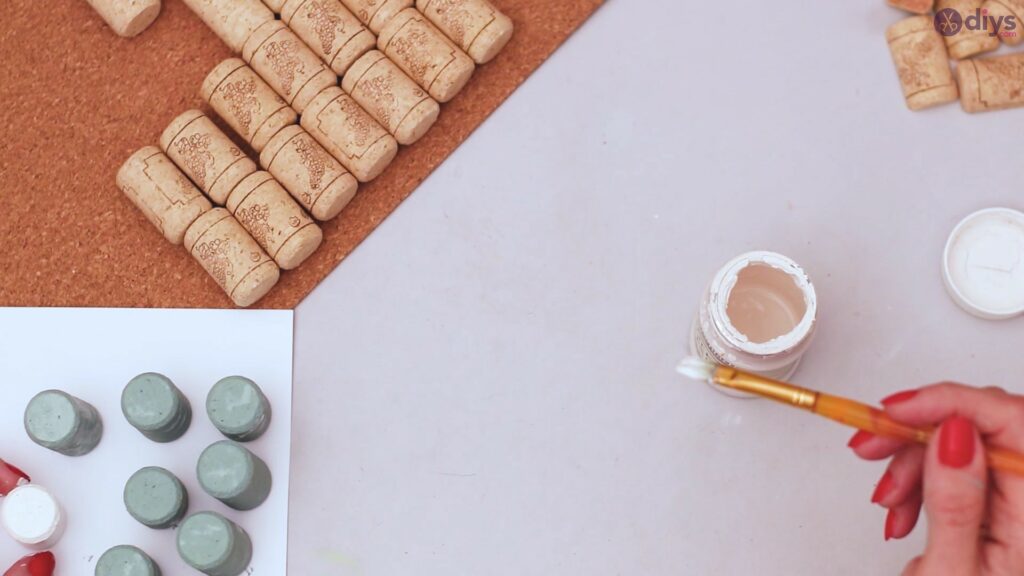
Step 2: Paint the wine corks
For the next step, we have to start painting the corks. You’ll only be painting some of them, so don’t go all out! Get the white acrylic paint and your paintbrush and cover some of the pieces with color. You’ll want to paint over the side and the sides too, but you can leave the back unpainted.
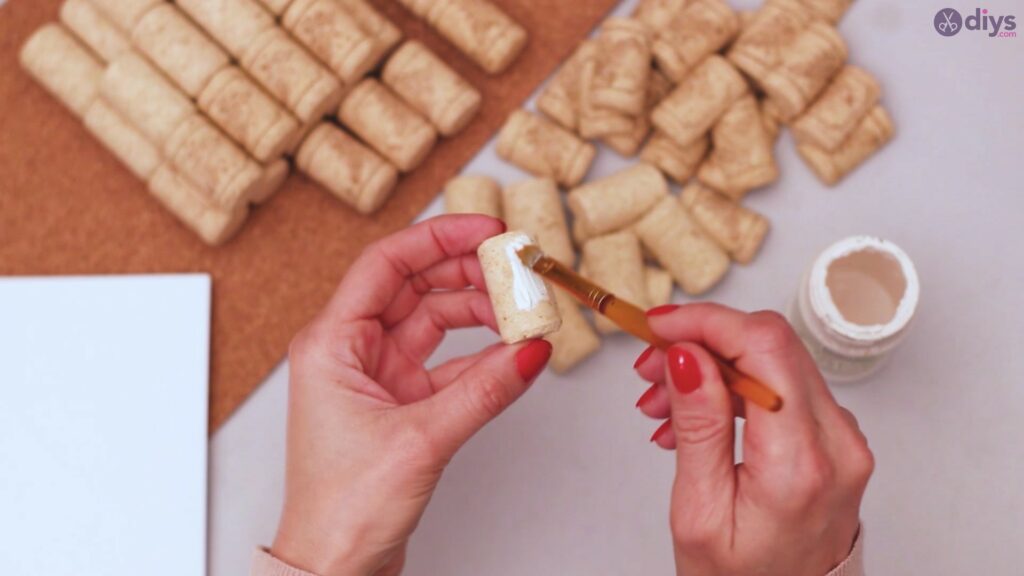

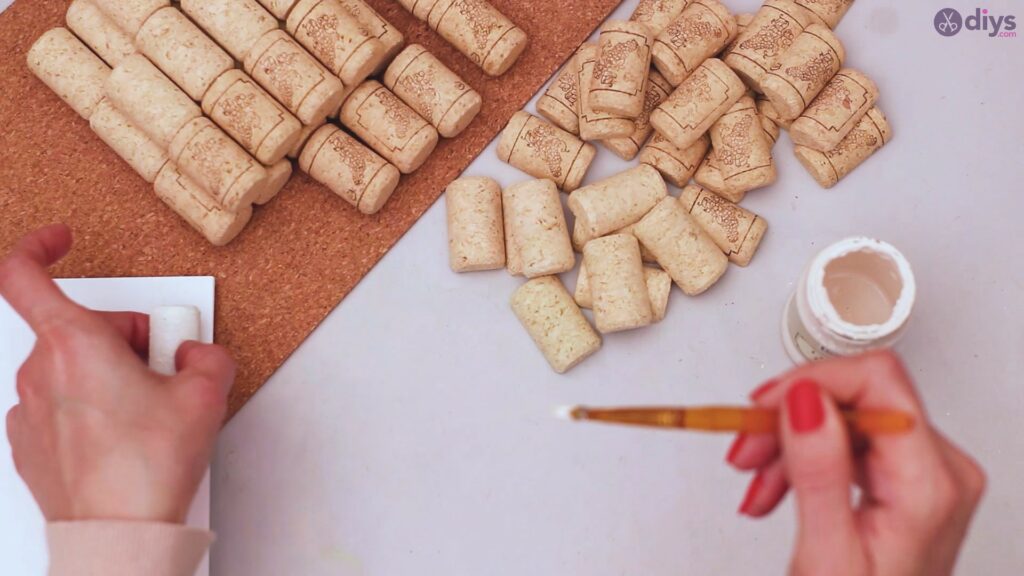
Place the painted pieces on a piece of paper and leave them off to dry. You can use the white paint both on whole wine corks and on half pieces.
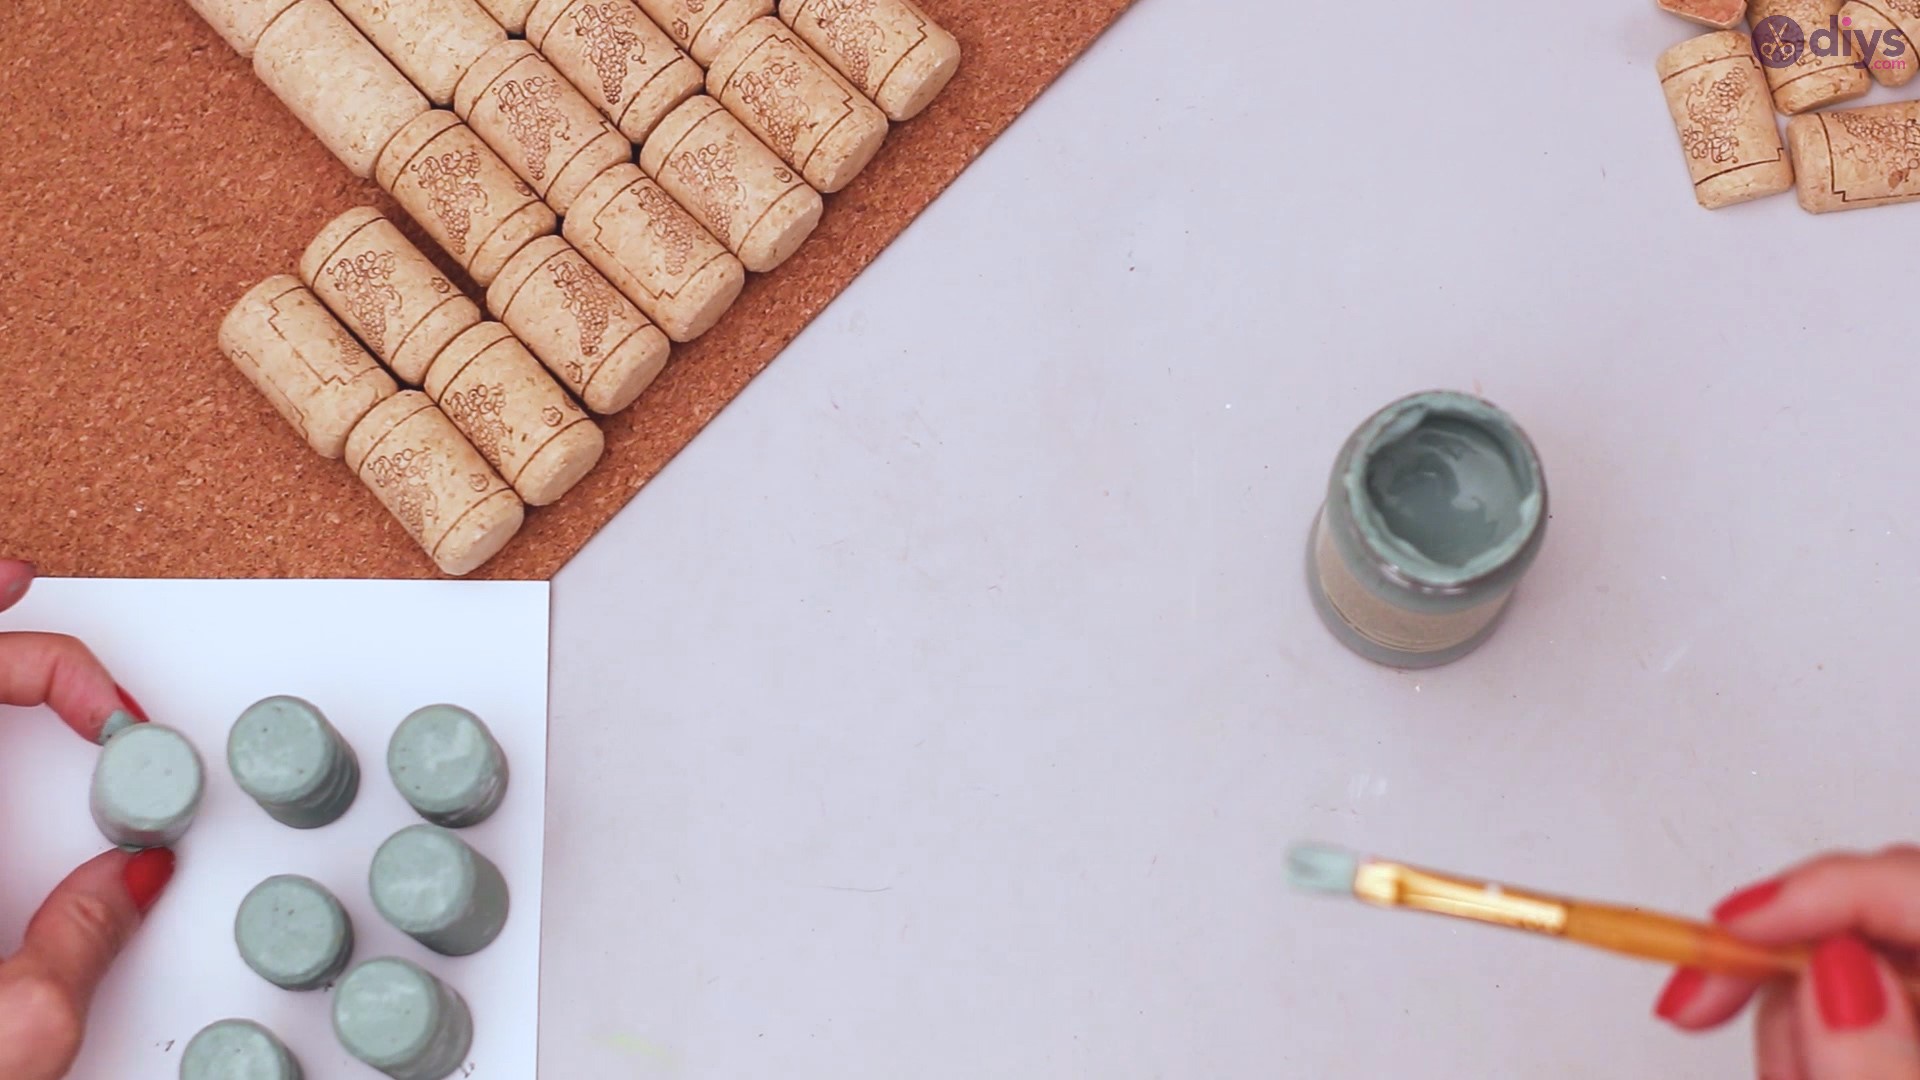
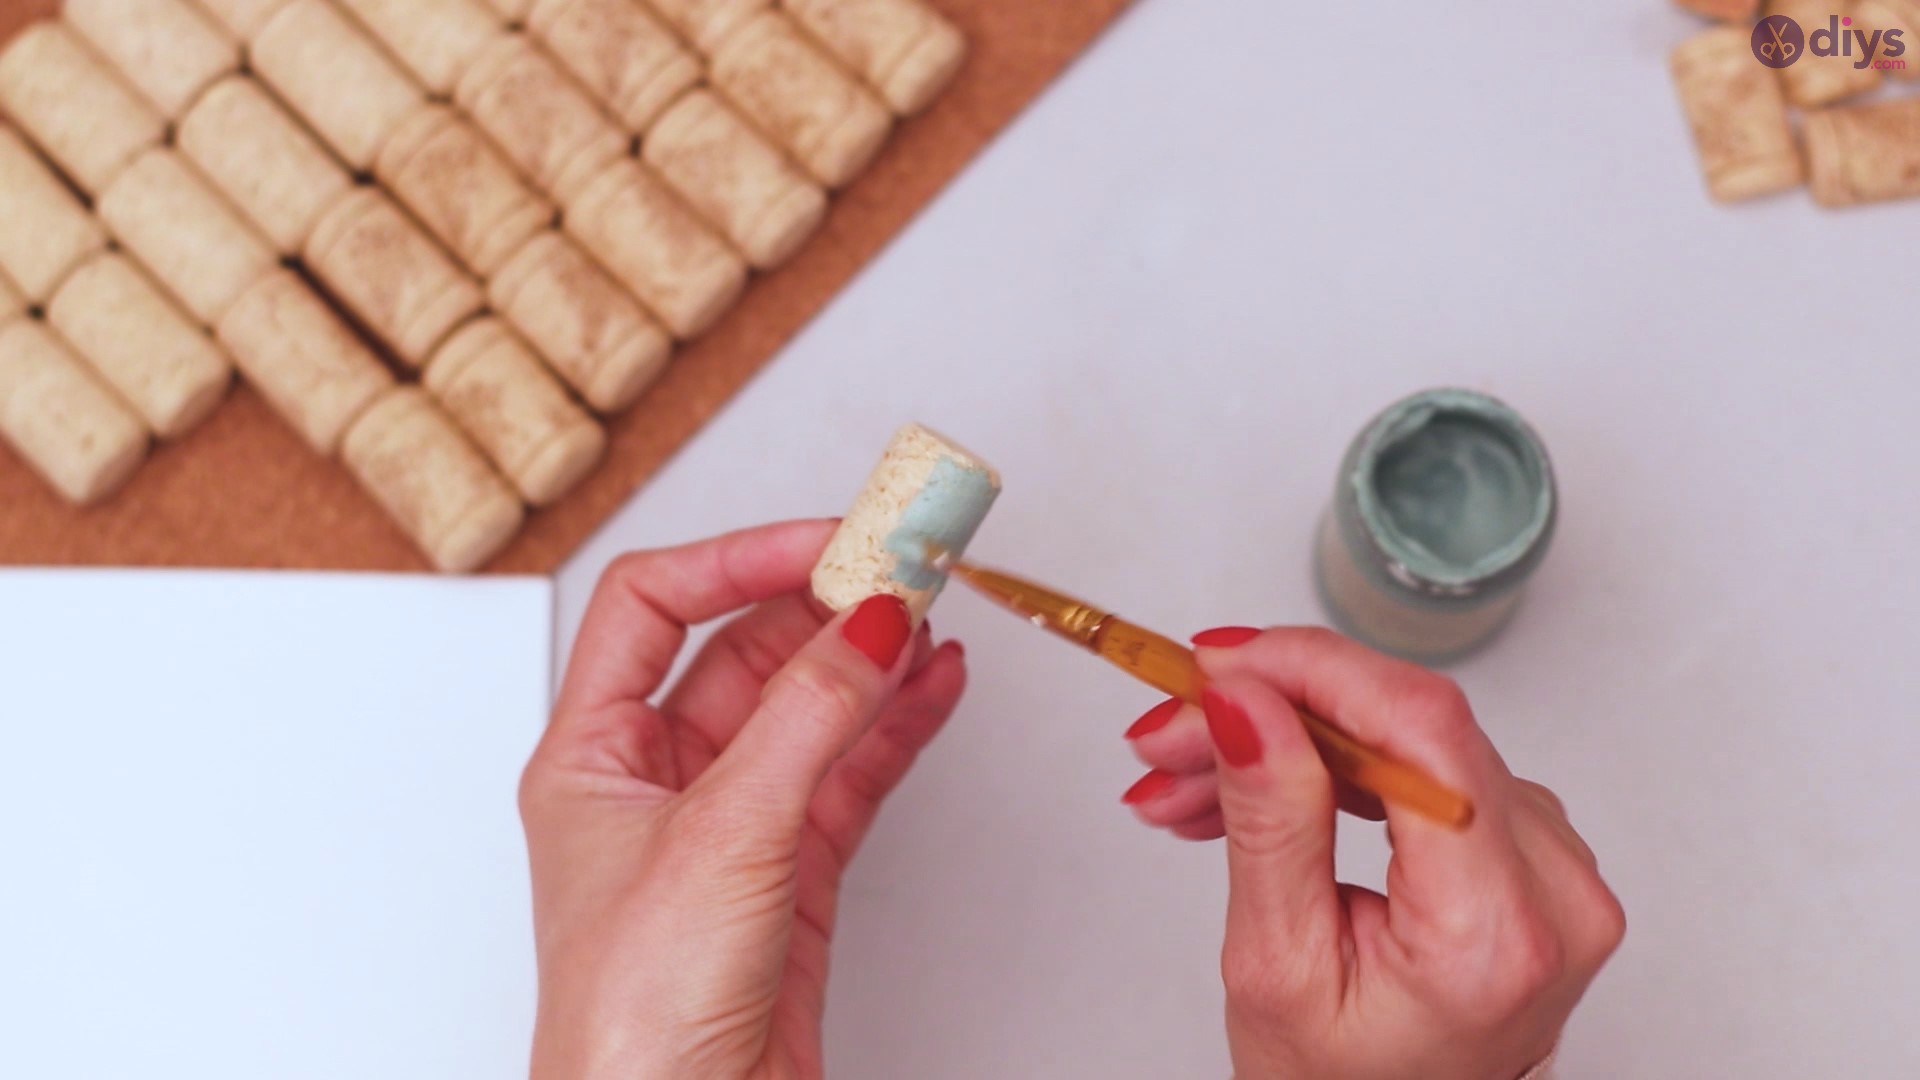
Get the gray acrylic paint and add some color to the corks too.

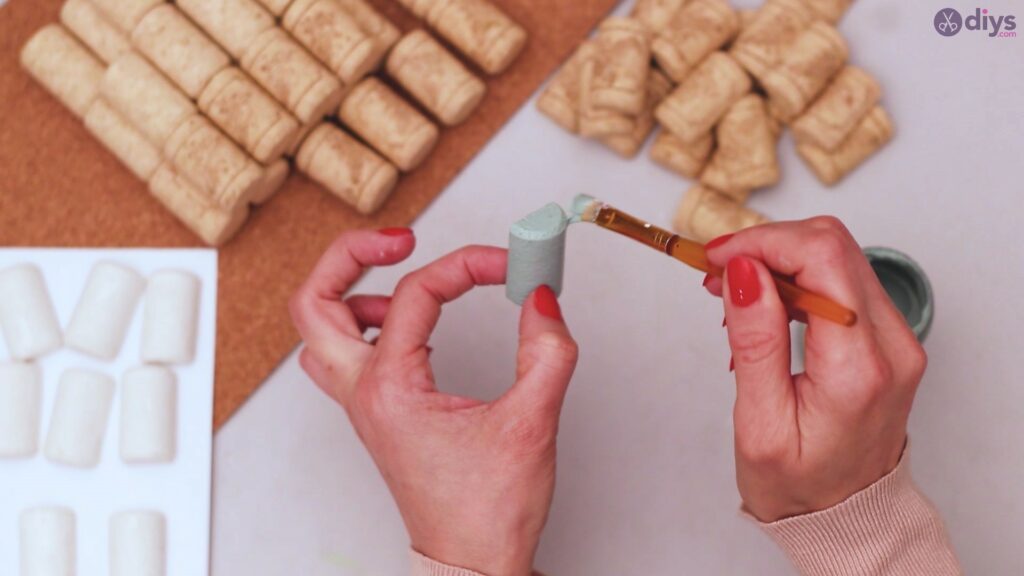

Just like you did with the white paint, cover the pieces on the sides and the edges too. For the whole wine cork pieces, you can leave one of the ends unpainted.
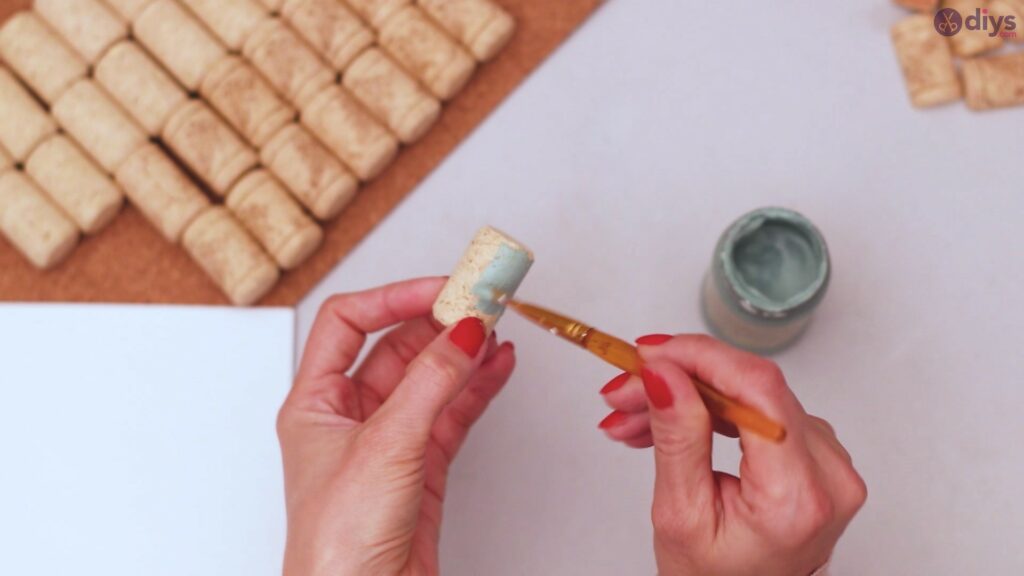


Place all the painted pieces on the paper and allow them time to dry. Since we’re using acrylic paint, you shouldn’t have to wait too long for the layer to dry. However, make sure you don’t use water to dilute the paint as you want good coverage in a single layer. Also, make sure you don’t lay the paint down too thickly.
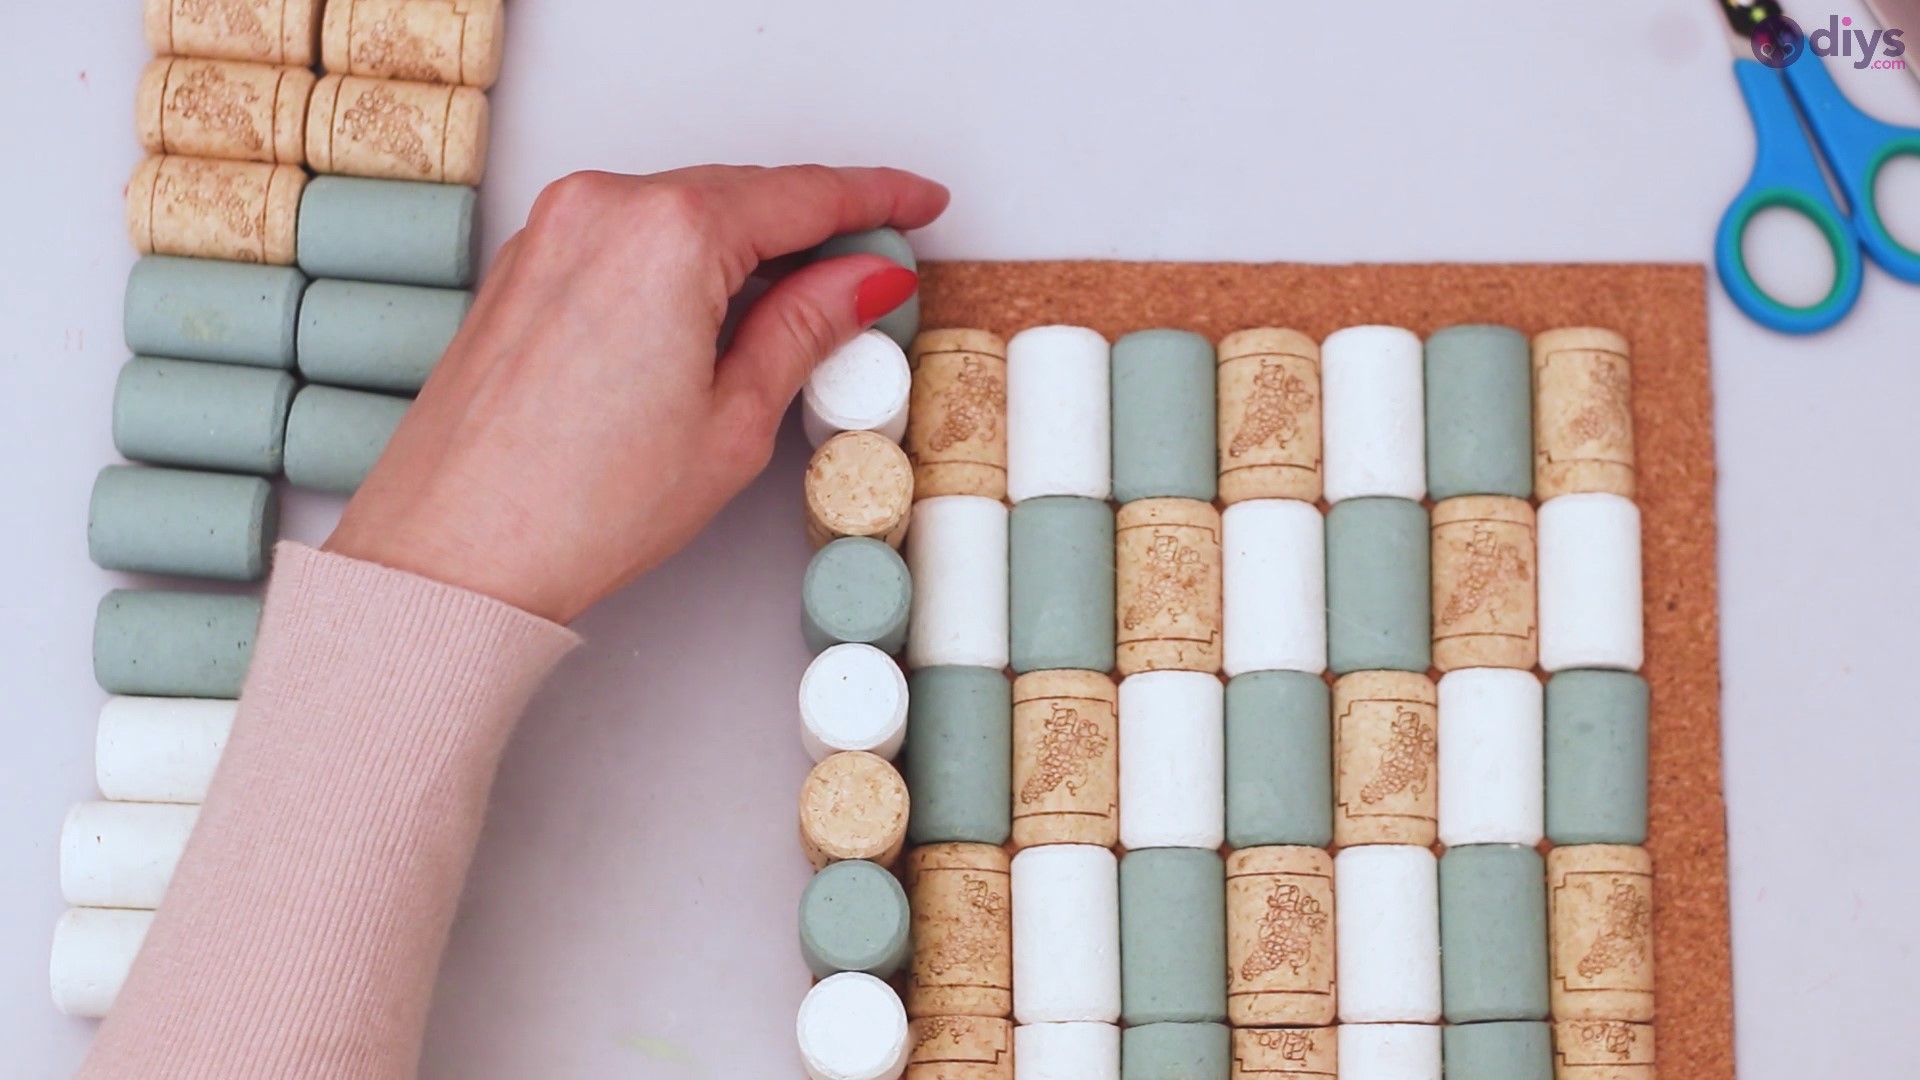
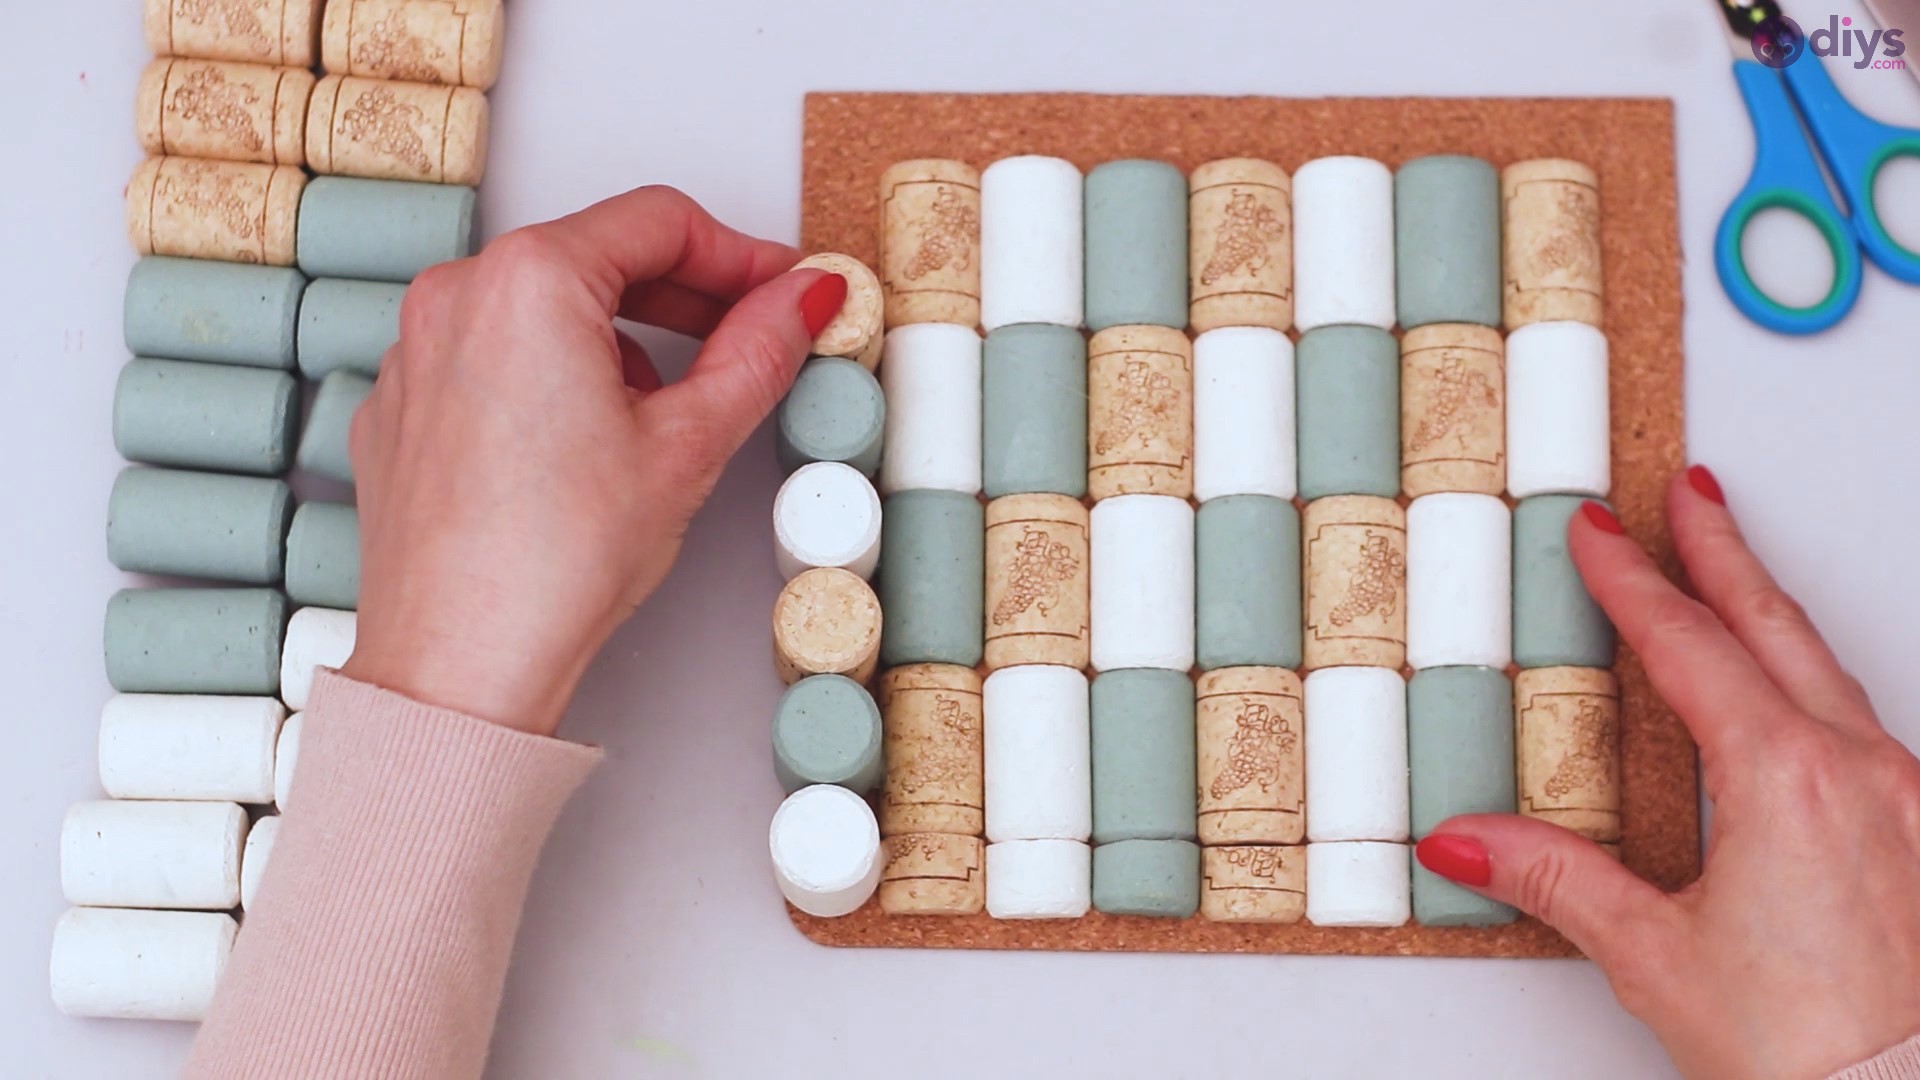
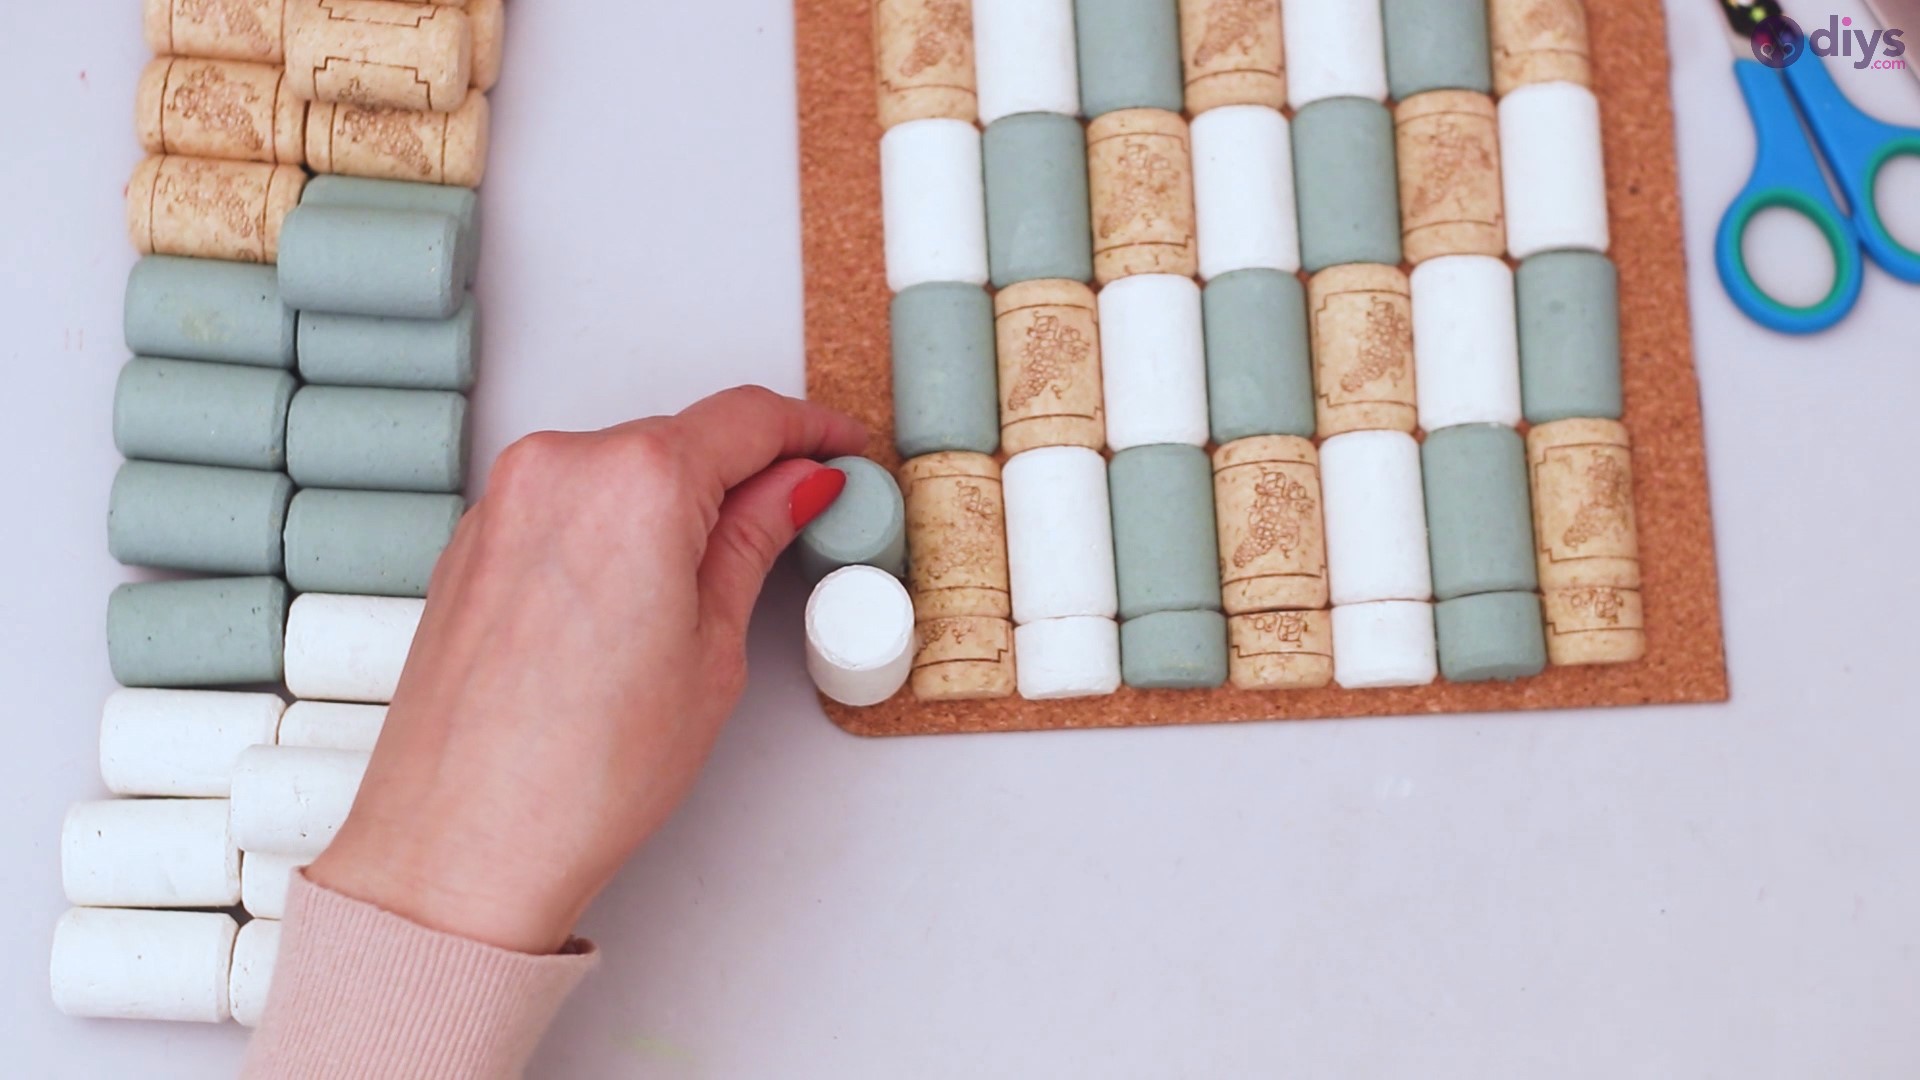
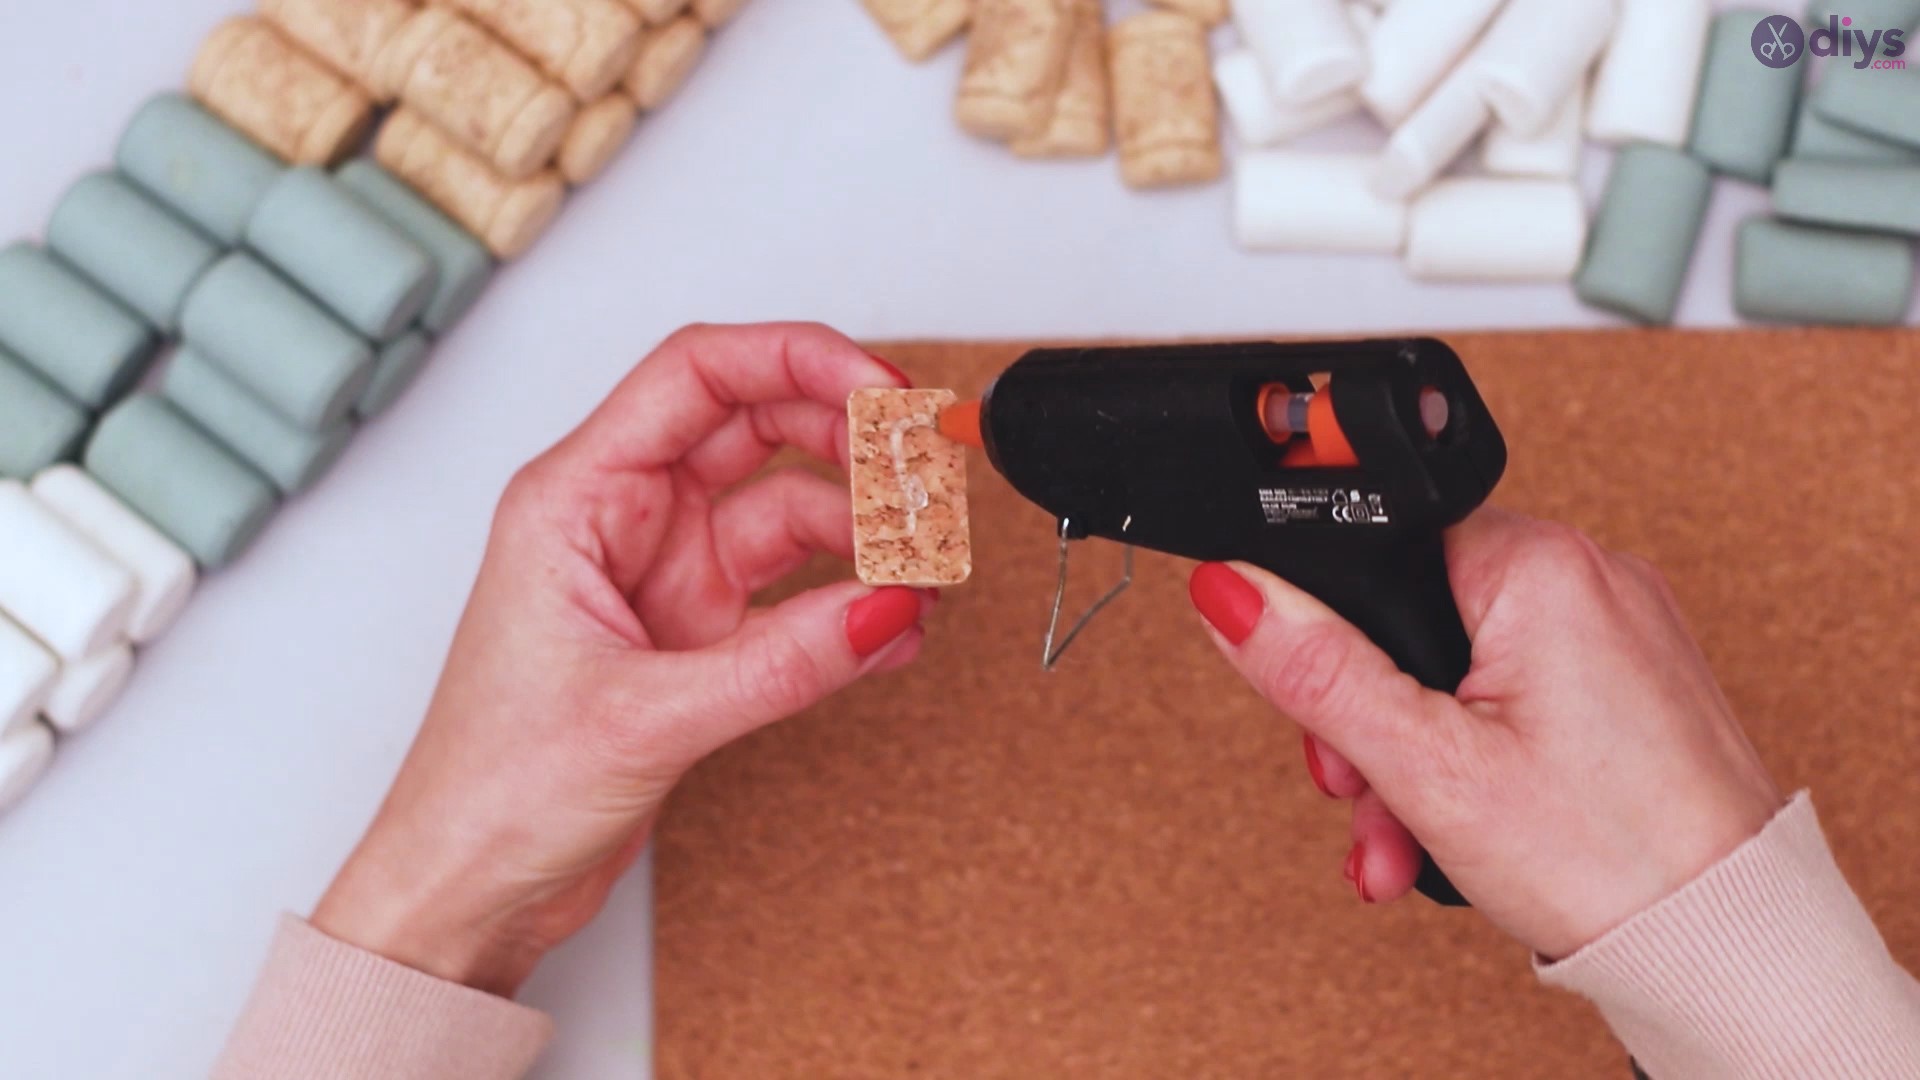
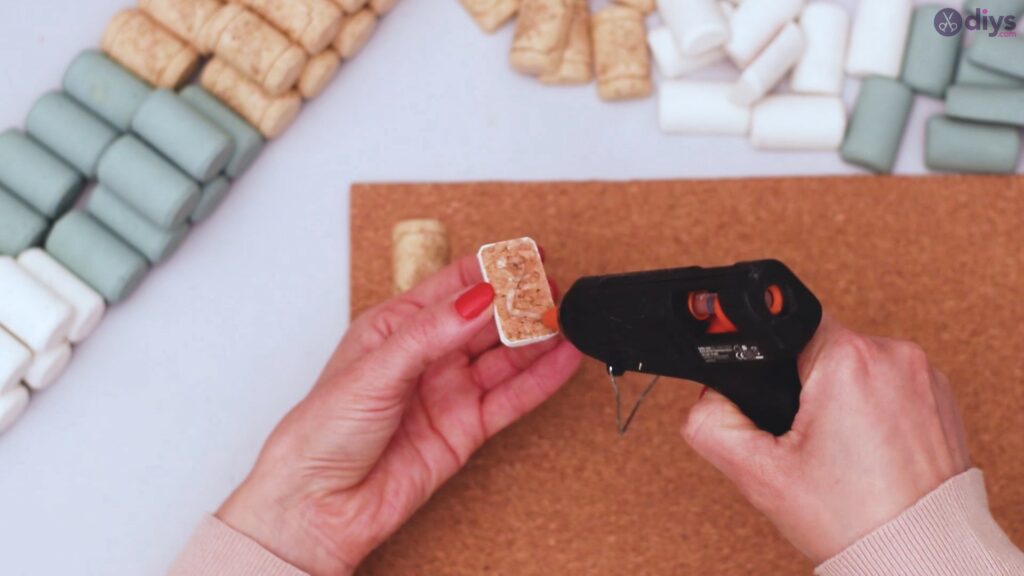
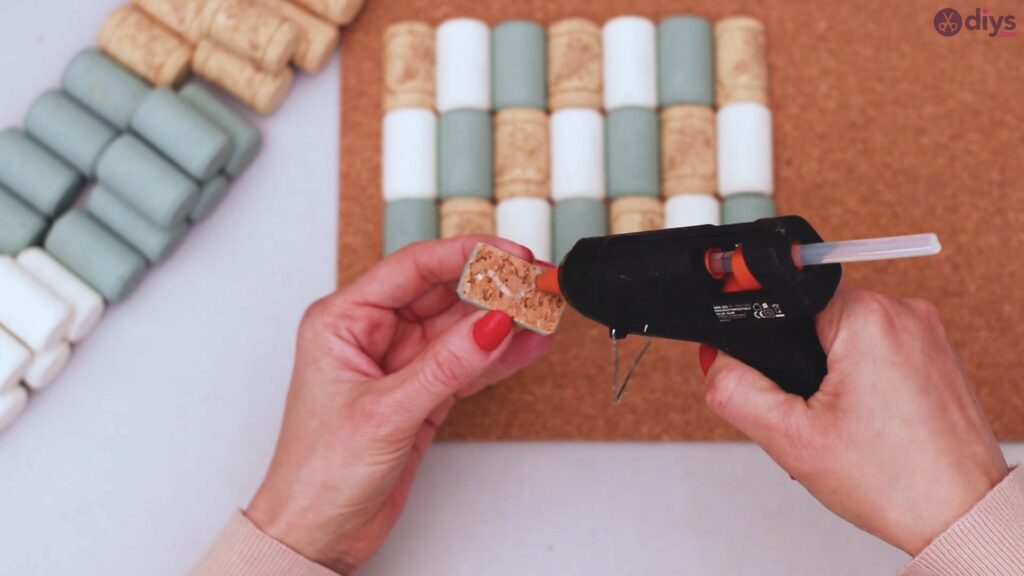
Step 3: Glue the wine corks
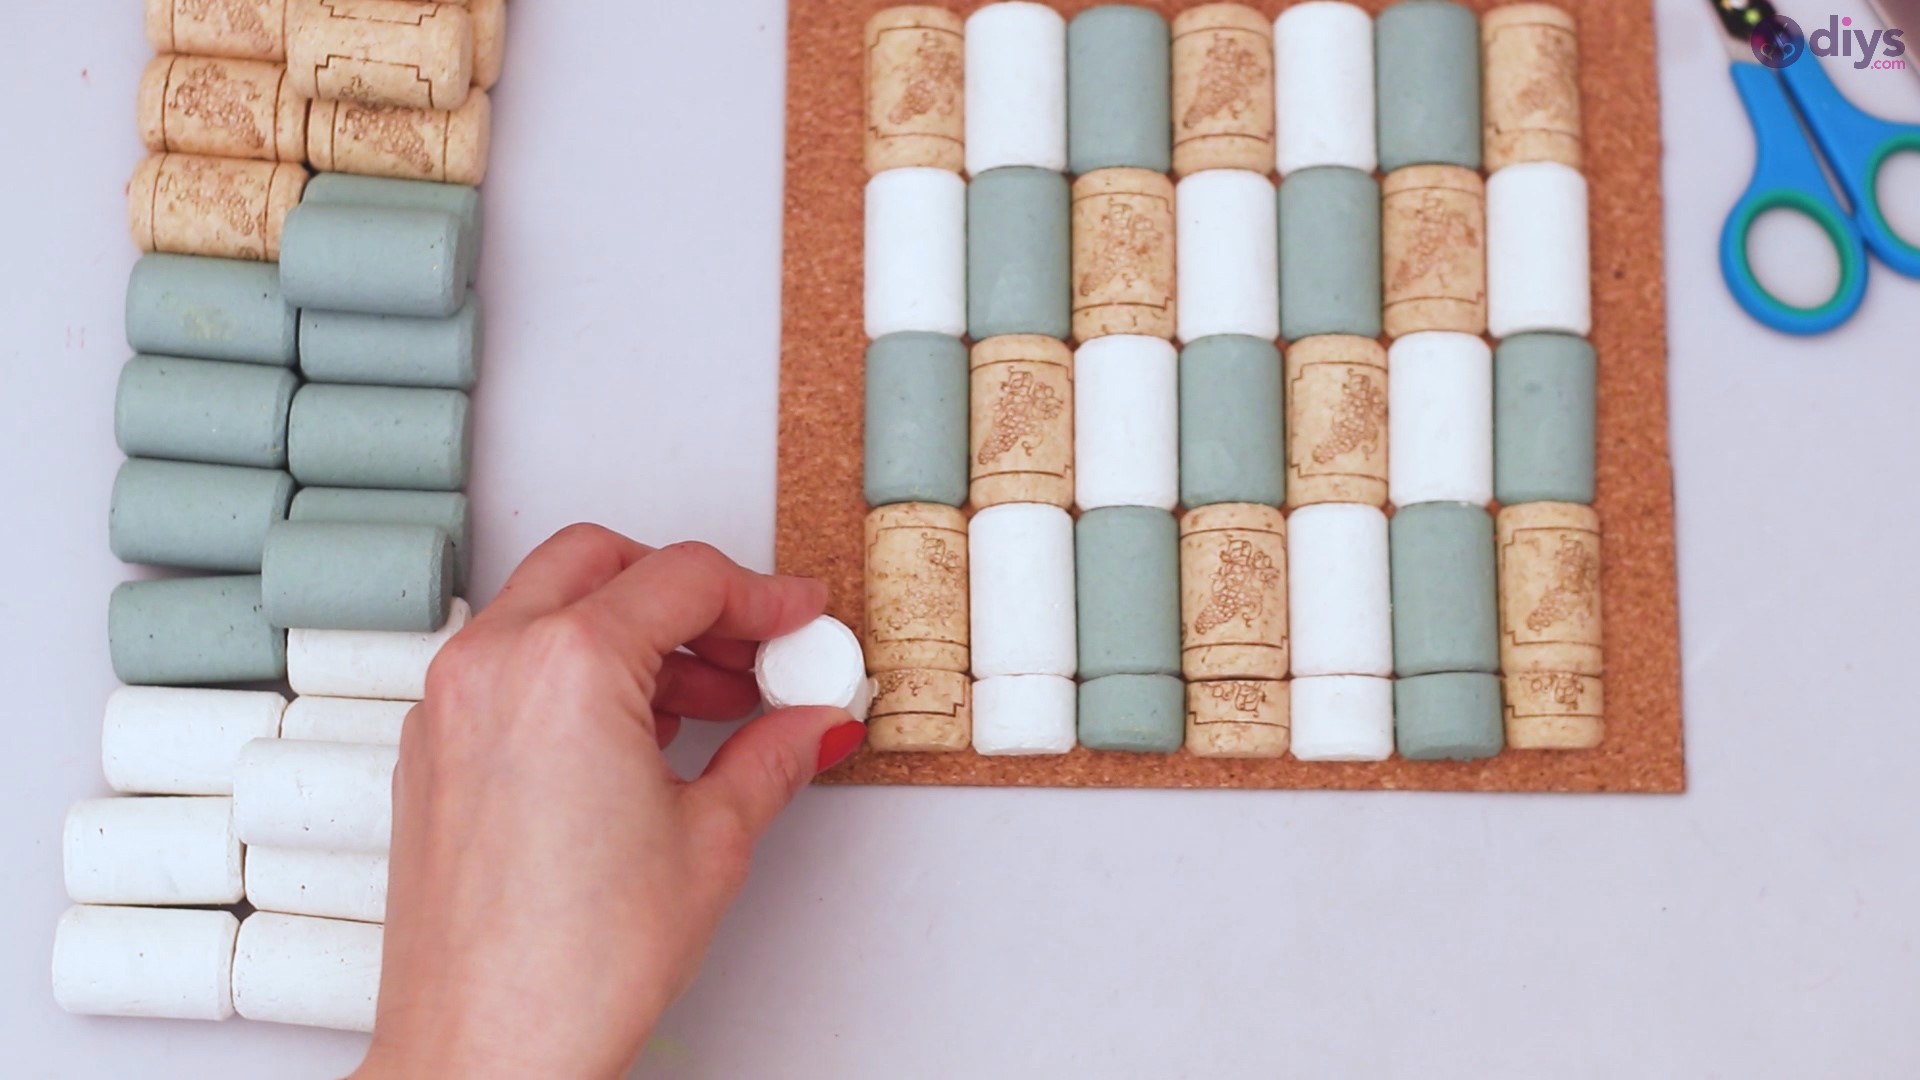
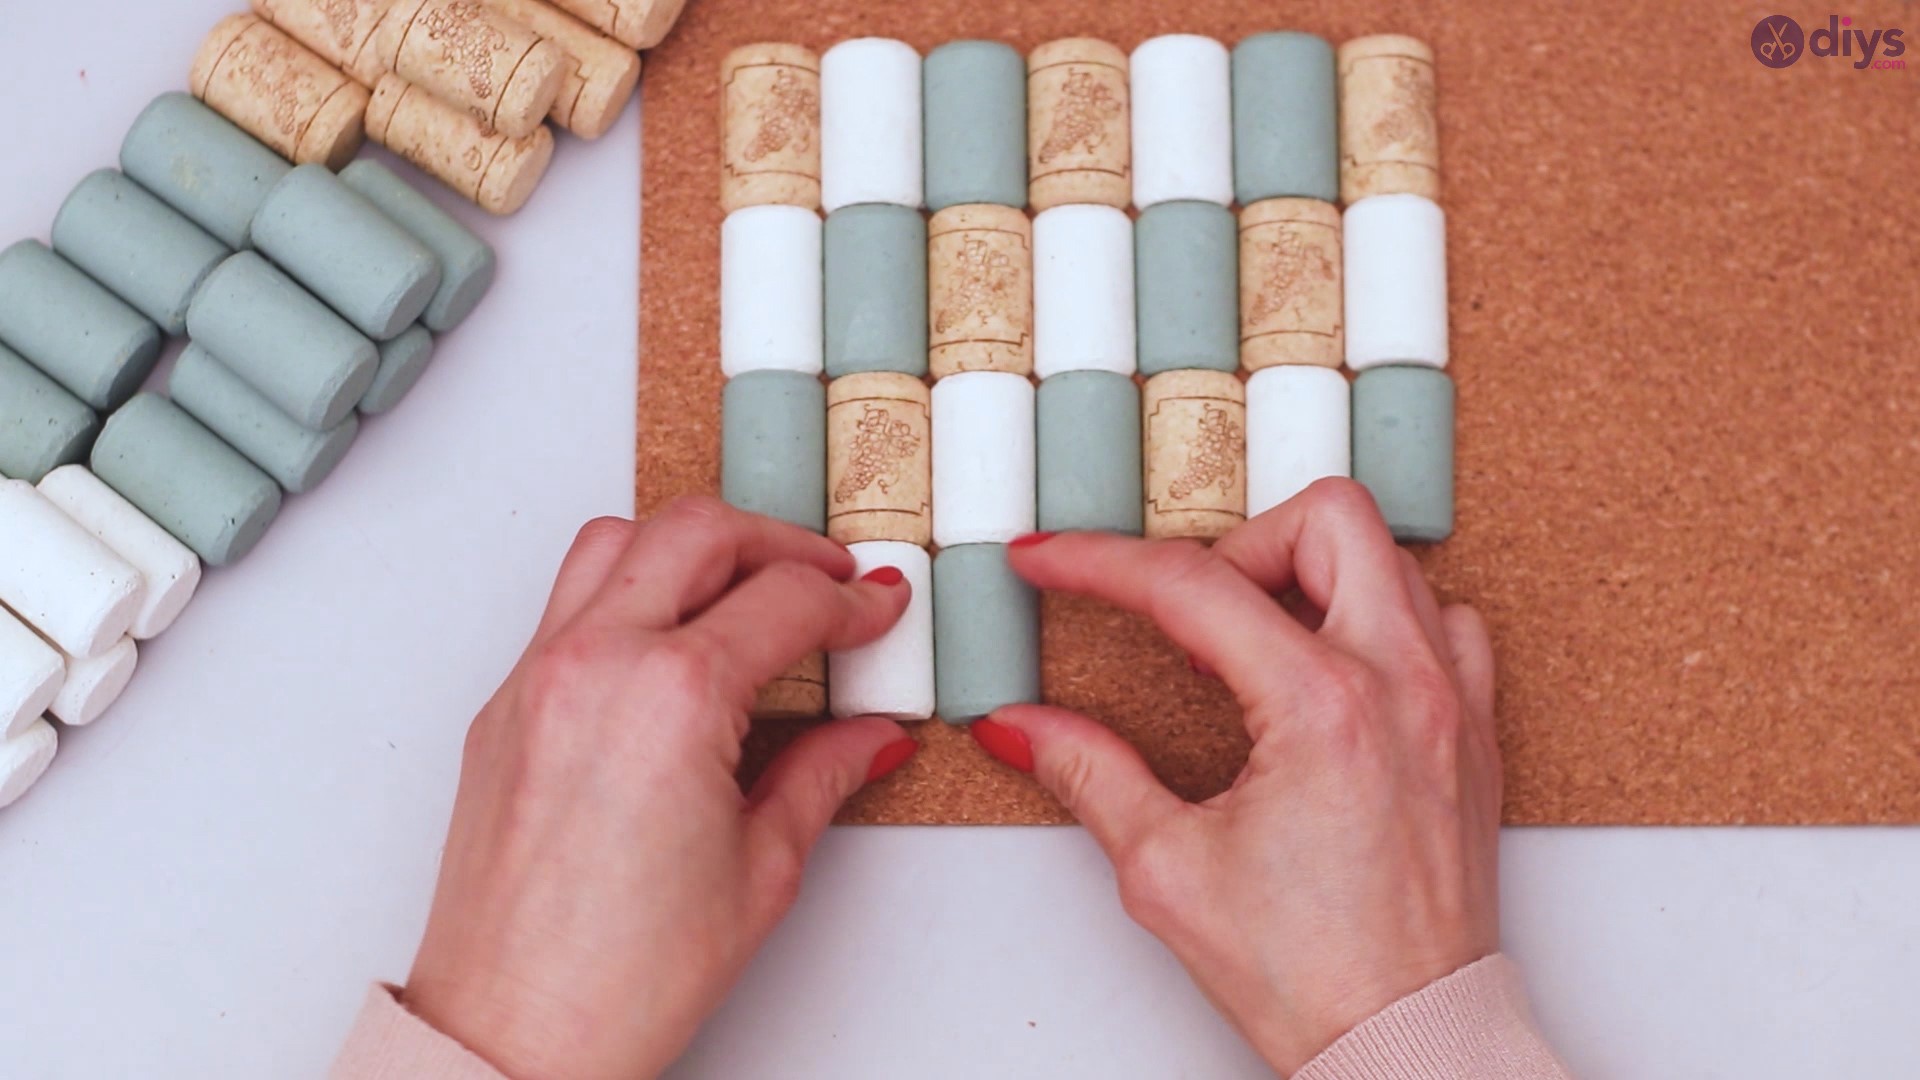
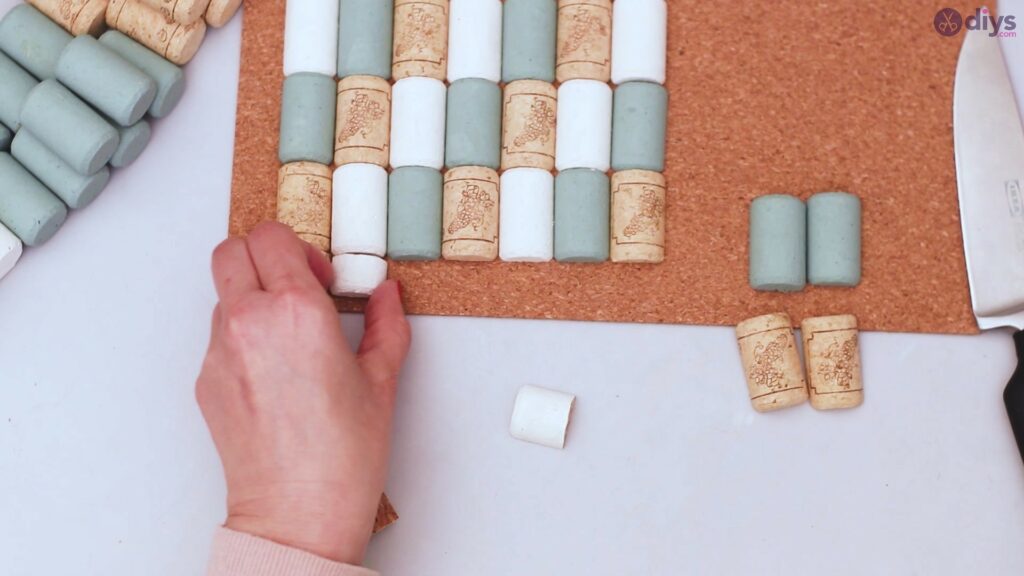
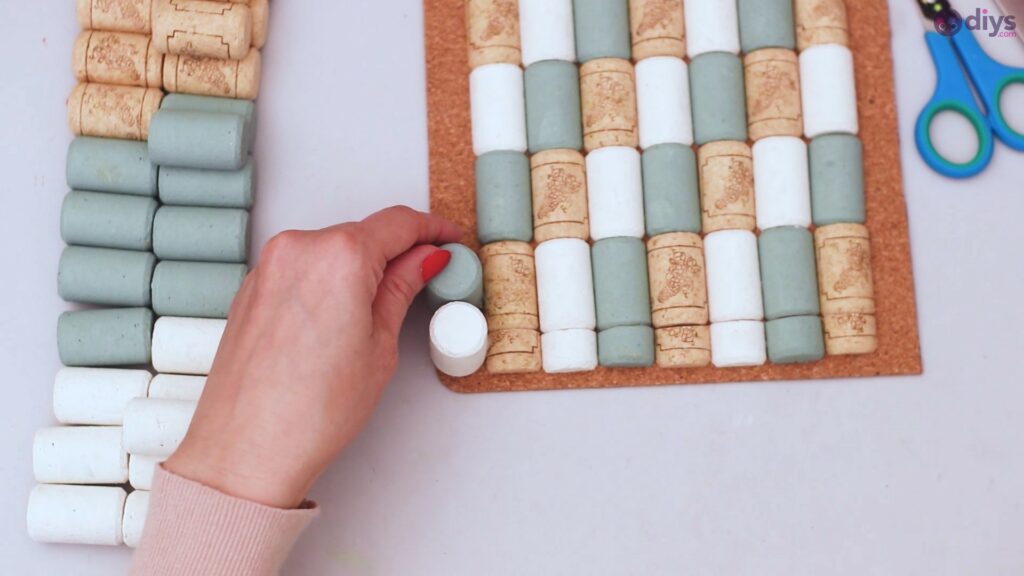
Next, you’ll need the corkboard and your painted wine corks.Grab theglue gunand start adding hot glue to the back of the halved wine corks. Place them on the board, but leave some room on the edges so you can place whole corks standing up – measure it up if you want, so you’ll know exactly how much room to leave.


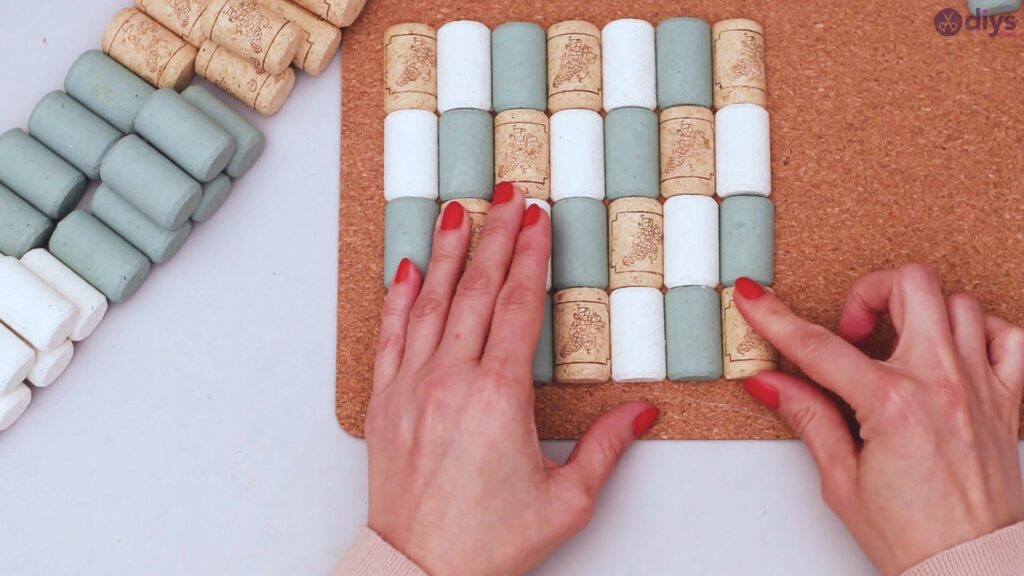
Start adding cork pieces one next to the other, making sure to line them up straight. Also, allow no space between the pieces. str
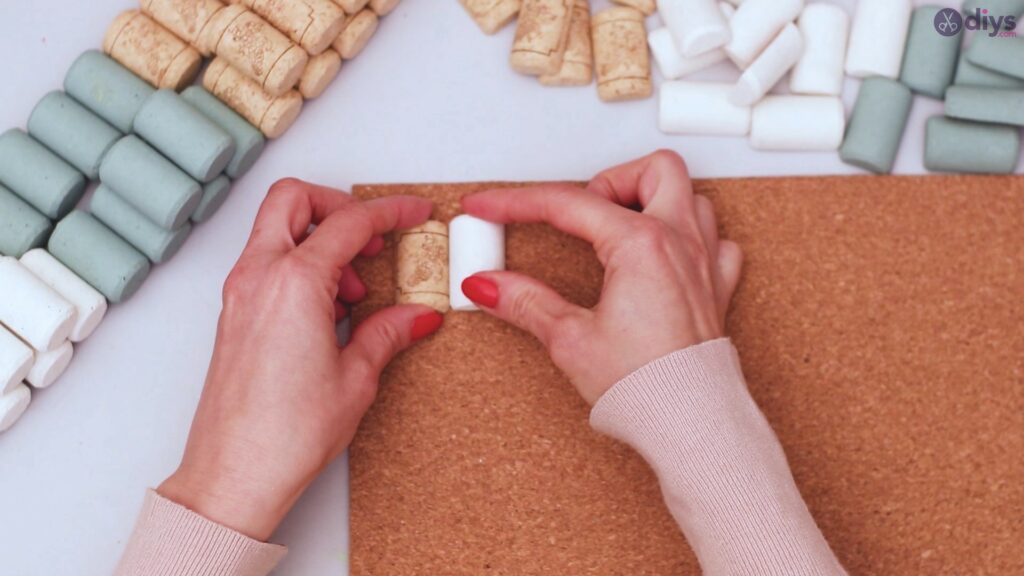
Create your napkin holder by figuring out what size it needs to have. We went with seven corks in a line, but you may need more. You can always lay down one of the napkins you usually have around your home so you’ll know how much space to build for them.
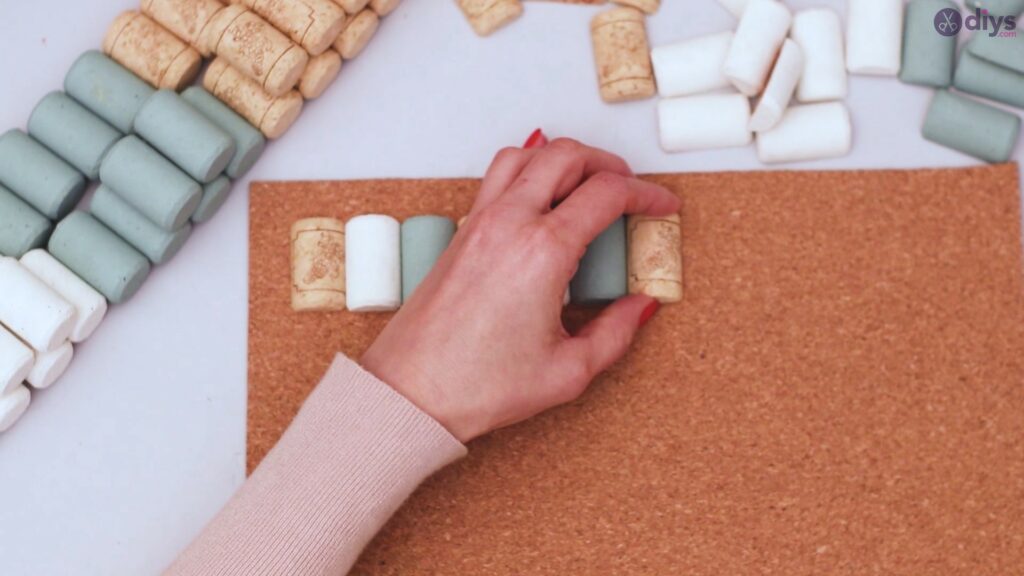
Continue to glue multiple levels of wine corks. We went with four as we found that to be enough for our needs. We think that should pretty much cover any napkin size on the market.

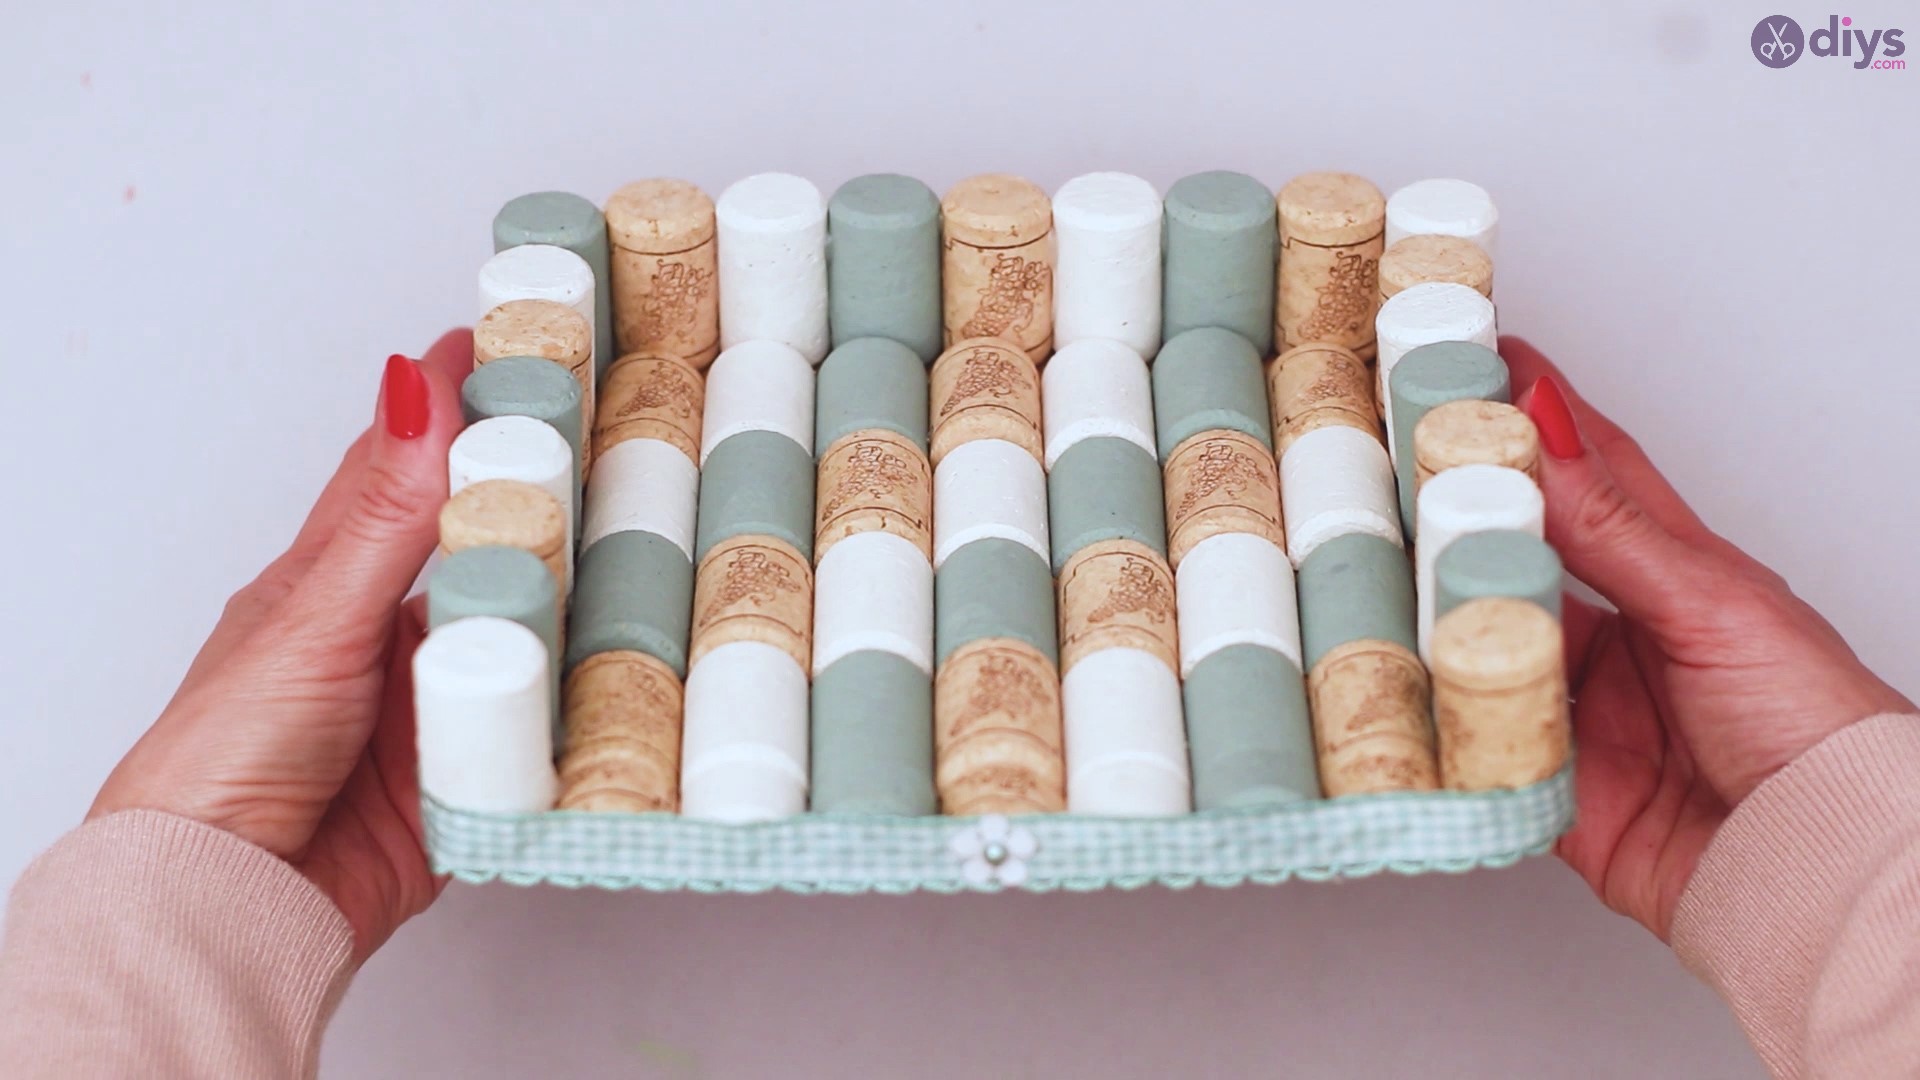
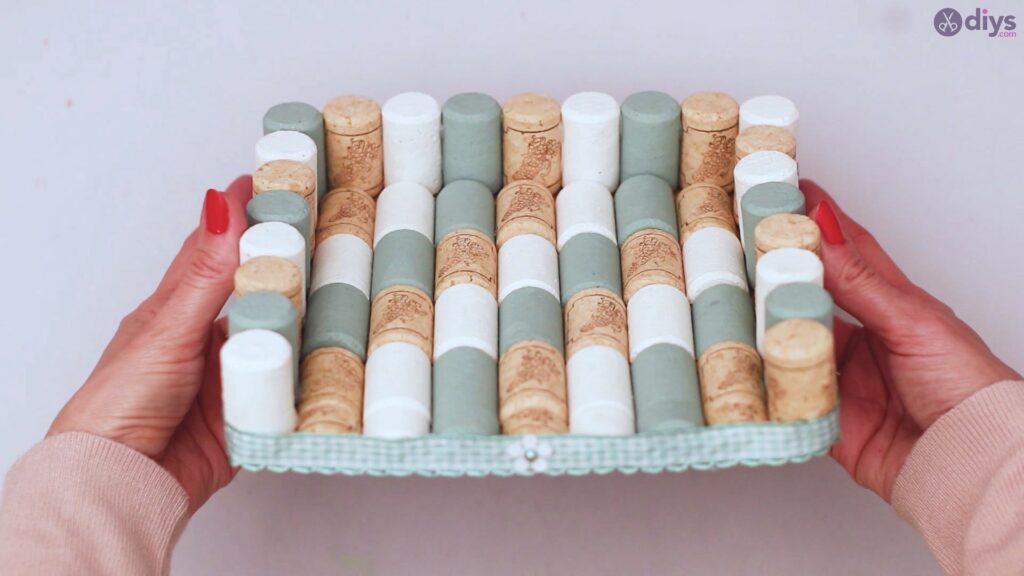
As you can see, we went with a little bit of a pattern here, mixing the bare wine corks with the white and gray ones. You can follow our pattern or choose your own. Imagination is the limit!
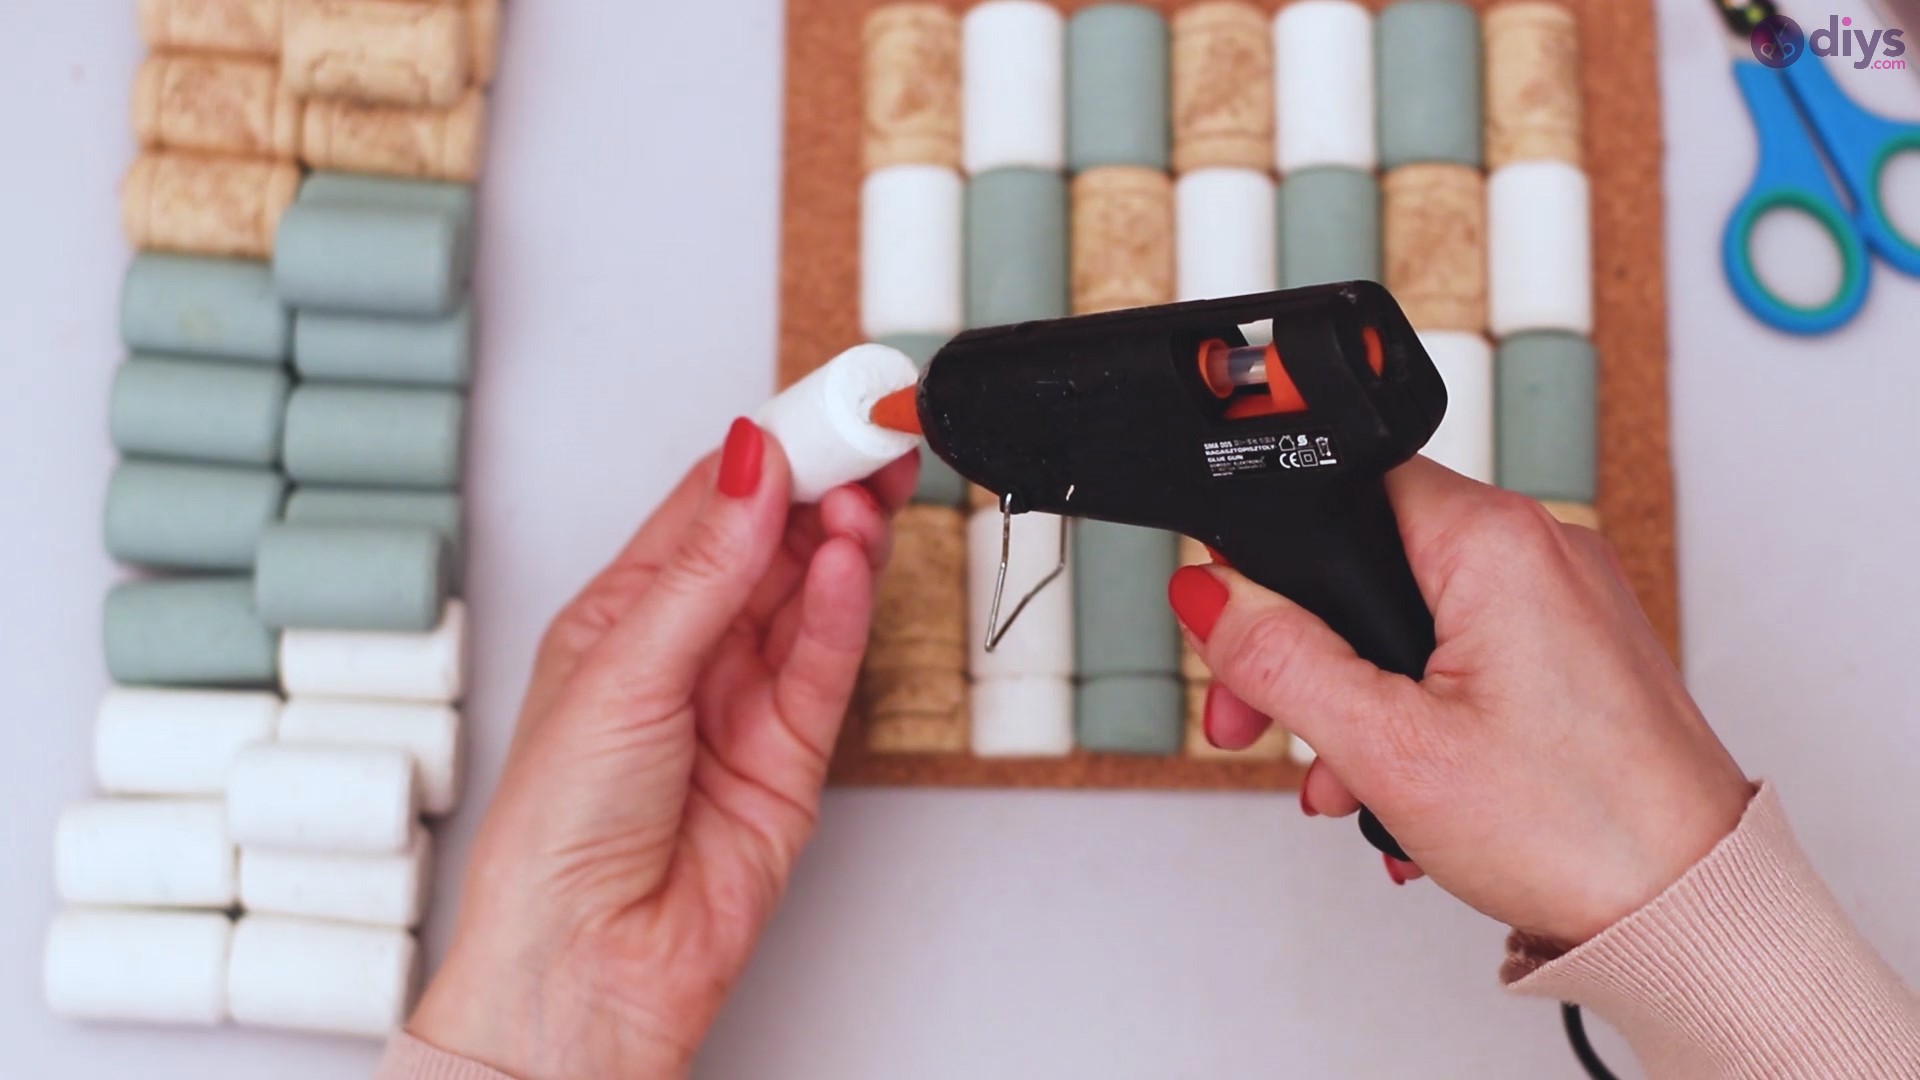
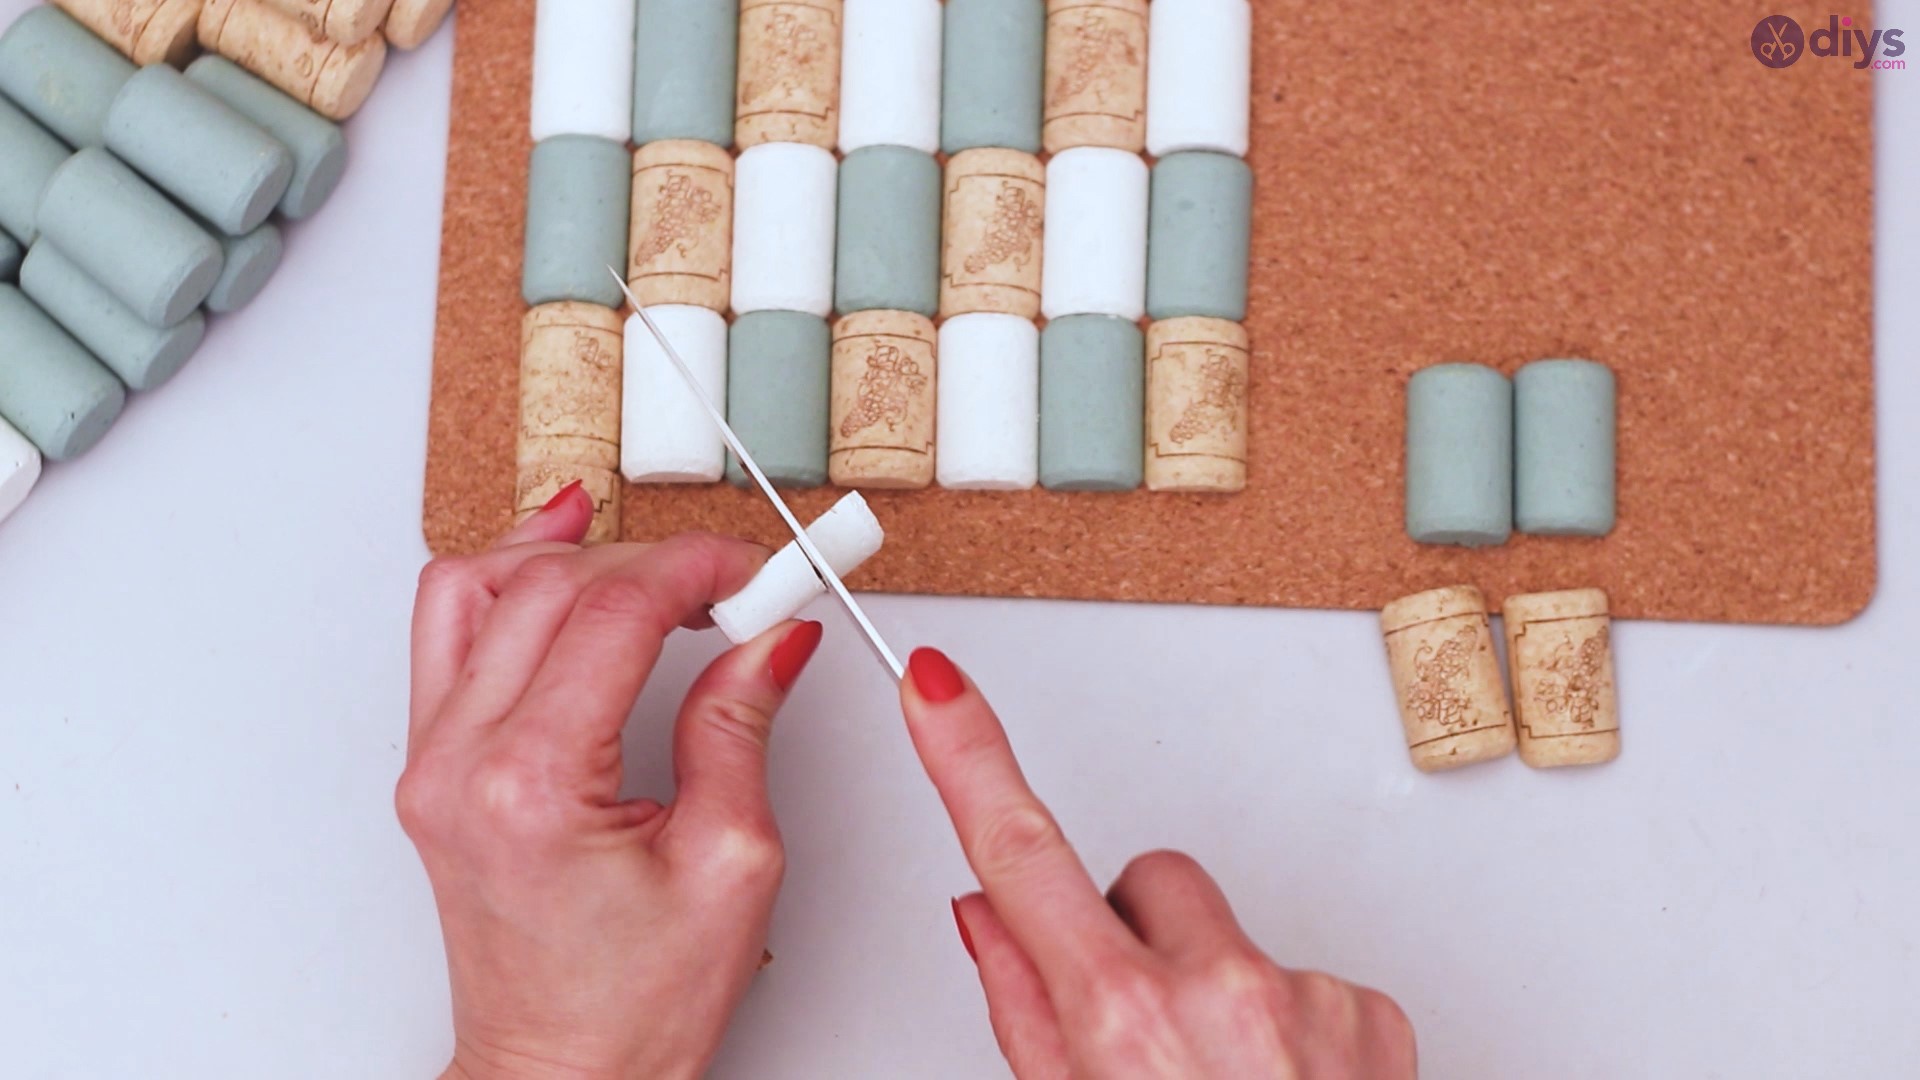
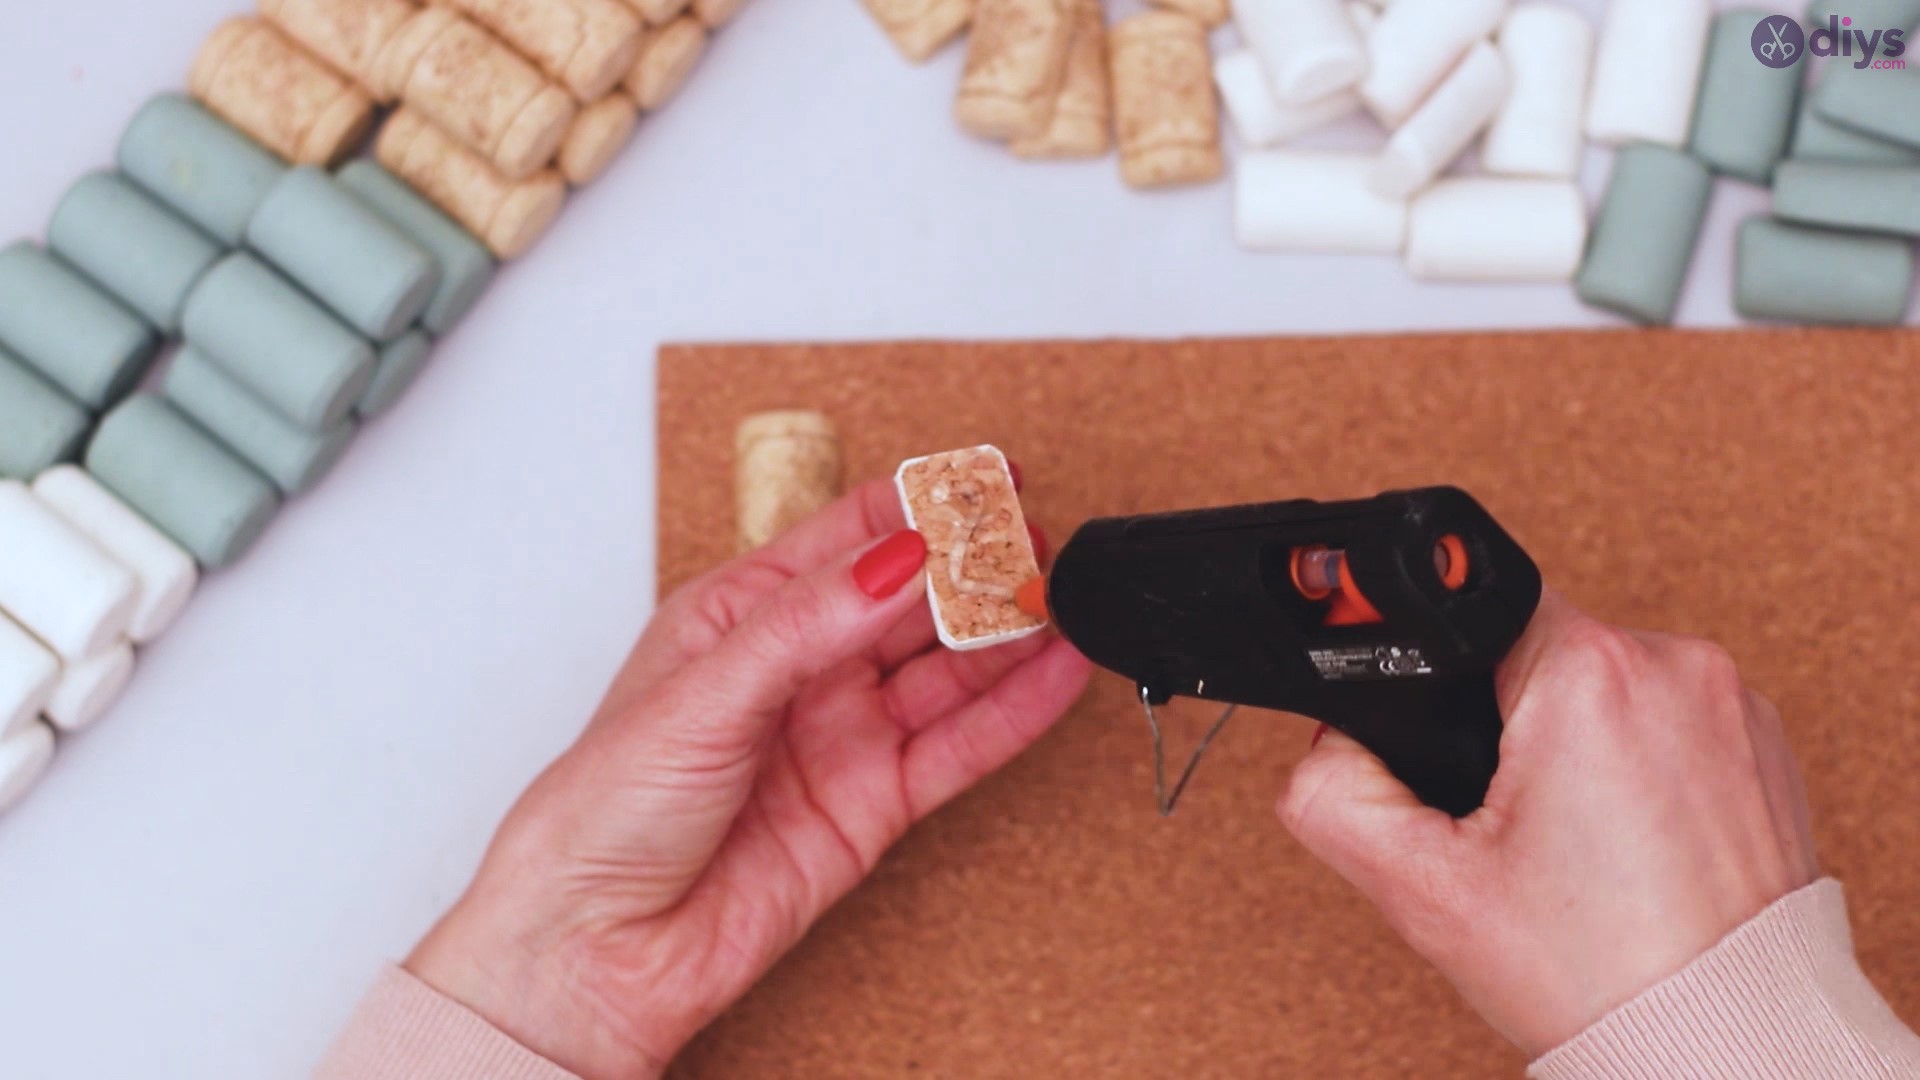
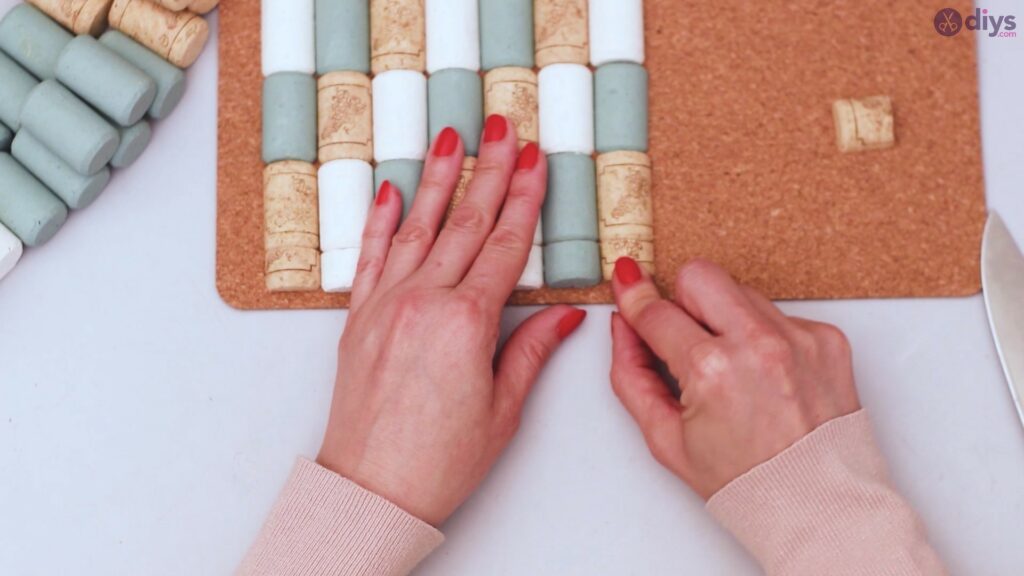
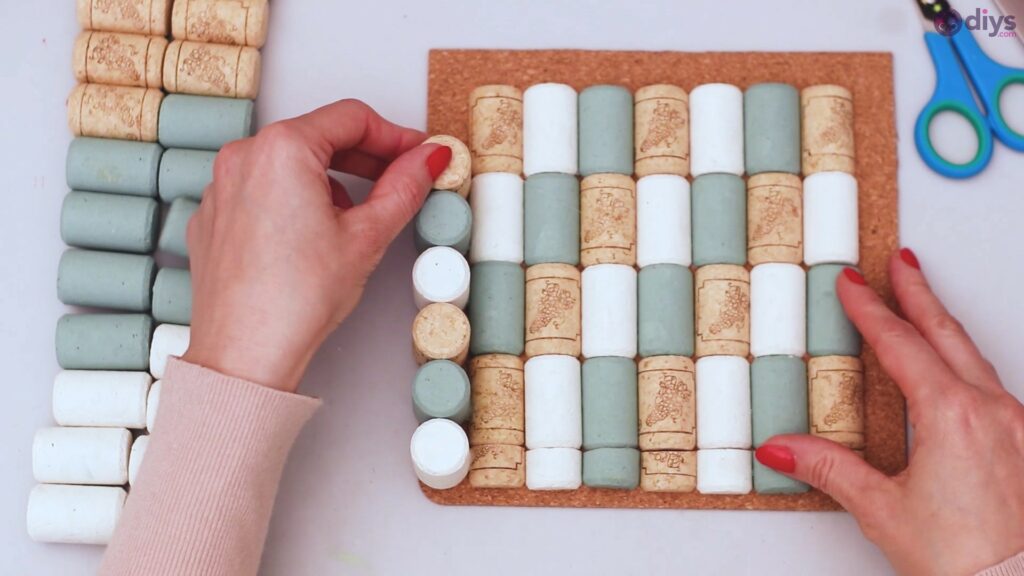
On the bottom area of the napkin holder, we don’t need to add any vertical pieces, so we’re going to cut some extra half-pieces to complete the pattern right up to the edge of the corkboard.
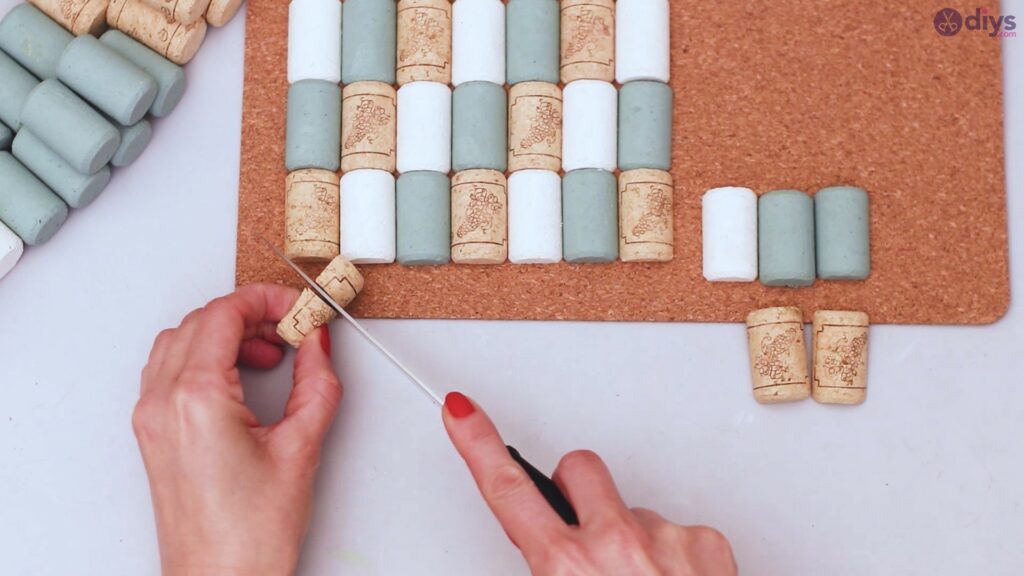
Use hot glue to add the smaller pieces to the board after you cut them. When you cut the half-wine cork, make sure you use a piece that has a rounded ending, so it looks neat, rather than going for an exposed cork middle.

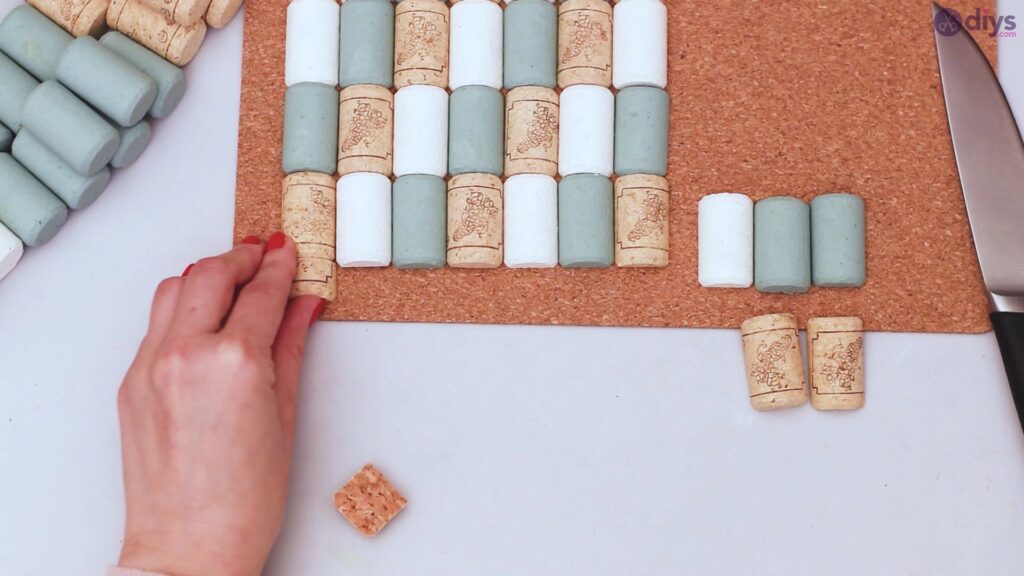
We chose to complete the pattern by using the same color for the cork pieces as we did in the last full level.

There you go! The pattern is complete and we can move on to the next step.
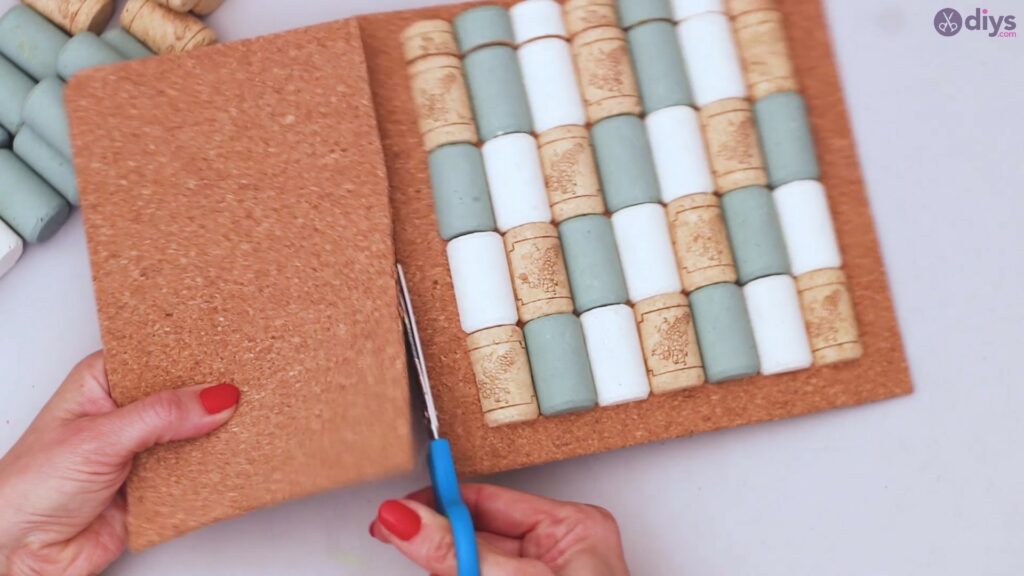
Step 4: Cut the corkboard
Grab the corkboard and start cutting it to better suit the size of the napkin holder you’re going for. Make sure to leave room on the sides for vertical wine corks! You can use your scissorsto cut the board as the material is not too hard to cut through.

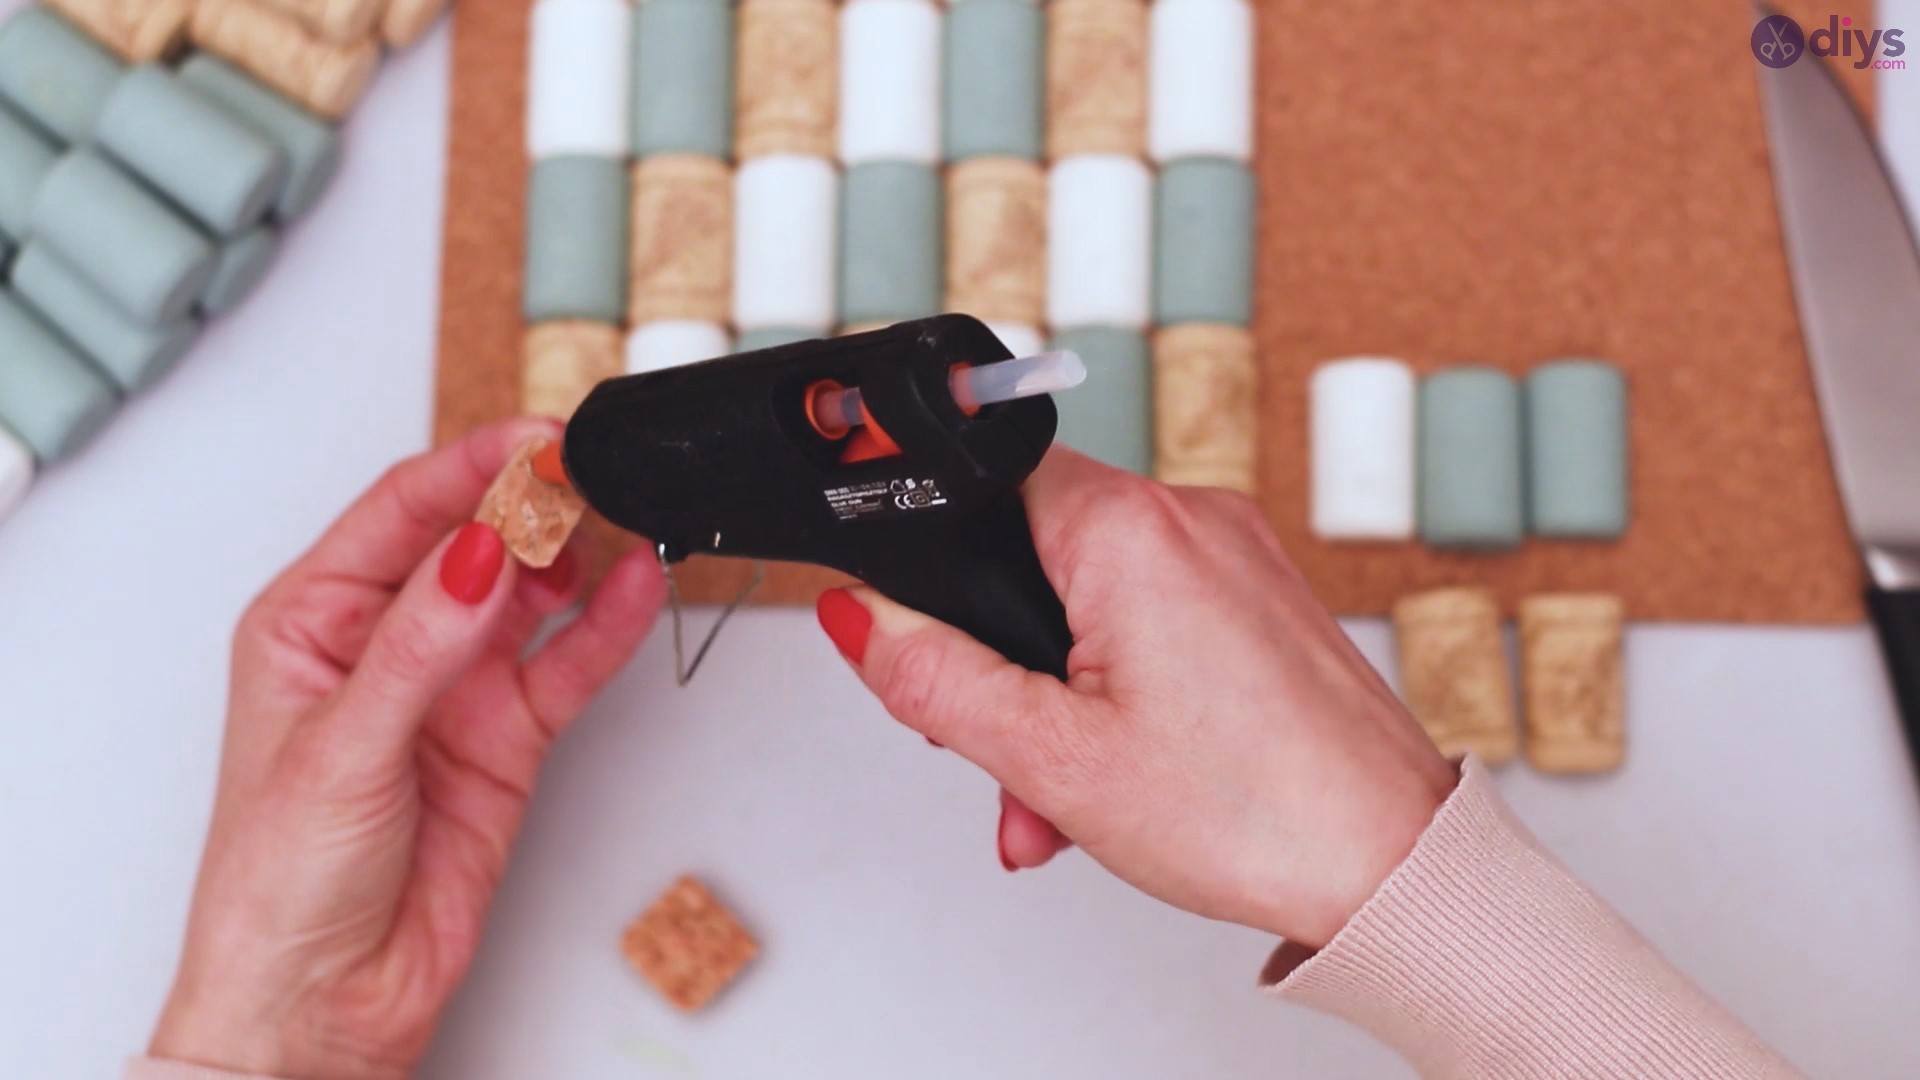
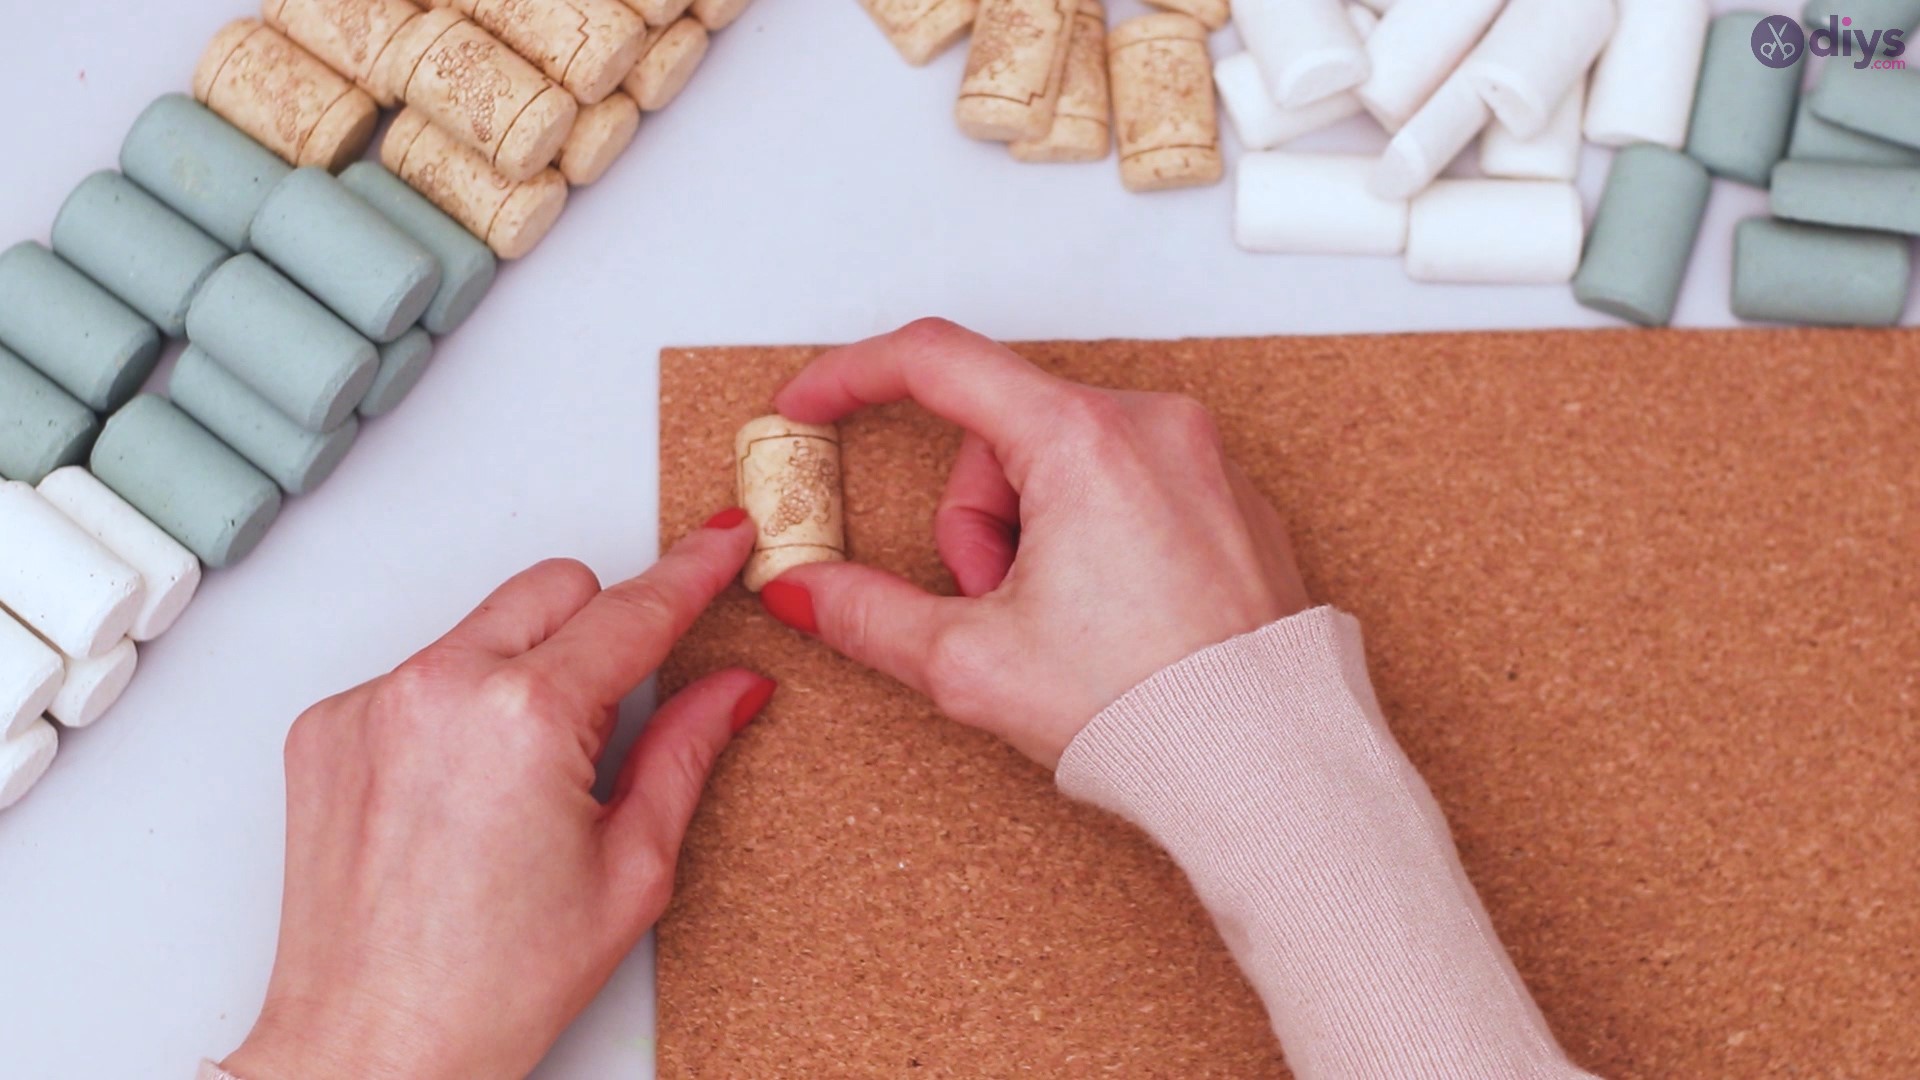
Step 5: Add more wine corks
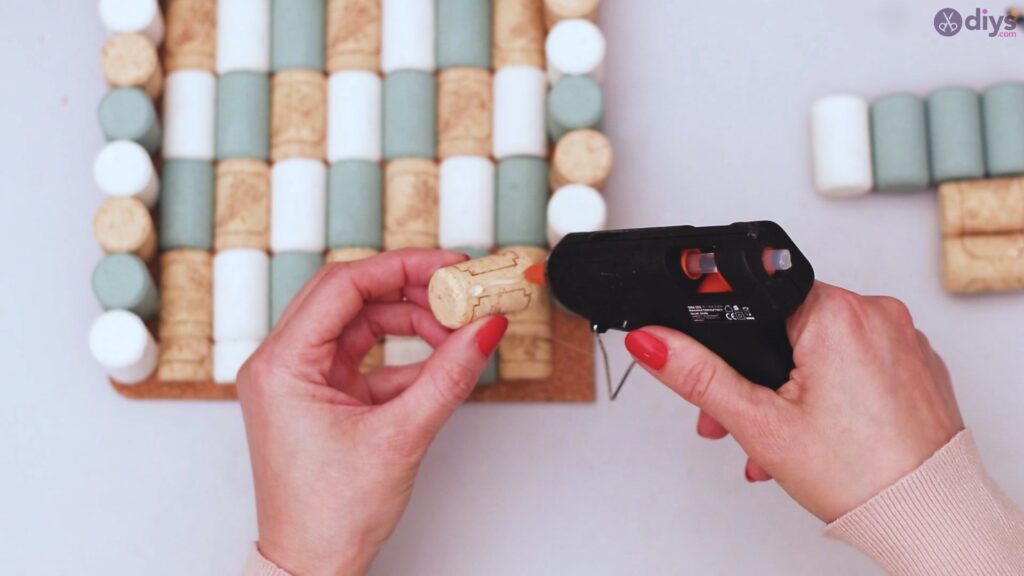
It’s now time to add the whole wine corks we kept. Here too, you’ll want to alternate between the plain corks, the white and gray ones. Get theglue gun and add hot glue to the bottom of the cork and neatly place it on the board.
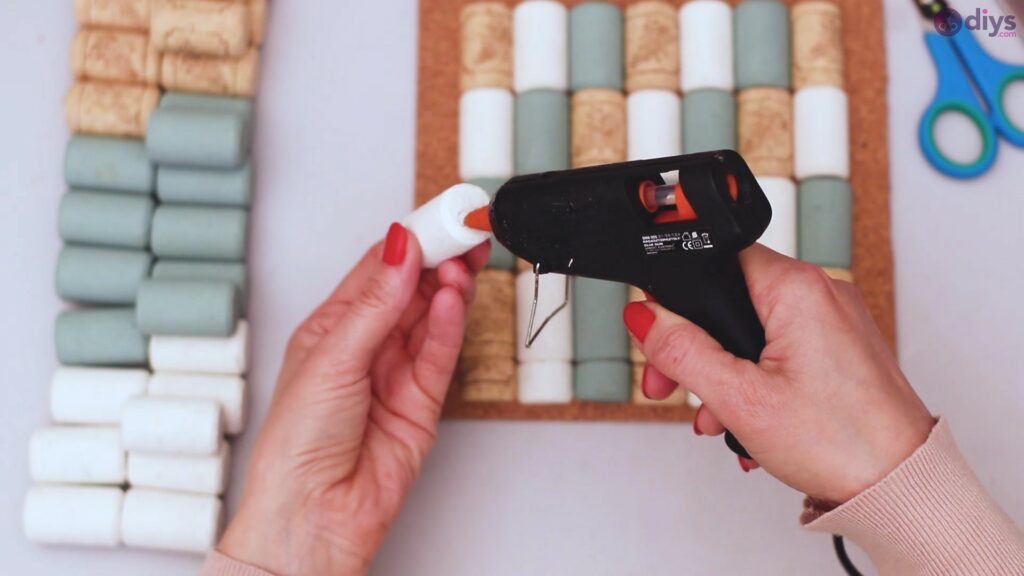
We suggest you start at the bottom of the row on one side and go from there. In this way, you can line them up near the corks you’ve already glued down. Make sure to place them one right next to the other, so there are no gaps between them.

We used the same pattern here – white, gray, plain – and carried it out through the whole board.
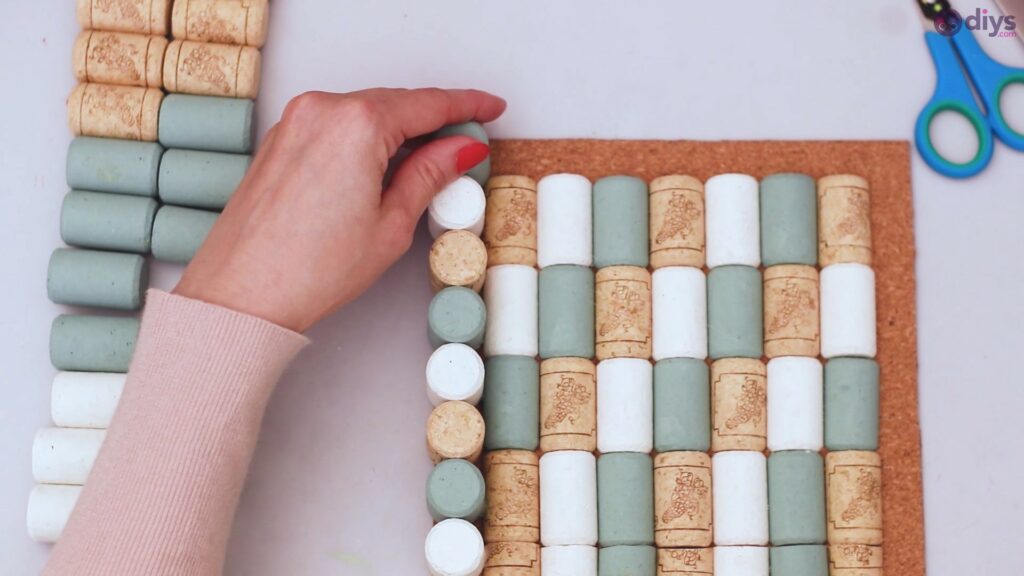
Remember to also add hot glue to the sides of the wine corks, not just the bottom, so they stick to one another too, giving the structure more strength.

Step 6: Trim the excess material
Now that you’re done gluing wine corks, you can go ahead and trim any extra corkboard you have around your design. If you left too much room for the corks, now is where you can fix the issue so the napkin holder looks neater.

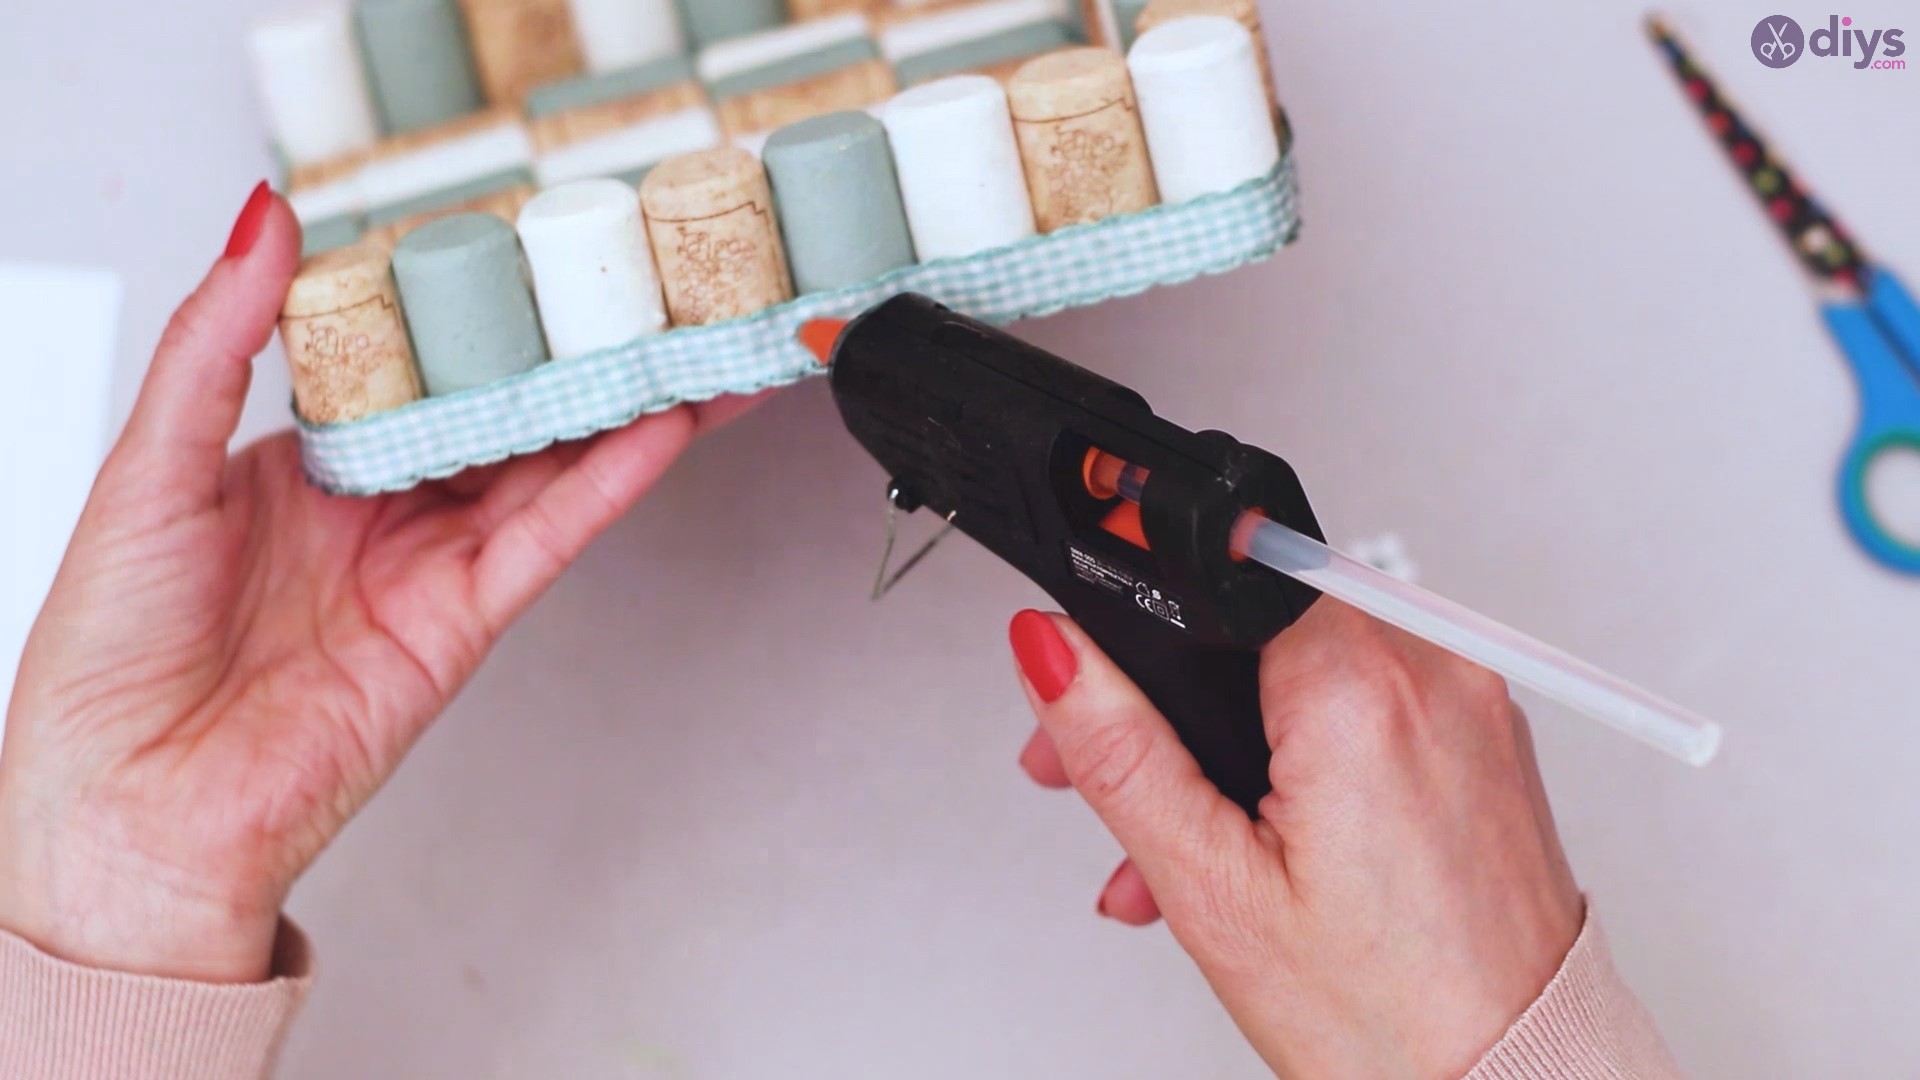
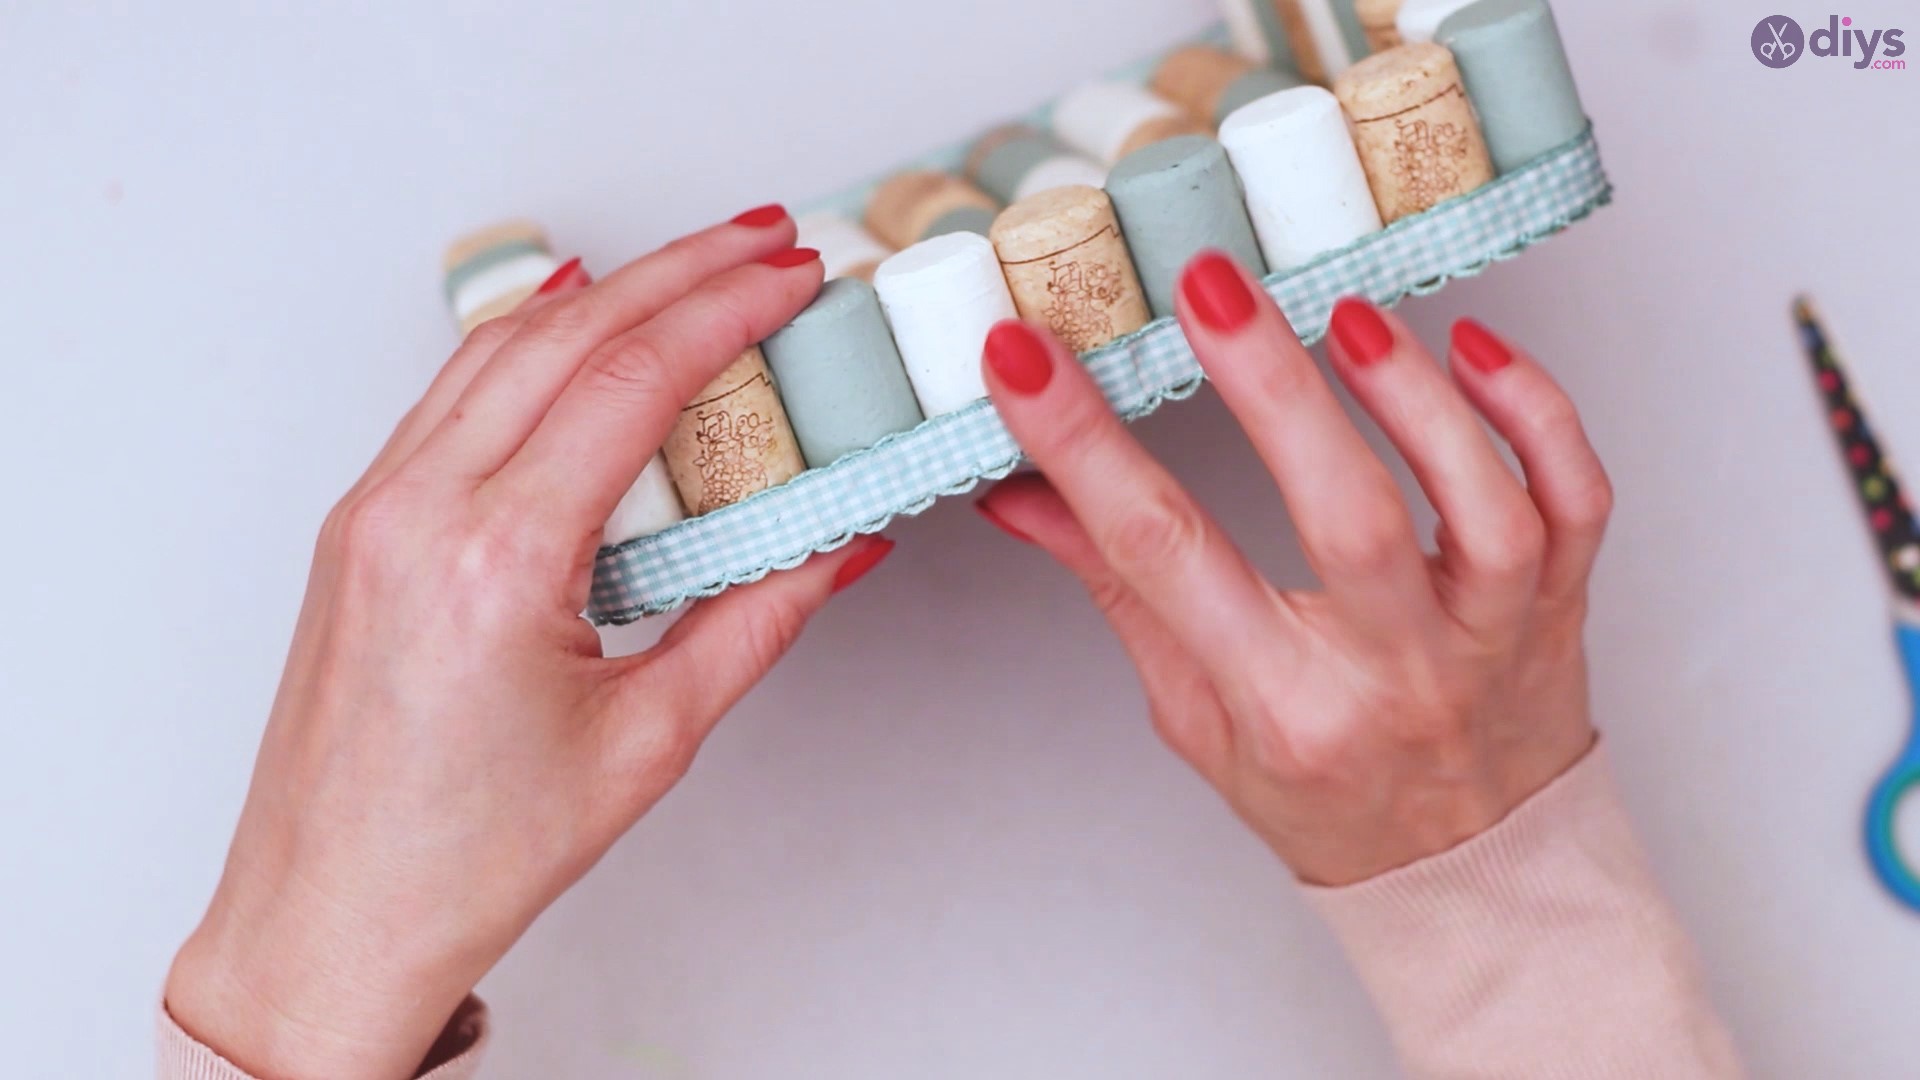
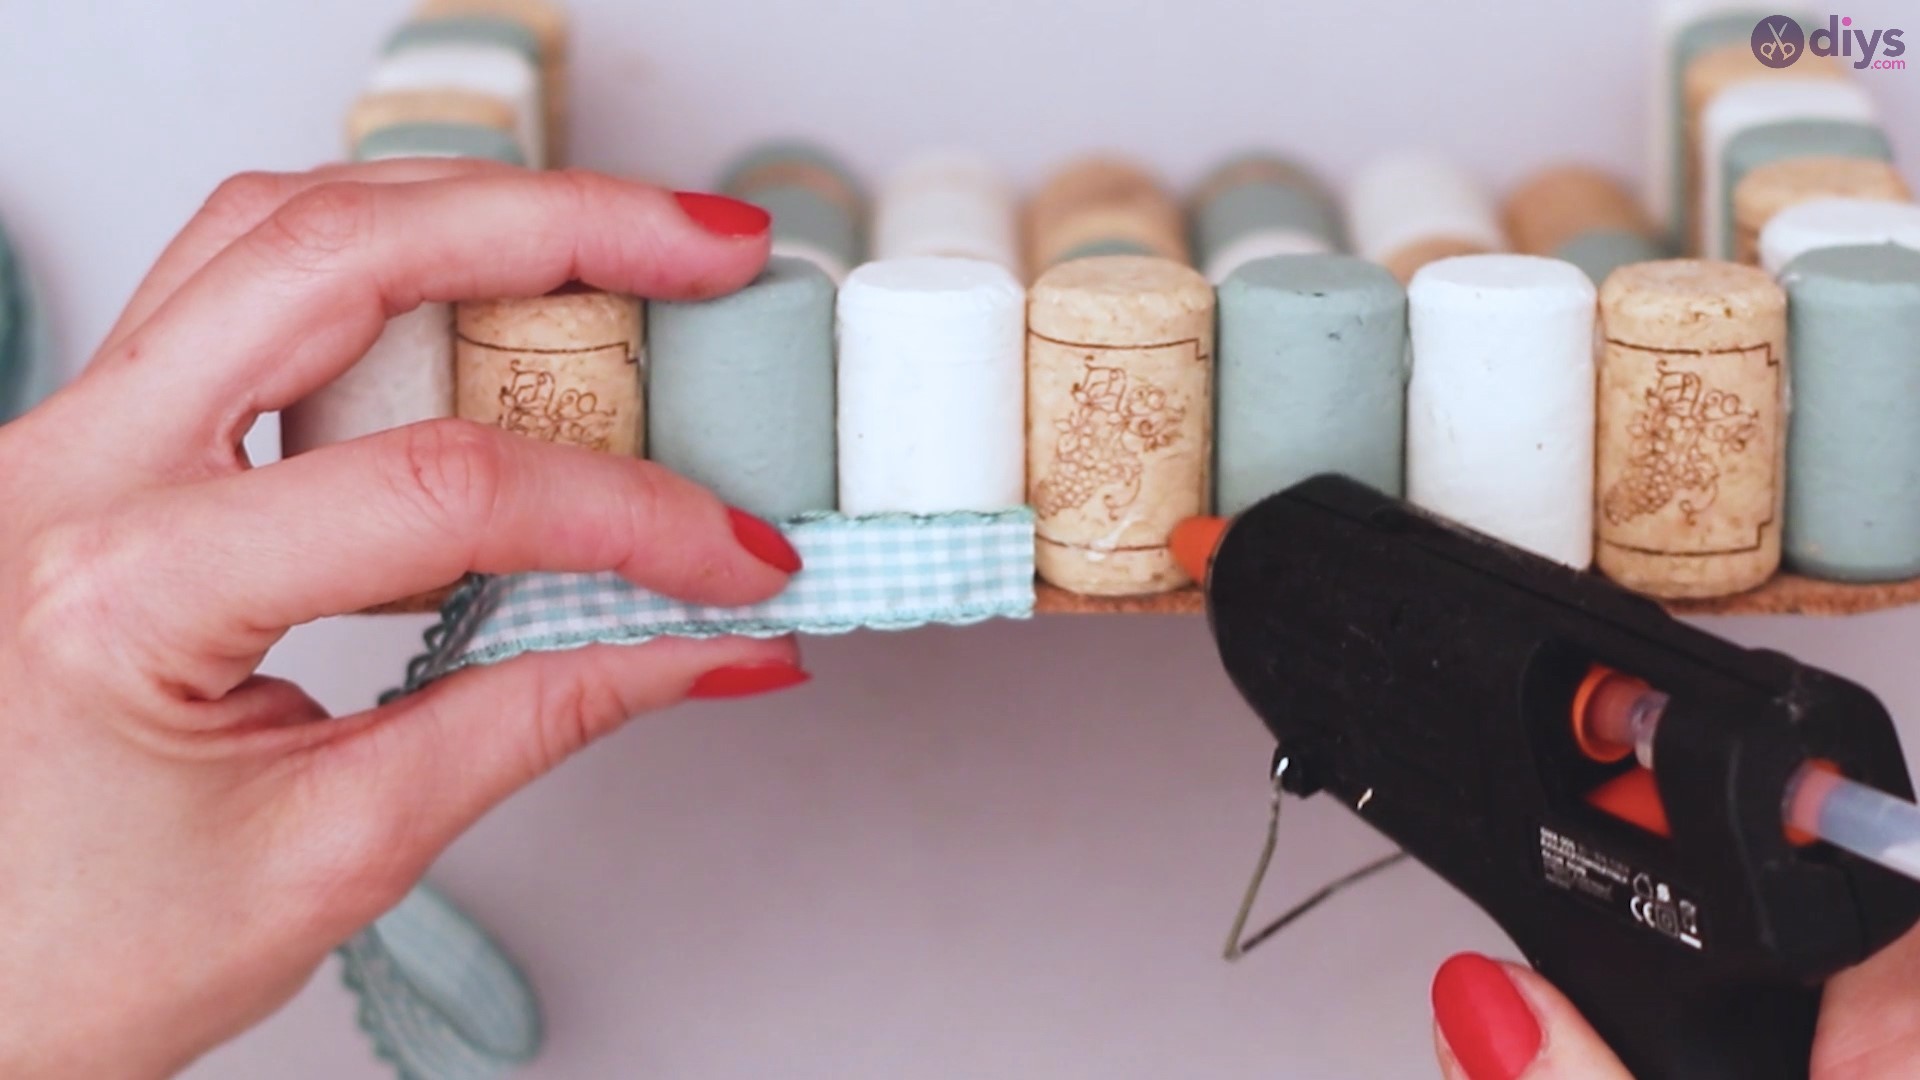
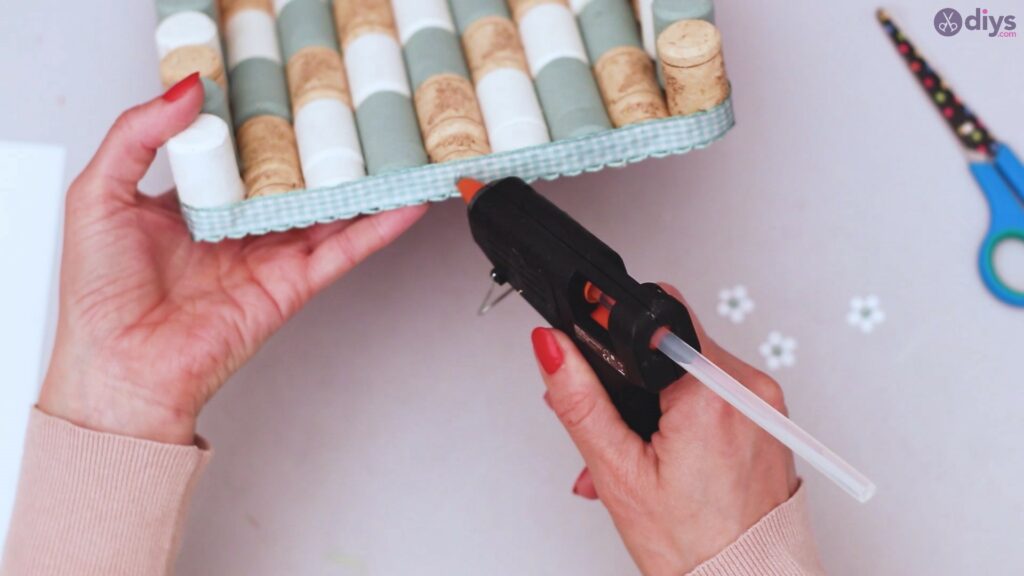
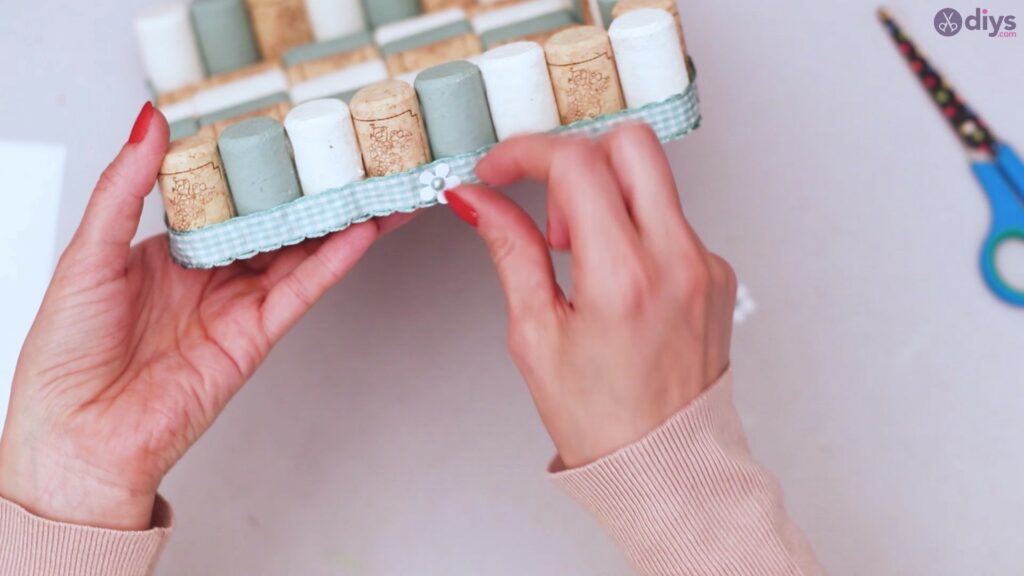
Step 7: Add the ribbon
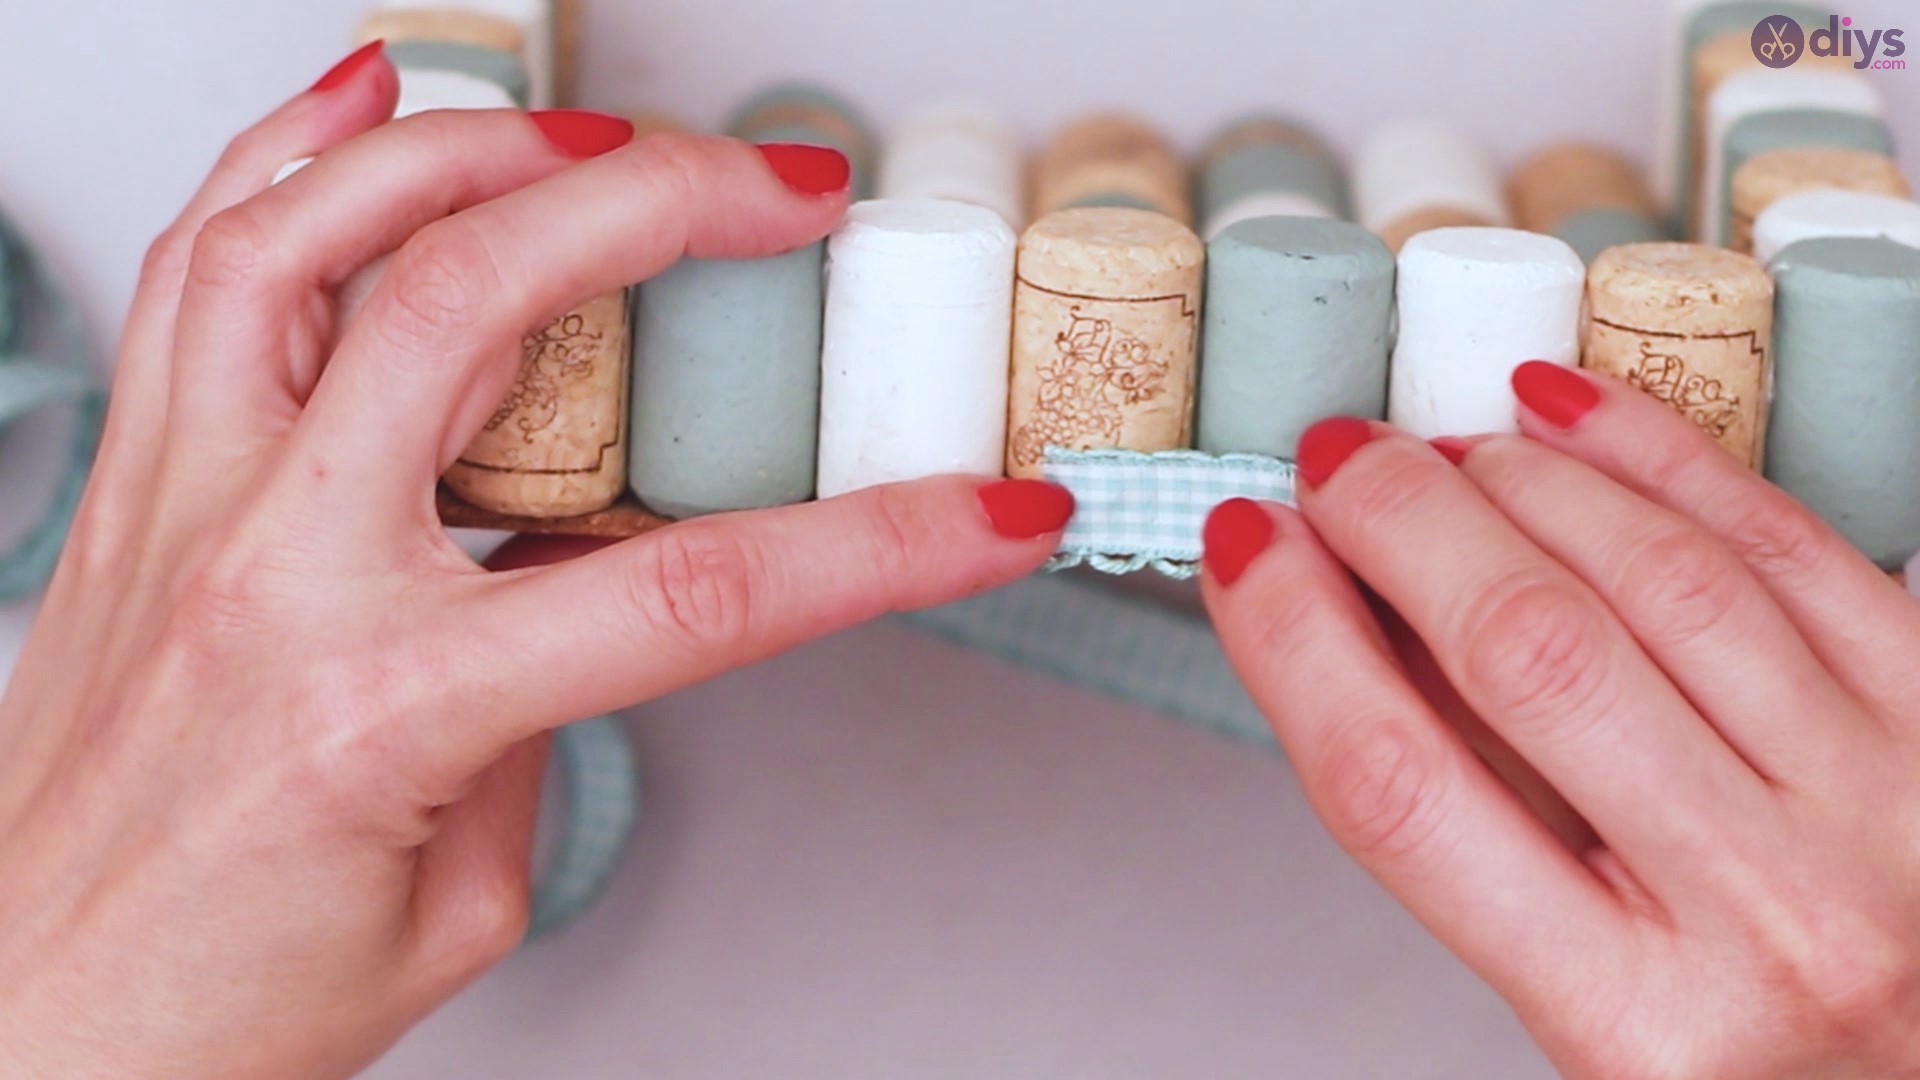
Our list of materials also features a ribbon. You’re going to want to add that to the bottom area of the design, going around the napkin holder. The ribbon should be placed in such a manner that it covers the corkboard underneath and the bottom area of the wine corks.

Get yourglue gunagain and theribbon and start adding hot glue to the area we described. Press the ribbon into the glue, making sure to keep it straight.
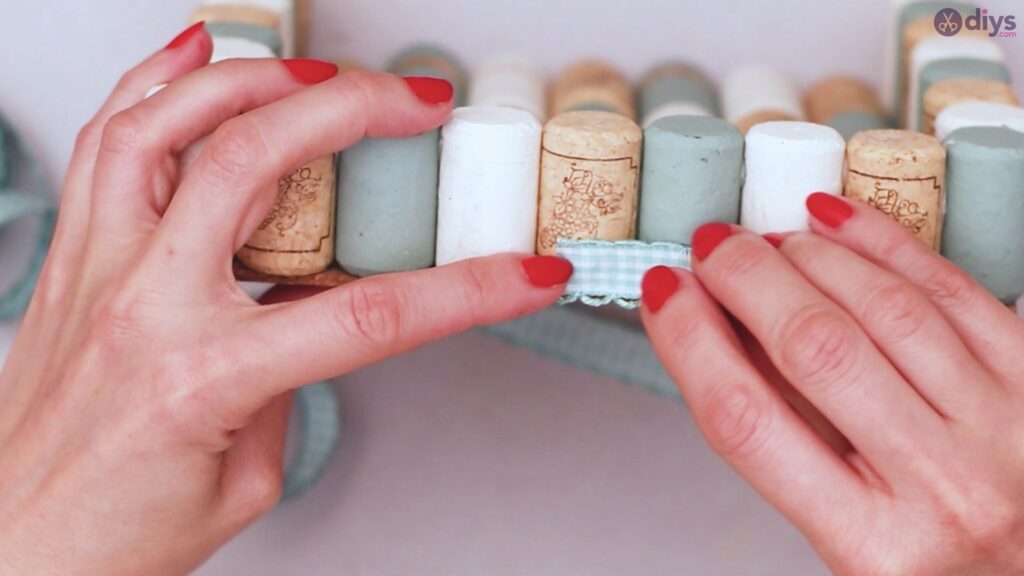
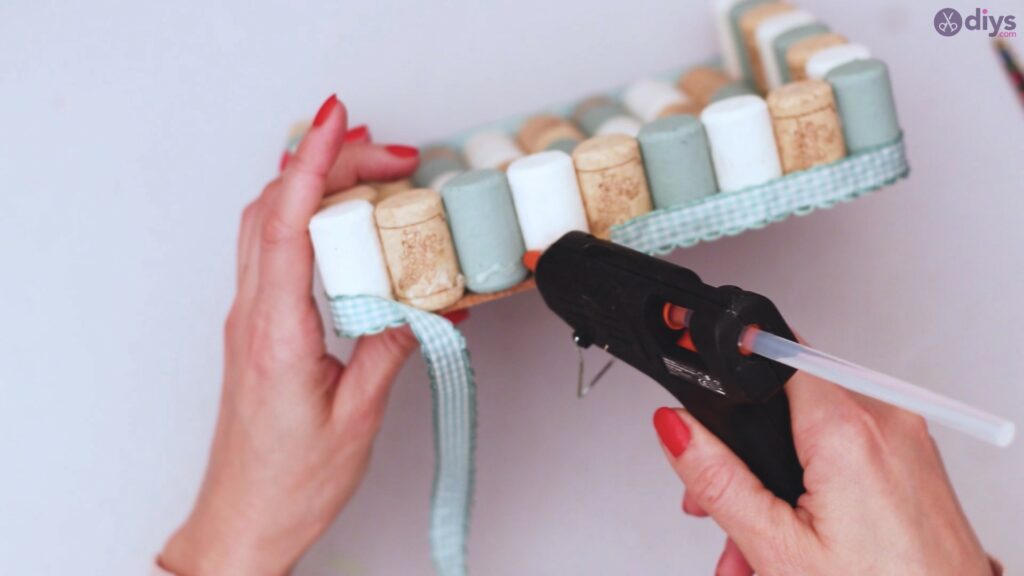
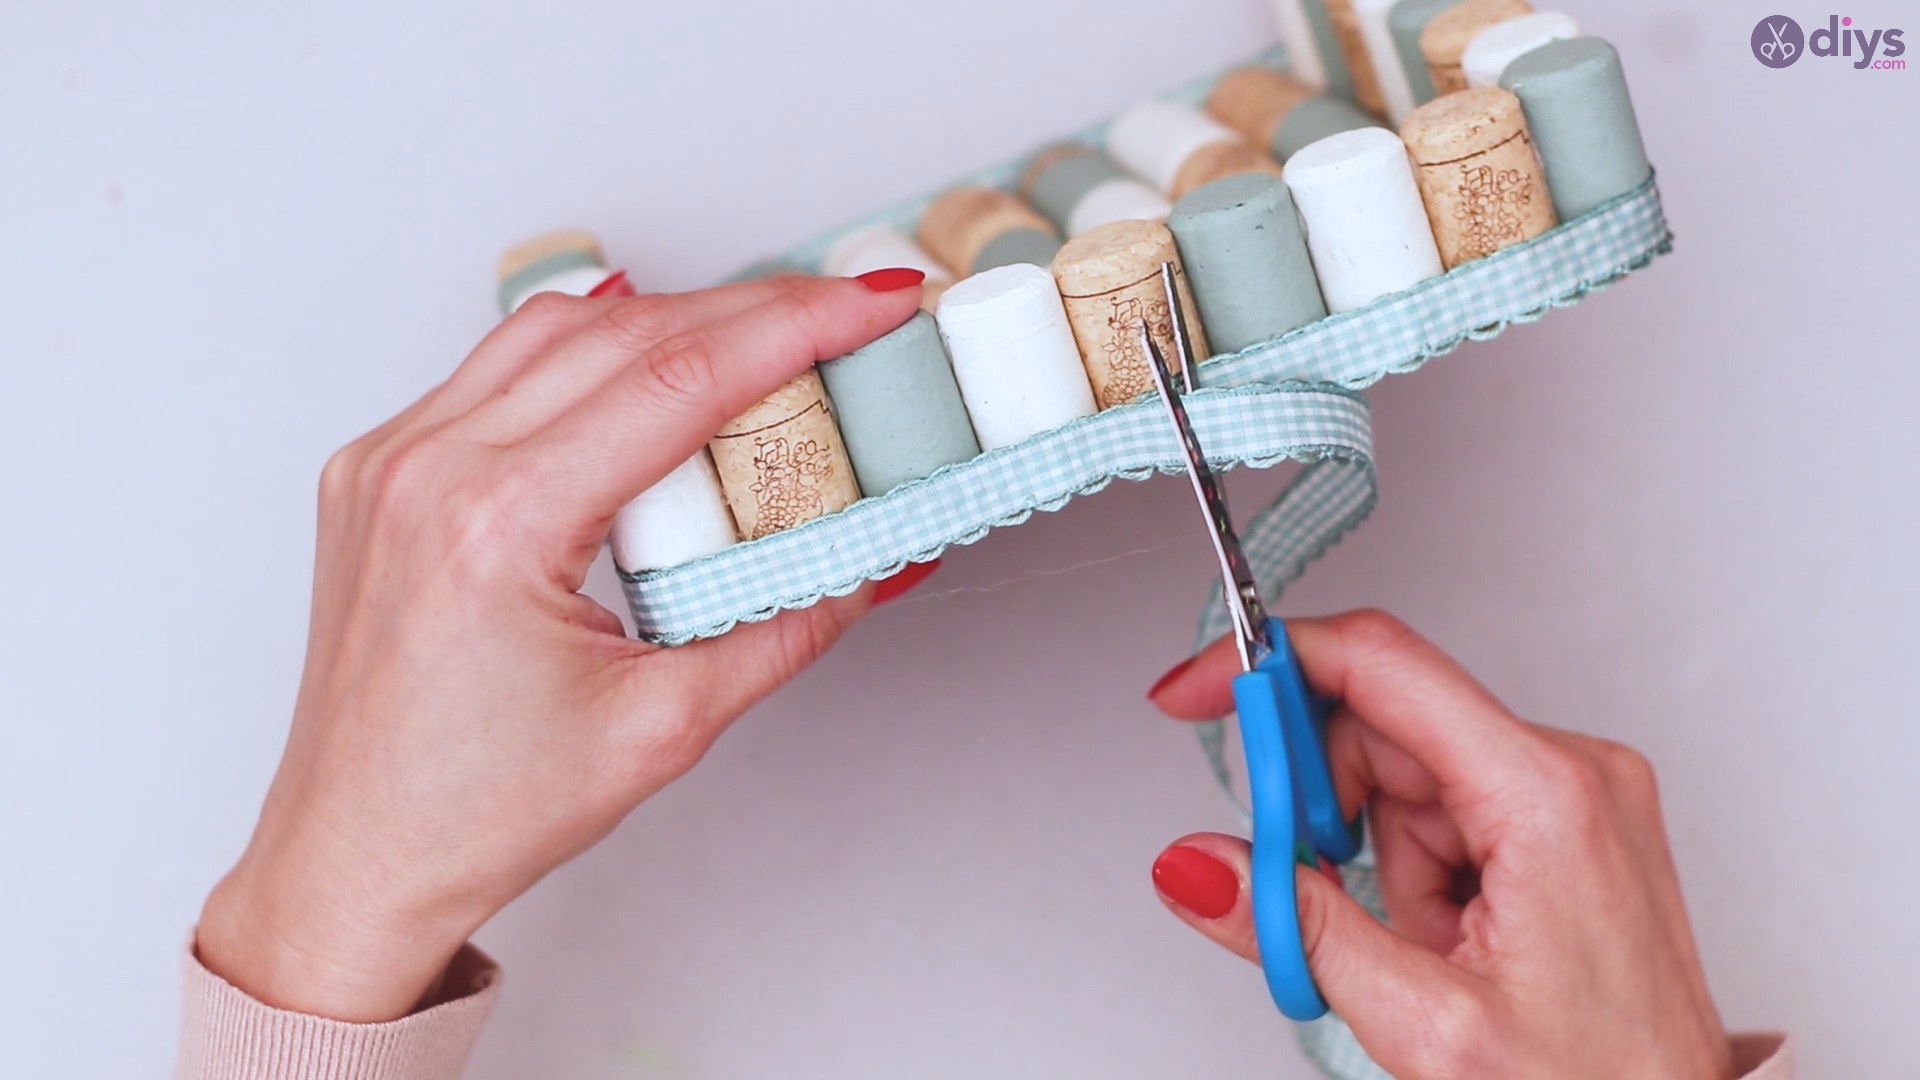
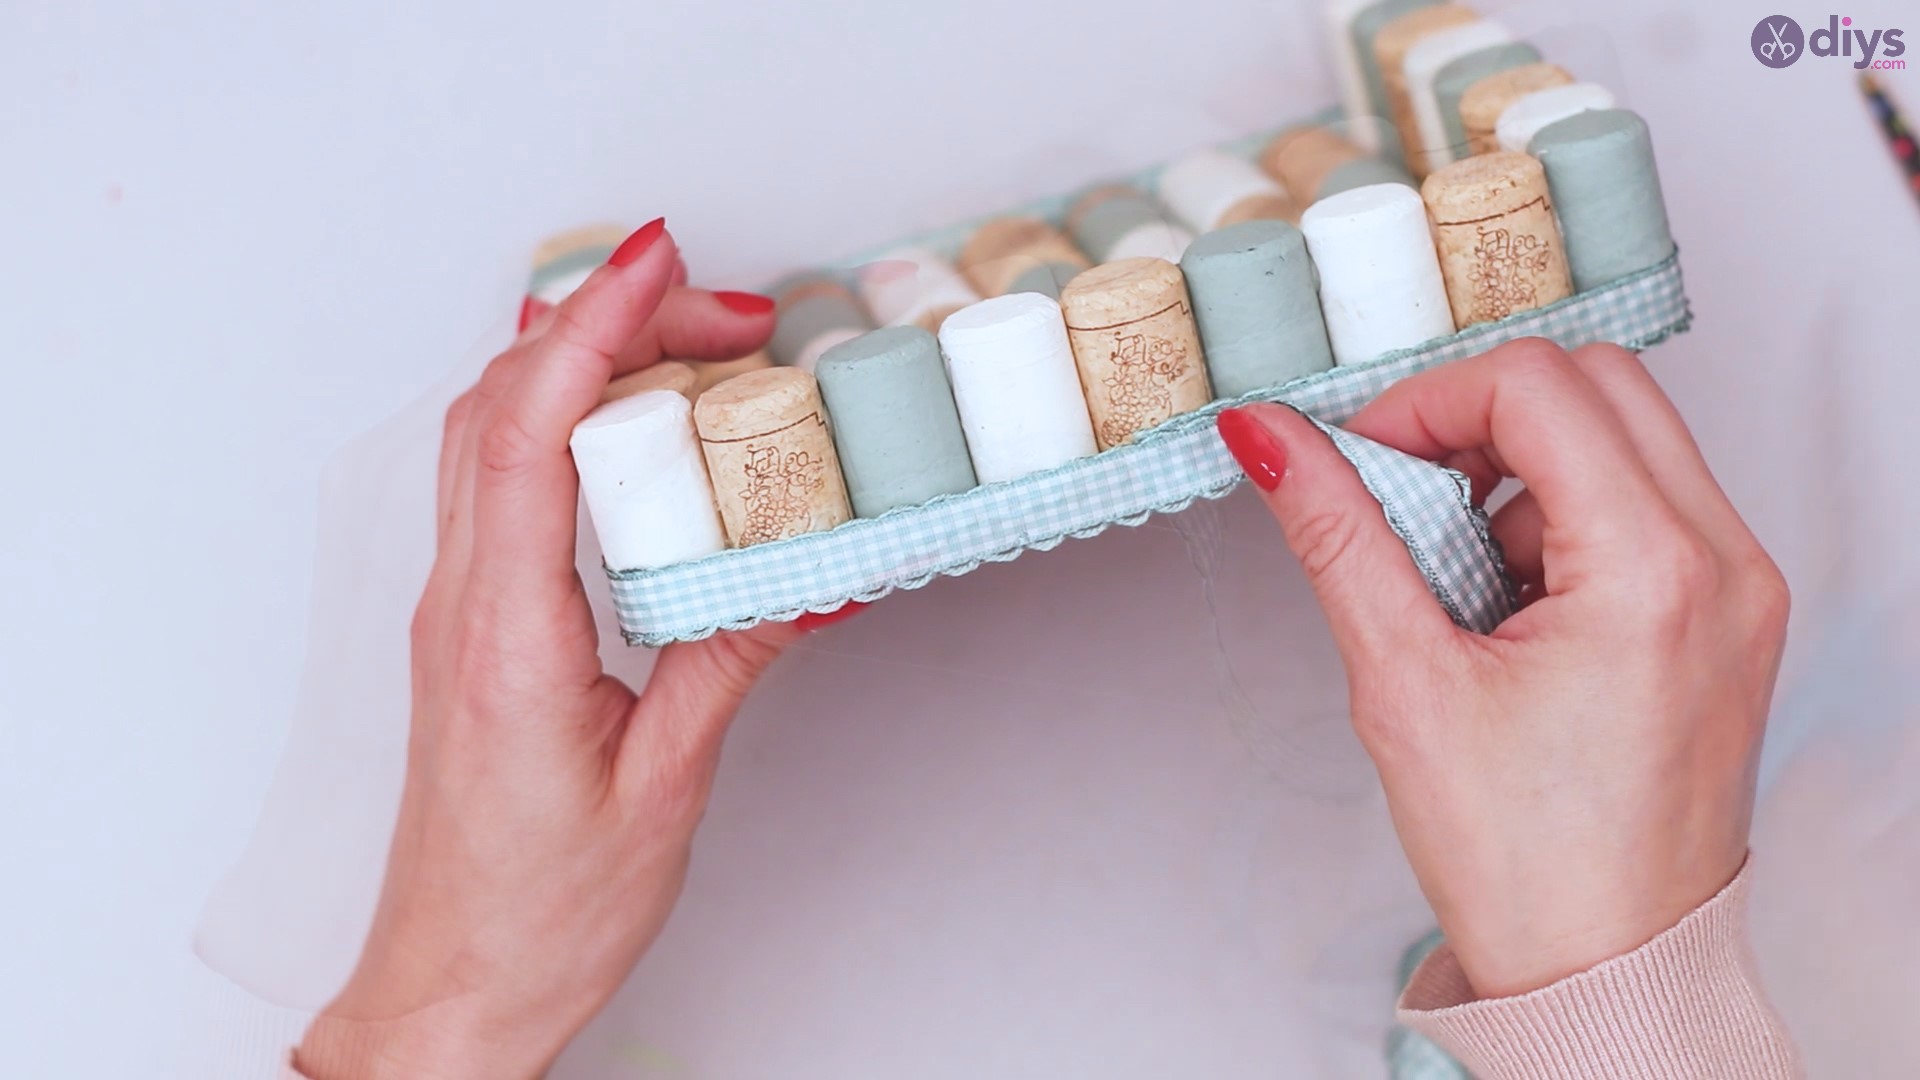
Add more hot glue as you reach around with the ribbon. Measure out the ribbon and allow the sides to overlap a little before cutting the excess.

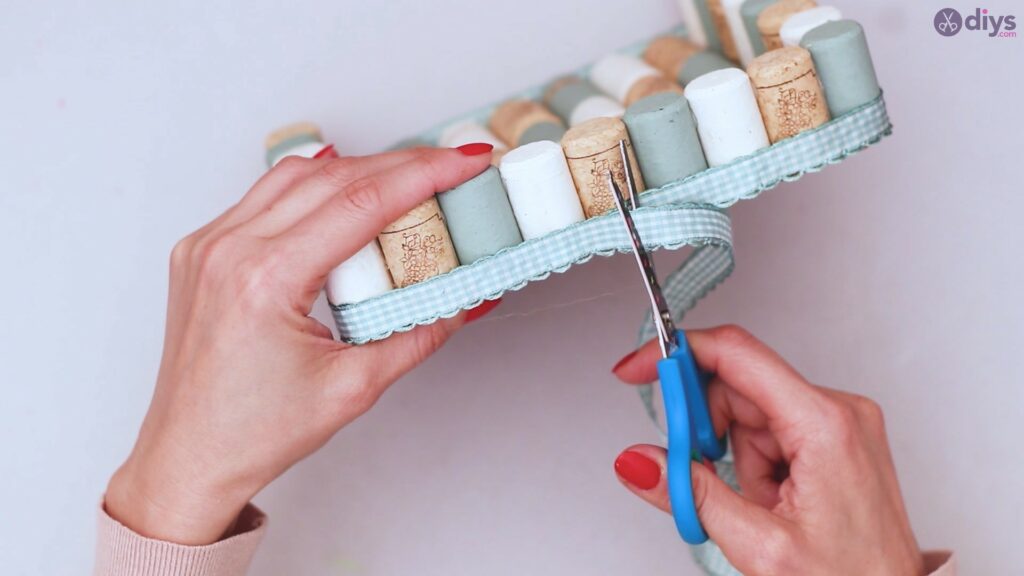
Add more glue over the ends and press the ribbon over the other end, creating a perfect loop.

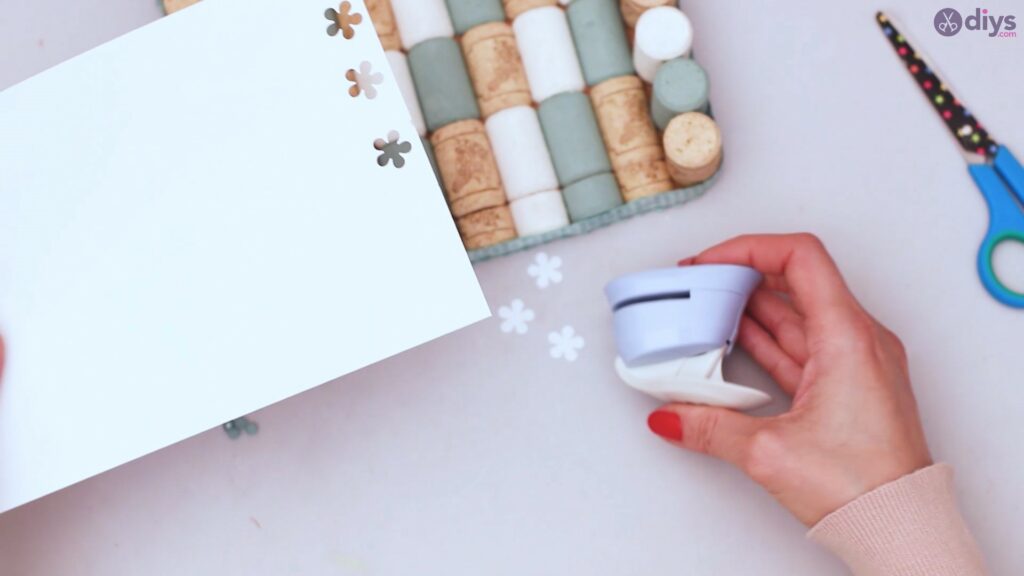
Step 8: Decorate the napkin holder
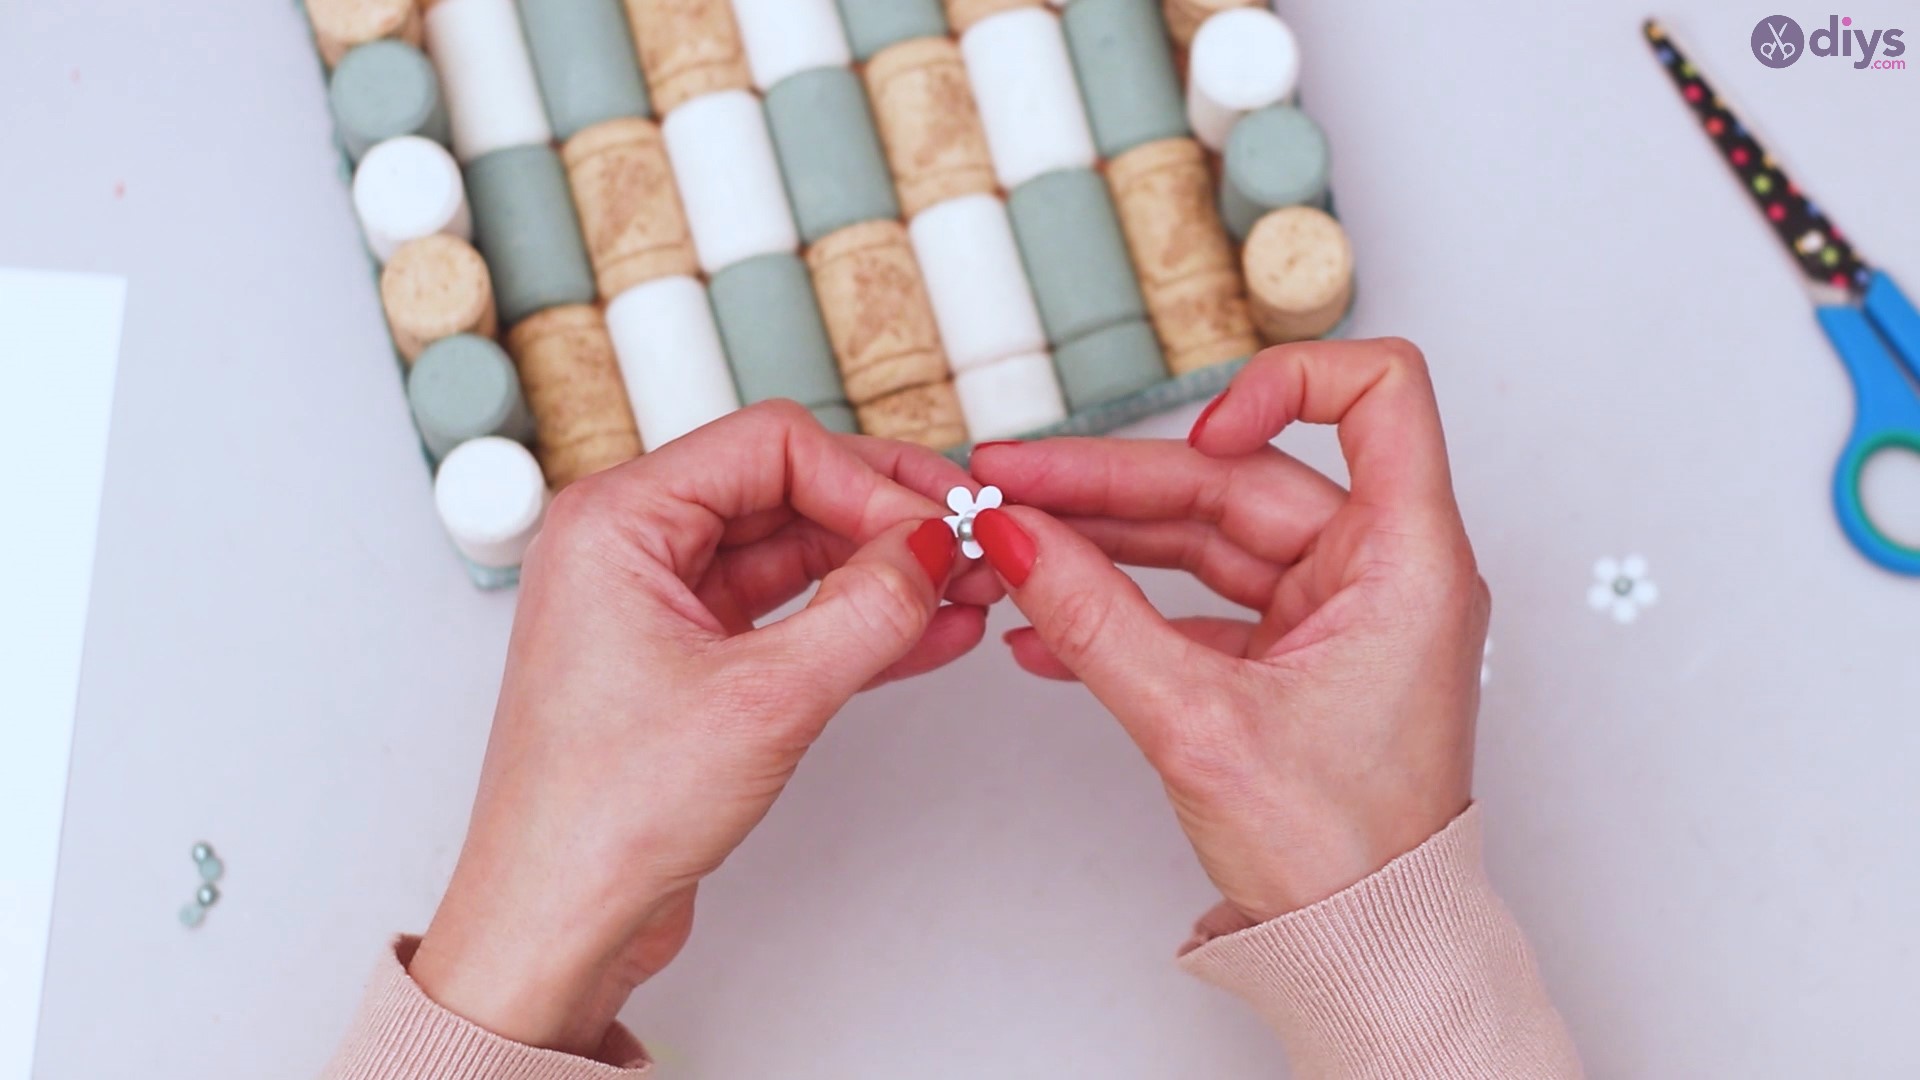
Next, it’s time to decorate the napkin holder. We took a piece of paper, the flower paper punch, and started cutting out flower shapes. You’ll only need about four of these – one on each side of the napkin holder.
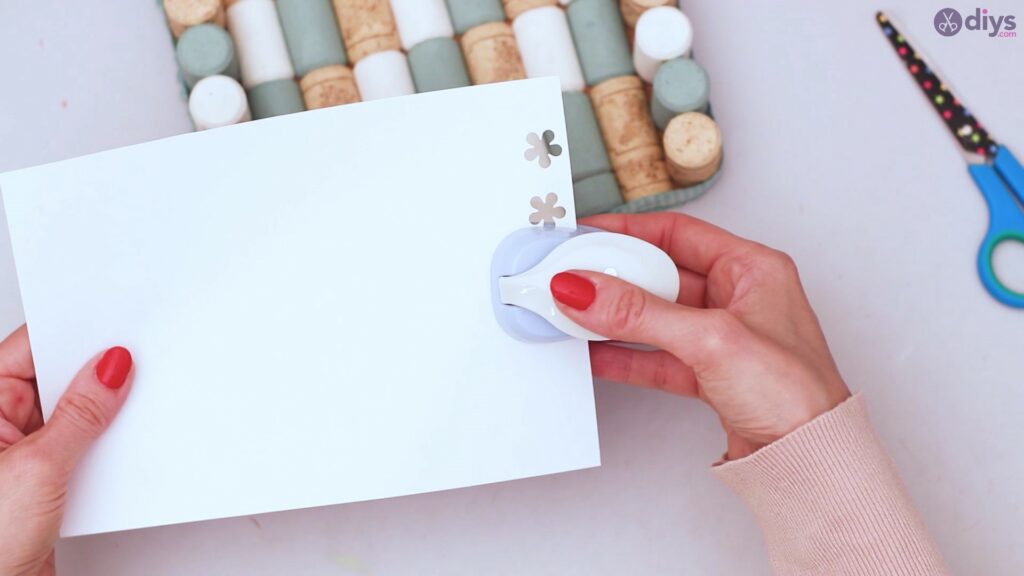
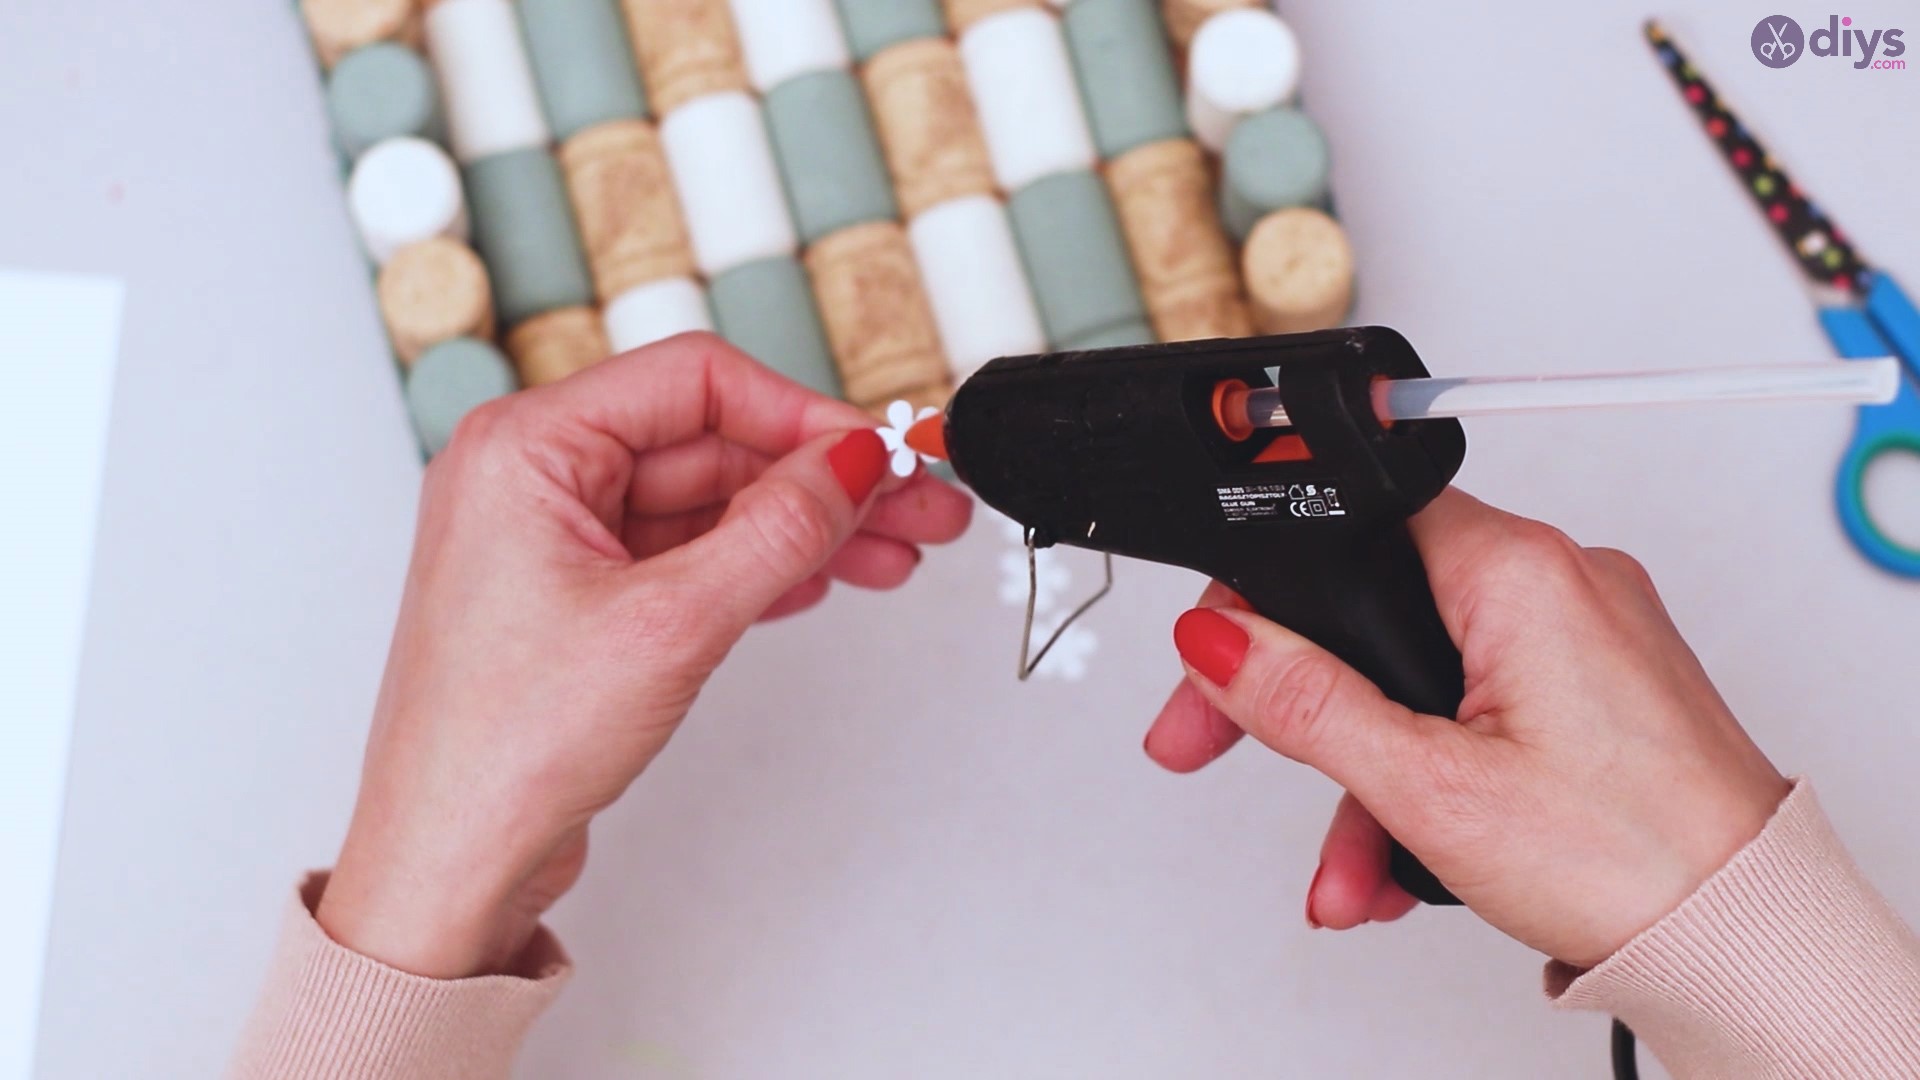
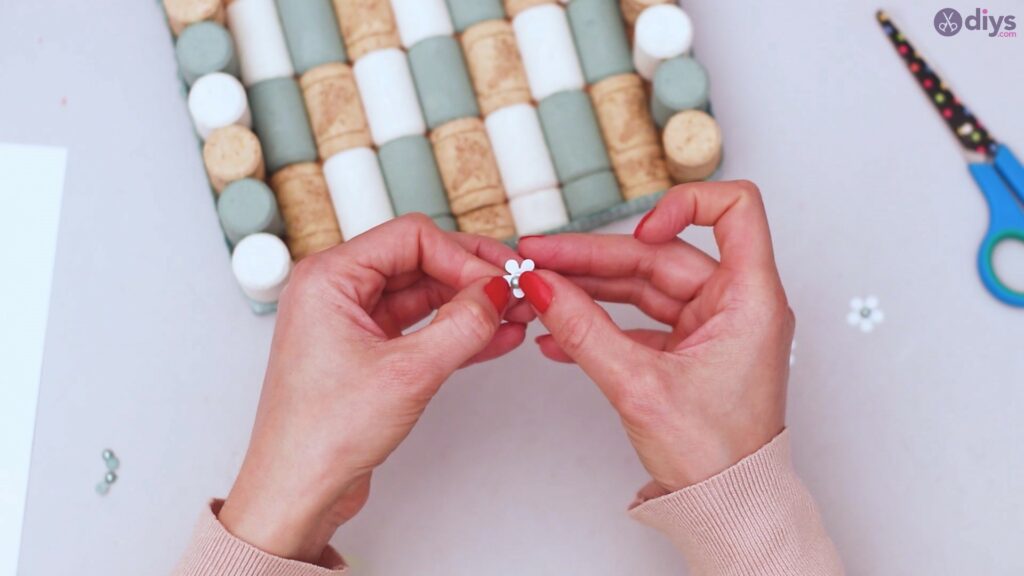
When the flowers are done, you have to get the glue gun out and add a dot to the middle of the flower. Quickly place one of the decor beads to the middle of the flower and leave it off to dry for a bit.

Use the glue gun one last time to add dots of glue to the middle of each of the napkin holder sides. Place the flower over the glue and press it lightly until it sets.
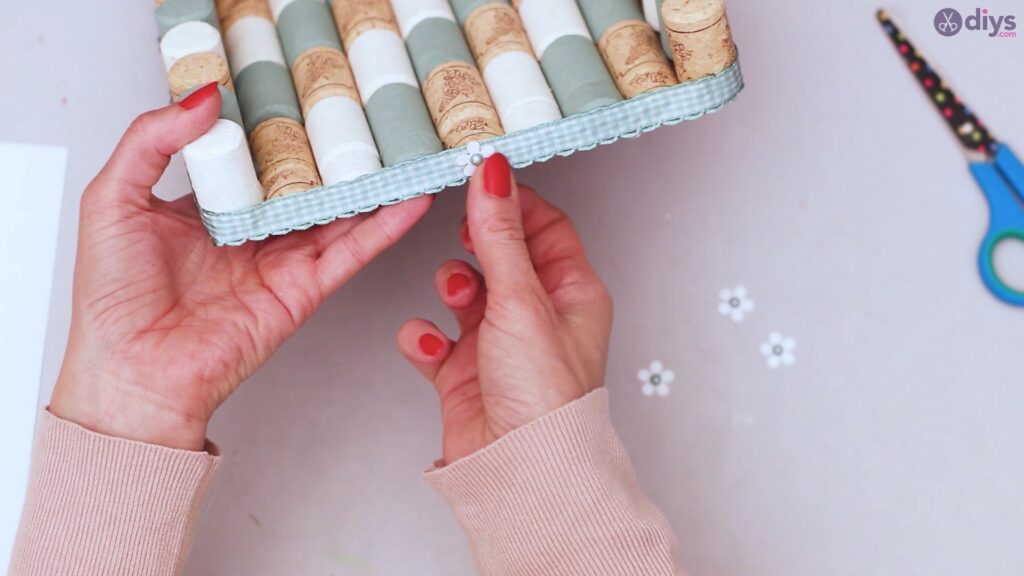
Repeat the process on all sides.

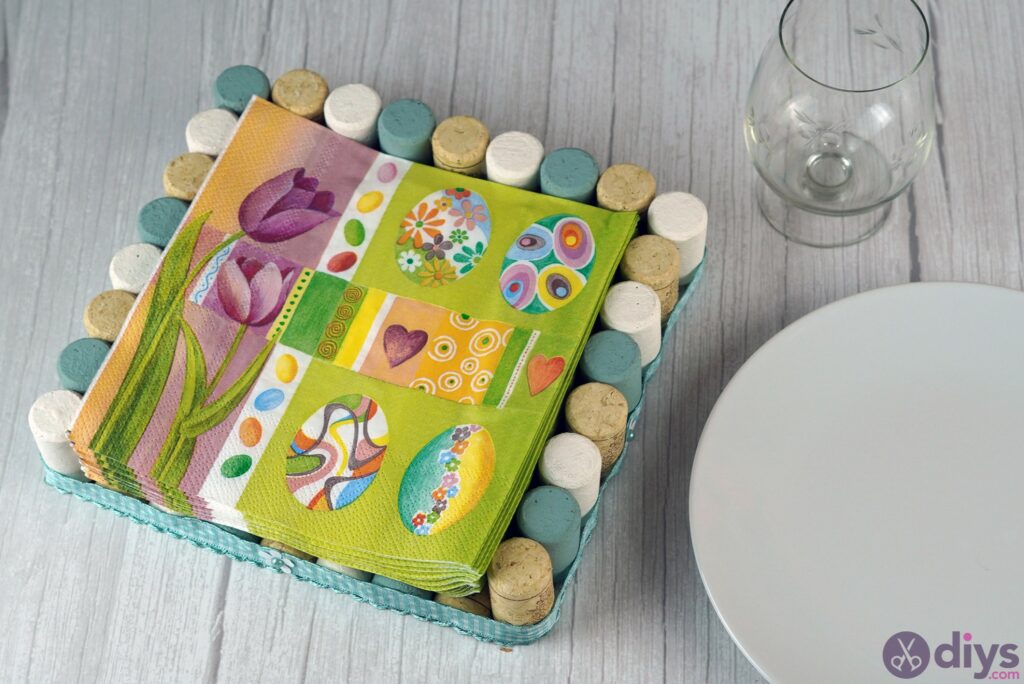
And that’s it! We now have a perfectly functional and great-looking napkin holder. You can put it on your table and add your favorite napkins and rest assured they will no longer go flying all over the place.
We love this design because it allows us to customize the napkin holder however we want. If we need a bigger size, we can add more wine corks; if we want different colors, we can paint them differently; if we want a different shade for the ribbon, we can do that too. Every aspect of this design is customizable to whatever you need and want, and we are really curious to see the results. Please share them with us in the comments section!