DIY Toilet Paper Roll Scarecrow
Updated on November 19, 2025


If you ask me, toilet paper rolls are a total kids’ crafting classic. They’re right up there with nostalgic but timeless childhood DIY supplies like popsicle sticks and paper plates. They’re also all awesome opportunities for upcycling. That’s why I use them so often with my kids! This week, we decided to make toilet paper scarecrows because the snow hasn’tquite stuck around where we live yet and, even thought the cold of winter is coming, there are still some very fall-like scarecrows dotted around our neighbourhood that our kids can’t get enough of. They had so much fun making these that I couldn’t resist doing up one more after so I could show off the steps we took to make them happen.
Check out these step by step instructions complete with photos! If you’d rather follow along with a video tutorial instead of written words, scroll to the bottom of this post to find just what you’re looking for.
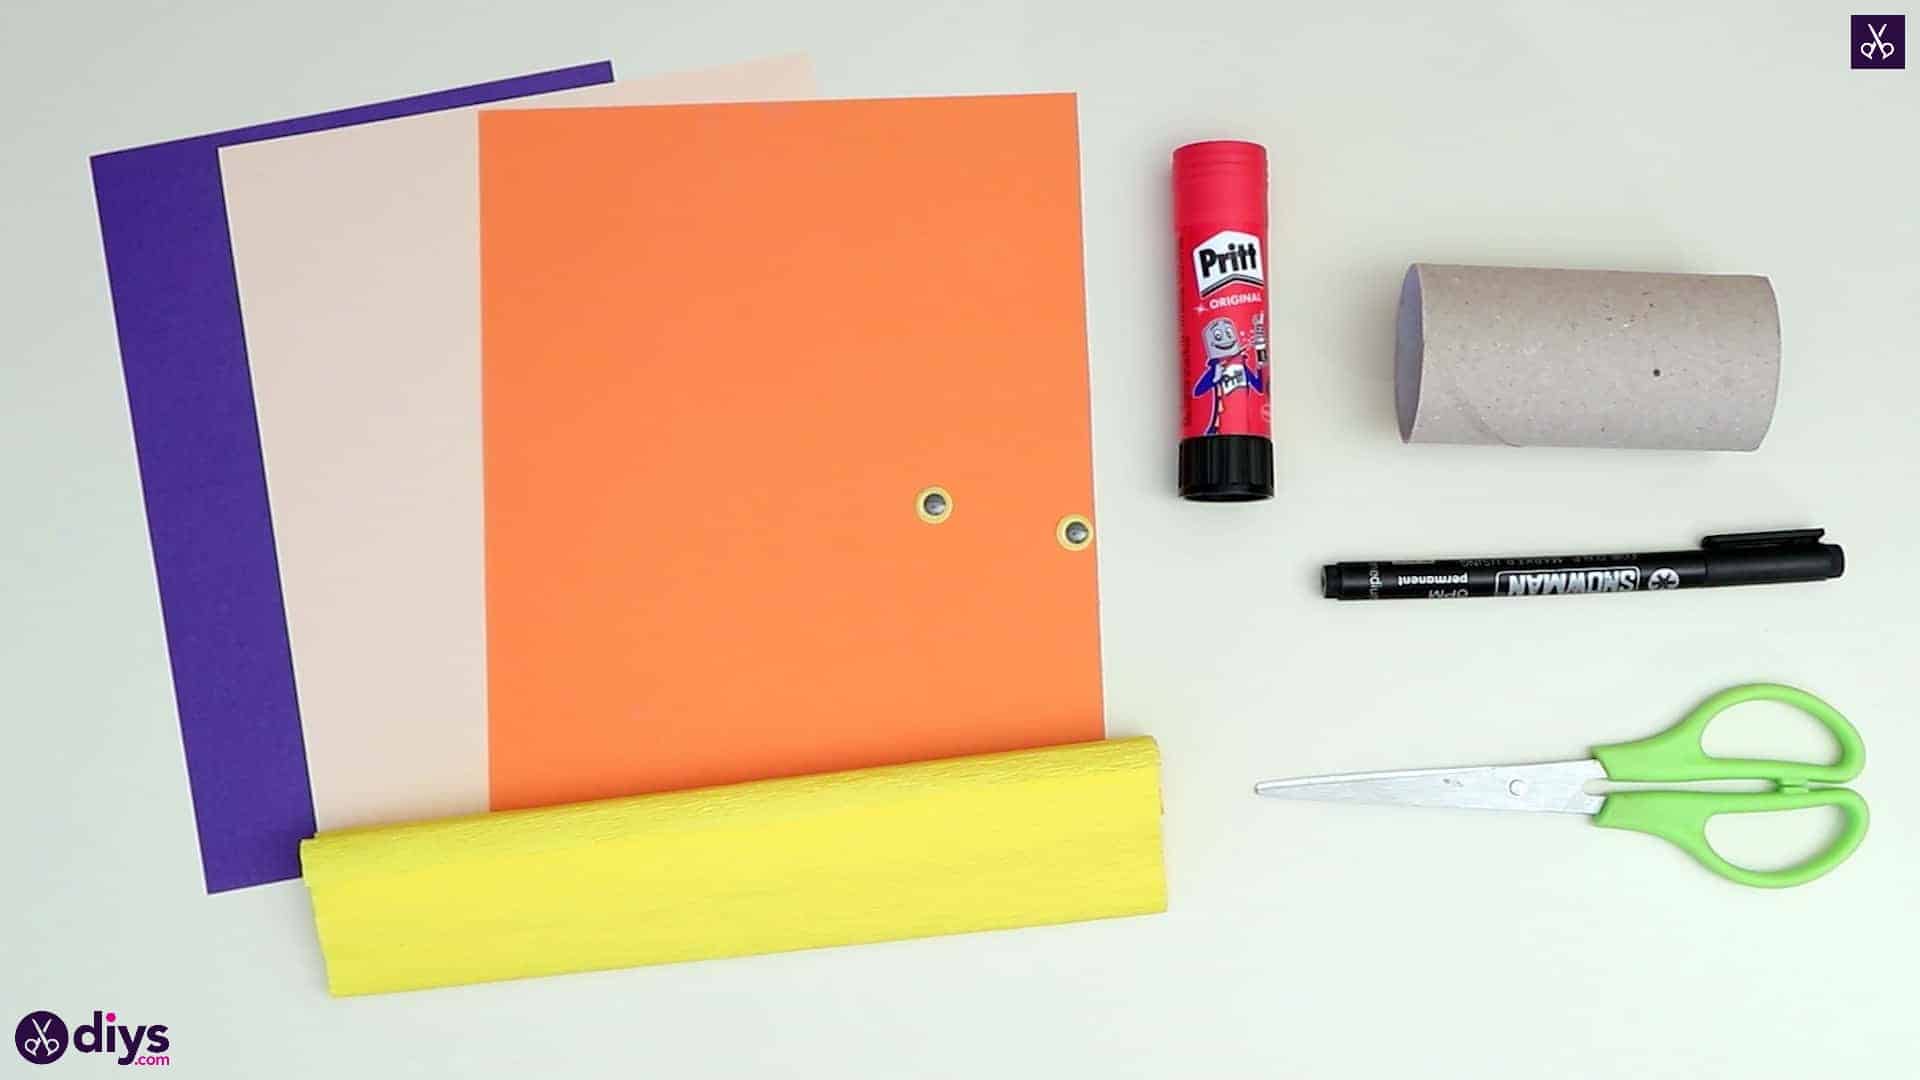
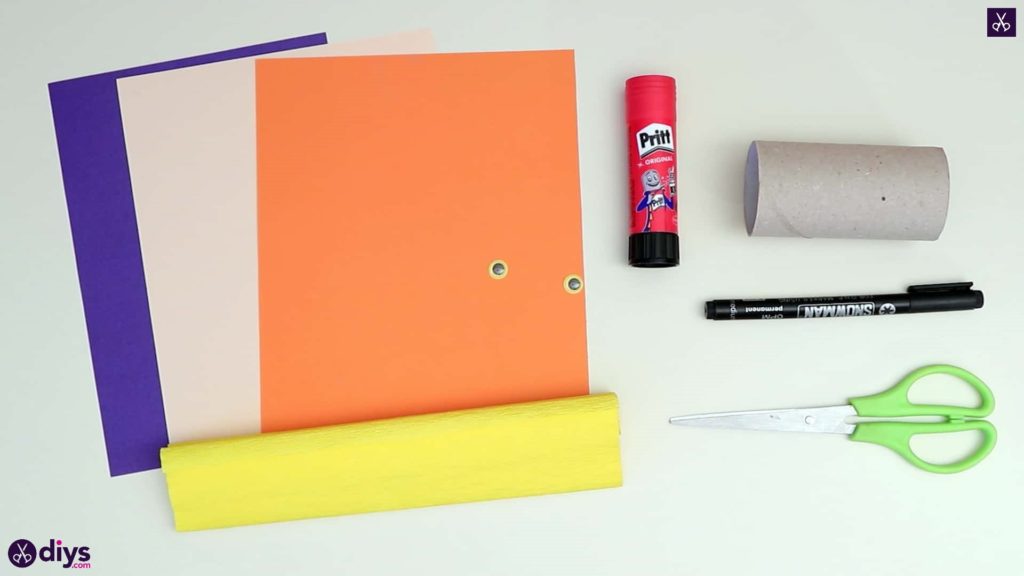
For this project, you’ll need:
- An empty toilet paper roll
- Scissors
- A glue stick
- Two googly eyes
- A black marker
- Crepe paper (yellow)
- Paper (orange, light pink, and purple)
Step 1: get what you need
Gather your materials all together before you start!
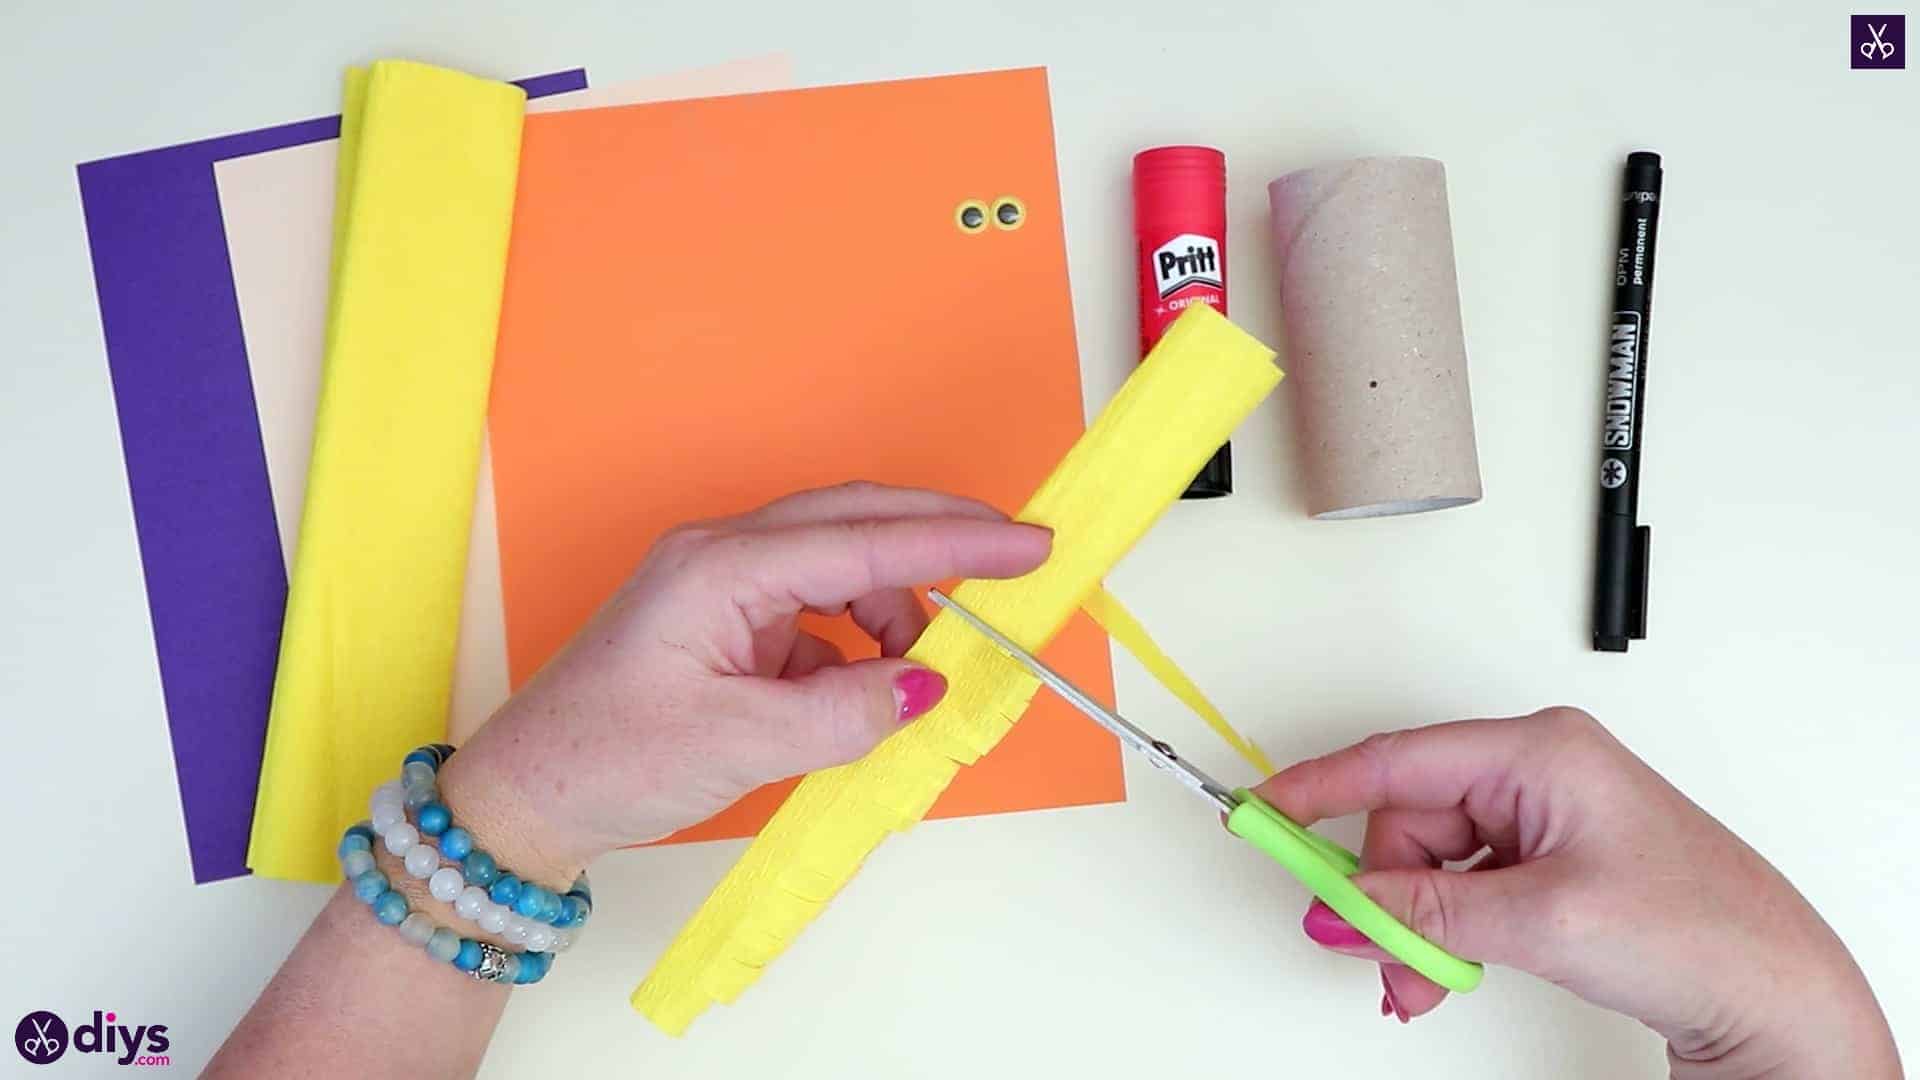
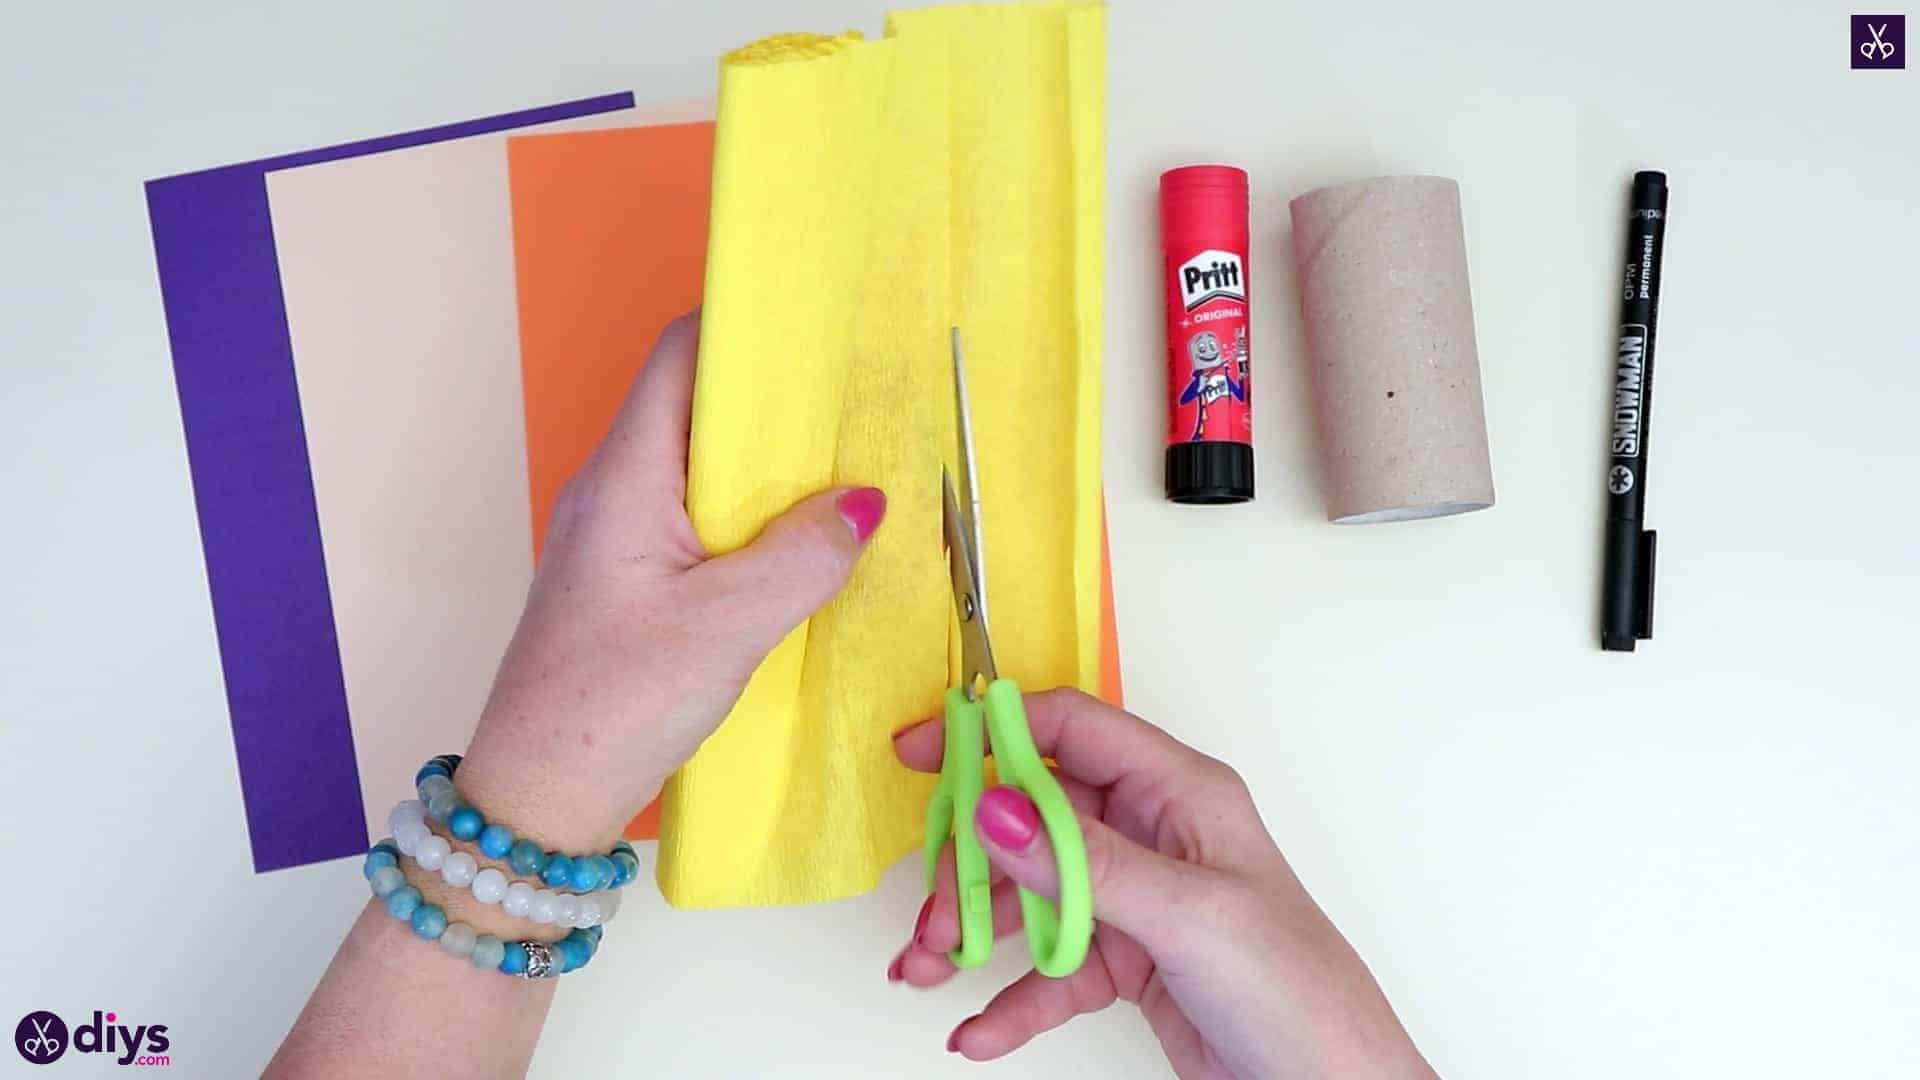
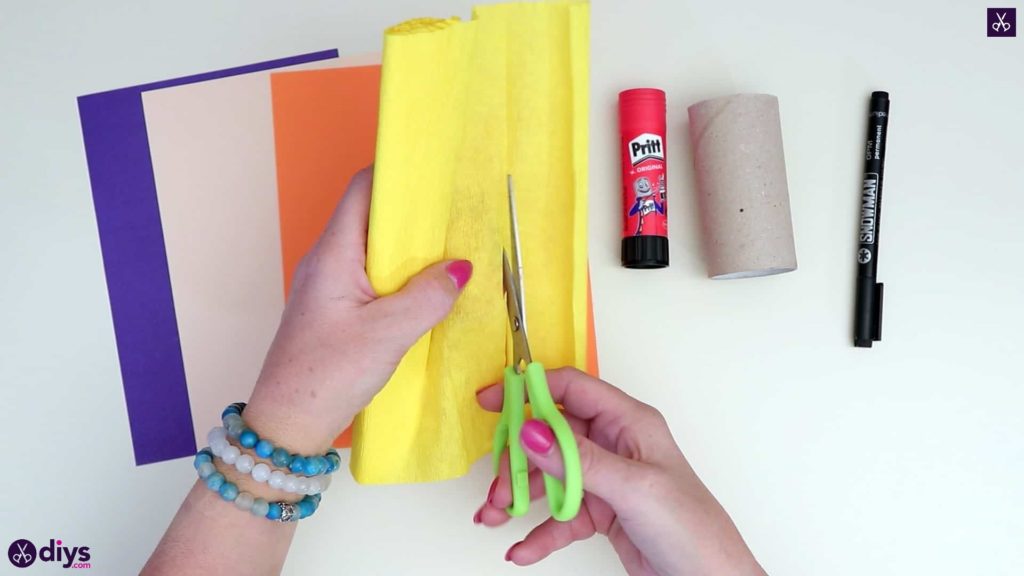
Step 2: cut and fray
Use your scissors to cut a two inch wide piece from your crepe paper that’s the entire length of the rolled sheet. Fold it in half so it is only an inch wide doubled over but just as long. Along the side where the folded edges meet (opposite the side with the crease), make a series of small cut all the way up the length from one end to the other to create a layered fringe effect.

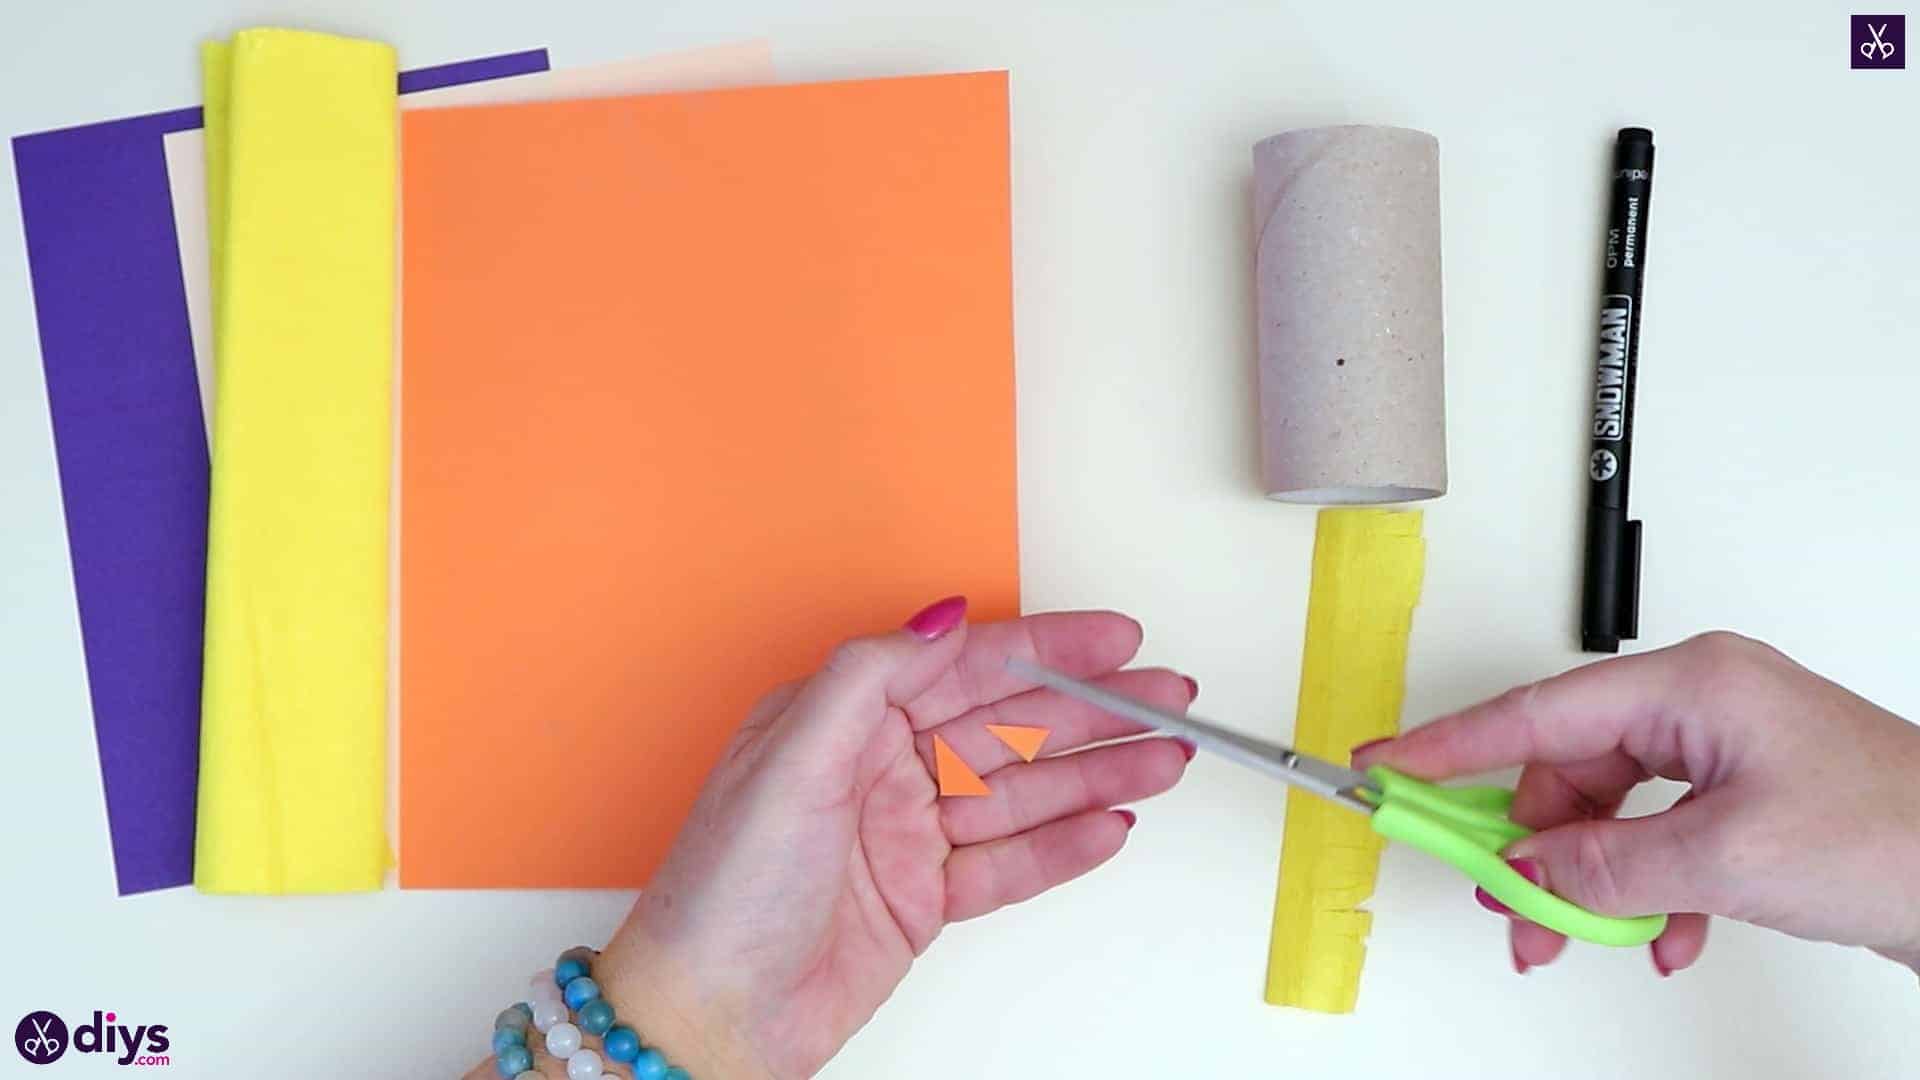
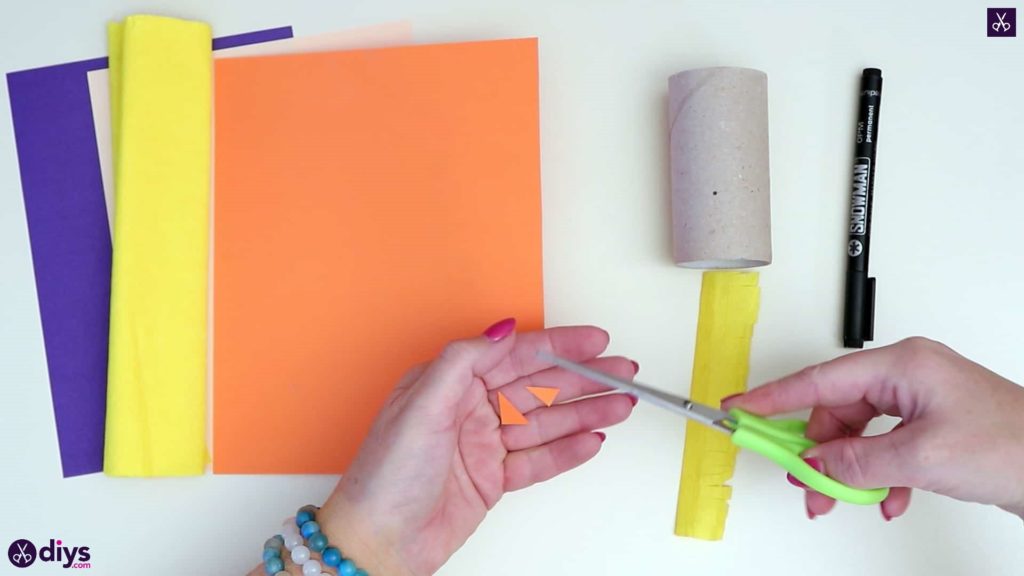
Step 3: make small triangles
Cut a very small square from the corner of your orange paper, about half an inch by half an inch. Then cut the small square in half diagonally, from corner to corner, so you have two small triangles of the same size. Cut one of these even smaller so it creates an even more narrow triangle. This will become your scarecrow’s patched nose. Set it aside. Holding the rest of your orange paper horizontally or landscape, so its longest side makes up its width, cut a rectangular piece about three inches wide and the full length. Set this piece aside for later.
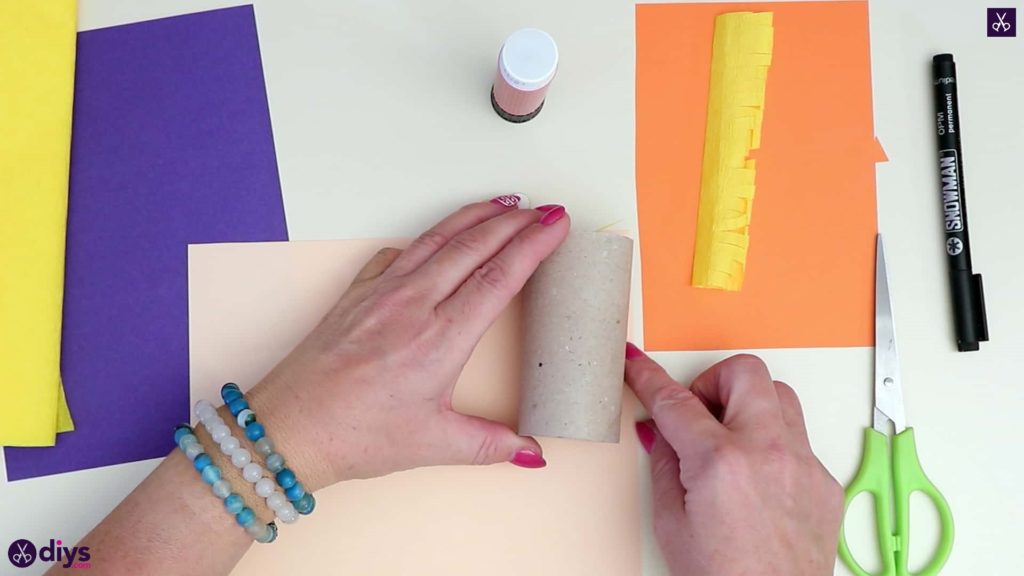
Step 4: cut and measure pink
Hold your light pink paper portrait or upright vertically and cut a rectangular piece about two inches wide and the full length of the page. You can use your toilet paper roll to measure your piece if you like, lining its top edge up with the top edge of the paper and marking a place on the page about halfway down the roll. Once you’ve cut the strip, set it aside.
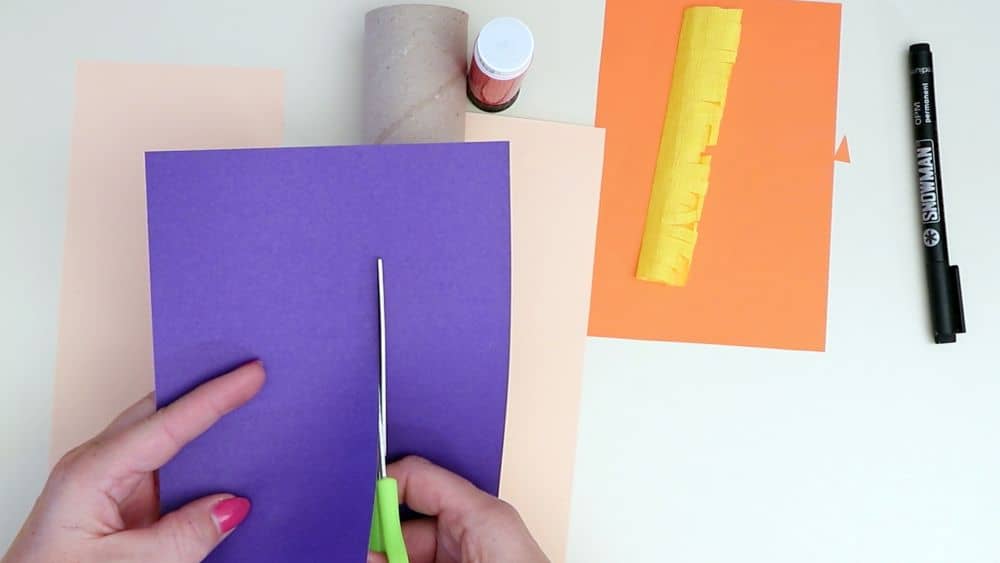
Step 5: cut and size the purple
Cut a similarly sized piece as you did with the light pink, but this time from your purple paper.
Step 6: make the body
Apply glue to one of the short ends of your purple strip and stick it down on your toilet roll so the edge of the strip lines up with the edge of the cardboard cylinder on one end. Wrap the purple strip around the roll, keeping their edges even all the way around. Glue the other end down to keep the strip in place. Just under half your roll is now purple. This will be your scarecrow’s body.
Step 7: start assembling
Repeat this gluing and wrapping process with your light pin strip of paper on the other end of your toilet roll, so the rest of the plain cardboard is covered with pink paper. This time, instead of keeping in line with the edge of the roll’s end, carefully line up the edge of your pink paper with the edge of the purple piece you glued down previously. Stick the other end of your pink strip down once you’ve wrapped it all the way around. Now, use your scissors to trim the top of the pink paper you just glued into place all the way around so it also sits even with the other end of the toilet paper roll.

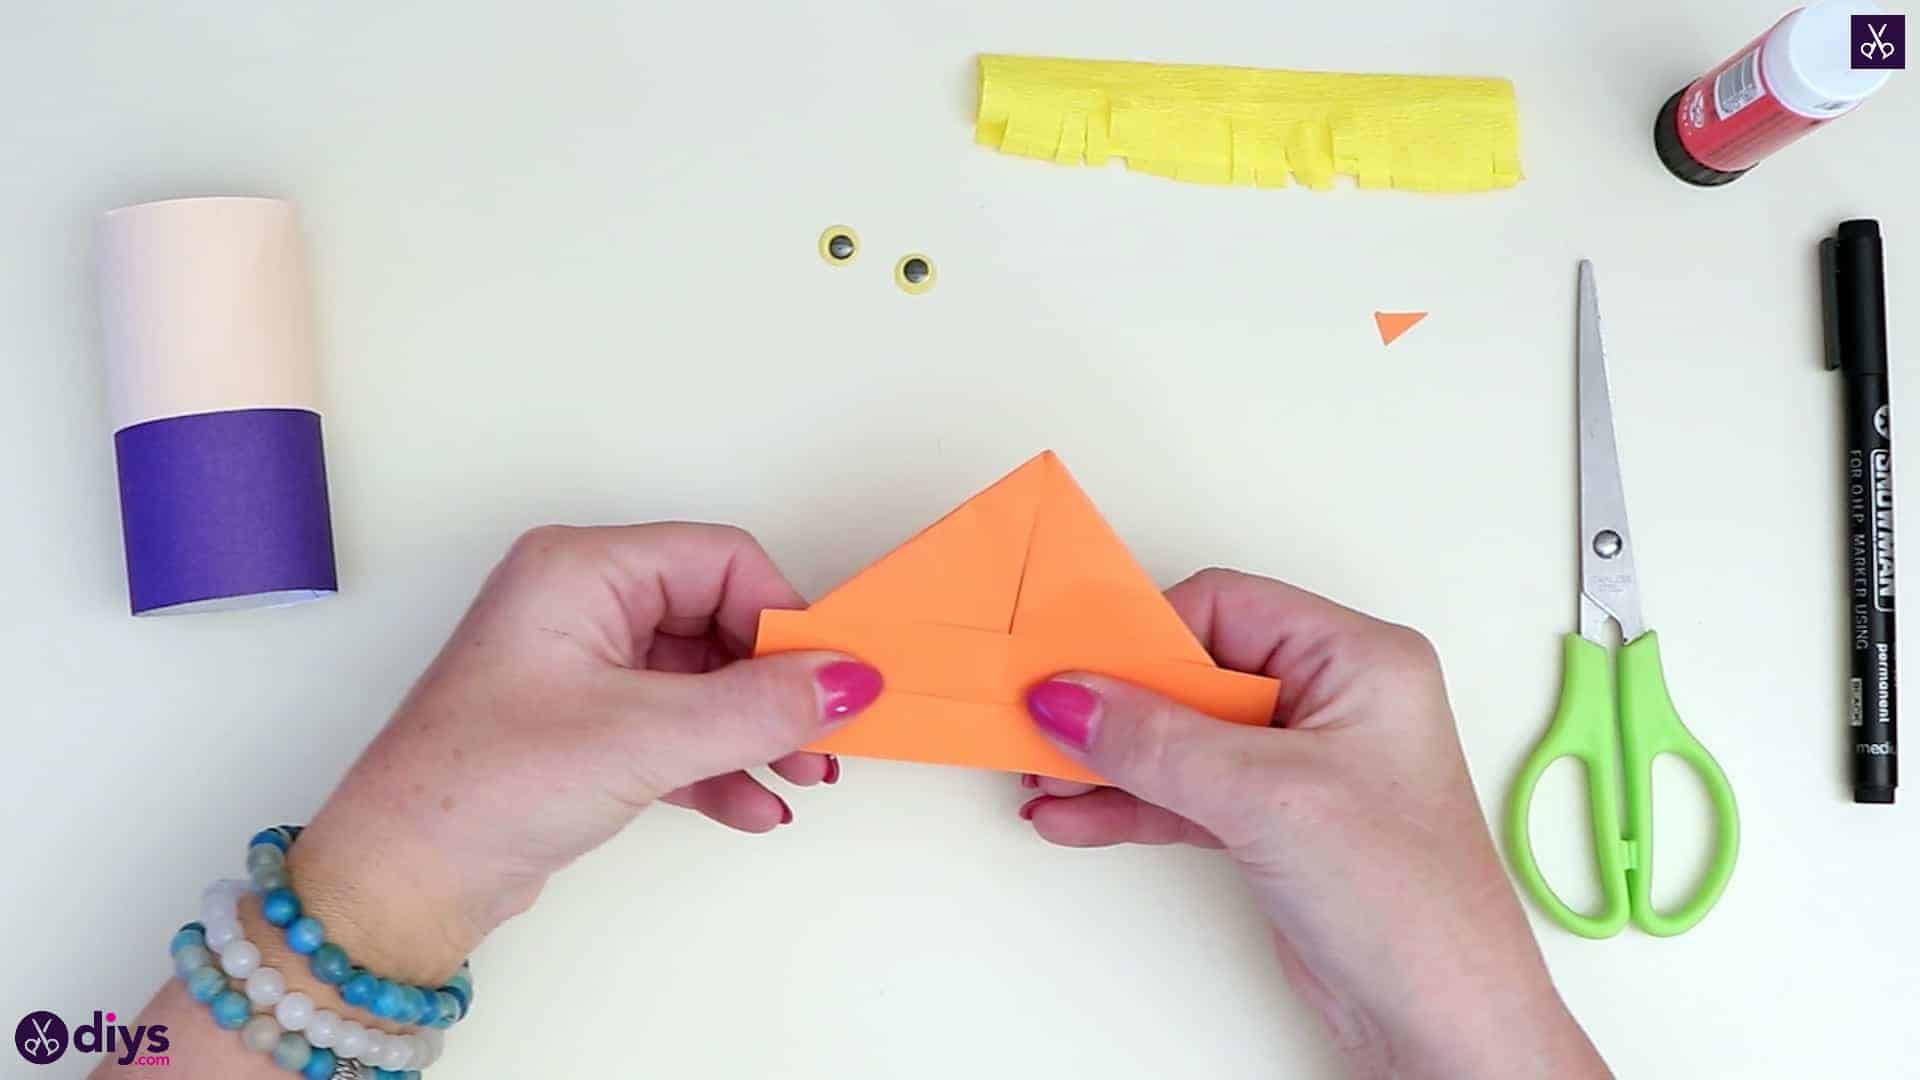
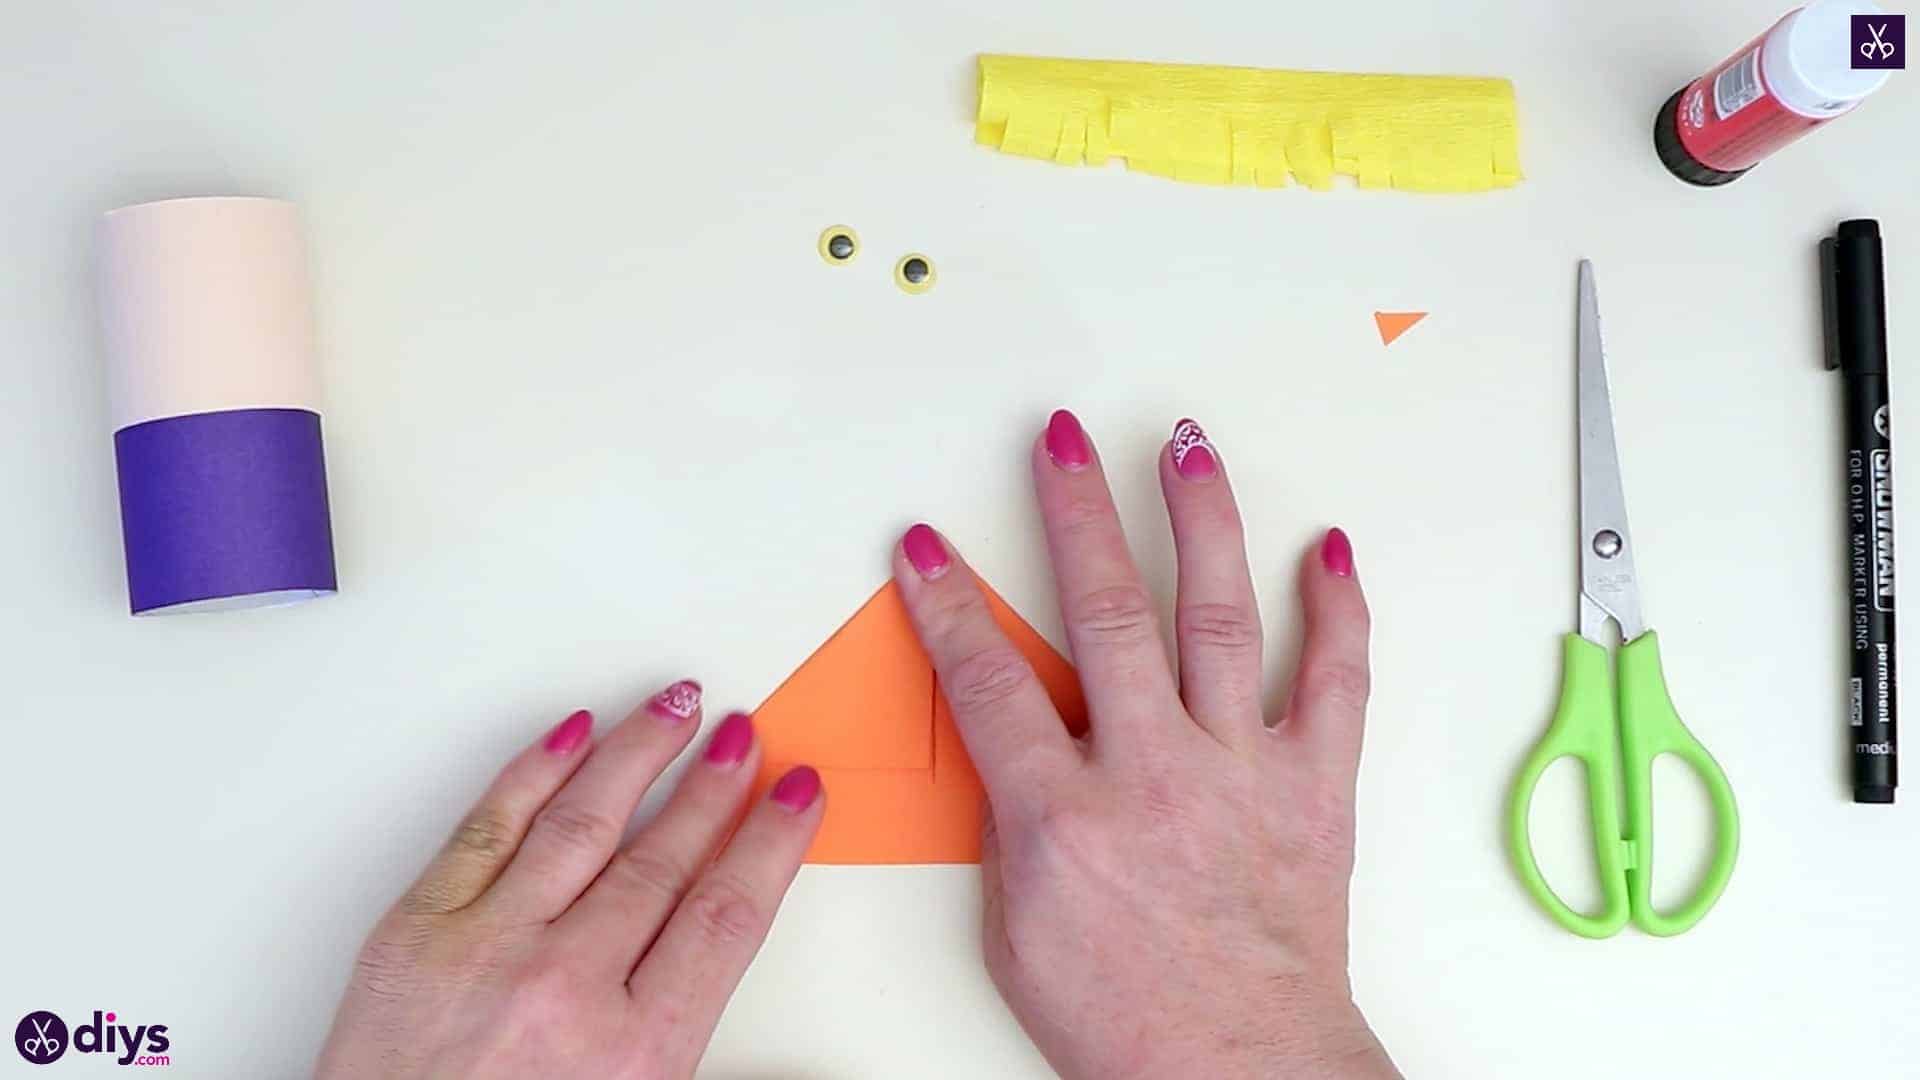
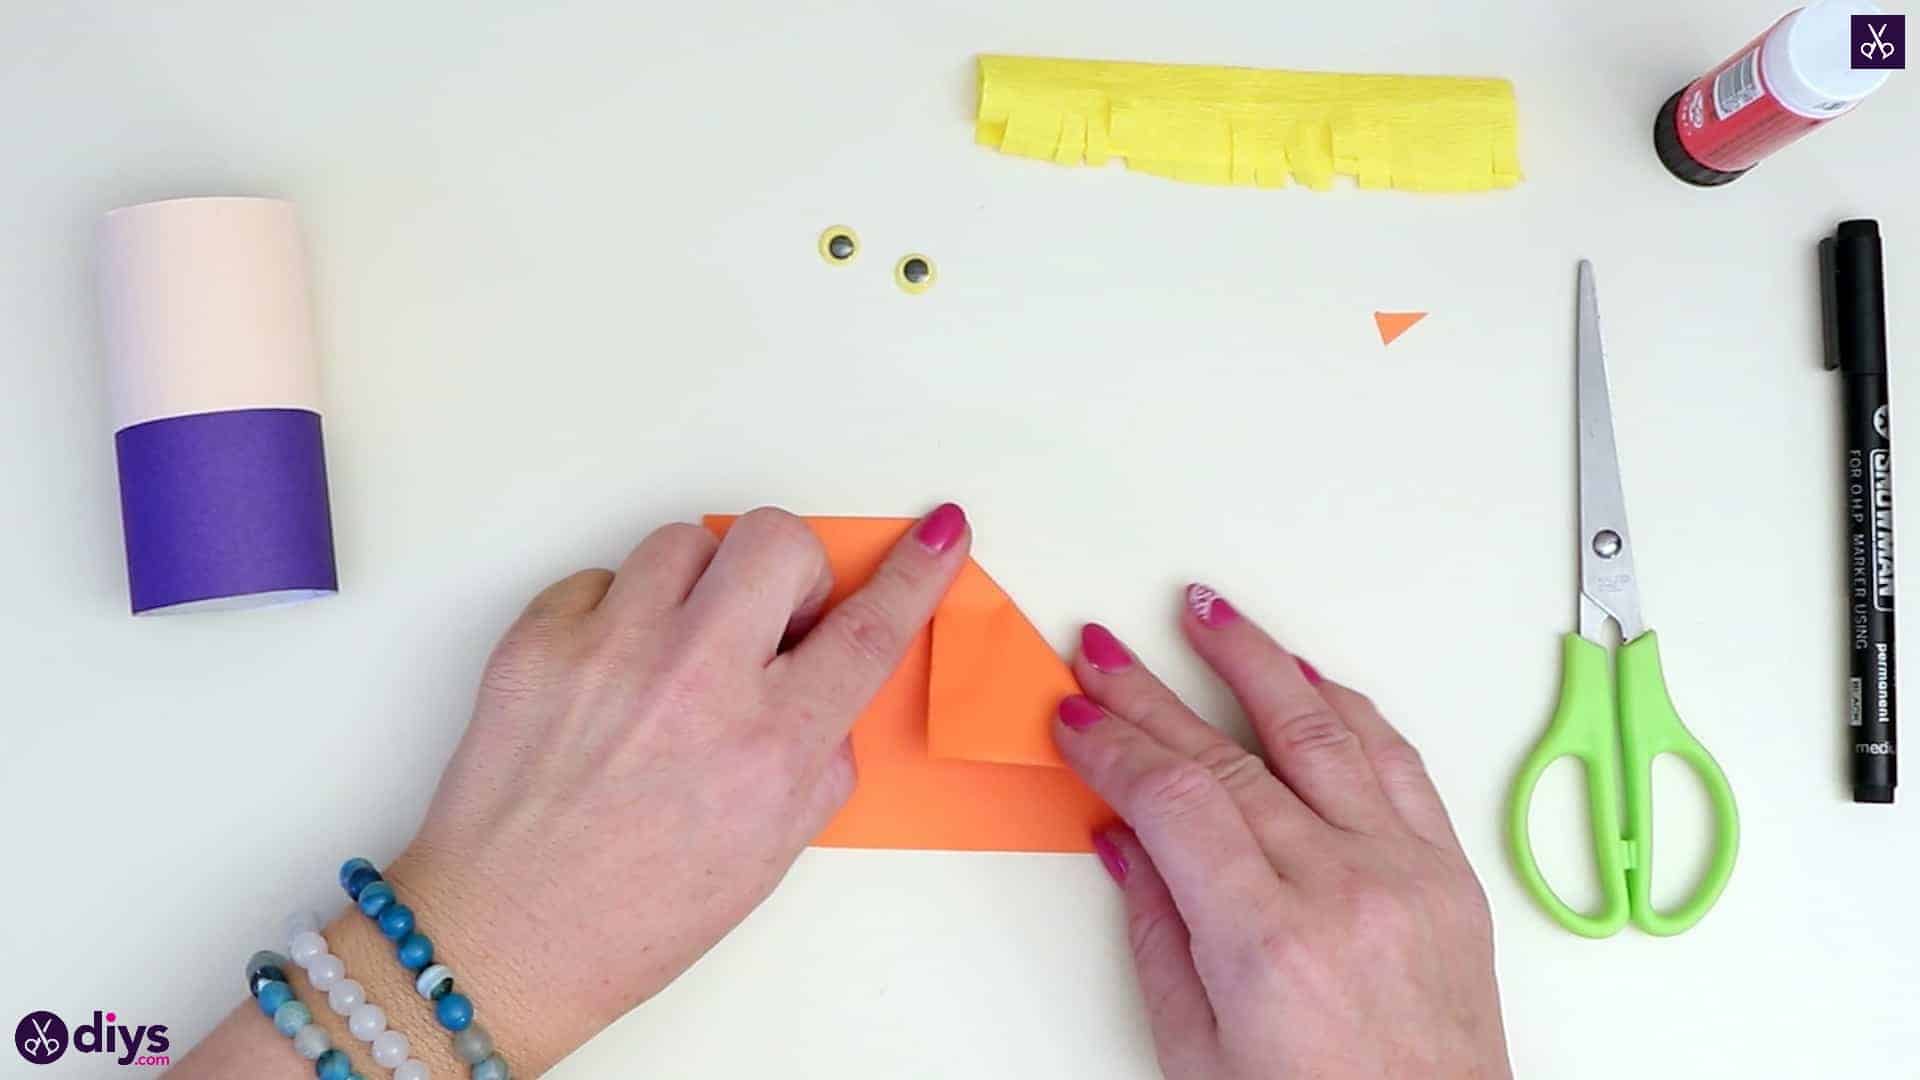
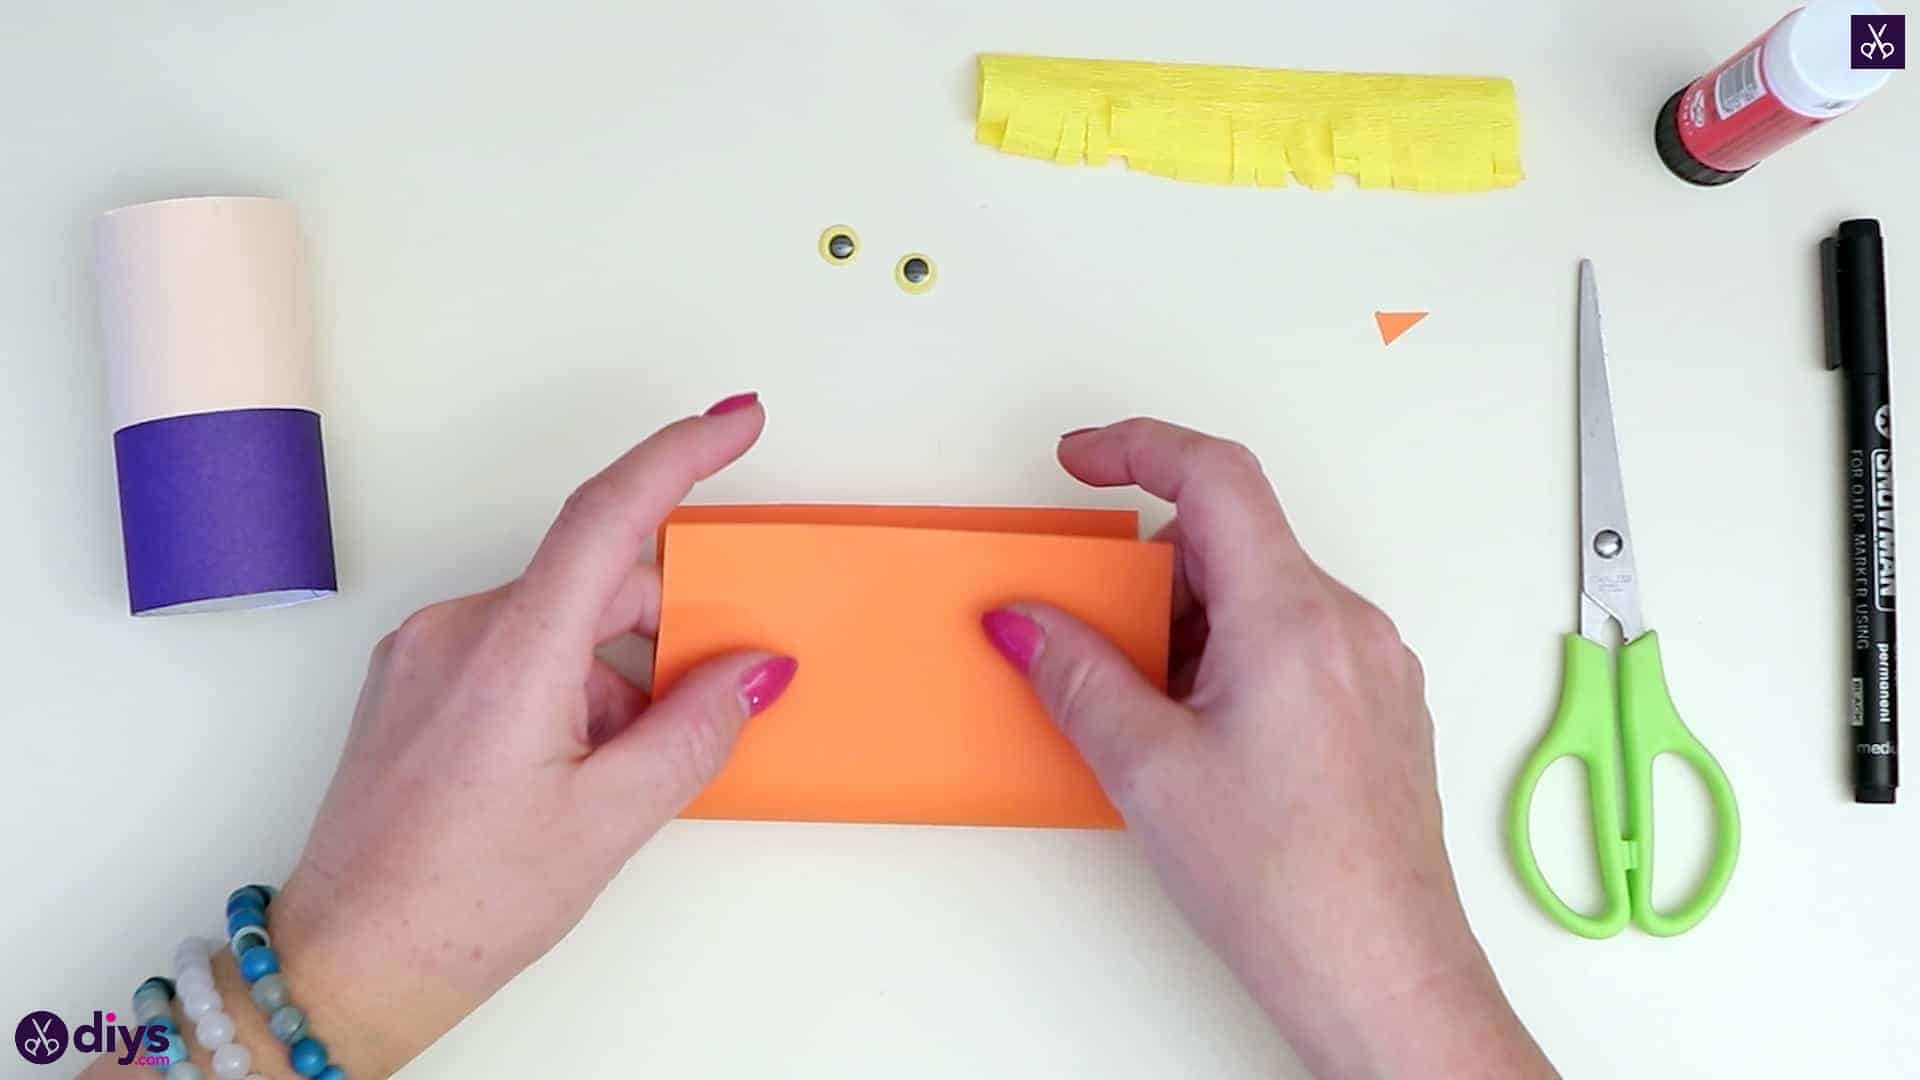
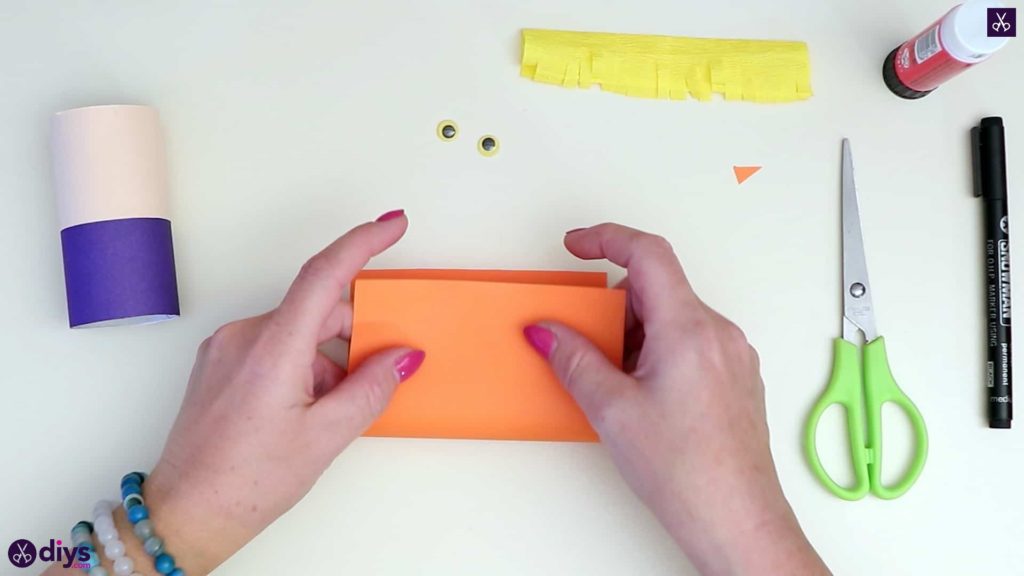
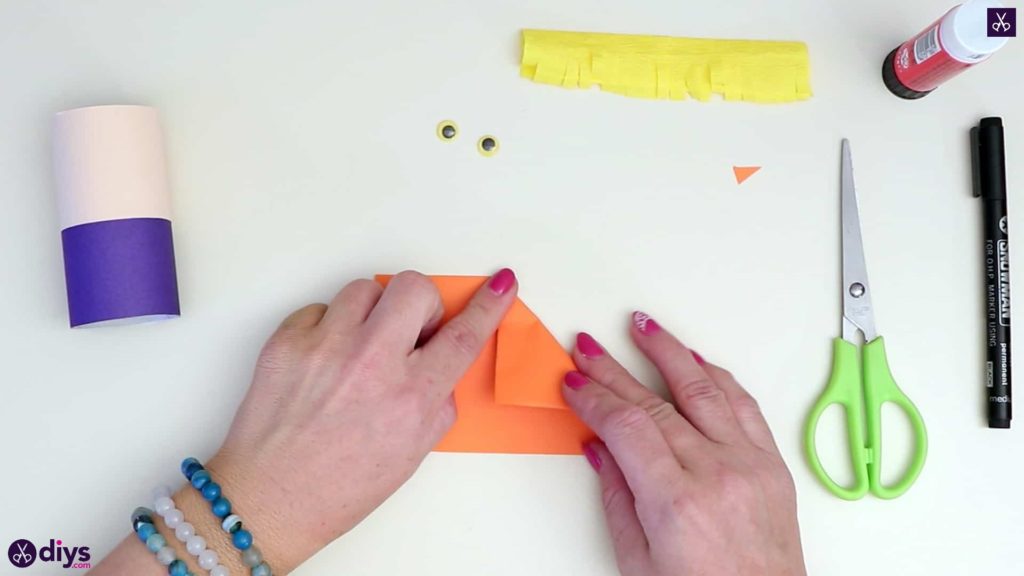
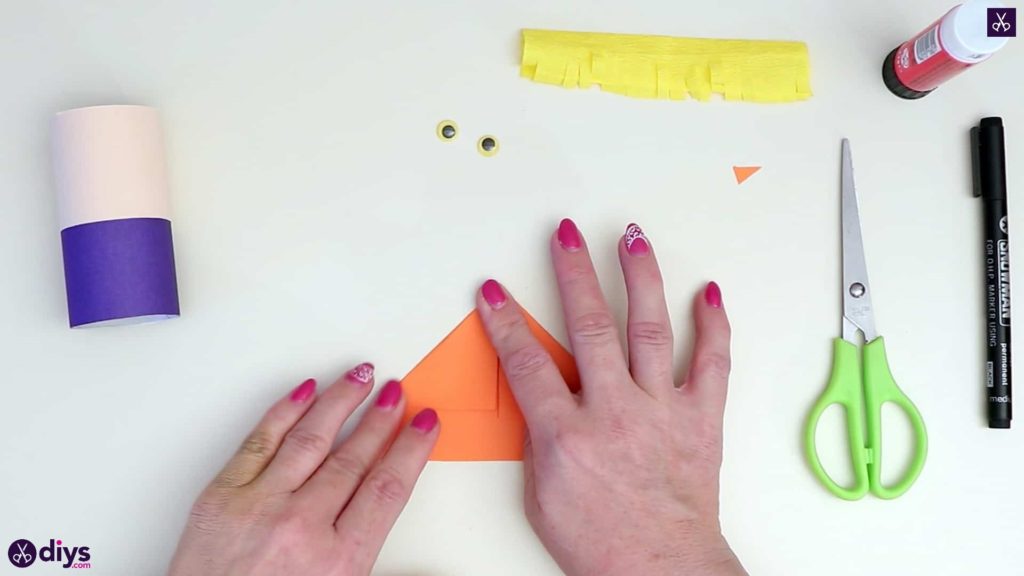
Step 8: make the hat
Use the orange piece of paper you cut earlier to make your scarecrow’s hat! Place it portrait on your work surface and fold it in half by bringing the bottom edge upward to meet the top edge evenly, creasing it in the middle. Turn the piece so the creased side is now at the top, then fold the right top corner diagonally downward, bringing it to about halfway down the piece so the corner now lies at the center. Repeat this process on the other side, folding the top left corner in the same way. Next, fold only one side of the remaining section along the bottom, below where the diagonally folded corners meet, upwards to cover those edges. Turn the whole piece over and fold the bottom edge of the other side upwards as well so it creases evenly with the previous fold you just made. On each side, tuck the four corners of the edges you just folded up inwards and under to put them in line with the hat’s triangular shape.

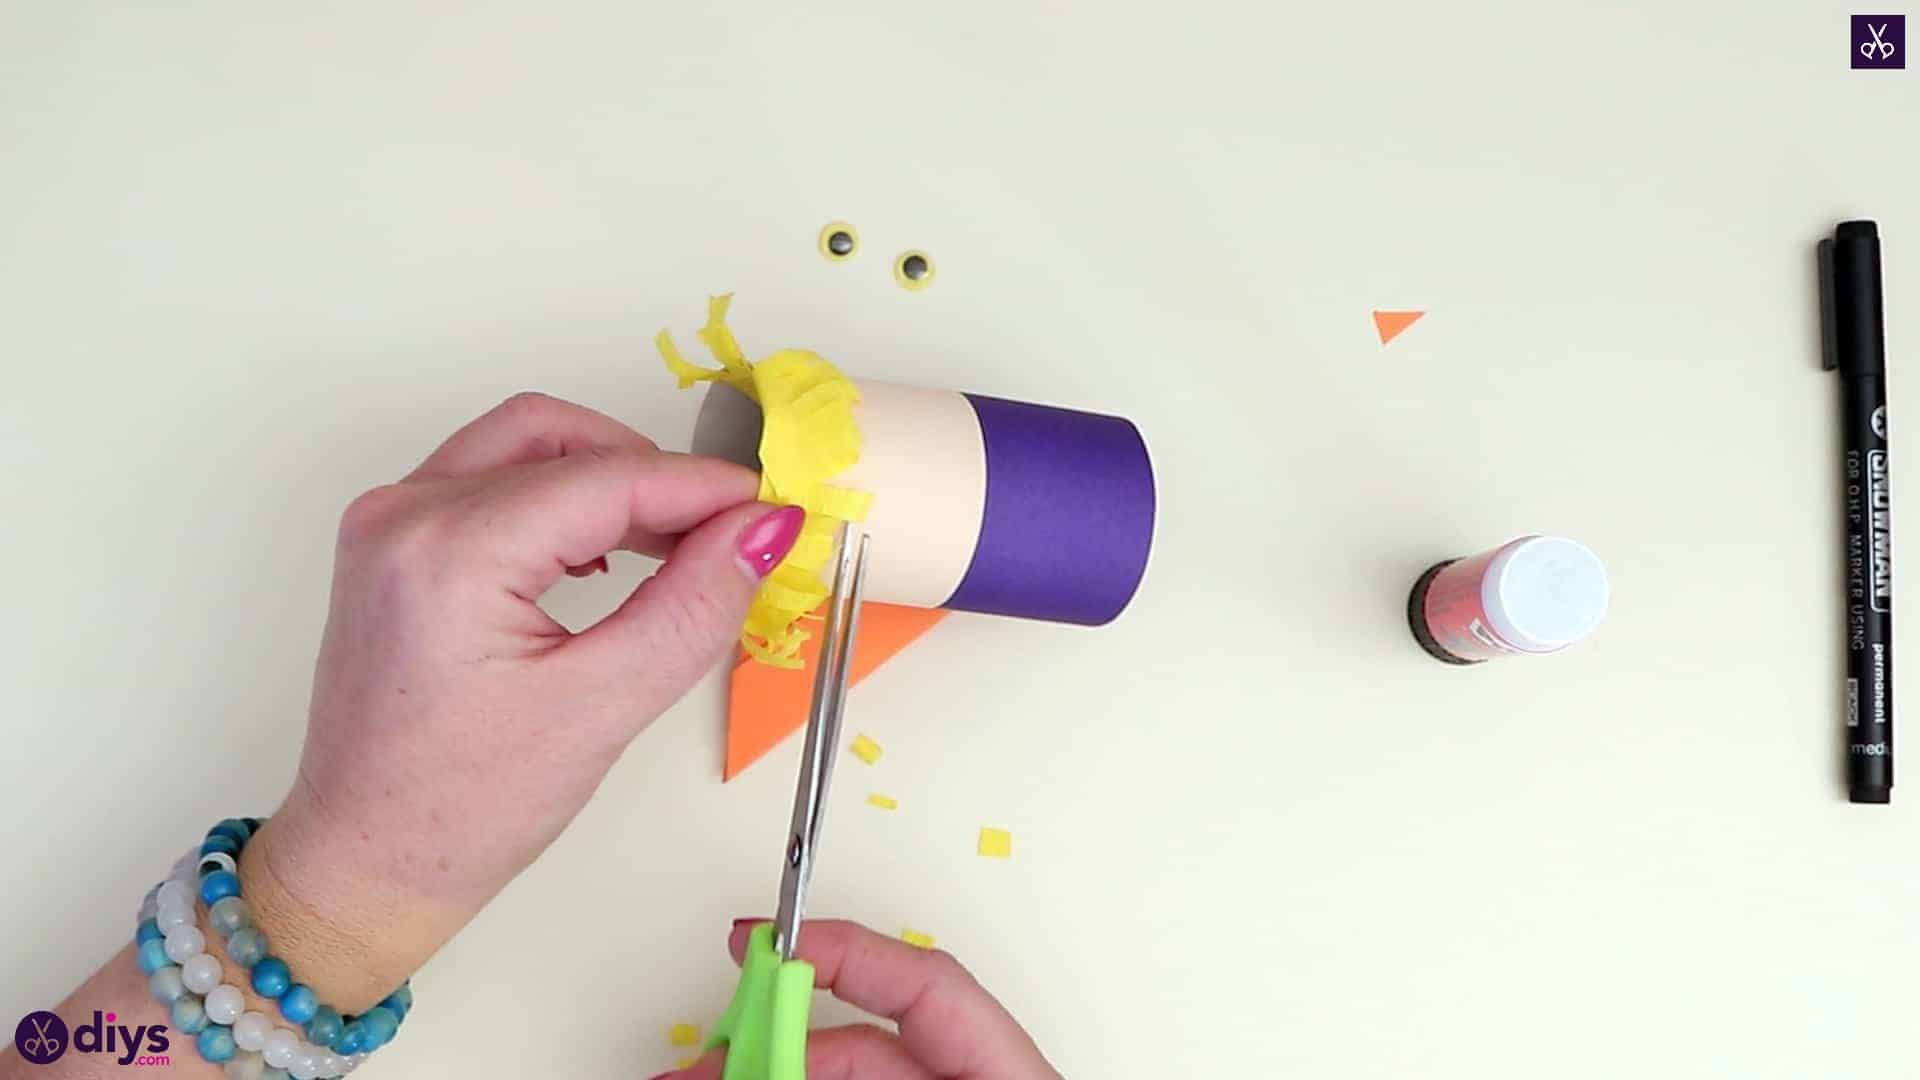
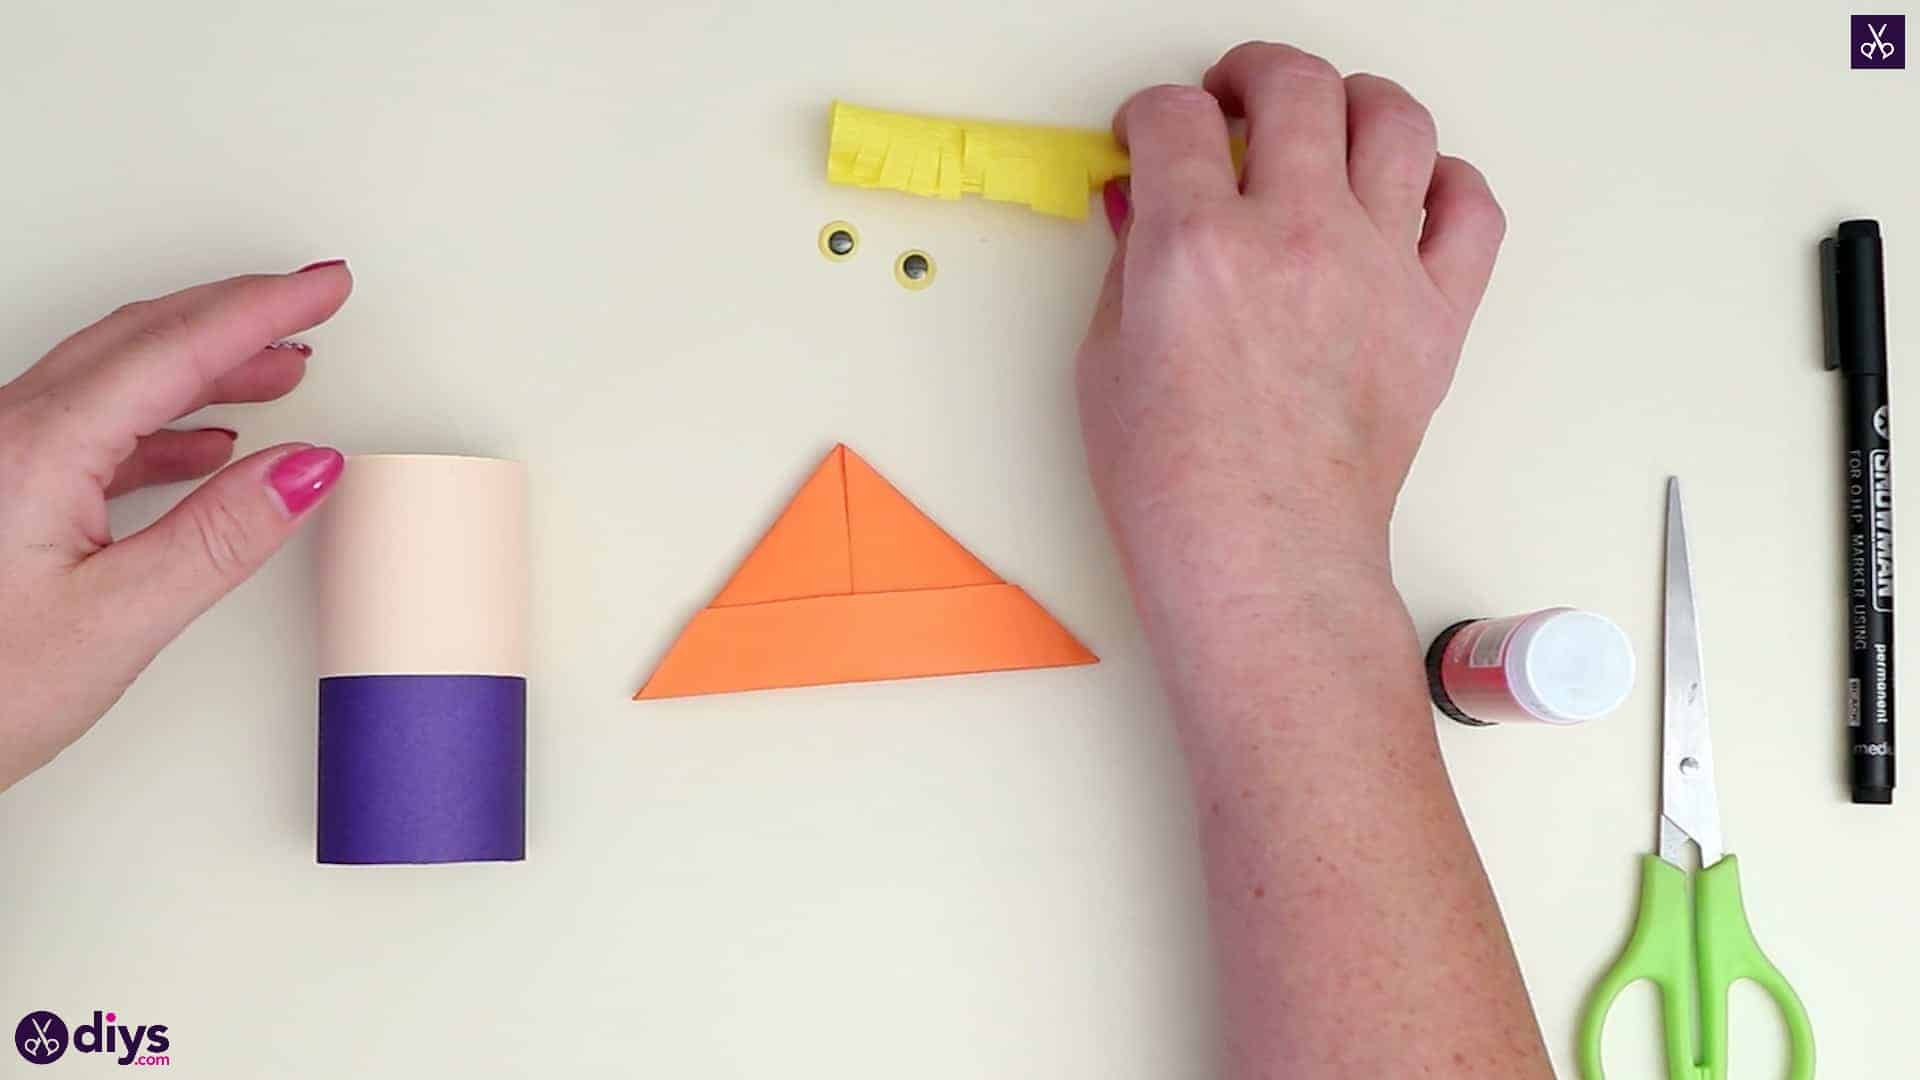
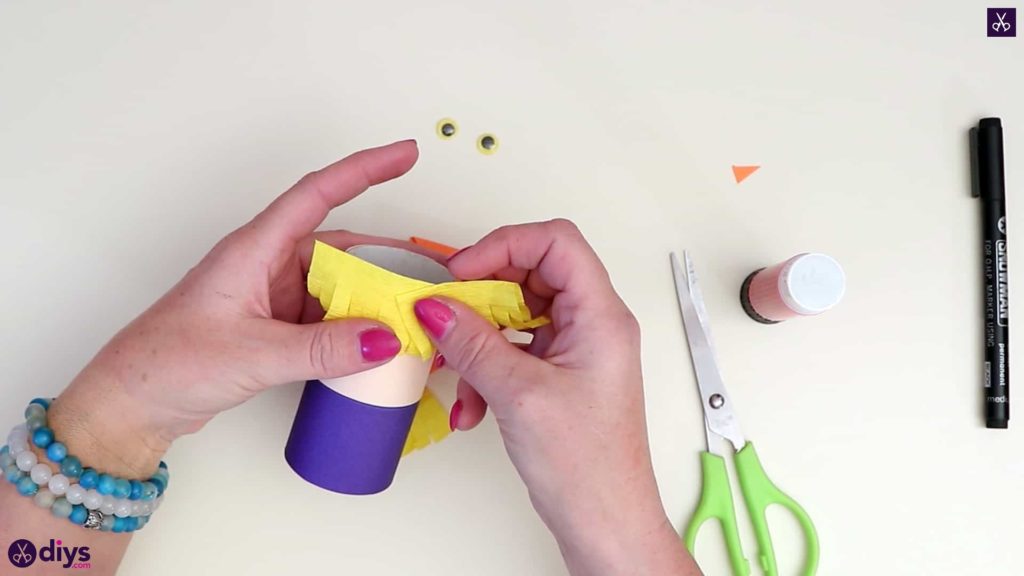
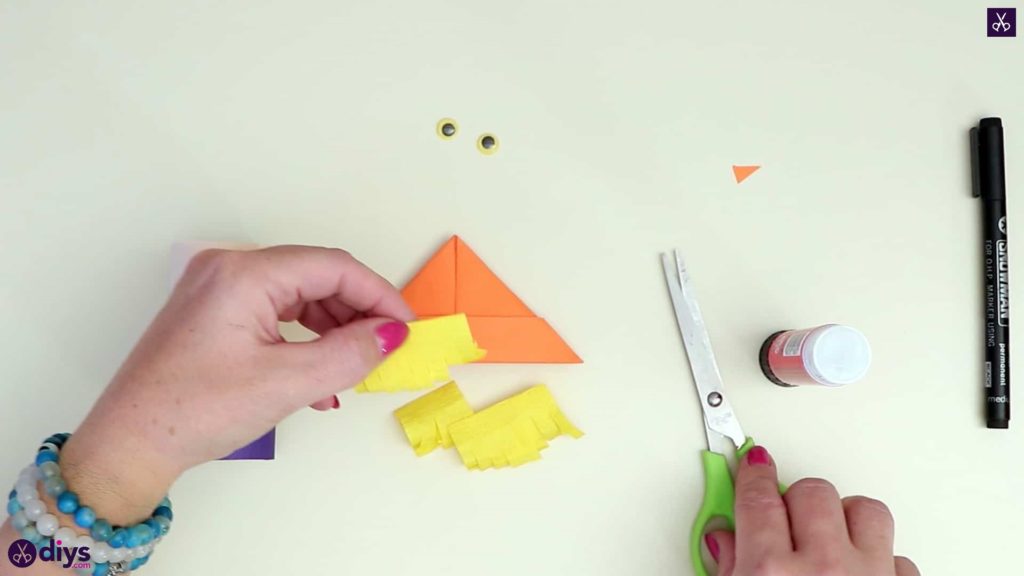
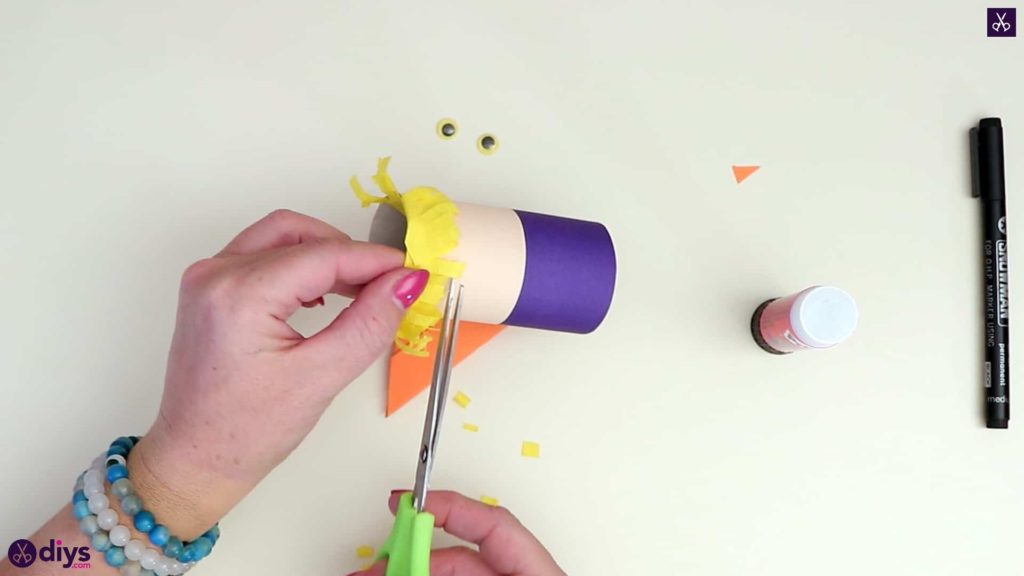
Step 9: make the fringe hair
Take your yellow fringed piece from before and cut it into three separate pieces to make it easier to work with. Line the creased side of the first yellow piece up with the top edge of your toilet roll on the light pink end. Apply glue and stick the yellow piece down. Repeat this with each yellow piece until the scarecrow has hair all the way around. Use your scissors to trim the little fringed pieces so they sit evenly against their light pink background, like you’re trimming someone’s hair.
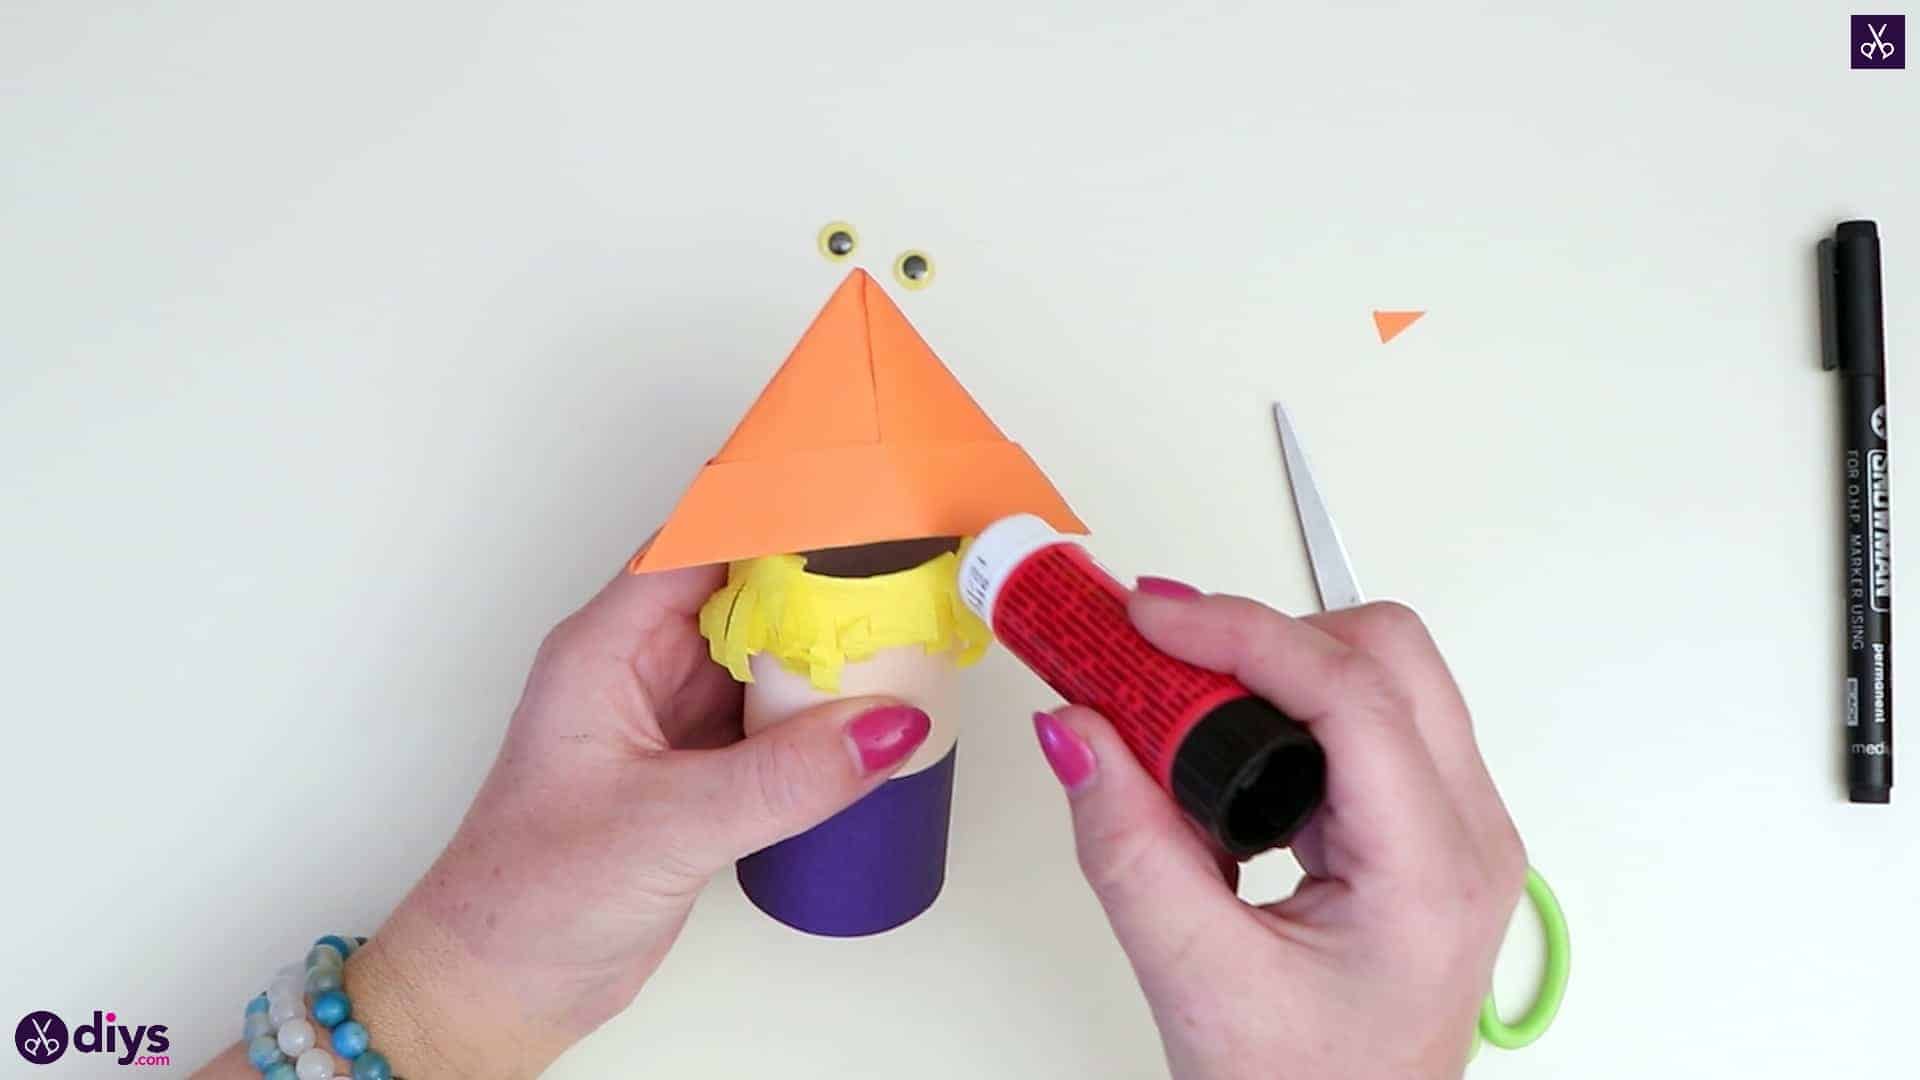
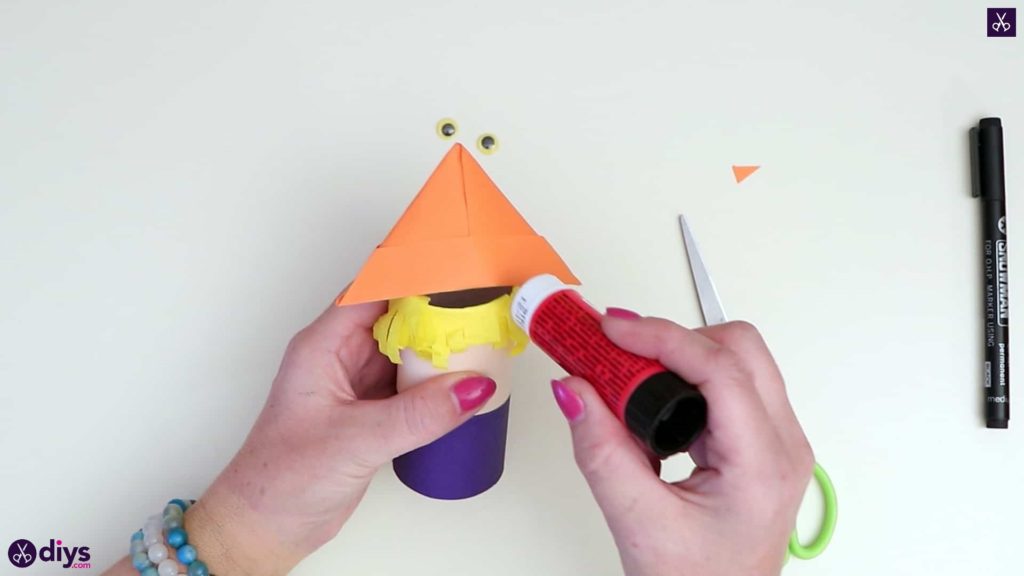
Step 10: apply glue to the hat
Open up the inside of your orange paper hat and apply glue in the hollow space. Then carefully stick it down on the top of your scarecrow’s head, so the yellow end nestles right inside of the orange hat and sticks out like hair. The pink space under one wide side of your hat will be your scarecrow’s face.
Step 11: glue the eyes
Apply glue to the backs of your two googly eyes and the little orange triangle nose you made before and stick them into place on your scarecrow’s face, below the yellow fringe.
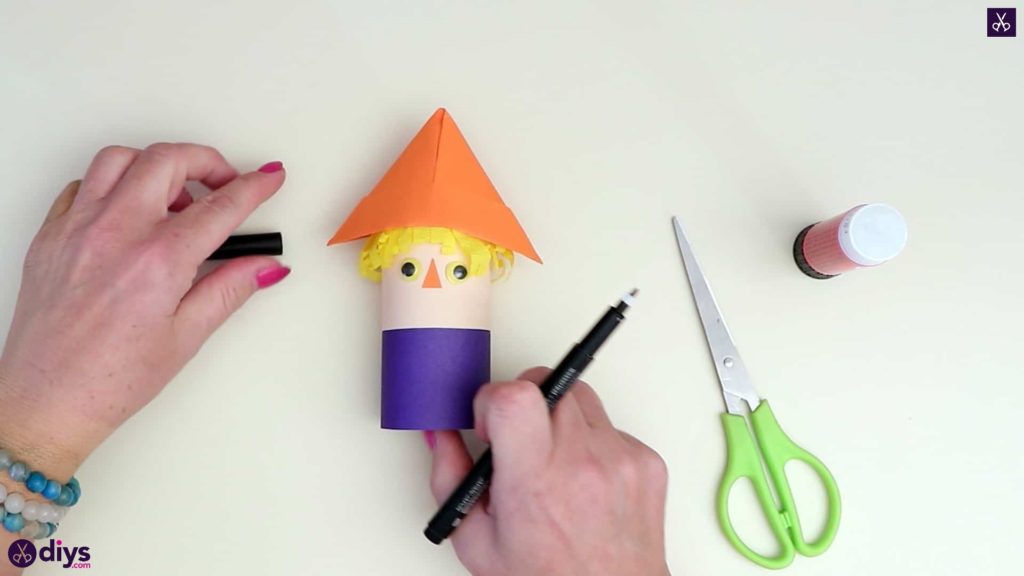
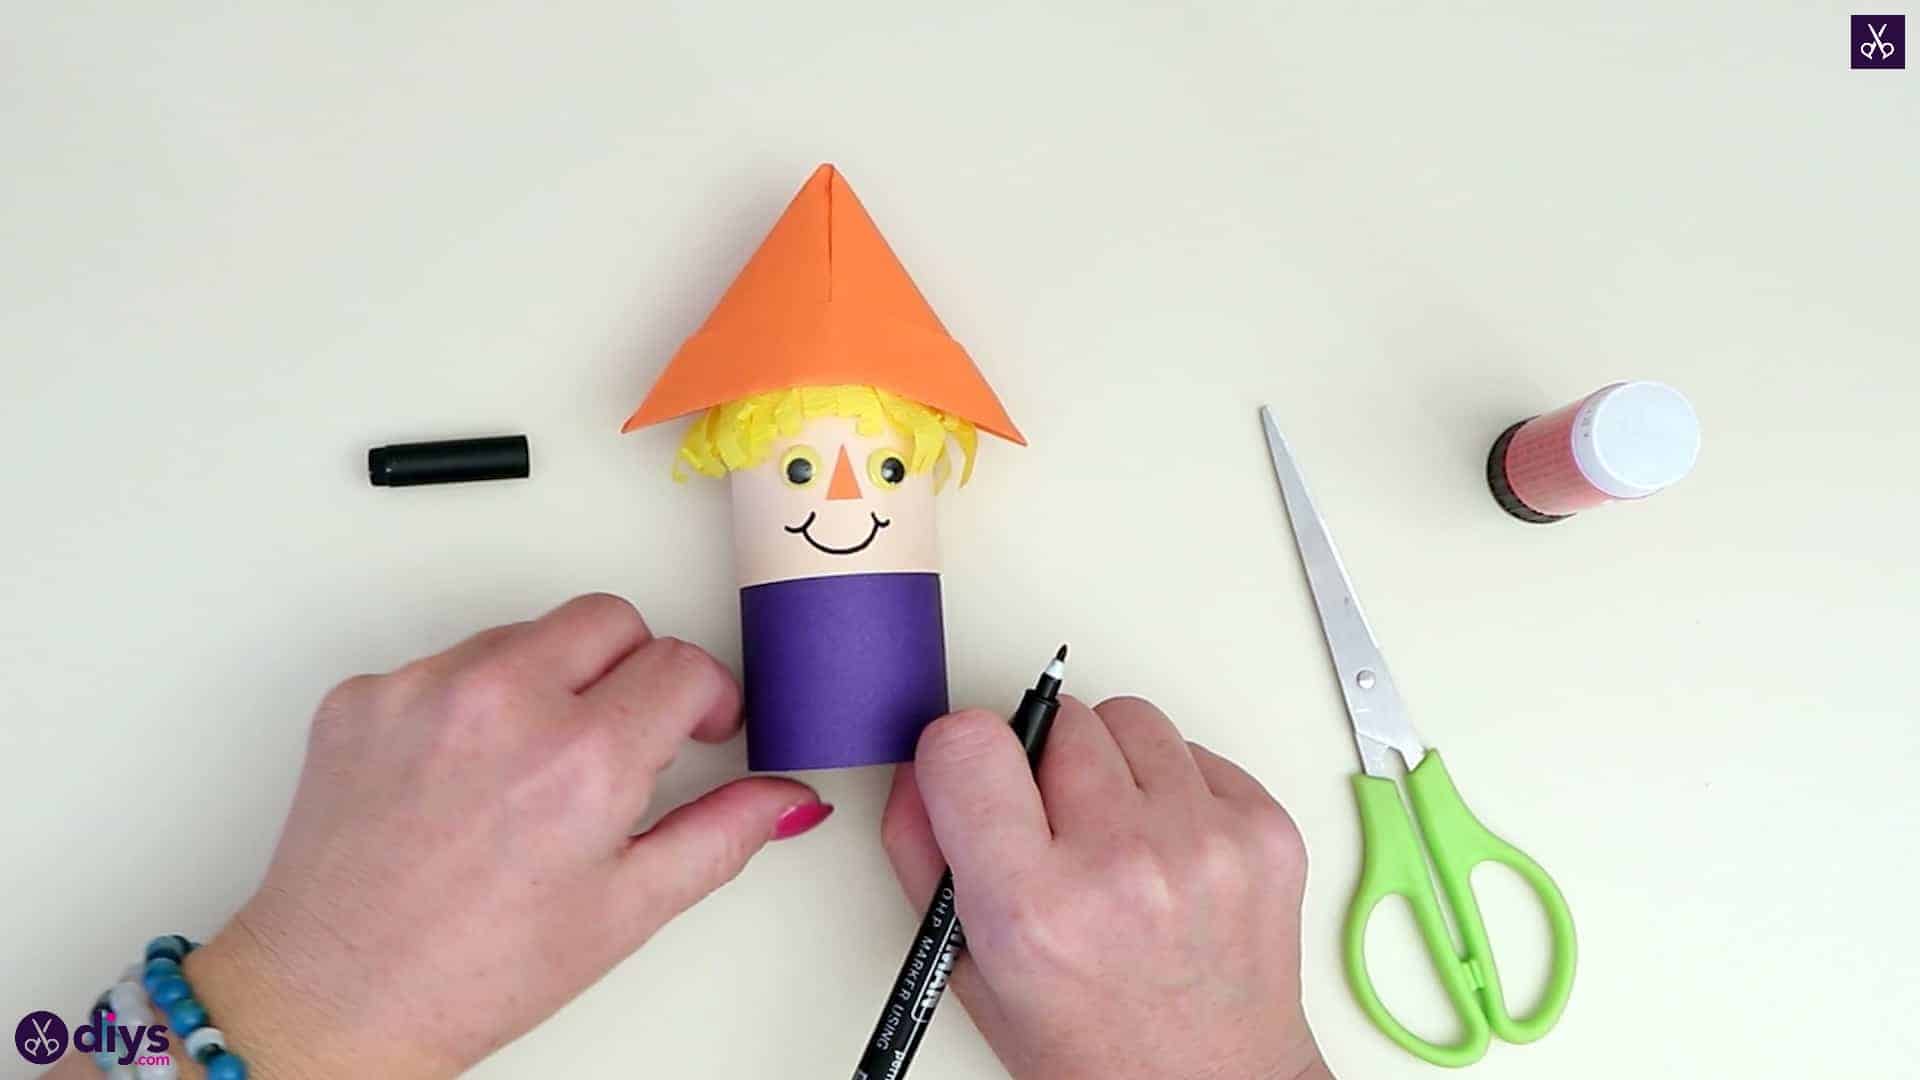
Step 12: draw the face
Use your black marker to draw a smile on your scarecrow’s face below the nose.

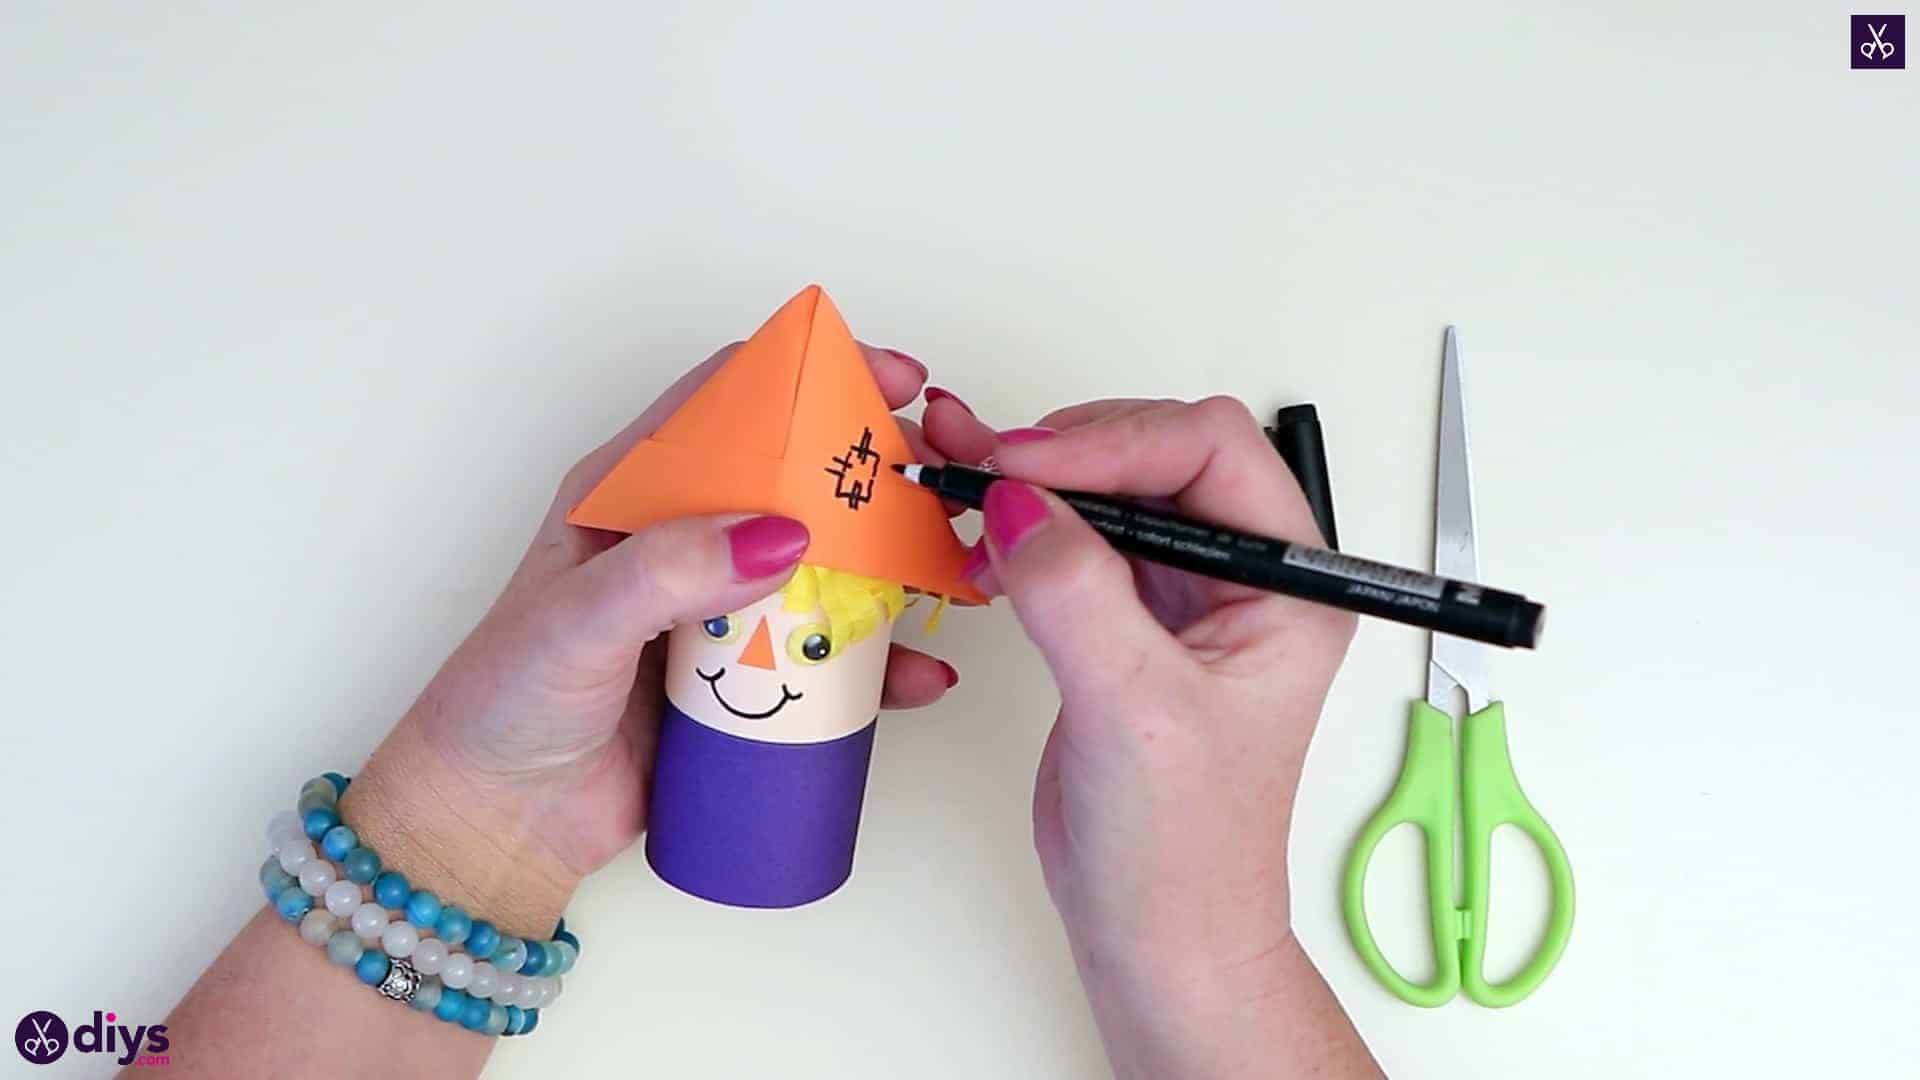
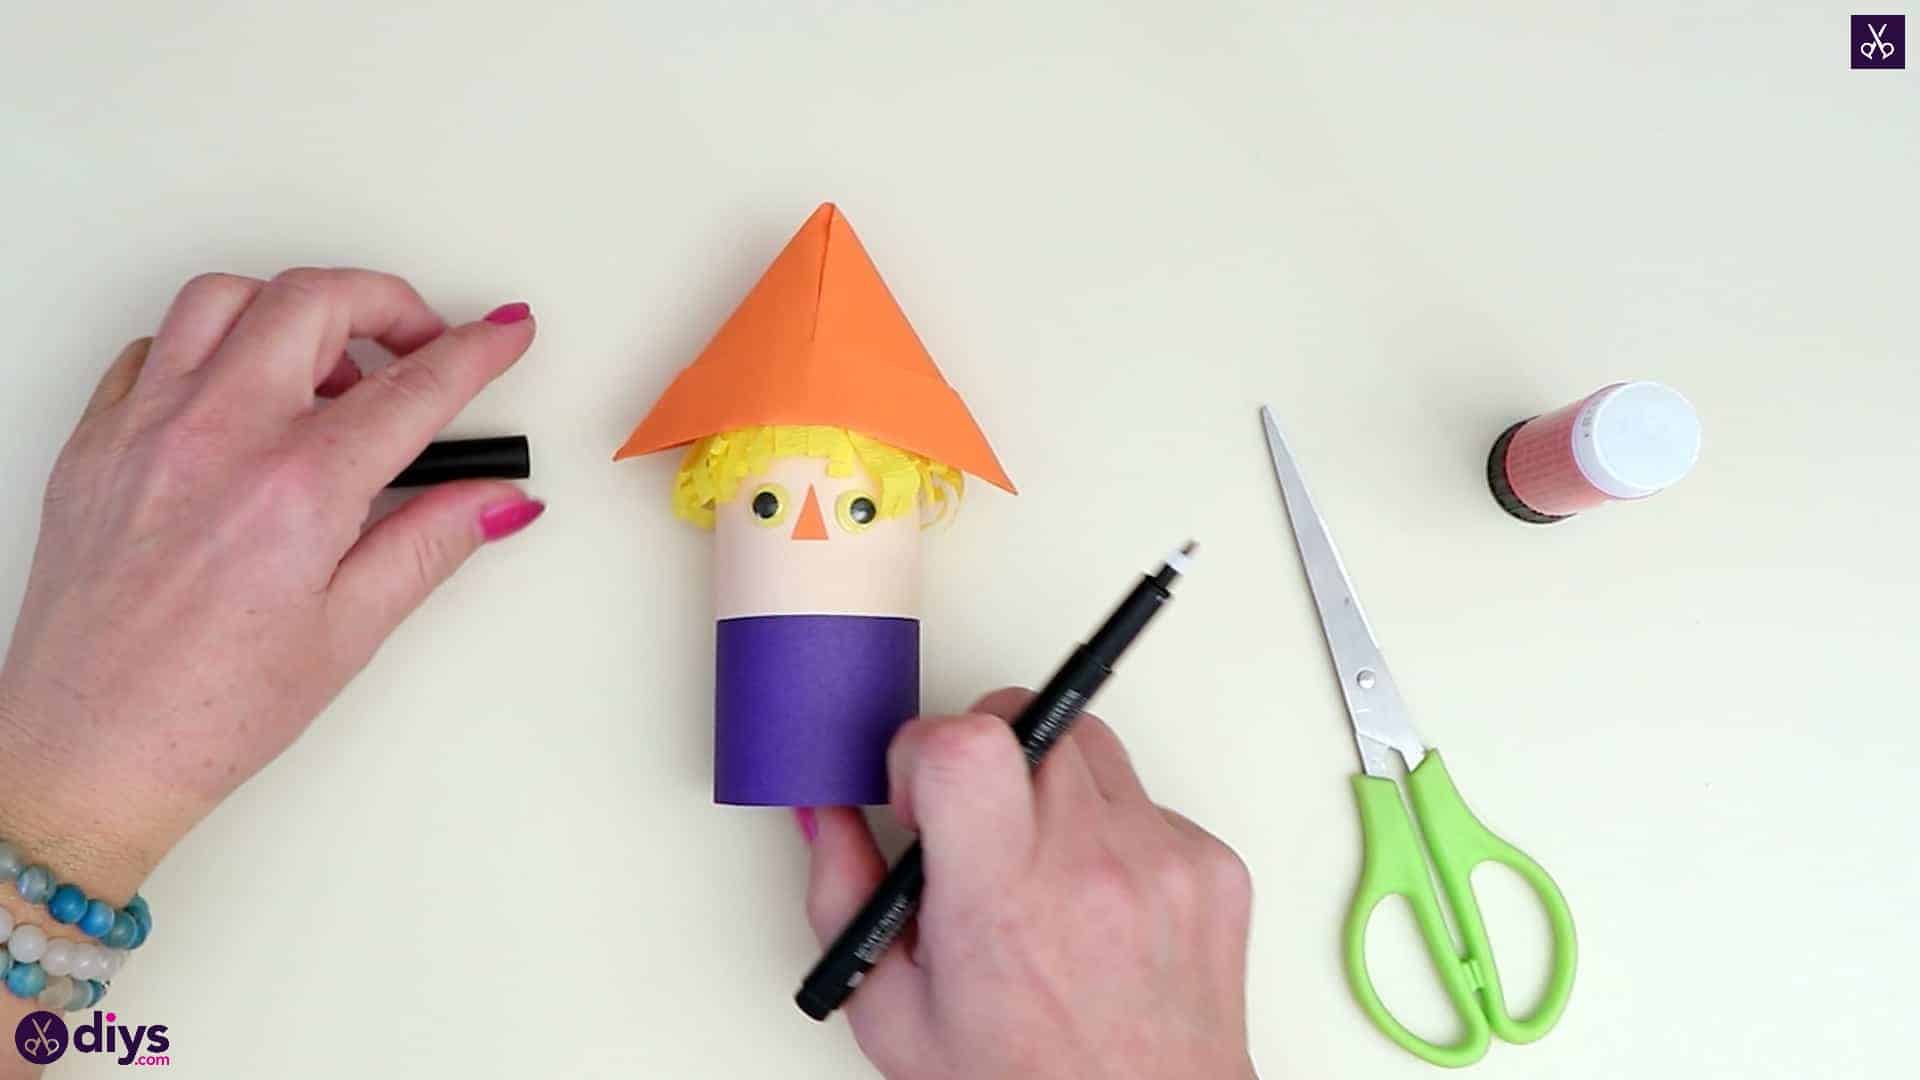
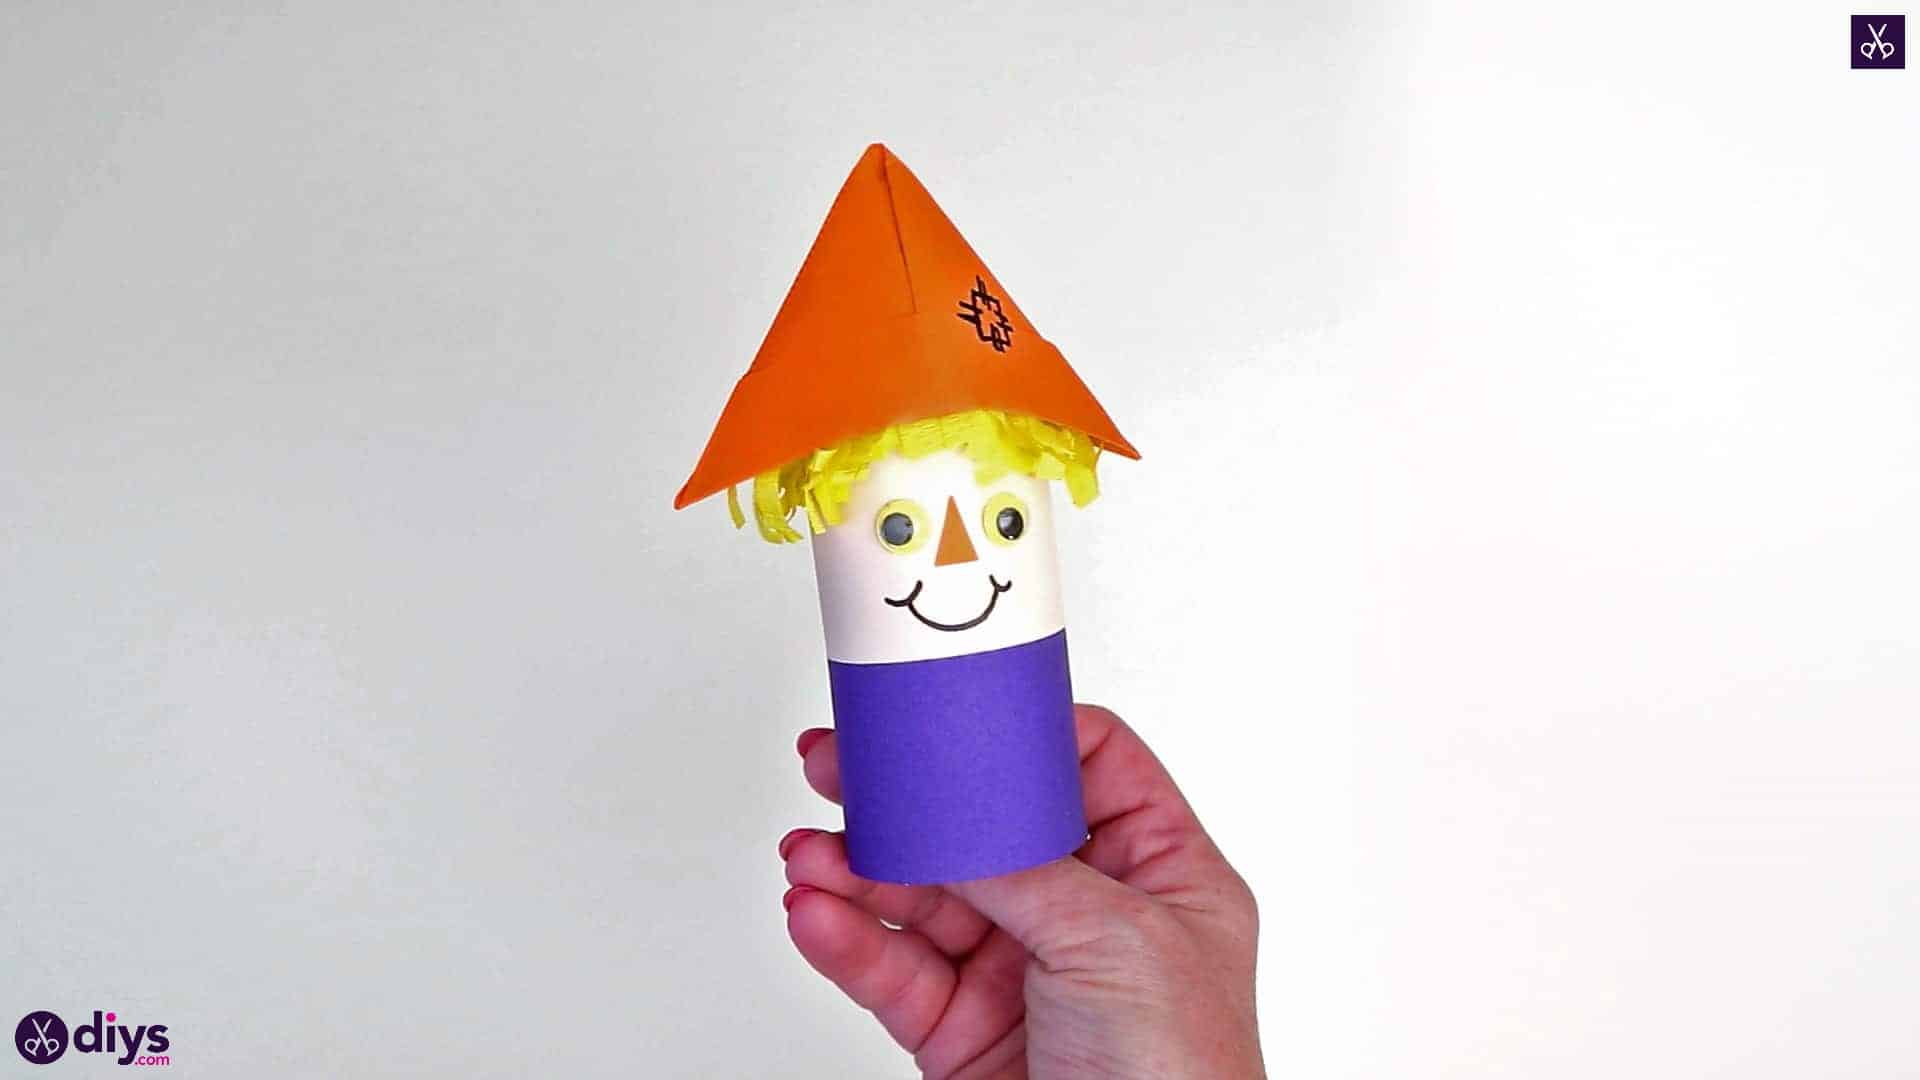
Step 13: details
Use your black marker once more to draw a patch on your scarecrow’s orange hat. I did this by drawing a square and then drawing two little parallel lines trough the sides of the square to look like stitches.

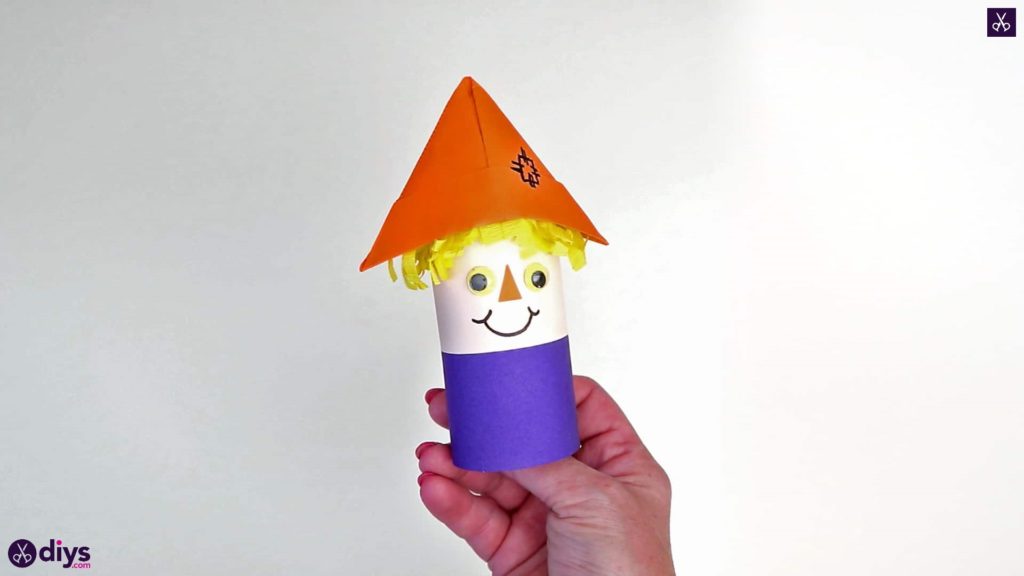
Your scarecrow is all finished! Just in case you’d like to try this project out for yourself, here’s a fantastic tutorial video to help you!