DIY Toilet Paper Roll Grinch
Updated on November 19, 2025


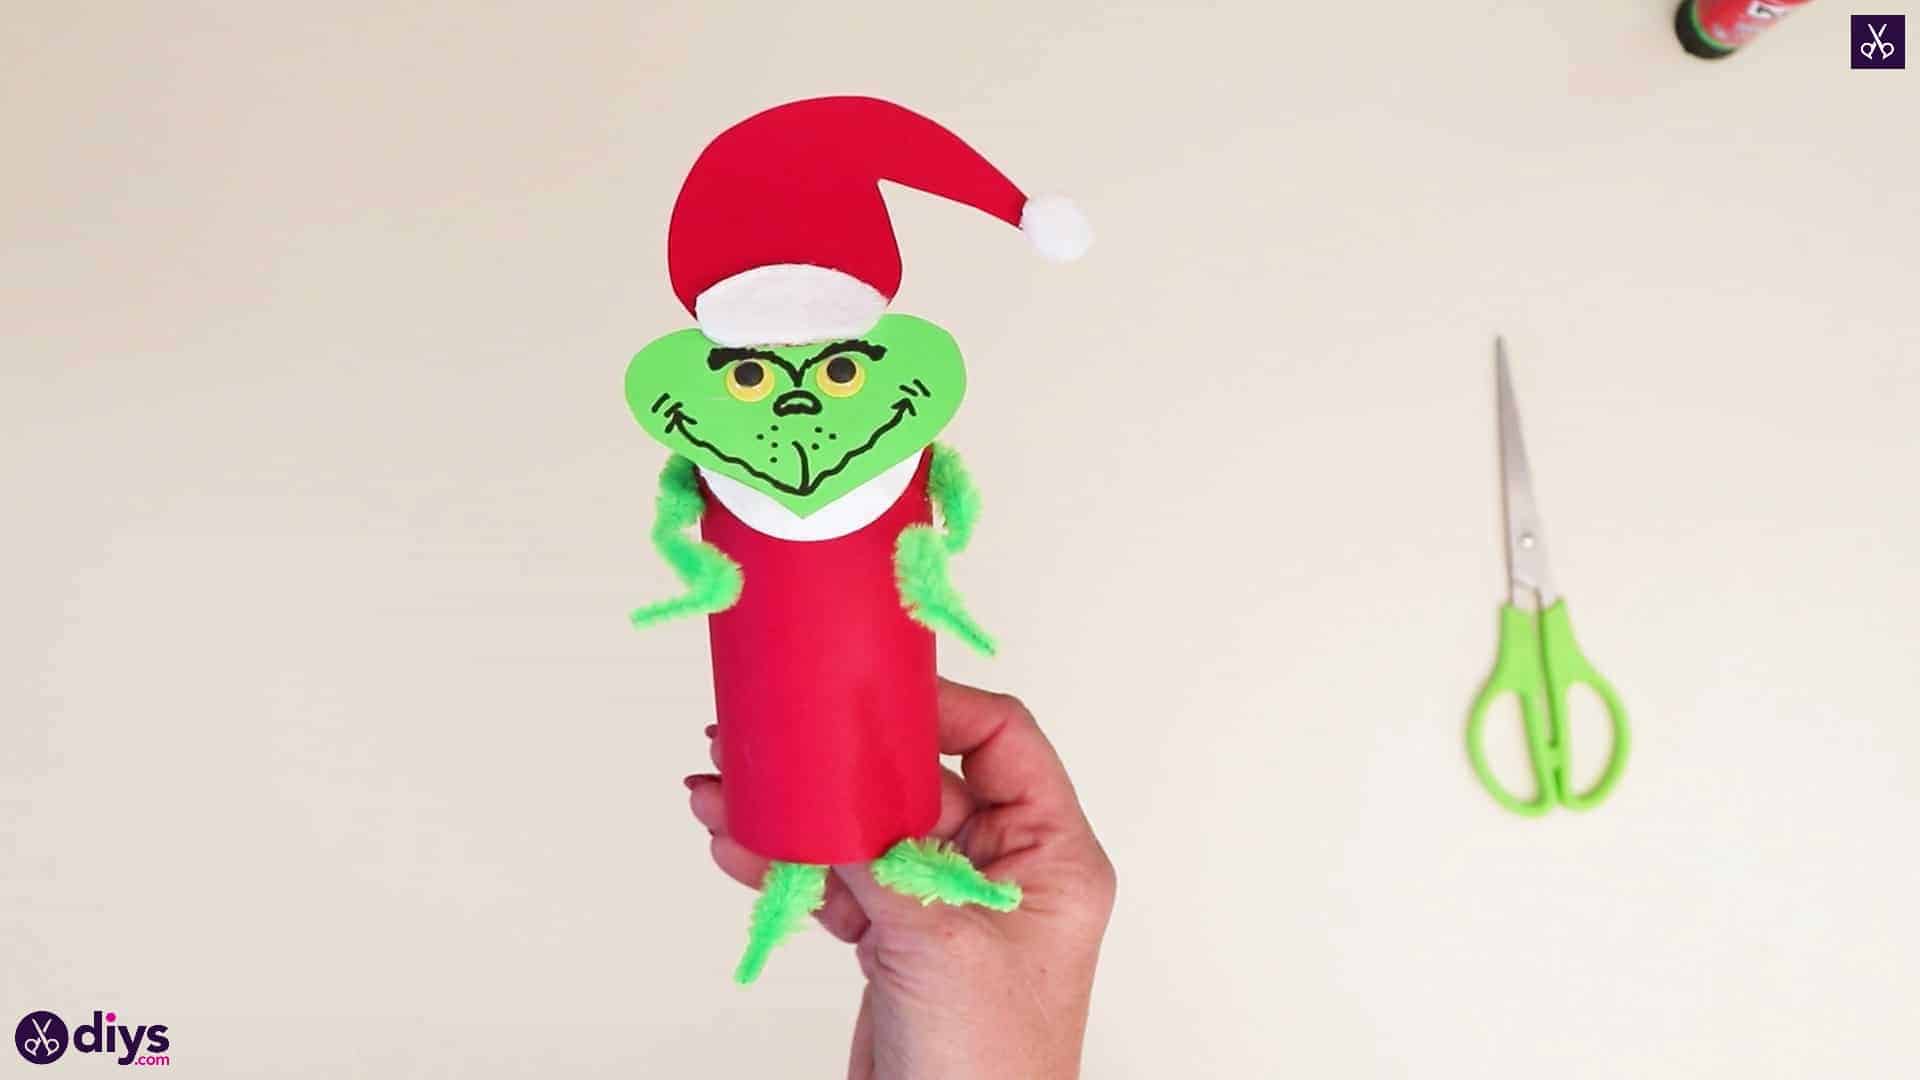
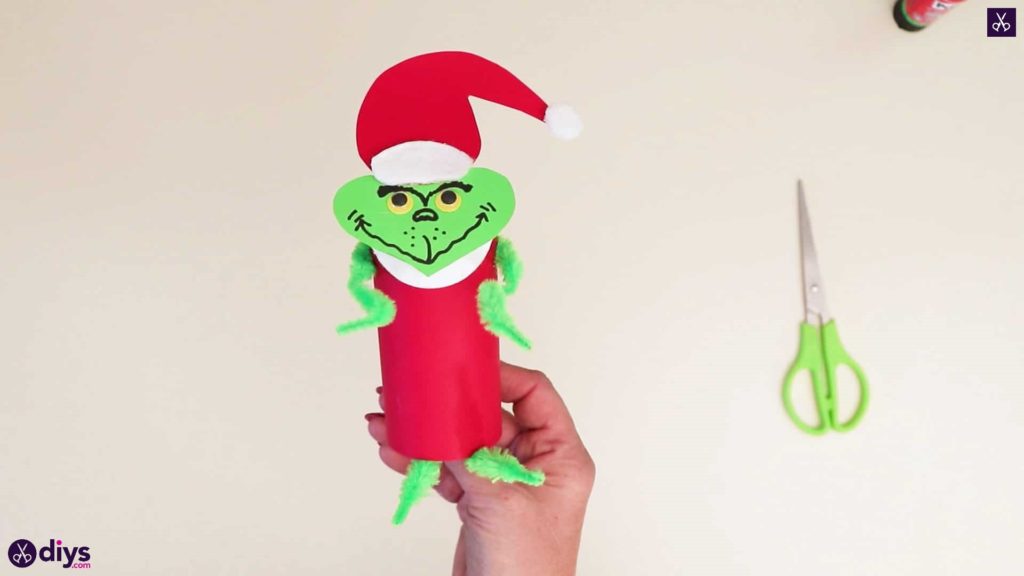
Are your kids total holiday movie buffs, just like mine? There’s nothing my kids love more than hunkering down with blankets and a good snack to watch their favourite Christmas movies (except for maybe crafting, of course). I’m always trying to find ways to combine the things they like most for a little extra fun, so I’ve been doing my best to come up with Christmas movie themed crafting ideas lately! That’s how this funny toilet roll Grinch came to be. The kids liked making them so much that I made an extra one afterwards just so I could show everyone how simple it was to do.
Check out these step by step instructions complete with photos! If you’d rather follow along with a video tutorial instead of written words, scroll to the bottom of this post to find just what you’re looking for.
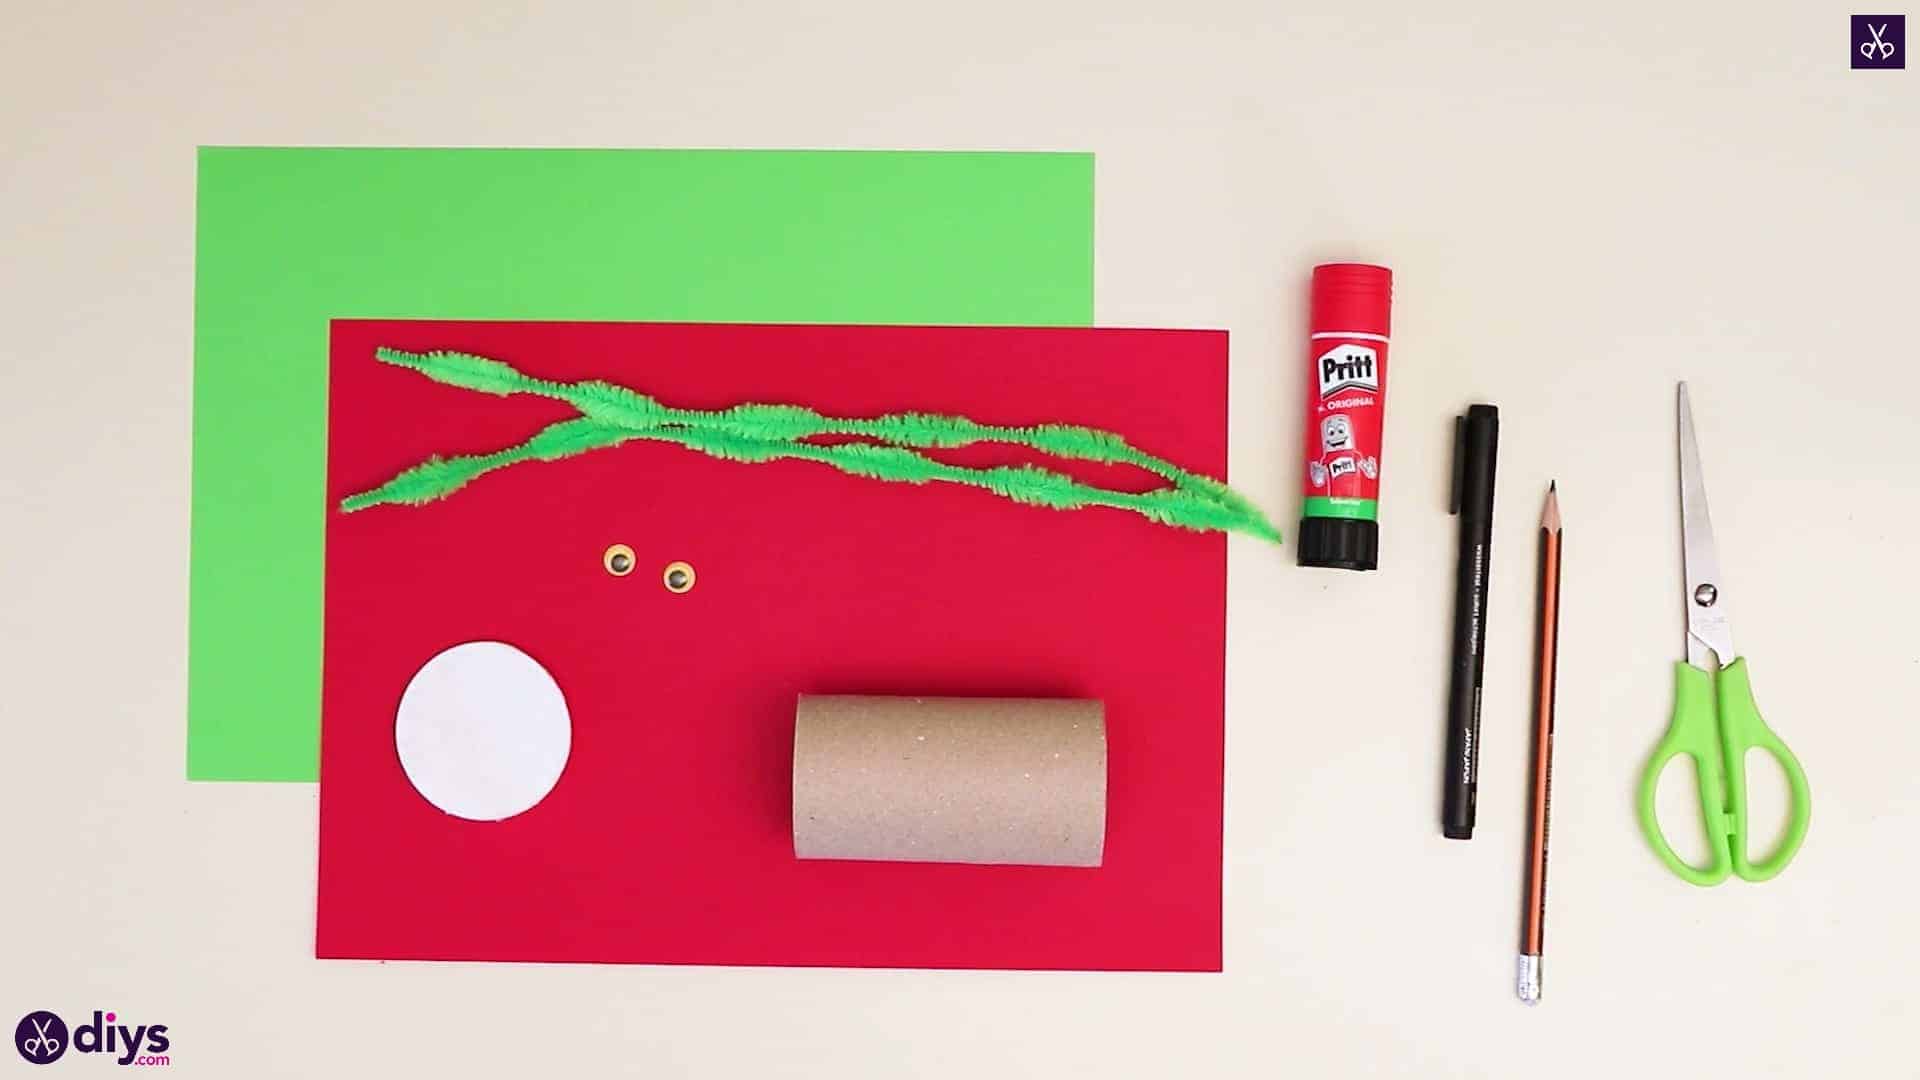
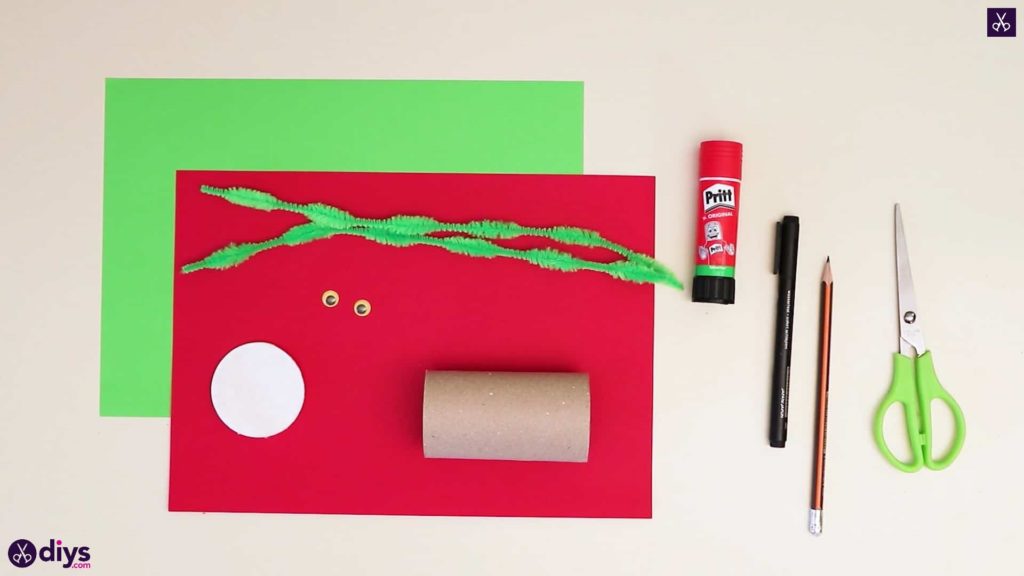
For this project, you’ll need:
- An empty toilet paper roll
- Paper (red and green)
- Two googly eyes
- A cotton pad
- A black marker
- Scissors
- A glue stick
- Two green fluffy pipe cleaners
Step 1: check the list
Gather your materials and make sure you have everything.
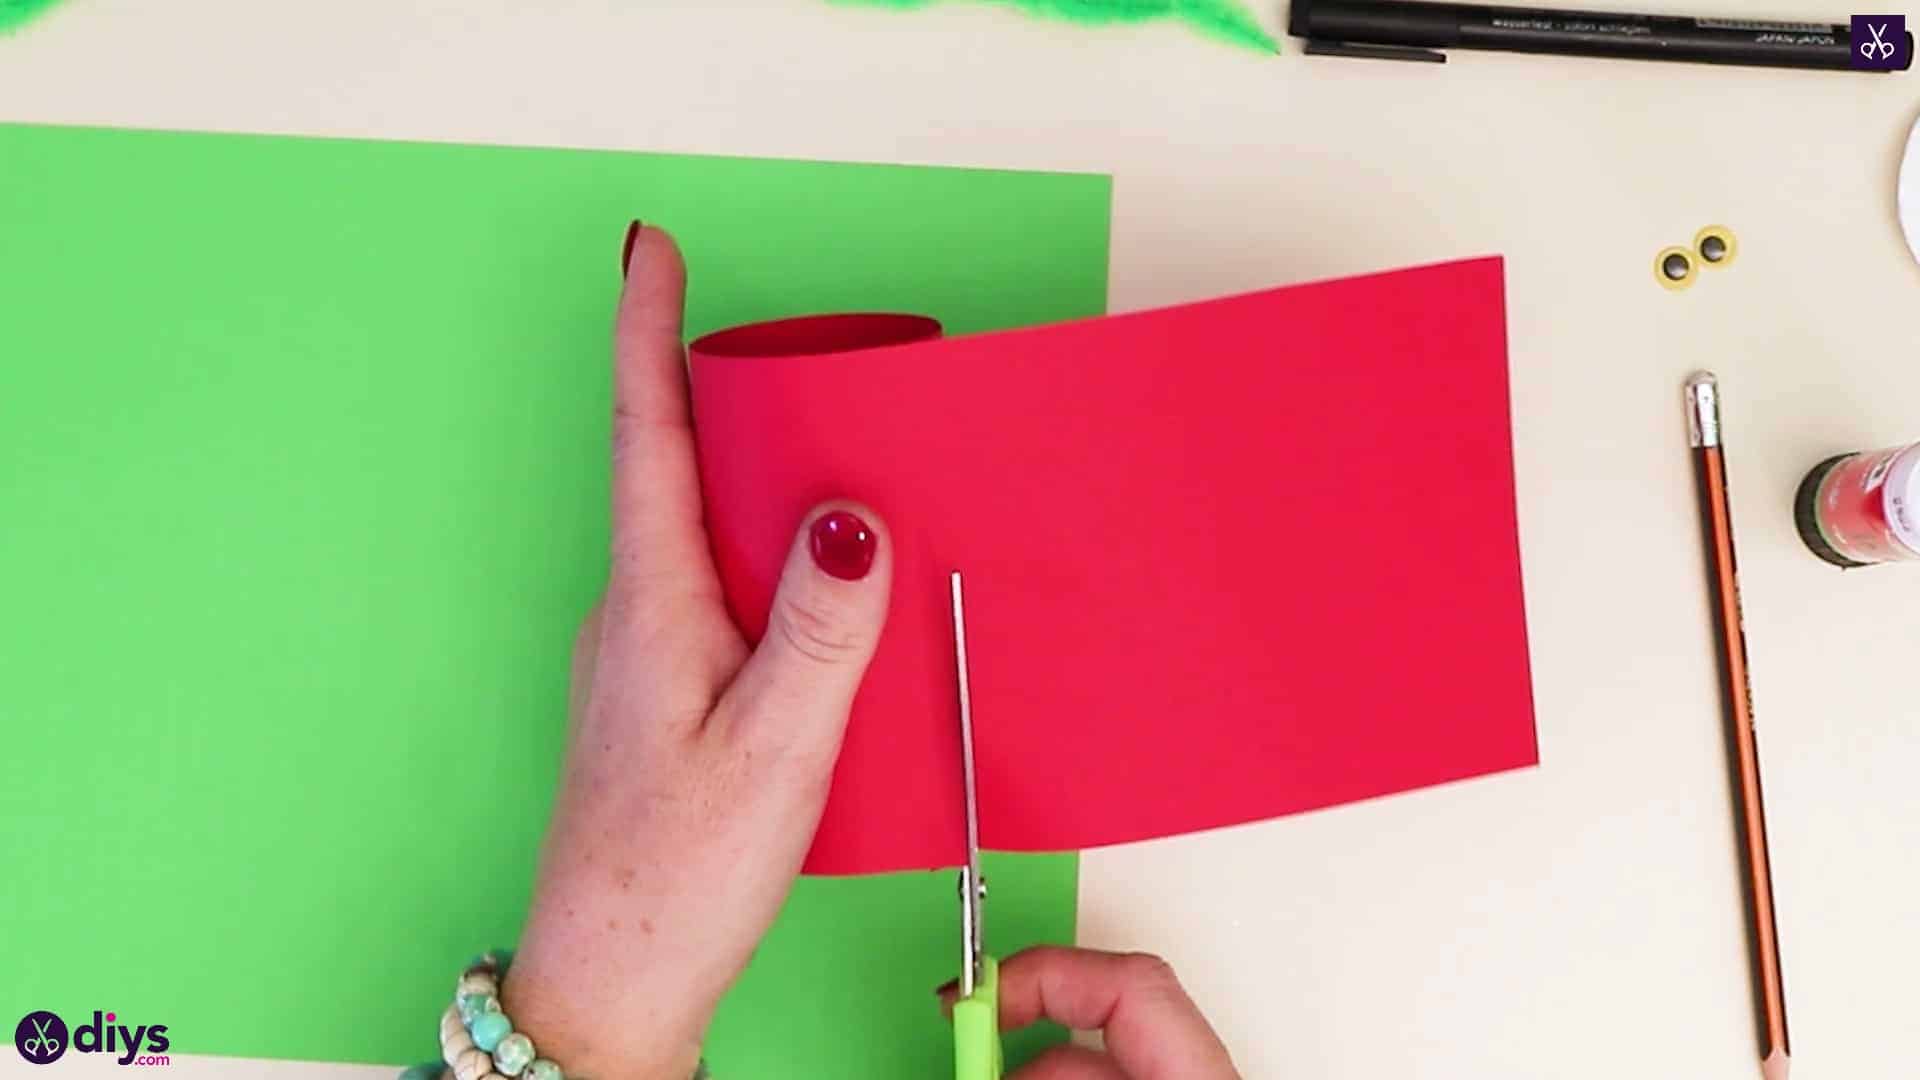
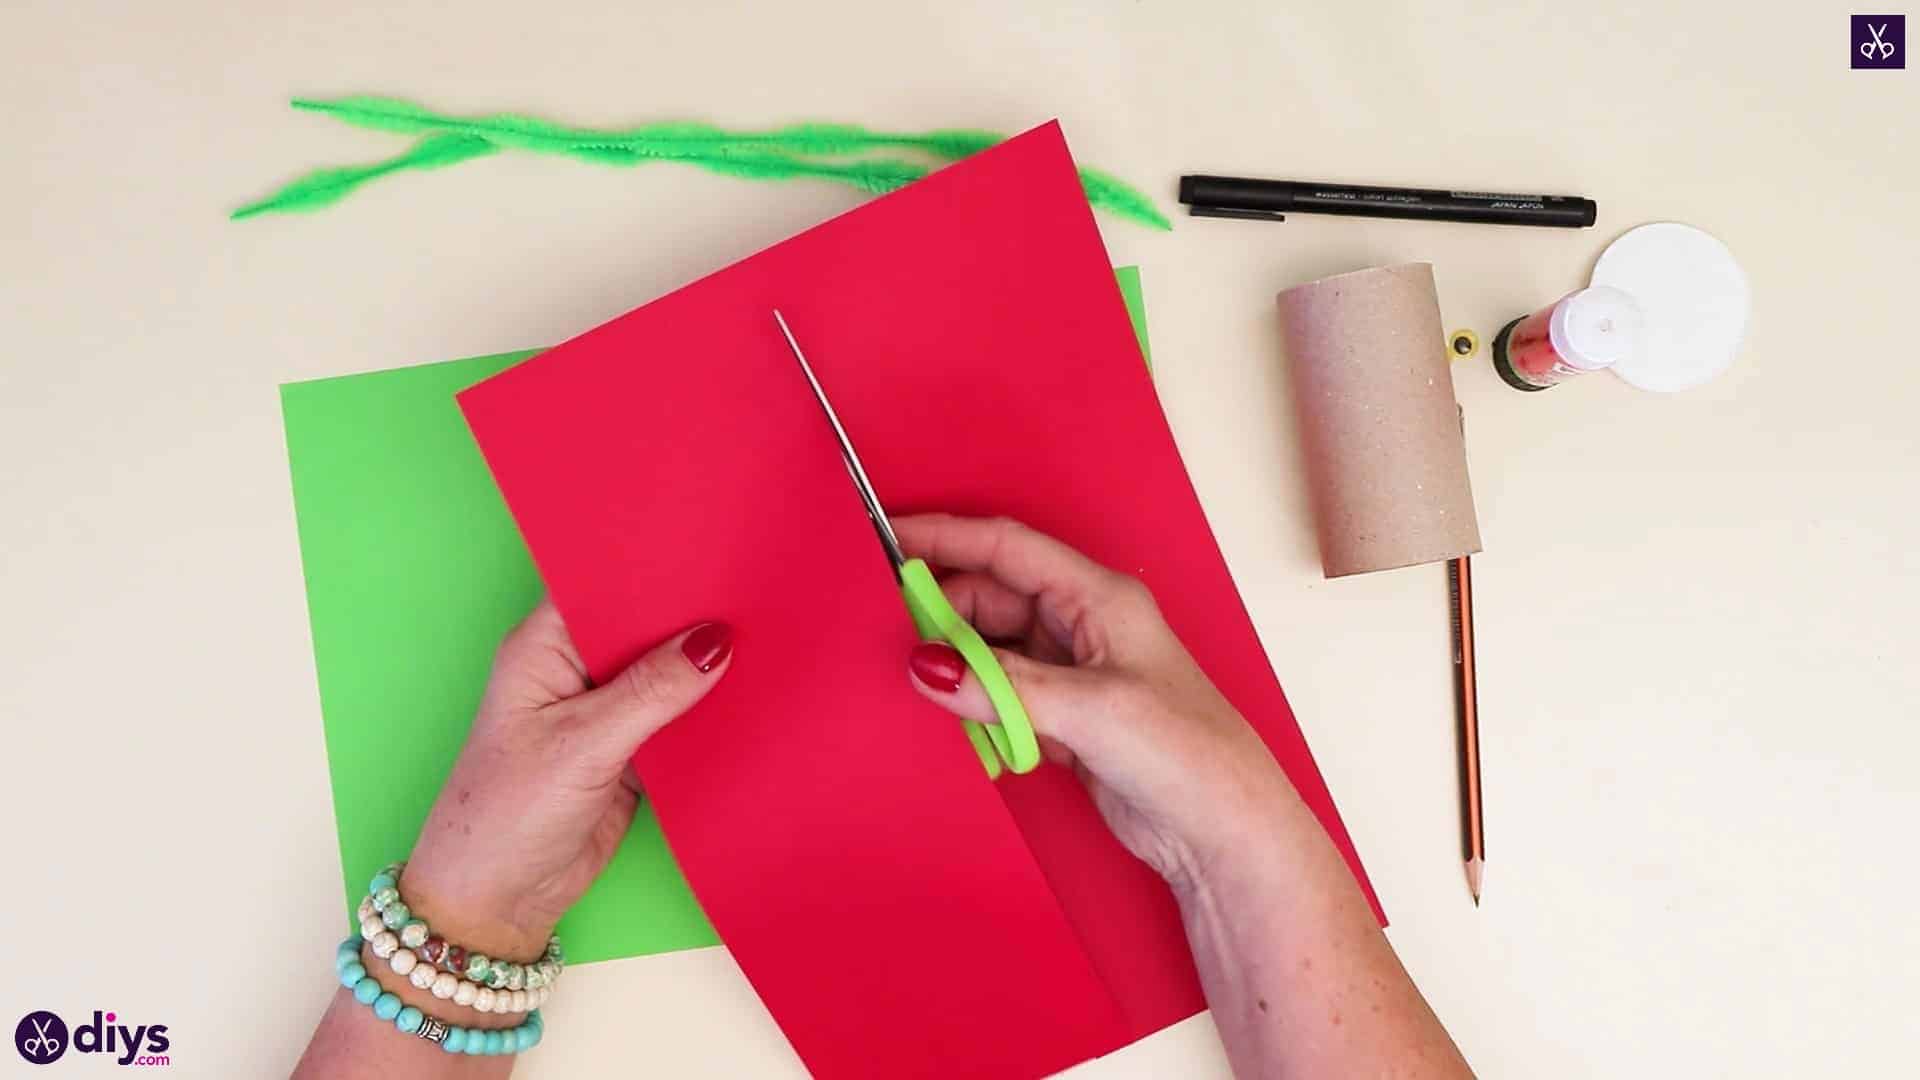
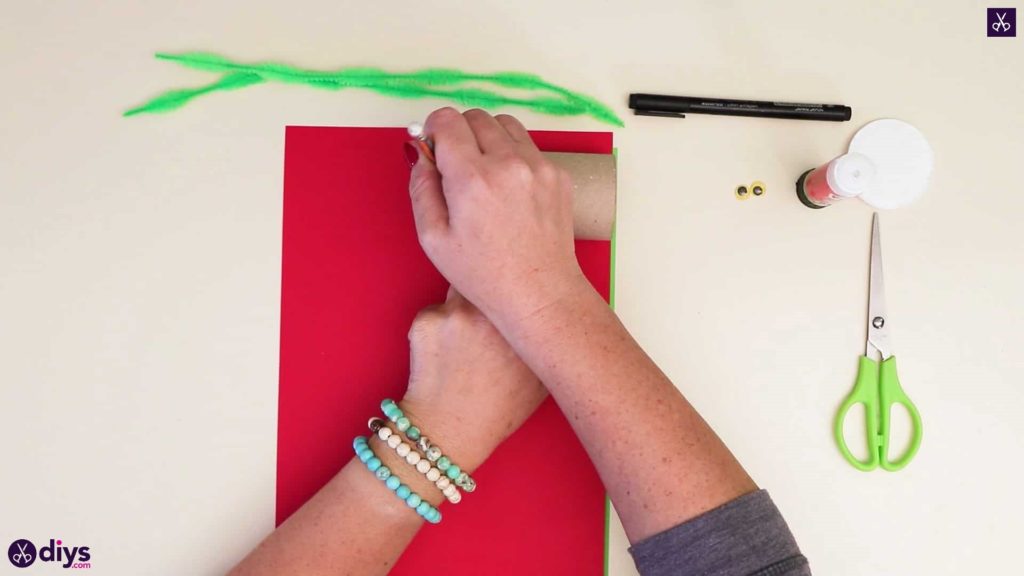
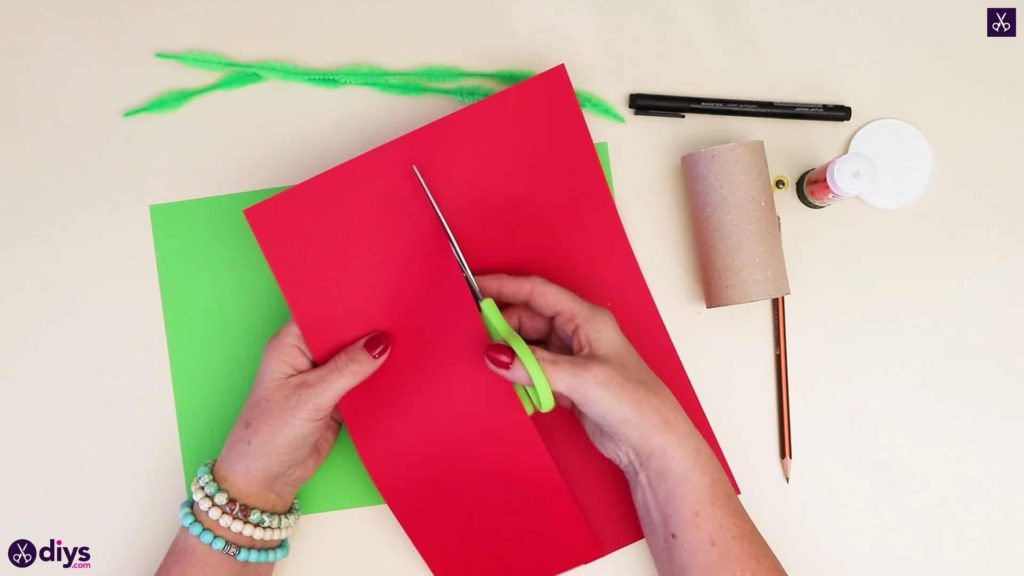
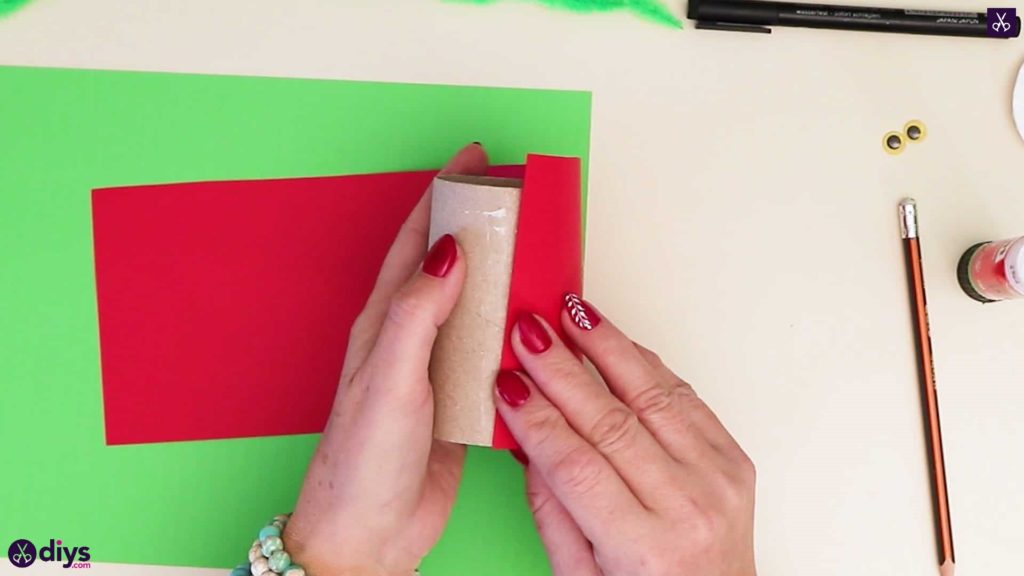
Step 2: cut and measure the red
Turn your red paper portrait, so it lies upwards and vertically on your workspace. Turn your toilet paper roll sideways and line its end up with the side edge of the page, near the top. Then make a pencil mark where the other end of the roll meets the middle of the page to measure its length. Move the roll down the page and make another mark. Do this all the way down the page and then cut along the marks up the page’s entire length so you have a rectangular strip that is as wide as the toilet paper roll is long.
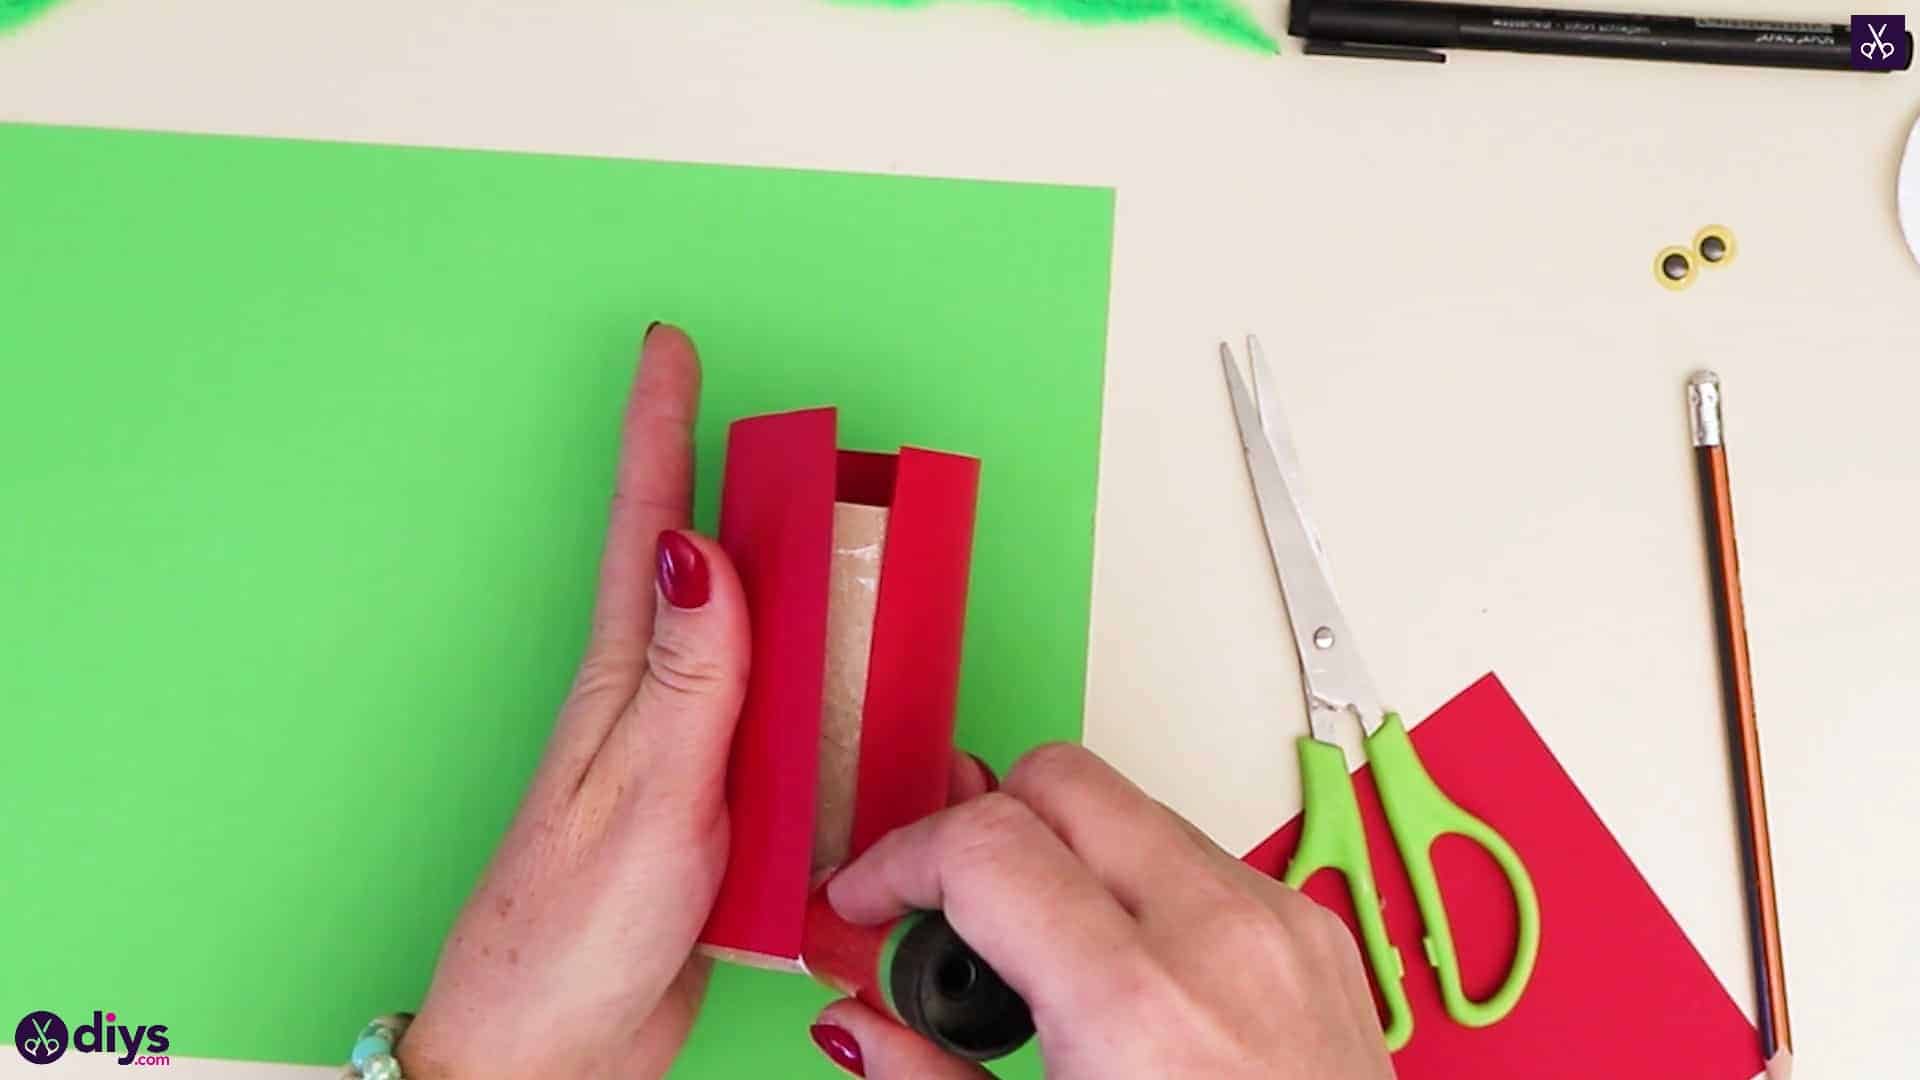
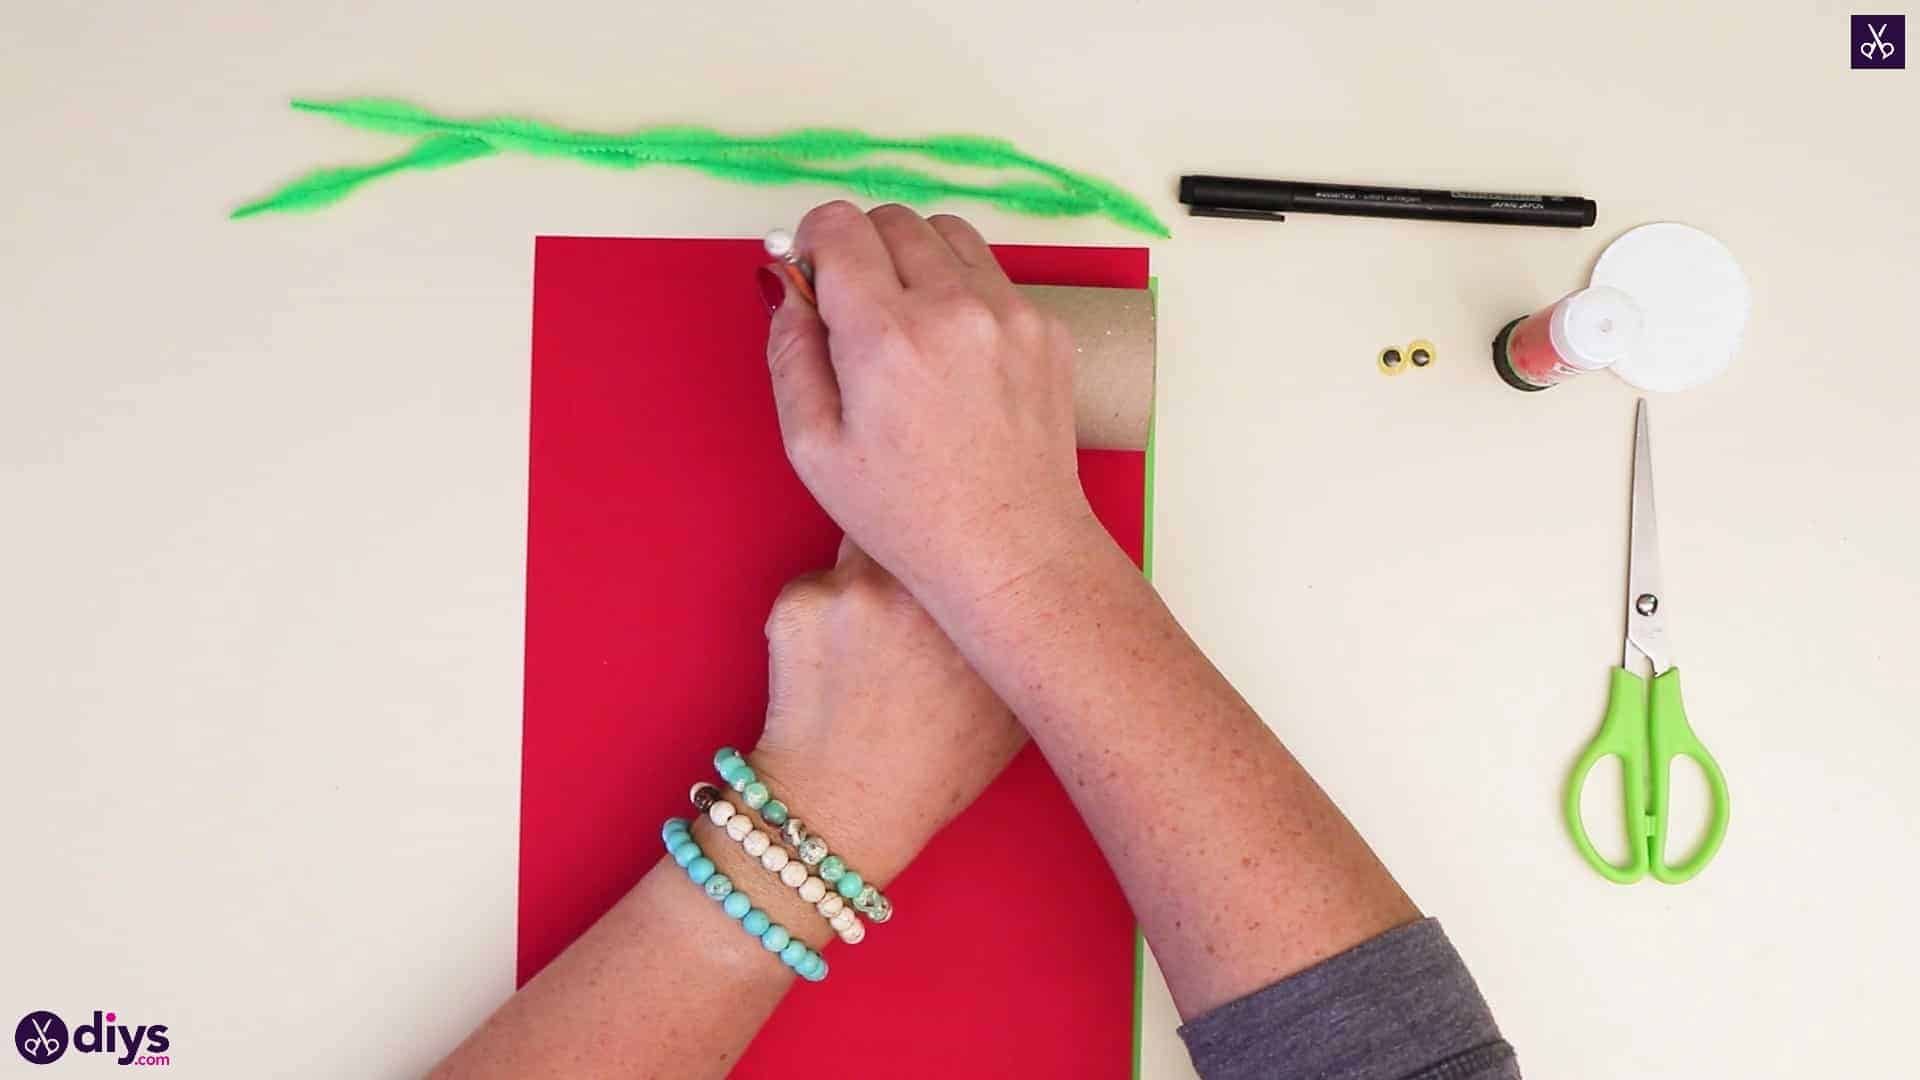
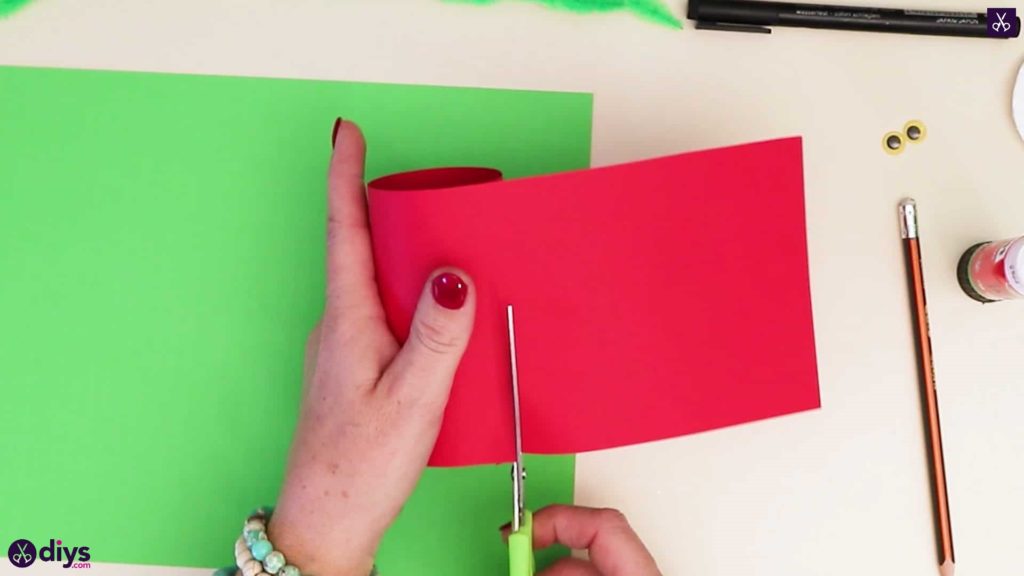
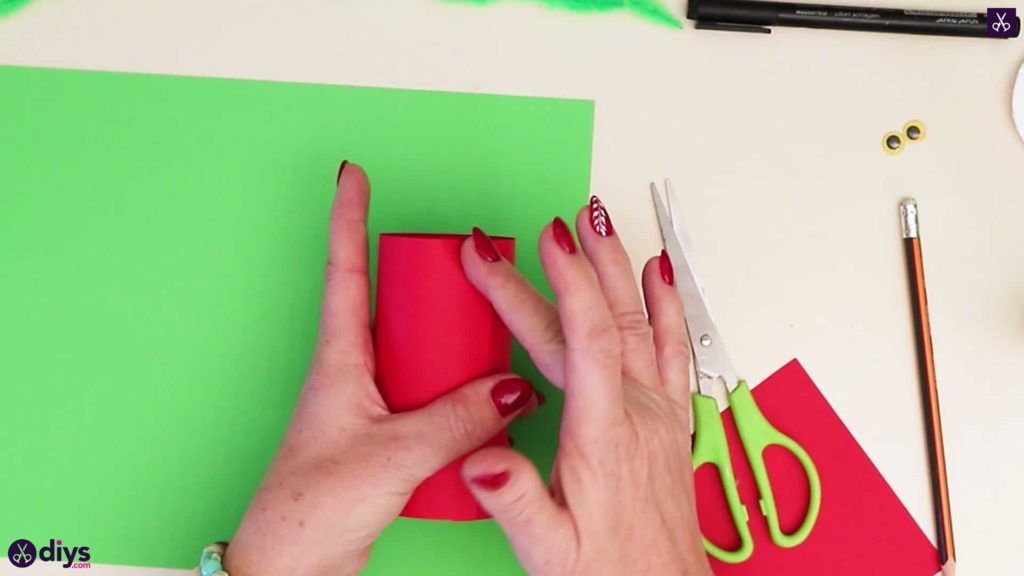
Step 3: glue the body
Apply glue down the full length of your toilet roll, turn the red strip you just cut horizontally, and stick down, lining the top and bottom of the roll up evenly with the paper’s edges. Wrap the strip around the roll until it meets up again with its first stuck edge and trim the excess off. Apply glue on that edge and stick it down so it overlaps slightly with the first end and lines up with the edges of the roll as well. Your toilet roll is now completely red.


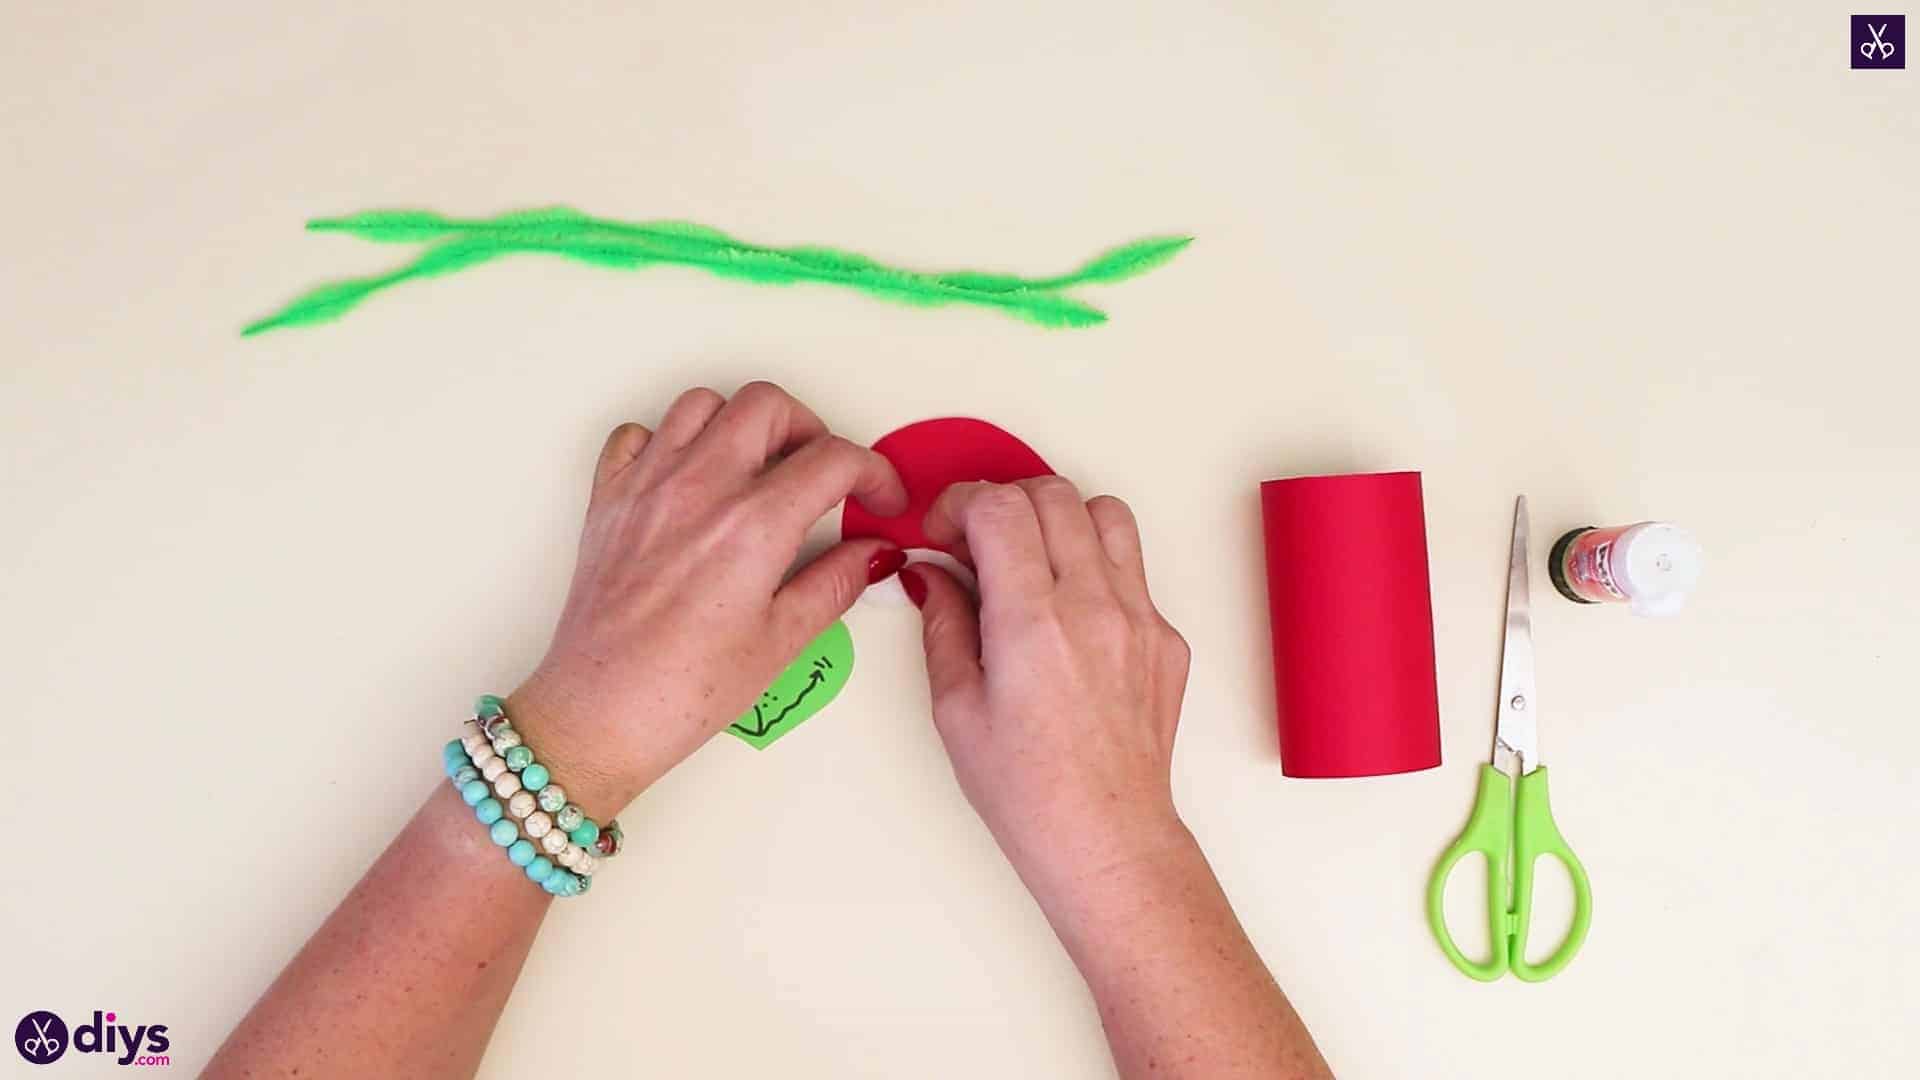
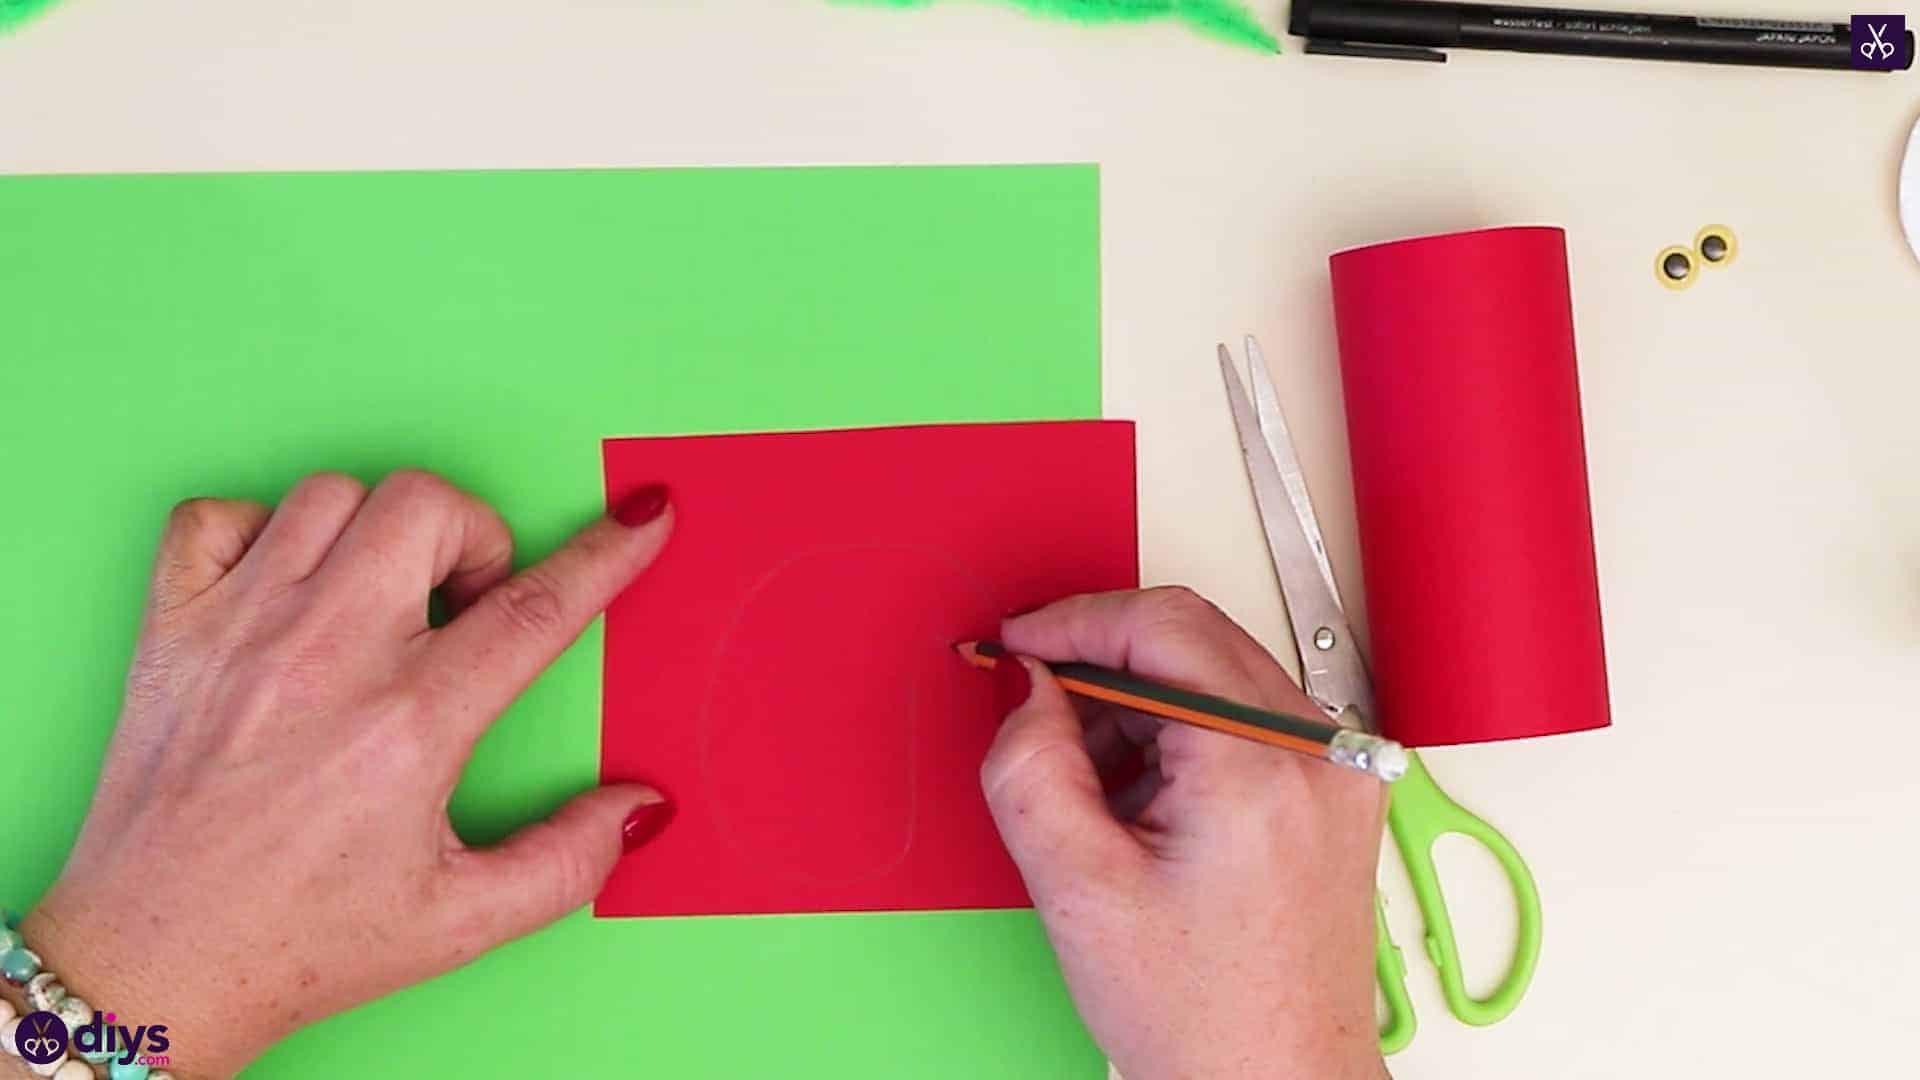
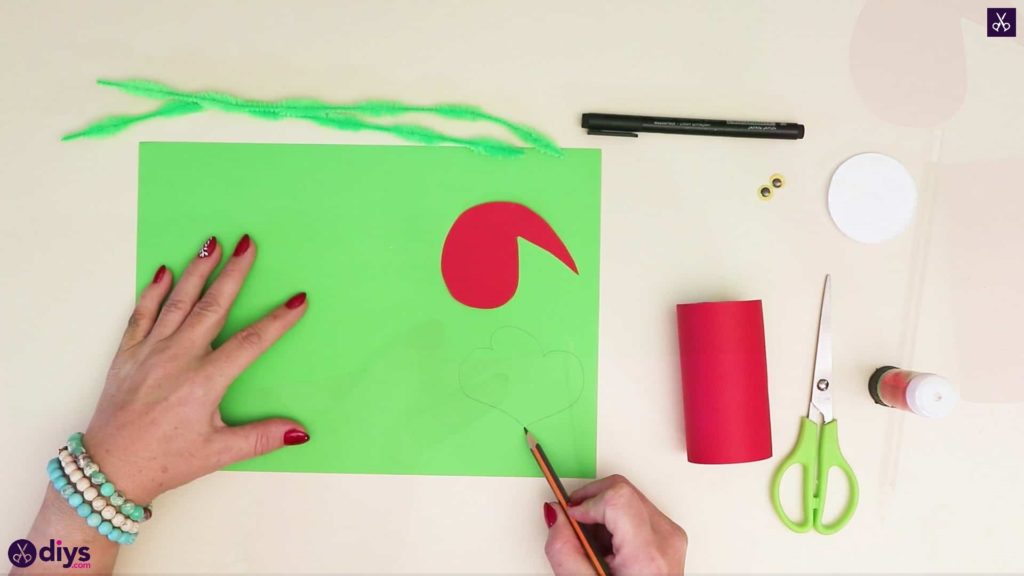
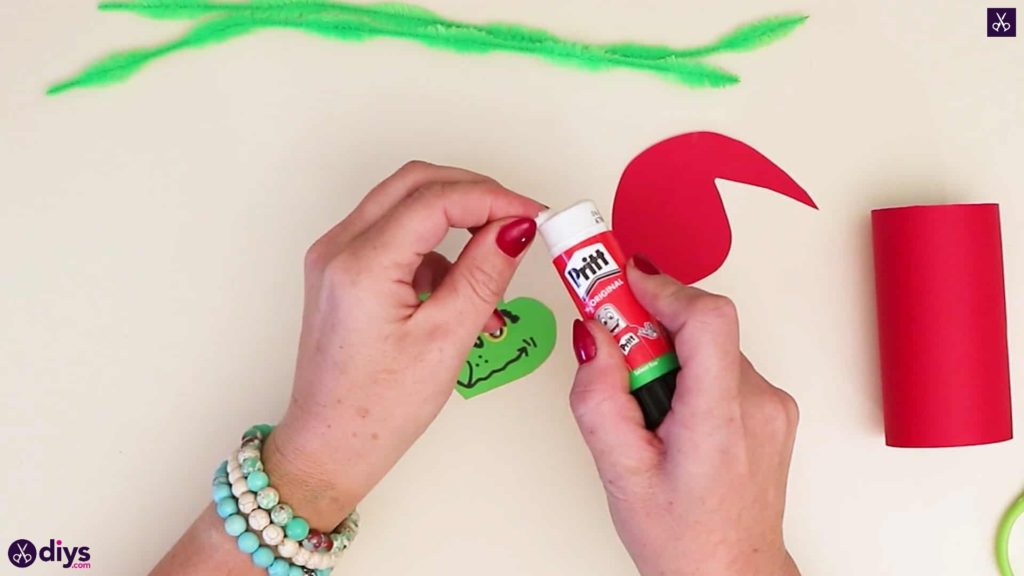
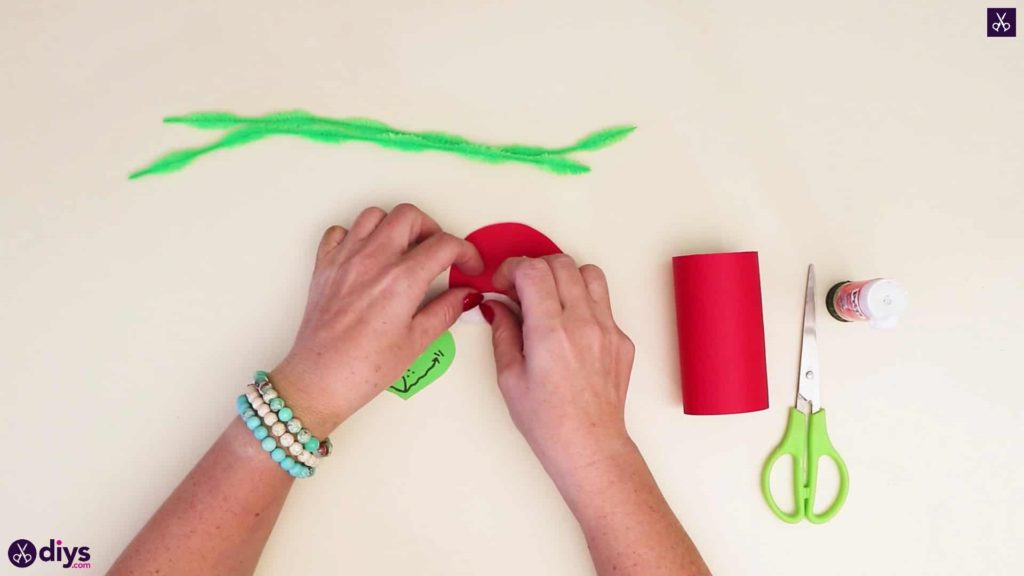
Step 4: shape the hat
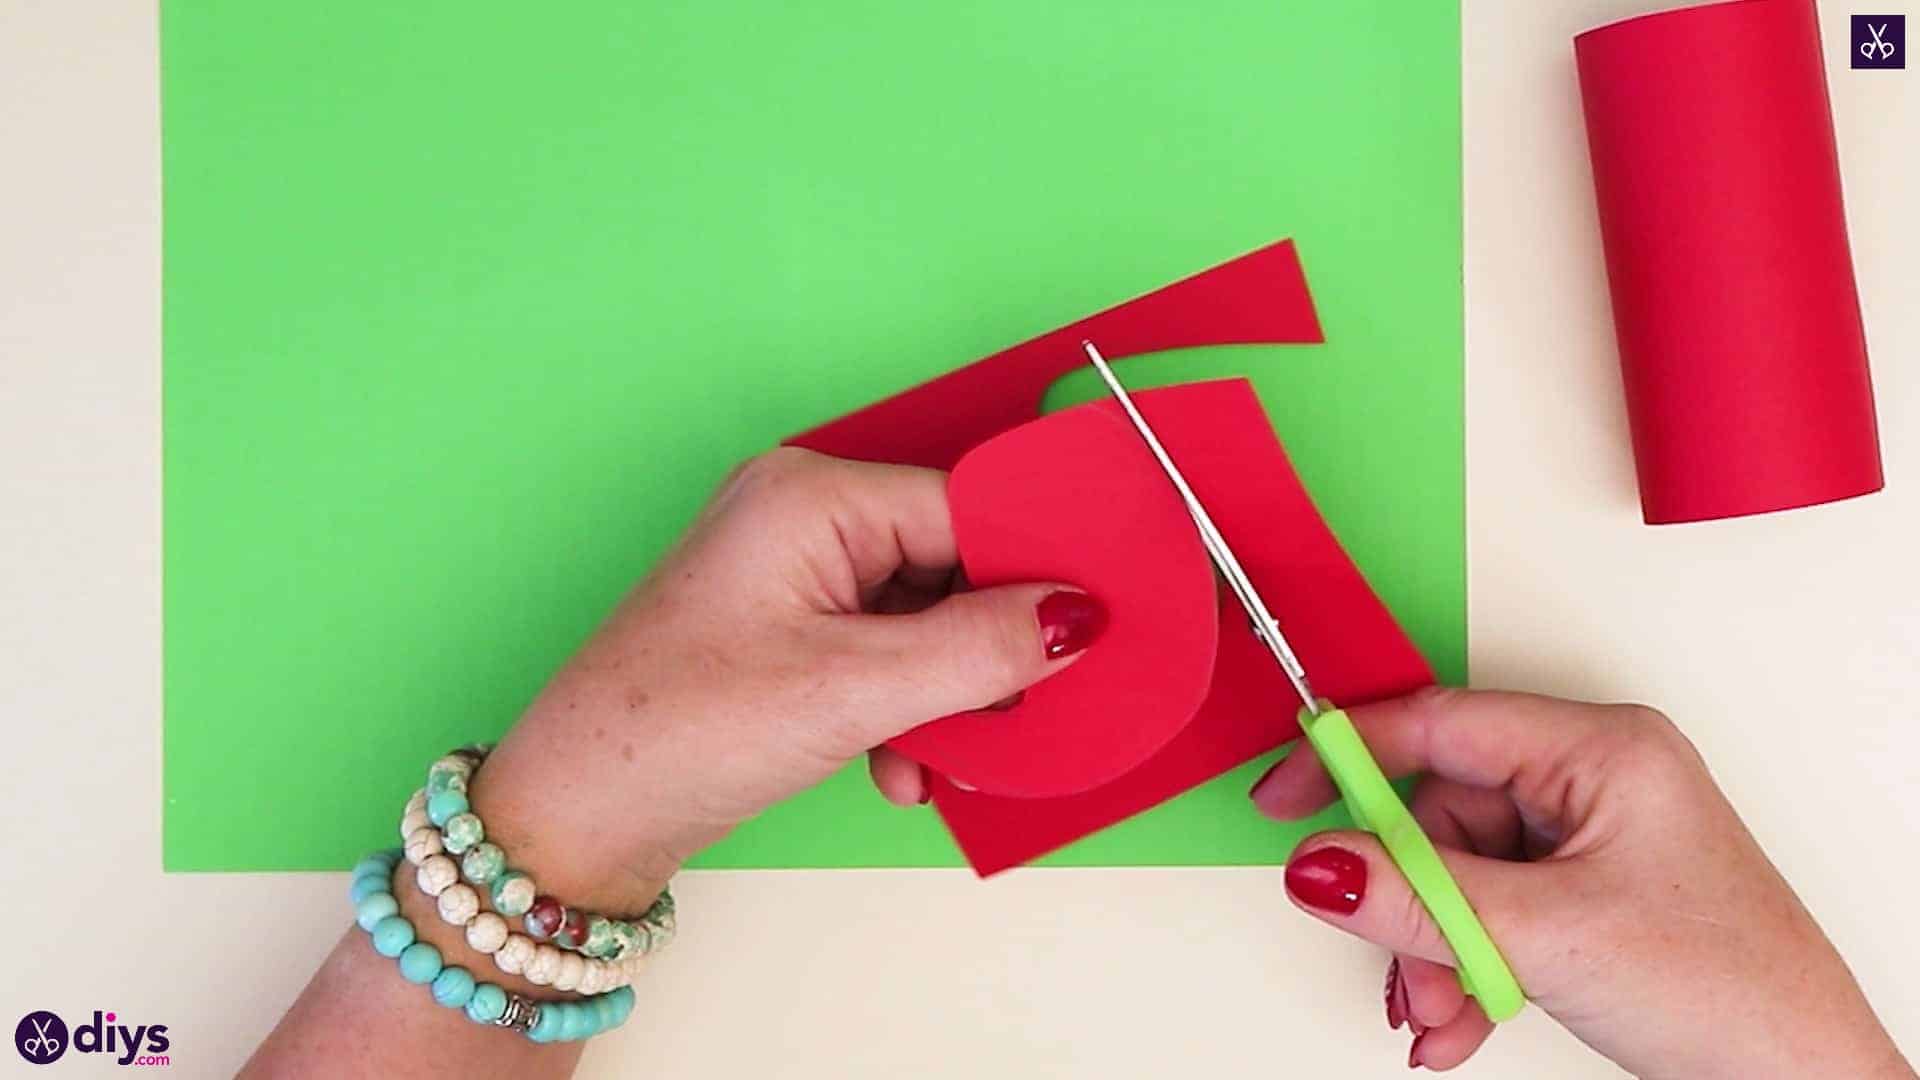
On what’s left of your red page, draw the shape of a Santa hat and cut it out. I made mine look like it was flopping over slightly to one side at the end.


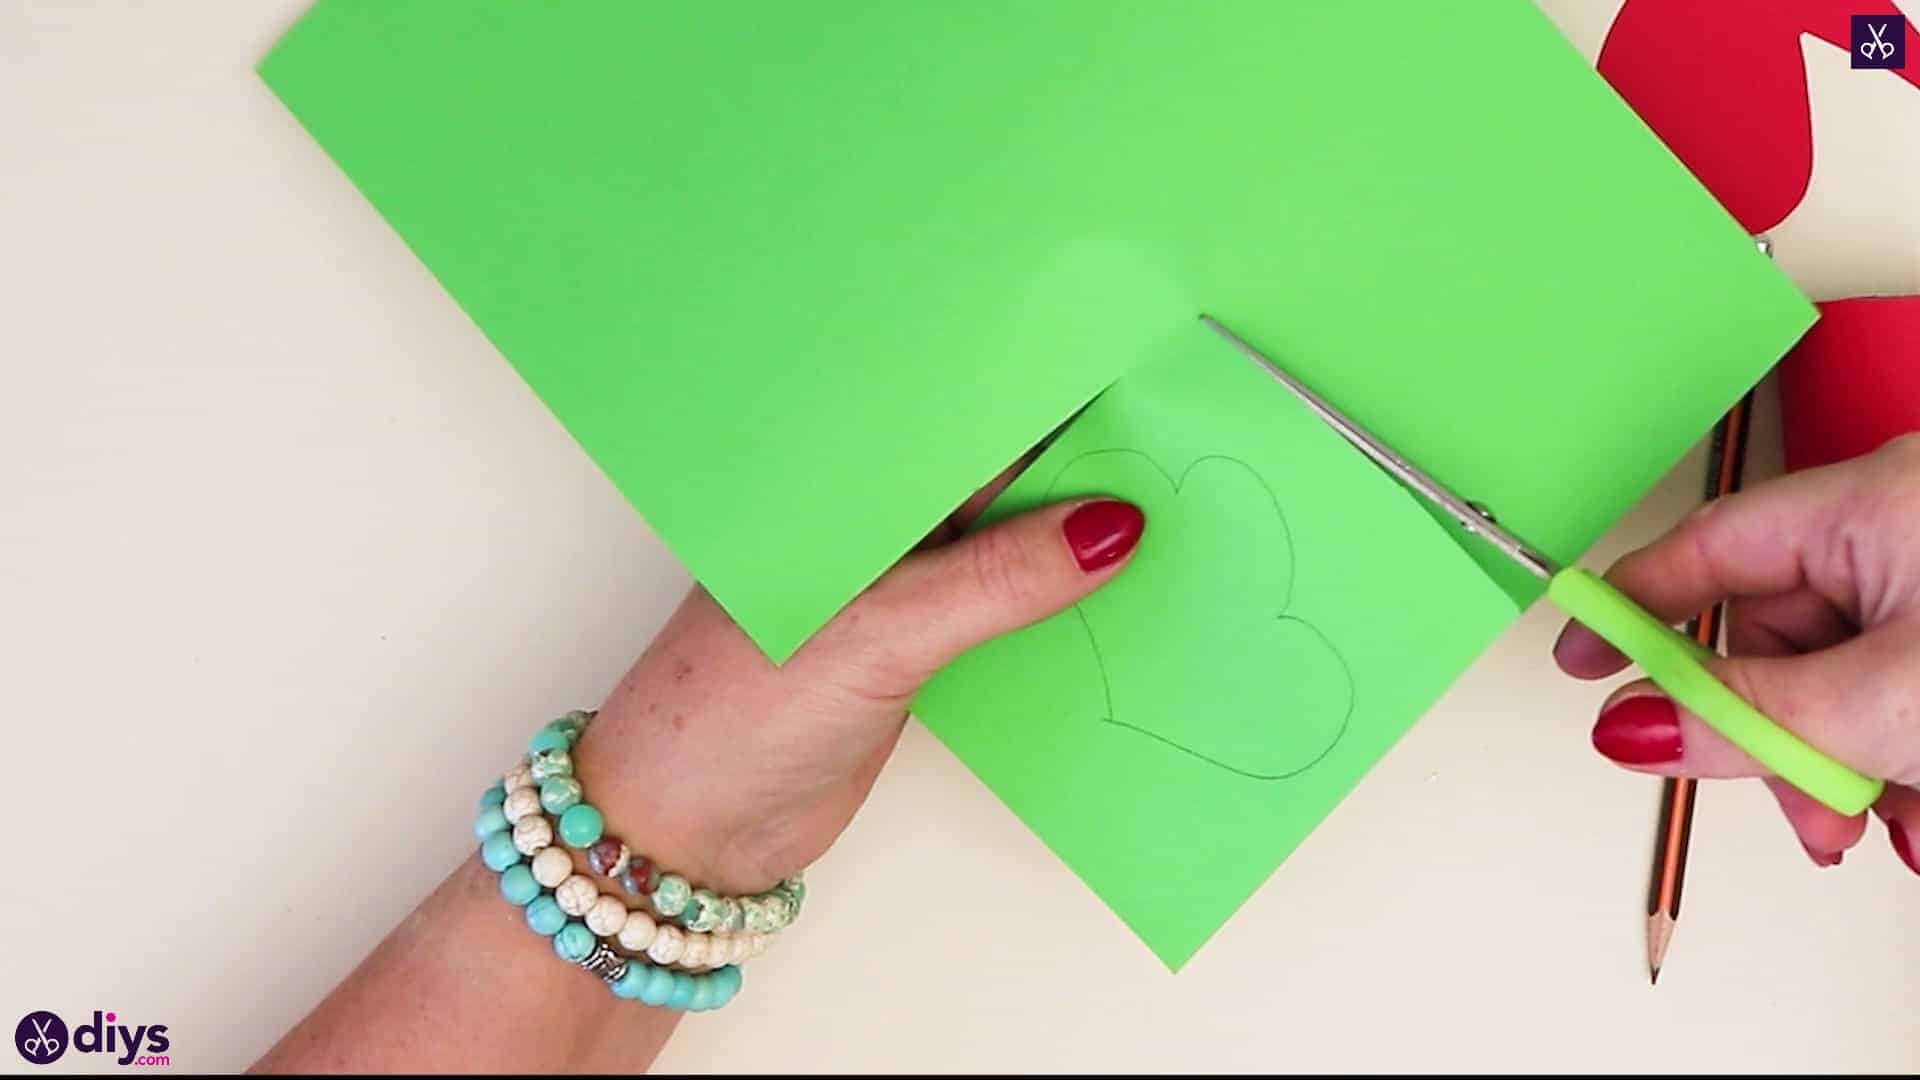
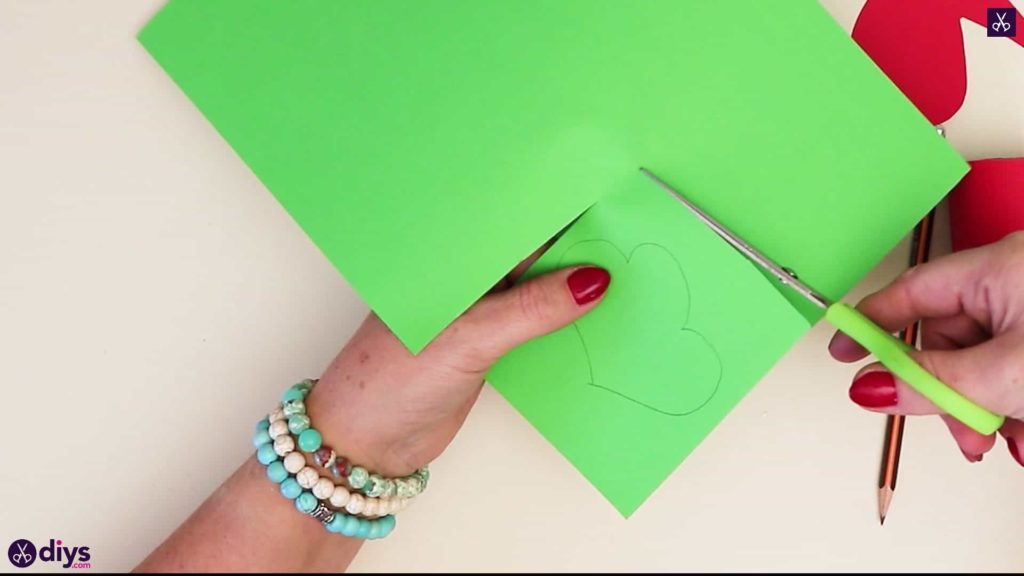
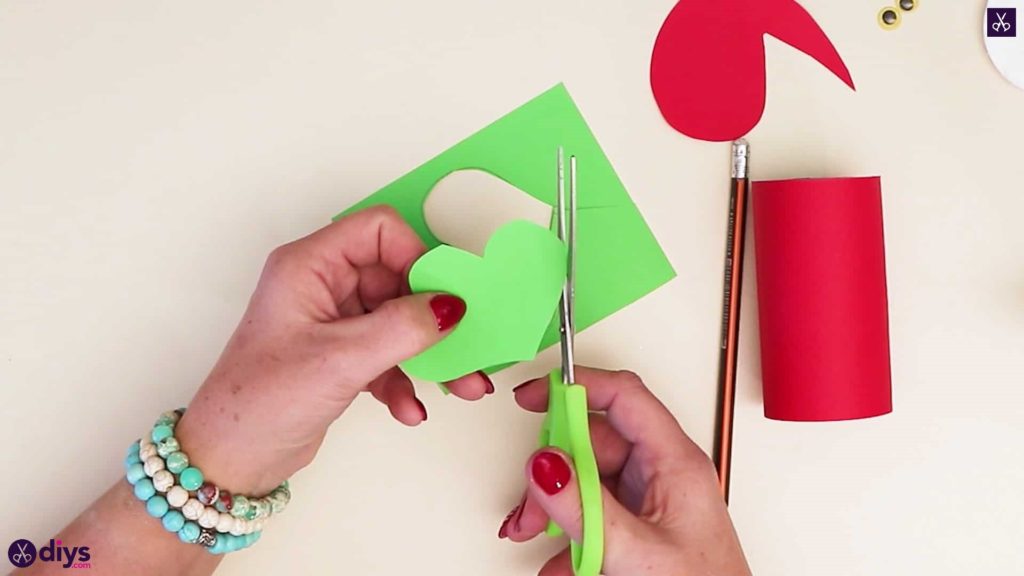
Step 5: start the face
on your green page, draw a shape that looks like a heart withthree rounded tops instead of two, tapering down to a point at the bottom in the same way as a regular heart. Cut it out. This will be your Grinch’s face.
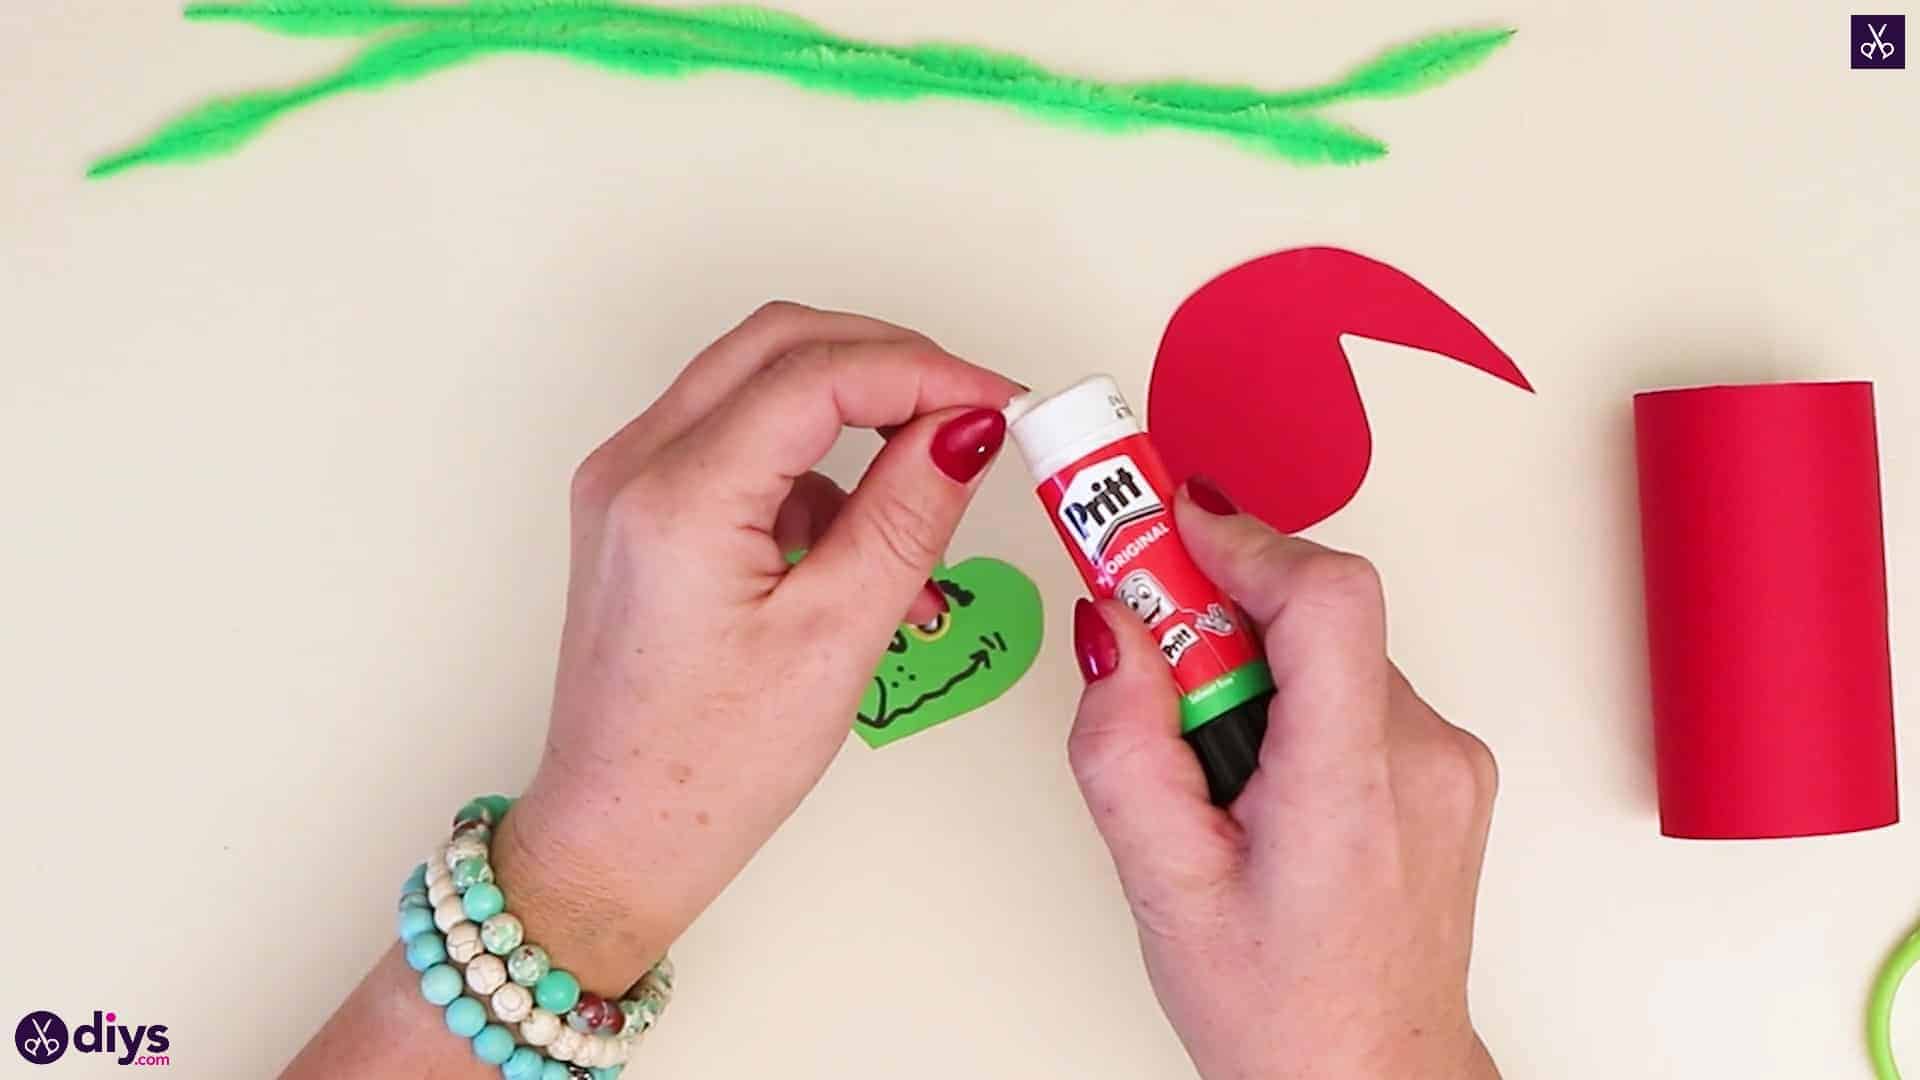
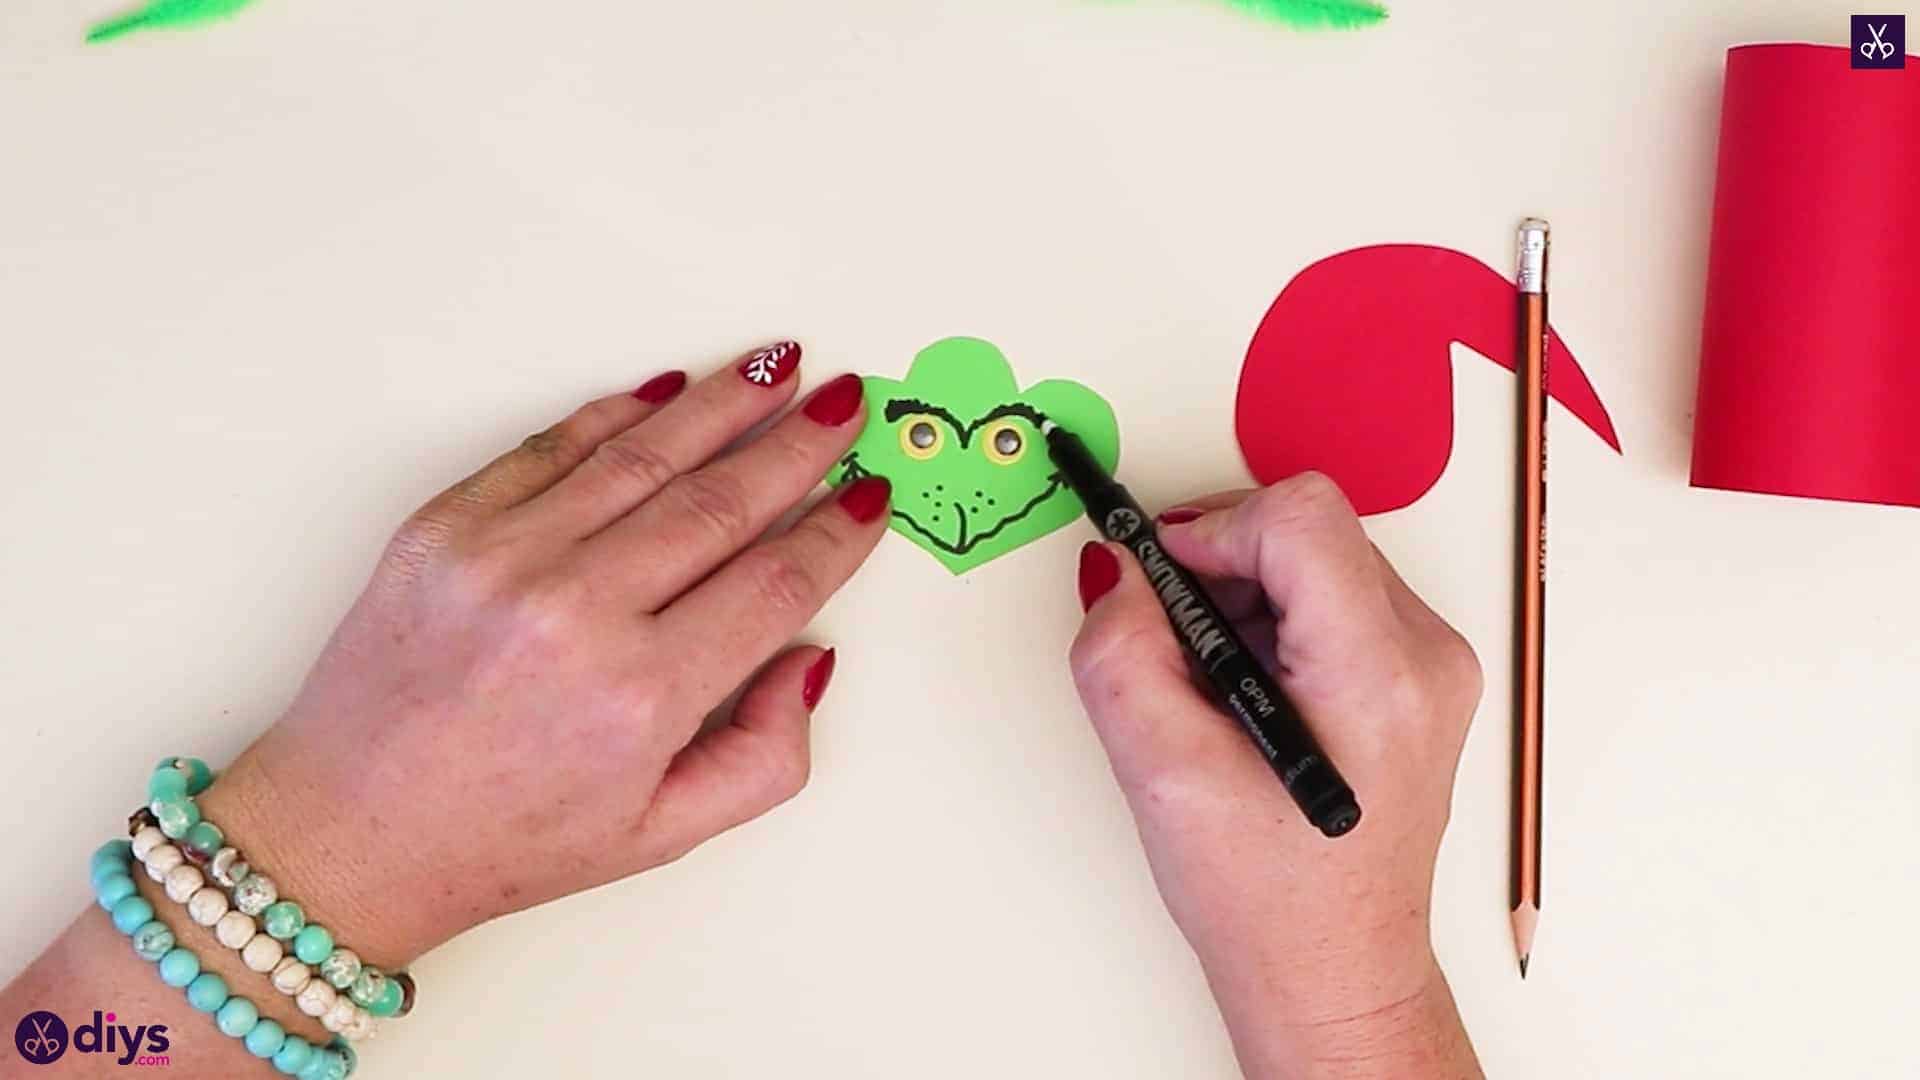
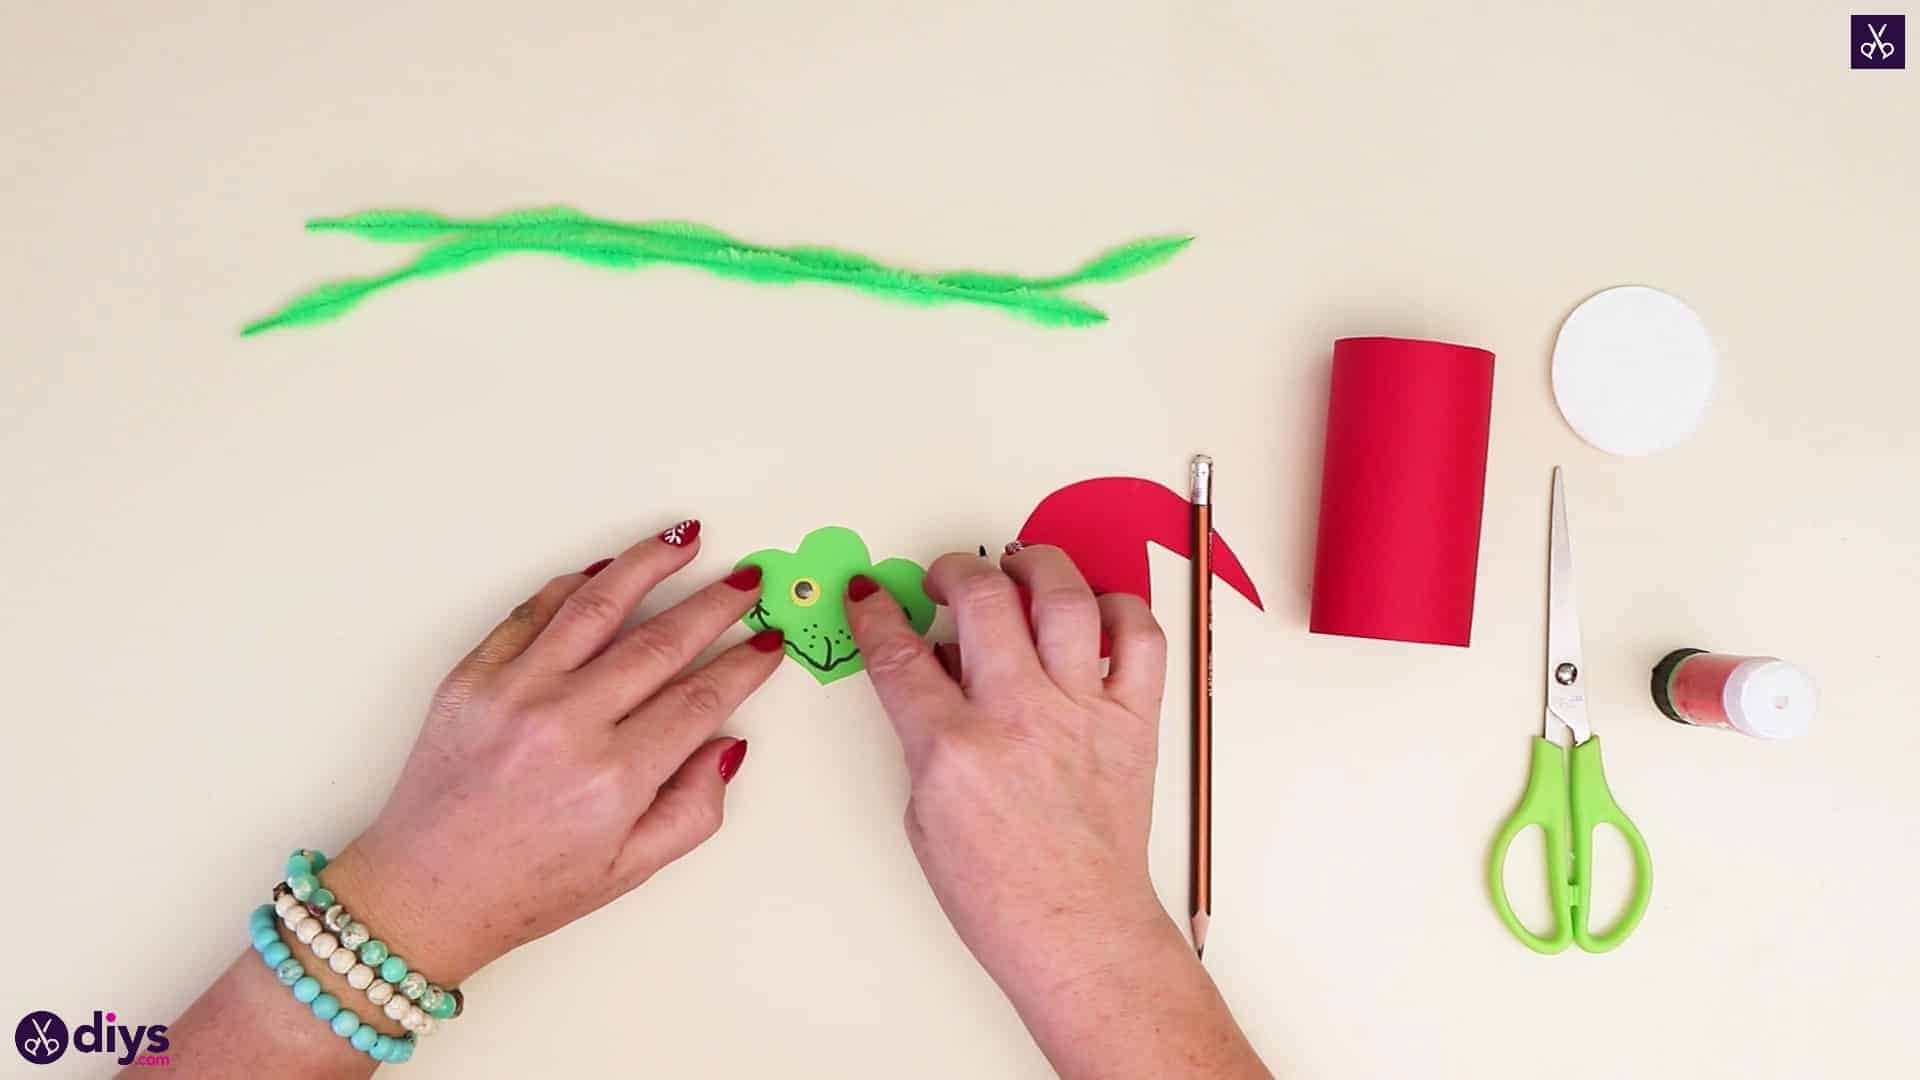
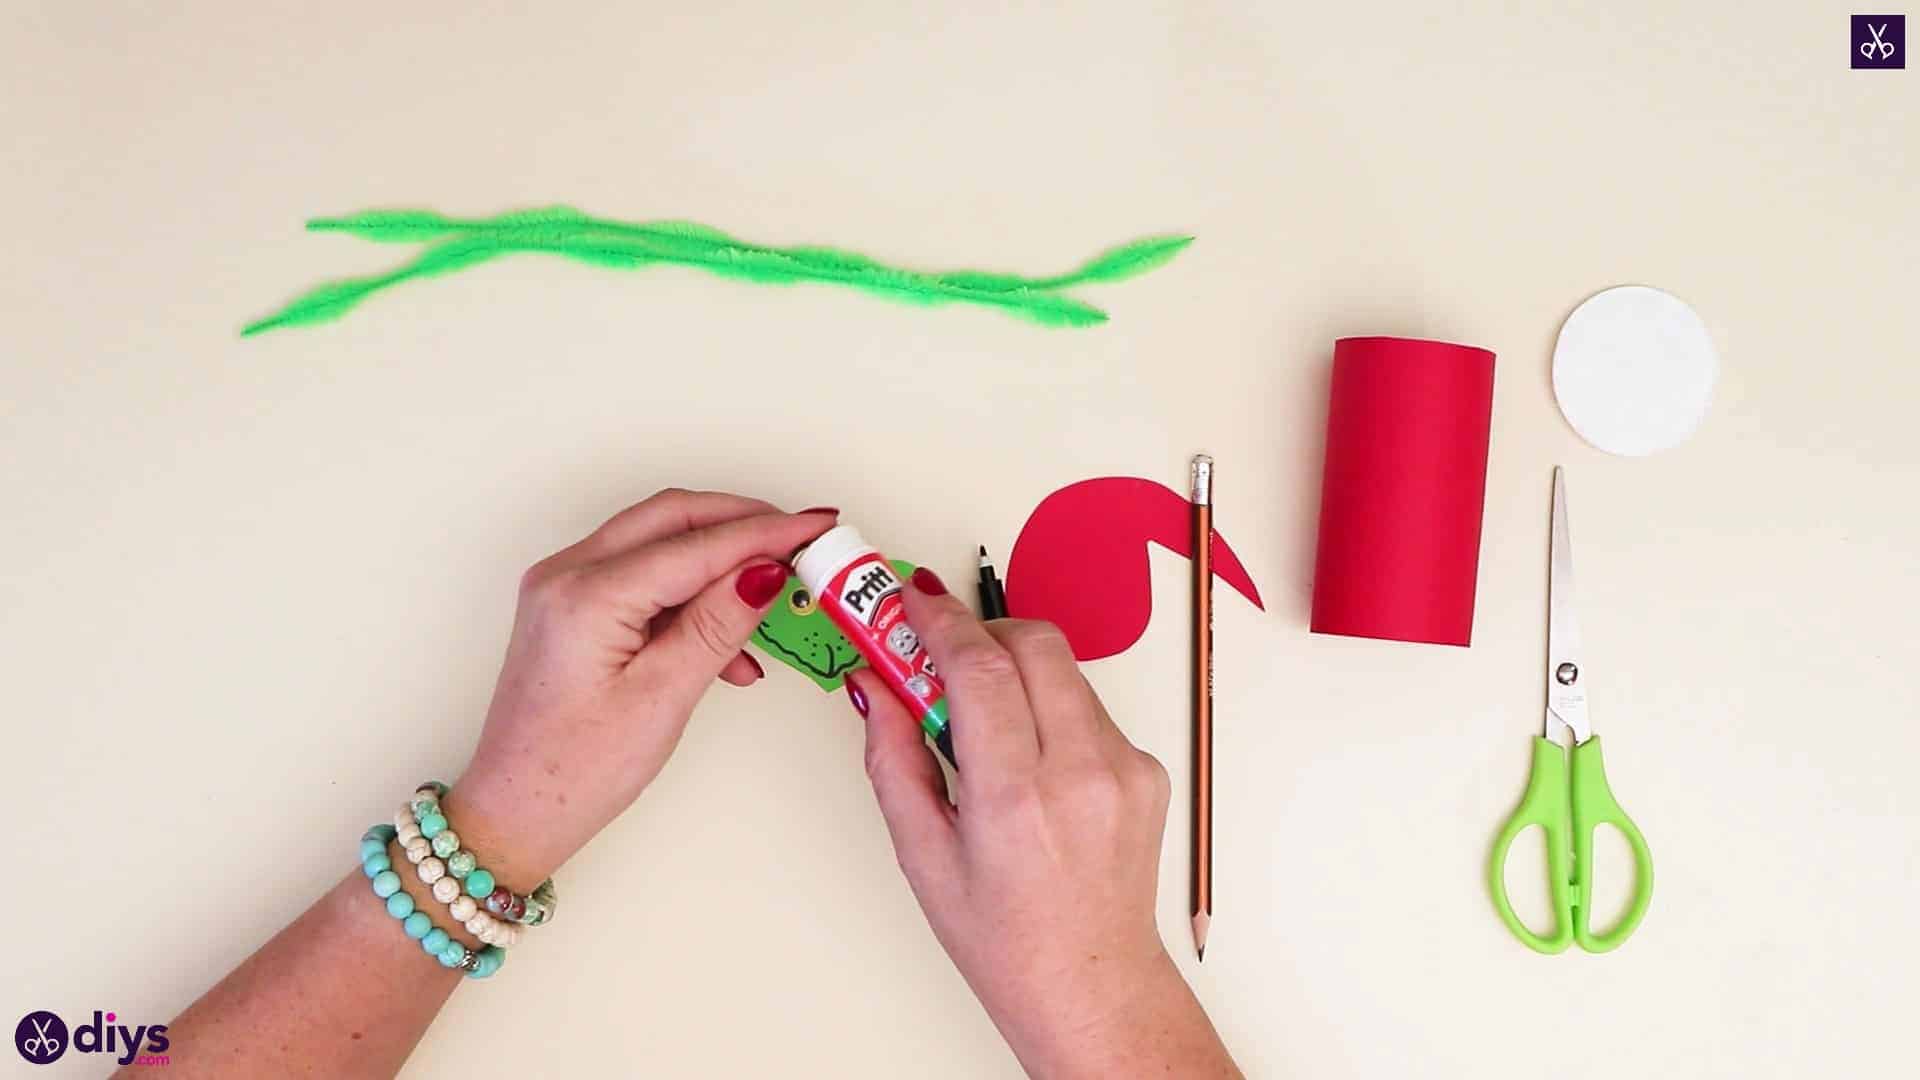
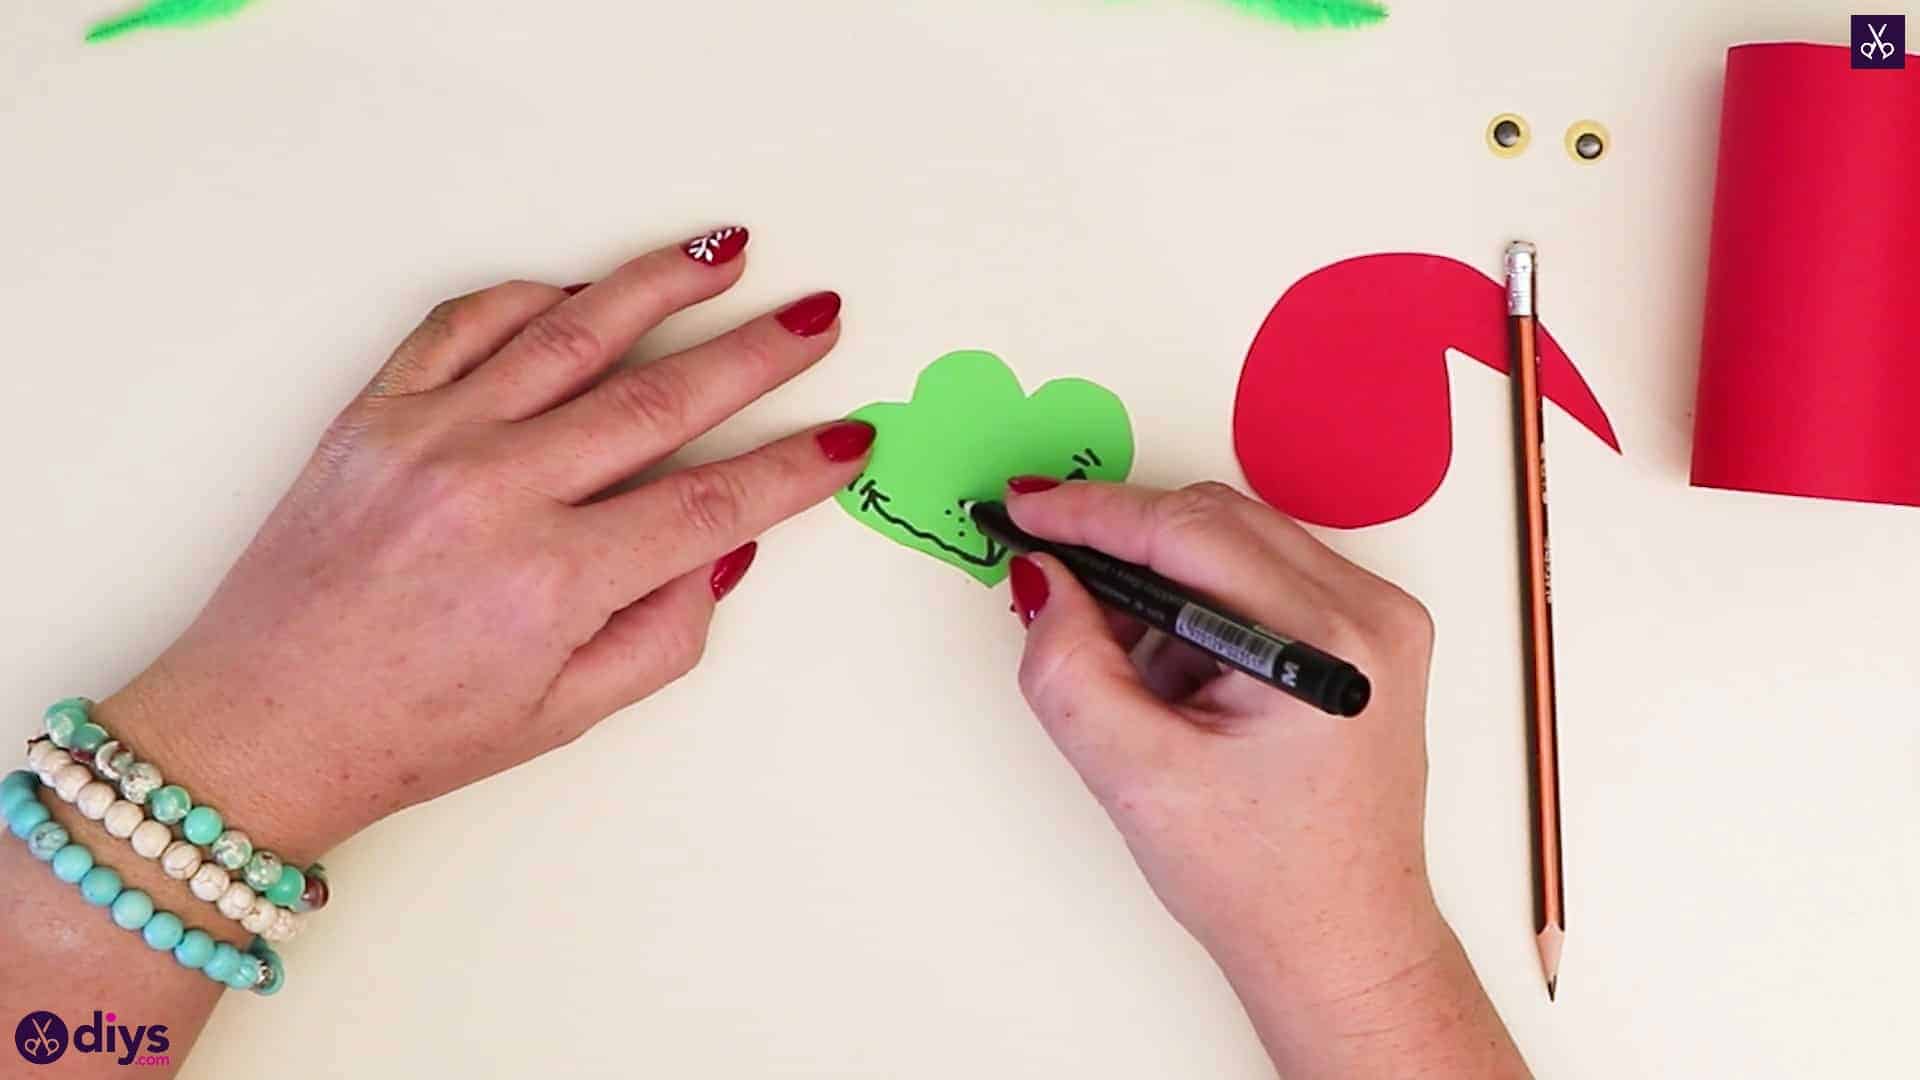
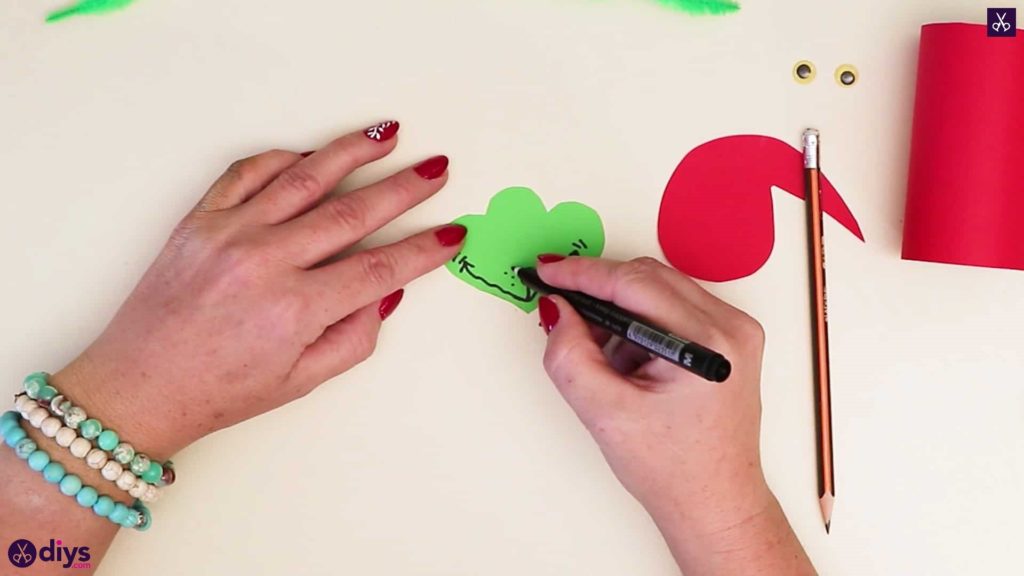
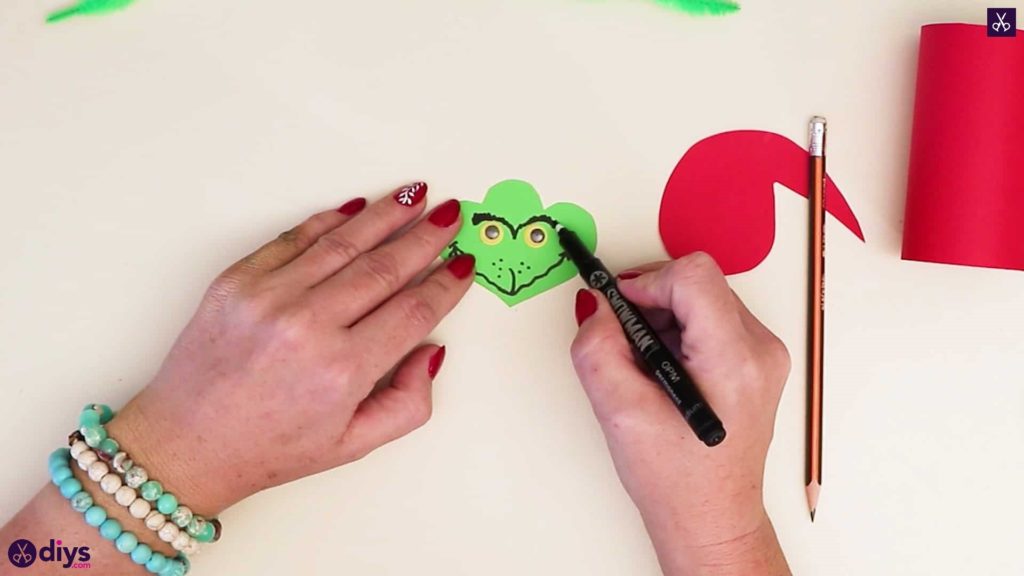
Step 6: draw the details
Create your Grinch’s face! I used my black marker to make a nose and smile that mimics the classic cartoon movie’s wavering grim. Next, apply glue to the back of your googly eyes and stick them down above the nose and mouth. Lastly, add bushy eyebrows above the googly eyes with your marker.

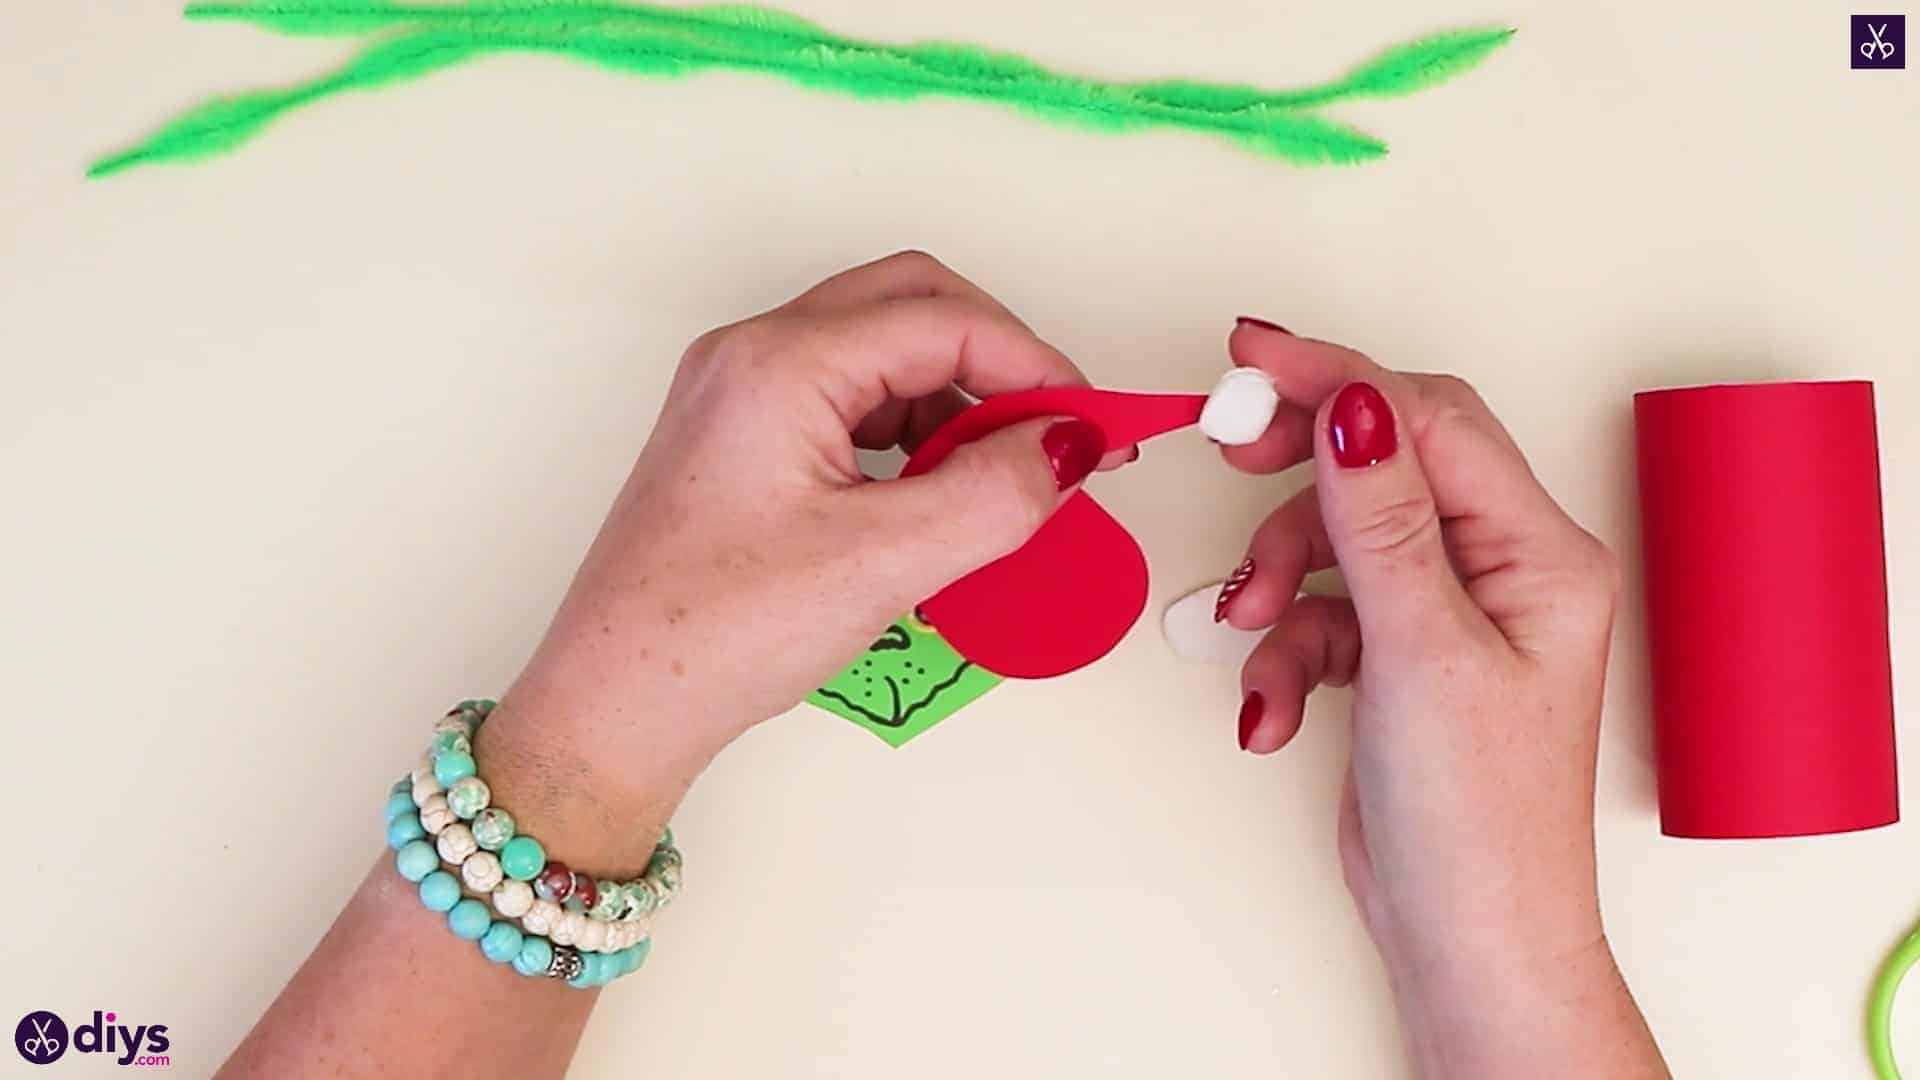
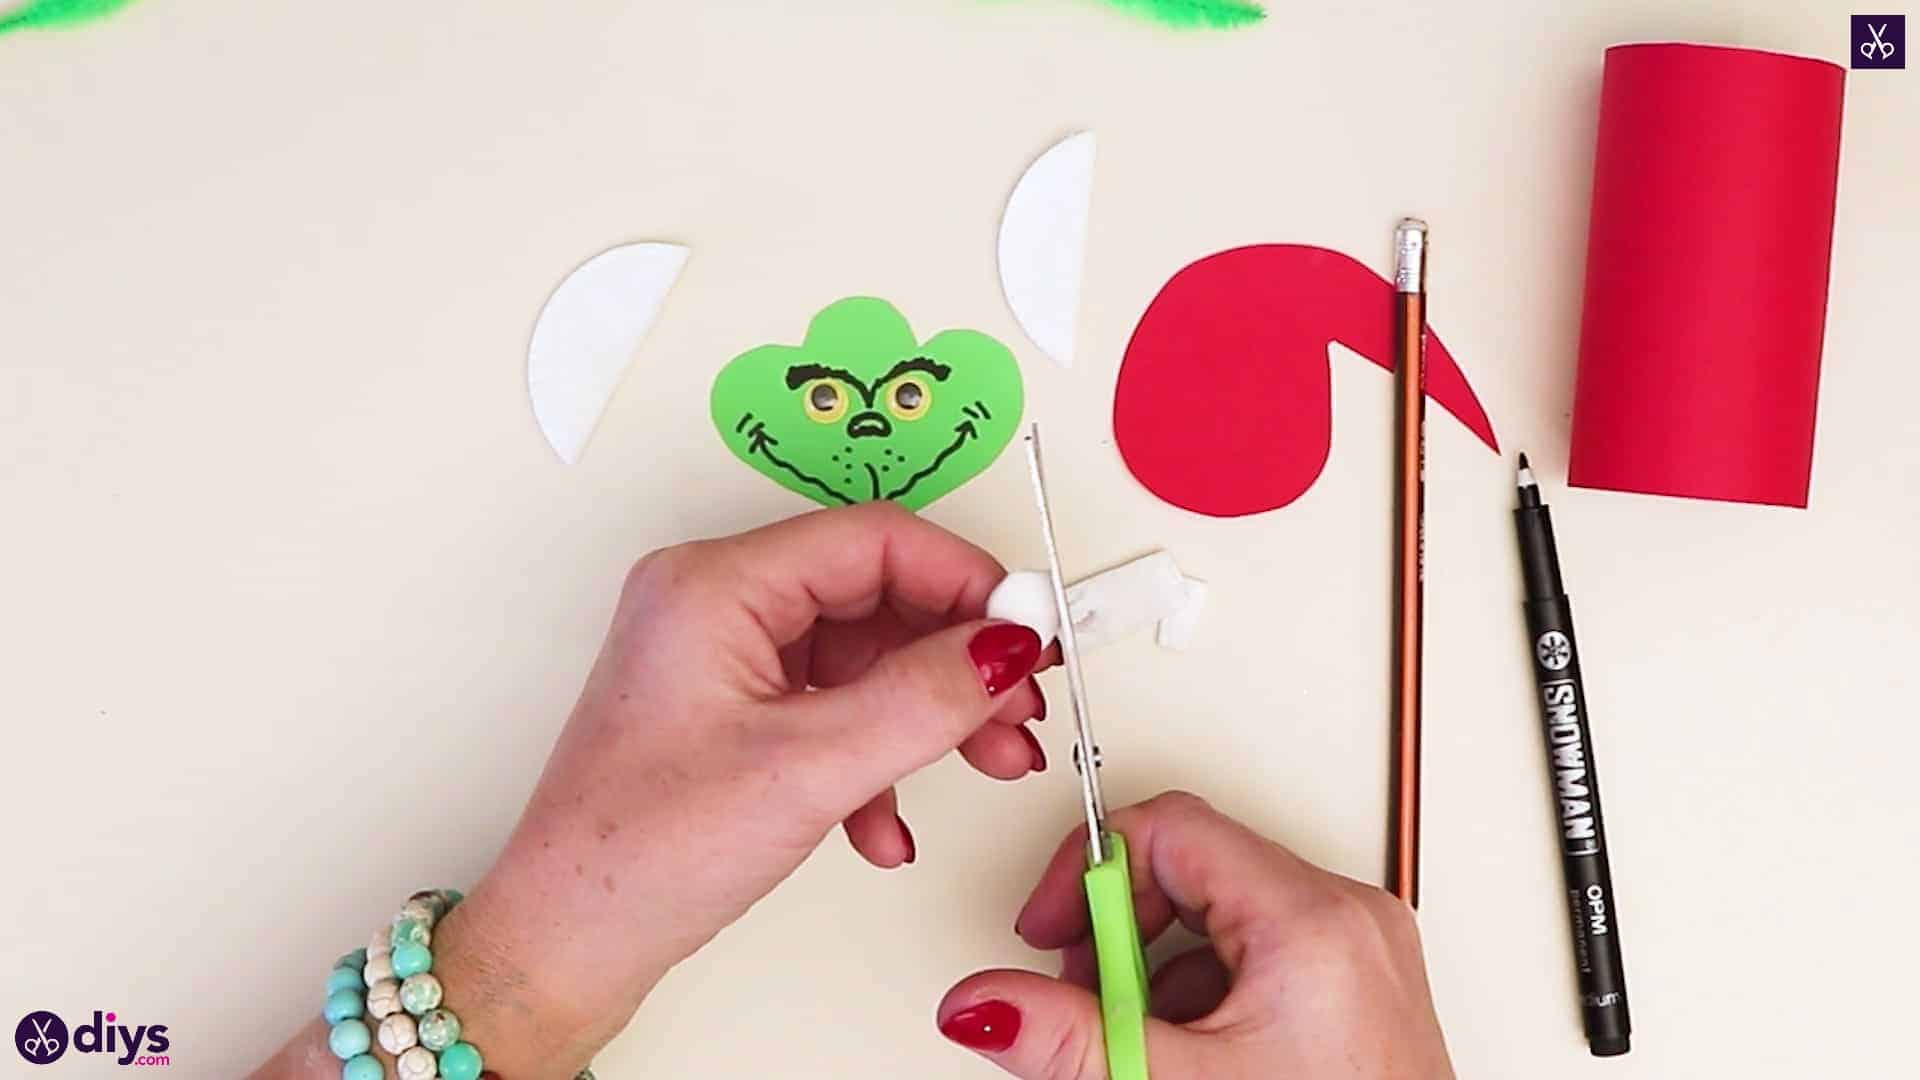
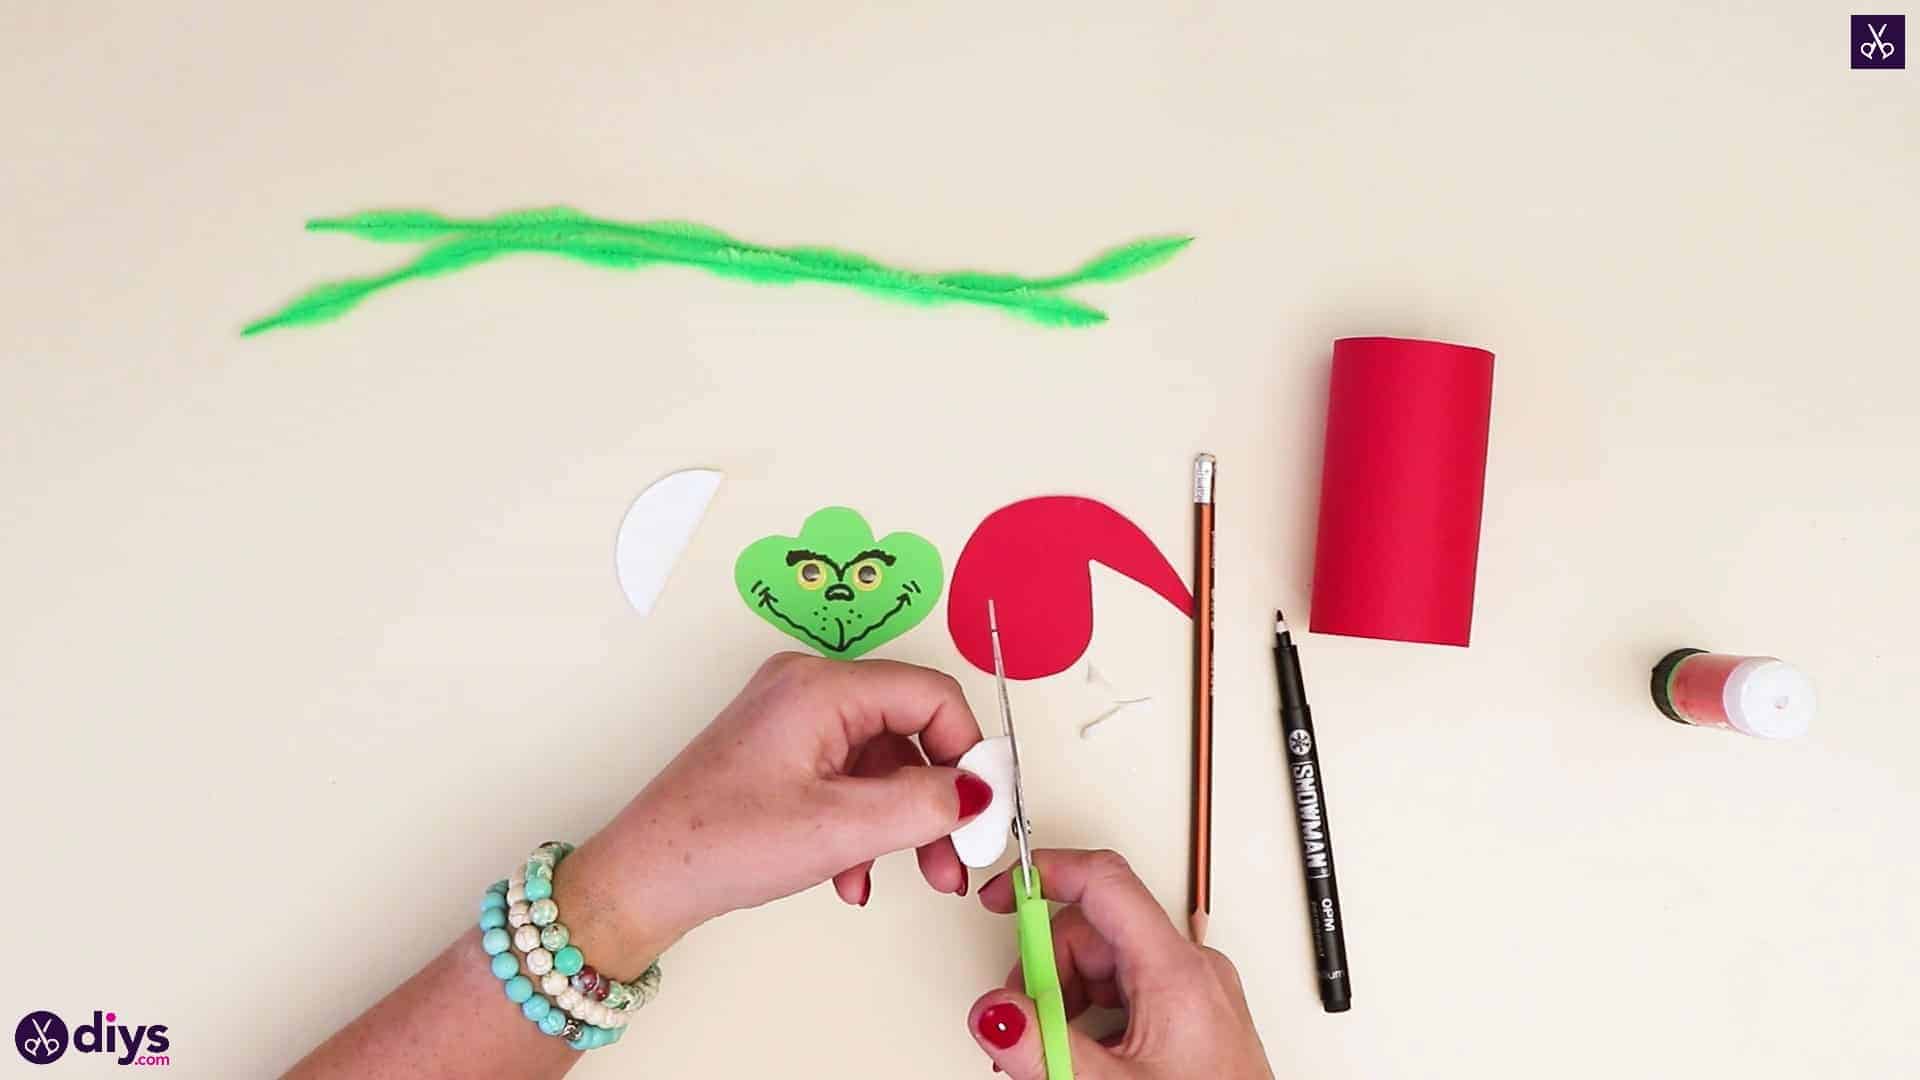
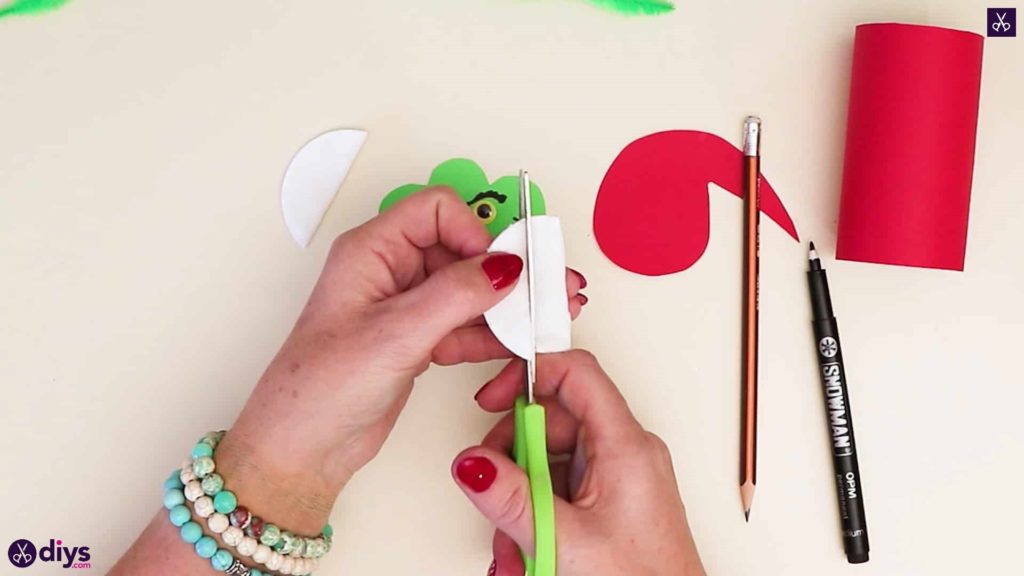
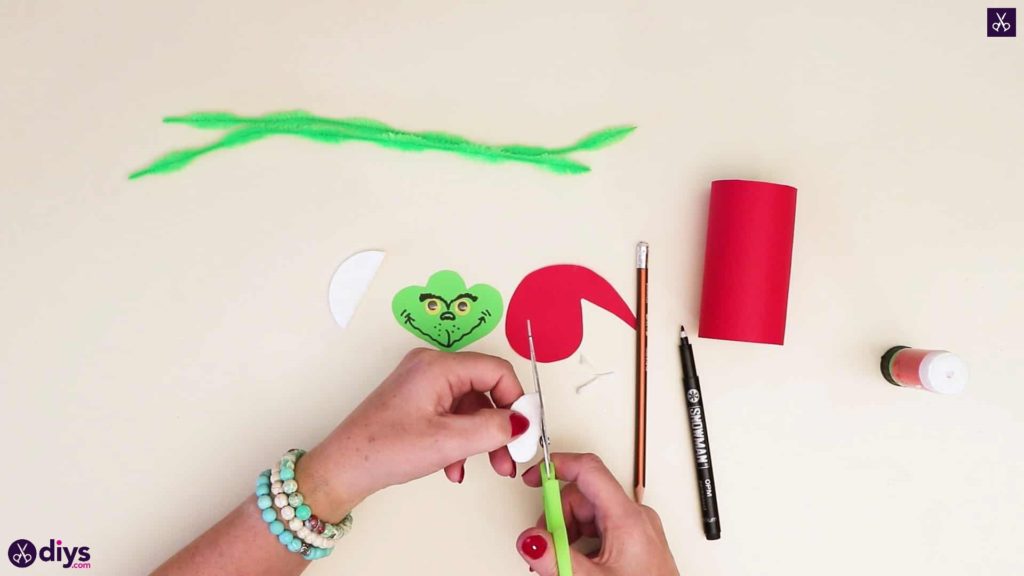
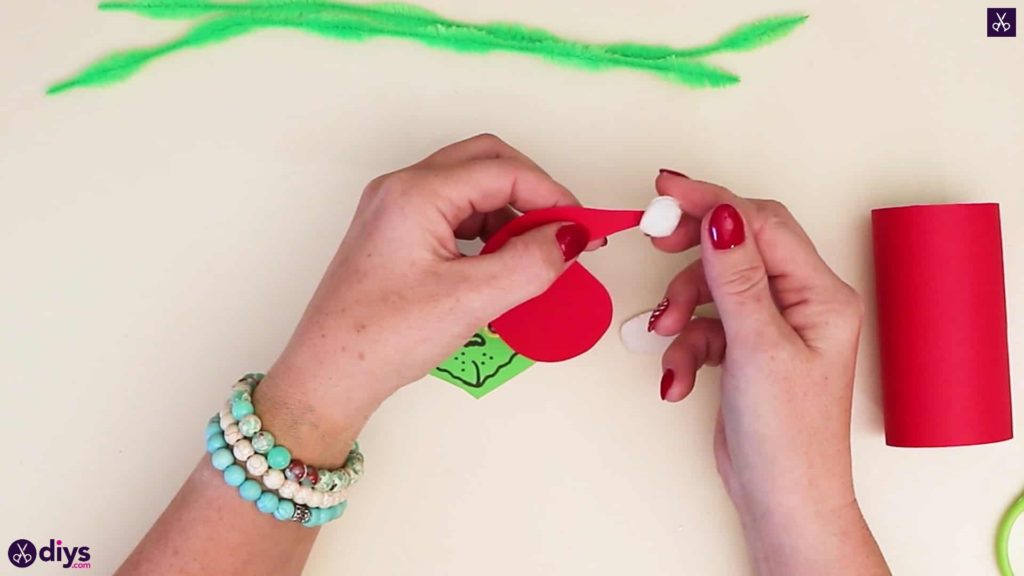
Step 7: add the cotton
Cut your cotton pad into thirds- two pieces with a rounded edge each and one from the middle with two straight edges. Then cut the shape of a circle from the middle strip. This will be the pom pom at the end of your Grinch’s Santa hat. Next, trim the corners off our of your round-edged pieces to create the trim of the hat, which will sit against your Grinch’s forehead.
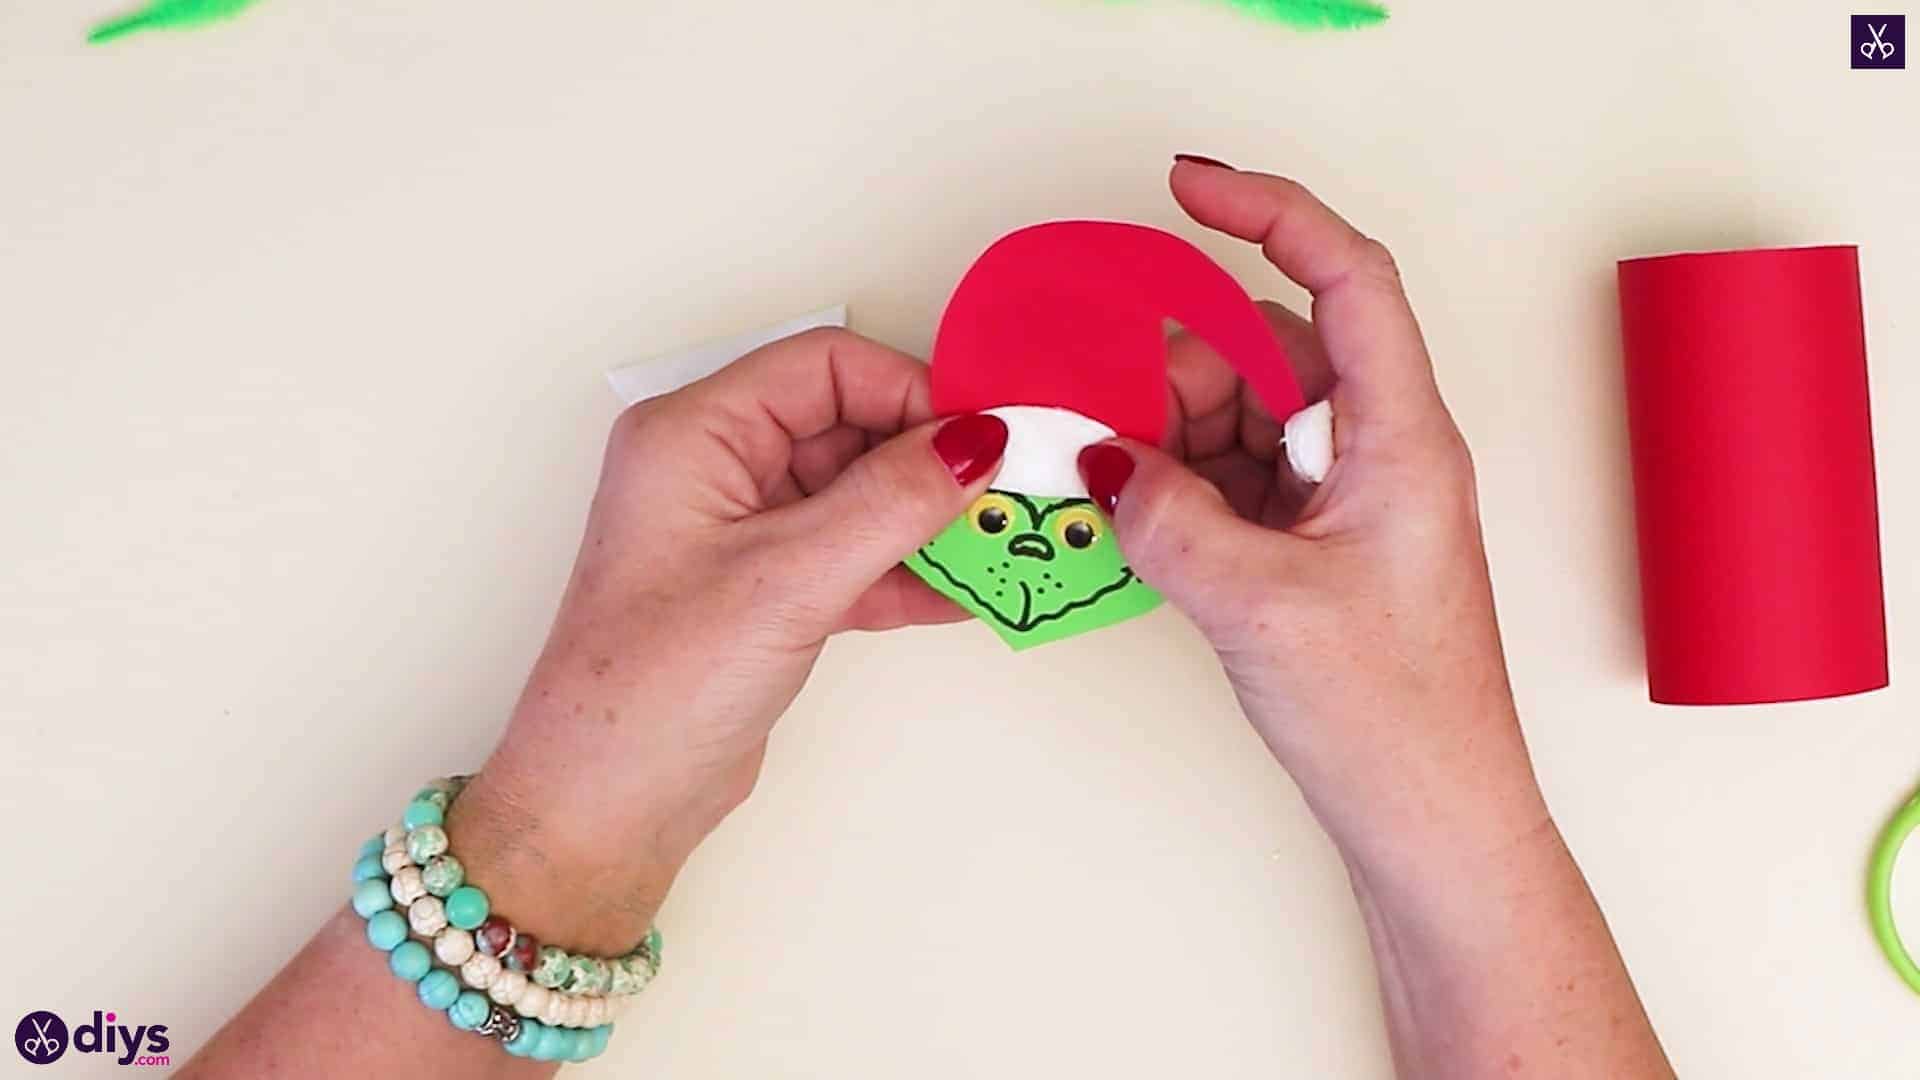
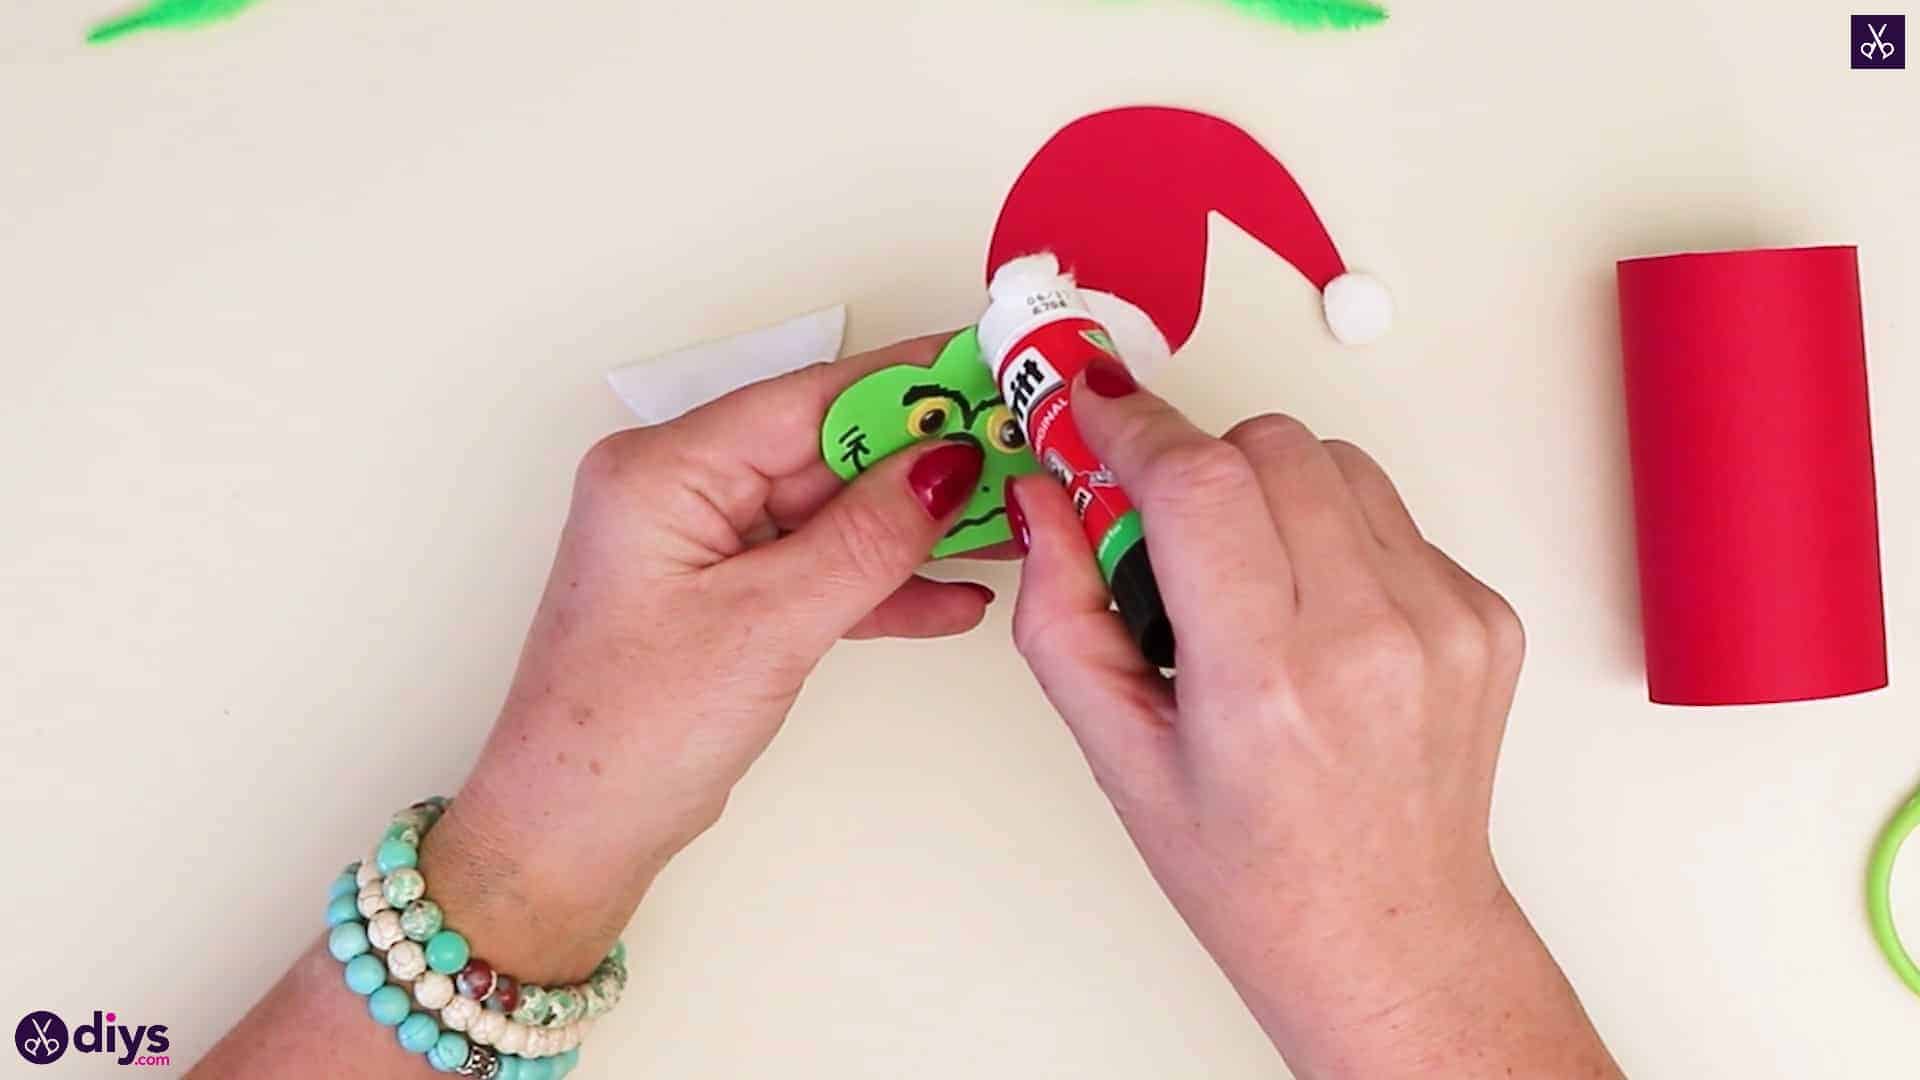
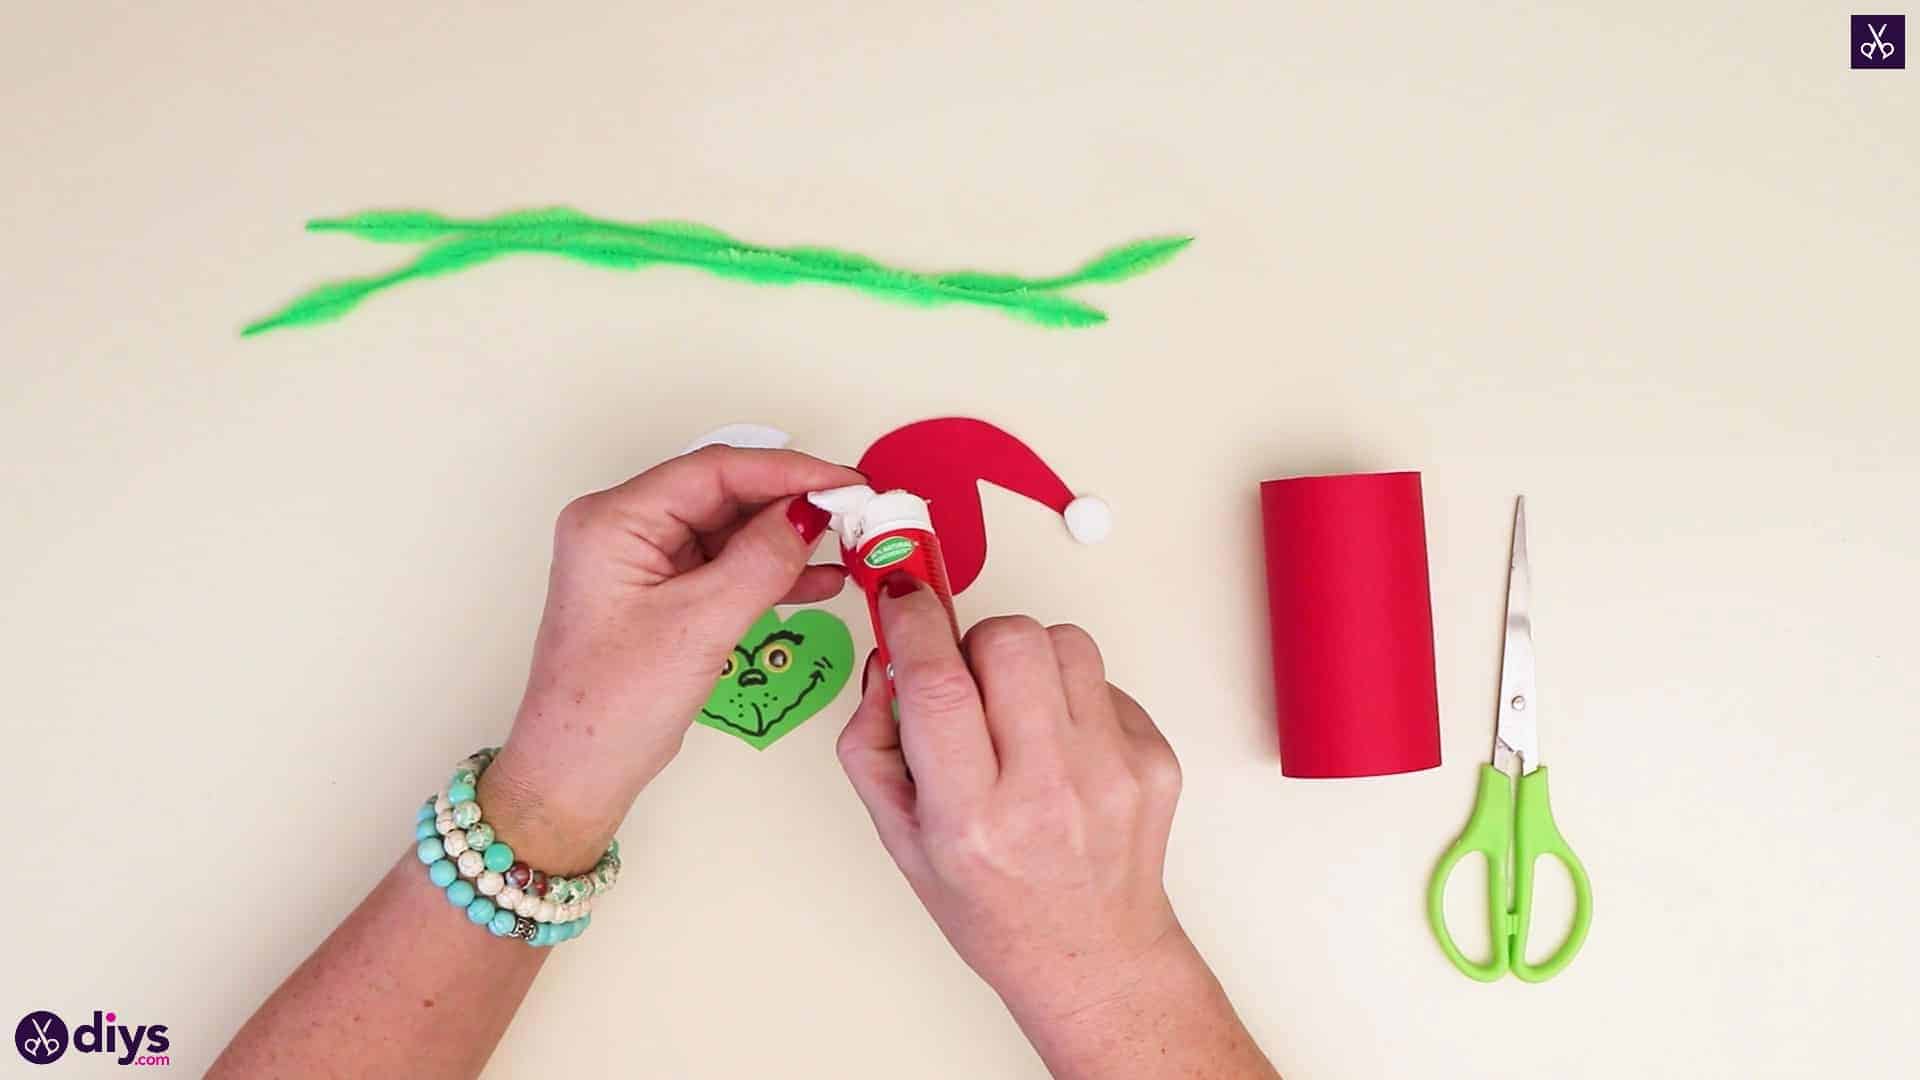
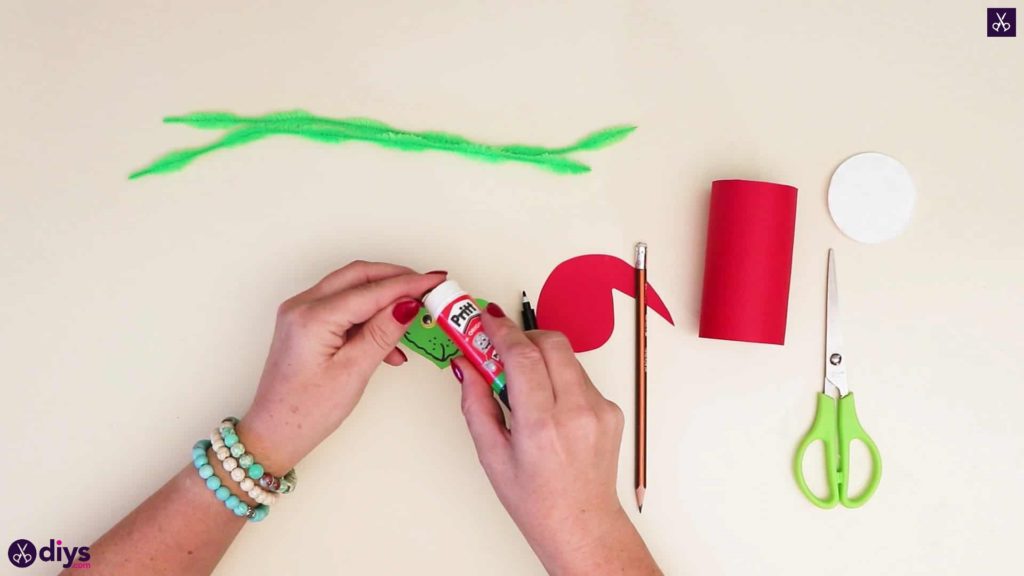
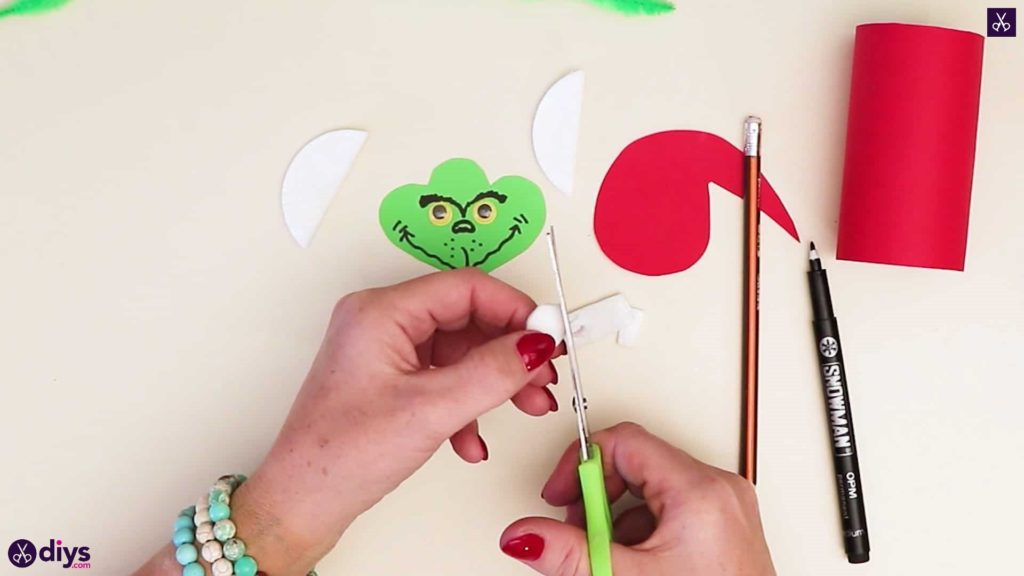
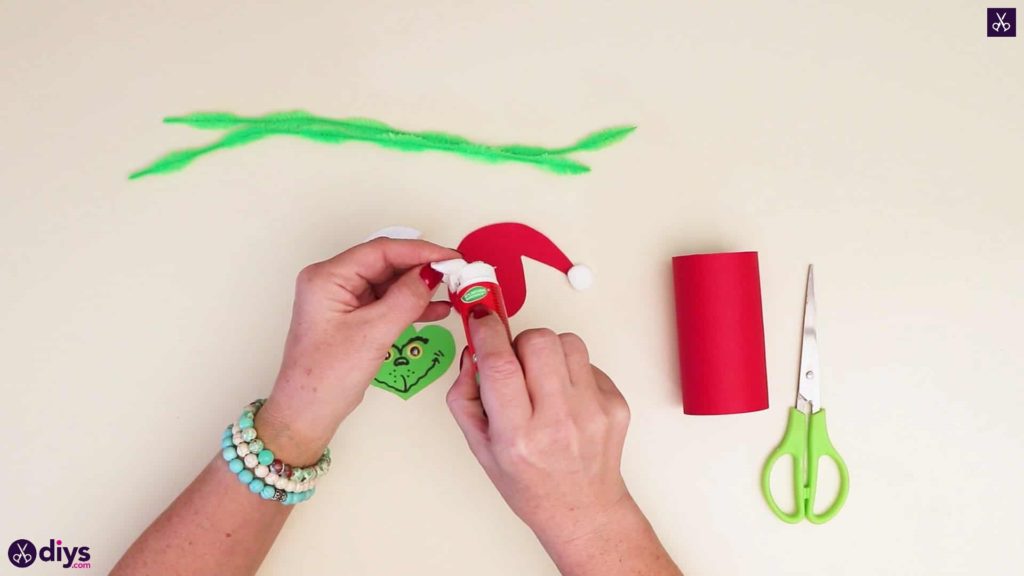
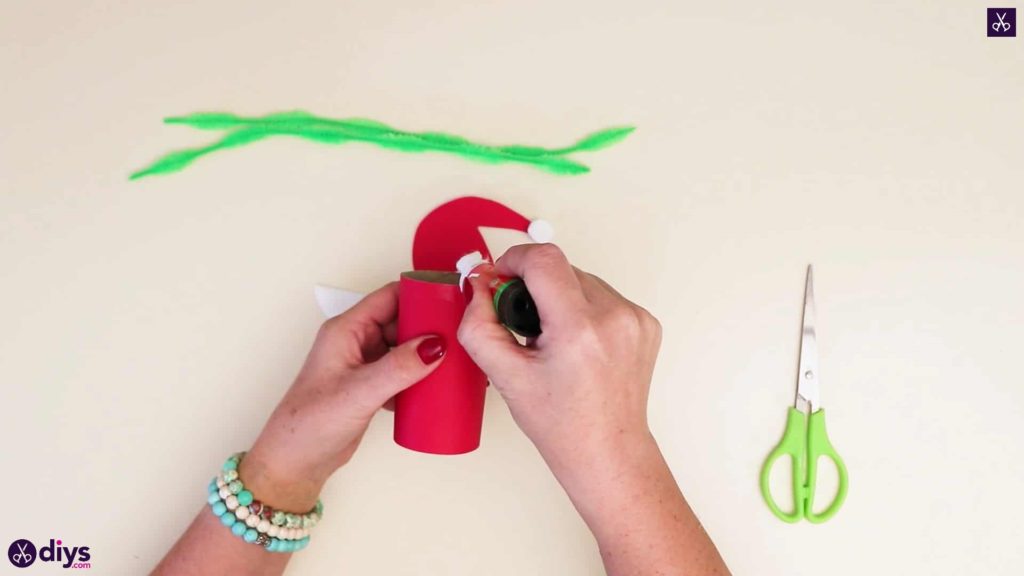
Step 8: attach the pom pom
Apply glue to the back of the white cotton pom pom and trim and stick them into place on the hat. The circle goes on the tip of the hat and the trim goes on the edge. Finally, apply glue to the central bump on your Grinch’s head and stick the back of your Santa hat down there.

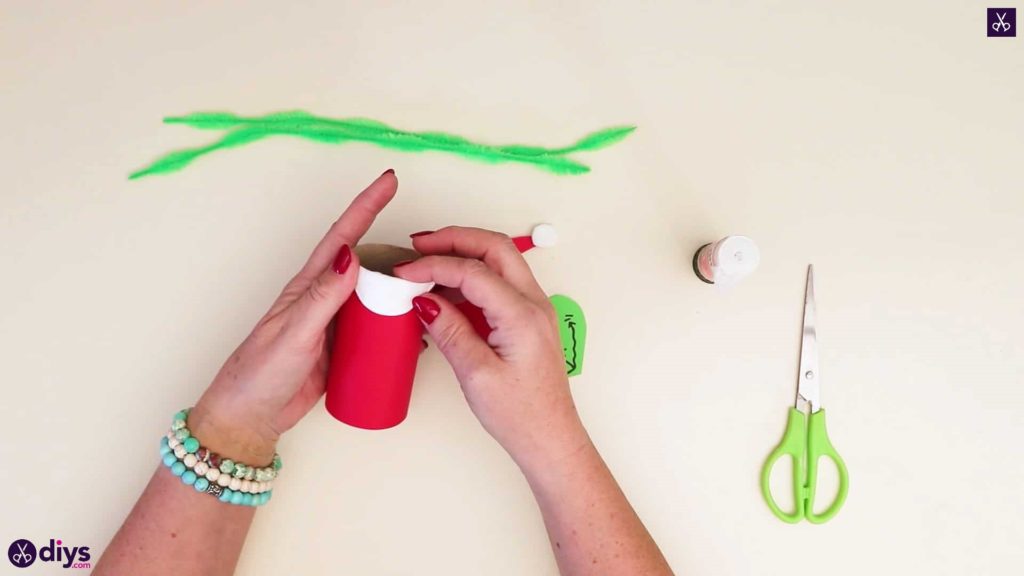
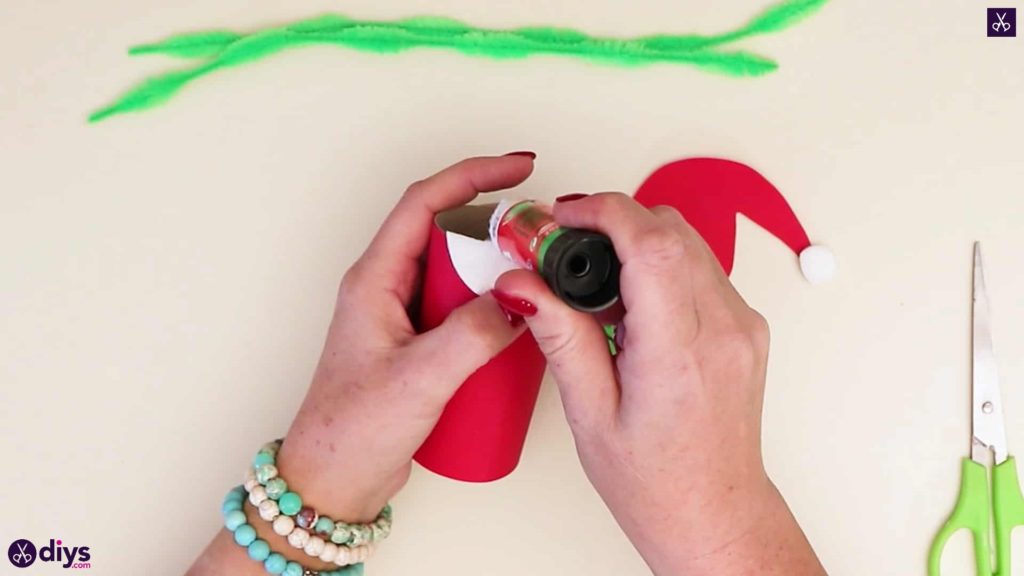
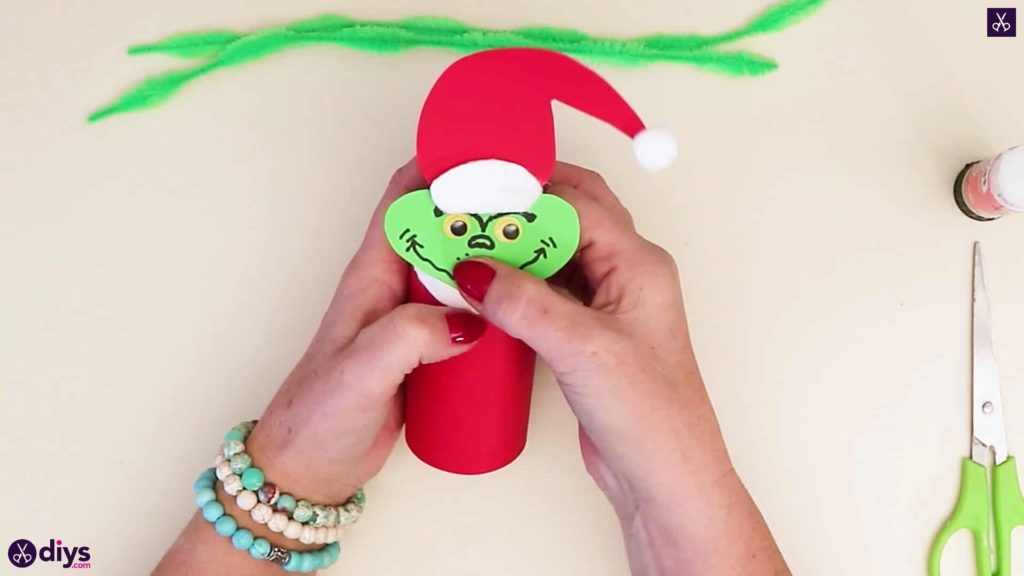
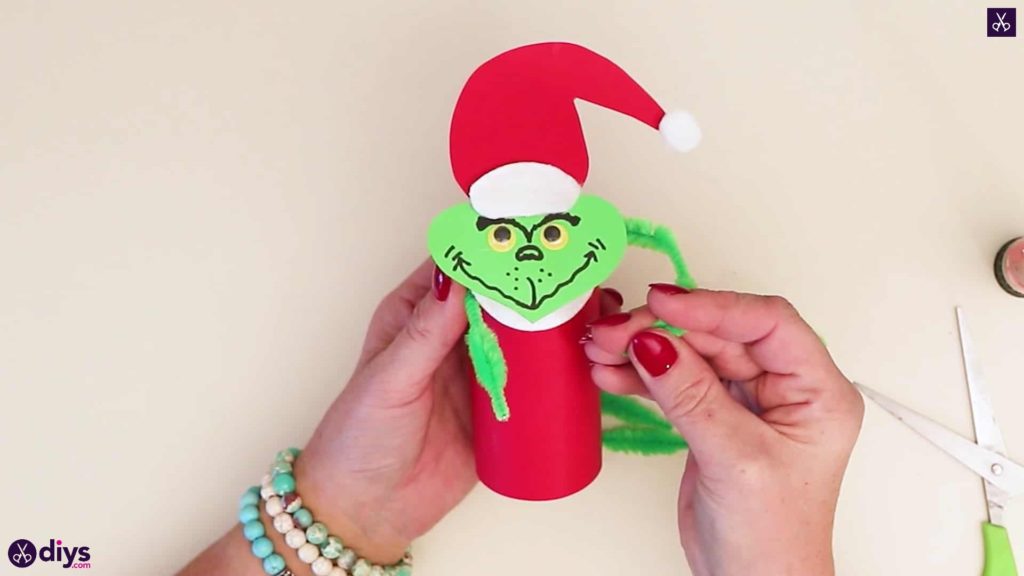
Step 9: assemble
Apply glue near the top of your toilet paper roll and stick the other rounded cotton piece down (with its straight cut edge upwards towards the edge of the roll) in order to make the fur collar of your Grinch’s Santa jacket. Next, apply glue in the center top of the cotton piece you just placed and stick your Grinch’s face down there.

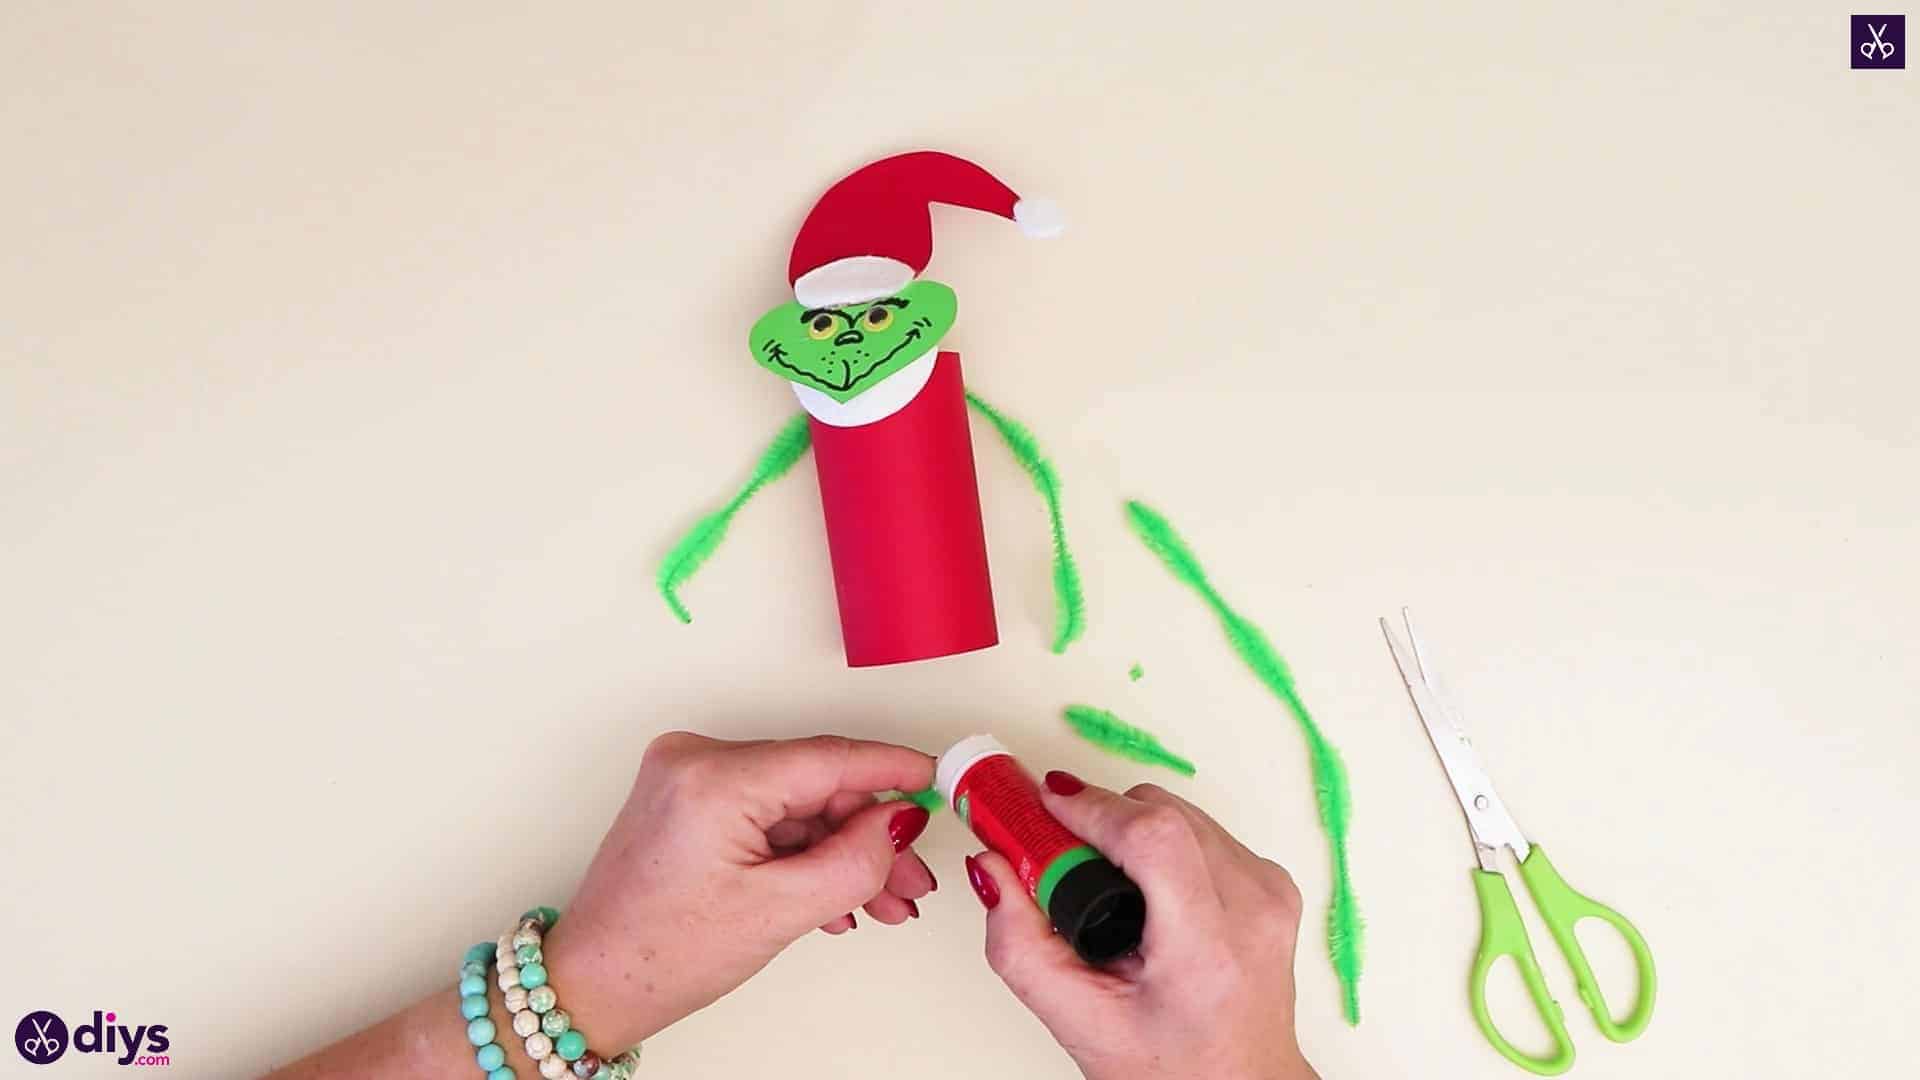
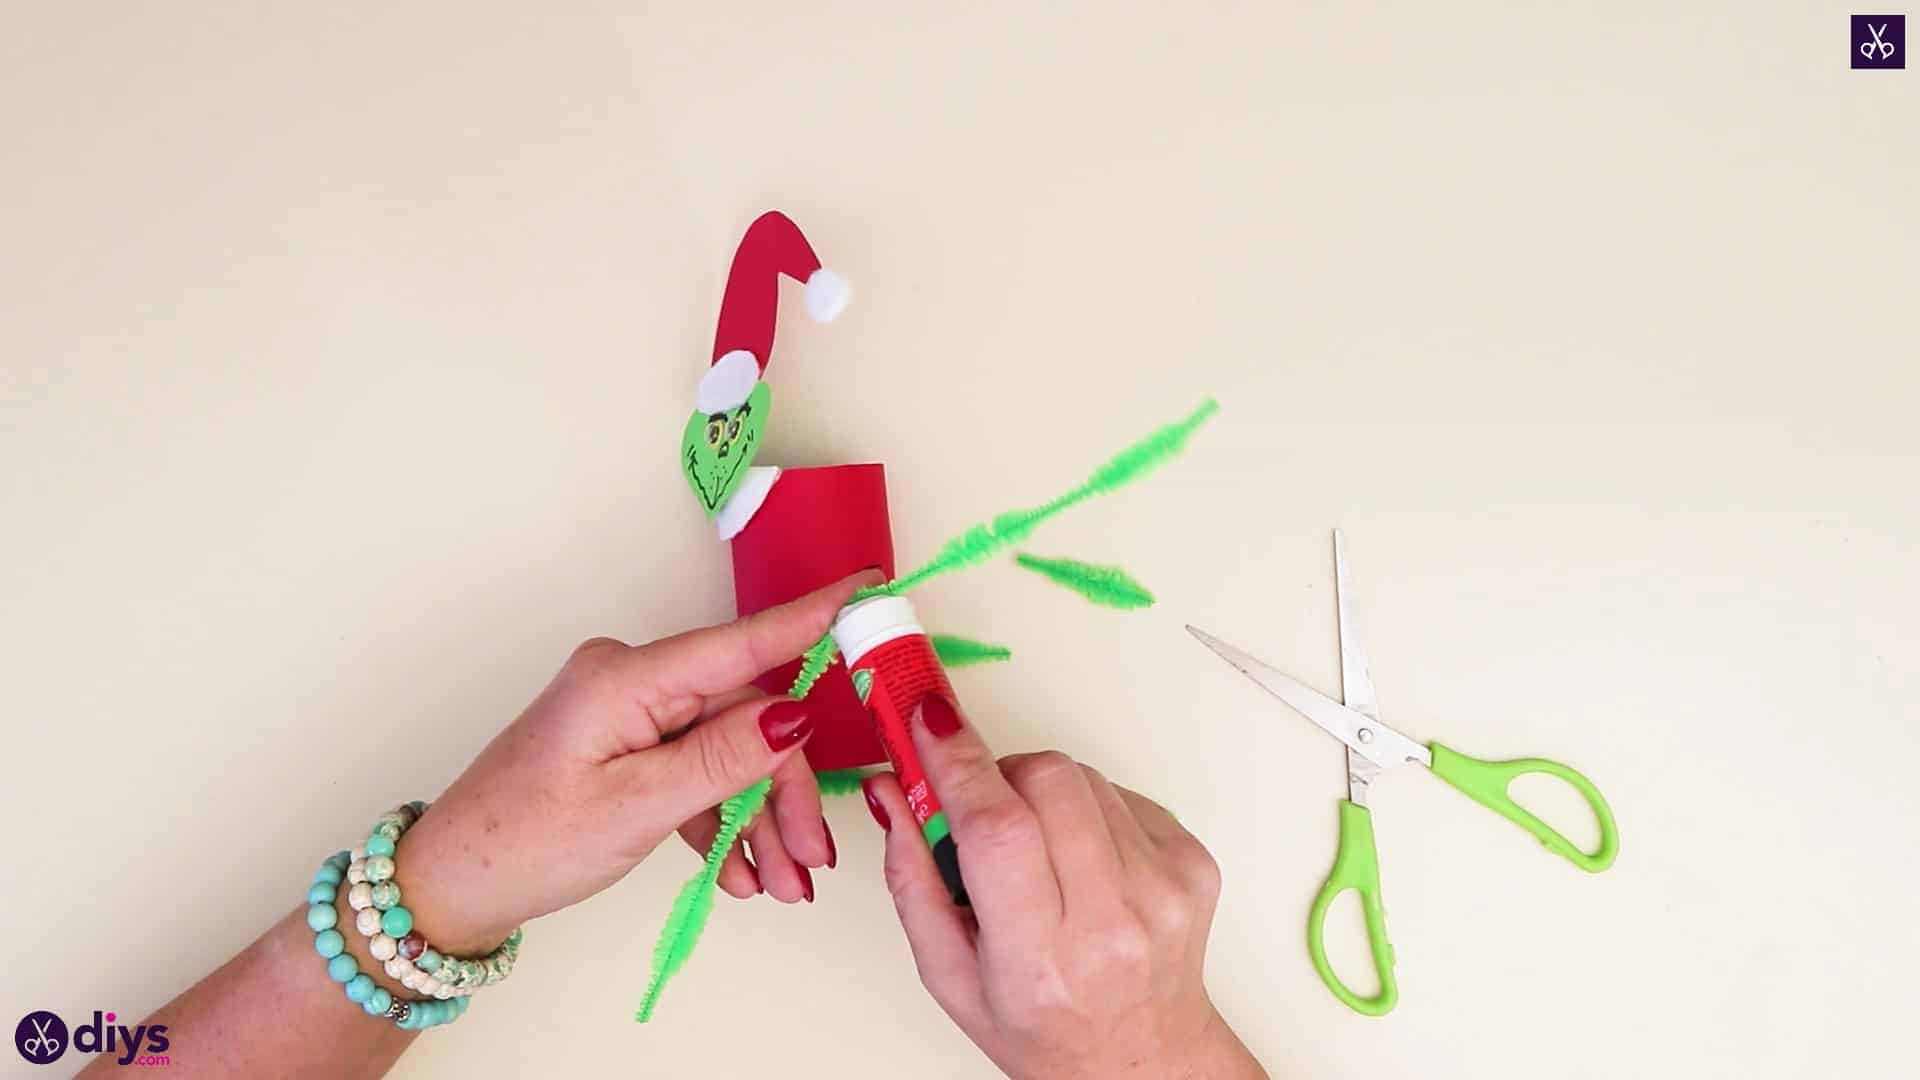
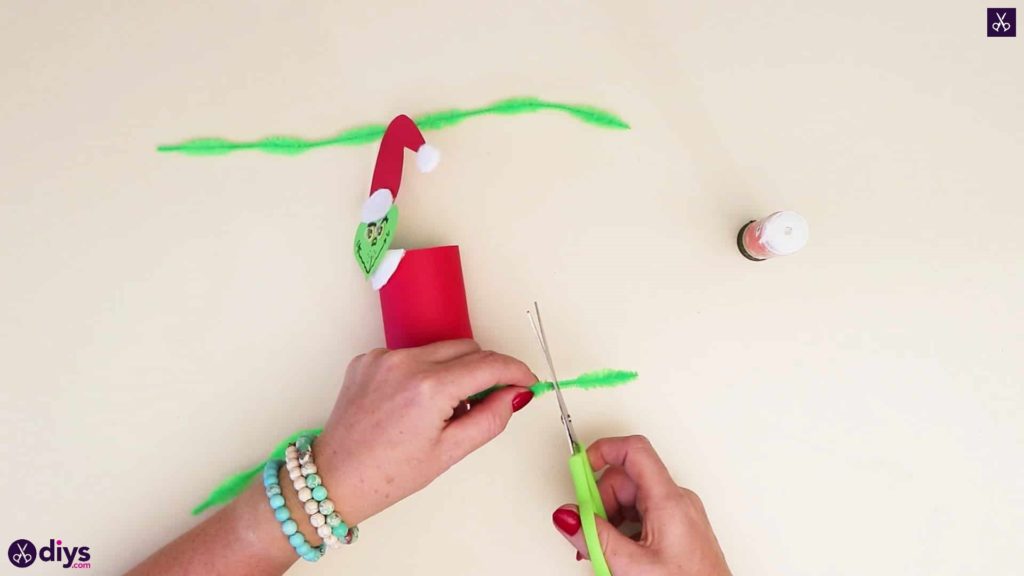
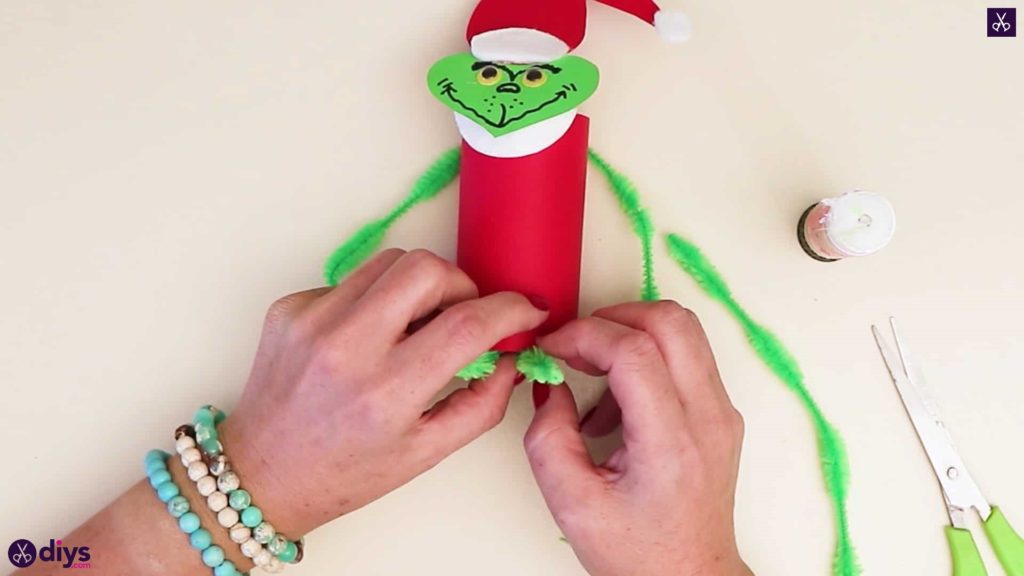
Step 10: make the arms
Bend one of your fluffy green pipe cleaners into a U-shape and apply glue in the centre where it curves. Stick the bend down around the back of the toilet roll, on the opposite side of where you stuck your Grinch’s head, so the ends curve around and stick back out front like furry arms. Trim the ends off if you find the whole piece to be a little too long. Feel free to bend the wire a little to round the arms and make them sit at the angle you want.

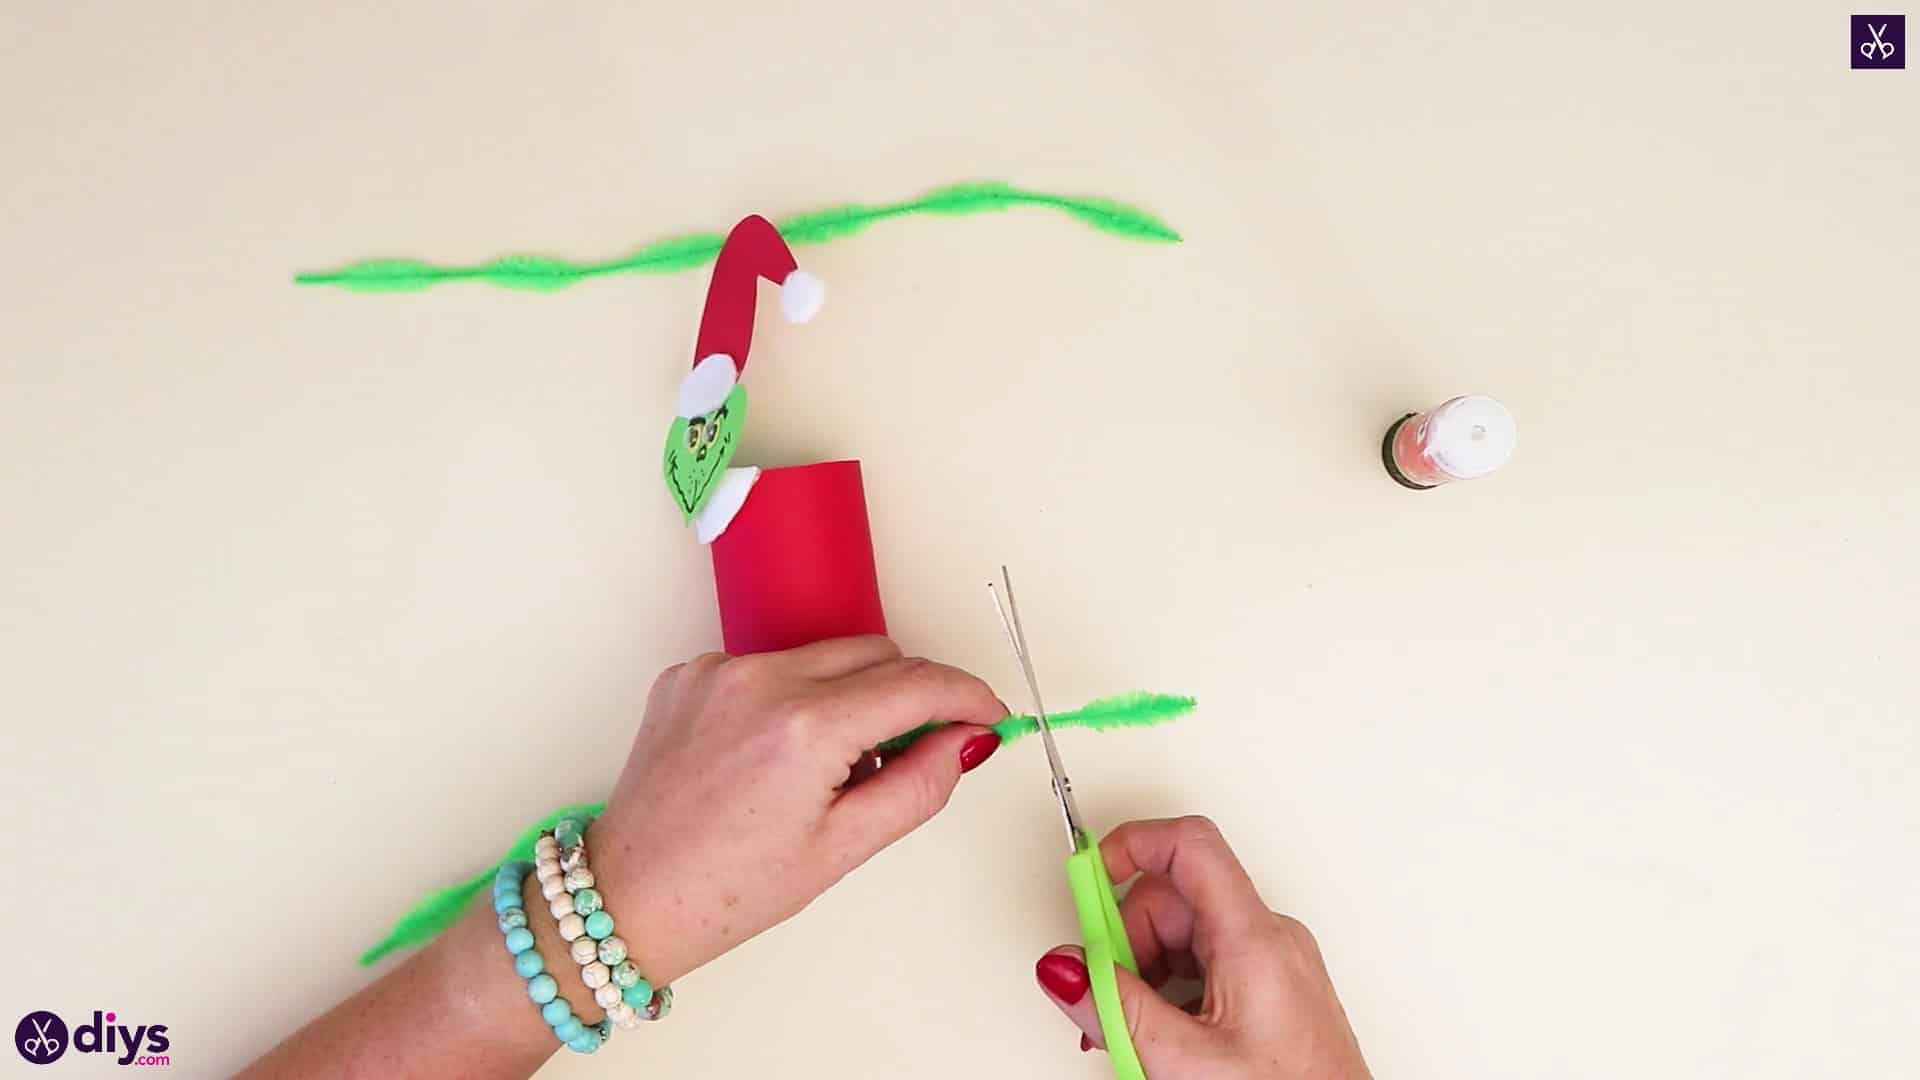
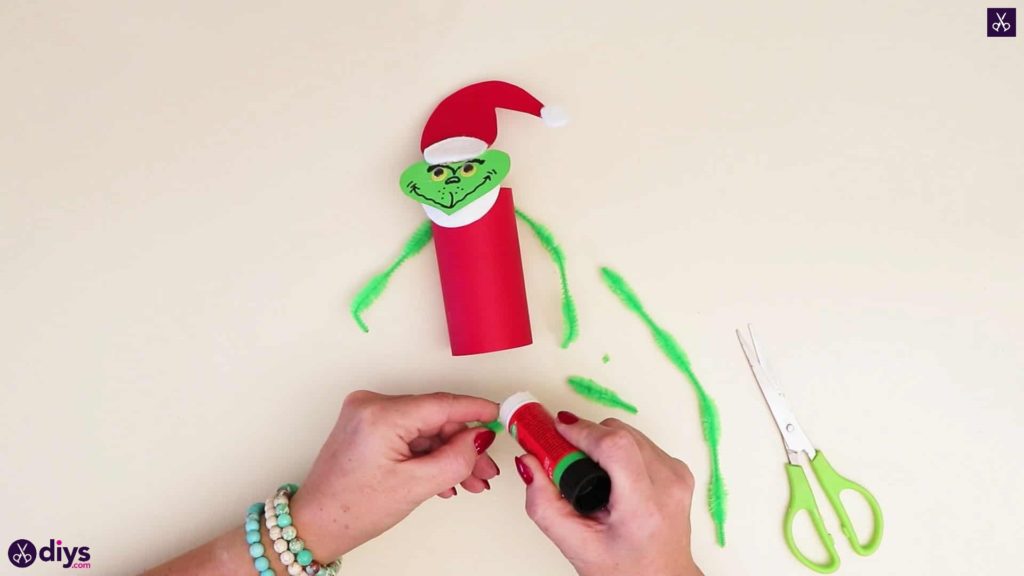
Step 11: attach the arms and legs
Cut two of the fluffy pieces off the ends of your second pipe cleaner and use these to make your Grinch’s feet. Apply glue on one end of each foot, bend those ands upward, and stick them to the bottom inside of your toilet roll so they stick out the bottom.
That’s all there is to it! Just in case you’d like to try this project out for yourself, here’s a fantastic tutorial video to help you!