How to Craft a DIY Tissue Paper Puffy Heart for Valentine’s Day in 6 Easy Steps
Updated on November 19, 2025


A DIY tissue paper puffy heart is one of the simplest ways to add a splash of color to any room, and it gets the job done without being a strain on your budget. Continue reading the guide below to learn how to make a tissue paper puffy heart.

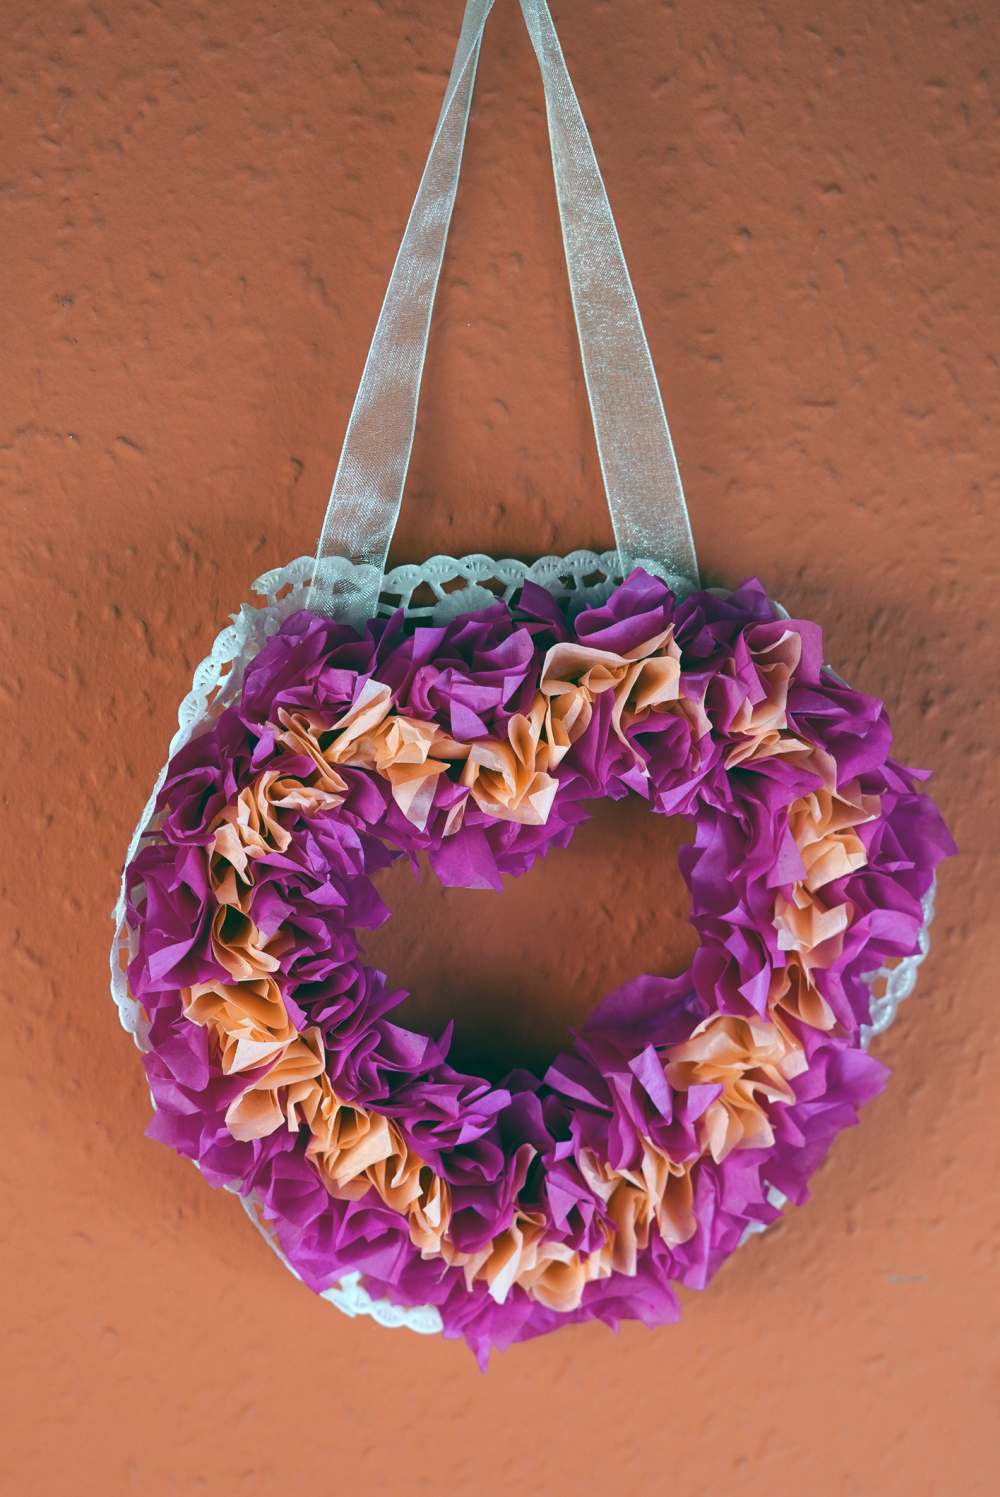
A DIY tissue paper puffy heart is a heart-shaped hanging decoration puffed by layers of tissue paper. It’s an excellent way to craft a wreath with a romantic motif for Valentine’s Day, which you can use to decorate an interior door or empty wall.
This guide describes the supplies and step-by-step instructions for crafting a DIY tissue paper puffy heart, complete with images and video. You can also check out tips and tricks for improving this home decor piece. This crafting project shouldn’t take more than an hour to finish.
Supplies
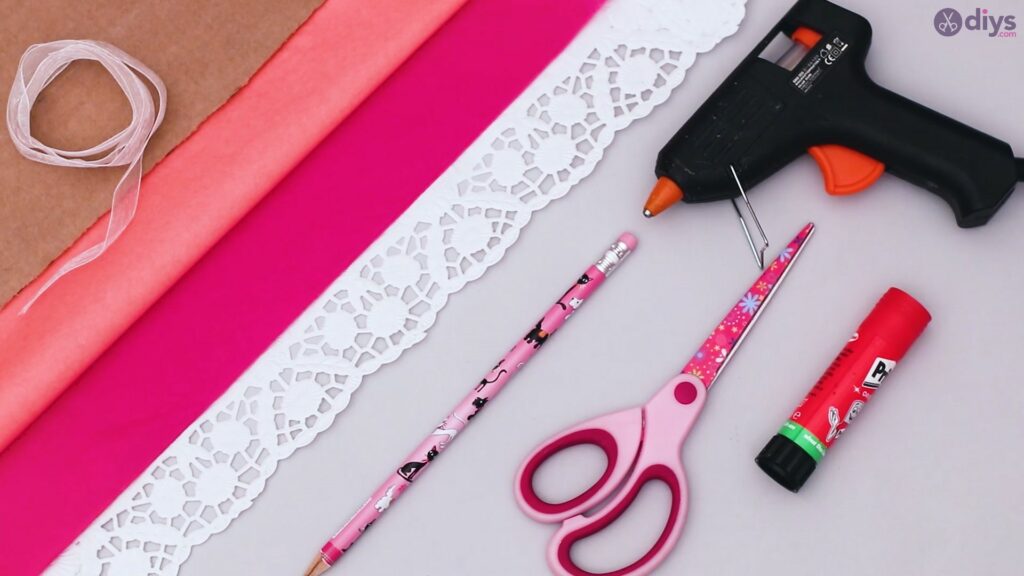
- Colored tissue paper to create the signature puffiness. We used orange and purple, but feel free to use whatever colors you like most.
- Cardboard to make the frame of the puffy heart. Use extra-thick cardboard or even corrugated cardboard for this project.
- A pencil to sketch out the shapes and designs before you make the cut-outs.
- Scissors to cut the tissue paper and cardboard.
- A glue gun to bind together the more solid elements of our decoration.
- Glue sticks to help create the tissue paper puffs and glue them to the cardboard frame. Glue sticks are better for this job than glue guns because the hot glue can damage the tissue paper.
- Silk ribbon to create our puffy heart’s hanger.
- Lace paper doily to add the finishing touches to our project’s design.
How do I craft a tissue paper puffy heart?
Follow these instructions to learn how to craft a tissue paper puffy heart:
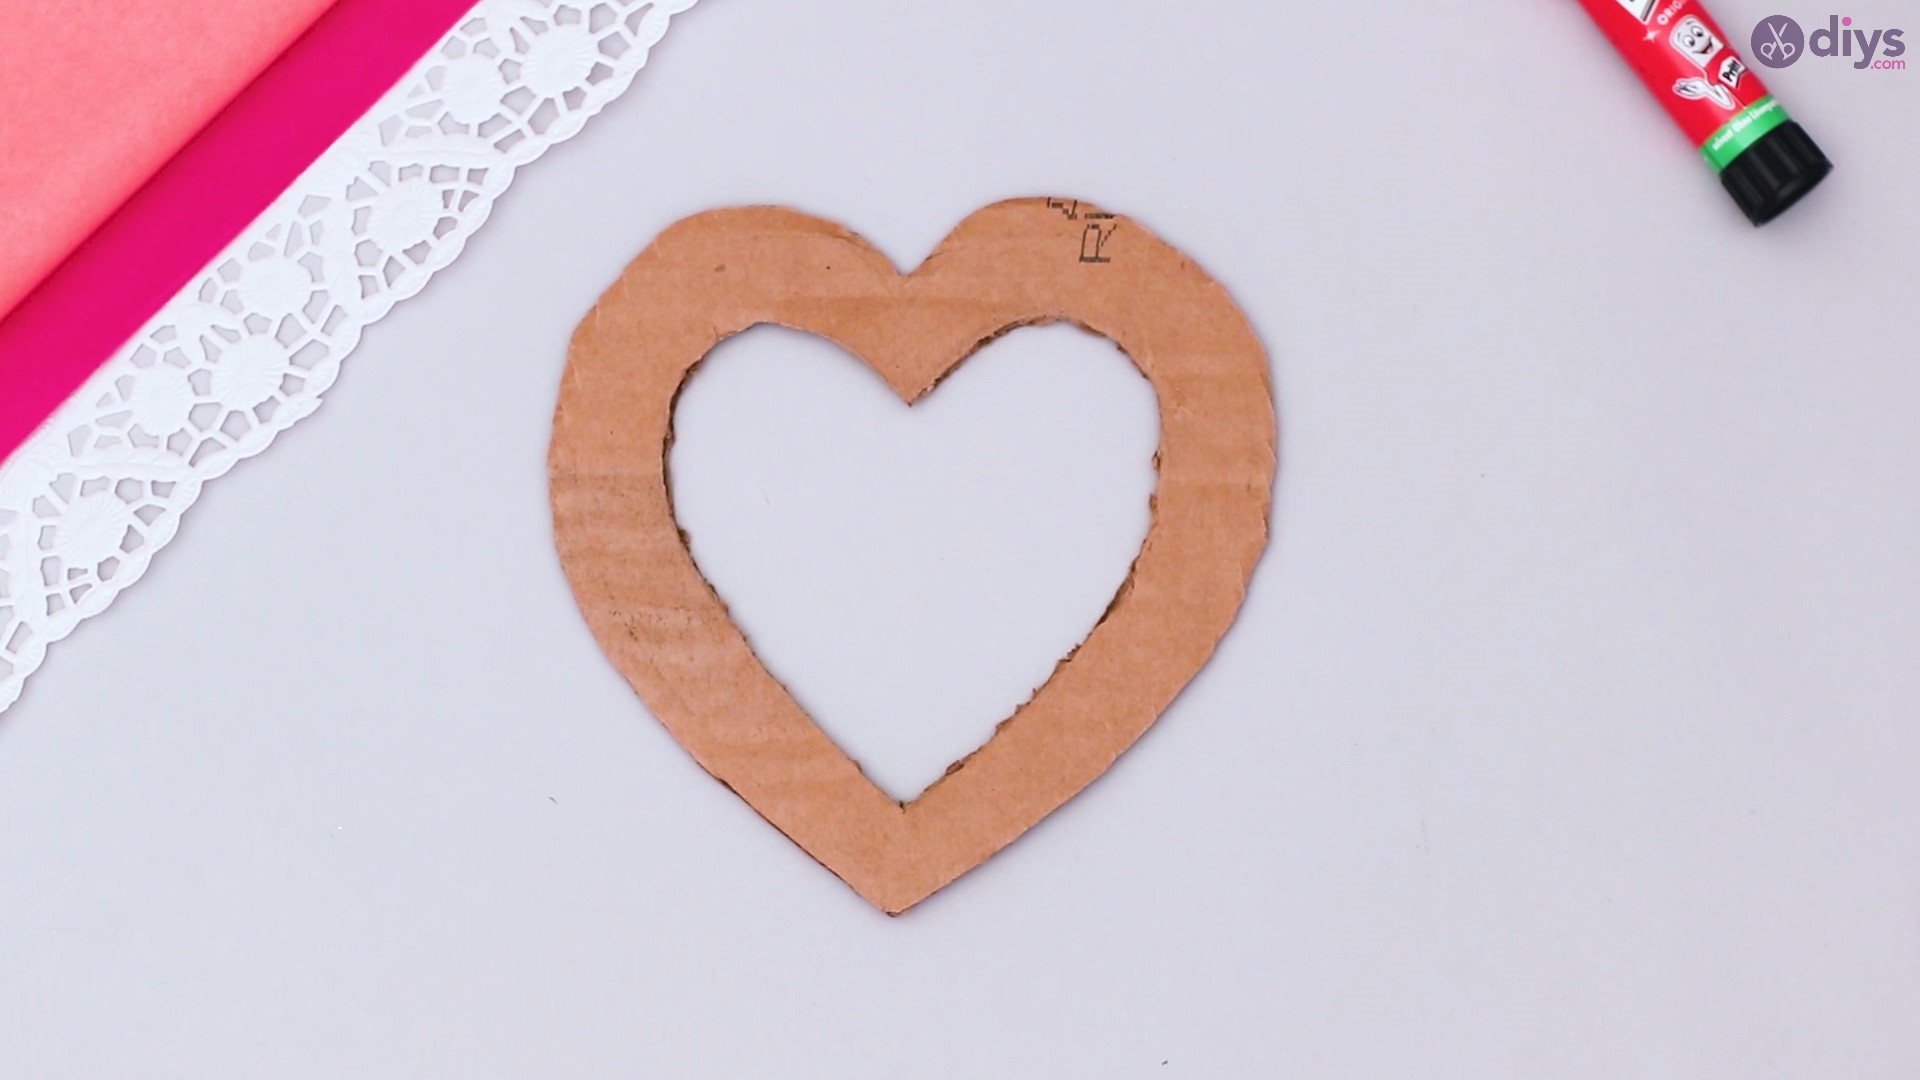
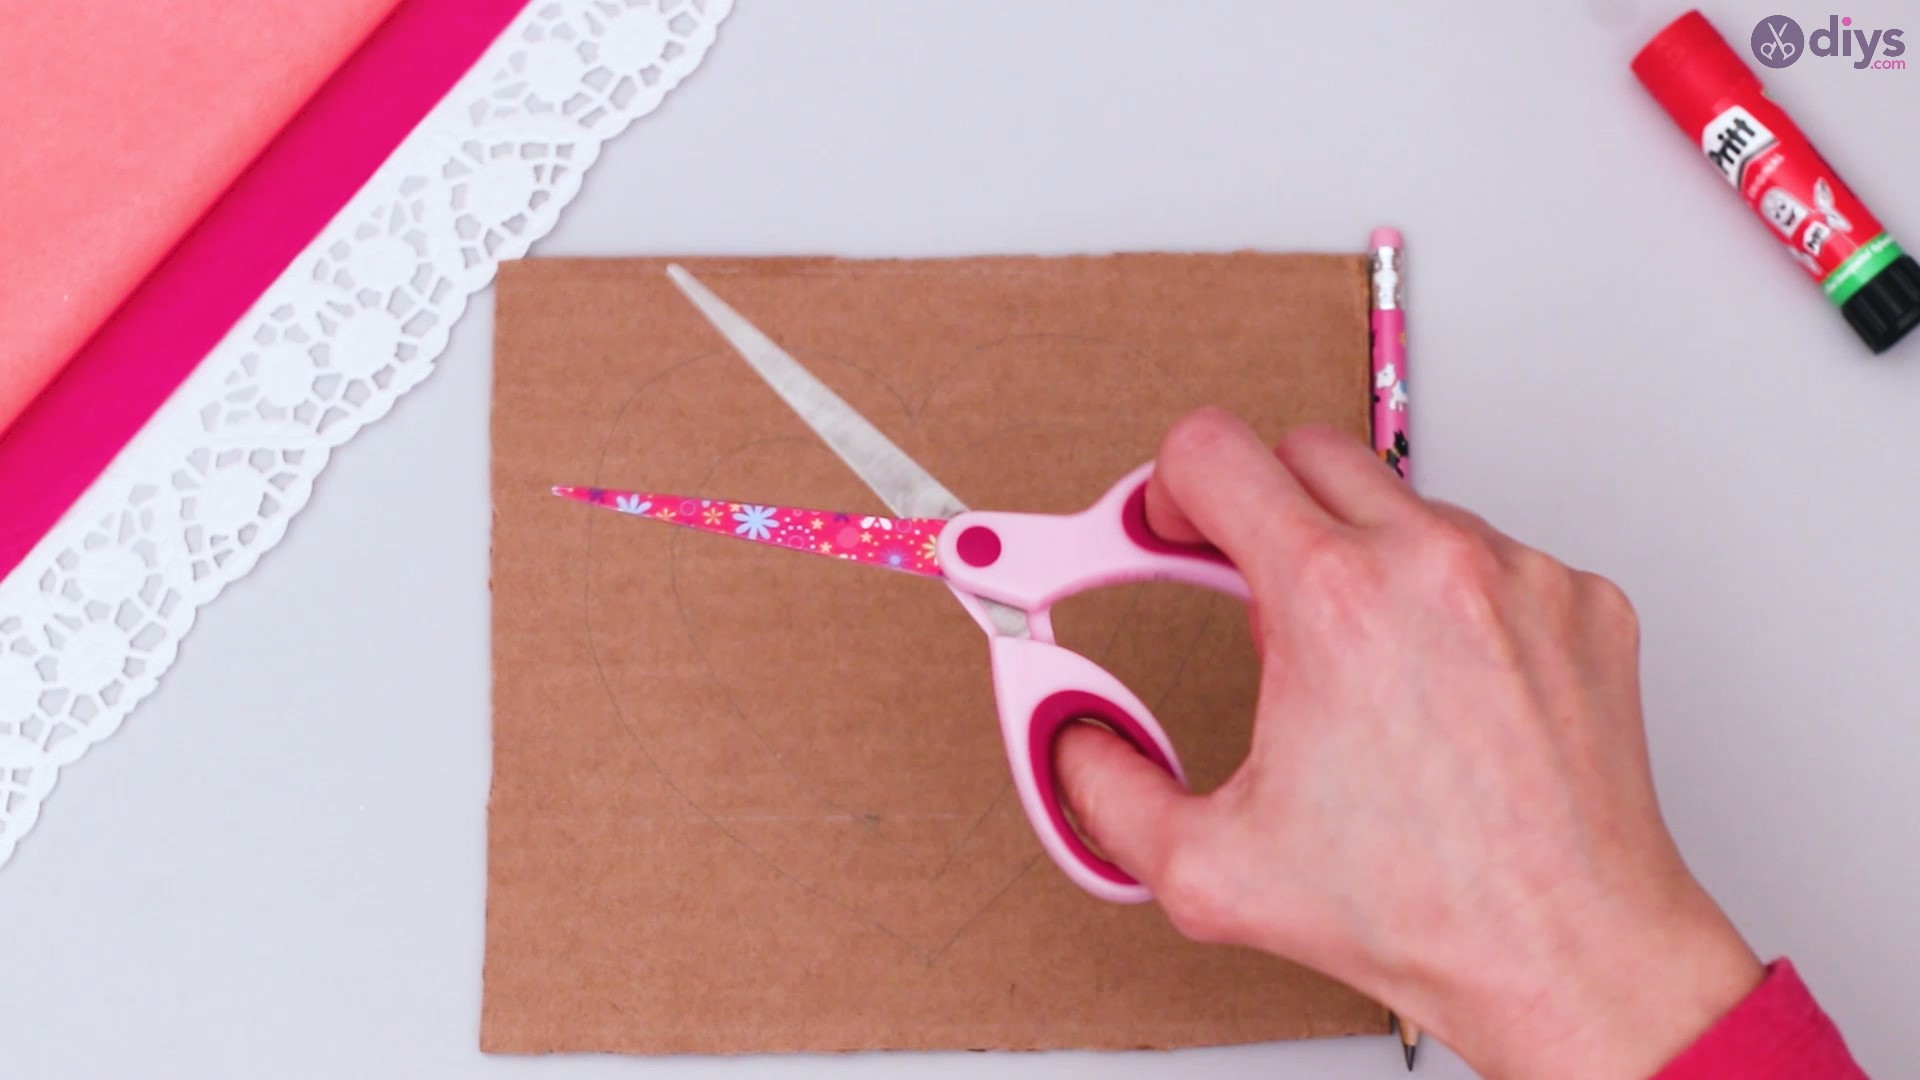
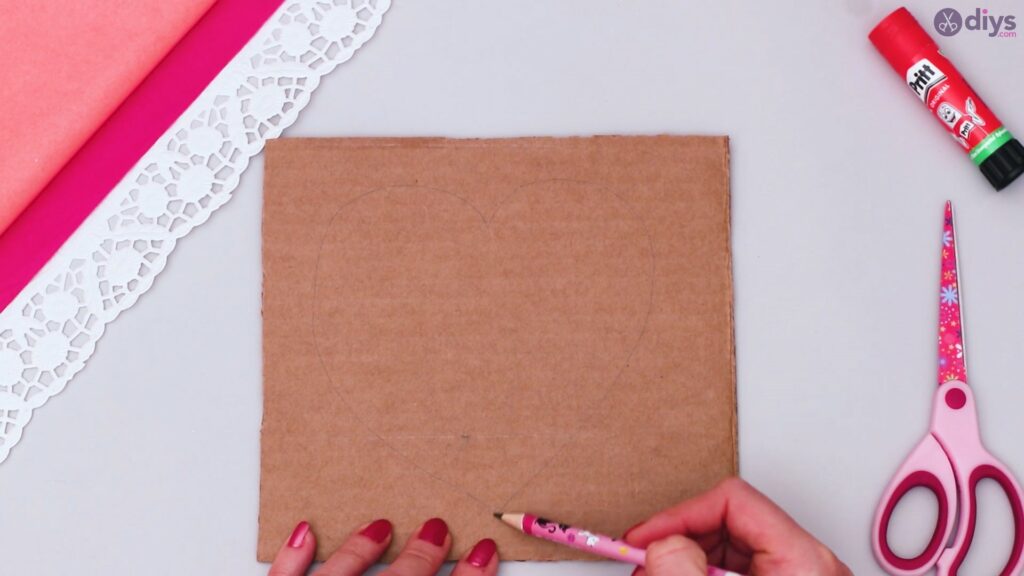
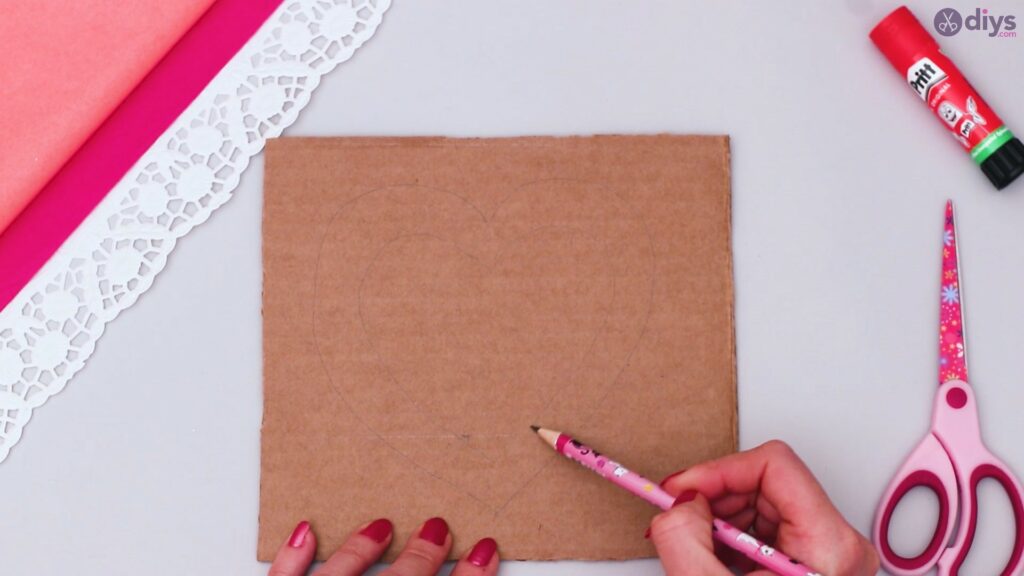
- Make the heart frame: Sketch a large heart shape on the cardboard with the pencil, then sketch another smaller heart inside it. Cut out the cardboard to create the wreath frame.

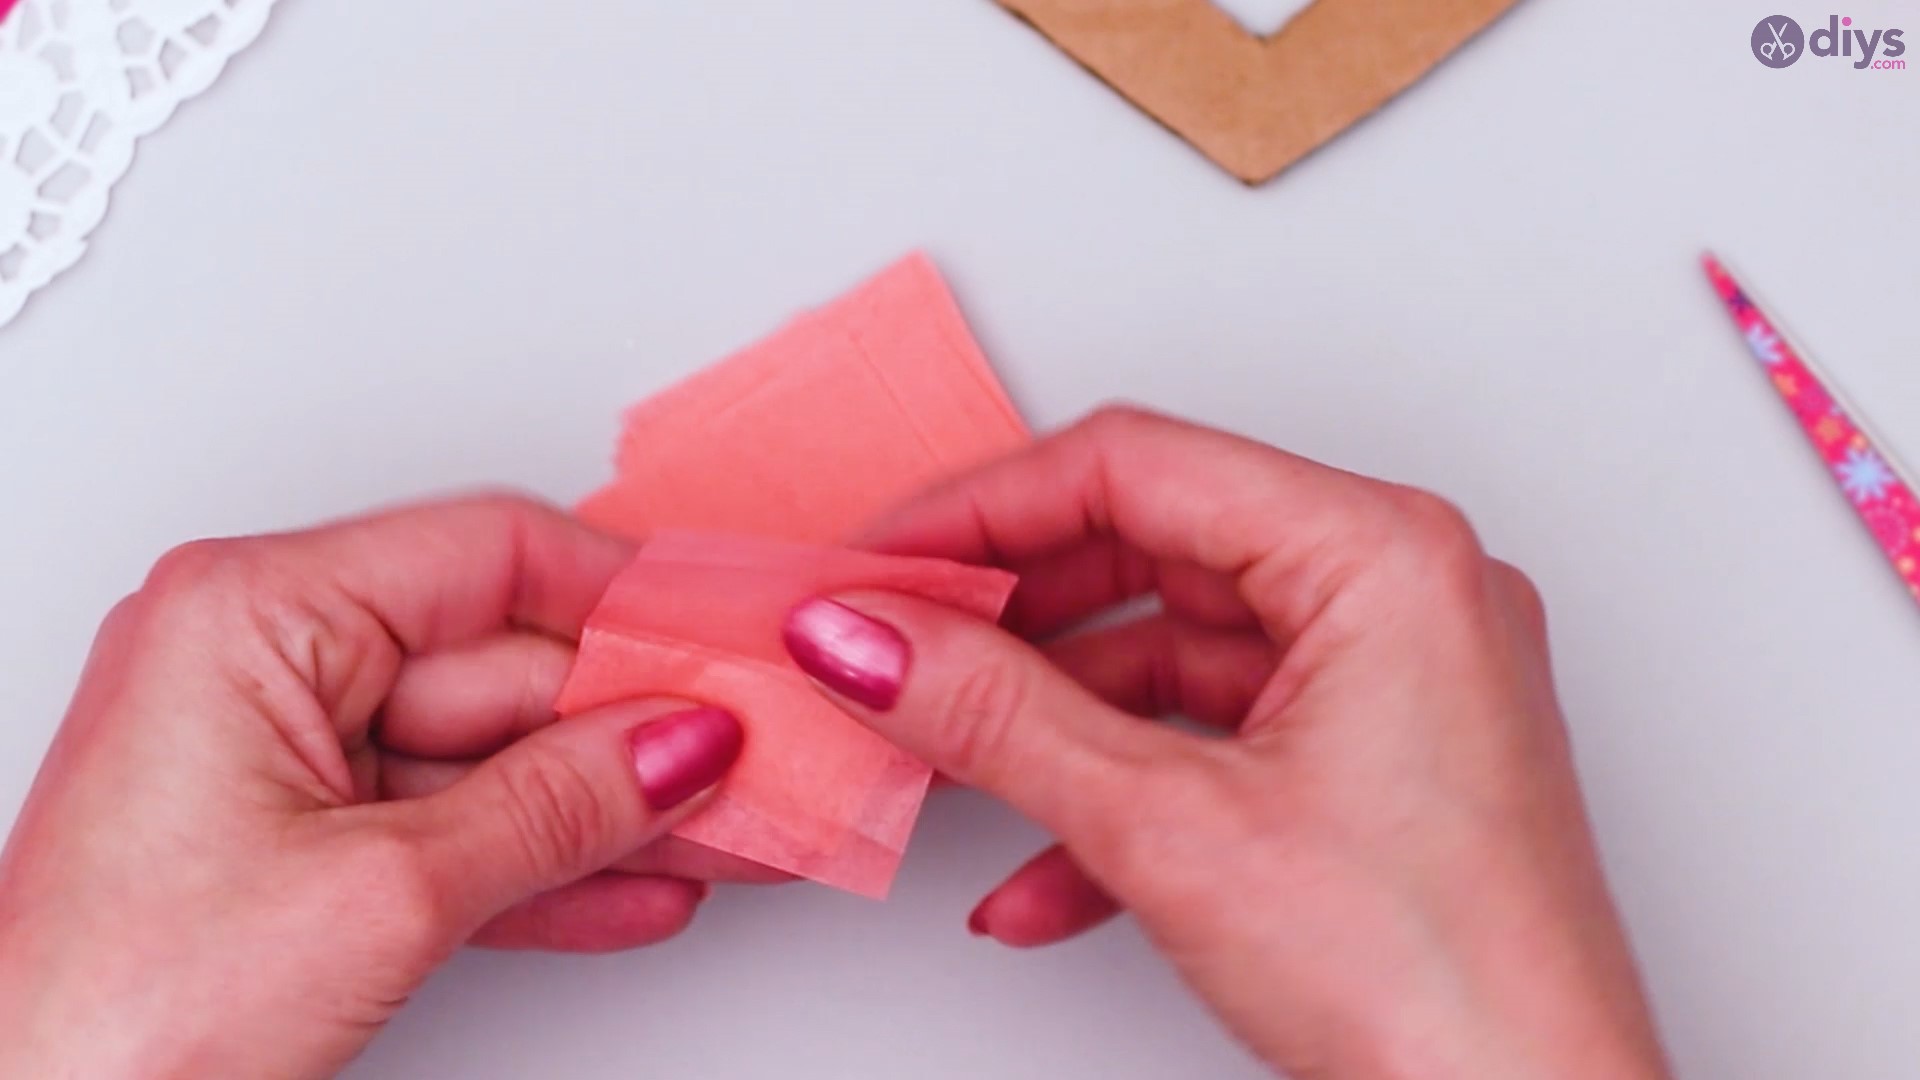
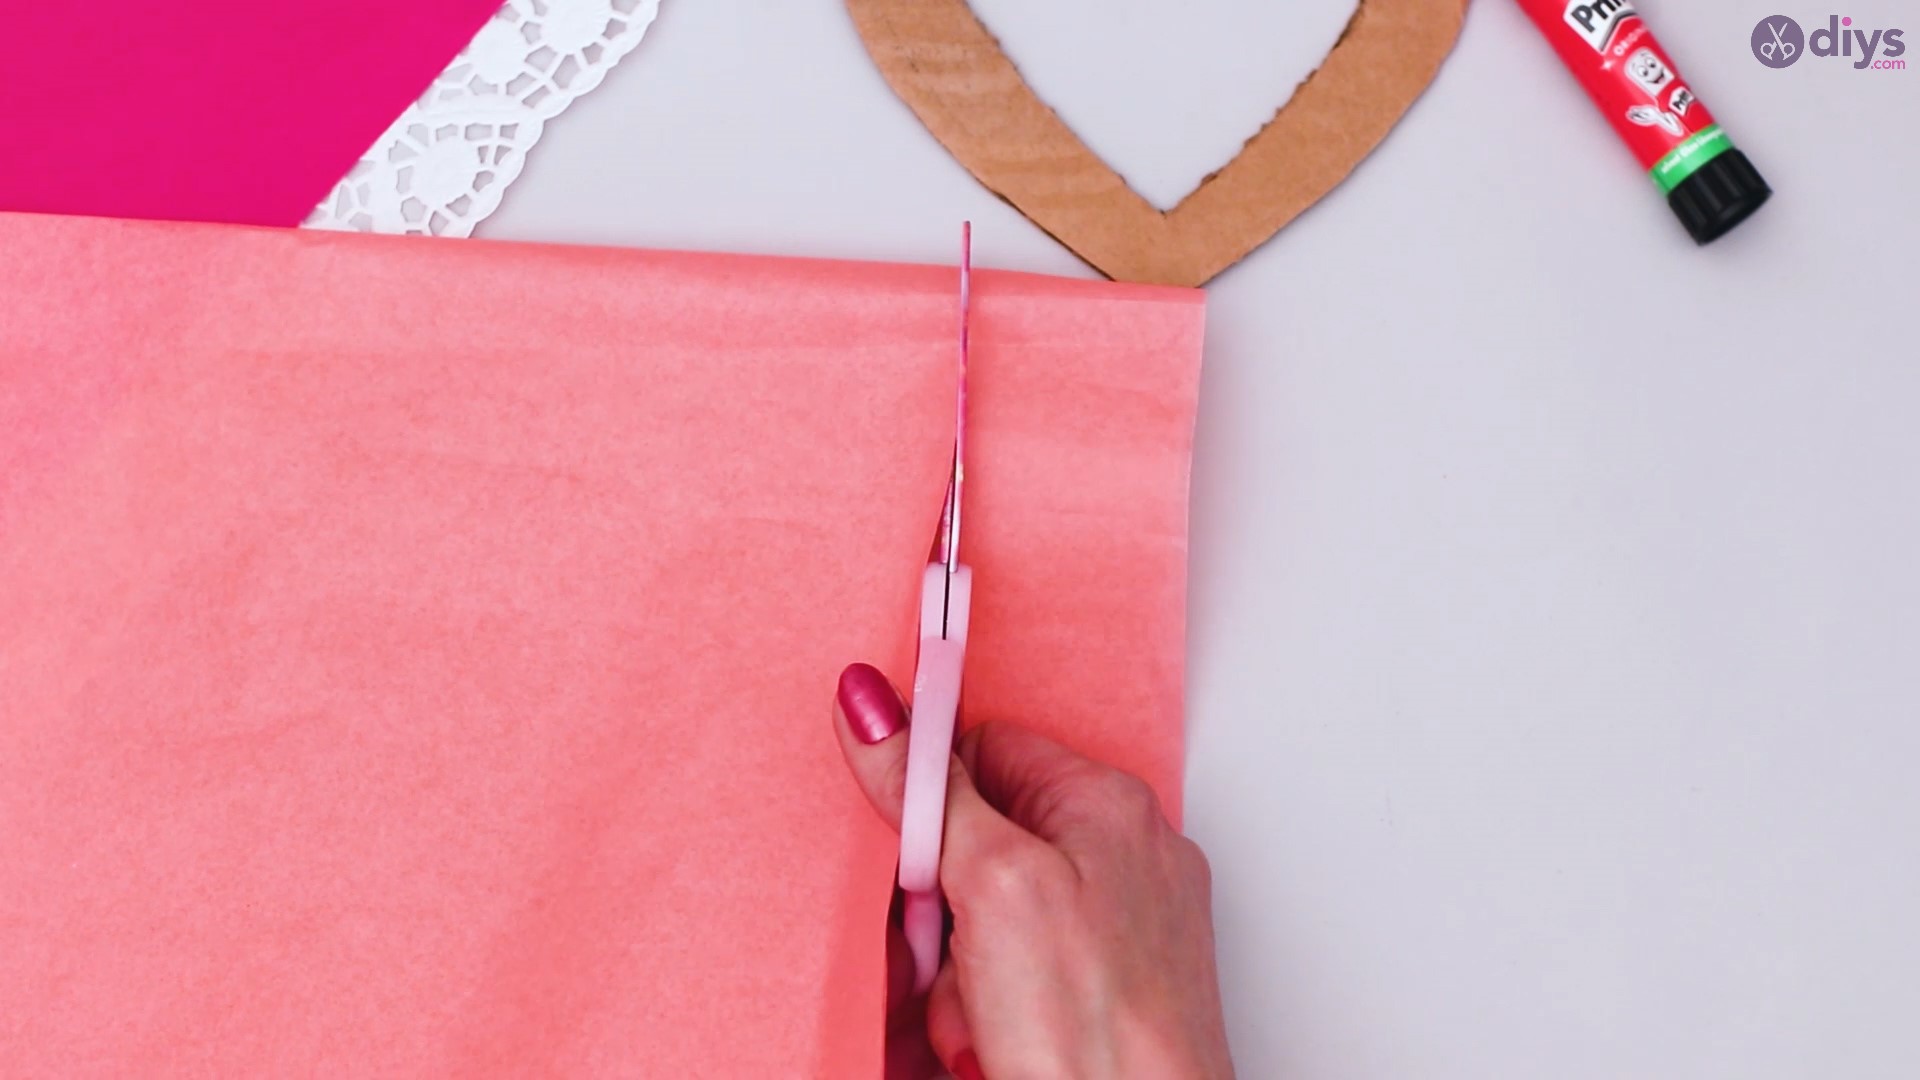
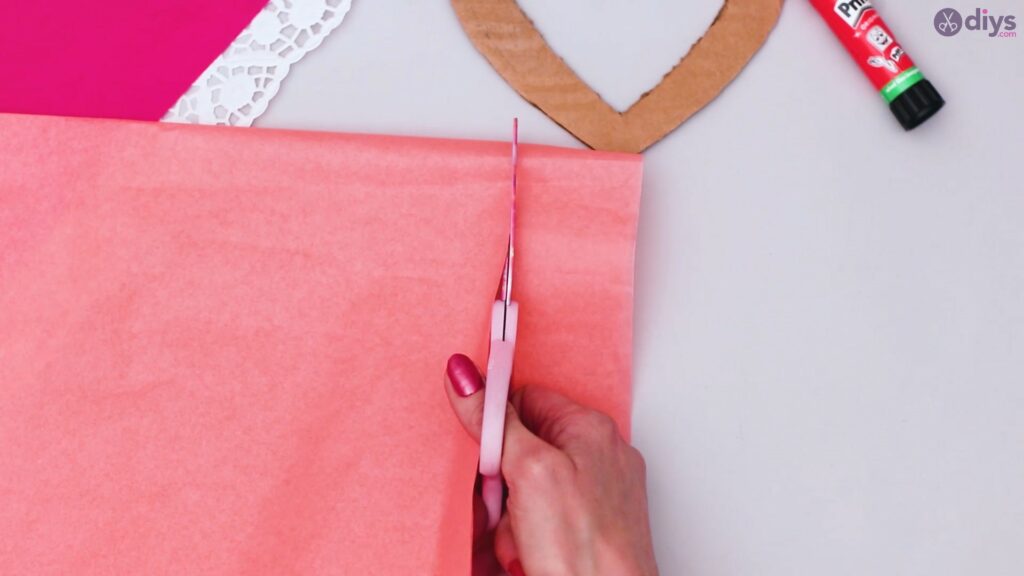
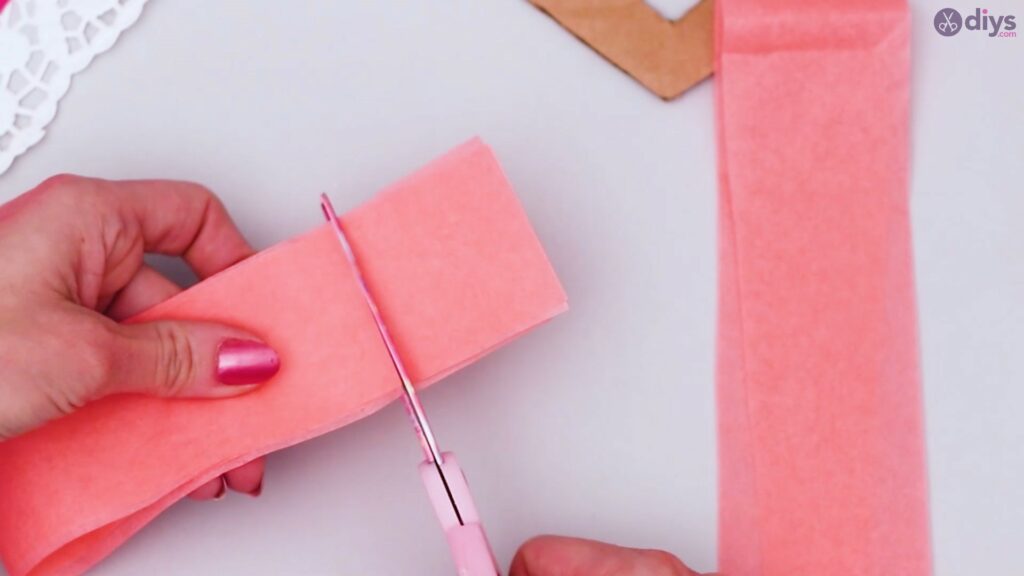
- Prepare the tissue paper: Cut 2-in (5-cm) wide strips of orange tissue paper and stack the strips on top of each other. Next, cut the paper strips into 2-in (5-cm) squares. Repeat the process with the purple paper. About 25 squares of each color should suffice.
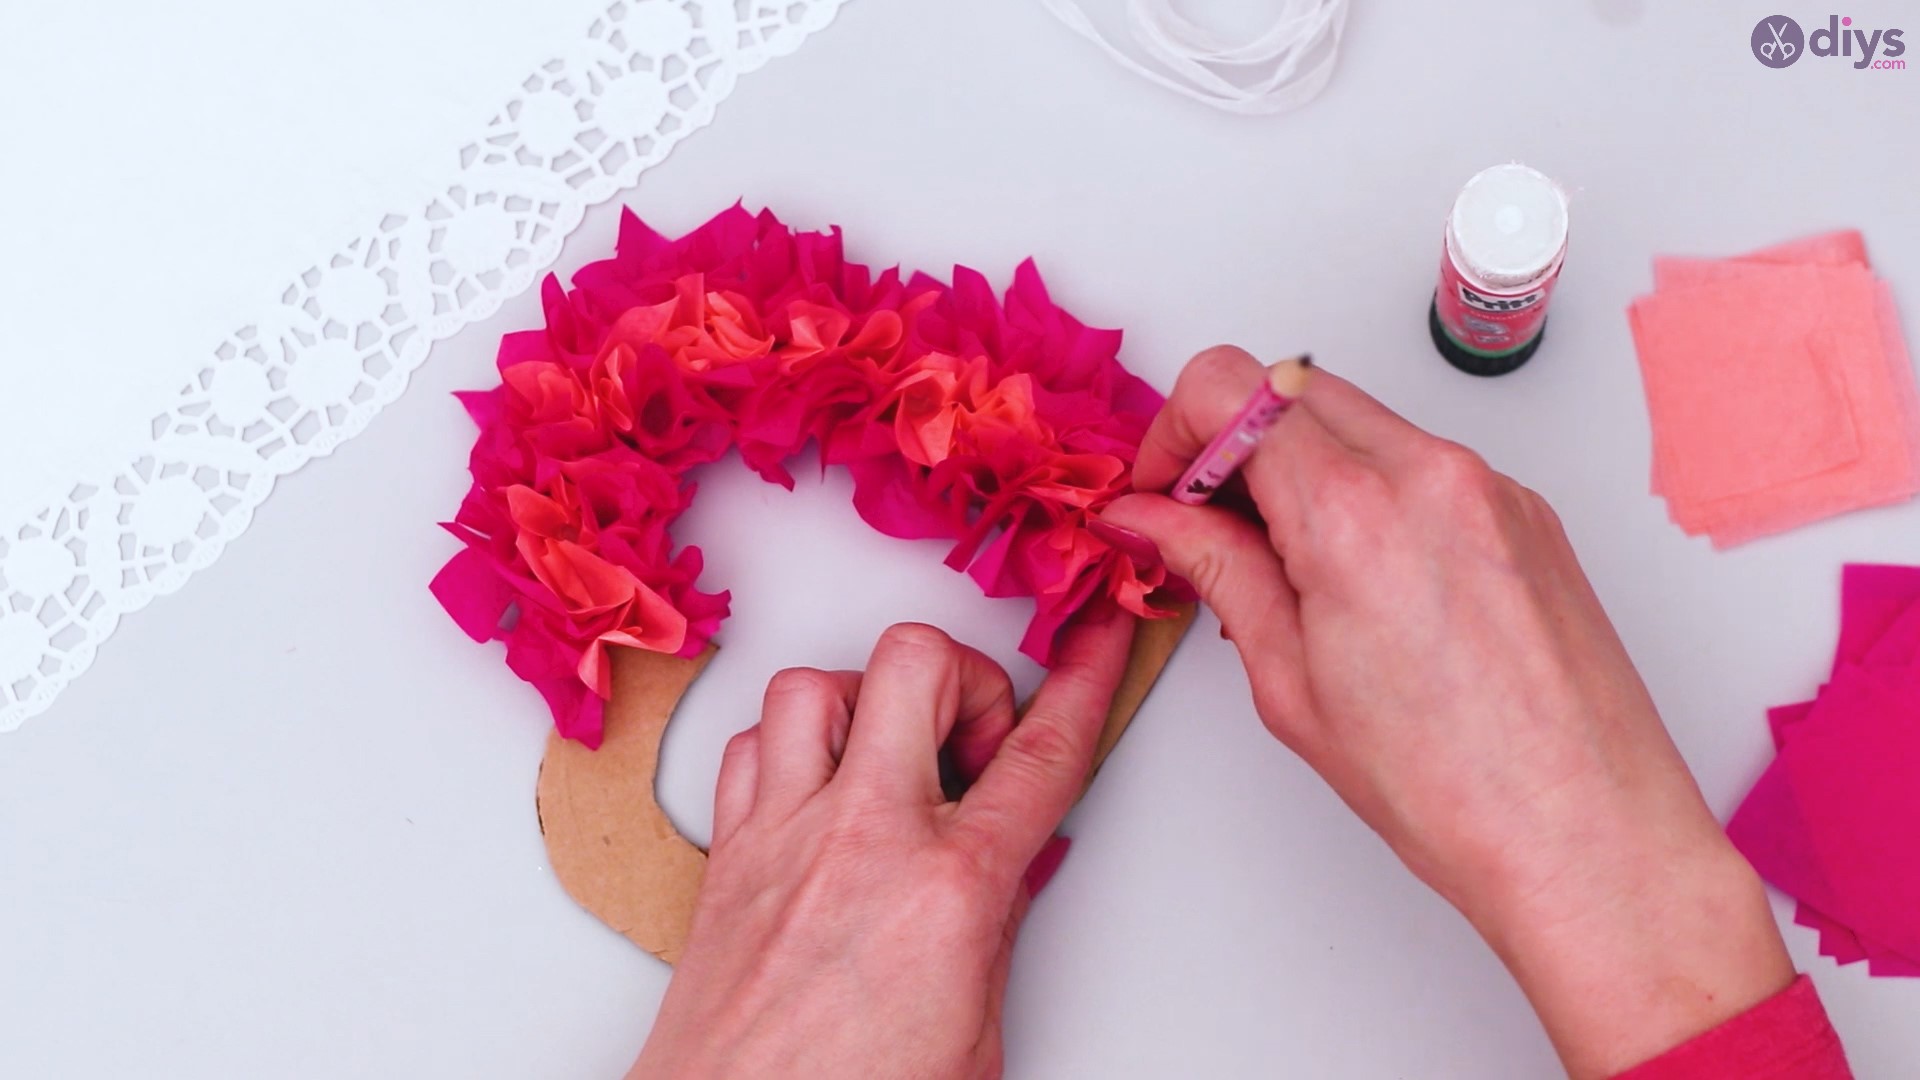
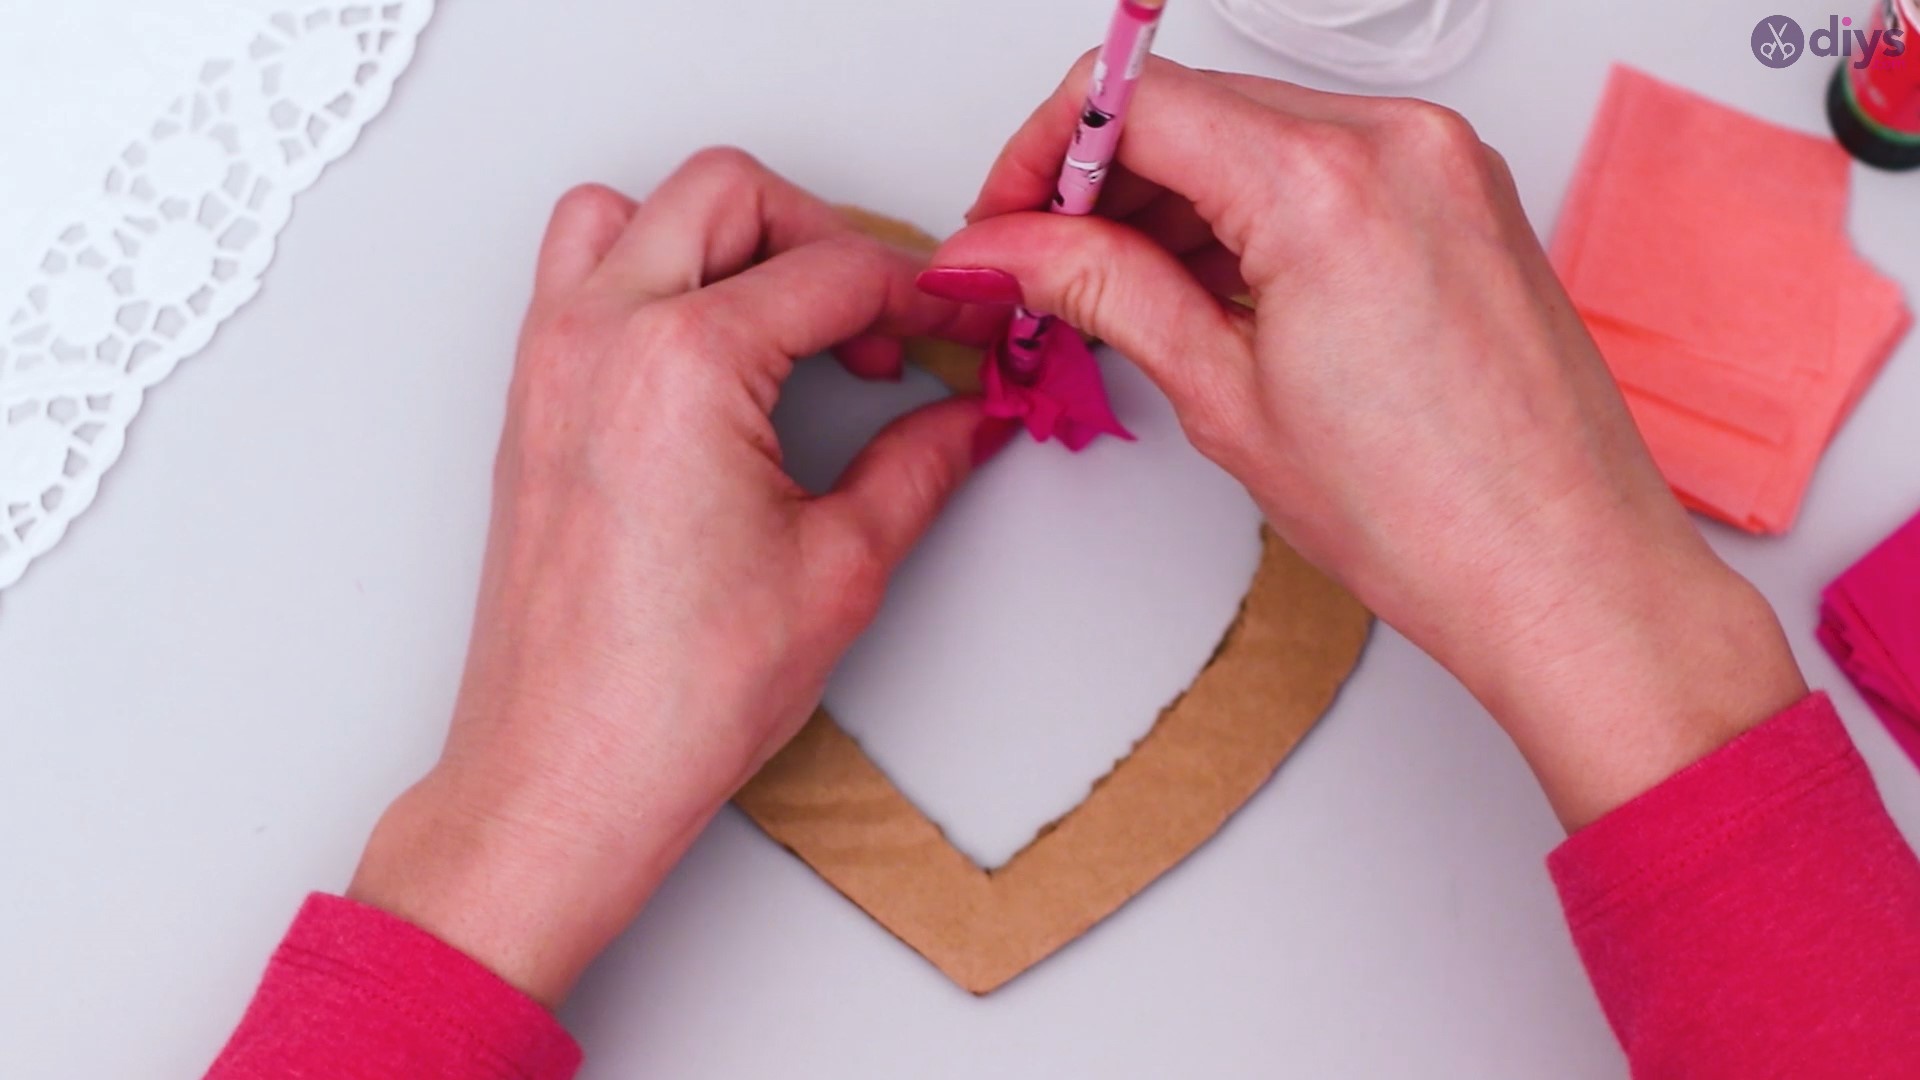
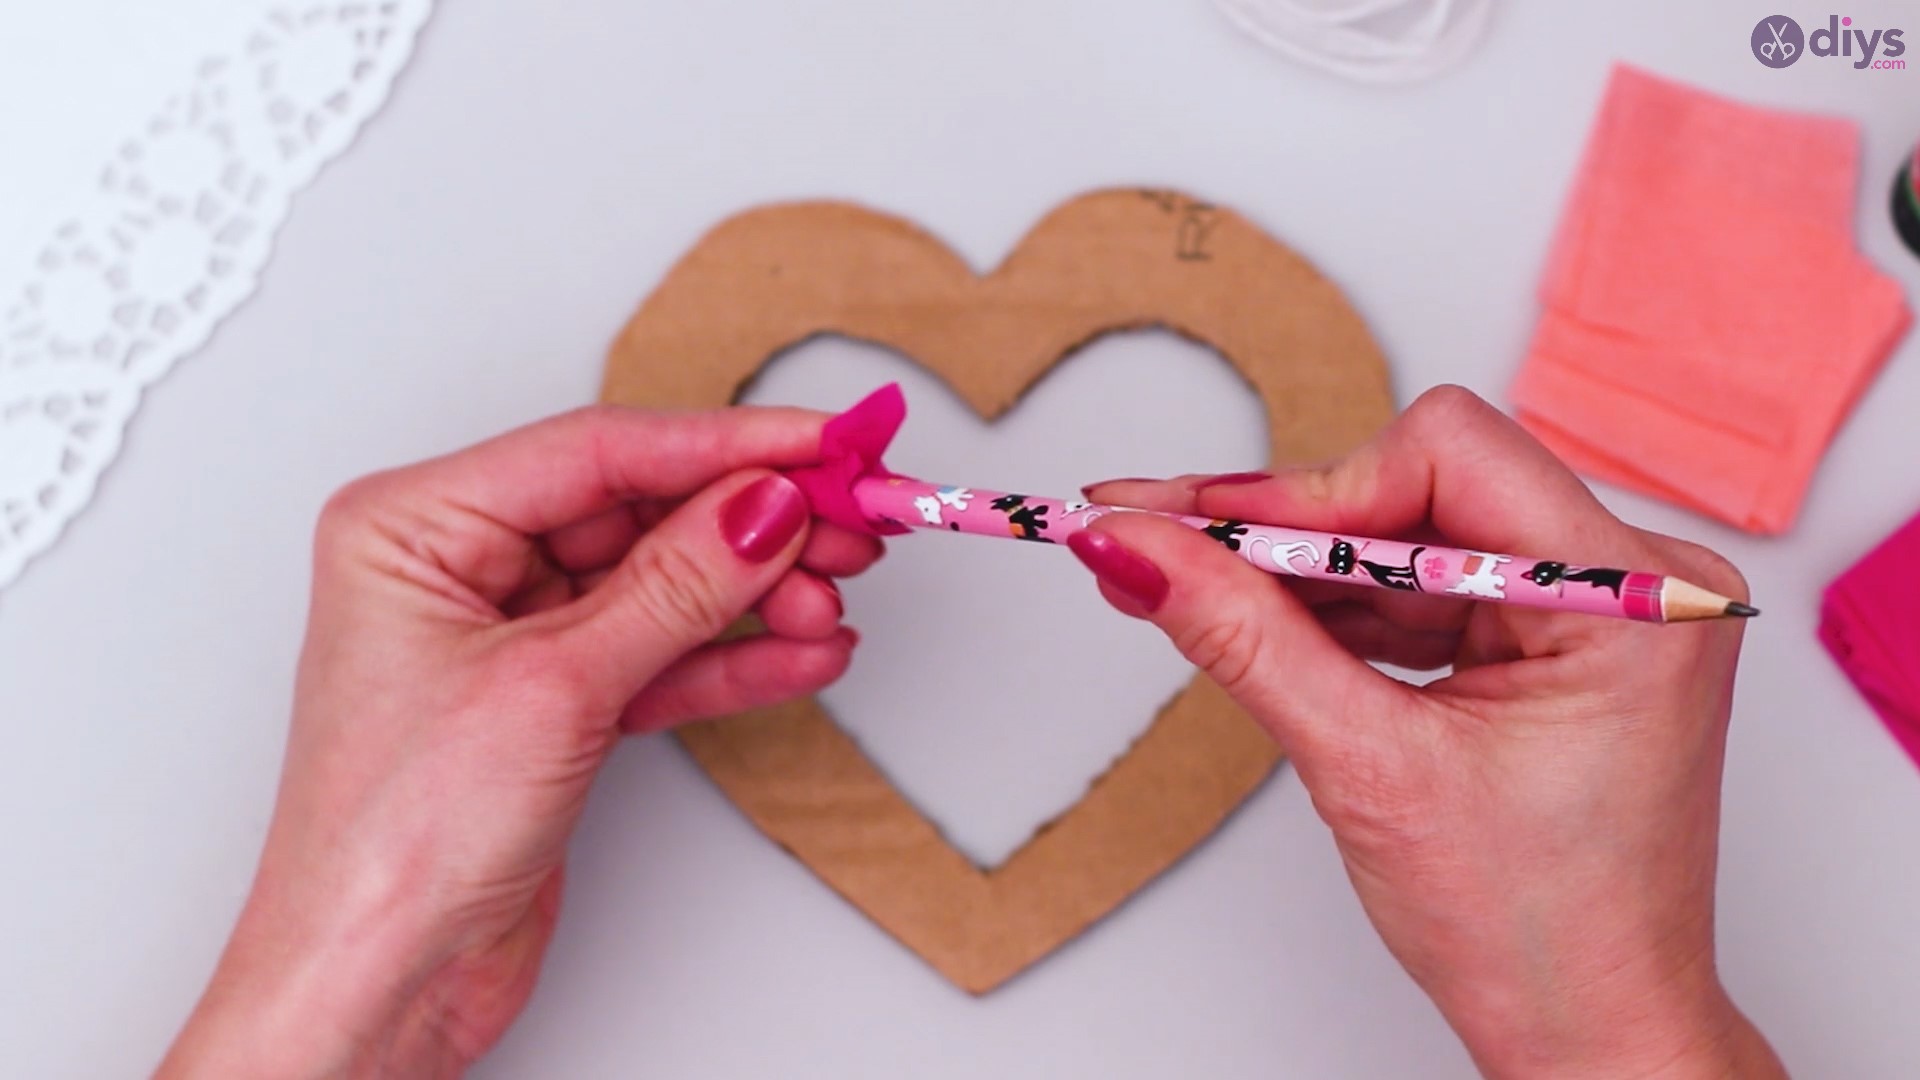
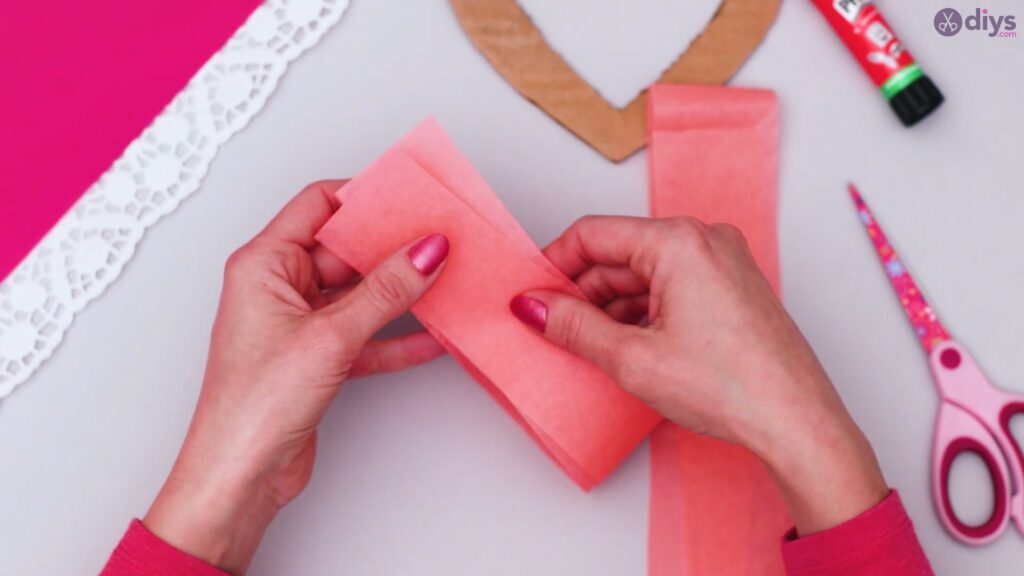
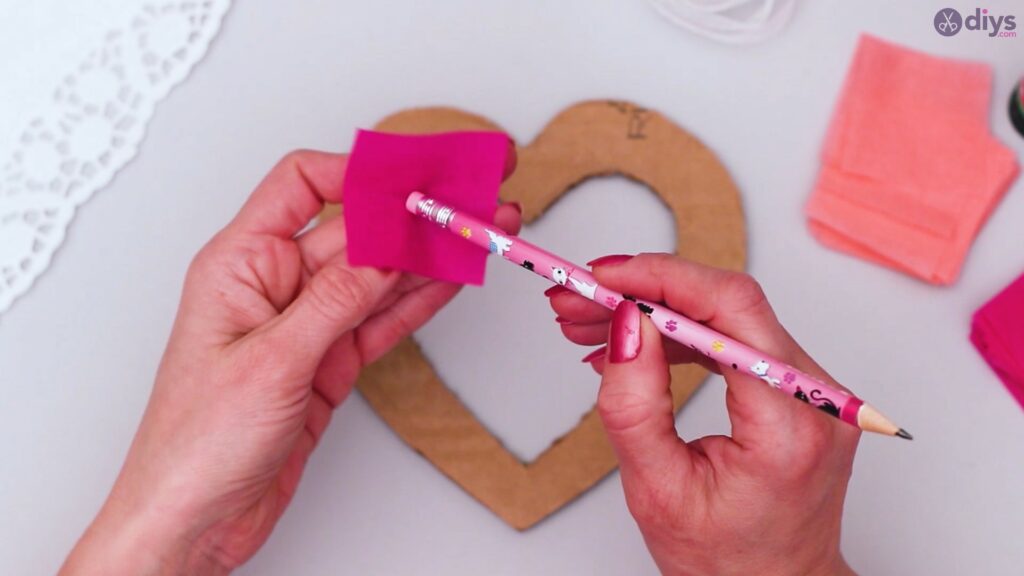
- Make a paper puff: Place the other end of your pencil on the middle of a tissue paper square. Wrap the paper around the pencil while slowly twisting it to create something similar to a flower.
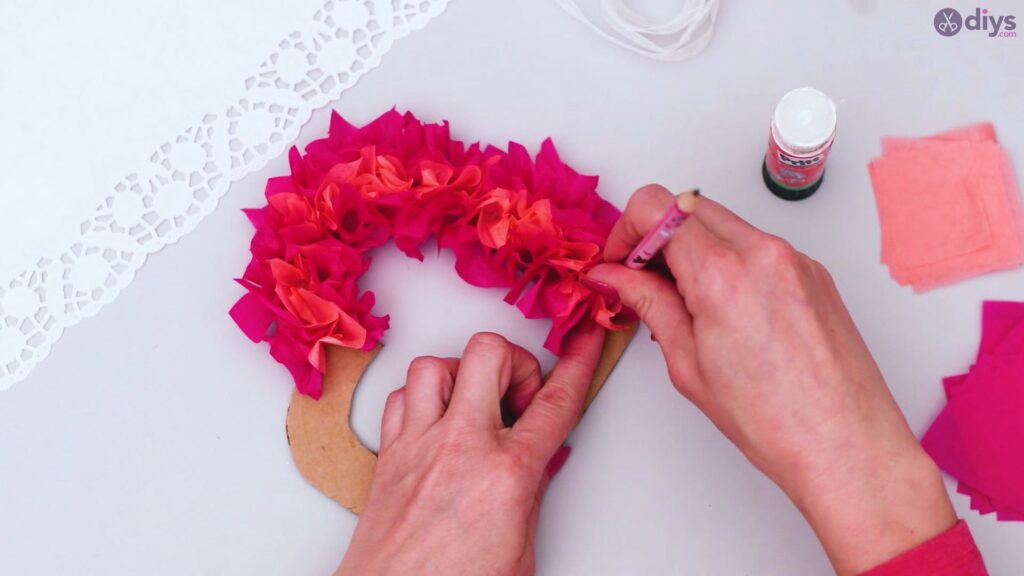
- Cover the heart in paper puffs: Apply glue to the cardboard heart and place the paper puff at the glue spot. Grab a tissue square from the other color and, repeating the process, glue it above or underneath the previous decoration. The outer and inner parts of the heart should have purple puffs, while the space between them should have orange puffs. Repeat the process until you have covered the entire heart frame in puffs.
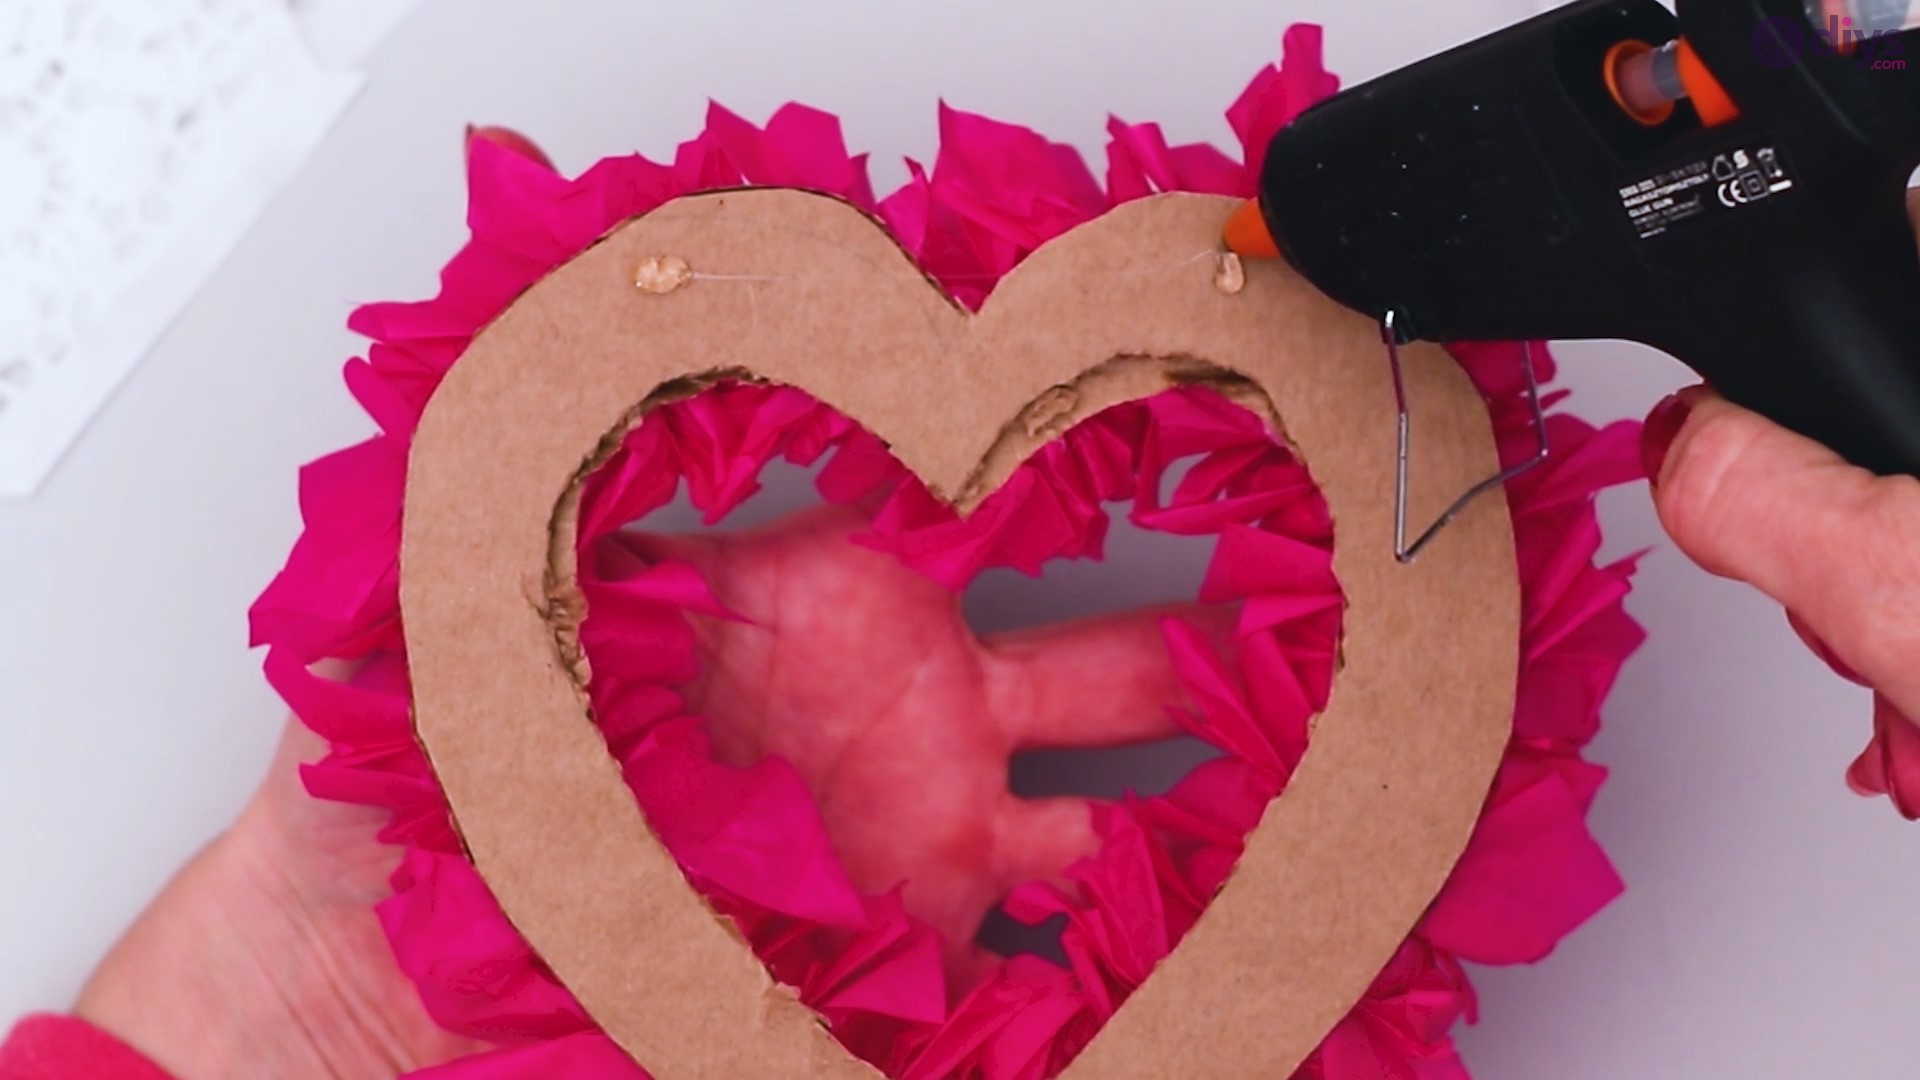
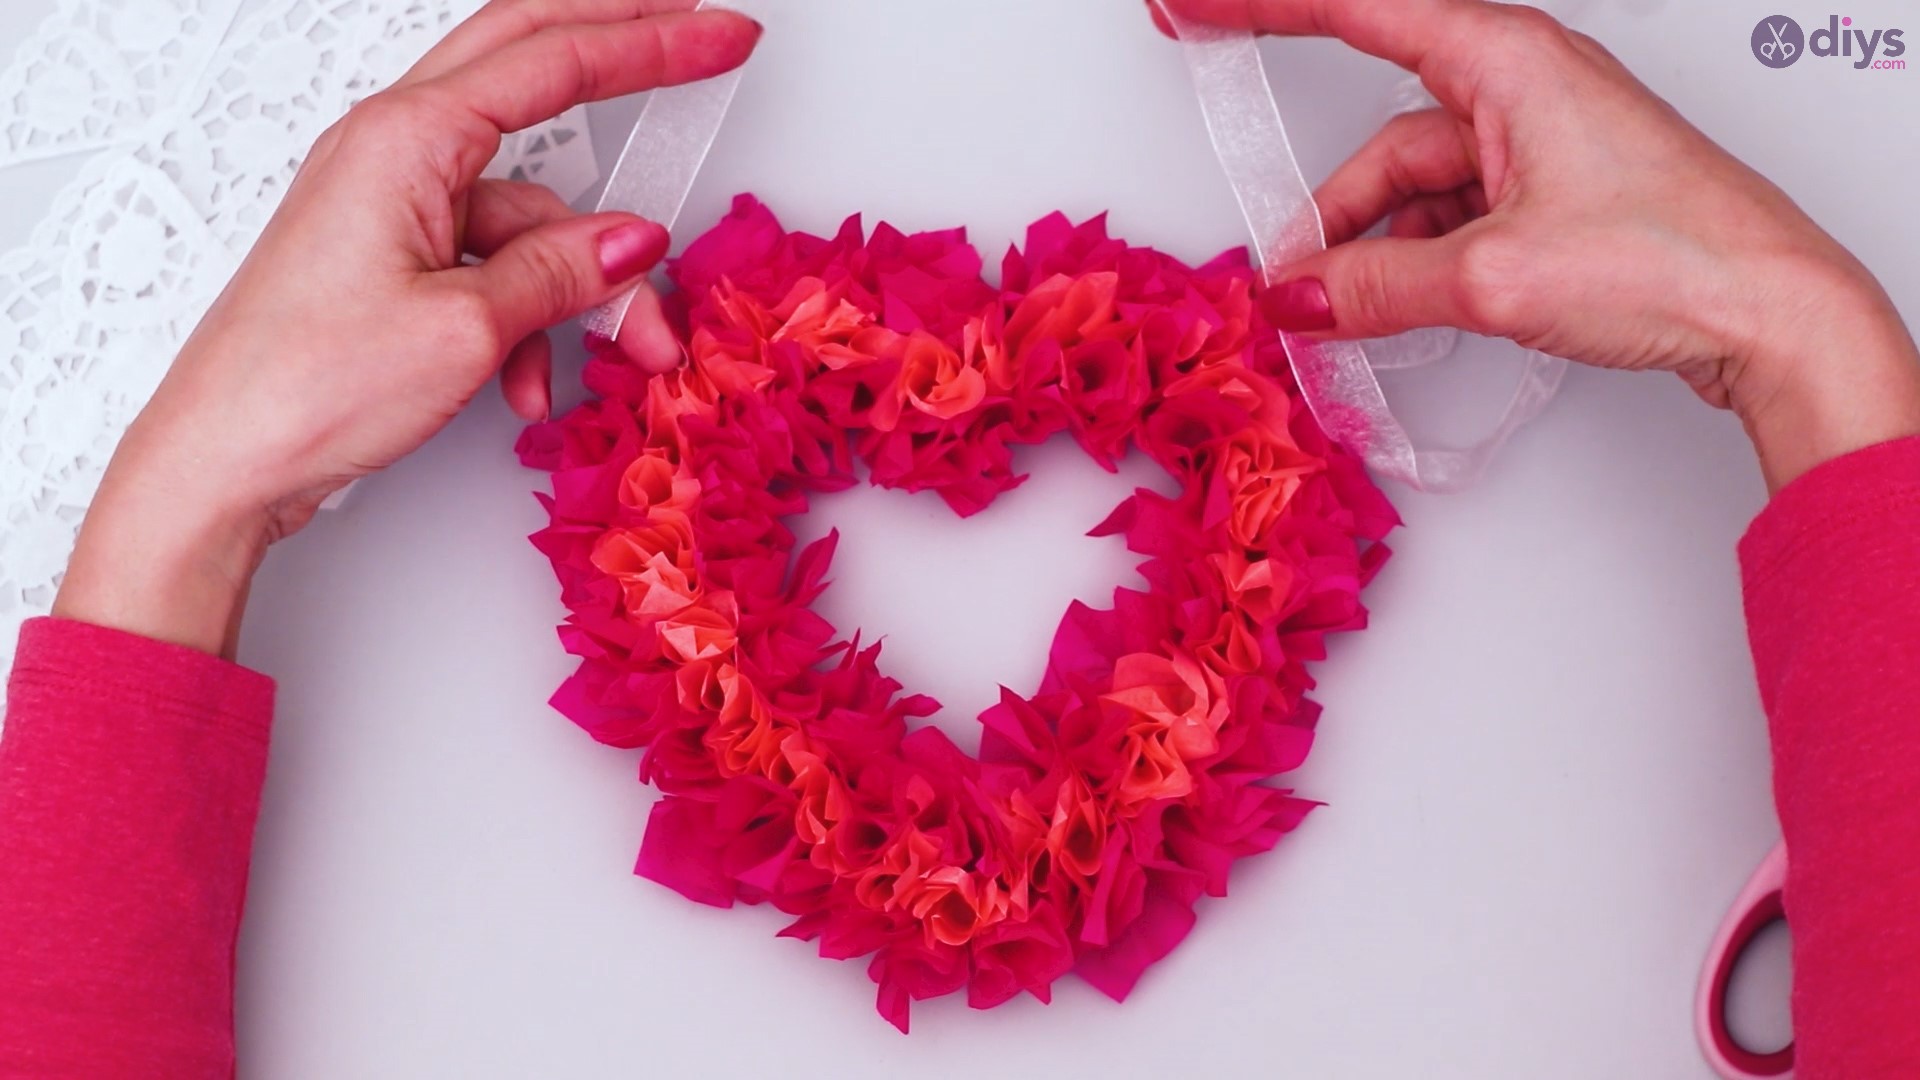
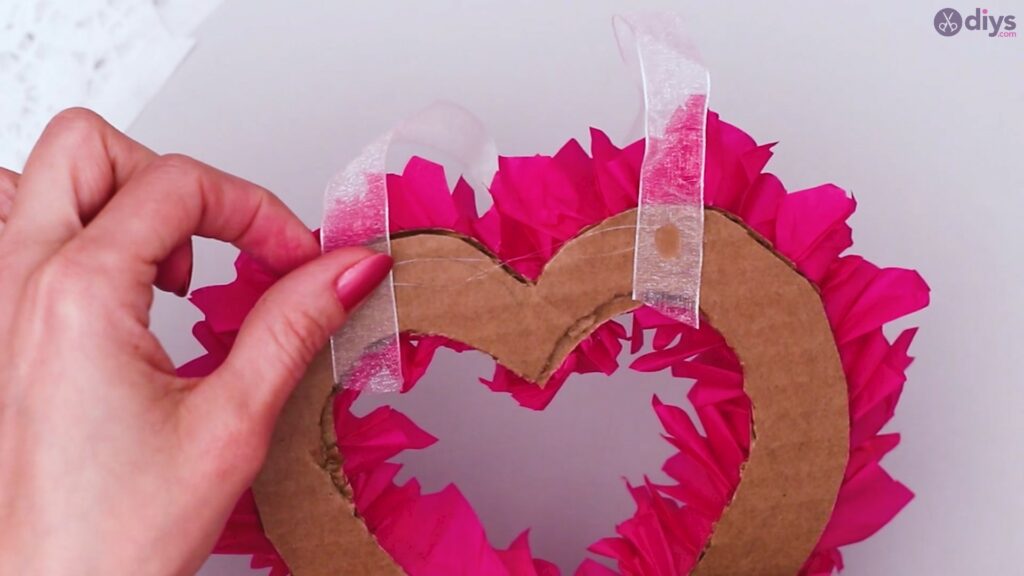
- Make the hanger: Cut a silk ribbon, apply glue to both ends, and then attach them to the back of your cardboard heart frame. You decide how long you want the hanger to be.
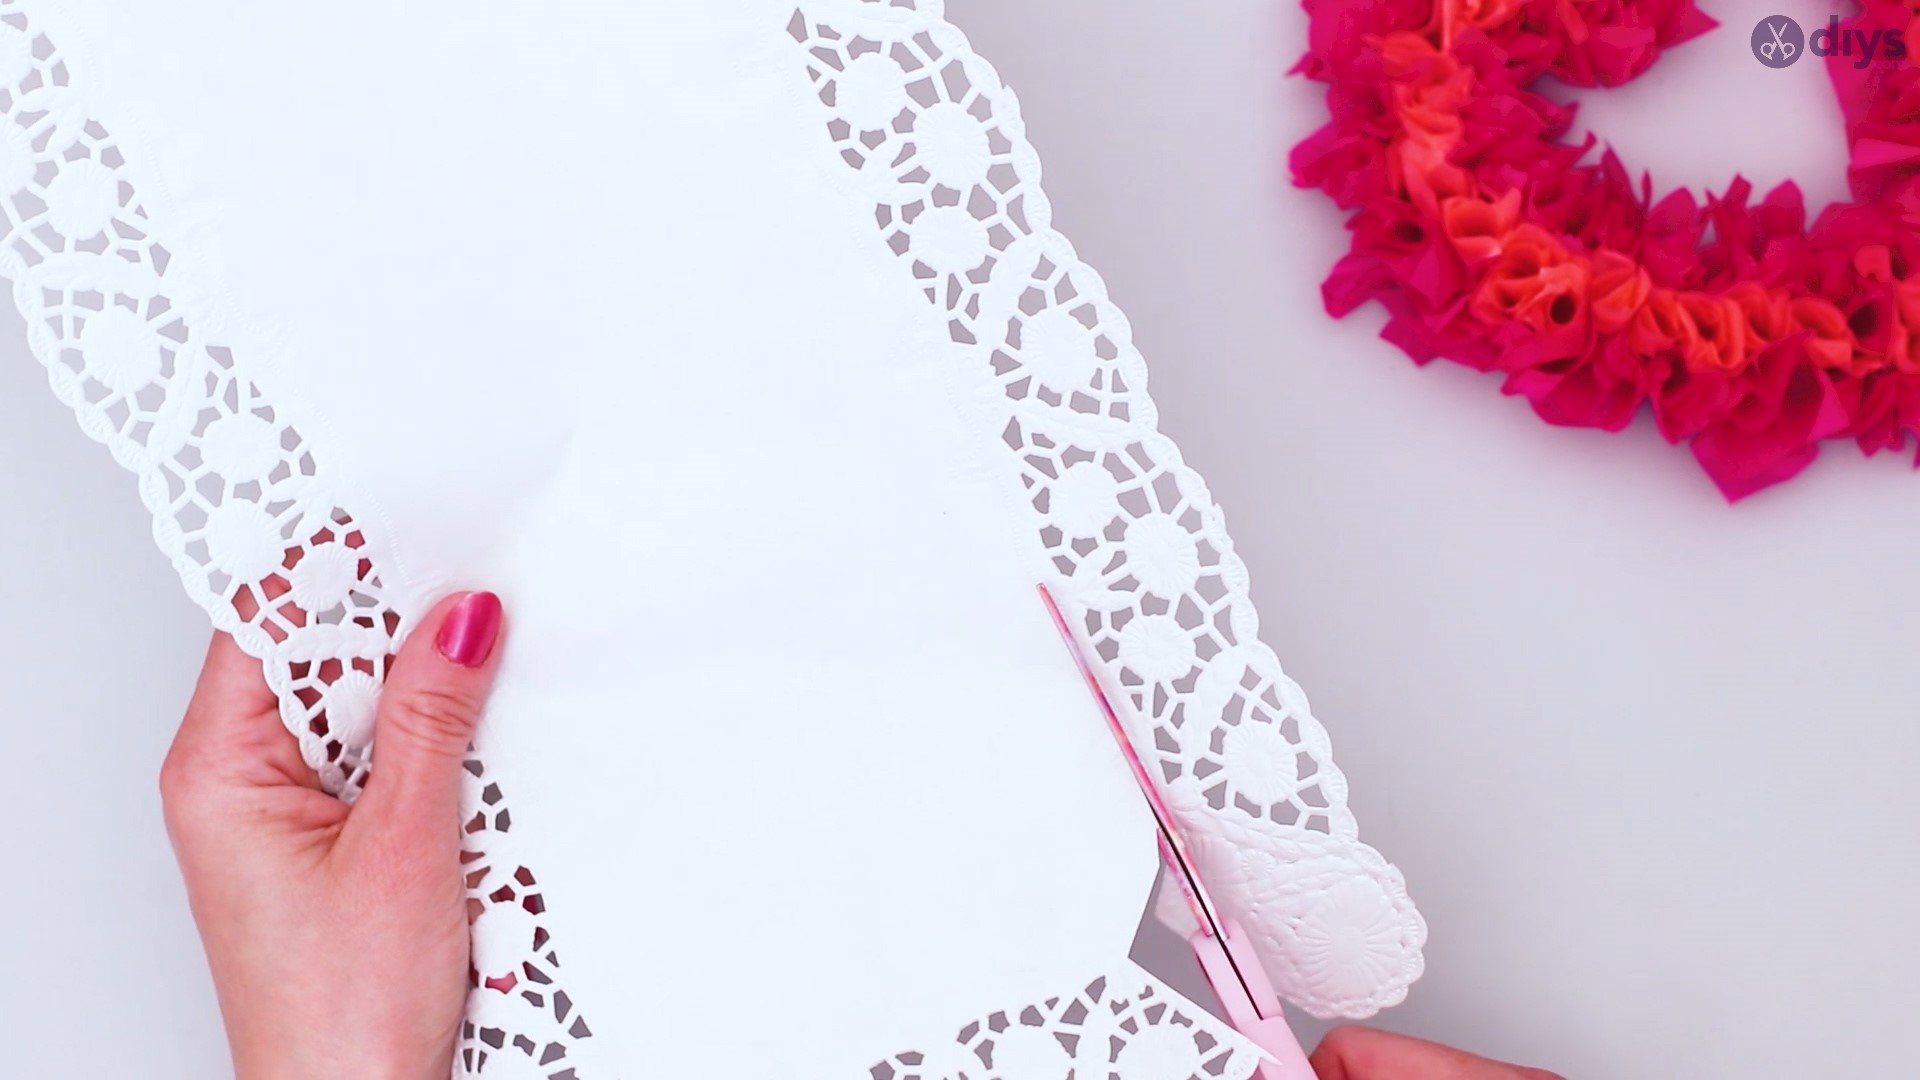
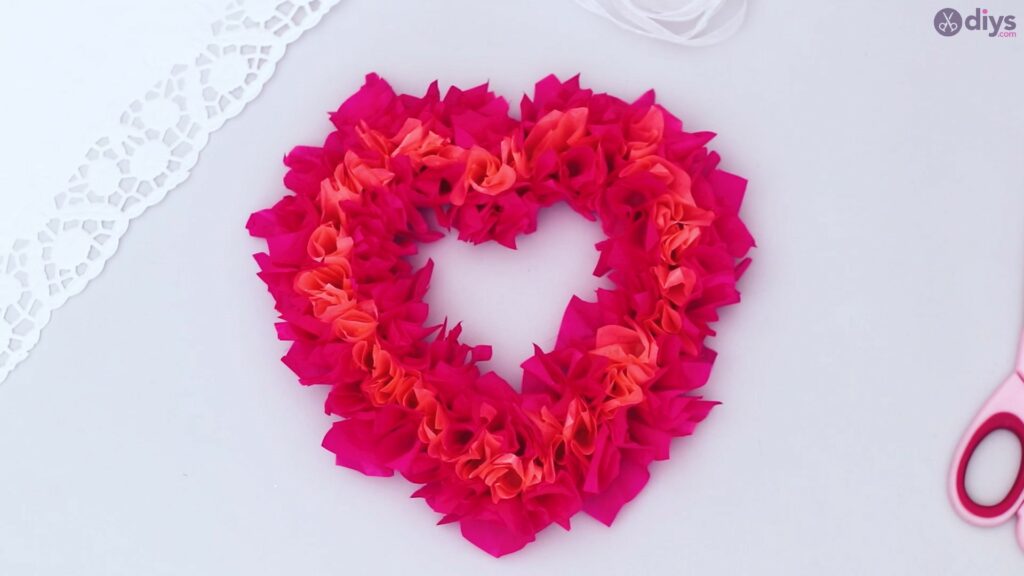
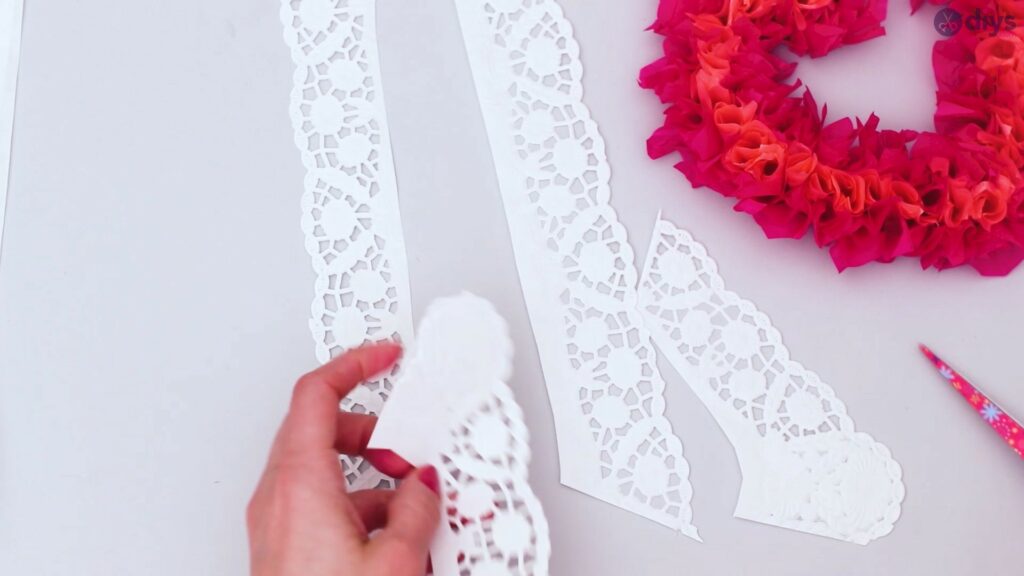
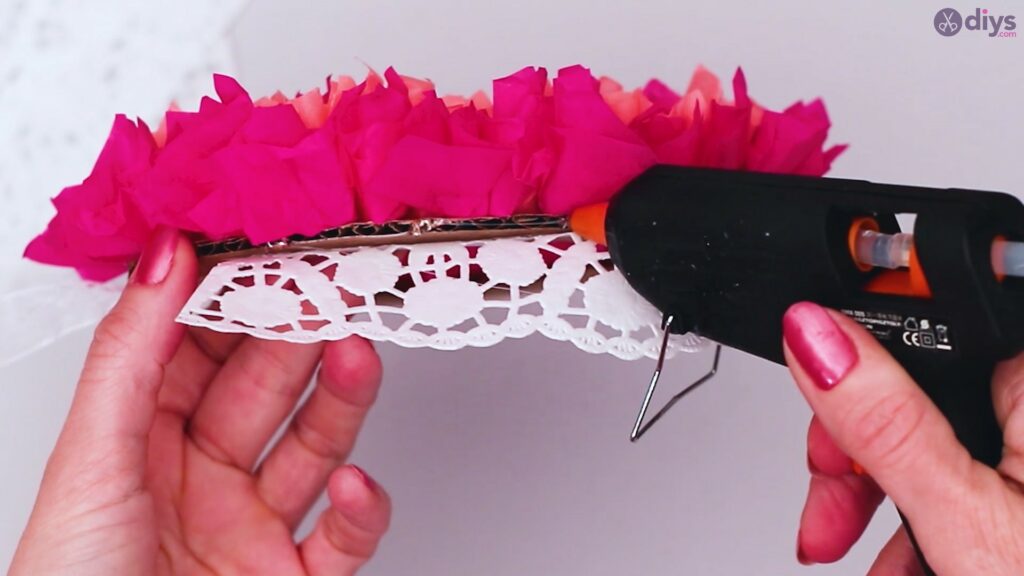
- Add the finishing touches: Cut the decorative ends from your lace doily and glue them to the back of your cardboard heart along the edges. Place them, so they’re visible from the front, even behind all those tissue paper puffs. Your DIY tissue paper puffy heart is now complete.


Video tutorial
Here’s a short video guide that showcases the steps in crafting a tissue paper puffy heart:
More tips and tricks
Check out additional tips and tricks for improving your DIY tissue paper puffy heart:
- Use yarn instead of tissue paper: Make pom-poms from yarn to use instead of tissue paper puffs. Compared to tissue paper, yarn pom-poms are more durable. Here’s a tutorial for making a decorative moon from pom-poms; apply the same technique when using yarn to make a puffy heart.
- Use a foam wreath: Another way to make your puffy heart more durable is to make the frame from something more durable than cardboard. For example, plywood is a great choice.
- Try a different theme: Use the basic principle behind this craft to make something outside of Valentine’s Day. For example, make a star instead of a heart, a shamrock covered in green puffs for St. Patrick’s Day, or a rectangle covered in red, white, and blue puffs for the 4th of July.
- Try different colors: Change the puffy heart’s color scheme for other occasions and events. For example, use red and pink for Valentine’s Day, green and yellow for spring, or rainbow colors for St. Patrick’s Day or a kid’s birthday party.
- Add a message: Personalize your puffy hearts by adding a short message to the cardboard frame using markers, engravings, or alphabet stickers.
Closing thoughts
Creating this DIY tissue paper puffy heart is a great way to bring color and cuteness into your home on Valentine’s Day. The crafting process is easy to follow, none of the crafting materials are hard to come by, and the possibility for customization is endless. Check out our selection of Valentine’s Day decorations for more similar projects.