DIY Simple Pinecone Swan
Updated on November 19, 2025


Head out to your backyard and gather craft materials to make this adorable DIY simple pinecone swan! This craft was fun and easy to do with my kids and I documented it all right here so you can try it, too! Check it out!
The project was so popular that we’ve practically got a whole flock of swans scattered across our mantel and window sills now. Like with any craft that’s a big hit with the little ones, I just couldn’t wait to share how we did it, in case other people want to try it out as well. Check out these step by step instructions complete with photos! If you’d rather follow along with a video tutorial instead of written words, scroll to the bottom of this post to find just what you’re looking for.
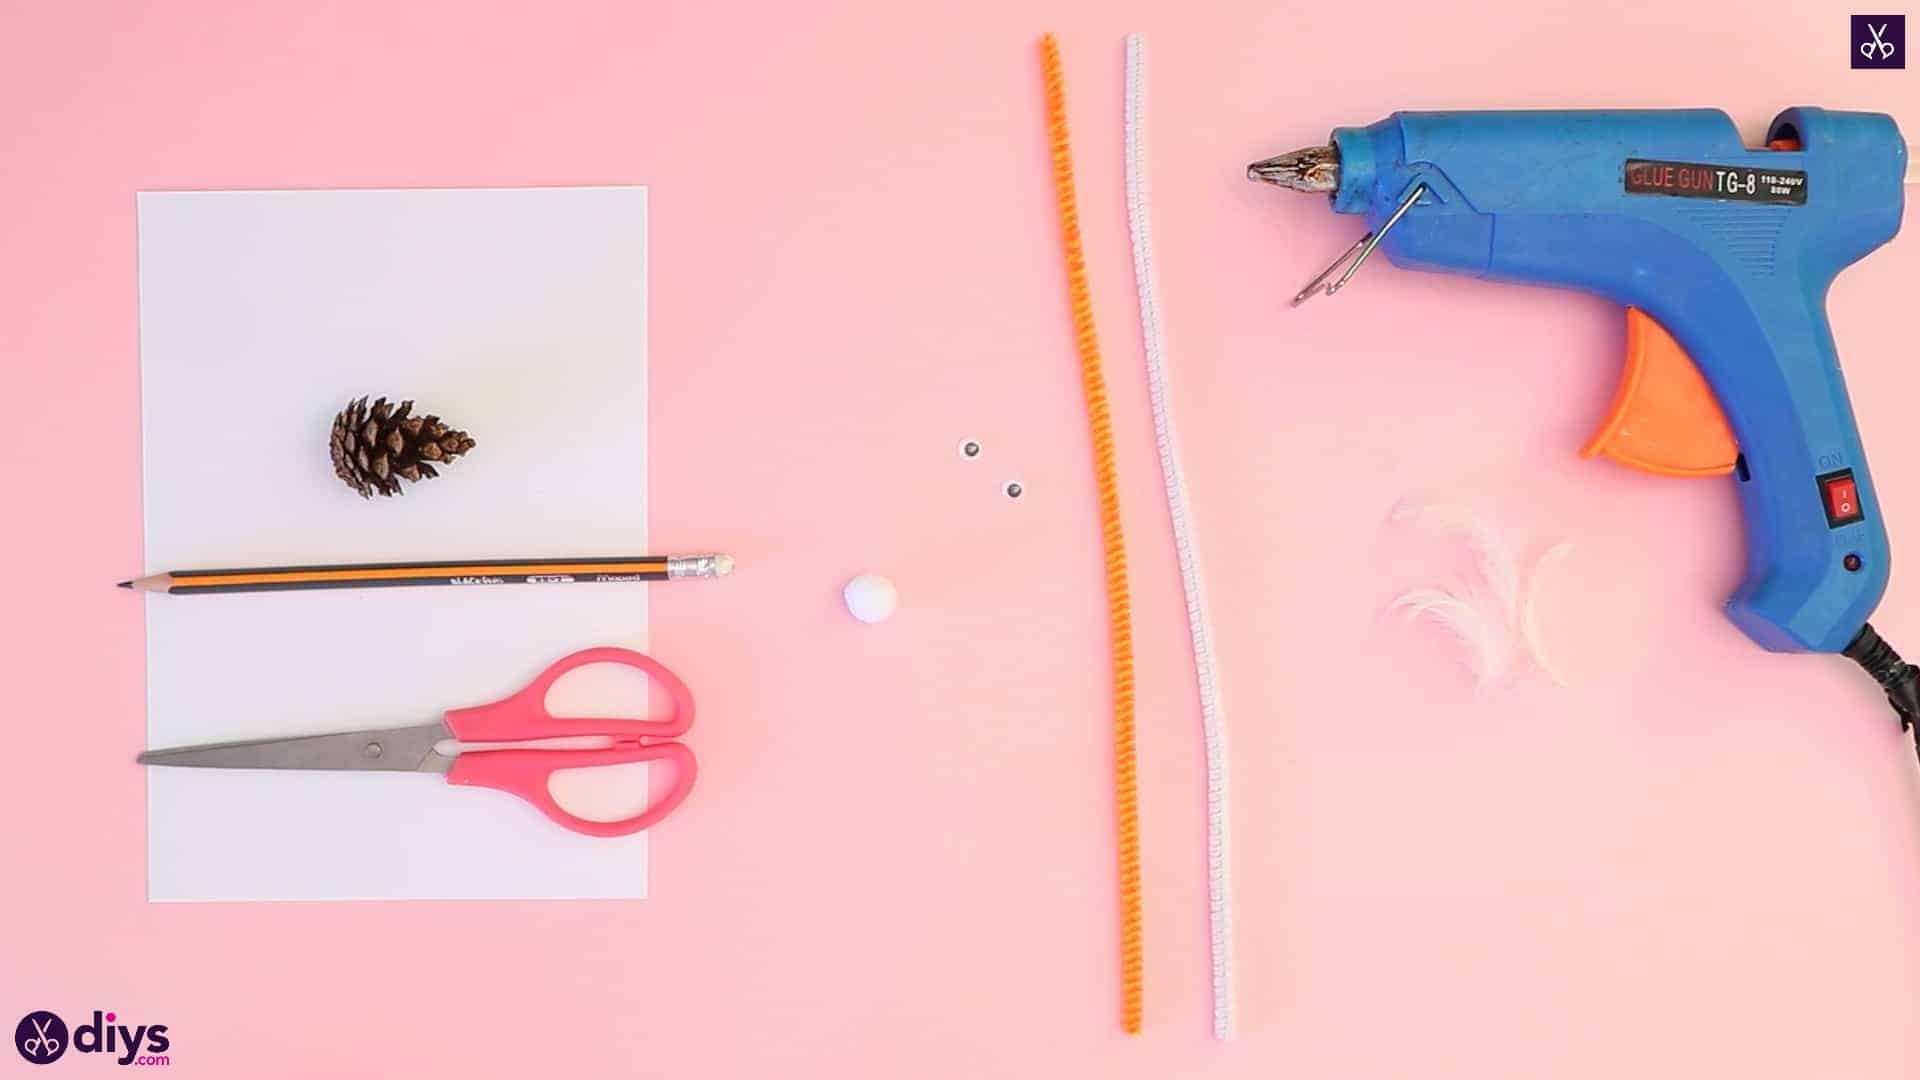
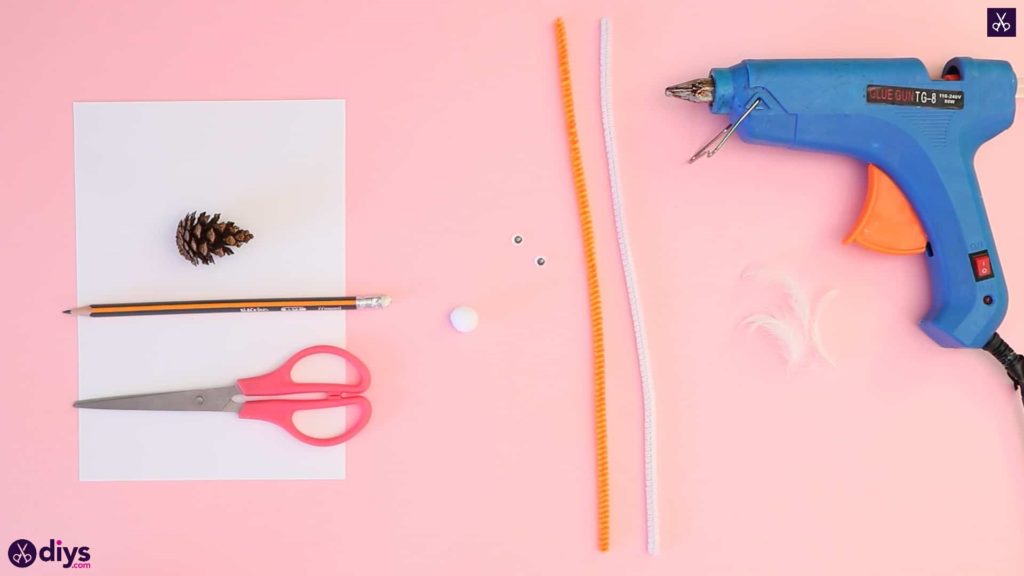
For this project, you’ll need:
- A pinecone
- Pipe cleaners (white and orange)
- Two googly eyes
- White paper
- A white pom pom
- A pencil
- Scissors
- Hot glue
- A white feather
Step 1: check the list
Gather your materials!
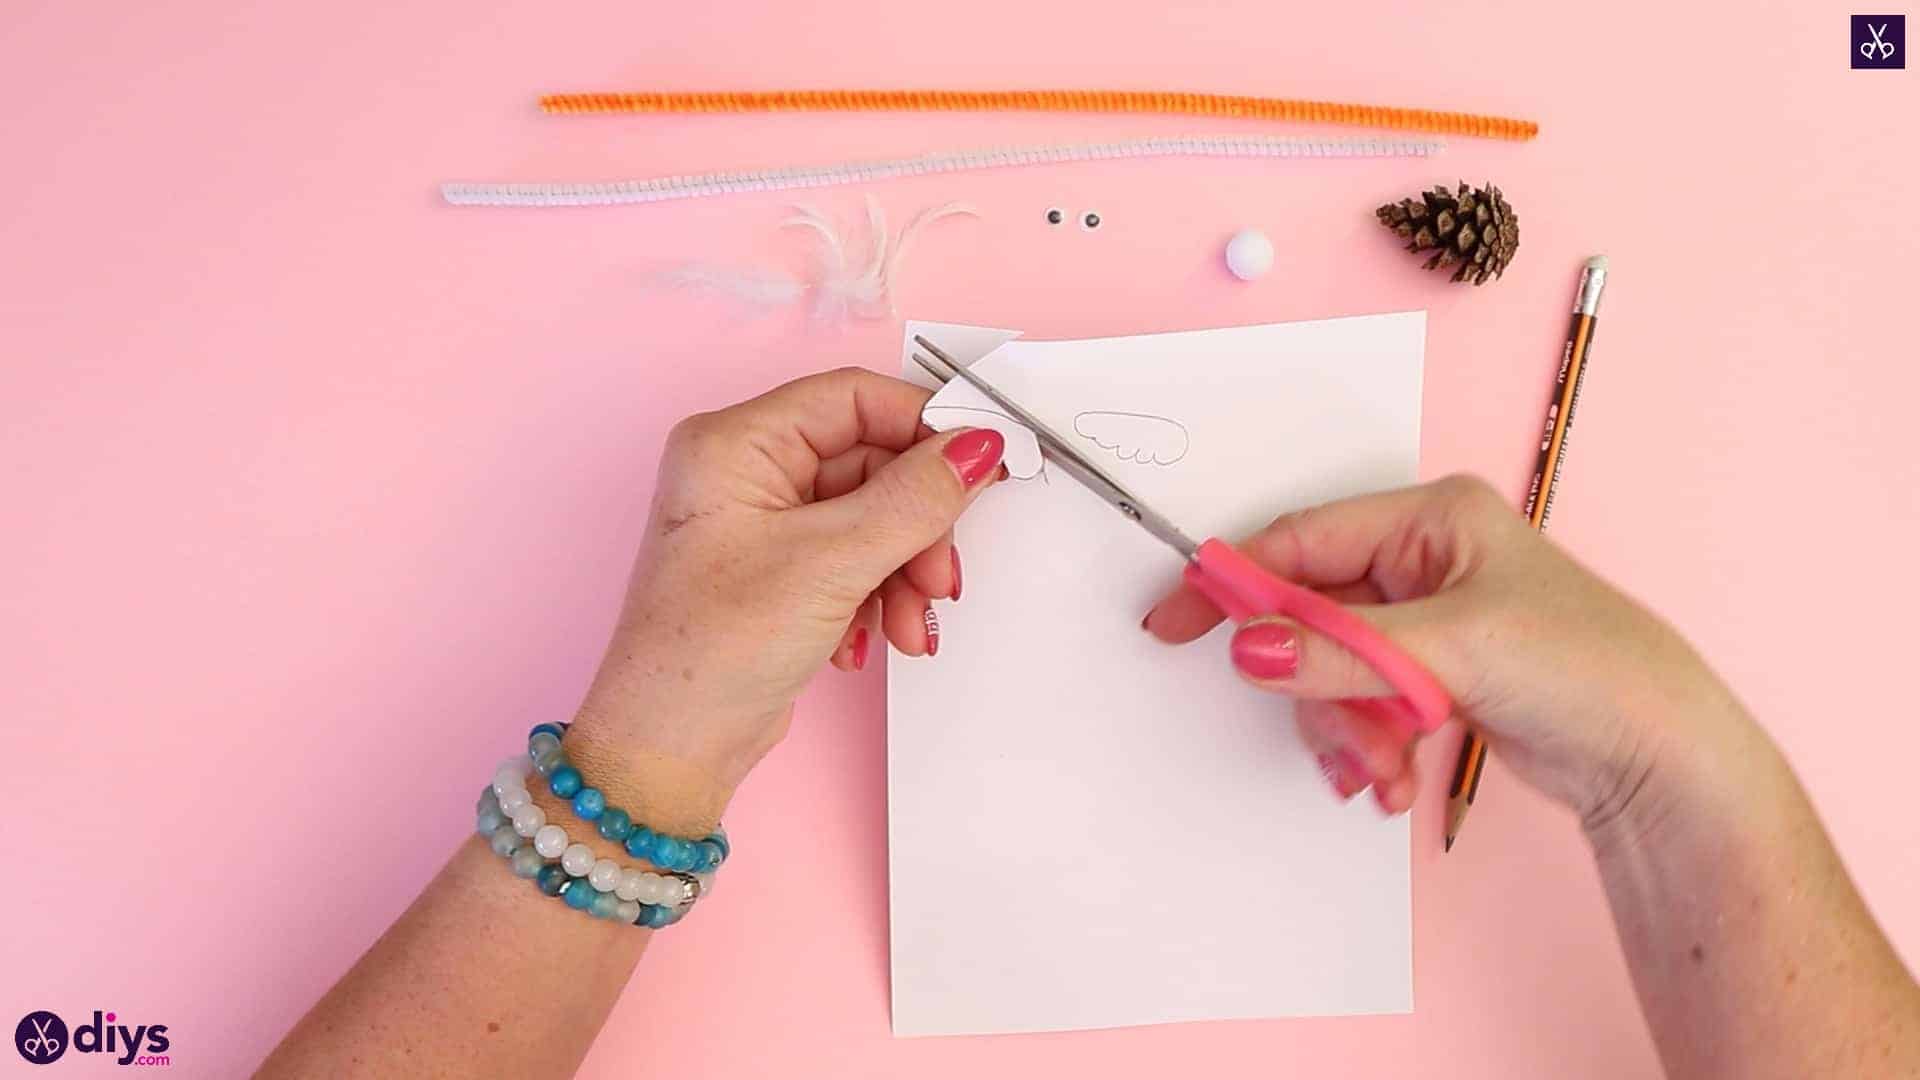
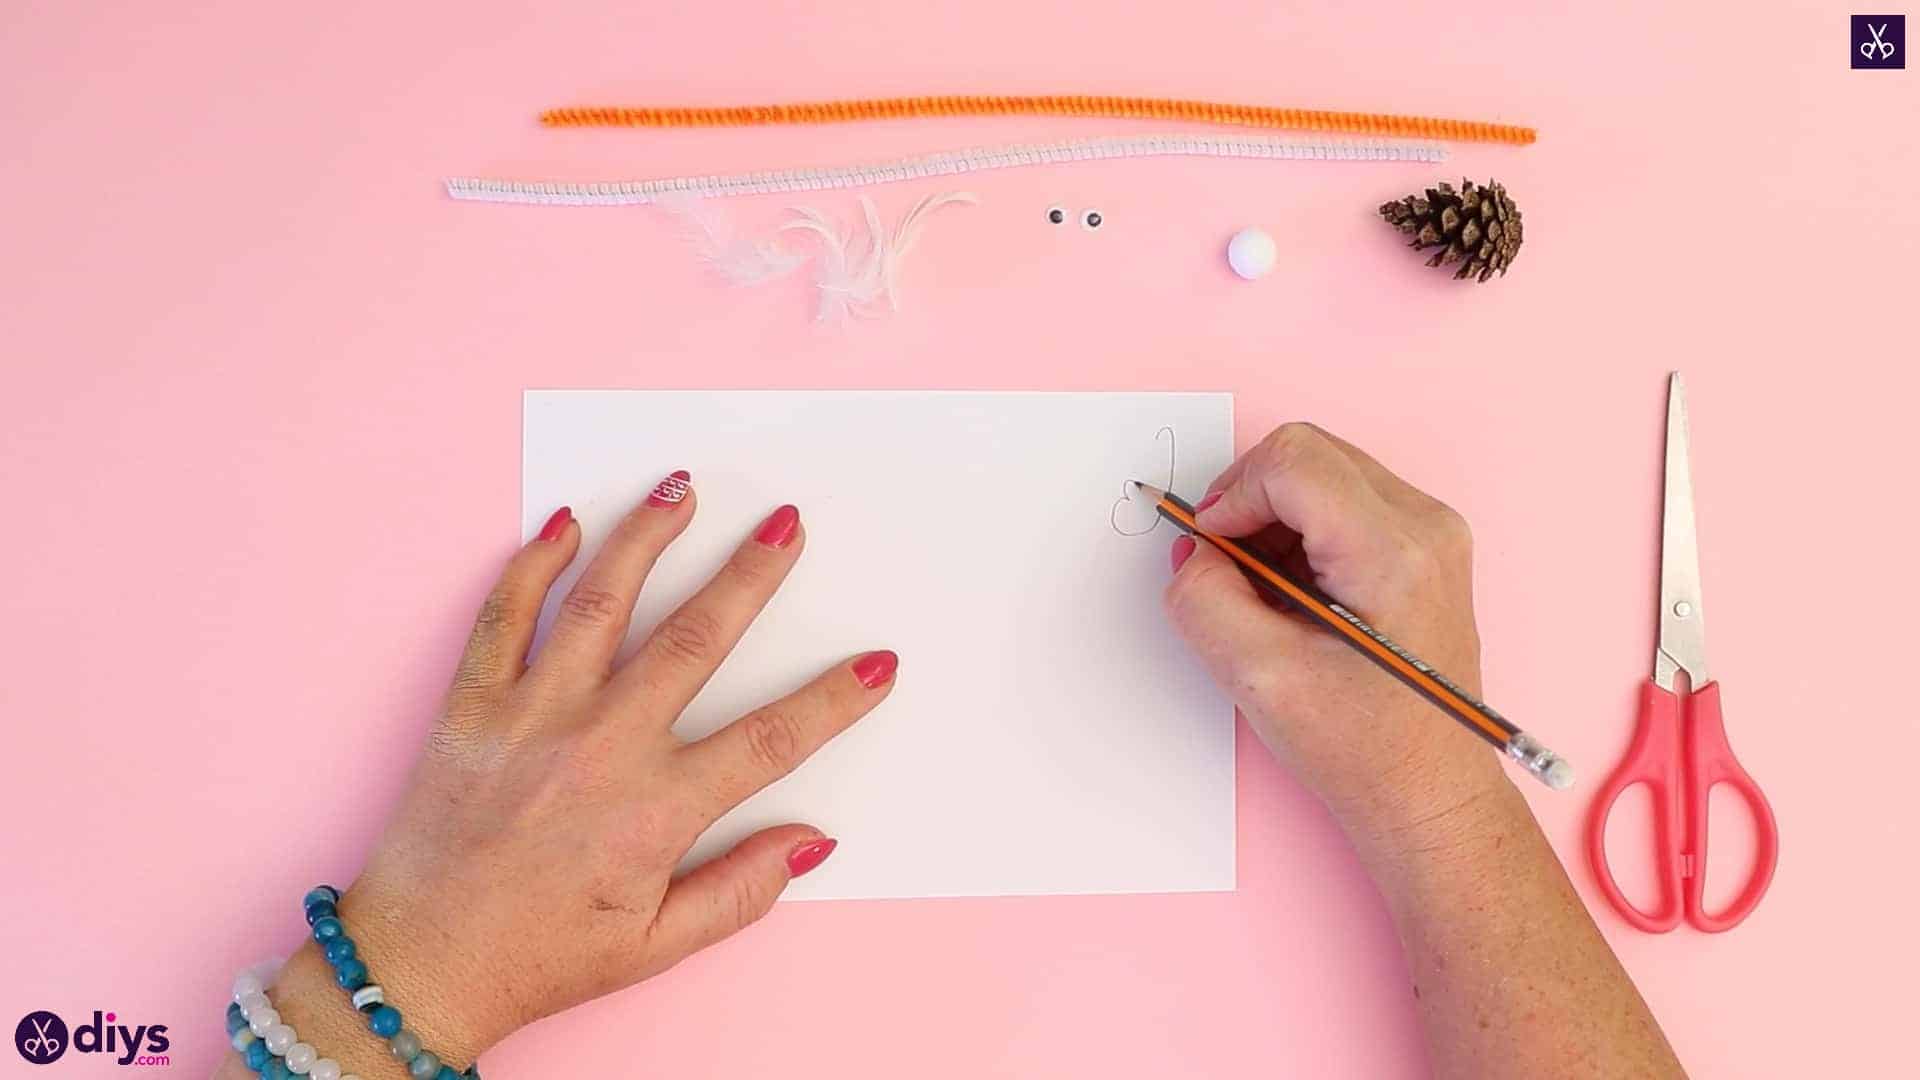
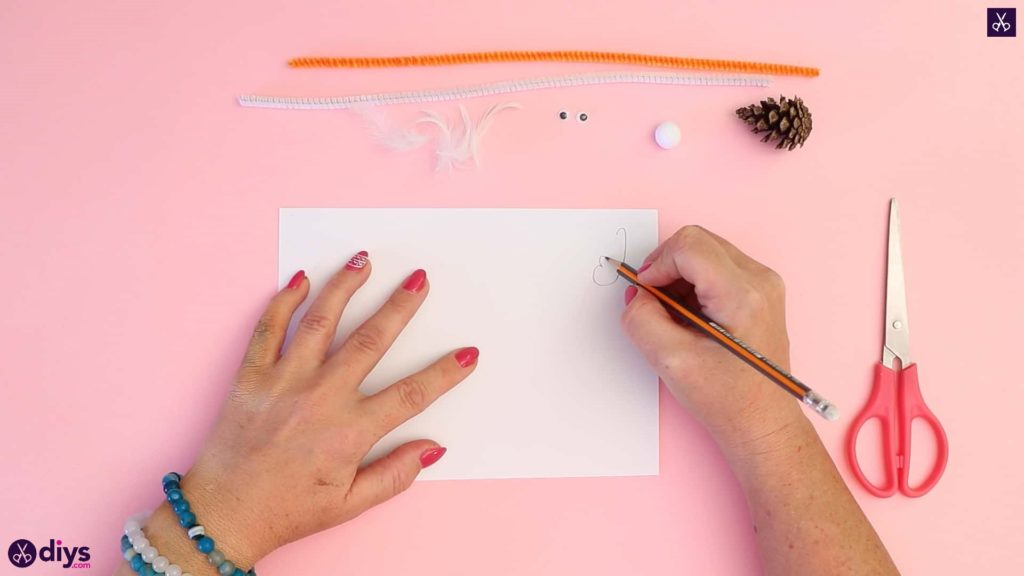
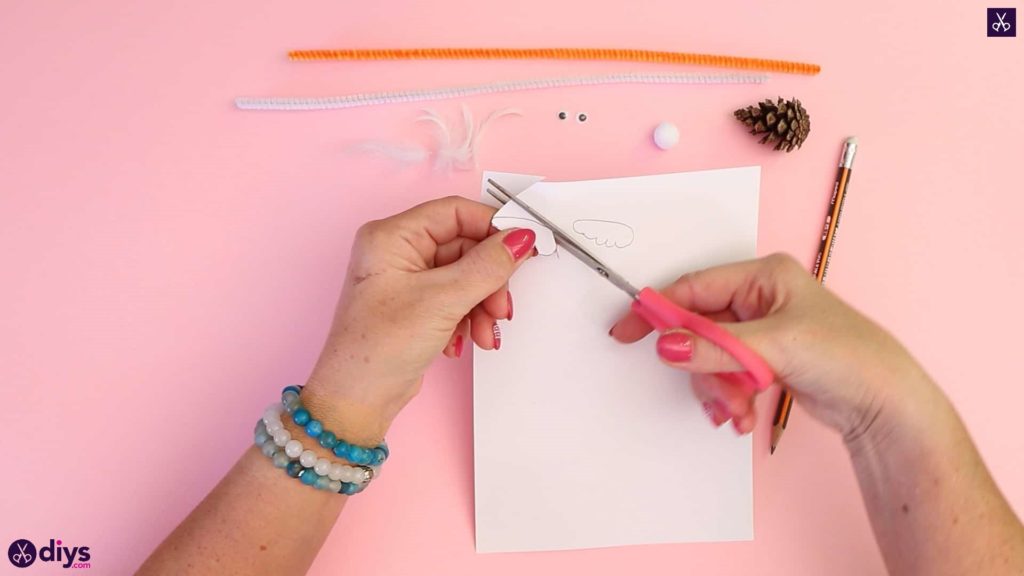
Step 2: draw the wings
Use your pencil to draw two little wing shapes on your white paper. I made mine just a little shorter than the full height of my pinecone to make sure they looked proportionate, curving them on one side and drawing ruffles on the other like feathers. Cut your wings out and set them aside for now.
Step 3: glue the feathers
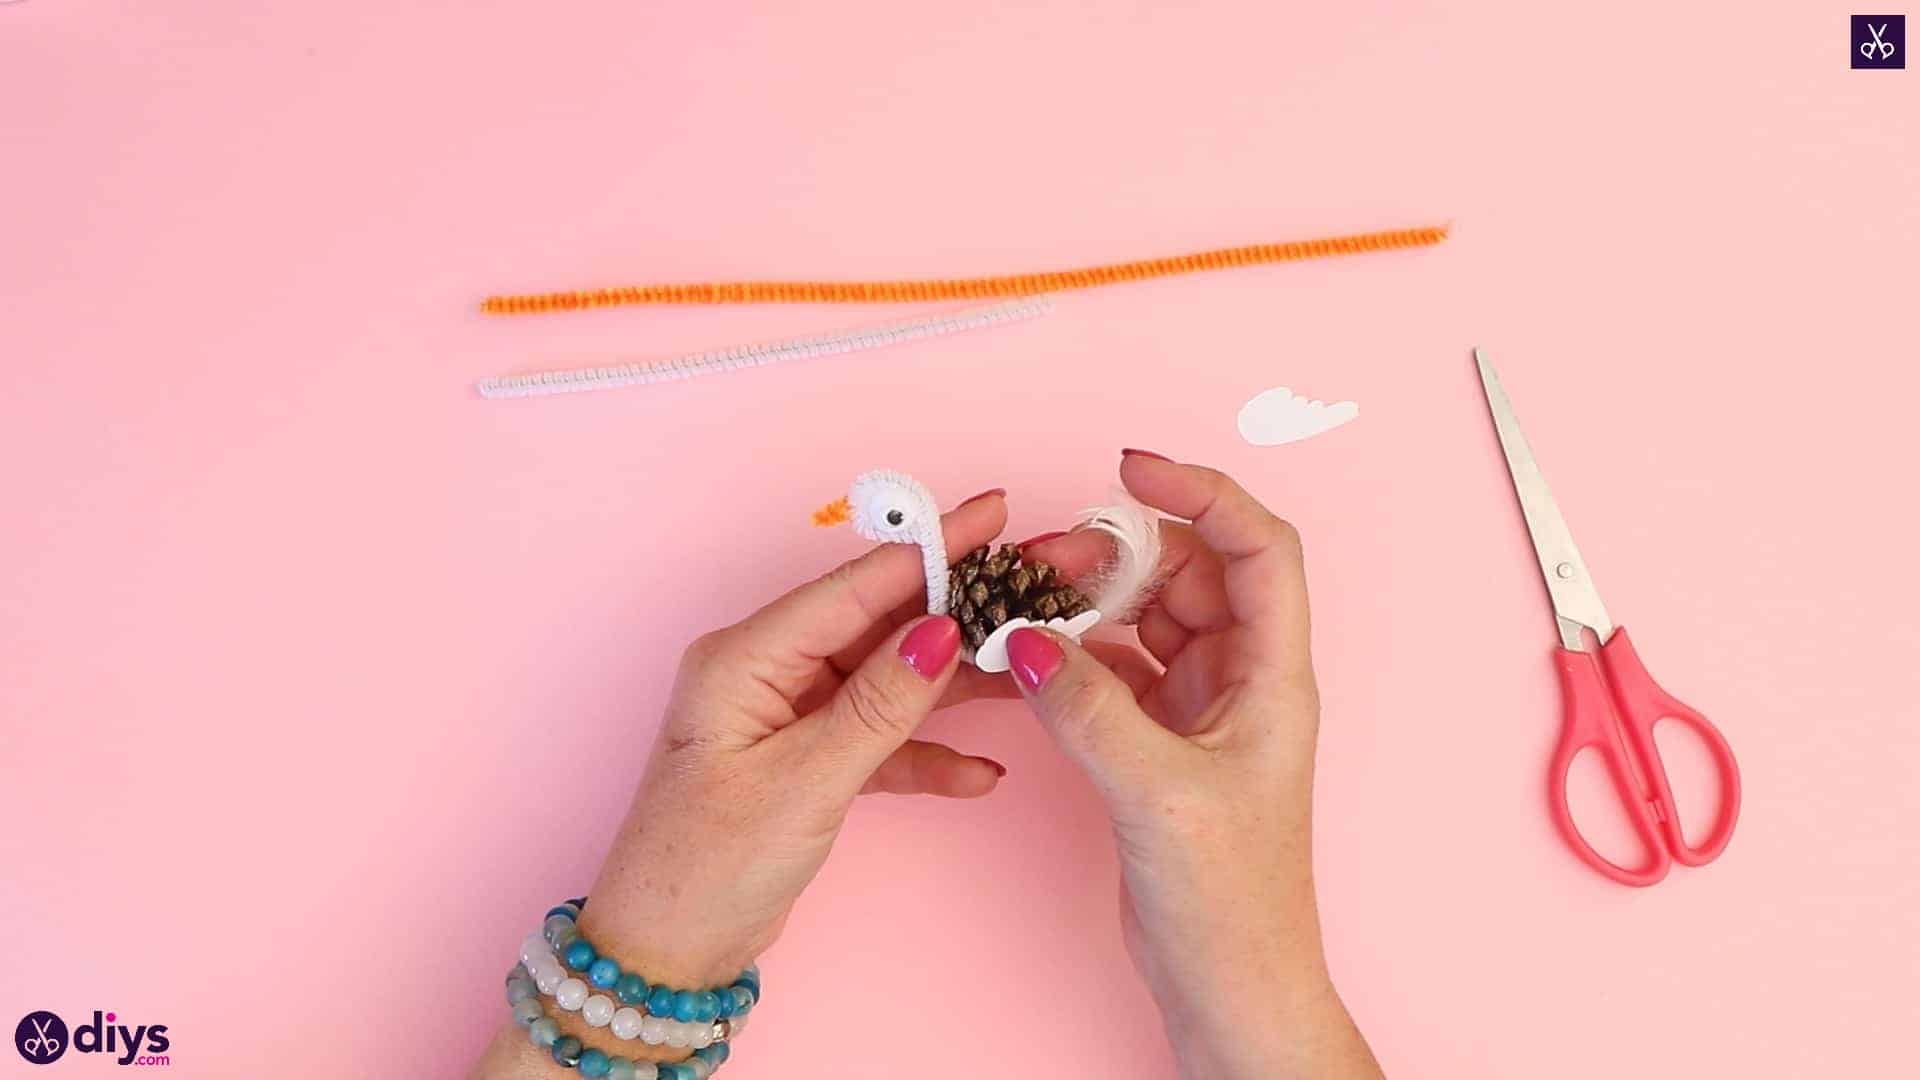
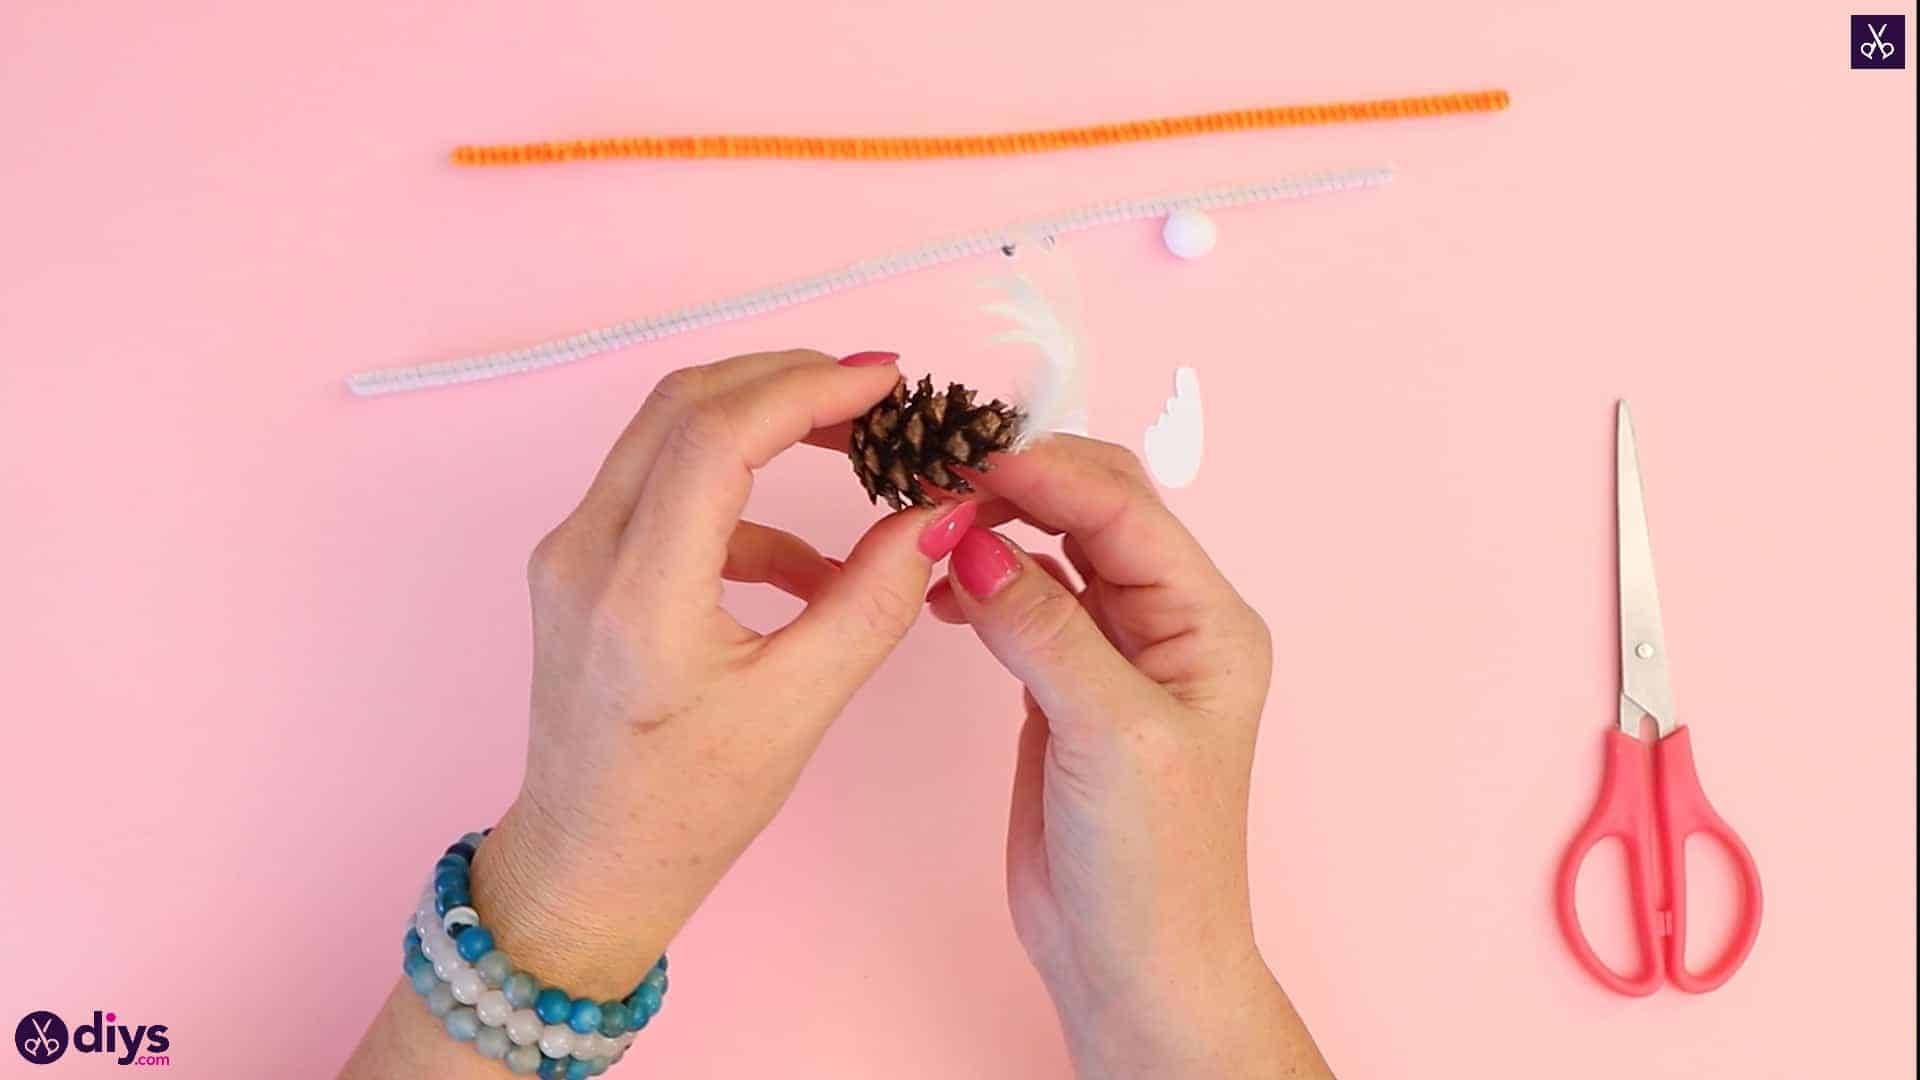
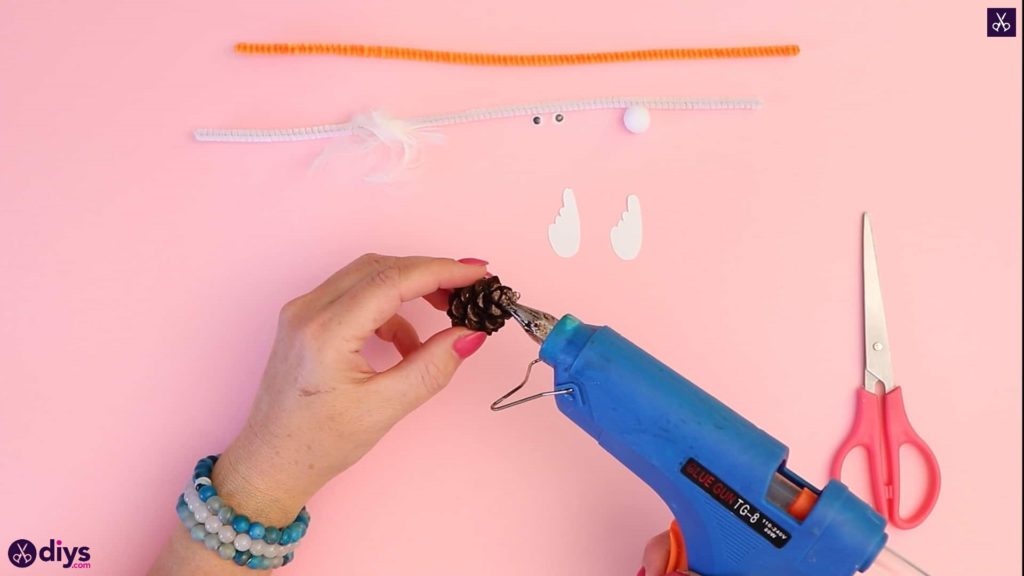
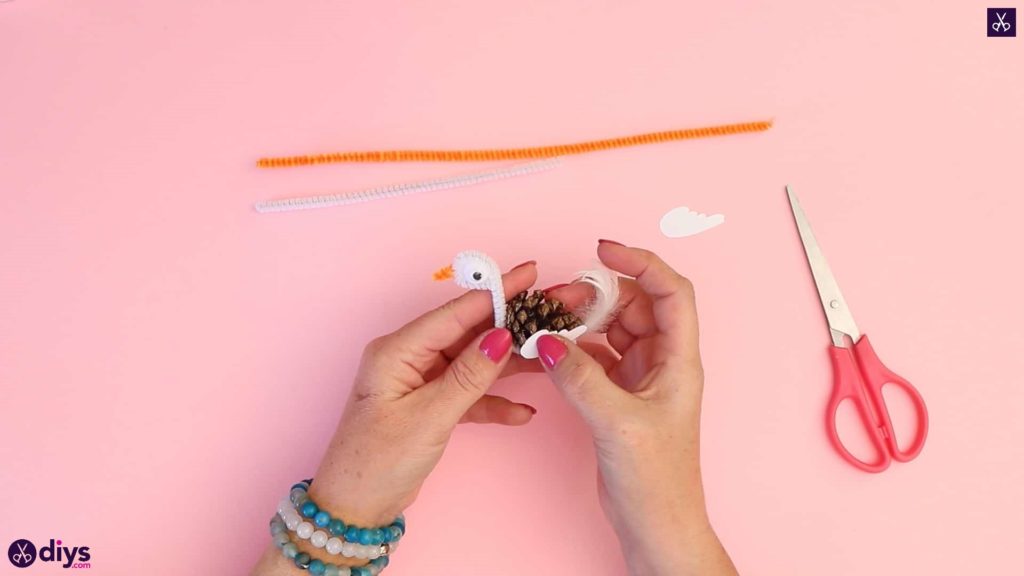
Turn your pinecone sideways and apply glue to the tip of its pointed end. Stick the base of your feather here for the tail! I positioned mine so it curved upwards, like the flick of an actual swan’s tail feathers.

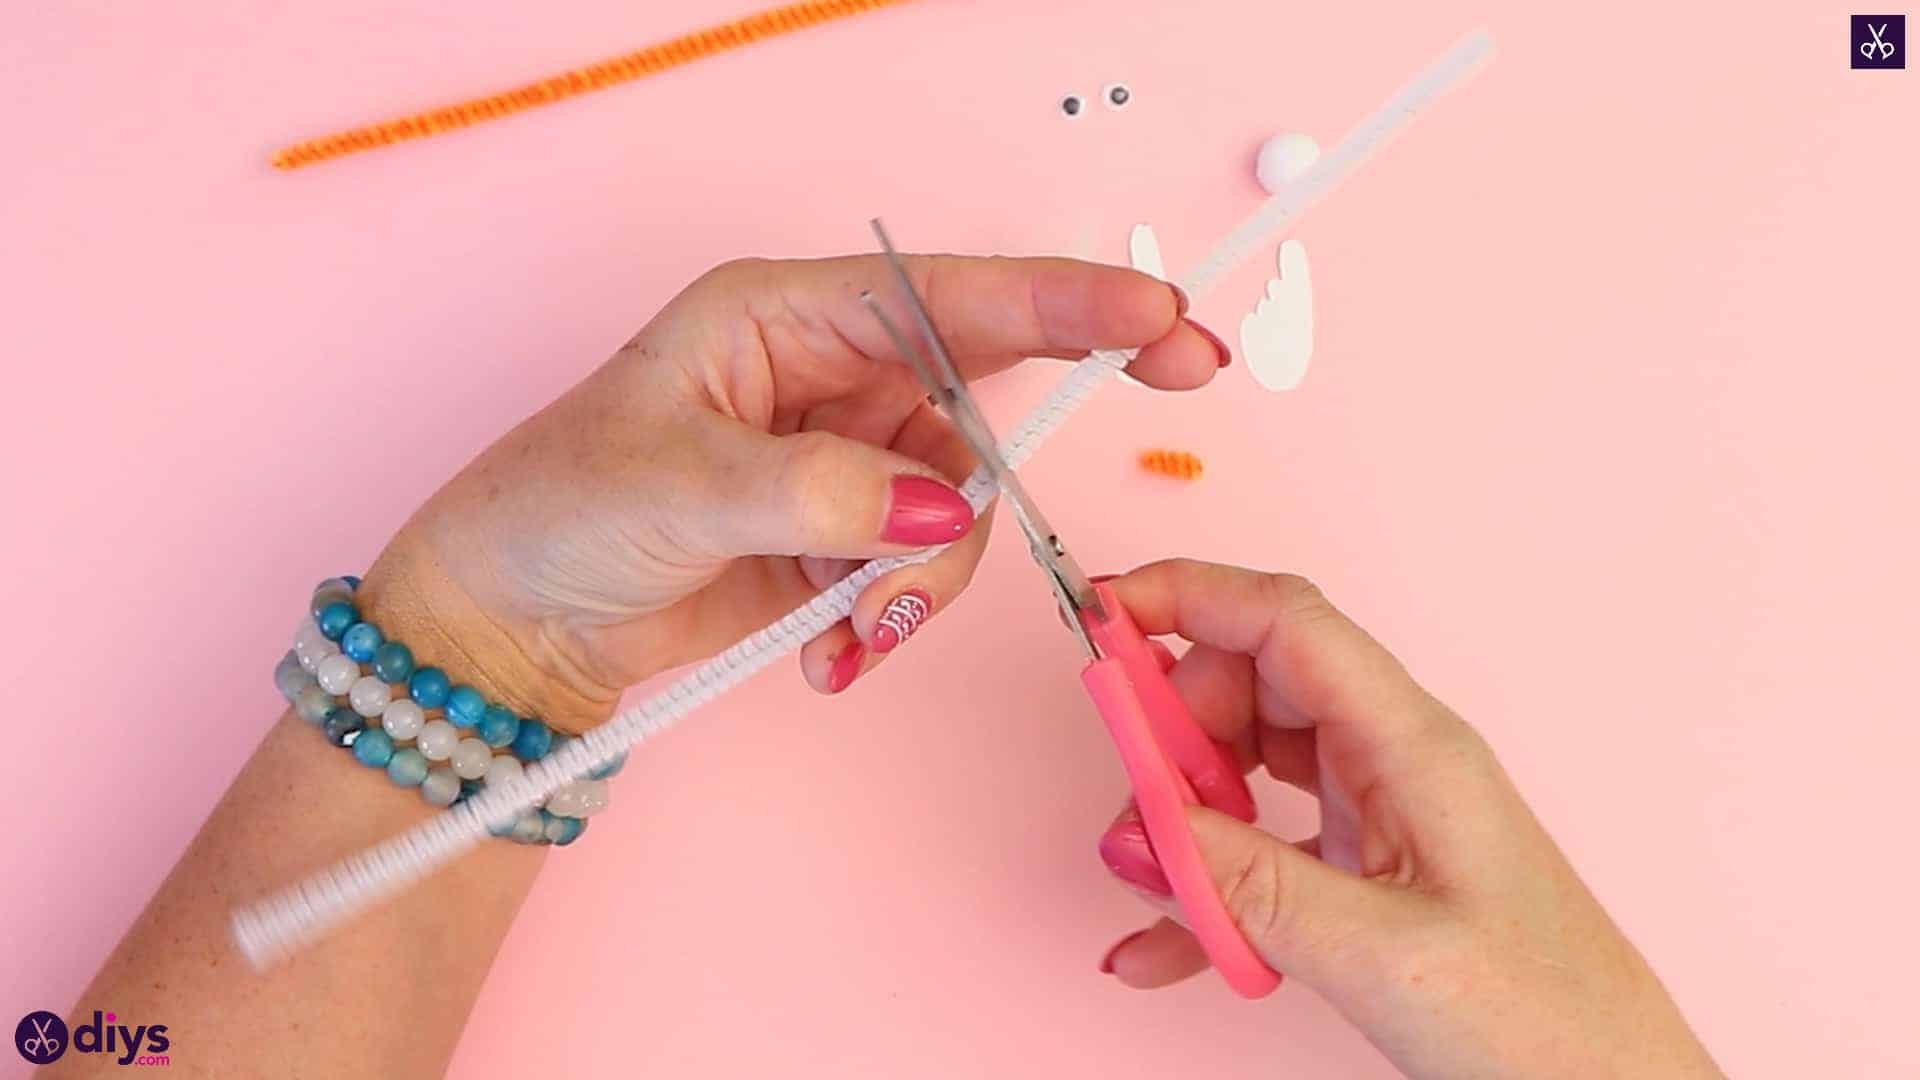
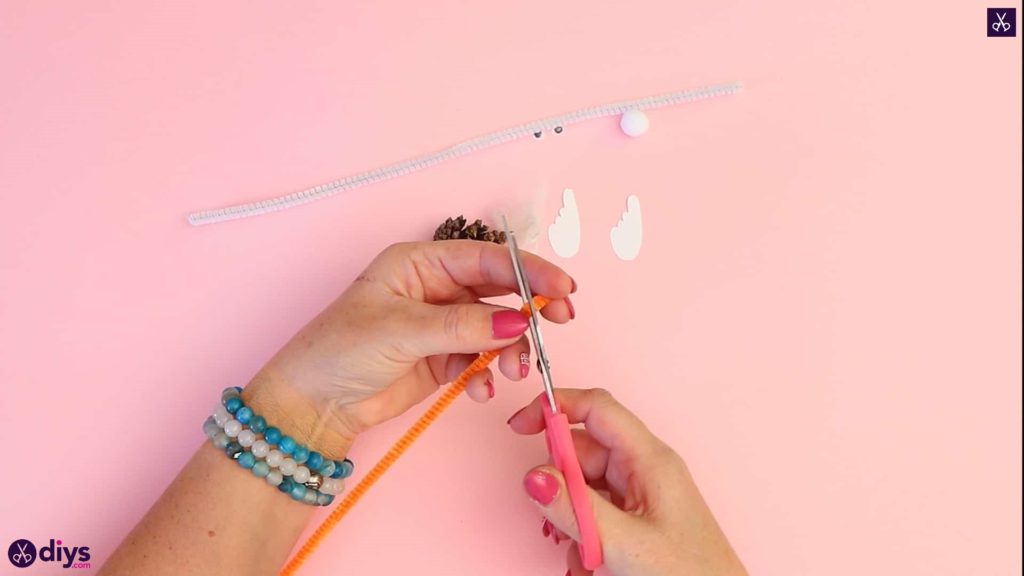
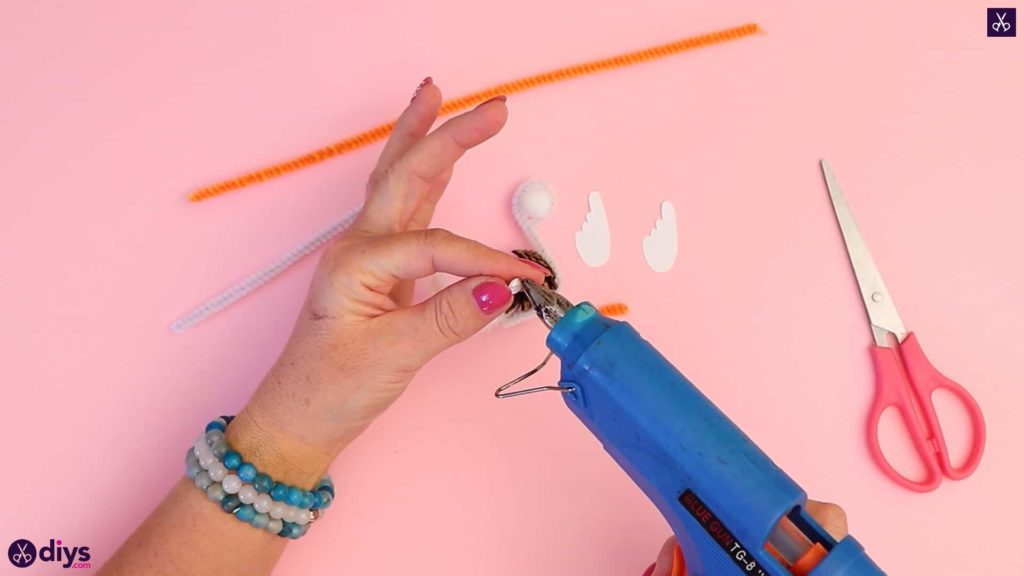
Step 4: cut the pipe cleaner
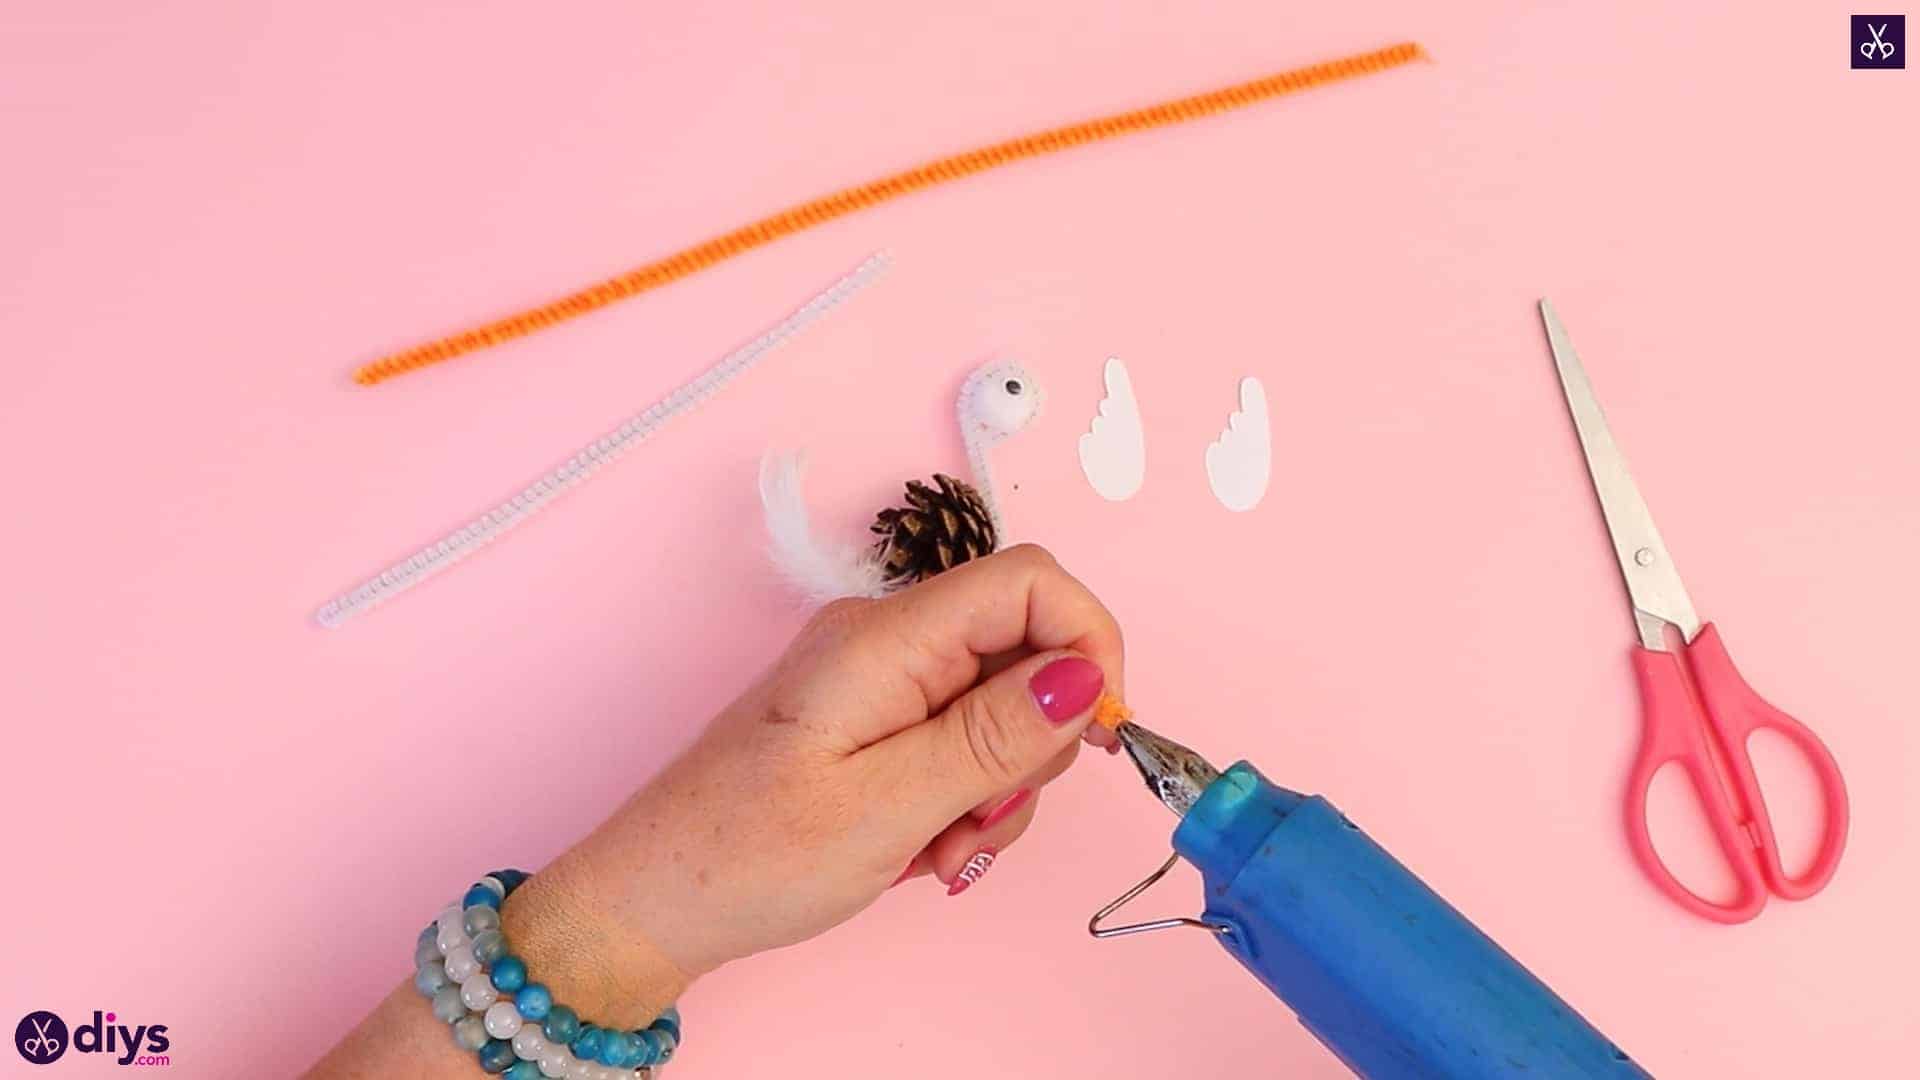
Cut a little piece about two centimetres long from the tip of your orange pipe cleaner and set it aside. This will be your swan’s beak!
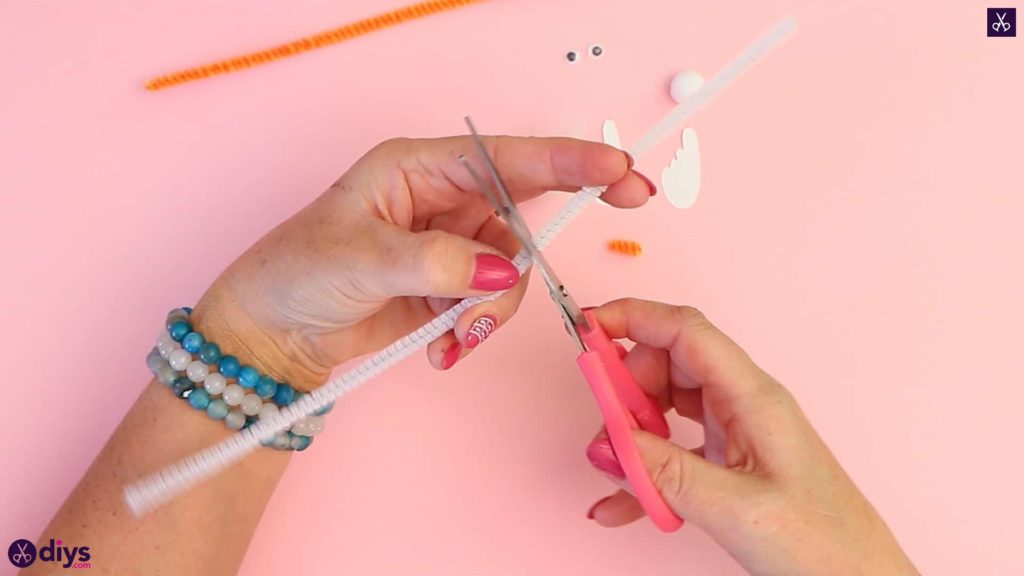
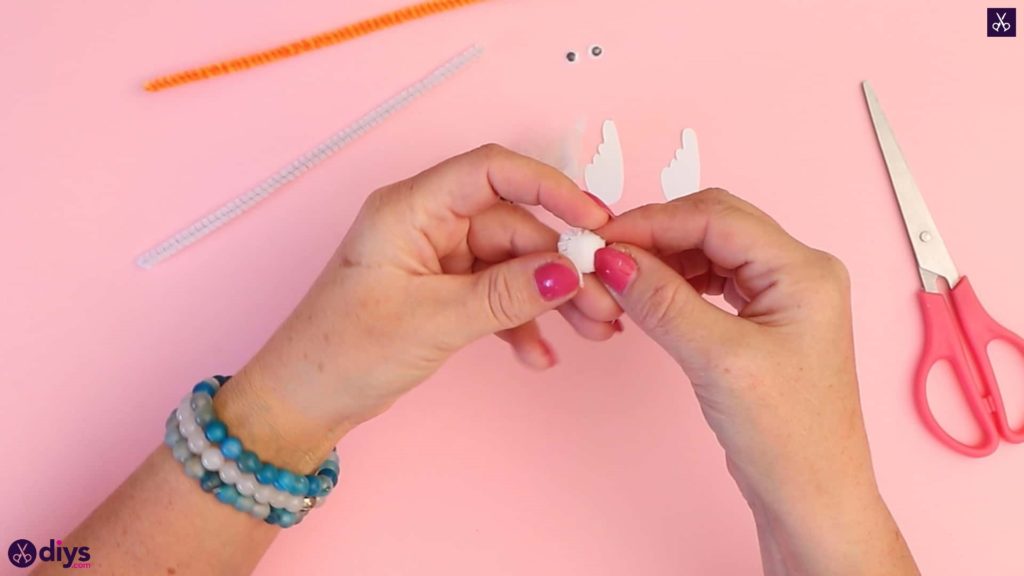
Step 5: shape the neck
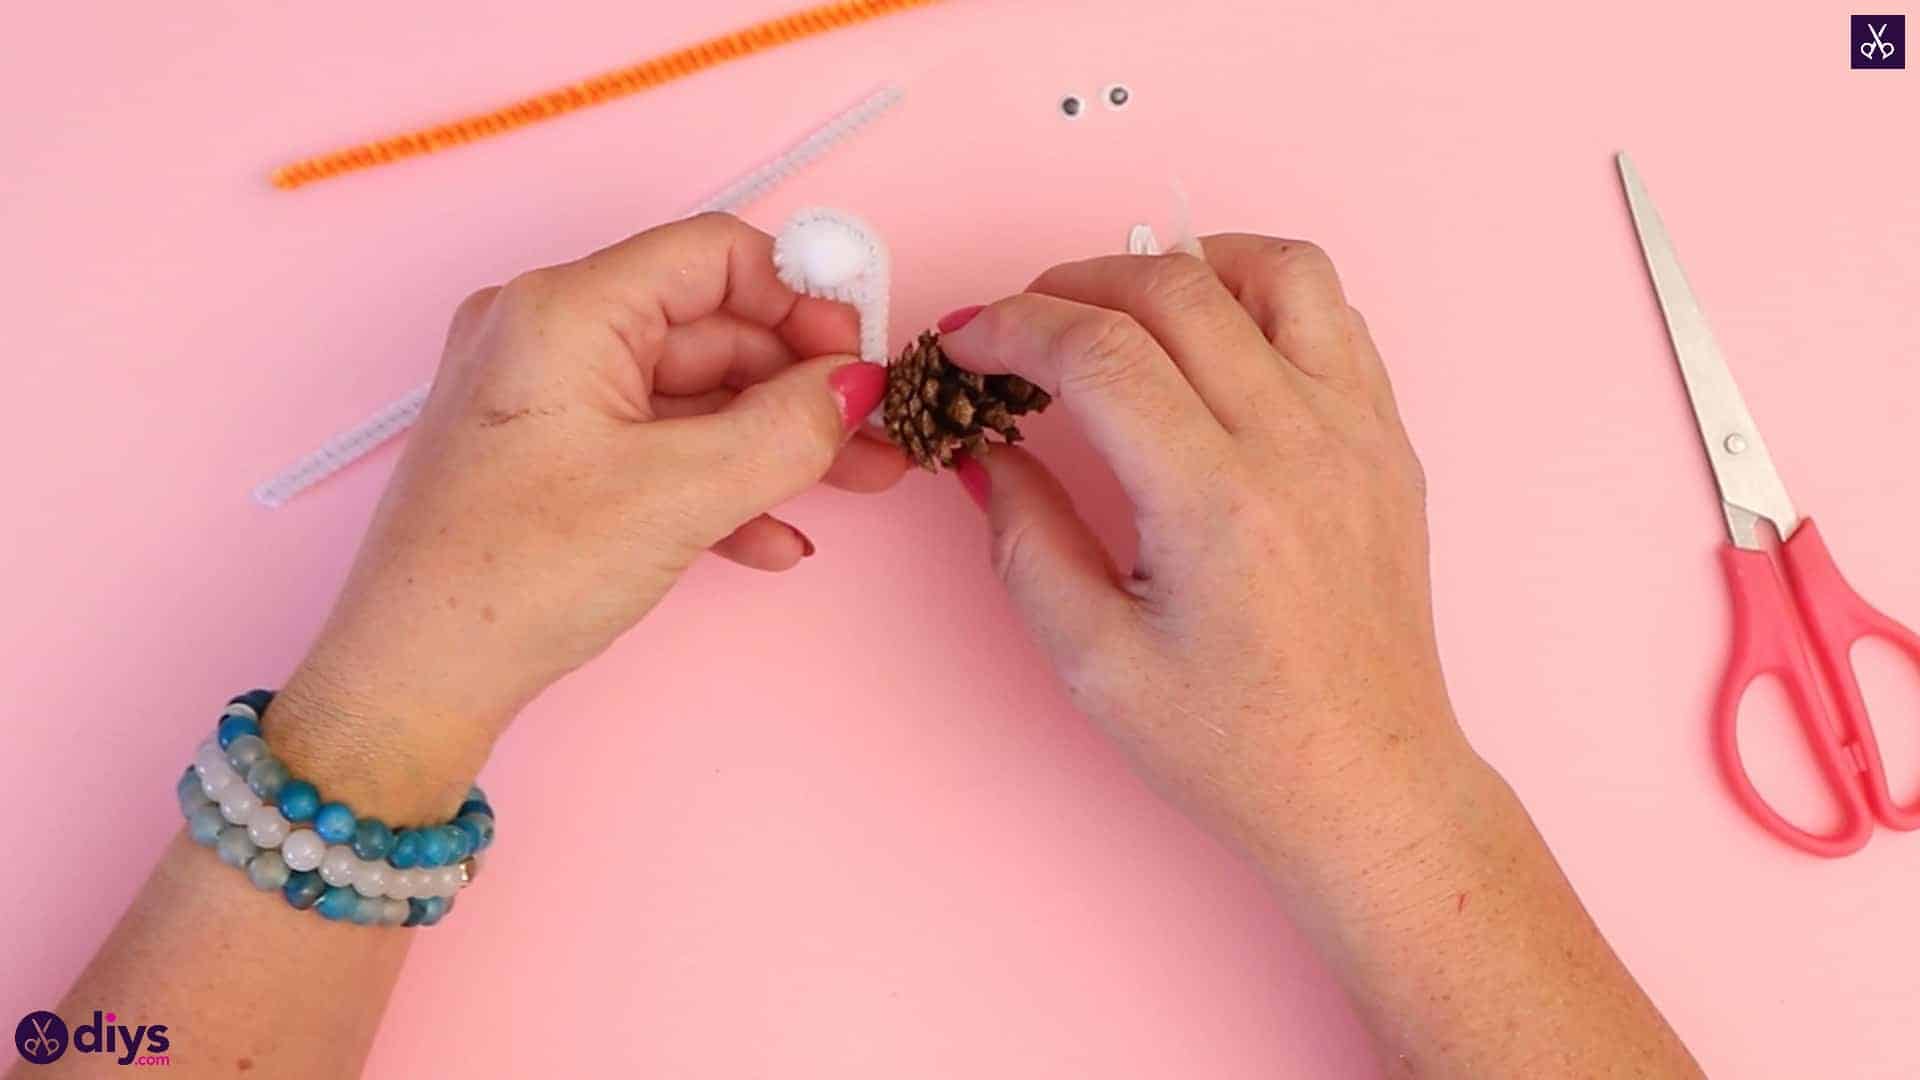
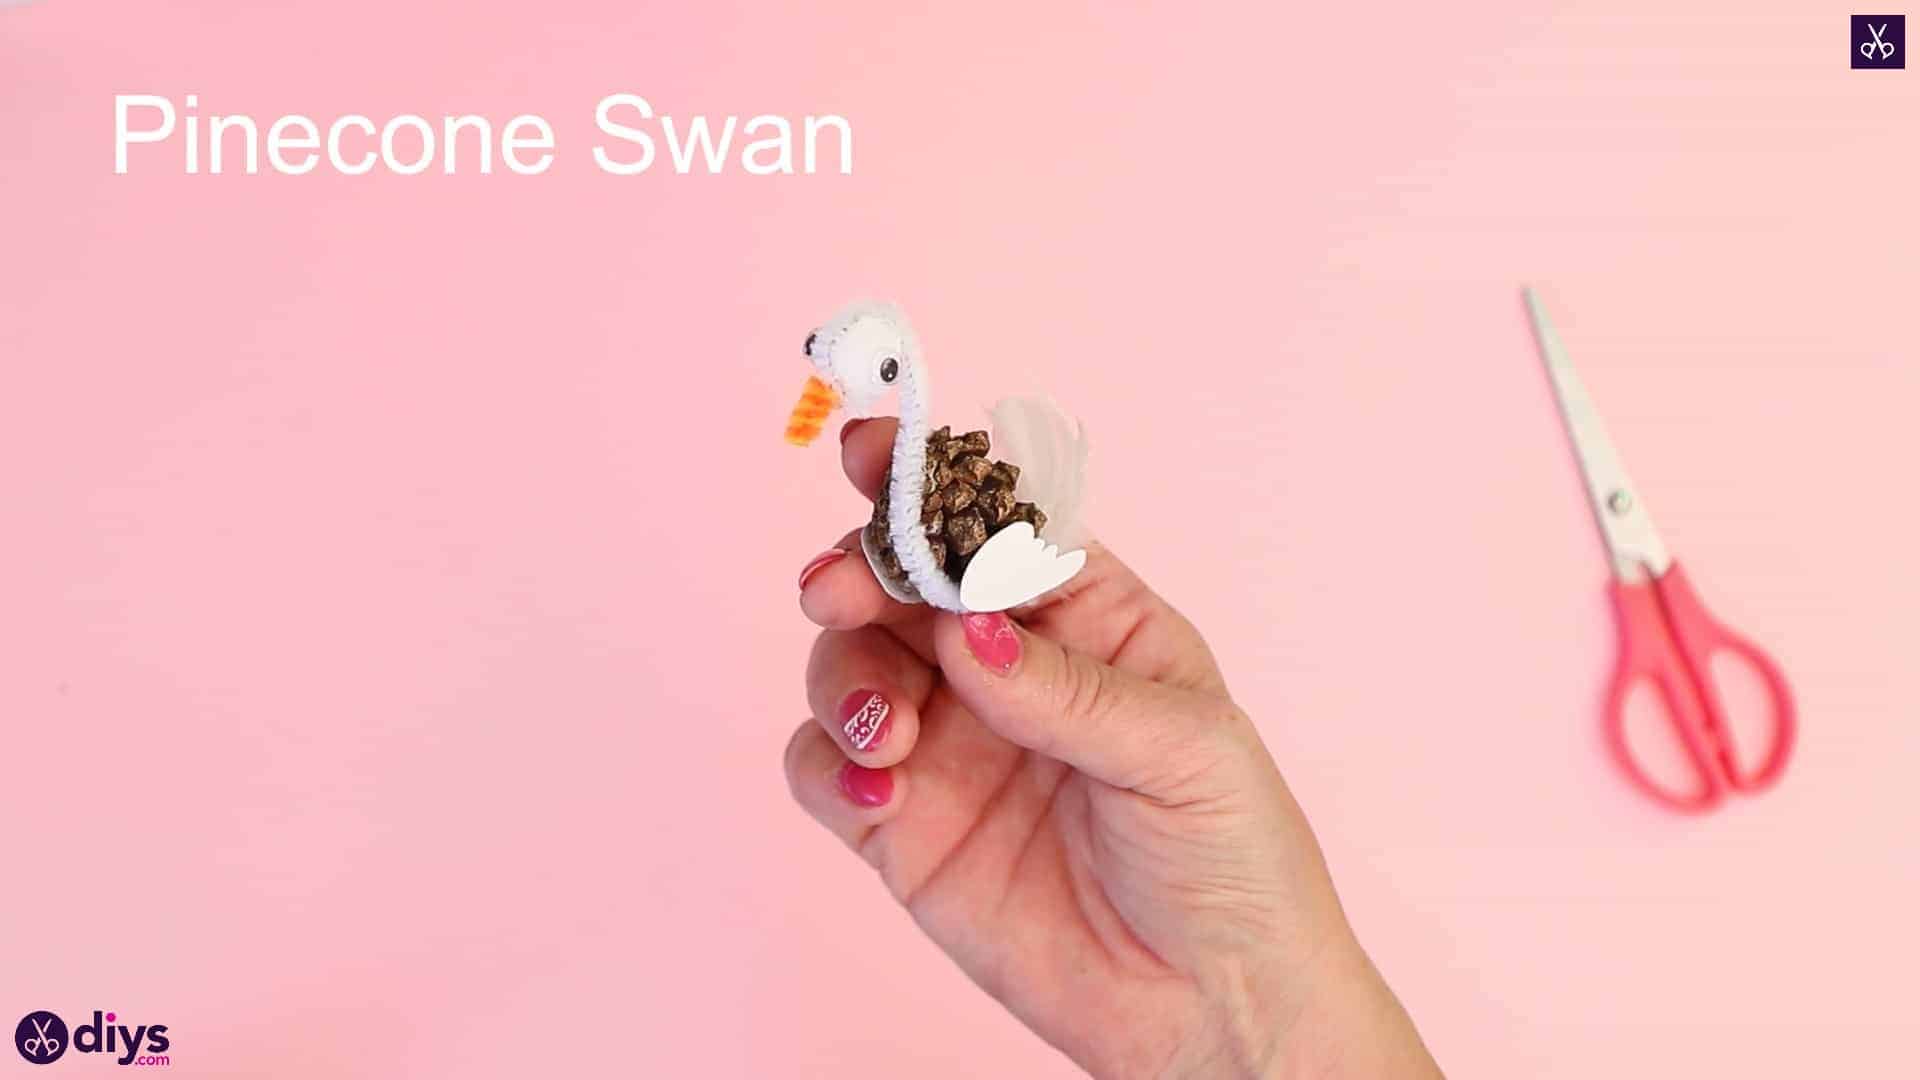
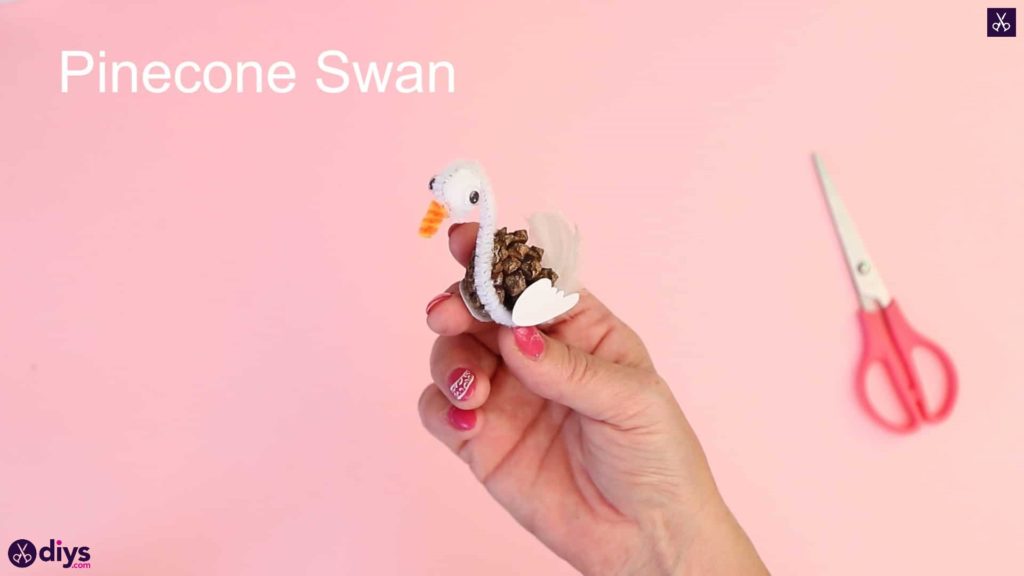
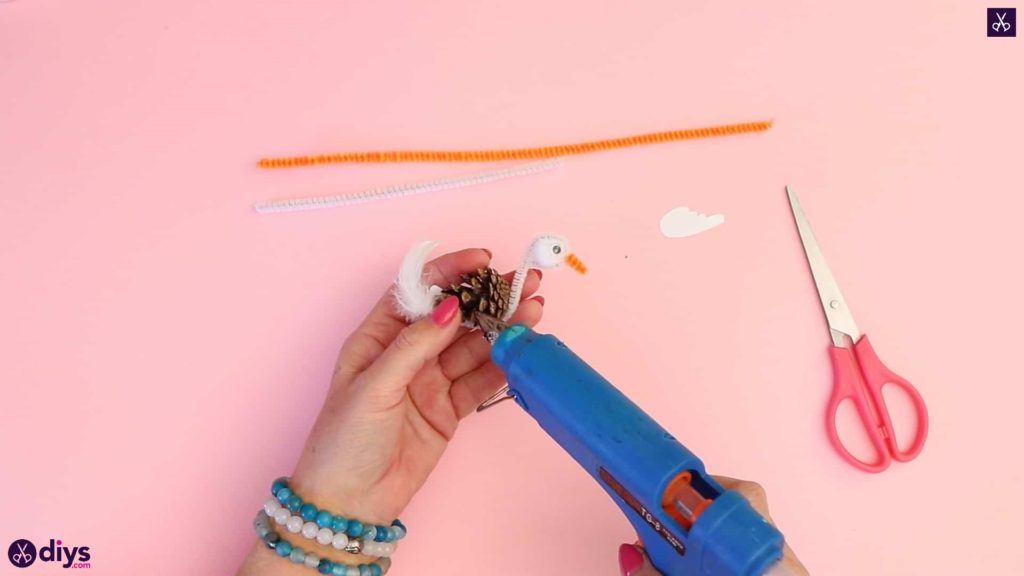
Make and attach your swan’s head and neck! Cut your white pipe cleaner in half. At one end of one half, curve the tip over, nestle your little white crafting pom pom into it, and curve the pipe cleaner further so the pom pom stays inside. This is your swans head. Bend the other end of the pipe cleaning in the other direction, about an inch from the tip, so it points in the opposite way of the pom pom. Apply glue along this piece, position the pipe cleaner so the pom pom sticks up against the pinecones wider end opposite the feathers, and stick the bent part with the glue to the bottom of your swan’s body. Position the head and neck how you please until they sit just right.


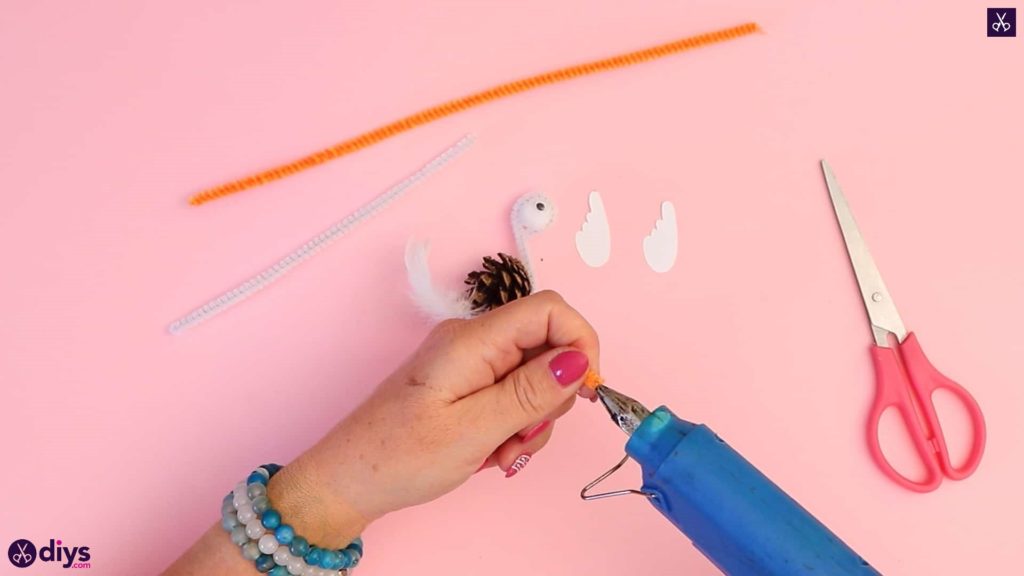
Step 6: make the face
Complete your swan’s face! Glue a googly eye on each side of the pom pom head and then stick the little orange pipe cleaner beak to the piece of white pipe cleaner that passes down the front of the pom pom head from when you curled it into place.

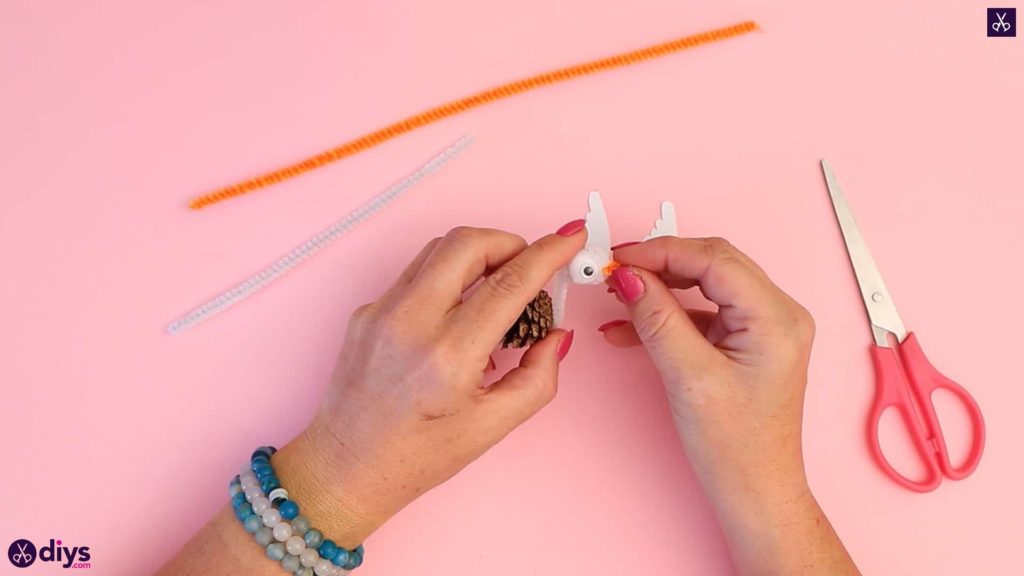
Step 8: add the wings
Apply glue to the sides of your swan’s pinecone body where you want the wings to sit and stick your little wings down, one on each side. I chose to position mine ruffles up like the swan has its wings folded into its body as it floats on water.

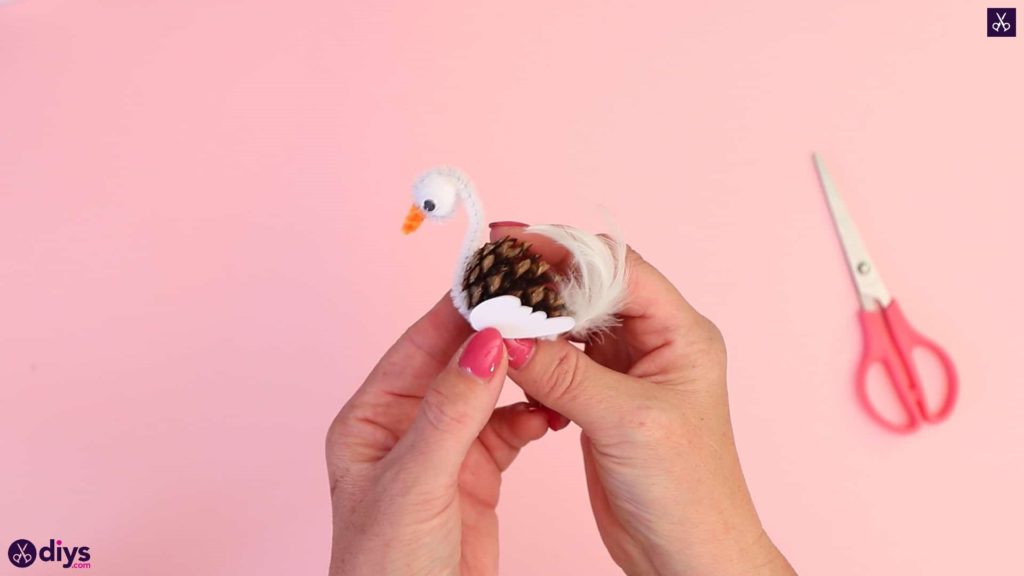
That’s all there is to making a pinecone swan! You can even try using pipe cleaners and feathers in other colours if you’d like to get a little more adventurous. Just in case you’d like to try this project out for yourself, here’s a fantastic tutorial video to help you!