DIY Stone Decorated Tin Can Holder
Updated on November 19, 2025


If wehad to choose one kind of craft to list as our favourite, we’d be hard pressed to choose between upcycling crafts and crafts that have some kind of organizational purpose to them. That’s why we getso excited when we can think up an opportunity to merge the two together in one project! Recently we came across a bag of tiny fish tank stones I forgot about that were leftover from before our kids’ pet fish went belly up and I was struck with a bit of inspiration when I immediately laid eyes on a tin can and my own messy desk right after I found the stones. I decided to reuse both of those things to make a desk organizer or pen holder!
Check out these step by step instructions complete with photos! If you’d rather follow along with a video tutorial instead of written words, scroll to the bottom of this post to find just what you’re looking for.
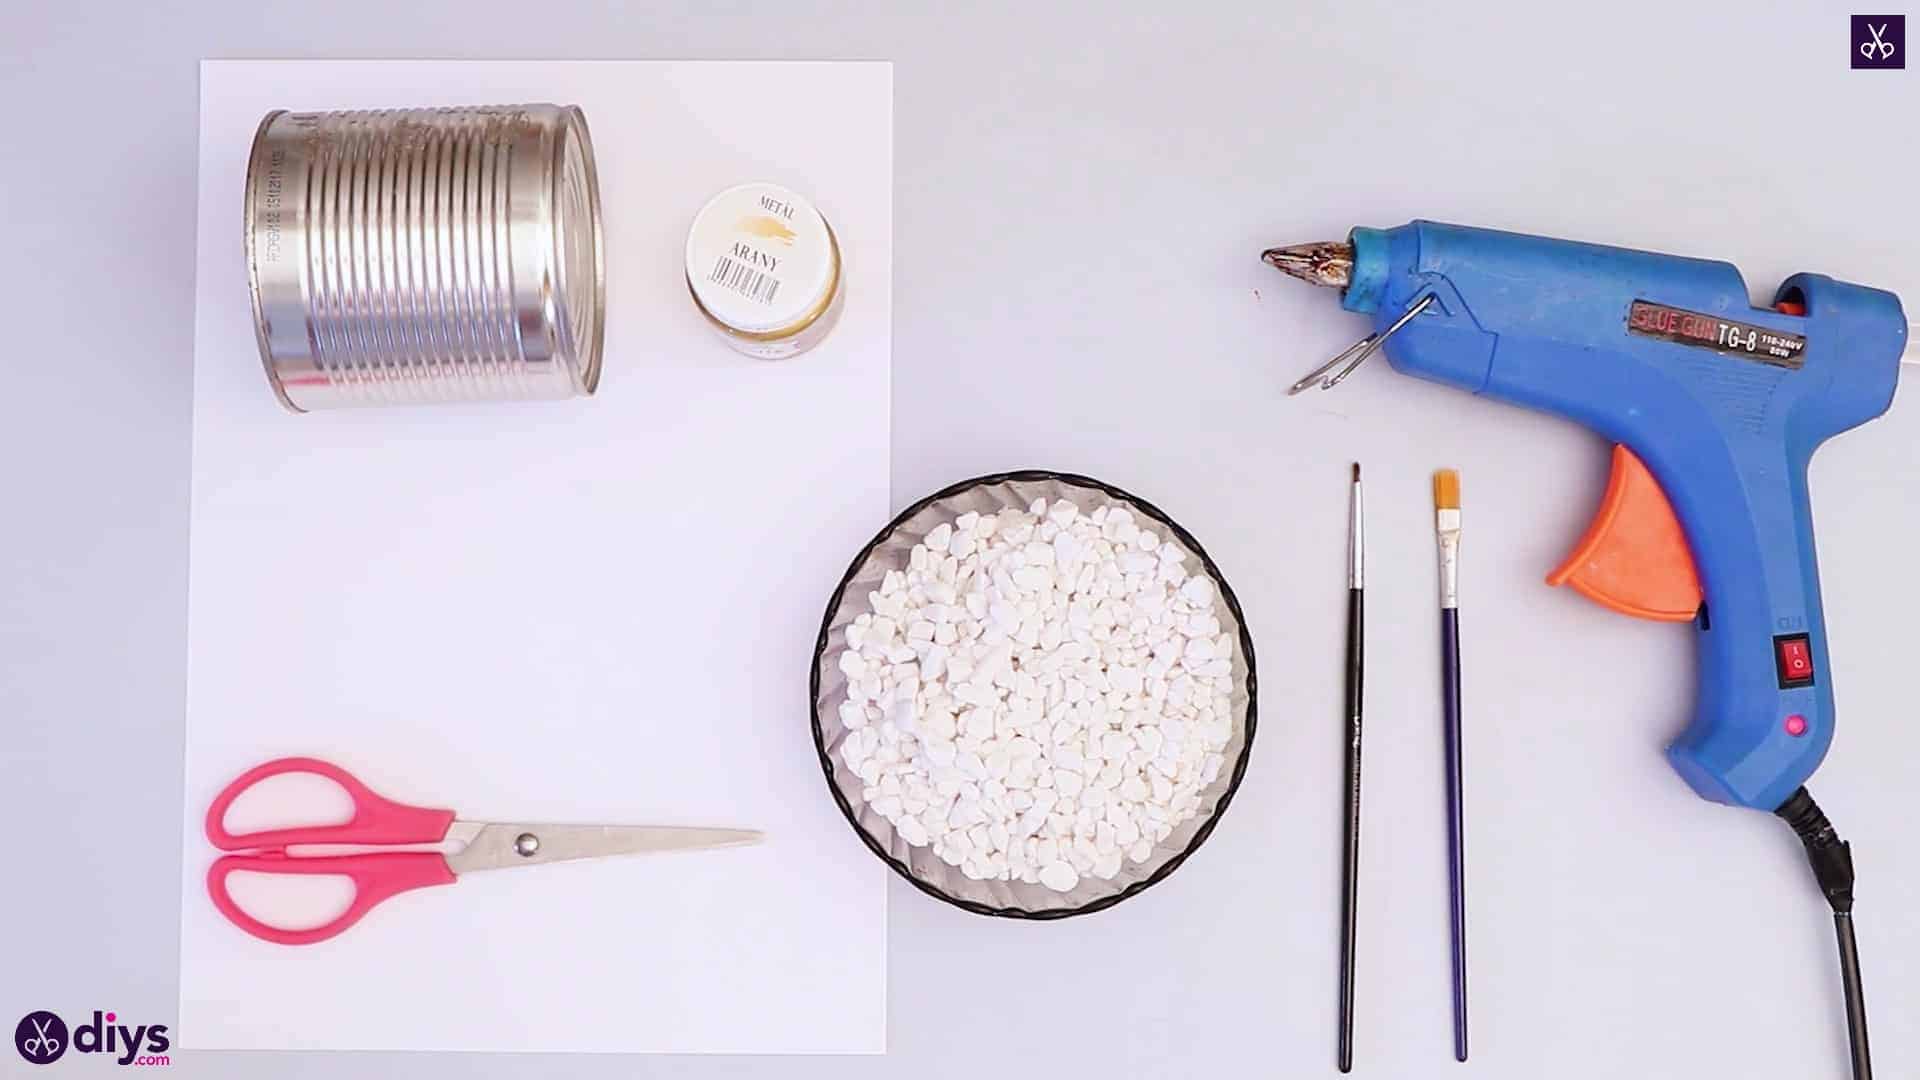
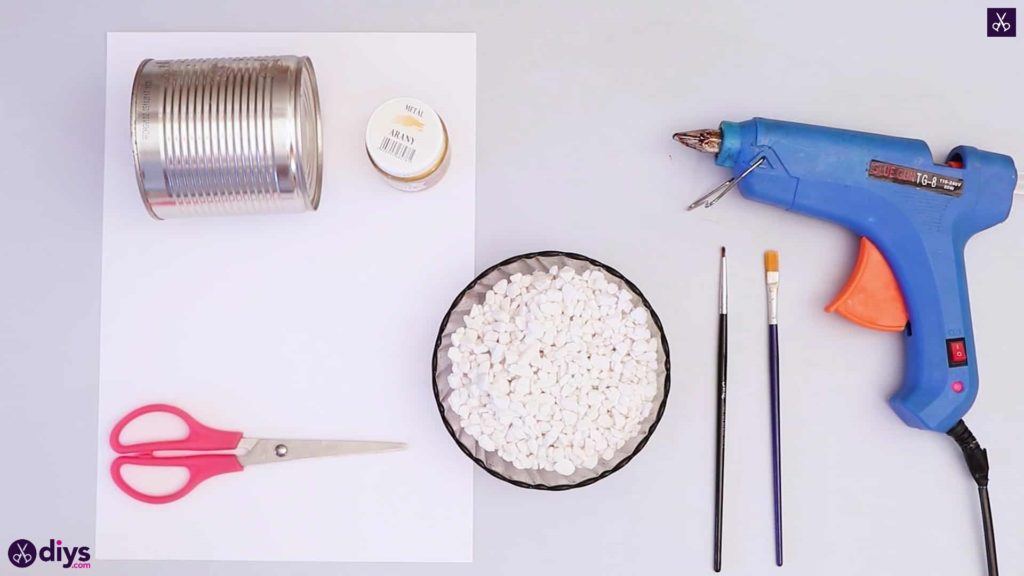
For this project, you’ll need:
- A tin can
- Small stones (like fish tank stones)
- White paper
- Hot glue
- Gold paint
- A paintbrush
- Scissors
Step 1: get what you need
Gather your materials and have everything in front of you!
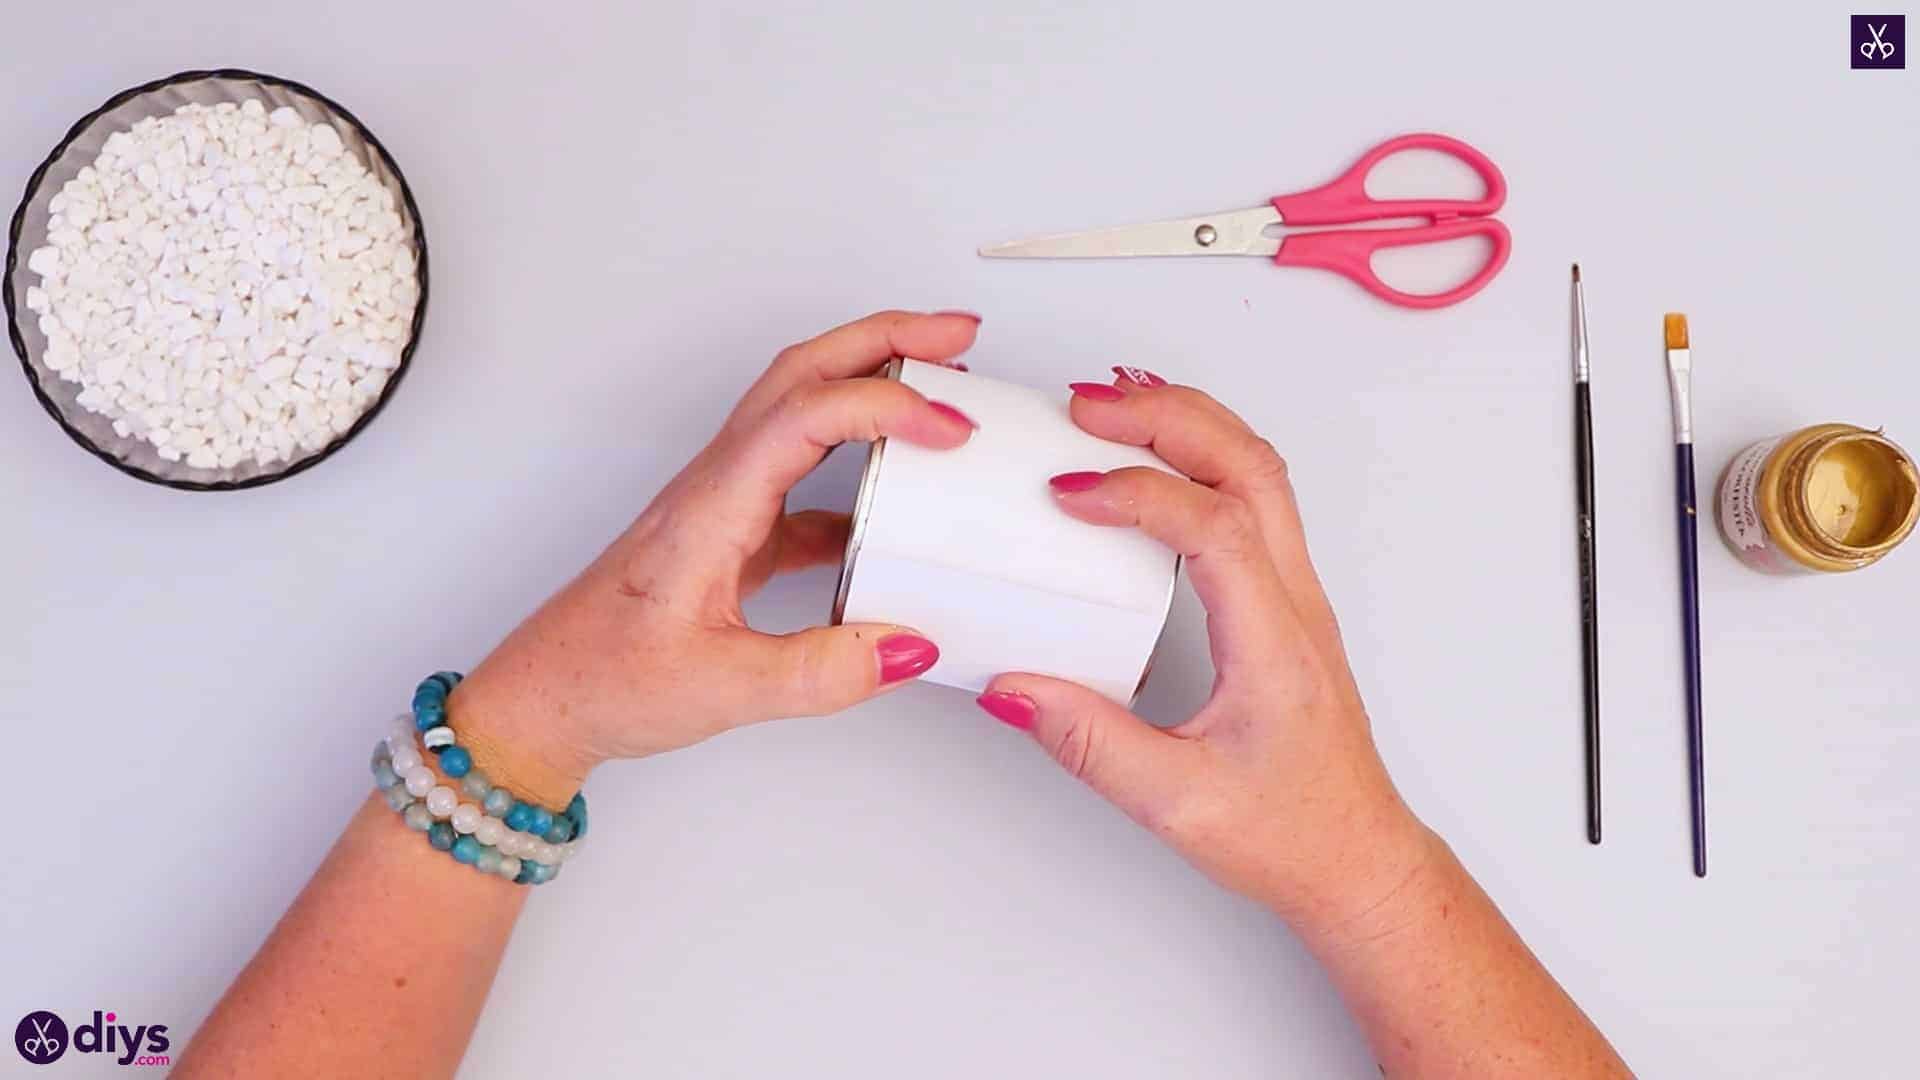
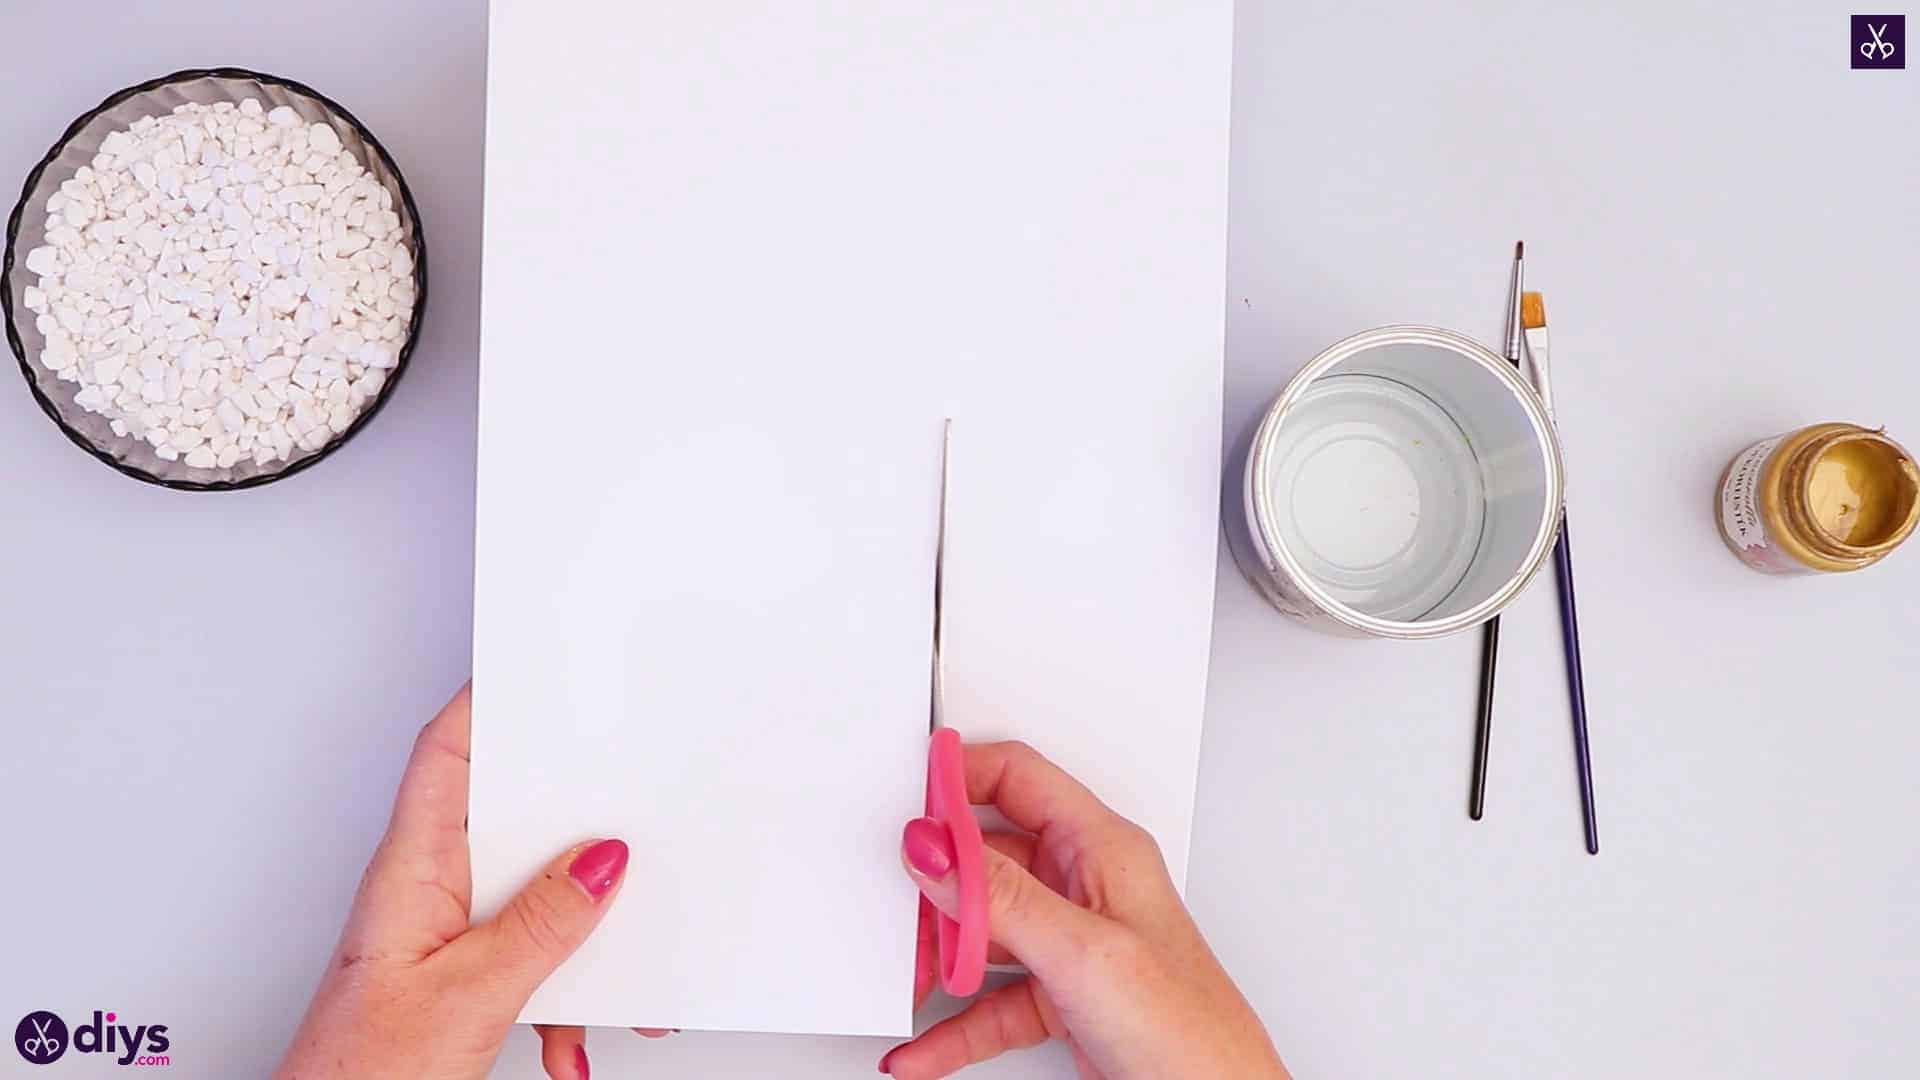
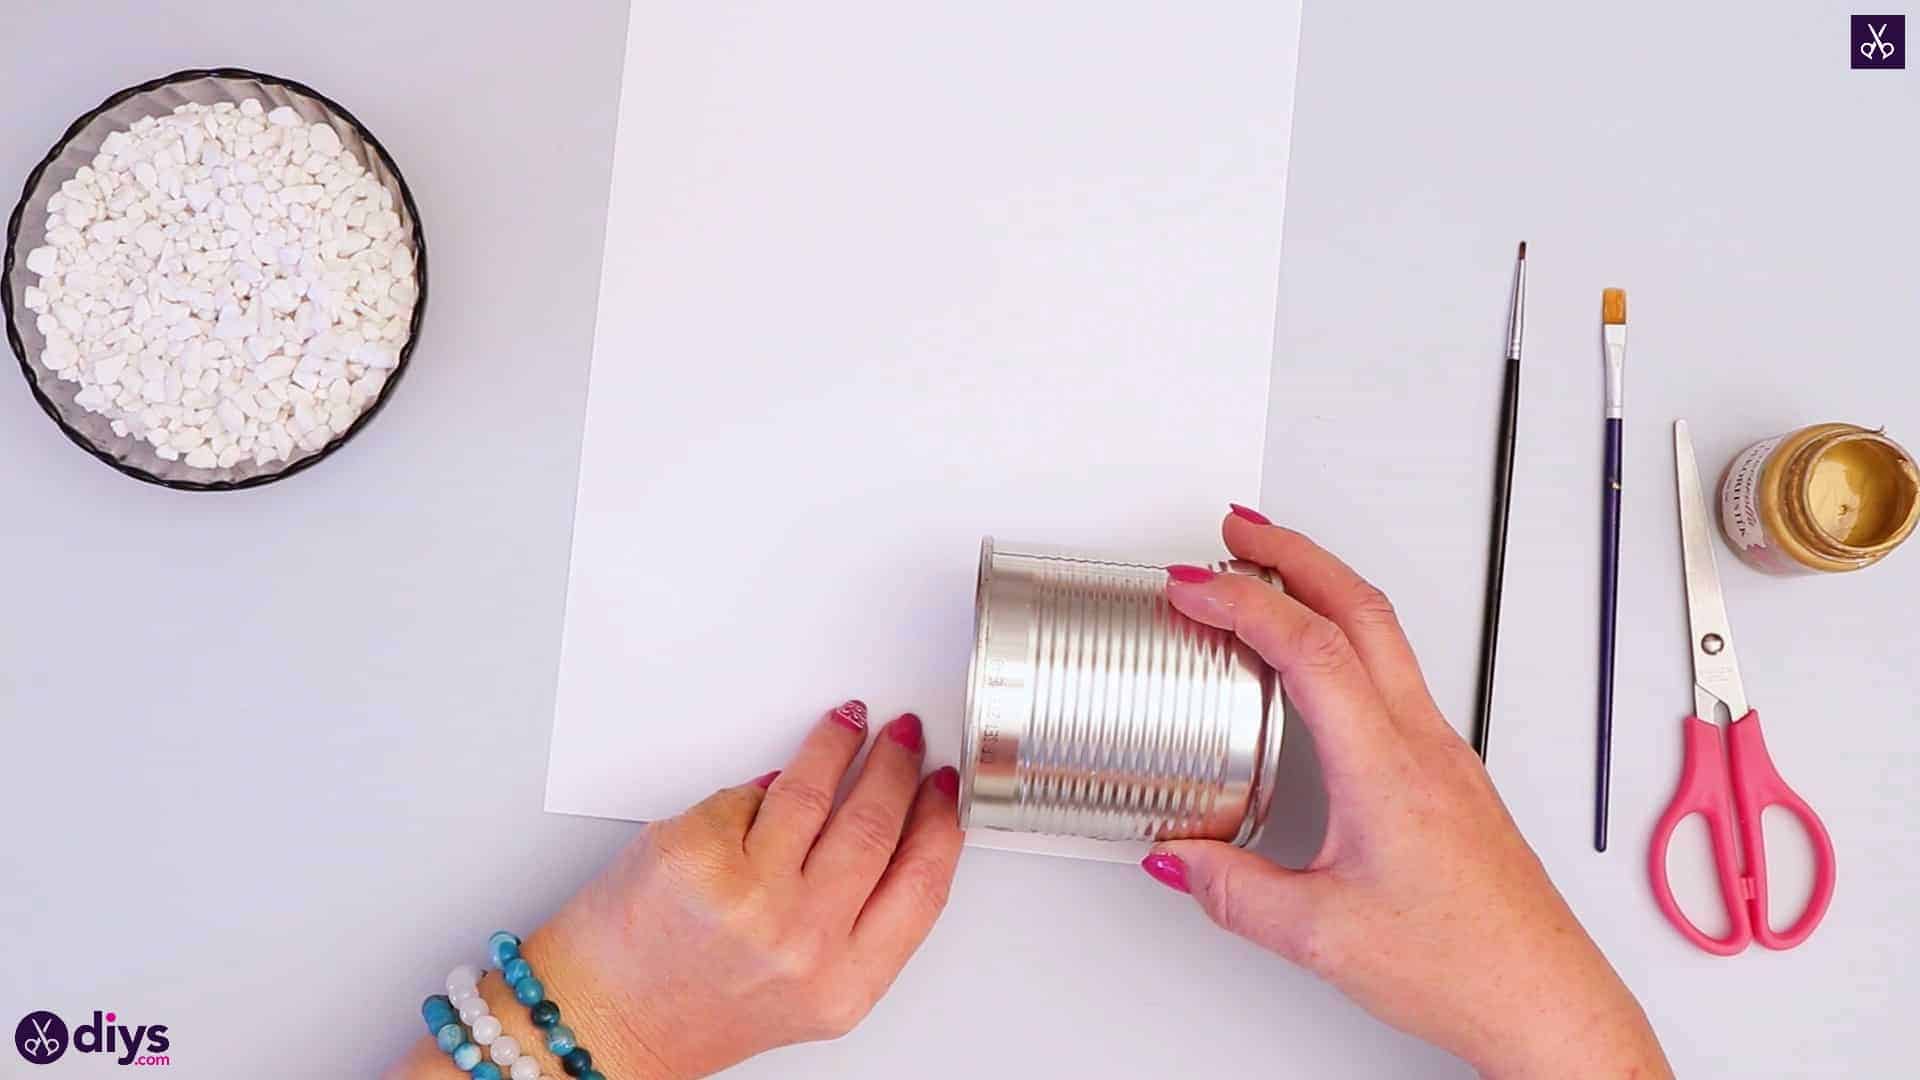
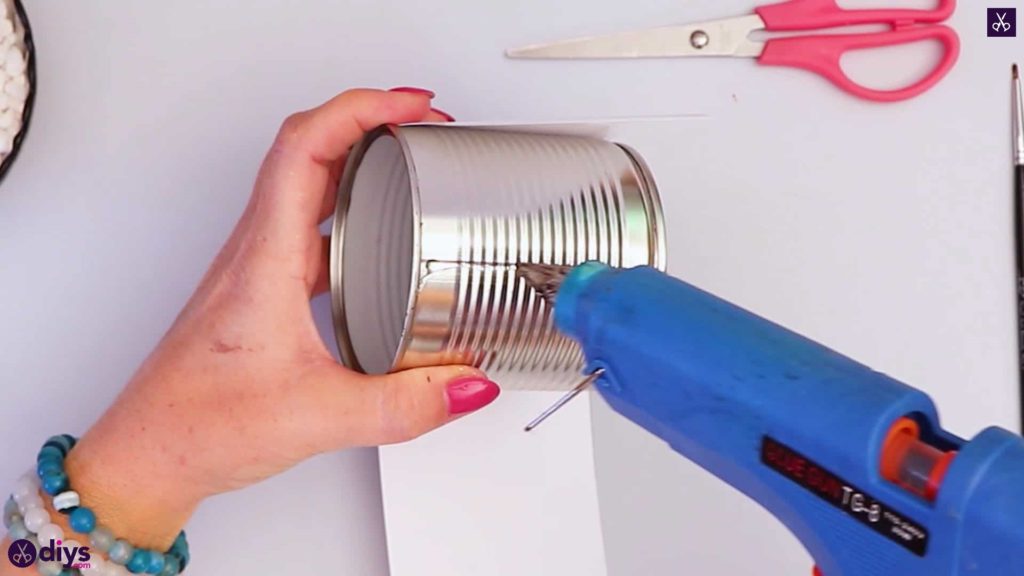
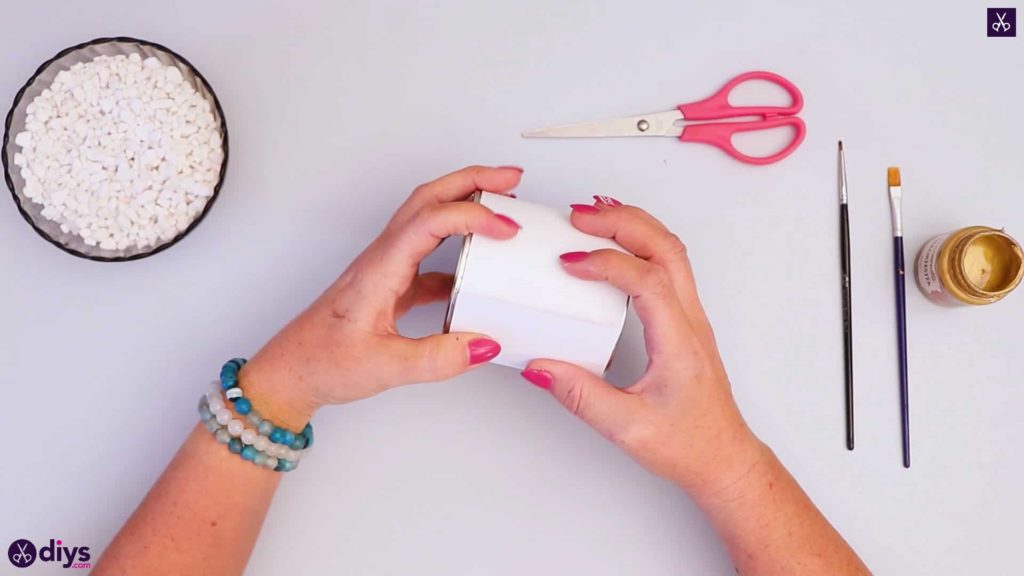
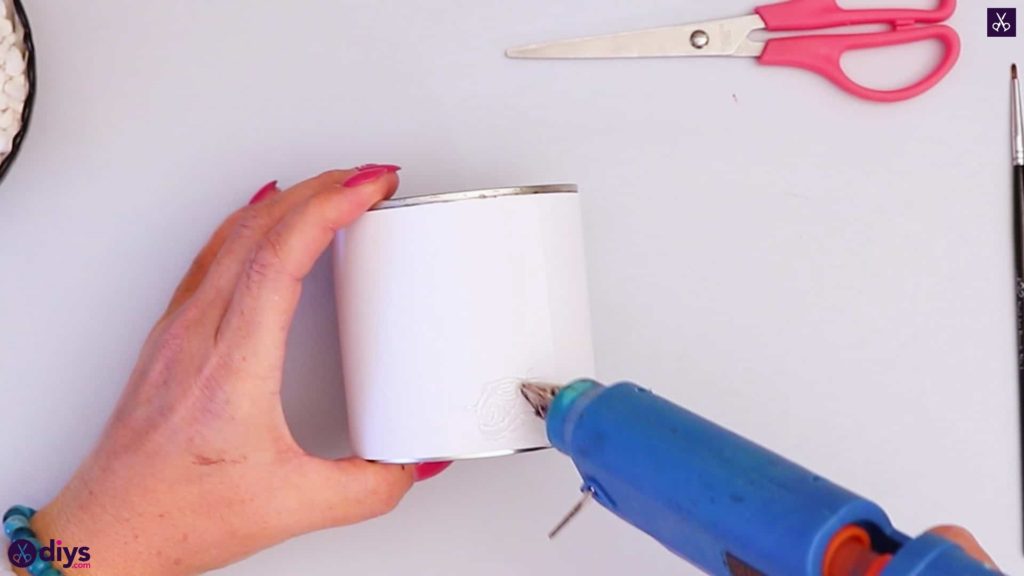
Step 2: wrap the tin
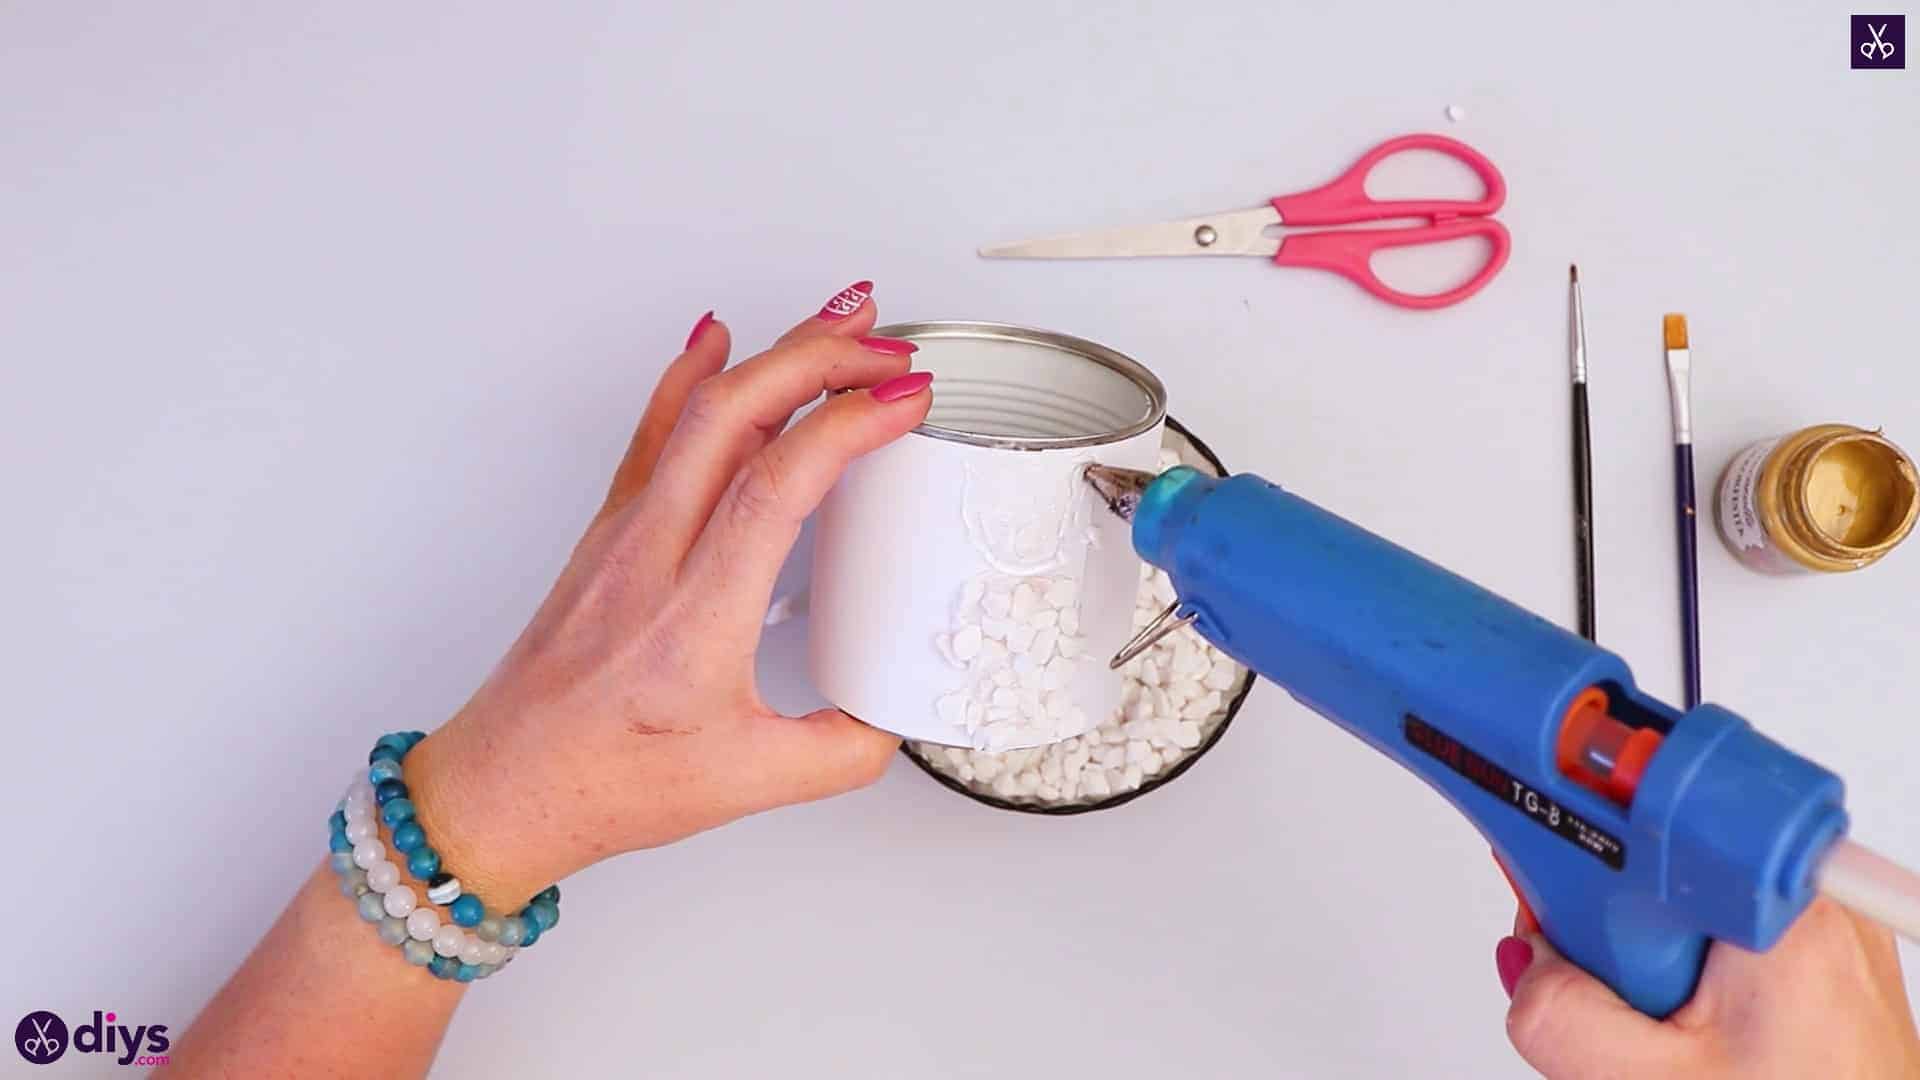
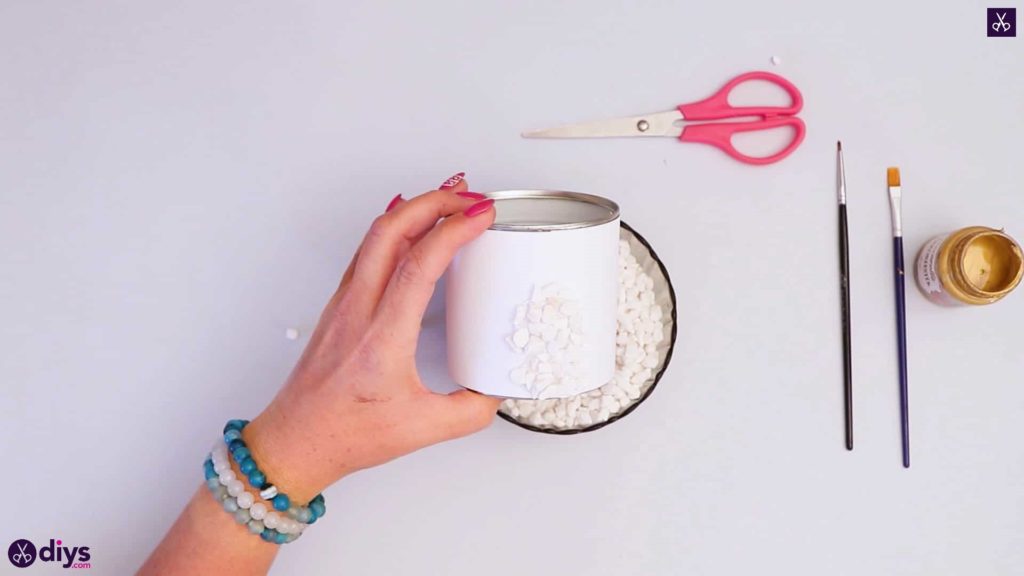
Turn your piece of white paper to sit portrait on your tabletop and lay your tin can on it in the bottom right corner, turned sideways, so the bottom edge sits against the righthand edge of the page. Note or mark the place where the the top edge opposite that hits the page closer to the center and remove the can. Use your scissors to cut a rectangle from the page that’s precisely the same width as the height of your can and set the rest aside. Apply hot glue down the length of your can’s outside surface and stick down one end of your white strip along its shorter edge. Wrap the strip all the way around the can until it meets back up with your anchored end and trim off the excess, leaving a little bit to overlap. Apply glue on top of the glued end and stick down your new second end there as well. Your whole an is now covered in white paper all the way around.


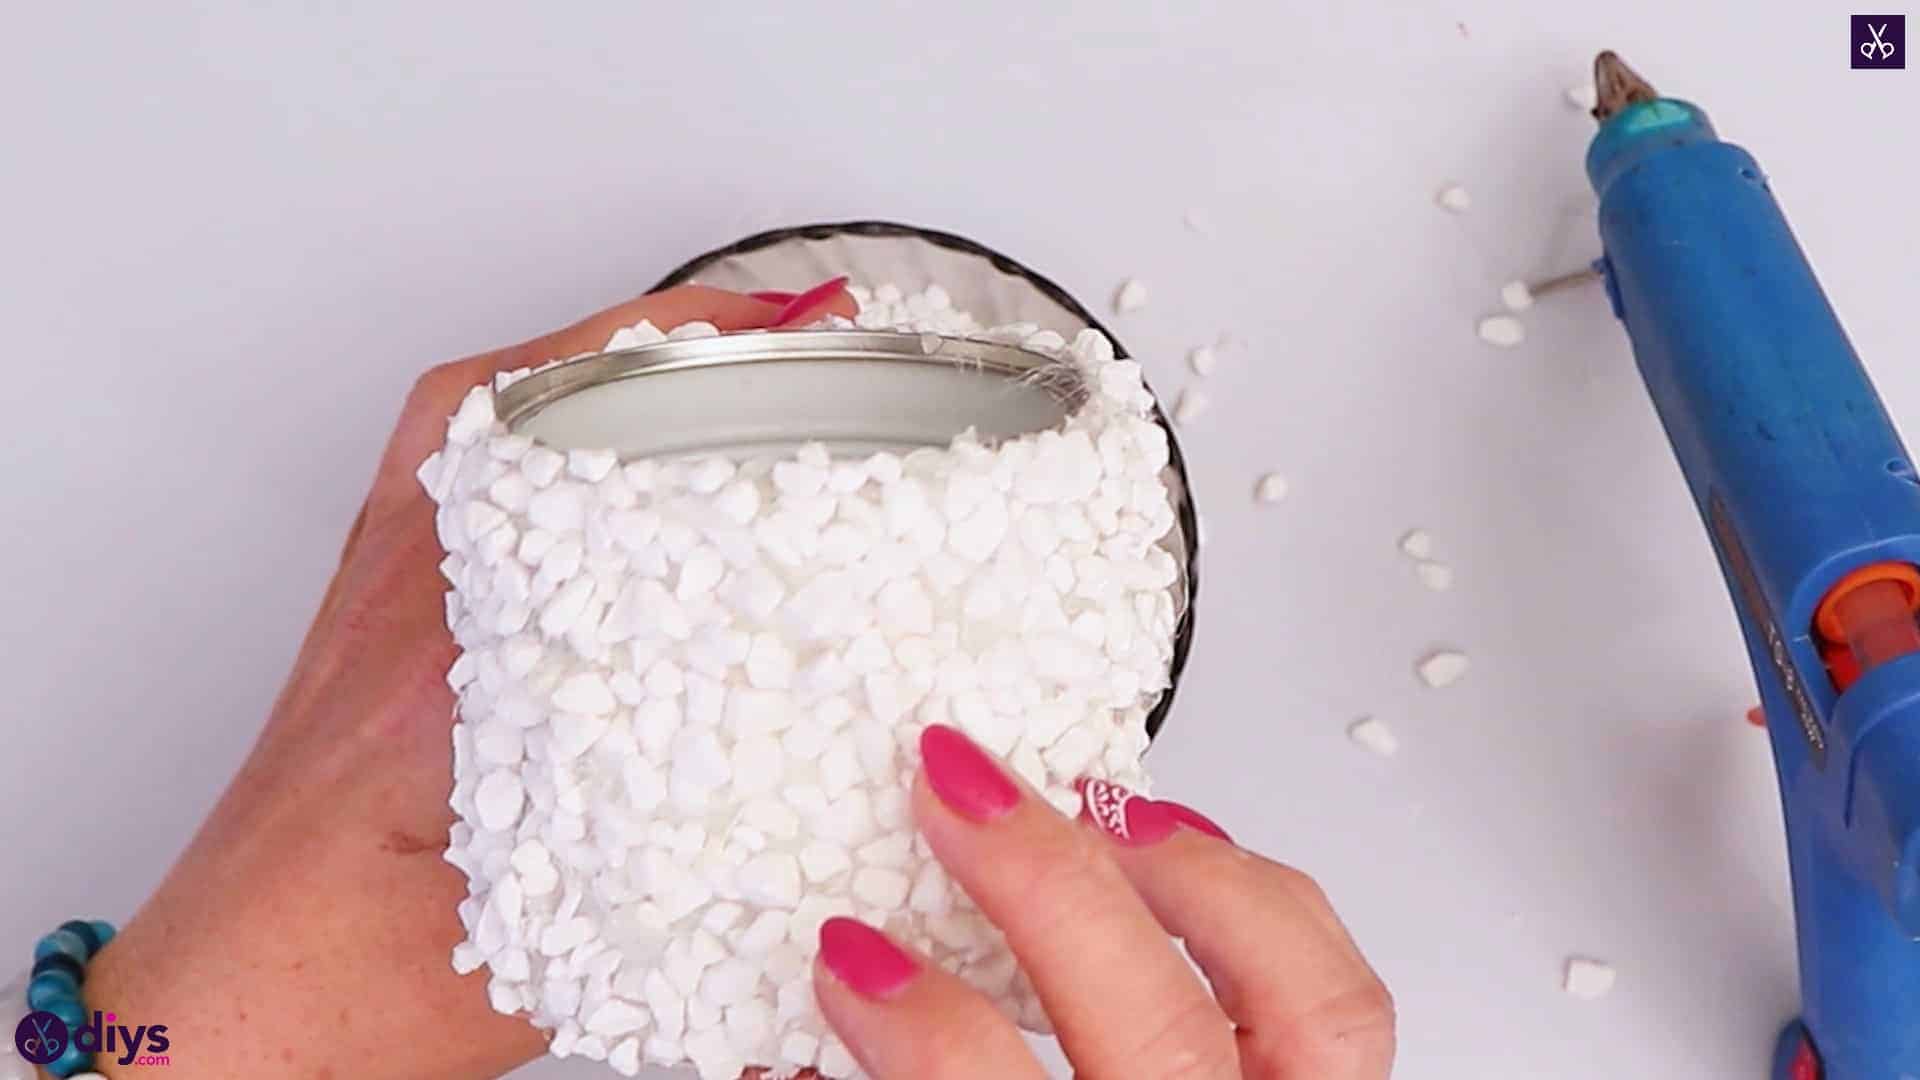
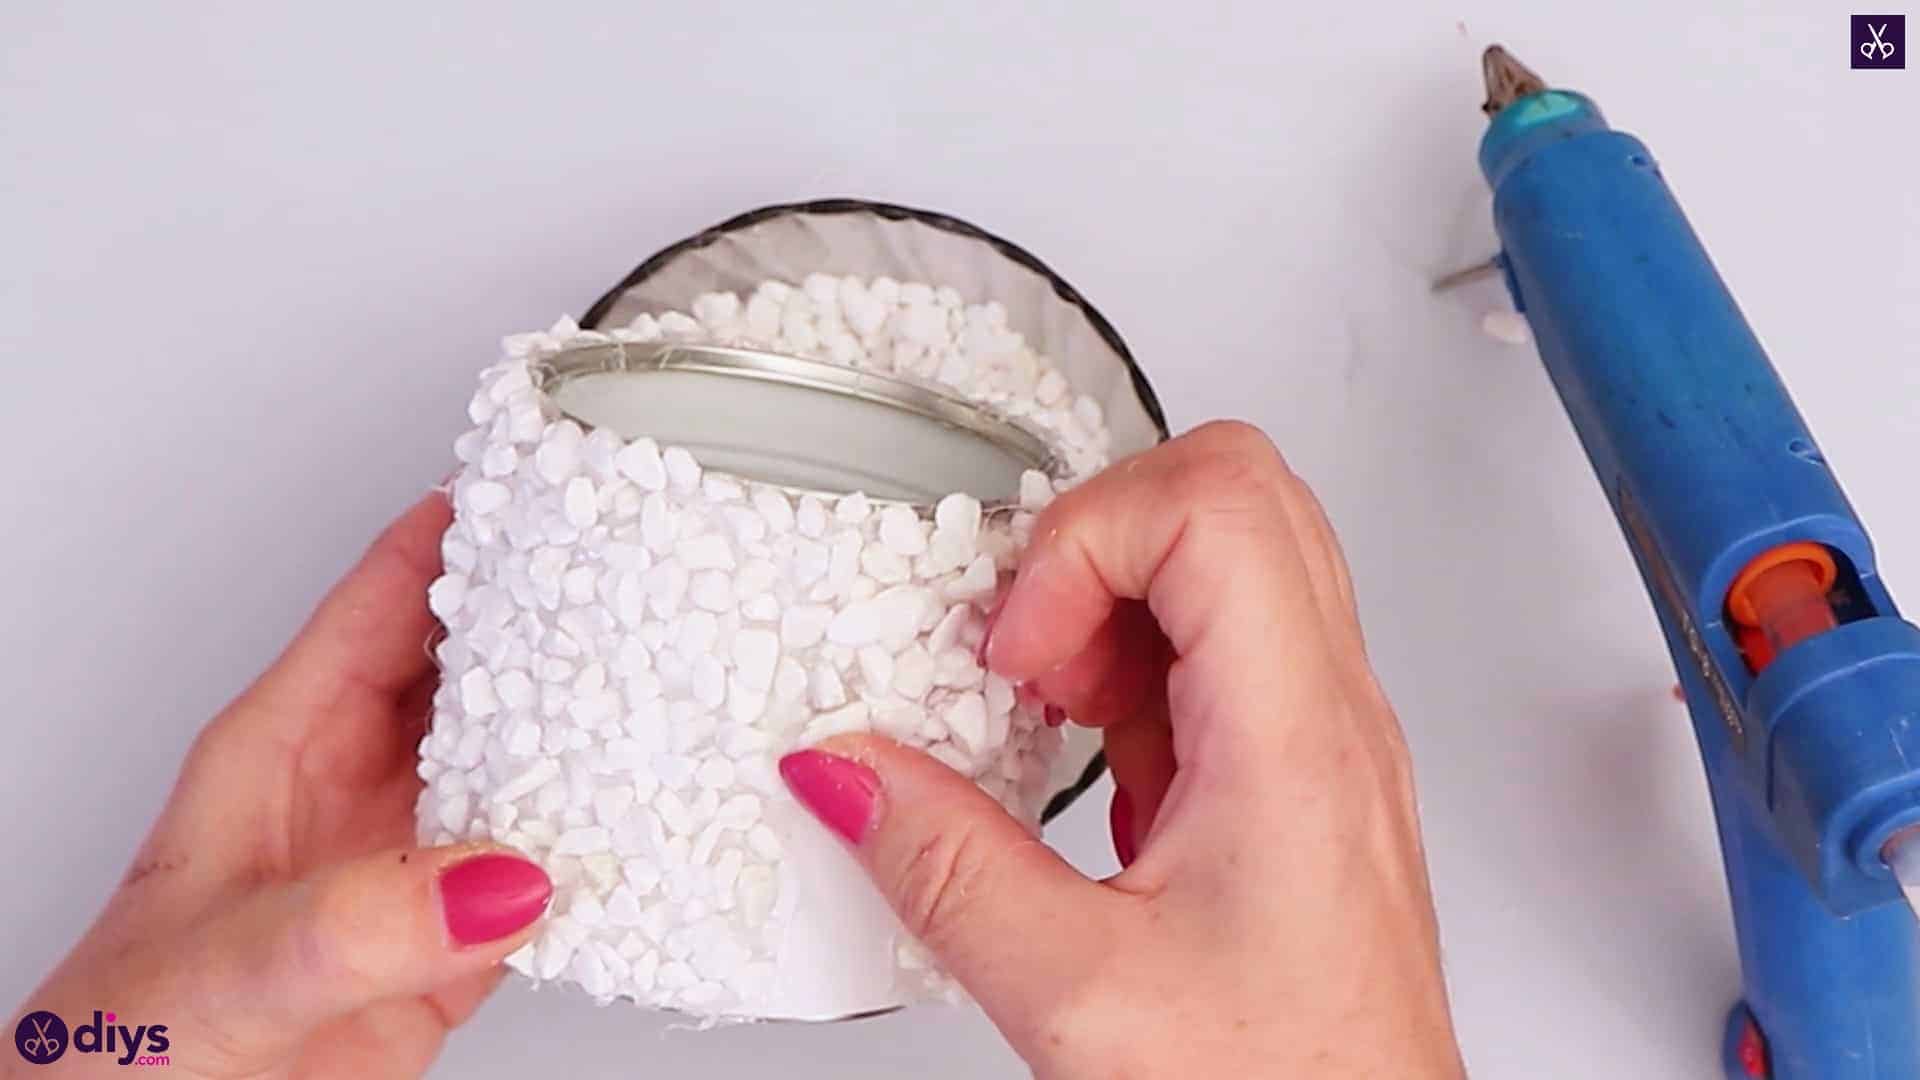
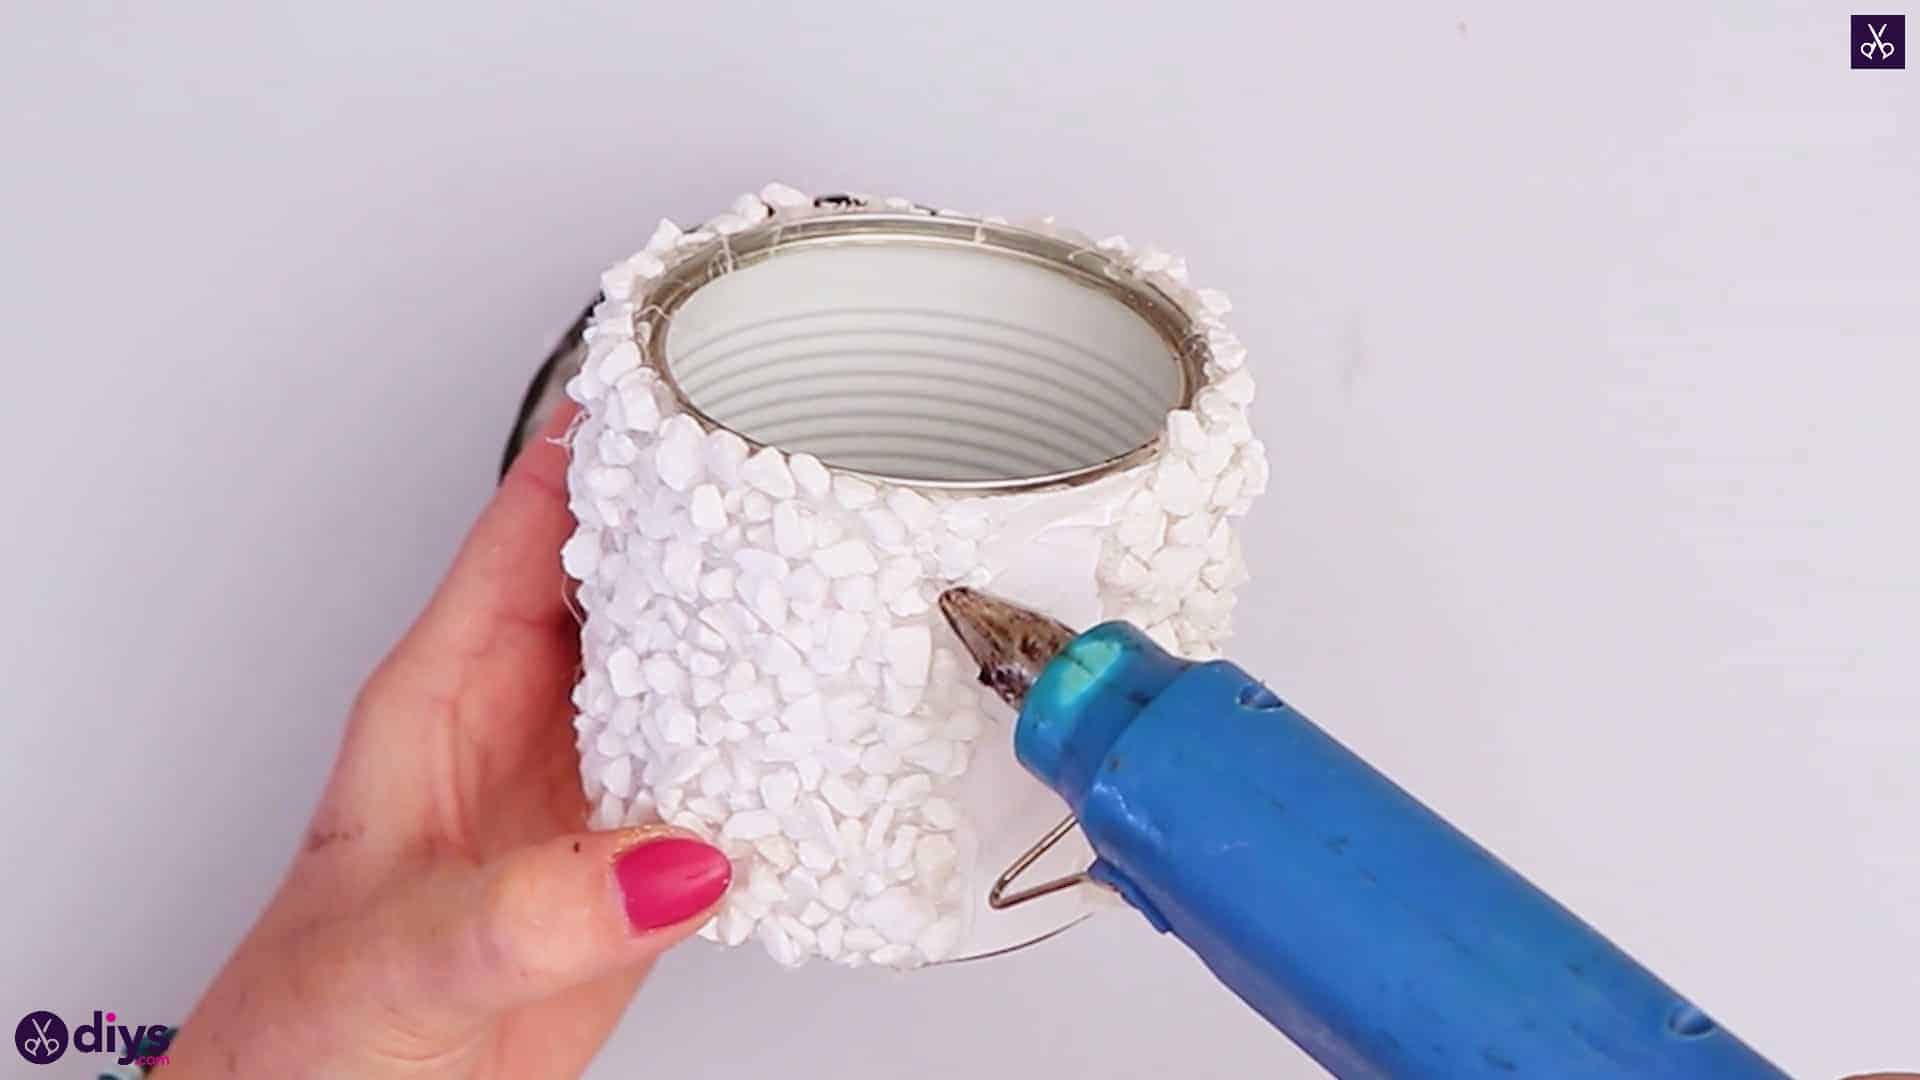
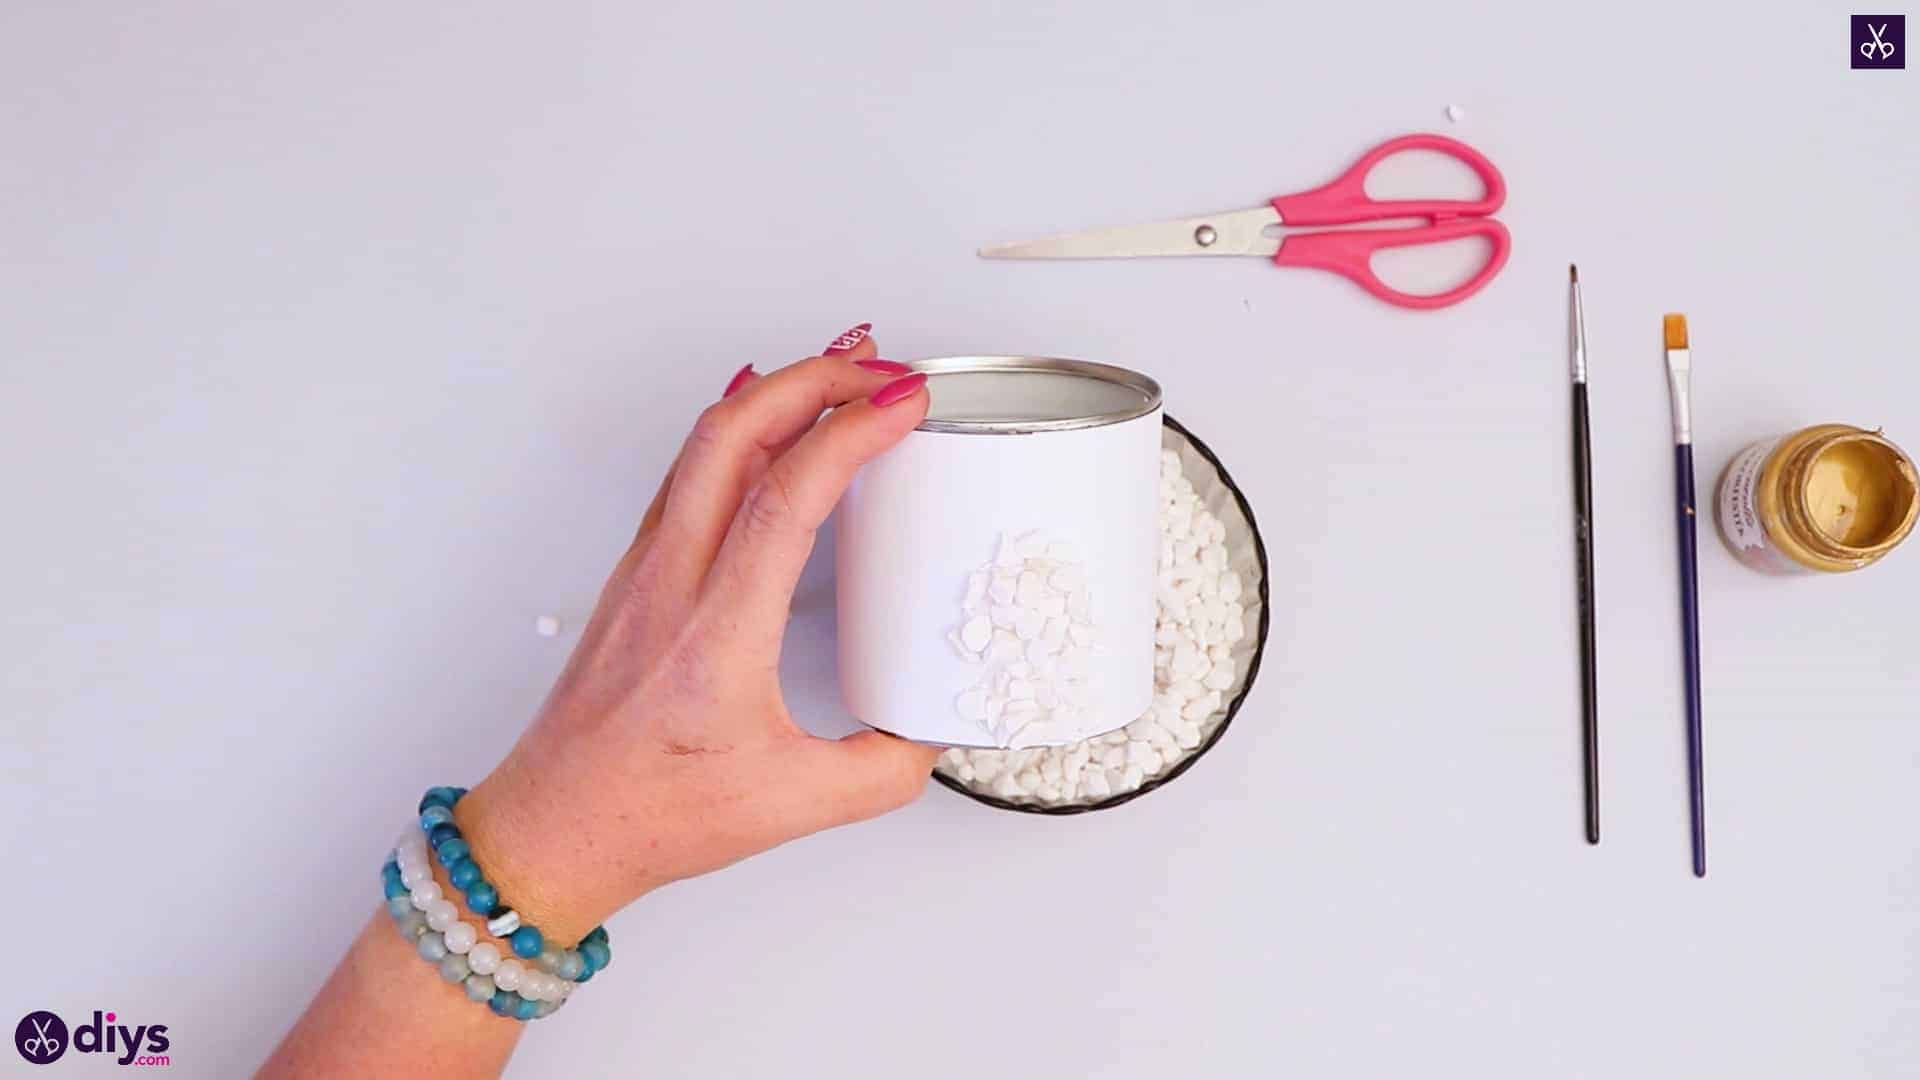
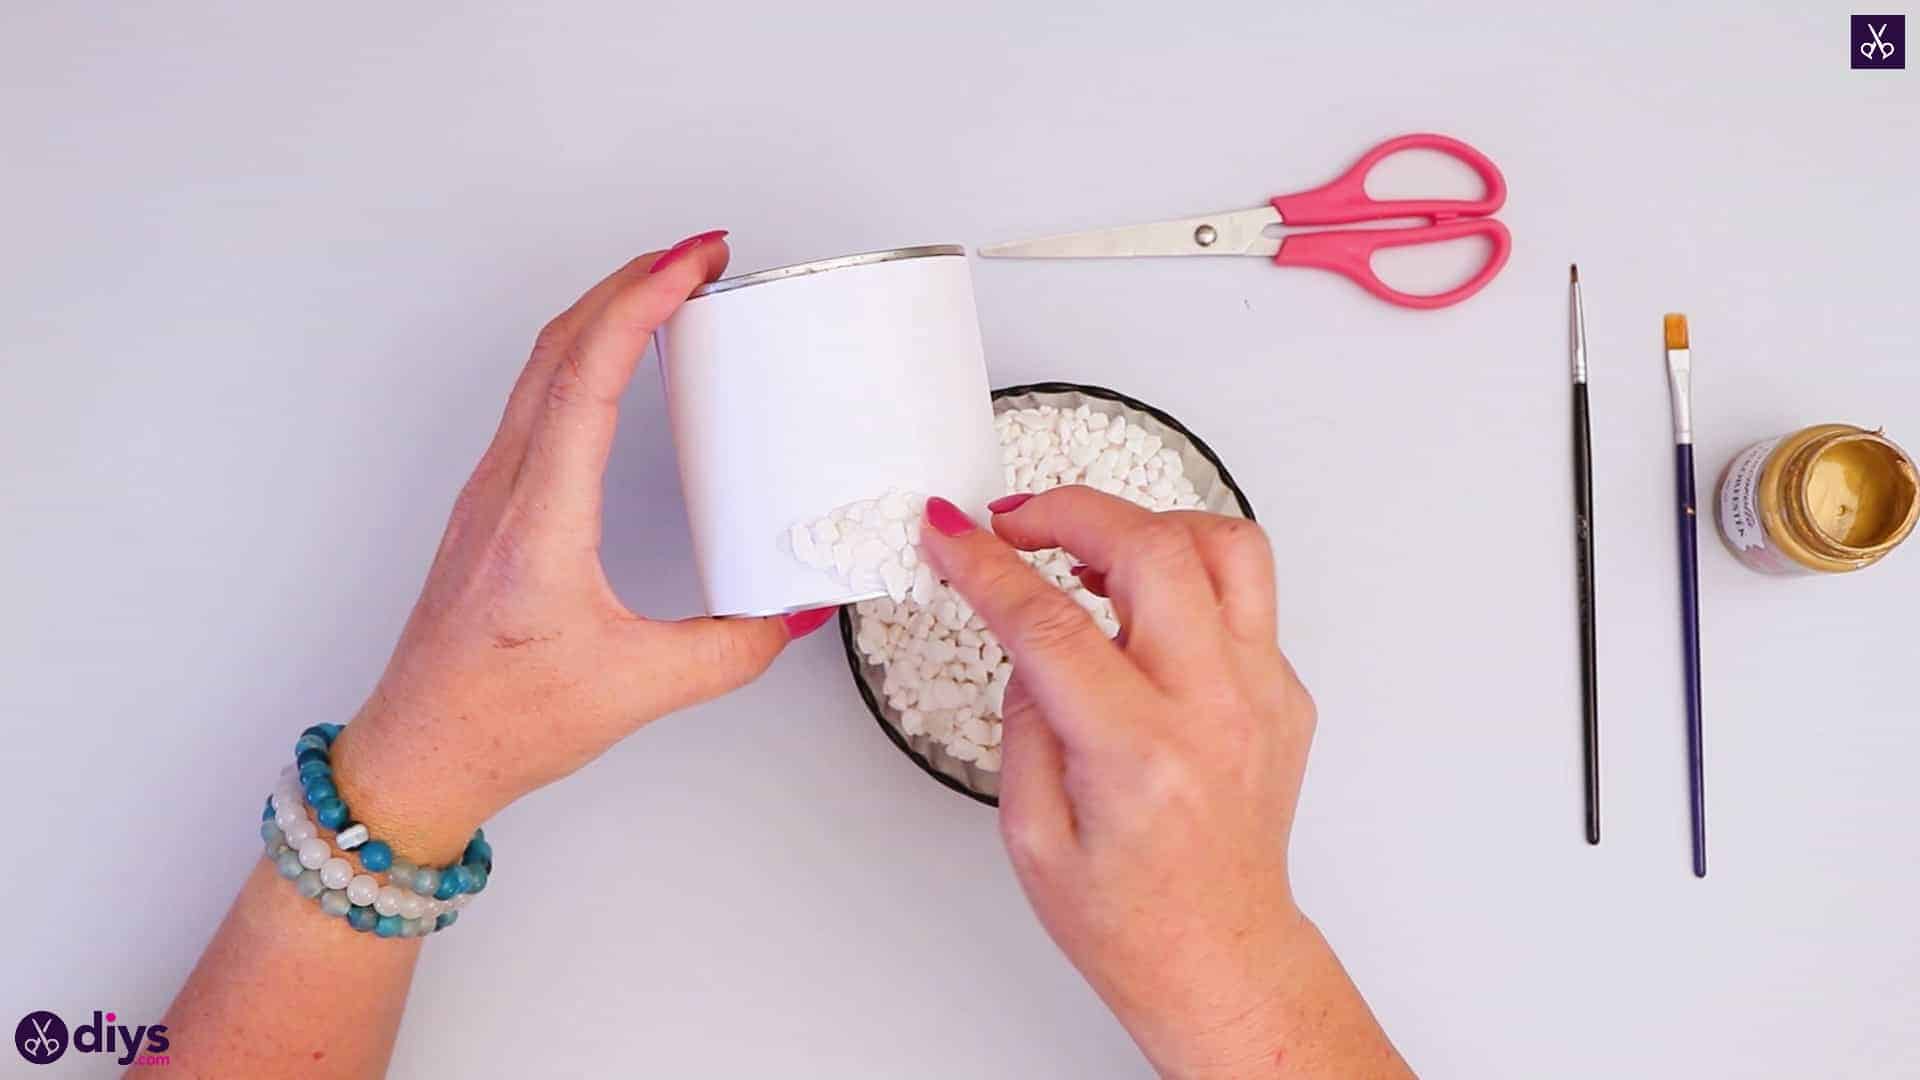
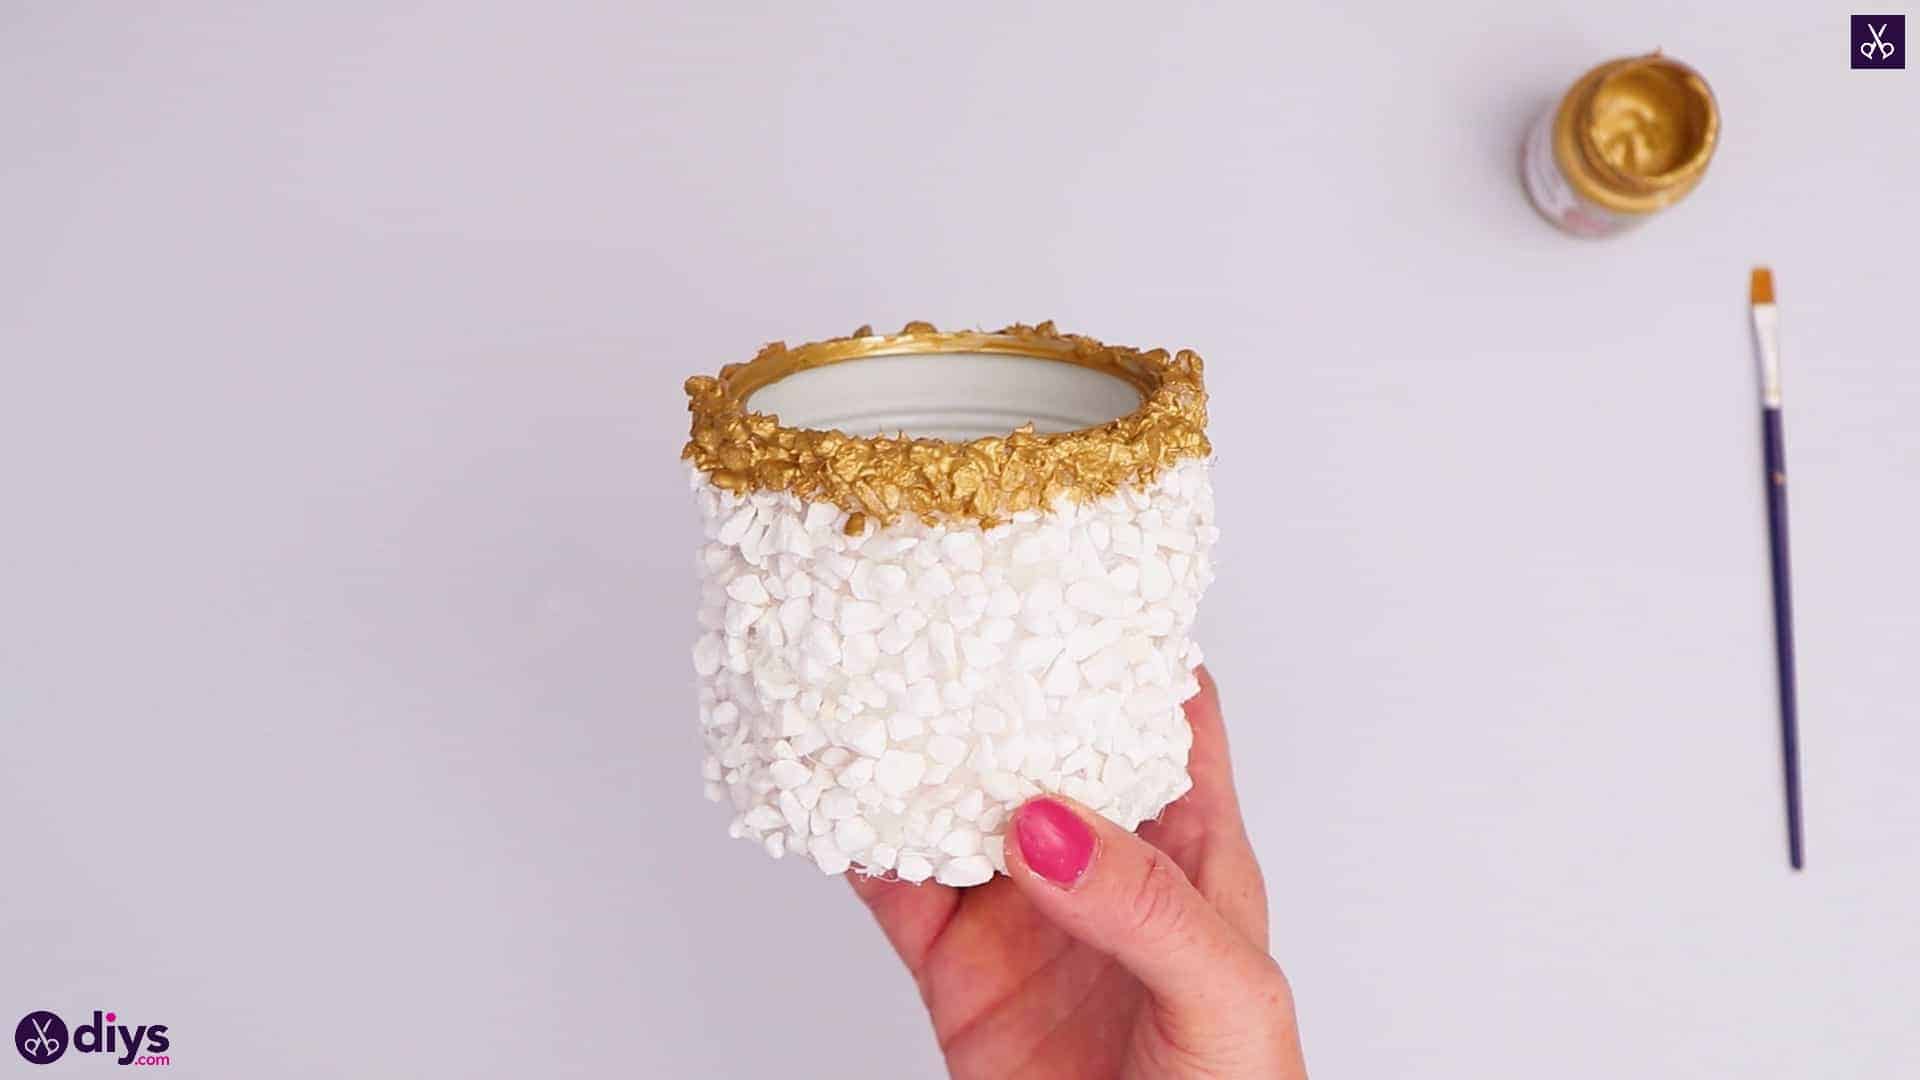
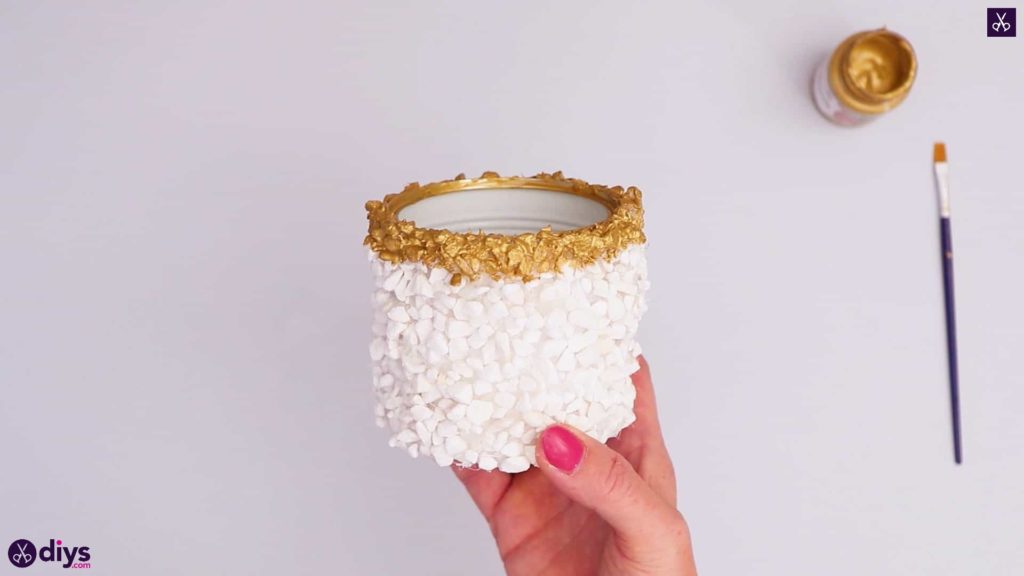
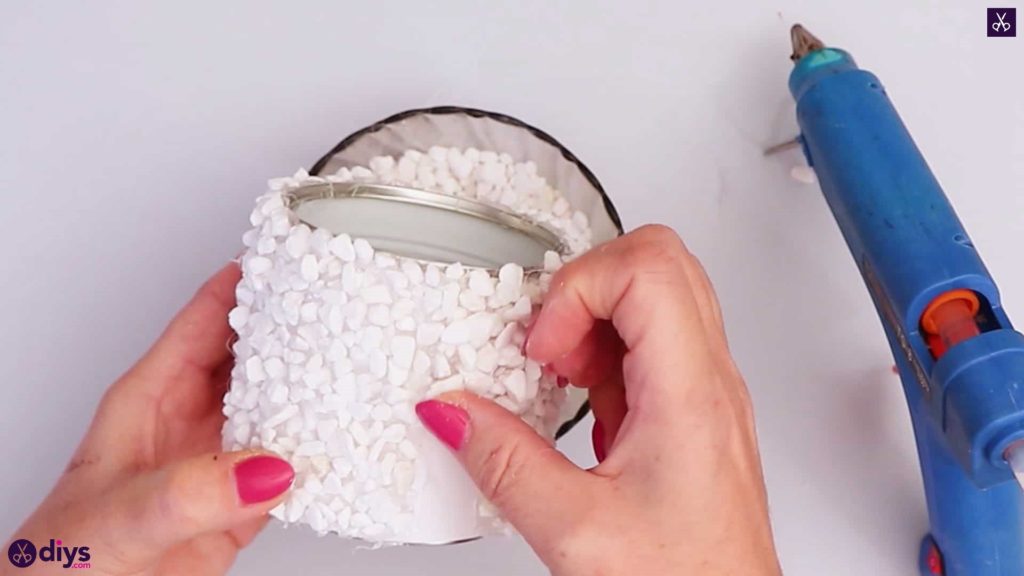
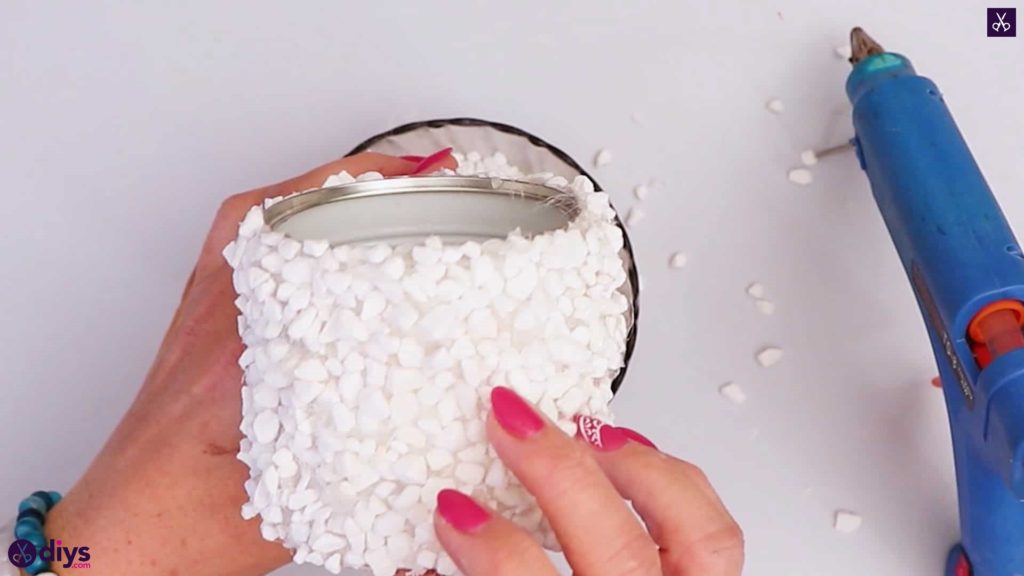
Step 3: glue the rocks on
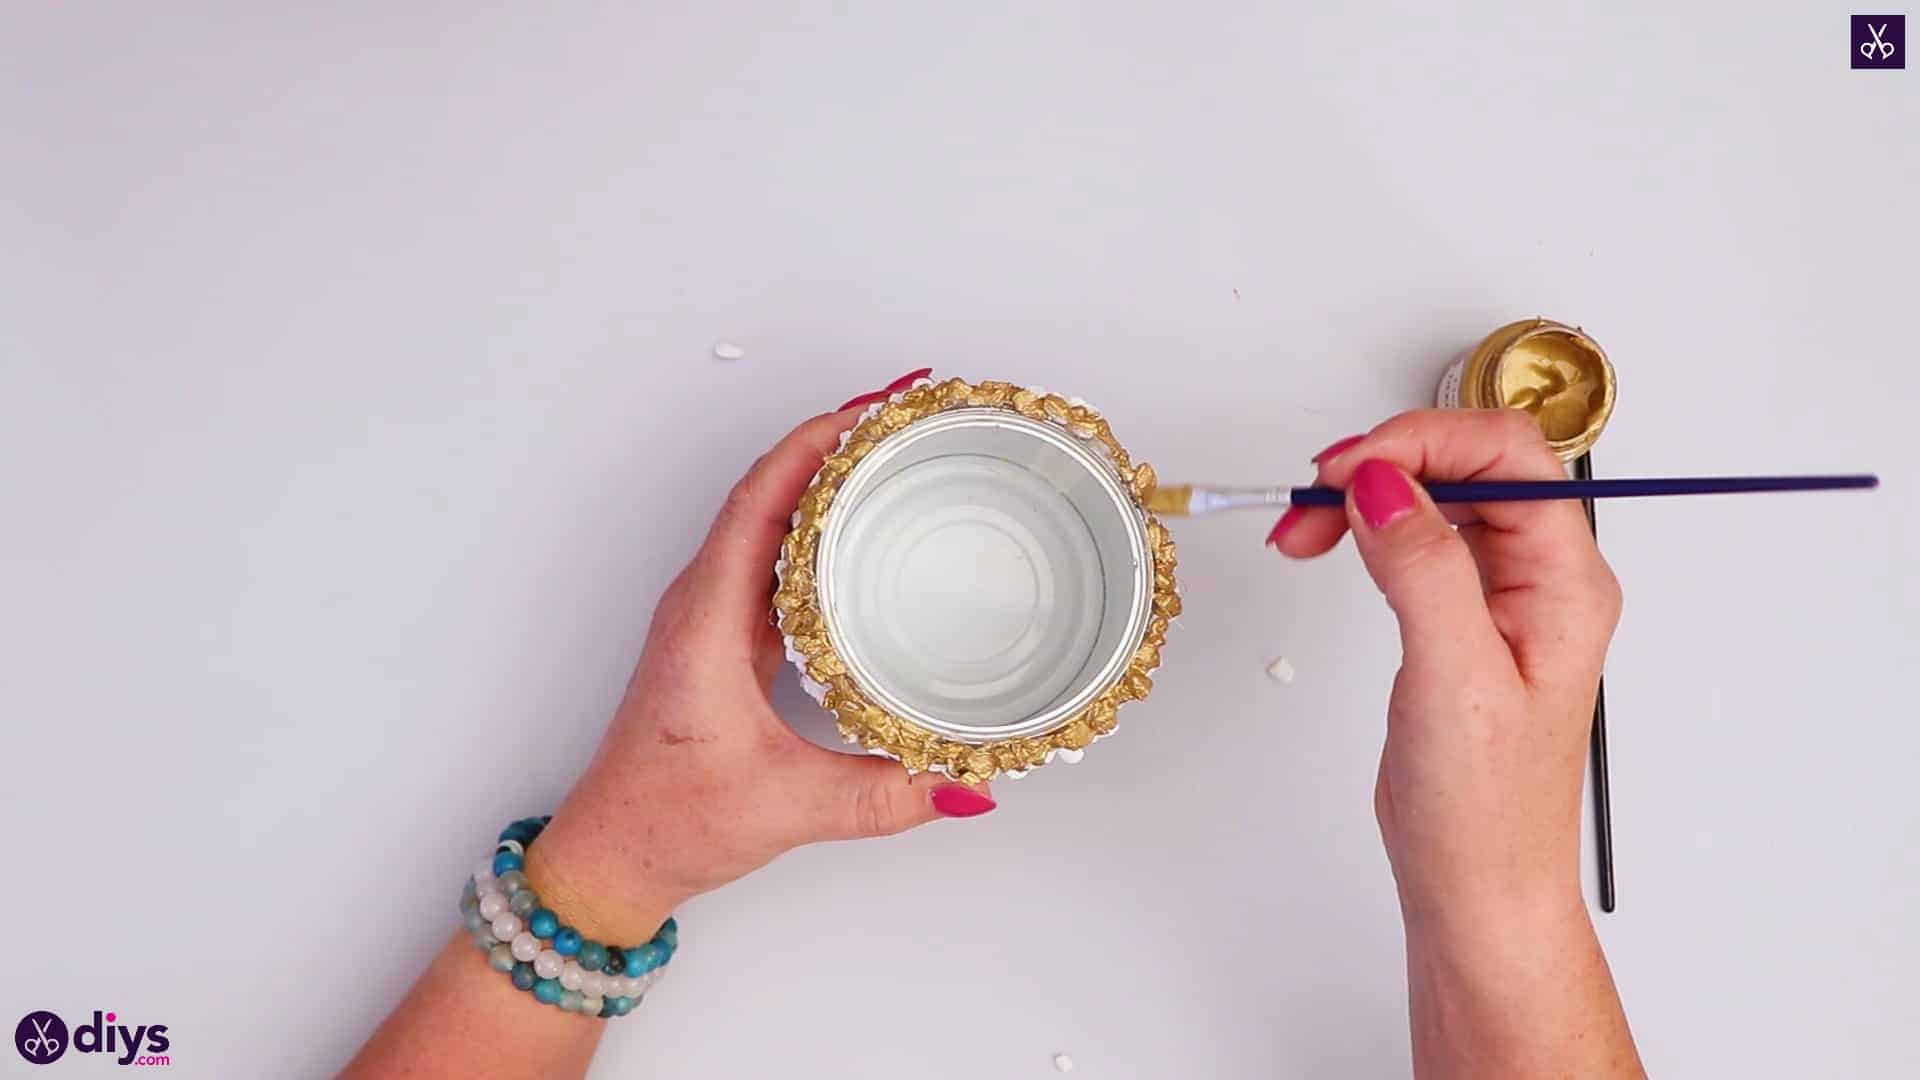
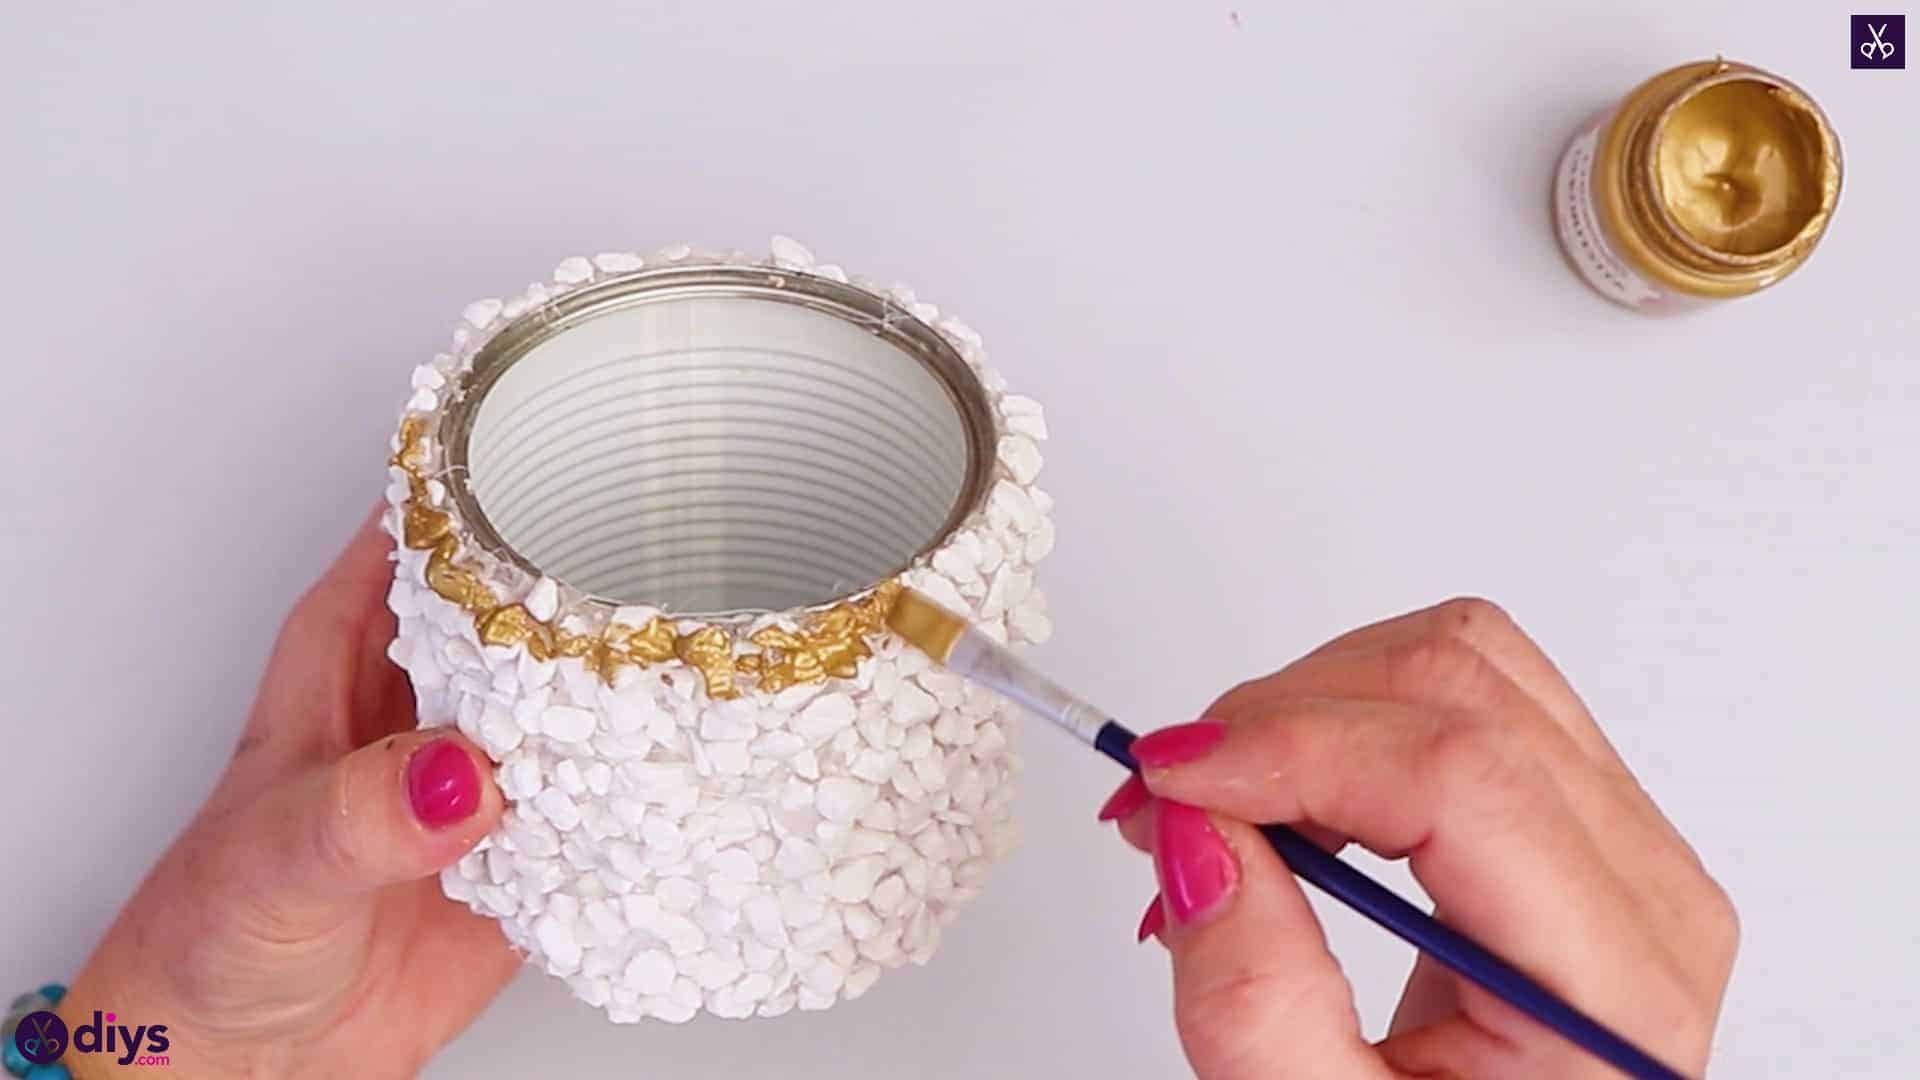
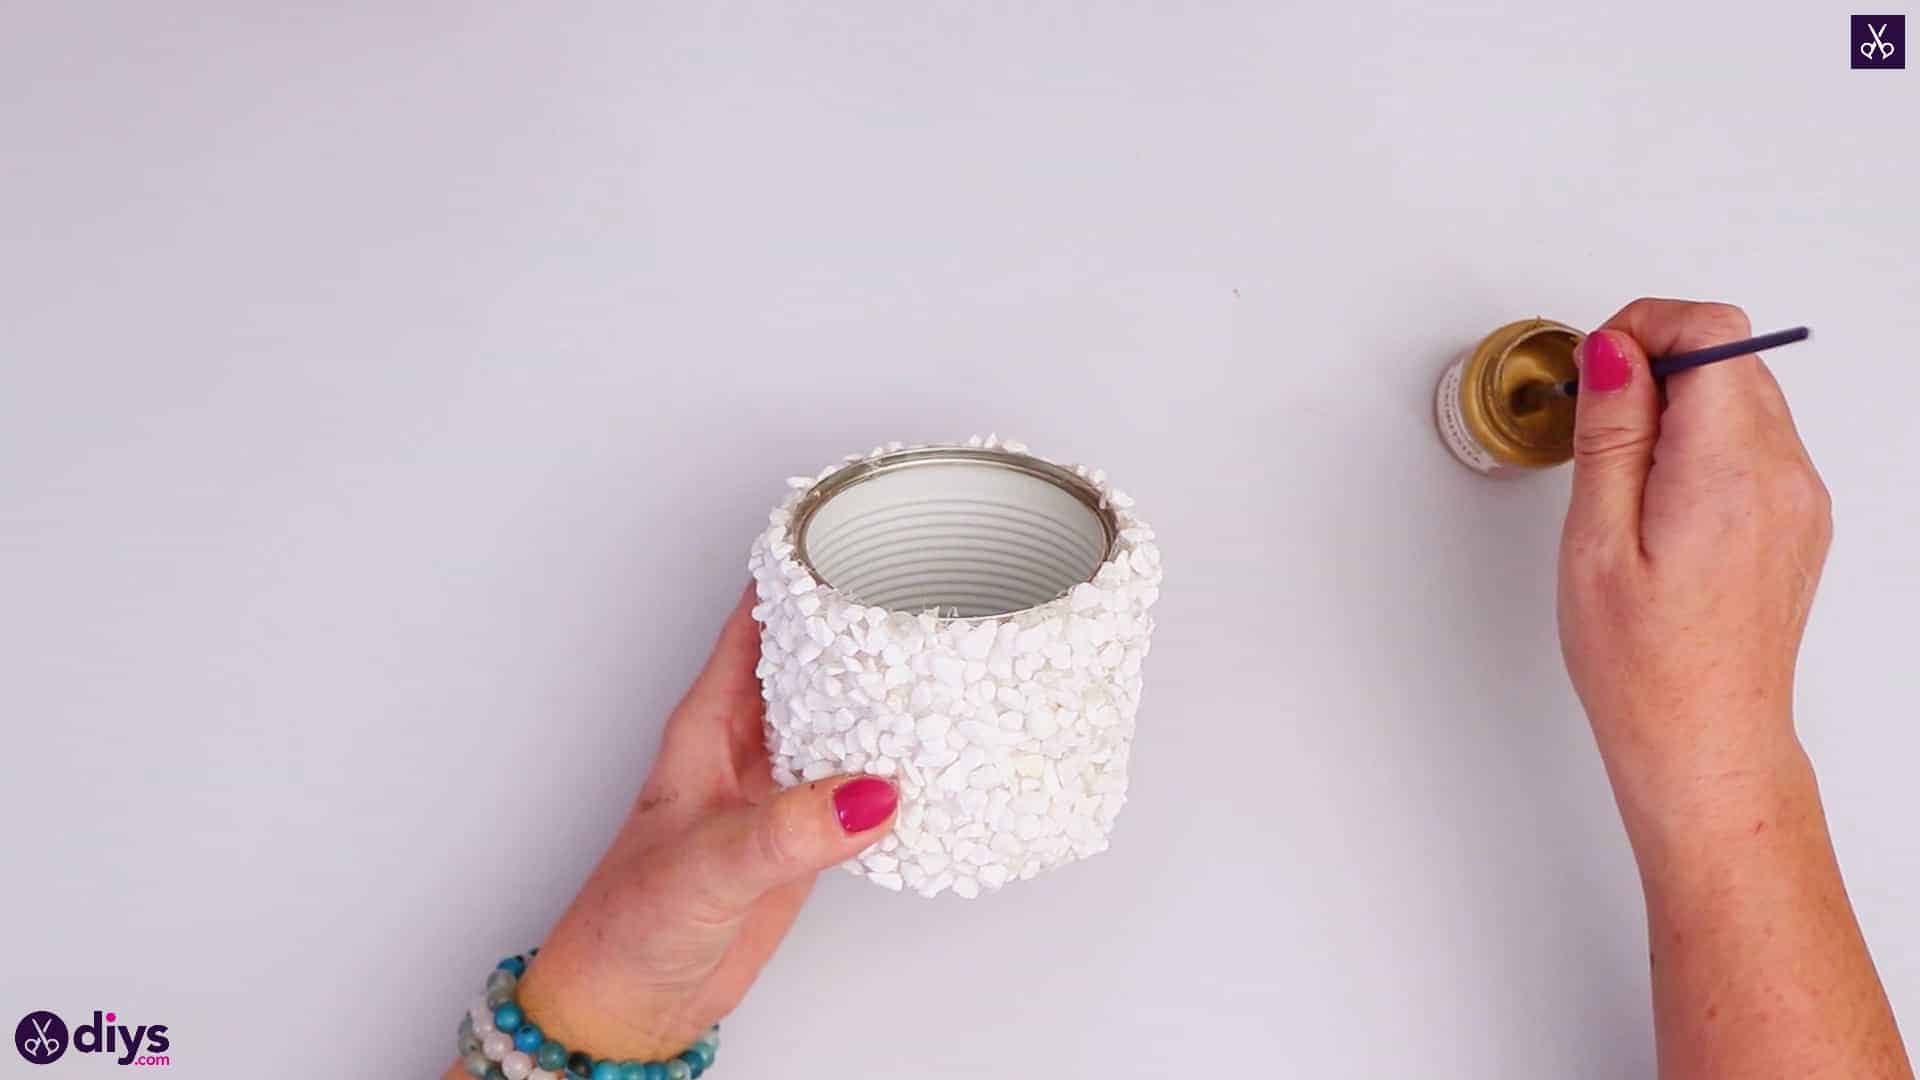
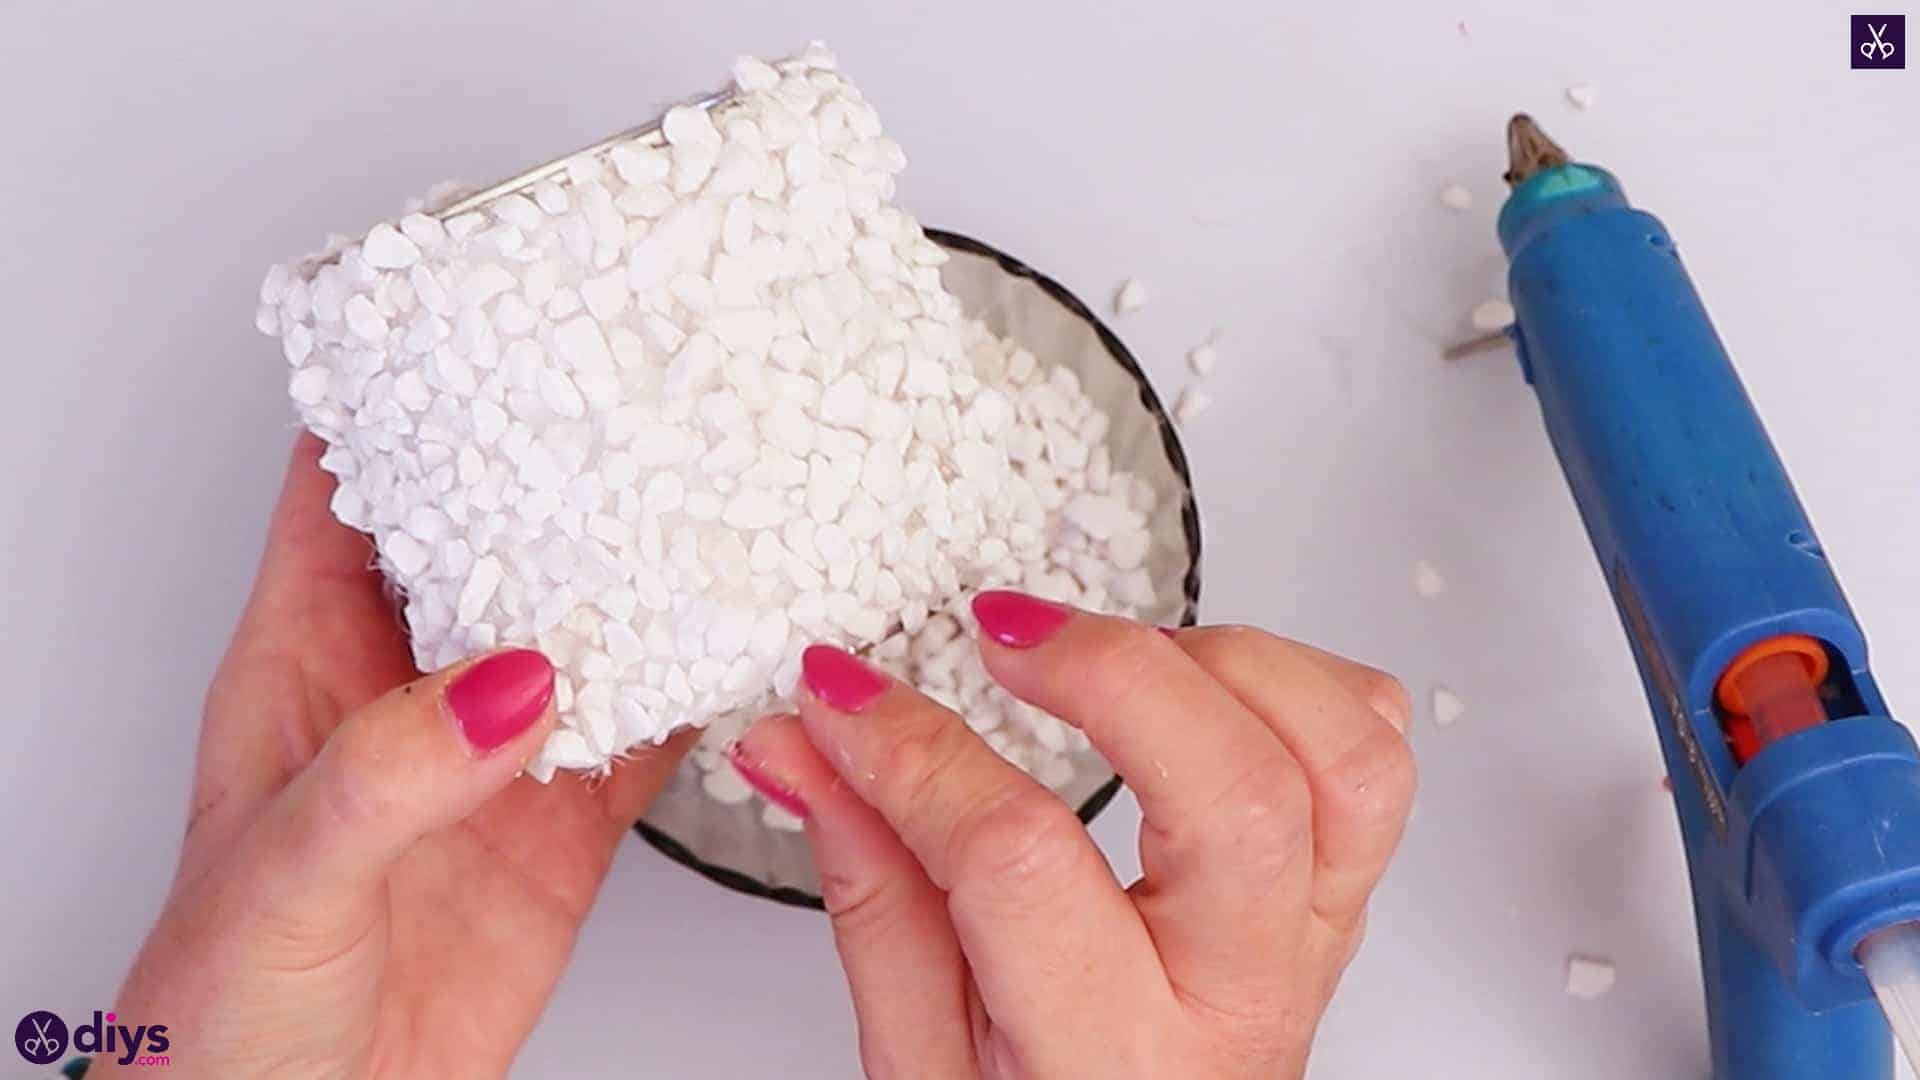
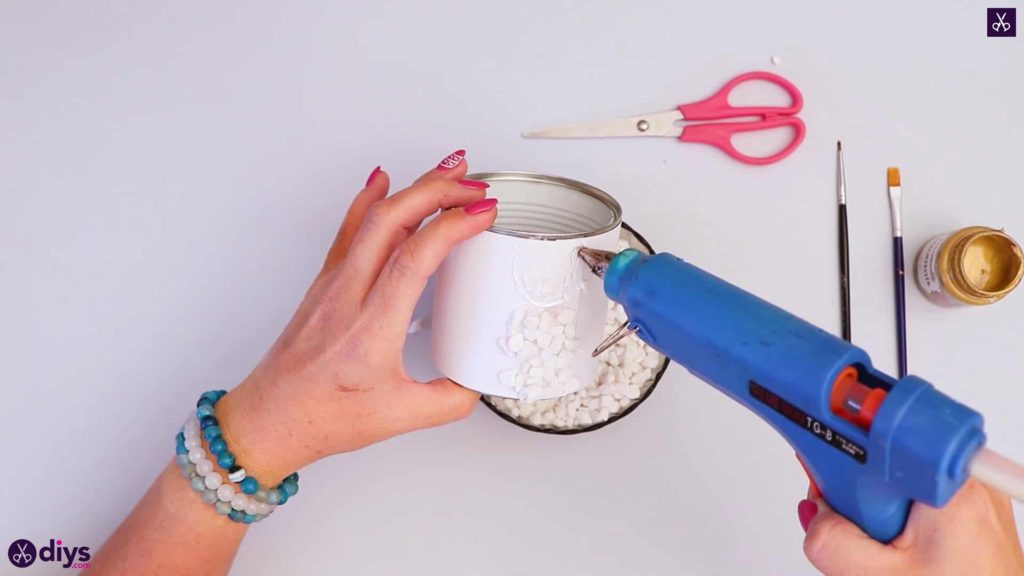
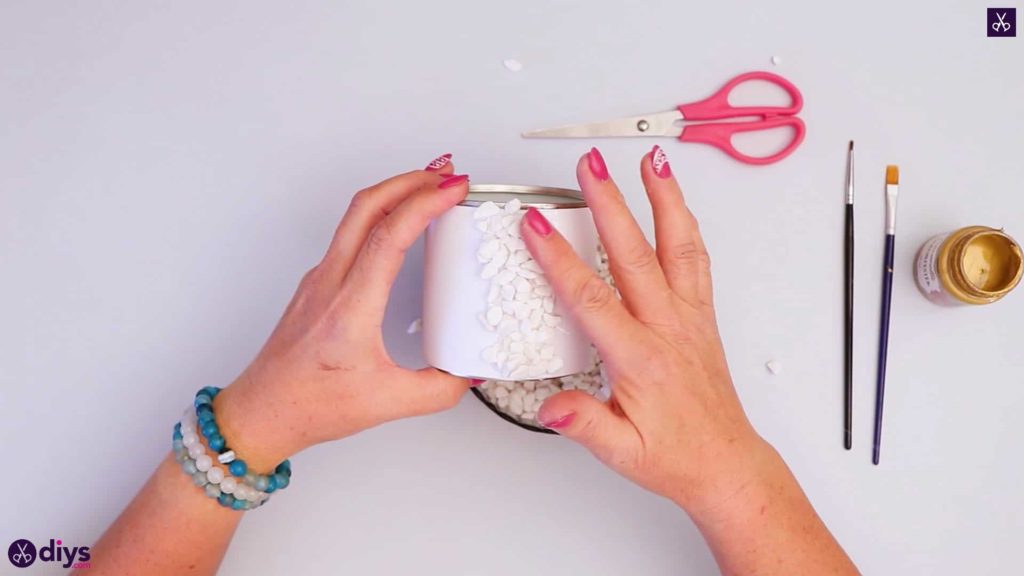
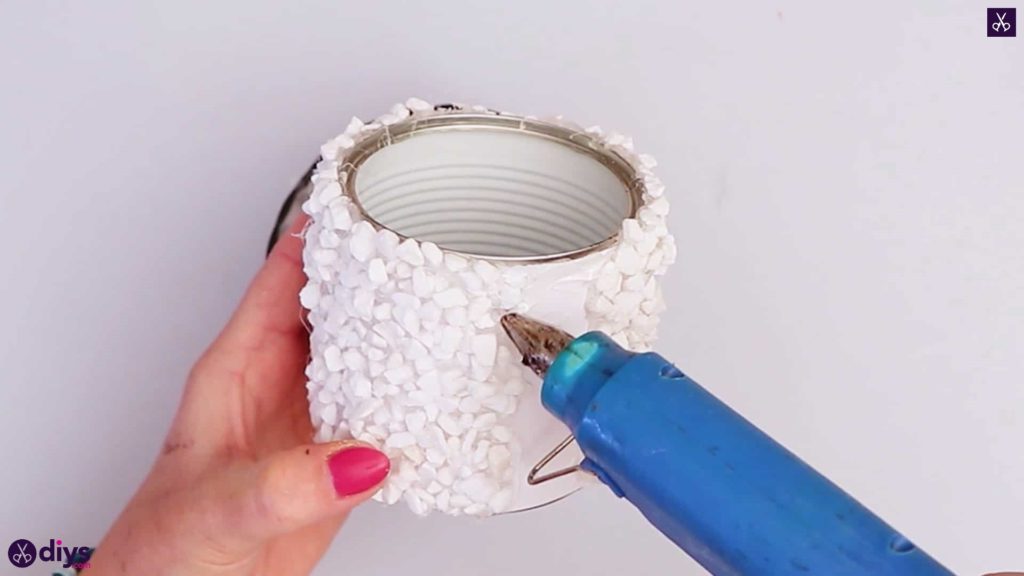
Apply a patch of hot glue near the bottom of the can, by the edge, and start carefully placing rocks into the glue, sticking them down however they’ll settle best. Apply more glue next to that and repeat the stone sticking process, positioned to look consistent and as seamless as possible. Repeat this process all around the can to cover its entire outer surface in little white stones. Try to get the stones as even as possible and as close to the edge as you can while still letting the can sit evenly at the bottom.


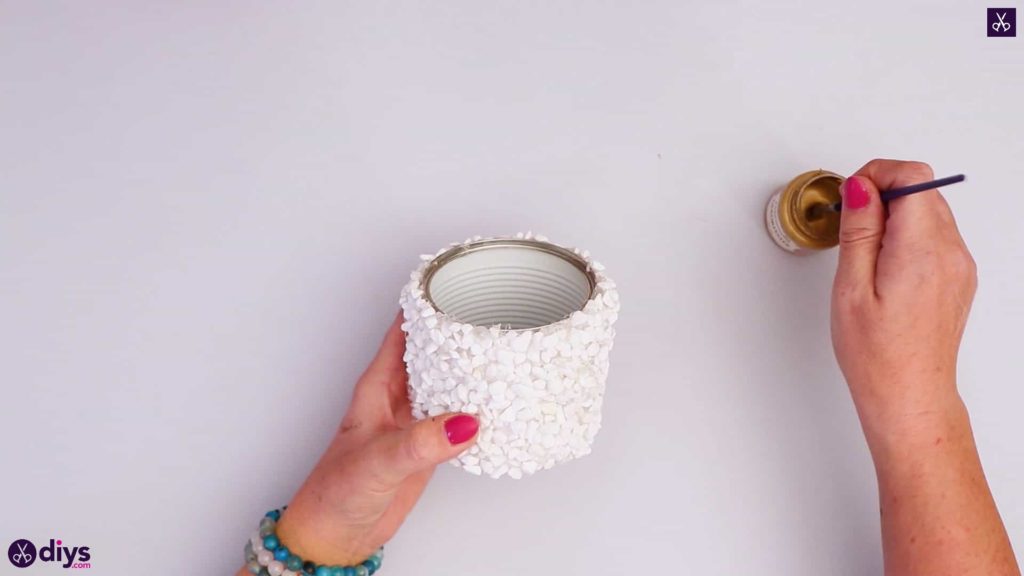
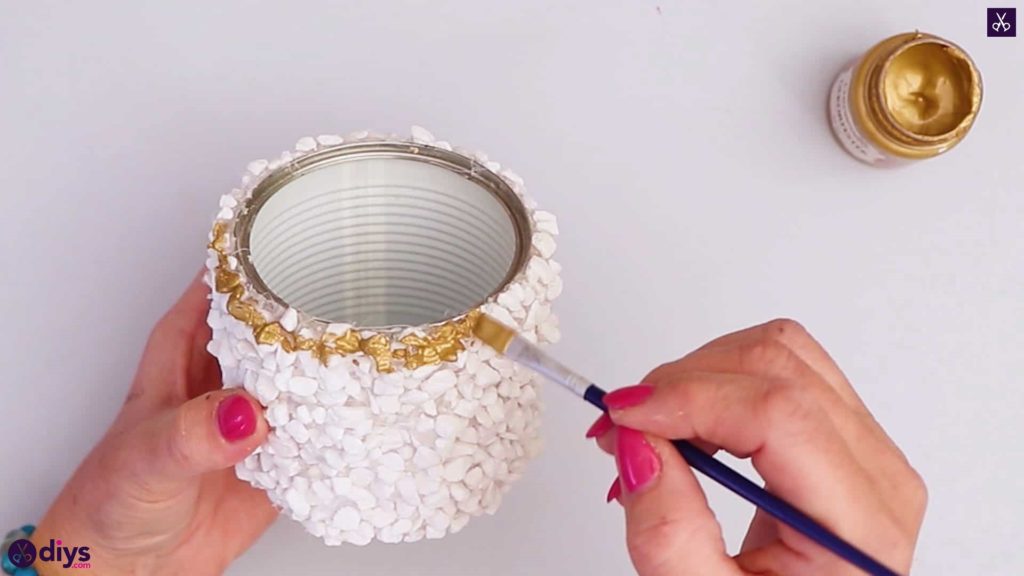
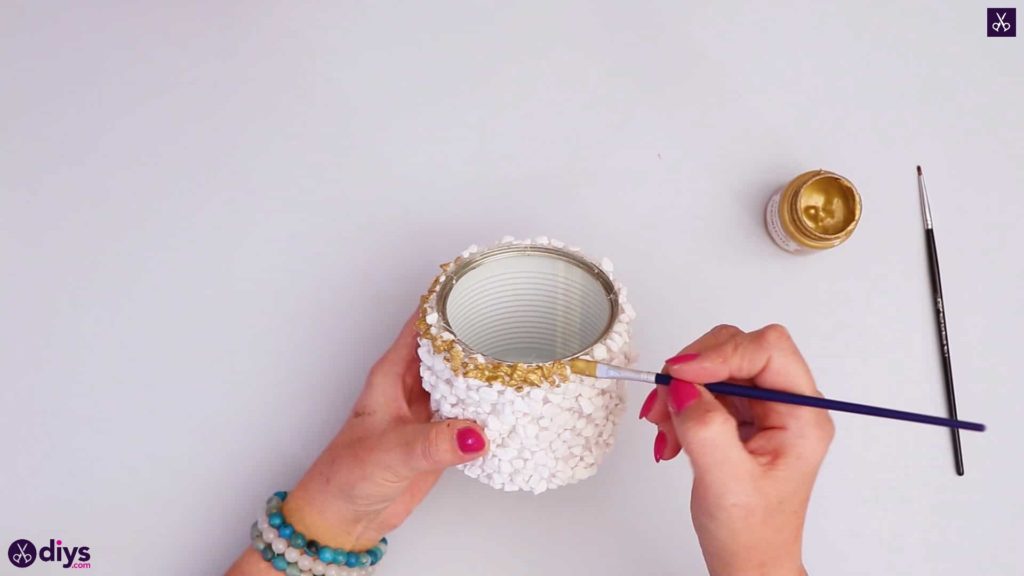
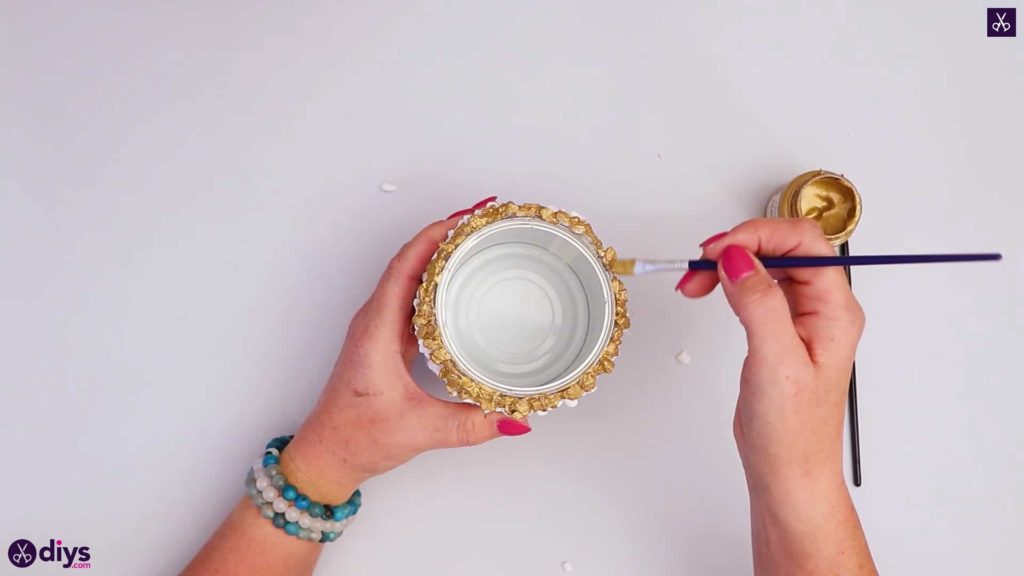
Step 4: add some flare
Use your paintbrush to add colour and detail to your organizer! I chose metallic gold and decided to paint a ring around the top edge of the can. I wanted to keep things minimalist but a little glamorous. Try a dotting technique to make sure that your brush gets down in between the stones and really covers the colour so it doesn’t look patchy.
That’s really all there is to it! Feel free to use differently coloured stones or different painting shades and techniques. Just in case you’d like to try this project out for yourself, here’s a fantastic tutorial video to help you!