How to Transfer Photos to Wood
Updated on November 19, 2025


Setting family pictures out on display in your home is one of the best ways to warm up the space and build a friendly atmosphere for visitors. How you choose to display them, however, makes a big difference when it comes to decor. Anyone can print a simple picture and place it in a nice frame to lean on a side table or hang on the wall, but it takes a big of DIY skill to make more unique picture displays that will really impress. Our latest photo project obsession is wood transfer images!
You’ll find plenty of wood transfer picture tutorials online, but we find that some don’t go into quite the detail we would need if we were doing the search. To solve that, we’ve gathered information from a few different sources to get the best instructions we could come up with for you!
Step 1:
Choose your photo. You can choose an old family picture, a picture of your kids, or even just an image that you like and want to incorporate into your decor scheme because it suits the theme.
Step 2:
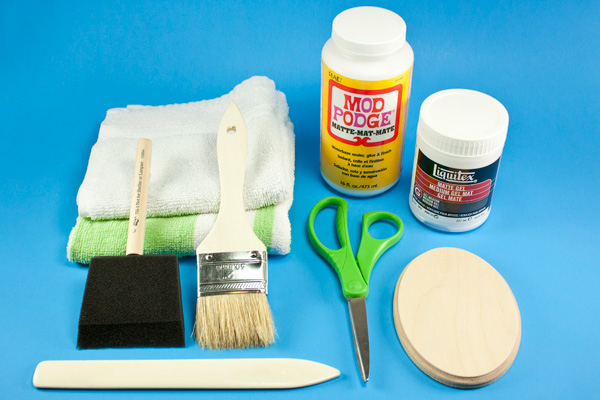
Gather your supplies for the project. Besides your photo, you’ll need:
- A light-colored wood piece, panel, or backing (you can probably find cute, affordable wooden plaques at your local craft or dollar store)
- A simple photo-editing program that gives you the capability to flip or mirror an image
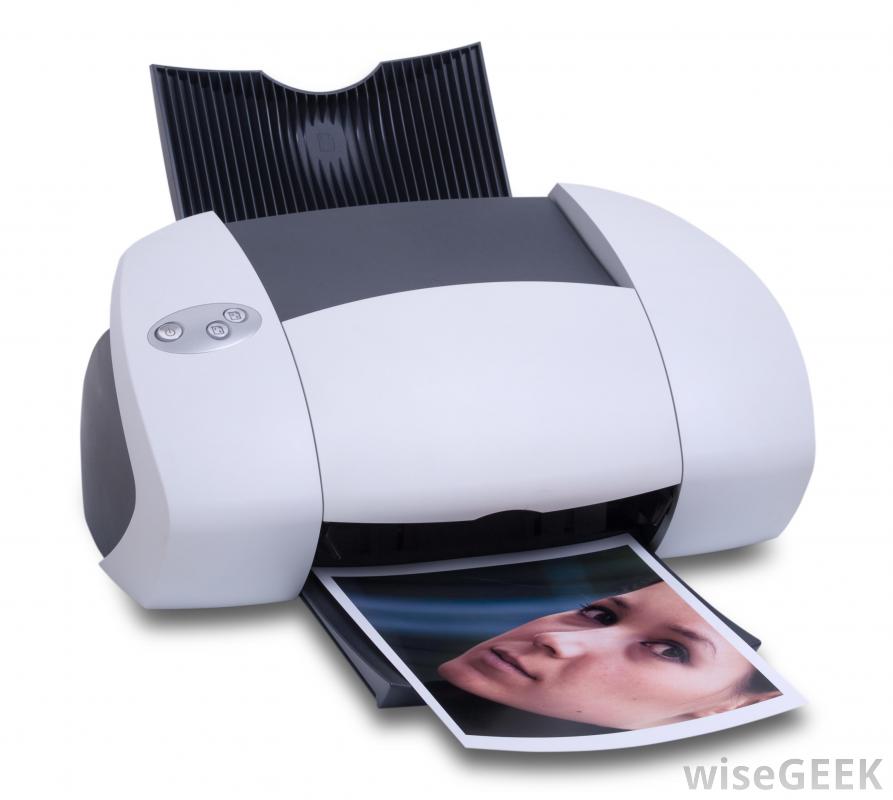
- Access to a laser printer (in coloured or black and white ink, depending on the look you’re going for)
- Scissors
- The edge of a gift card (or something similar) for smoothing
- Matte gel medium (you’ll find this in the acrylic paints section of your local craft store)
- Mod Podge with your choice of finish (you can choose between matte, glossy, or even sparkly if you’d really like some flair)
- 2 different brushes (you can use bristle brushes or art foam with a handle)
- An old rag towel
- Scrap paper, towels, or plastic to lay down protect your work area
Step 3:
Use your editing program to flip your picture. The finished edited image should be a reverse or mirror of the picture original picture you chose, with everything on the opposite side than it started.
Step 4:
Print your newly flipped image onto regular plain white paper using a laser printer. You can do this in colour or in black and white depending on the aesthetic you’re going for.
Step 5:
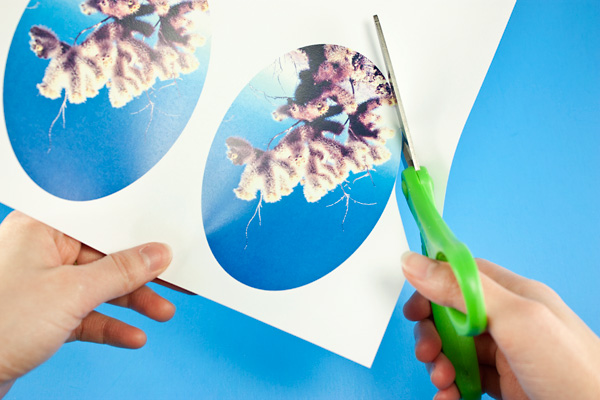
Cut your freshly printed picture into the right shape for your wooden backing. Remember that the background colour of the picture will transfer as well, so if you only want a particular part of the image to print onto the wood, cut around that directly.
Step 6:
Cover your work surface. Working with gel medium and mod podge can get messy and you won’t be pleased if globs of it end up stuck to your table or floor!(Photo via Linda’s Art Quilts)
Step 7:
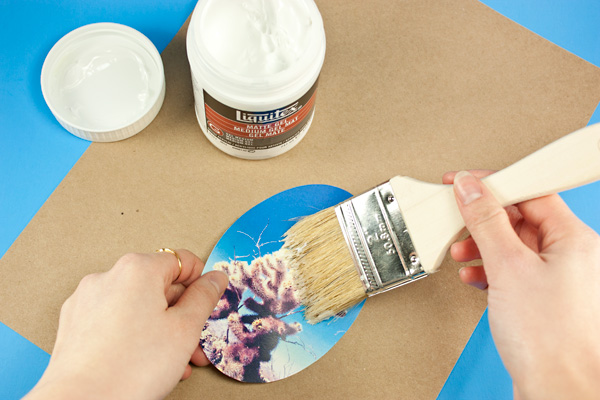
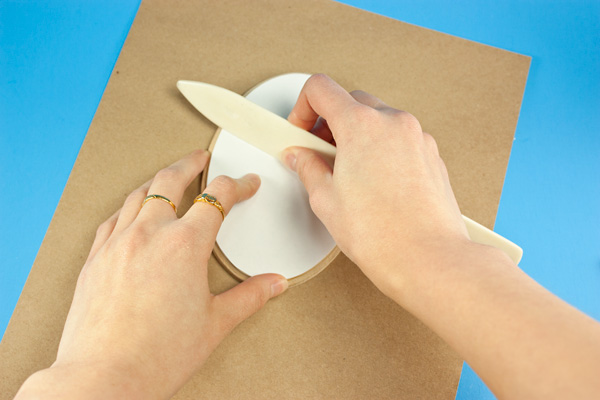
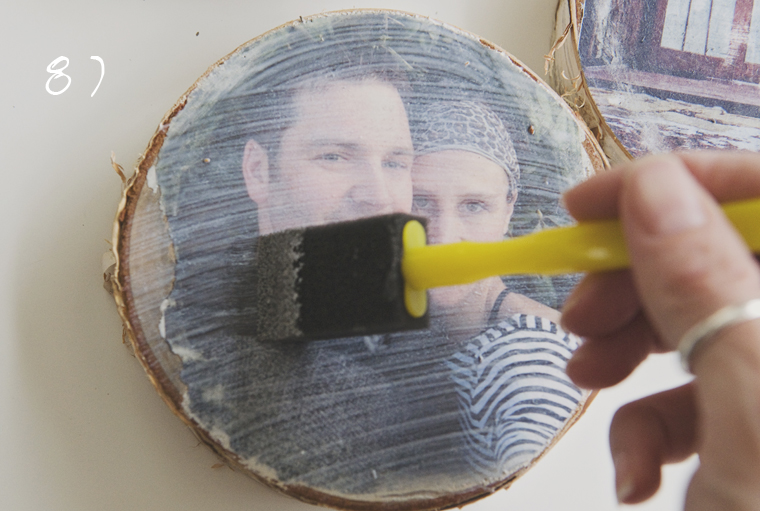
On the side of the image with the actual ink printed, cover the photo completely with matte gel medium. Don’t soak the picture to the point that the paper starts to get too soggy and disintegrate, but do make sure it’s fully covered across the front from edge to edge.(Photo via Photo Jojo)
Step 8:
Lay the photo face down on the wood backing so the side you spread gel medium on meets the wood. Using the edge of a gift card (or something similar), smooth the back of the photo gently so that there are no wrinkles or air bubbles underneath, or these will cause lines and wrinkles in the image on the surface of the wood.(Photo via Photo Jojo)
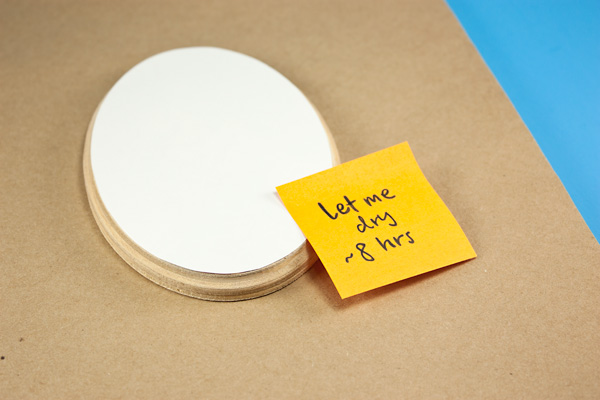
Step 9:
Let your photo dry face down on the wood for at least eight hours.
Step 10:
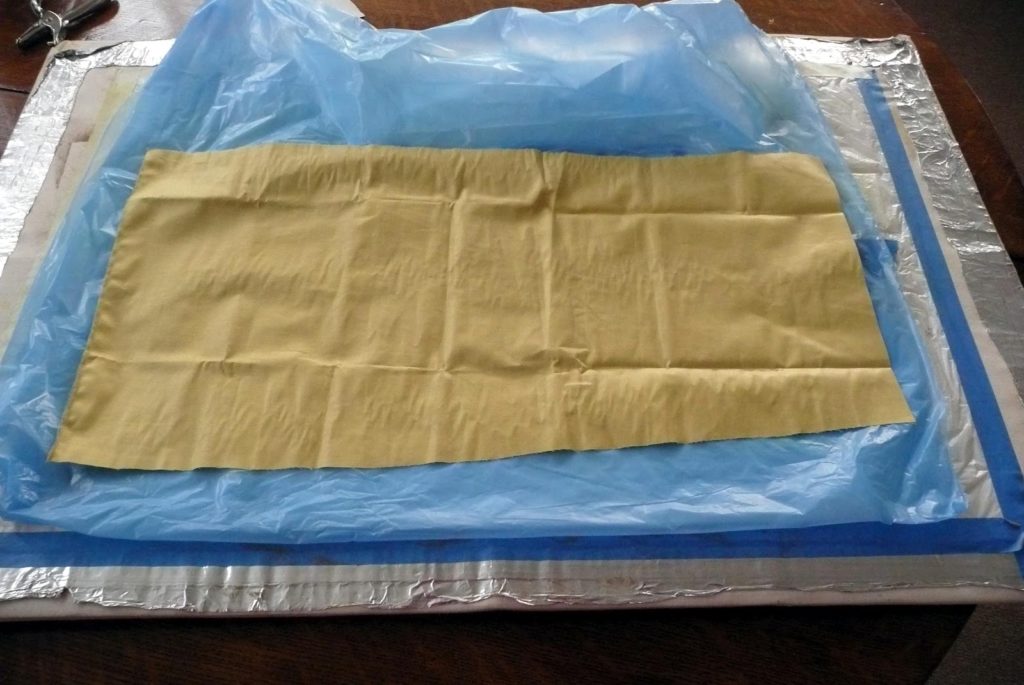
Cover work surface with towels. You’ll be working with water now, so plastic bags and paper won’t work as well to protect the area as absorbent towels or paper towels will.

Step 11:
Place your wood with the dry image onto your towels and, using a well-soaked cloth, saturate the back of the image completely. You don’t need to soak it to the point of splashing water everywhere, but make sure it’s wet all the way across and saturated from edge to edge, just like when you do a wet transfer tattoo.(Photo via DIY Joy)
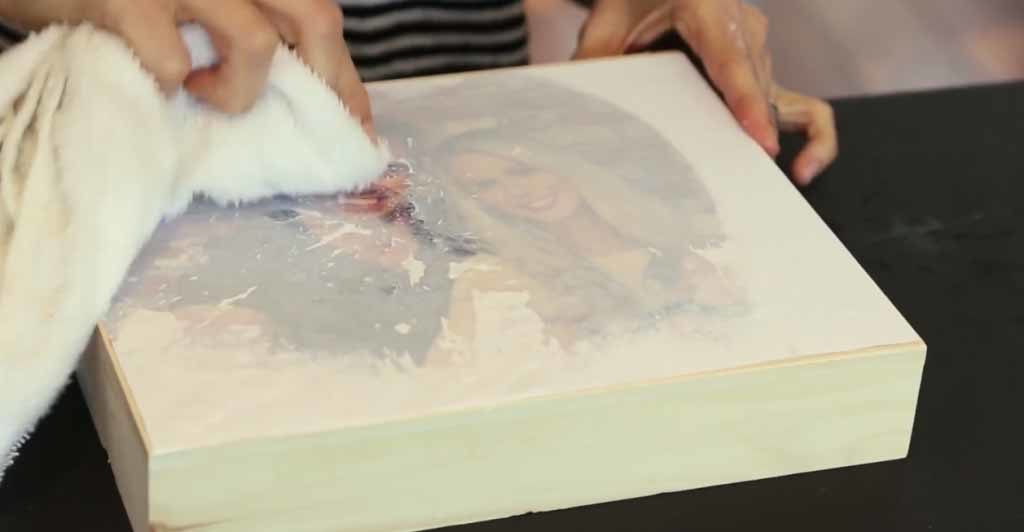
Step 12:
Once the paper is completely wet, use your cloth to start rubbing it away from the wood. It will probably crumble away in rolling pieces, revealing the transferred image underneath.(Photo via Crystal Hethcote)
Step 13:
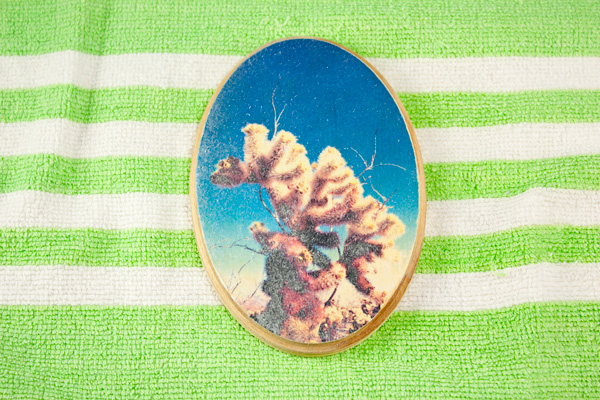
You’ll see that the image on your wood is facing the same way as the original image you chose! Let the wood with its new image dry completely before you continue from here.(Photo via Photo Jojo)
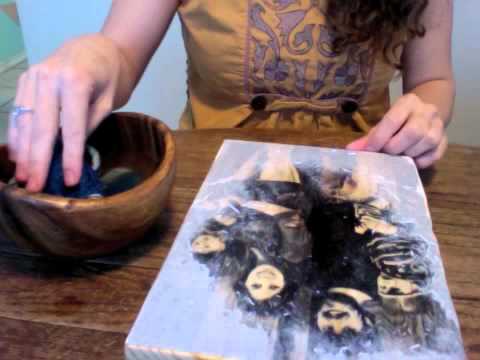
Step 14:
To make sure the transfer stays, and to give it a properly finished look, seal it using your Mod Podge.(Photo via Camp Makery)
Step 15:
Hang or set out your new wooden print and enjoy!

Do you know someone who loves nothing more than unique crafts involving photos? Share this post with them for a little bit of inspiration!(Photo via Crafts Unleashed)