DIY Modern Paint Chip Wall Art
Updated on November 19, 2025
Finding the perfect piece of artwork for your homecan be difficult, especially if you’re faced with a large wall and a tight budget. But we have the perfect solution for you… paint chip art! If you’re like me, you already have about a million paint chips lying around from past projects – so all you’ll need are a few supplementary paint chips, and some brown kraft paper to bring your wall to life.
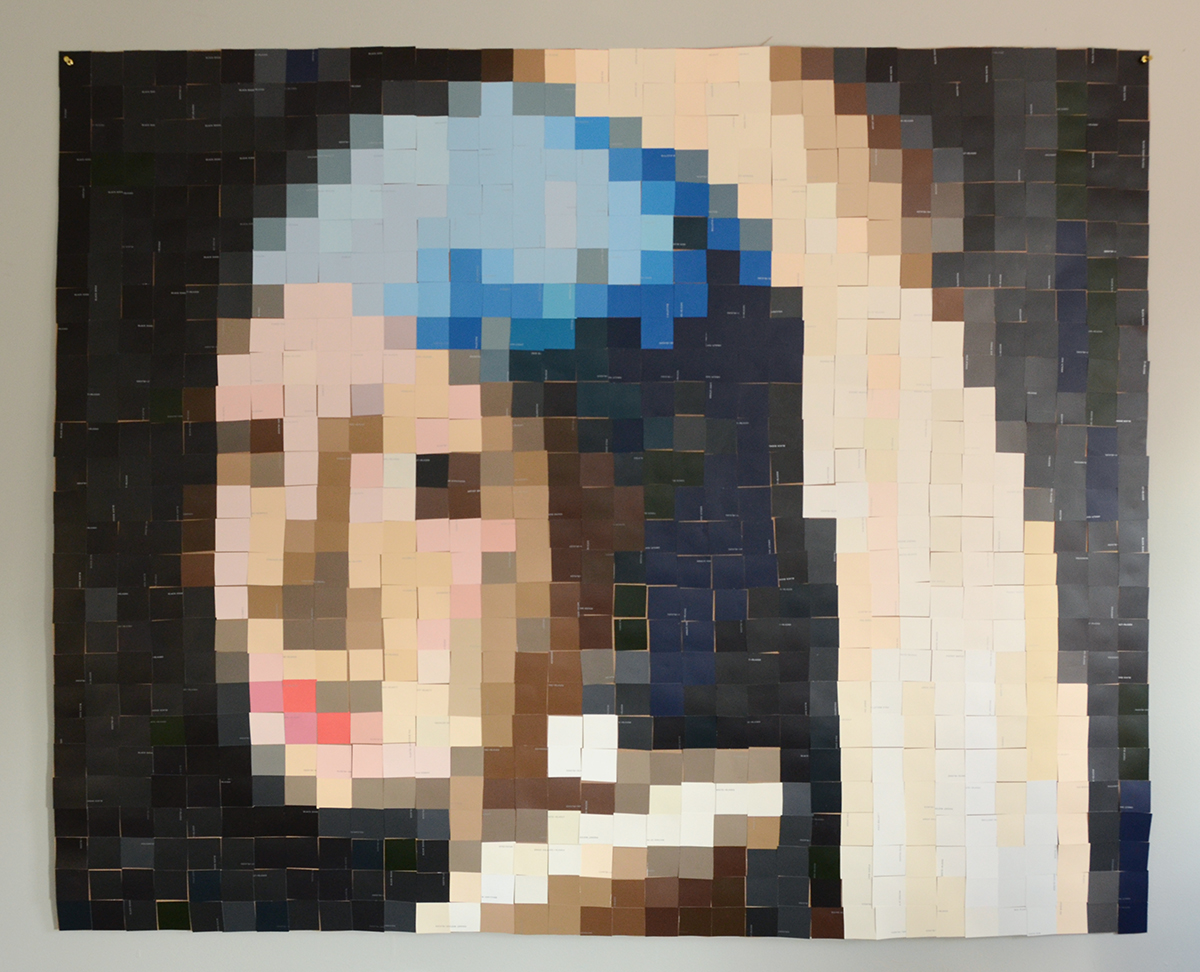
This project takes some time, so be sure to set aside at least a couple of hours to complete it. But once you get the hang of it, you’ll get into a rhythm. I decided to use thestunning painting by Johannes Vermeer, Girl with aPearl Earring, as my inspiration. Read more about this masterpiece over at Essential Vermeer.
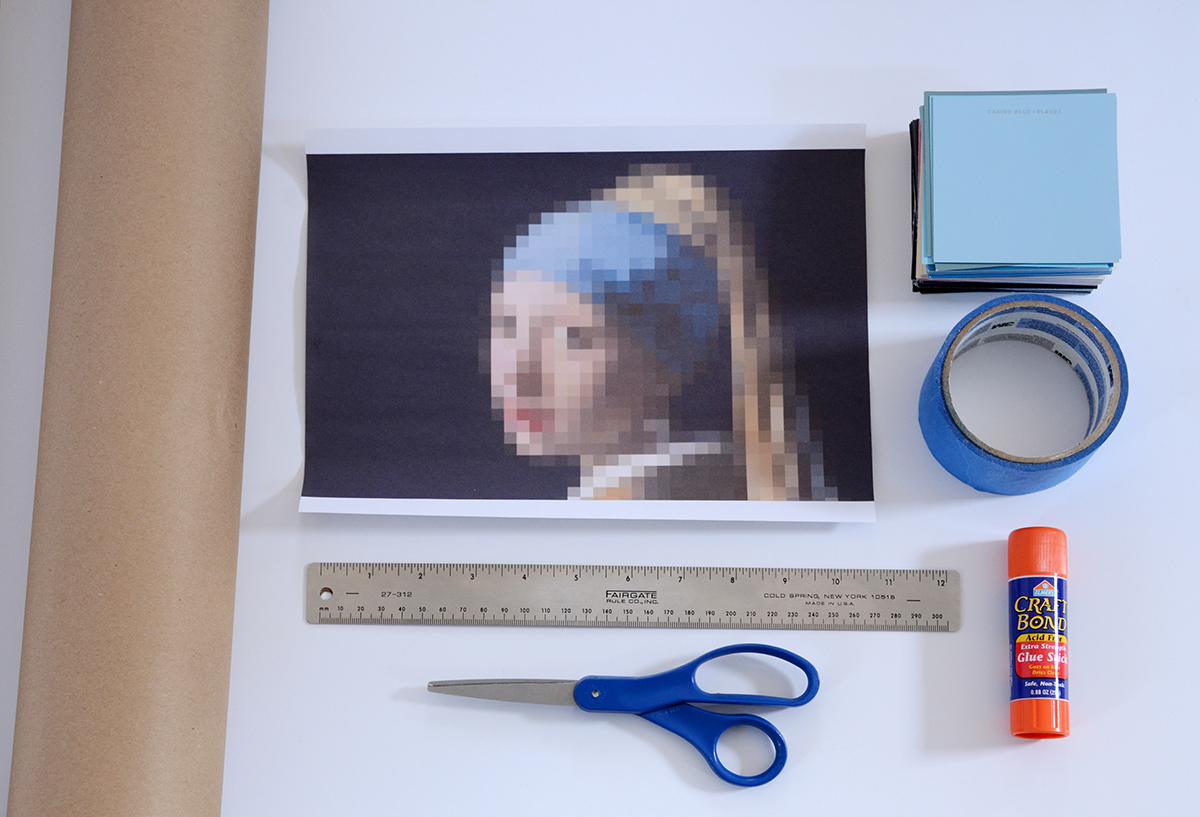
Here are the materials you’ll need:
- Paint chips in a variety of colors
- Large brown kraft paper
- Painter’s tape
- Scissors
- Glue stick
- Pencil (not pictured)
- Pixelized printout of artwork (see below)
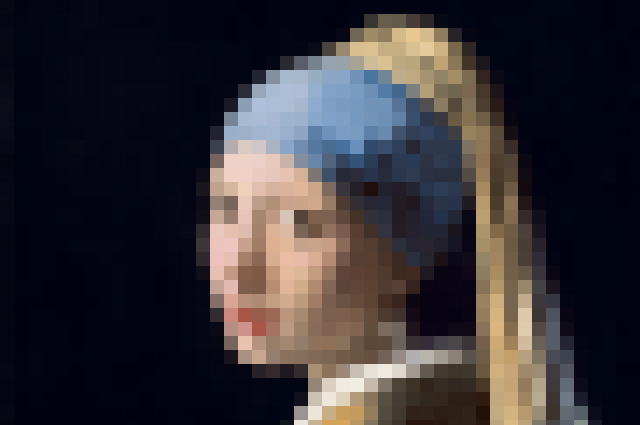
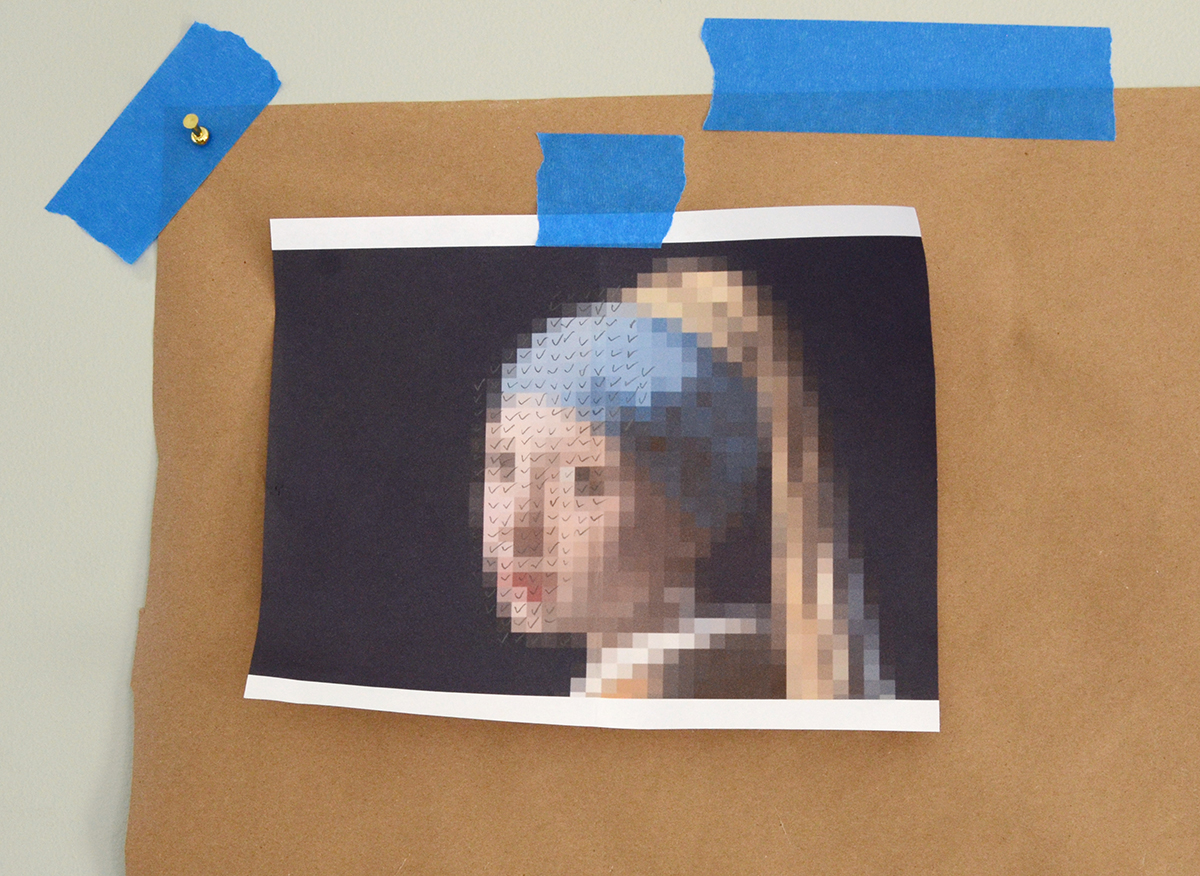
Begin by creating your pixelized artwork. Feel free to print out the image above if you’d like to useGirl with aPearl Earring as your inspiration. Or bringany other image into Photoshop and click on the Filter menu. Choose Pixelate and then Mosaic. I set mine to 14, but you can play around with it. The more pixelized it is, the better (because it means you’ll use less paint chips) but you still want to be able to tell what it is. Then print it out so it fits on an 8.5″ x 11″ piece of paper.

Next, tape a large piece of kraft paper to the wall using blue painter’s tape.
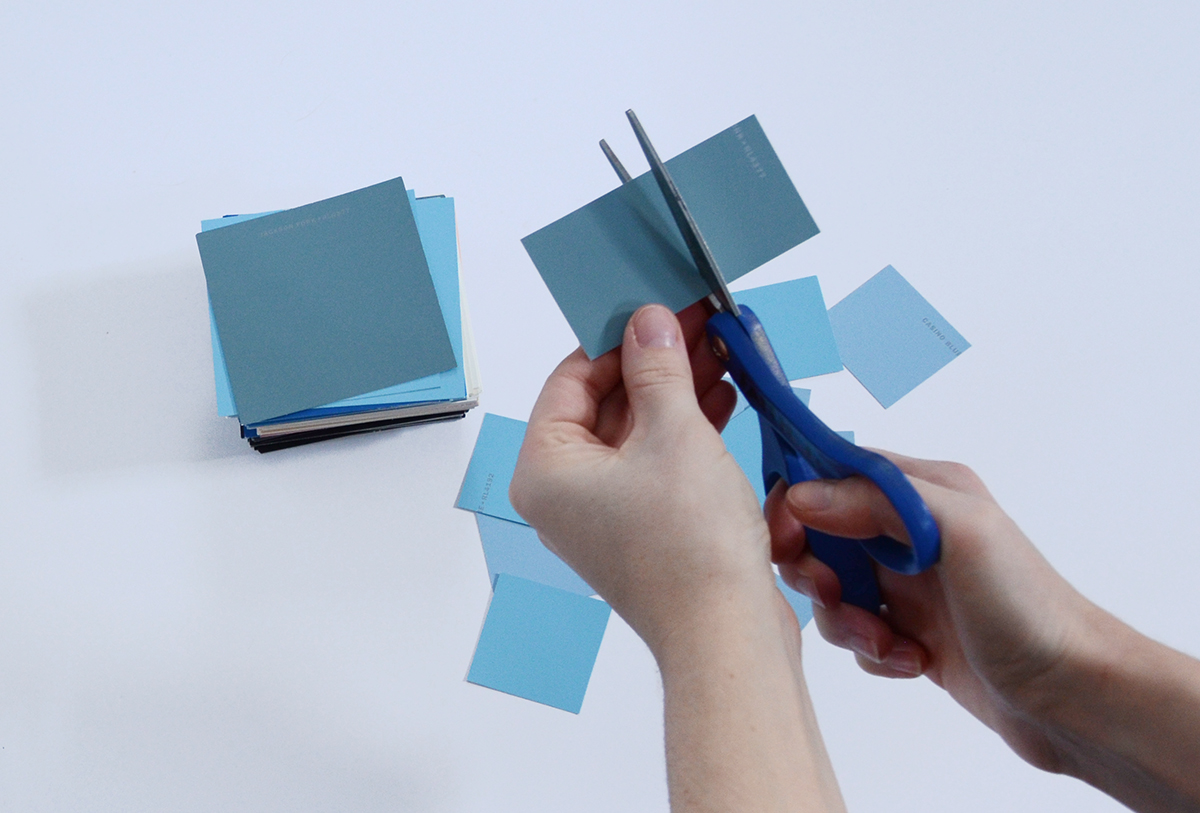
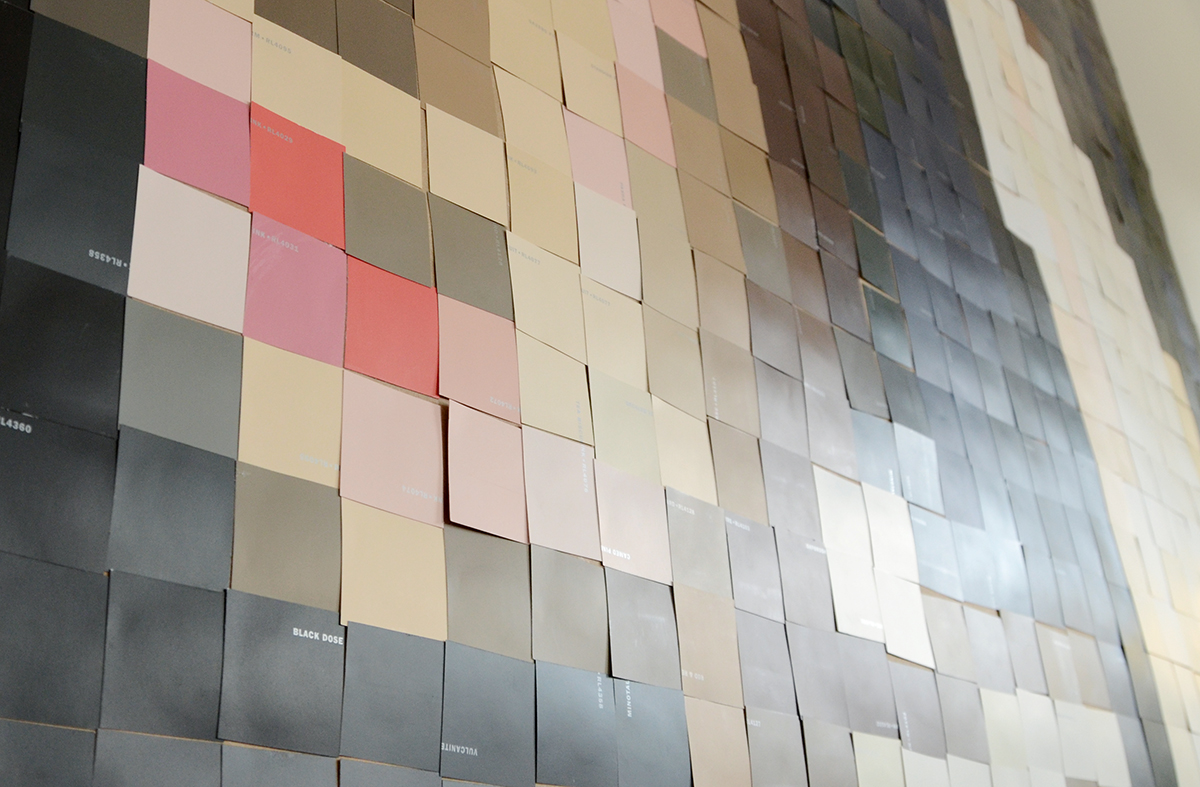
Next, cut all of your paint chips into four equal sized pieces. You’ll also want to tape your printout to the wall so you can reference it easily throughout the process.
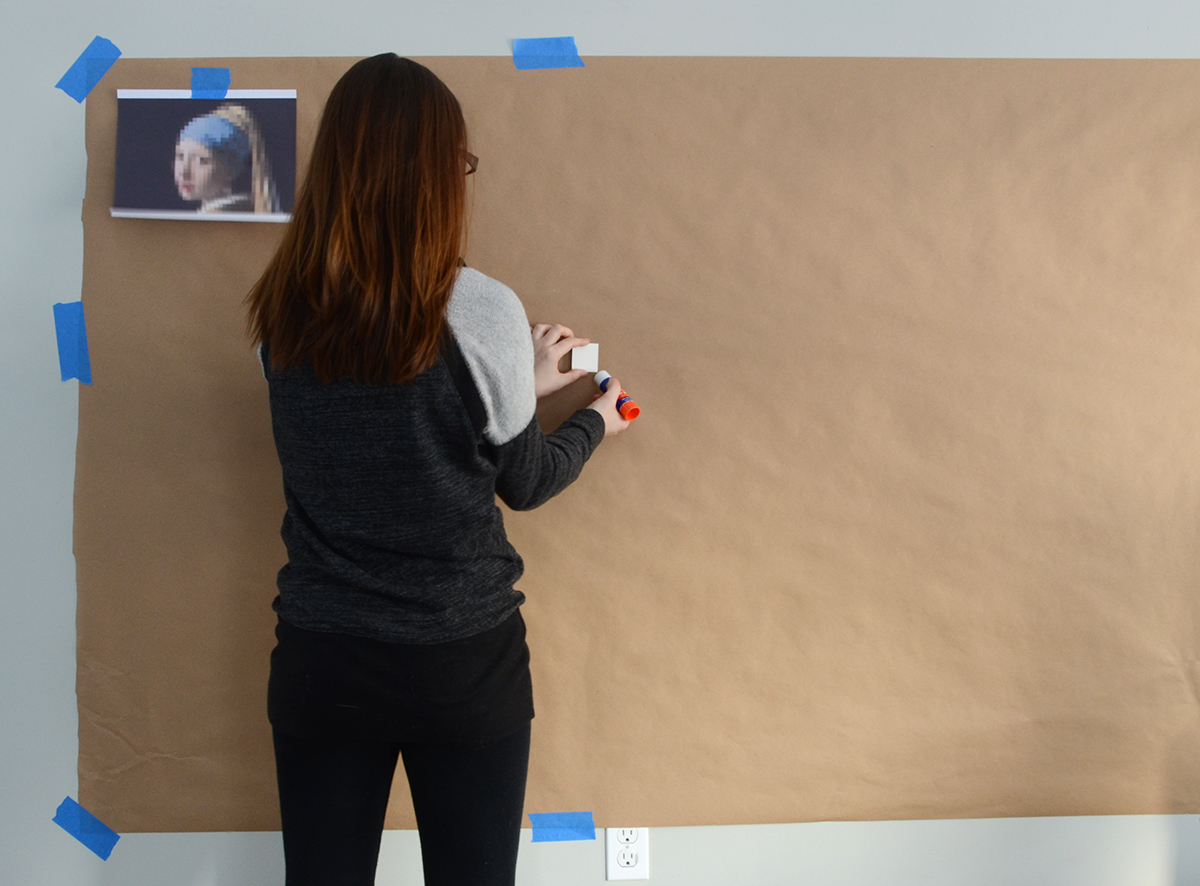
Begin working from a center point outward – I chose the white of the eye to start with. Use the glue stick to begin attaching squares using colors that correspond with the squares on your printout.
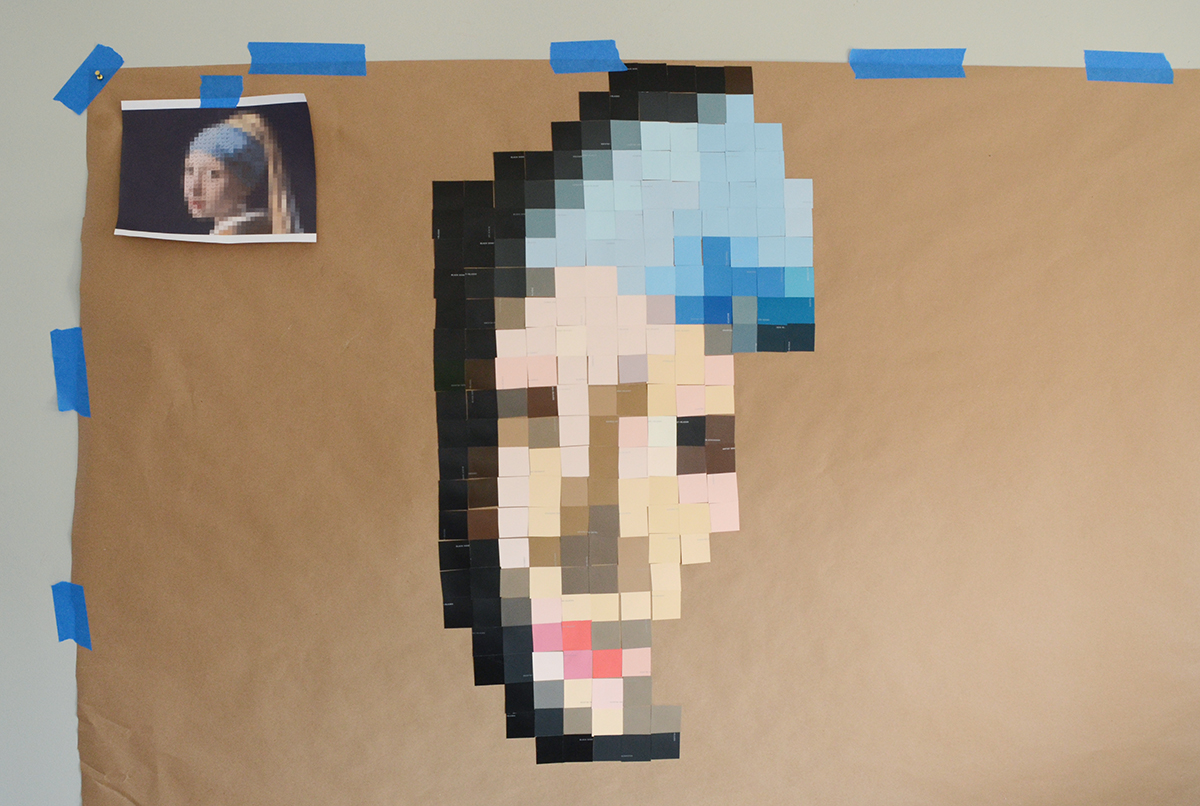
Work outward, continuing to glue squares into their corresponding spot. It is extremely helpful to check off the squares on the printout as you glue them onto the kraft paper.
The colors don’t have to match exactly for your piece to be successful. I won’t sugar-coat this for you… it takes a long time to complete. But it is SOworth it once you step back and squint at your final piece and see your own beautiful rendition of the Girl with a Pearl Earring.
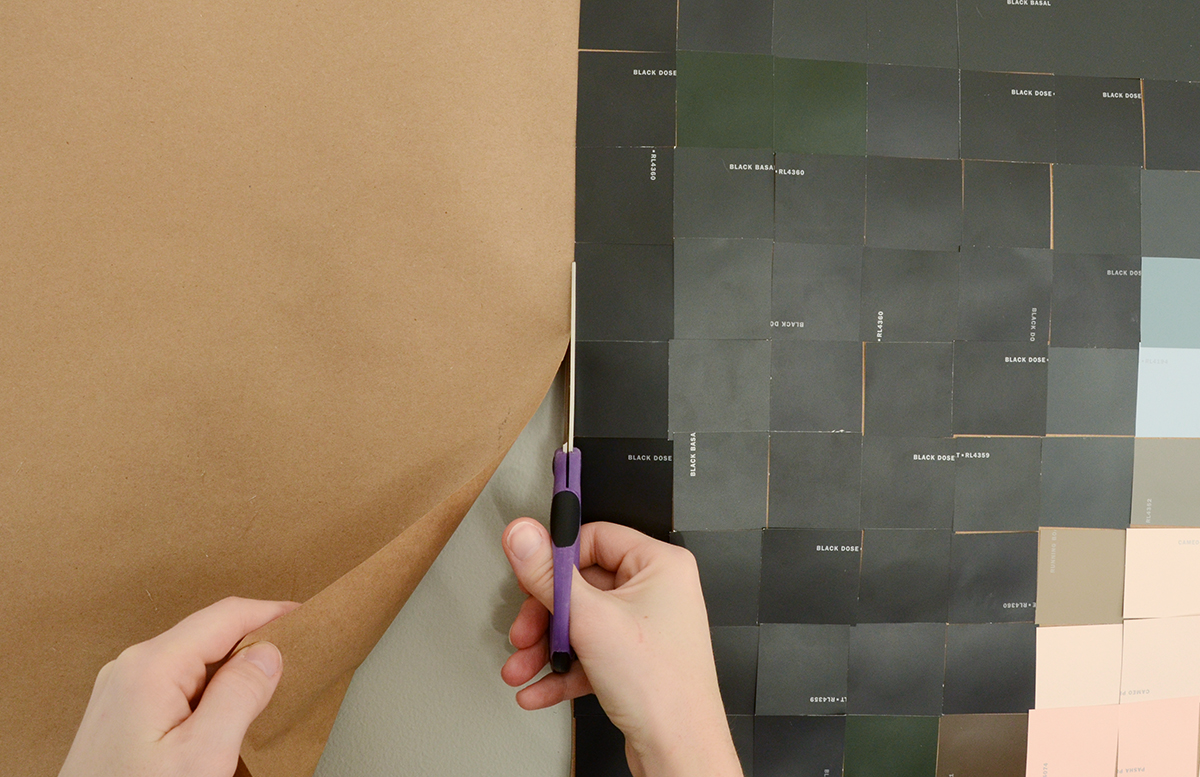
Once you’ve completed your entire piece, cut the excess paper away from the edges. If you run out of paper during the process, you can do one of two things. You can crop your composition like I’ve done, or you can add more kraft paper by taping it to the back of the first piece.
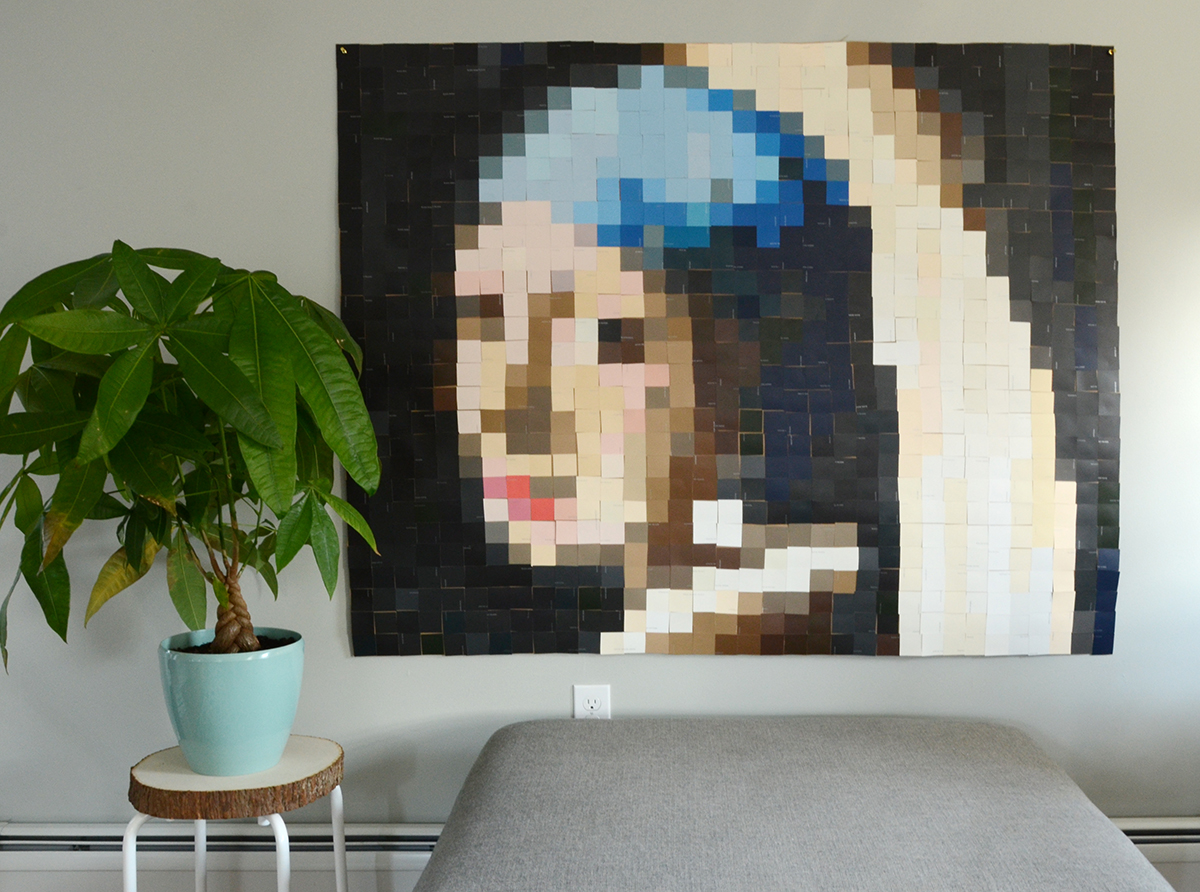
And it’s finished! Pretty amazing what you can do with a few excess paint chips, isn’t it?!
Your friends won’t believe their eyes when you tell them that you made your wall art yourself!
How big was the finished project?