DIY No Paint Chalkboard Tray
The ability to makeover some objects instead of just throwing them in the litter is just awesome! Come and discover with us how you can transform an ordinary – and quite ugly – metallic tray into a fun chalkboard one. Bringing breakfast at bed to your beloved has never been so fun!
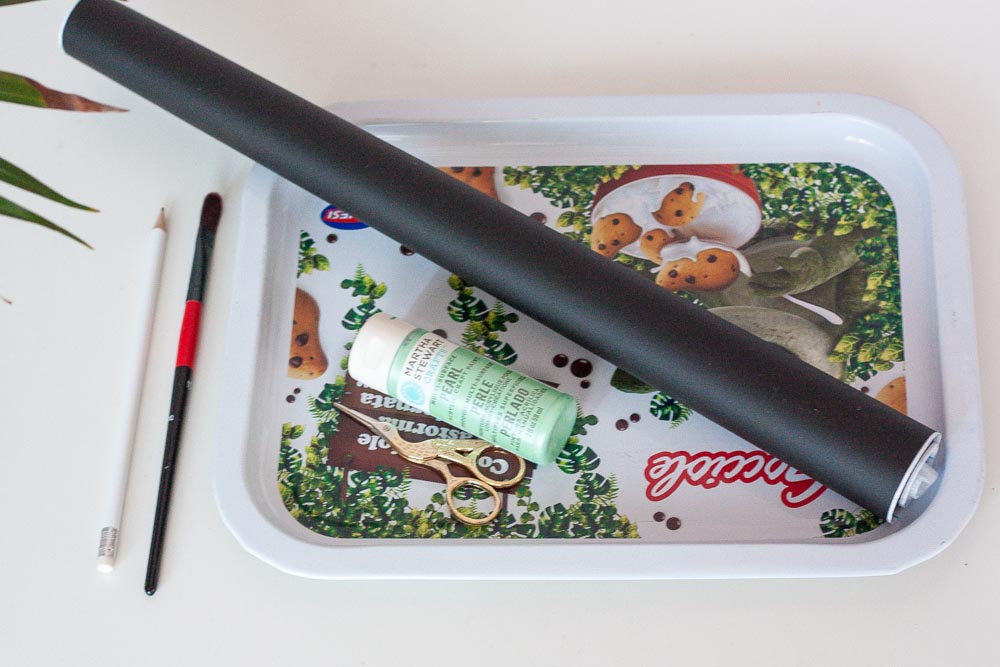
The good news is the tutorial is easy peasy, two steps and you’re straight to your great result, and using this technique you can adapt it to any shape and size of tray. Go ahead in the garage and fetch some old serving tray; even garage sales or booths are a great resource for old materials to DIY. To make this chalkboard serving tray you’ll need:
- tray
- paint of your choice
- brush
- adhesive chalkboard
- scissors
- pencil
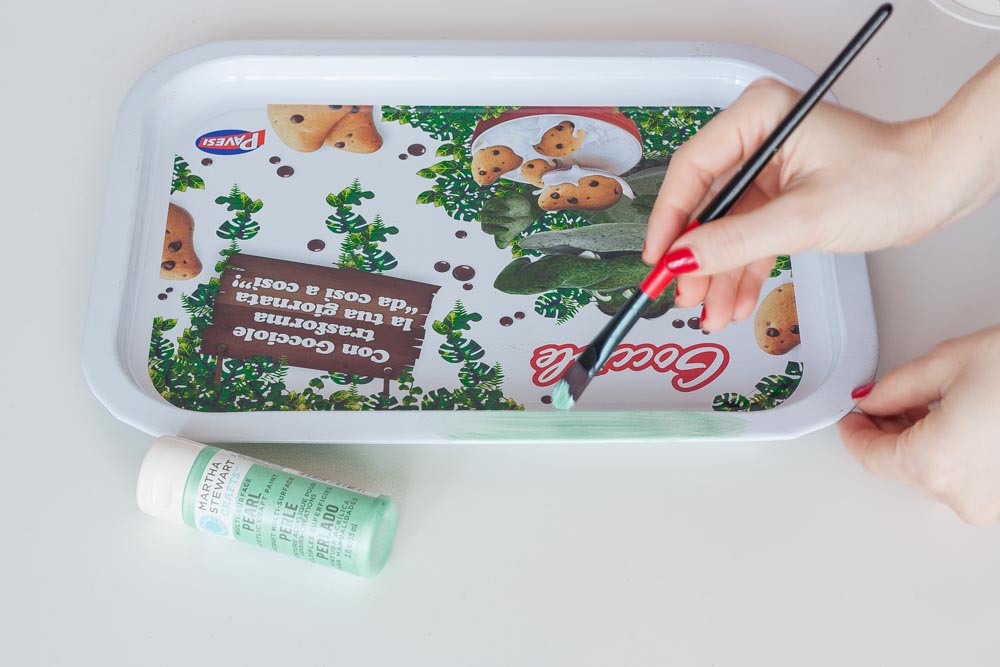
1. (optional) If your tray has a border or an edge and you think needs a little sprucing up, go ahead and paint it with your fave acrylic color. I’m using pearlescent mint (of course)! Depending on the type of paint you’re using you might need to go for a second and third coat of paint. Be patient and let every layer dry properly.
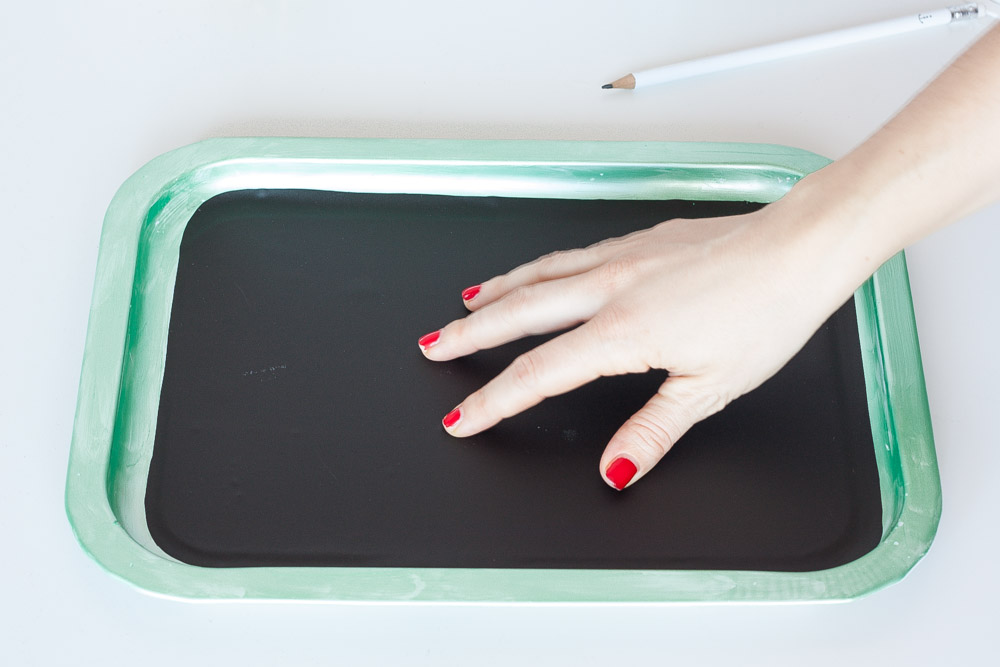
2. Draw the shape of the part you would like to have the chalkboard effect on the back of the adhesive tape. I recommend you choose an uncurvy area as the adhesive layer will be a bit of a mess over the curves. Now cut the shape precisely and just stick it slowly to your tray. Again, I recommend someone helps you out in this sticking phase as you’ll want the layer to stick slowly from one edge to the other without making bubbles (but if it does, no panic: use a needle to make a tiny hole in the bubble and let the air come out).
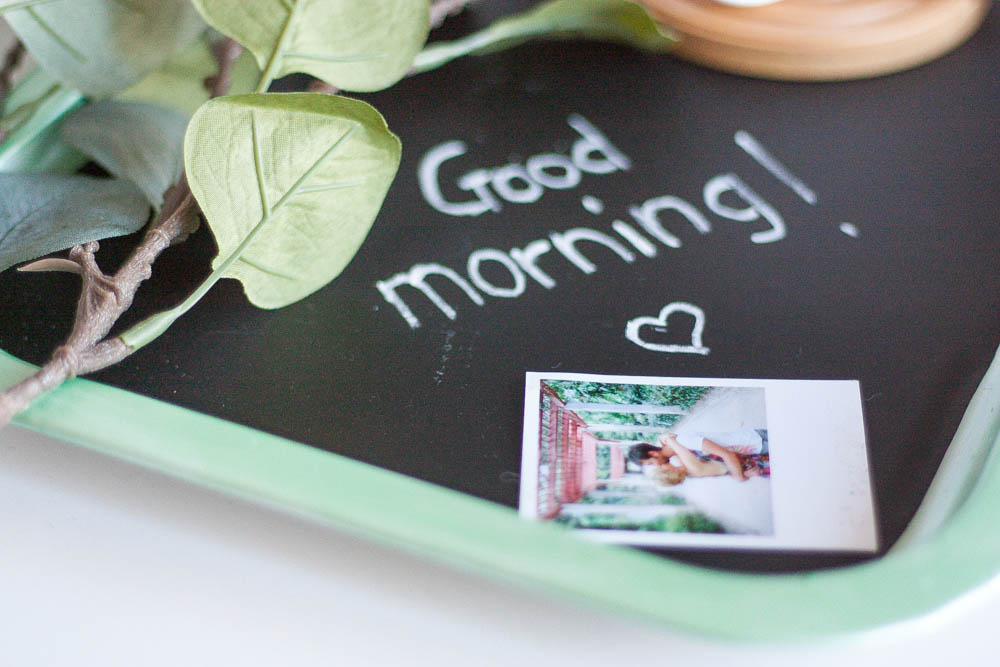
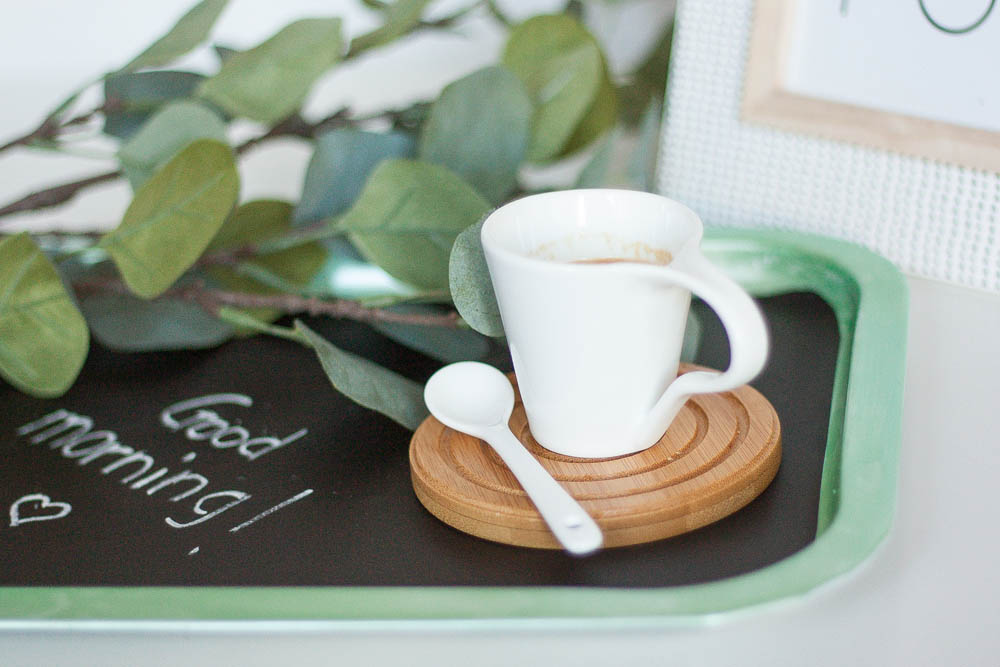
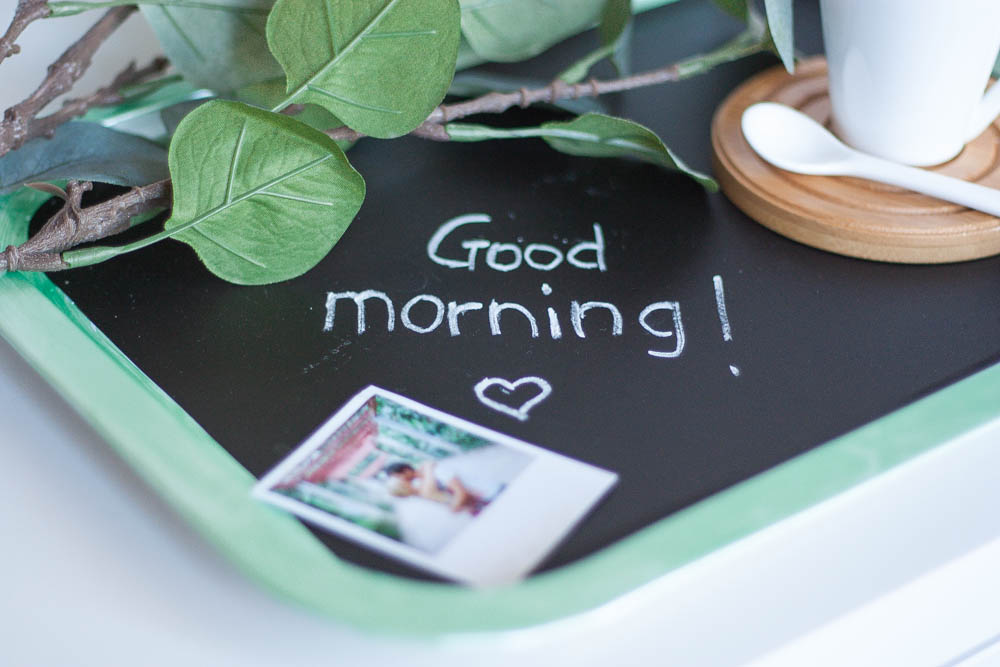
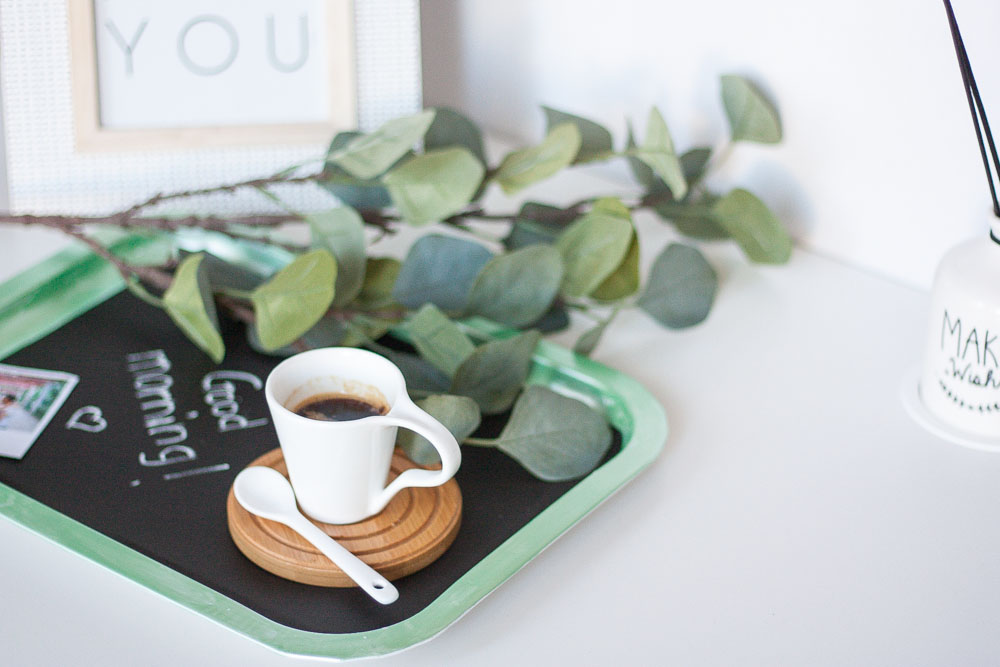
Well done! Now have fun leaving a lovely good morning message to anyone you’re preparing breakfast for.. Time to master your typography skills (not like mine!) Have you ever used chalkboard adhesive on some other object? Let us know in the comments below!
