How To Make A Paper Frog
Updated on November 19, 2025


I’ve been crafting with my kids since they were quite tiny and one of the best parts of watching them get creative over the years has been seeing their interest and curiosity grow as they learn how to do all kinds of new things. That’s how I found myself showing them how to make these funny little bouncing paper frogs!

The kids liked these frogs so much that they asked to make them again next time the had friends over and pretty soon I had other parents asking how they’re done, so I made one extra myself in order to show the simple process off. Check out these step by step instructions complete with photos! If you’d rather follow along with a video tutorial instead of written words, scroll to the bottom of this post to find just what you’re looking for.
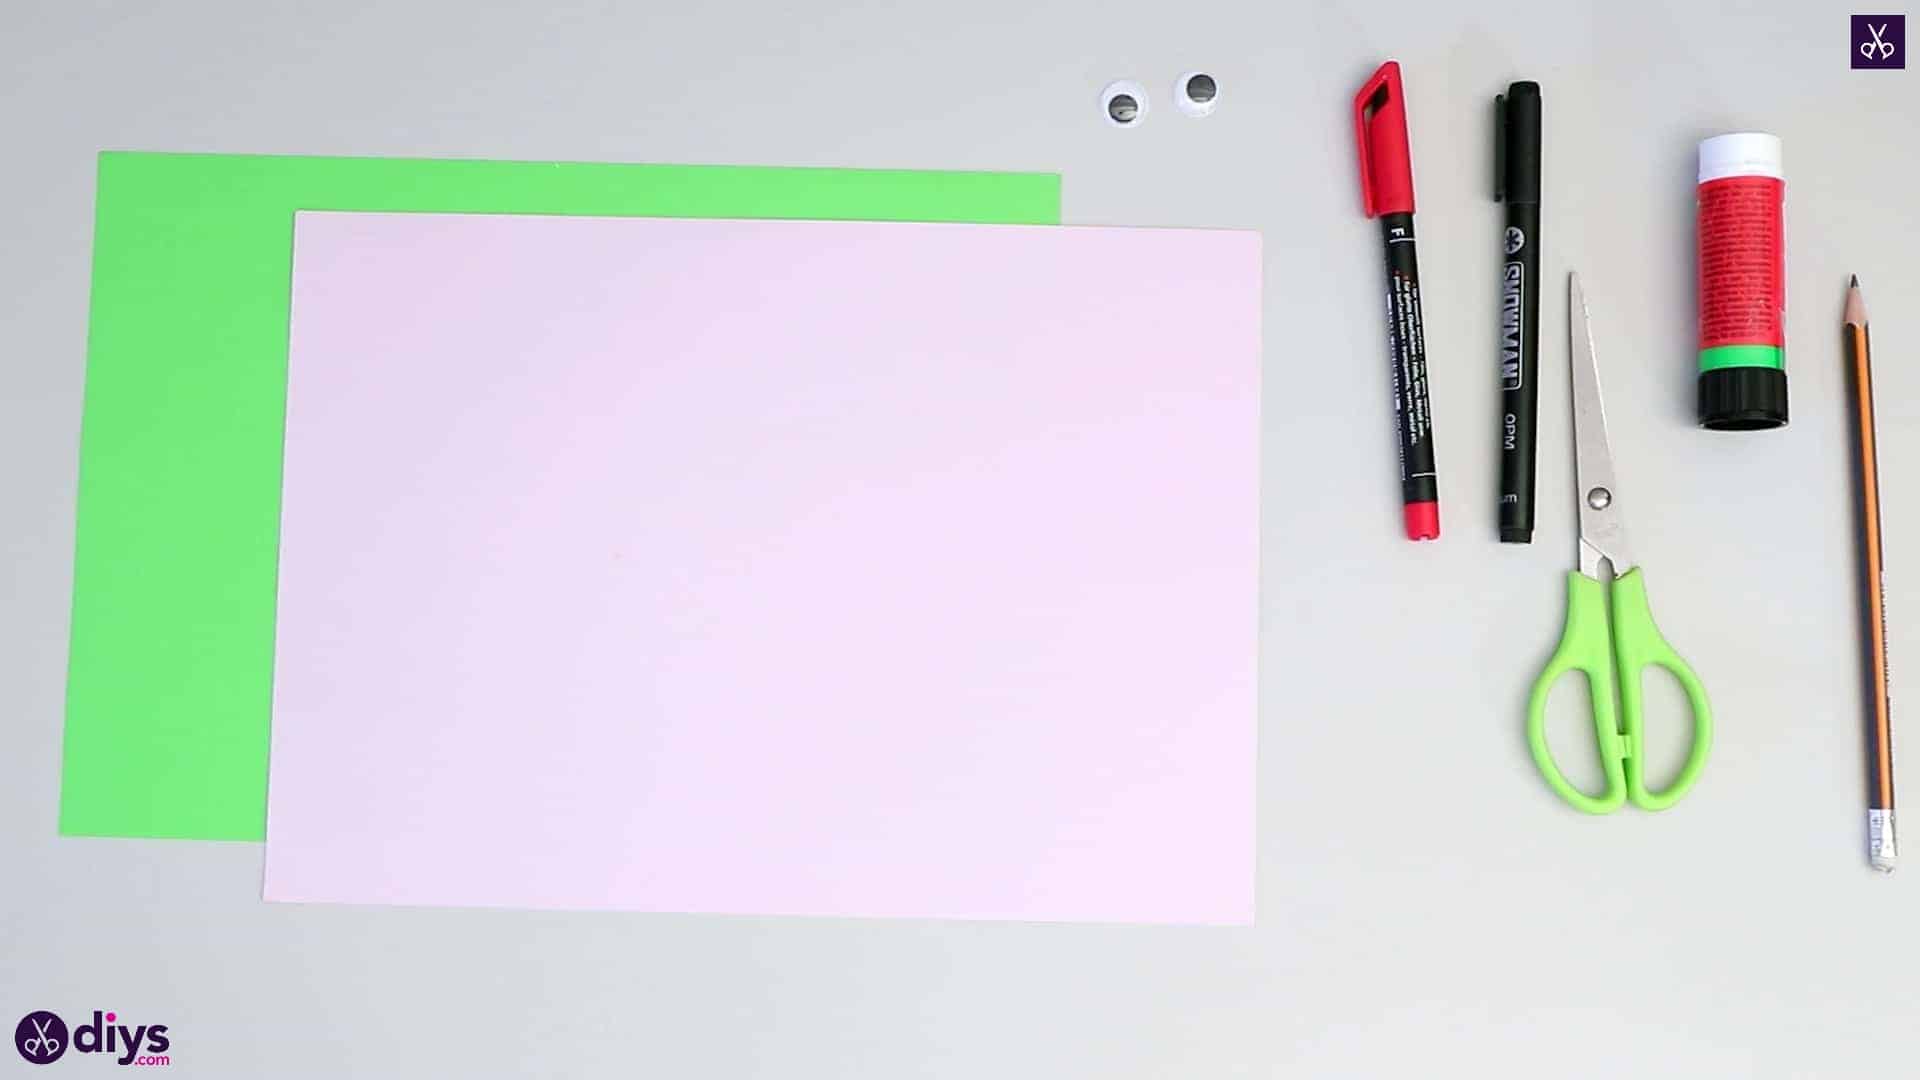
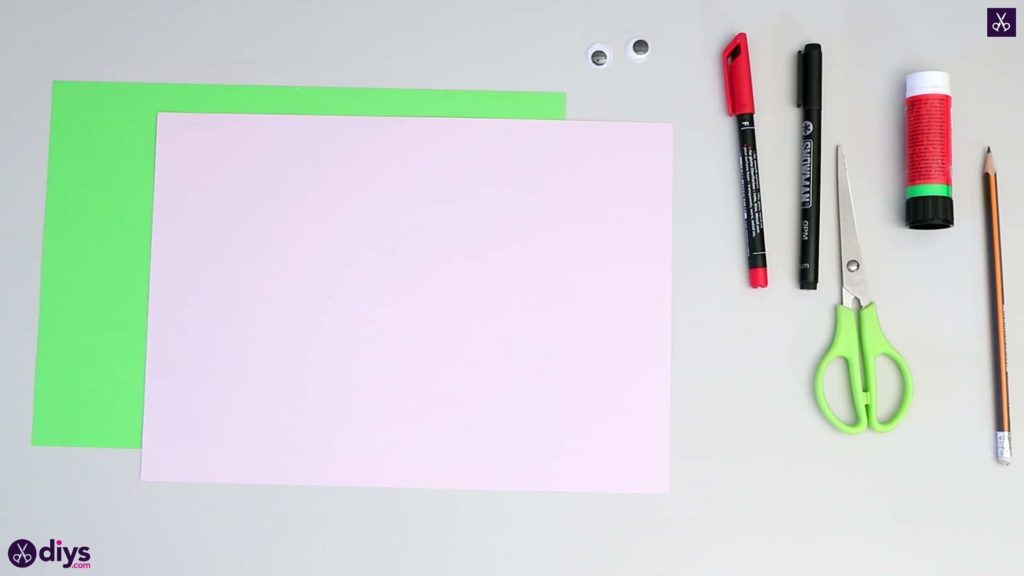
For this project, you’ll need:
- Paper (pink and green)
- Two googly eyes
- Scissors
- A glue stick
- Markers (black and red)
Step 1: make sure you have what you need
Gather your materials!
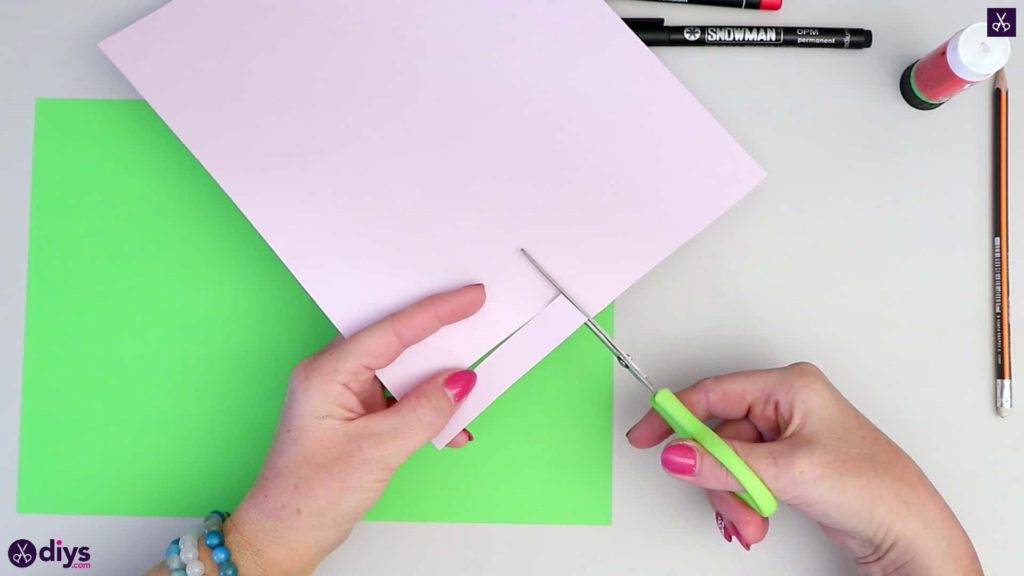
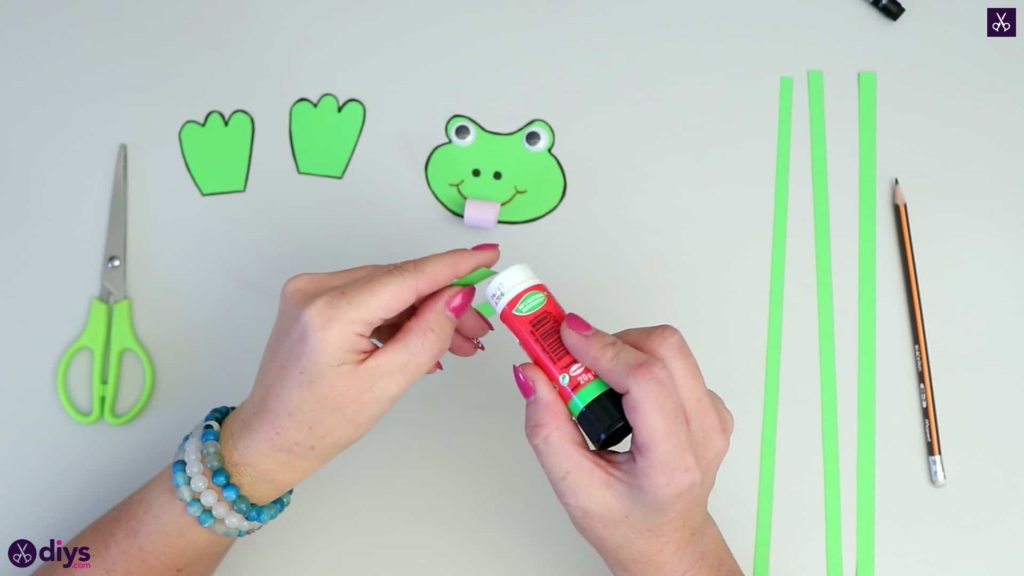
Step 2: make the tongue
From one corner of your pink paper, cut a strip about half an inch wide and two inches long, like a thin rectangle. Set the rest of the paper aside and curl your strip upward from one of its shorter ends, holding it vertically and rolling the entire piece until you get to the other end. Set this little curl aside for now to use later. This curl will be your frog’s tongue.
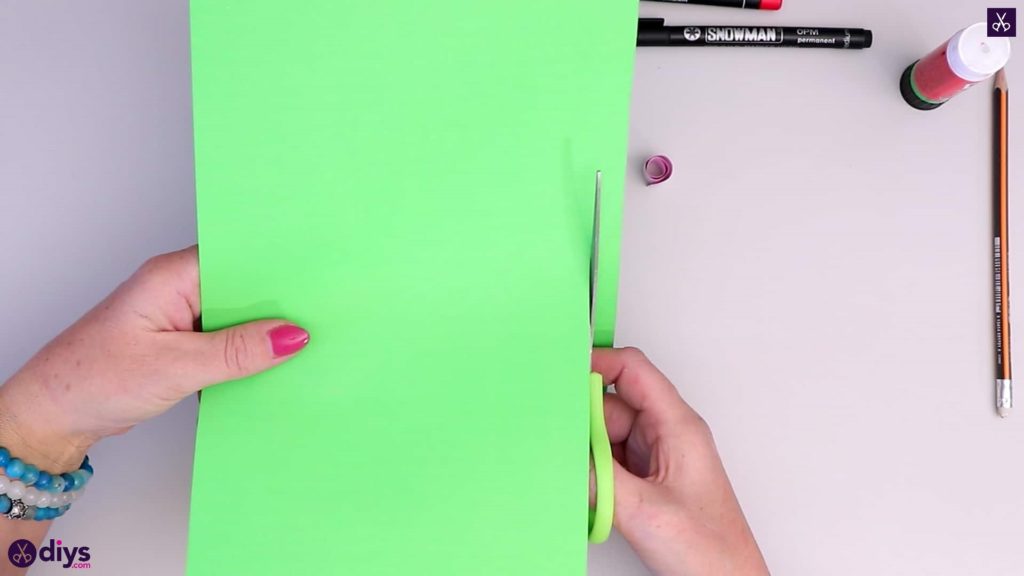
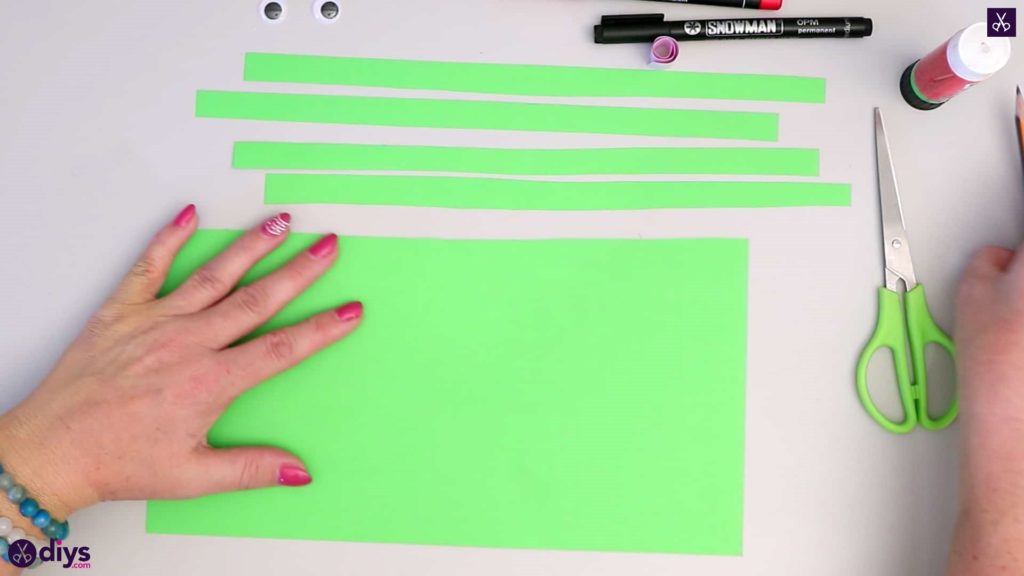
Step 3: cut green strips
Holding your green paper portrait-wise or vertically, cut strips about half an inch wide and the full length of the page along your side edge. Cut four strips in total and set them aside for a moment with your frog’s tongue. These strings up will make up your frog’s body and will also be what give the frog bounce.
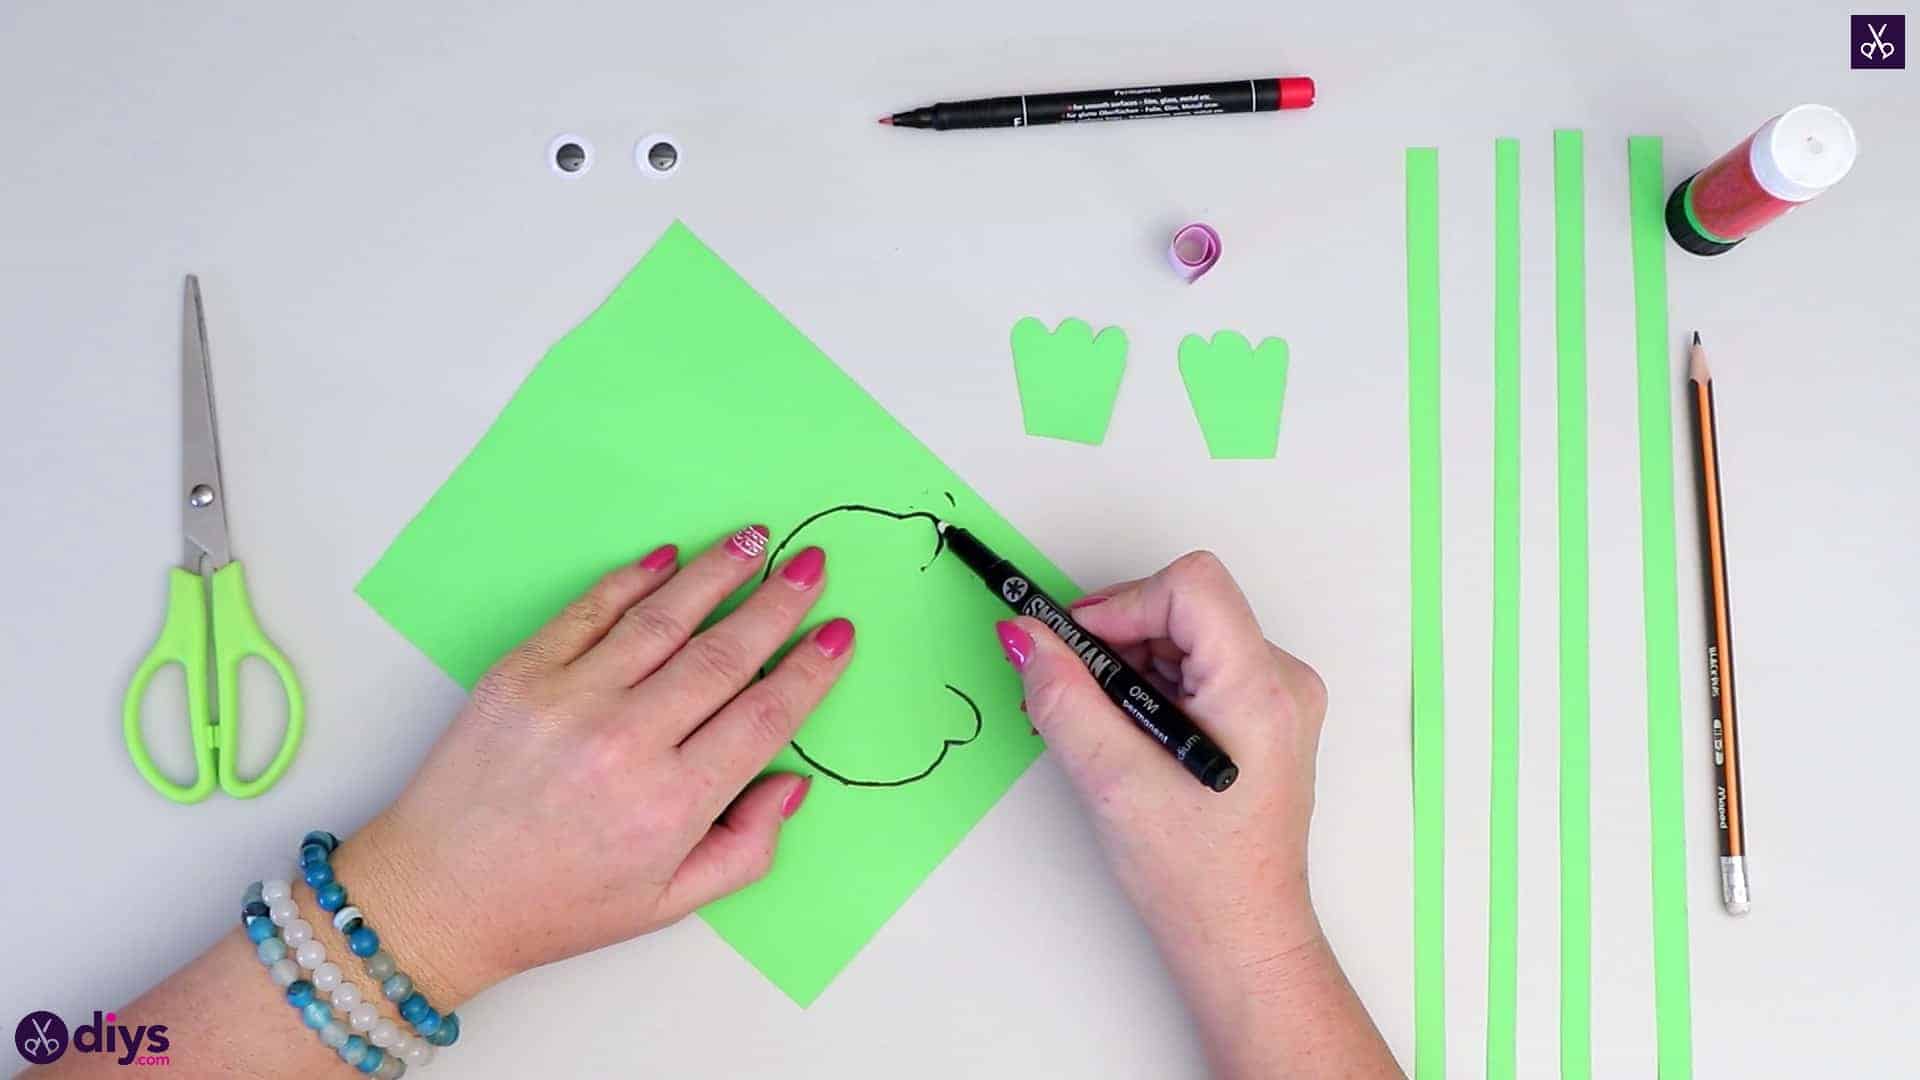
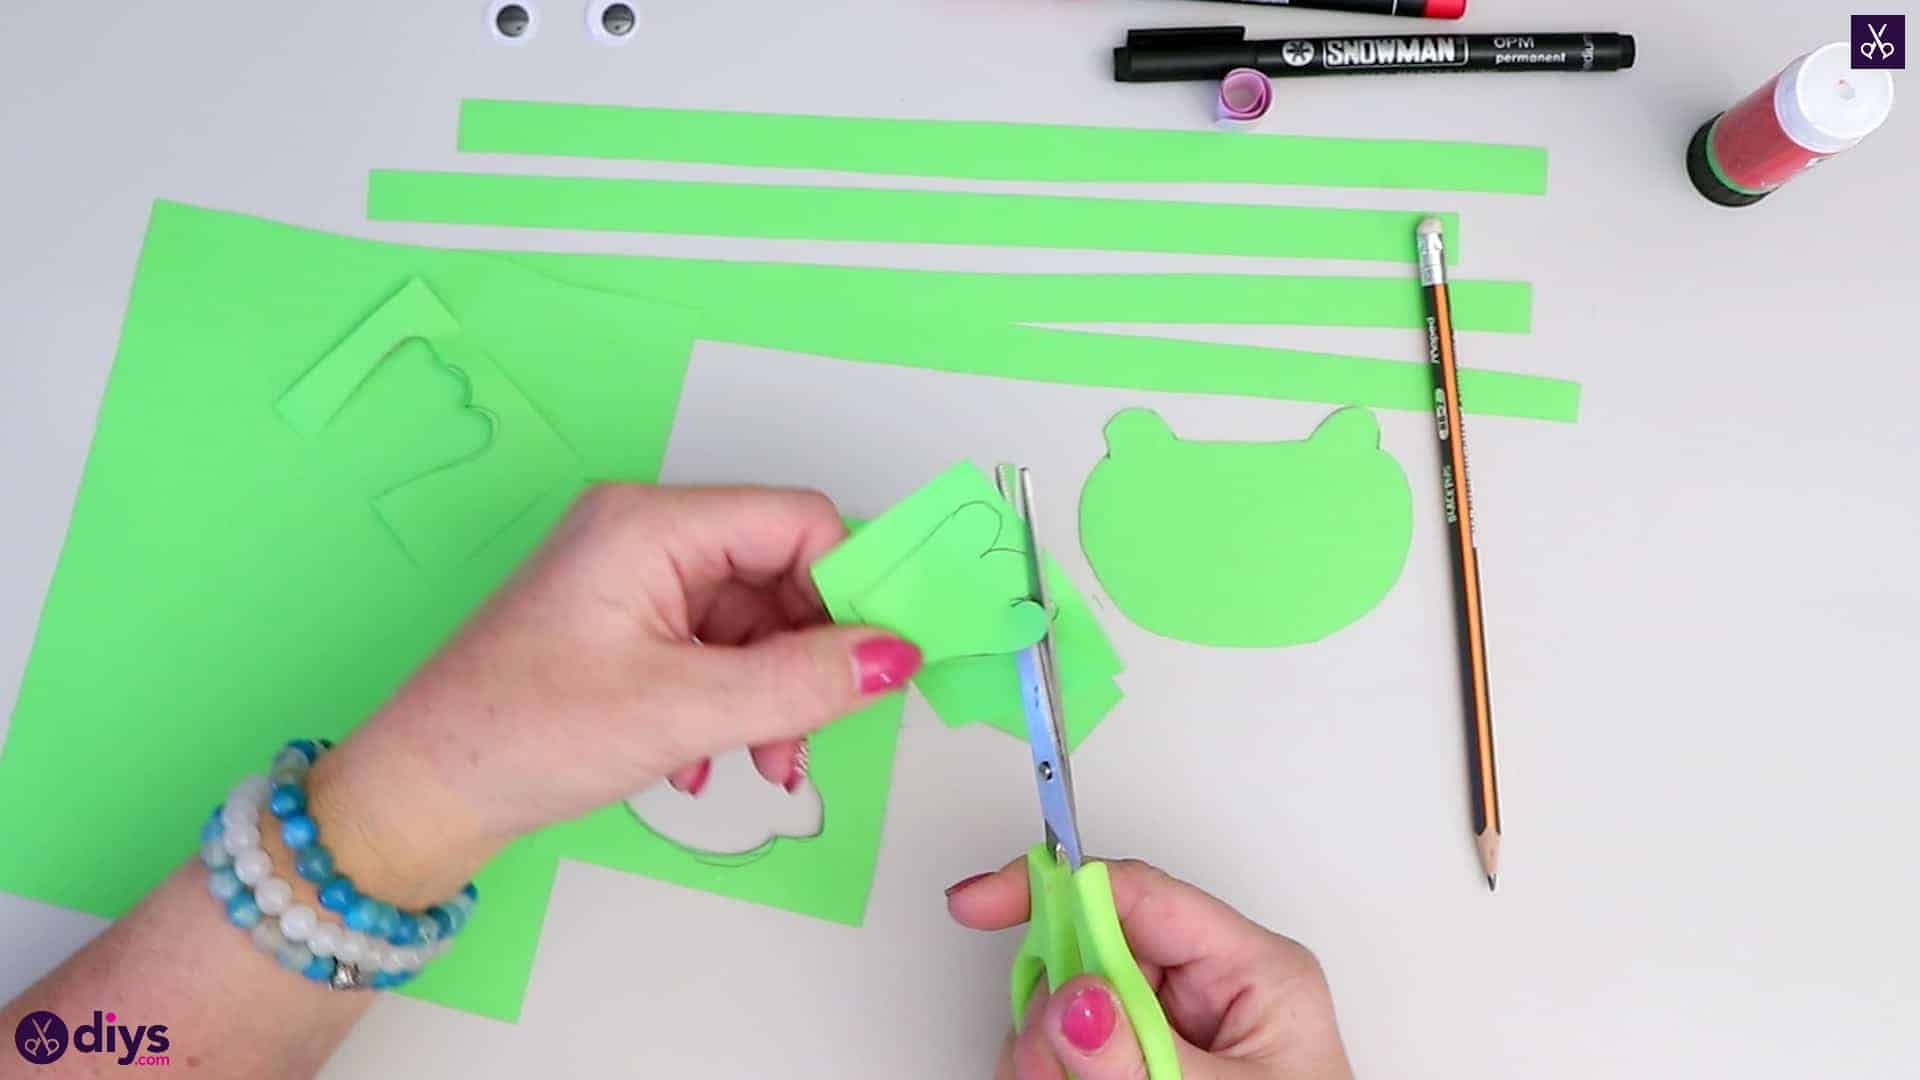
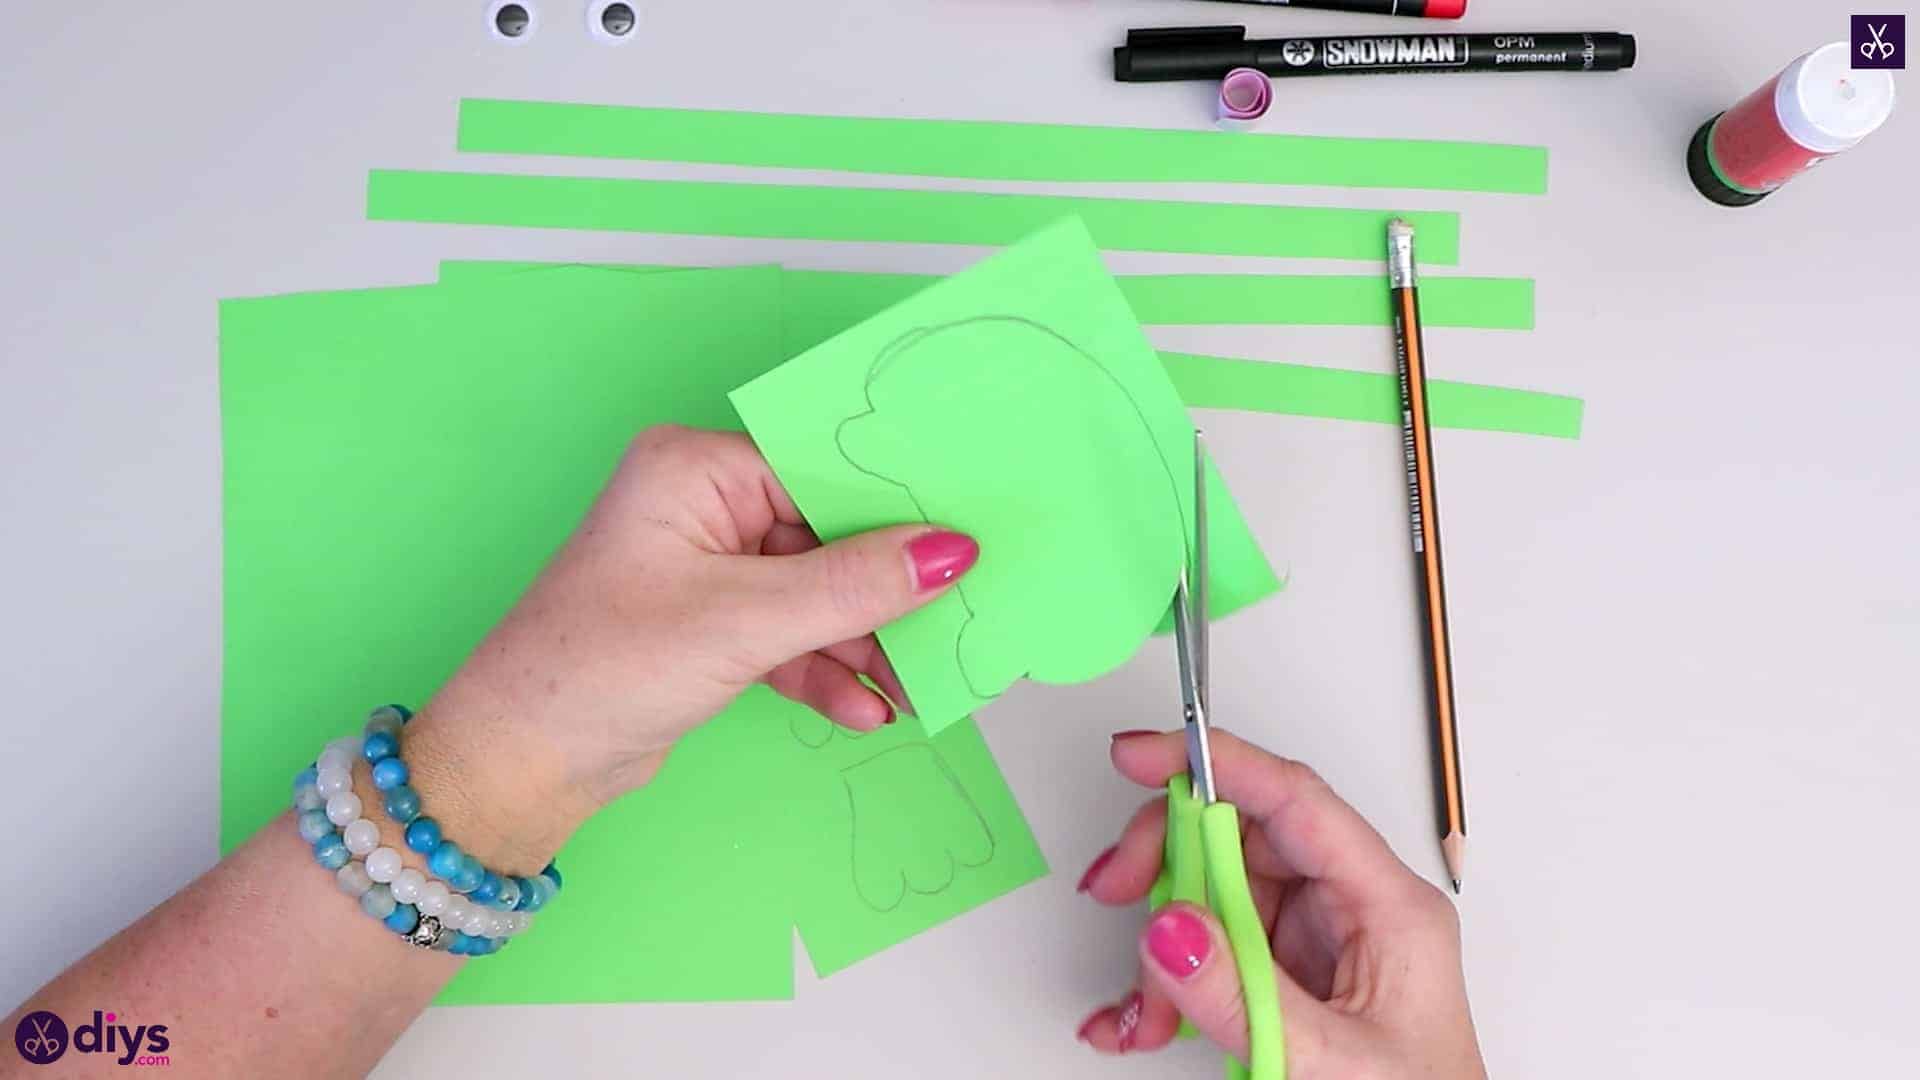
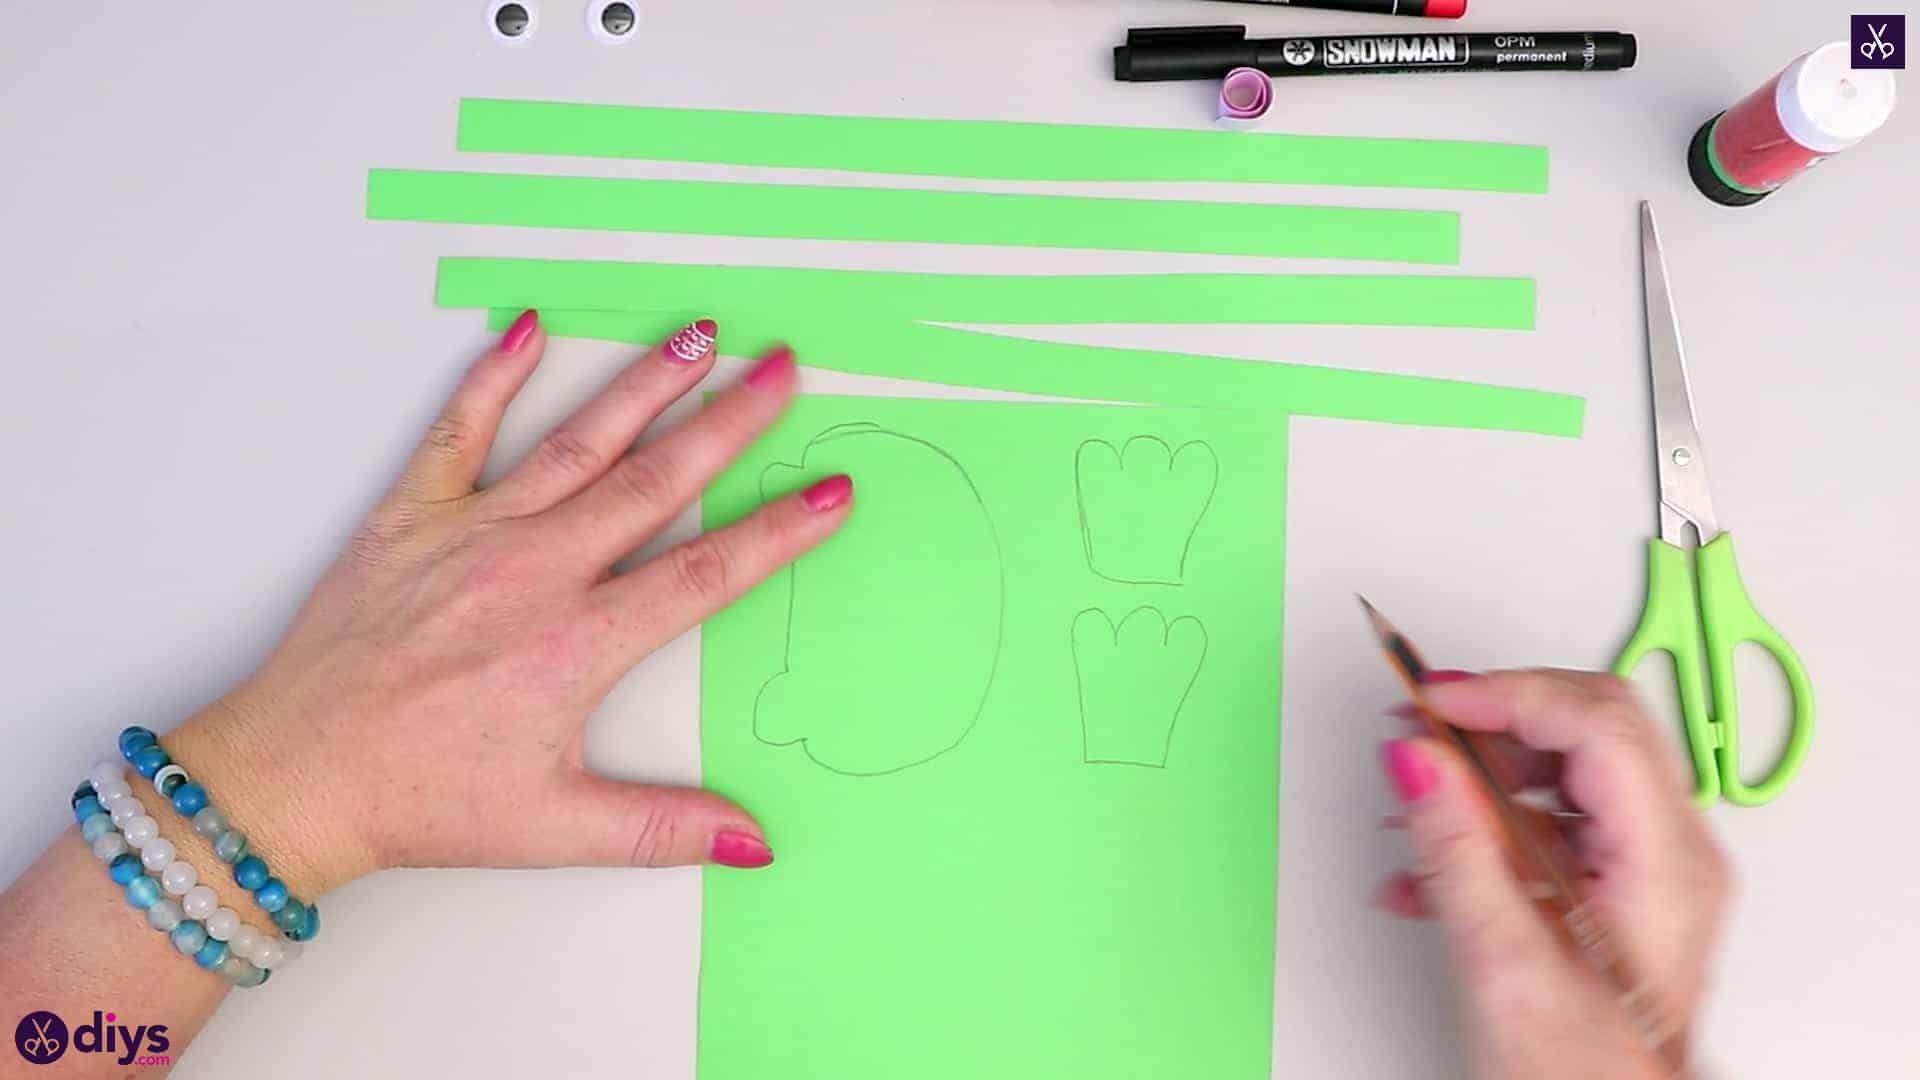
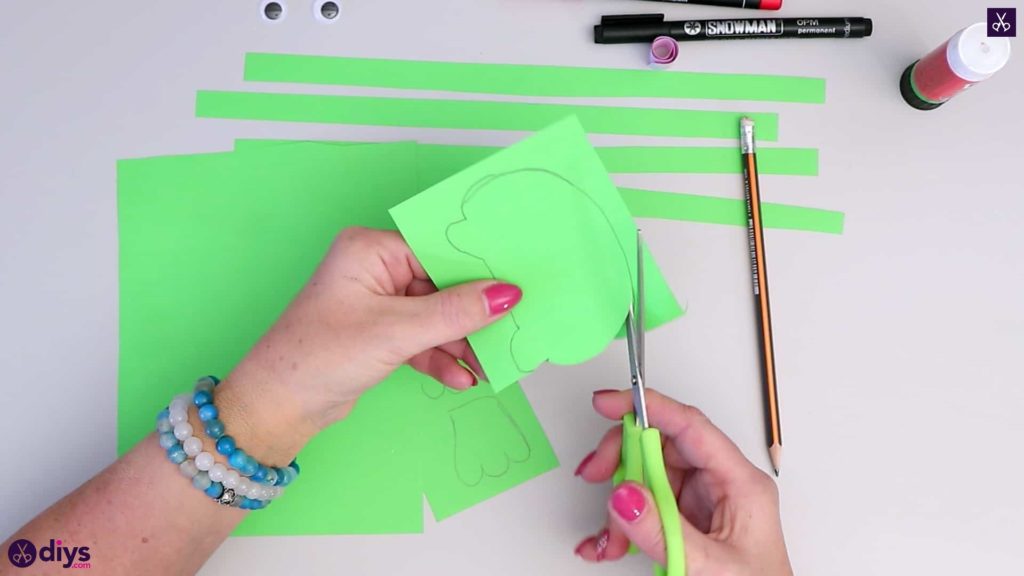
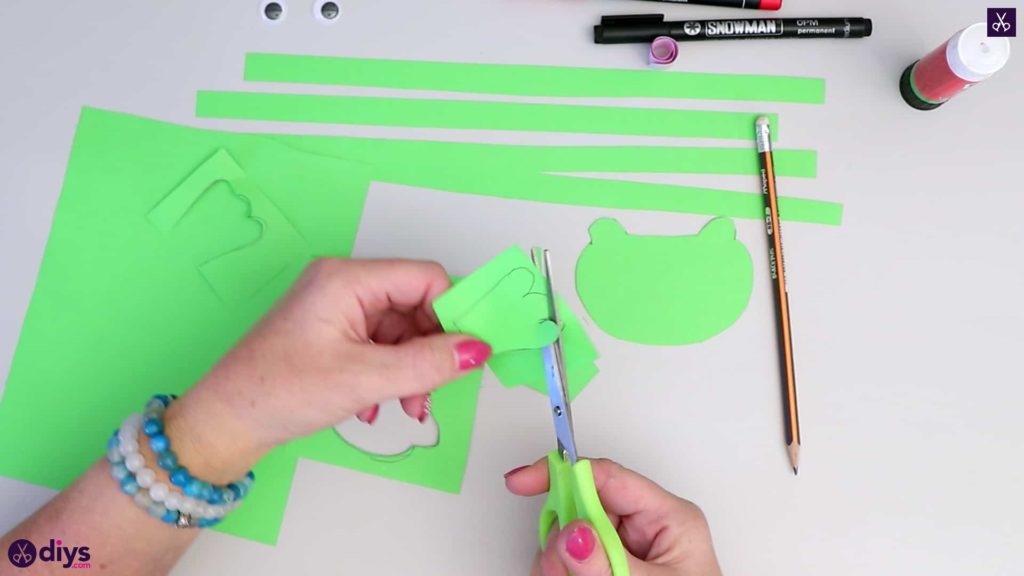
Step 4: make the body
On the rest of your green paper, use your pencil to draw your frog a head and two back feet. I drew my frog’s head like a semi-circle with rounded corners and a small mound on each side of the top. I also chose to give my frog cute rounded toes because I like the cartoonish look of it better, but you can do more realistic looking pointed and webbed feet if you prefer. My head was about two inches wide and an inch tall and each foot was about an inch long and about half an inch wide at its widest point. Once you’ve drawn these pieces, cut them out.

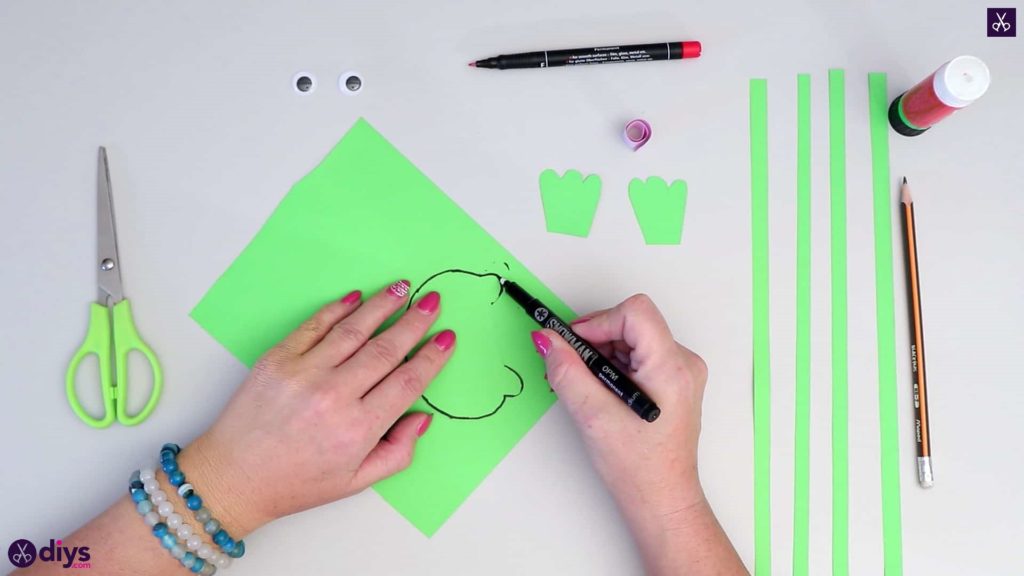
Step 5: outline
Outline the edges of your frog’s head and feet with black marker to make them stand out, define them a little better, and emphasize that fun cartoonish look I mentioned above. I placed my pieces on my scrap green paper leftovers so I could get my marker right close to the edges of the shapes without getting black ink all over my tabletop.
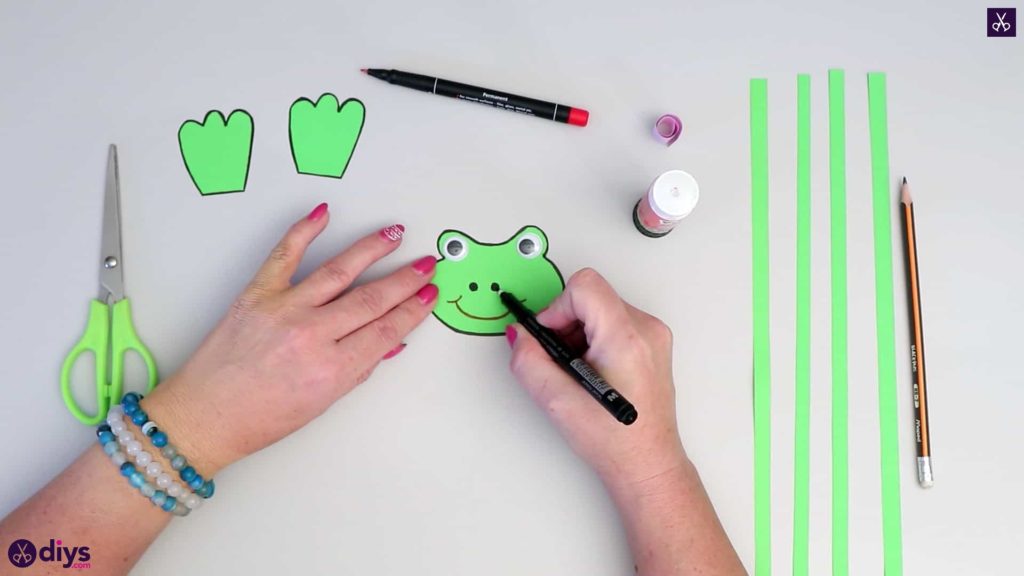
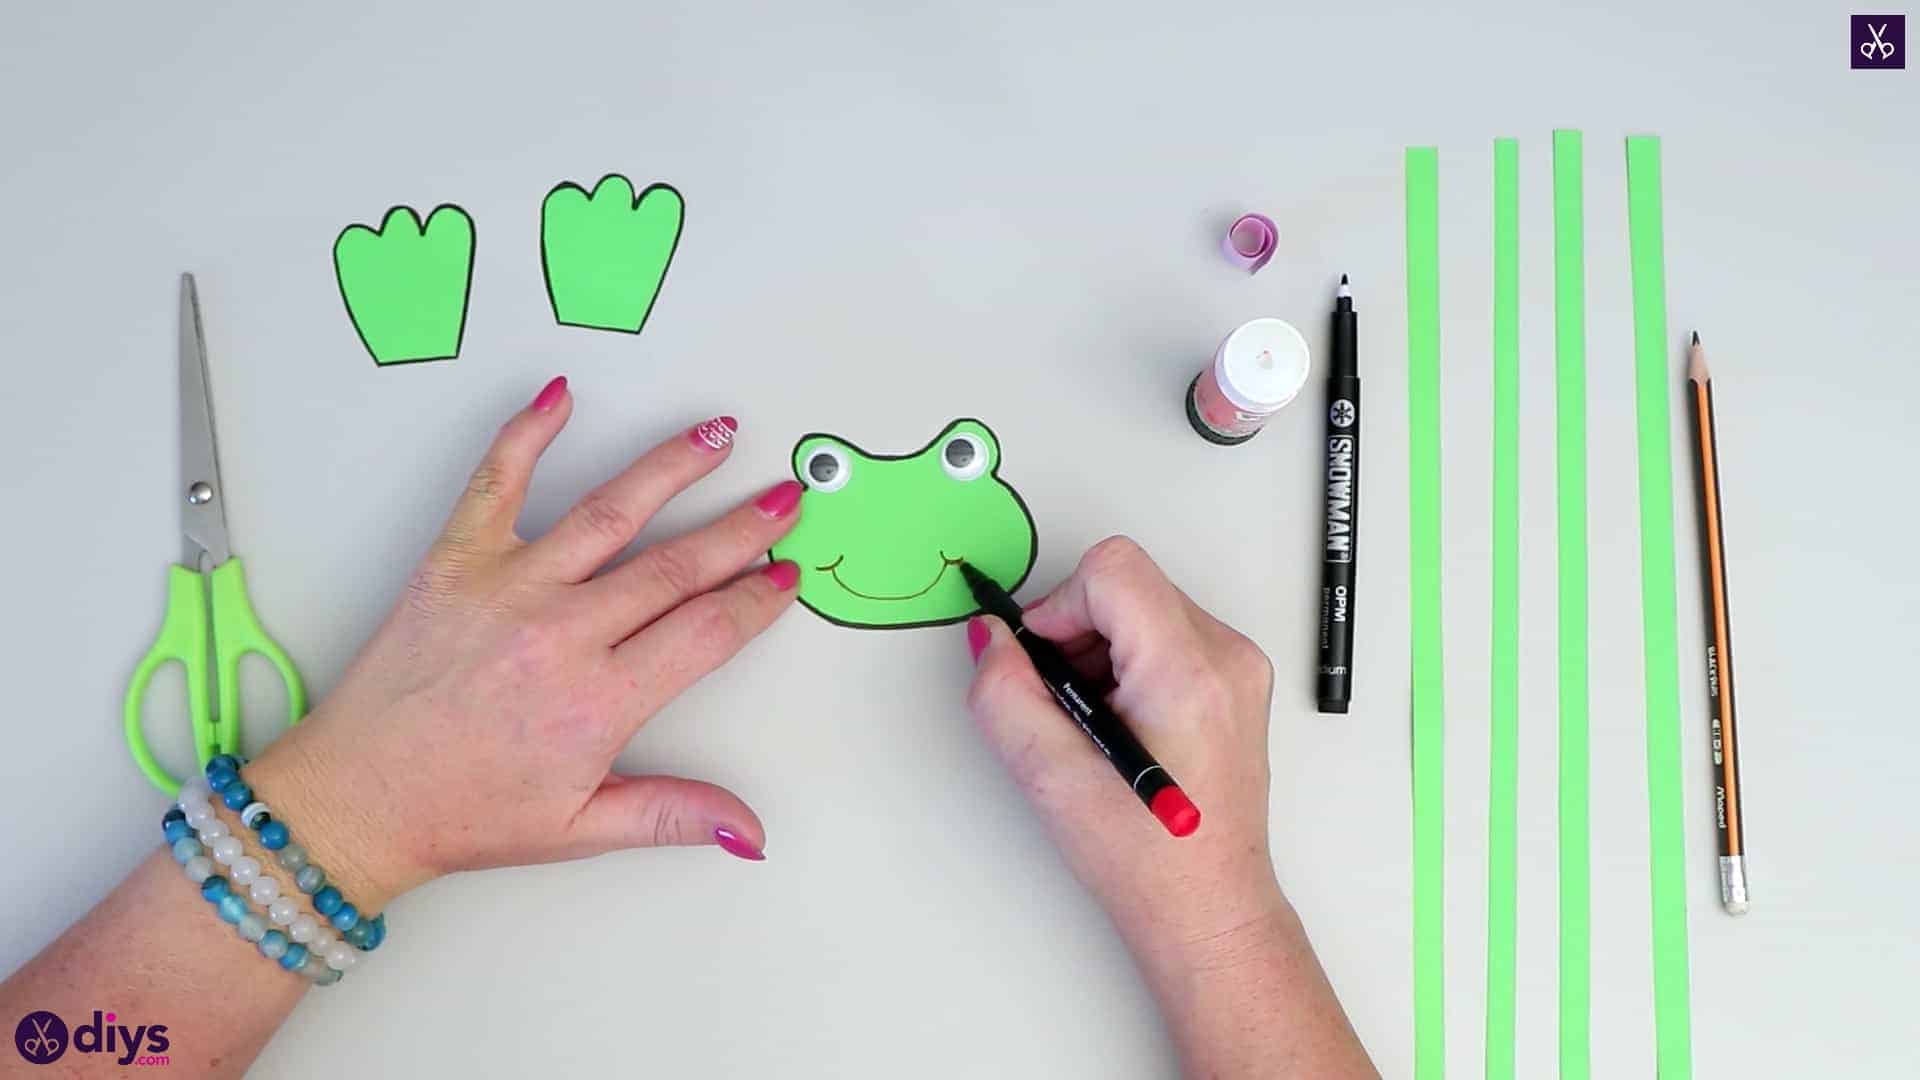
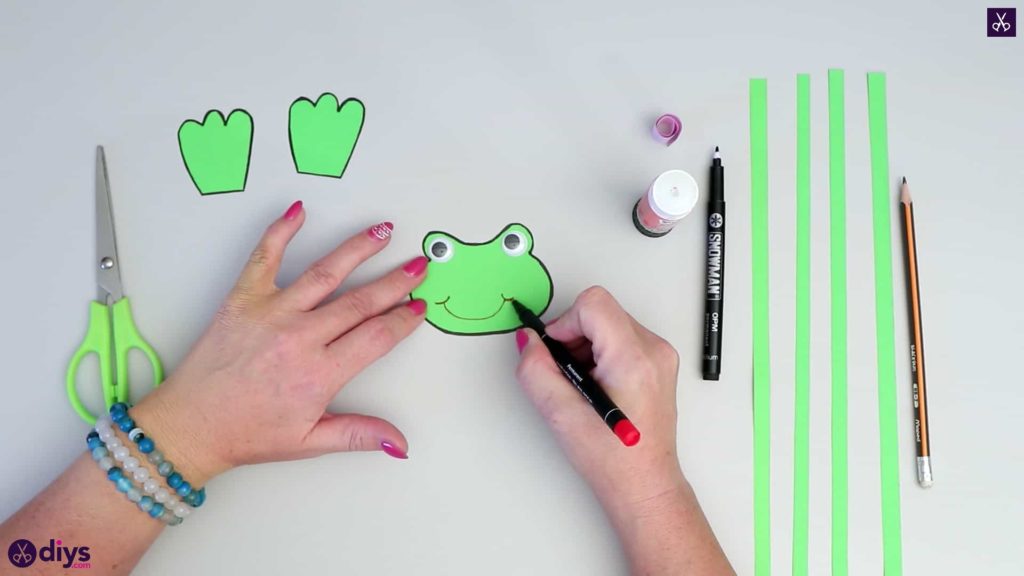
Step 6: make the face
Complete your frog’s face! Use your glue stick to place a googly eye in each one of the mounds at the top of your frog’s end. Next, use your red marker to draw a smile near the bottom of your frog’s face and your black marker to give the frog nostrils near the center on either side above that. Finally, apply glue to the outer end of that pink curl you made earlier and stick it right along the frog’s smile like he’s got his tongue curled up and ready to snap out and catch a fly any second! Set the frog’s head aside for now with the feet.
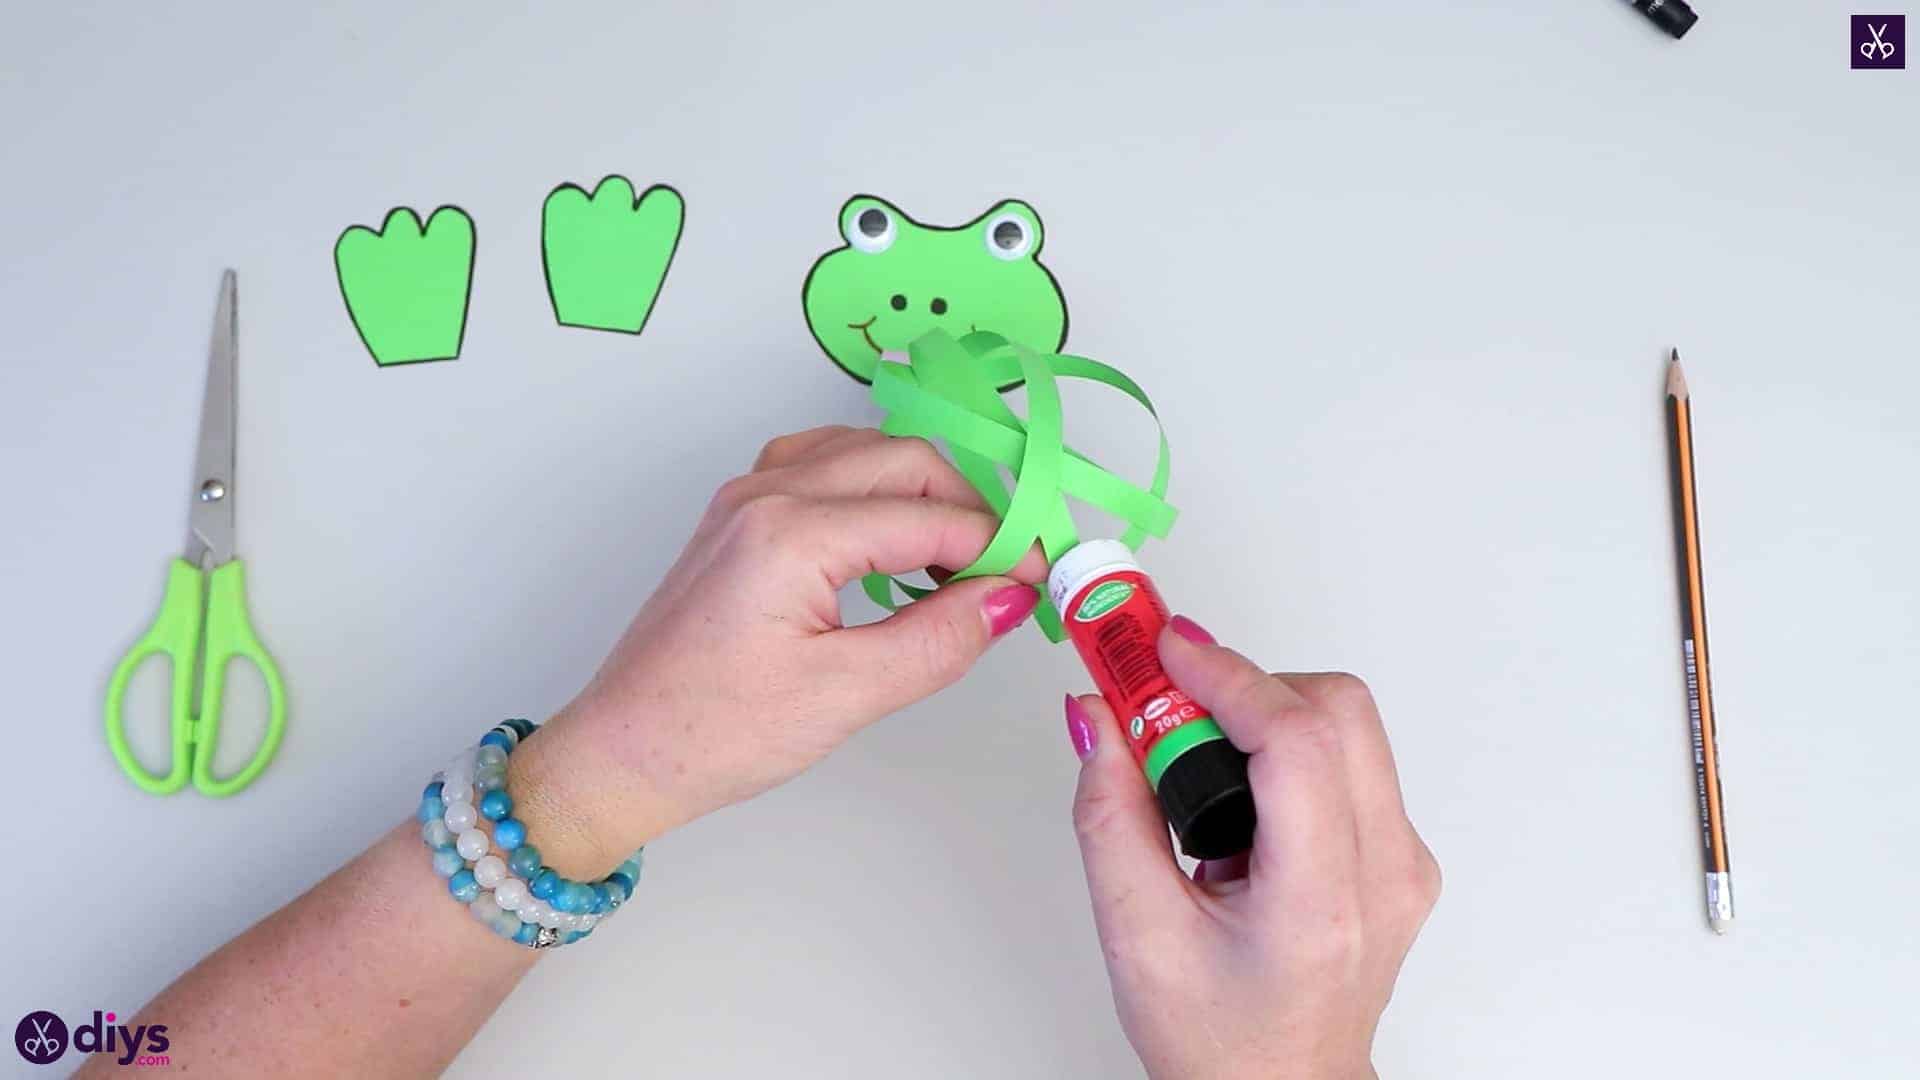
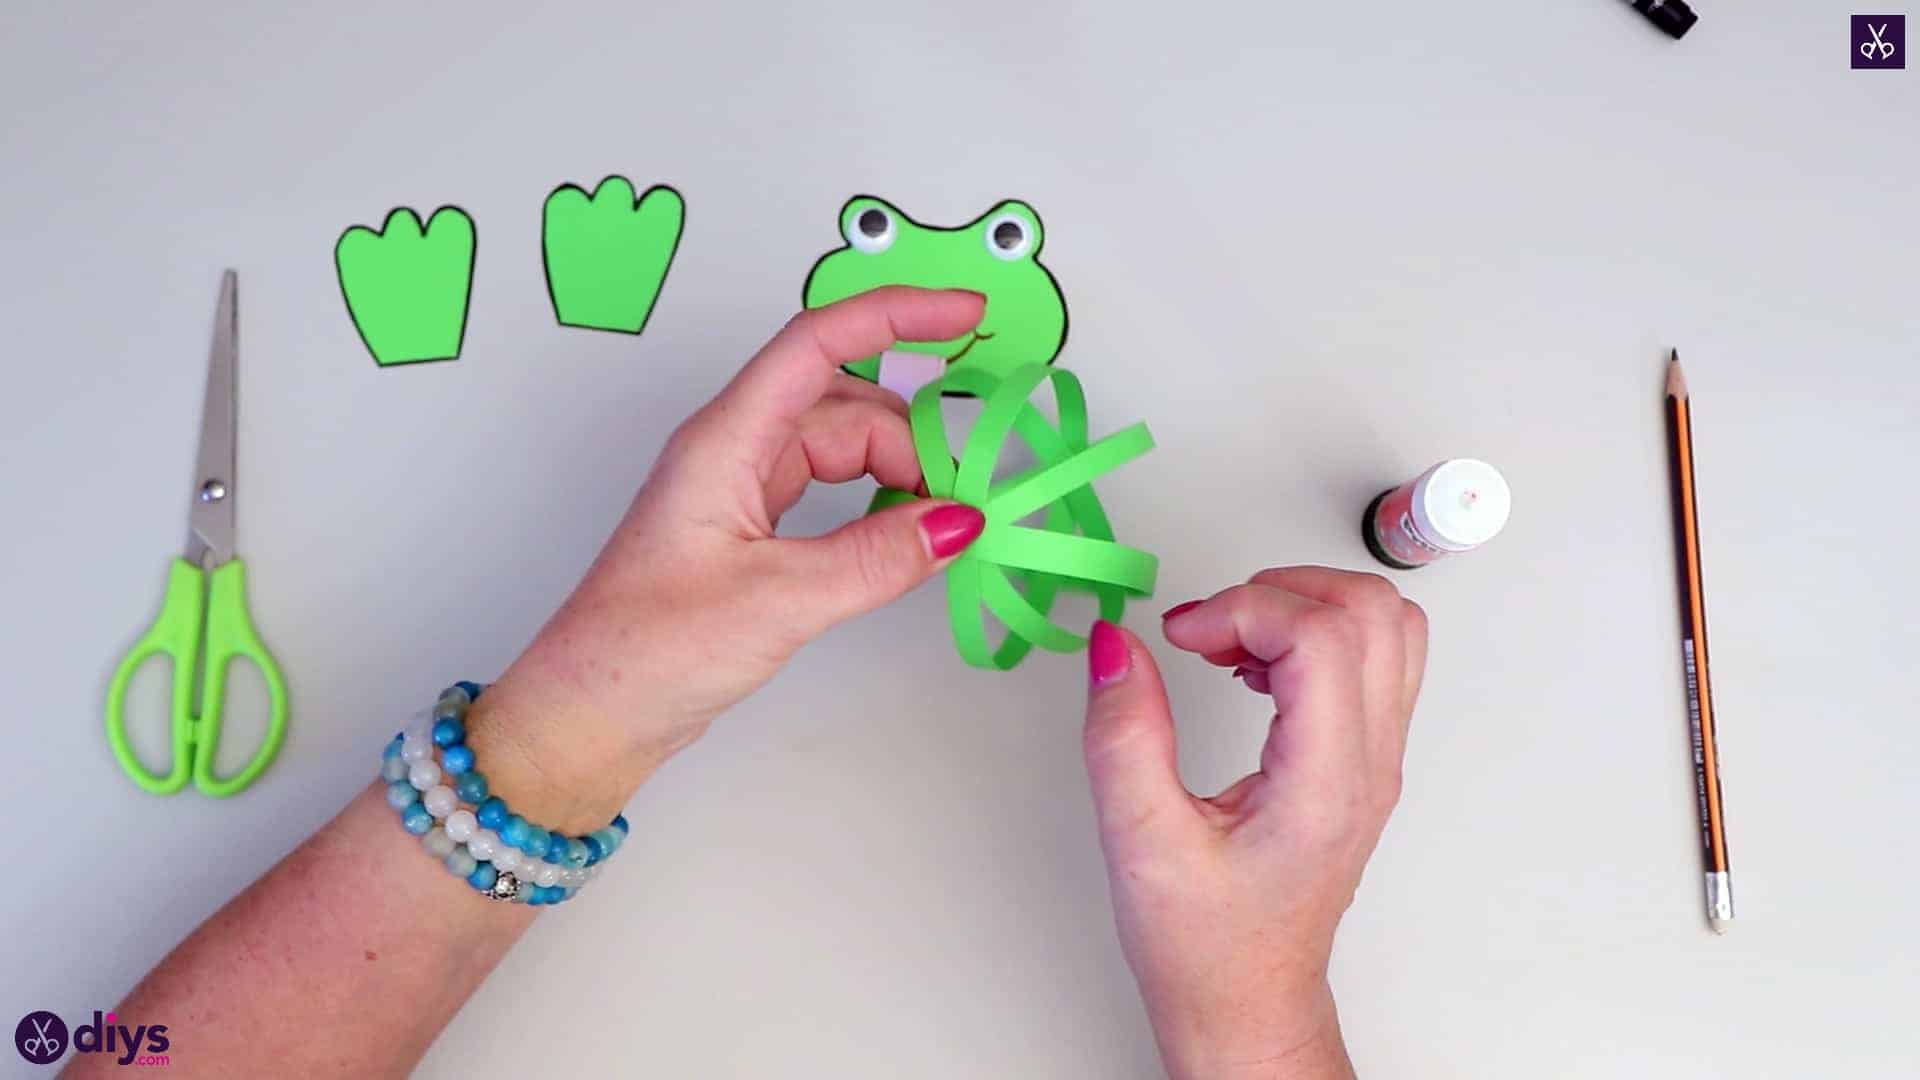
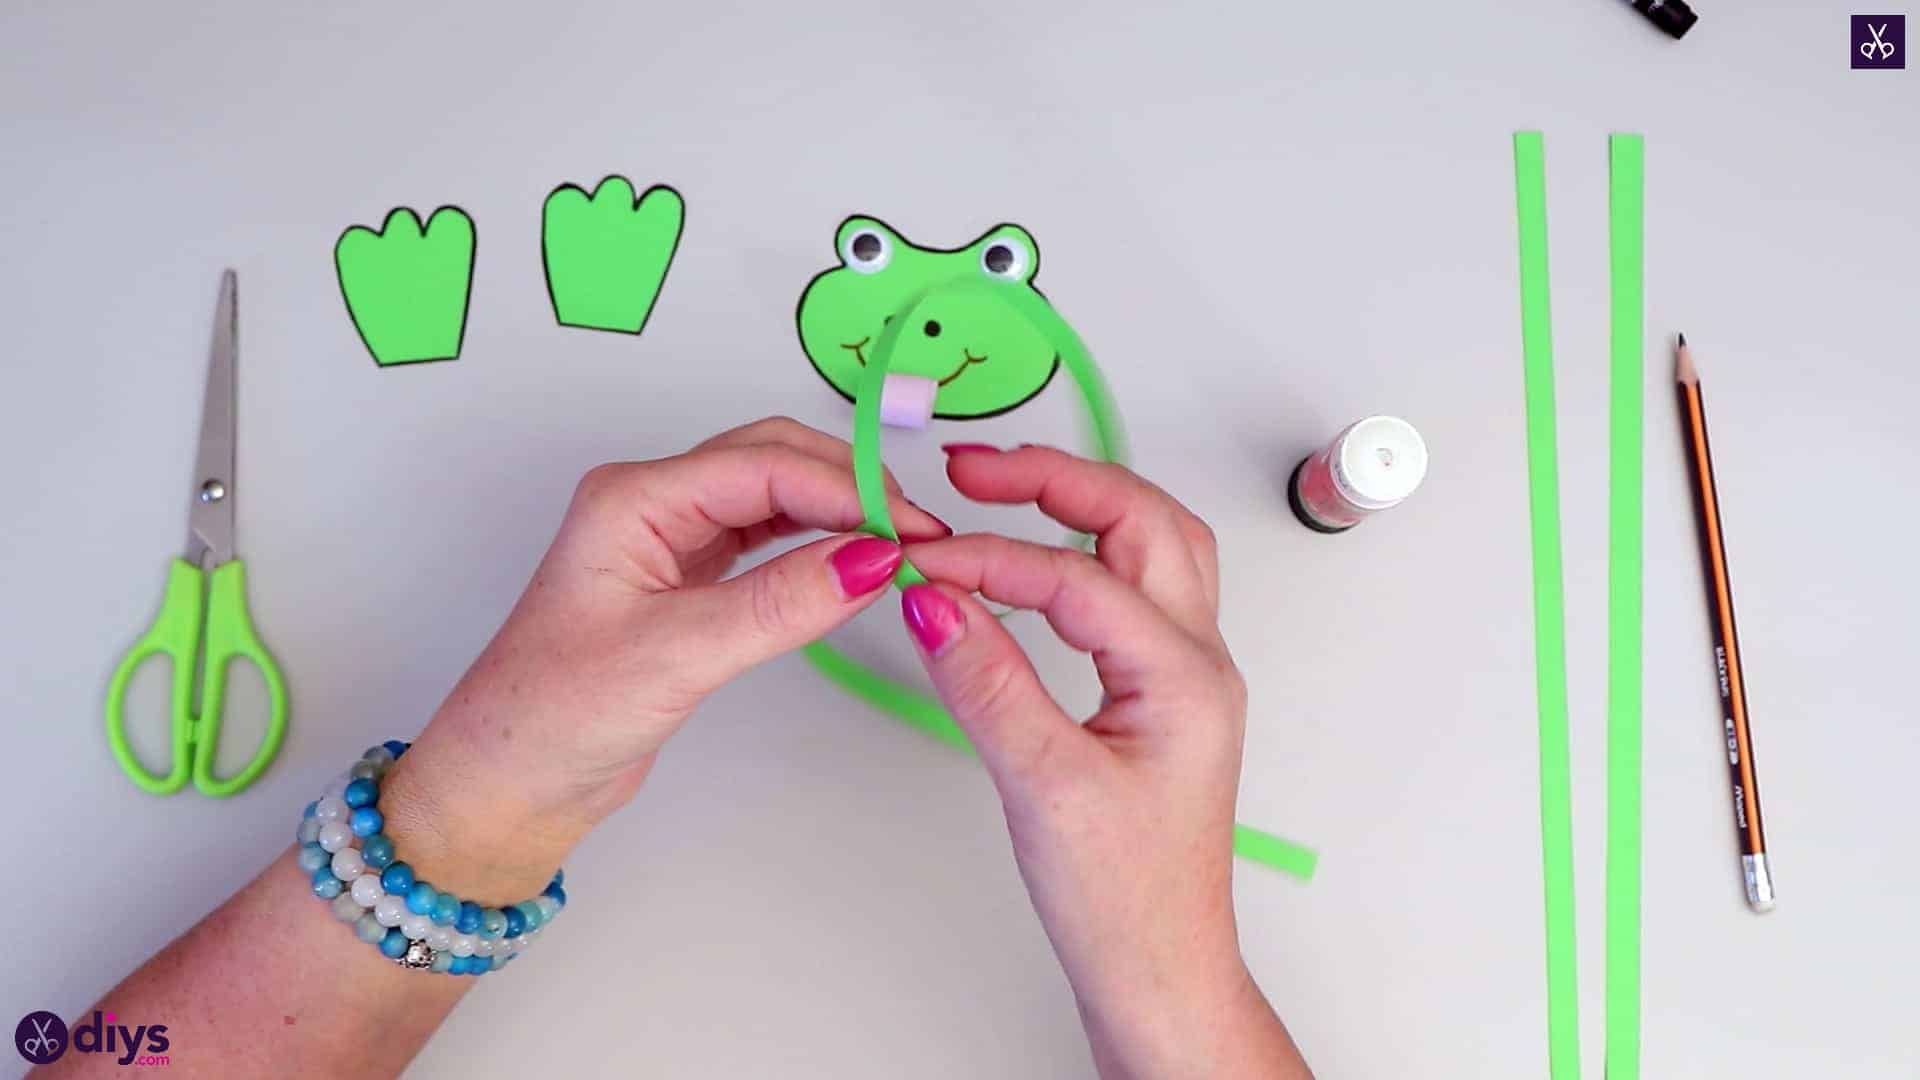
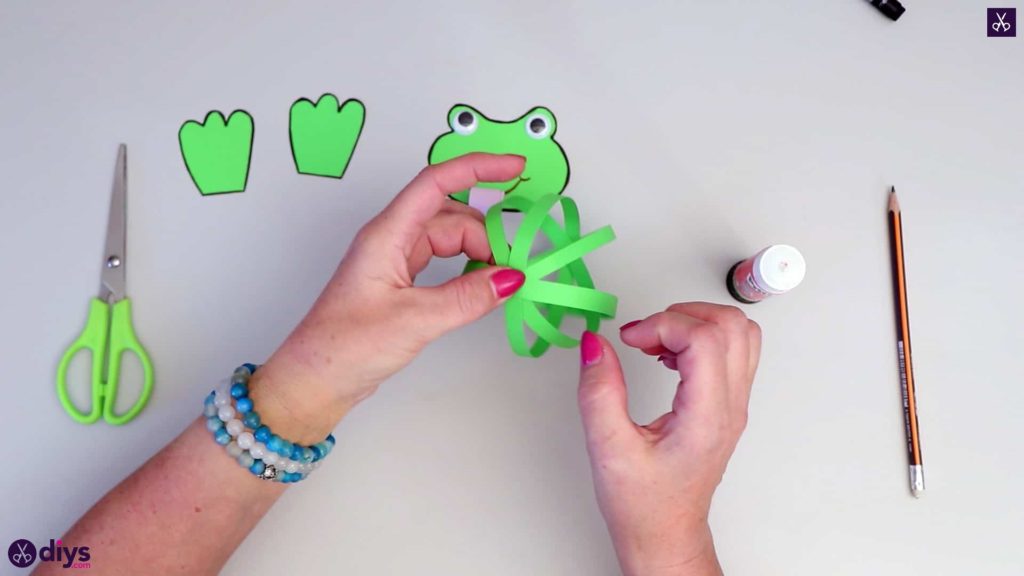
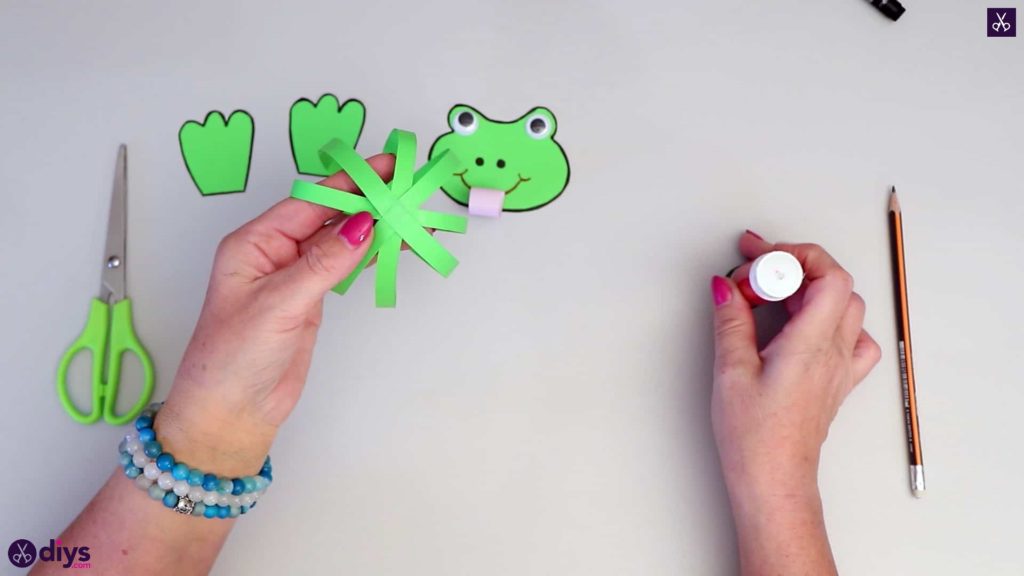
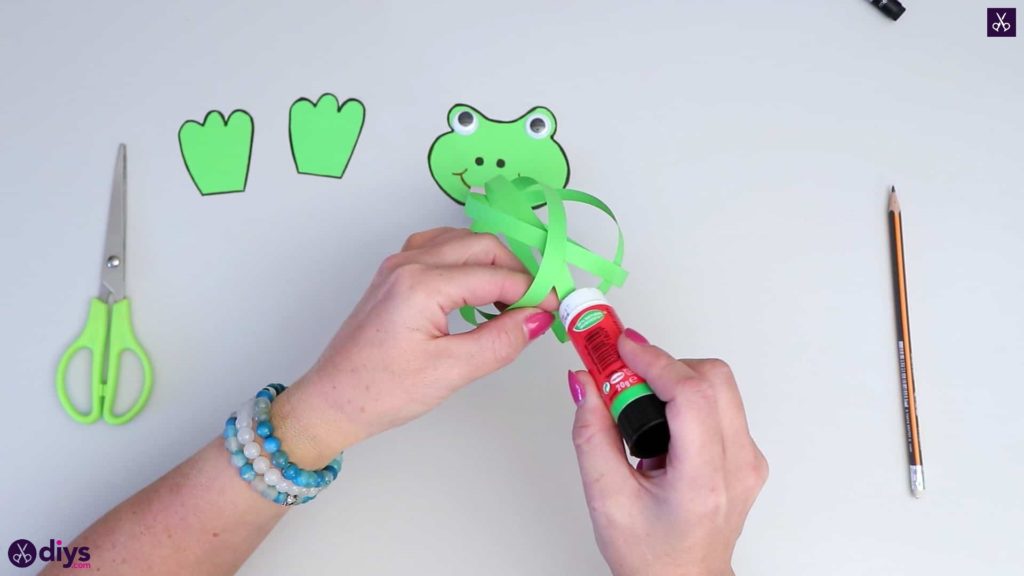
Step 7: start gluing
Use your green strips to build your frog’s bouncy bod! Apply glue to the end of your first strip and curl the other end over to bring the two together and stick it down, making a circle. Then apply glue in that same spot, on top of the end you’ve just stuck down. Grab a second strip and stick one end of that in the same spot, but turned so the strip is perpendicular to your first one, rather than lining up with it. Bring the other end of your second strip around in the same way as your first one, passing it under the other side of your already completed circle, and bring it to meet back up with the same spot you already have three ends layered at. Apply there once more and stick this fourth end down. You now have two circles that appear to intersect each other. You might also want to apply a dot of glue opposite your anchored ends, where the rounded centers of the strips overlap on the other side of the circles, just to keep things in place. Repeat this entire process twice more with your last two green strips, this time turning them so their circles pass in the spaces between the other two, filling in the diagonals and making more of a whole looking sphere shape.

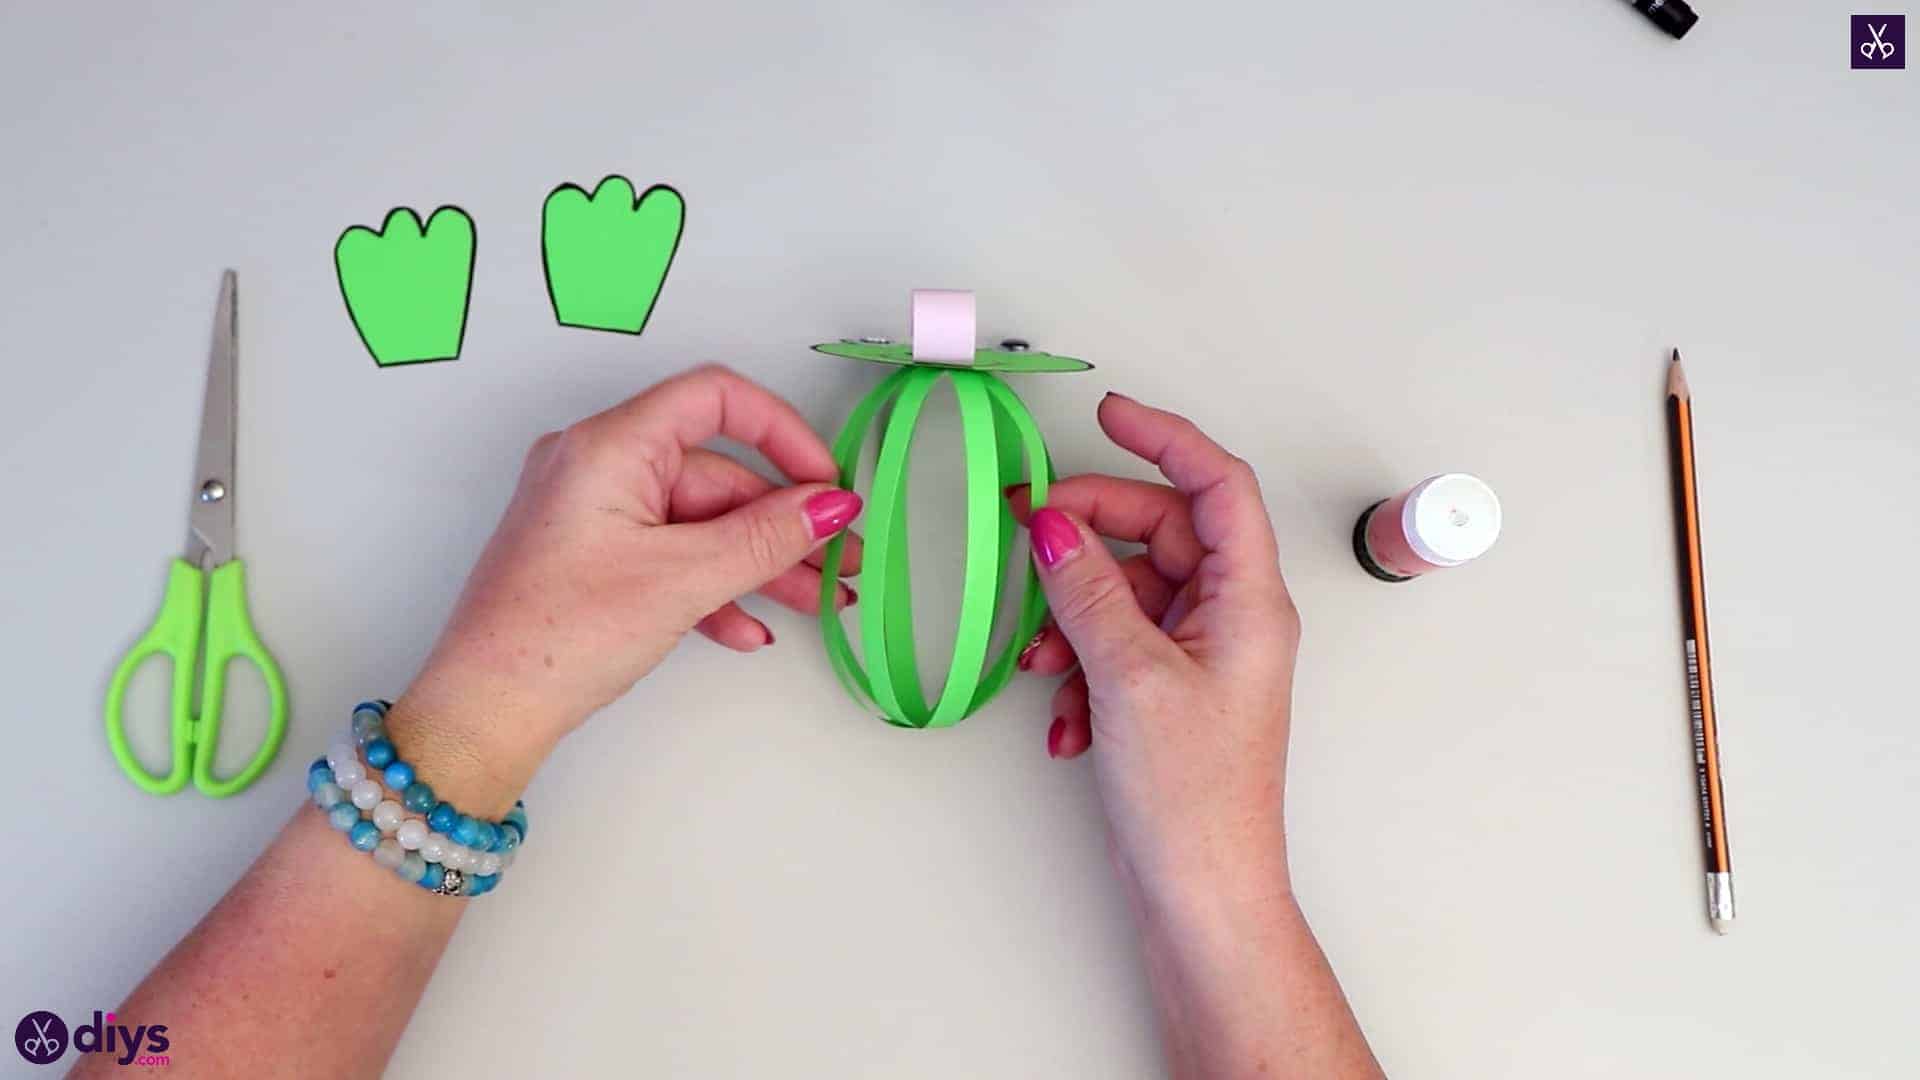
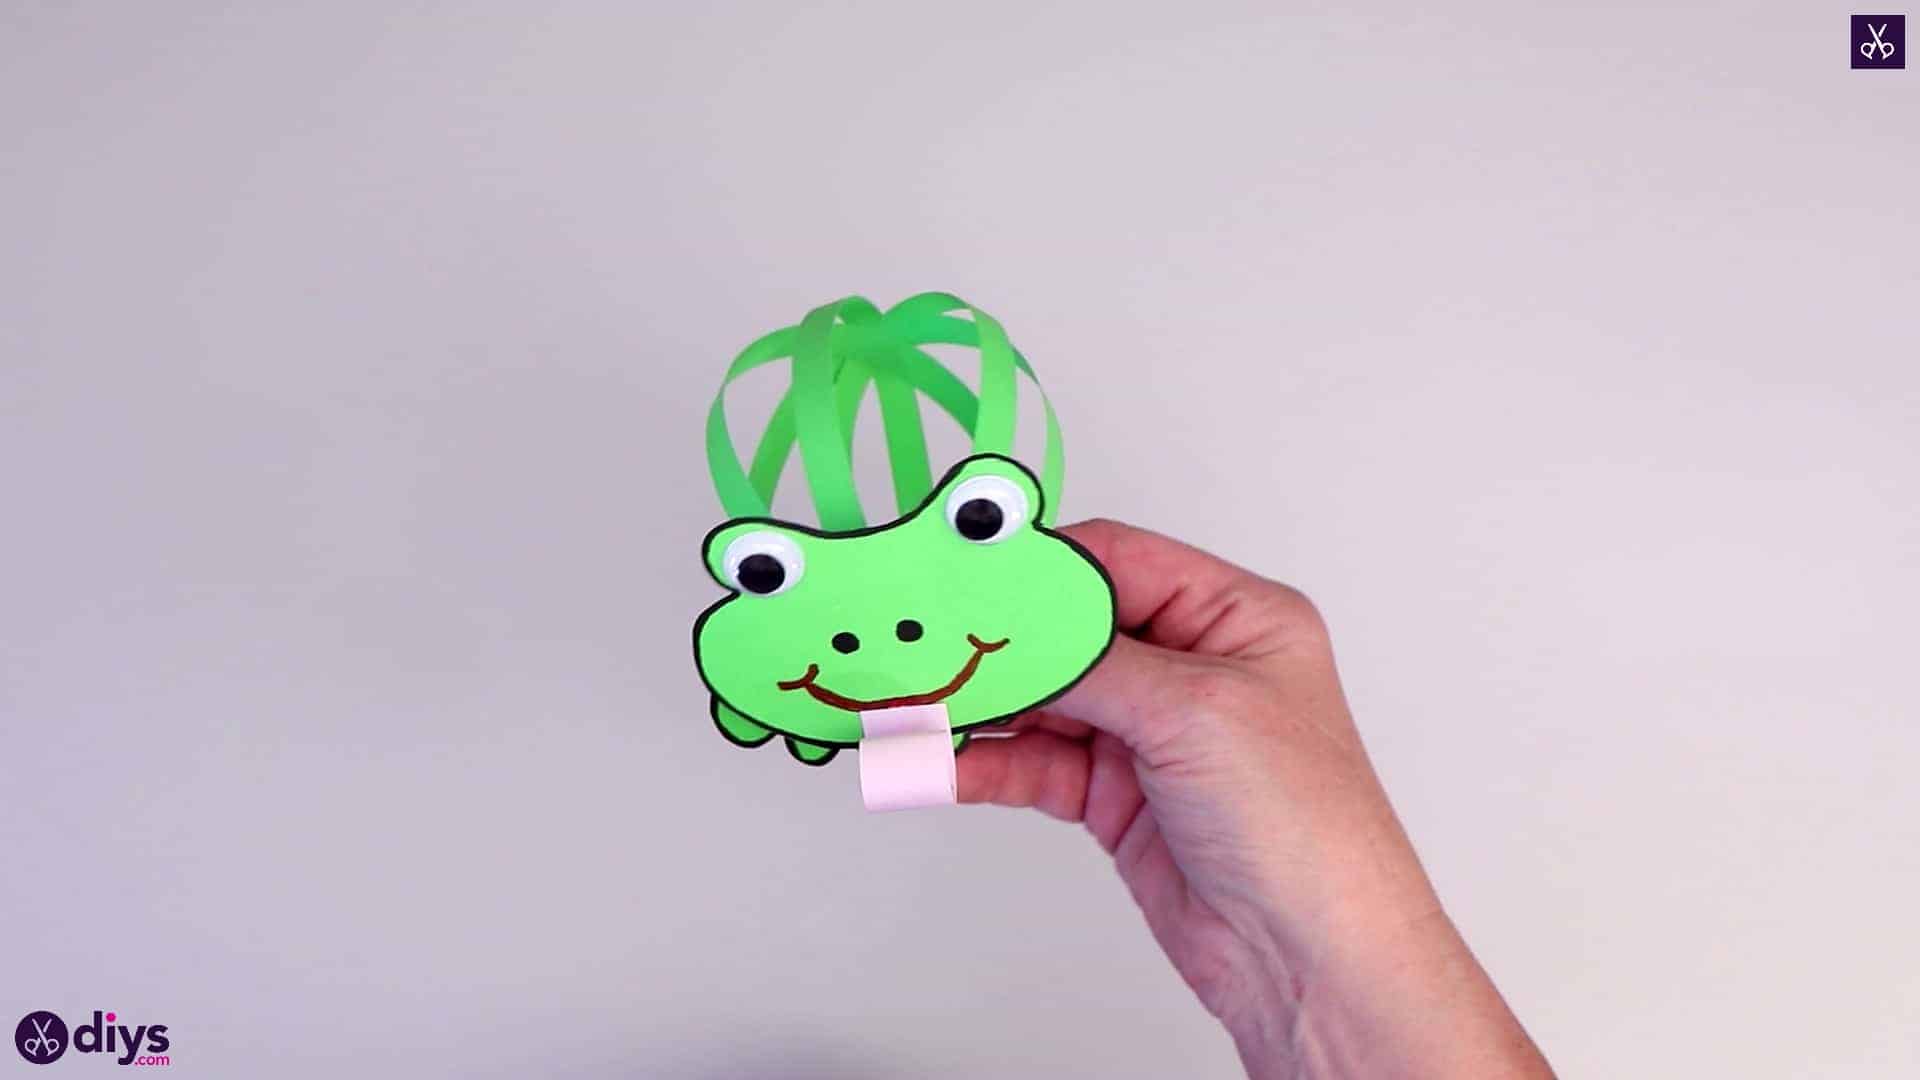
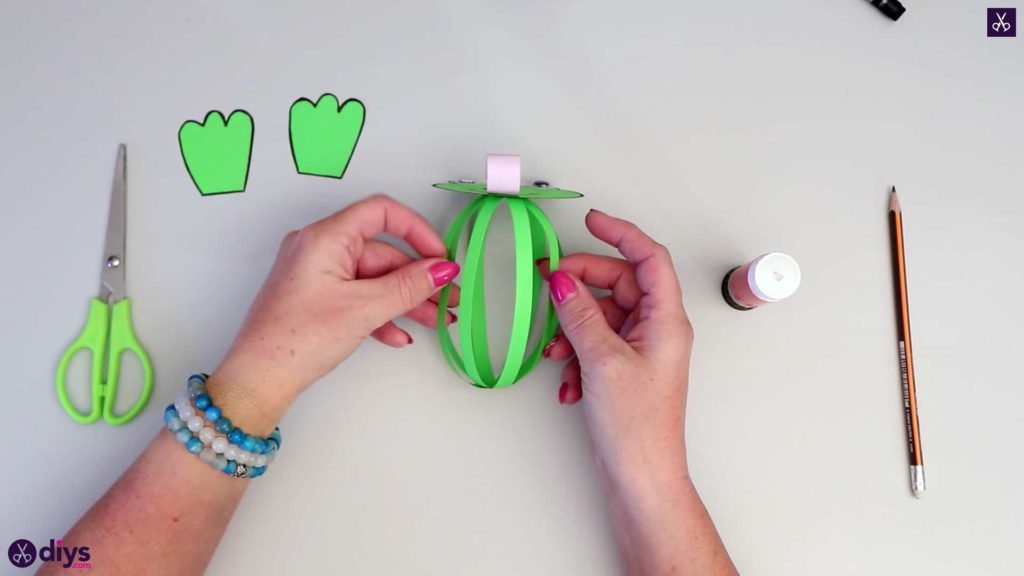
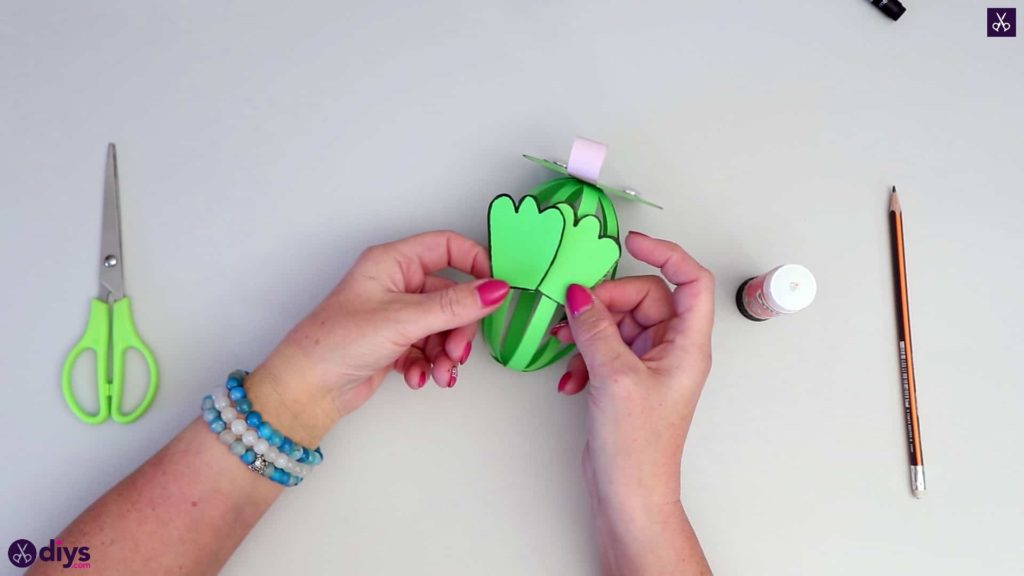
Step 8: add the face
Apply glue to the spot where all your green strip ends meet up once more but this time stick the backside of your frog’s head down there. Turn the frog onto its back so you can see the bottom now and apply glue to the two feet you cut out earlier. Stick them to the strips there on the bottom. When you stand the frog up, the feet will provide a flat surface for it to sit on and the strips will bounce a little if you poke or nudge the frog.
That’s all there is to it! Of course, you can always feel free to use this basic construction idea but then turn your piece into another kind of animal too. Just in case you’d like to try this project out for yourself, here’s a fantastic tutorial video to help you!