How To Make A Dreamcatcher – Easy and Beautiful
Updated on June 23, 2021

Dreamcatchers are believed to protect people from bad dreams. These hoops with woven string are meant to replicate the delicate spider webs and are used as protective charms for infants. We find dreamcatchers to be particularly charming, so we wanted to create one too. When we’re done, you can go ahead and place one above your bed or gift it to someone else.

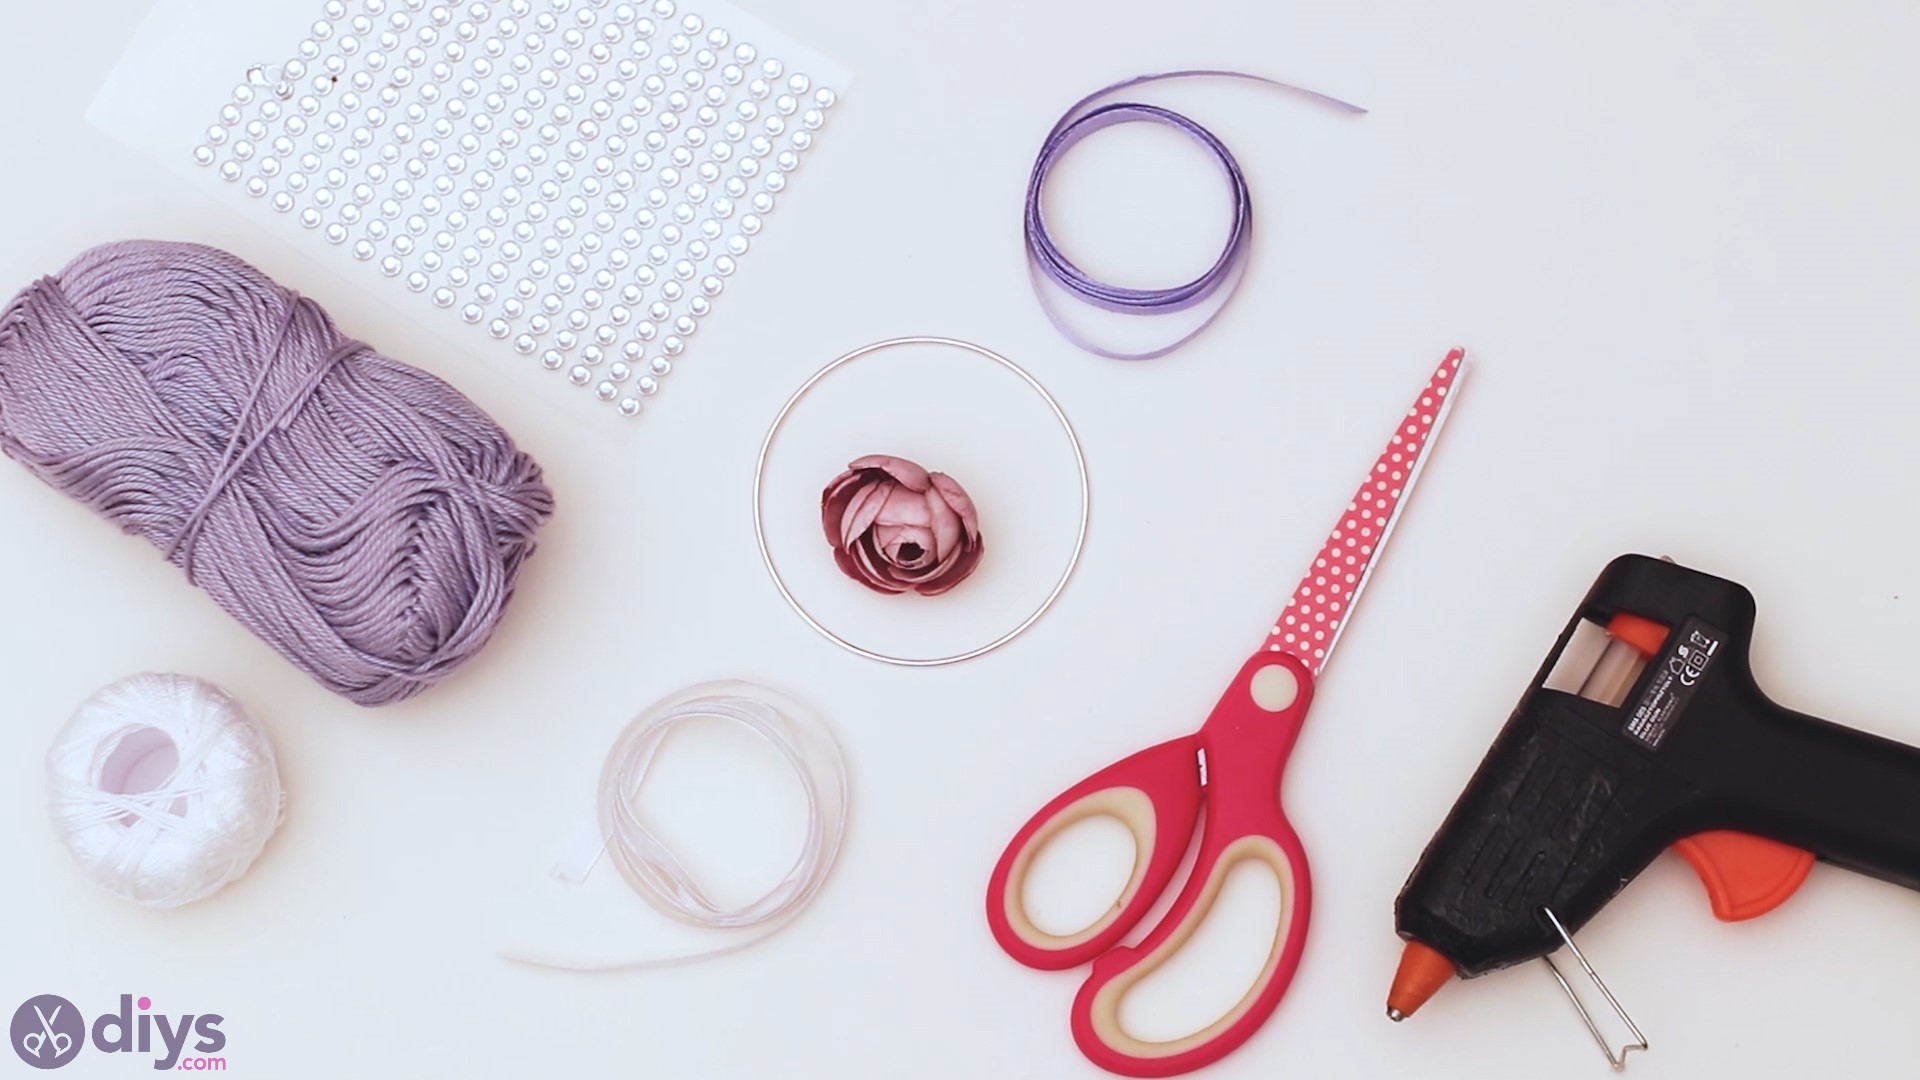
Materials for DIY Dreamcatcher:
- Metal hoop
- Purple yarn
- White twisted yarn
- Strass
- White and purple silk ribbon
- Artificial flower
- Scissors
- Hot glue
How To Make A Dreamcatcher – Step by Step
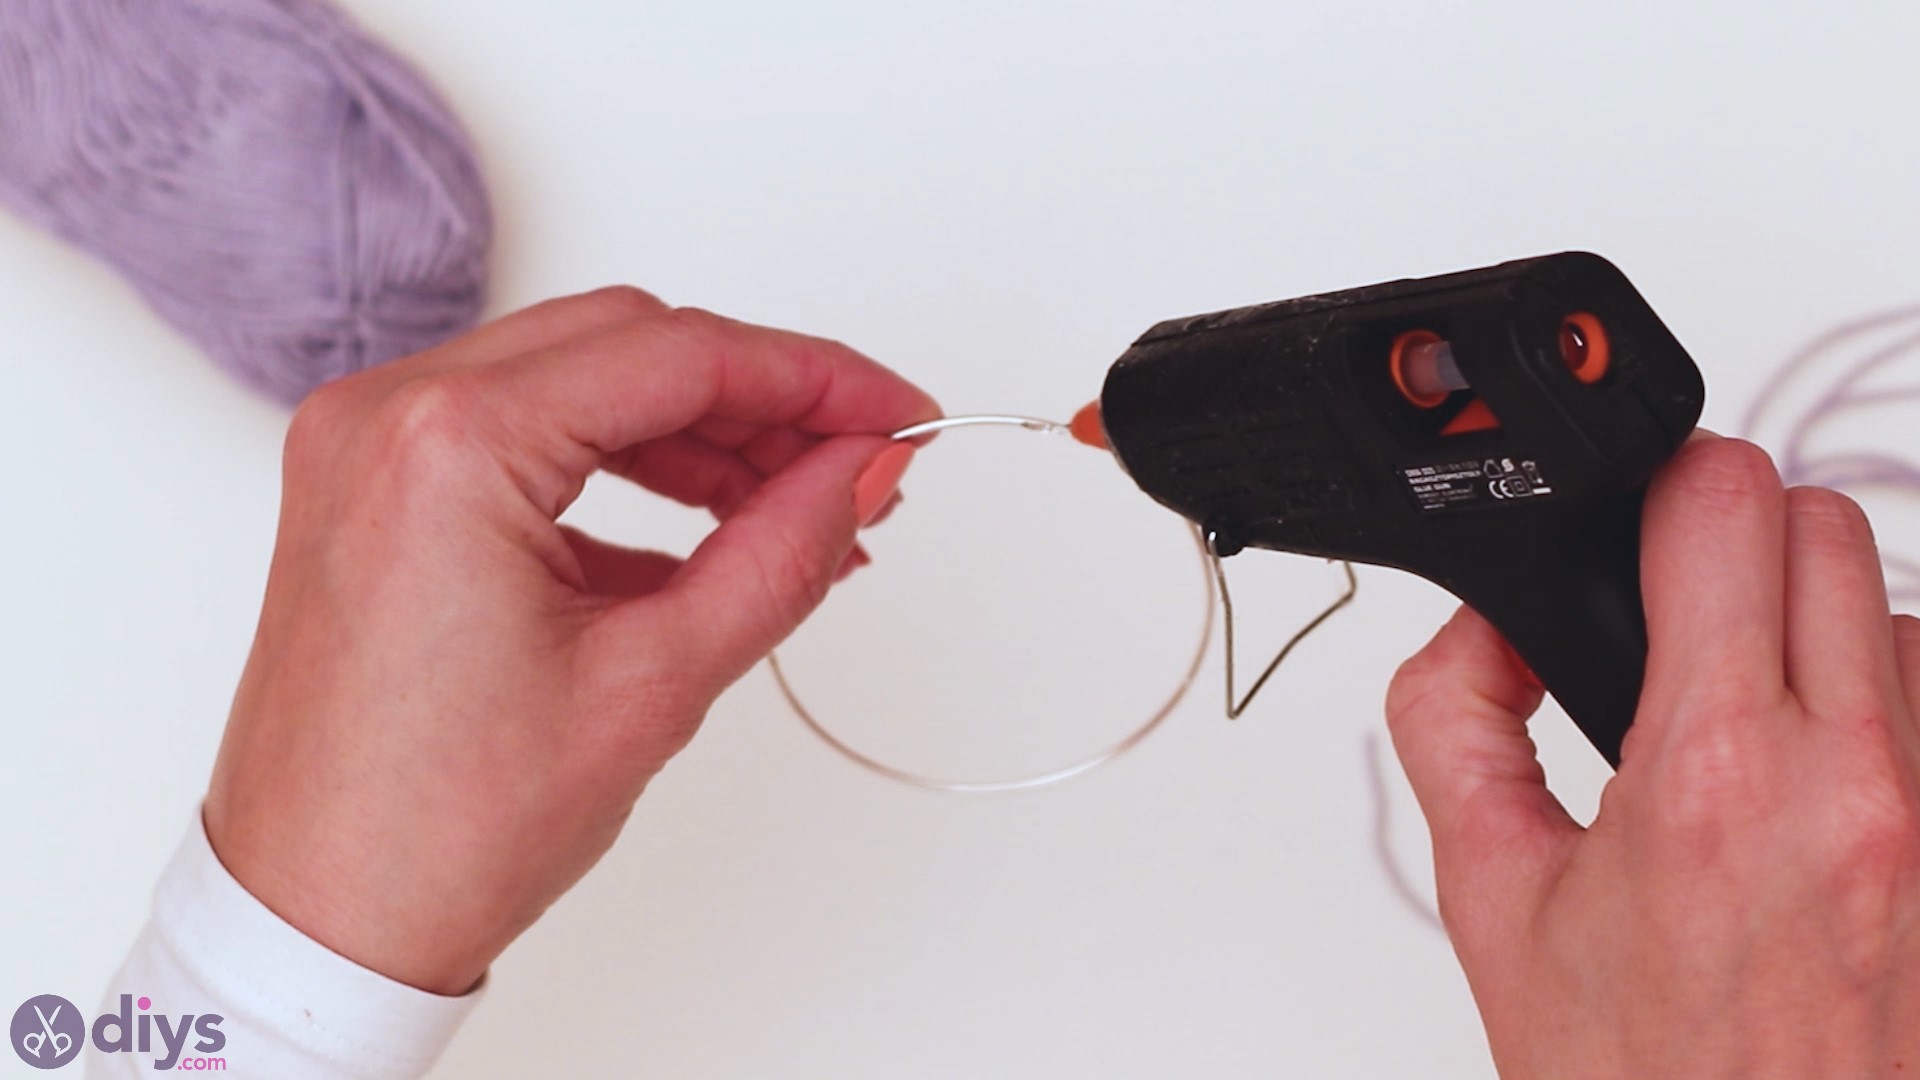
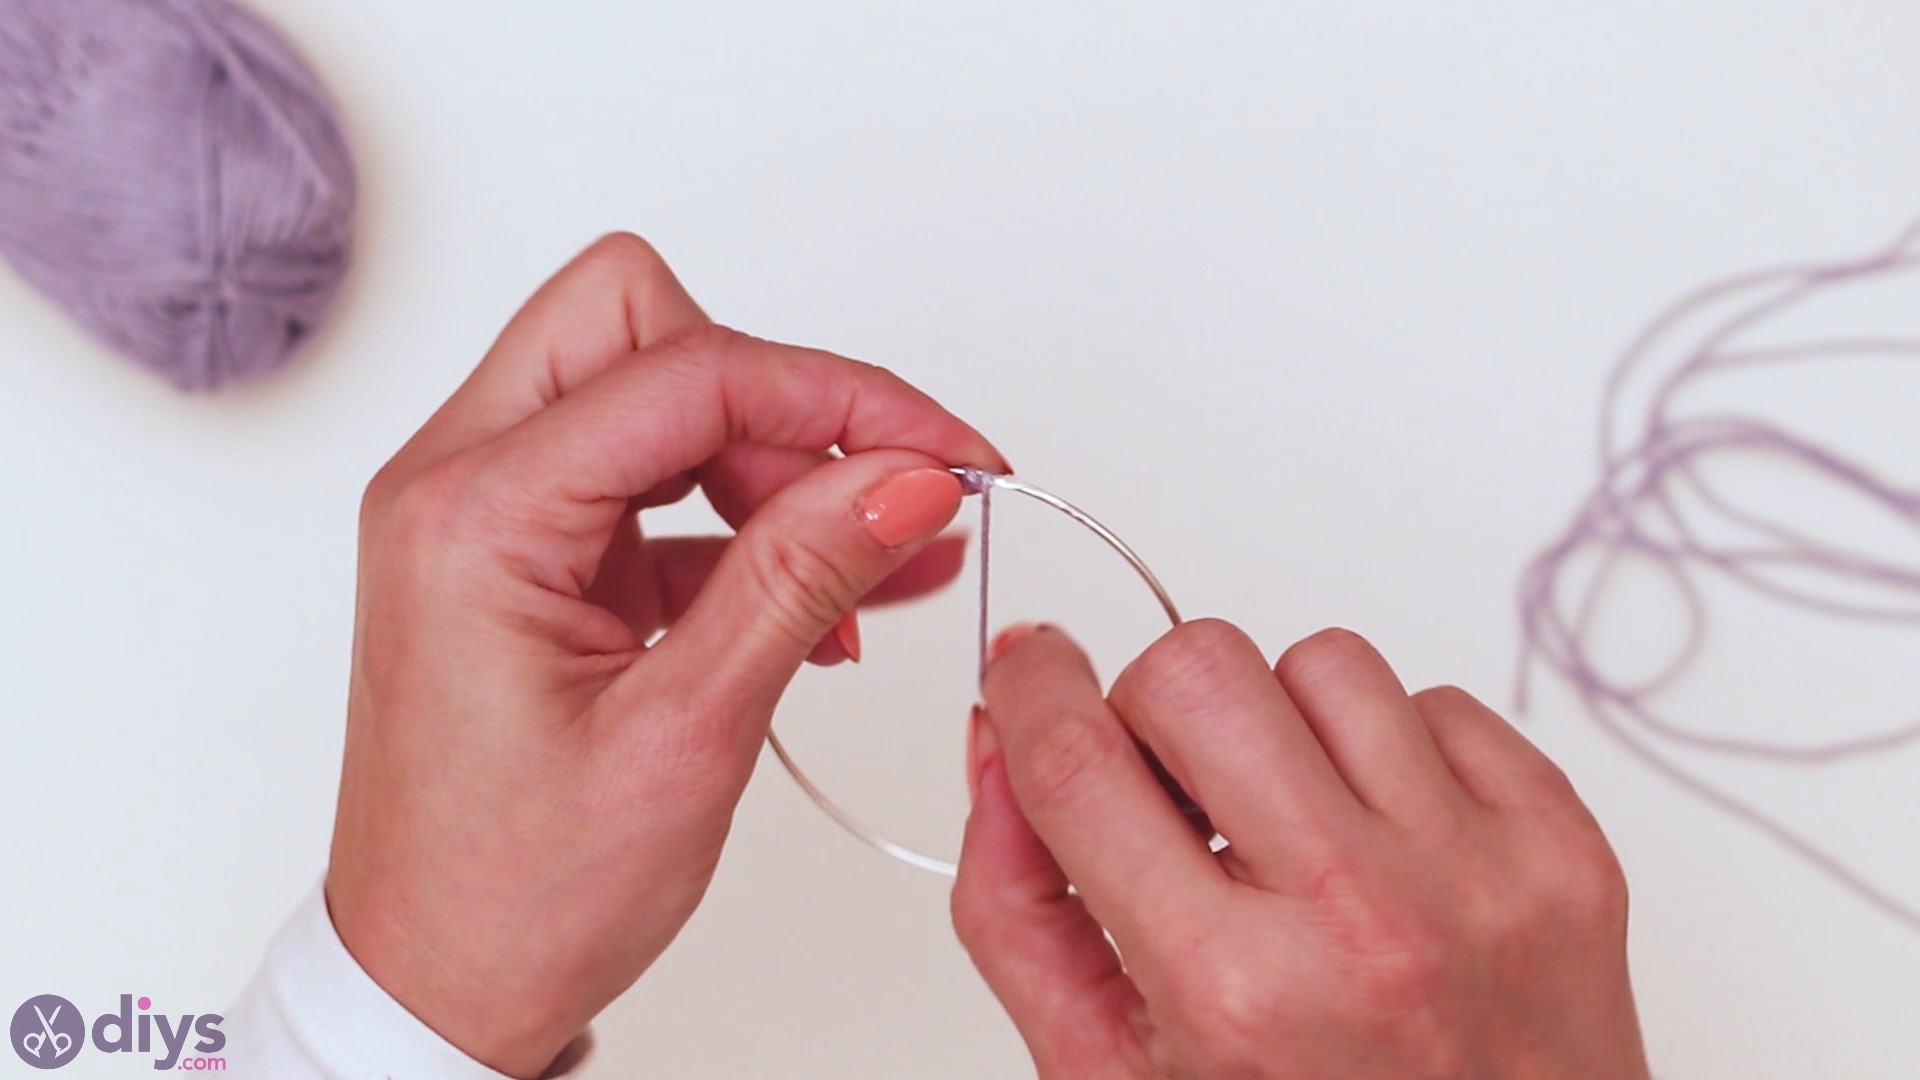
Step 1: Glue the yarn to the metal hoop
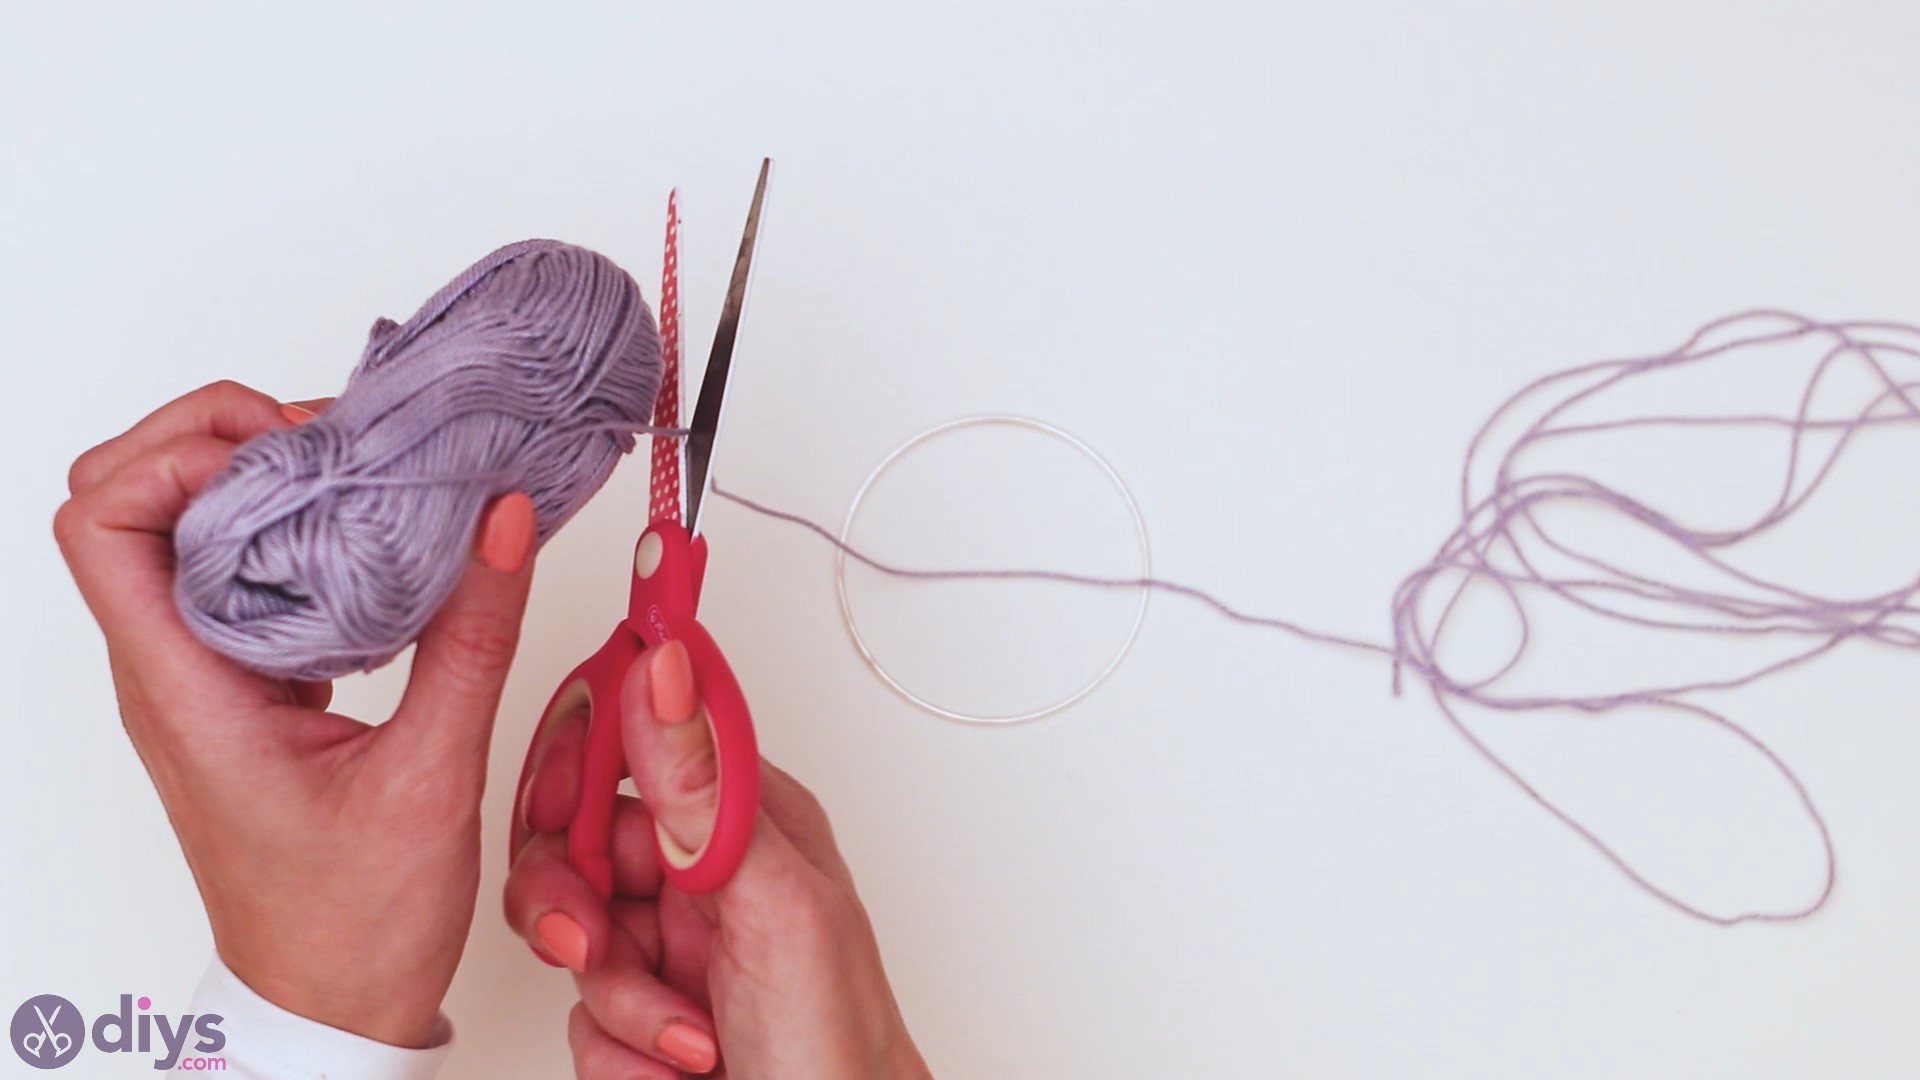
Start by cutting a long piece of yarn. Make sure you allow some space for error as you don’t want to add an extra piece later on. Add some hot glue to the metal hoop and start wrapping the yarn around it. Keep adding hot glue once you’ve covered the previous layer.
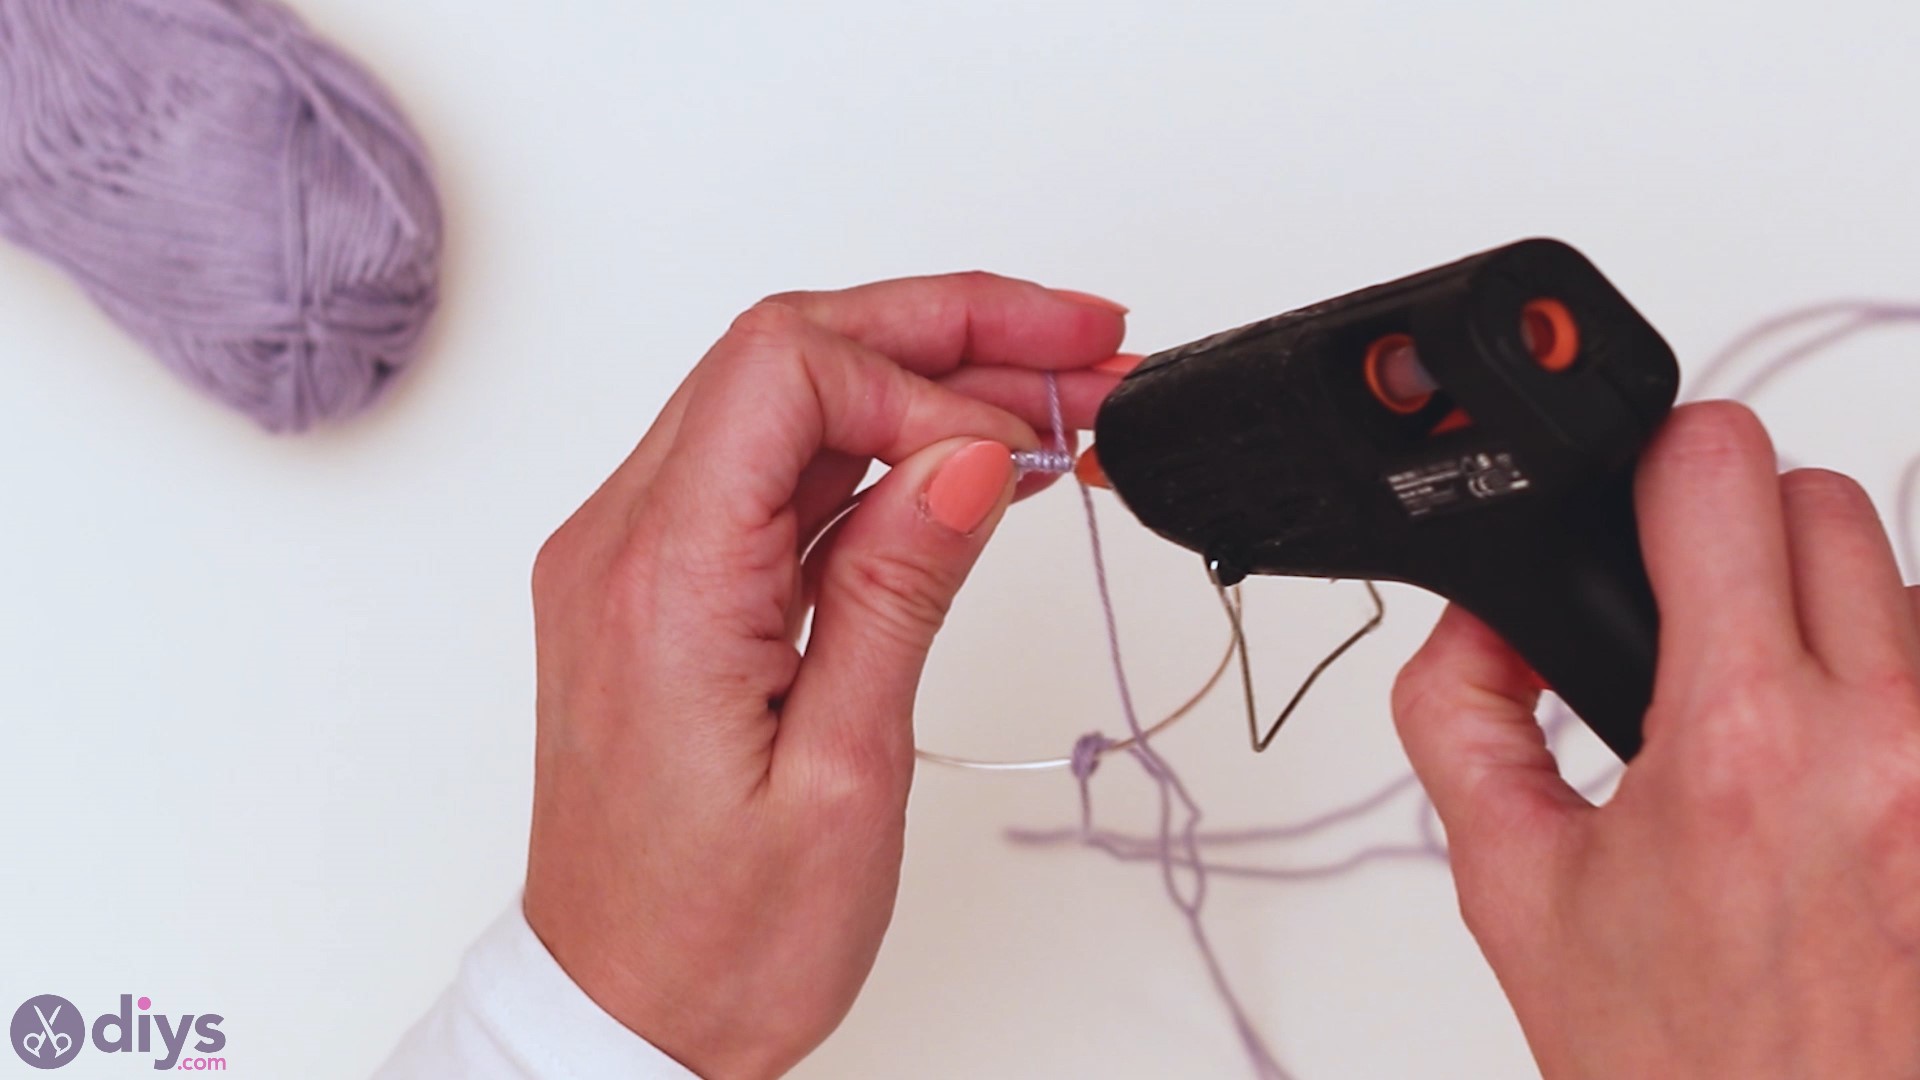
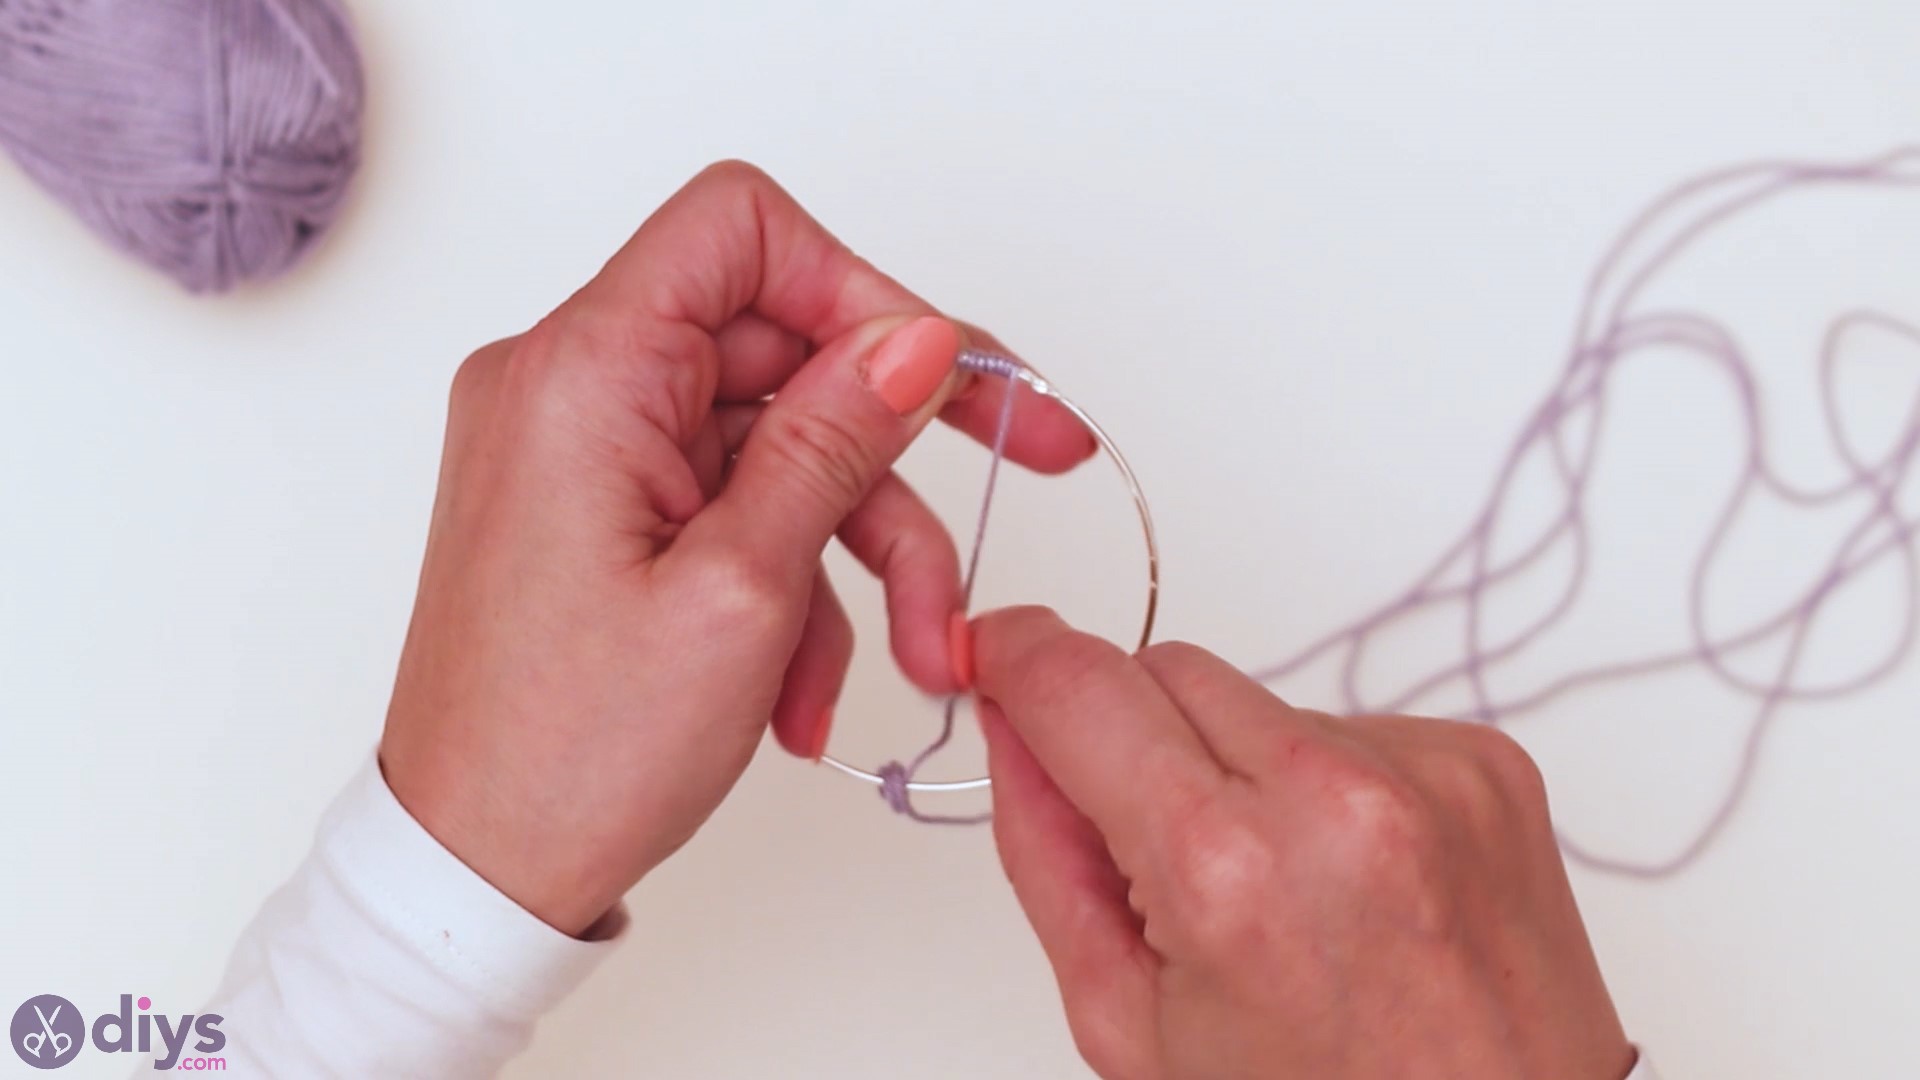
Once you’re done wrapping the yarn make sure you tie a knot. You can also secure it with a little bit of hot glue.
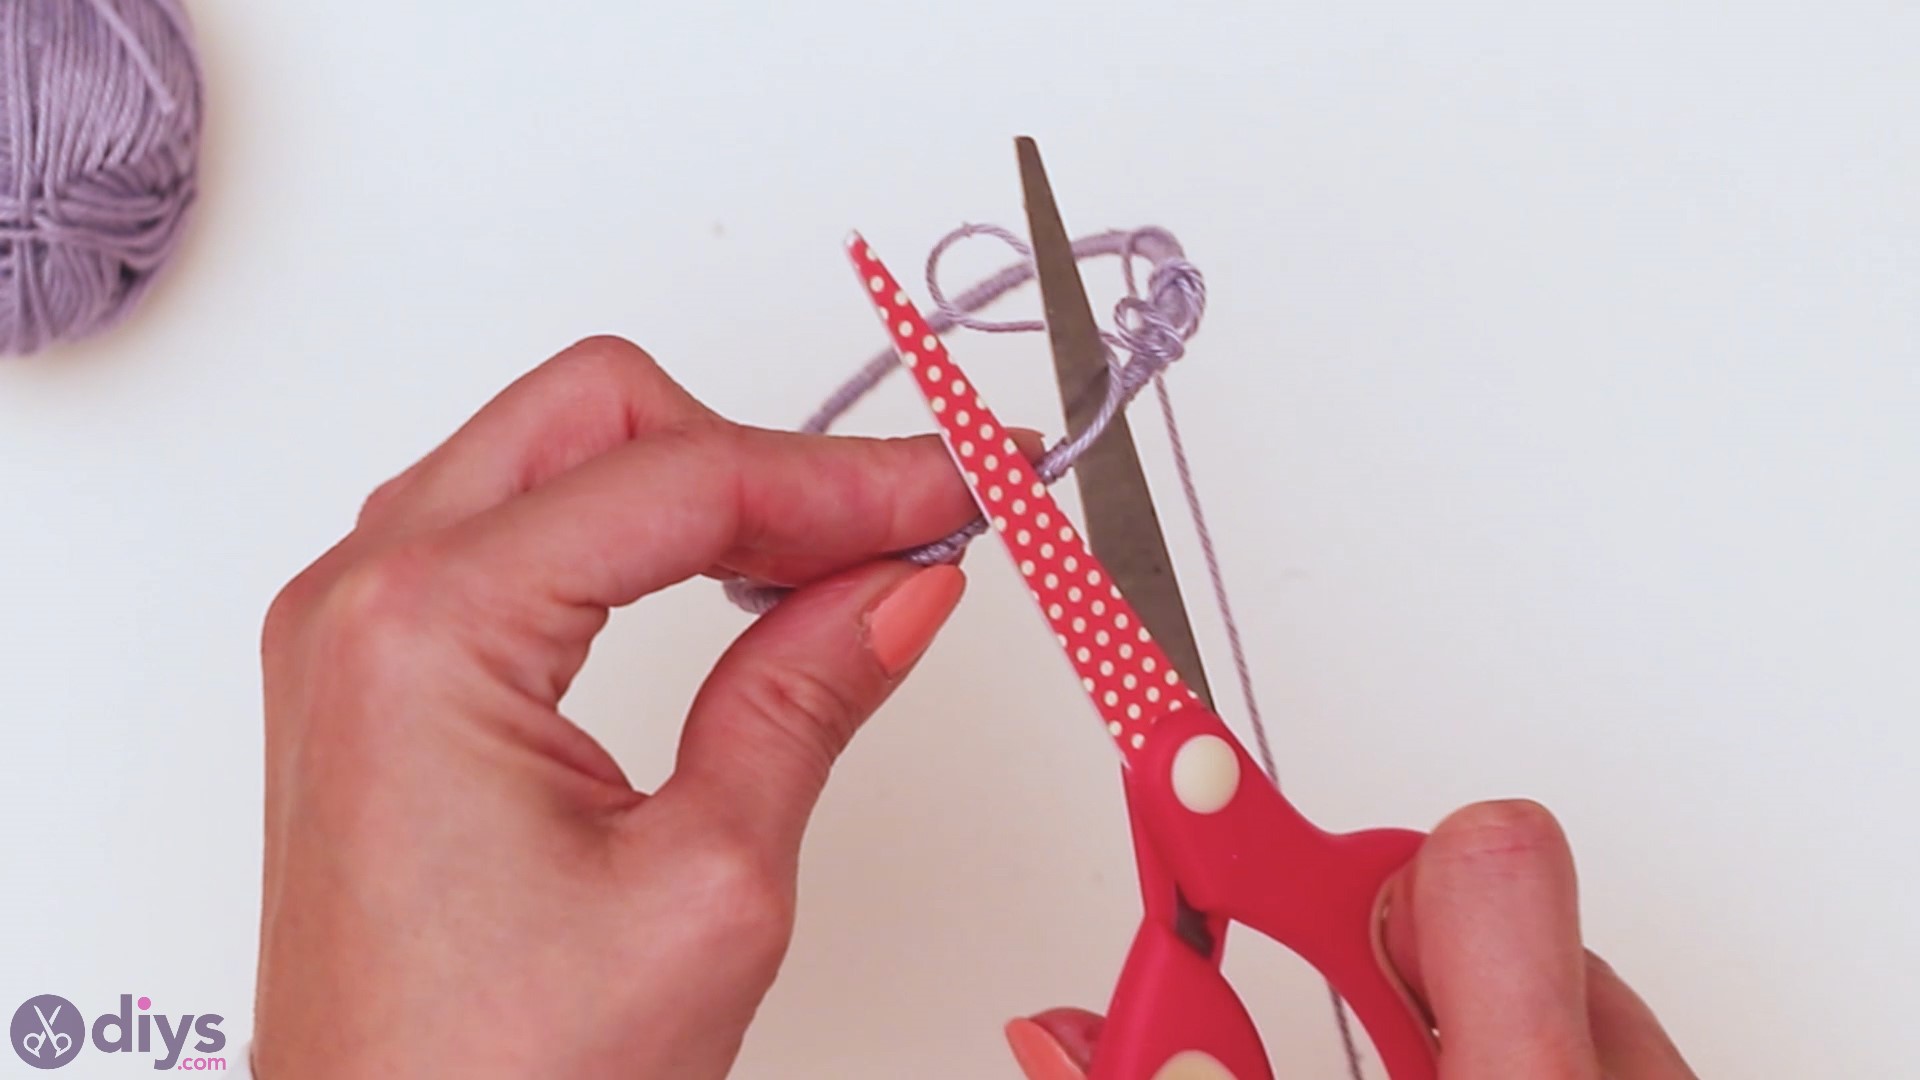
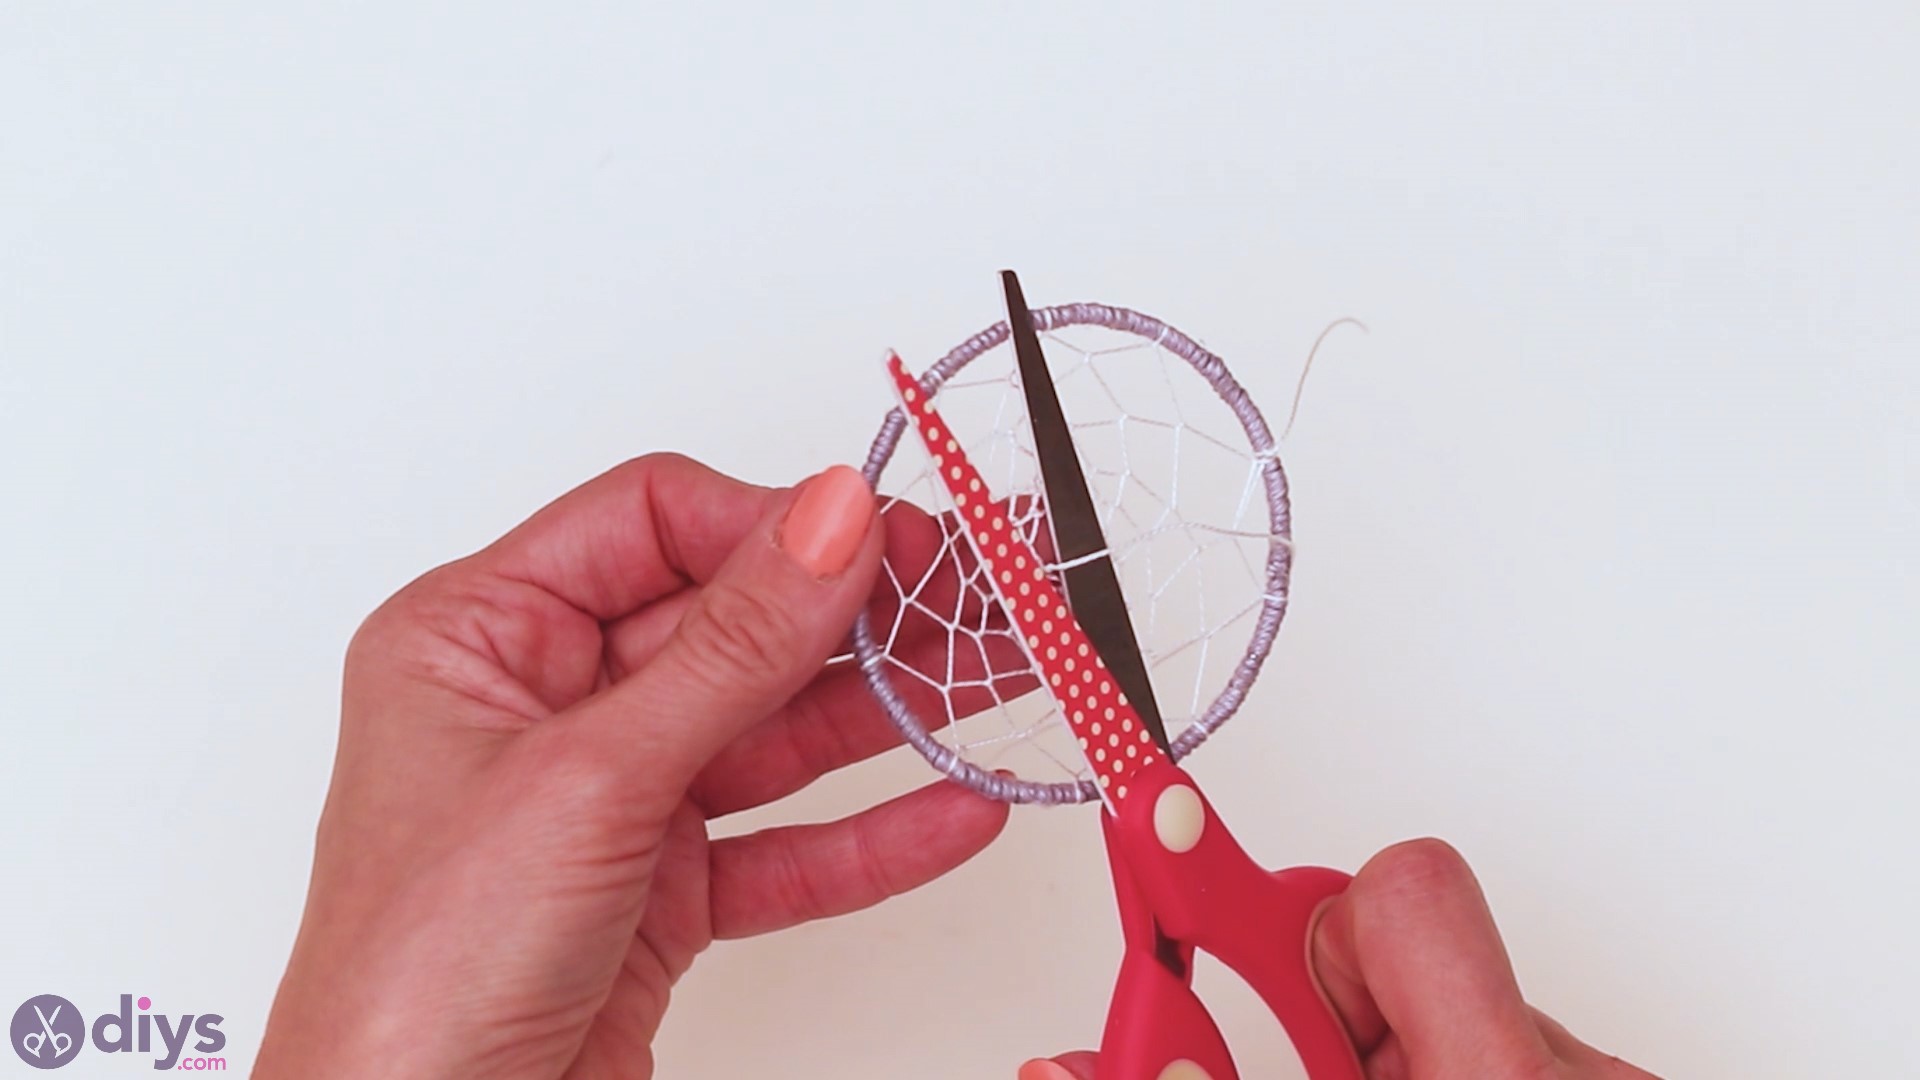
You should cut off any extra yarn and untangle it from the hoop.
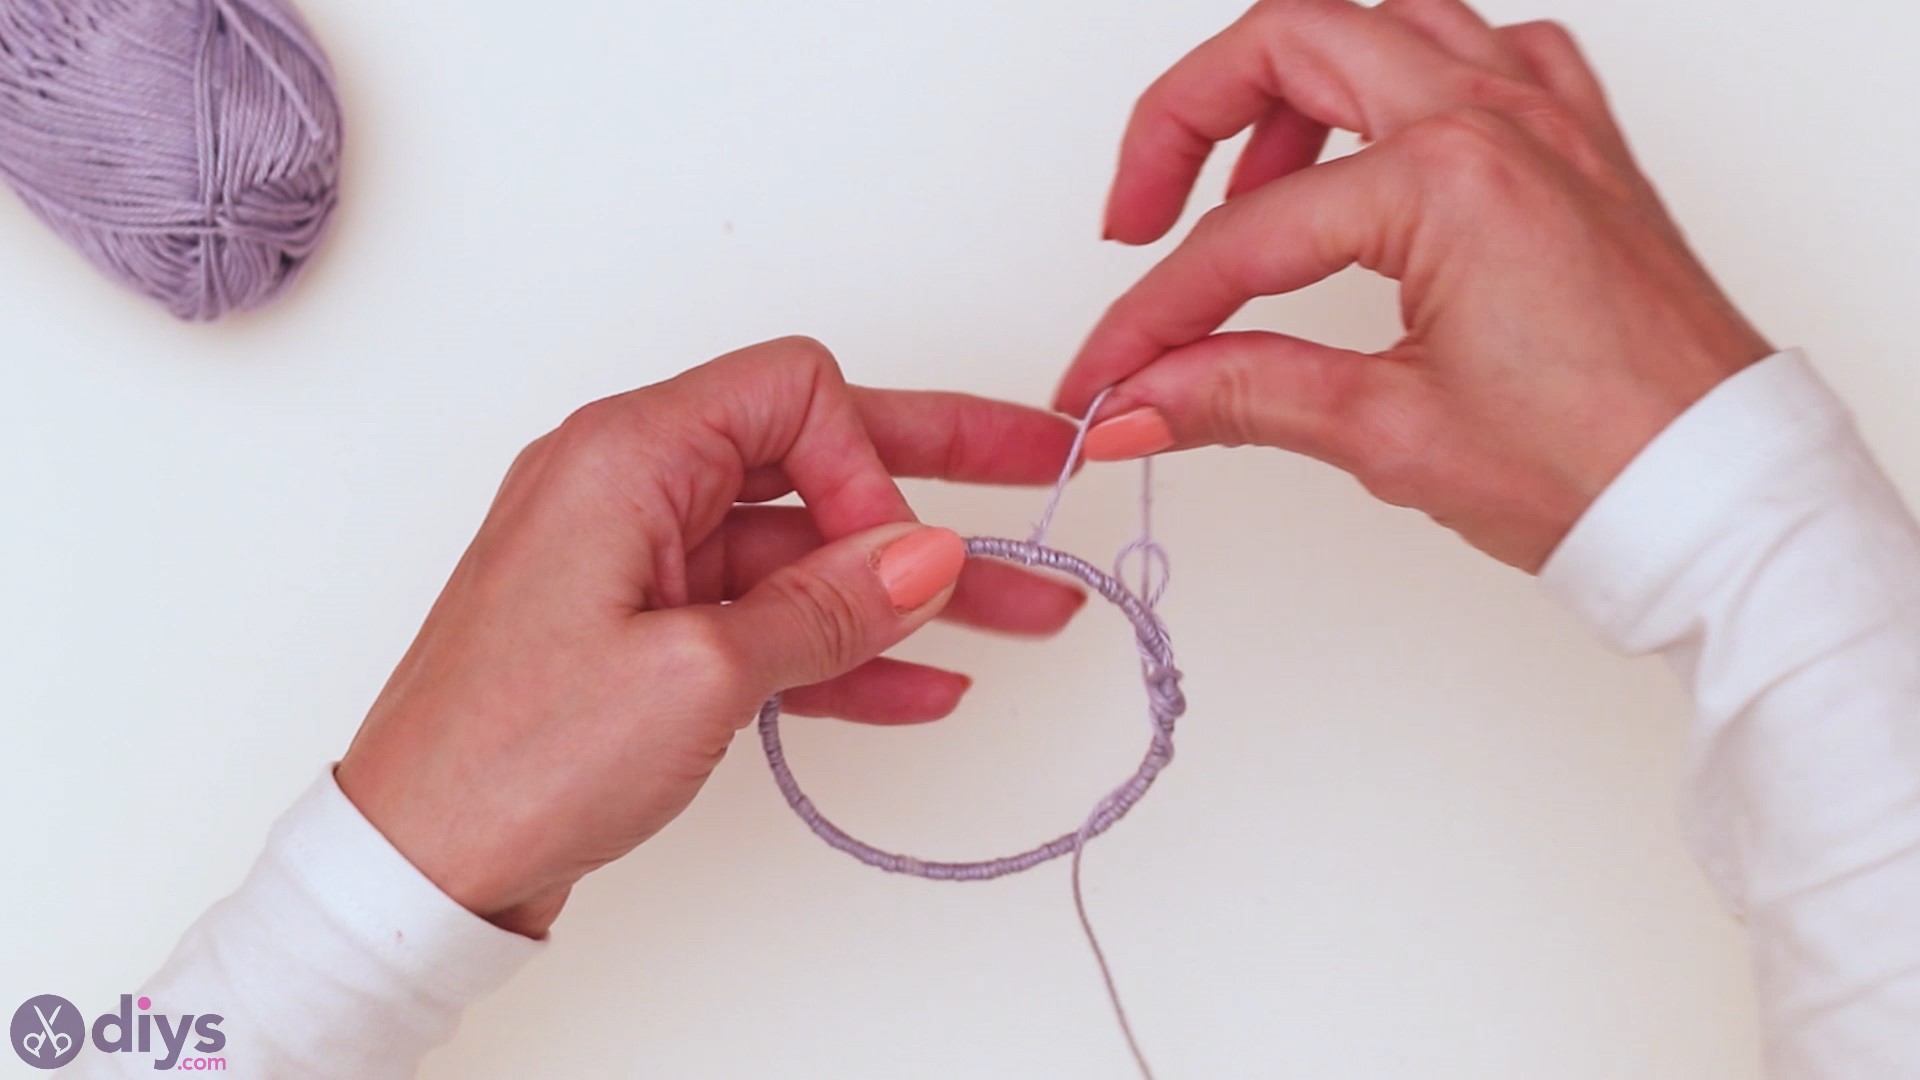
Step 2: Start Creating Loops
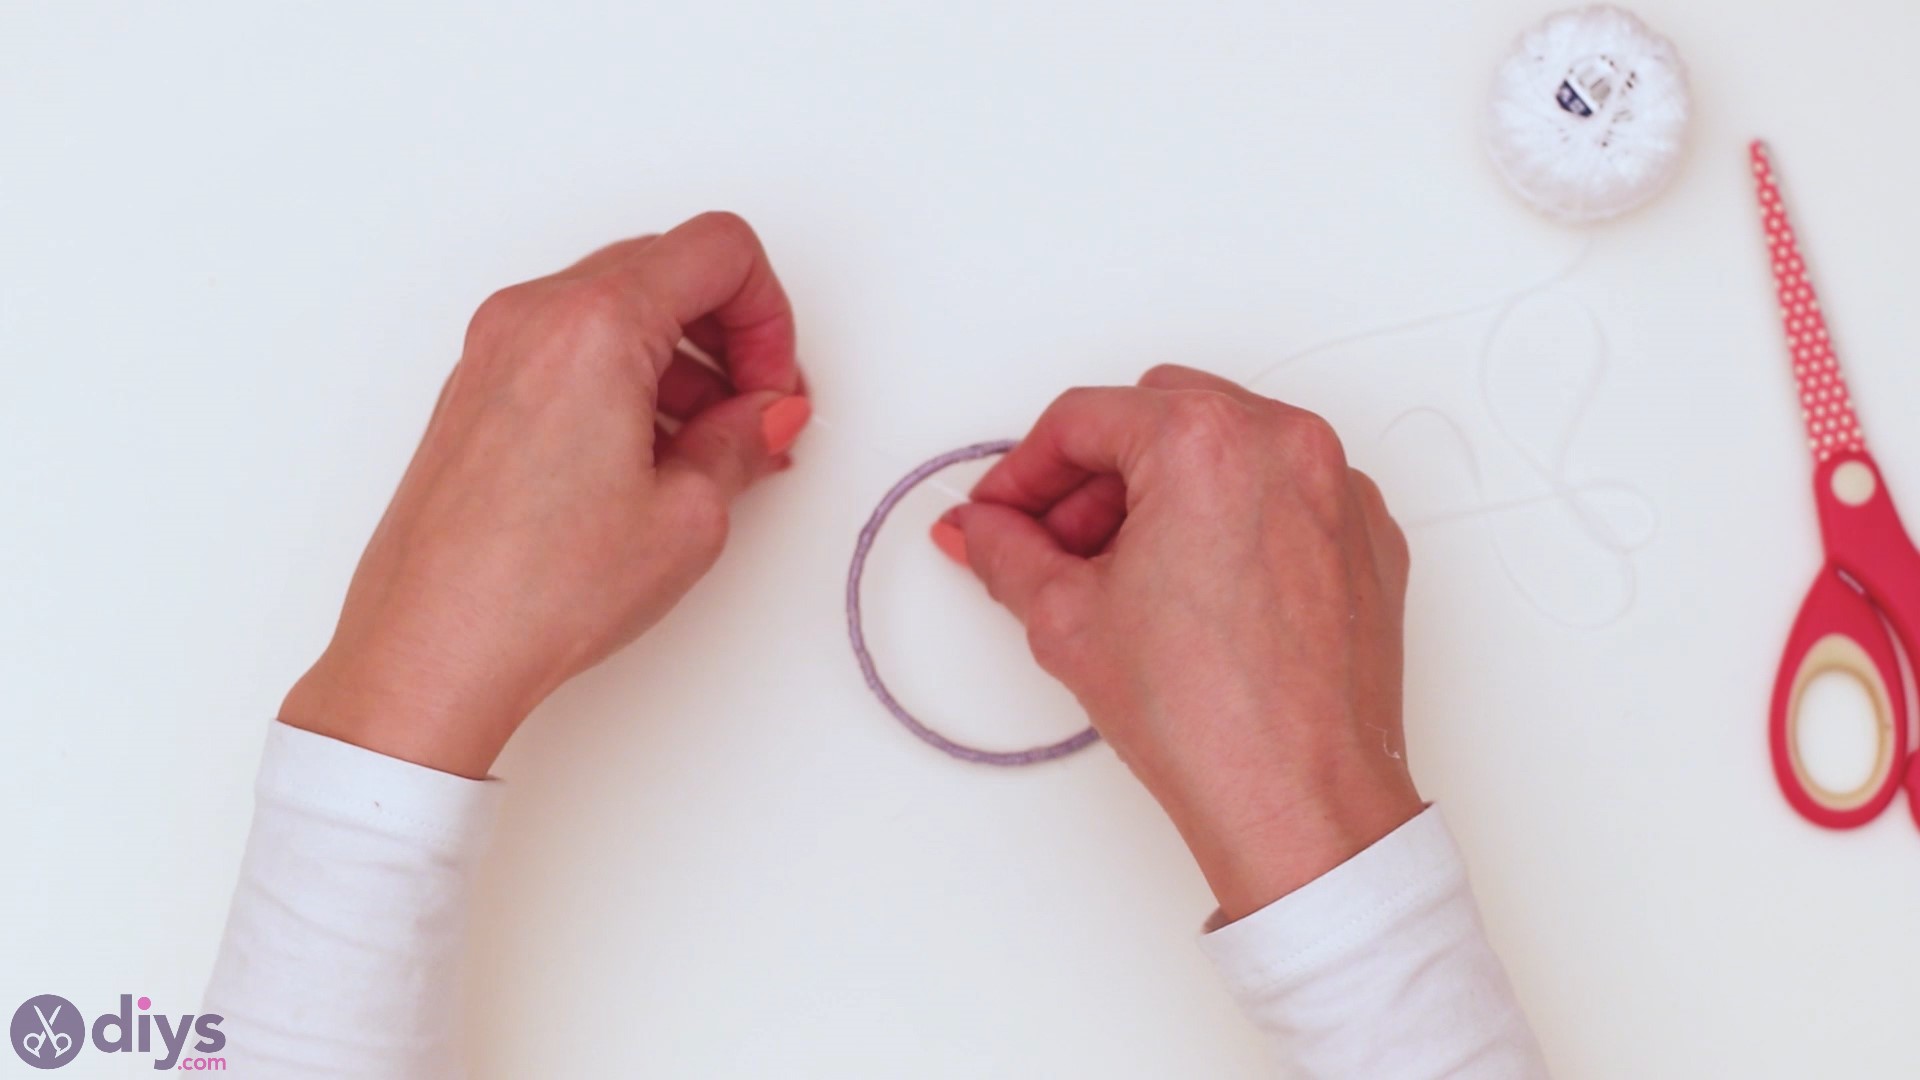
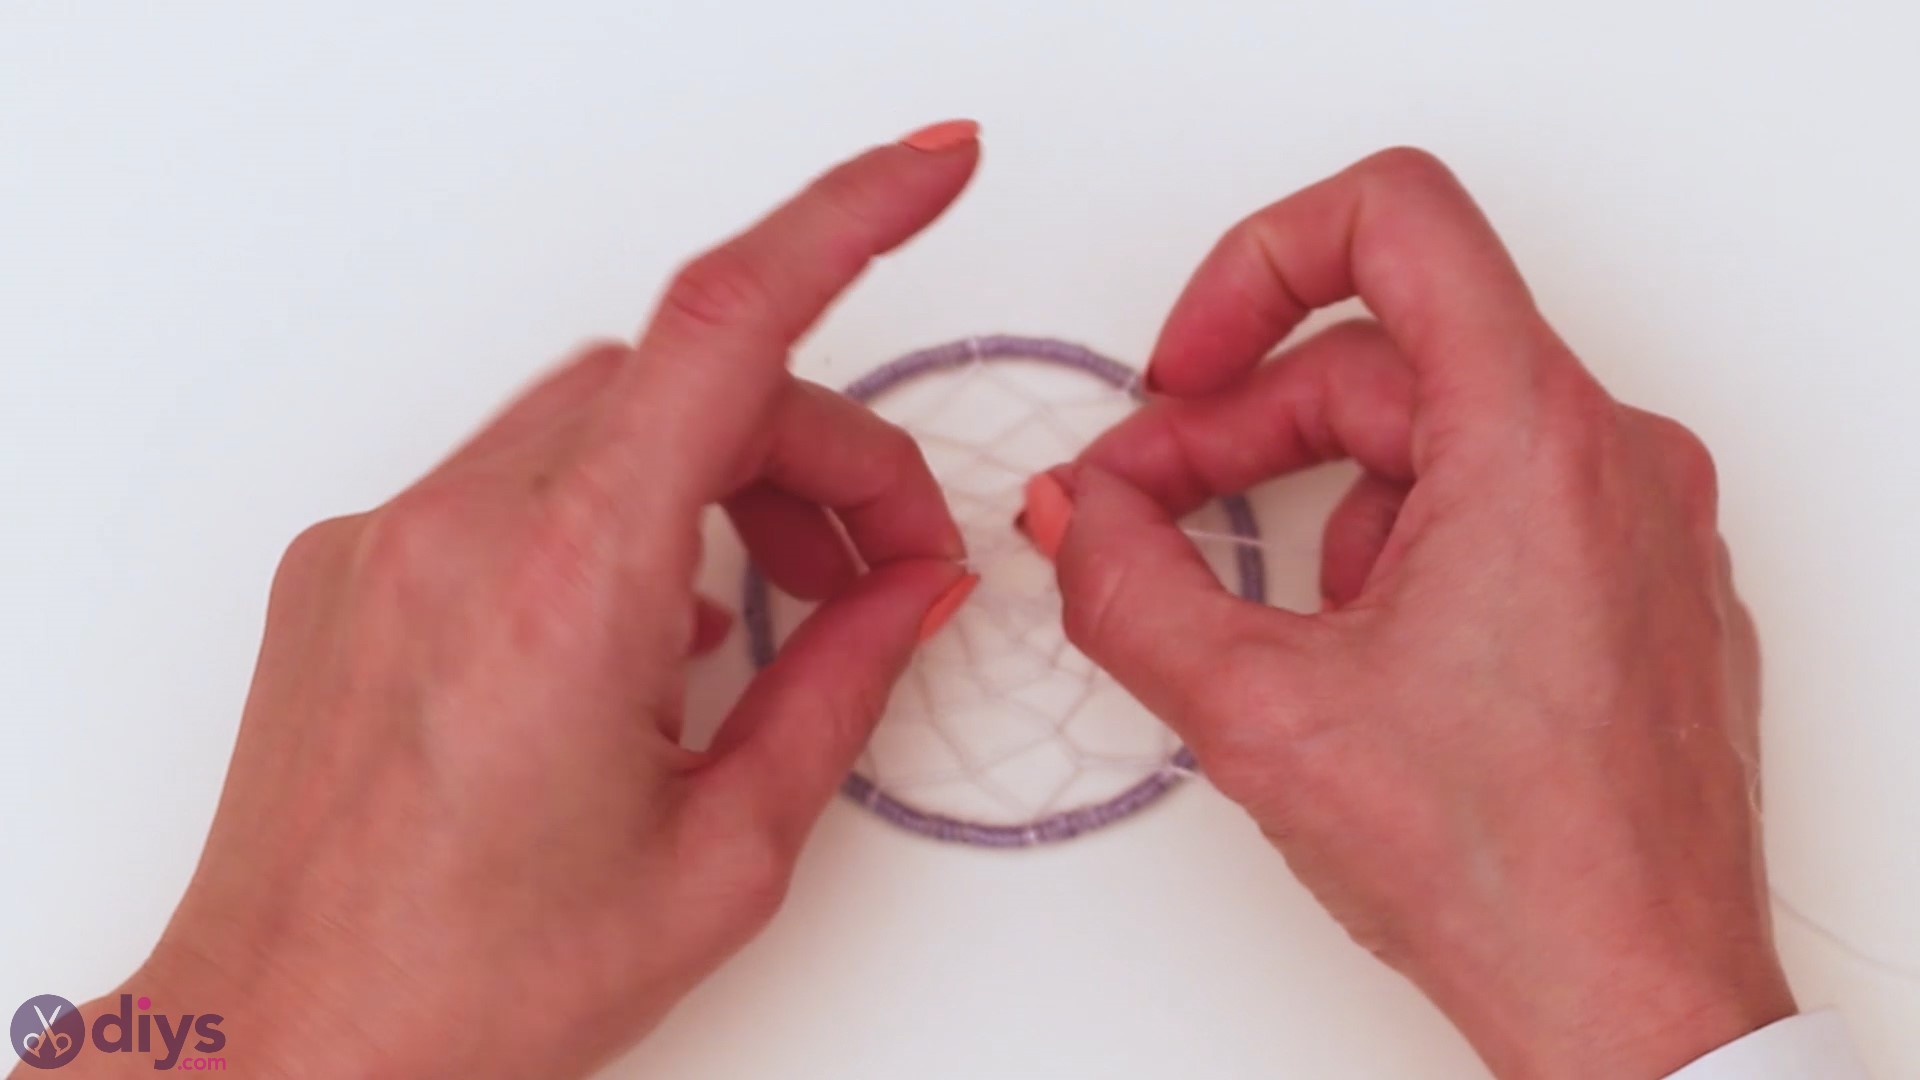
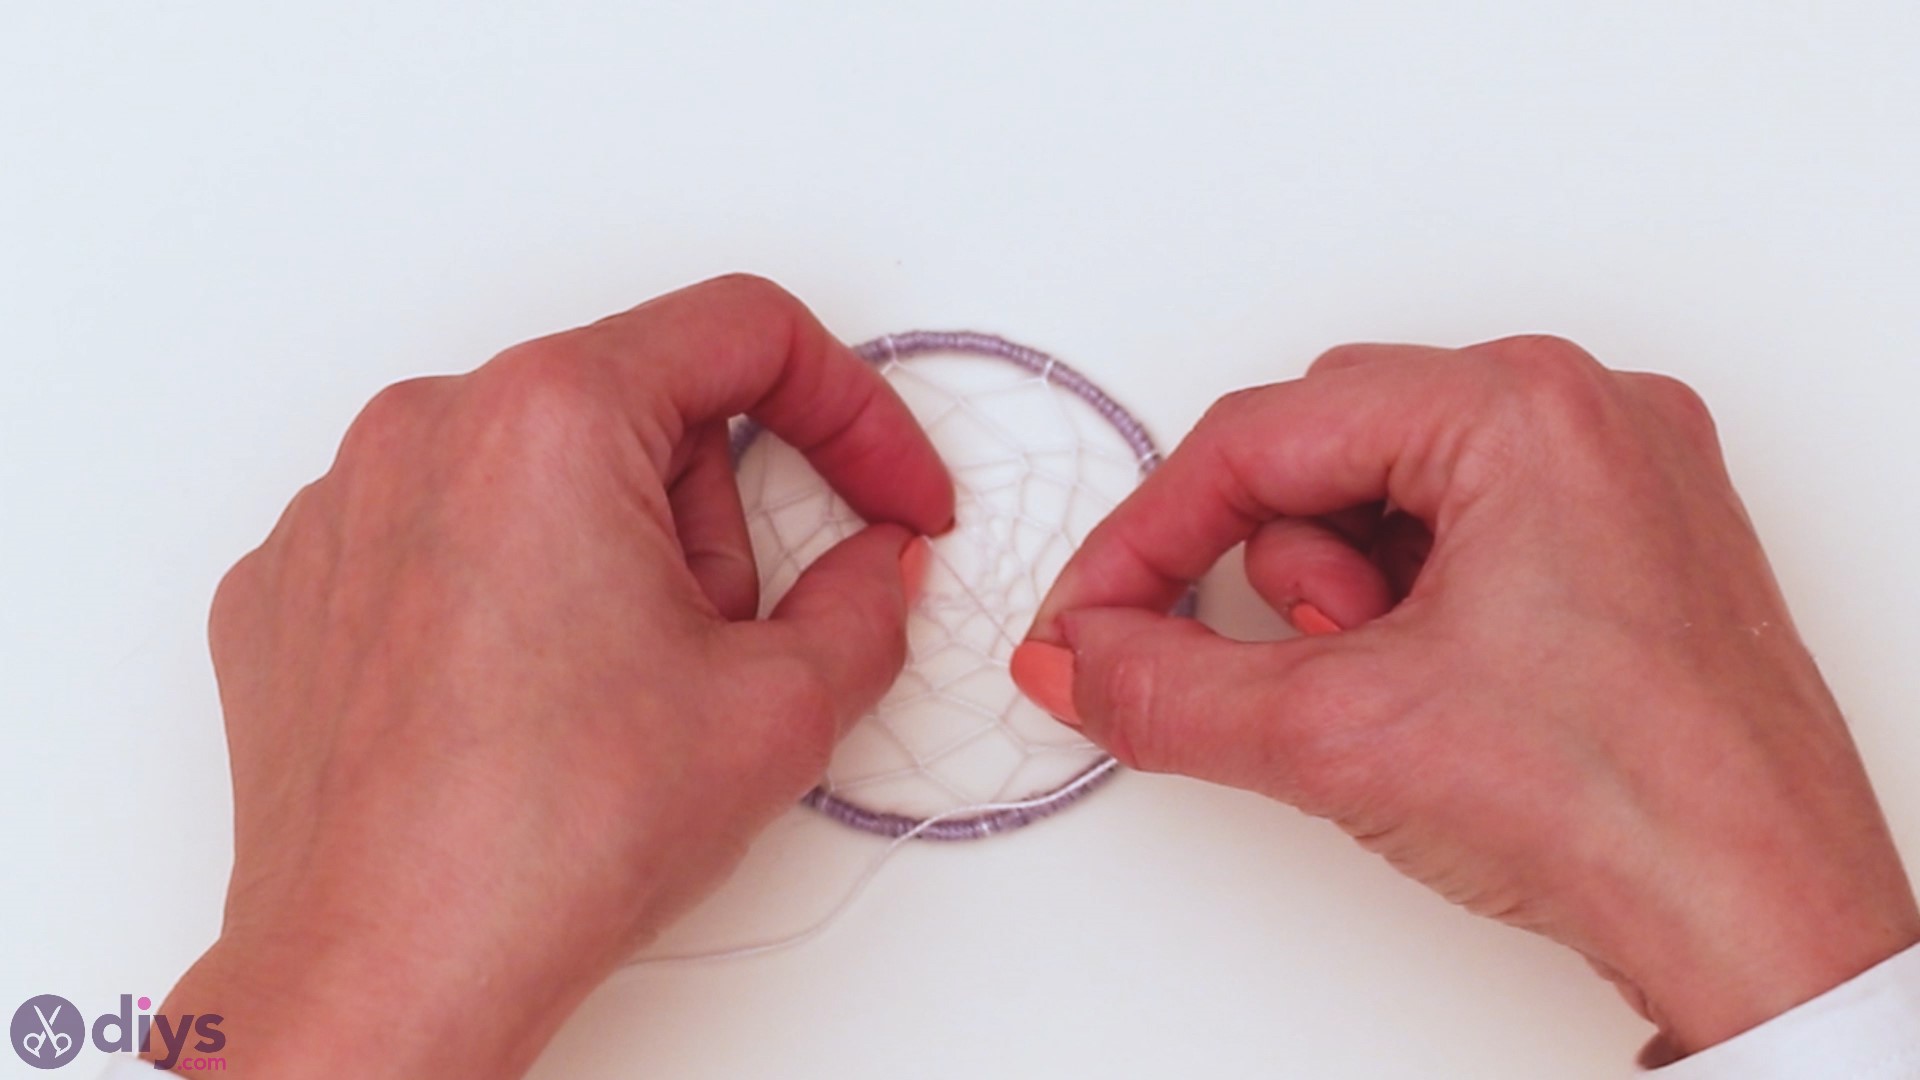
Take the white twisted yarn and tie a tight knot. Leave enough yarn for a small loop and move a little bit further. Pass the yarn underneath the first thread and repeat the process. Make sure you create the loops at even distances.
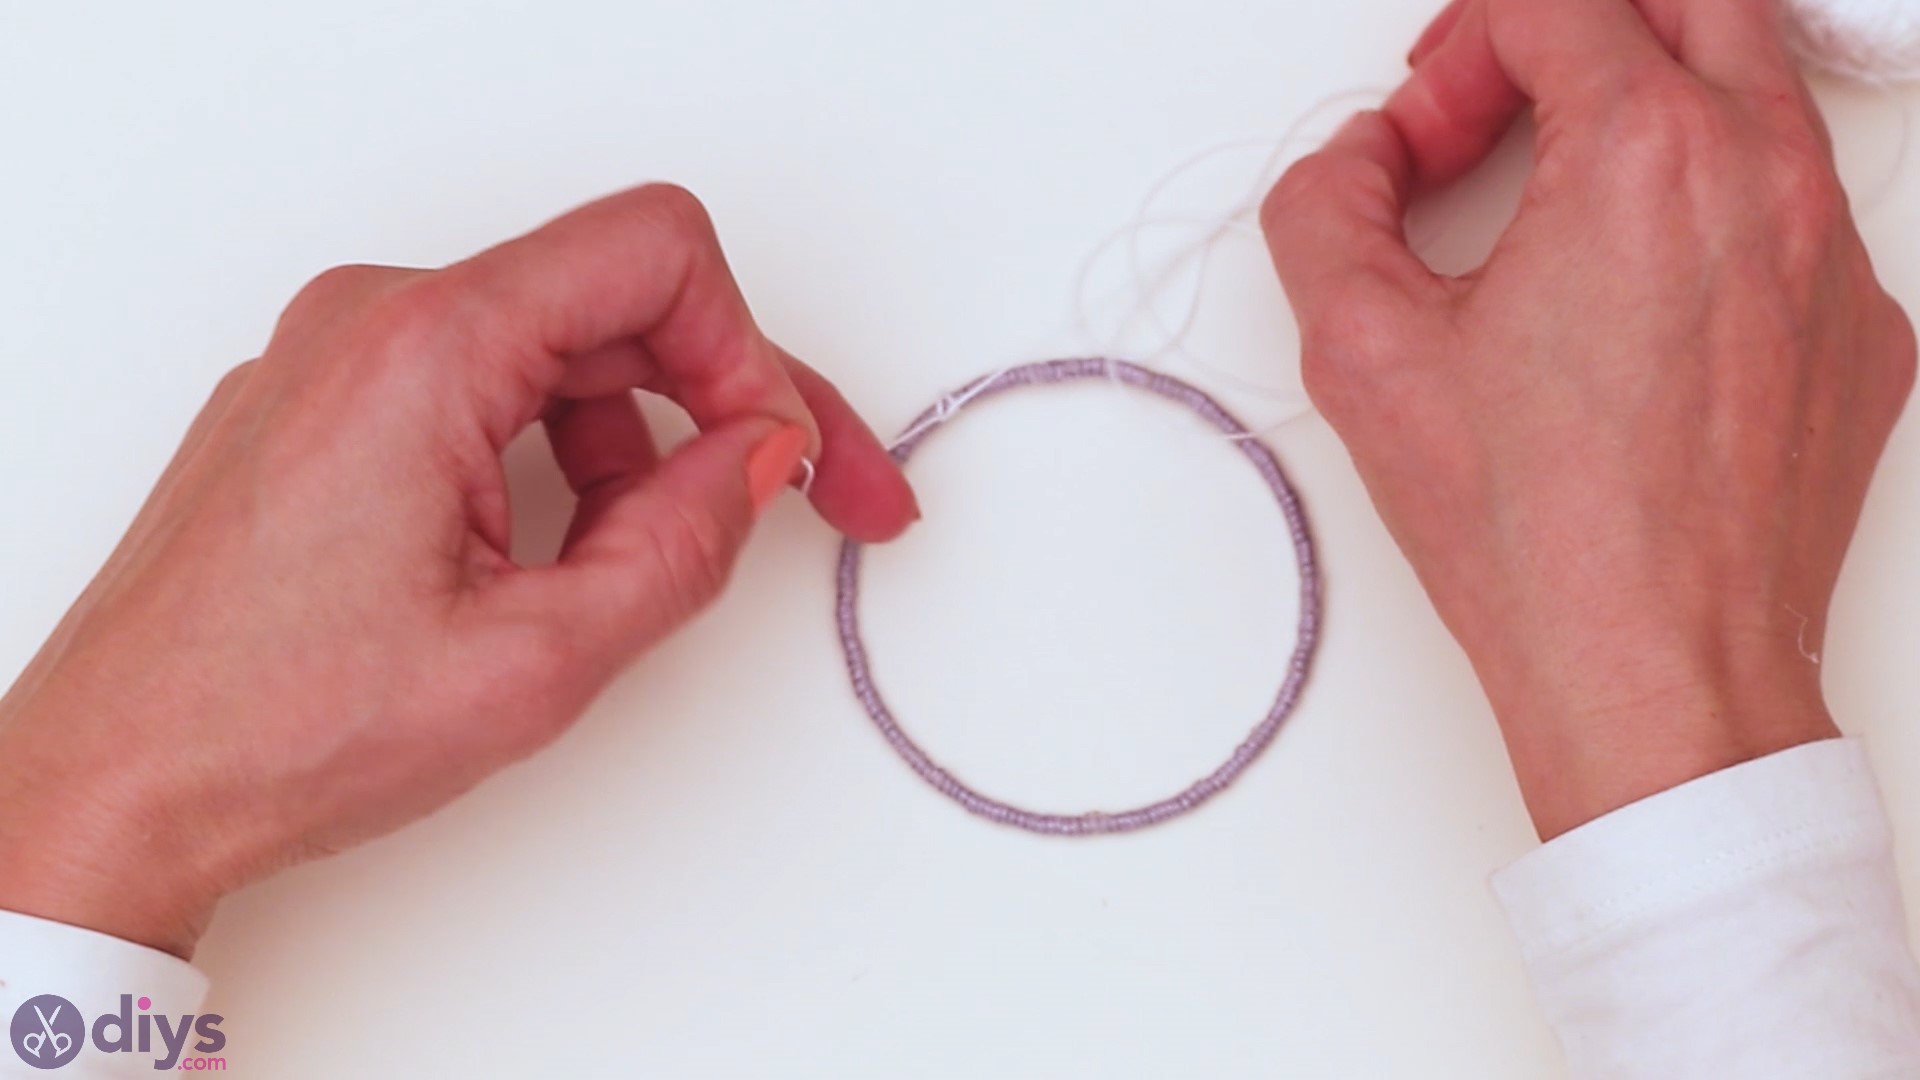

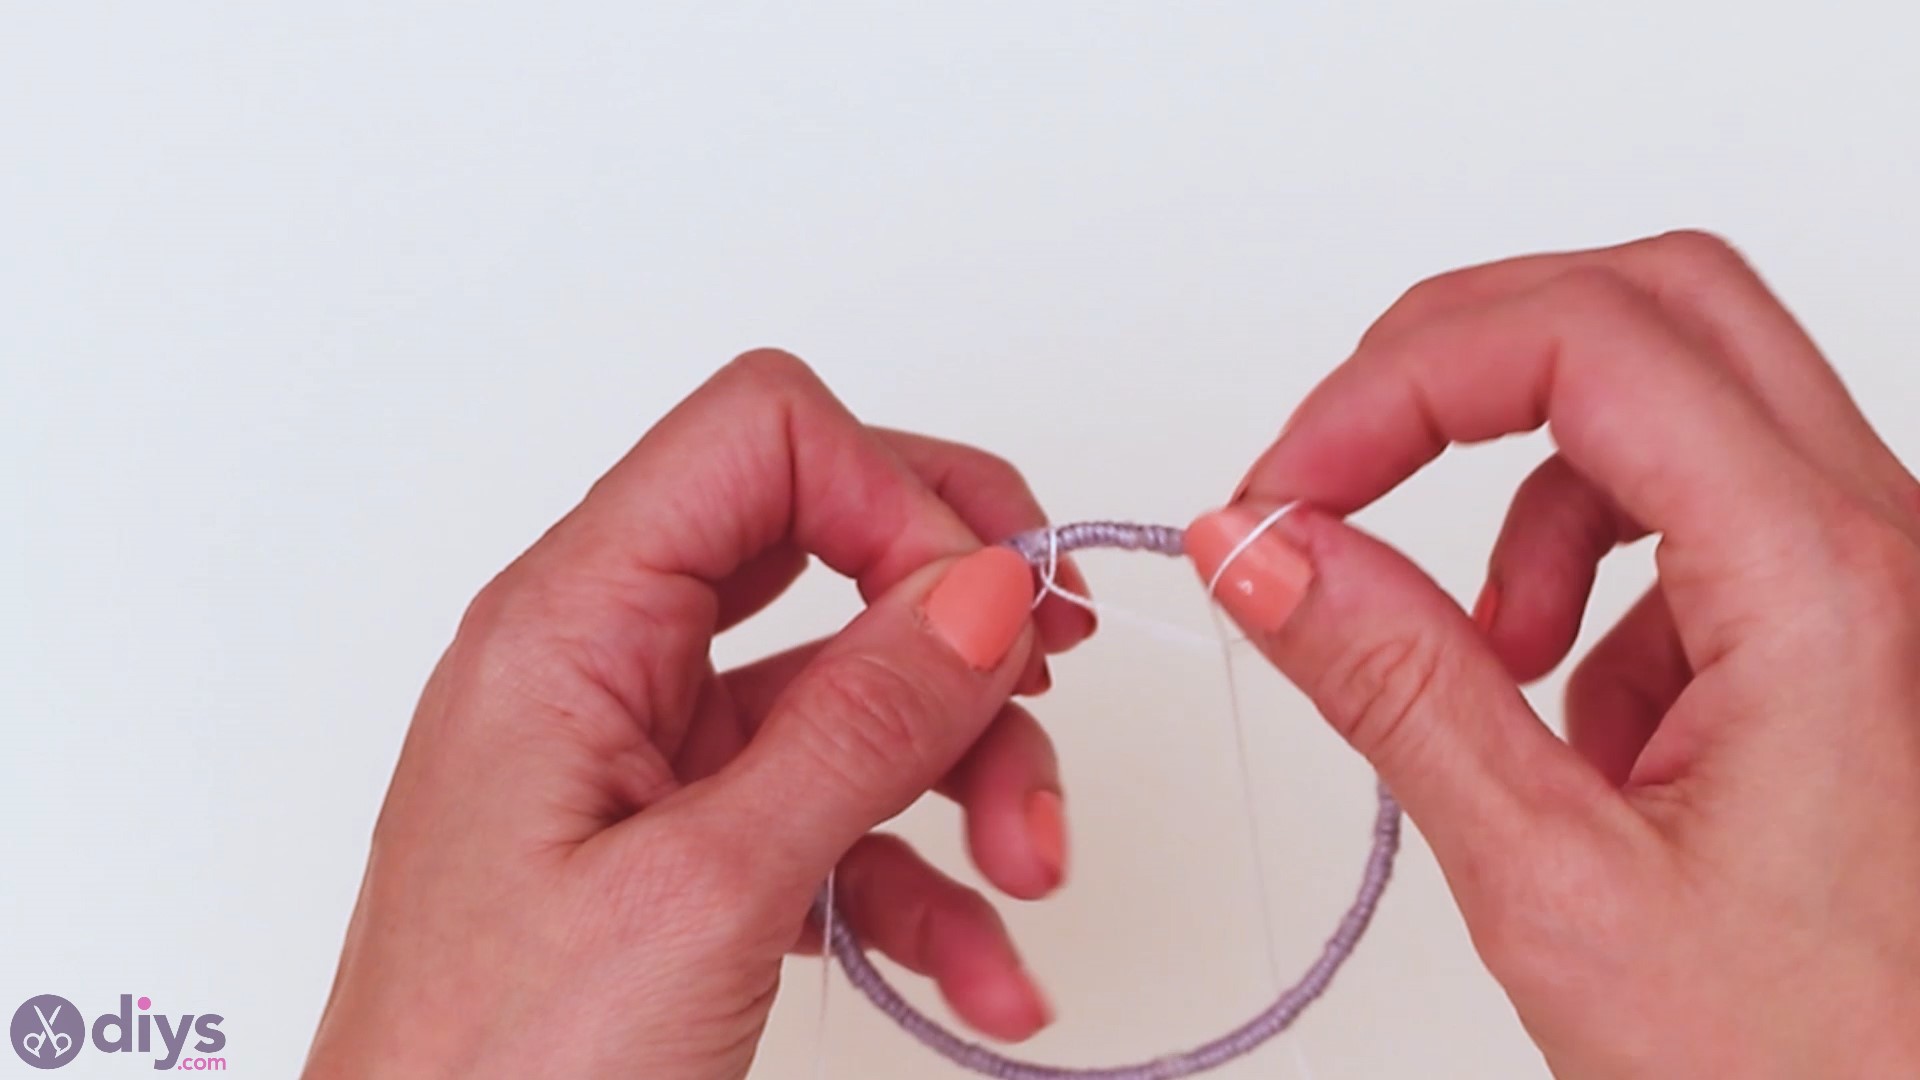
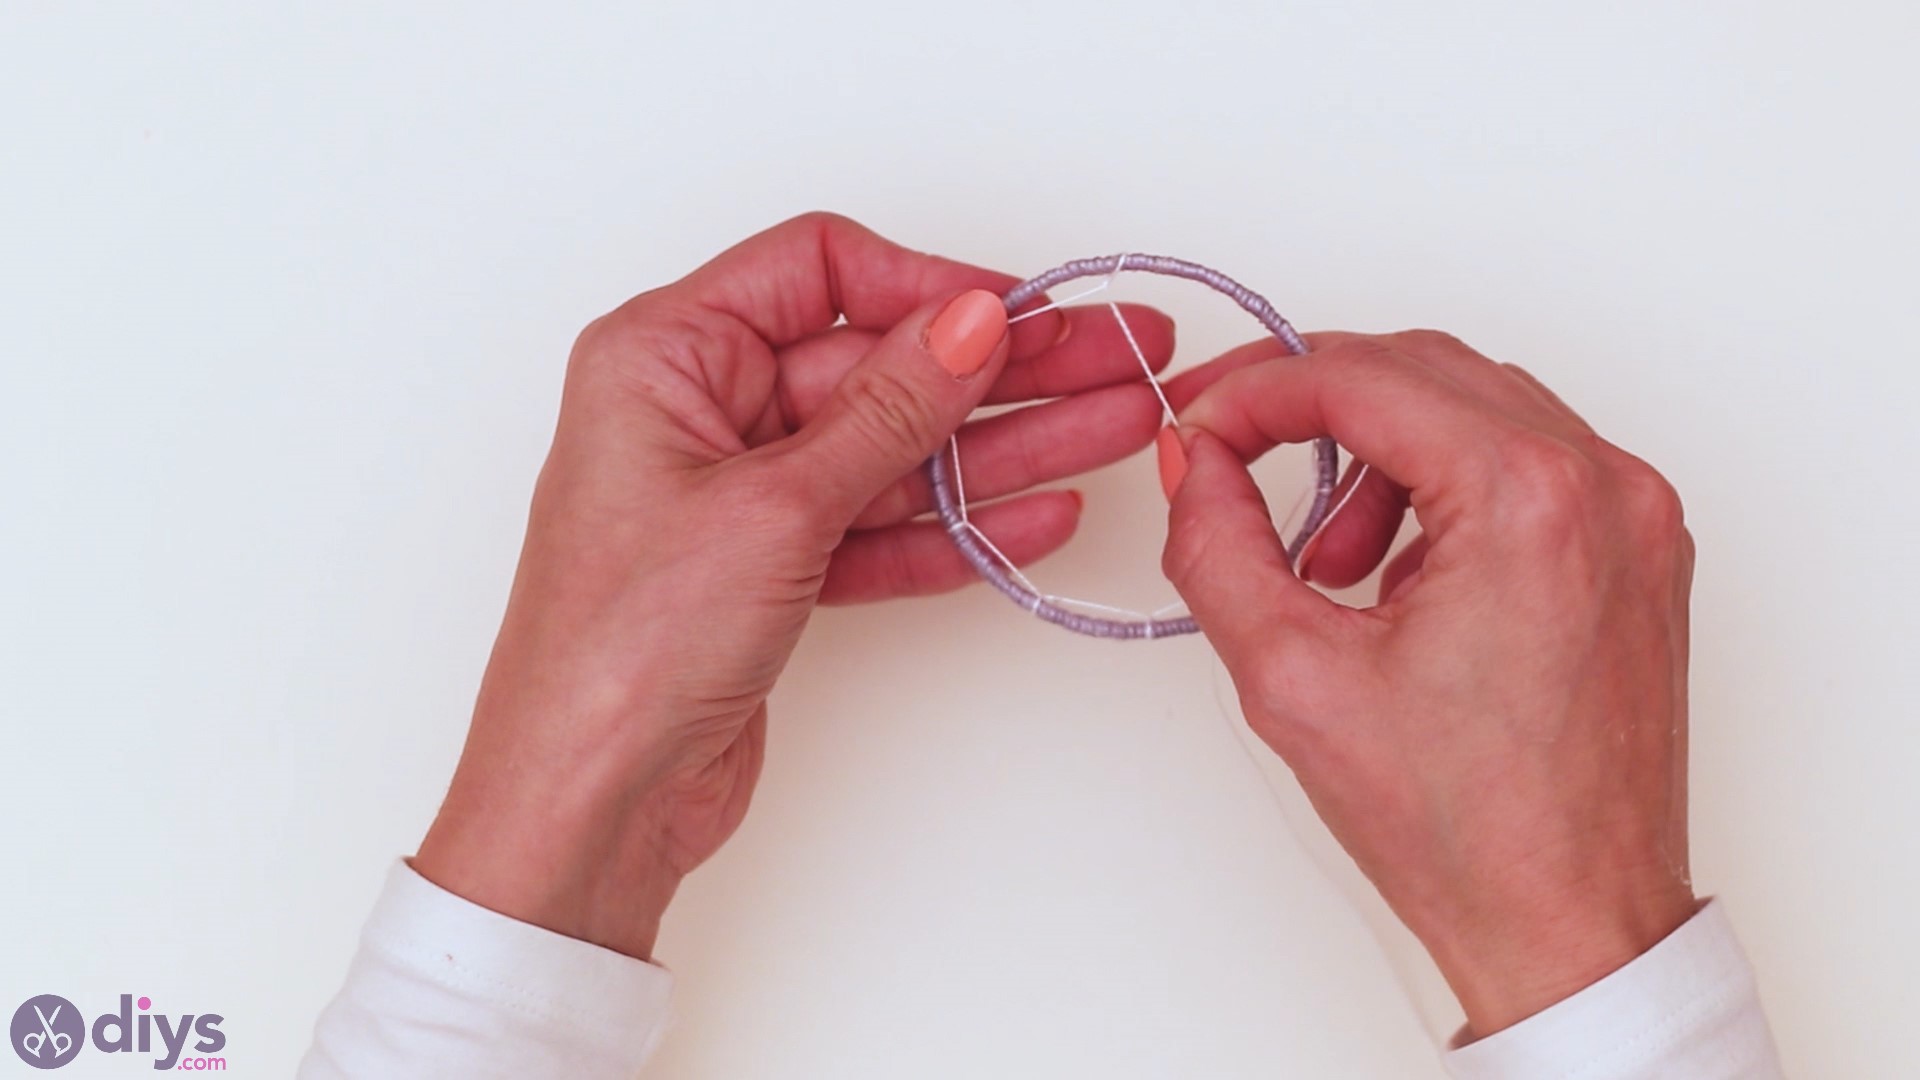
When you’re done with the first set of loops, carry the thread downward. Pass the yarn through each loop. You don’t want to pull too tightly, but don’t let it too loose either since that will result in a wobbly dreamcatcher.
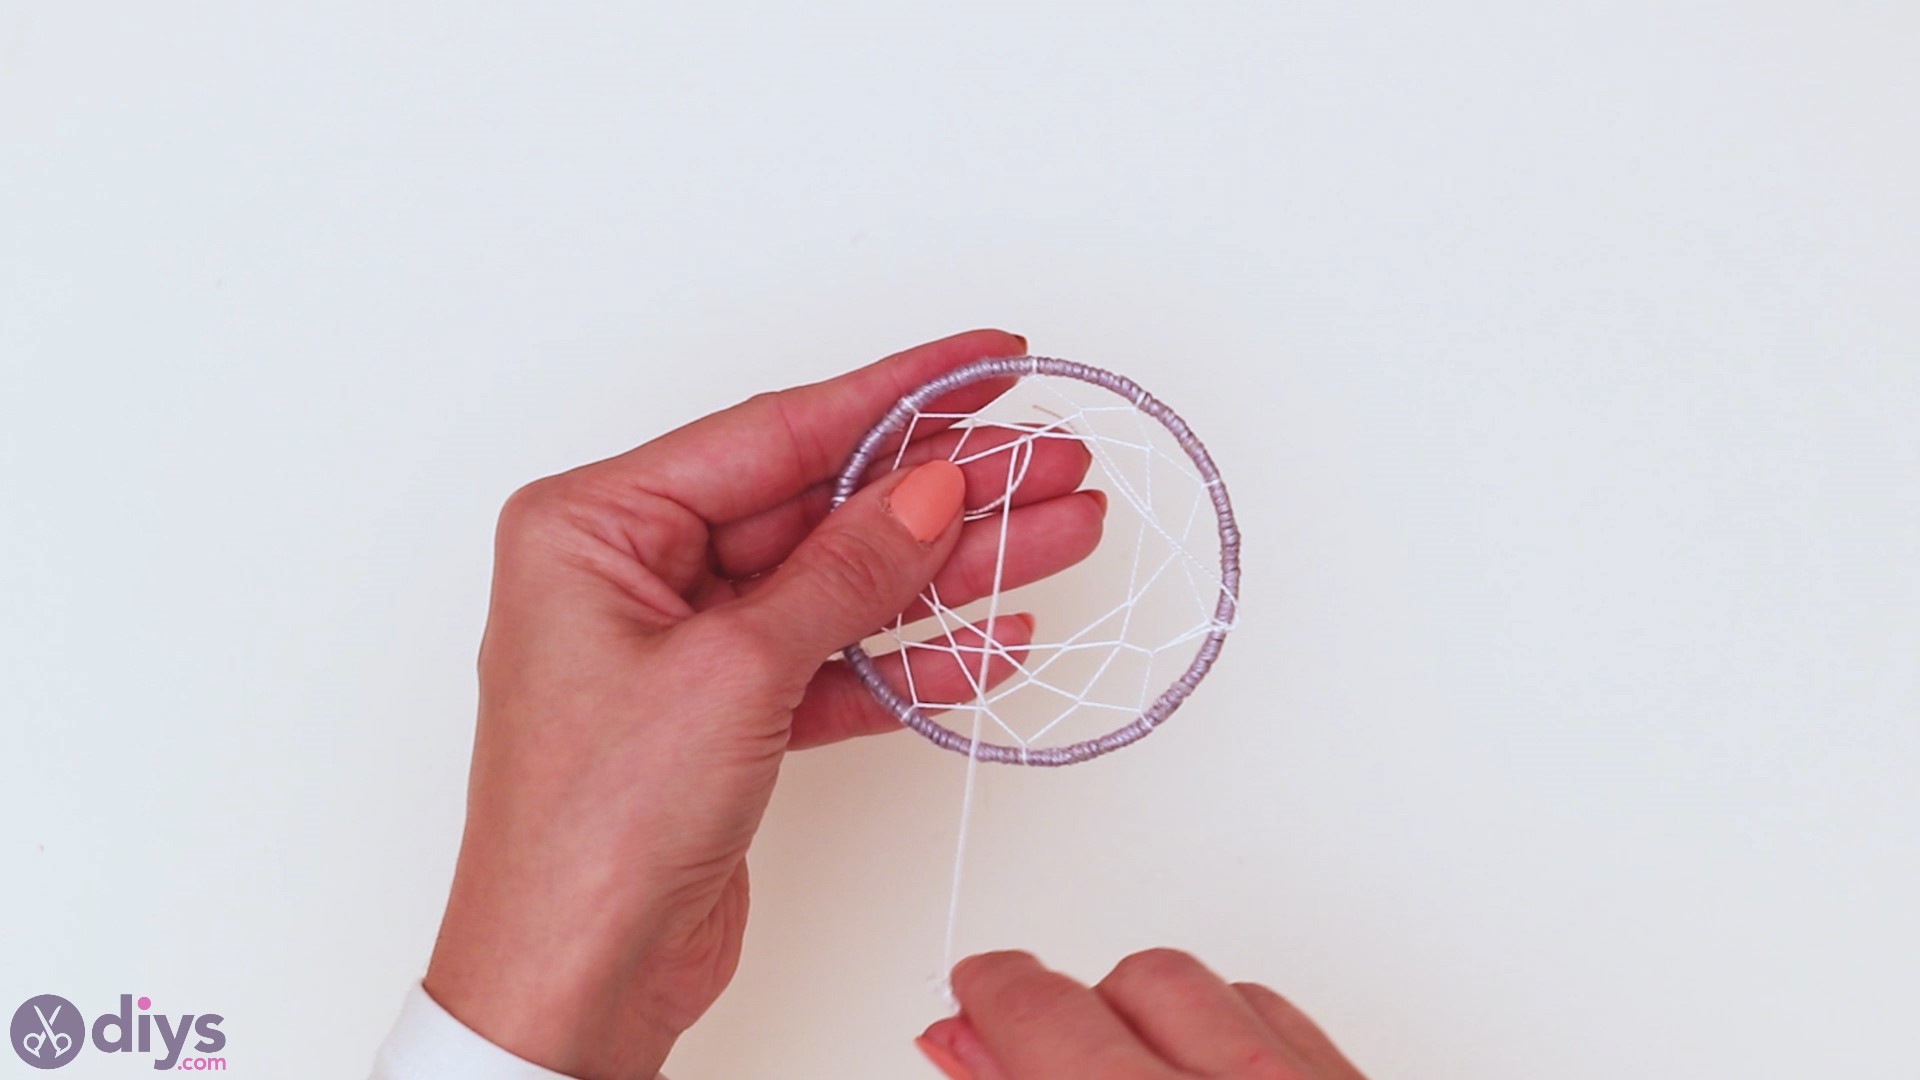
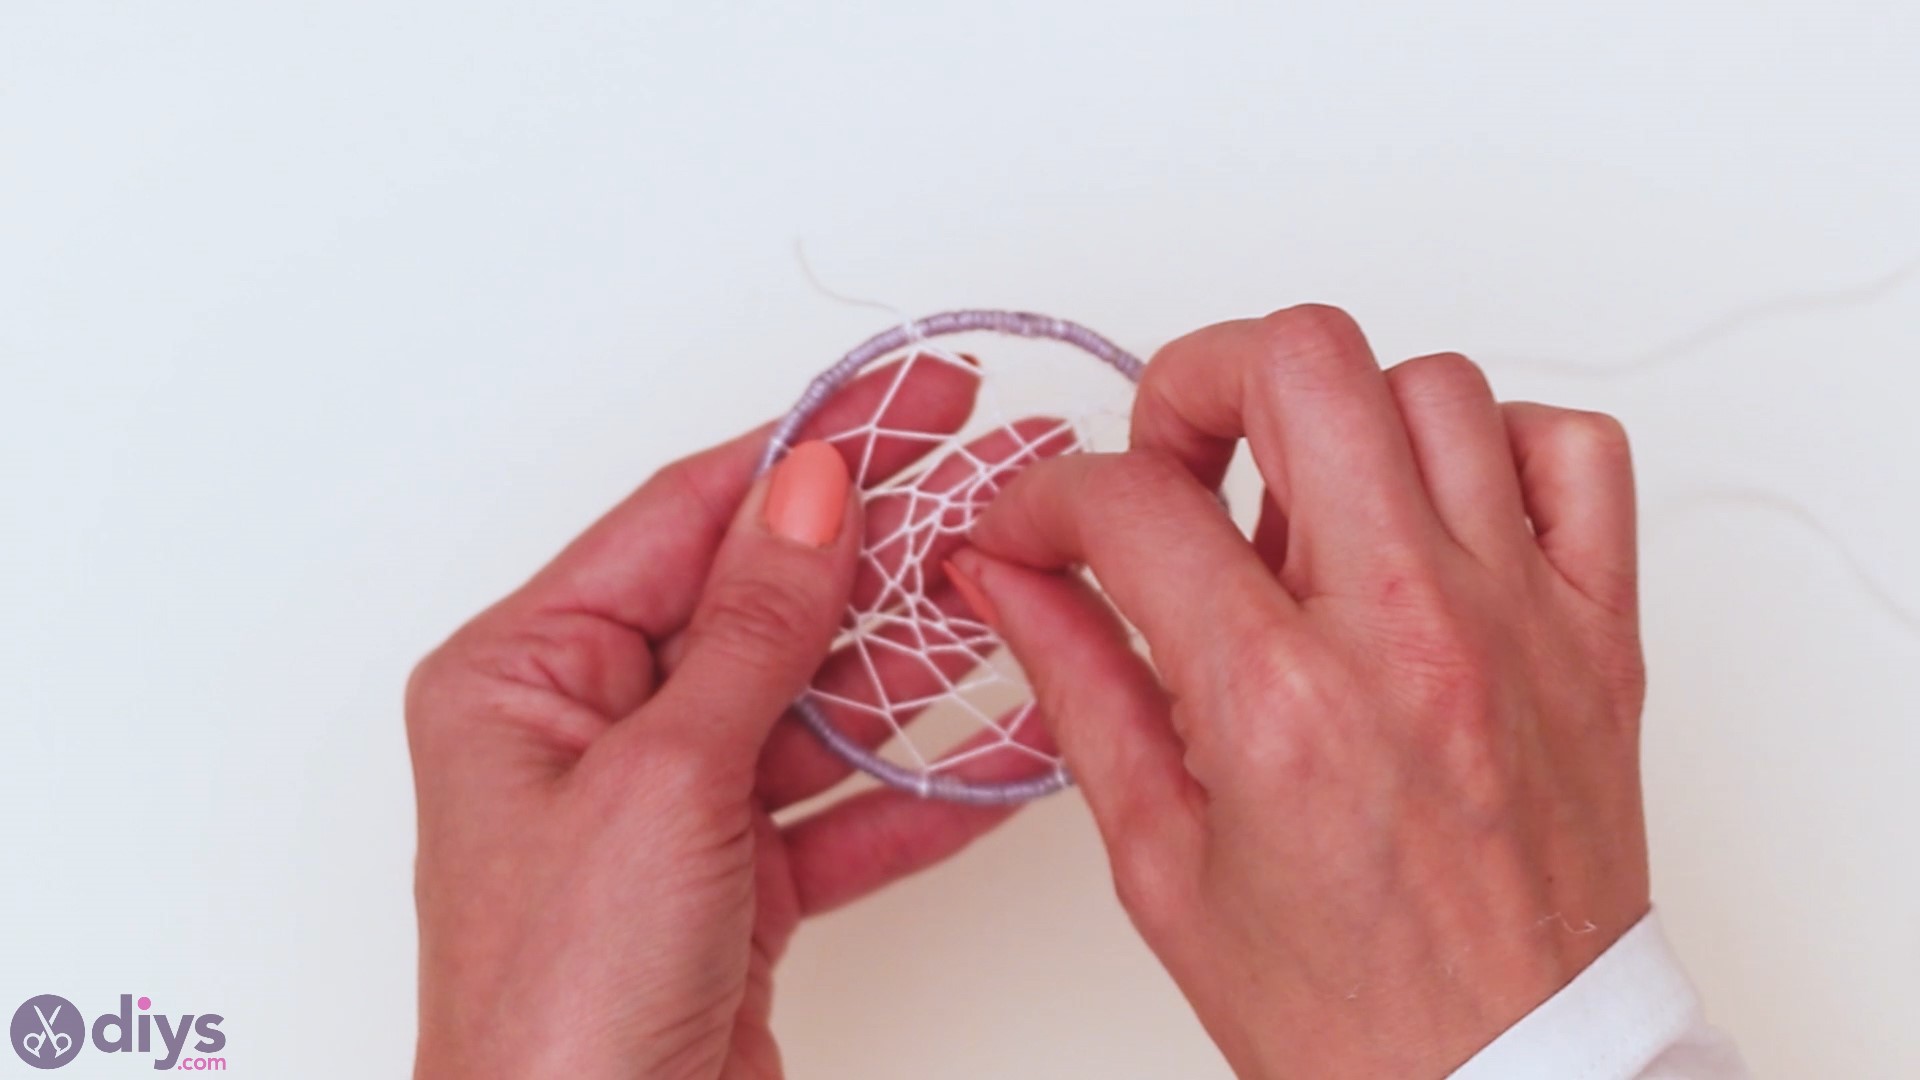
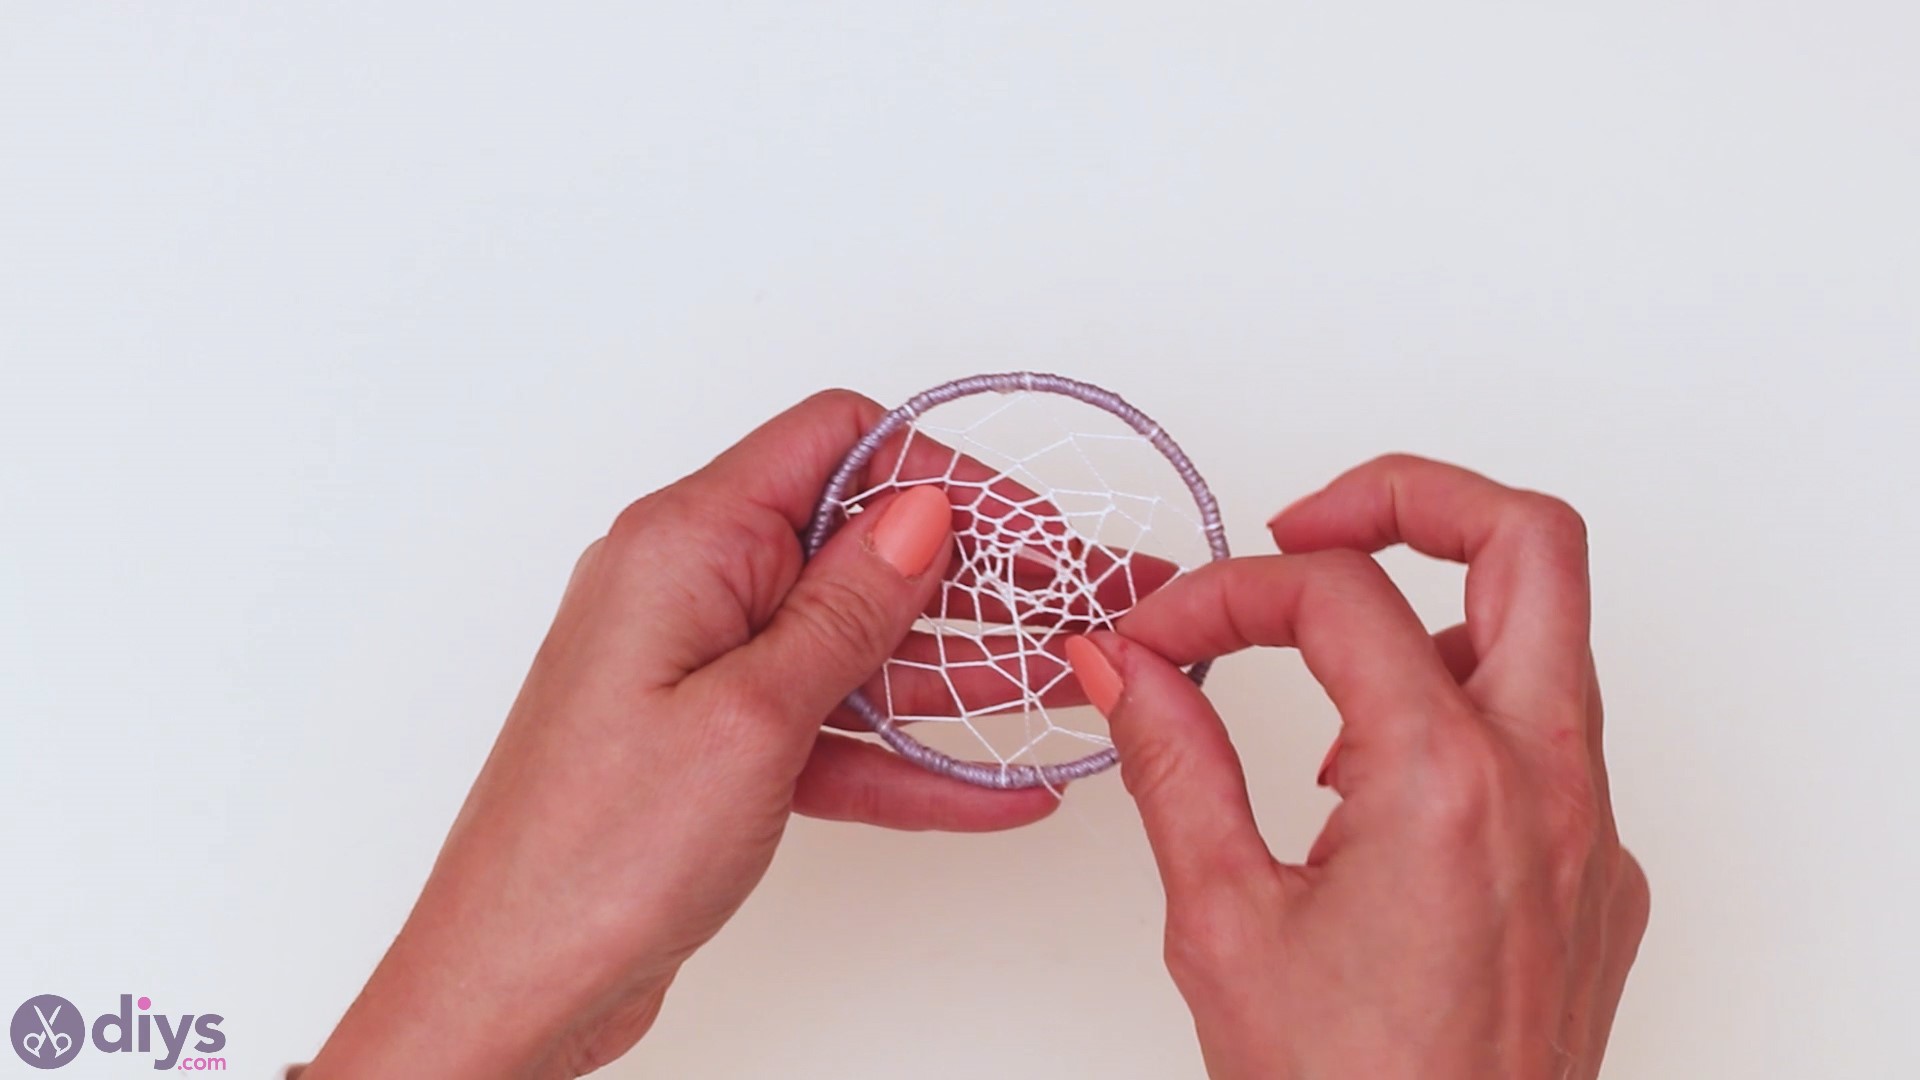
Carry the loops until you are left with a very small circle in the middle. Tie a knot to secure the thread. Make sure the knot is done as close to the thread as possible, so it doesn’t move around. Cut off the excess thread.
Step 3: Decorating the dreamcatcher
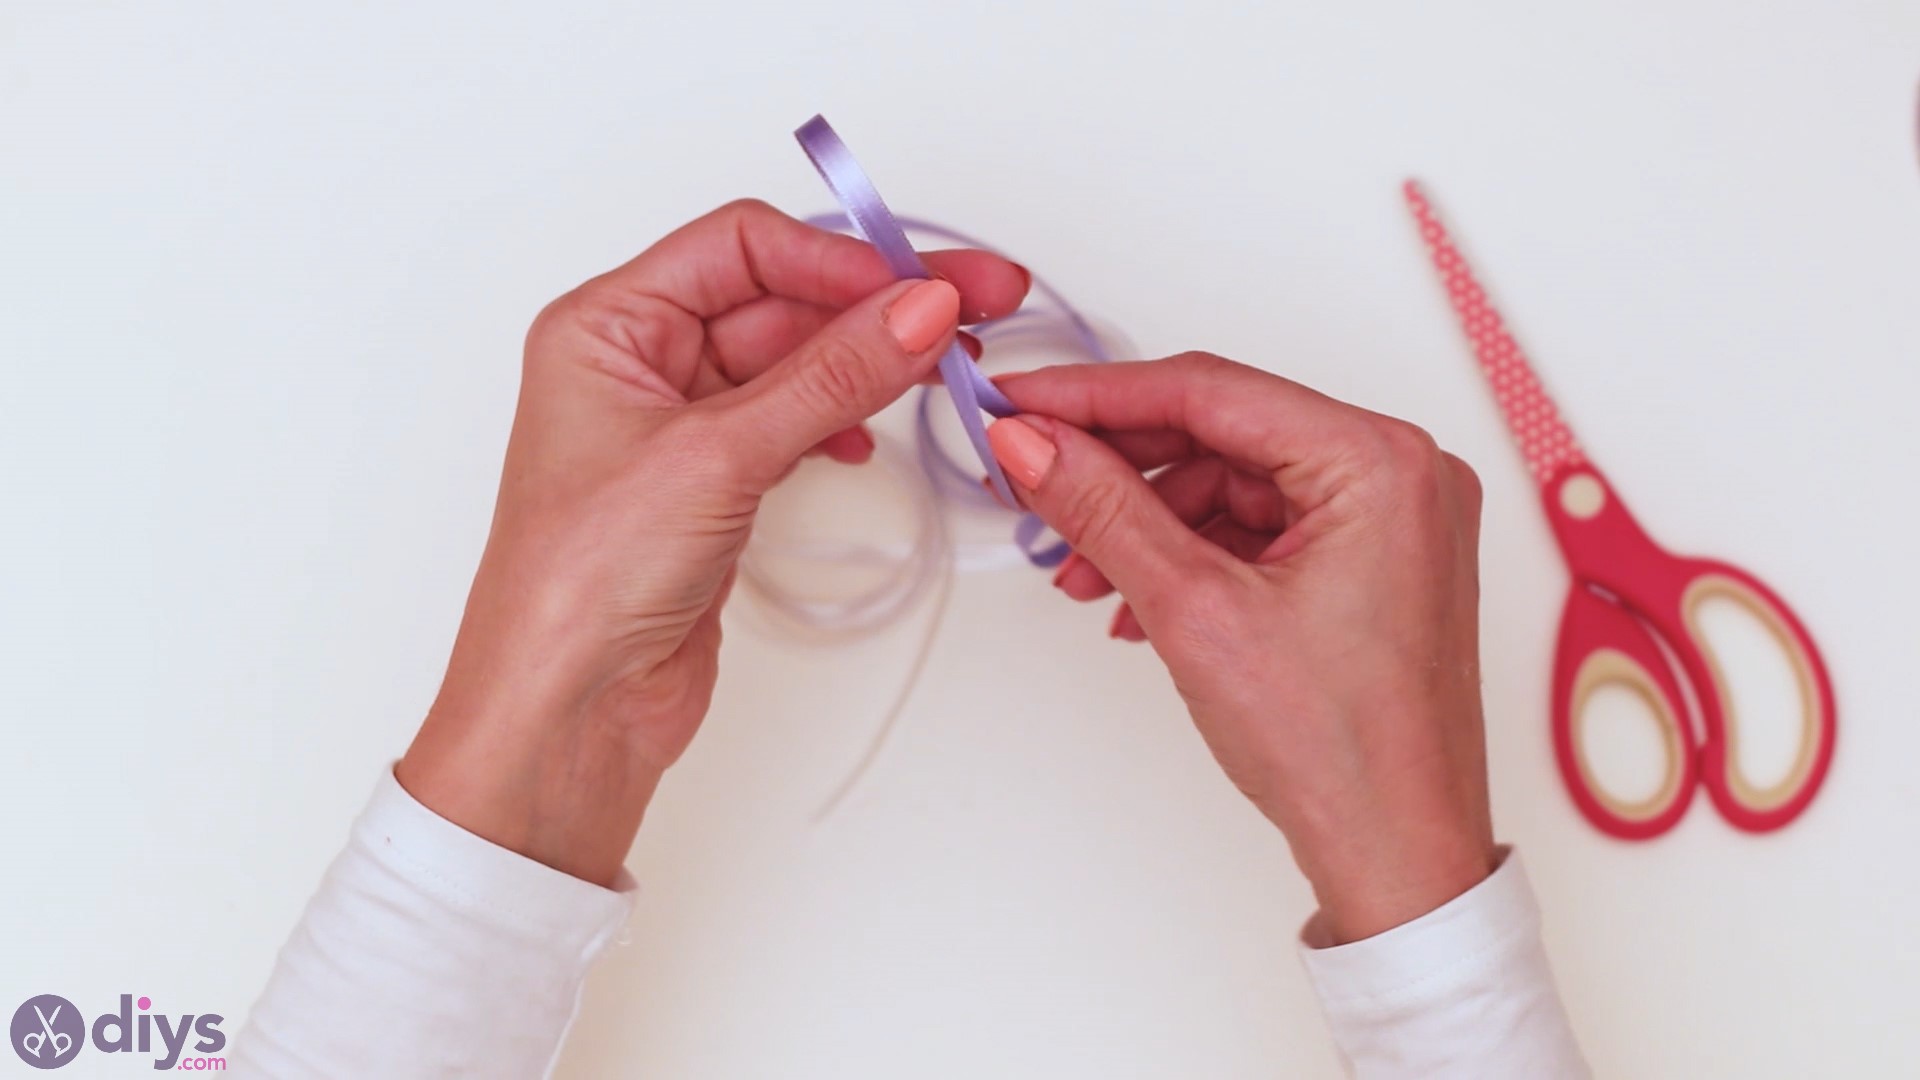
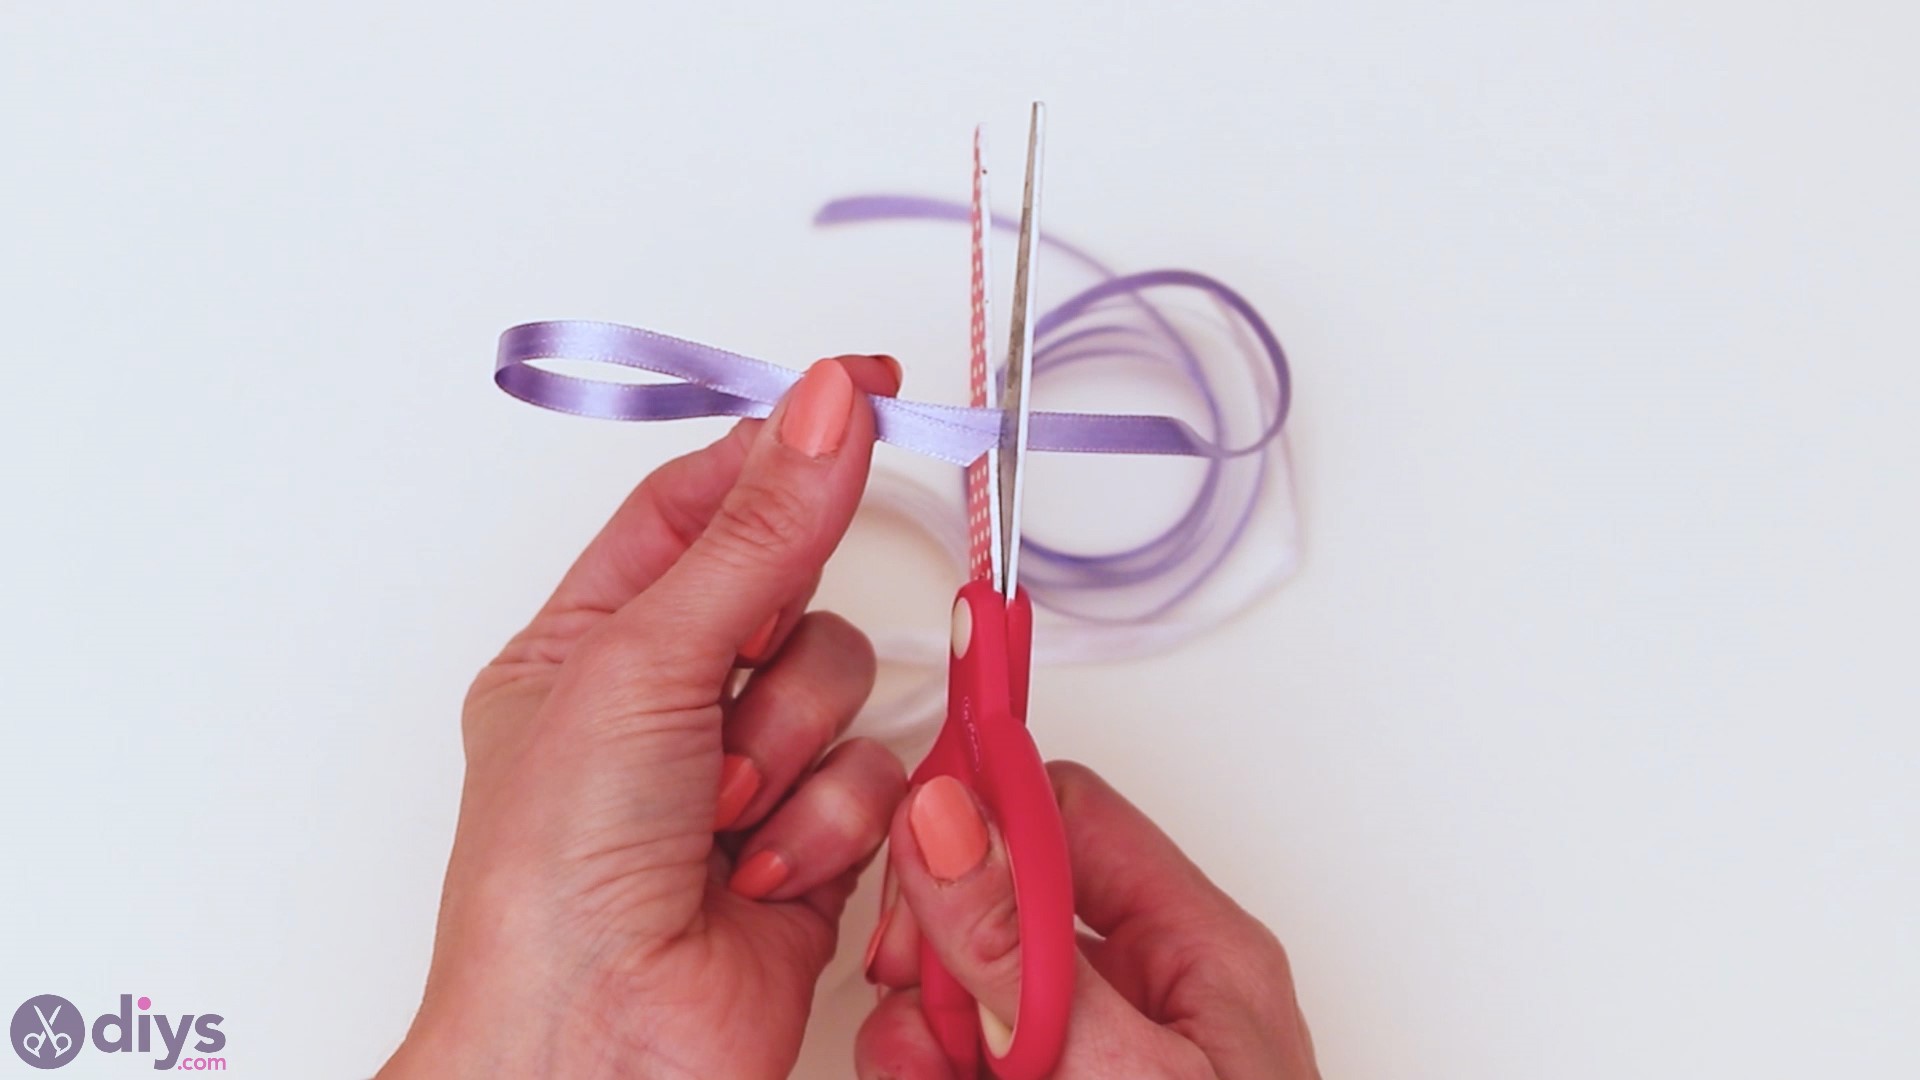
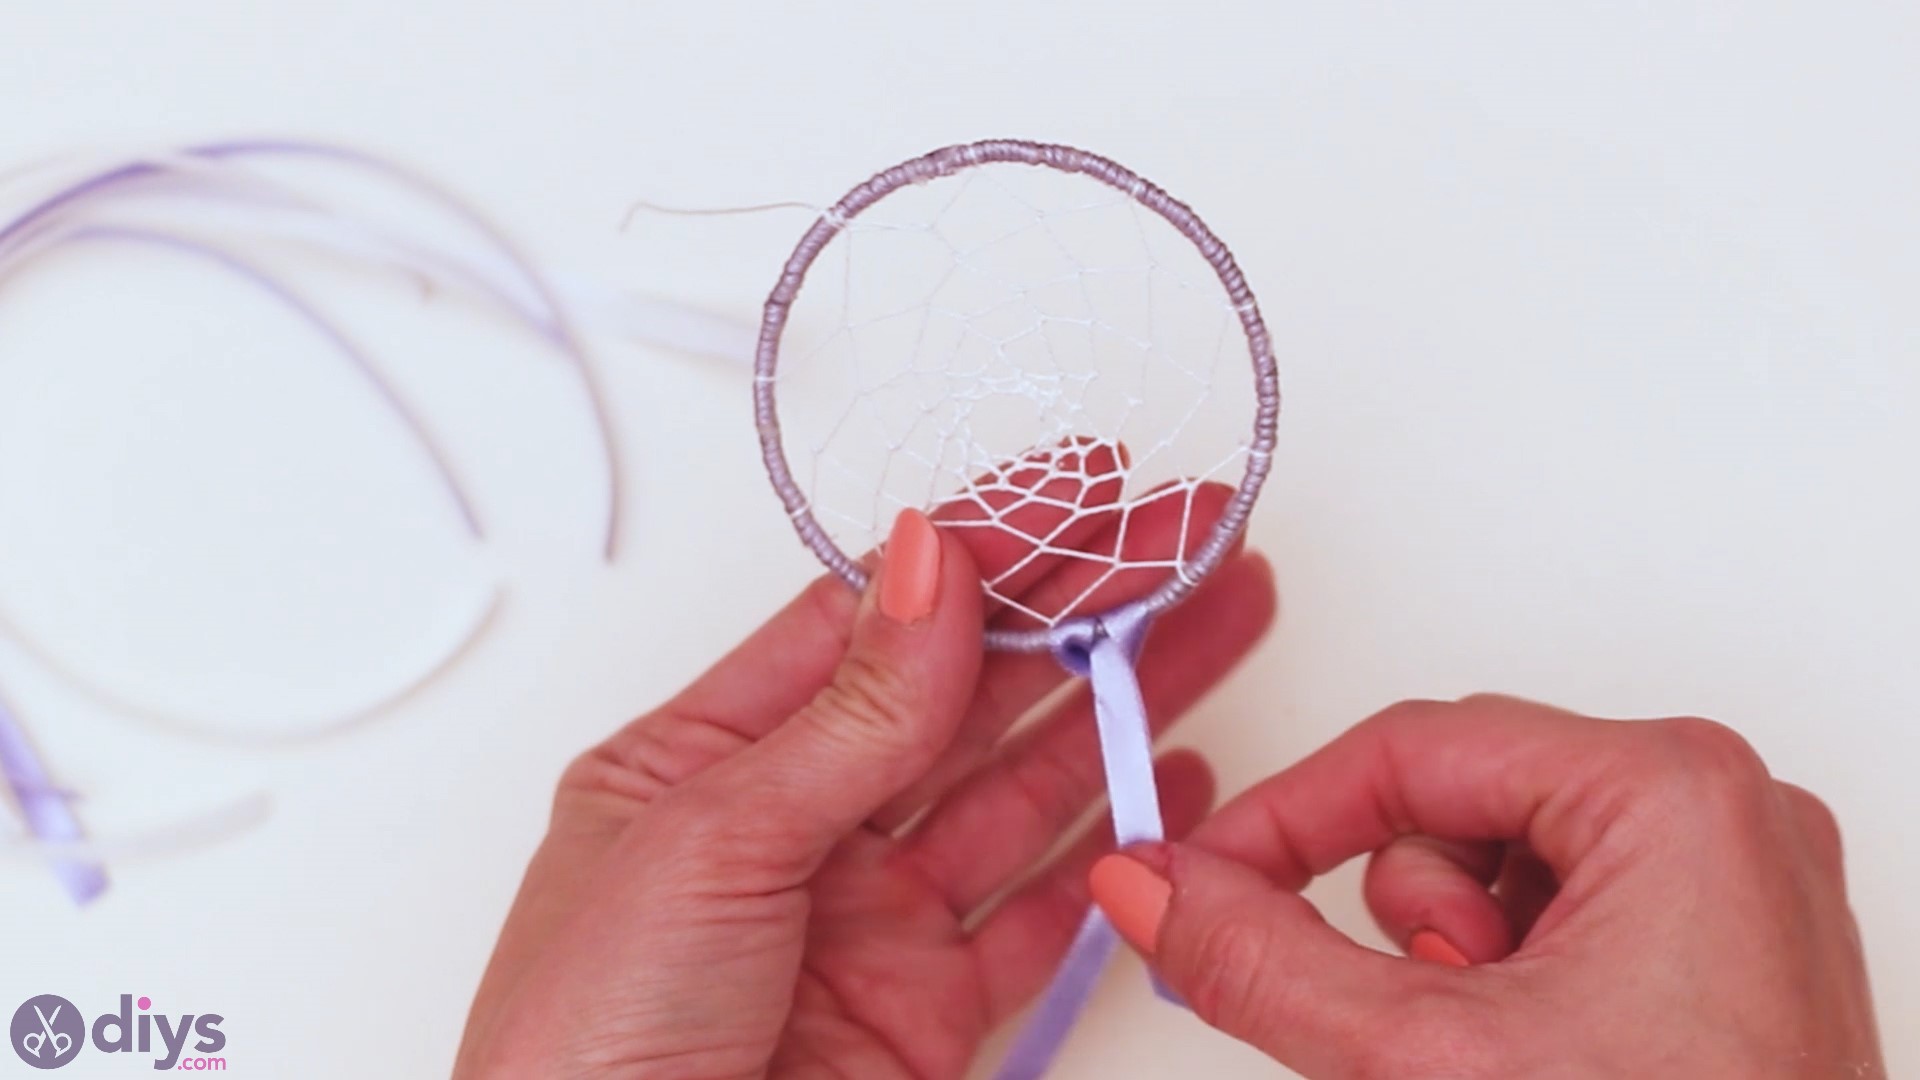
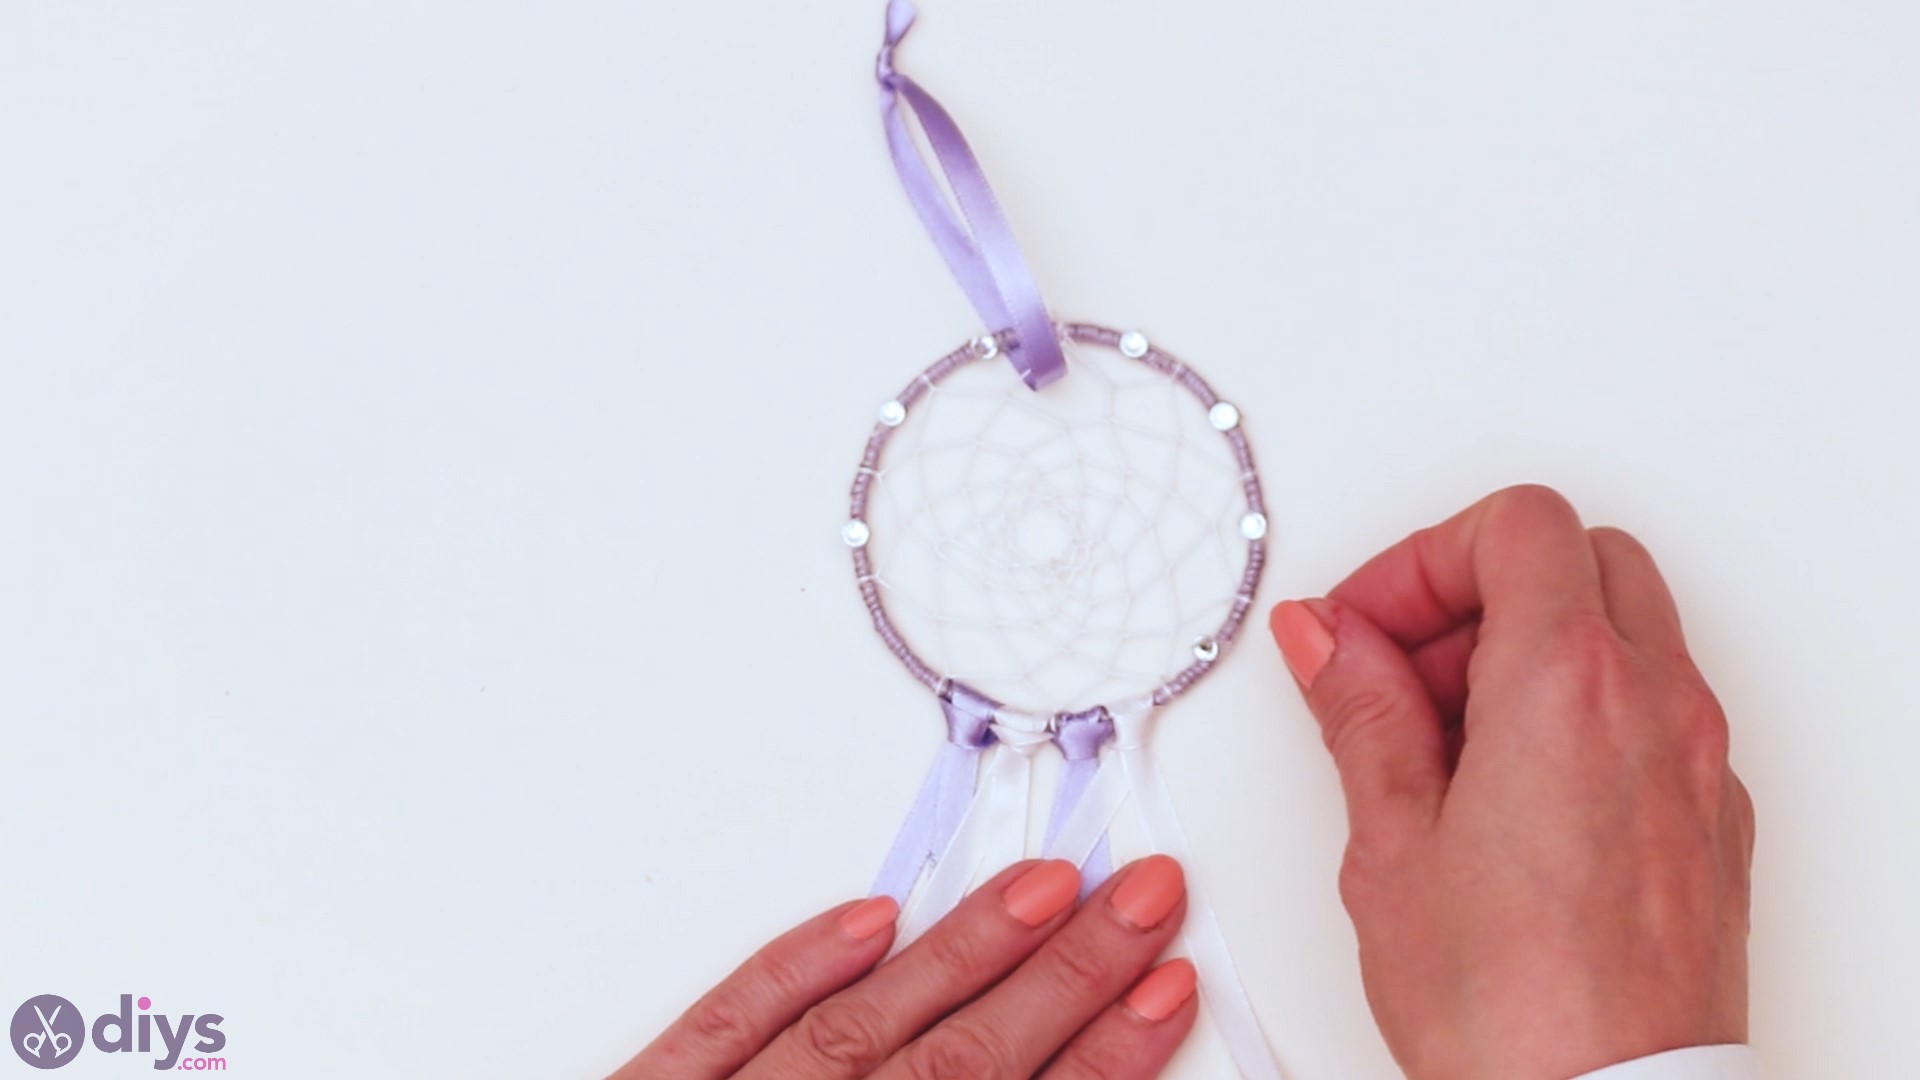
Now that the dreamcatcher base is done, you can go ahead and start decorating it. We’re going to use white and purple silk ribbons. You’re going to use these ribbons to tie them to the bottom of the dreamcatcher. Decide how long you want the flowing ribbons to be and fold the material. Cut four of these at roughly the same size.
Choose the point you want to serve as the top where you’ll hang the dreamcatcher from. Move opposite of this spot and locate the two lower neighboring loops. Take one of the ribbons, fold it in half, and push it through one of the openings. Then, pull the ends through the loop as shown in the pictures.
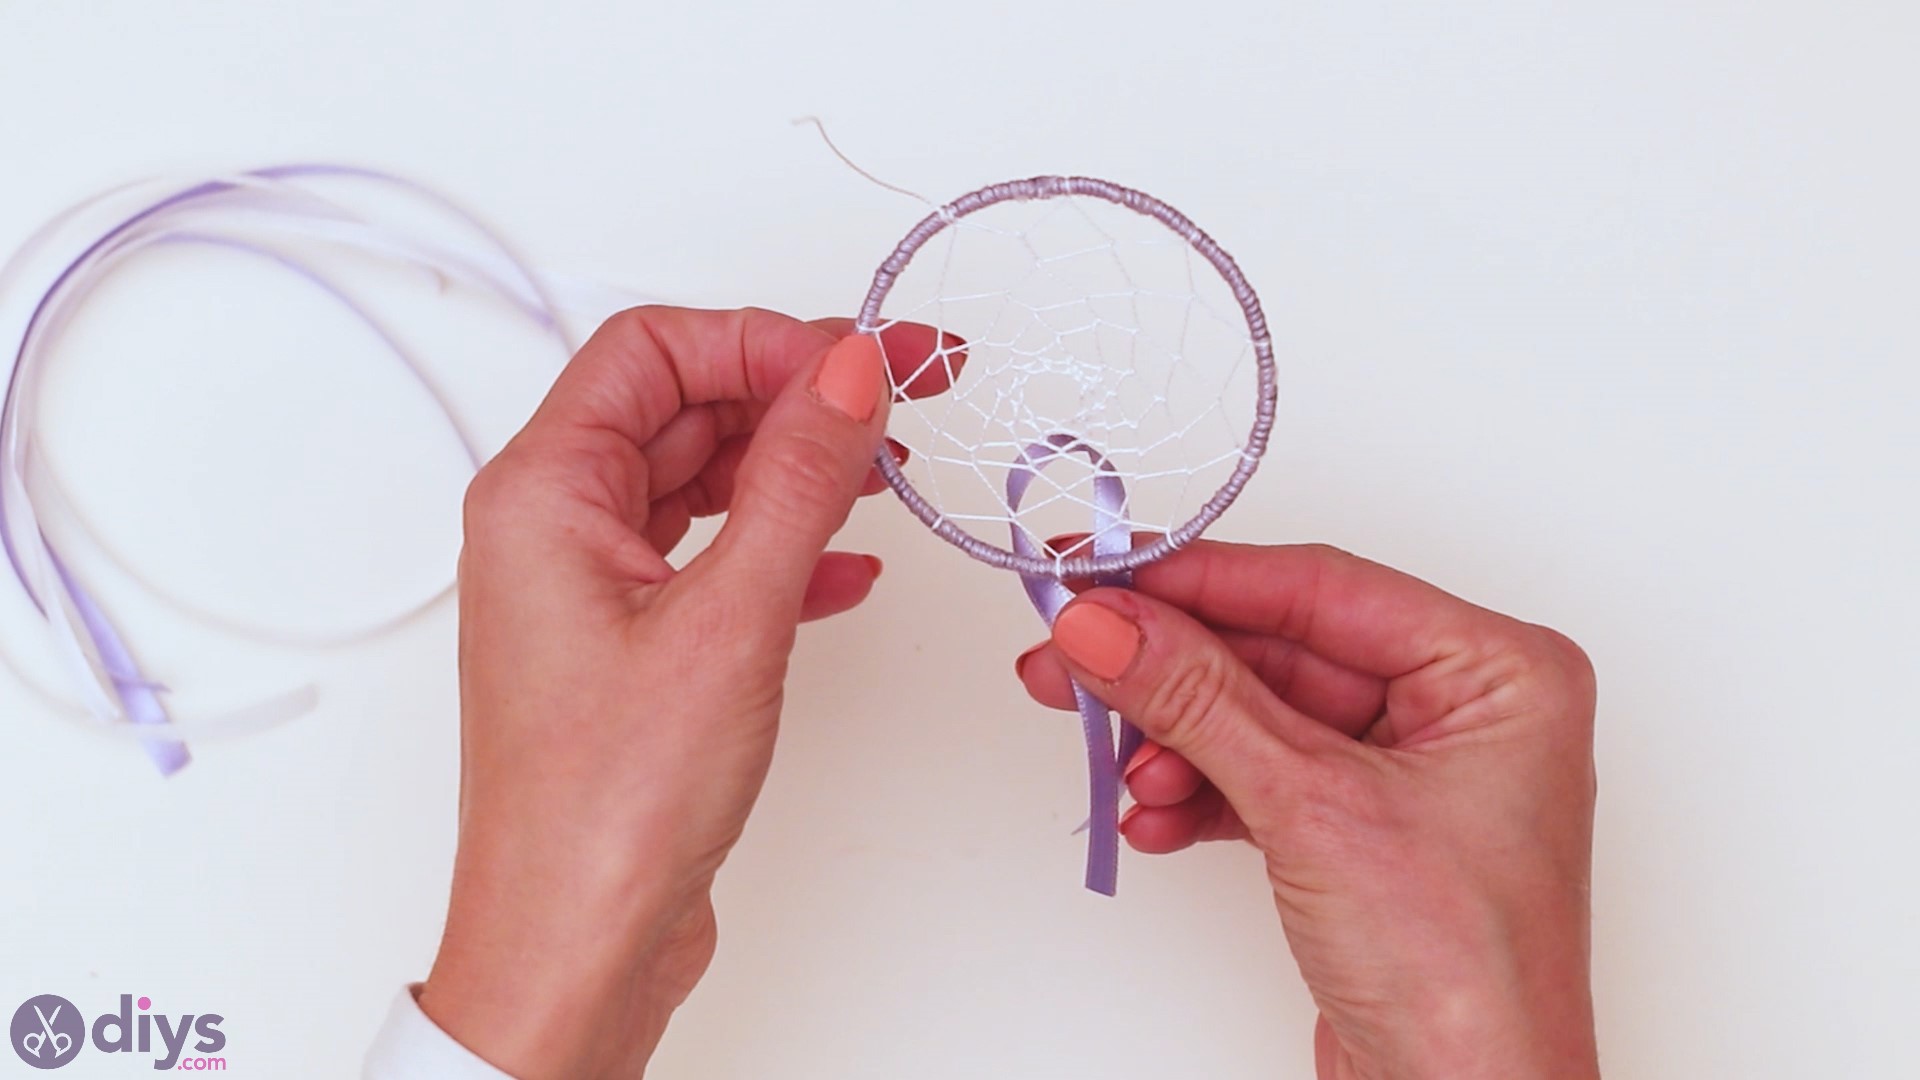
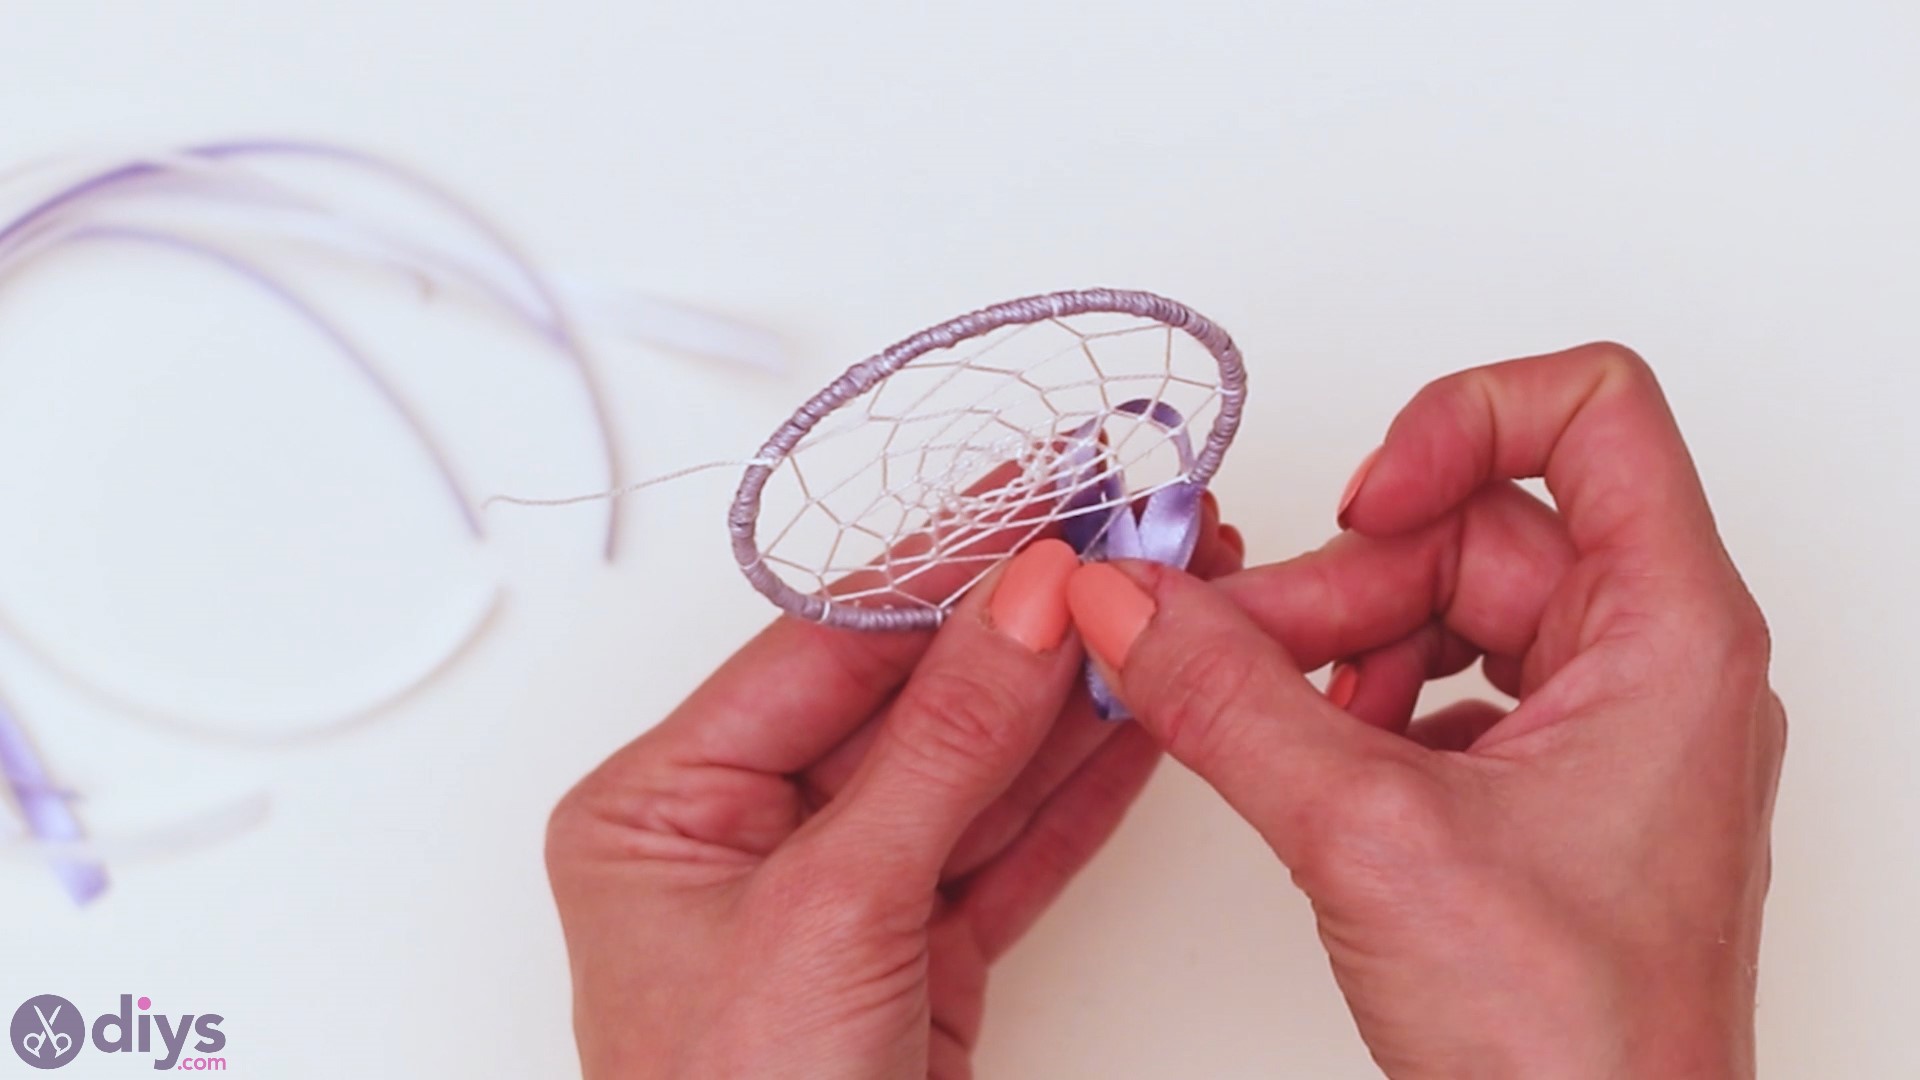
Repeat the process with the other three ribbons until you have an alternate pattern. You’ll have two ribbons in one loop and two in the other, marking the middle of the lower area of the dreamcatcher.
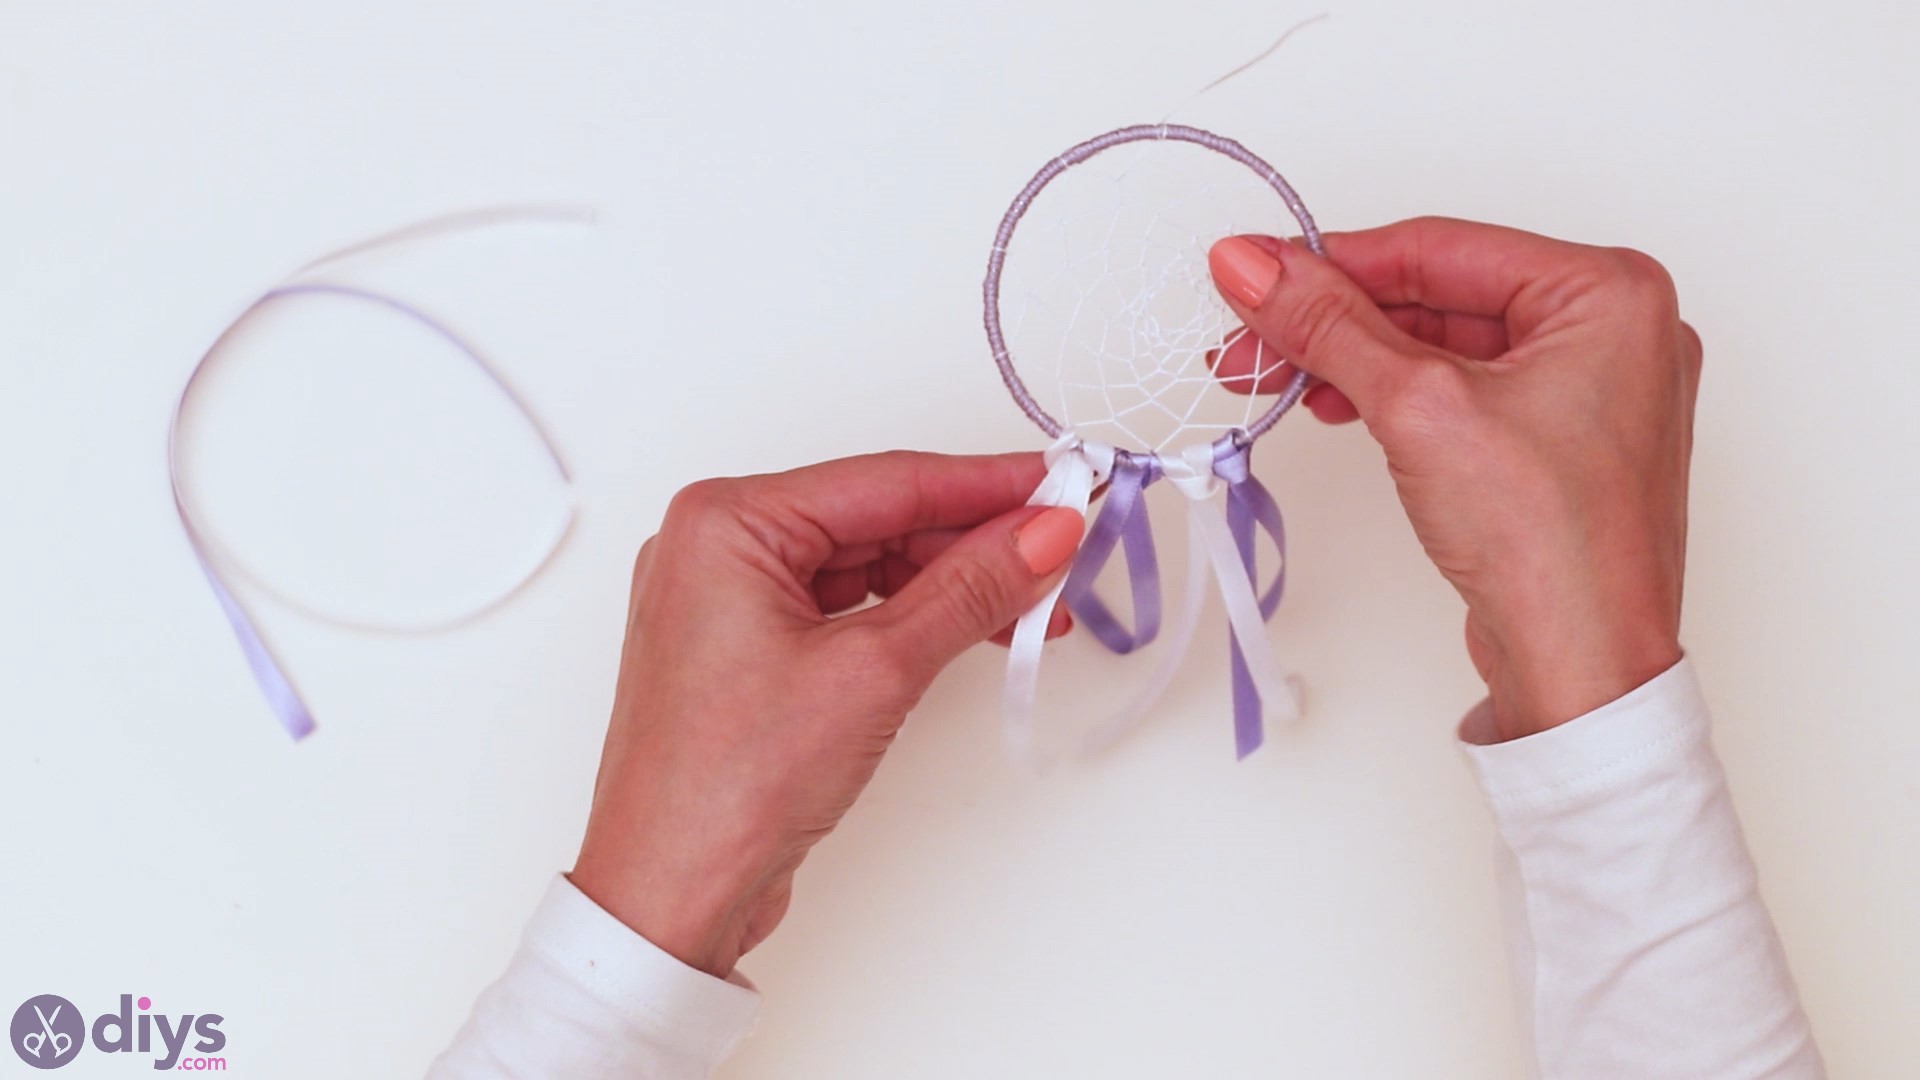
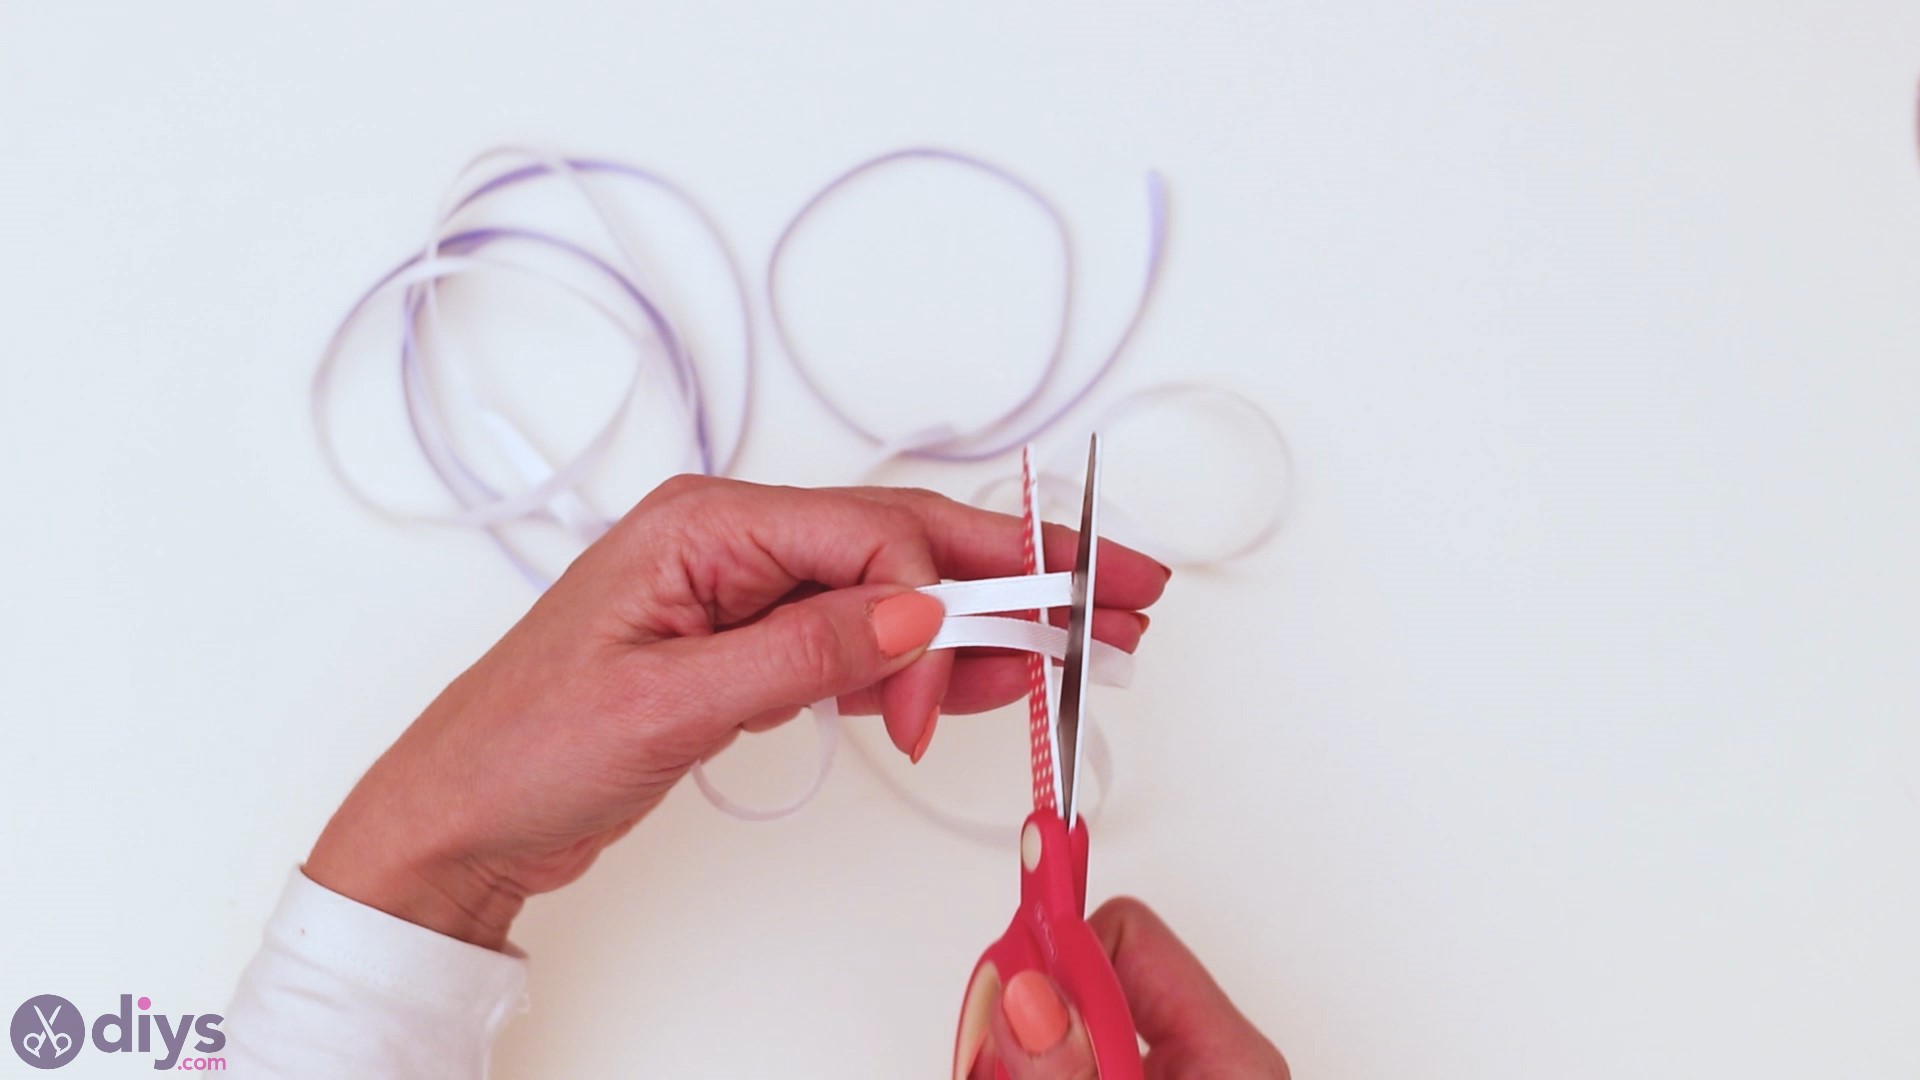
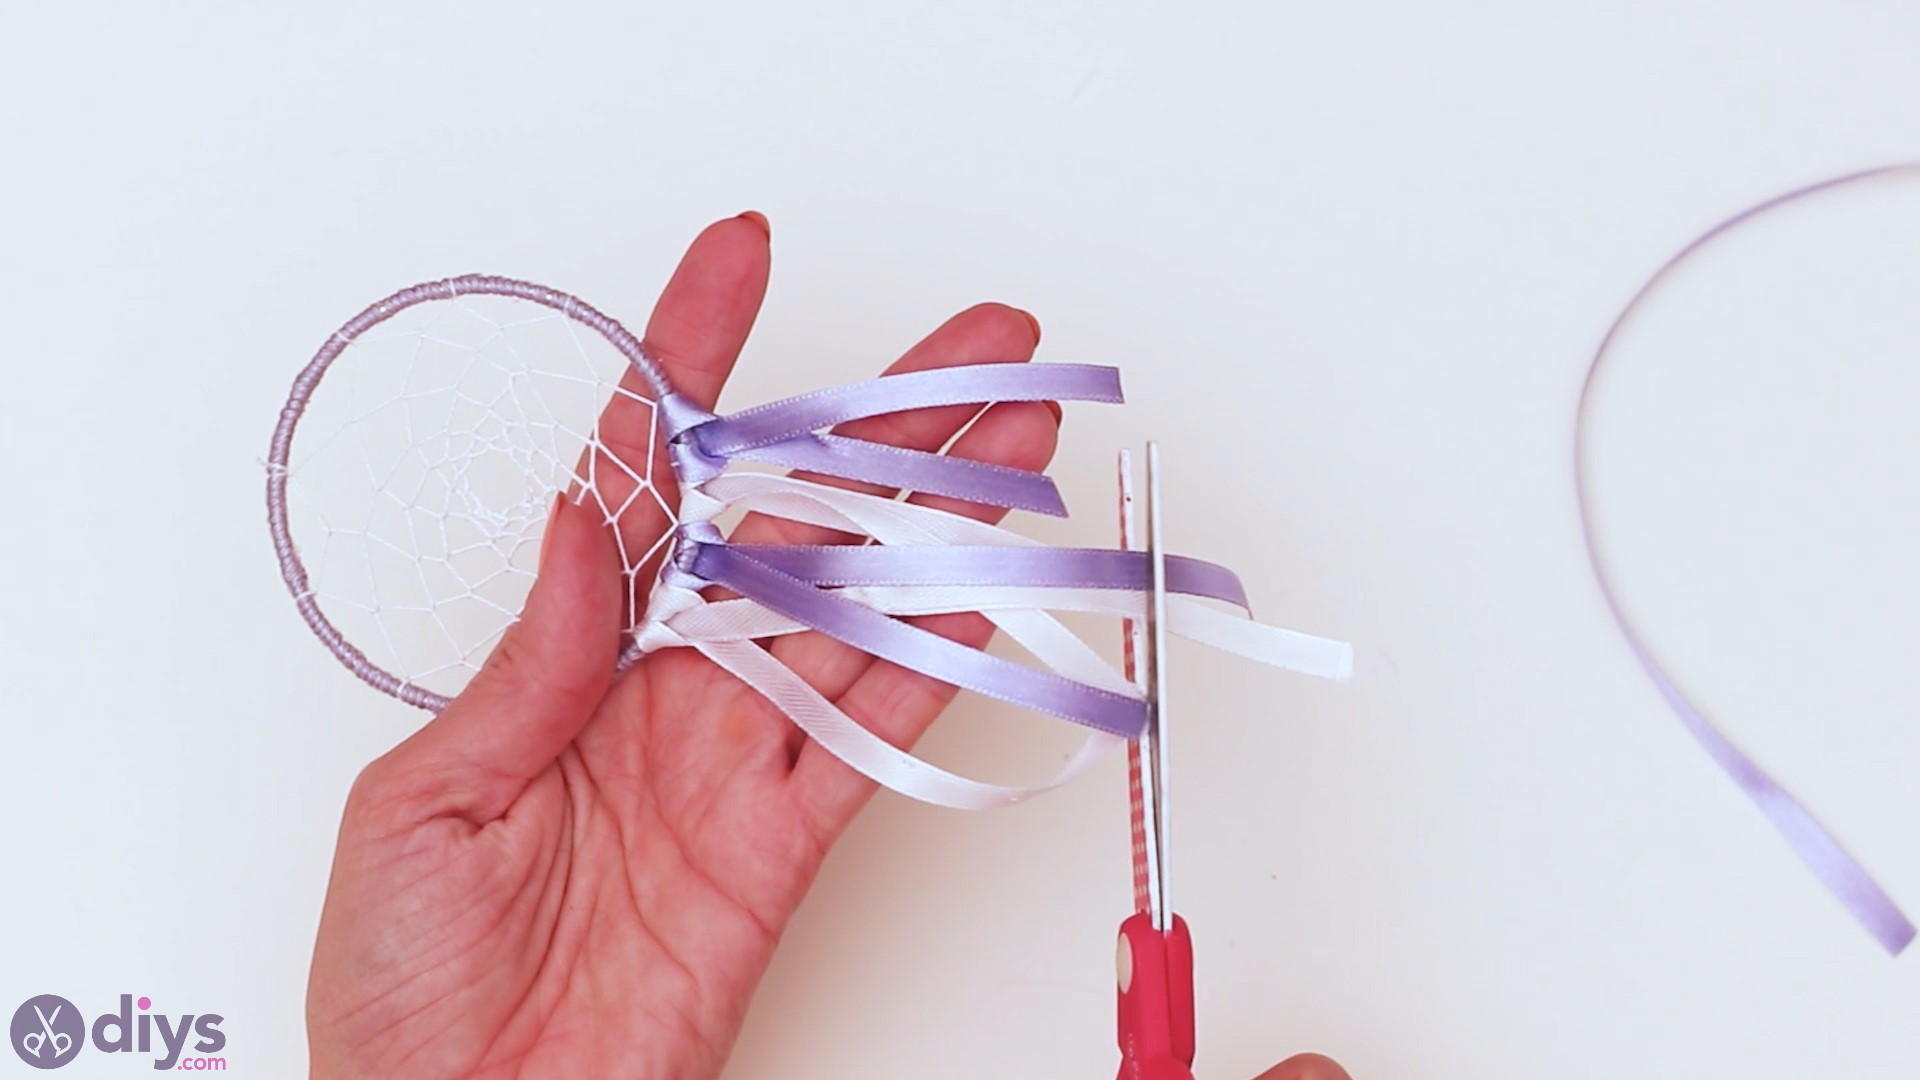
Get your scissors out again and cut the ribbon ends at roughly the same size. This will give the dreamcatcher a more balanced look.
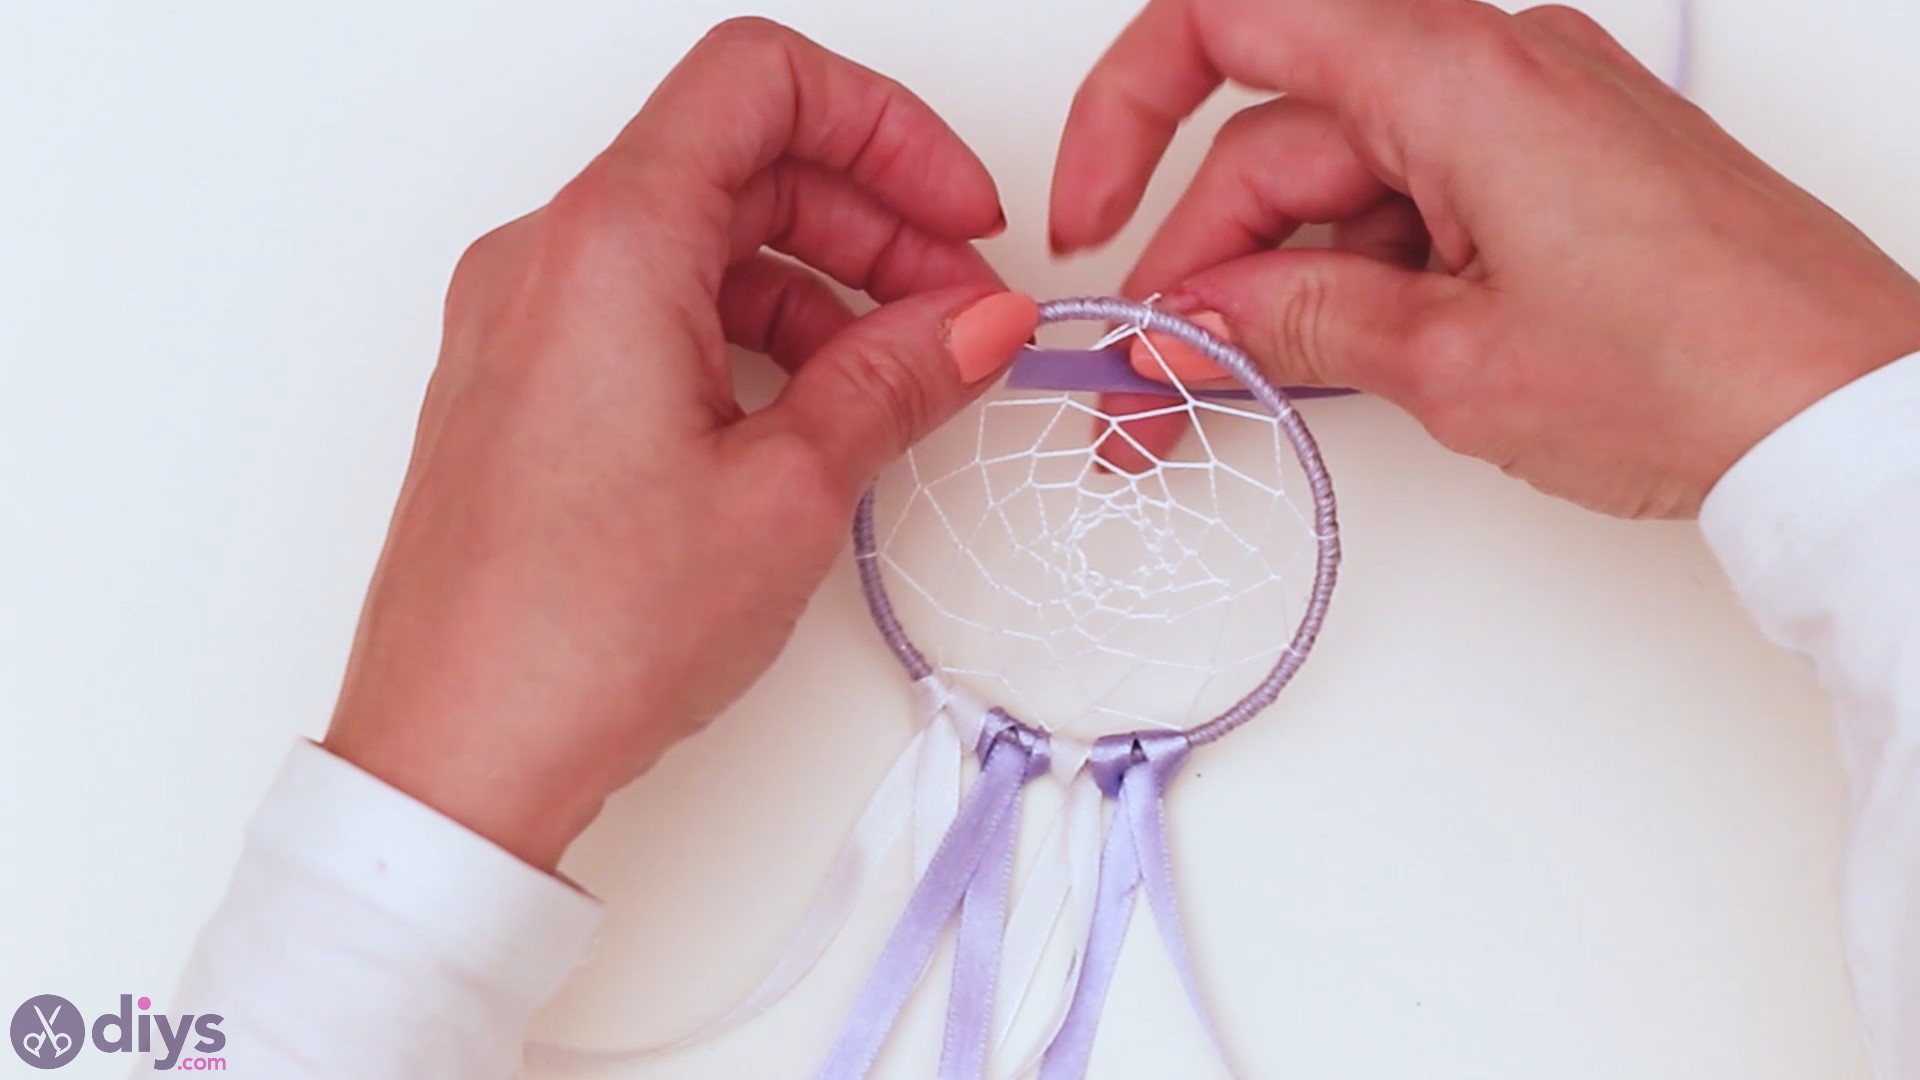
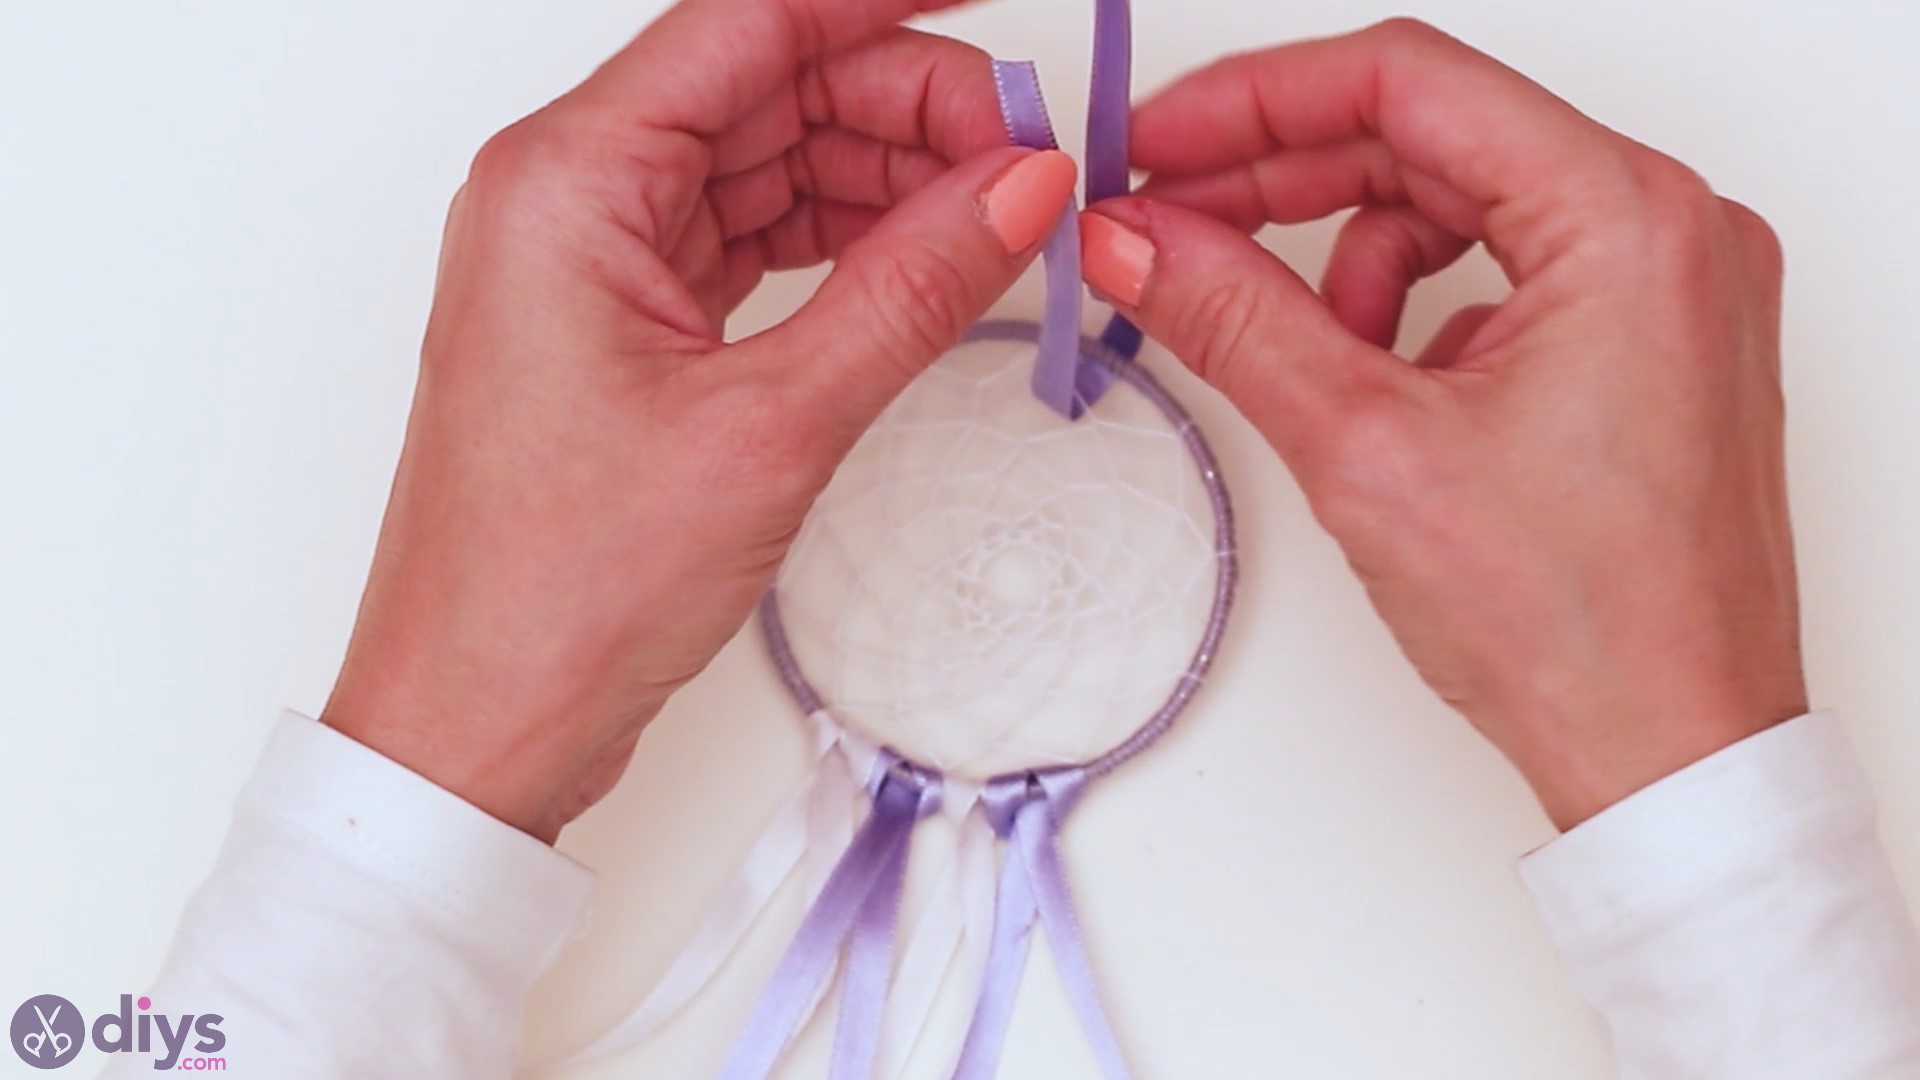
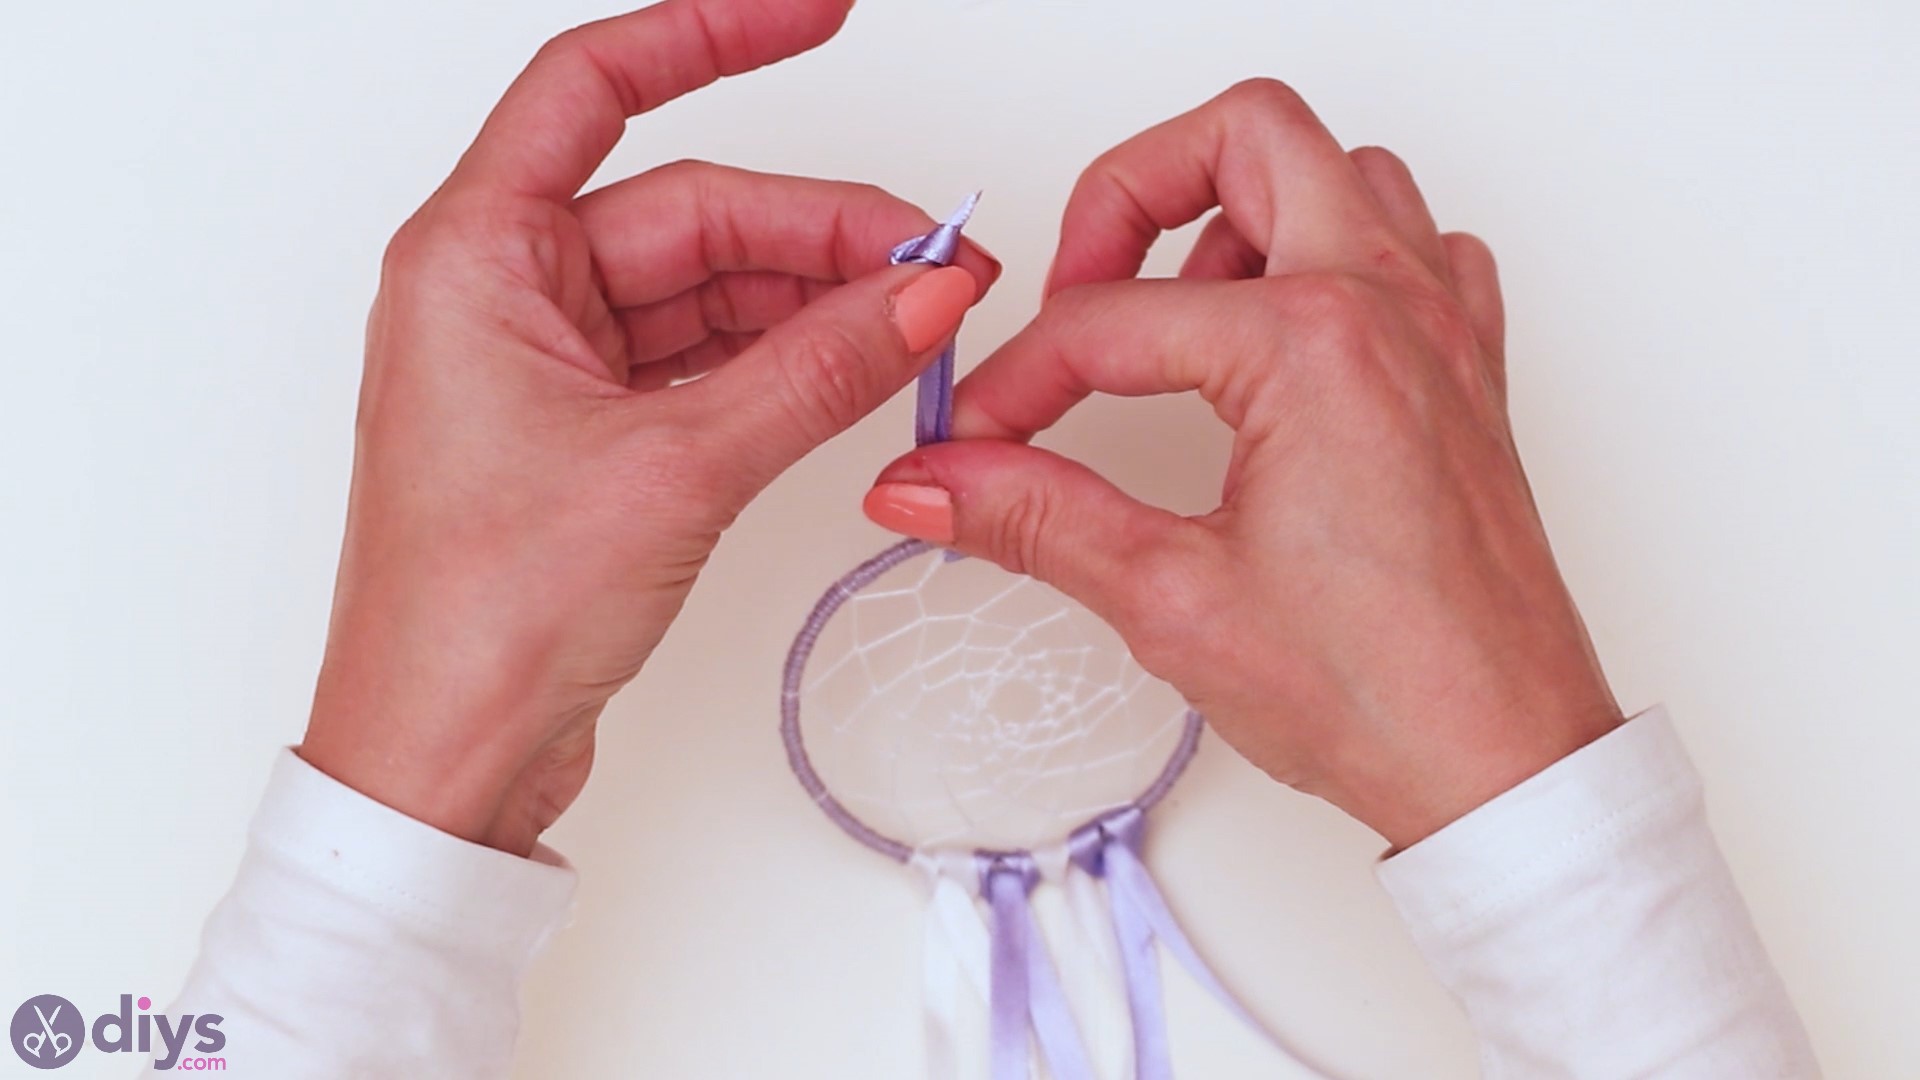
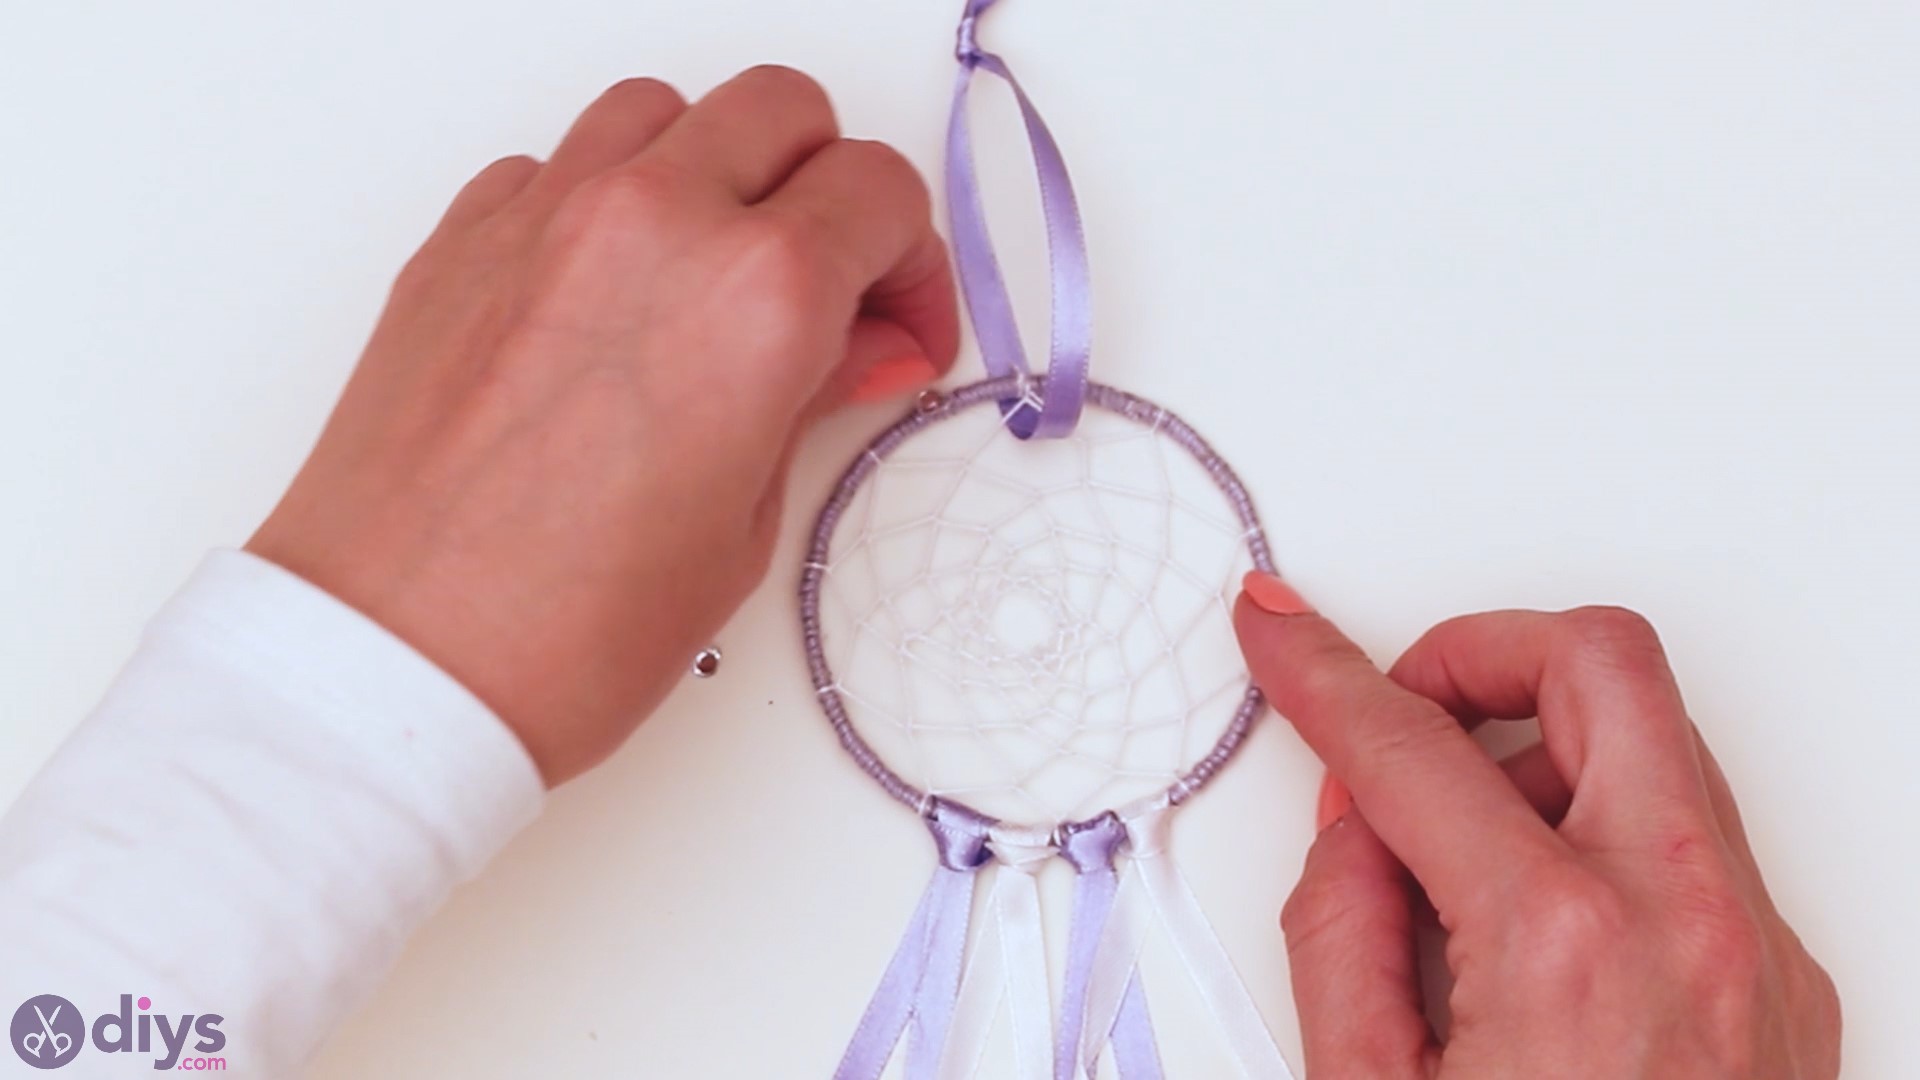
Cut an extra ribbon and find the balance point at the top. Push the ribbon through that area and tie a knot, leaving a loop so you can hang the dreamcatcher. You can create this loop as large as you want, depending on your own particular needs.
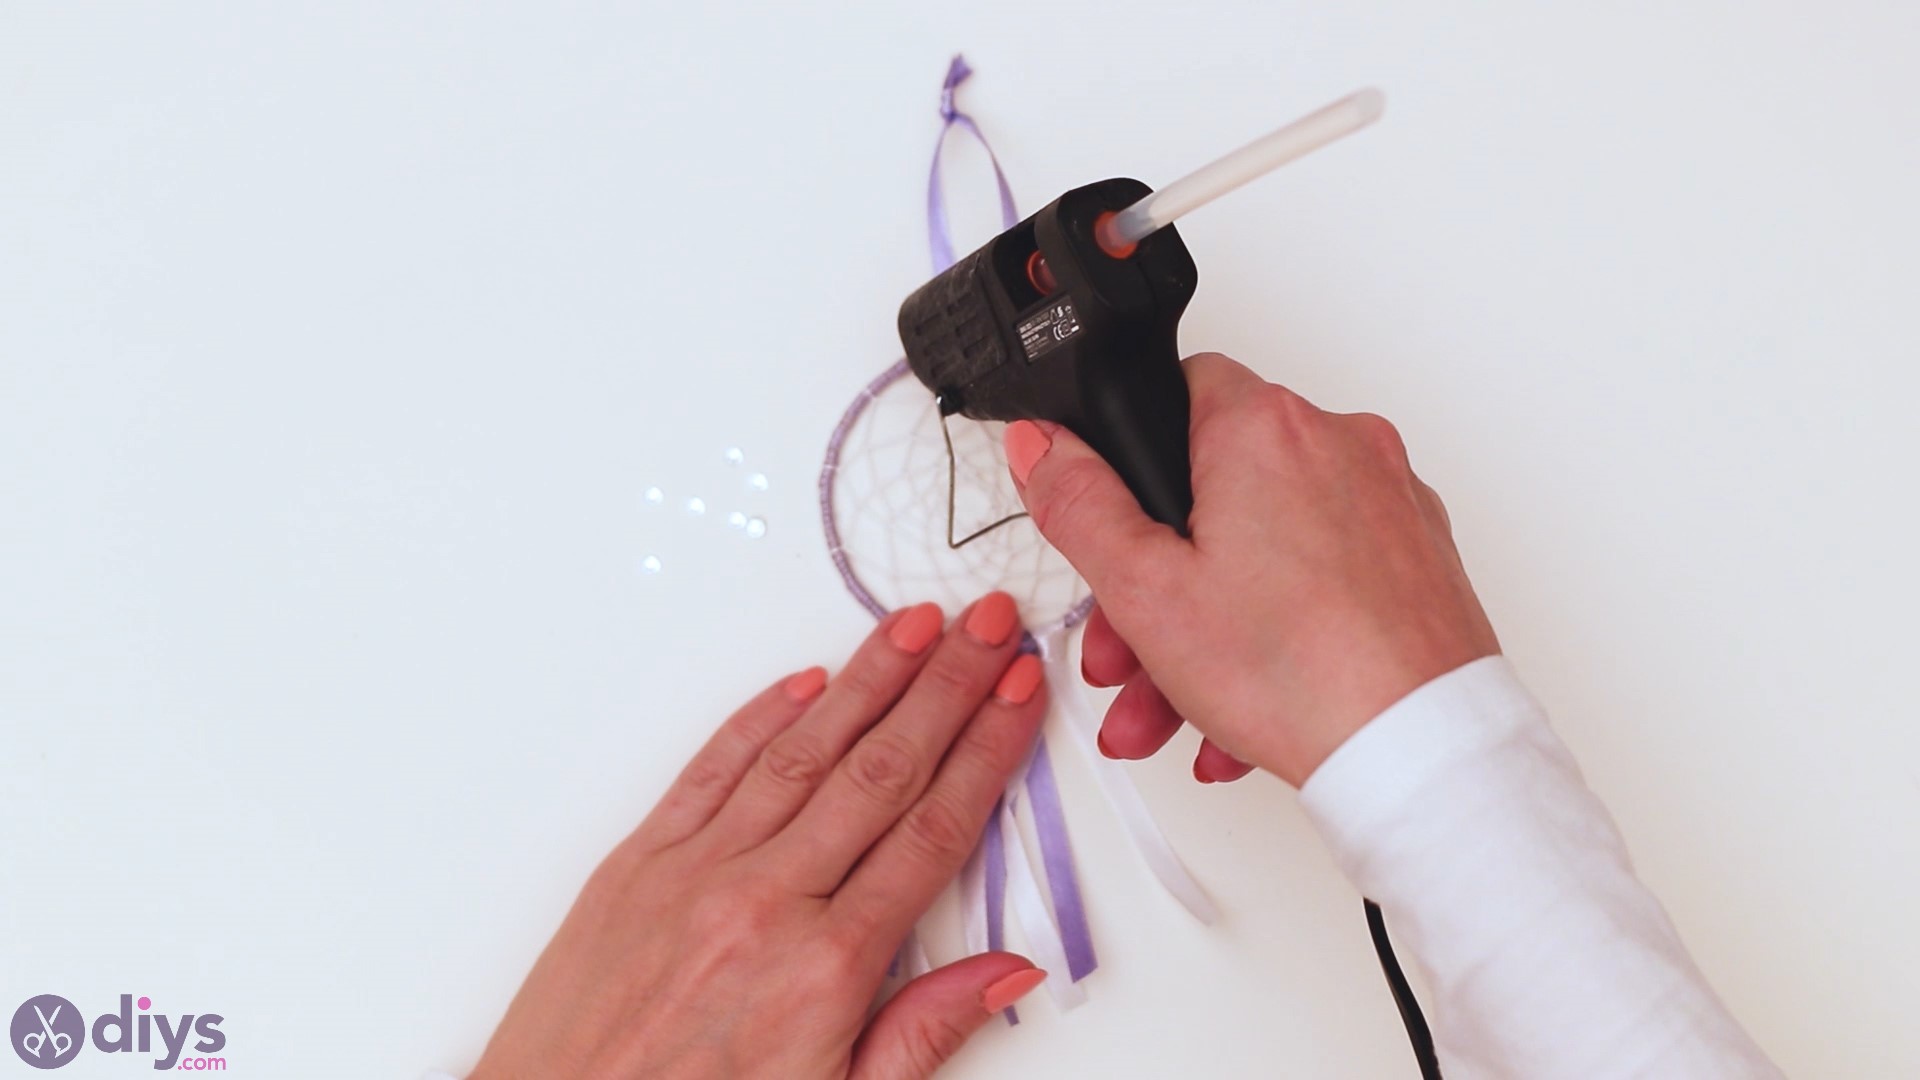
Step 4: Bedazzle the dreamcatcher
Now that our dreamcatcher is done and the ribbons are in place, we can go ahead and give it a little bit of shine. Get the little strasses and your glue gun and start adding them to your design. You will want to put a little bit of glue on the yarn-covered metal hoop, right in the middle of each loop. Before the glue dries off, put in a stress, and press it gently.
Finally, once the strasses are all glued in, you’re only left with the pretty rose. We chose an area near the bottom ribbons and added some more hot glue. Keep in mind that this is a larger piece so you want to put a little bit of extra glue alongside the edge of the circle – enough to sustain the rose.
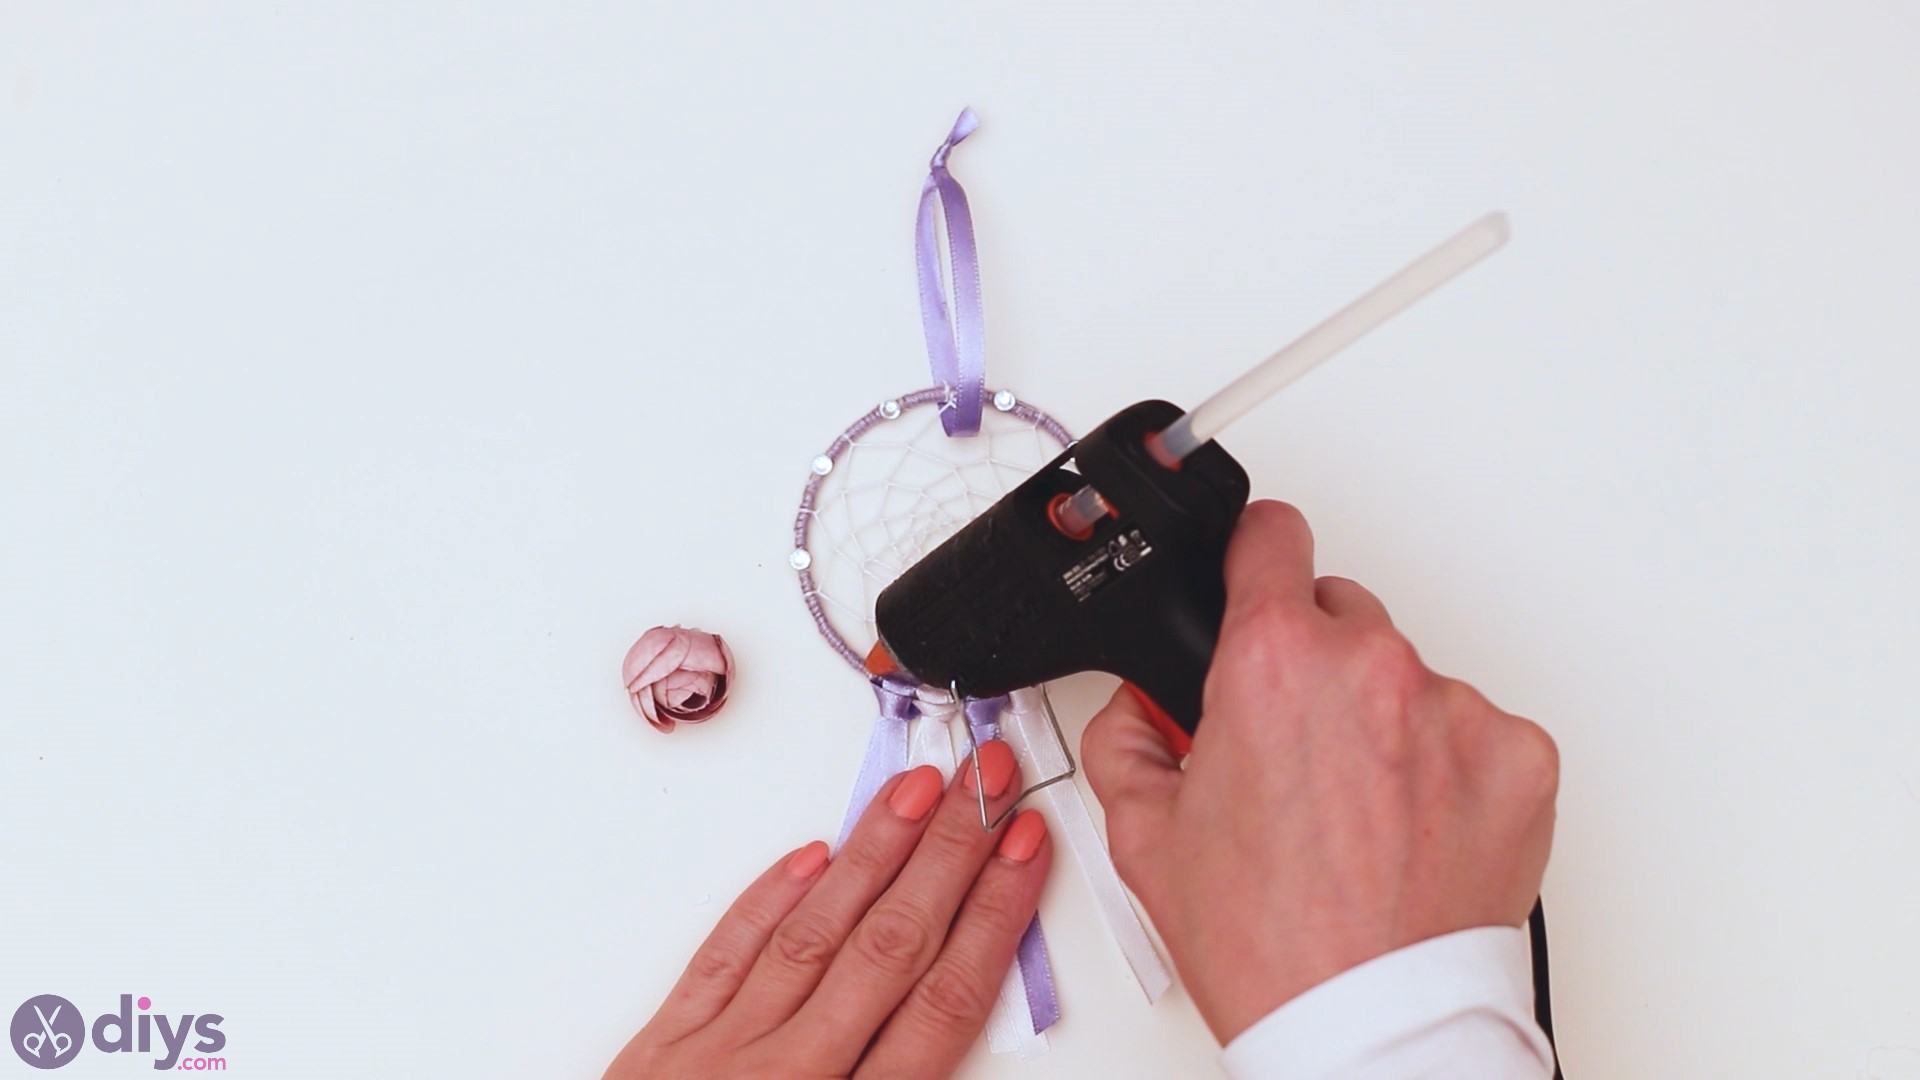
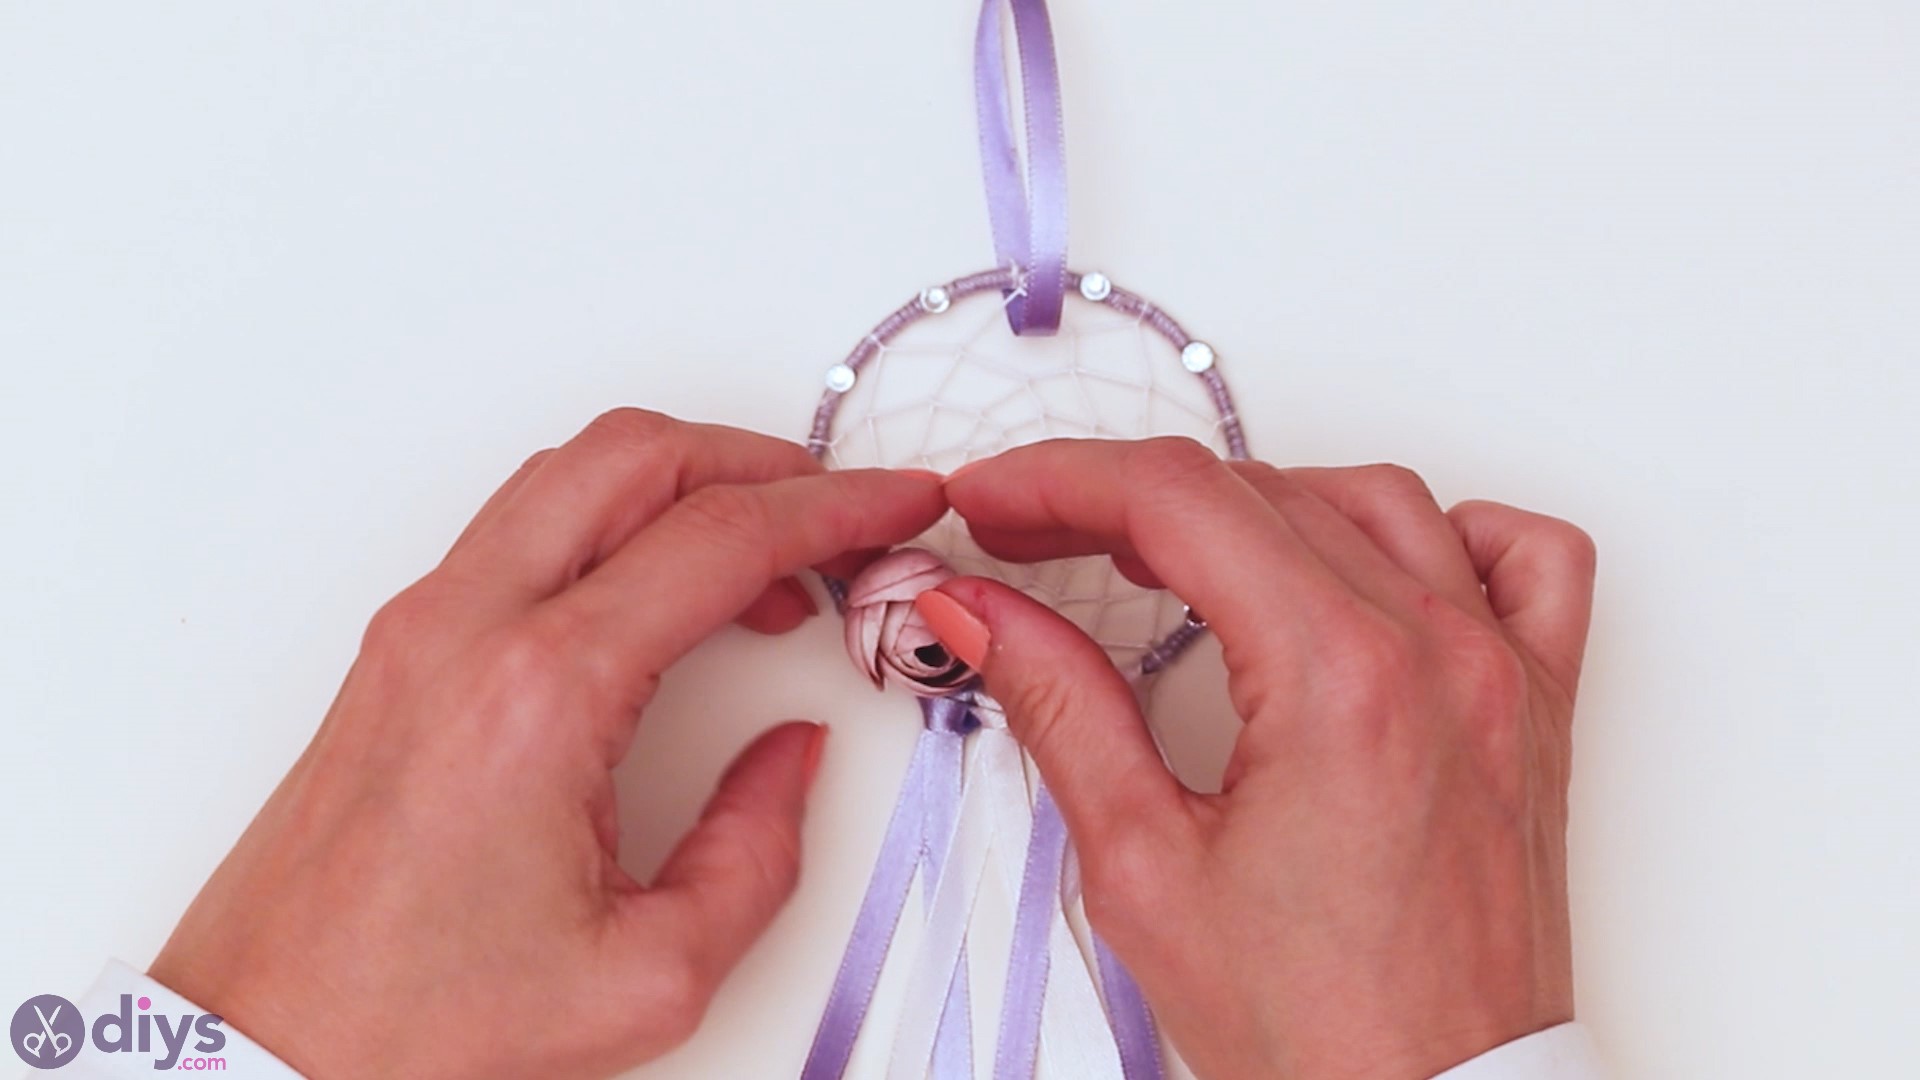
Gently press in the rose and make sure the glue is dry before moving it in any way.
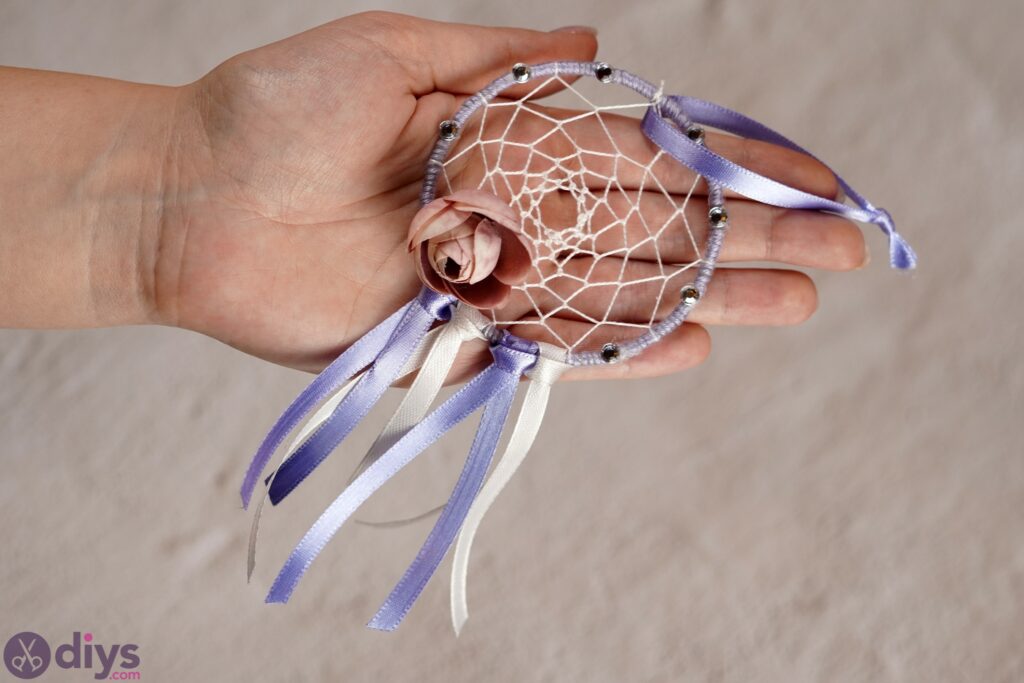
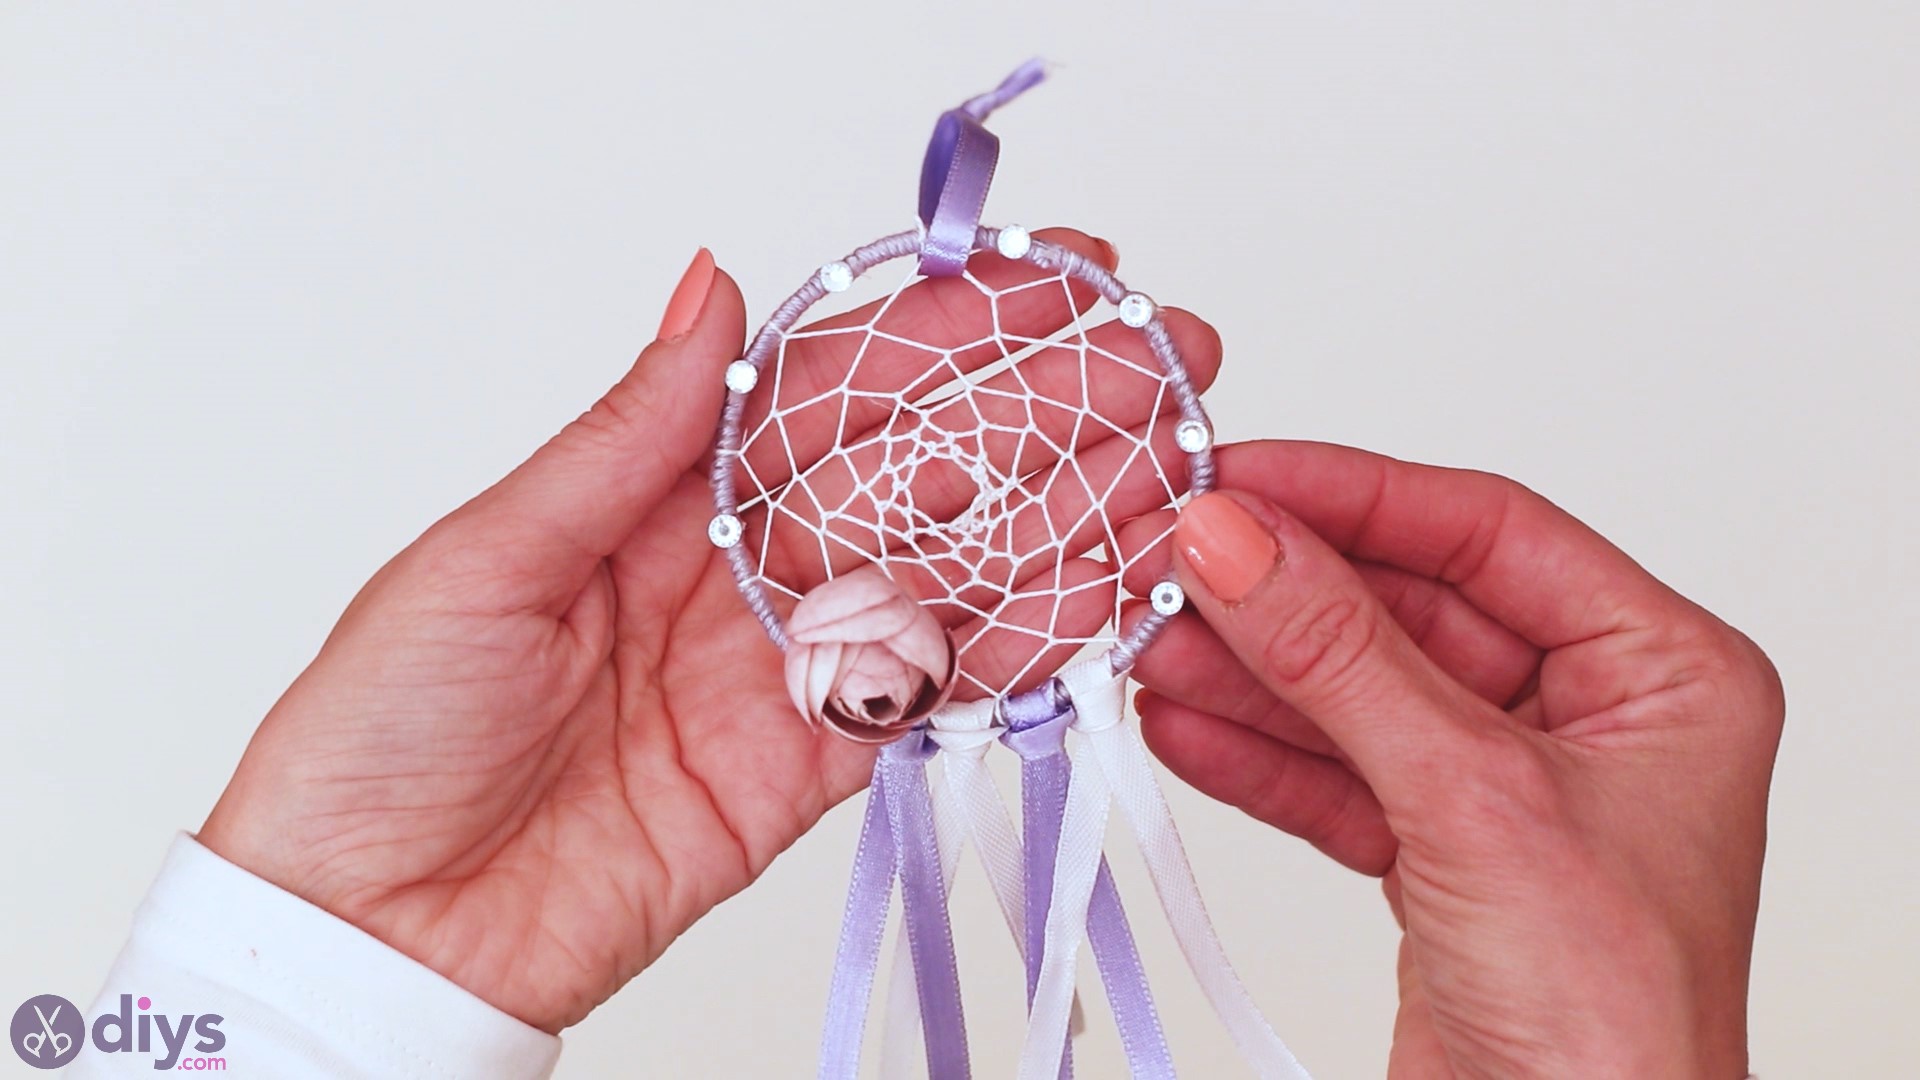
You’re done! Here’s the finished product! We’re sure yours looks similar!
Dreamcatchers are wonderful additions to anyone’s home and they bring a little bit of old magic along with them. They can also make some really great and thoughtful gifts for friends and family. Plus, you get to go through the tutorial again and perfect any of the mistakes you made along the way. Change the yarn colors, change the decorations, add feathers, if you’d like – it’s all up to you!