DIY Floral Wedding Photo Frame Display
Updated on June 28, 2021
Looking for a creative and fun way to display your favorite photos? Well, this wedding photo frame project will teach you how to do just that! This hoop photo display is fun to take on your typical picture frame; it allows you to show off your photos in a dainty wooden hoop, covered with floral leaves. Since this picture display can hold two photos, I also found that this project makes a great centerpiece or even a table number display for weddings. Overall its an easy and cheap project to whip up, and of course you can always add more things to make it your own!

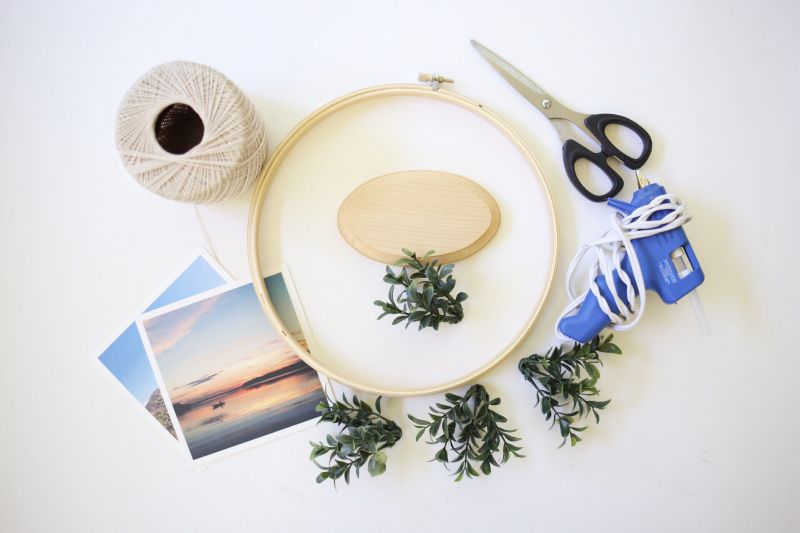
Materials to craft this wedding photo frame:
- 8″ Wood embroidery hoop
- String
- Tape
- Scissors
- Glue gun
- Artificial plant leaves
- 5″ x 3.5″ Oval pine plaque
- 2 Pictures (same size)
Directions step by step to create a photo frame or a wedding table number display:
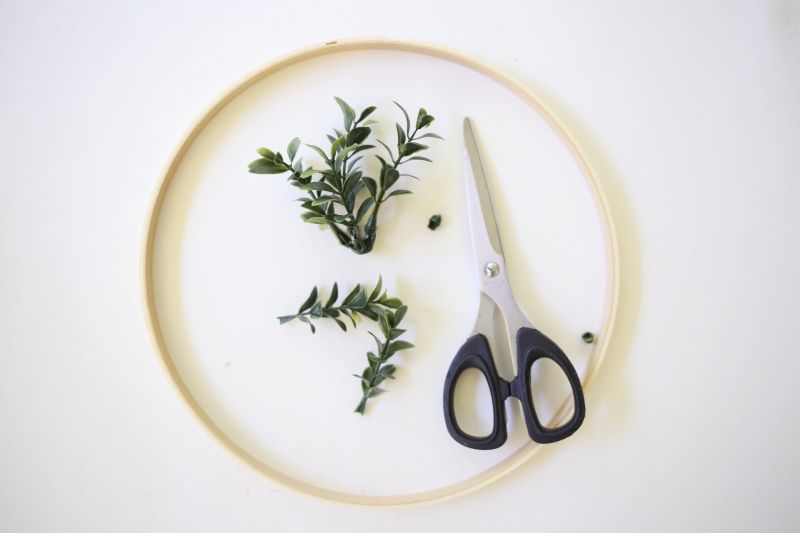
Step 1: prepare the faux plant
You will just be using the inner piece of your embroidery hoop. Take the artificial plant and separate the stems, then trim the ends of the stems.
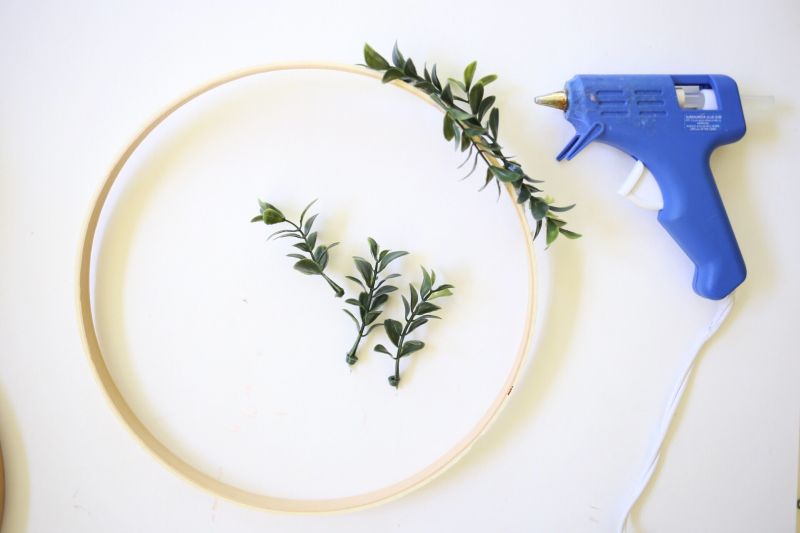
Step 2: add glue on the plant
Take your glue gun and start gluing on the plant pieces. Make sure to hold down the stems for a couple seconds to ensure that stays as the glue dries. Also be very careful to not burn your fingers!
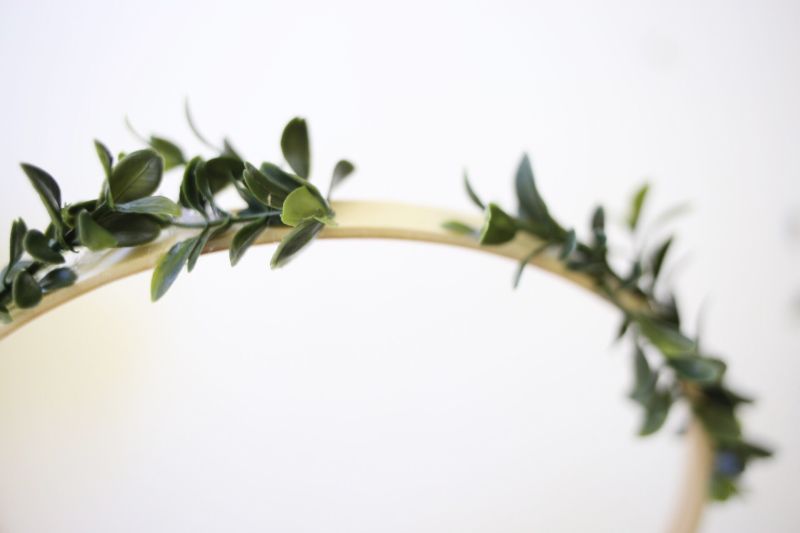
Step 4: ensure both sides
Decide how you want to place the plant pieces– you don’t have to necessarily cover the entire hoop. To ensure that both sides of the hoop are lush and full, add some pieces on the edges and inside of the hoop; it makes it look more esthetically pleasing to the eye.
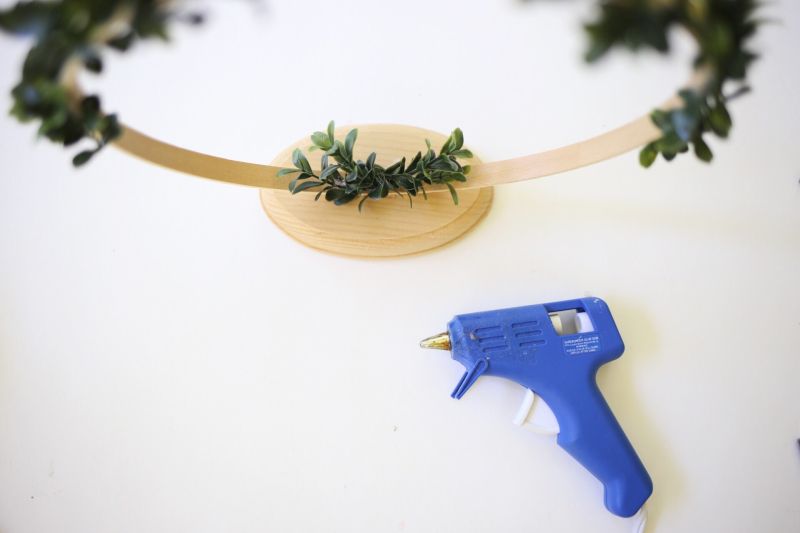
Step 5: add the bottom glue
Once you have finished gluing all the plant pieces to the hoop, take bottom of the hoop and glue it onto the oval wood plaque. Make sure to hold it down for about 30 seconds to keep the hoop in place as the glue dries.
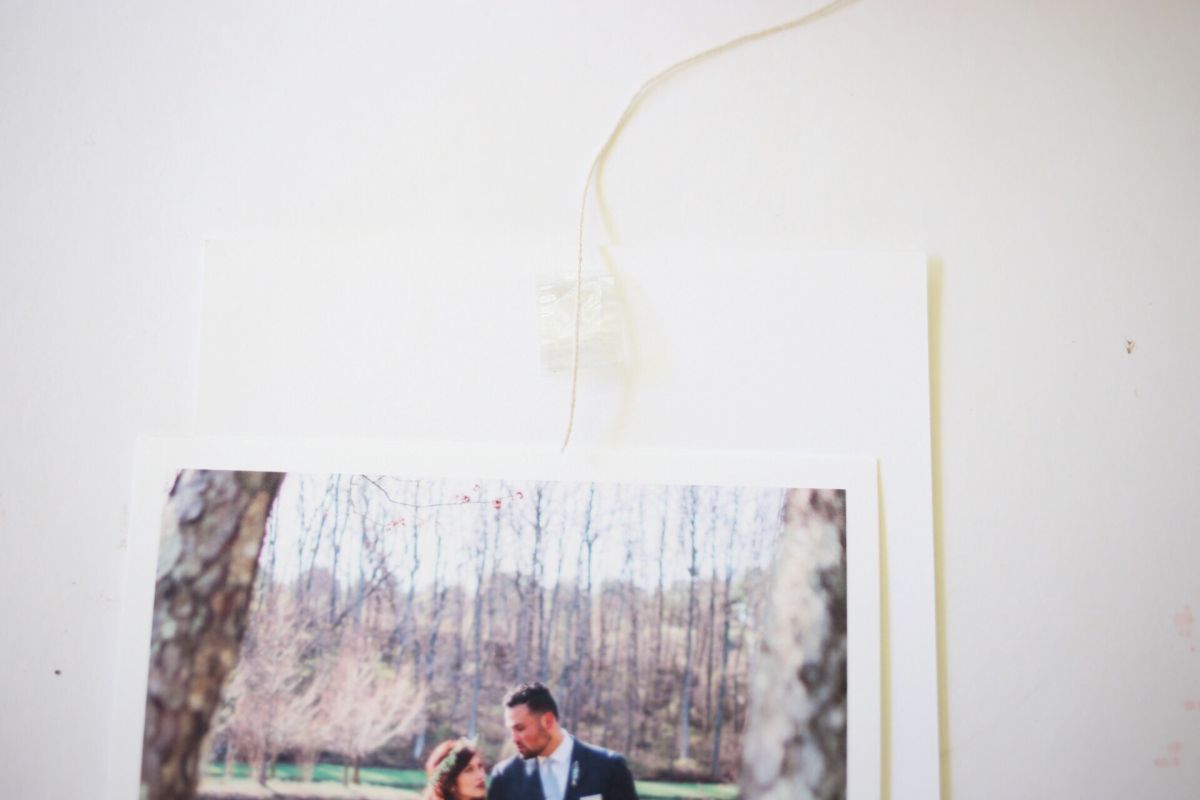
Step 6: photo string
You almost are done! Now take your two photos and glue or tape the back of the photos together and place a strand of string right in the middle of the two pictures.
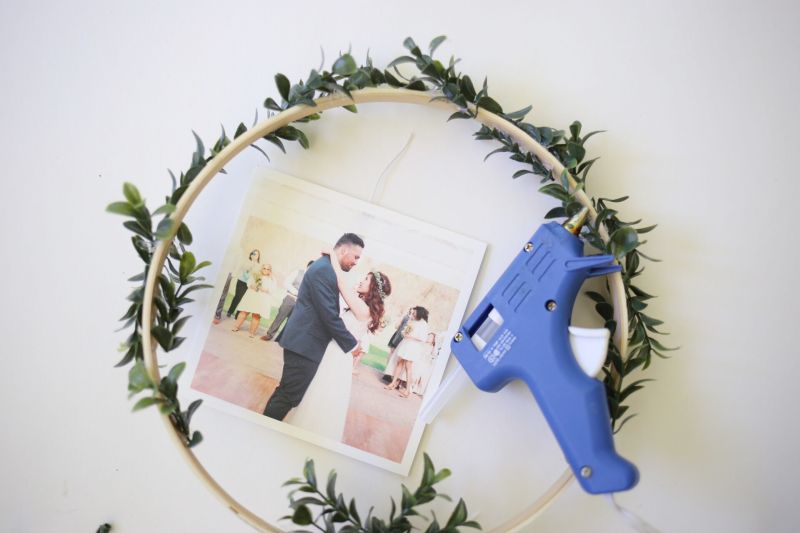
Step 7: Hang from the middle
Find the middle of the hoop, take your picture and figure out how far down you want the photos to hang. Once you have decided, glue the string in the inside of the hoop.
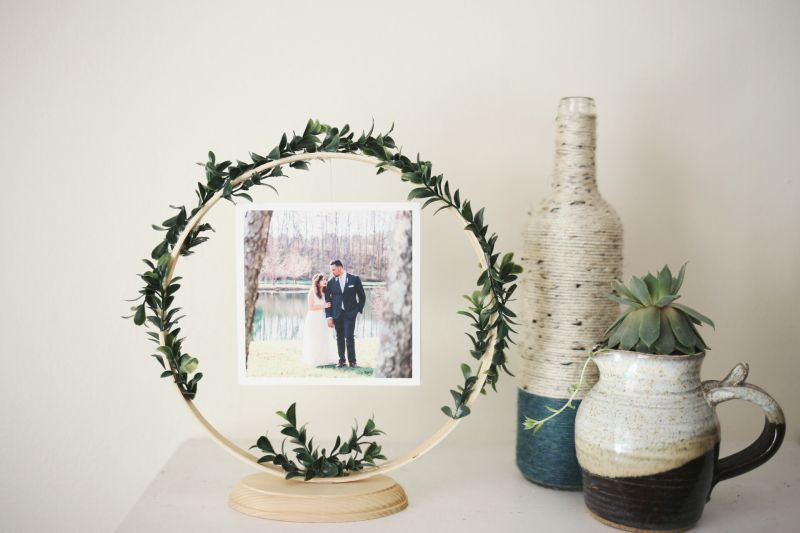
Conclusion
And there you have it! Hope you guys enjoyed this DIY project, and I hope you guys have fun displaying all your favorite photos.
Stay crafty and creative!