DIY Embroidered Pillow With Your Favorite Quote
Updated on November 19, 2025
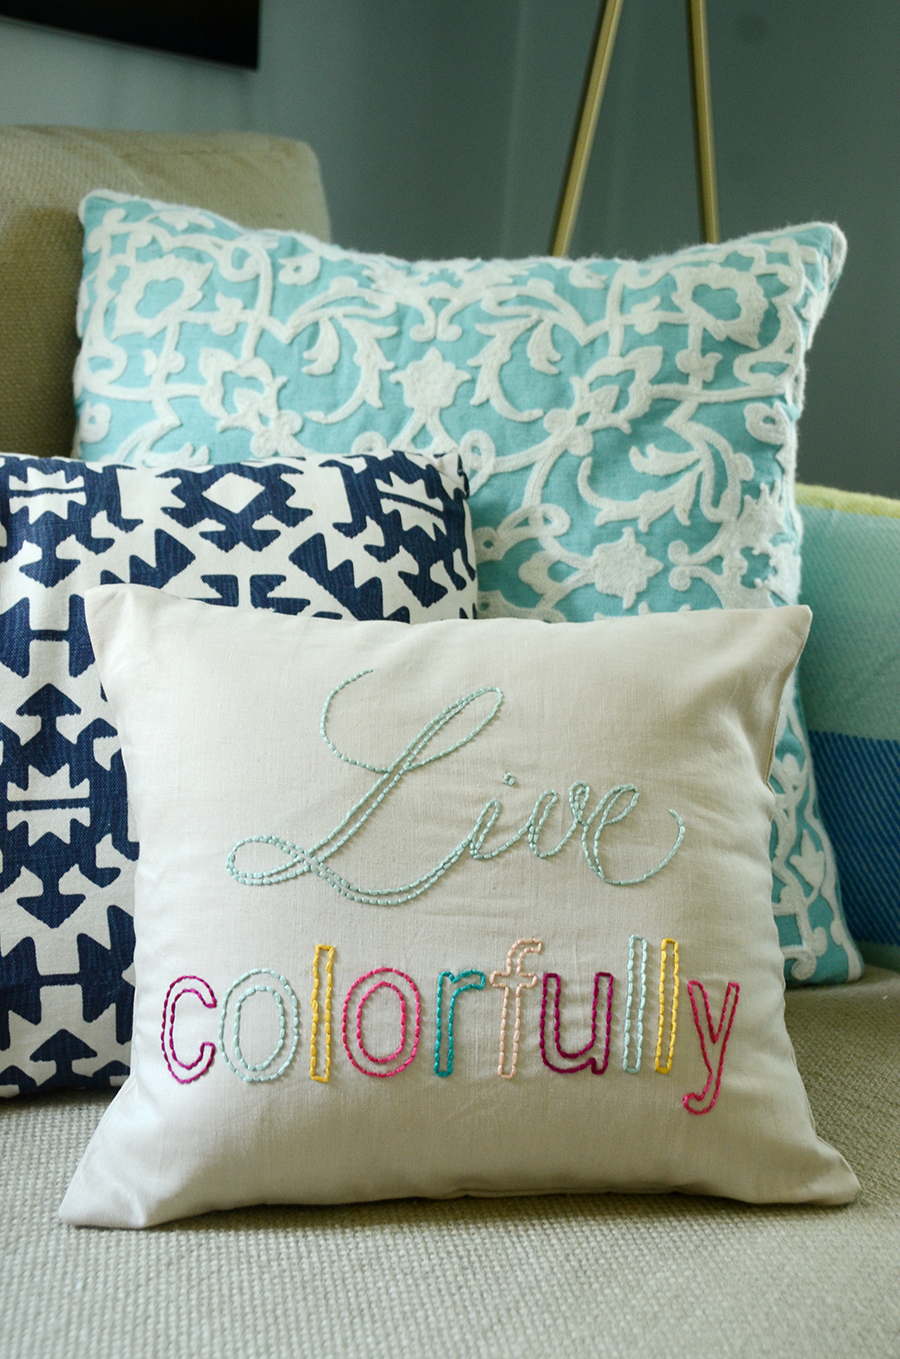
Hand lettering is trending these days, as are textiles… so why not combine the two into one fantastic project? Today I’m sharing a tutorial on how to create a throw pillow with your favorite quote on it. It requires only basic sewing and embroidery skills. So let’s get started!
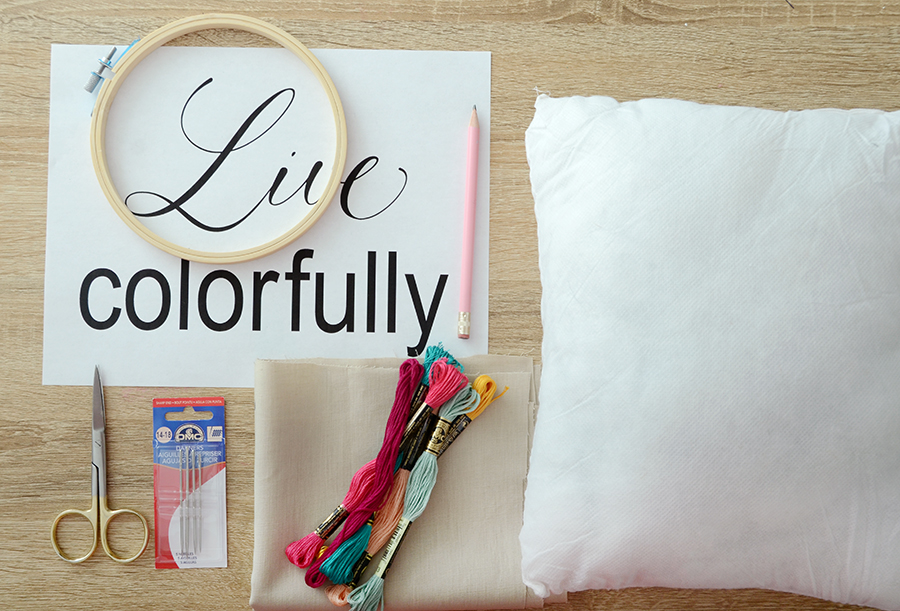
Here’s what you’ll need for your embroidered pillow:
- Pillow insert
- Neutral fabric (non-stretch)
- Embroidery floss in a variety of colors
- Darning needles (they’re great because they have sharp points but large holes)
- Embroidery hoop
- Scissors
- Printout of your quote
- Pencil
Step by Step Guide To Craft a Throw Pillow:
Step 1: Prepare and cut fabric
The very first step is to cut out your fabric. The front piece should be about a 1/2 inch wider than the pillow on all edges. You will cut two back pieces which will overlap, creating a gap where you can insert the pillow. The back pieces should be the same width as the front piece, and the height will be such that they overlap by three inches. So my front piece was 13×11 inches for a 12×10 inch pillow, and the back pieces were both 13×7 inches.
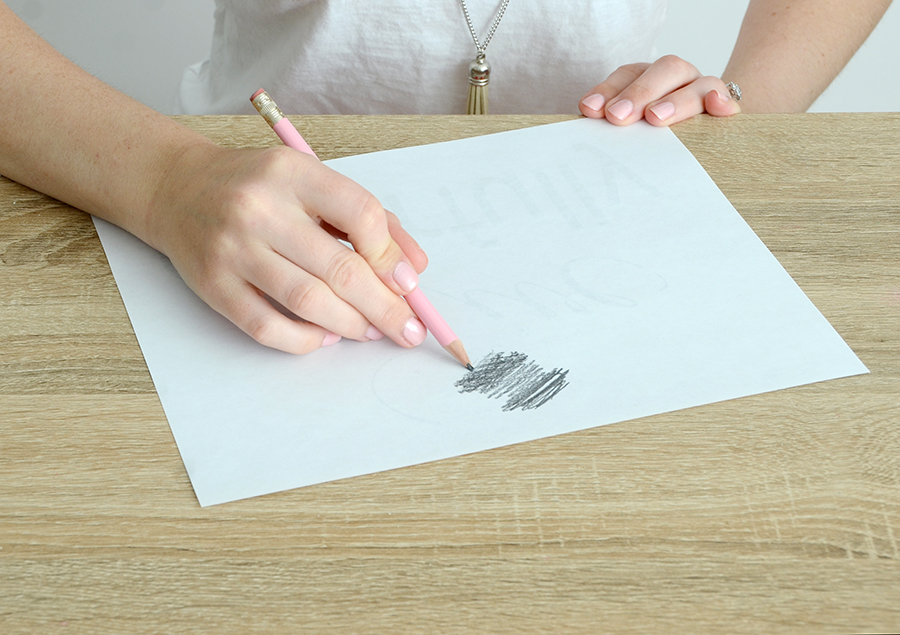
Step 2: Stencil
Make sure your printout is a bit smaller than your throw pillow, and use contrasting fonts for added interest. Turn it over and use a pencil to scribble very hard over the areas with text (you should be able to see through the paper enough to do so).
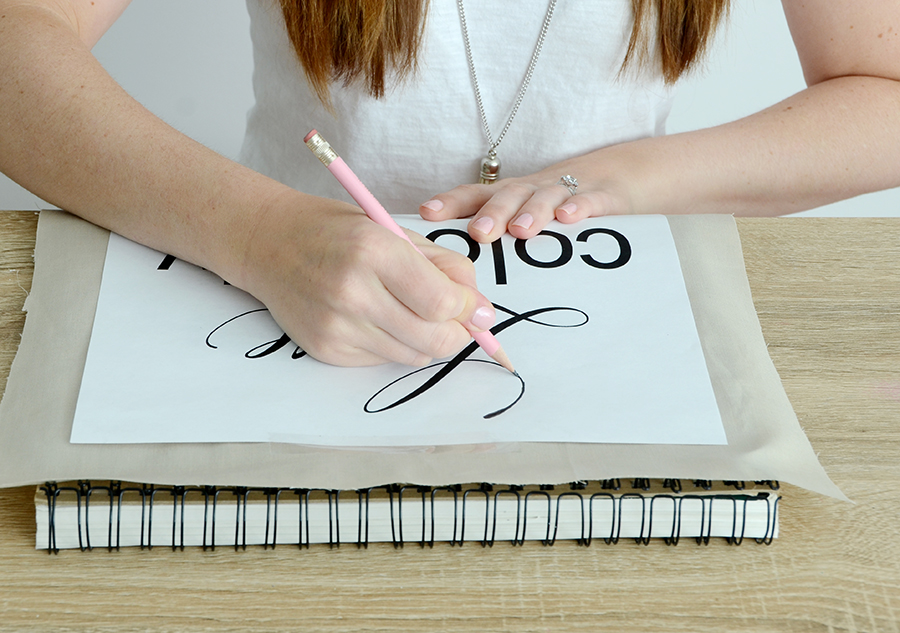
Step 3: Place on fabric
Once you’ve scribbled over the entire back of the text, turn it back over and place it on the fabric. I secured it with scotch tape to make sure that it didn’t move. Trace around each edge of every letter. The pencil that’s on the back of the page should transfer to the fabric in the areas where you apply pressure.
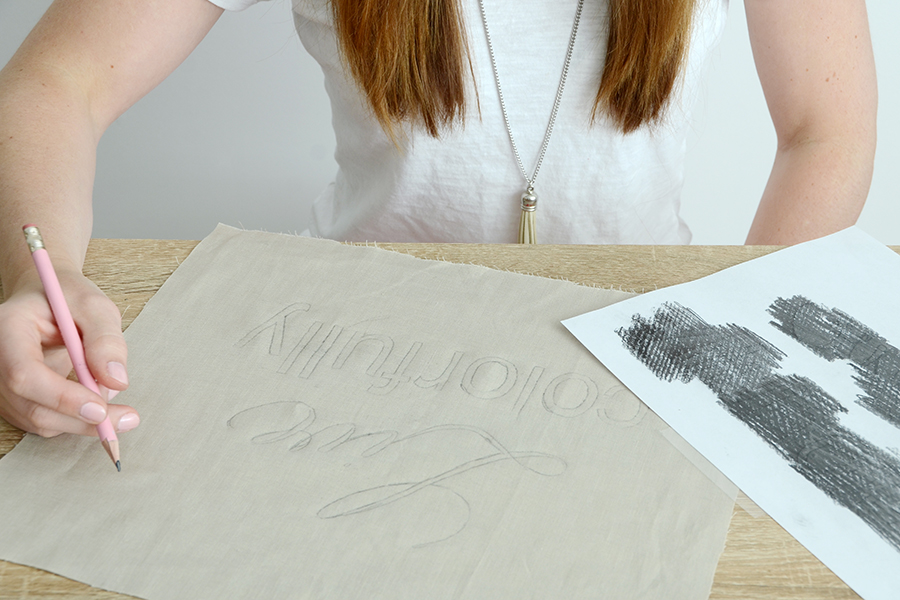
It should look something like the image above when you’re finished tracing.
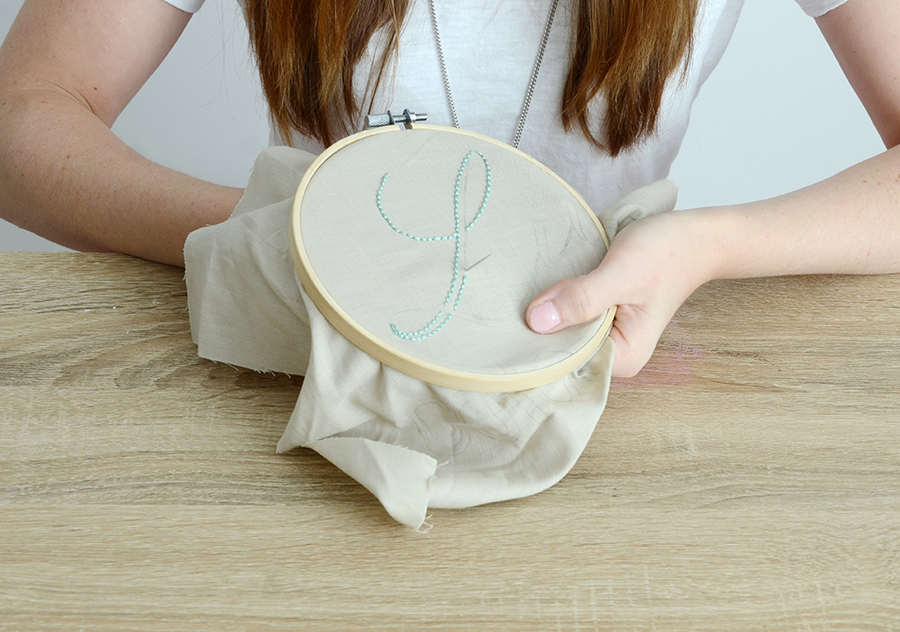
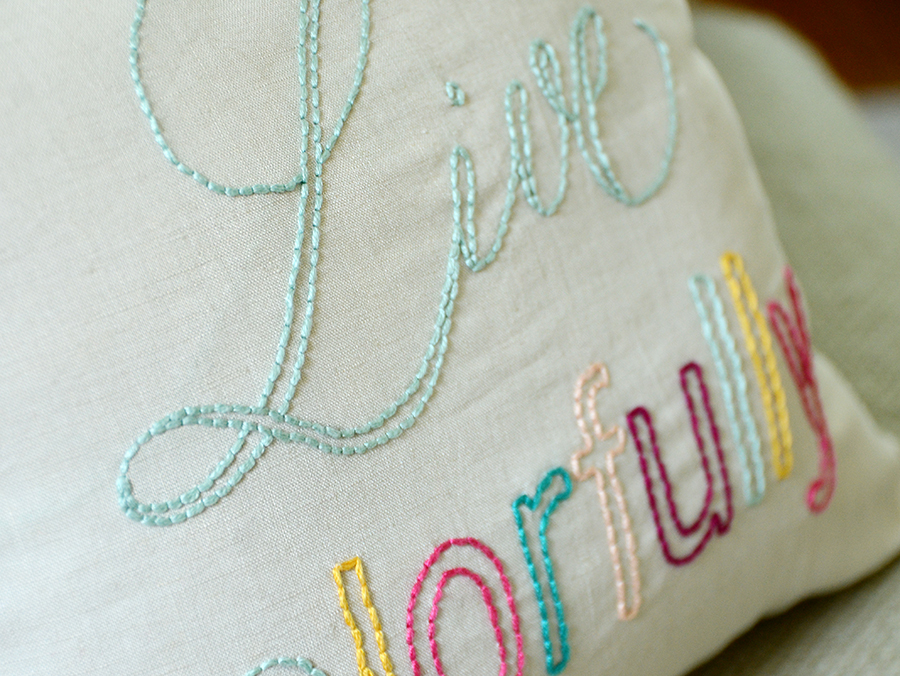
Step 4: The embroidery tine
Now it’s time to start the embroidery. Place the embroidery hoop around your first letter, and begin tracing the pencil lines using a classic backstitch. Continue stitching until you’ve finished all of the letters. Since my quote was “live colorfully,” I used a different color string for each letter. Move the embroidery hoop as you progress.
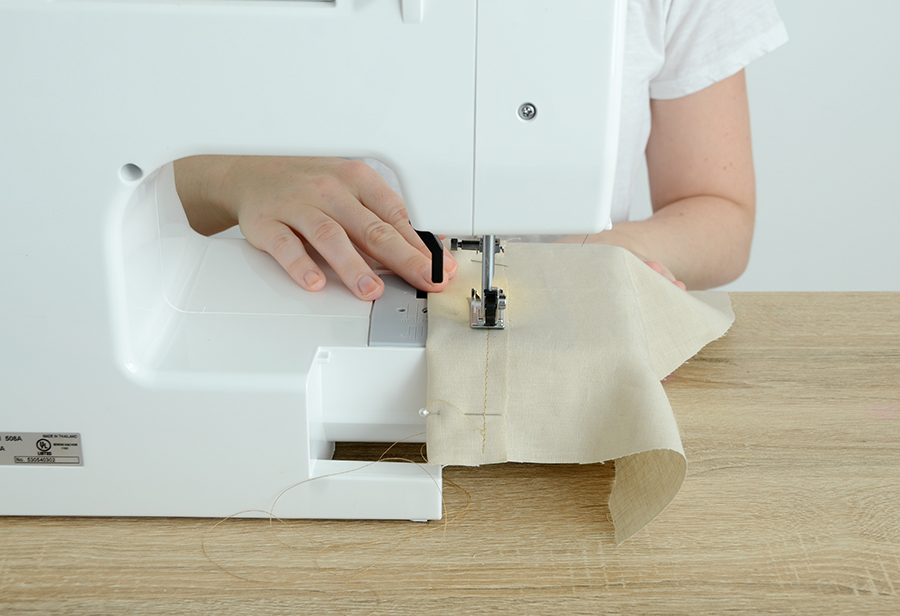
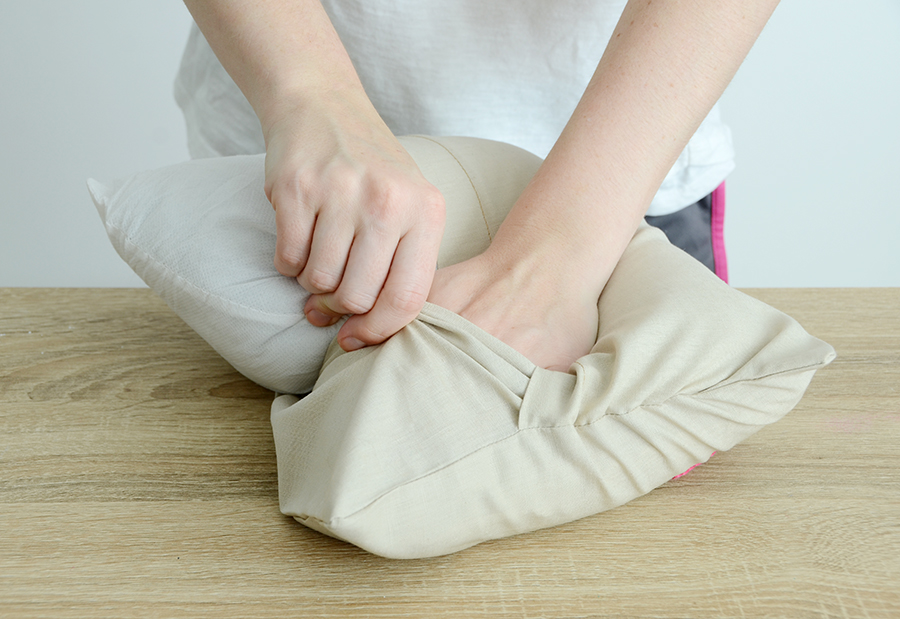
Step 5: Assemble
Now it’s time to assemble the pillow. Take one of the back pieces and fold one long edge over and sew with a one inch seam allowance as shown above.
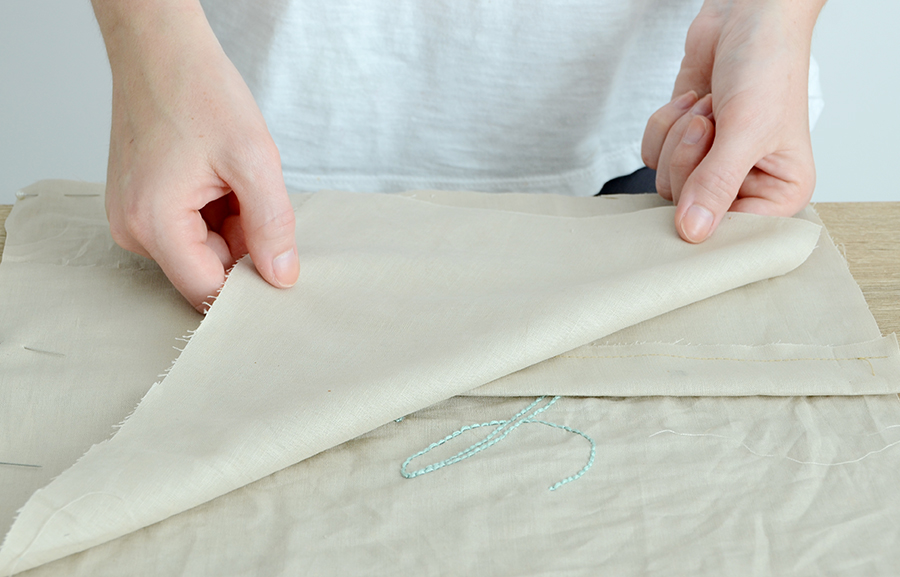
Step 6: Sewing process
Next, you’ll pin the three fabric pieces together to prepare them for assembly. First, put the embroidered piece right side up on your work surface. Then place the hemmed back piece on top with right side down, the bottom and side edges flush with the front piece, and the hemmed part along the middle. Place the unhemmed back piece down on top, with the top edge flush with the top edge of the front piece. Pin around the perimeter, and sew with a 1/2 inch seam allowance.
Step 7: Ironing
Turn it right side out, iron if needed, and stuff the pillow inside. And your throw pillow is finished!

Conclusion
Place it on the sofa or bed with other coordinating pillows and blankets. The great thing about this project is that you really can customize it to your liking with any colors you like, and any quote with any font. So it is a great representation of your own creative self.
The hand-lettered embroidery is sure to impress your guests – they won’t believe that you did it yourself. (You don’t have to tell them that you traced over the letters!) Just watch out, everyone may ask you to make one for them. Happy crafting!
