DIY Wooden Door Sign
Updated on November 19, 2025


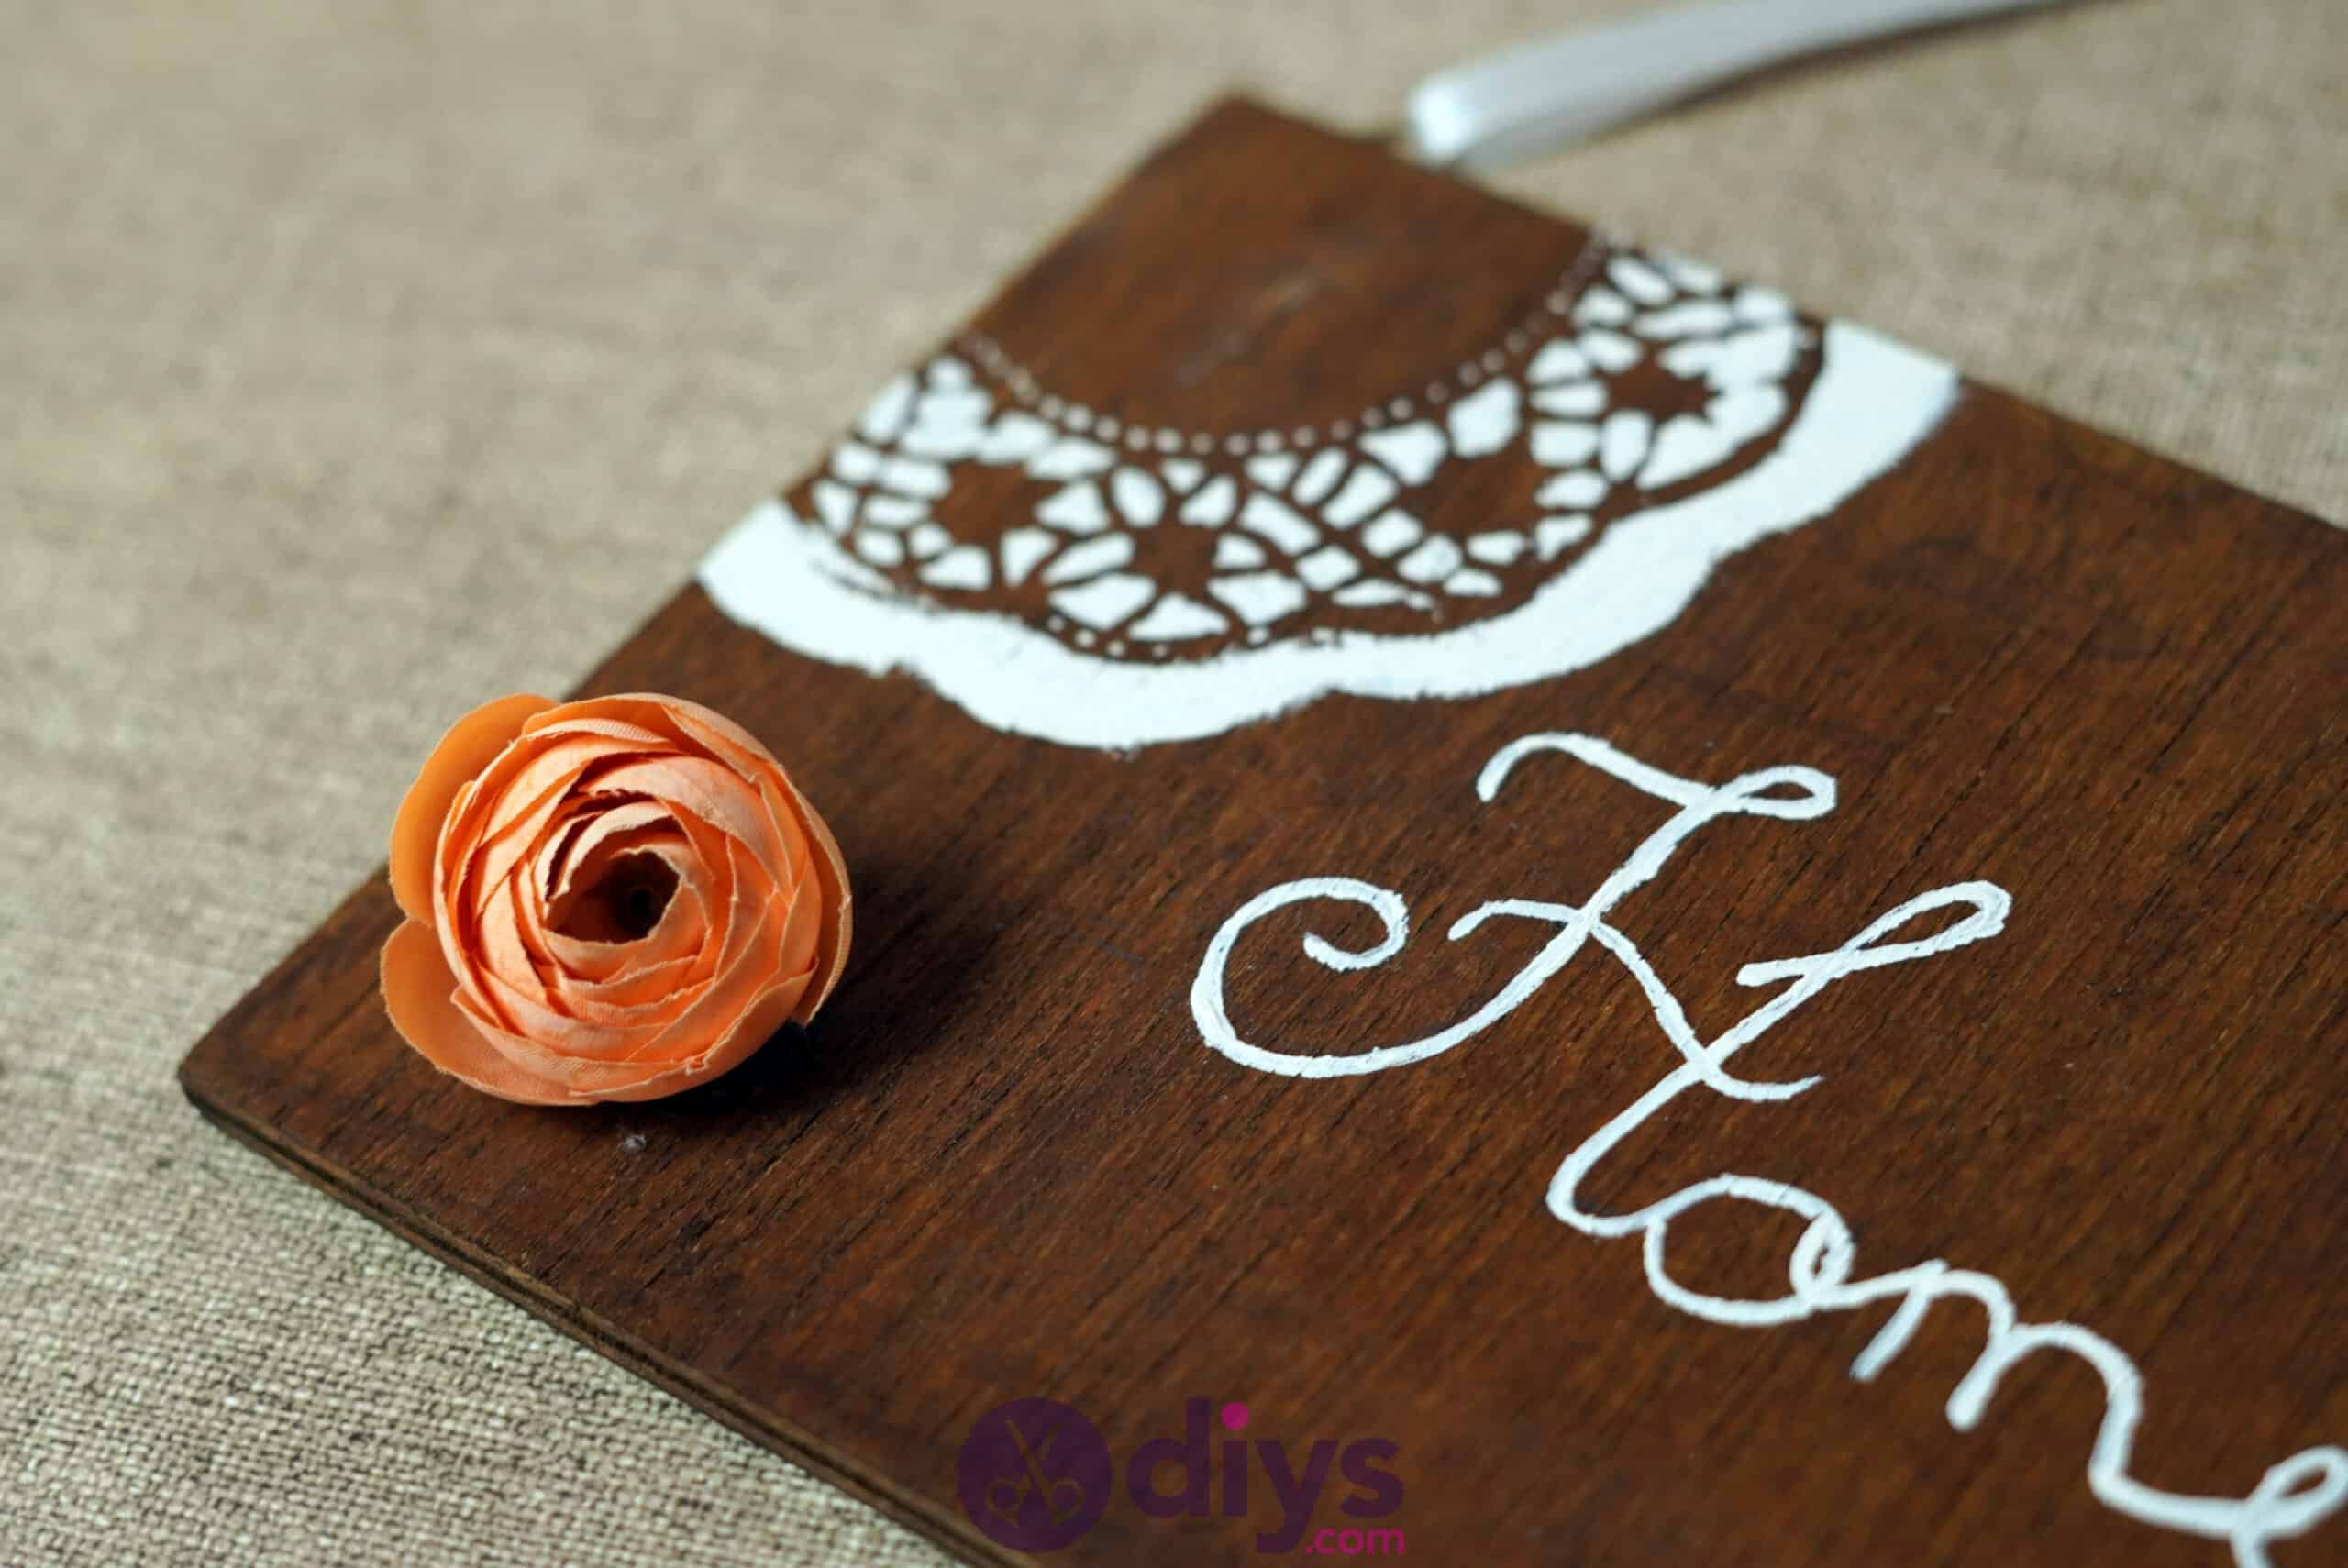


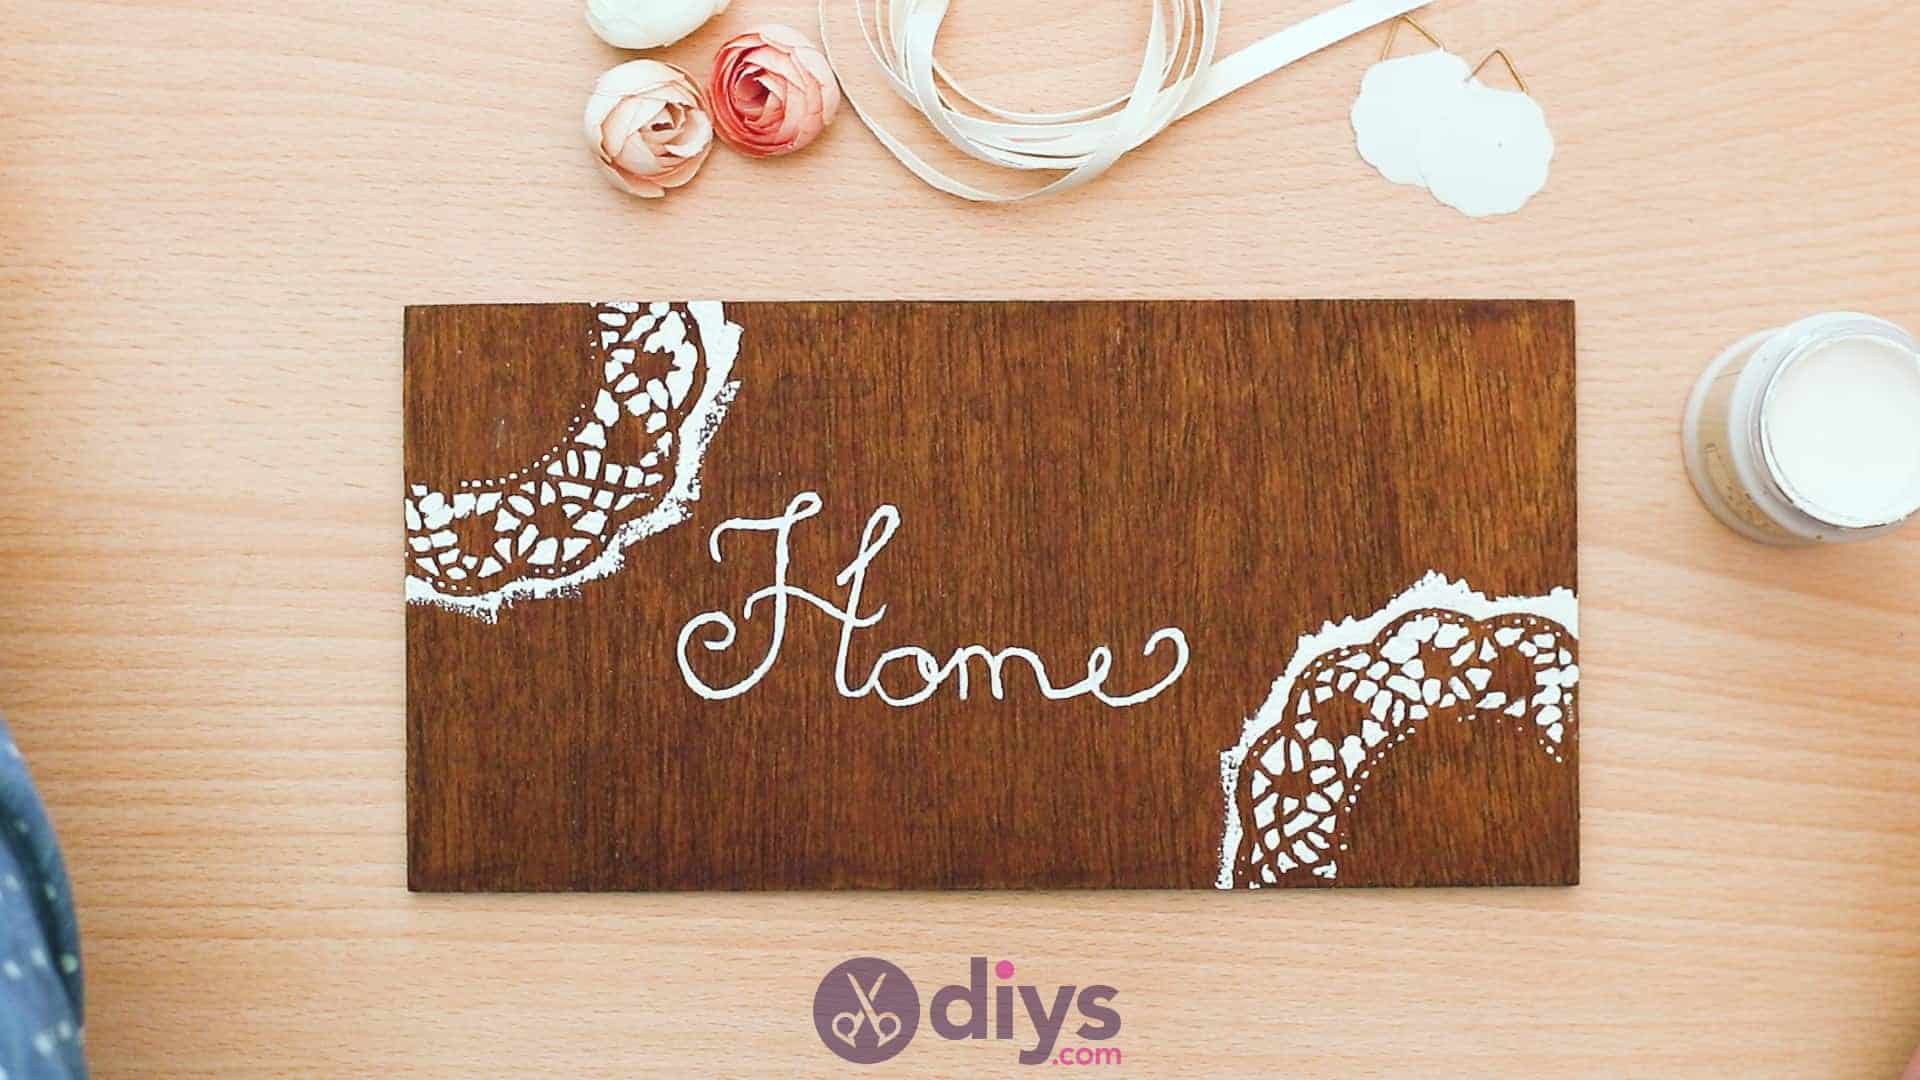

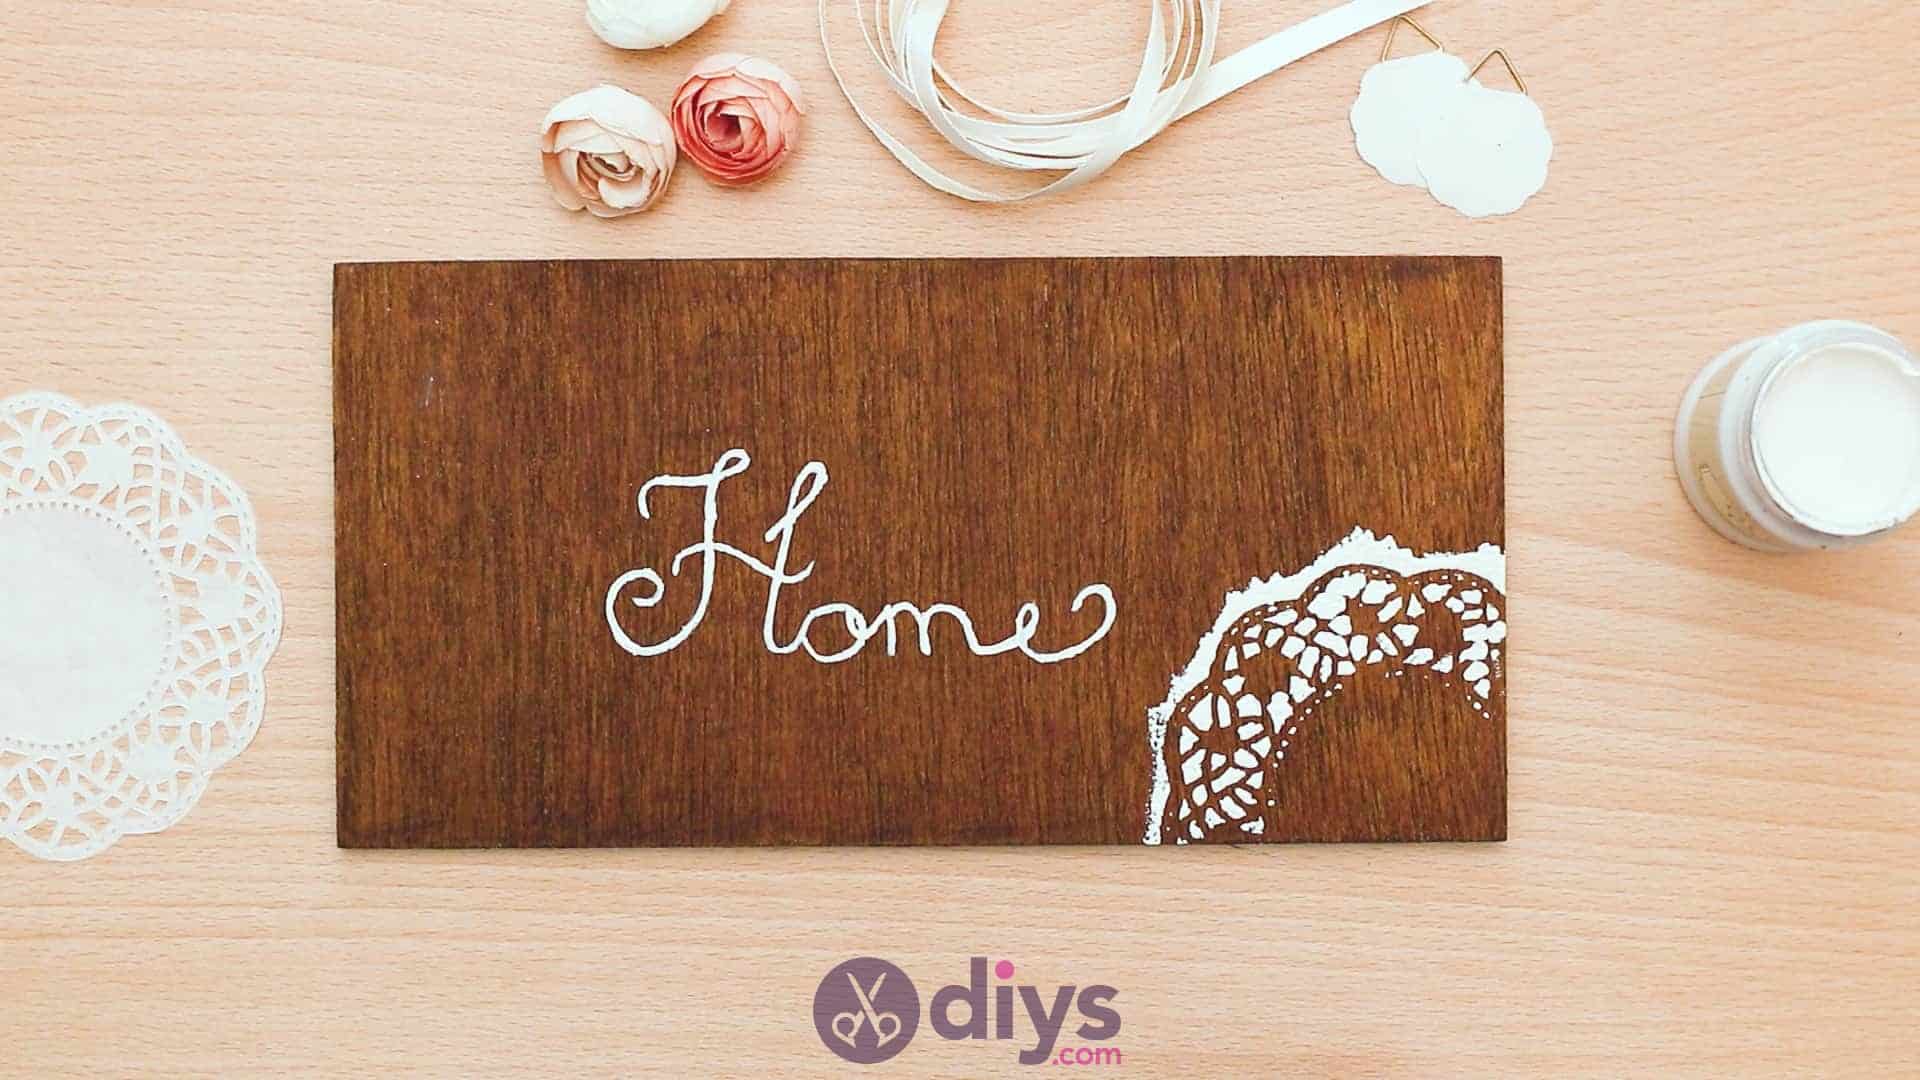


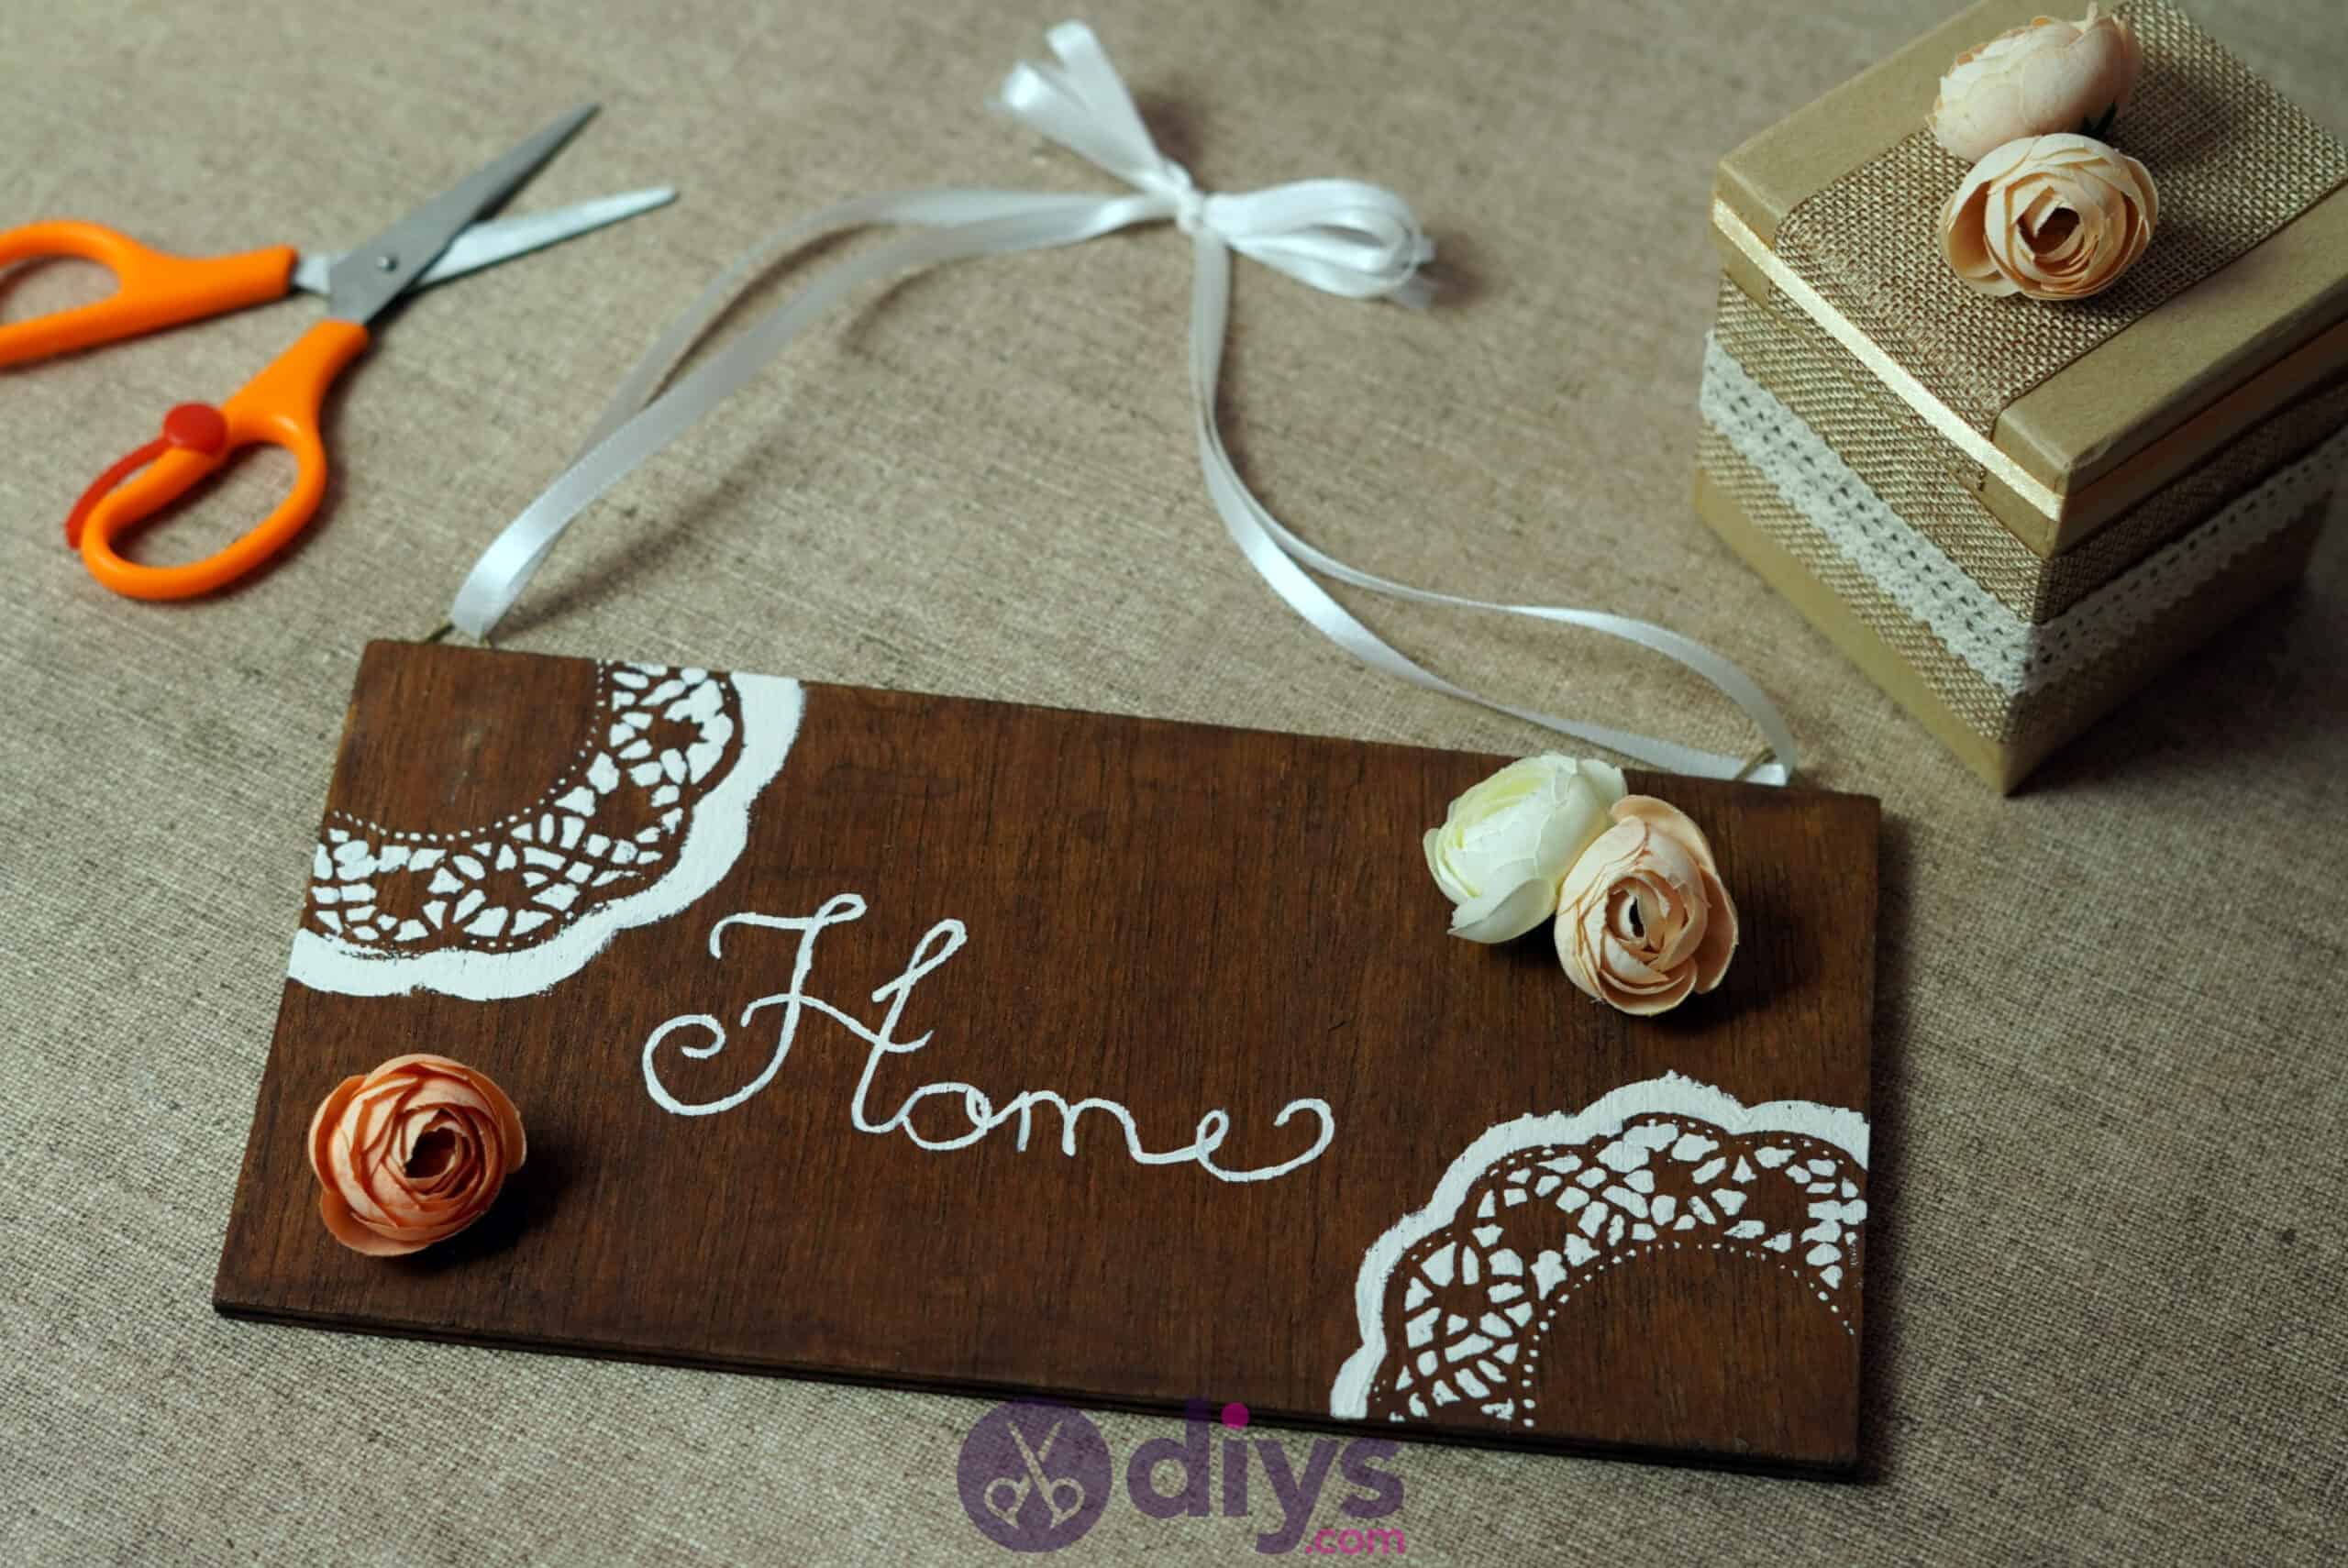
Adorn your home or make special gifts this year with our step by step tutorial on how to make a DIY wooden door sign like this one! Scroll on to see just how we did it.

Since multi-textile and technique crafts are my favourite thing, I opted to use this little DIY door sign as an opportunity to include several different materials and elements. I’ve been overhauling my decor scheme with a slightly vintage chic atmosphere to it lately, so that’s the aesthetic I decided to follow. Luckily, I had some fabric flowers, ribbons, and lace doilies on hand, and I decided they’d do quite nicely with my wood and paint.

Check out these step by step instructions complete with photos! Just in case you’re more of a visual learner, you’ll also find a video tutorial at the bottom of this post if you keep scrolling.

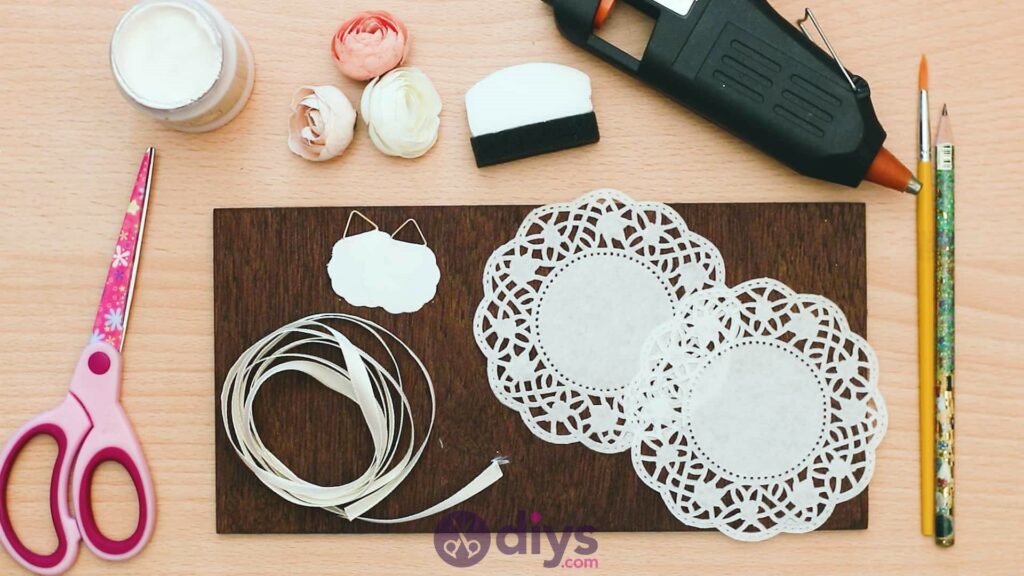
For this project, you’ll need:
- Wooden board
- White acrylic paint
- Sponge
- Lace paper doily
- Ribbon
- Two wall hangers
- Pencil
- Artificial flowers
- Hot glue
- Paint brush
Step 1: Get everything together
Gather your materials and be prepared to start.
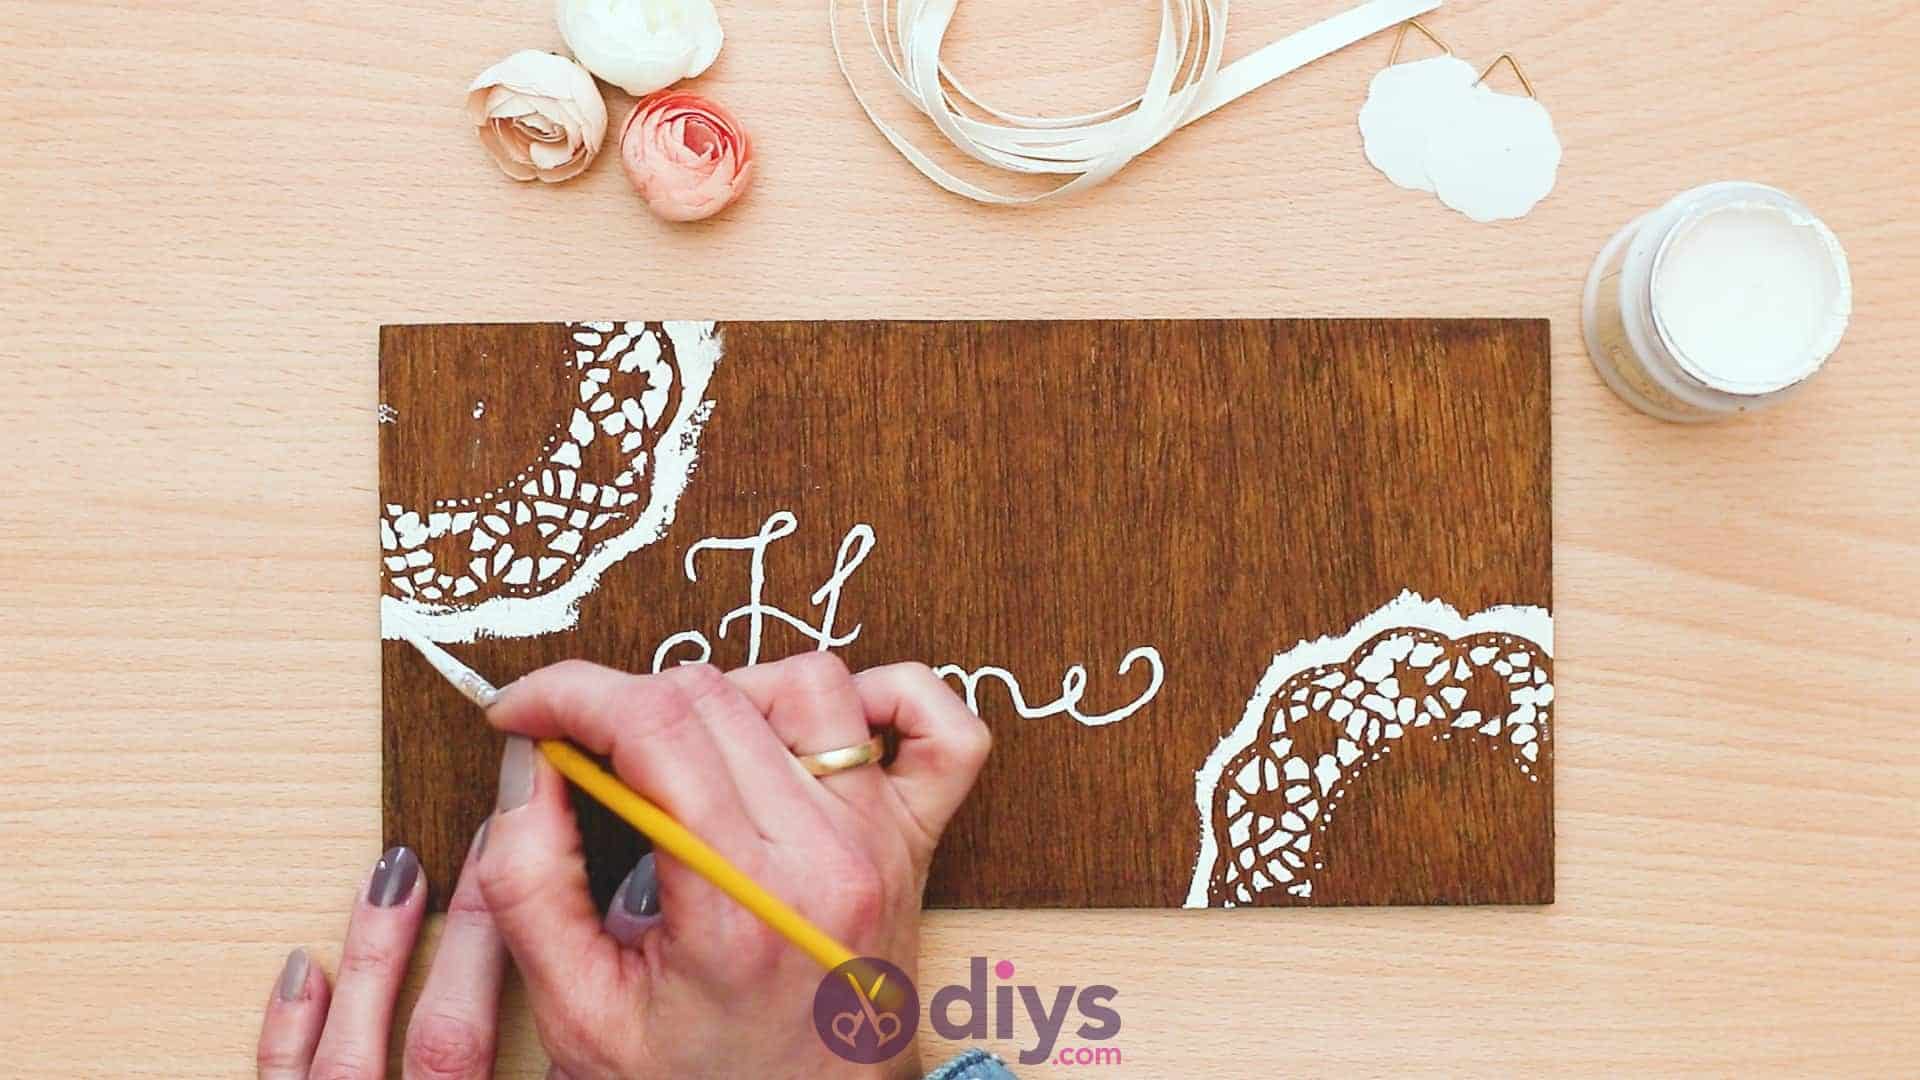
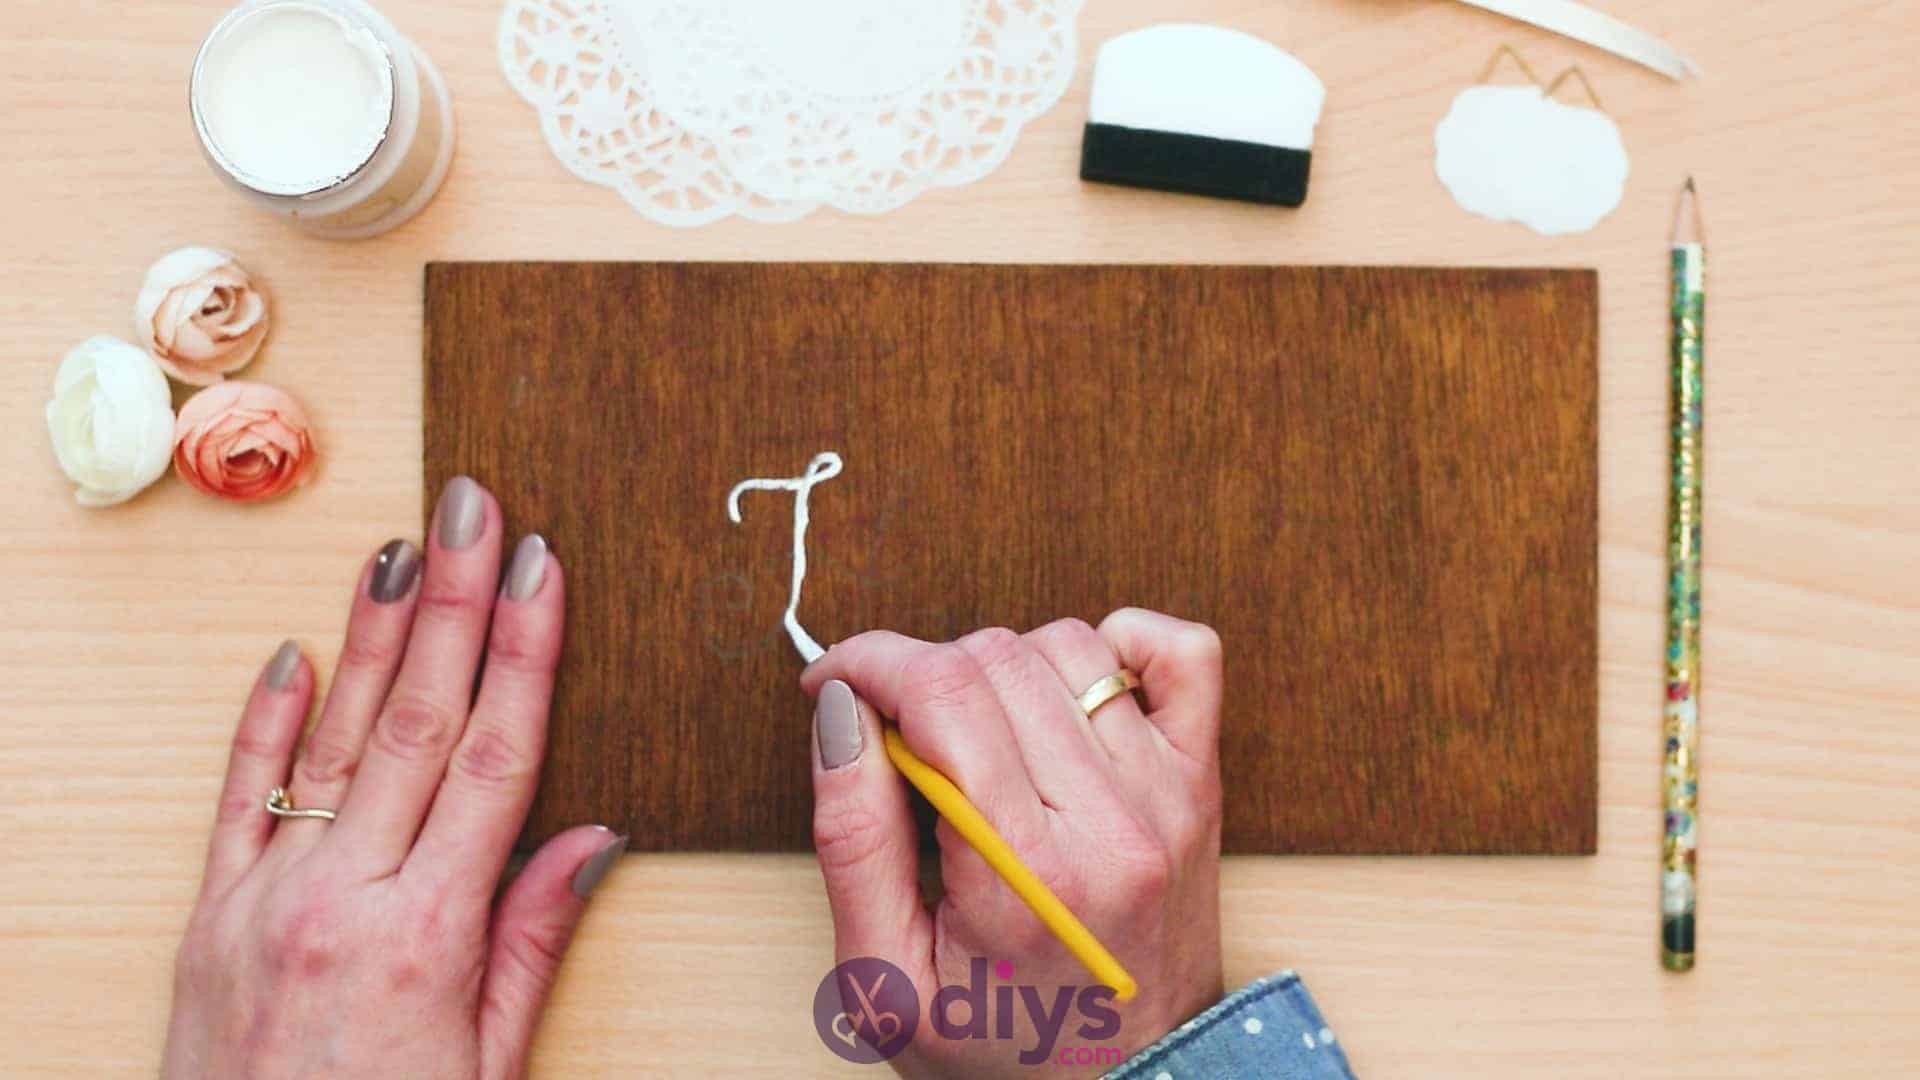
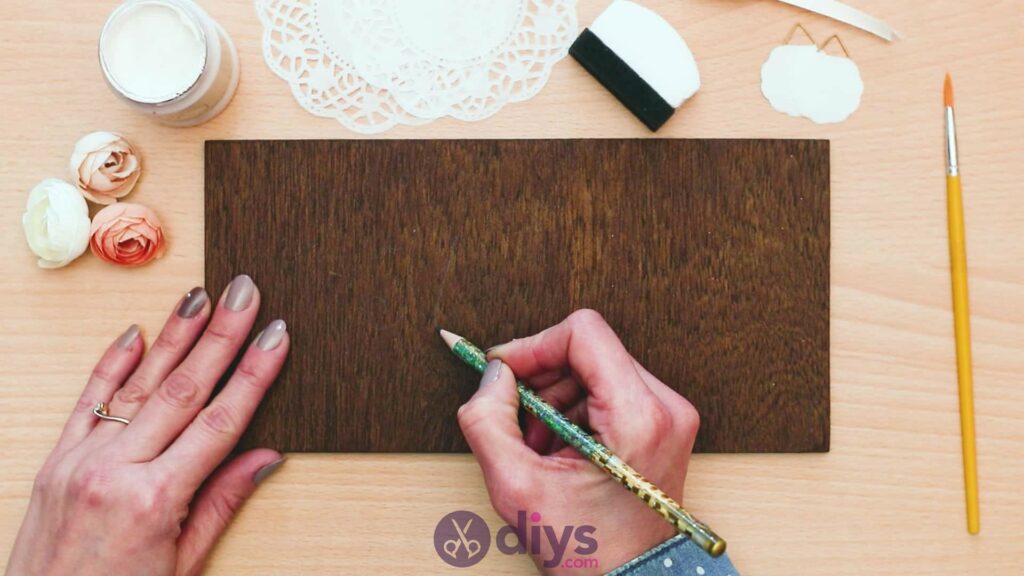
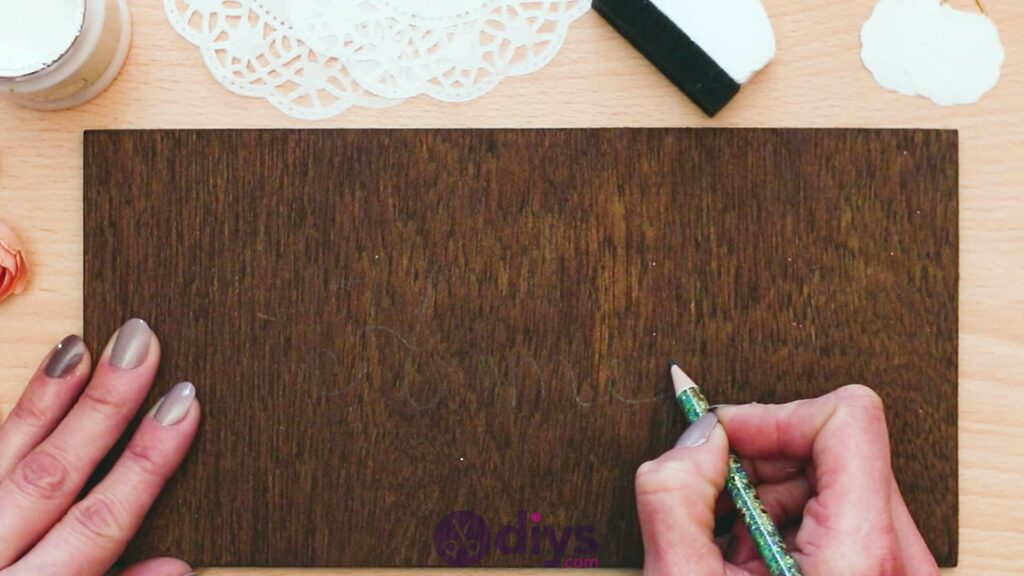
Step 2: sketch or stencil
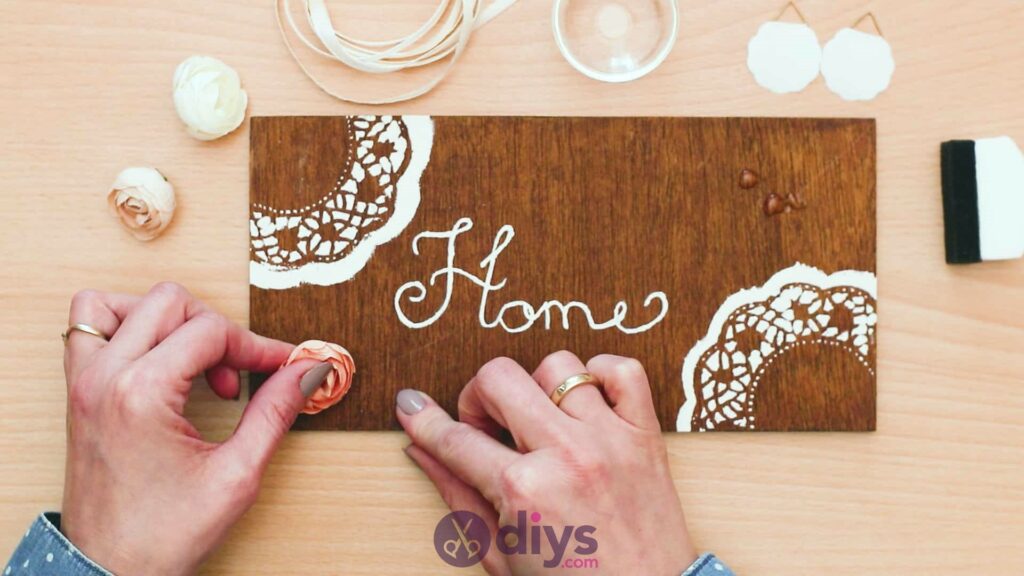
Use your pencil to sketch out the message or text you’d like to display in the middle of your door sign. Some people might prefer to stencil here if you happen to have stencilled letters on hand, or even stamps that you can do paint stamping with, but I opted to draw mine by hand so it was written in my own cursive. You can choose whatever message you like at this point; “Welcome” would be pretty, but I kept things short and simple by just writing “Home”.
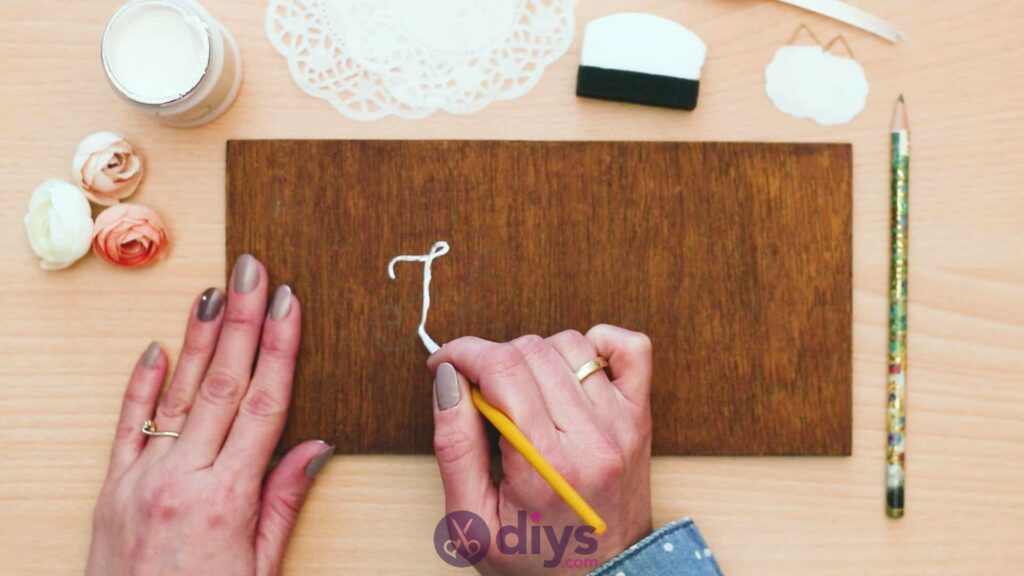
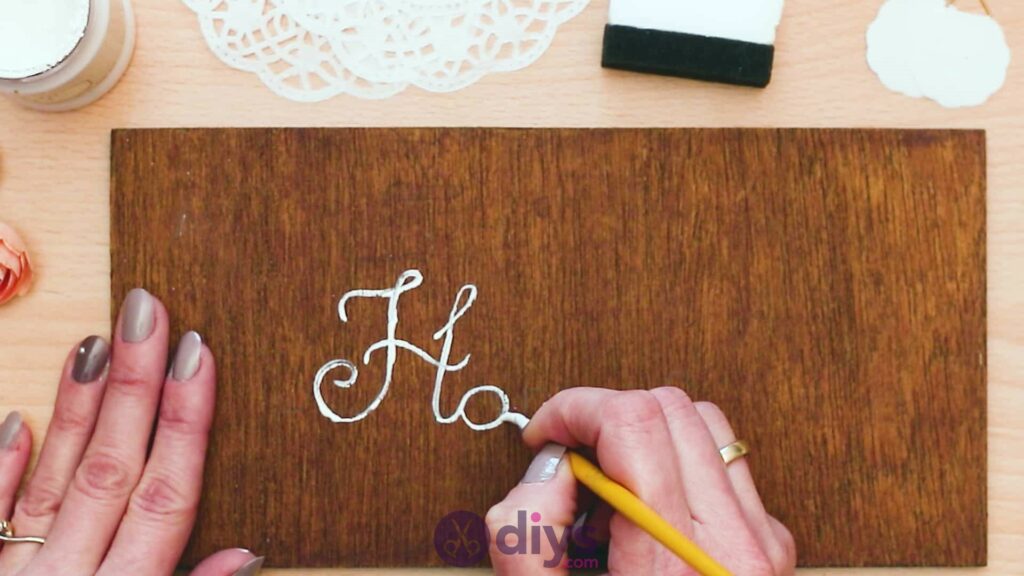
Step 3: pain the message
Use your white paint and paintbrush to trace over your pencilled message in order to make the letters pop prettily against the wood. I used a small pointed paintbrush that would give me a thin, classic line and let me get the intricate loops of my cursive just right.

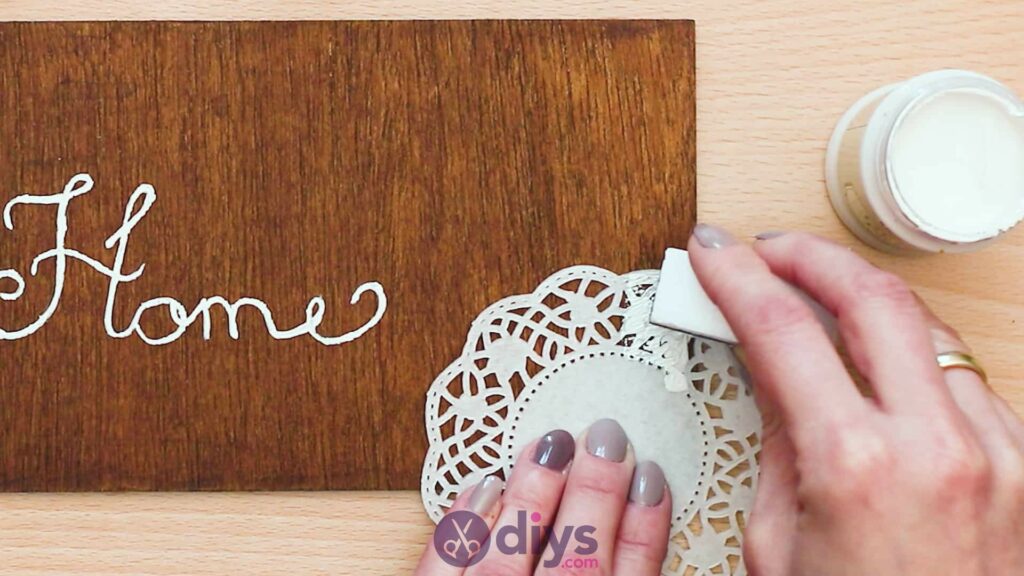
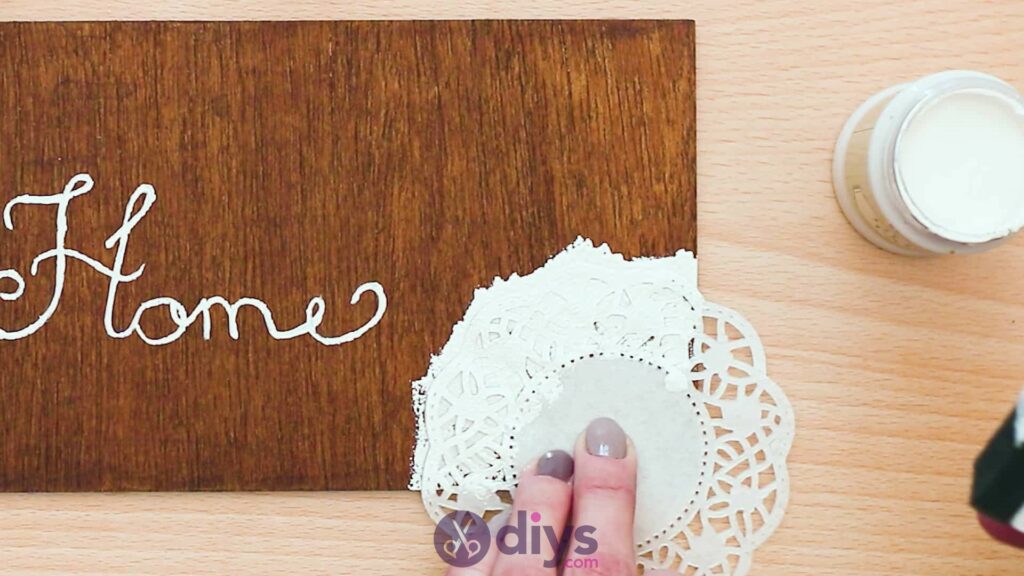
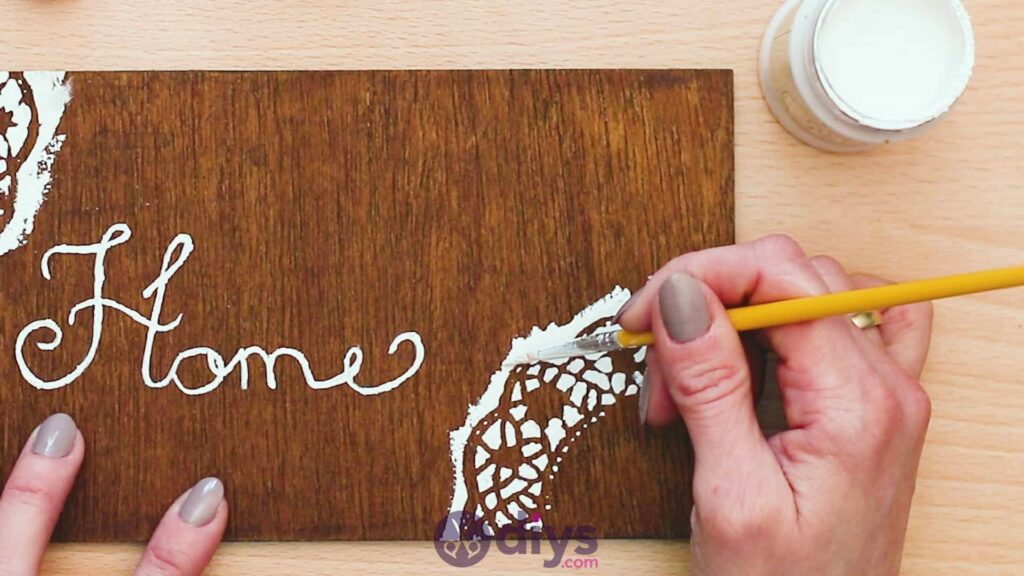
Step 4: stencil designs
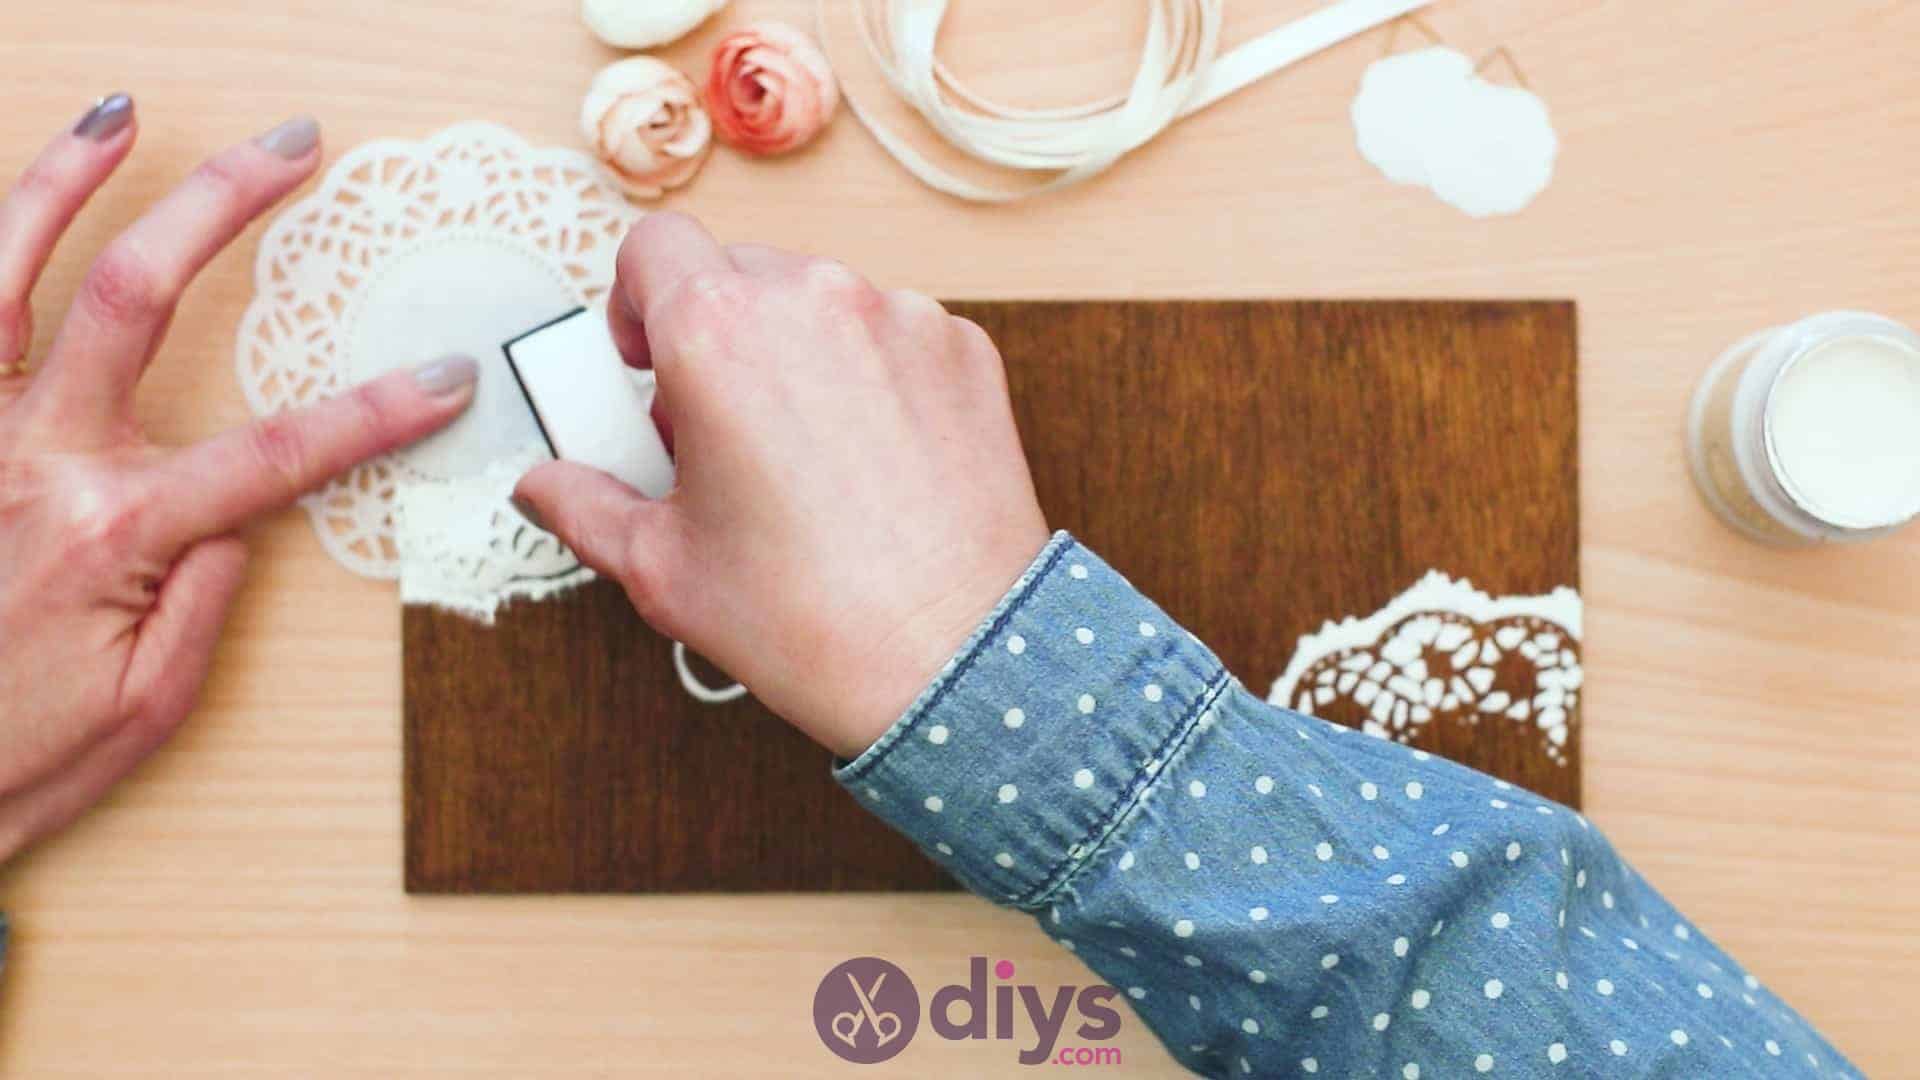
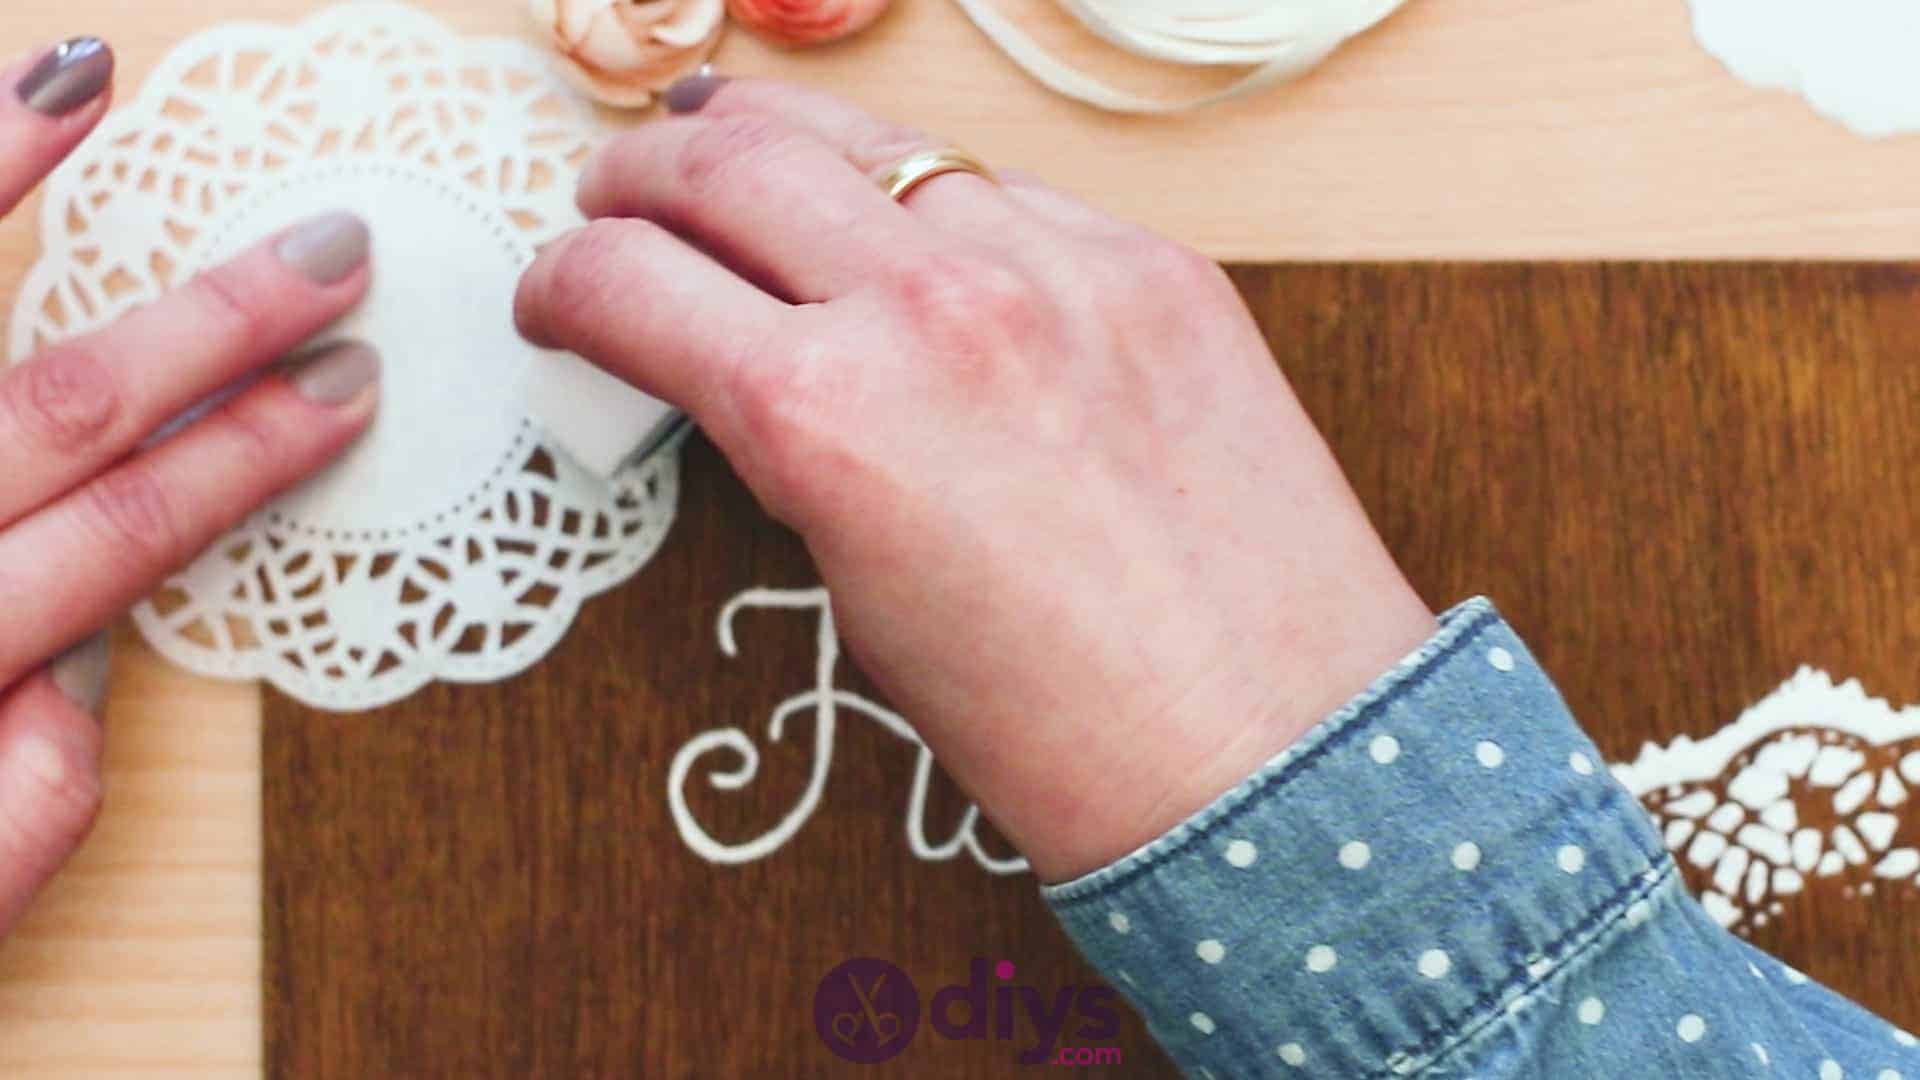
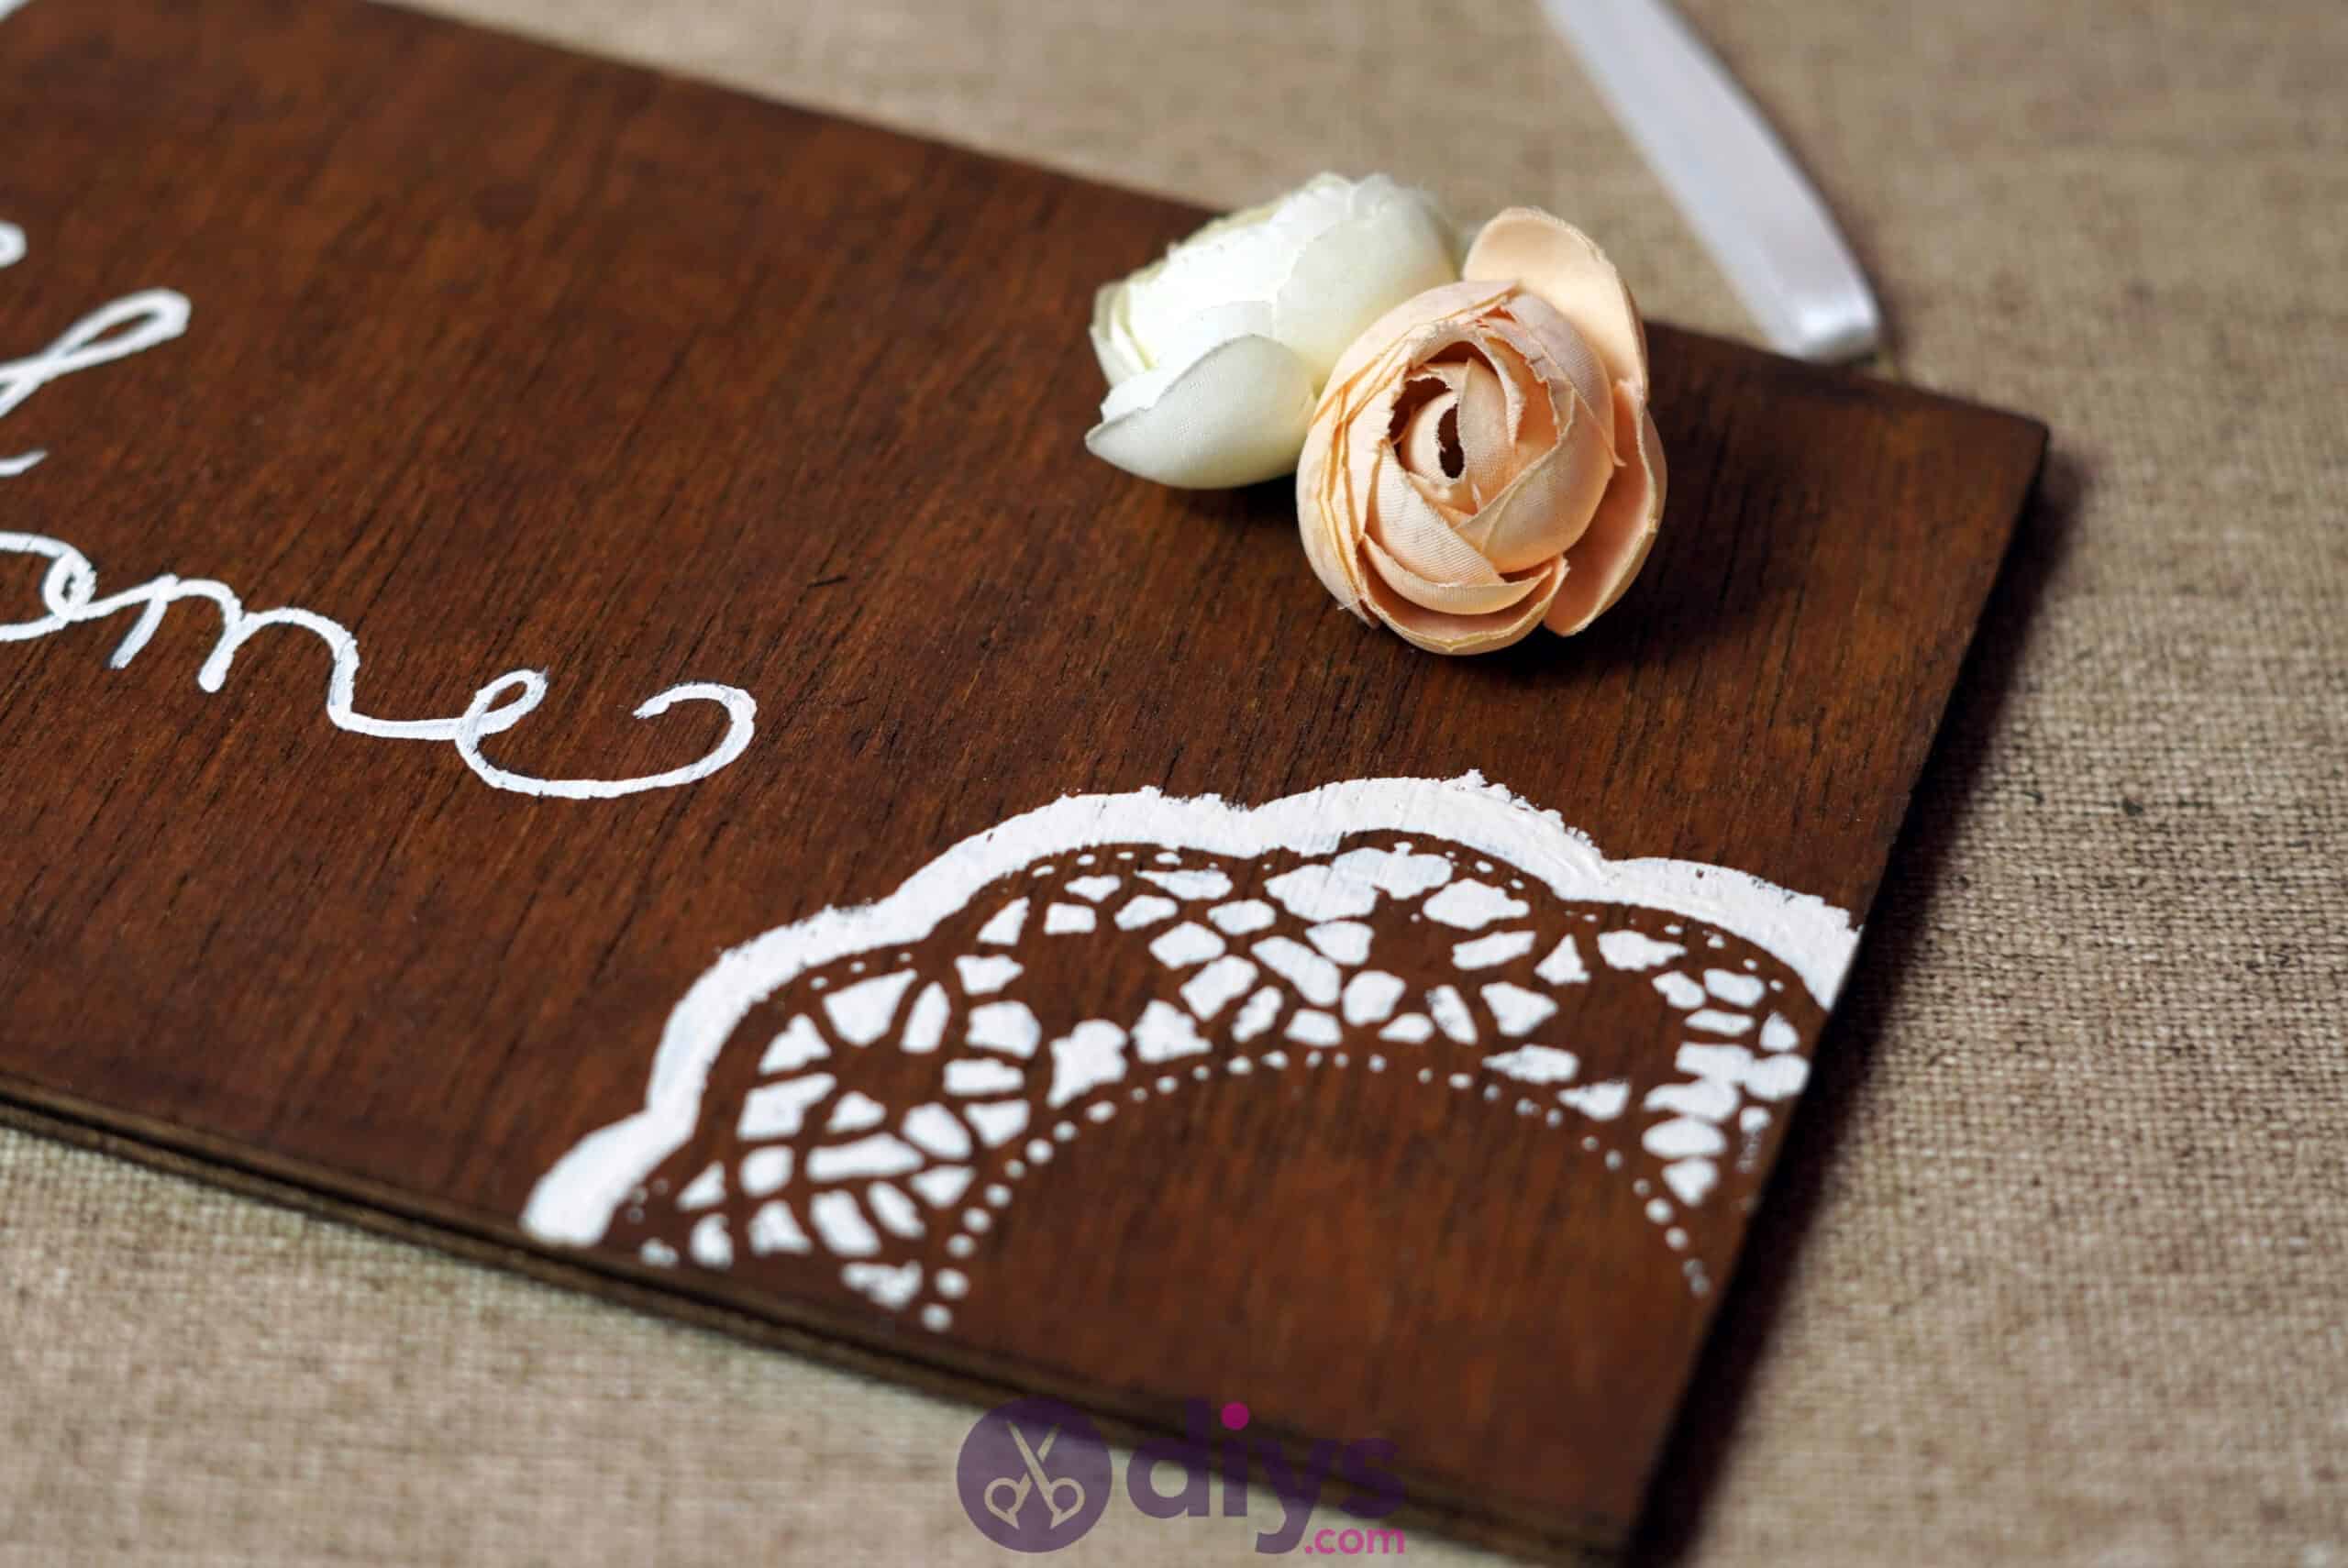
Use one of your paper lace doilies as a stencil to add detail in the bottom right corner of your sign. I placed mine partially on the wood and partially off, so the pretty lace pattern arched downward from the right edge over the corner, still giving the cursive message lots of space to shine. Hold the doily firmly in place, dip your sponge lightly in the paint, and then sponge carefully and evenly right over the doily so the pattern of its cutouts prints onto the wood below. Don’t usetoo much paint; you don’t want to tear the doily and mess up the pattern or create a blobbing effect underneath that makes the little details of your stencilled pattern run together under the paper. Once you’re done, carefullylift the doily straight up off the wood. Donot pull it or slide it off; this will smudge your paint and wreck your pattern.


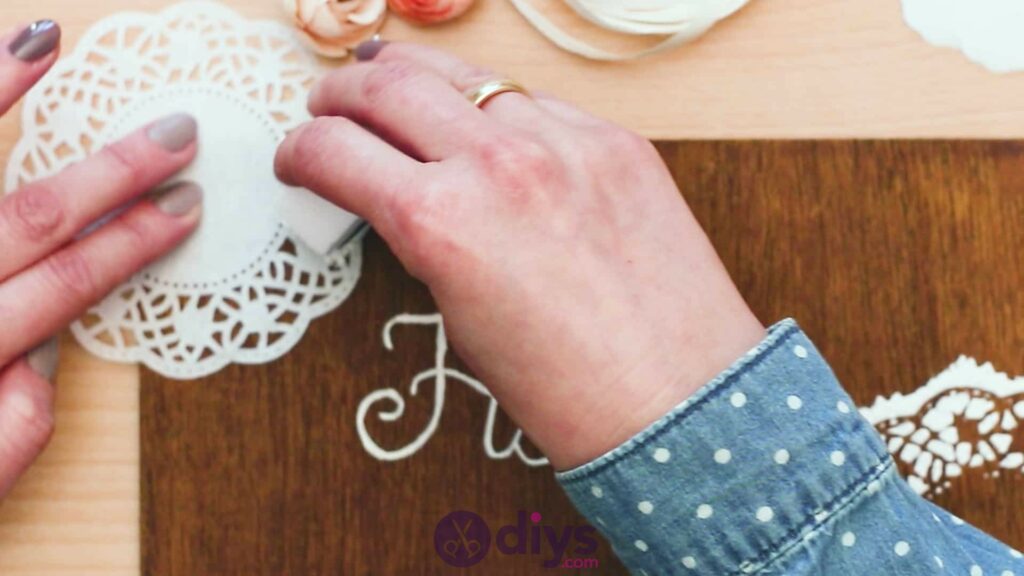
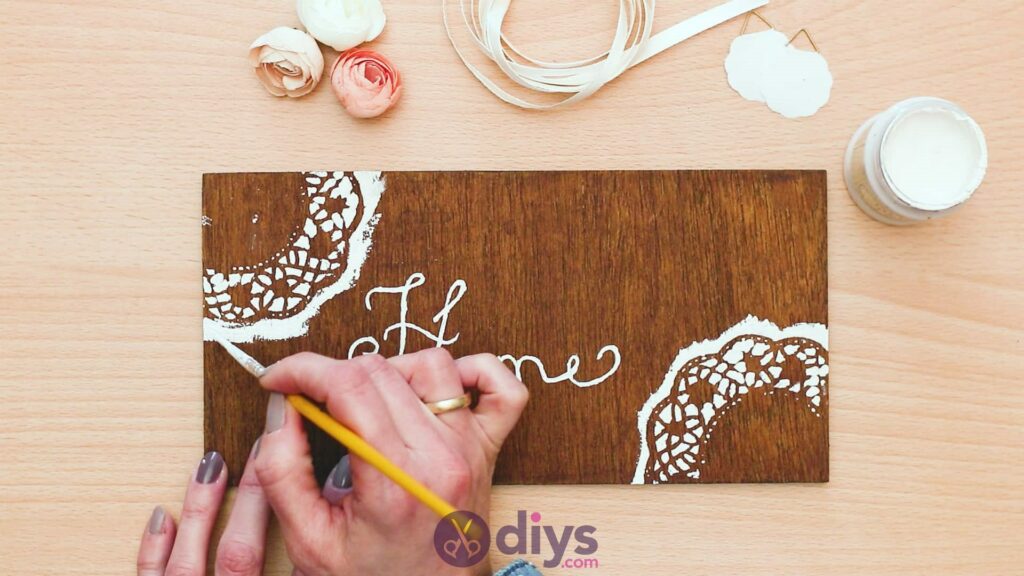
Step 5: repeat
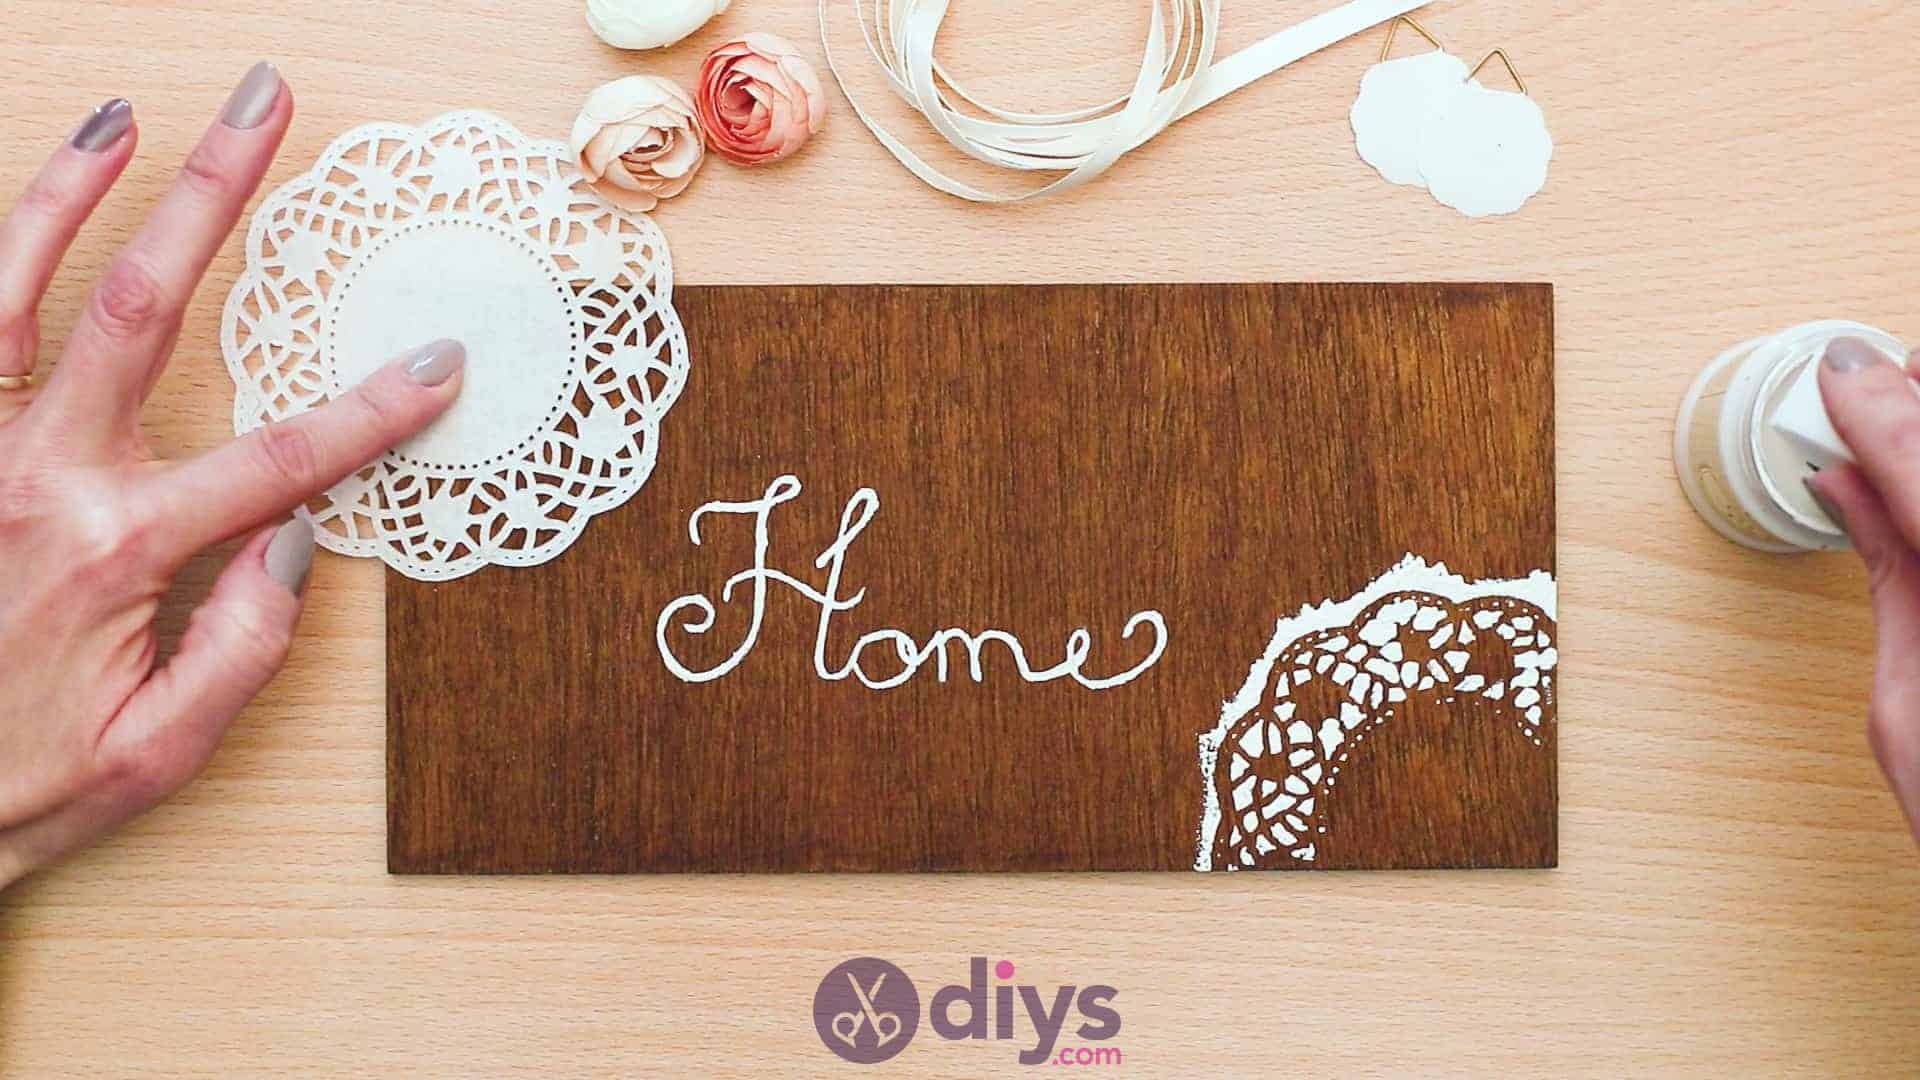
Repeat the whole stencilling process with a second doily in the top left corner! This gives you detail, symmetry, and balance in your design. Don’t worrytoo much about the outer edge of your doily stencil; that’s something you can neaten up later. The goal here is to make sure the intricate details in the rest of the stencilled pattern are neat and visible.
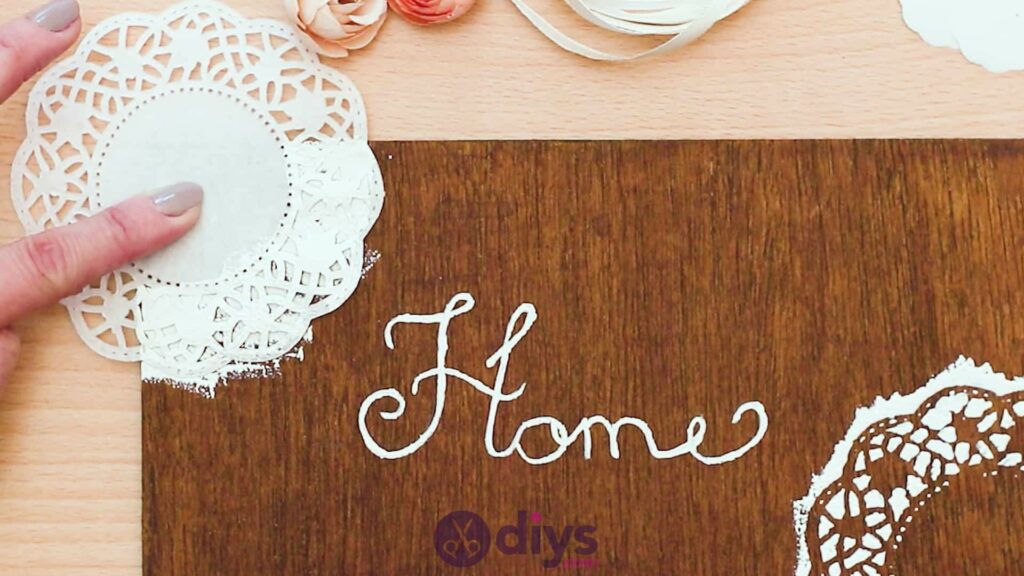

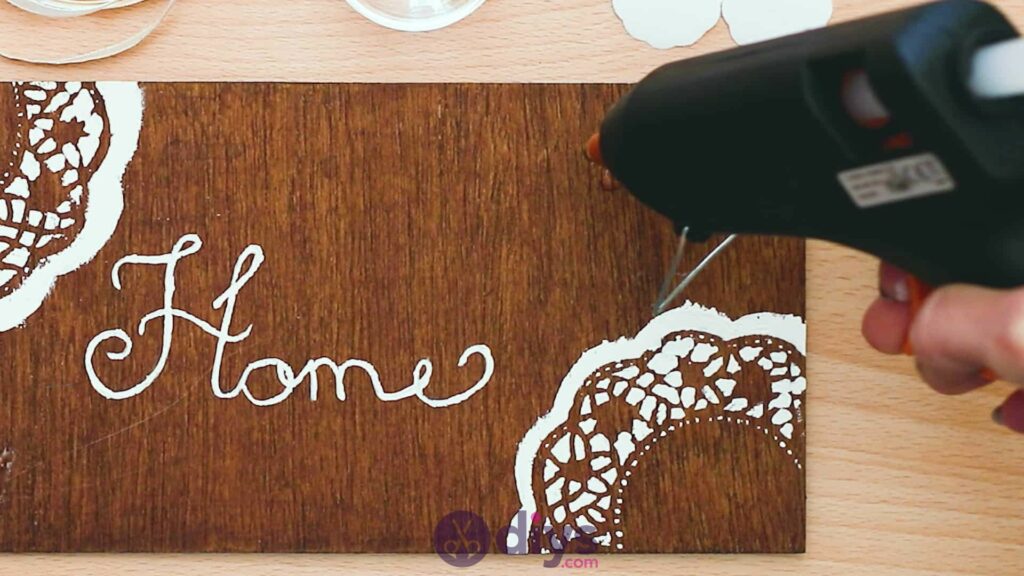
Step 6: clean your edges
Use your paintbrush to define and neaten the outer edge of your stencilled doily patterns. I redid the waving scalloped edge by hand a little to make it stand out a little more, clean up the edge, and define the shape.
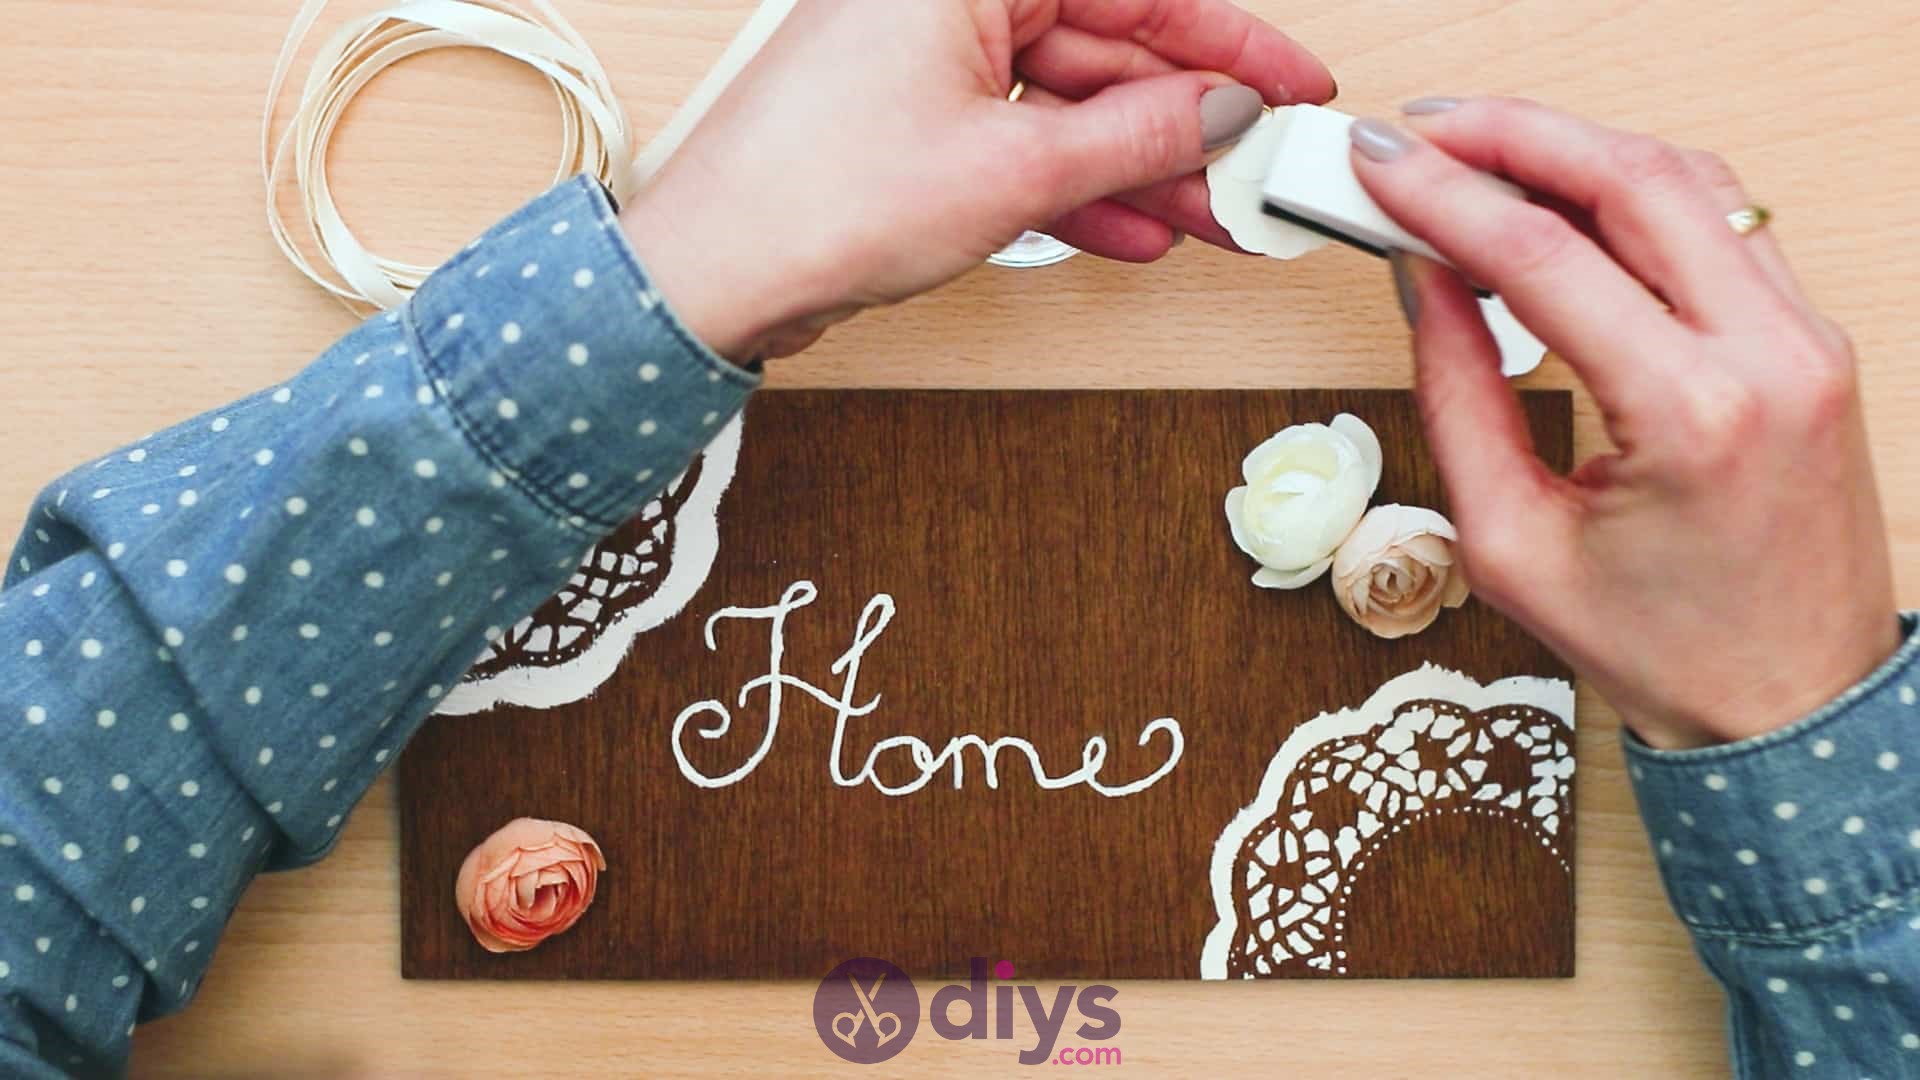
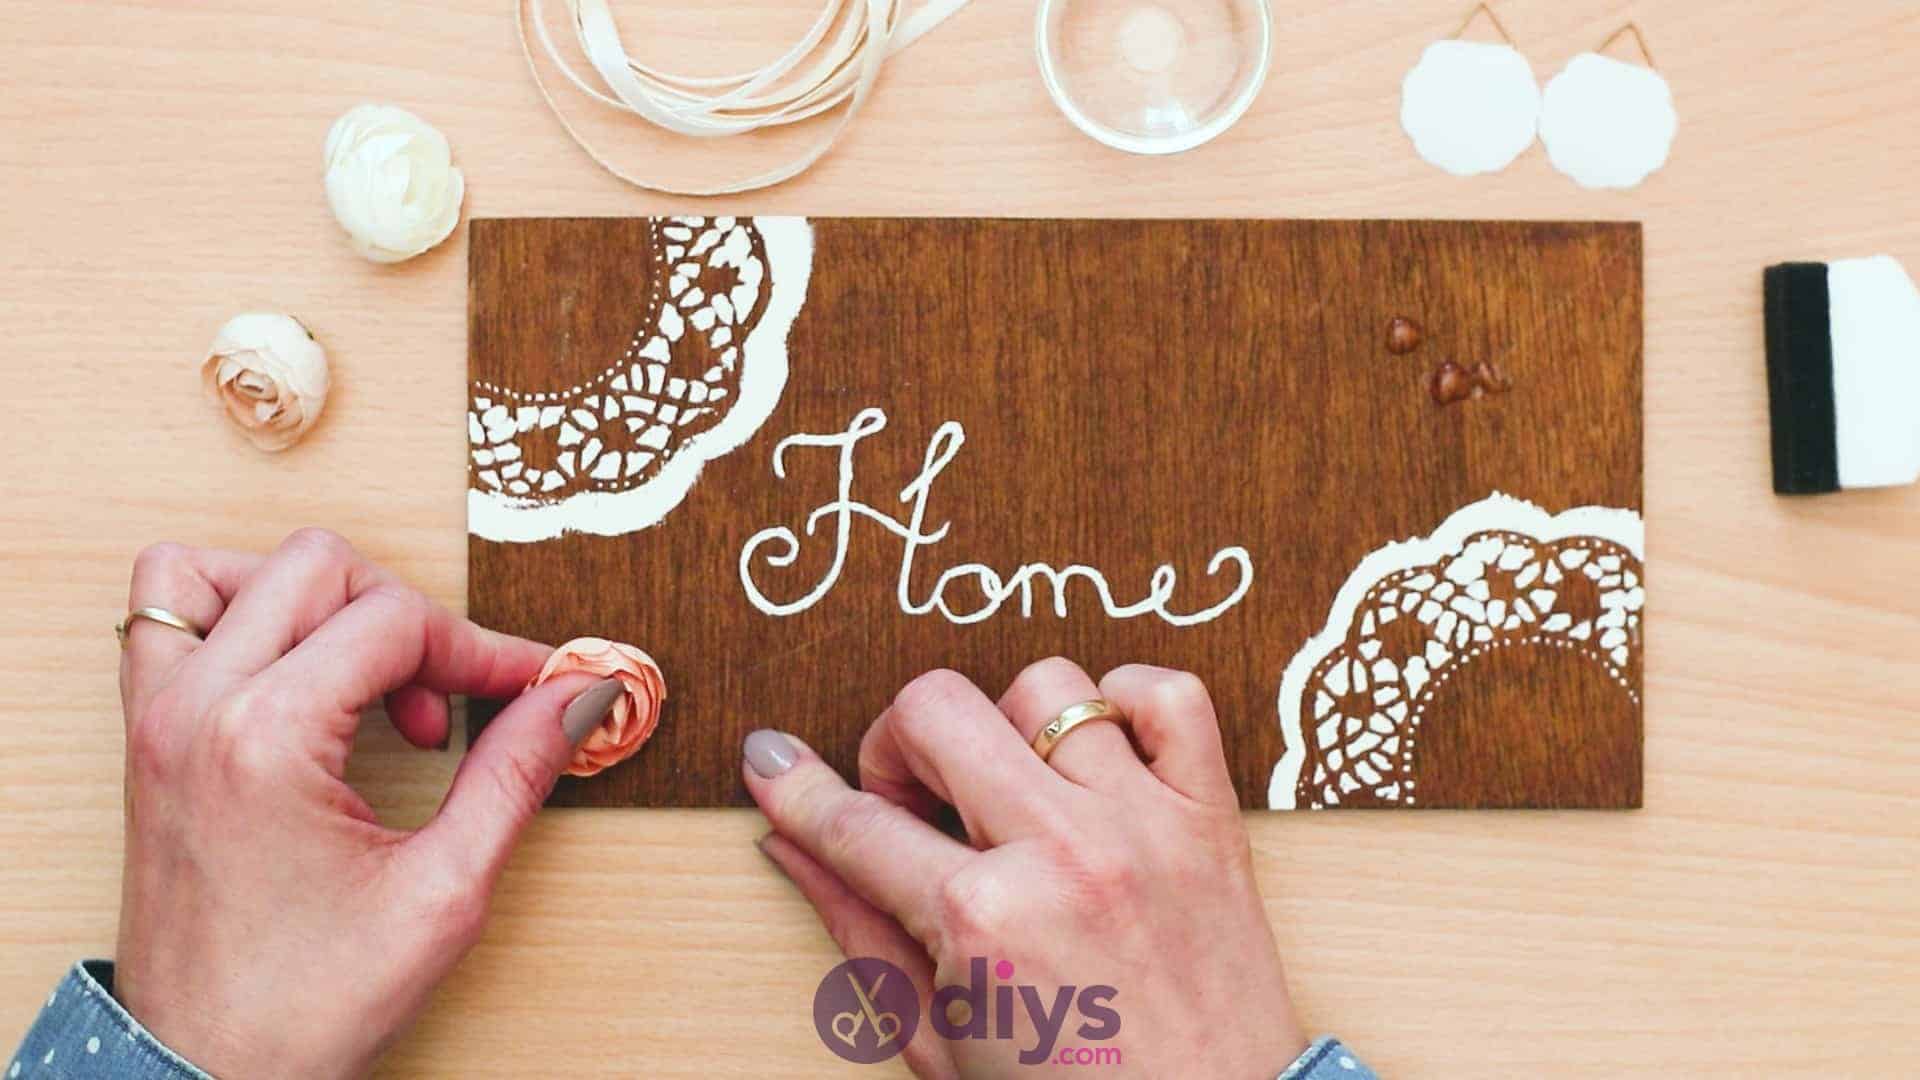
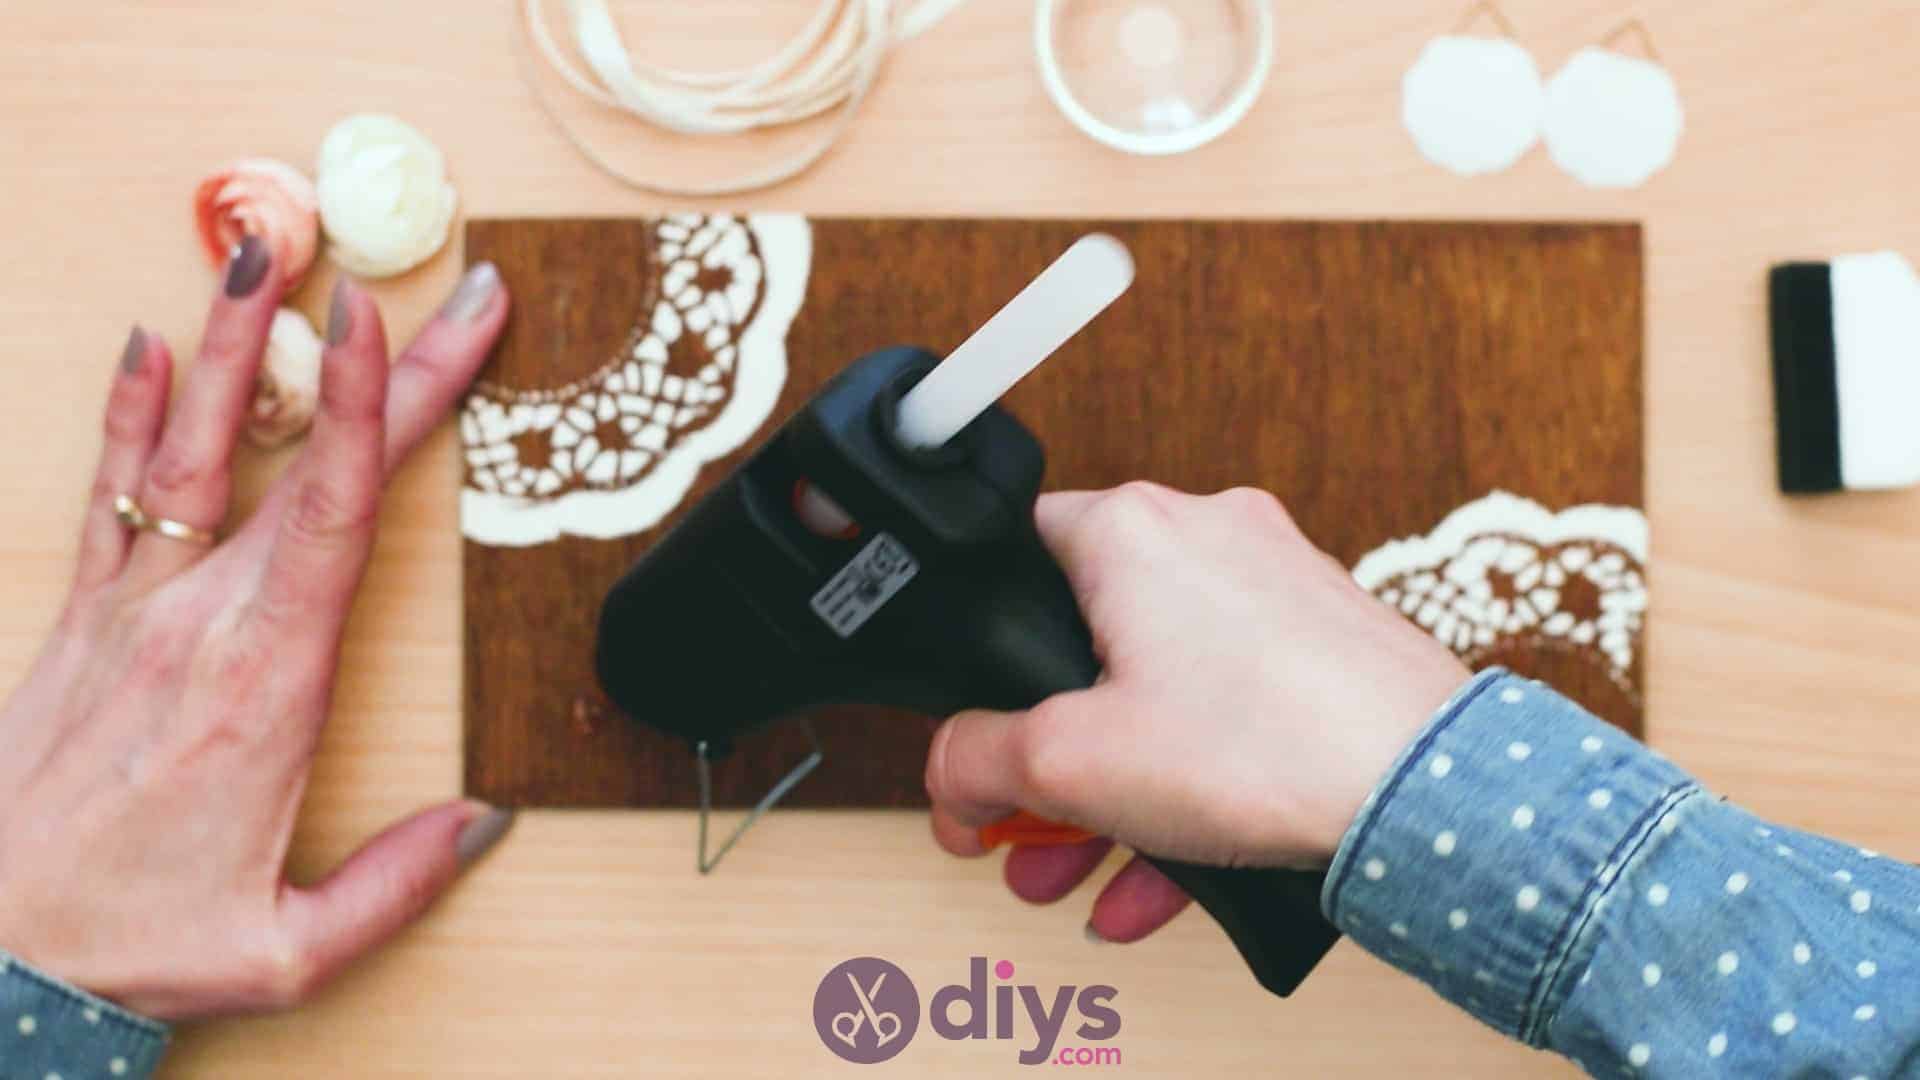
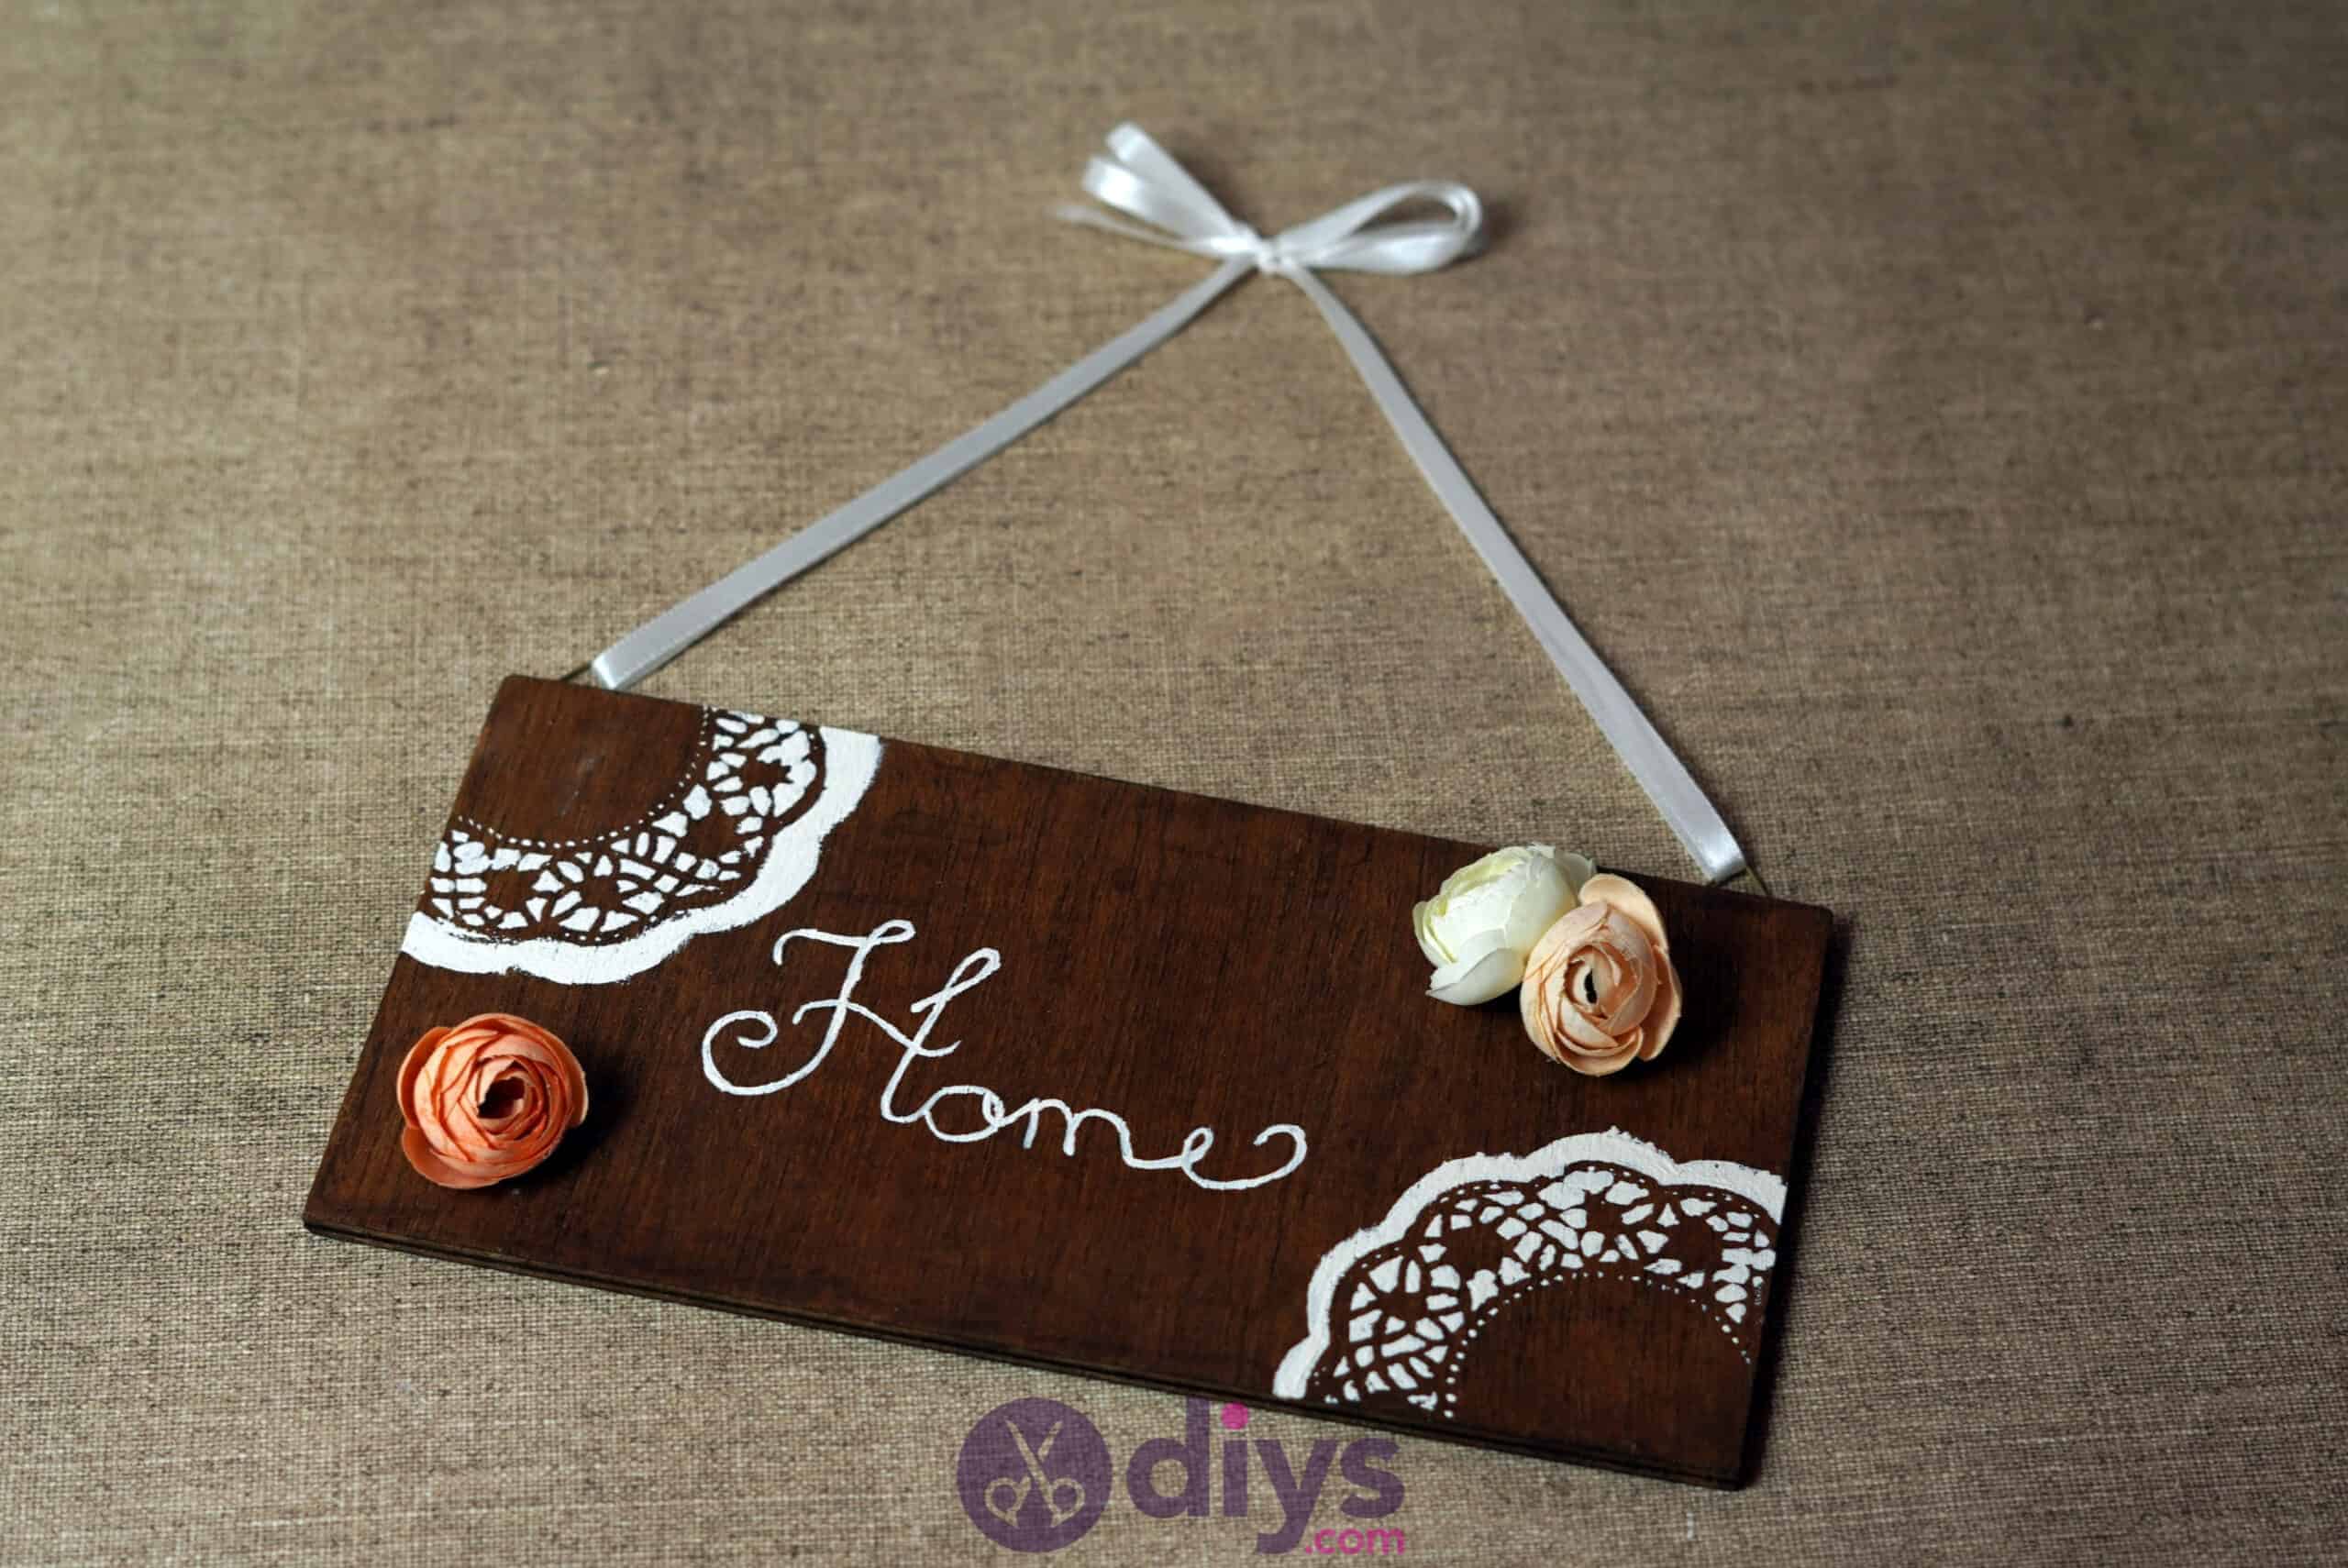
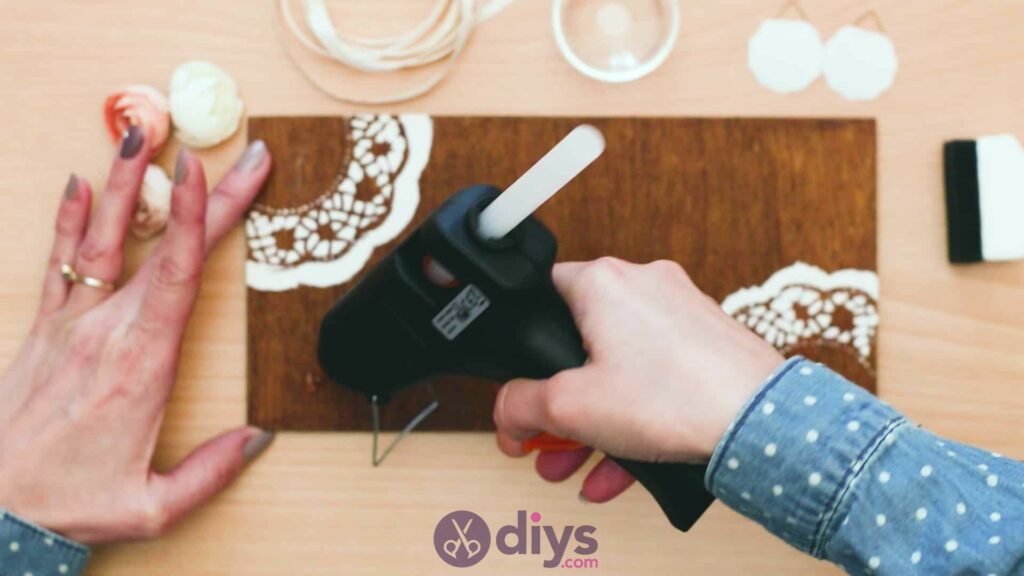
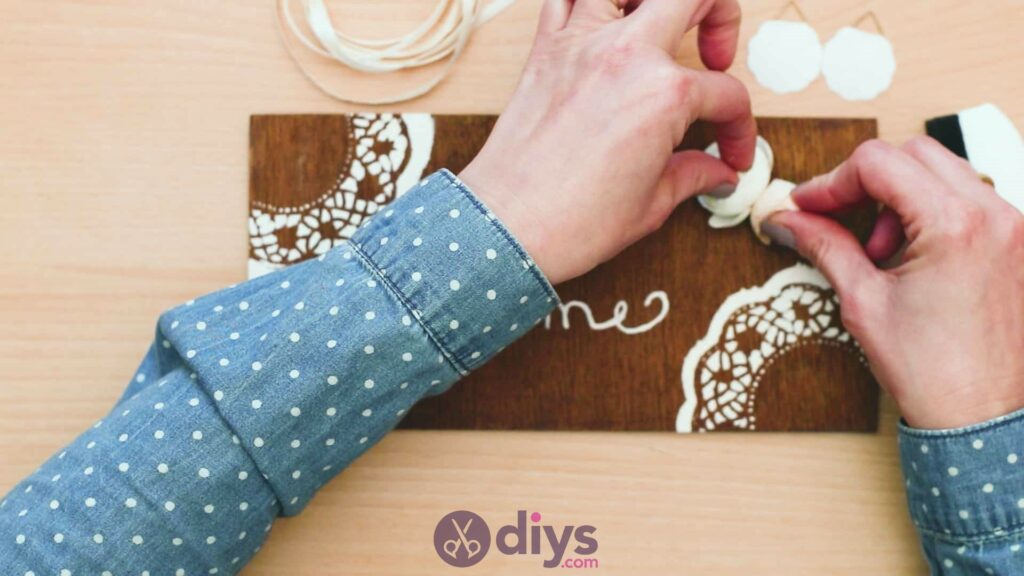
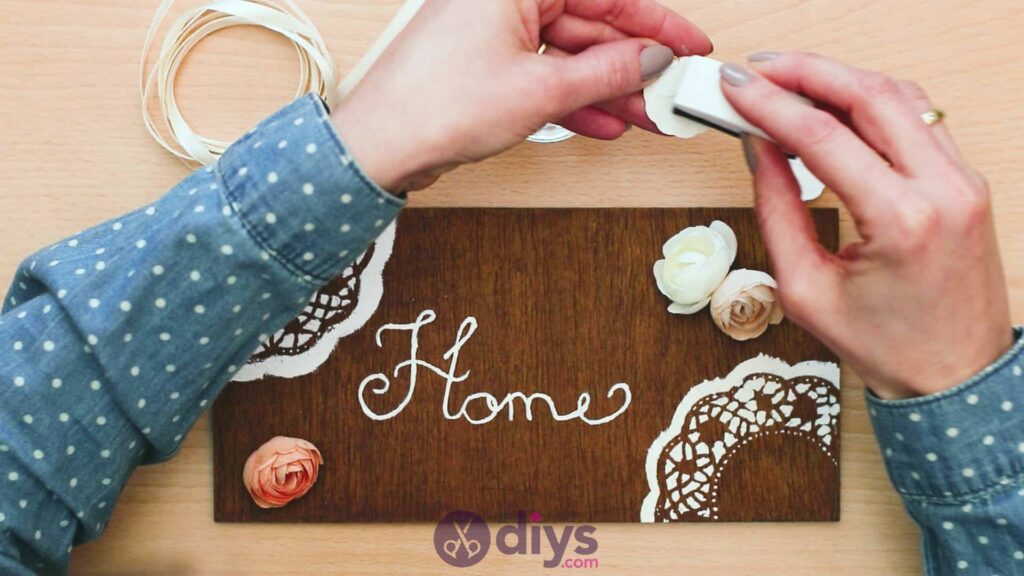
Step 7: add flowers
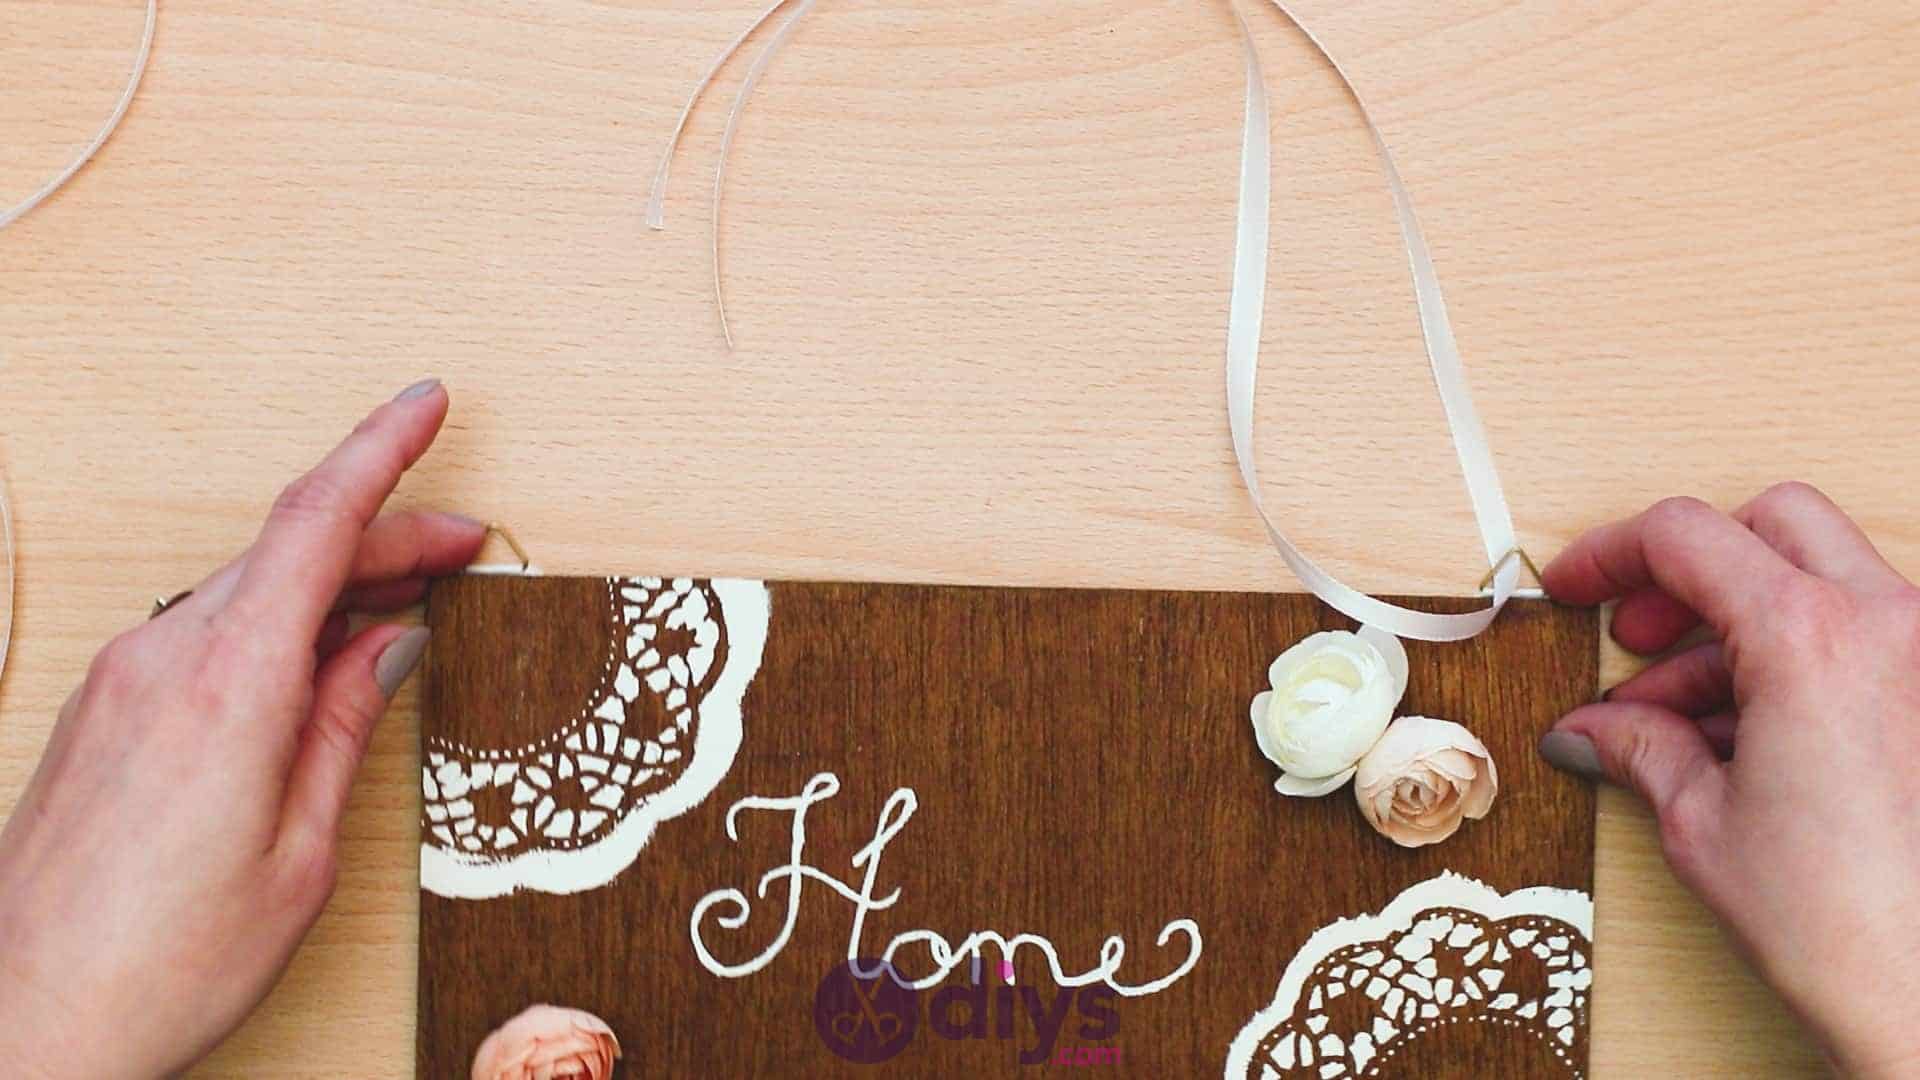
In the other corners of your board, where you haven’t done any stencilling, glue down your fabric flowers. You can do as few or as many as you want and arrange them how you please; I chose to put one larger blossom in the bottom left corner and two smaller ones in the top right corner to make a bunch.

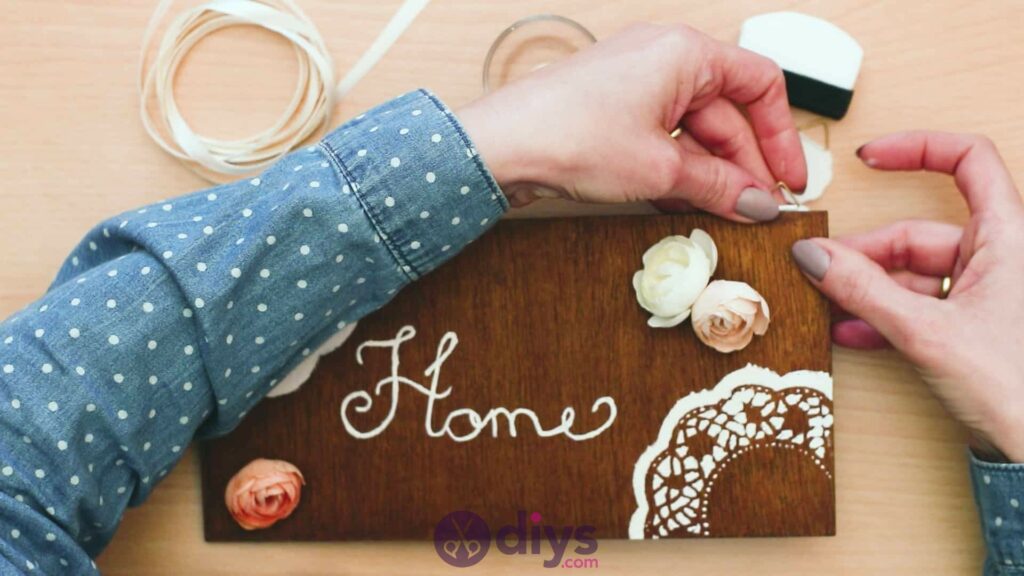
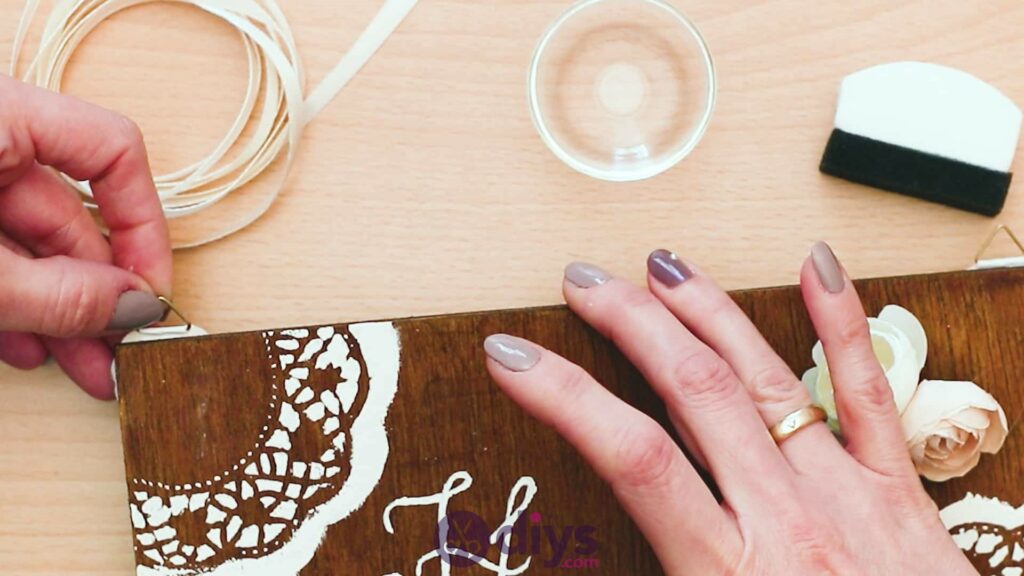
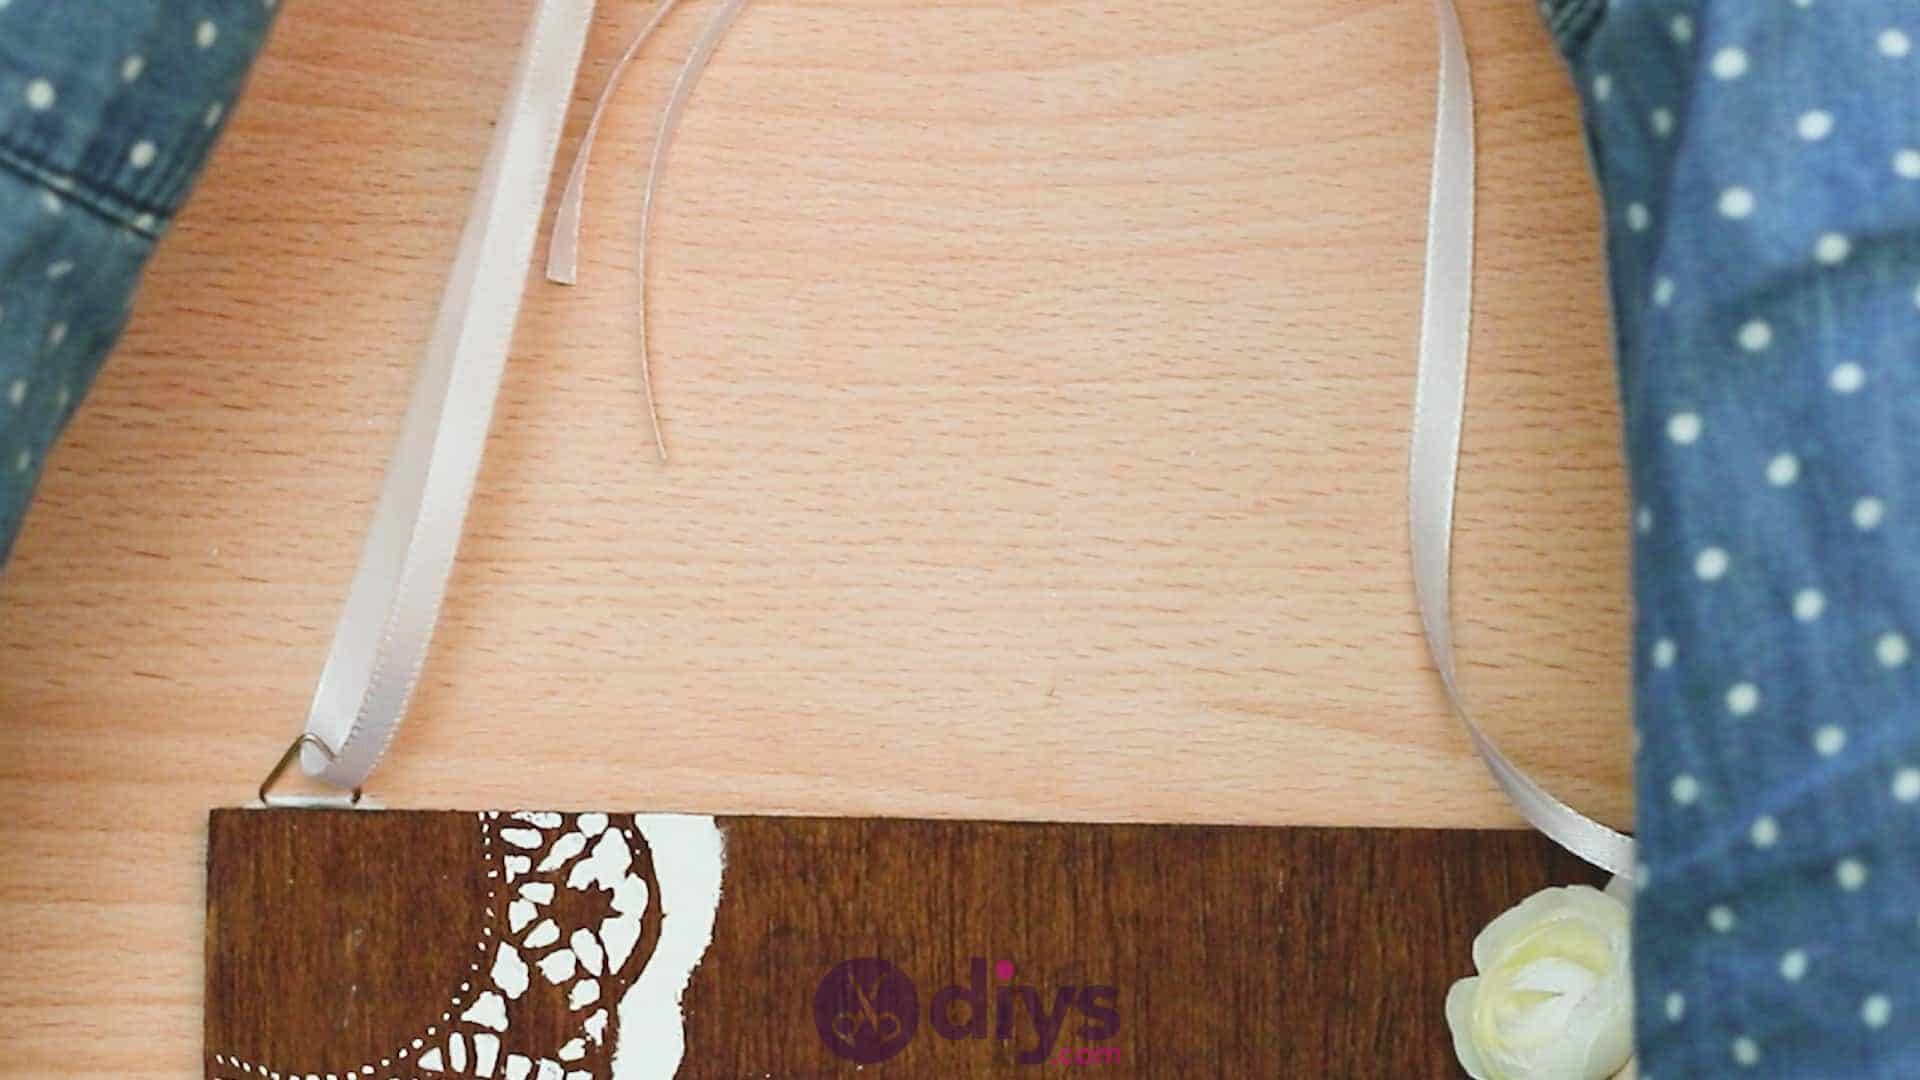
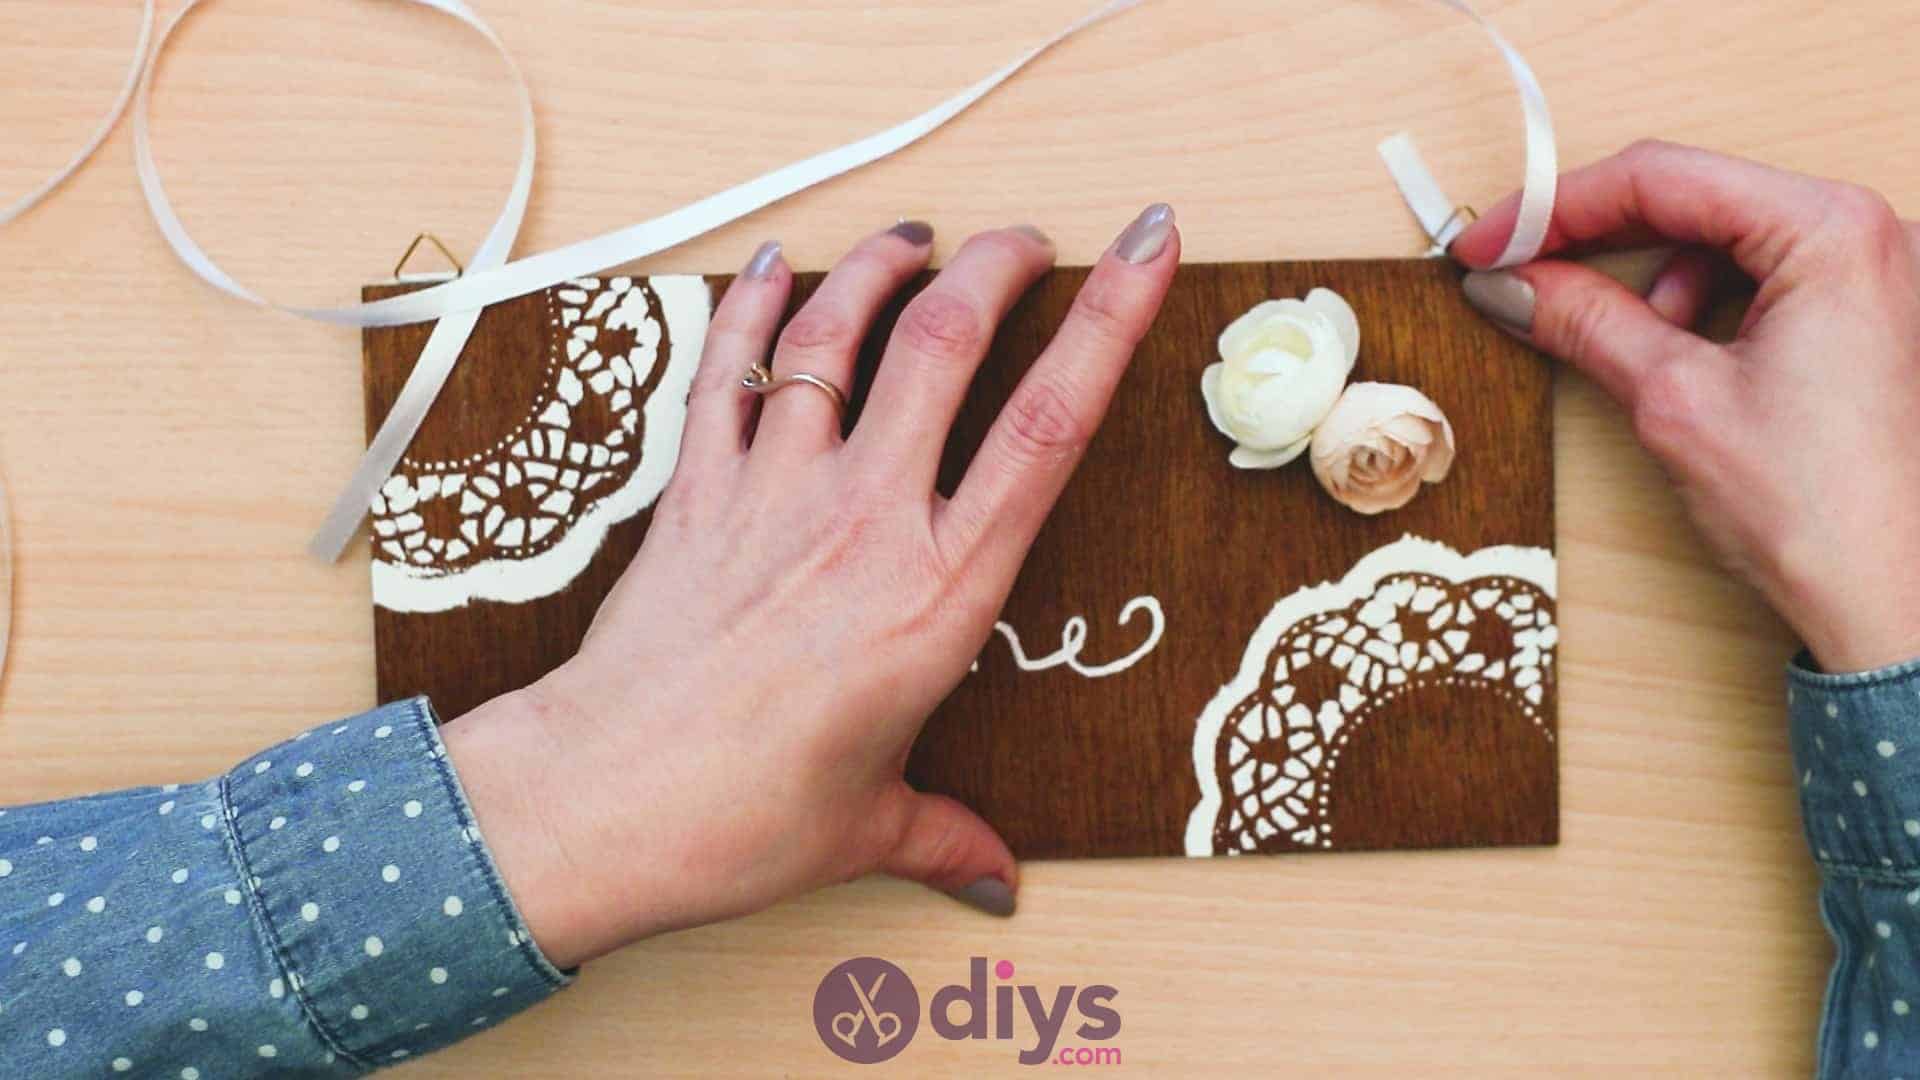
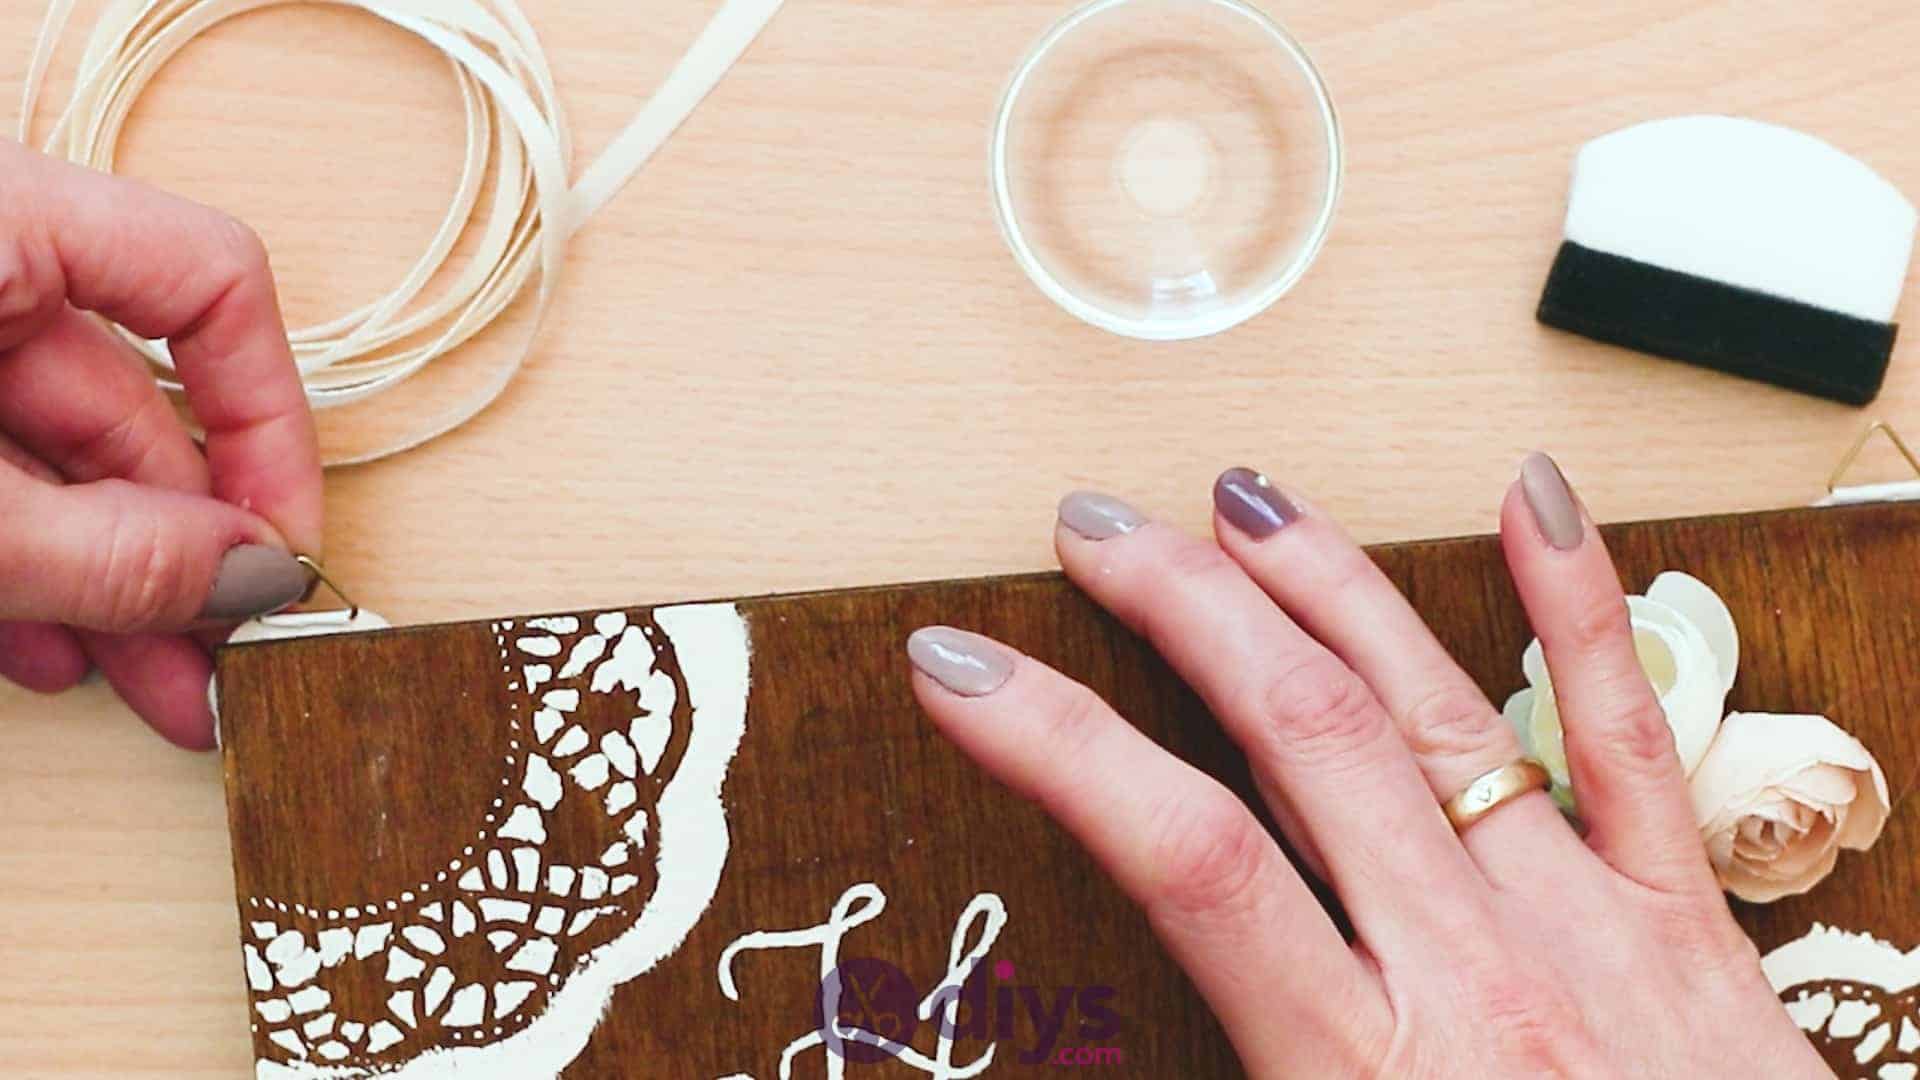
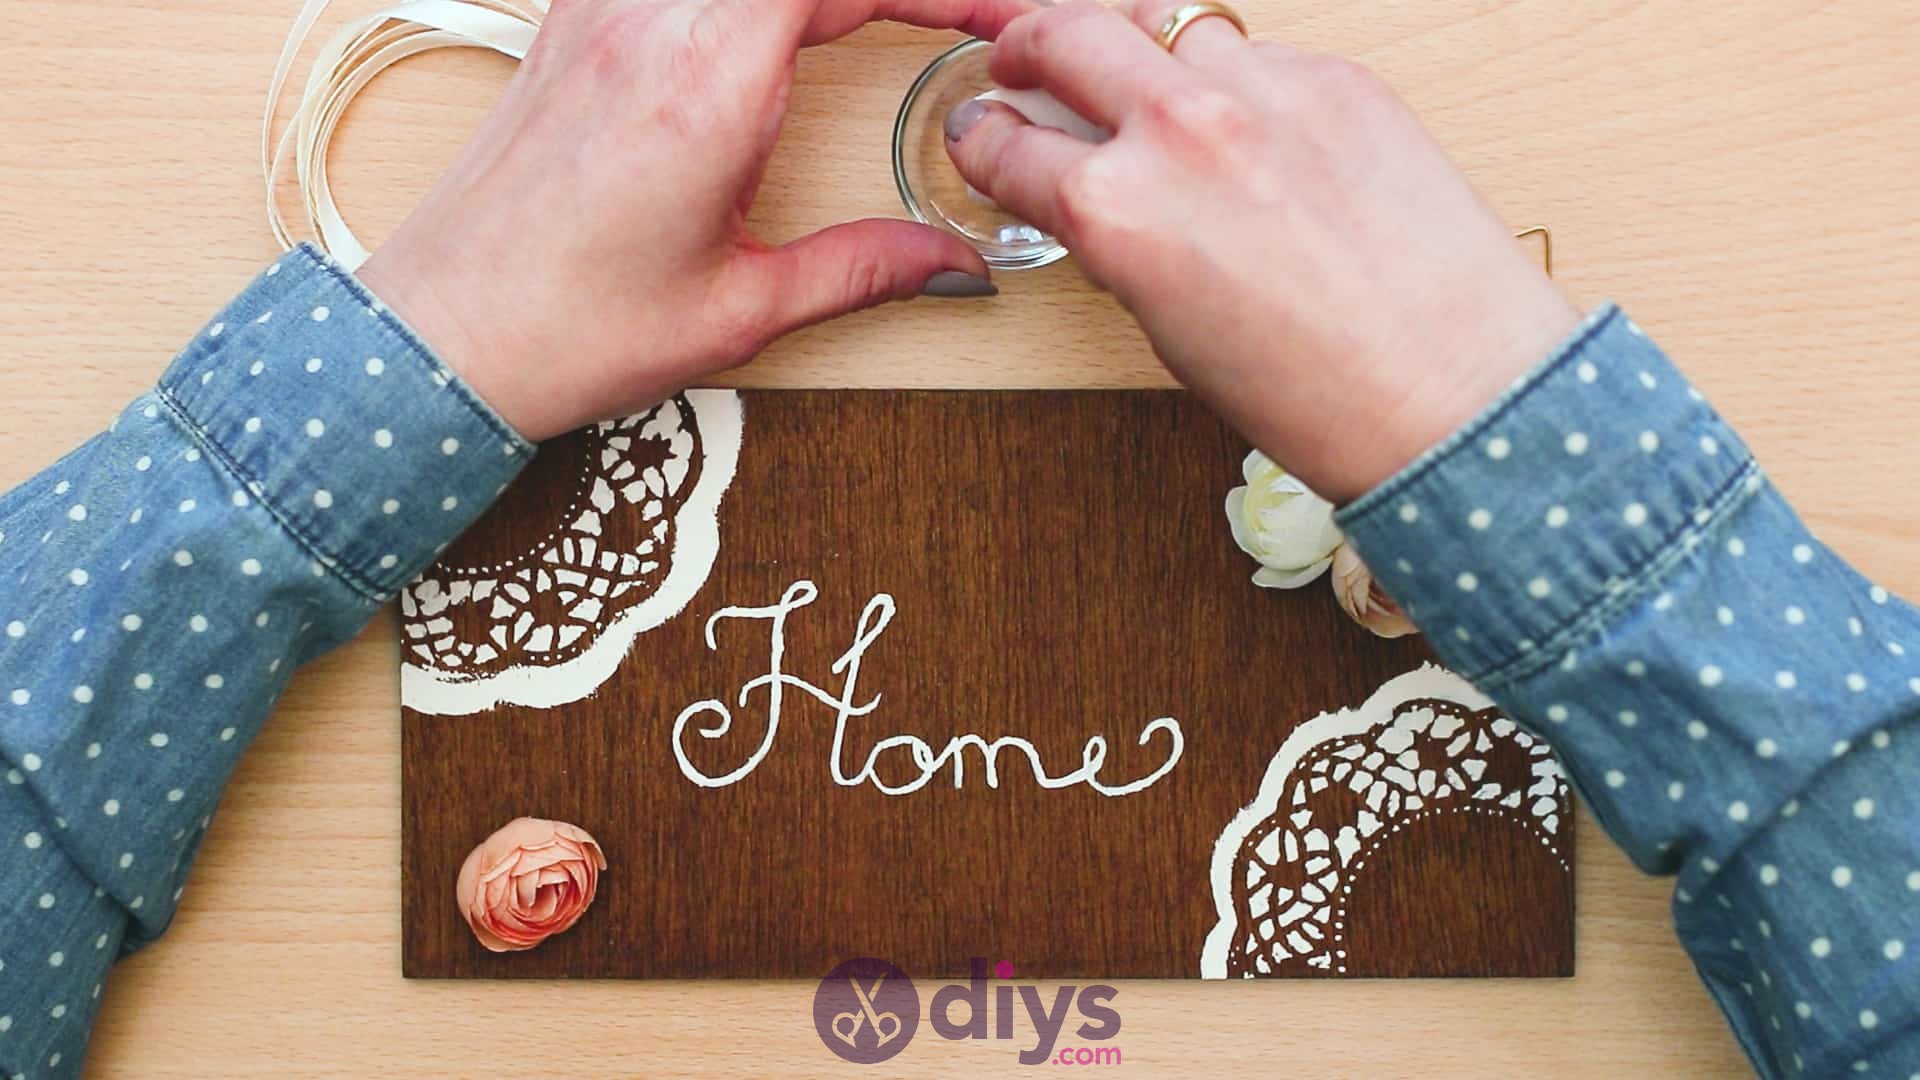
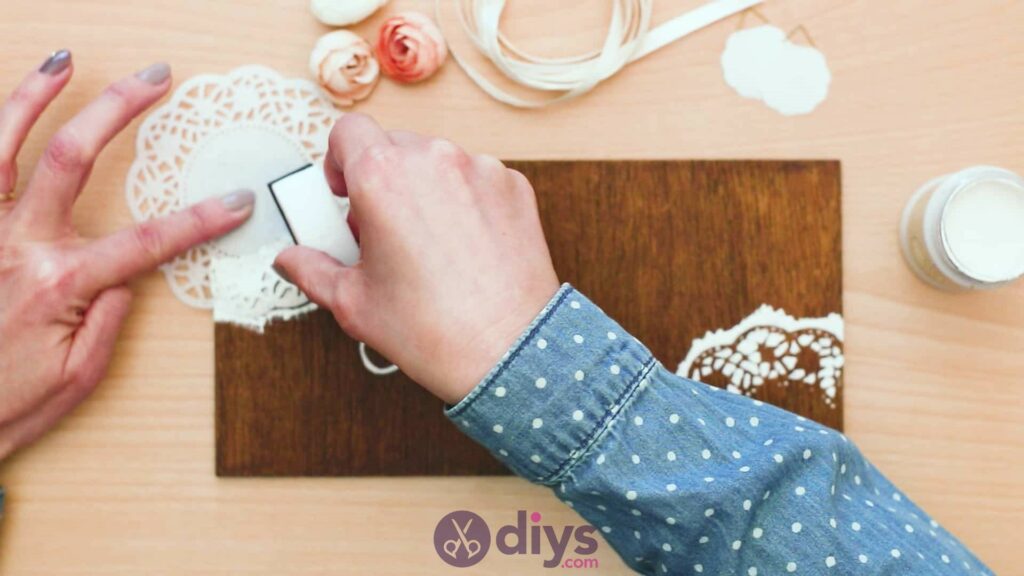
Step 8: attach hangers
Attach your hangers to the back! Mine were small picture hooks from the craft store that came with their own adhesive, activated with a bit of moisture. You could also use self-adhesive sticker hangers, glue on two small photo hooks, or whatever other kind of light weight bearing hanger you can find. Take a look at your local crafting store; you’re looking for the kind of hooks that would hang a photo frame. Turn your sign over (only if all the paint has dried) and affix one in top right corner and one in the top left corner.

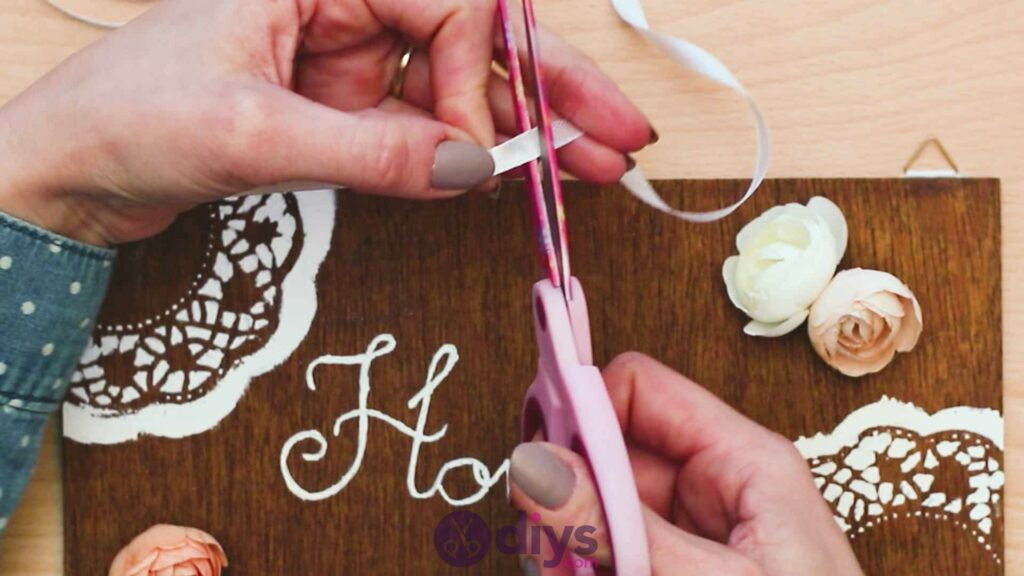
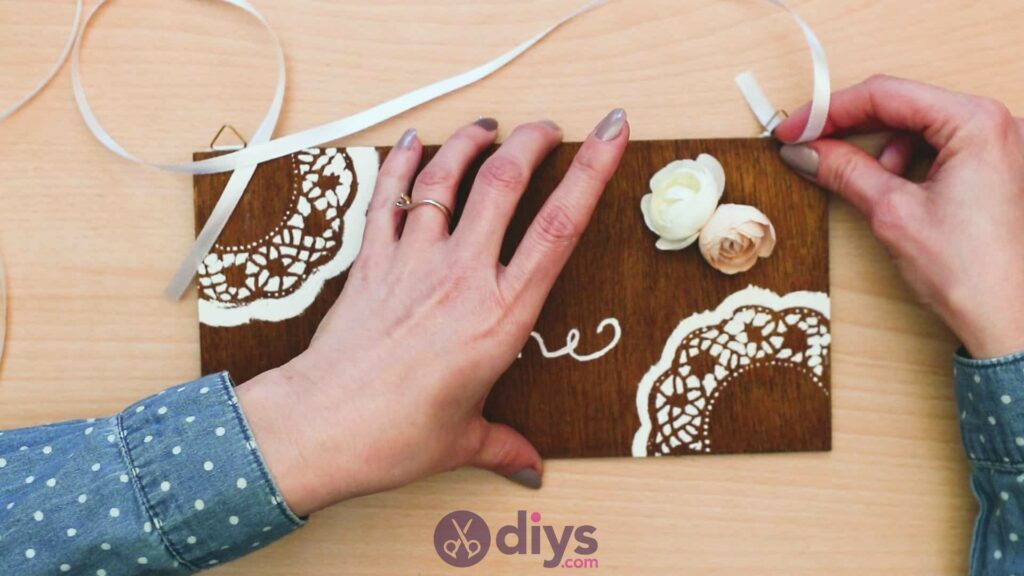
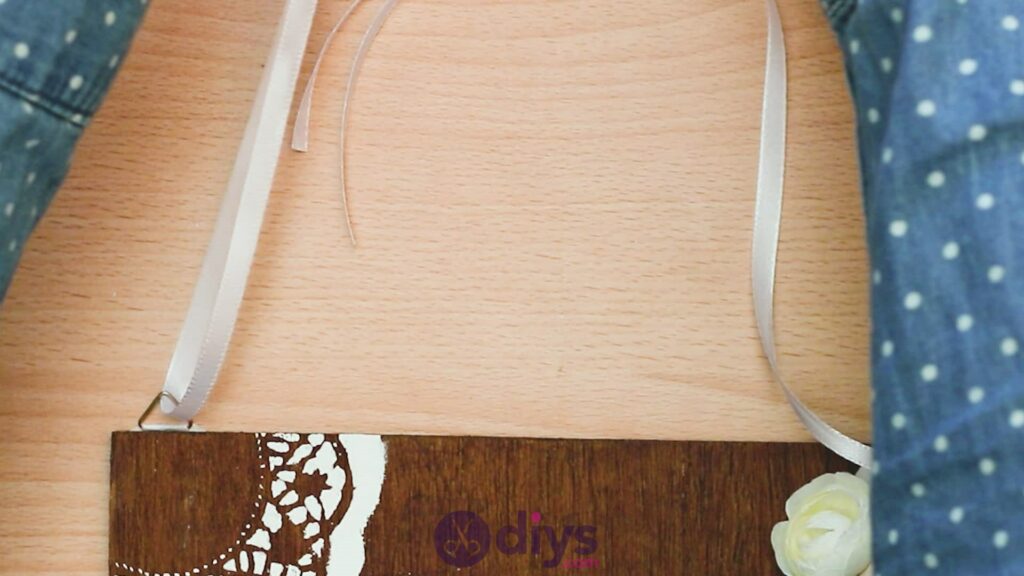
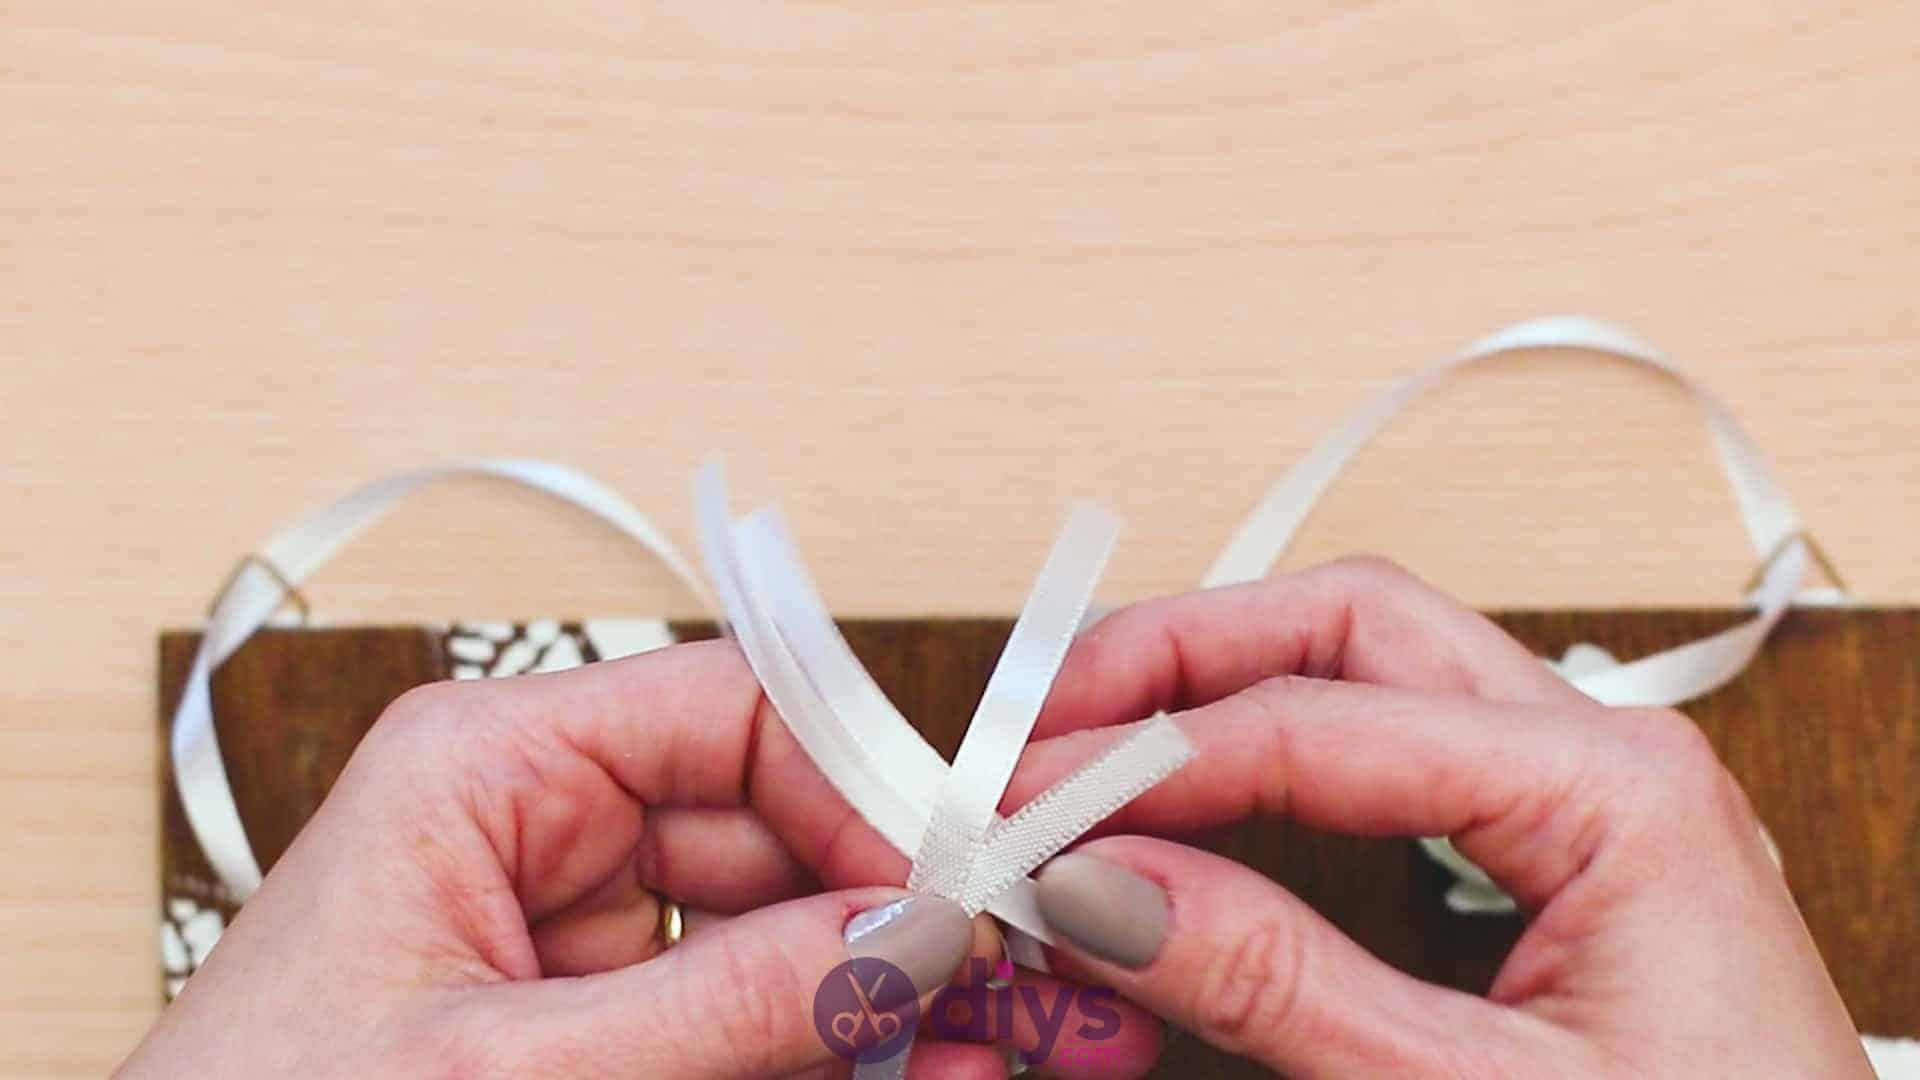
Step 9: ribbon
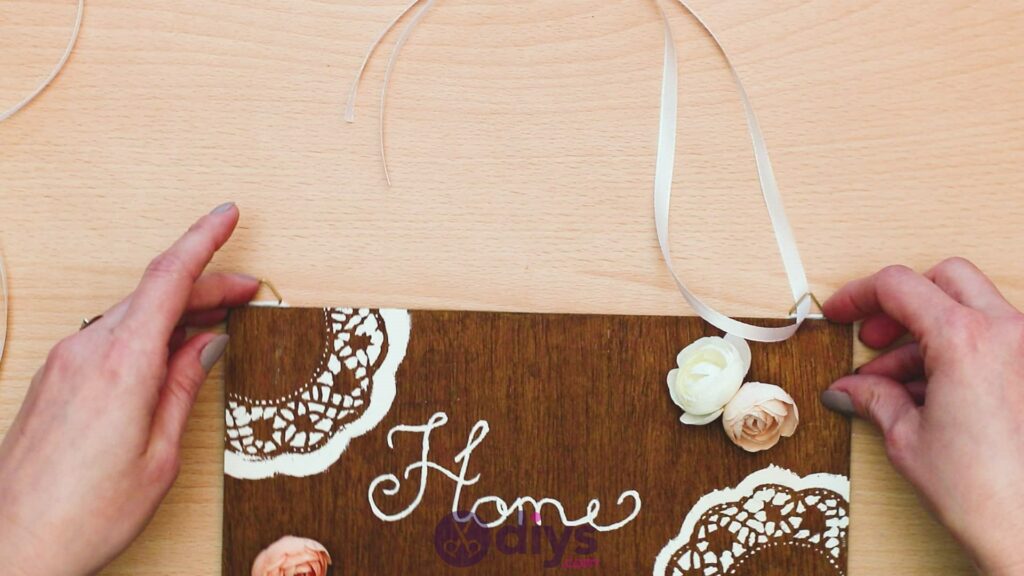
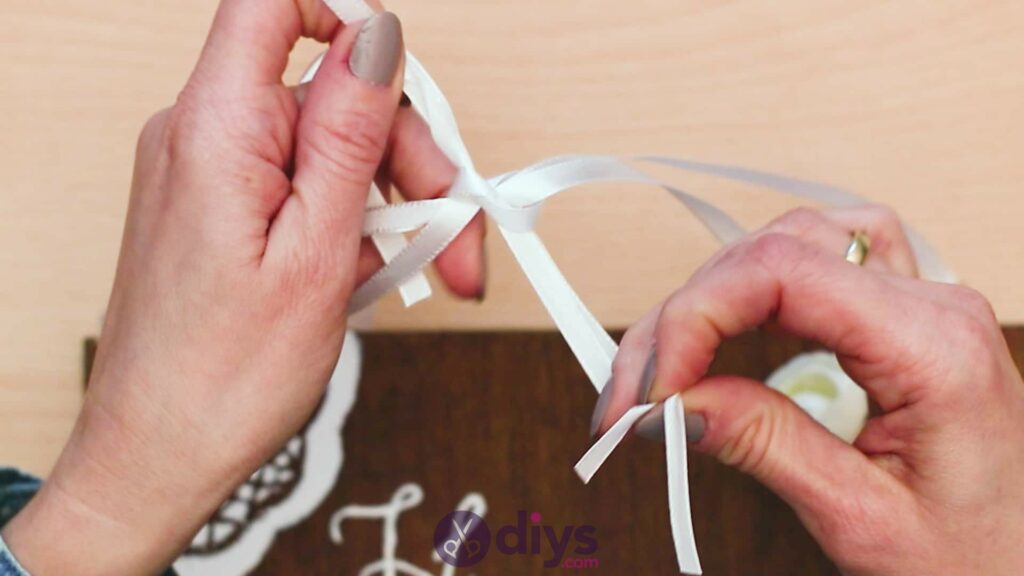
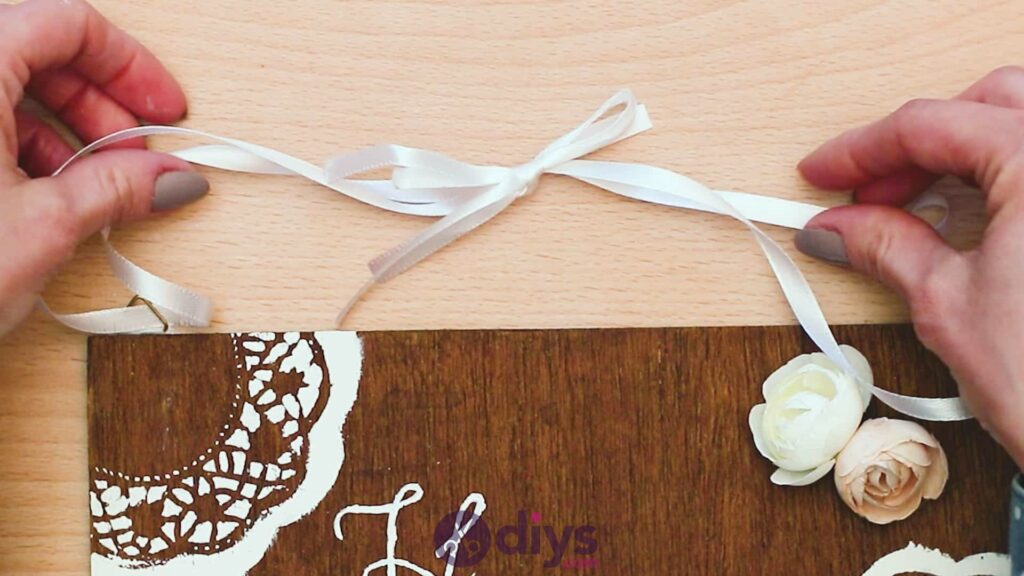
Once your hookers or hangers have dried and are ready to be worked with, measure out two pieces of ribbon; each one long enough to reach all the way across the top edge of the sign from one hook or hanger to the other. Cut them to length. Slide one ribbon through the hook on the left and one through the hook on the right, bringing the ends together and adjusting the ribbons so the hooks hang in the loops created halfway along their lengths. Bring all four ends to the centre and, holding the ones from each respective side together as though you are only working with one pair of ribbon ends, tie them in a knot, leaving three or four inches of excess on the end of each side. Use the excess ends to make a bow so your new doubled hanging string has some cute finished detail and looks neat. Trim the bow ends if you need too; I always suggest cutting ribbon ends on a diagonal angle to prevent fraying.


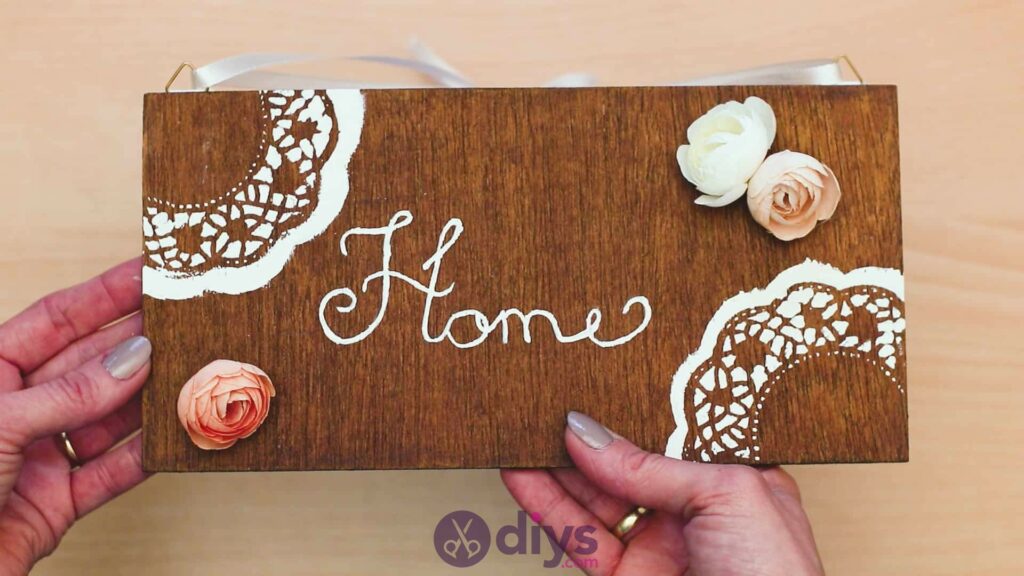
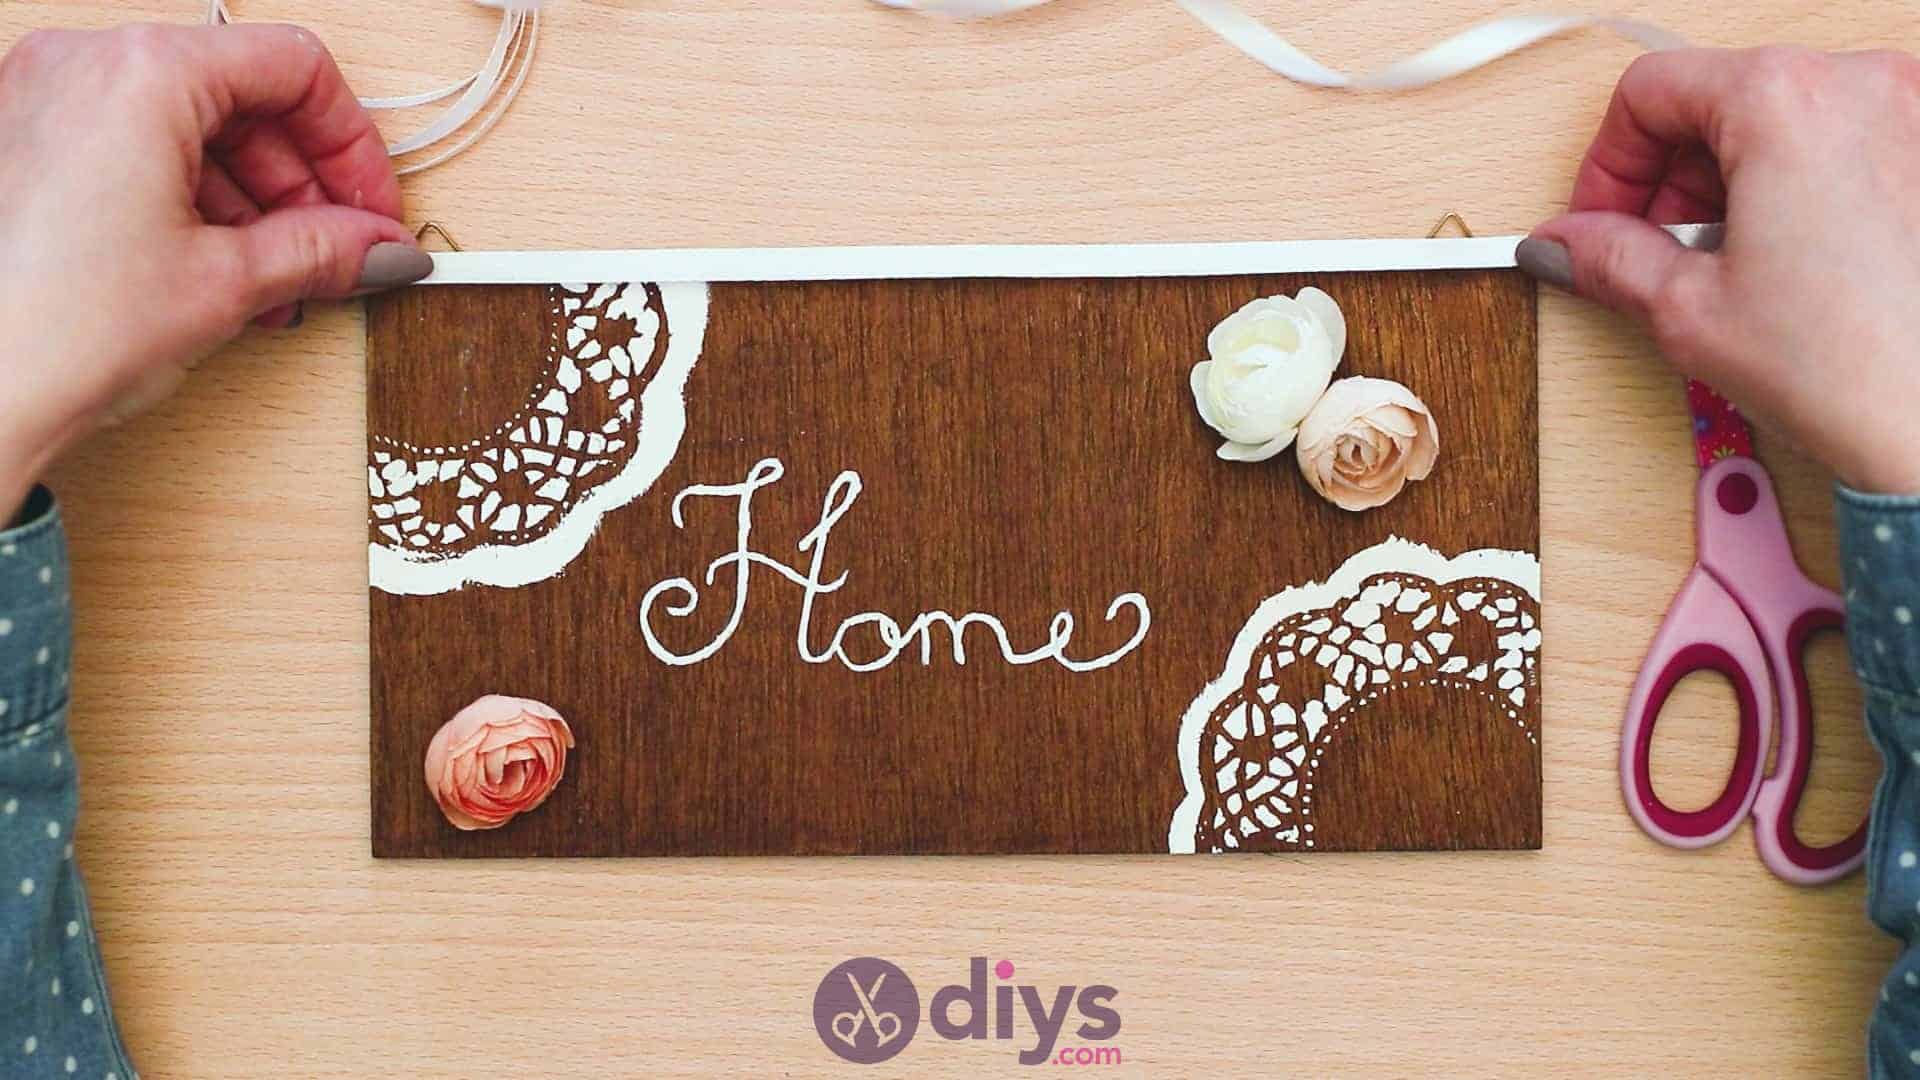
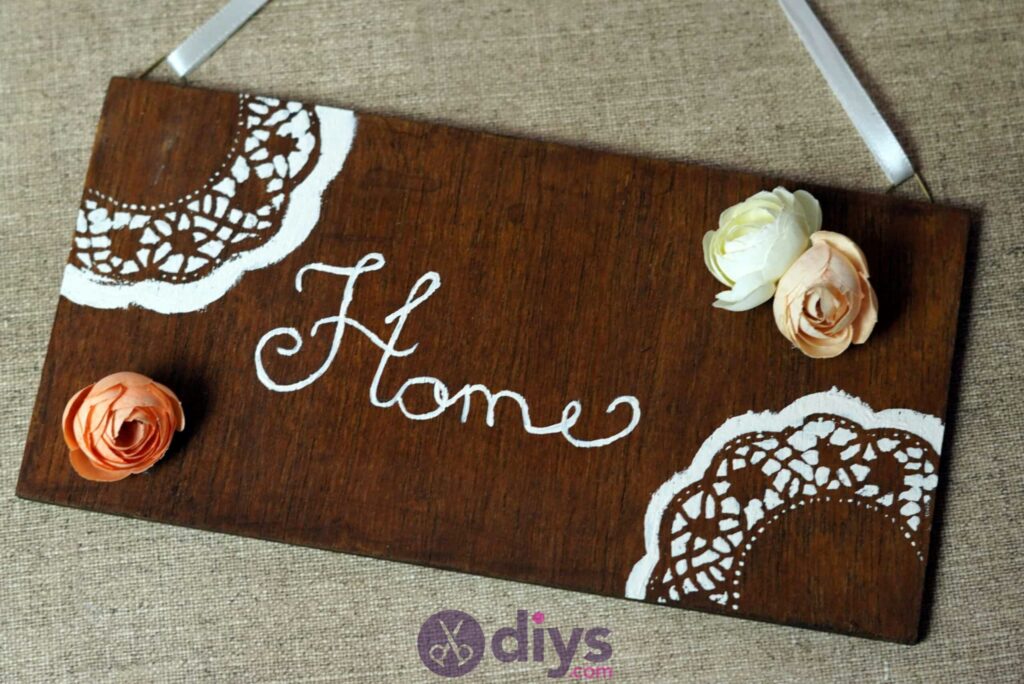
Your door sign is officially ready to hang! Of course, you can use this tutorial as a guide for basic technique but change up the aesthetic, details, embellishments, or colour scheme if you prefer. If you’re more of a tutorial lover, here’s a video to help you out.