DIY Textile Keyring – Never Lose Your Keys With a Custom Keyring
Updated on June 23, 2021


Who needs a new keychain? We know we do! Especially one that’s going to turn out so cute and nice! If you want to help someone hold on to their keys better, create something for them, then this is a quick and awesome way to do this.
It’s a really cute thing to make for whoever needs one and it’s going to be something you can put your heart into it. So, let’s see how we can do this.
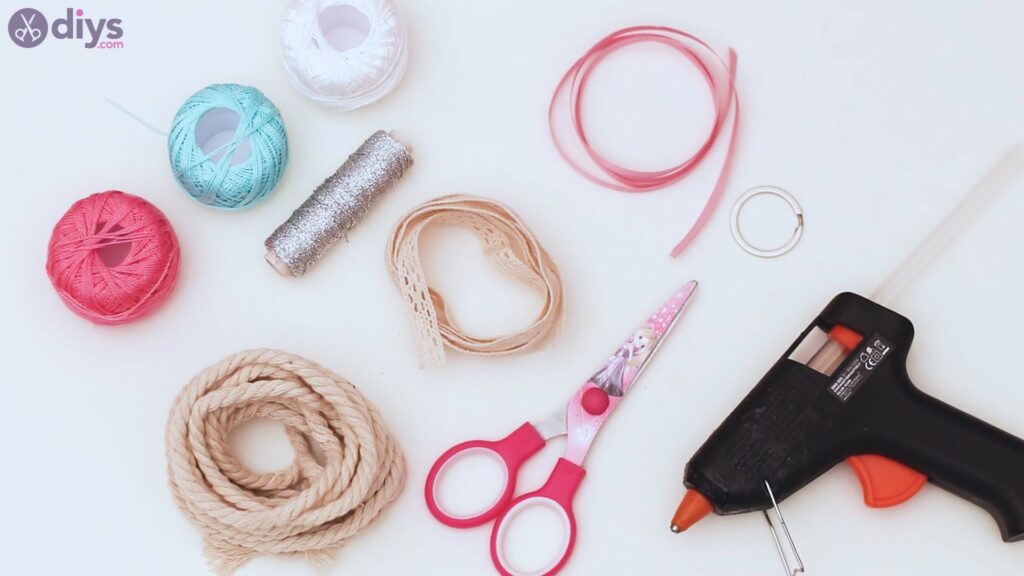
Materials for Textile Keyring
- silk ribbon
- lace ribbon
- rope
- silver thread
- pink, blue, white crewel
- split keychain ring
- scissors
- glue gun
How to Make a Textile Keyring
Before we get started, you should gather up all your materials so you can create this thing in one go. You don’t want to go running around your home, trying to find some extra materials, when your glue gun is on and you’re trying to wrap a thread for the keyring. So, let’s get started once you have everything on the table.
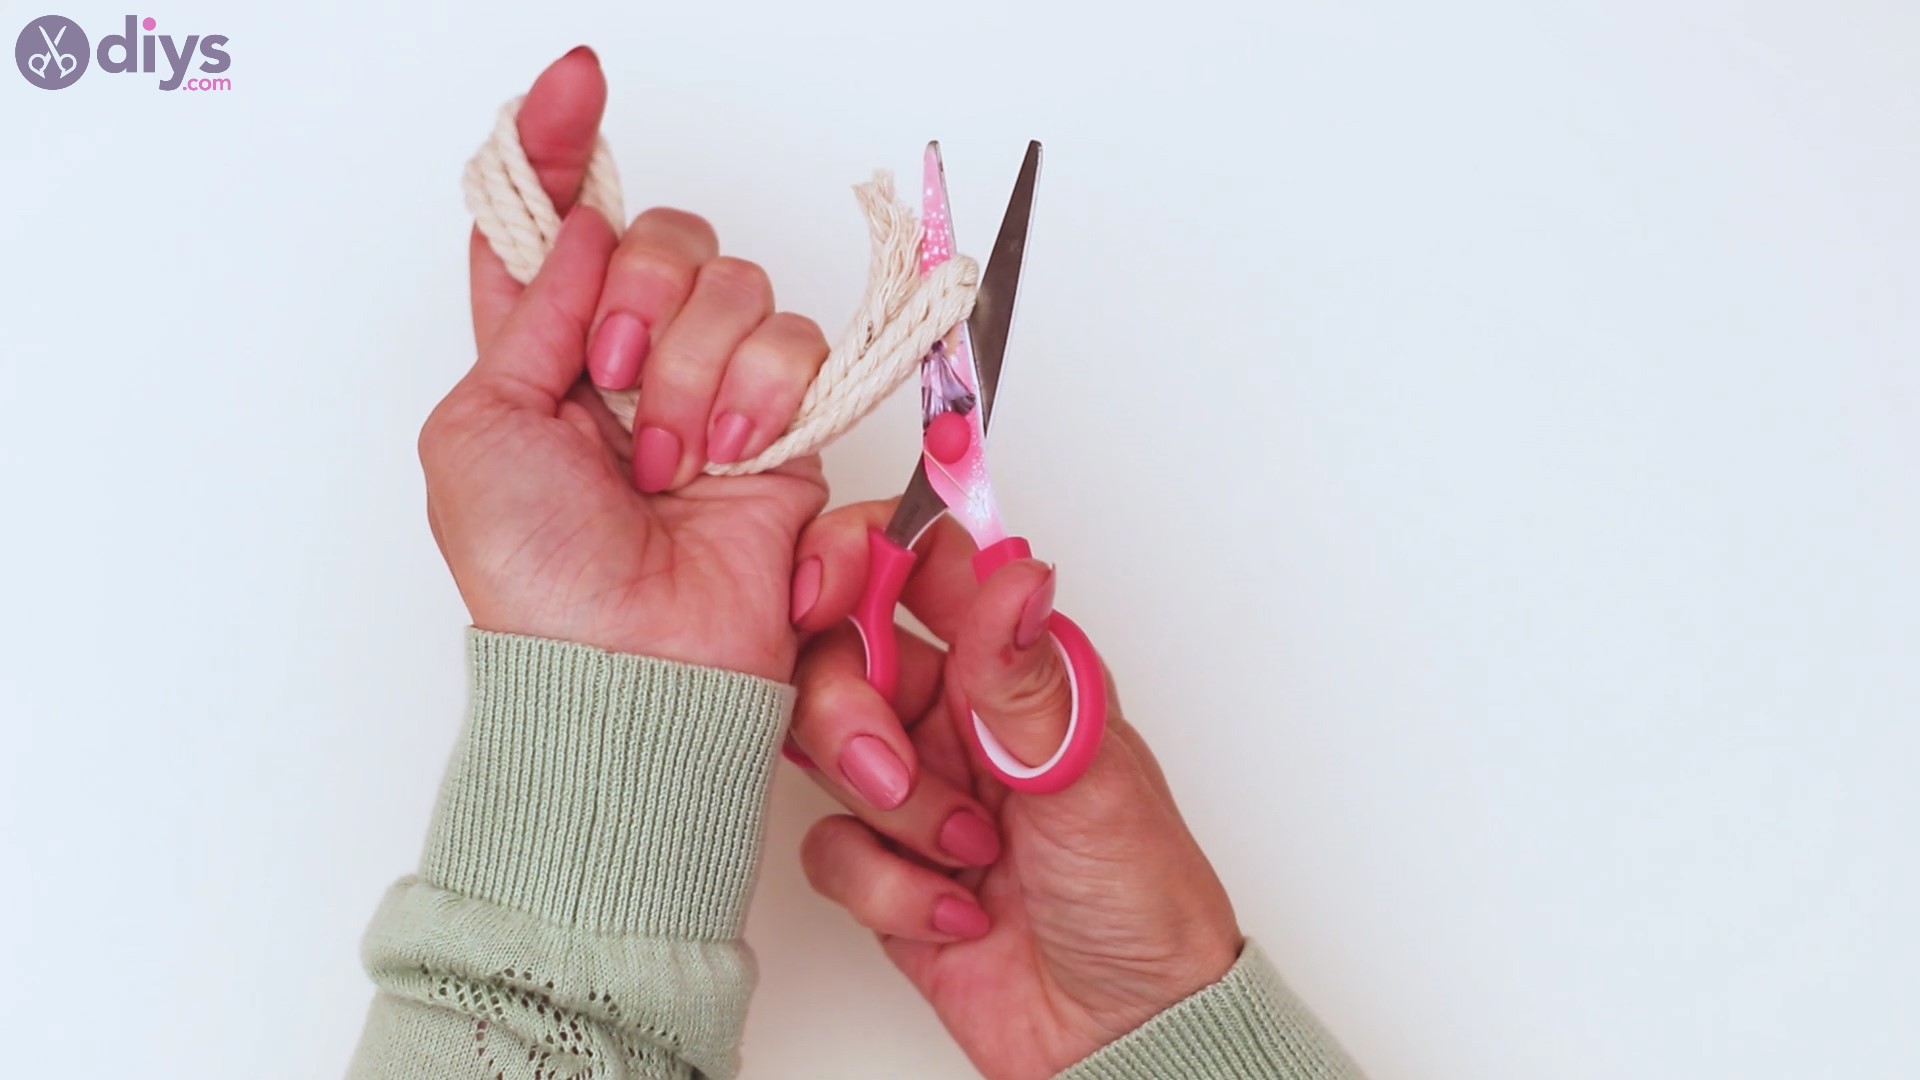
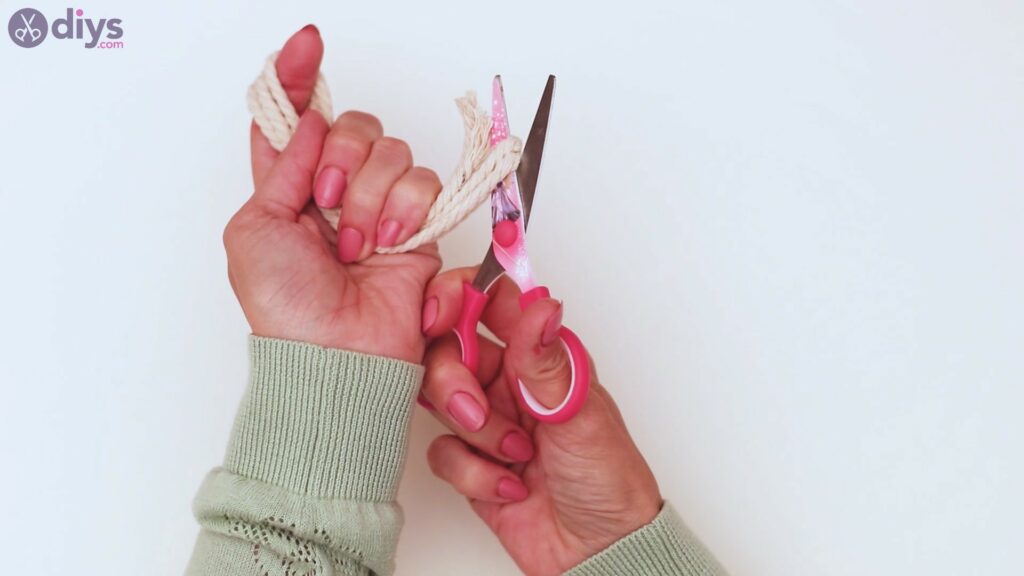
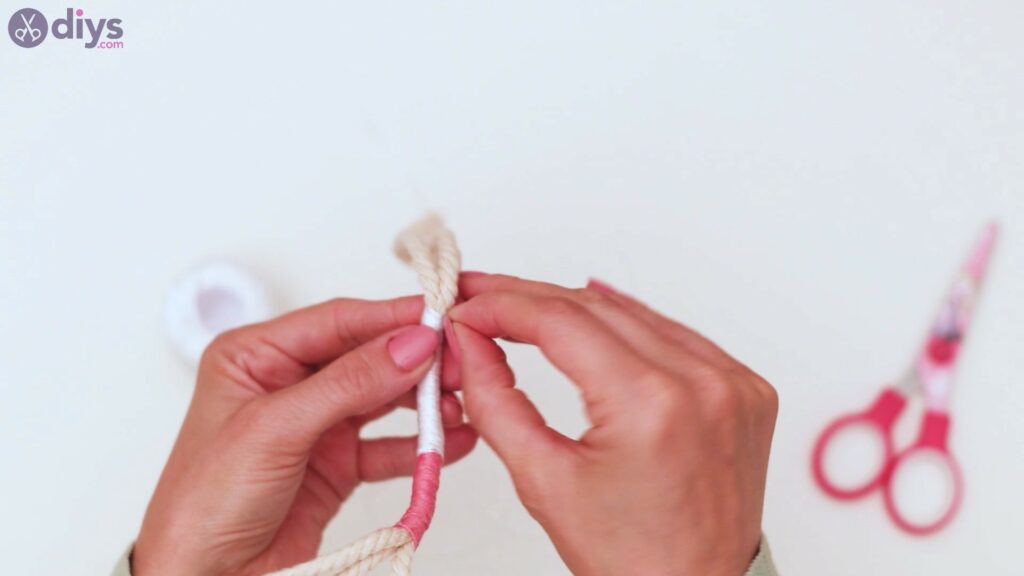
Step 1: Cut the rope
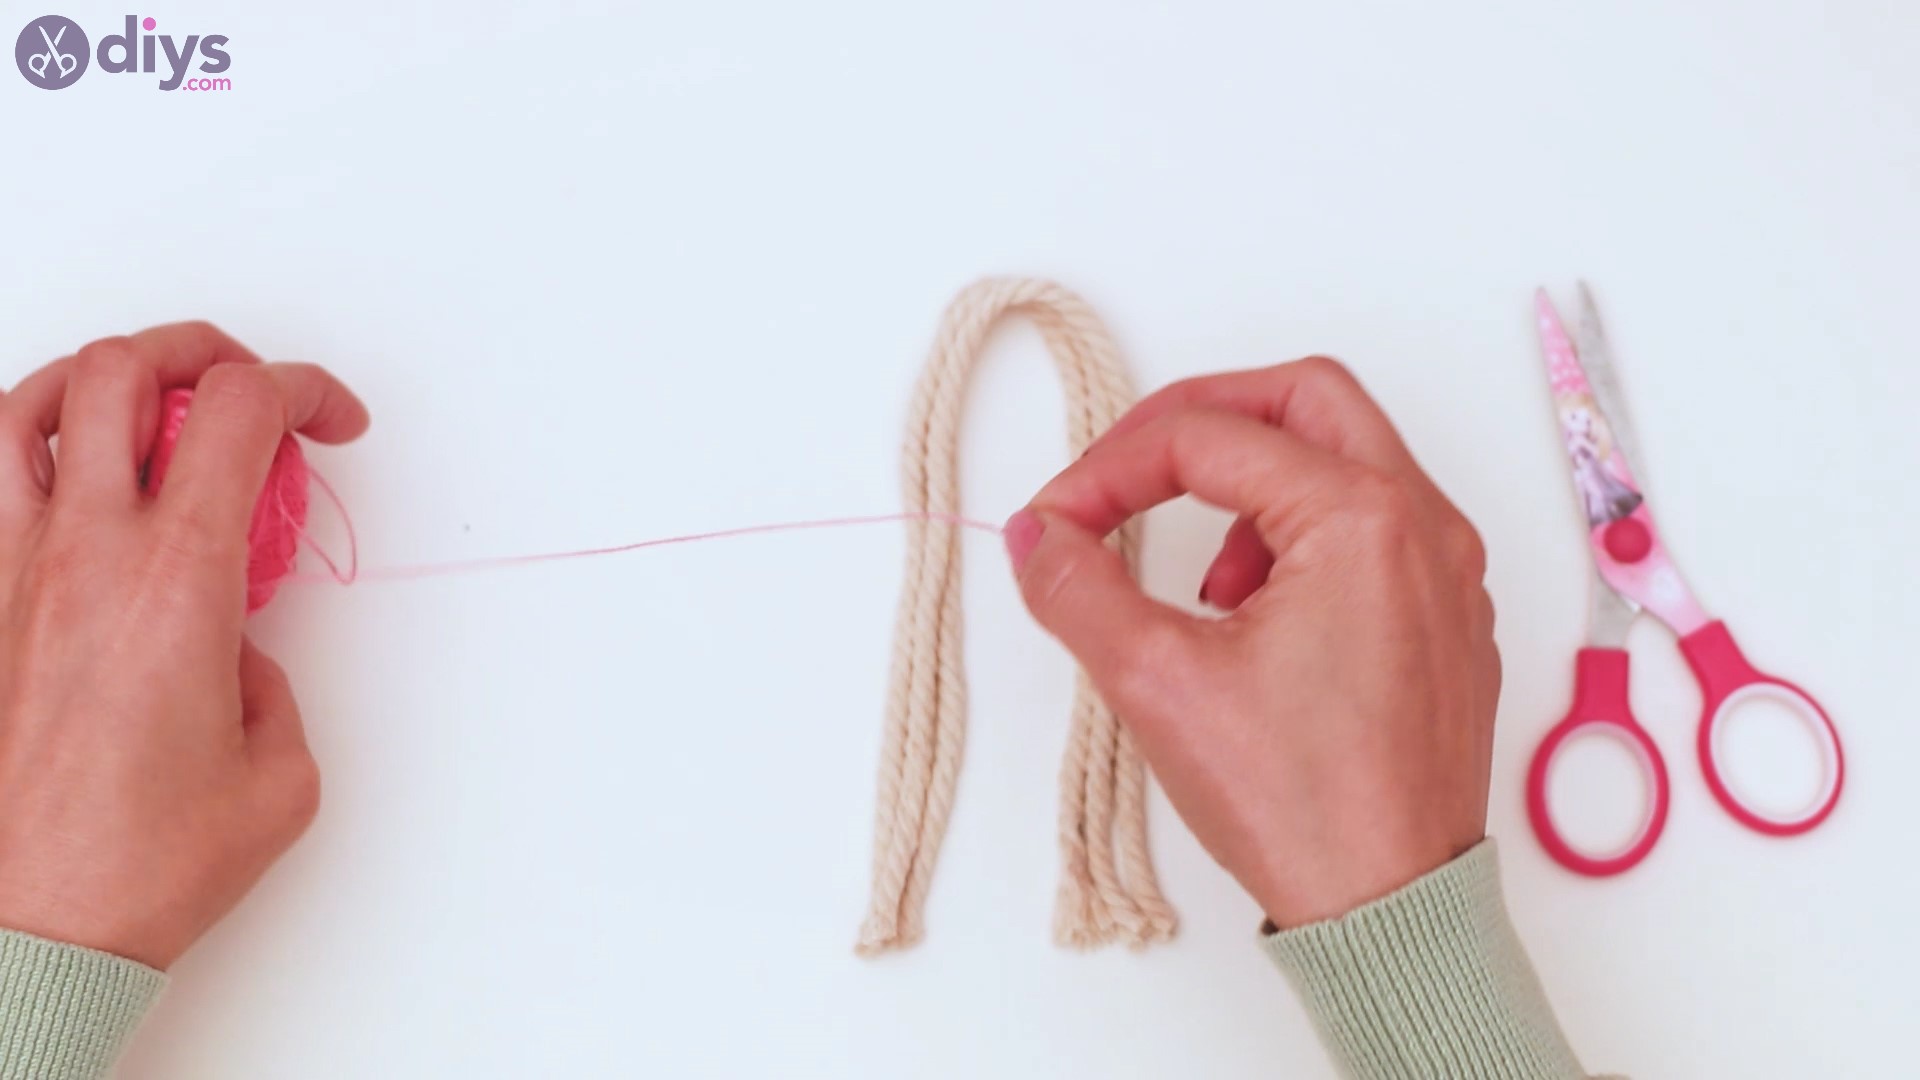
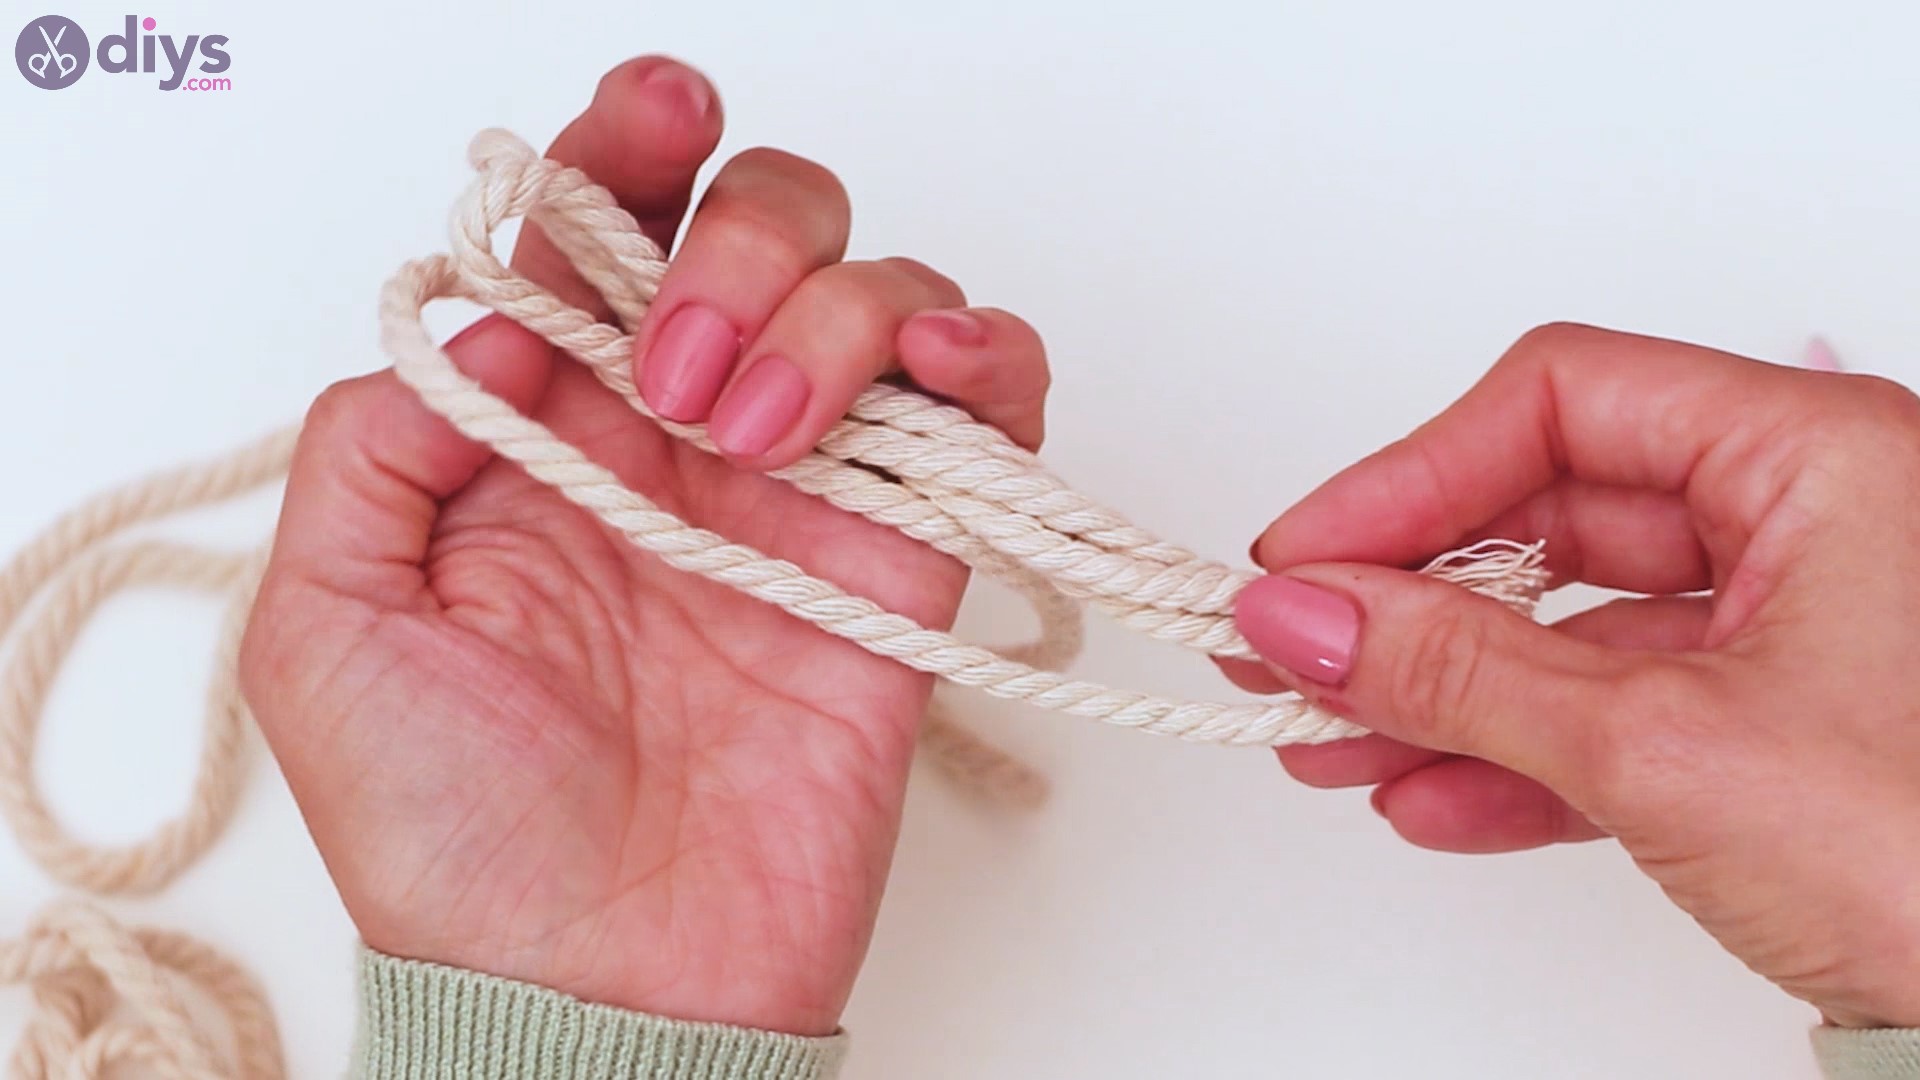
First up, you’re going to take the length of rope you have on the table. Fold it so you have three loops.

Try to make them as equal as possible as you’ll be cutting them later. Also, this is the perfect time to decide to long you want your keyring to be.

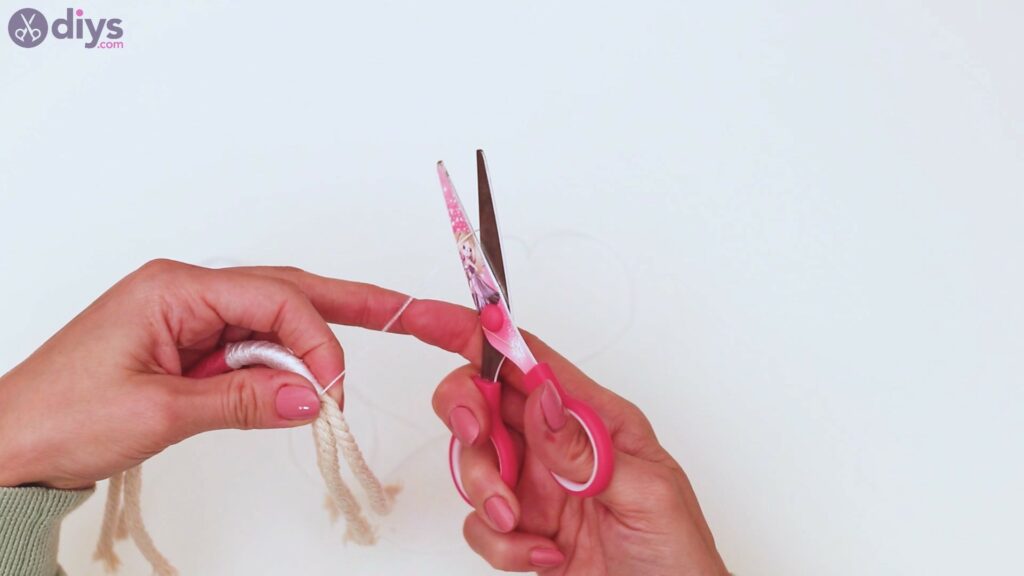
Get thescissorsand cut the extra length of rope when your loops are complete.

Then, get the scissors and push them through the loop and cut the rope on one of the ends.
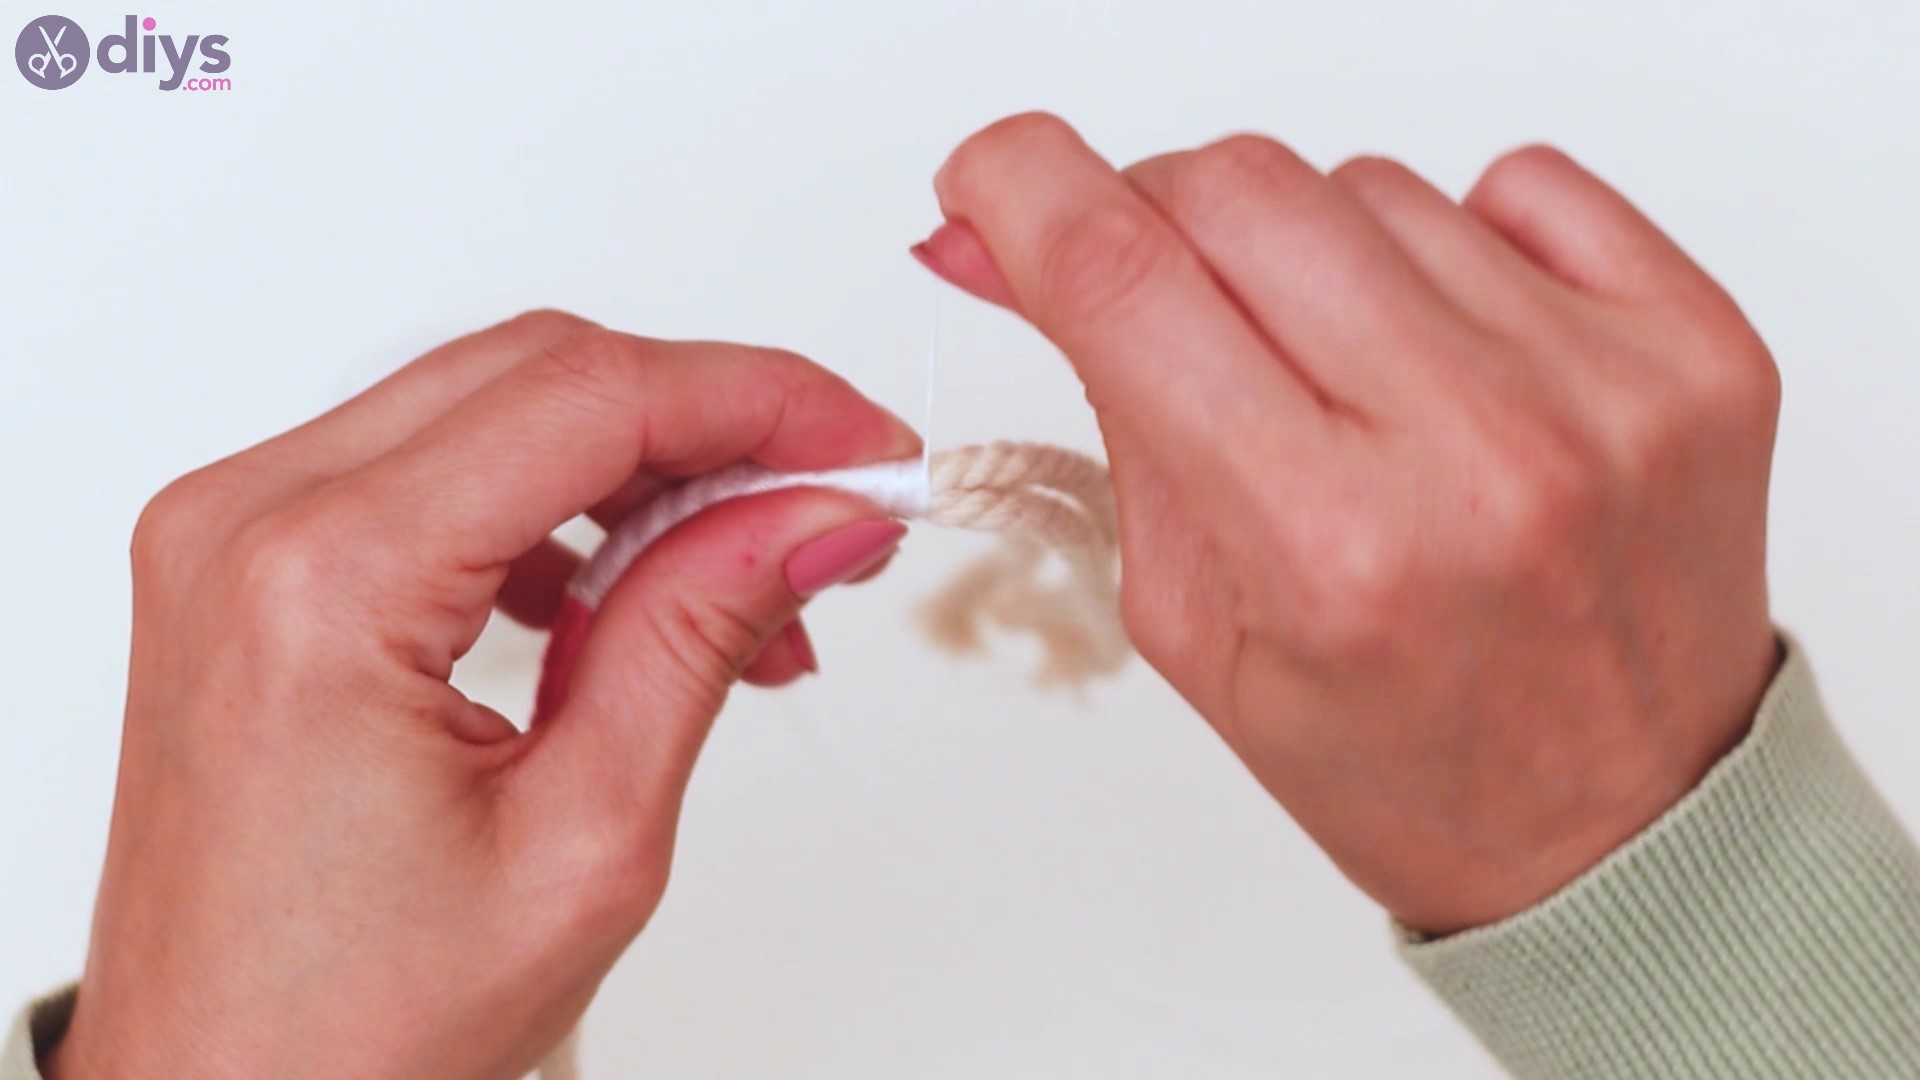
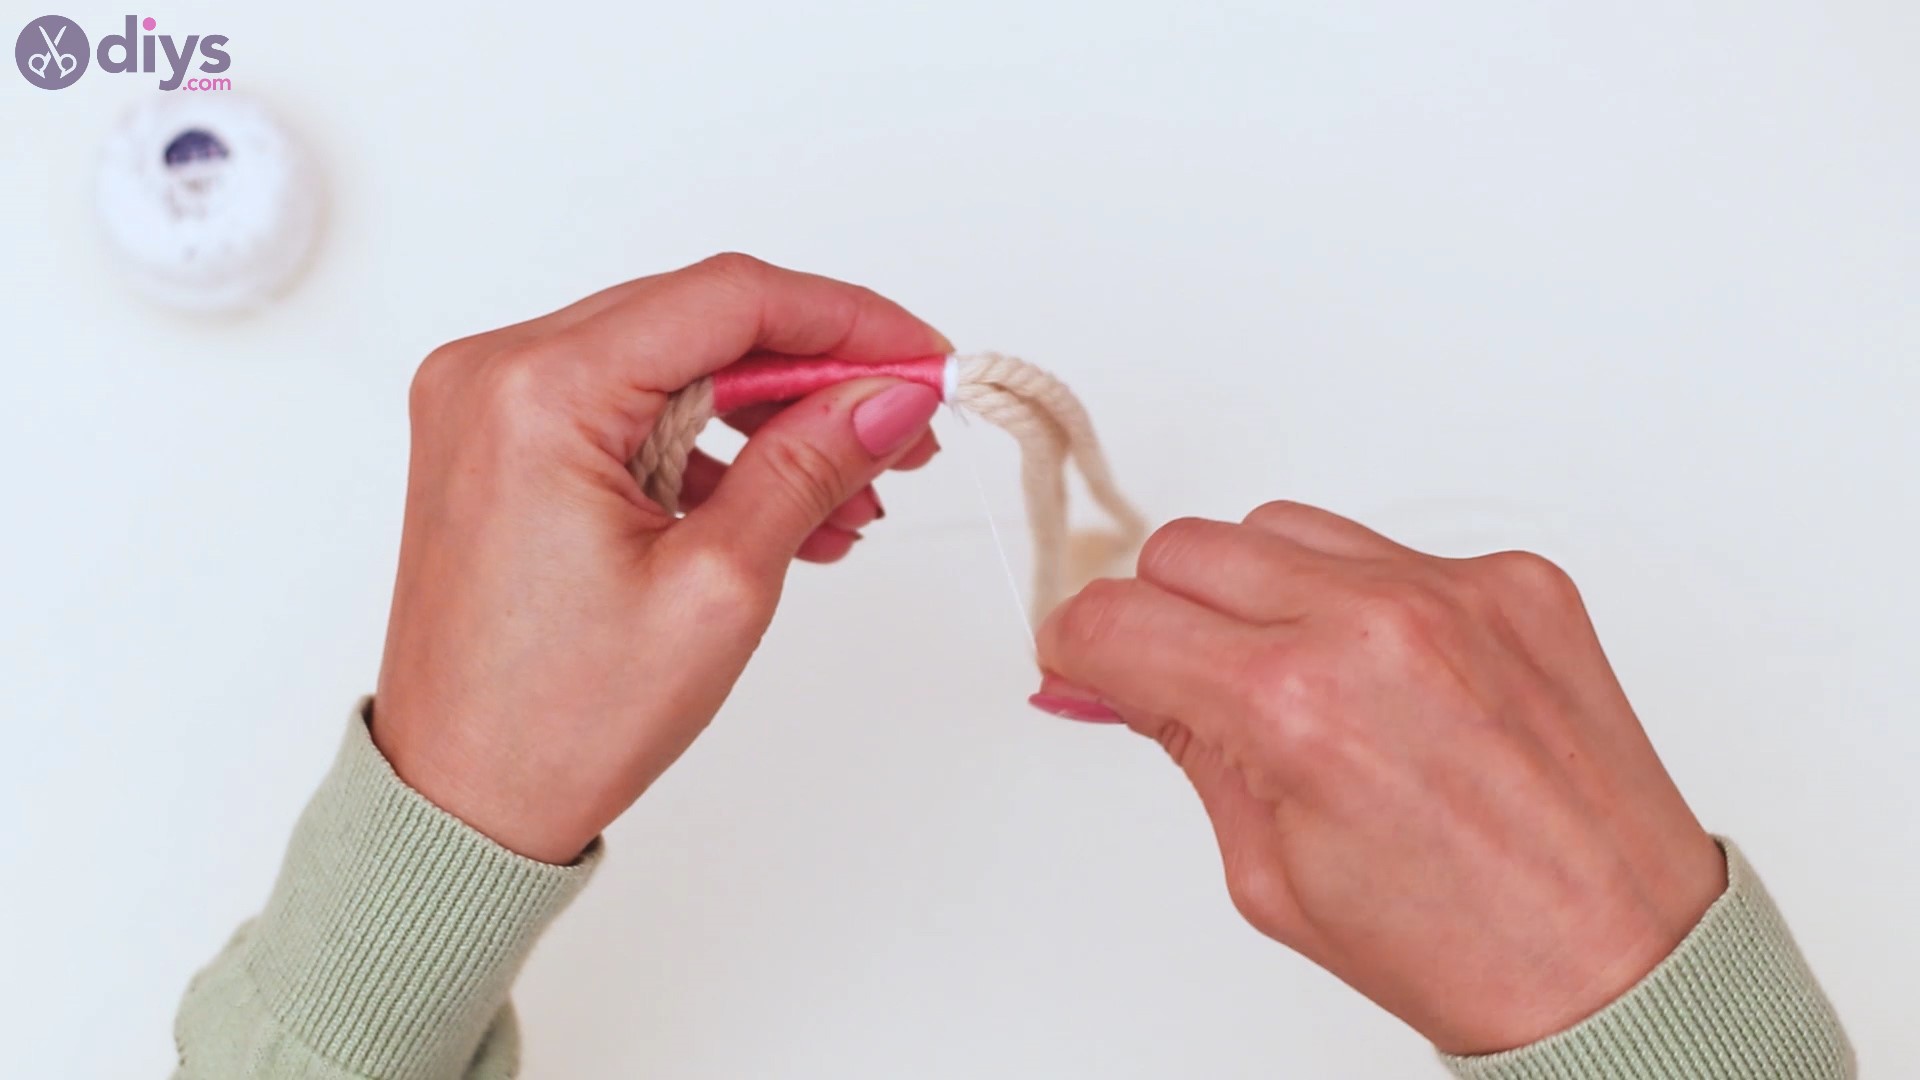
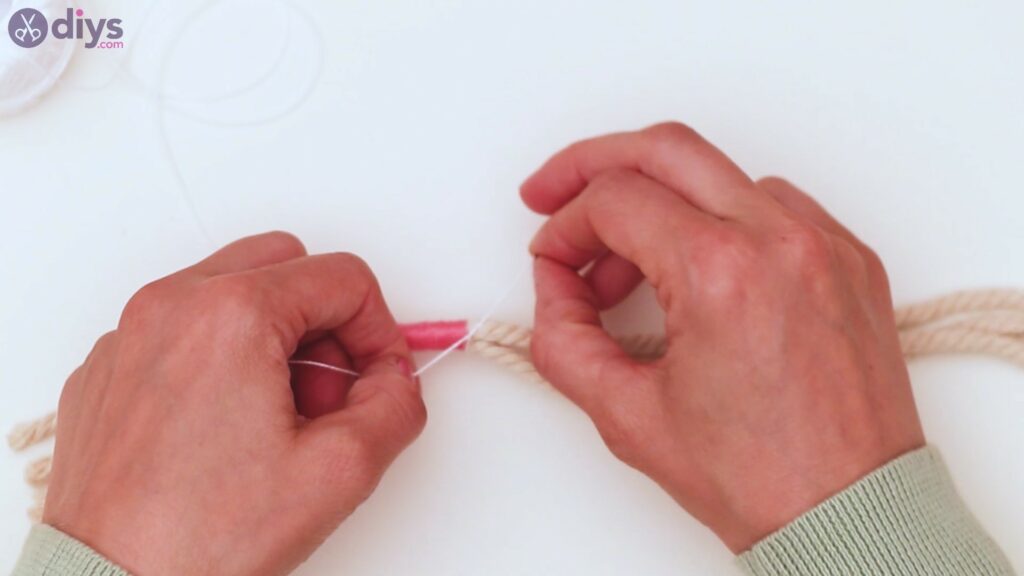
Step 2: Add some pink
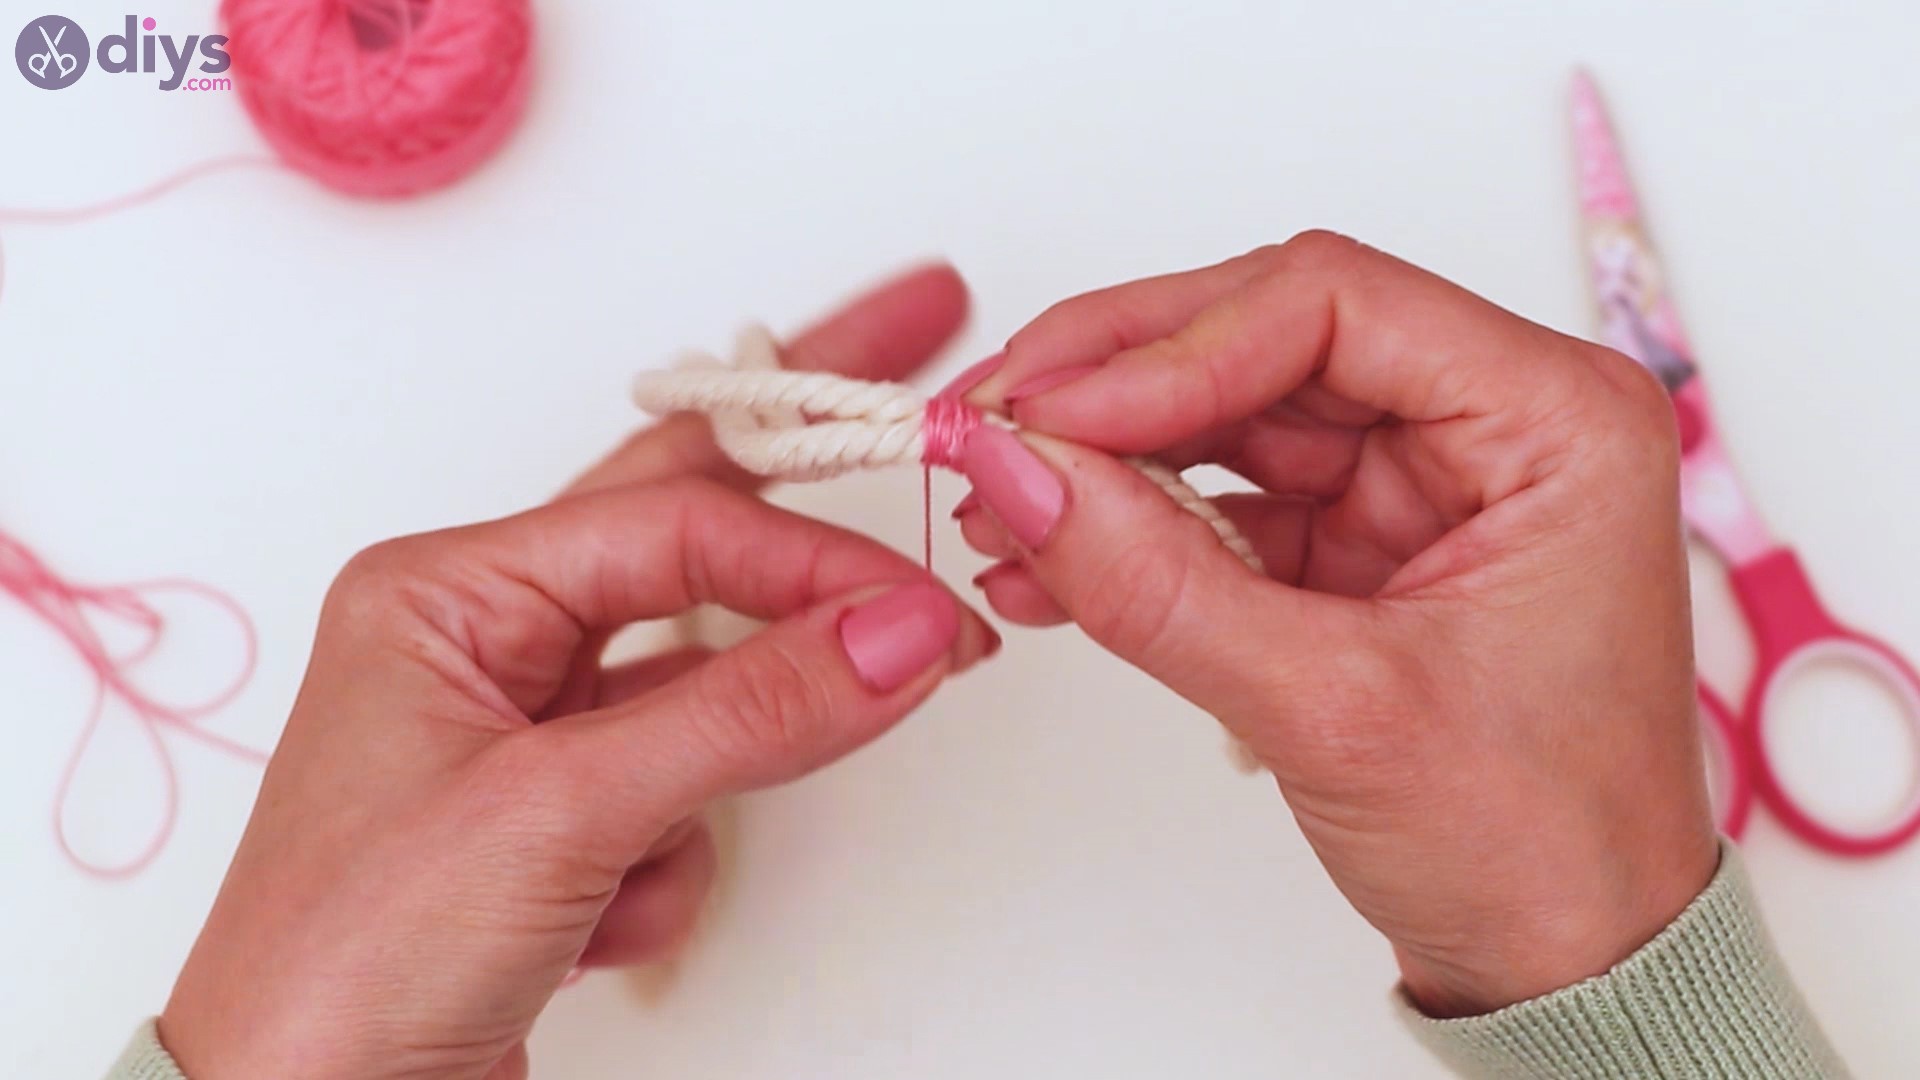
Arrange the rope pieces on the table in a turned U shape. Get the pink thread and tie a knot about mid-height on the bunch of ropes on the left.
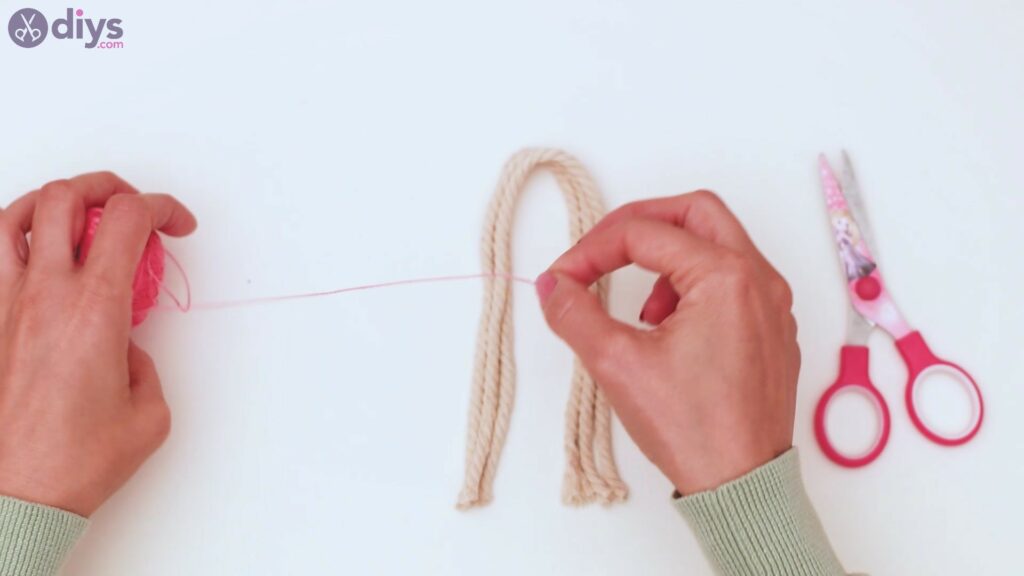
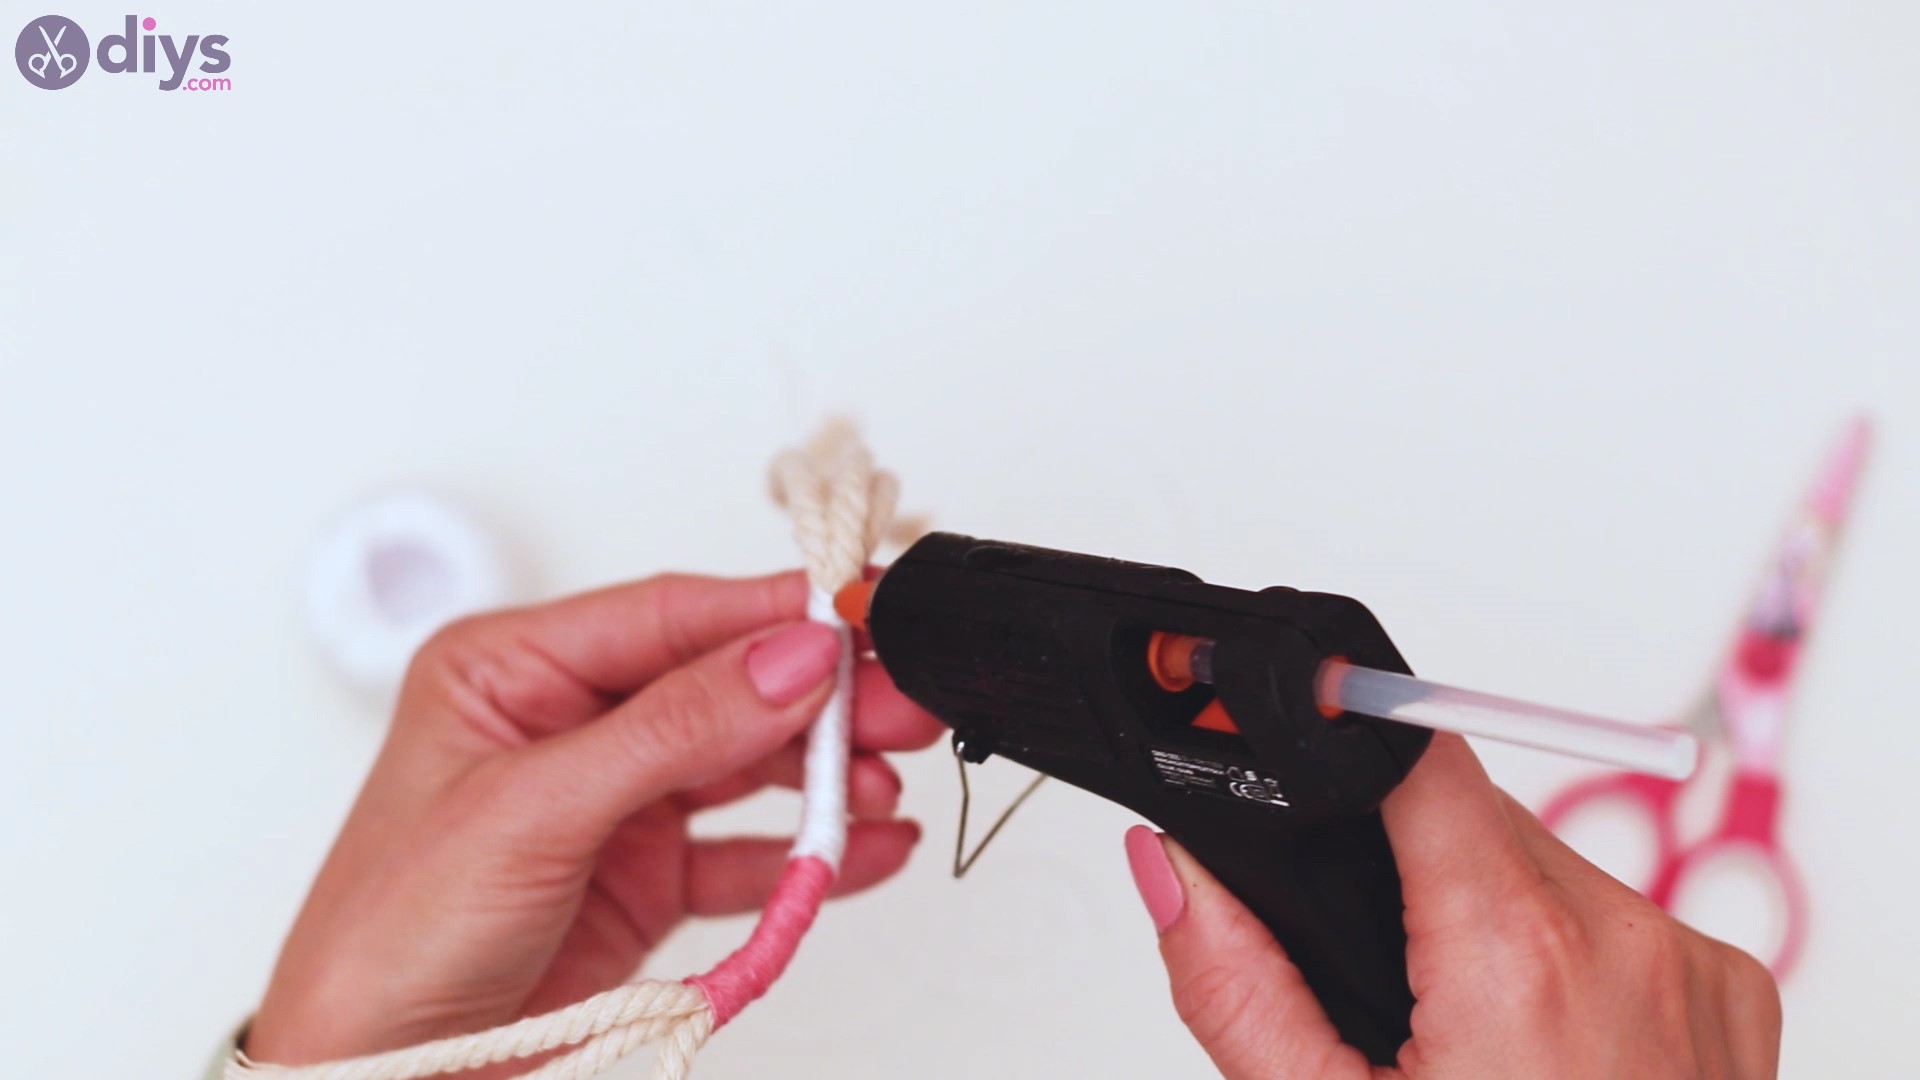
Make sure you do a double knot as you don’t want it to unravel later on.
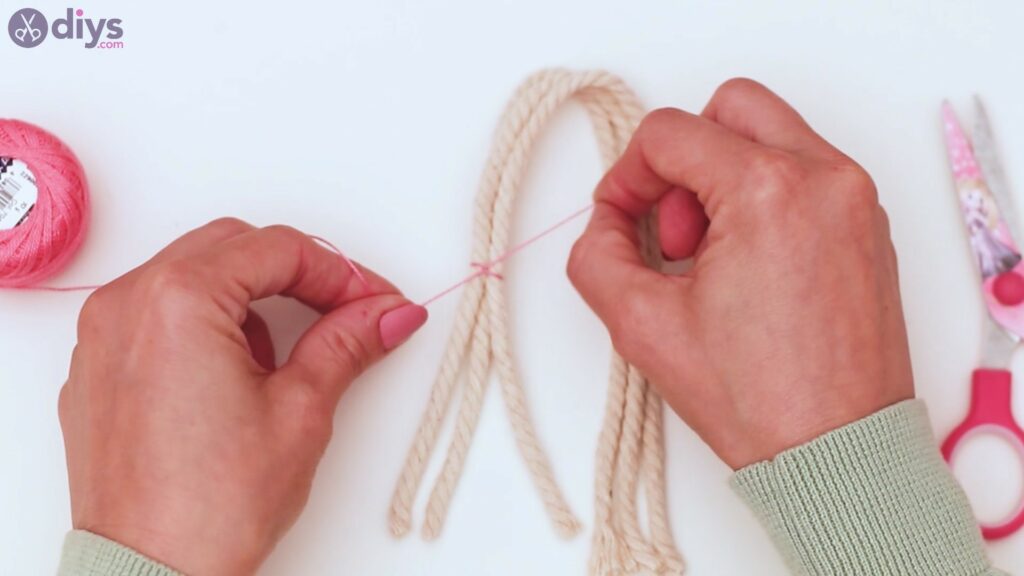
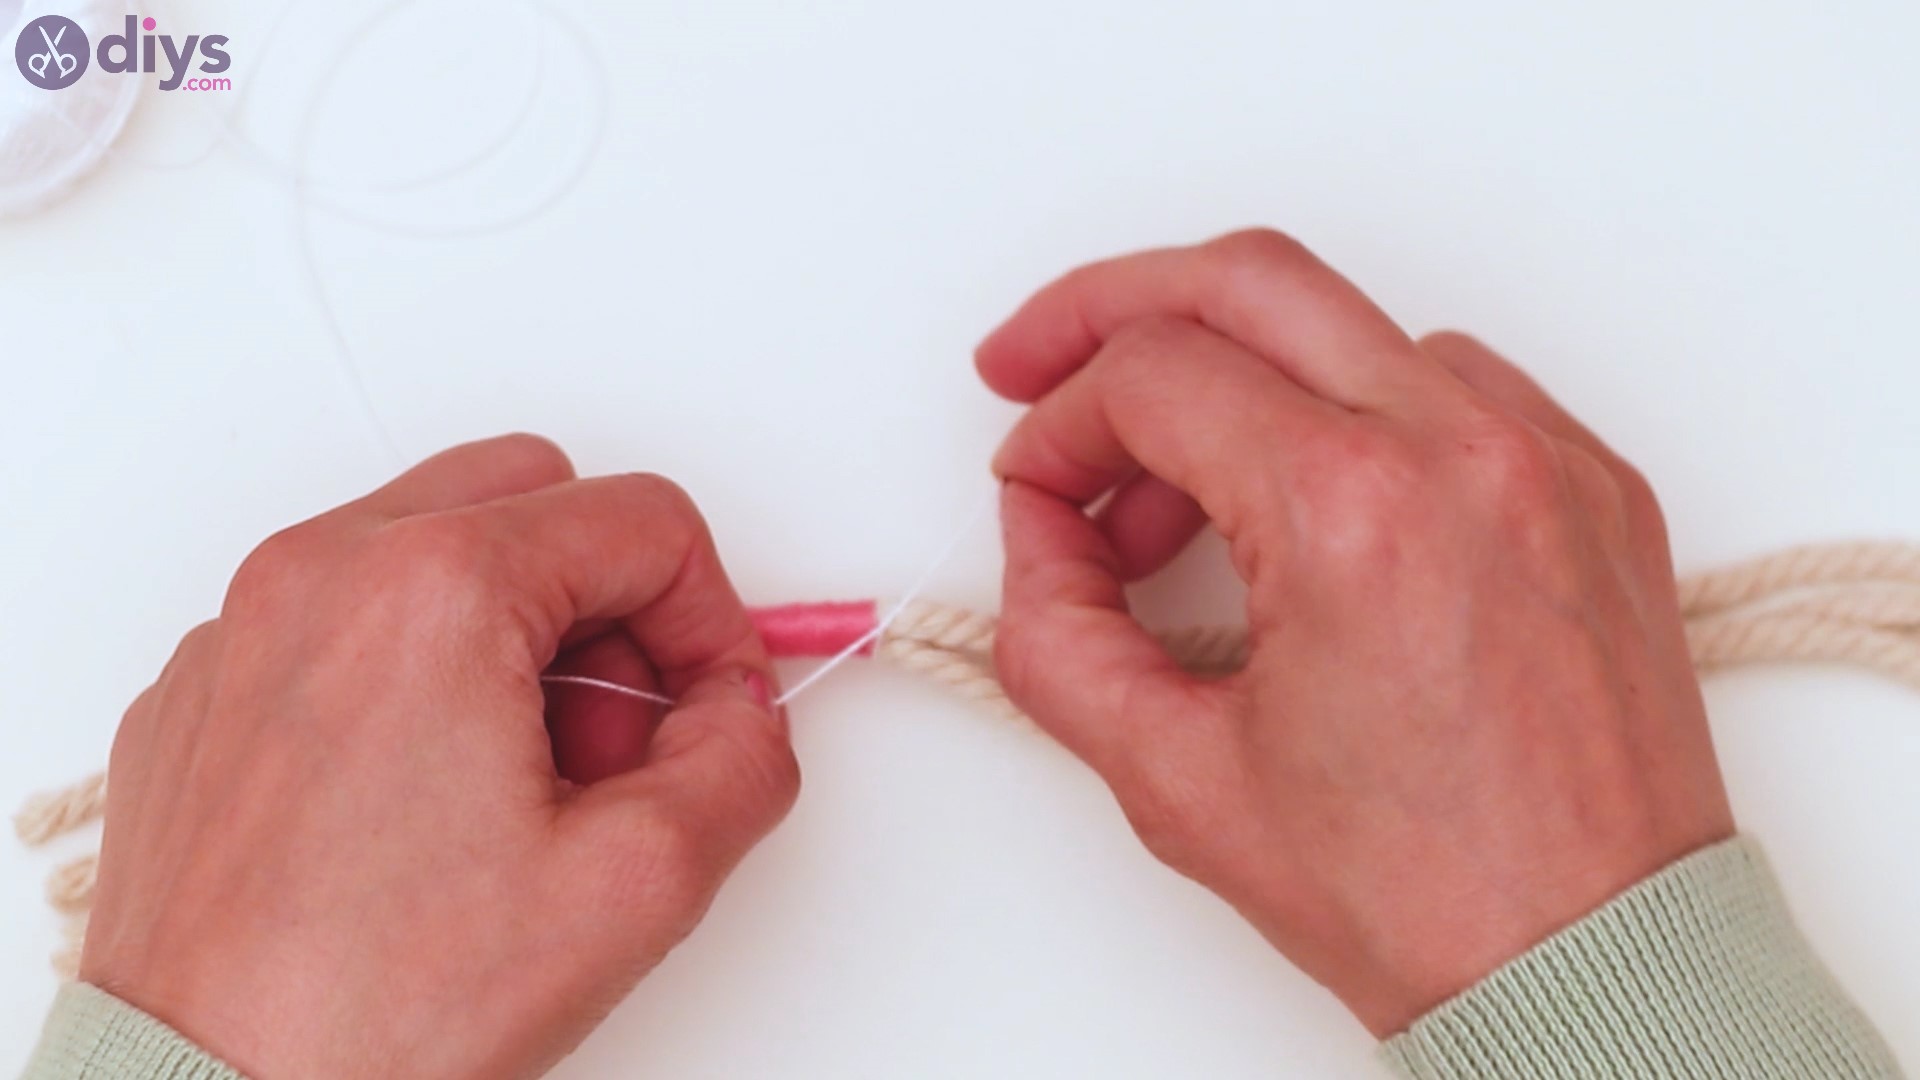
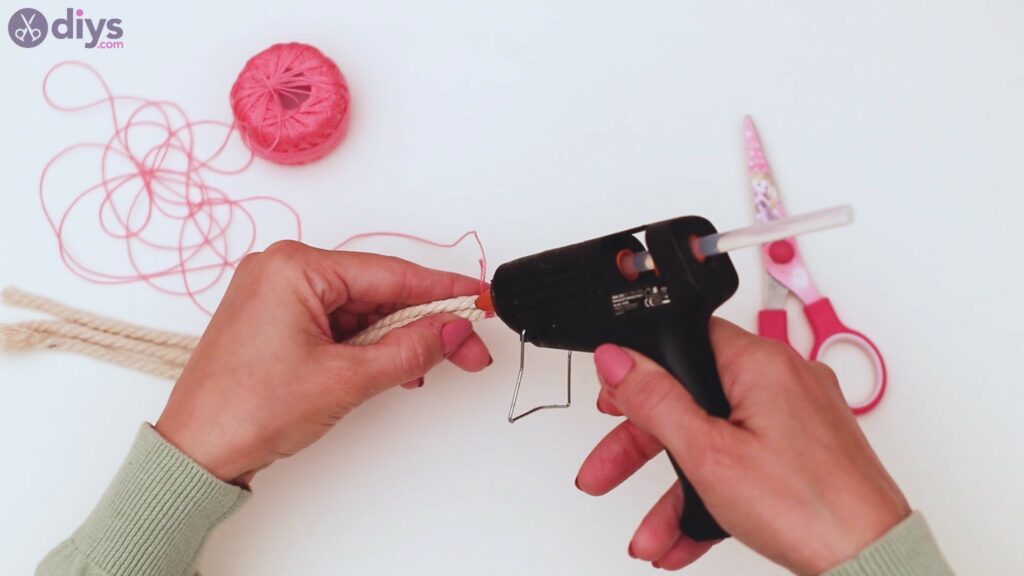
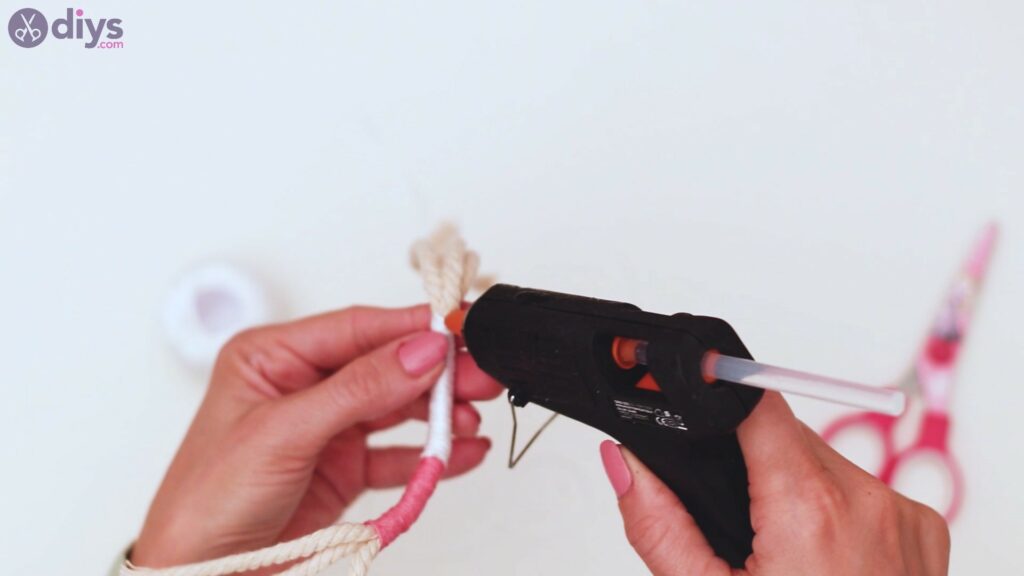
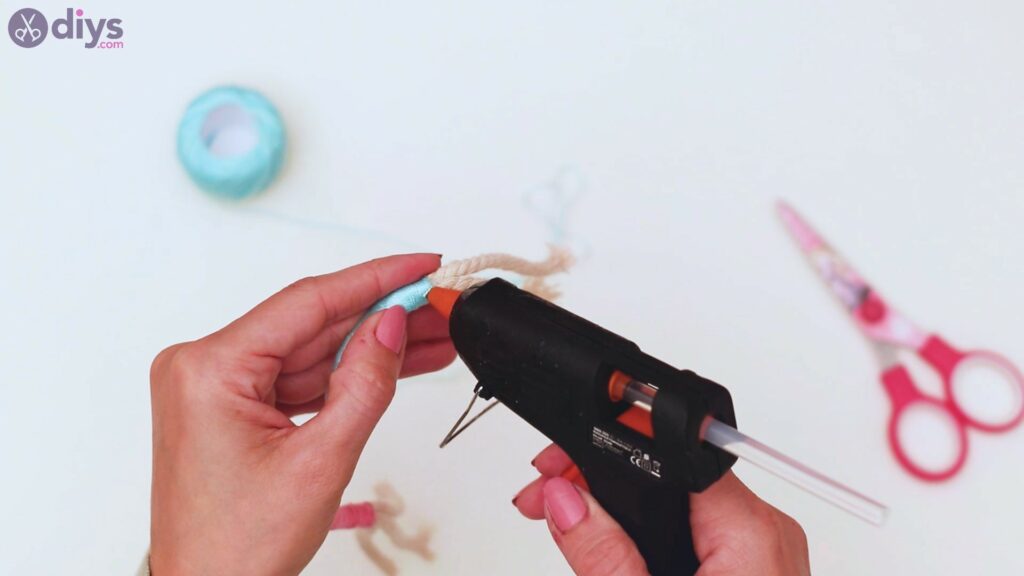
In fact, get the glue gun and add some hot glue to the spot to make sure it’s not going anywhere. It doesn’t need too much glue, but just a bit will do the work.
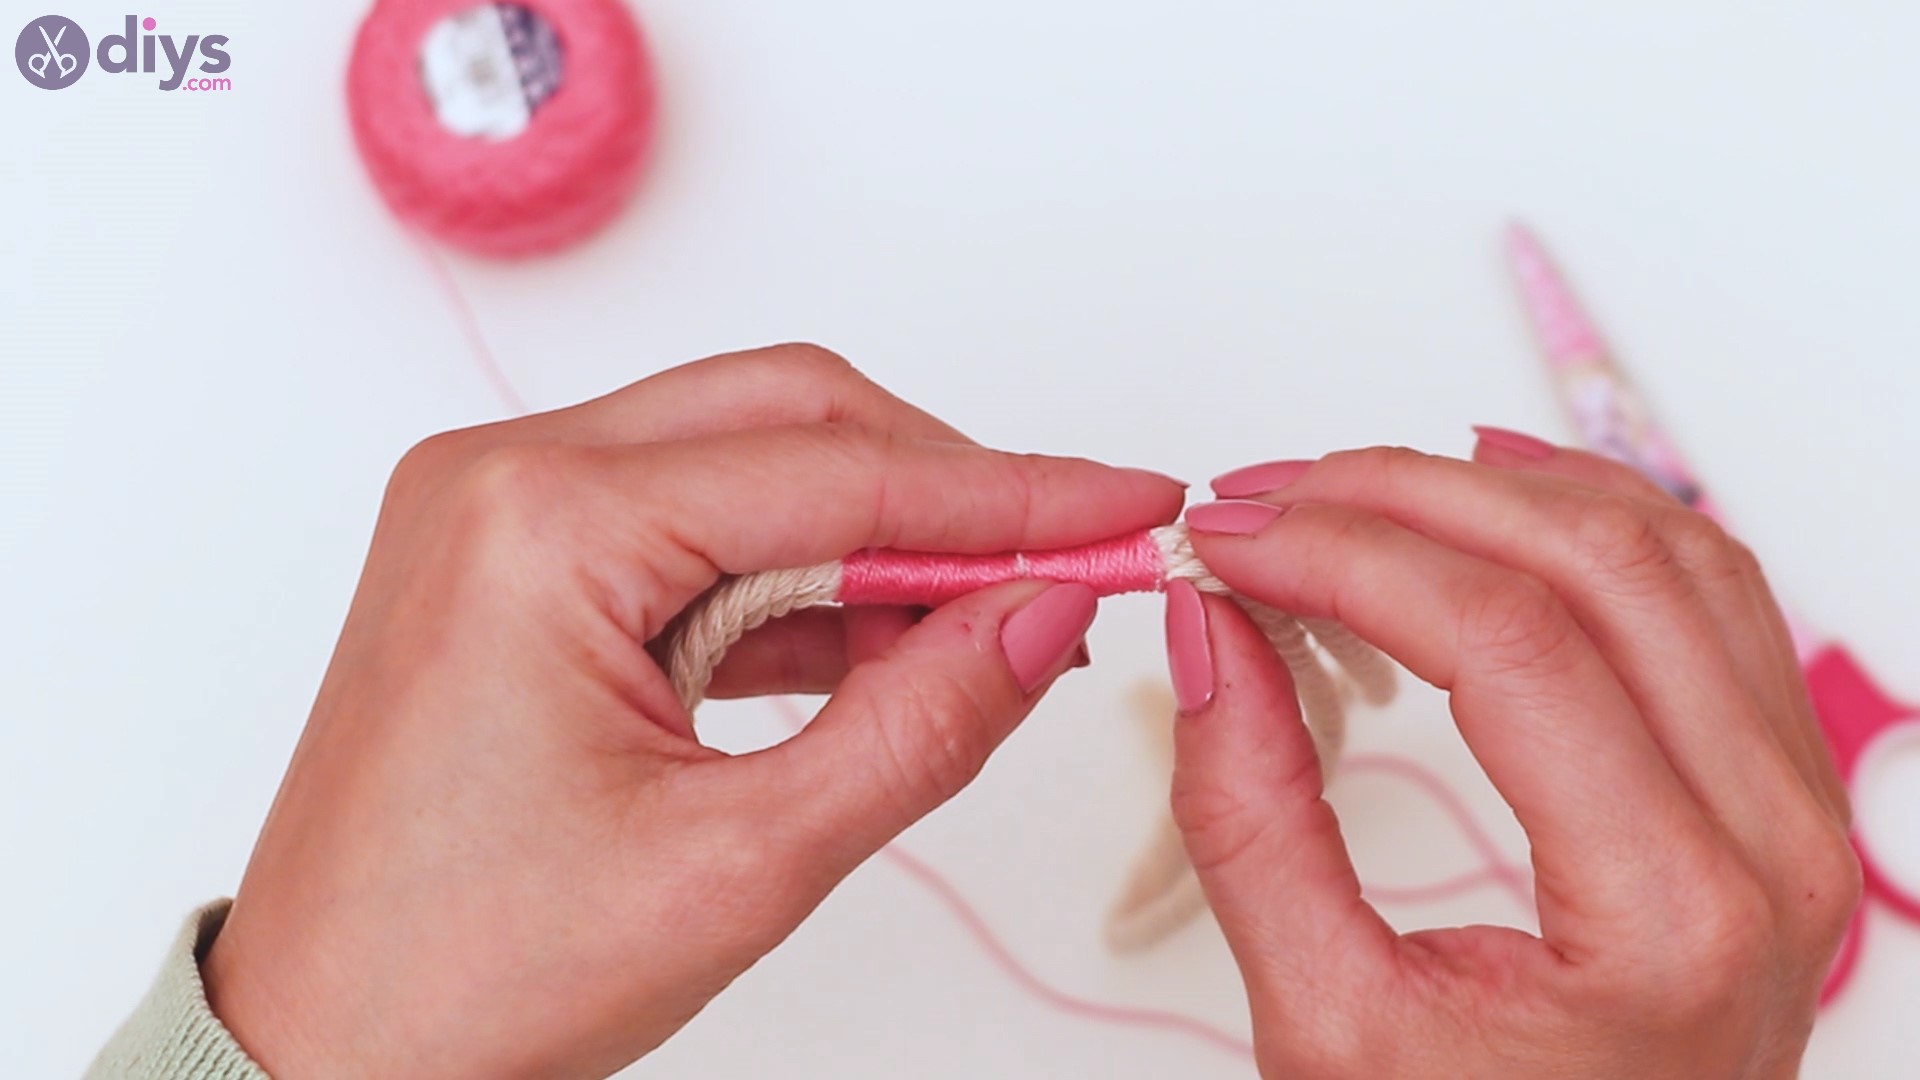
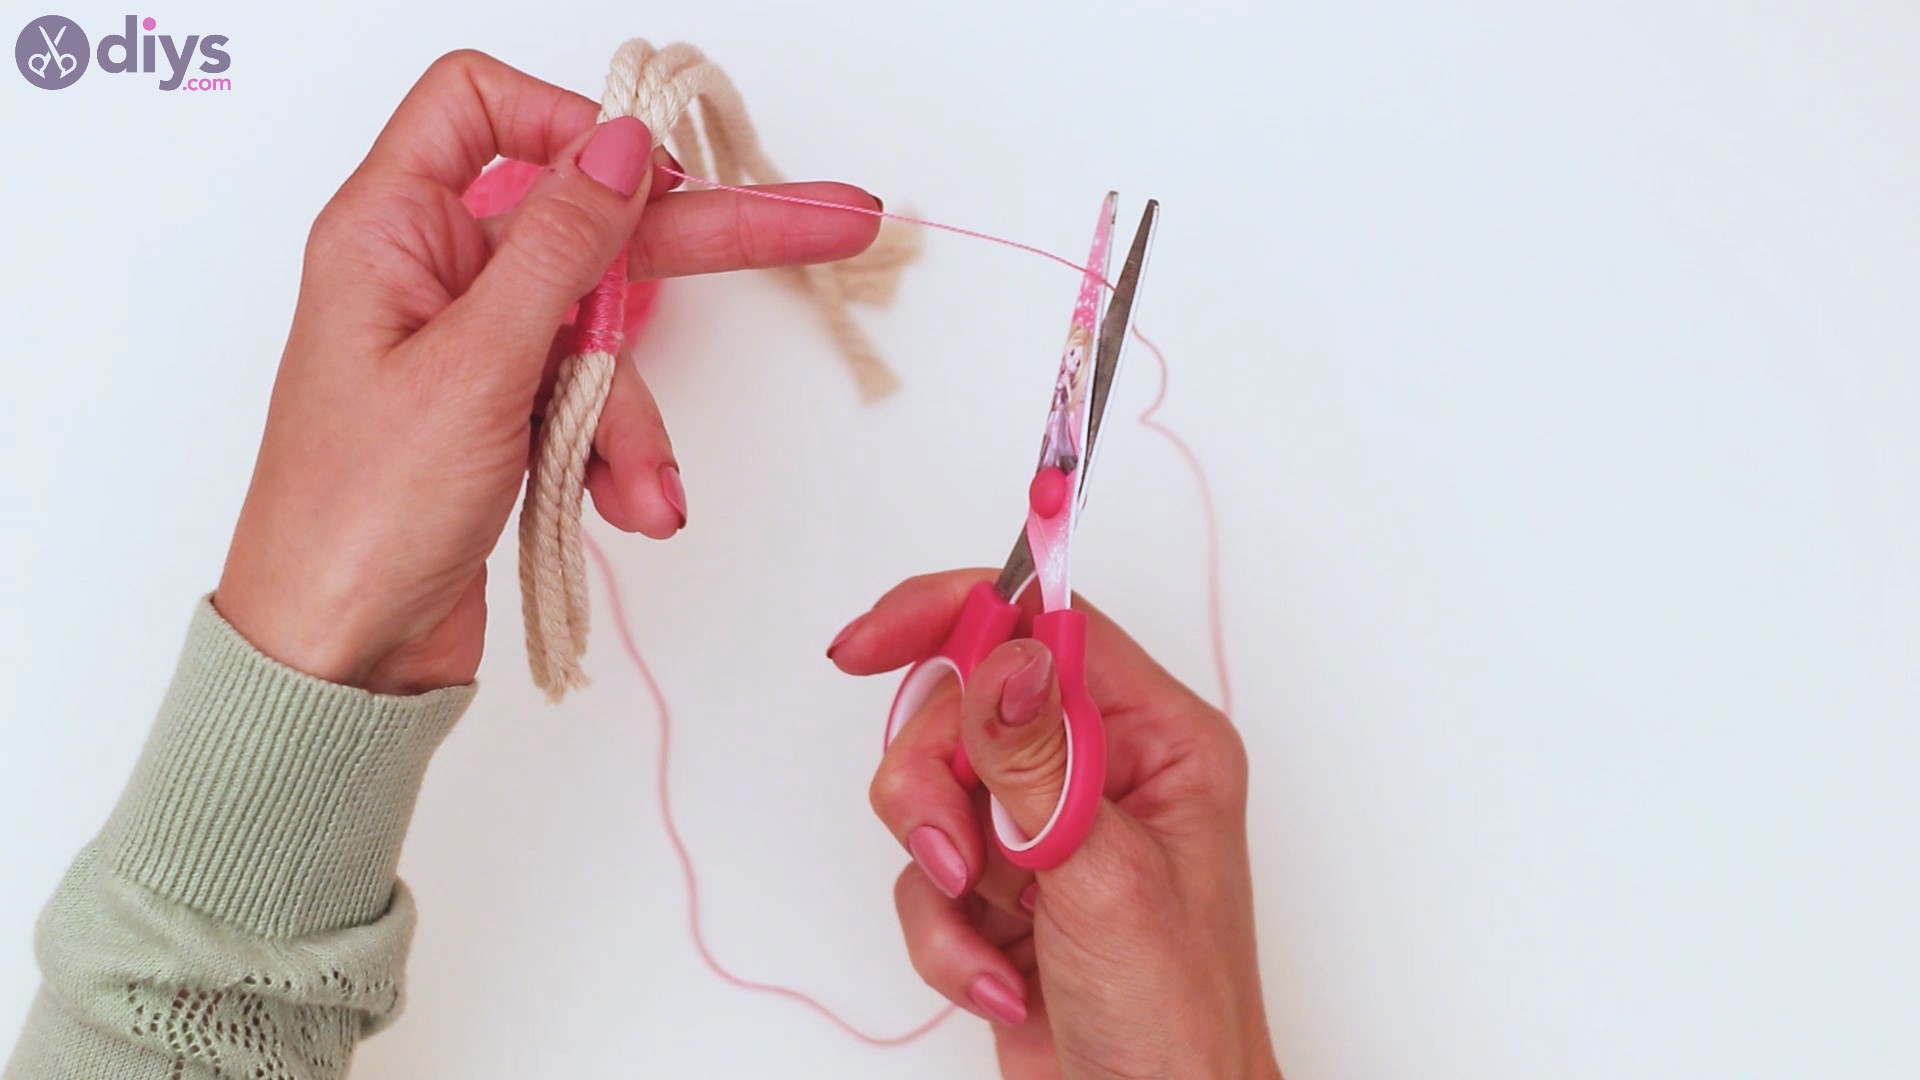
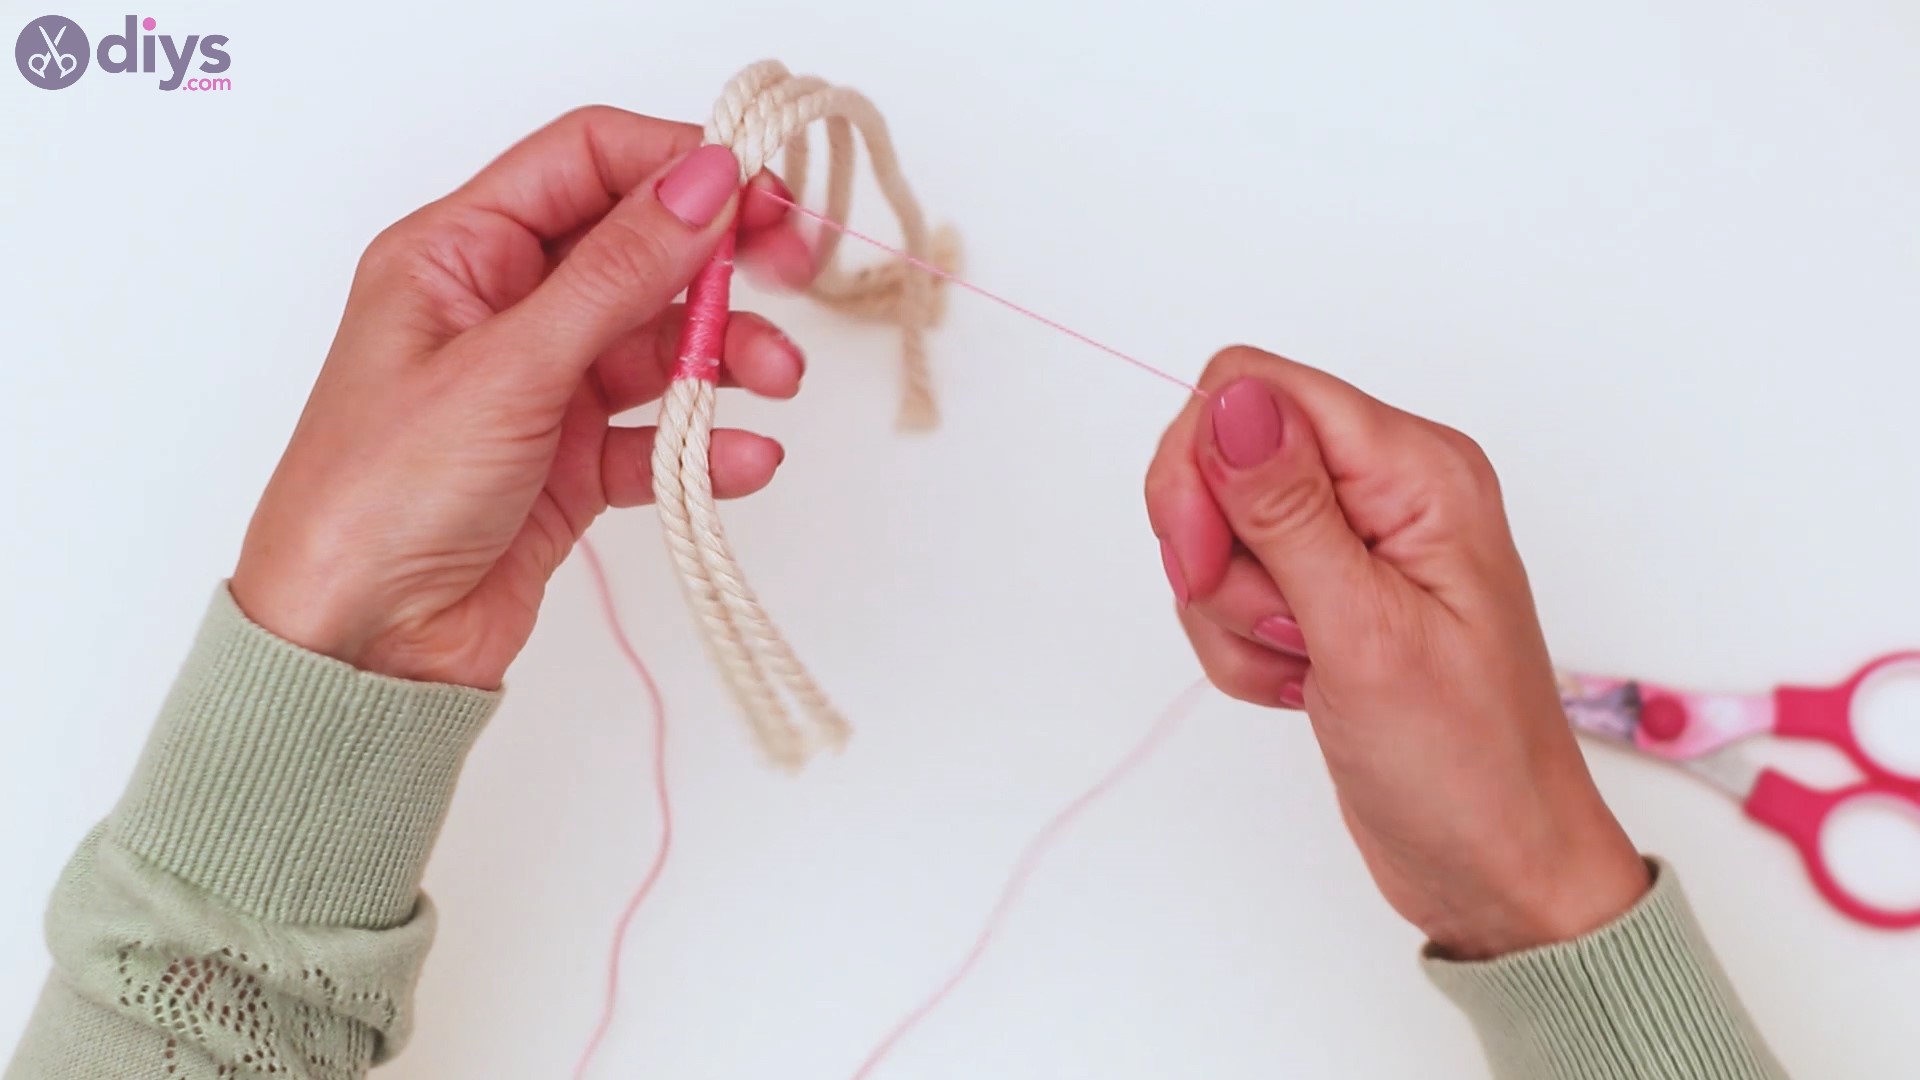
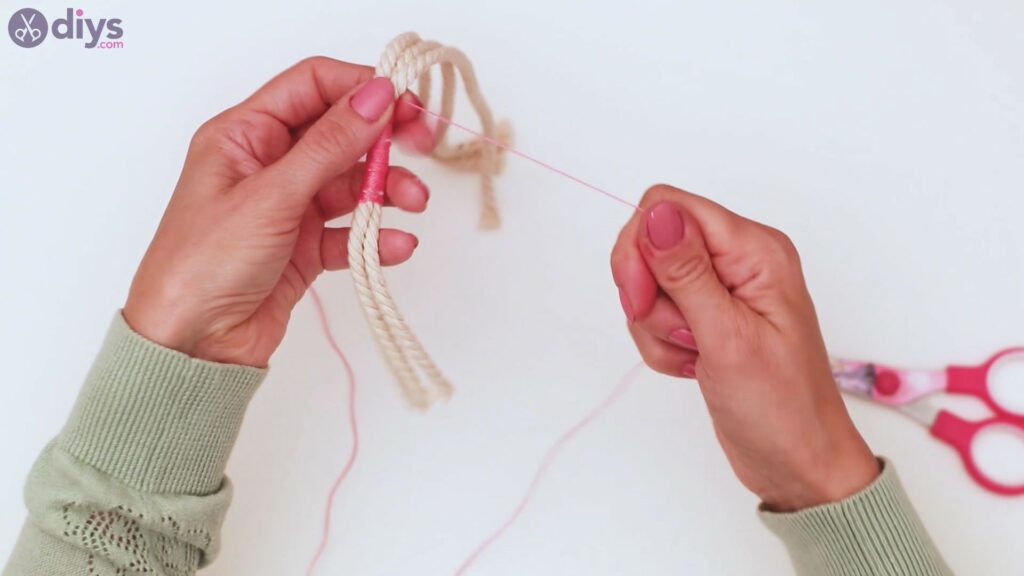
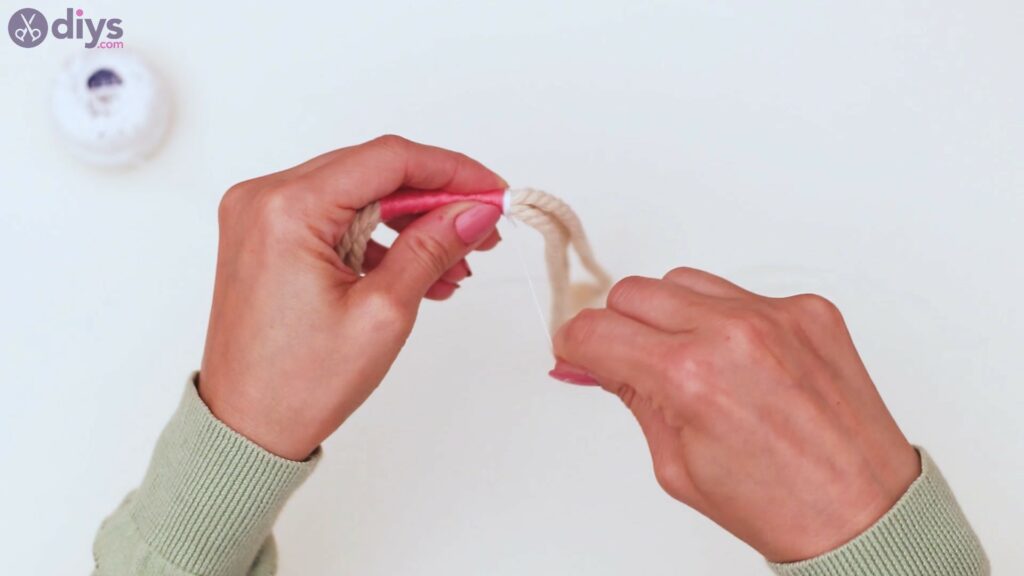
Wrap the thread around the ropes as tightly as possible. You want the threads to create a solid area so you can’t see the rope underneath.

You want to cover the rope with pink thread for about two inches. When you’re done, cut the thread. You then want to complete wrapping the piece around the ropes.

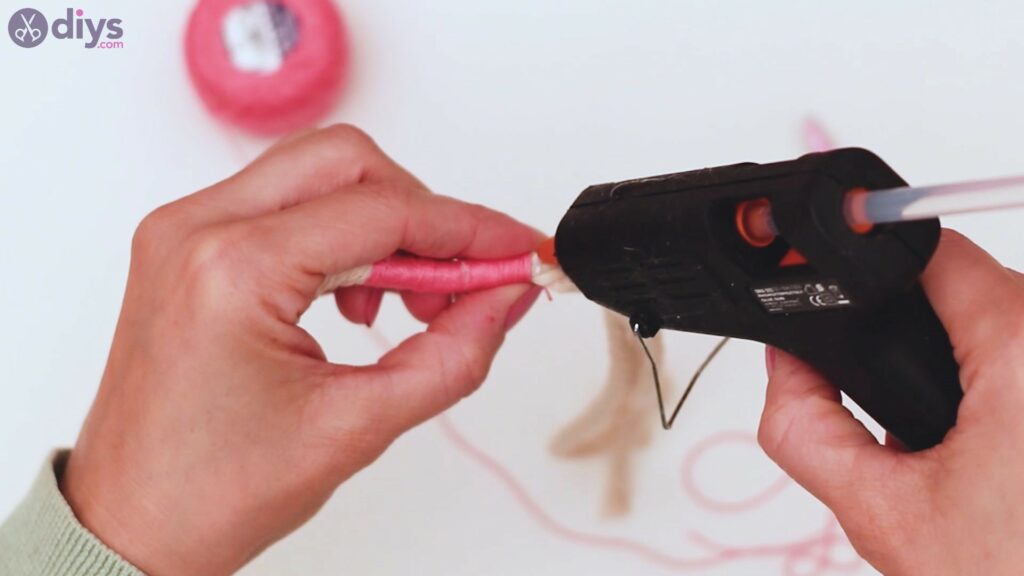
Add some hot glue to the rope and press the end of the thread into it so you can complete the area.
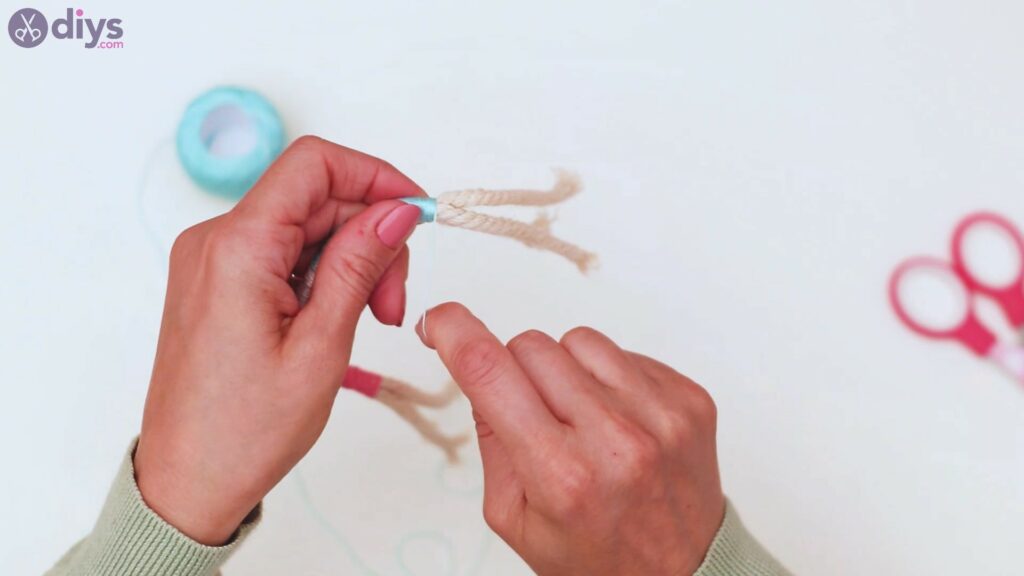
Step 3: Add white thread
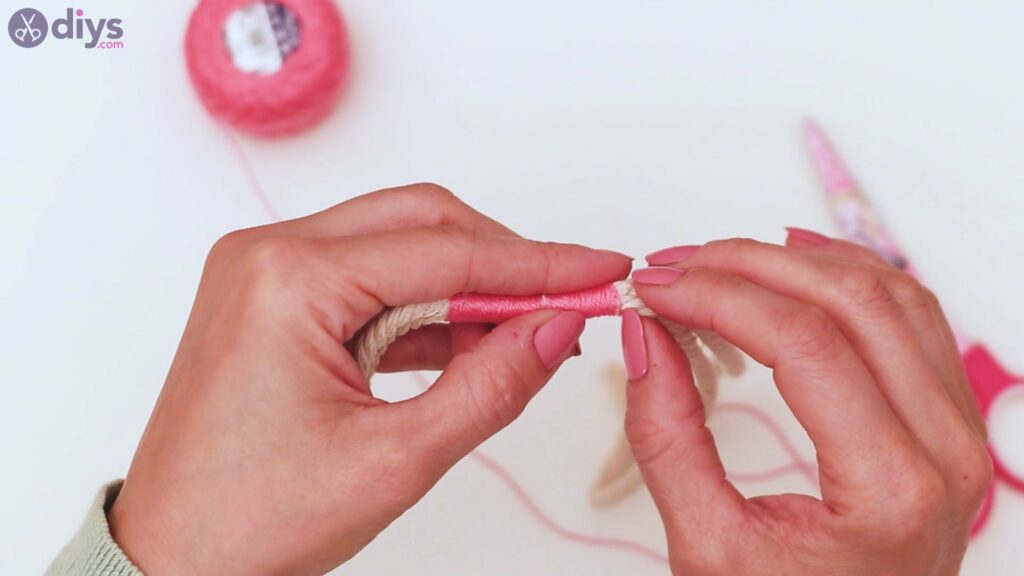
Next, you want to get the white thread. Tie a double knot over the ropes, right next to the top of the pink area.
Wrap the white thread around the ropes as tightly as you can, continuing on the same pattern as you did with the pink thread.
You want to cover the entire upper area of the loop created out of ropes with the white thread.

When you’re done, get the scissors and cut the thread. Then, continue wrapping the thread around the ropes until it’s completely done.
Get the glue gun and add a bit of hot glue to the end of the white area so you can fix the thread in permanently.
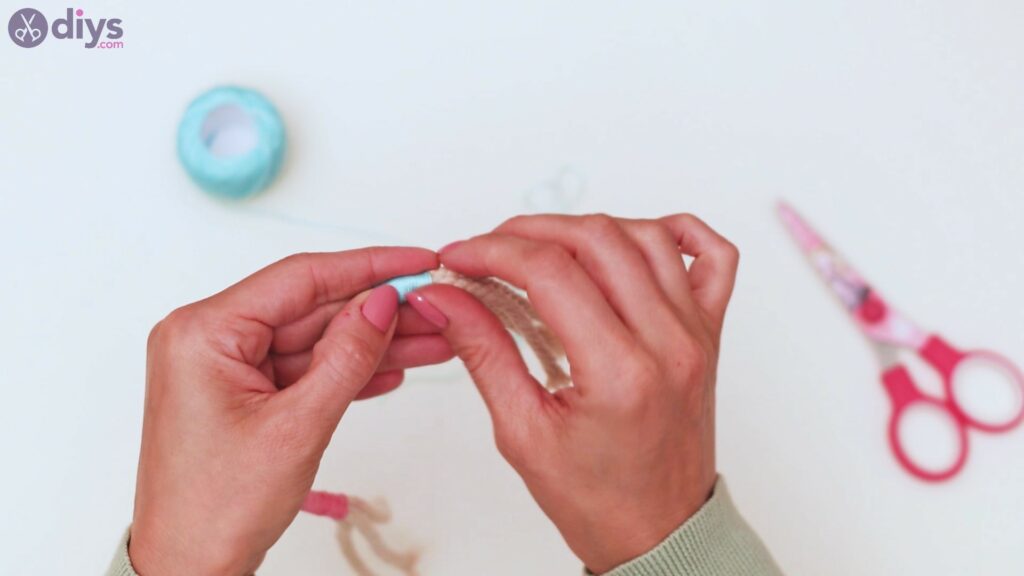
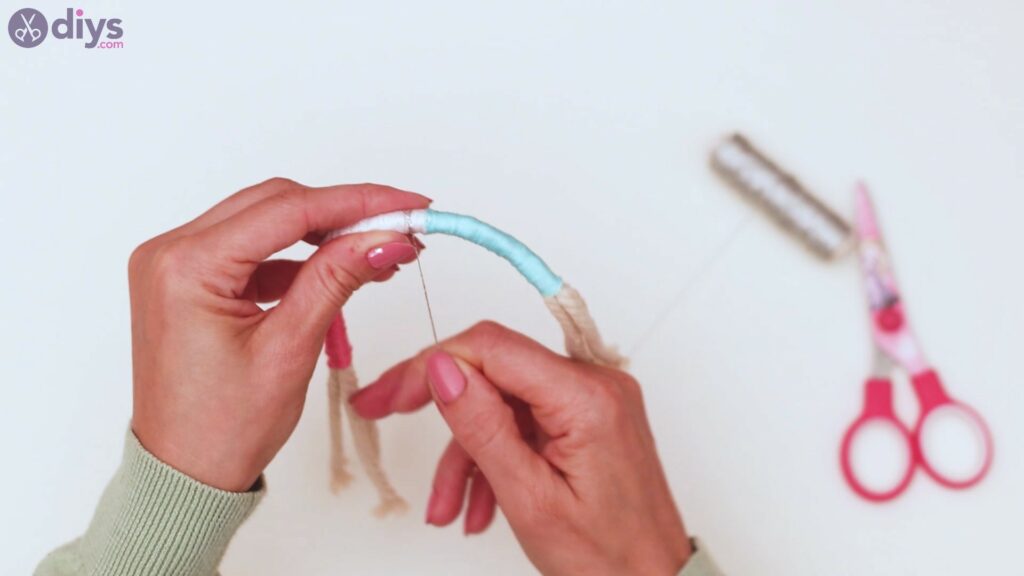
Step 4: Add in some blue
Now’s the time to add in some blue. Tie the thread in a double knot right on the edge of the white thread.

Wrap the thread around the ropes. Once more, try to wrap things up tightly, placing each loop right next to the previous one.
Add some hot glue to the end of the thread when you’re done and make things permanent.
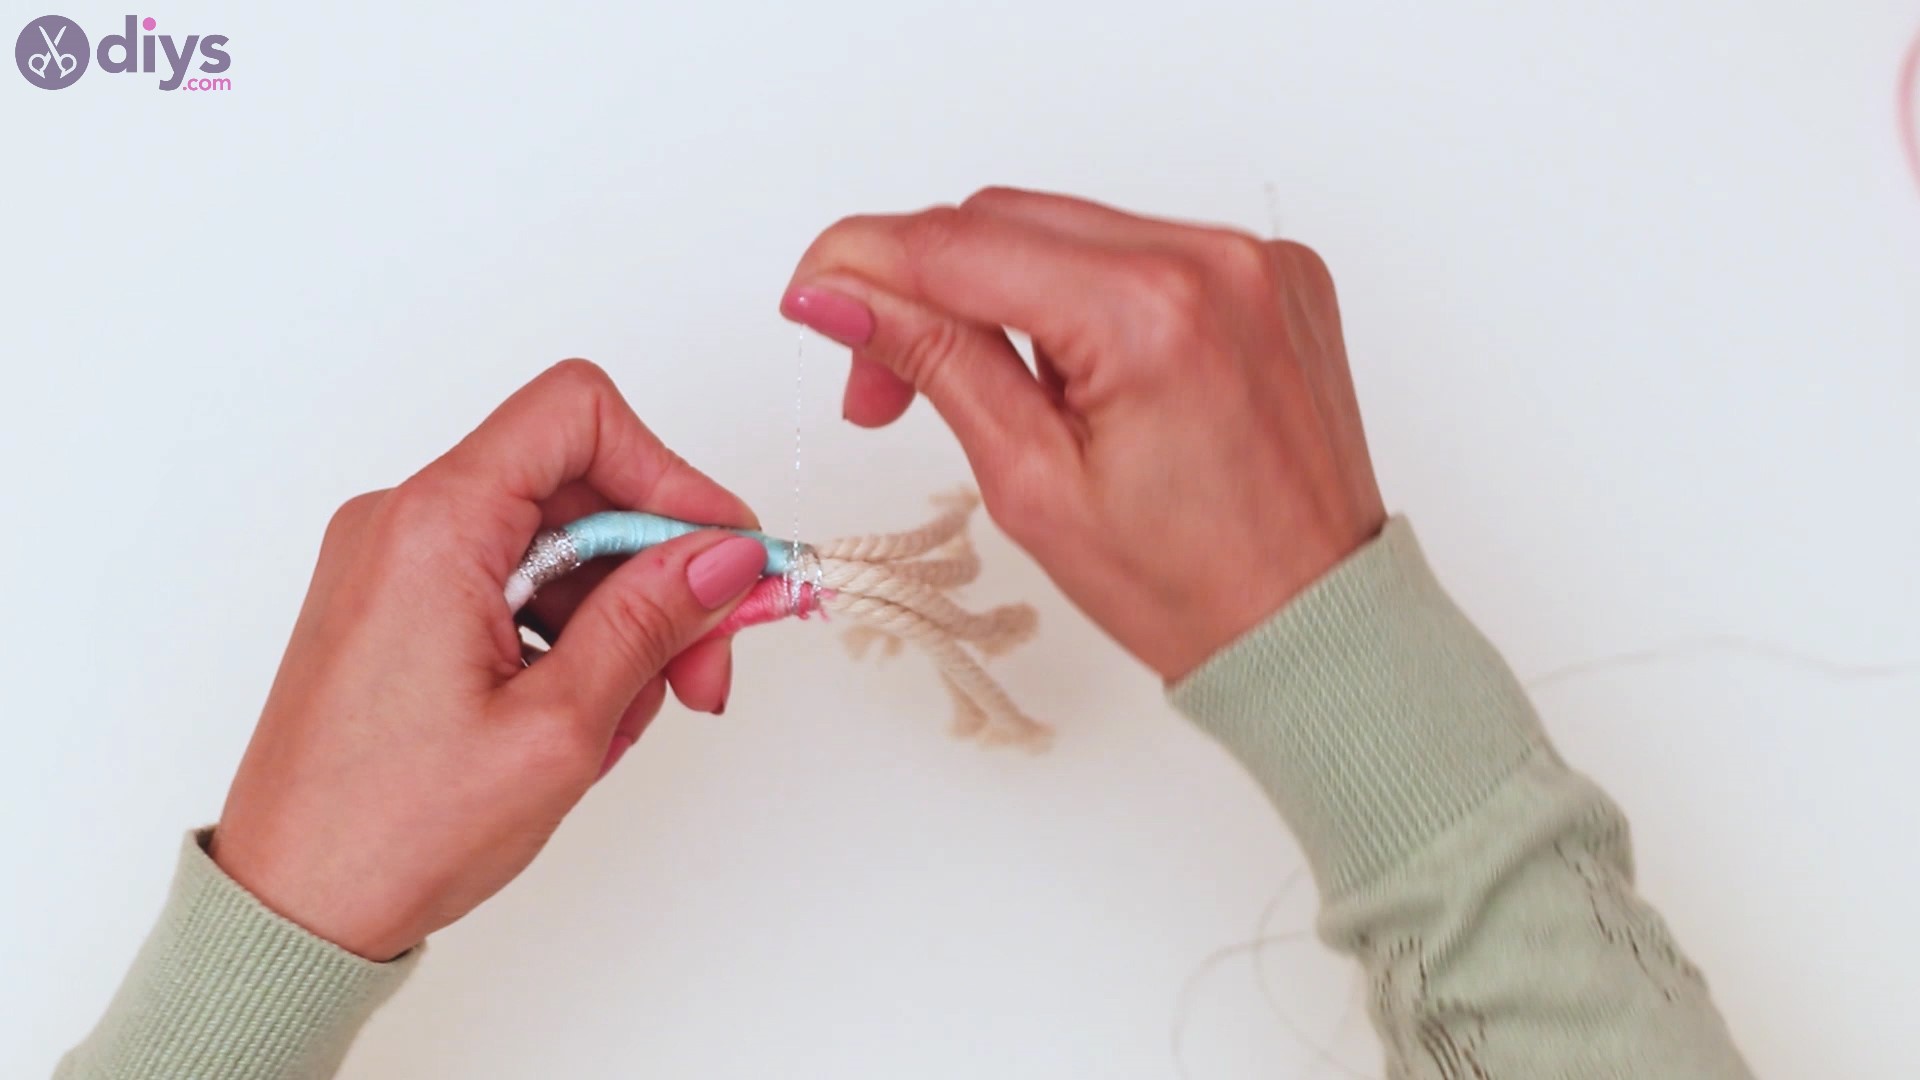
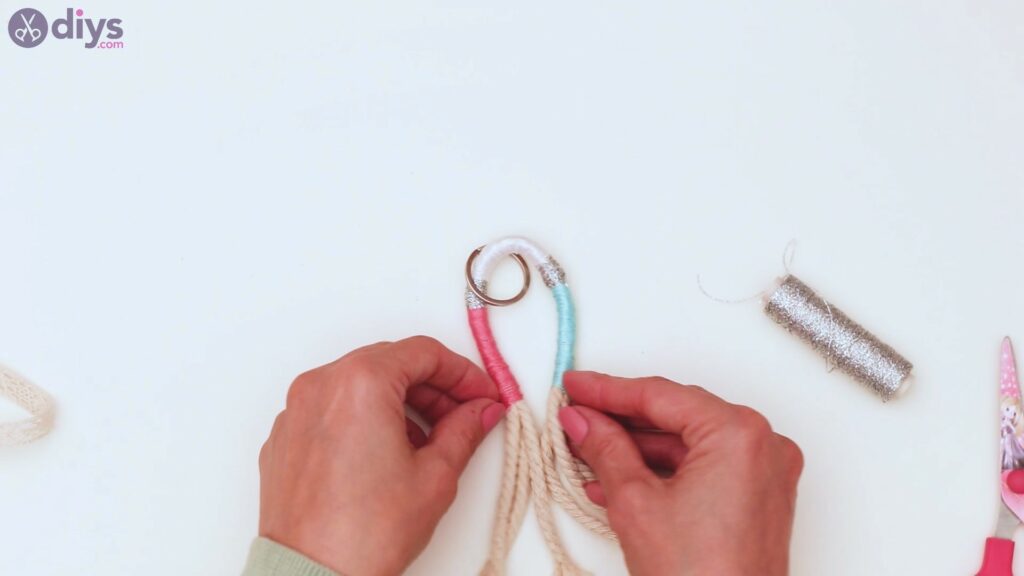
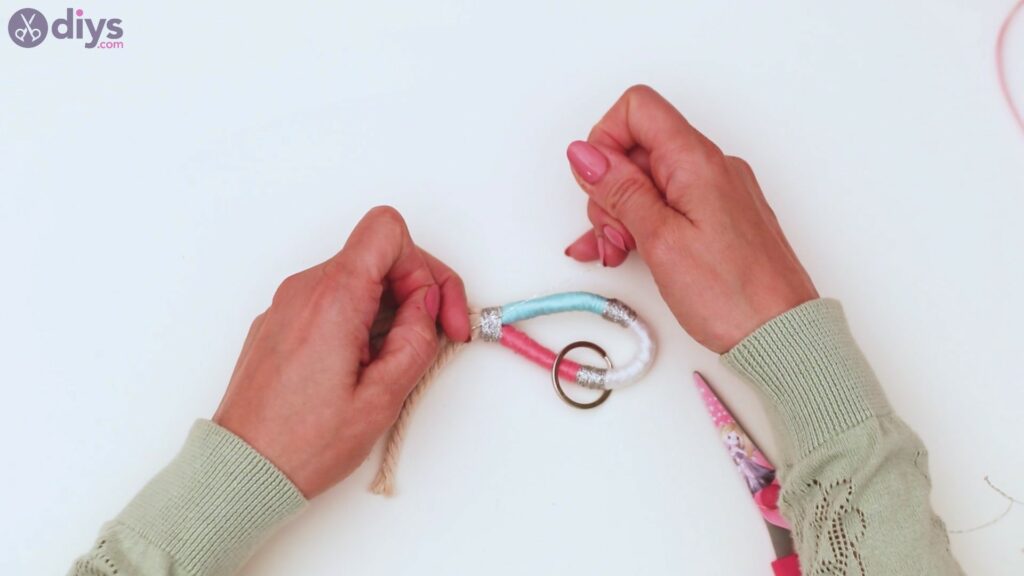
Step 5: Add some silver
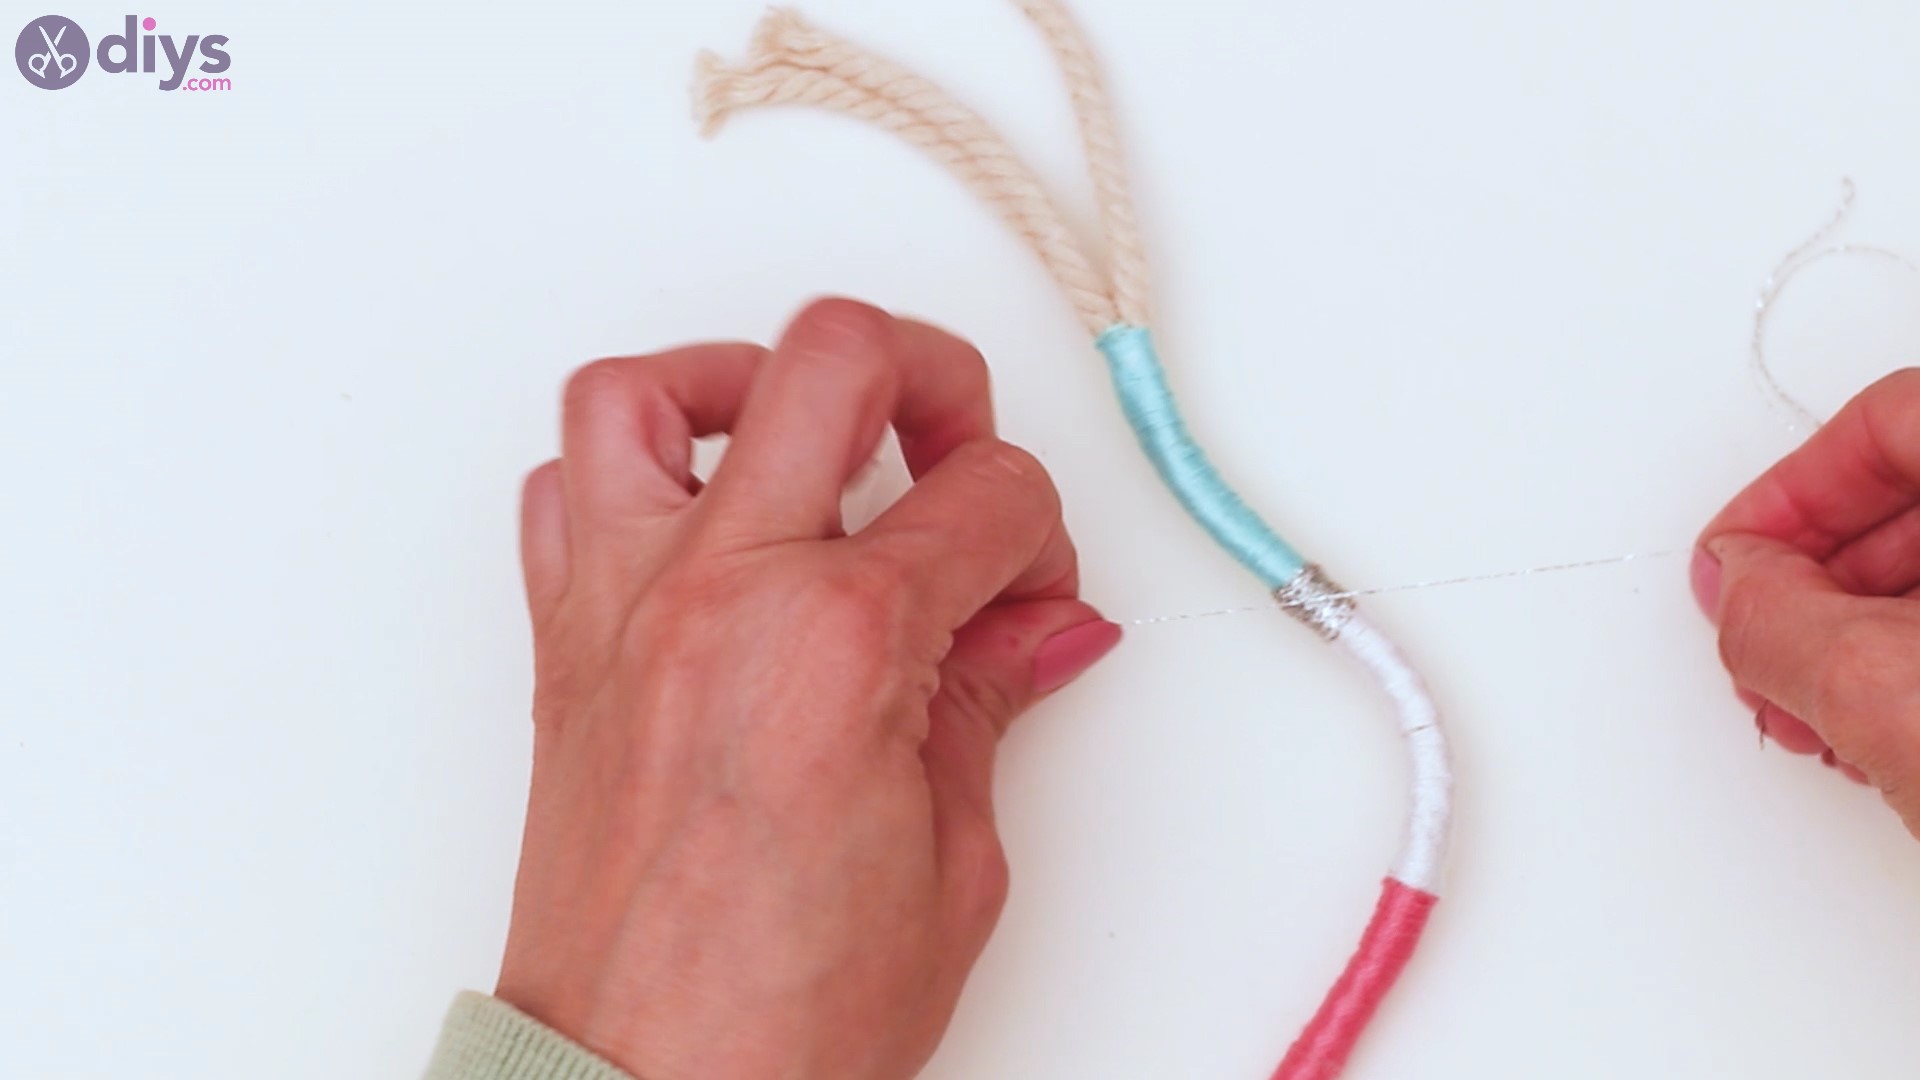
We also have that silver thread in there, so let’s see what we can use it for. Pick up your colorful ropes and tie the silver thread over the white area, just a bit away from the border between white and blue.
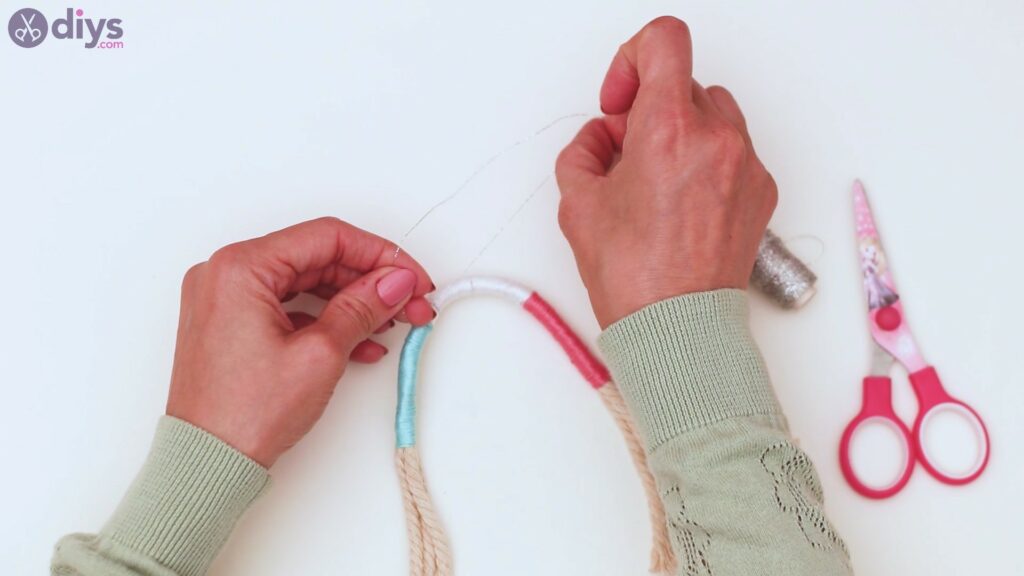
Wrap the silver thread towards the border, following the same rules you have so far, making the loops tight and neat.
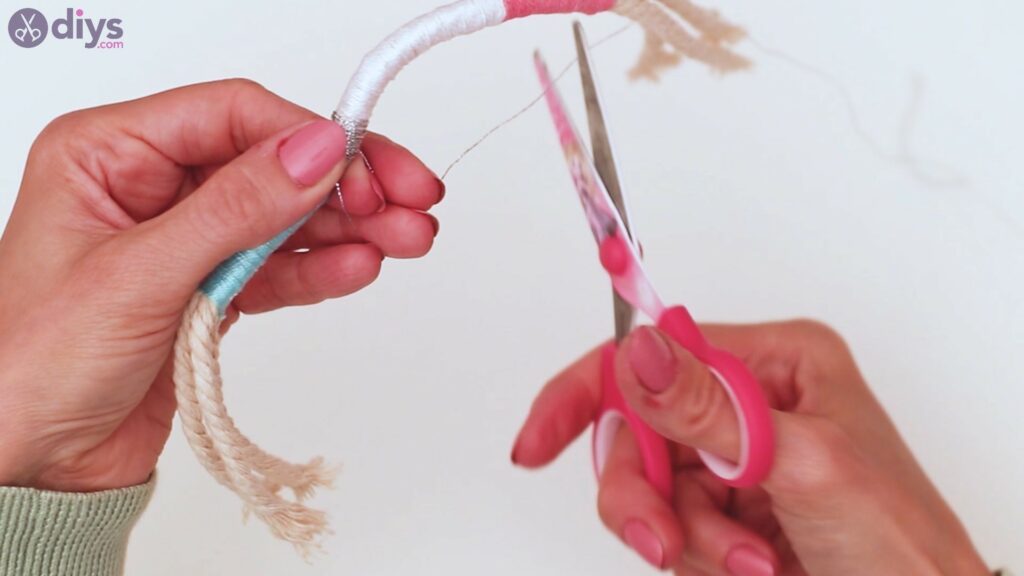
Check out how nice and neat it all looks!
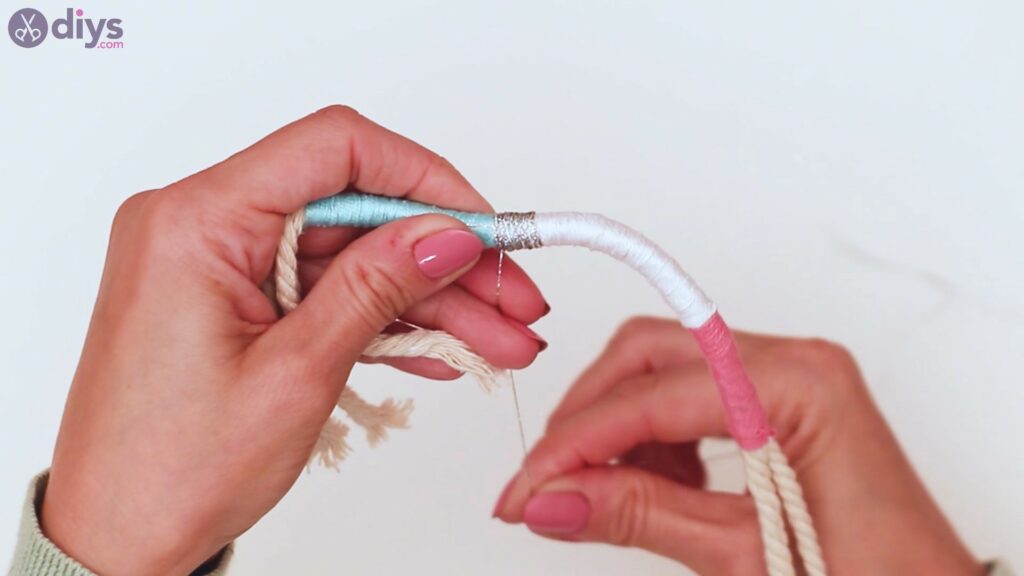
Cut the excess thread when you’re done and complete looping the thread on the area. Tie a knot or add in some hot glue to fix it all in place.
Repeat the process on the other side of the white thread, near the broder with the pink area.

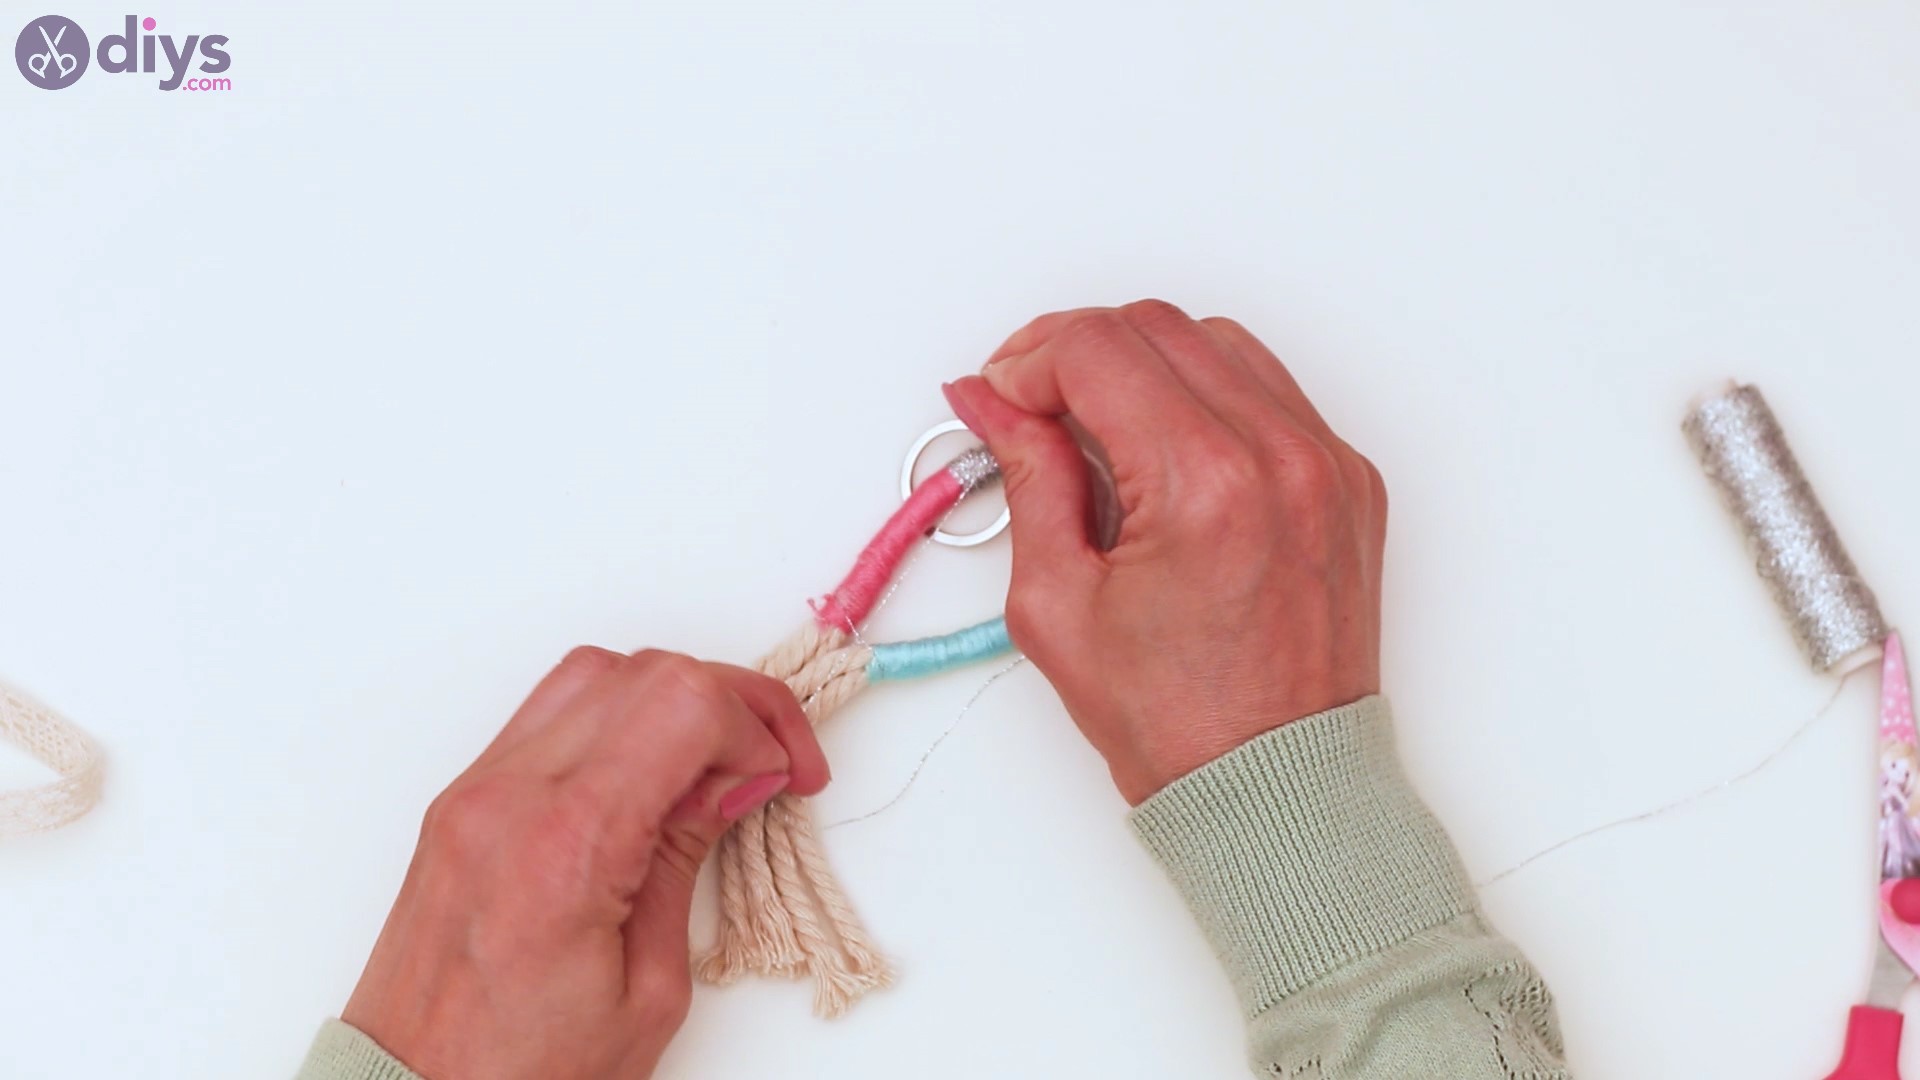
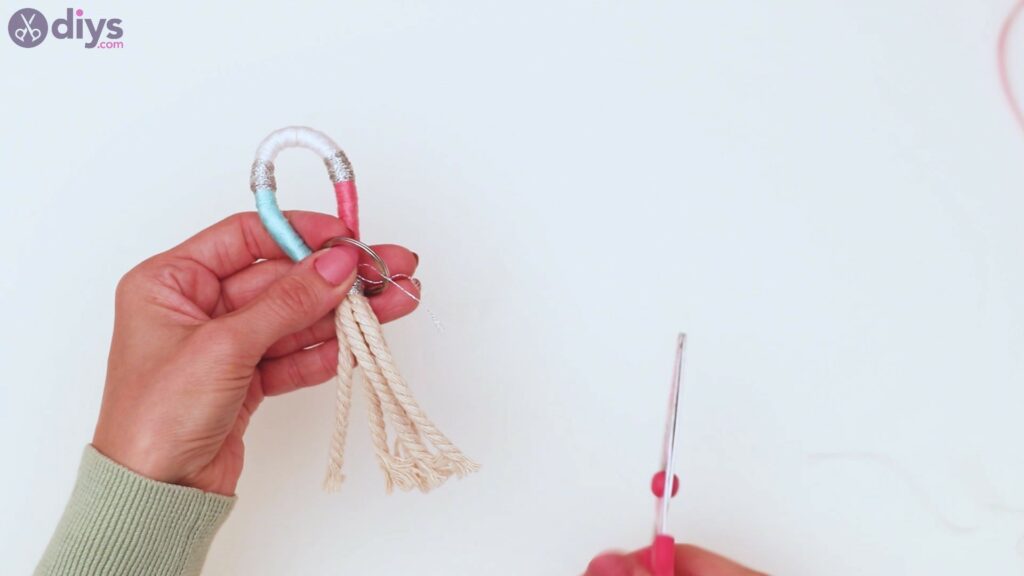
Step 6: Add the keychain ring
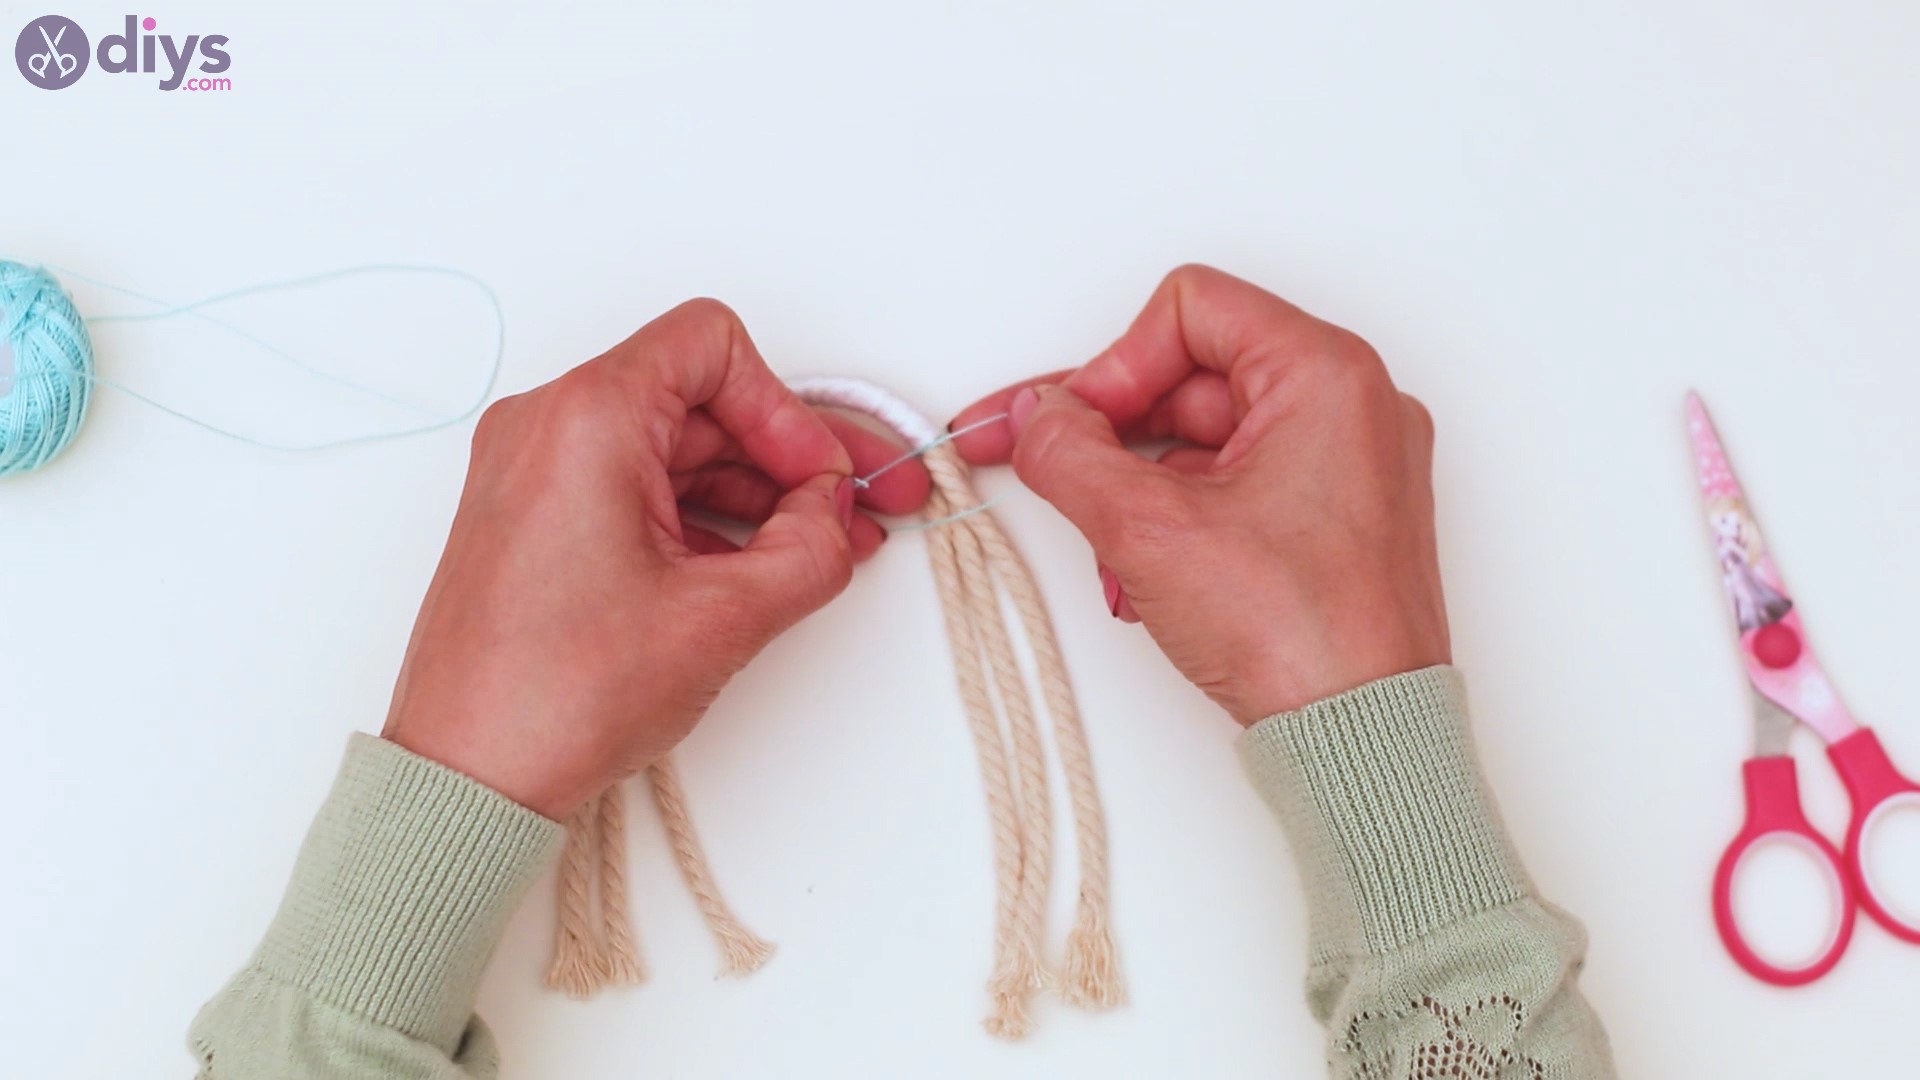
Since we’re making a cool keyring, maybe it’s time we actually added the keyring to the design, right? So, get the split kechain ring and push the ropes through its center.

There you go. Almost done!
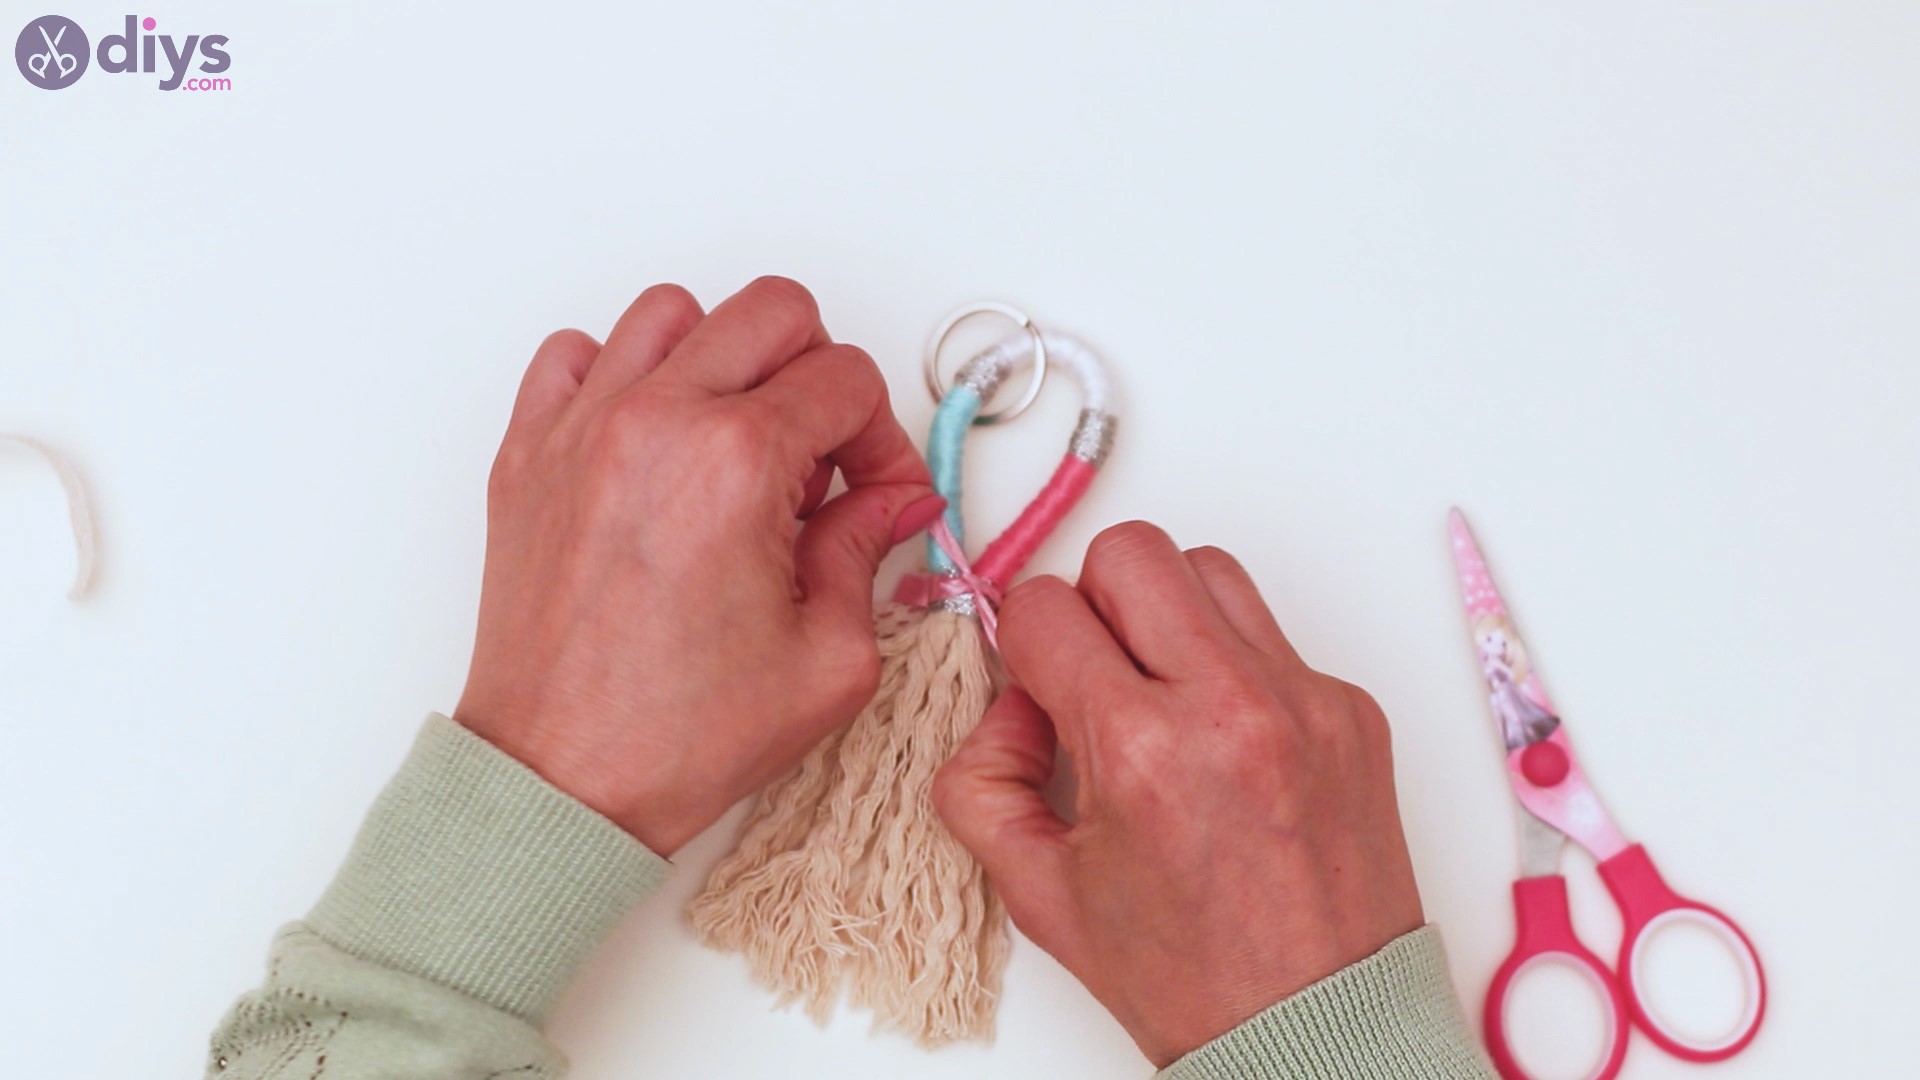
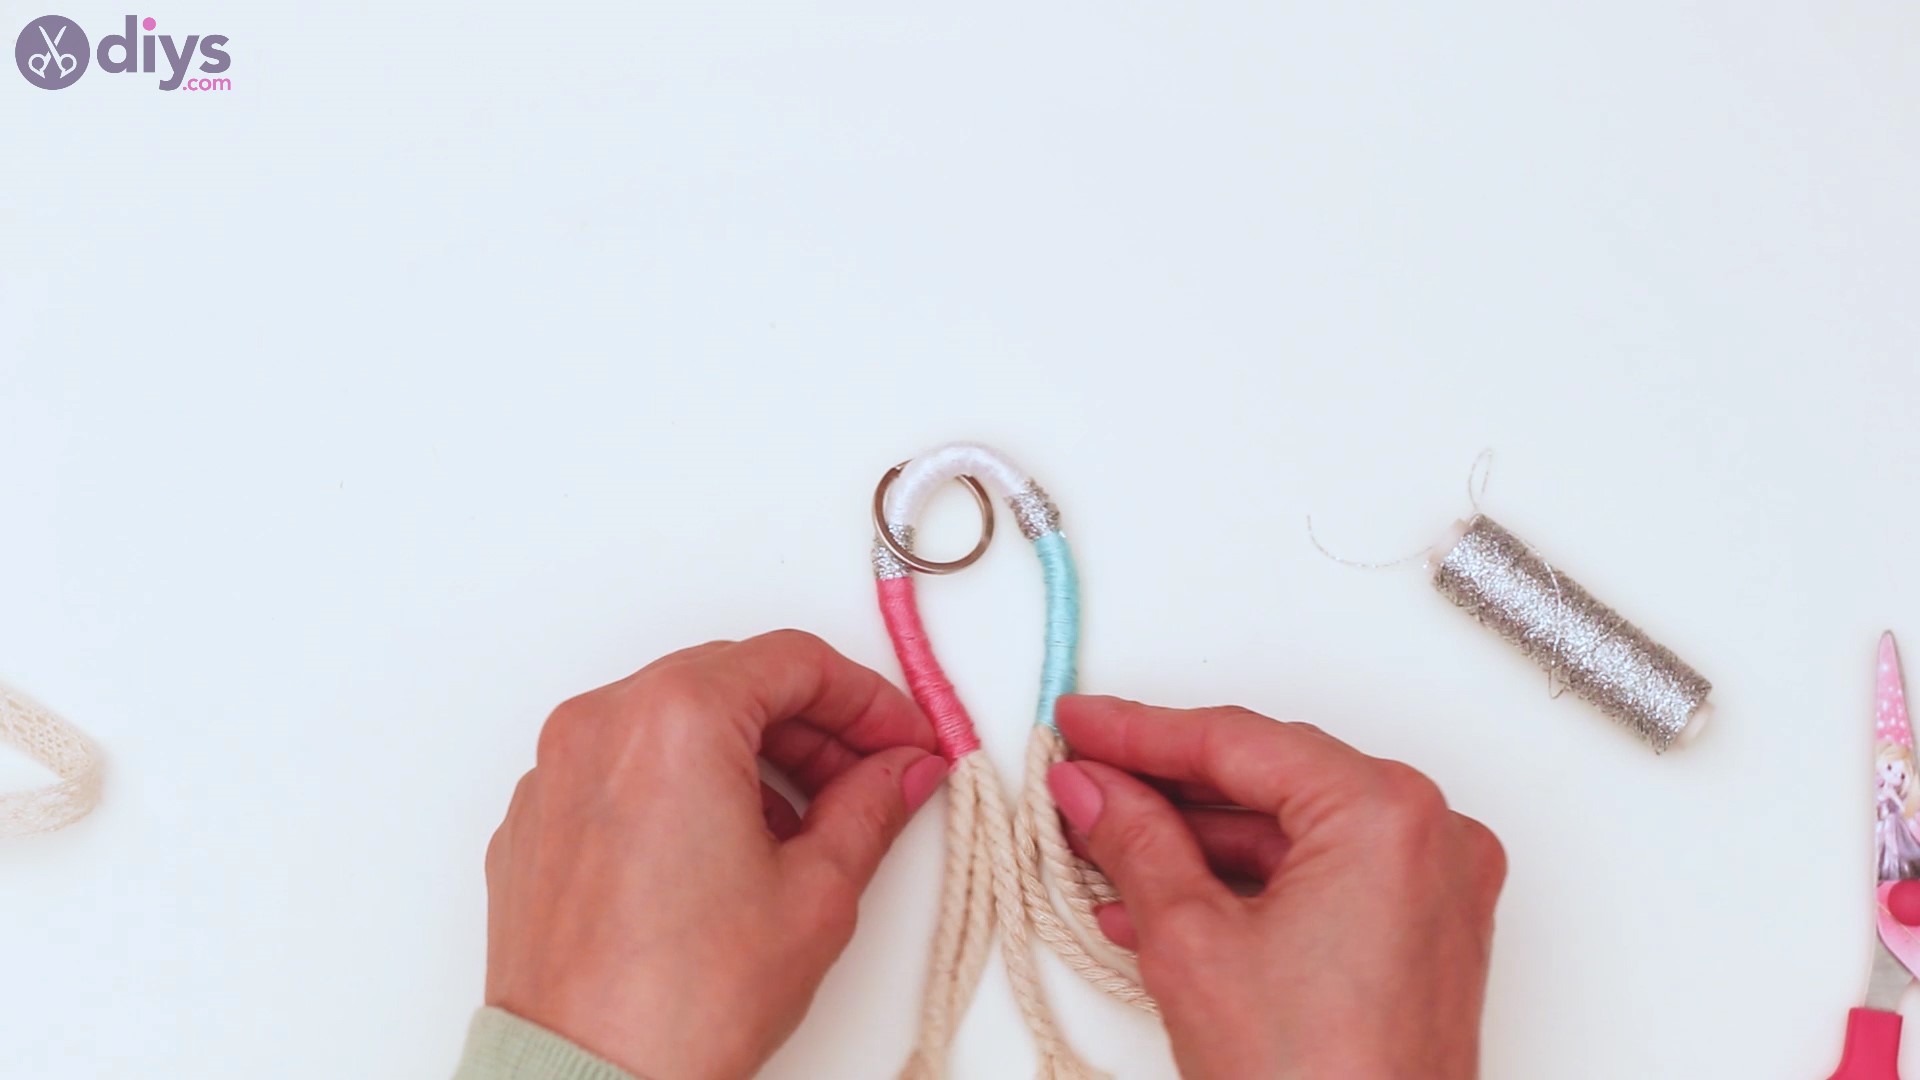
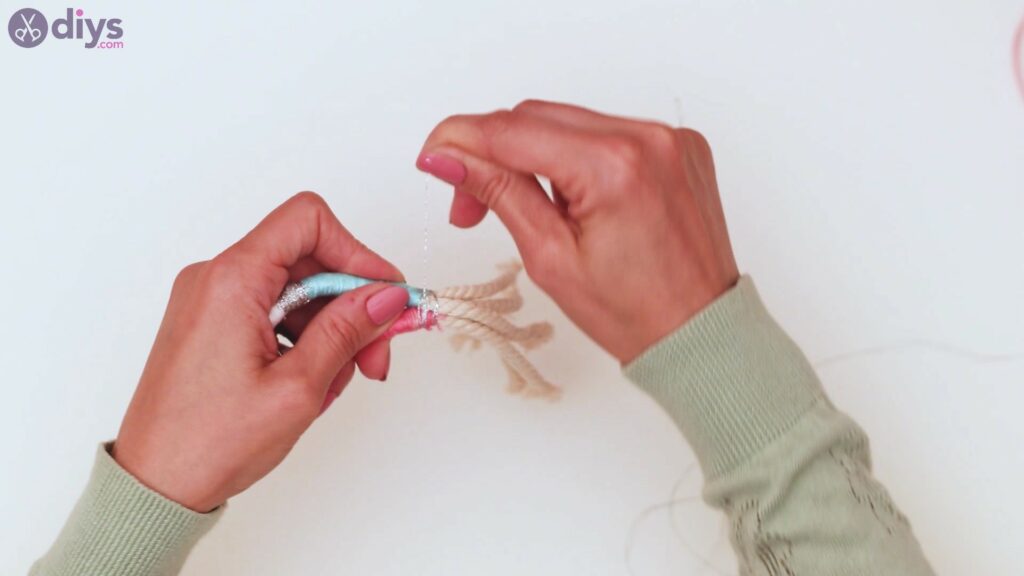
Step 7: Tie it up
FOr the next step, now that the keychain ring is in its place, get the silver thread and let’s tie it all up. Bring the ropes together and tie a knot right on the edge of the pink and blue thread areas.

Once the knot is in place, start wrapping the silver thread around the base, creating a solid silver wall of thread.
When you have a good half-inch of silver thread, get the scissors and cut the excess.
Tie a couple of knots so you can make sure that it’s not going anywhere.
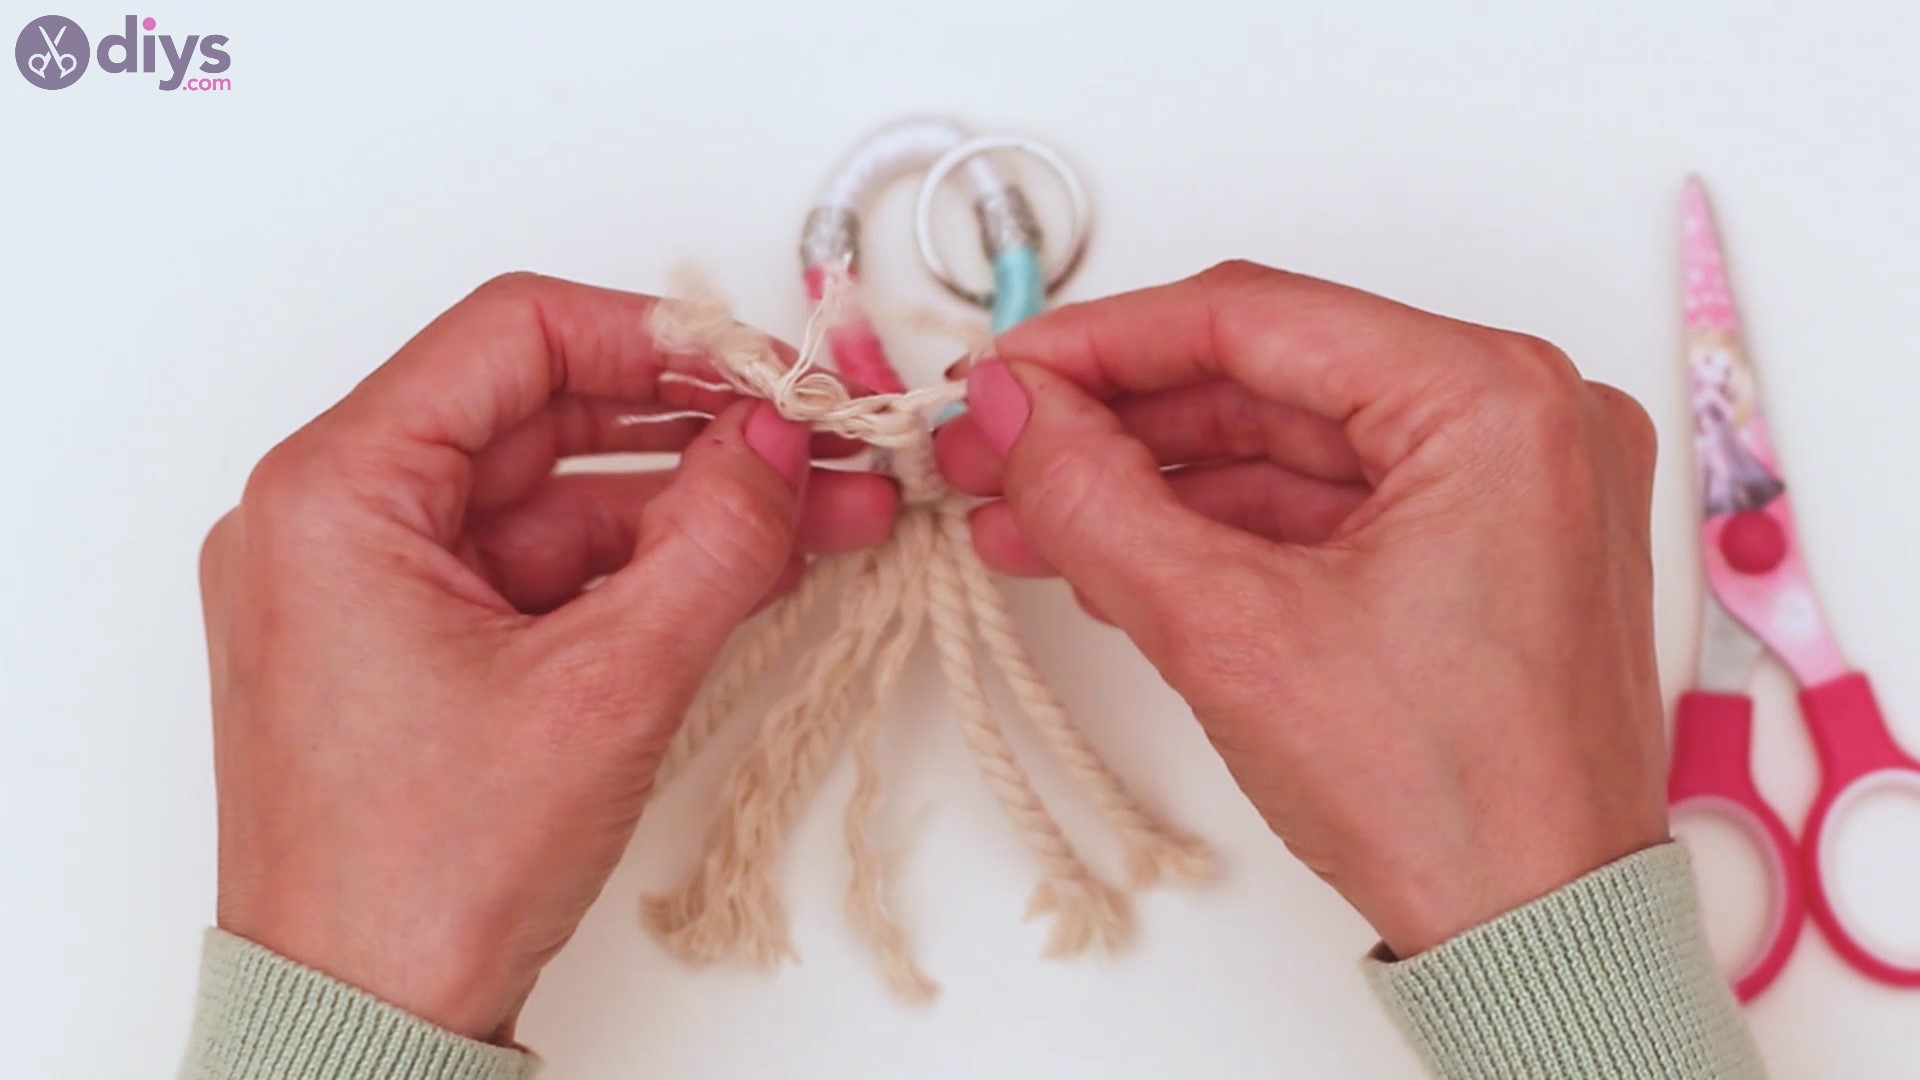
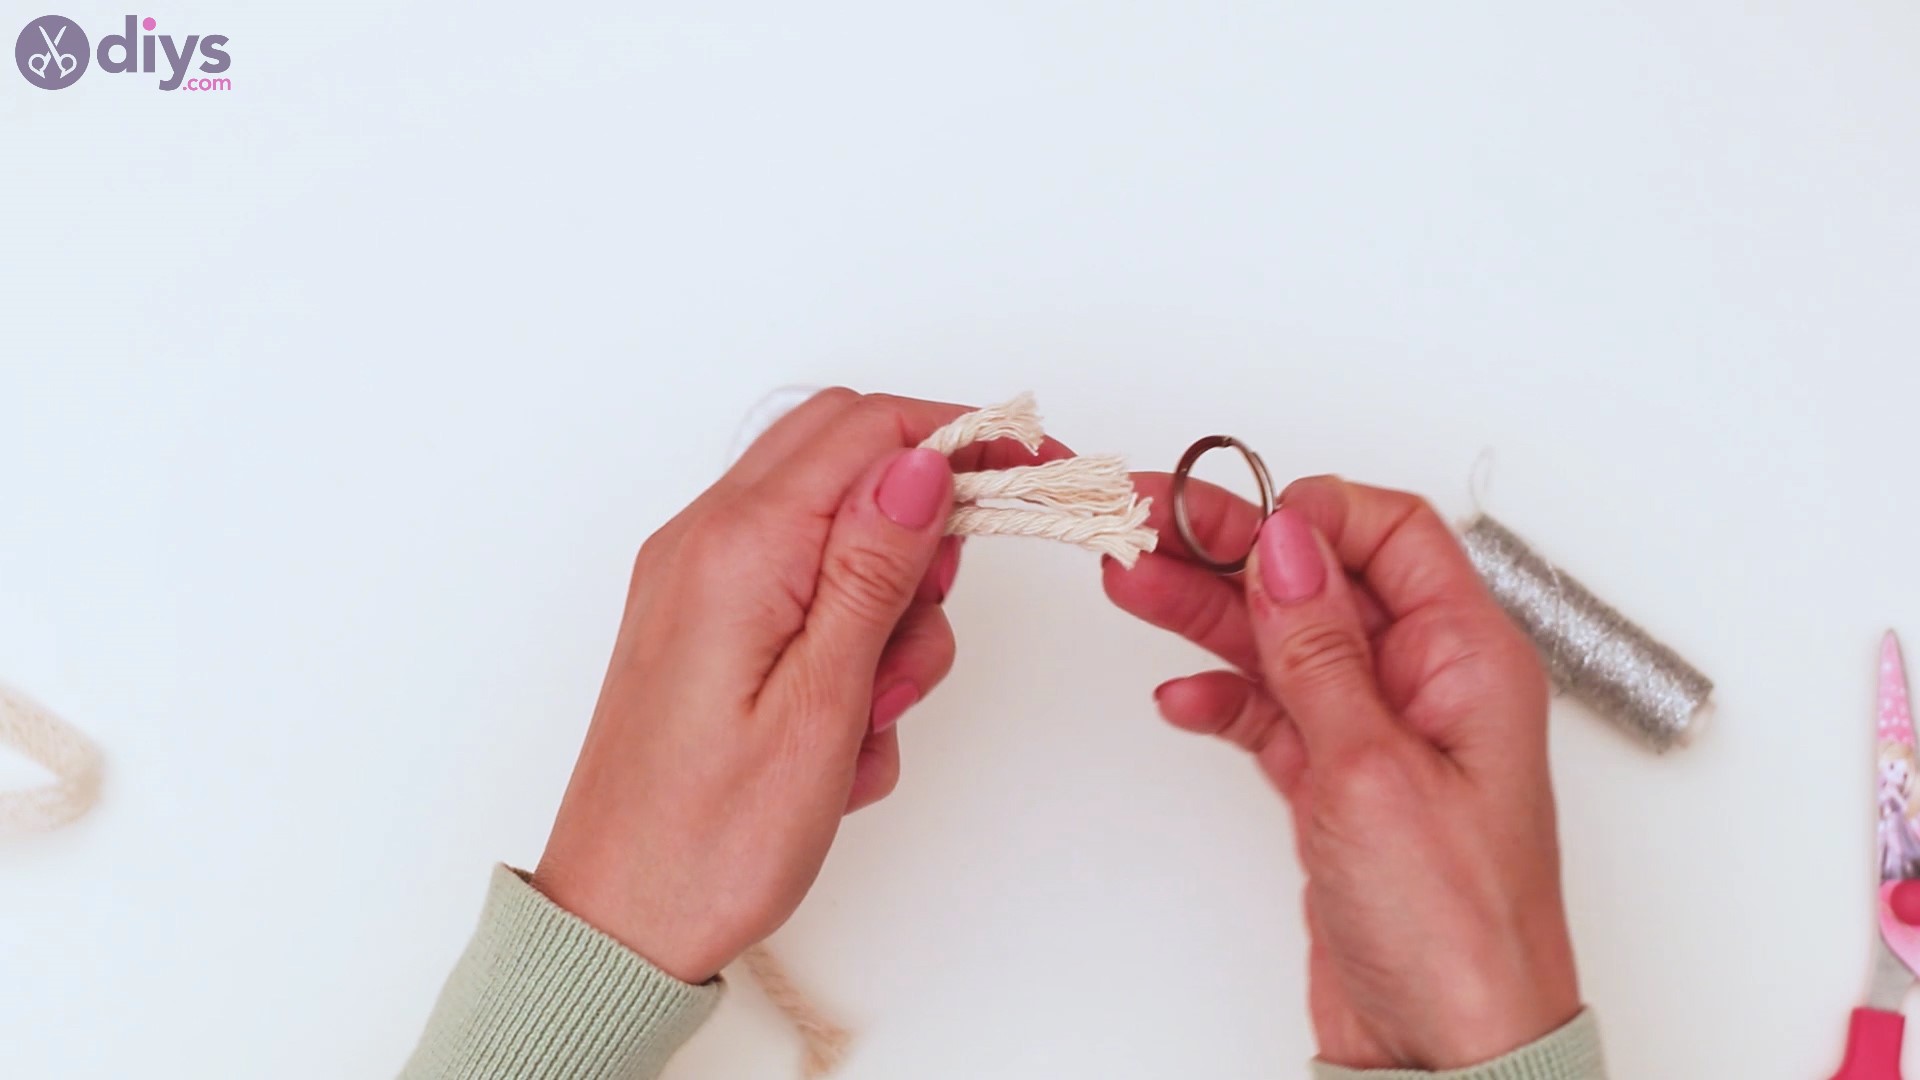
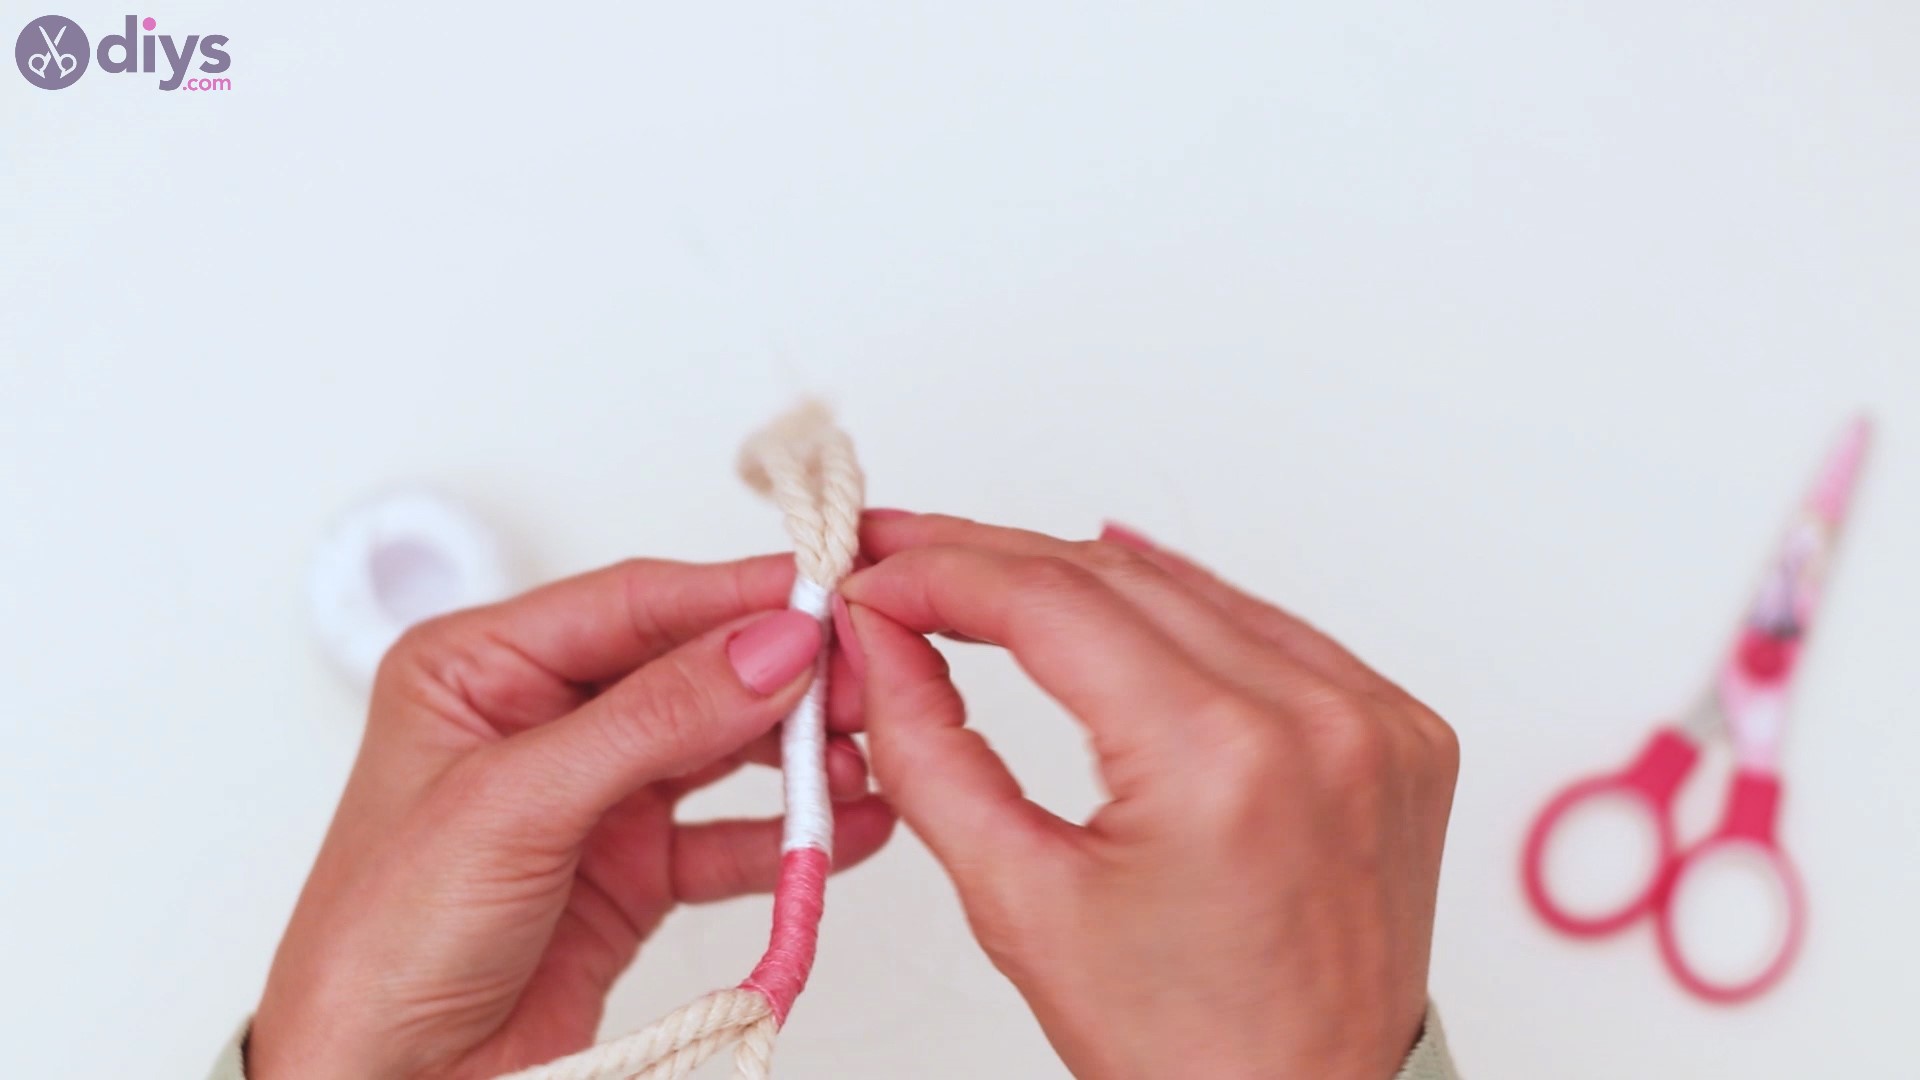
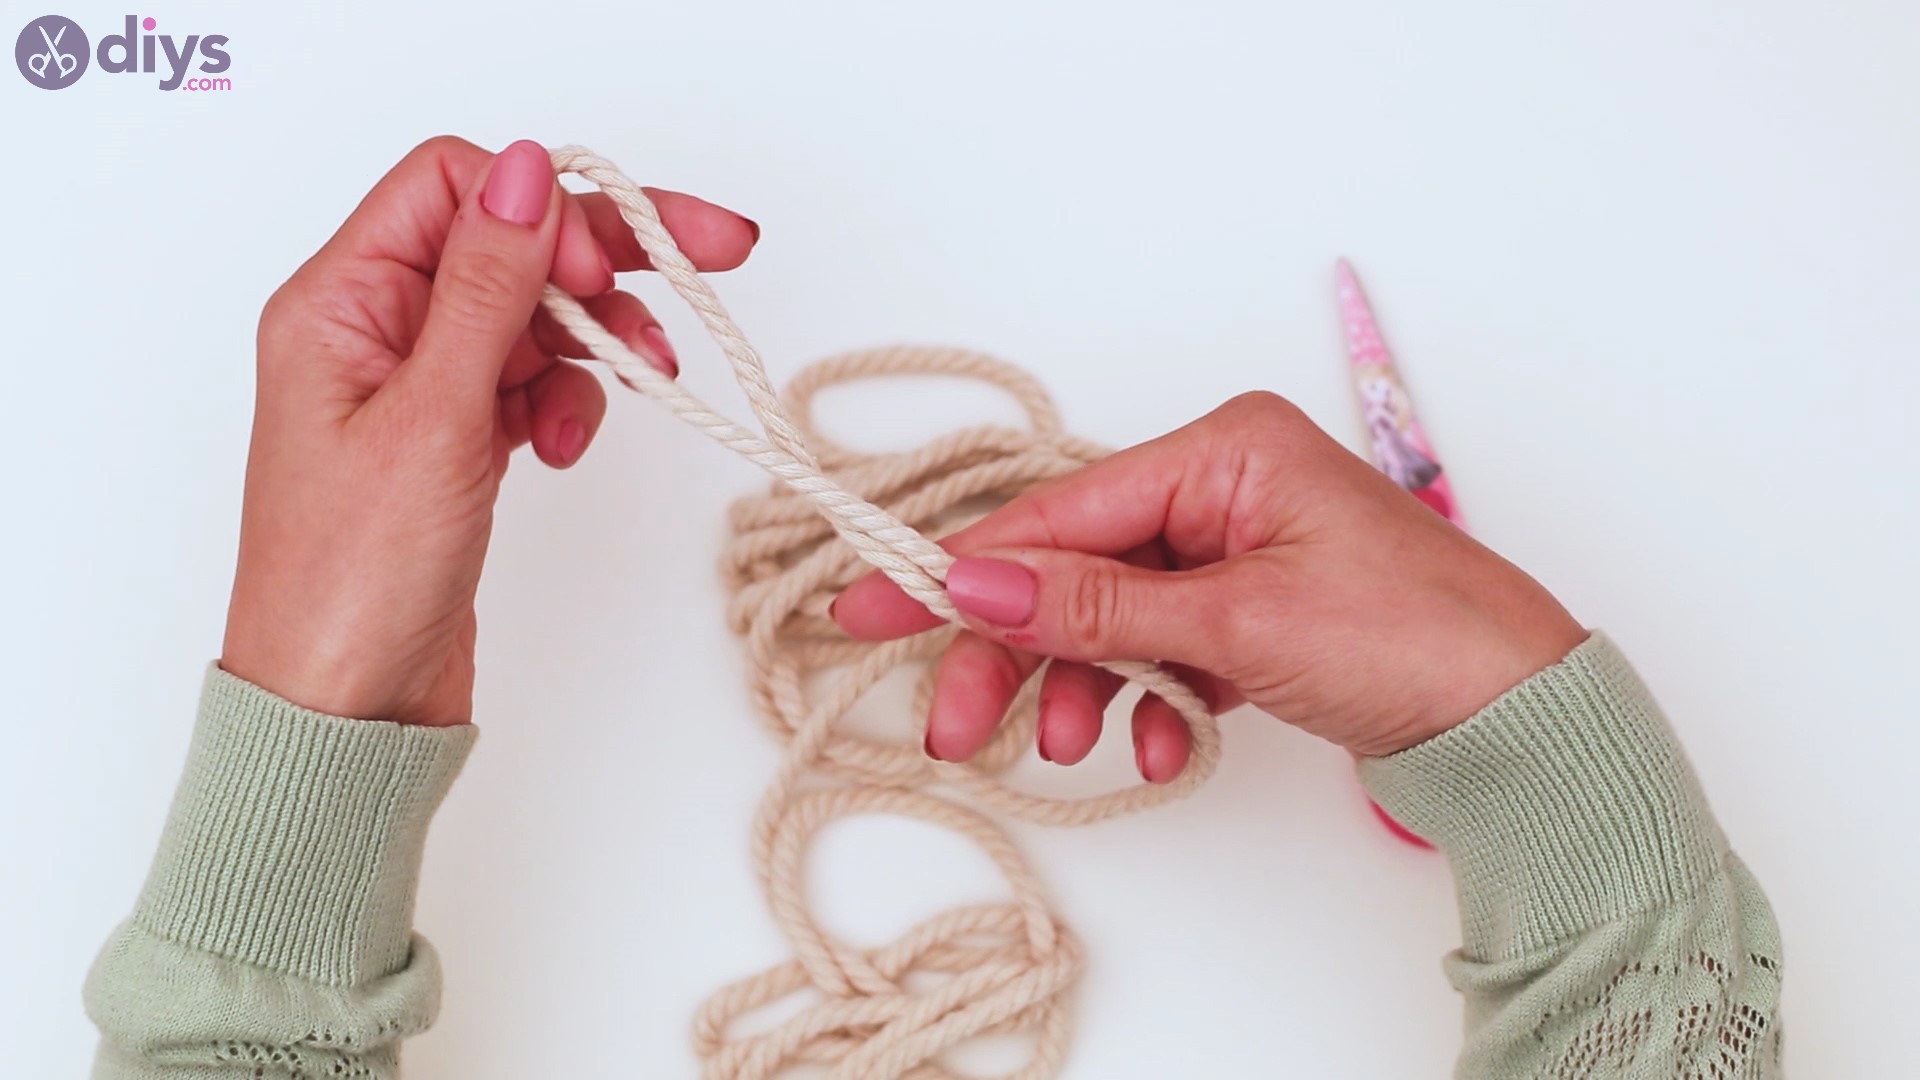
Step 8: Unravel the rope
With the biggest job of making this keyring done, it’s time to have a bit of fun. Pick up each of the six rope ends and start unraveling the material. Go slow and make sure the whole thing looks nice.

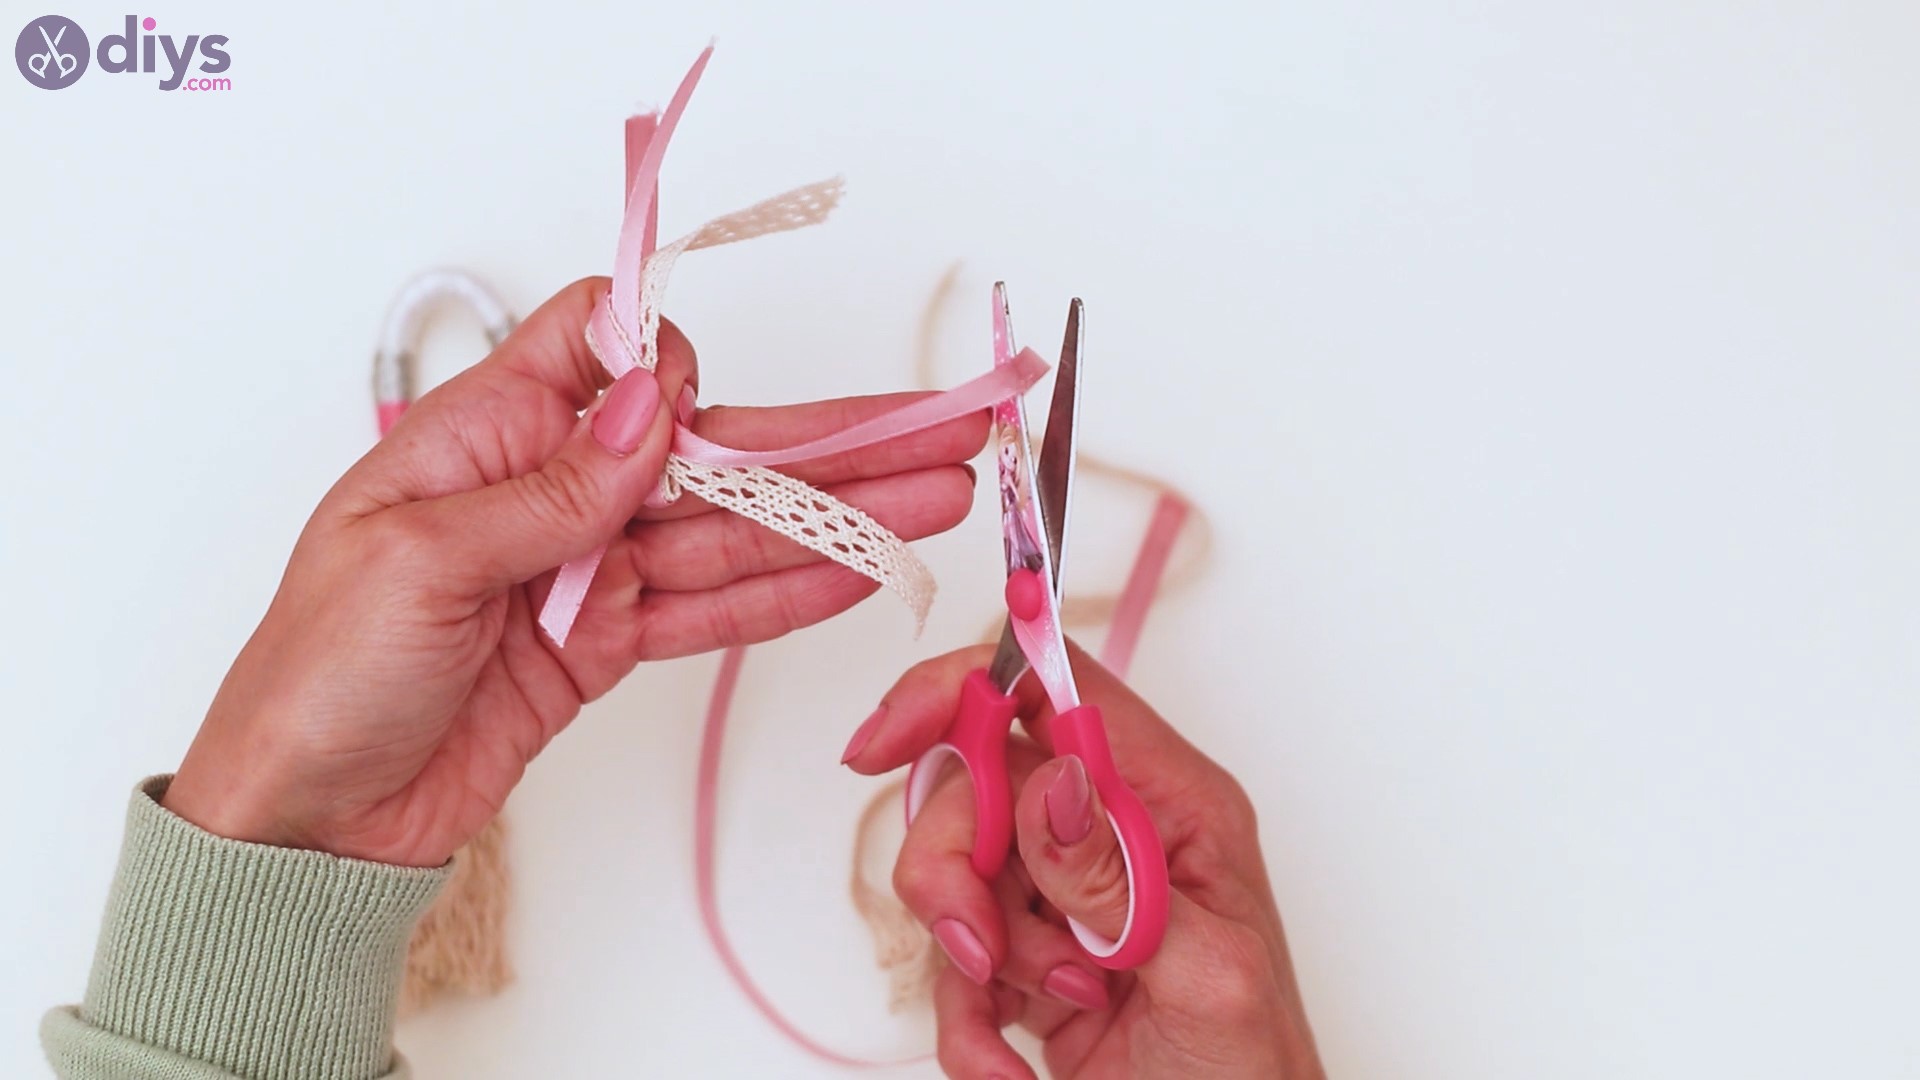
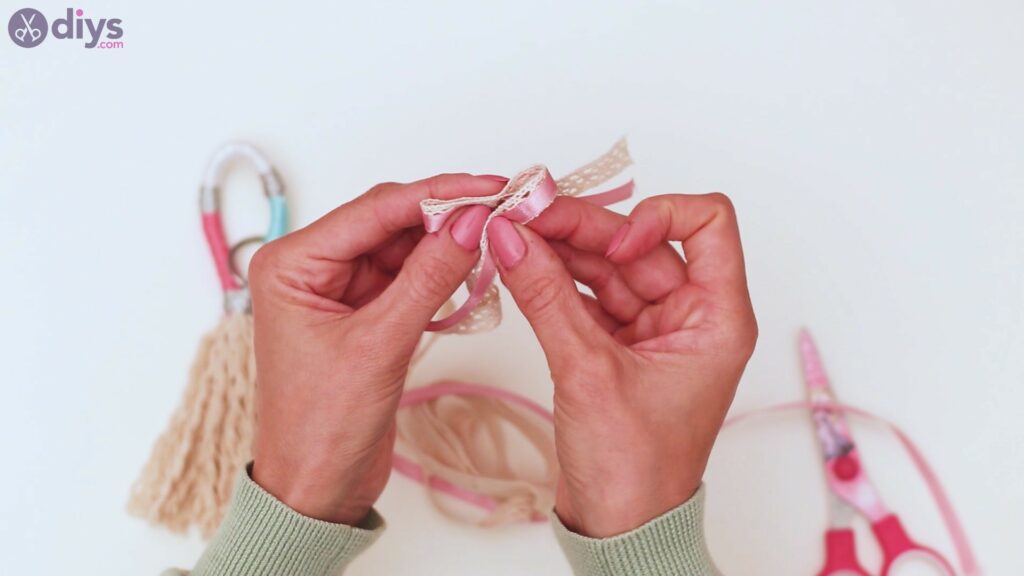
Step 9: Create a bow
The next step we have is to create a bow. Get thesilk ribbonand thelace ribbon. Place the silk ribbon over the lace and measure them both out. Cut out the lenght you want.

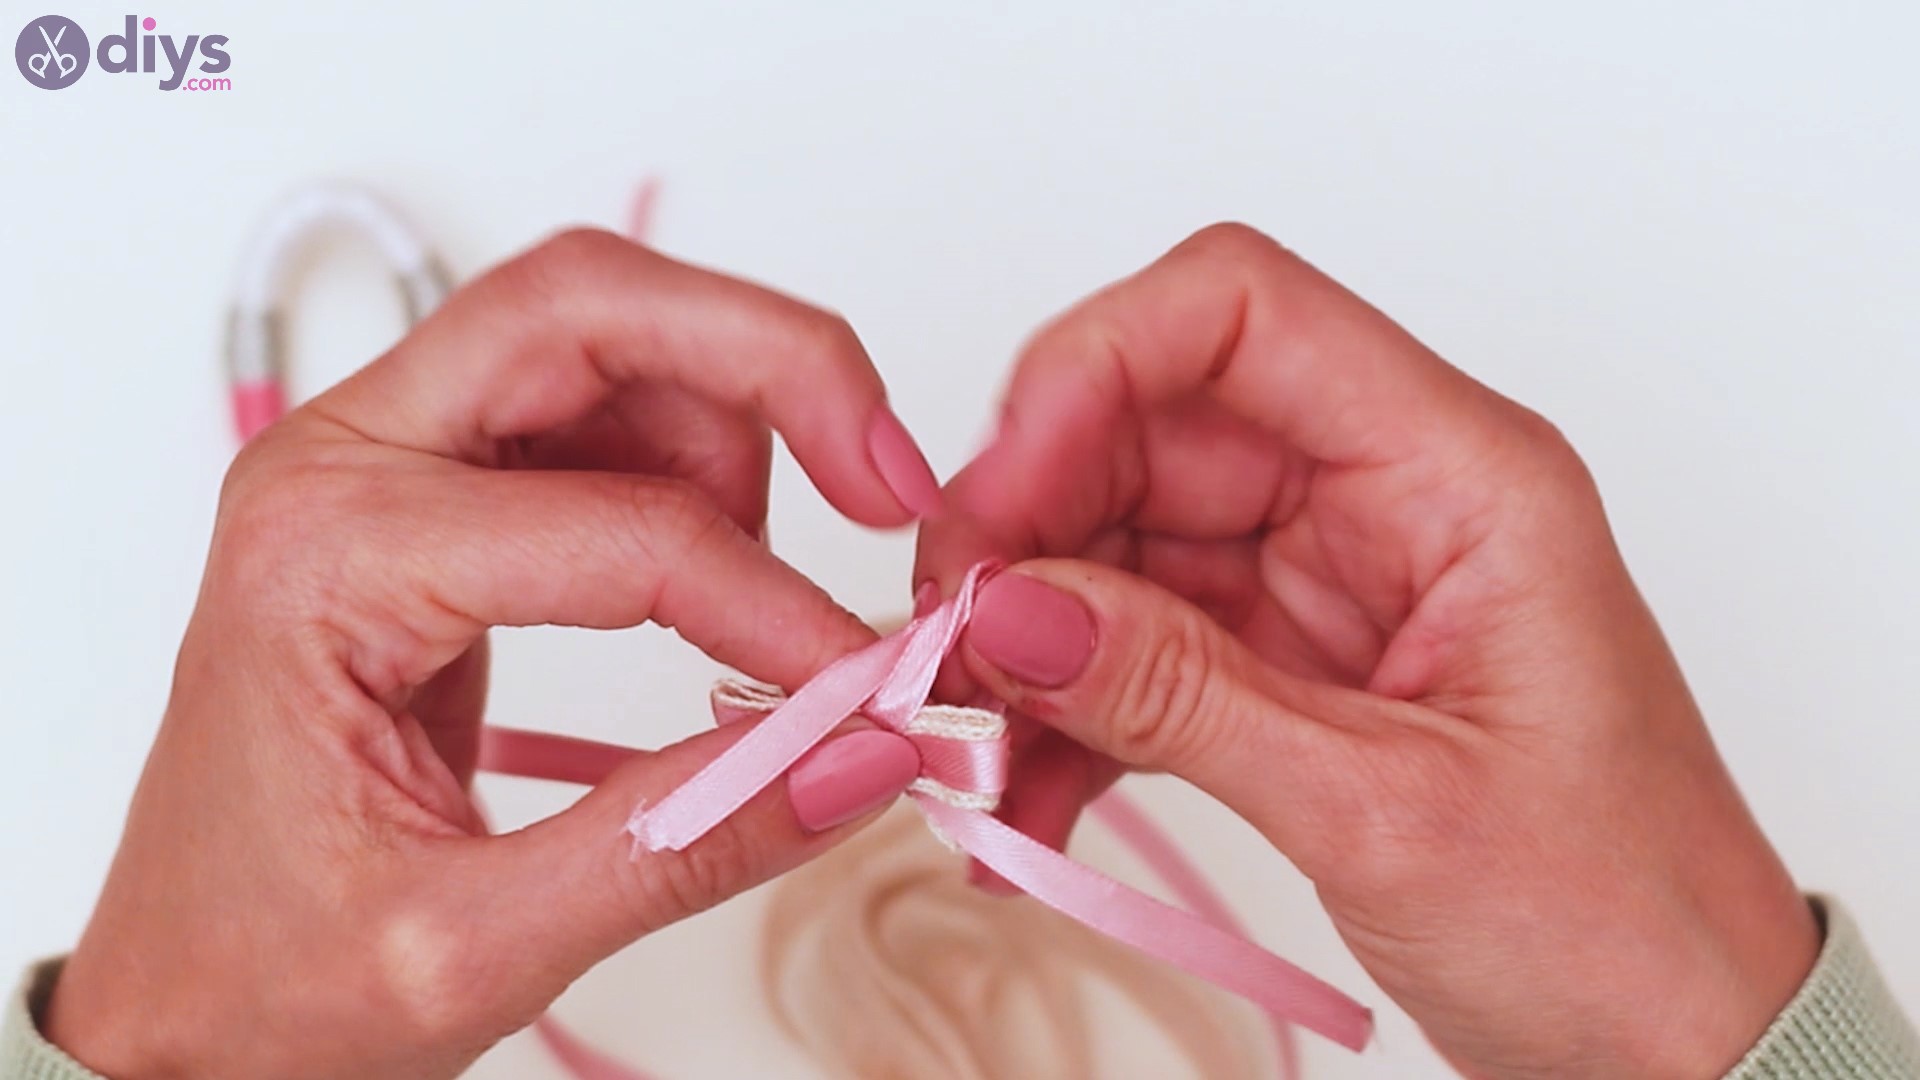
Place the double ribbon in the shape of a bow, with the pink silk ribbon on top.
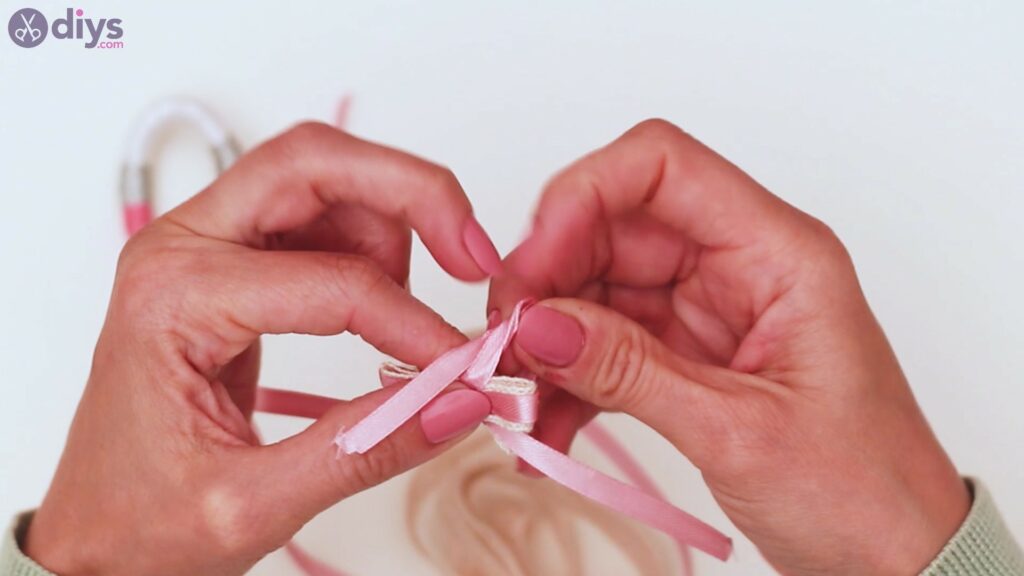
Grab a piece of pink silk ribbon and tie it over the middle of the bow.
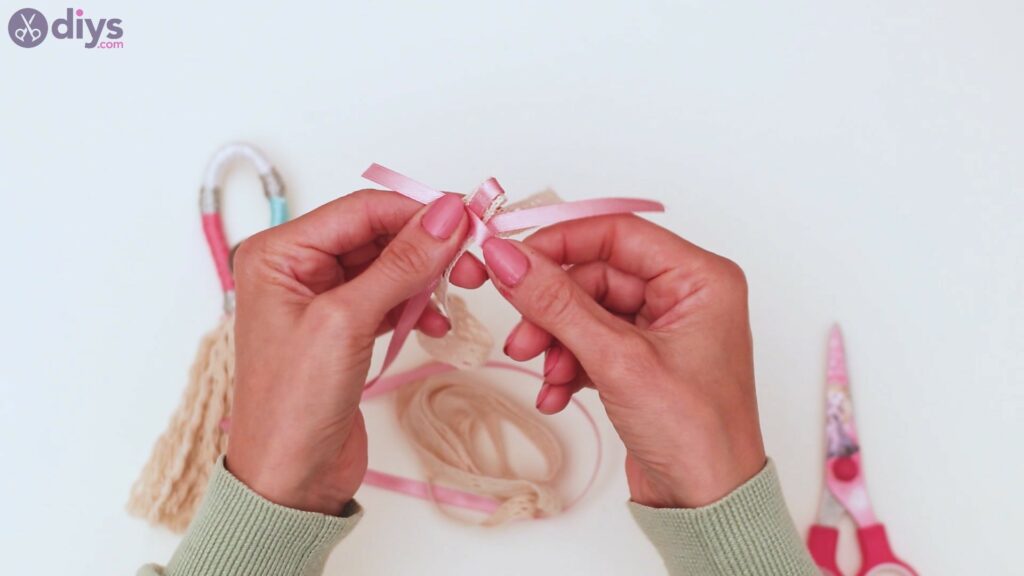
Tie a knot in the back and make sure the bow won’t unravel.
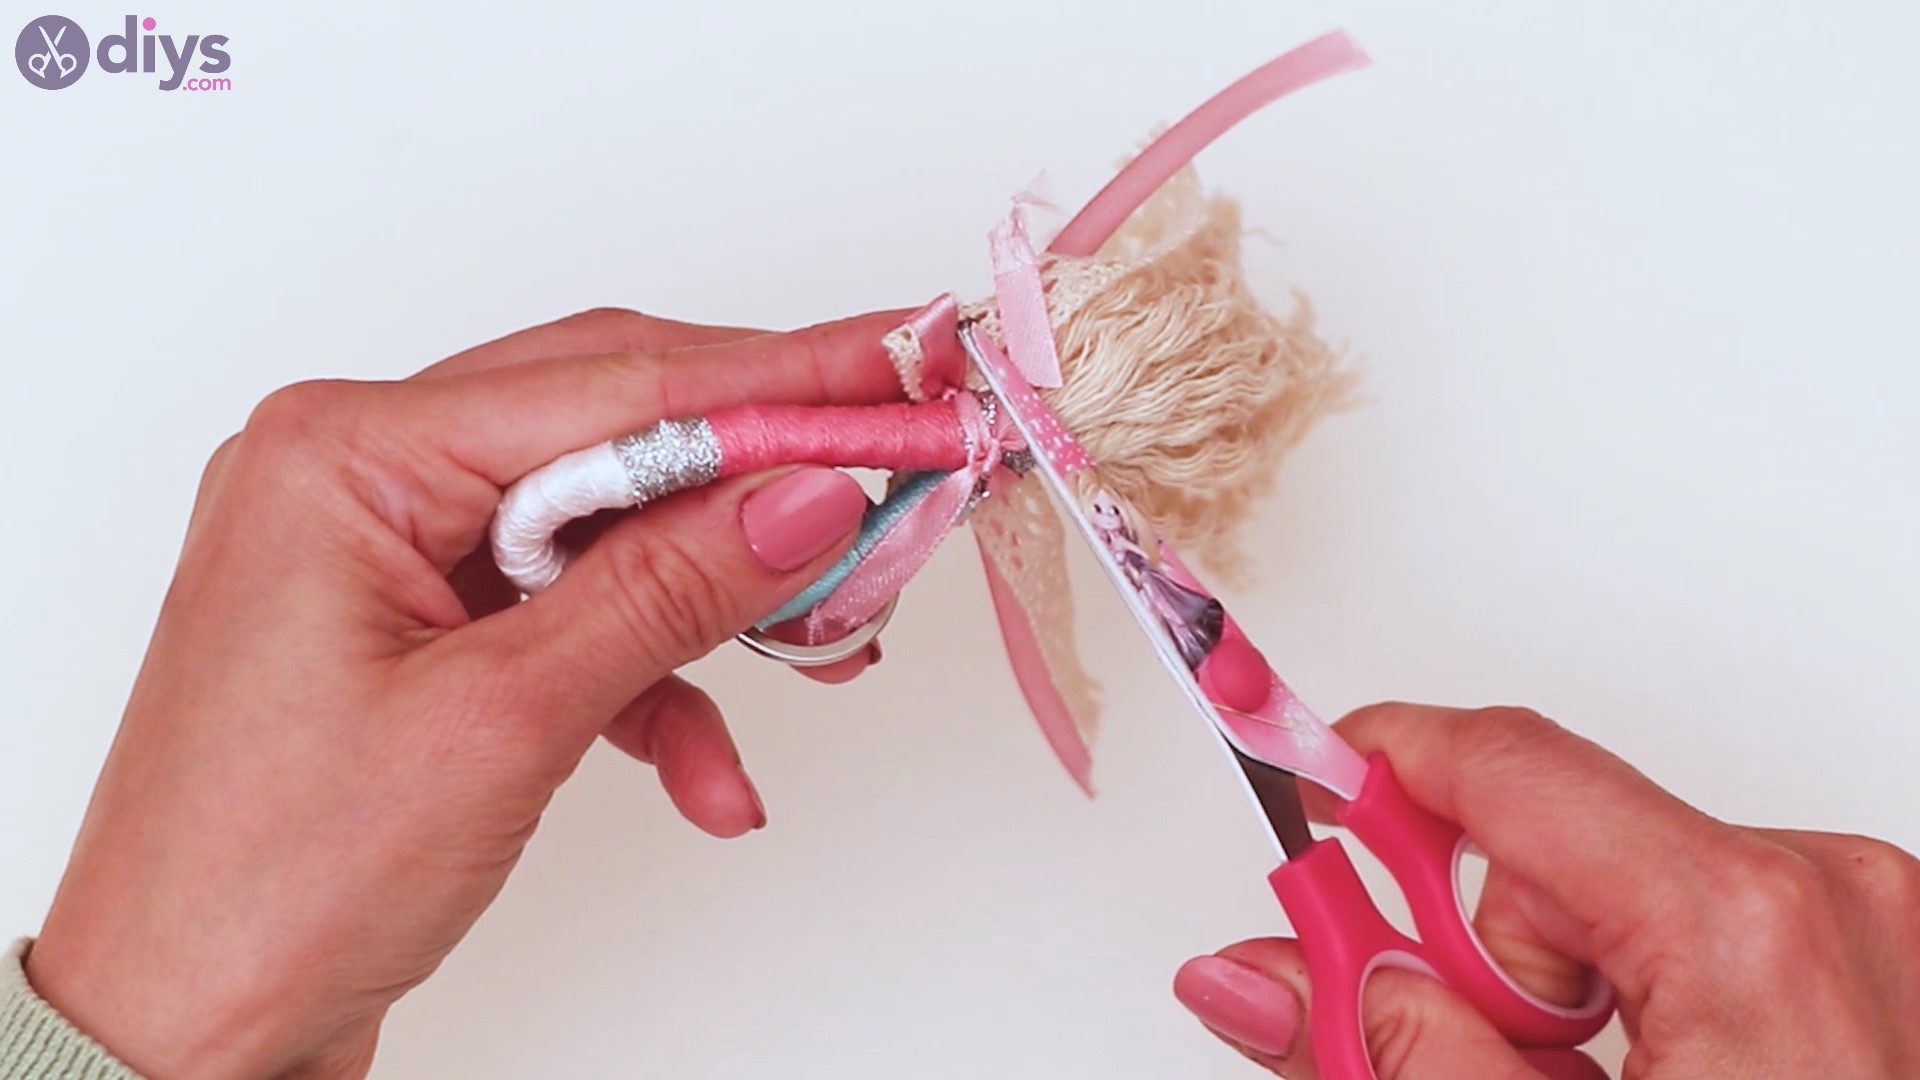
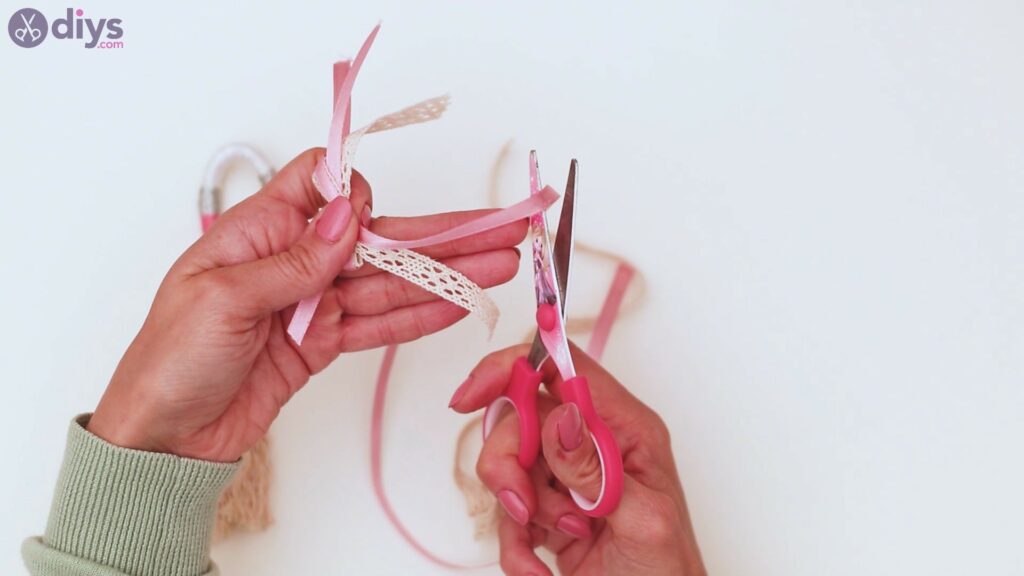
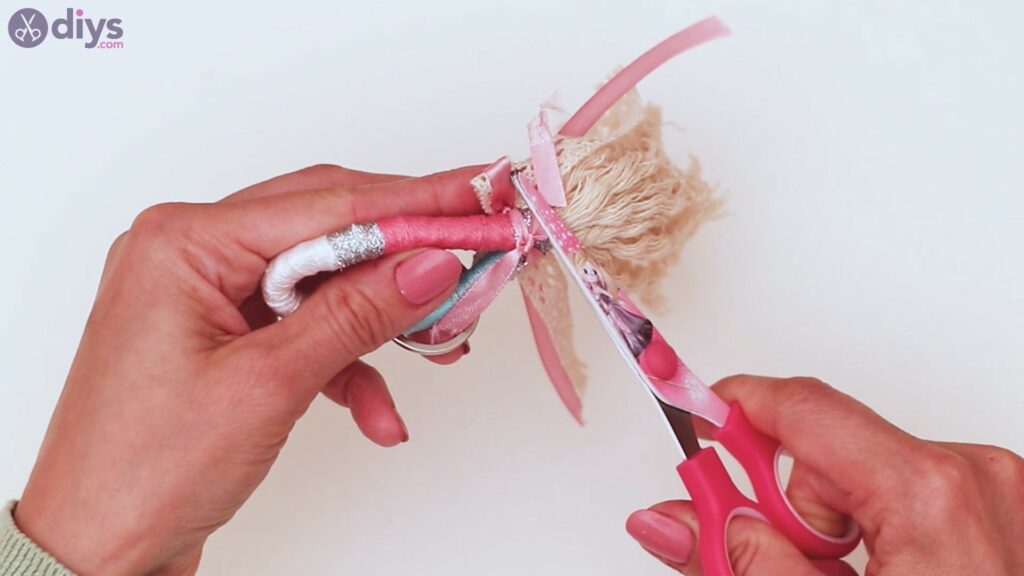
Get the scissors and cut the edges of the bow’s tails.
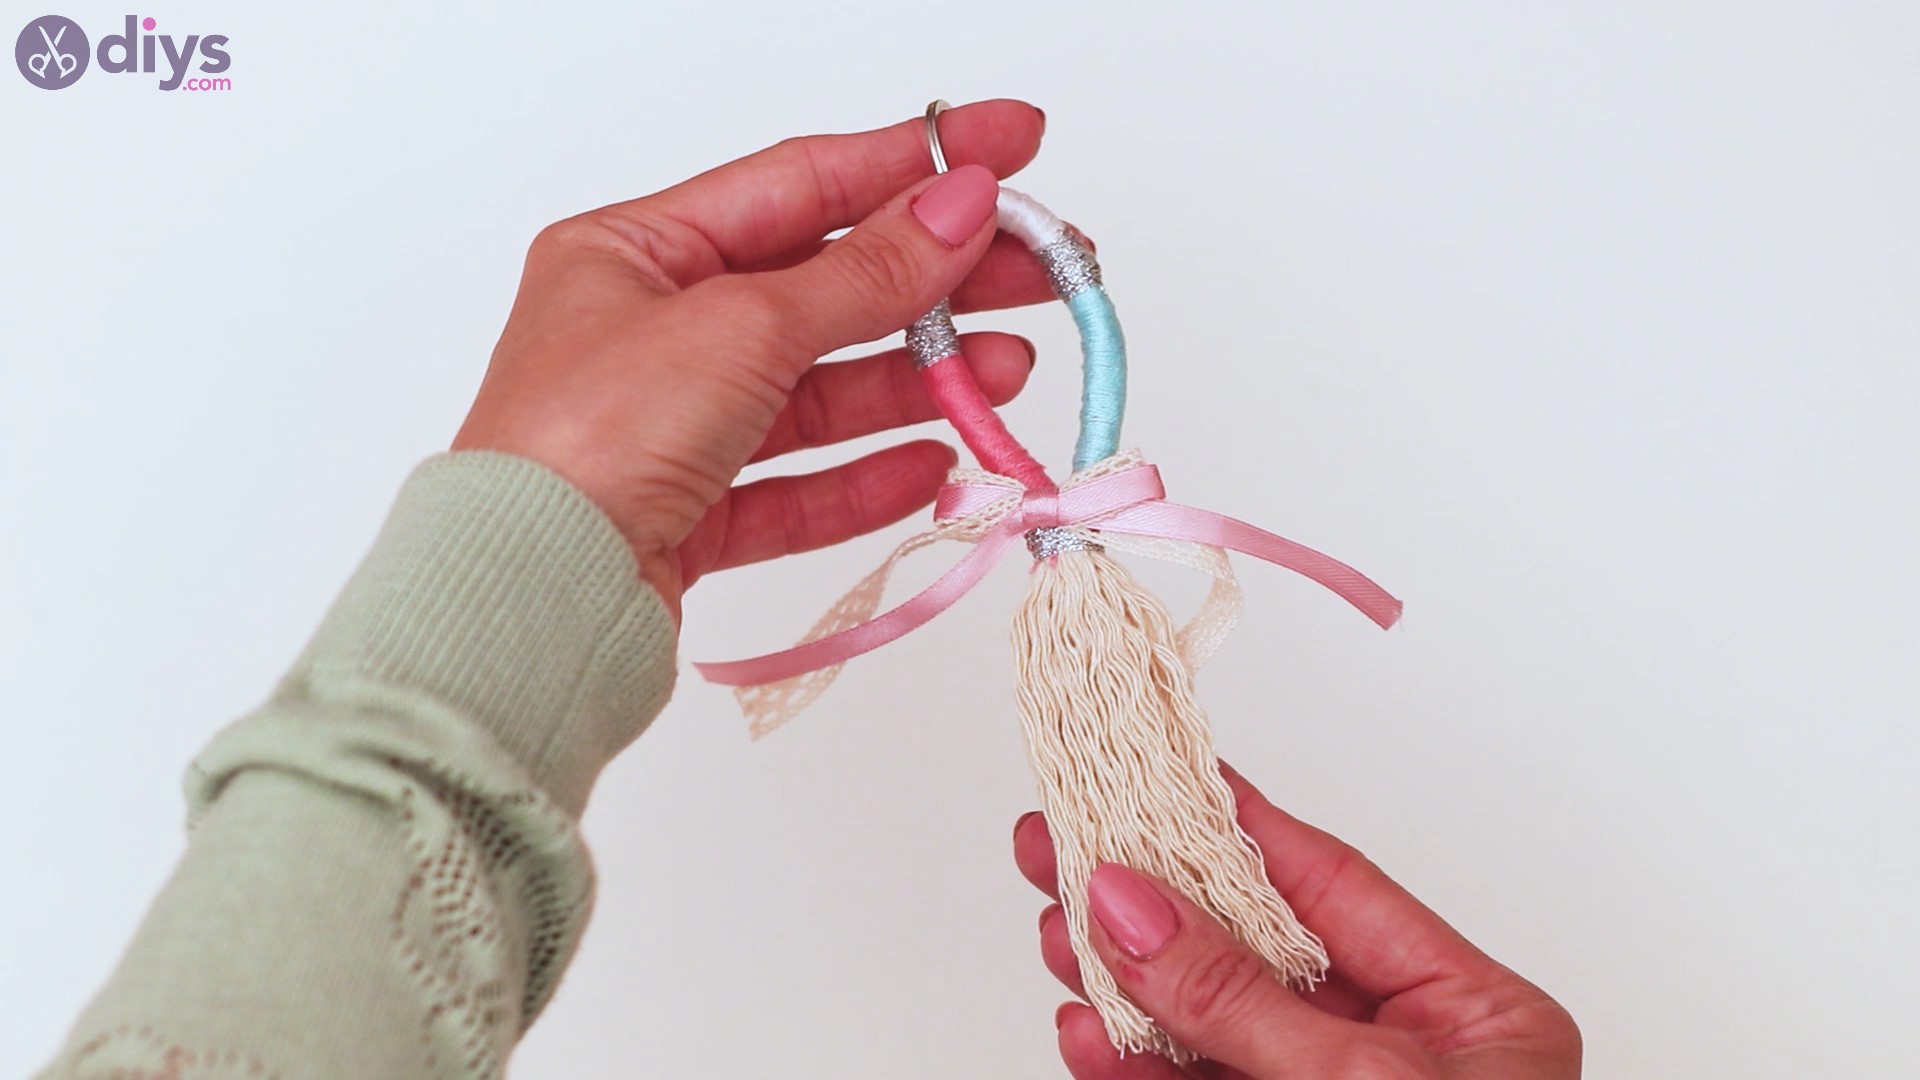
Tie the bow around the middle point of the keychain.

Cut off the excess ribbon here, so it looks nice.
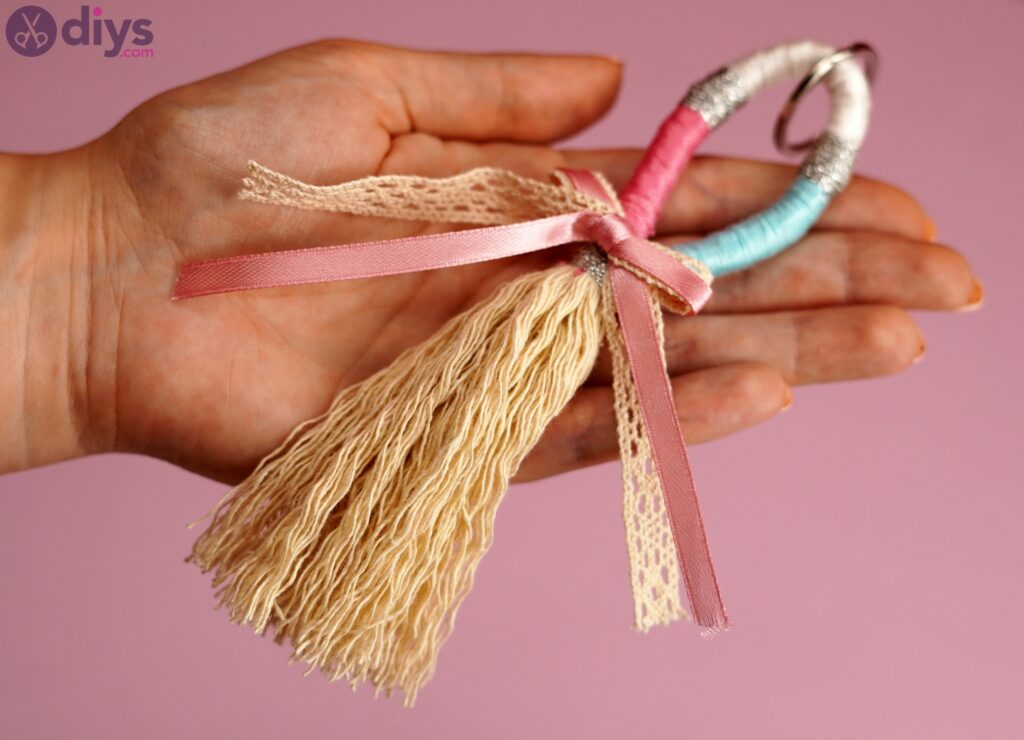
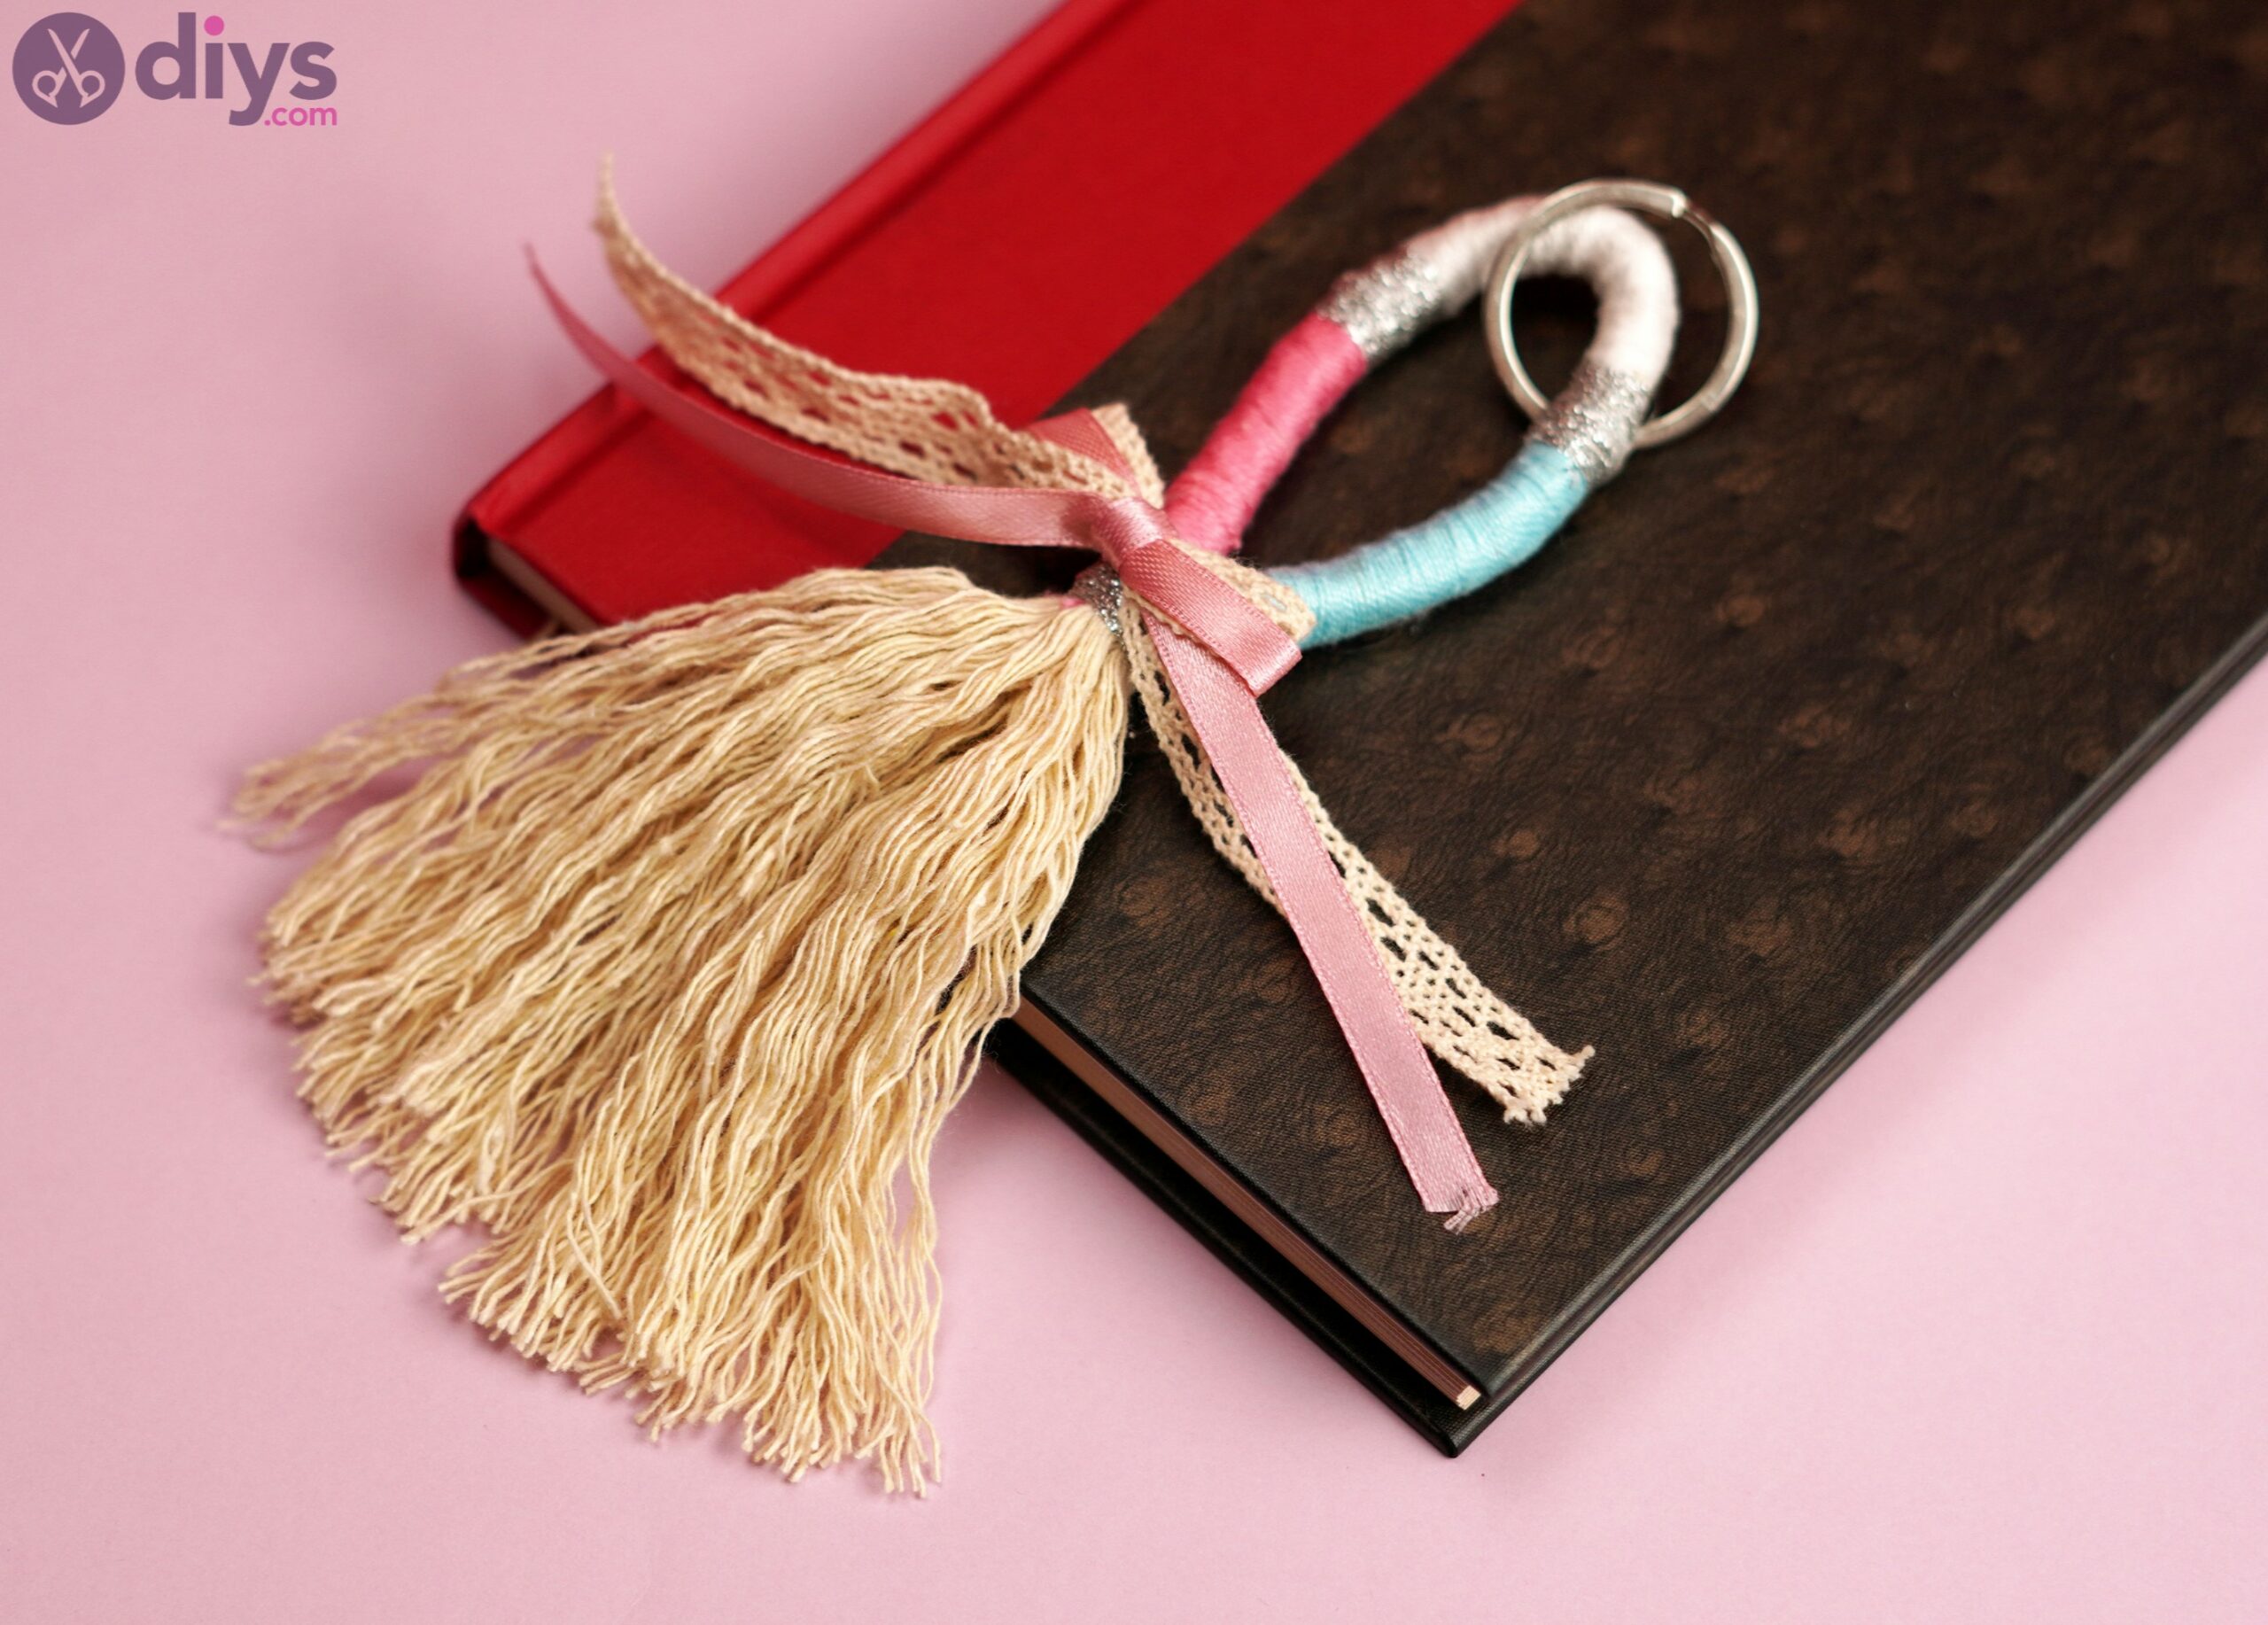
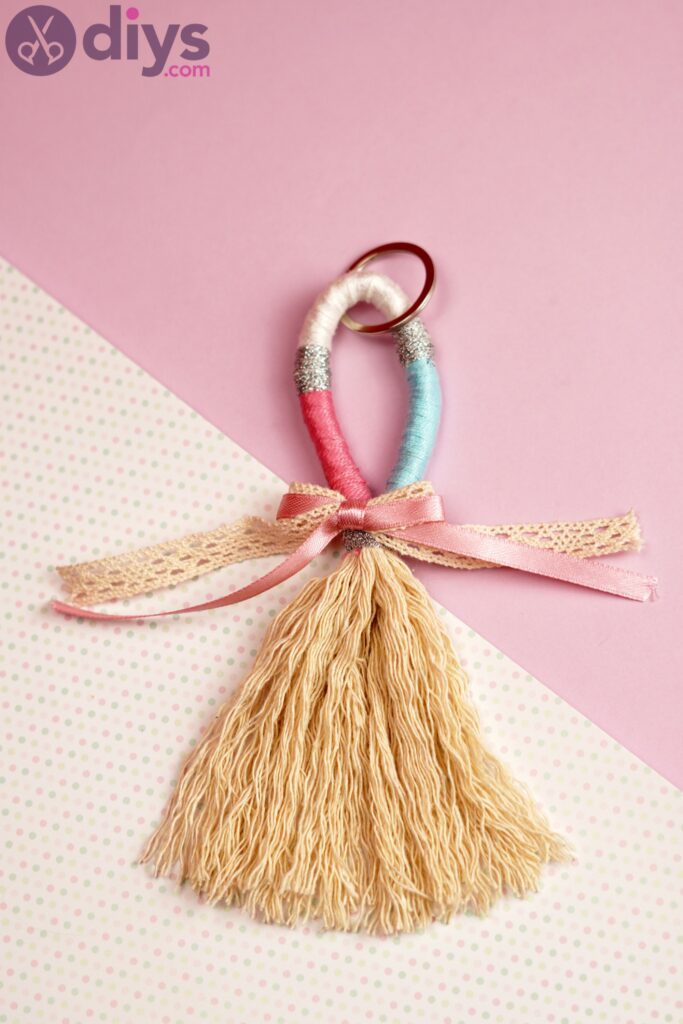
There you go! We how such a beautiful keychain now and we can’t wait to add it to our keys. In this way, it’s almost certain we’re not losing or misplacing them again!
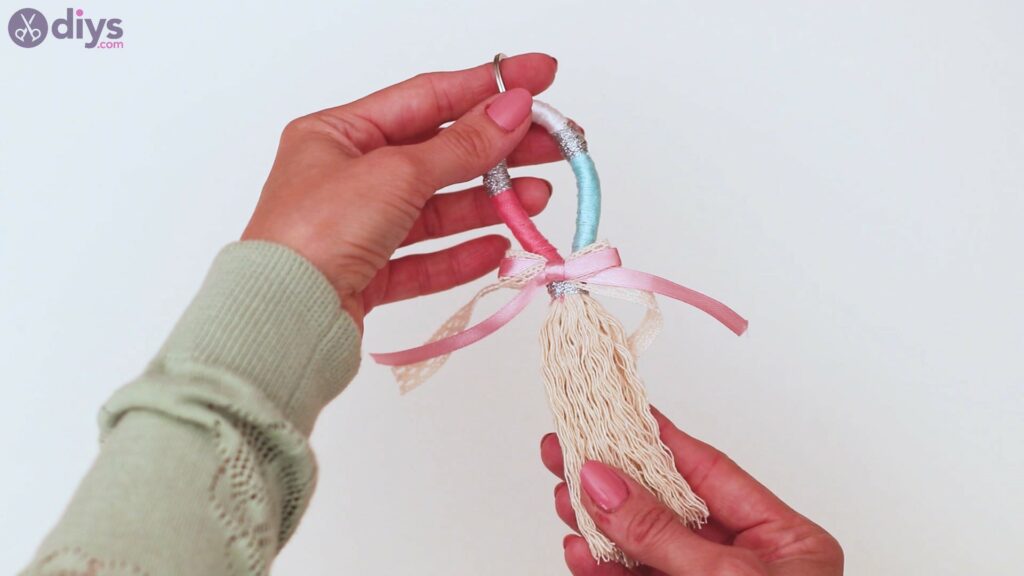
Of course, you can customize this keyring however you see fit now that you have the main idea down – you can change the color of the threads you added to the rope, forgo the bow completely, making this smaller, go for fewer layers of rope so you can have a tinner and tinier keychain. There are quite a few options in front of you.

We would love to hear back from you so you can tell us what you think about this keyring and whether you’ve done any changes. In fact, share some pics with us over social media so we can see the results.