DIY Concrete Unicorn Flower Pot
Updated on November 19, 2025


I recently taught my kids how to work with DIY concrete and they completely adored that whole process too, so it only made sense to combine the two! That’s how we ended up making these cute little DIY unicorn painted concrete flower pots together.
Do you love unicorns, getting messy on a crafternoon, and doing some hand painting just as much as we do? Then you might appreciate the fact that I made a whole extra pot just so I could document the process and share it for others to see. Check out these step by step instructions complete with photos! If you’d rather follow along with a video tutorial instead of written words, scroll to the bottom of this post to find just what you’re looking for.
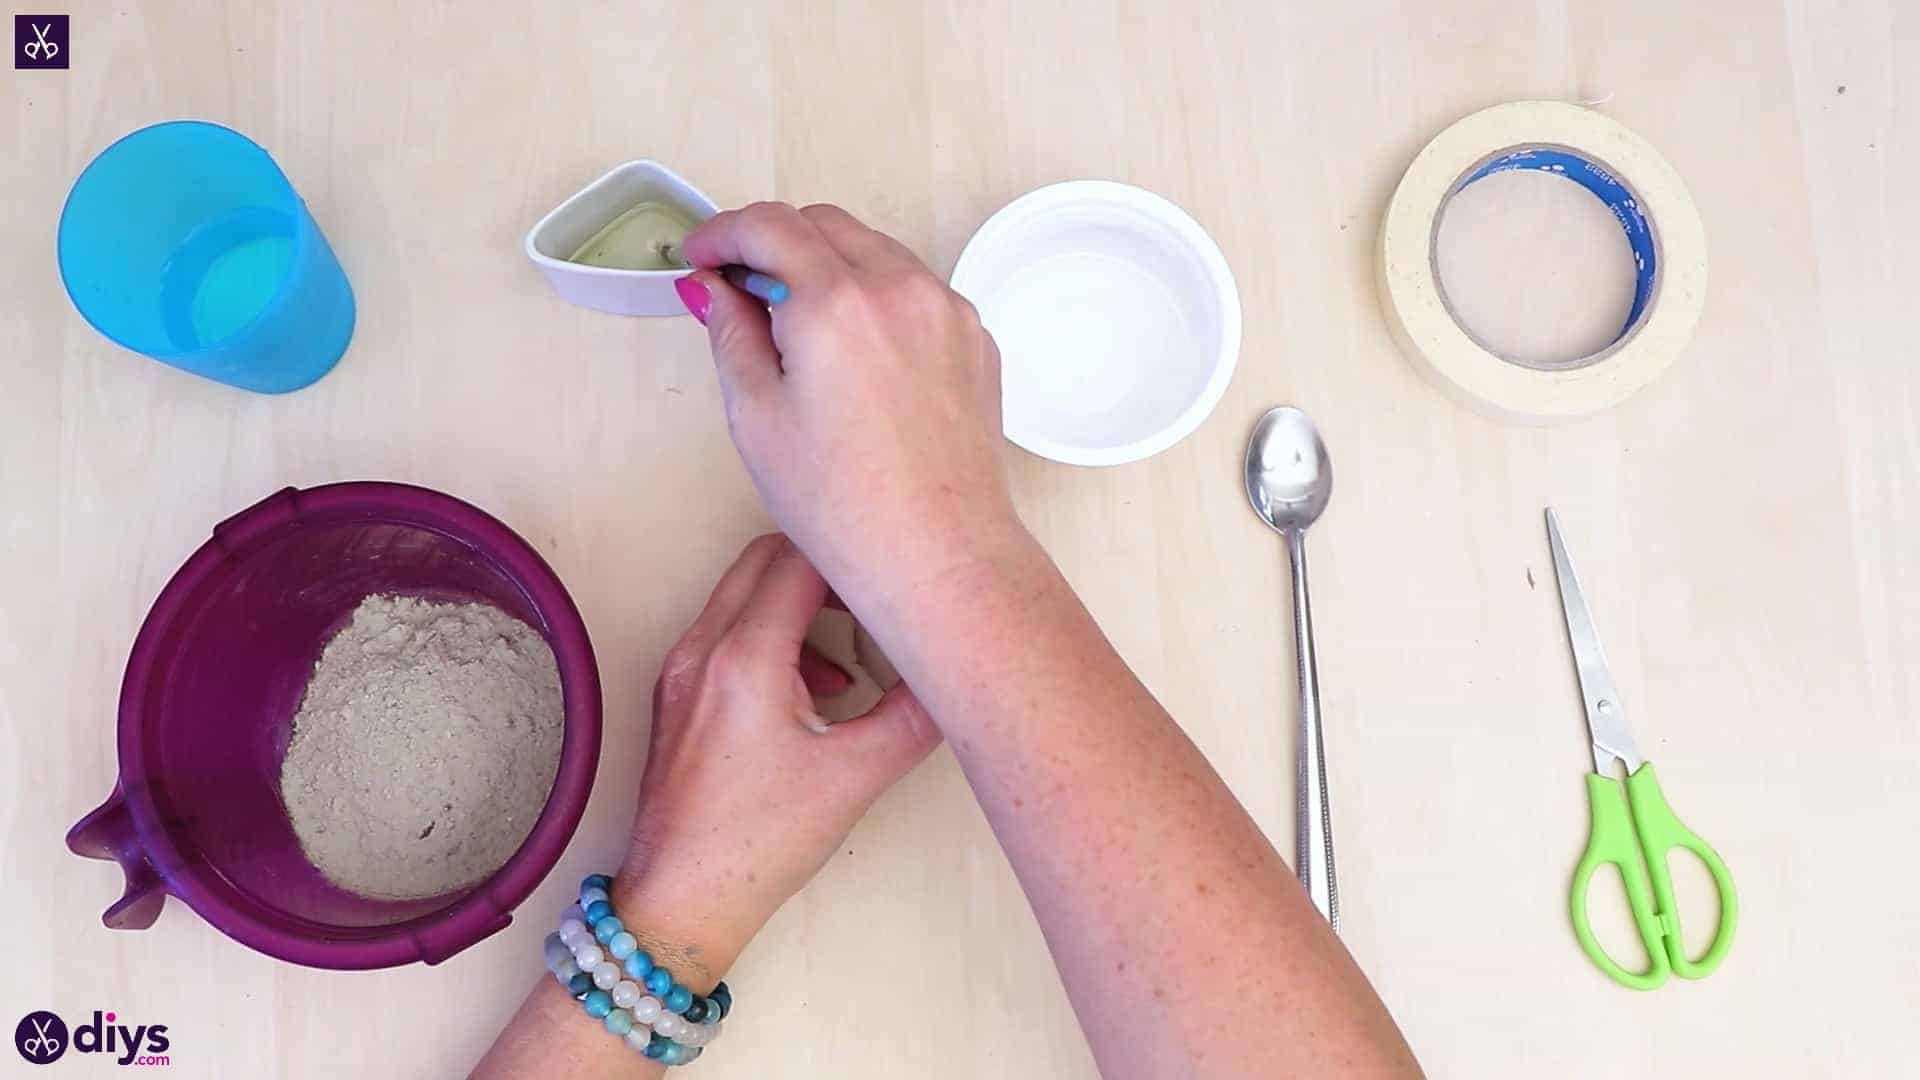
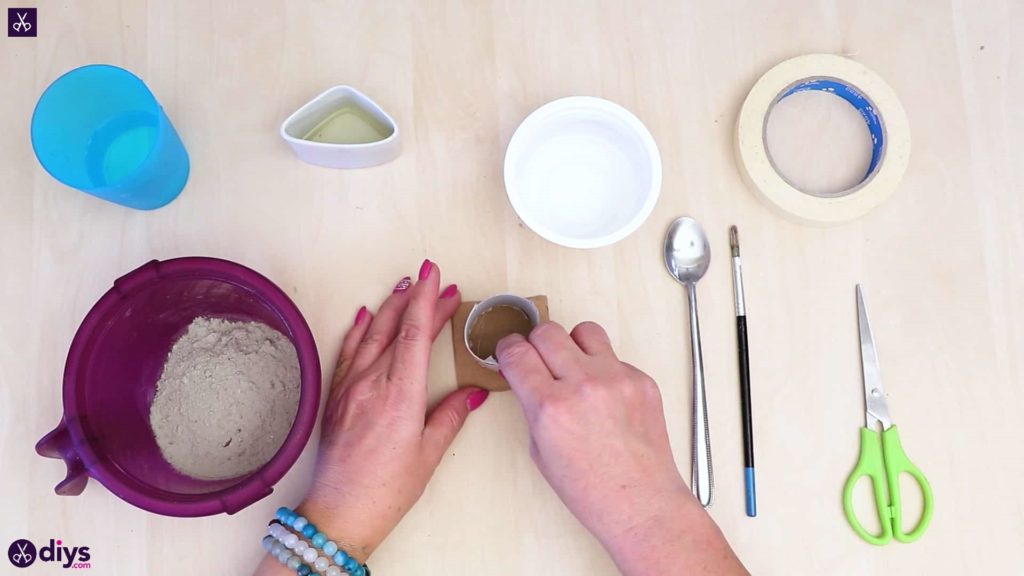
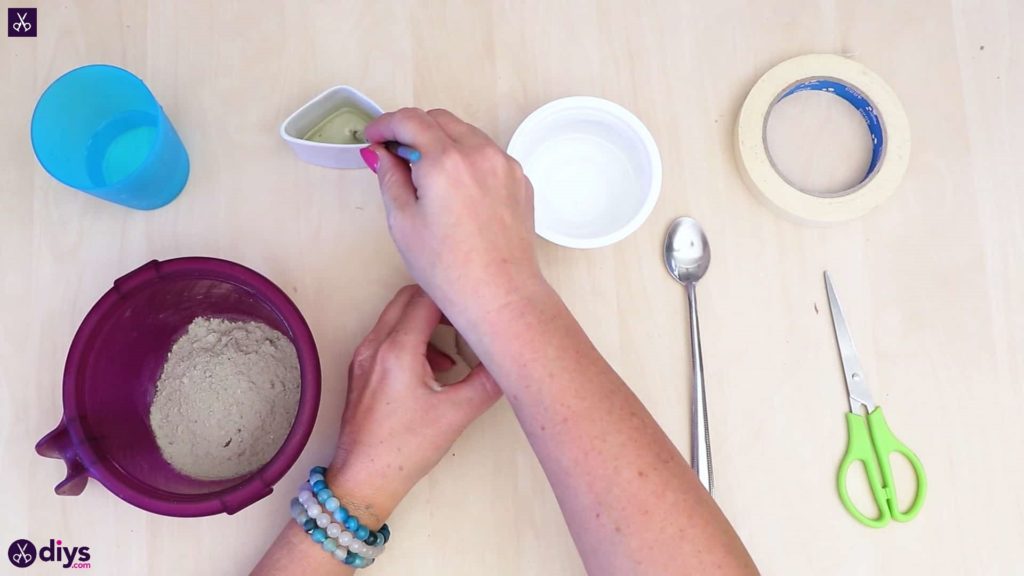
For this project, you’ll need:
- Fine particle DIY cement
- Water
- A plate
- A spoon
- A sand paper block
- Scissors
- Tape
- Oil
- A paintbrush
- Paint (white, pink, gold, purple, and black)
- An empty yogurt tub
- An empty toilet paper roll
- A plastic plate
- Hot glue
Step 1: Gather your materials!
When working with concrete, it’s good to have everything ready before you begin.

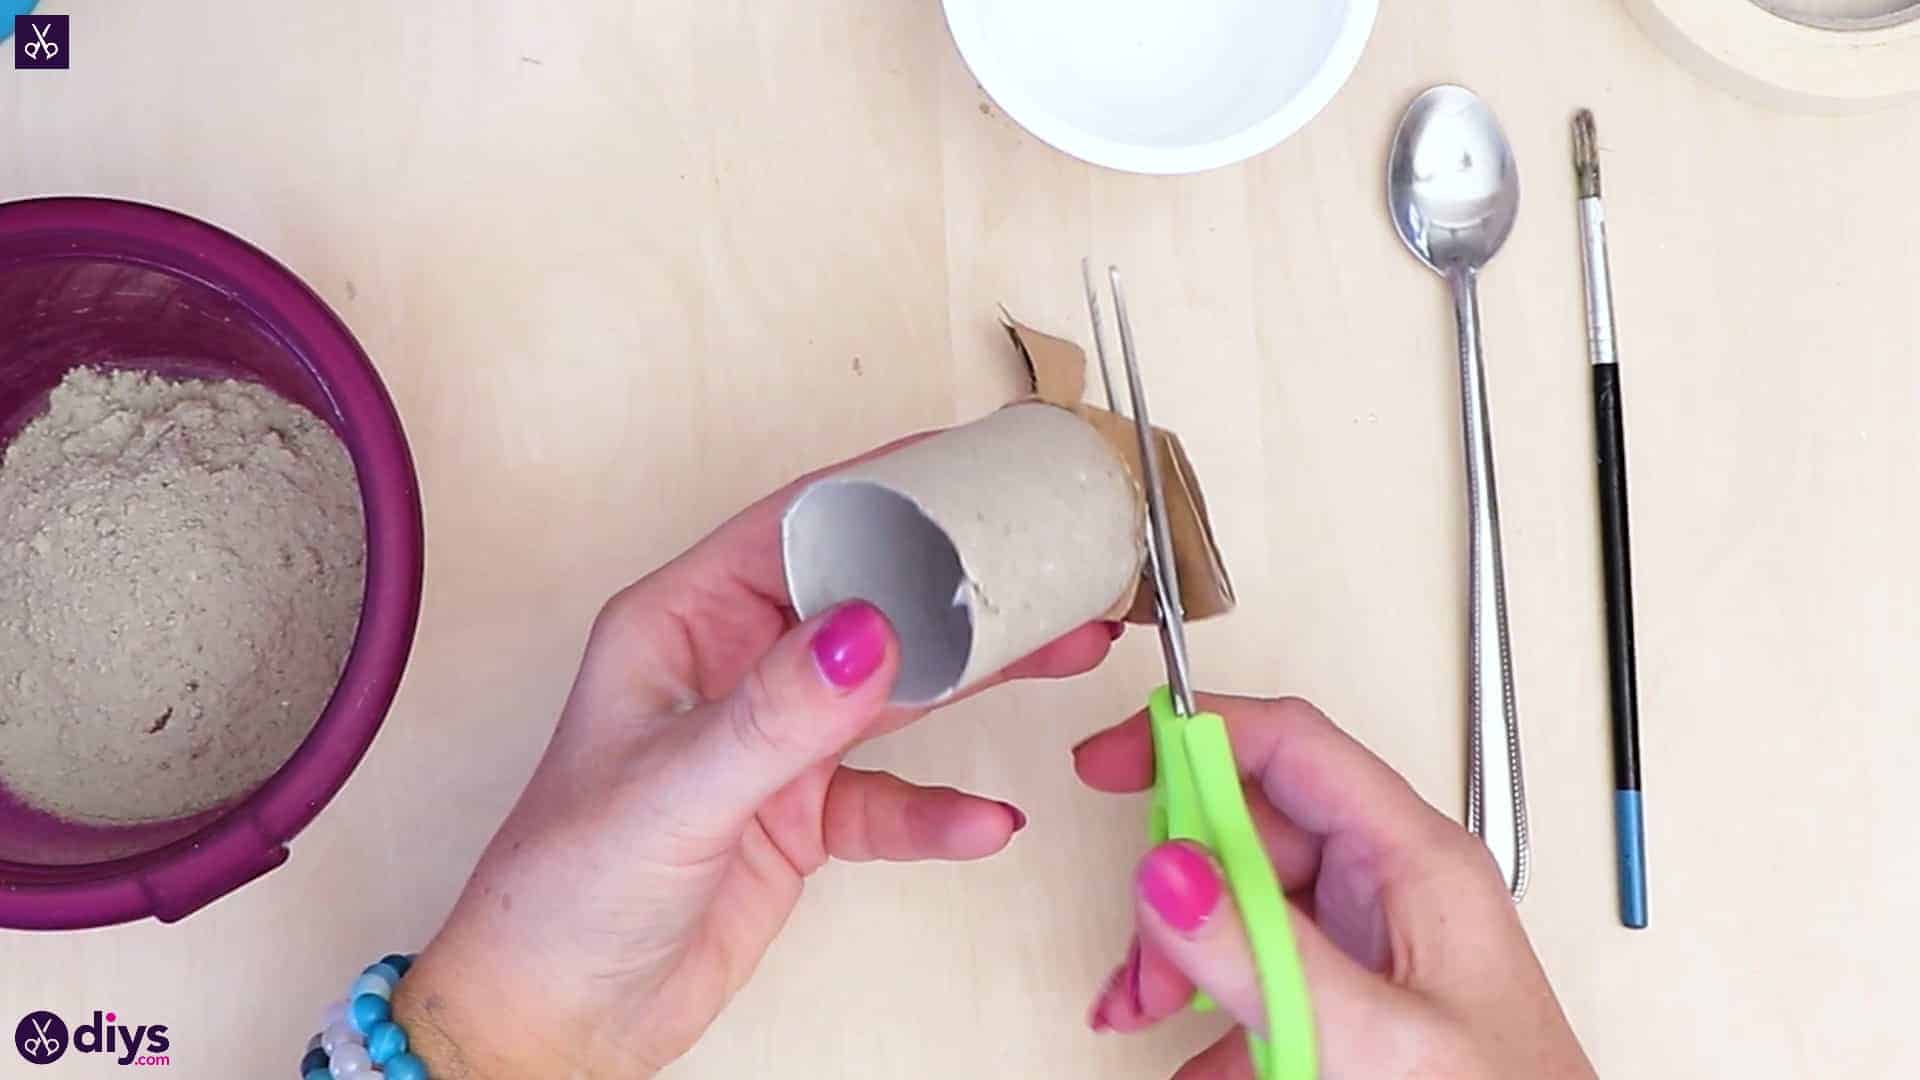
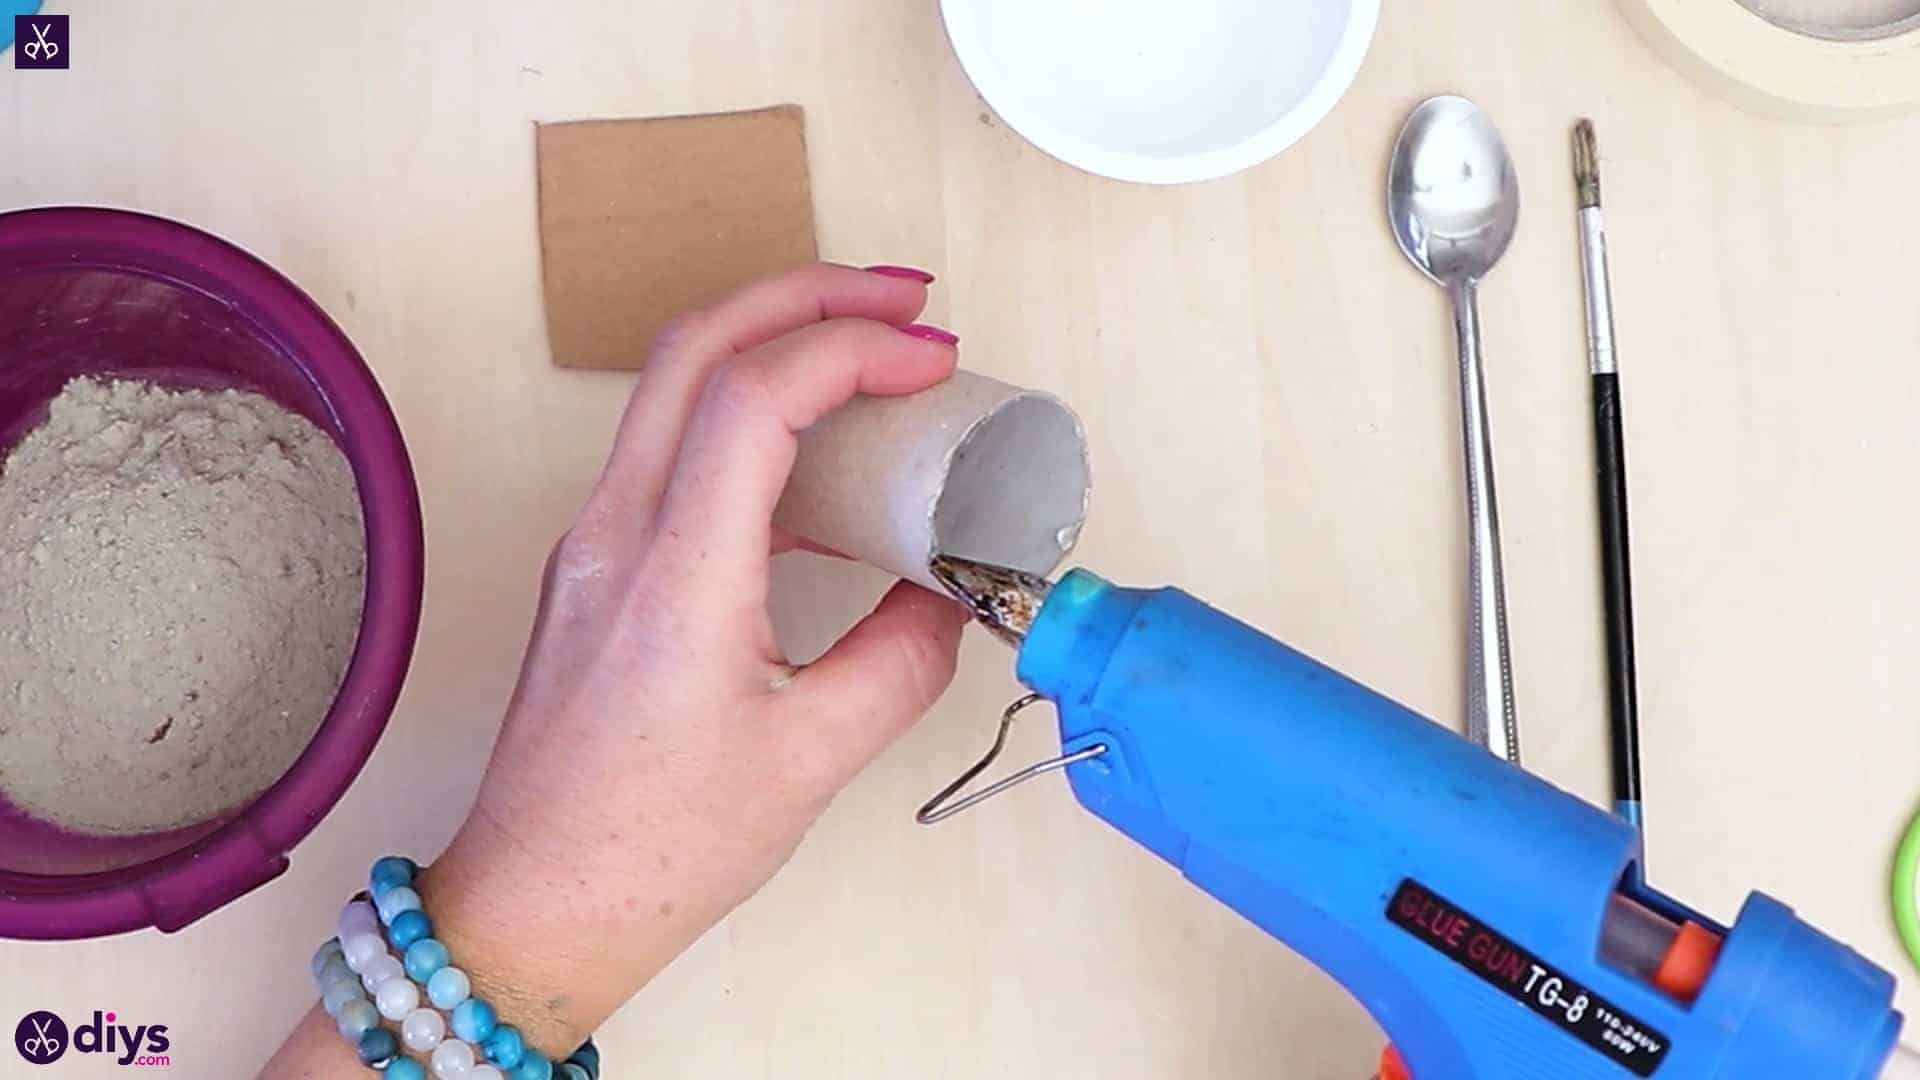
Step 2: create your mold
Use your hot glue gun to apply glue around the top edge of the empty toilet paper roll. Turn the roll over and stick it down in the center of your piece of cardboard. Cut off the excess around the edges so one end of your toilet roll is now covered in a cardboard circle.

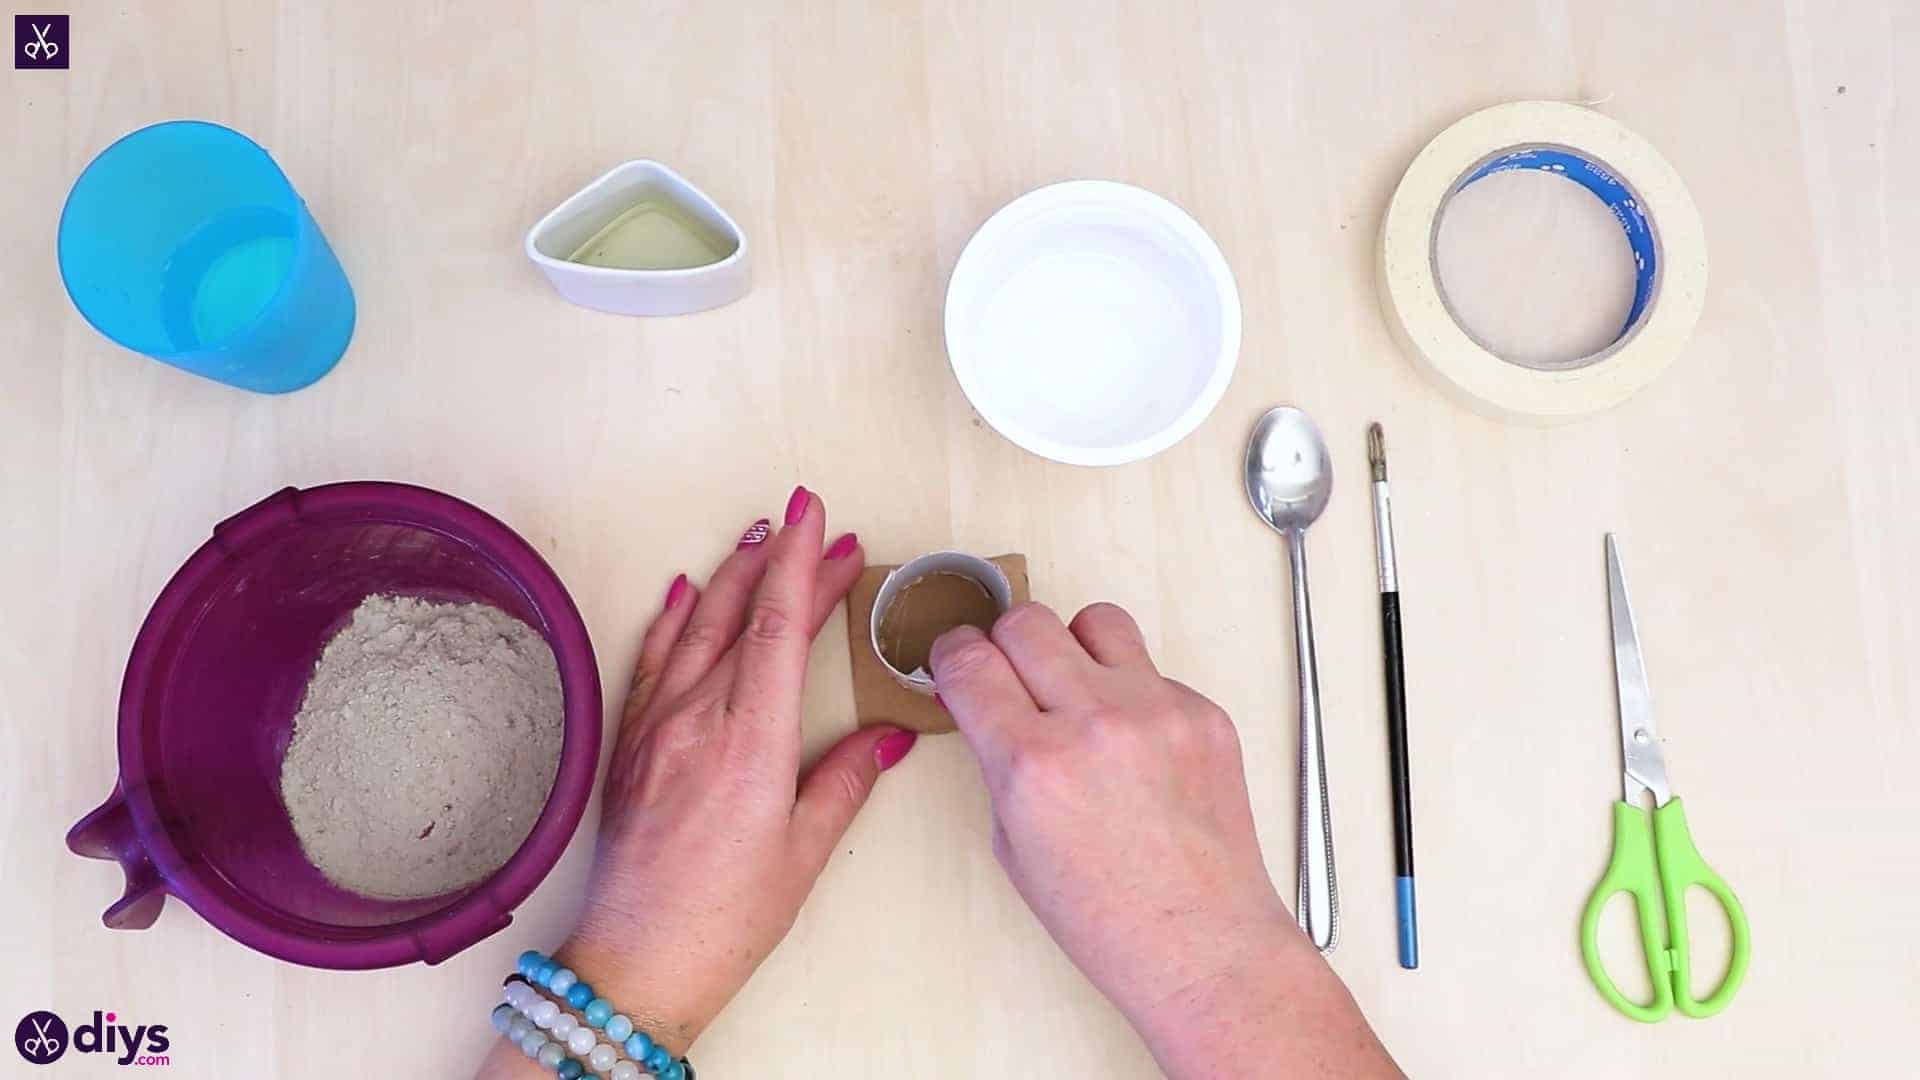
Step 3: oil
Use your paint brush to cover the whole outside surface of your toilet roll in olive or vegetable oil. This will stop the DIY concrete mixture from sticking so badly in later steps.
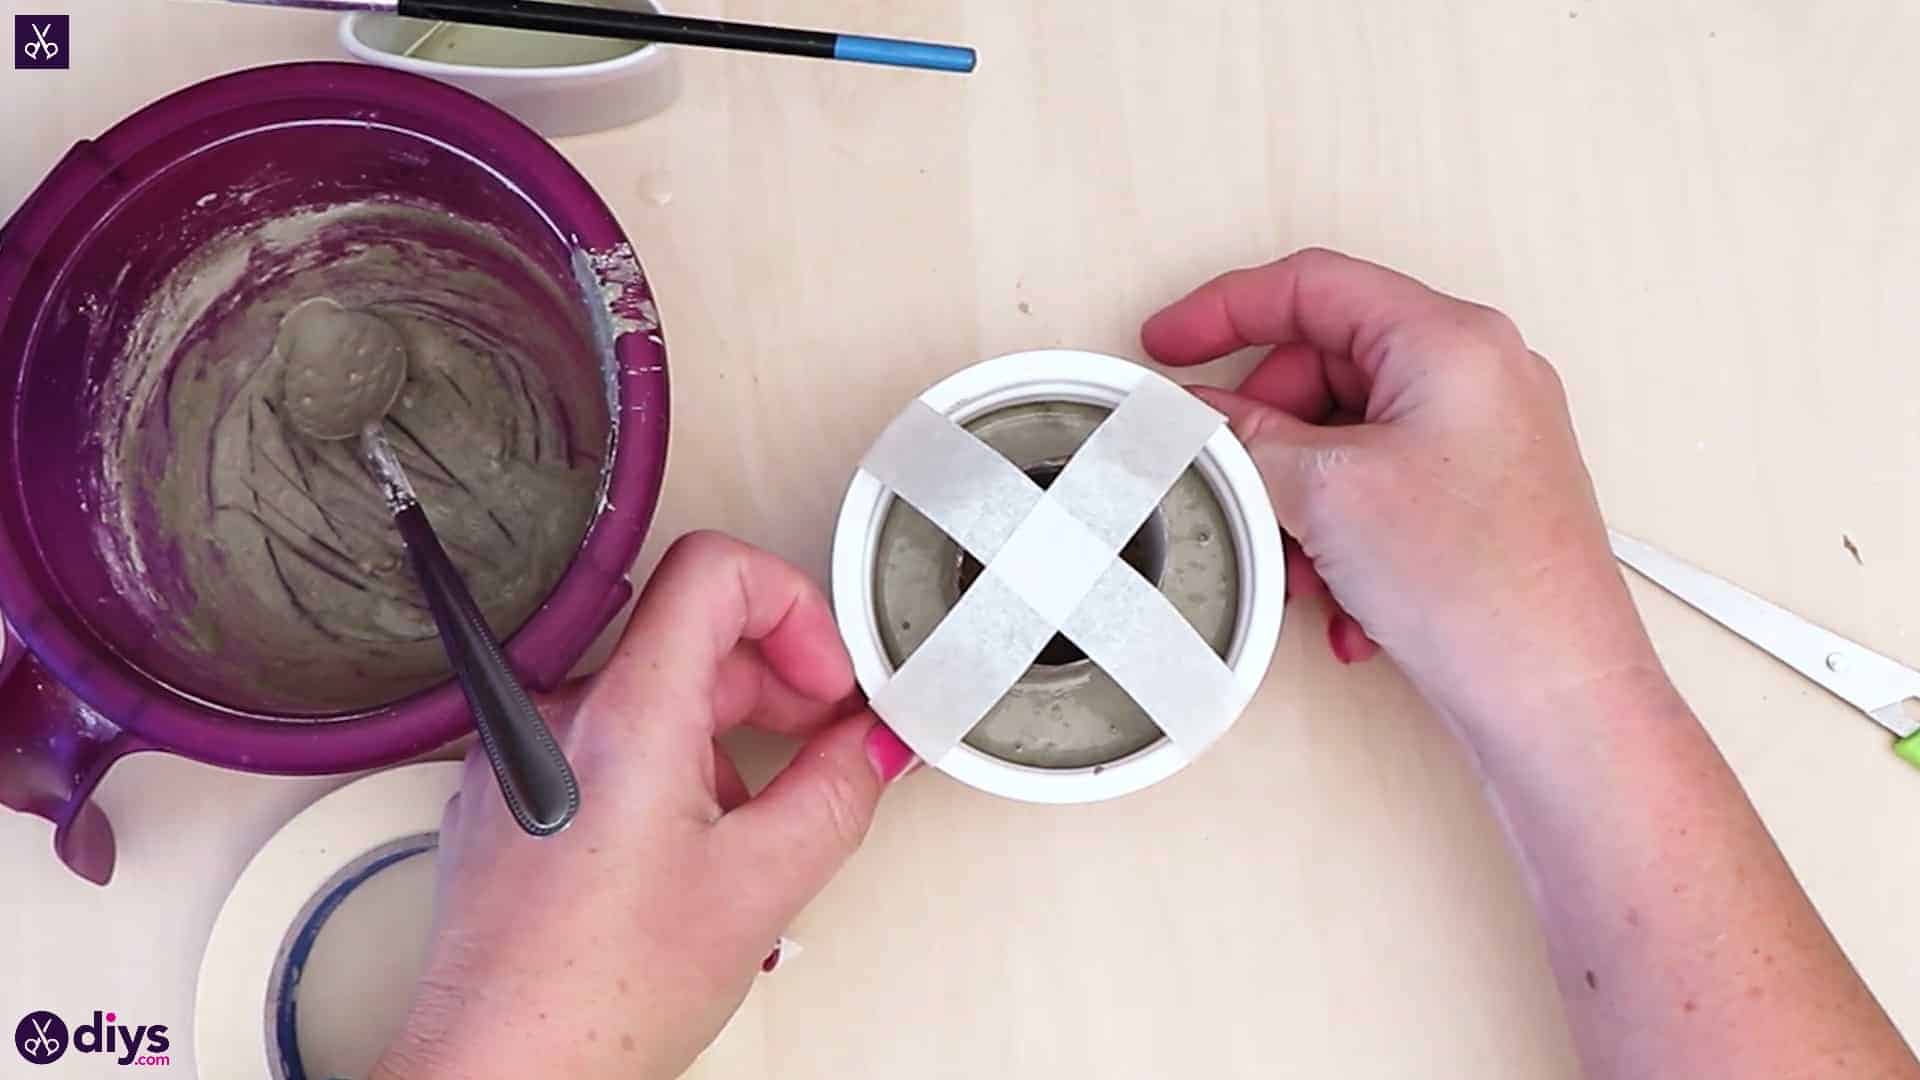
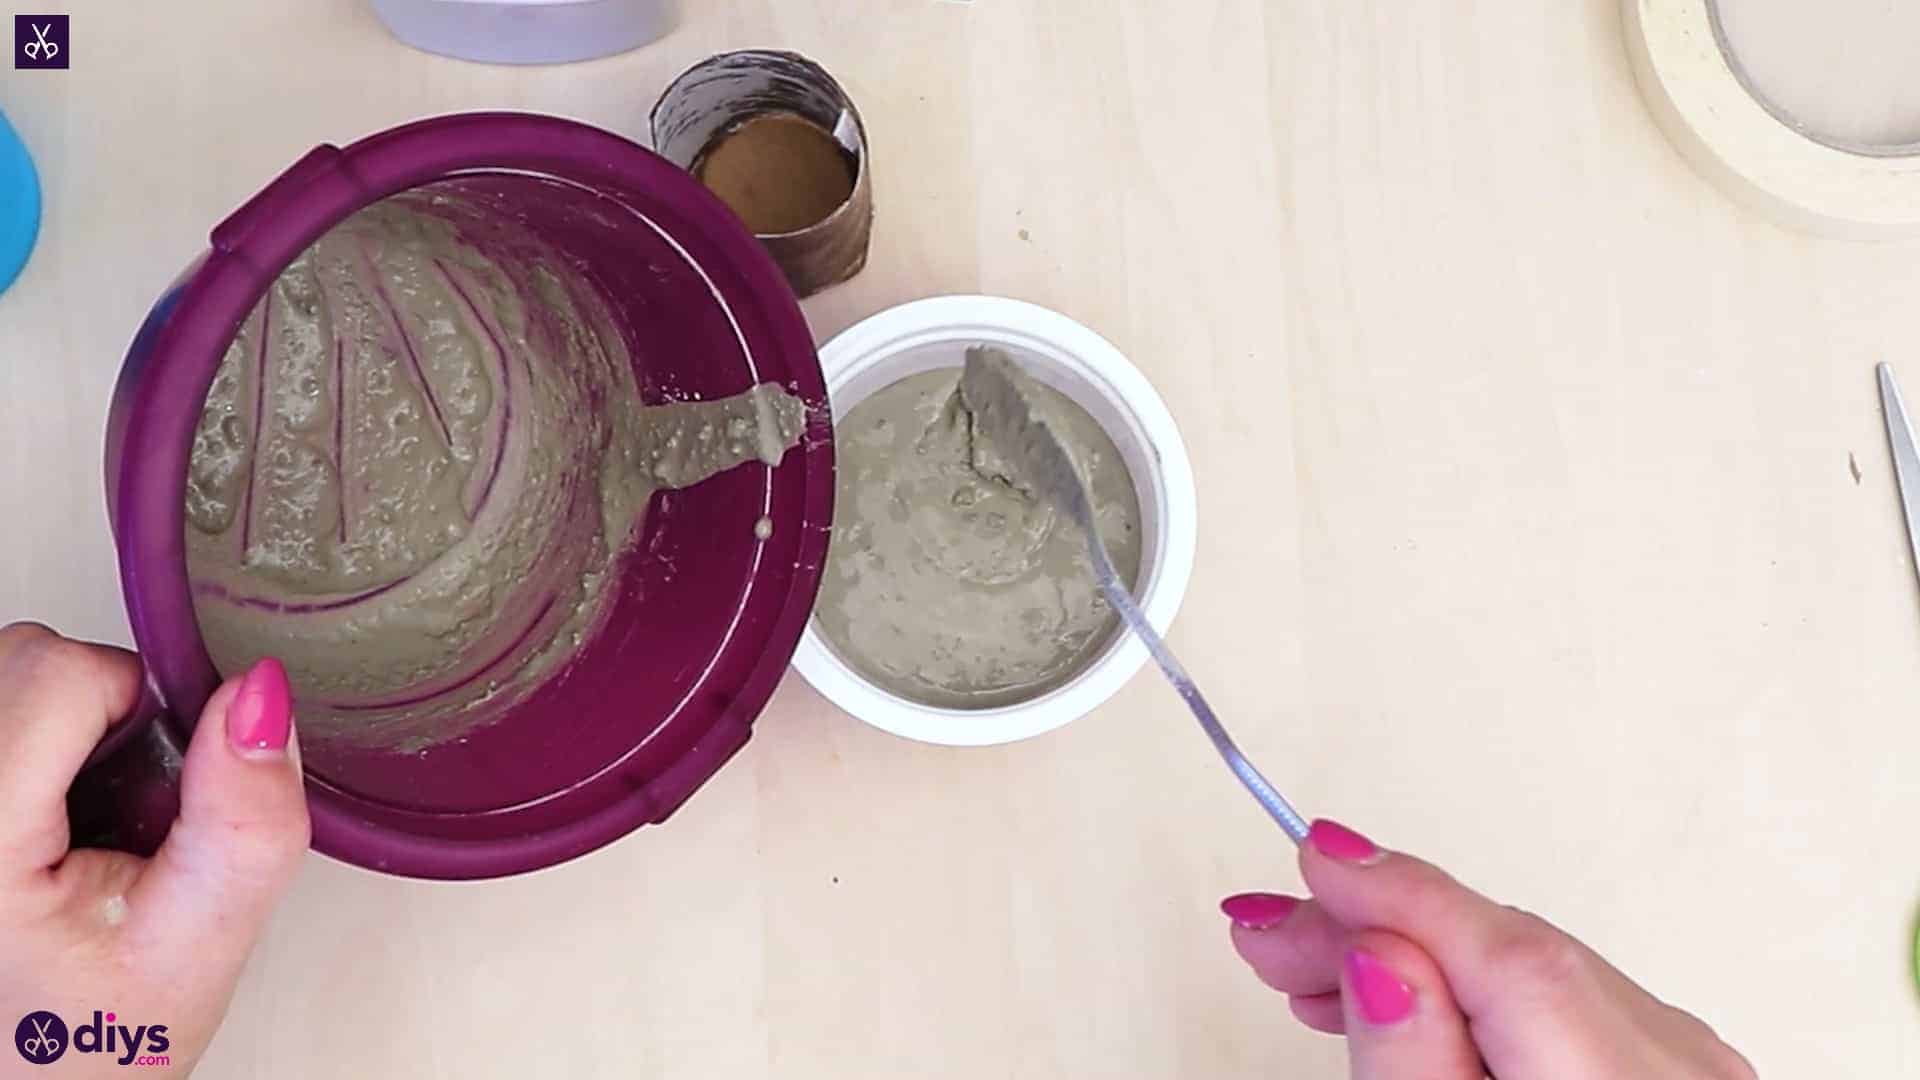
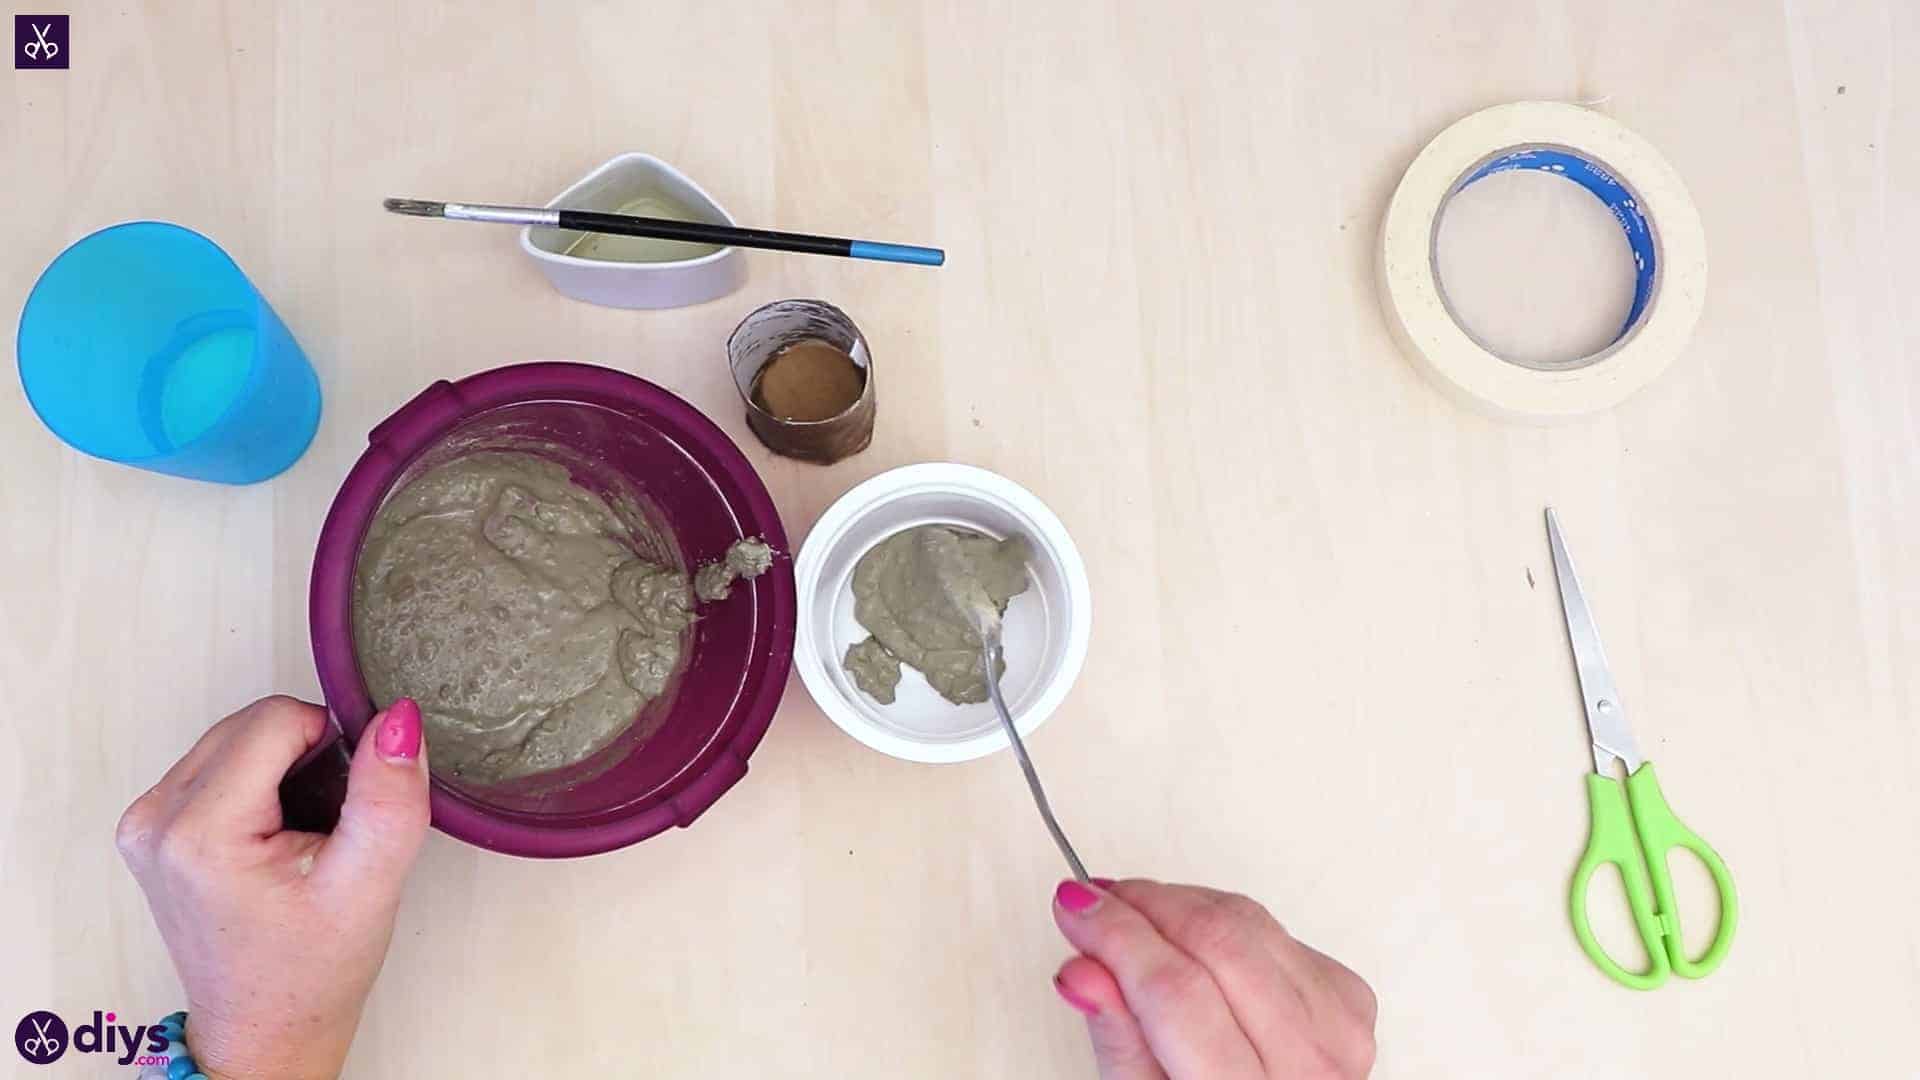
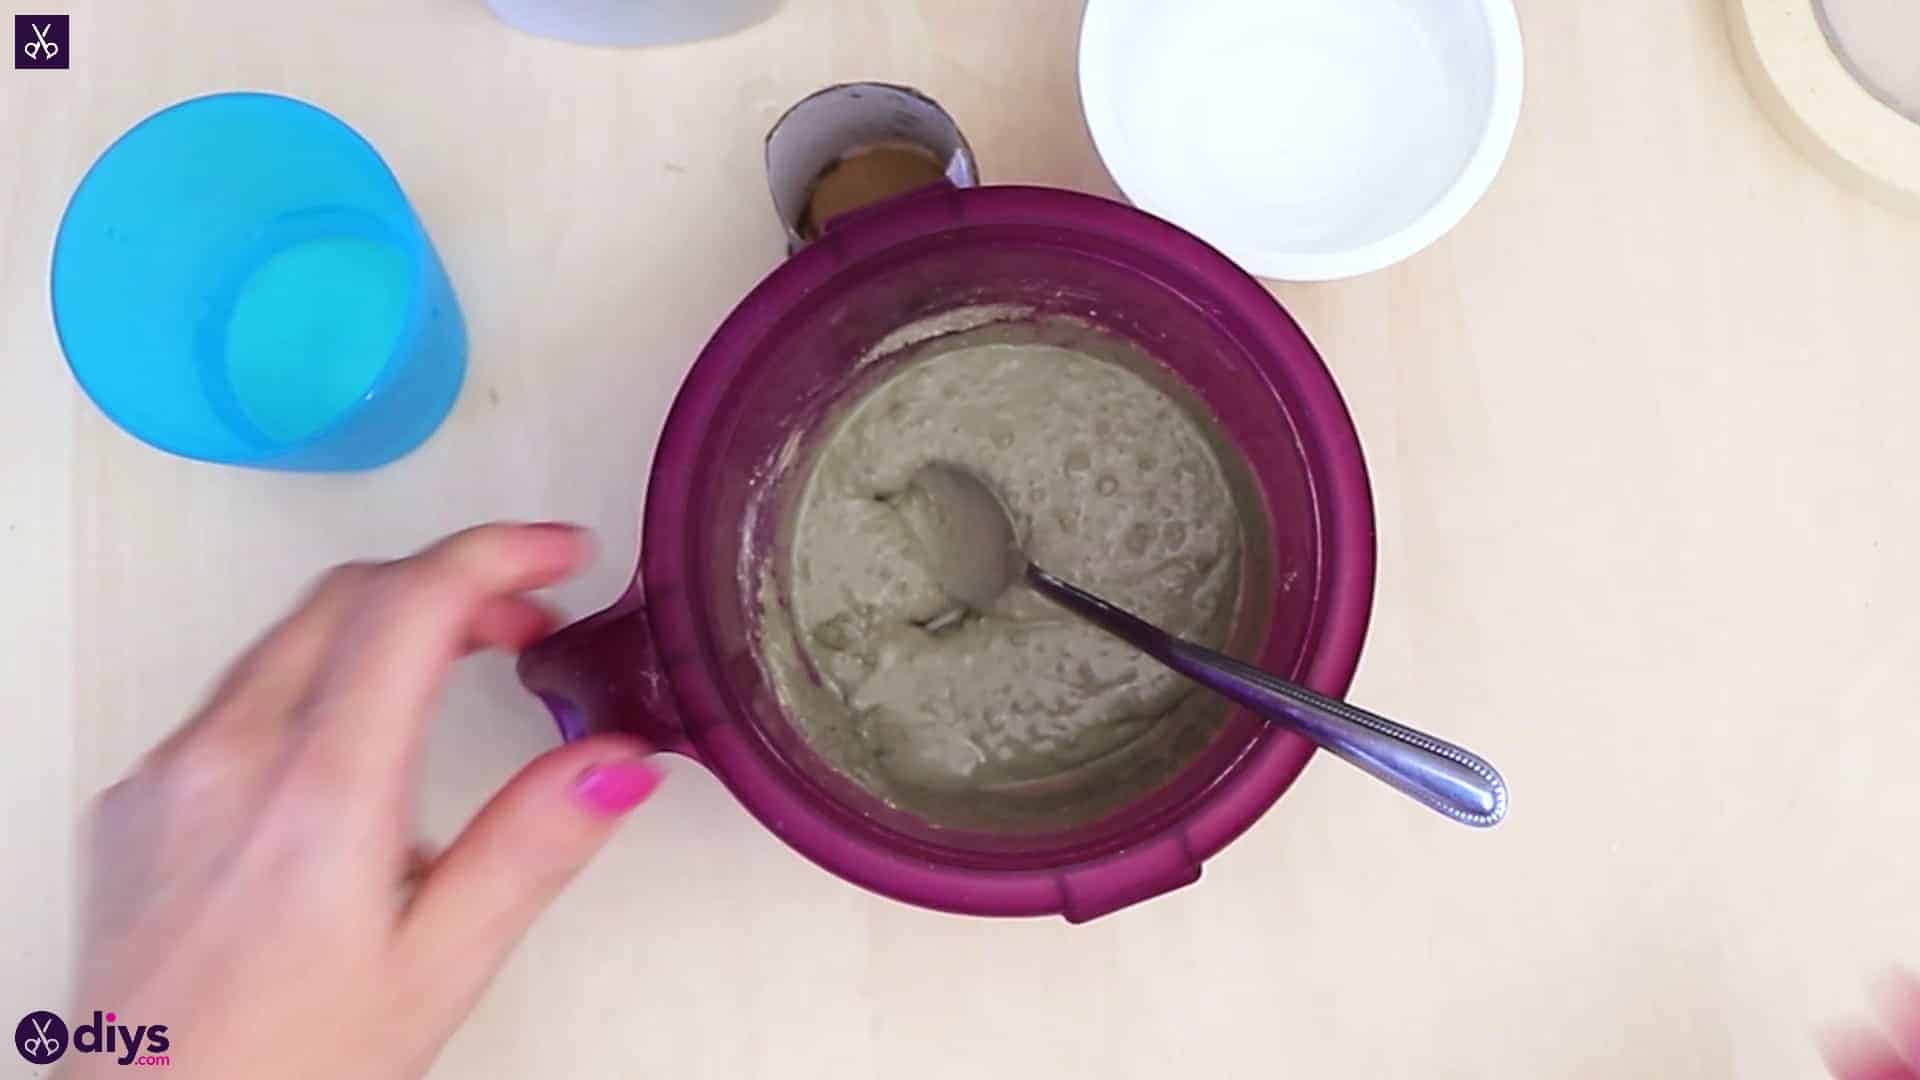
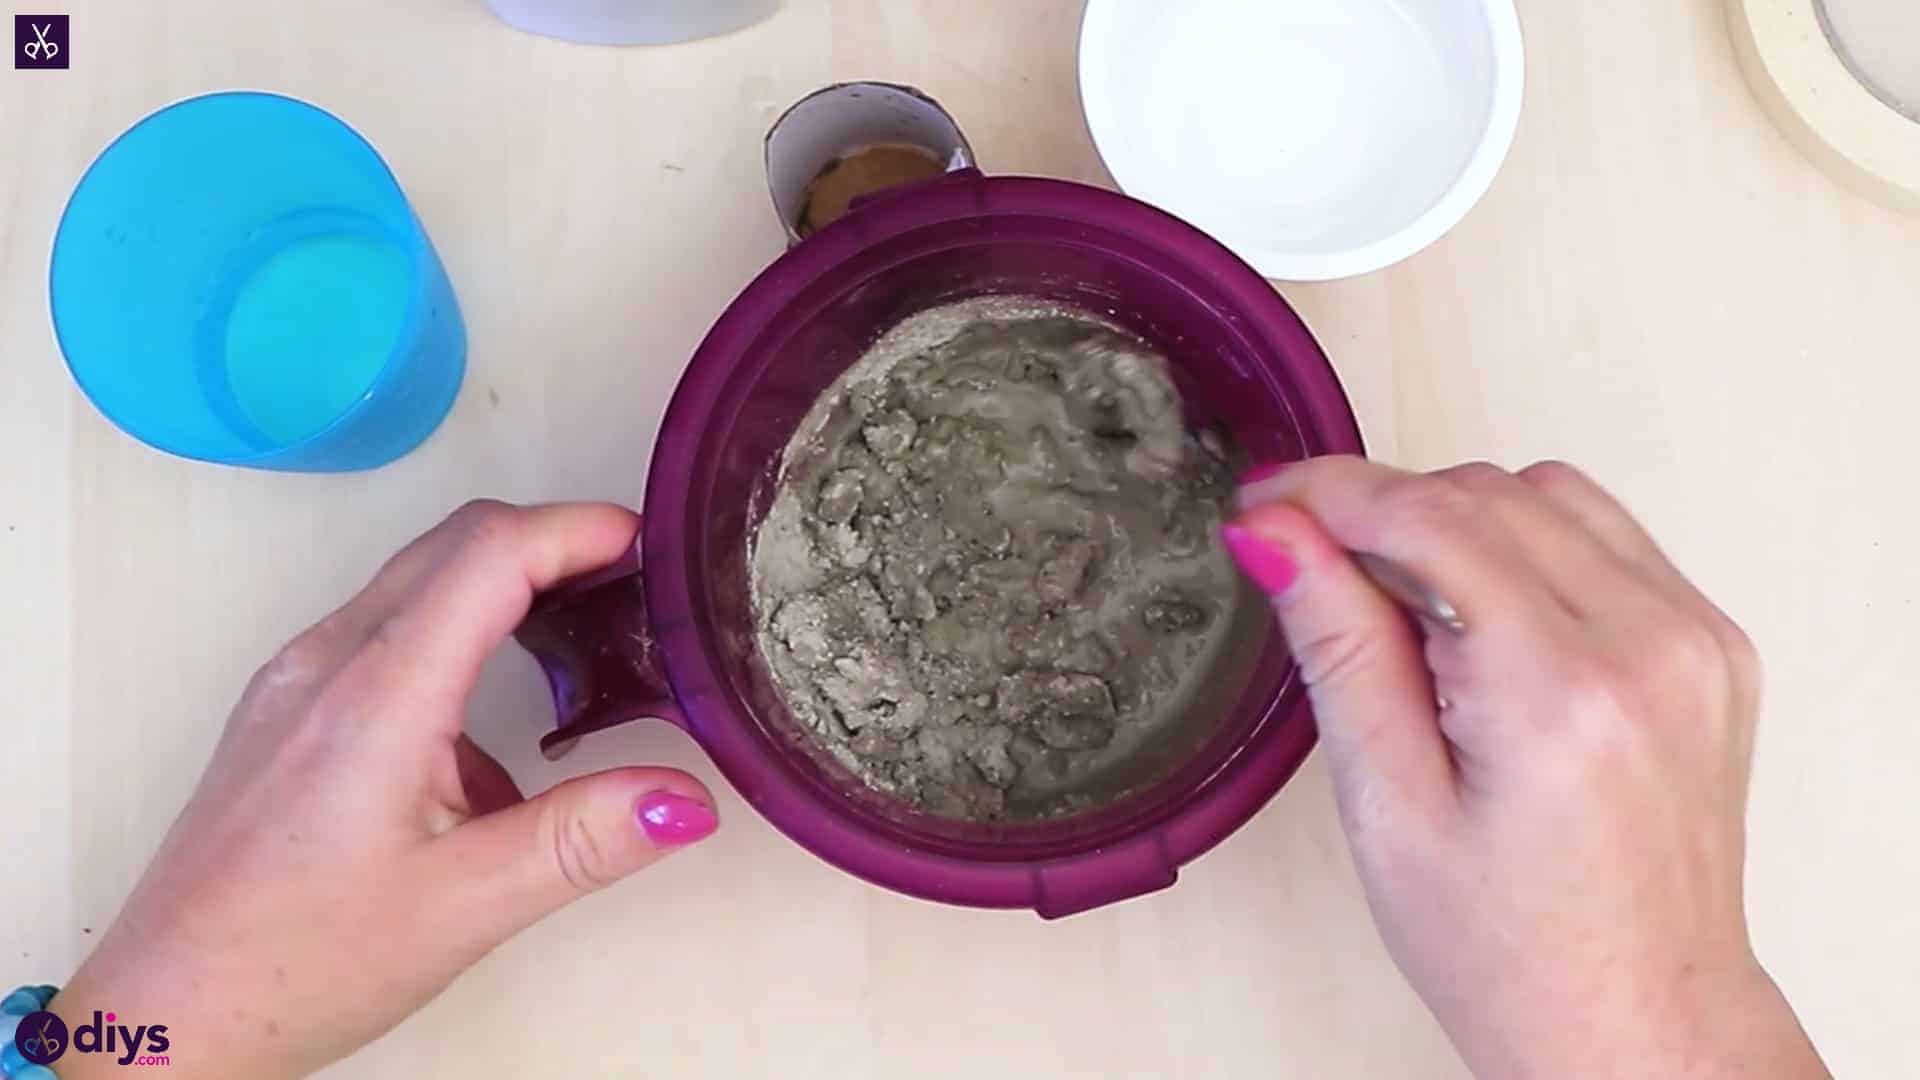
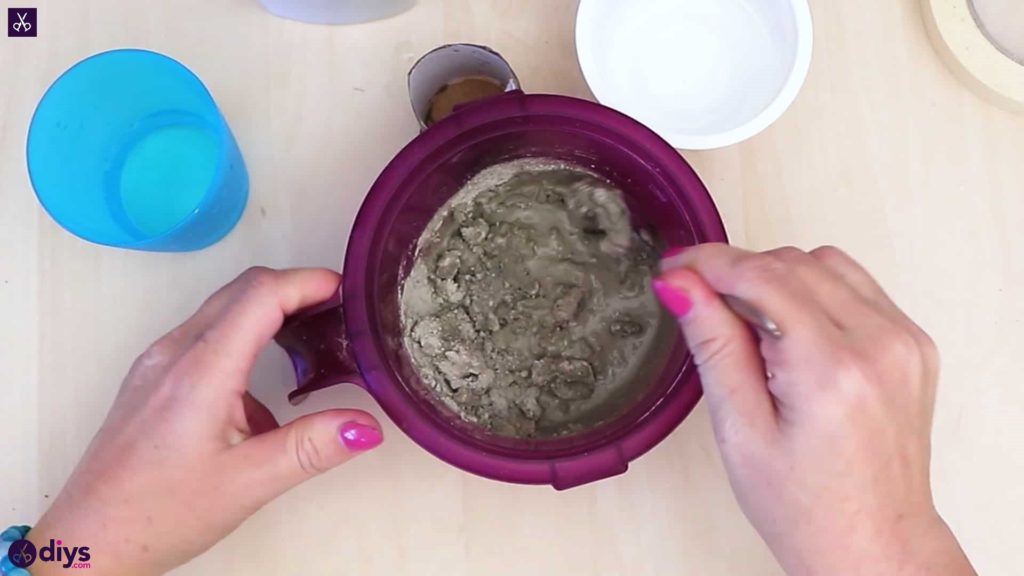
Step 4: mix concrete
Pour water into your DIY concrete powder and mix it together until the consistency is right. Follow the instructions on the packaging of your concrete mix to get the ratio of mix and water right, as it might vary for some brands.


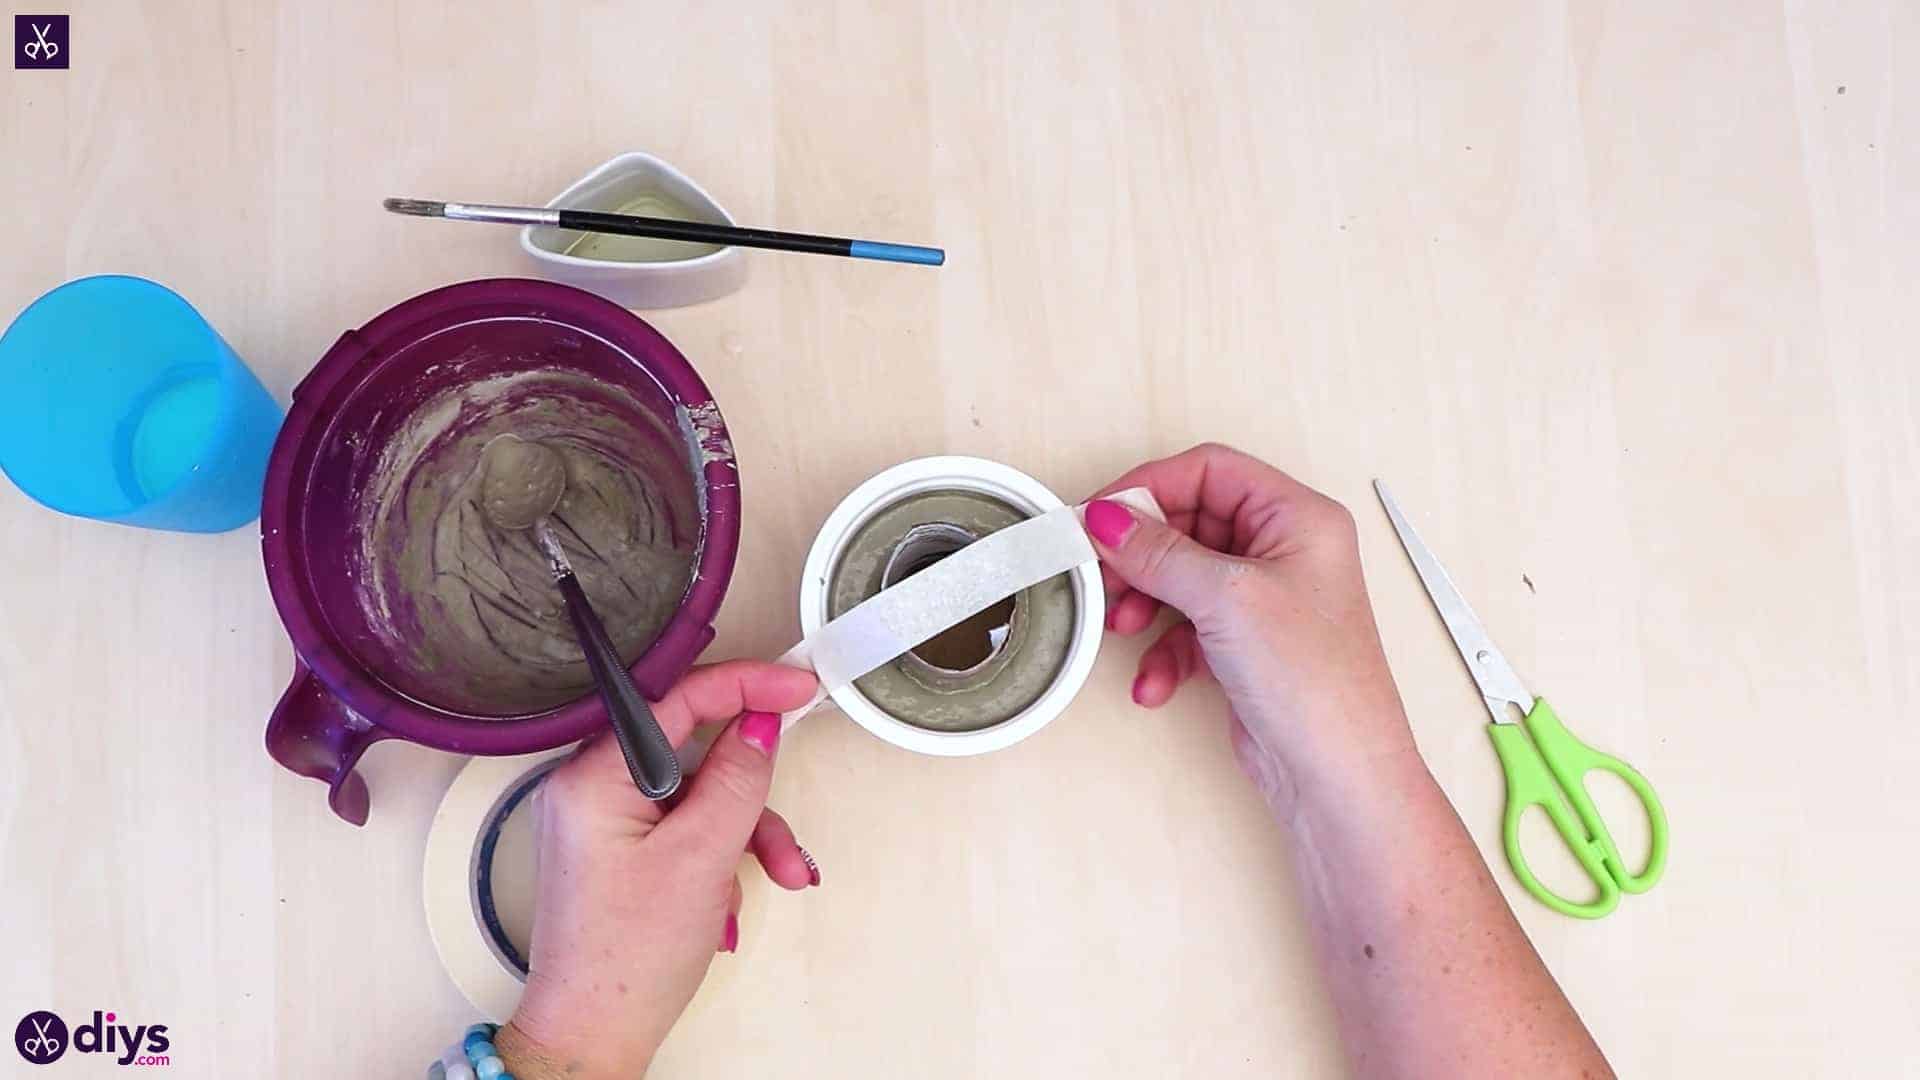
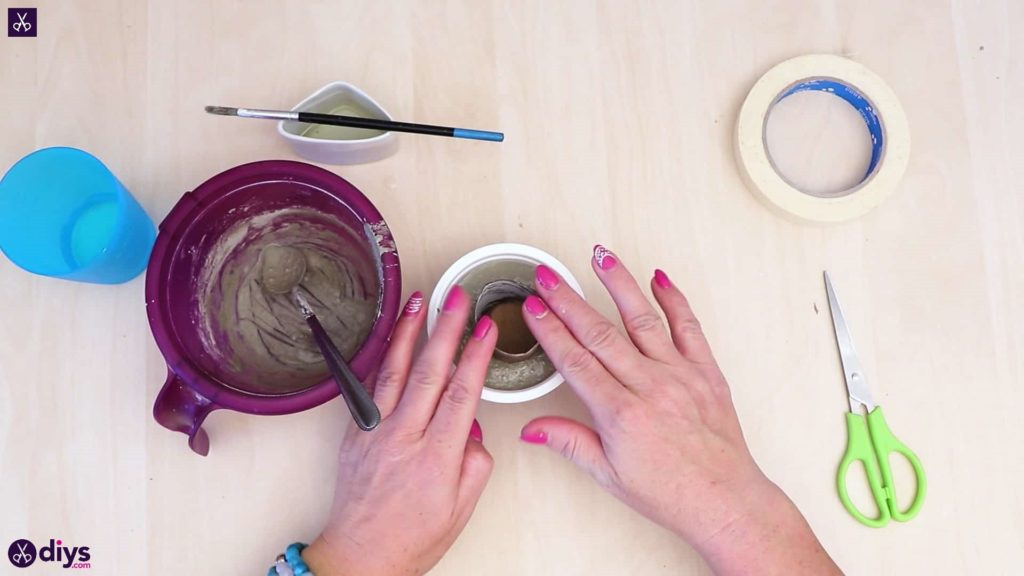
Step 5: fill the mold
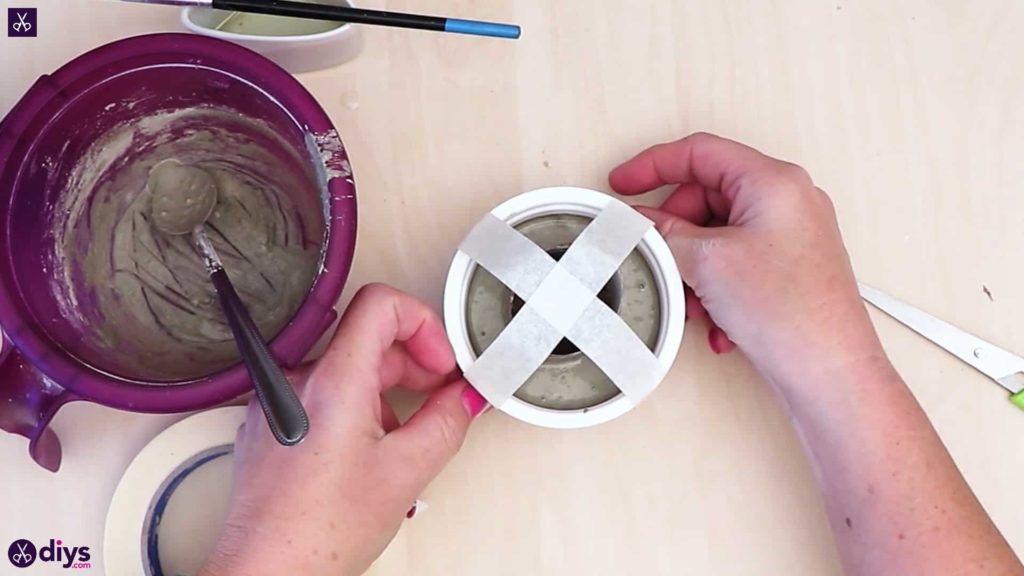
Use your spoon to fill the yogurt tub with concrete mix until about half an inch from the top. Tap the bottom of the tub on the tabletop to even out the surface of the concrete mix. Sink the toilet roll into the middle of the concrete mix, with the end you covered in the cardboard circle facing downward so it meets the bottom of the yogurt tub. Apply pieces of tape across the top of the roll from edge to edge of the tub to keep the roll upright and in place. Set the whole thing aside to dry.


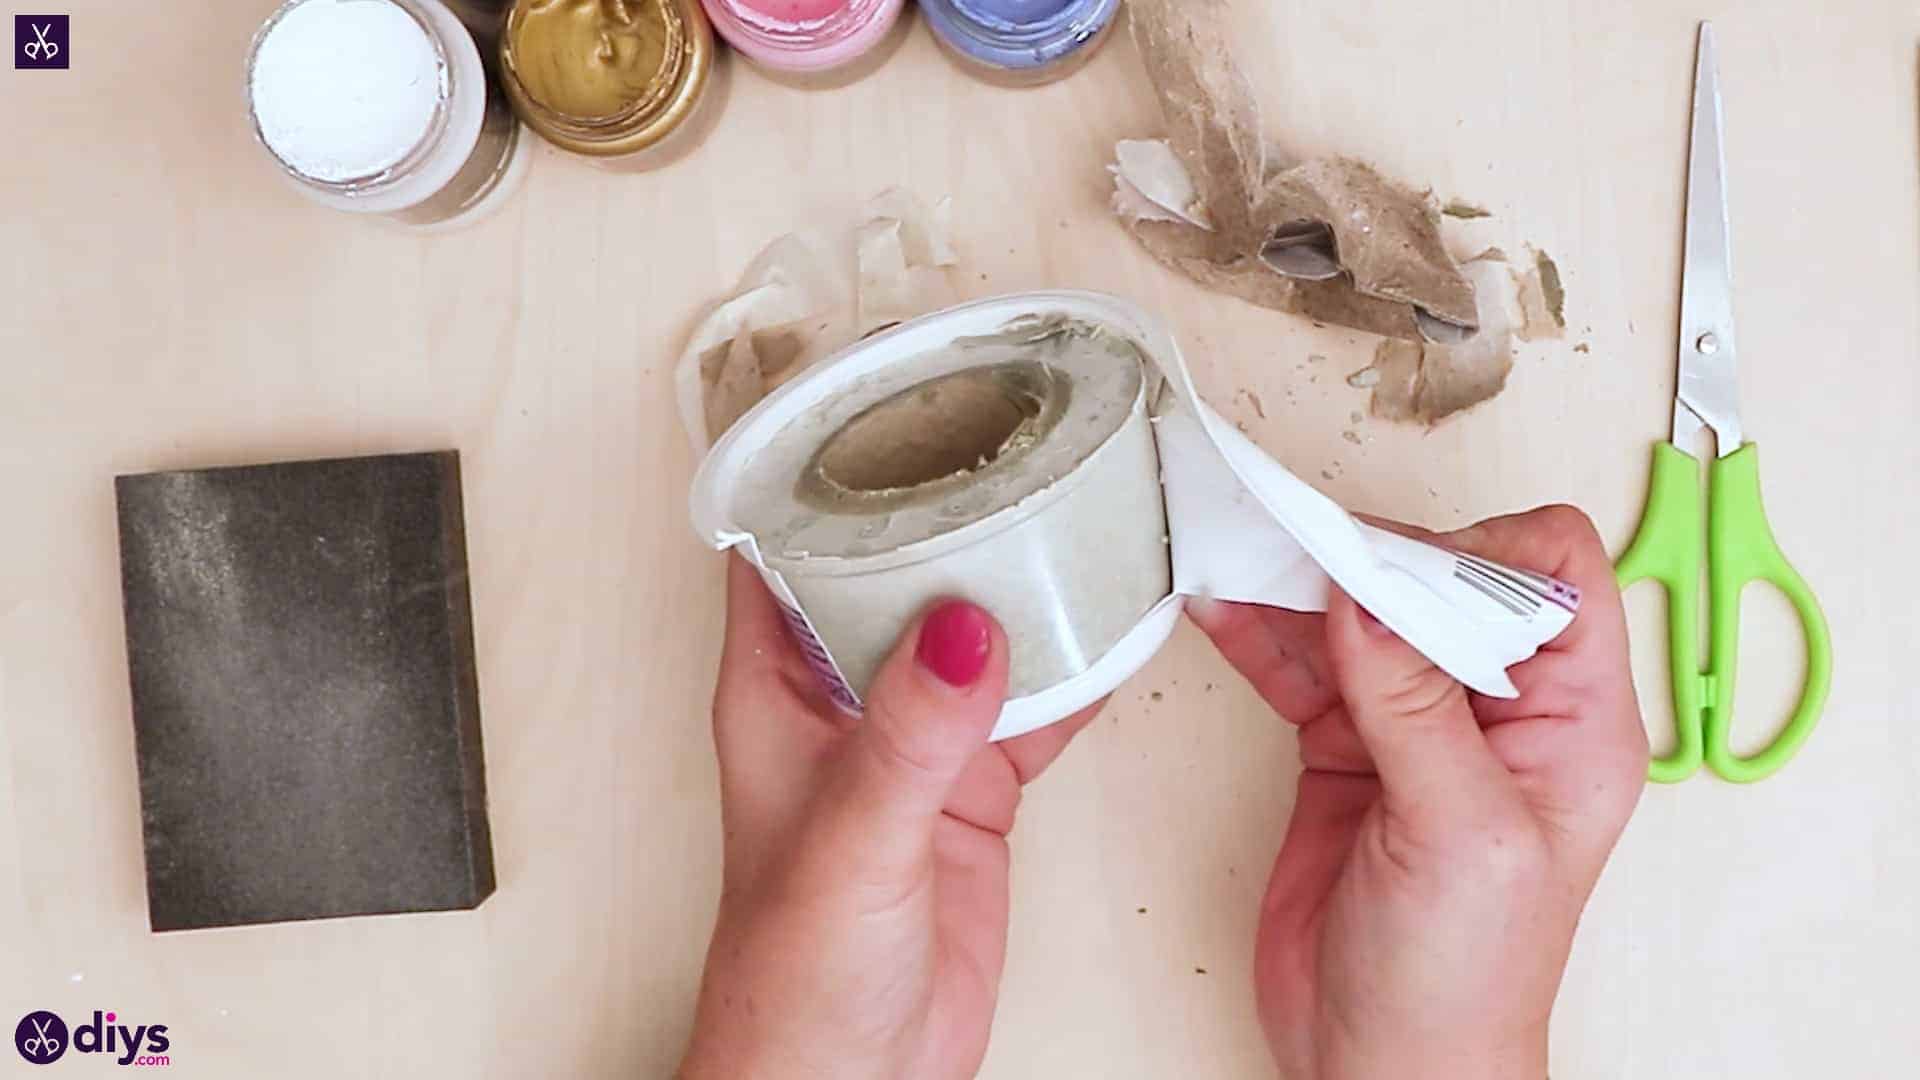
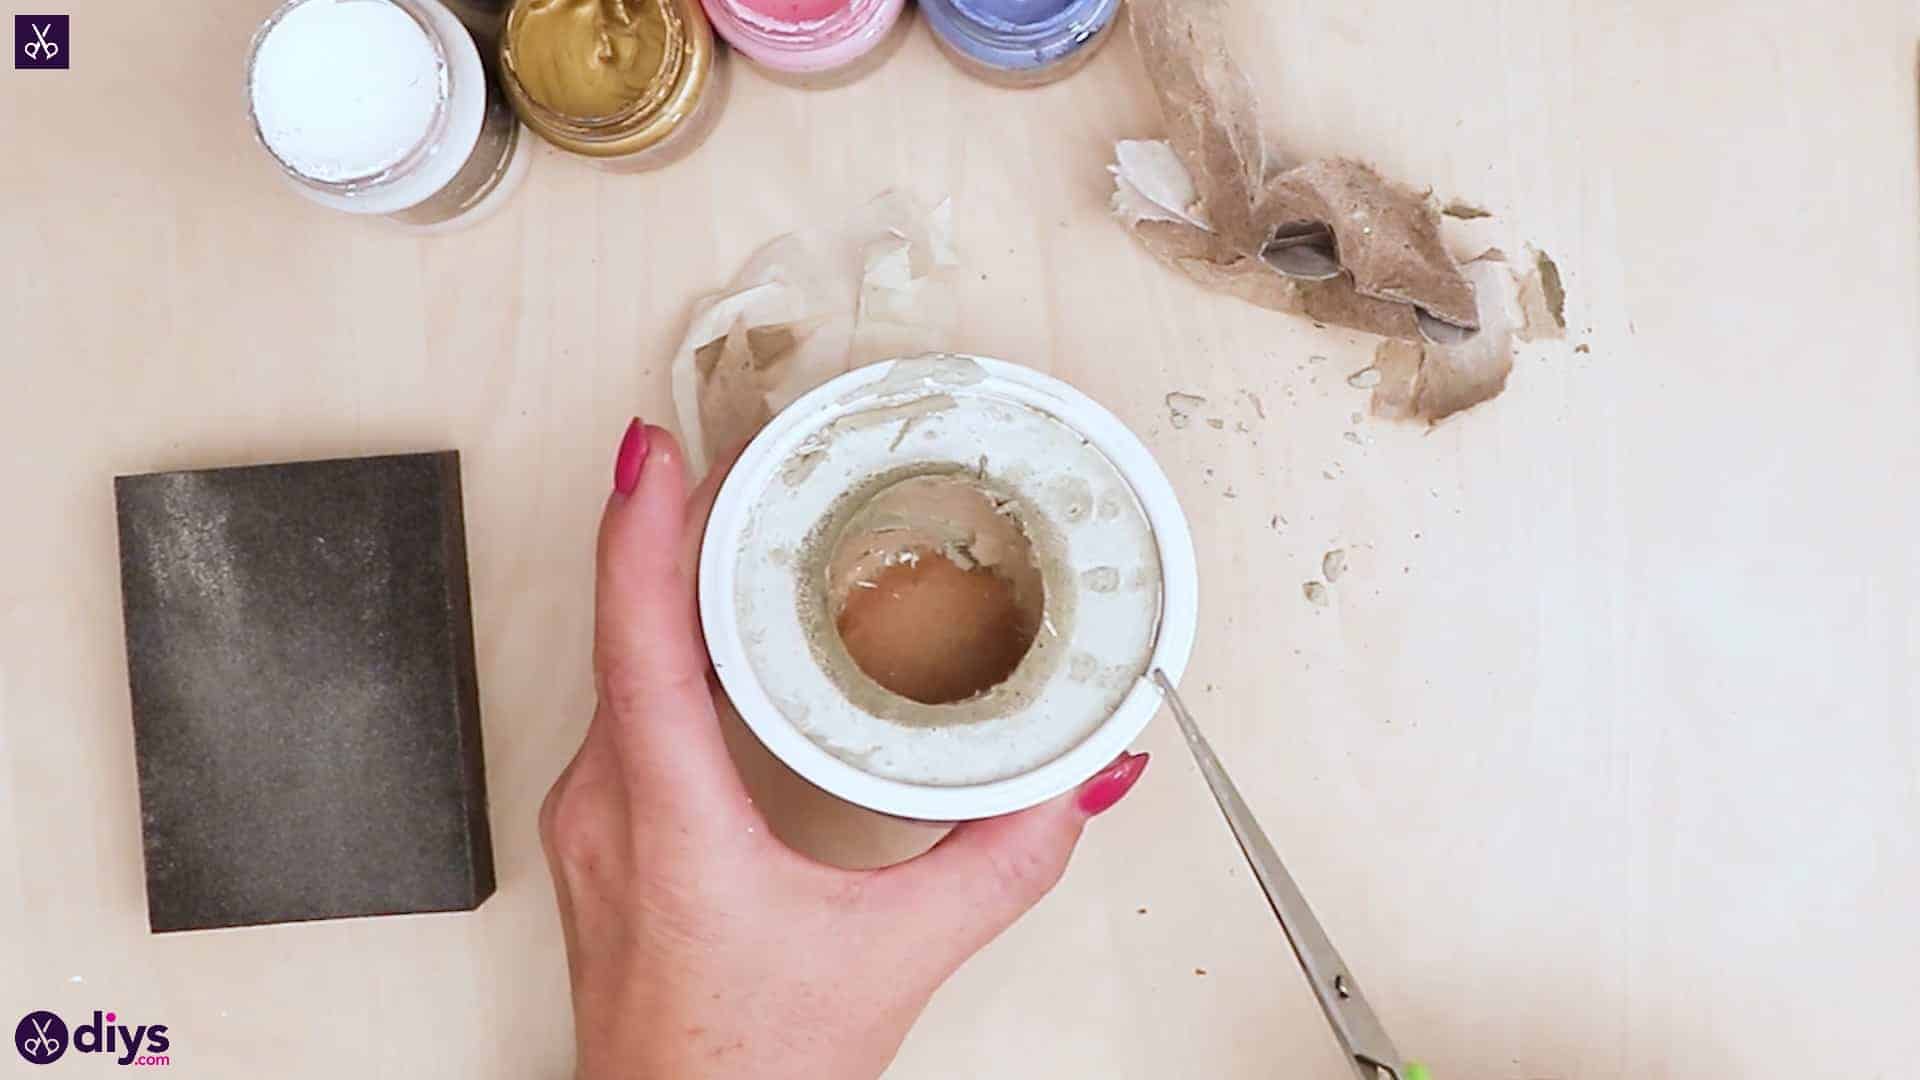
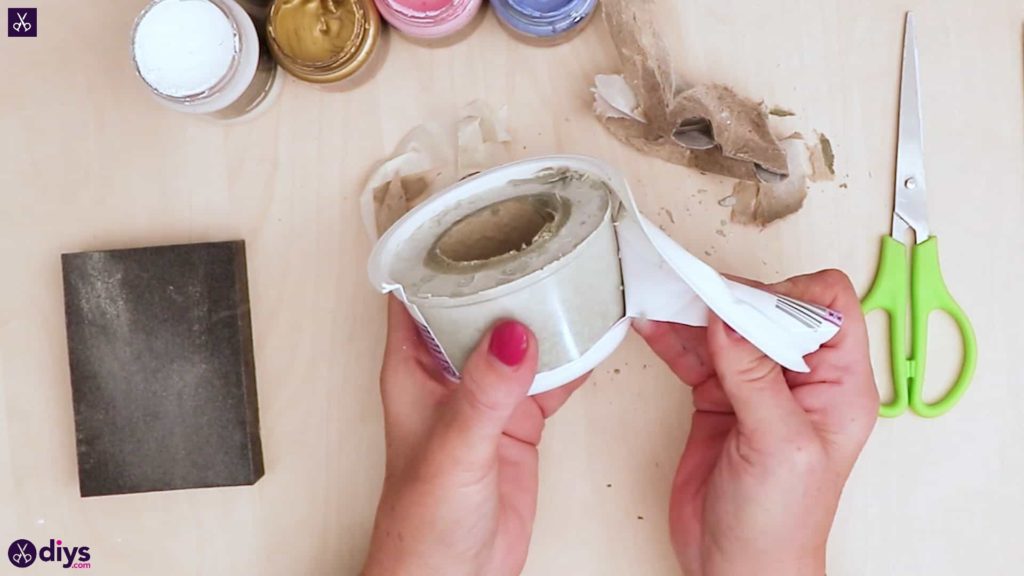
Step 6: remove from mold
Once the concrete mix has dried all the way through, pinch the ends of the cardboard roll and pull it away from the sides, removing as much of the cardboard as you can to leave an empty cylinder in the middle of the concrete. Next, cut the edge of the yogurt tub and tear that away from the outside surface of your new concrete shape.


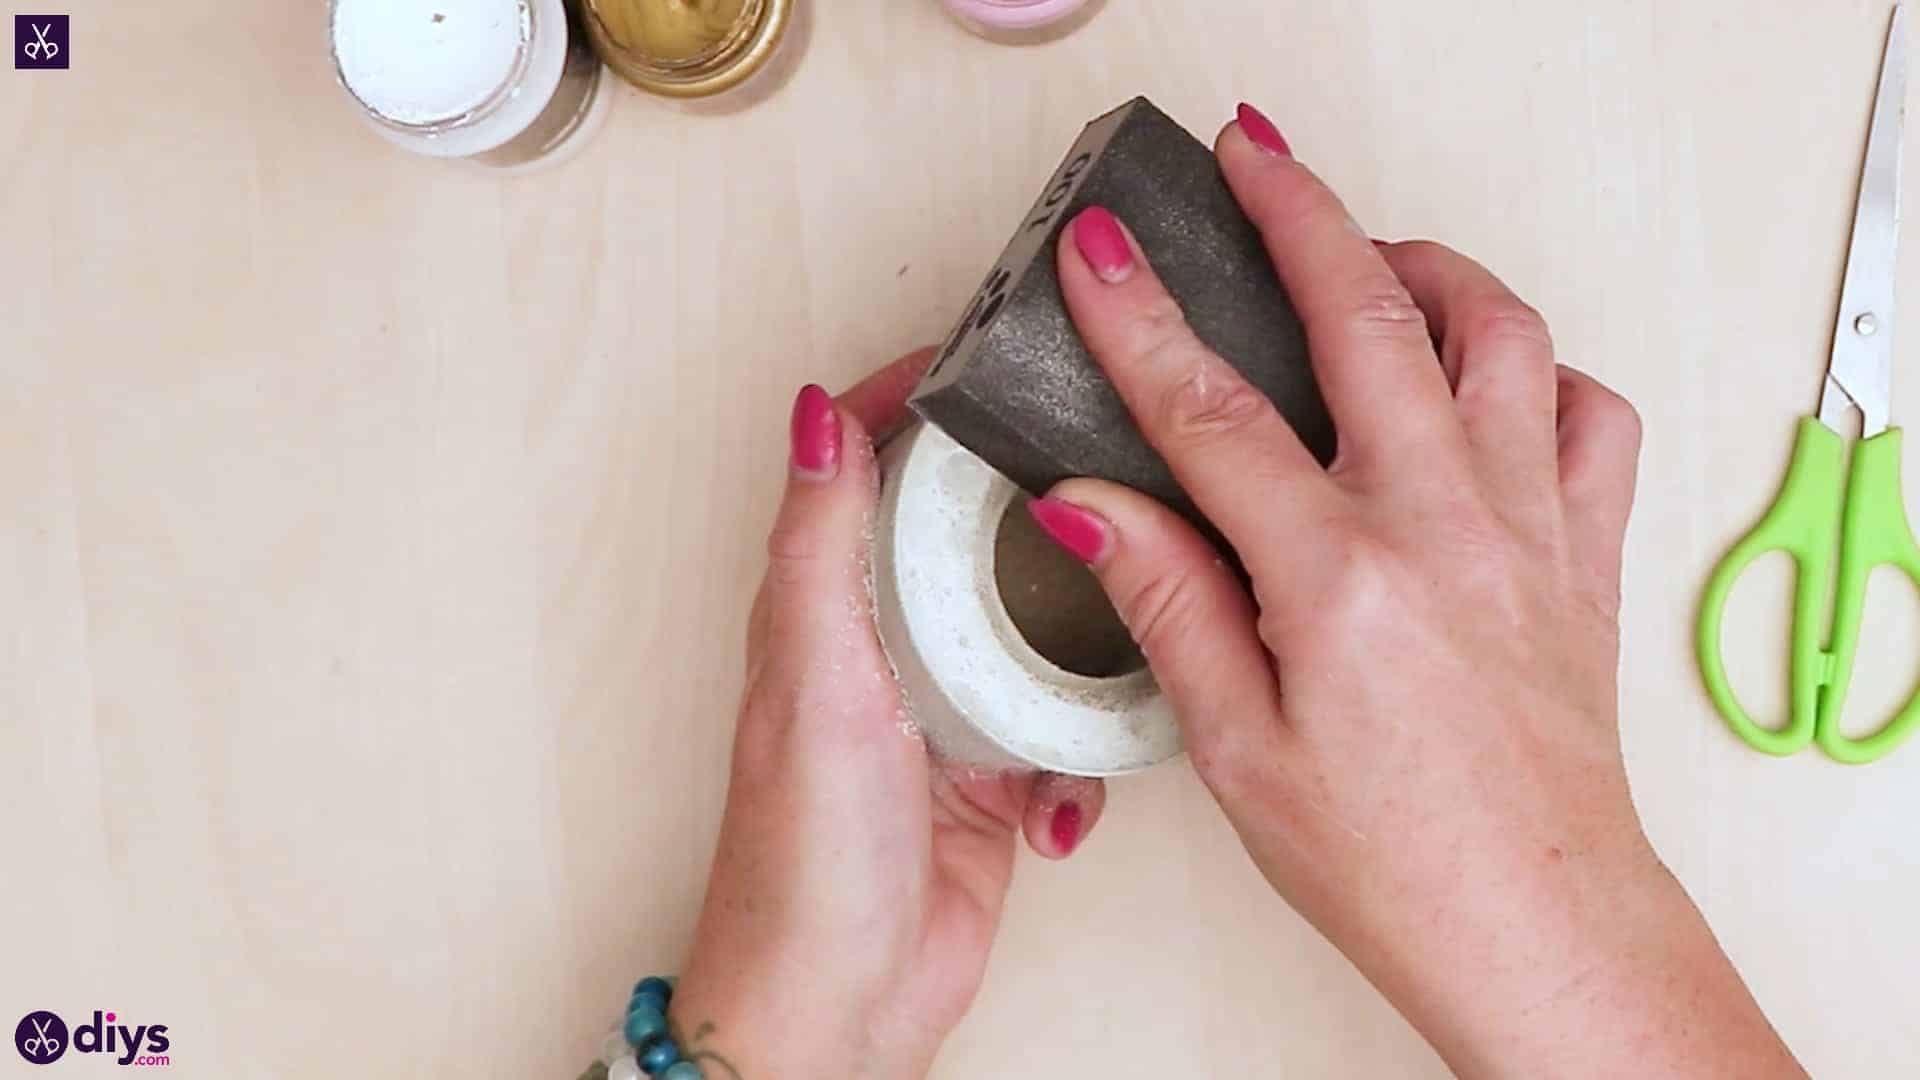
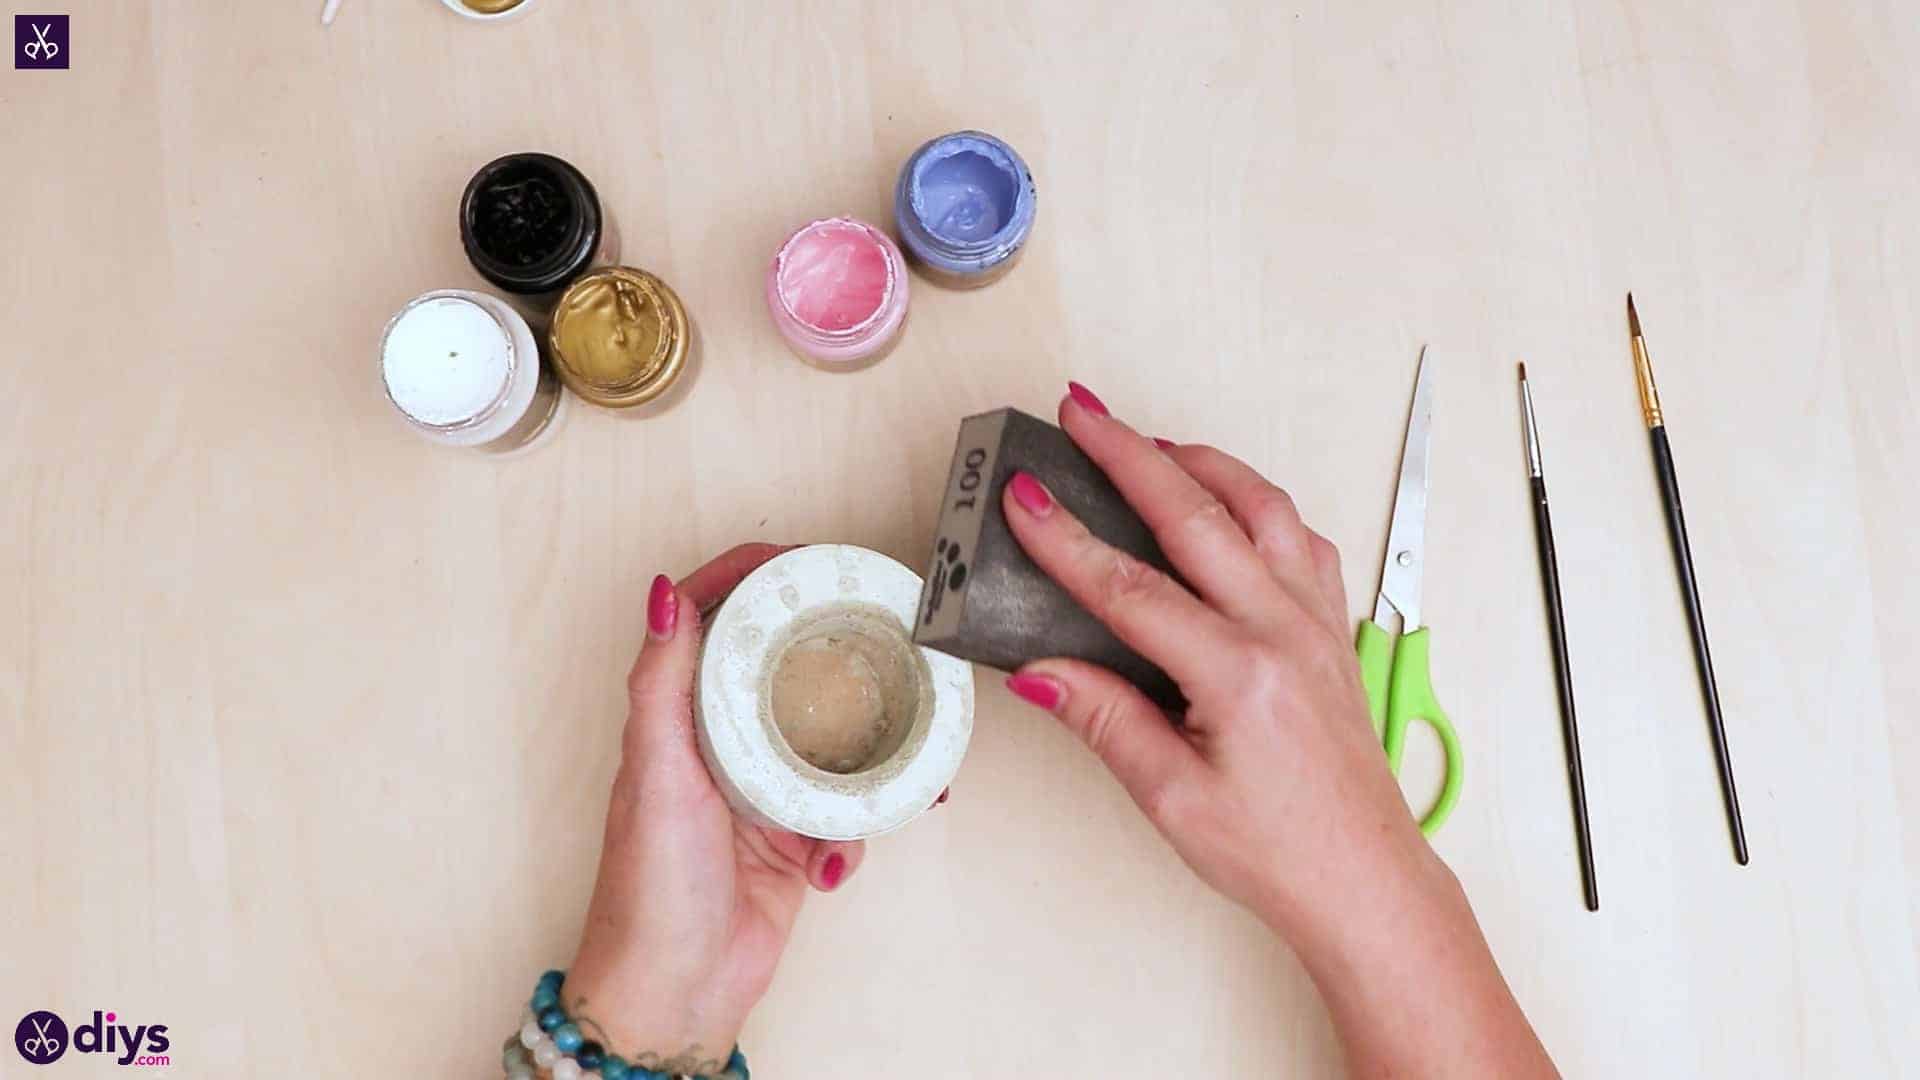
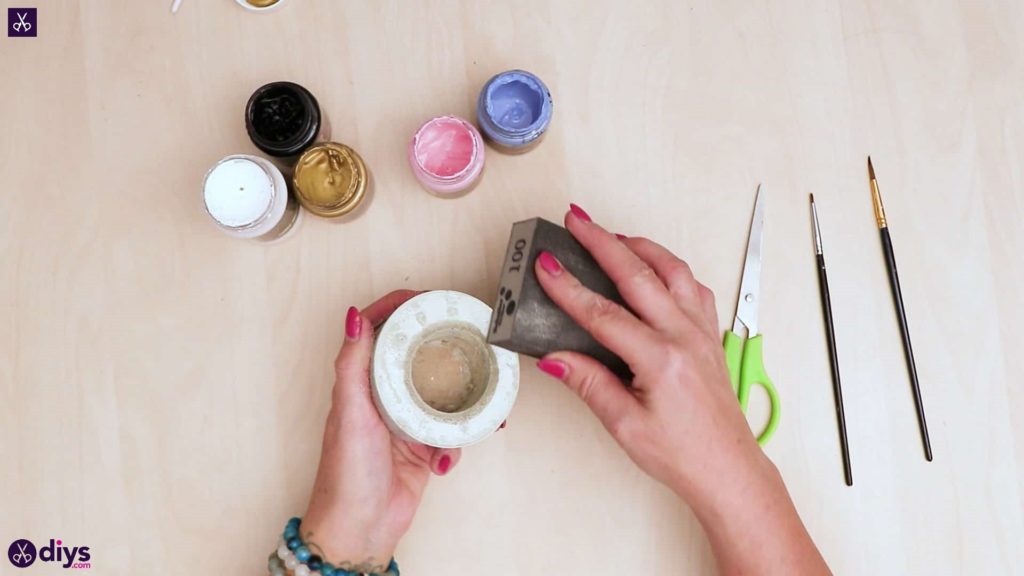
Step 7: sand
Use your sandpaper block to sand your entire concrete shape and get rid of blemishes and inconsistencies all across the outside and top so it’s smooth rather than bumpy in texture.

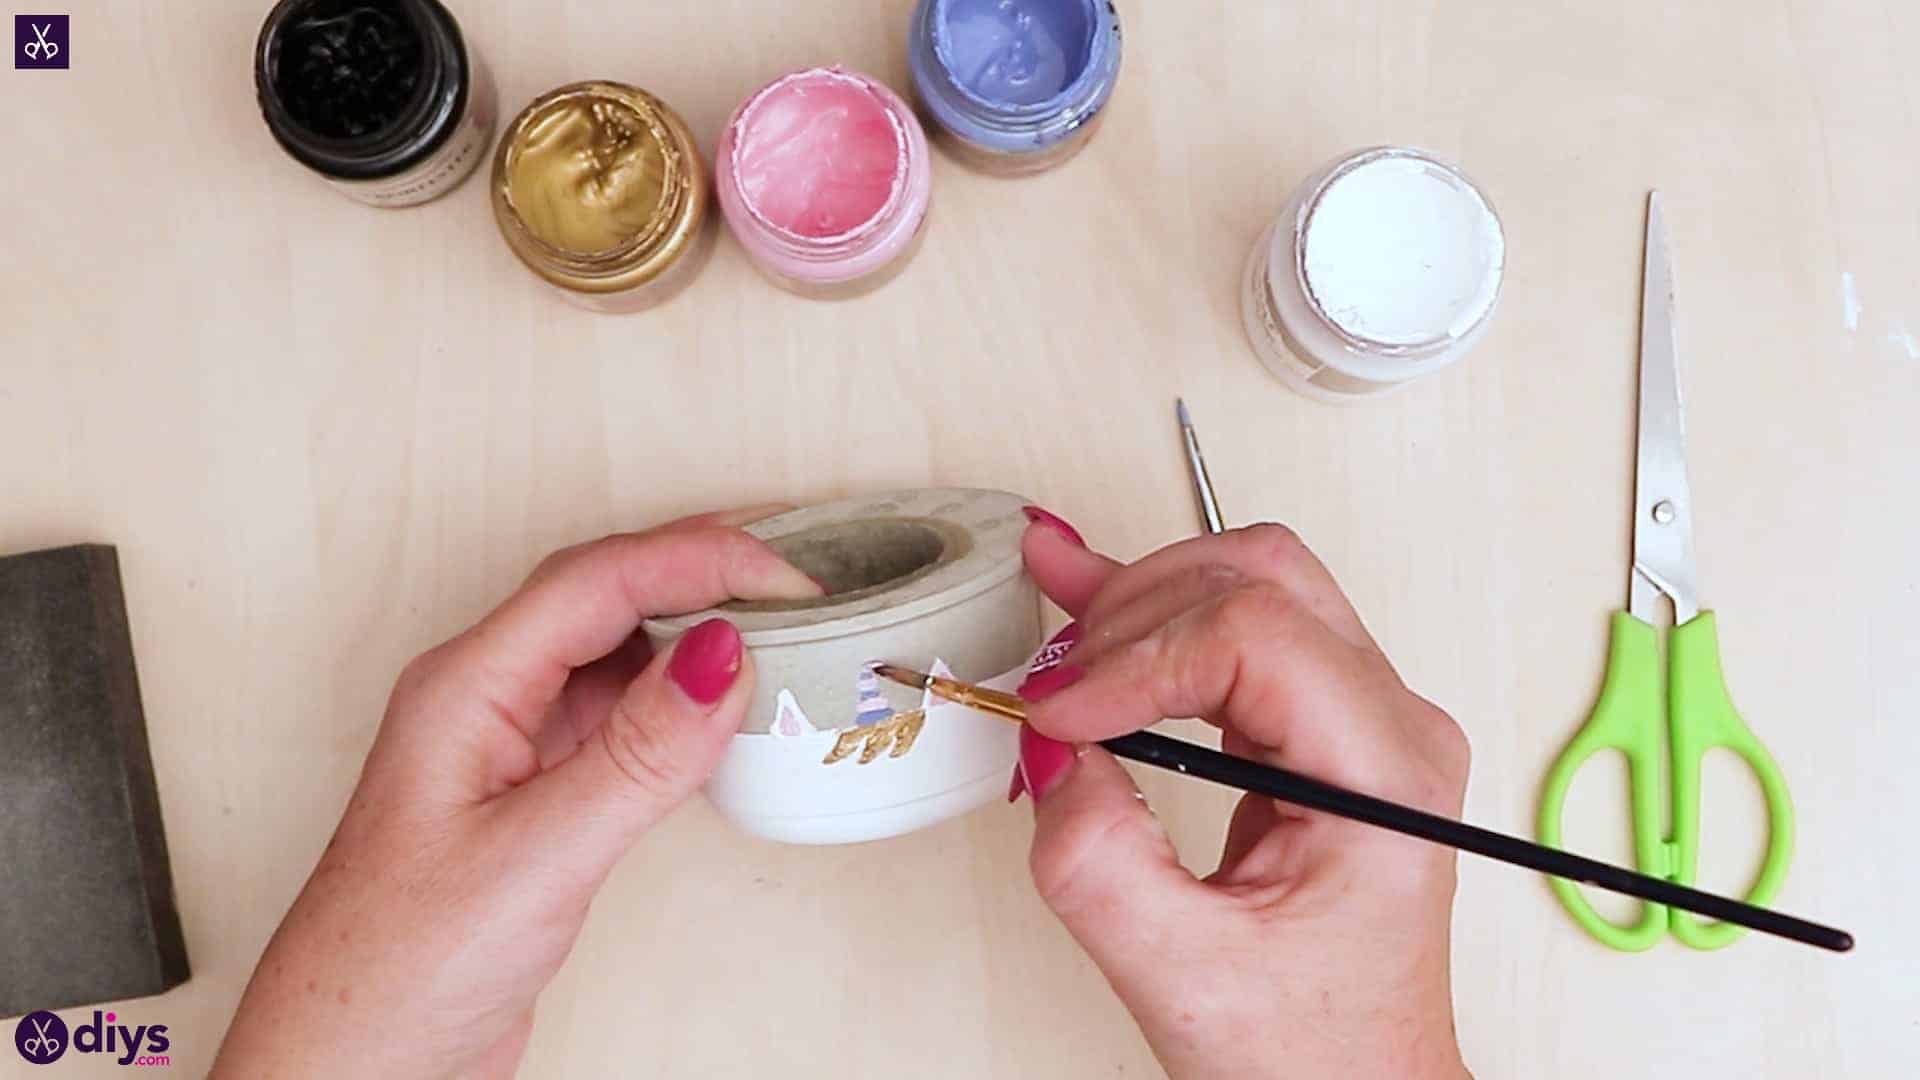
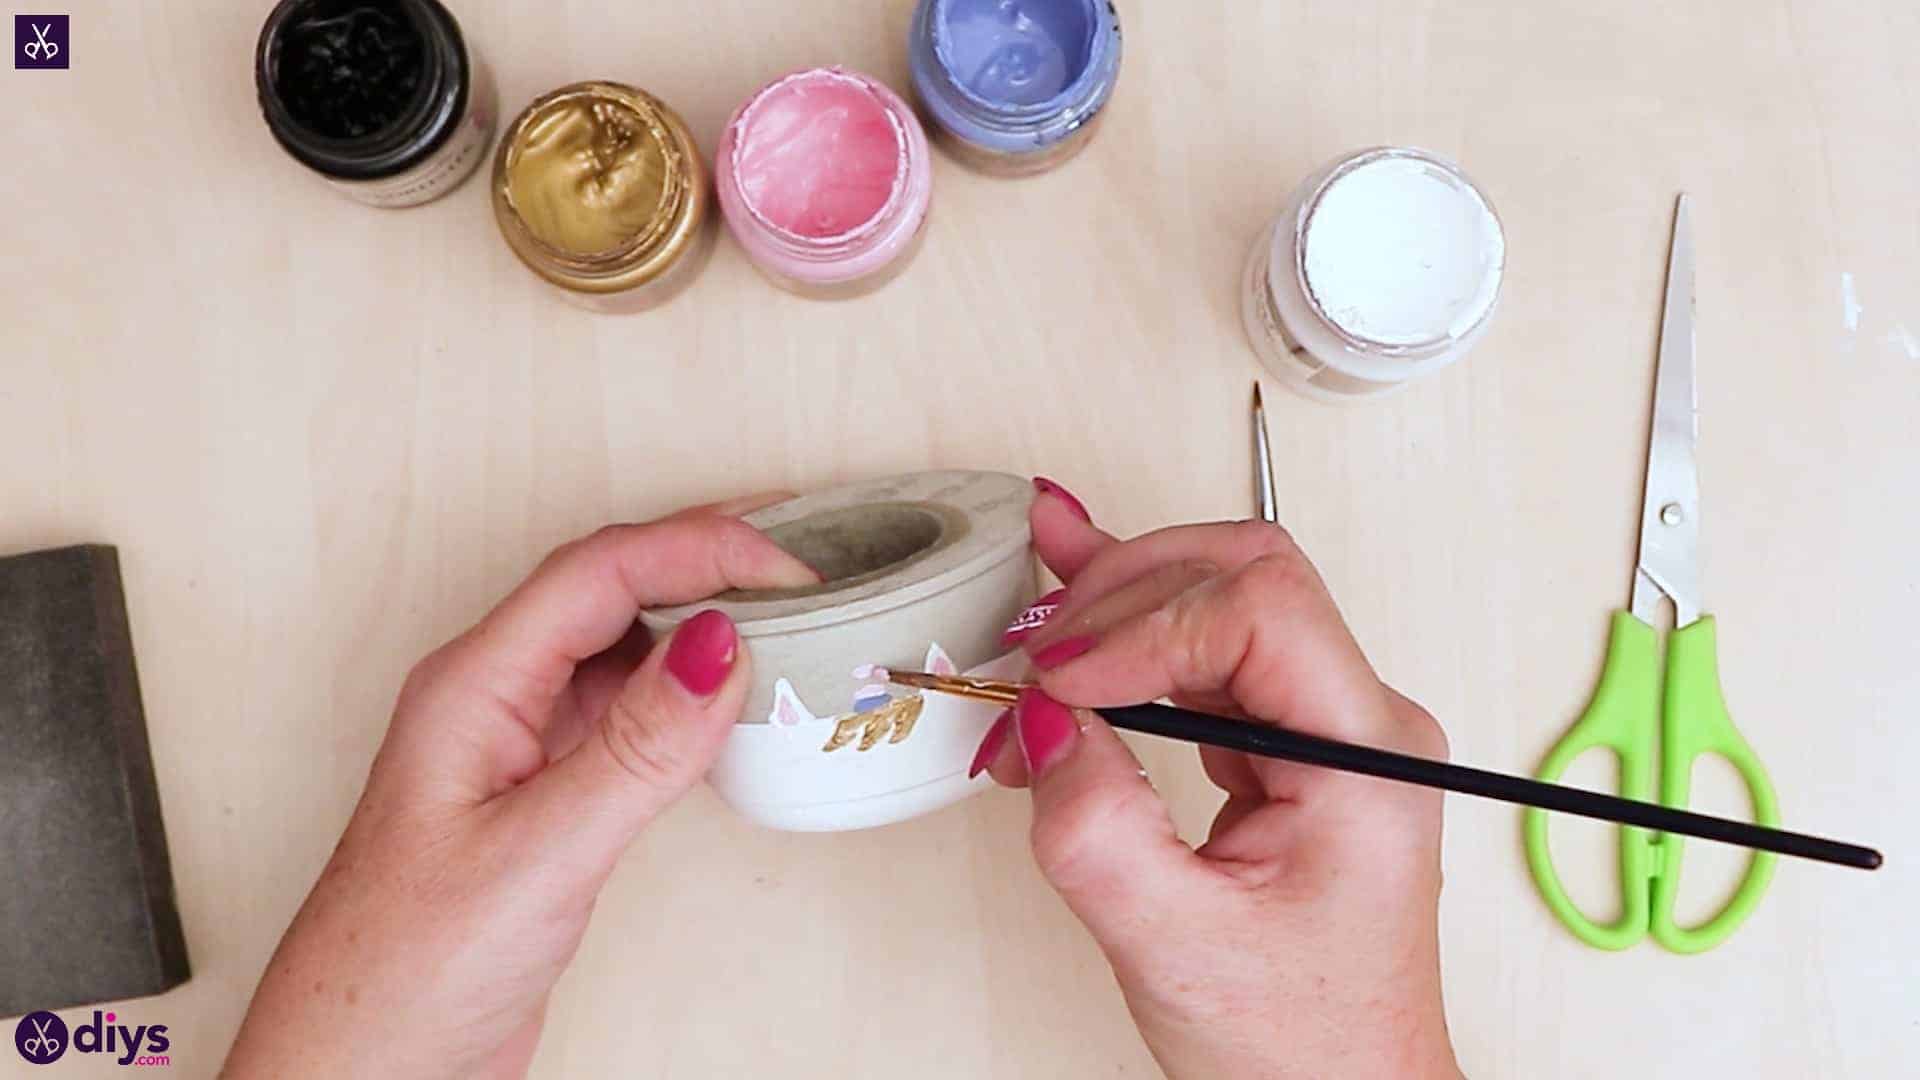
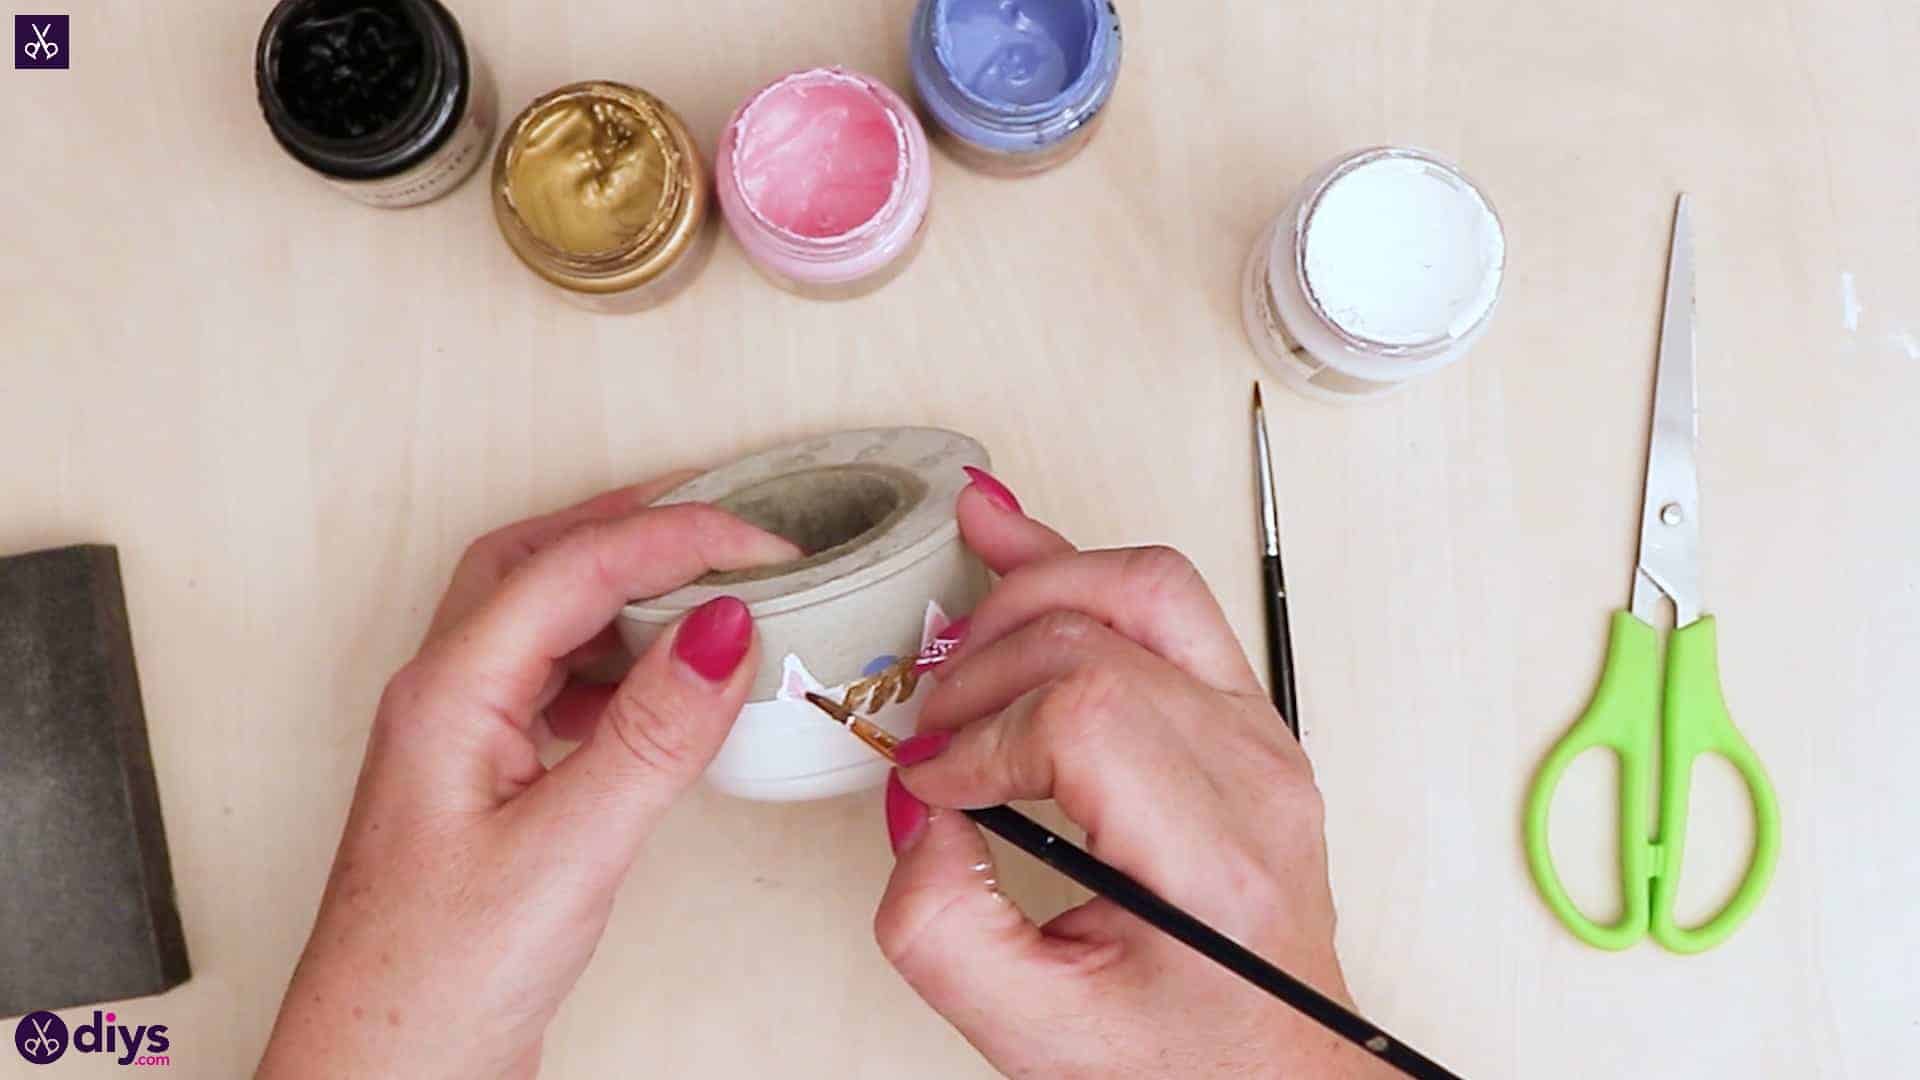
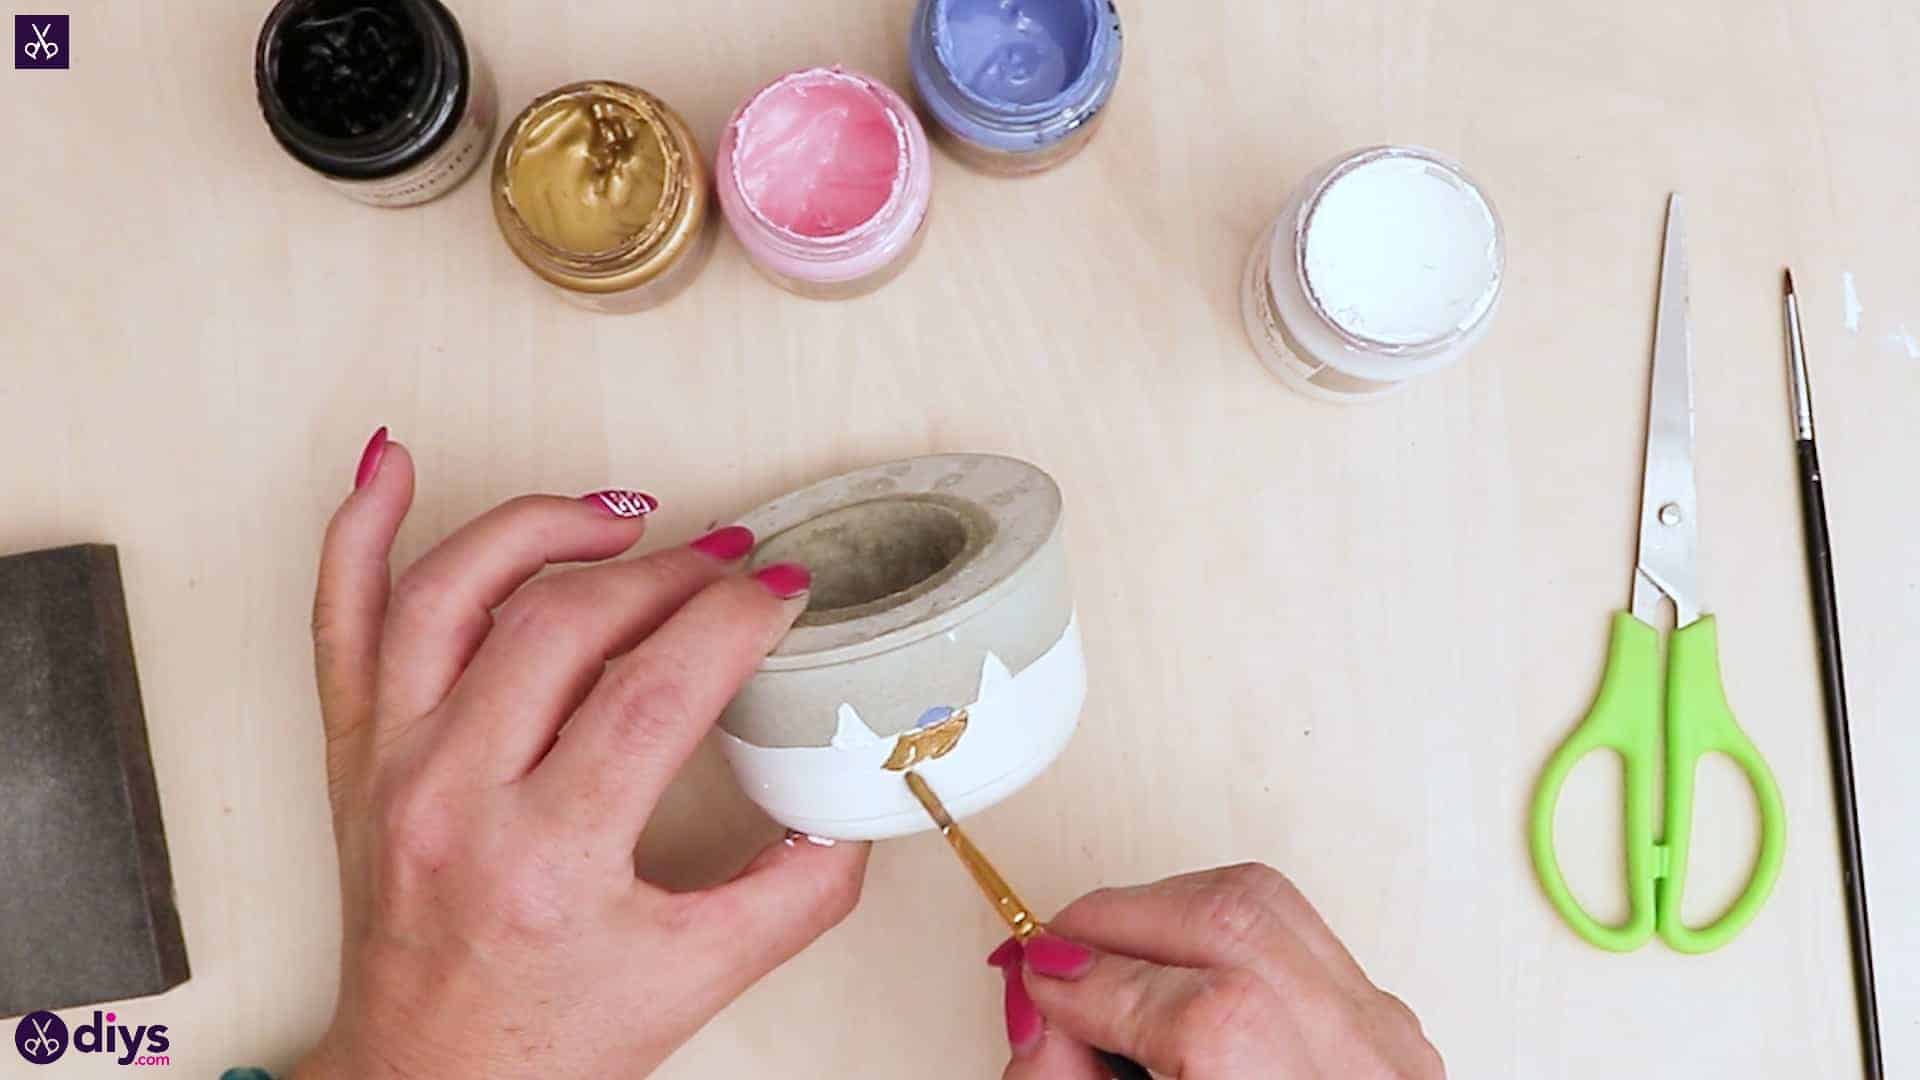
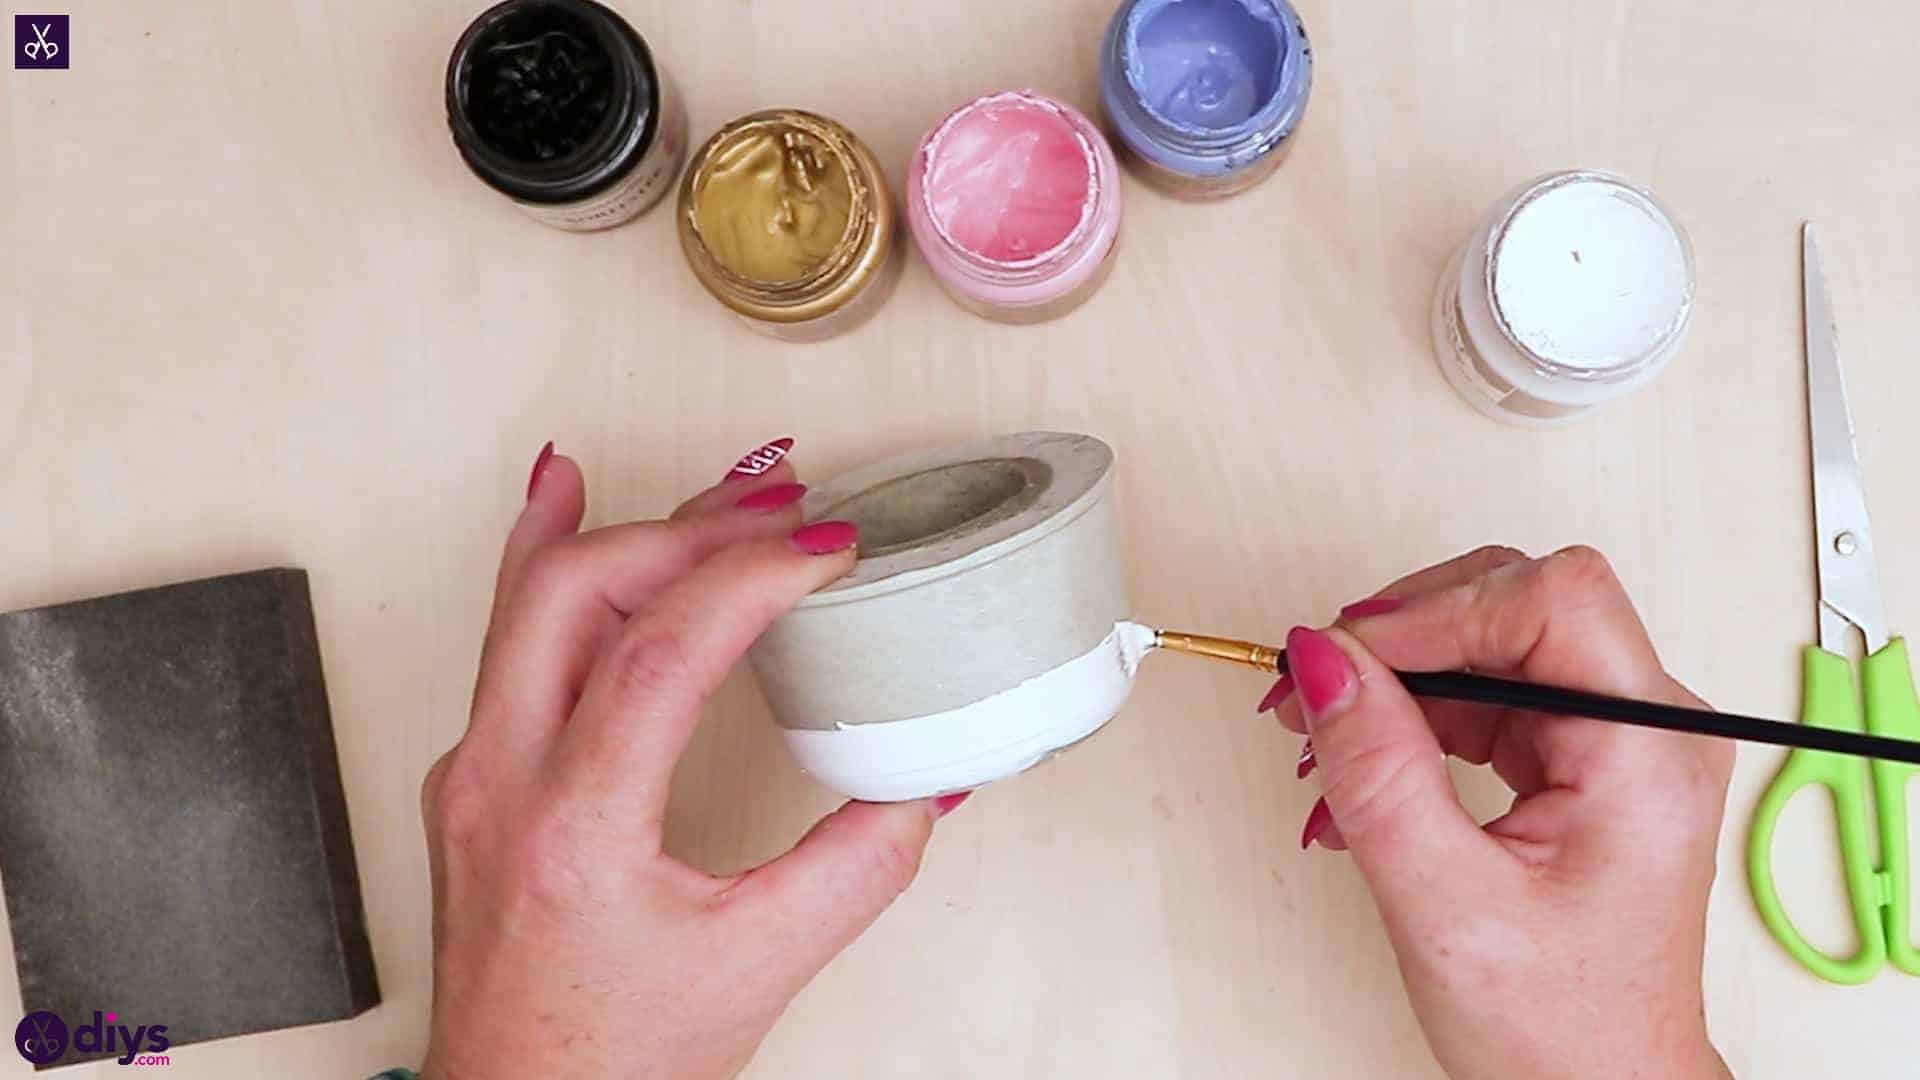
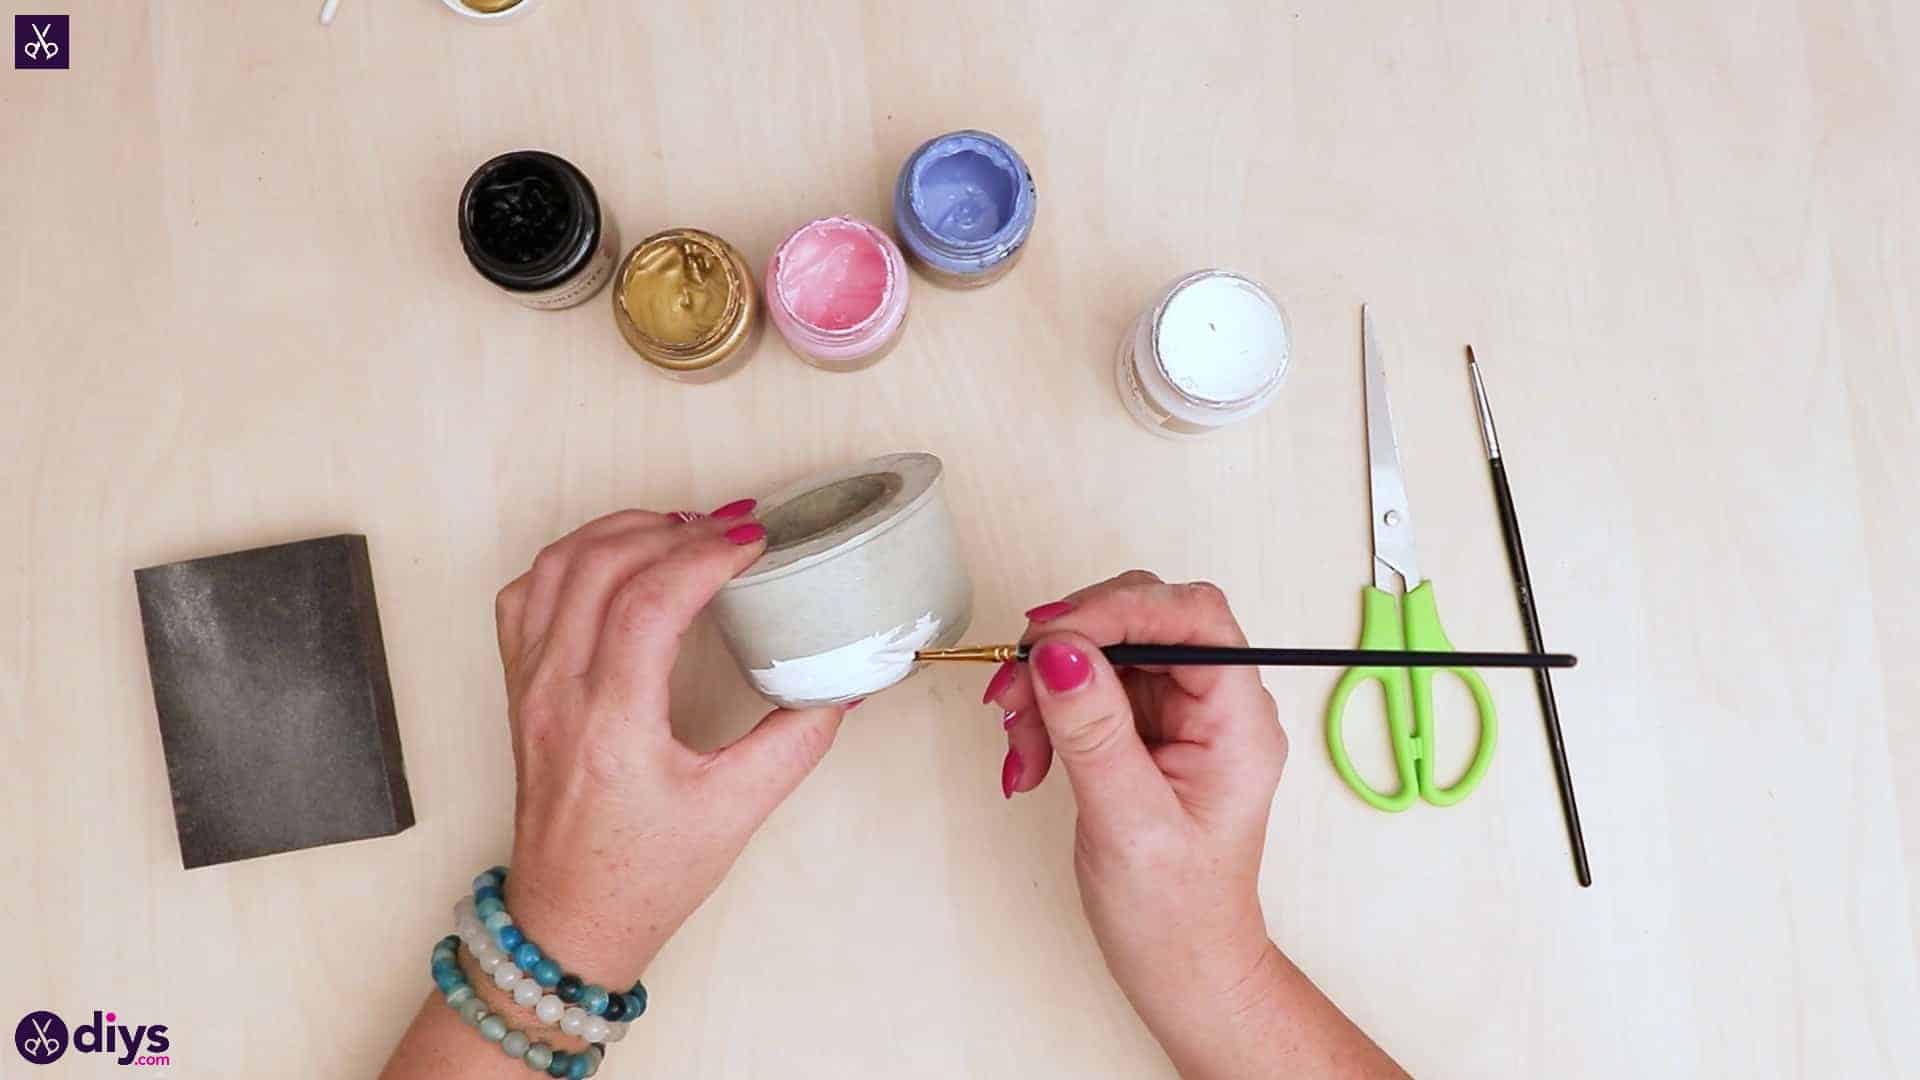
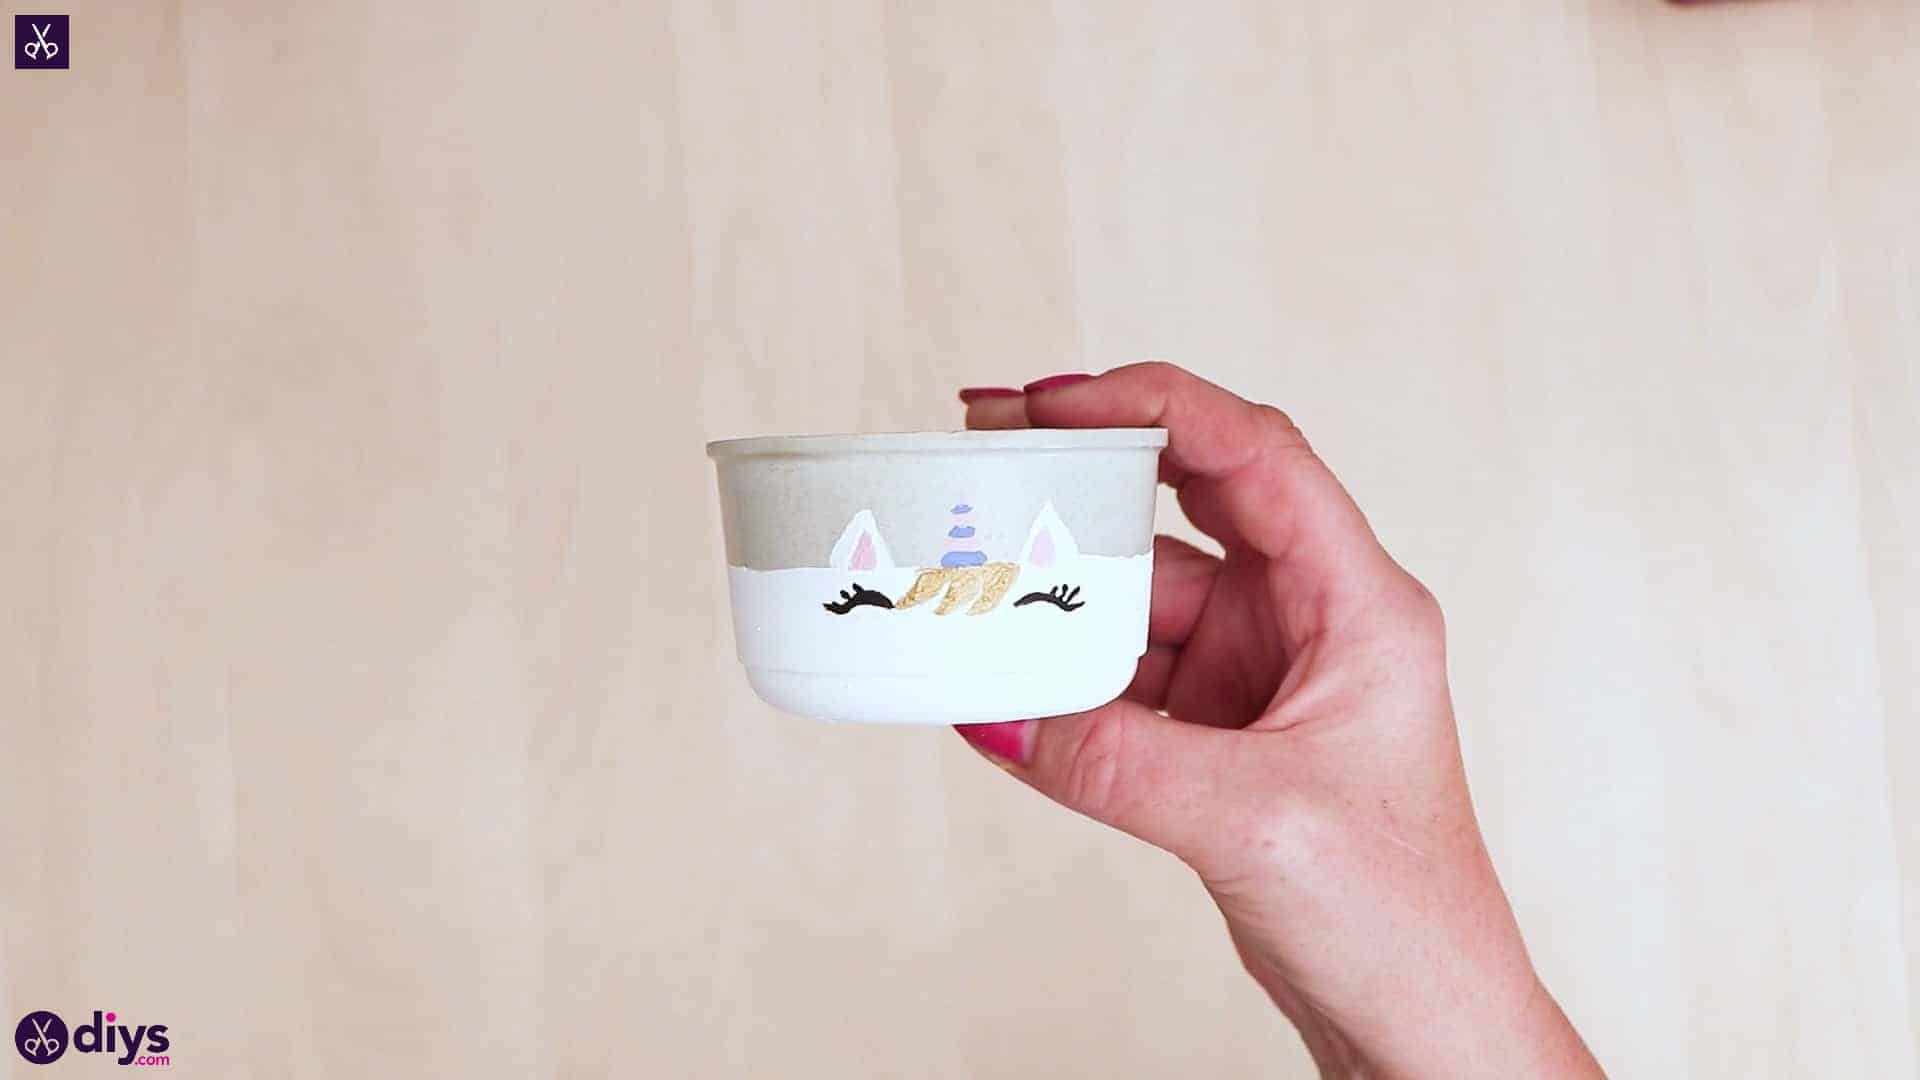
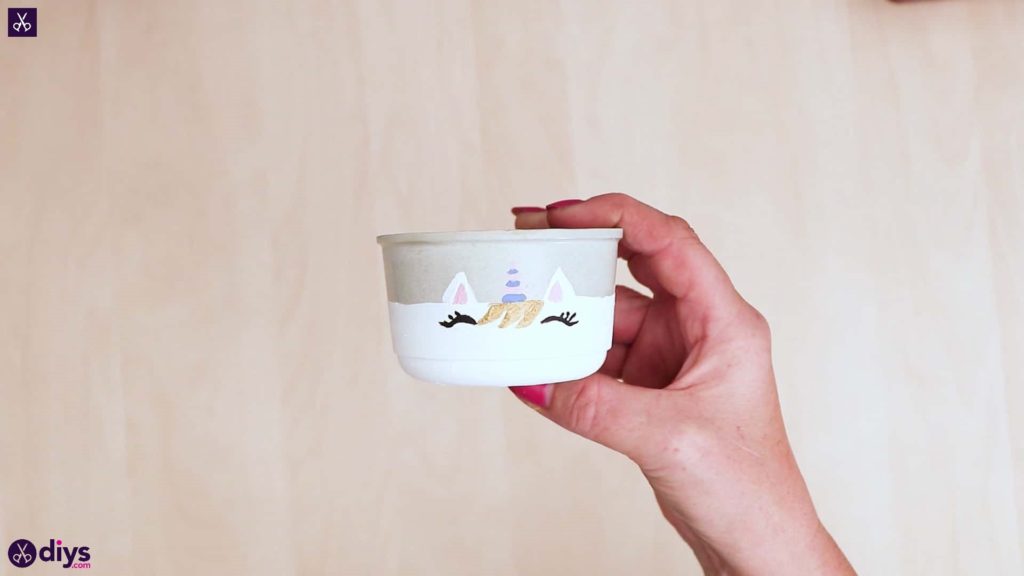
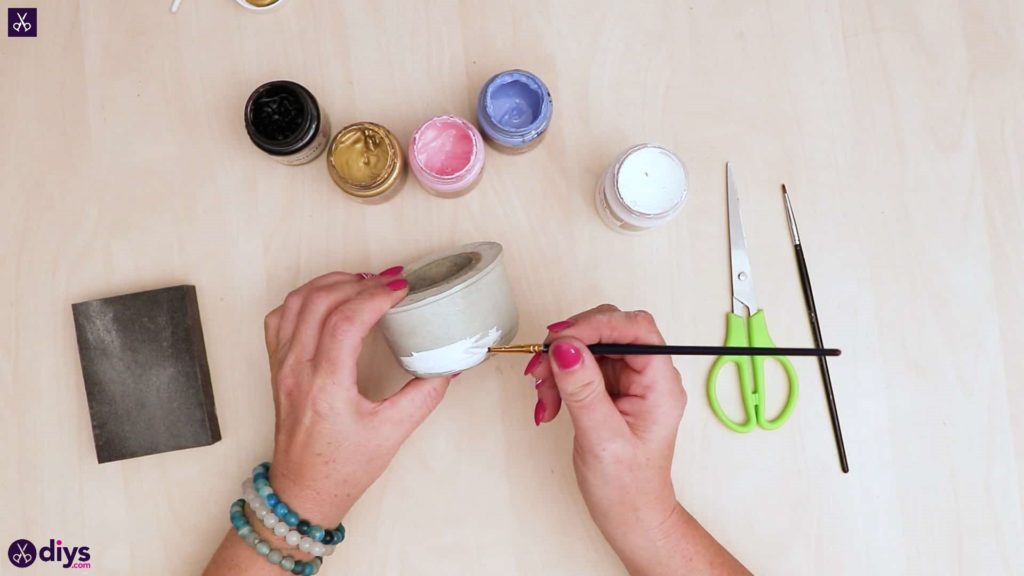
Step 8: paint
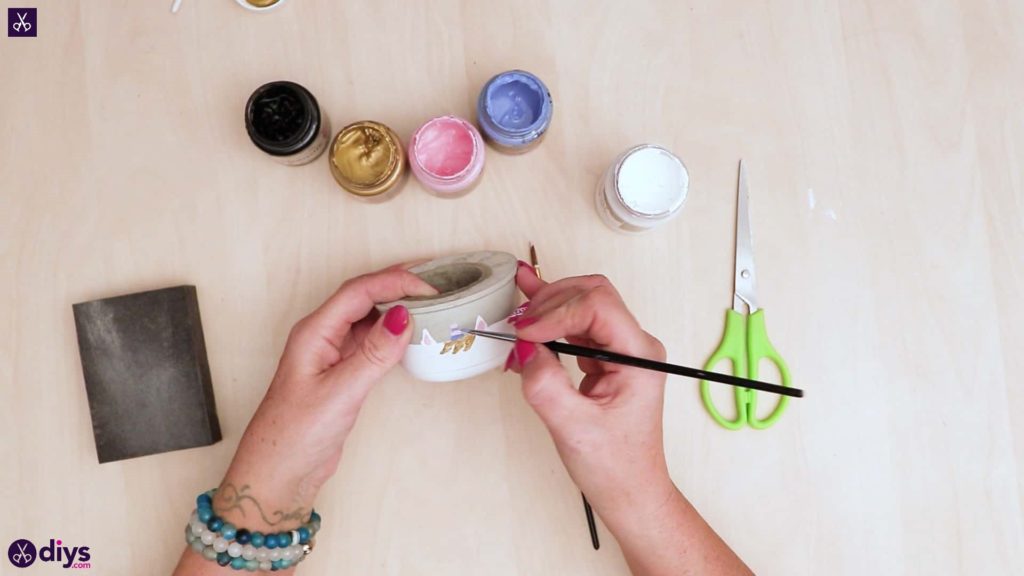
Use your paintbrush to paint a white ring all the way around the bottom of your new concrete vase, stopping just less than halfway up the pot’s height. Next, add two little upwards facing points to the edge of that white ring wherever you’d like the front of your vase to be. Your unicorn now has a face and ears!

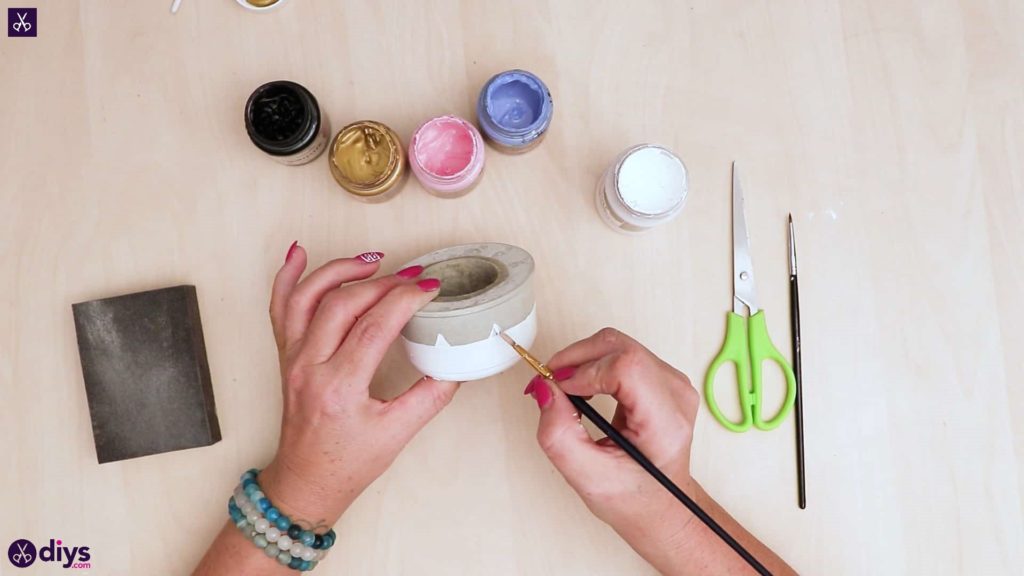
Step 9: details
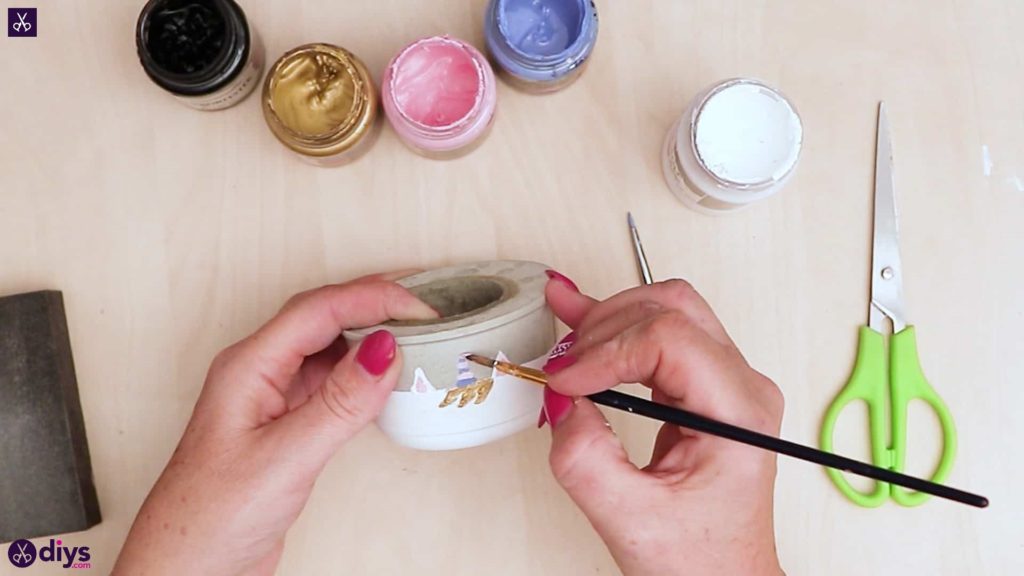
Use your blue paint to mark out the spot where you want your unicorn’s horn to be, right in the middle between the ears. Use this as a starting point to paint your unicorn a gold fringe below the little blue horn base line, like the front of a mane. Next, paint little pink triangles on your white points to be the insides of your unicorn’s ears.


Step 10: final touches
Complete your horn! I alternated mine in stripes of blue and pink, making each one a little less wide than the one it rests right above so the shape decreases and peaks like the tapered unicorns you’ve seen before.
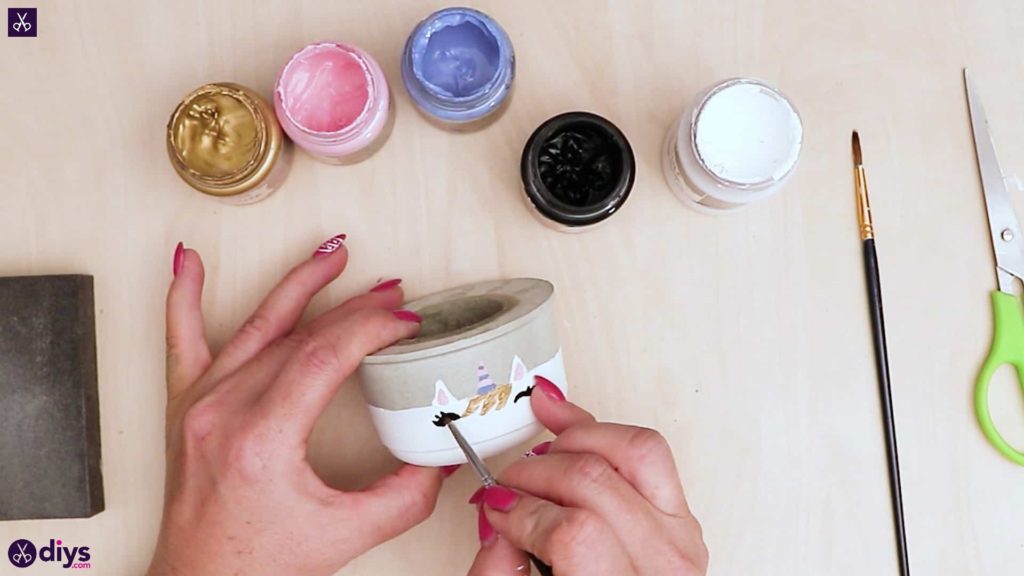
Step 11: lashes
Use black paint to give your unicorn eyes and lashes! I painted mine like little upward arcs to look like the unicorn’s eyes are closed in a smile.
You’re all finished! You could easily use this technique to make the same shaped vase but hand painted and embellished it however you please. Just in case you’d like to try this project out for yourself, here‘s a fantastic tutorial video to help you!