DIY Frame Calendar with Changeable Backgrounds
Updated on June 25, 2021
It happens that when you move into a new home lots of things that well fitted your previous home, well, they just won’t fit into the new one! Not yet, at least. This is exactly what happened to a few frames I found myself having to hide (sadly) into the drawers because walls and shelving had so many other things they couldn’t really be hung up. Also, the look wouldn’t fit at all my new home decor, so I decided to give them new life transforming a bigger frame into a DIY desk calendar.

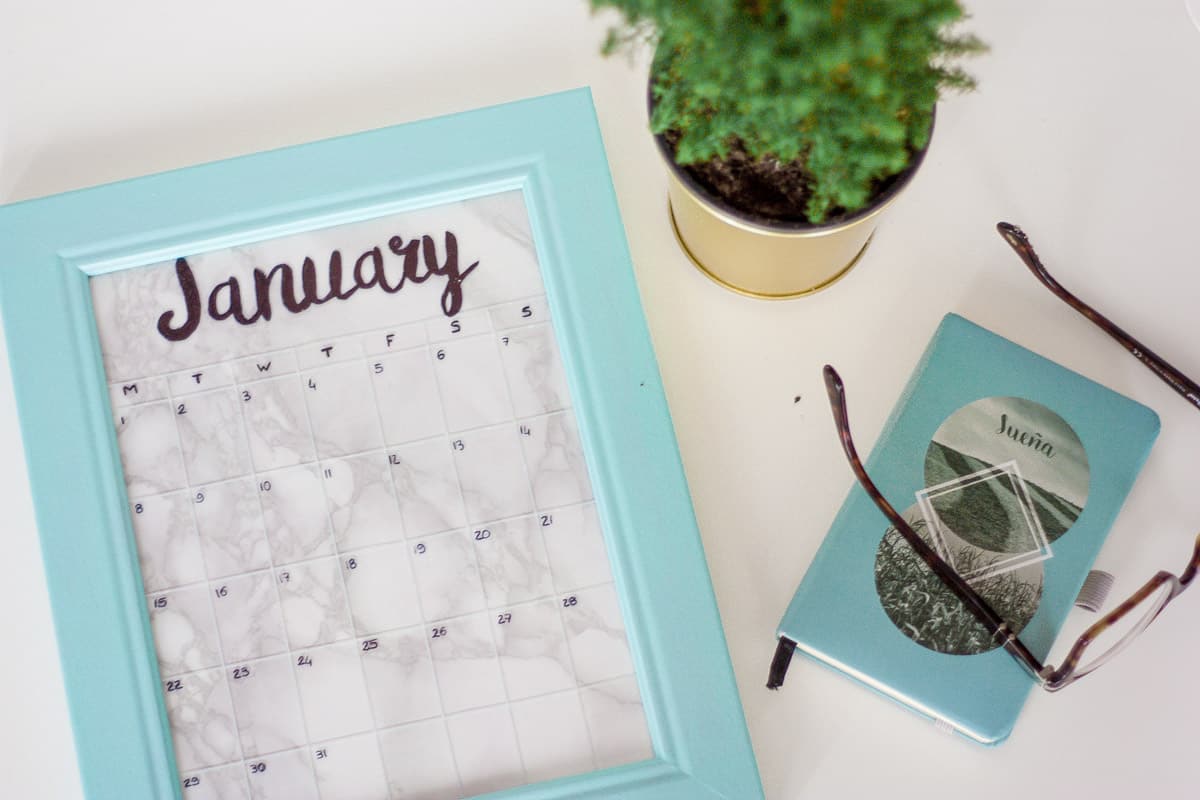
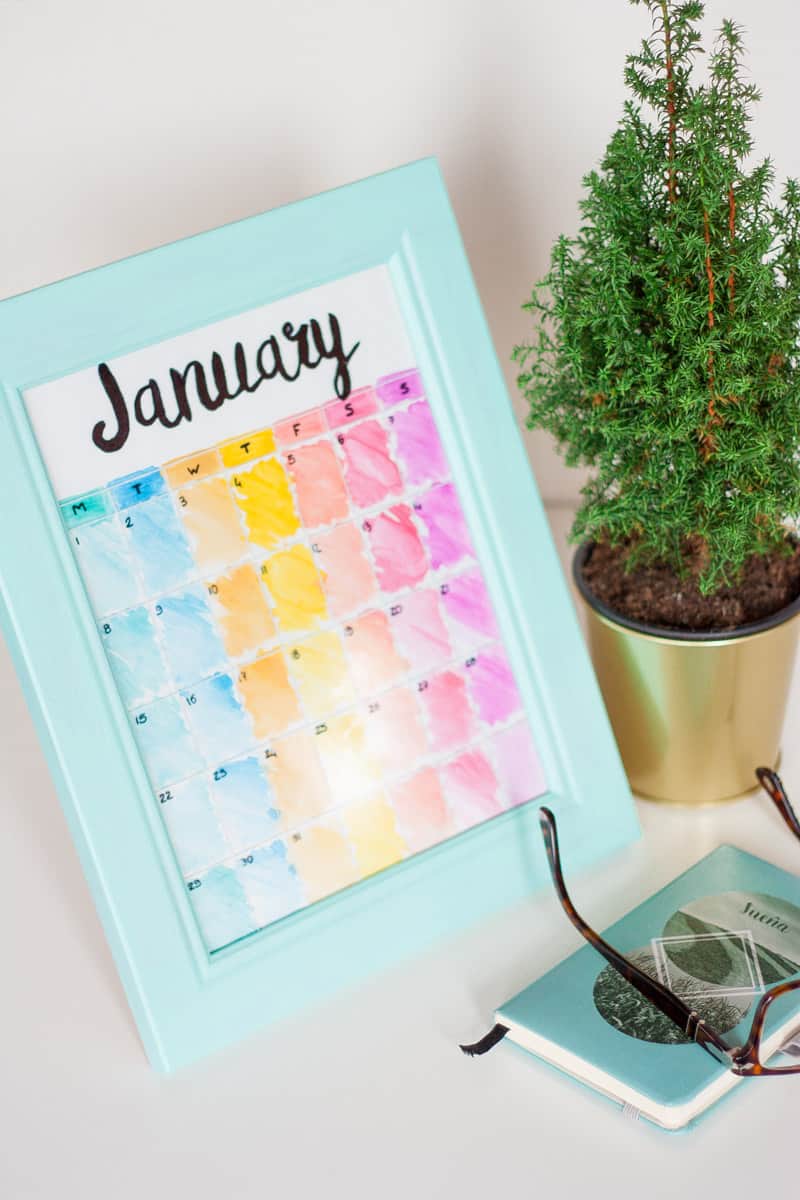
The awesome thing about this calendar is that you can change it’s look and feel just by swapping the background image with a pattern or a color that you feel best for you in that particular moment. For this tutorial I will show you how to create a unique watercolor colorful background but then, hey, totally up to you if you want to keep it one month or six! For instance, I tried putting on a faux marble paper and I love the look even more than the watercolor one.
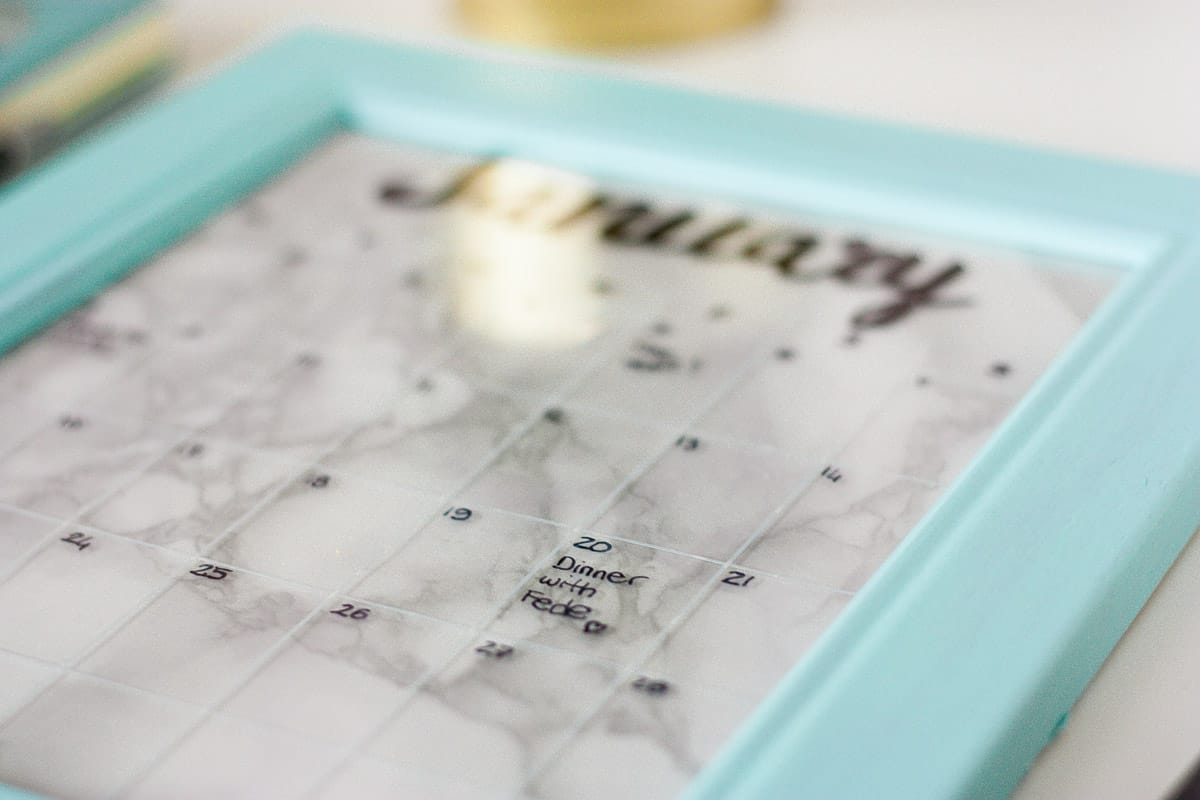
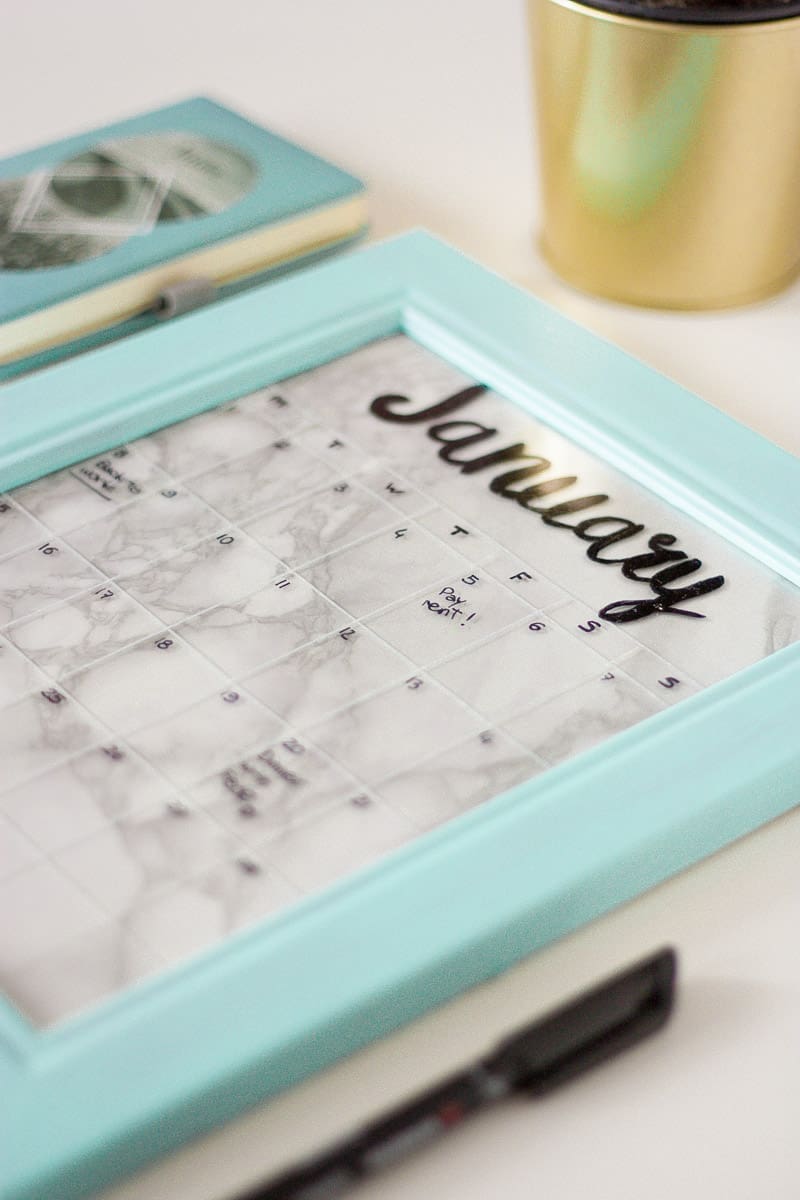
Each month you can take note of things to do for each day and when a new month is approaching, simply prepare the next transparent sheet with “February” gorgeously handwritten. You won’t have to draw the lines everytime because they’re fixed on the frame’s glass, just add numbers and you’re ready to go with next month’s notes.
Supplies:
- 18x24cm frame
- acrylic colors of your choice & brush
- watercolors
- scissors and ruler
- black permanent marker thin point
- PVC sheet
- white nailart adhesive tape
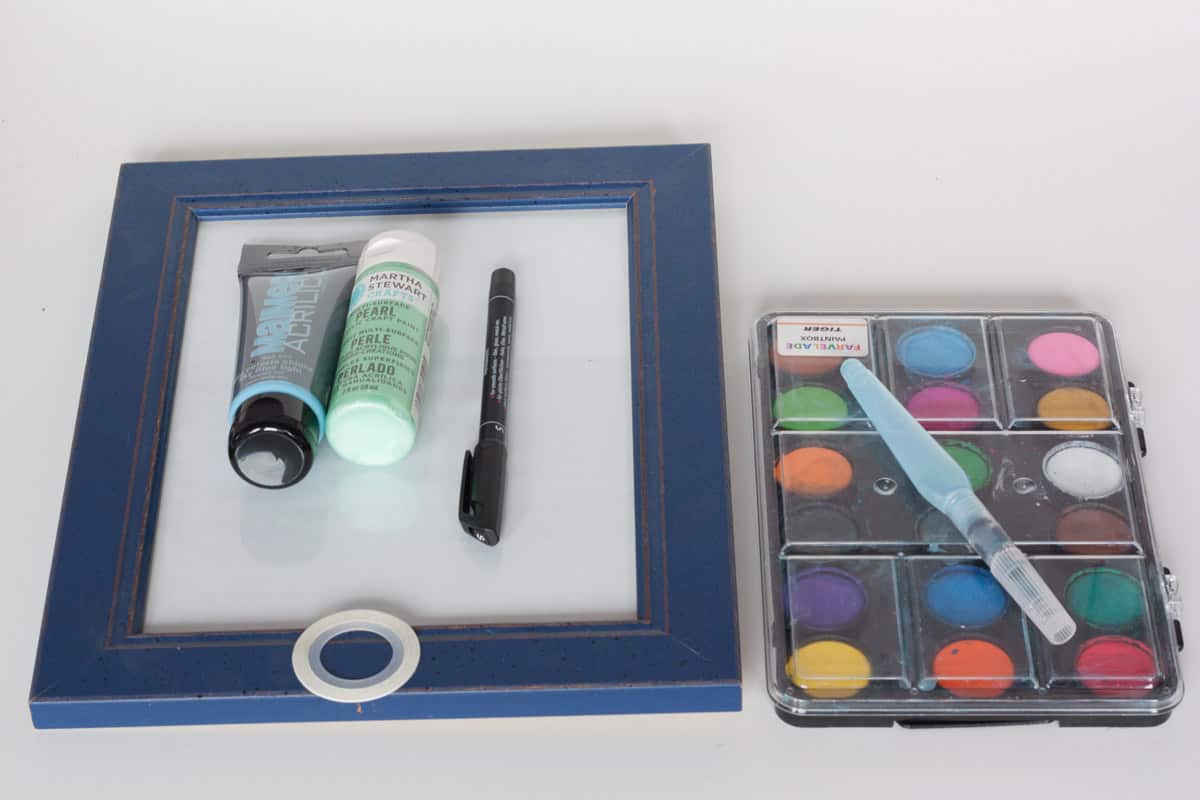
1. Depending on the color of the frame you have you might want to paint it to coordinate your home decor. I decided to paint it light blue, mixing white, mint and light blue.

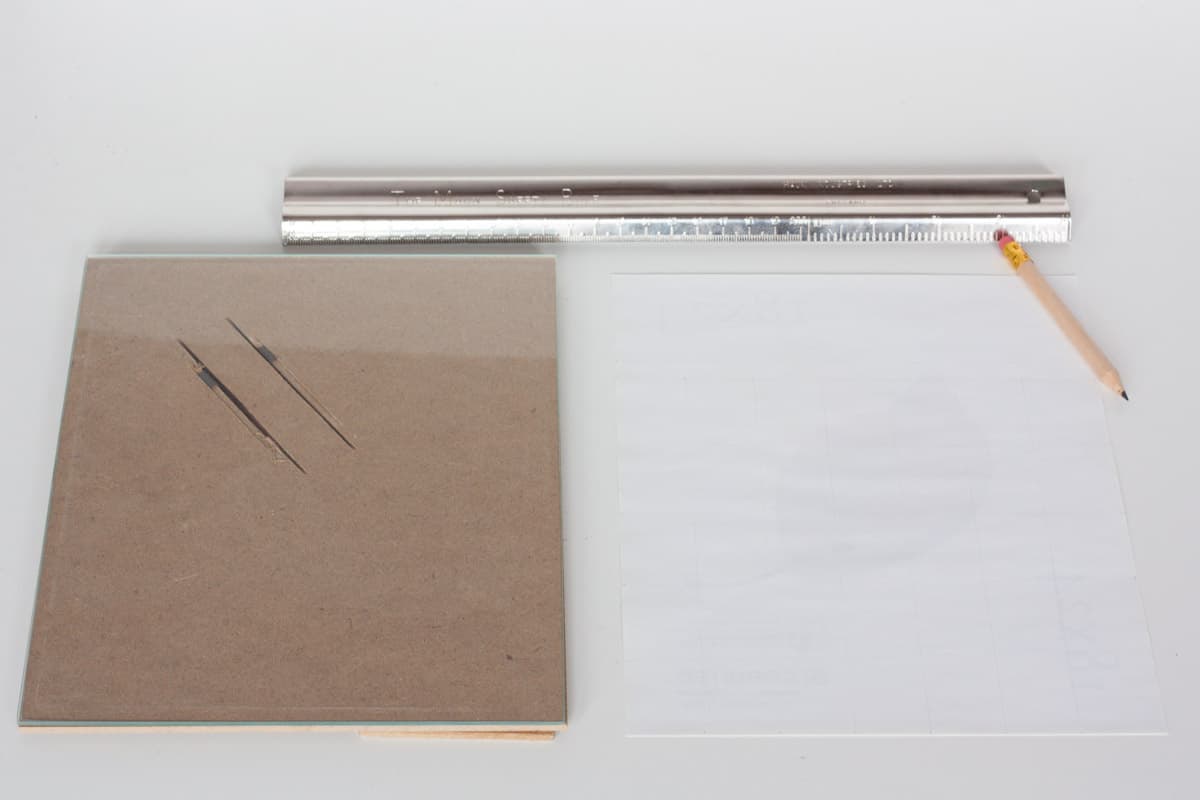
2. Next you have to prepare the grid that will be made of 7 columns and 5 rows, where you’ll place the day’s numbers, and then you’re going to have to add another row on top of all to add the weekdays’ names. Remember to leave empty 5 cm on top for the month’s name. Draw the grid on a piece of paper.
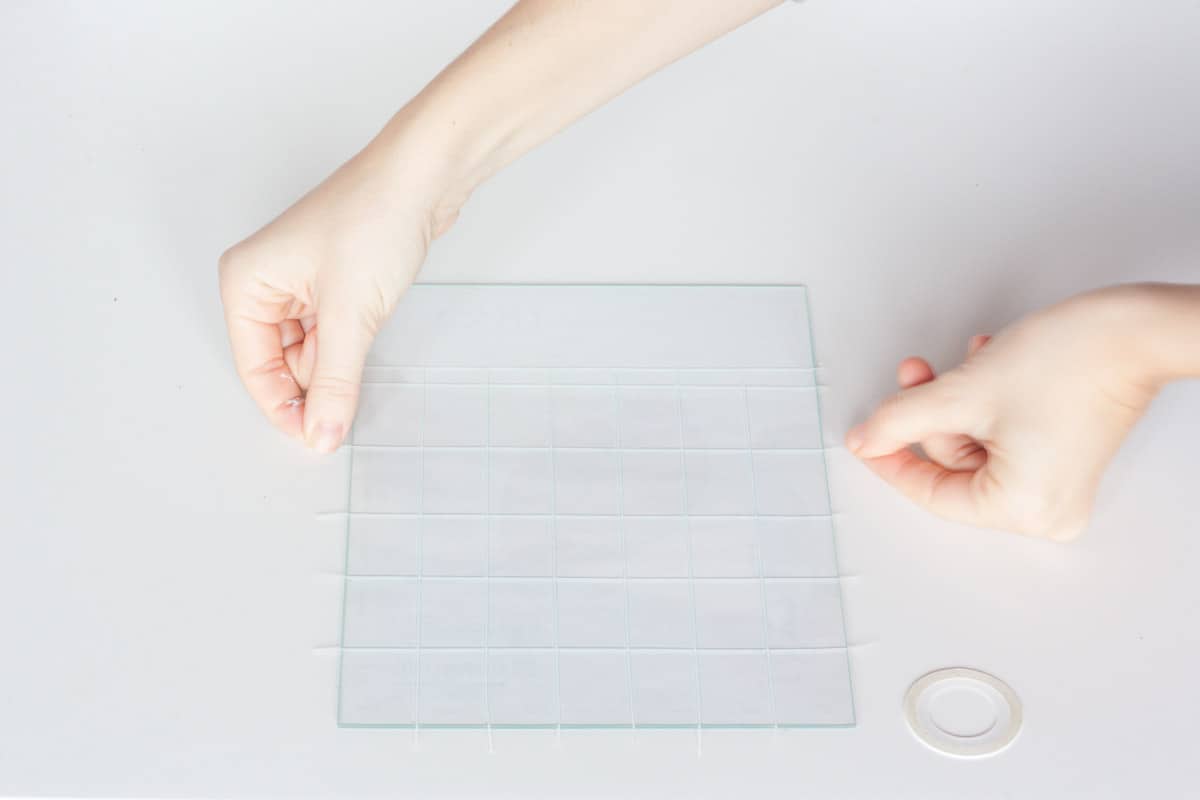
3. Now place the paper with the drawn grid beneath the glass and start placing white lines of masking tape to draw the grid on the glass.
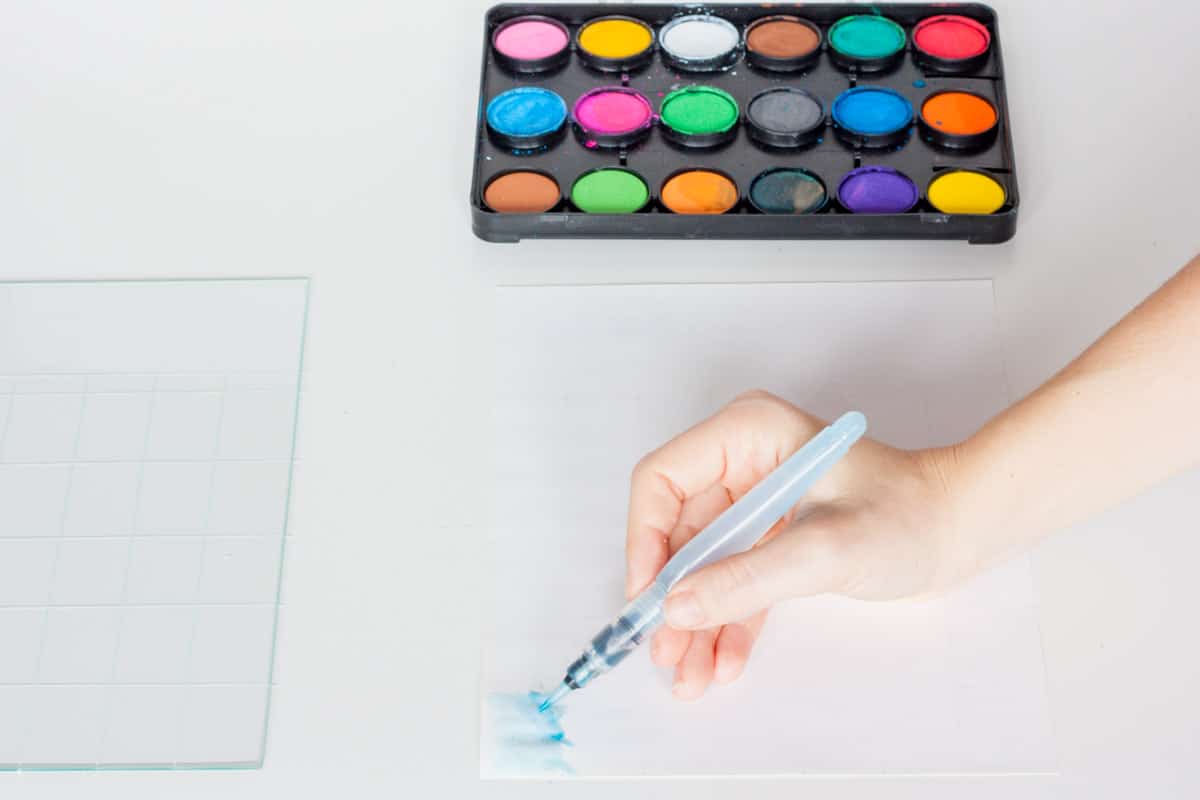
4. This step is optional, follow it if you’d like to make the watercolor backdrop. Use different colors to make each column of a hue, and fill the grid we made before.
5. Finally, cutout the glass shape onto a transparent PVC sheet and write all the numbers using your grid as reference. Remember to add each weekday’s name and the month’s name, finely handwritten tracing a printed copy of your fave script font (a great selection here).

In the end, all you have to do is assemble all the parts, starting from the outside: the transparent sheet, then the glass, then your watercolor backdrop and in the end the back of the frame with the desk support. Well done, it’s time to take notes for the new year!