Cupcake And Popsicle Stick Ballerina Dolls – DIY for Girls
Updated on November 19, 2025


If there’s anything my kids love more than crafting, it’s dancing. They’re actually pretty active kids all round, but dancing is something that really speaks to them; it seems to hold their attention and make them happy. In fact, anything that even has to do with dancing makes them happy too! I’ve spent plenty of time trying to think of craft ideas that incorporate all the different thins my kids like best in order to keep them a little extra interested in and focused on crafting and, so far, that approach has worked like a charm. That’s why I wanted to think of a dancing themed craft as well! There’s nothing quite as cute and fulfilling as watching my little ones celebrate something they enjoy by using the DIY skills they’ve learned to create a tribute to it, which is also something they enjoy.
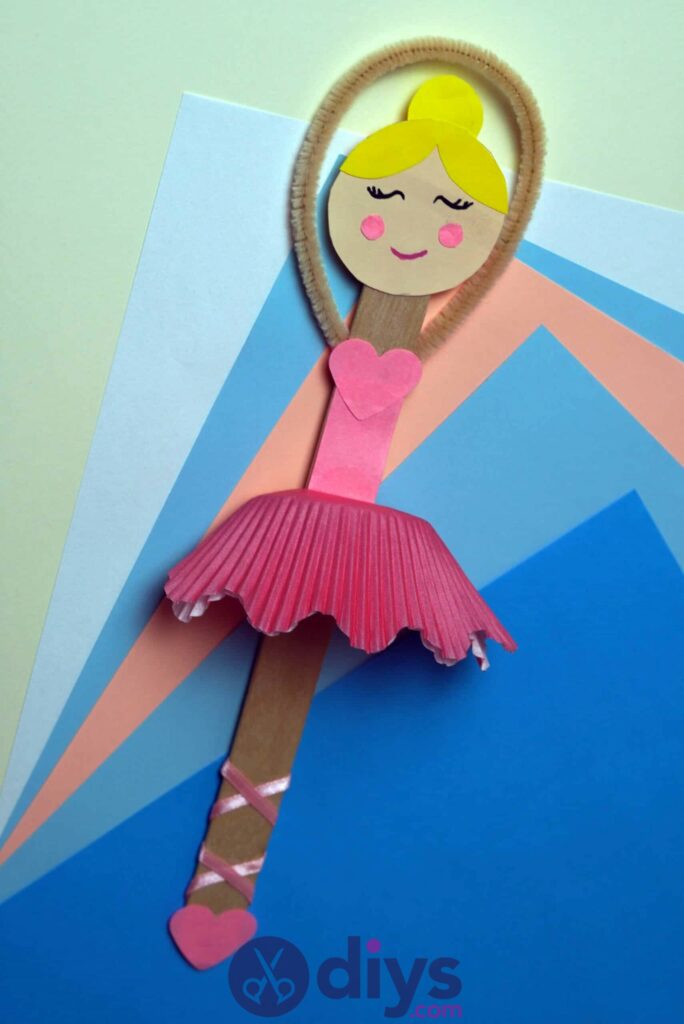
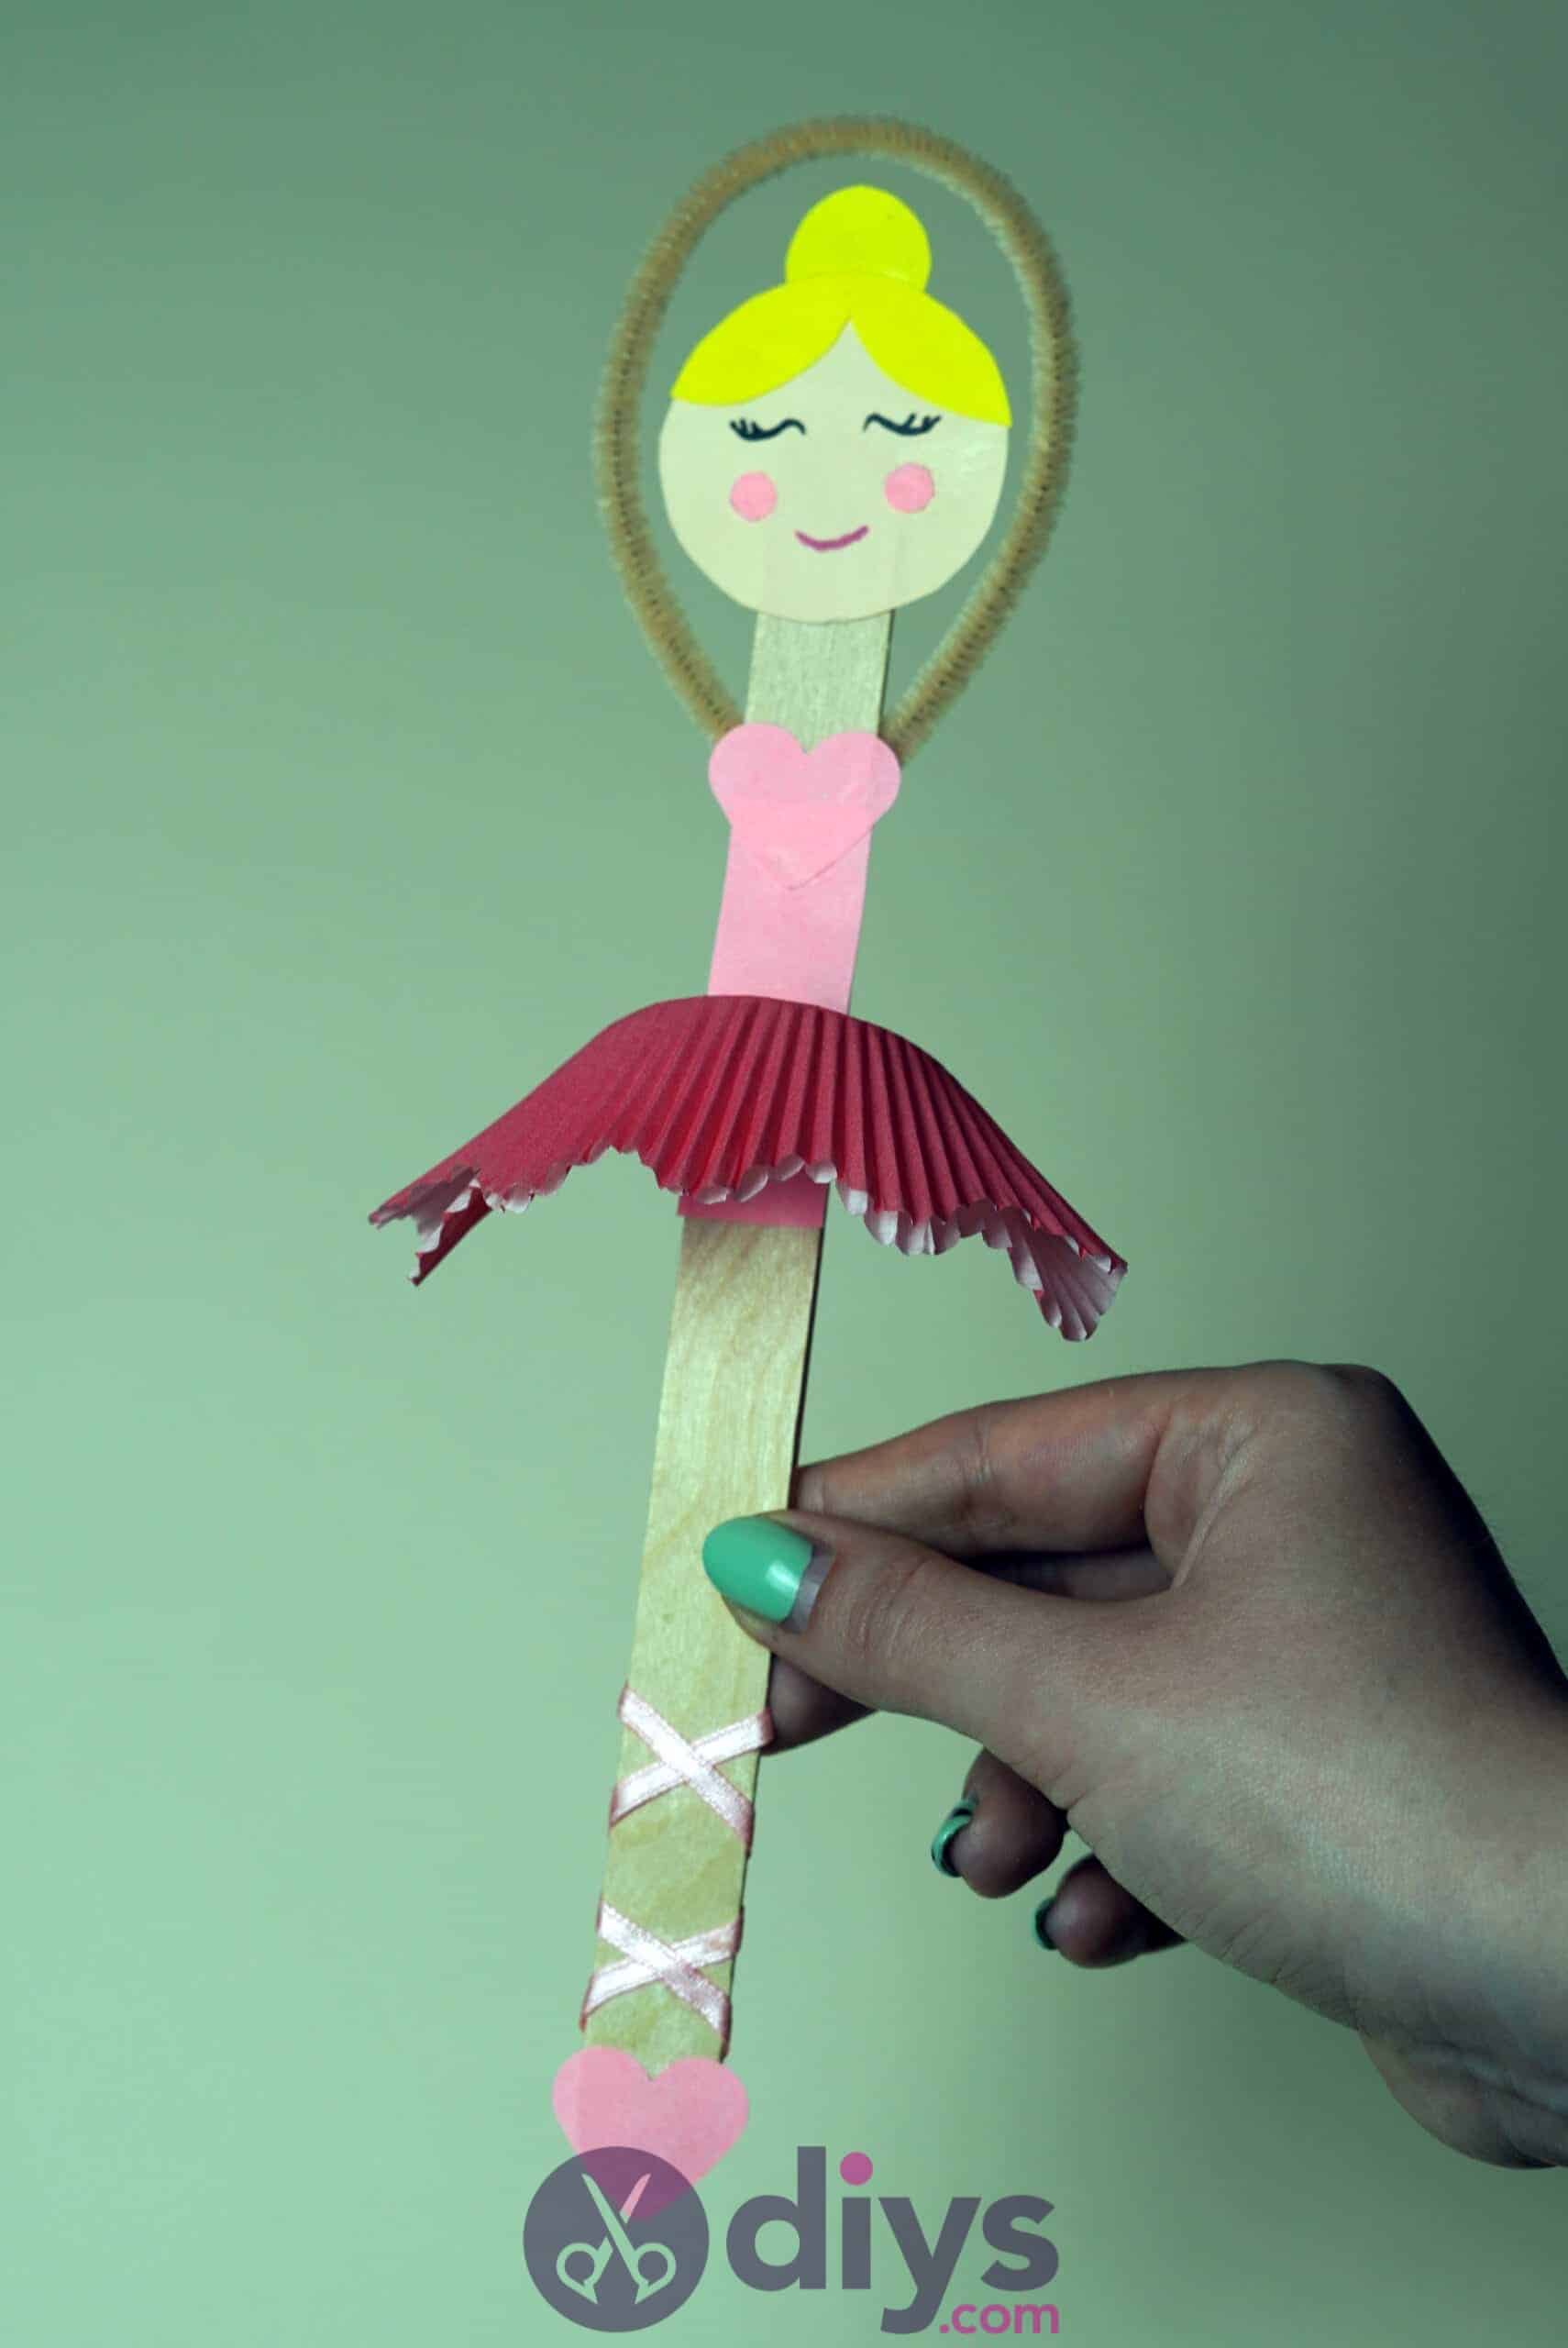
That’s how the popsicle stick and cupcake liner ballerina came to be. It was actually such a hit with my kid that we made them again the next time they had friends over for a playdate. Their parents wanted to know how they were made when they got home too, so I figured a tutorial was in order! Check out these step by step instructions complete with photos or, if you’re more of a visual learner, scroll to the bottom of this post to find a video tutorial.
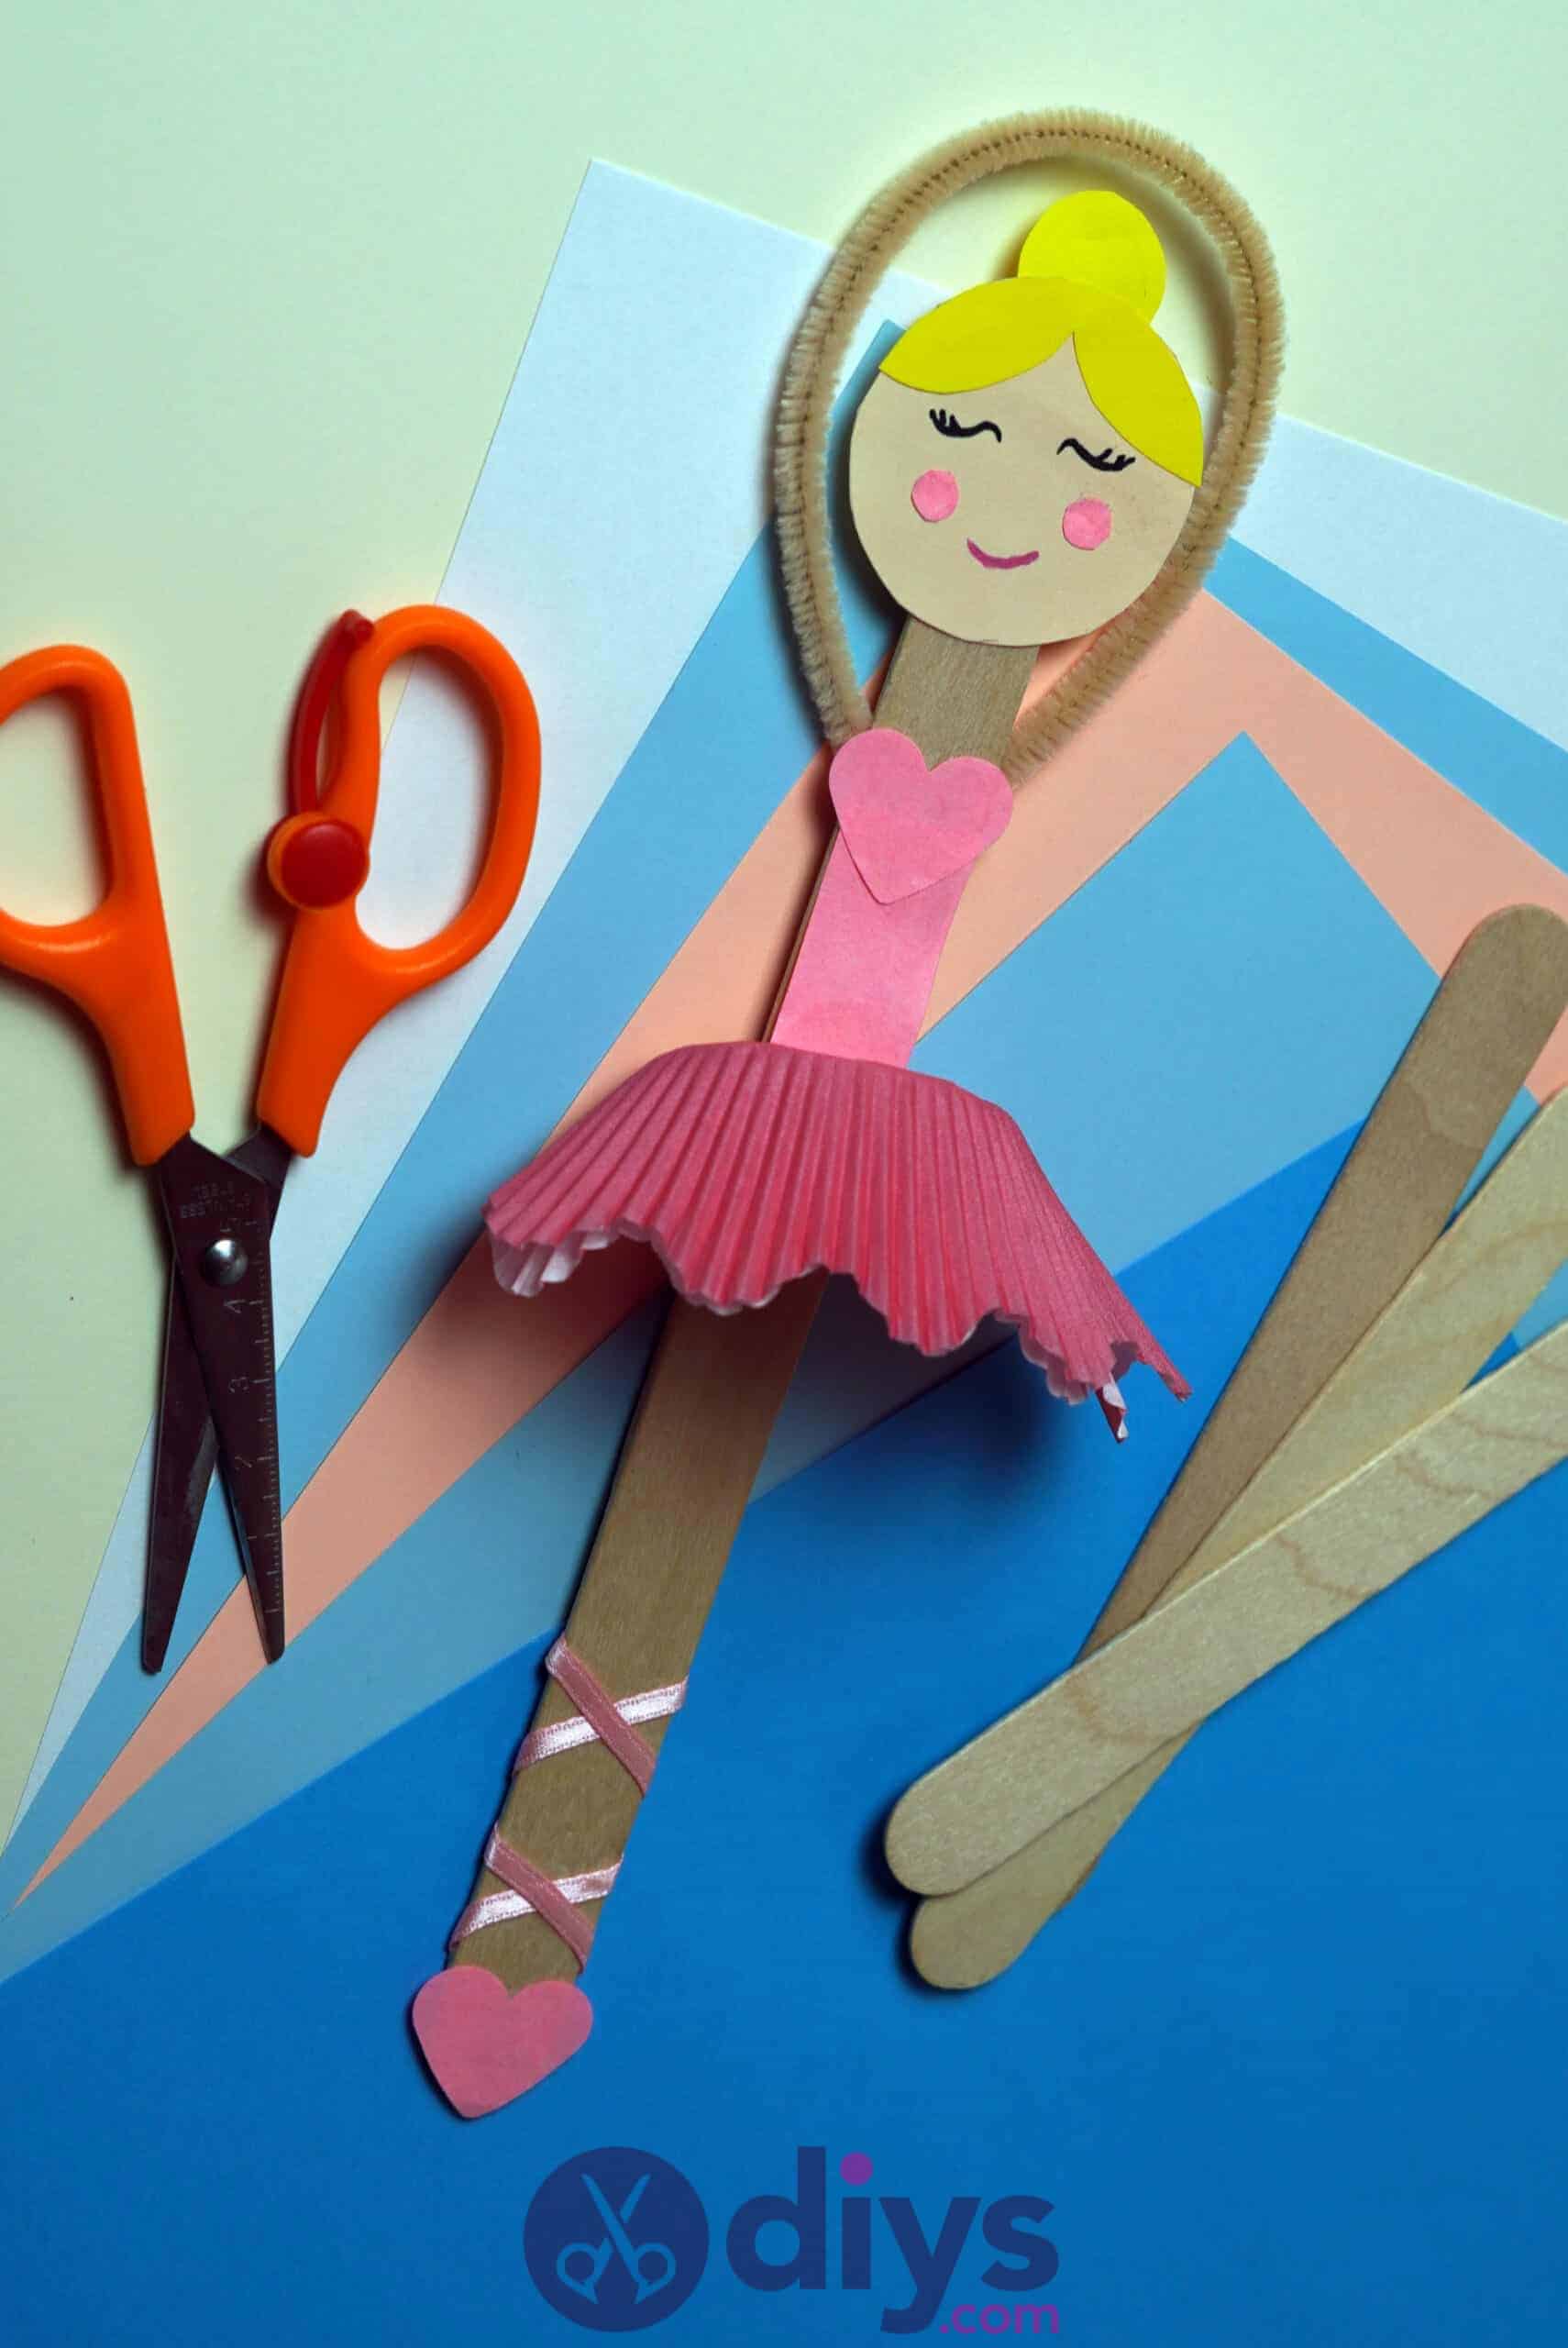
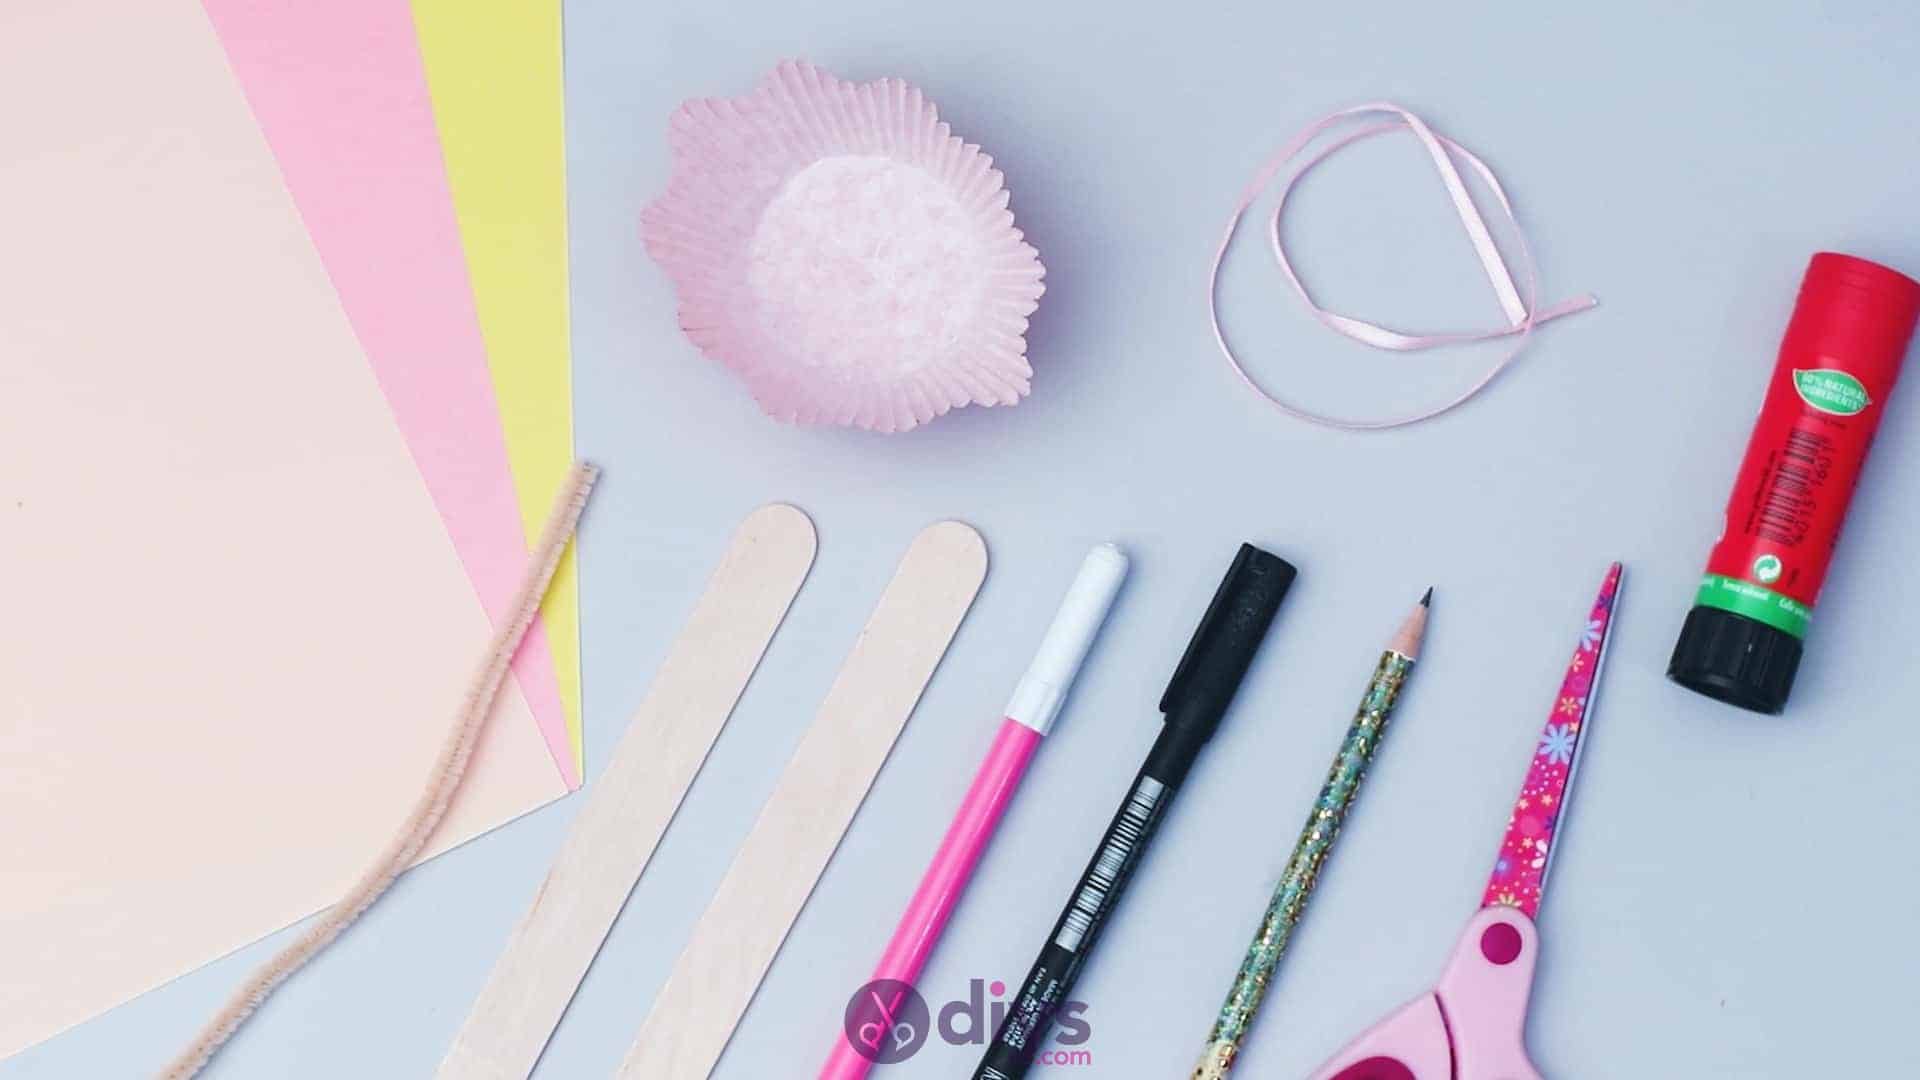
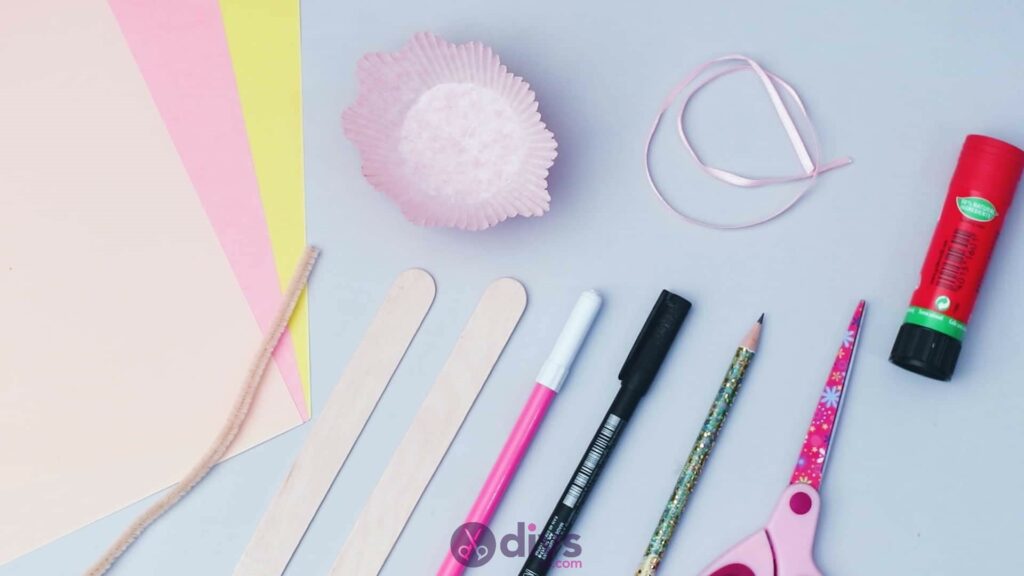
For this project, you’ll need:
- 2 popsicle sticks
- Paper (pink, yellow, nude)
- Glue stick
- Black and pink markers
- Pink cupcake liners
- Scissors
- Nude toned pipe cleaner
- Pink silk ribbon

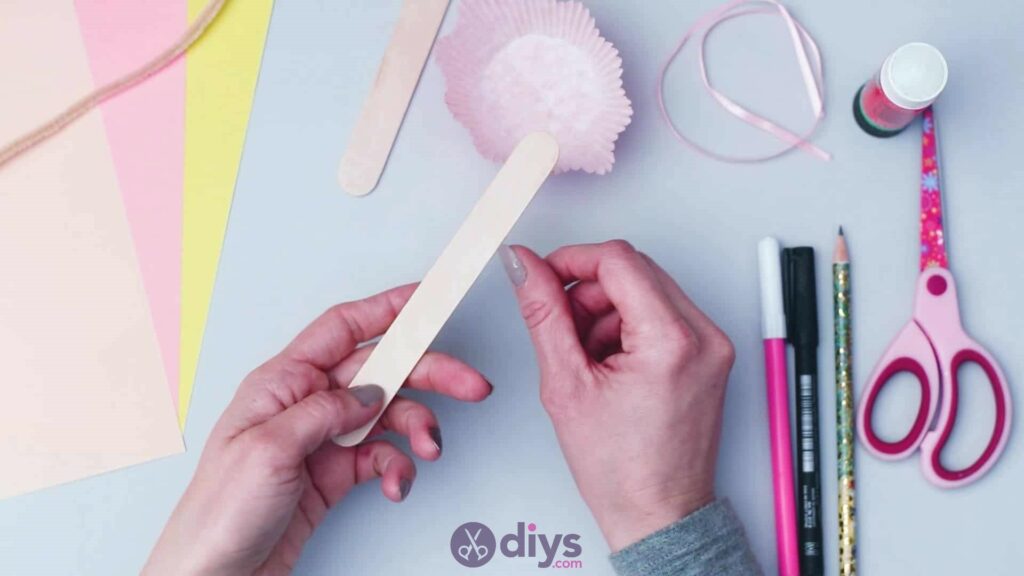
Step 1:
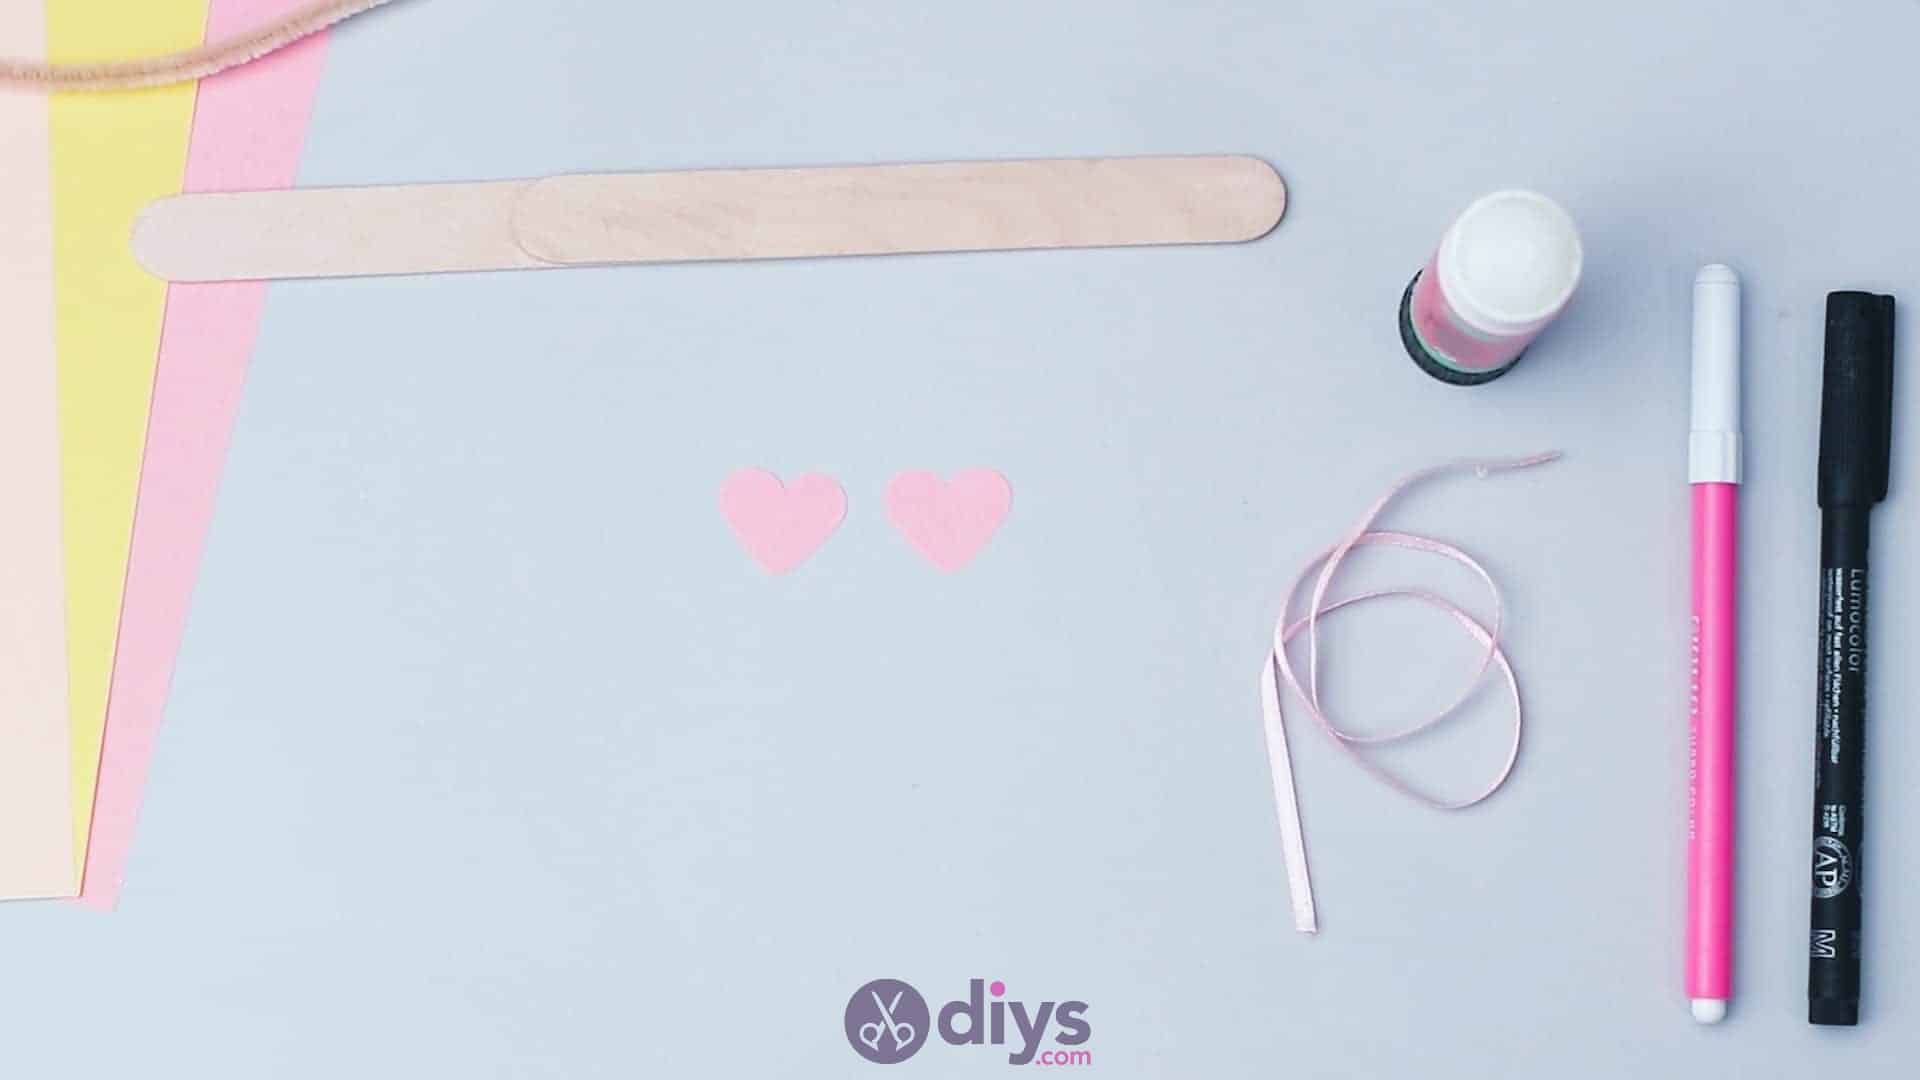
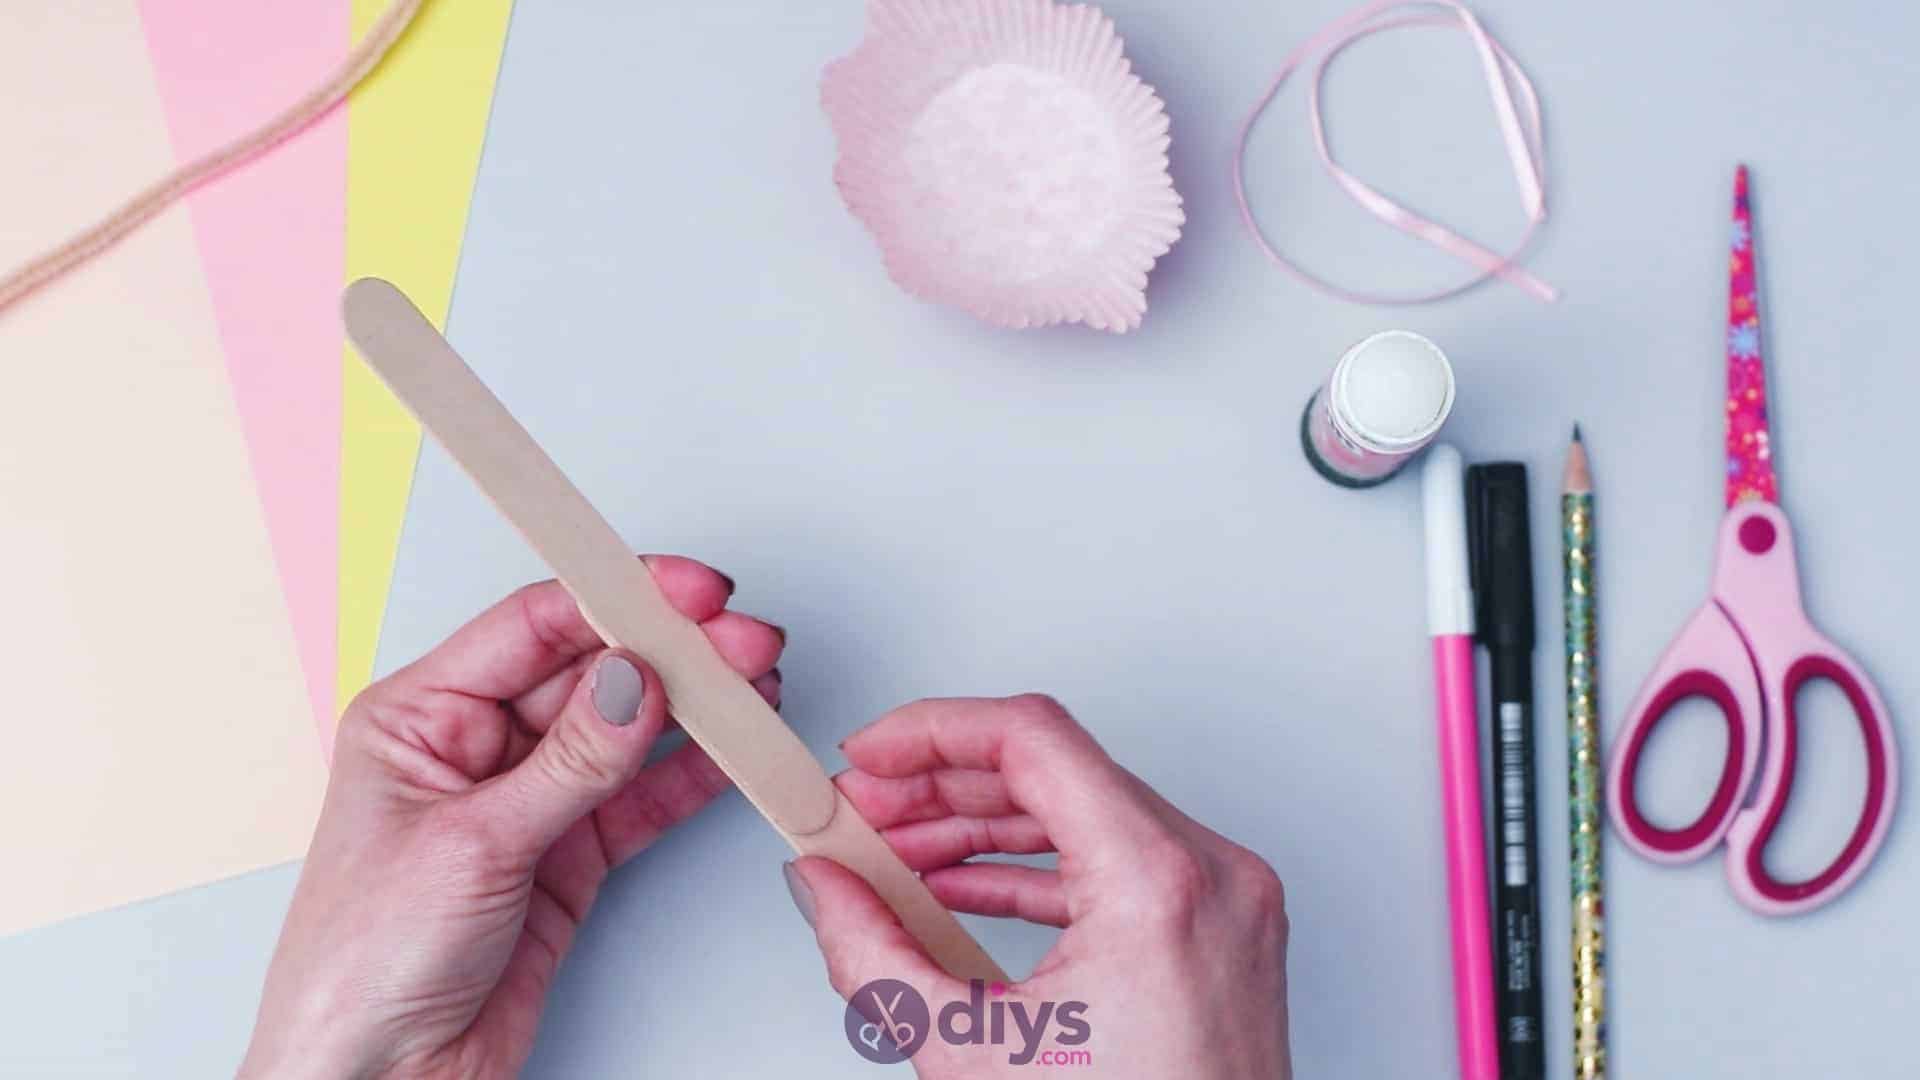
Gather your materials!
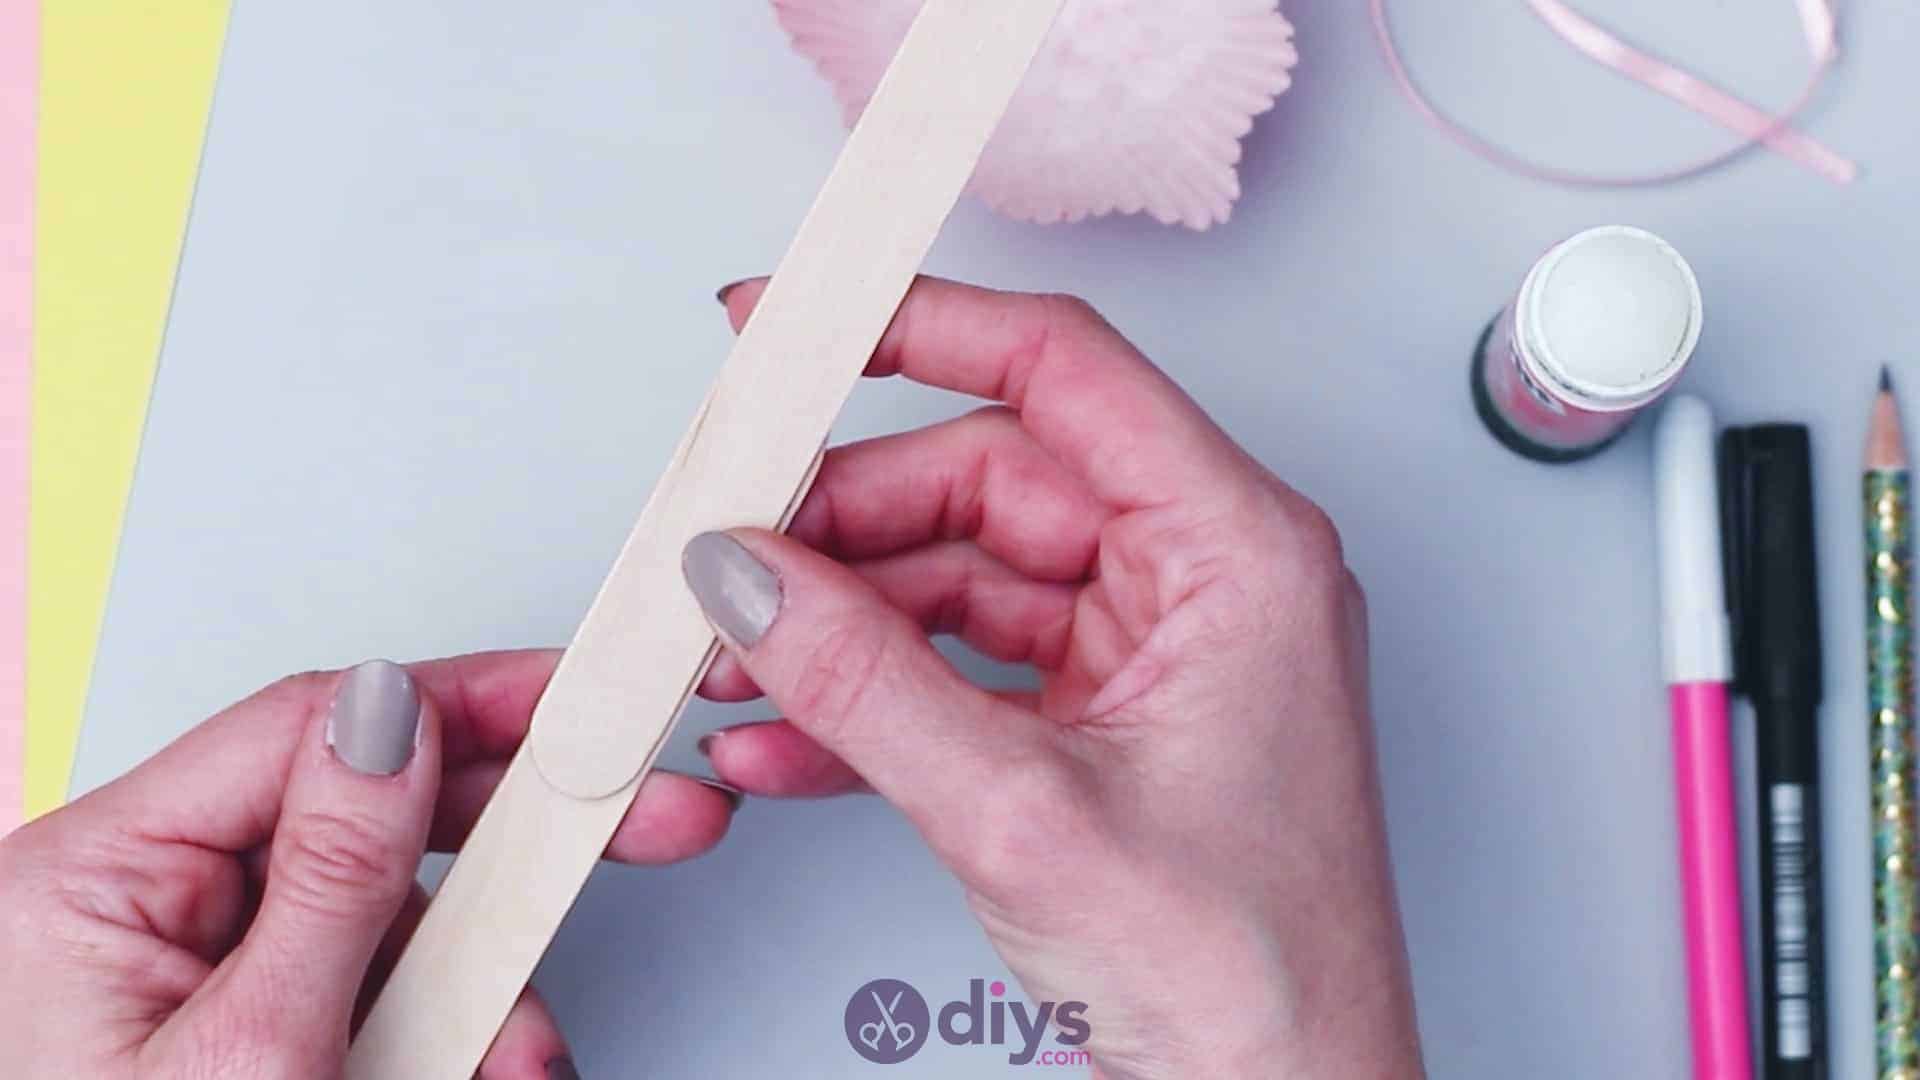
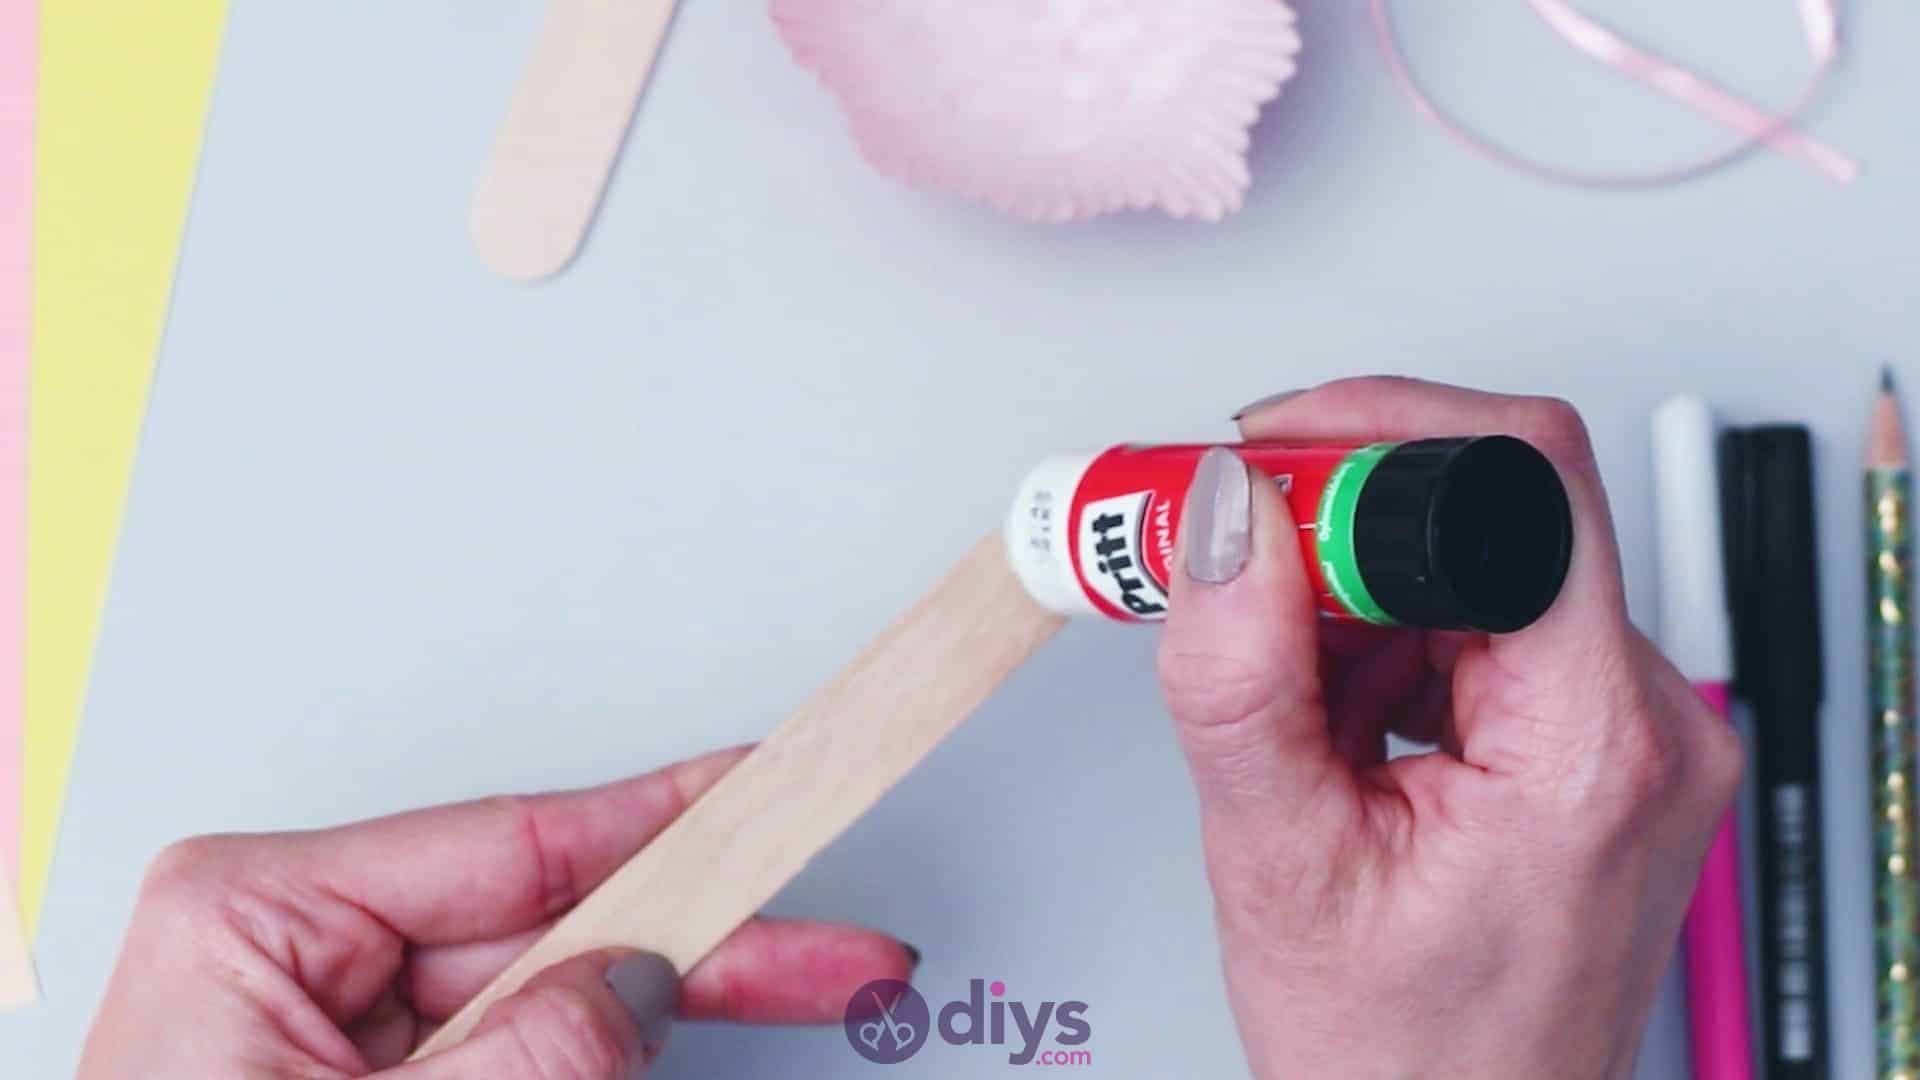
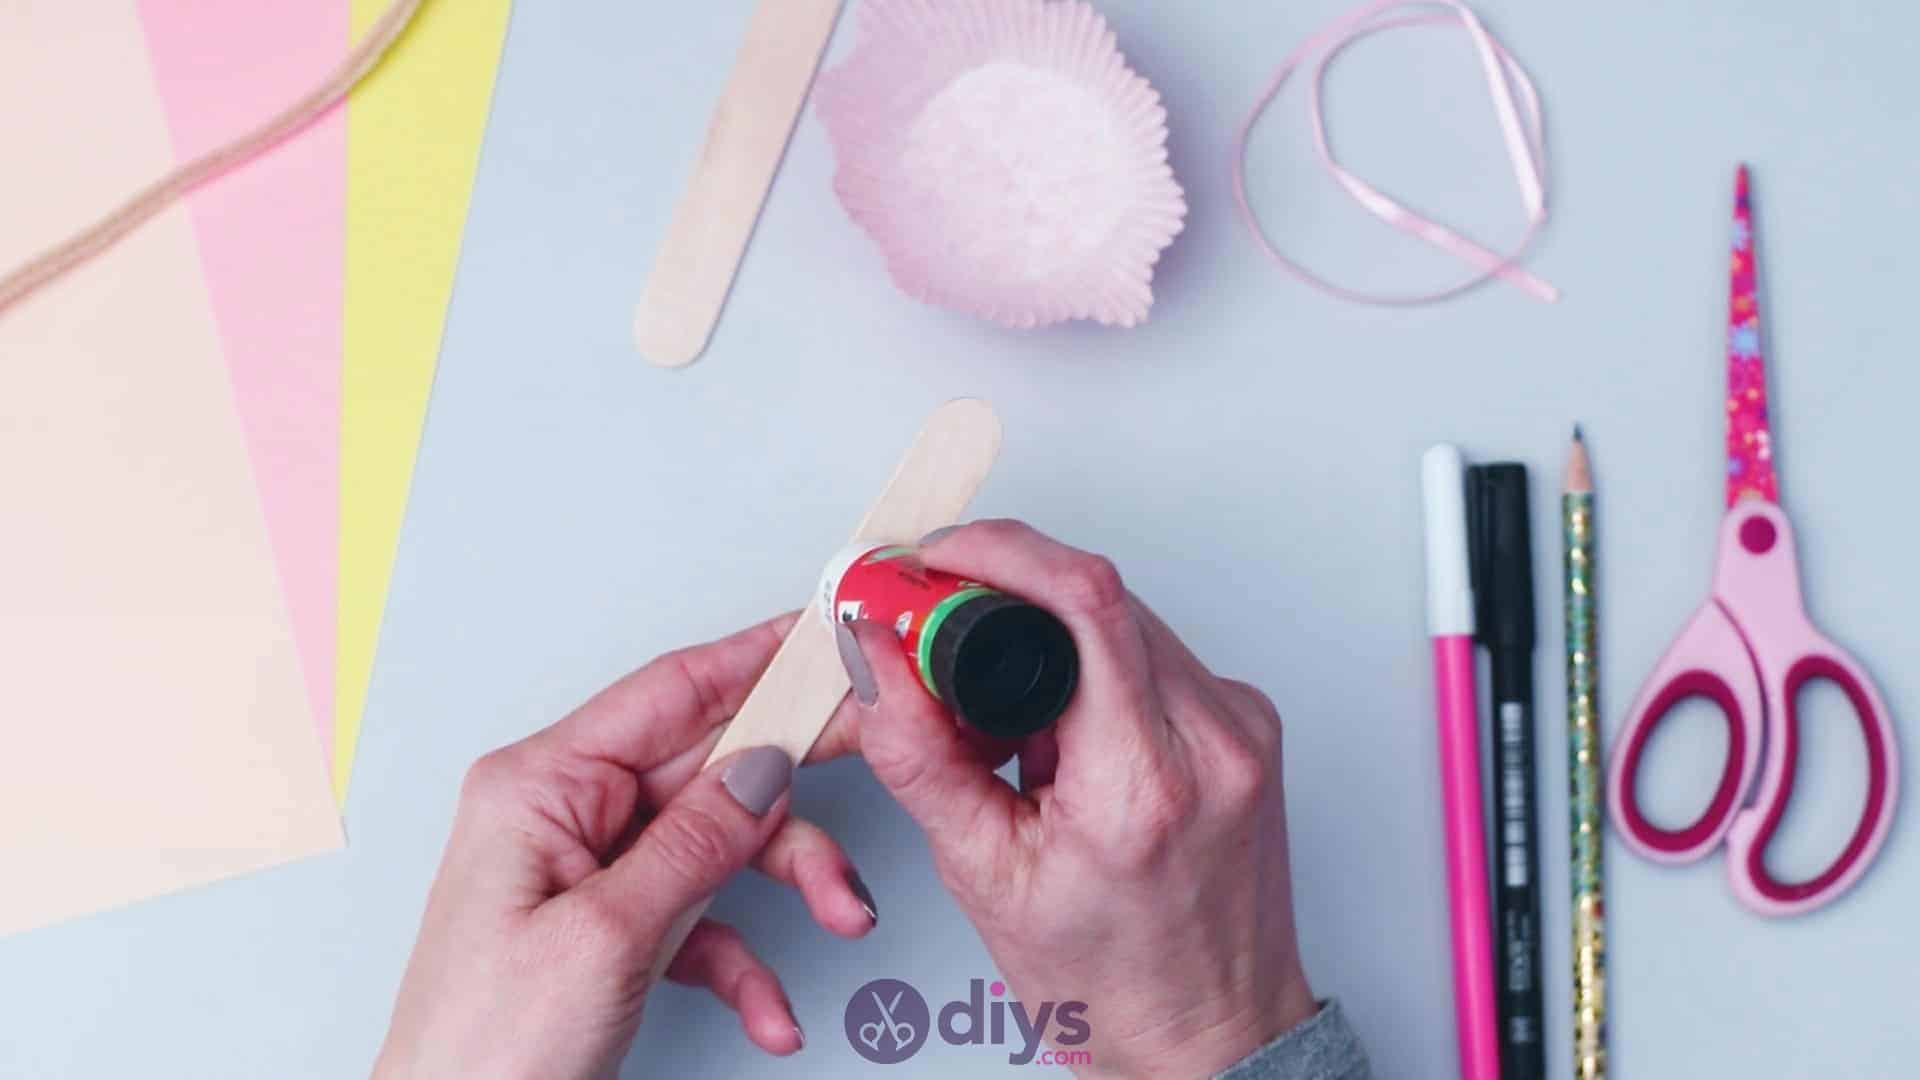
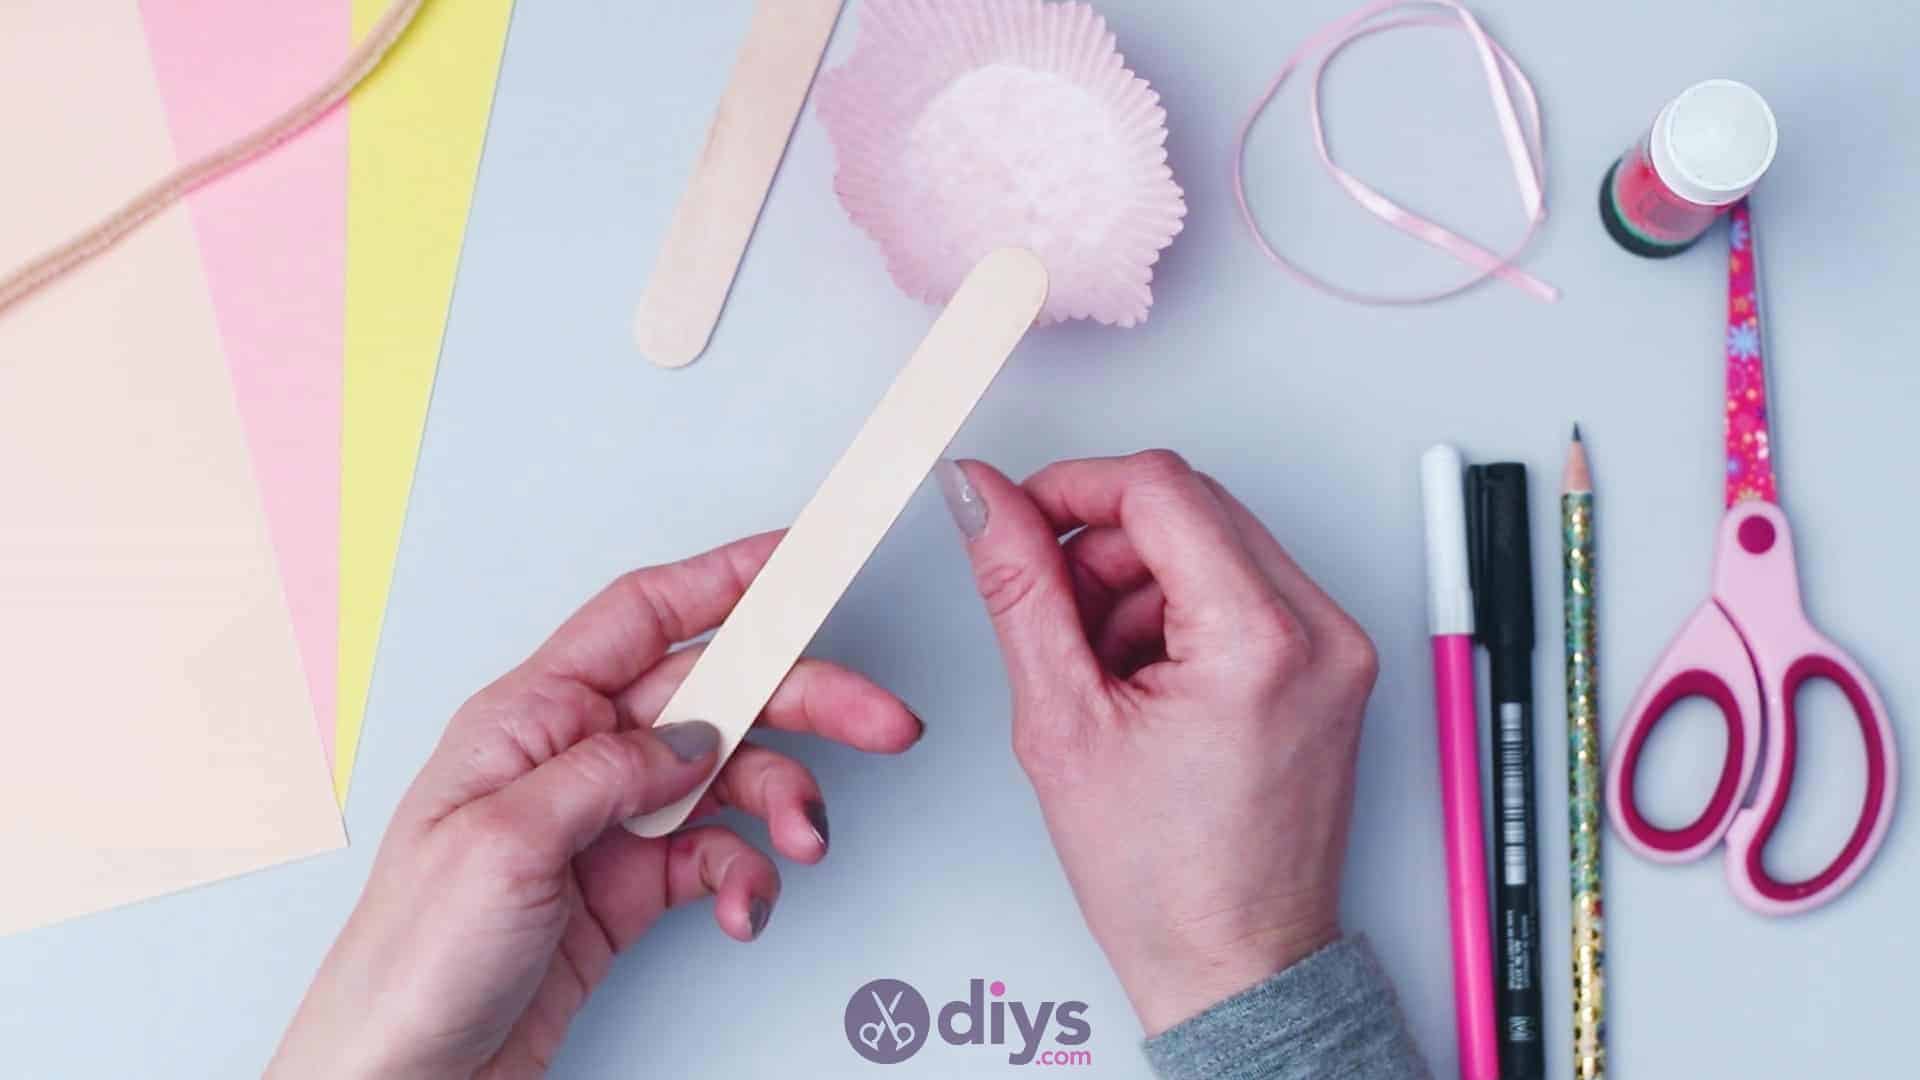
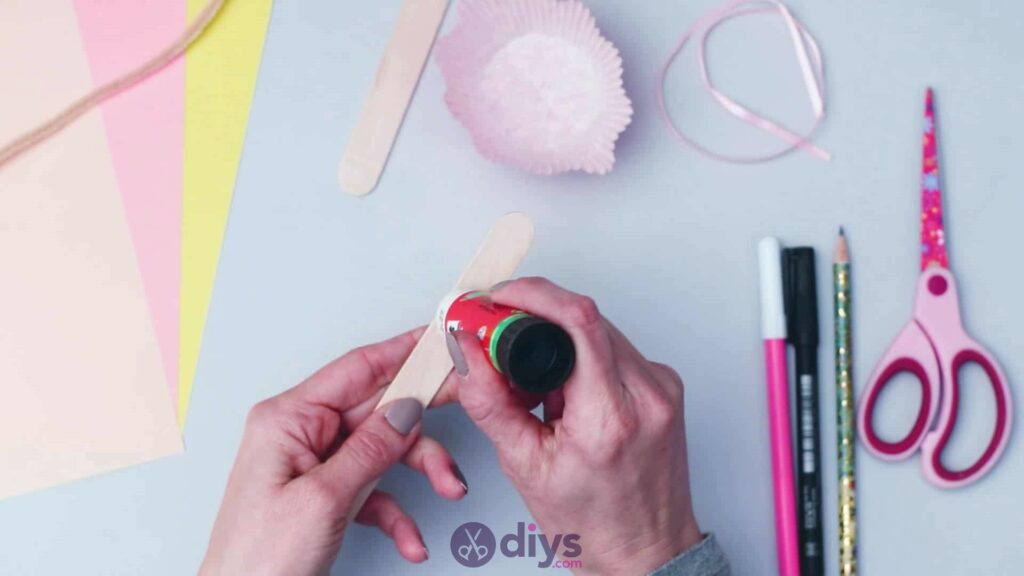
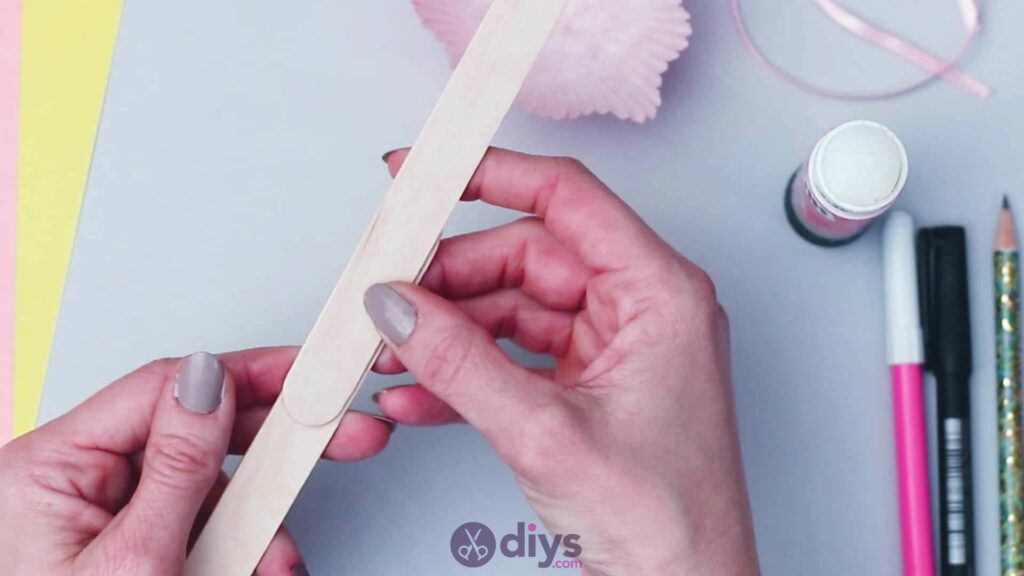
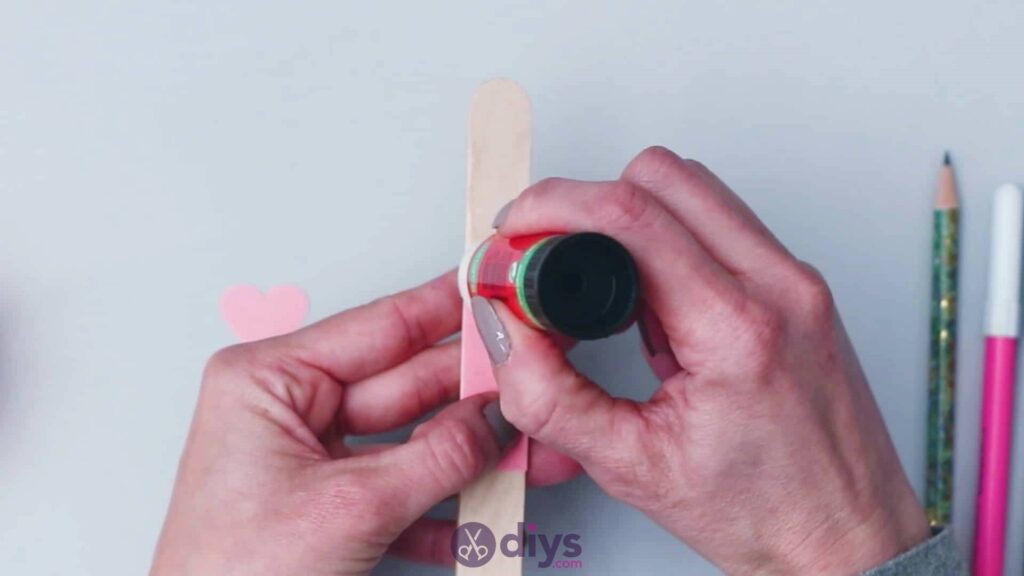
Step 2:
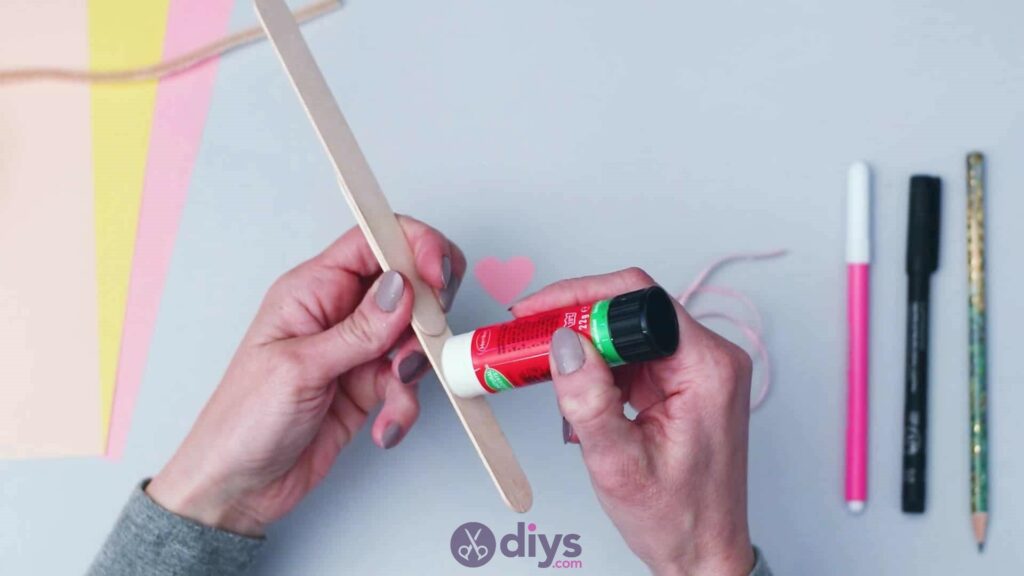
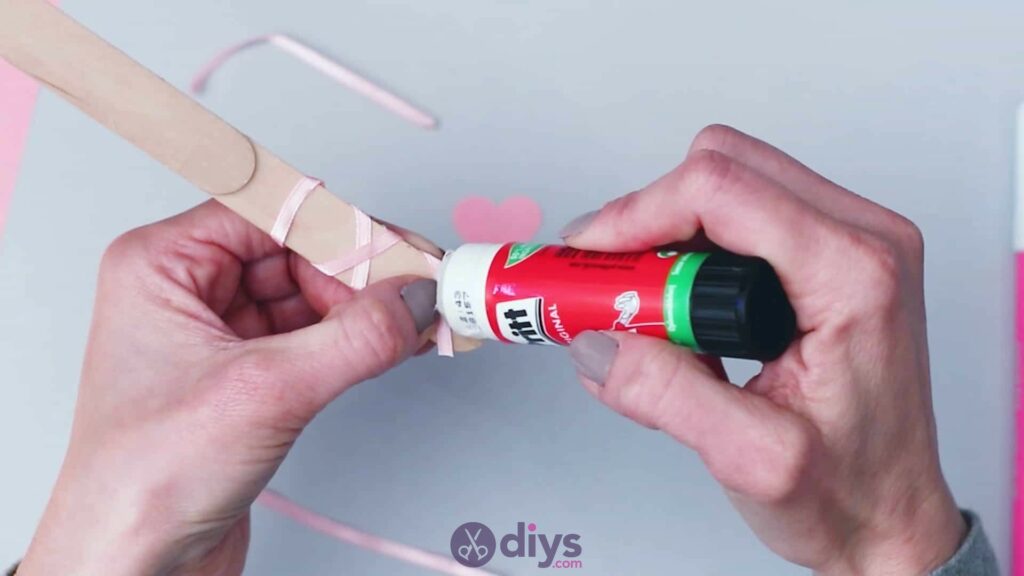
Apply glue to the top end of one of your popsicle sticks, covering it from the tip to nearly halfway down its length. Take a second popsicle stick and stick it to the top of the first one so that its bottom end sits near the middle of the first one and its top end covers the top tip of the first stick and surpasses it. You now have a layered popsicle stick that’s about half a stick longer than your original individual one.


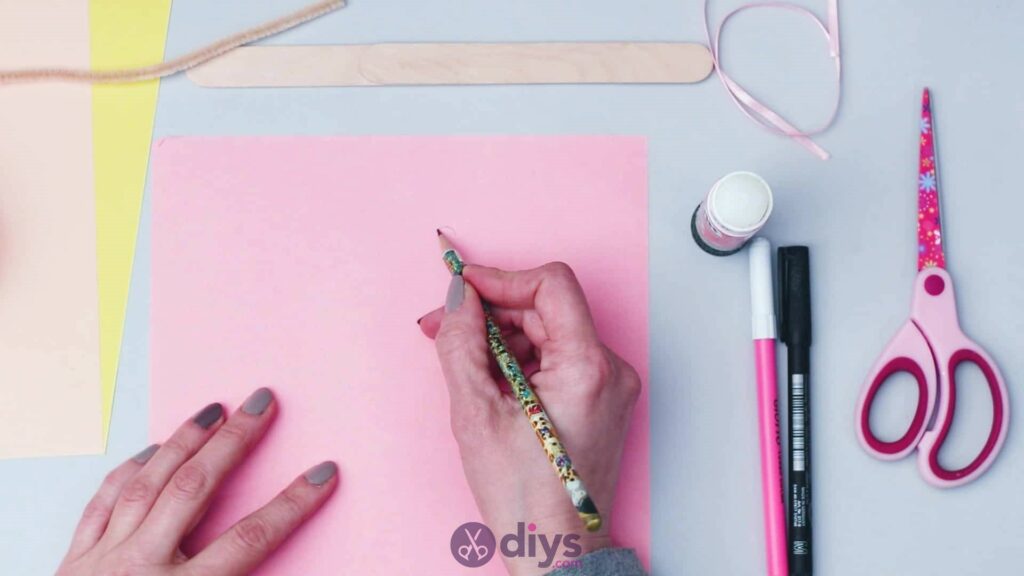
Step 3:
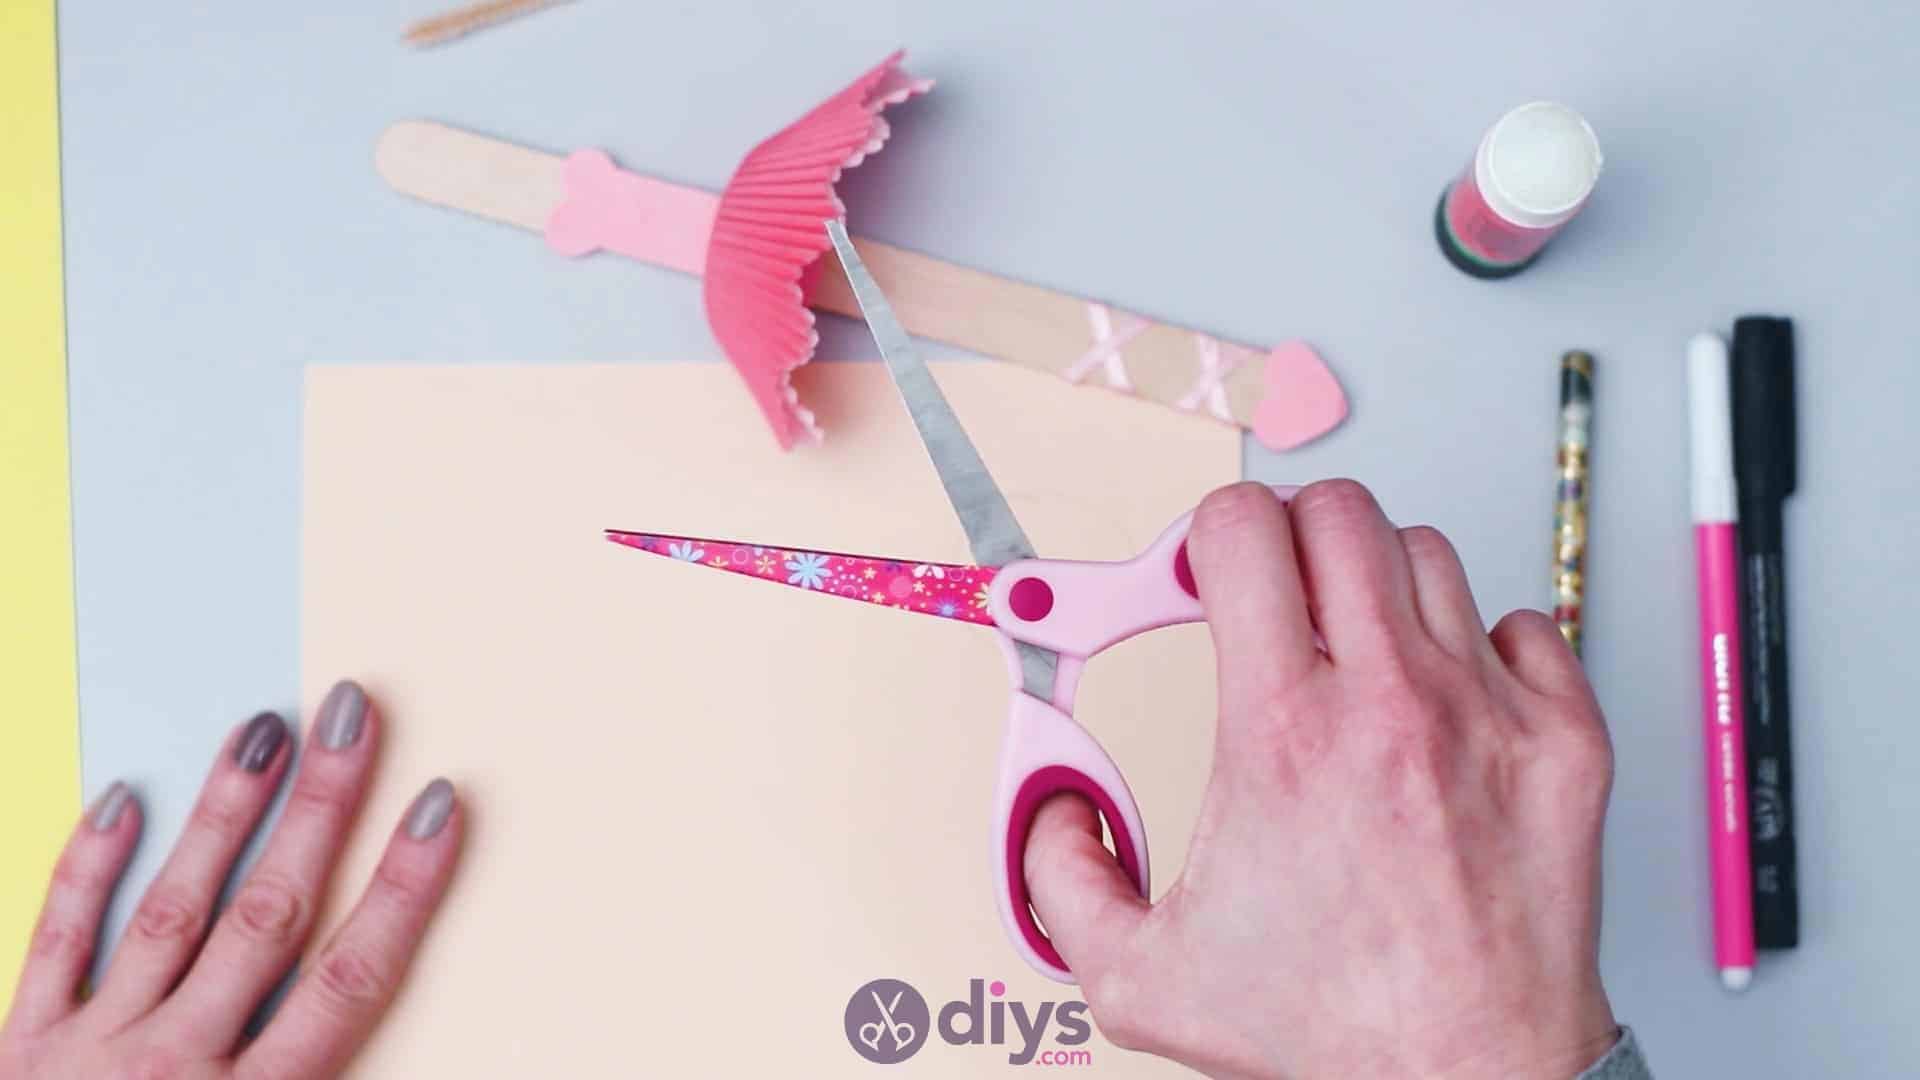
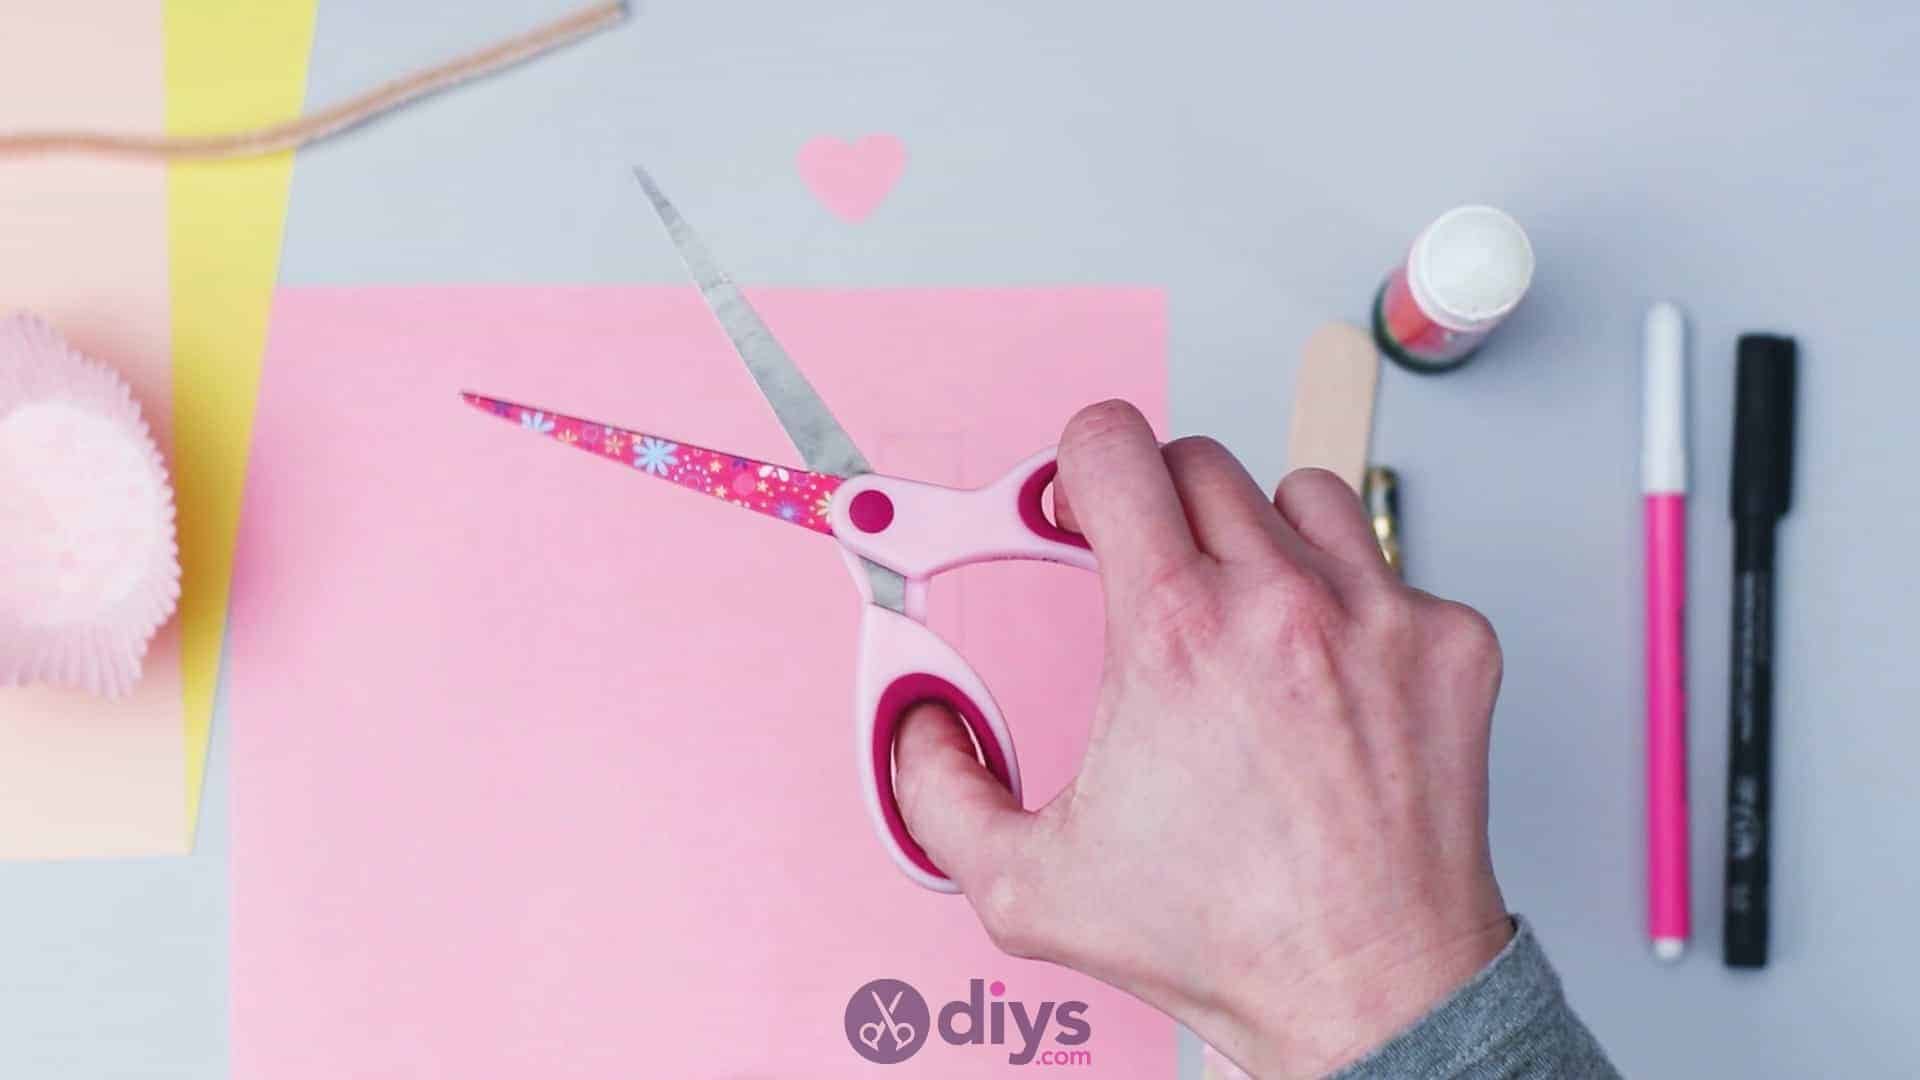
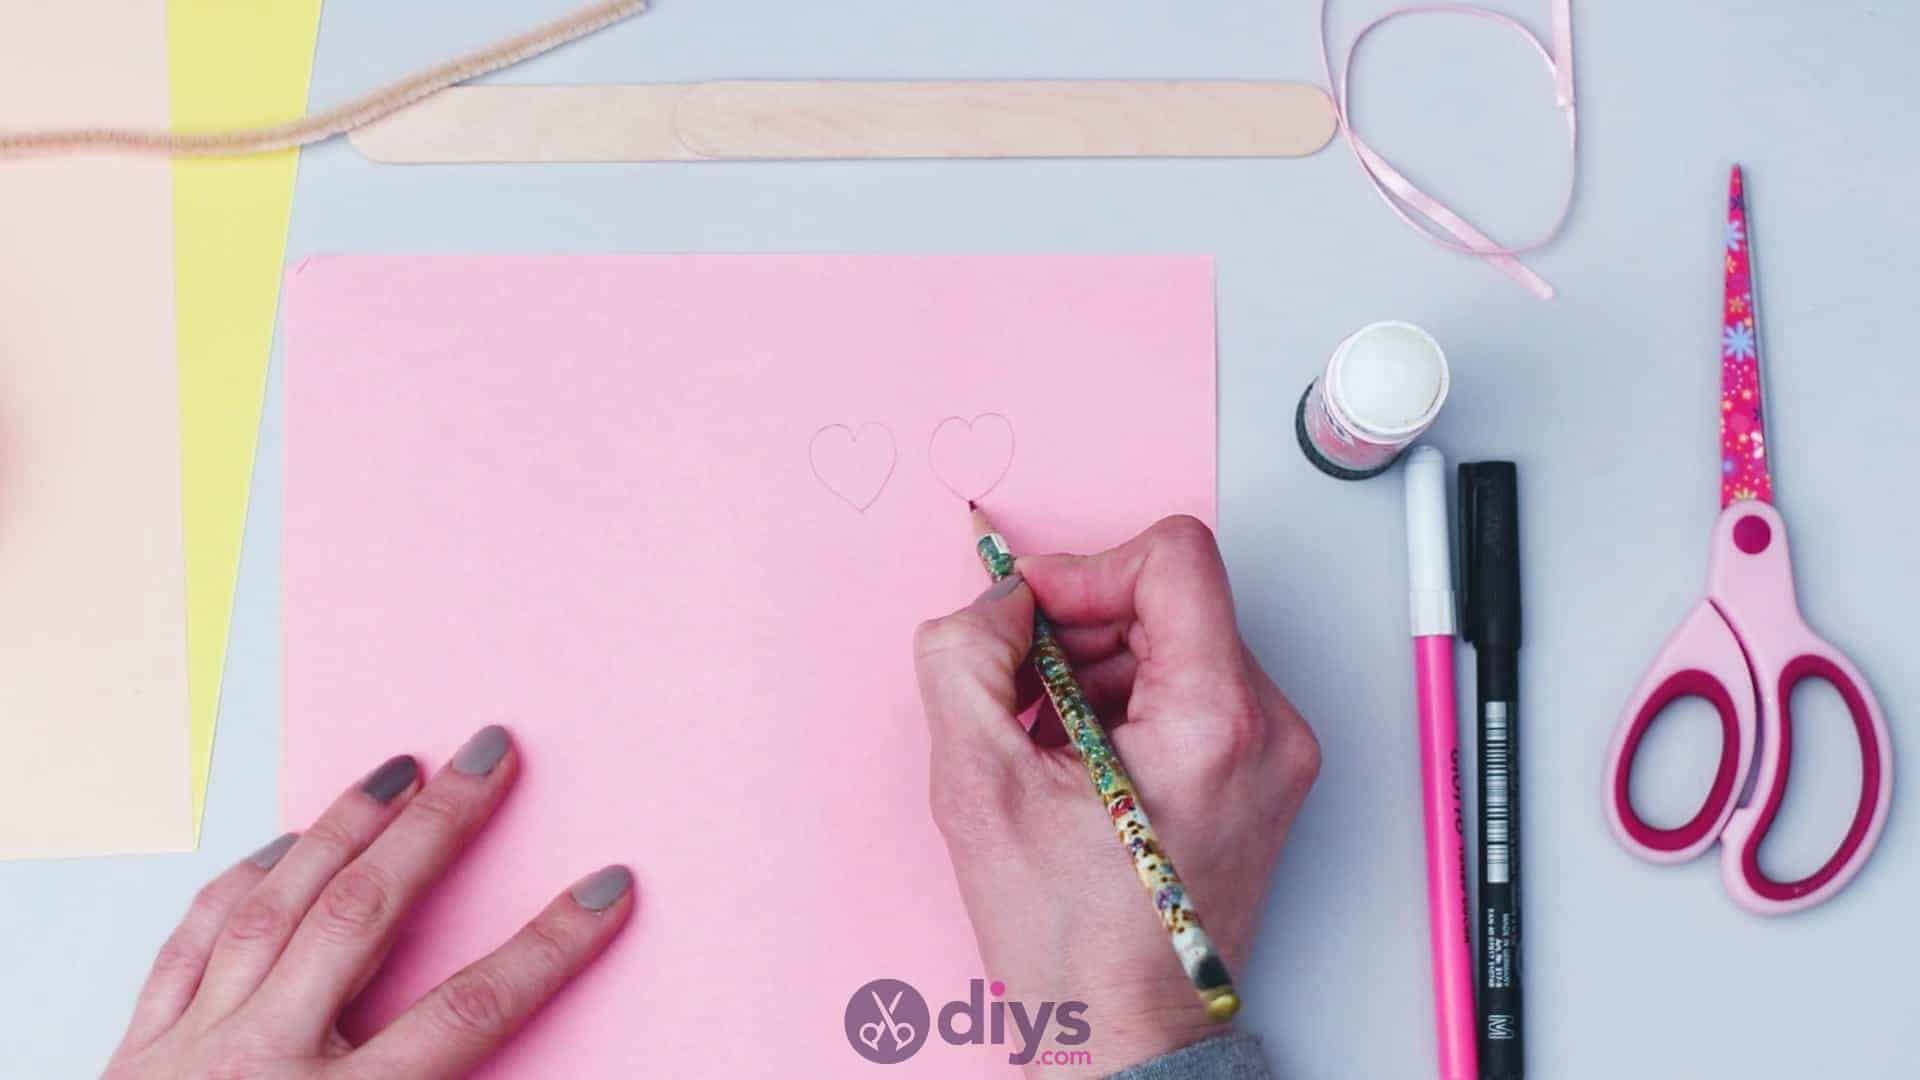
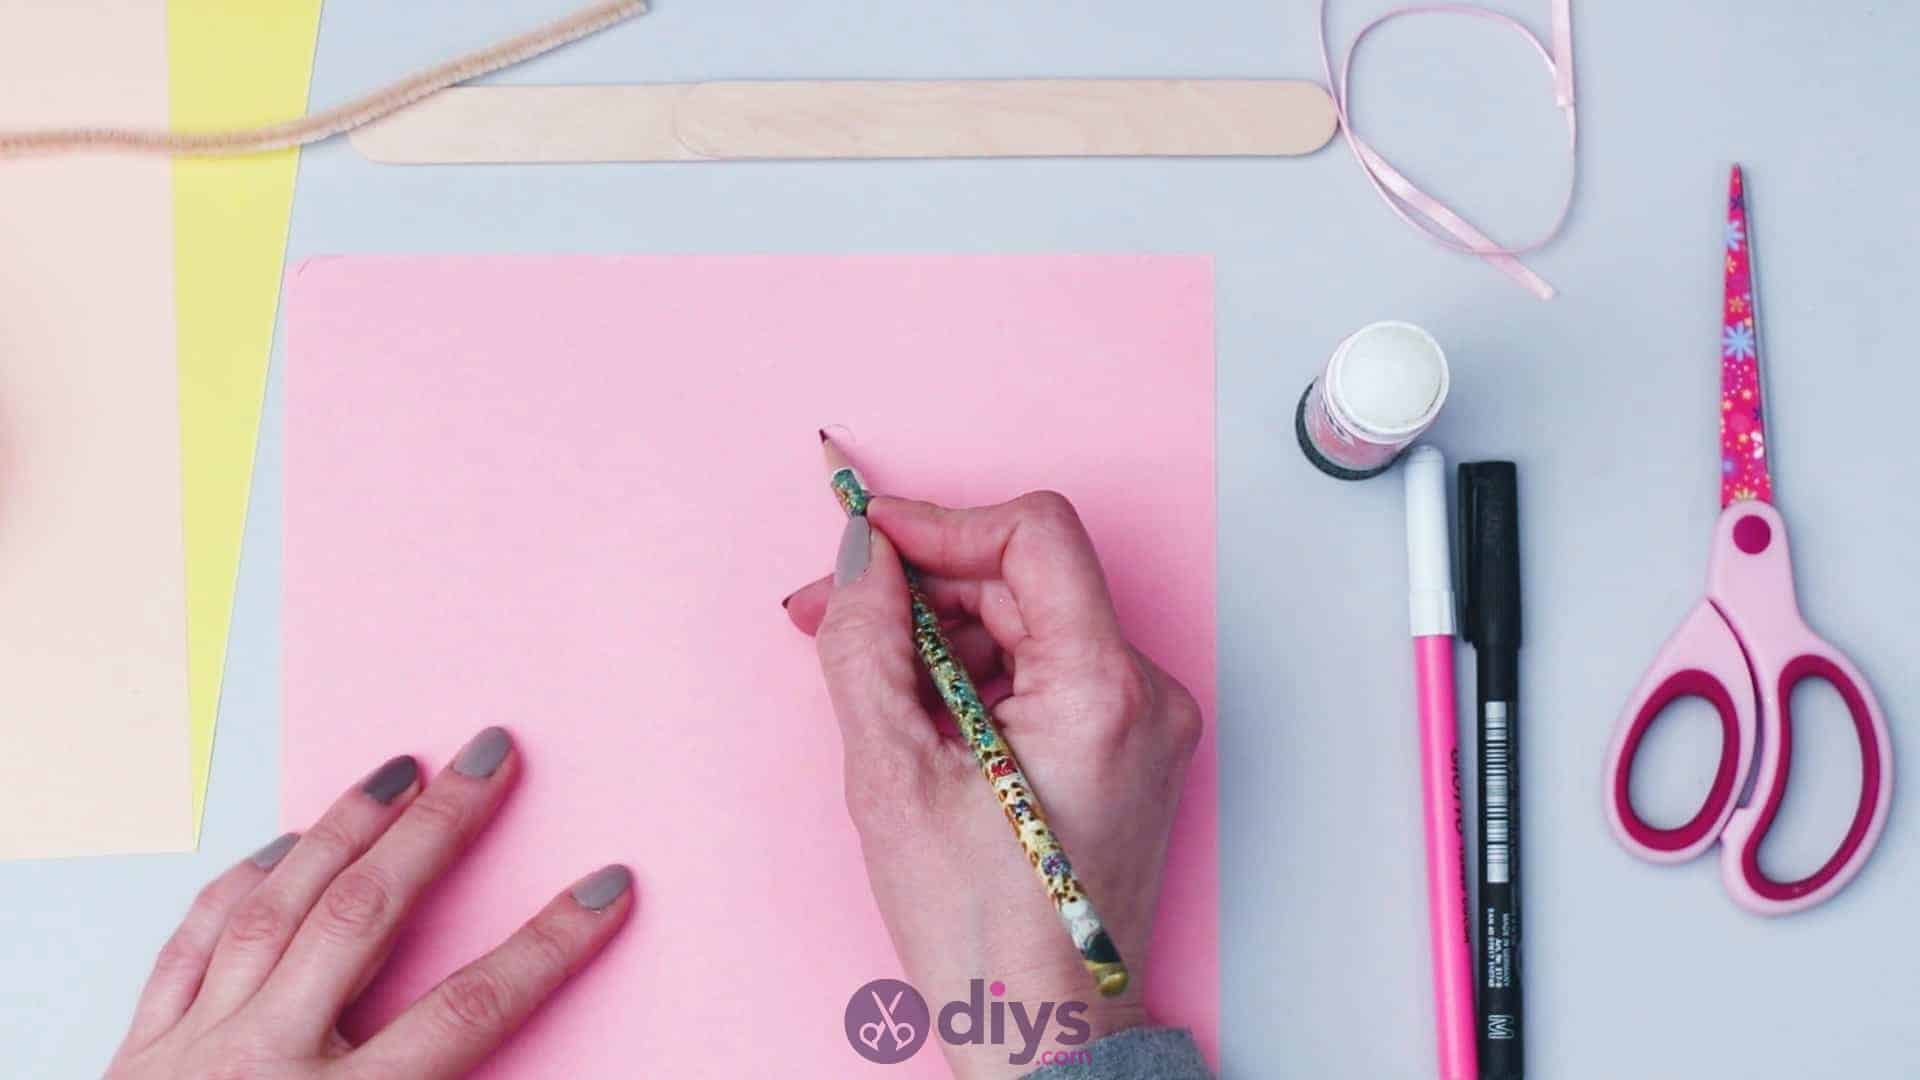
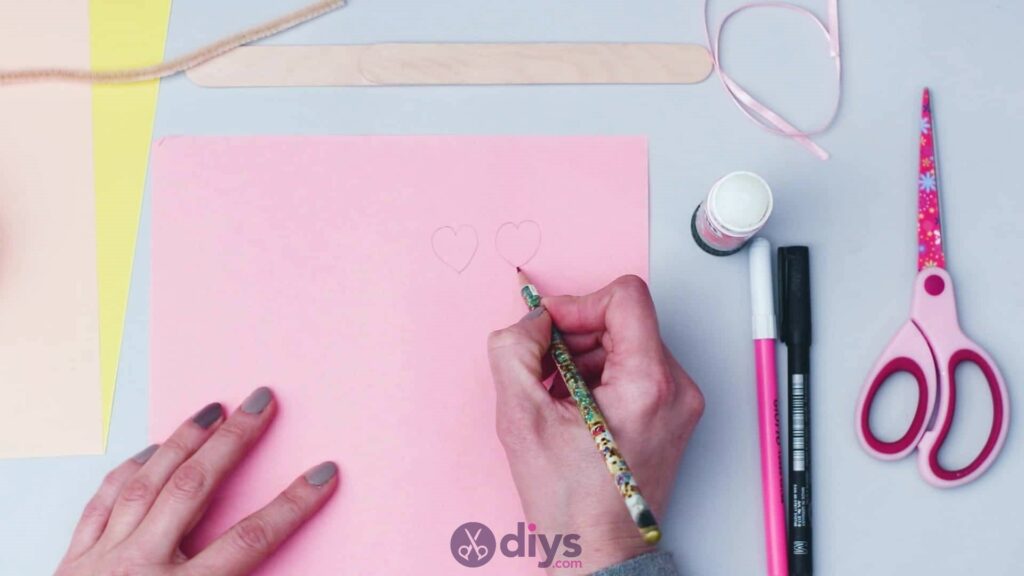
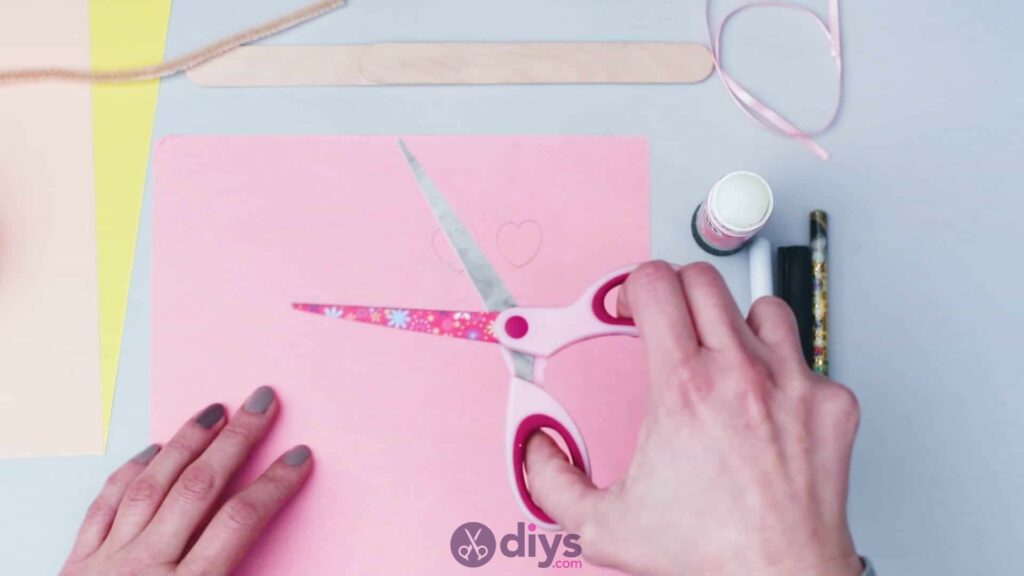
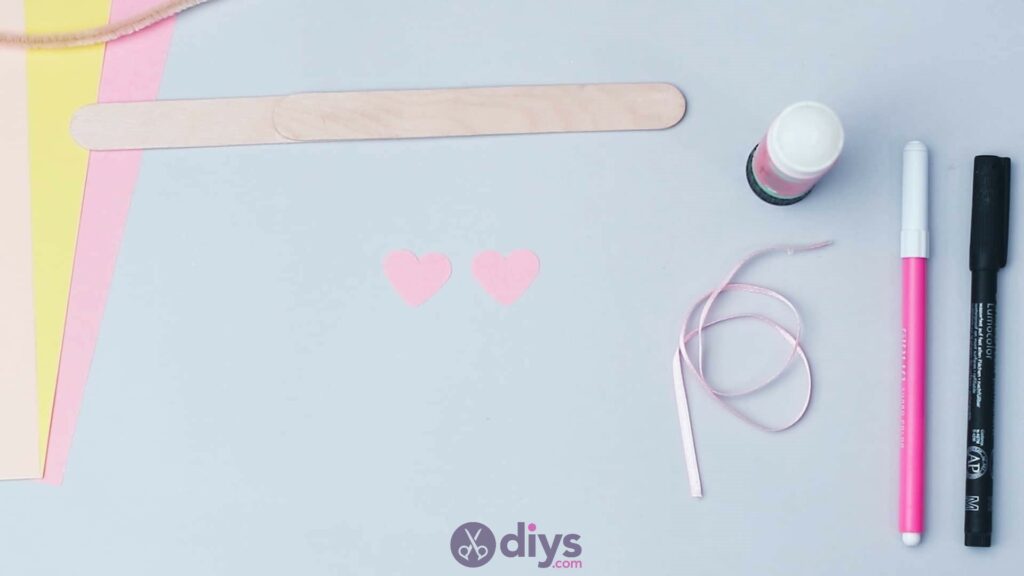
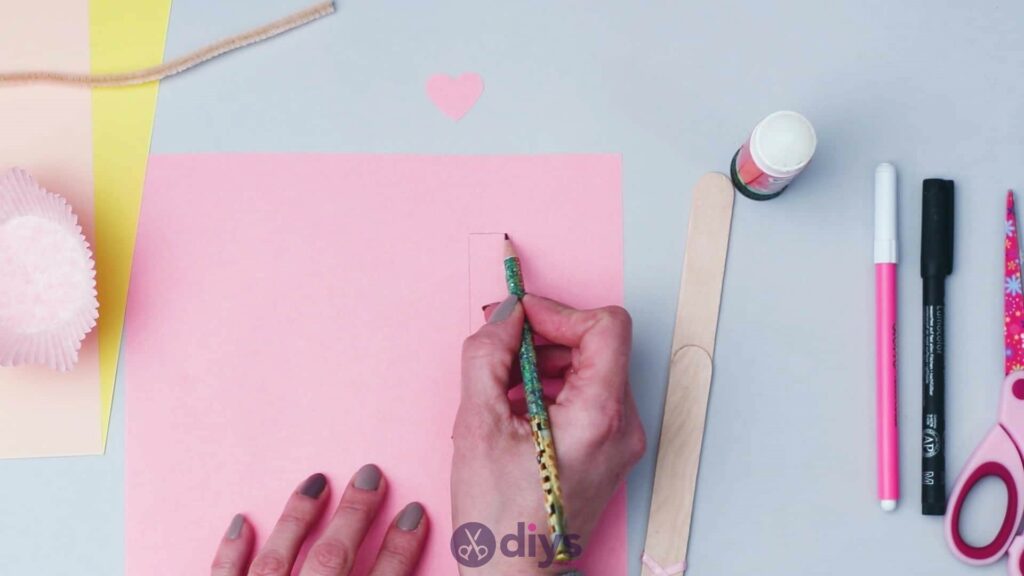
Use your pencil to draw two little hearts on your pink paper. I made each of mine about half an inch tall and only a touch wider then the popsicle sticks I was working with (so also about half an inch wide). Once you’re happy with the side and look of your hearts, use your scissors to cut them out. Set them aside for a moment.
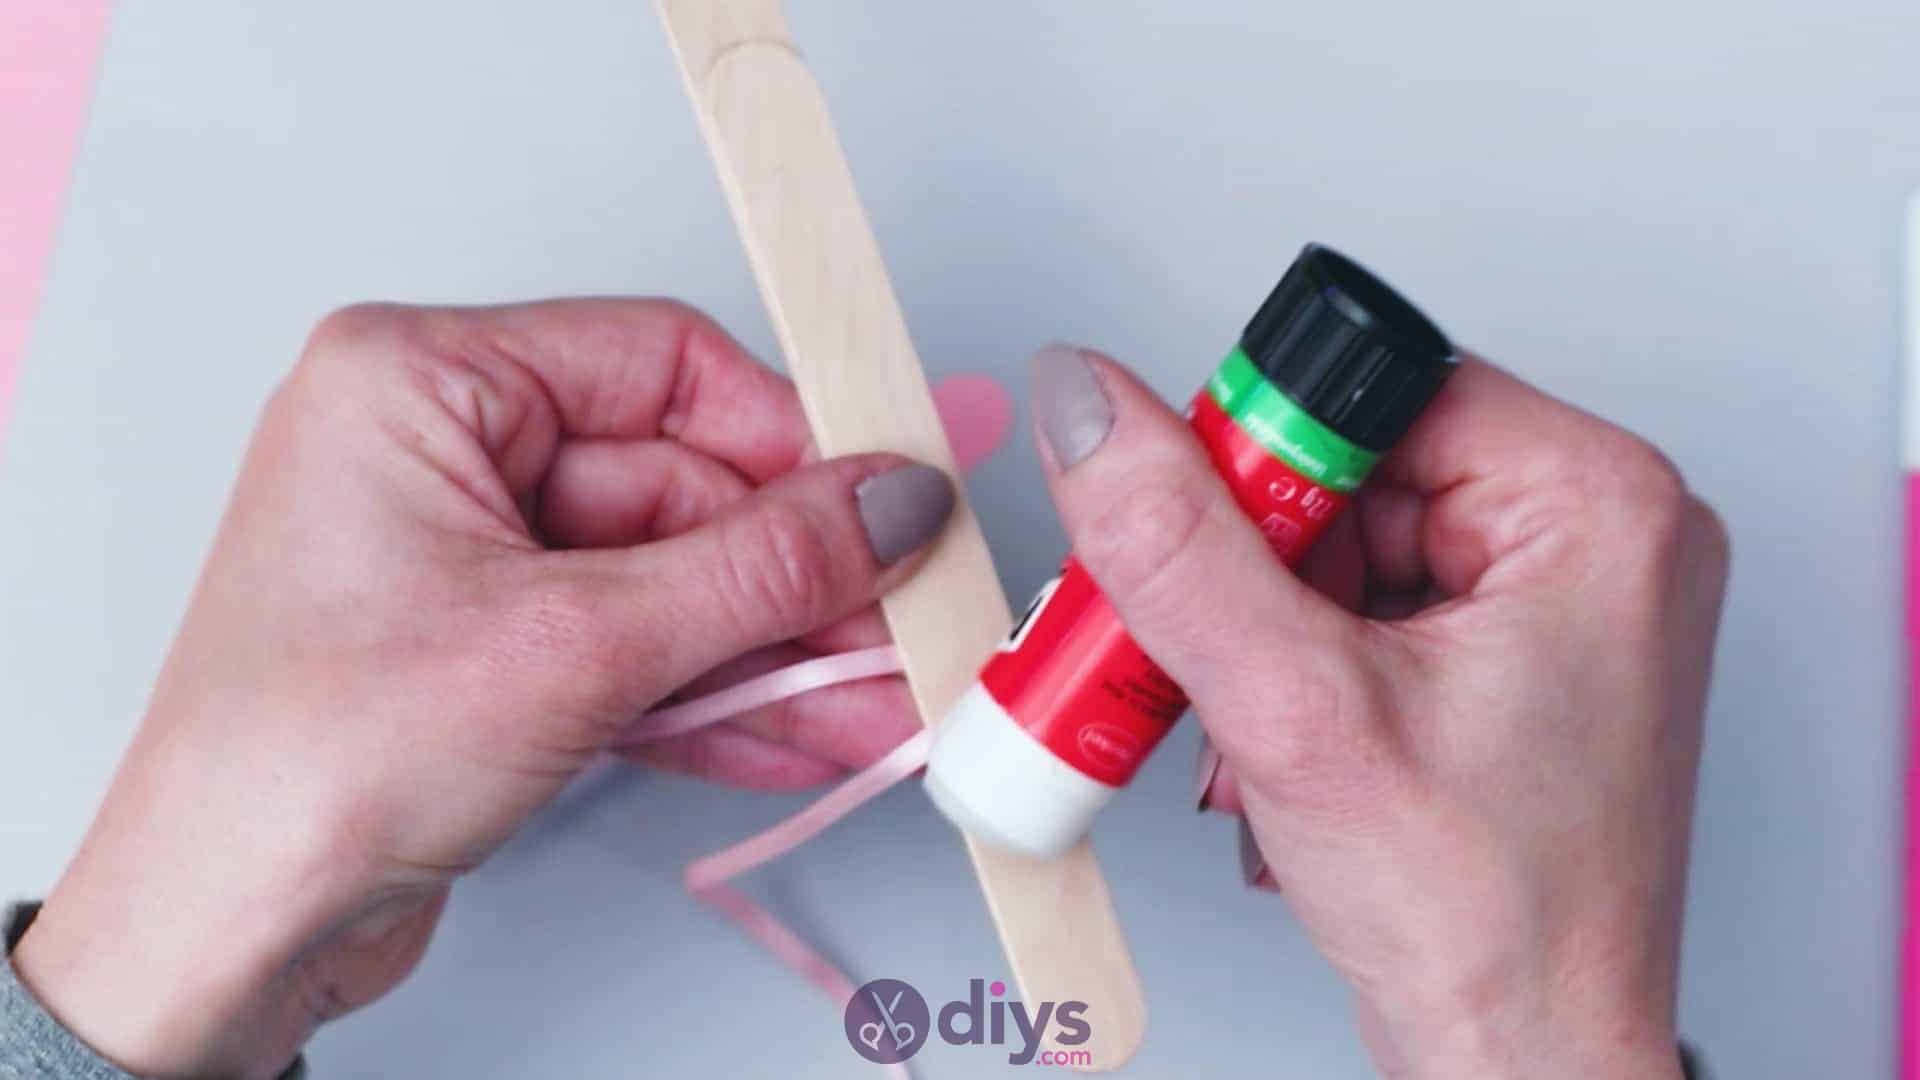
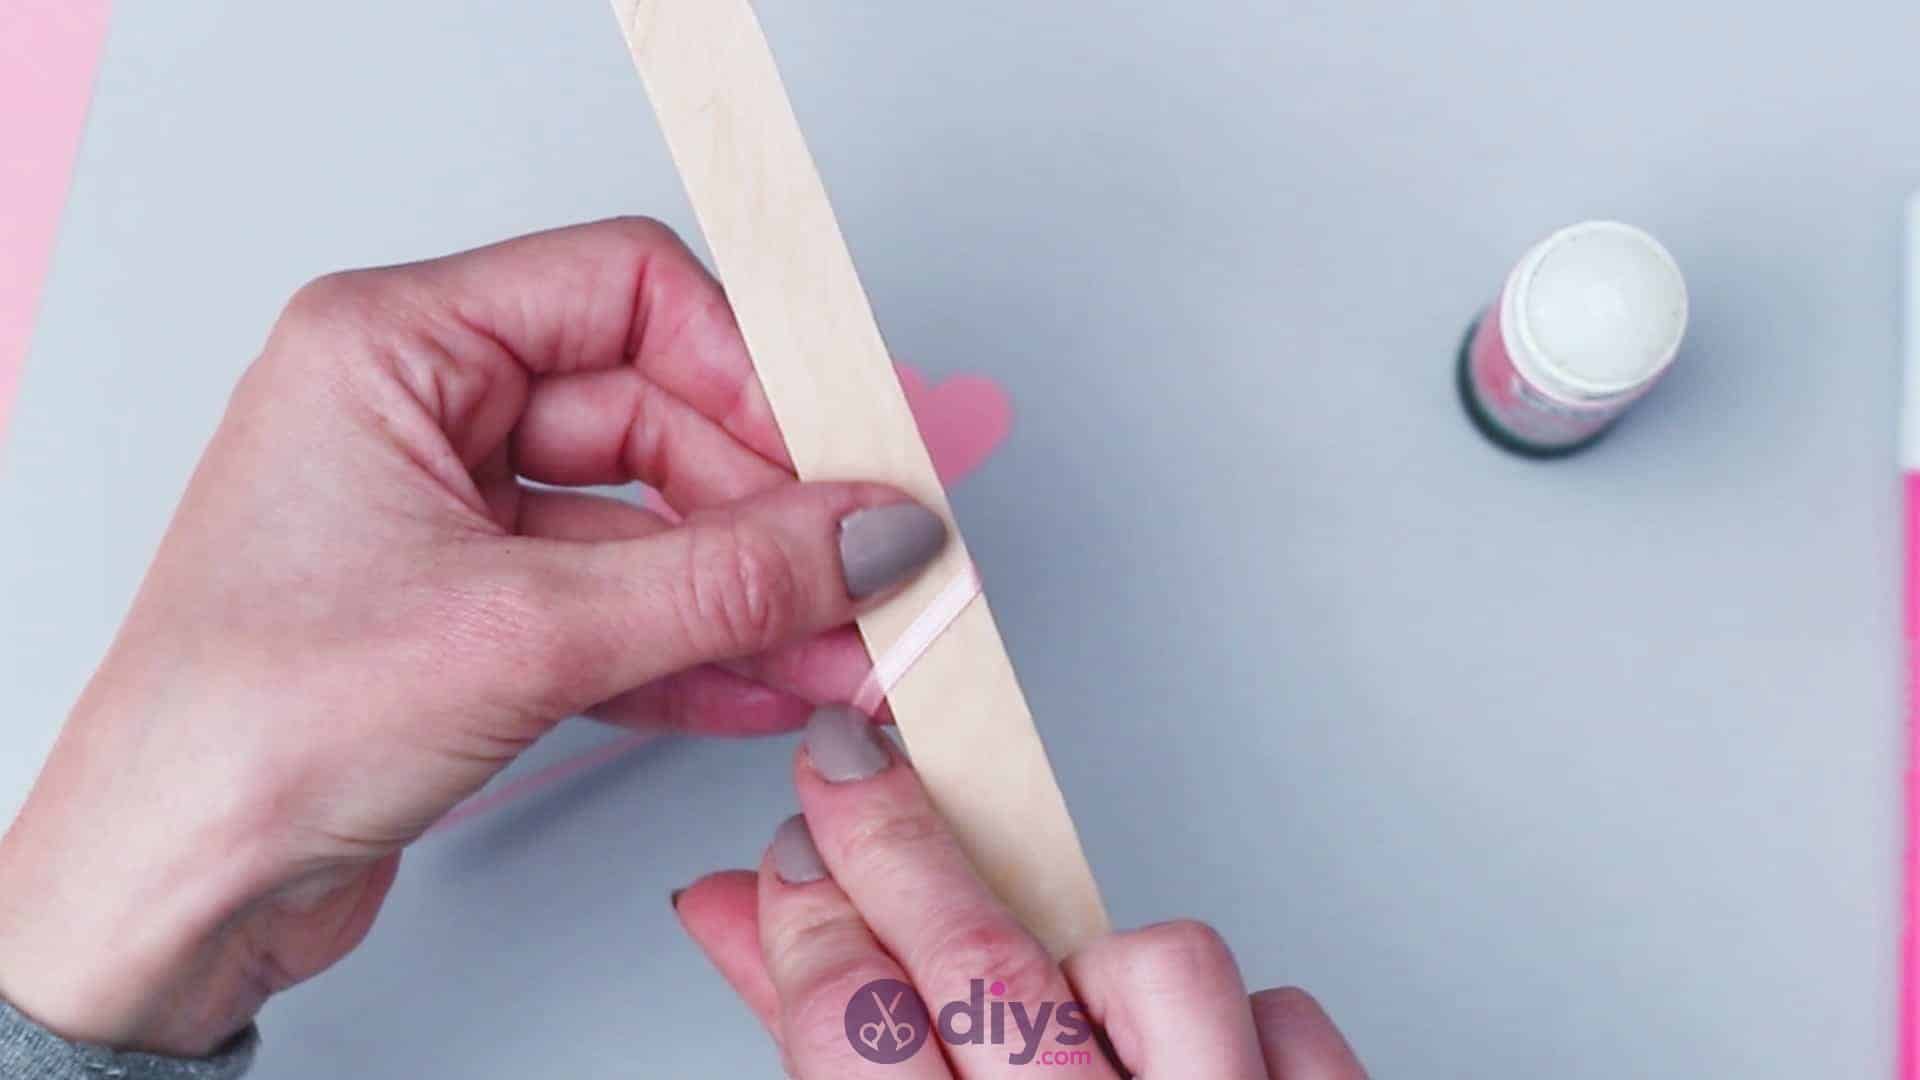
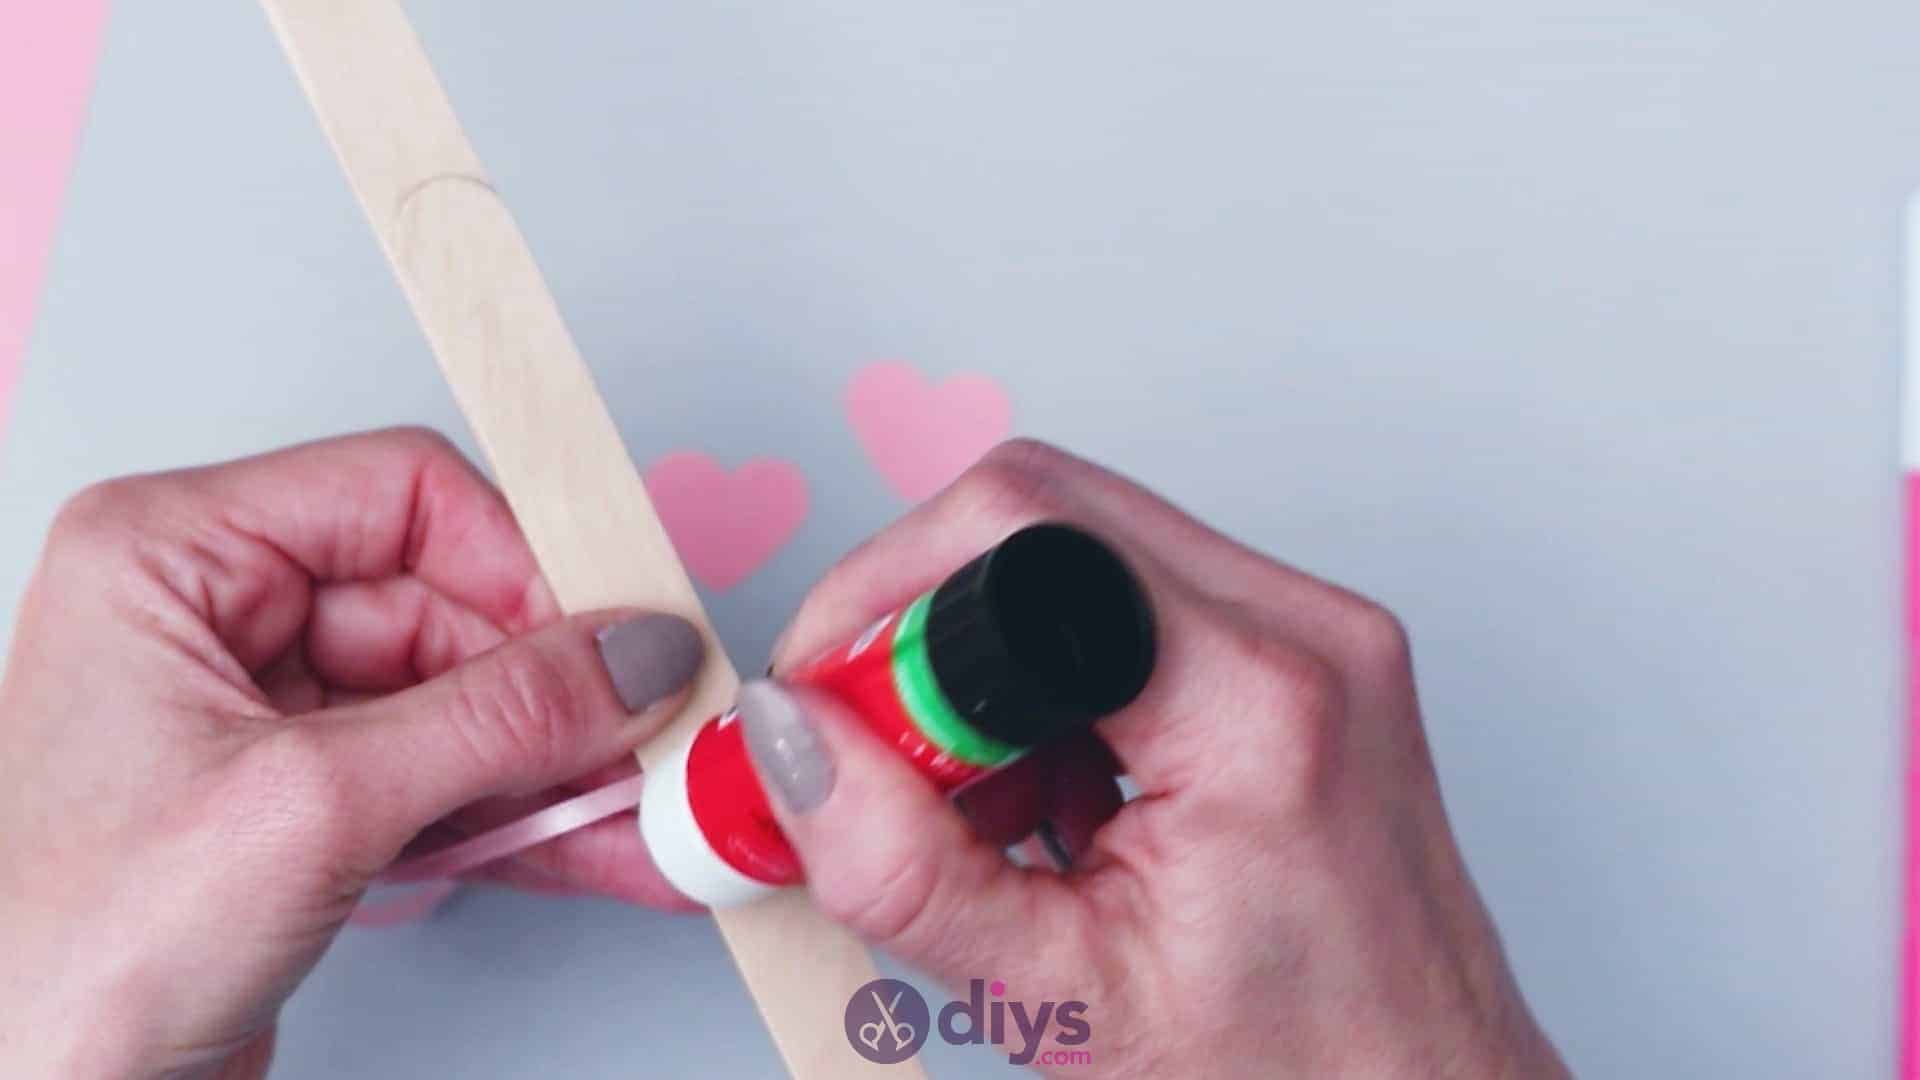
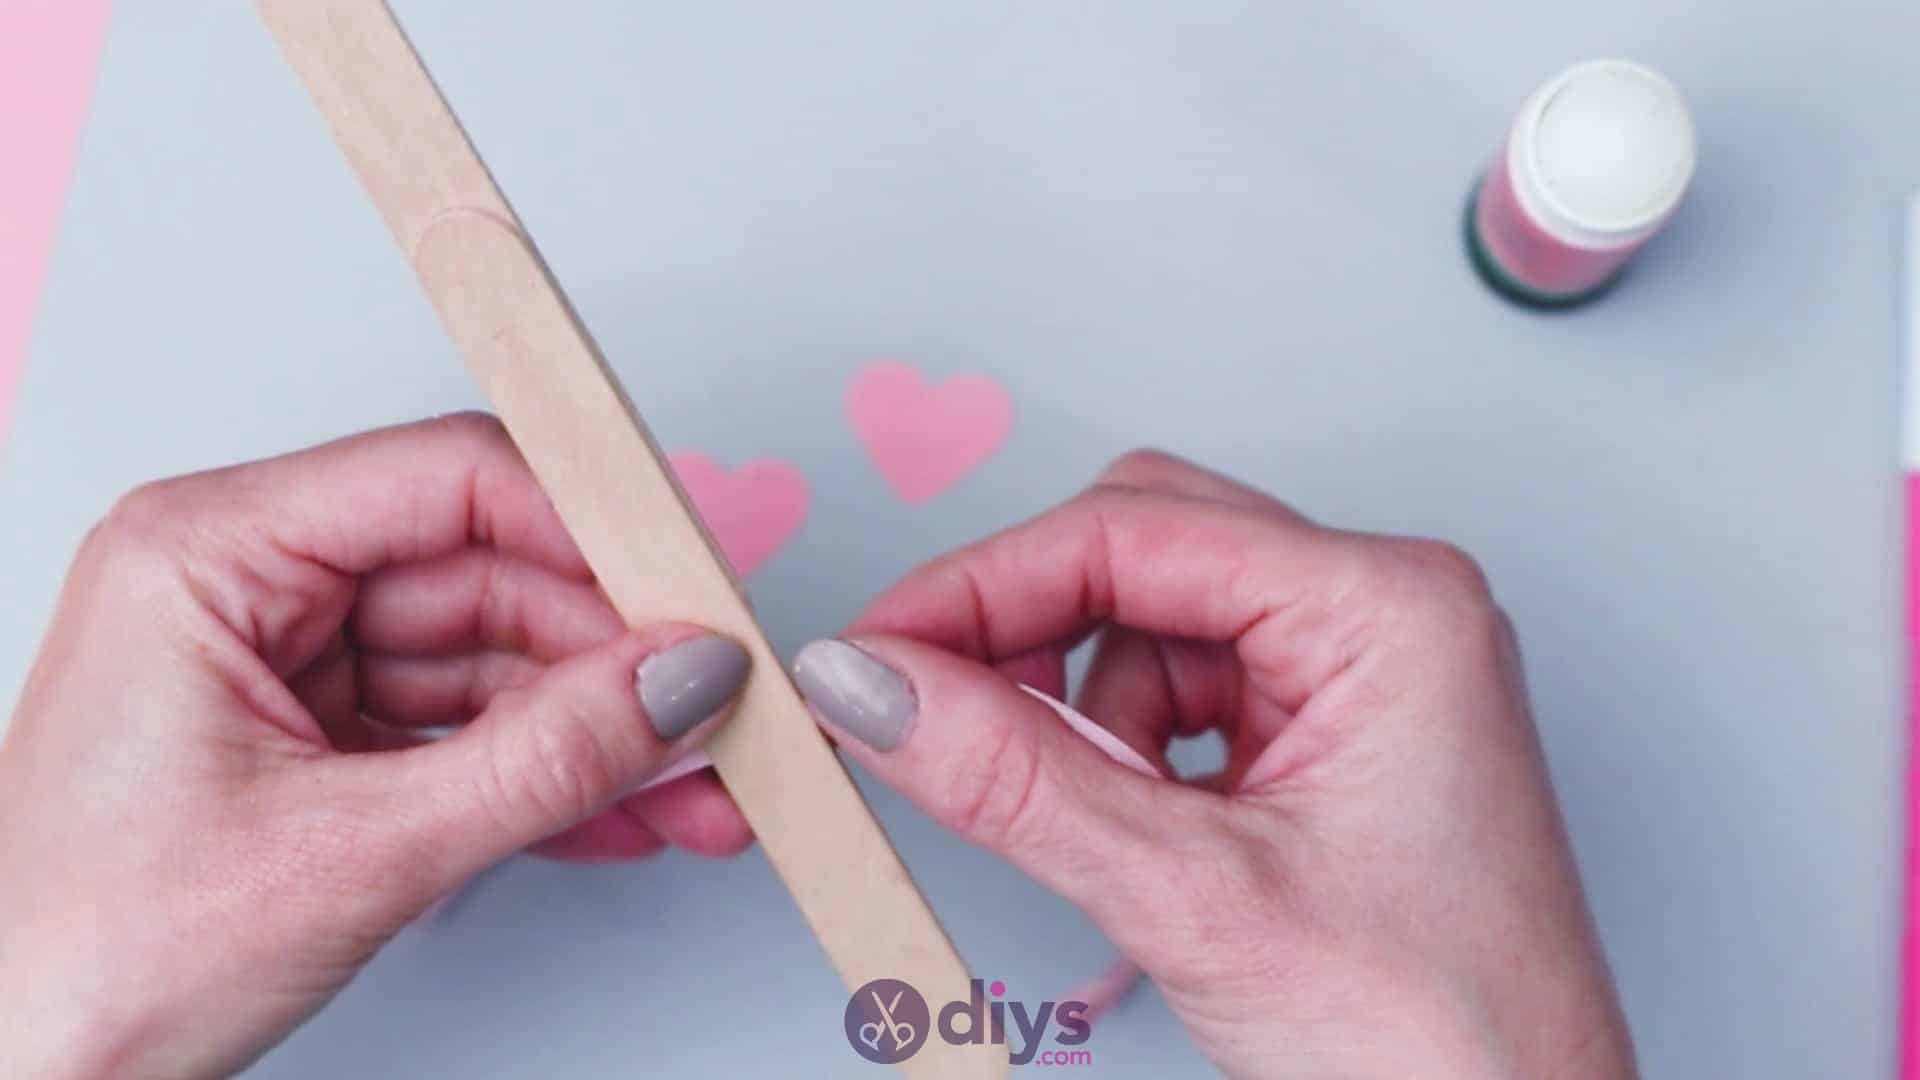
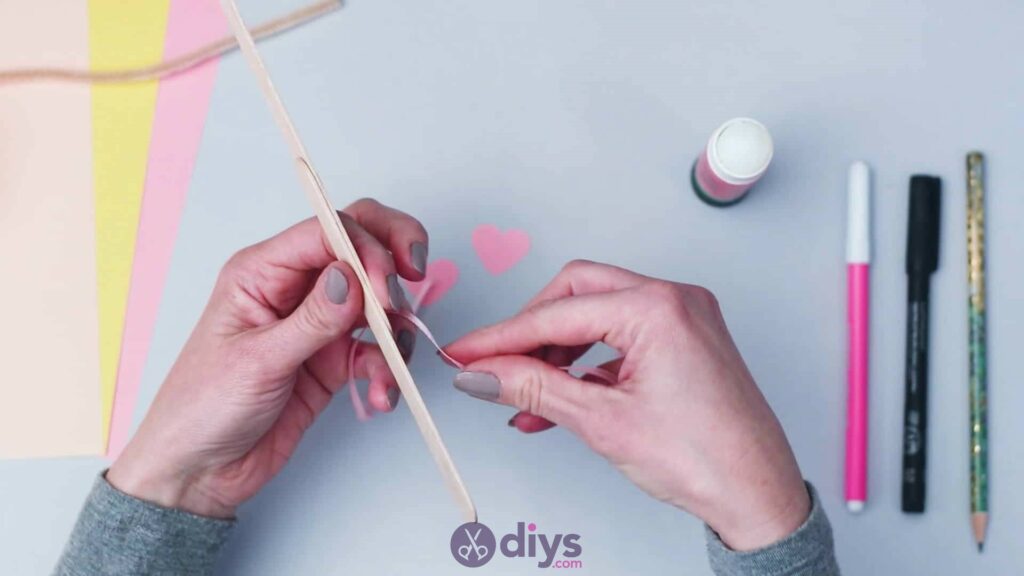
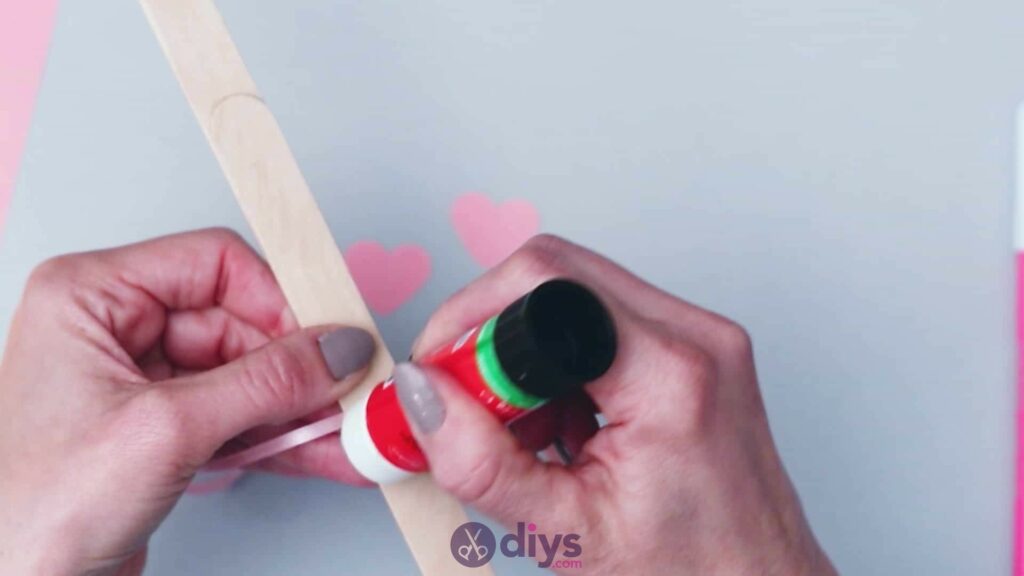
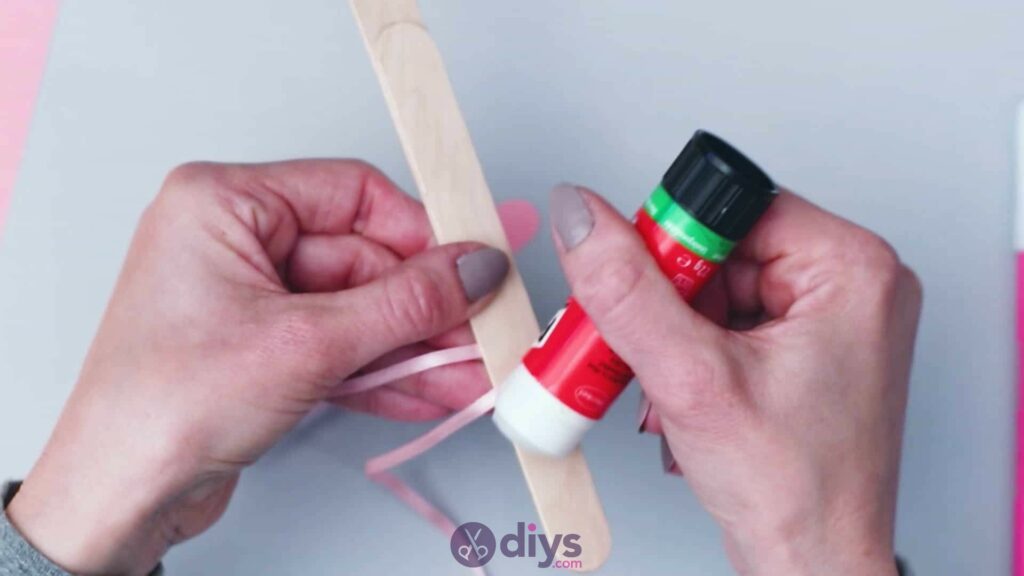
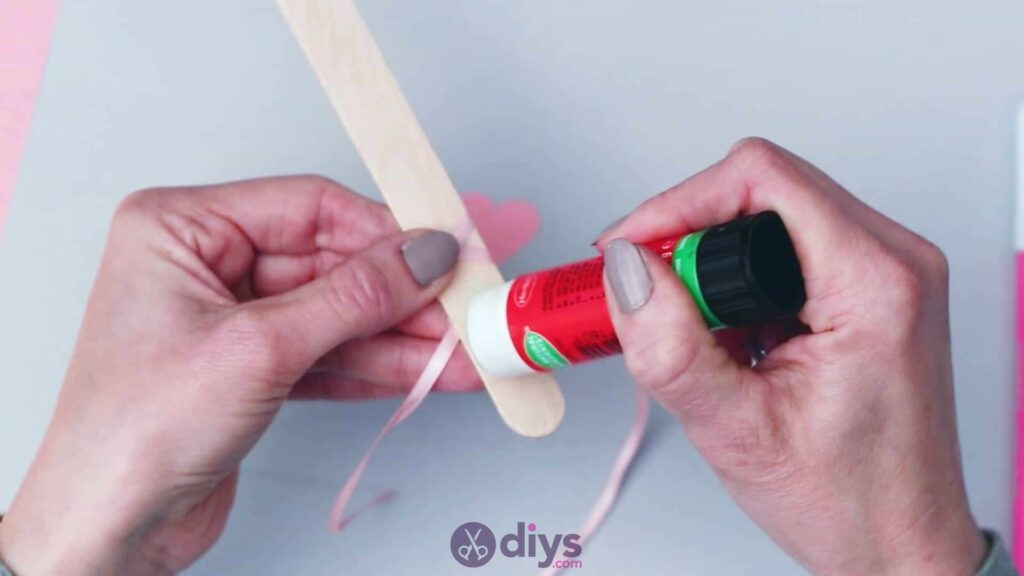
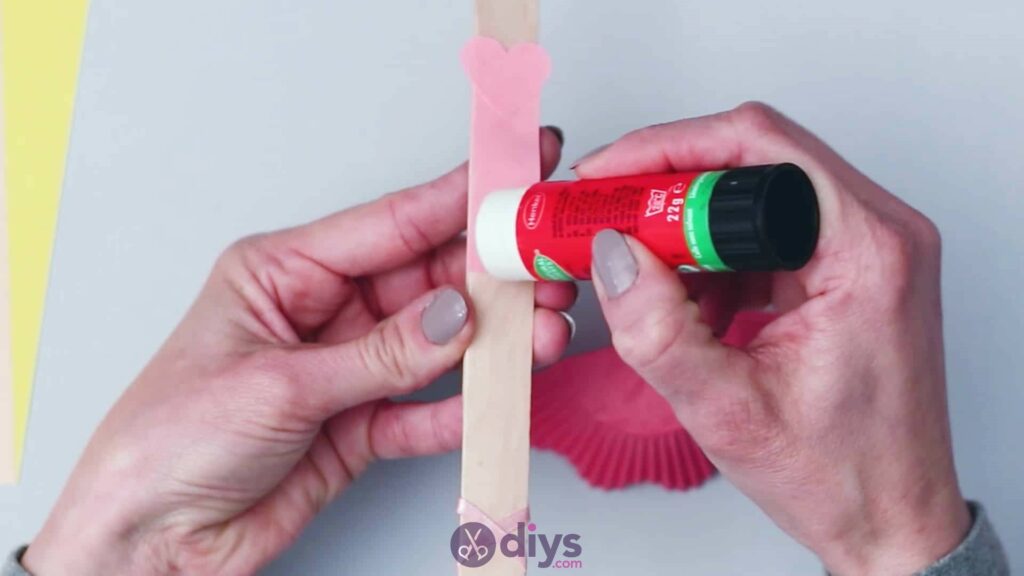
Step 4:
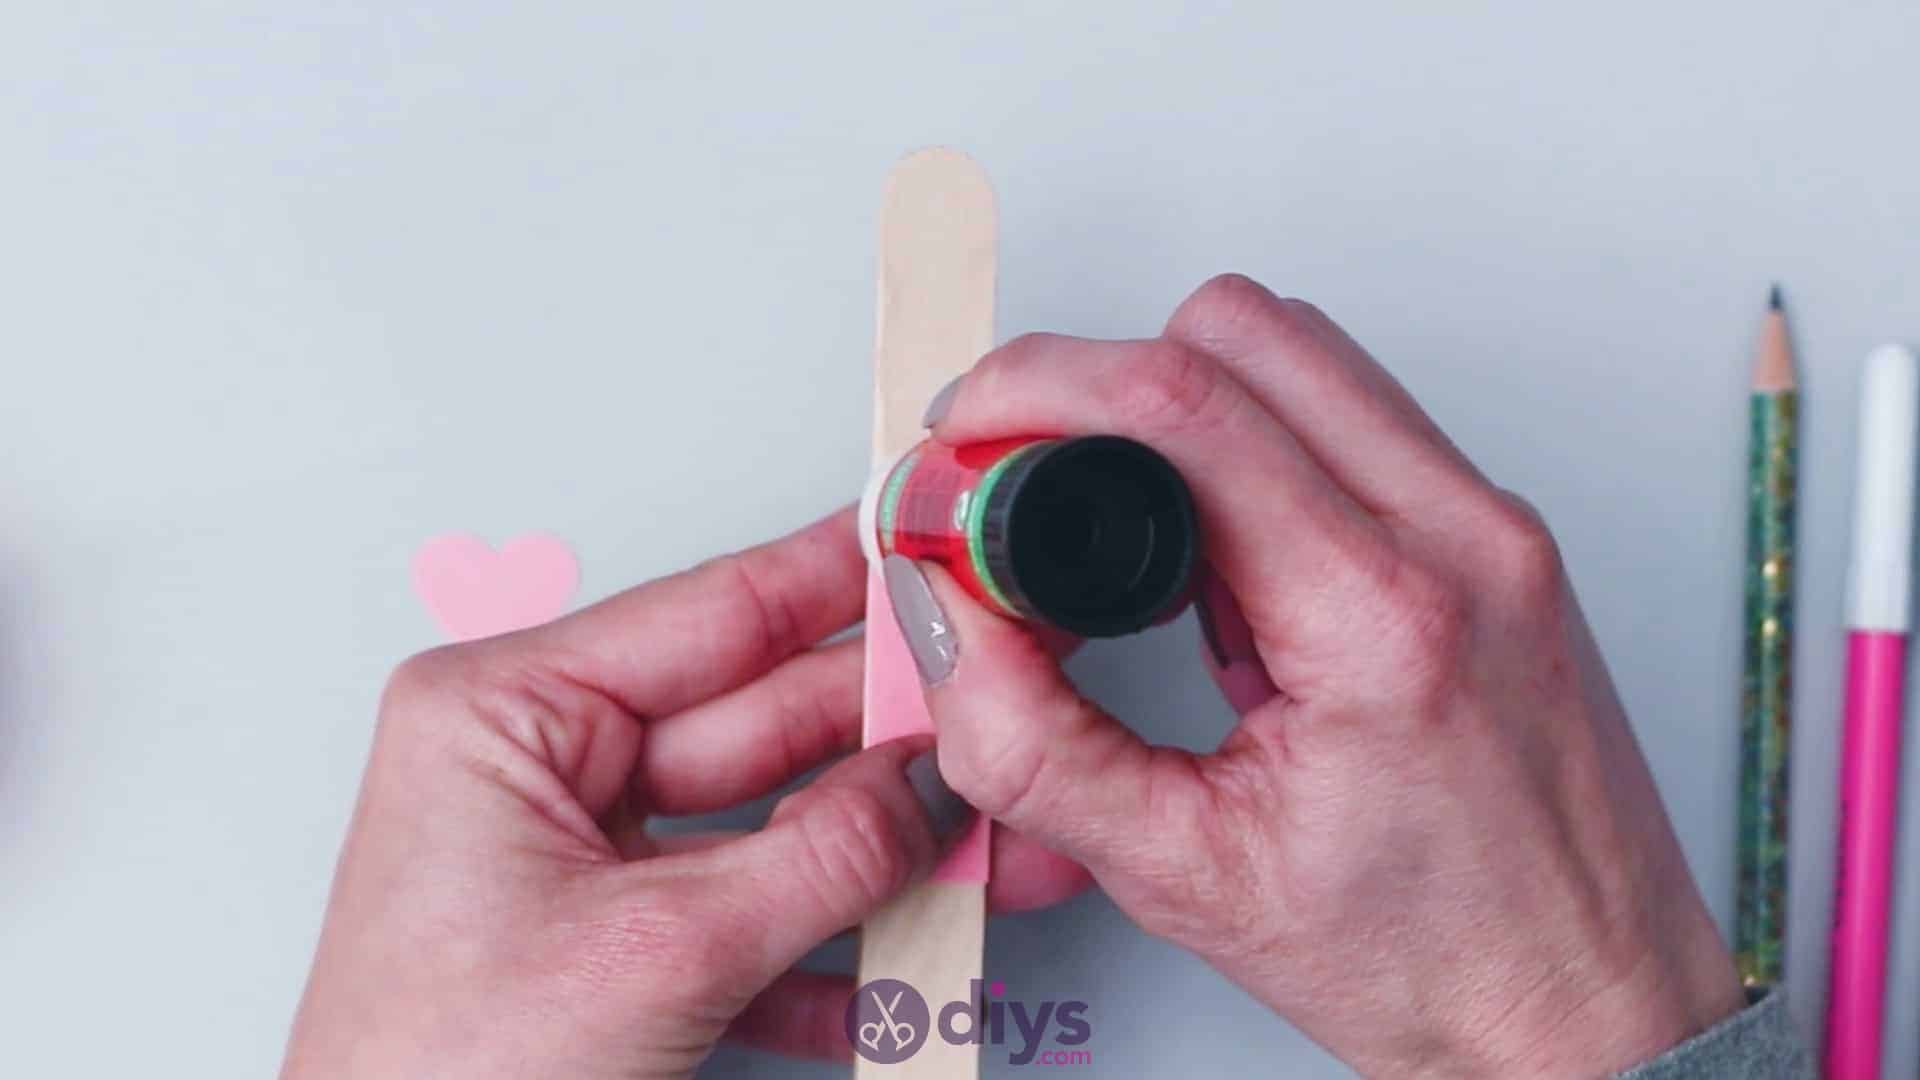
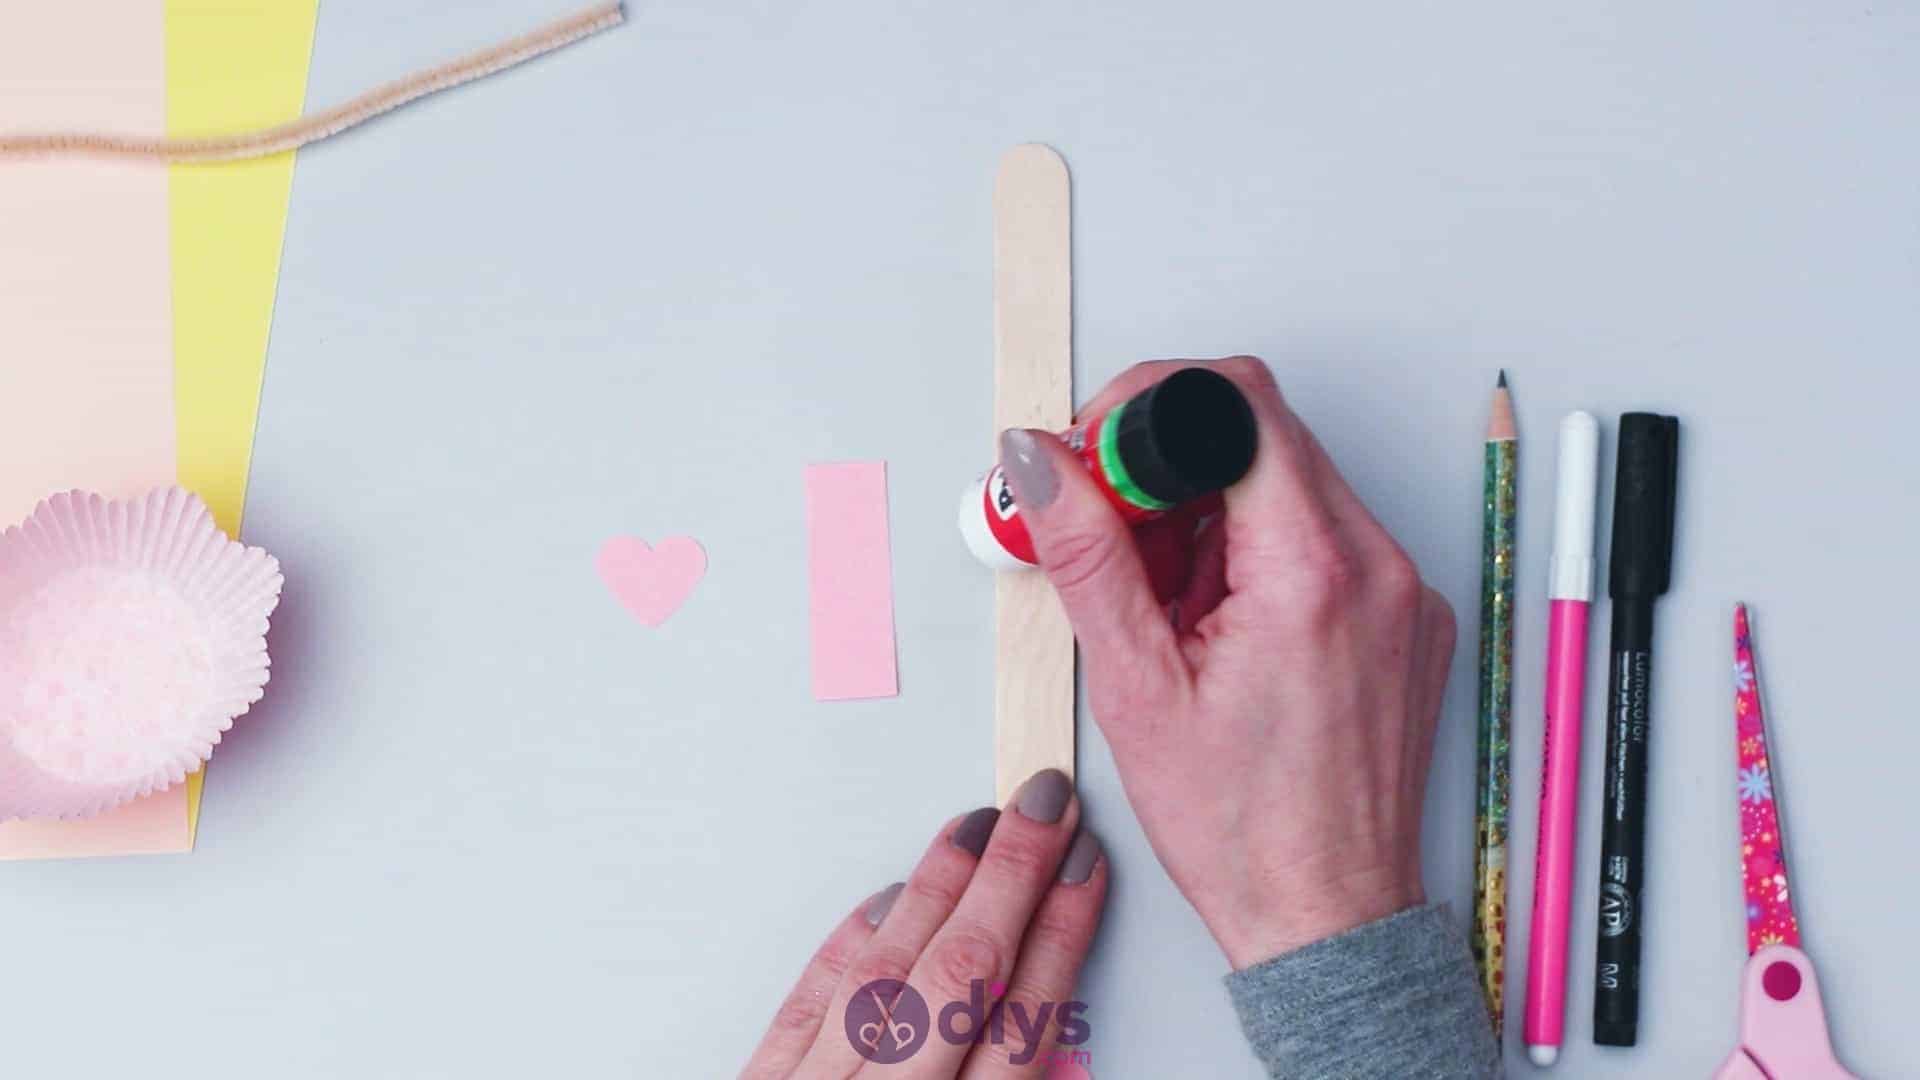
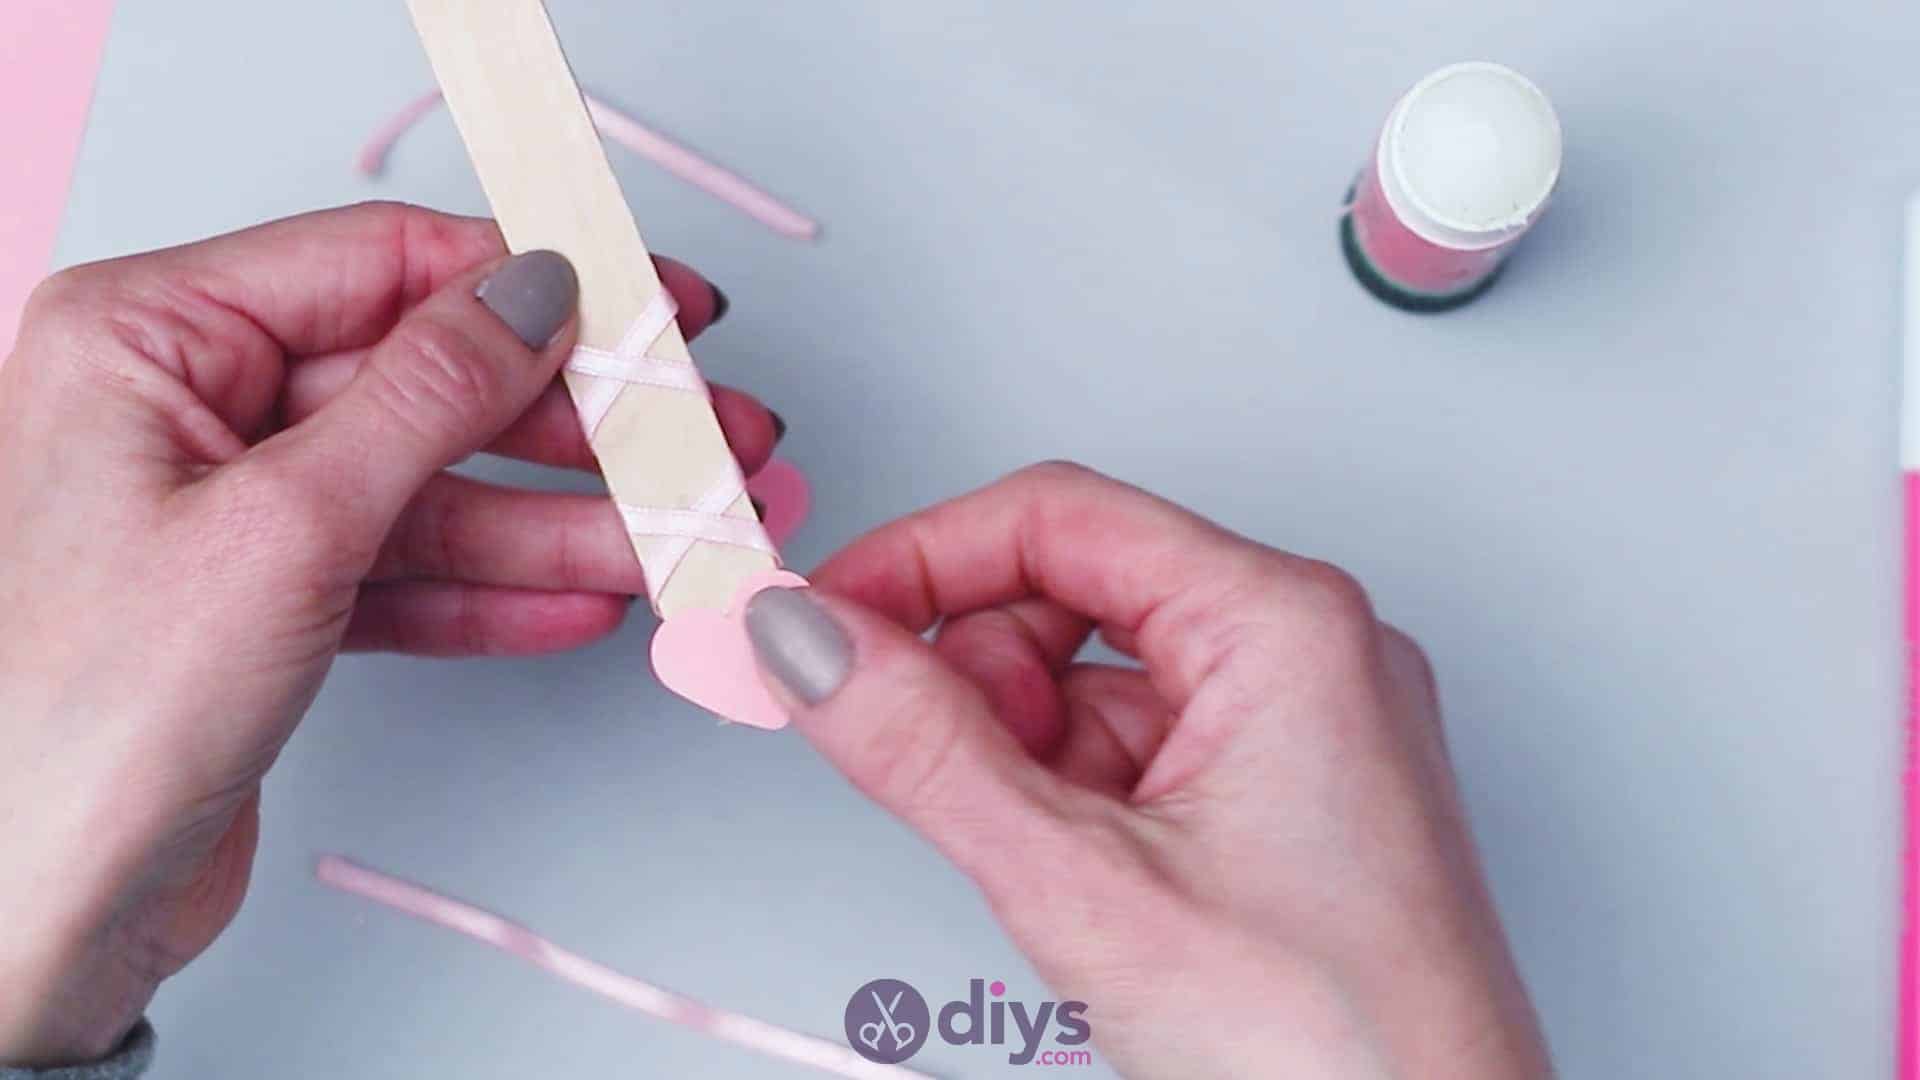
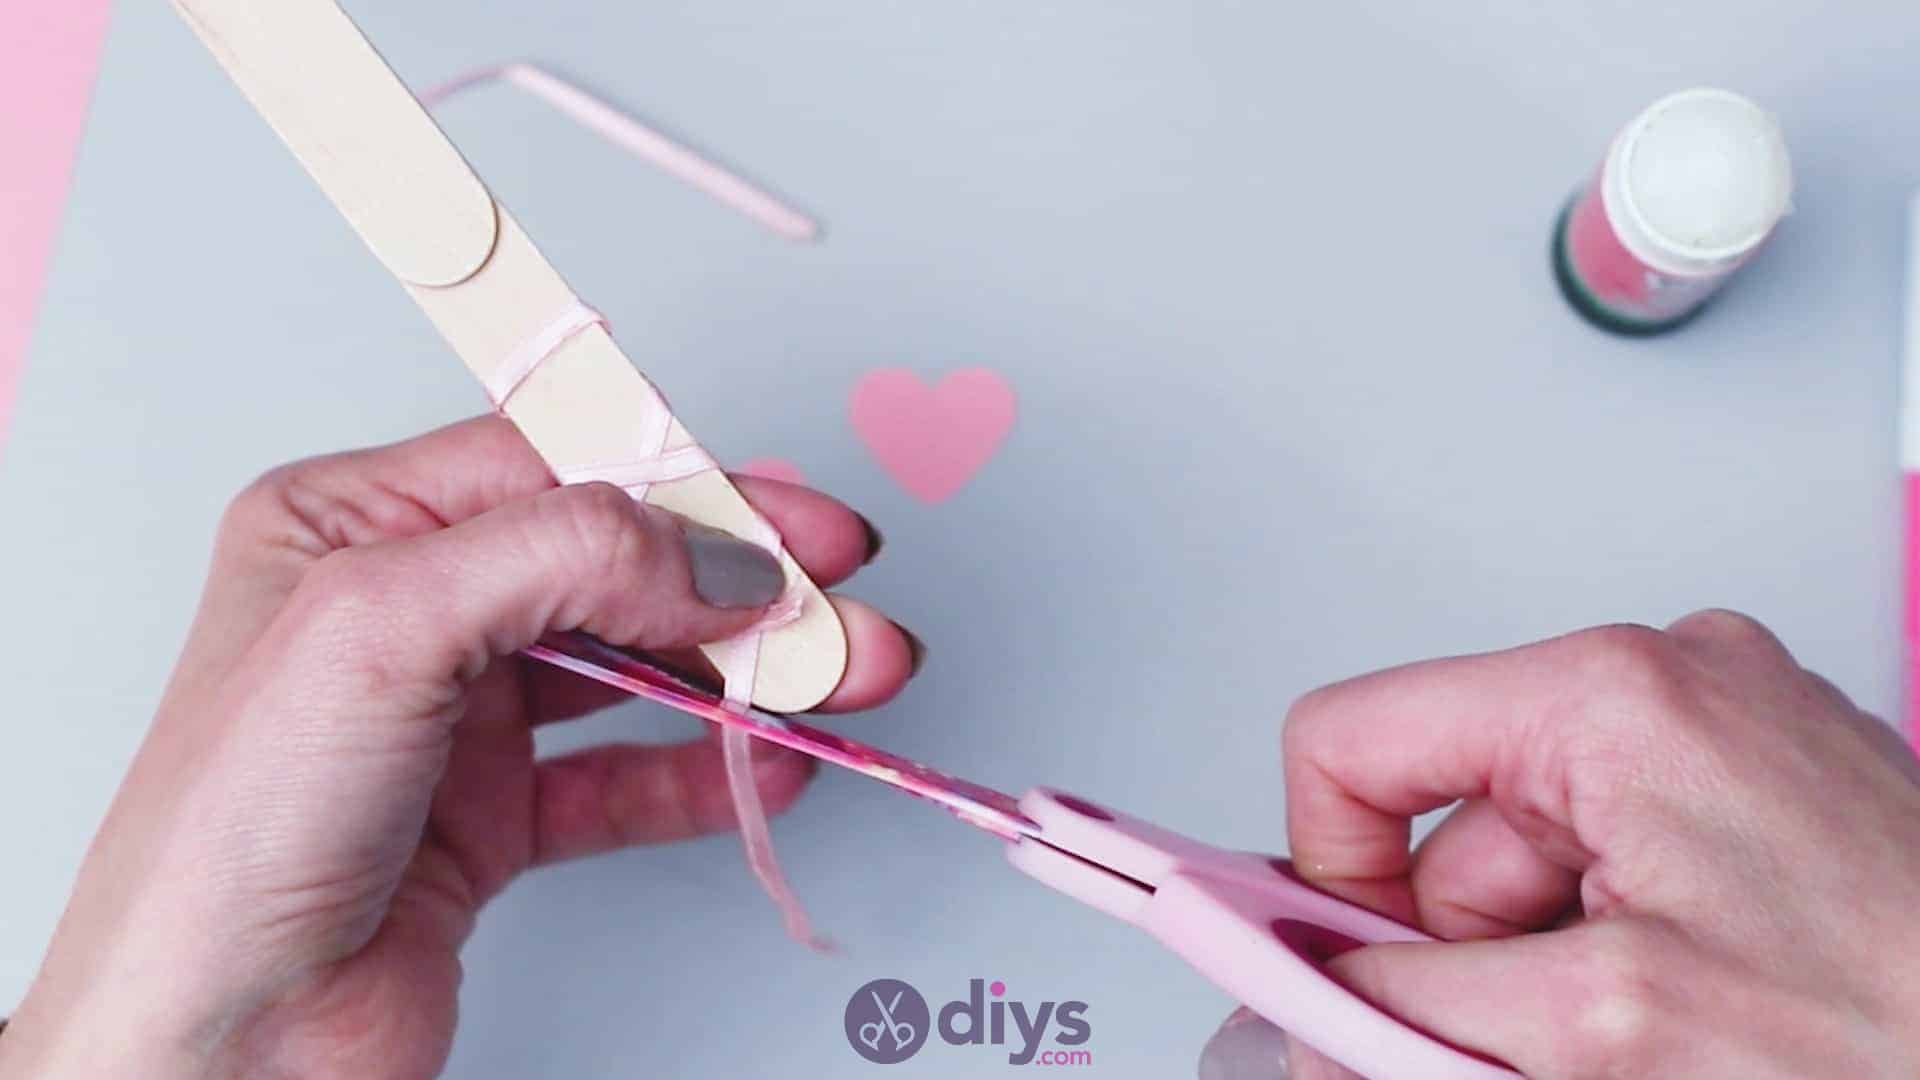
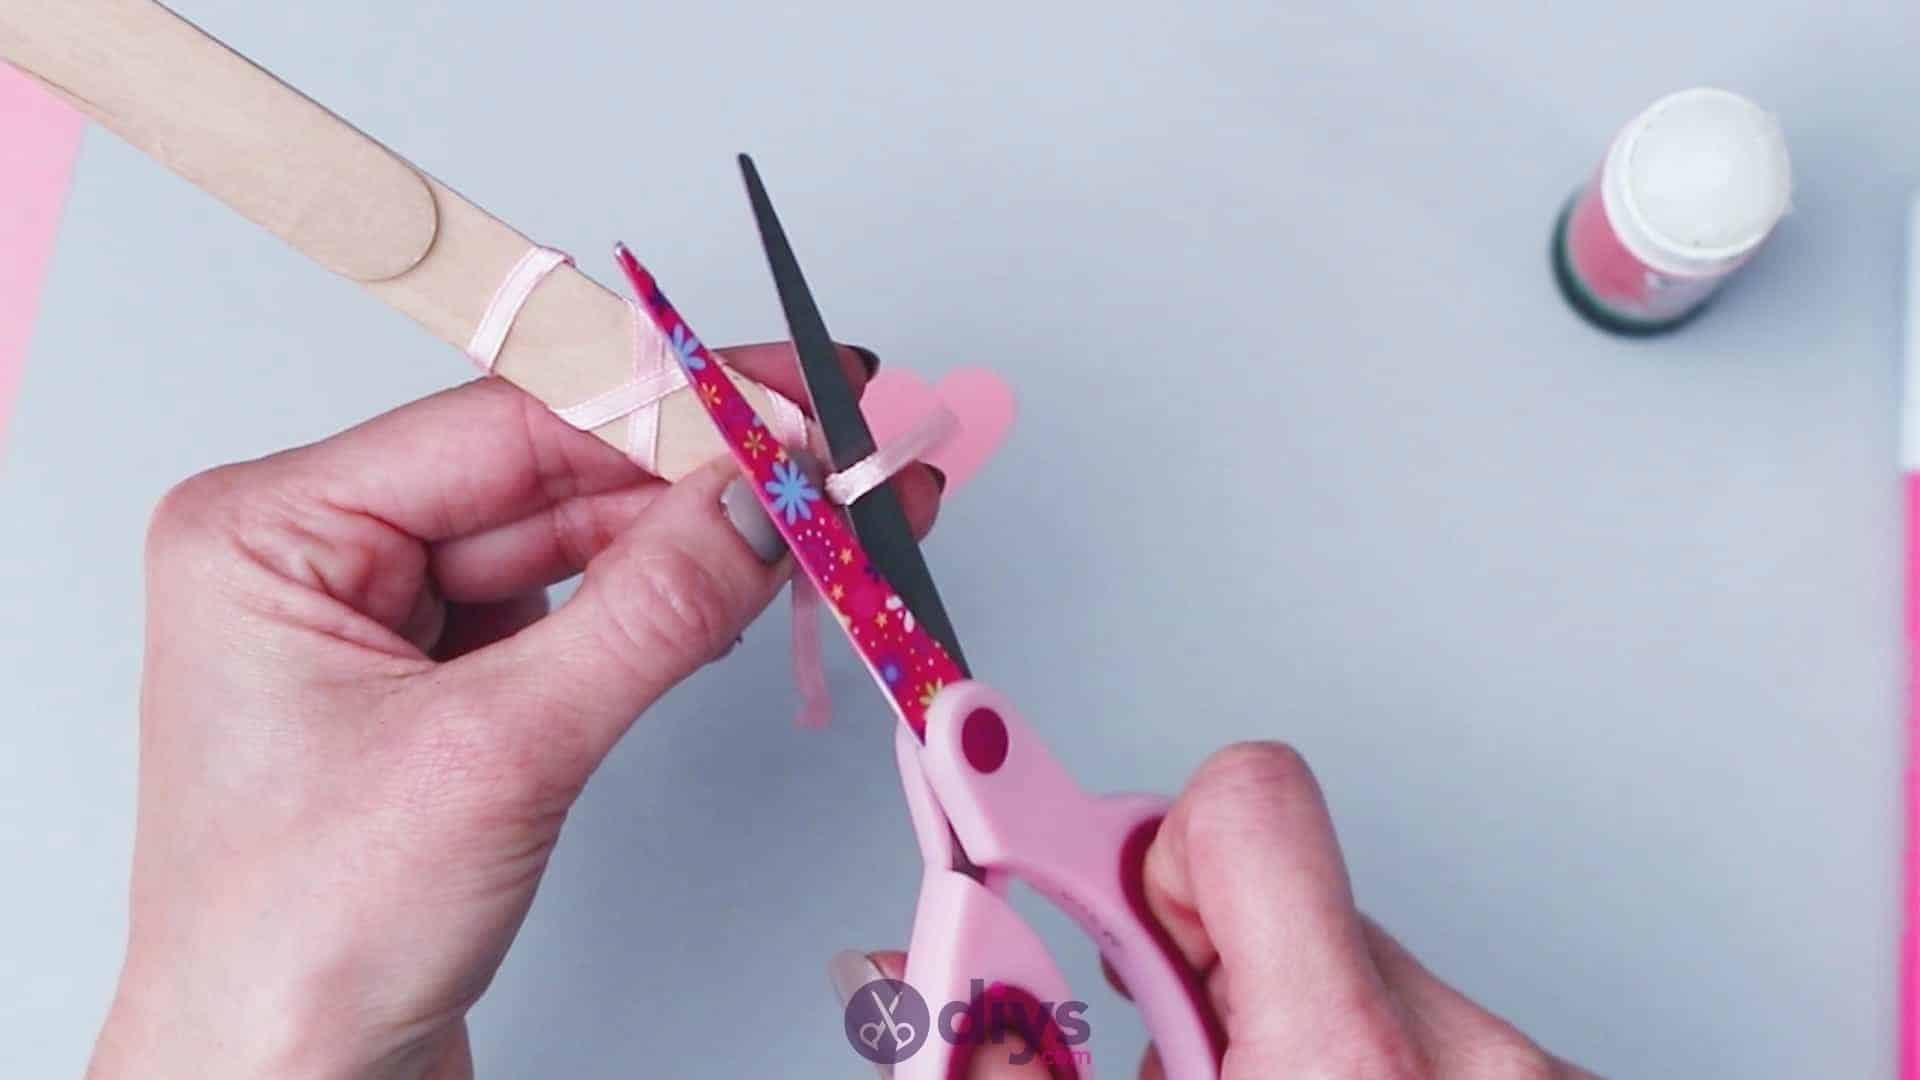
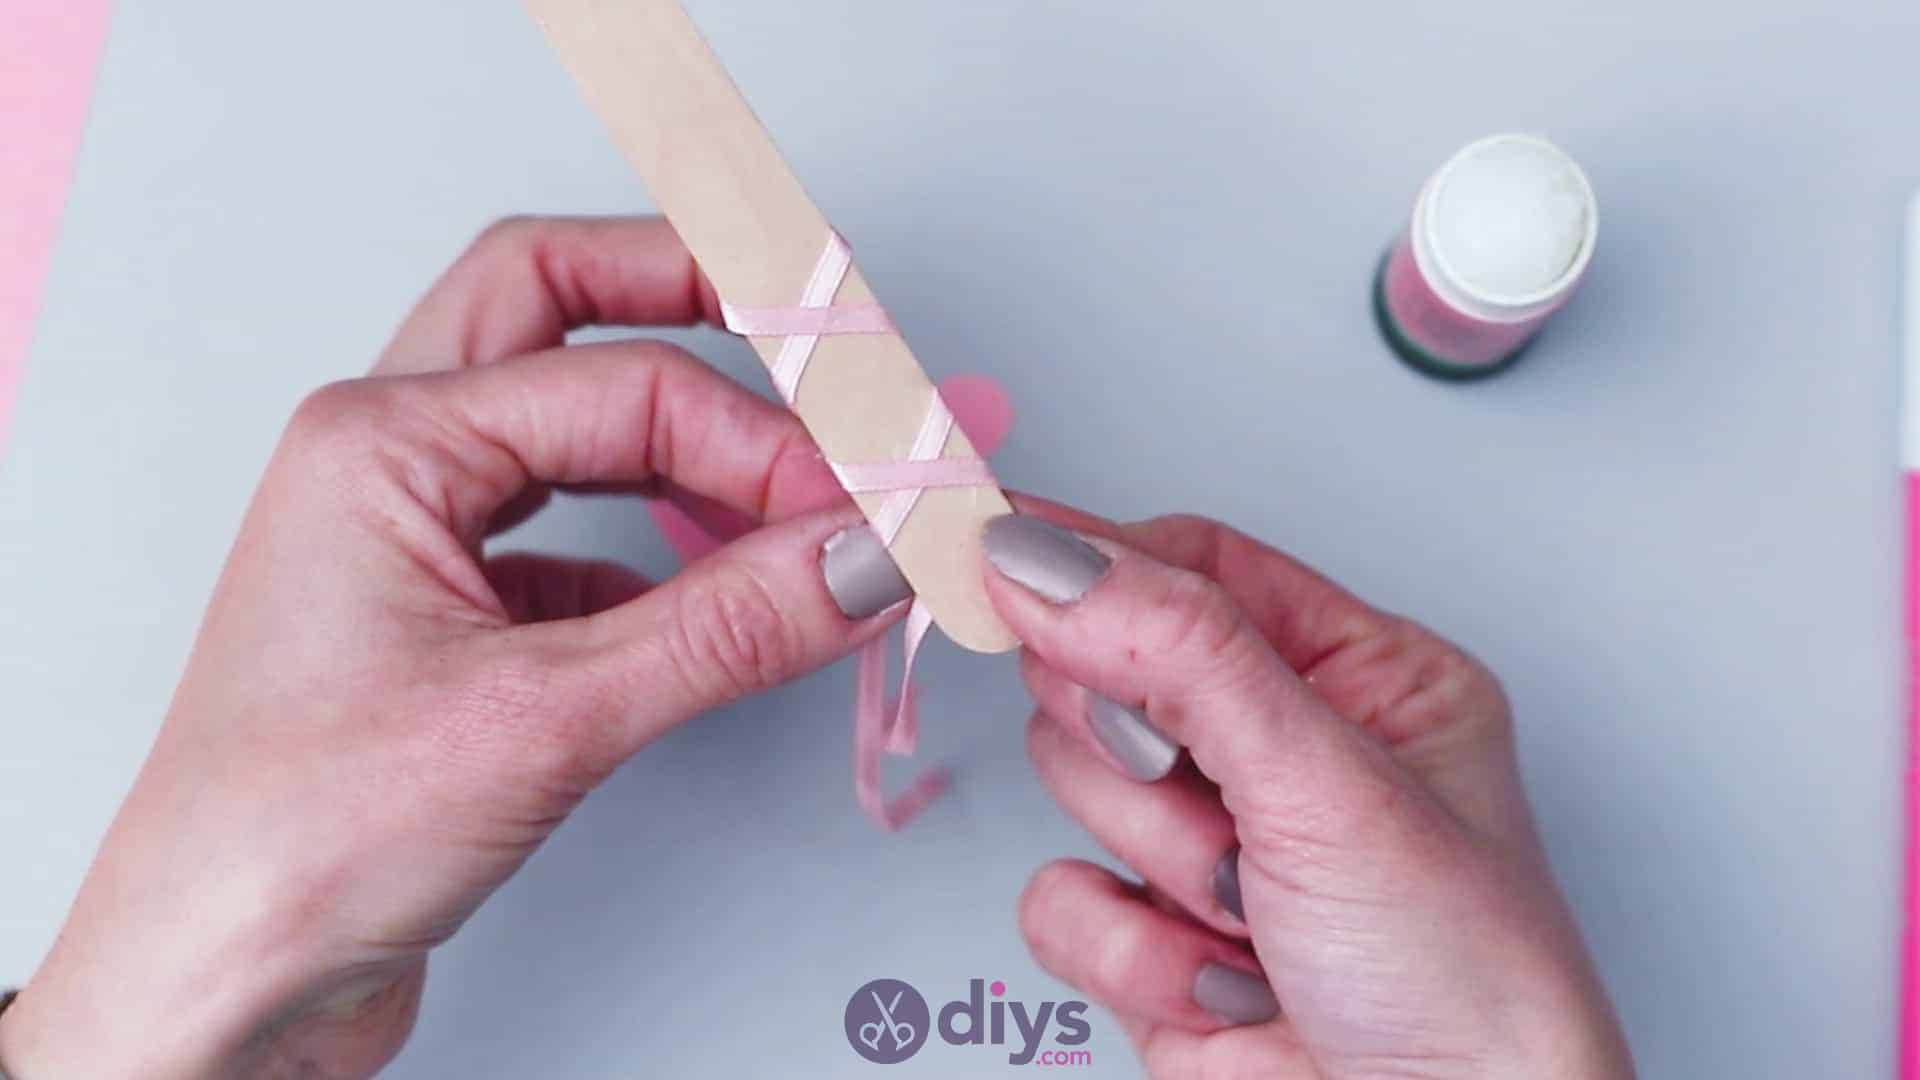
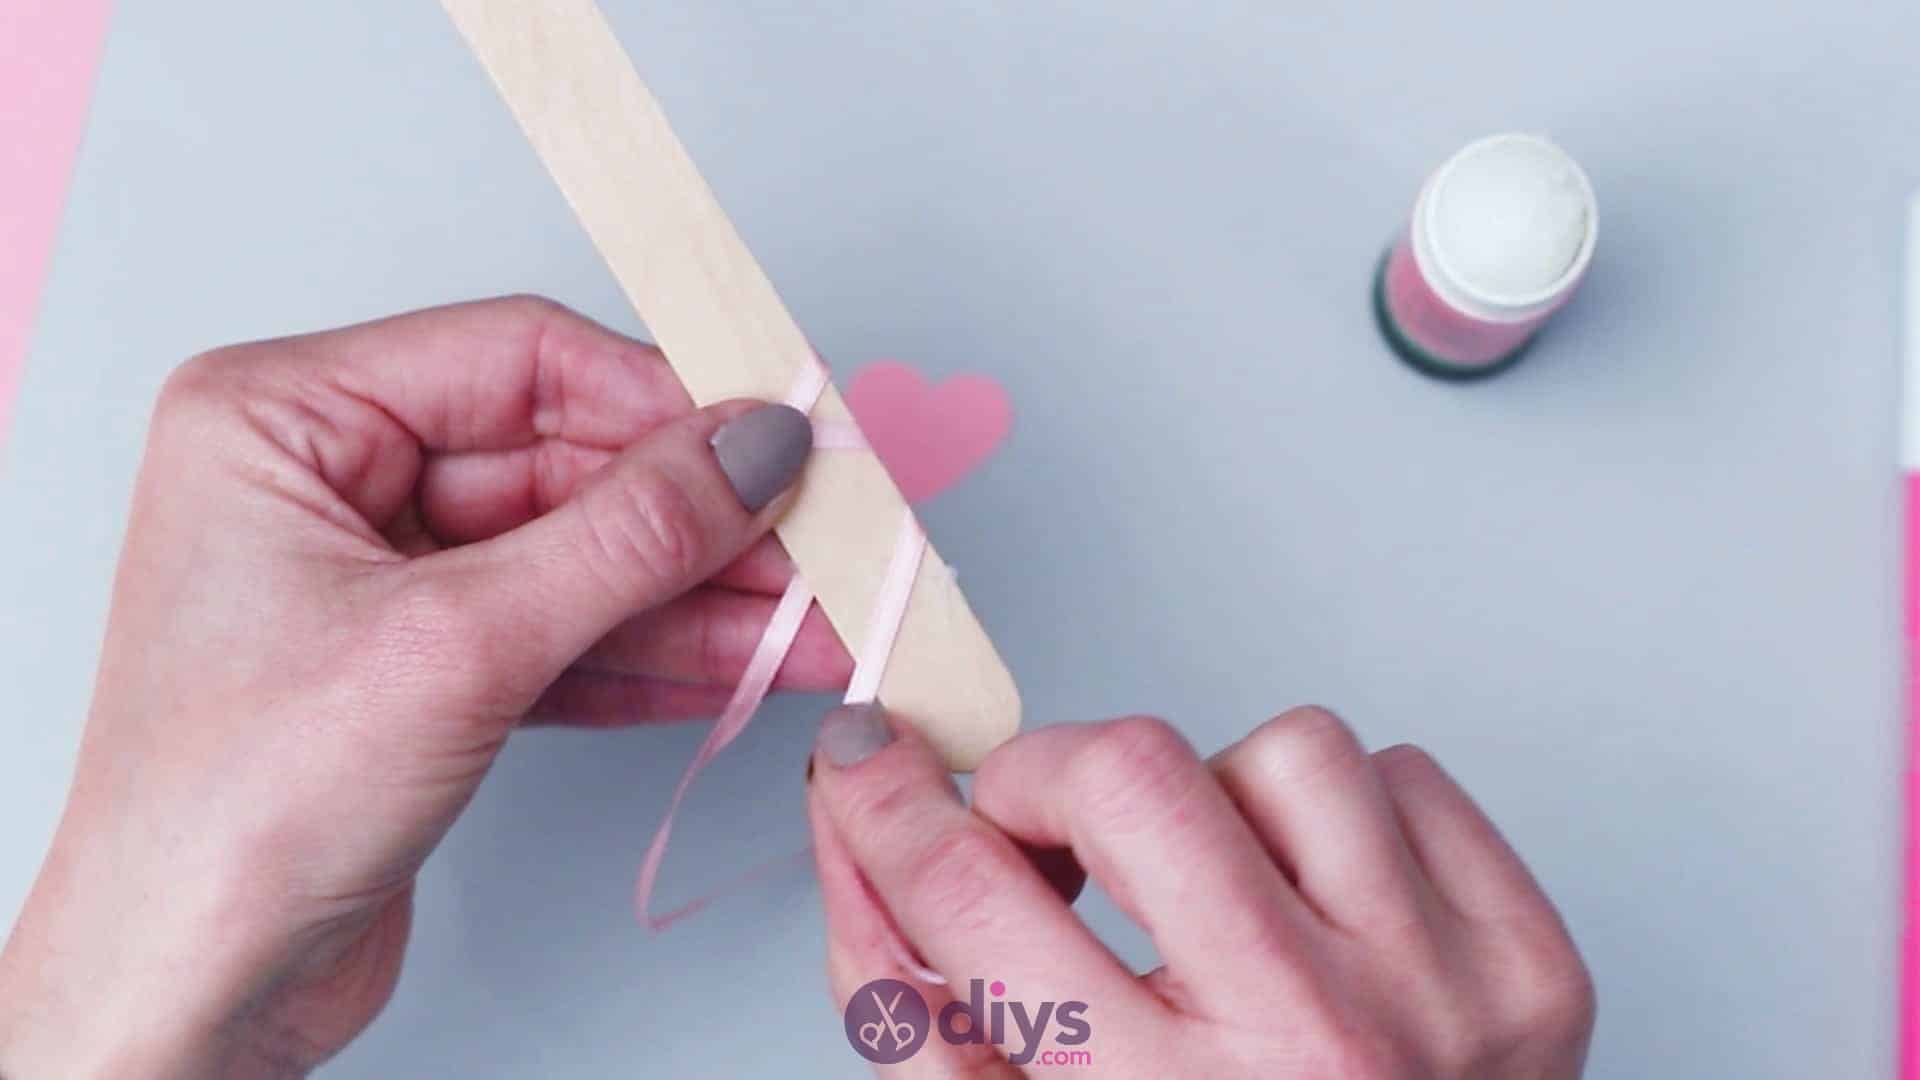
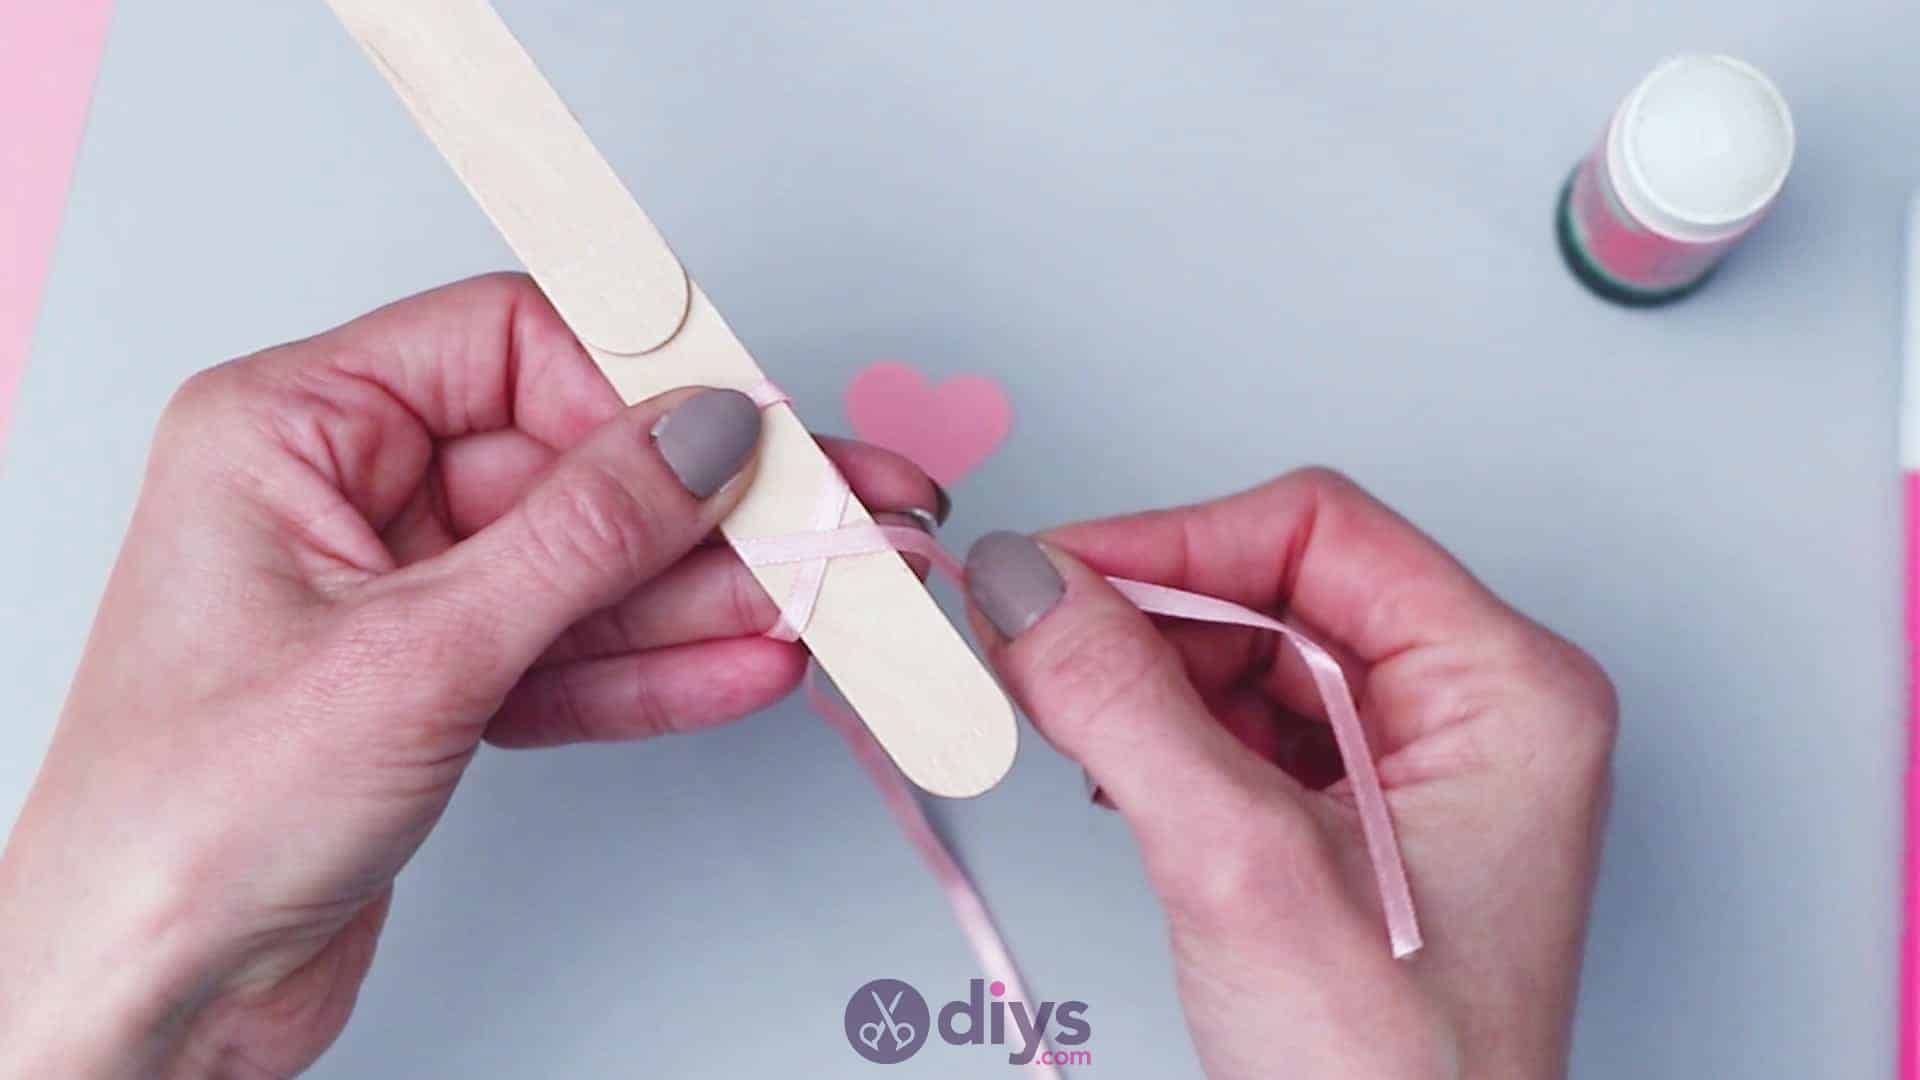
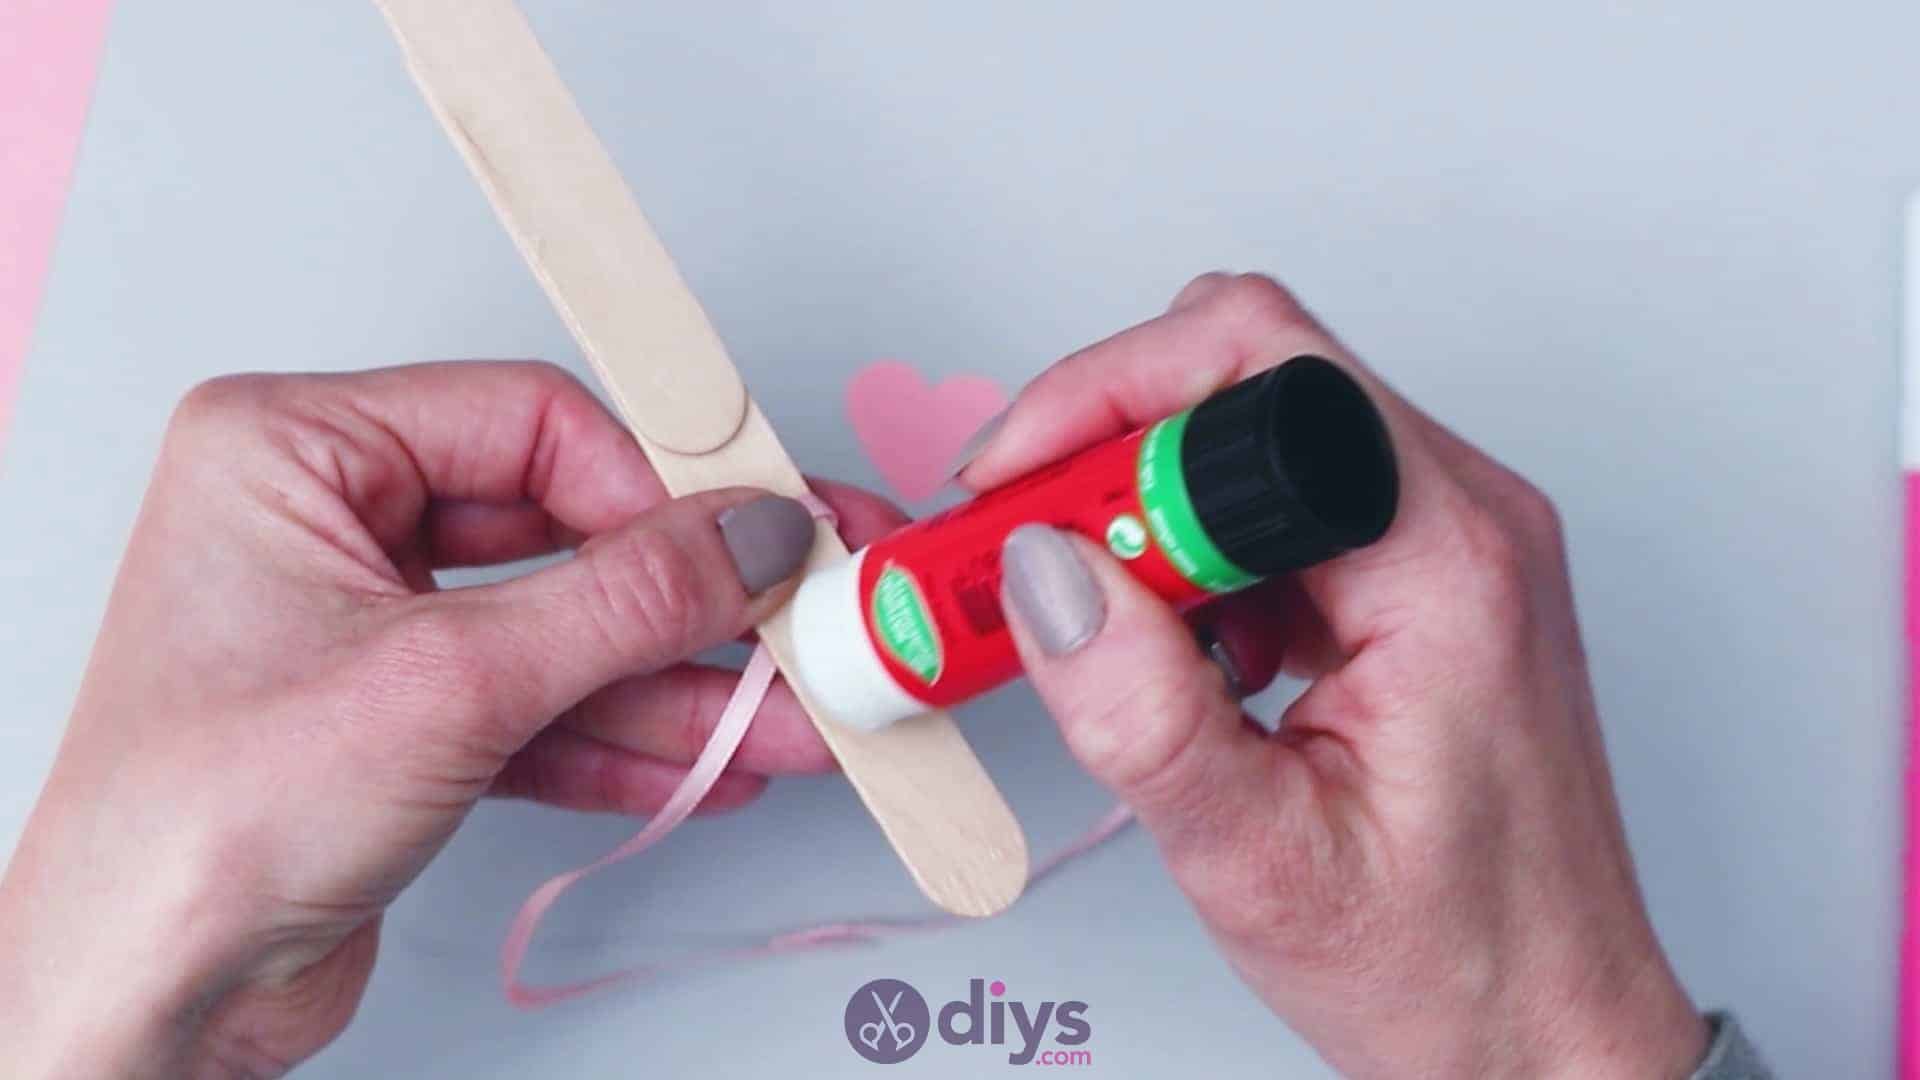
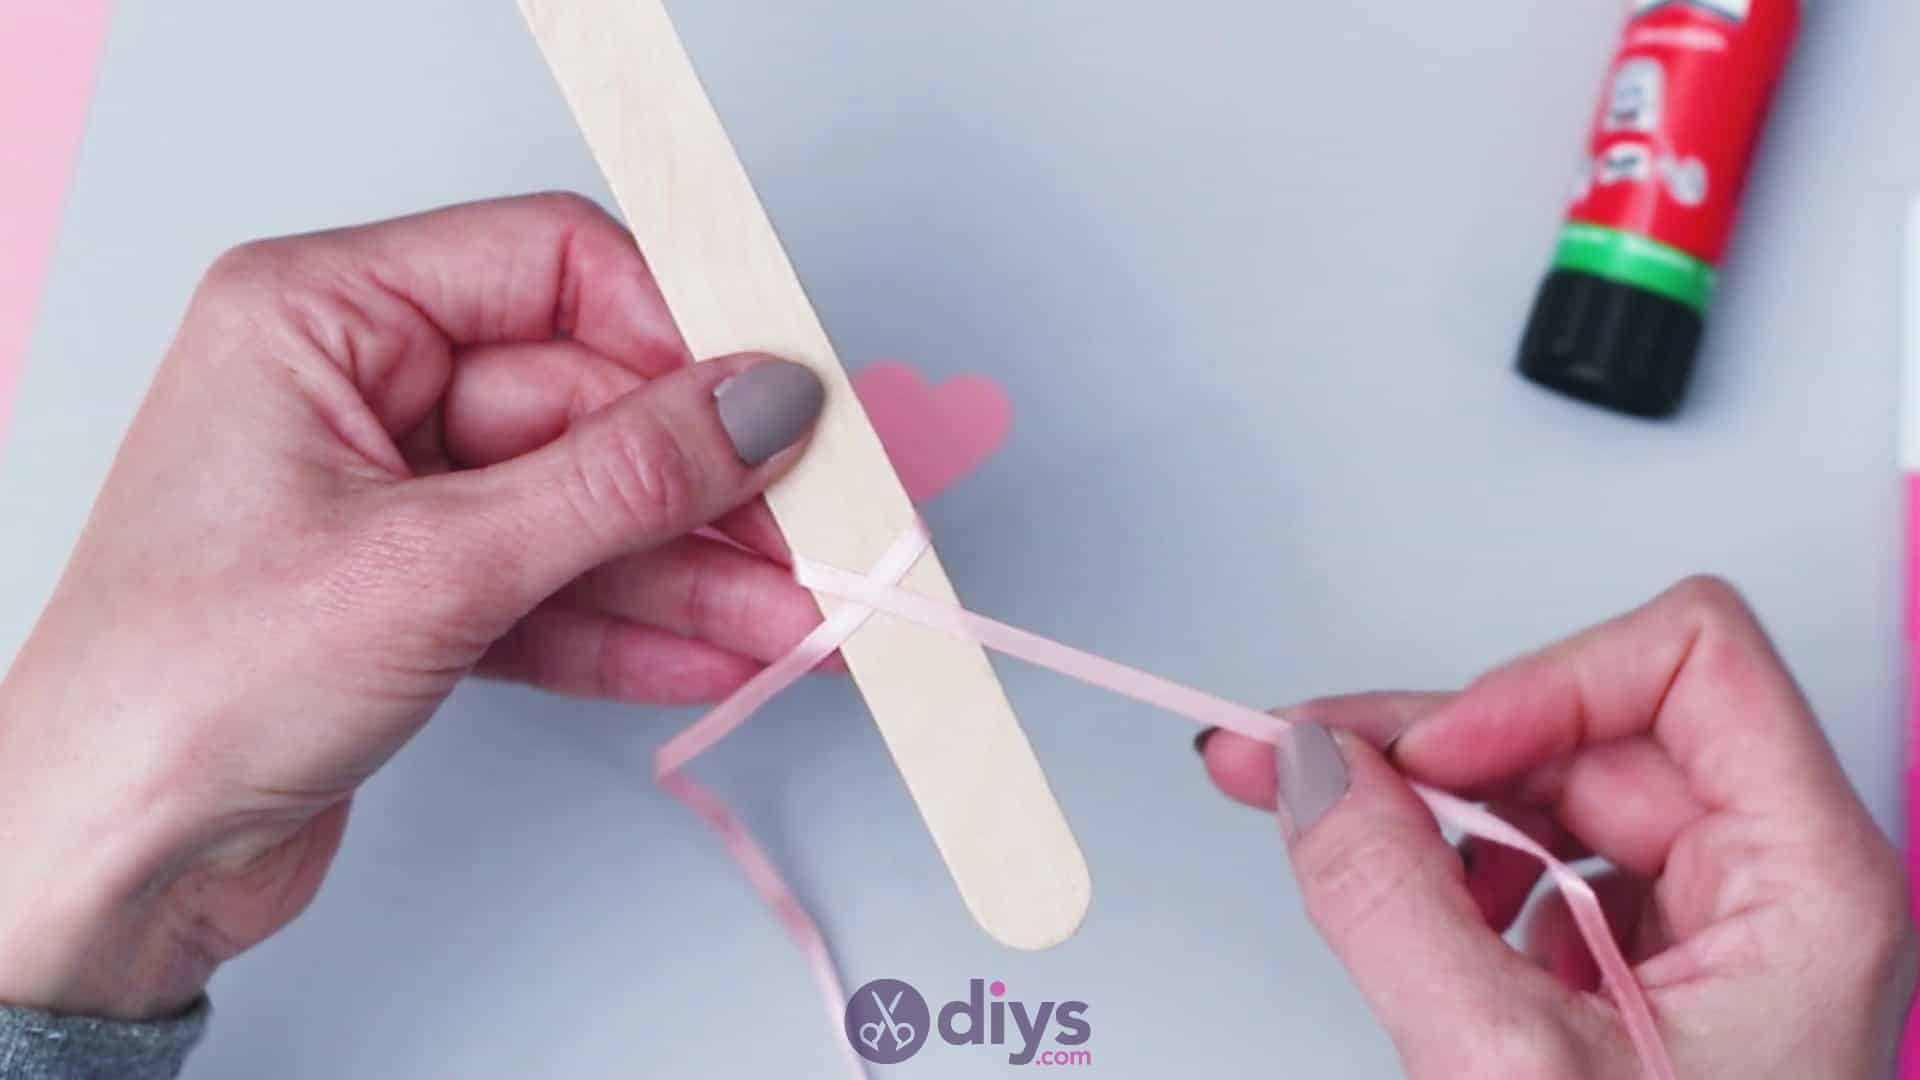
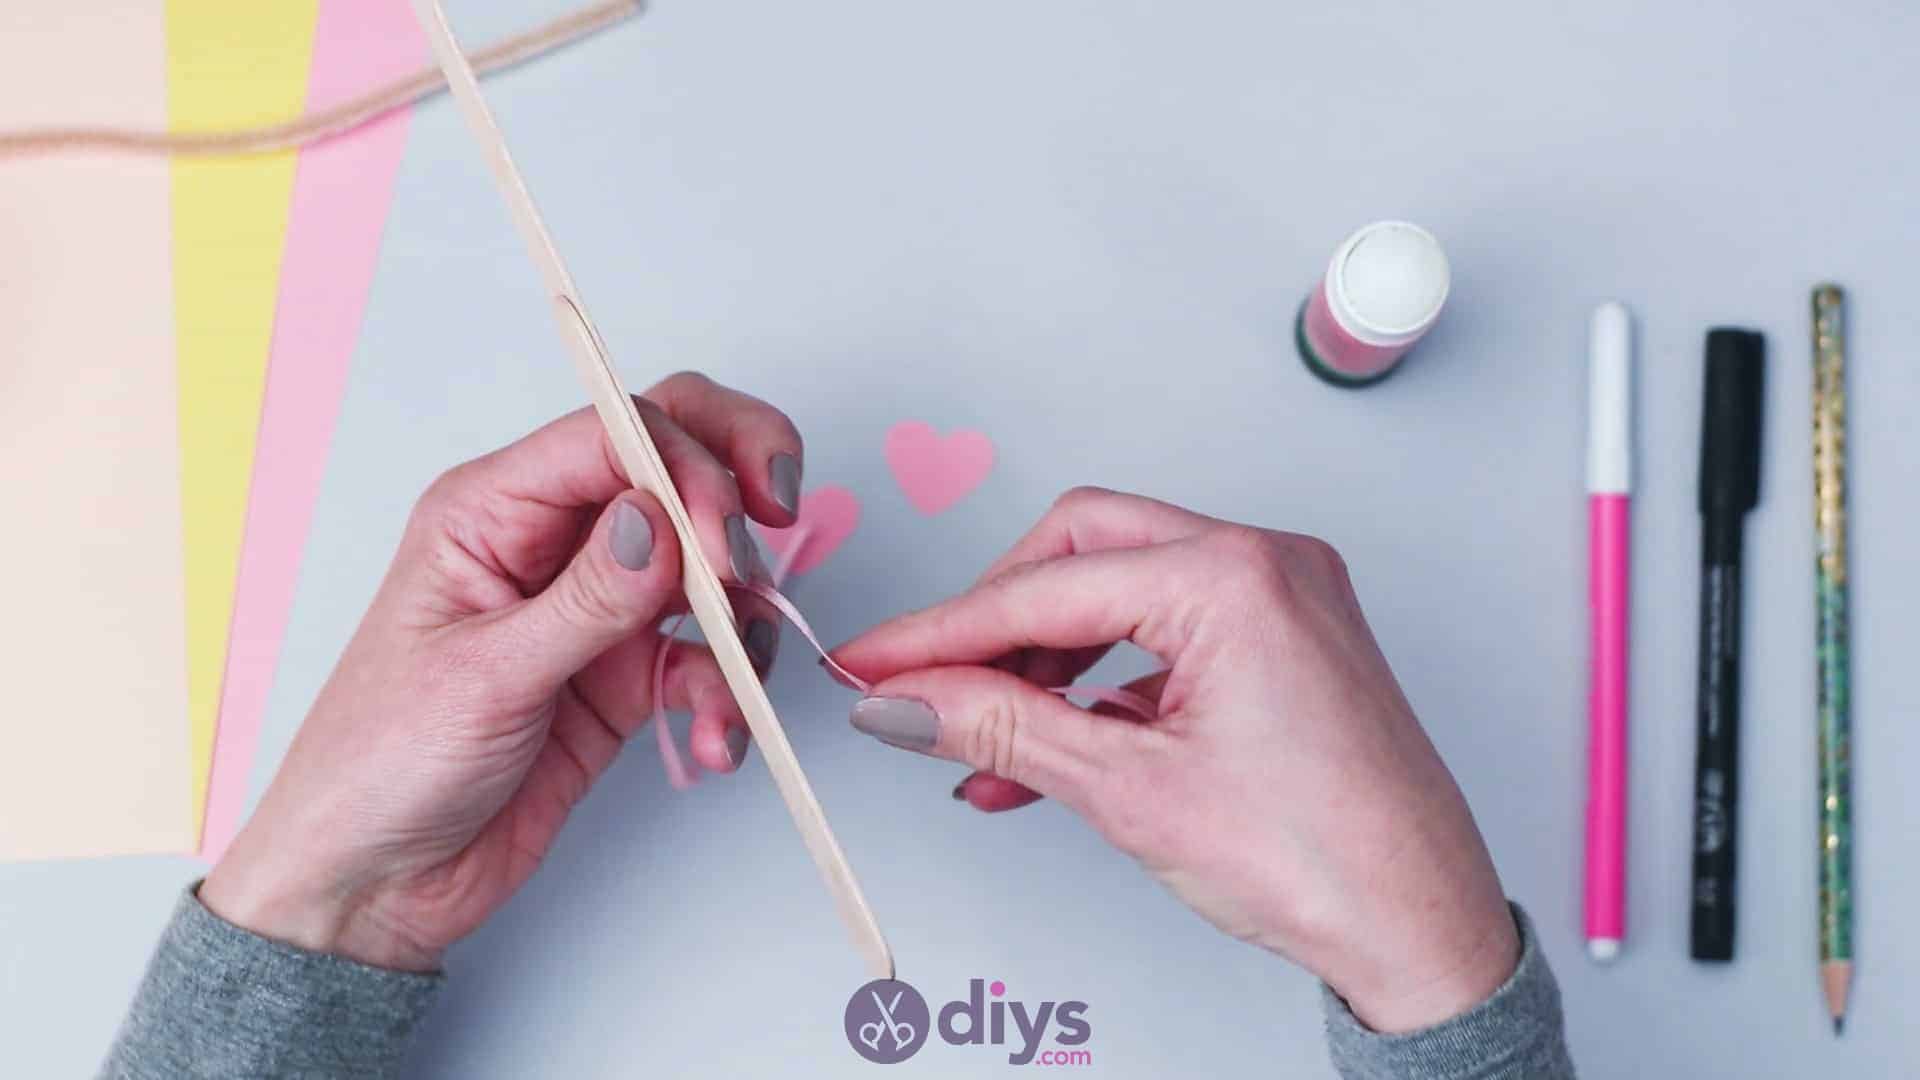
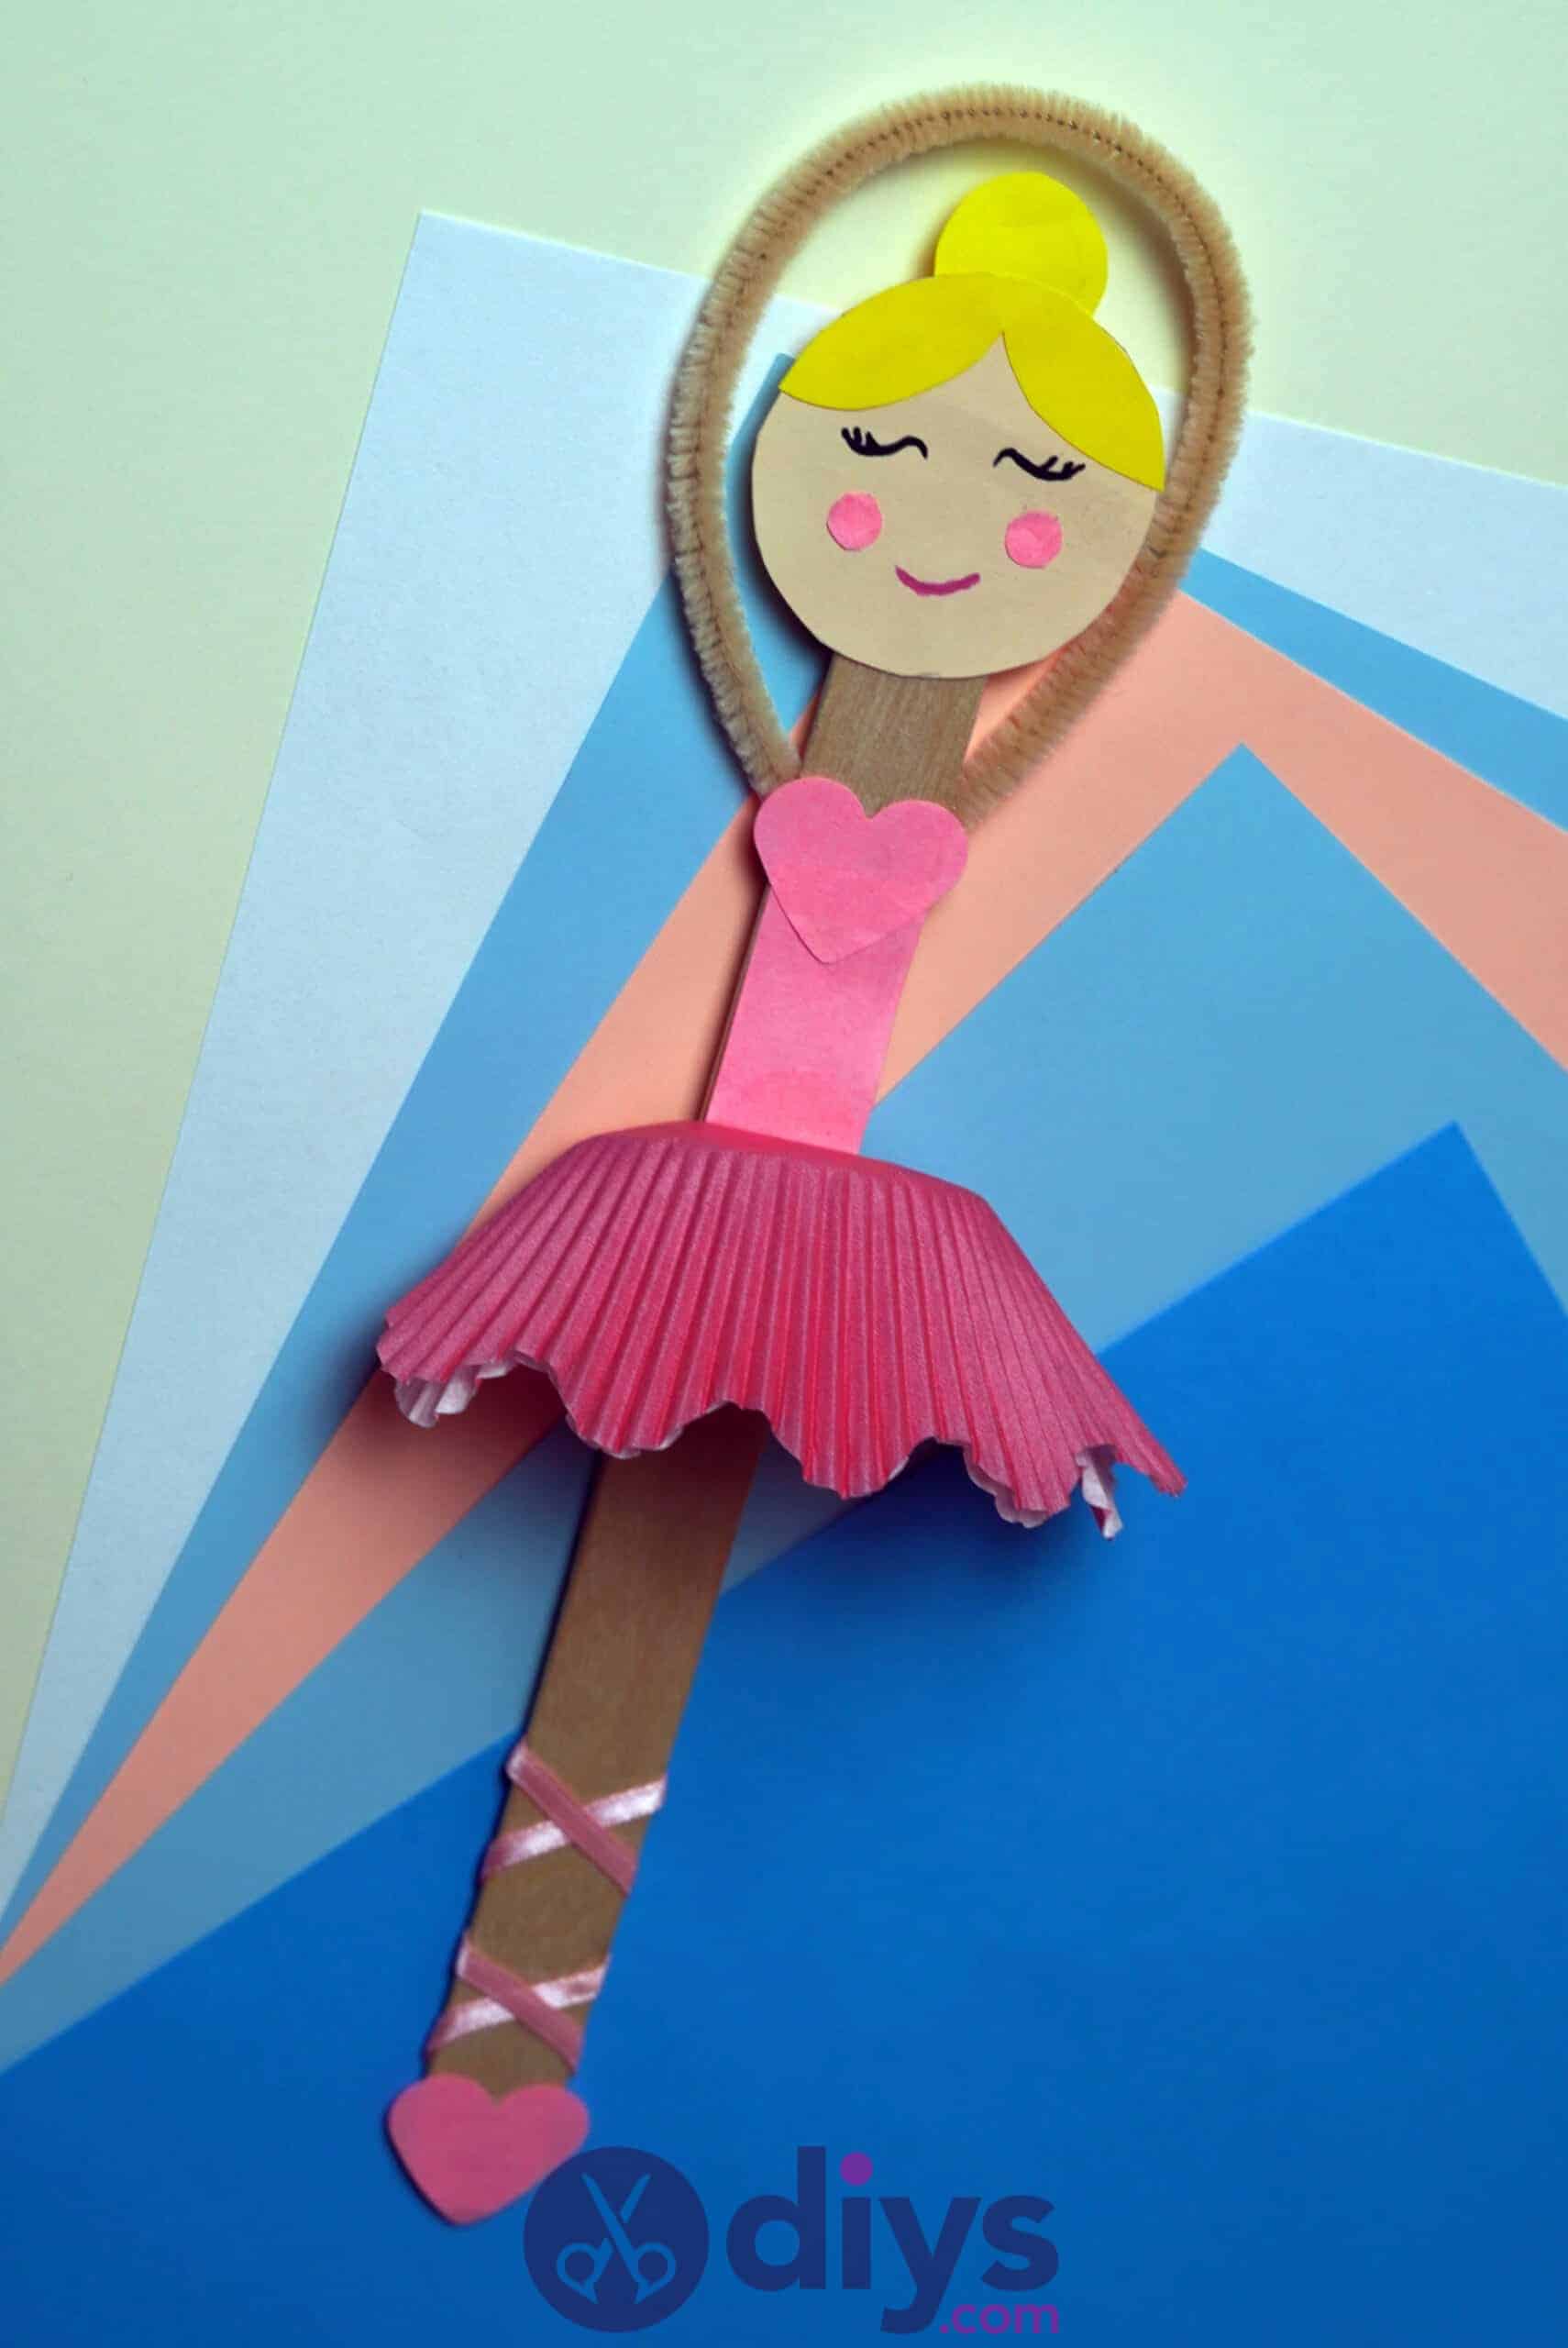
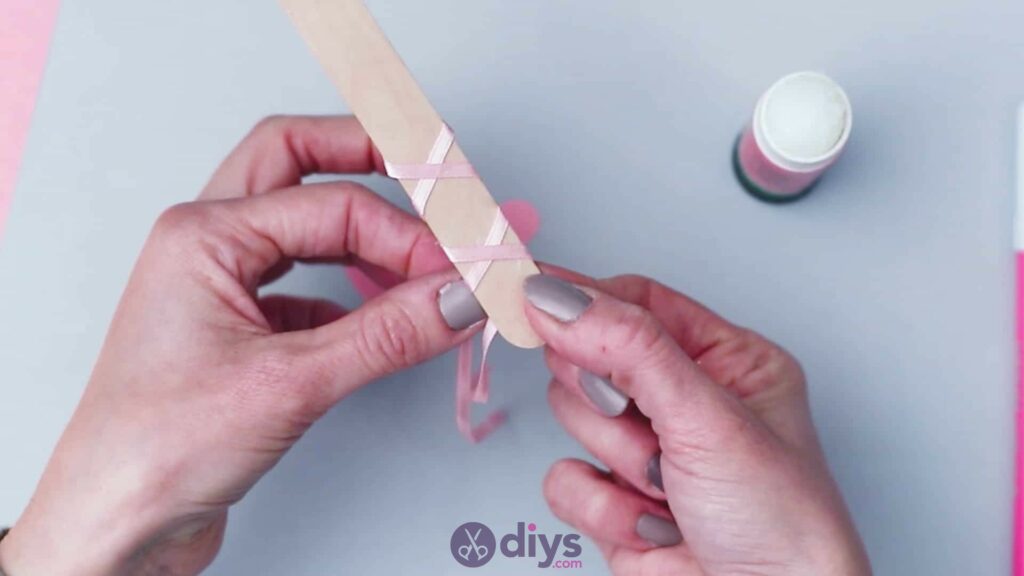
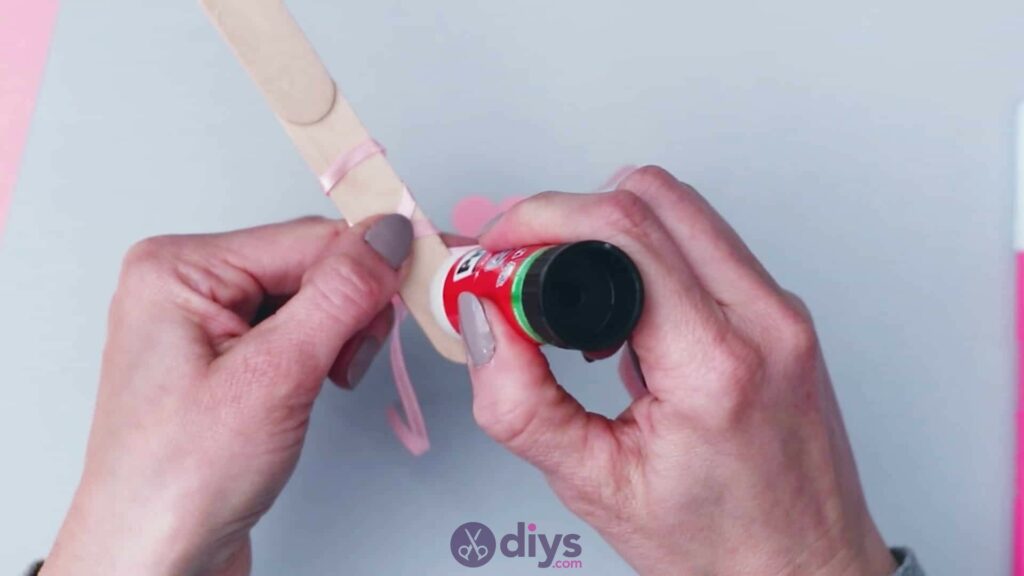
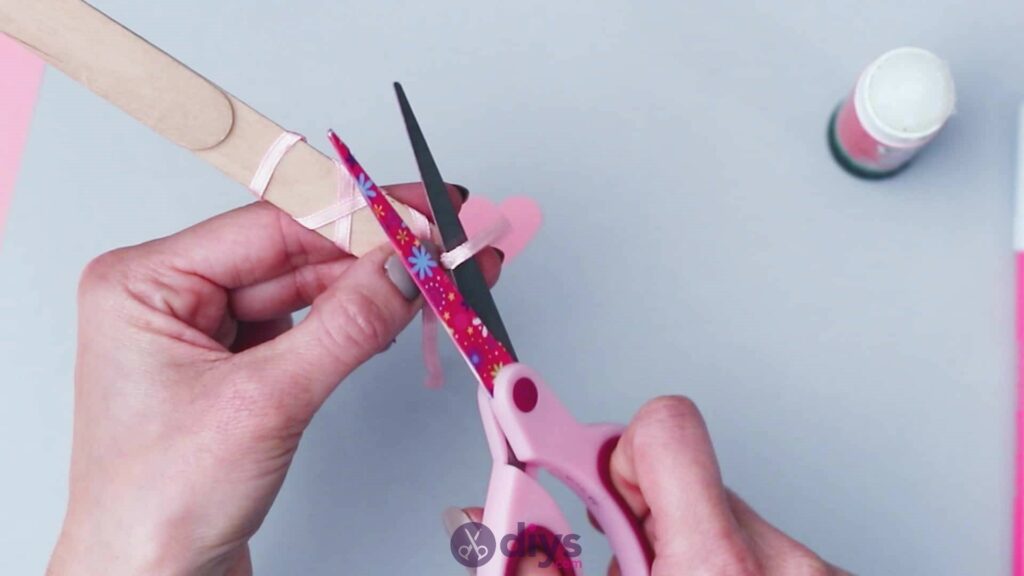
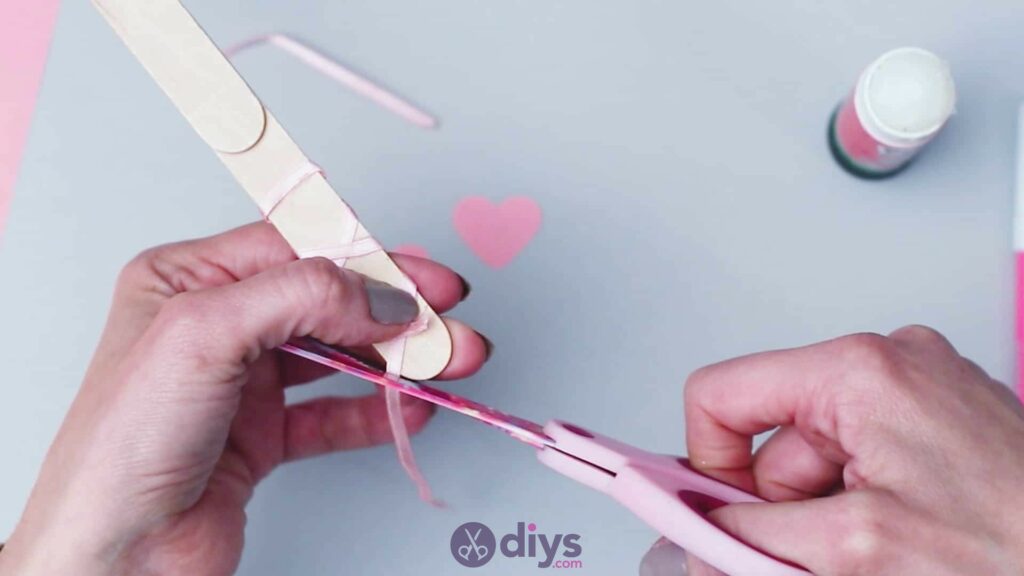
Below where you glued your top popsicle stick into place on your bottom one, apply glue now on the bottom half of your doubled stick. You don’t need to cover the entire length solidly; start with a stripe of glue just below the edge of the upper stick’s lower tip. Cut a piece of your thin pink ribbon that’s about four inches long and find its centre point. Stick this middle spot down in the glue you just applied, so the ribbon sits horizontally from edge to edge across the stick just below that same lower tip. You’ll have even lengths of ribbon stretching out to the right and left from there. Now turn your stick over and apply a stripe of glue on the back, a little lower down than where you put your first one on the front. Bring first one side of the pink ribbon and then the other around to the back and downwards to cross diagonally over the stick towards the opposite edge, sticking them into place so they intersect each other in the shape of a X. Turn the stick back over and repeat that process once more on the front, a little lower down still. Repeat this process until you have two X’s on the front, then bring your ends to the back, glue them down, and trim them. Now apply glue to the back of one of your pink paper hearts and stick it onto the front of the popsicle stick, just below the last pink ribbon X, so its bottom point faces downwards like the toes of a pair of pointe shoes.


Step 5:
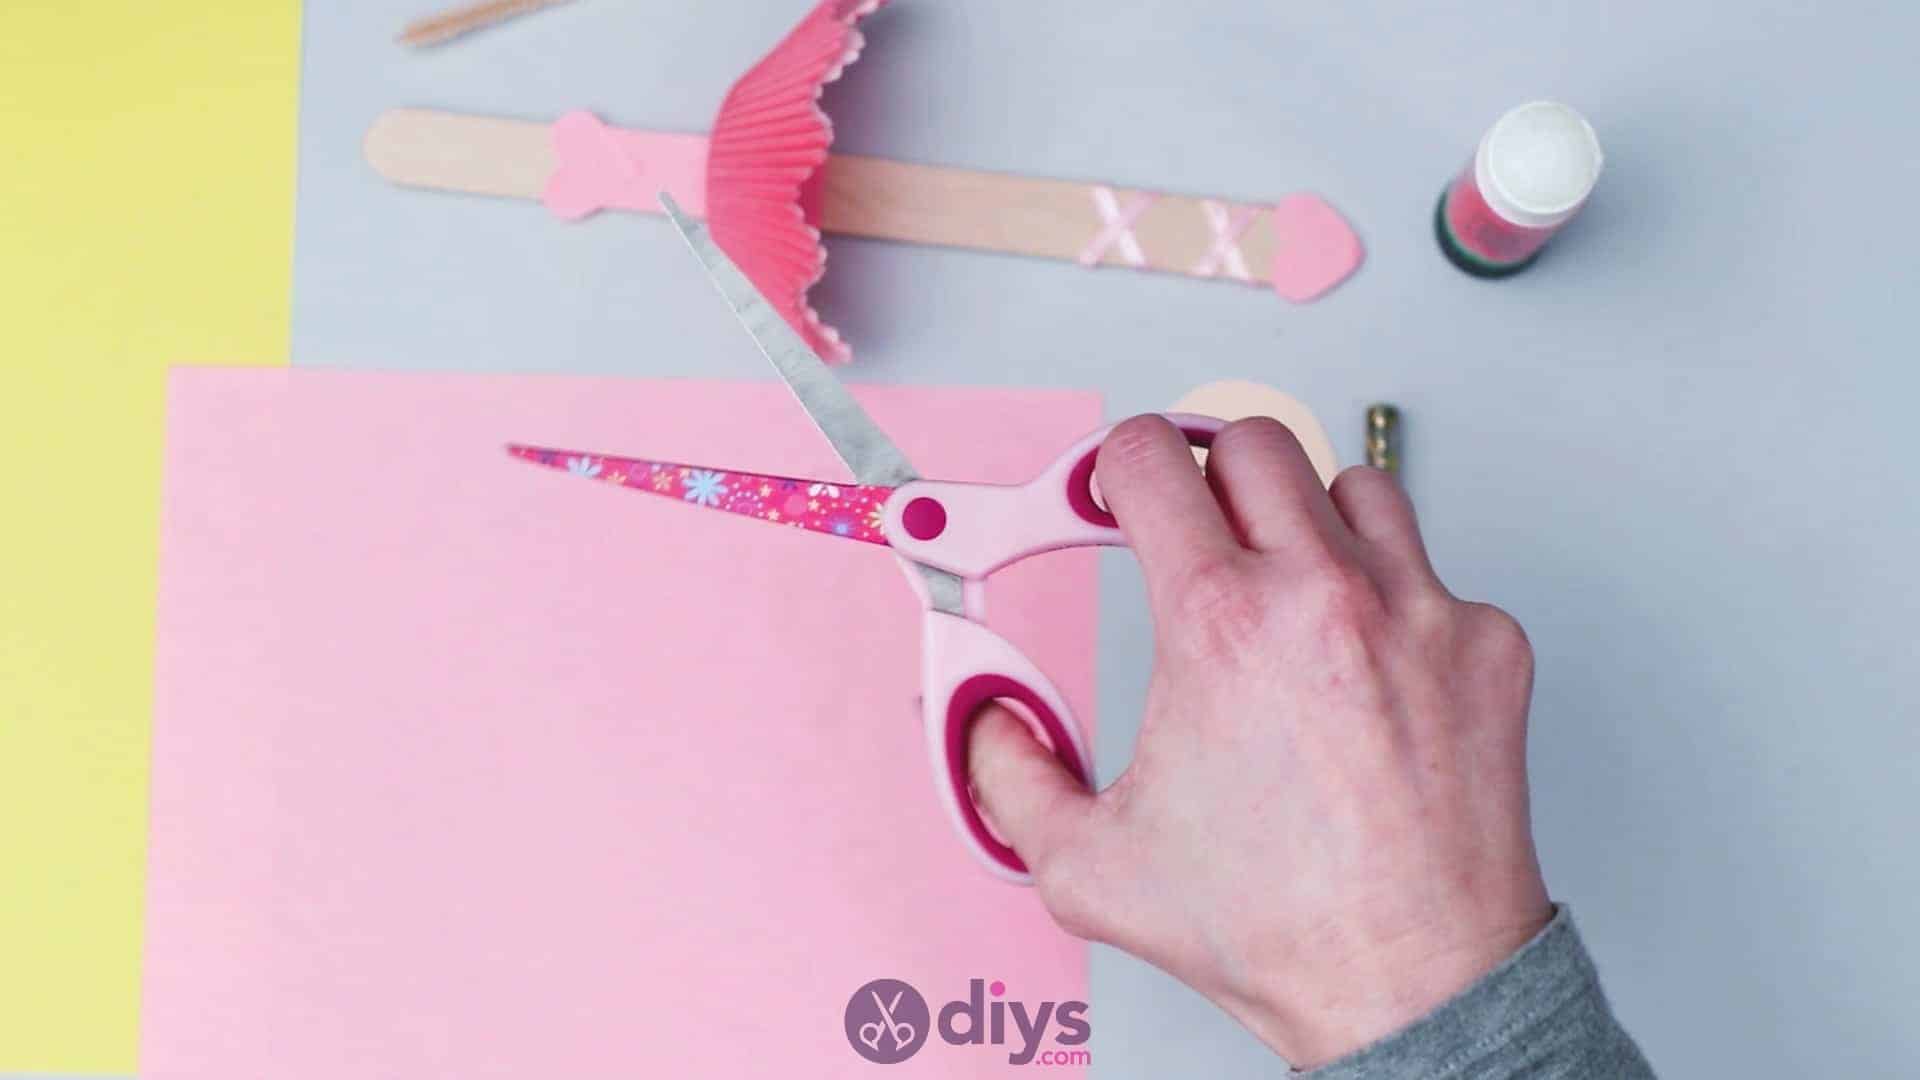
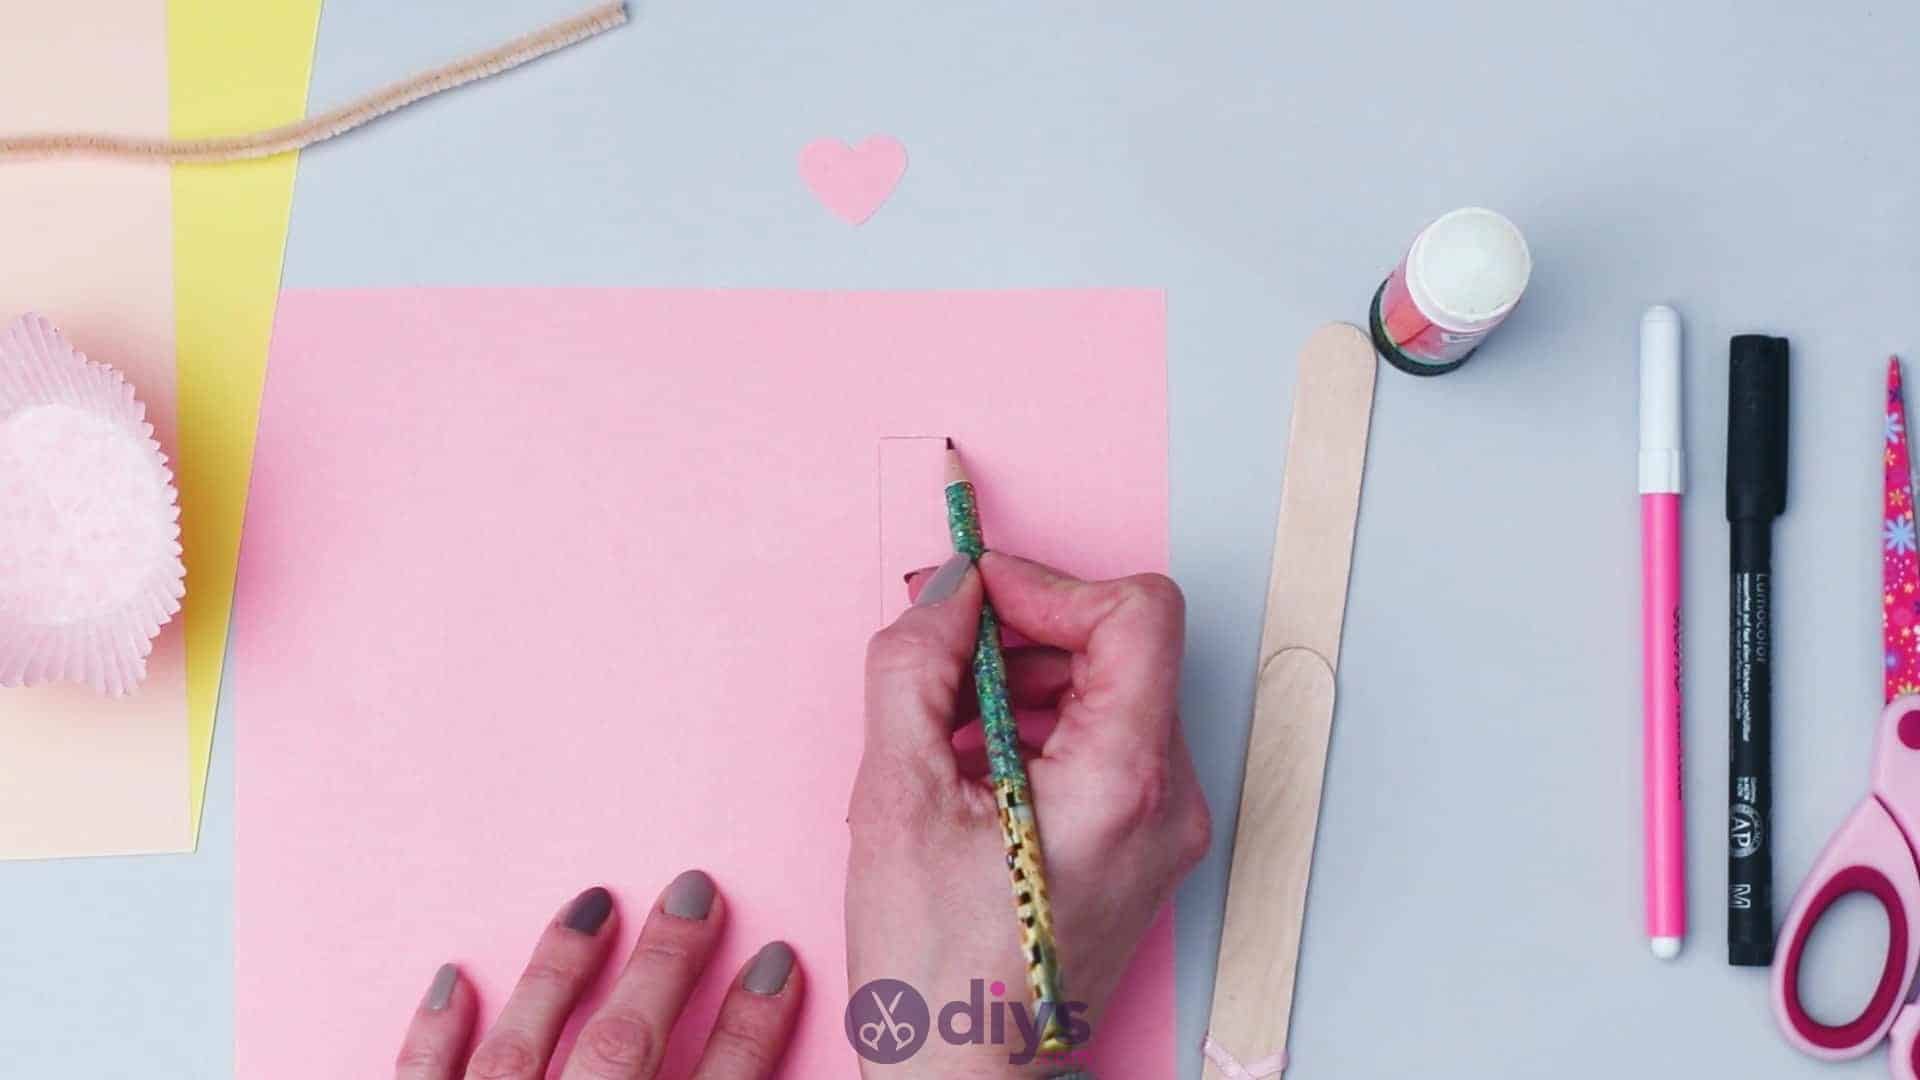
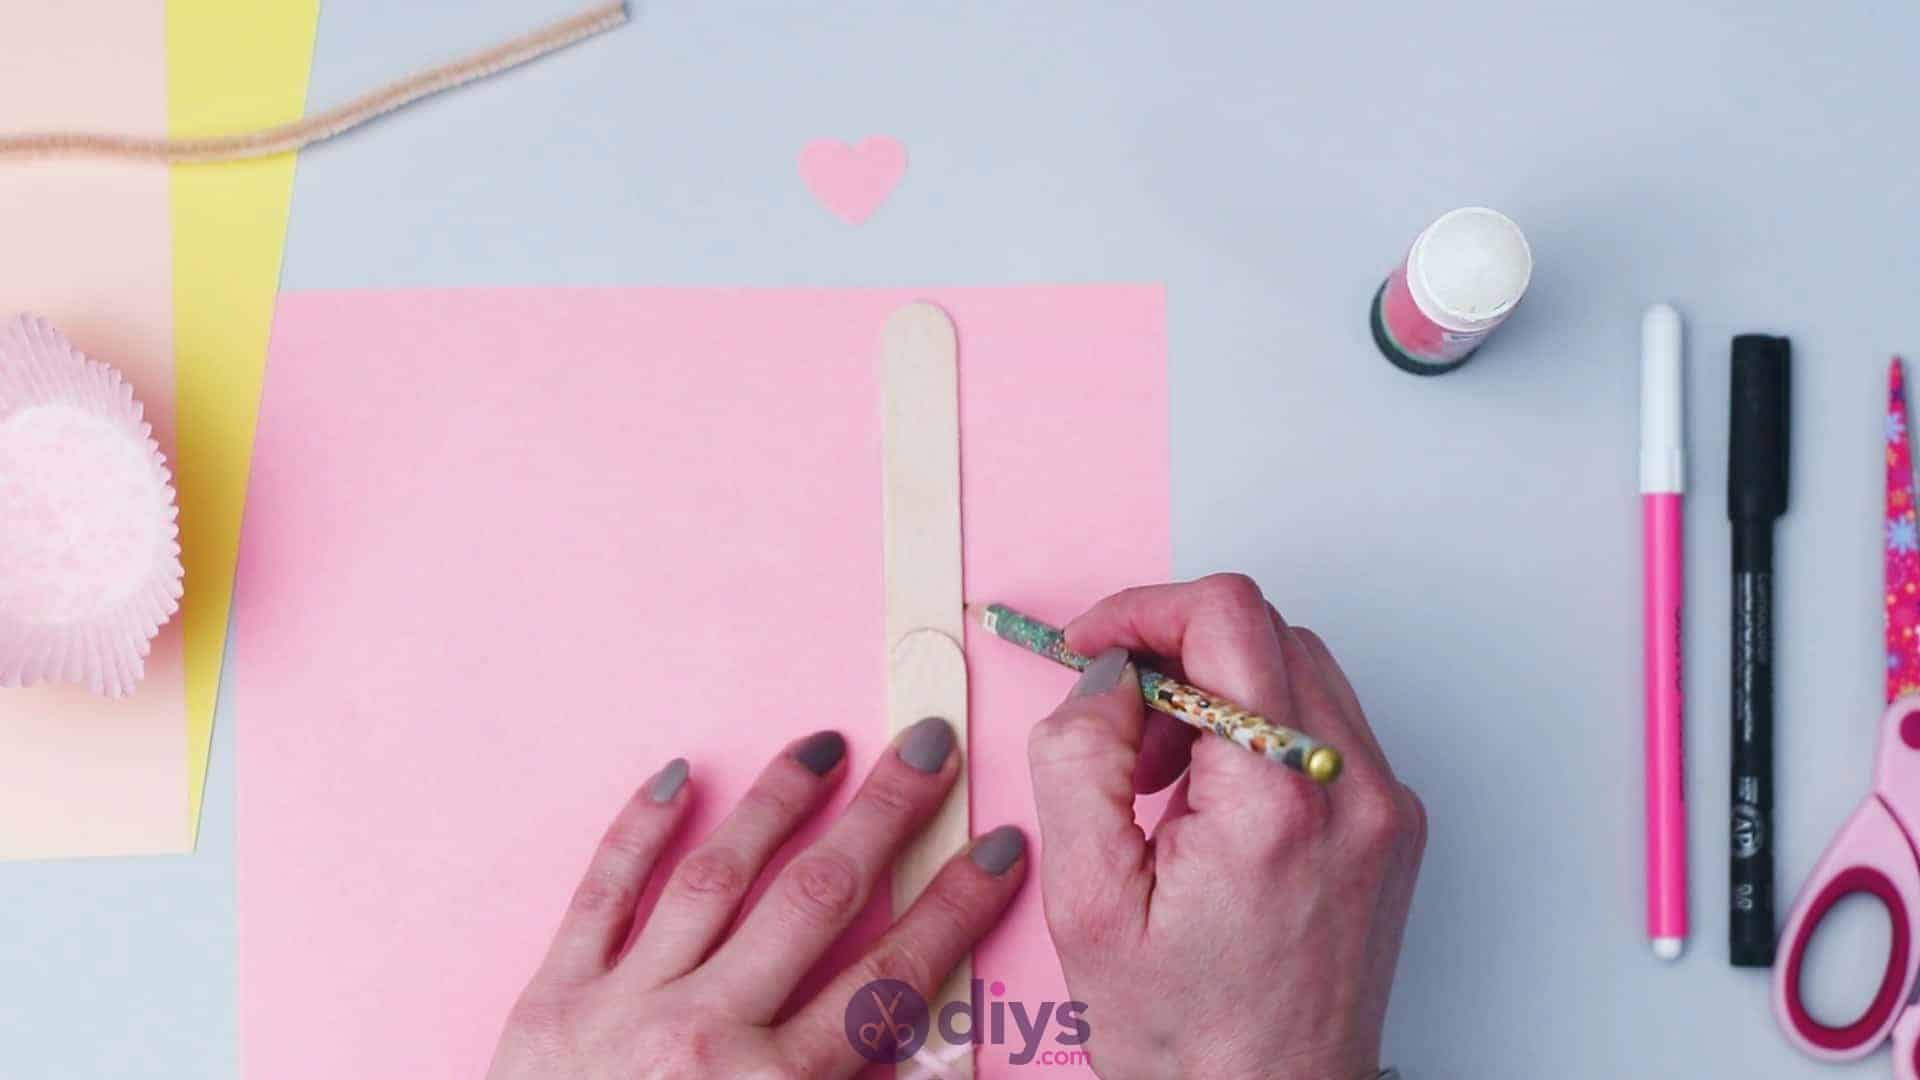
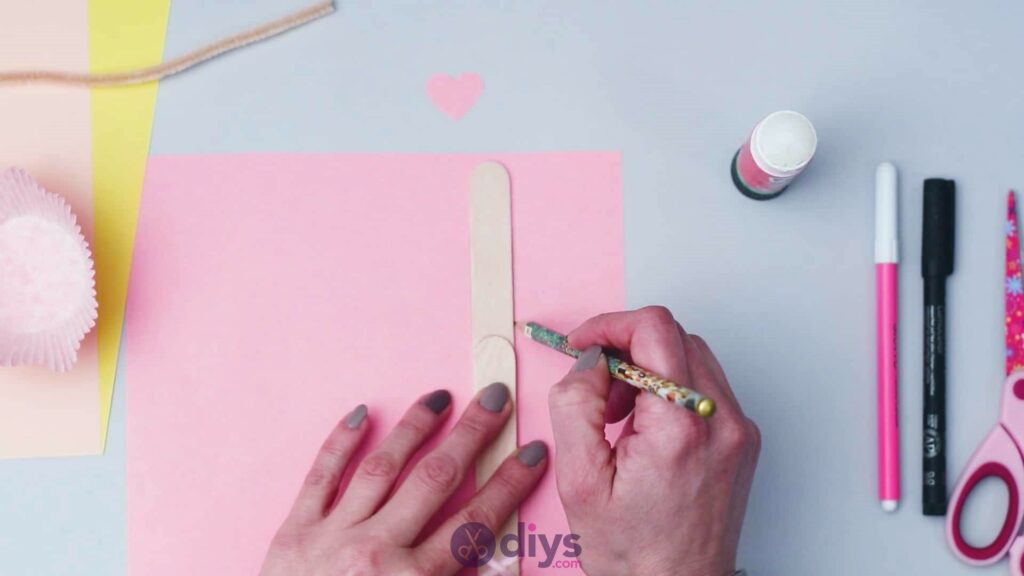
Place your popsicle stick flat on your pink piece of paper and track its side edges to measure its width onto the page. Make your line on each side about an inch long, starting and ending them in the same place so they’re even. Move your popsicle stick and draw a horizontal line at the top and bottom to join the top ends and bottom ends, creating a rectangle. Use your scissors to cut that rectangle out.
Step 6:
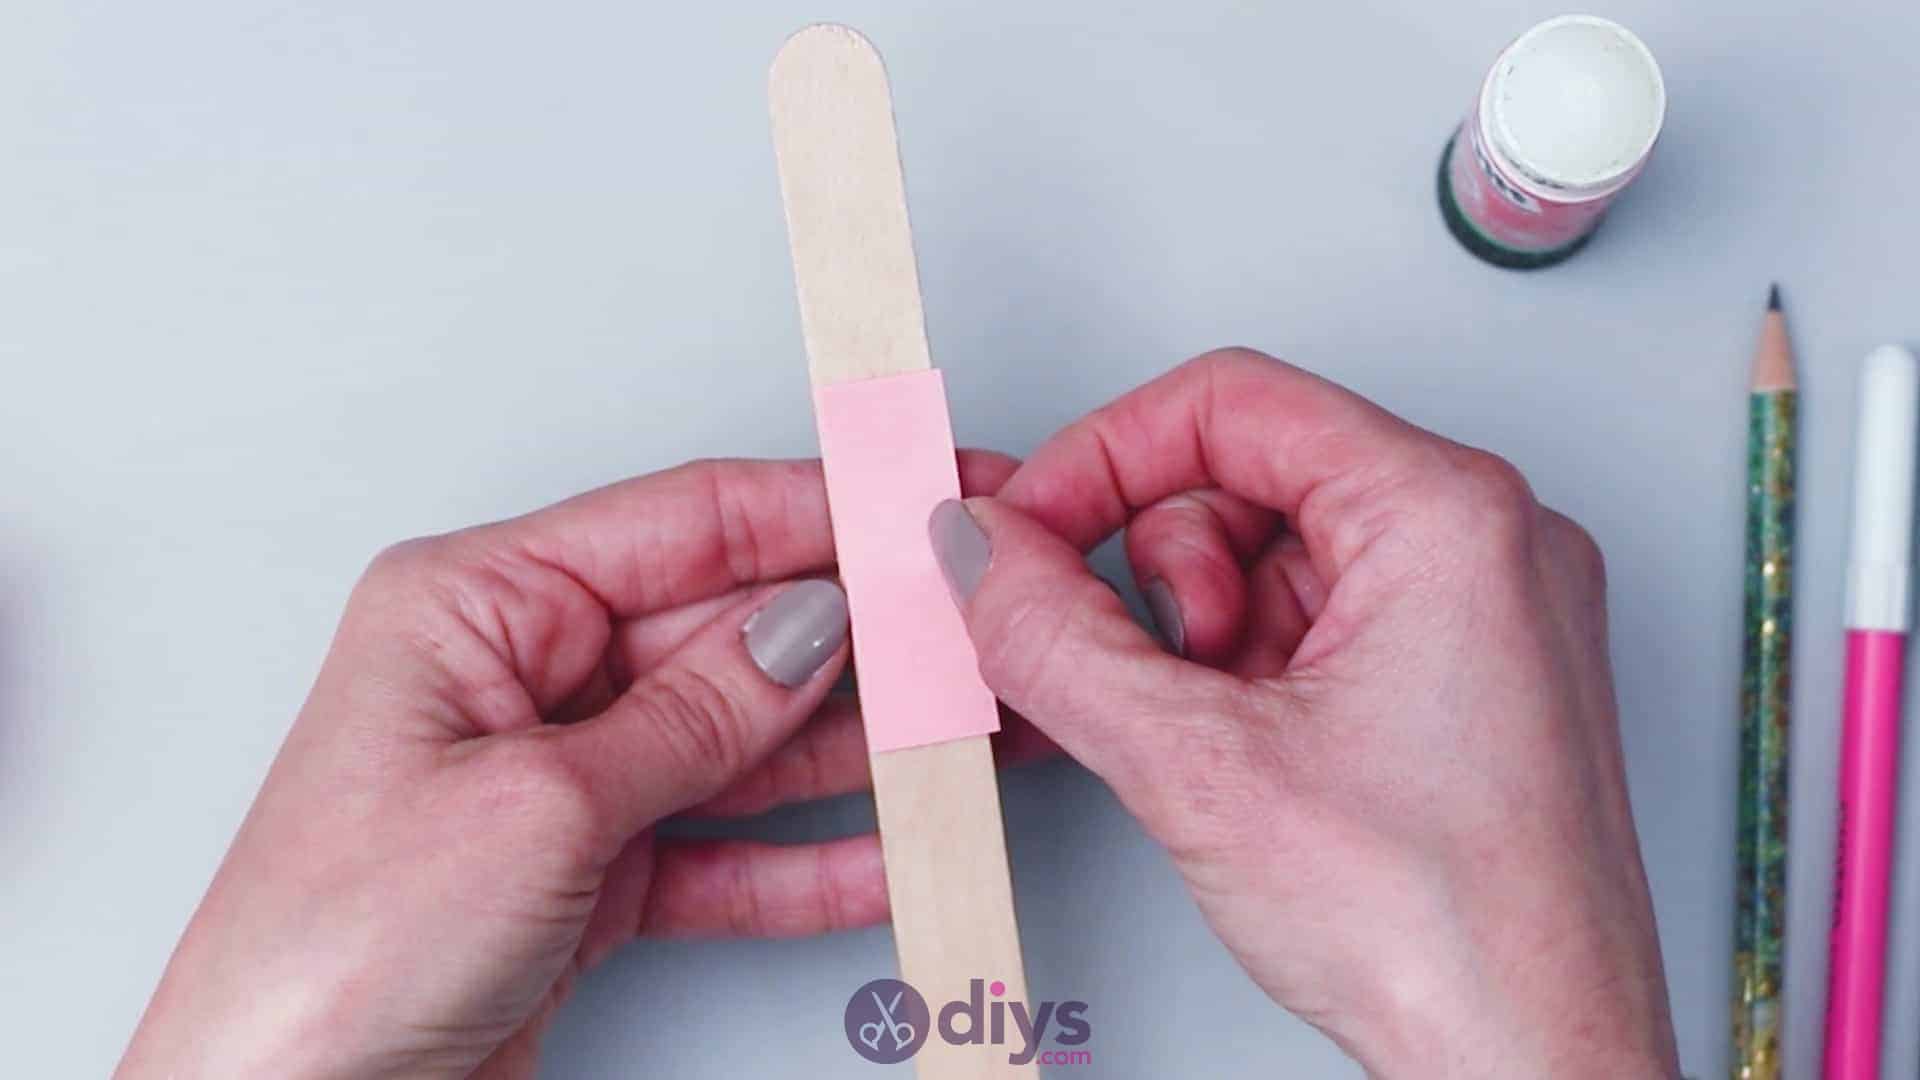
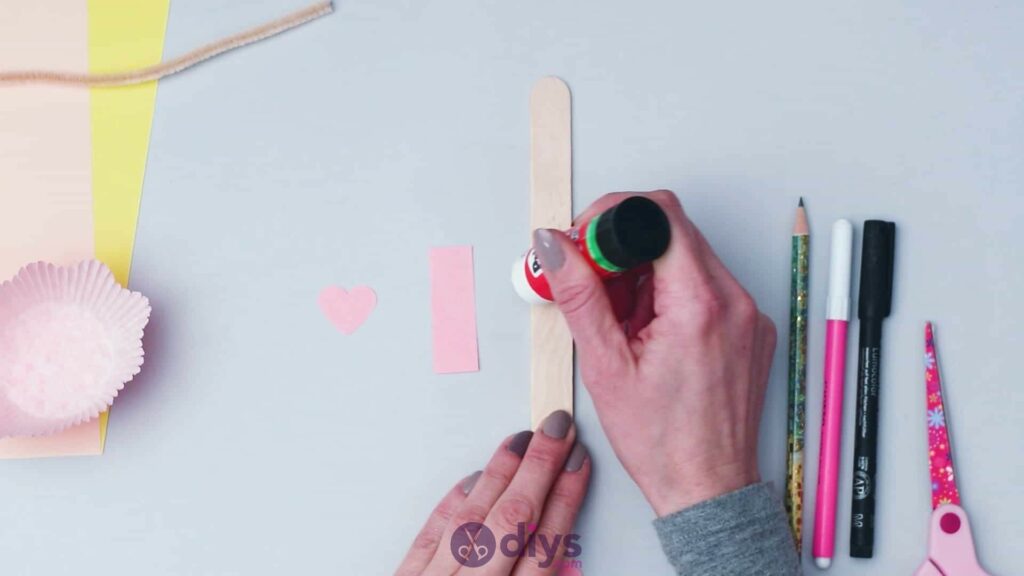
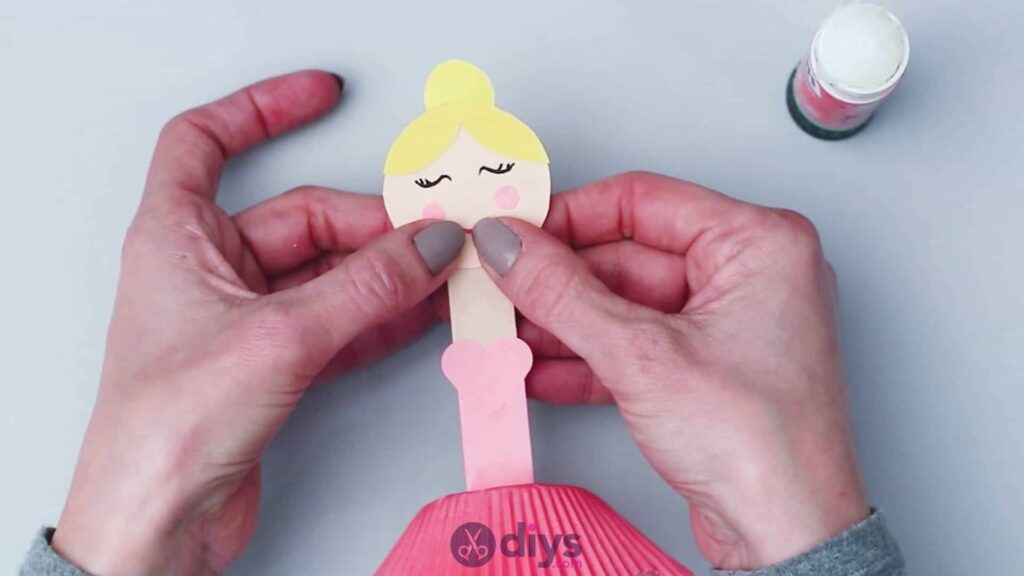
Apply glue on the front of your popsicle stick starting about an inch and a half blow the top end and swiping downwards. Stick your pink rectangle down here to make your ballerina’s bodice. Then apply glue over the top edge of the pink rectangle you just placed and stick your second paper heart down there, so the horizontal top edge of the rectangle is covered by the heart and sits just below the central dip. Its rounded top sides have just become the bust of your ballerina’s bodice and will look like a sweetheart neckline when you place her tutu in a moment.


Step 7:
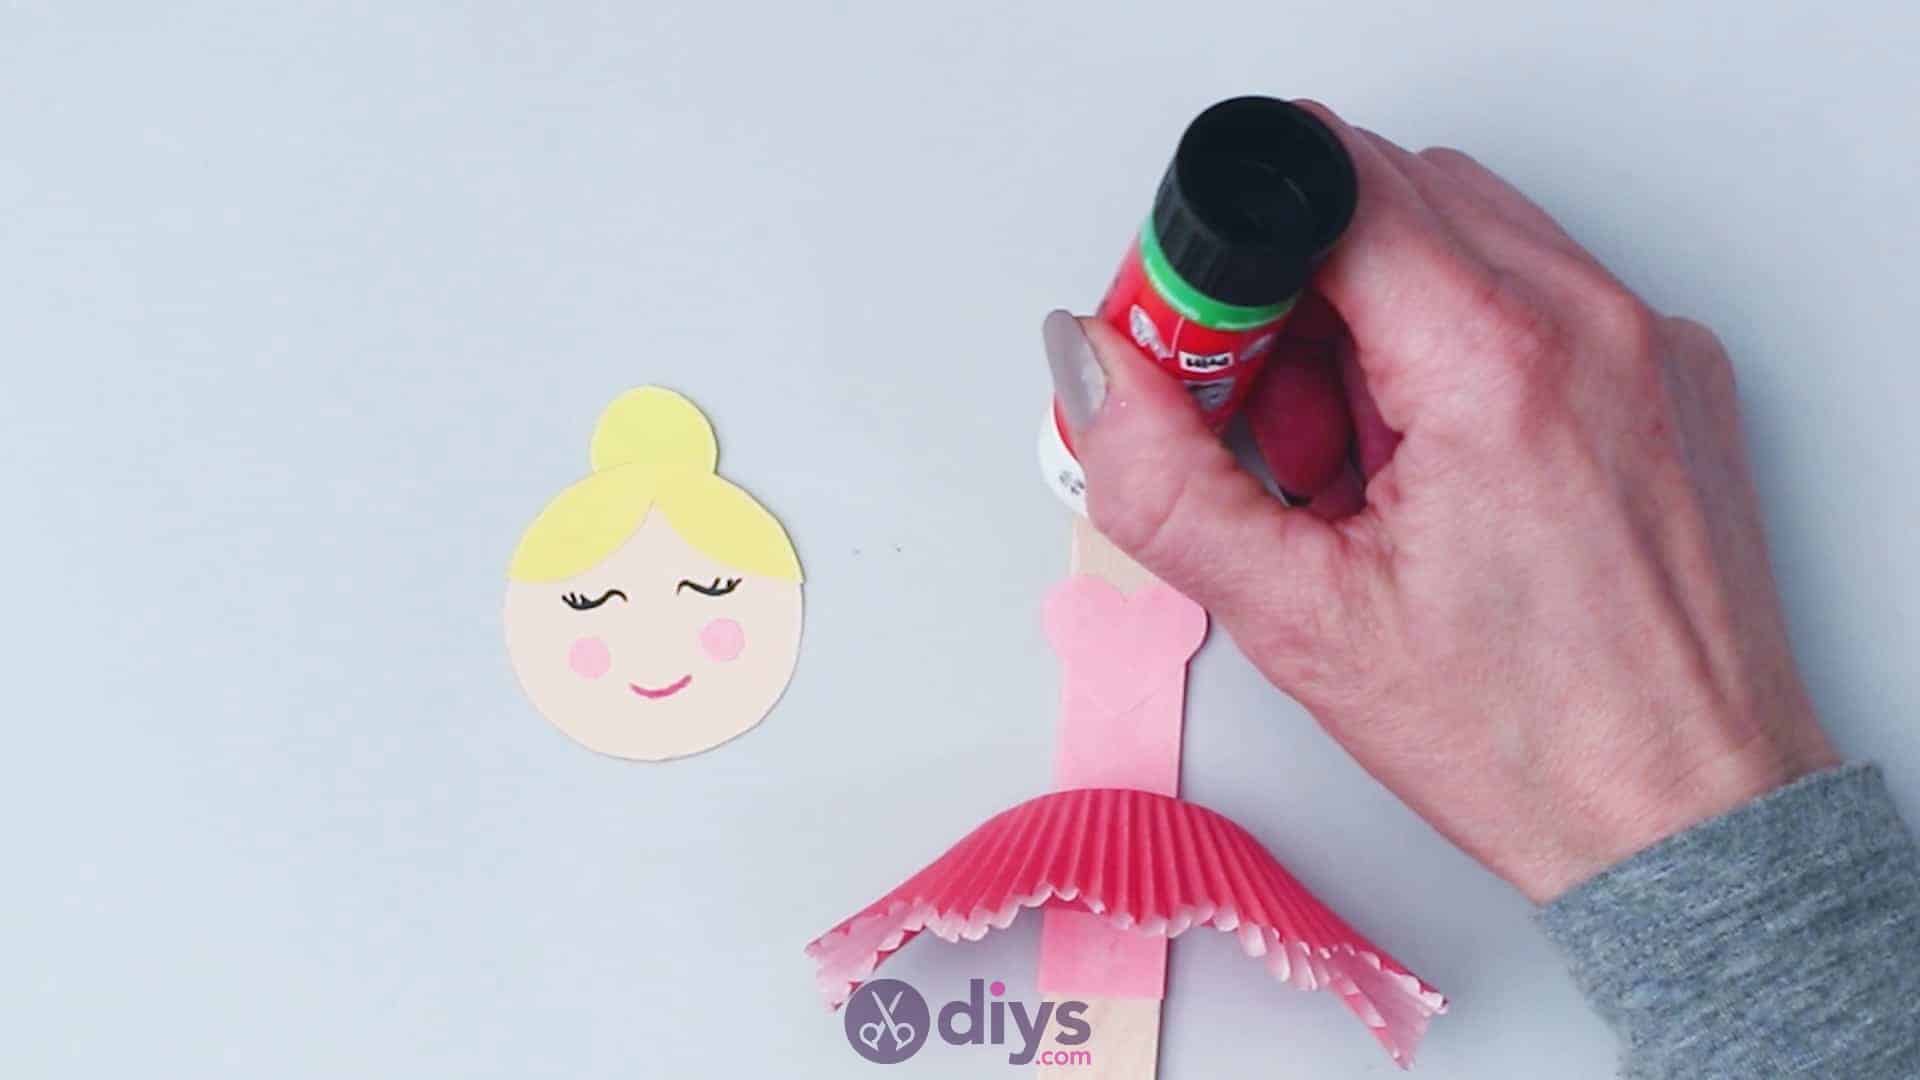
Take your pink cupcake liner and turn it upside down. Across its flat bottom, fold it in half, but letting the rounded outer side that you’re bringing in flip inwards to mimic the rounded shape of the other side. This gives you a short of semi-circular shape that juts out to the front like a skirt. This is your ballerina’s tutu! Apply glue to the popsicle stick over the bottom edge of the pink rectangle you already stuck down and glue the flat folded edge of your tutu in place there, so the popsicle stick sits at the centre of that edge and the cupcake liner’s shape juts outwards. My liners already had a cute waving scalloped edge, but feel free to cut a decorative edge like that into yours if they don’t come with it, just to add some cute detail.
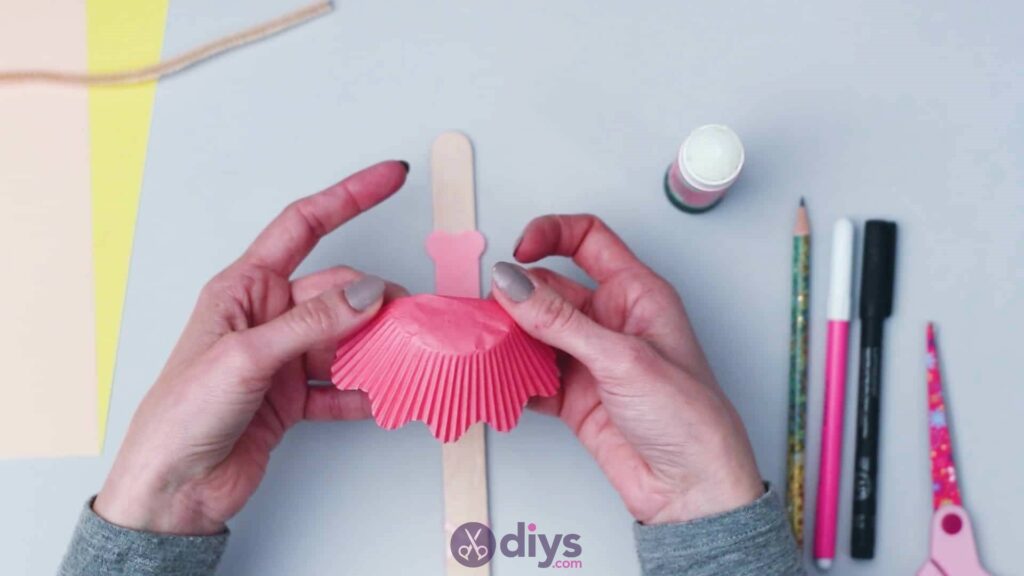

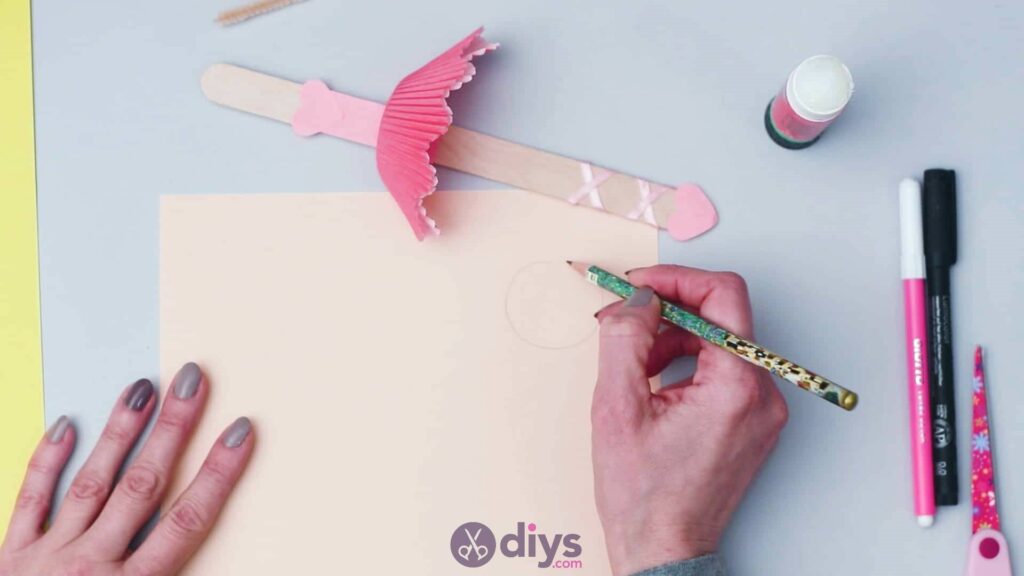
Step 8:
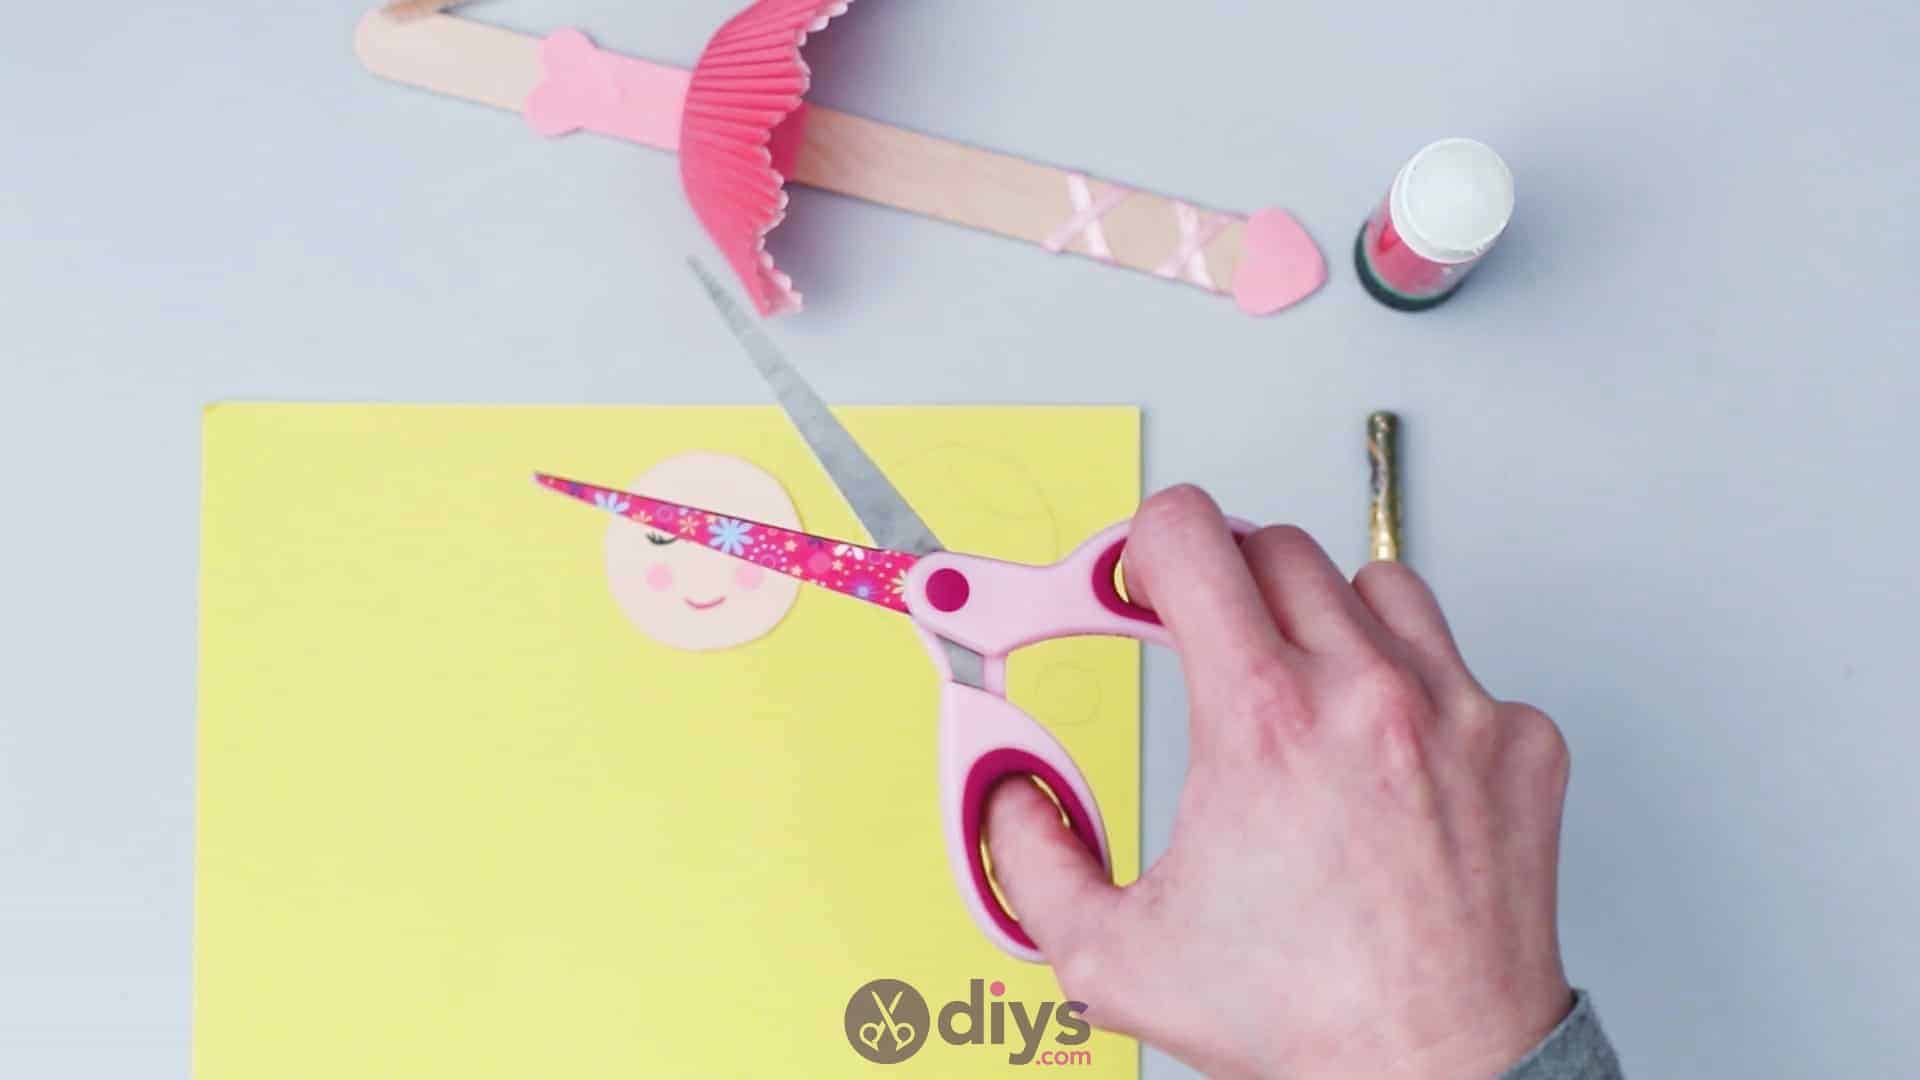
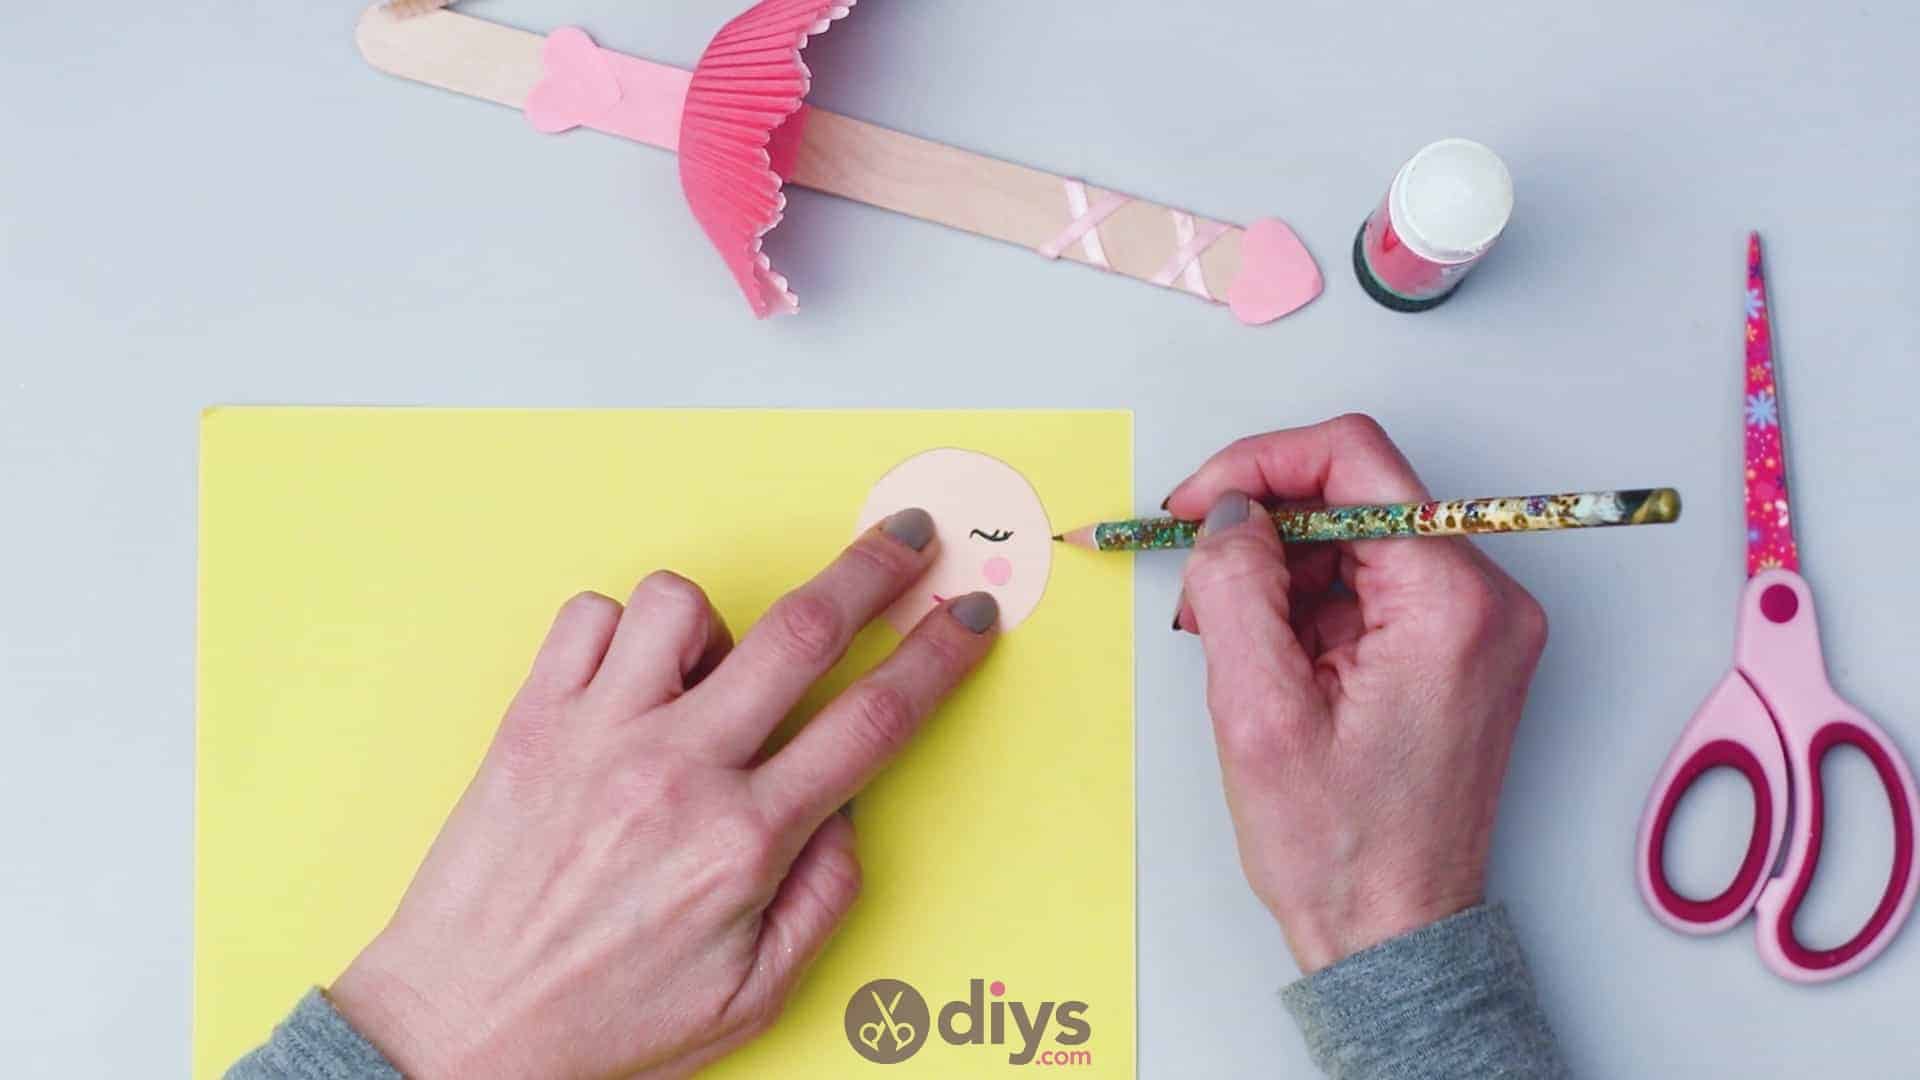
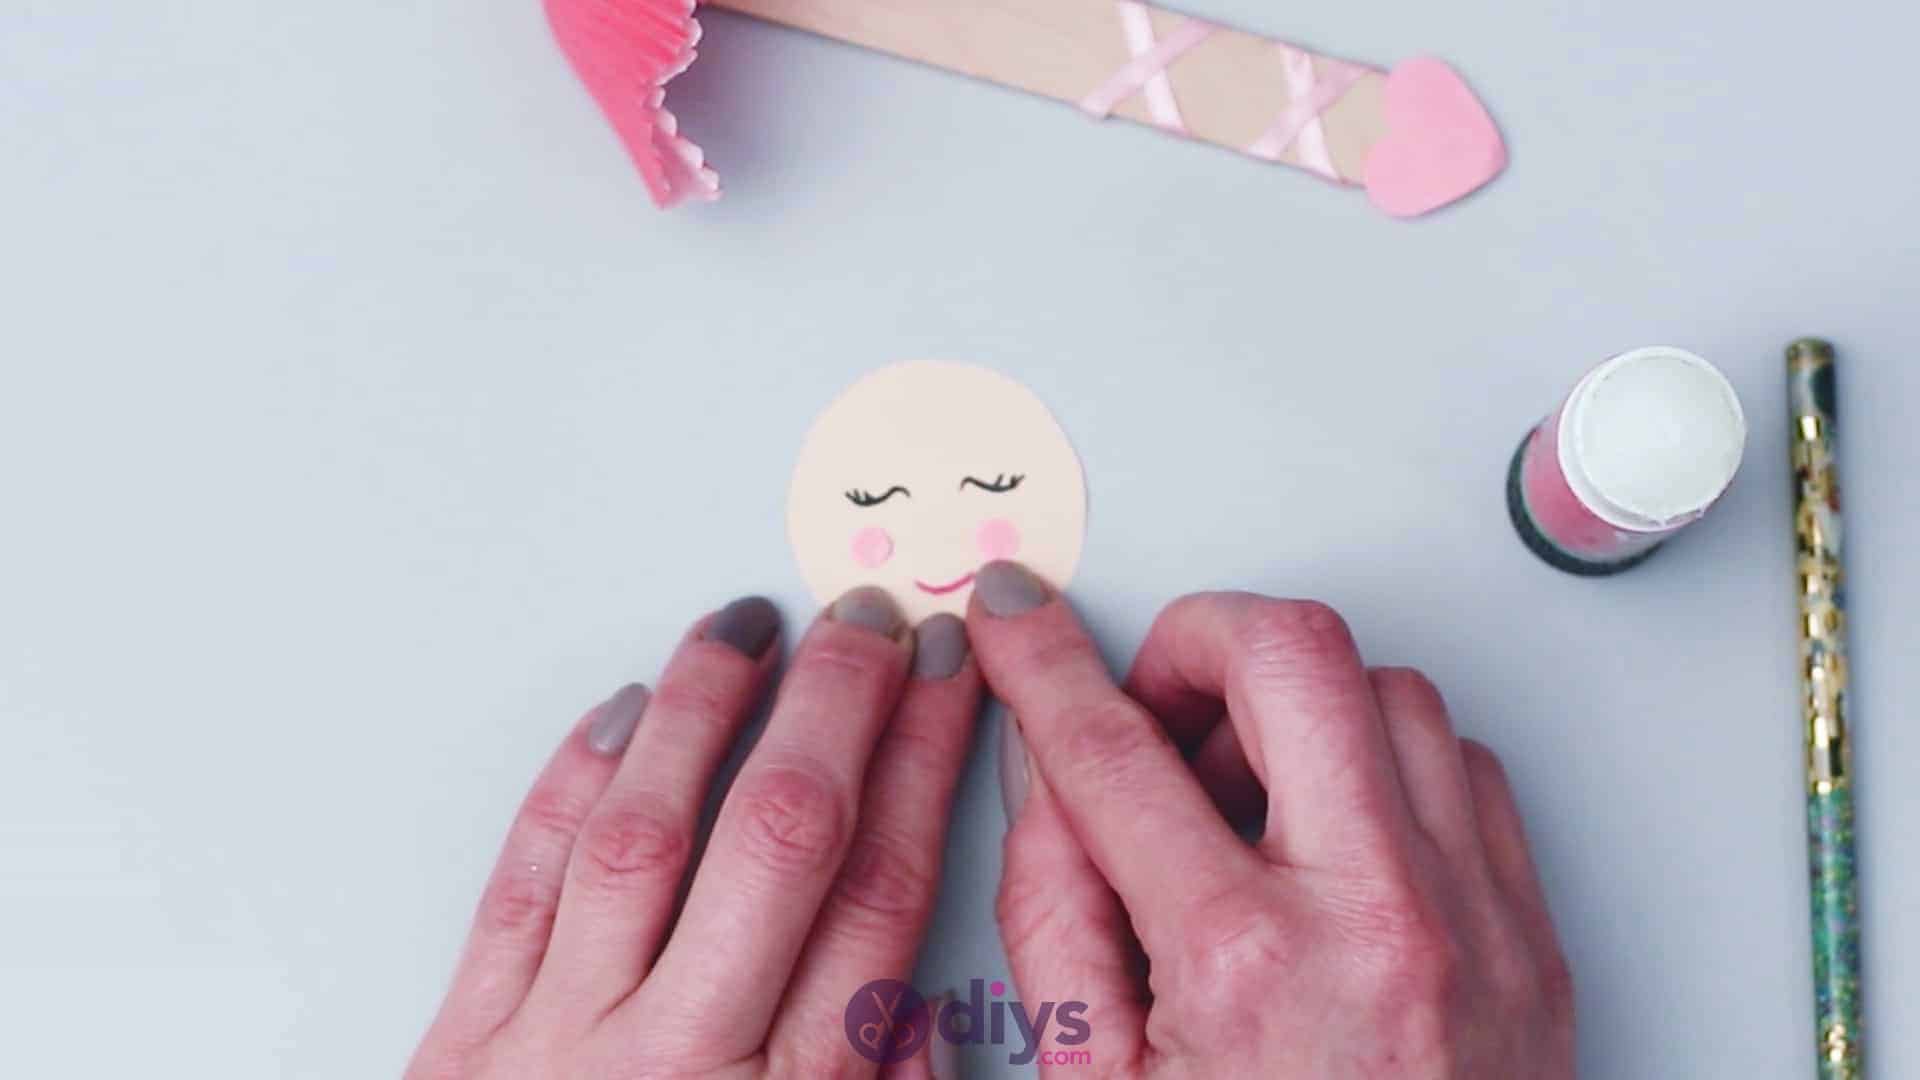
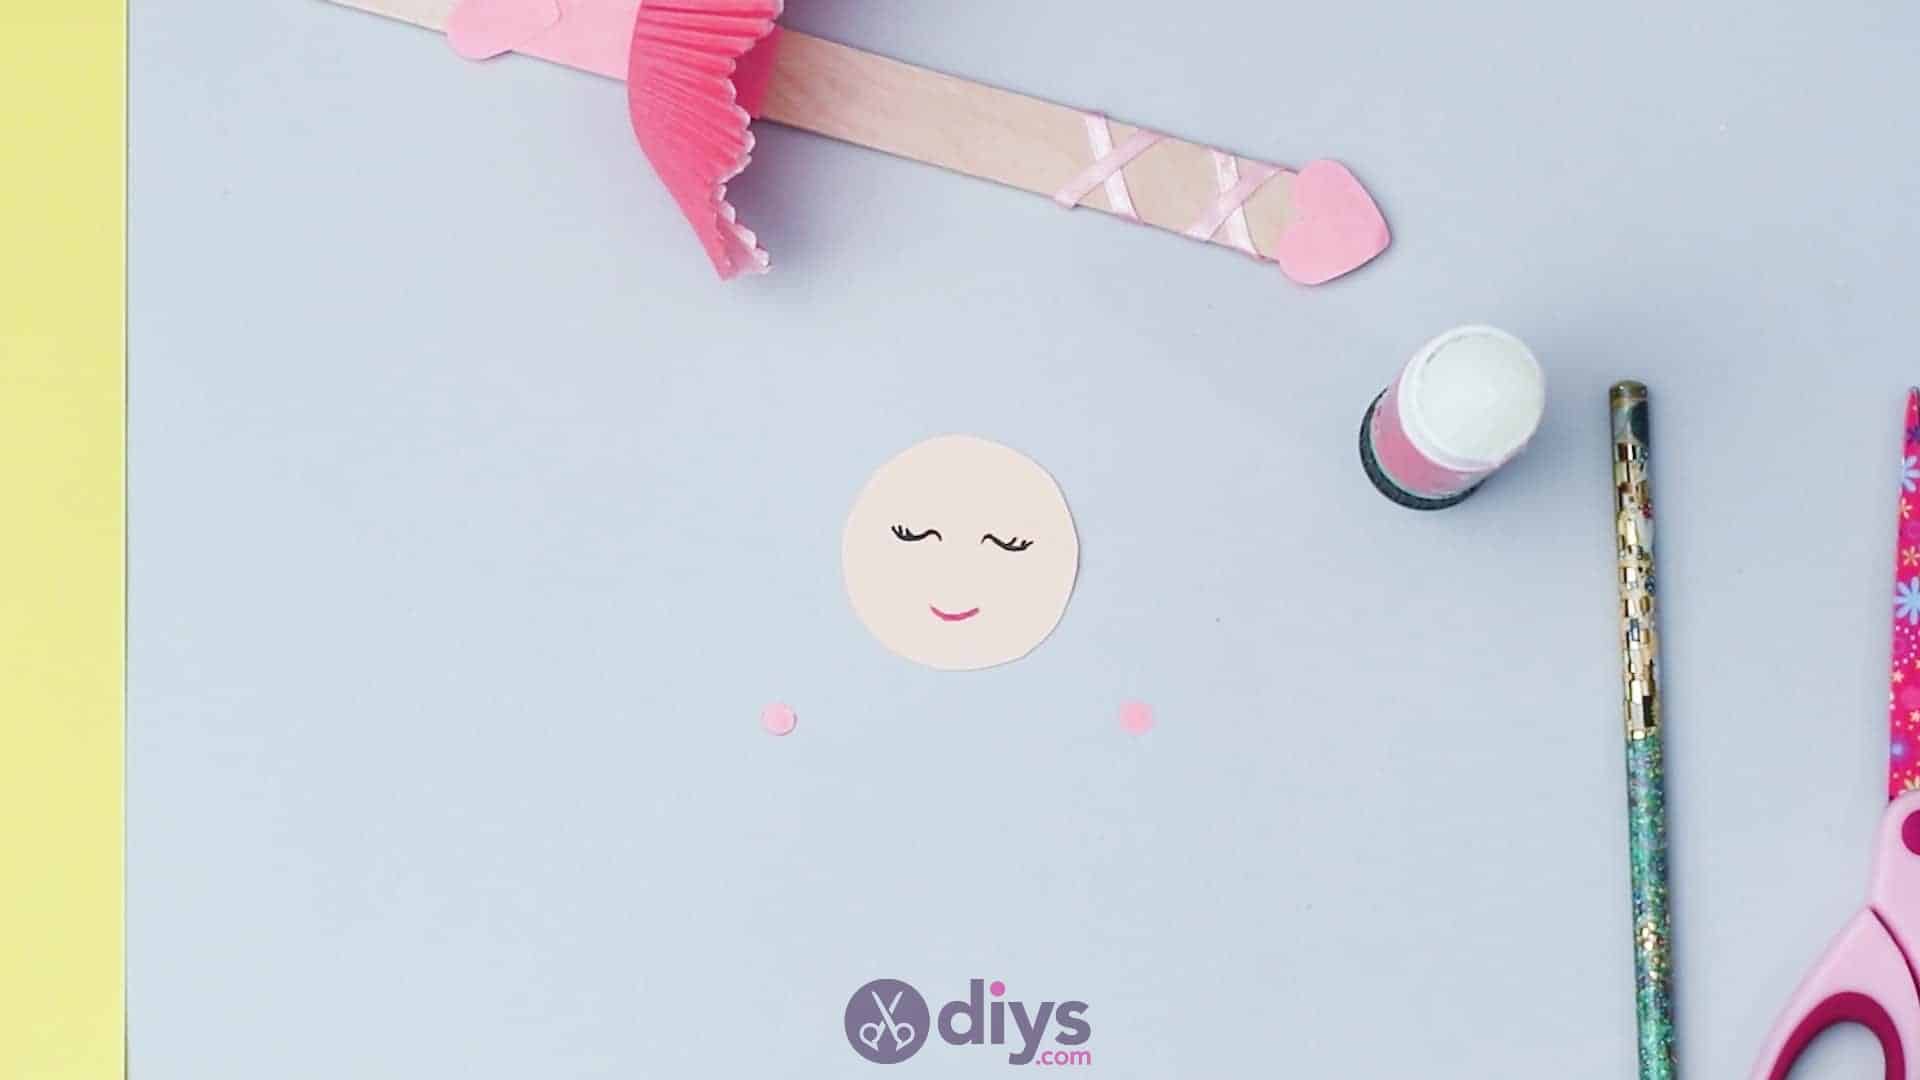
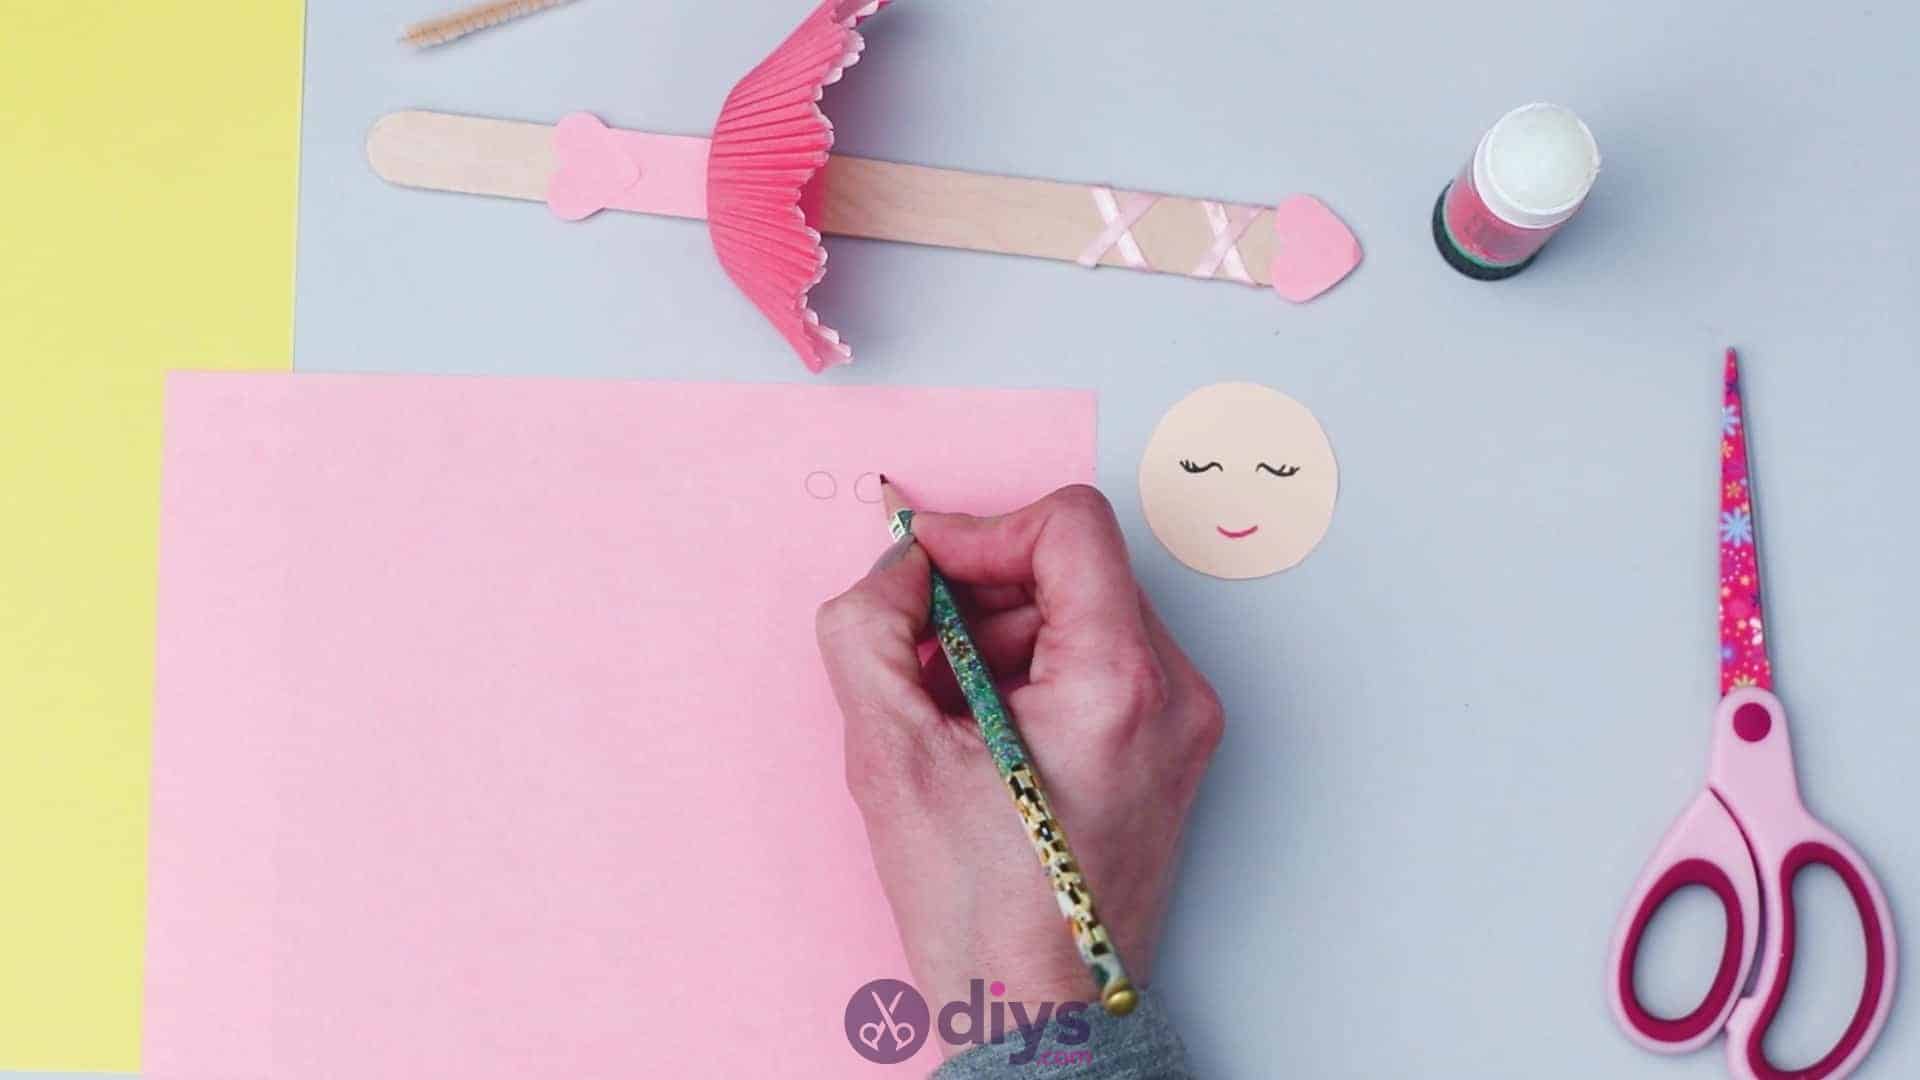
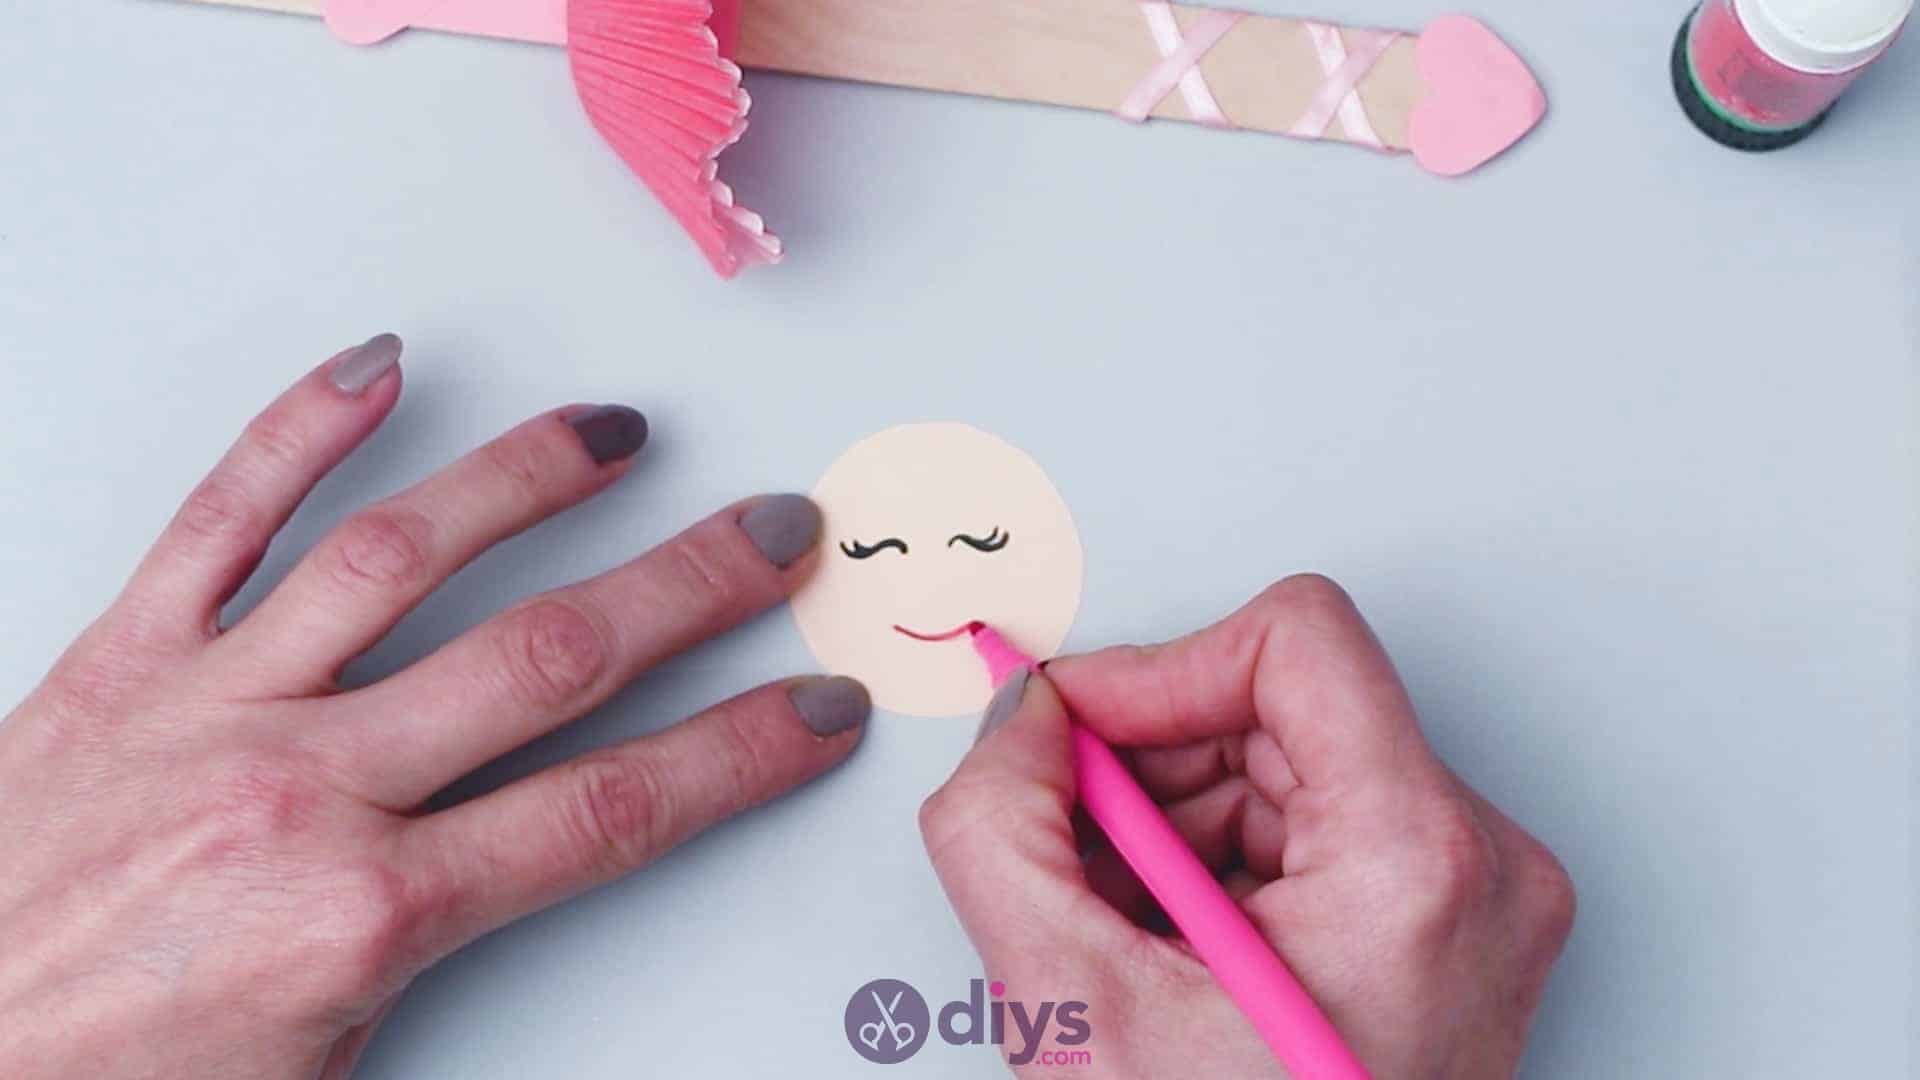
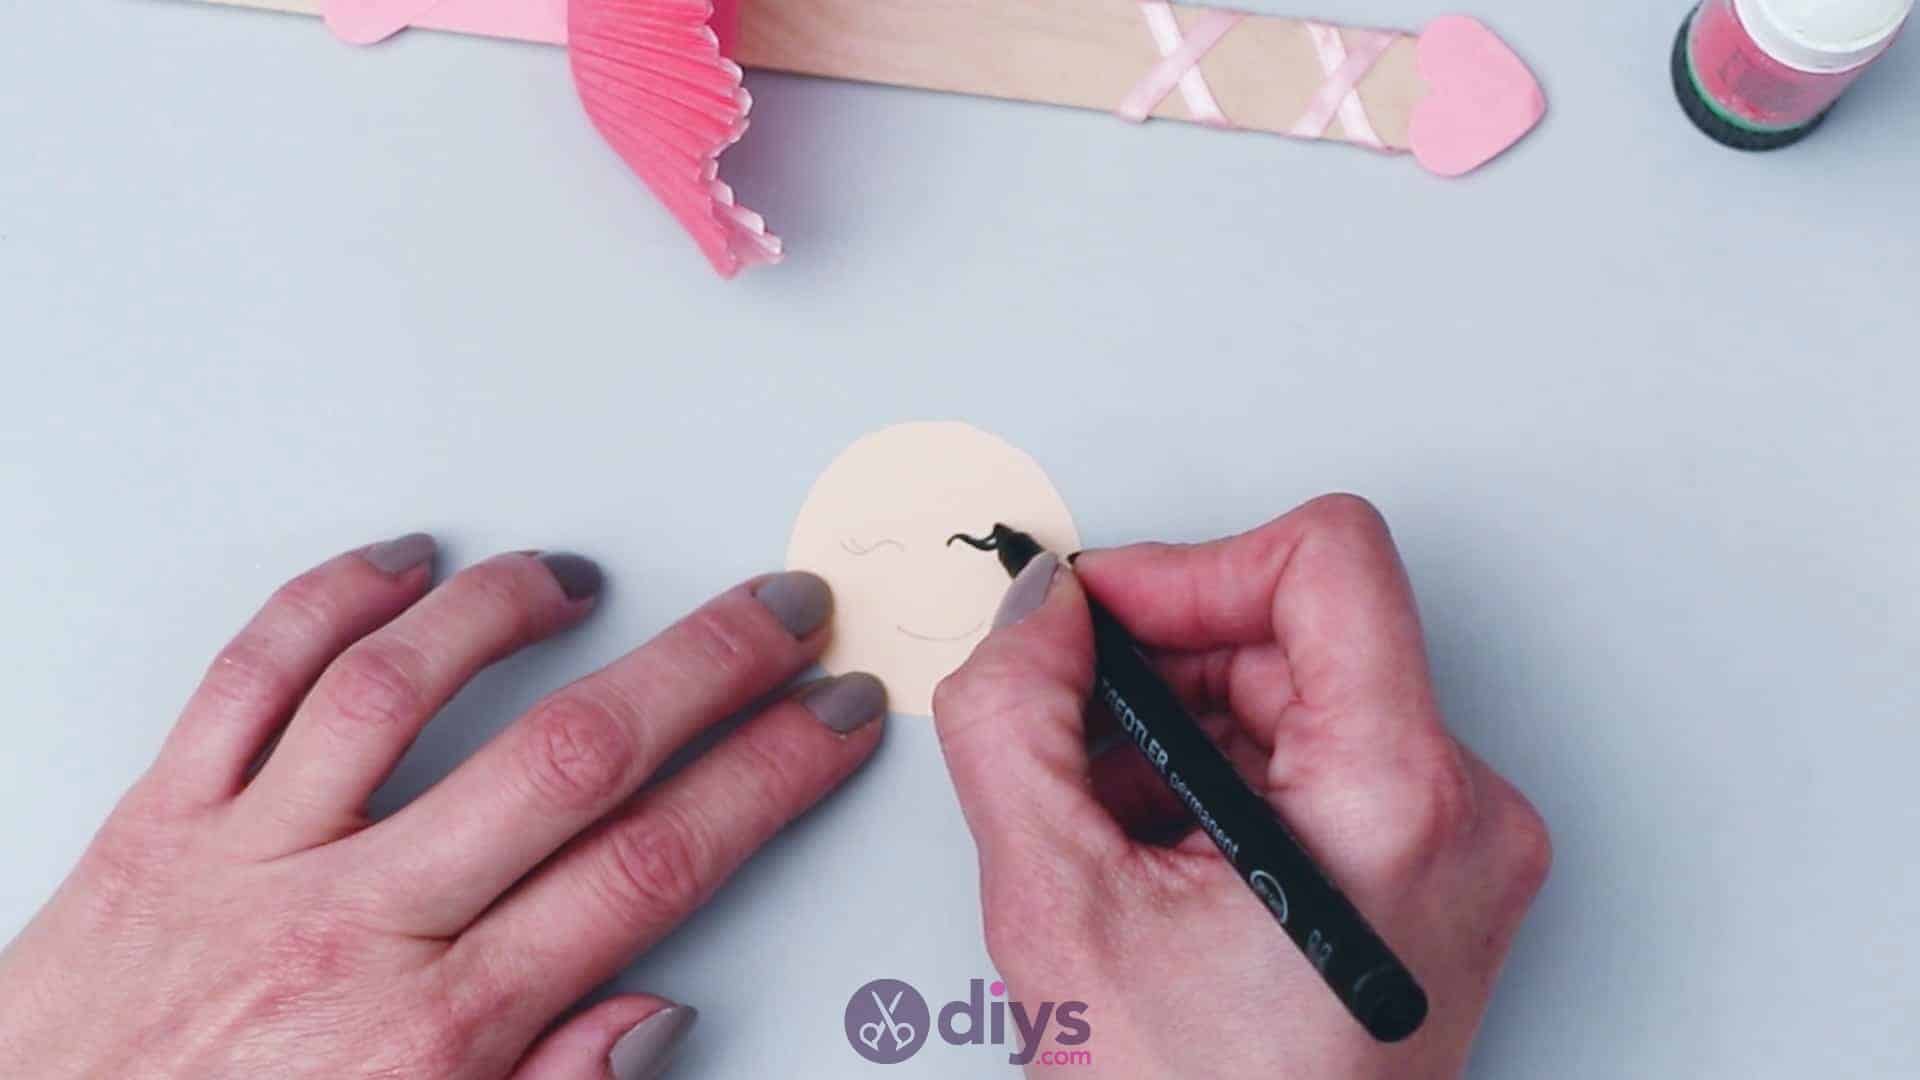
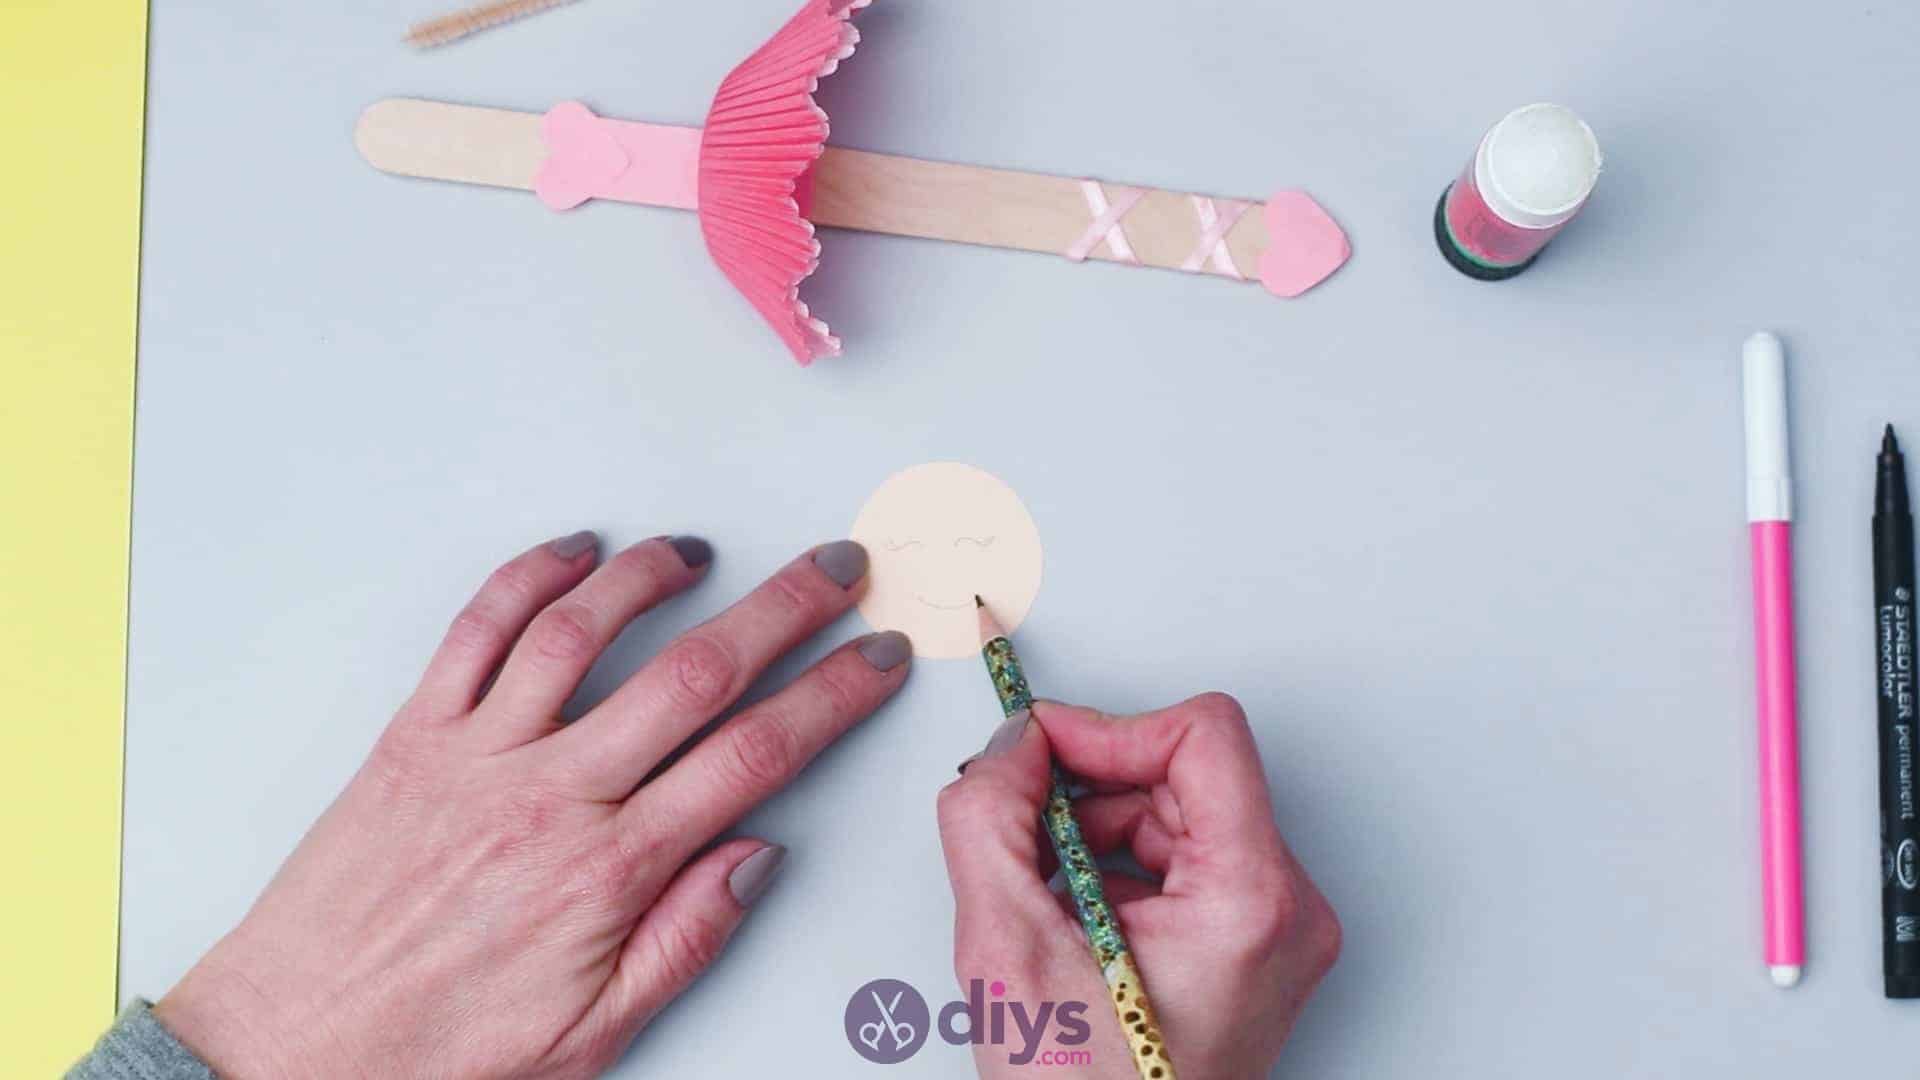
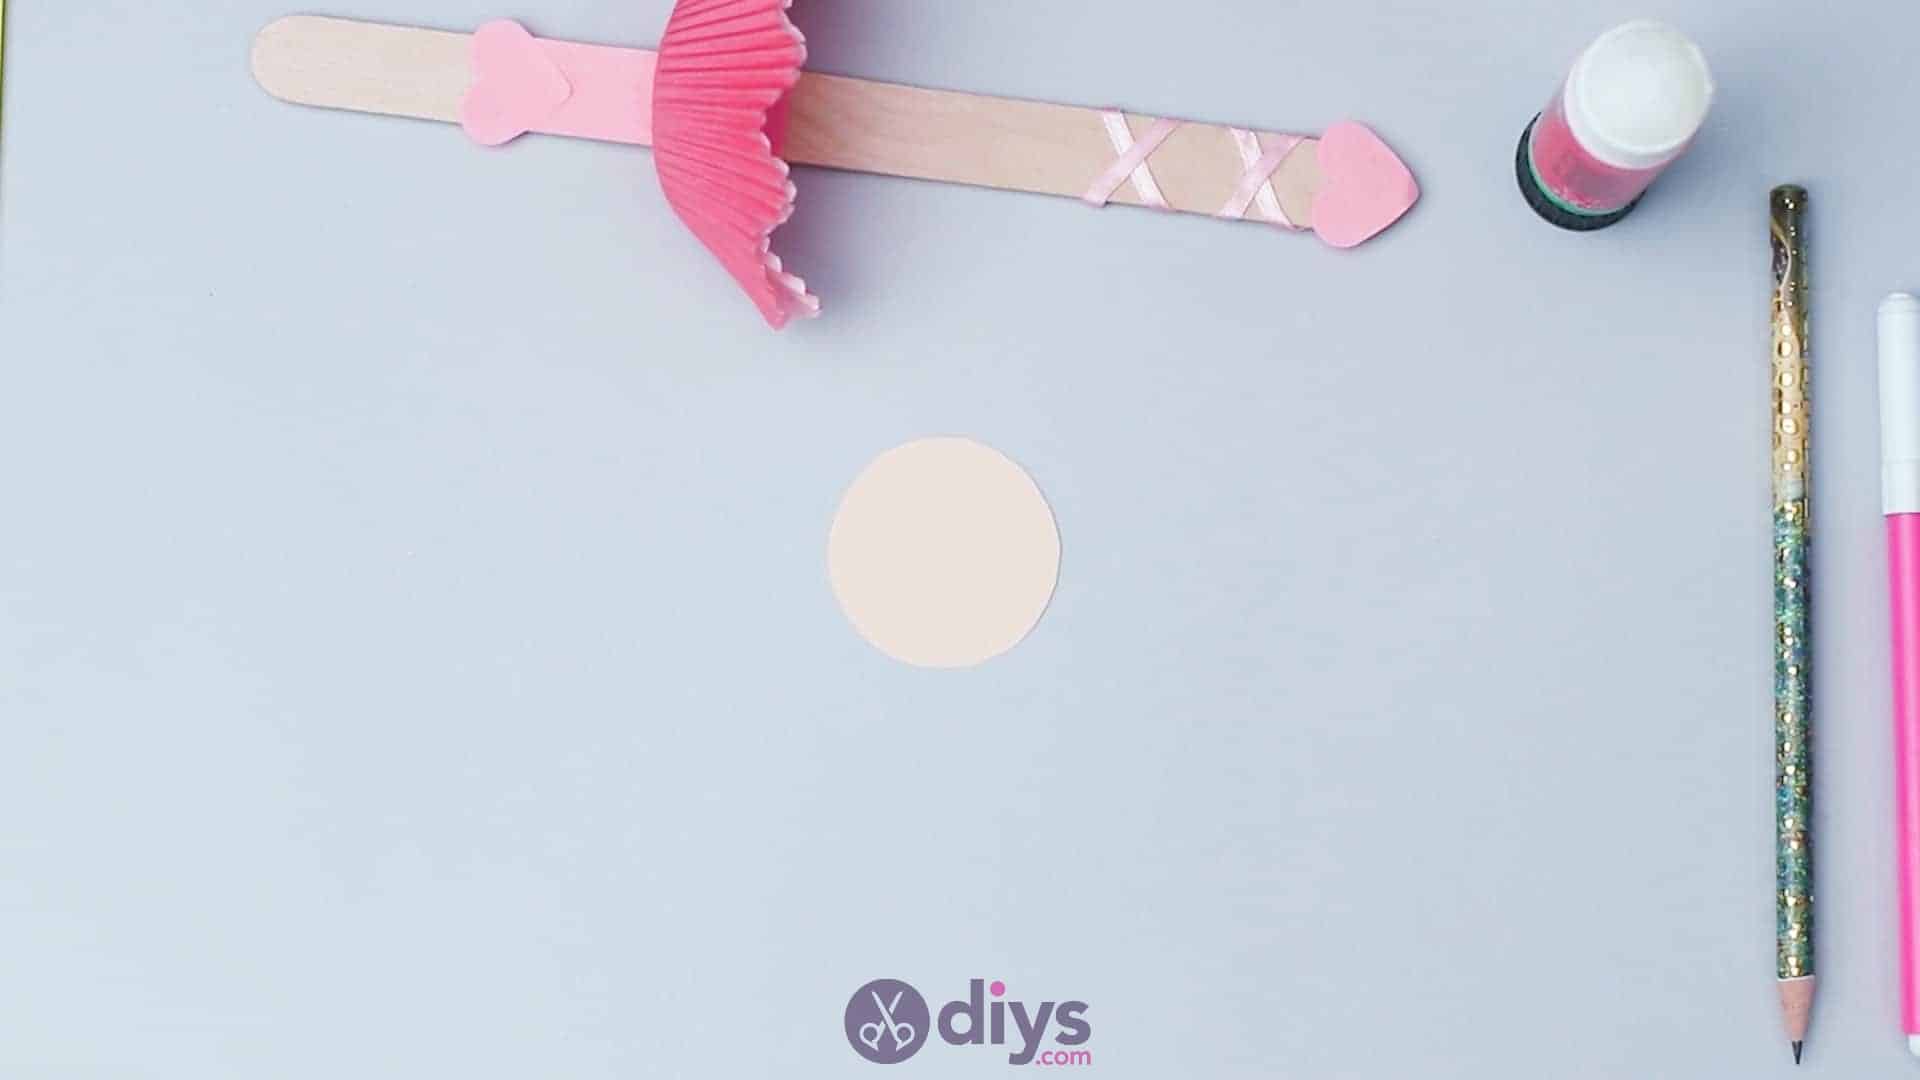
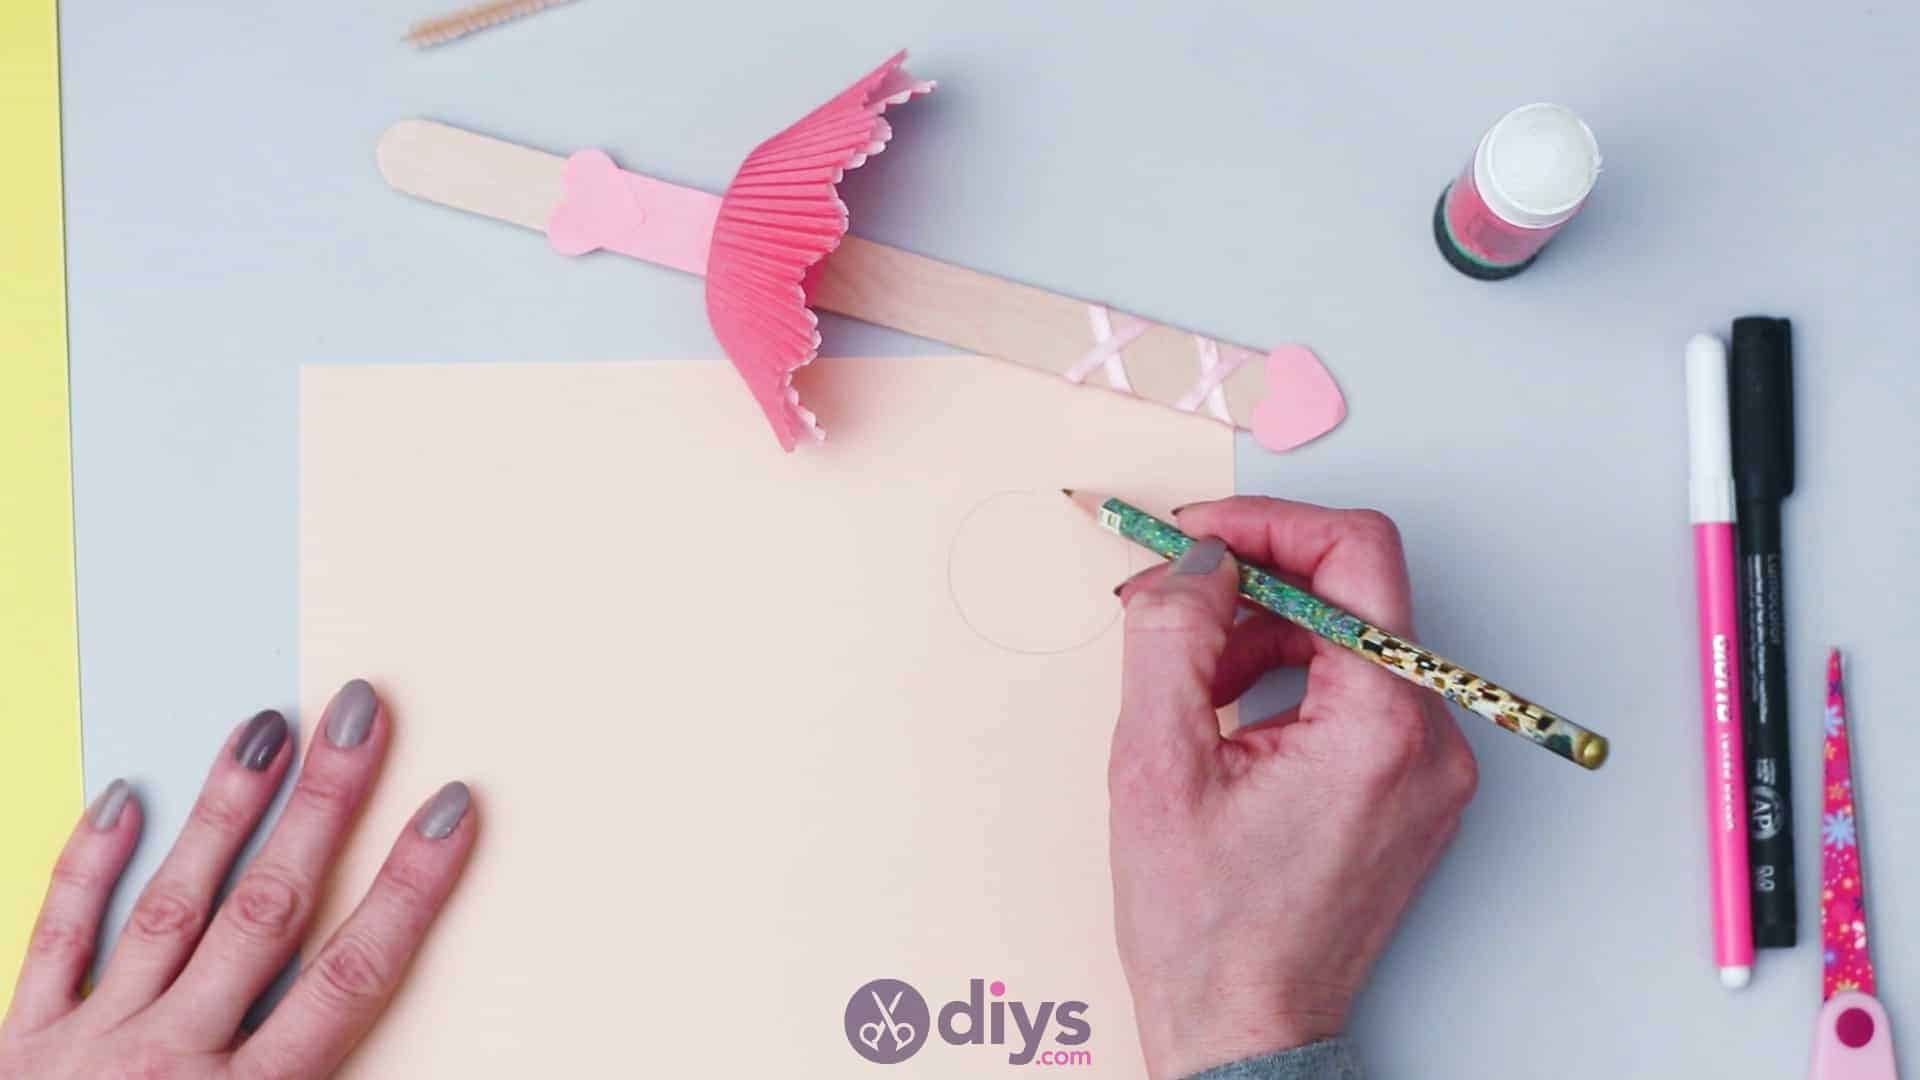
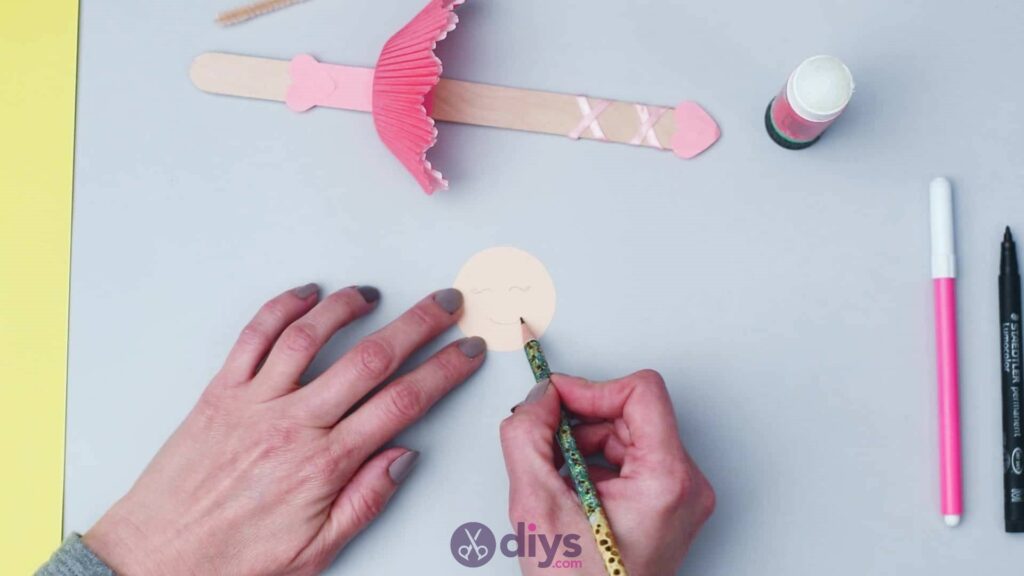
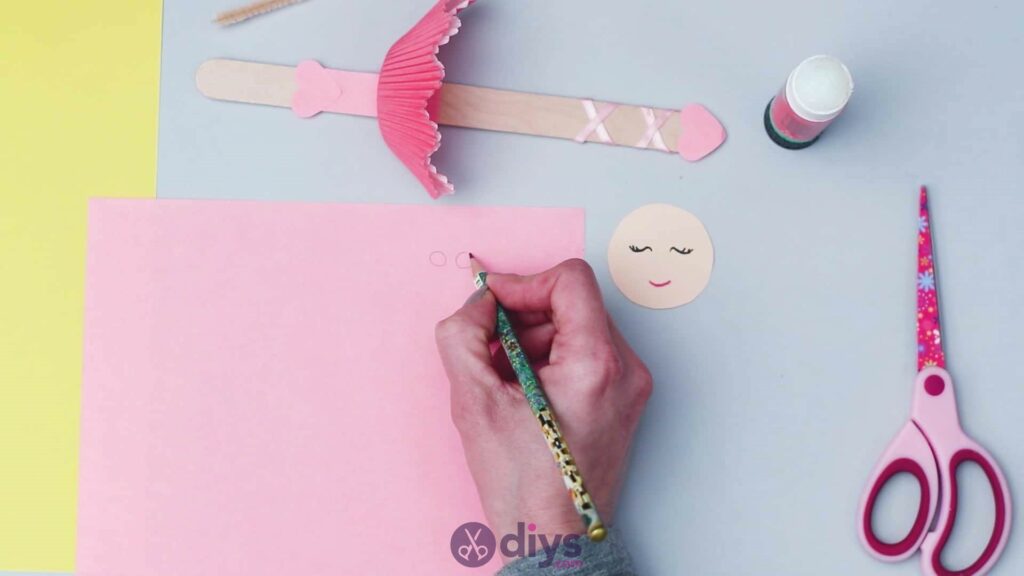
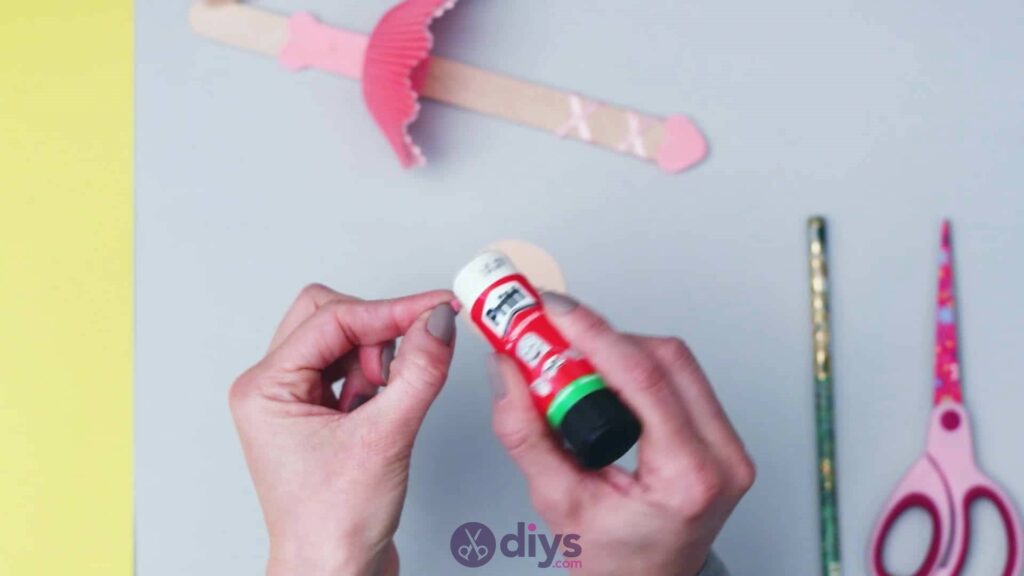
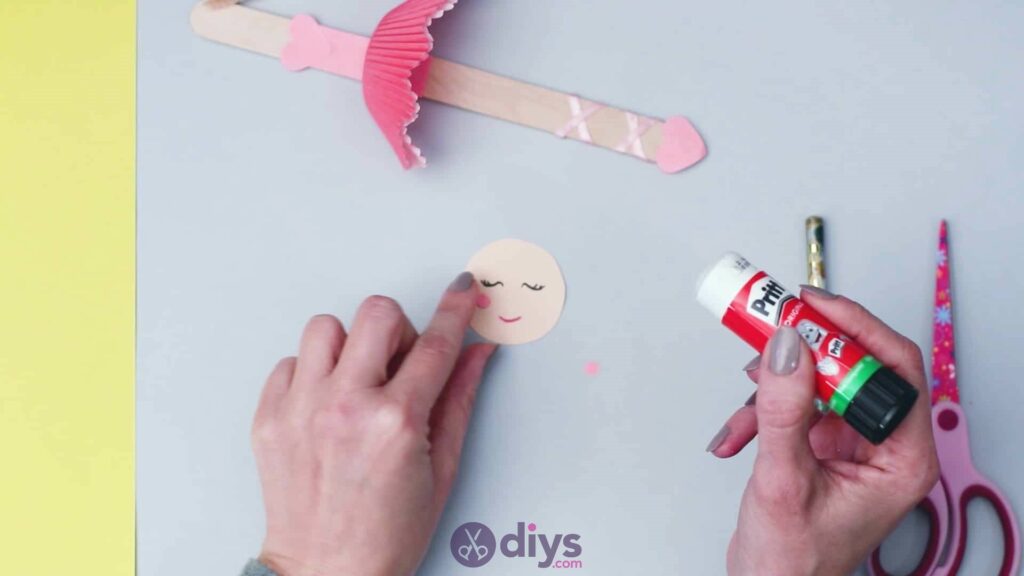
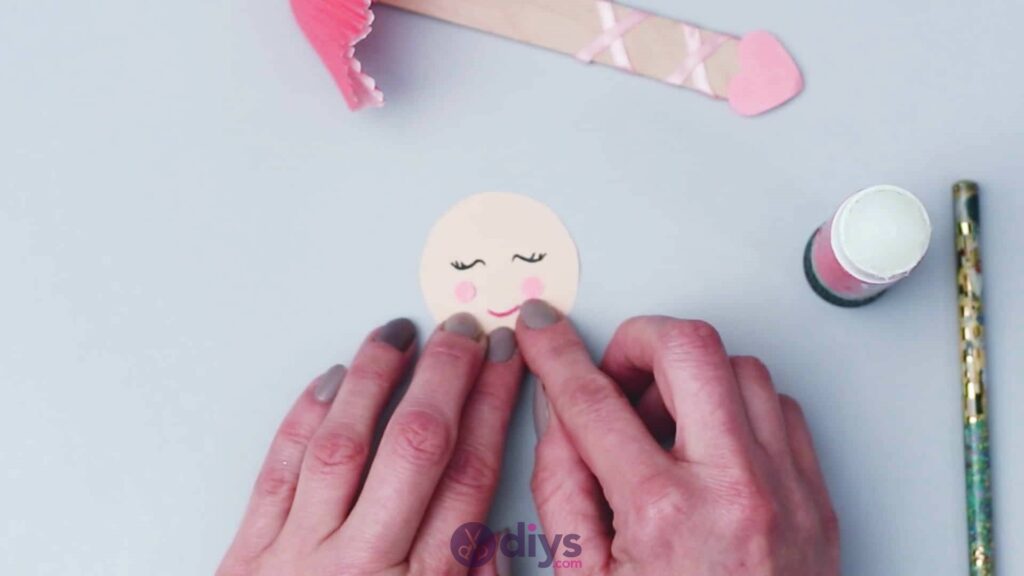
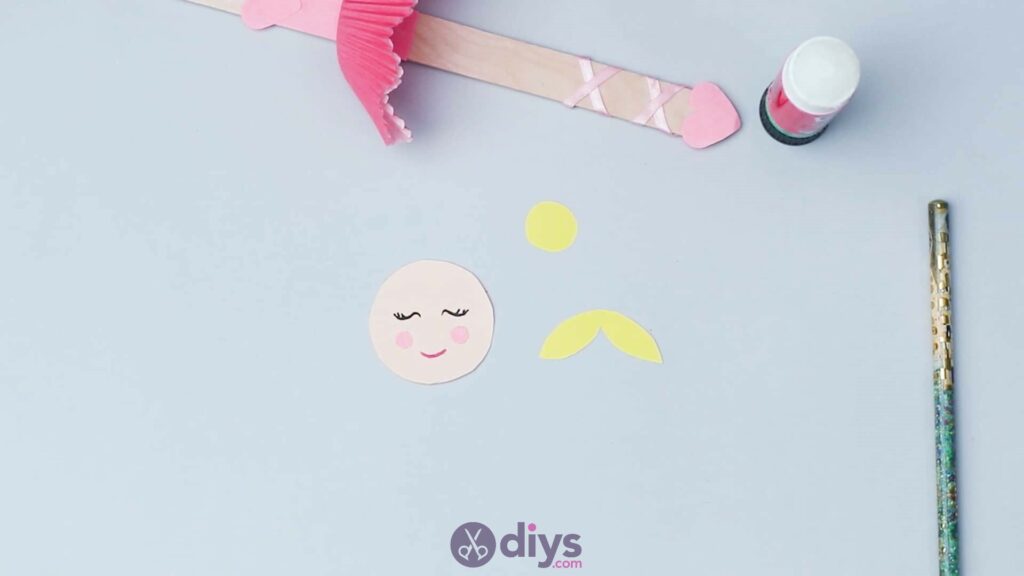
Make your ballerina’s head and face. On your nude coloured paper, draw a circle that’s about one inch across its diameter. Cut the circle out and use your pencil to sketch out lashed eyes and a smile. I made my ballerina’s eyes closed and gave her a few extra wispy lashes to mimic stage makeup and make her look pleased to be performing. Use your black marker to trace over the pencil lines of your eyes and then your pink marker to trace over the smile, adding colour and depth. Now draw two small but equally sized circles on your pink paper and cut them out; mine weren’t even a whole centimetre in diameter across each. These will be your ballerina’s blushing cheeks. Apply glue to the back of each tiny pink circle and stick then on either side of the face, below the eyes but above the smile.


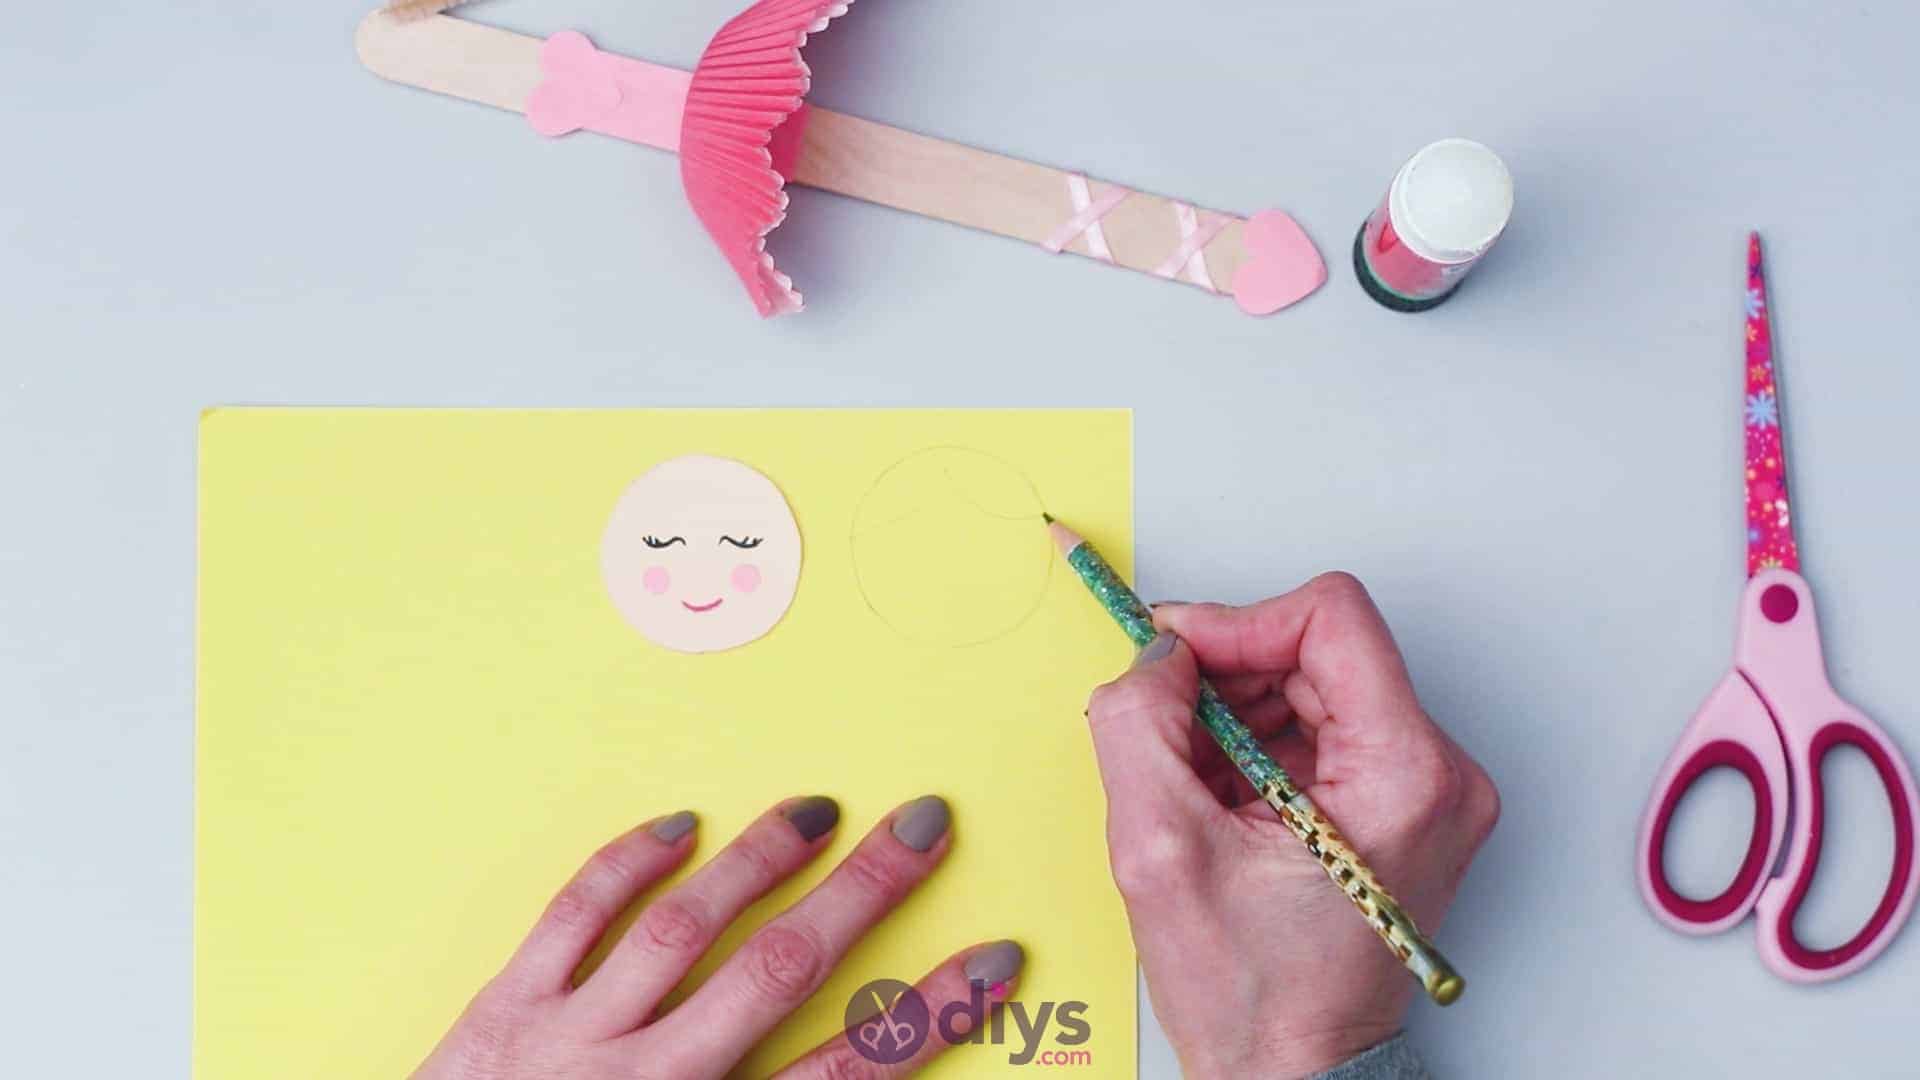
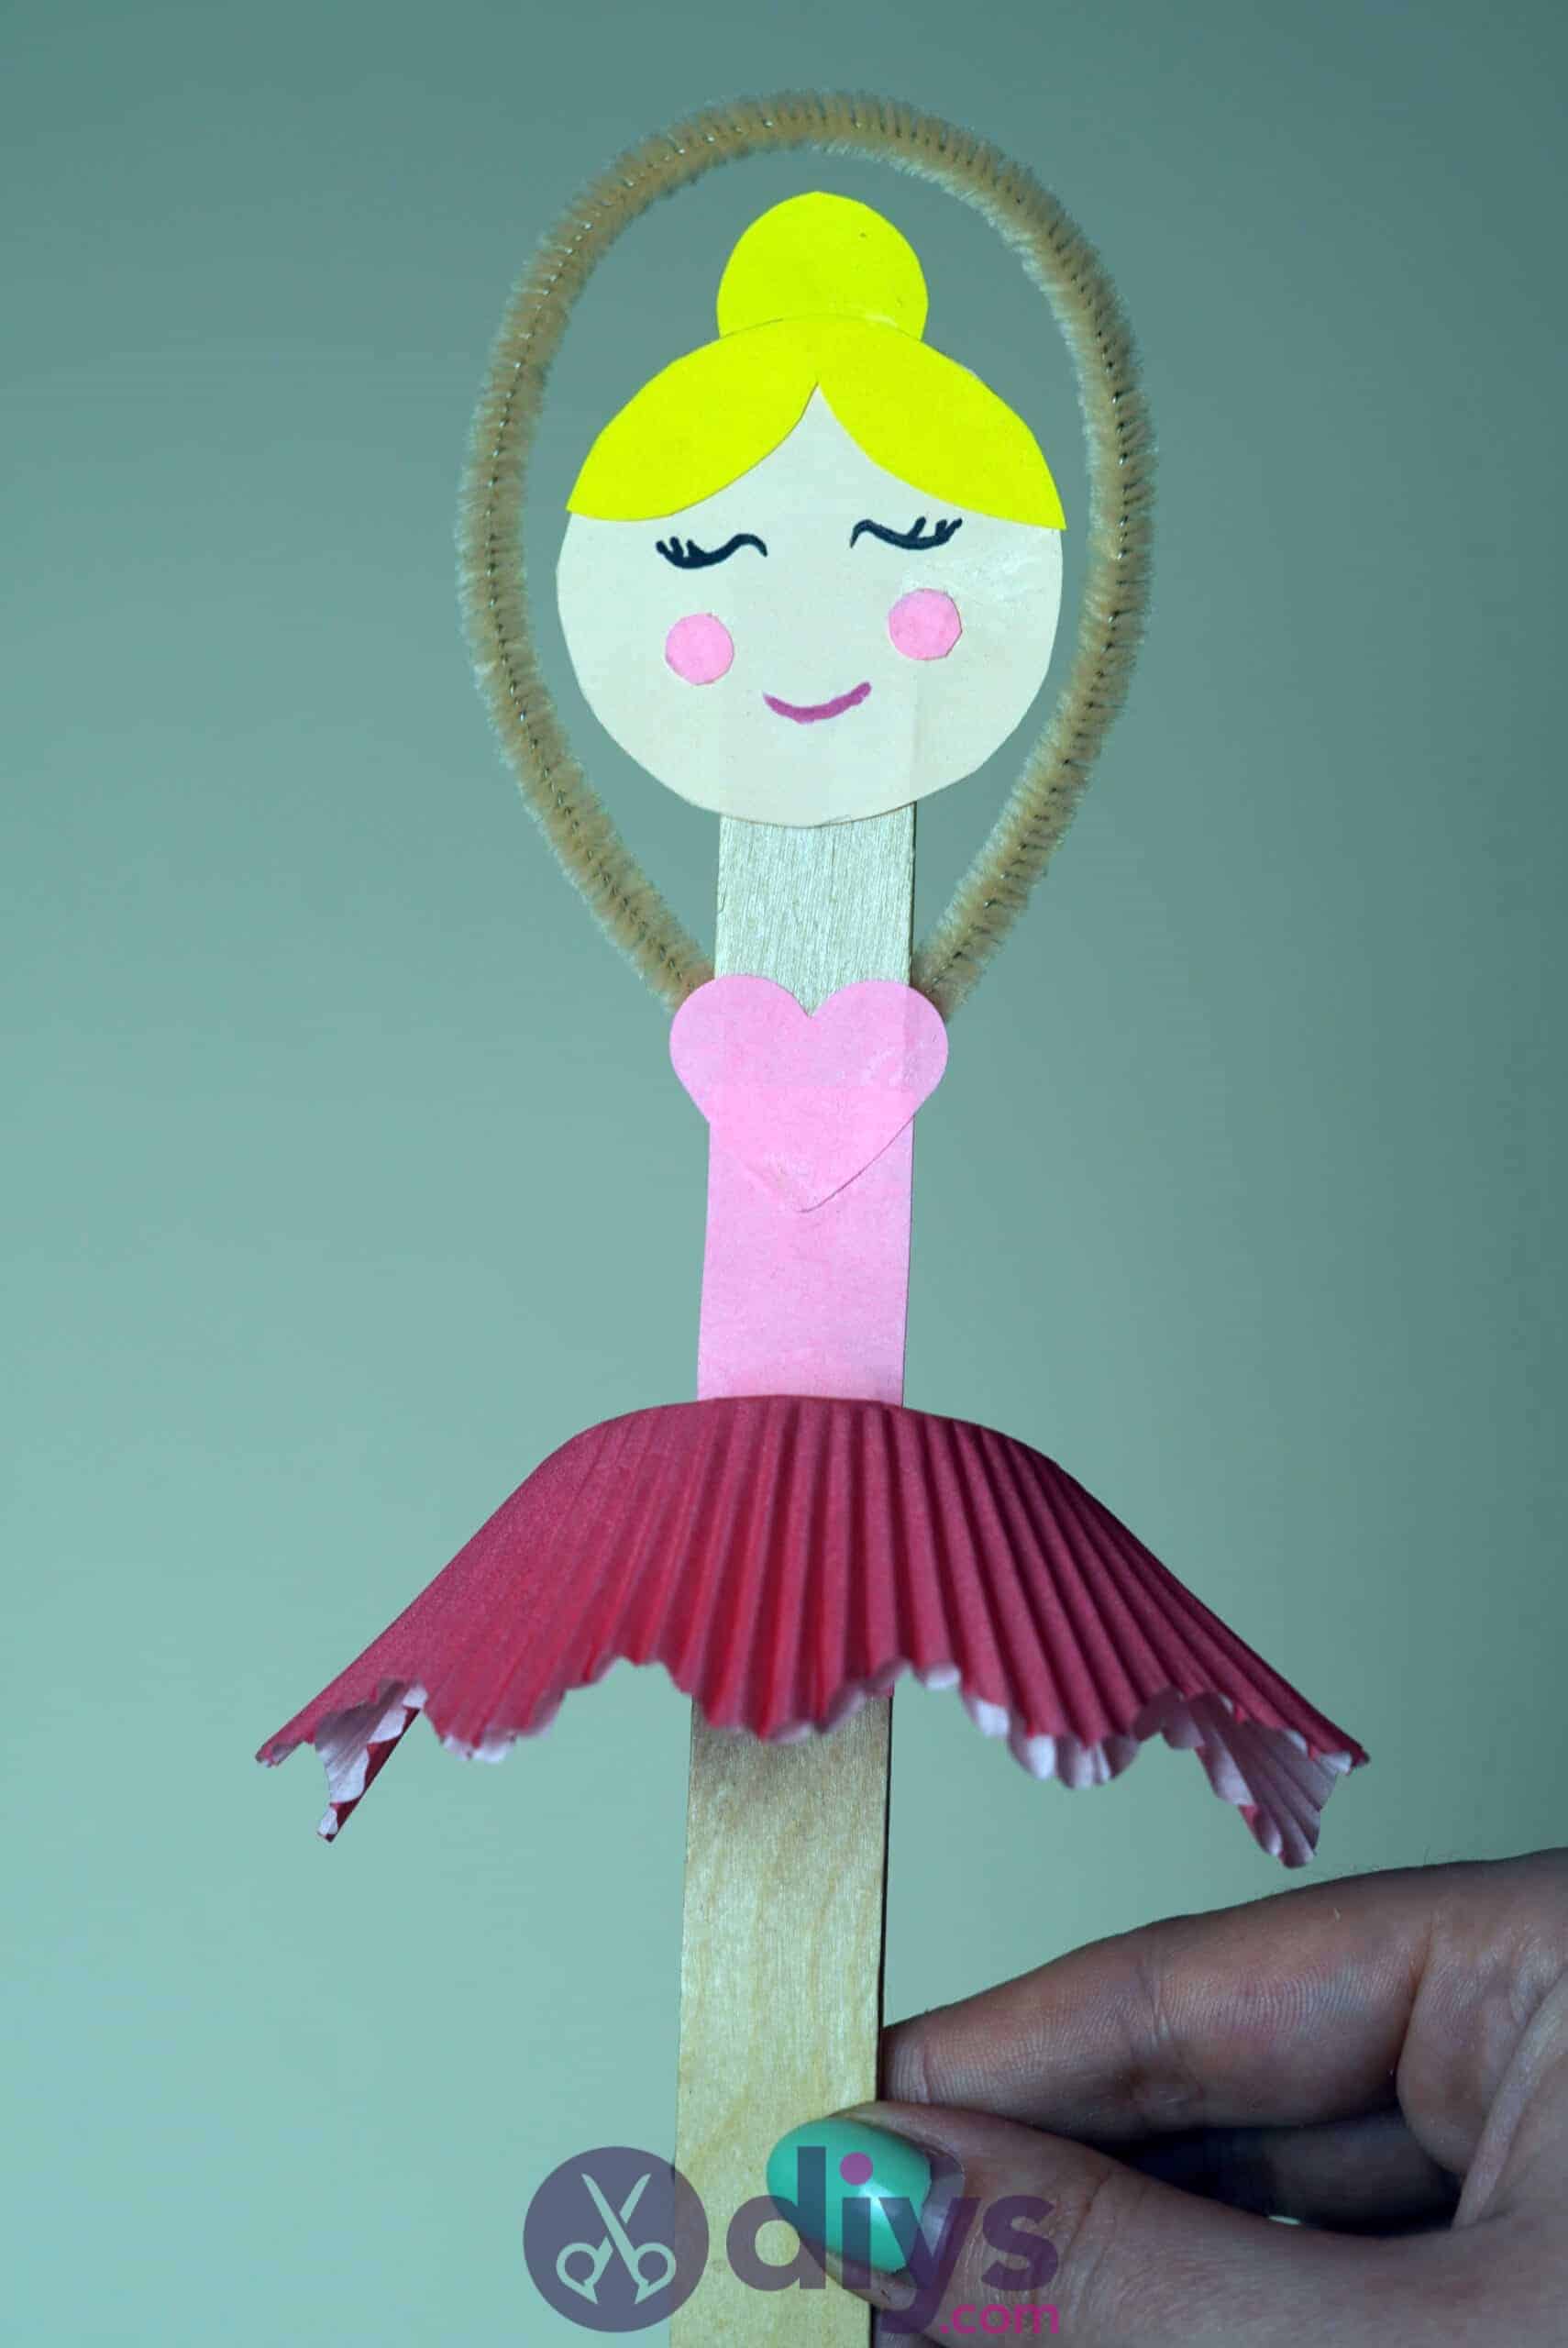
Step 9:
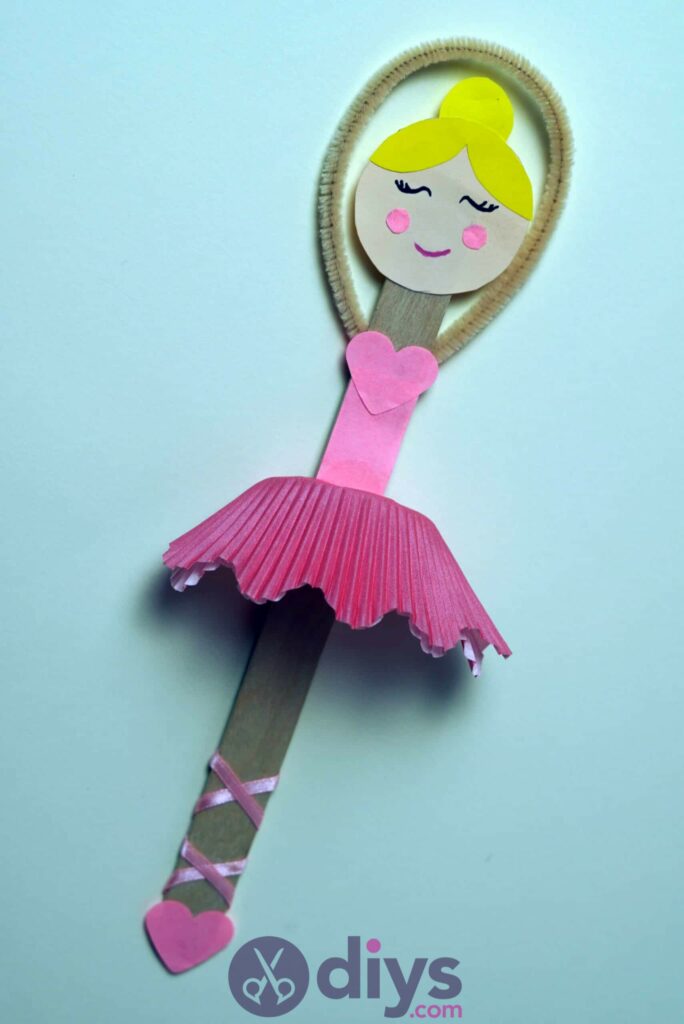
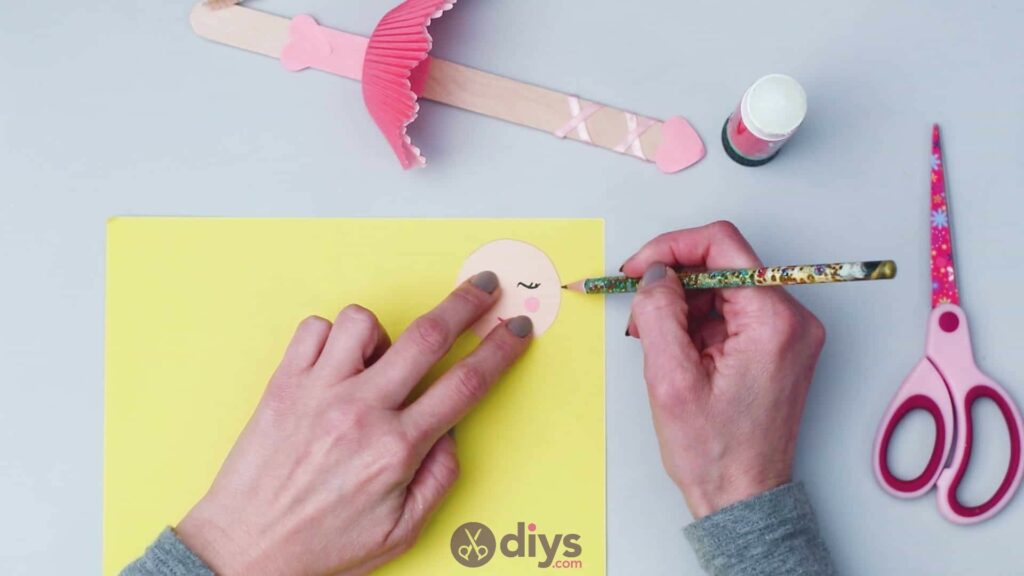
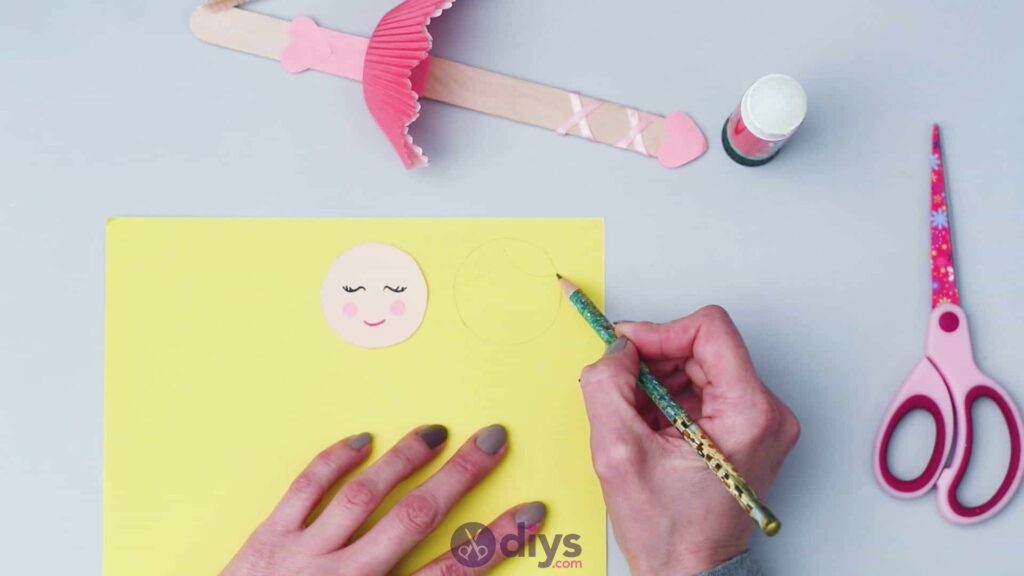
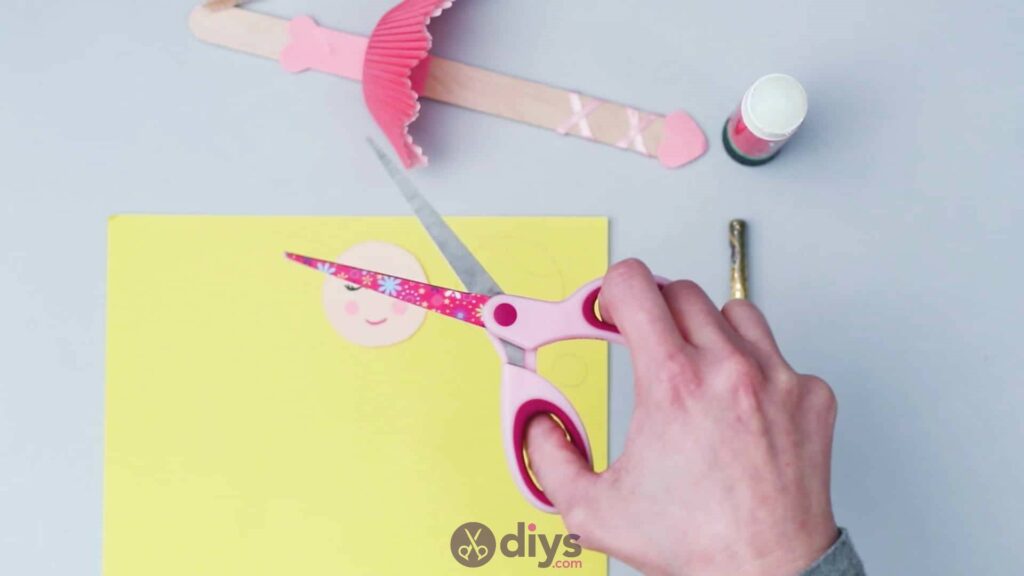
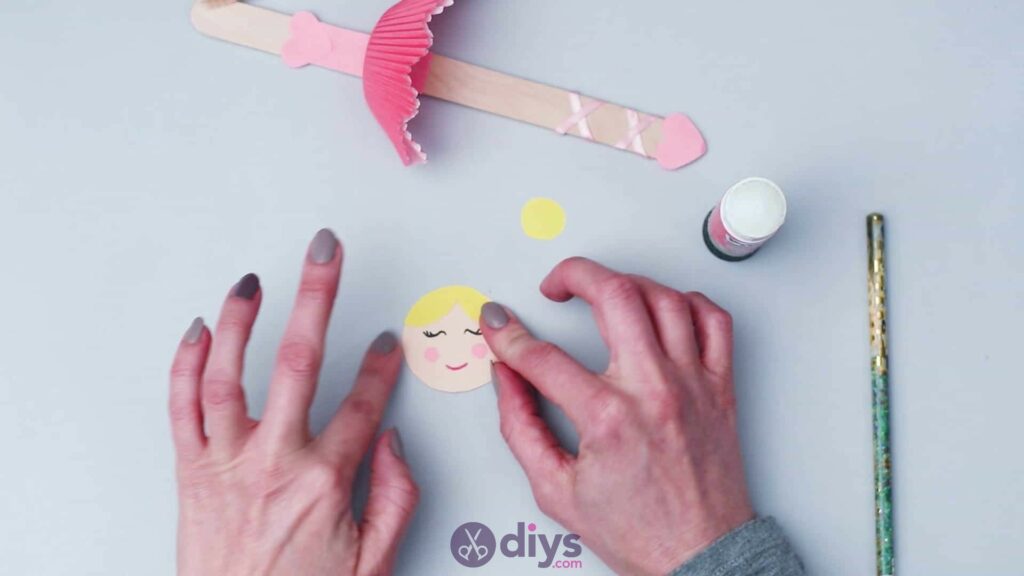
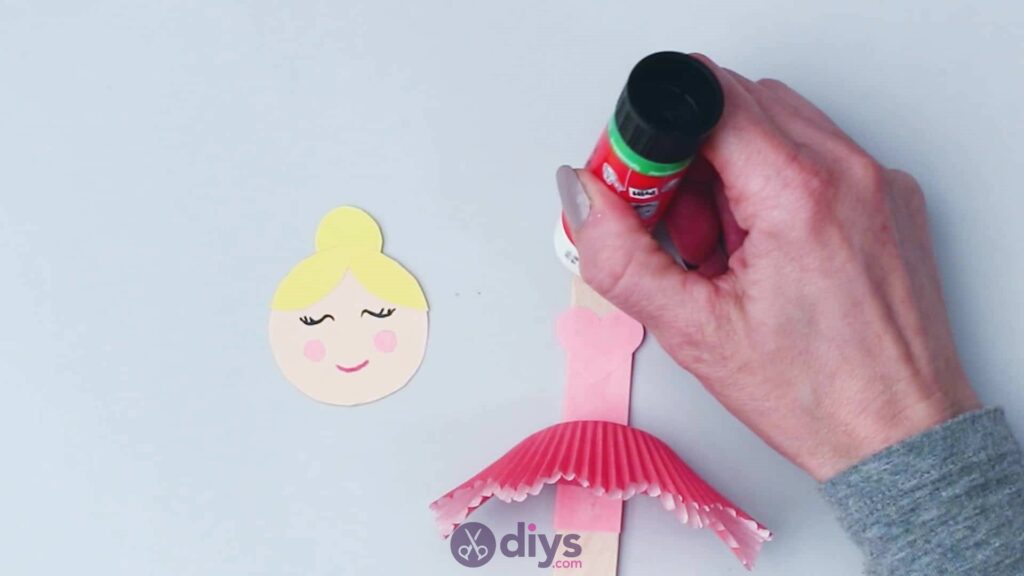
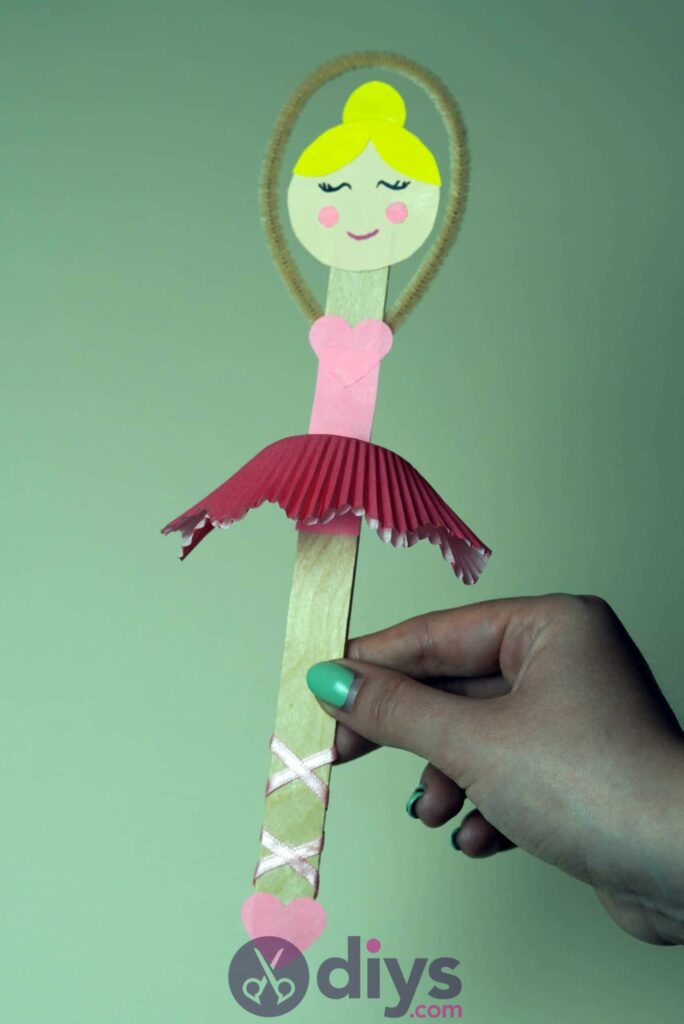
Place your cut out paper face on your yellow paper and use your pencil to trace around its top half, giving you a rounded semi-circle shape. Move the paper face and set it aside for a moment, and then use your pencil to create the shape of swopping bangs in order to join the tips of the semi-circle you just drew. This will be the base of your ballerina’s hair, which will frame her face. Now use your pencil to draw a small circle on your yellow paper, this time about a centimetre across its diameter. This will be your ballerina’s hair bun. Use your scissors to cut these pieces out. Apply glue to the base of your base hair and glue it to the top from of your ballerina’s head, setting it so it frames just about her eyes. Then apply glue to the bottom half of your yellow circle on the front and glue it to the top and back of the head and base hair so that the rounded top of the bun sticks out over the head like an actual hair bun. Finally, apply glue to the top end of your popsicle stick, above the pink bodice, and then stick your head down there however you think looks best.

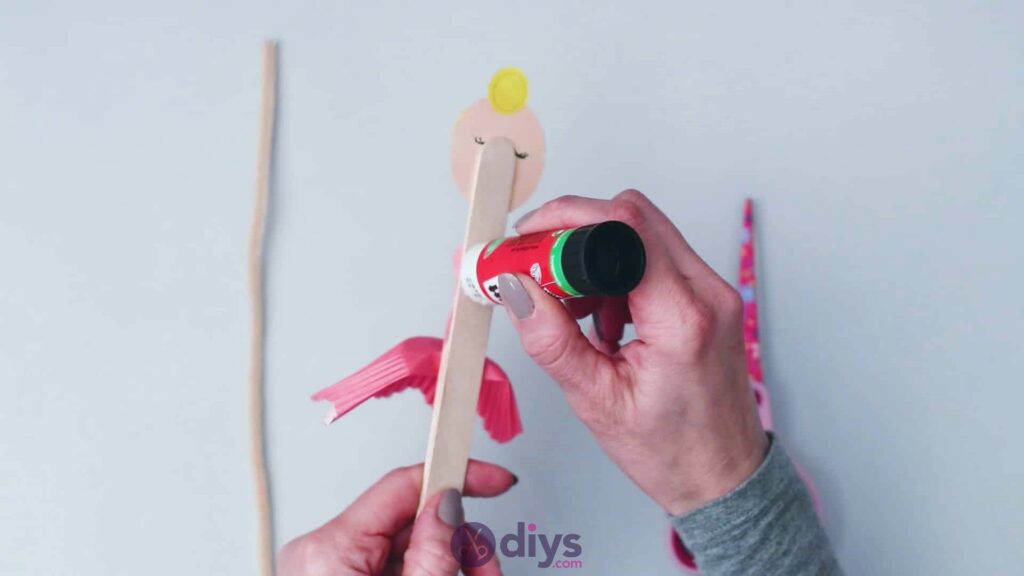
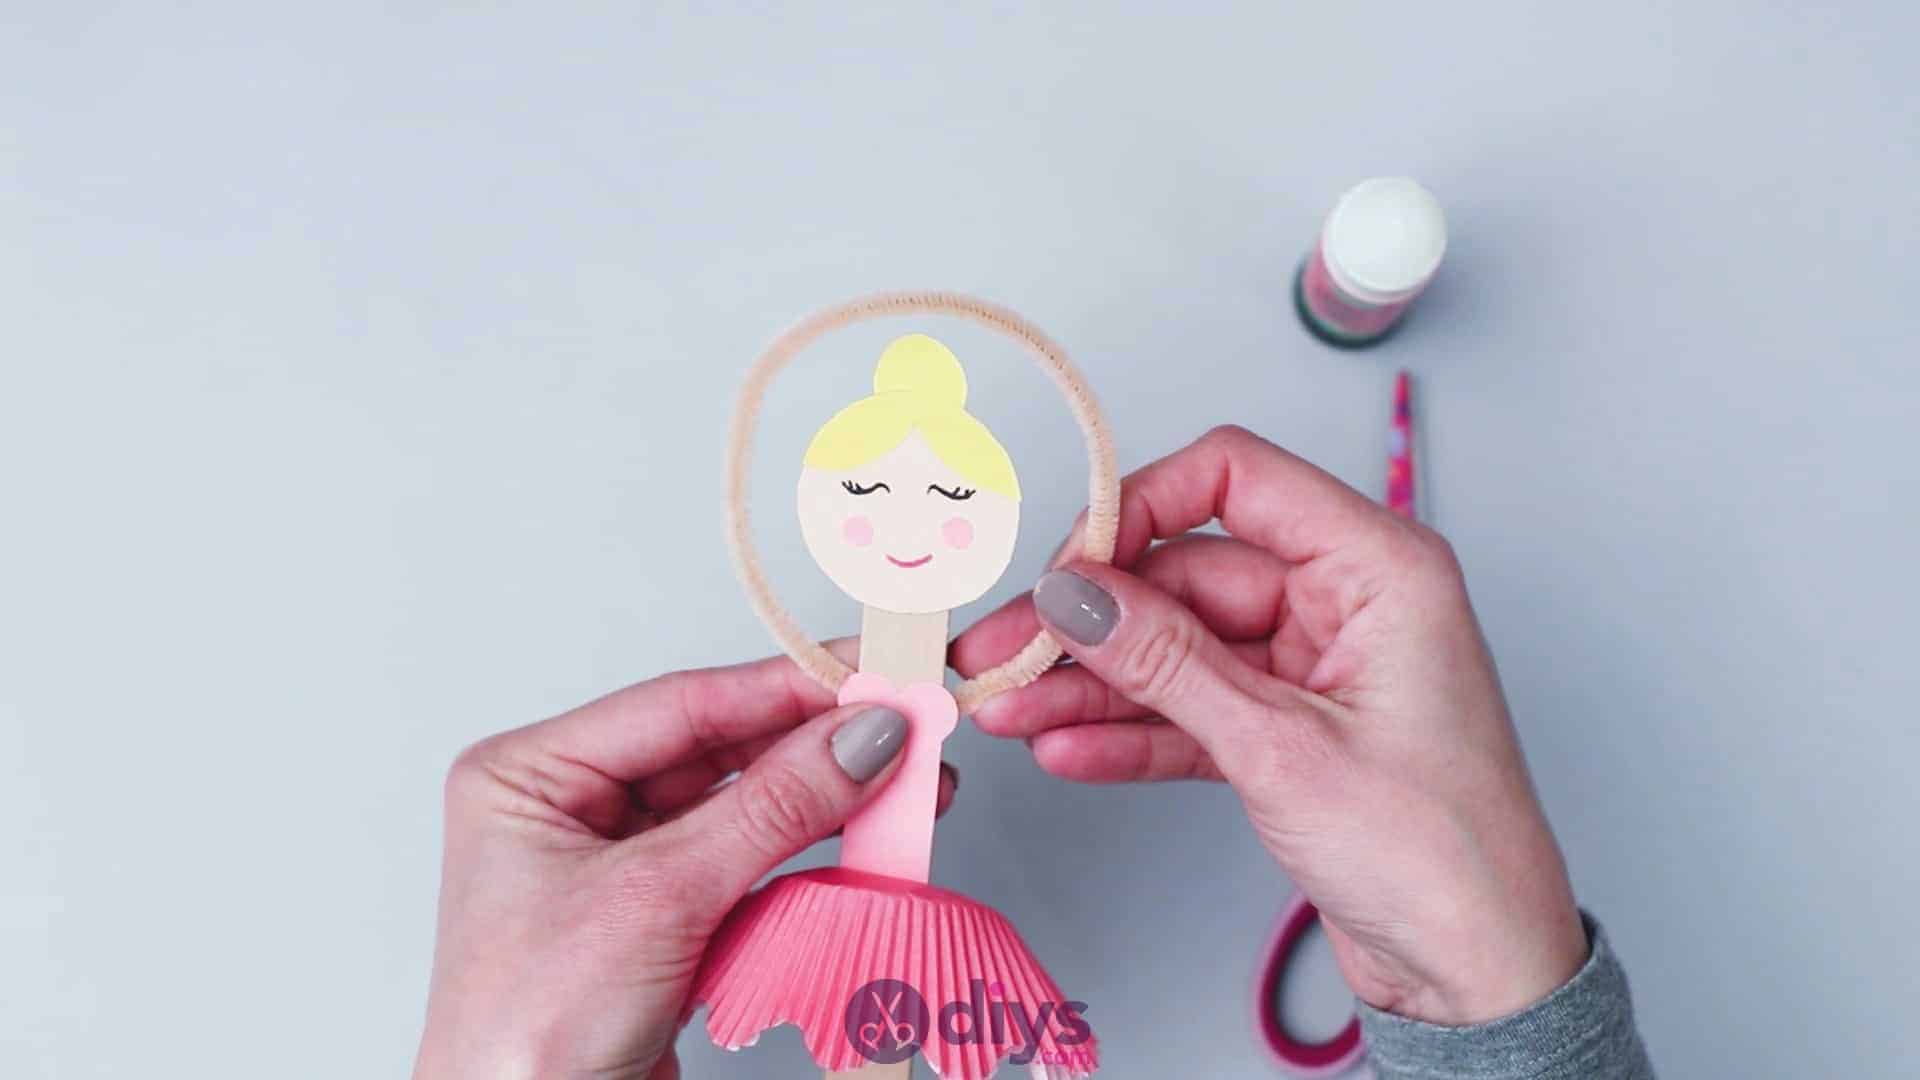
Step 10:
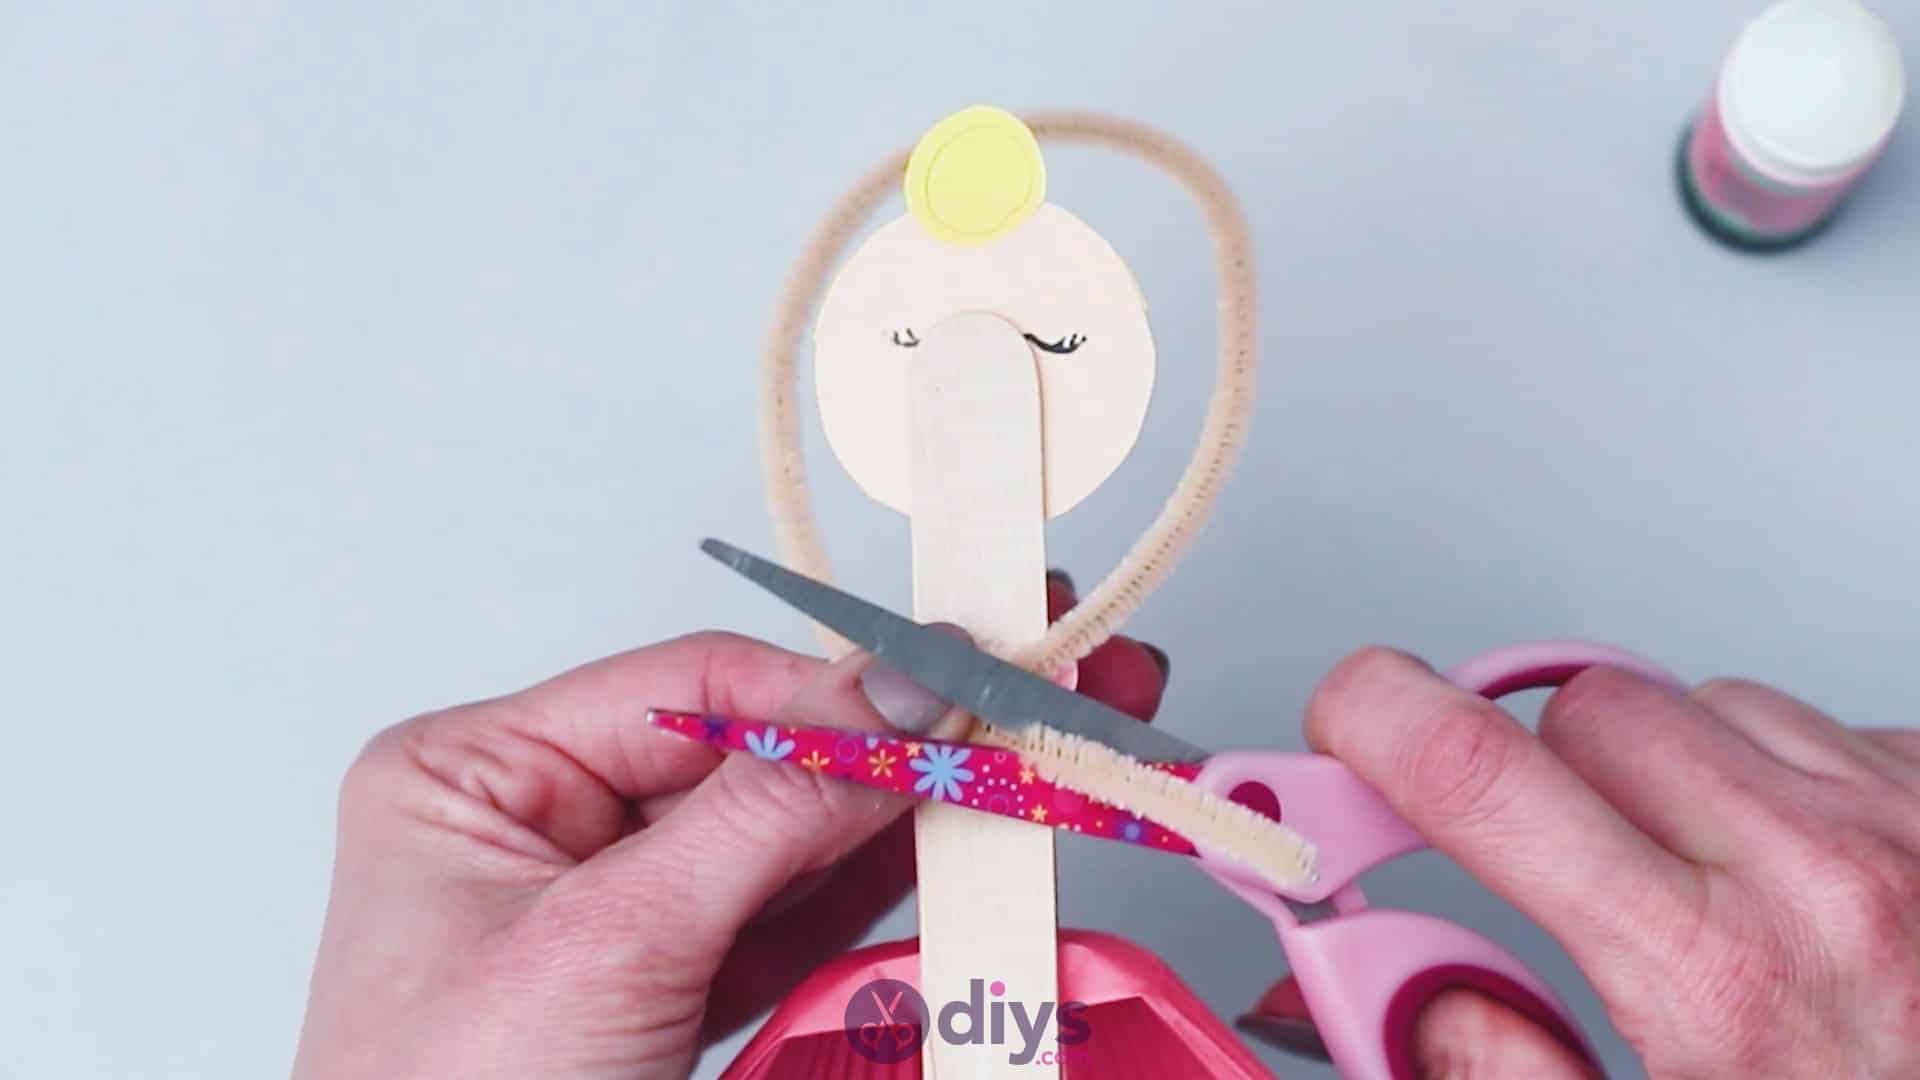
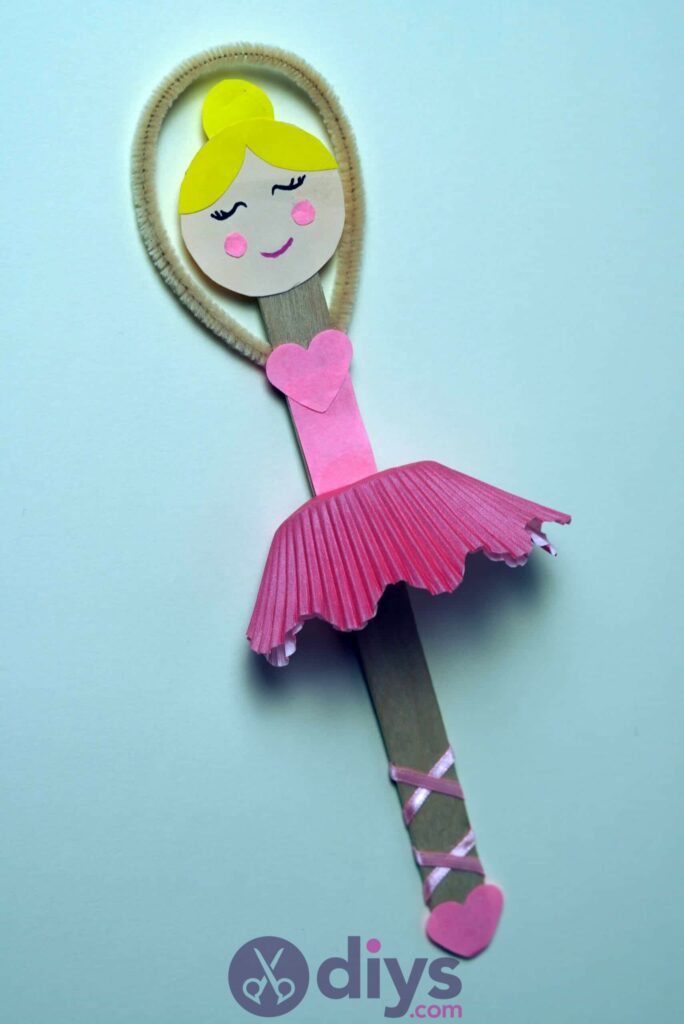
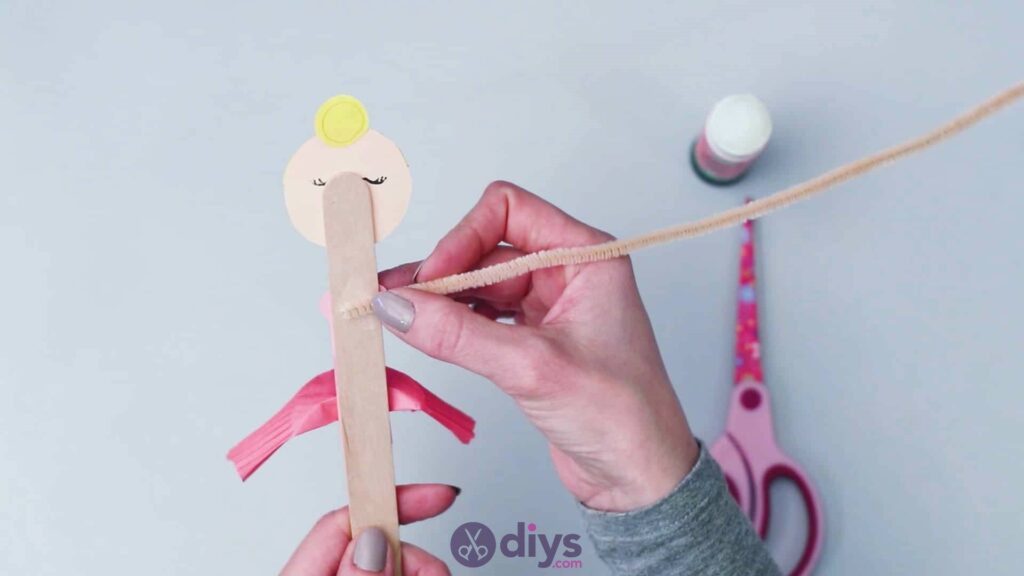
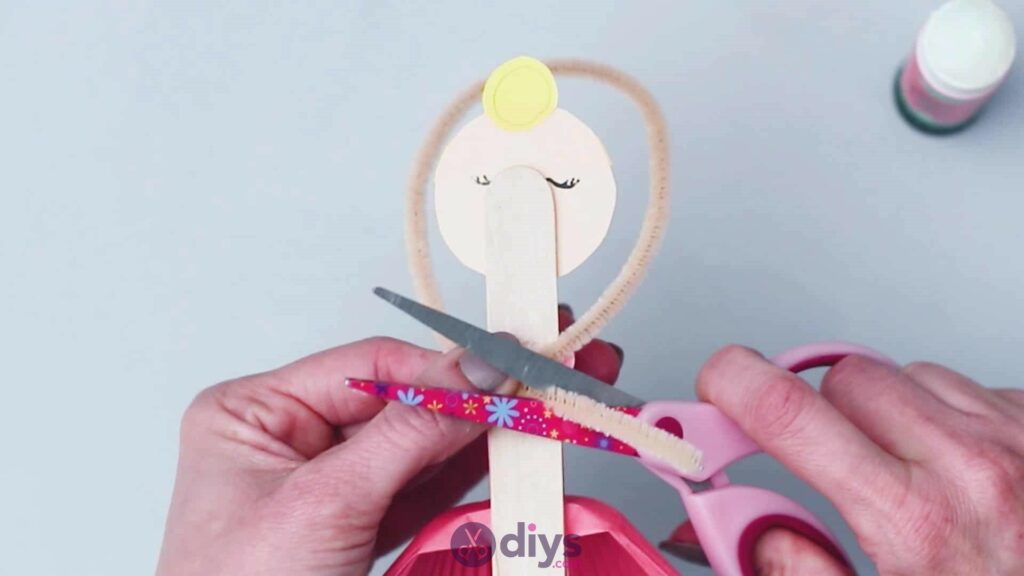
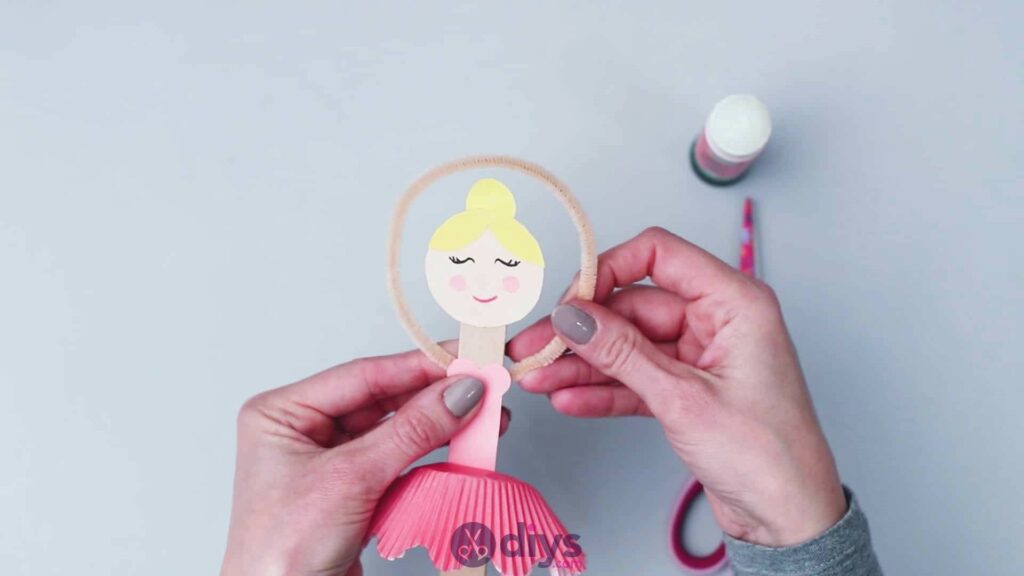
Now you’ll make your ballerina’s arms. Turn the popsicle stick over and apply glue to the back, about even to where your pink paper heart sits in the tutu’s bodice on the front. Stick one end of your nude coloured pipe cleaner down there and hold it in place with your thumb while you use your other hand to arc the pipe cleaner up and around in a circle and bring the other end to meet the first one, but now from the other side of the popsicle stick. If you think the size is good already, then you can just apply more glue in that same spot on the stick and glue your second end down to finish the arms. If you’d prefer the circle to be a little smaller, however, use your scissors to trim some off the second end first and adjust your circle until it’s the right size, and then glue your second end down. Your ballerina now has her arms up in a well rounded arabesque!
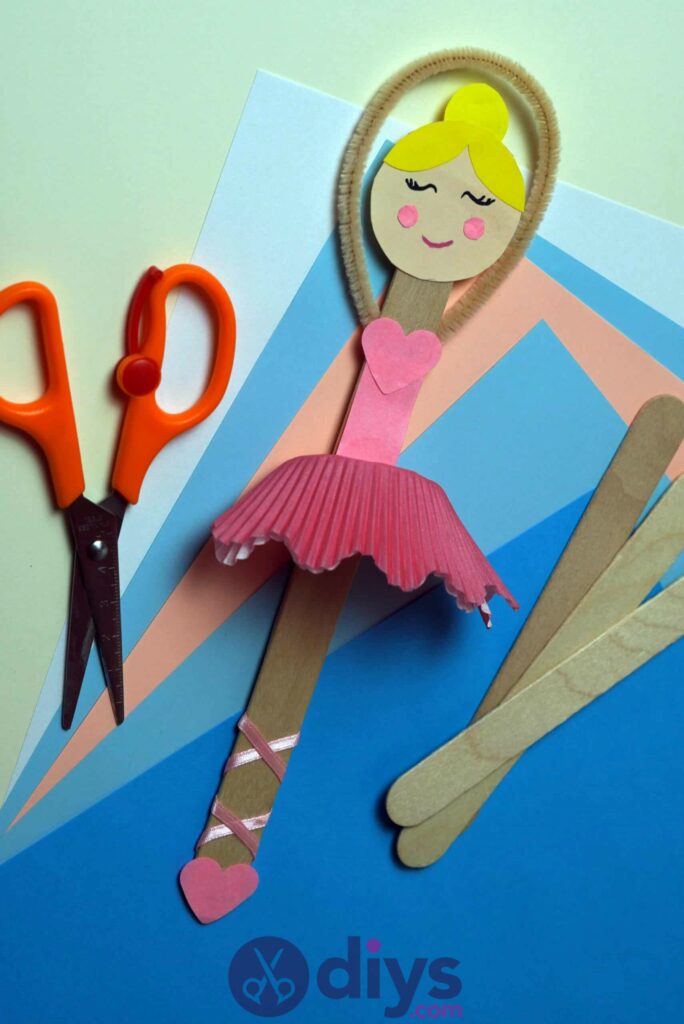
That’s really all there is to it. Of course, you can feel free to use this basic technique as a guide for the craft itself but get creative with the colours and how you embellish the tutu or hair. You can even extrapolate from this idea and create another kind of dancer or character but with the same popsicle puppet idea as a base! However you decide to do it, take a look at this video tutorial to help you out along the way.