DIY Mini Wedding Gift Box
Updated on November 19, 2025
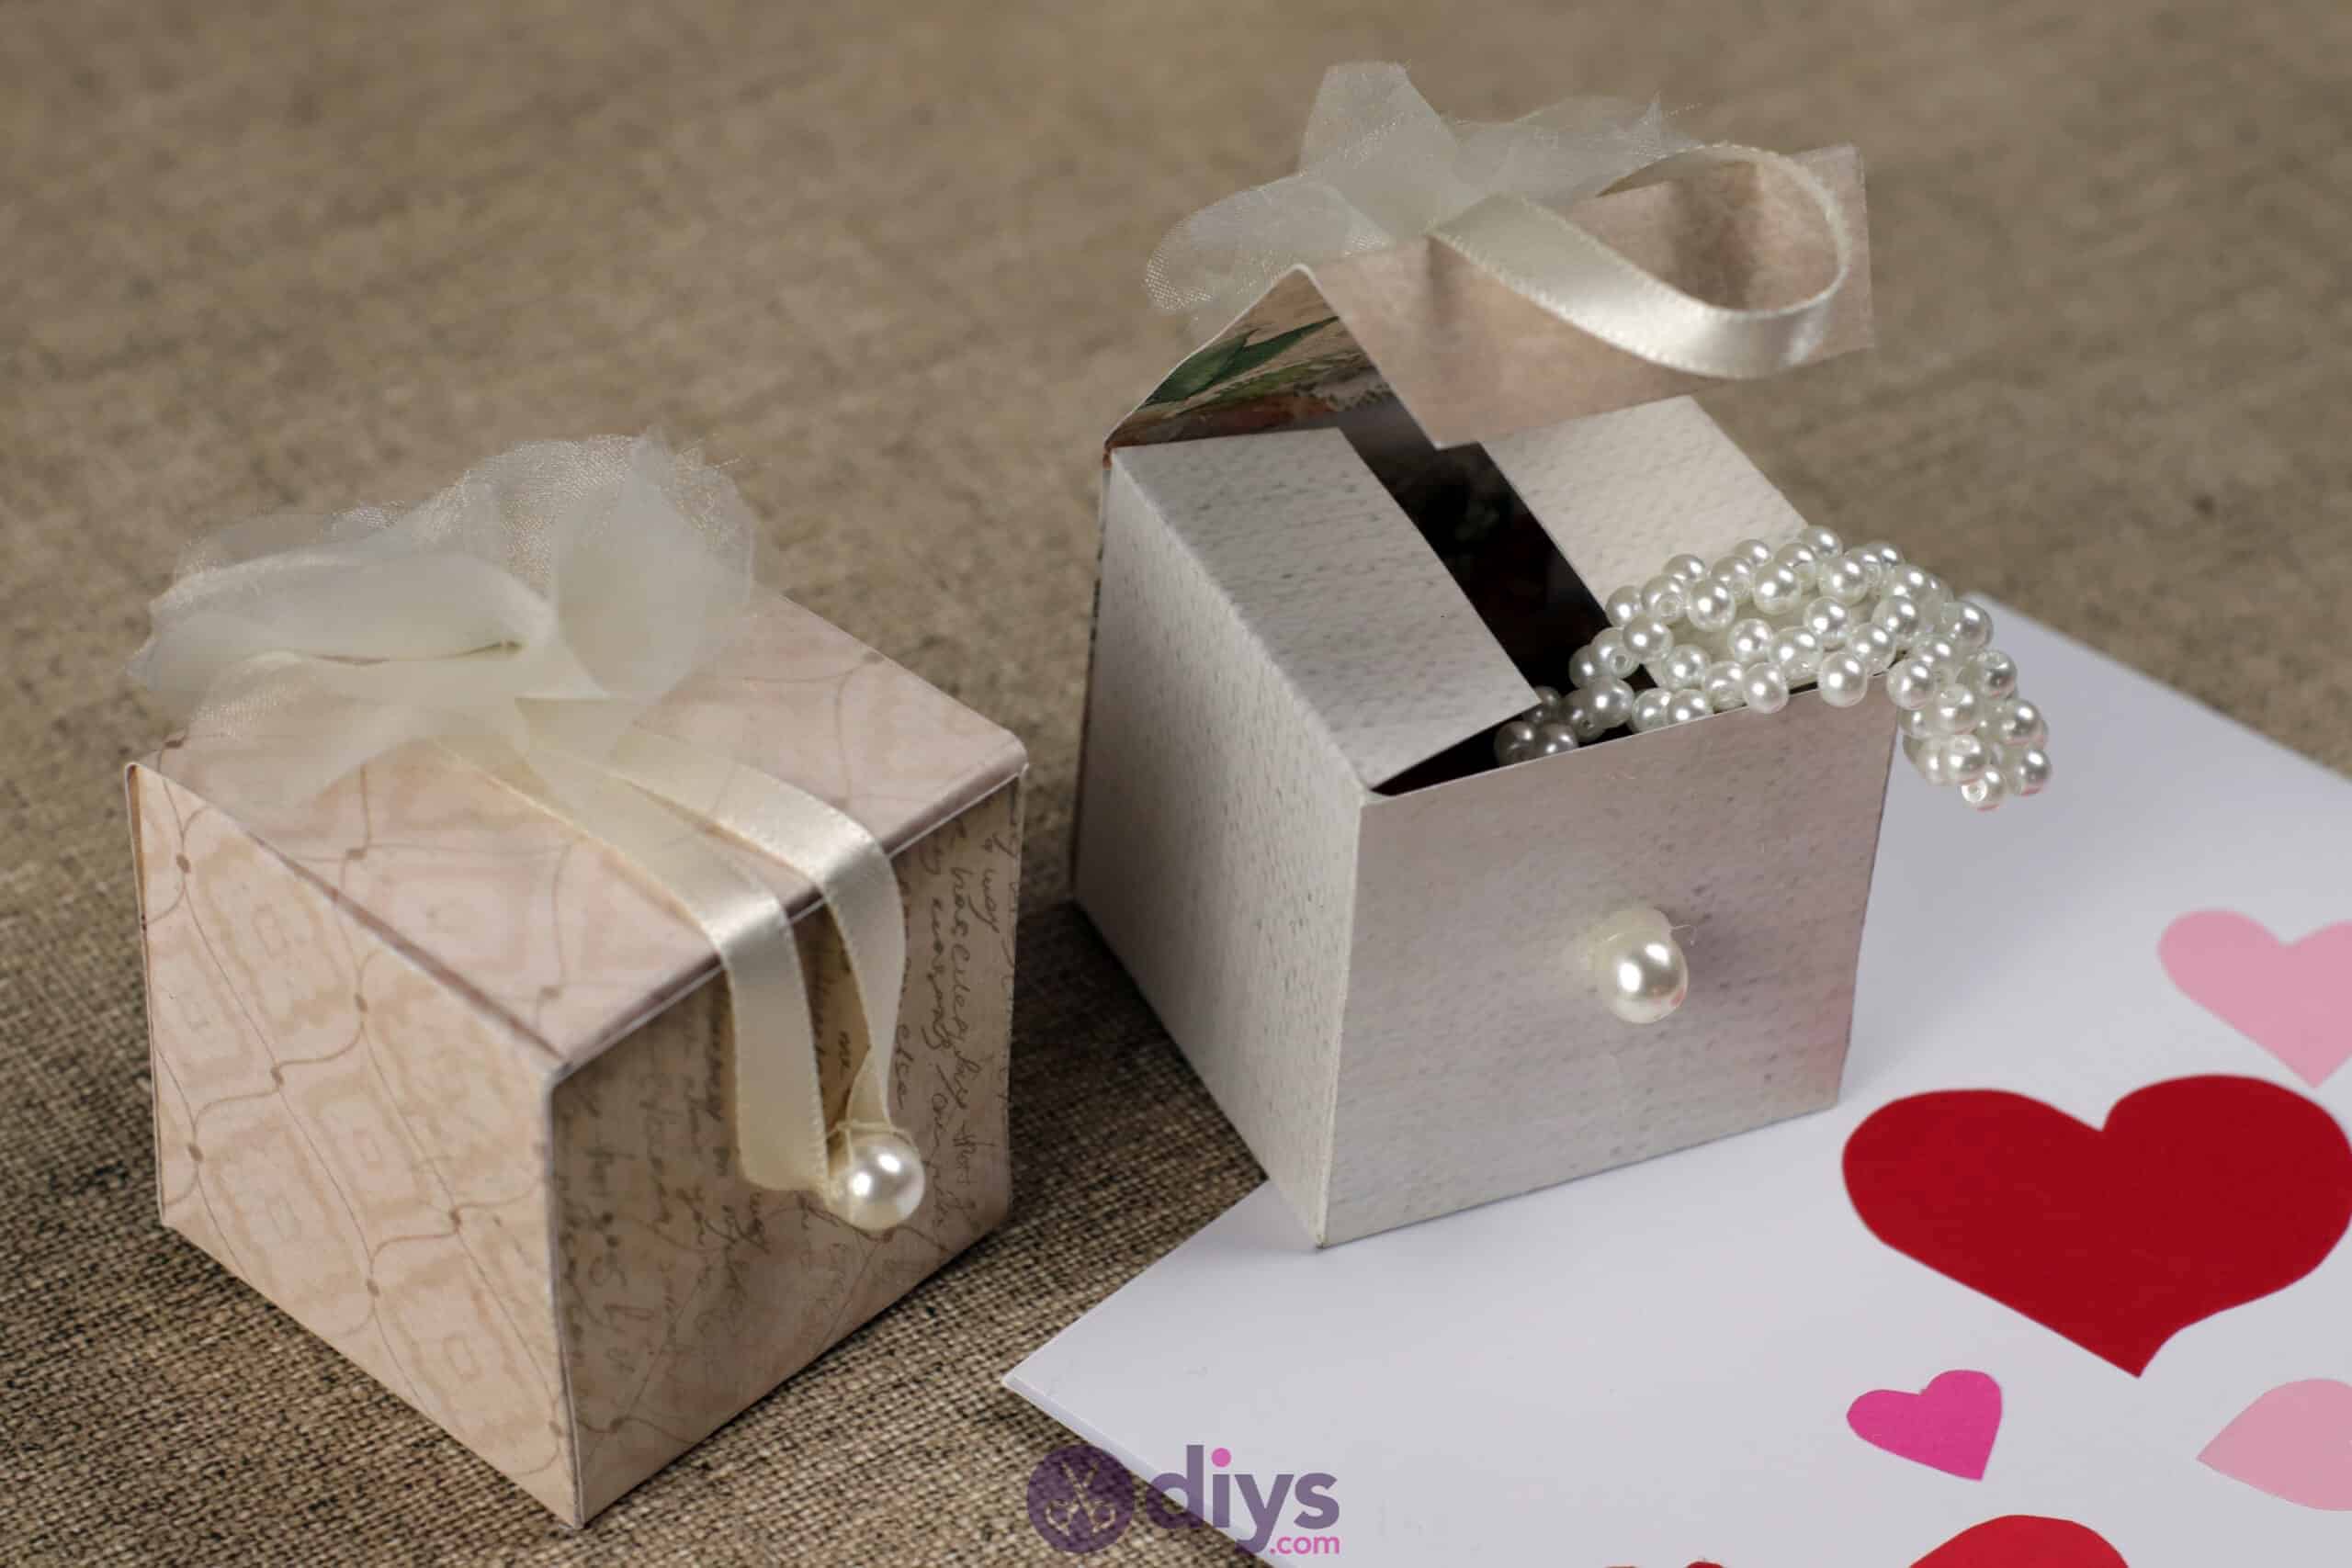


Whether it’s for your own wedding or for a friend, these DIY mini wedding boxes are so perfect for party favors or bridesmaid’s presents. Read on to find out how you can make them for yourself!
Customize them to match your wedding colors or keep them neutral to match any event. If you’d like to learn how to make these mini wedding gift boxes too, scroll through the written steps and photos below or skip to the bottom to find a full video tutorial instead.
For this project, you’ll need:
- Template (you’ll find one below)
- Decorative paper (scrapbooking paper or cardstock will do)
- Scissors
- Pencil
- Organza fabric
- Glass
- Pearl
- Needle
- Thread
- Hot glue
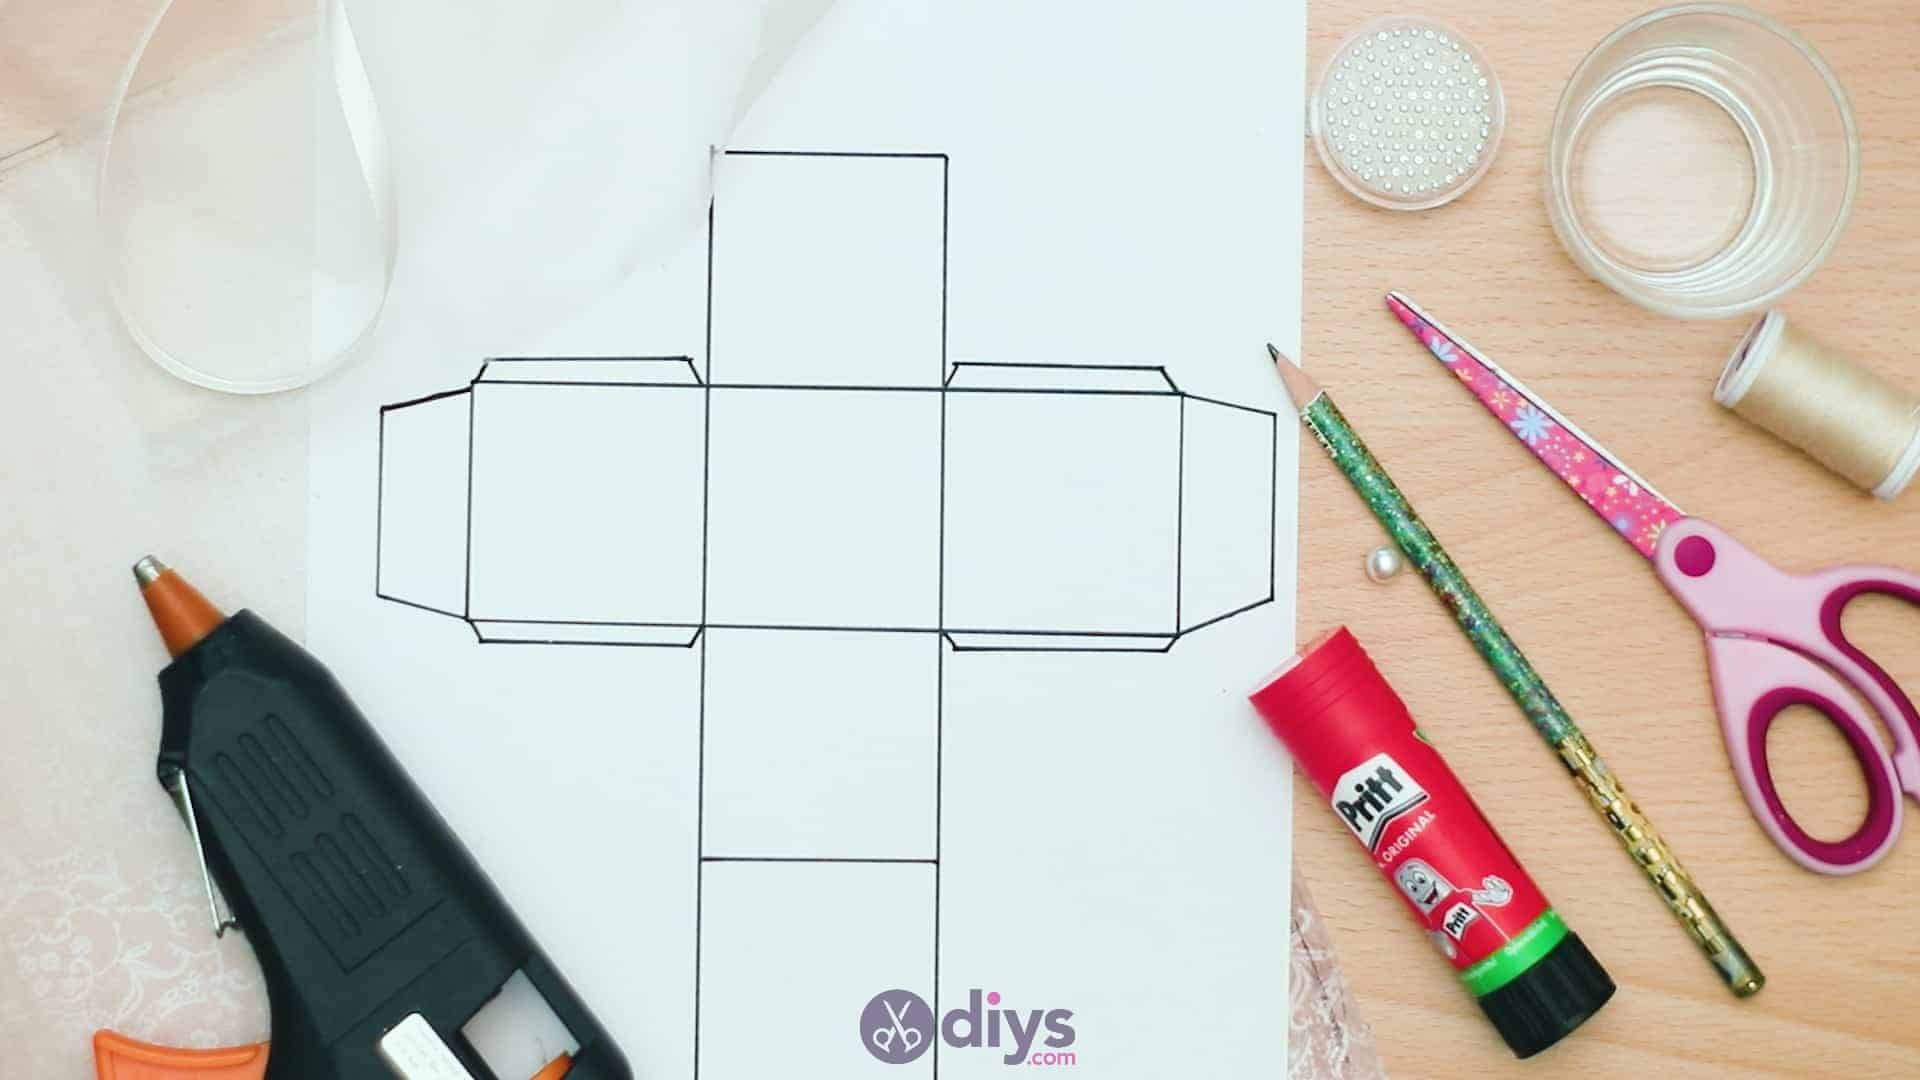
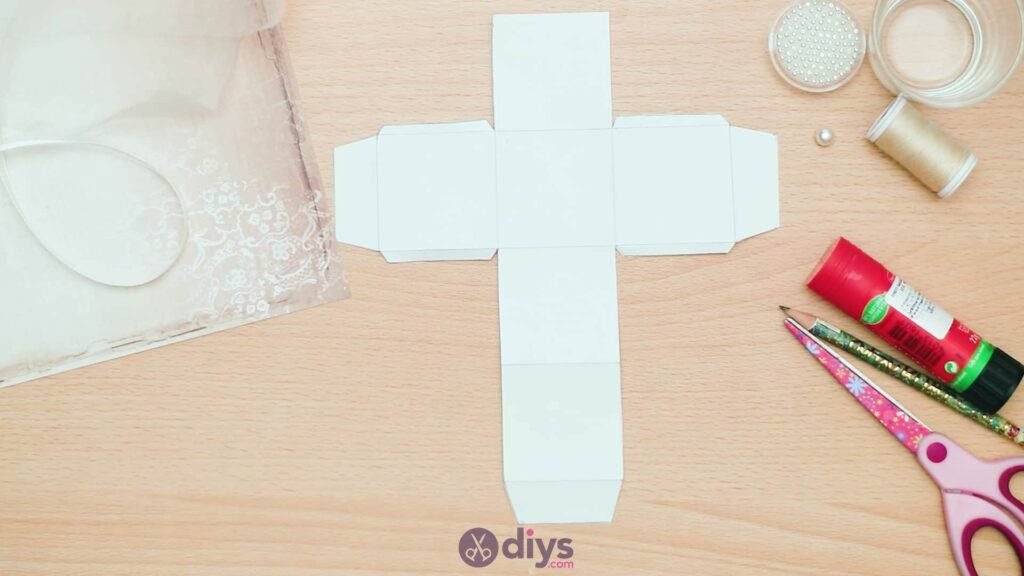
Step 1: Gather your materials!
I printed out my template beforehand, and made sure to put together everything else I needed.

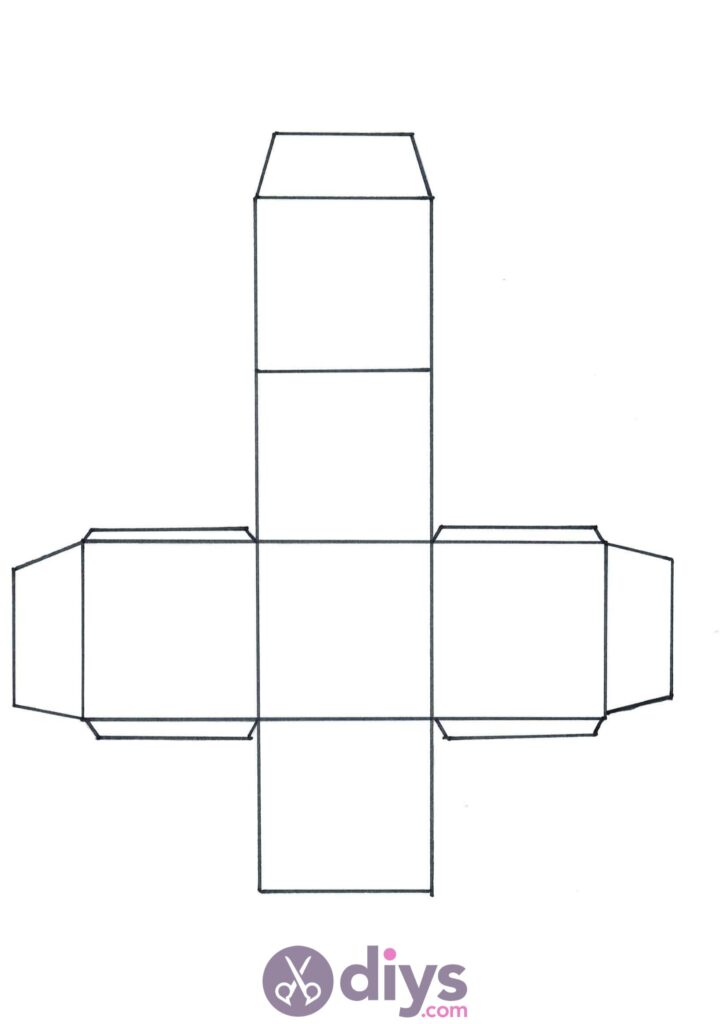
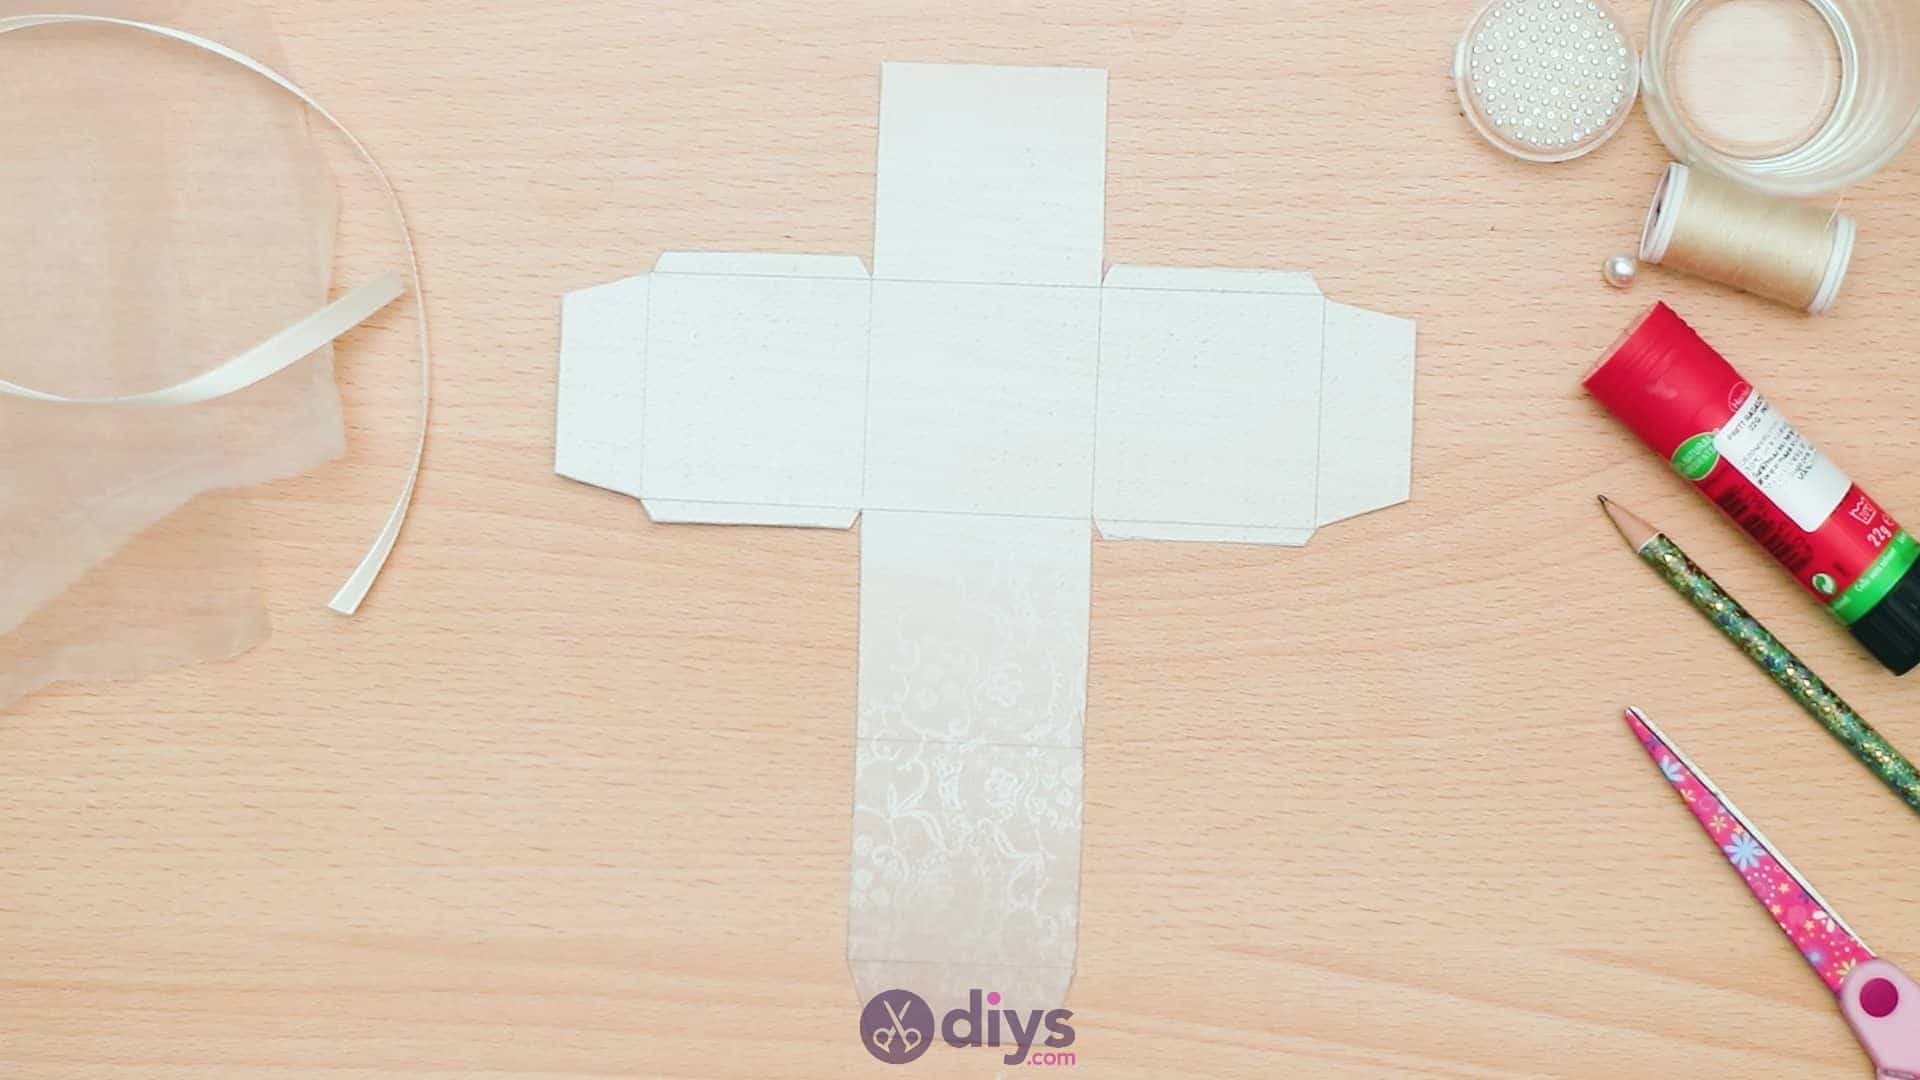
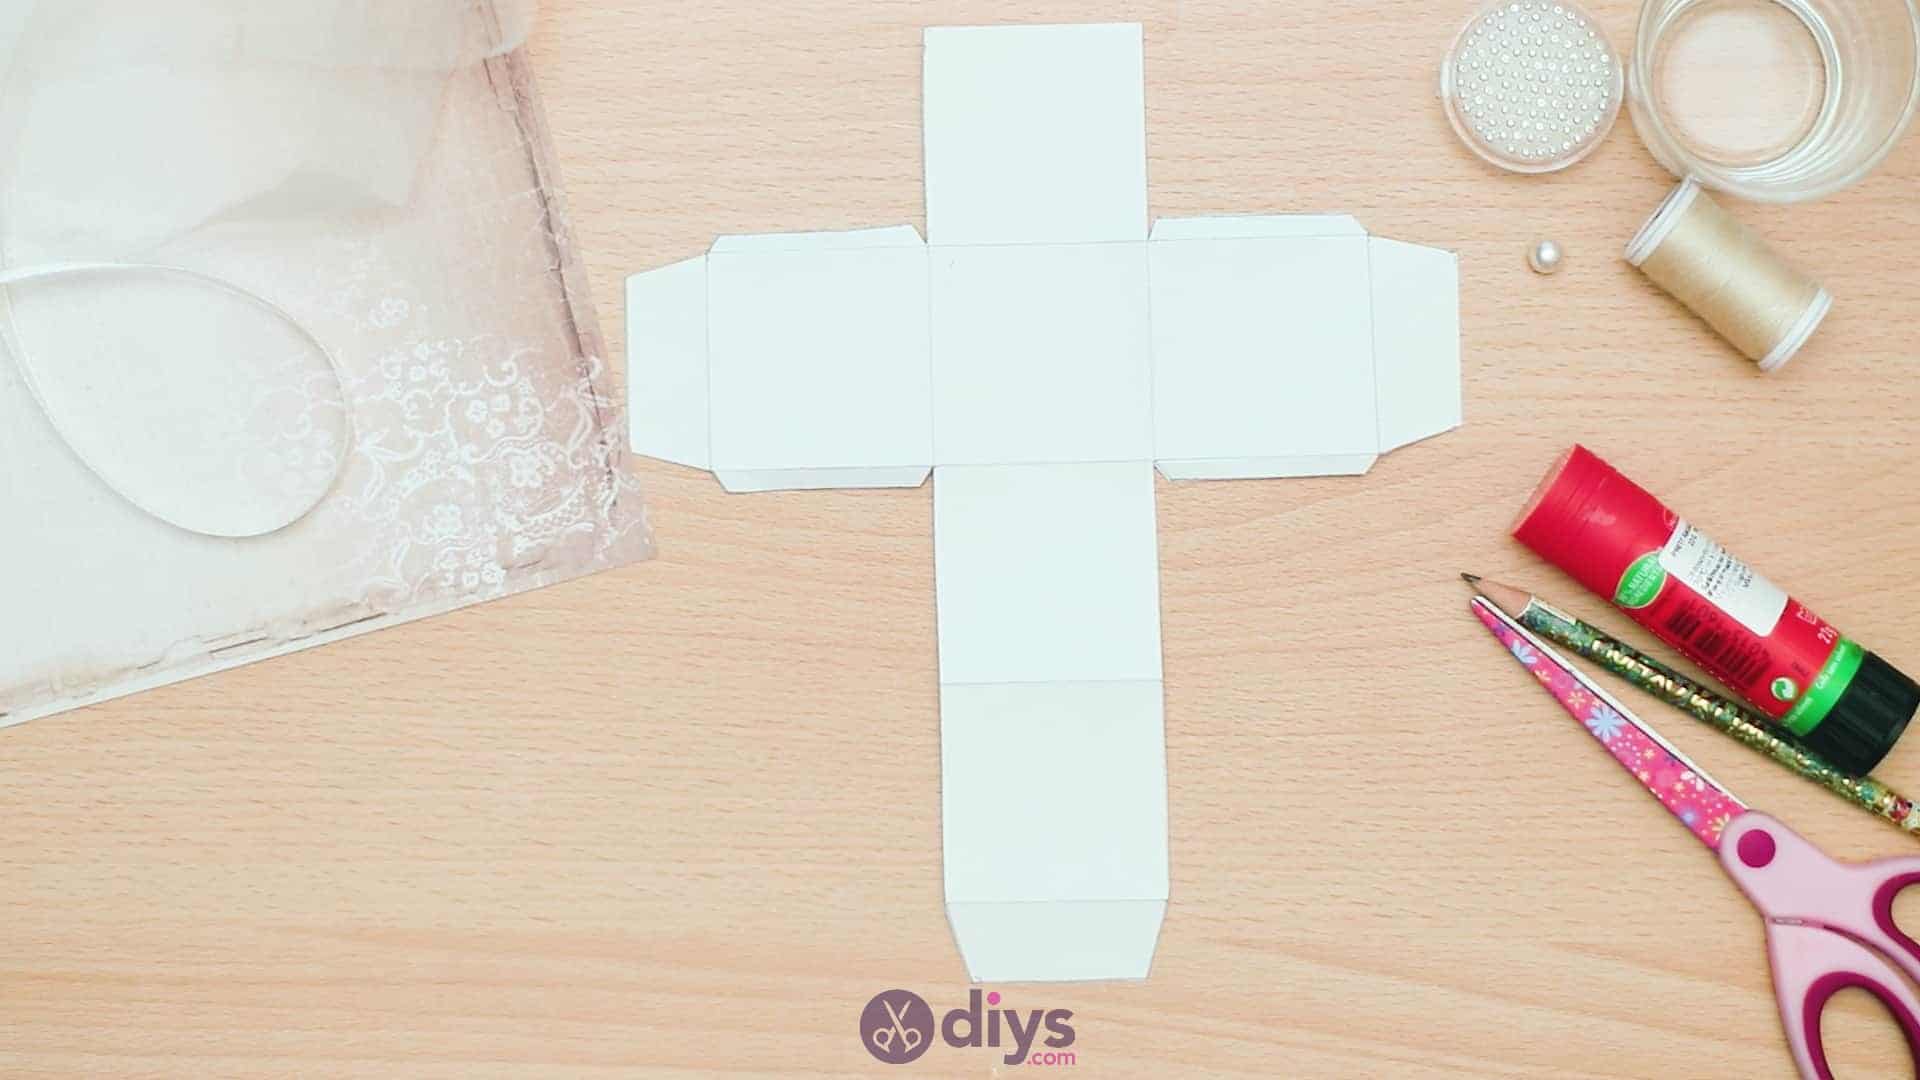
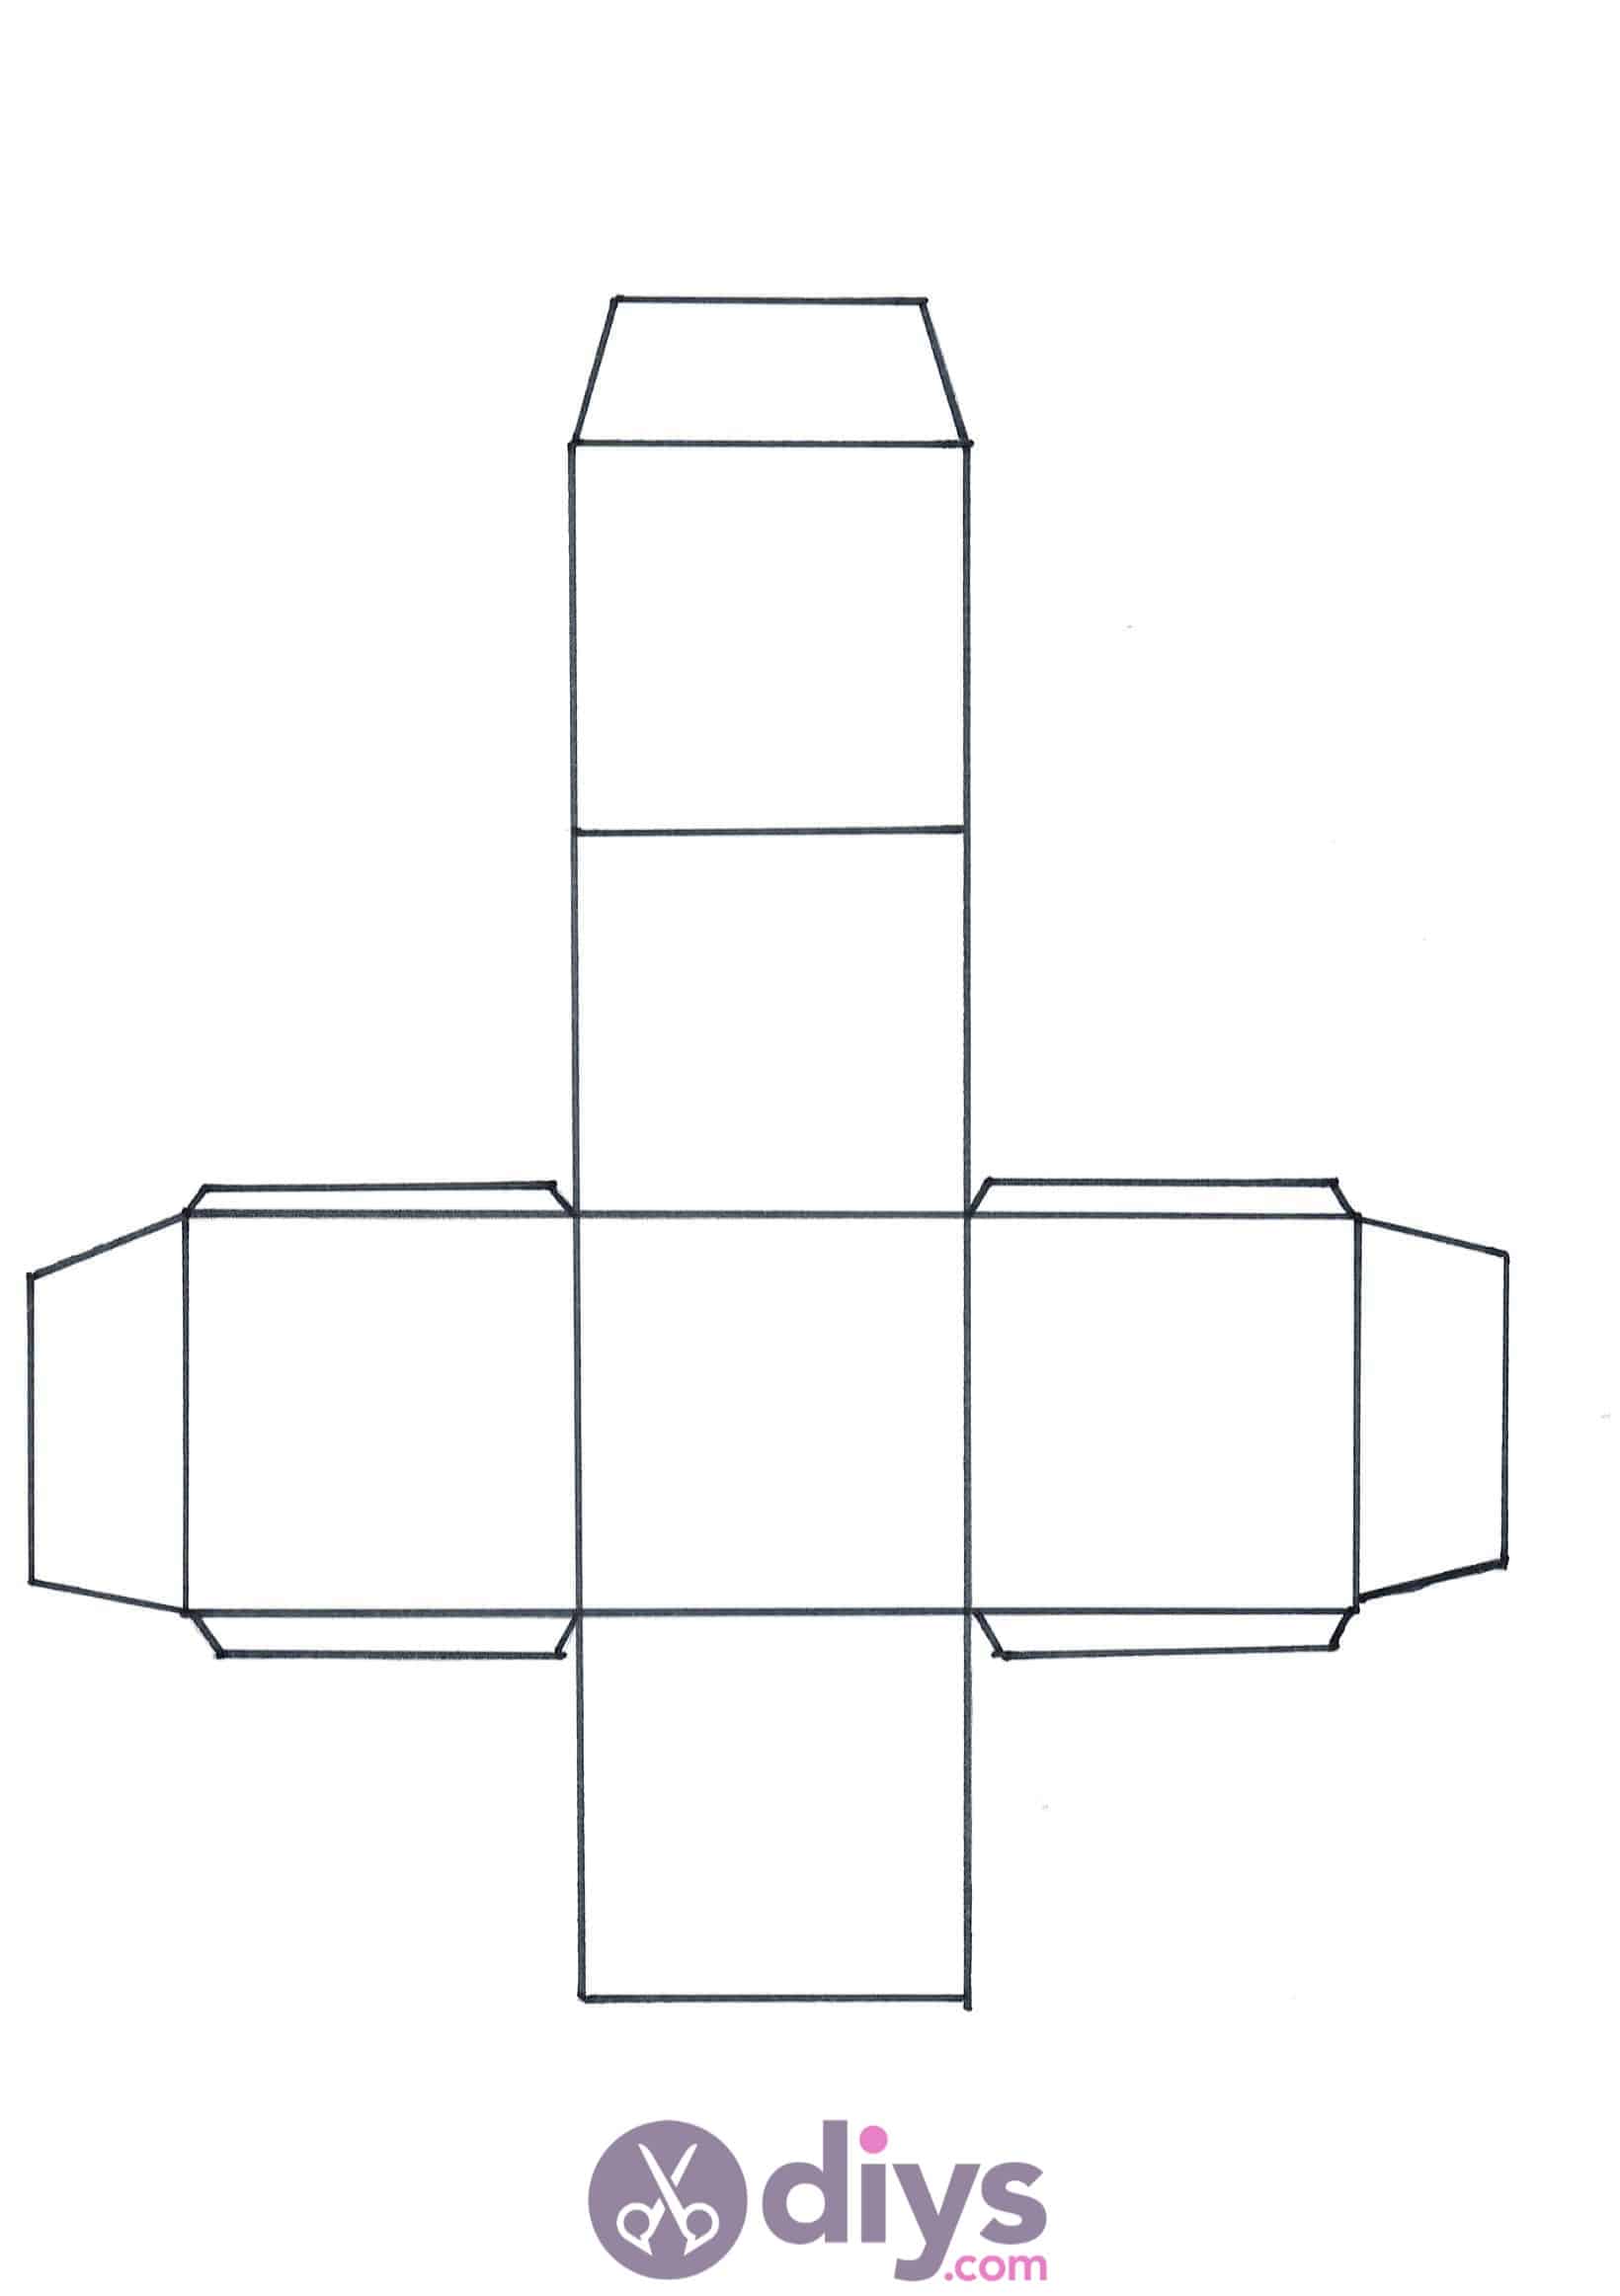
Step 2: cut your template
Cute your template out, using your scissors to cut all the way around the outside edgewithout cutting off any of the tabs on the ends and sides of the flattened box’s outline.
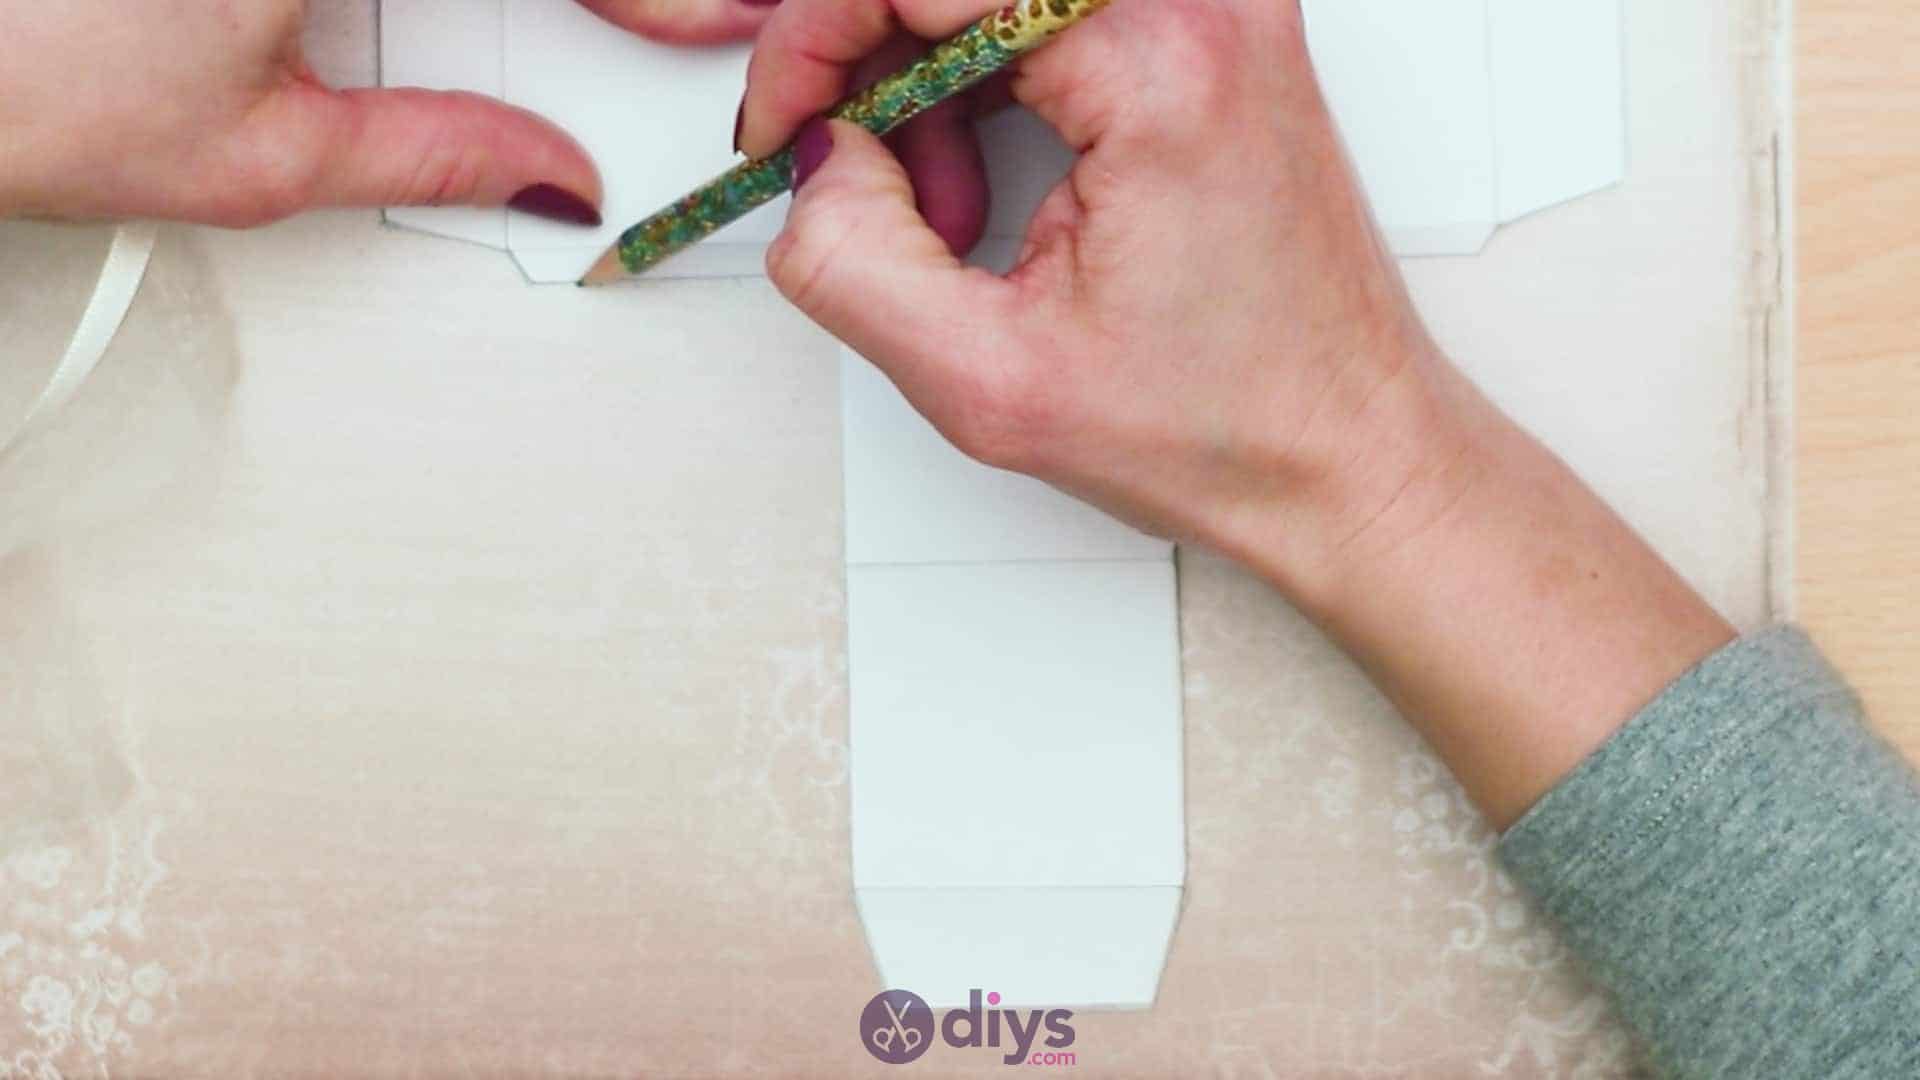
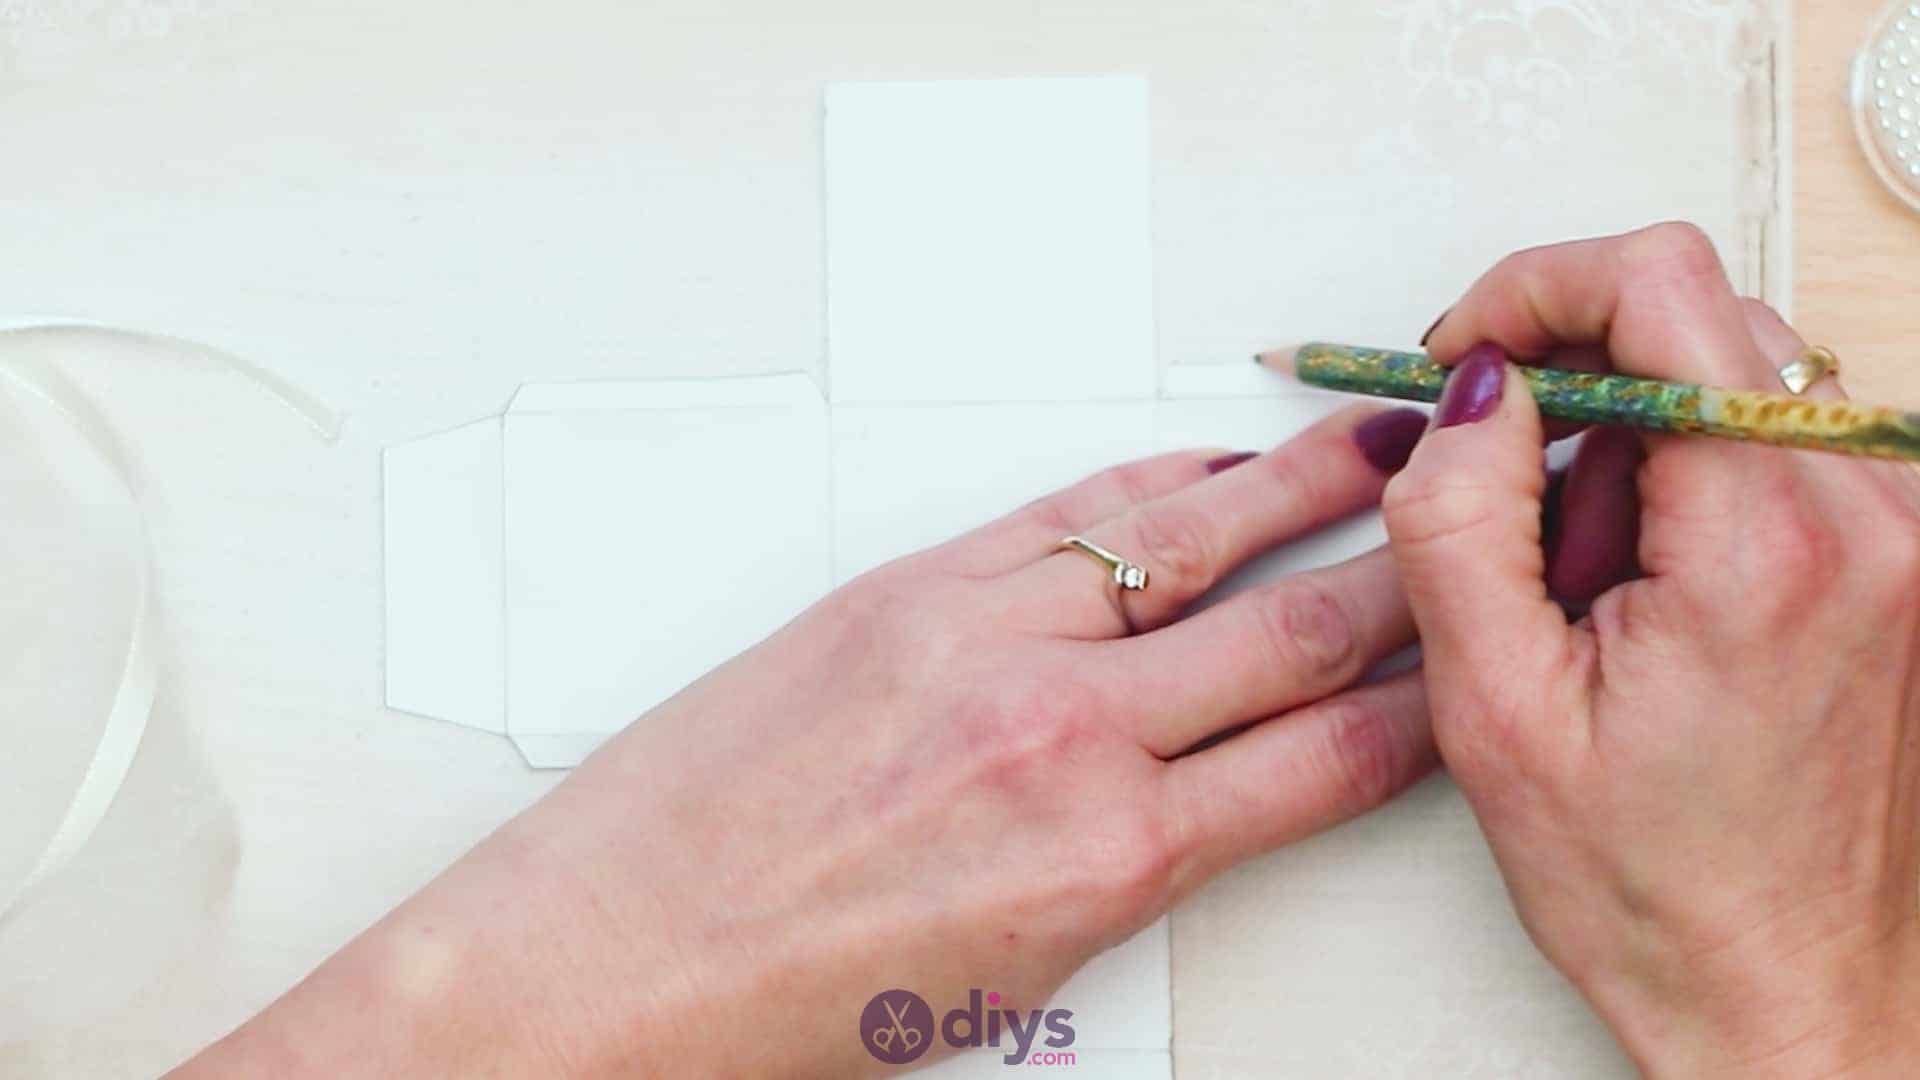
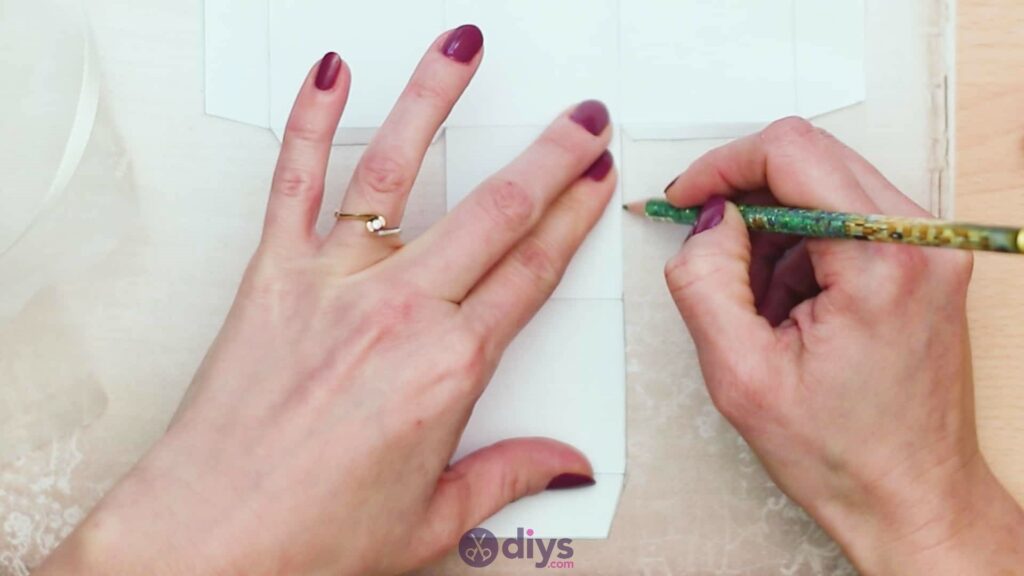
Step 3: trace the shape
Place the card, paper, or cardboard that you want to make your gift box out of flat on your table. Hold the template carefully in place and use your pencil to trace all the way around the outside of its edge onto your cardstock underneath. Don’t cut the piece out just yet!


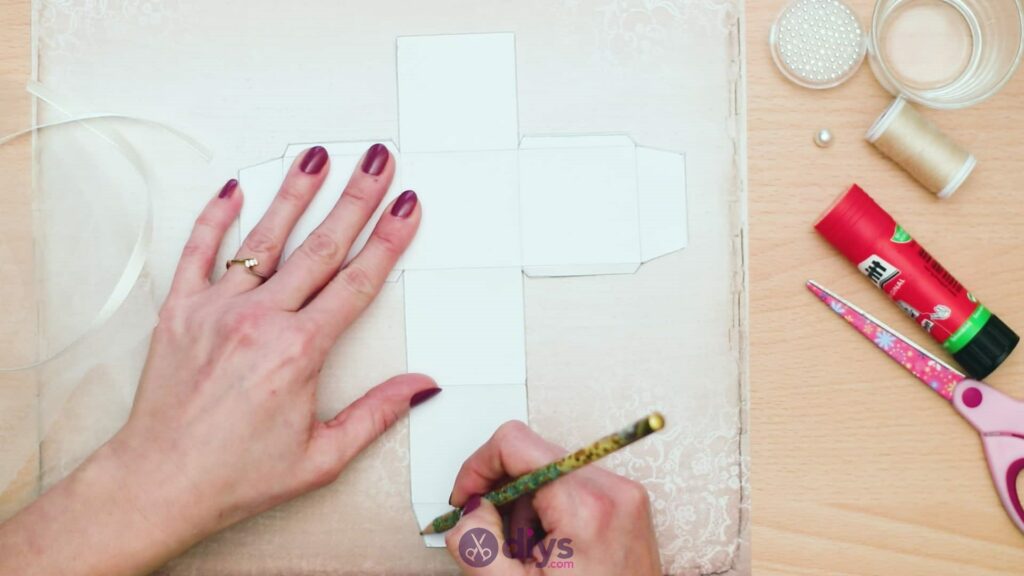
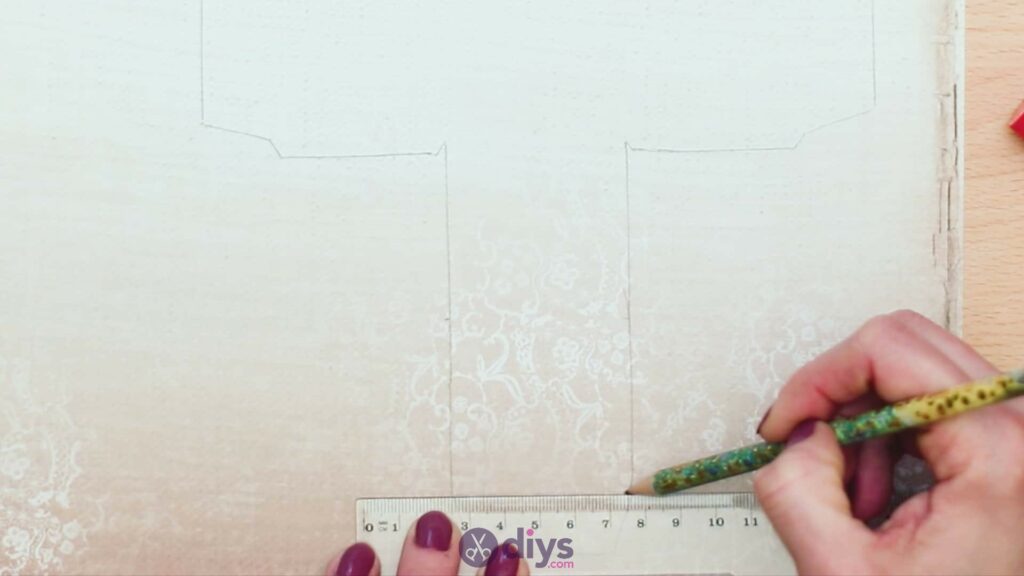
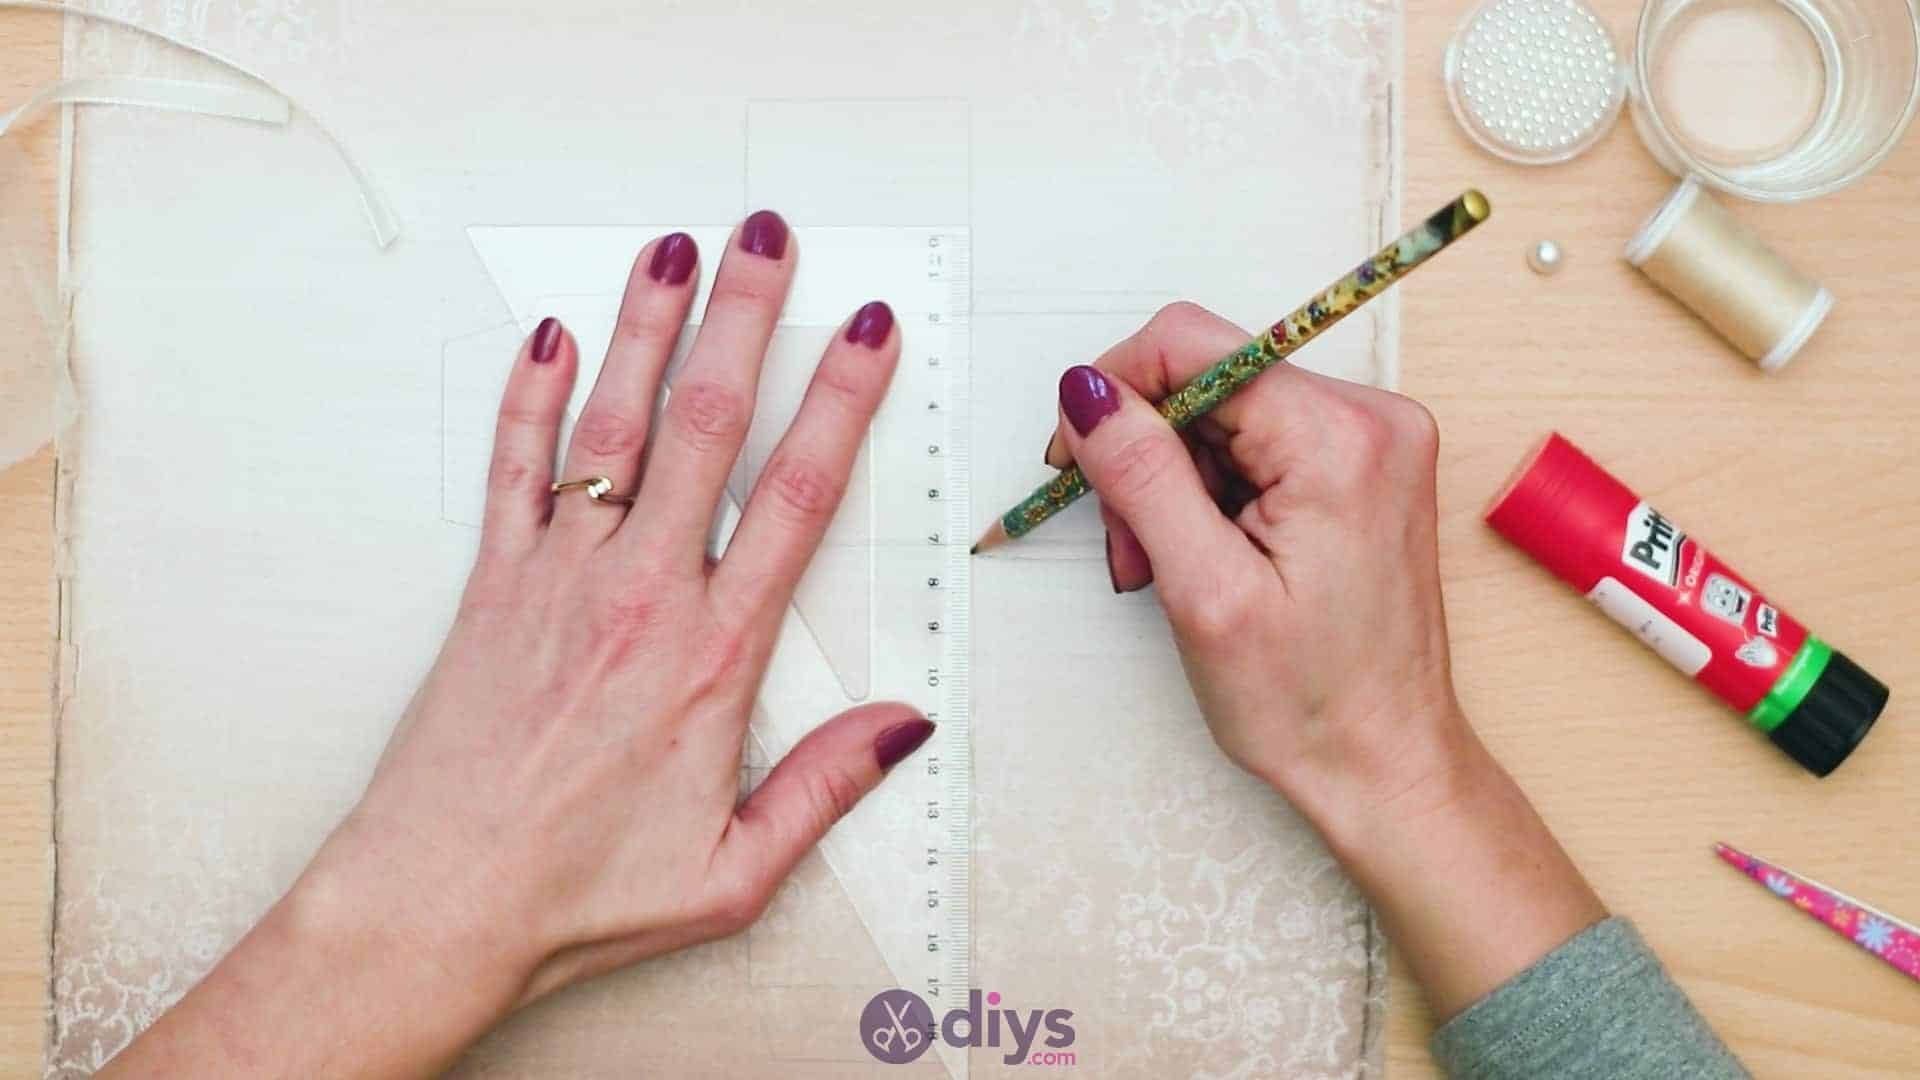
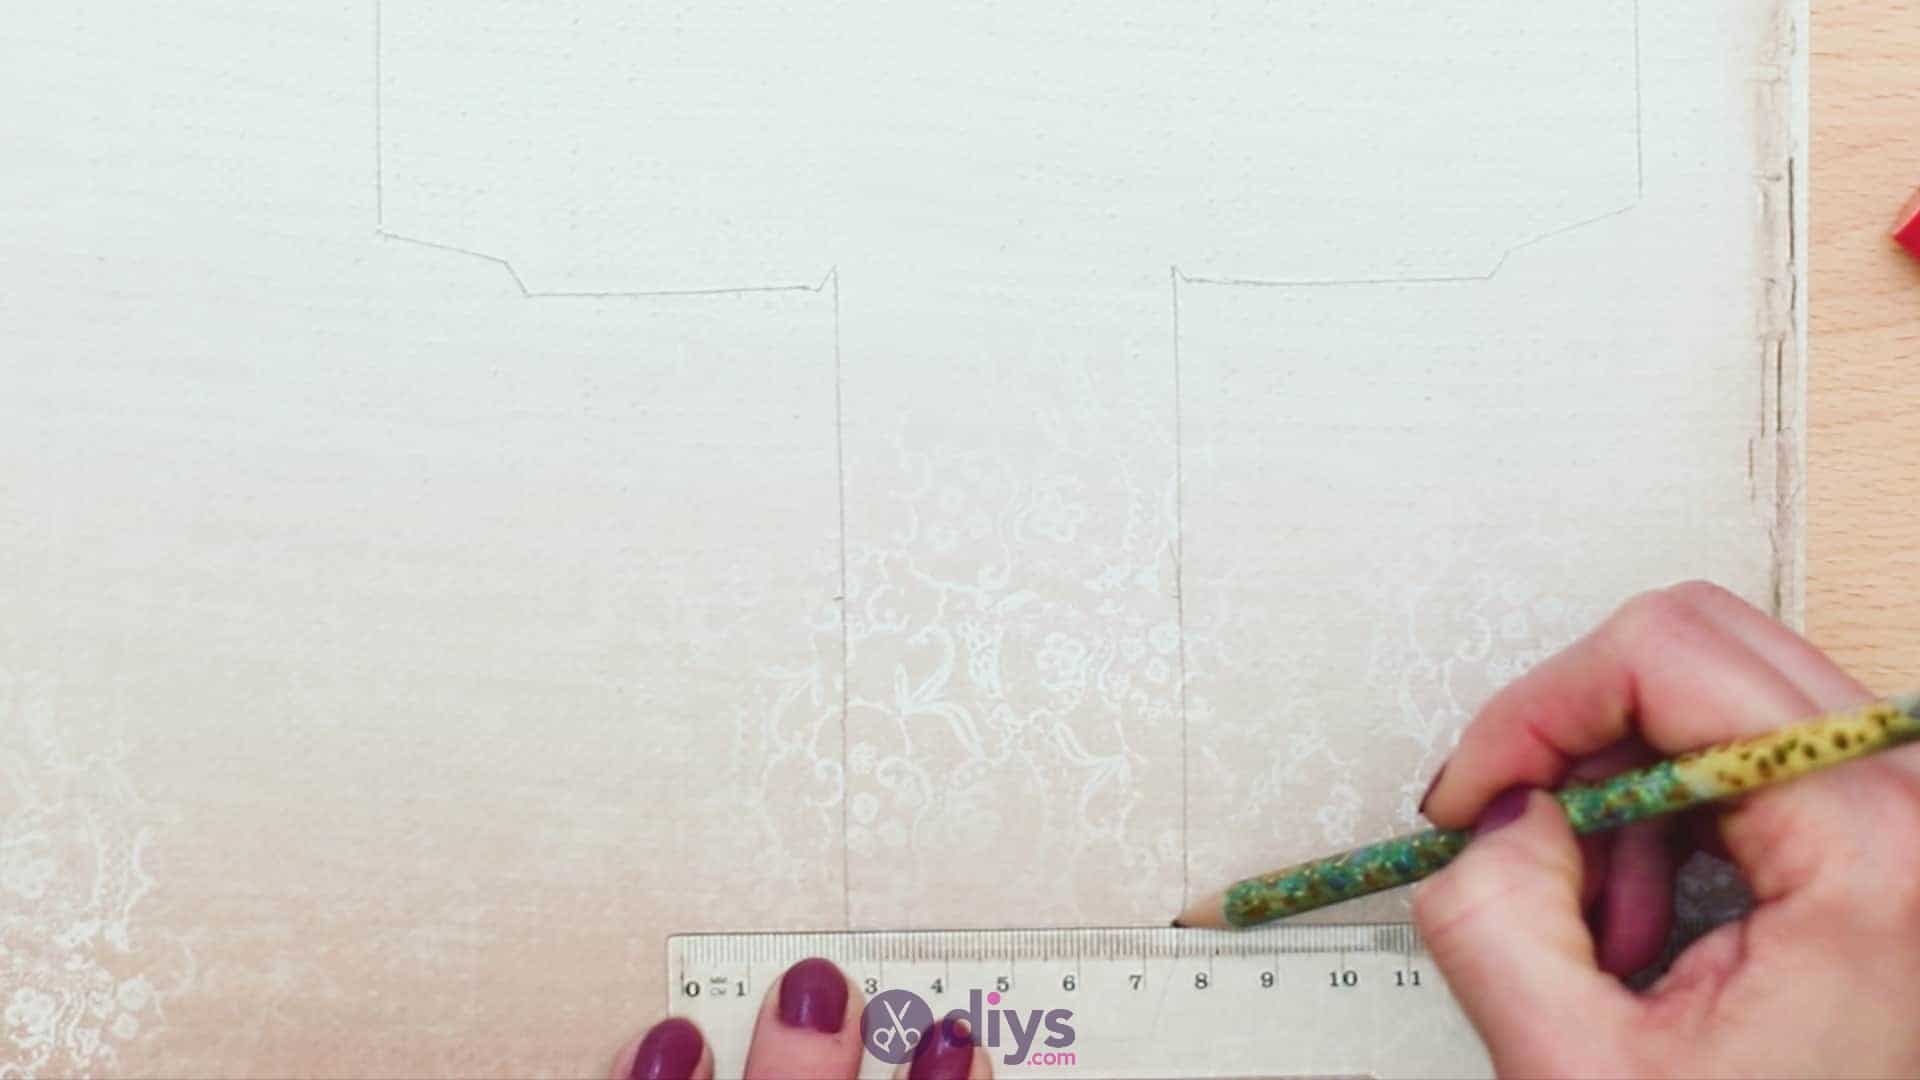
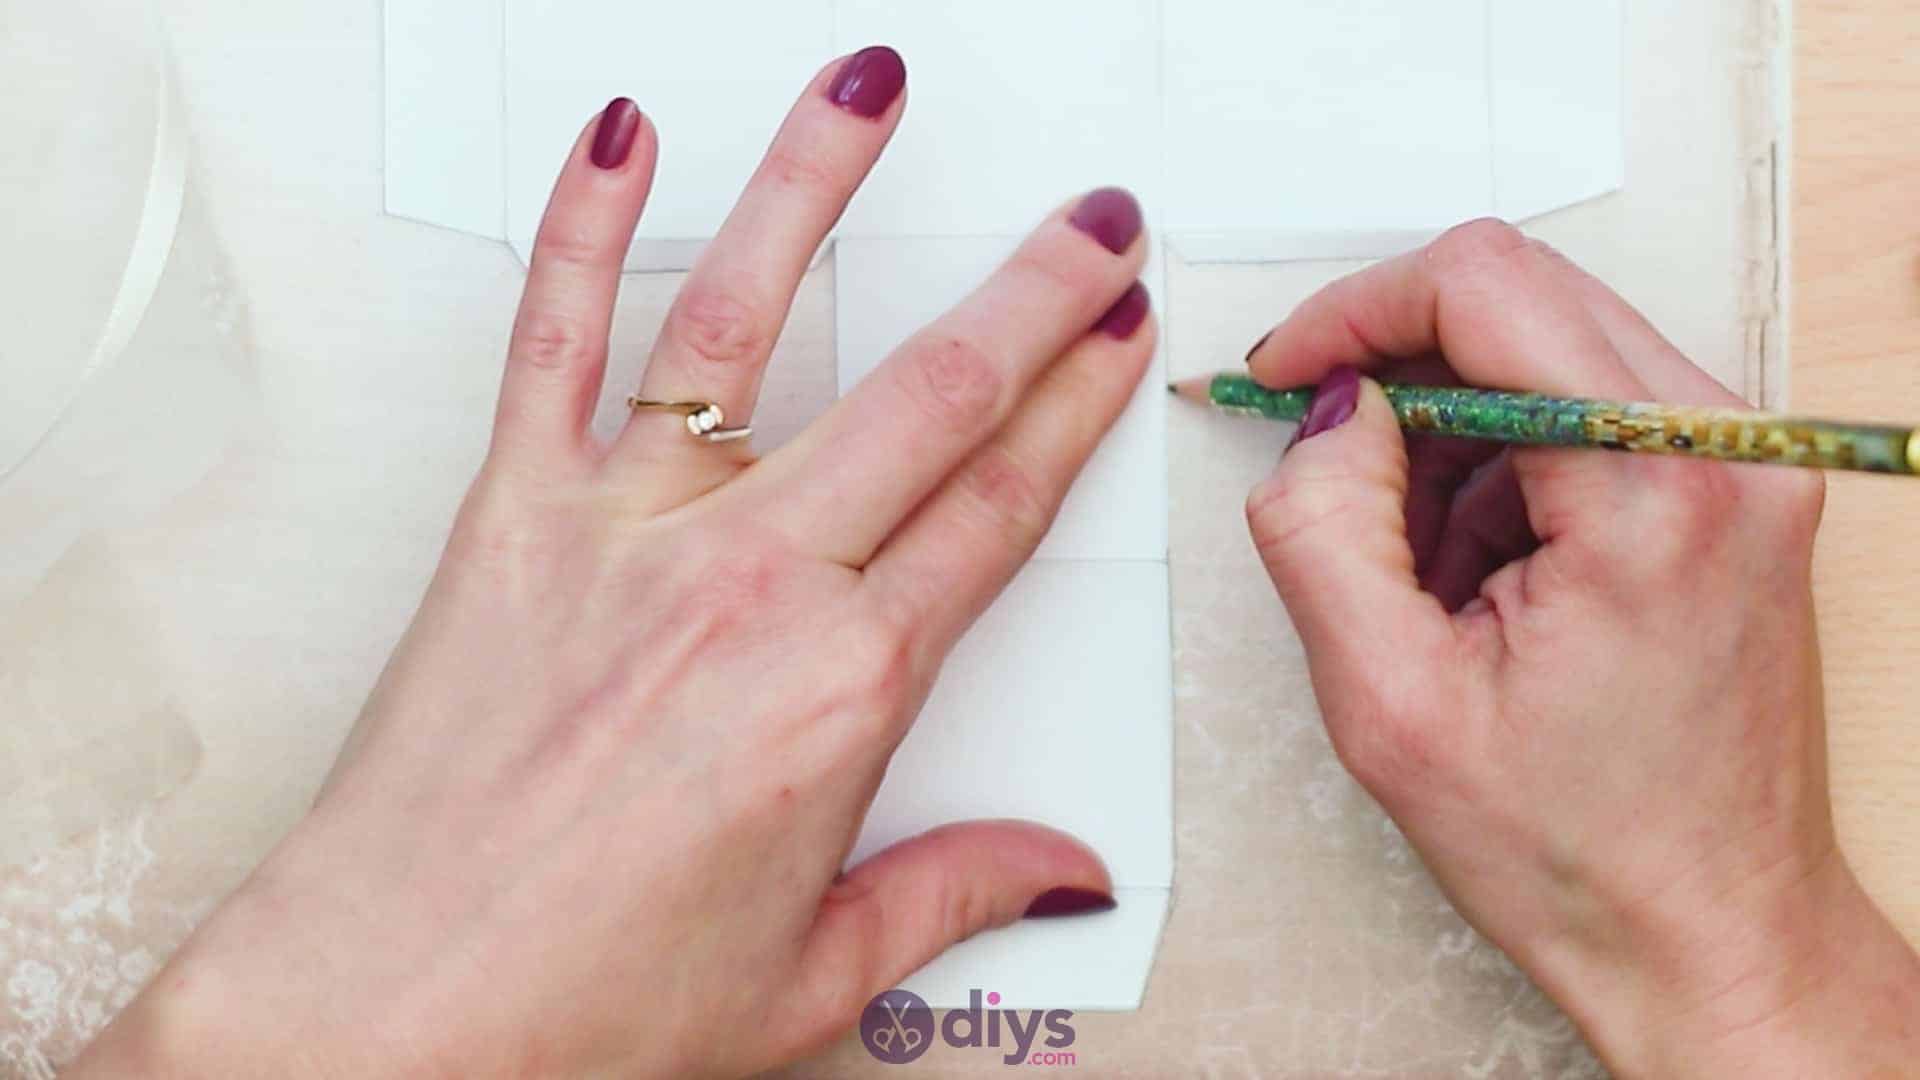
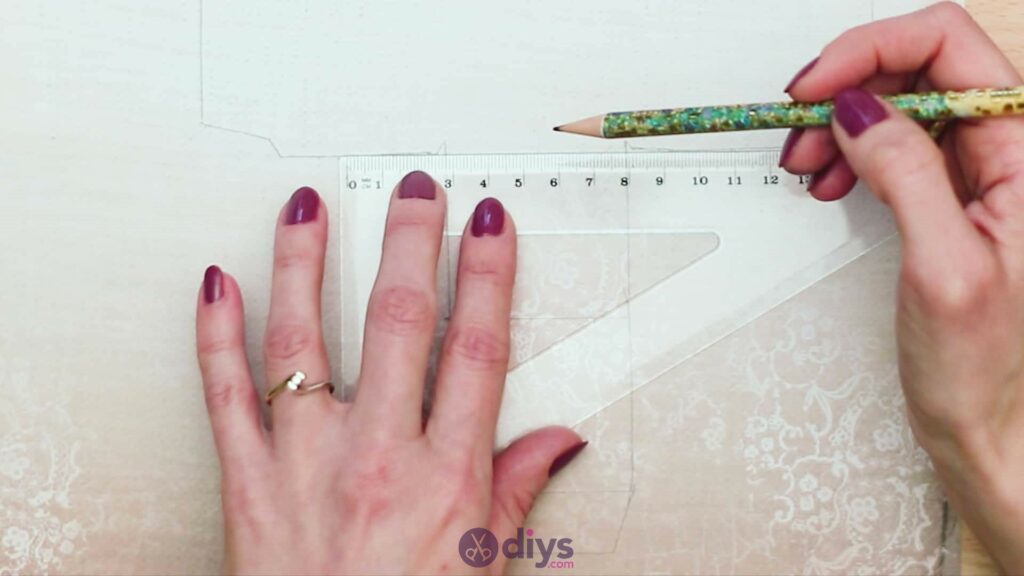
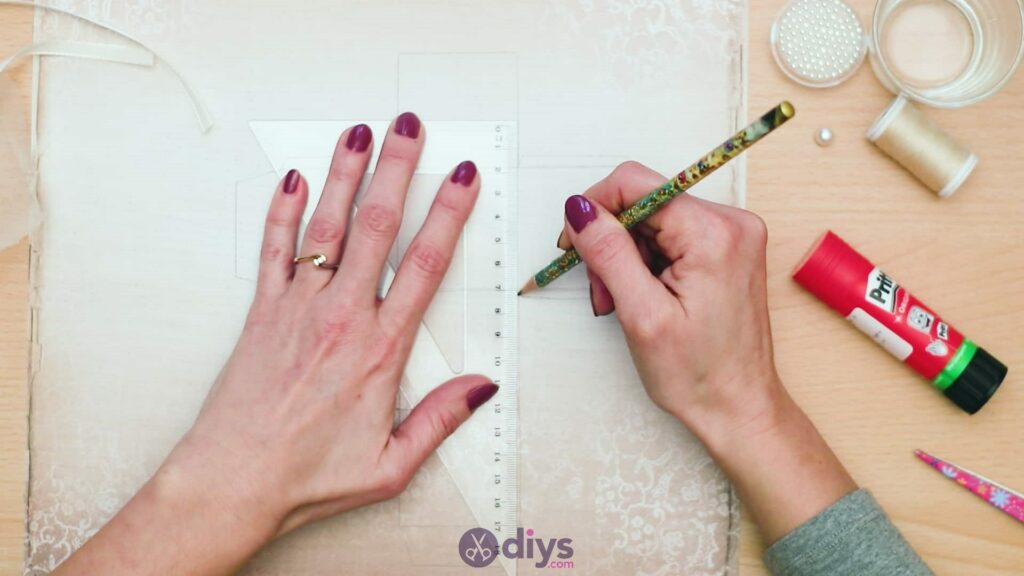
Step 4: bolden your lines
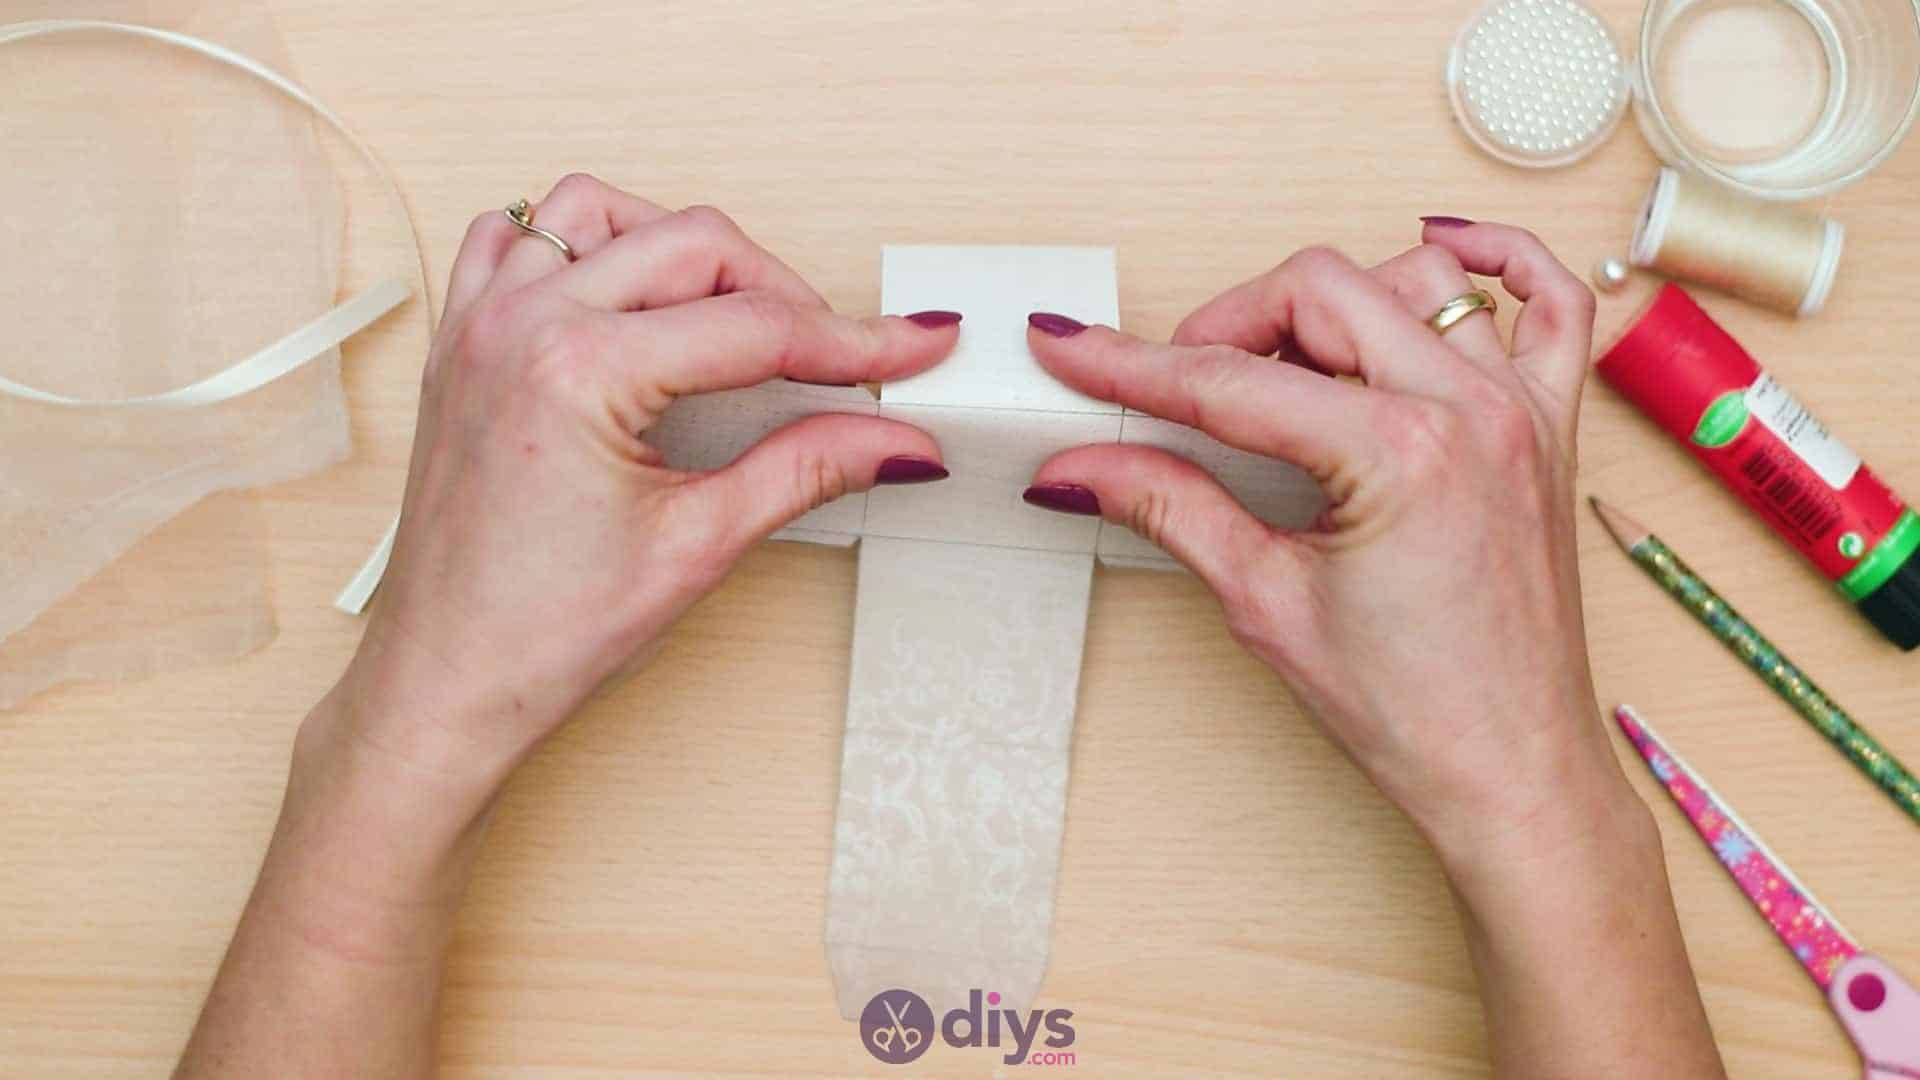
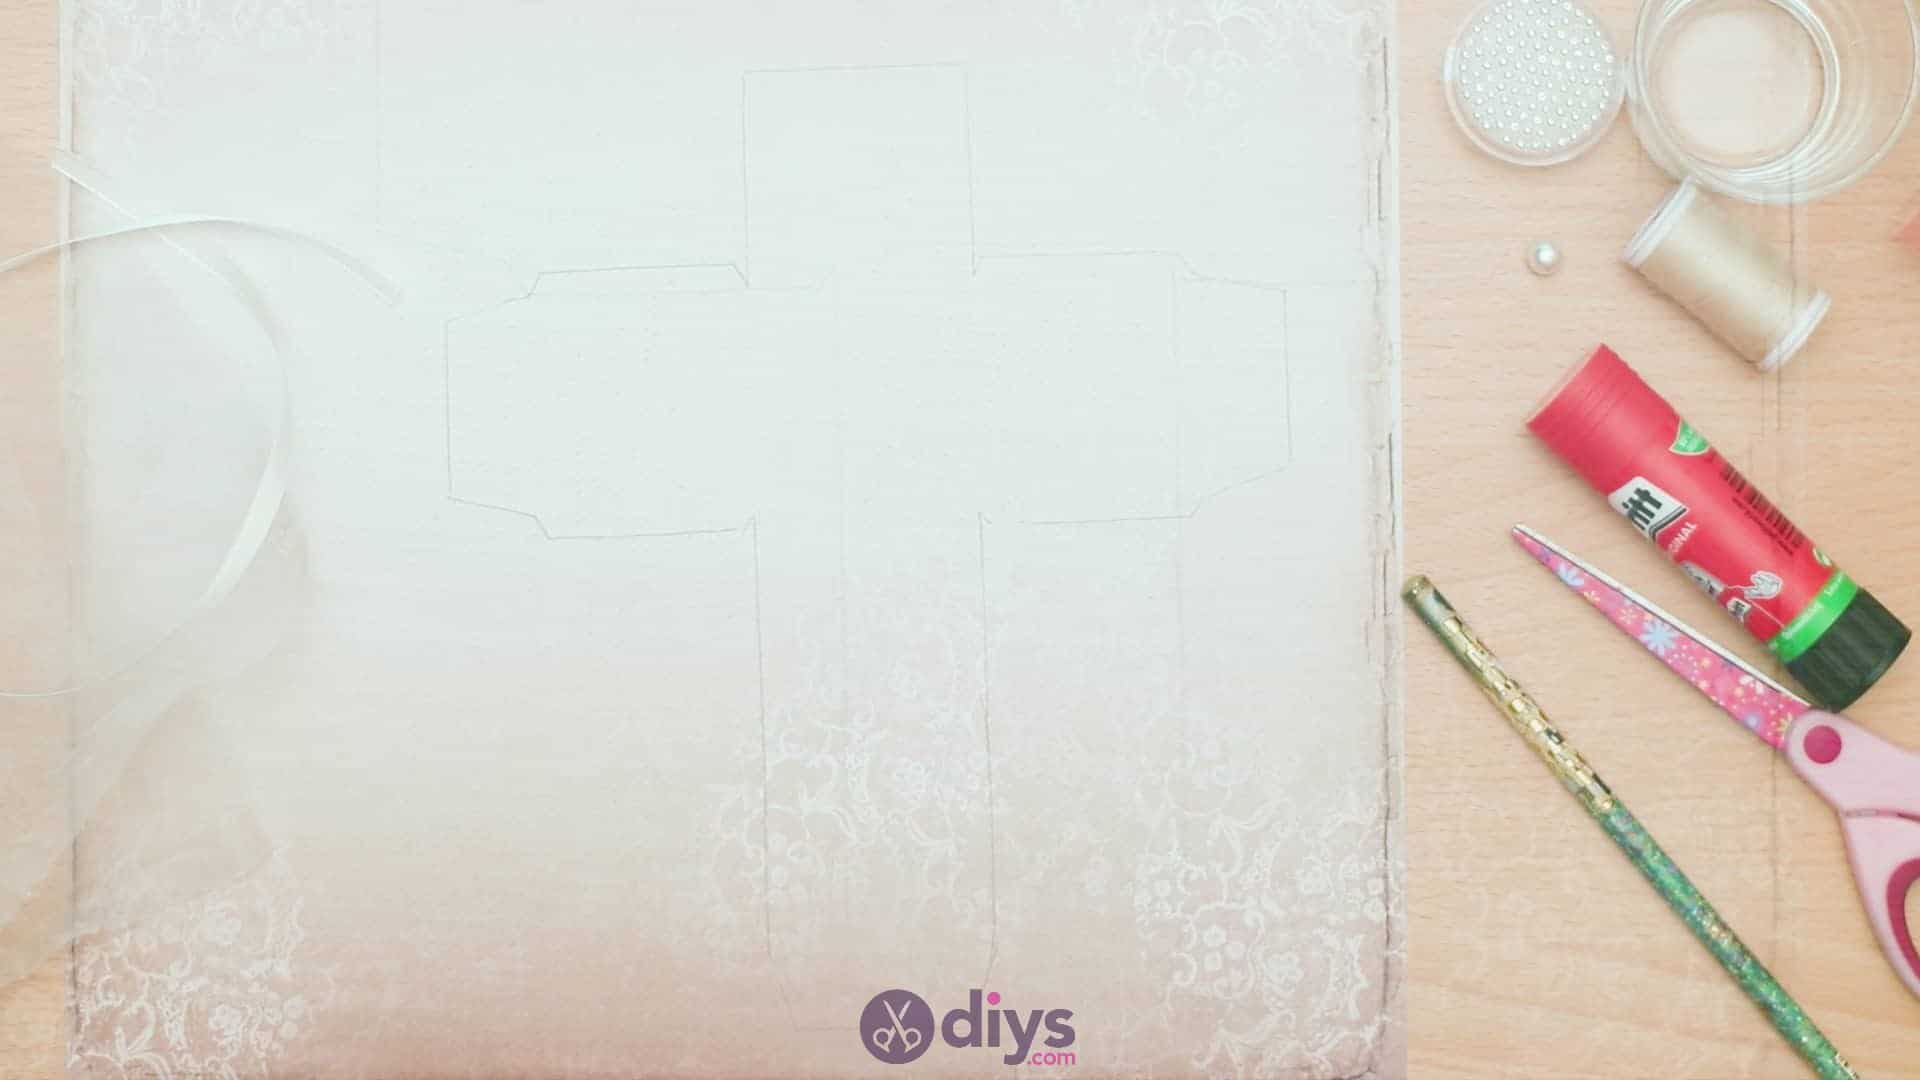
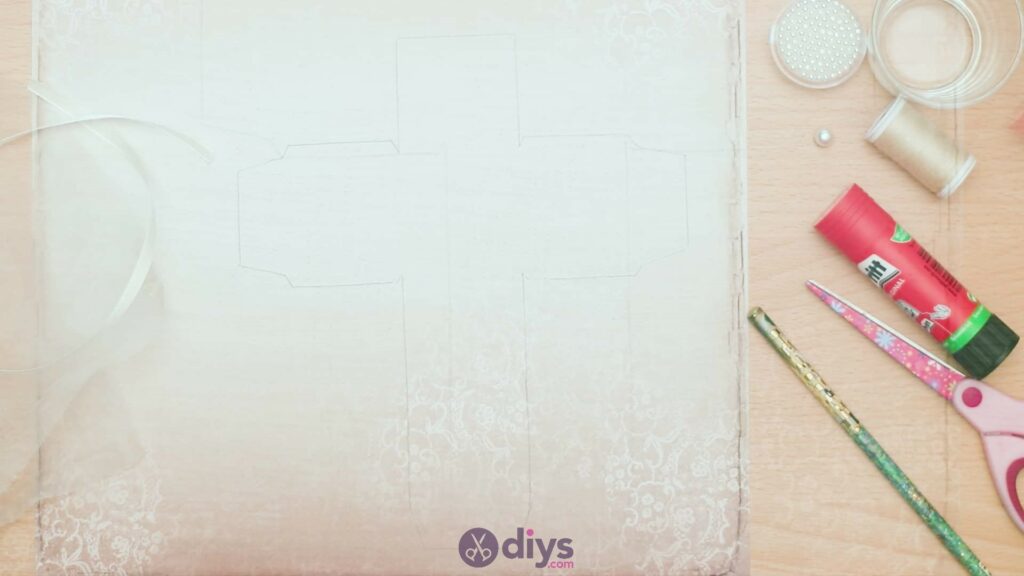
Flip your temple over to the side with the printed lines so you can see where the fold lines on the inner parts of its surface are place. Use a ruler and your pencil to draw those same lines in the same places onto the shape you just traced down on your future gift box. This will mark out where you’re going to make folds in a moment in order to actually put the box together. Now you can cut your shape out, but cute all the way around theoutside edges like you did with your template,not along any of the fold lines you just mapped out with your ruler.


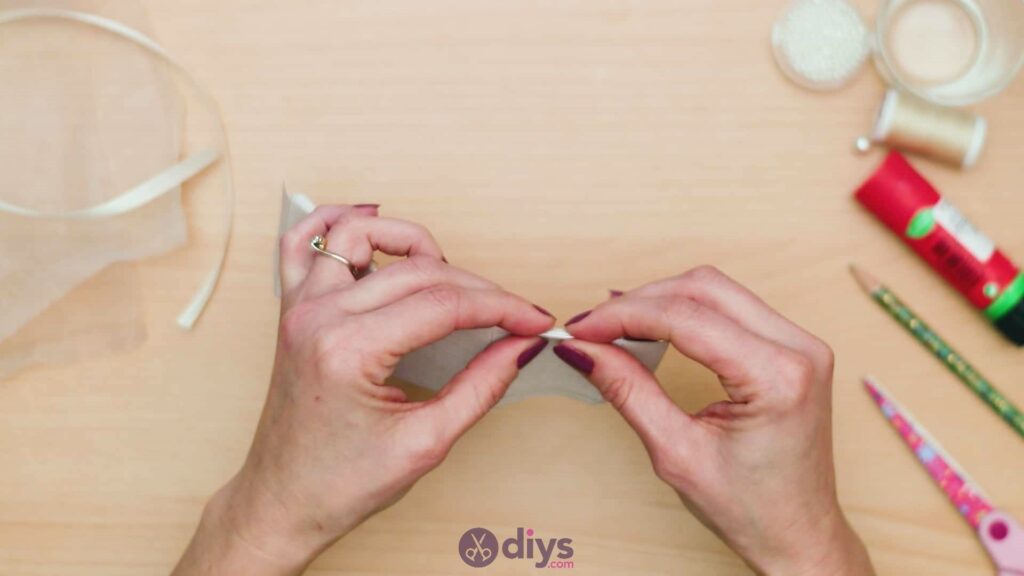
Step 5: fold
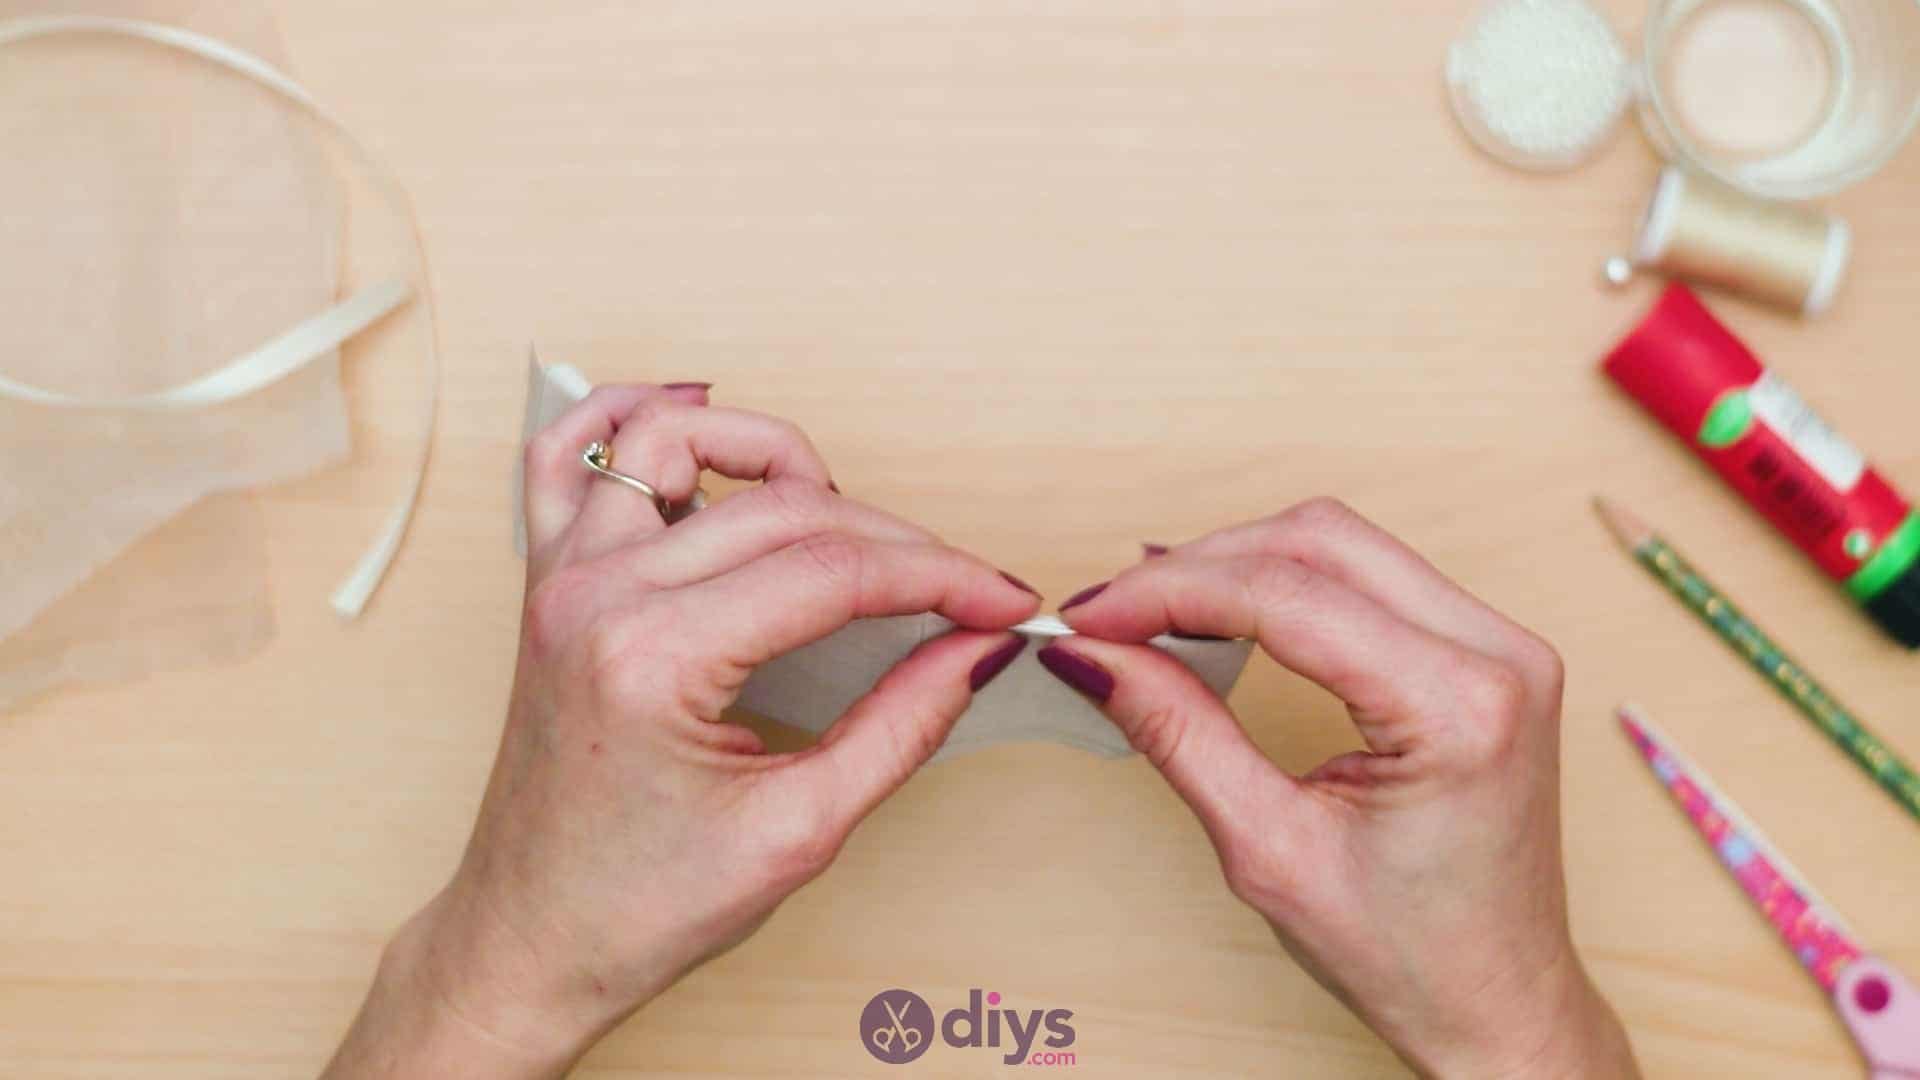
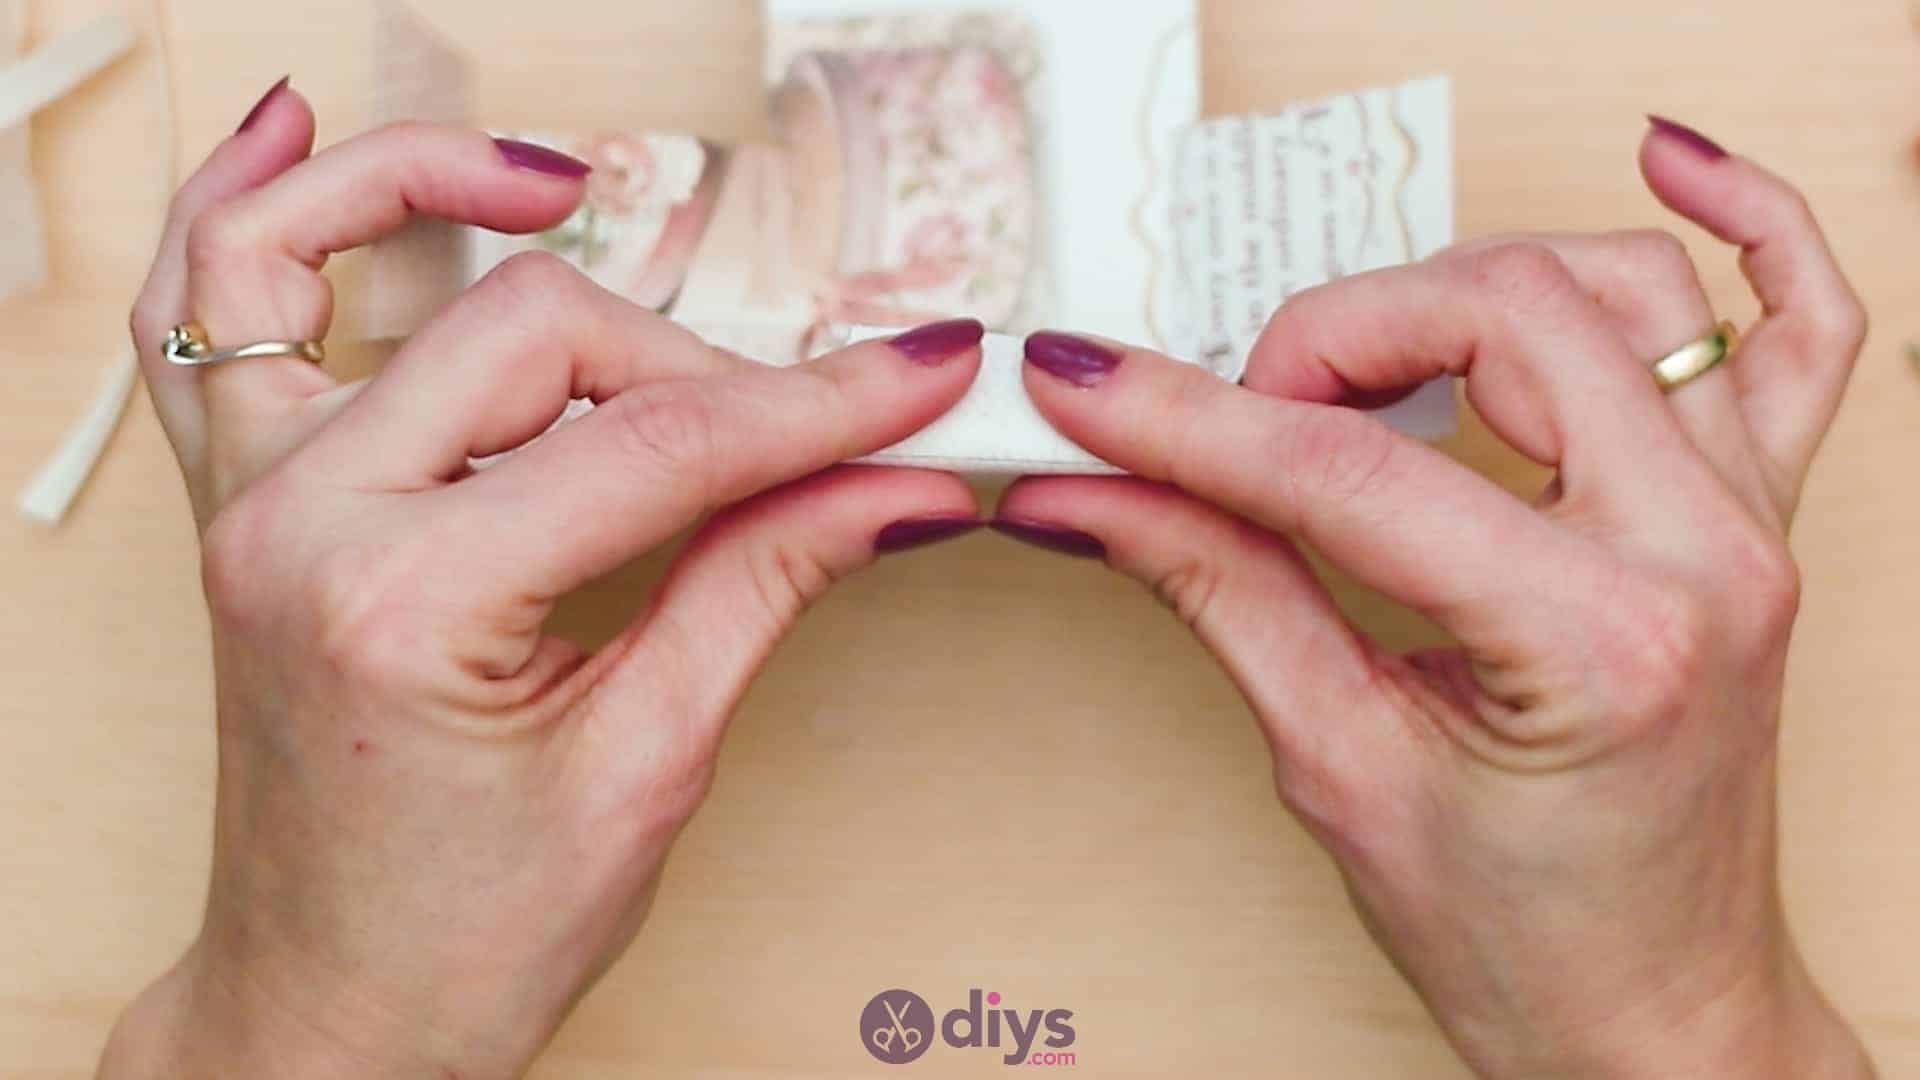
Always folding inwards so that the side of your paper that you want to show off on your finished box stays on the outside, make a fold carefully along each fold line that you just mapped out with your ruler and pencil. Make sure to fold the side tabs too; these will hold your box together in a moment.

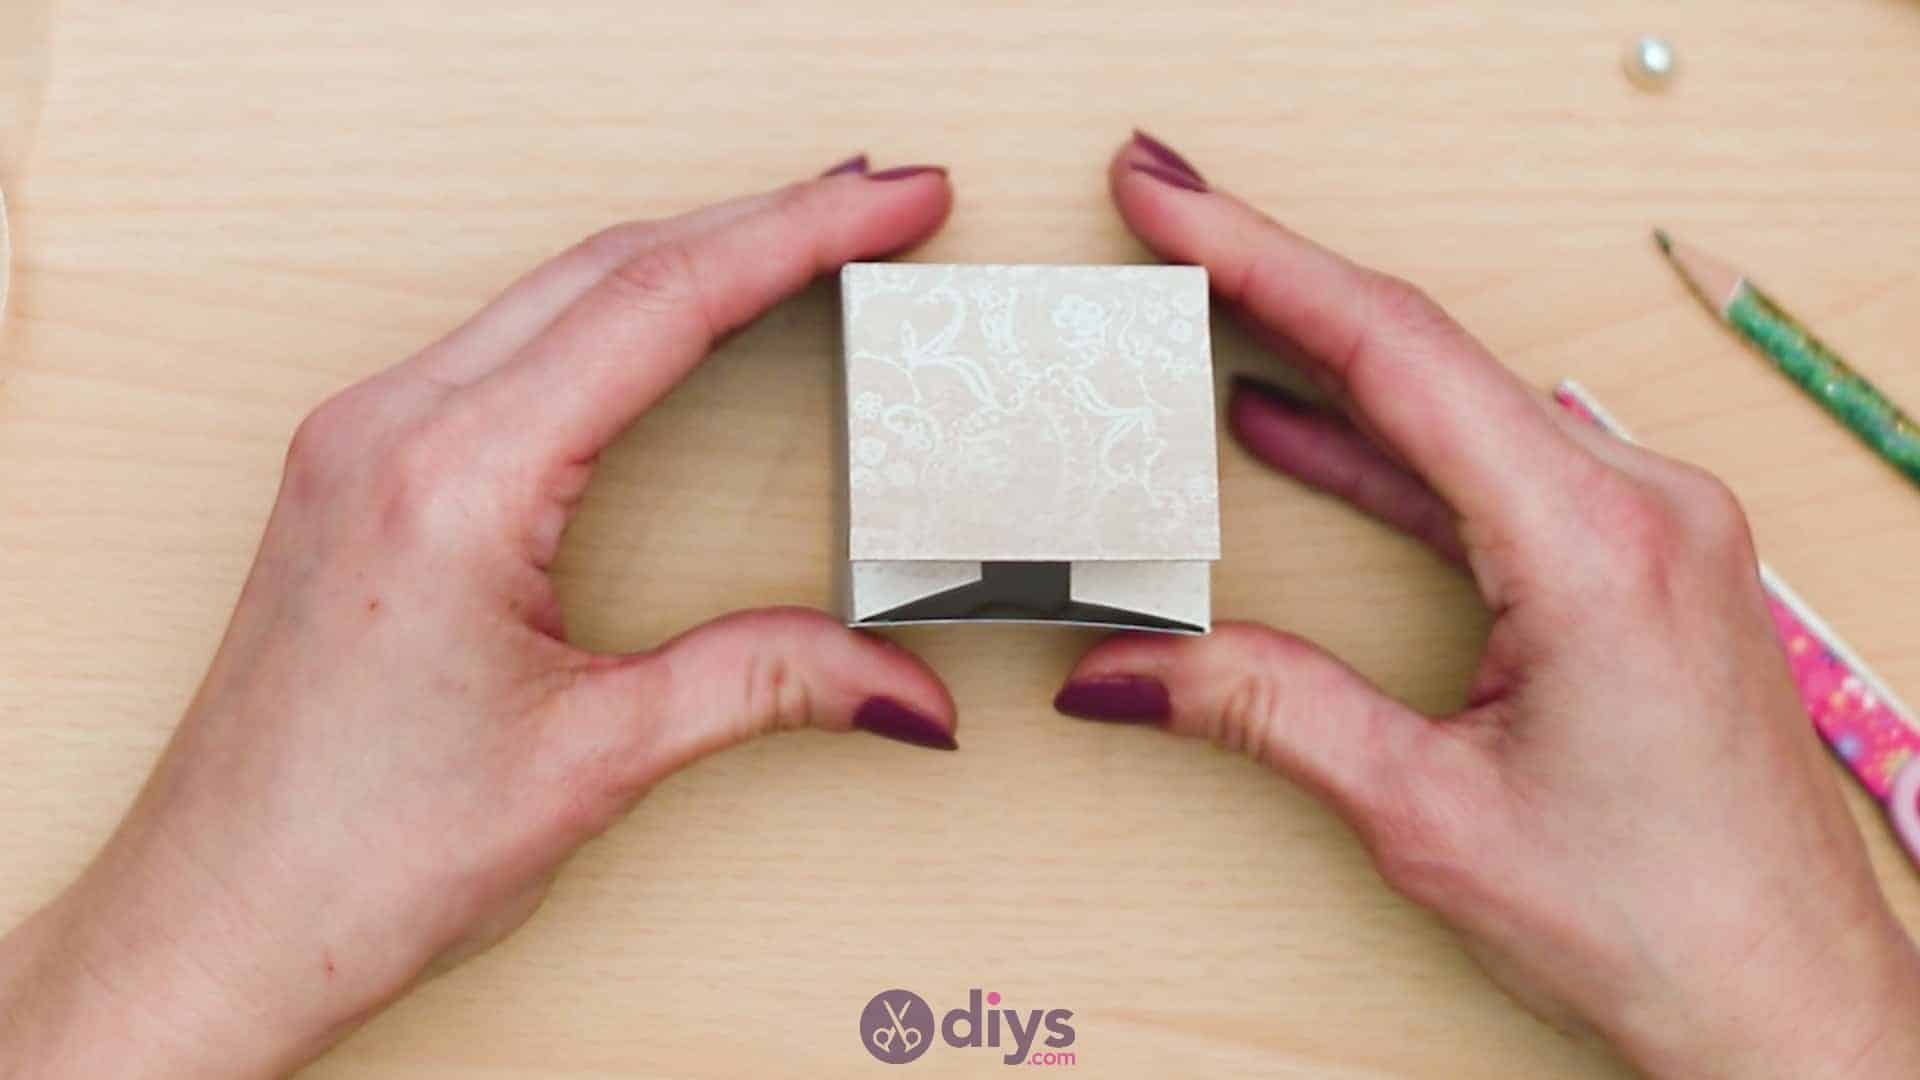
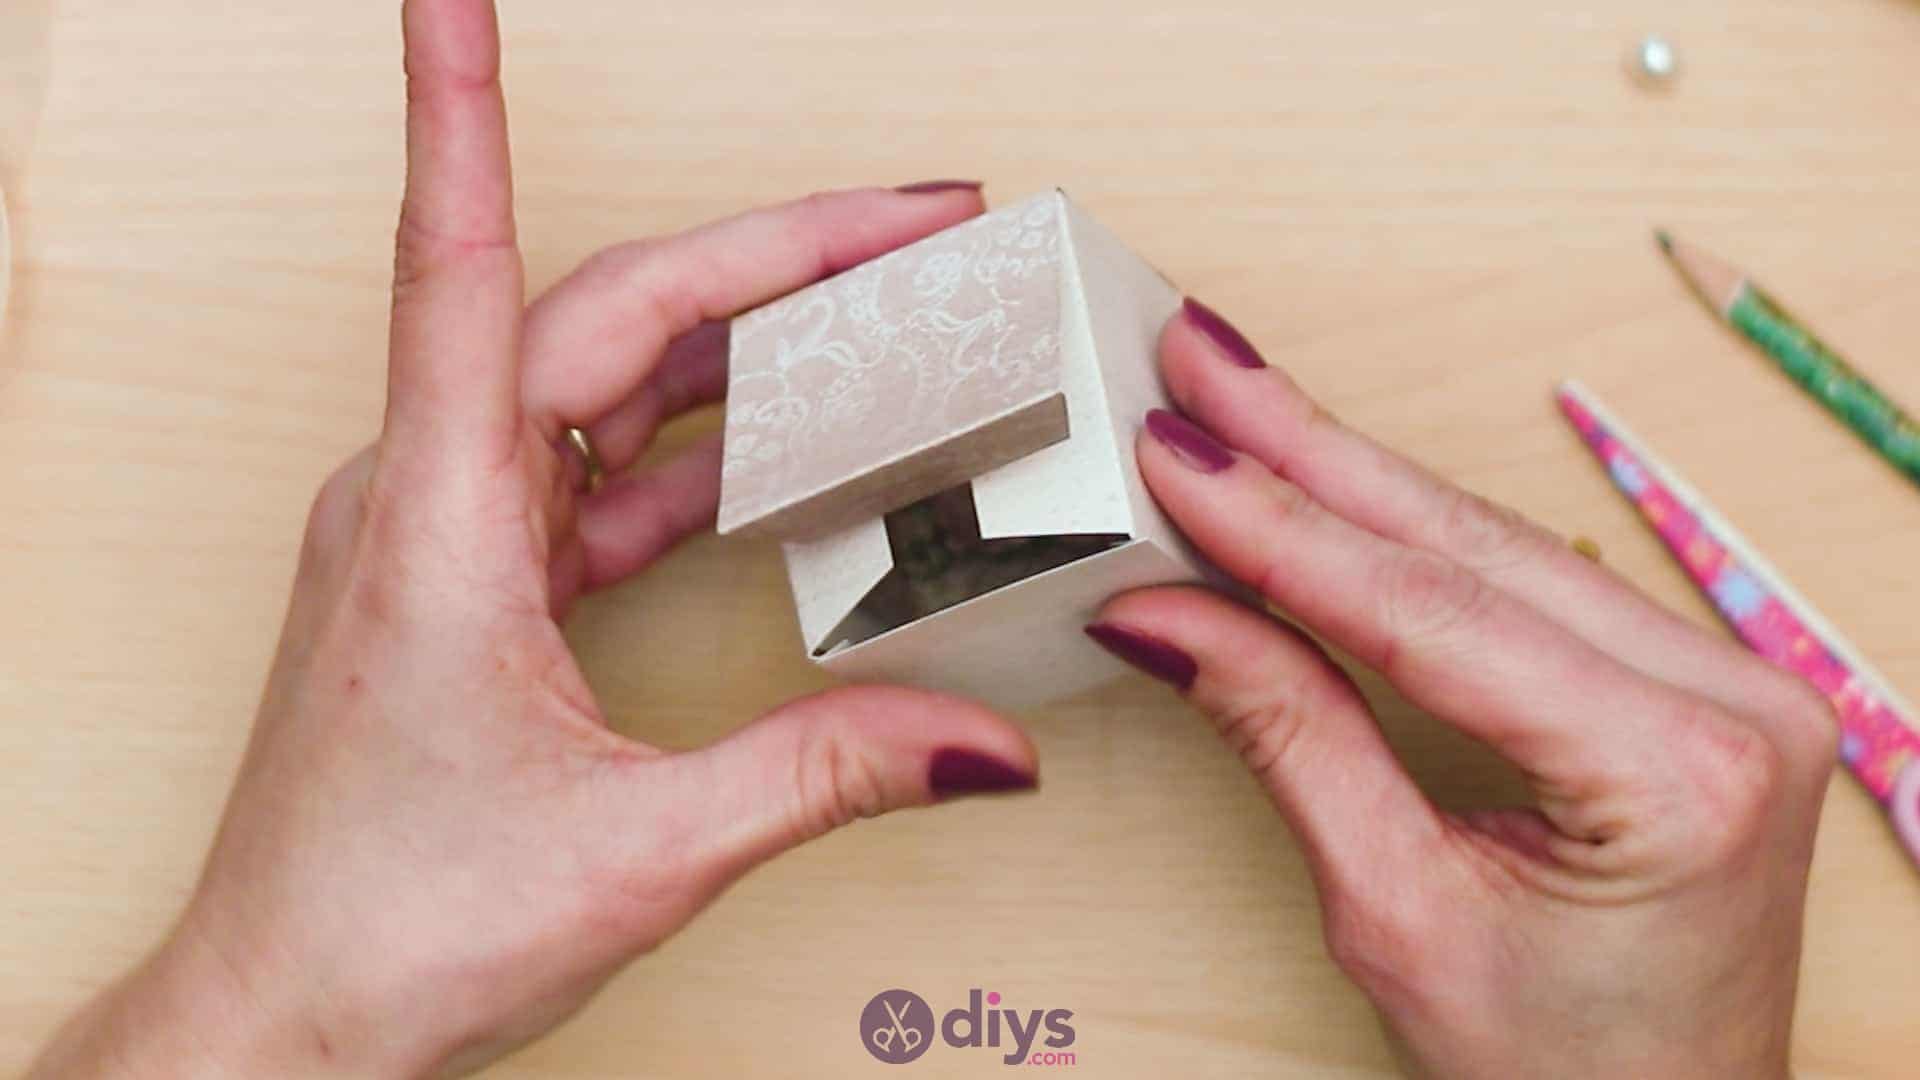
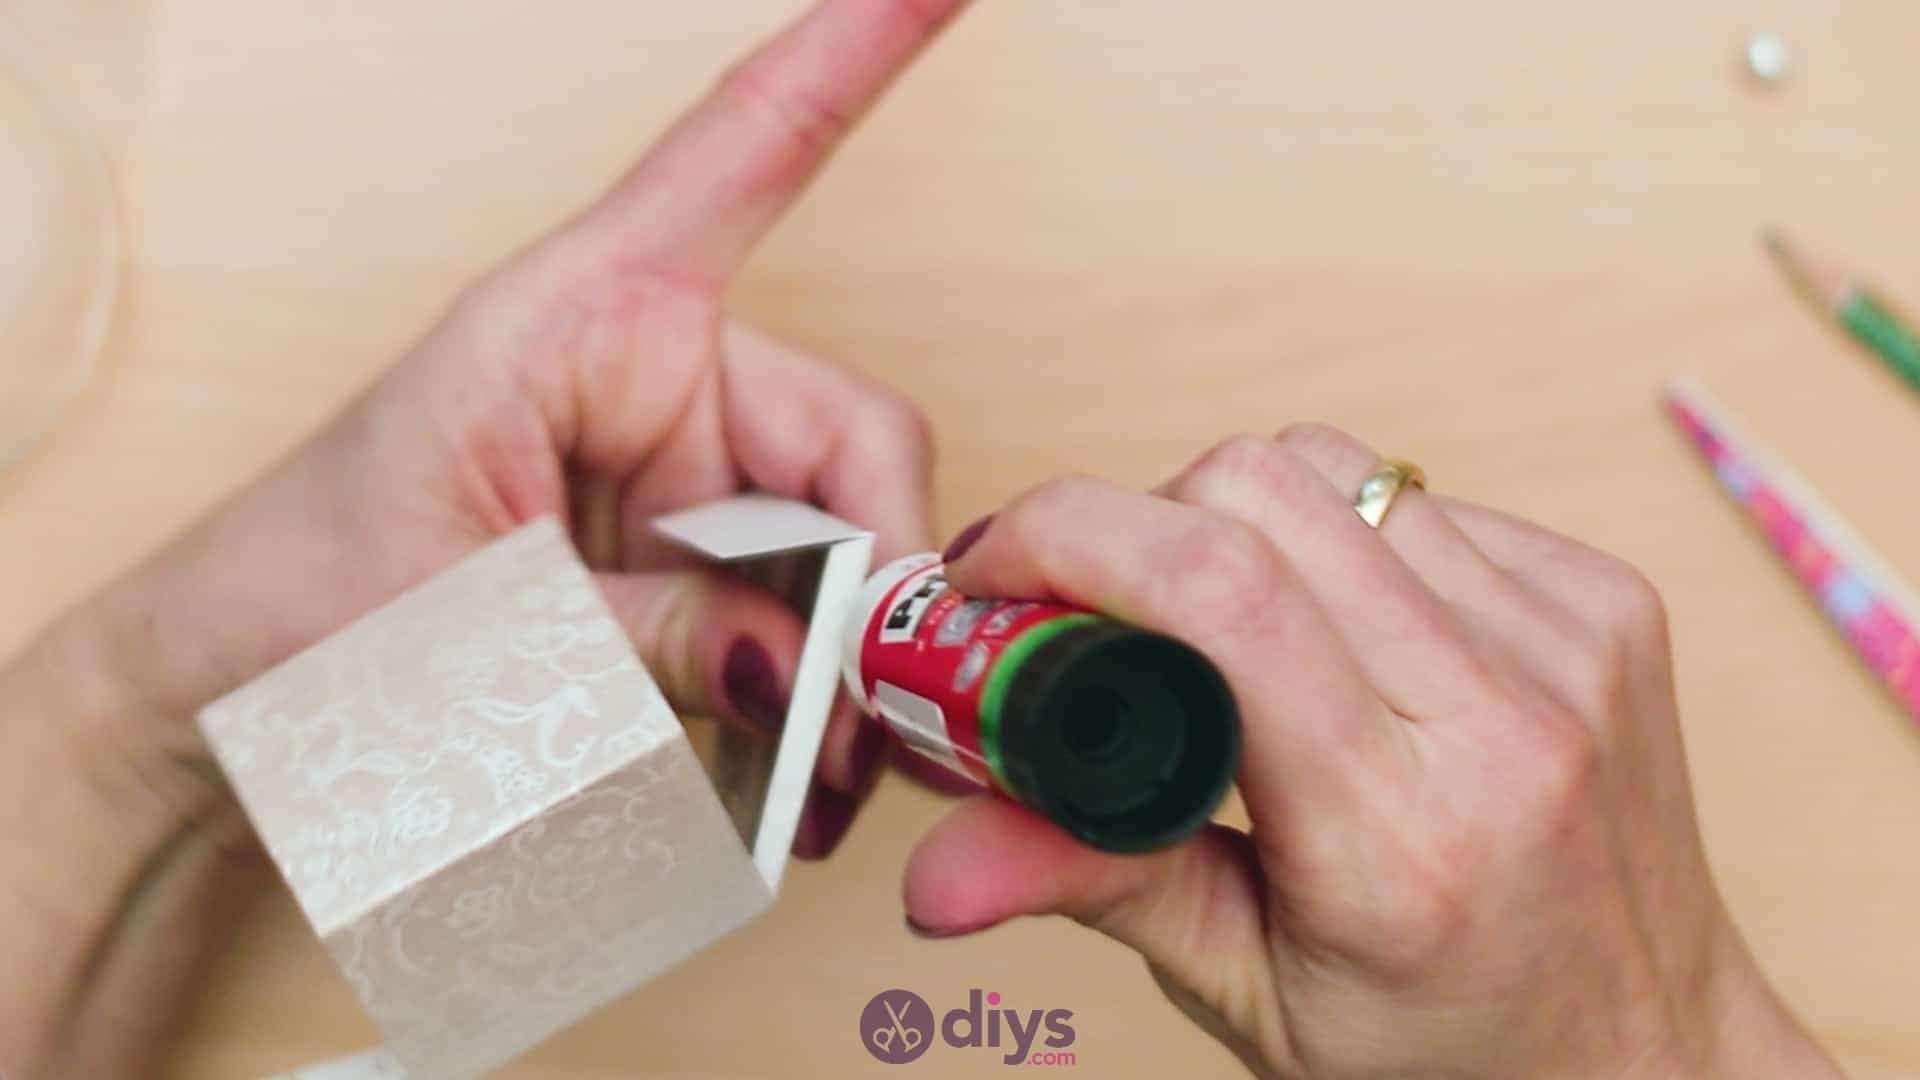
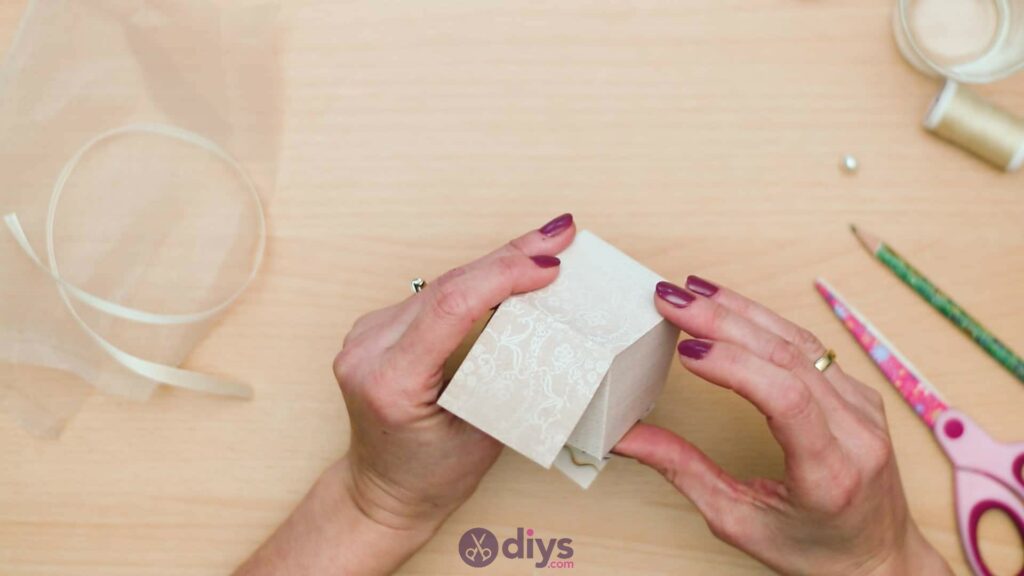
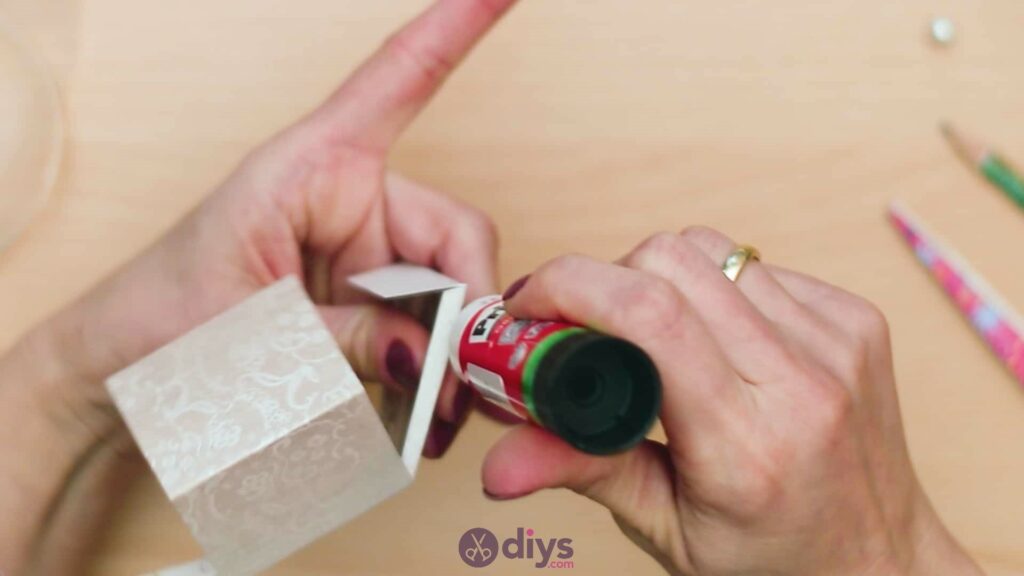
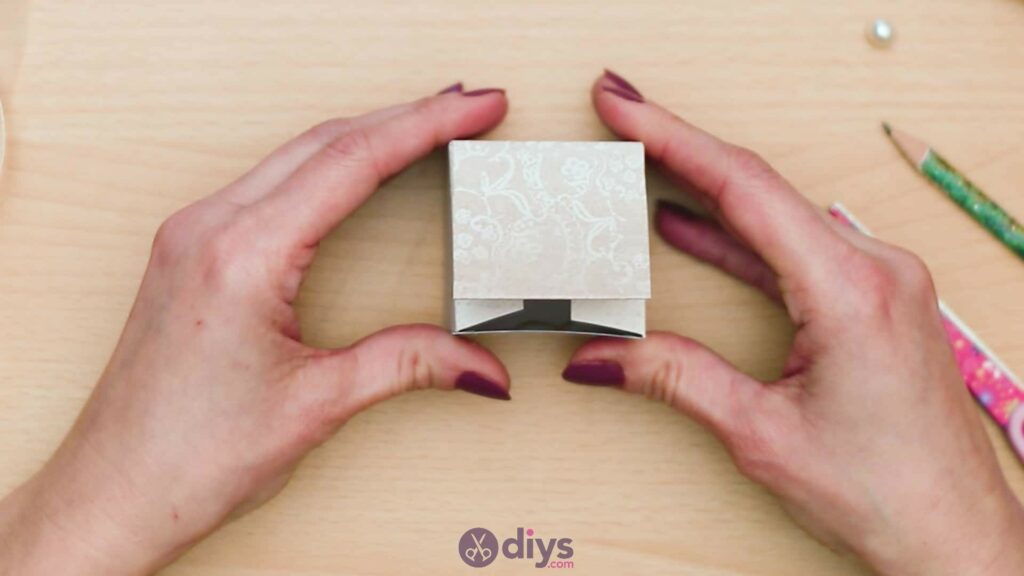
Step 6: glue the tops
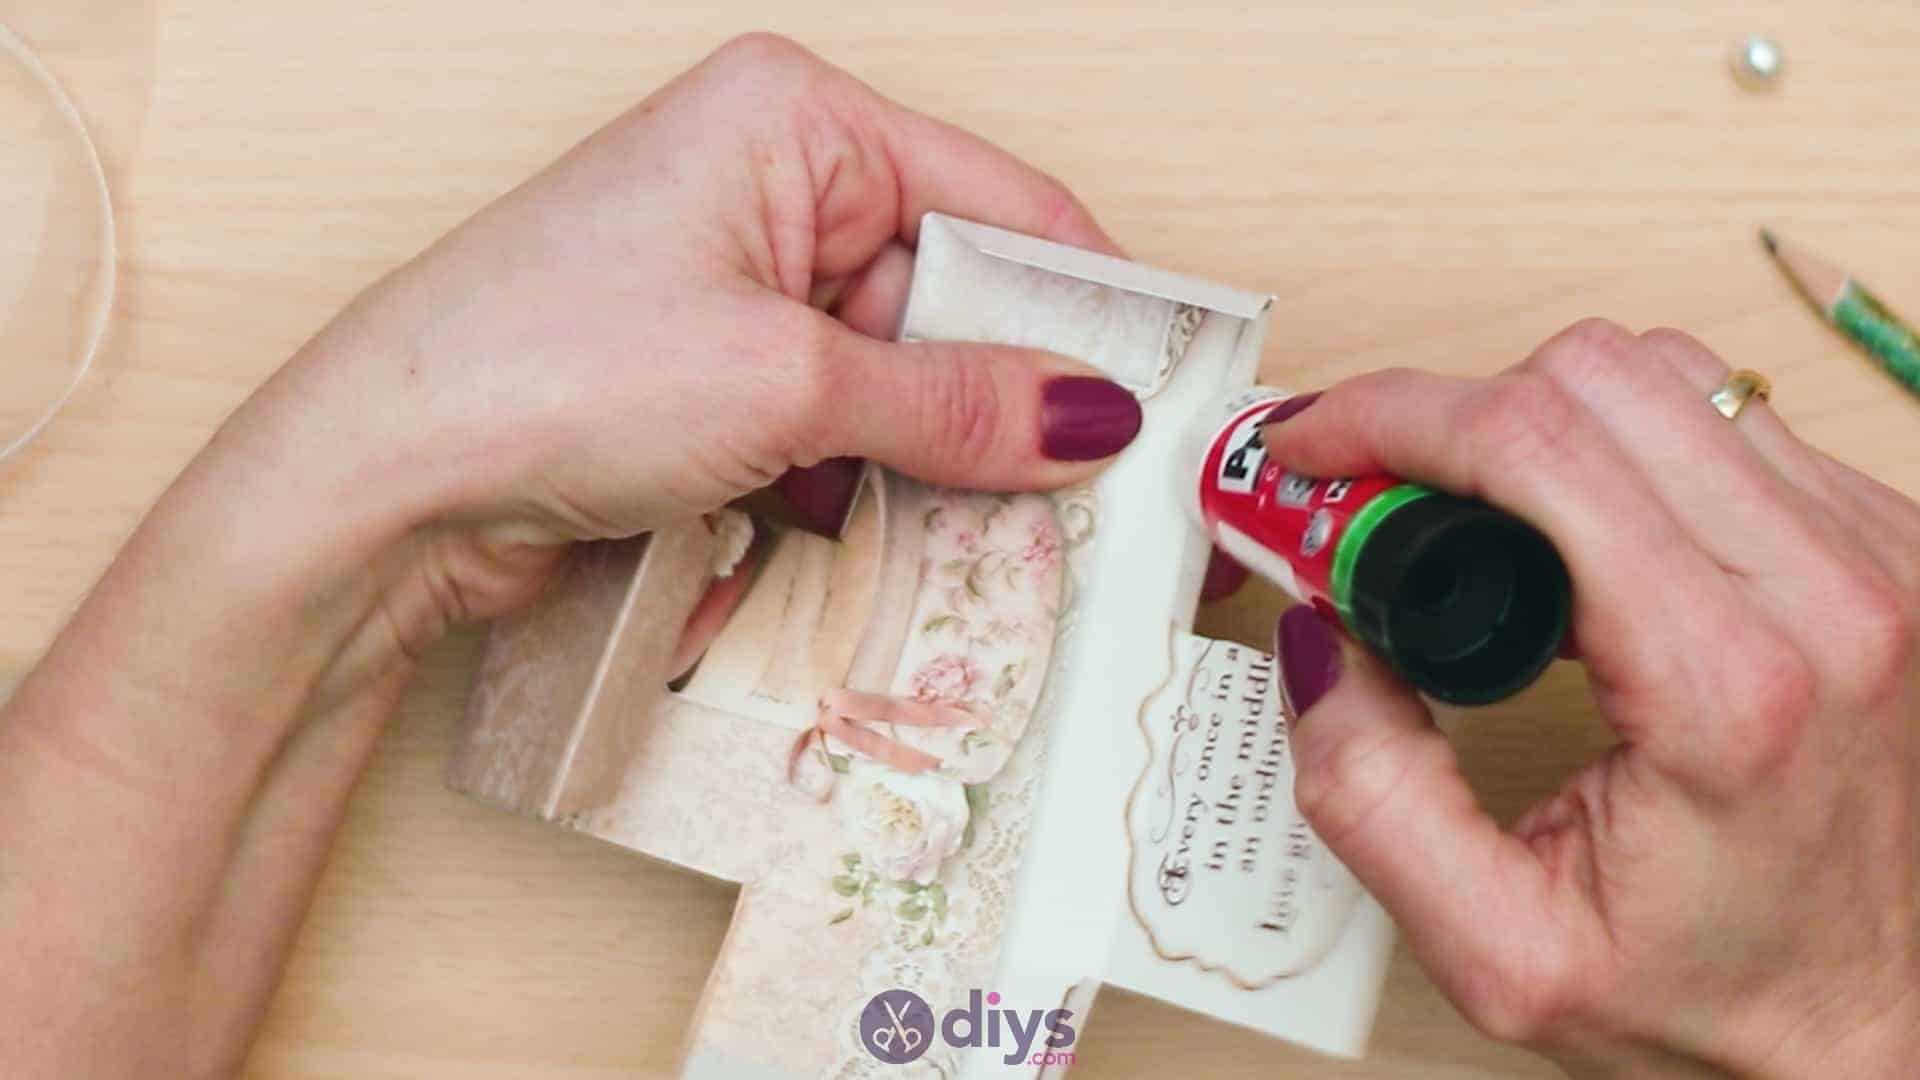
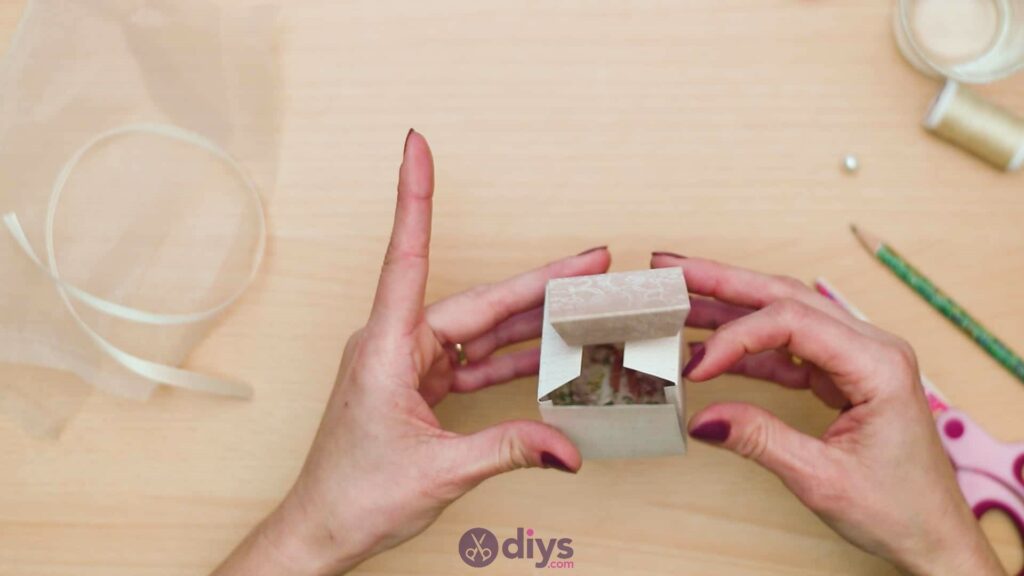
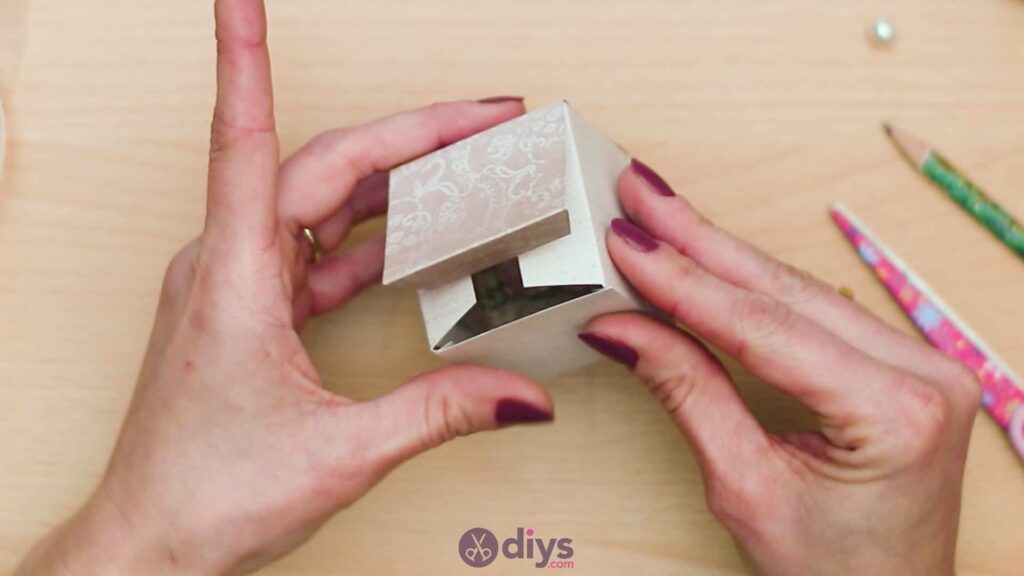
Use your glue stick to apply glue to thetops (or patterned sides) of each of your fold tabs, making sure that you donot apply glue on the much larger side tables at the top or the biggest fold across the edge of the lid; this is just to close the lid and if you glue it, you’ll seal your box permanently before you’ve filled it with anything! Bring each side of the box up and into place, sticking the tabs to the insides of the sides next to them to construct the box, complete its shape, and keep it folded and standing properly.

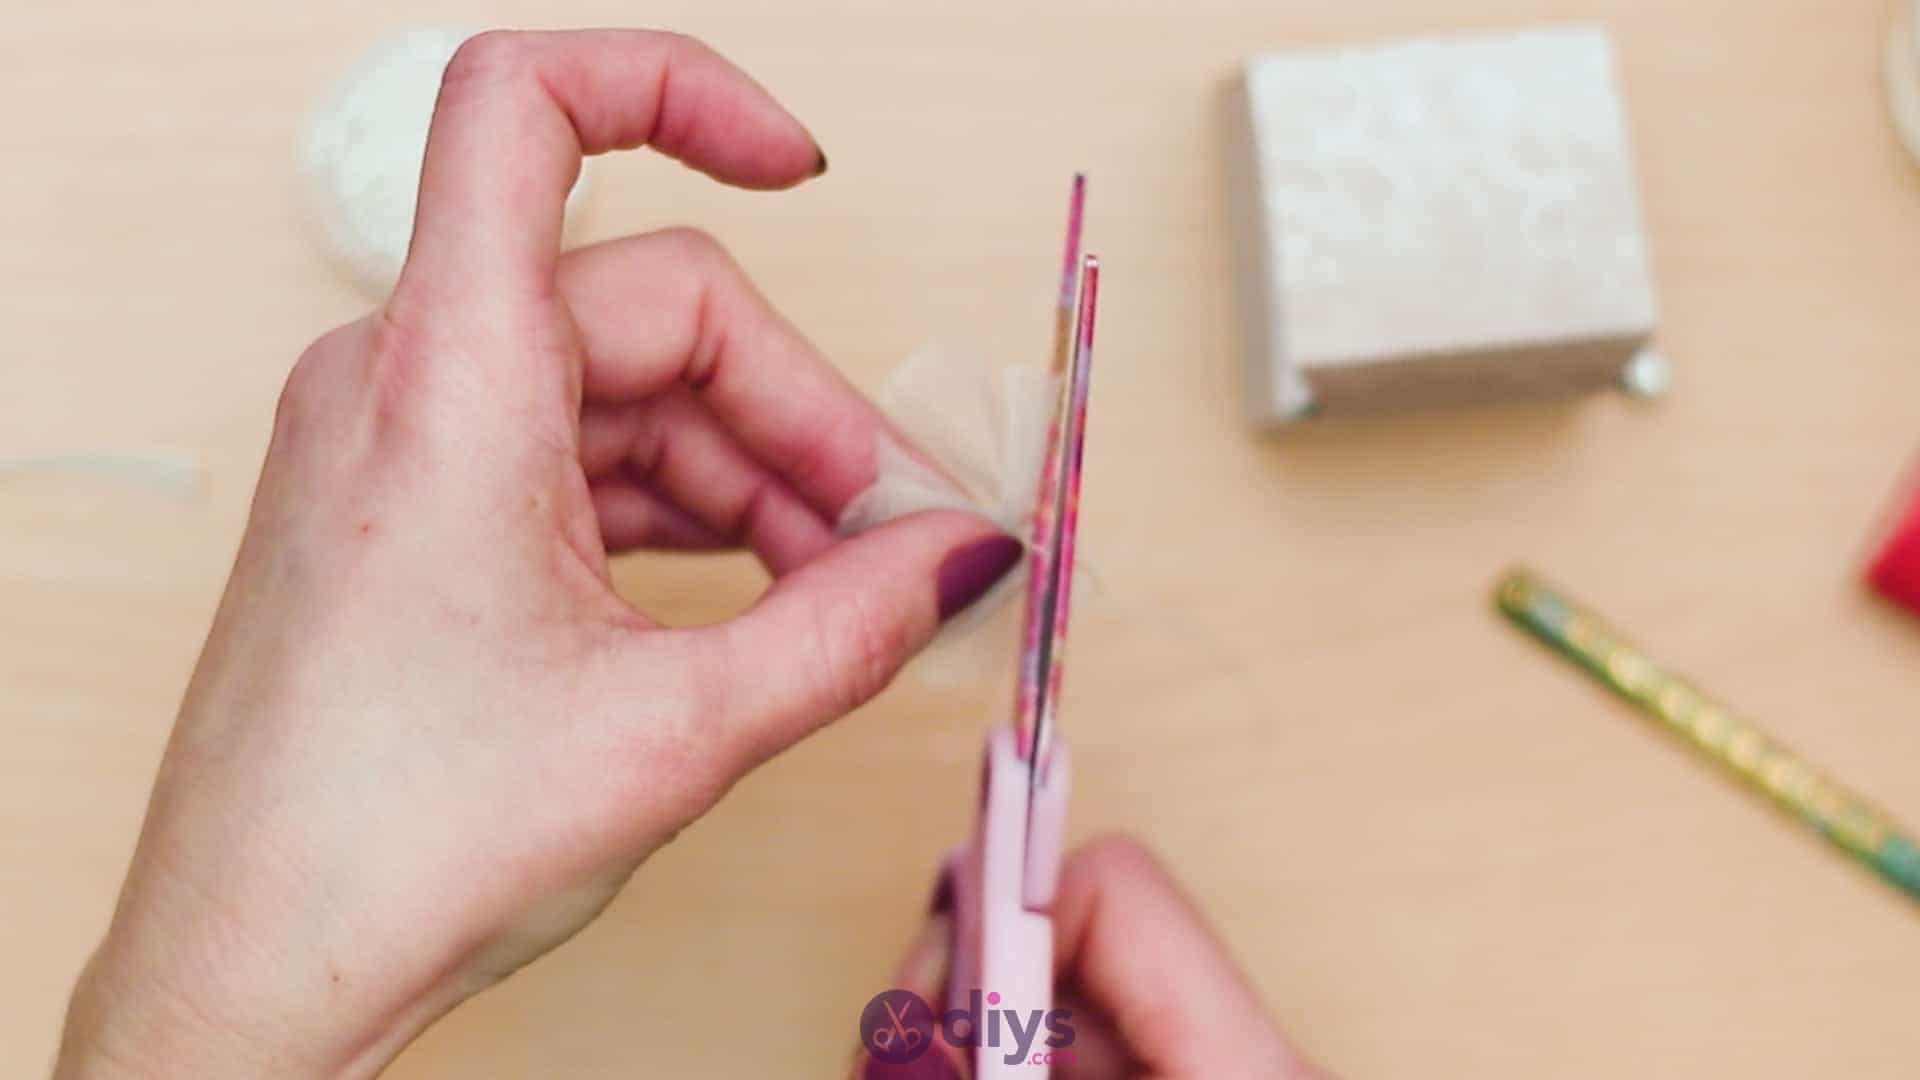
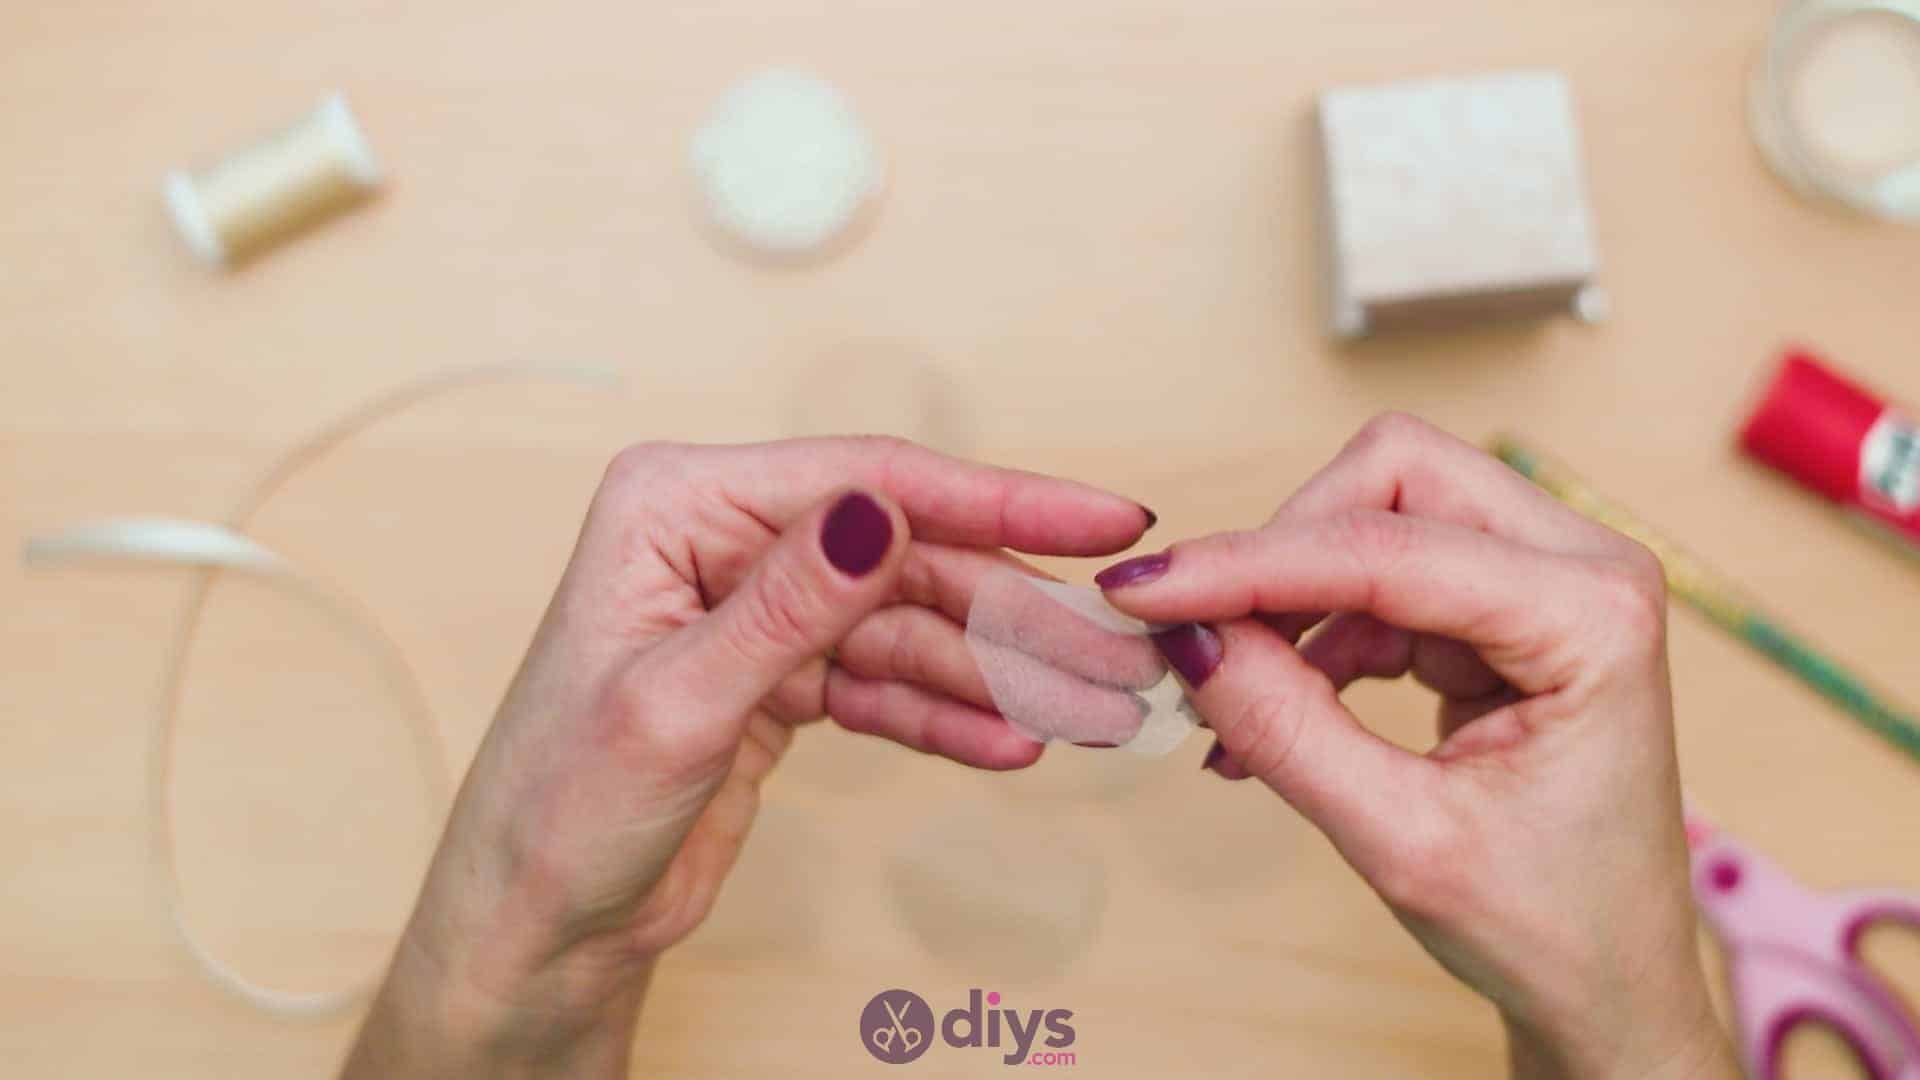
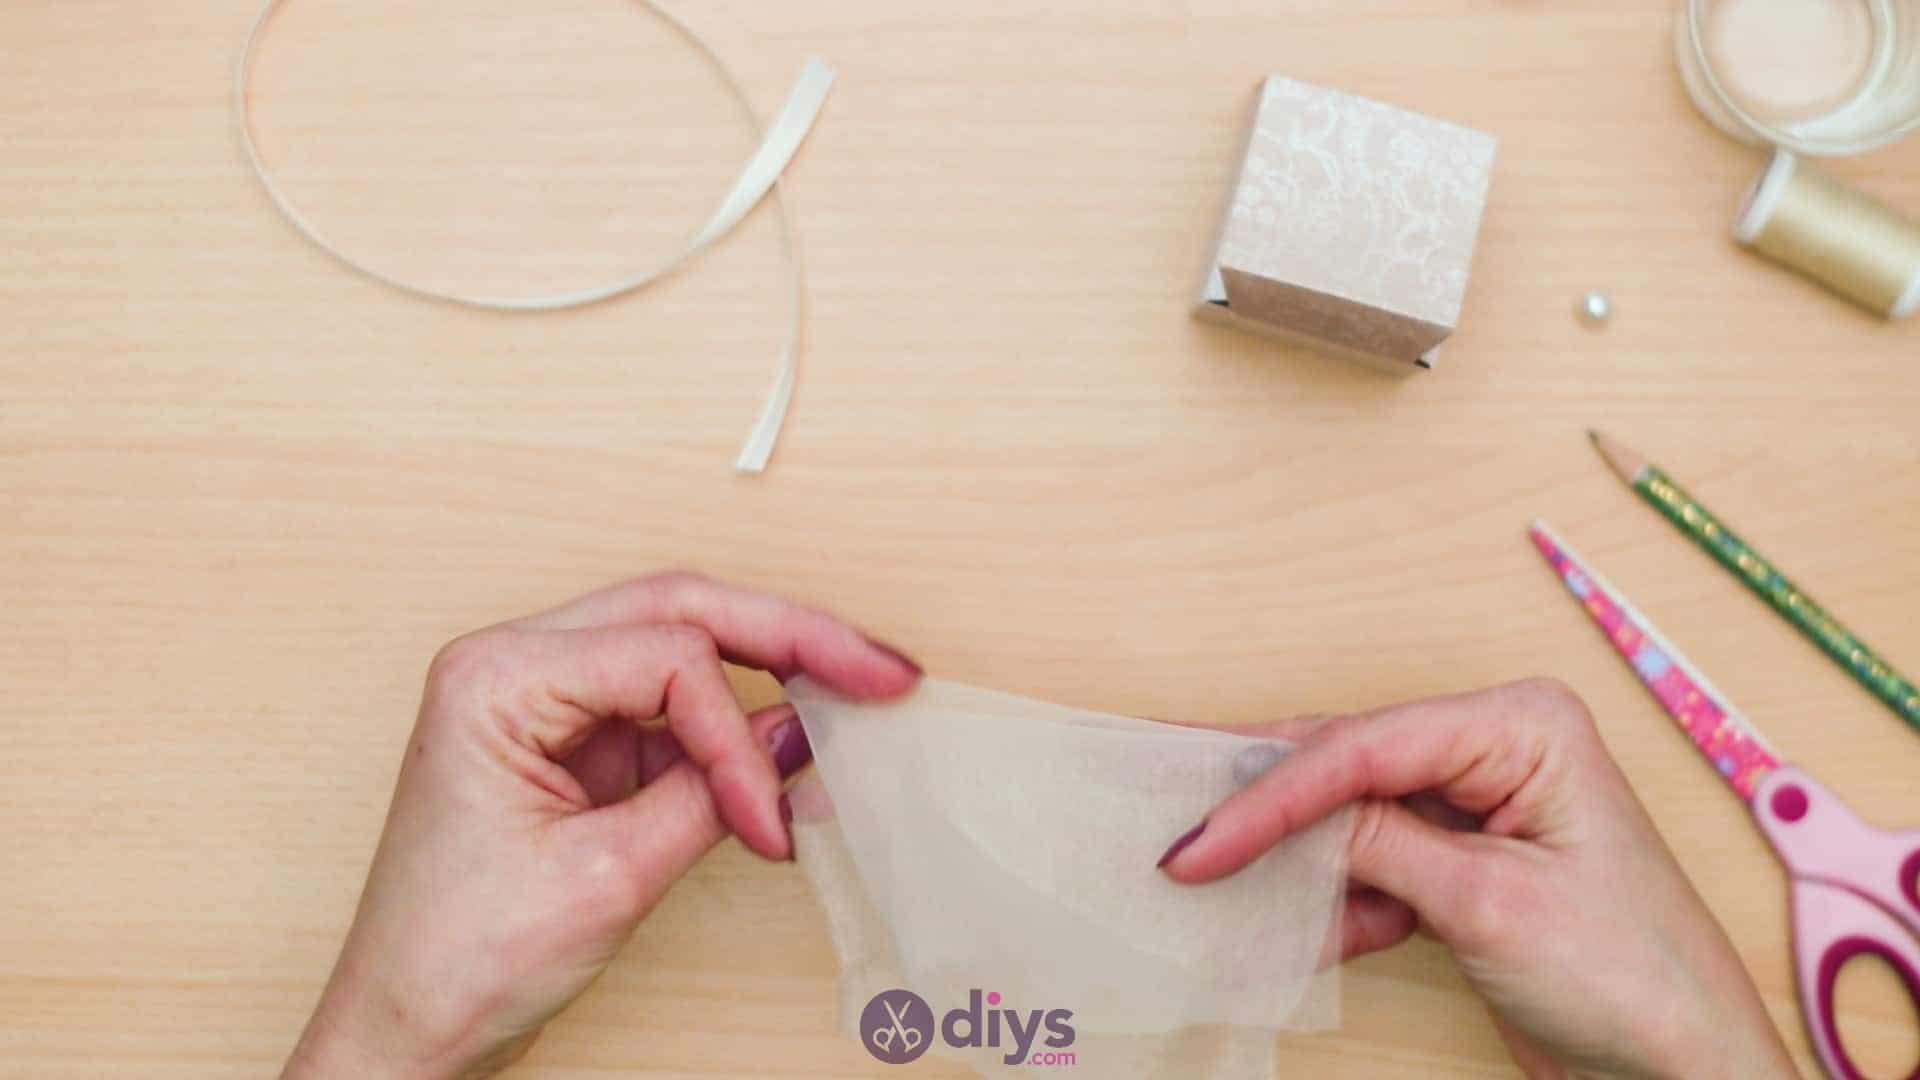
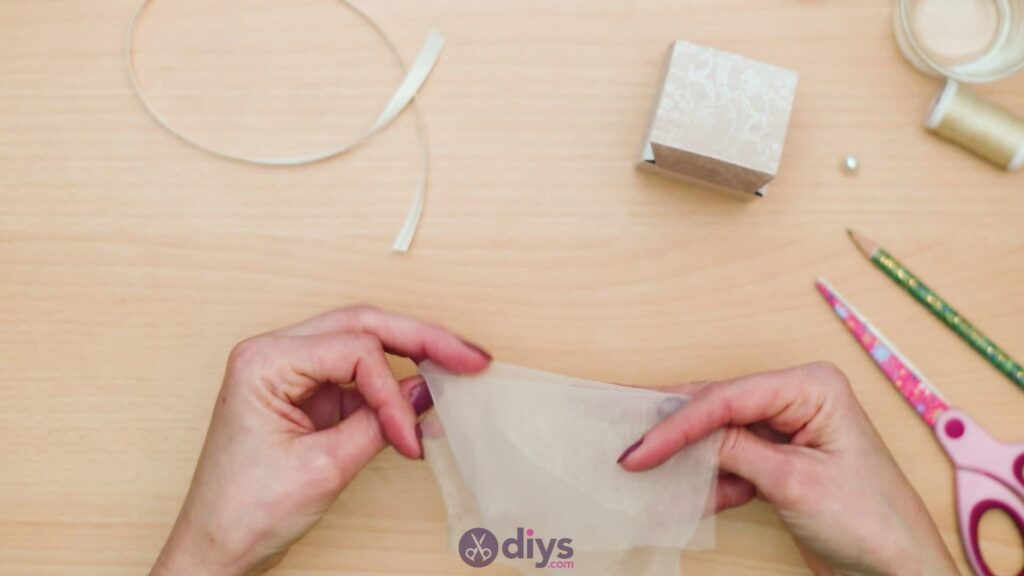
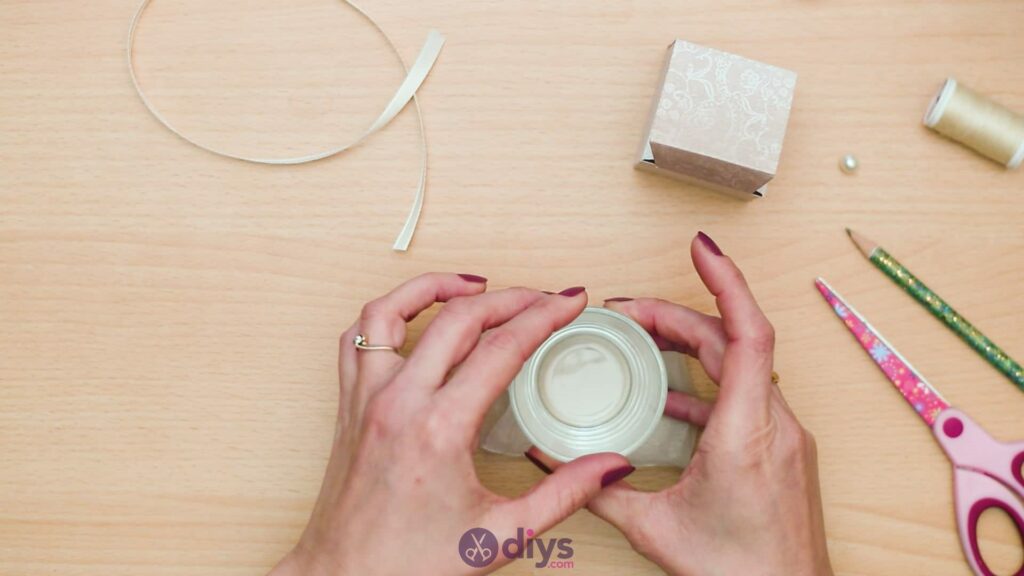
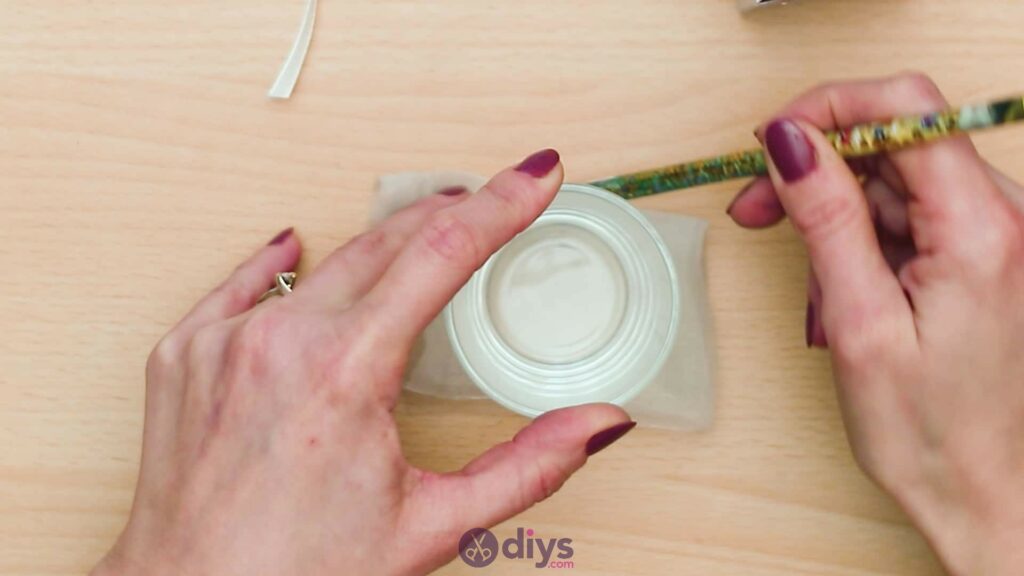
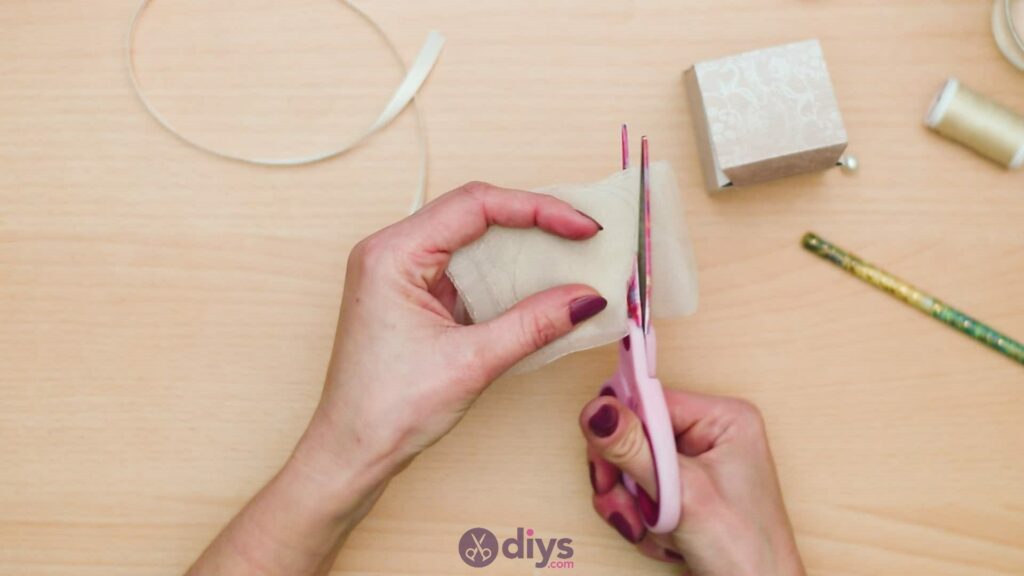
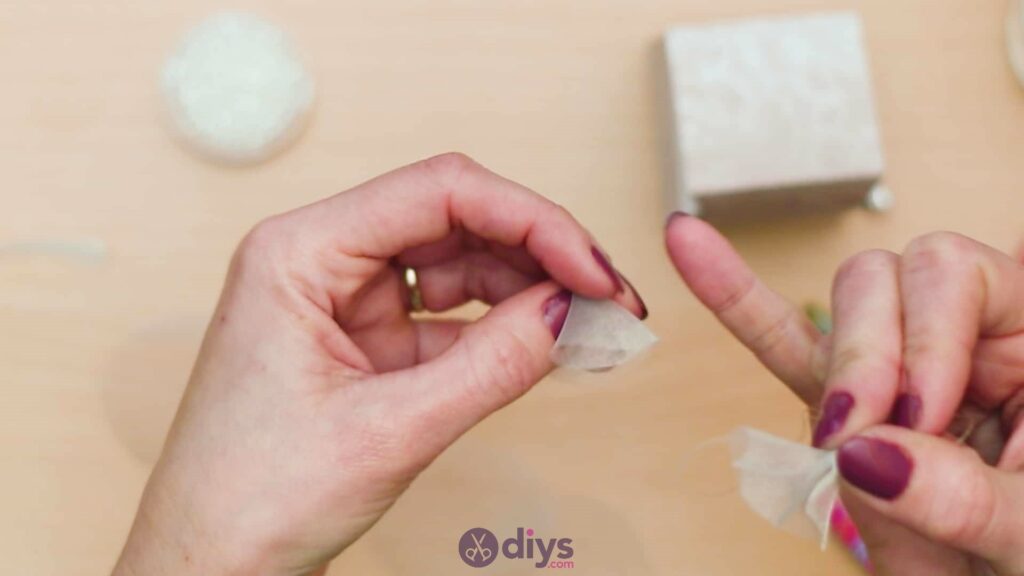
Step 7: cut the organza
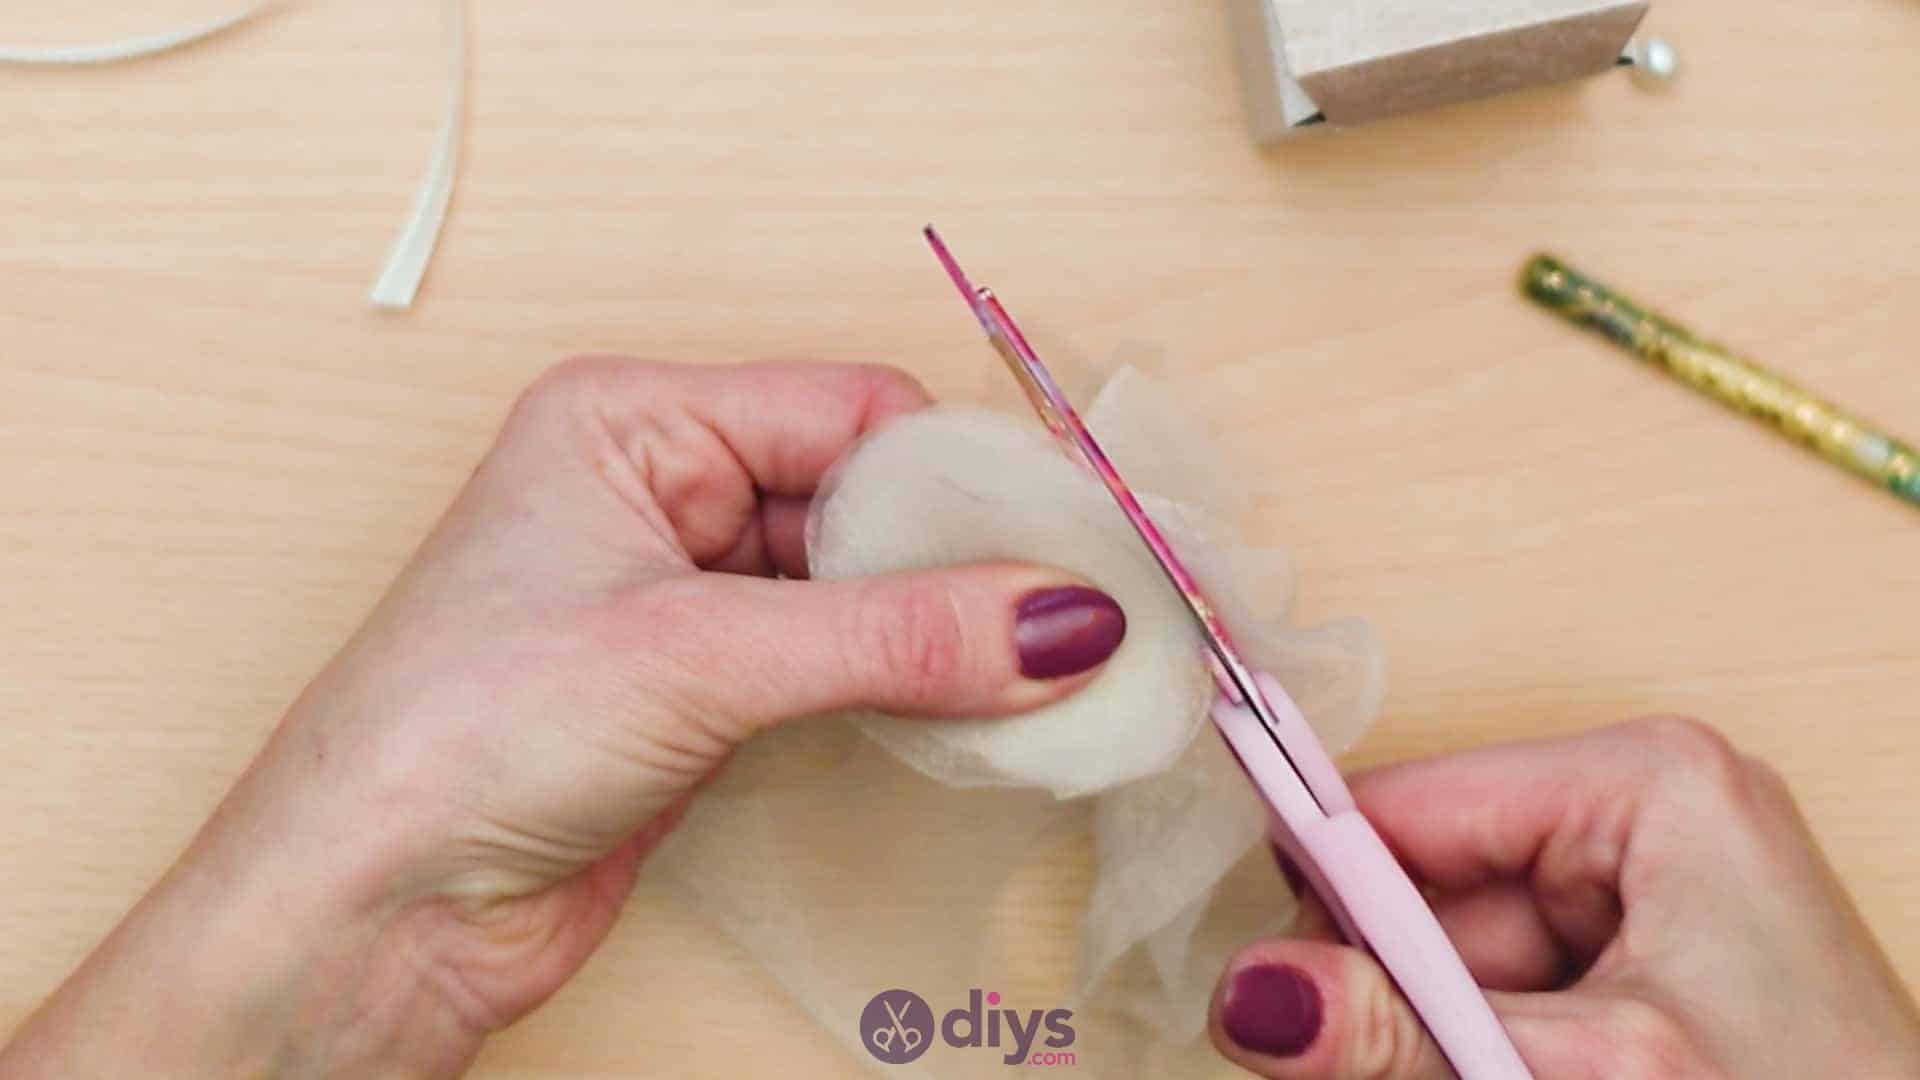
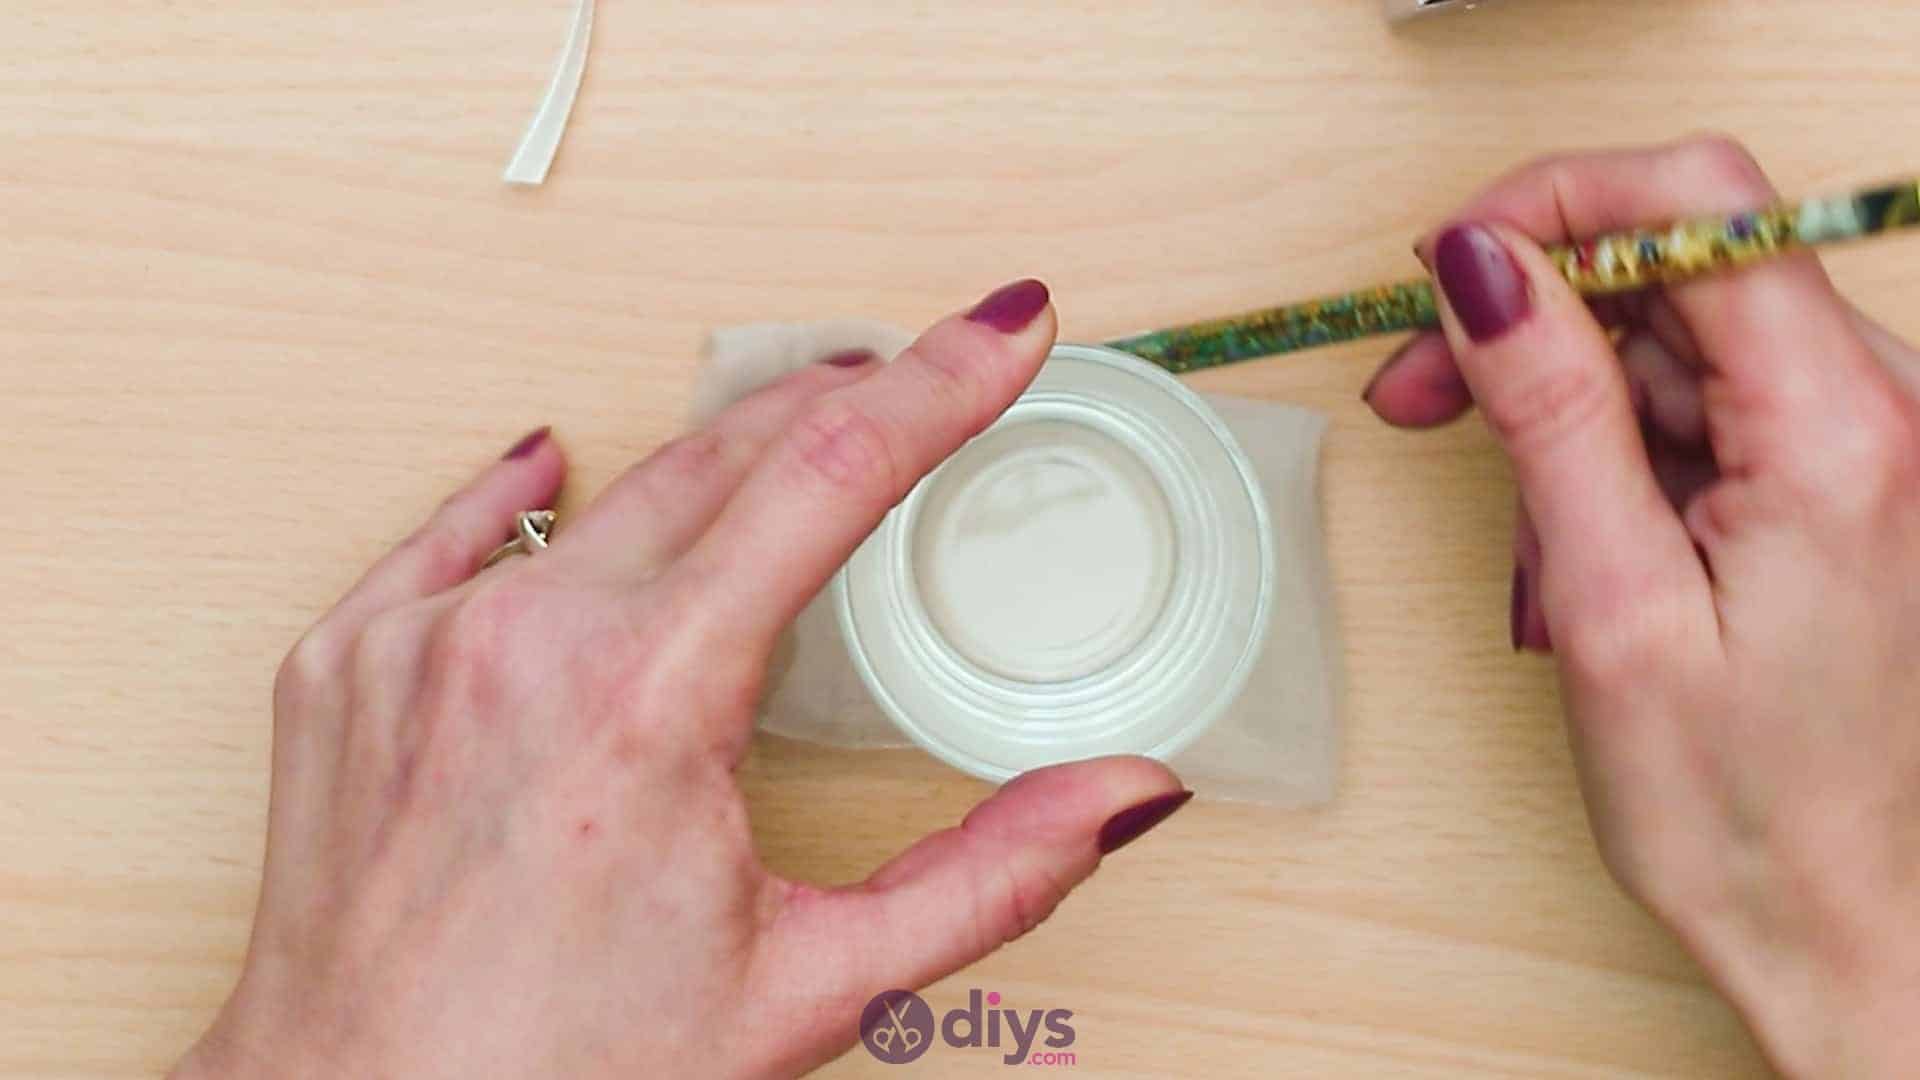
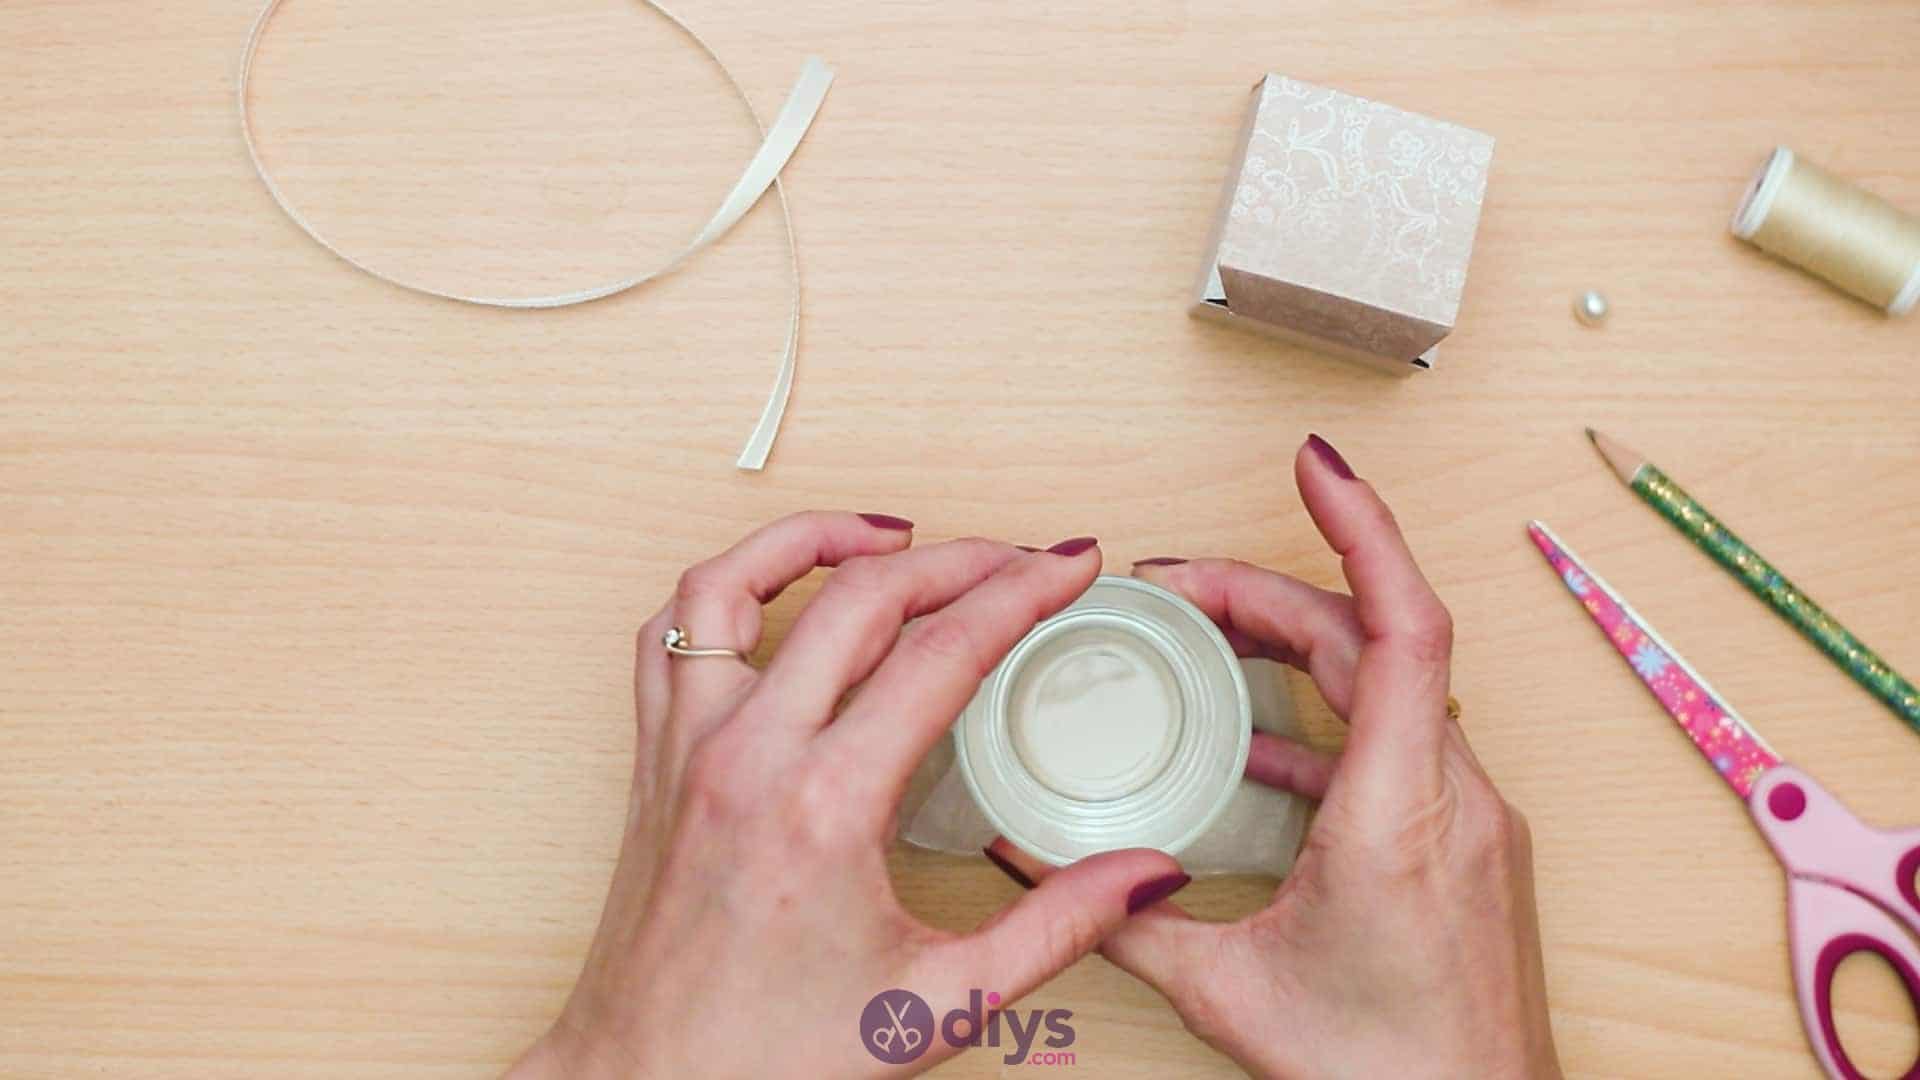
Fold your piece of organza in half and then in half again to create a piece with four layers. Set the folded piece flat on the table and use something about the size of a juice glass or a small jar turned upside down as a stencil to trace down a circle. Use your pencil to draw all the way around the glass’s opening onto the organza fabric and then move the glass without letting the fabric unfold. Use your scissors to cut the circle out, making sure you’re cutting throughall four layers at once.
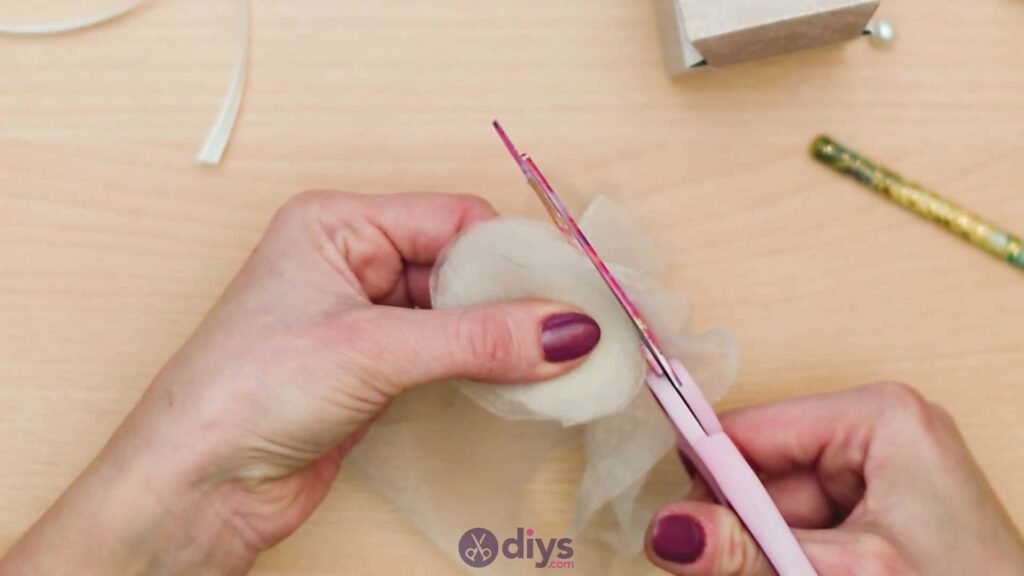
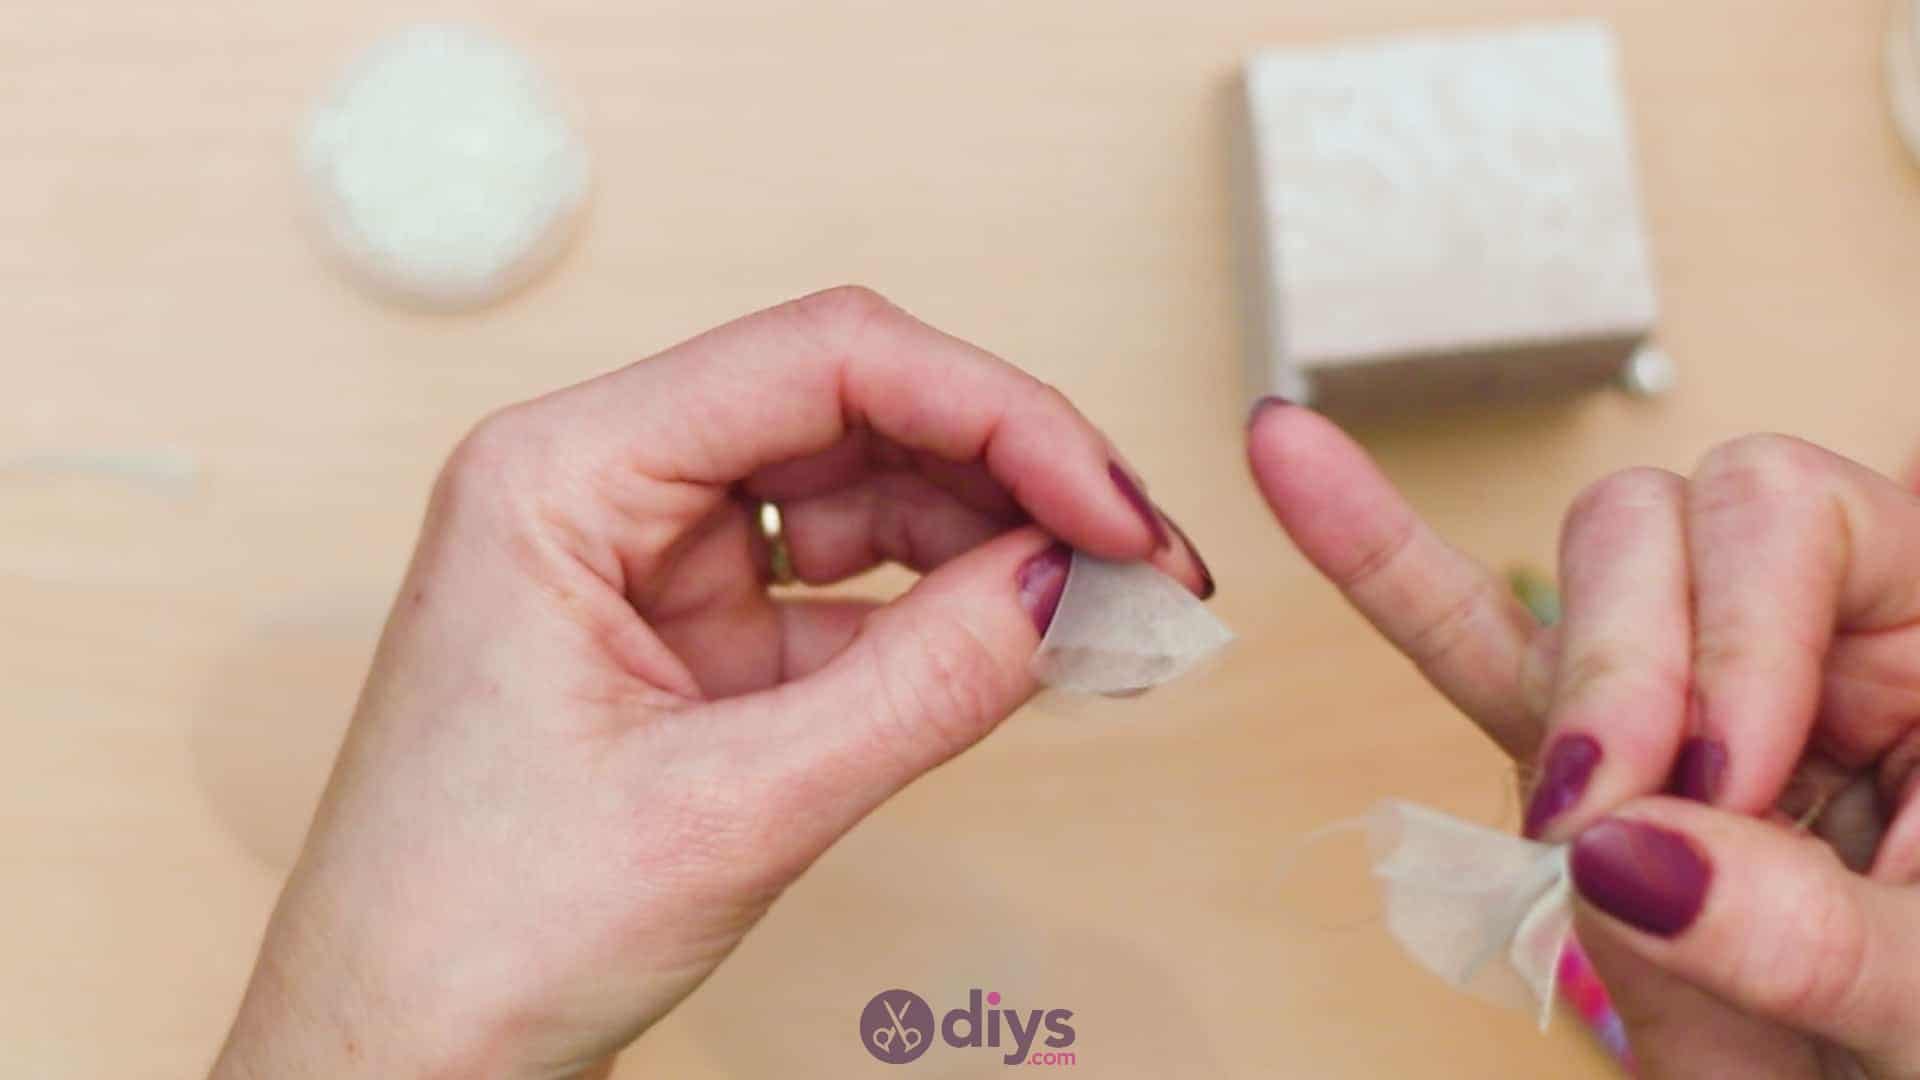
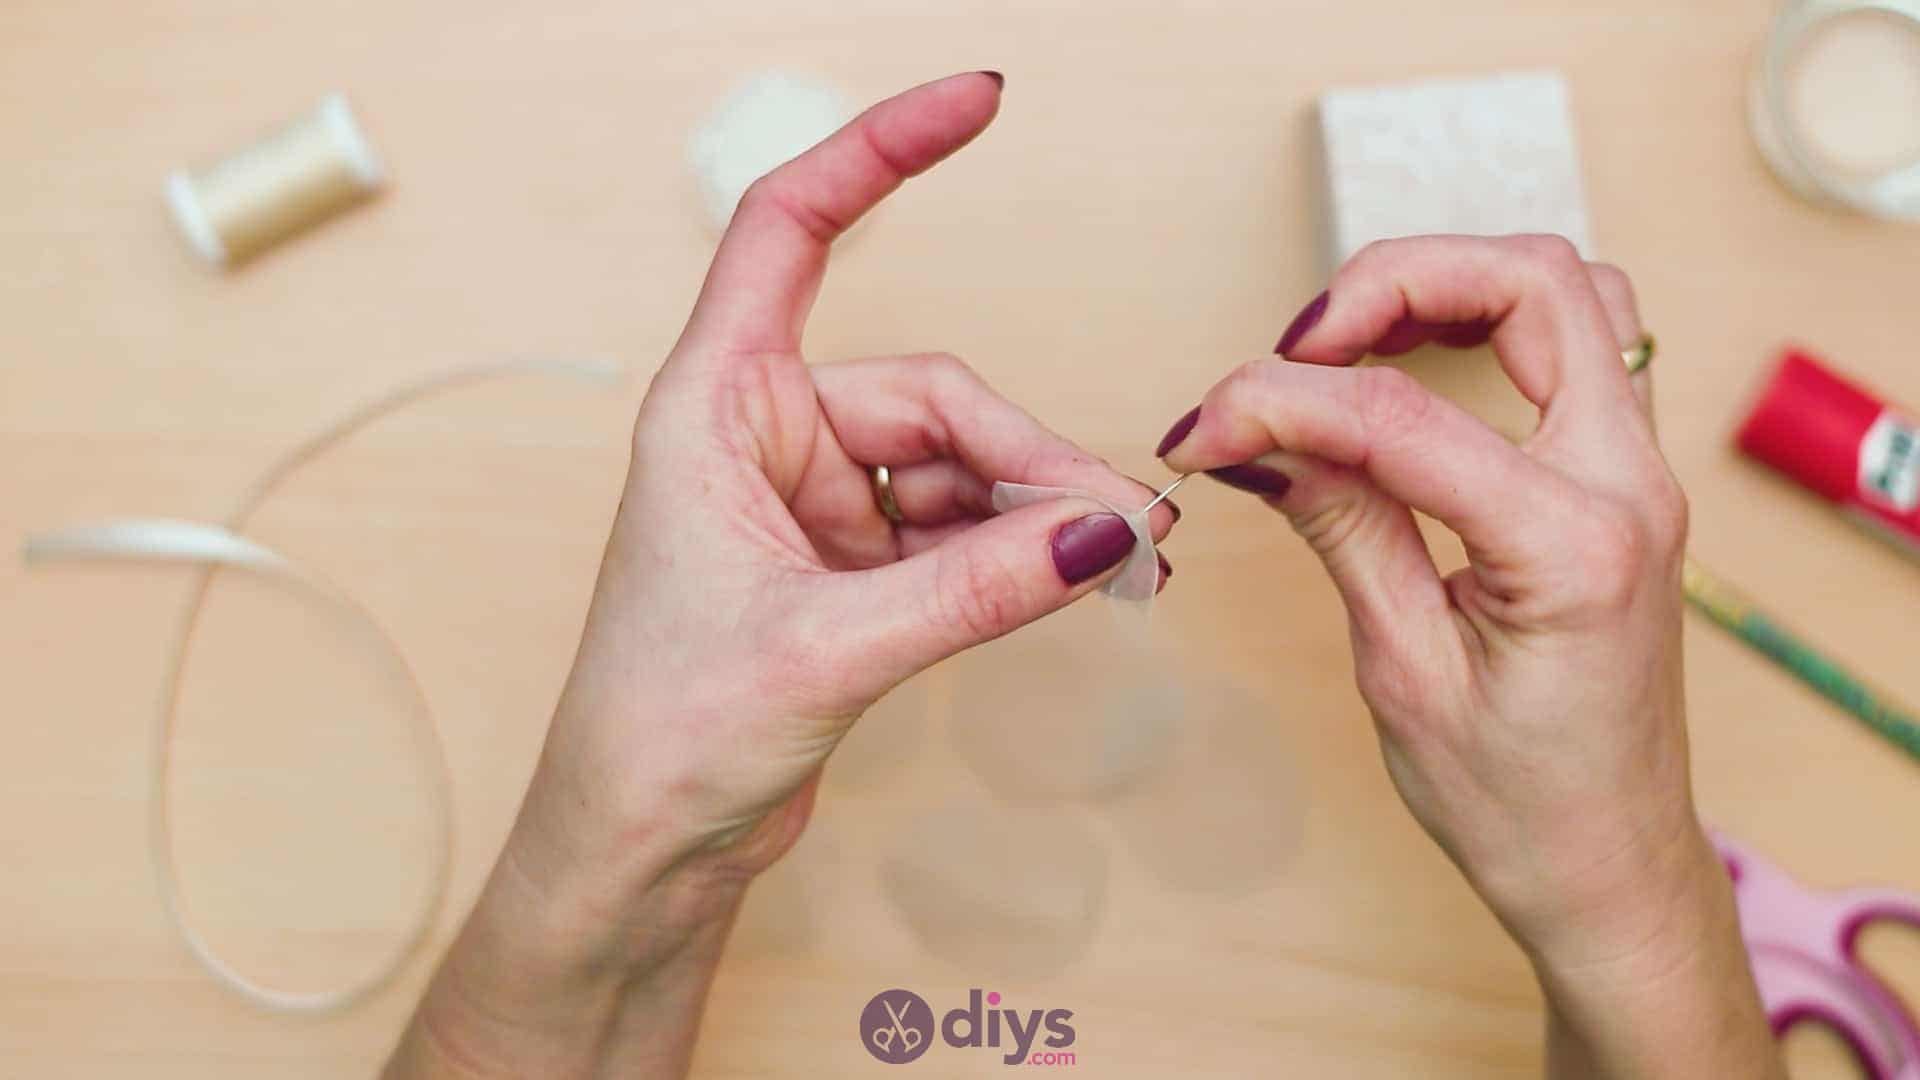
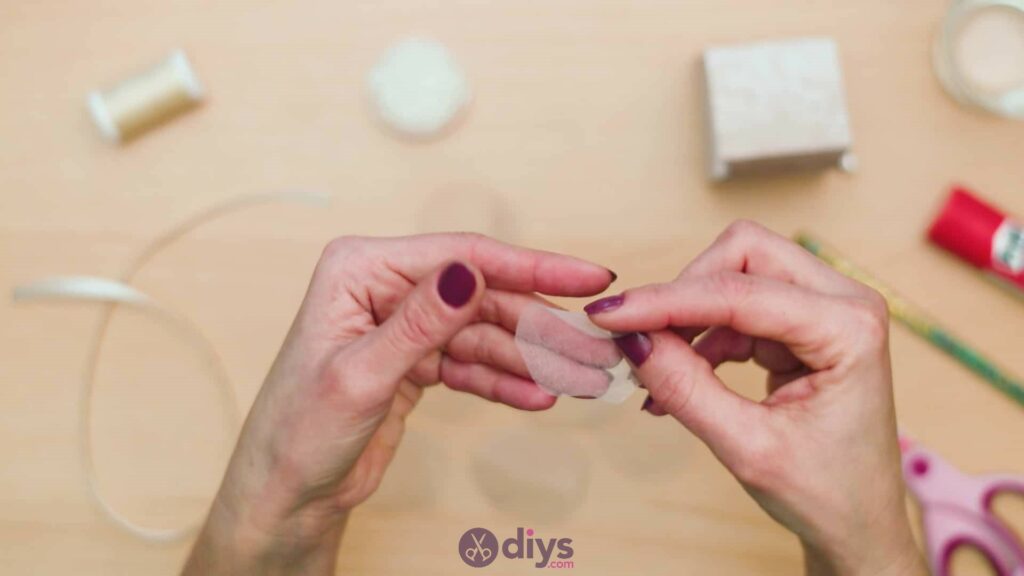
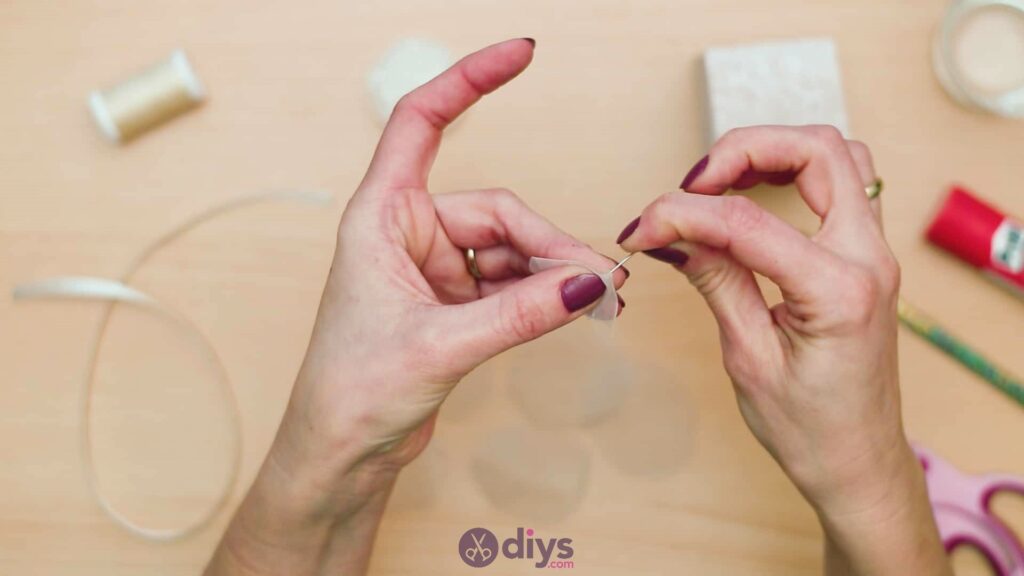
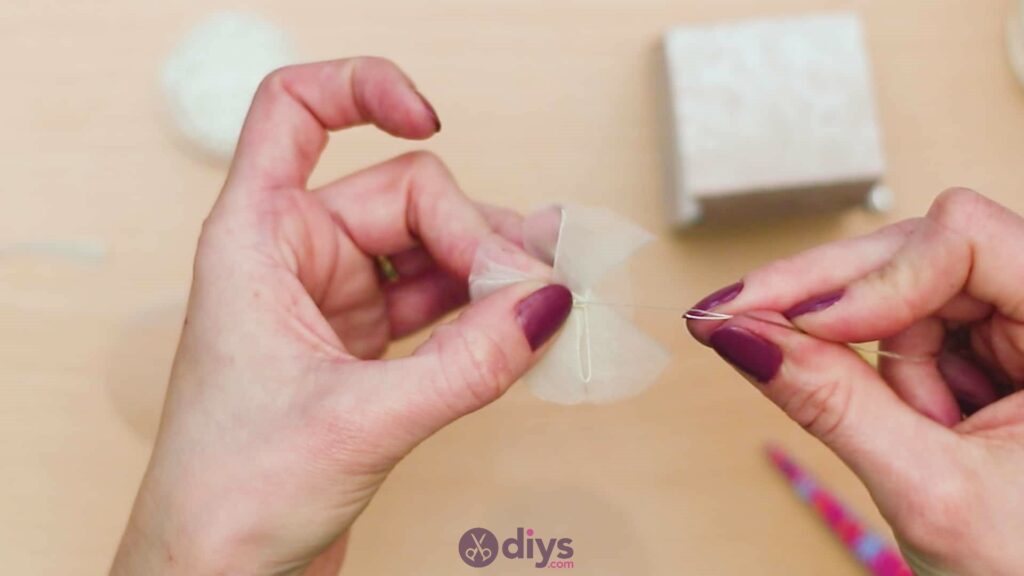
Step 8: decorate
Now you’ll separate your layers and work with them individually to attach them together and make some decor for the top of your box. Thread your needle and make a knot in the end of the thread. Pick up your first organza circle and fold it in half, then in half again, so you have a layered and tapered shape that’s shaped a bit like a slide of pizza. Use your needle to put a couple stitches through all of the layers just above that tip, anchoring them in place with the rounded ends kept loose to make a small organize bunch. Without detaching the thread and needle, pick up a second layer or organza, fold it in the same way, and put the shape against the first one so their tips line up. Use your needle to stitch this piece to the first one in the same spot, anchoring the layers in that piece and also attaching the two pieces together at their tips to start making the centre of your organza box topper. Repeat the whole process twice more with your two remaining organza pieces. Knot your thread to finish and trim the excess to free the needle.
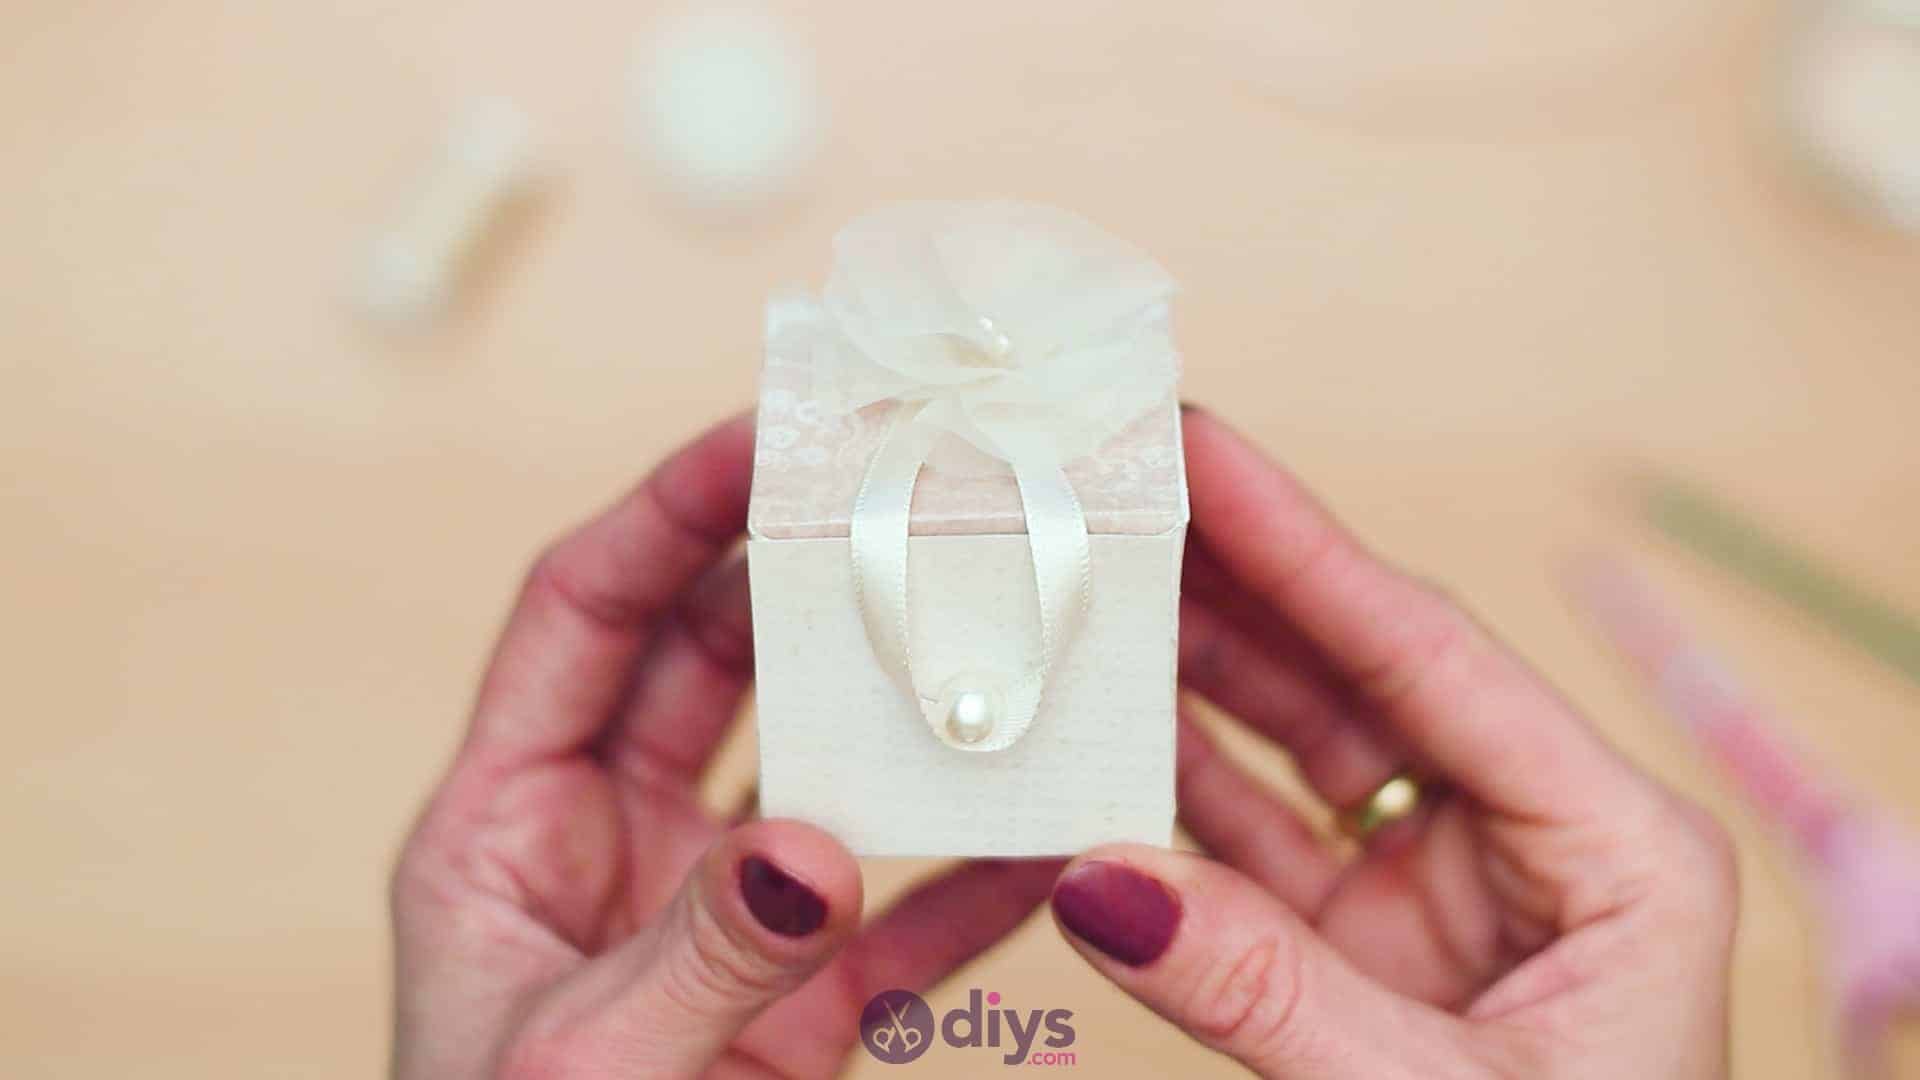
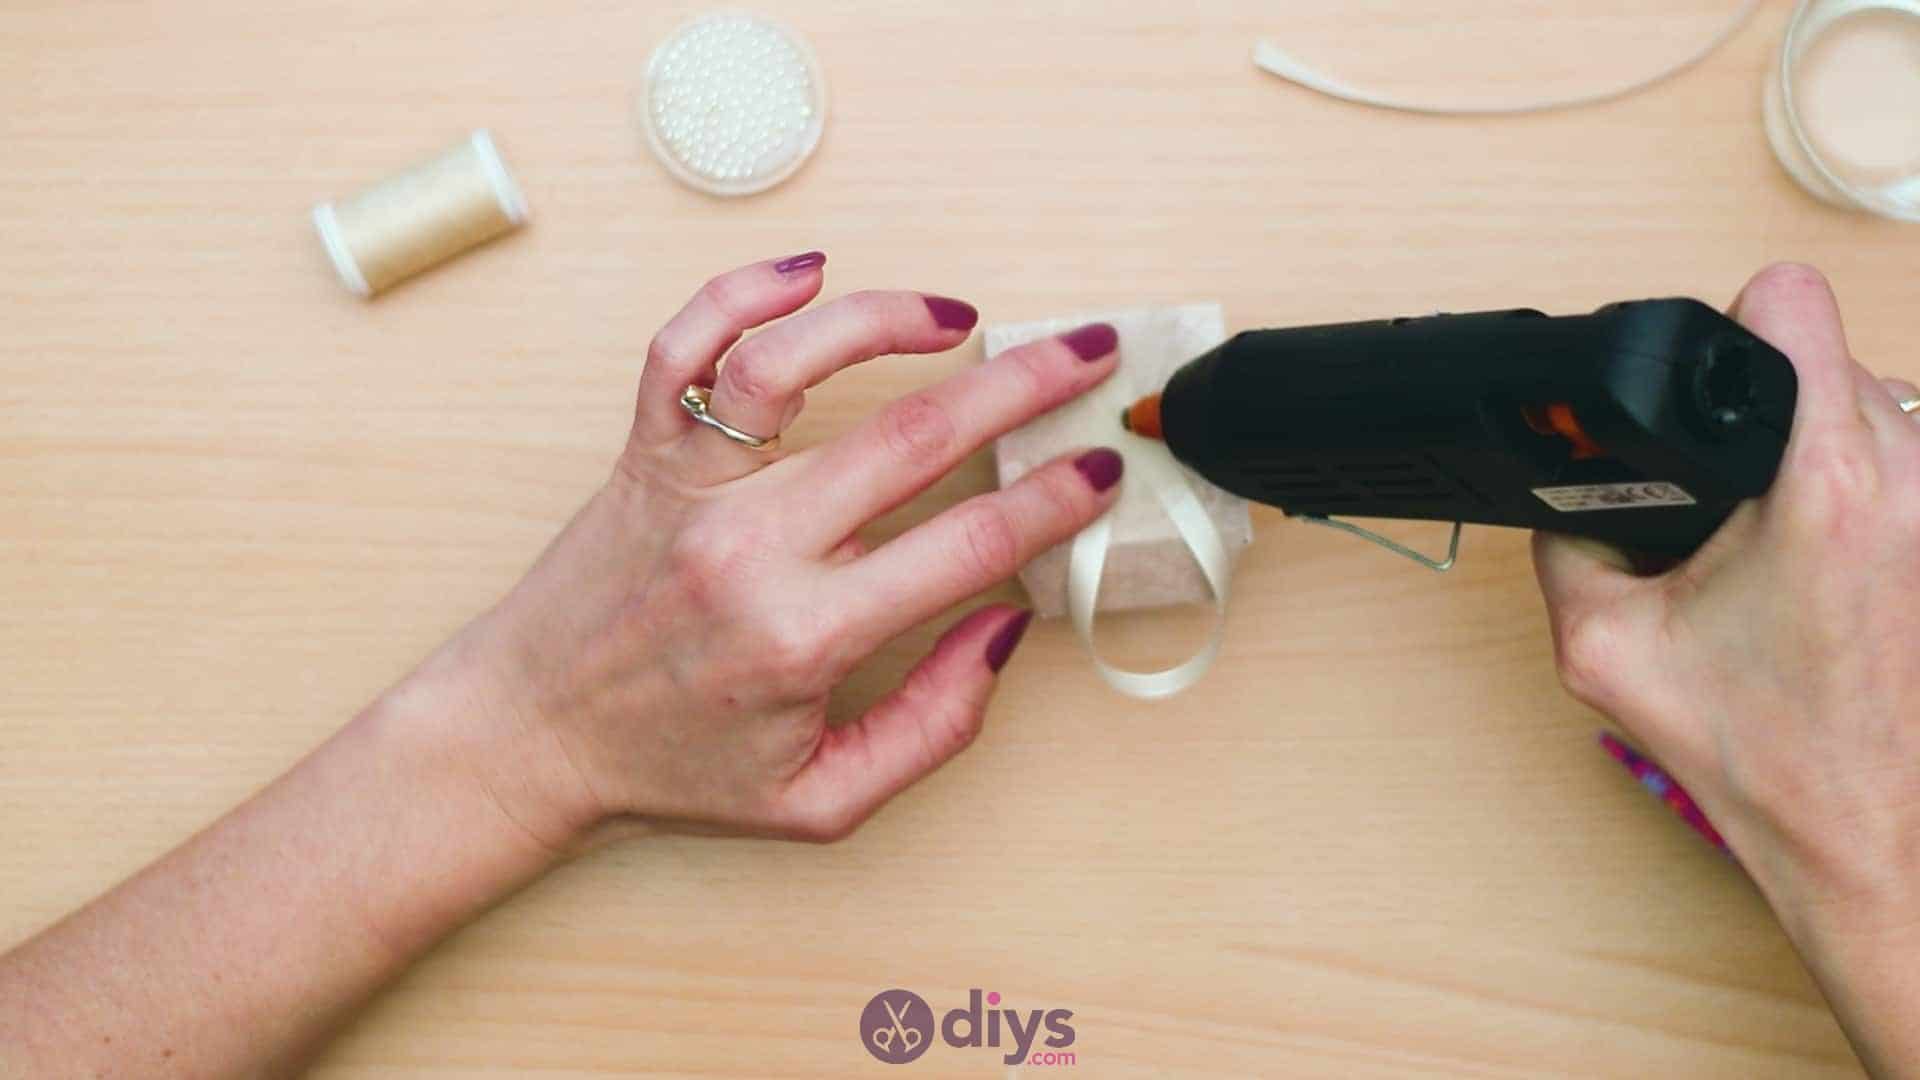
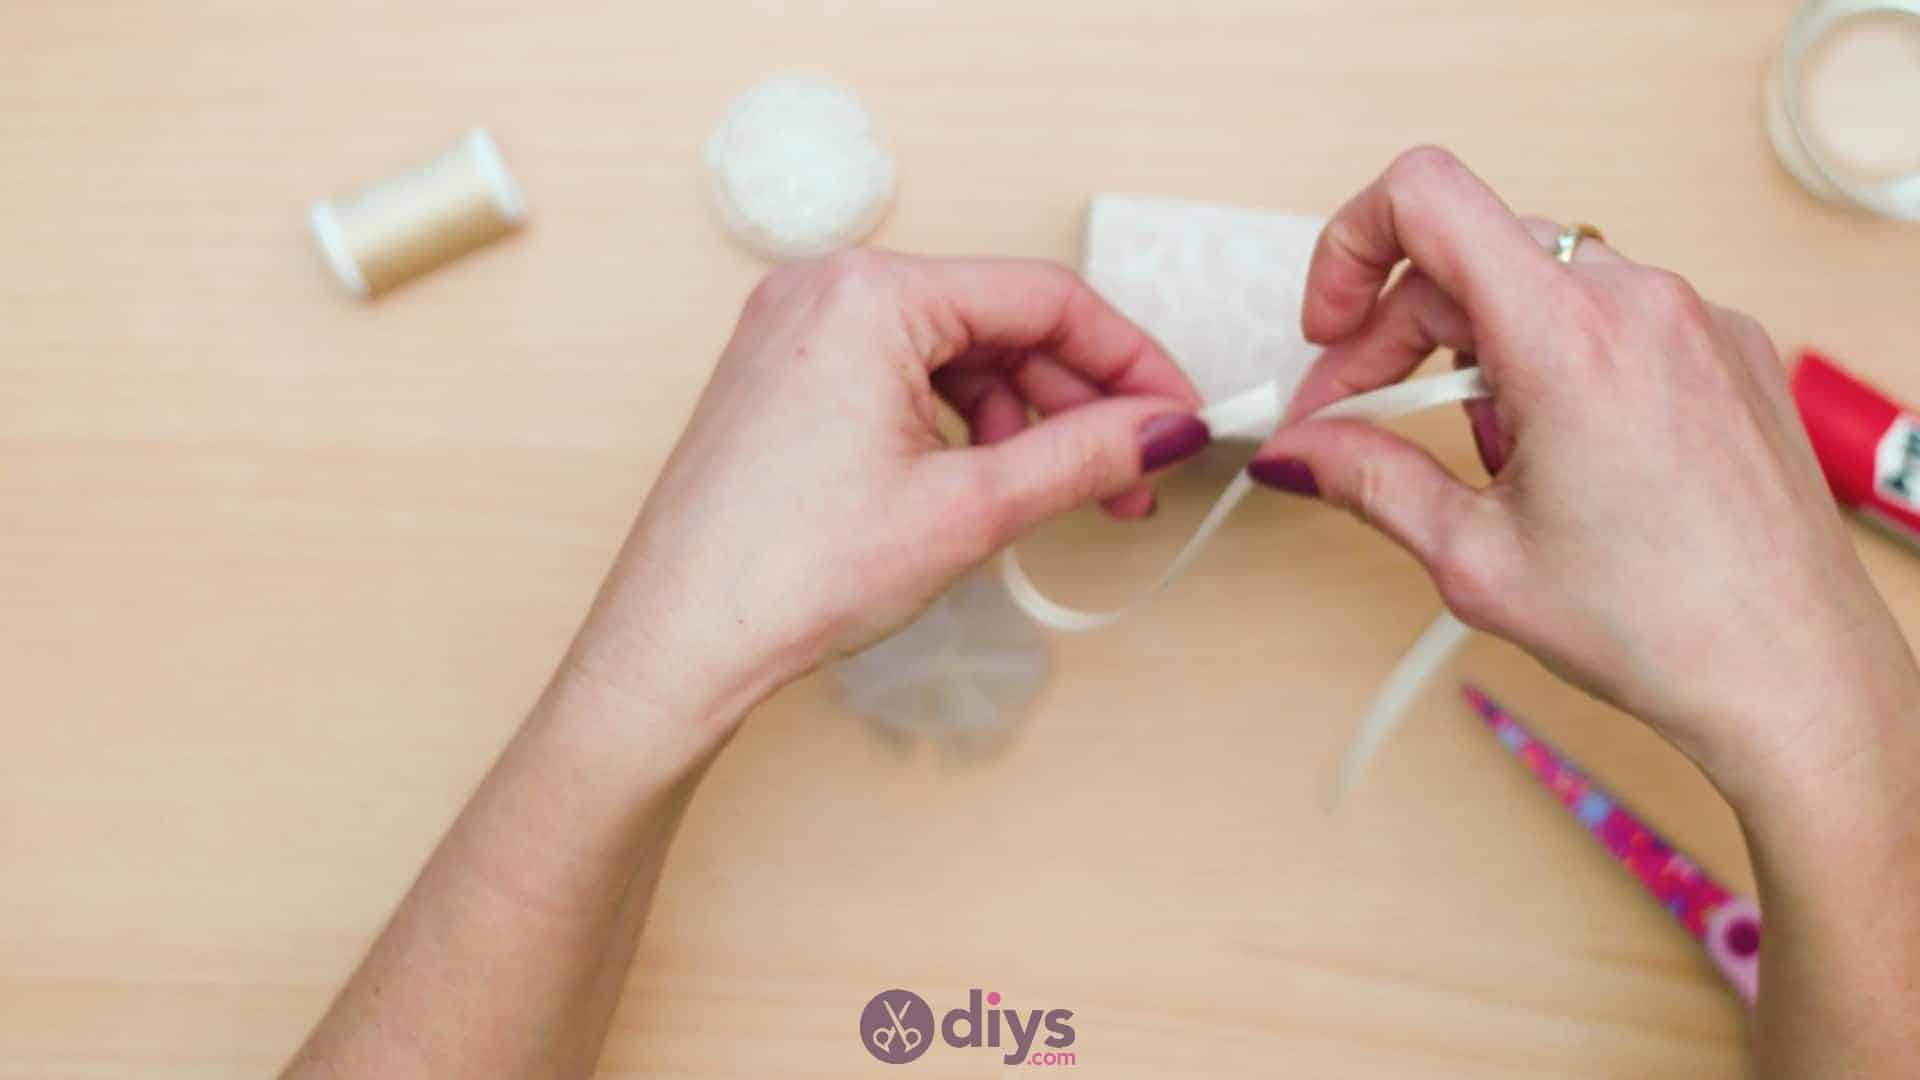
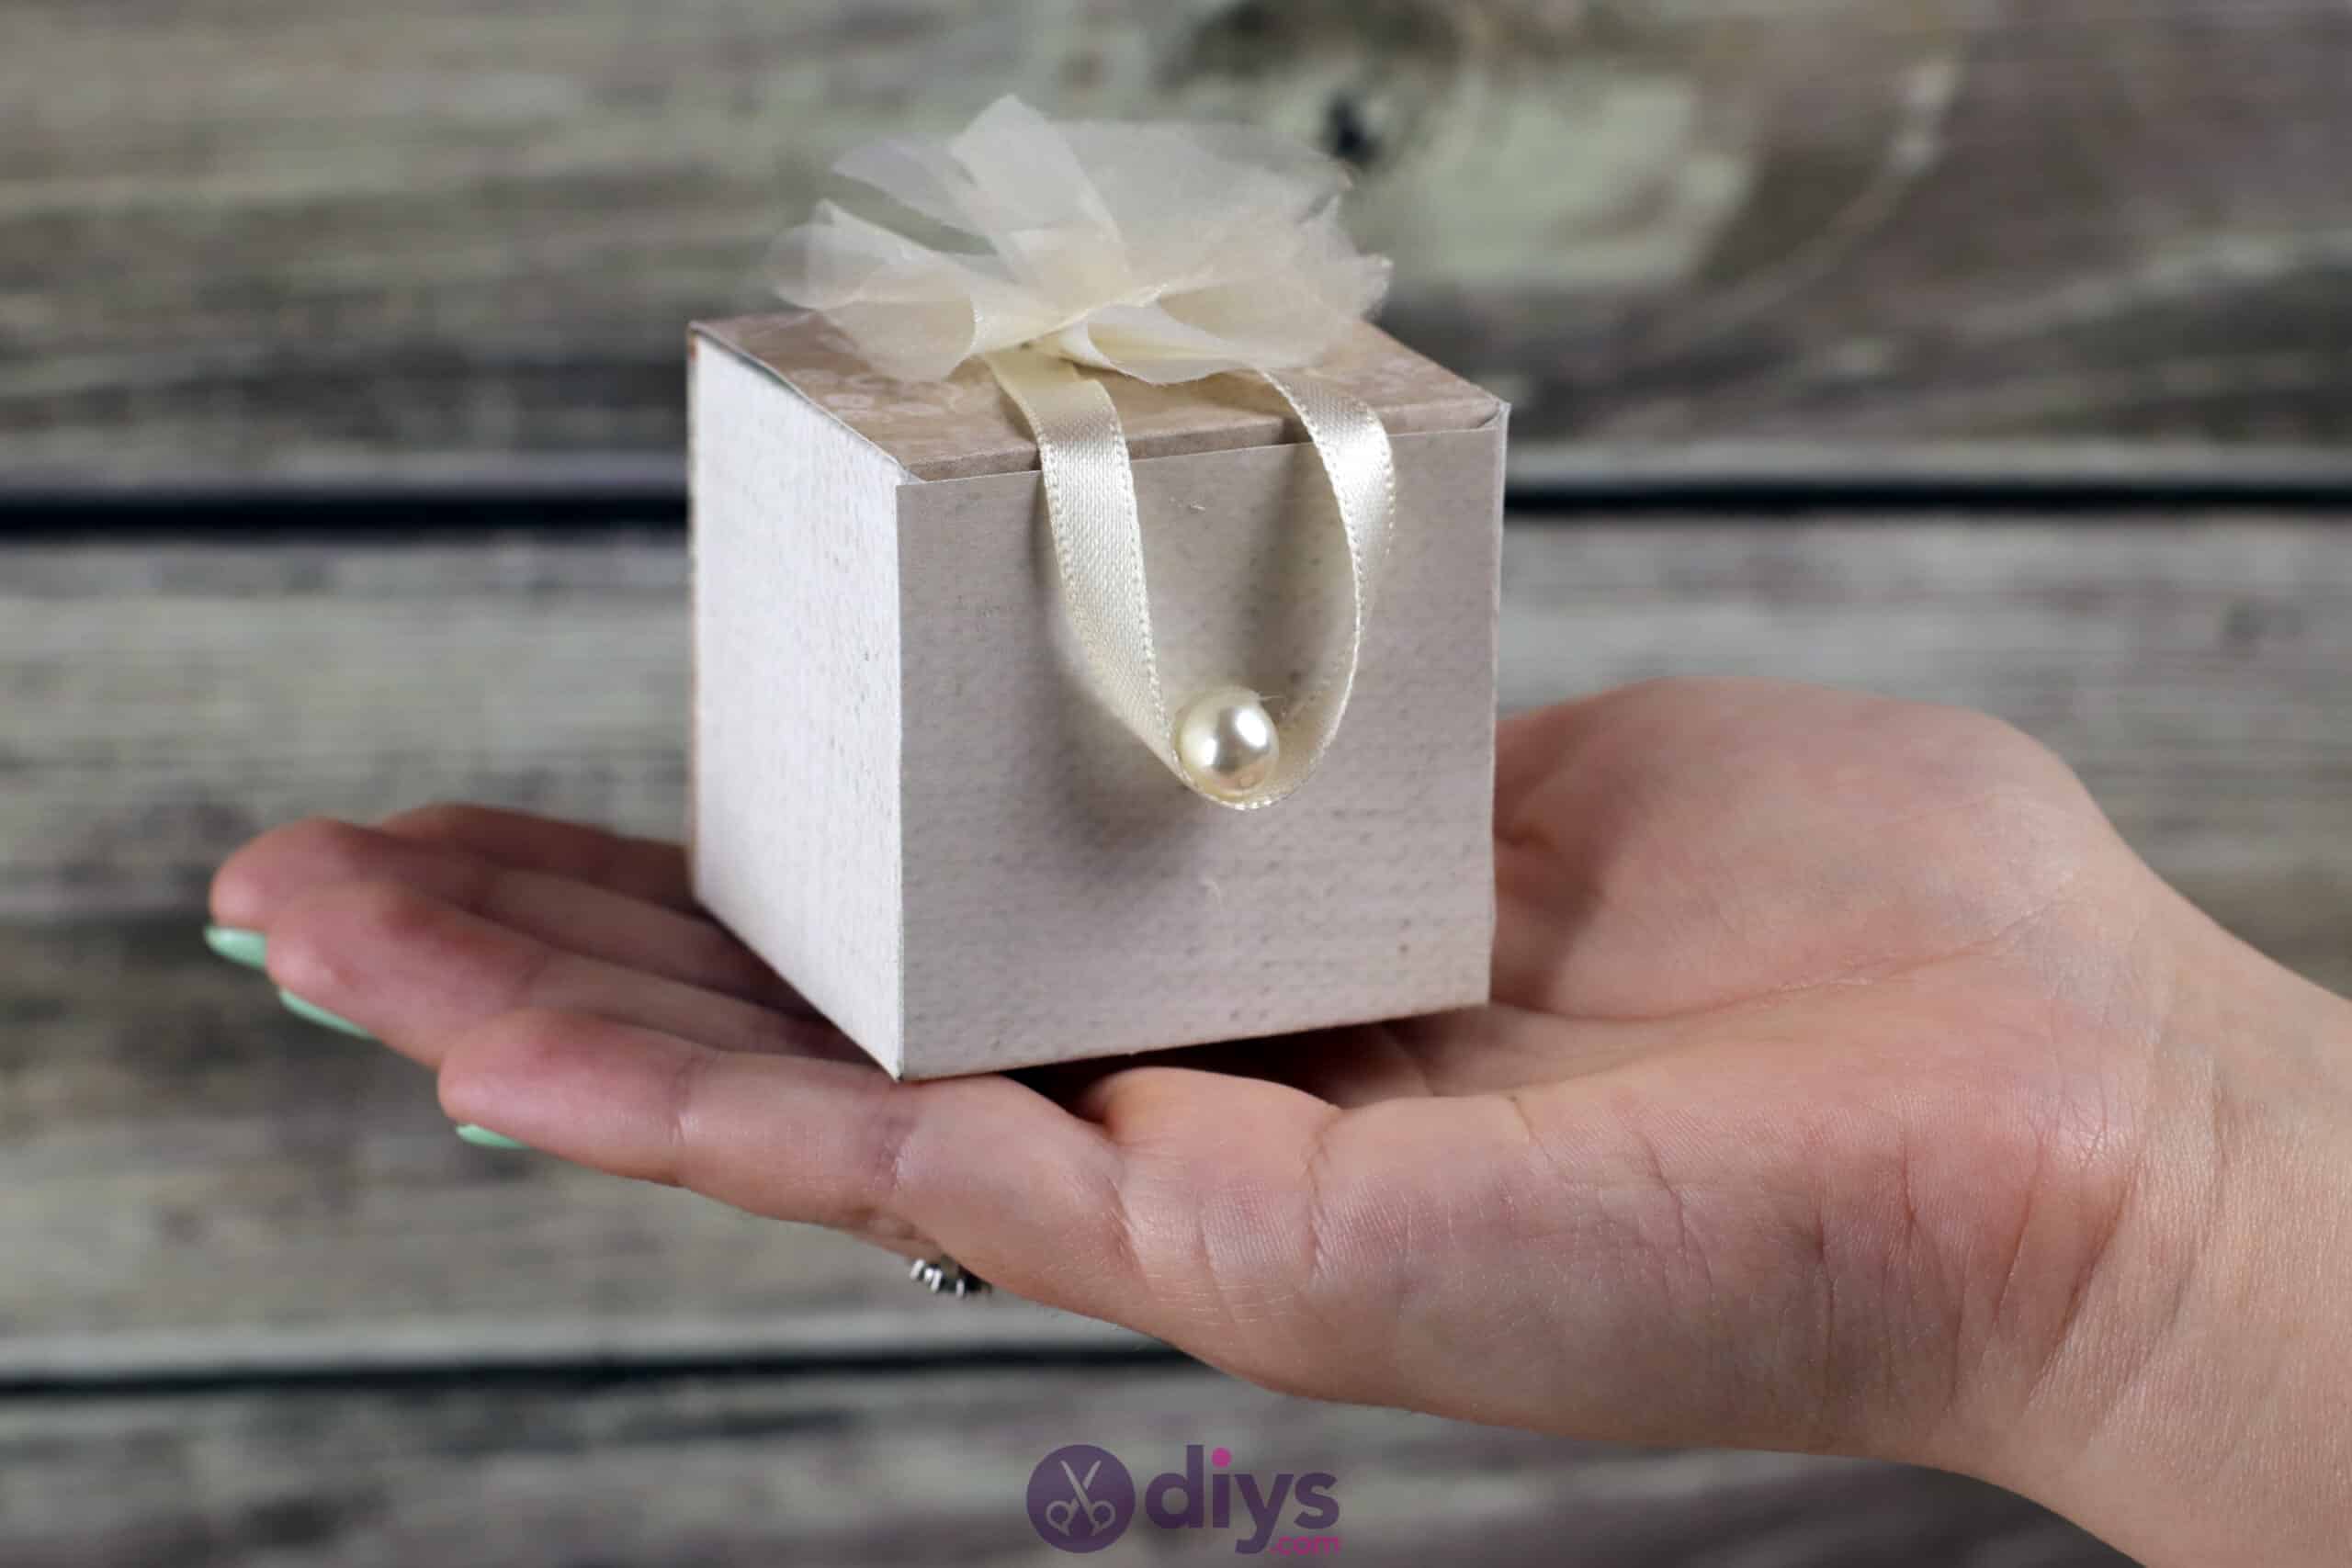
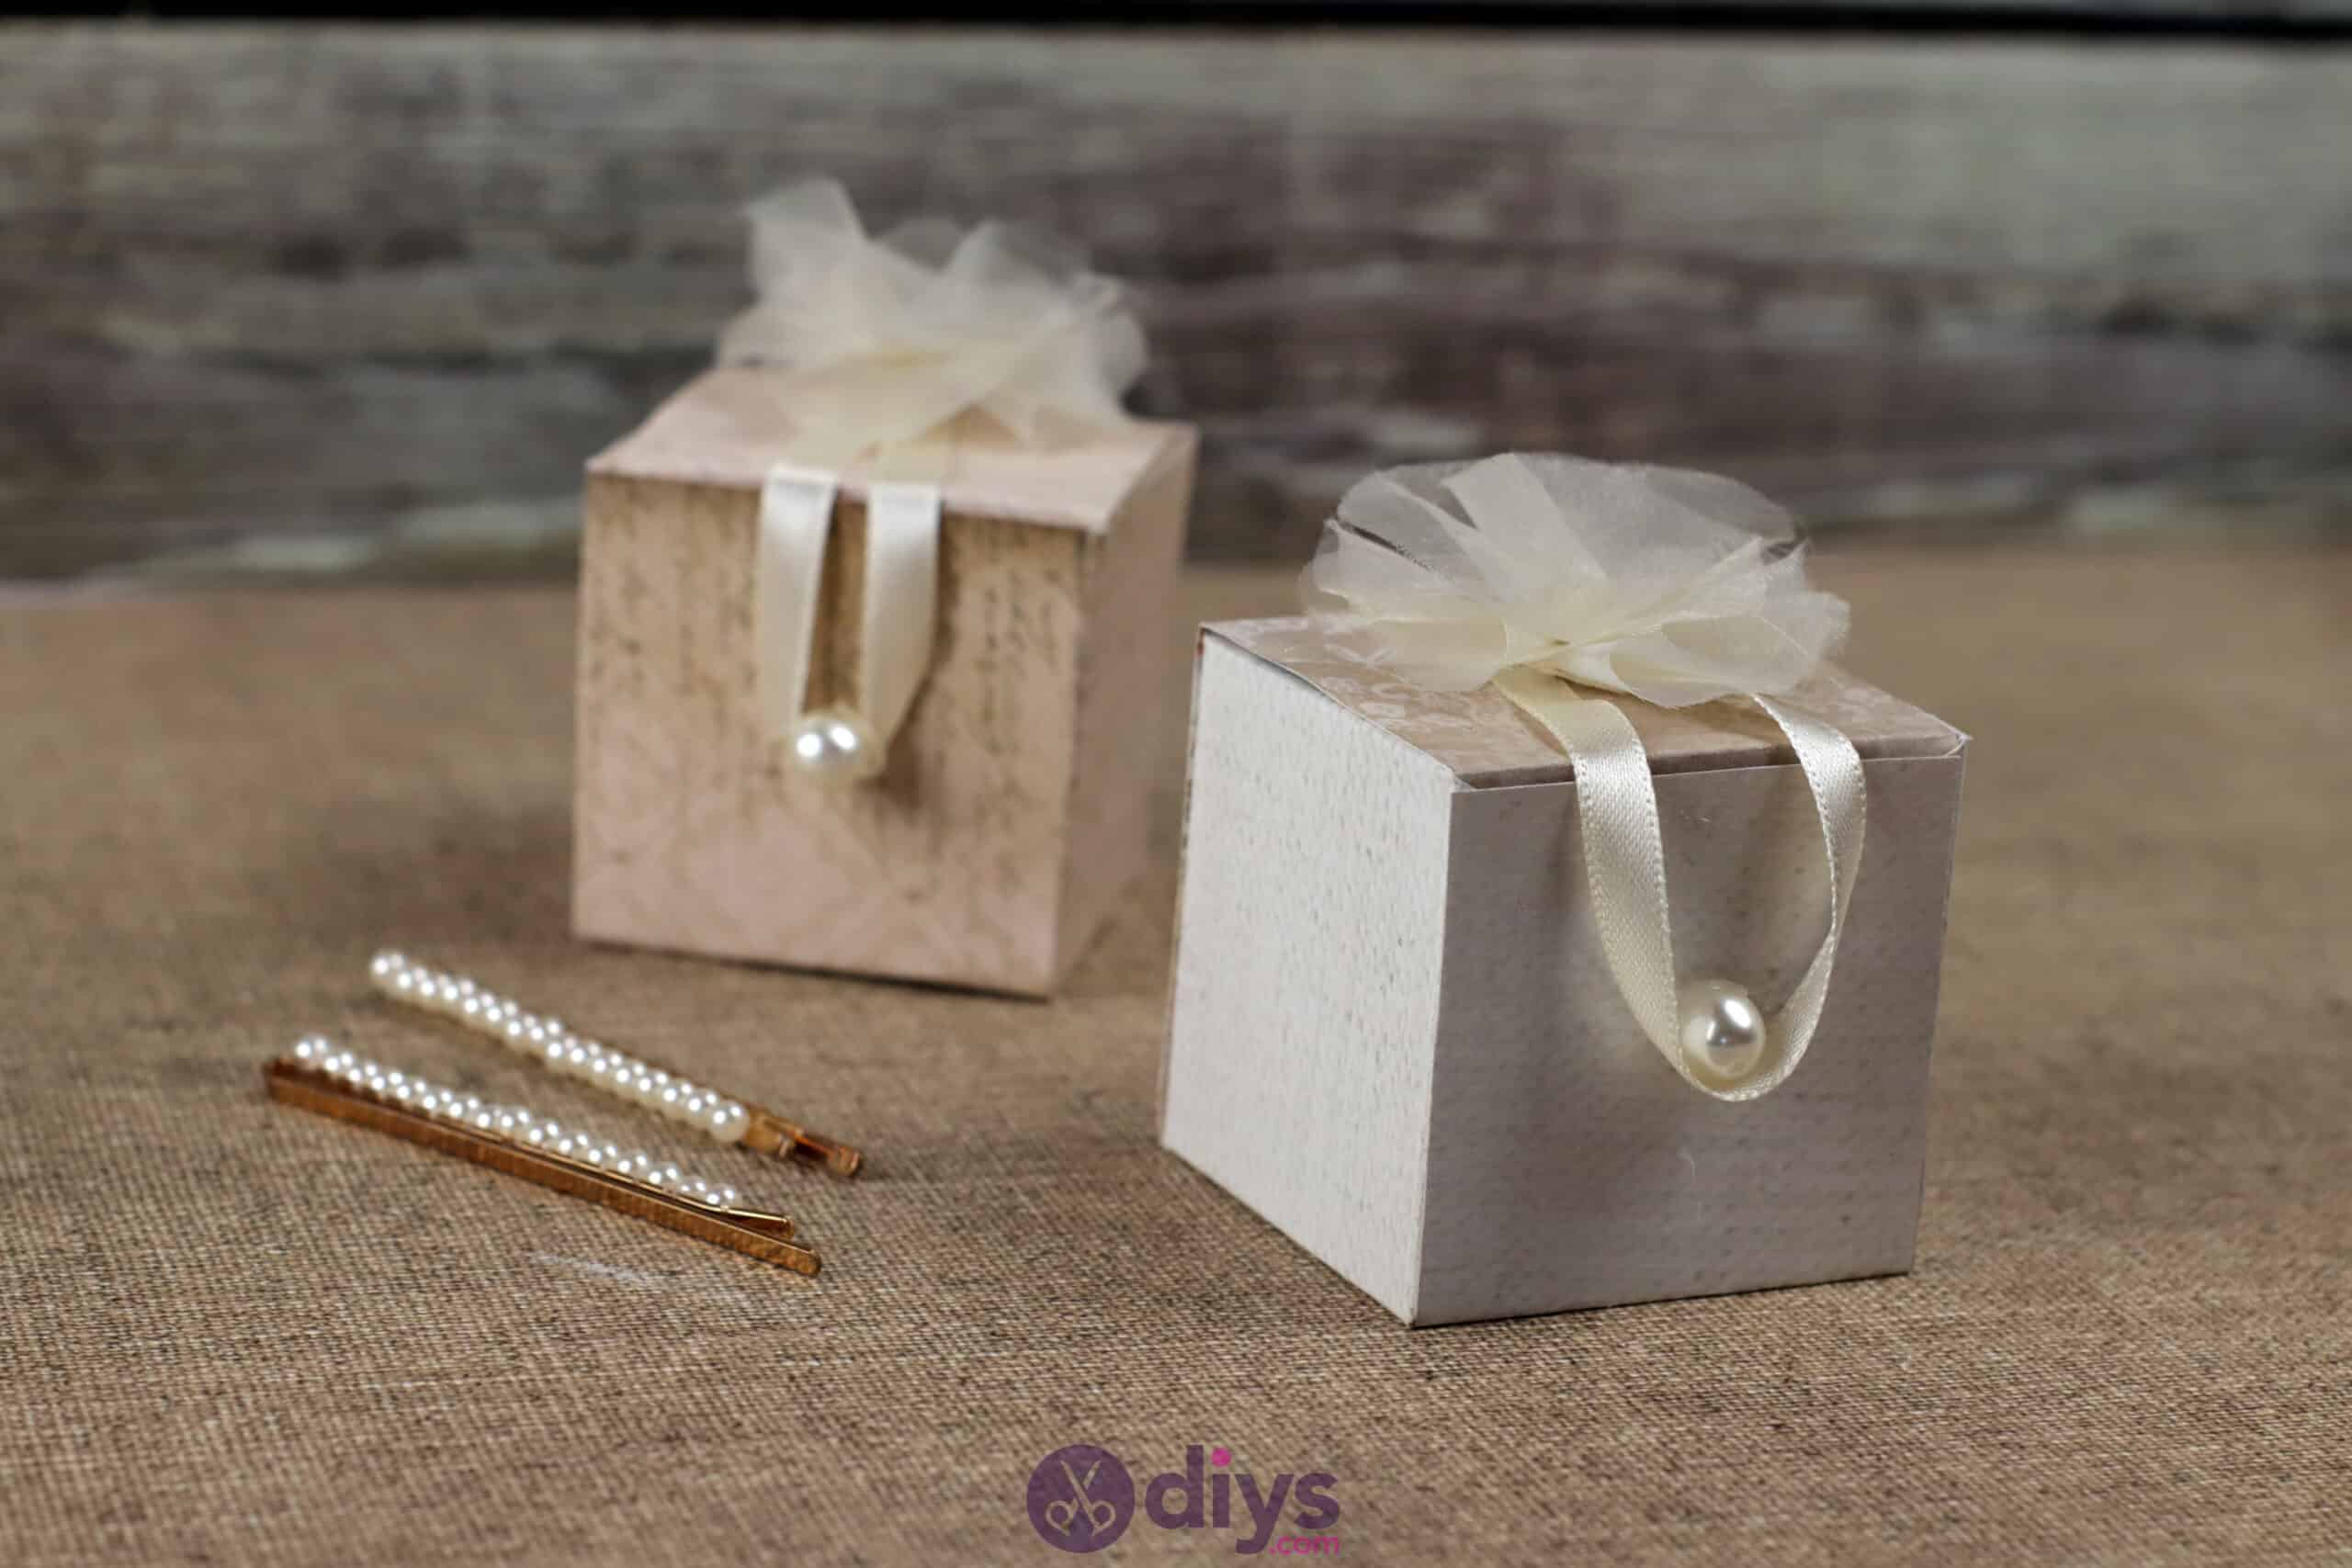
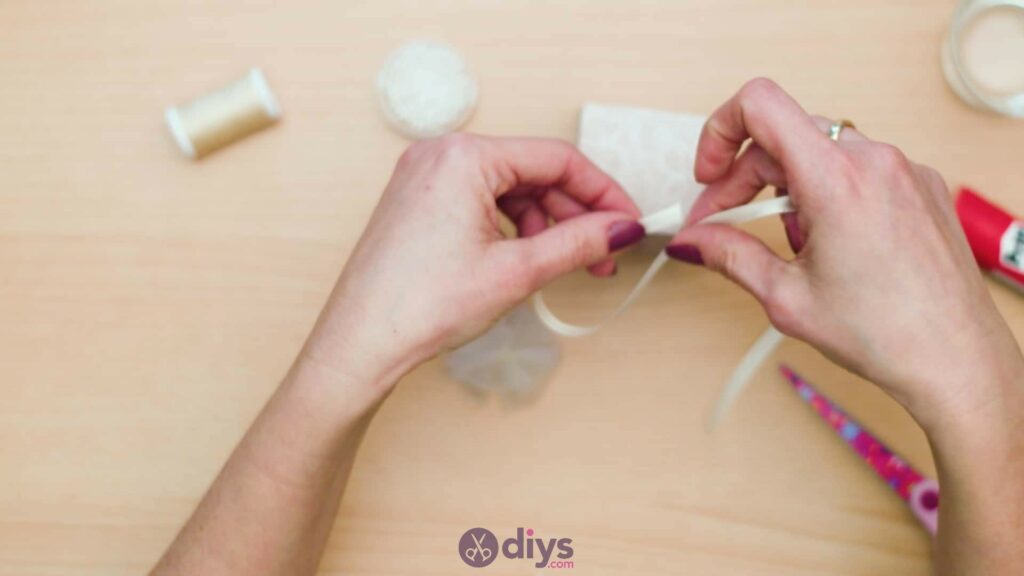
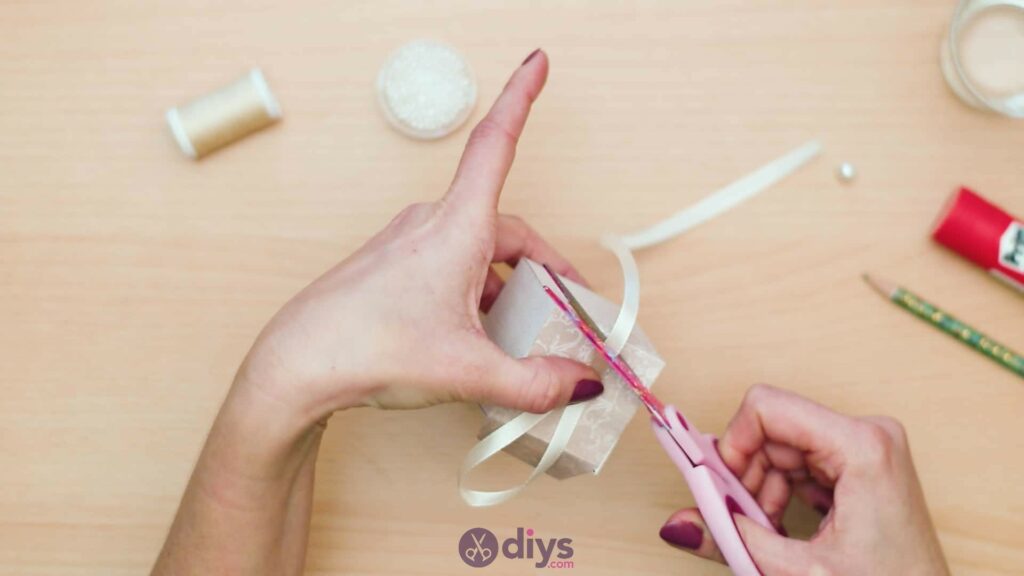
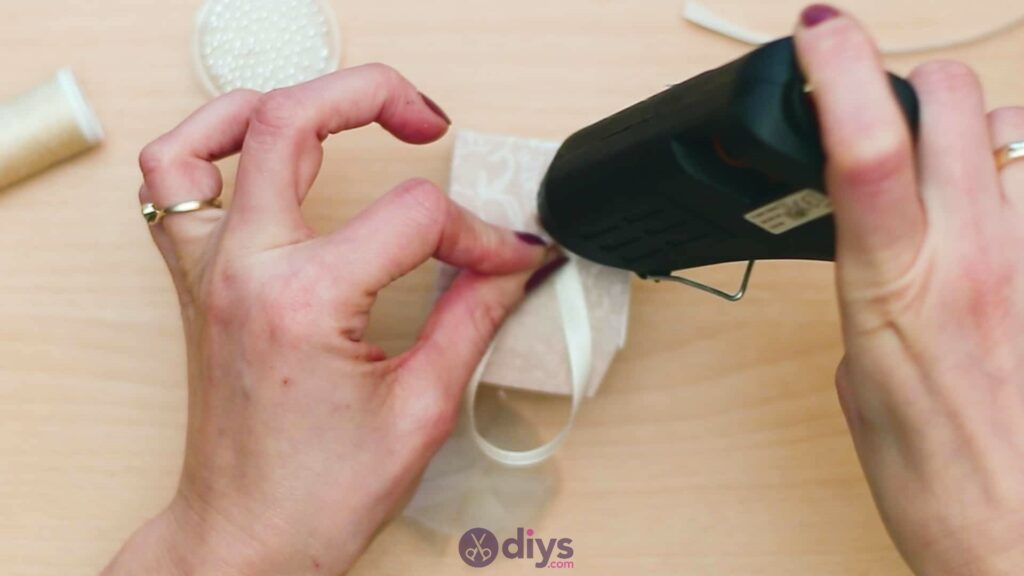
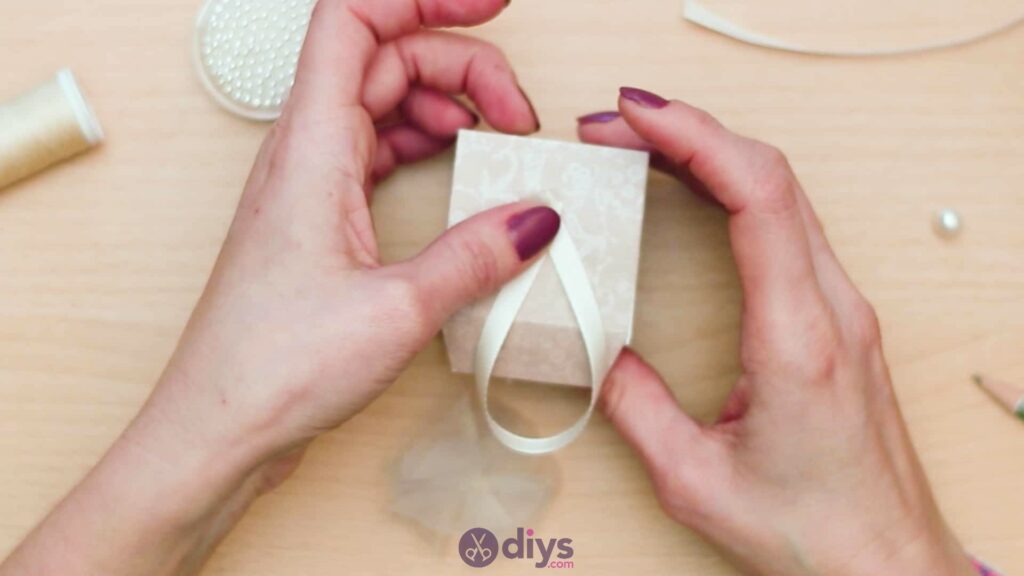
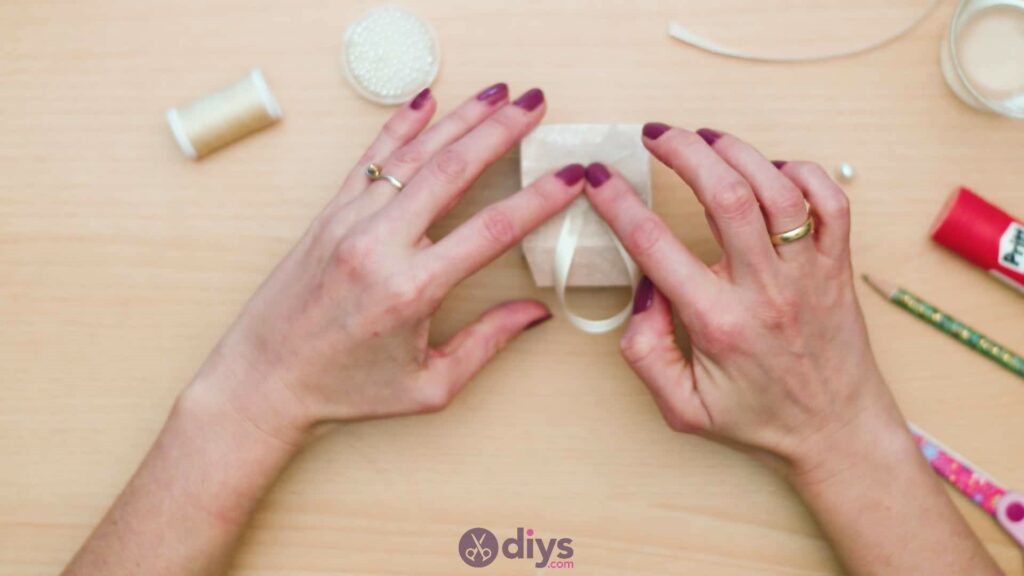
Step 9: ribbon
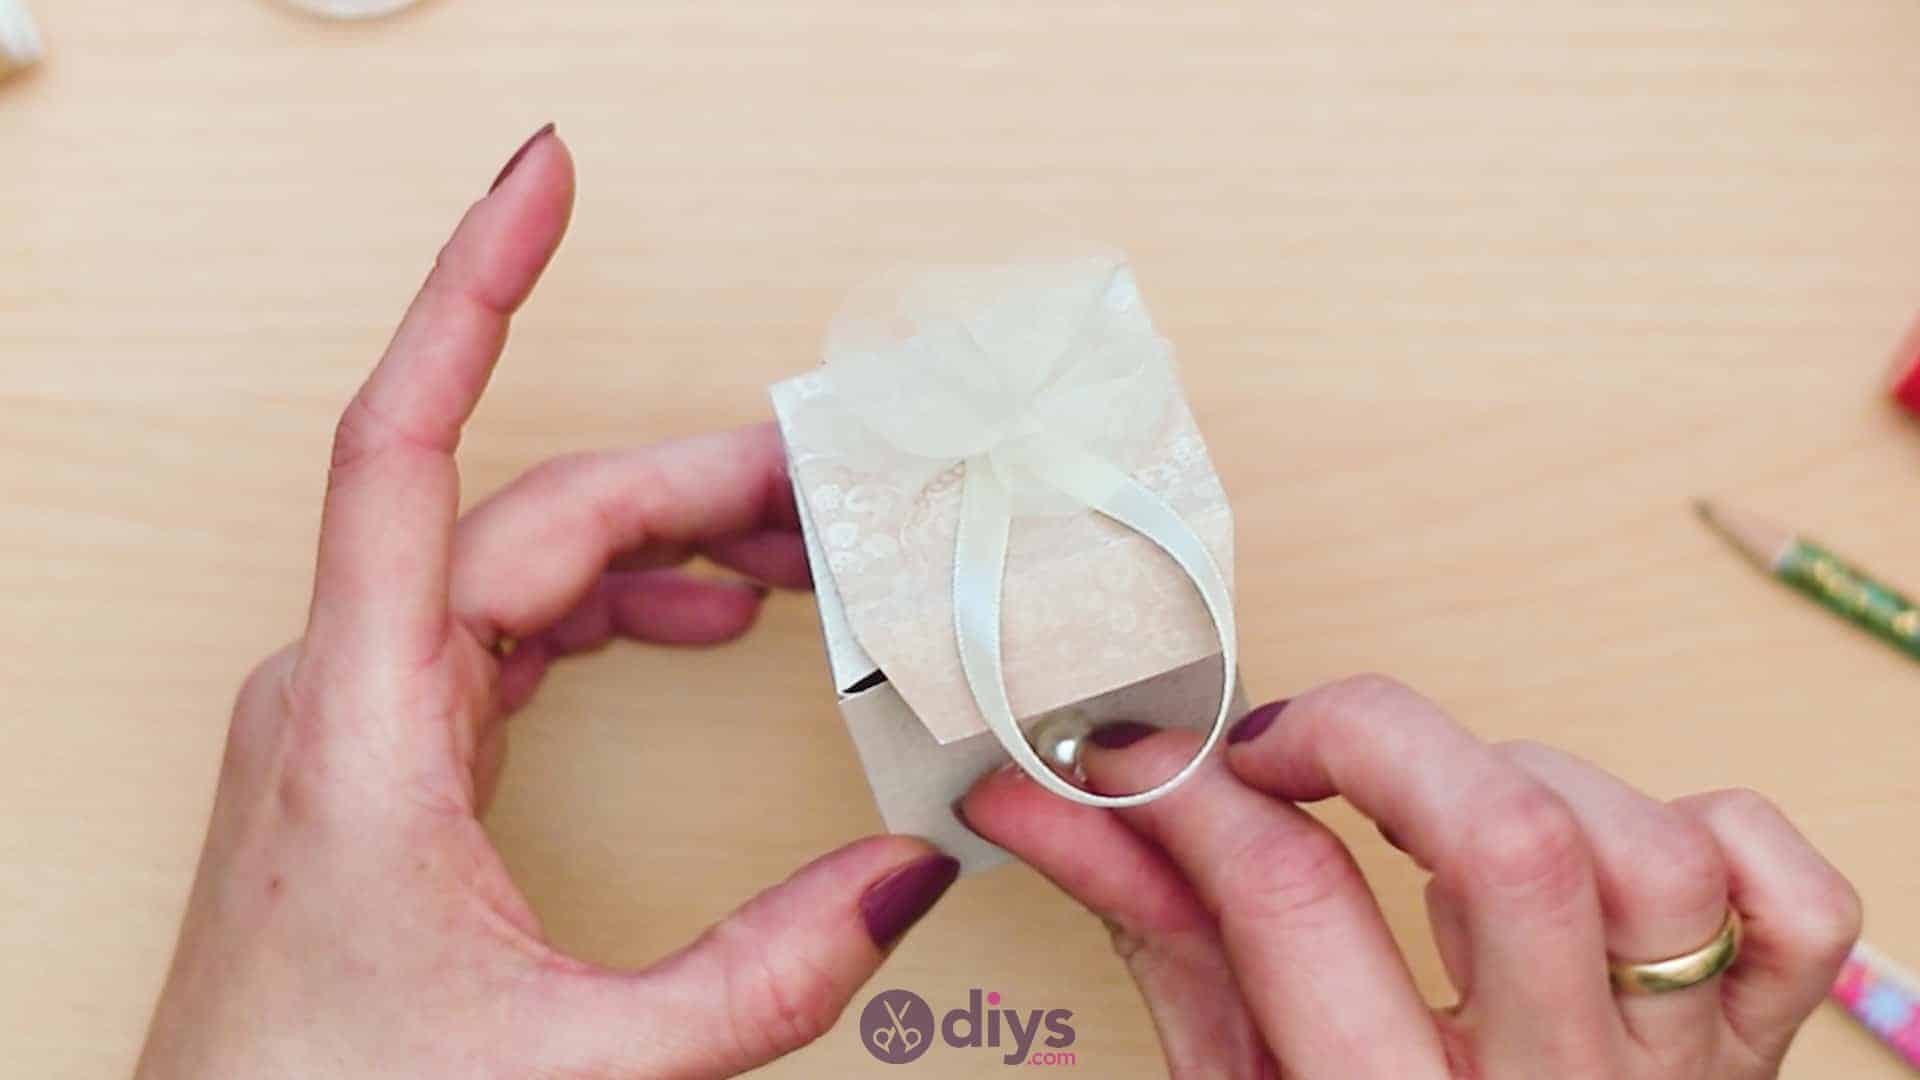
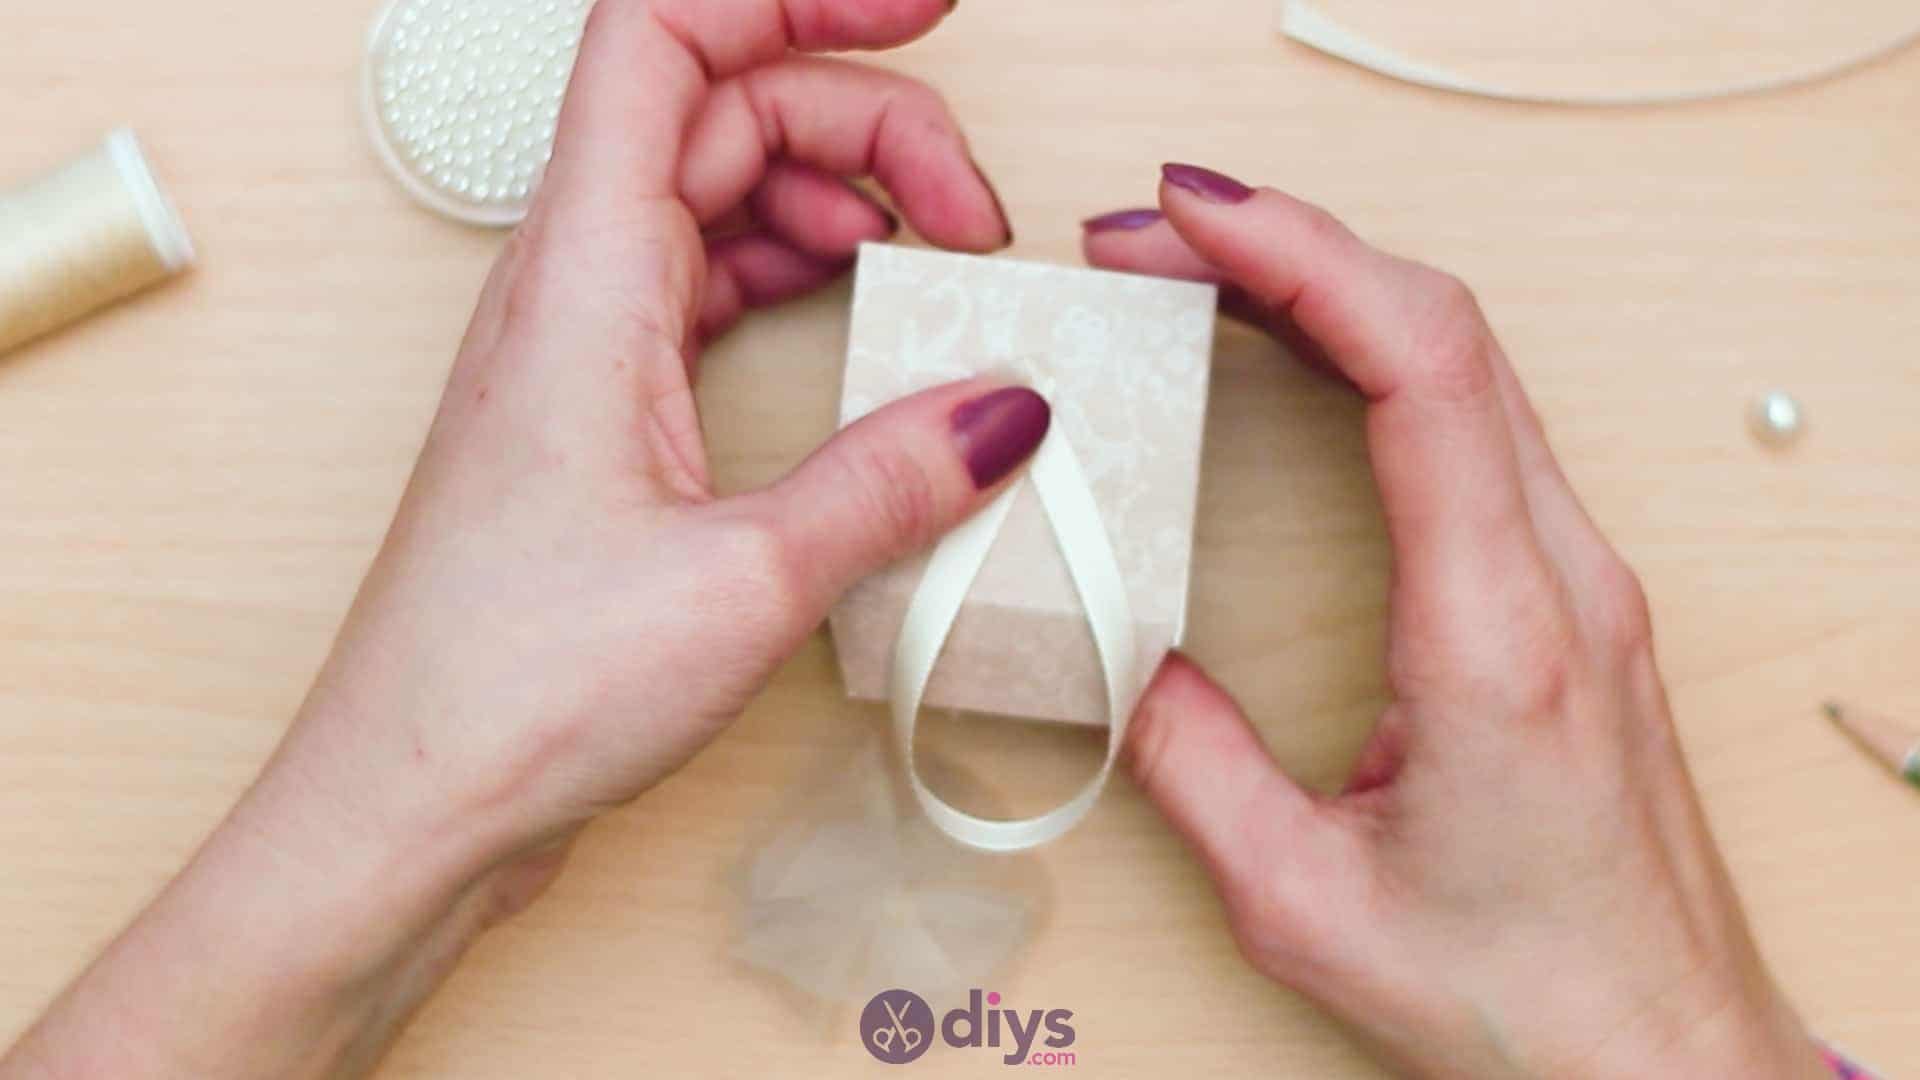
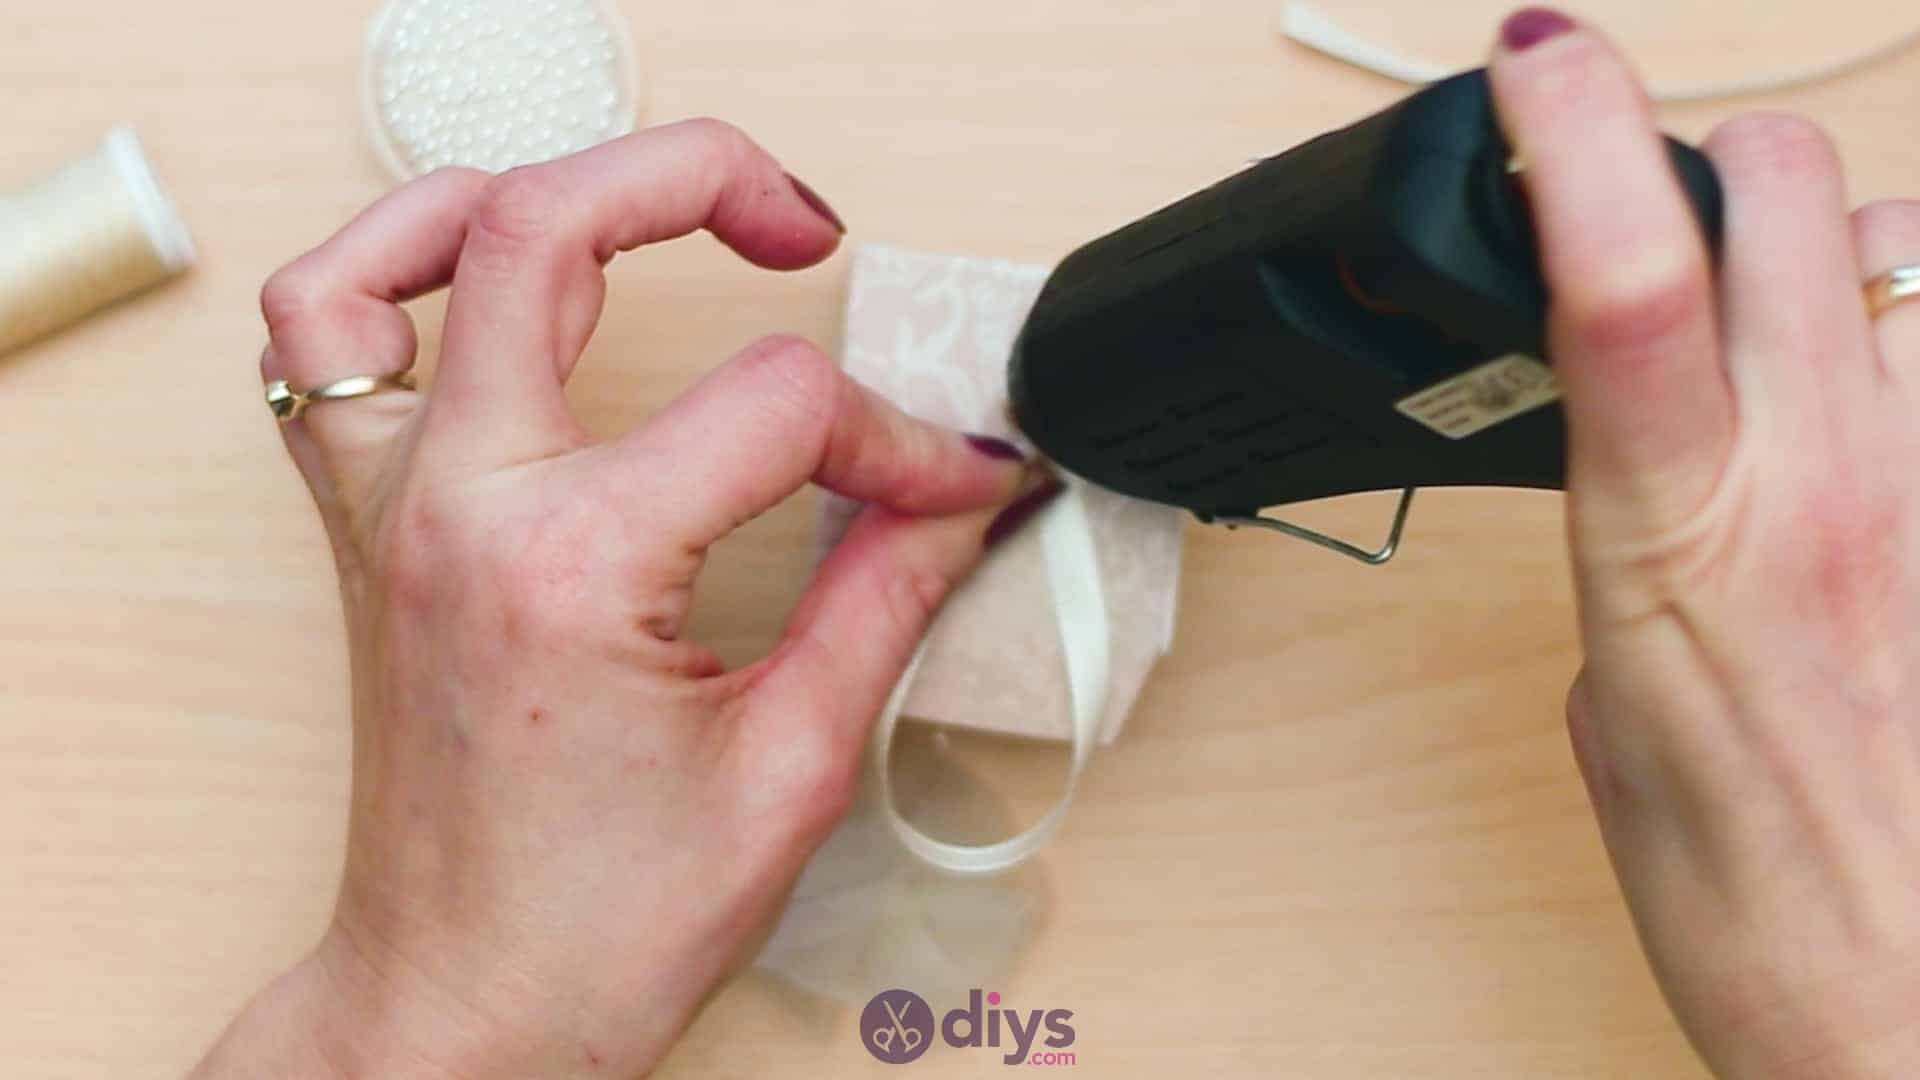
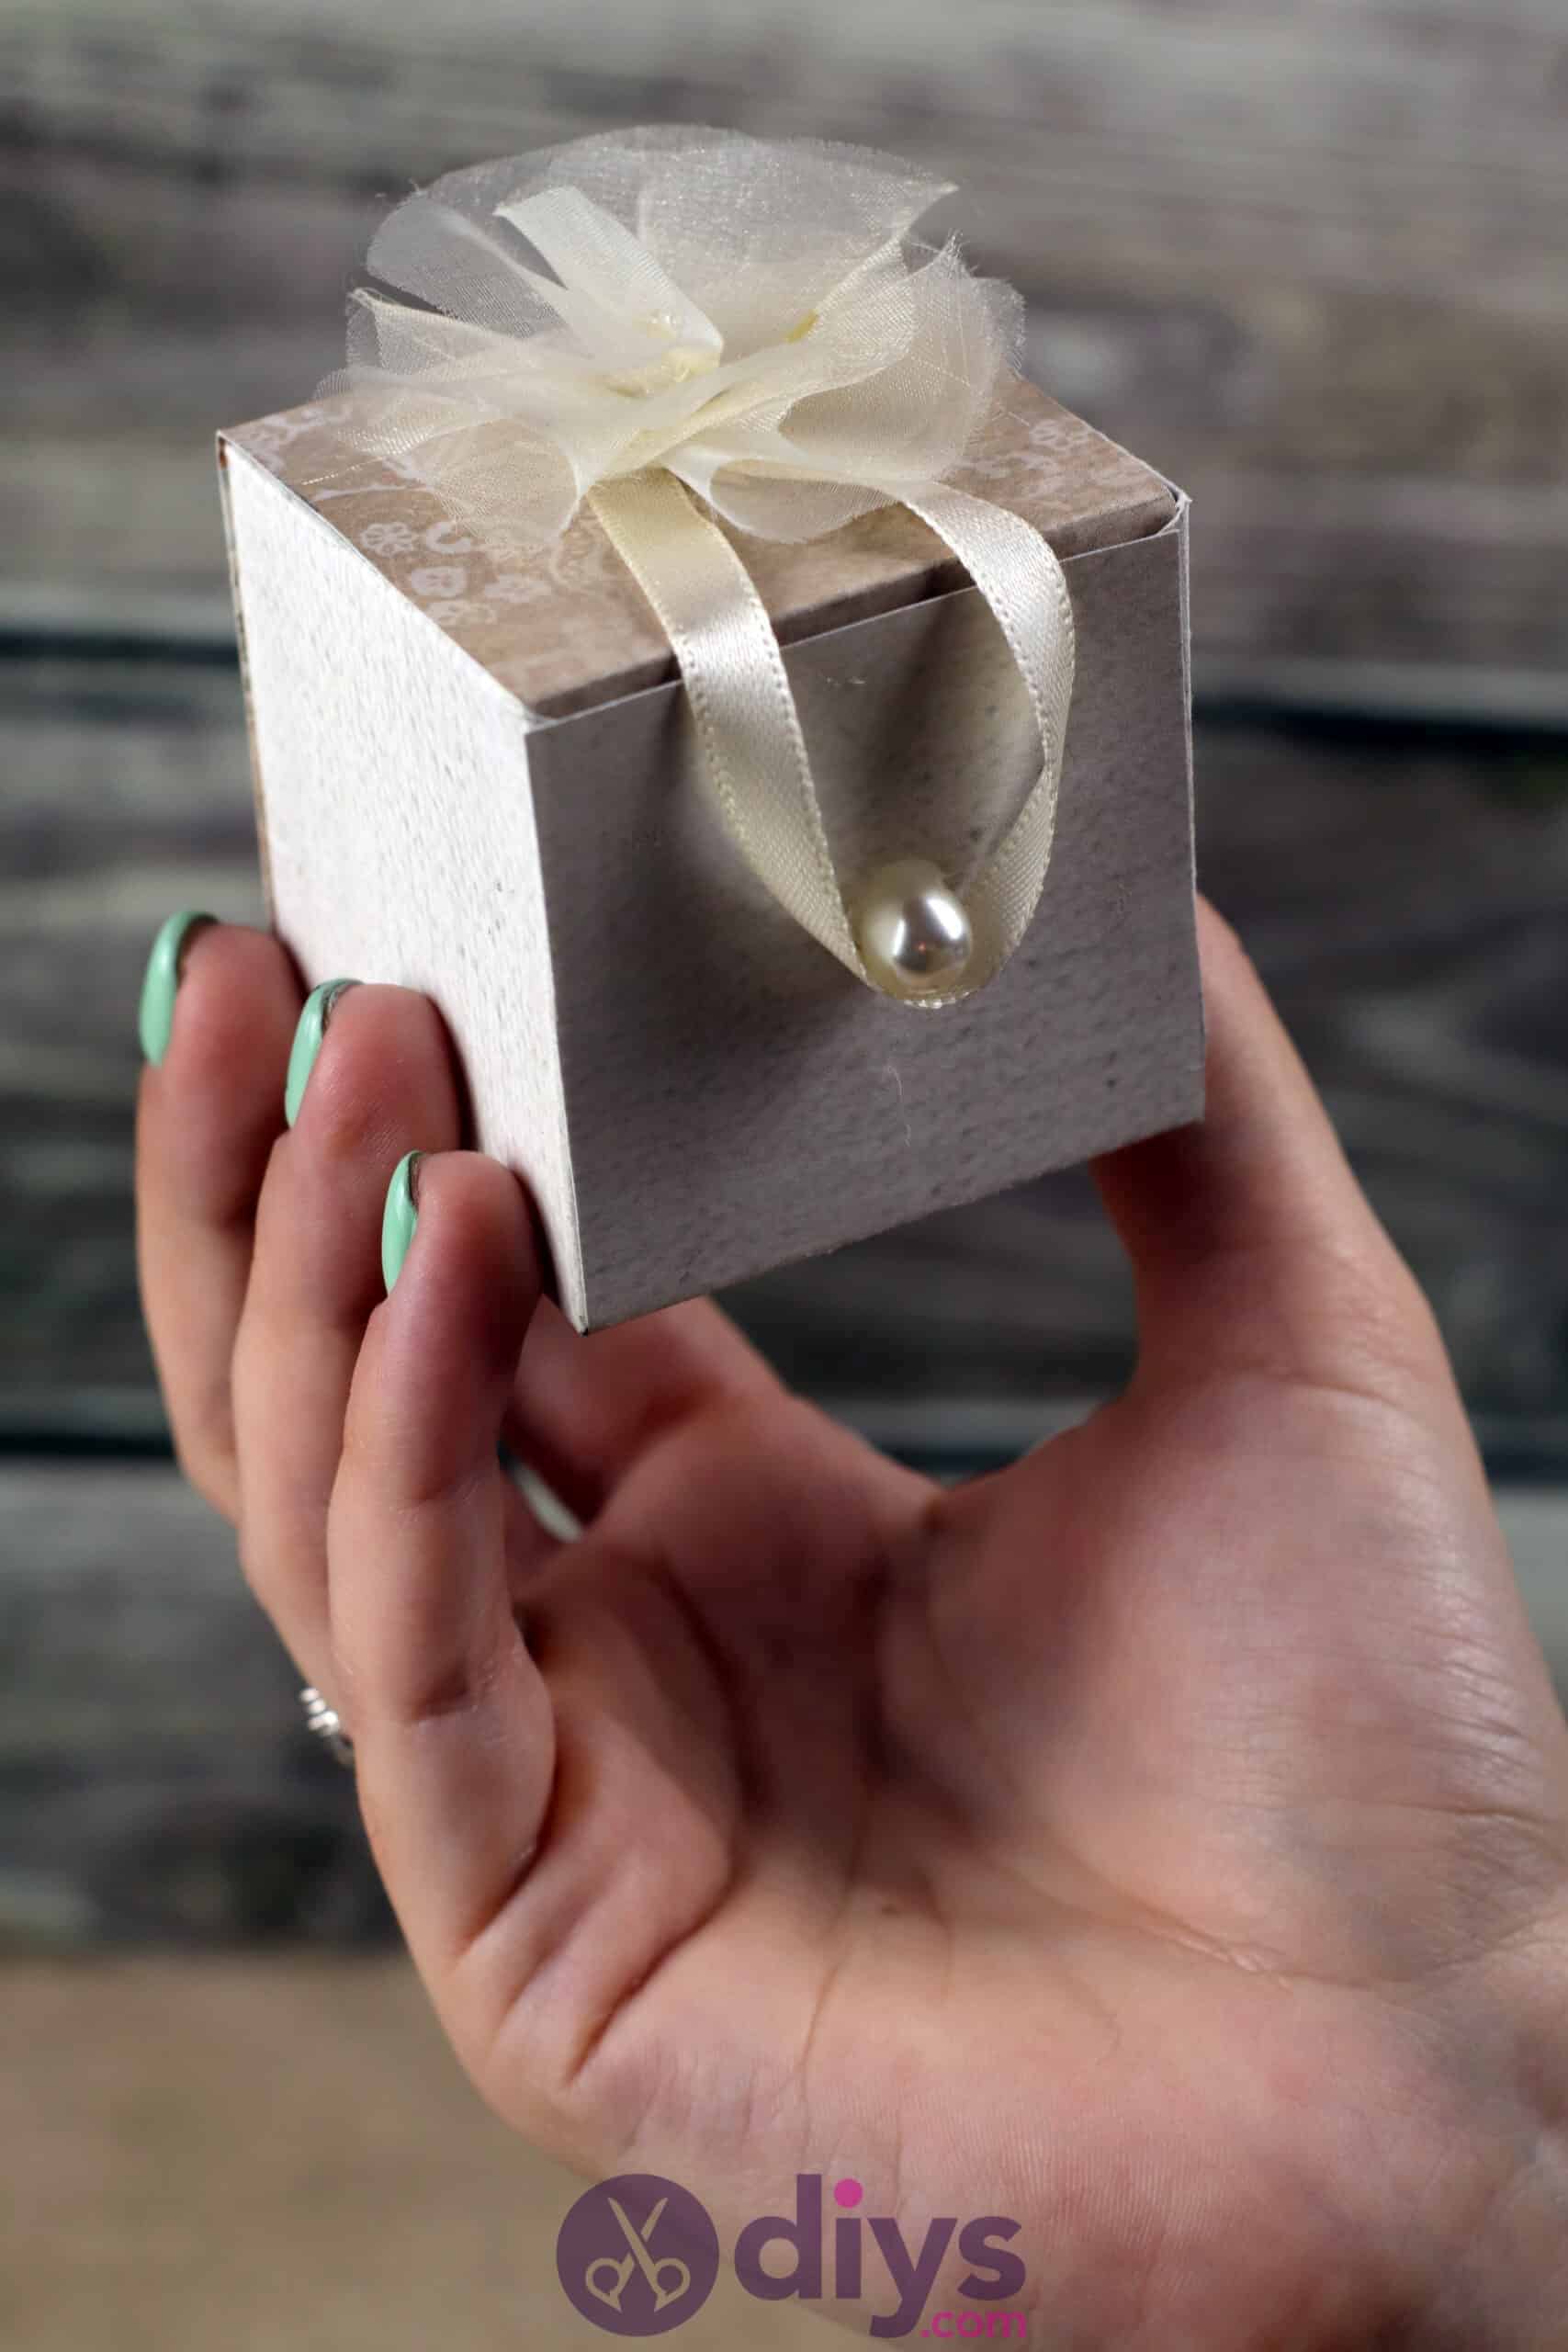
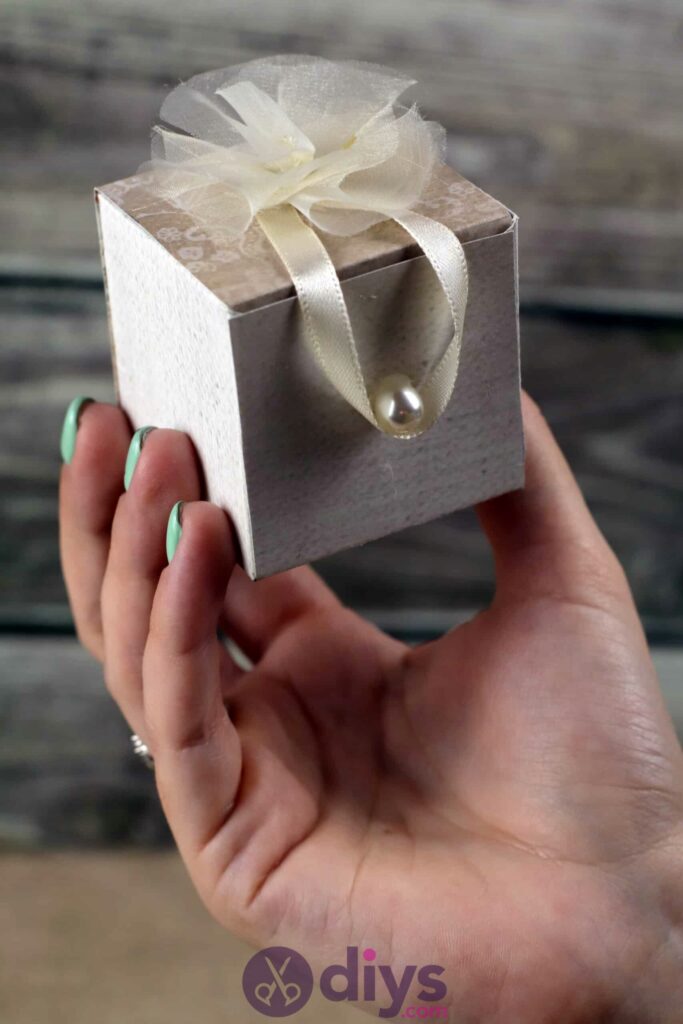
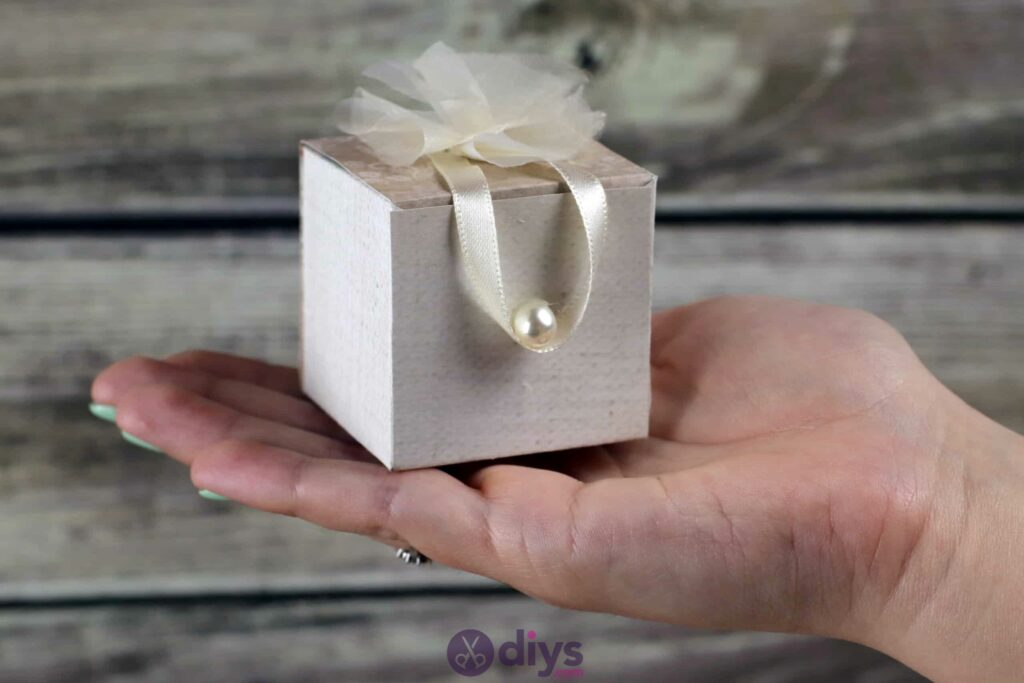
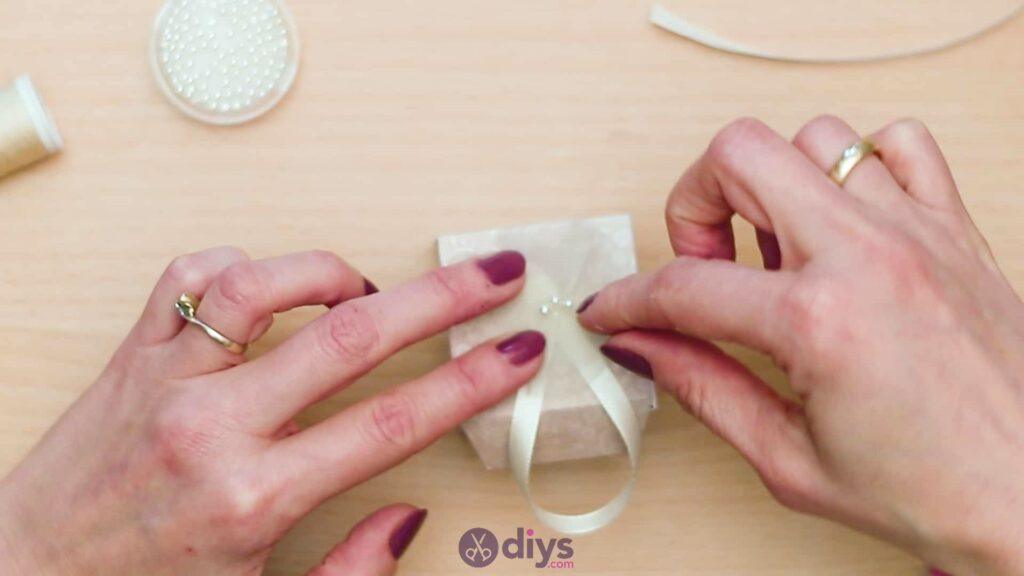
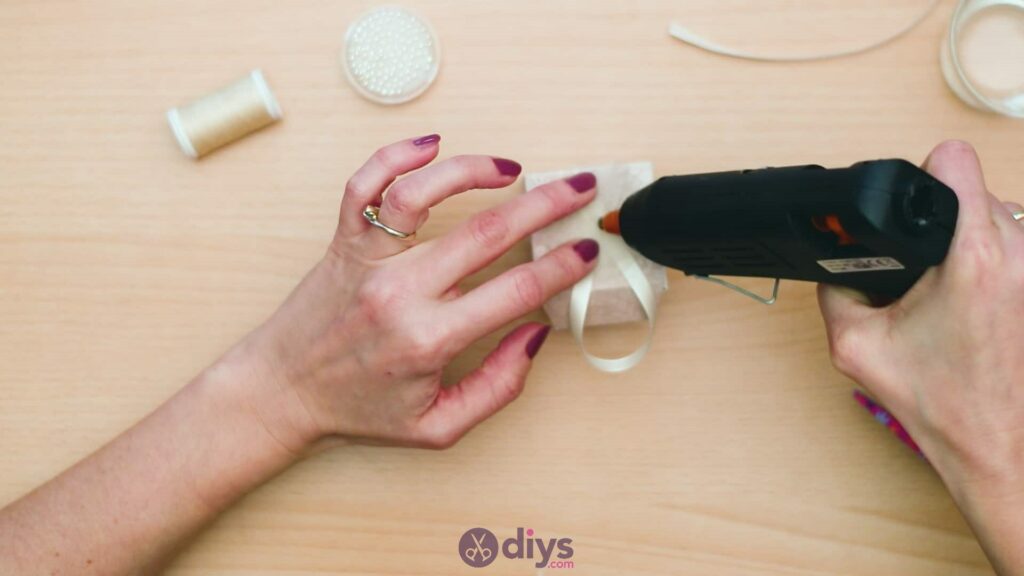
On the top of your box lid, use your thumb to anchor one end of your ribbon in the centre. Bring the ribbon down and loop it back, giving it enough length that your loop curves just under the edge of thefront side of the box when the lid is closed. Hold the loop in place too, bring the ribbon back up to meet its first end, and use your scissors to trim the excess there so you have two even ends. Use your hot glue fun to stick those ends there in place on the top centre of the box’s lid.

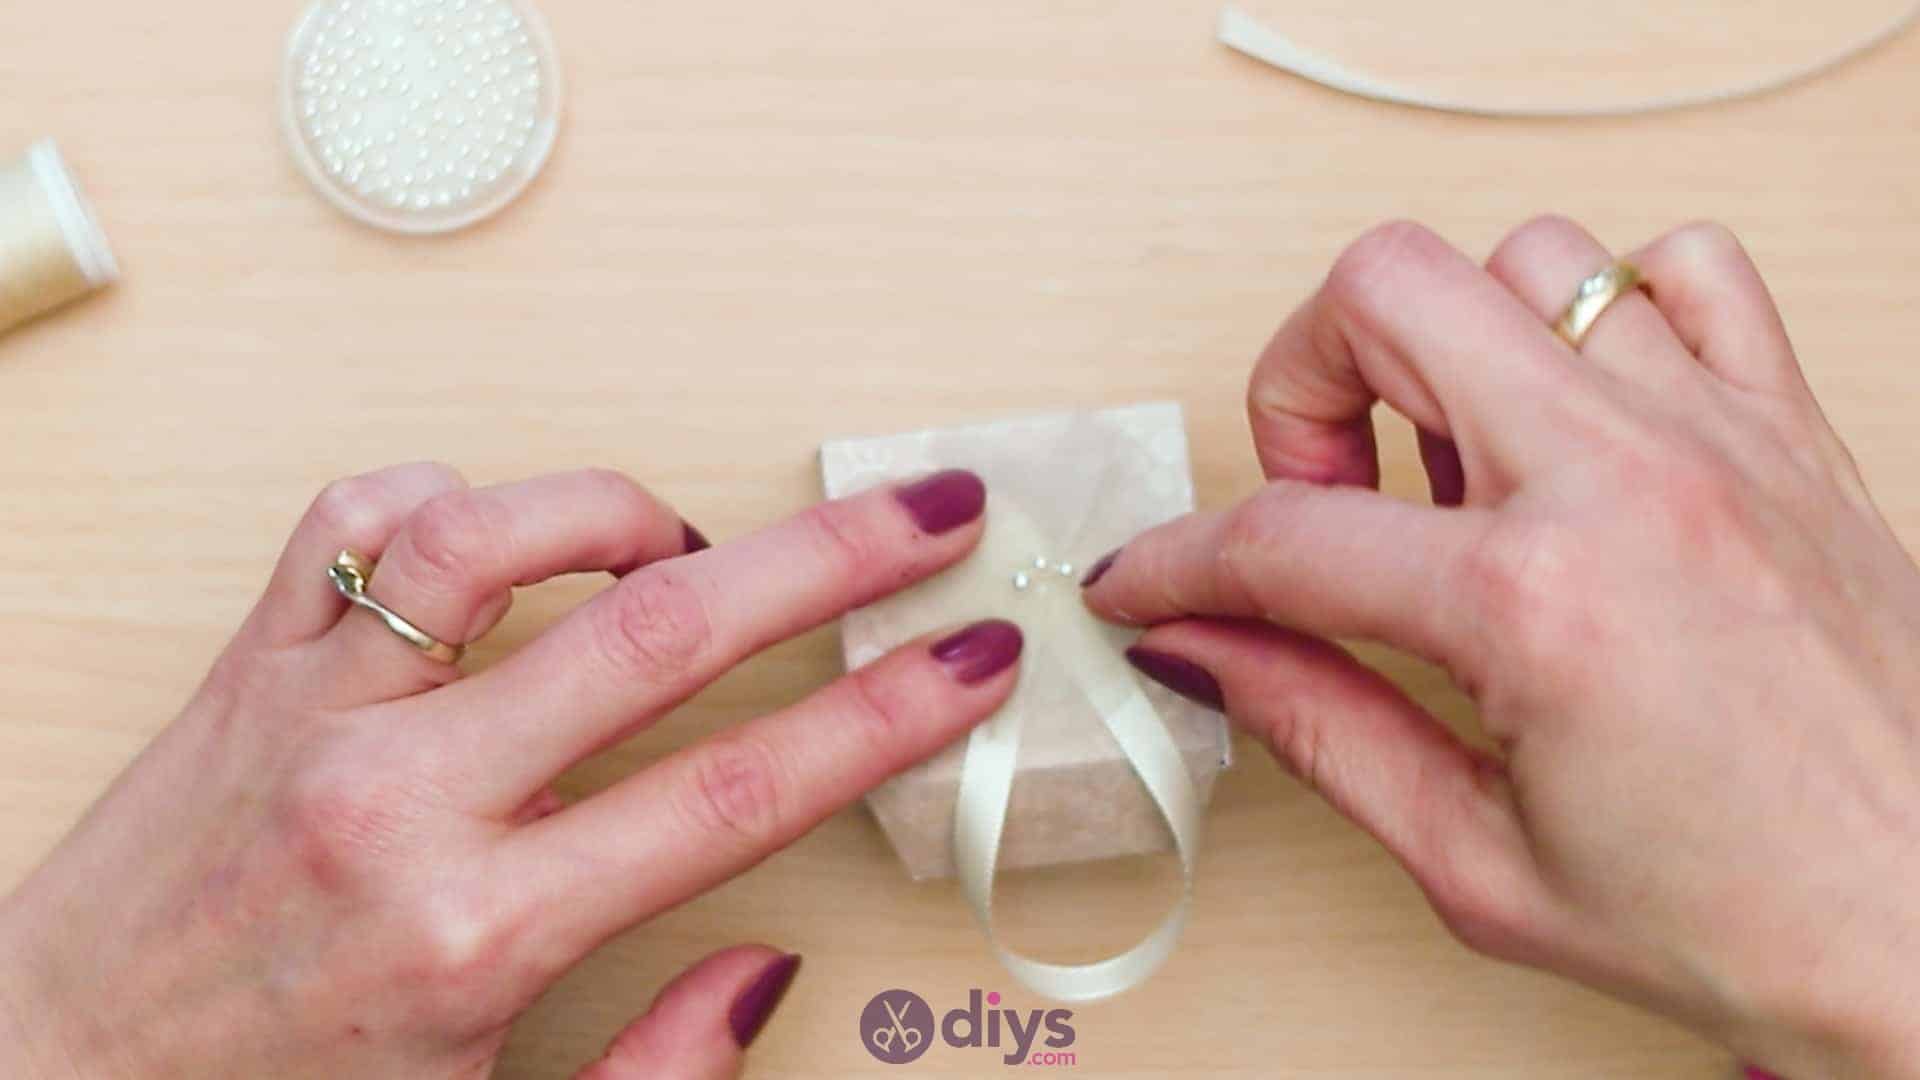
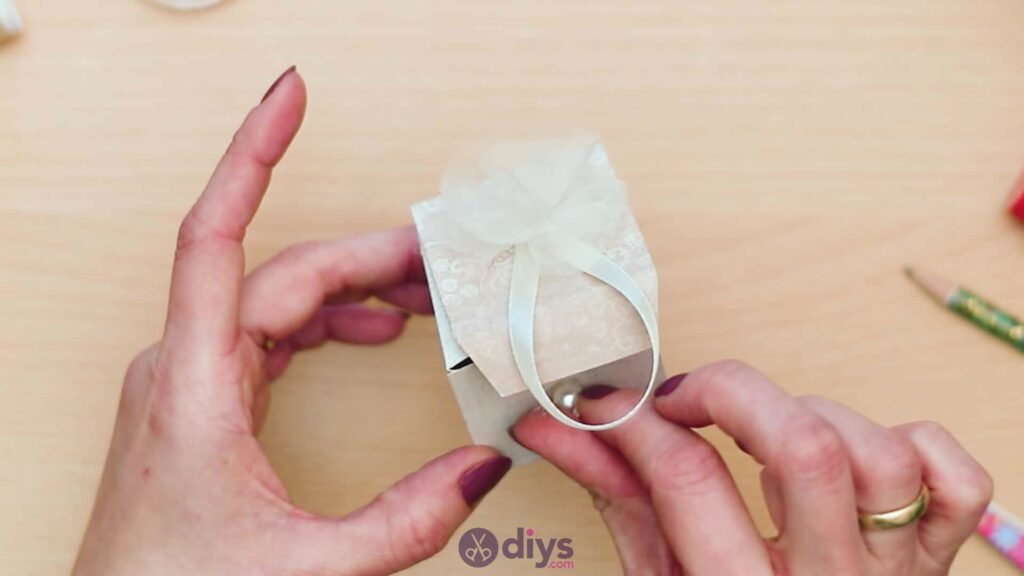
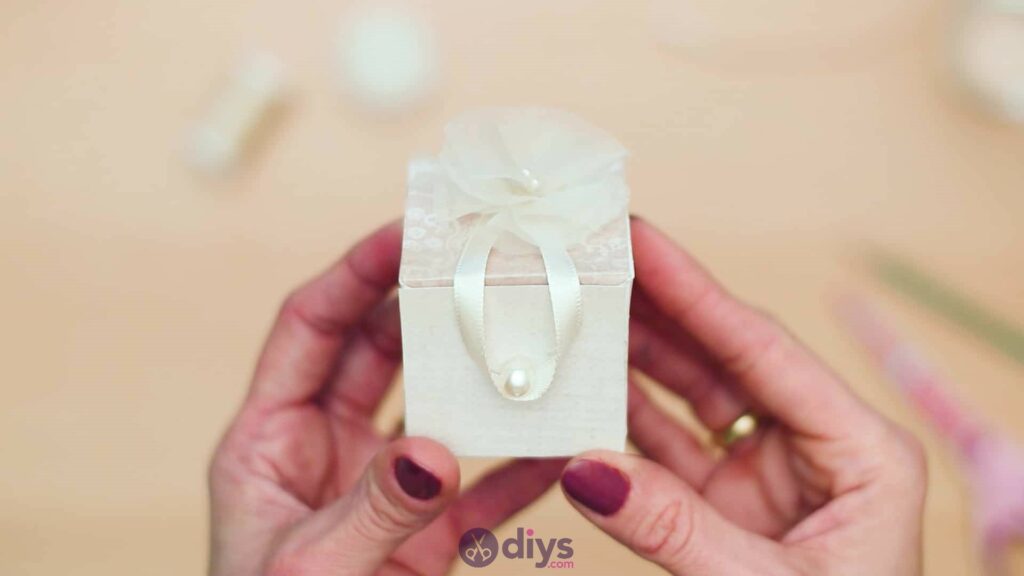
Step 10: embellish
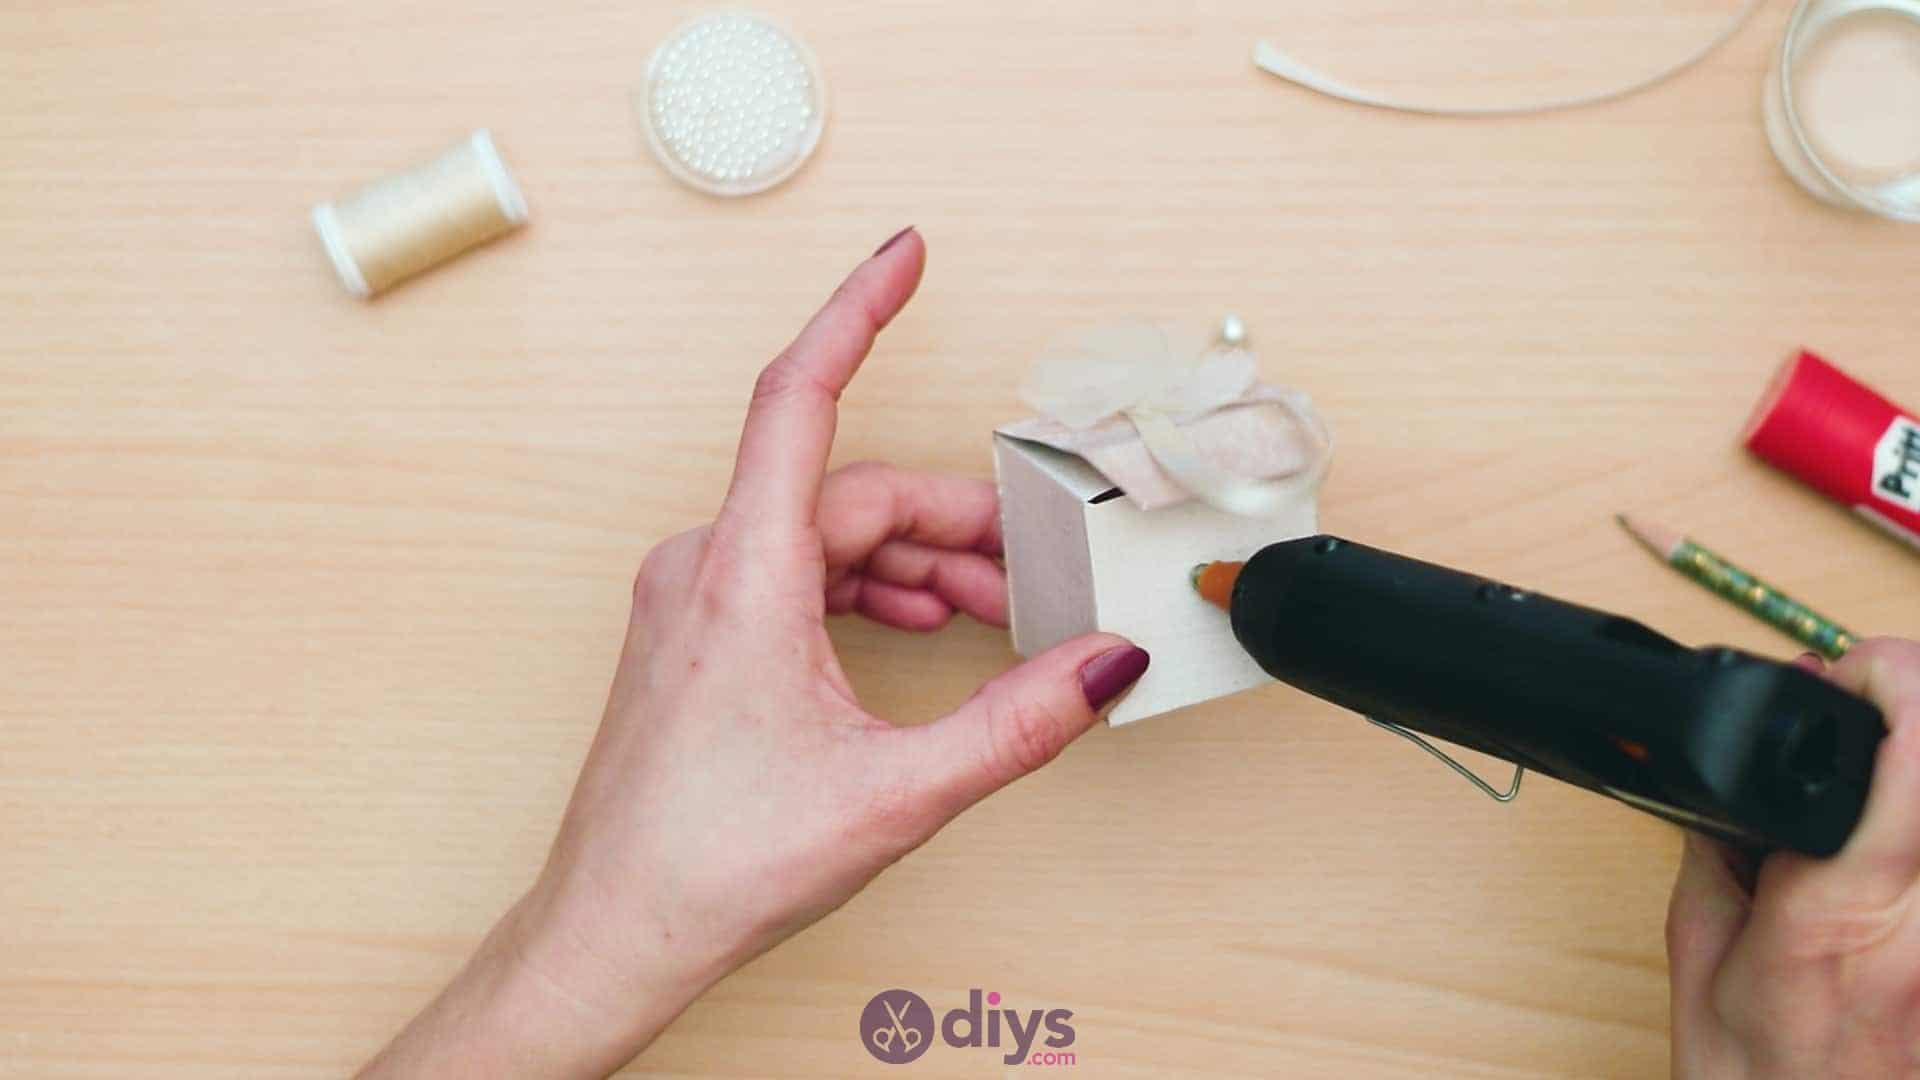
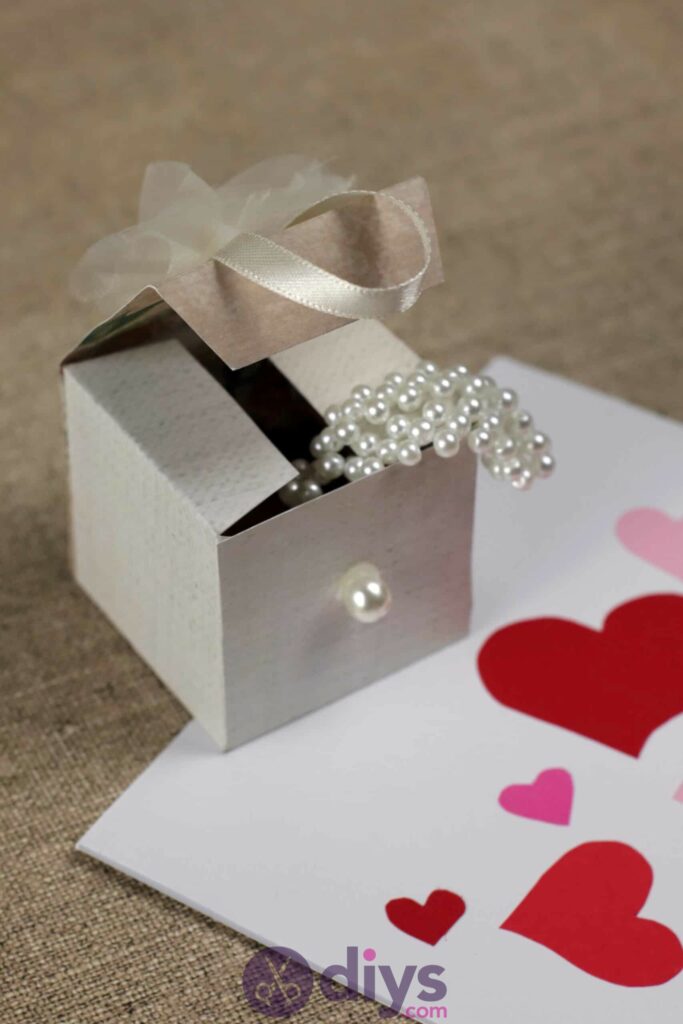
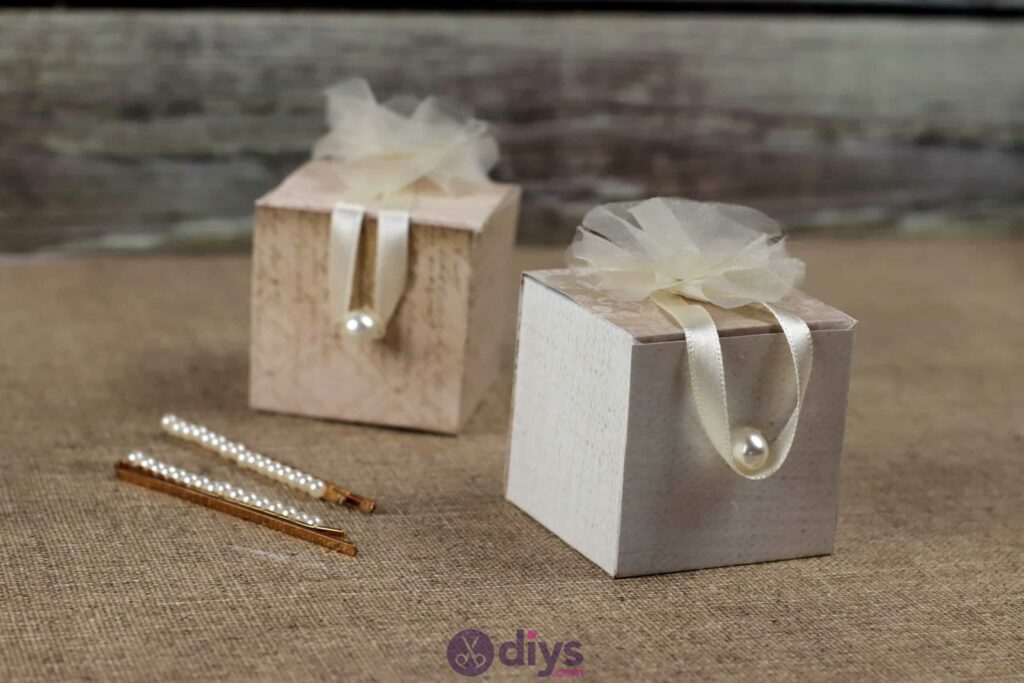
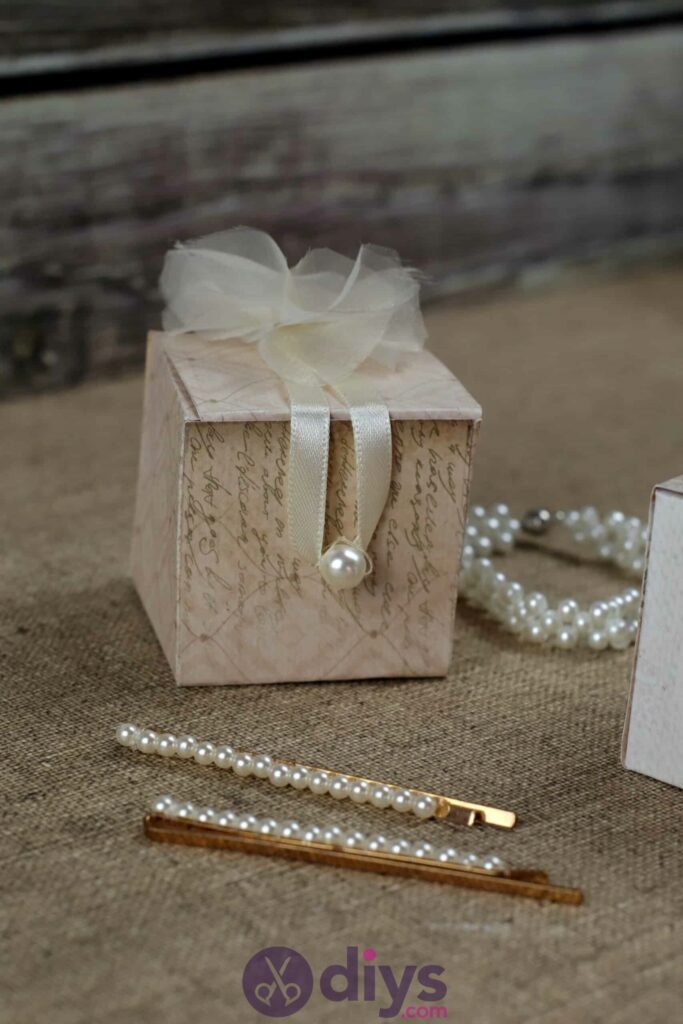
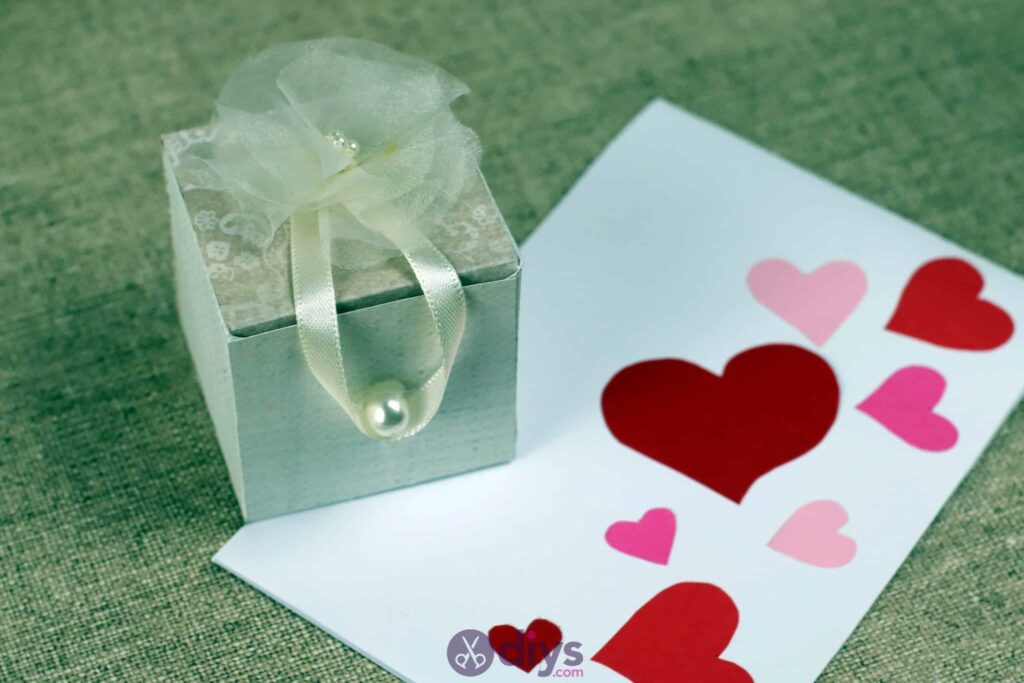
Embellish your box and add a button! First, use your hot glue fun to apply glue on top of the ribbon ends you just glued down. Find the central base of your organza box topper, on the underside where the four points you sewed together earlier meet, and stick this down in the centre. Next, find the spot on the front side of the box where your loop sits, far enough down that it would keep the box closed, and apply a dot of hot glue on the paper in that spot. Stick down your larger pearled bead there. This will be what you loop your ribbon around like a clasp to close the box. Finally, find the inner centre of your organza topper and apply a dot of glue there. Stick down a cluster of three smaller pearled beads here for a bit of glamorous detail.


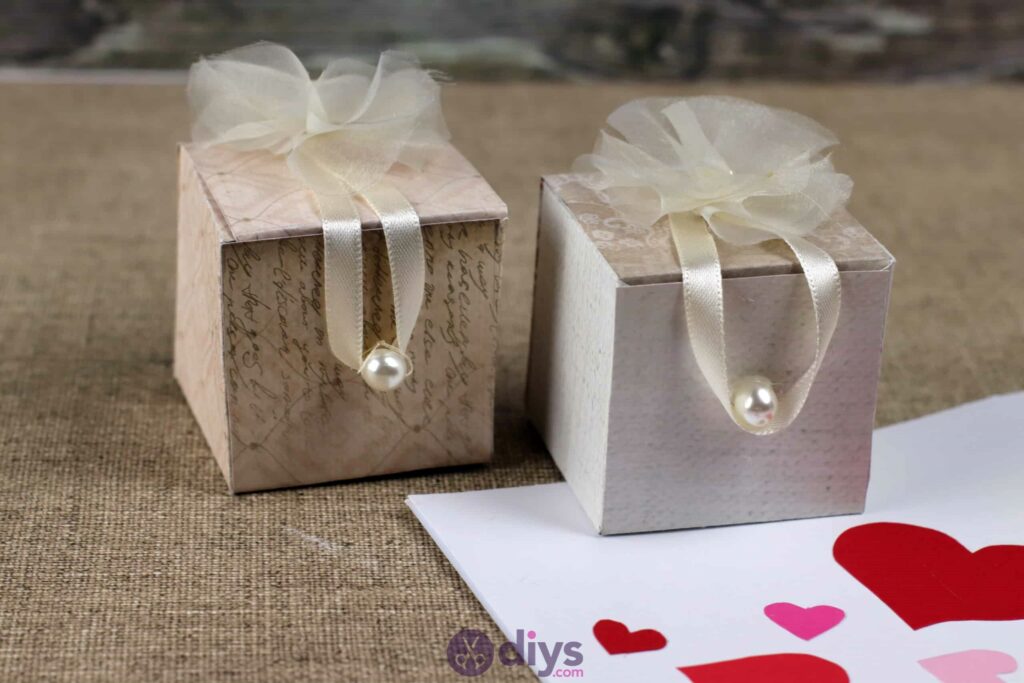

You’re all finished! Fill your box with confetti, crushed tissue paper, or more organza as a bedding for your gift and then insert whatever trinket or small party favour you’re giving your guests. If you’d like to see each of these steps in action, check out this video tutorial!