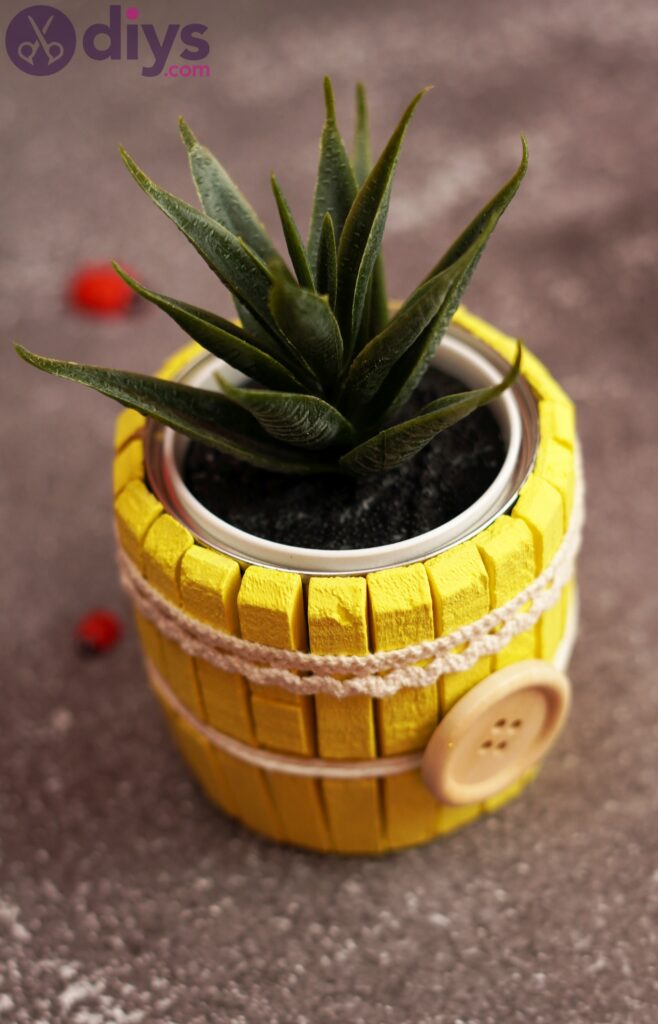
DIY Clothespin Pot – The Cutest Pot for Your Succulents
Updated on November 19, 2025


Flower pots are often dull and unremarkable. However, with a little bit of TLC, you can make turn them into something beautiful and something you want to have around you all the time. Let’s make a clothespin flower pot!
You only need a few materials and we promise you’ll love the result! It’s going to be such a cute project! We can’t wait to get started!
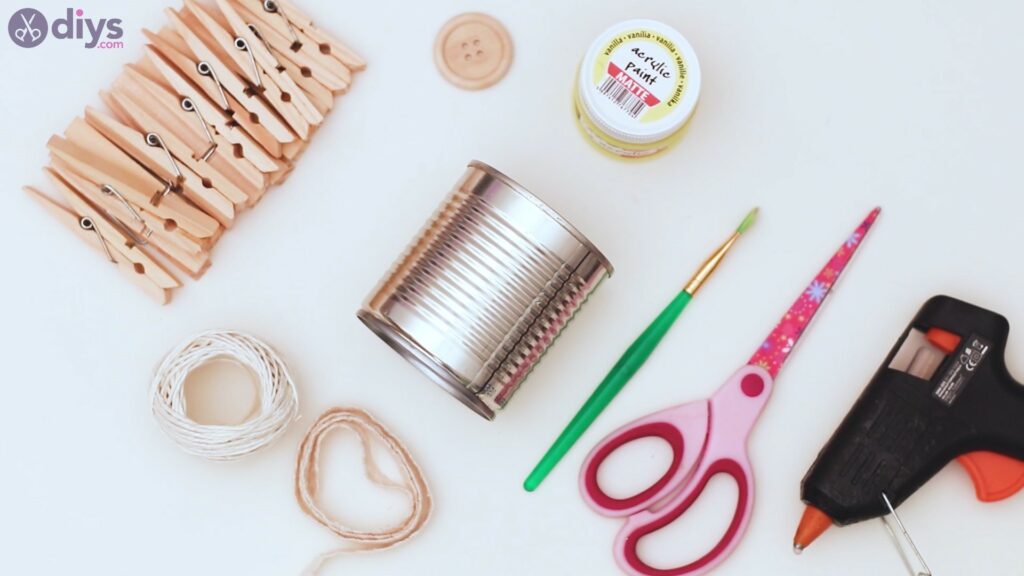
Materials for DIY Clothespin Pot
- tin can
- wood button
- lace ribbon
- hemp twine
- clothespins
- glue gun
- scissors
- yellow acrylic paint
- paintbrush
How to Make DIY Clothespin Pot
Before we even start, we want to make sure that you have all the materials on hand. You’re going to hate to get up and go looking for one thing or another that you may have missed, so it’s always best to have everything ready to go and use. So, are you ready? Let’s start!
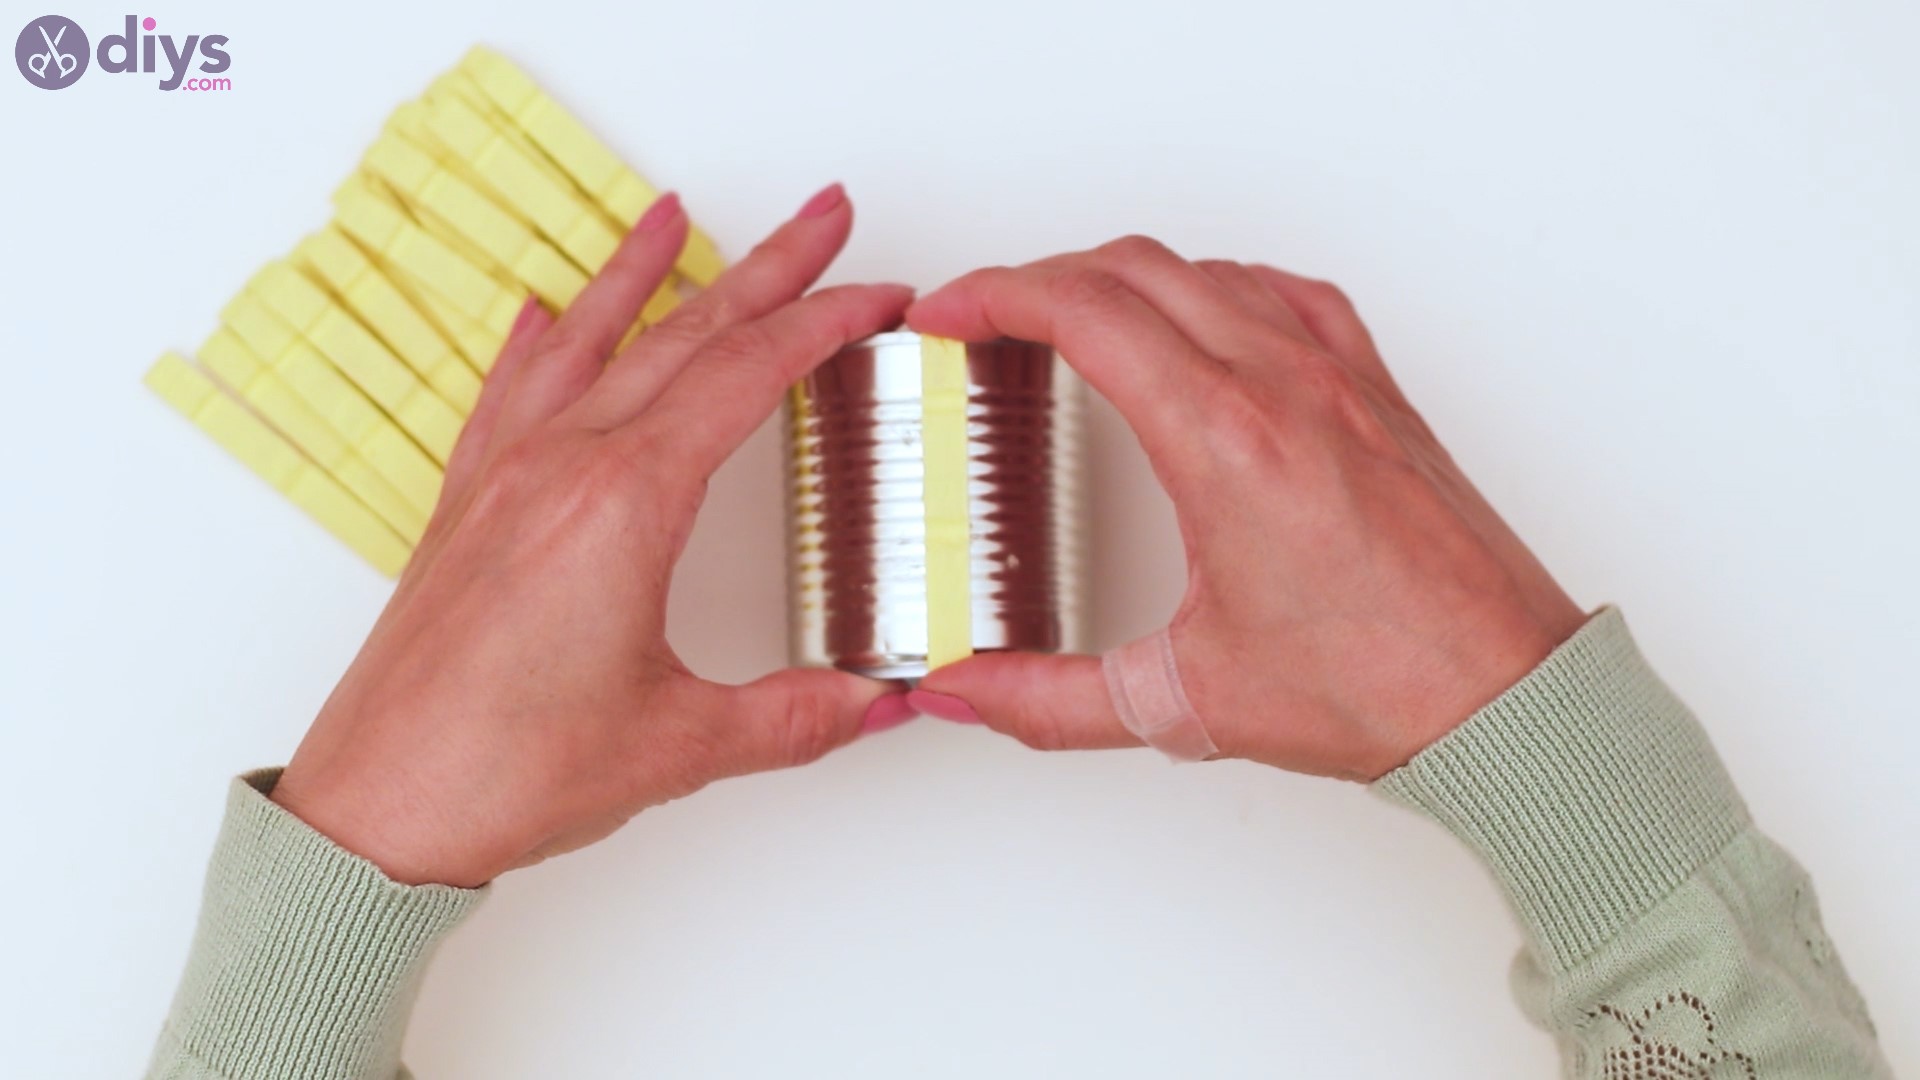
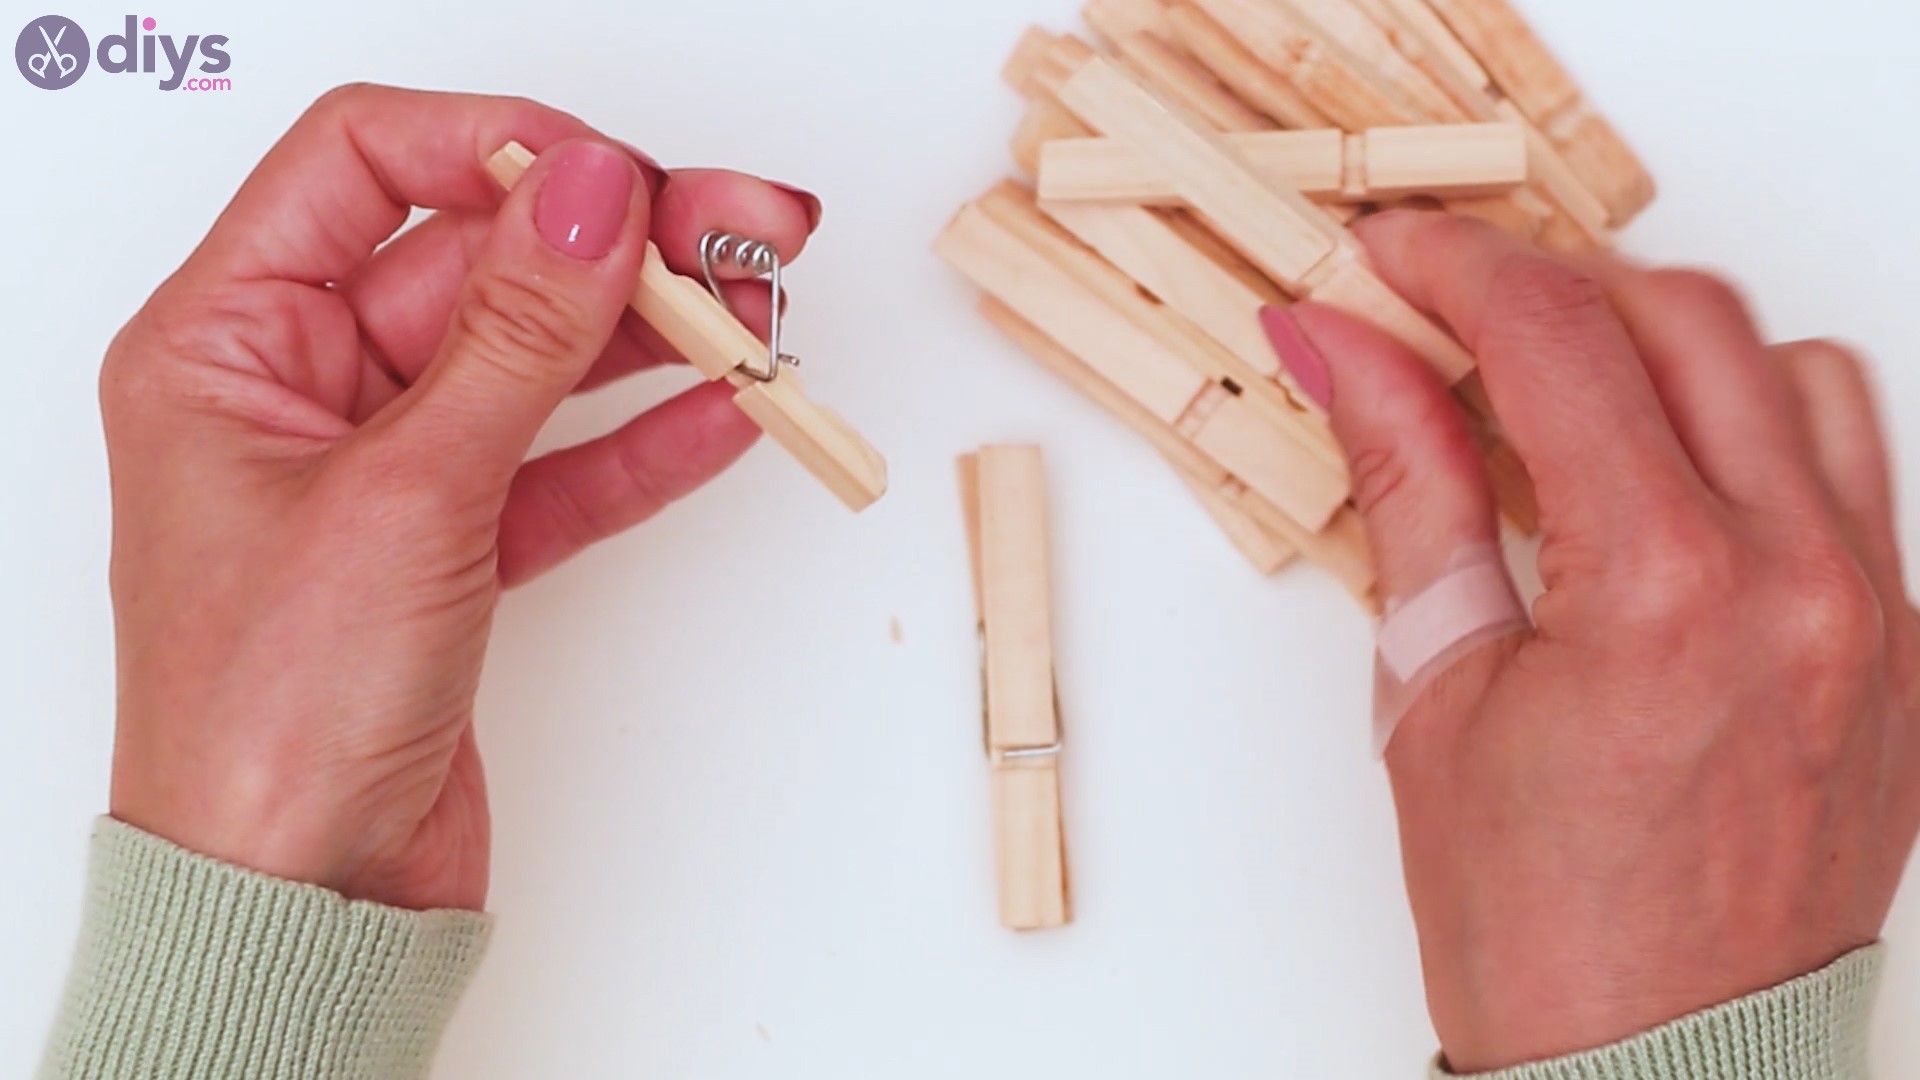
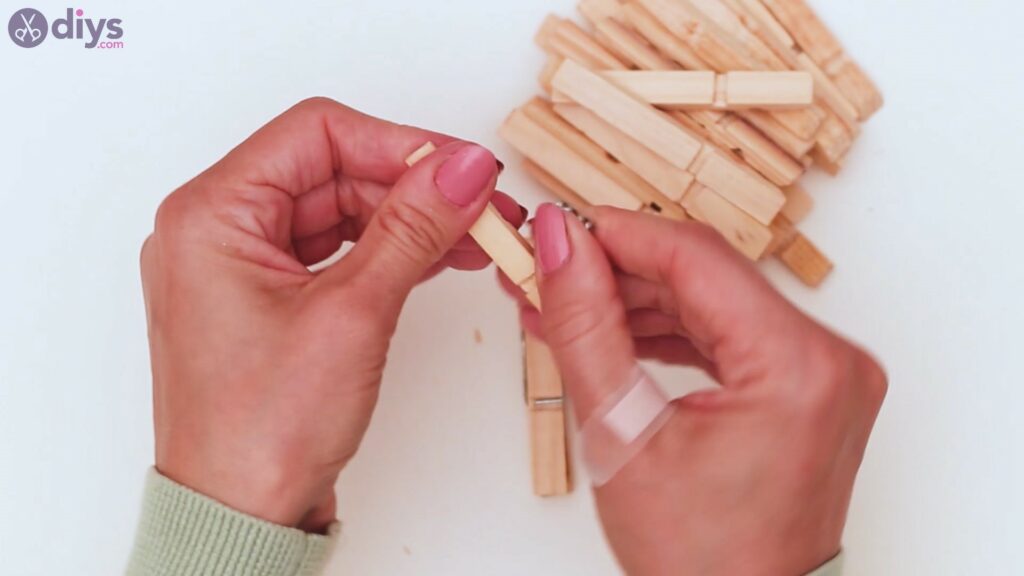
Step 1: Take apart the clothespins
The first thing you want to do is to grab your pile of wooden clothespins and take them apart.
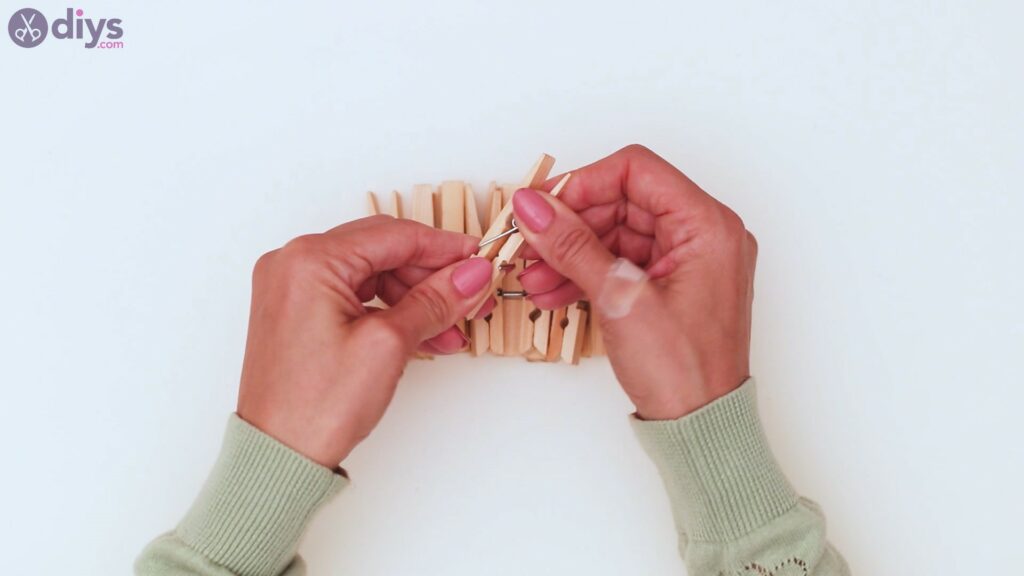
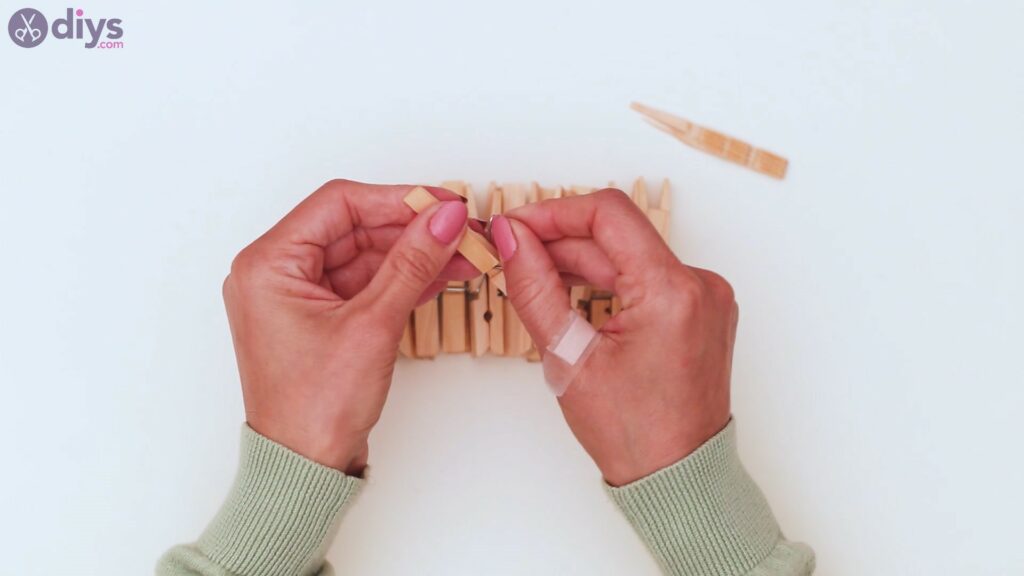
Separate the two sides and then pull away the spring and set them all apart. You won’t be needing the springs later on, so you can throw them if you want, or keep them in case any of your clothespins break apart and you need the spring to replace it.
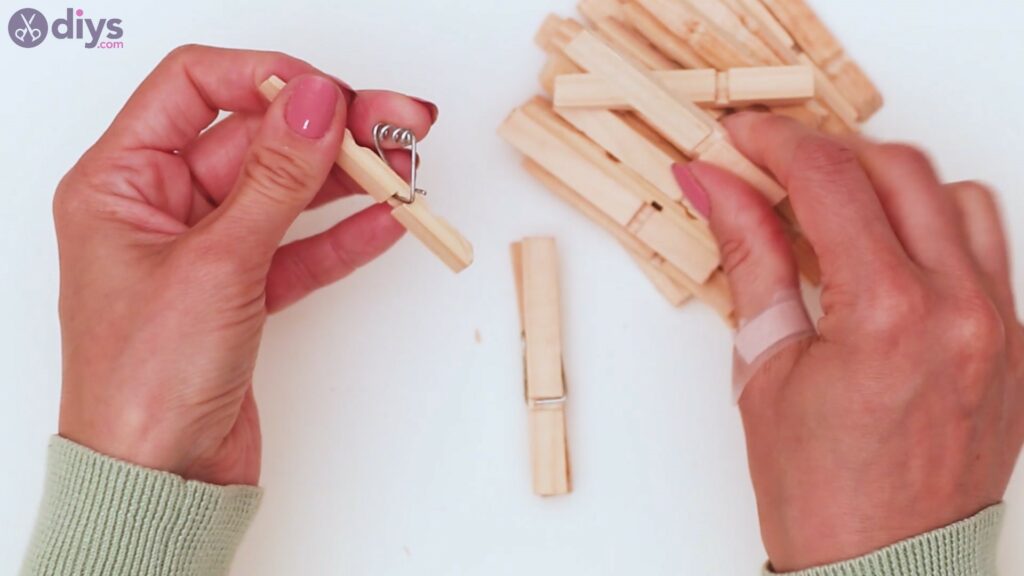
This will take a little while as you go through the pile, but we’re sure it won’t take forever.
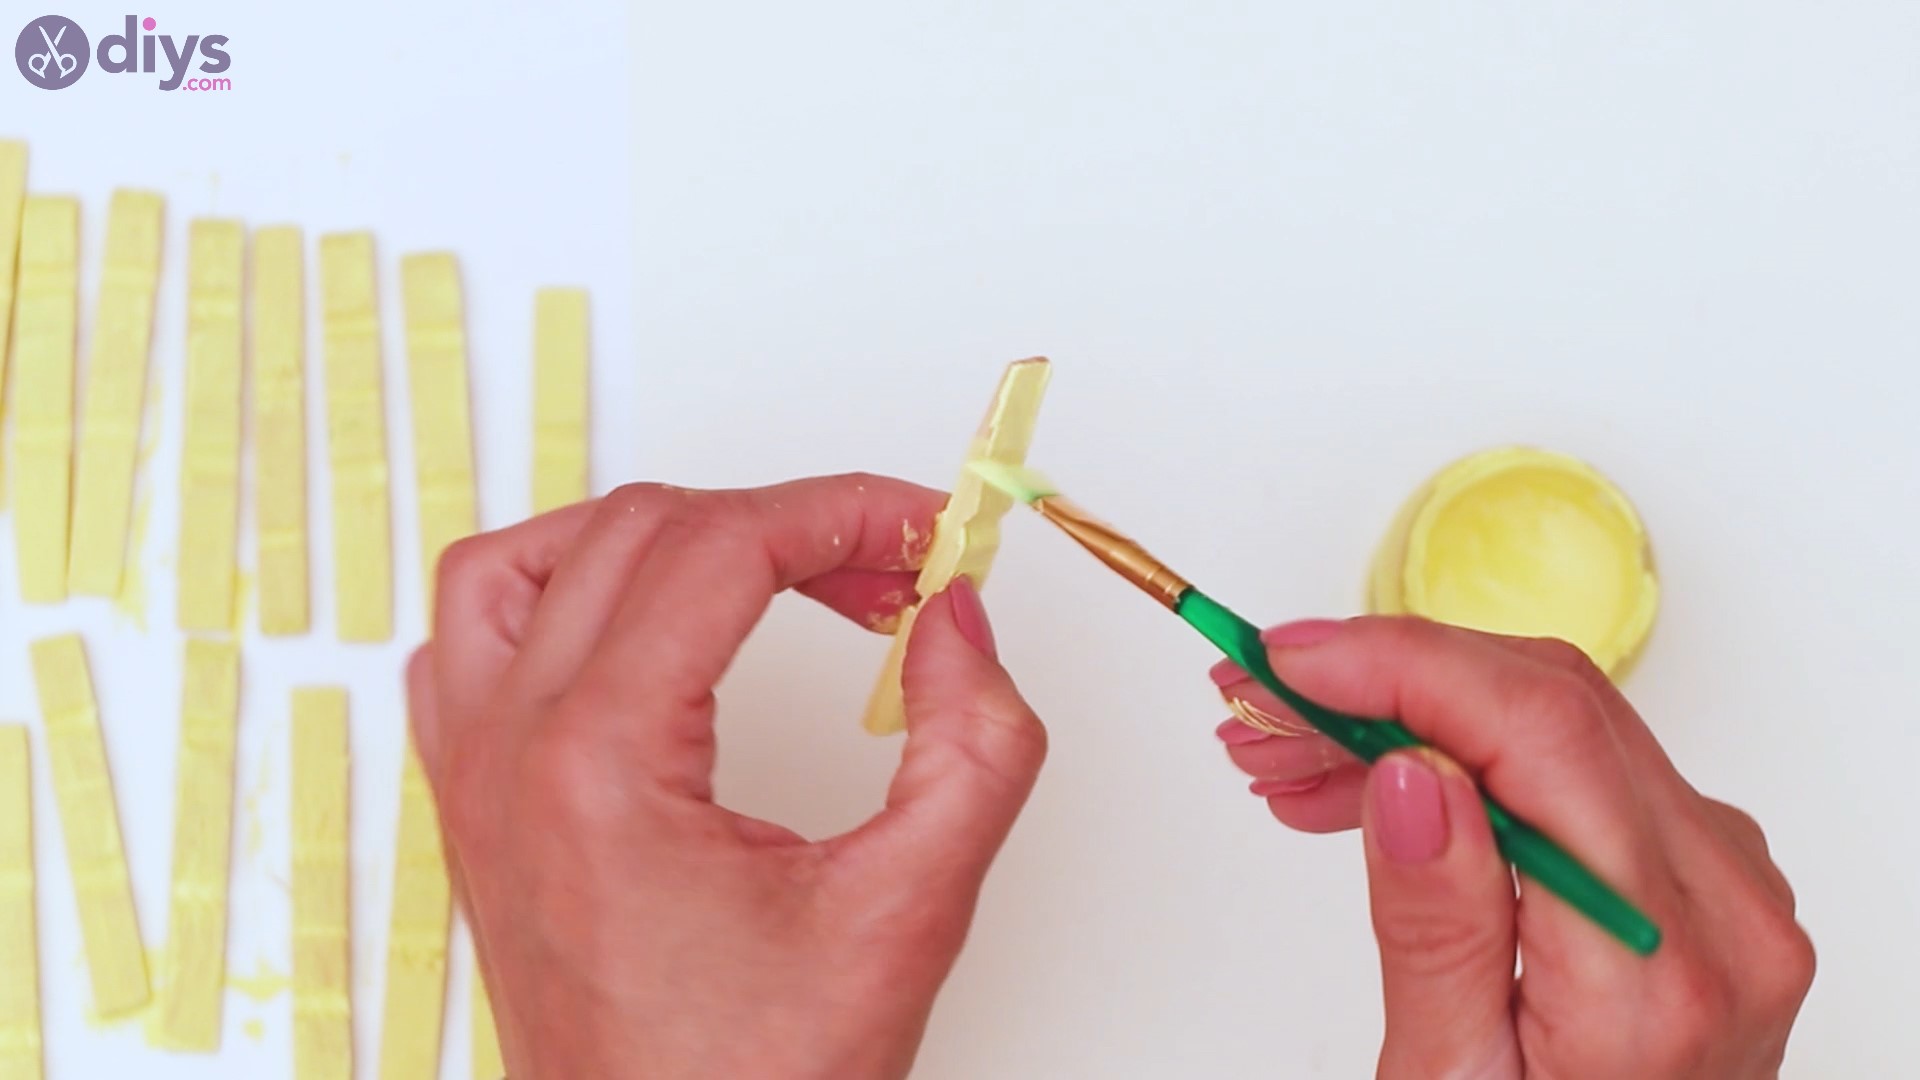
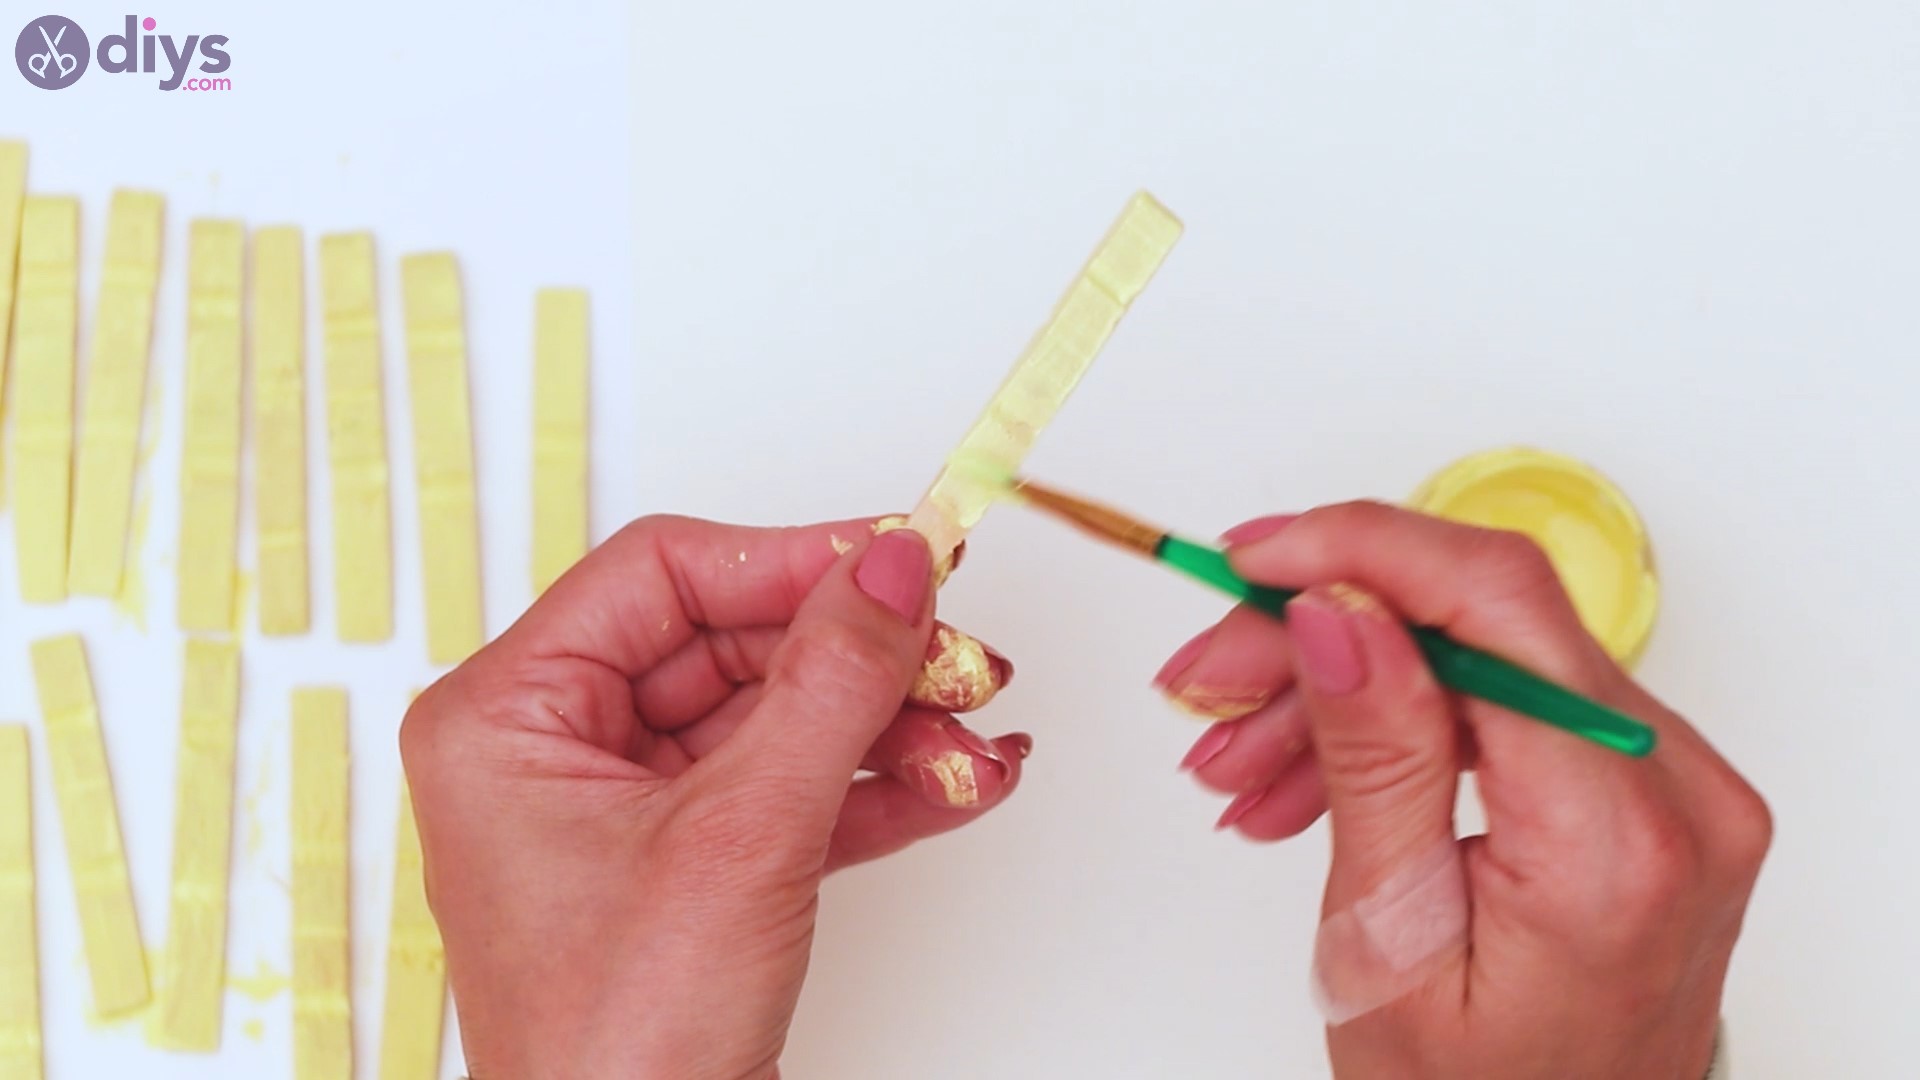
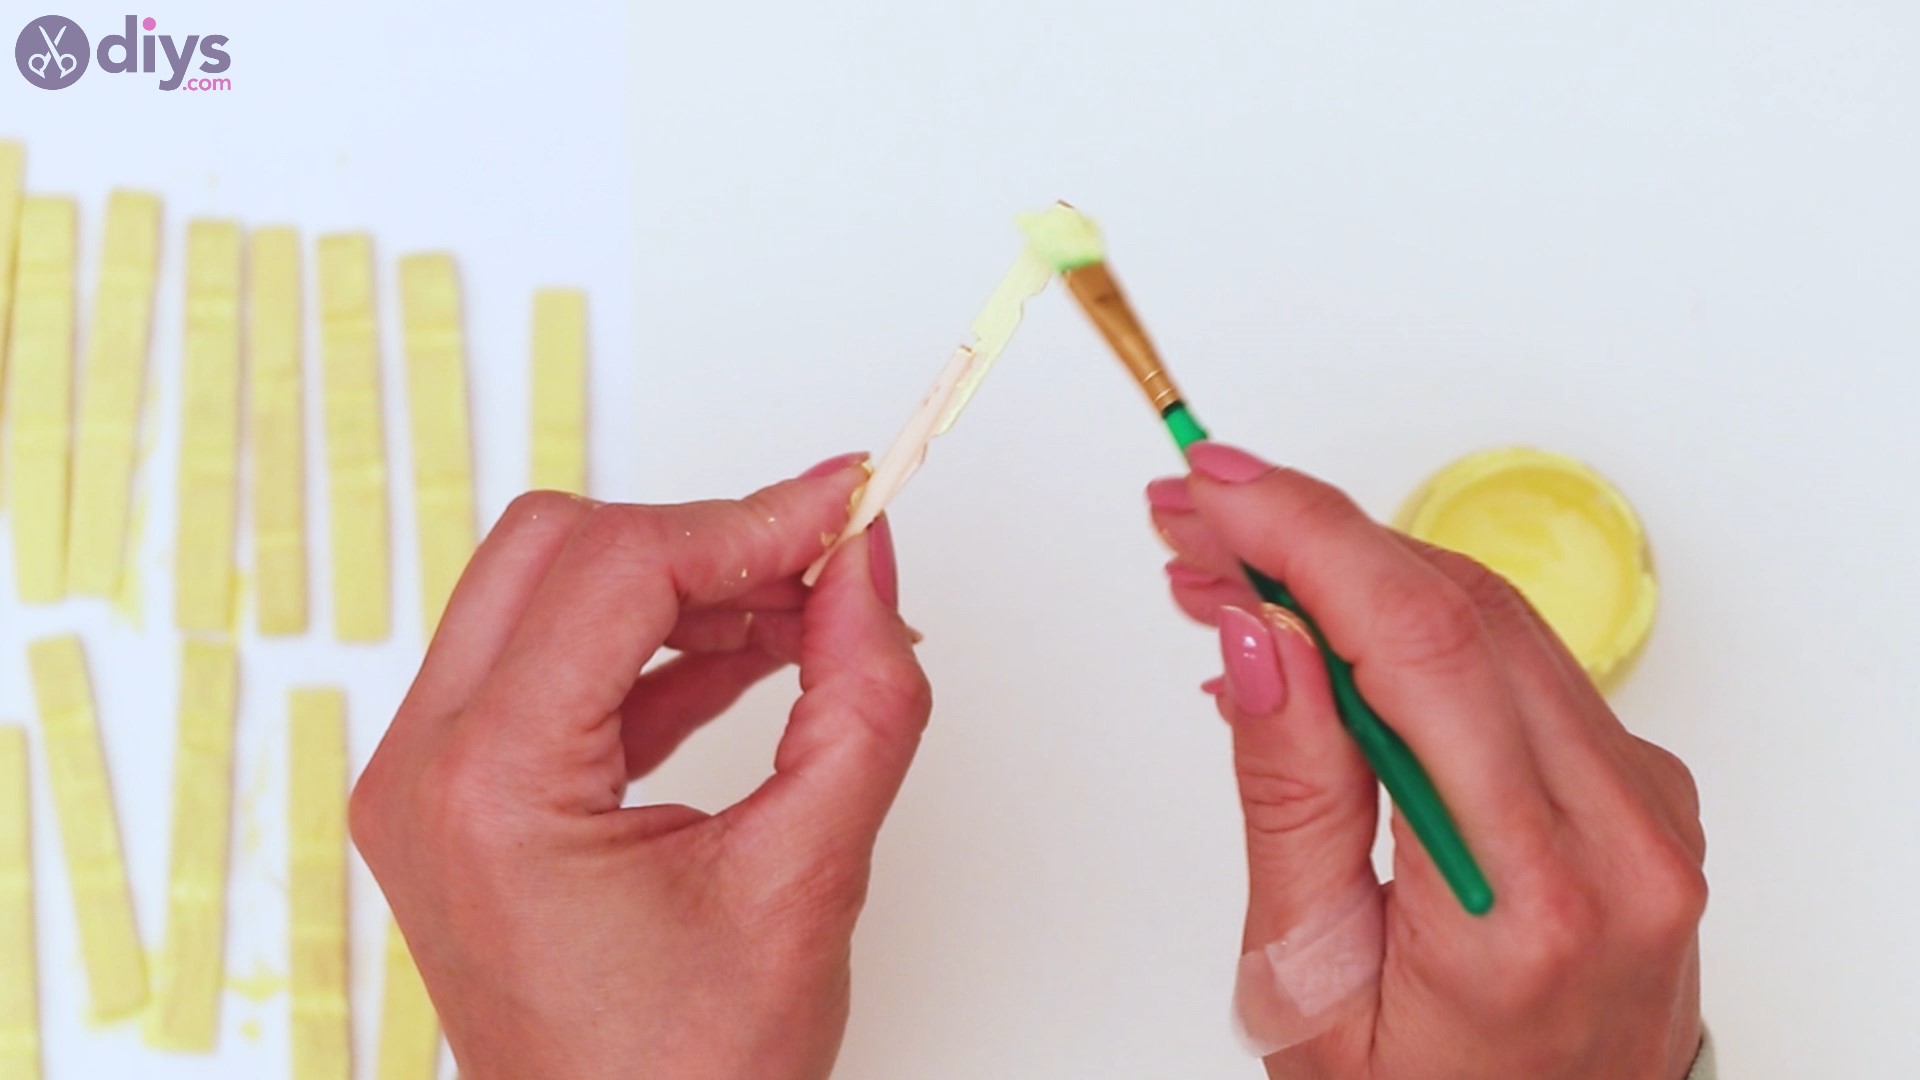
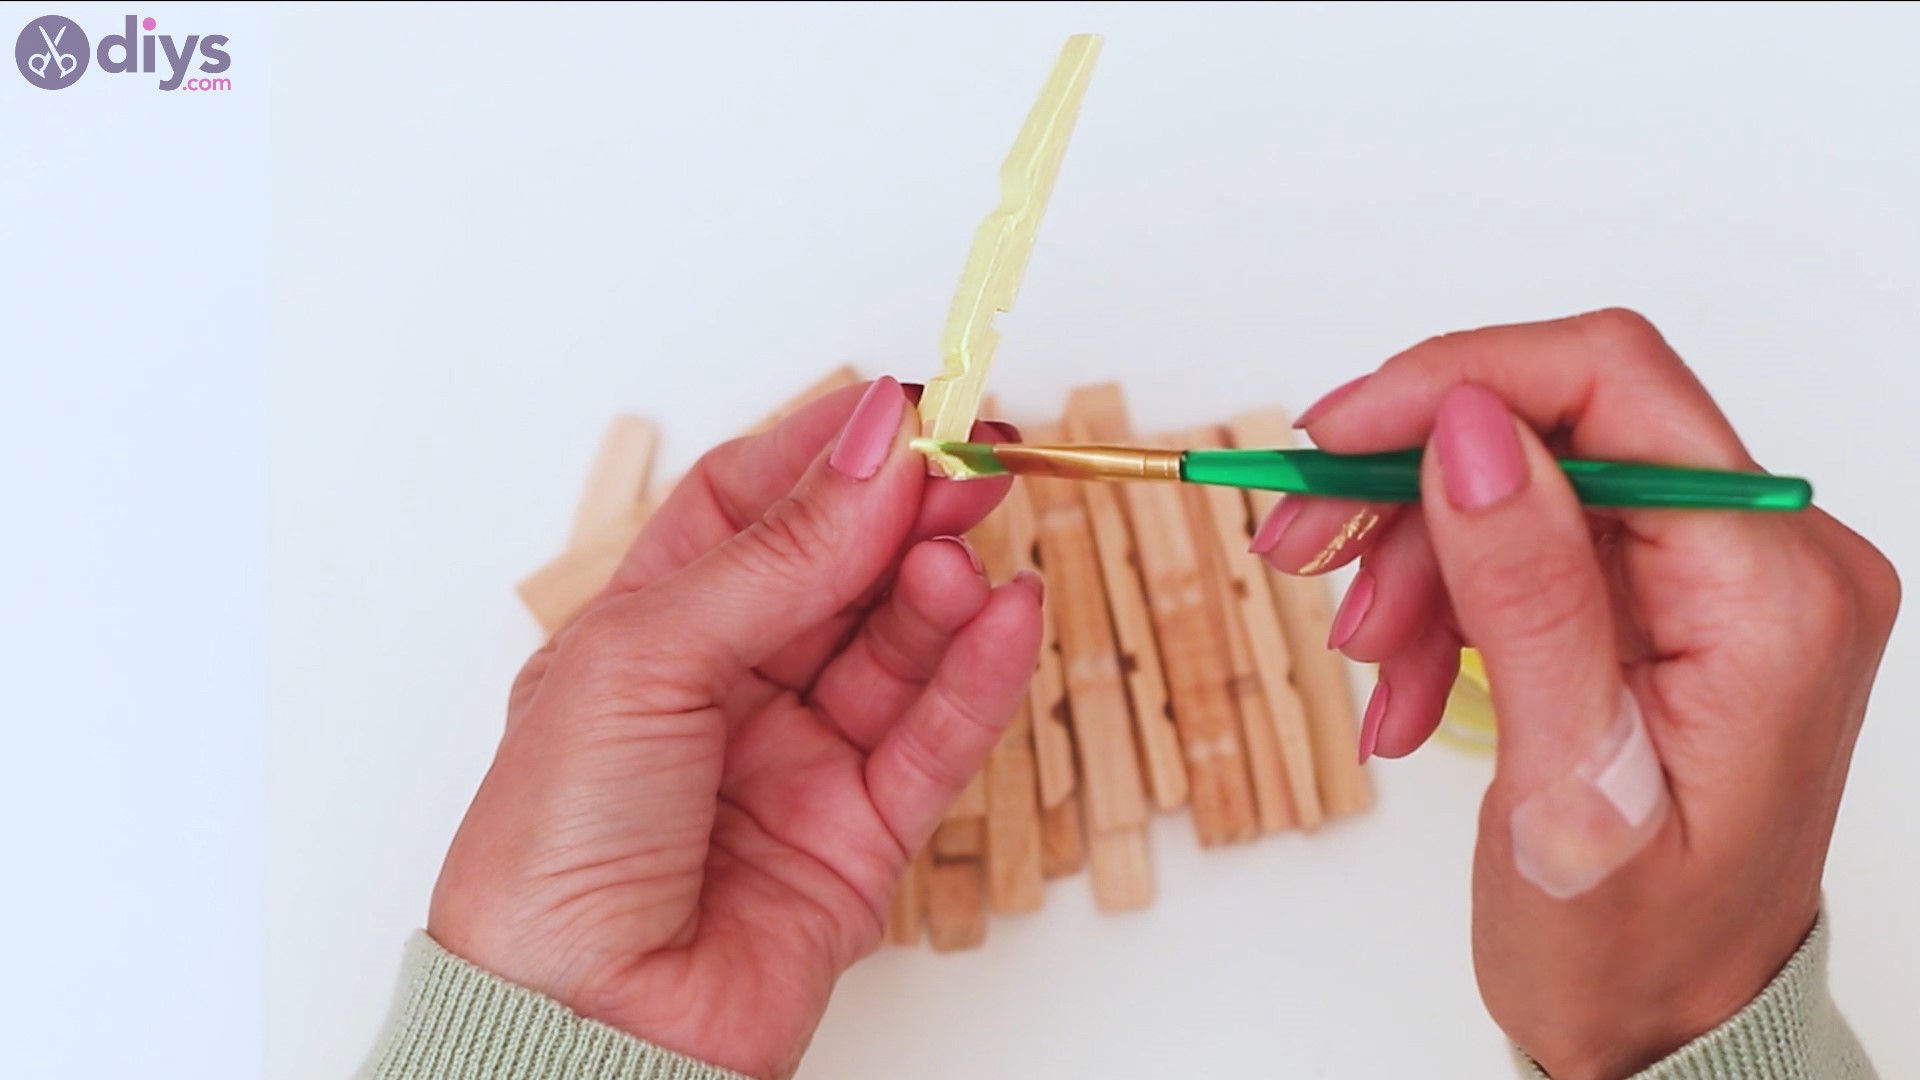
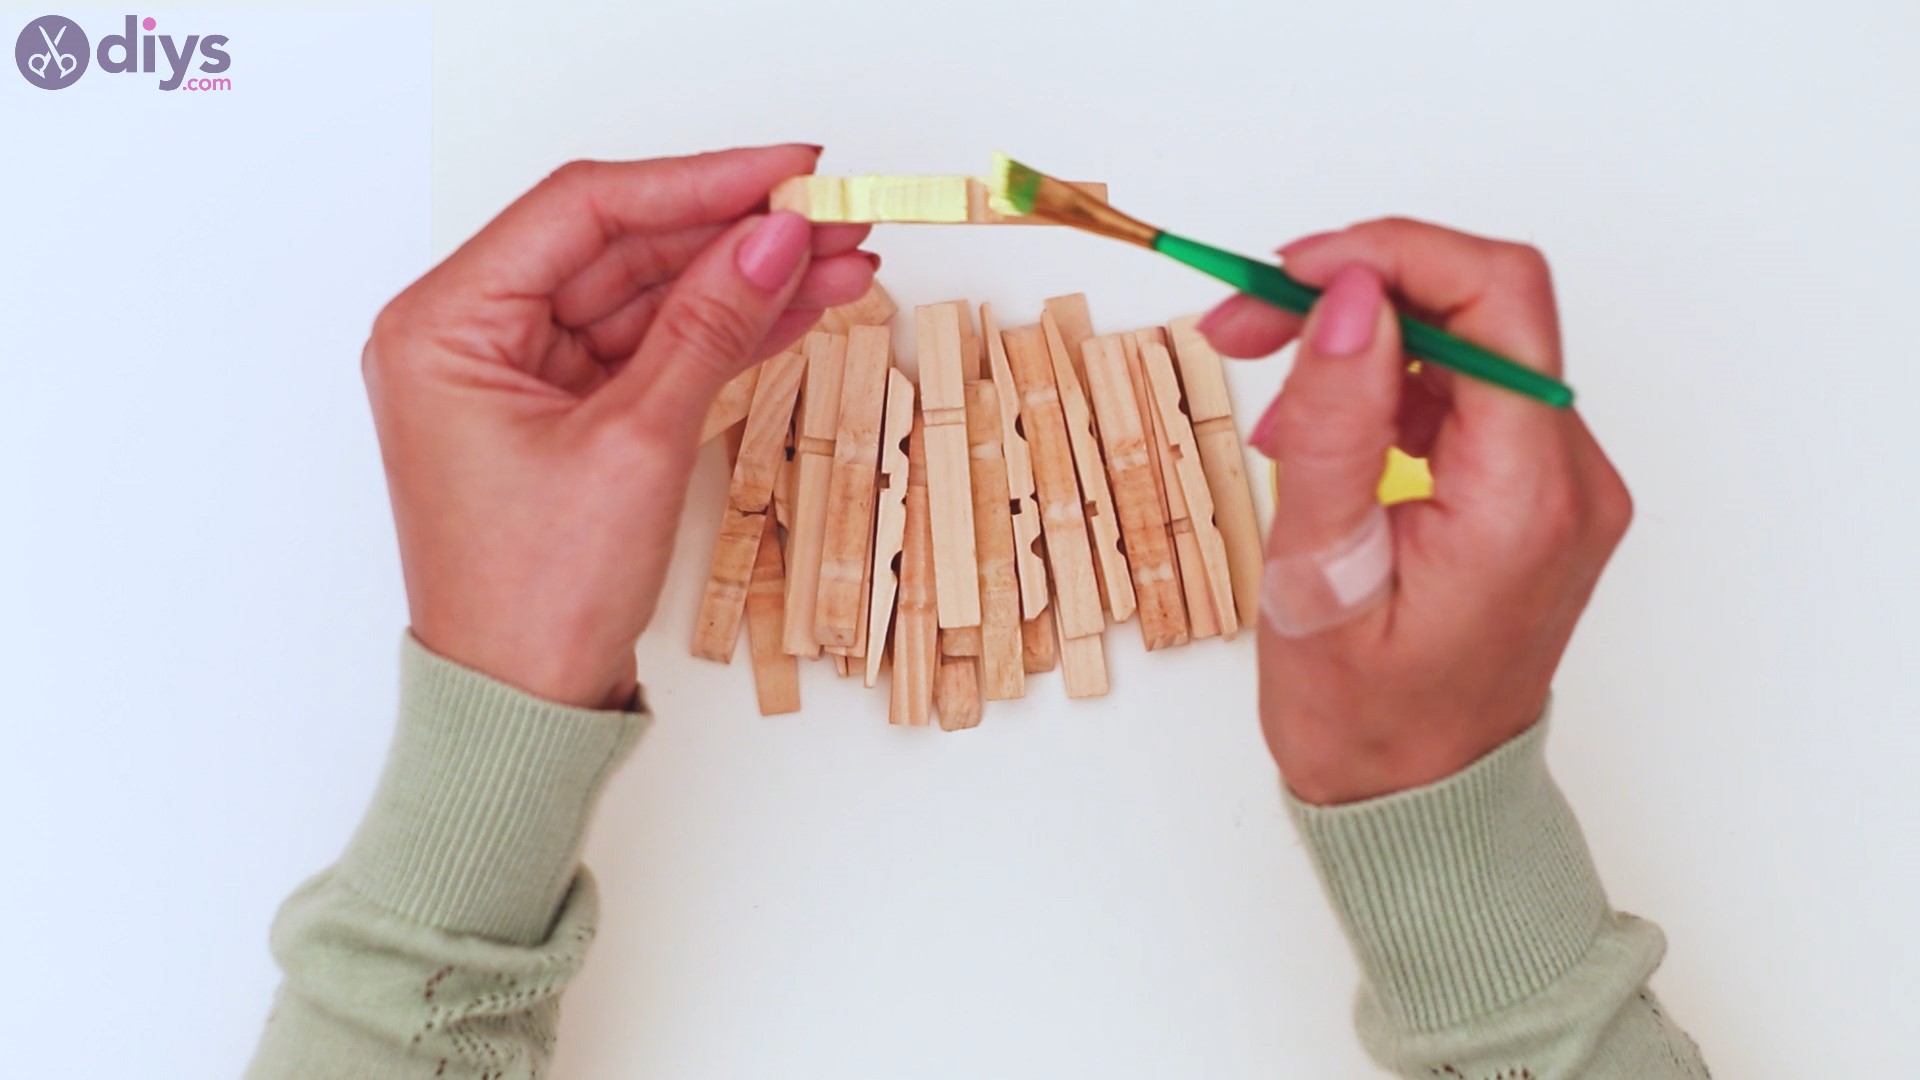
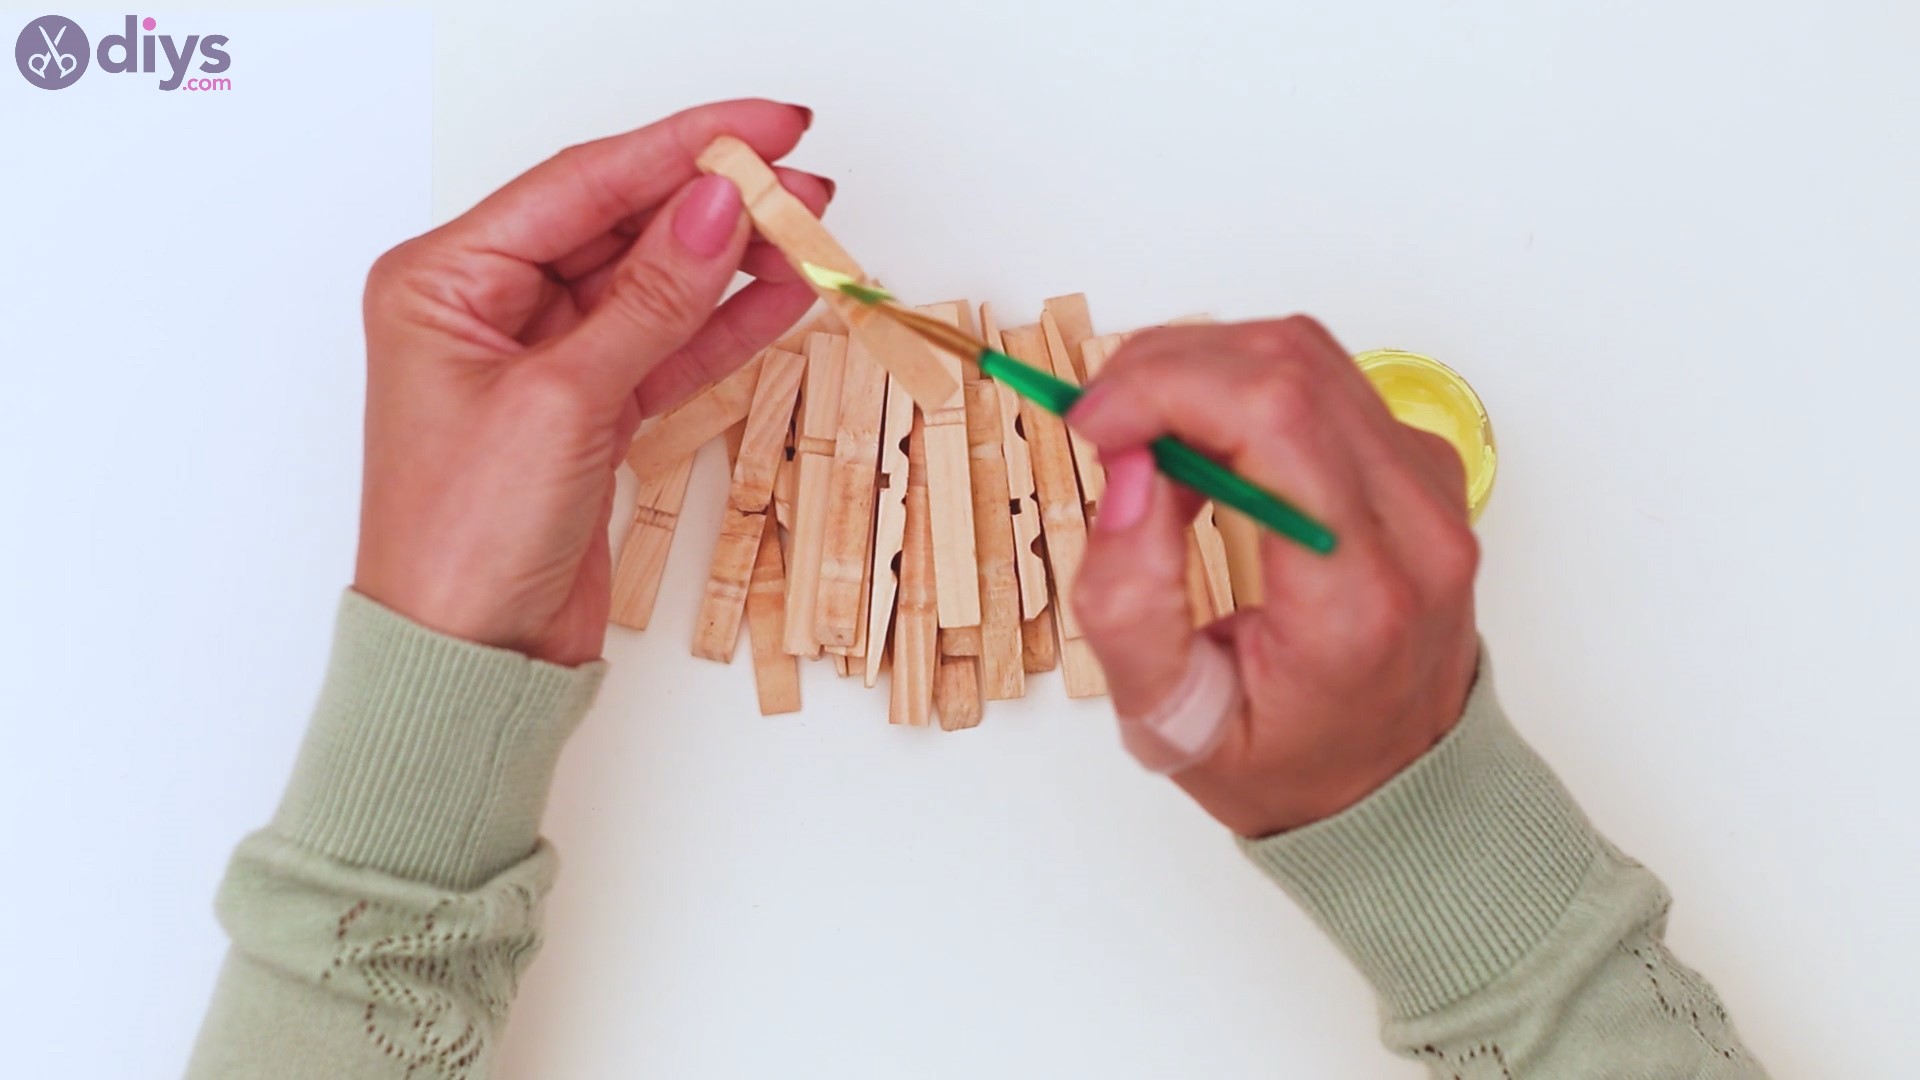
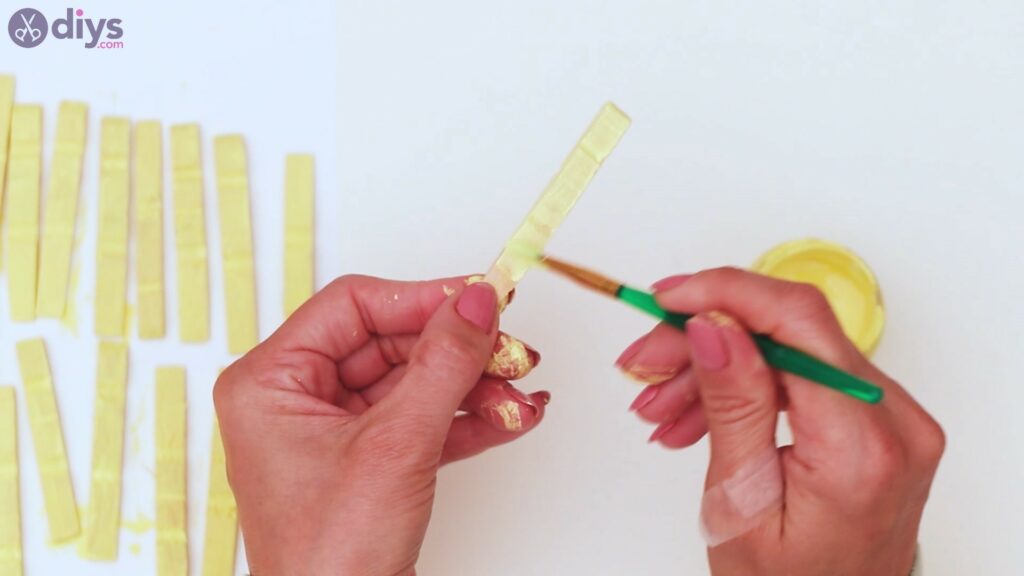
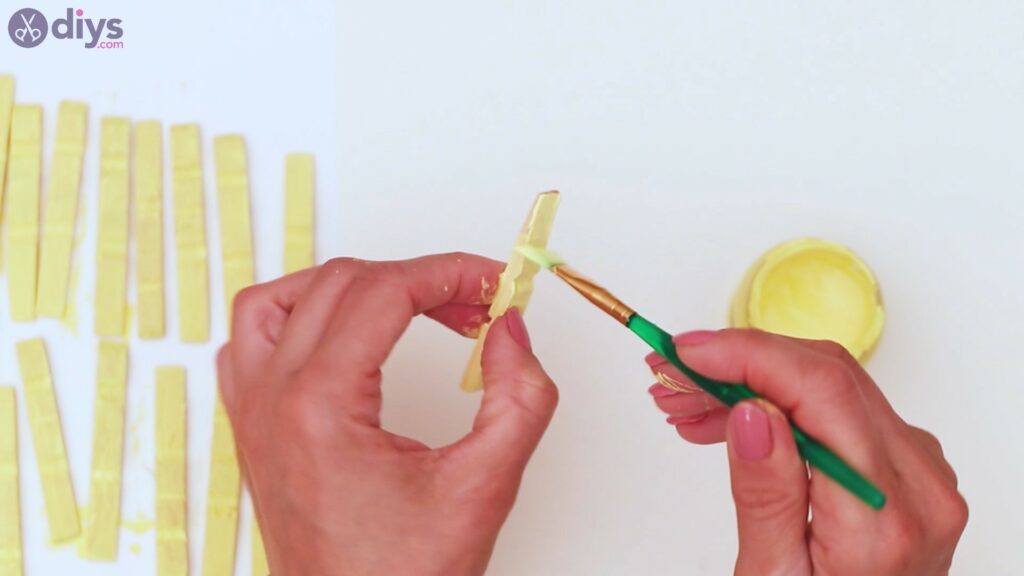
Step 2: Paint the clothespins
Now that the clothespins have been separated, it’s time you grabbed your paintbrush, dip it in the yellow acrylic paint and start laying down the color on the clothespins.
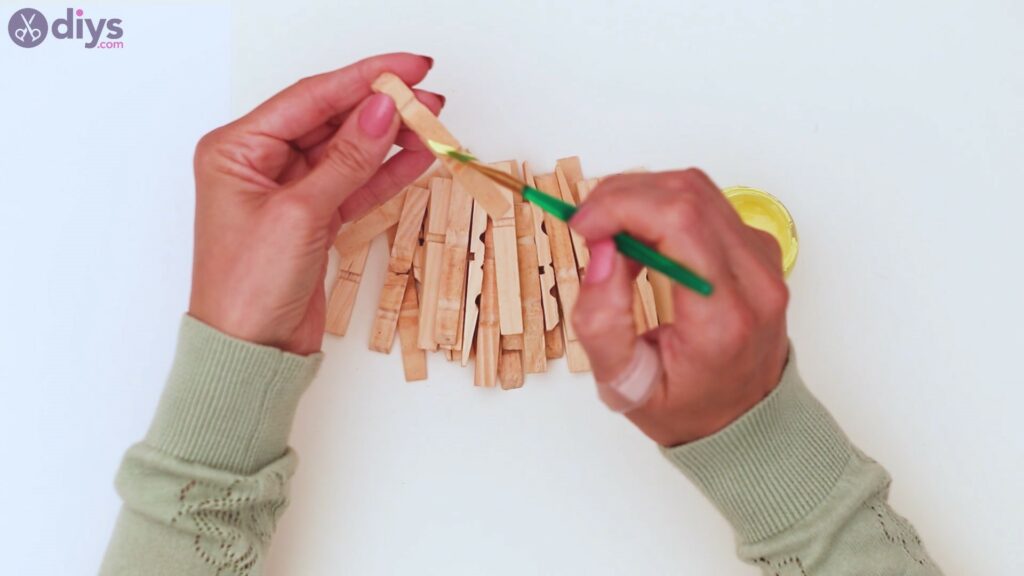
You want to make sure you cover all sides of the clothespins, the nooks and crannies and the edges. You can leave the flat part of the clothespin unpainted since you’ll be adding hot glue to that side later on.


When you’re done, you can place it on a piece of paper and leave it to dry before moving on to the next.
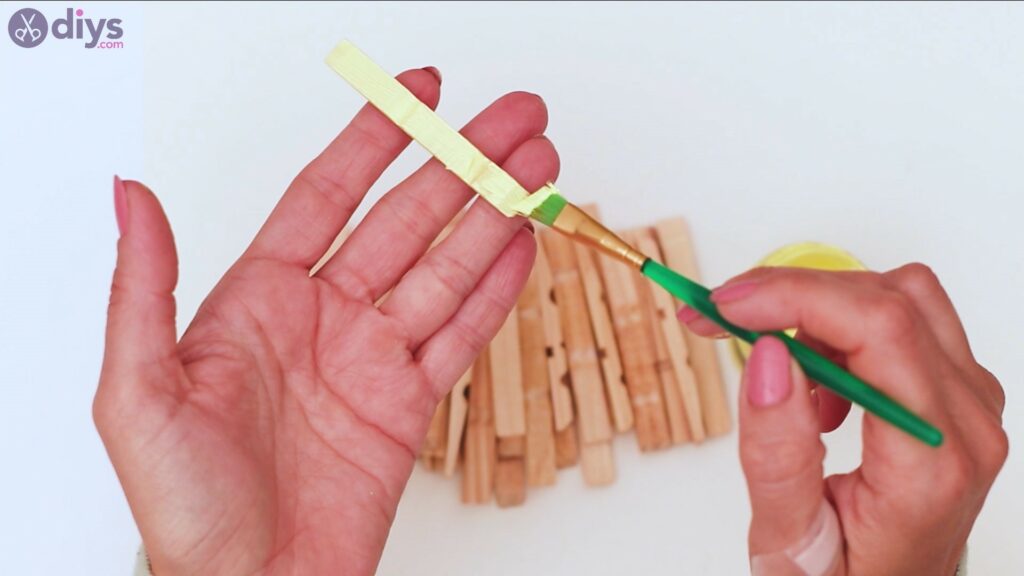
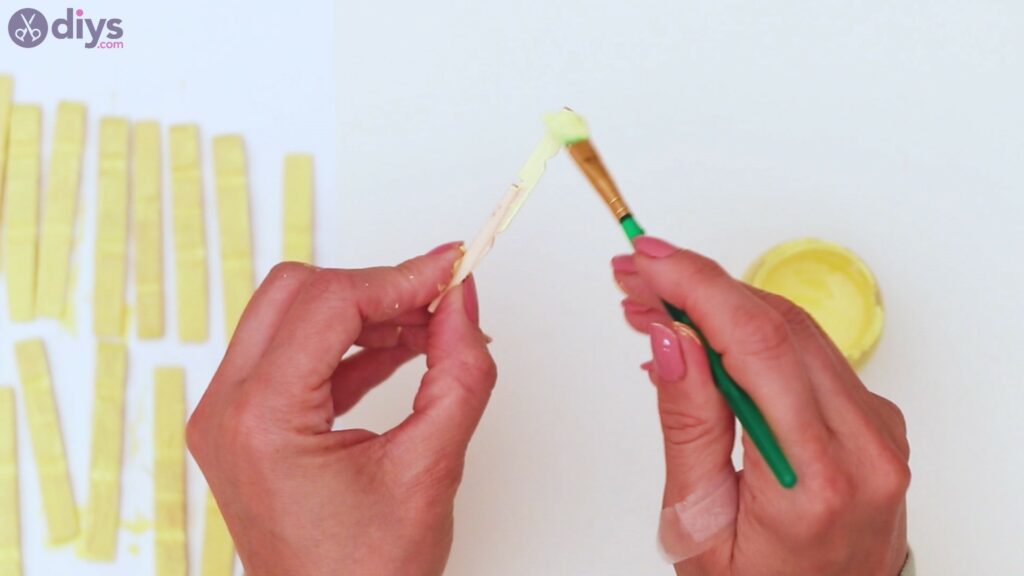
Keep painting the clothespins until you’ve gone through them all. You may be getting quite a bit of paint on your fingers, so you can use gloves if you want to avoid this.
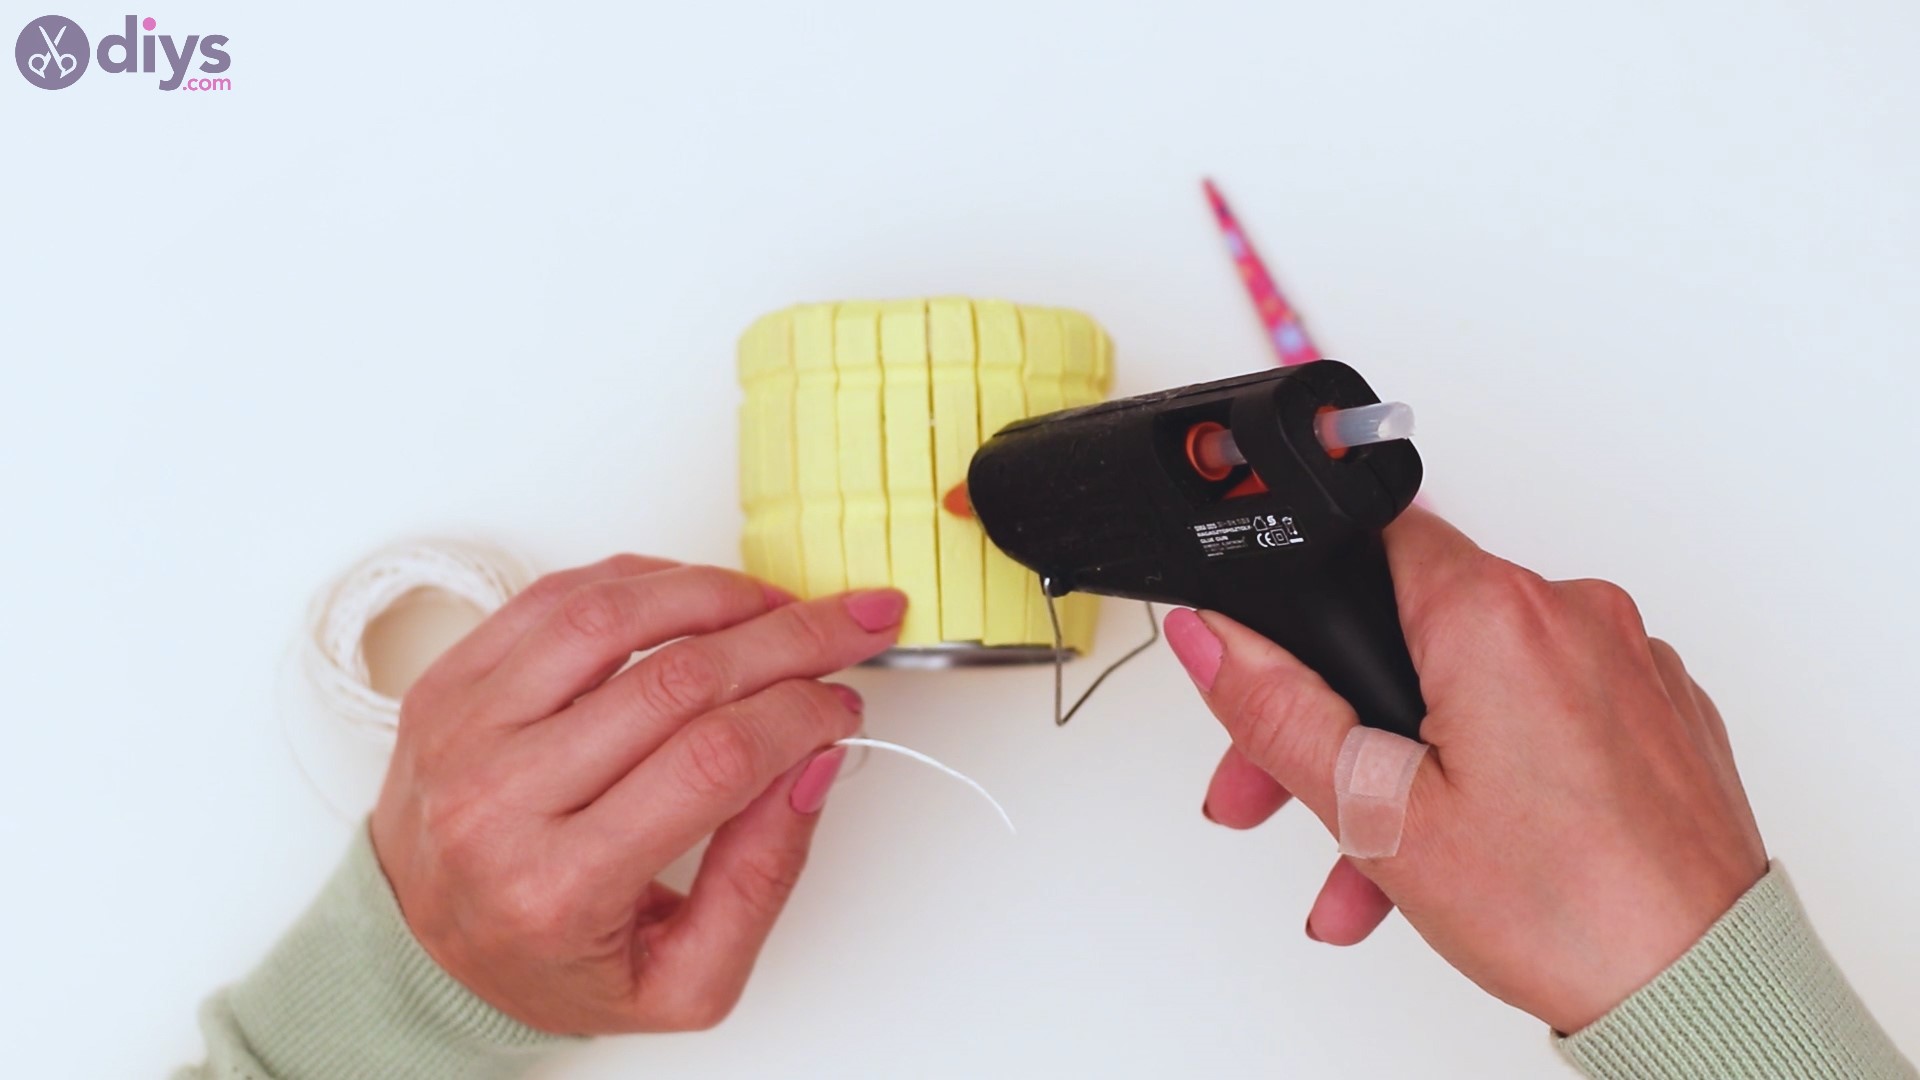
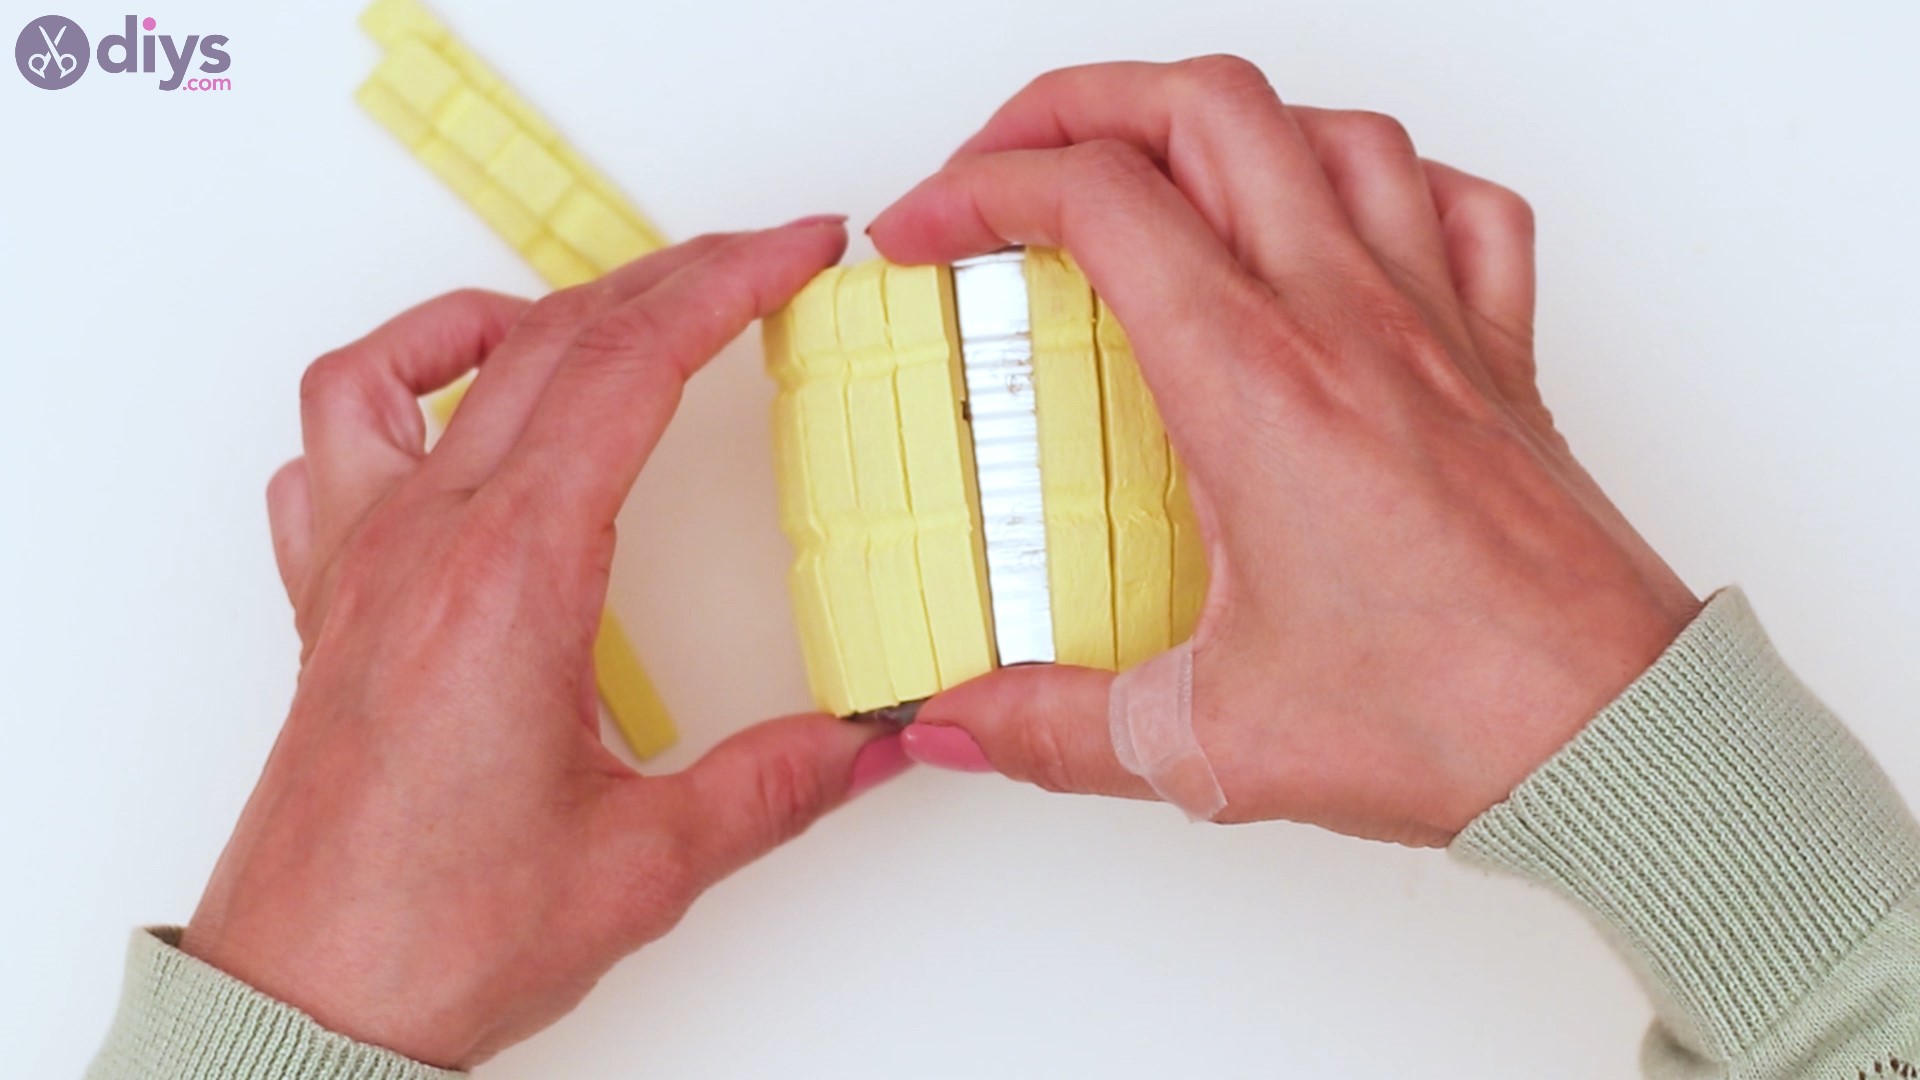
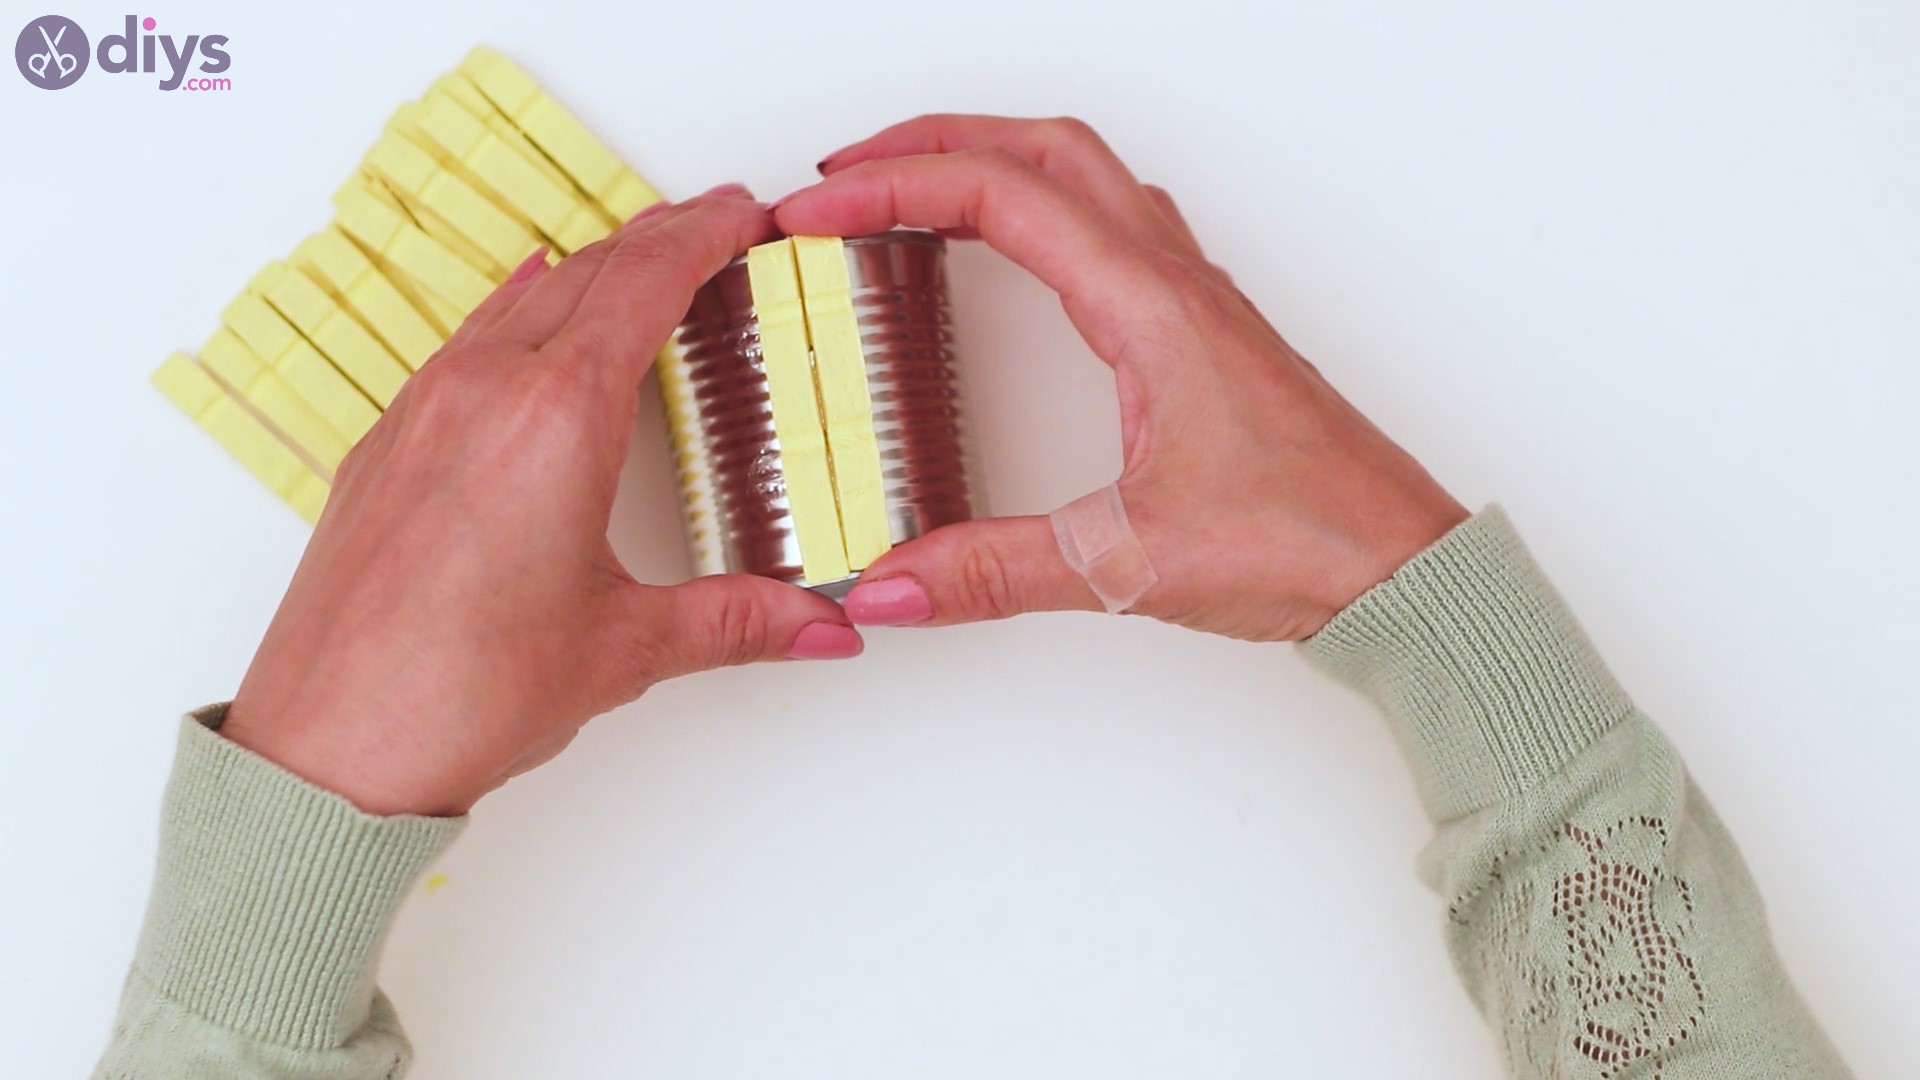
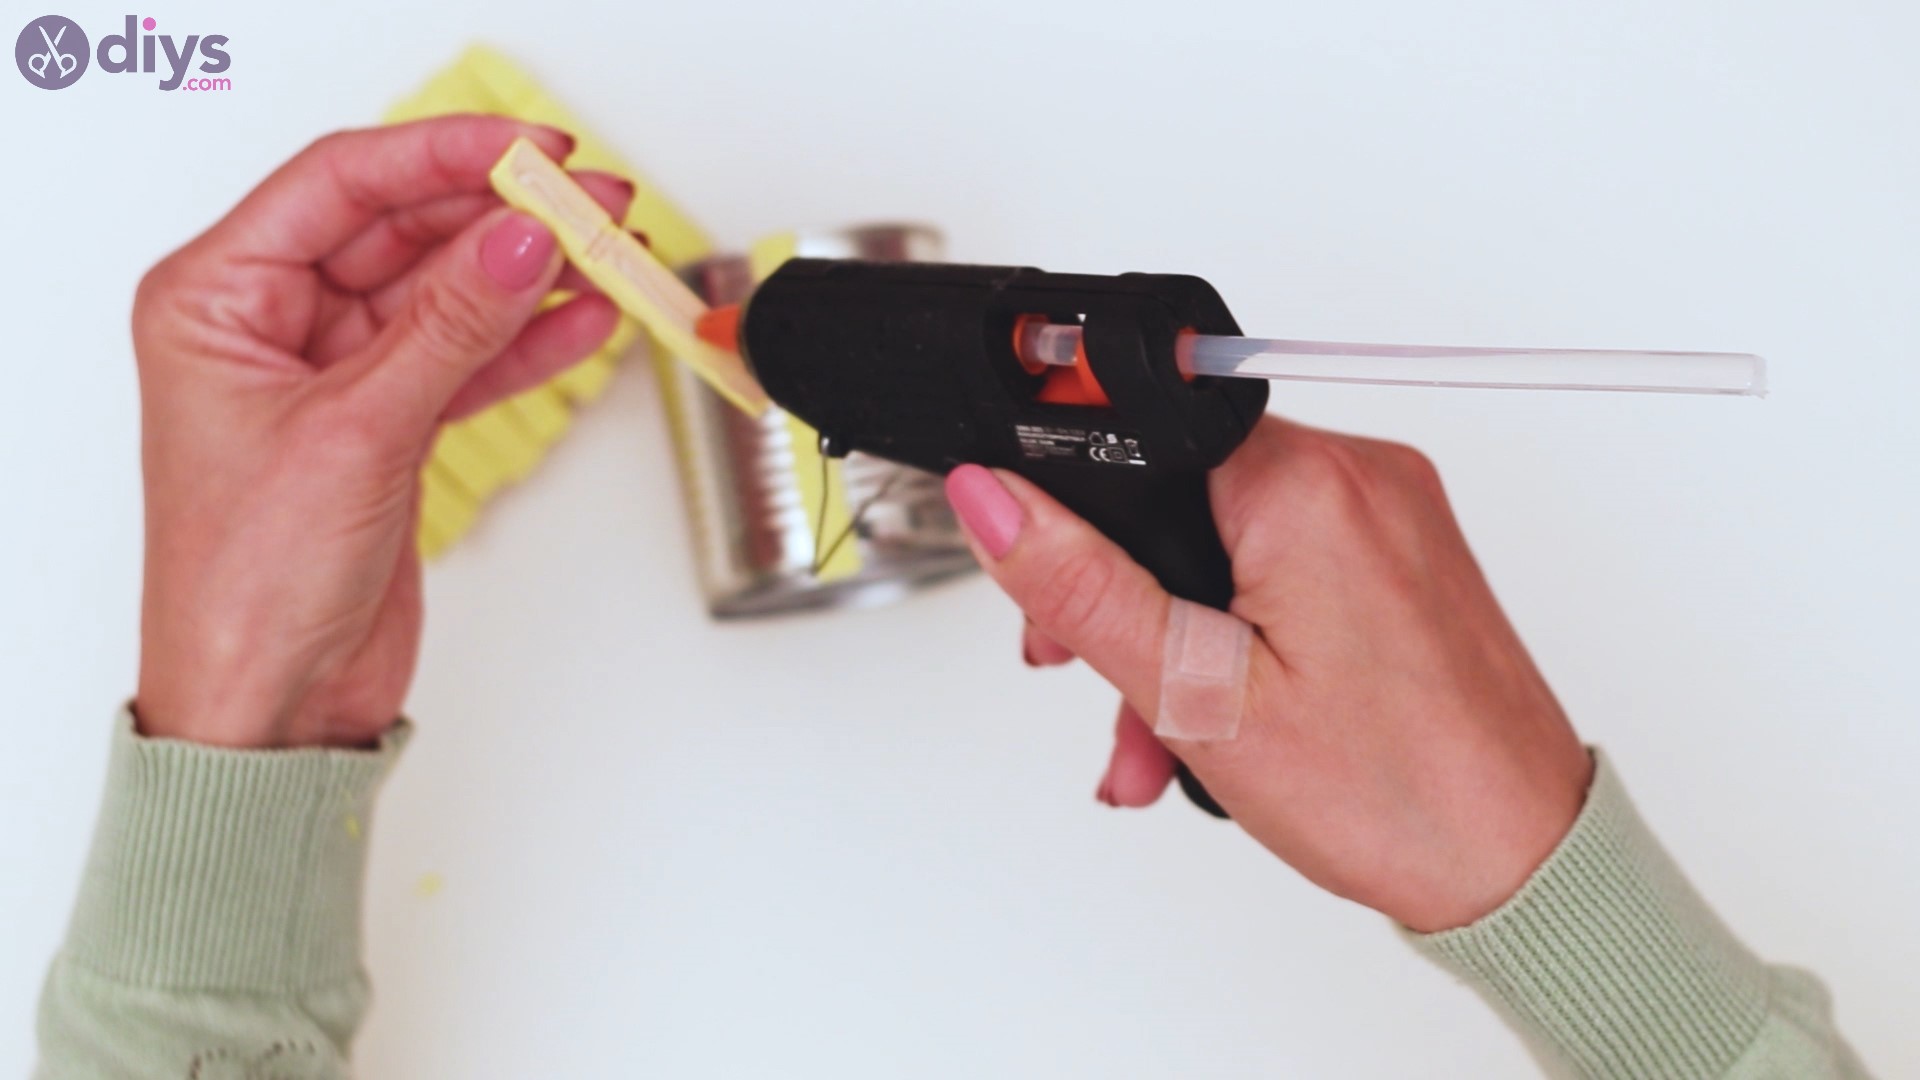
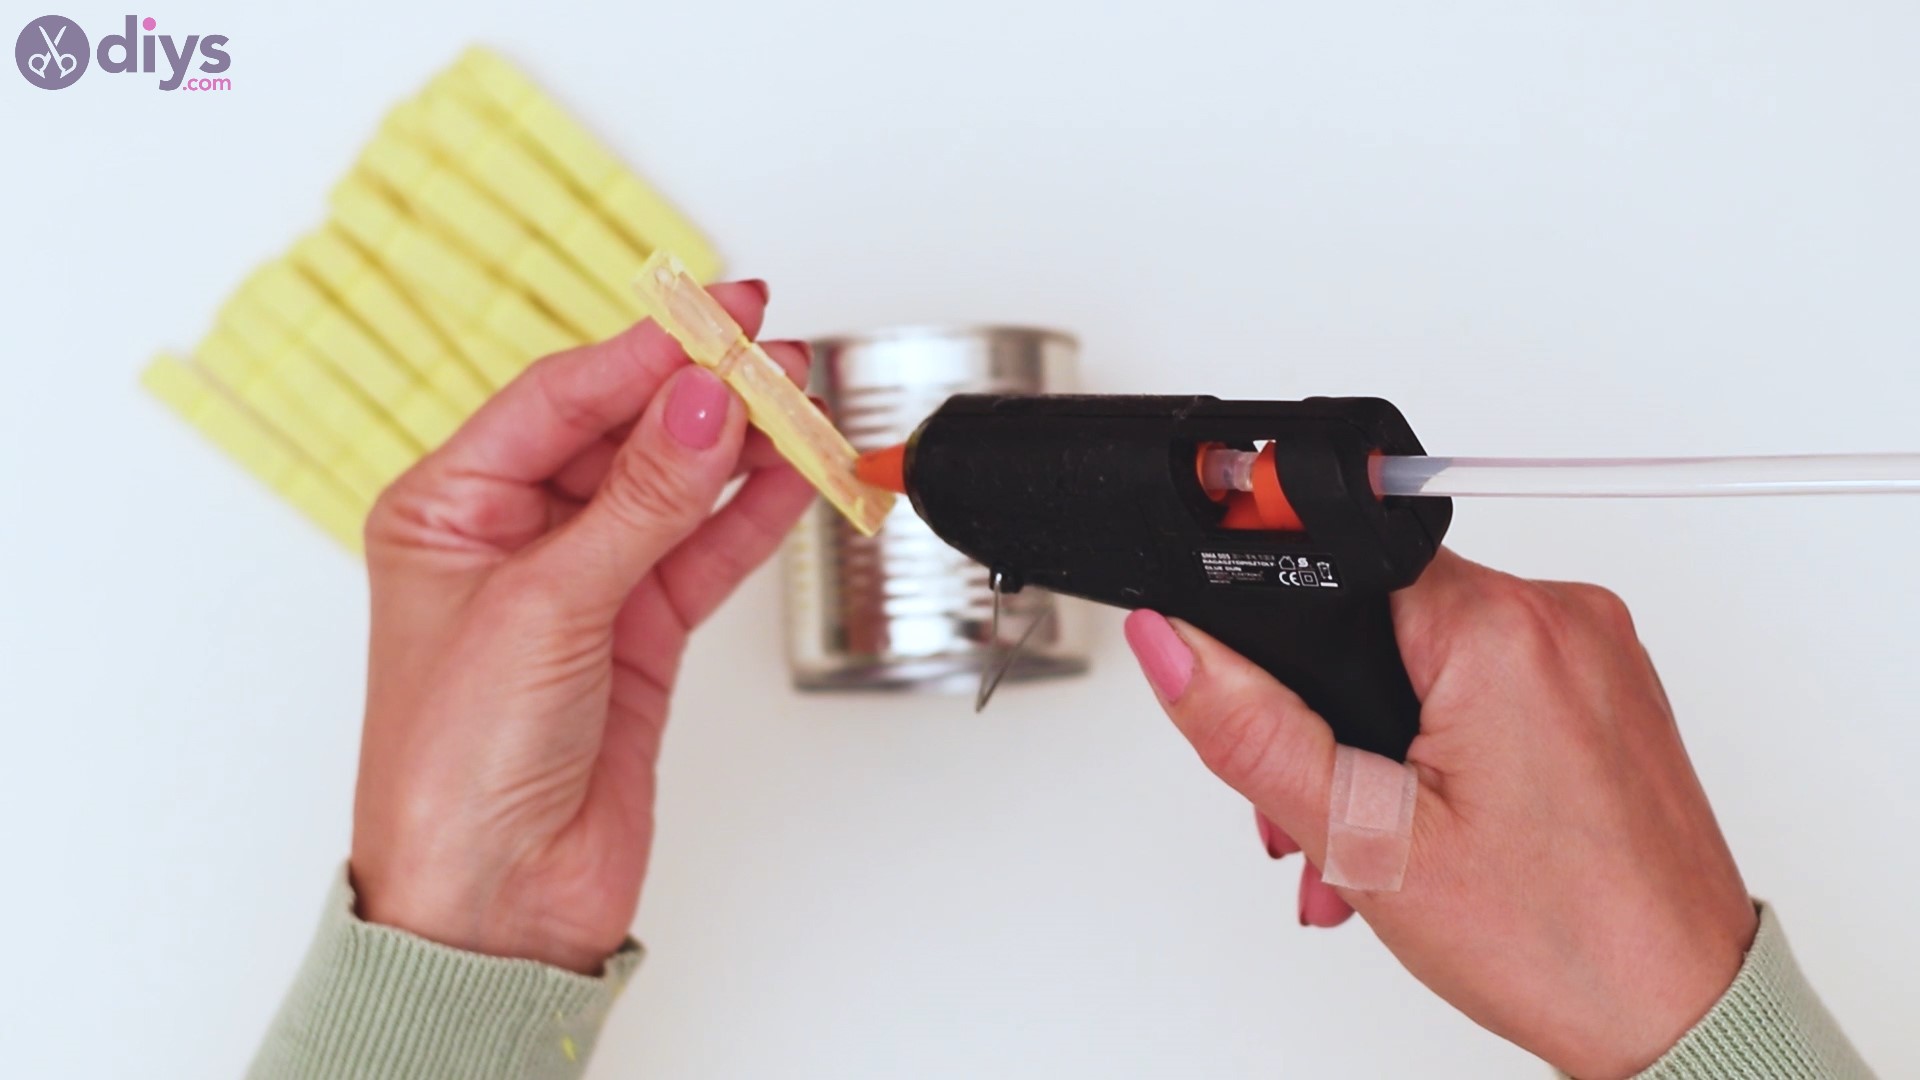
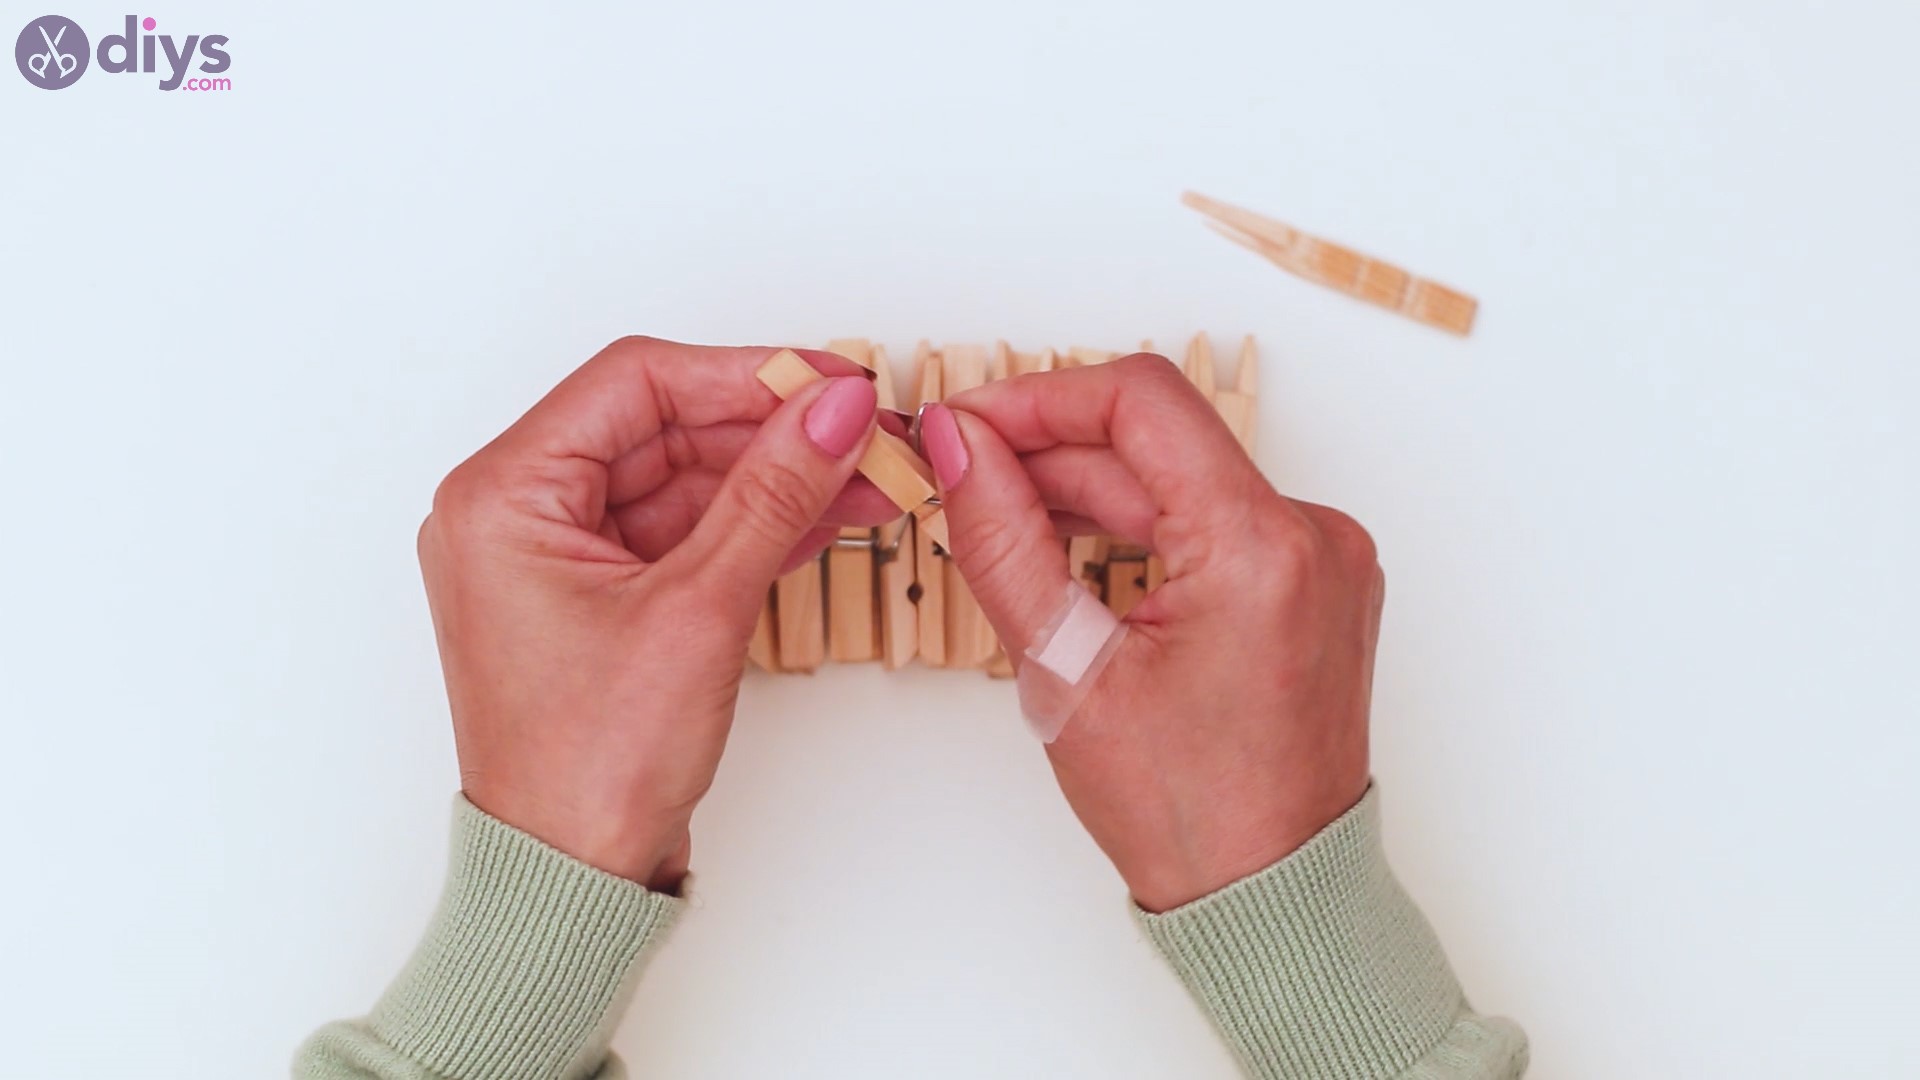
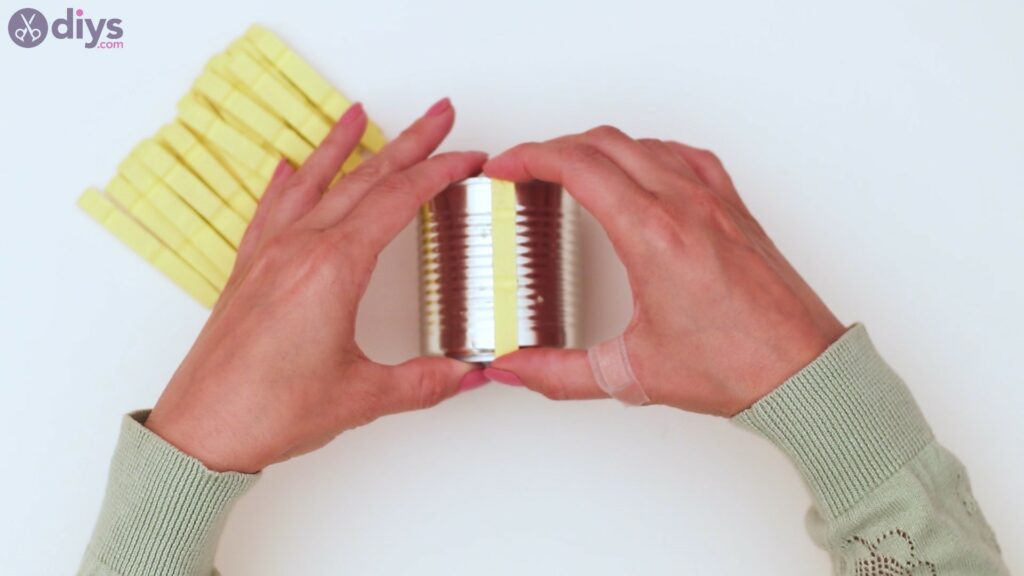
Step 3: Glue them to the tin can
When the clothespins have dried – it shouldn’t take long since acrylic paint dries fast – you can get theglue gunand thetin can and add some hot glue to the flat side.

Place the clothespin piece on the tin, making sure to align the piece with the top and bottom edges. Lucky for us, our clothespins are about the size of the tin can, so you want to look for one that’s about the same size.
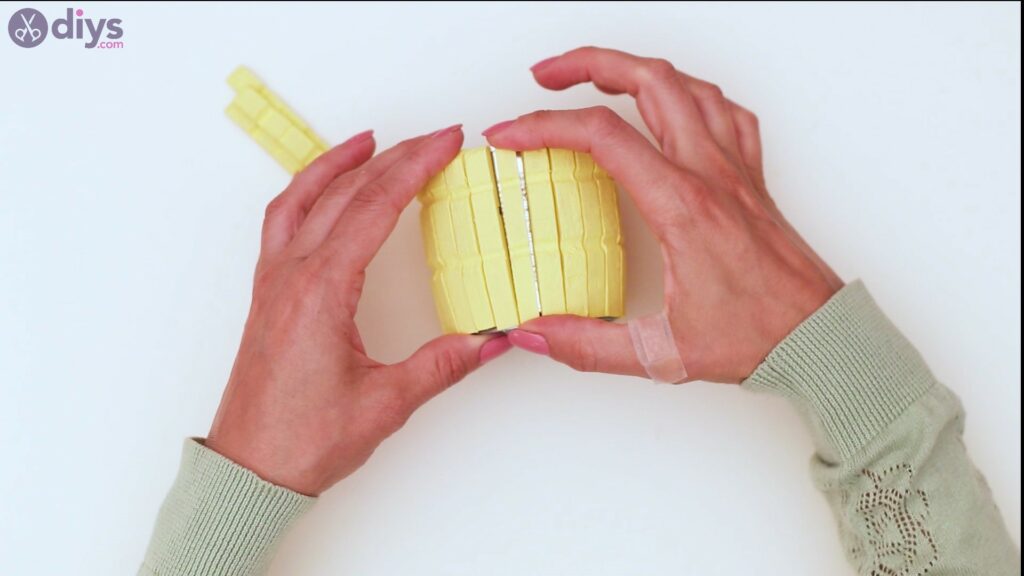
Keep adding more clothespins to the can.

Make sure you only allow a tiny bit of space between the clothespins as you glue them in.

Keep adding more clothespins until you’ve completely gone around the tin can.

There you go!
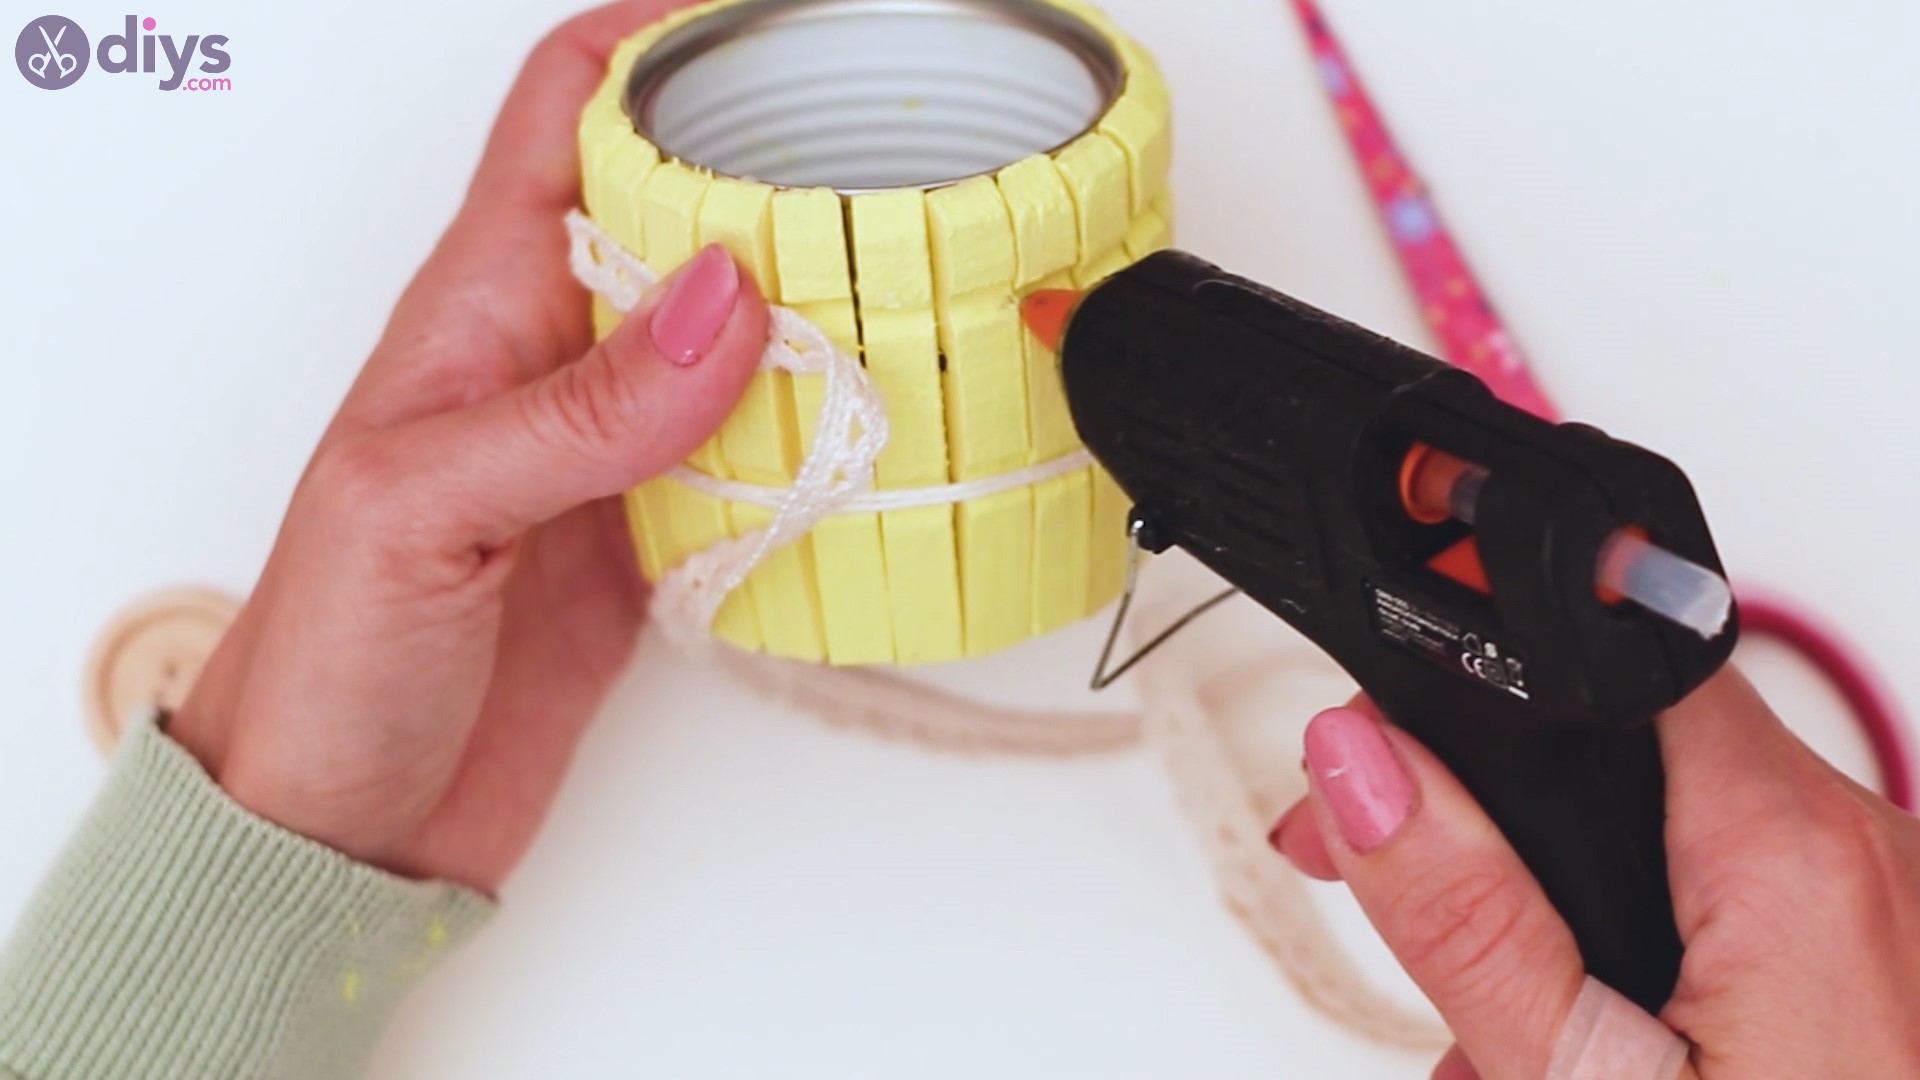
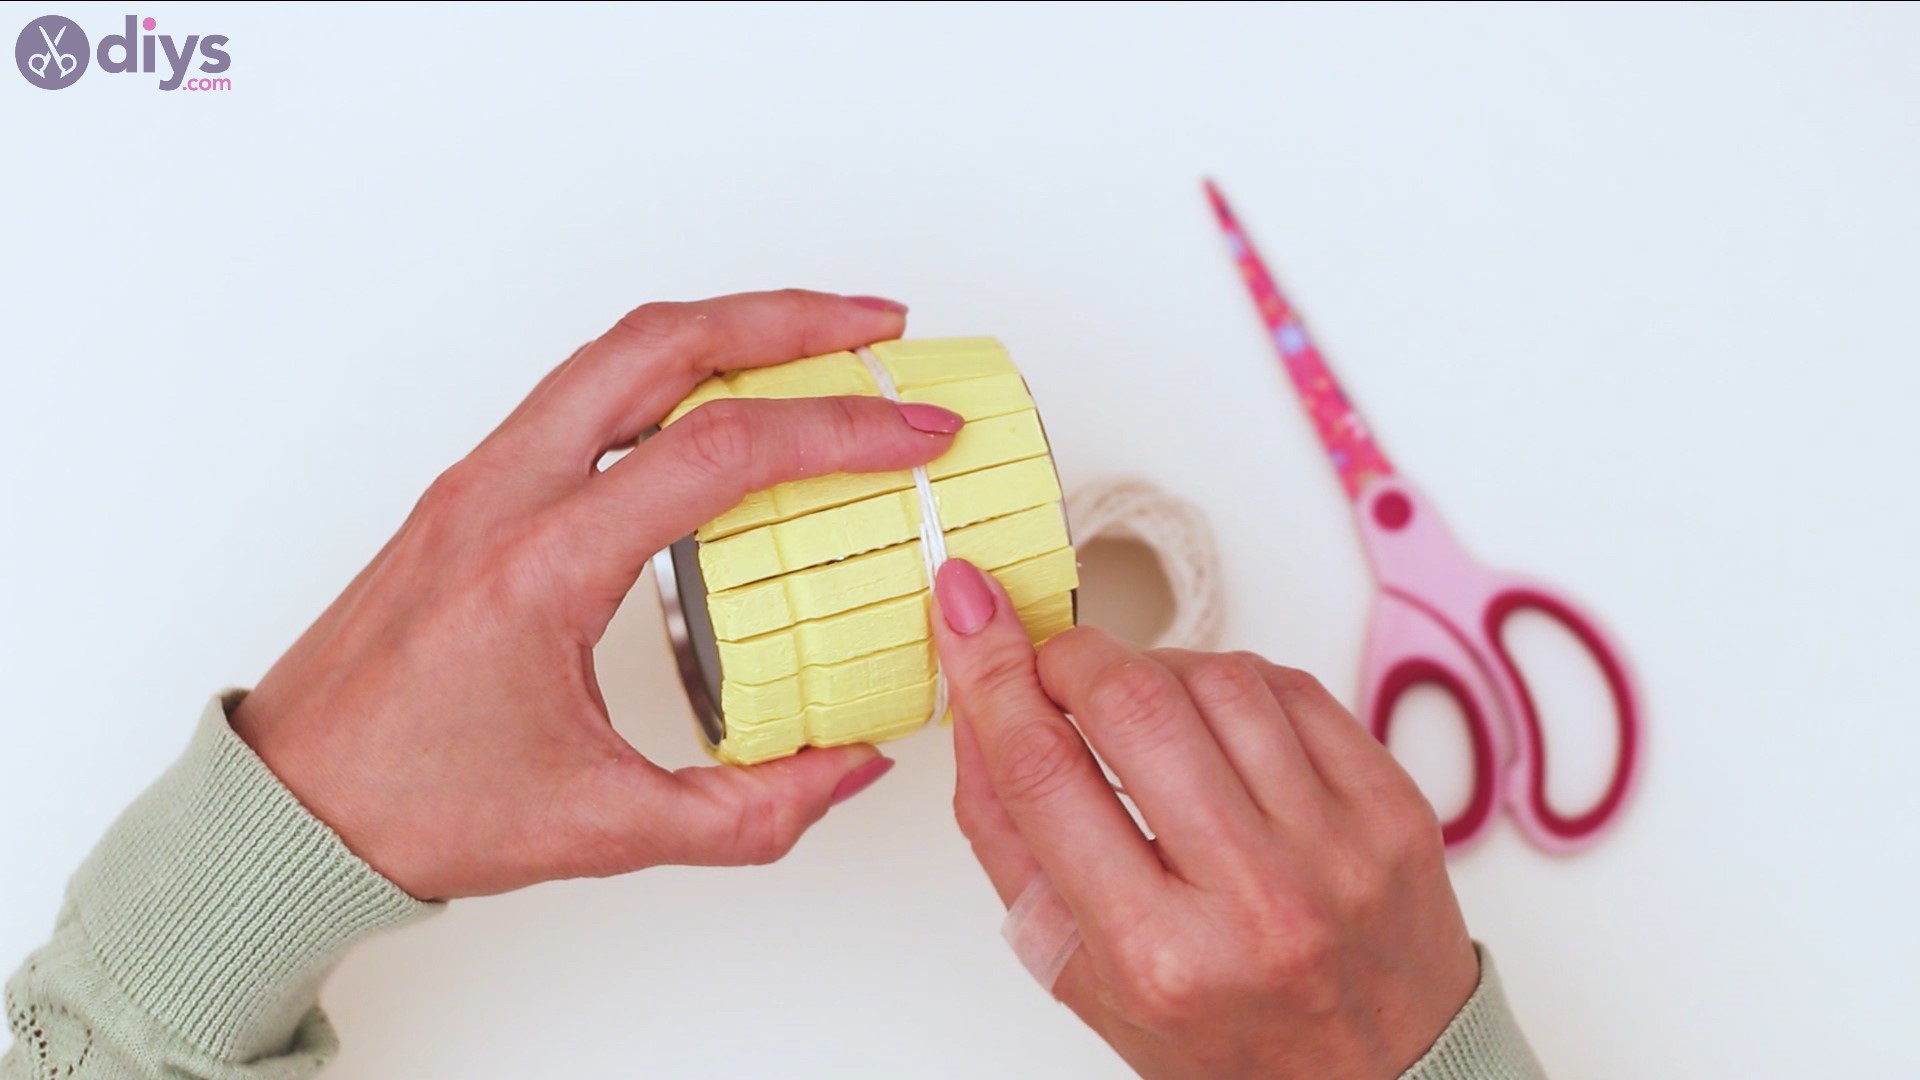
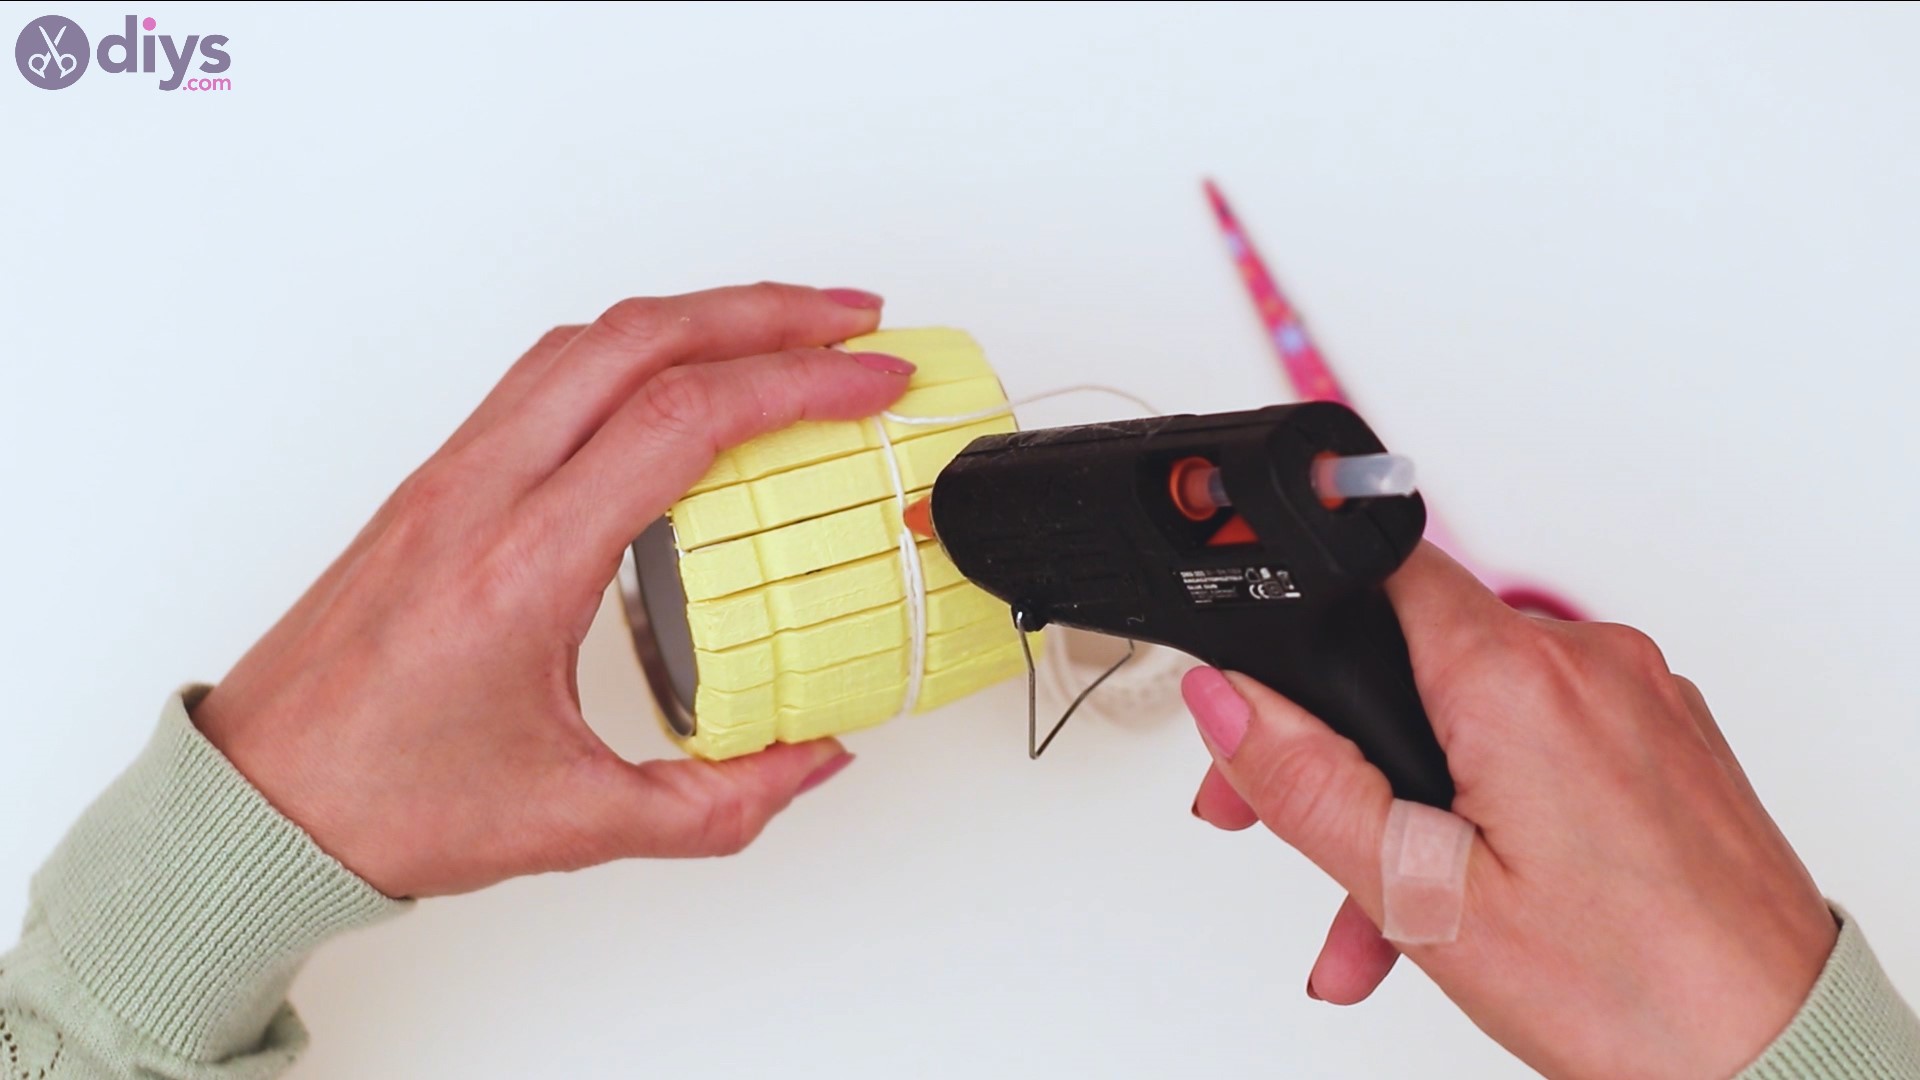
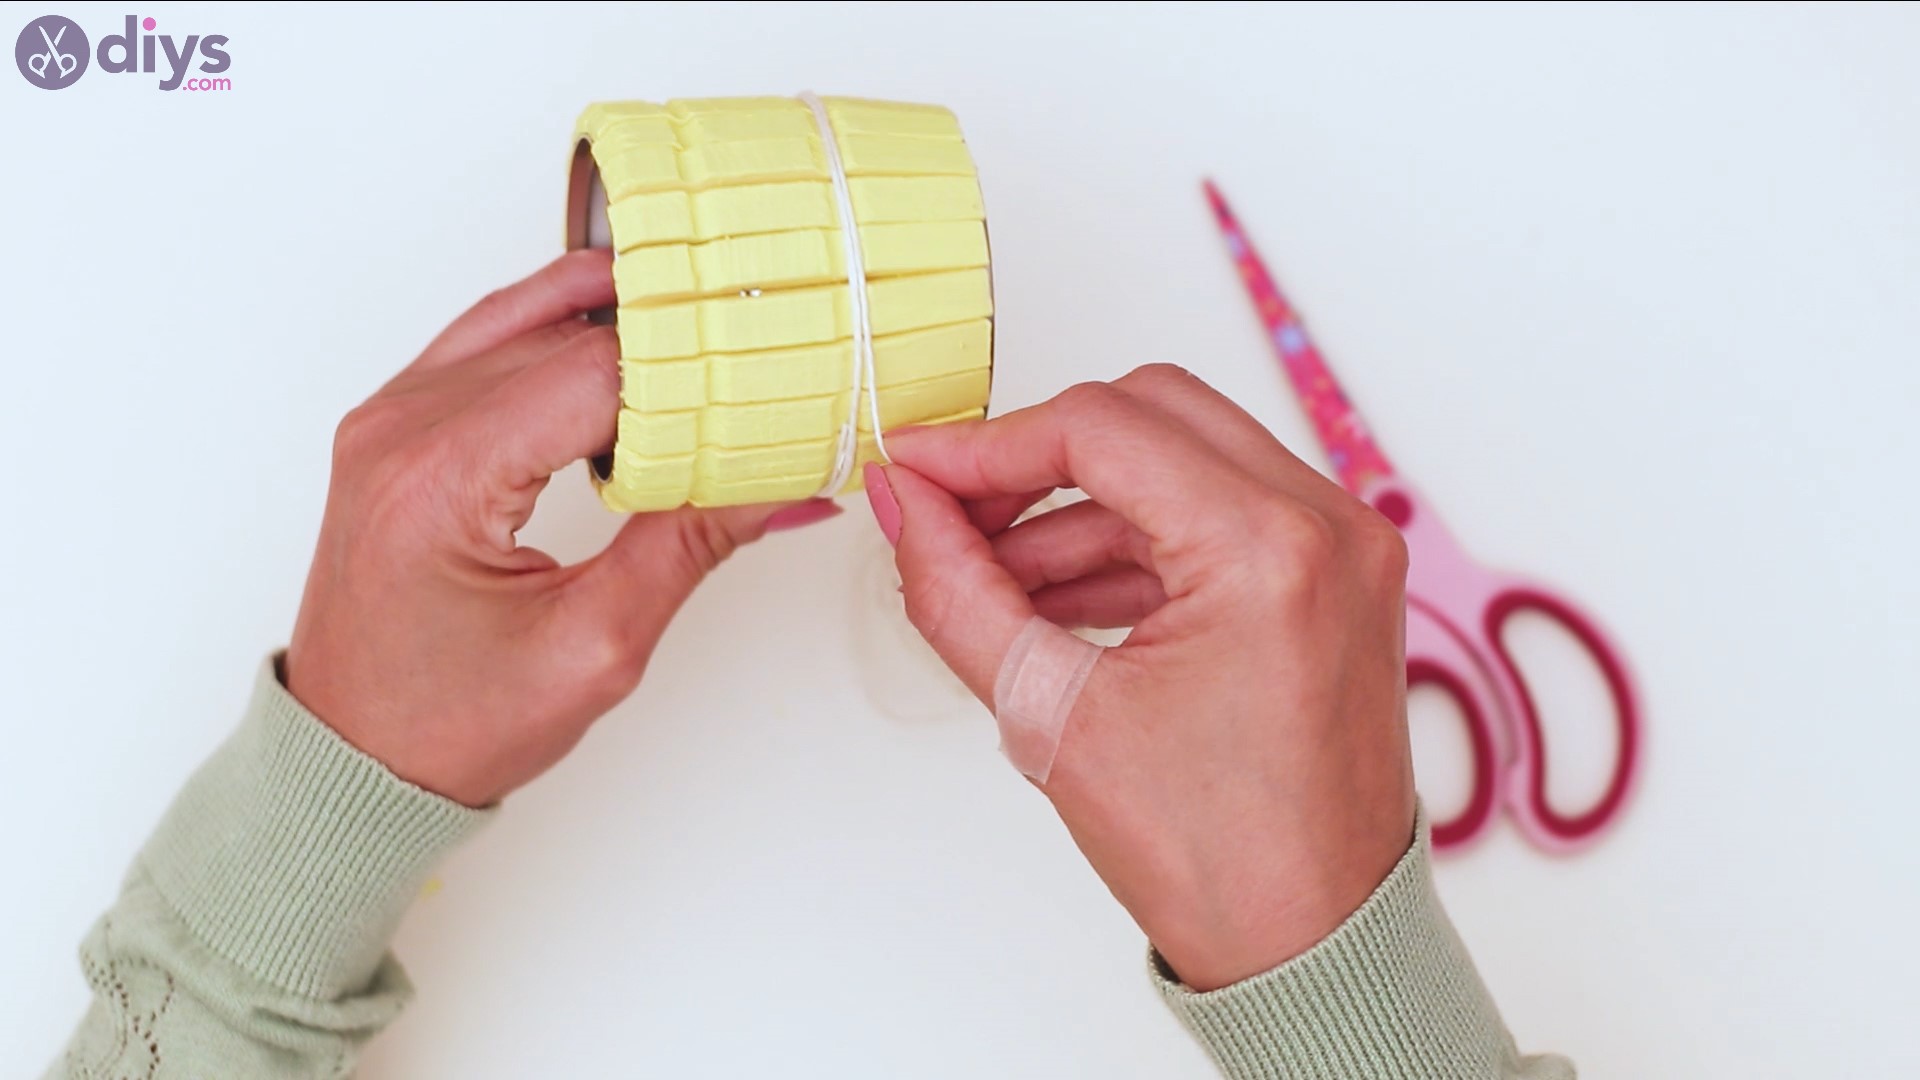
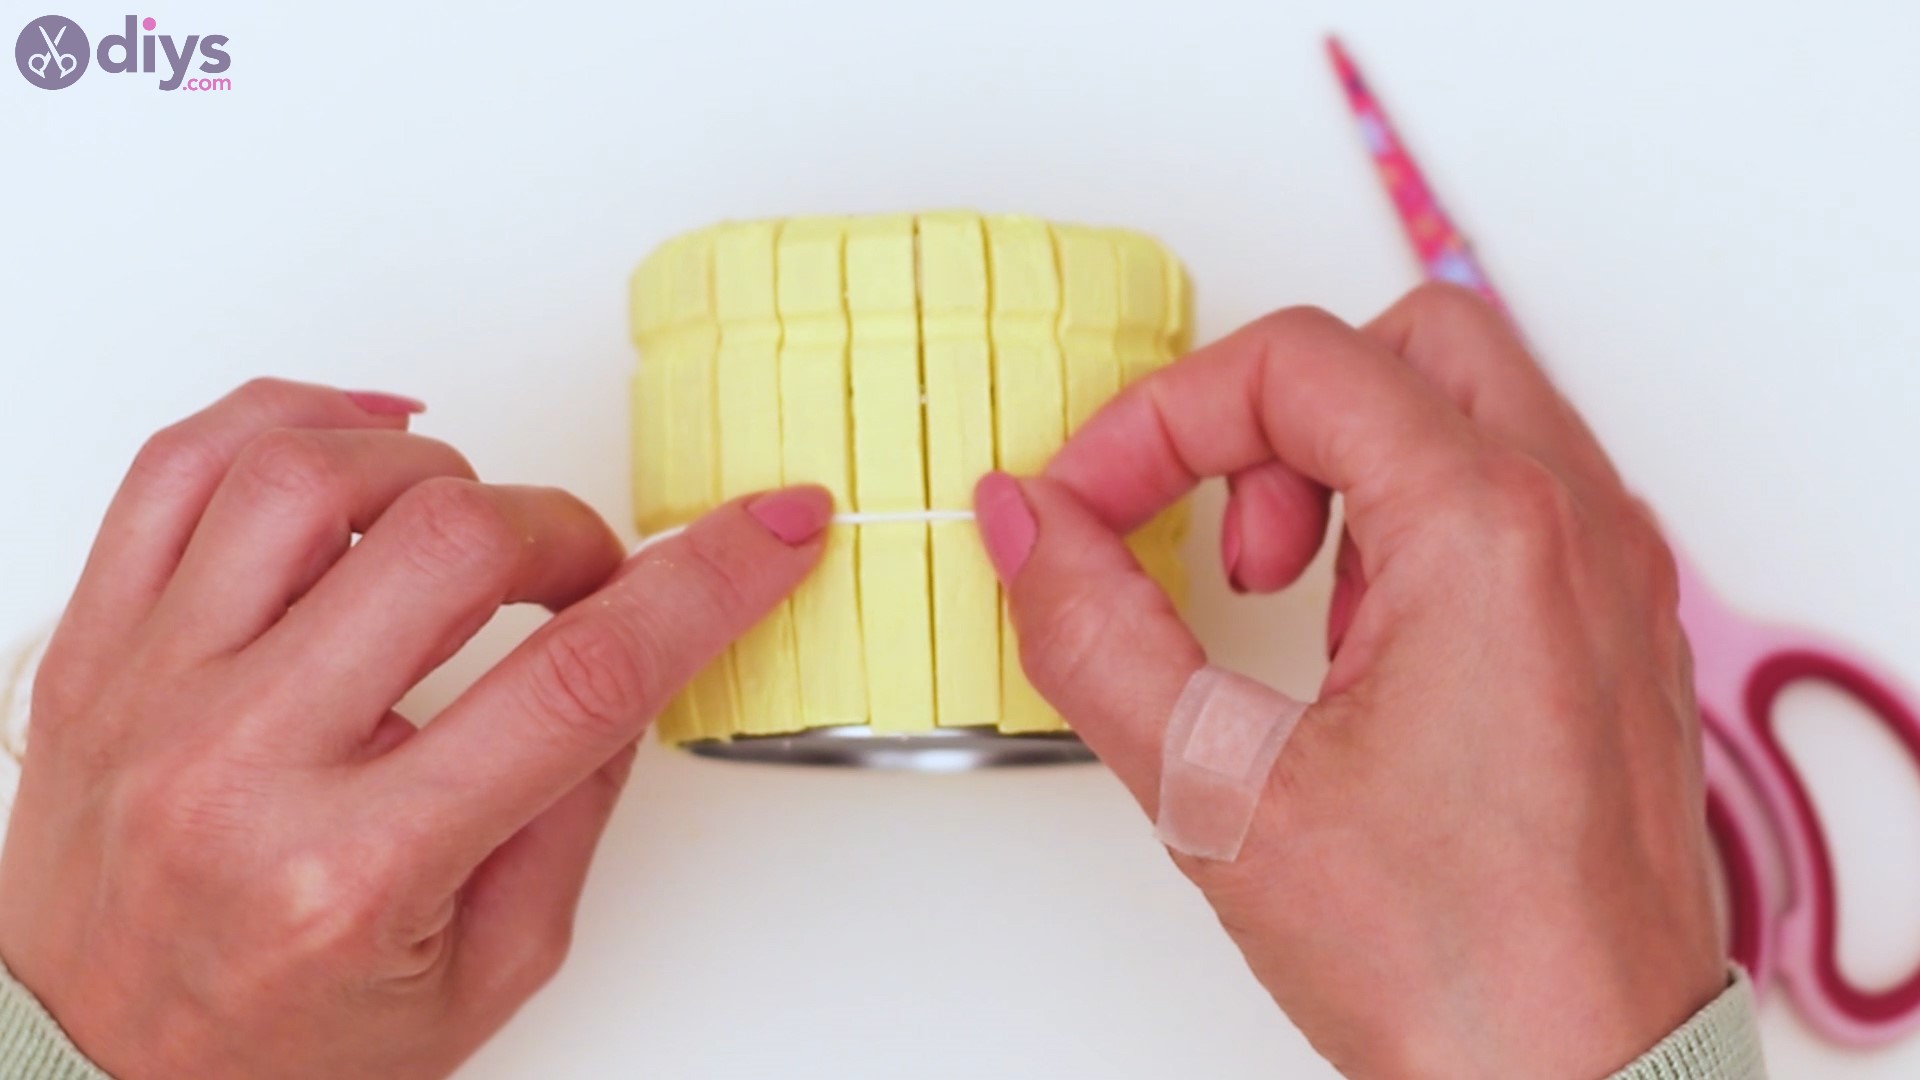
Step 4: Add some twine
Now that all the clothespins are glued to the tin can, it’s time you got the hemp twine thread.
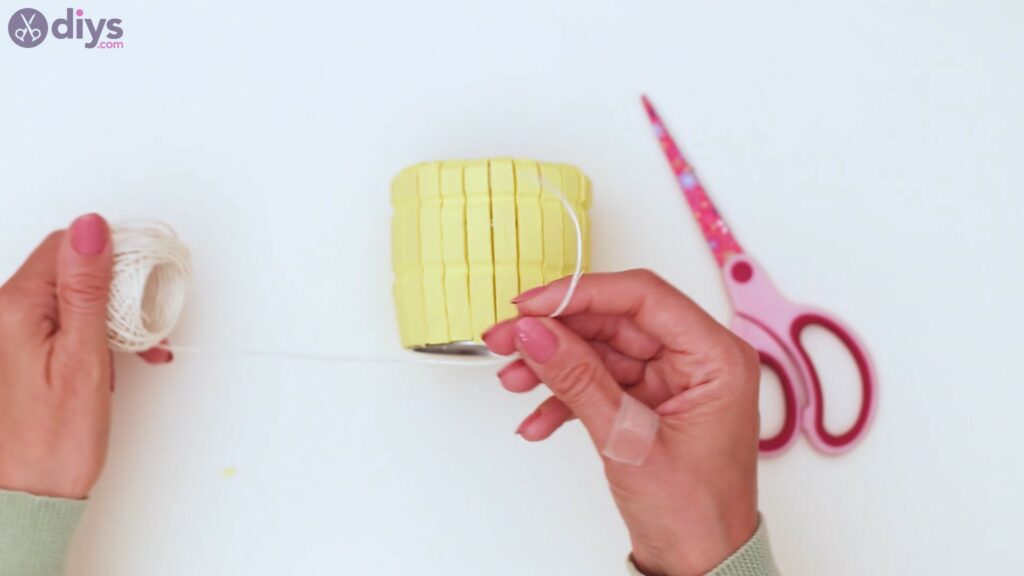
Add some hot glue to the lower indent on the clothespin and press the hemp twine into the glue.


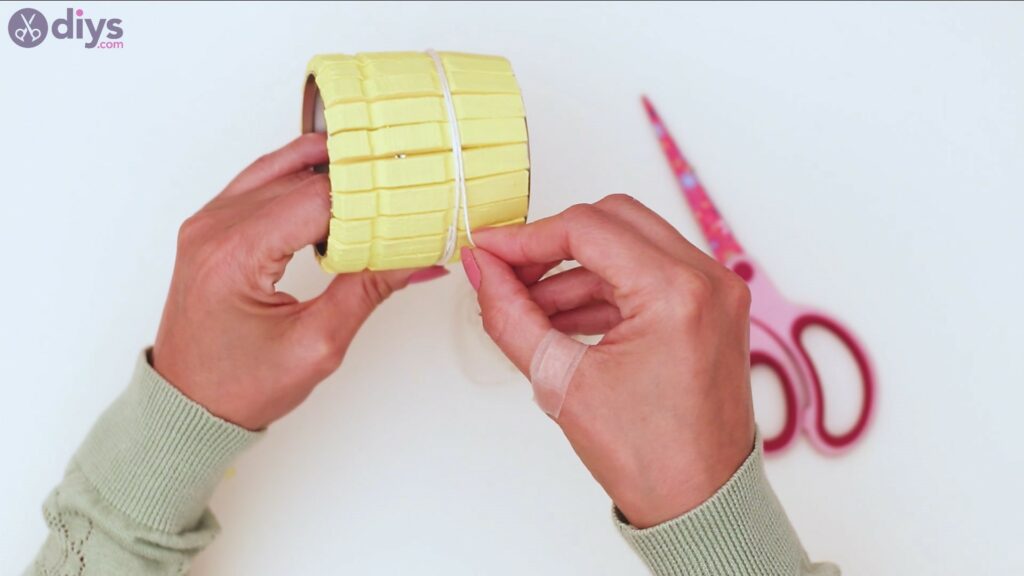

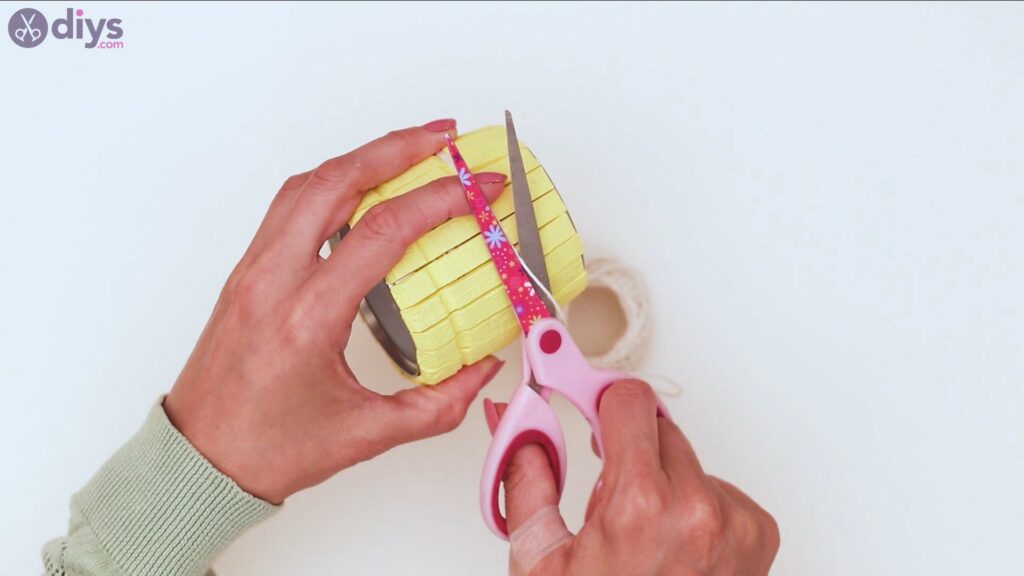
Wrap the thread around the clothespin pot several times. Add more hot glue and press the end of the thread into it before cutting it off with the scissors.

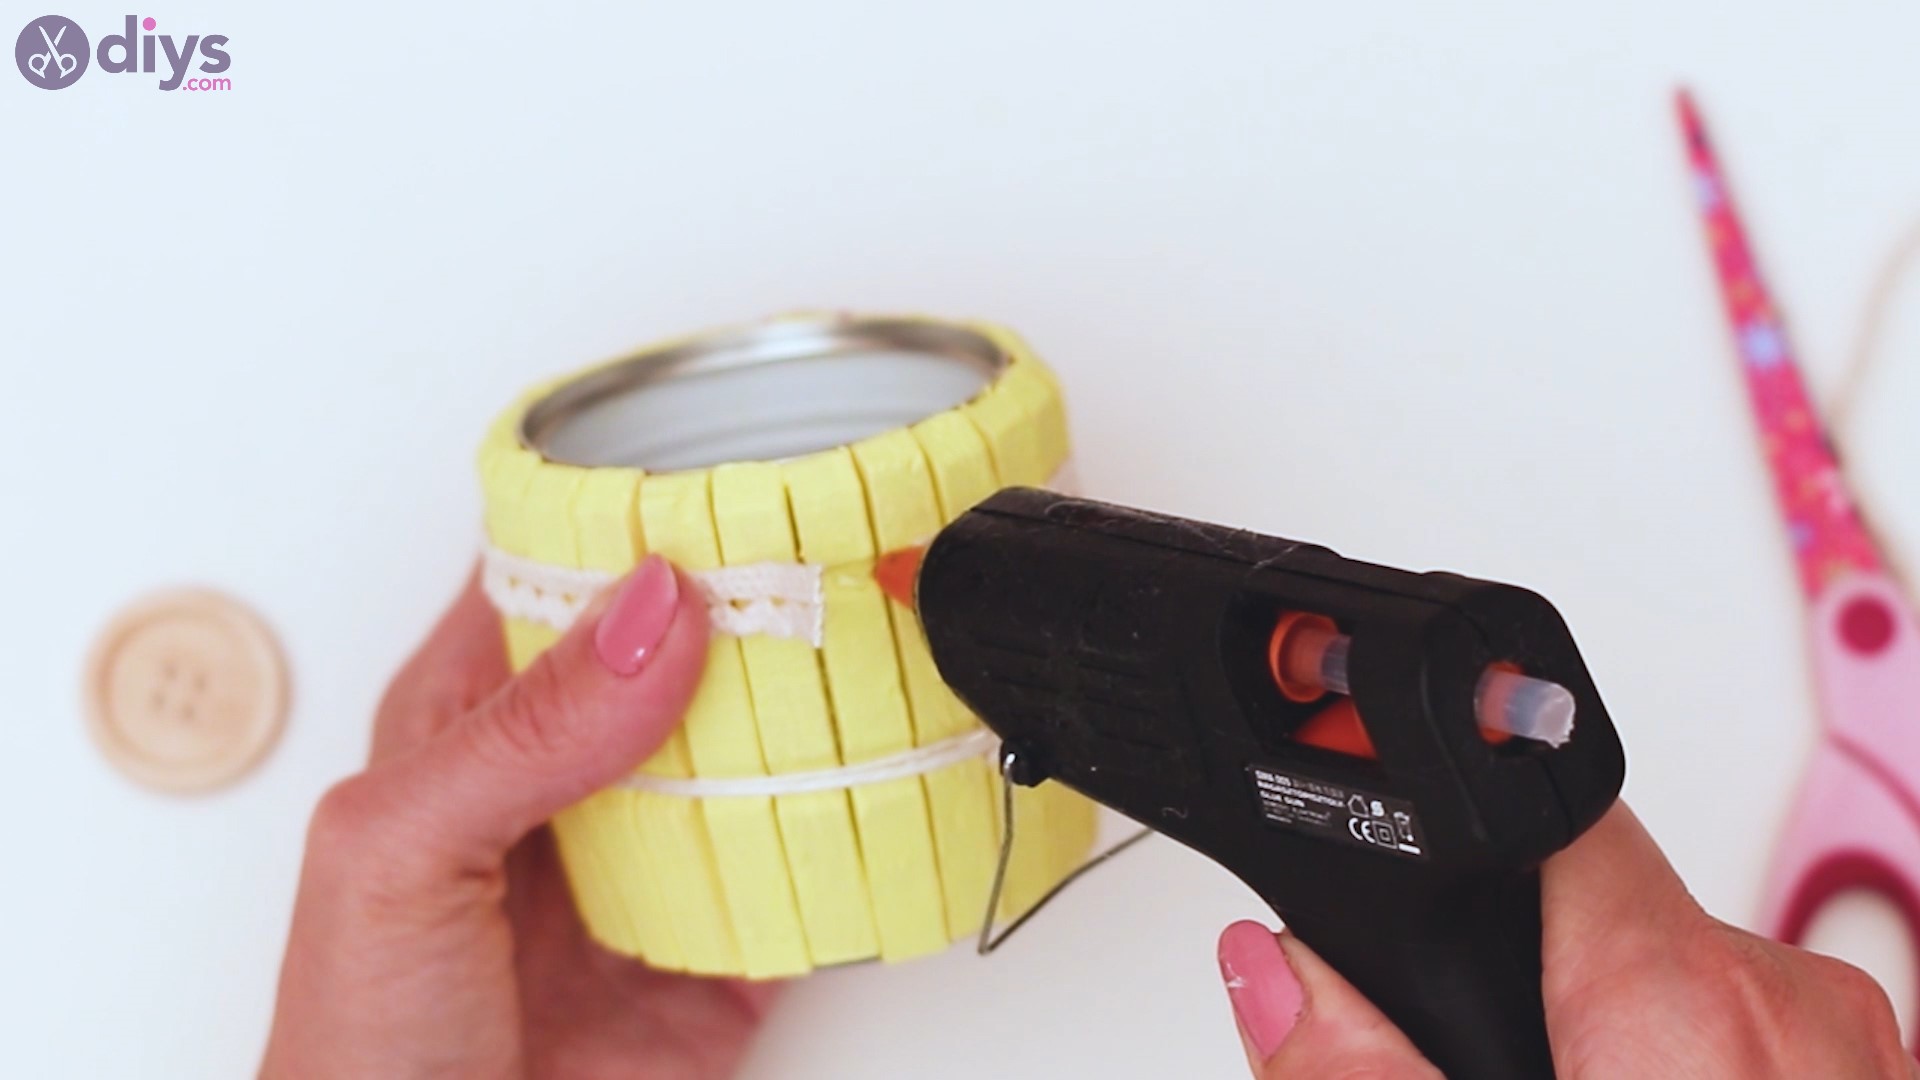
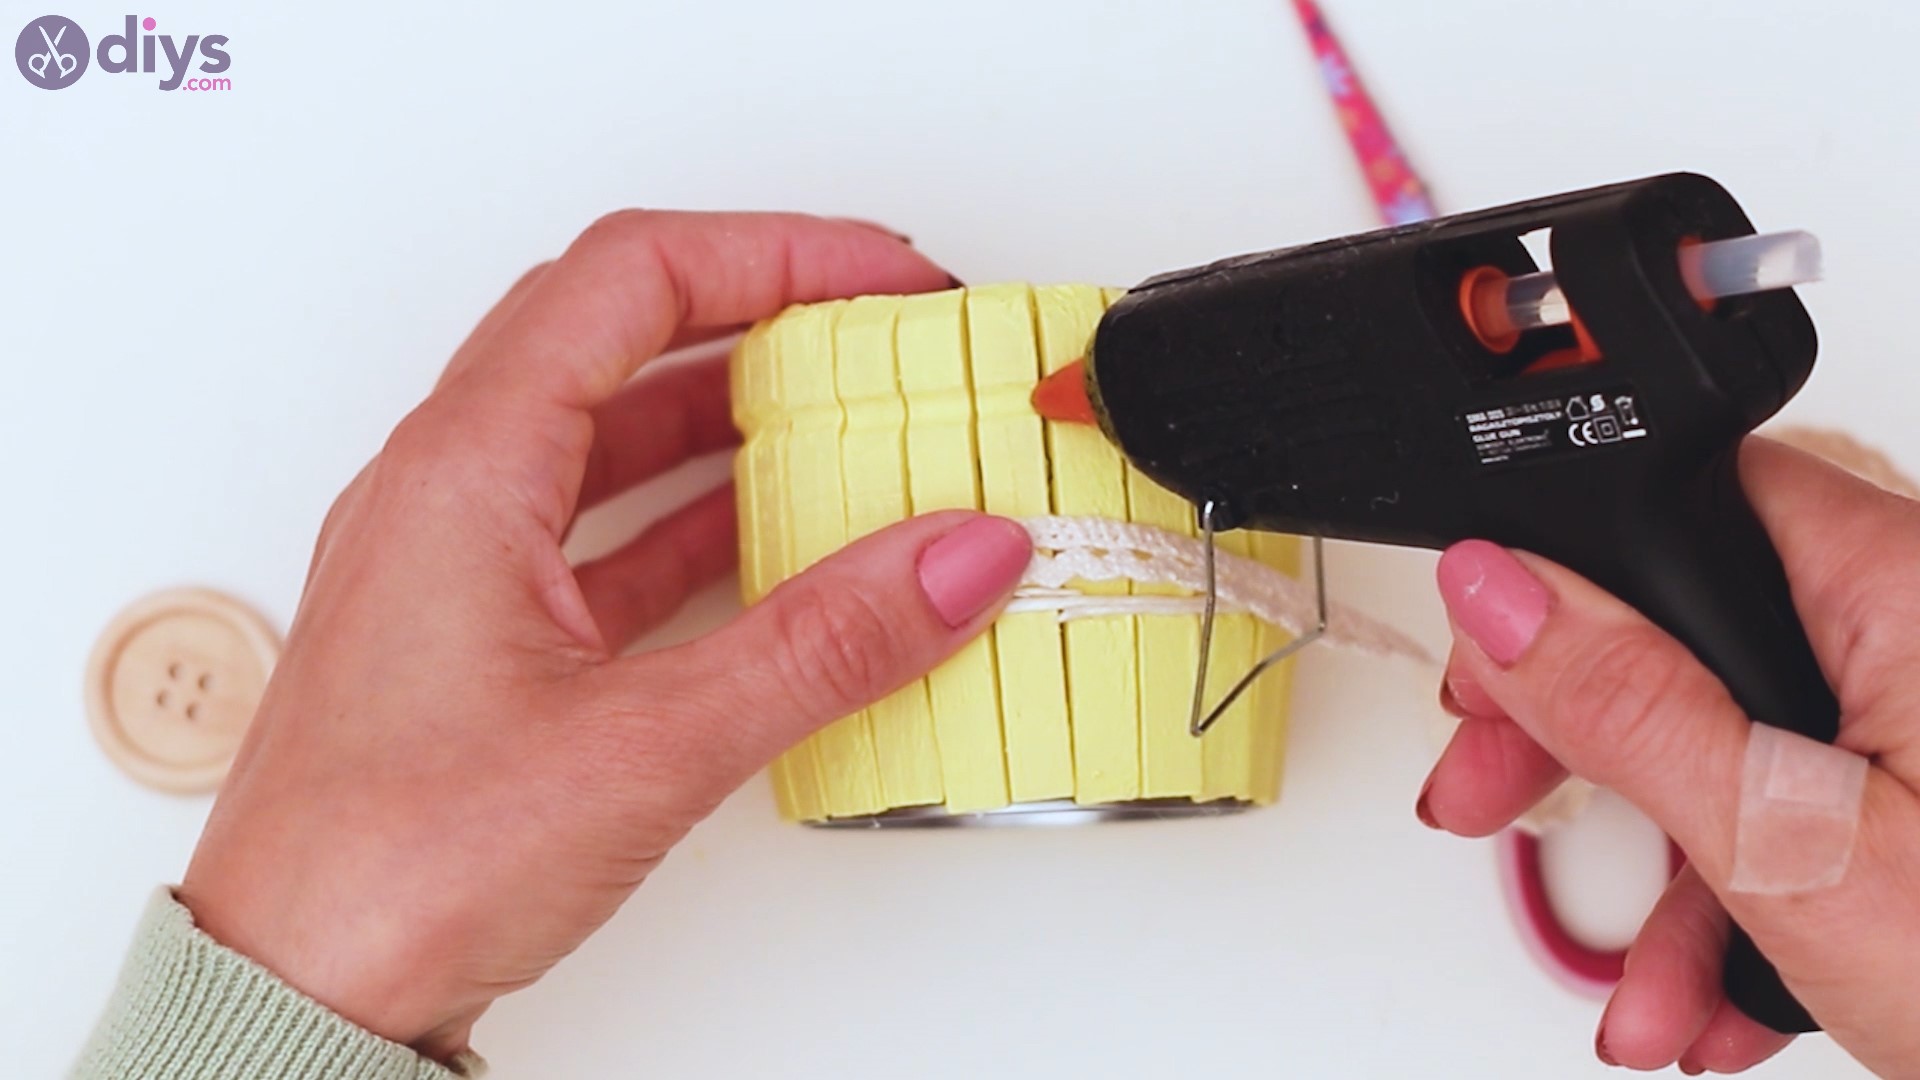
Step 5: Add the lace ribbon
The list of materials also included some lace ribbon. Add some hot glue on the top indent of the clothespin and press the lace ribbon into the glue there.
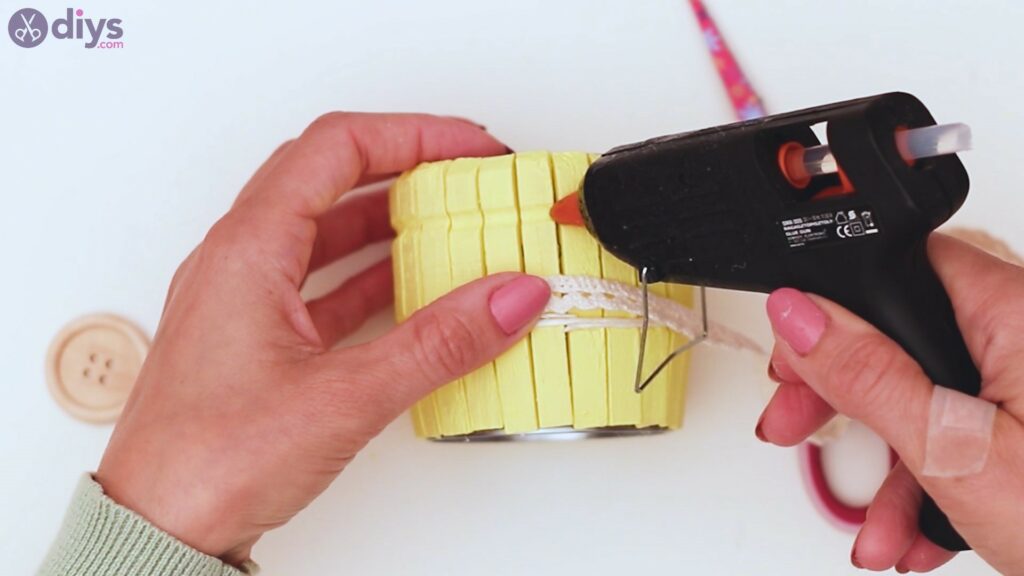
Keep adding hot glue to the area, making sure to put enoguh that you don’t have to shove the ribbon into the indent.

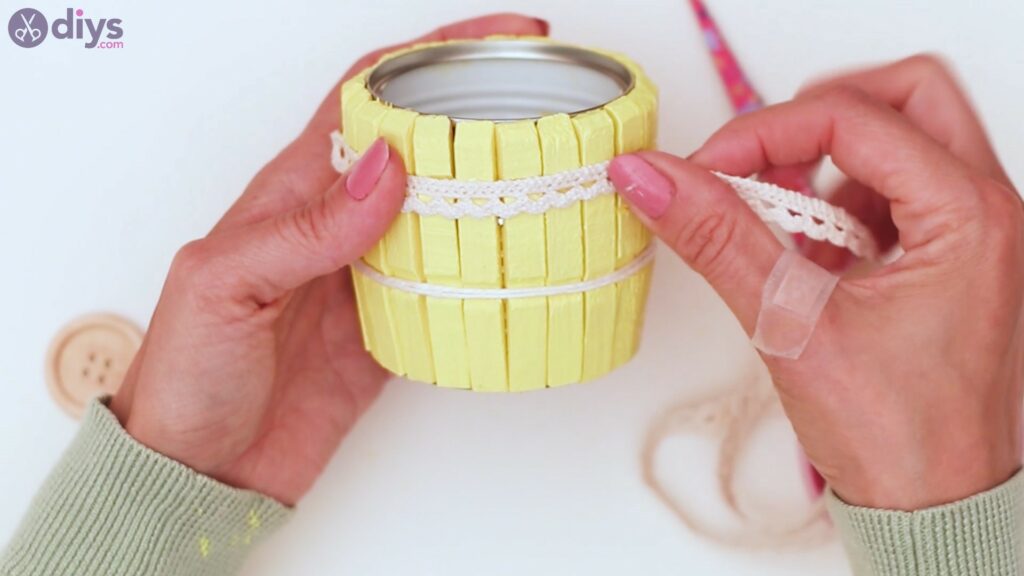
Make sure to add hot glue from spot to spot and pressing the ribbon into it.
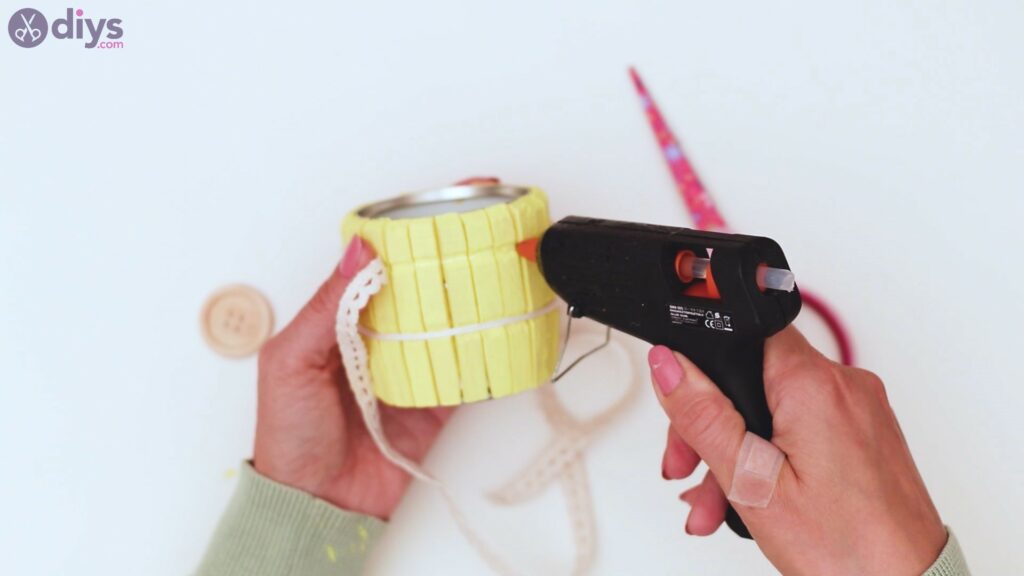
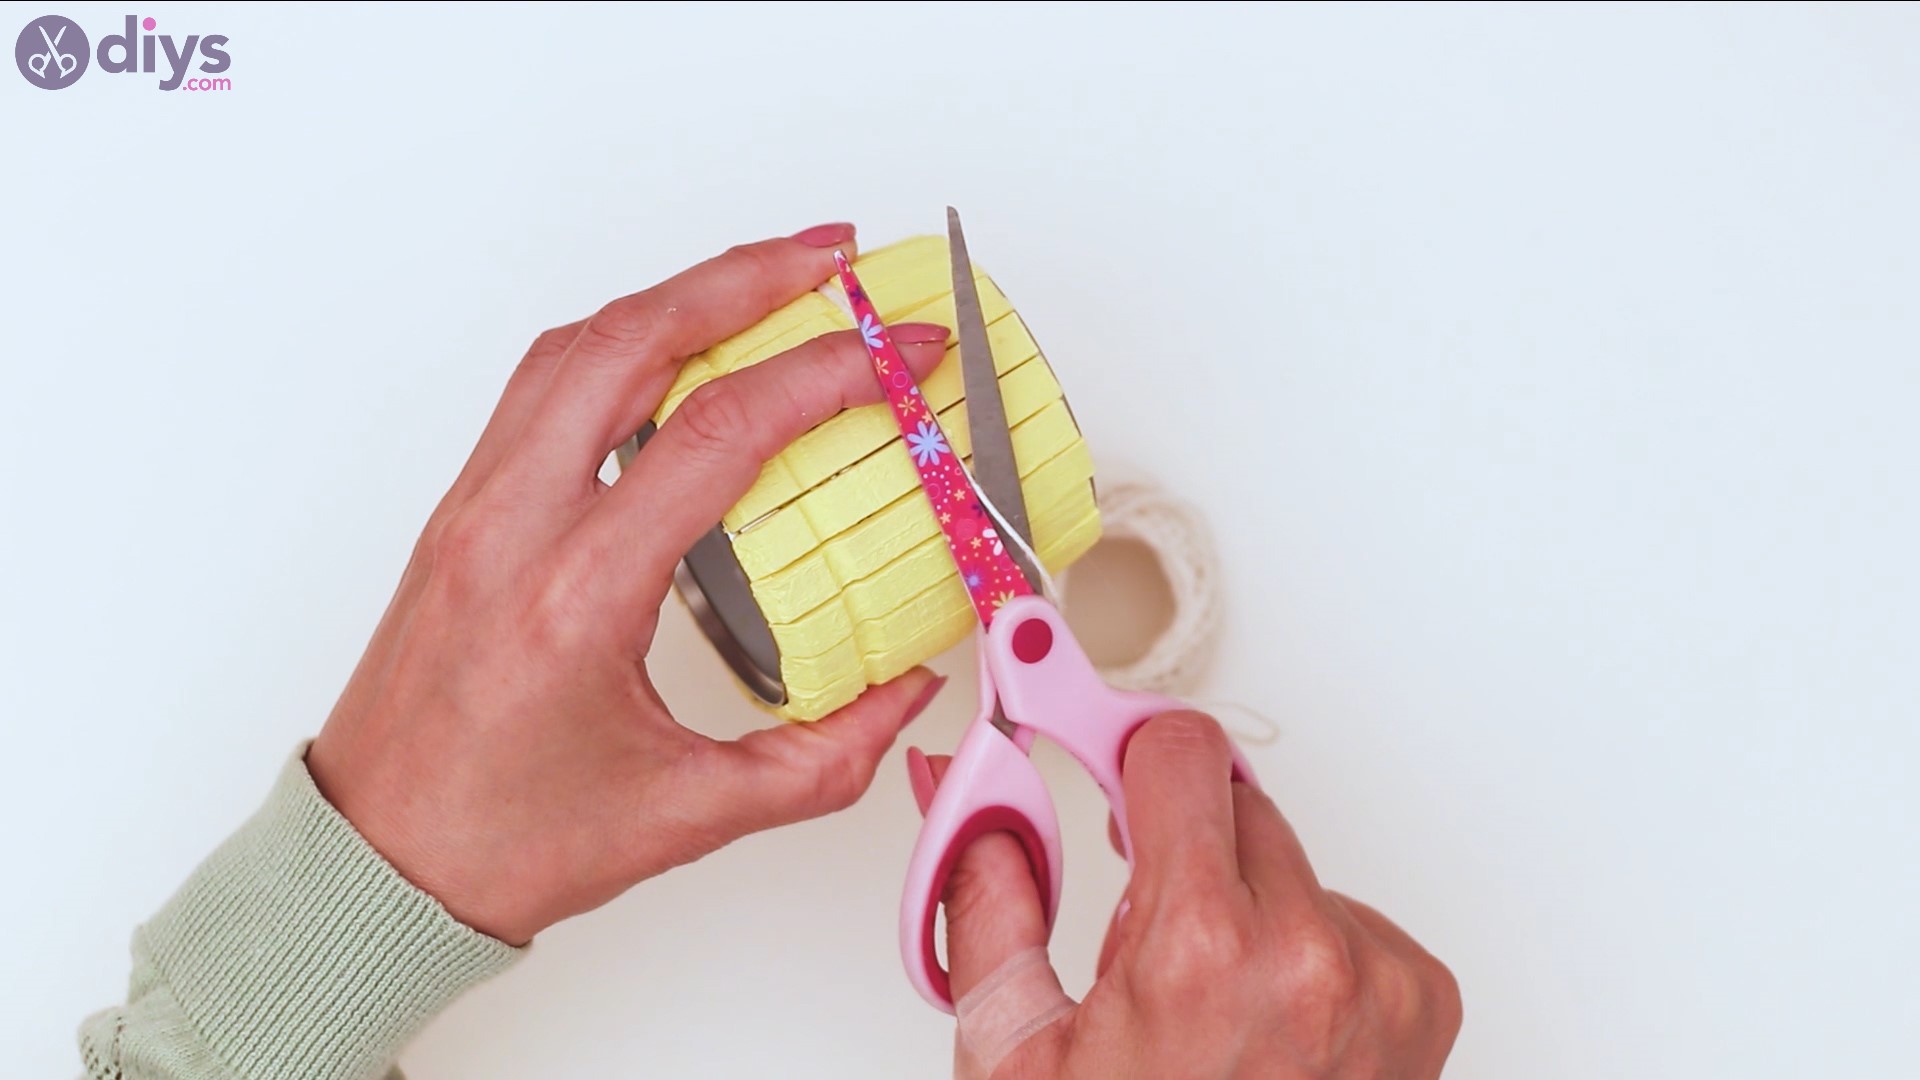
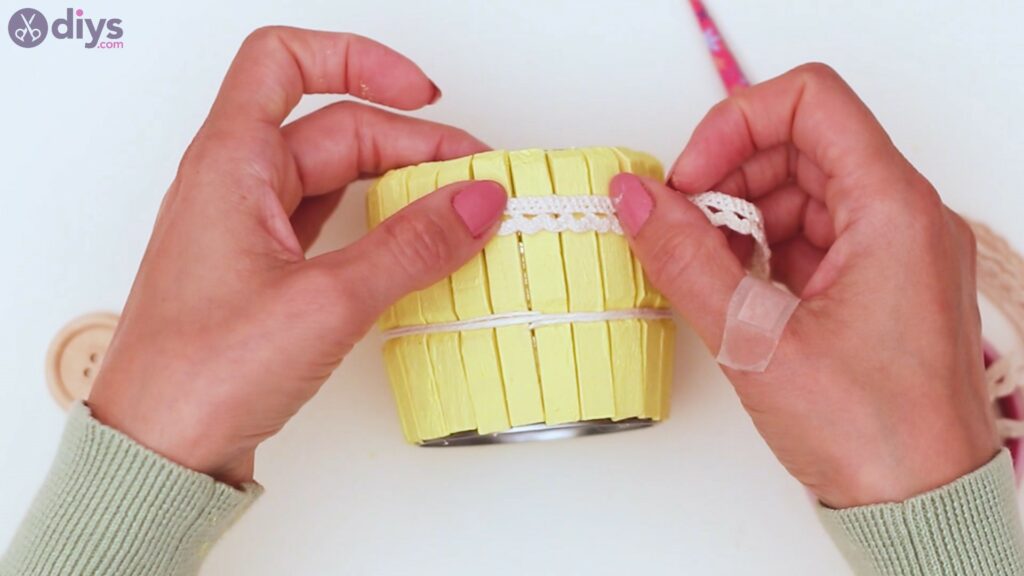
Once you’ve managed to wrap the ribbon around the pot, get the scissors and cut out the excess material.

You want to slightly overlap the two edges of the lace ribbon, so add more hot glue on the spot where they’ll meet.


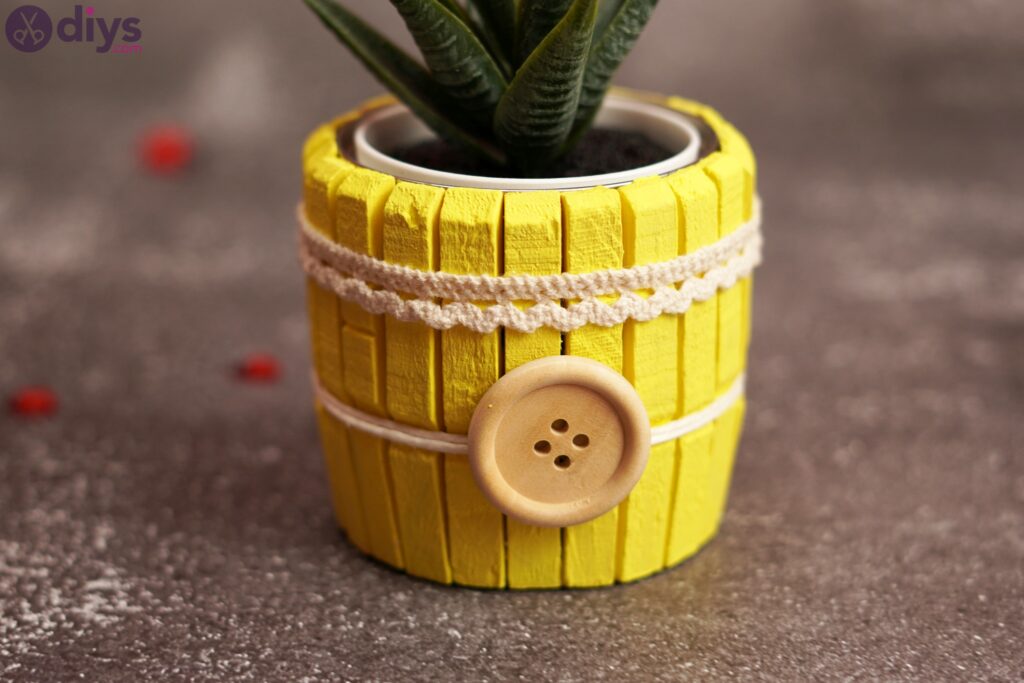
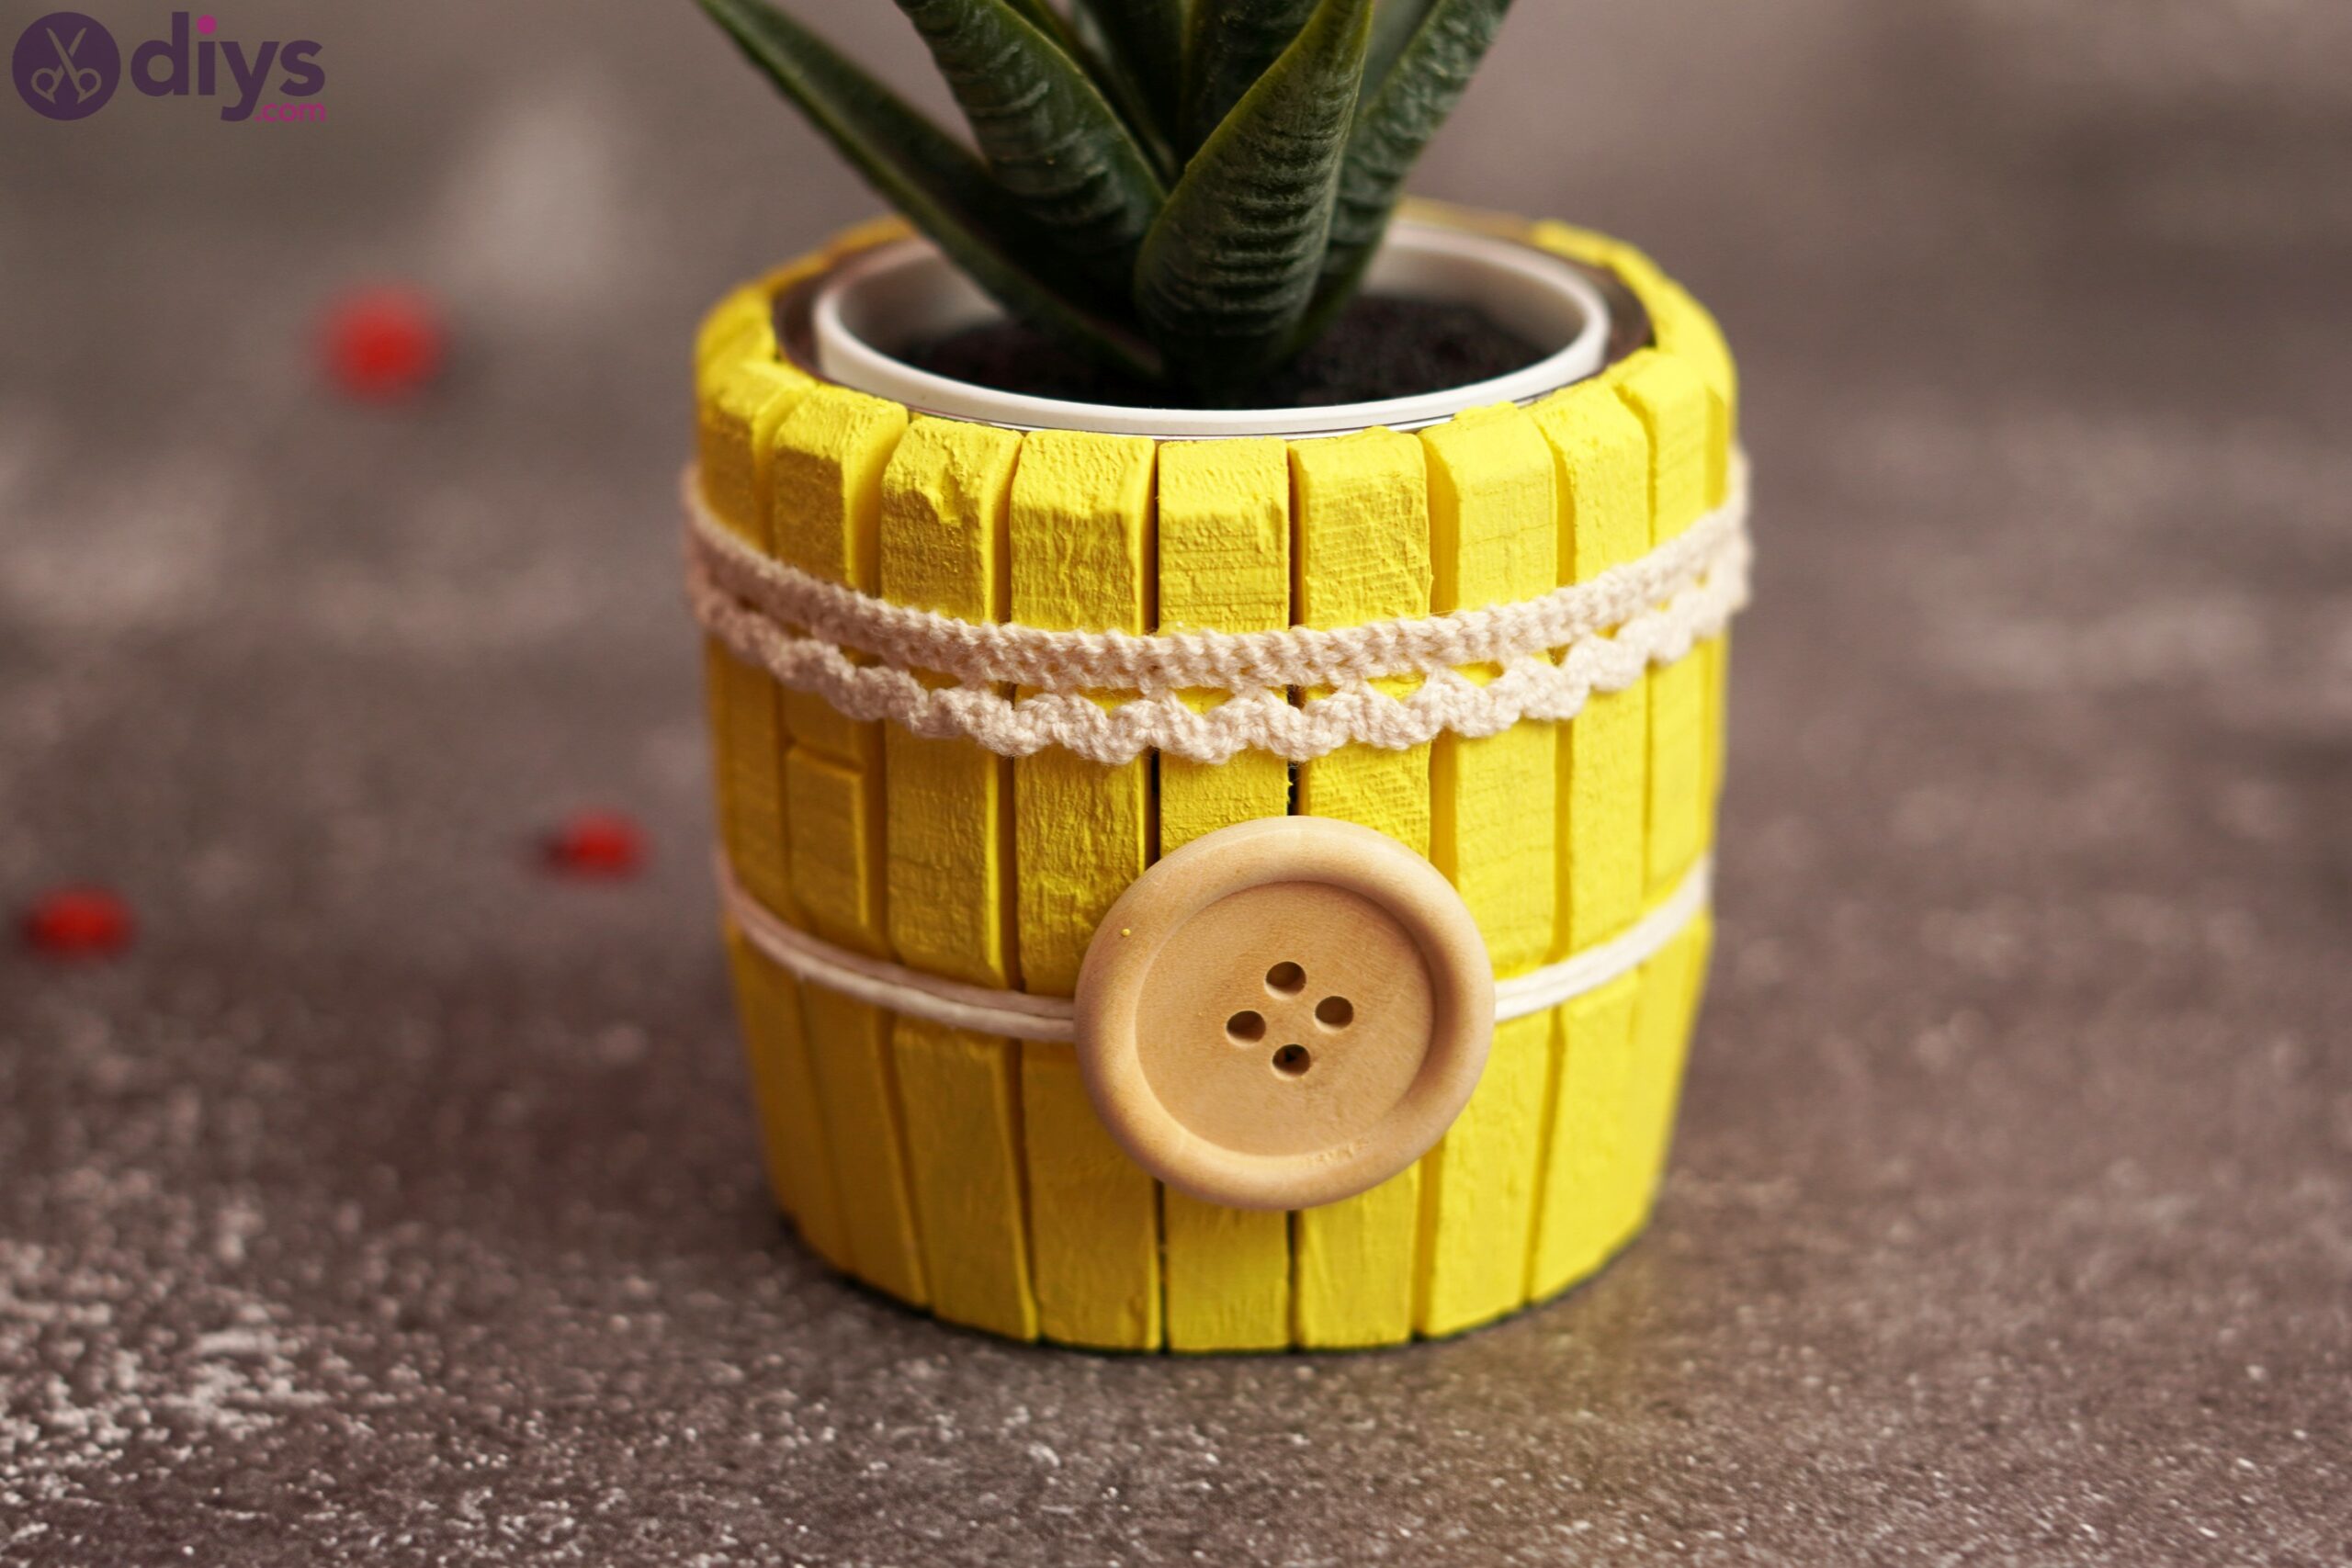
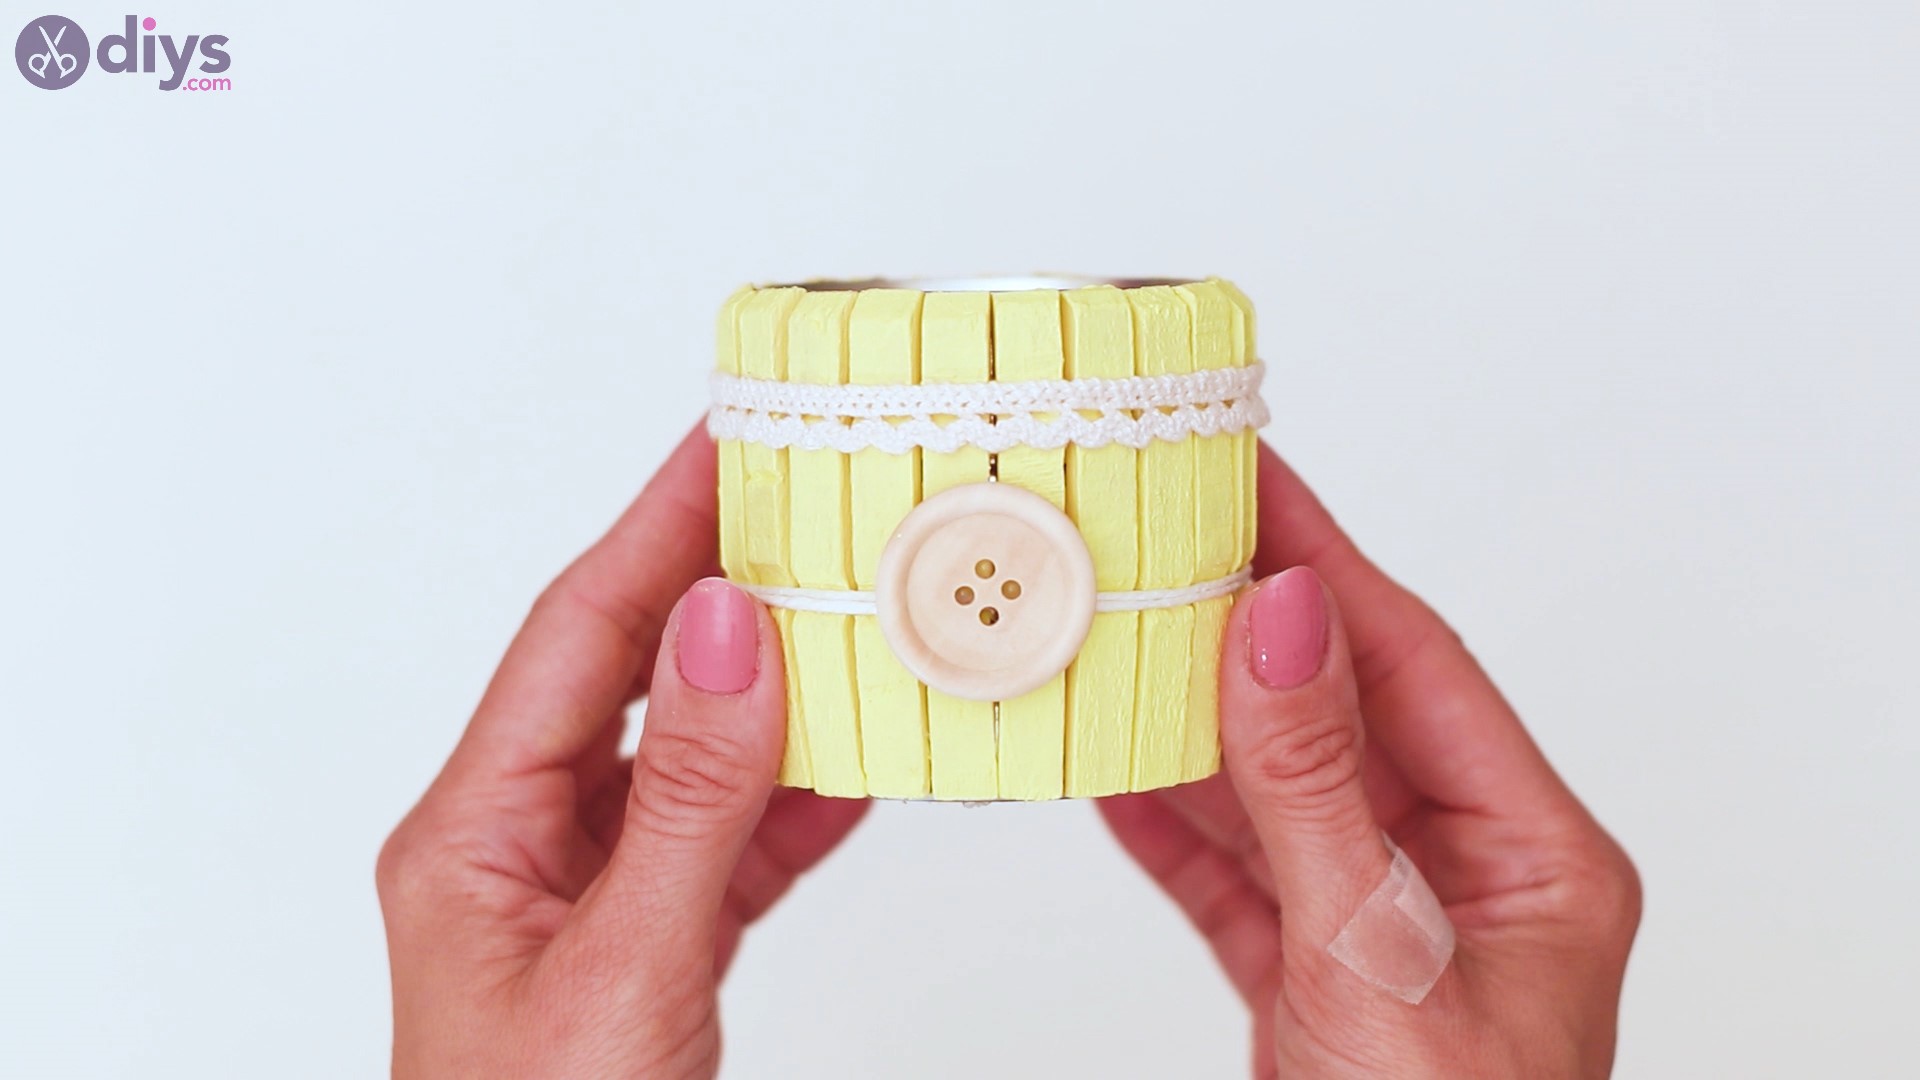
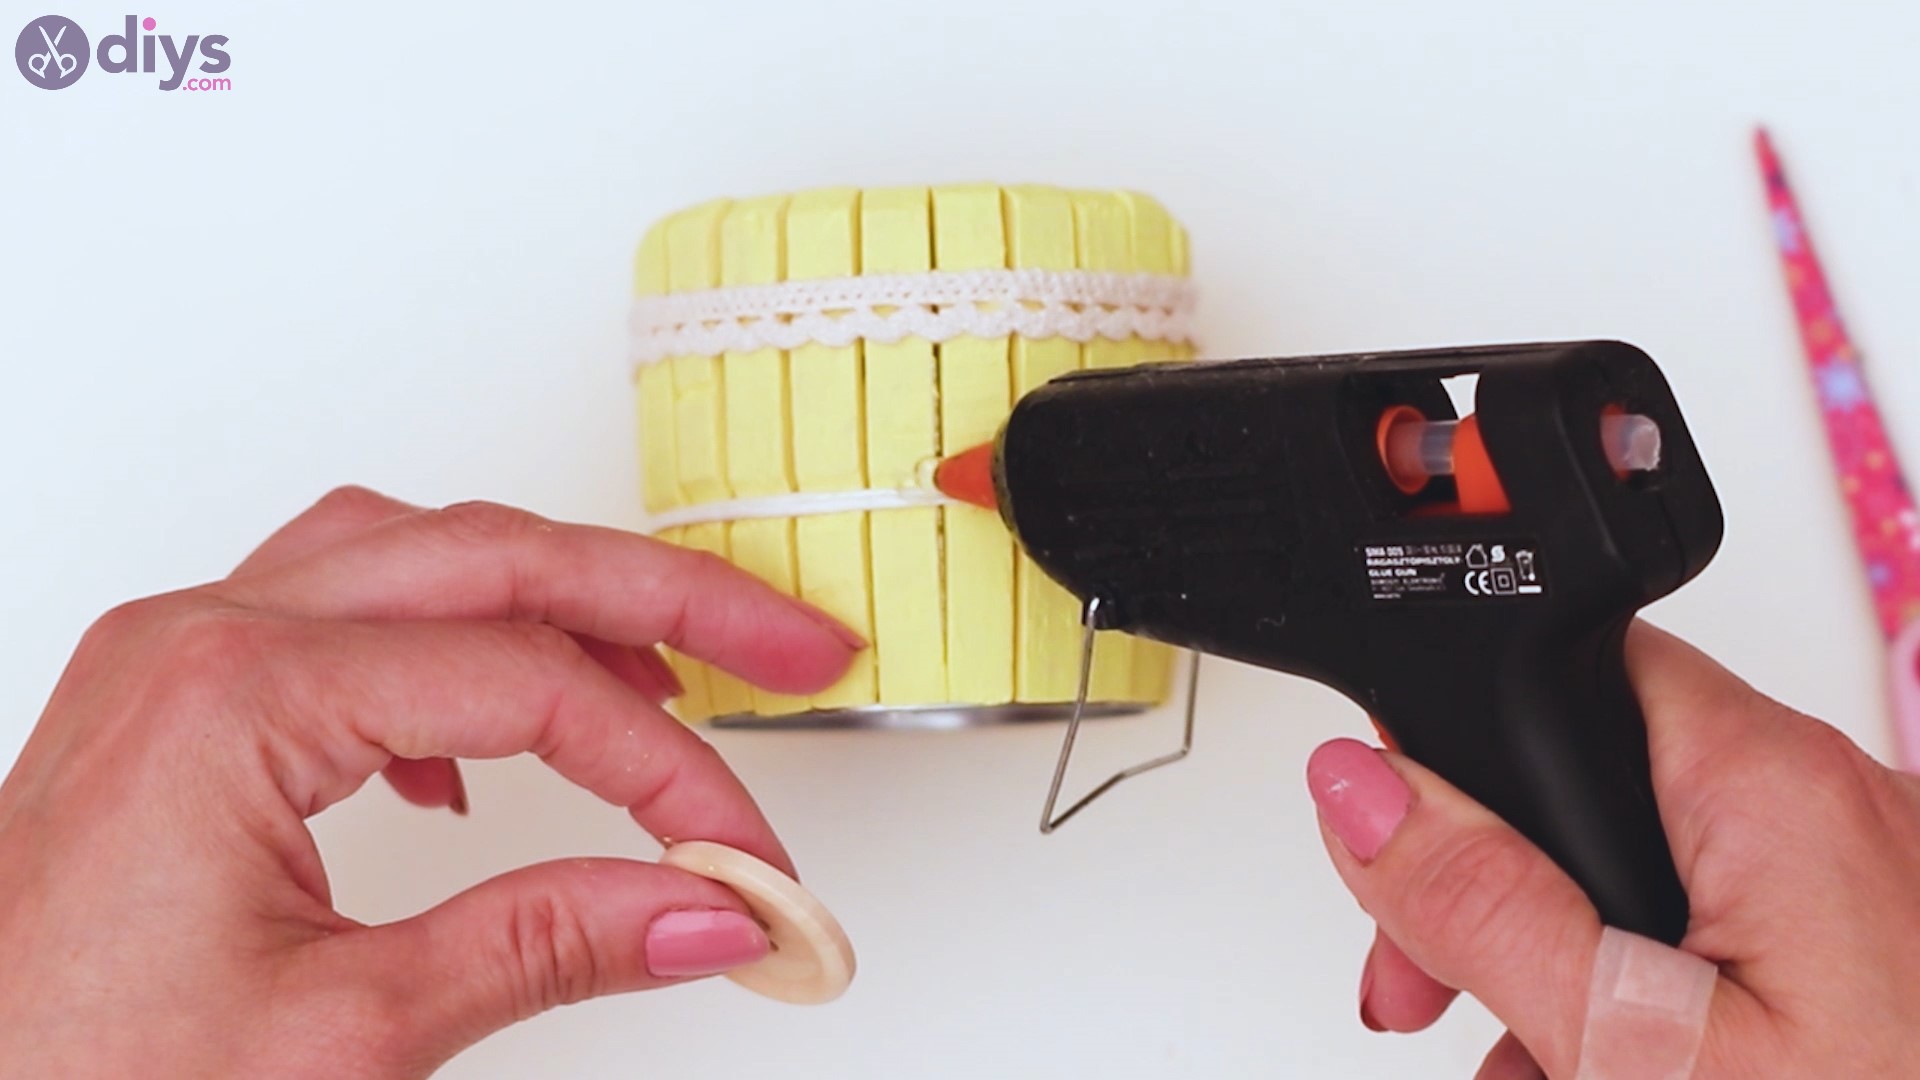
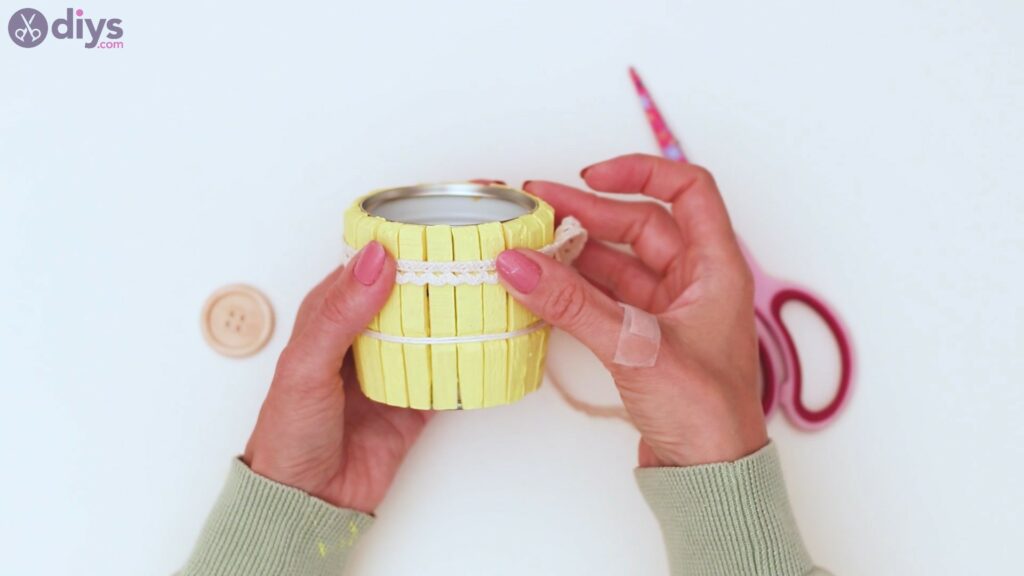
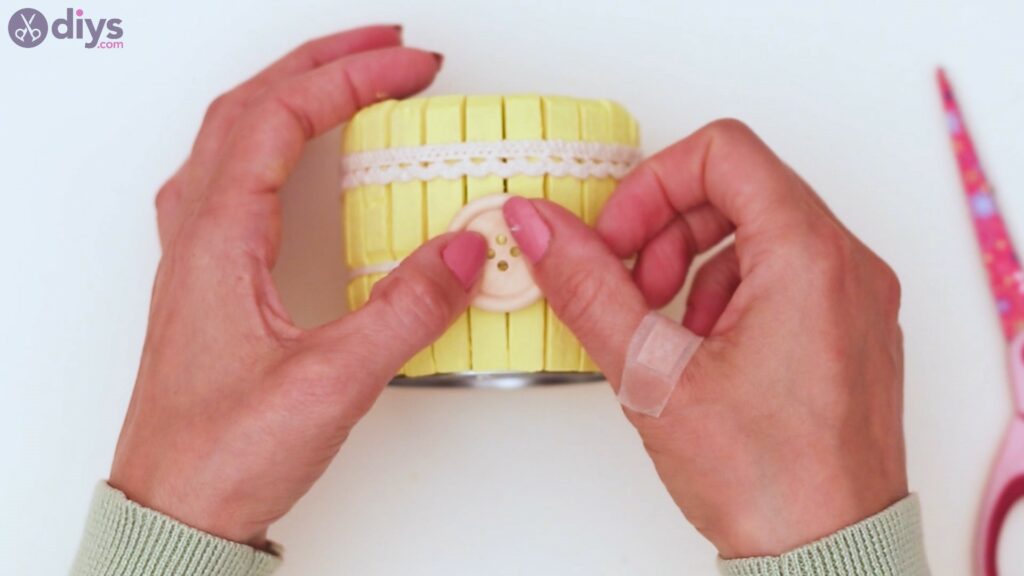
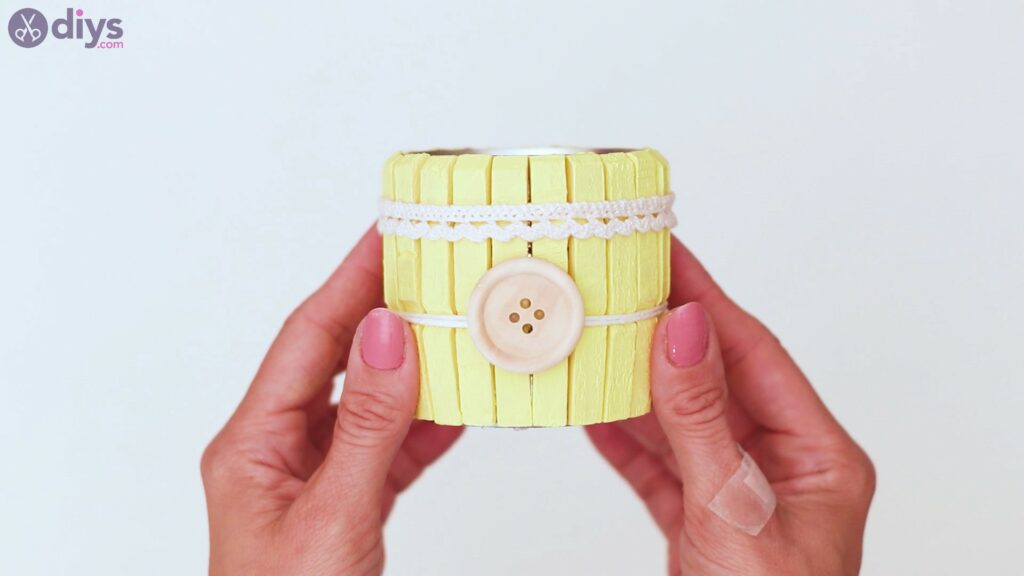
Step 6: Add the button
Now that the ribbon and the twin thread are glued in, it’s time you picked a spot where your button will go. Once you located that spot, which should be around the same area where you placed the hemp twine thread, you can add some hot glue.

Place the wooden button over the hot glue and you’re done! Press the button for a few seconds before releasing it, so you can make sure the glue is set.
We loved making this really cute and small clothespin pot for our succulents. You can place the existing pot inside the tin one you created, as long a the original is about the same size as the new pot.
We would love to hear back from you so you can tell us what you liked best about this design and how you chose to make it. Obvioulsly, the design allows for some changes like picking a different color, different type of ribbons, and small decor pieces. Also, do share your pictures with us over social media as we’d love to see the results.