How to Craft DIY Button Heart Wall Decor for Valentine’s Day in 6 Easy Steps
Updated on November 19, 2025


DIY button heart wall decor adds a touch of sweetness and love to any room, making for an exceptional Valentine’s Day gift idea. Read on to discover how to craft a DIY button heart wall decoration for February 14th using simple materials.
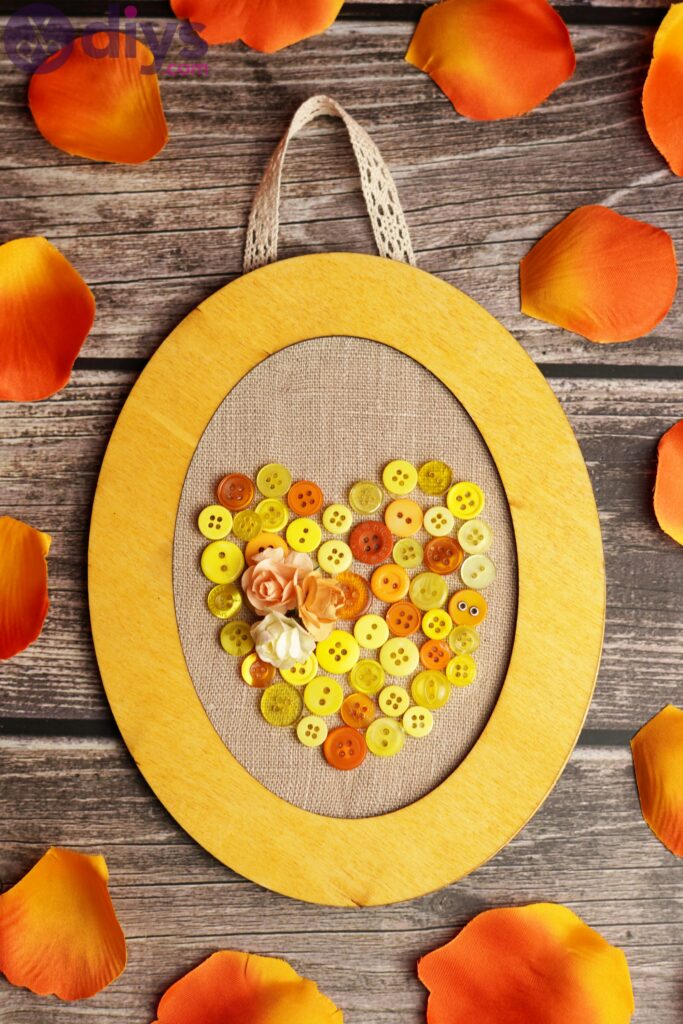
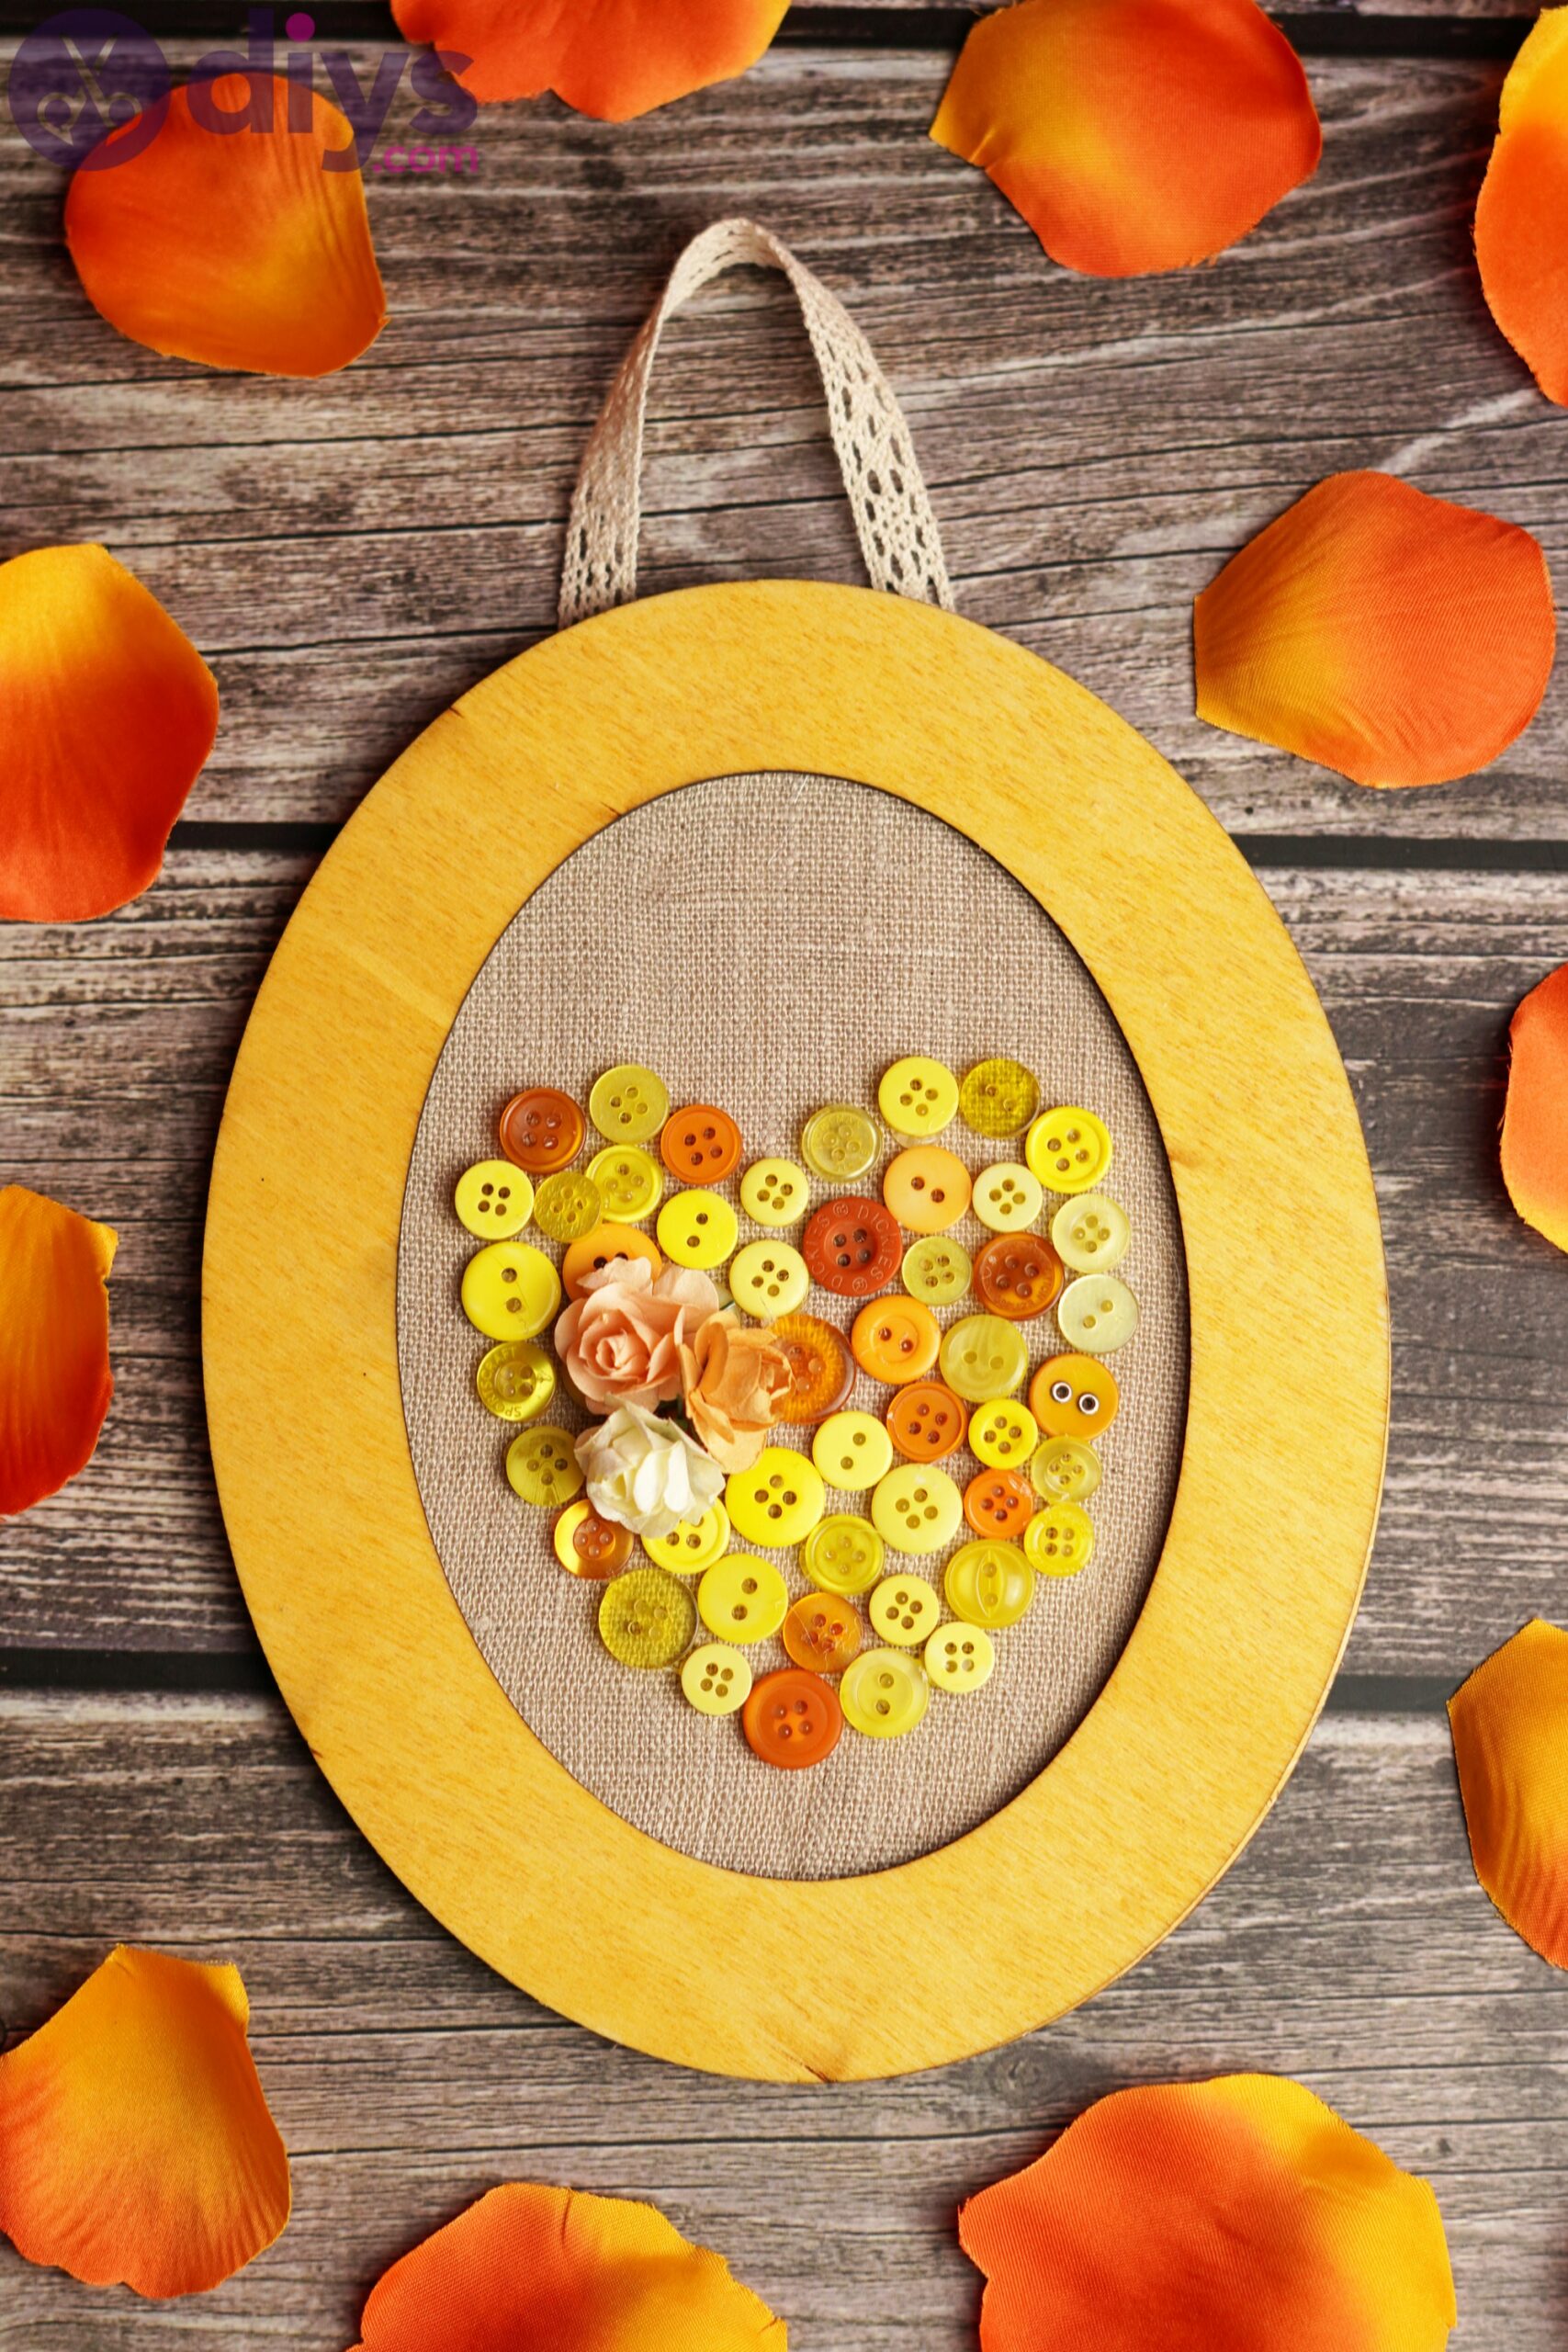
A DIY button heart wall decor is handcrafted artwork that features a large heart made from various buttons. Hang this wall decoration anywhere in your home to spruce up your Valentine’s Day decoration, or give it away as a gift. It’s a fantastic crafting activity for adults and kids old enough to safely use scissors and a hot glue gun. For example, parents and children can spend quality time together bonding over this project. A DIY button heart wall decor is an excellent conversation starter when guests come over, and it’s a great way to upcycle spare buttons from a forgotten drawer. Use assorted buttons for a cohesive design or mix and match to create an eclectic look – it depends on your style, buttons, and imagination.
This tutorial describes the necessary supplies and step-by-step instructions for making a DIY button heart wall decoration. It contains images, a video guide, and more tips and tricks. The project shouldn’t take more than an hour to finish.
Supplies

- A wood frame to act as the decoration’s base
- Wood glaze or varnish to seal the frame and prevent paint from chipping away
- A paintbrush to apply the wood glaze
- Buttons. Use assorted buttons or mix and match
- Linen fabric to act as the canvas for stitching the button heart. Use non-bleached linen for a rustic look
- Lace ribbon to create the hanger. It should be strong enough to hold the frame’s weight
- Pencil
- Scissors
- A glue gun and glue sticks
- Artificial flowers
How do I craft DIY button heart wall decor?
Follow these step-by-step instructions to craft a DIY button heart wall decoration:
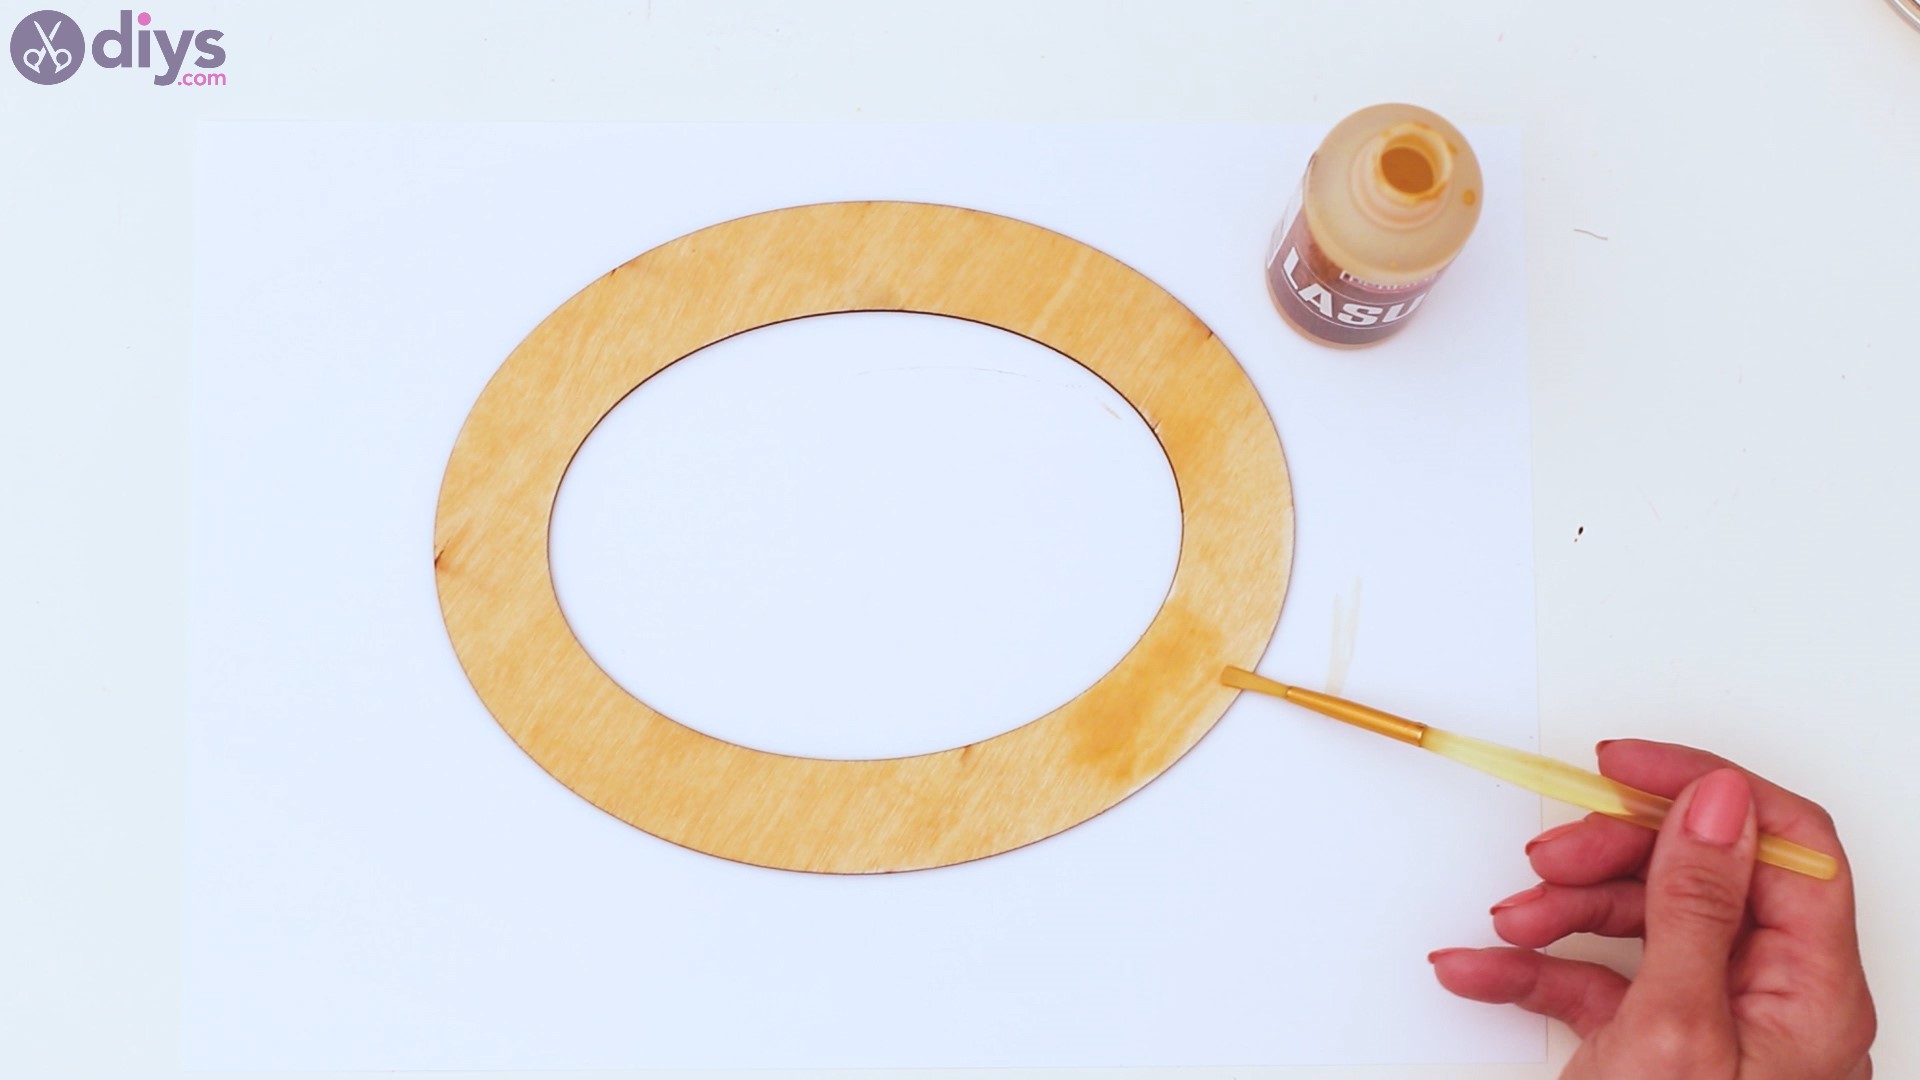
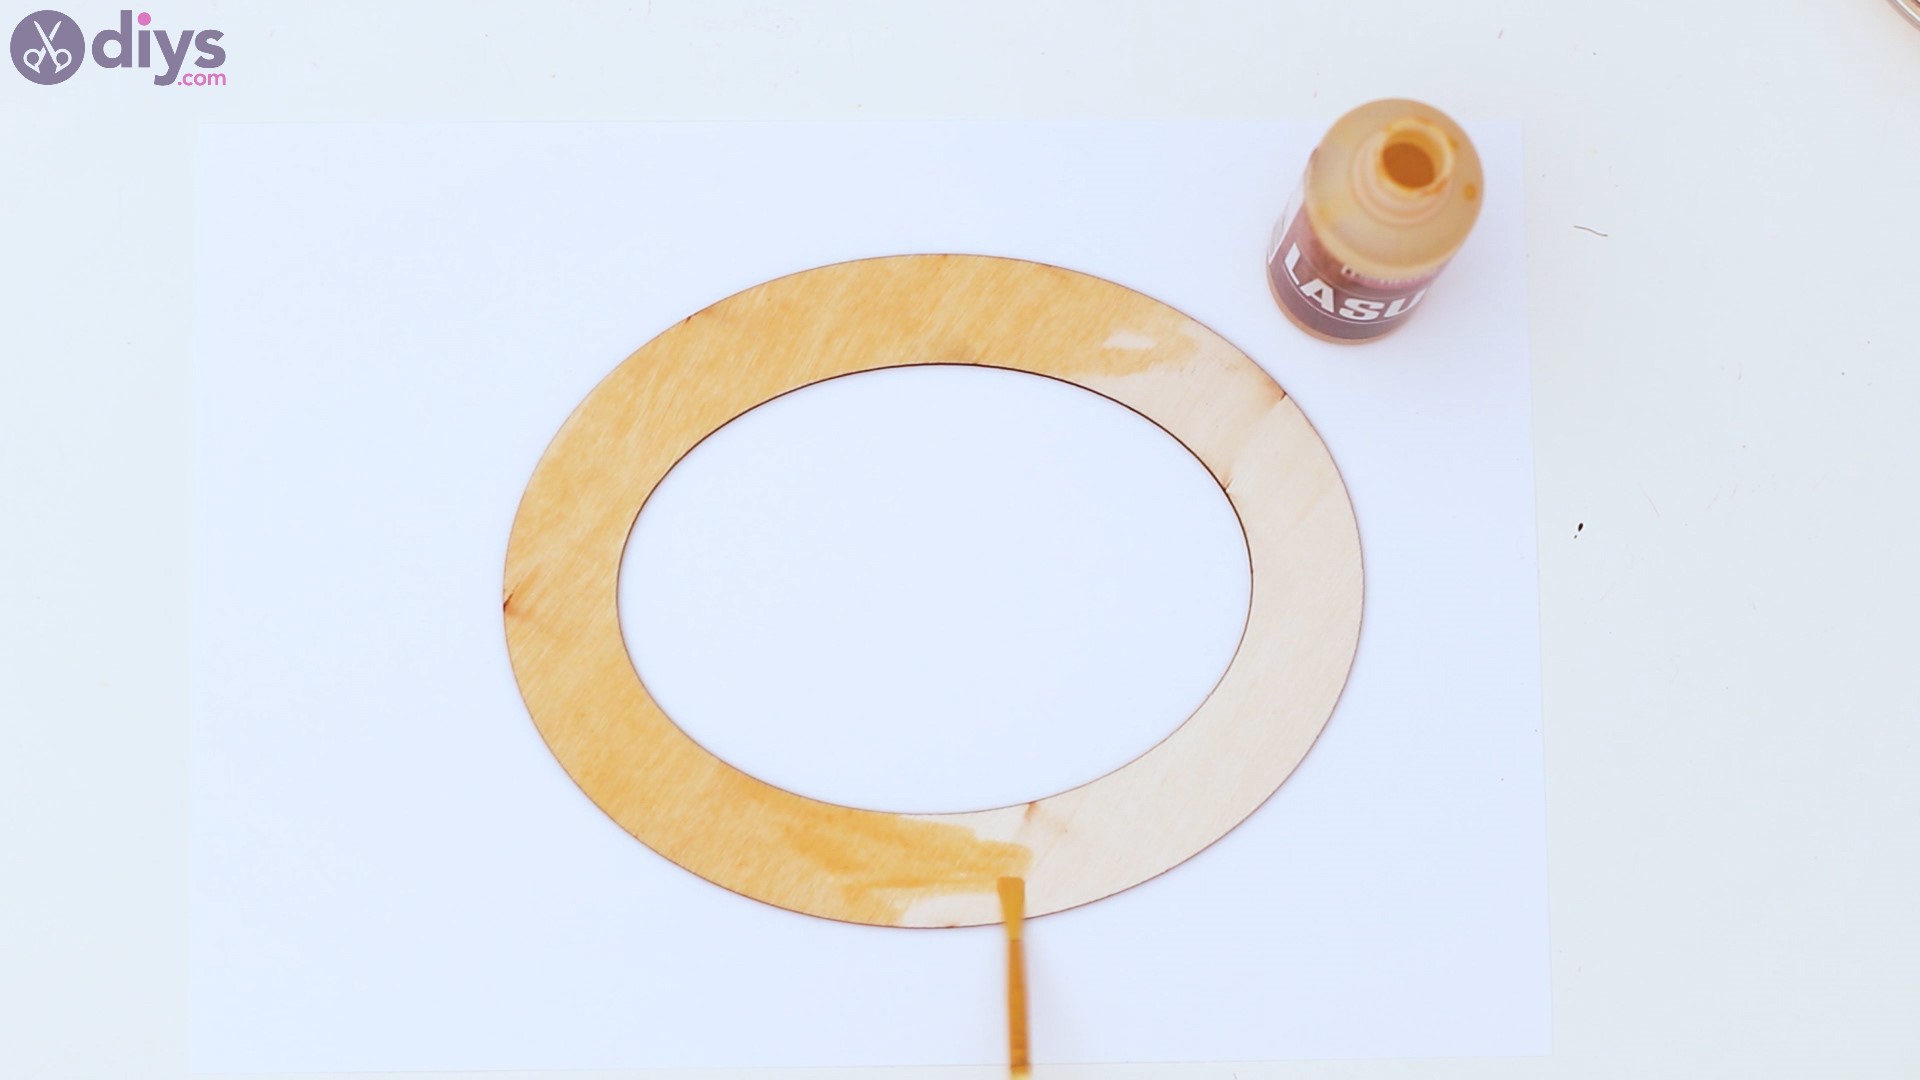
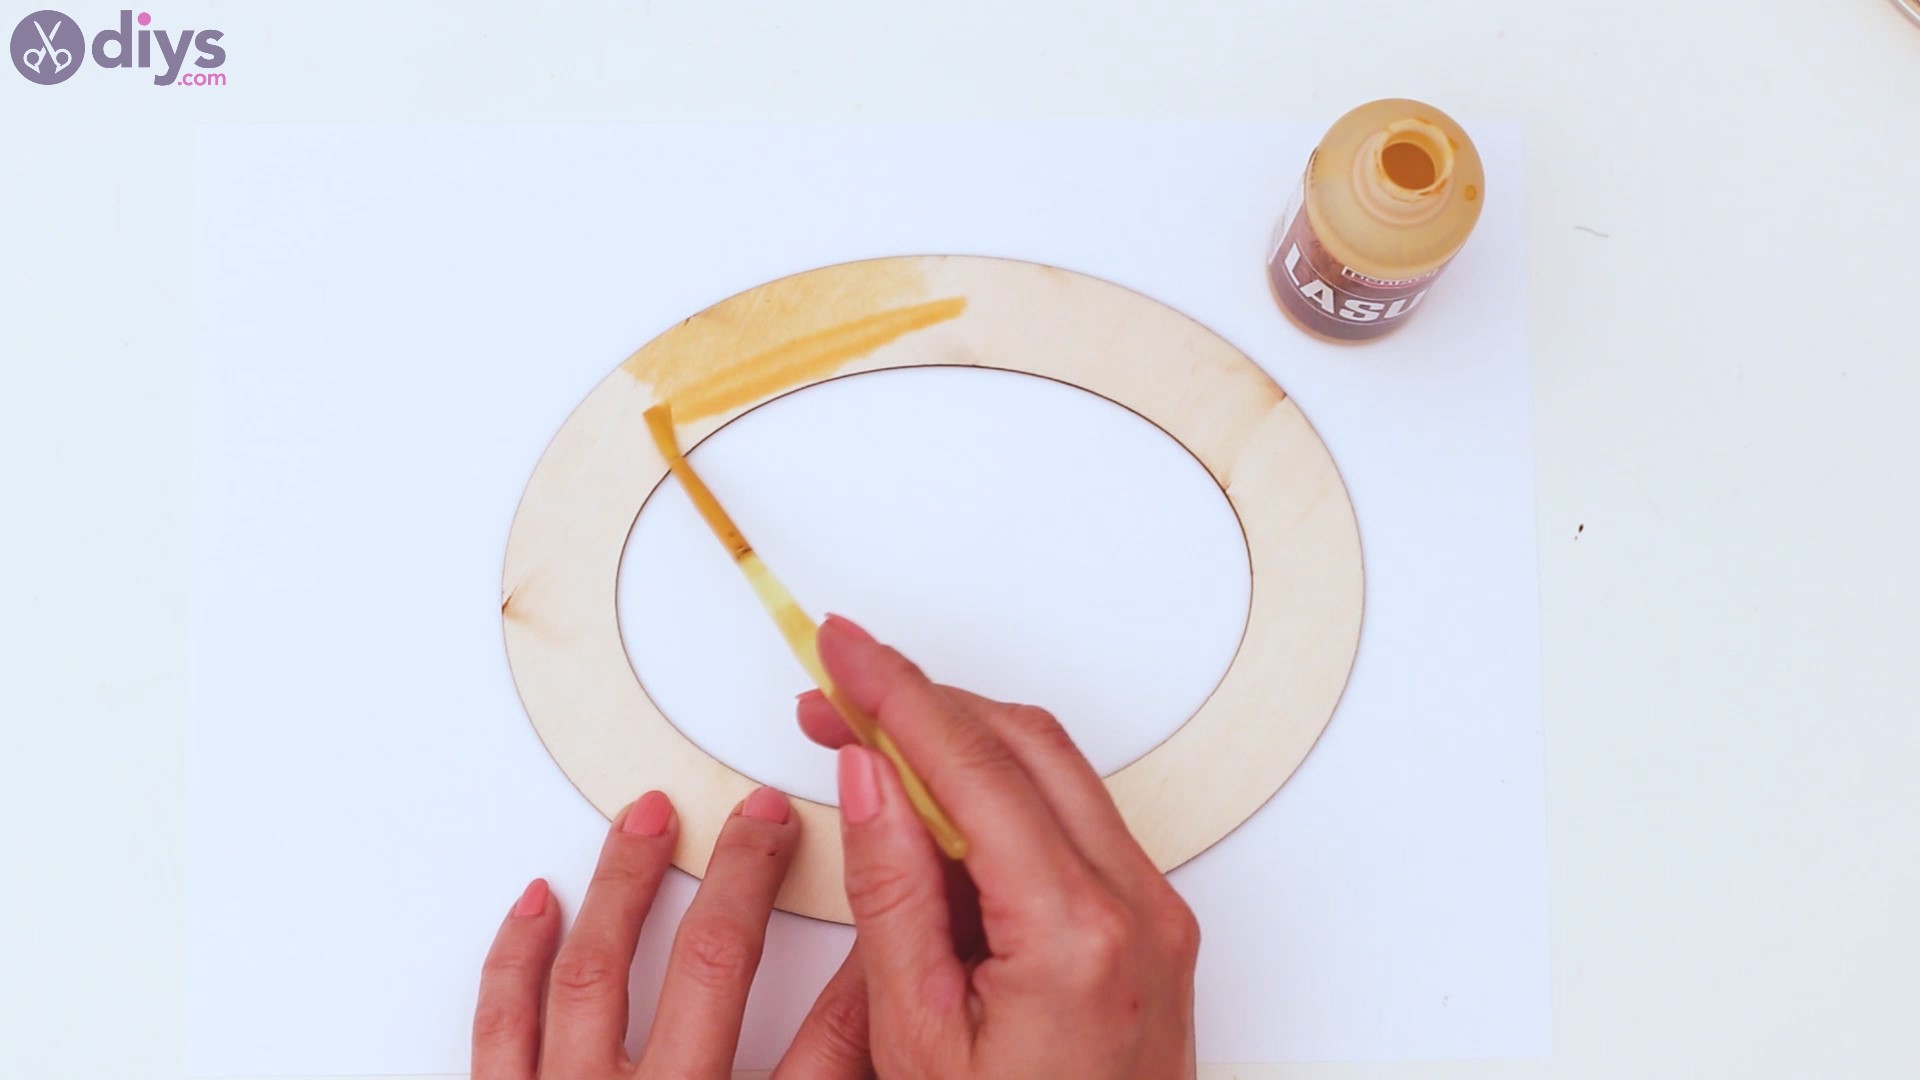
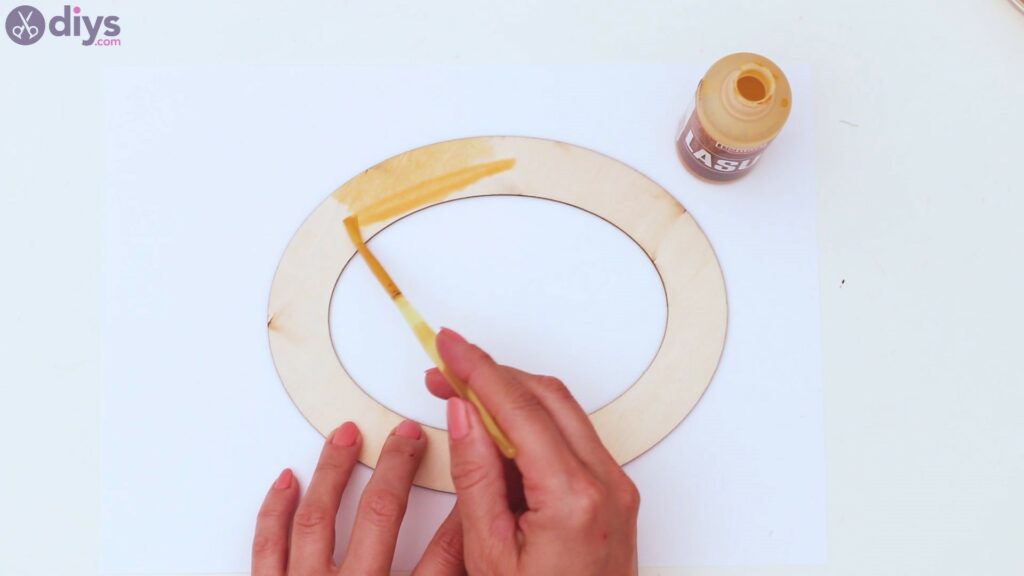
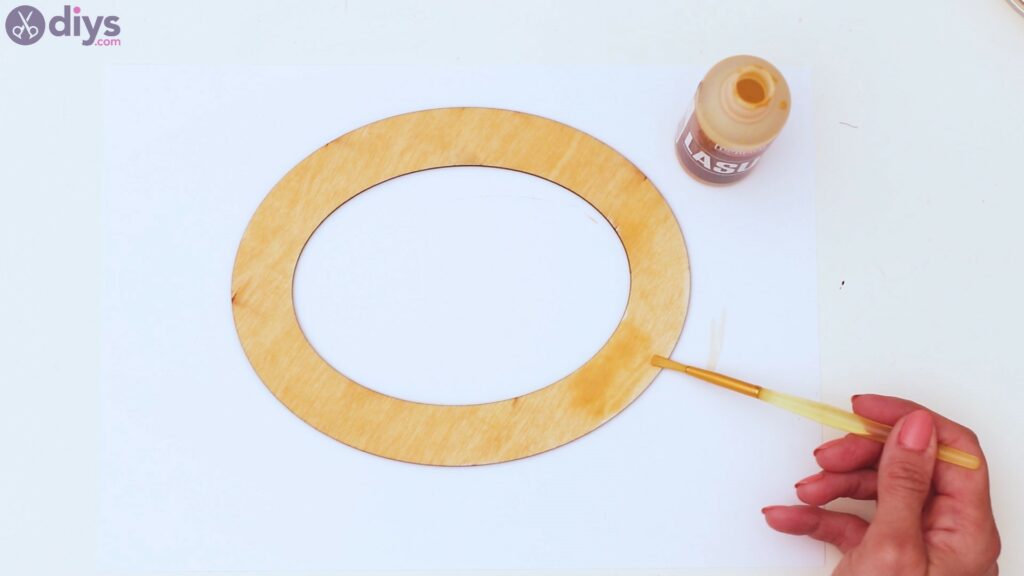
- Prepare the frame: Start layering the wood glaze over the front part of your wood frame. Apply an even coat and use several coats if necessary. Let the glaze dry between coats and before proceeding to the next step.

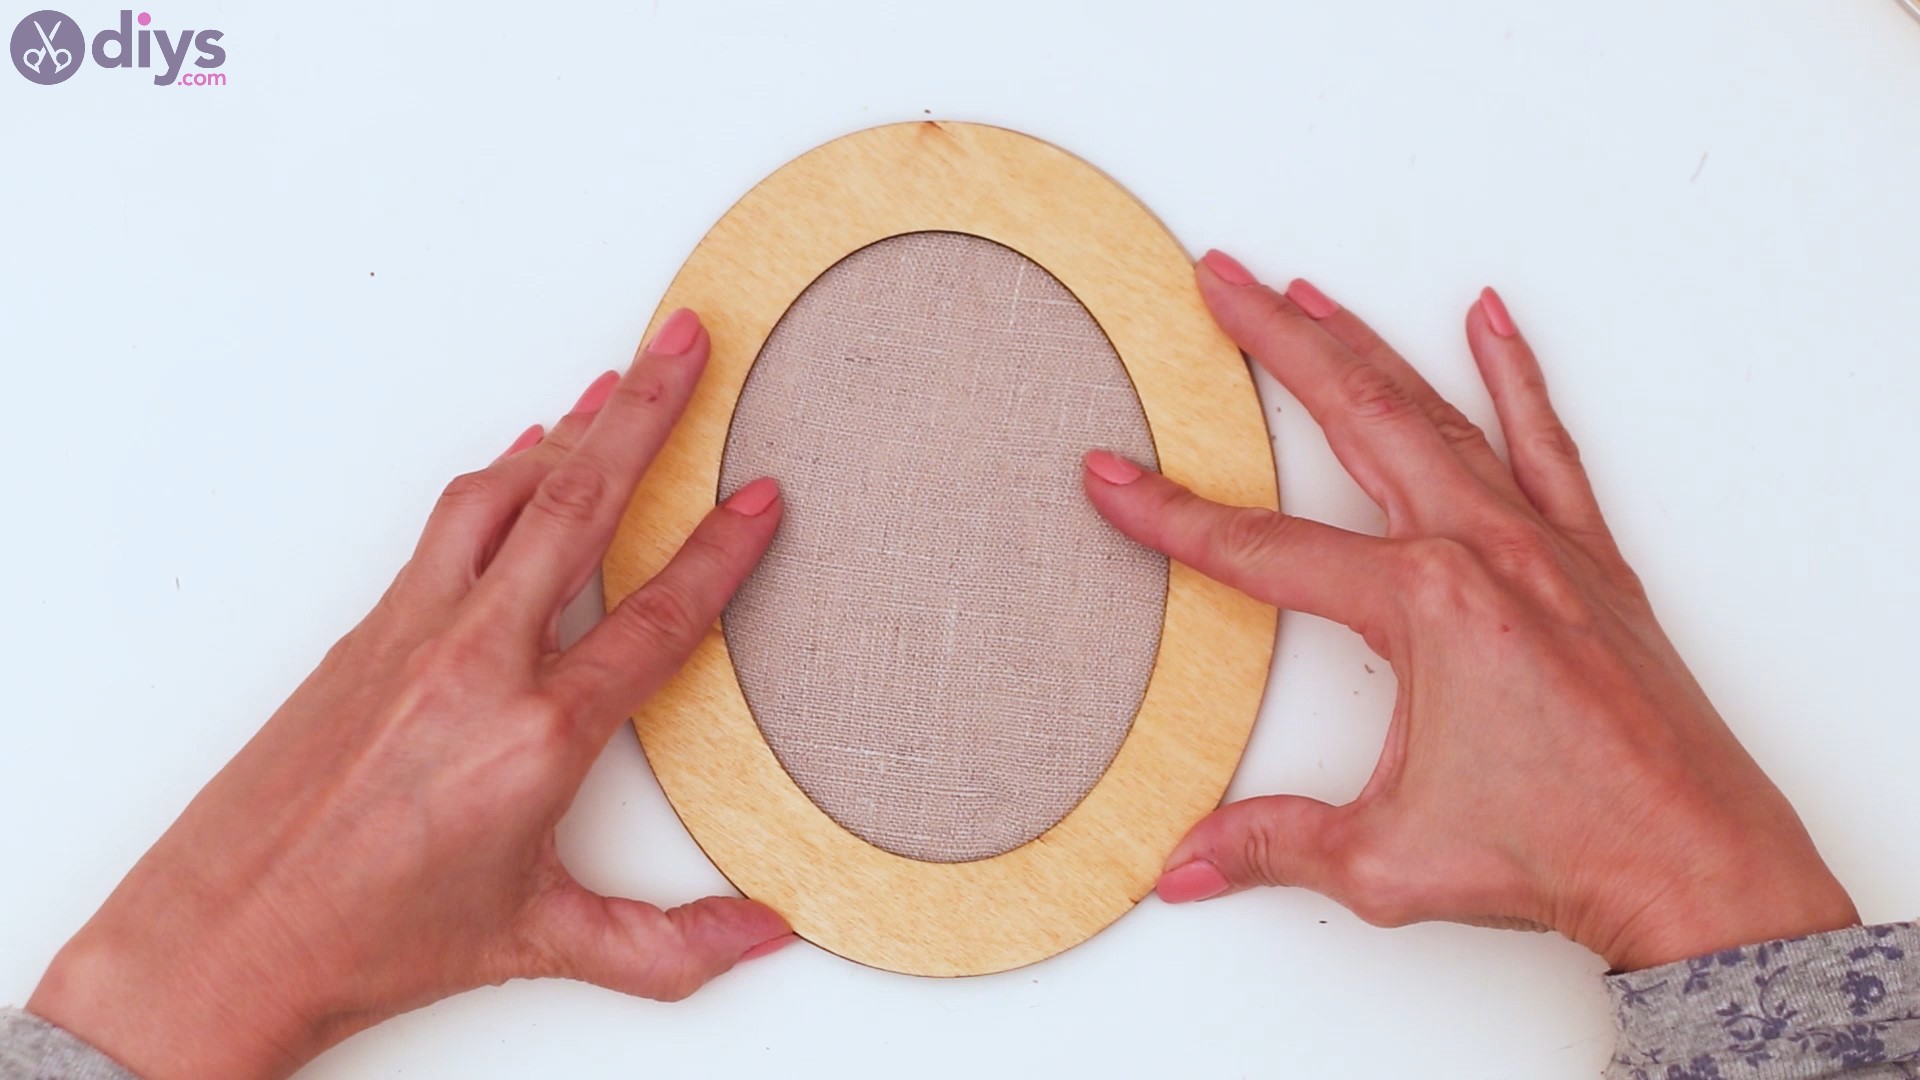
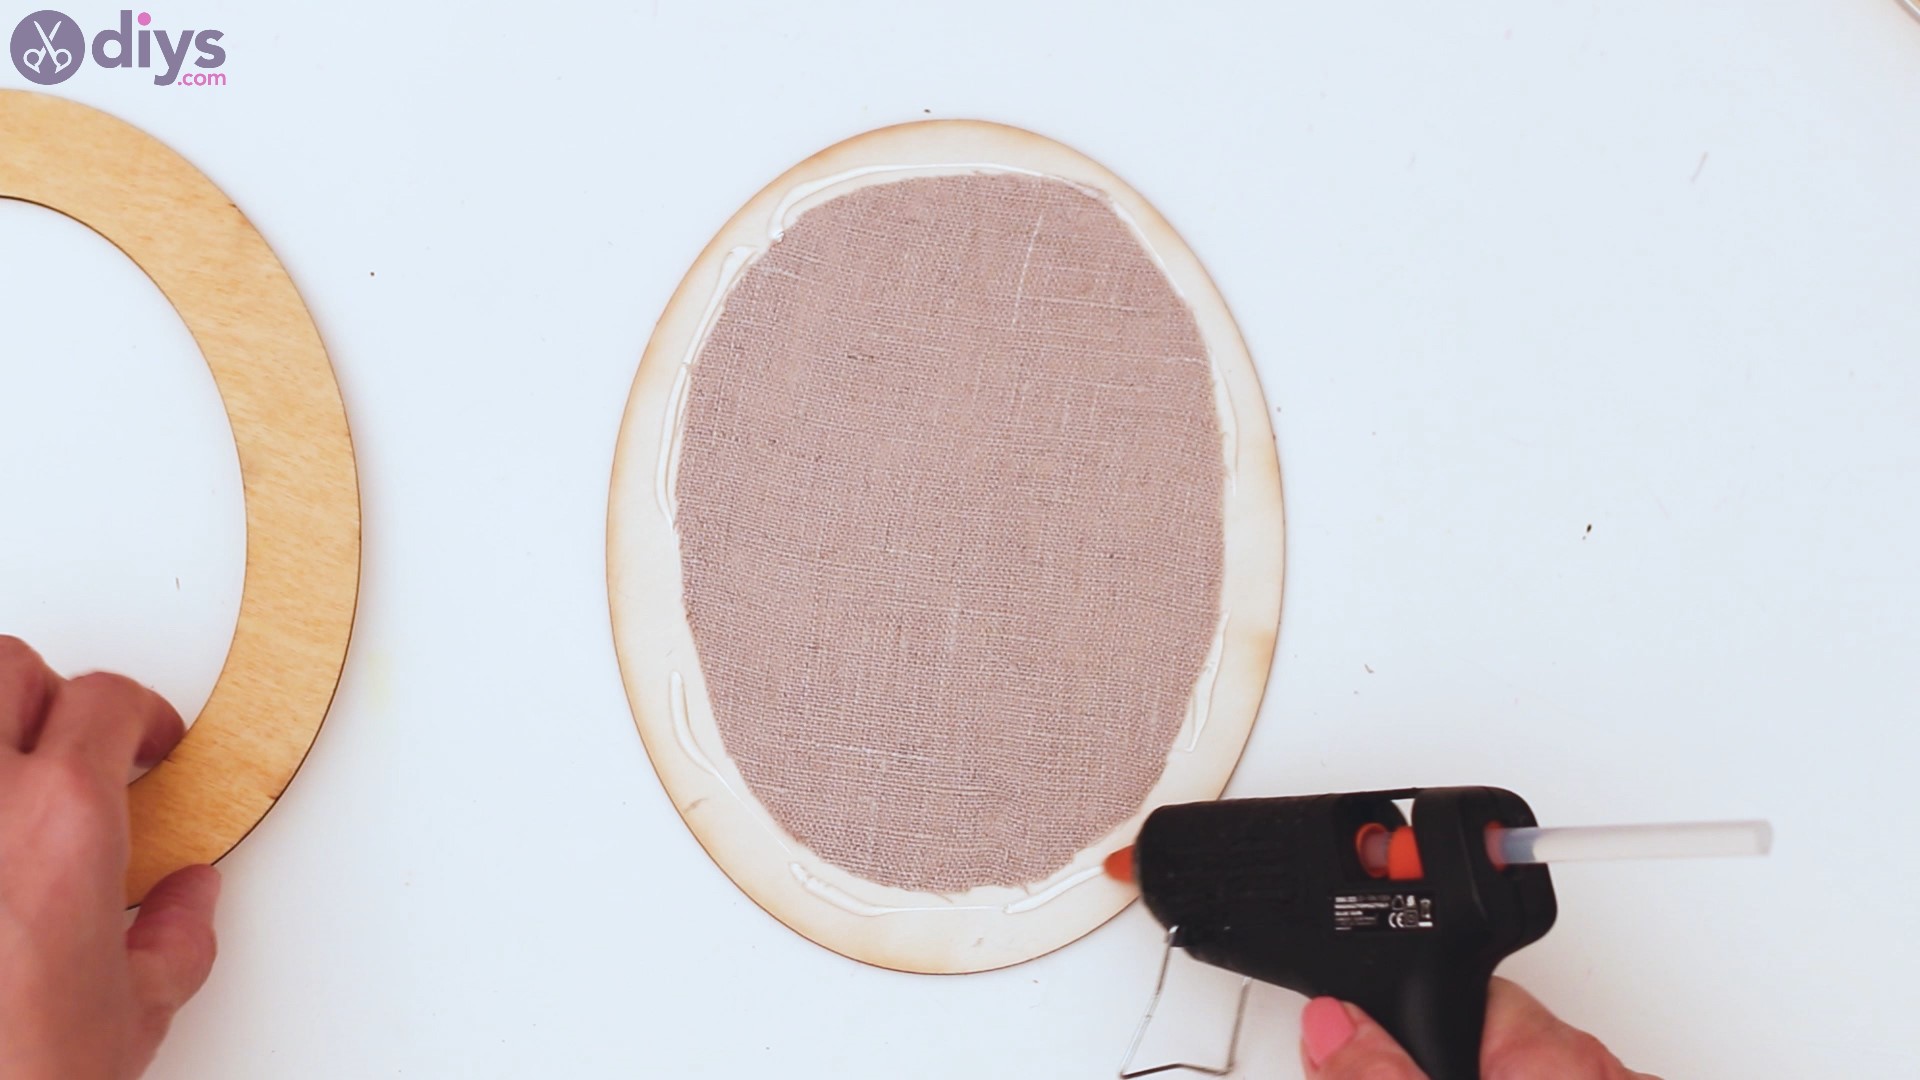
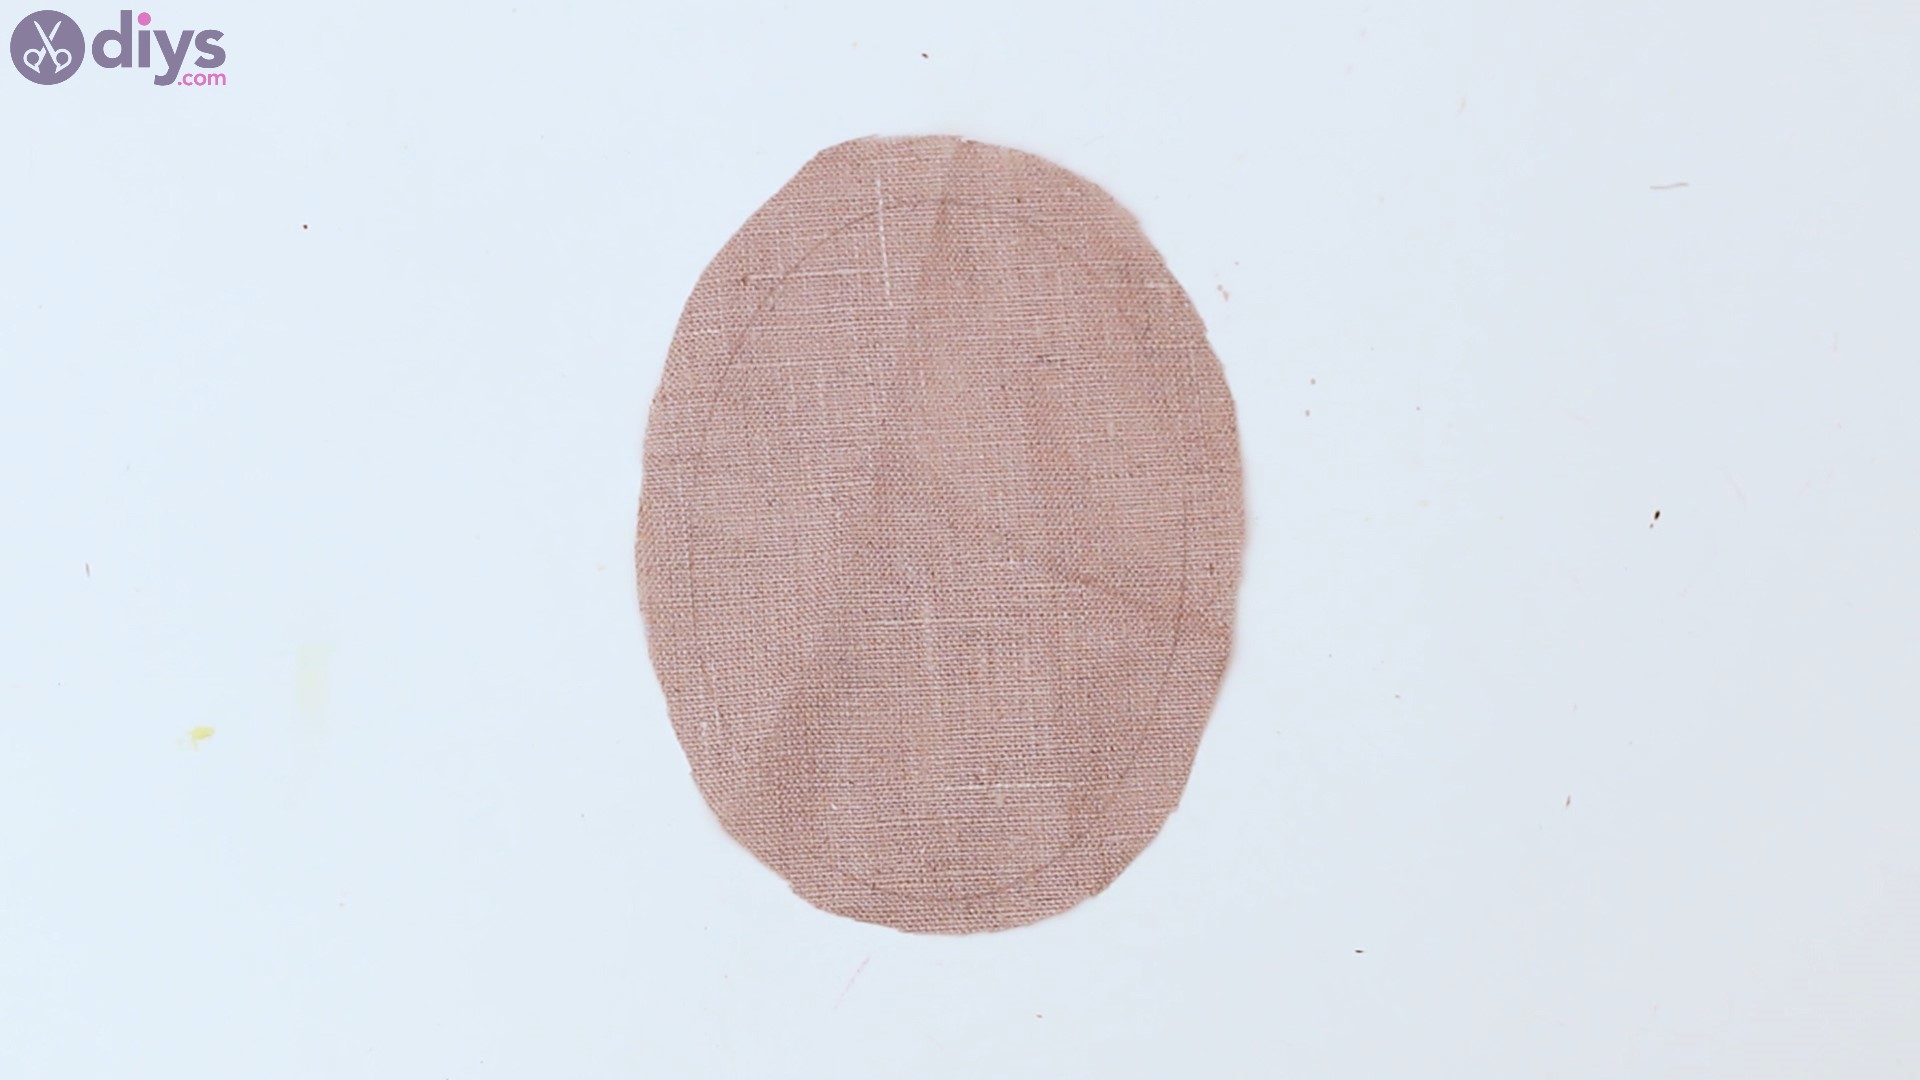
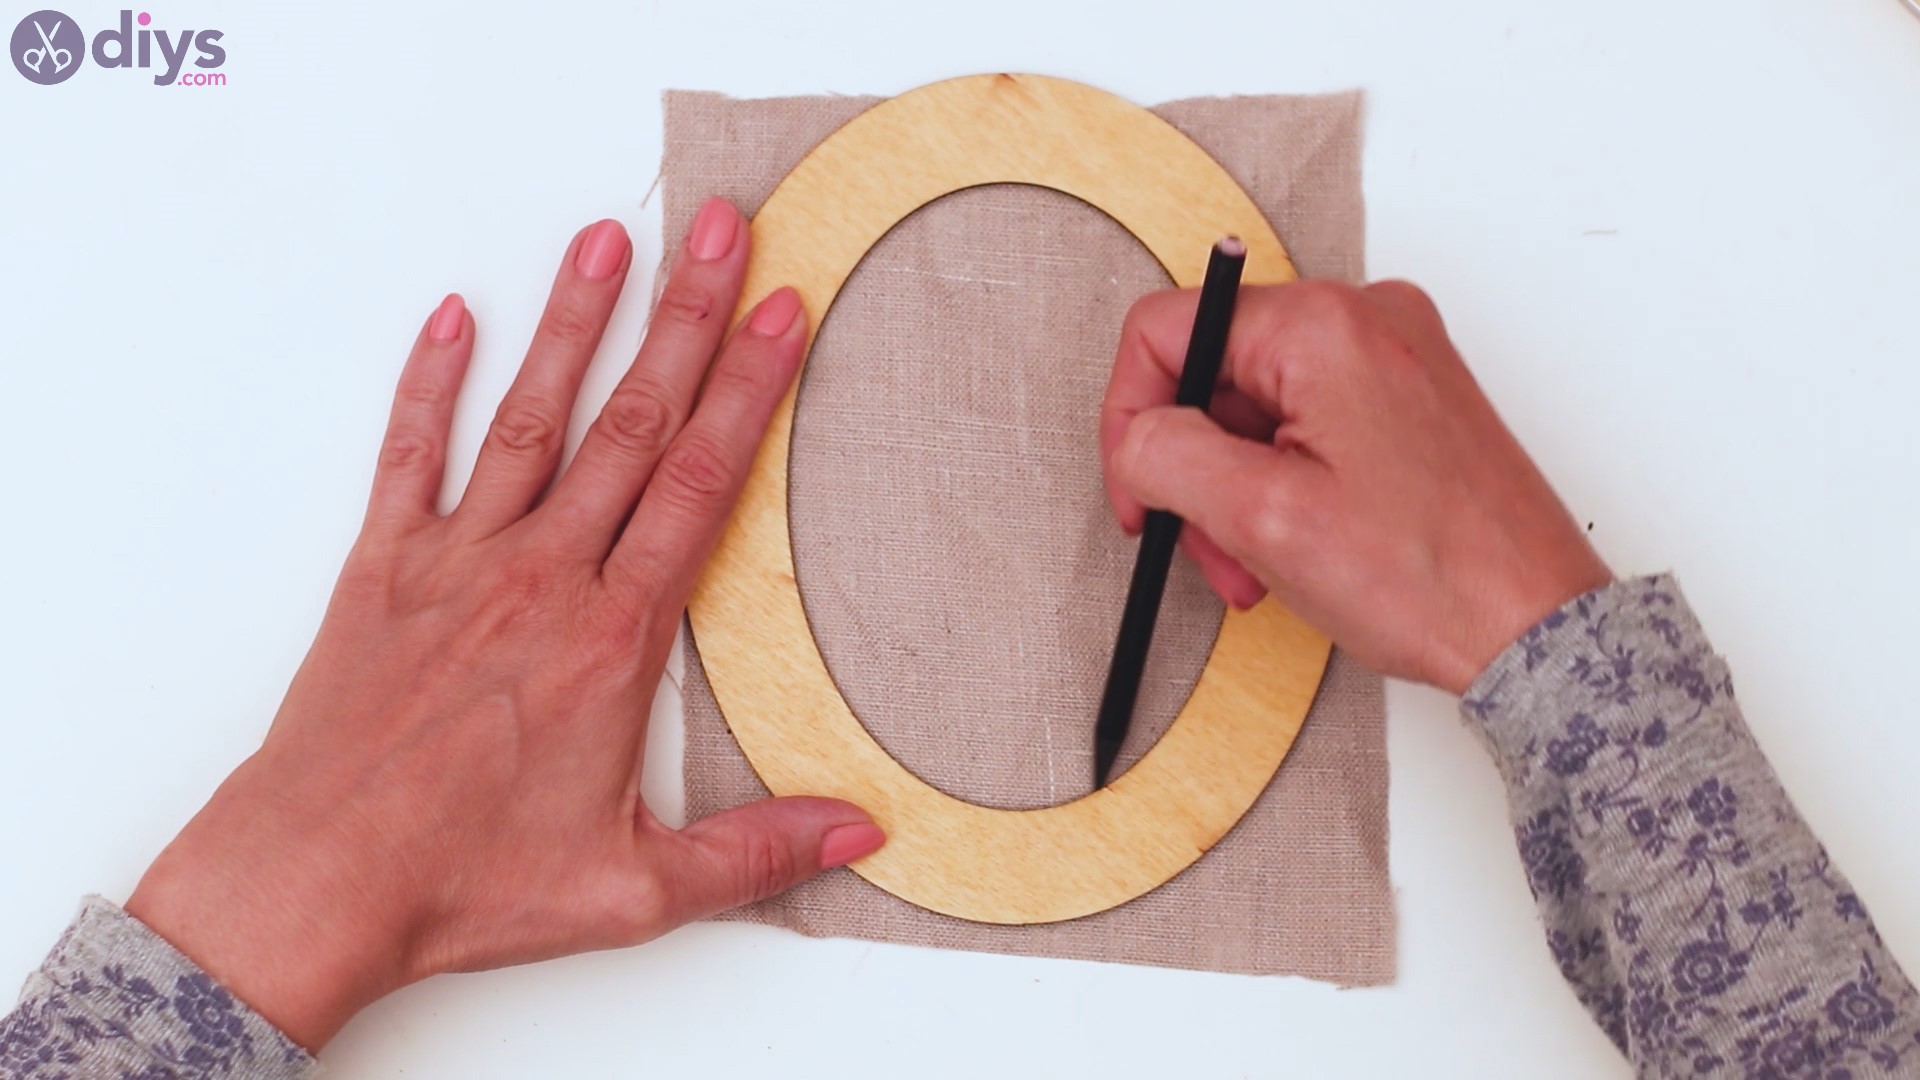
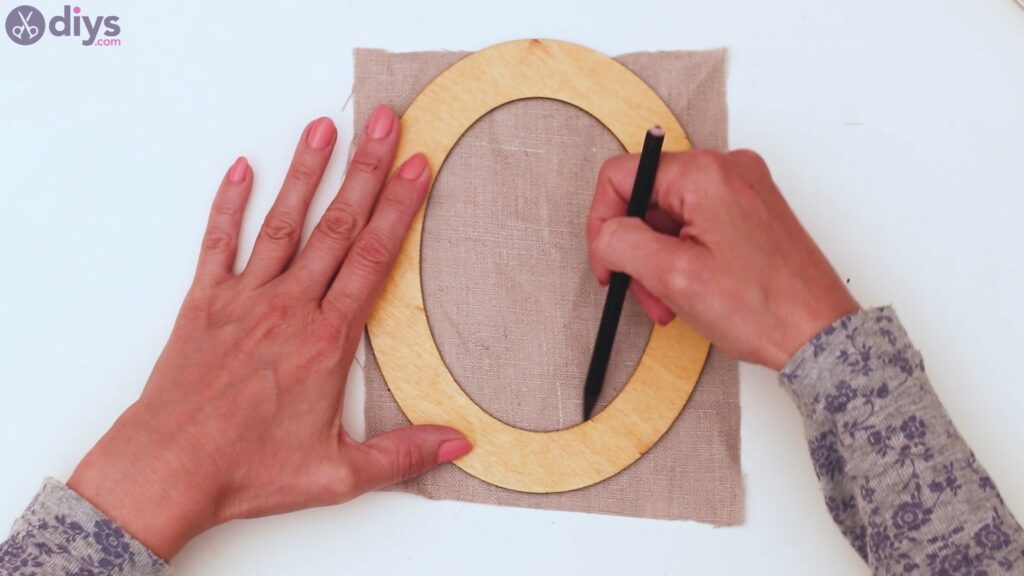
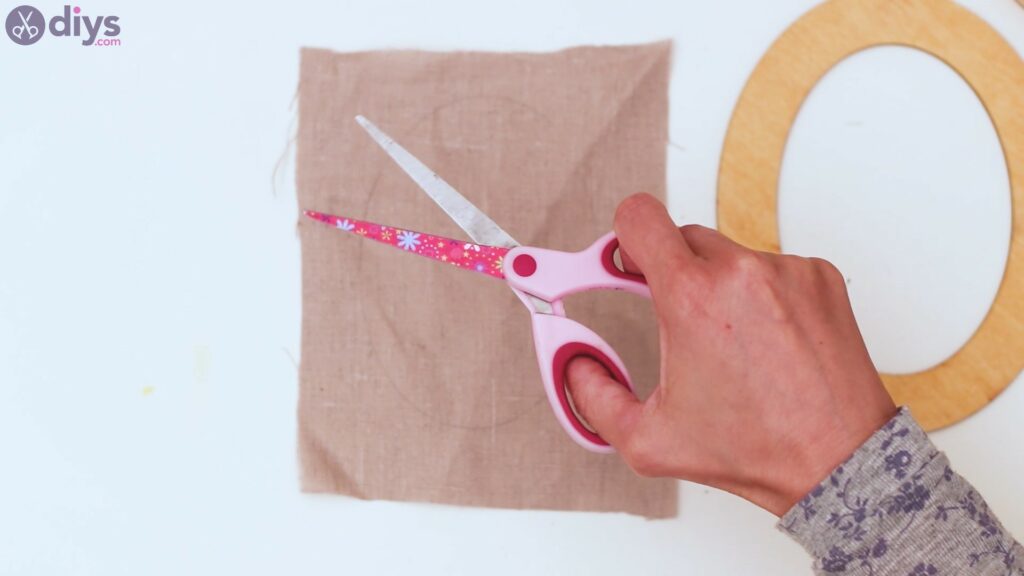
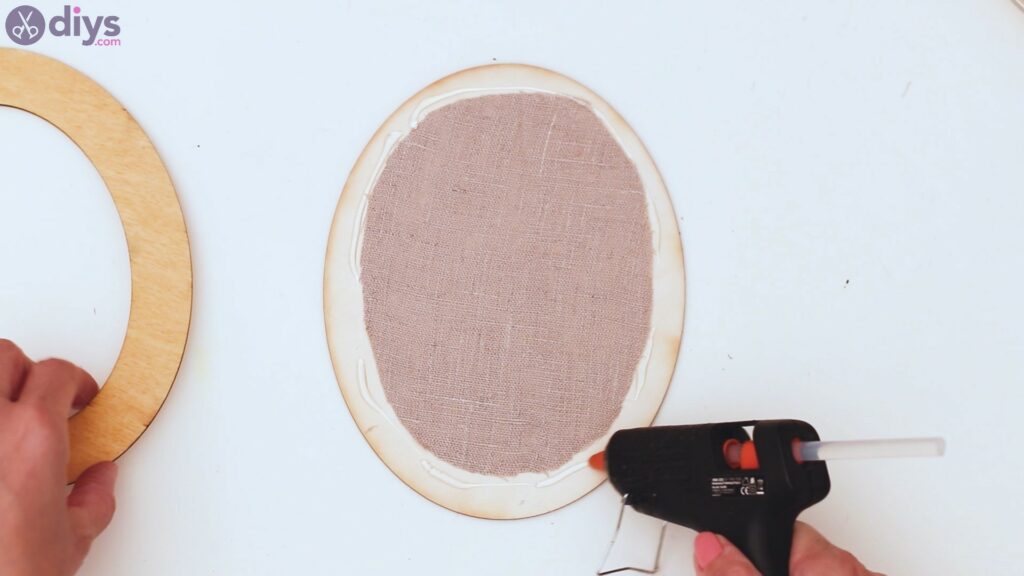
- Cut the linen: Place the front piece of the wood frame on top of the linen and use a pencil to trace the interior. Make a cutout of the linen – not on the traced line but about 1 in (2.5 cm) around it. Glue the linen cutout to the back of the frame.
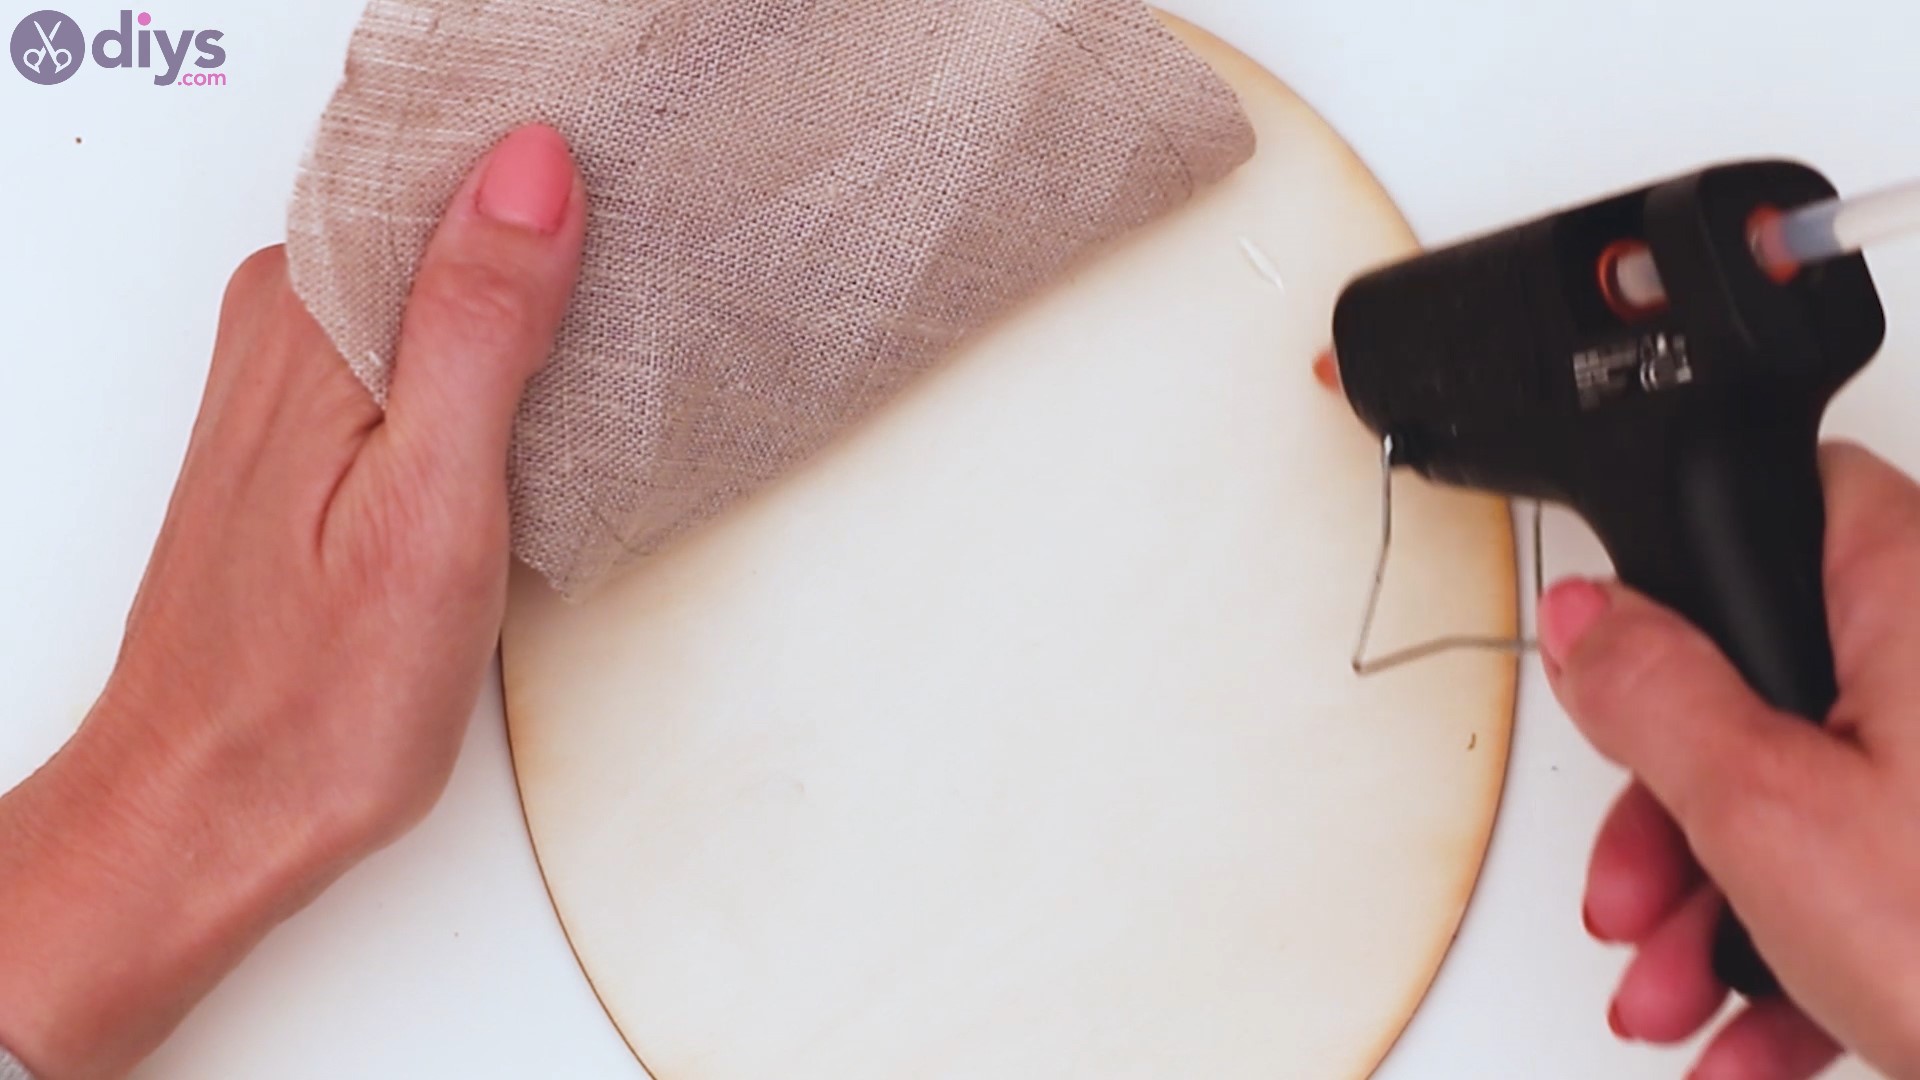
- Finish the wooden frame: Add extra glue to the back side of the frame. Next, attach the rear part of the frame, sandwiching the linen between the two frame pieces.
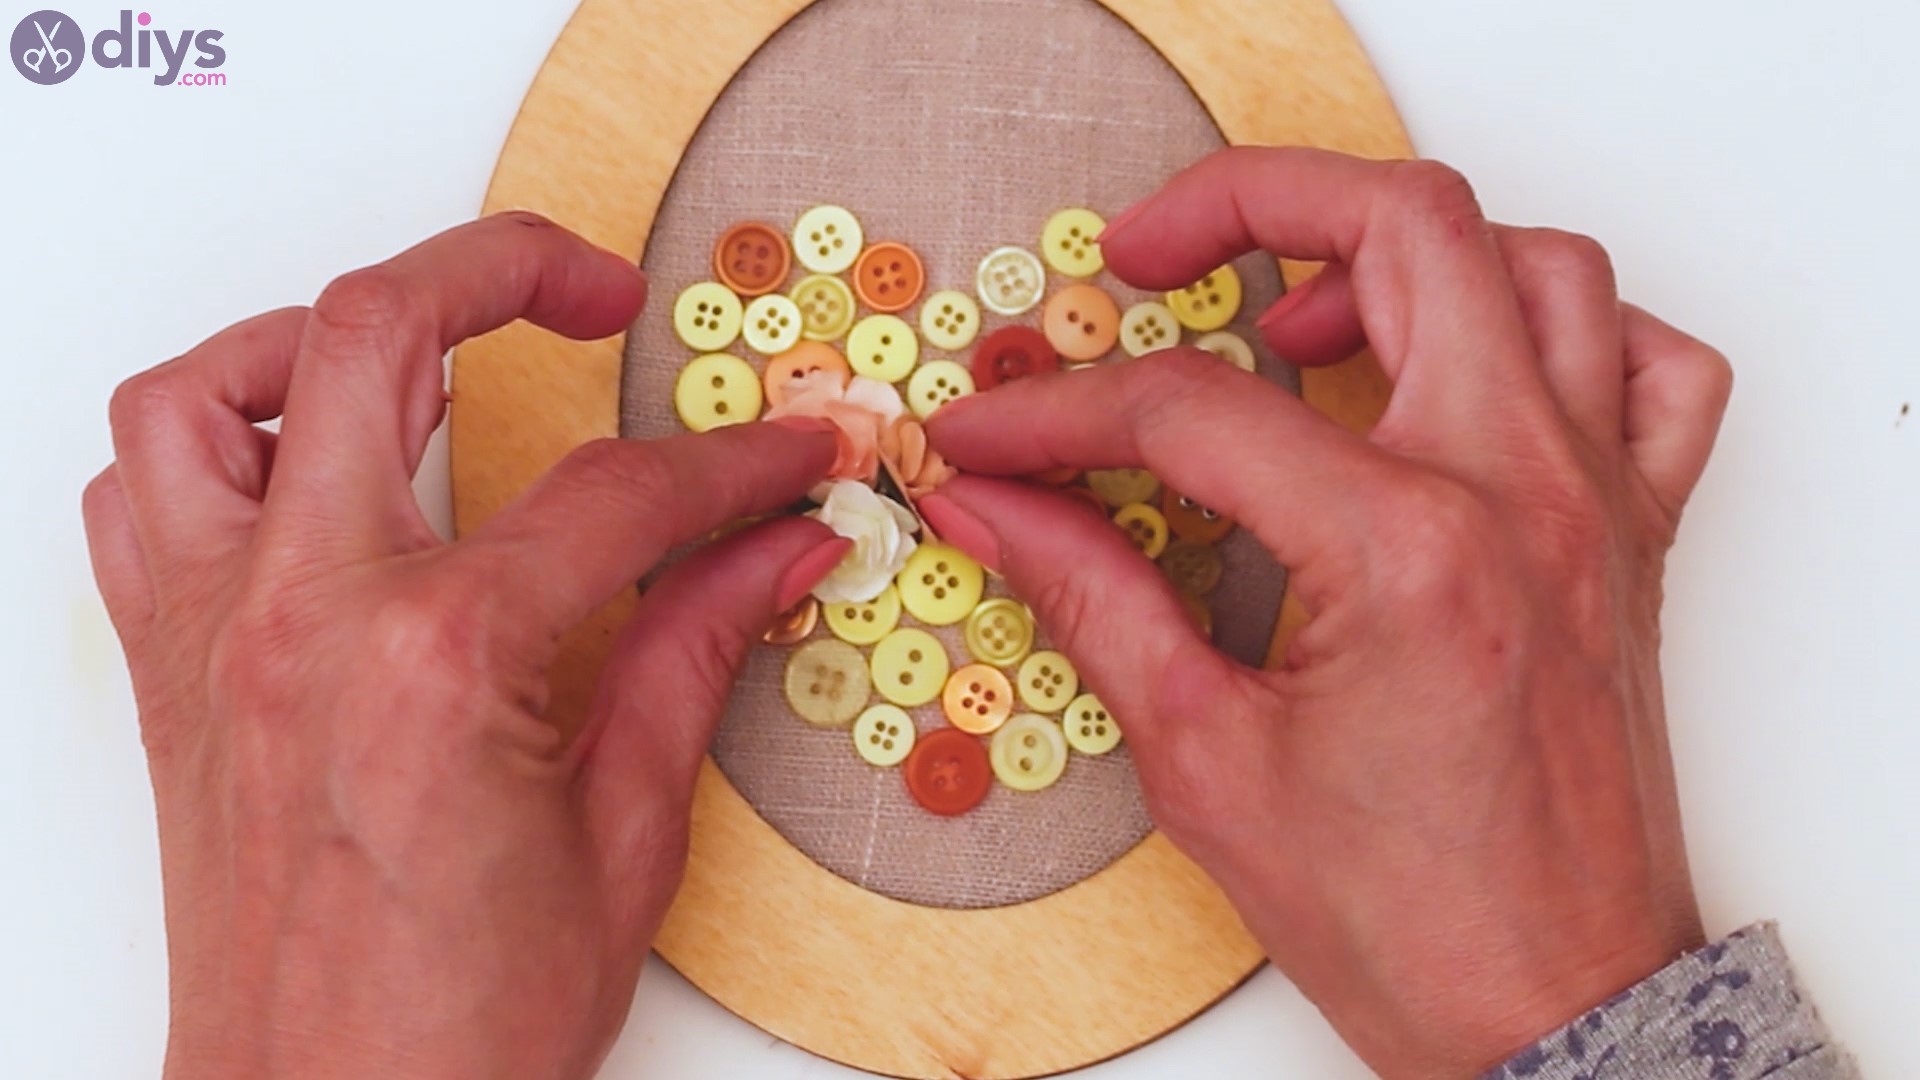
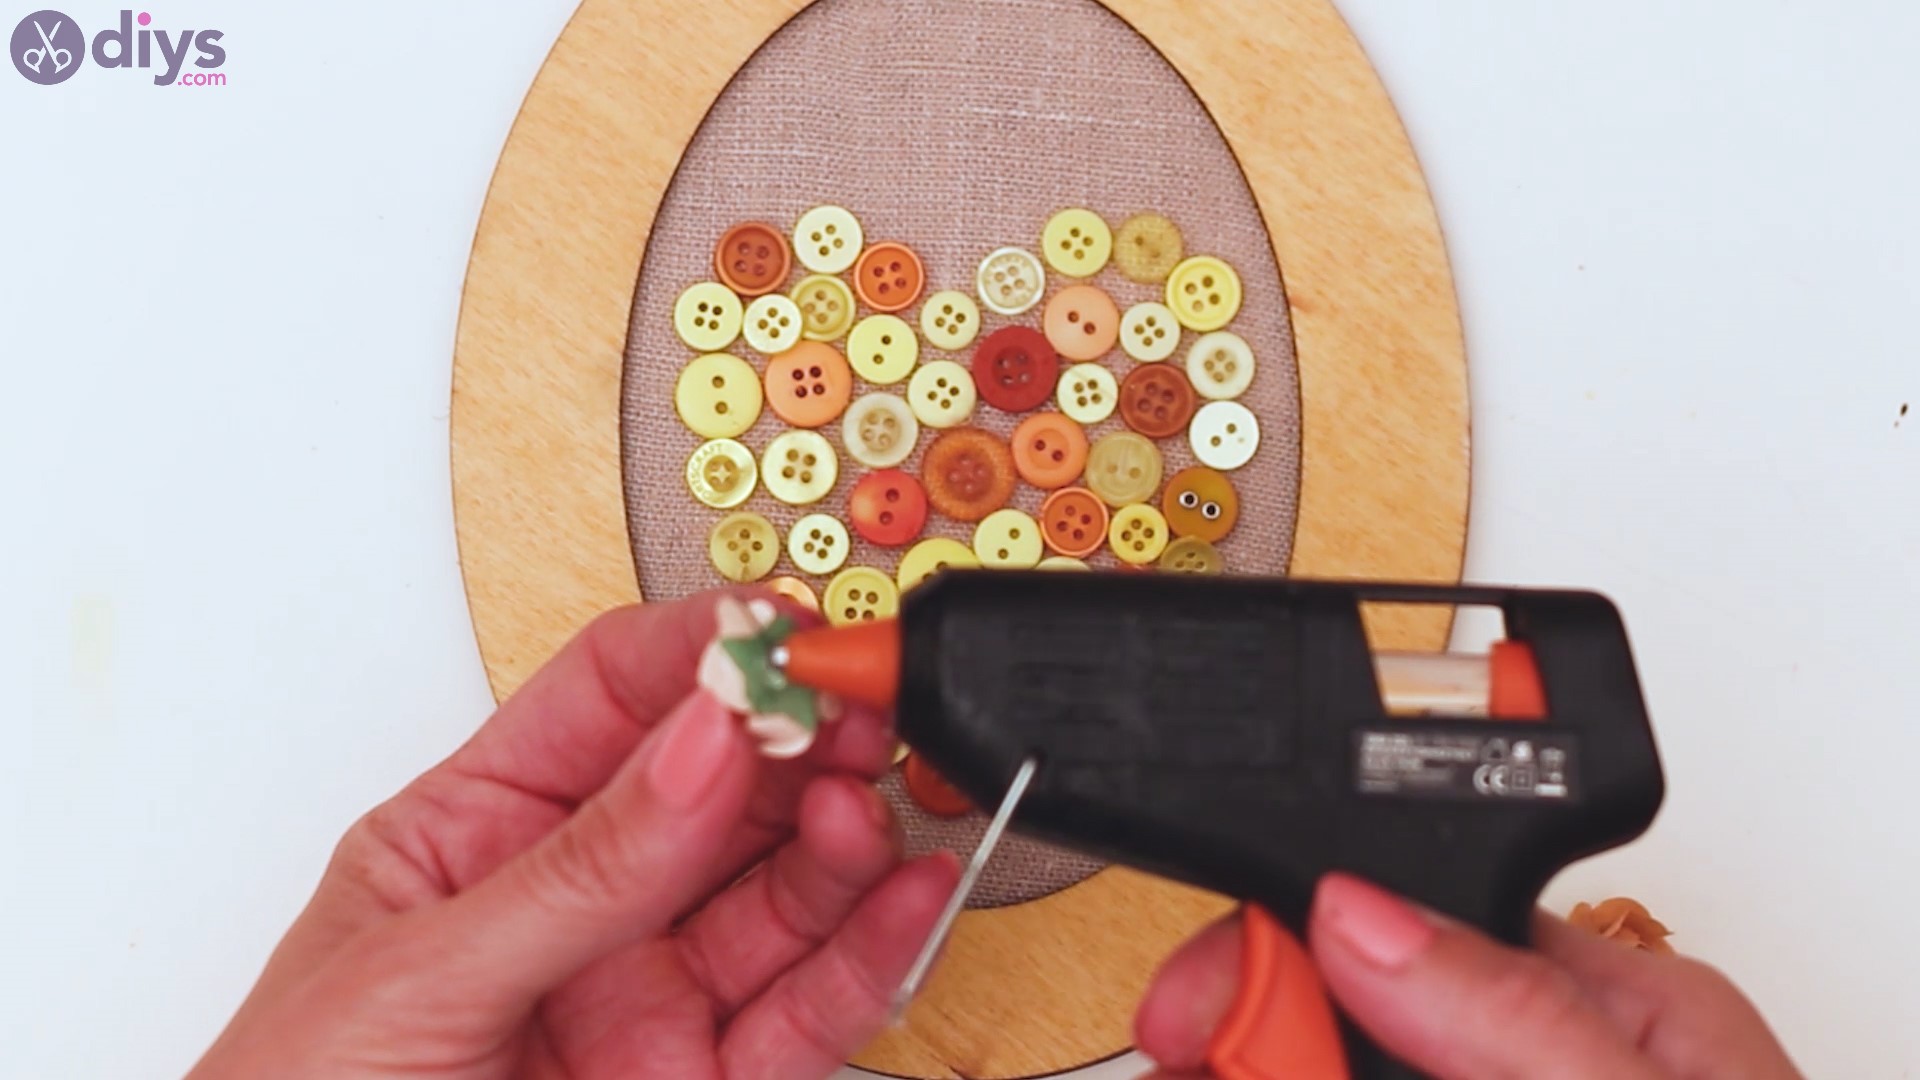
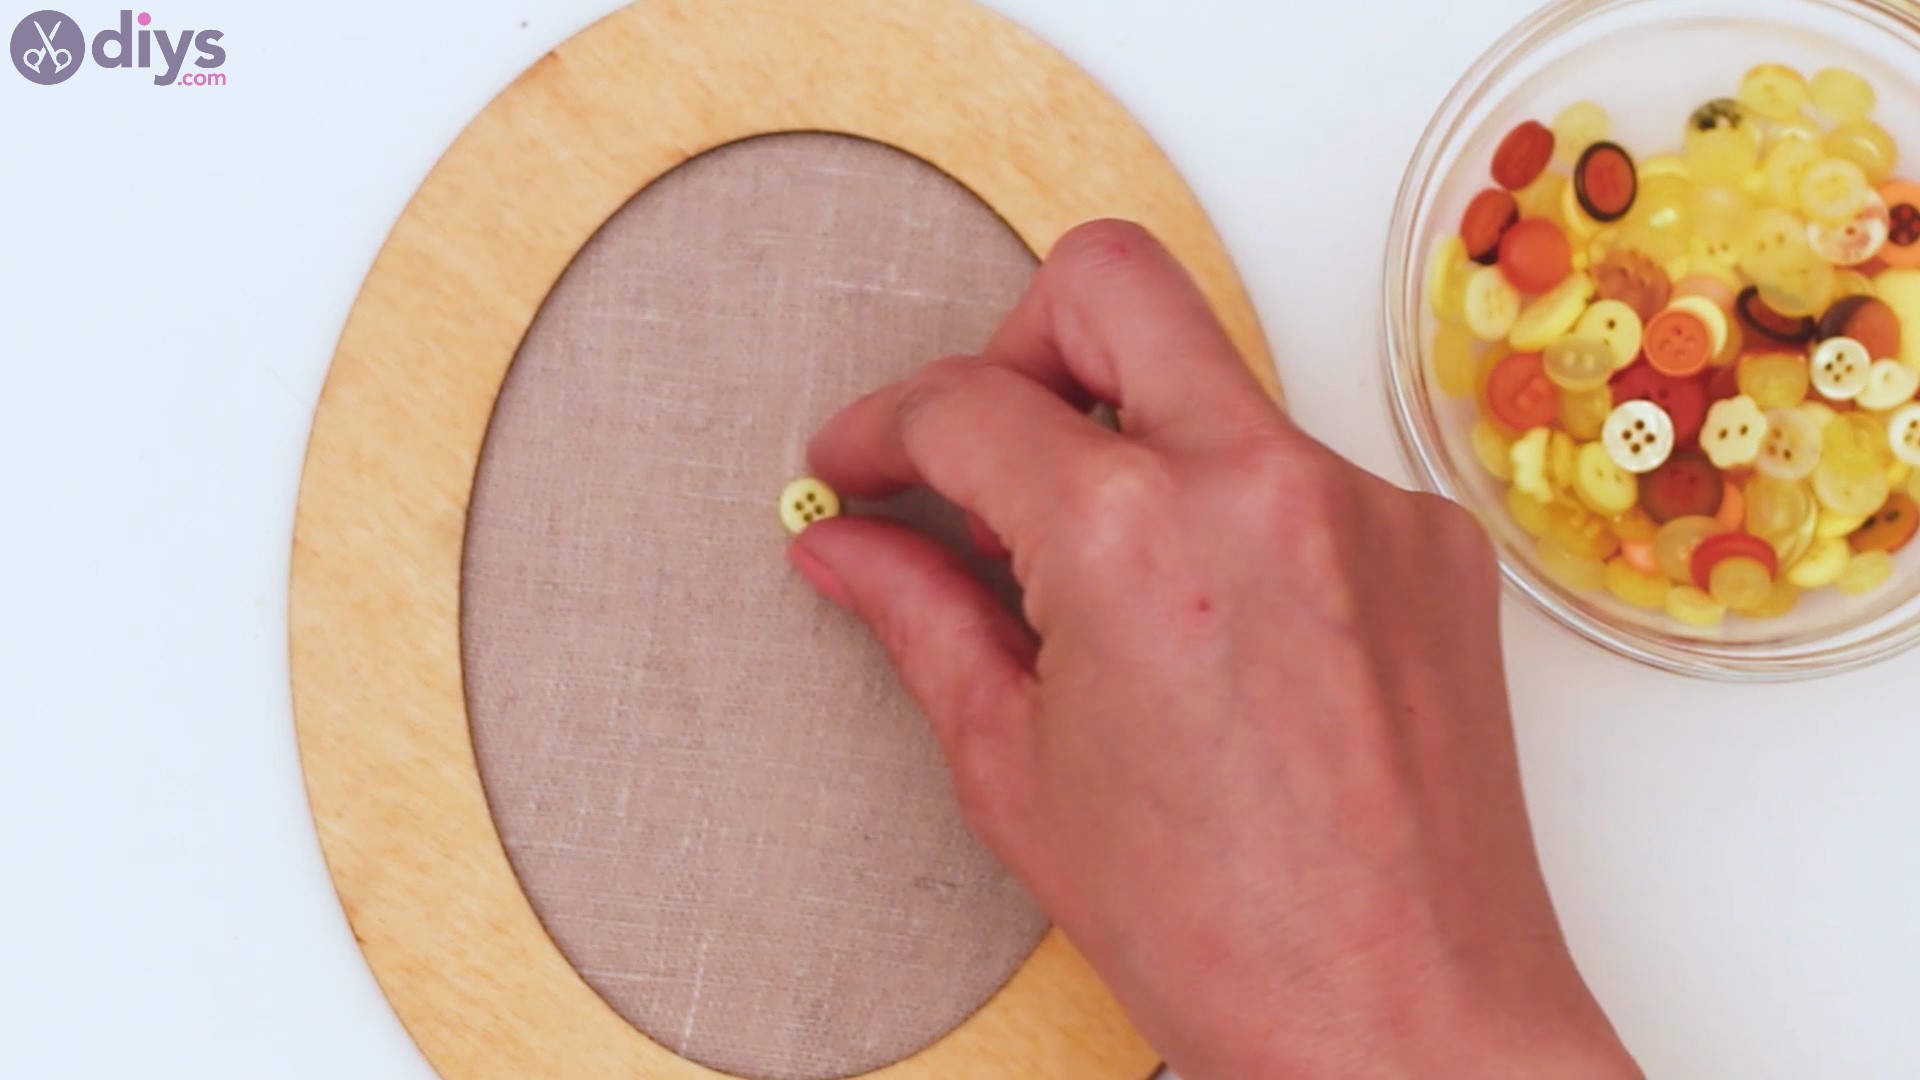
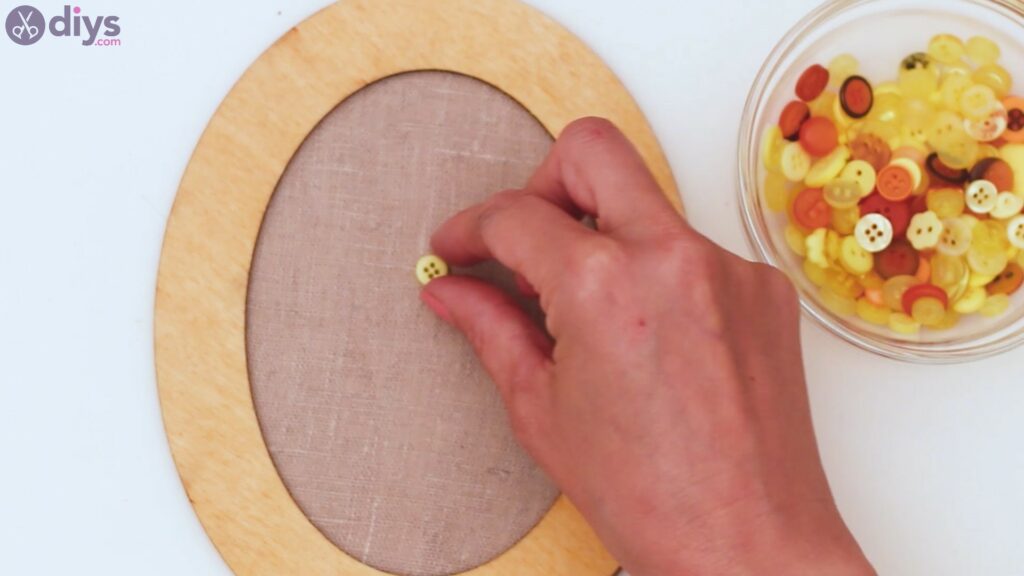
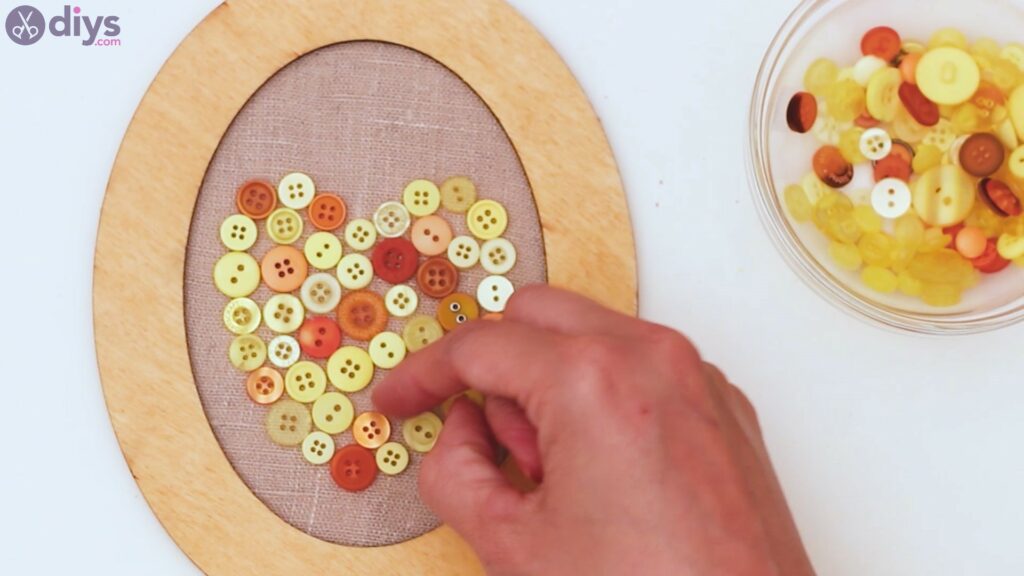
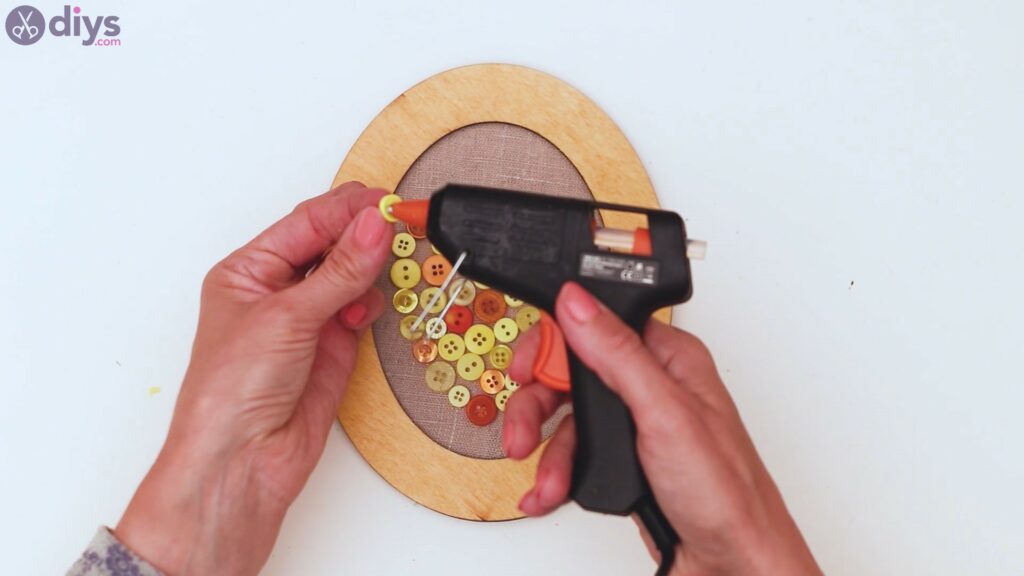
- Add the buttons: Place the buttons inside the wooden frame on the linen canvas. Arrange them in a heart shape and establish their permanent position. Add glue to the back of the buttons and press them against the linen fabric to secure them in place.
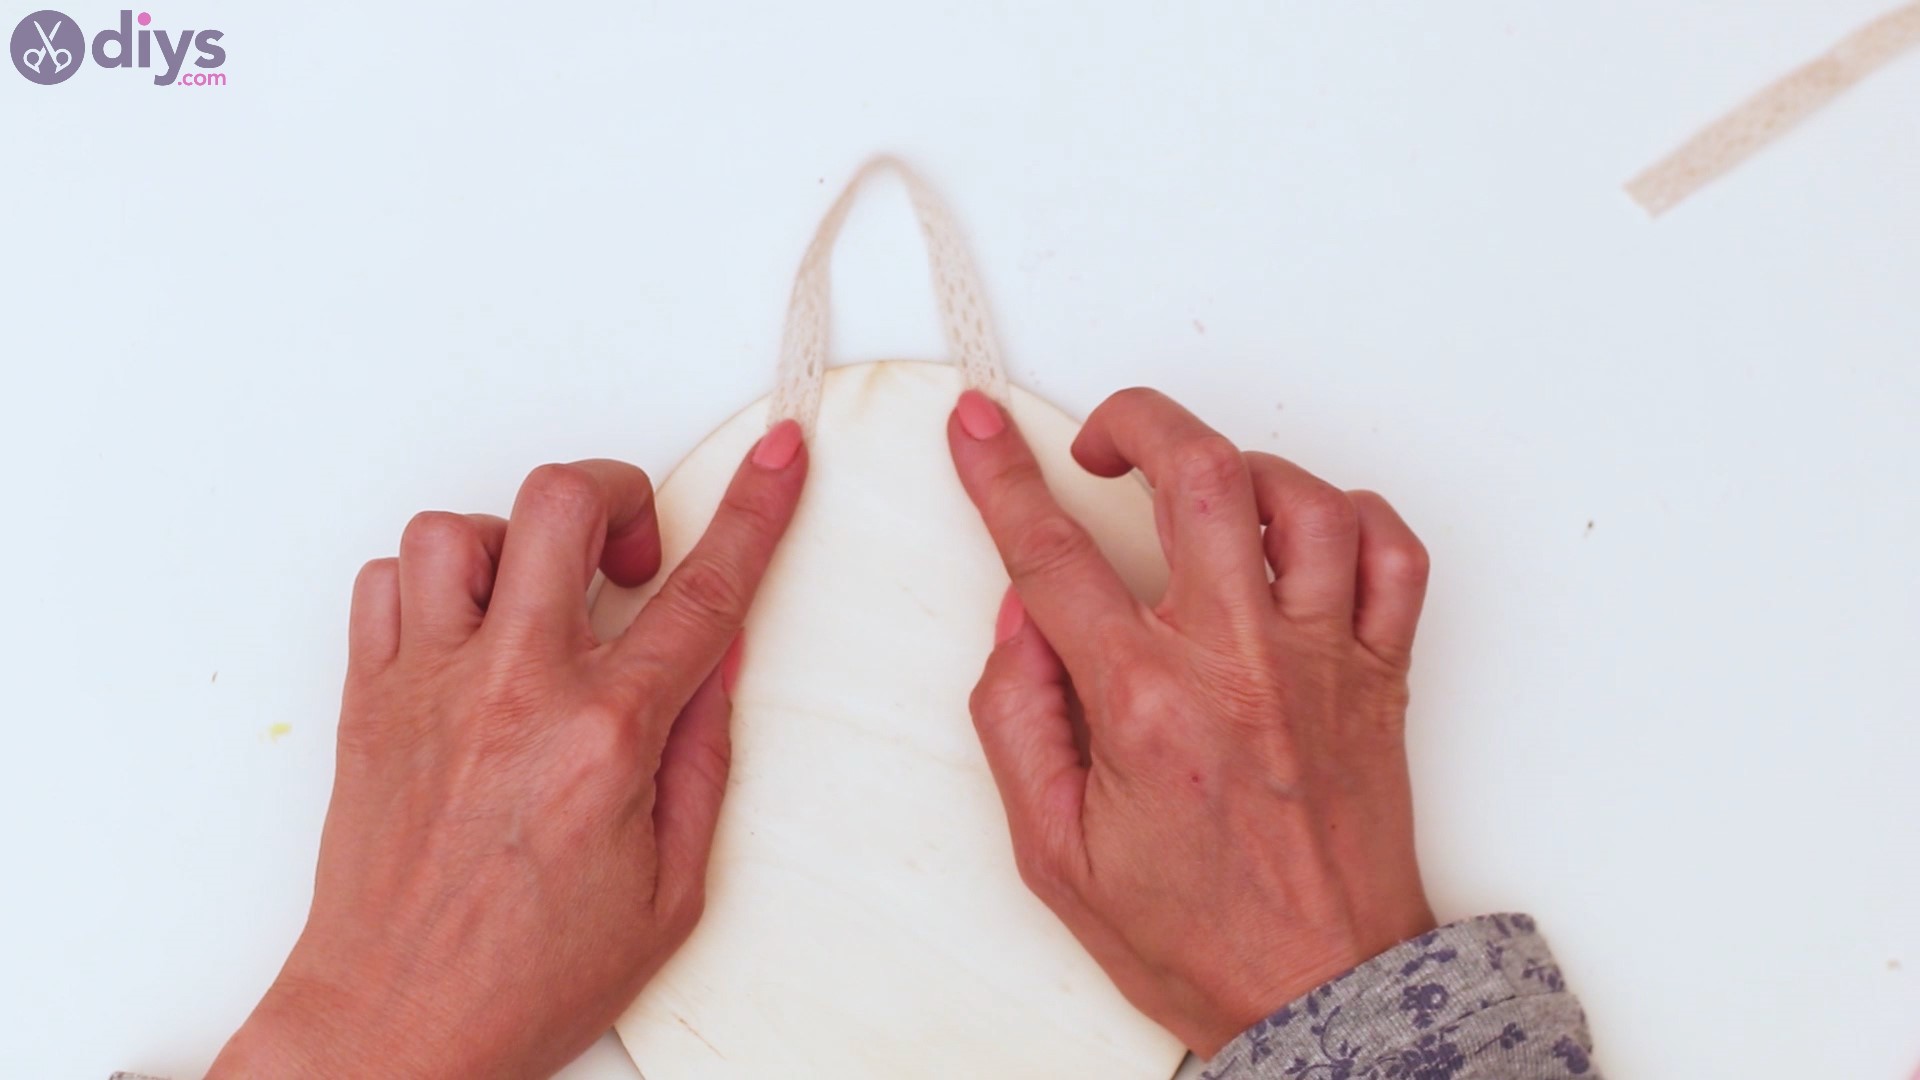
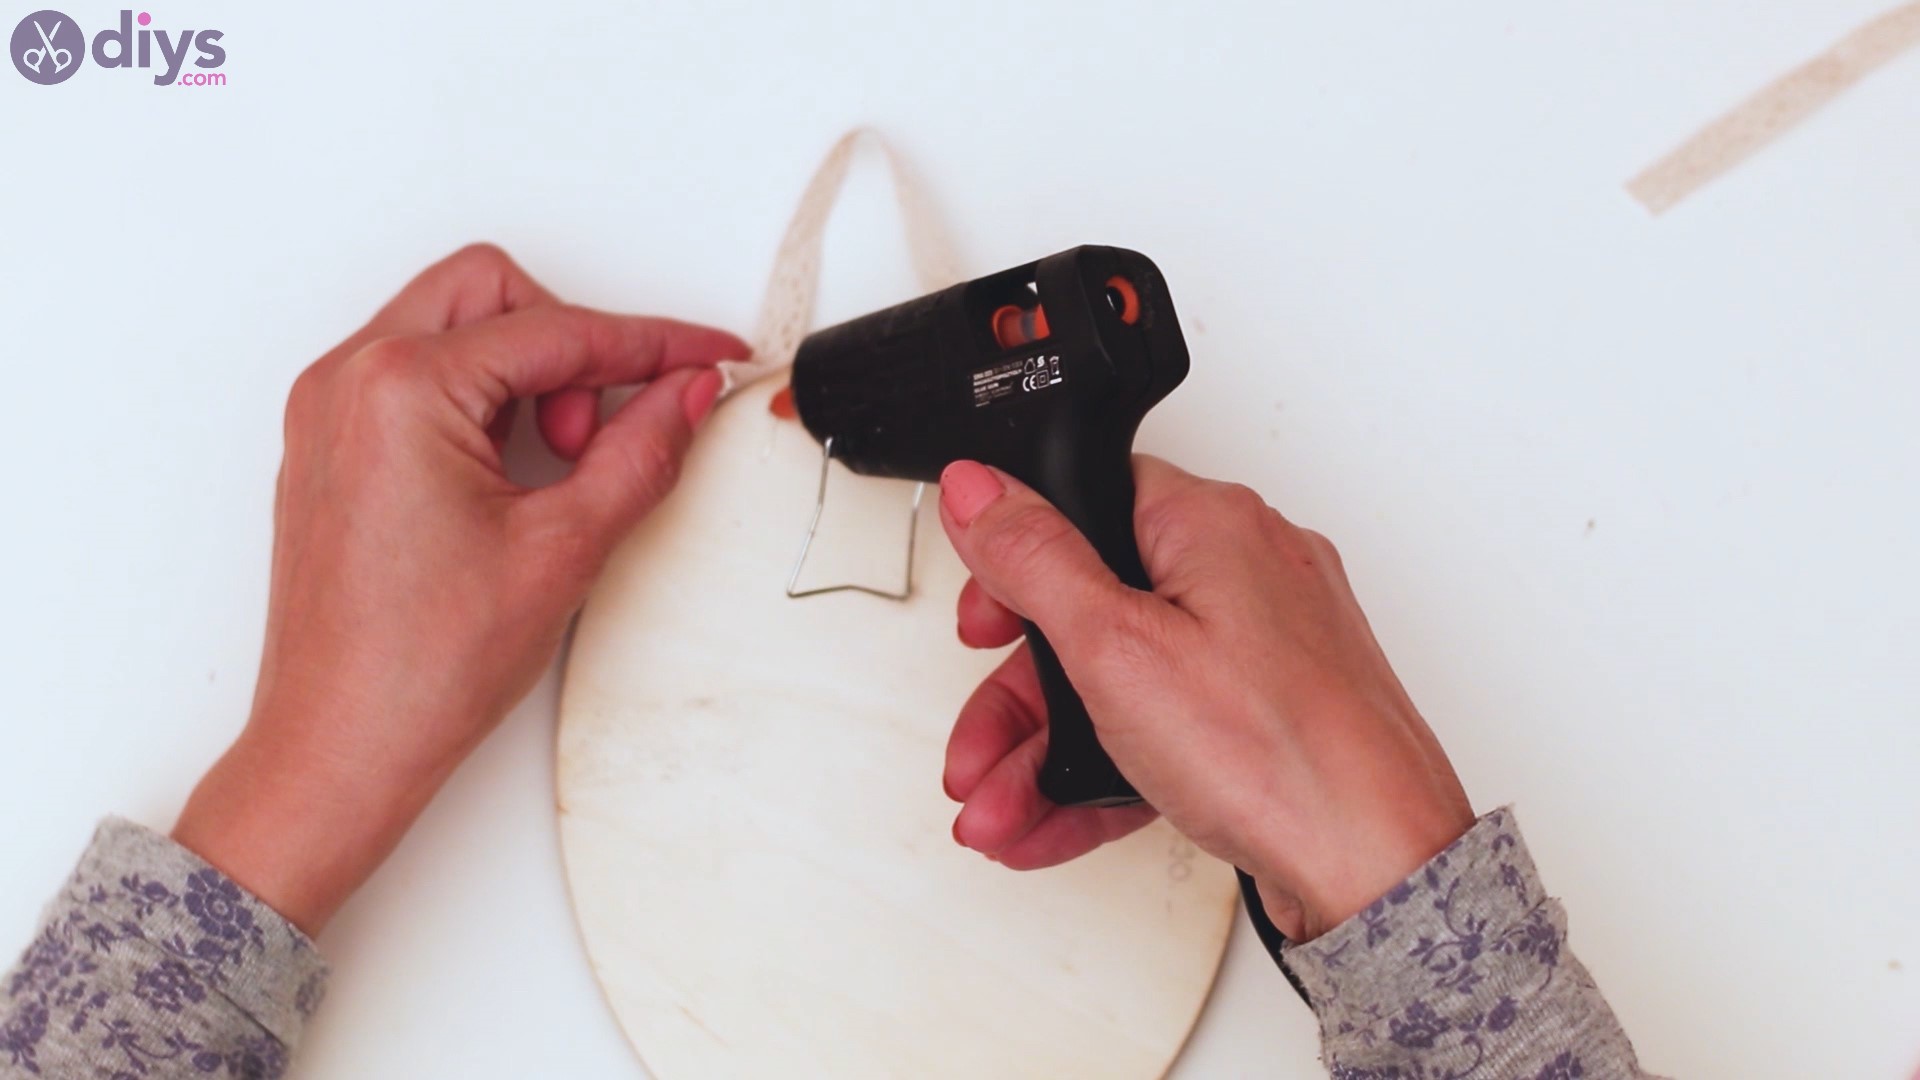
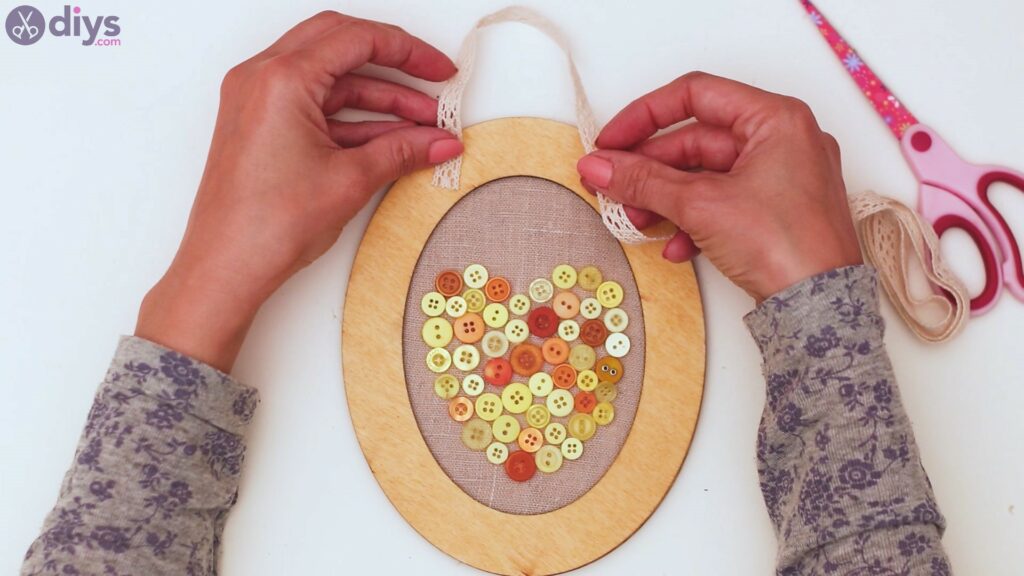
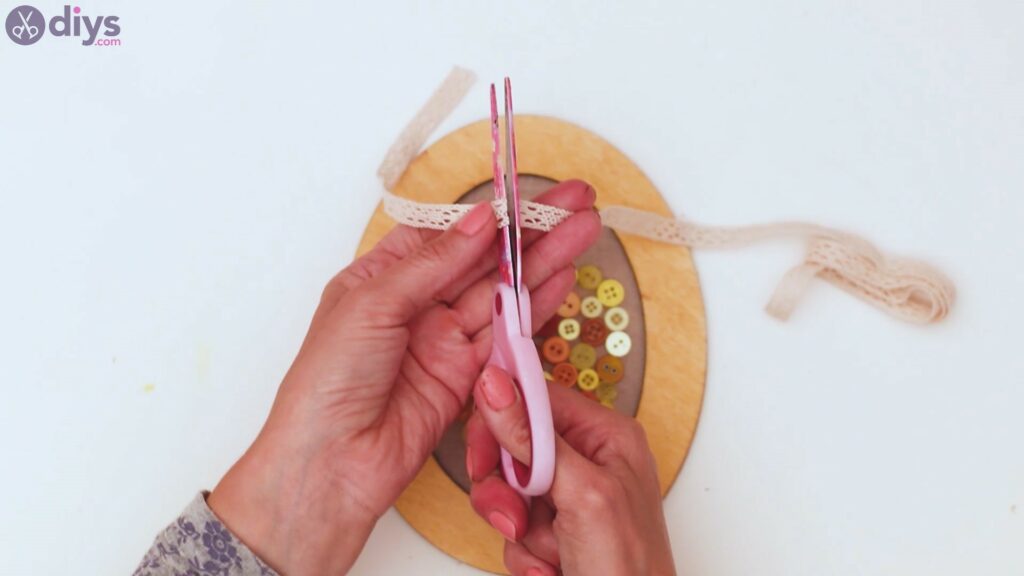
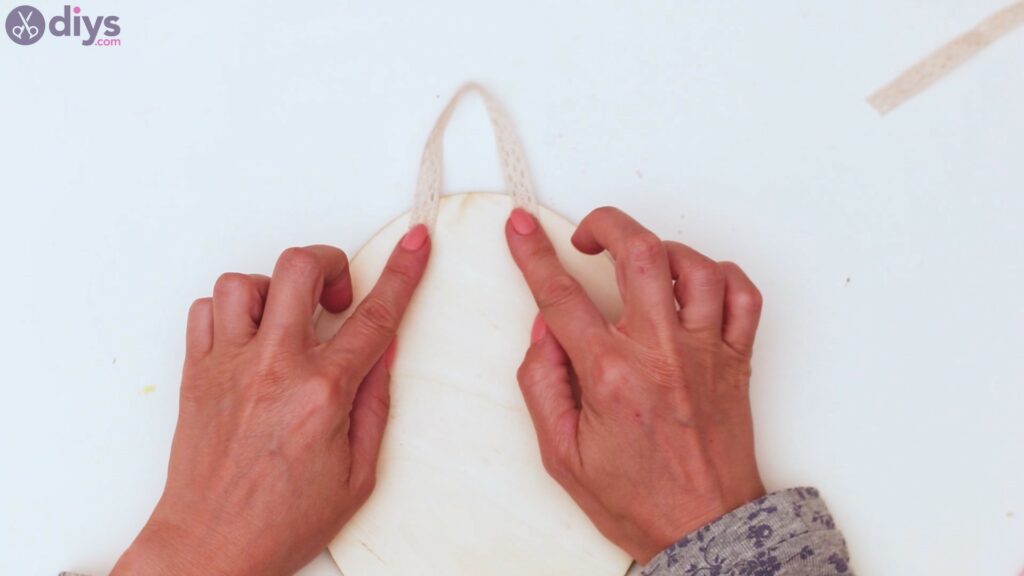
- Create a hanger: Cut a piece of lace ribbon, add glue to both ends and attach them to the back of the wooden frame. The length of the lace ribbon hanger depends on how low you want the wall decoration to hang.
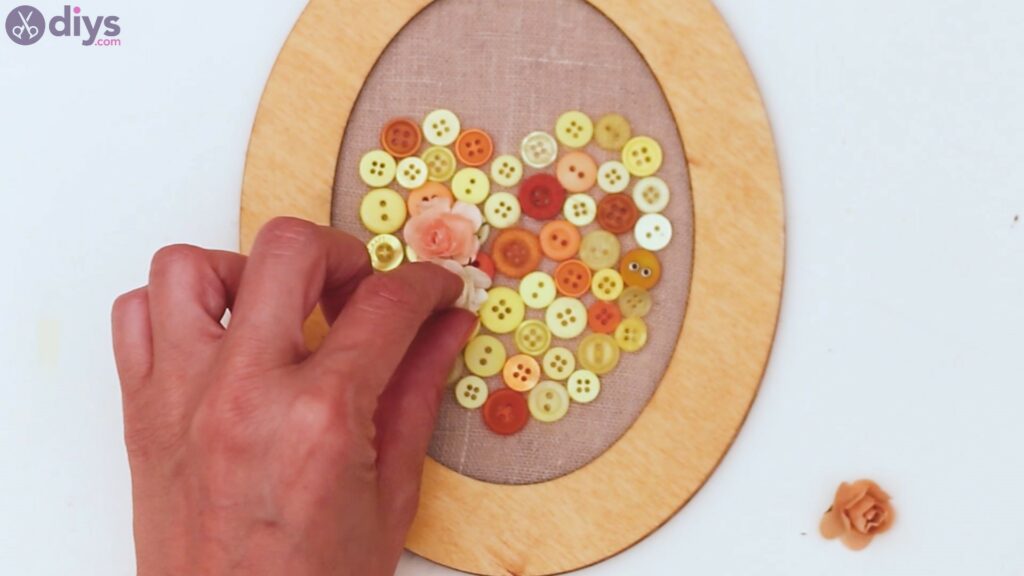
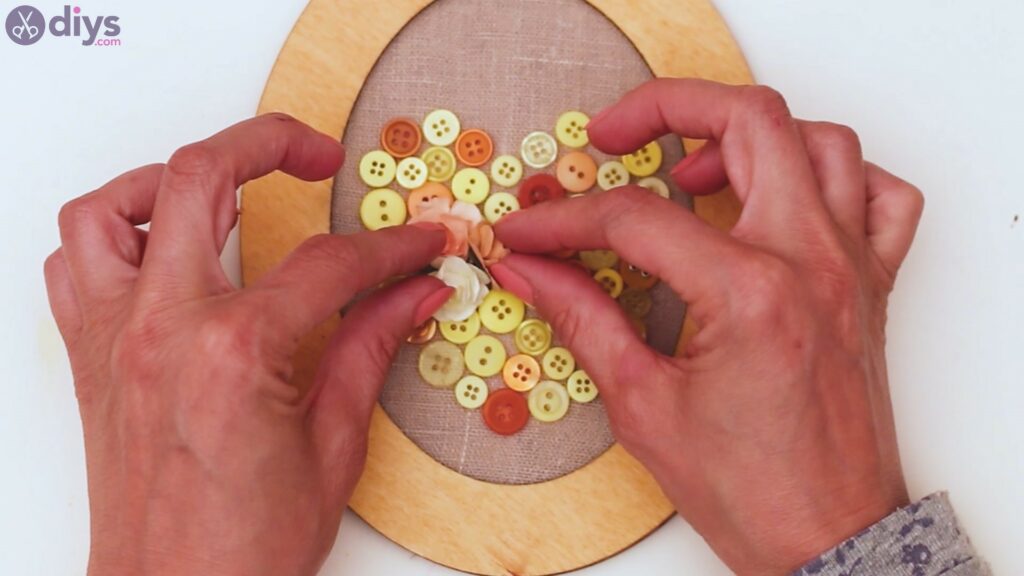
- Add flowers: Apply glue to the back of 2-3 artificial flowers and place them on top of the button heart in a bundle. Your button heart wall decor is now complete!


Video tutorial
Follow the 3-minute video tutorial that shows how to craft a DIY button heart wall decor:
More tips and tricks
Check out the following tips and tricks for improving or changing the DIY button heart wall decor:
- Experiment with fabrics: Try non-bleached linen, suede fabric, velvet, and other fabrics with interesting textures as the wall decoration’s canvas.
- Avoid fabrics with huge weaves: Burlap and other types of fabric with big weaves aren’t a suitable canvas for this project since it would be difficult to glue buttons. If you’re set on using fabric with huge waves, stitch the buttons instead of using glue.
- Try a different frame: We used an oval frame, but feel free to use any frame shape and size to suit any occasion. For example, use a triangle-shaped frame to create a modern Christmas tree.
- Use other embellishments: Instead of buttons, try sequins, rhinestones, artificial greenery, or pearls, depending on your crafting stockpile.
- Personalize the wall decoration: Instead of making a shape, add the initials of the gift’s recipient.
Closing thoughts
Making this button heart wall decor is a great way to bring a splash of color to any old wall, and it will become a conversation piece in any room. With a few basic crafting supplies and spare buttons, create a unique and stylish piece of wall decor that will instantly transform your living space. Check out our list of Valentine’s Day decorations for more similar projects.